-
Posts
5,531 -
Joined
-
Last visited
About RGL
- Birthday April 15
Profile Information
-
Gender
Male
-
Location
Canberra
Recent Profile Visitors
-
 Old Collingwood reacted to a post in a topic:
Bentley Blower - Airfix 1/12 by RGL
-
 king derelict reacted to a post in a topic:
Bentley Blower - Airfix 1/12 by RGL
-
 Canute reacted to a post in a topic:
Bentley Blower - Airfix 1/12 by RGL
-
 GrandpaPhil reacted to a post in a topic:
Bentley Blower - Airfix 1/12 by RGL
-
 yvesvidal reacted to a post in a topic:
Bentley Blower - Airfix 1/12 by RGL
-
 Ronald-V reacted to a post in a topic:
Bentley Blower - Airfix 1/12 by RGL
-
 Charter33 reacted to a post in a topic:
Bentley Blower - Airfix 1/12 by RGL
-
 Mark P reacted to a post in a topic:
Bentley Blower - Airfix 1/12 by RGL
-
 Mark P reacted to a post in a topic:
Bentley Blower - Airfix 1/12 by RGL
-
 Mark P reacted to a post in a topic:
Bentley Blower - Airfix 1/12 by RGL
-
-
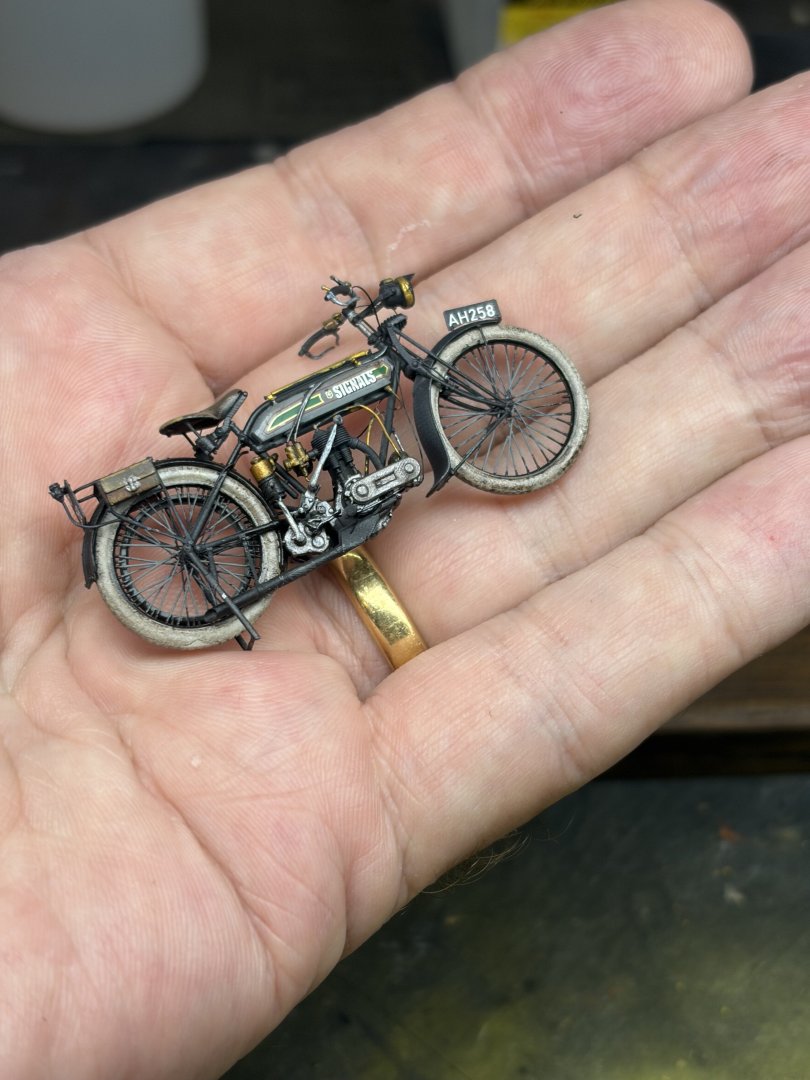
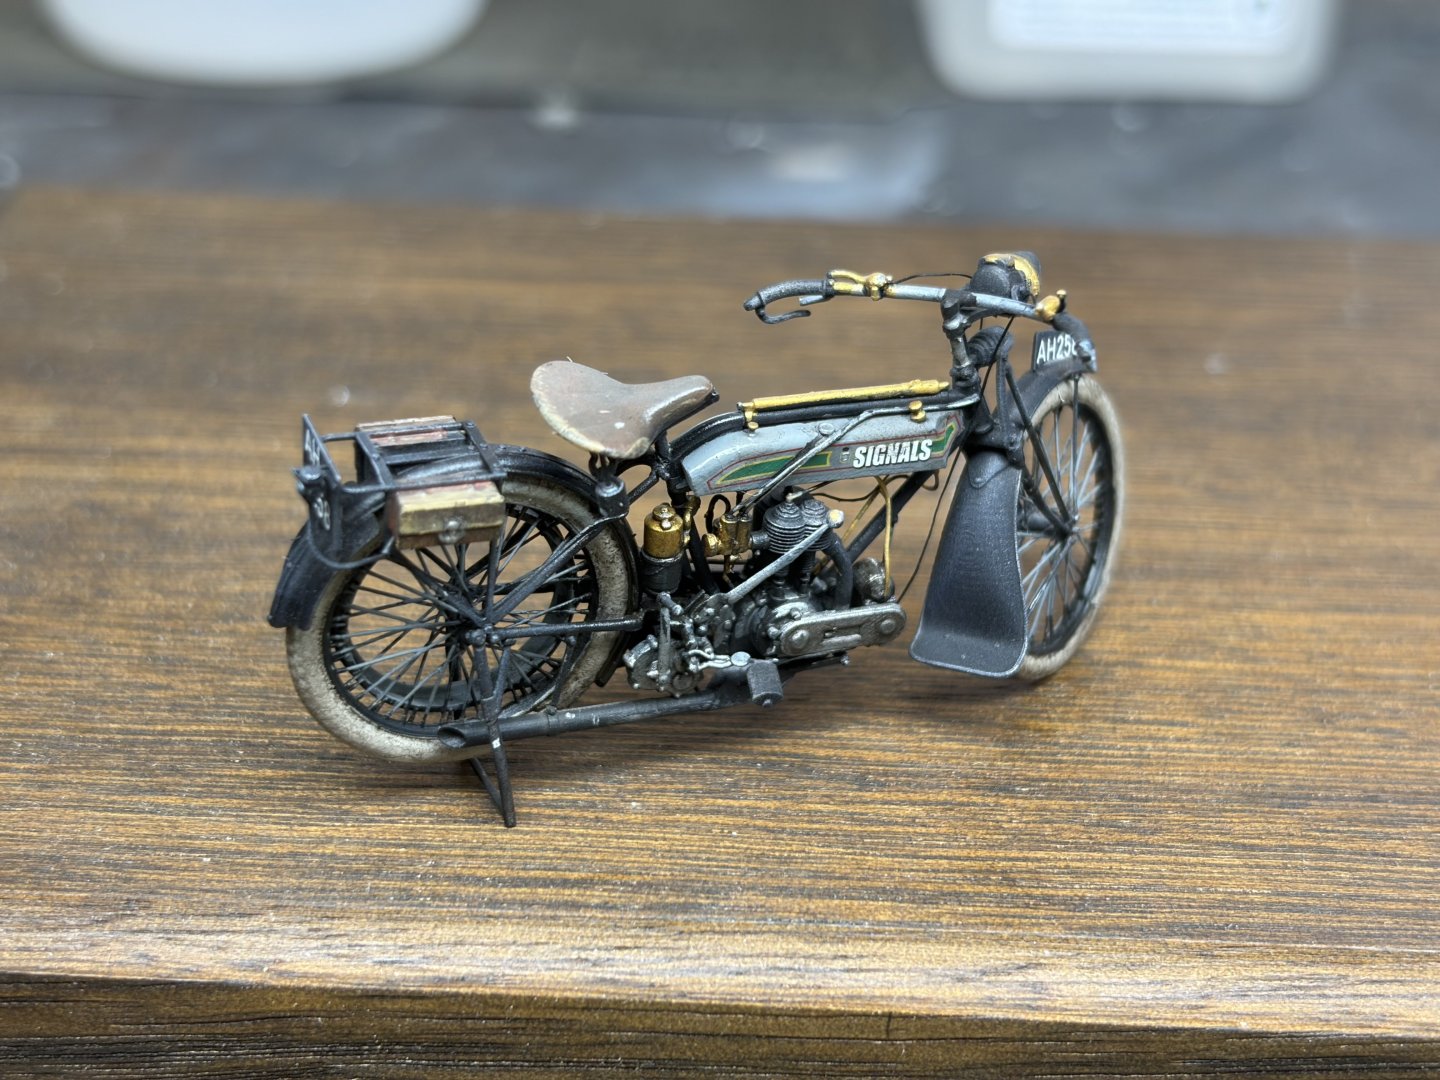
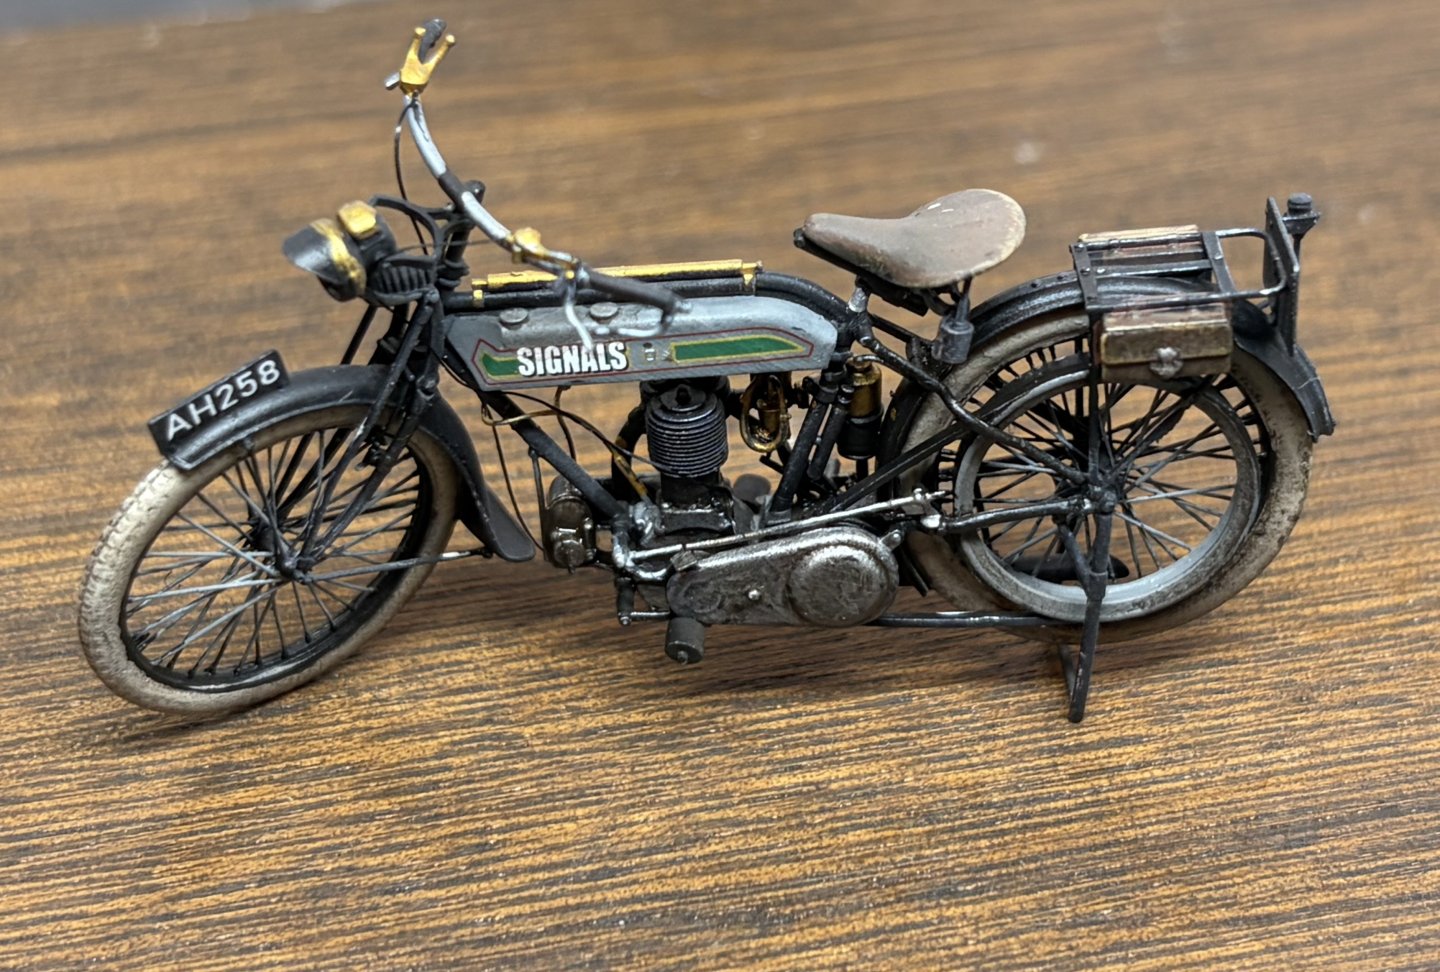
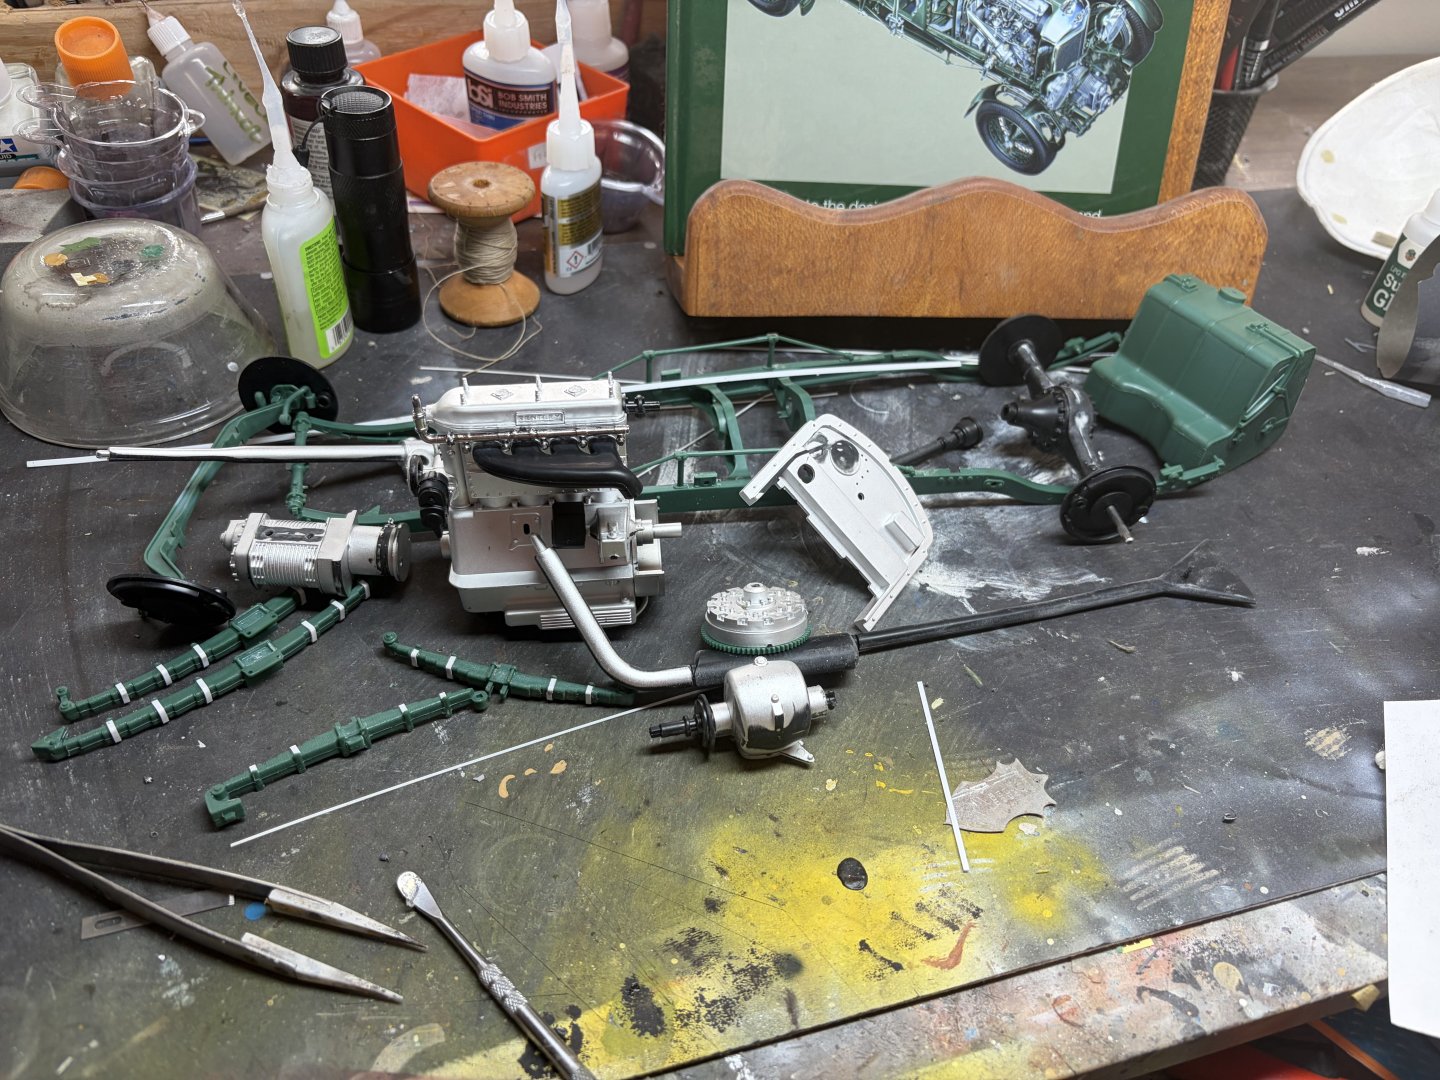
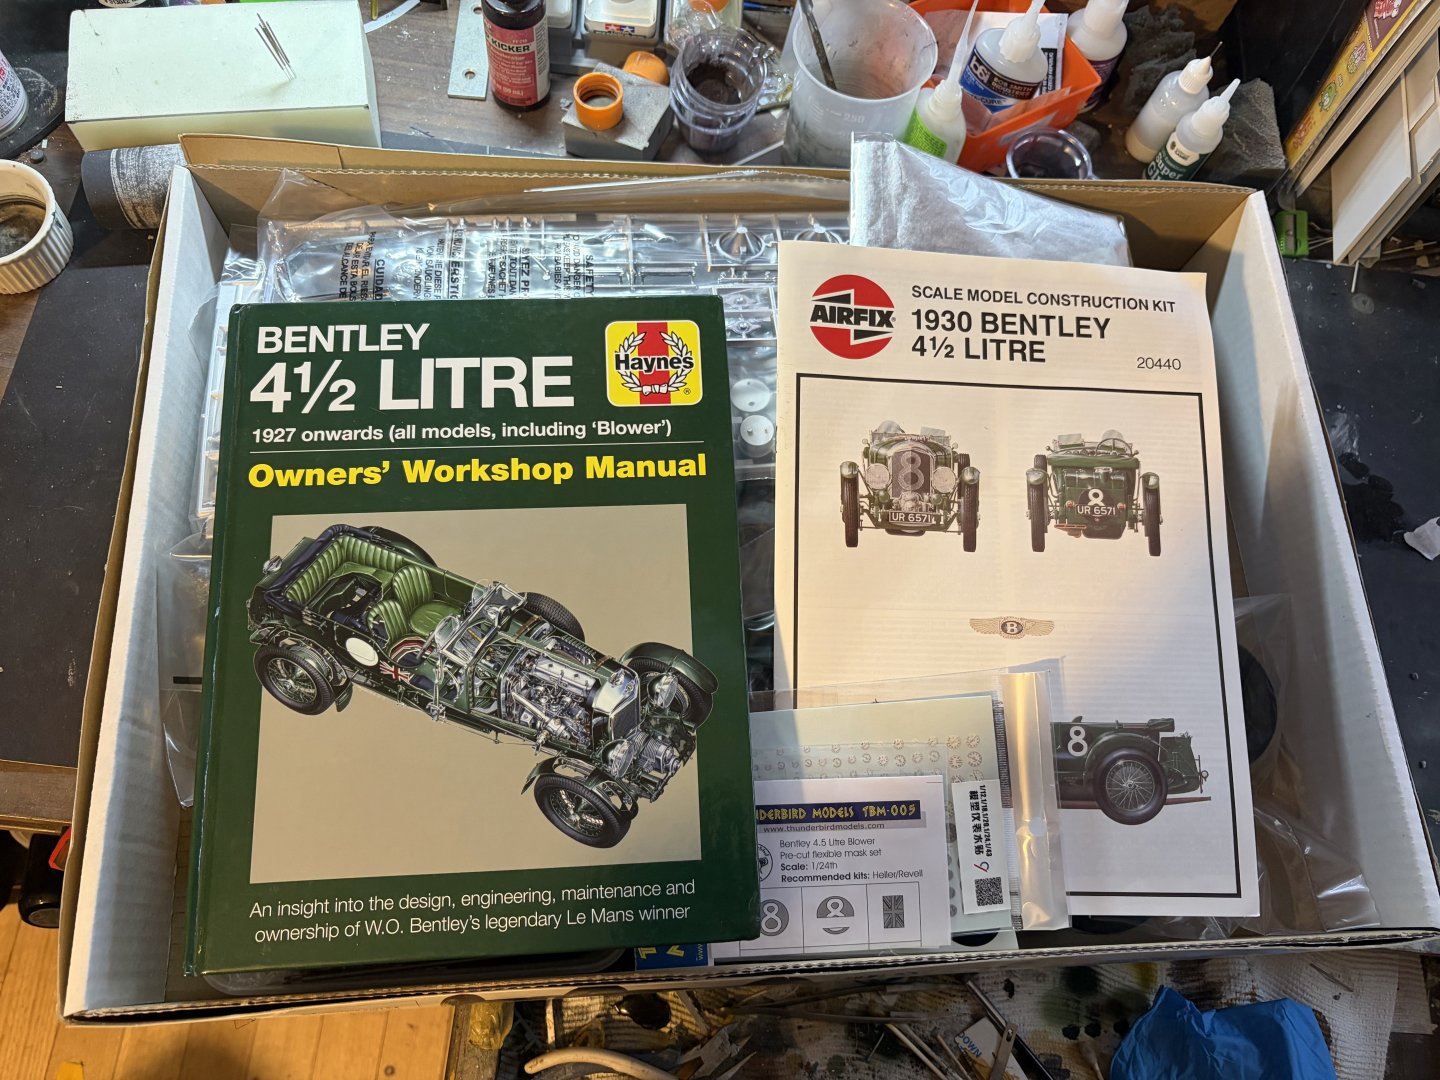
I’m currently waiting for stuff in the mail for this build, so I decided to reduce the stash with a weekend build
-
RGL started following IJA Akitsu Maru by Landlubber Mike - Five Star - 1/700 - RESIN
-
 RGL reacted to a post in a topic:
IJA Akitsu Maru by Landlubber Mike - Five Star - 1/700 - RESIN
-
 RGL reacted to a post in a topic:
IJA Akitsu Maru by Landlubber Mike - Five Star - 1/700 - RESIN
-
 RGL reacted to a post in a topic:
IJA Akitsu Maru by Landlubber Mike - Five Star - 1/700 - RESIN
-
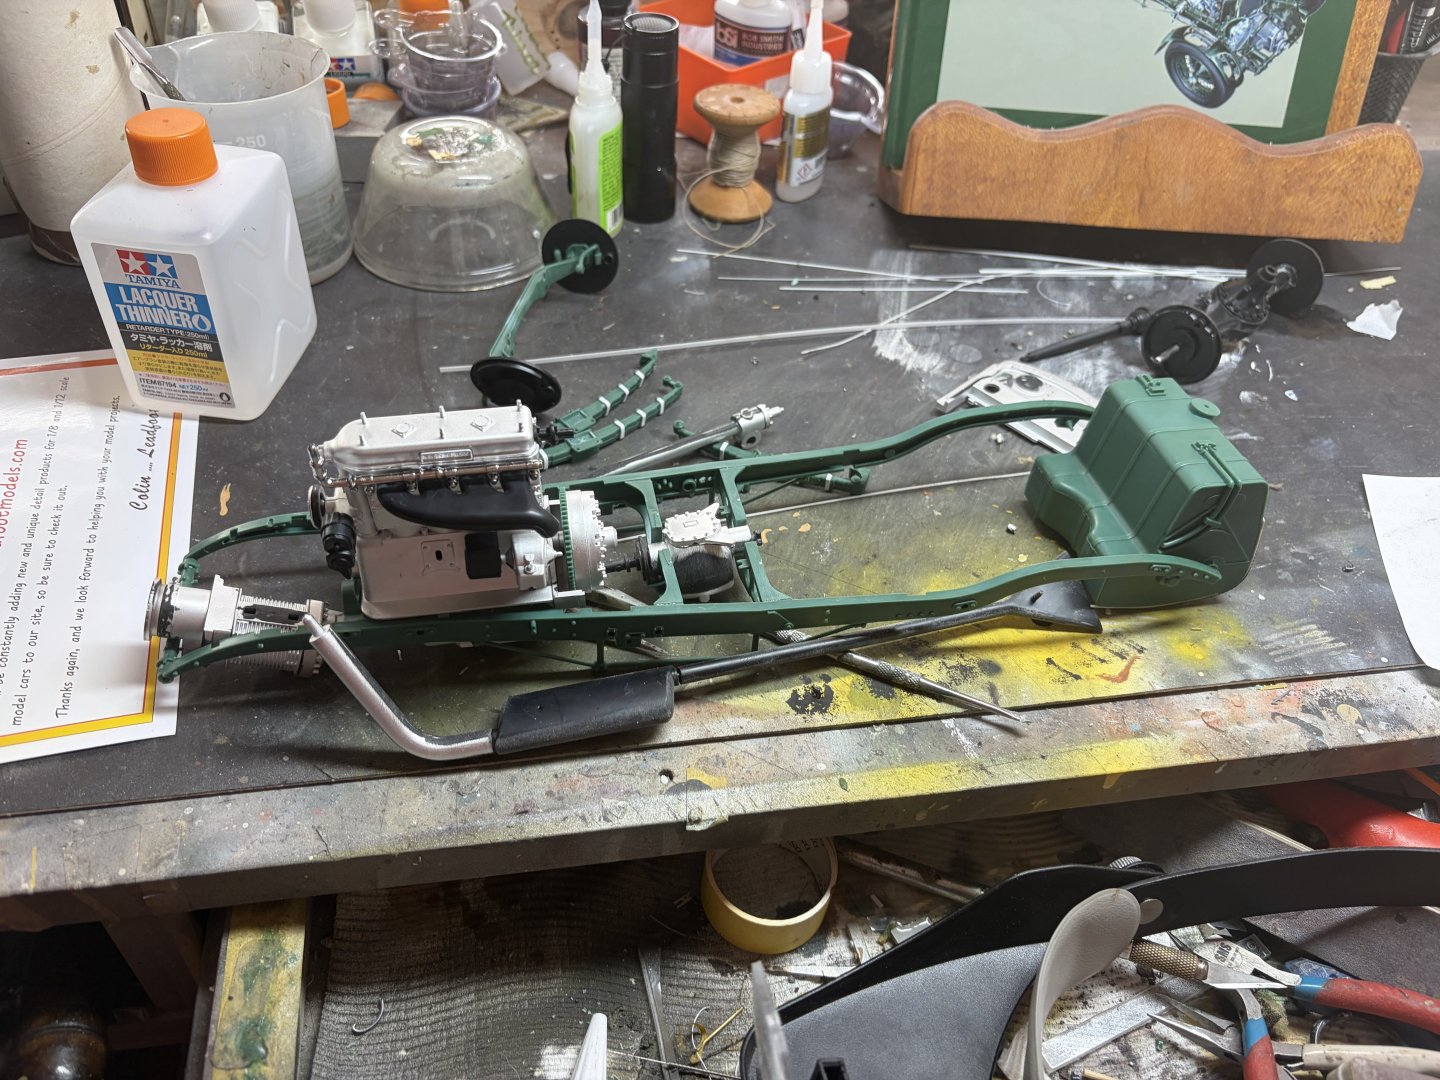
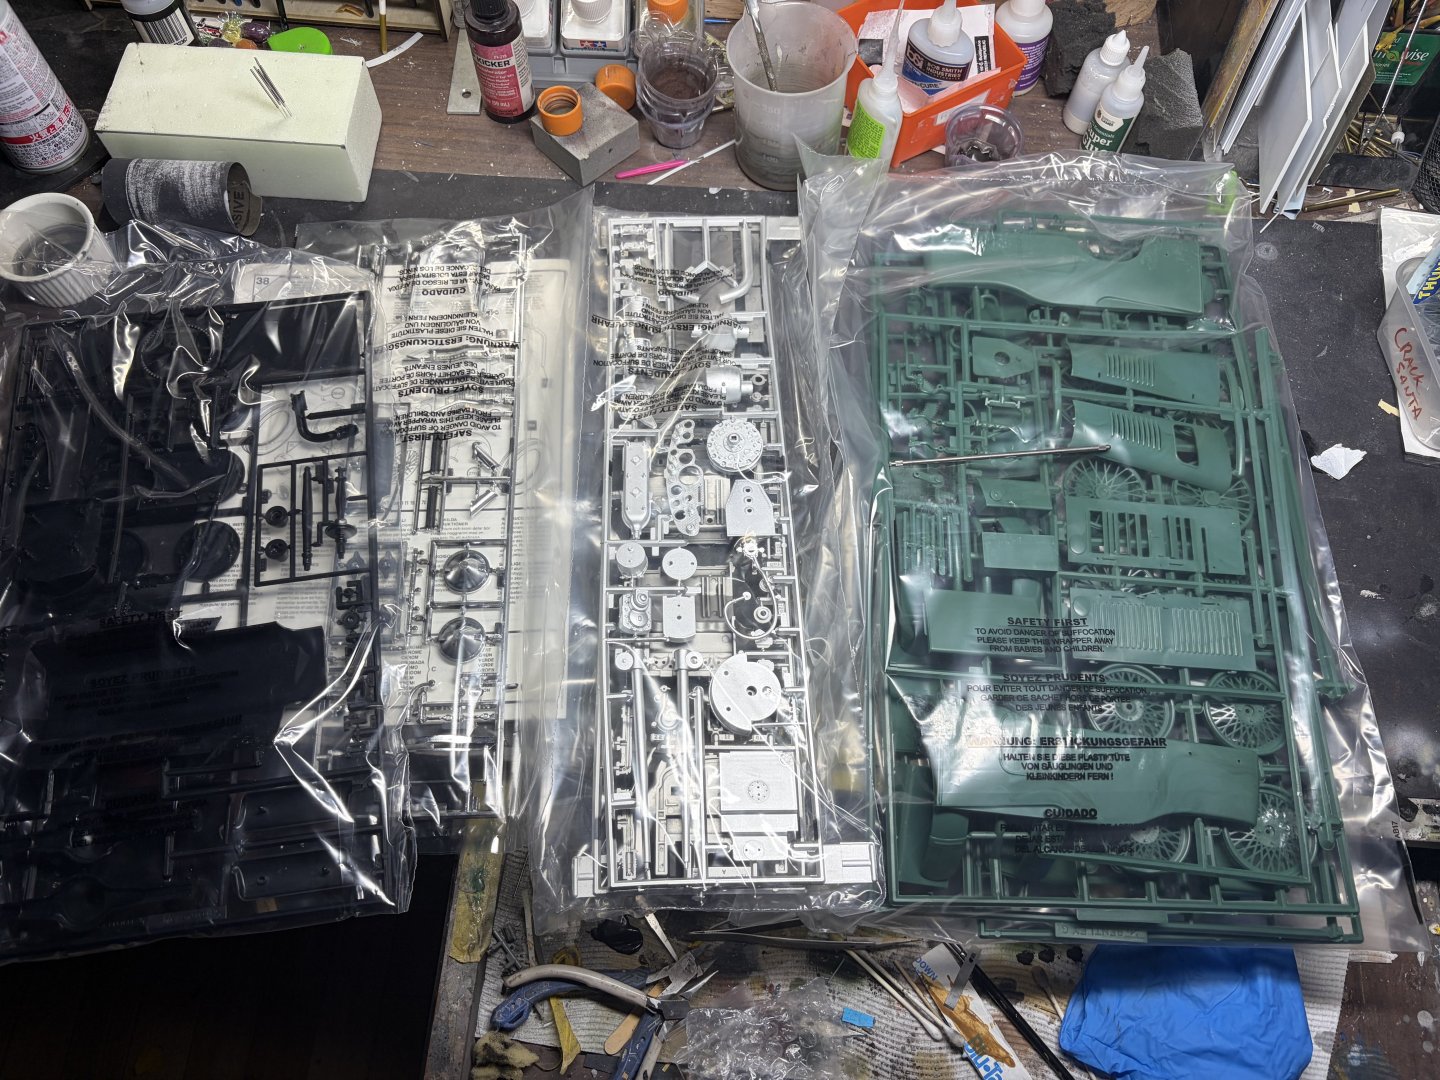
More seams Than a coal mine! Back to basic modelling skills agin, gaps, seams, flash, super poor details. This is going to be a rabbit hole as there are so many good builds of this out there I just can’t do it OOB
-
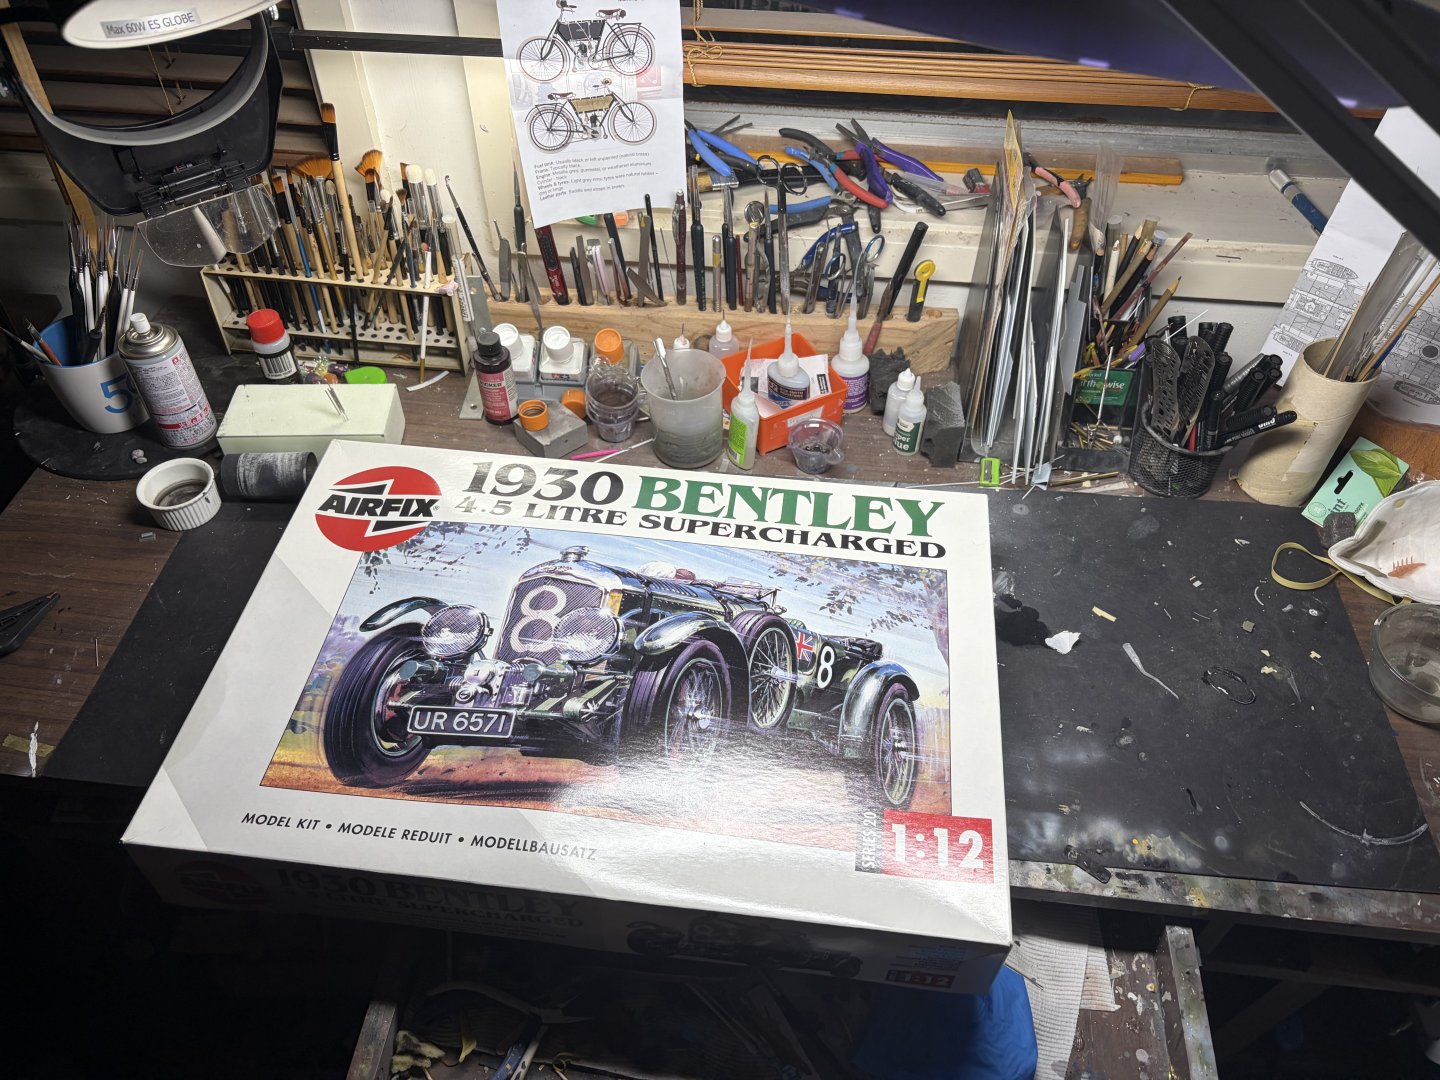
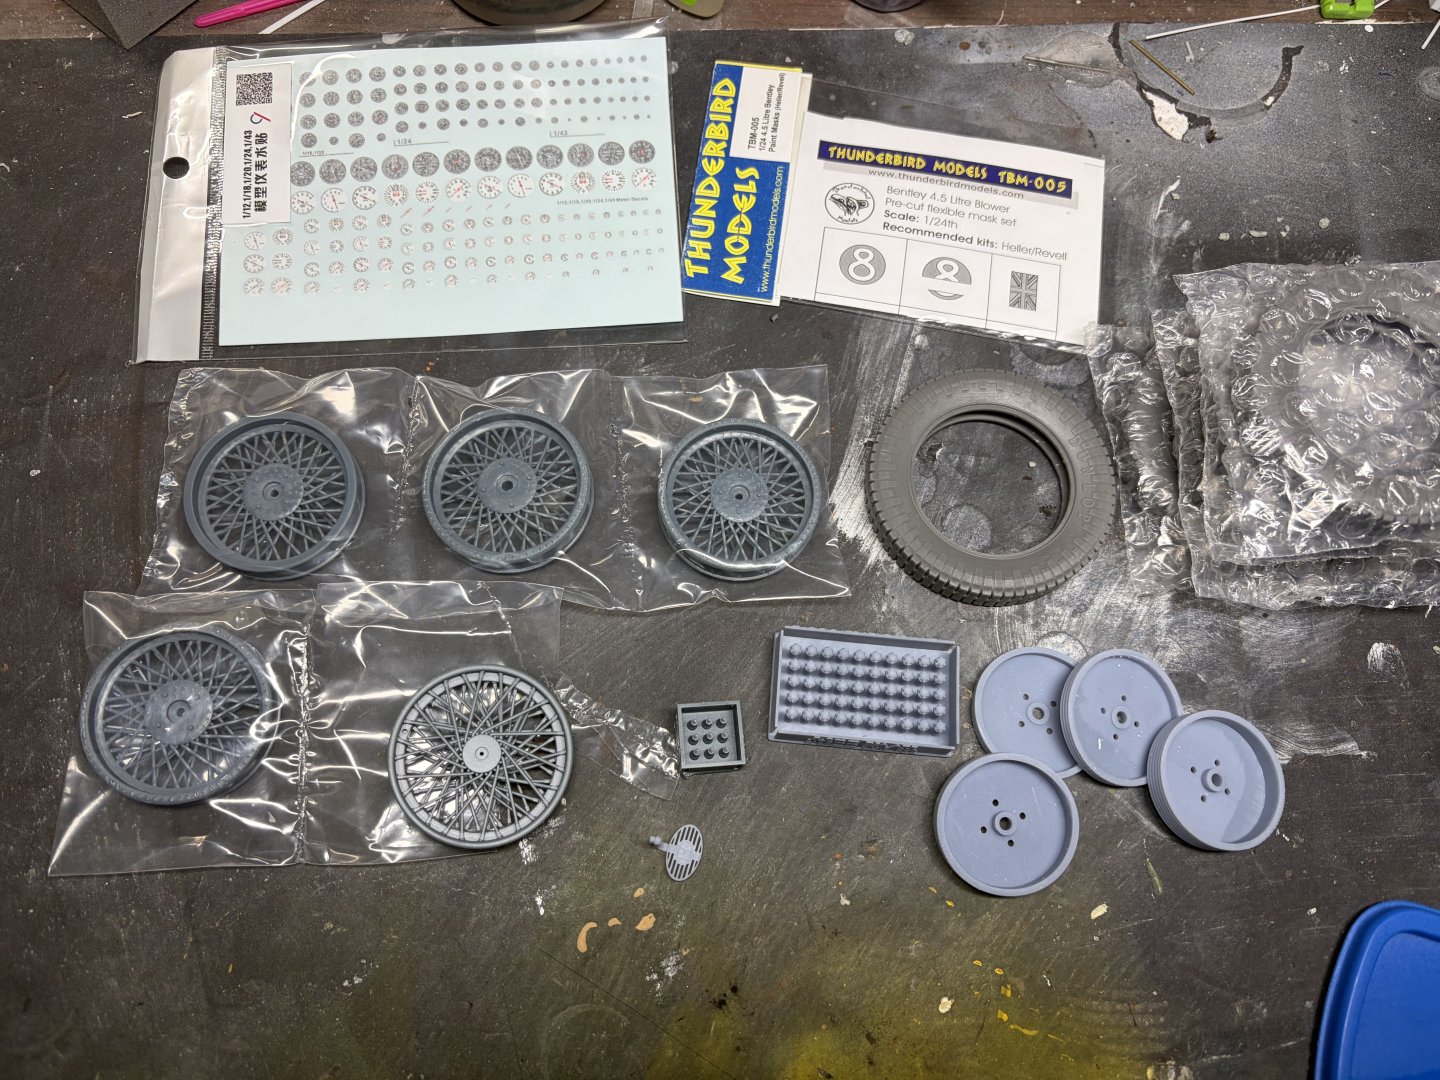
I bought this at a buy swap sell for AUD $100 a few years ago. I’ve been waiting on someone to make some 3D parts that don’t cost more than the kit. A local bloke at Leadfoot models does some lovely car stuff and recently did the wheels, brake drums and the footstep. There is a European mob that does a 3D fuel tank but out exchange rate makes it far more than I paid for the kit. It’s a beautiful car, I won’t show off the engine, others have done that to perfection and I’ll never get that good, so I’ll enjoy it for what I can.
-

Starcraft Adjutant AI by yvesvidal - 1/6 - RESIN/PLASTIC
RGL replied to yvesvidal's topic in Non-ship/categorised builds
This looks amazeballs! -
 RGL reacted to a post in a topic:
Starcraft Adjutant AI by yvesvidal - 1/6 - RESIN/PLASTIC
-
 RGL reacted to a post in a topic:
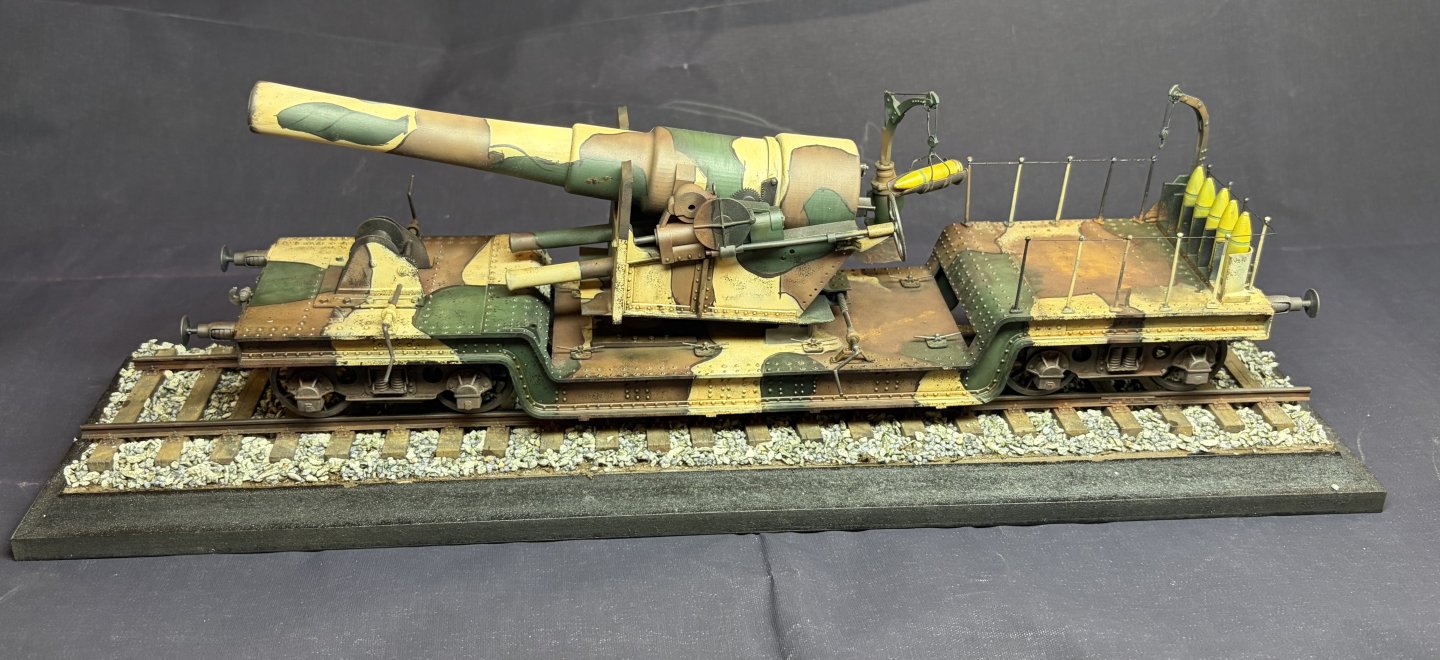
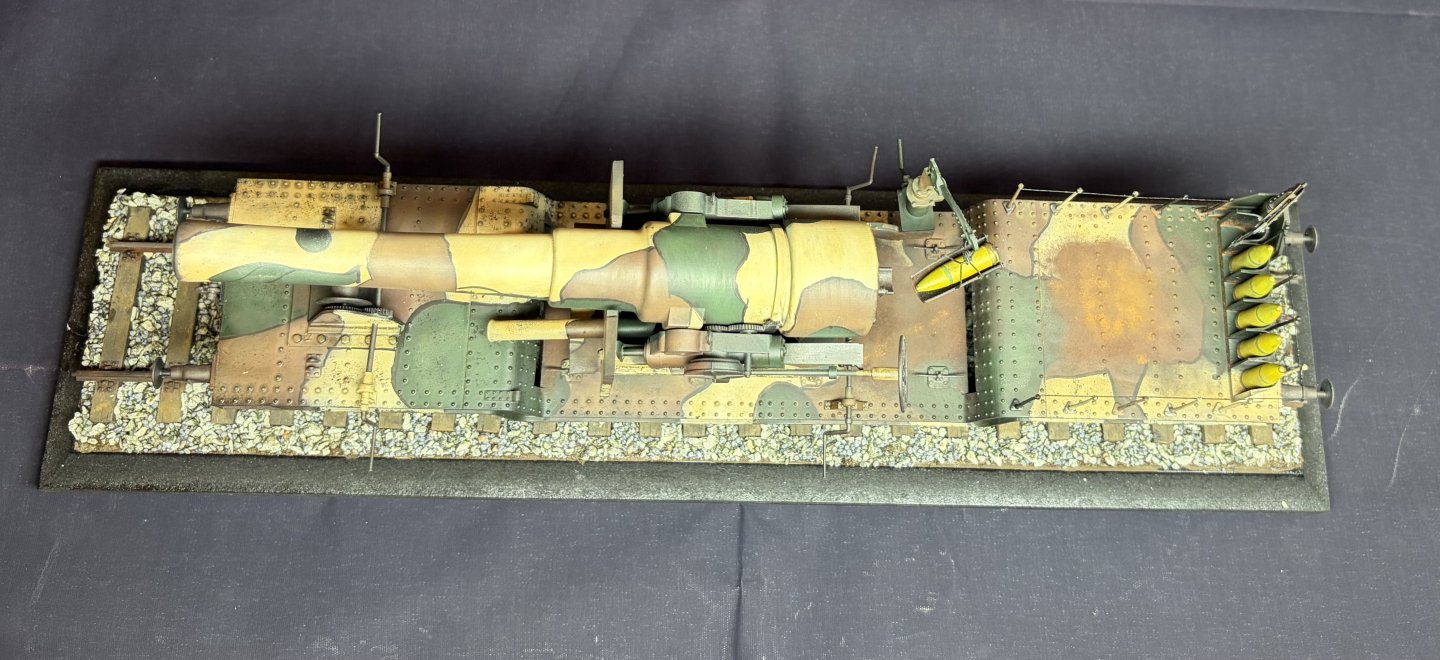
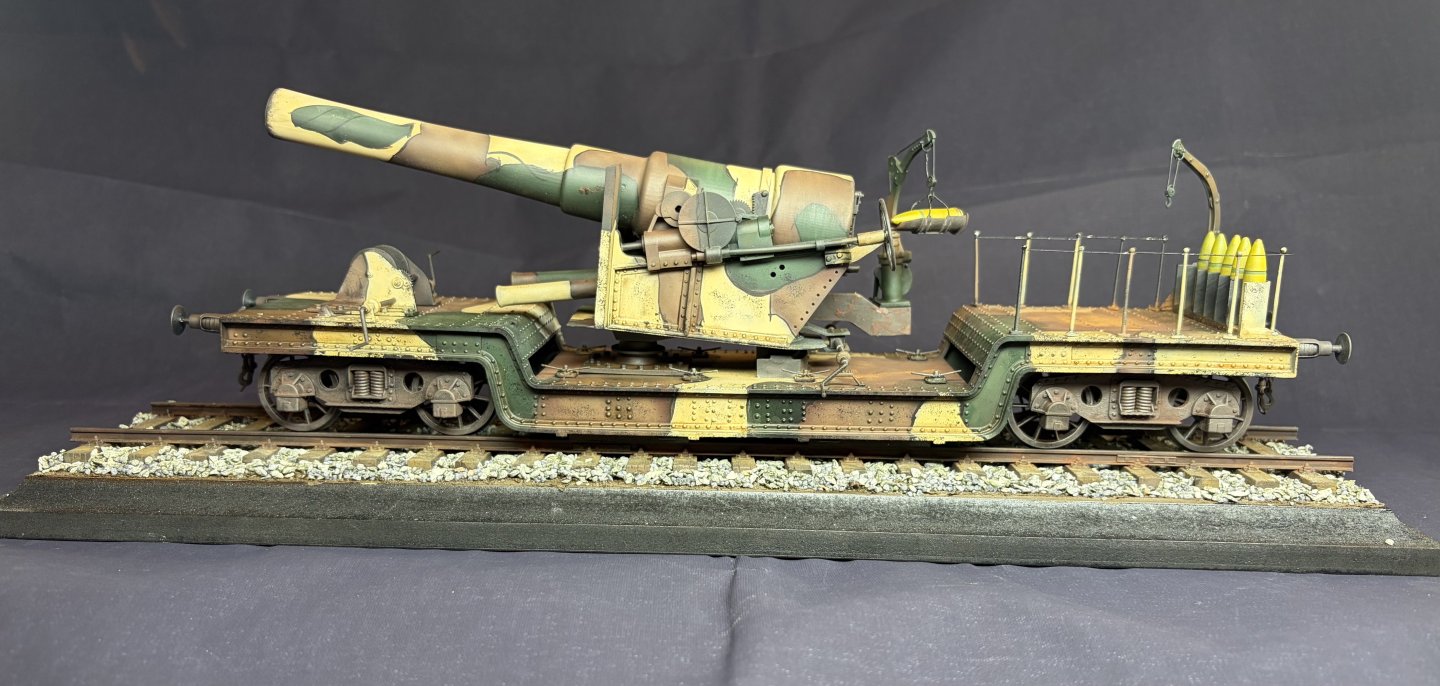
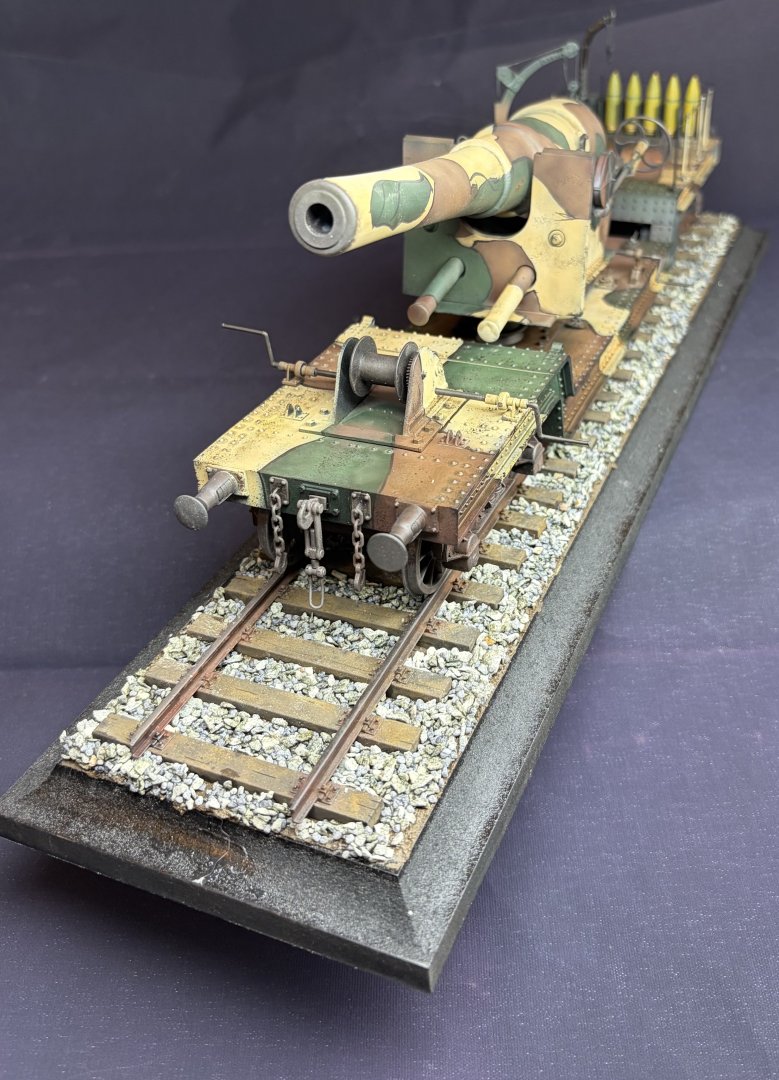
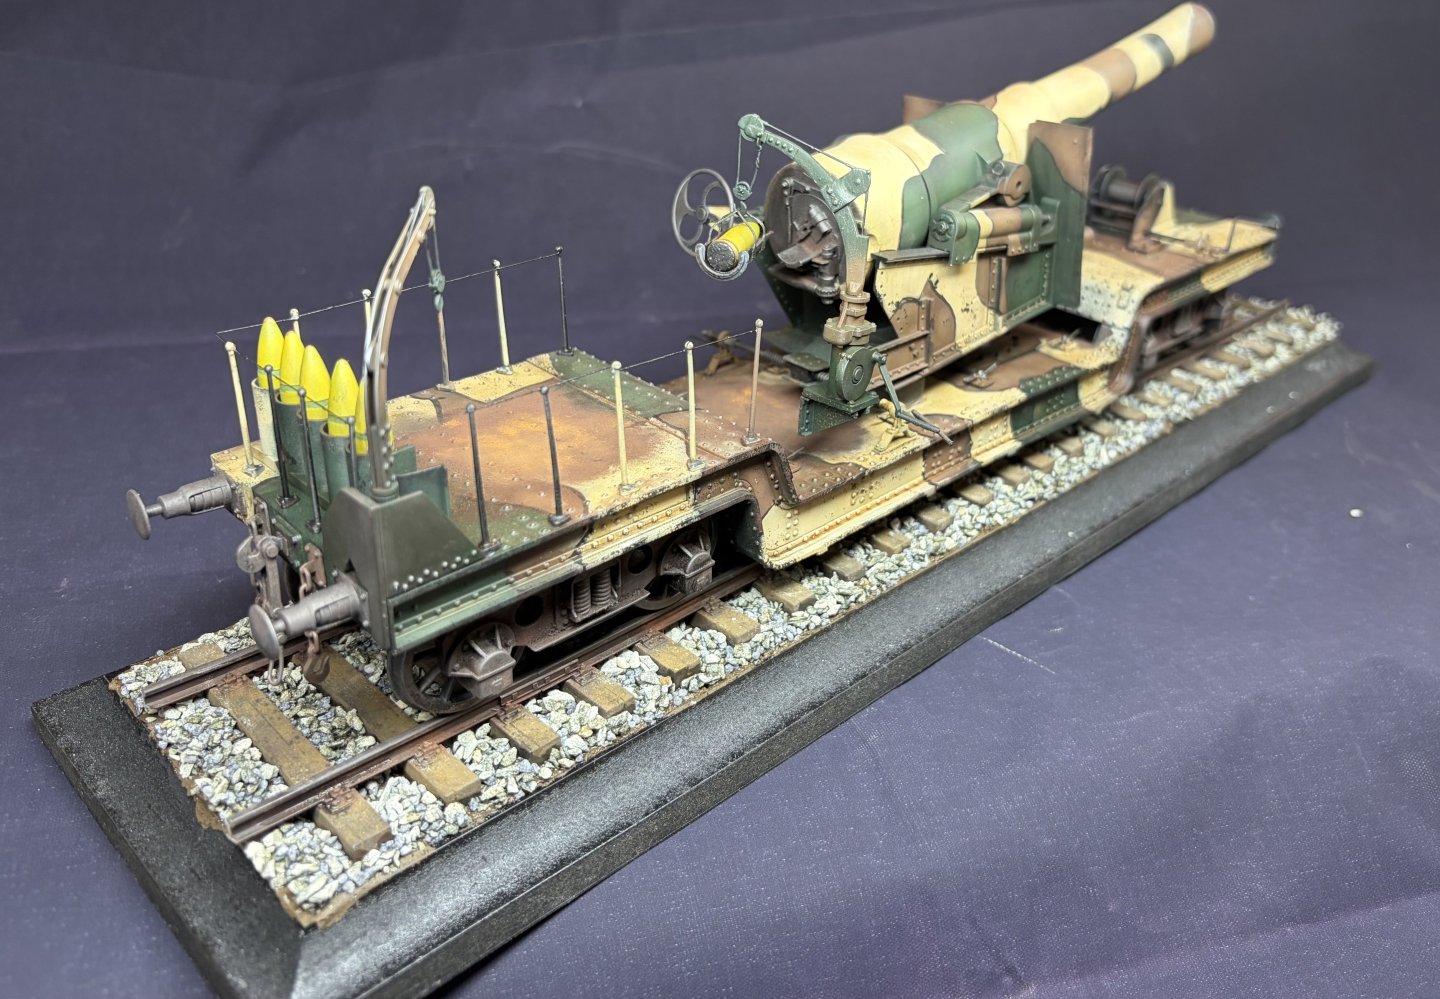
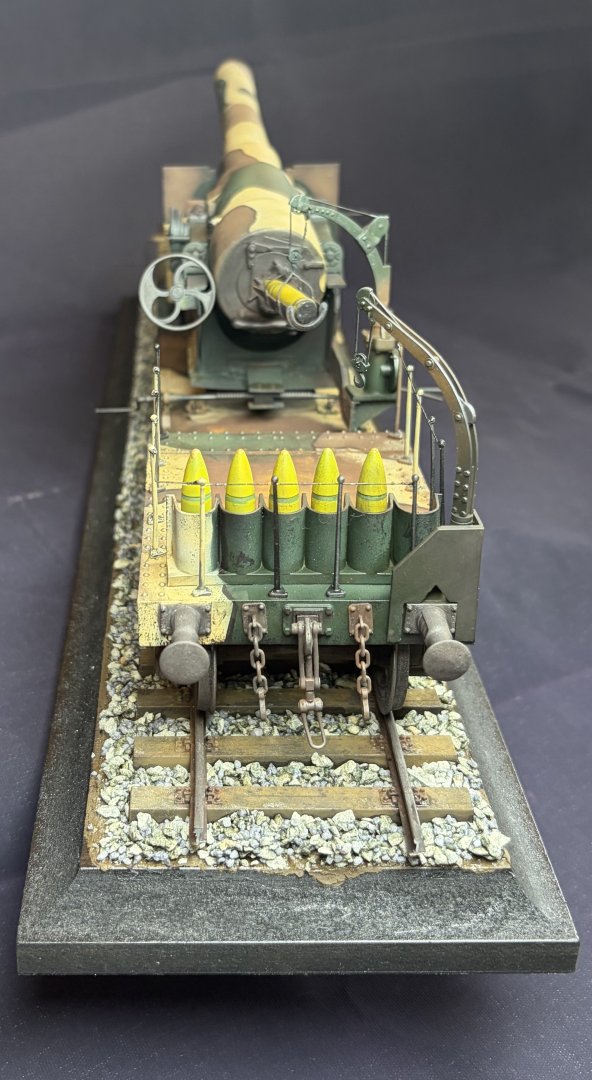
British Railway Gun Series 9.2 Inch Gun Mk1 (1916) by RGL - DModels - 1/35 - RESIN
-
 RGL reacted to a post in a topic:
British Railway Gun Series 9.2 Inch Gun Mk1 (1916) by RGL - DModels - 1/35 - RESIN
-
 RGL reacted to a post in a topic:
British Railway Gun Series 9.2 Inch Gun Mk1 (1916) by RGL - DModels - 1/35 - RESIN
-
 RGL reacted to a post in a topic:
British Railway Gun Series 9.2 Inch Gun Mk1 (1916) by RGL - DModels - 1/35 - RESIN
-
 RGL reacted to a post in a topic:
Renault FT-17 on a Renault FP artillery transporter by RGL - FINISHED - Meng/U-Models - PLASTIC/RESIN - diorama
-
 RGL reacted to a post in a topic:
Renault FT-17 on a Renault FP artillery transporter by RGL - FINISHED - Meng/U-Models - PLASTIC/RESIN - diorama
About us
Modelshipworld - Advancing Ship Modeling through Research
SSL Secured
Your security is important for us so this Website is SSL-Secured
NRG Mailing Address
Nautical Research Guild
237 South Lincoln Street
Westmont IL, 60559-1917
Model Ship World ® and the MSW logo are Registered Trademarks, and belong to the Nautical Research Guild (United States Patent and Trademark Office: No. 6,929,264 & No. 6,929,274, registered Dec. 20, 2022)
Helpful Links
About the NRG
If you enjoy building ship models that are historically accurate as well as beautiful, then The Nautical Research Guild (NRG) is just right for you.
The Guild is a non-profit educational organization whose mission is to “Advance Ship Modeling Through Research”. We provide support to our members in their efforts to raise the quality of their model ships.
The Nautical Research Guild has published our world-renowned quarterly magazine, The Nautical Research Journal, since 1955. The pages of the Journal are full of articles by accomplished ship modelers who show you how they create those exquisite details on their models, and by maritime historians who show you the correct details to build. The Journal is available in both print and digital editions. Go to the NRG web site (www.thenrg.org) to download a complimentary digital copy of the Journal. The NRG also publishes plan sets, books and compilations of back issues of the Journal and the former Ships in Scale and Model Ship Builder magazines.


