HOLIDAY DONATION DRIVE - SUPPORT MSW - DO YOUR PART TO KEEP THIS GREAT FORUM GOING! (Only 51 donations so far out of 49,000 members - C'mon guys!)
×


RGL
-
Posts
5,531 -
Joined
-
Last visited
Content Type
Profiles
Forums
Gallery
Events
Everything posted by RGL
-
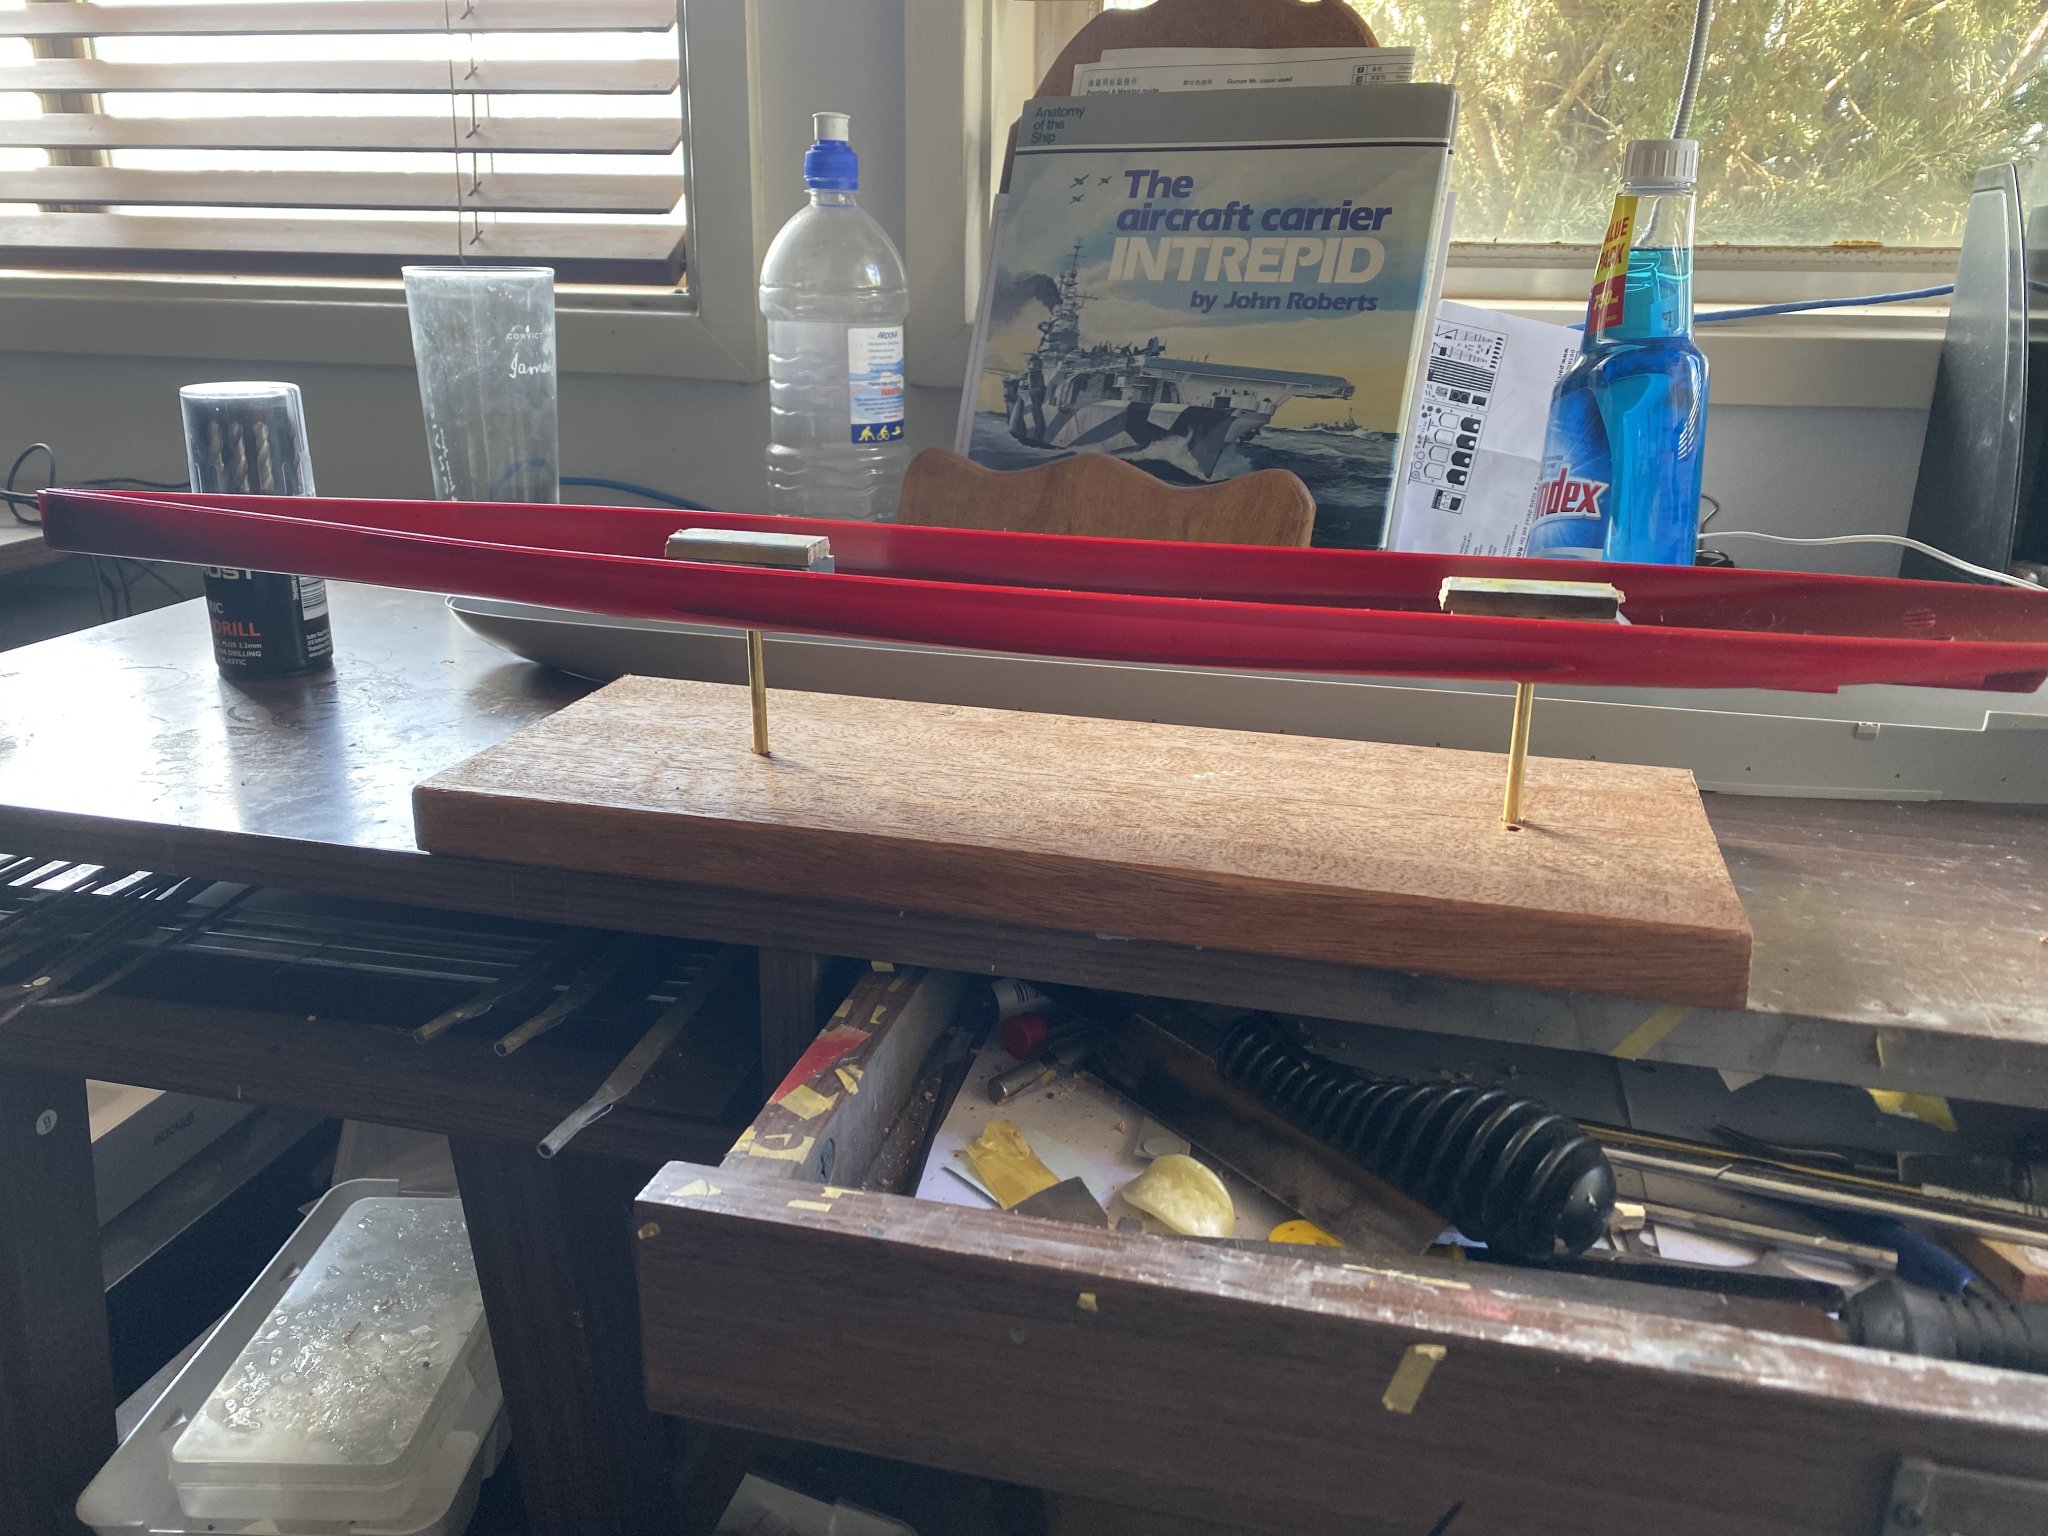
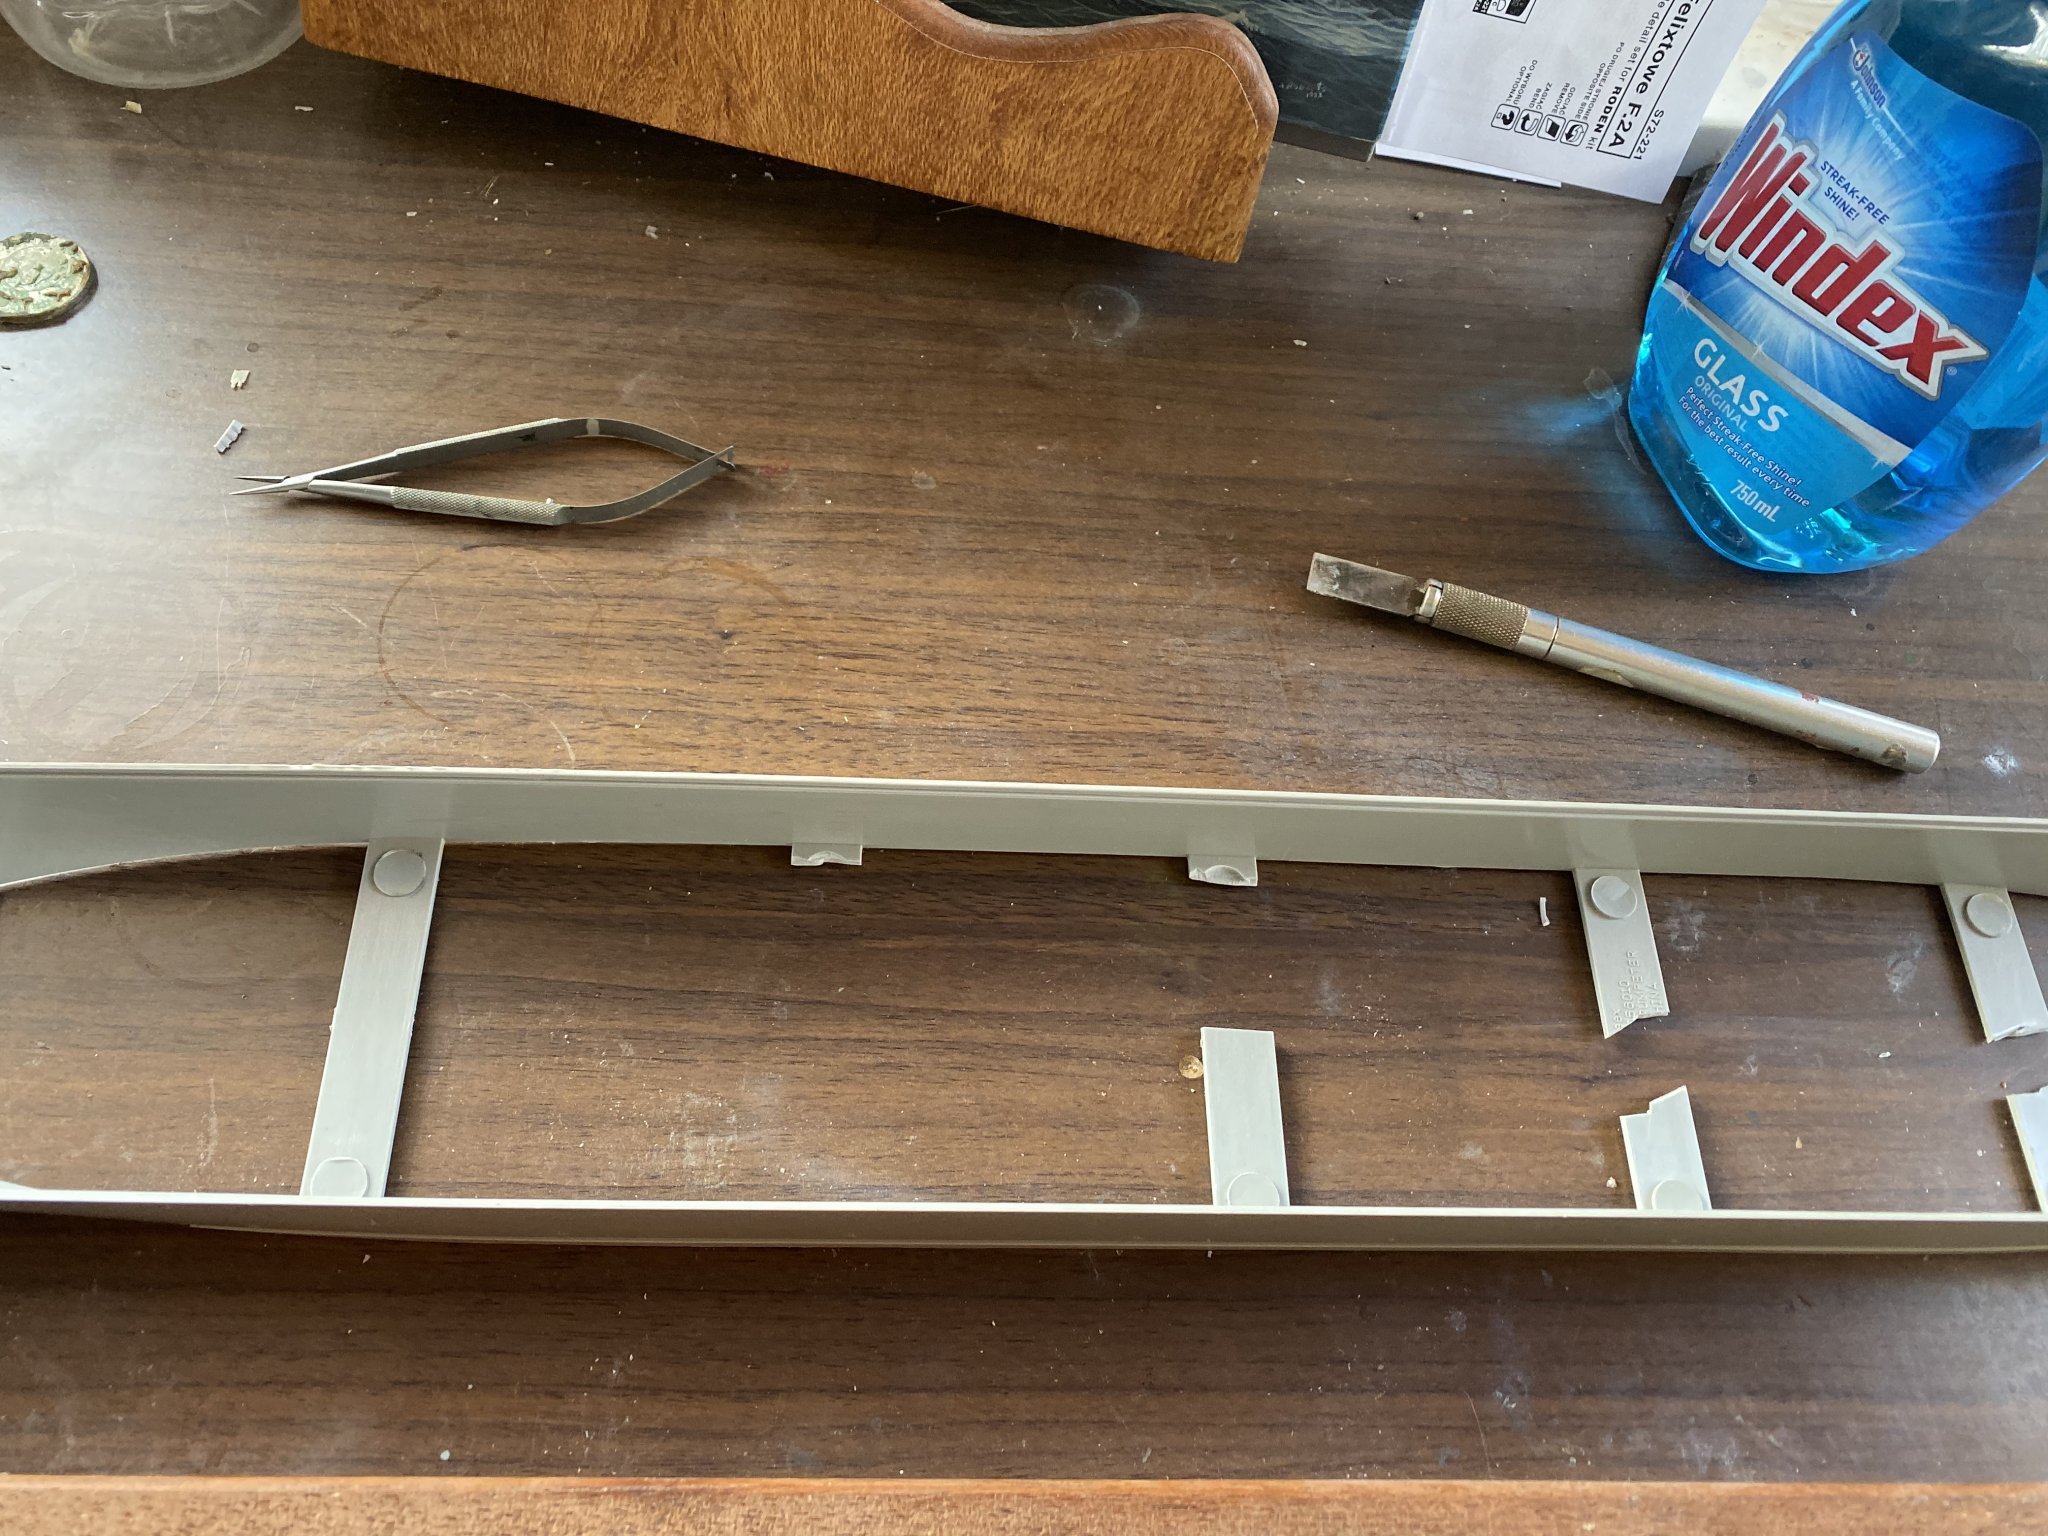
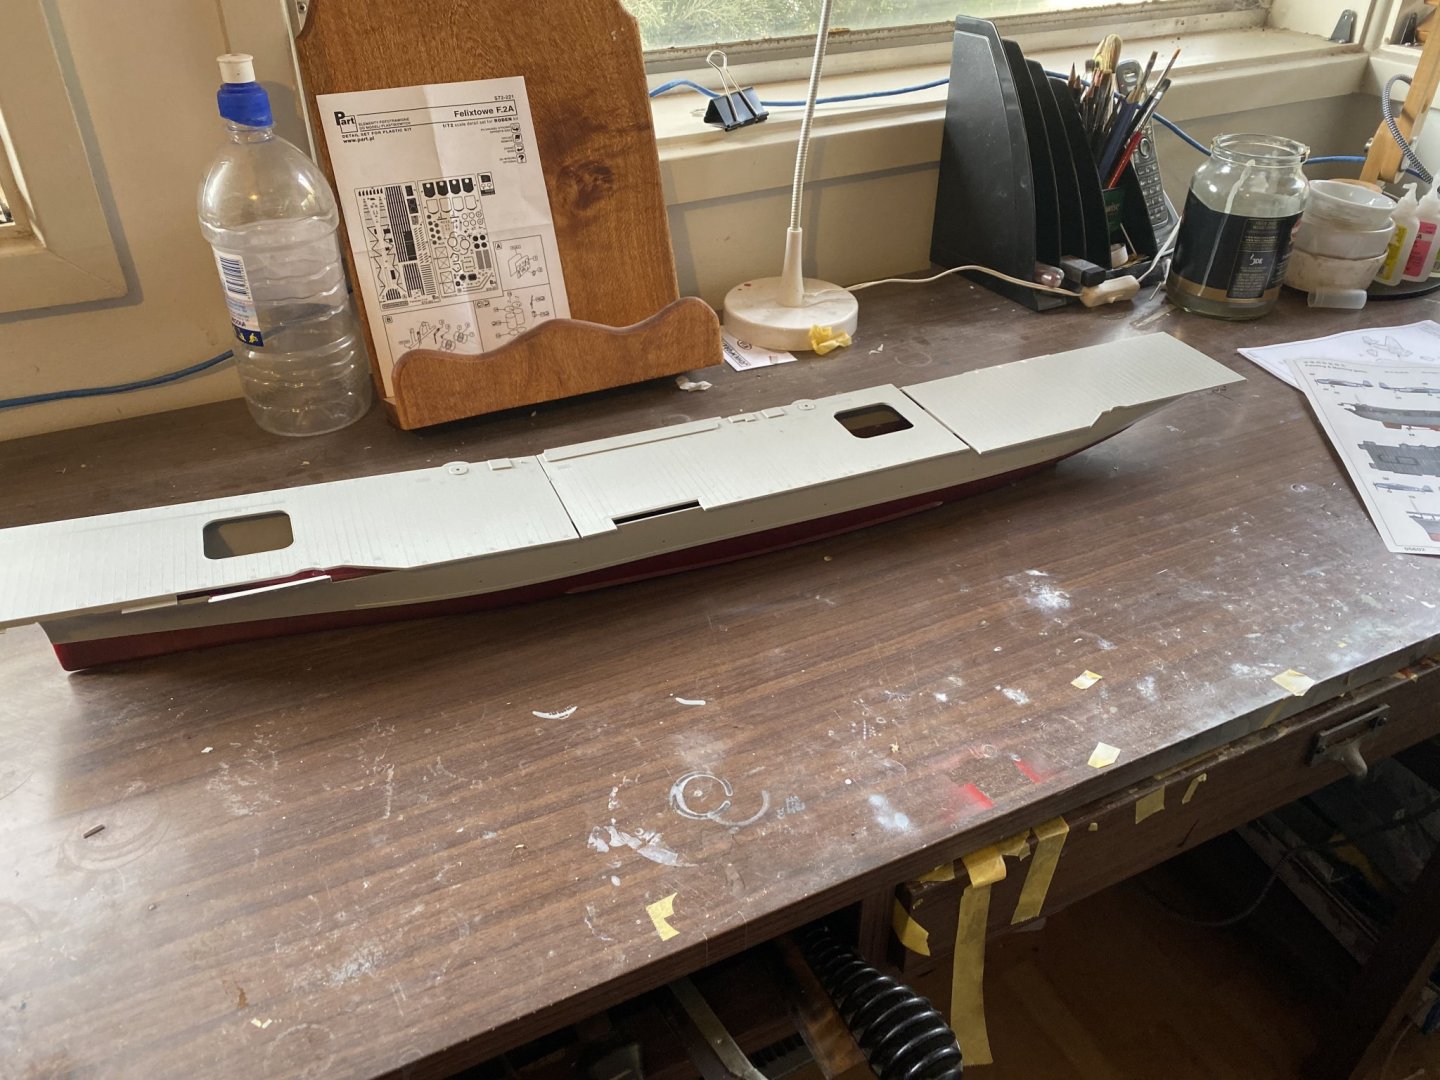
 And it starts. Some fairly prominent mold lines that needed a lot of sanding, offcuts used to hold the pedestals. the next level which goes from the waterline to the hangar deck, the centre support struts needed to be broken off to make sure it fits flush with the base. Only a few portholes to drill.
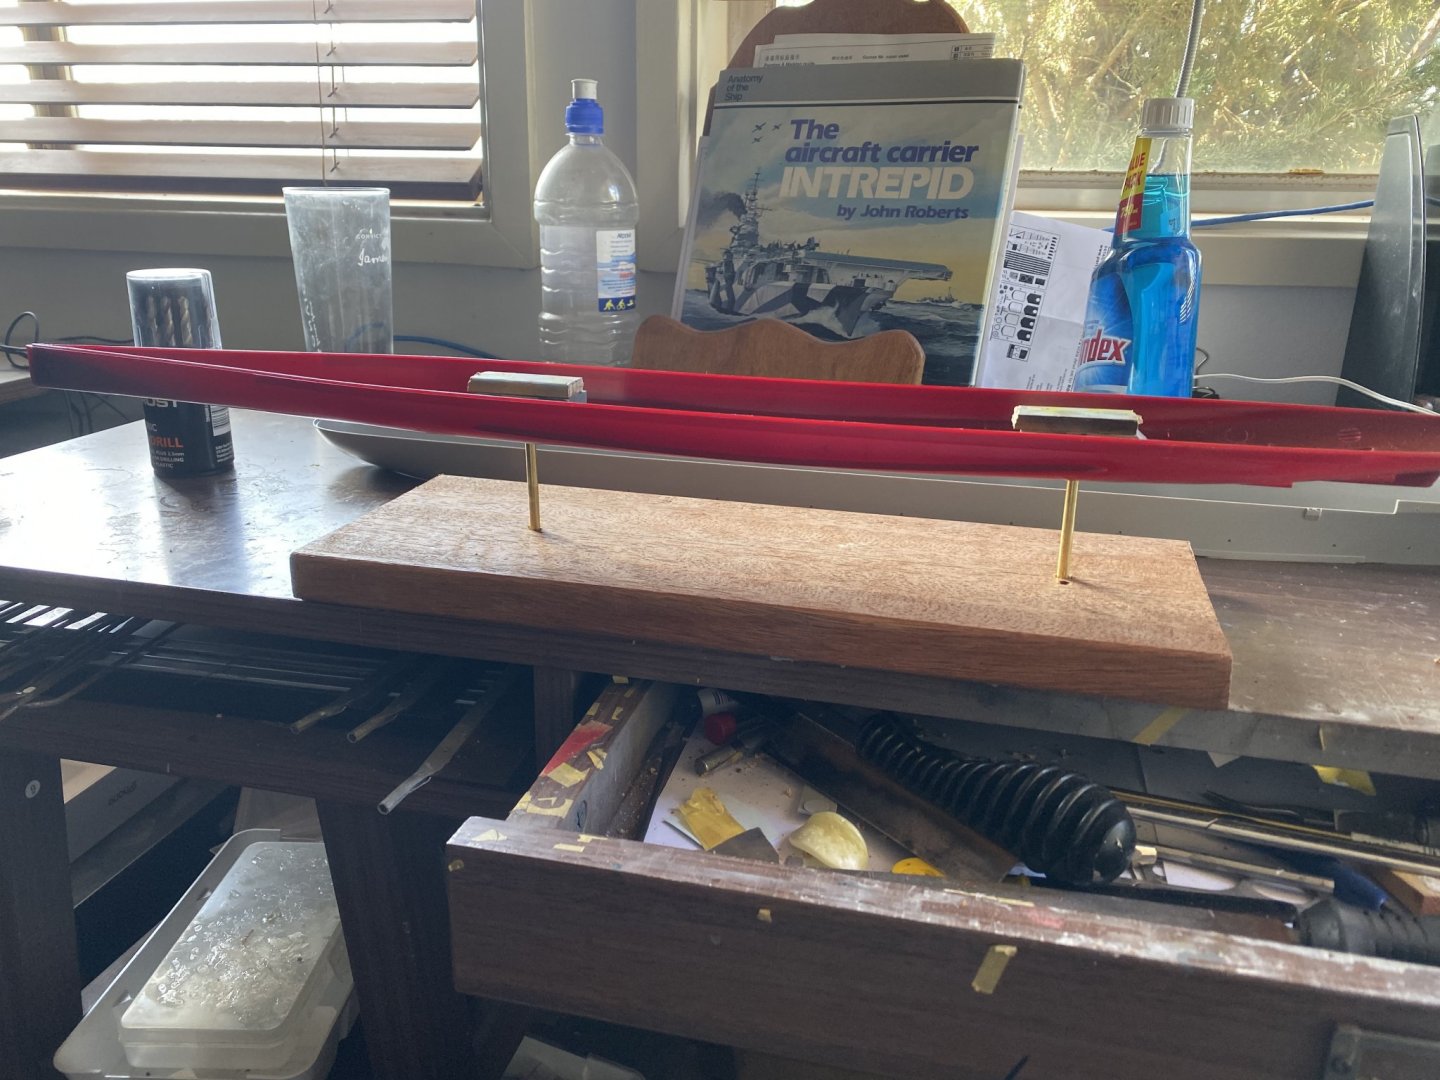

- 308 replies
-
- 13
-

-
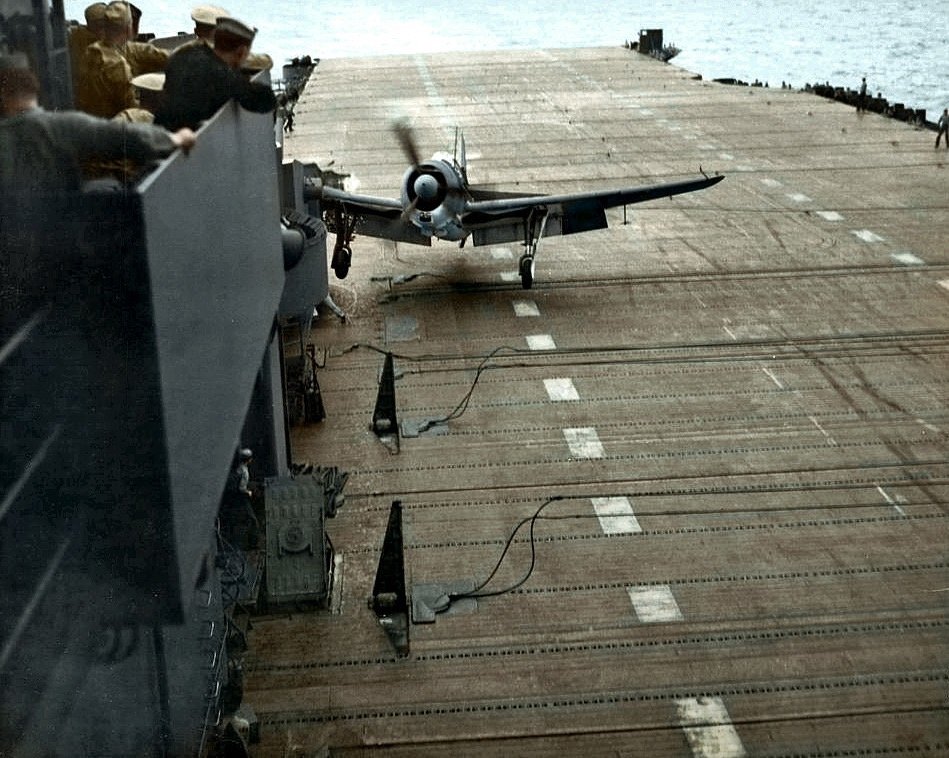
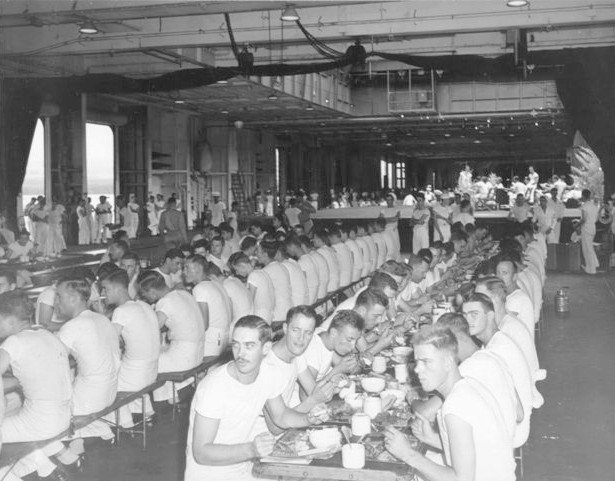
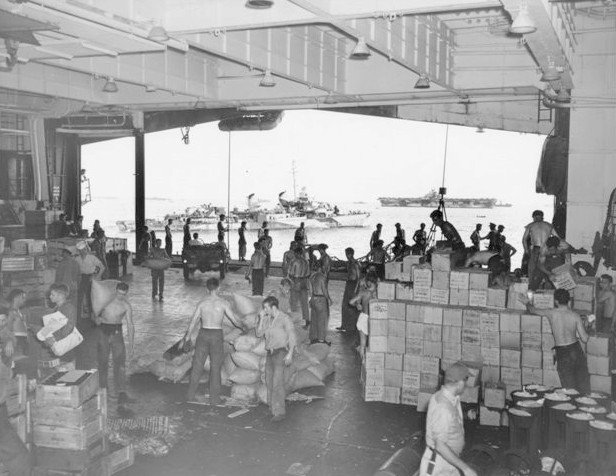
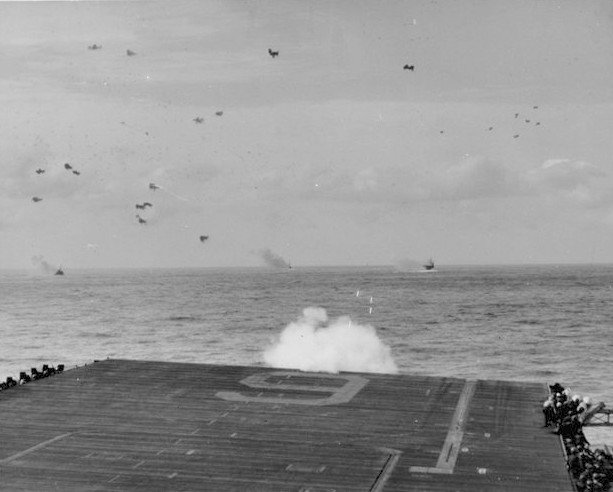
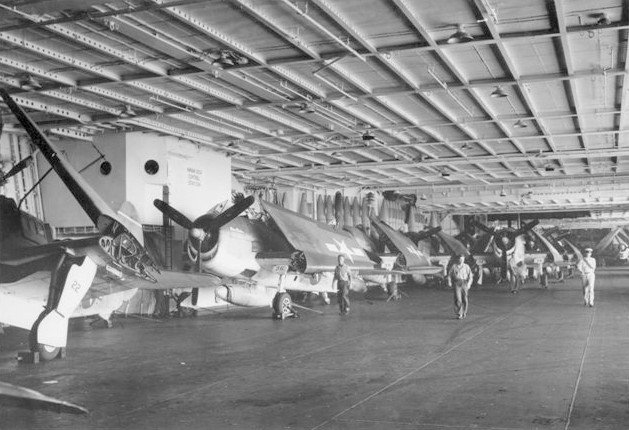
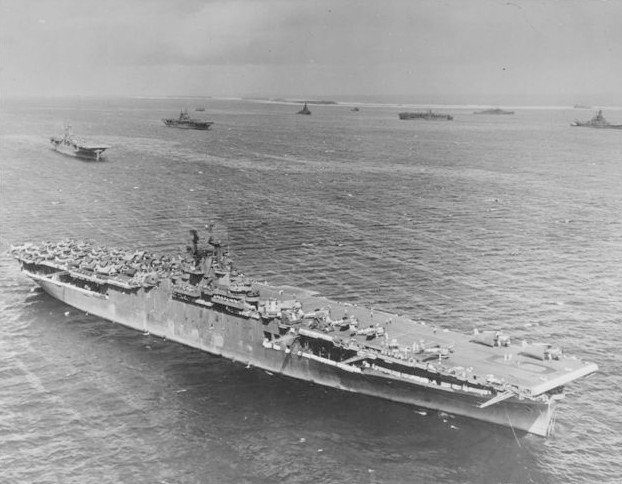
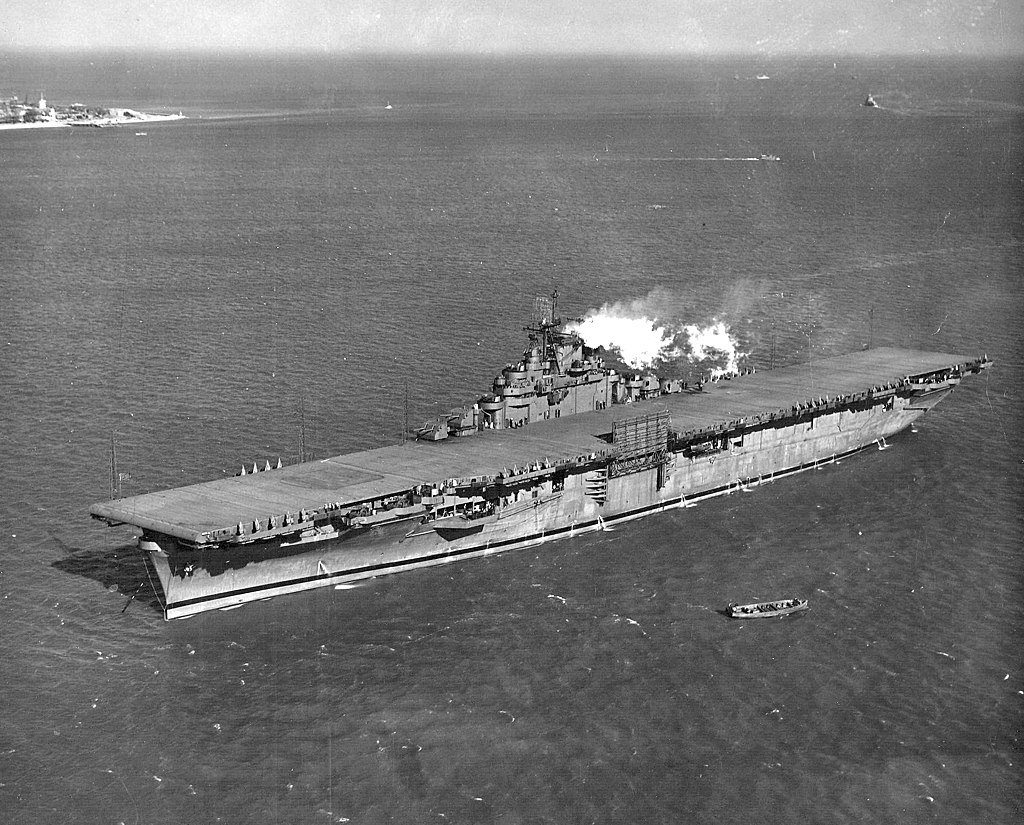
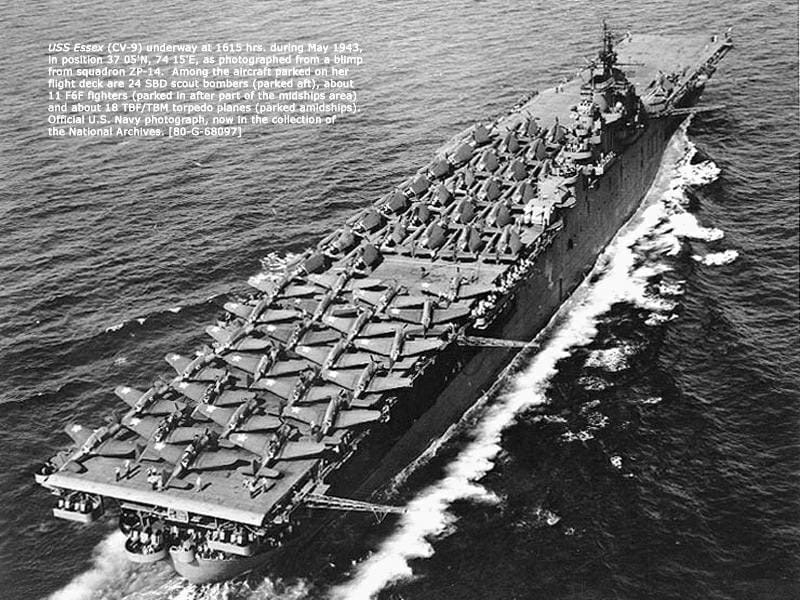
https://www.flightjournal.com/fixin-the-boat-of-splinters-and-tail-hooks/ Tail hook damage and an interesting article. I also read that the decks were the dark blue Color to make it harder for dive bombers, and by 1945 they reverted from the dazzle to blue as it just made the ships easier to see from the air for Kamikaze. By then the submarine threat has ‘mostly’ subsided.

- 49 replies
-
- 6
-
-
- gambier bay
- hasegawa
- (and 1 more)
-
The Pontos instructions 35004f1-page7.pdf 35004f1-page3.pdf 35006f1-page1.pdf 35006f1-page5.pdf
-
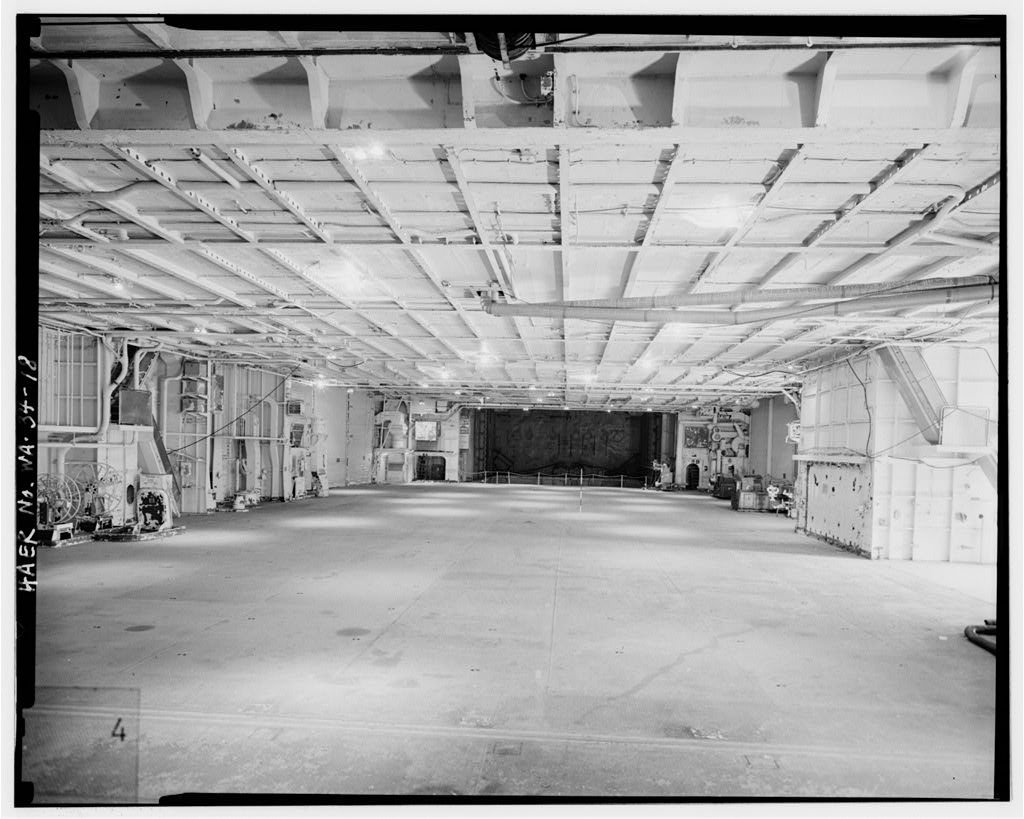
Harley, it appears to be pretty standard, no great details, smooth hull unfortunately, lots of potential though. Not many aircraft but I’m not sure yet if I’ll fill the flight deck, I think I’ll cut out all of the roller shutters and park planes inside. The Pontos update is only really available via the Korean site Hobbydecal which I’ll post photos of. Like most of these big sets, they’re expensive but replace a lot of the kit parts. @CDW has built this as well so I can go back to his build for lessons learned
-
Just ordered the Pontos set, I’ve also ordered some life rafts plus paravanes. as usual there is no hull Plate details from Trumpeter so I’ll be painting over and scribing some in.
-
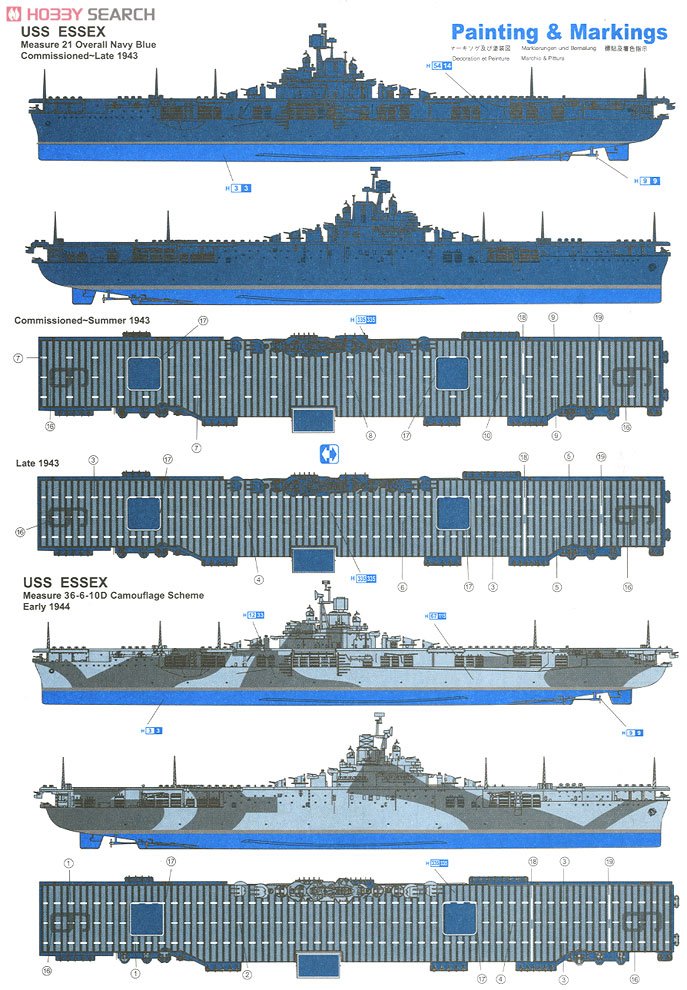
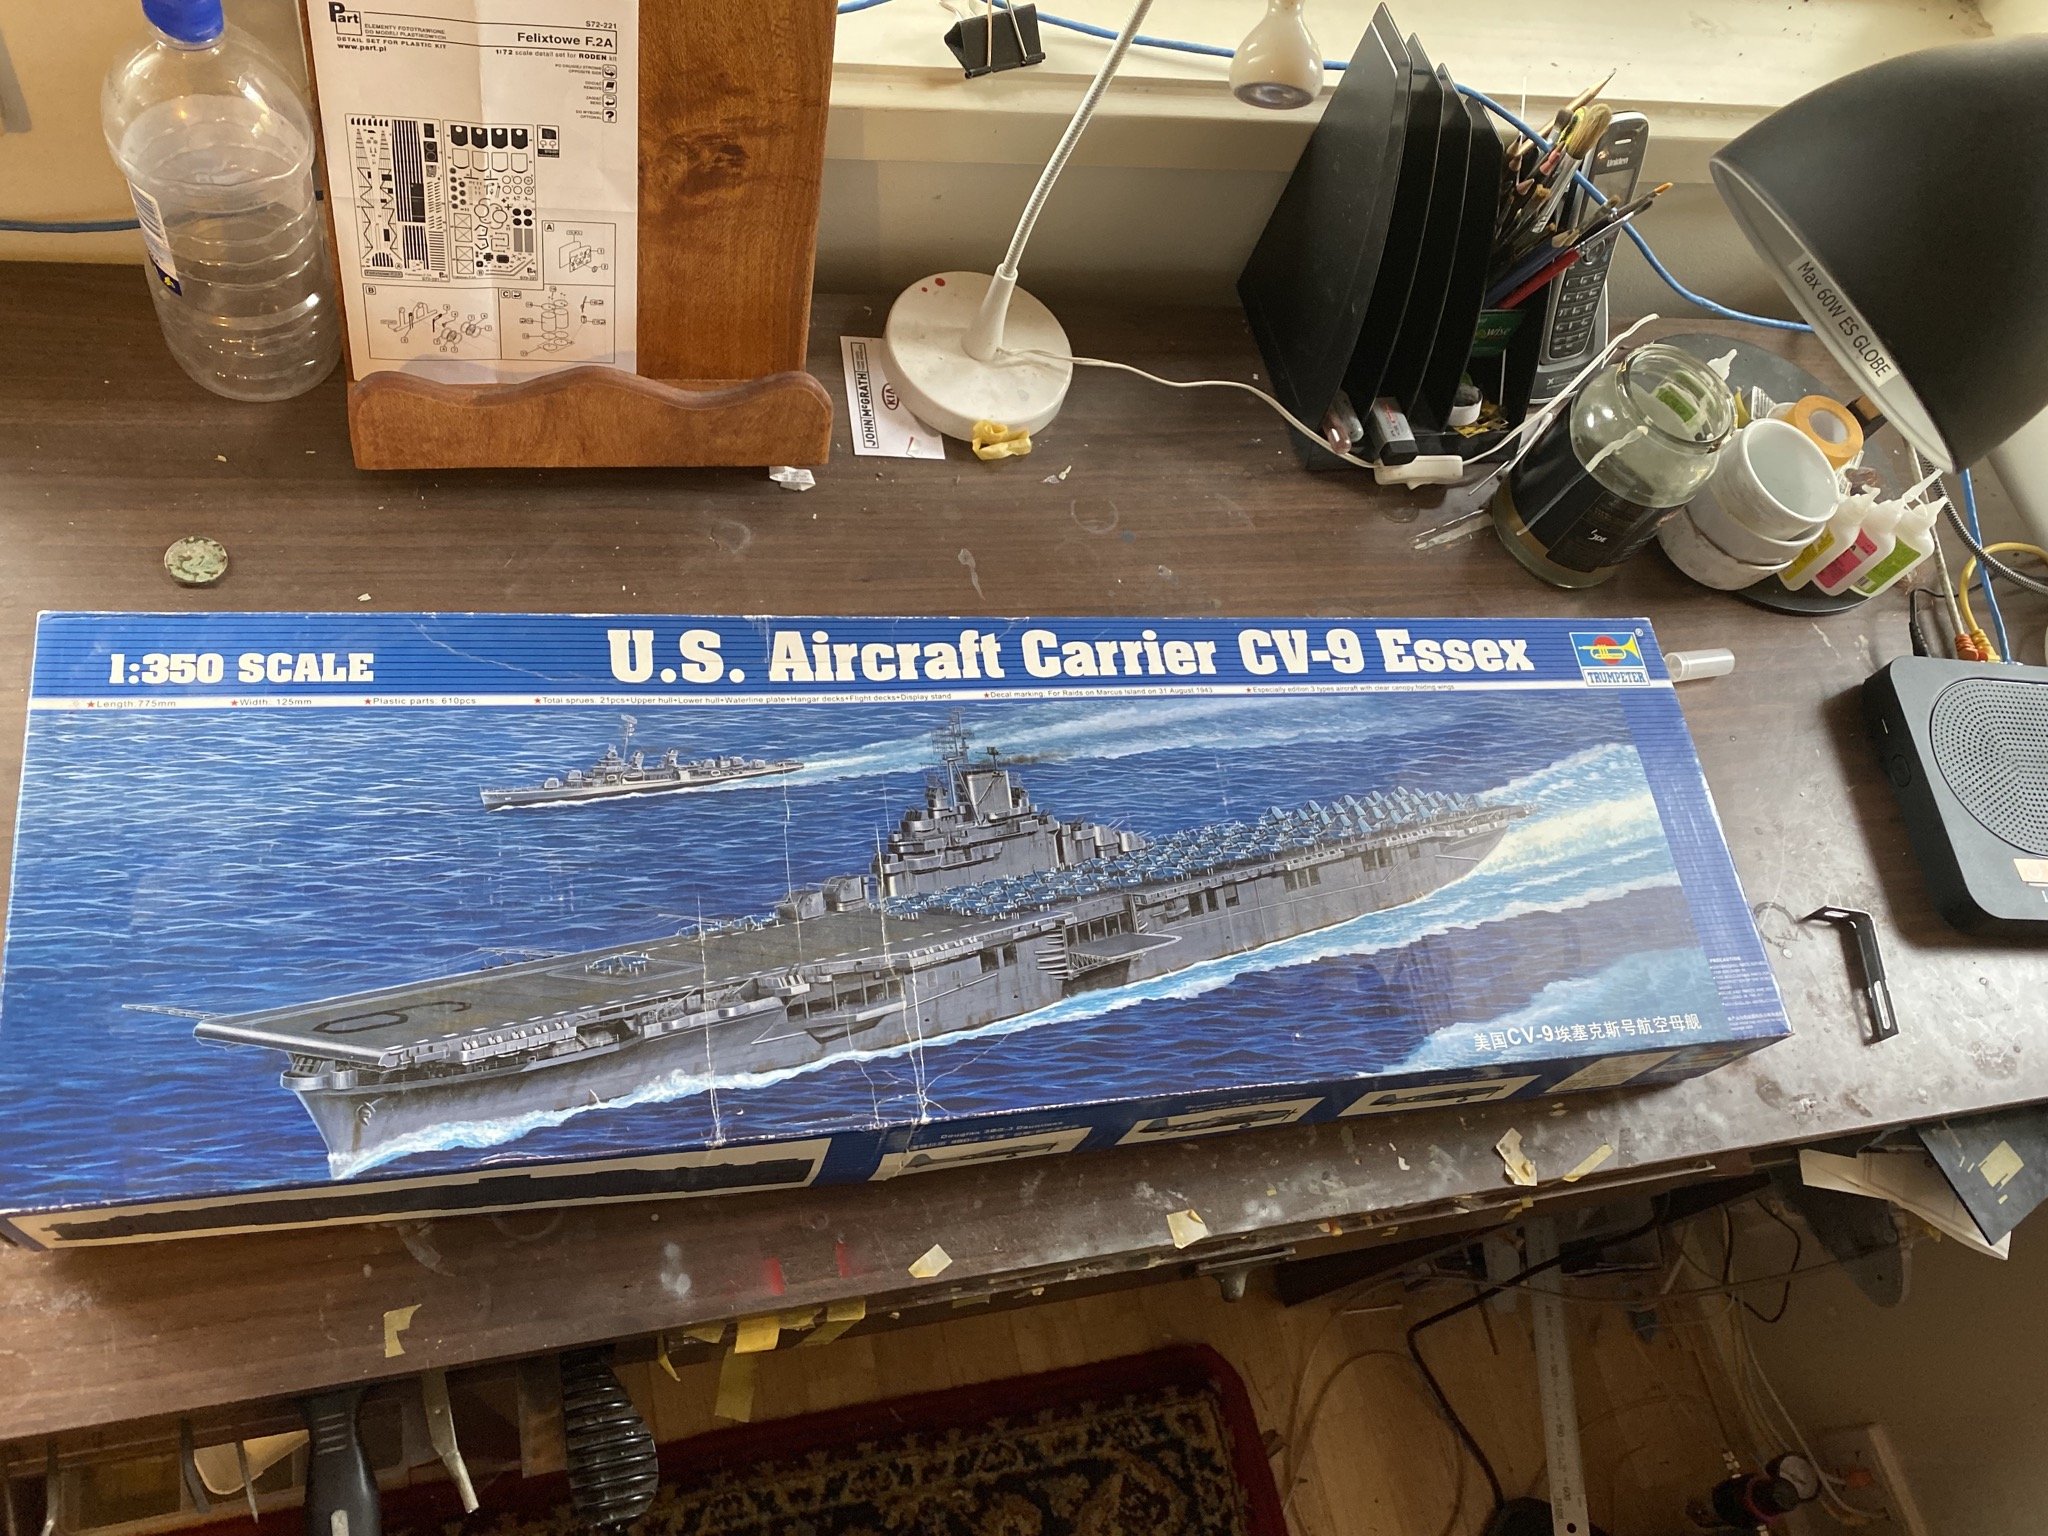
I got this second hand quite cheaply in the suburb next to mine via an online seller. I’ve yet to purchase the Pontos upgrade set which I’ll order this week. The reason I’ve nominated Feb 1944 is that it was just before it’s only WW2 upgrade where it recieved it’s dazzle camo and a few other alterations, such as catapults which I can’t replicate and I want to weather her heavily (Sorry). it’s going to be quite the build as I want to do the interior hangar deck.

- 308 replies
-
- 13
-
-
Nice Dazzle. I’ll be following you soon with a bird farm. There are a few Color or colourised photos of carrier decks, and I’m looking forward to weathering one.
- 49 replies
-
- 3
-
-
- gambier bay
- hasegawa
- (and 1 more)
-
So, there goes the next 6 months of your life. Head first into a massive build. Excellent.
-
Thanks mate, unfortunately I’m not very good at aircraft but the only way to get better is to do more. I just bought a Essex for $90 (US$60) and now will start storing up an inordinate amount of money on upgrades. @CDW did the same kit a few years ago and I’ve been torn, Infini is bringing out an Exter upgrade, but I just can’t get excited about it. the Langley should be good but needs a few years for upgrades. Why the fascination for upgrades?; the modern kits are just designed for multimedia; if that’s what it takes to keep it going that’s OK with me. im thinking of having aircraft landing instead of a bird park......
- 345 replies
-
- 6
-
-
- graf zeppelin
- trumpeter
- (and 2 more)
-
I’m now torn, I’m awaiting Trumpeter to release the USS Langley and Whilst I’ll buy it I’ll then probably wait for an aftermarket set. so, in the interim, a Kirov class cruiser, a Essex class Carrier, a York Class cruiser? A Soviet Cold War destroyer? Suggestions? What would you like to see?
- 345 replies
-
- 3
-
-
- graf zeppelin
- trumpeter
- (and 2 more)
-
A) your table is not messy b) it’s not a competition, we only challenge ourselves
- 20 replies
-
- 4
-
-
- prince of wales
- tamiya
- (and 2 more)
-
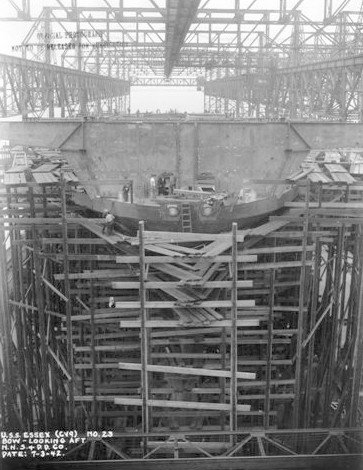
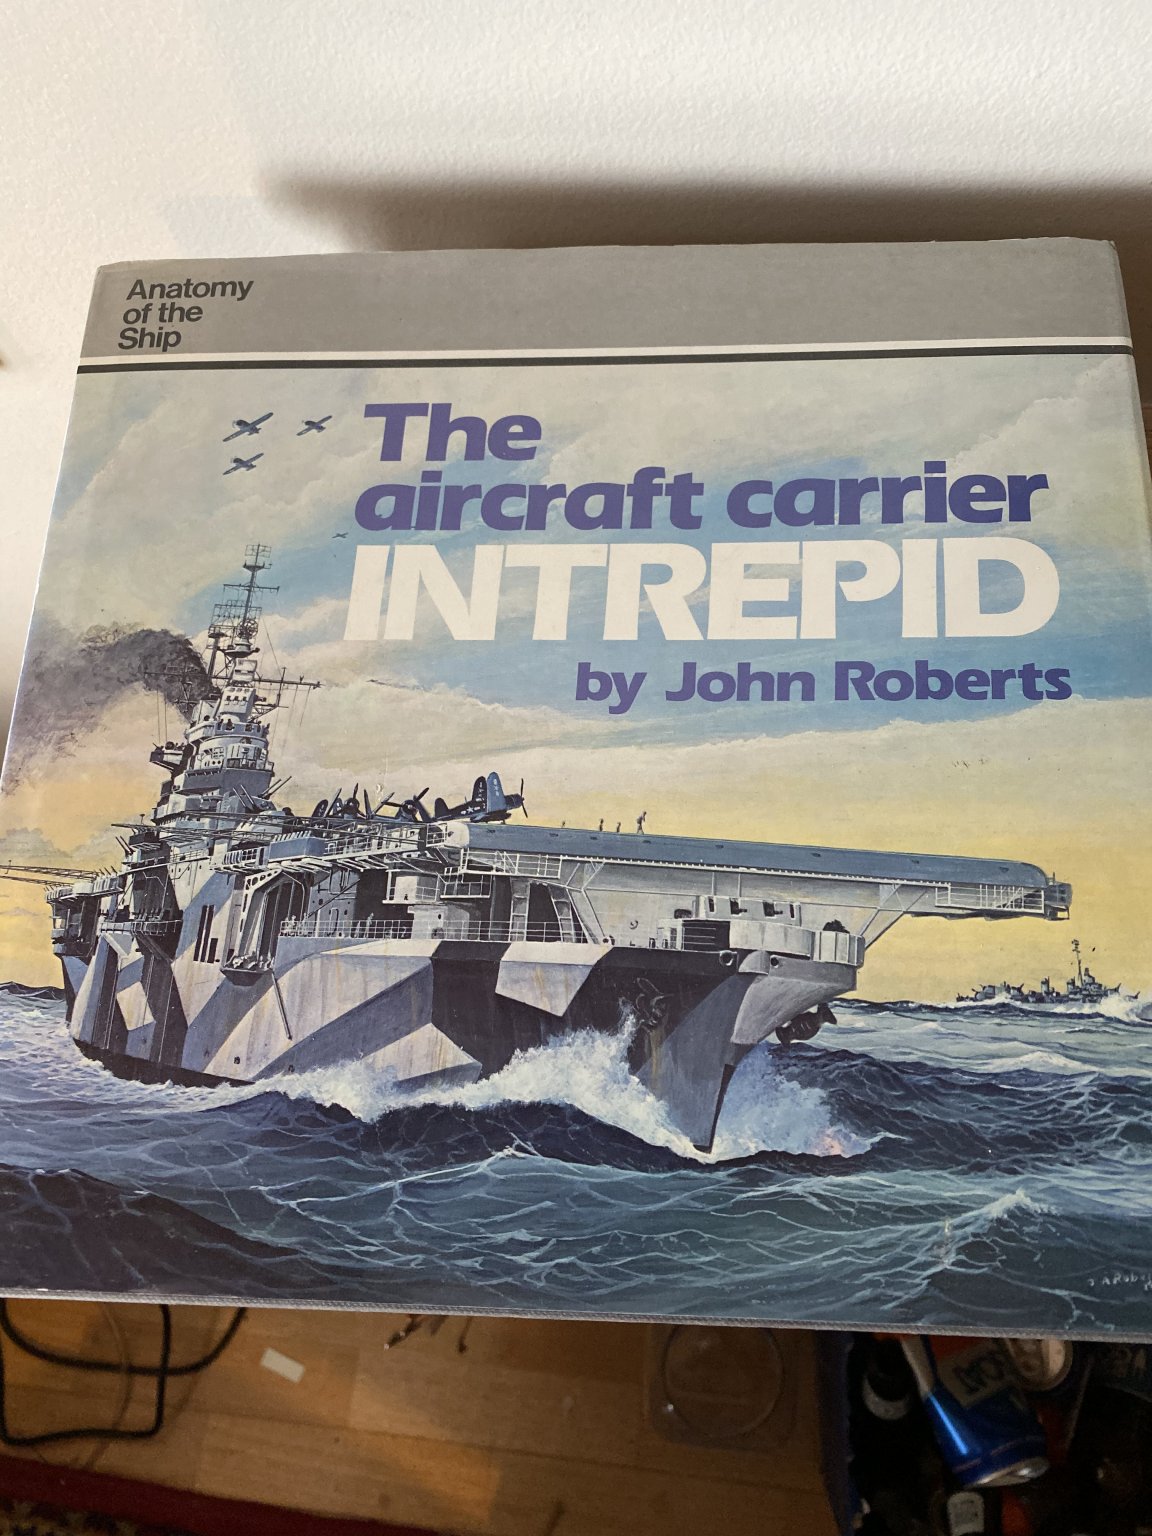
I’m in, I recently read the history of this ship and have the Anatomy Of the Ship book for it.
- 49 replies
-
- 3
-
-
- gambier bay
- hasegawa
- (and 1 more)
-
6 months at least to make it look good gents.
-
Napoleon field gun by Bitao - 1/30 scale - scratch-build - WOOD
RGL replied to Bitao's topic in Completed non-ship models
Fantastic -
Really tempted to build this but I have no skill whatsoever with solder, I’d have to use CA. You’re doing a great job so far. The hull plates really are quite quite large aren’t they will no rivets either! That would annoy the hell out of me. You seem to have it well in hand.