HOLIDAY DONATION DRIVE - SUPPORT MSW - DO YOUR PART TO KEEP THIS GREAT FORUM GOING! (Only 68 donations so far out of 49,000 members - Can we at least get 100? C'mon guys!)
×


RGL
-
Posts
5,531 -
Joined
-
Last visited
Content Type
Profiles
Forums
Gallery
Events
Everything posted by RGL
-
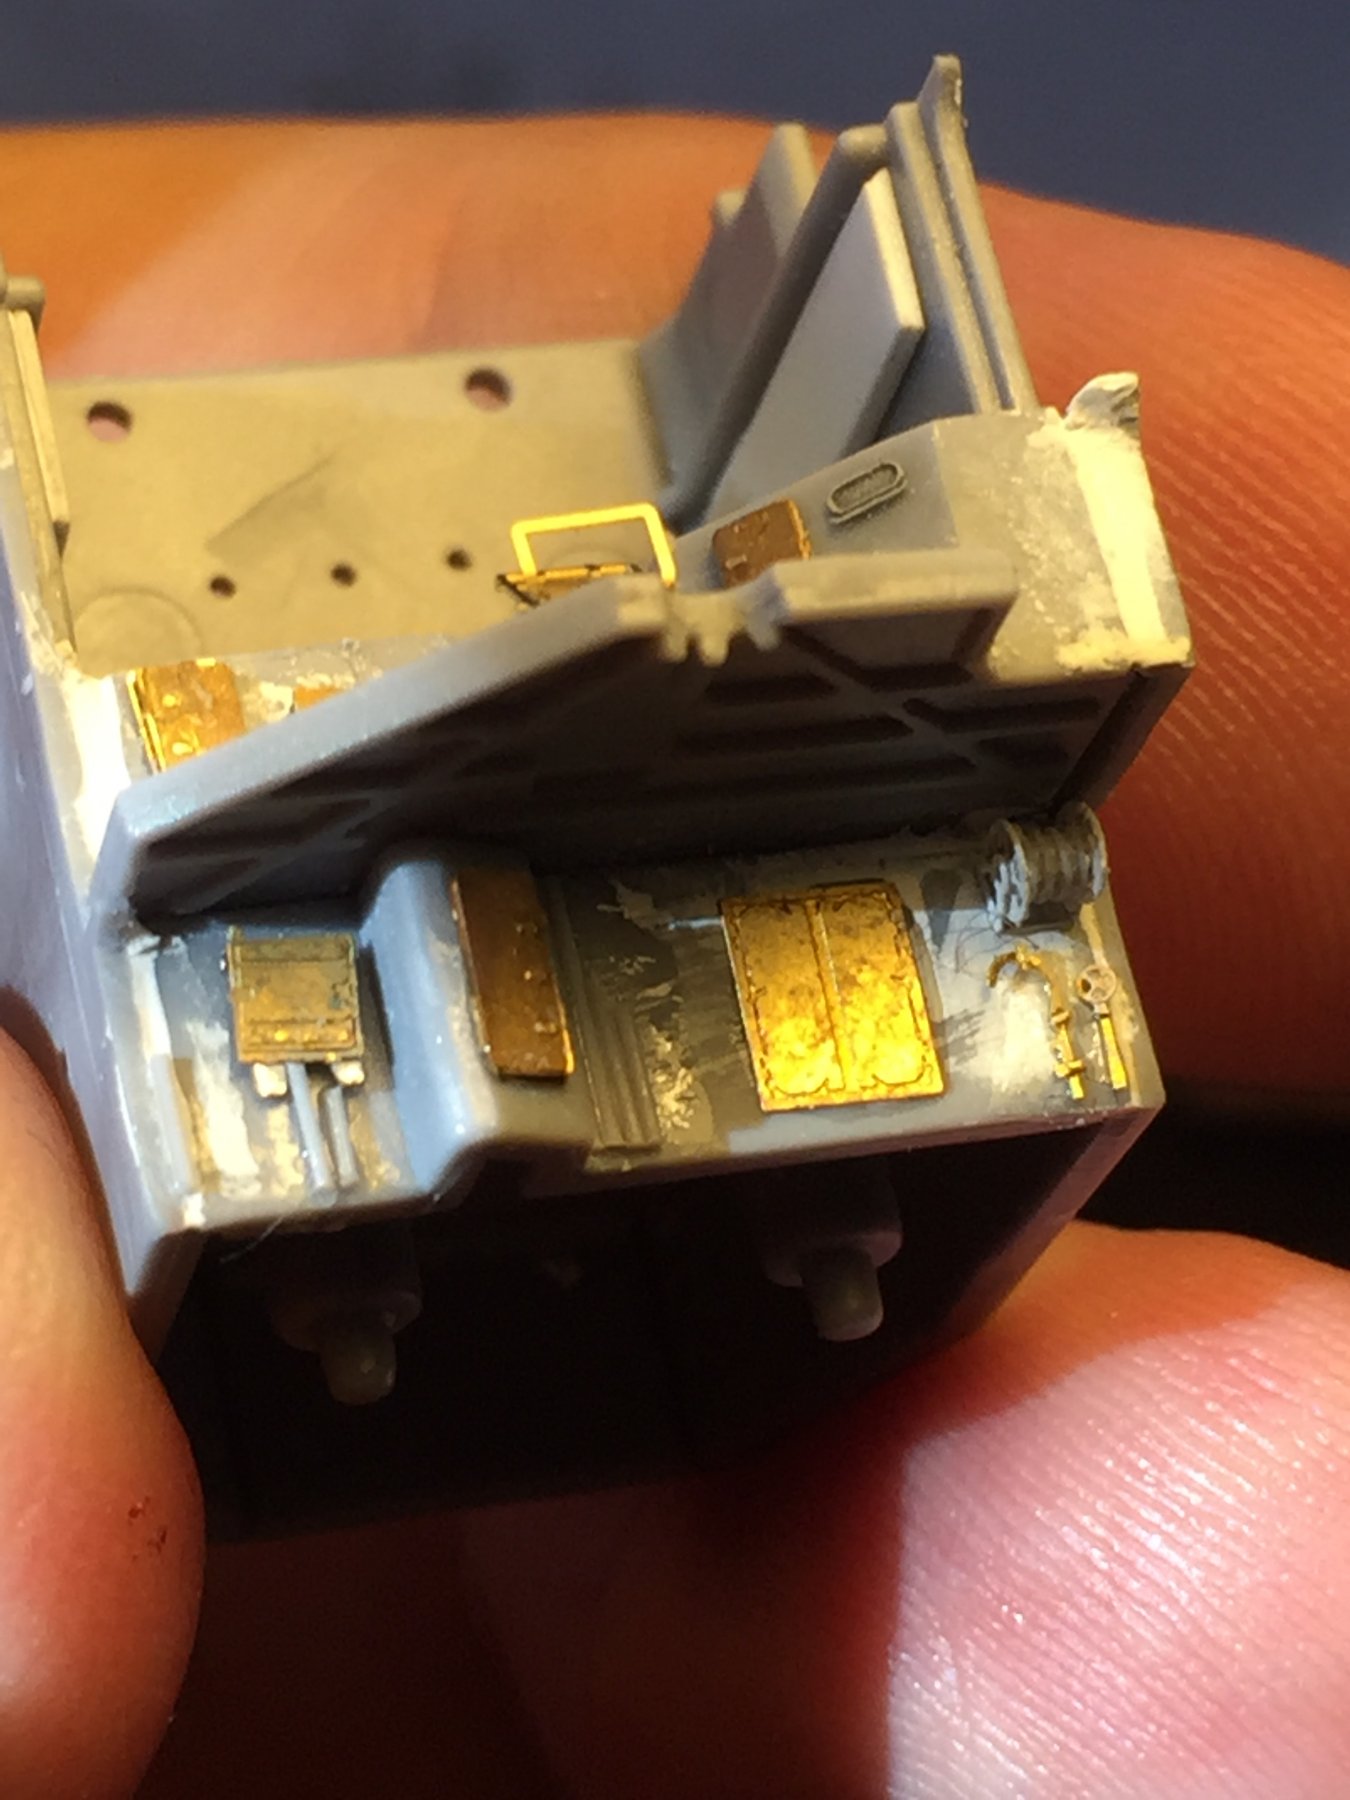
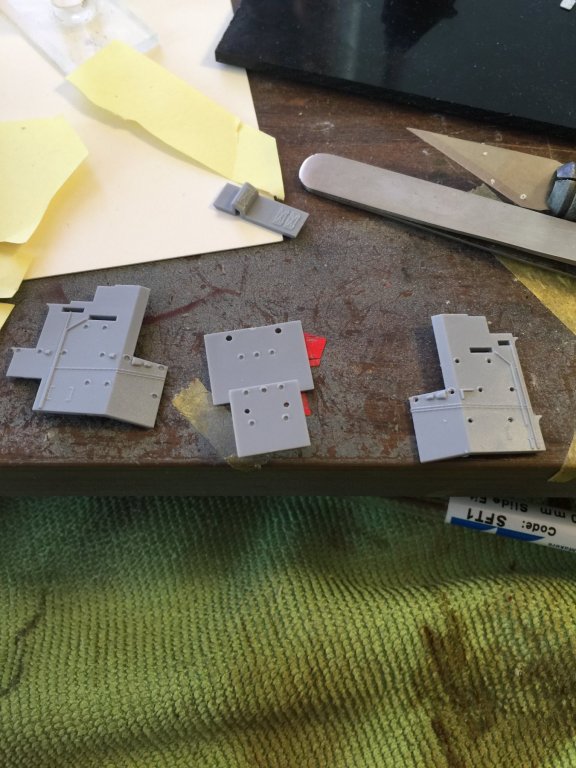
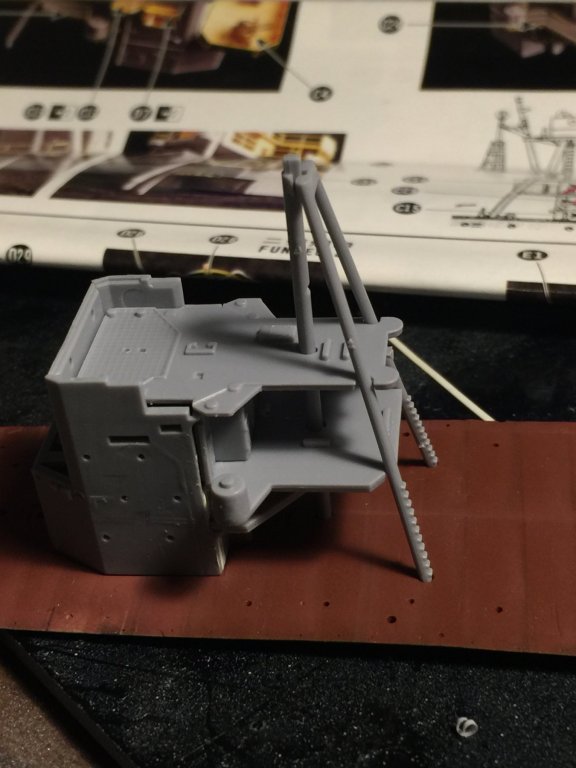
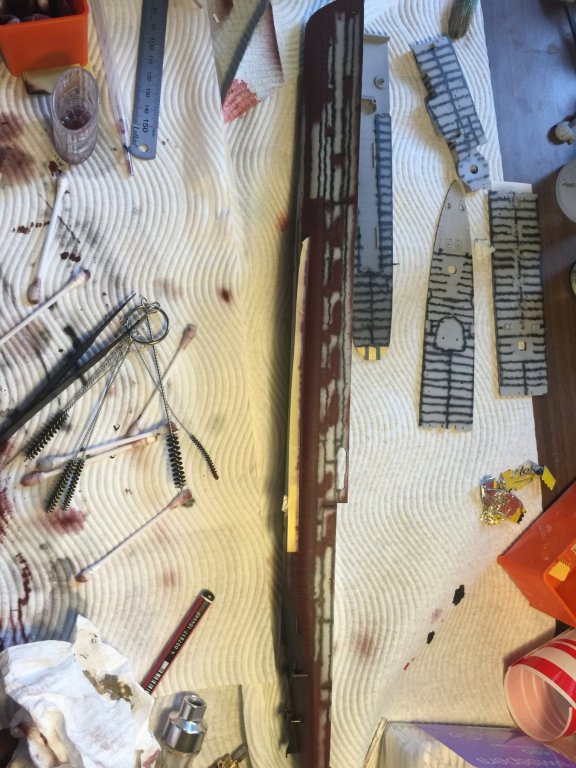
 A tiny update. After studying the plans from Profile Morskie, the instructions from Aoshima and the instructions from Flyhawk I was so confused as they all conflict I went to the 1 (yes 1), photo available of this ship which basically says some of the instructions are correct. Next, how to detail? How to paint a multiple layered cake? As much as I love this scale, the few warships I have been on have multiple pipes and panels everywhere. The bottom 2 rear sides of the rear of the bridge which will not really be visible after I add railings covered in canvas and maybe some Sisac rolls. the white plastic card is to cover up the enormous holes that platforms are plugged into by replaced by PE. When you zoom in on the 1 original photo there are all these fuzzy details which I have to deduct mean something nautical which I'm not qualified to guess, but need to fabricate. Still fun tho!

- 218 replies
-
- 12
-

-
Nice. I'm tempted to do this ship (in plastic as I'm scared of paper cuts: almost as bad a man flu). So much detail can be added given her (his, the Russians use male) rigging.
- 244 replies
-
- 4
-
-
- borodino
- dom bumagi
- (and 1 more)
-
Sounds like a police boat then.....
-
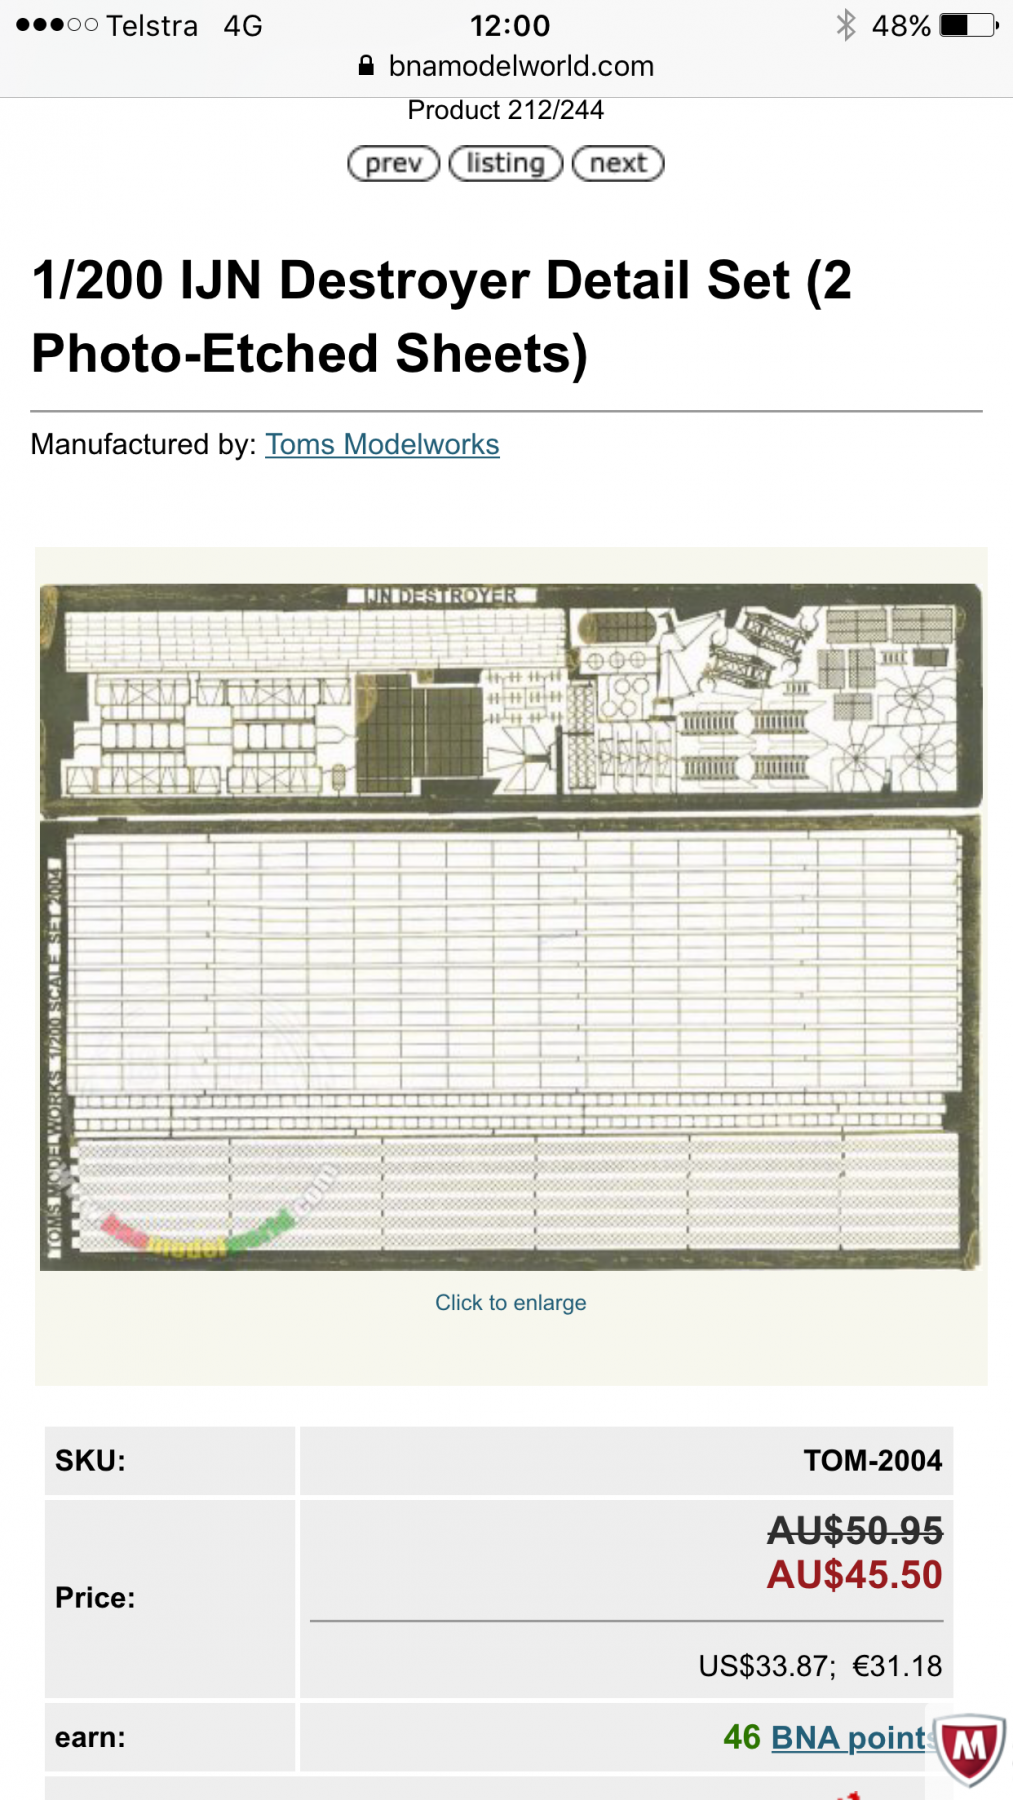
I'm pretty sure it's available in paper, there are a lot of 1/200 extras becoming available, have a look at BNA modelworld (Oz), or Hobbyeasy (HK), or even Cornwall (UK). Whilst GMM is nice, it's dated and very expensive for what you get, Toms Model works is OK, but anything from the US is very expensive here.

- 193 replies
-
- 2
-
-
- cerberus
- paper shipwright
- (and 1 more)
-
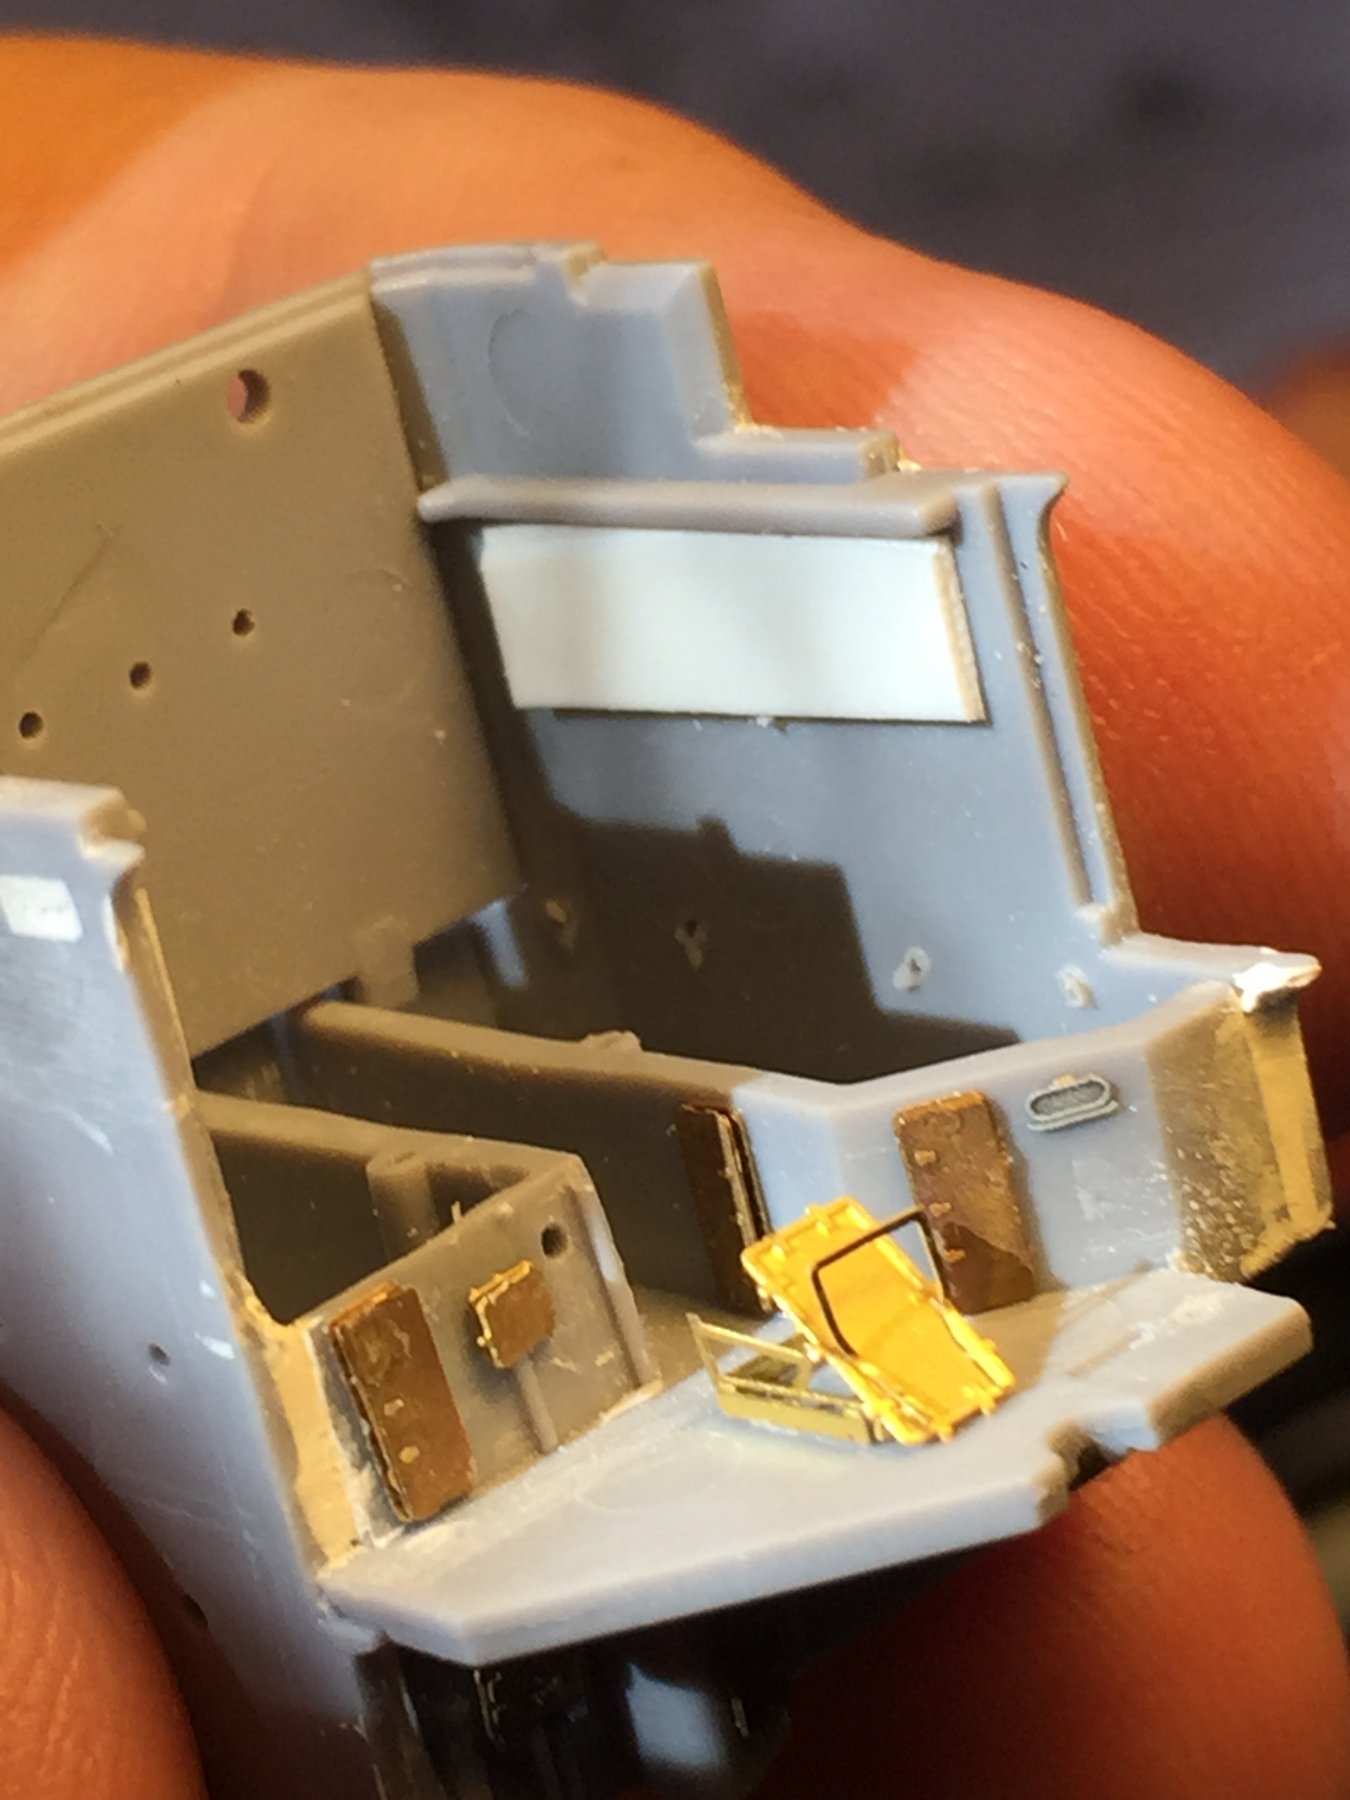
The bare bones of the bridge, all the detail will basically be sanded back, and start from scratch adding everything from Flyhawk and a fair bit more. There are are some huge gaps even with a dry fit, but still a lot of room for improvement as Flyhawk leaves a lot of small structural details out that will need to be added or scratch built. Quite enjoying this as most other PE sets are just follow the numbers. Even better, as there are NO decent references I can't be proven wrong!

- 218 replies
-
- 12
-
-
Welcome back Cog! The paints are Mr Hobby and Tamiya as they work well in the airbrush. I'm pretty much going to do up all the deck structures first before painting again as the hull painting will take a fair bit of time. The bridge is somewhat complex, and there is so little reference material apart from builds that seem to make a lot of stuff up.
-
Welcome back Cog! The paints are Mr Hobby and Tamiya as they work well in the airbrush. I'm pretty much going to do up all the deck structures first before painting again as the hull painting will take a fair bit of time. The bridge is somewhat complex, and there is so little reference material apart from builds that seem to make a lot of stuff up. My plan is to make it as detailed and weathered as possible.
-
Just lovely David.
-
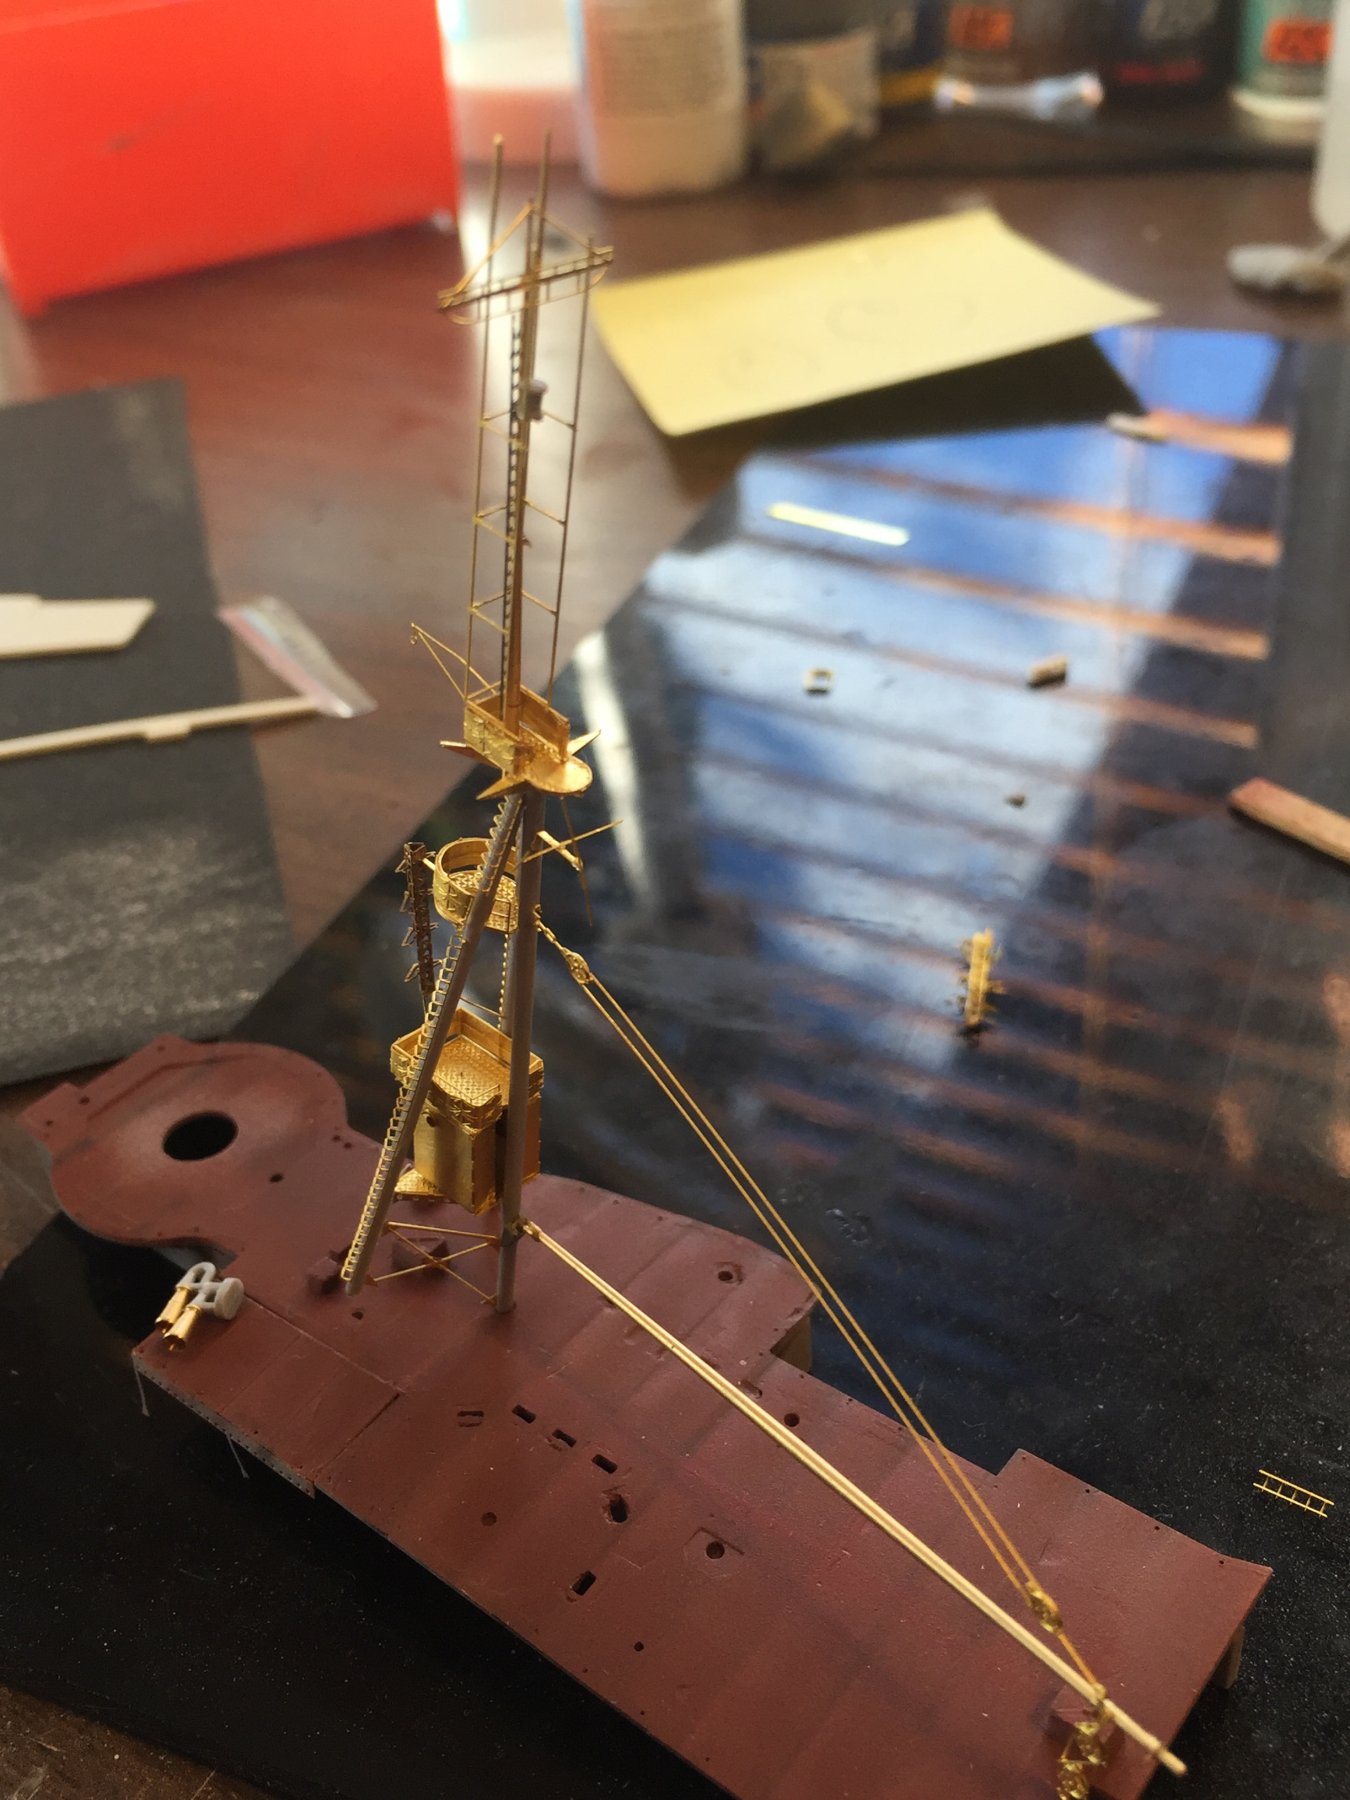
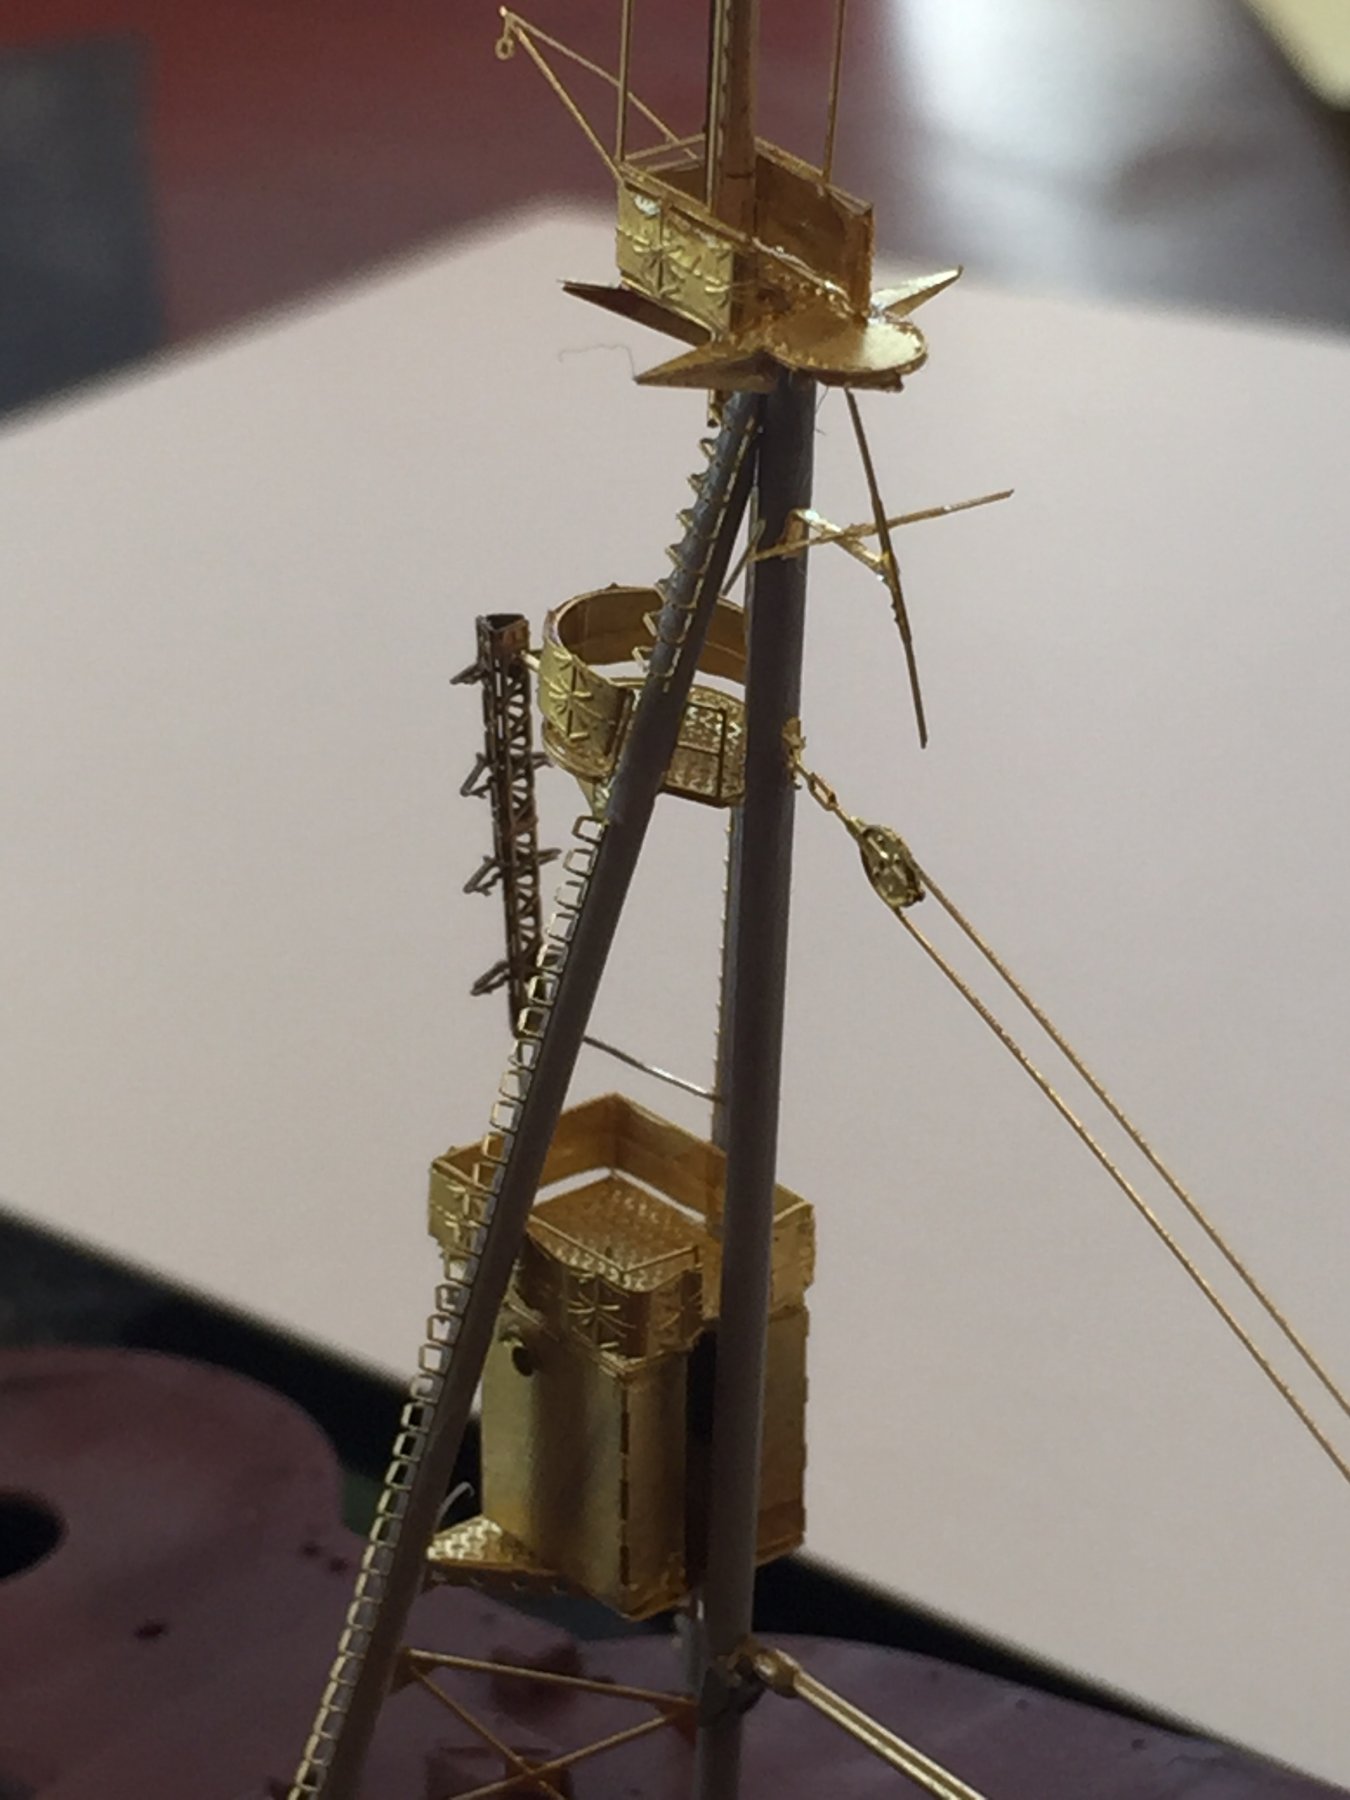
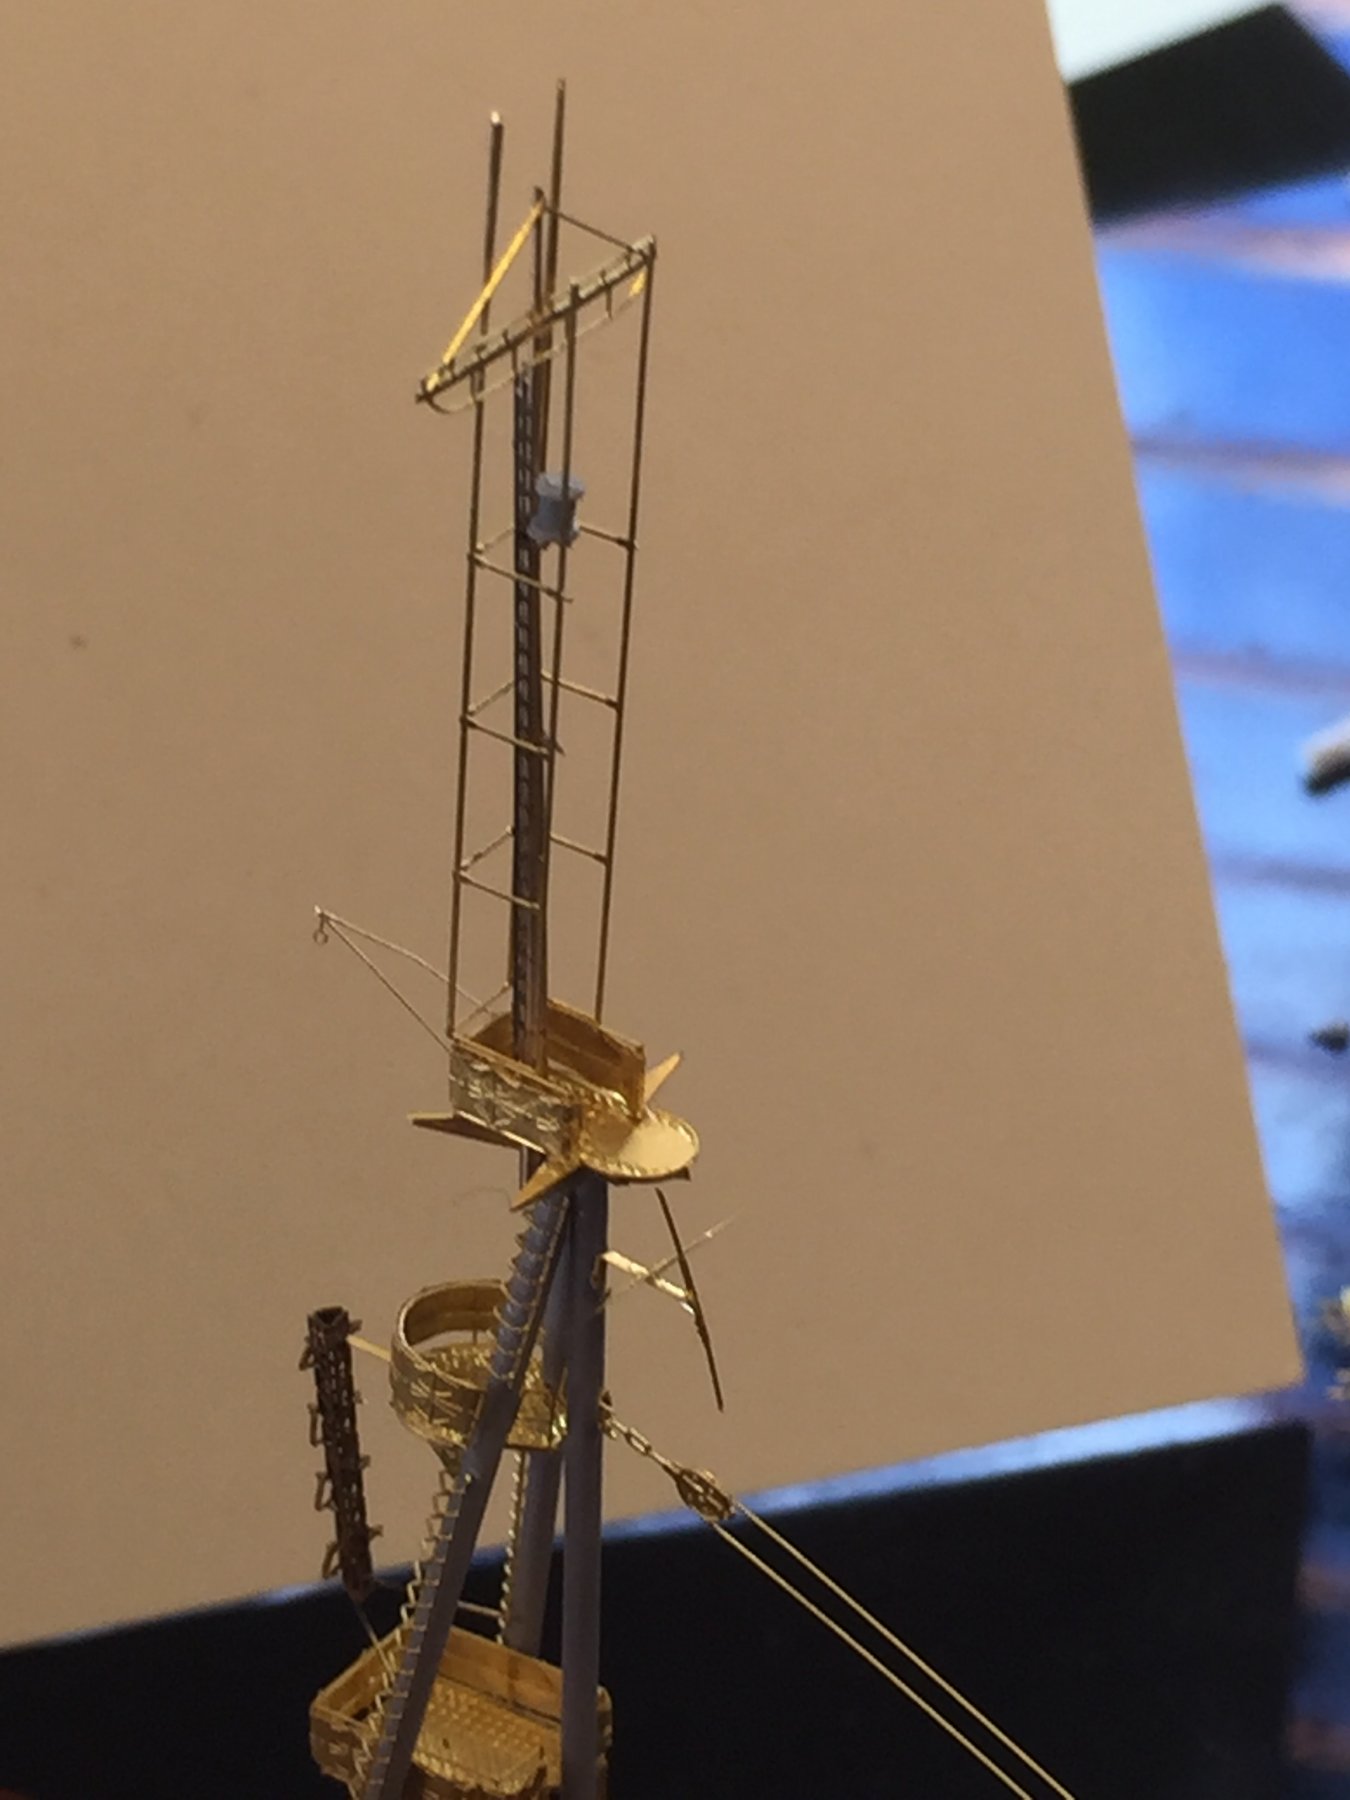
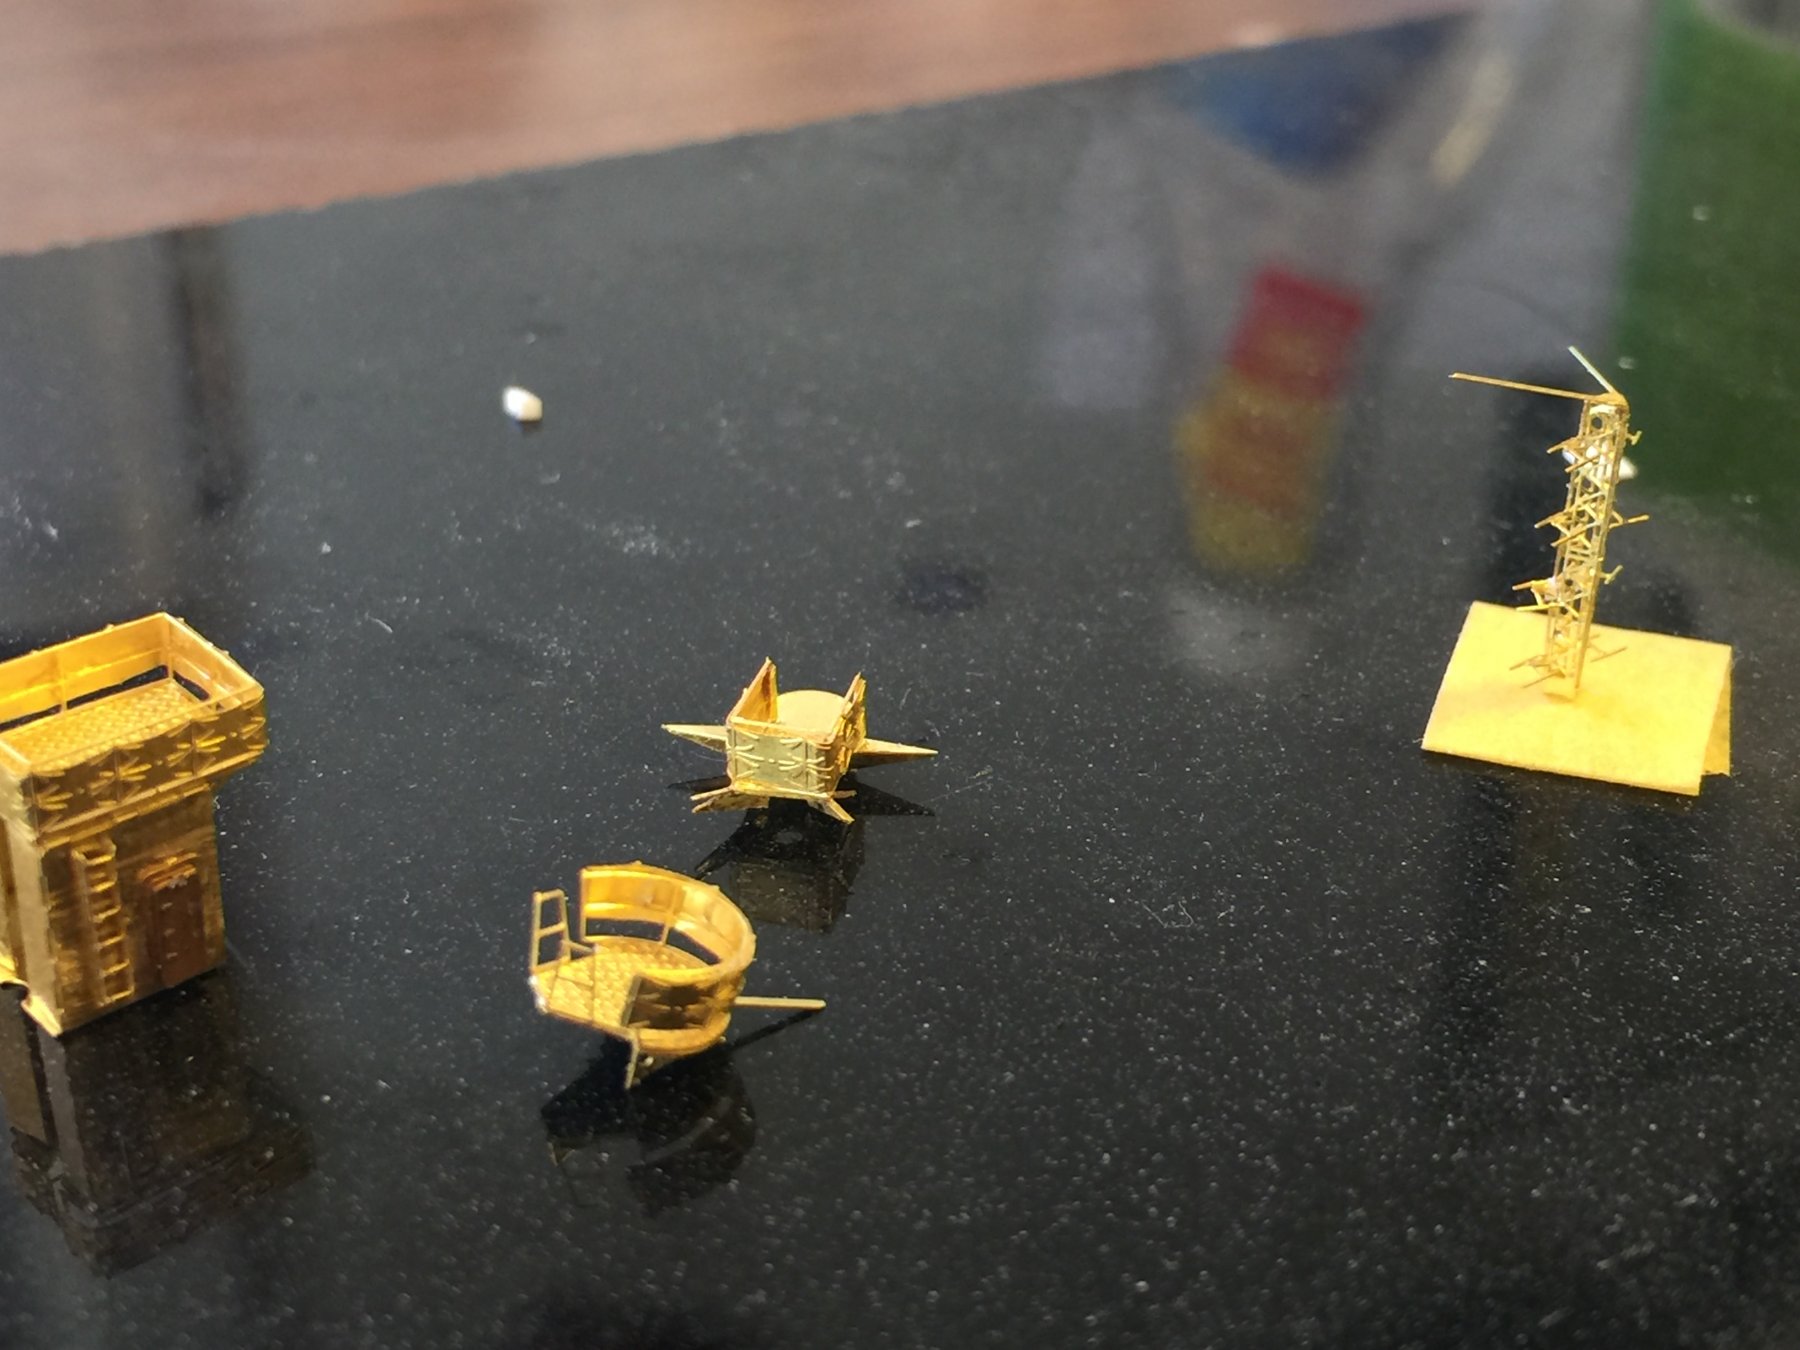
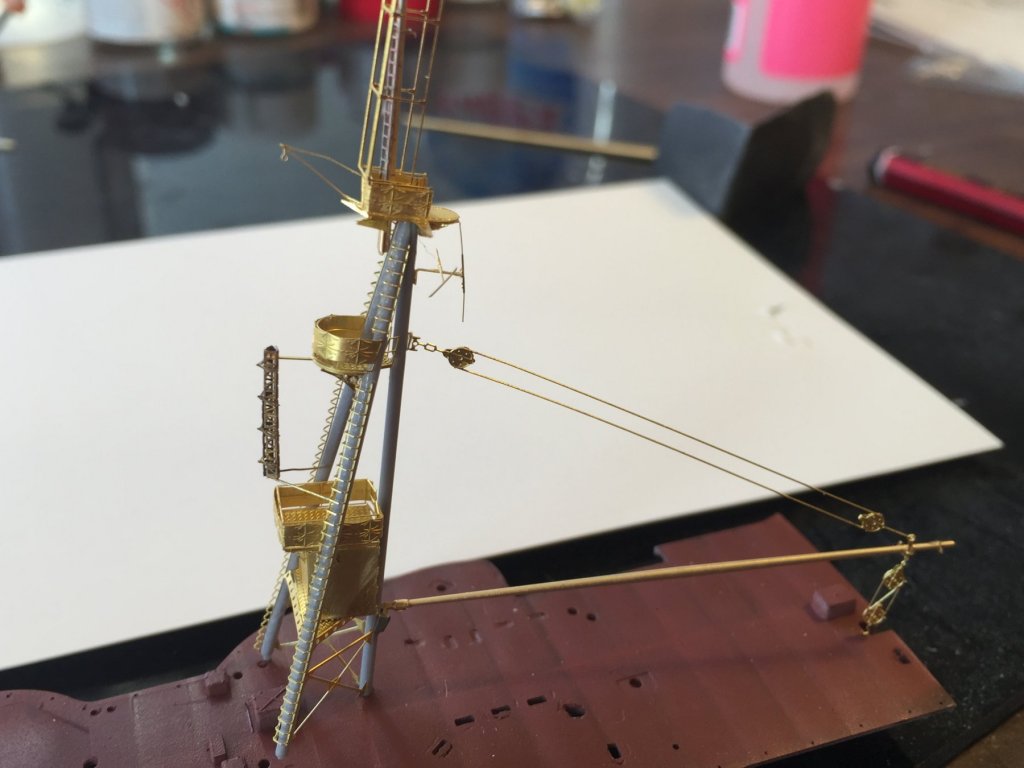
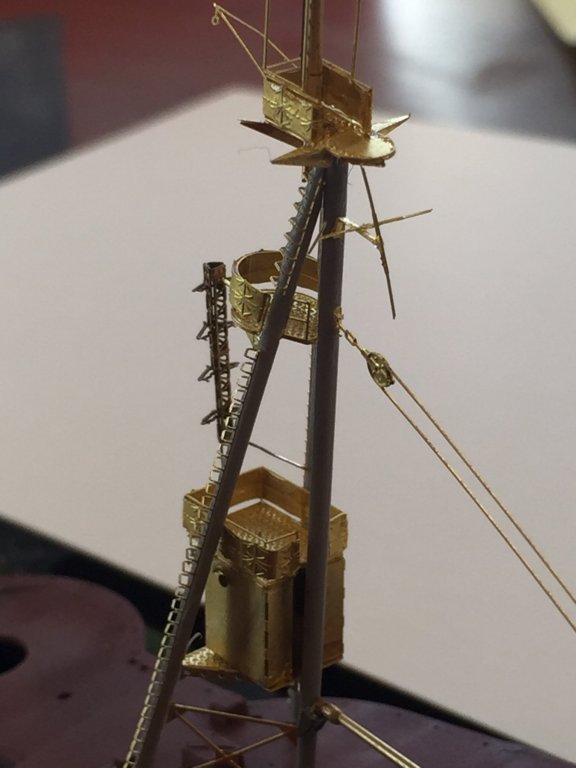
Now, that was convoluted but finally complete, I just have to add a 60cm spotlight, a pair of binoculars and the basked radar (you can see it lying beside the deck with the two replacement funnels). I replaced the topmost with brass for stability and replaced the join on the crane boom arm and added ladders. This is tiny and one hell of a lot of work for a single mast.


- 218 replies
-
- 15
-
-
I spent the day fiddling with the rear mast, which ends up being 3 sticks of plastic where everything else is replaced. I also put some canvas dodgers over the top of the railings. the radar provided by Flyhawk is pretty crappy so I will try the kit provided PE, and should that fail there is a spare from Yamato i just have to fit these PE pieces onto the spaghetti soft plastic


- 218 replies
-
- 13
-
-
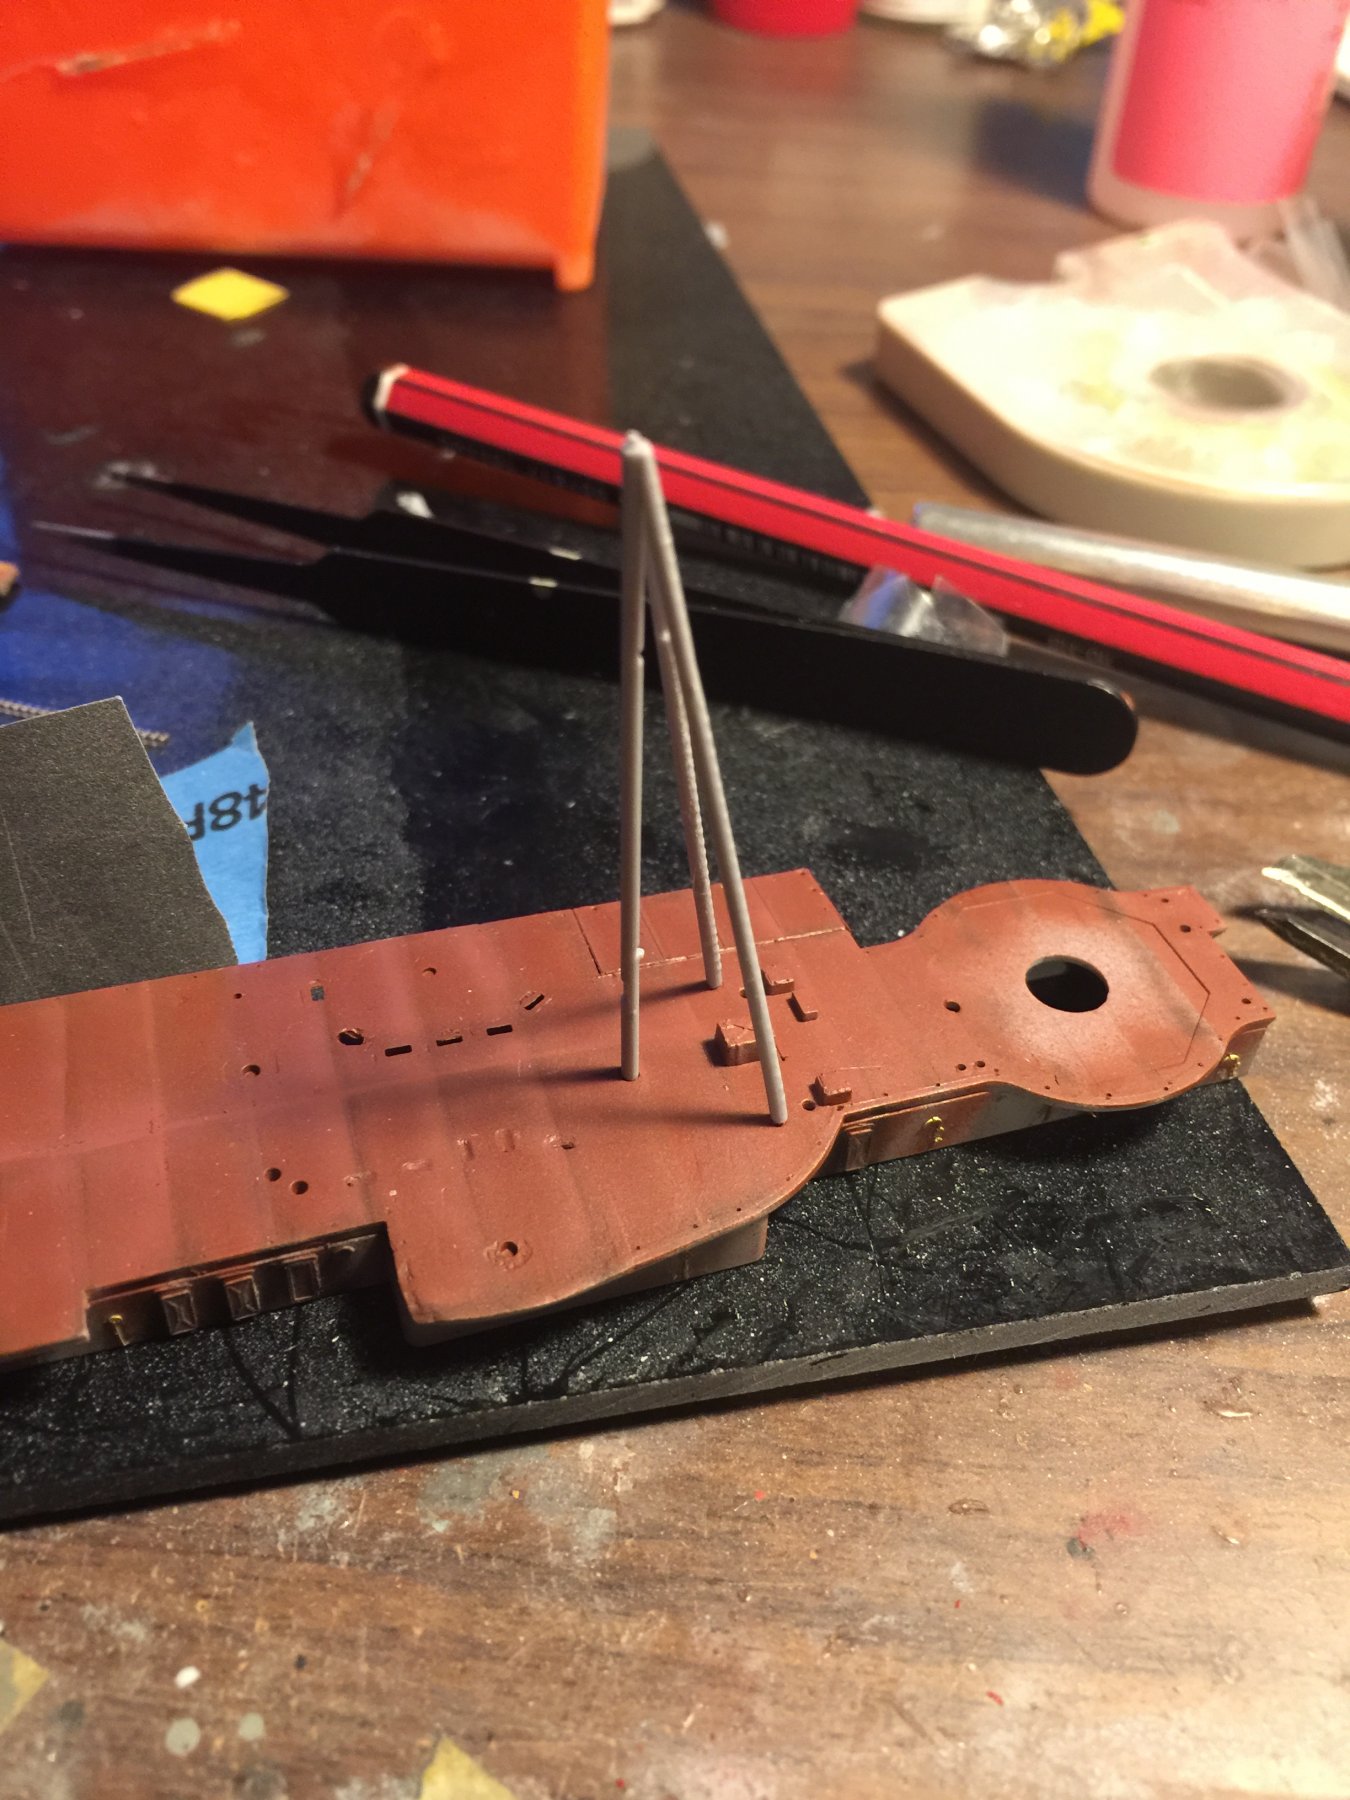
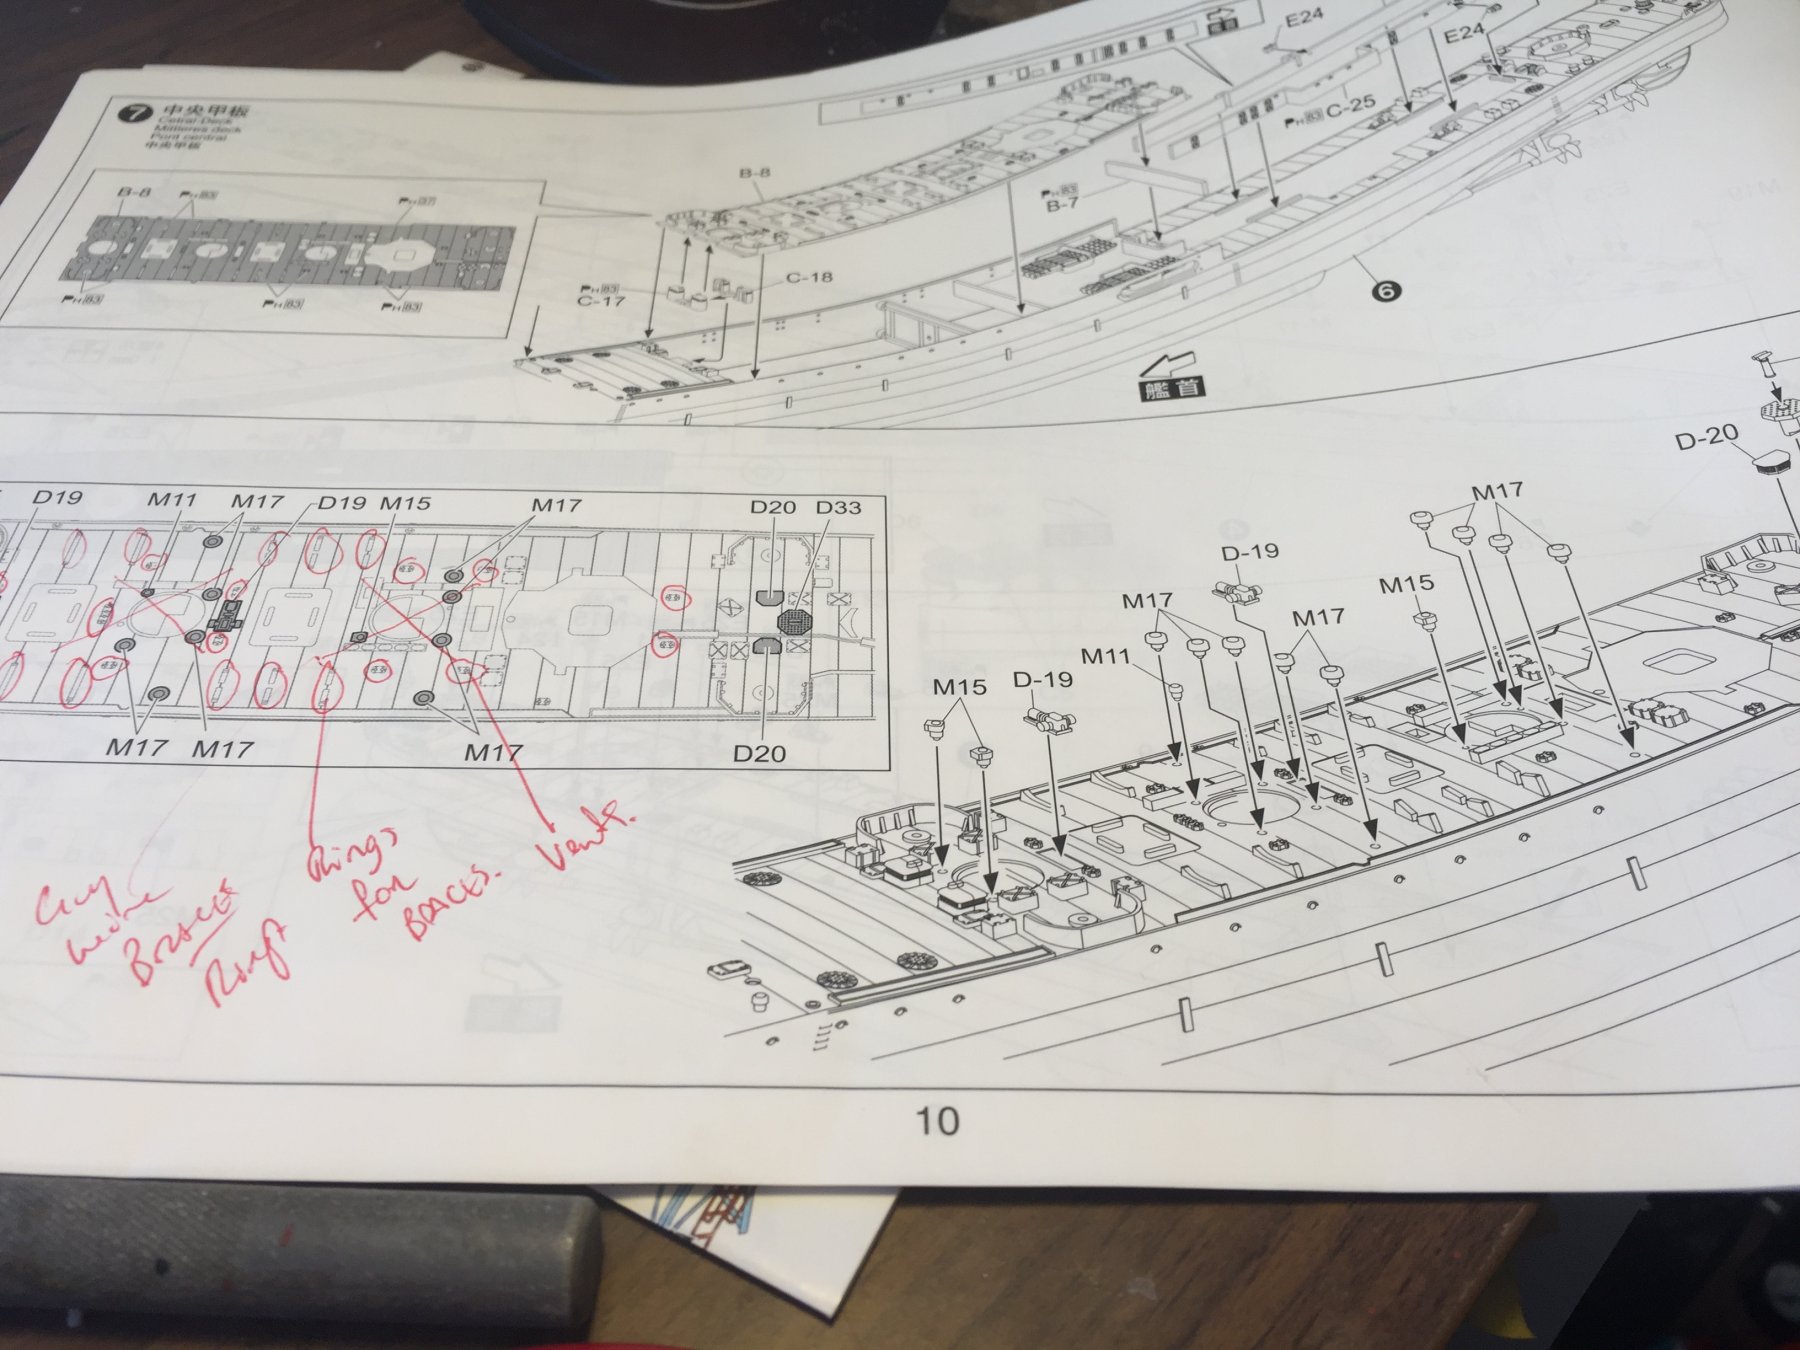
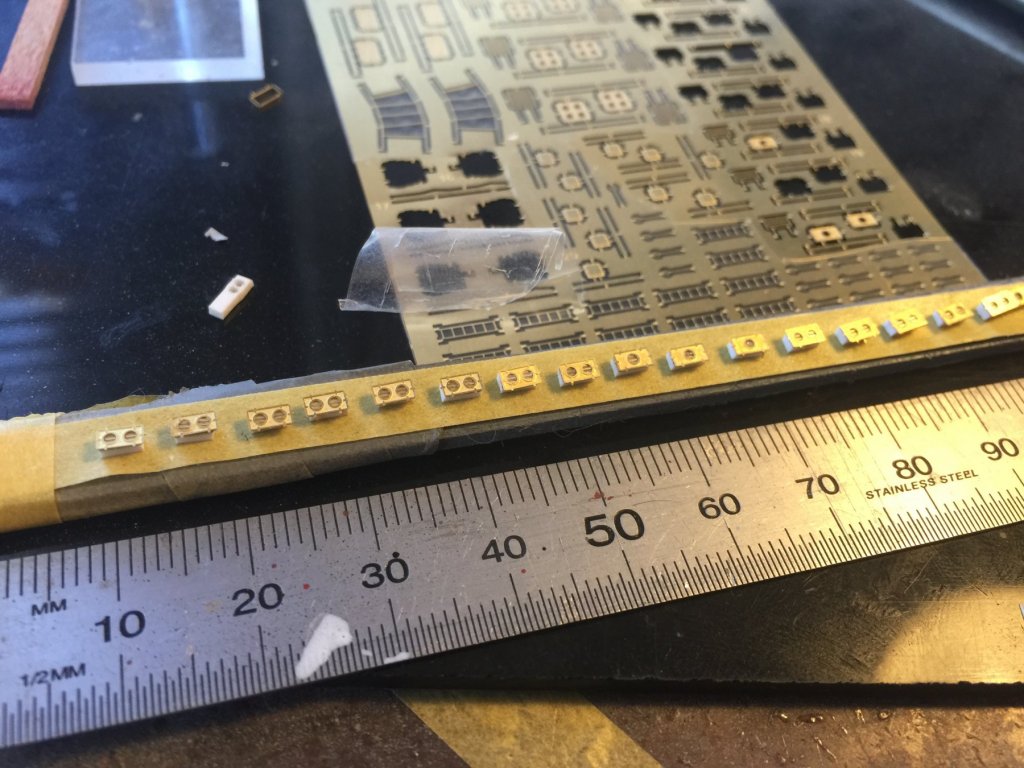
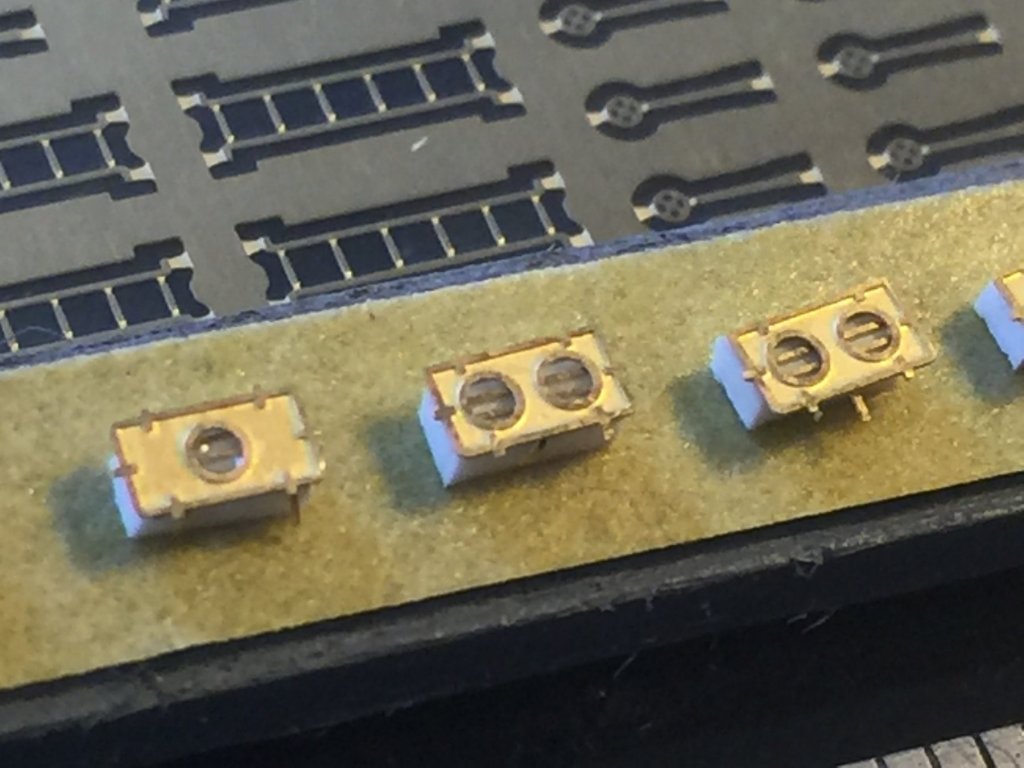
Now, asaw a 1/00 model of this class of ship and the mysterious blobs spread around the deck are skylights, which are, of course available in incredibly complex and tiny PE, so it's far tidier to place the grilles and hatch covers on 3x2mm strip. I need to have all these features sorted before I lay the 1mm brass bracing stips. All the kit supplied hatches, vents and equipment will be replaced with PE either from the Flyhawk set or other bits and resin pieces.
- 218 replies
-
- 11
-
-
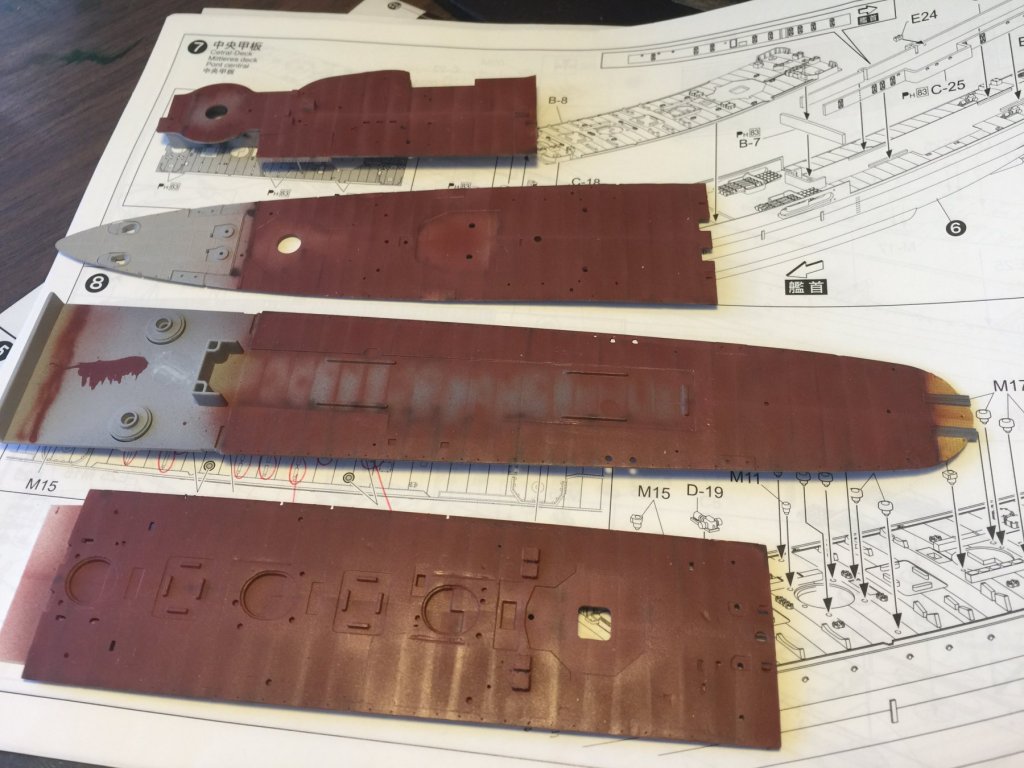
Because I need a solid 12 hour stint to paint then use the weathering products, and paying the mortgage precludes that at the moment it's back to piecework. The linoleum decks are meant to be a flat brown, so with some preshading and highlights where the brass strips are required, i e done that but, they still need a coat of flat varnish

- 218 replies
-
- 10
-
-
Seriously there was crap all through the airbrush, but I've got some of the flow improver, don't have this problem with any other brand
-
The black red added, note to self, I will never use Vajello in my airbrush again, completely gunked up. Matt varnish next.

- 218 replies
-
- 11
-
-
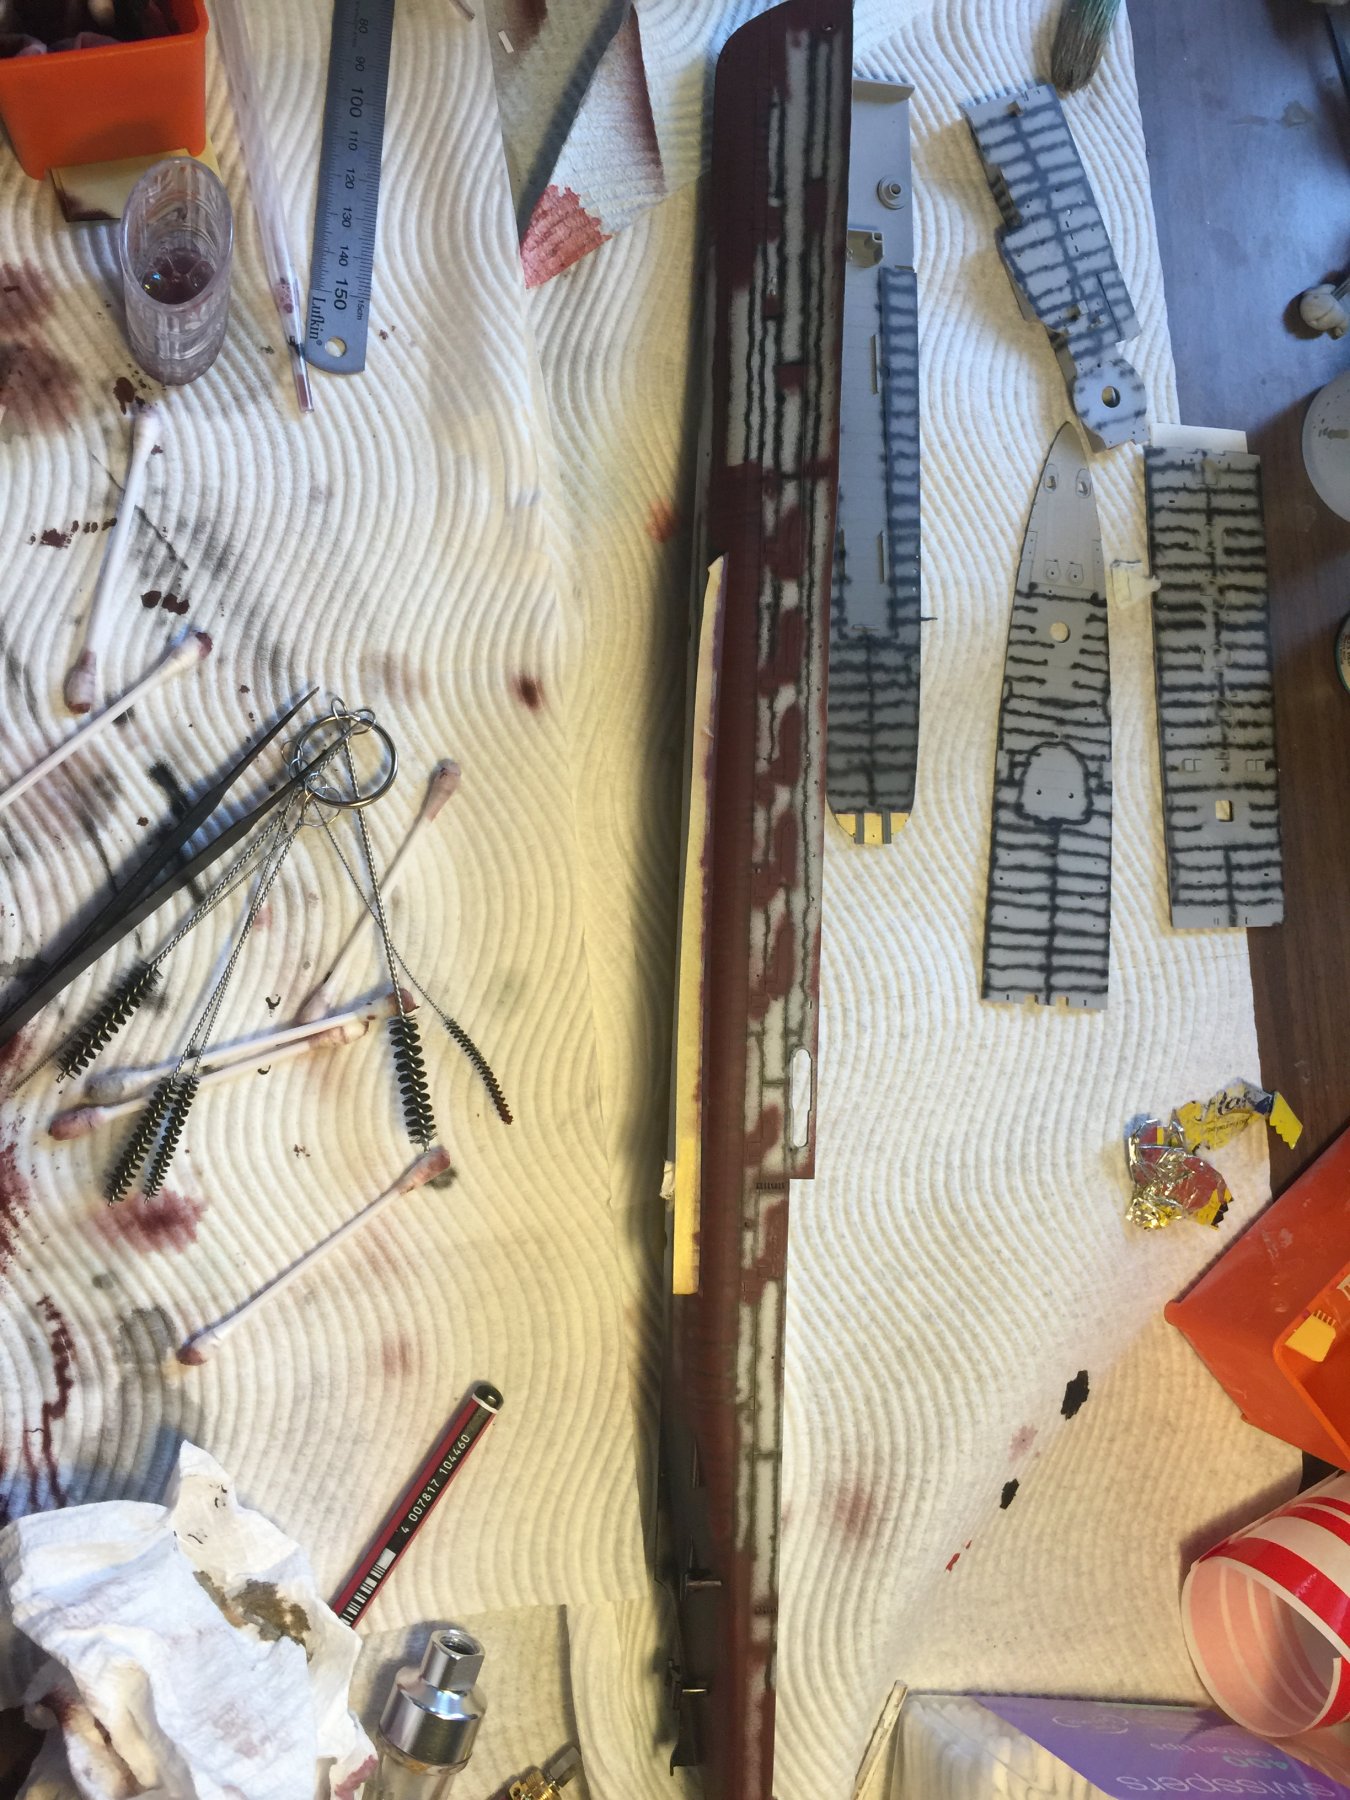
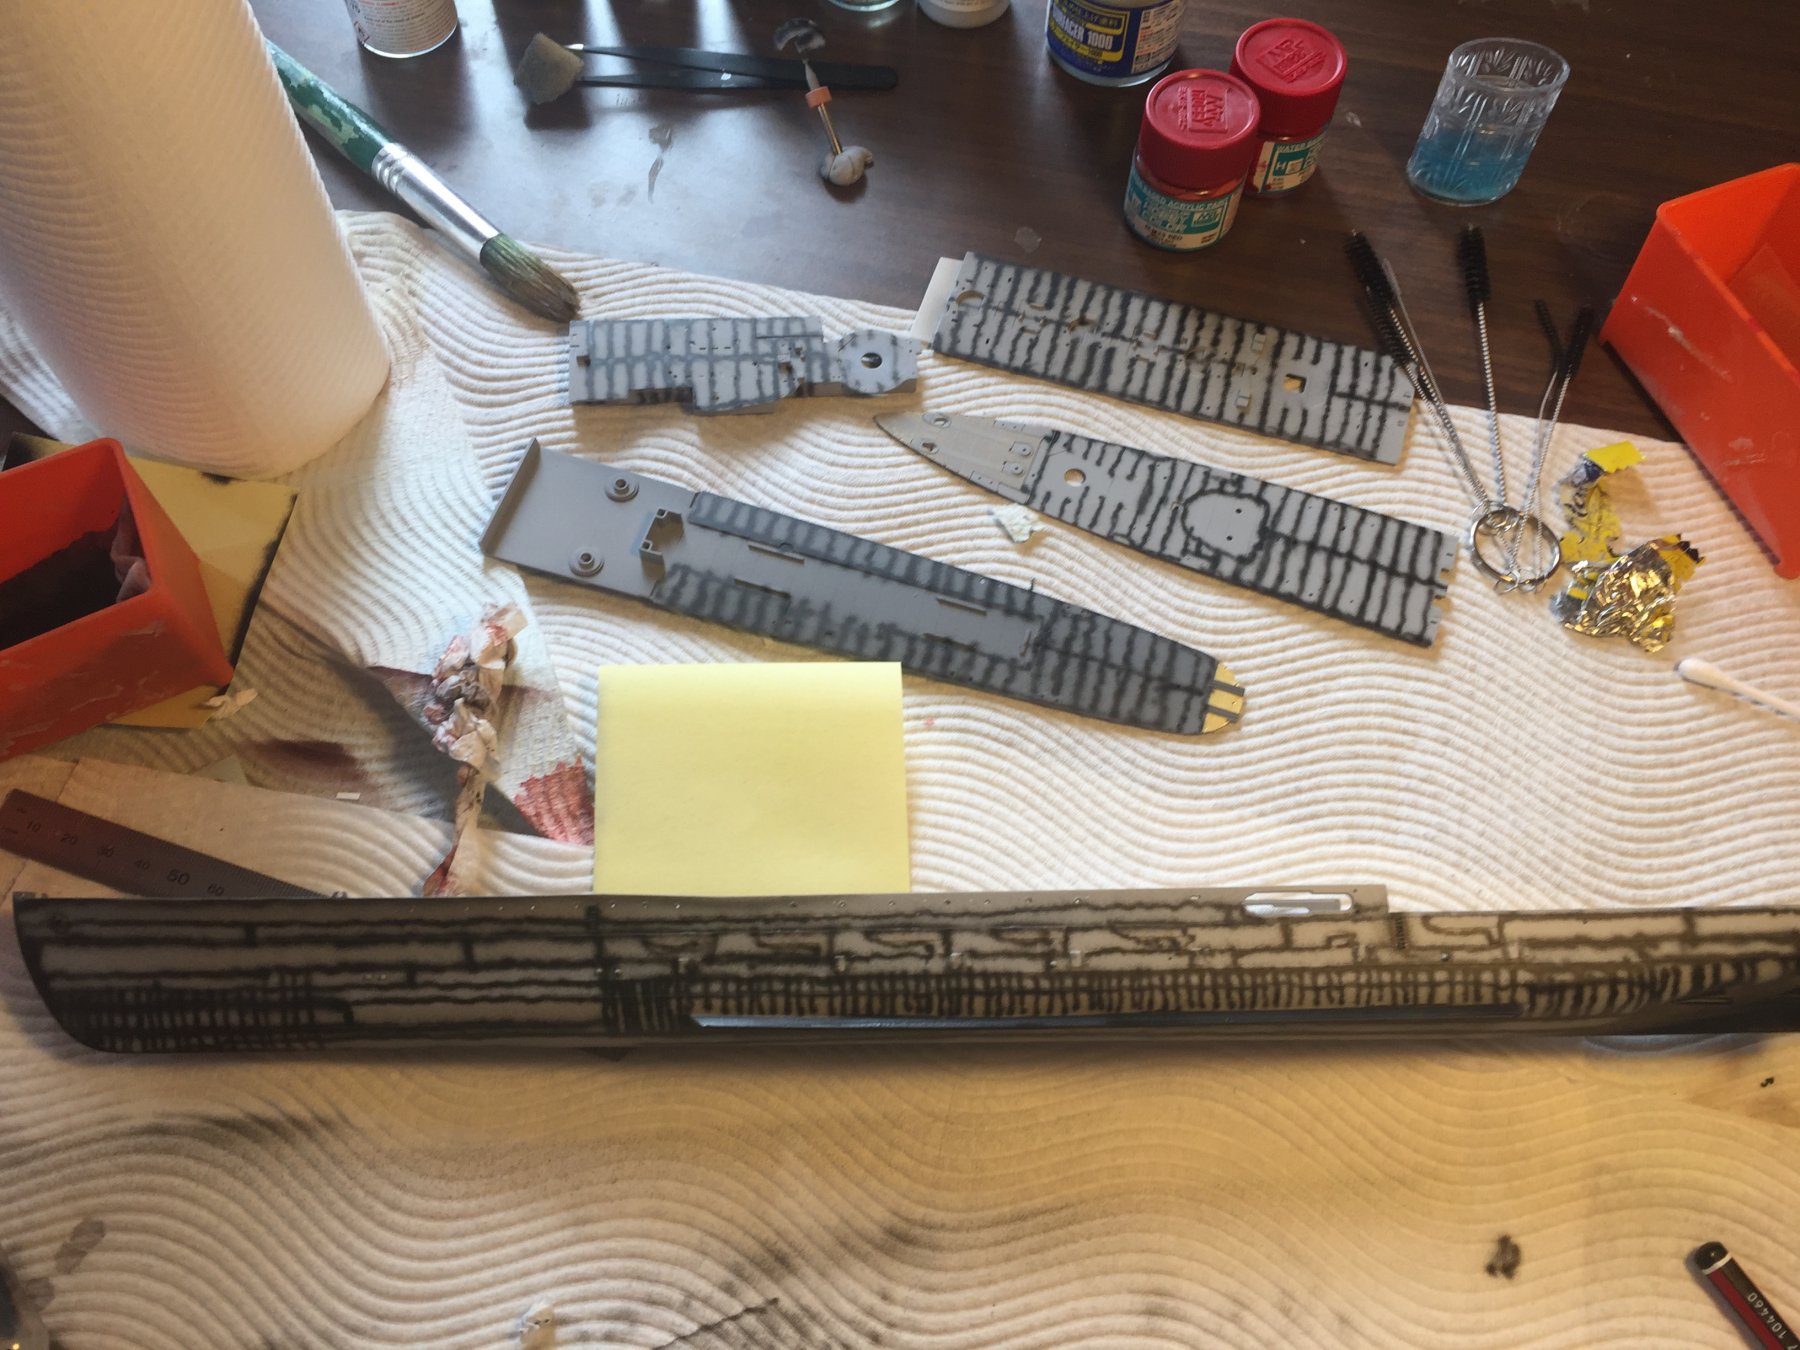
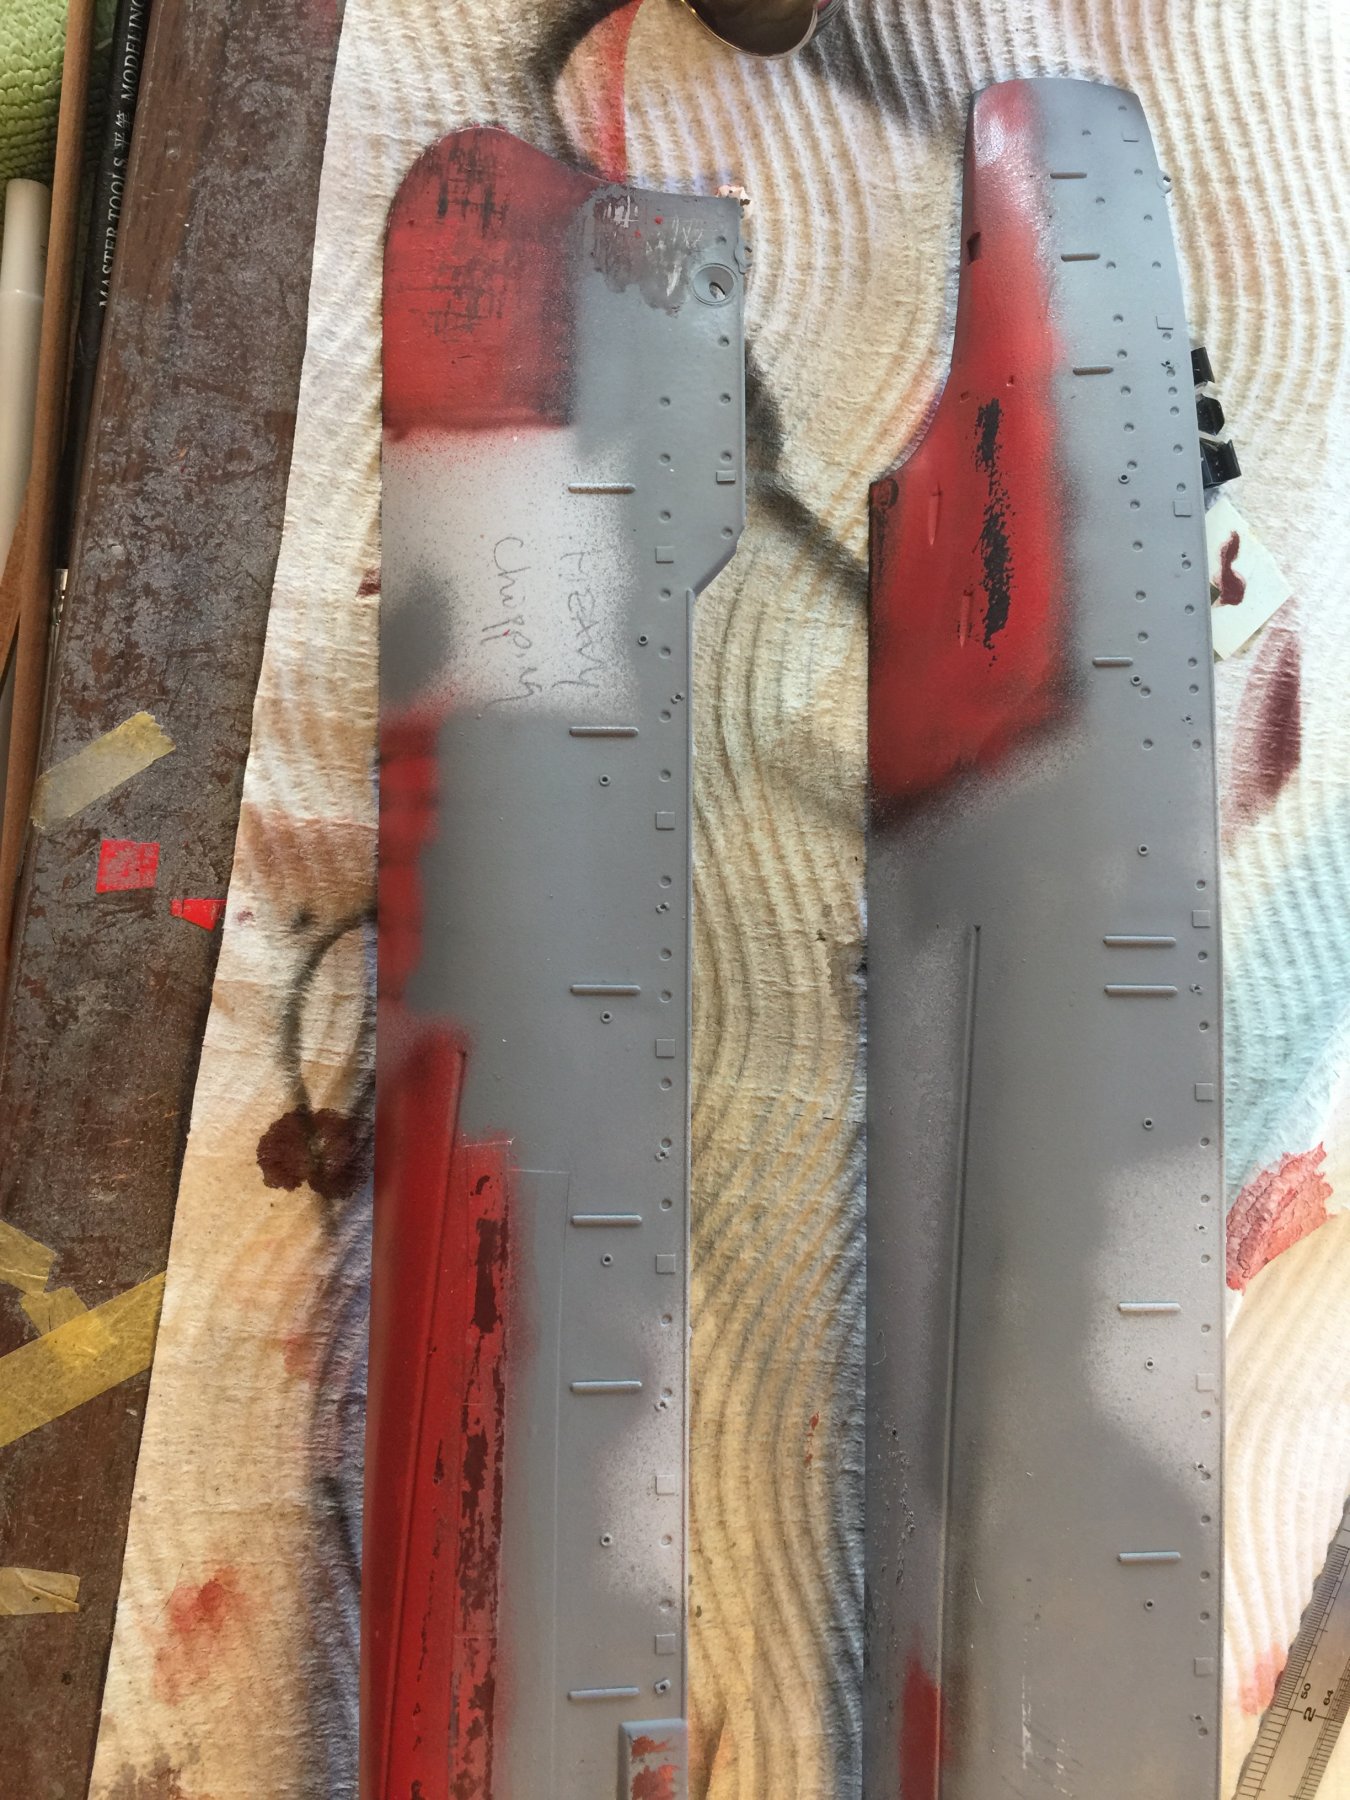
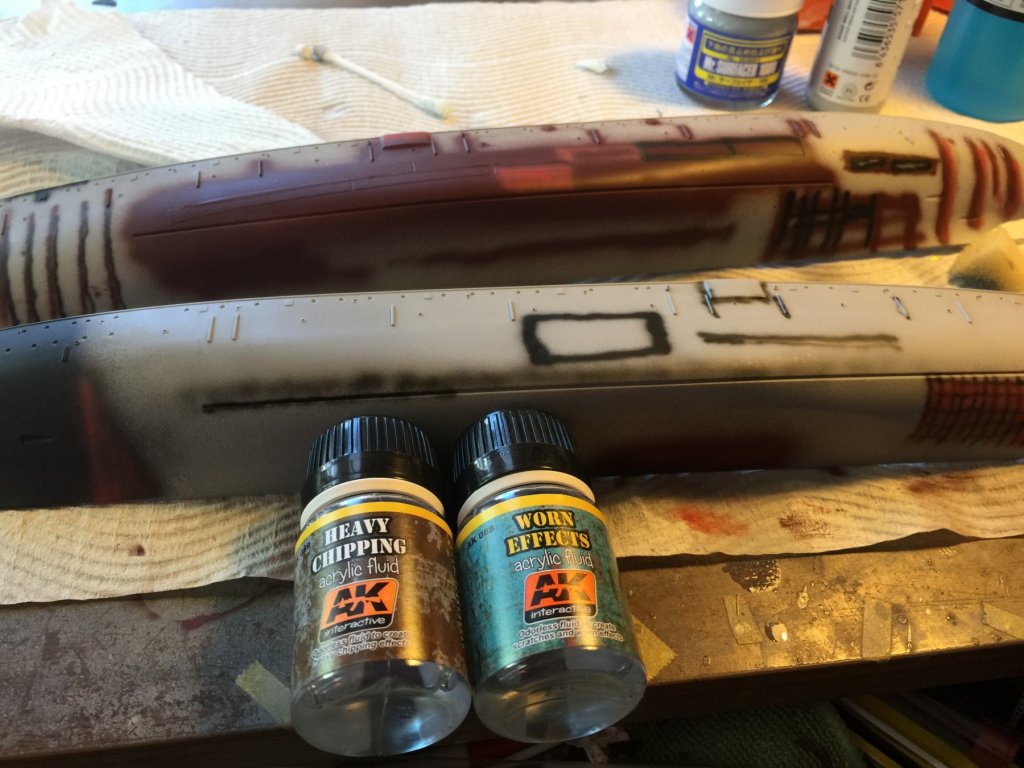
Pre shading V1. My plan is to do up the lower hull firs, using a black red between the ribs at the bow and amidships then overspray a Matt varnish, then paint it over those sections with the chipping and wearing products, then paint it properly like I did on my Yamato, then run away in sections to reveal the damaged sections. Hope it works! The decks will will have the brown Lino sections that will be modulated before the brass bracing is added. Looks a mess now now but hopefully there is method to my madness.

-
You'd probably find anything from Ebay coming from China won't matter as they generally don't care about rules.
- 151 replies
-
- 6
-
-
- duke of york
- tamiya
- (and 2 more)
-
Your email spoilt for choice in your part of the world, SE Asia seems to produce a lot of the aftermarket tho and shipping is quick here.
- 151 replies
-
- 6
-
-
- duke of york
- tamiya
- (and 2 more)
-
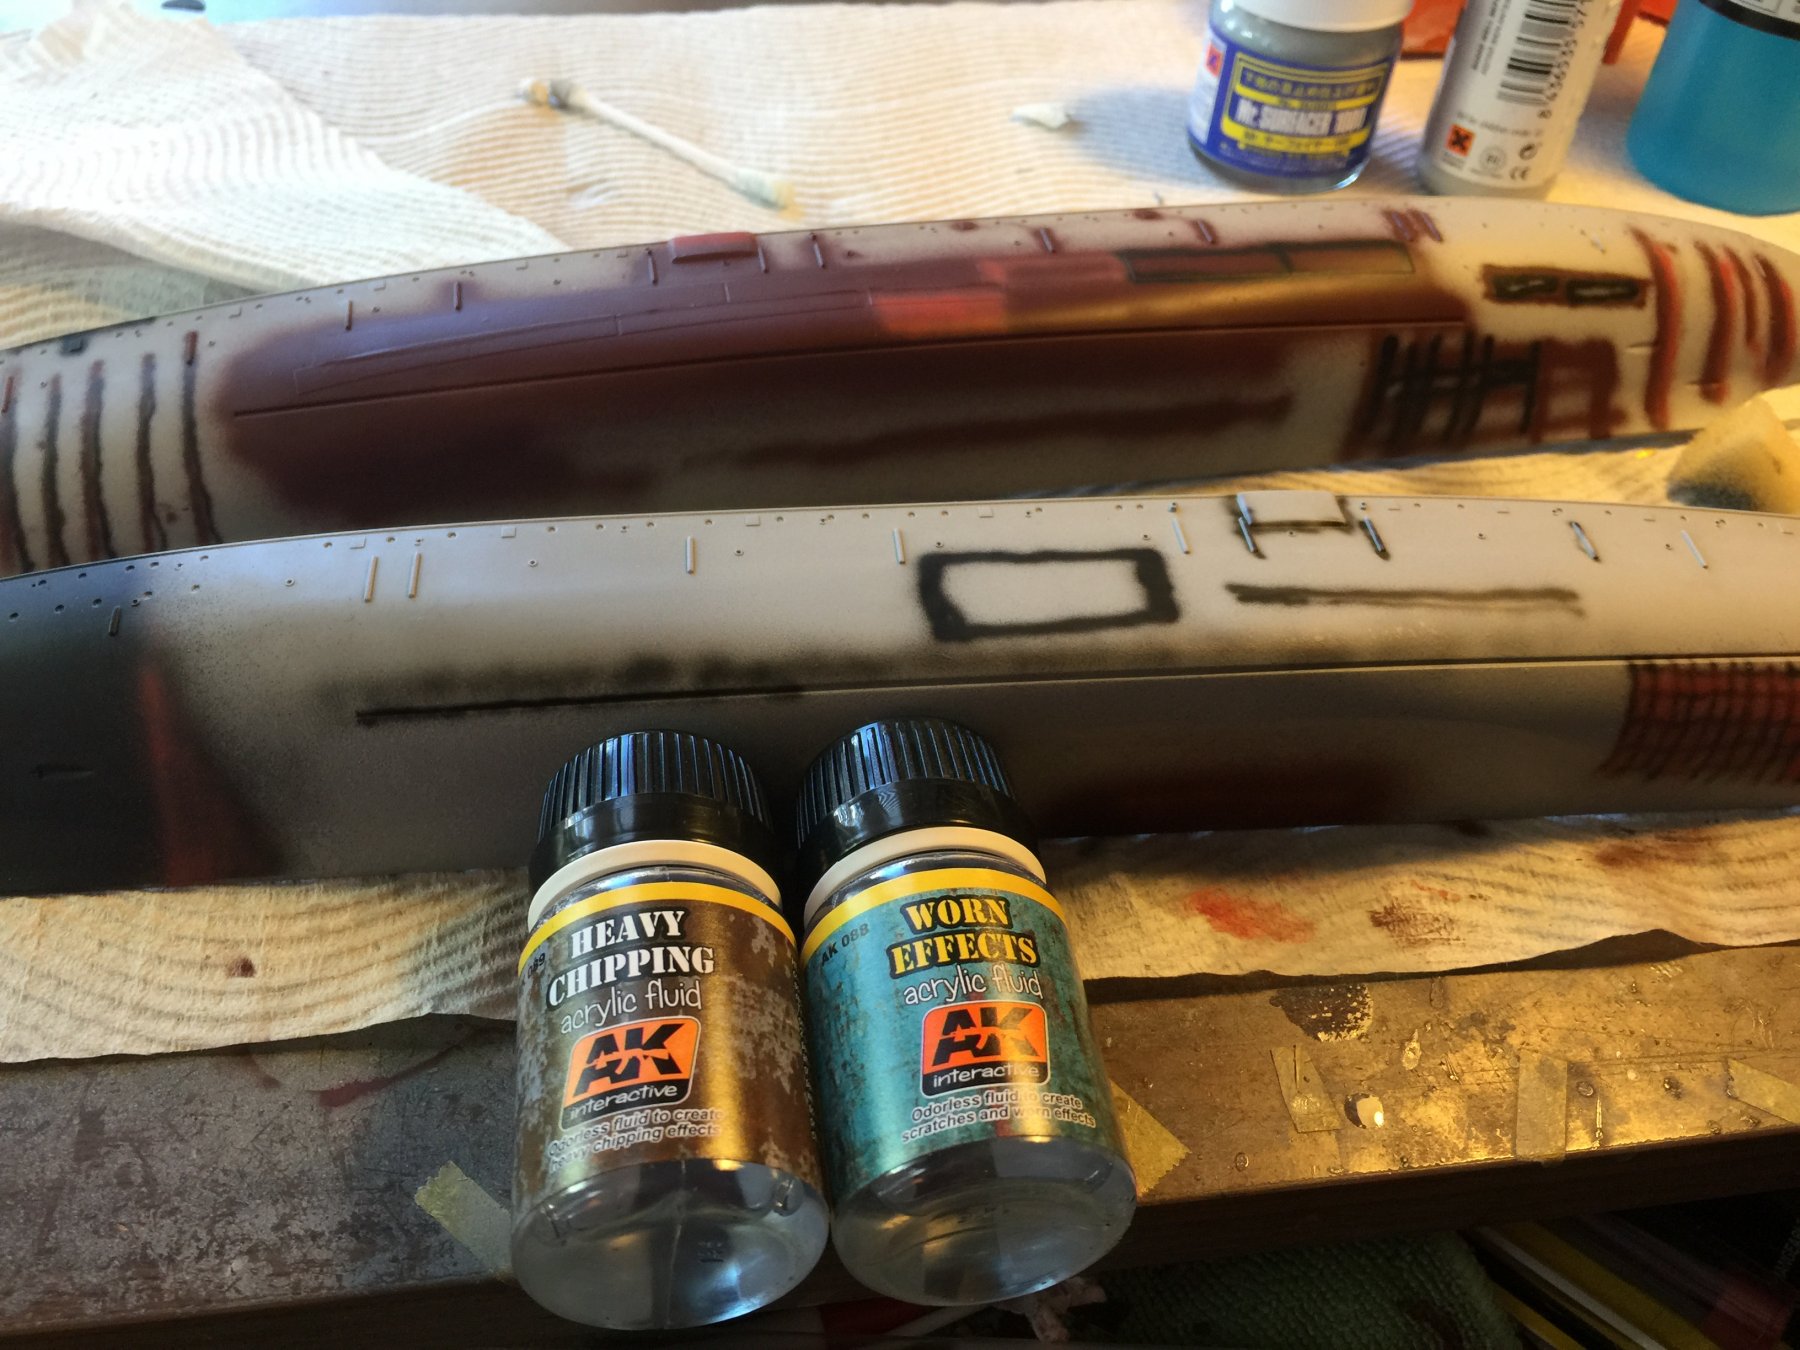
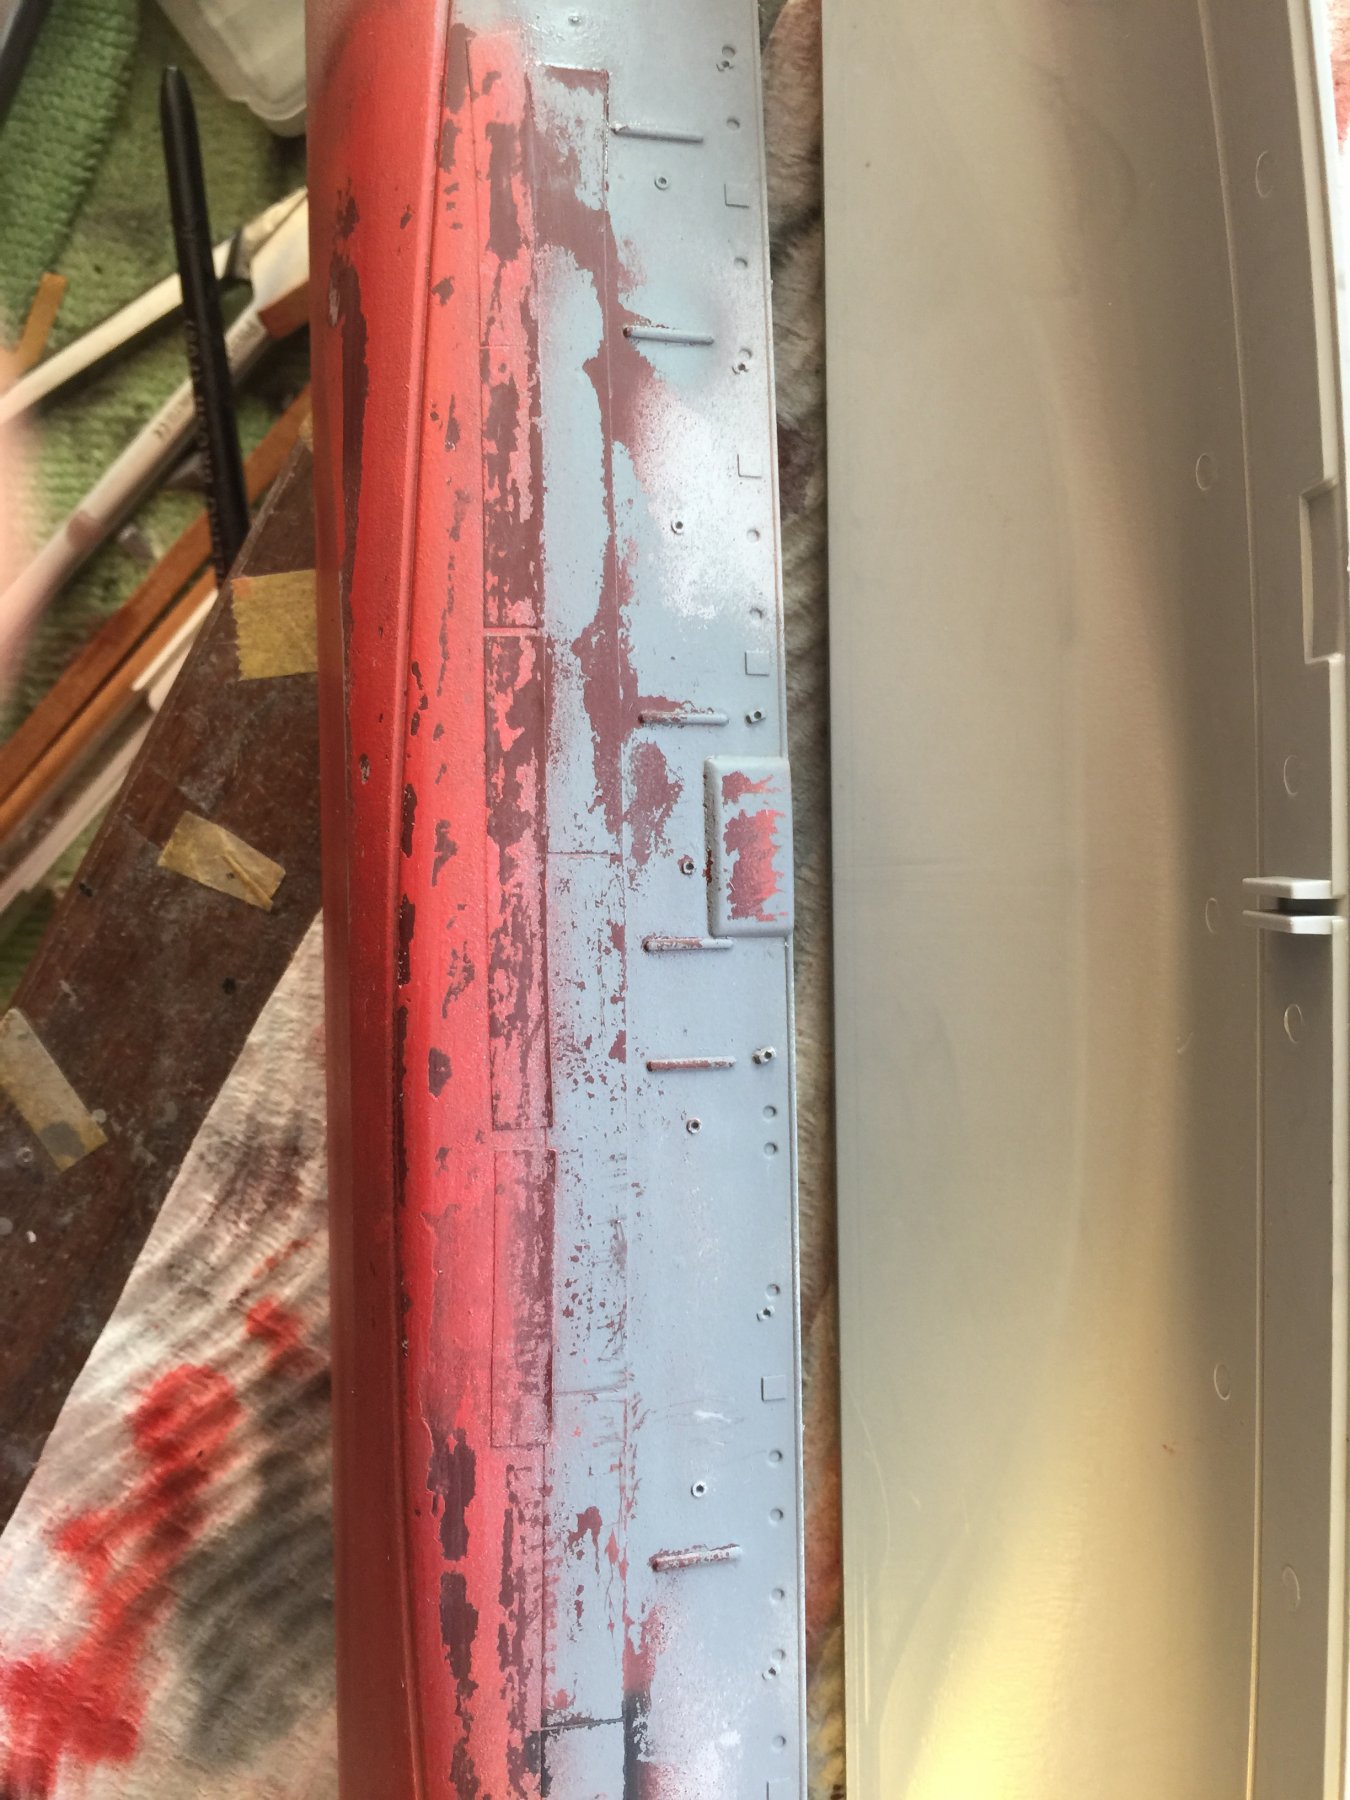
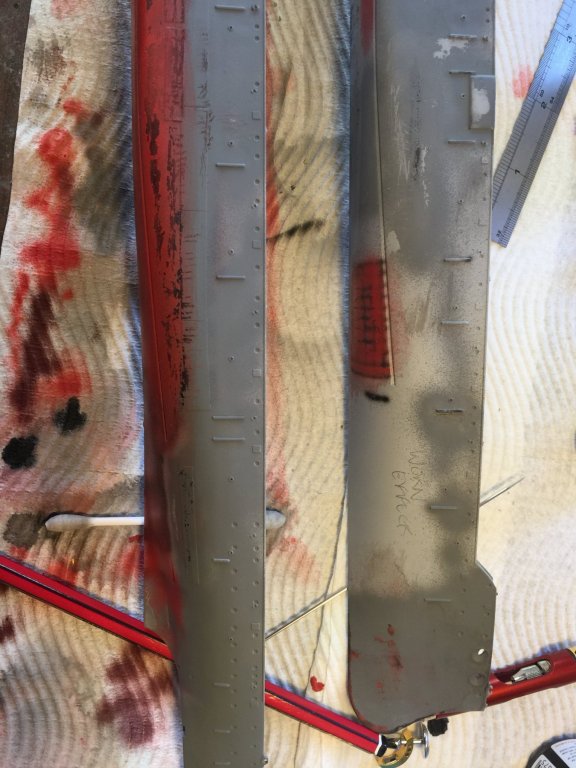
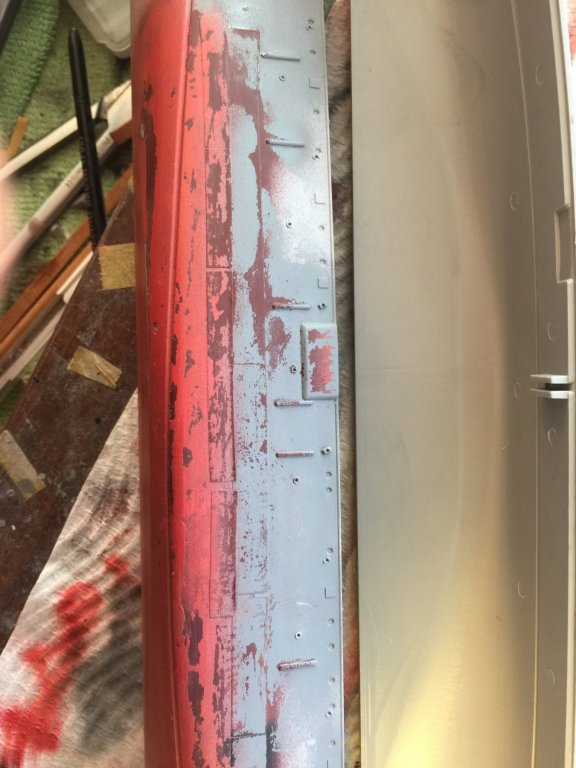
Testing out some new stuff on an old hull, chipping and wearing. I'm thinking if I can do a decent sets of ribs on the hull in black and dark rust, a coat of varnish then some of these fluids, I can beat the hull up pretty well. I just have to figure if i complete the hull painting completely then wear it back. This is is a bit severe but I like the effect I also want to try and add barnacles over the top. Let's see.

- 218 replies
-
- 14
-
-
Maybe you could follow me after wood and go to plastic Dave? the rigging work is so much easier