HOLIDAY DONATION DRIVE - SUPPORT MSW - DO YOUR PART TO KEEP THIS GREAT FORUM GOING! (89 donations so far out of 49,000 members - C'mon guys!)
×


Tigersteve
-
Posts
1,327 -
Joined
-
Last visited
Content Type
Profiles
Forums
Gallery
Events
Everything posted by Tigersteve
-
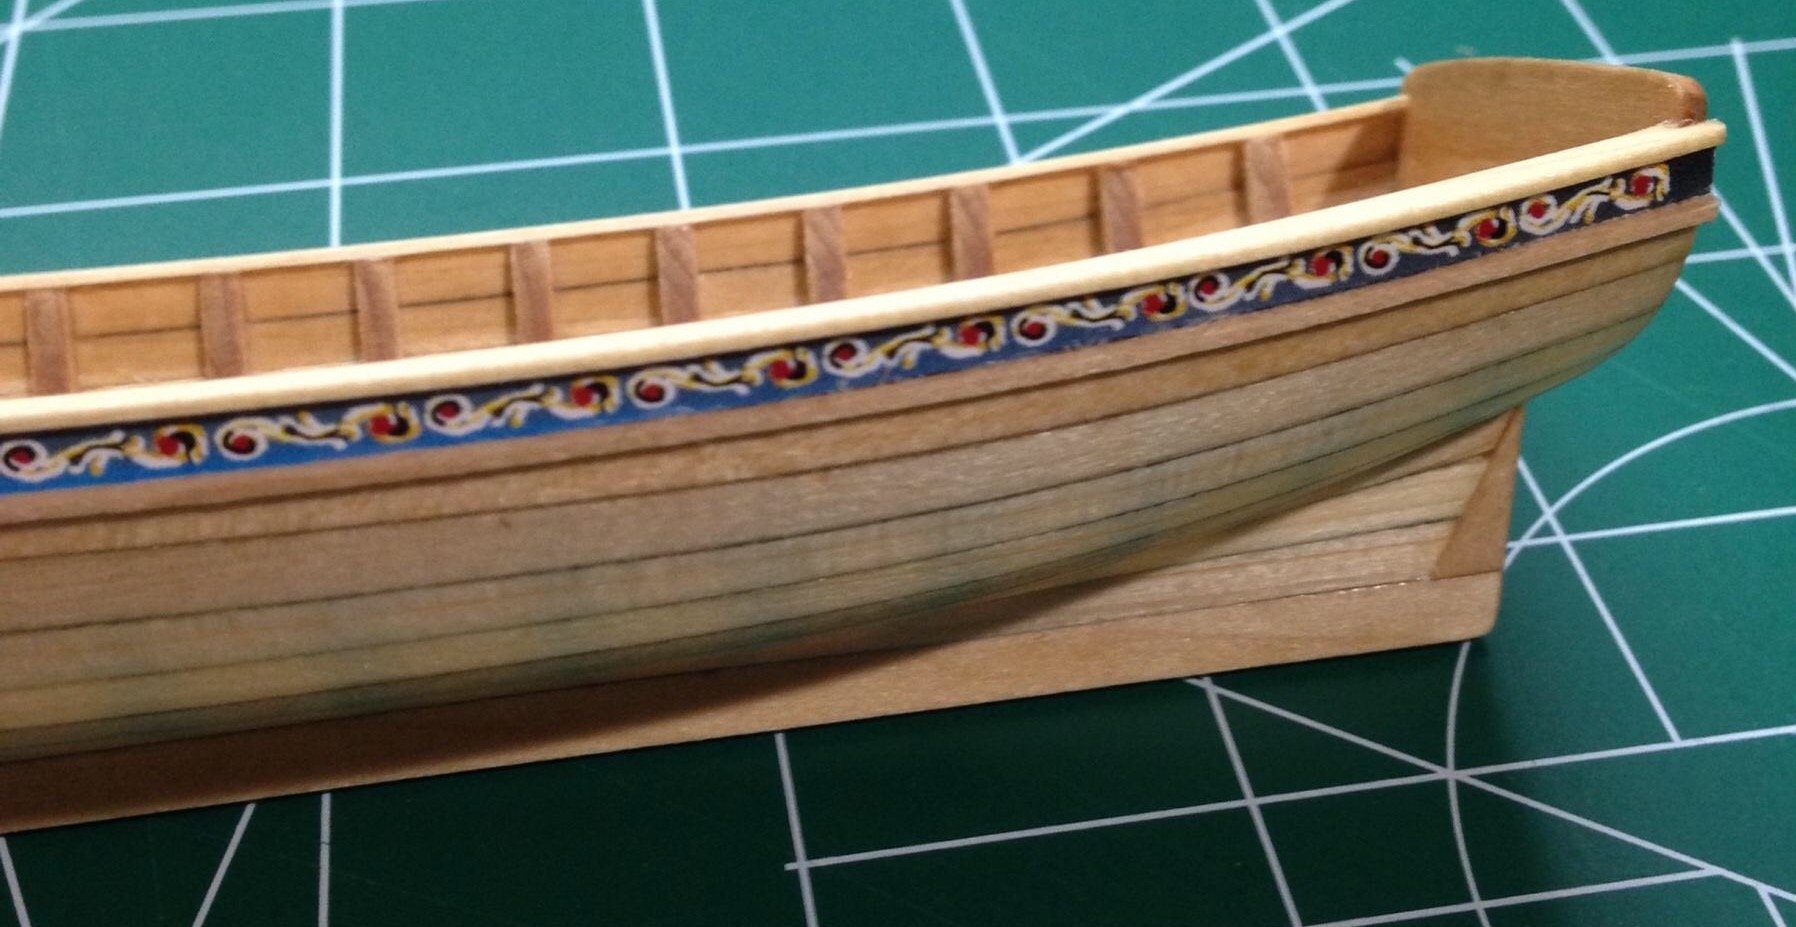
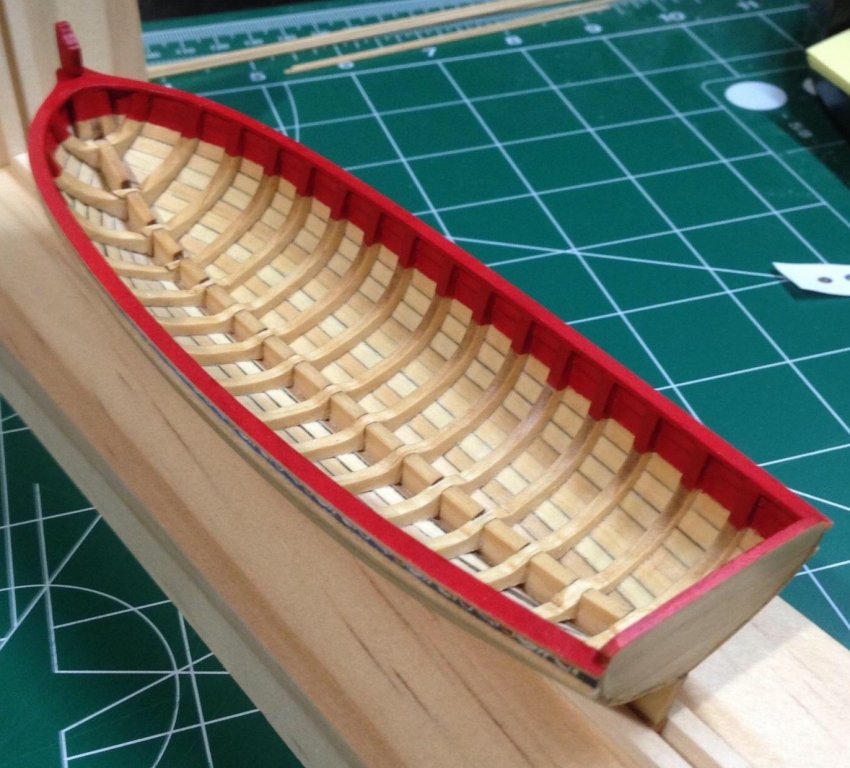
 Floorboards and simulated nails are just about done. I need to erase the guiding pencil lines tomorrow. I used a fine tip black pen for the nails. Loved Bob Fs method of using black paint brush bristles but that method would have surely stressed me out. I'm pretty satisfied with the results. Steve
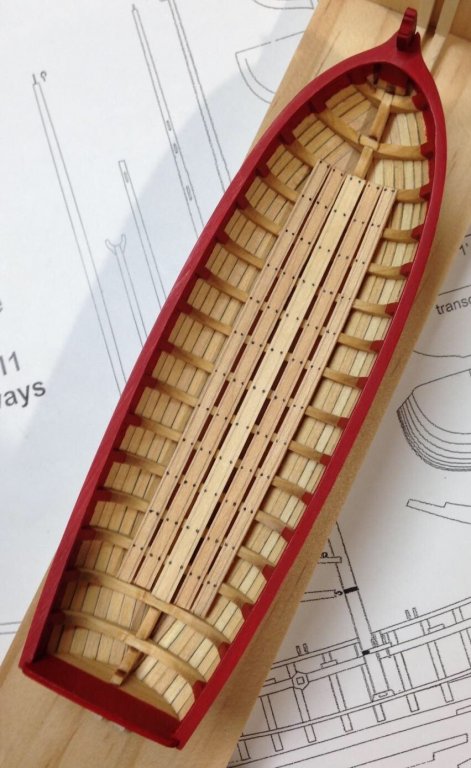
- 165 replies
-
- 10
-

-
- finished
- model shipways
- (and 1 more)
-
Mike, I think if you follow Chuck's photos you should be fine. Steve
- 129 replies
-
- 3
-
-
- finished
- model shipways
- (and 1 more)
-
Loving this build! I can't wait to see what you do with the rigging. Steve
-
Looks good! Seems like a more relaxing build so far compared to the longboat. Steve
- 129 replies
-
- 2
-
-
- finished
- model shipways
- (and 1 more)
-
Thanks for all the likes everyone. As most of you, I have ridiculously high standards for my work. That being said I really want to try to figure out a way to sand the inside planks where it's painted red to get a better finish. I'm just not sure if it's worth the effort. Especially when it might not be noticed after all the other inboard details are done. What do you guys think? Steve
-
Wanted to give a quick update. I've been painting the cap rail and inside Tamiya flat red. The photo shows three coats. It's not as clean as I want yet so there's more sanding and paint ahead. I'm not thrilled with the brushes I am using so I will get some new ones before the next project. It's a tricky area to paint! Steve
- 165 replies
-
- 11
-
-
- finished
- model shipways
- (and 1 more)
-
Annoying they would burn it right on the transom. I would attempt to make a new one. No extra wood in the kit that thickness? Maybe get some extra basswood from Michael's? Steve
- 66 replies
-
- 1
-
-
- bounty launch
- model shipways
- (and 1 more)
-
Yes- thank you. Trying to get an idea of what people are using brush-wise. Steve
-
Nicely done! Steve
-
Have to agree with Erik. Your first version is more pleasing to the eye. Steve
- 1,051 replies
-
- 3
-
-
- cheerful
- Syren Ship Model Company
- (and 1 more)
-
Very sorry for your loss, Erik.
-
How's she coming along, Erik? Eagerly awaiting your progress as many others probably are too! Side note- excellent longboat build. I've also used to reference for my longboat build. Steve
-
Hi Andy, I am wondering what type of paint brushes you use. Steve
-
Excluding the windlass and a surprise! You have my attention. I hope your materials show up. Steve
- 335 replies
-
- 2
-
-
- 18th century longboat
- Finished
- (and 1 more)
-
It is coming along nicely. I also just found your longboat build. Nicely done! Best of luck with the plank bending for this one. Hoping it goes smoothly for you and is a little easier than the longboat. I am following closely, as this is my next build as well. Steve
- 129 replies
-
- 3
-
-
- finished
- model shipways
- (and 1 more)
-
The oars are coming along. I think you are right- more fine sanding should do the trick. Glad to see you back at this build. I'm currently doing some tests before I paint the cap rail on mine. Did you do any masking inboard before you painted or freehand? Steve
- 335 replies
-
- 3
-
-
- 18th century longboat
- Finished
- (and 1 more)
-
It's looking good to me. Your planning will pay off I'm sure. In skimming through some of the manuals online for these kits I noticed they all seem very "cookie cutter"- at least from this kit's designer. I hope the plans are clear. I will keep following your build. Steve
- 648 replies
-
- 3
-
-
- niagara
- model shipways
- (and 1 more)
-
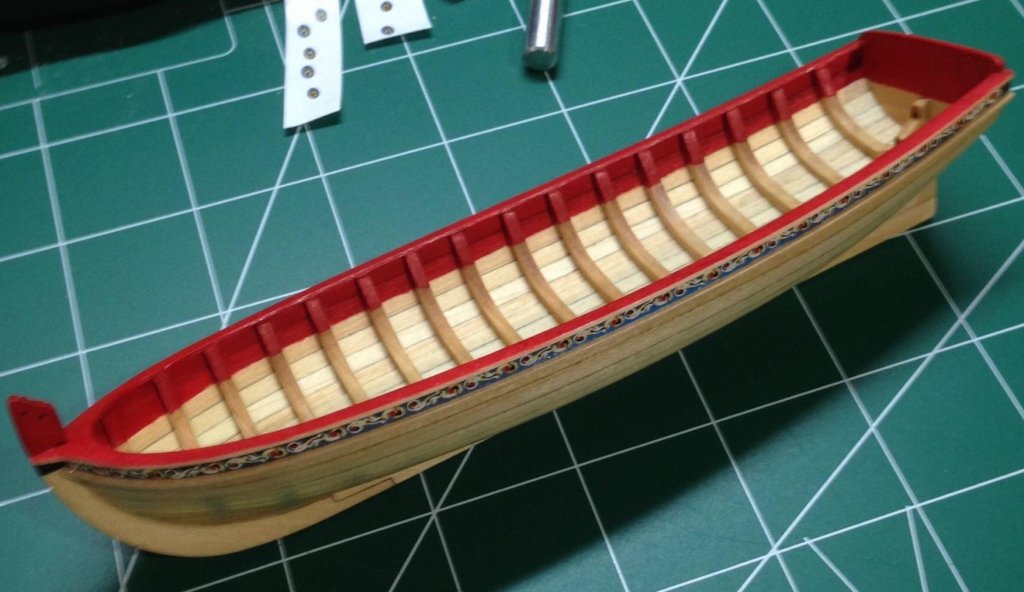
Applied the freezes and moulding strip below. I advise that you apply the moulding strips first as it was tricky to keep the freezes pristine. I applied one coat natural stain to the moulding the night before. I left the transom freeze off. I thought the model looked better without. At least I think mine does. Painting the cap rail is next. Steve

- 165 replies
-
- 11
-
-
- finished
- model shipways
- (and 1 more)
-
Looking sharp! Steve
-
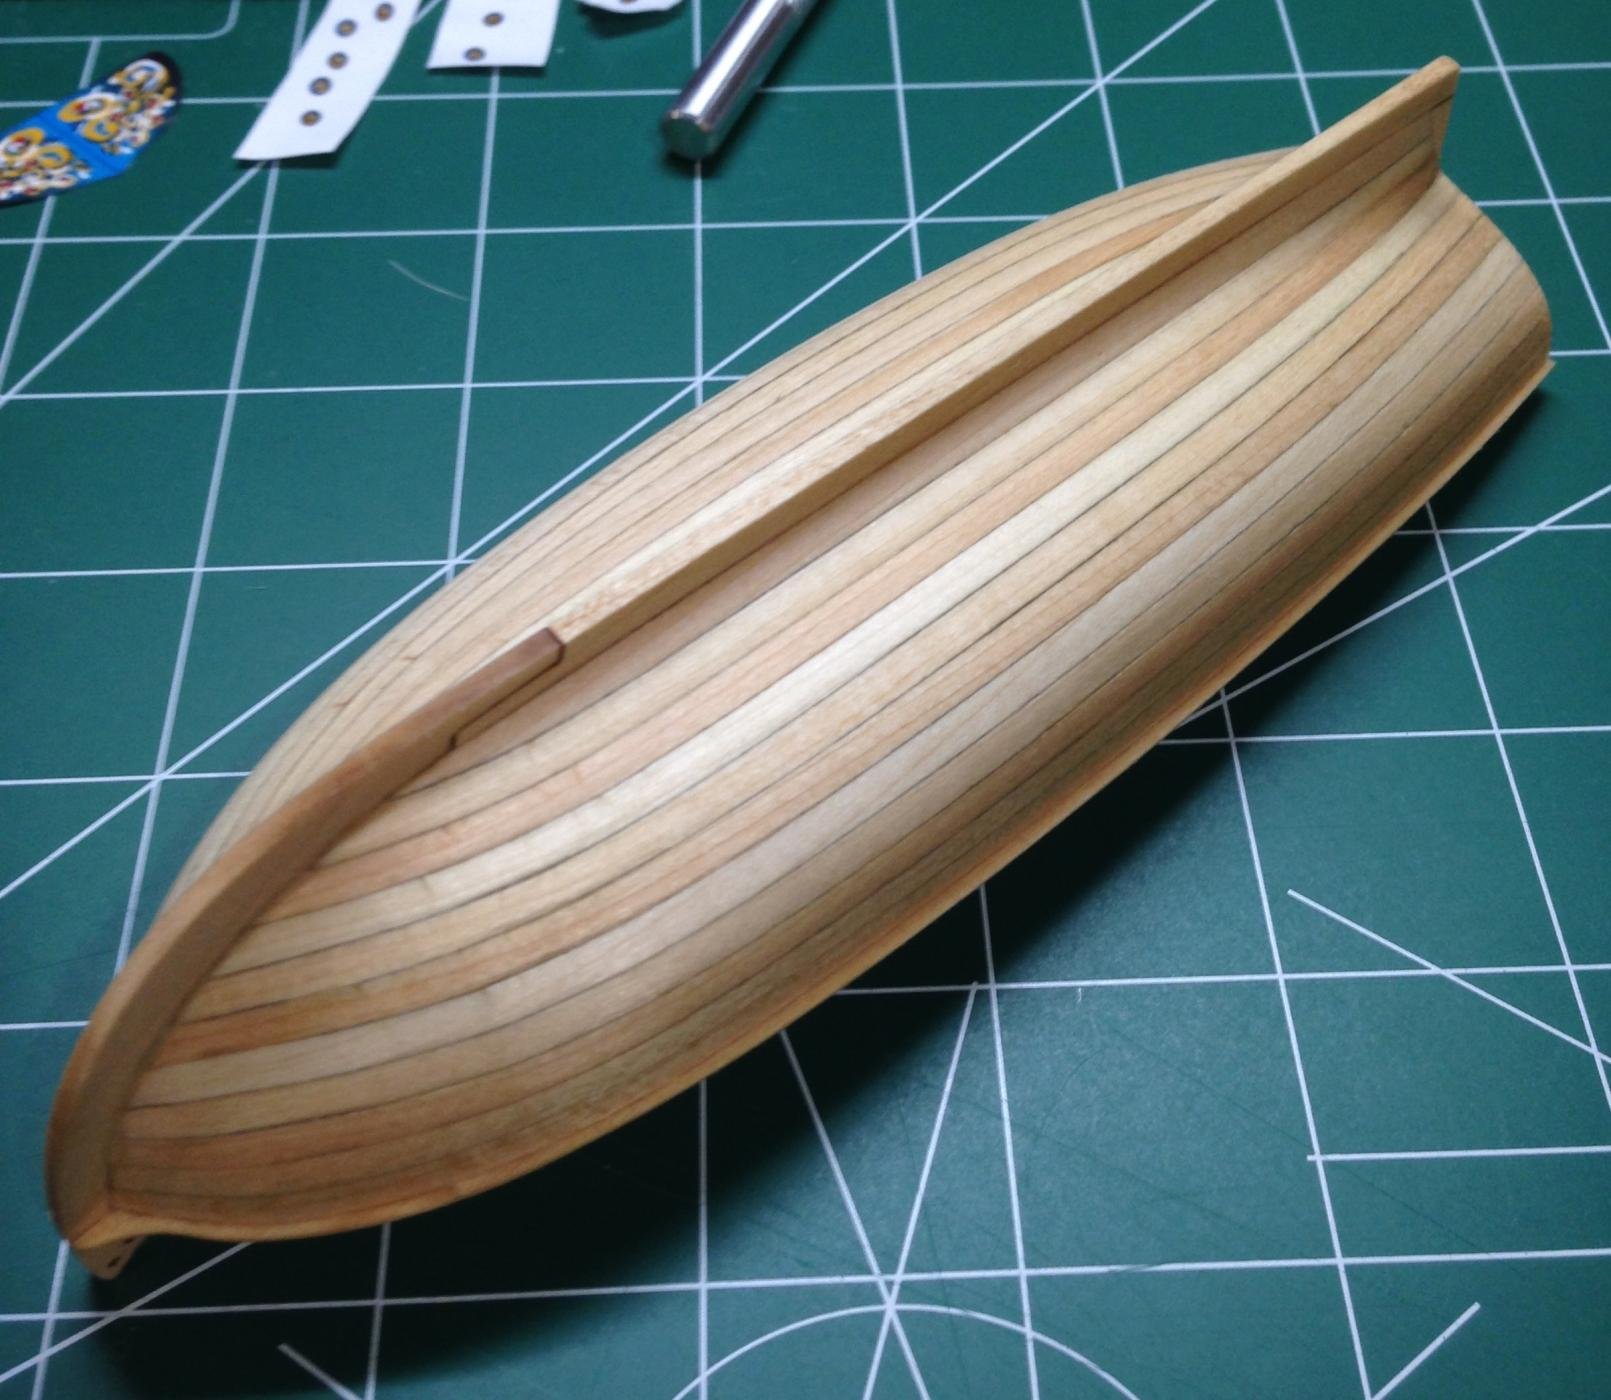
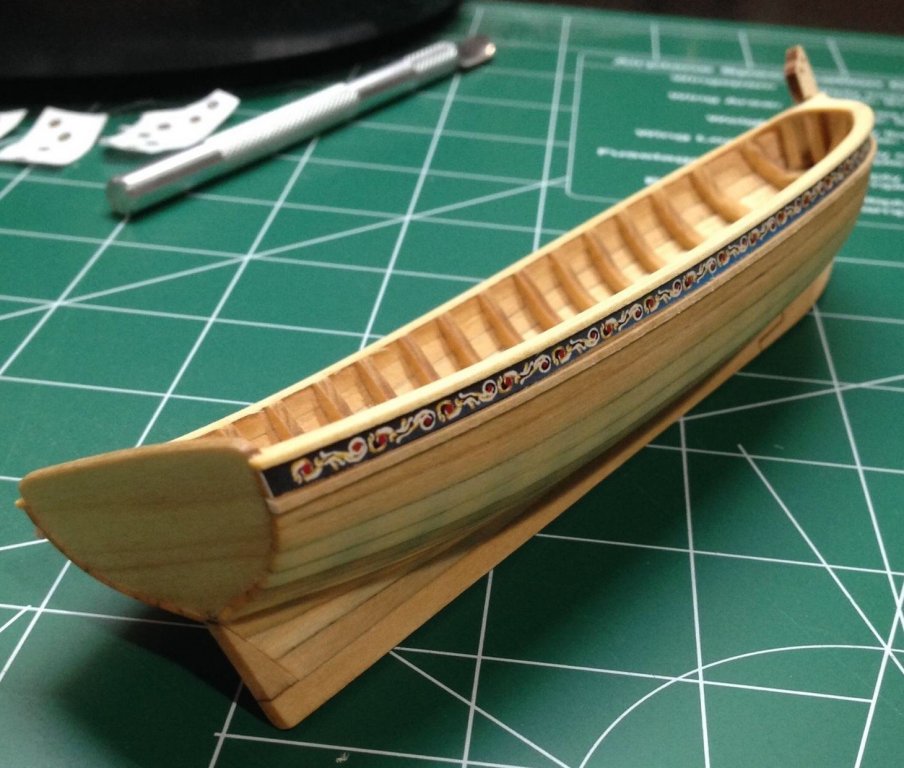
Nirvana- I'm enjoying it a lot more now that the planking is done. It's an extremely challenging kit! Gunther- I think it does add character. Originally I selected all similar colored planks but as I started to break the planks when bending, the wood became more varied. I'm still pretty happy with it. It's smoother than it looks. Sanded with 220 then 320 then 400 sandpaper. Thank you both for the kind words. It is much appreciated! Steve
- 165 replies
-
- 1
-
-
- finished
- model shipways
- (and 1 more)
-
Ok fellow builders- one coat of pre-stain and then one coat of natural stain. Cut out the freezes. What a pain! I will apply these after I apply WOP. I think I will paint the cap rail after the WOP is applied and freezes are on along w the moulding strip that needs to be applied. Special thanks to the stain for highlighting the imperfections! Steve


- 165 replies
-
- 11
-
-
- finished
- model shipways
- (and 1 more)
-
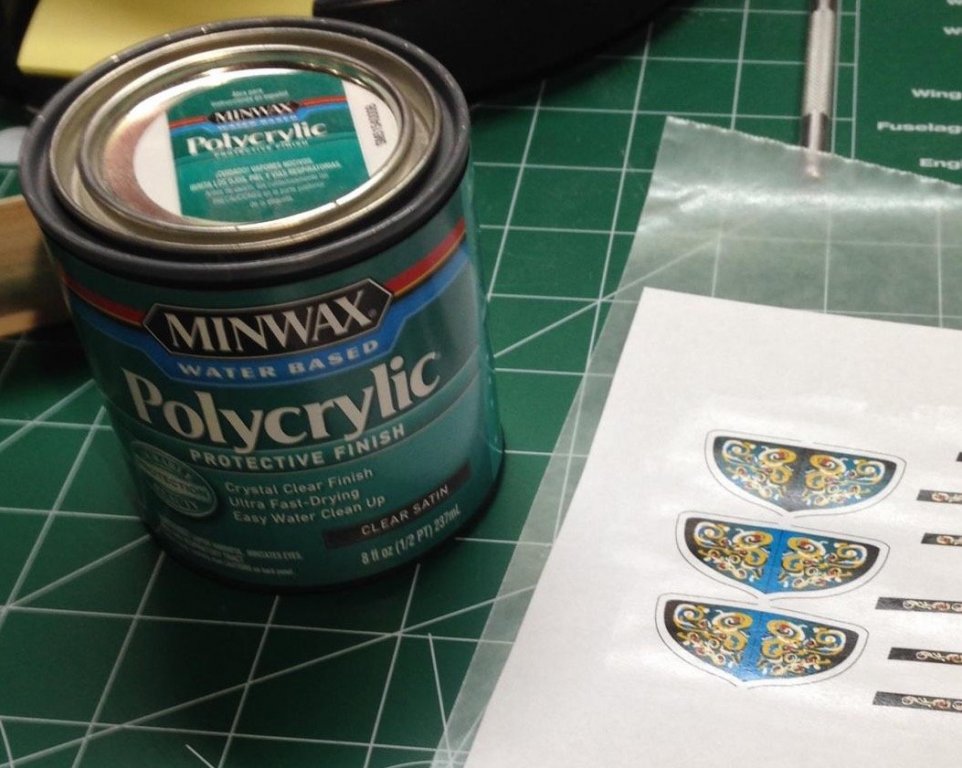
Thank you, everyone. Yes I did read about the hairspray trick. Did some research though and was also prepared to purchase proper fixative because there's some debate on the long term effects of hairspray. I'm giving Minwax Polycrylic clear satin a try since I have it. Yes- I have many freezes now. Applied two coats. Gives a bit of a sheen but it looks protected. Steve
- 165 replies
-
- 2
-
-
- finished
- model shipways
- (and 1 more)