-
Posts
1,937 -
Joined
-
Last visited
Content Type
Profiles
Forums
Gallery
Events
Posts posted by tlevine
-
-
Thank you Ed and Druxey regarding the yellowing of holly. I think Greg used the GF product on Pegasus.
-
Greg, it may also be the holly I am using. This wood is cut from billets I have had approx. 20 years. I used the same finish on the Swan cutter (the holly is from Jeff at HobbyMill) and I looked at it today and it has barely yellowed after almost three years.
Druxey, if it yellows that much over time, I guess I won't worry about it. The whole idea is to have some contrast between the two woods, rather than a monotone, and even the minor color difference provides for that.
-
Elmir, I am not sure what linen oil is...maybe linseed oil? From personal experience, I have had the experience of bleeding as a result of the finish being applied. I hope you do not have any problems.
-
Way too hot and humid today. And it's supposed to rain later. How's that for a few excuses to stay with the ship?
-
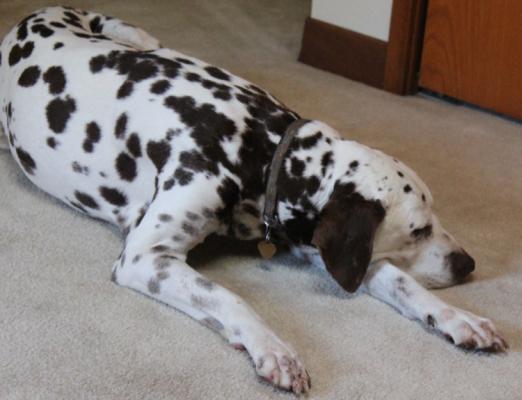
Having heard Mr. Excitement got his picture posted, Sadie got jealous and tried to give me her best "I'm excited" or is that "Feed me" look.
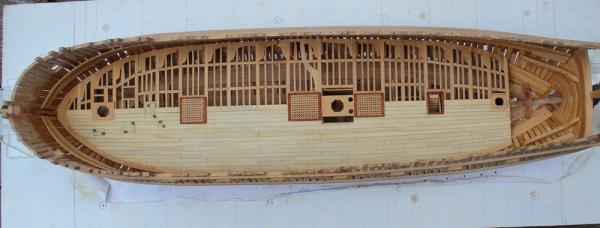
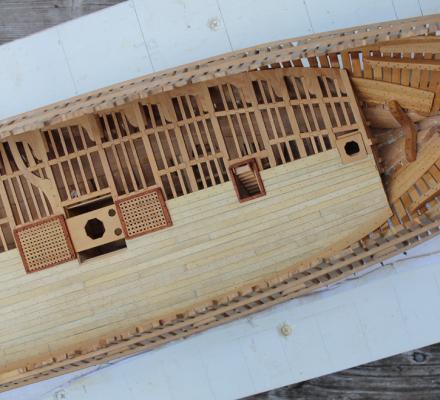
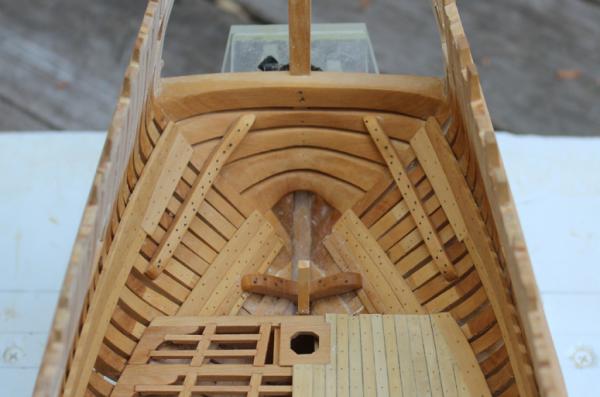
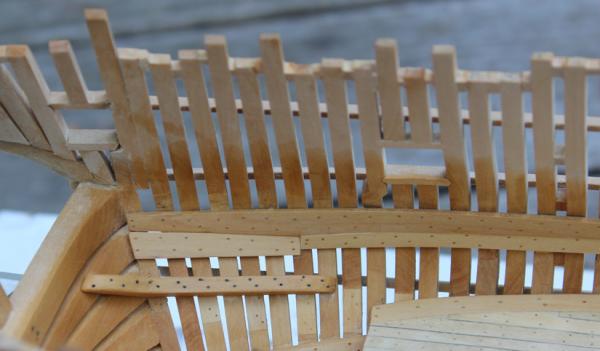
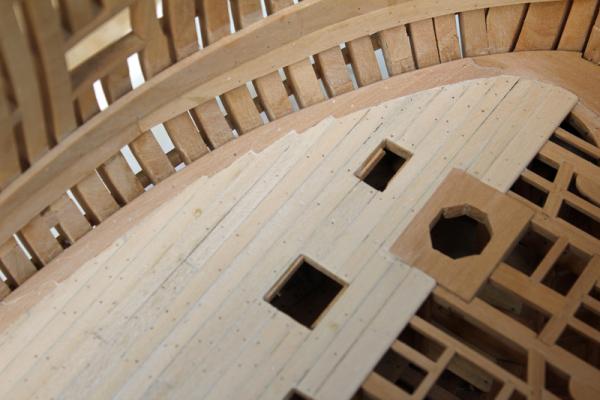
I have applied the finish to the deck, hatches/coamings and inner hull up to two (scale) feet above the upper deck clamp. I am a little disappointed that the holly turned so yellow but there is still a reasonable contrast between it and the boxwood waterway. On the other hand, the cherry on the hatch coamings really pops. The last picture shows the change in the color of the boxwood with the finish applied and sanded with 400 grit.
- paulsutcliffe, derebek, Padeen and 11 others
-
 14
14
-
Thanks for looking in Nils. I have not yet decided whether to leave the build as hull-only or to mast and rig her. A lot of that will depend on my mood when she is completed a few years from now. It will be placed on a stand with two pedestals. The keel has already been drilled for them. This is an entirely scratch built ship following the Fully Framed Model series by David Antscherl and built using costello boxwood as the primary wood with holly decking. The plans were obtained from the National Maritime Museum.
-
Daniel, isopropyl alcohol keeps us all out of trouble! And if it is too late for that...then it's time for they ethyl alcolhol instead.
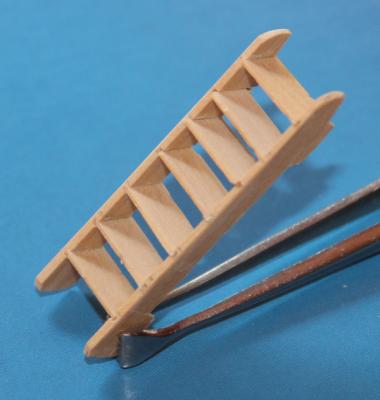
I have built the ladder from the lower deck to the aft platform. This is the last structure to make before starting work on the lower deck furniture. I have used the pattern from TFFM. The slots in the stiles for the risers were made with the table saw. I have a 0.16" kerf slitting blade which is just wide enough for the risers and used that to make the mortises in the stiles. A coat of finish was applied before gluing it in place.
Although I am pleased with completing this part of the build, Mr. Excitement (aka Cocoa) is less than thrilled.
-
Danny, I've been very quiet on you build log for the last several months since the rebirth. I used this time as an opportunity to review all the old, reposted work as well as things that I ordinarily would not have looked at. I saved the best few for last (ie Vulture and a few others). Love what I see and hopefully, when I get to this point in my build, I can do almost as well as you have done. Question...what was the lead time on your cannons?
-
-
Thanks a lot Paddy. Bob F uses the same building board. In fact, he might have made mine! These were distributed to all the participants in the Tri-Cub. Anyway, the board is 3" x 9" and is made of 3/8" plywood.
Enjoy your build and don't be afraid to ask questions.
-
Thank you, Druxey. The hardest part was keeping them mirror images of each other.
Thanks, Geoff. When it is time for the gratings on your Connie, remember to make jigs for various scales all at once. Then you'll never have to do it again! On the back of this jig is the jig for Hannah, both made at the same time.
-
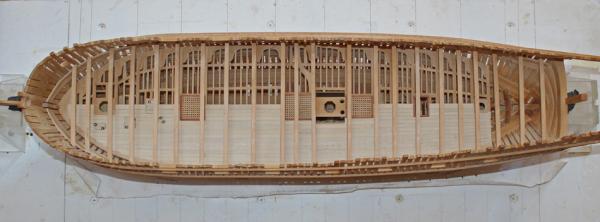
I have constructed all of the upper deck beams and glued them temporarily in place. Most of the deck beams are directly above the lower deck beams. Six of the beams are offset either fore or aft, some for obvious reasons (like a mast being in the way) and others for reasons I am sure I will figure out later. Once I mark the centerline and carling locations, I will remove the beams so I can finish the lower deck.
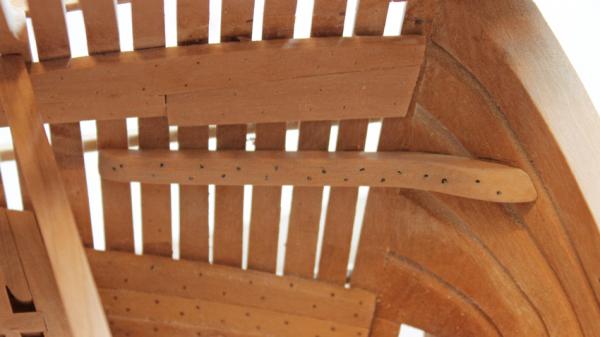
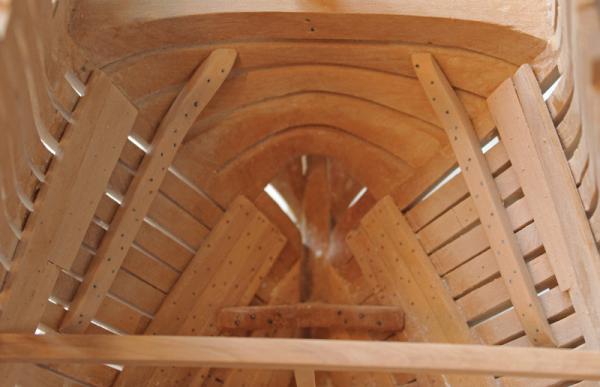
The Swan class had one set of sleepers. These are large knees that attach to the aft cant frames and filling transoms with 1" bolts. These are made by cutting out templates to the rough shape and then sanding them to the correct shape. As they are set at an angle, the two faces are not perpendicular to the sides.
-
Druxey, I would love to take credit for this idea but I am sure I borrowed it from someone else. The nicest thing about this approach is that all of the cross-slats will exactly fit in the slots even if the spacing between slots is slightly off.
-
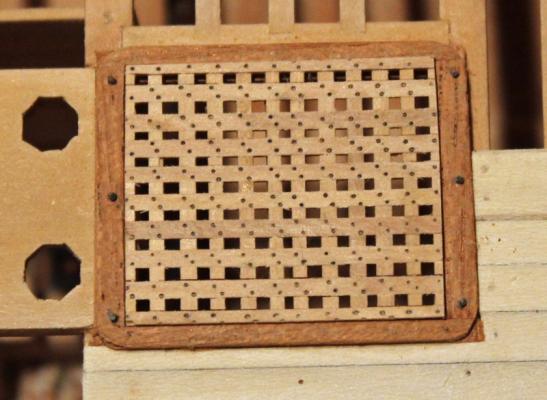
There are two treenails at each intersection. As suggested in TFFM, I impressed a dimple in the wood with a very sharp point and then used a pencil to highlight the dimple. The pictures show the main hatch cover prior to treenailing and the aft hatch cover completed. They still need to be sanded down on the undersurface to the correct depth on top to match the curvature of the deck. If I sand some of the treenails off in the process, they are easily redone.
-
A belated thank you to Kevin and Tom. I was out of town for the holiday weekend.
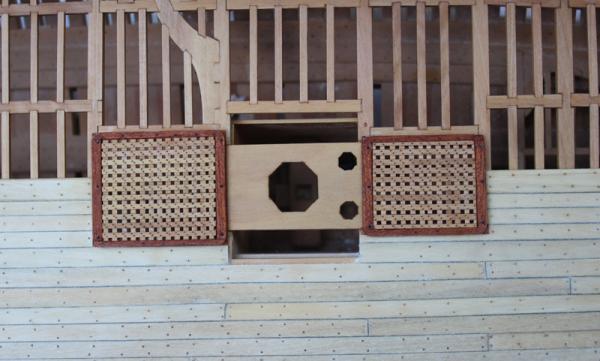
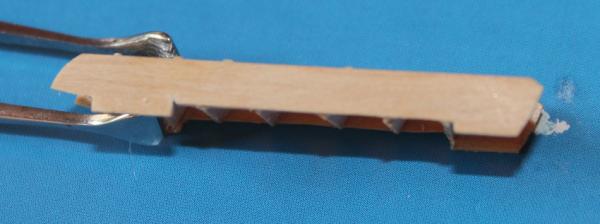
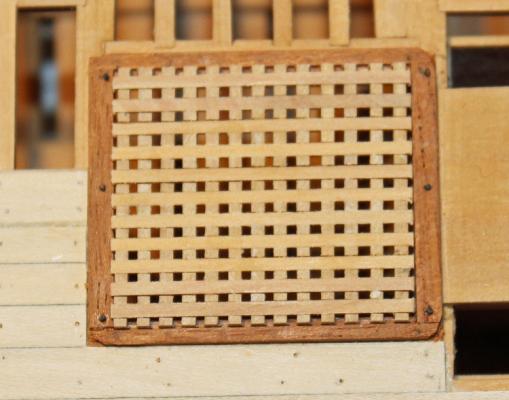
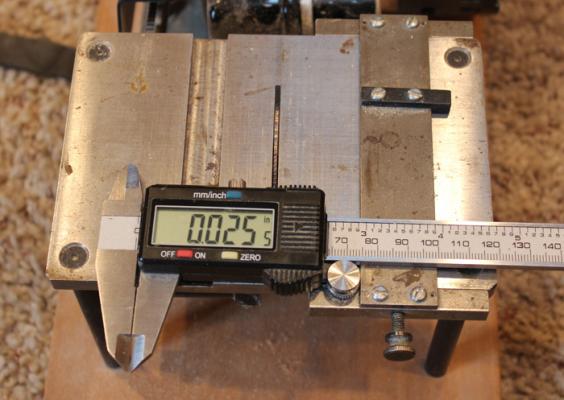
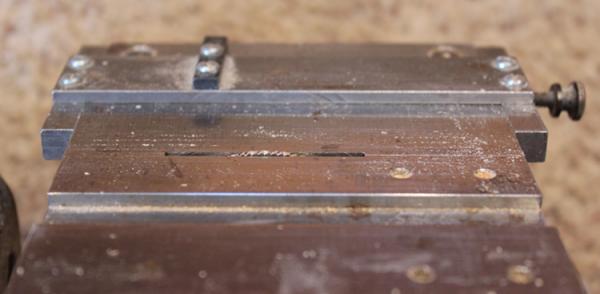
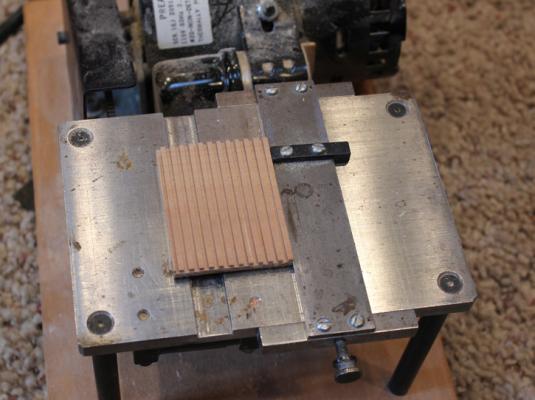
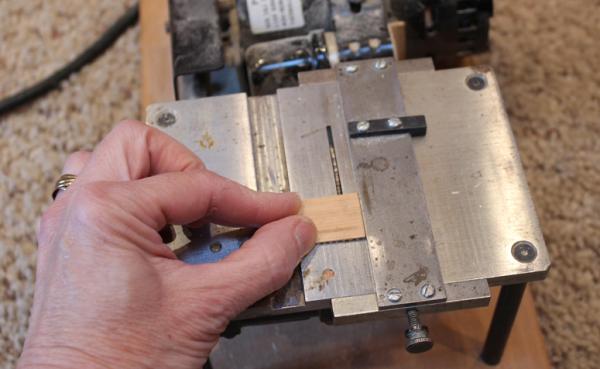
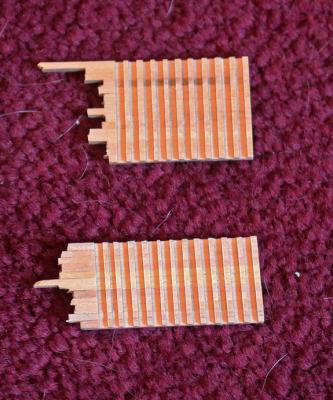
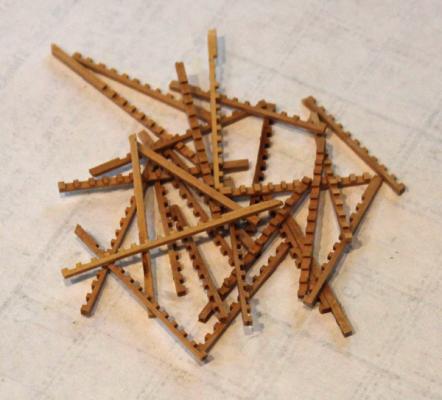
The hatch gratings come next. The gratings are made of two different types of slats. The athwartship pieces are thicker and are notched to accept the thinner un-notched fore-and-aft slats. These thicker slats rest on the coaming rabbet. The notches are 0.05" wide and 0.025" deep (scale 2.5" x 1 1/4"). Let me tell you my grating construction technique. First cut stock for both types of slats. Cut individual thick slats approx. the length required. Glue their side edges together with PVA to form a multilayered sandwich. This way, when the notches are cut you can be guaranteed they will match. I deliberately keep one end ratty and the other end neat for polarity. Set the saw blade to depth of the notch. In this photo the kerf width is 0.045" but the width does not matter as long as it is thinner than the width of the slot.
When I was building Hannah I made a grating jig for her at 1:36 scale. I knew I would want a 1:48 jig at some point in the future and made one then, gluing the two jigs back-to-back for stability.
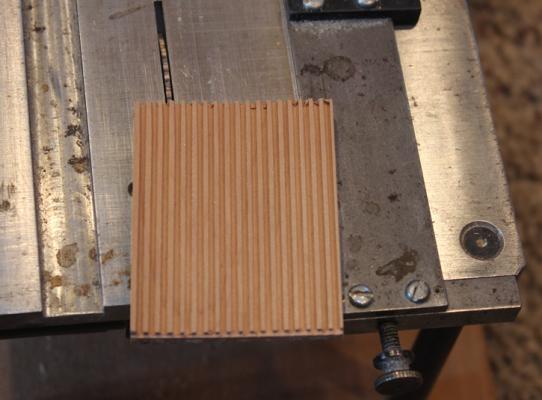
To make the notches, place the jig over the blade and pull the jig gently away from the blade. Secure the fence. This defines one edge of the slot. Cut the slot into the sandwich. Then release the fence and push the jig against the blade. Secure the fence and cut the other edge of the slot. Move the jig over to the next position and repeat the process until done. Be sure to add a few extra rows of slots in case your measurements are a little off or a piece breaks off during final shaping.
Soak the sandwich in isopropyl until the pieces fall apart from each other. Clean off the glue residue and they are done. The same jig can be used to hold the notched slats in place while the thinner slats are glued in place.
- Jeronimo, harvey1847, jaerschen and 6 others
-
 9
9
-
Dan, if you put the same width spacer to either side of the centerline there should not be any distortion. If you are really worried, use CA for this step as it will not cause any swelling of the wood.
-
Looking good. The basswood is so soft that I was able to trim the excess frame height with a single edged razor. Rotate the hull so that it is at 30-45 degrees from vertical. This makes it easier to see and gets ones fingers out of the way. Put a support under the hull and then use the razor to trim the top of the frame.
-
Thanks, Mark.
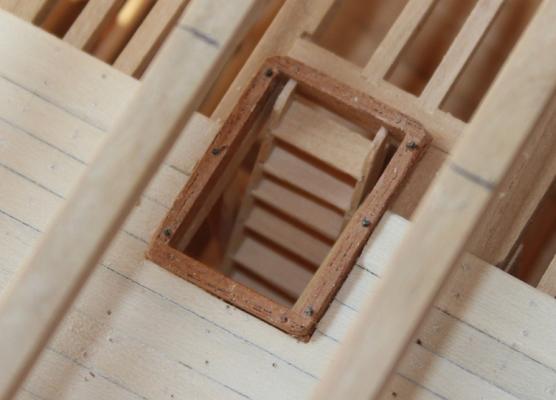
The next items to make were the hatch coamings. I chose to model them in cherry for the contrast. The gratings will be in boxwood. They are composed of four pieces (two fore and aft coamings and two athwart head ledges). The coamings have a rabbet to accept the grating. There was no rabbet on the coaming for the ladderway. On the real ship they would interlock with a tailed half-lap joint; I made a simpler half-lap joint. The head ledges curve to match the round-up of the deck. Rather than making the entire assembly off the ship and then sanding in the curvature, I glued the head ledges directly onto the beams. There is not that much round-up so pre-bending the wood was not necessary. Once they were dry I installed the coamings and cleaned up the joints.
At the corners, the edges are rounded off to the deck level only, leaving a 90 degree corner from the beam to the top of the decking.
Each head ledge is secured with three bolts. I did not have any brass wire with me so I dyed a bamboo treenail black to simulate the bolt. Treenails secure the coamings. I spaced them approximately every foot. The treenails are also made of cherry.
- Elmer Cornish, druxey, aykutansin and 6 others
-
 9
9
-
Thanks David, Danny and Greg. My stiff shoulders remind me why I hate treenailing. The hatch coamings have been installed. I'll try to get some photos posted tomorrow.
-
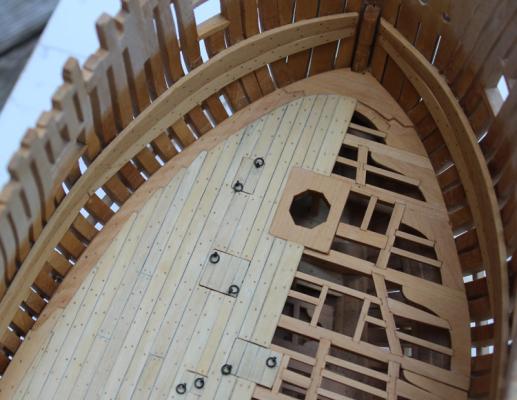
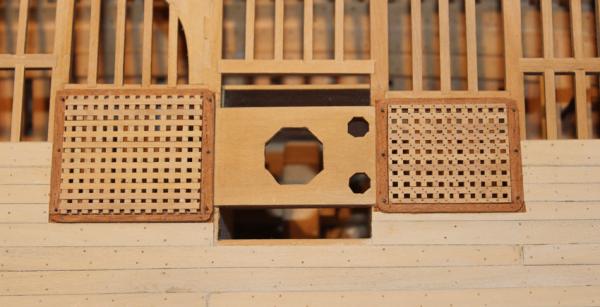
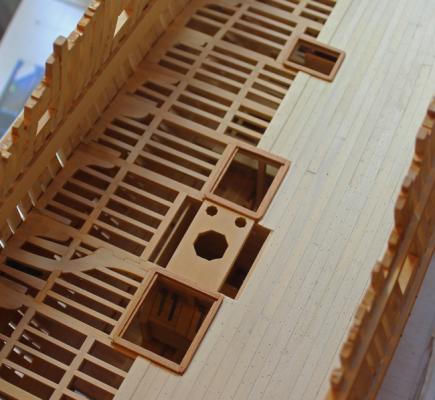
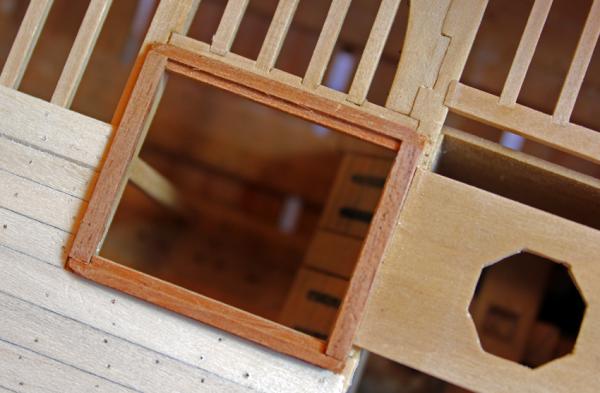
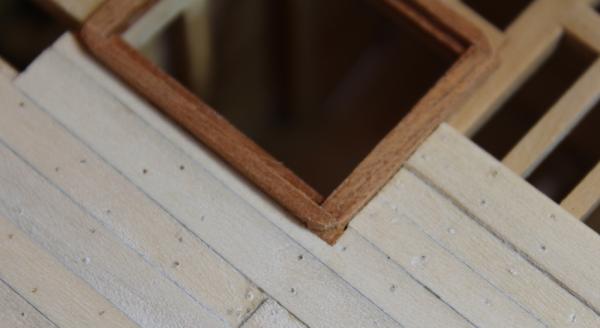
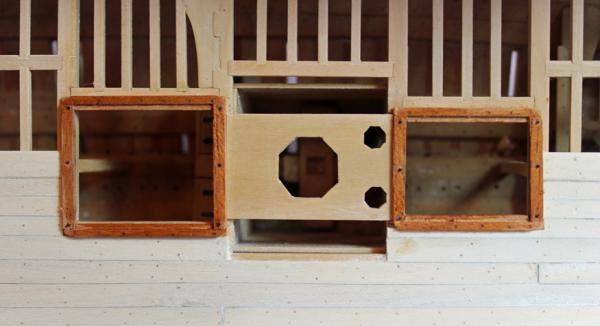
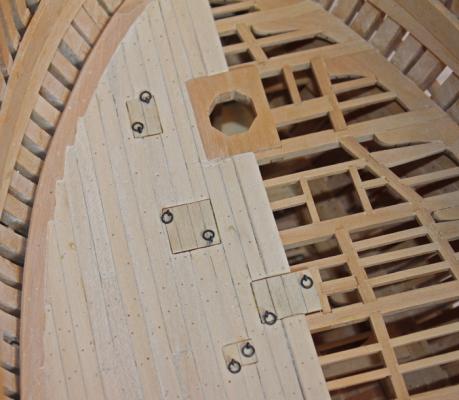
The scuttles in the fore deck are all fitted with covers. There are sills that run fore and aft on the carlings that form the scuttle framing. They can be seen in the first picture. The cover rests on top of them. These covers could either be fit to lift out (which is what I modeled) or hinged. I deliberately made the covers slightly undersized so that they would stand out from the deck planking.The ring bolts are used to pull the covers and are 3" internal diameter. They are made from blackened 24 g brass wire.They measure out correctly but look oversized to my eye. All of the eyes are oriented fore and aft.
- druxey, paulsutcliffe, Wishmaster and 8 others
-
 11
11
-
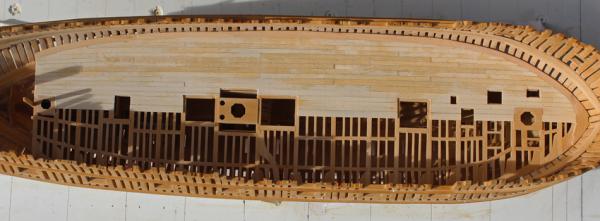
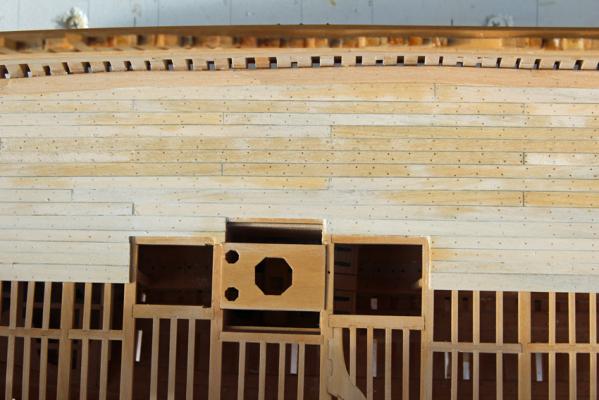
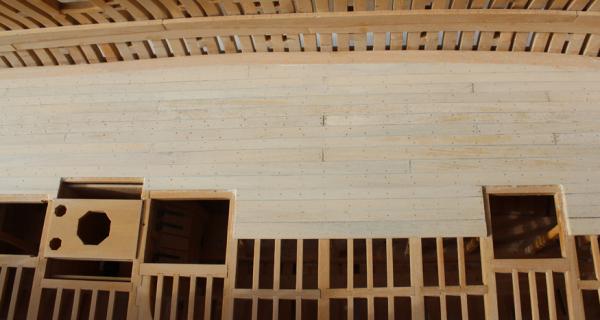
At long last the treenails have been installed. Eventually, I decided to use the standard treenail pattern of double fastenings for >11" planks, single-double for 8-11" planks and single for <8" planks. The butts are double fastened for all planks >8". I never could get the hypodermic needle thing to work at the correct scale so all the fastenings are drill size 77 or scale 3/4". I prefer to insert the treenails dry with a tight fit rather than more loosely with glue to secure them. The deck planking appears mottled in the pictures because I wet it to show off the treenail pattern. It started to dry before I could get the pictures taken. In the last picture the wood has almost dried out and the treenails almost disappear. This was a lot of tedious work for something that will never be seen in the completed model.
- Jeronimo, mtaylor, Elmer Cornish and 2 others
-
 5
5
-
Looking great. Why tear your hair out getting a halfway decent result with the basswood when it is so easy to get a beautiful result with a hardwood such as boxwood?
-
The floorboards sit on the ribs (frames) of the boat. In order for them to be level, the ribs would have to be built up to support the floorboards. Additionally, David Antscherl, in his design of the cutter for the Swan class, also shows the floorboards as running with the curvature of the hull. And if the ship-model-god says thats how they go...
-


HMS Vulture 1776 by Dan Vadas - FINISHED - 1:48 scale - 16-gun Swan-class sloop from TFFM plans
in - Build logs for subjects built 1751 - 1800
Posted
The breeching line looks much better with the stain. Not only is the color more consistent with the tackles but the stain also brings out the twist in the line, making it more "ropelike".