HOLIDAY DONATION DRIVE - SUPPORT MSW - DO YOUR PART TO KEEP THIS GREAT FORUM GOING! (89 donations so far out of 49,000 members - C'mon guys!)
×


garyshipwright
-
Posts
930 -
Joined
-
Last visited
Content Type
Profiles
Forums
Gallery
Events
Everything posted by garyshipwright
-
 Thanks Mark
 -
Hi Mark and thank you. That was one of the items that I was most concerned about, taken away the capability of the hand wheels and its manually use. Am not sure about other ones but you can still use the hand wheels by just unpluging the steeper motor from the drive box and now you don't have a feed back ,in to the drive box unlocking the handwheels for manually turning. Some say if your not going to use it for cnc why have it. Seems one now has a choice to use either manually or cnc. I also found that you can reuse your dro and handwheels to keep track of where things are out so you don't have to count turn's, which suck when its a long or deep part. Being able to still use the DRO with out the computer hooked up gives you all the capabilitys you had before adding steeper's. Because learning how to use cnc takes a bit, its nice to still have the manually part. Gary
-
Hello everyone. I am planning on changing my Sherline manual mill over to a CNC mill and looking for the good and bad in doing this. Its a little on the costly side I know but would like your insight in to what you guys think and what you guys did or didn't do. Of course I might just be tired of turn the hand wheel. ;o) Thanks. Gary
-
timing belts and pulleys
garyshipwright replied to Kurt Johnson's topic in Modeling tools and Workshop Equipment
Thanks Bob. Will give that a shot. Gary -
timing belts and pulleys
garyshipwright replied to Kurt Johnson's topic in Modeling tools and Workshop Equipment
Hello guys. Can anyone tell me where I can get belts that are the same type that came with the Preac saw? Maybe some time in the very very near future I probably get the upgrade on the Preac saw but at the moment I figure it is time to find a new belt for her. Thanks folks . Gary -
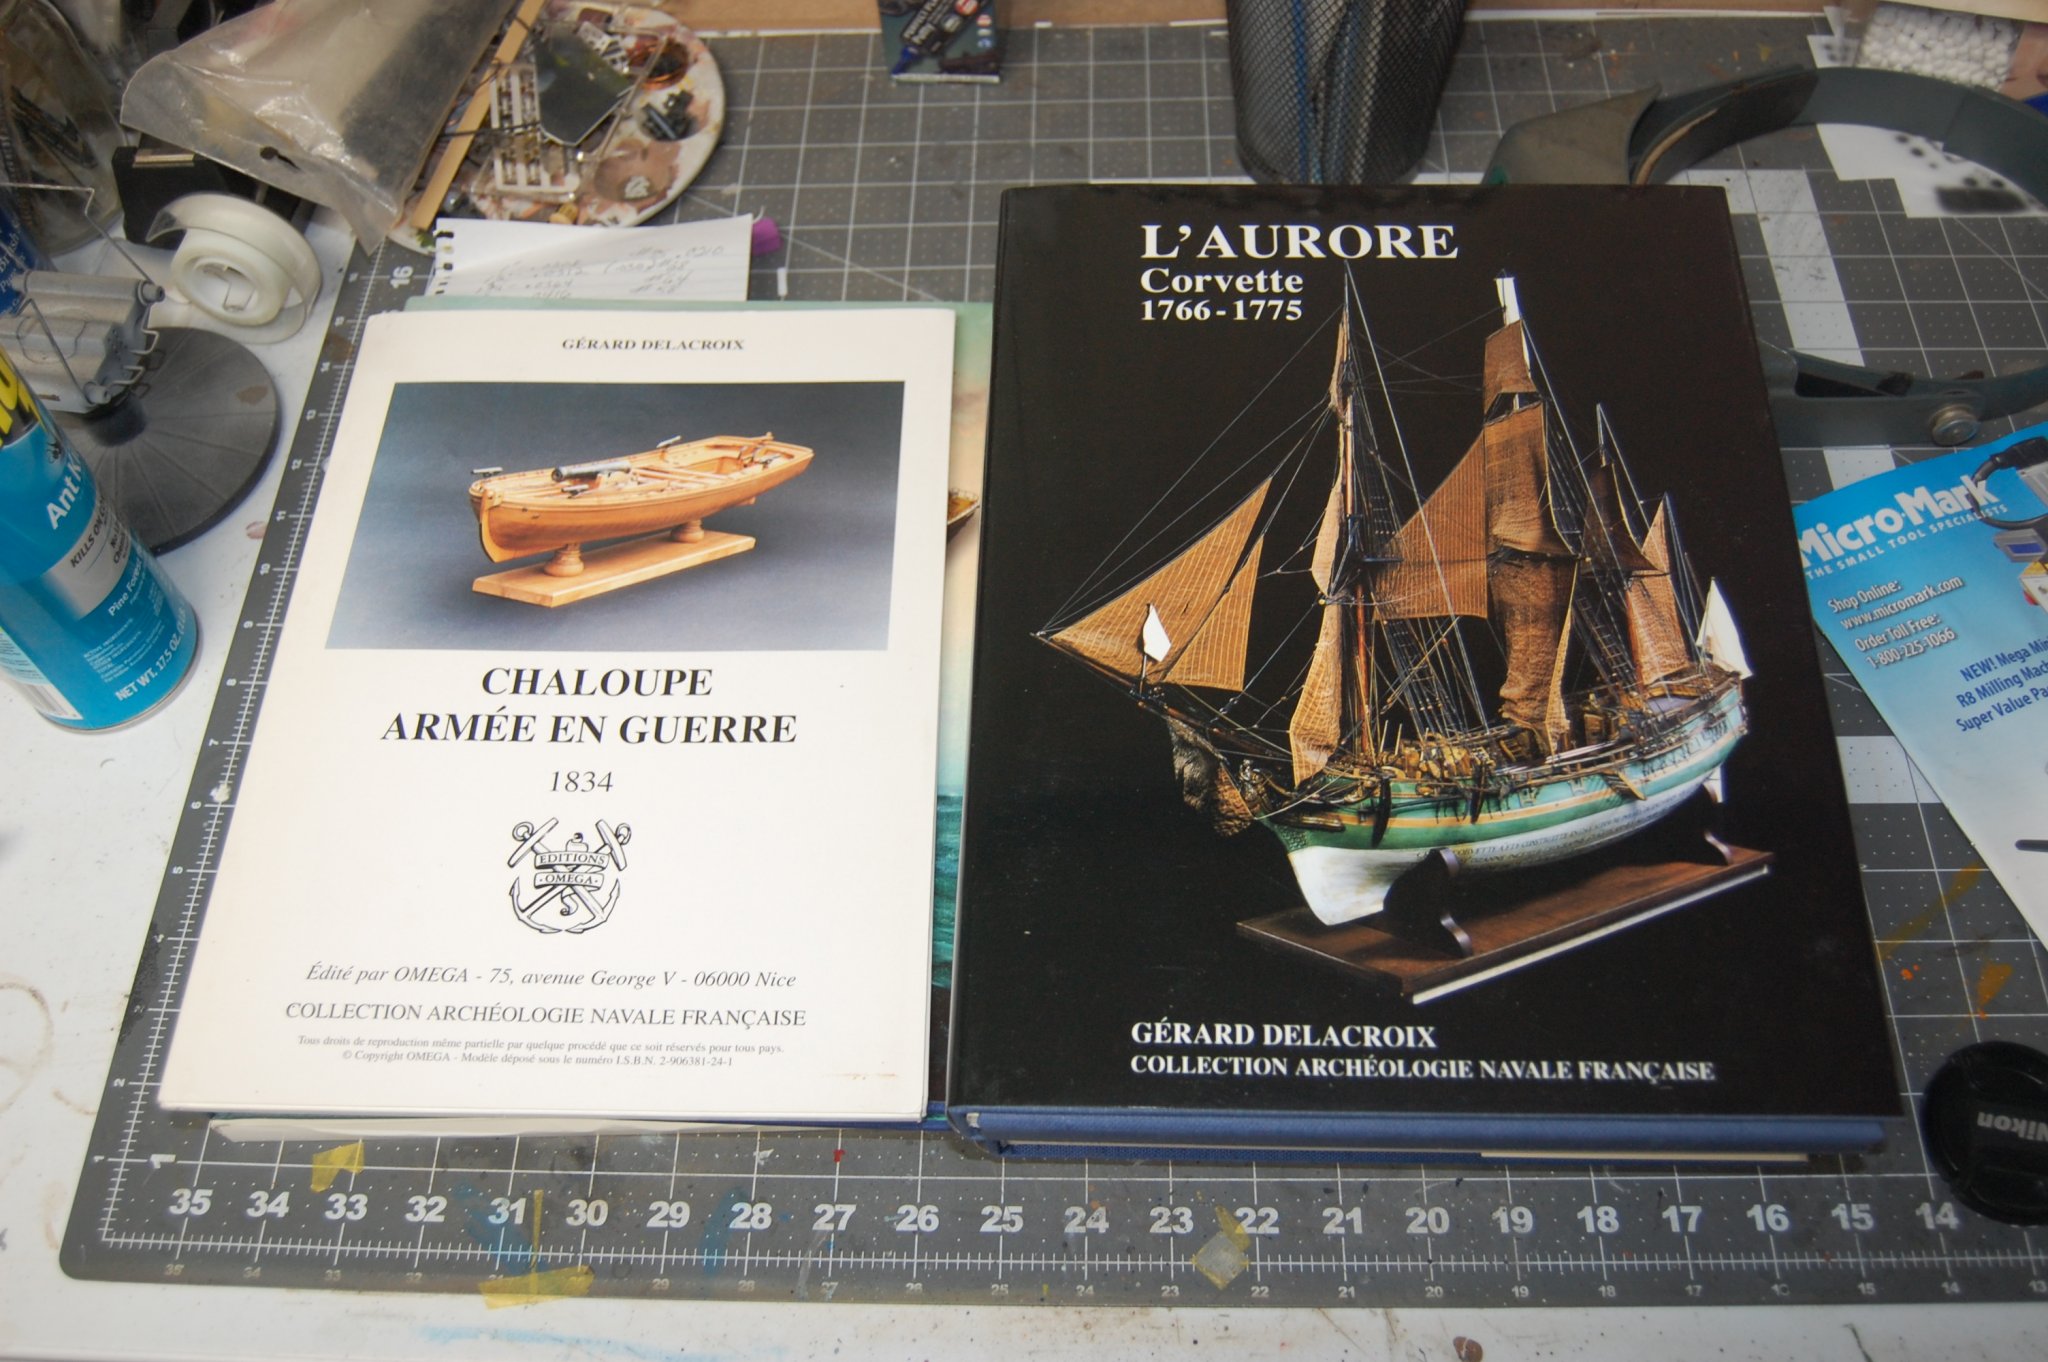
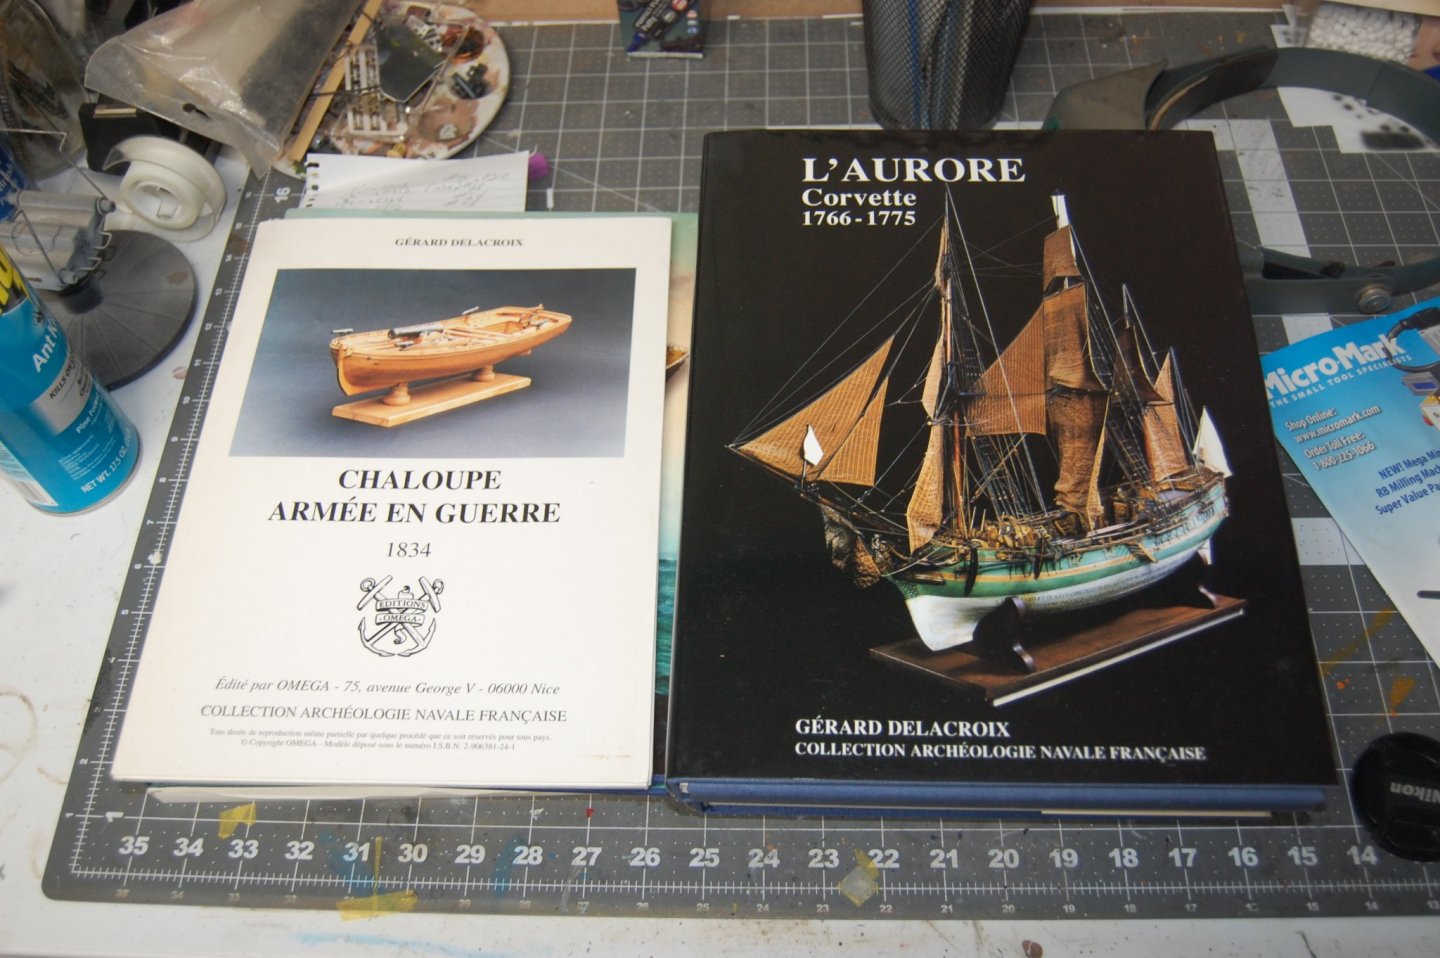
Hello folks . Just to let you know I have a couple of books for sell. Seems I purchased a couple extra ones, L'Aurore corvette and the armed gunboat Chaloupe. Don't believe that I need two of these and would like to find a new home for them. If your interested in buying them let me know and am sure we can come to a good price on them plus shipping. Thank you . Gary
-
- 2
-

-
Replacement motor for Preac saw
garyshipwright replied to Kevin Kenny's topic in Modeling tools and Workshop Equipment
Hi Kevin. Like you said it takes a lot longer to set the band saw up and about 30 seconds to cut the material. What I want to do is set up a small band saw as a dedicated saw for cutting metal copper, brass and others down to workable sizes, when it is a little on the thick side, so I don't have to spend ten minutes changing the tool over to do a 30 second cut. I also think doing this will keep the cut metal more square for working. The motor on the Preac runs, its just really under powered and has a hard time cutting anything. Figure that the upgrade will at least make it able to cut 3/32 thick materal and will be a dedicated saw for doing grating. My Byrnes saw is the real work horse and cut's most of the ship wood with the inca and Grizzly cutting down the larger pieces for the Byrnes . Gary -
Replacement motor for Preac saw
garyshipwright replied to Kevin Kenny's topic in Modeling tools and Workshop Equipment
With the new upgrade on the Preac, will it be able to cut 1/8 thick brass? Am looking for a good saw for cutting copper and brass and the upgrade may be just what am looking for. I know, you ask why not just use a jeweler's saw. Its a little slow and am not getting any younger. Thanks. Gary -
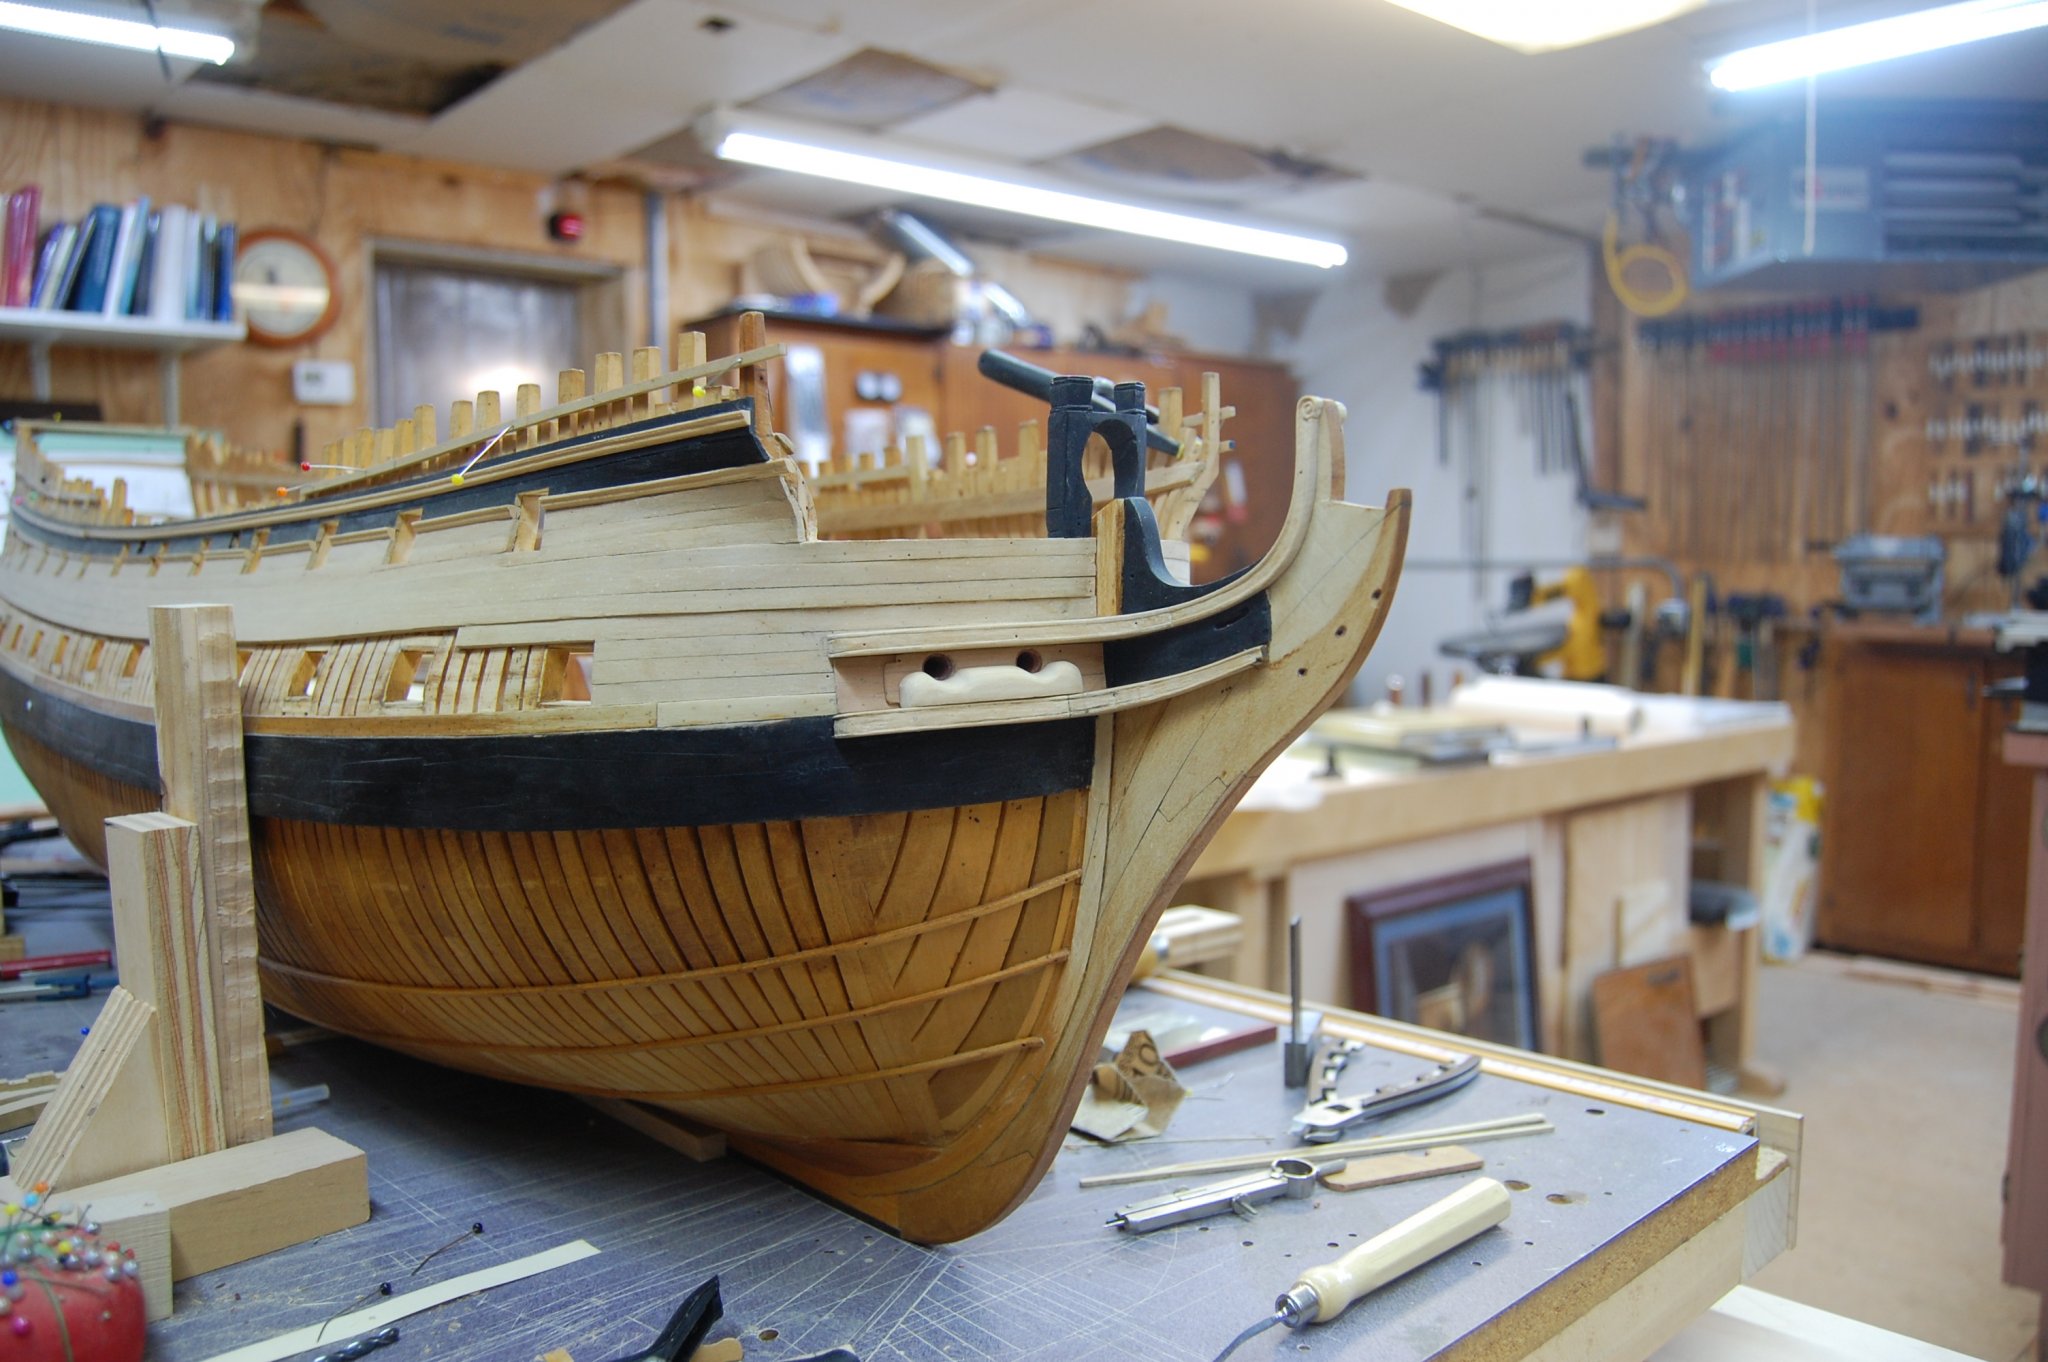
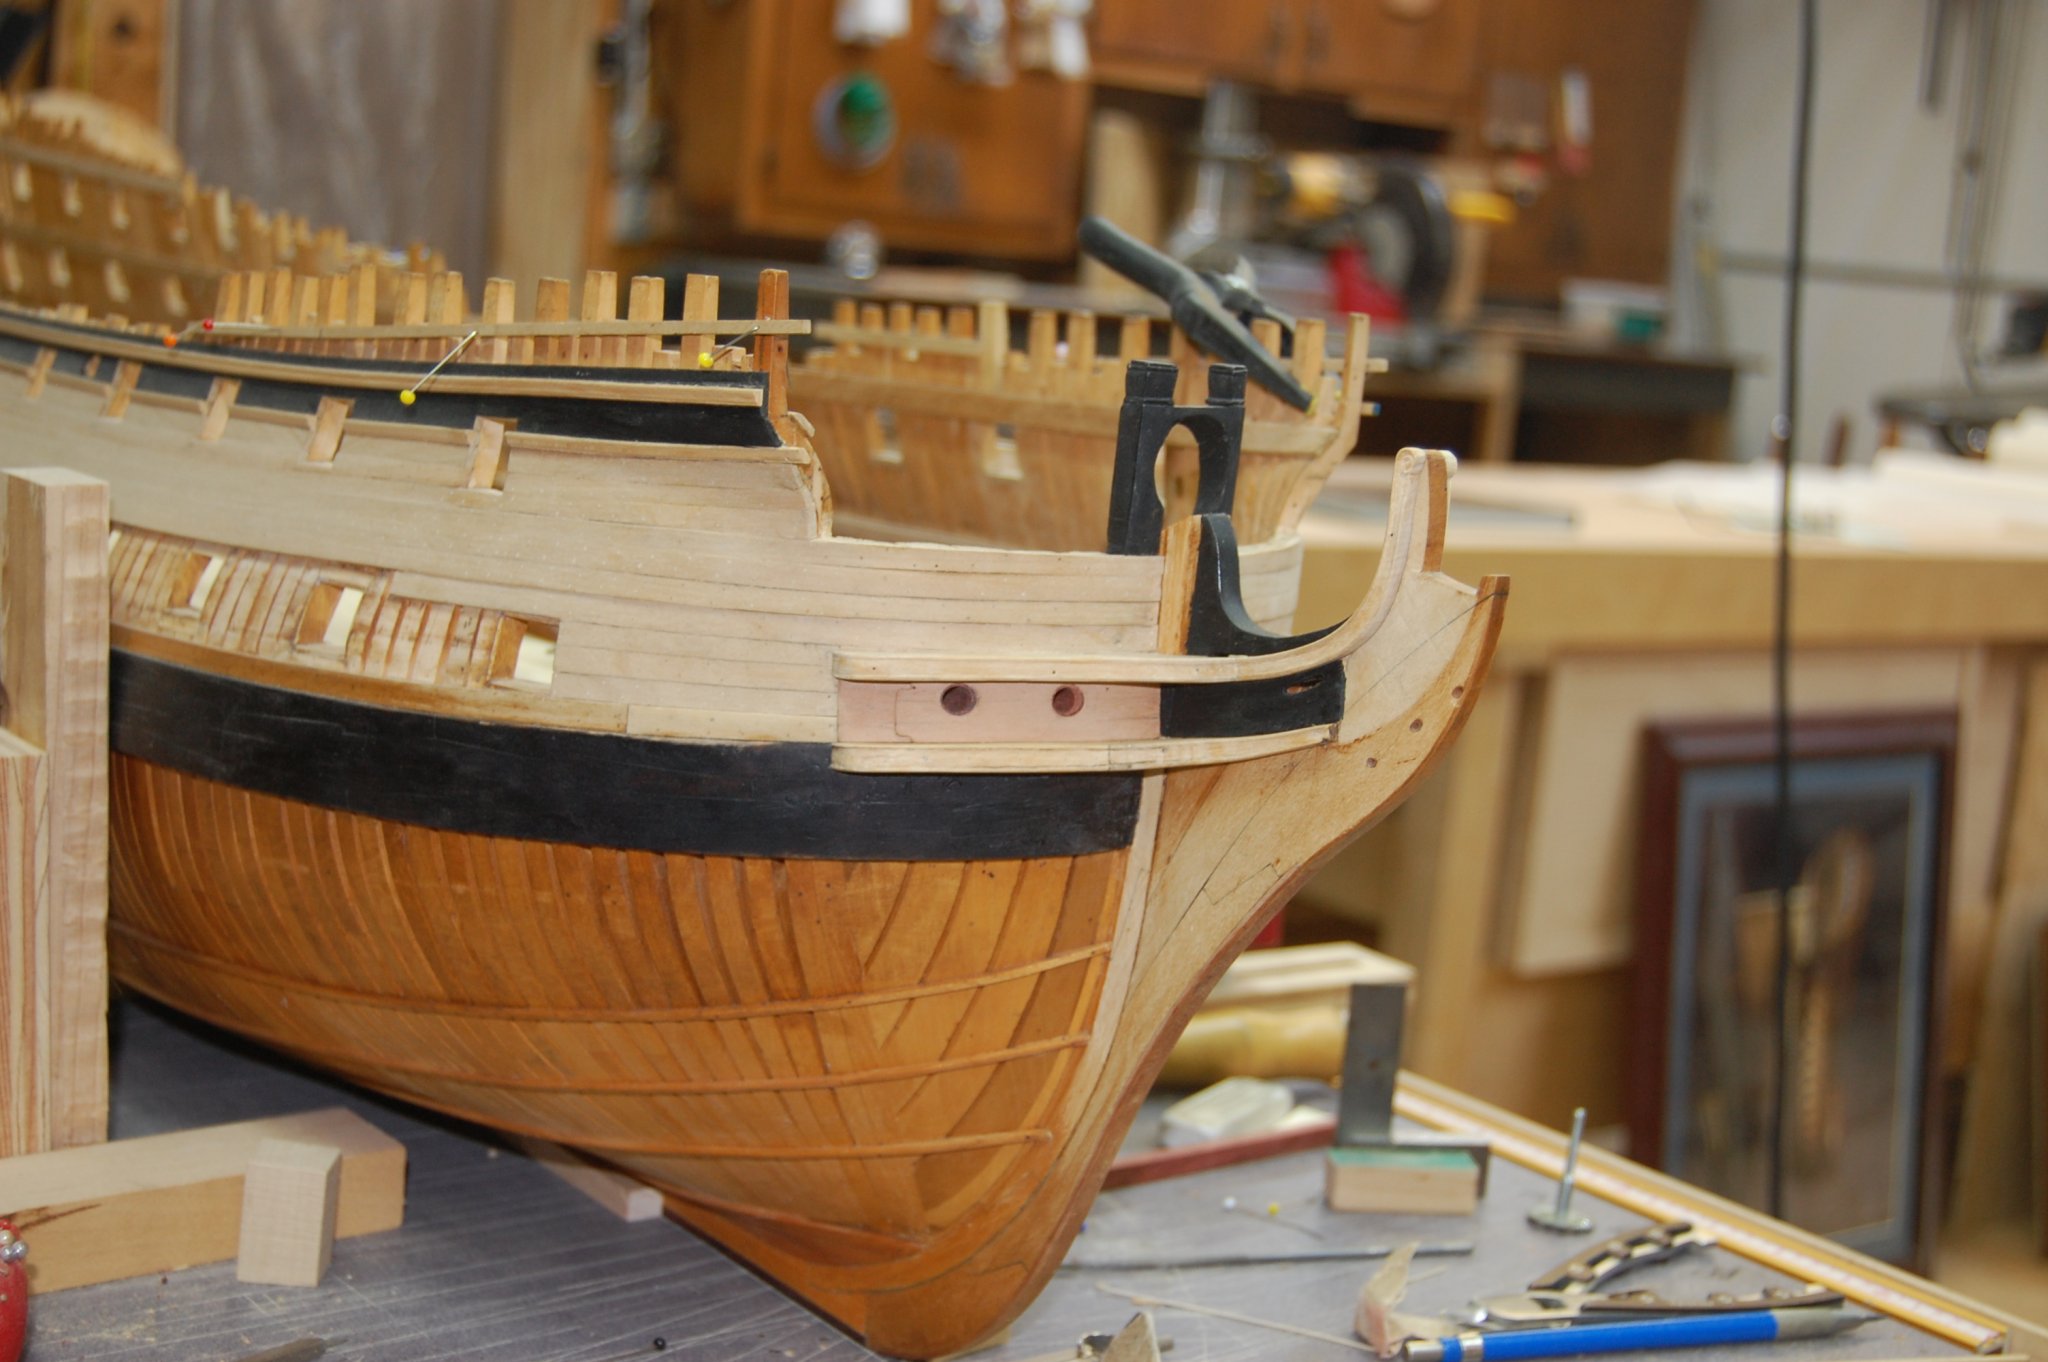
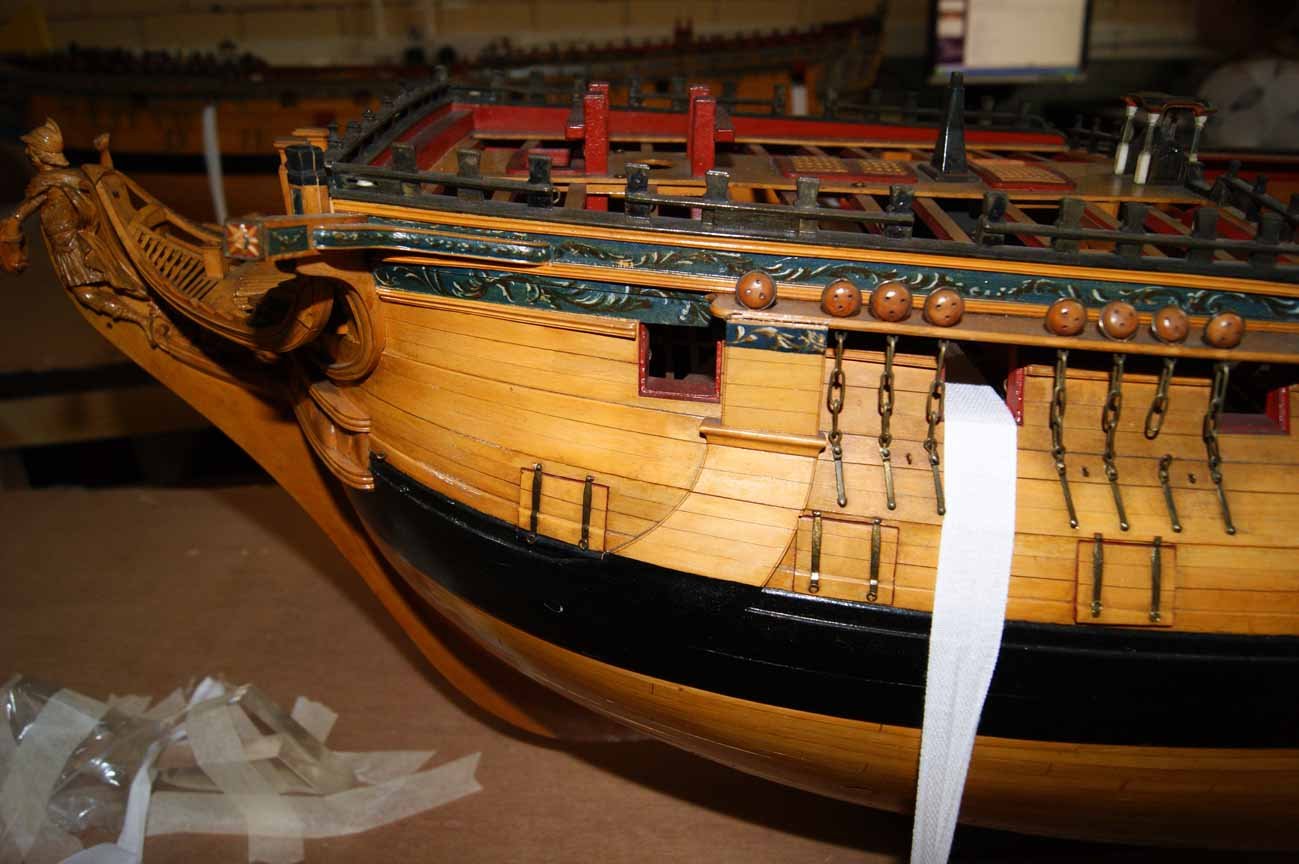
Hi druxey. You are total right sir and models do show the bolsters sitting back from the edge a inch or two which I believe was done to make the models look good. I also think it was done with most model's, guess you could say the model builders used what we call today a little artistic freedom. ; o) At least that is what I have seen when I look at most of them. Which to me looks a lot better then having it stuck out over the cheek it self. On a different note, with it sticking out a inch or two over the edge, seem's it would help the anchor rope with the bending and protect the cheek it self from being rubbed away and weaking it. Any way thats my way of looking at it. I did find the infomation on this in a contract of 1782, which was also used to build the Bellerophon of 1805 and the book Scantlings of the Royal Navy ships page 224. The contract and the book both say that the bolsters should come up at least two thirds and to project the cheeks 3/4 of a inch contract, and the book gives it 1 3/4. Any way thats my story and am probably stick to doing them with a little artistic freedom, looks better. ;o) I added a photo of the Warrior If any one is interested in seeing it. Gary
-
Thanks Johann and Mark. Coming from you guys, your word's just made my day a whole lot better. Gary
-
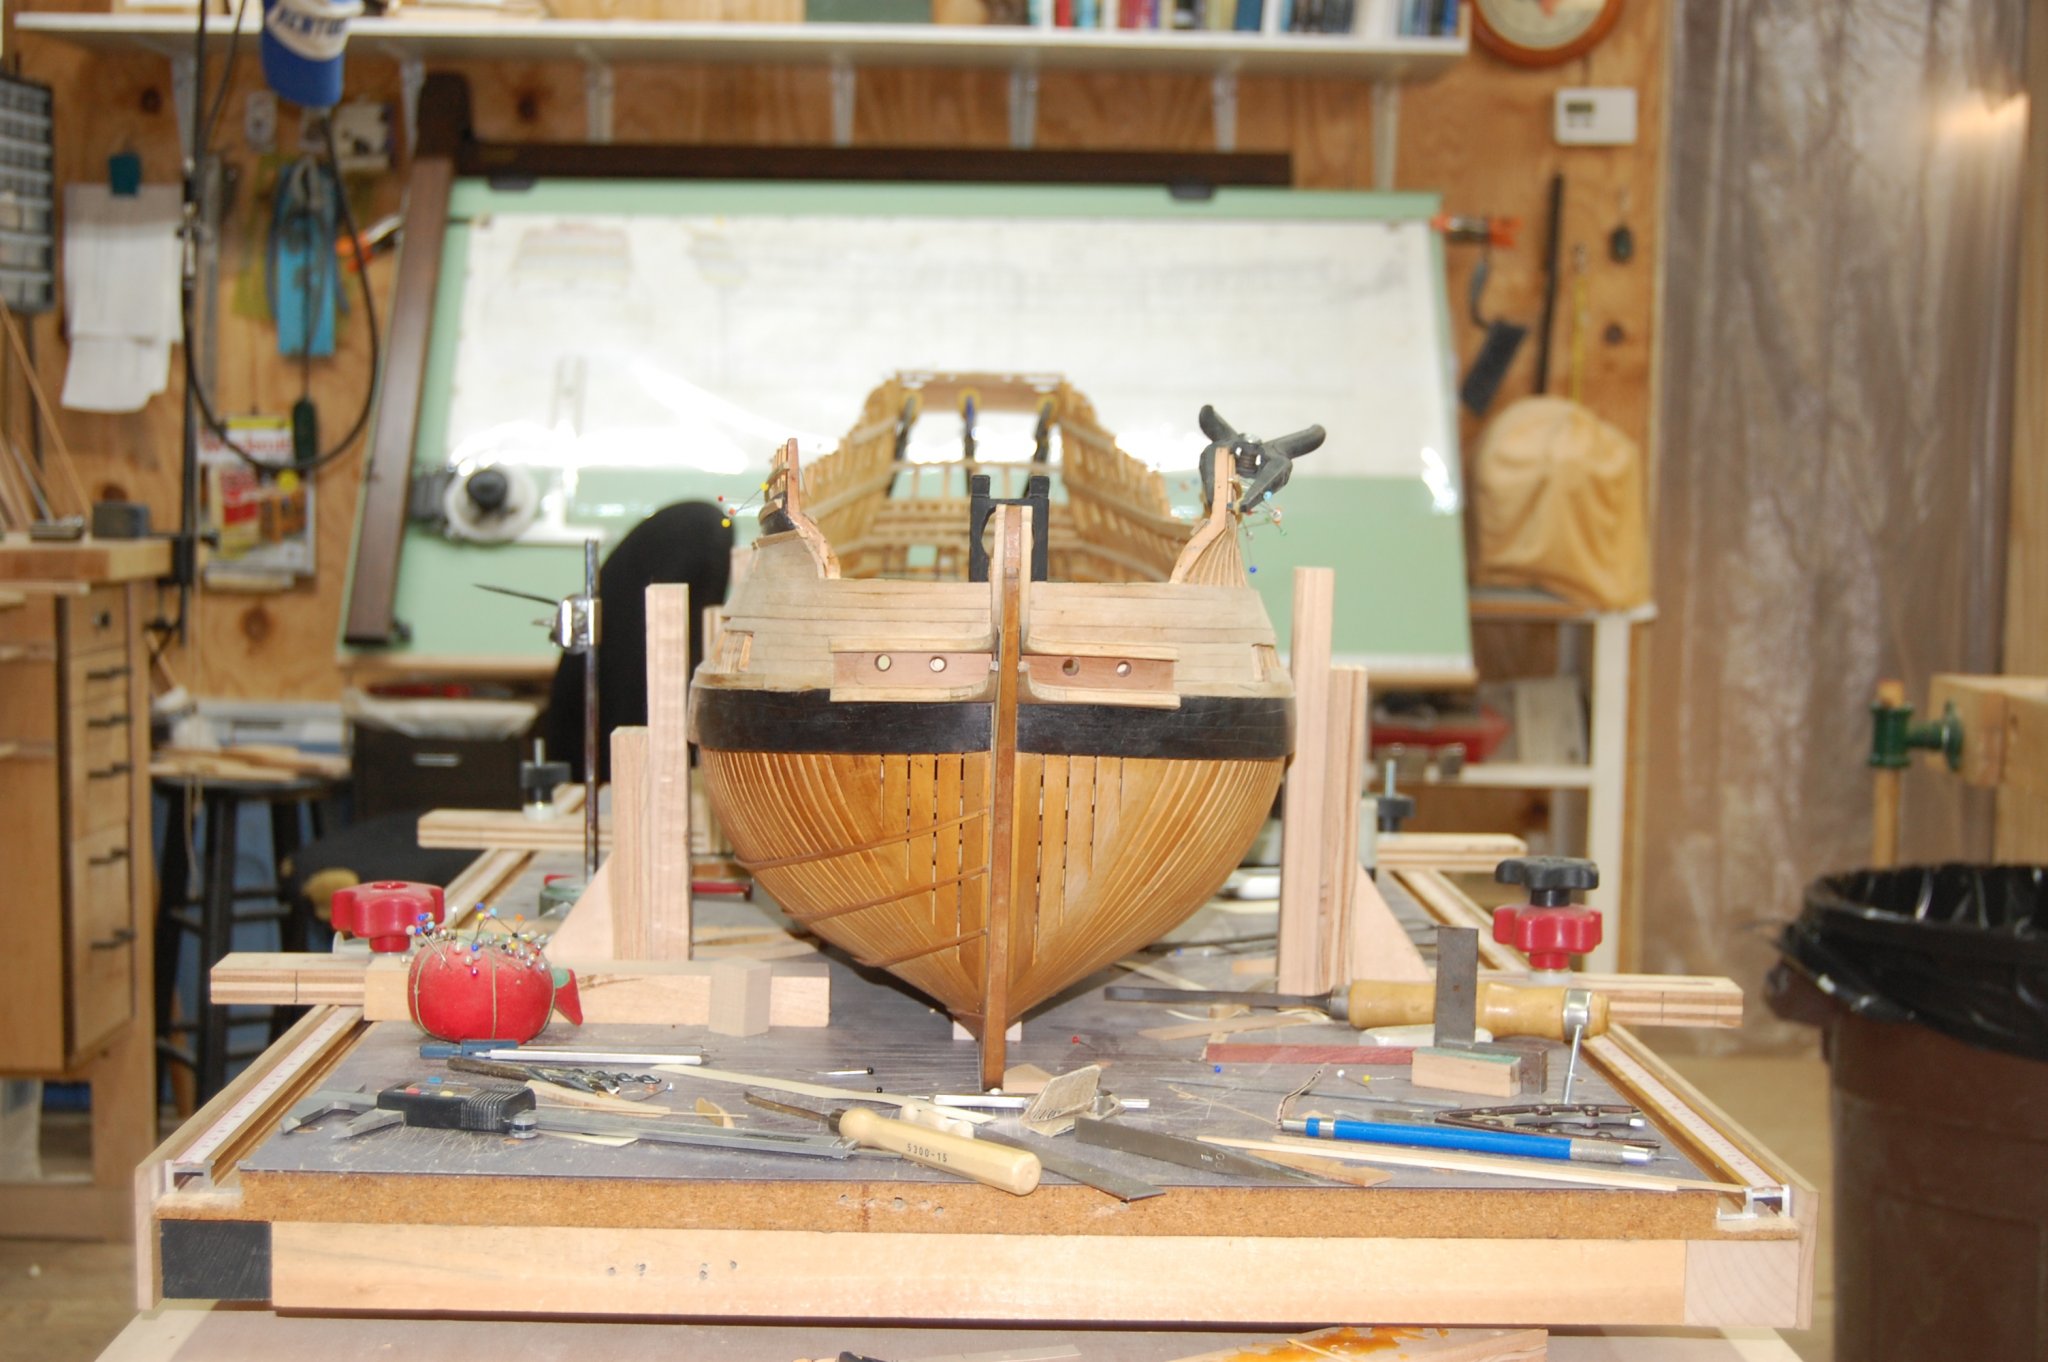
Mark so far I have not found any specification for it. What I did find is one on the bolsters. It says that it is to go up to the middle of the Hawse hole, and go I believe it was either a inch/ inch and half over the edge of the lower cheek. Figure that it couldn't be to thin, the bolsters that is, so figure that maybe 5 or 6 inches thick on that and what ever is left over would be the liner,which would be 6 inches. Not set in stone good sir that is untill some one figures it out. I set the bolster there but still have to thin it down a bit from the top of it to the edge of the cheek. Gary


- 835 replies
-
- 14
-
-
Thanks Mark. Do believe what am going to get is the Carbide 3d Shapeoko xxl robust cnc router. It should be interesting and fun using it and making thing with it. From what i see on the internet seems that you are 100 percent right about it the Glowforge that is. Gary
-
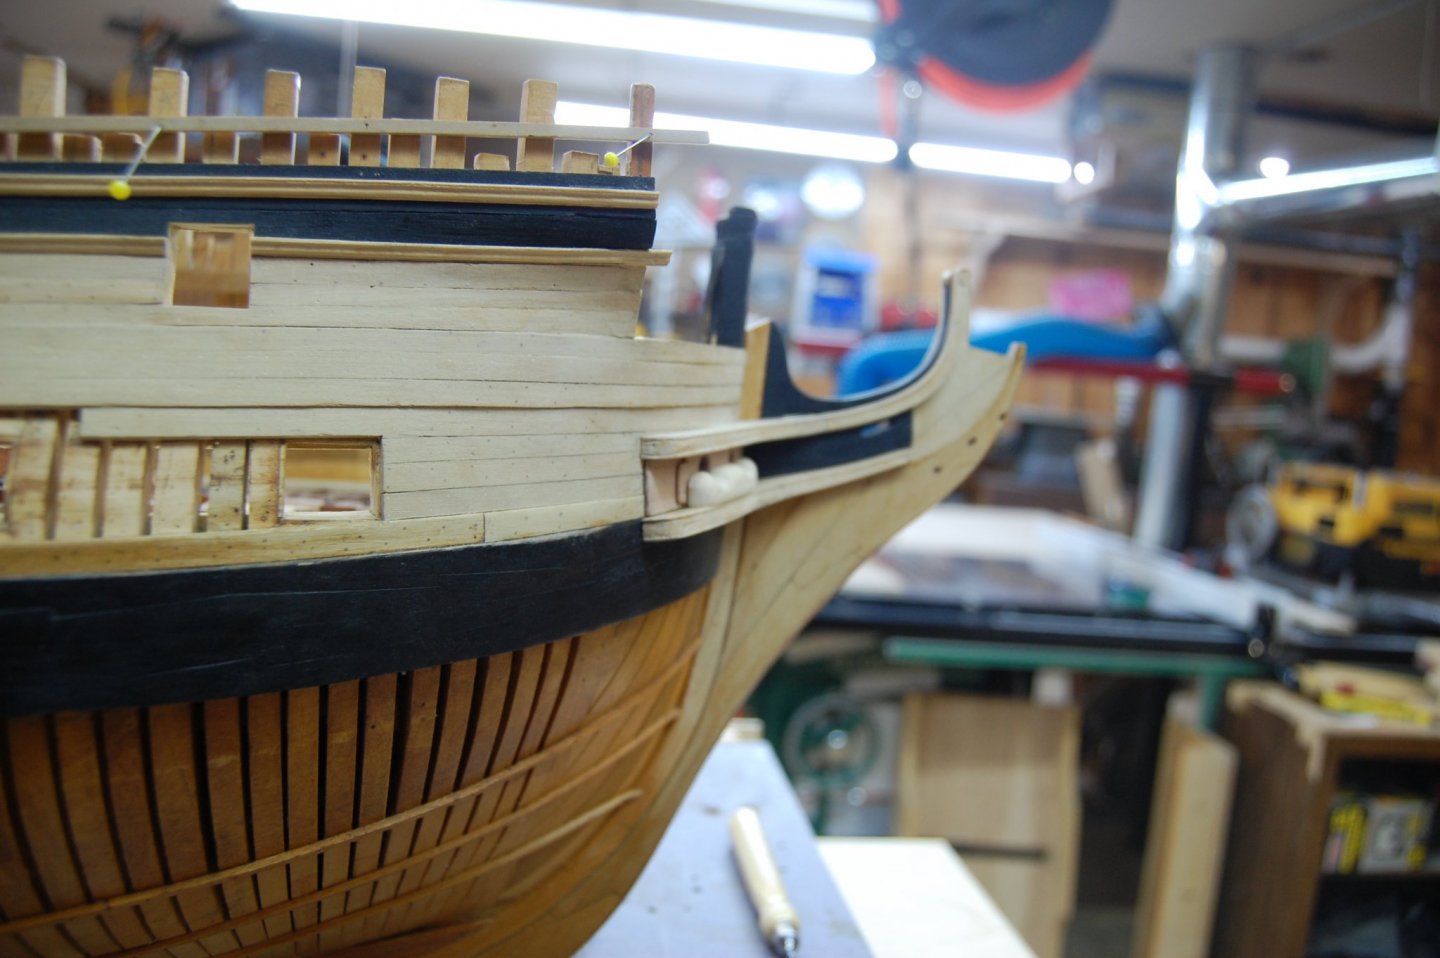
Hi Mark. If am following you the liner is really two pieces which was around 6 inches thick in scale, each piece being around 3 inches thick. Have not added the bolsters yet which will take up the other 5 to 6 inches of the lower cheek. The sculpted is easy to do when you make it out of two pieces like I did putting the sculpted edge in to the second liner piece. Seems the books don't give much info on them. Gary
-
Happy New Year Mark and Jack. Your information is very very helpful. Jack thats ok, nothing to be sorry for. As far as the CNC and 3D laser Printer the two am looking at is the Glowforge 3Dlaser Printer and the Carbide 3DShapeoko XL Robust CNC router kit. They are expensive but I still have time to figure out which one and research the in and out of them. Thanks guys and once again thank you and Happy New Year. Gary
-
Happy New year Siggi. Glad you have feeling a lot better now and once again working in the ship yard. Gary
-
Hi Jack. Thank you sir and should not be much of a problem making a figure head for Montagu and will keep this in mind. I figure getting the CNC or 3D laser printer is for making other items that I can maybe give away at christmas time along with making other parts and pieces for my model building. Thank you sir very much. Gary
-
Thanks every one for the kind comments and Happy New Year. It means a lot and hopfully I can get a lot more done. On a different note am thinking about getting a CNC or a 3D laser printer and was wondering if any one has any ideal of what to get when it comes to them? Figure it would be a nice retirement toy and who knows maybe make a some nice wood gift's for the kids and my newest grand daughter who is post to be here in Feb. Once again thanks guys its really nice to be back. Gary
-
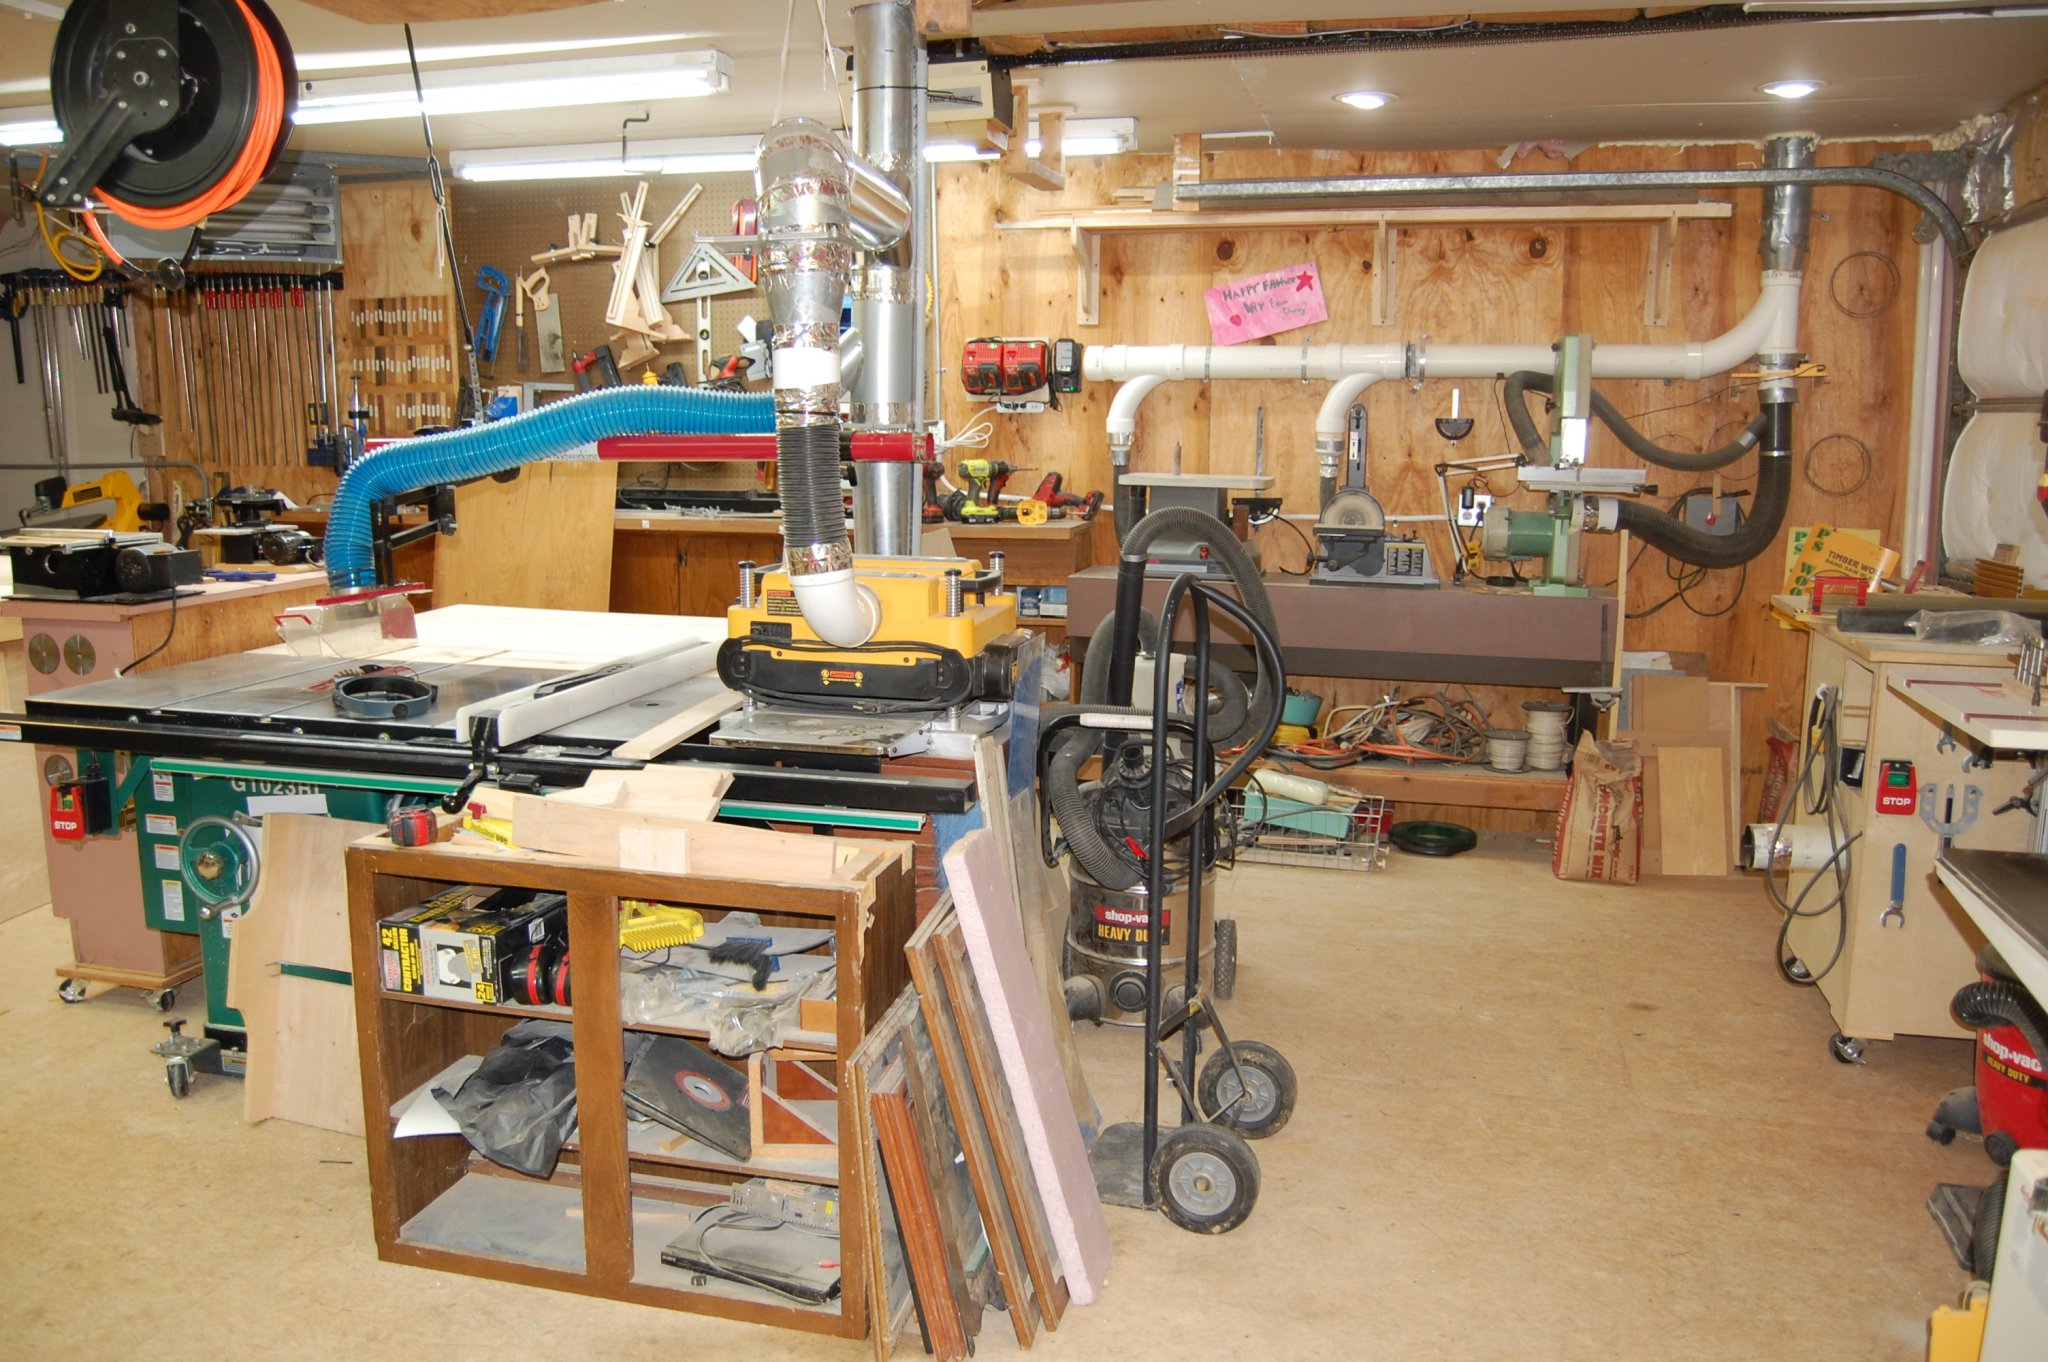
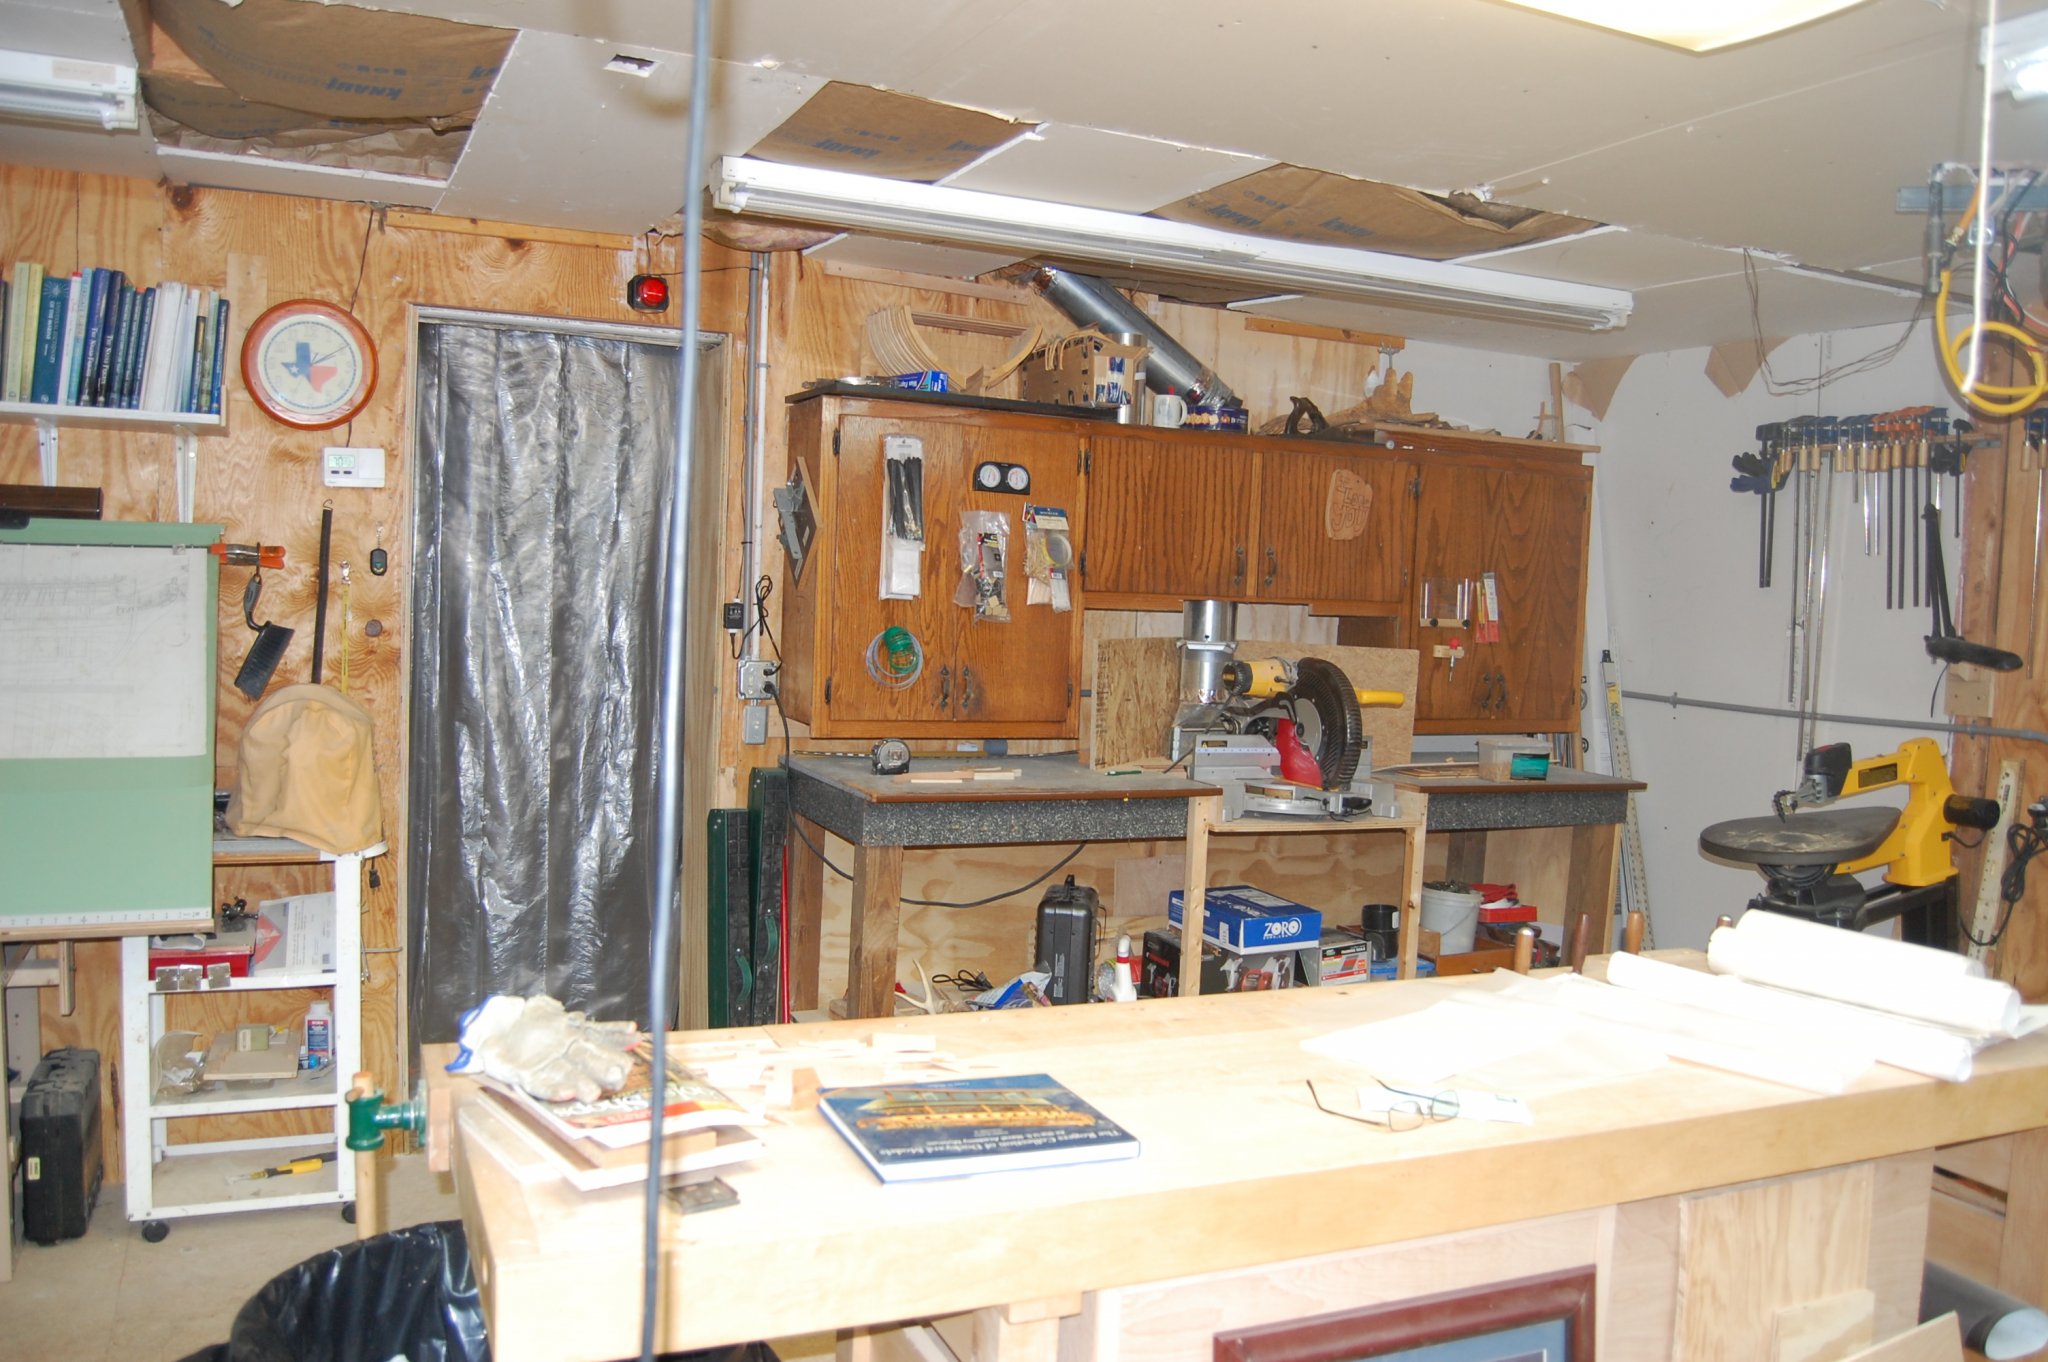
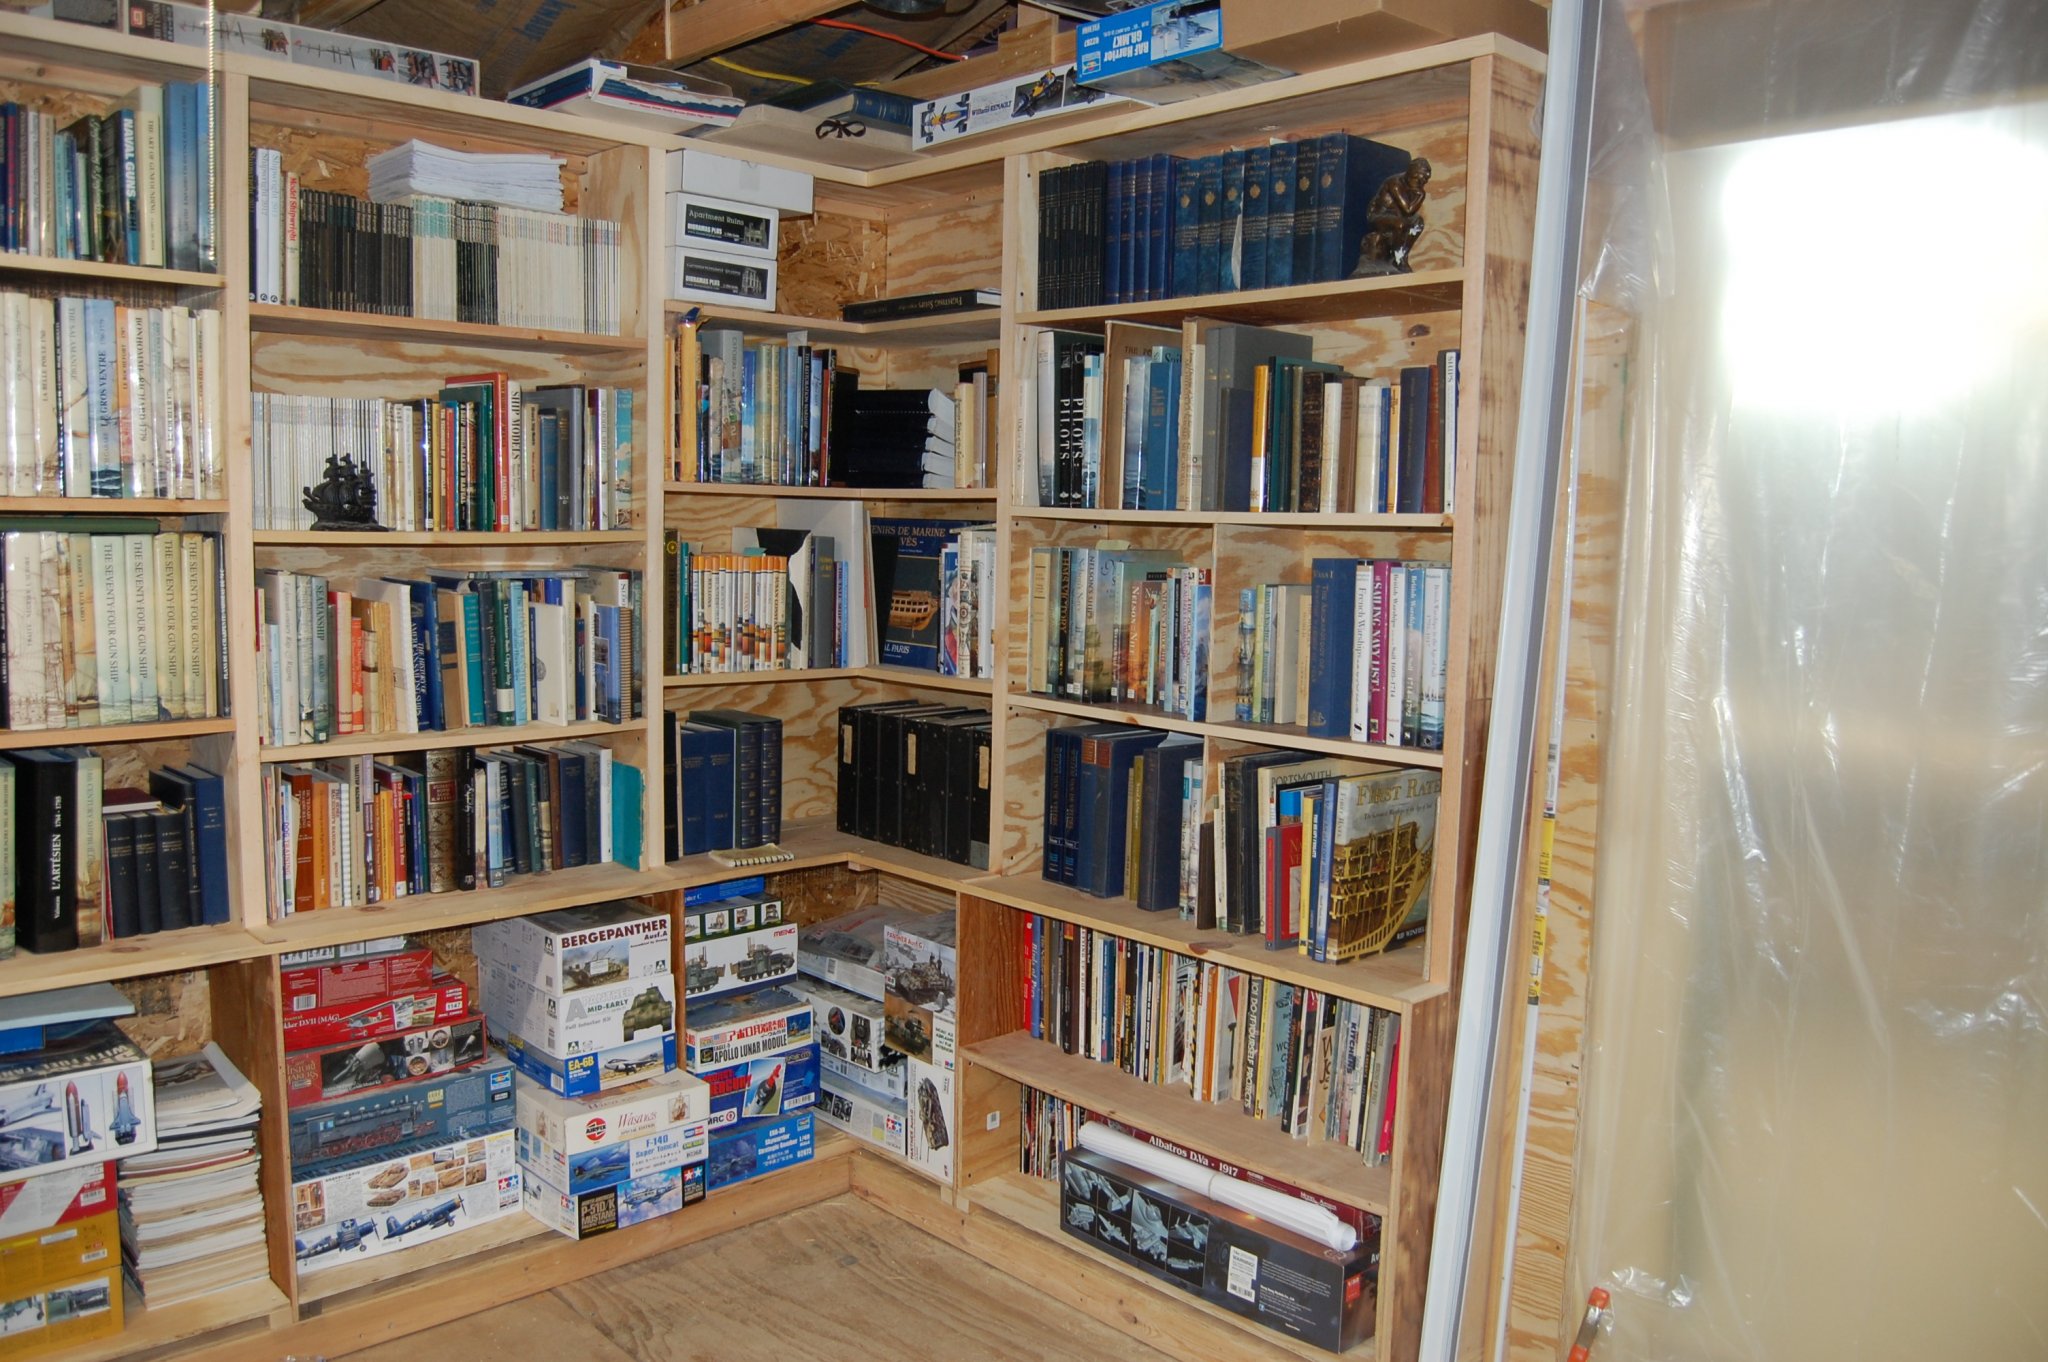
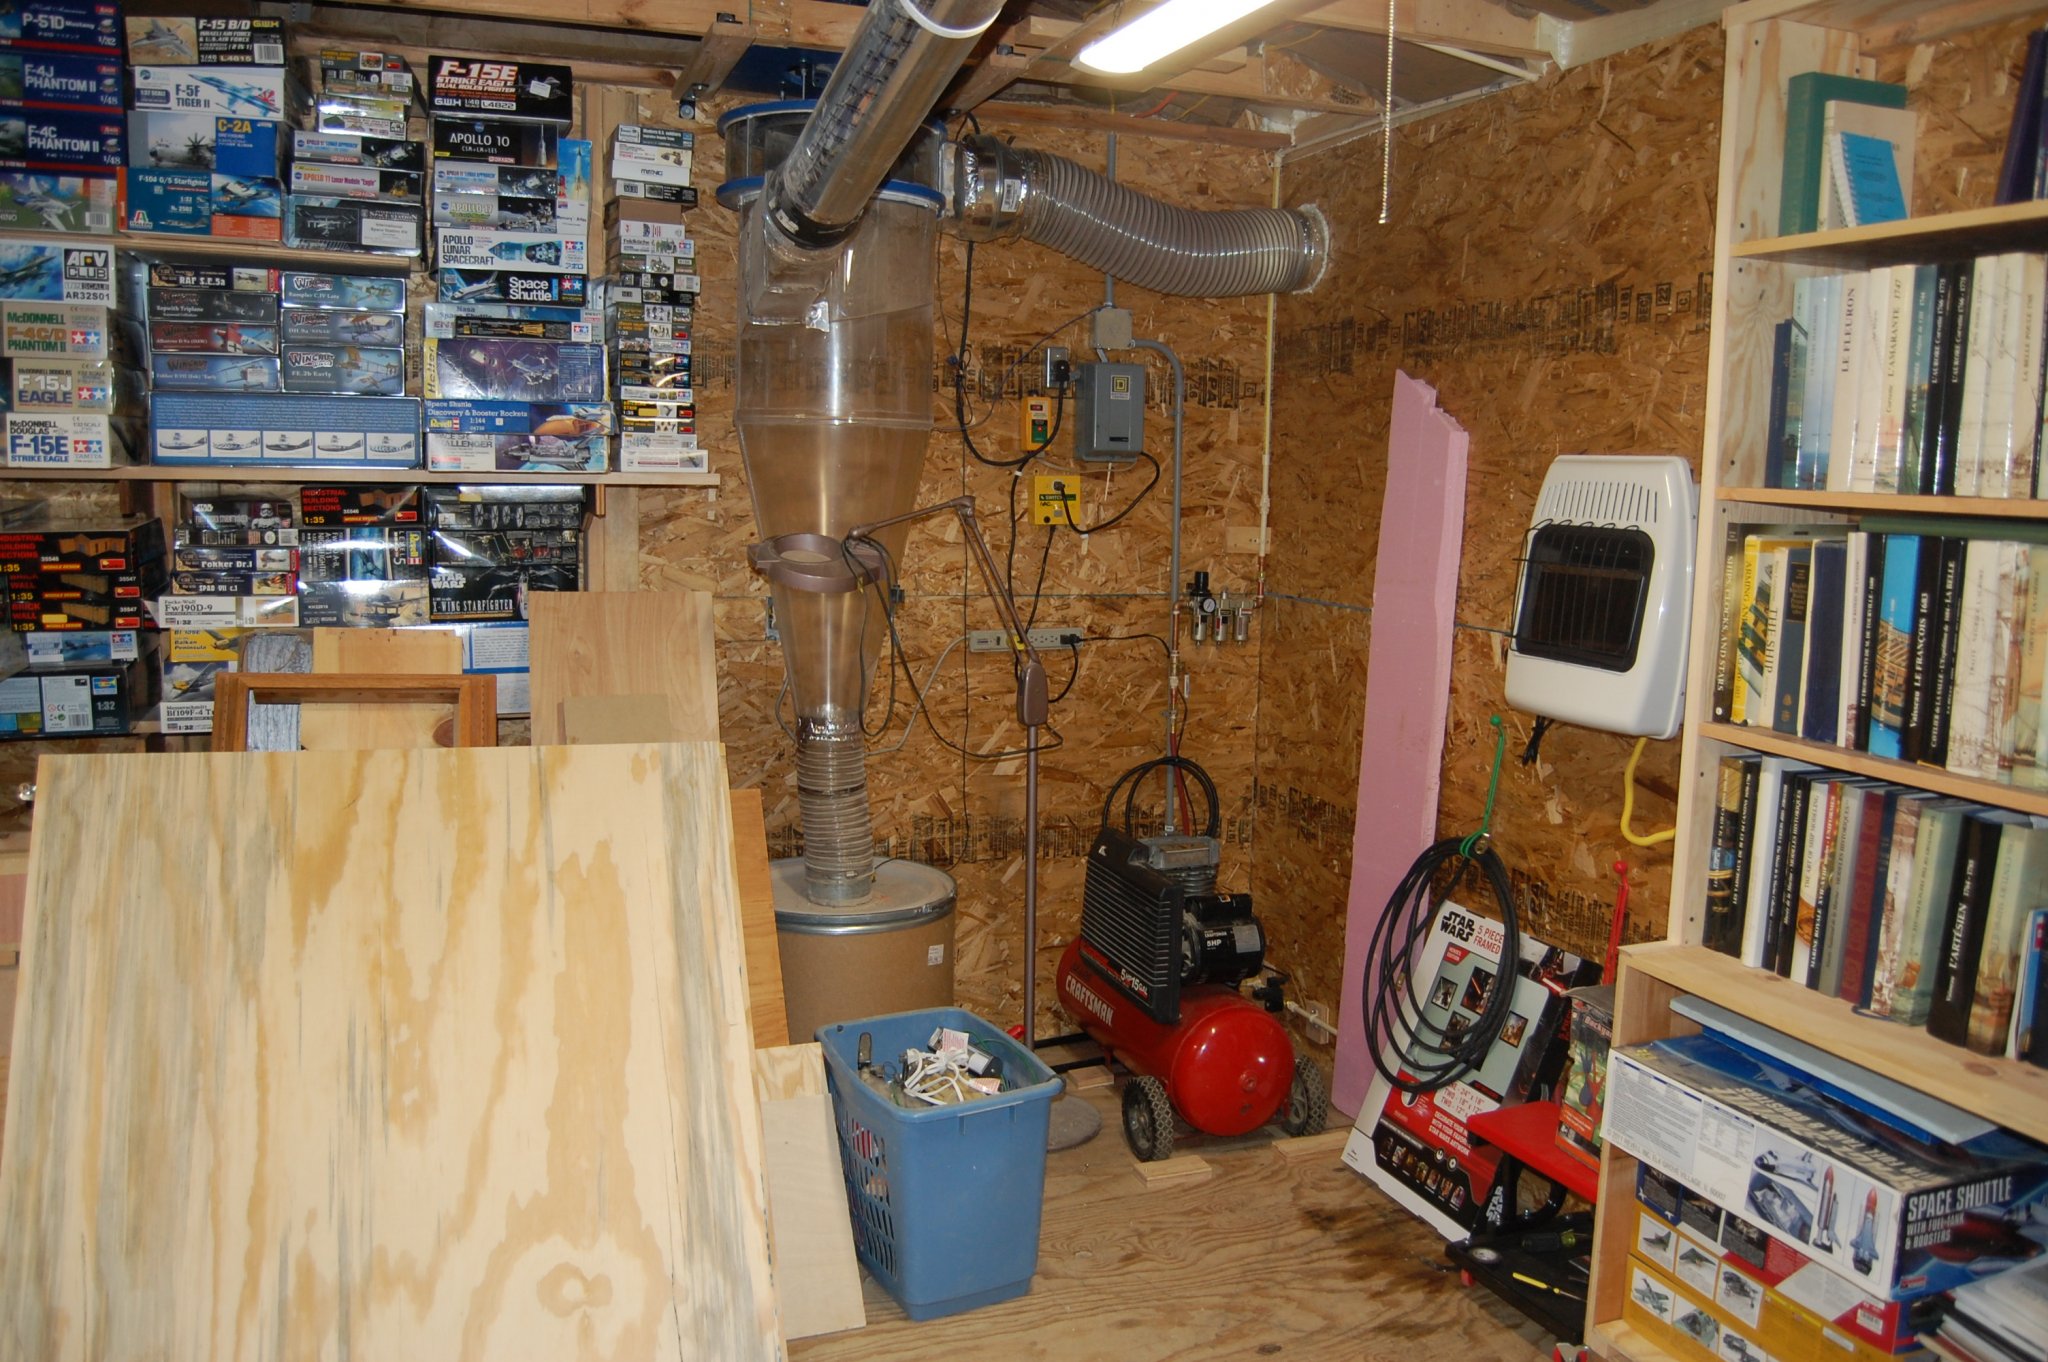
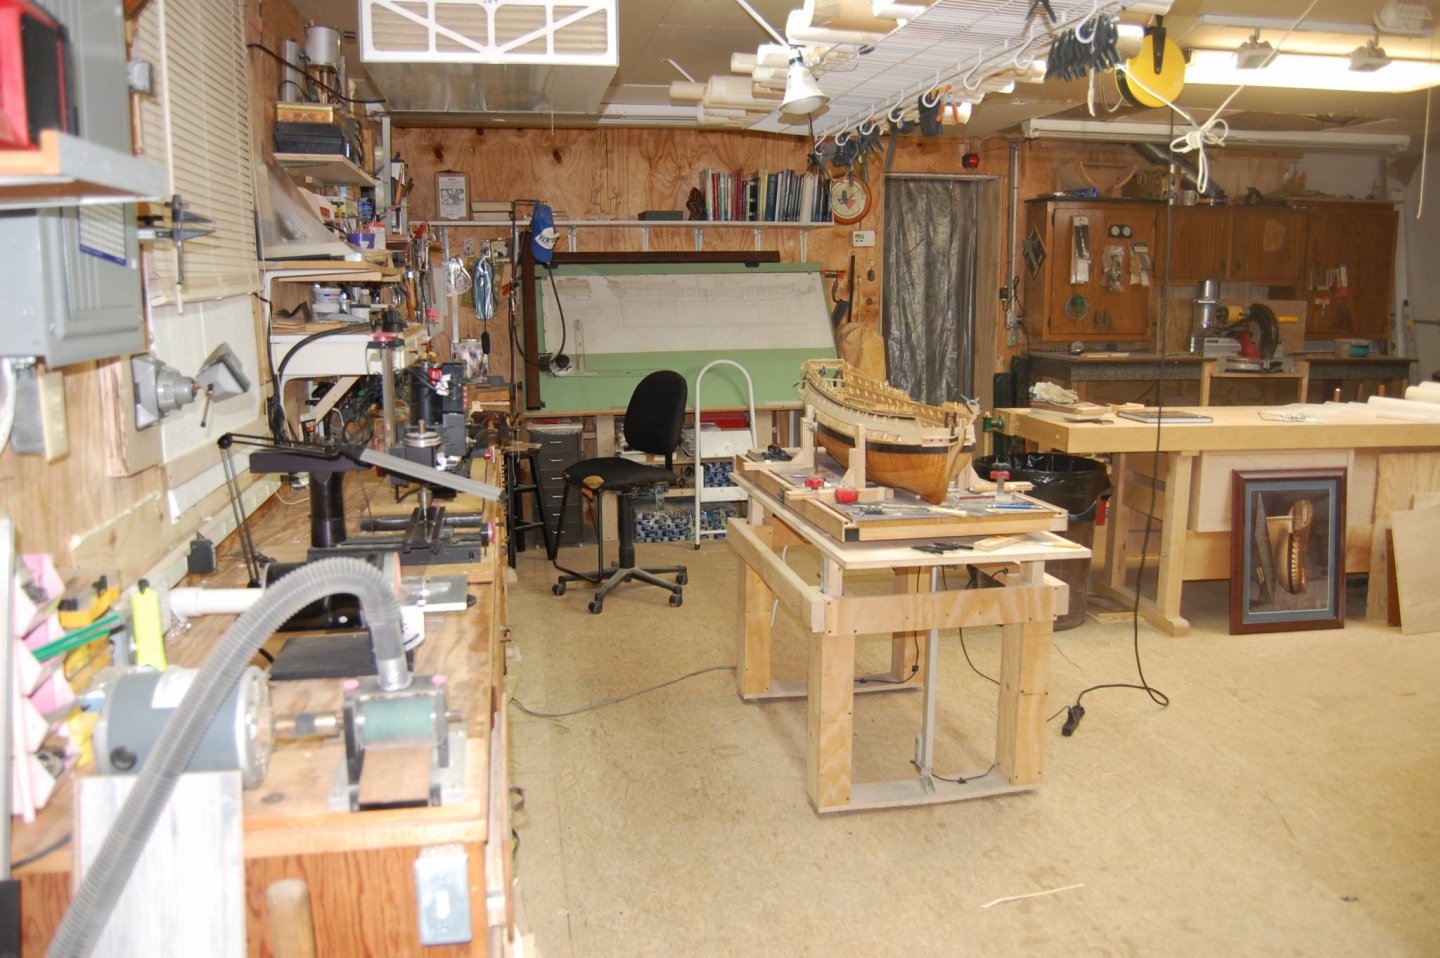
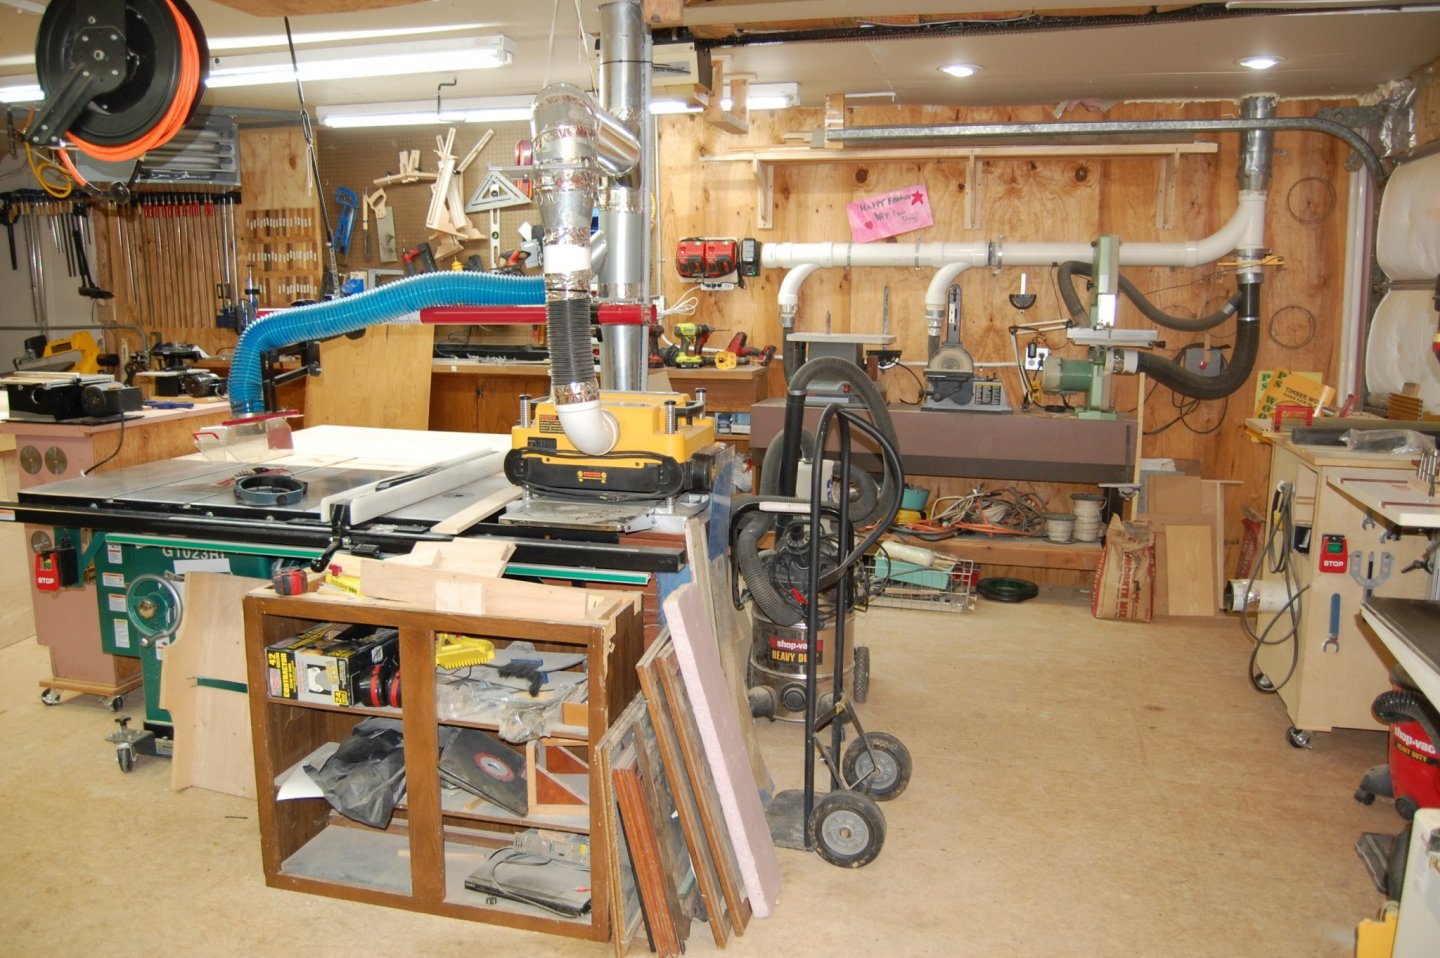
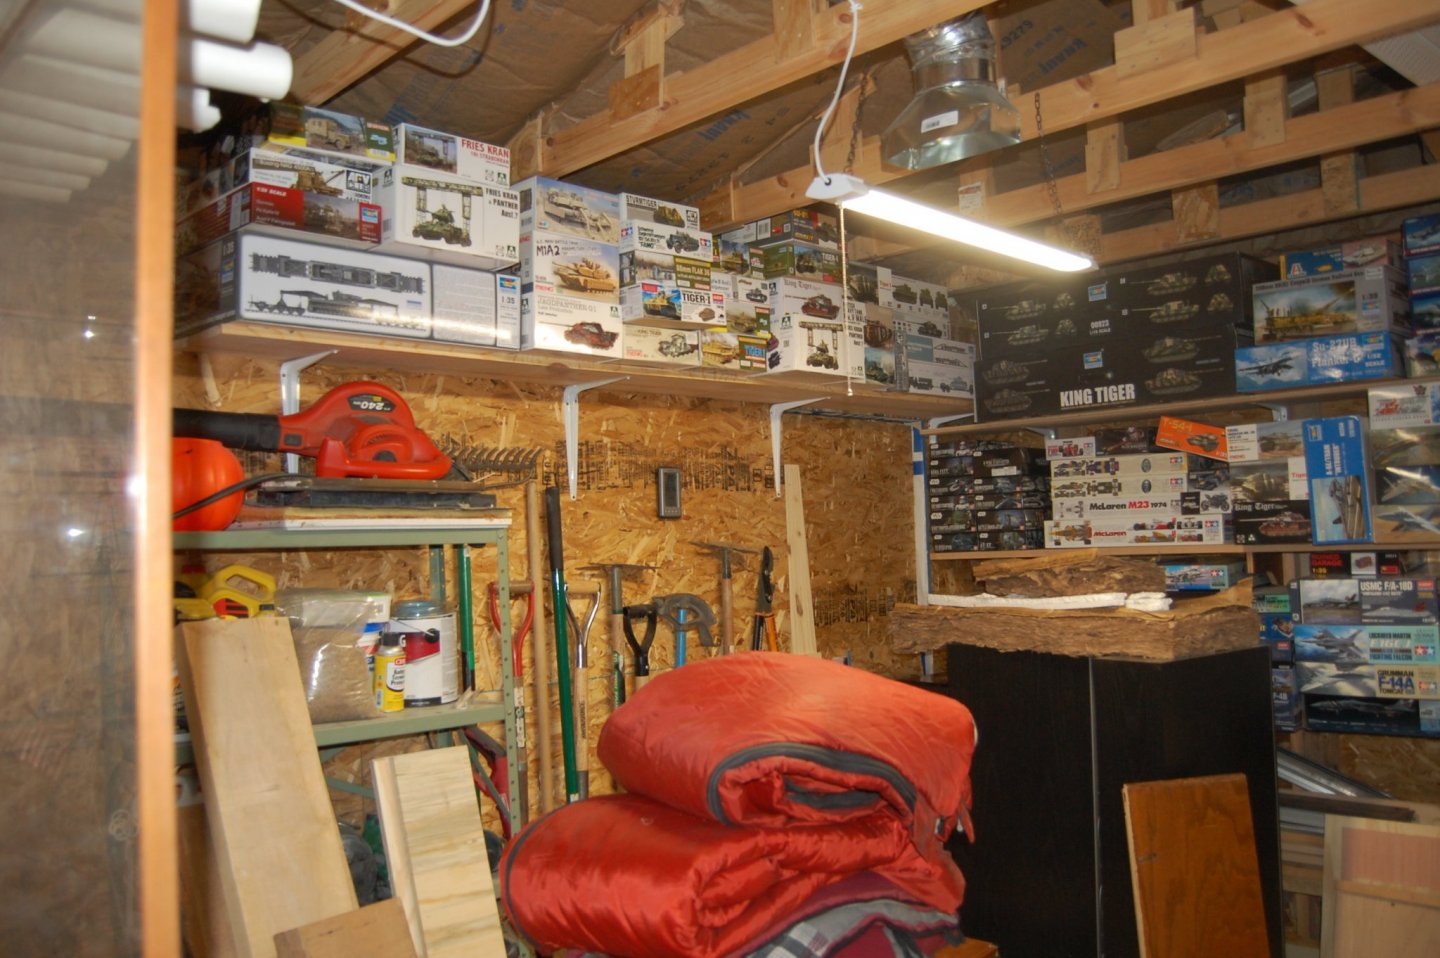
Evening Mark. I think the key is the clear vue cyclone which has a lot of suction. I use to have a list of all the books I had at the time I made it and since then have added even more. I see about making up a list and thank you for your kind words. Its taken me a few years to get it to this point. Once I finished the addition it really opened up the shop. Gary
-
Thanks guys. If feels good and as you said there just doesn't seem to be enough hours in the day to get every thing done. But I am really enjoying my self. Any way here is a couple of photos of the shop and addition to it. I added it in where do you do yours.


- 835 replies
-
- 30
-
-
Thanks Grant. Not sure how much learning you will get from me but I share it all. Gary
-
Hi Alan. Forgive me sir, wasn't sure what Travis was saying so I answered him. In the mean time good sir I have become retired and have spent the last year in adding a extensin and gas heat to the shop. I have done a little work on Montagu so am really looking fwd to spending a lot more time on her. Life sometimes just gets in the way. Wish it was better but am happy with it. Gary

- 835 replies
-
- 27
-
-
Hi Alan. You could look at the Lie Nelson inlay tools. They have a tool that is used to reduce wood and make it square like what your talking about. Plan on getting one, to help reduce the number of times you have to pull them through the draw plate like your talking about. Gary