flying_dutchman2
-
Posts
1,735 -
Joined
-
Last visited
Content Type
Profiles
Forums
Gallery
Events
Everything posted by flying_dutchman2
-
 I agree about Montfeld's book. I use it all the time and Milton Roth's book - Ship Modeling from stem to stern. Very general but good. I use Google a lot and find lots of information on the NET. So for me there is no need to purchase a lot of books. Just some of the classics. Marc
 -
Thank you all for the suggestions, "riverboat" - wow I like the site and will use it for my next order. That they ship worldwide at a reasonable price is even better. Thank you. "TBlack" - I checked Rockler after I ordered from Woodcraft, thank you. "garym" - I went to that site and the dowels were more money than the others, but I do like what they have. Thank you all for the info which I will use after I run out these dowels. Marc
-
It would be wonderful if I had stock of different wood, but, I don't have the means to cut it in length. You see, I have the bare minimum on electrical tools. Dremel, drill, scroll saw and a basic planner and router. No table saw. I may be able to ask on of the members in my club to cut me some square stock as some of them have very elaborate shops with every electrical tool imaginable. I have always made my models with hand tools. Takes longer but I have total control. After the Royal Mary, the plan is to built the Statenjacht Utrecht from scratch. So may have to invest in a miniature table saw. MARC
-
Querty......... that is amazing. The way you did that....... put it in piece by piece and glued it together. This is completely different compared to a long and narrow boat. Excellent work and a WOW factor. Marc
-
avsjerome2003: thanks for the videos and the one that would work for me is the one with the vice and the saw blade and that would be for large diameter dowels. All the other vid's are people who have elaborate work shops which I don't have and don't really want to have. russ: I am doing the suggestion you made in a somewhat different way. I did go to woodcraft.com to buy dowels from beech and maple and some of different imported hardwoods. If I need a 7mm mast I purchase the 8mm and just sand it down. That also goes from the 5mm to the 4mm. I have some square dowels and I will practice what I have in several of my books. From square to octagon to round. Thanks for the suggestions. Marc
-
WOW, great links, thank you all. Marc
-
Do you happen to know what the link is to that video? Marc
-
Russ, It is what I thought I had to do. I can use a 5mm dia. dowel and turn it into a 4mm spar and the same goes for an 8mm dowel into a 7mm mast. I have an article on how to make a round dowel from a square dowel. Will have to study this and use my files, chisels, sand paper to get the masts and spars. Thanks for the suggestion. Marc
-
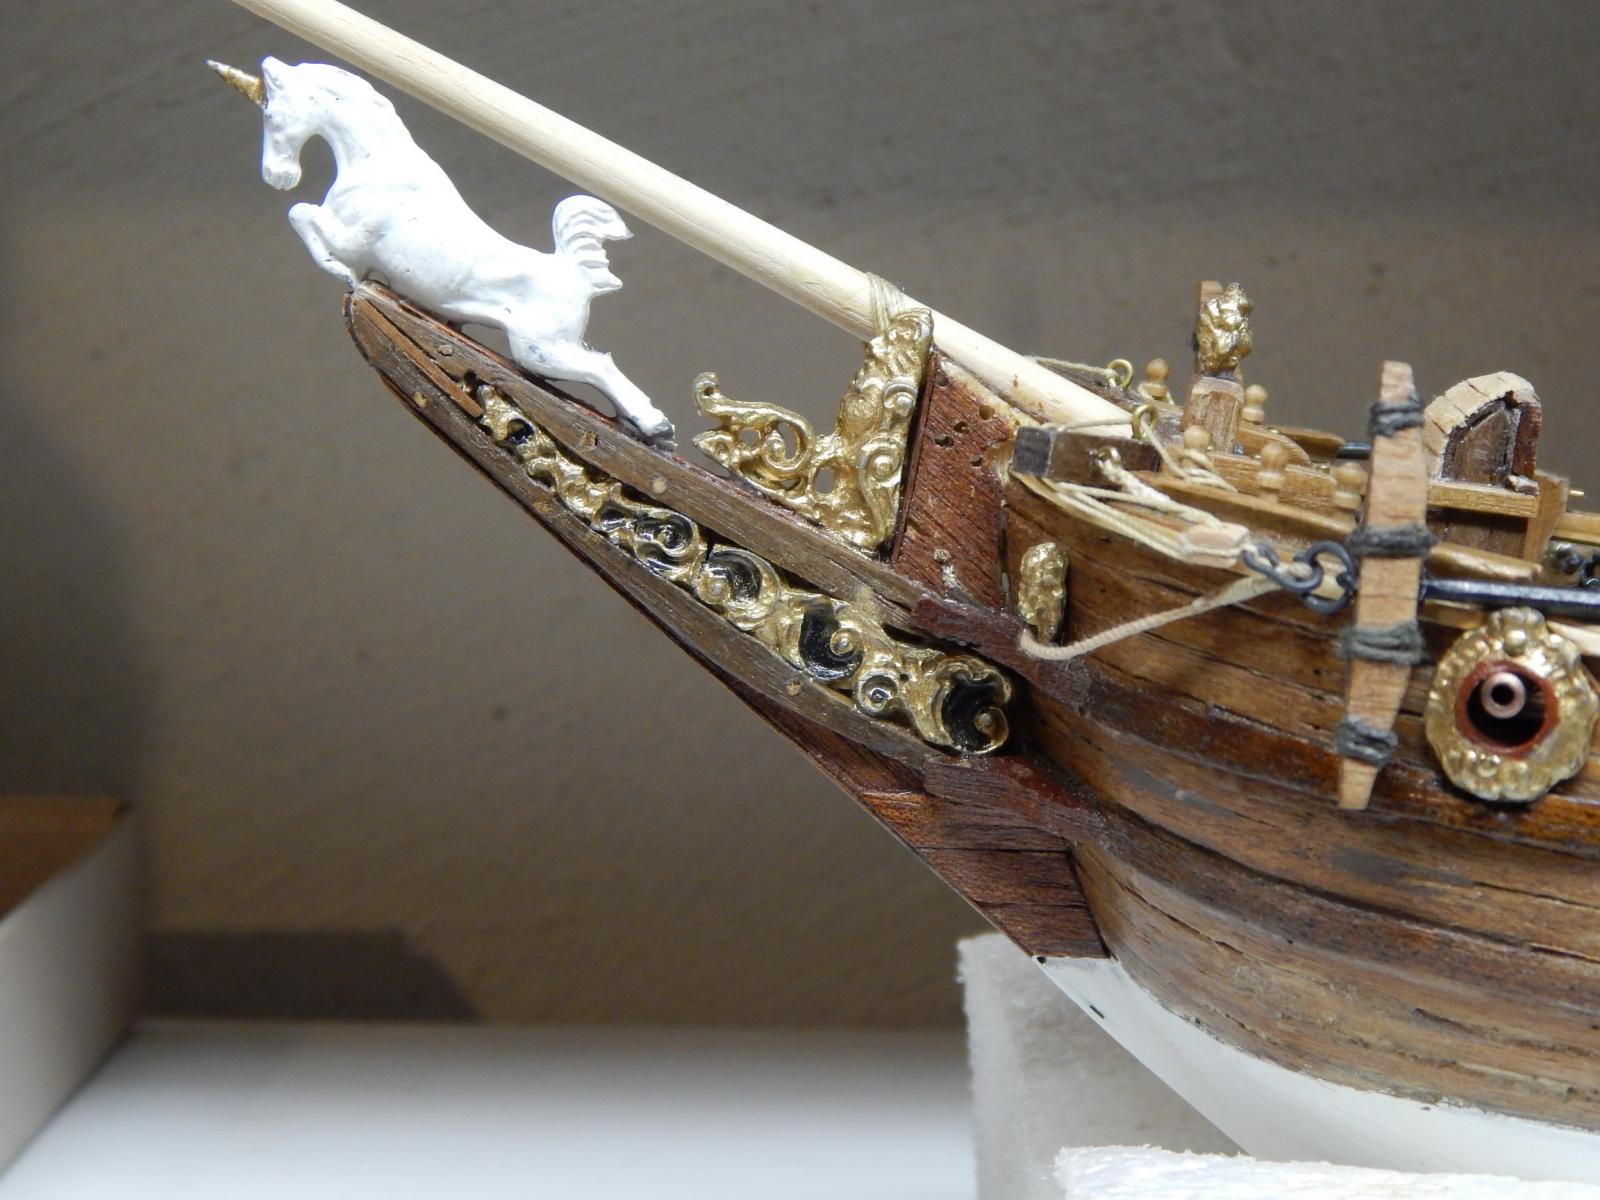
Hello, I am finishing up the Royal yacht Mary by Mamoli, and working on the masts and spars. They are from basswood, all warped and break easily when you sand them thin. I did some research in the books I have and a website from Gene Larson, on what type of wood to use for mast and spars. They suggest the following: Sitka spruce, beech, lemon wood, lance wood, maple, cherry and red cedar. No basswood, the research says it is soft and warps. I need the following dowel diameters and I have put them both in mm and inches. 8mm or 5/16" 7mm or 17/64" 6mm or 15/64" 5mm or 3/16" 4mm or 5/32" 3mm or 1/8" 2mm or 5/64" In my area I checked these stores for ready made dowels: Home Depot, Lowes, Michael's, hobby lobby and AC Moore and my local hobby stores - they all have basswood and do not have the odd sizes. I checked on line and these don't have the odd sizes too. http://www.nationalbalsa.com/ http://dlumberyard.com/index.html http://www.hobbymillusa.com/ http://www.modelexpo-online.com/default.asp (they used to have so much more) http://www.woodcraft.com/ www.historicships.com Does have the odd sizes but all of the wood is pricey. Conclusion: I can go to 3 stores on-line and buy here and there and pay a lot for shipping OR have one (1) store that provides Everything. Any suggestion of other places I missed that are reliable in the USA. The NET has lots of places that sell dowels and Amazon is connected to many sites I have never heard off. I need dowels that are not basswood. Any suggestions is much appreciated. Marc
-
Hello, I am finishing up the Royal yacht Mary by Mamoli, and working on the masts and spars. They are from basswood and I hate them. They are warped and break easily when you sand them thin. I did some research in the books I have and a website from Gene Larson, on what type of wood to use for mast and spars. They suggest the following: Sitka spruce, lemon wood, lance wood, maple, cherry and red cedar. I need the following diameters and I have put them both in mm and inches. 8mm or 5/16" 7mm or 17/64" 6mm or 15/64" 5mm or 3/16" 4mm or 5/32" 3mm or 1/8" 2mm or 5/64" I have checked the following places for dowels and diameters and types wood They all have the common diameters but not 5/64 or 15/62. http://www.nationalbalsa.com/ http://dlumberyard.com/index.html http://www.hobbymillusa.com/ http://www.modelexpo-online.com/default.asp (they used to have so much more) http://www.woodcraft.com/ Any suggestion of other places I missed that are reliable in the USA. The NET has lots of places that sell dowels and Amazon is connected to many sites I have never heard of. Any suggestions on the type of wood and where to buy is much appreciated. Marc
-
Thanks for sharing. Marc
-
Piet; I looked up your builds and this one is intense, pretty big as well. You have a fascinating introduction to this thread. Thank you for sharing. Took me a while reading through all the information and checking the pictures, but well worth it. I will be following this one. Groeten, Marc
-
I know about this book from Witsen. There is a lot Hoving has written about Dutch ship building. Whenever I am in Amsterdam visiting my mother I scour the antique book stores for Dutch shipbuilding books. As long as they are not to expensive. Marc
-
Beautiful, love the lines of the Dutch boats. I like the lights, very different. Exceptional detailed. I will follow this built of yours. I need to look up this book you are using to build this model. Marc
-
Thanks for the tutorial. I have been using a more complicated CAD program I've had since its inception but this is much better. Marc
-
Beautiful all around and I like how you did your cannons, but I especially like the Siamese, very pretty cat. Marc
-
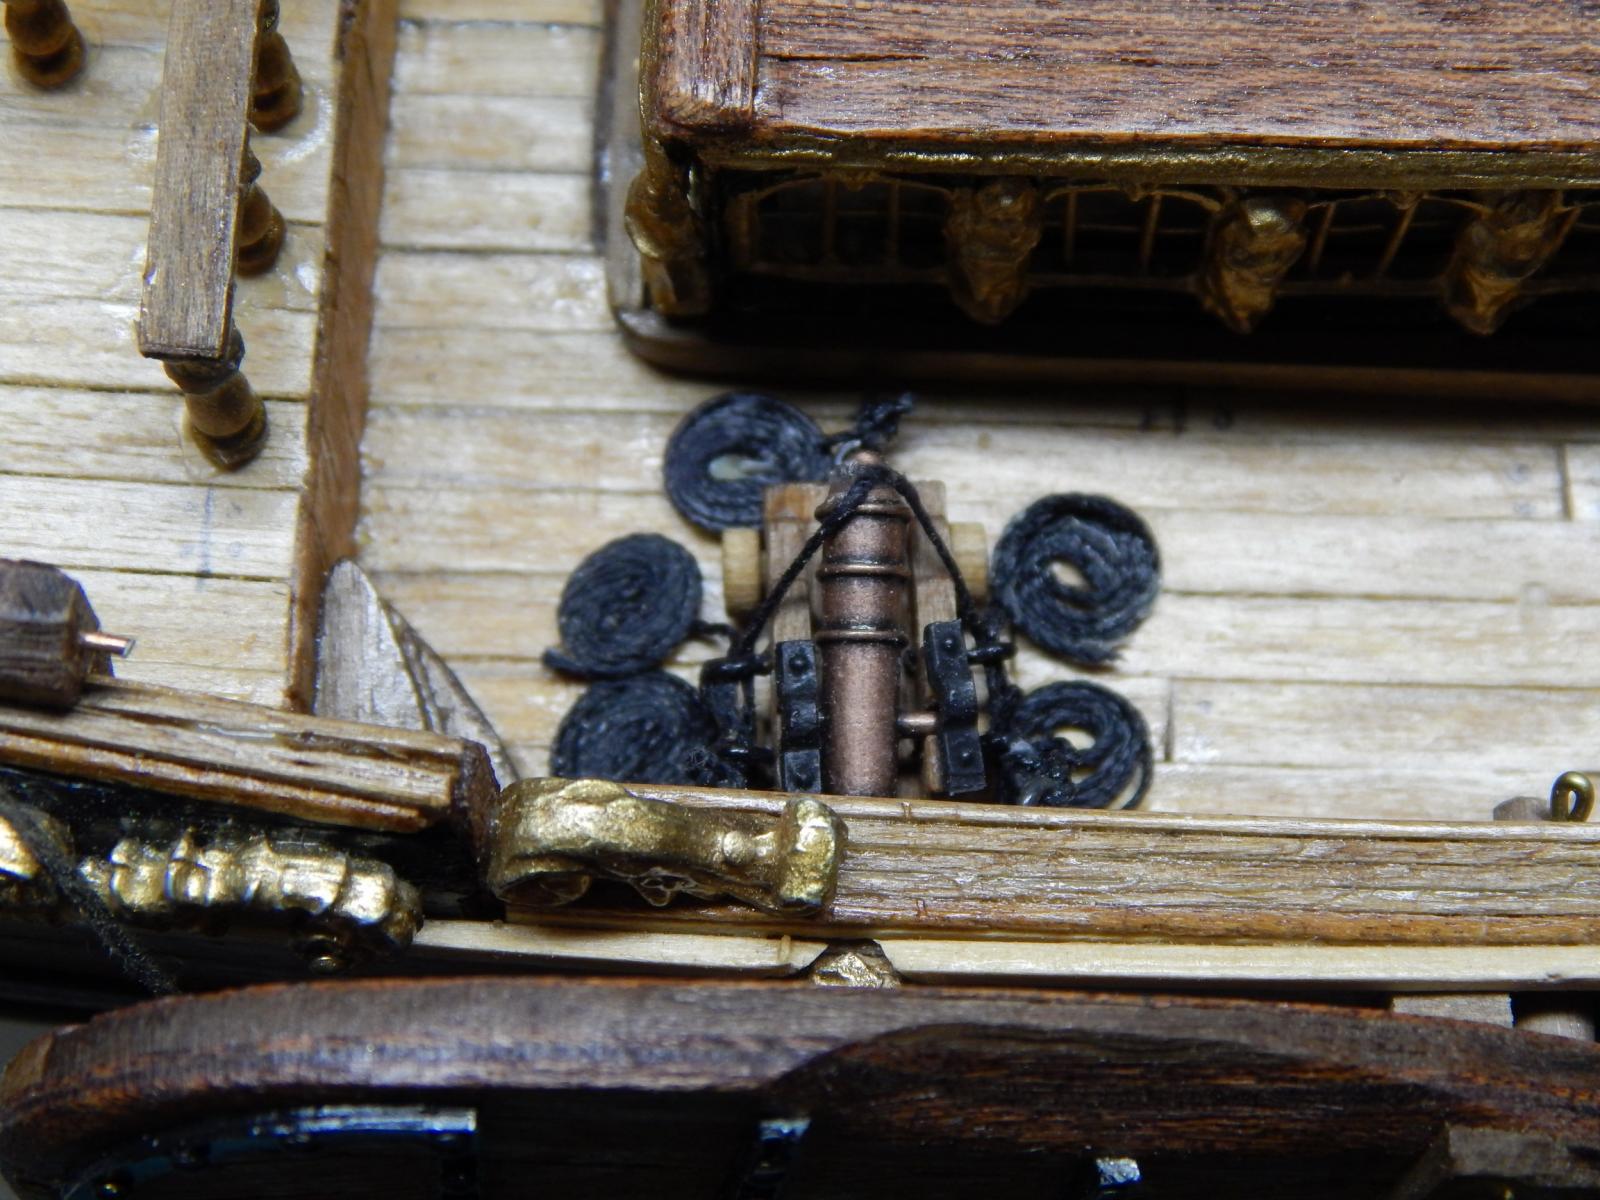
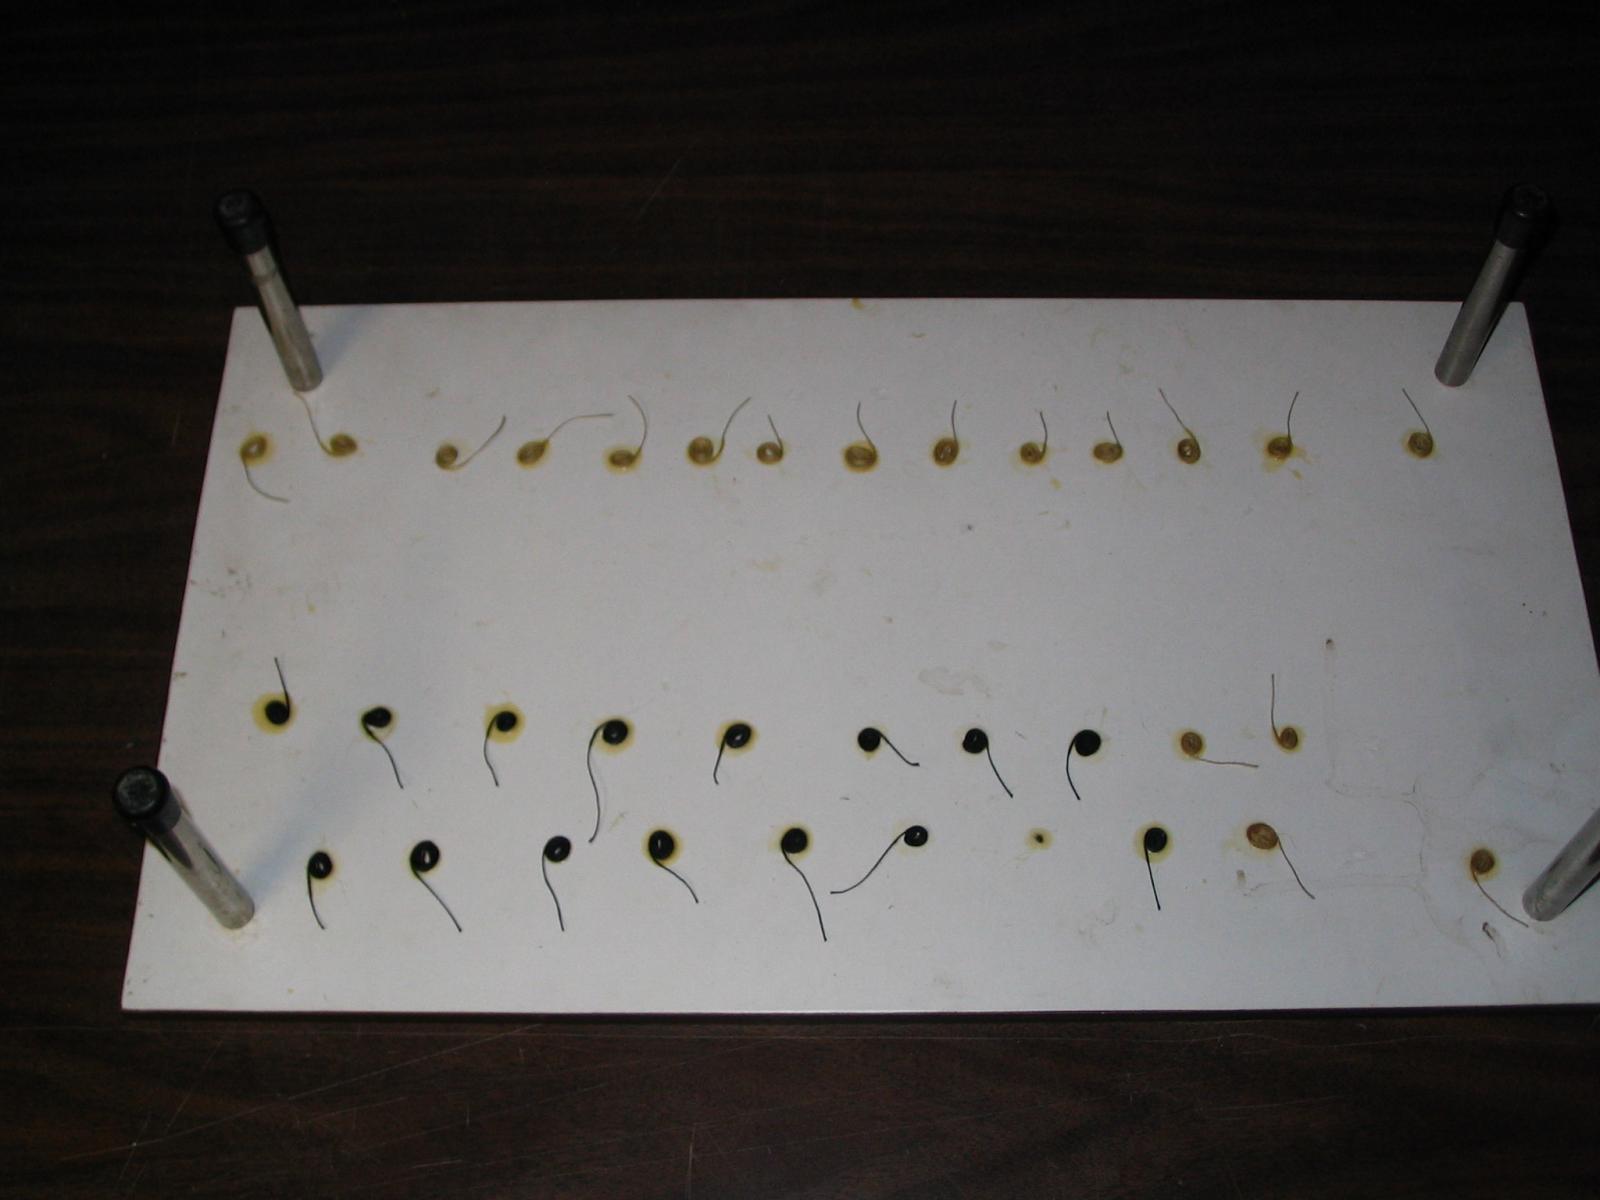
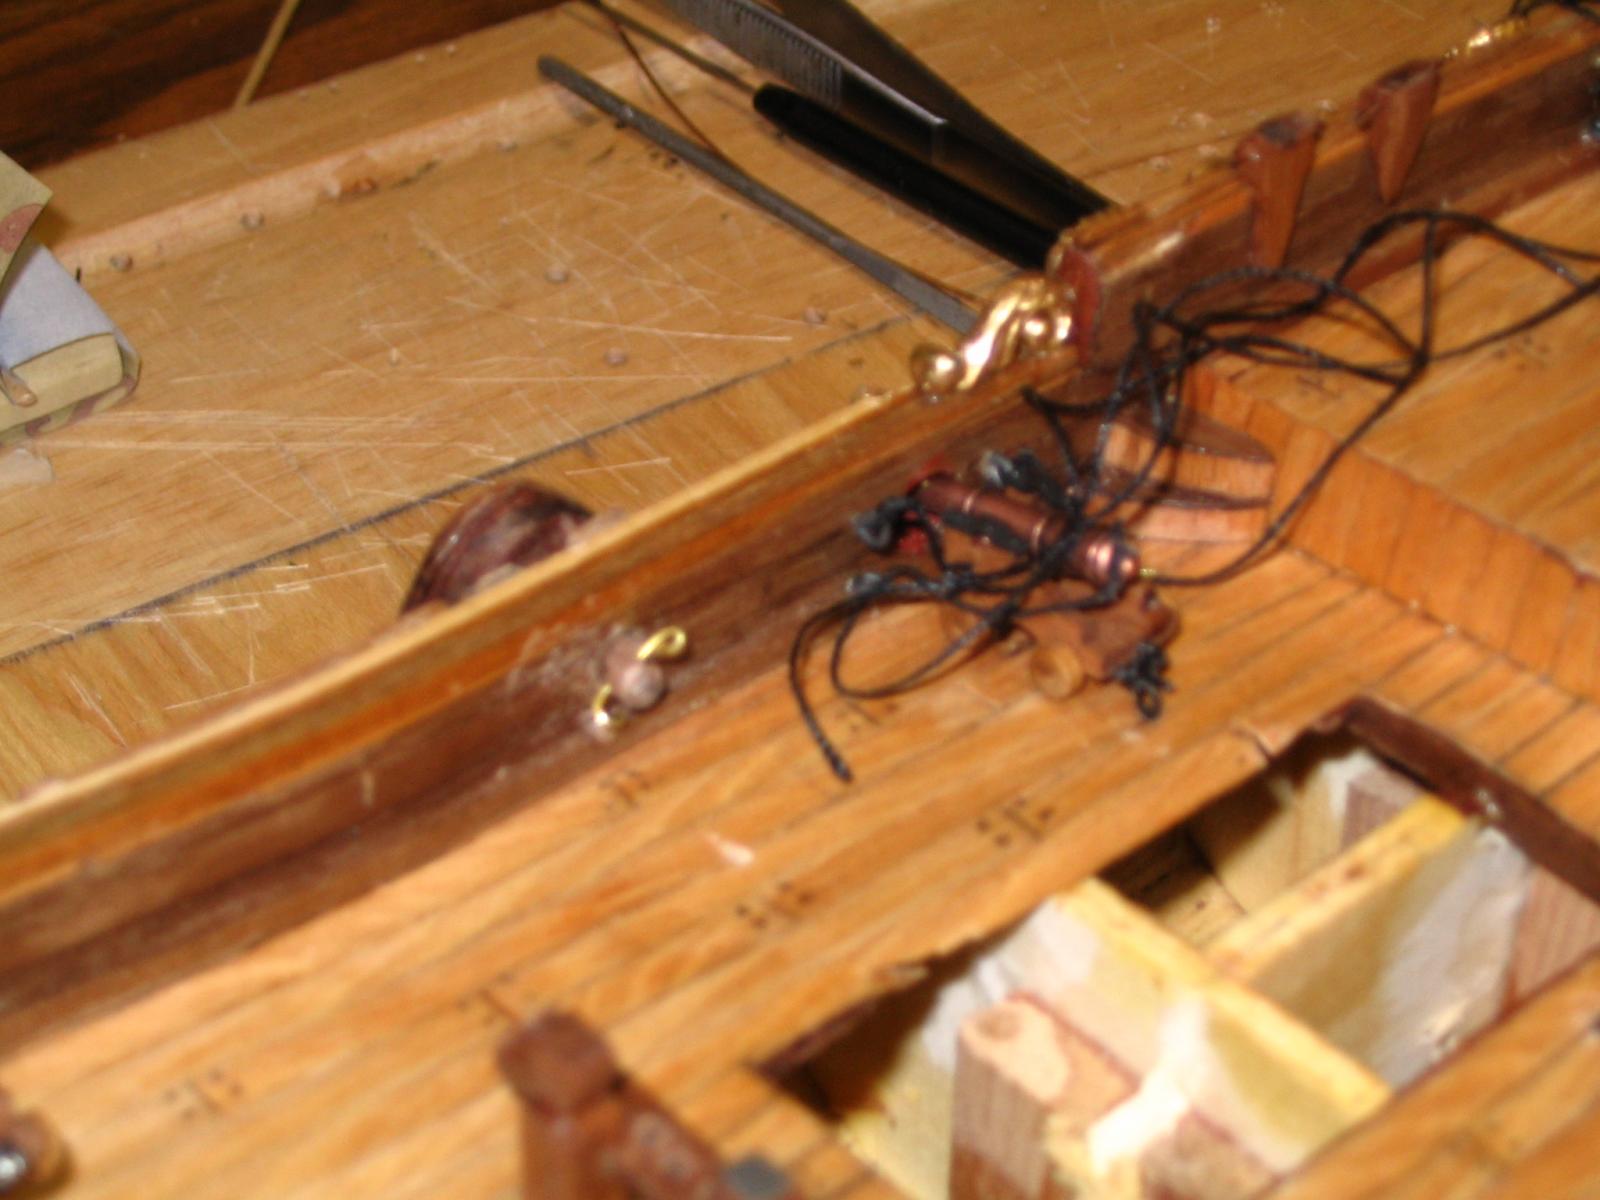
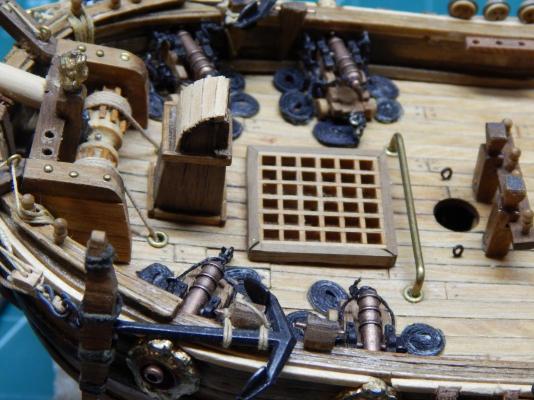
Here are some pictures of the rope coils on deck. I learned later on that the rope is a bit to large in diameter to the scale of the boat. I will correct this in my next boat.
- 85 replies
-
- 7
-

-
- yacht mary
- mamoli
- (and 1 more)
-
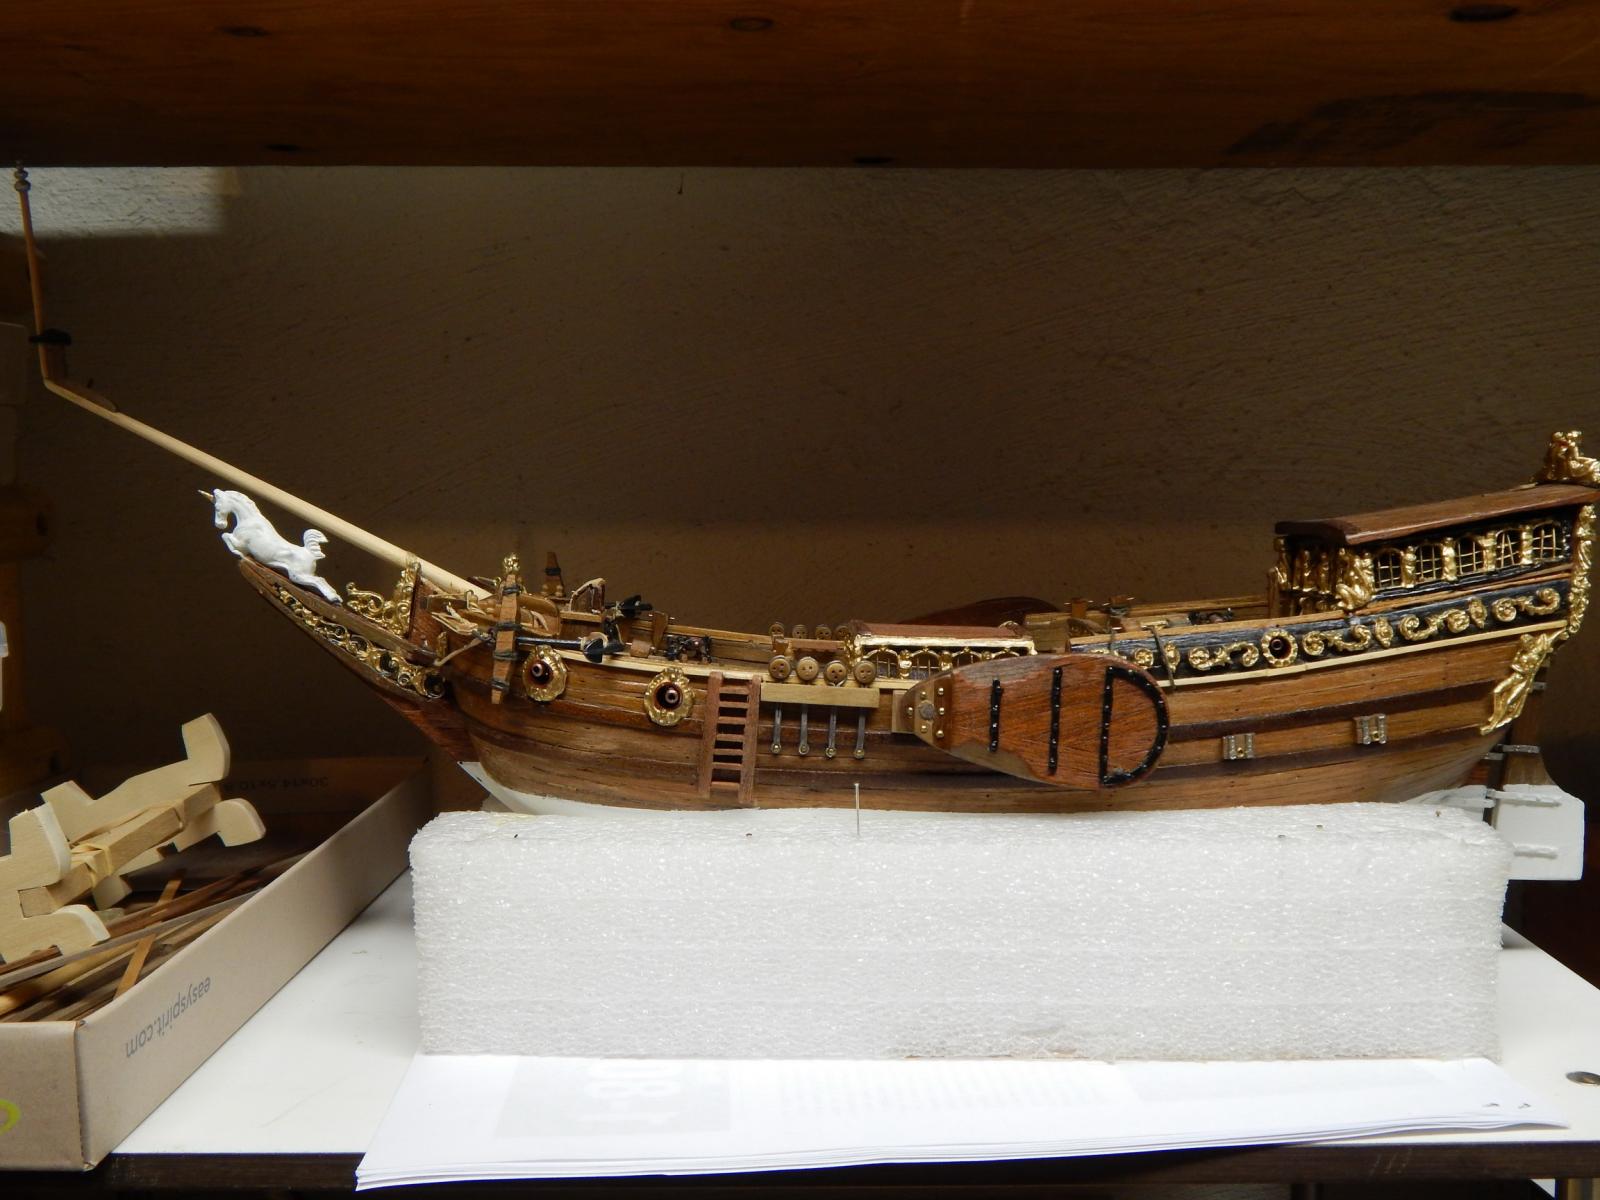
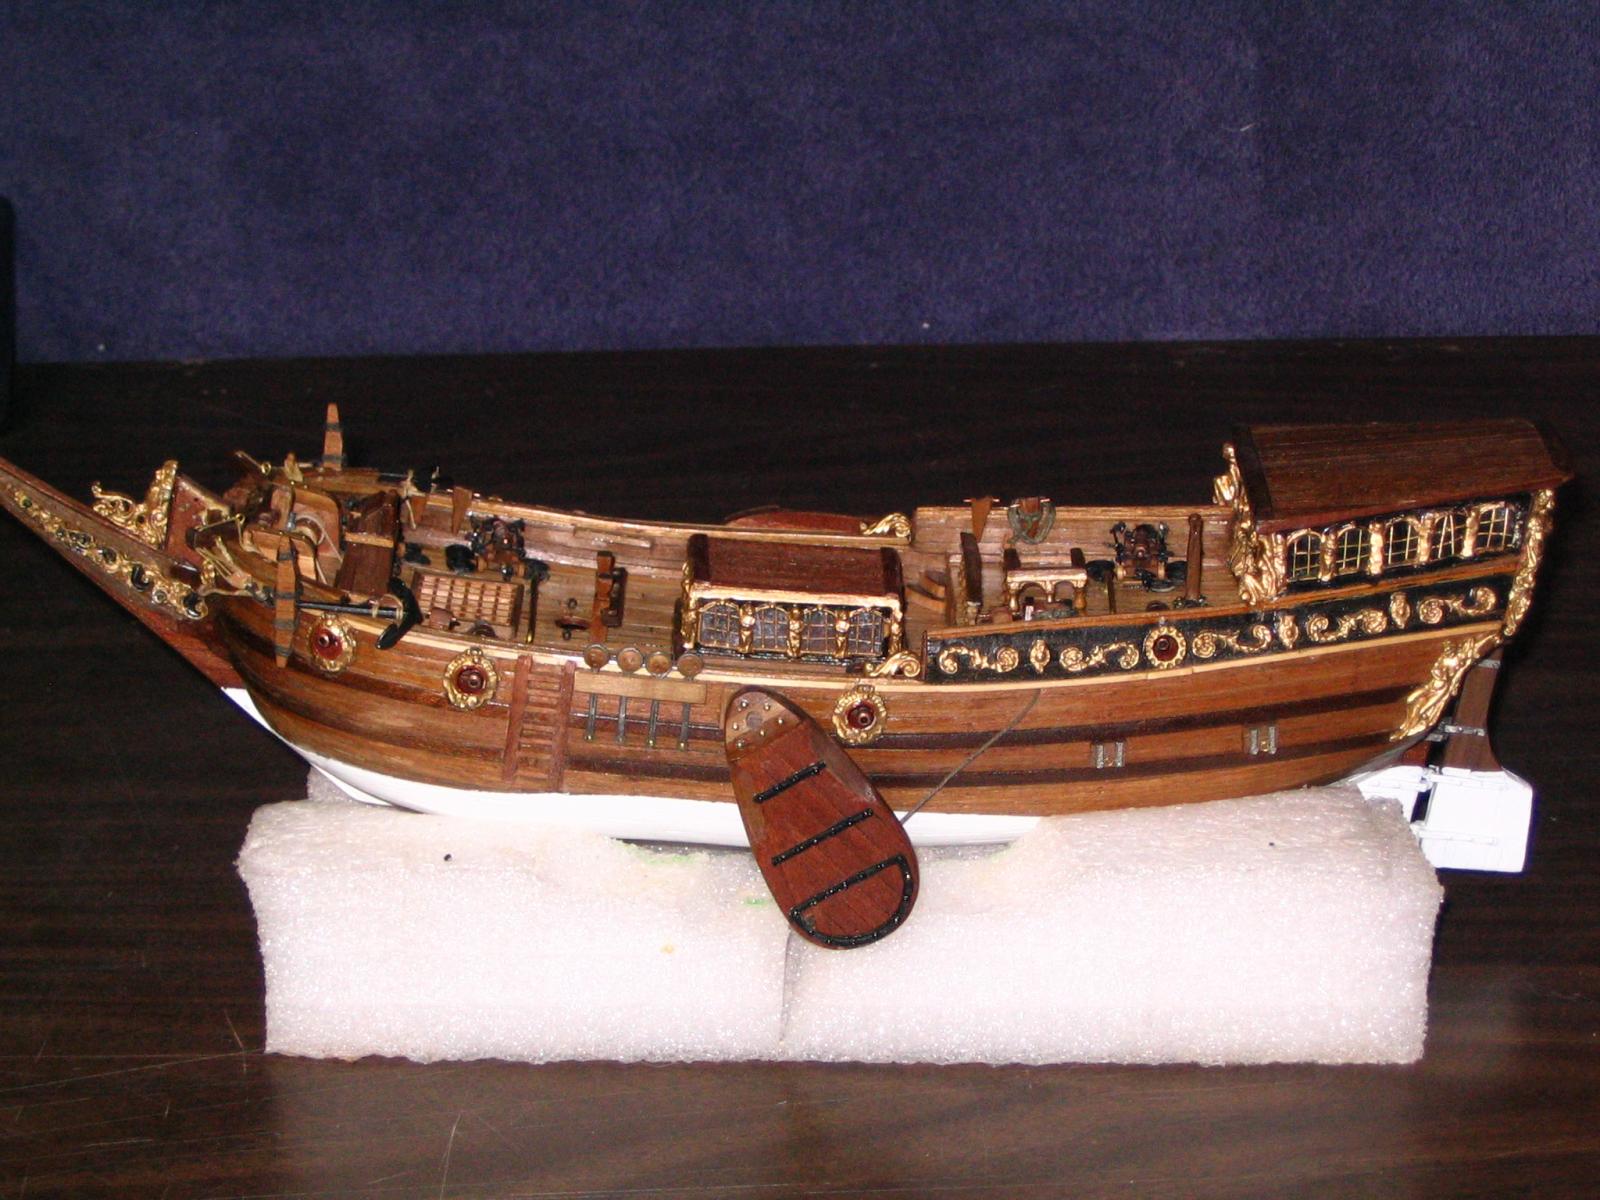
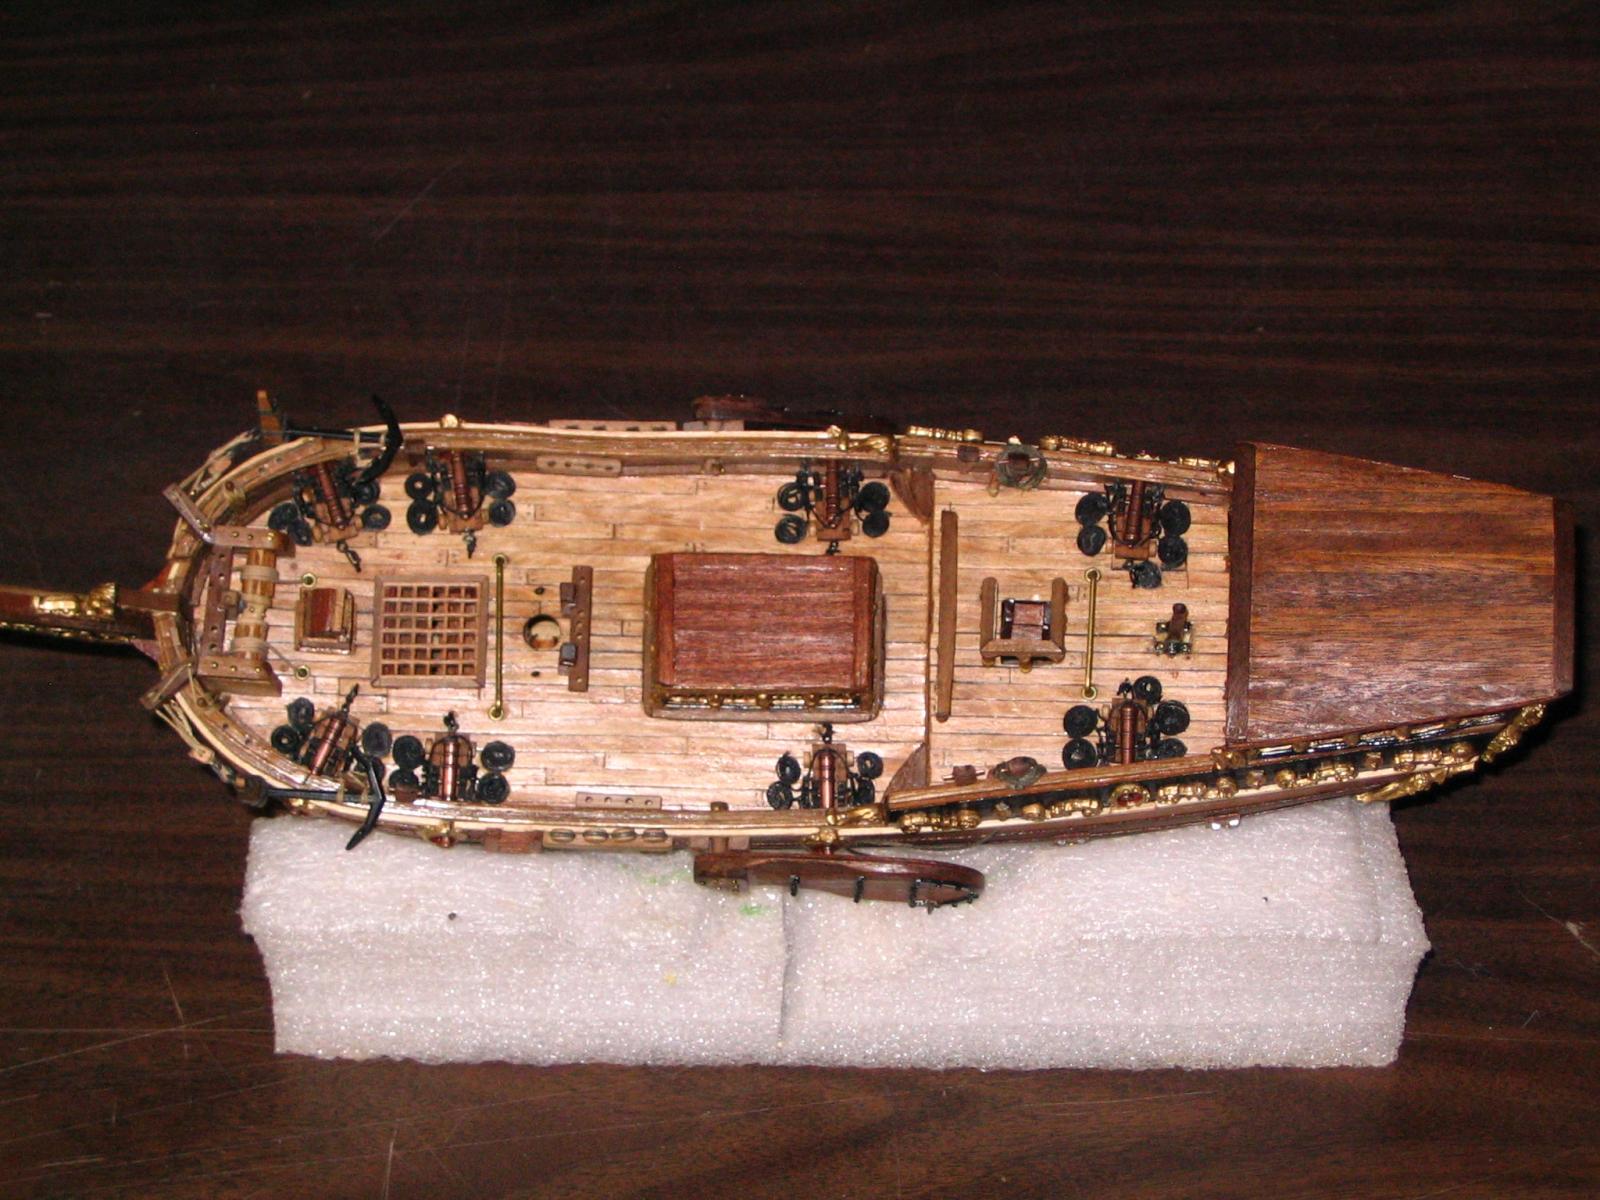
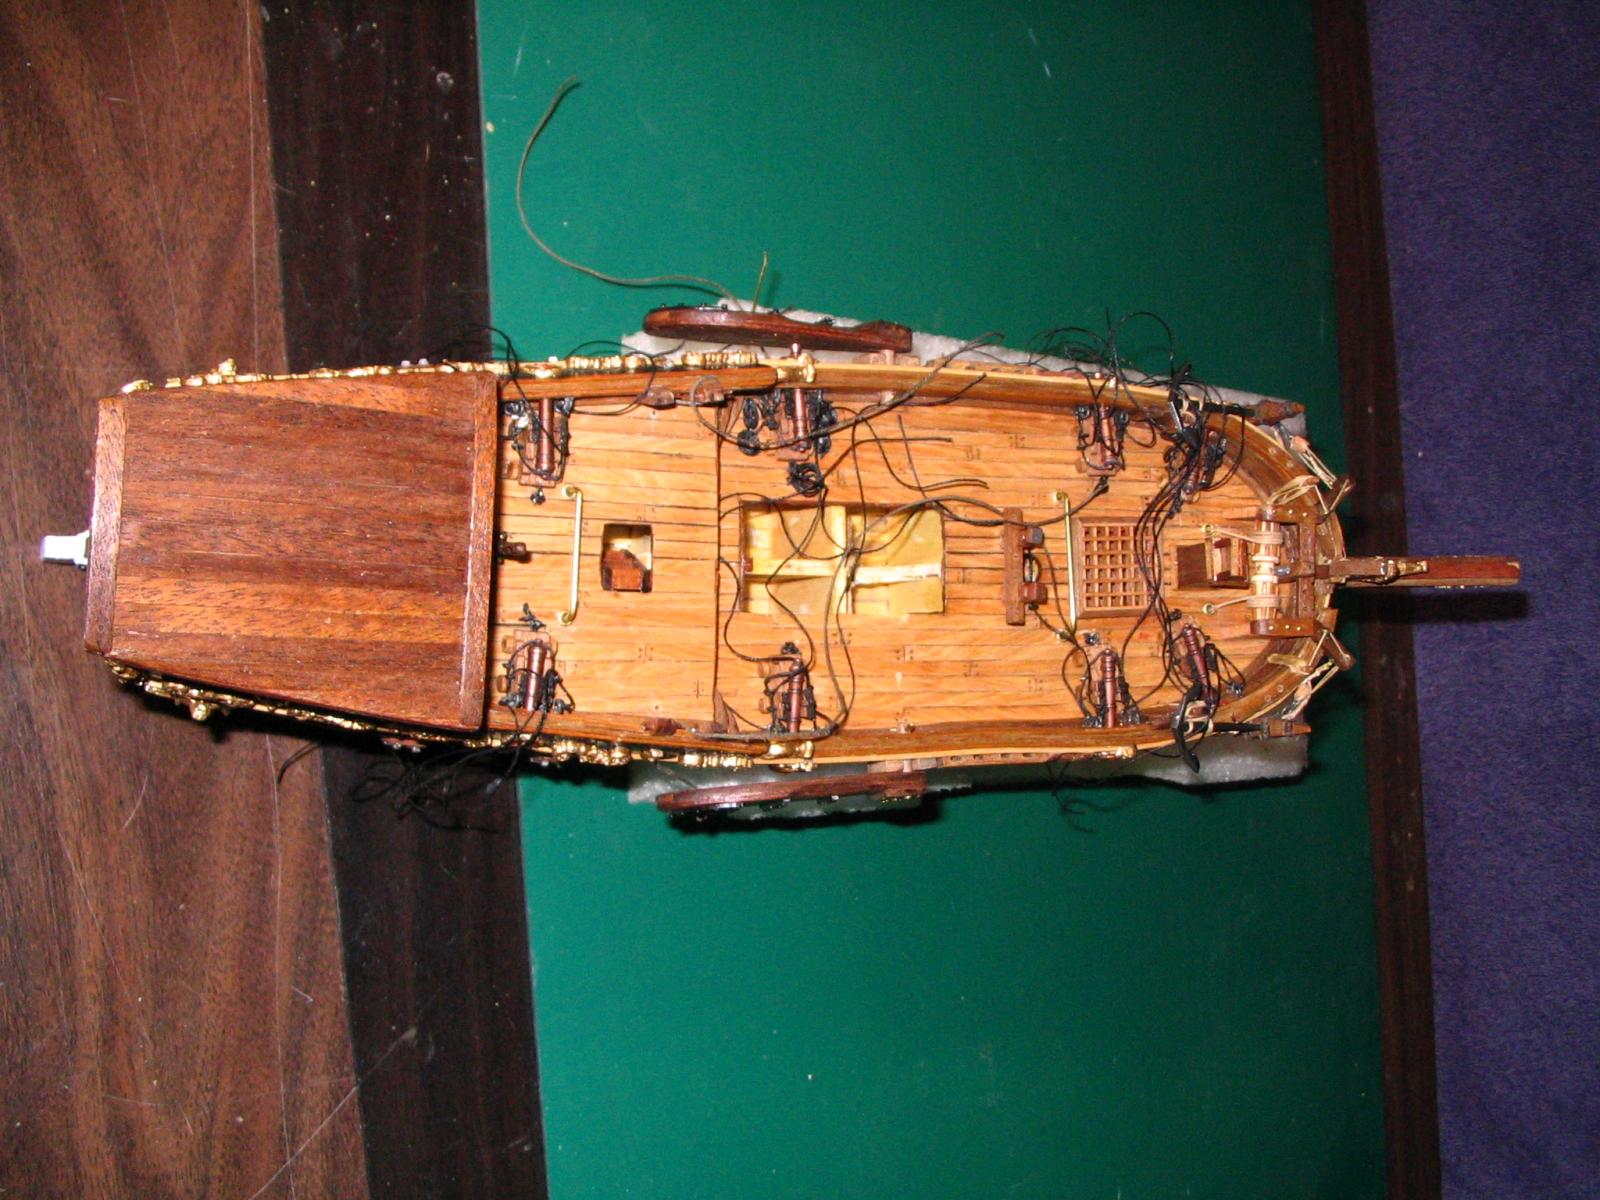
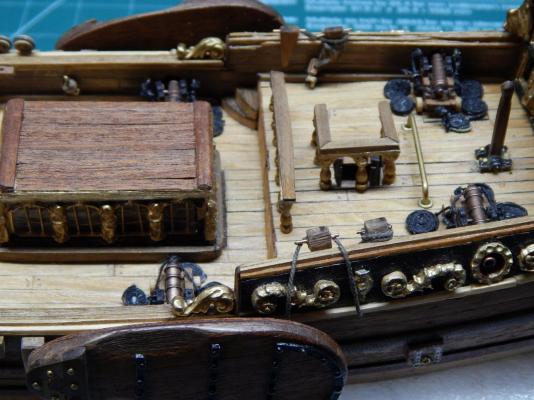
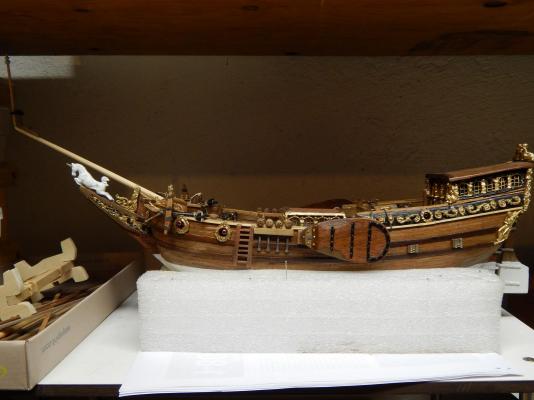
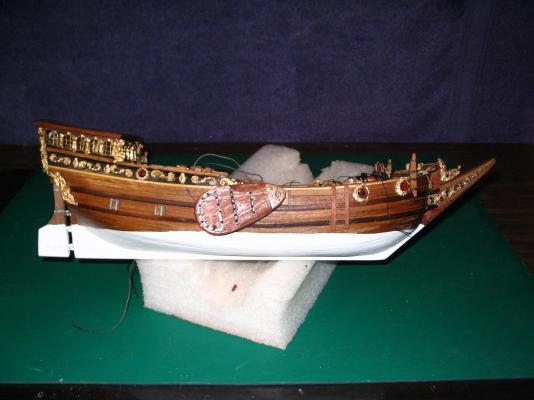
Several pictures of what I have presently finished and the next installments will be the masts. My neighbor has hemmed and stitched the sails and all there is left to do is to dye them brown. She did an excellent job on the sails of the Bounty. It is something I have to do myself one of these days.

- 85 replies
-
- 5
-
-
- yacht mary
- mamoli
- (and 1 more)
-
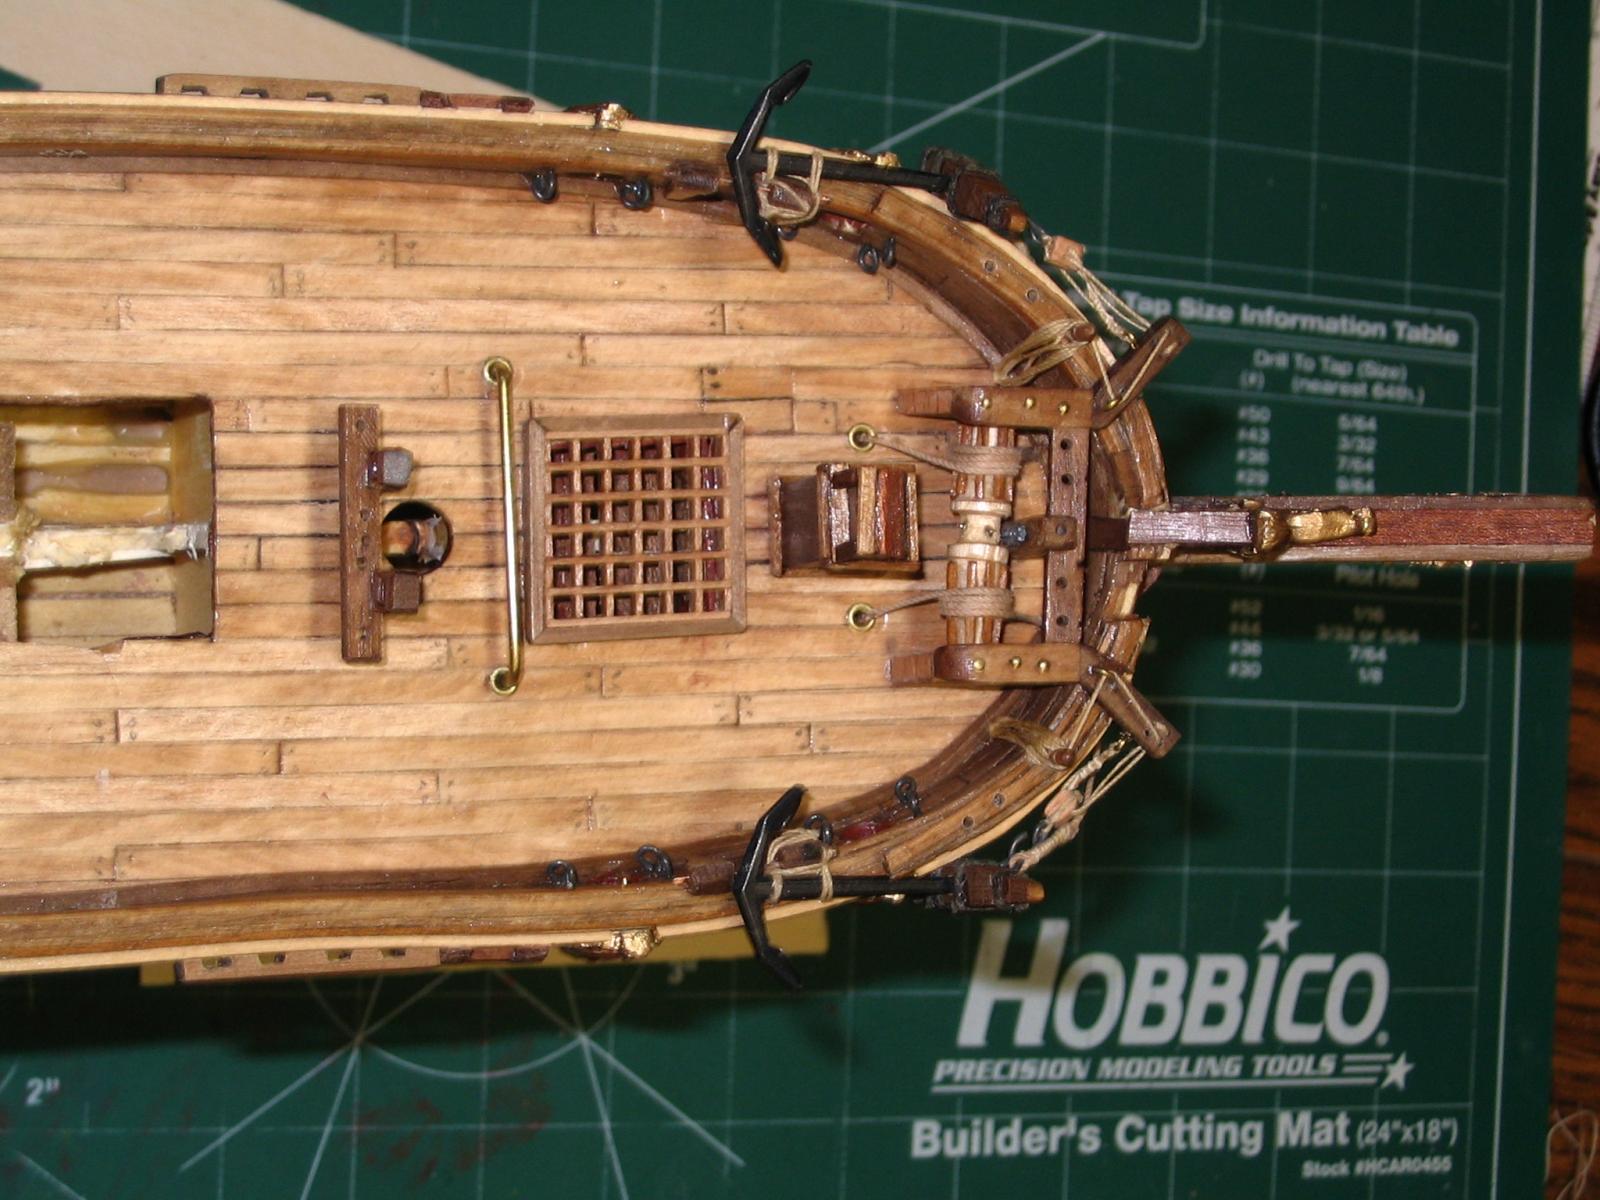
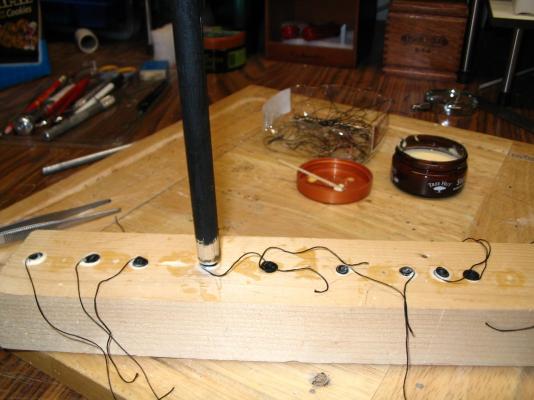
Rope coils being created.

-
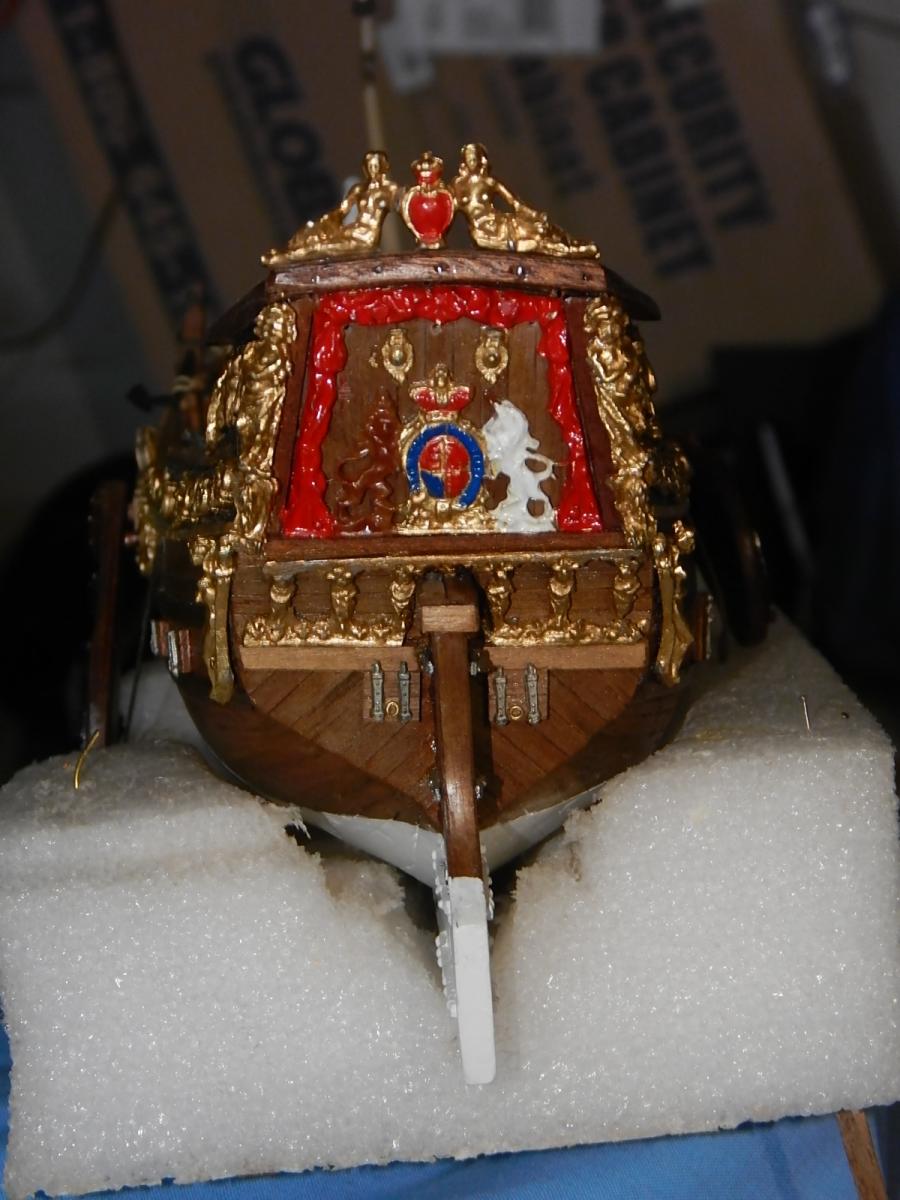
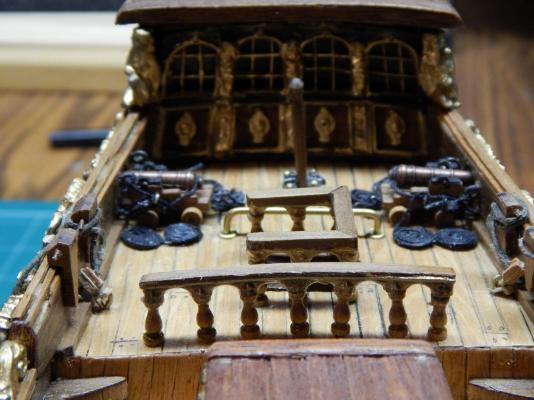
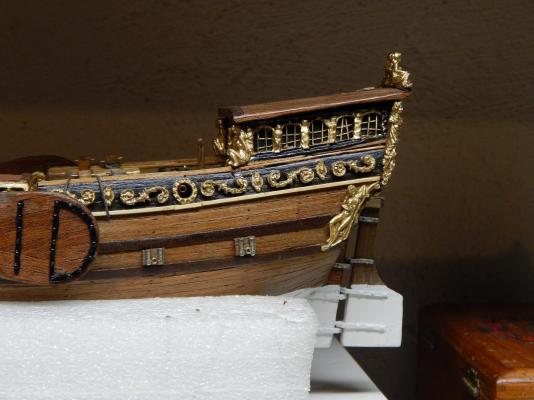
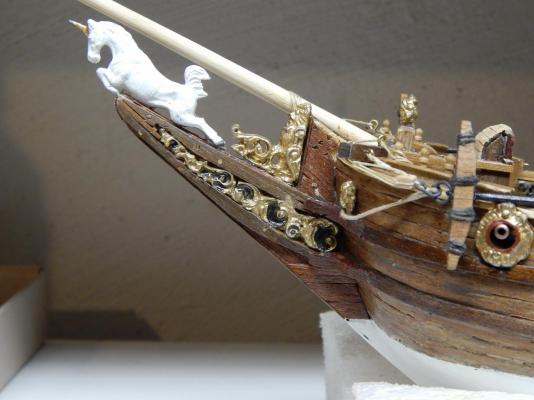
Paint job is before I cleaned it up and got the line more even. Here is the completed boat with the cannons and the leeboards.
- 85 replies
-
- 2
-
-
- yacht mary
- mamoli
- (and 1 more)
-
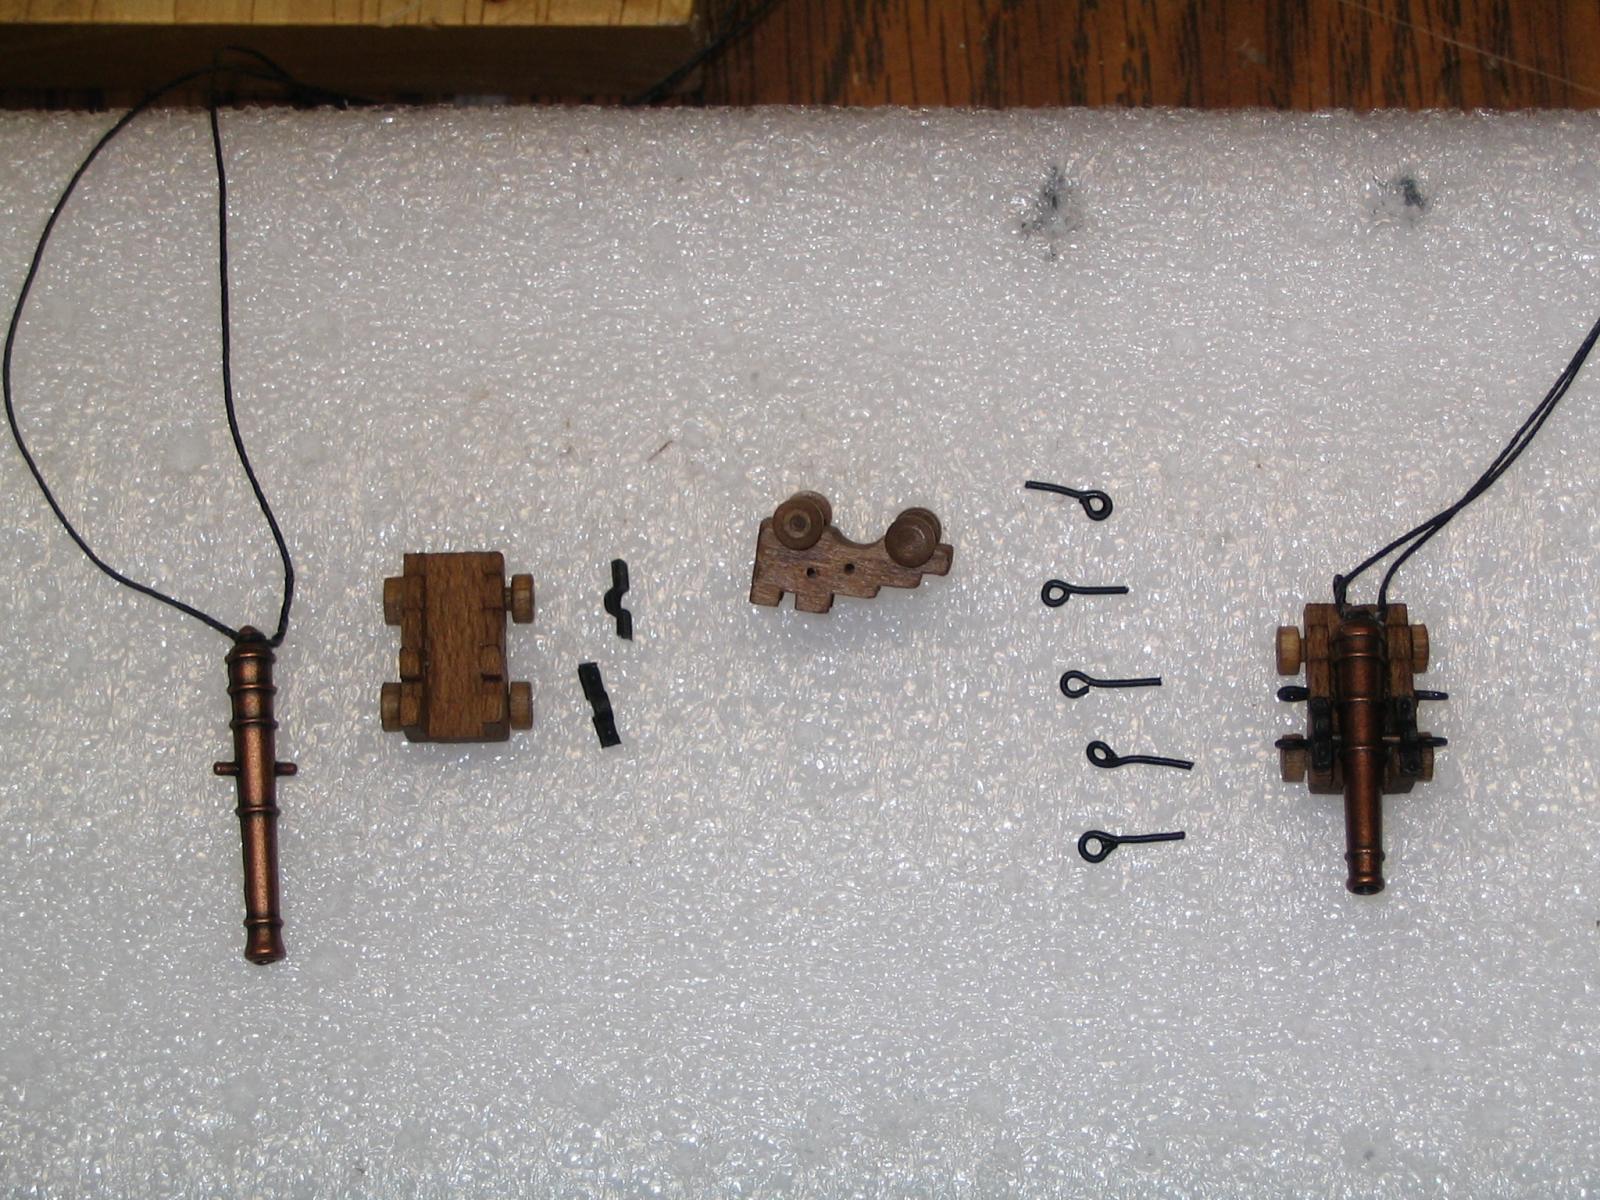
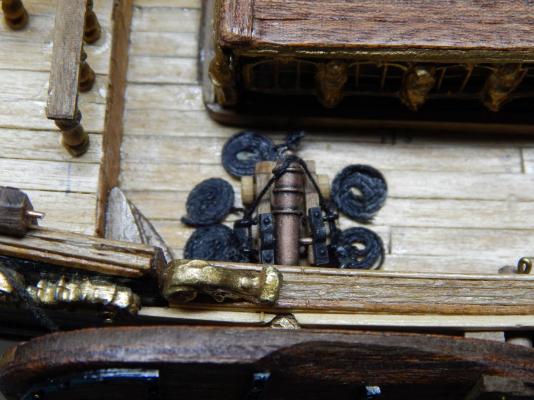
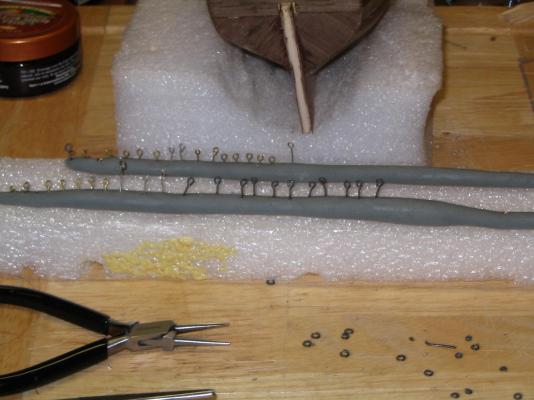
Rings for cannons added. This is not part of the original instructions.

-
Making rings for rope work on cannons.

-
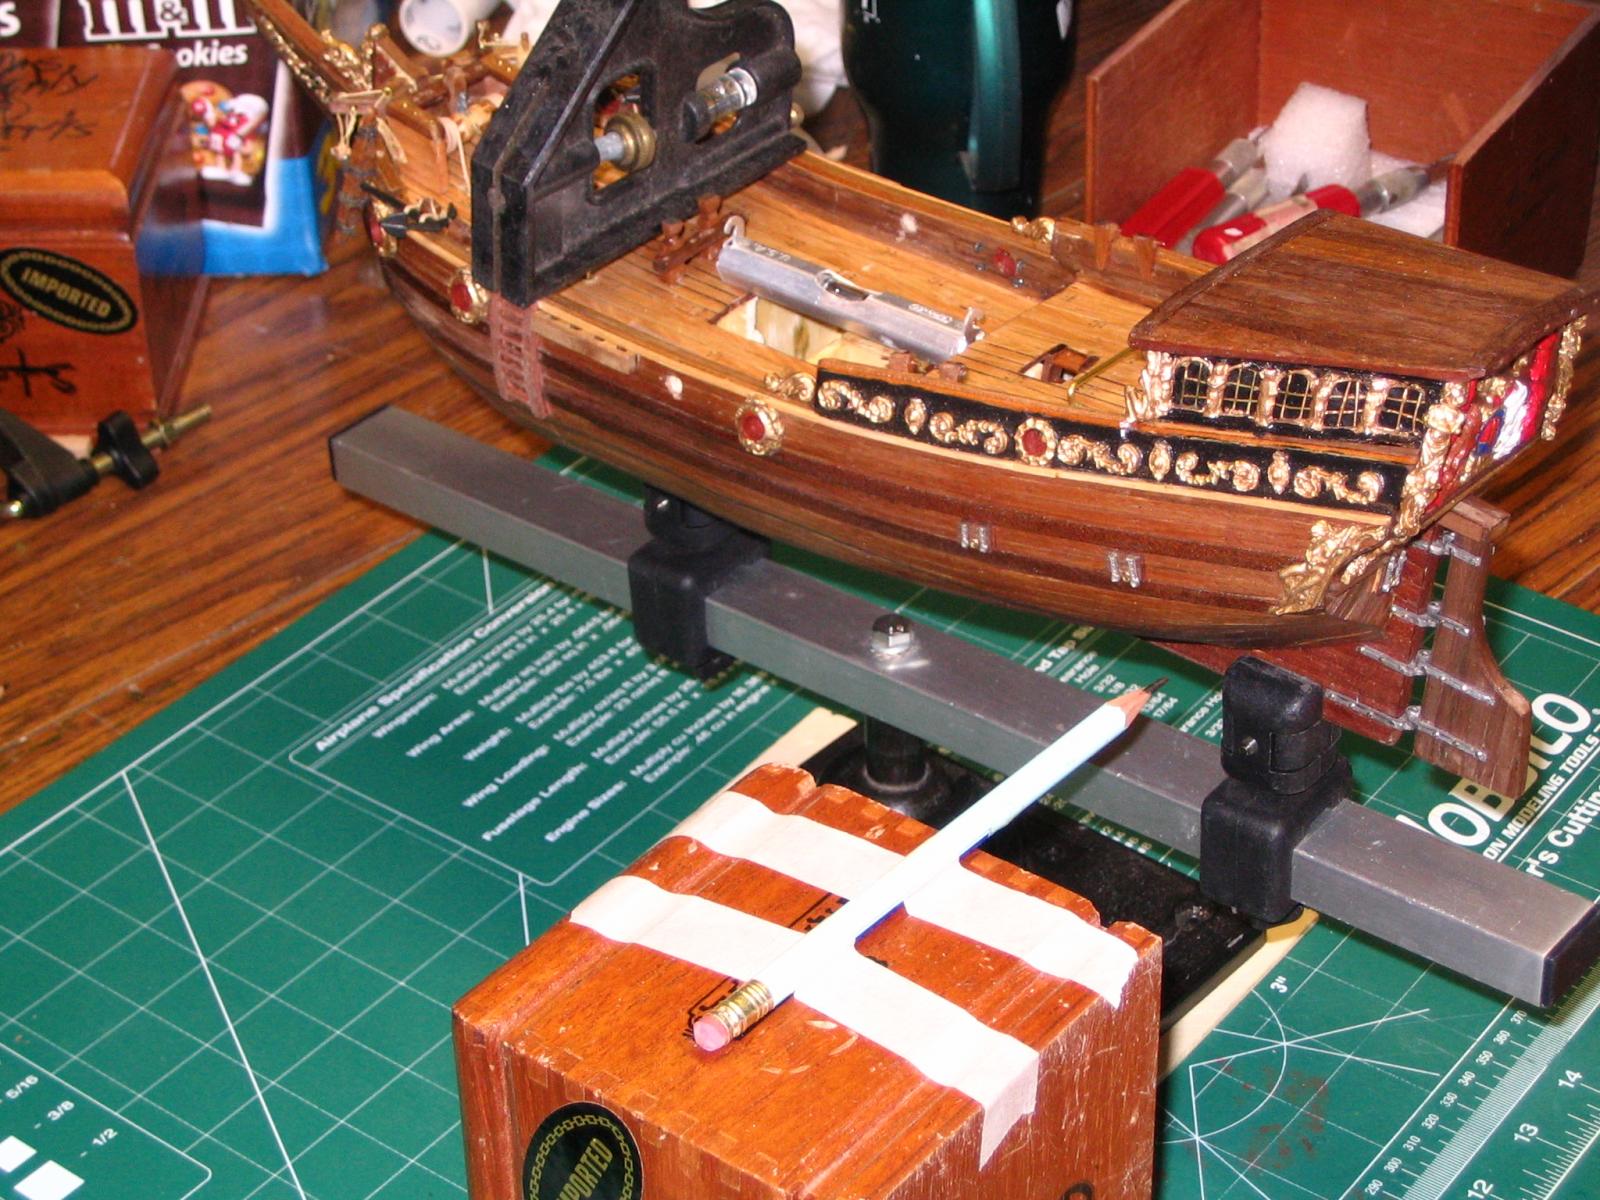
Drawing the water line.