-
Posts
1,735 -
Joined
-
Last visited
Content Type
Profiles
Forums
Gallery
Events
Everything posted by flying_dutchman2
-
- 305 replies
-
- utrecht
- statenjacht
-
(and 1 more)
Tagged with:
-
Today I have started Version 3 and it looks so much better (but then I had lots of practice with v.1 and v.2). Frames have been cut and half the boat frames have been glued together and they are in a large clamp. I obsessed with exactness of the fames but will no longer that as once I have all the frames glued together and all the sanding is done it will look good. Pictures will follow. Marcus
- 305 replies
-
- utrecht
- statenjacht
-
(and 1 more)
Tagged with:
-
Hi Chuck,
Do you scan every new journal once it is published and make it available as a PDF for purchase or do you wait until you have several years and create a CD?
I am interested in purchasing separate articles that are not on the CD's which are available on the NRG site.
I have gone completely digital when it comes to Journals. Das Logbuch (German) and a Dutch journal are available in both paper and digital format and I purchase from those sites , the articles I am interested in.
I am not interested in every article in every journal that I have subscriptions with.
Thank you in advance for answering.
Marcus
-
Here is part 2 of Carving from The German Nautical Journal, 'Das Logbuch'. The subject is a female and male figure. Again, worth a look. Be forewarned there are pictures of anatomically correct male and female drawings. (I hope no one will be offended). If you want the translation you can always use the translation add-on in Firefox and Chrome. http://www.arbeitskreis-historischer-schiffbau.de/mitglieder/themen/schnitzkurs-2/ Marc
-
Beautiful (Heel Mooi). I like how you did the little head carvings. Marcus
- 4 replies
-
- lantern
- ship lantern
-
(and 1 more)
Tagged with:
-
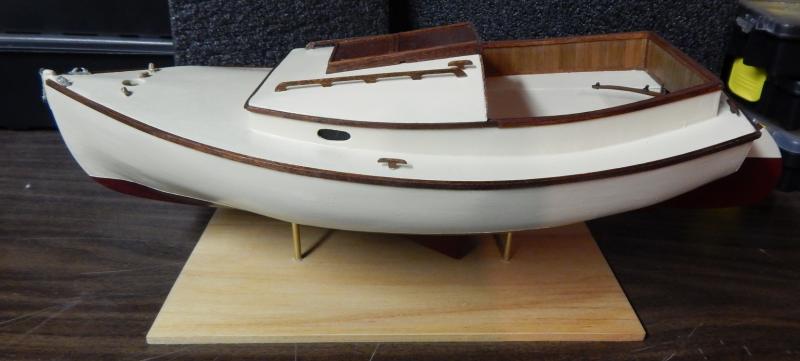
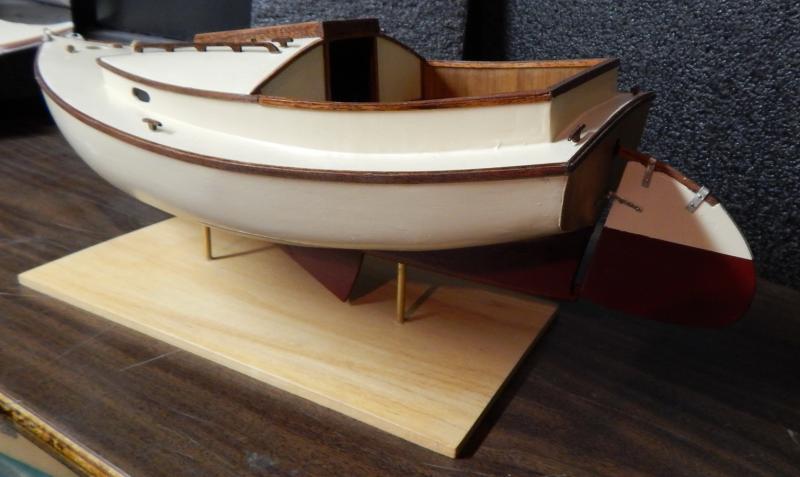
The Catboat is completed and waiting to be shipped to Prince Edward Island. Enjoyed building this kit. Next I will decide to either continue the Utrecht or build me a garden windmill. Thank for all the constructive suggestions everyone gave me in building this kit and thanks for watching. (Upon leaving the workshop, please put the chairs back and clean up after yourself) Marc
- 165 replies
-
- cape cod catboat
- Finished
-
(and 1 more)
Tagged with:
-
Michael and Carl, thank you for the suggestions. I need to hunt down the email I once got with the original font for the name and will compare it to the above. I haven't even finished the Catboat and I am already cutting out frames for the Utrecht and I did it outside. 60 degrees F????? on February 14th?????? What is going on????? Global warming????? I know the East coast is getting nuked but here it is nice and balmy. Marcus
- 165 replies
-
- cape cod catboat
- Finished
-
(and 1 more)
Tagged with:
-
So what font type do you suggest? Have not started the decal yet, so I am interested in your thoughts. Thanks Marc
- 165 replies
-
- cape cod catboat
- Finished
-
(and 1 more)
Tagged with:
-
Looking good. Interesting shape, skinny at the bow getting fat and wide towards the stern. I like it. Marcus.
- 420 replies
-
- captain roy
- lugger
-
(and 2 more)
Tagged with:
-
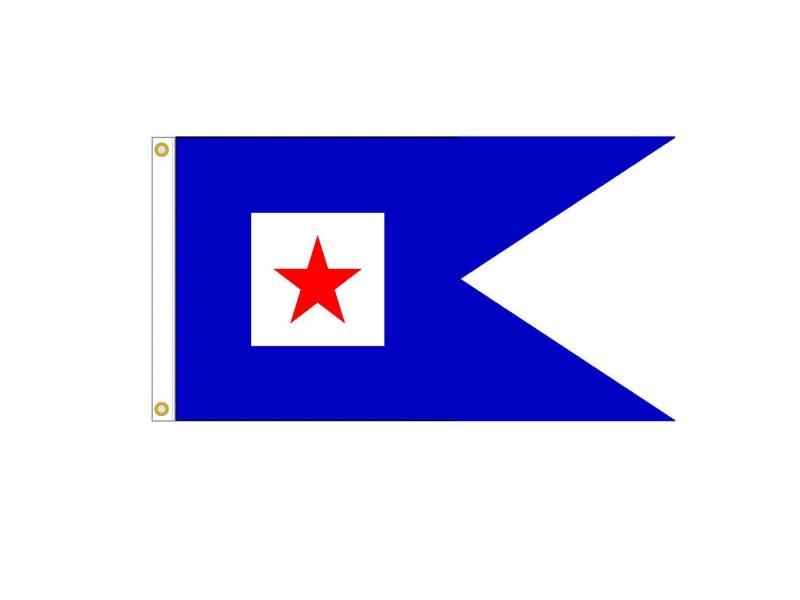
Piet, It is not so difficult to draw up plans for a windmill. Just make it tall enough so the wieken (I don't know the English word for this) do not touch the ground. Numerous examples on the NET as well. Thanks, Russ. I am going to finish up the boat by this week so I will do a Burgee and a decal. Jack and Popeye have been very helpful in the suggestions for decals Marcus
- 165 replies
-
- cape cod catboat
- Finished
-
(and 1 more)
Tagged with:
-
So Anja, someone stole the Halve Maen, or you just left her on the pavement when your friend drove off? That must have been a real disappointment. All that work for nothing. I have a nice word in Dutch for that, but I will hold my tongue. Good luck on this galleon. Marcus
-
I just checked how you did your decals and understand how to do it. I love how you put the decal on the sail itself, something I have to try myself. Beautiful built. Marcus
- 203 replies
-
- artesania latina
- marie jeanne
-
(and 1 more)
Tagged with:
-
Jack, Thank you very much for the information. So, it looks like I need more items to do the one decal? The stuff I got from DecalGear is not enough? Adding decals is presently an art with add-ons. In the old days it was luke warm water, place decal and I used hairspray as bonder and cover. (I know I sound like an old man). I found the website from Microscale and will probably order the 4 items Jack mentions. Then I should be set, I hope. Marc
- 165 replies
-
- cape cod catboat
- Finished
-
(and 1 more)
Tagged with:
-
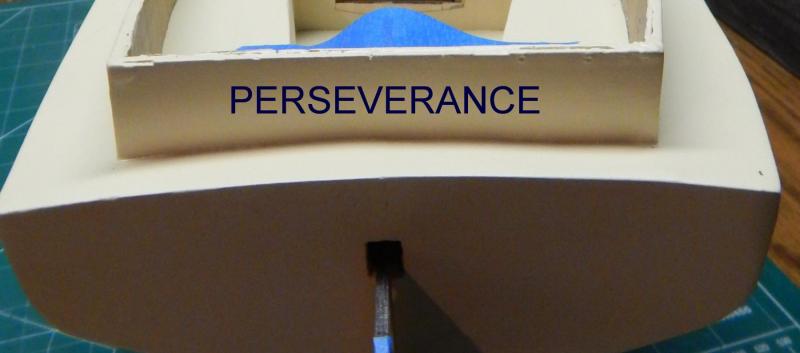
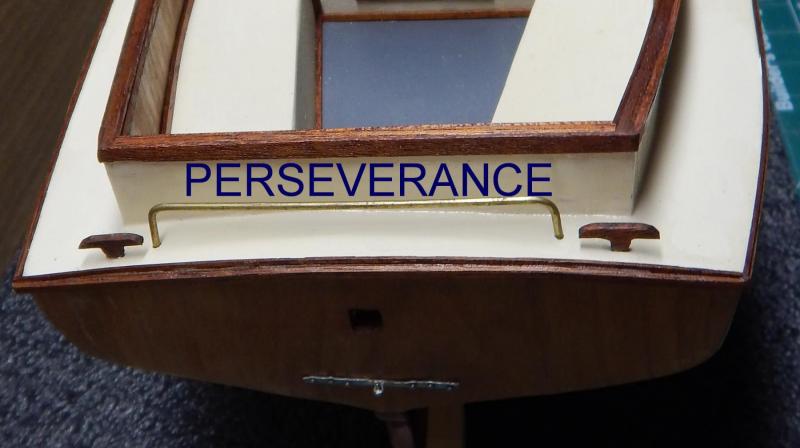
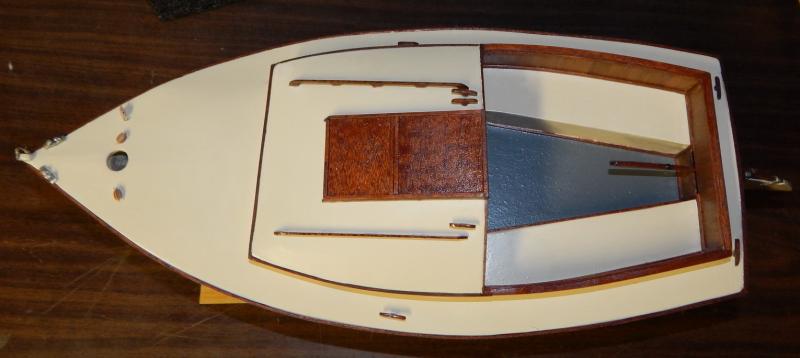
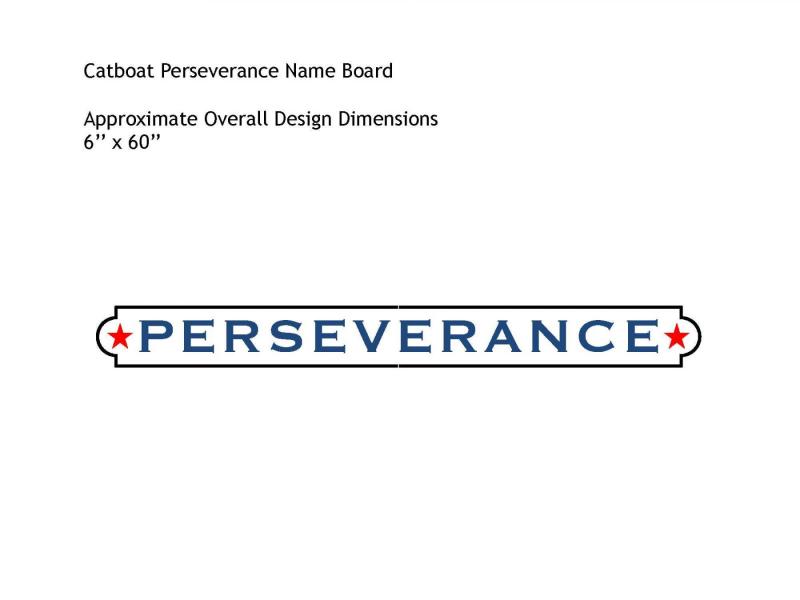
Good Morning. I have several questions: 1. - My brother-in-law mentions in an email that the name board with the word 'perseverance' goes on the 'aft combing'. I am assuming in the picture below where I have the word Perseverance, is the aft combing. Is this correct? Question for Jack and Popeye. 2. - I got the Decal-Gear (CD, decal paper & Bounder) in my possession and I have the following question. Will the decal adhere to painted wood? Will the decal adhere to a thin sheet of wood veneer? My plan is to create a name board from 1/64 Baltic Birch ply-wood and put the decal on that with the bonding material. I appreciate everyone's input. Marcus
- 165 replies
-
- cape cod catboat
- Finished
-
(and 1 more)
Tagged with:
-
Kees, The details on this boat of yours are amazing. You're thinking of everything that belongs on this boat. Excellent job. Marcus
- 434 replies
-
- pelikaan
- beamtrawler
-
(and 2 more)
Tagged with:
-
Nils, Caught up with your built...... WOW amazing details and as Cog said 'crisp'. He is right on that one. One word, AWESOME Marcus
- 2,625 replies
-
- kaiser wilhelm der grosse
- passenger steamer
-
(and 1 more)
Tagged with:
-
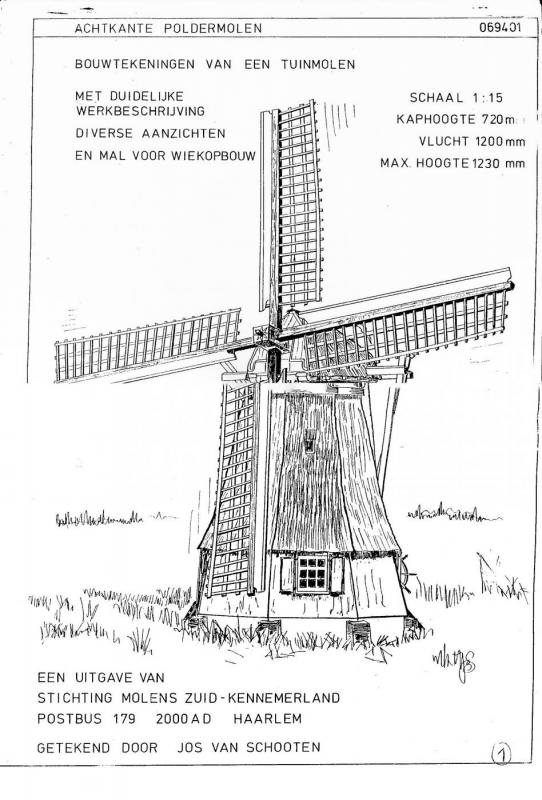
Carl; Below is a scan (A3 format) from the windmill with information. There are 23 pgs. of plans and 1page of materials and 17 pages of how to build it. The plans are to scale so trace, glue on wood and cut out. The scan is in Dutch and describes the measurements of the mill and scale, as well as the address where it was printed, the architect and what it all includes. I know this is a bit off-topic but wind mills have sails as well. Marcus
- 165 replies
-
- cape cod catboat
- Finished
-
(and 1 more)
Tagged with:
-
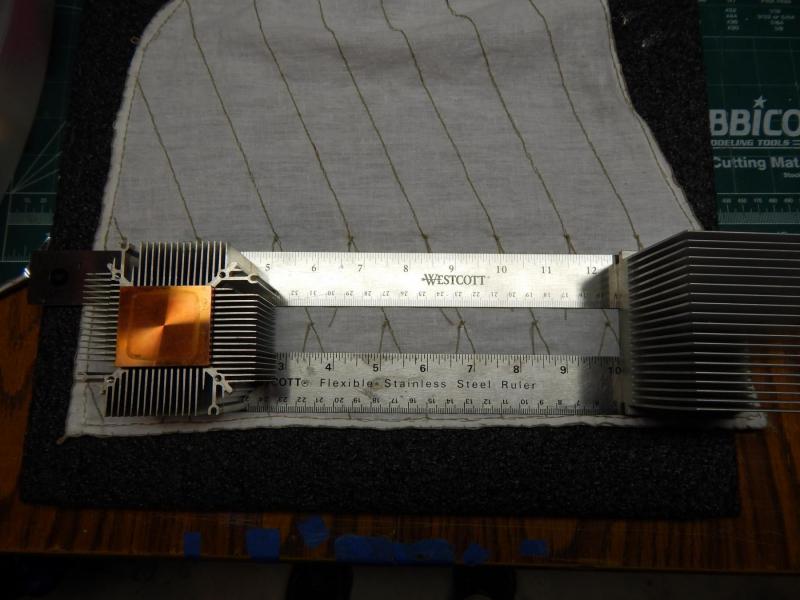
I have salvaged a lot of computer parts over the years and the heat sinks are another form of paper weights. What is left is one decal "Perseverance" on the name board and I need to make a burgee. Once completed I will send email and pictures to my sister & brother-in-law mentioning about a display case from Bluejacket. Once the case without the Plexiglas gets send to me I will get the Plexiglas, install in the case, put it all together and pack it for shipping. The will tell me where I need to send it to. Then on to working on the Utrecht. But I was reading a thesis from a person at Leiden University about the history of Dutch pleasure yachts. In here she mentioned a Pleasure yacht (Plezier jacht) from the 17th century. The NVM which is the Dutch Society of Model builders has plans of such a boat. ................Delima......... Then last but not least, when my dad retired from the Dutch Foreign Service he volunteered as an administrator/touristhelper for the Dutch Windmill Society. Just before he left he gave me plans from a windmill (Polder Molen 1600). It stands about 4 ft high and it is a do-able project. Depending how much detail you want to add to the mill, you can make it work and if you get a round grinding stone you can even mill grains. Oh yes, my wife gave me the Micro-Mark table saw for Christmas and with it a list of items she wants me to build. Our birdfeeder is falling apart so she wants me to take the measurements and re-make it. Lots of options. Marcus
- 165 replies
-
- cape cod catboat
- Finished
-
(and 1 more)
Tagged with:
-
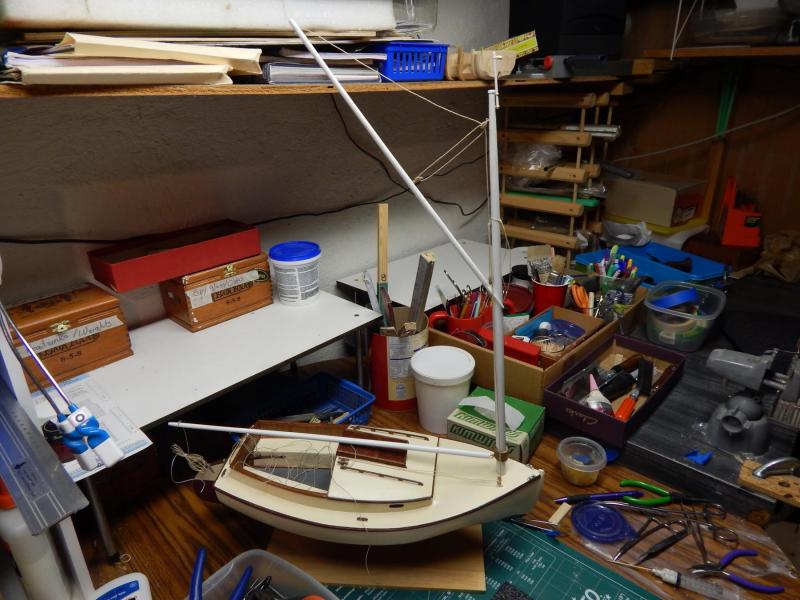
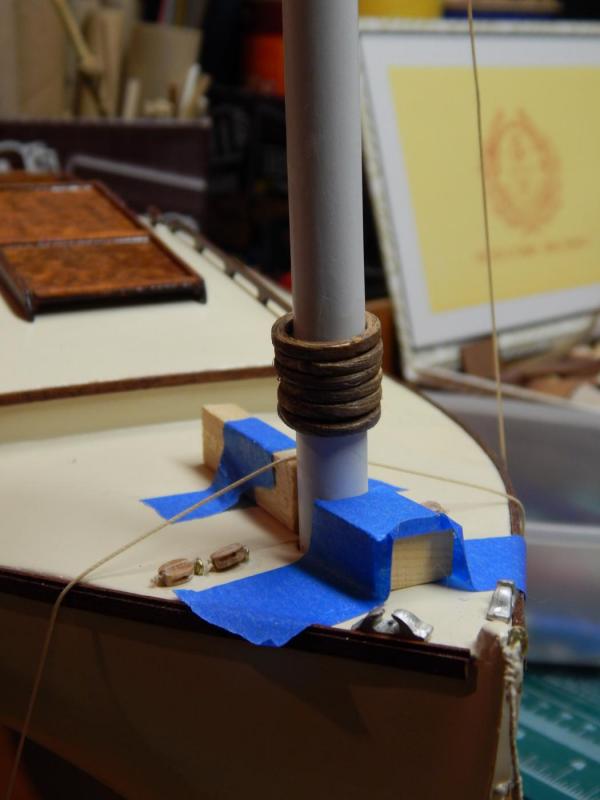
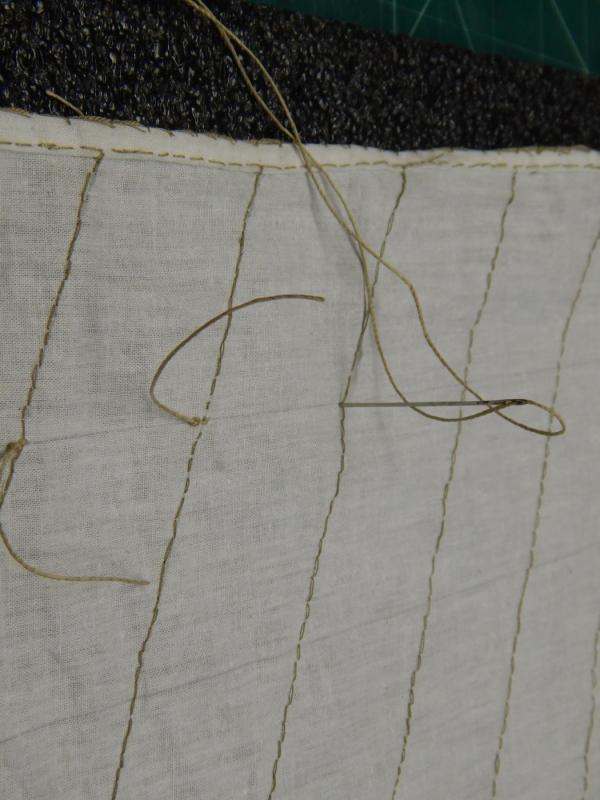
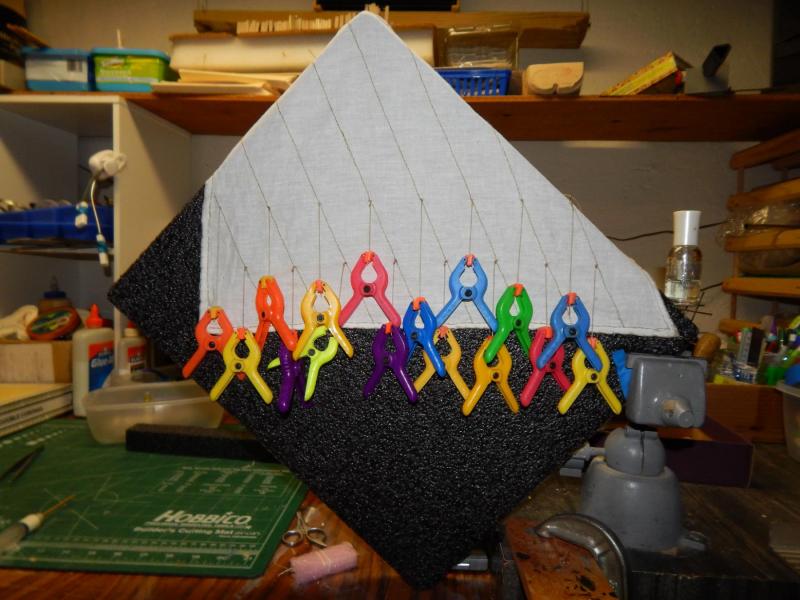
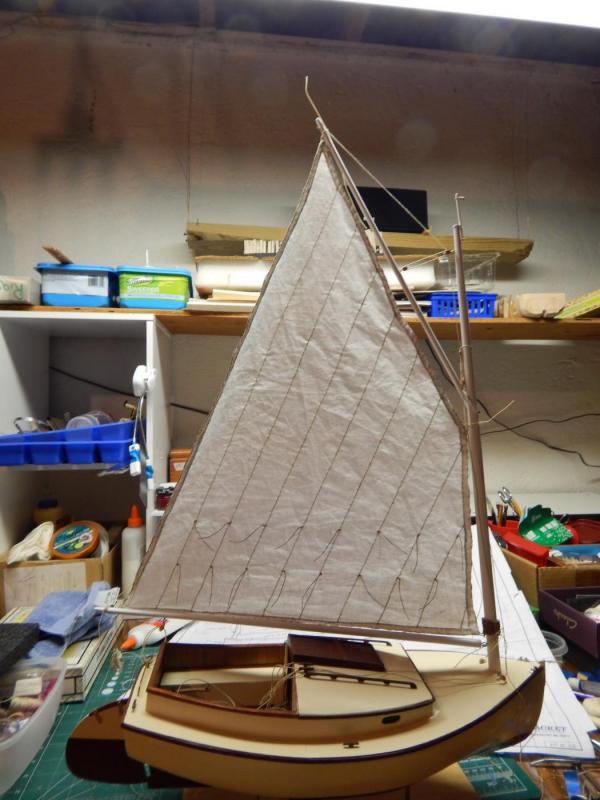
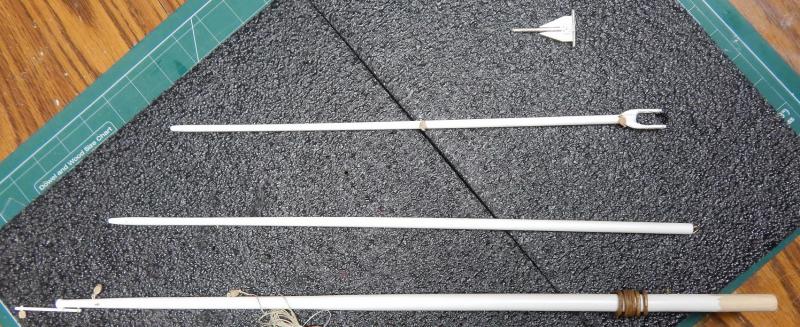
I went to the decal site and purchased the CD, paper and bonder. Will get it this week. The rigging is loosely added to the mast, boom and gaff. Nothing is permanent. The little blocks is to make sure that the mast is at a 90 degree angle to the deck Sewing the reef lines into the sail. After all the lines are installed, they are moistened with diluted white Elmer's glue and straightened out with clamps. The sail is pinned to the foam and the clamps which are attached to the lines keep the lines straight until the glue dries. Some reef lines refuse to straighten out so by laying the sail flat on the foam, a ruler for each reef line row is weighted down by computer heat sinks (Hey Gary, another material procurement) Attached all corners of the sail with string to there designated area so it will be easier for me to attach the sail to the mast hoops, boom and gaff.3 Almost done.
- 165 replies
-
- cape cod catboat
- Finished
-
(and 1 more)
Tagged with:
-
CaptainSteve, Jack12477 and Popeye Thank you very much for the information. Jack and Popeye: I checked decalgear.com and for under $20.00 I can have the SureThing Decal Maker: Standard Edition CD, Testors Decal Bonder and some Decal paper............... Did I read that correctly? Looks pretty cool. Thanks, Marc
- 165 replies
-
- cape cod catboat
- Finished
-
(and 1 more)
Tagged with:
-
So decal-it is a pc program? Where do you buy the decal paper and the decal bonder? or just give me link and I'll look it up. Thanks a bunch Marc
- 165 replies
-
- cape cod catboat
- Finished
-
(and 1 more)
Tagged with:
-
This is something I will do. The flag I will do by a method from Gus Augustin, member of our tri-club and a well known modeler.Post 51 on this page http://modelshipworld.com/index.php/topic/4294-the-first-royal-dutch-yacht-mary-by-marcus-botanicus-finished-mamoli-1646/page-3?hl=yacht mary Marc
- 165 replies
-
- cape cod catboat
- Finished
-
(and 1 more)
Tagged with:
-
As of the last post I am ahead. Cleaned up my mistake and learned from it. The boat is pretty much finished and all that is needed is the mast, boom and gaff with the sail. I need to make a burgee (little flag) and the name 'PERSEVERANCE' on a name board. I have no letters so I am thinking (MS Word, required font and printer). Except if anyone has a better idea, I would like to hear about this. Thanks Marc
- 165 replies
-
- cape cod catboat
- Finished
-
(and 1 more)
Tagged with:
About us
Modelshipworld - Advancing Ship Modeling through Research
SSL Secured
Your security is important for us so this Website is SSL-Secured
NRG Mailing Address
Nautical Research Guild
237 South Lincoln Street
Westmont IL, 60559-1917
Model Ship World ® and the MSW logo are Registered Trademarks, and belong to the Nautical Research Guild (United States Patent and Trademark Office: No. 6,929,264 & No. 6,929,274, registered Dec. 20, 2022)
Helpful Links
About the NRG
If you enjoy building ship models that are historically accurate as well as beautiful, then The Nautical Research Guild (NRG) is just right for you.
The Guild is a non-profit educational organization whose mission is to “Advance Ship Modeling Through Research”. We provide support to our members in their efforts to raise the quality of their model ships.
The Nautical Research Guild has published our world-renowned quarterly magazine, The Nautical Research Journal, since 1955. The pages of the Journal are full of articles by accomplished ship modelers who show you how they create those exquisite details on their models, and by maritime historians who show you the correct details to build. The Journal is available in both print and digital editions. Go to the NRG web site (www.thenrg.org) to download a complimentary digital copy of the Journal. The NRG also publishes plan sets, books and compilations of back issues of the Journal and the former Ships in Scale and Model Ship Builder magazines.


