HOLIDAY DONATION DRIVE - SUPPORT MSW - DO YOUR PART TO KEEP THIS GREAT FORUM GOING! (Only 72 donations so far out of 49,000 members - Can we at least get 100? C'mon guys!)
×


rwiederrich
-
Posts
5,518 -
Joined
-
Last visited
Content Type
Profiles
Forums
Gallery
Events
Everything posted by rwiederrich
-
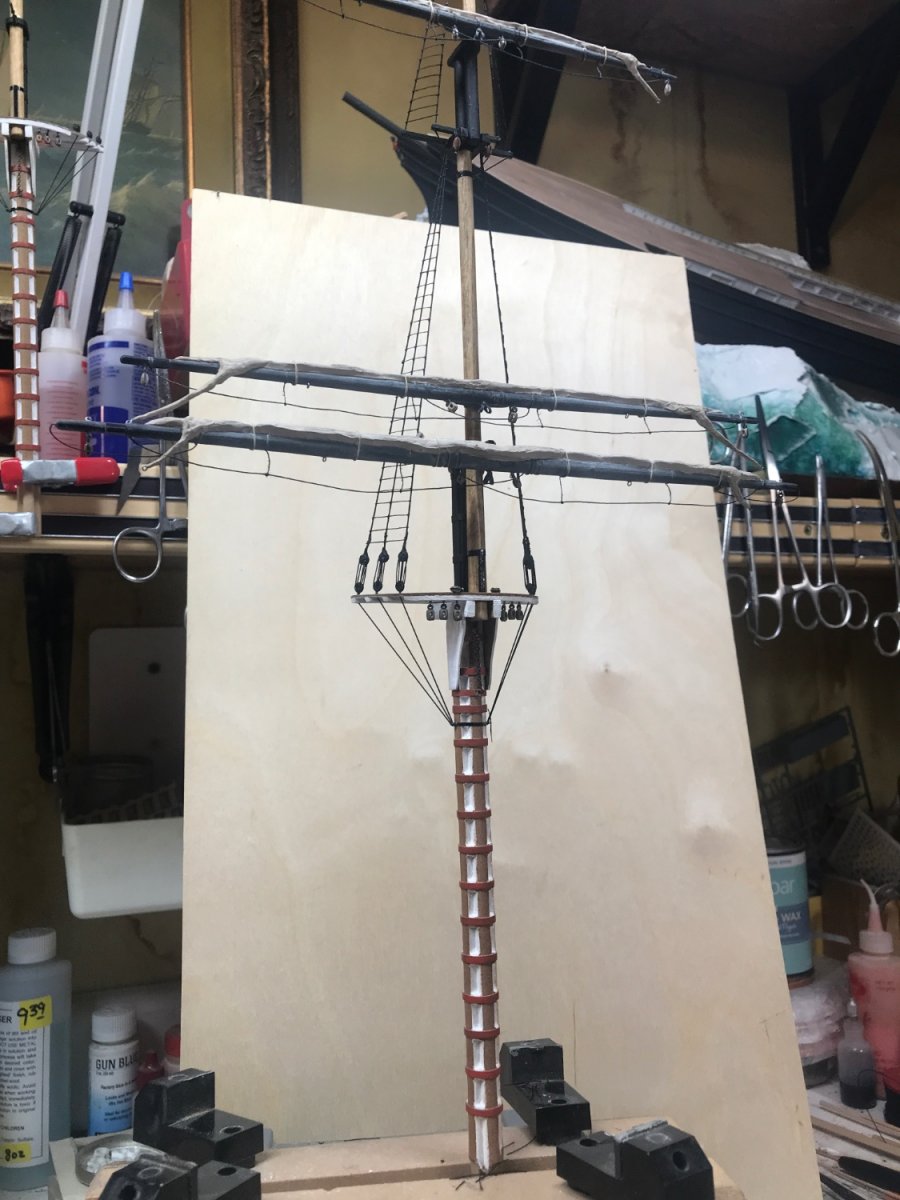
So it continues …….. work on all the bunt lines and sheets. Rob


- 3,560 replies
-
- 4
-

-
- clipper
- hull model
- (and 2 more)
-
Oh my Lord Keith...words can't begin to express the emotions you must be feeling. God alone can bring comfort. I pray he was a man of faith, for *absent of the body is present with the Lord*. What's impossible with man is possible for God. I pray God's peace fills your heart, and those of your family. I'm sorry my friend. Rob
-
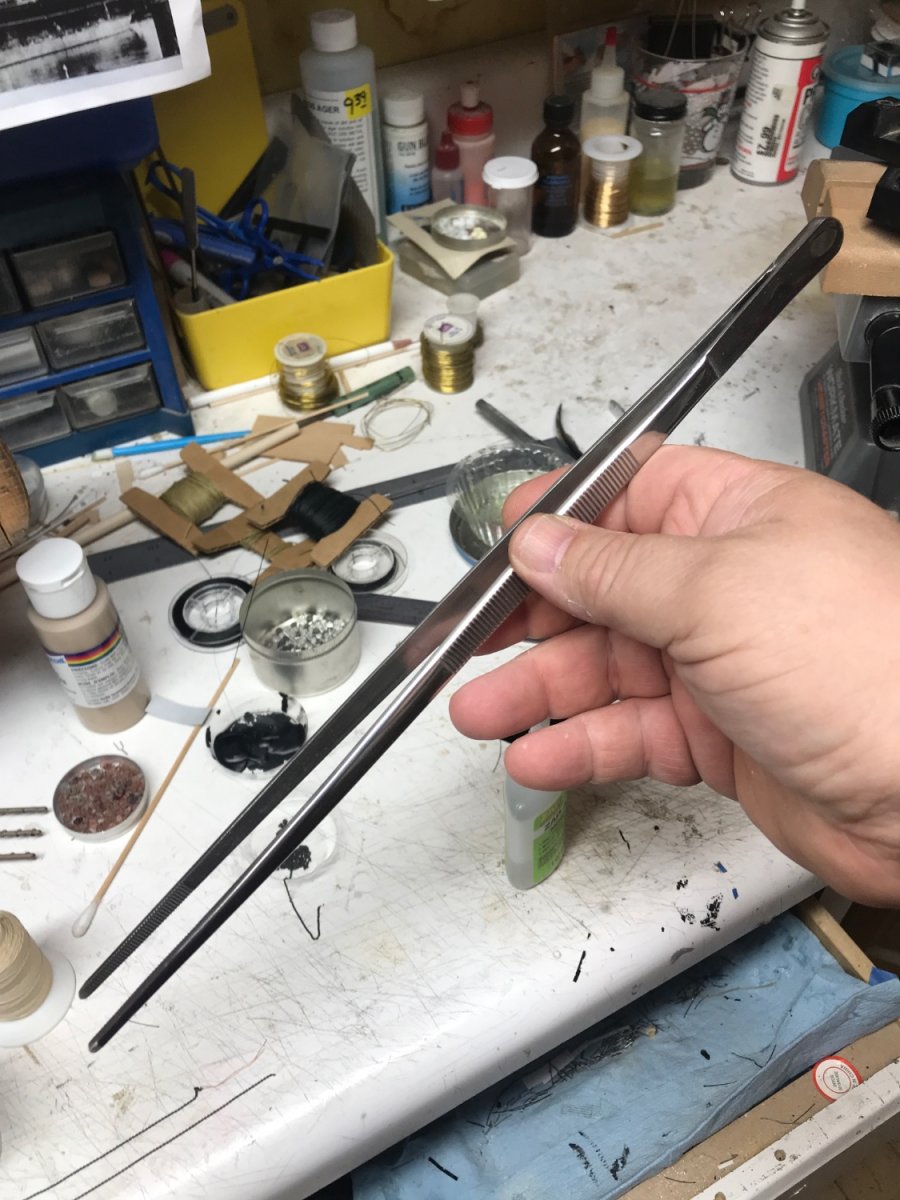
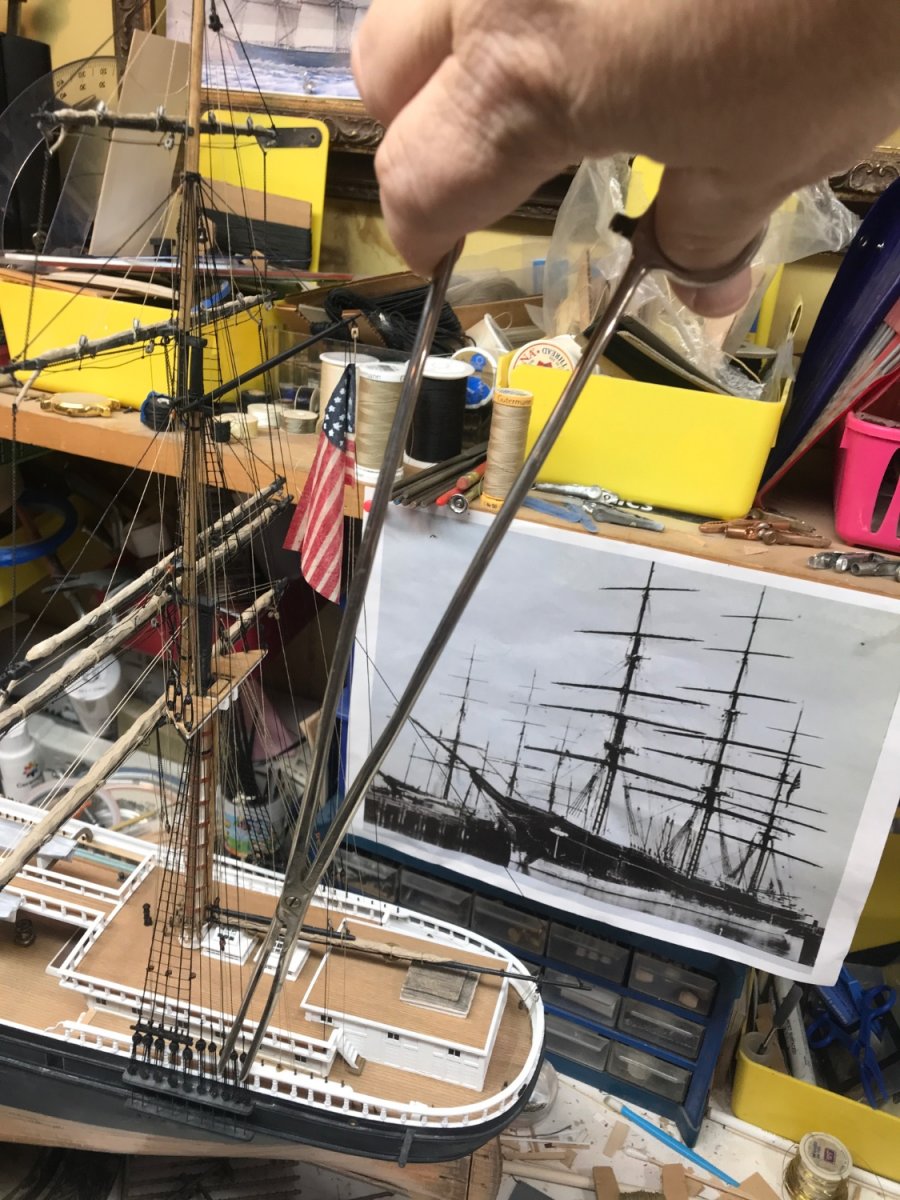
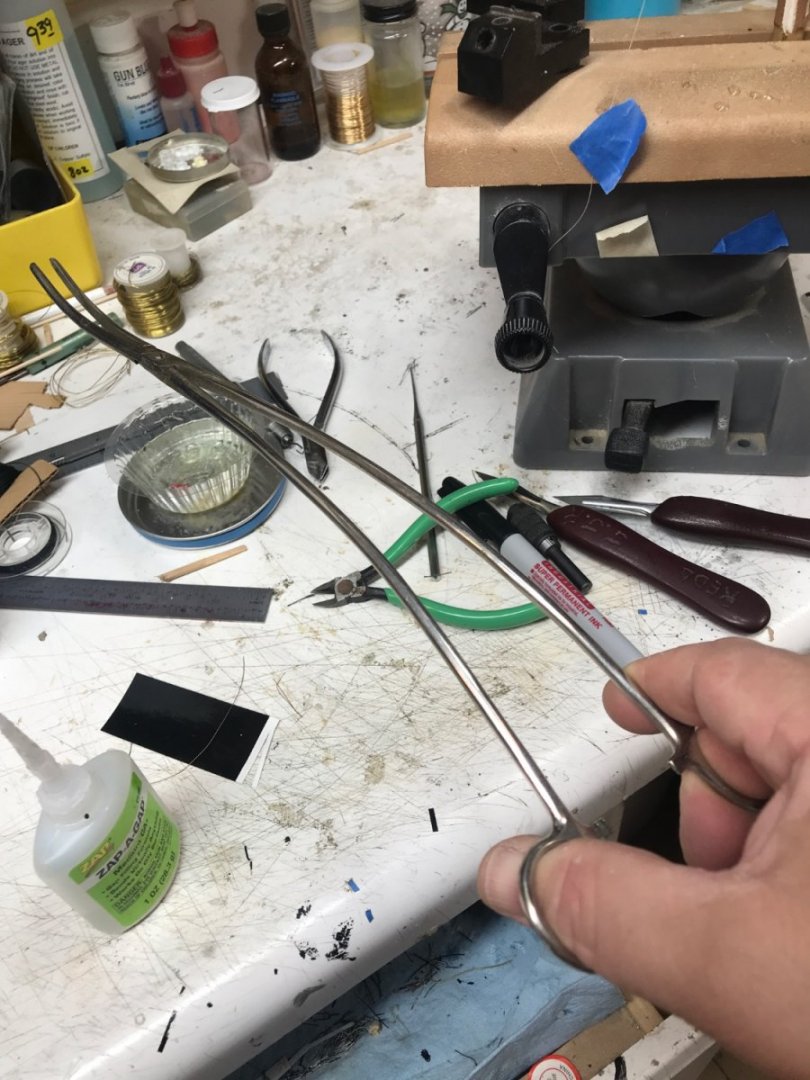
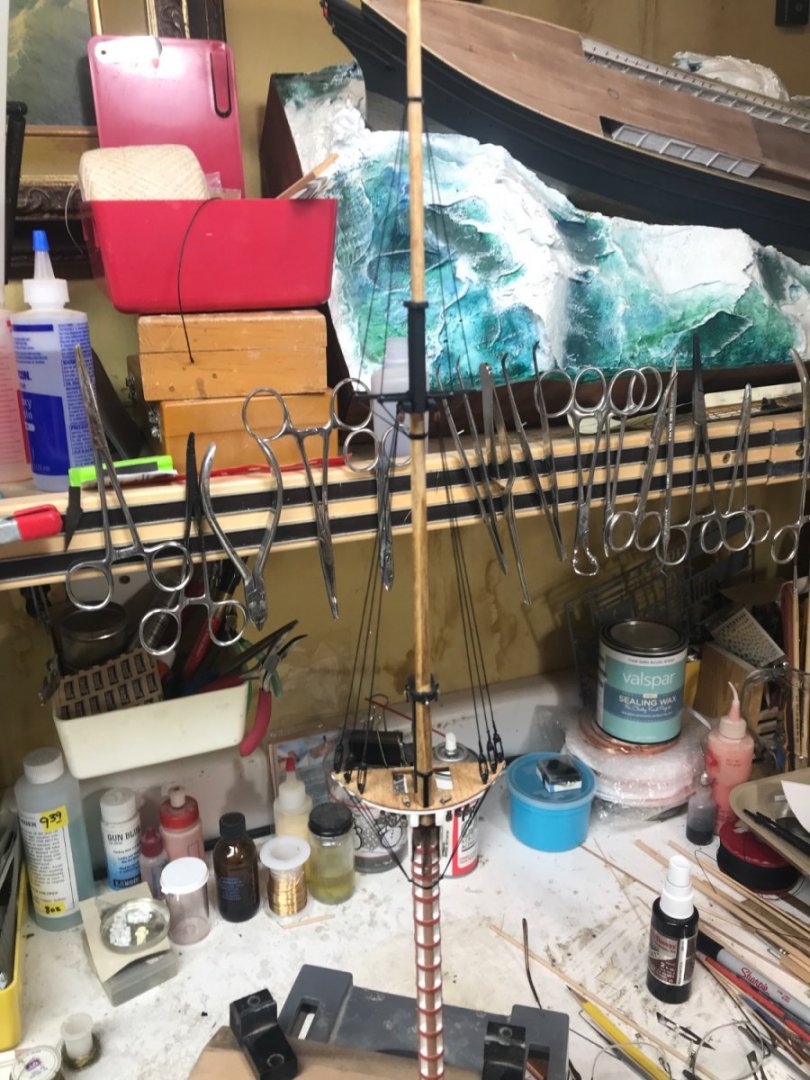
When in a pinch and you really need to reach in there……..I have several specialty pair of these 14” tweezers and these 16” curved hemostats. Just in case. Rob


- 3,560 replies
-
- 2
-

-
-
- clipper
- hull model
- (and 2 more)
-
I have one or 2 for every imaginable need and requirement. Even some that are 18" long....curved ones and some with such tiny jaws I can clasp and tie human hair. Rob
- 3,560 replies
-
- 1
-
-
- clipper
- hull model
- (and 2 more)
-
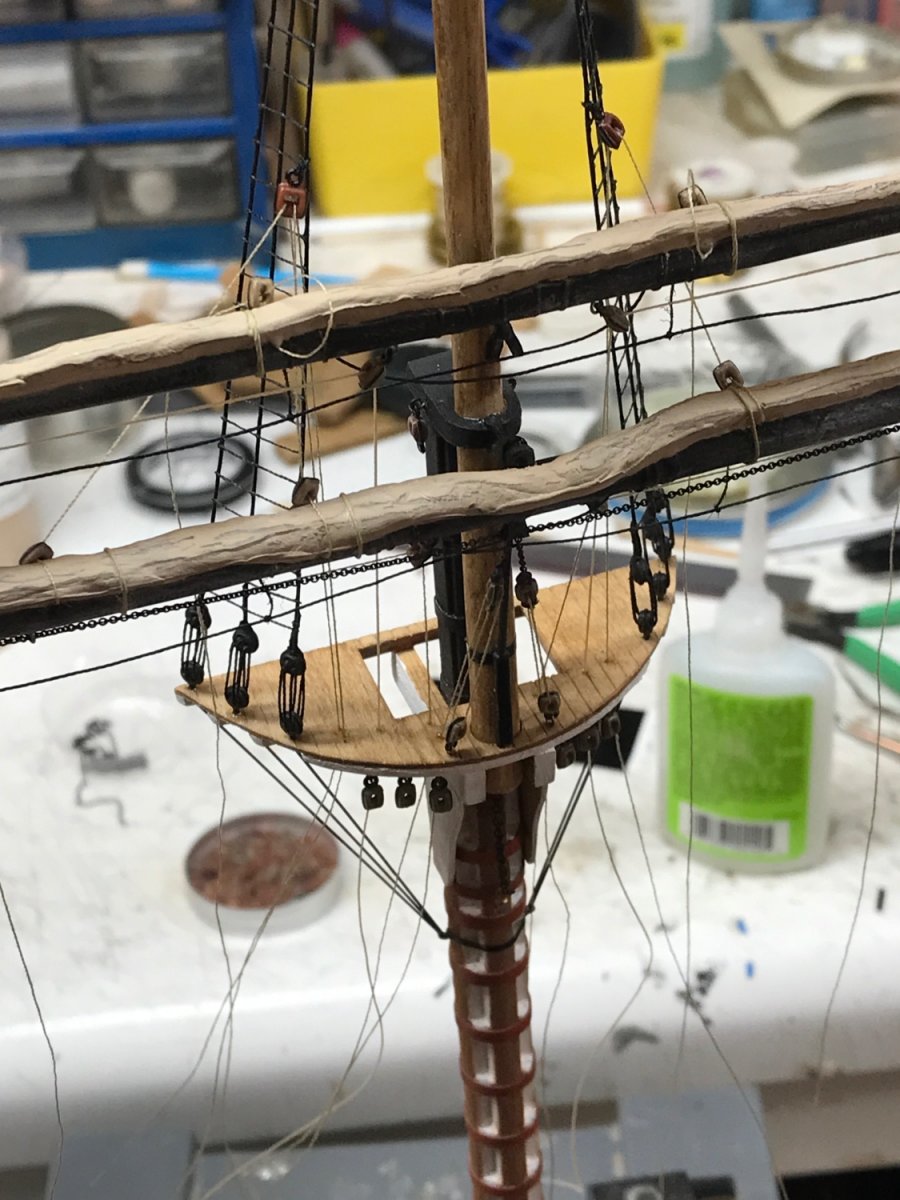
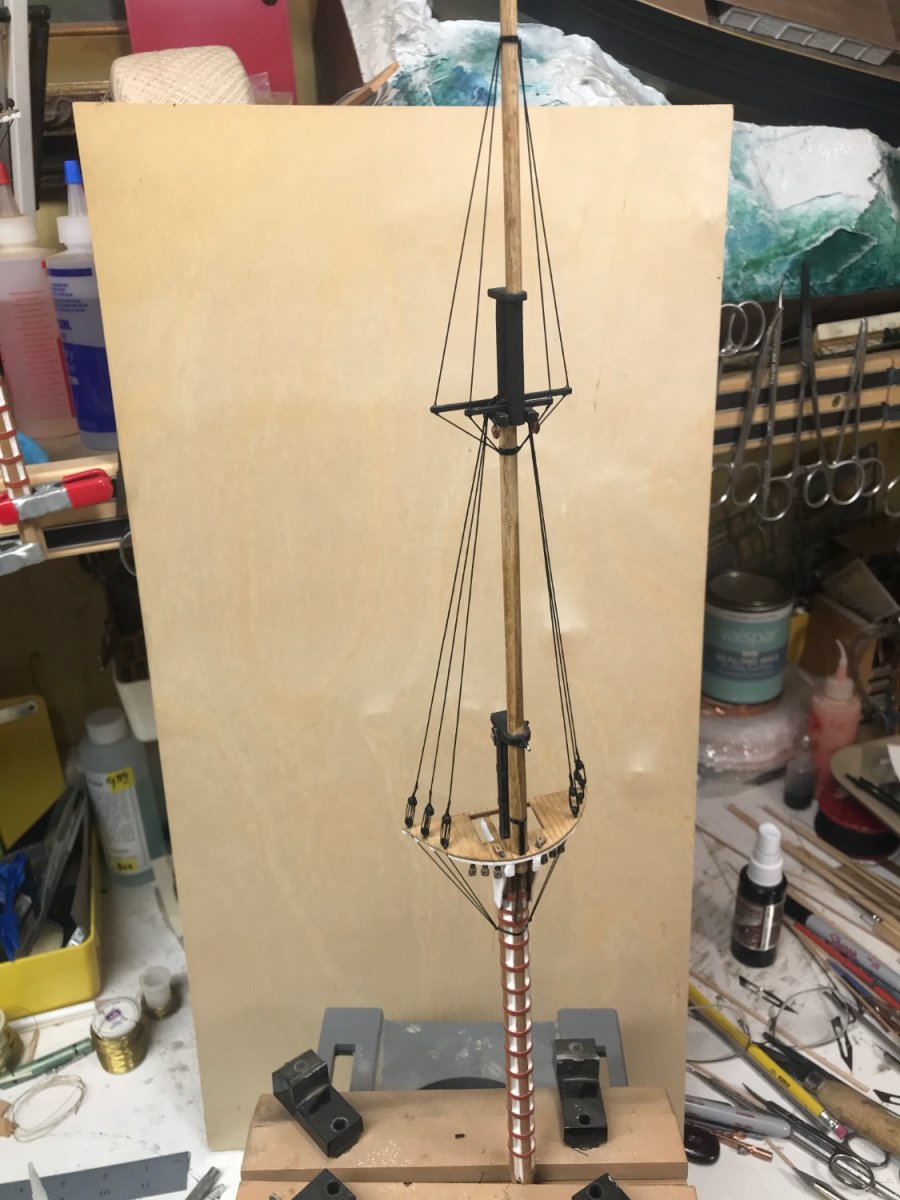
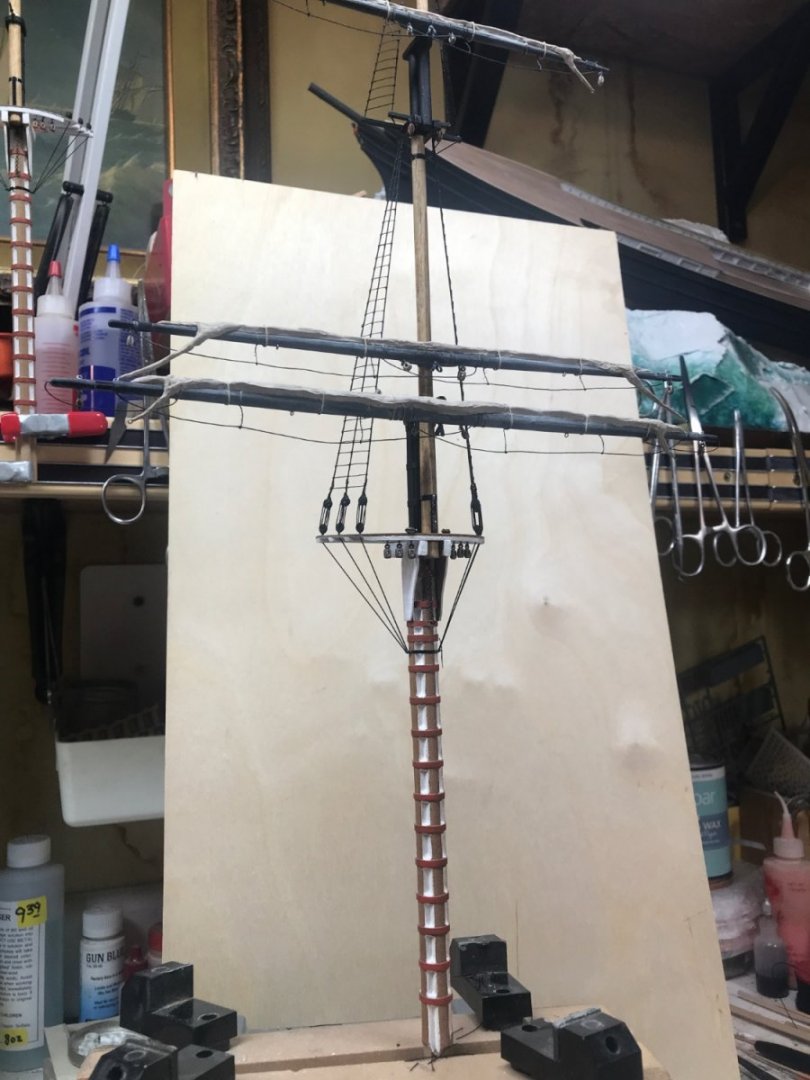
Started the upper top mast down hauls. And the beginnings of the chain sheets. Rob

- 3,560 replies
-
- 3
-
-
- clipper
- hull model
- (and 2 more)
-
If you want to know the truth. The boys on the ship did most of the royal and sky sail furling and yard work. Their smaller size made it more practical. THEY had the nerves of steal in my view. Oh and they did it also in darkness…….with little to keep them warm. What men
- 3,560 replies
-
- 1
-
-
- clipper
- hull model
- (and 2 more)
-
Rich....I too am excited to see her coming together. What is really exciting, it that she looks so much like her image...I'm trying to mimic. A couple of items I left undone on the hull...were the fairlead ports for the main sail tack lines. (There are 2 sets per sail clue) They are not clearly identified on any image, and by way of paintings and some image indications, I wanted to wait to visualize their location based upon the location of the yards. When I get ready to rig those lines, I will drill out the fairleads in the bulwarks, and run the lines and belay them. Rob
- 3,560 replies
-
- 1
-
-
- clipper
- hull model
- (and 2 more)
-
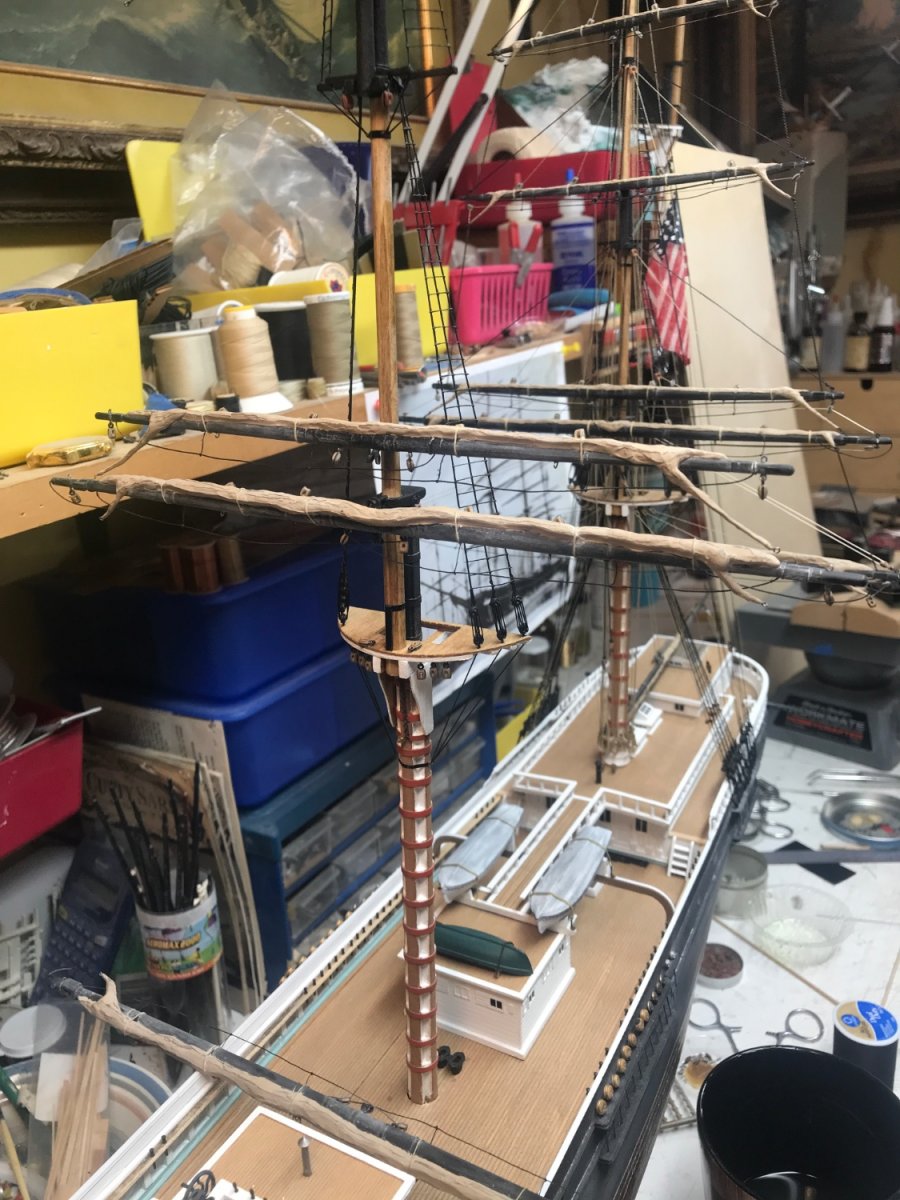
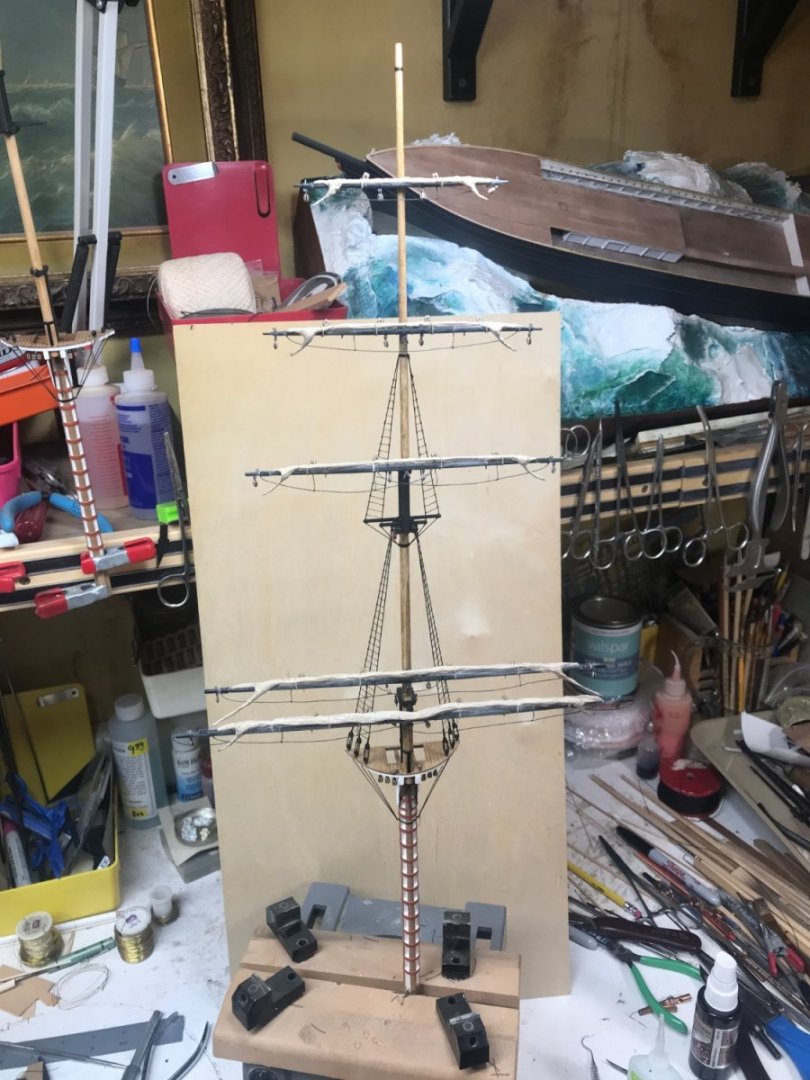
Well Pat....I knew that once every yard was completed off mast...when I finally began to assemble them..it would appear as if I was *Speed Racer*. I compartmentalize, many aspects of the build to facilitate the perception that each SMALL project being completed delivered a satisfying *completion*. Small conquests keeps you from feeling overwhelmed with the entirety of the task. Now look.....my next small task is to rig the yards and sails. One small task closer to being ready to step the mast in the hull permanently. And then all that is left is to begin again on the foremast. I hope to have her completed before summers end. Or at least before the snows of winter..... Thanks for the welcome compliments. Rob
- 3,560 replies
-
- 1
-
-
- clipper
- hull model
- (and 2 more)
-
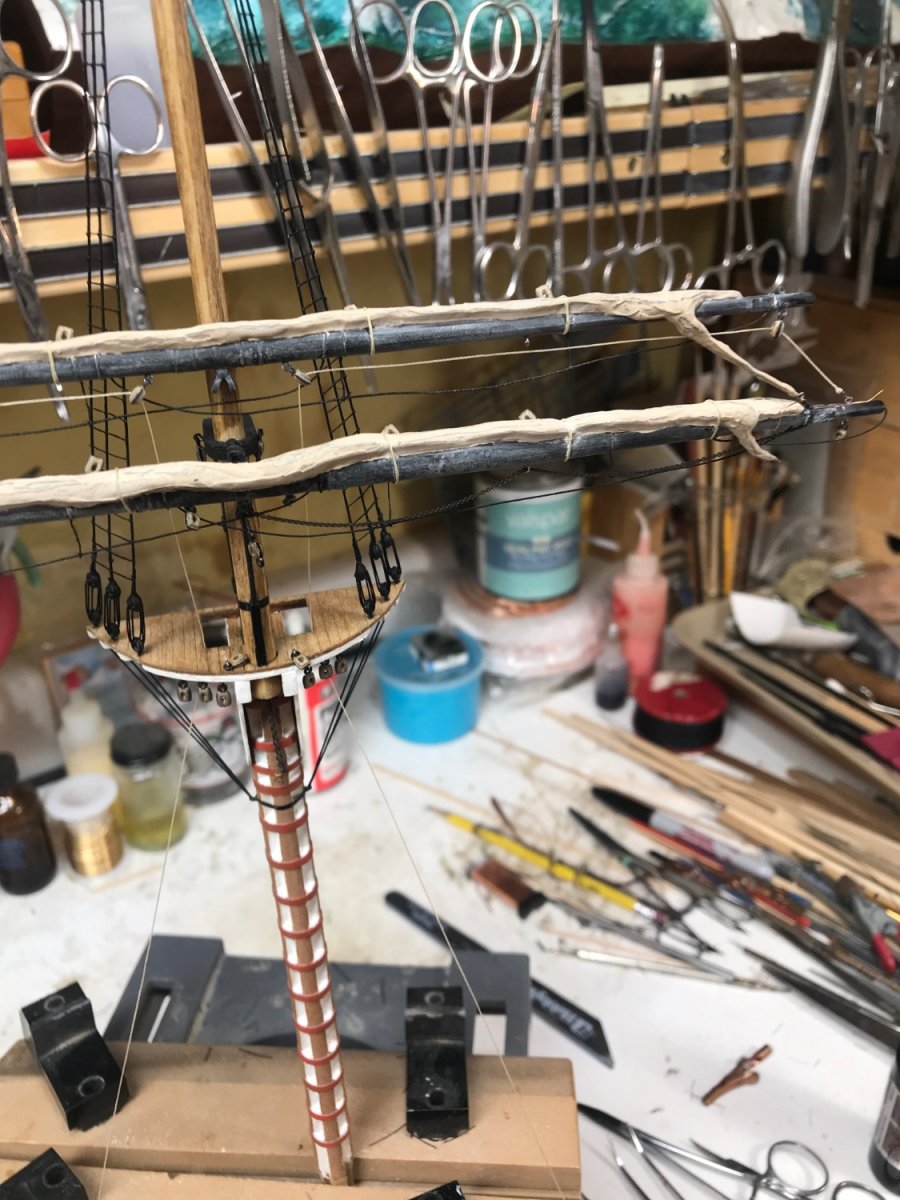
Now begins all the tedious rigging of the sails. Rob
- 3,560 replies
-
- 1
-
-
- clipper
- hull model
- (and 2 more)
-
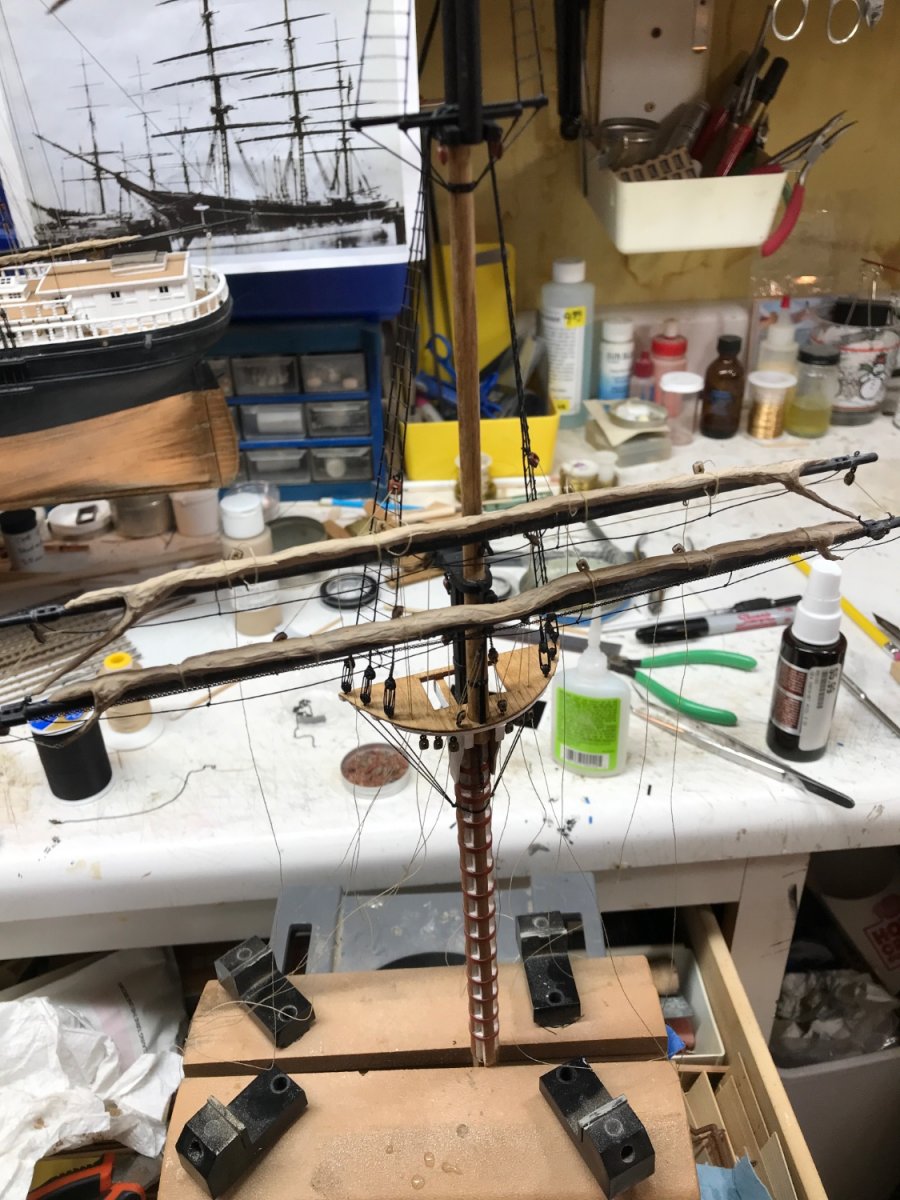
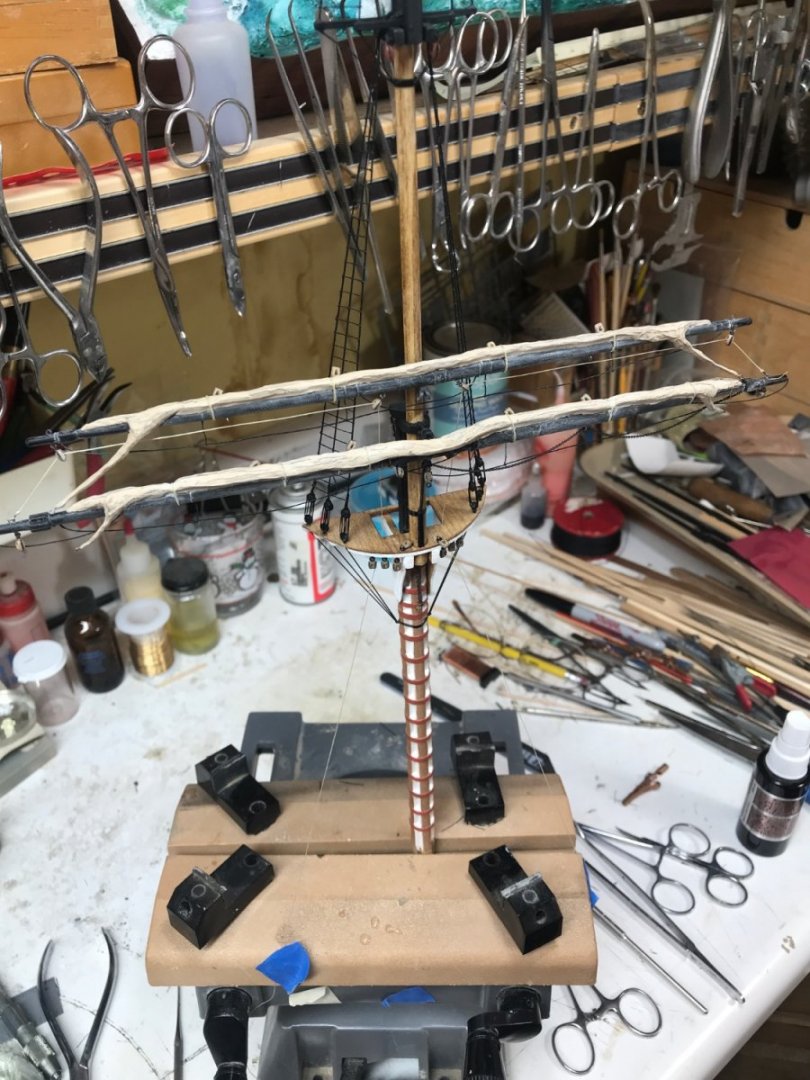
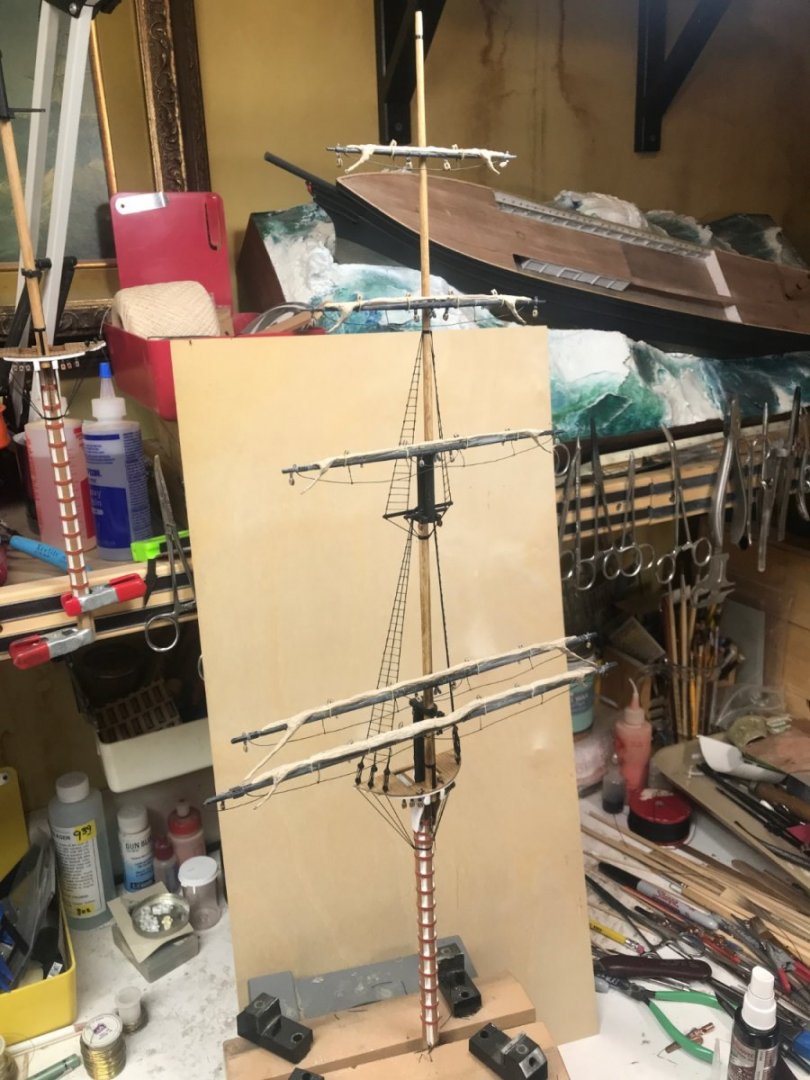
And the addition of the yards……minus the main yard. Rob
- 3,560 replies
-
- 5
-
-
- clipper
- hull model
- (and 2 more)
-
Spreaders were used to align and separate the backstays that guided and reinforced the masts. They are usually at the cross tree of the topgallant and royal masts. Your plans should outline them. Rob
- 444 replies
-
- 2
-
-
- Cutty Sark
- Revell
- (and 2 more)
-
In many cases it would be permissible to use larger deadeyes to accommodate the lanyards. there will be no one who views your build who will be critical of said alteration. Most won't even know the difference...and if they did, then they might be critical of the out of scale pins in the rail. Some license is allowable for practicalities. Cotton bails? What time frame are you building her? She was primarily a Tea clipper and later in her life when she visited Australia....she picked up some wheat....but cotton?? Hmmmm Possibly when she was a mixed trader. I'd probably just place her closed hatch covers on and leave it at that if you object to the detail. Good work. Rob
- 444 replies
-
- 2
-

-
-
- Cutty Sark
- Revell
- (and 2 more)
-
Apart from the missing white paneling on her aft cabin(I'm assuming it is). Your build is as accurate as I have seen of CS as she flew the British ensign. Great job. Now the challenge is maintaining such accuracy in her masting/rigging. Rob
- 481 replies
-
- 1
-
-
- Cutty Sark
- Revell
- (and 2 more)
-
Many of those inaccuracies can be contributed to the time frame the model is being replicated....Prior to the Portuguese's extensive remodeling and addition of the aft poop cabin access doorway/hatch and relocation of her forecastle rail.....she appeared much like the Revell representation. I can only assume Campbell's depiction covered or excluded some of these modifications. When she nearly capsized and was demasted...she underwent still more mods. Some are and are not replicated in other places. And the worst issue, is that sometimes these mods criss-cross. Some are found on models depicting mods that were NOT available at the time others were. I found these poor historically accurate inconsistencies on many models of CS...not to mention in paintings....evidenced, while researching my own build of the Great Republic. Miss-matching mods with the era they did not appear in. This is why it is so important the modeler does their homework when attempting to model a vessel at a particular time frame of its history. Beautiful rendition...indeed. Rob
- 481 replies
-
- 2
-
-
- Cutty Sark
- Revell
- (and 2 more)
-
Personally....I would make accommodations for the deadeyes to be slightly inboard to allow you clear and ample access to thread them. As previously mentioned here or elsewhere...good clearance from the rail is beneficial. They are more closely aligned with the belaying pins anyway. Rob
- 481 replies
-
- 1
-
-
- Cutty Sark
- Revell
- (and 2 more)
-
Druxey....Your point is well made. Being somewhat of an optician...I've built many large telescope mirrors and worked on objectives. Optical aberrations are notorious for creating all manner of image *shifts*. Such as Chromatic aberrations(Glass index issues).....Coma....astigmatic...spherical....to name a few. And lens objectives of cameras of the period are not devoid of such aberrations. And in fact are more apt to induce them...causing the illusions we are confronting. Hence the caution we are taking when compiling all the known factors that can contribute too and can greatly interfere with, the date we are trying to factualize. Rob
- 3,560 replies
-
- 1
-
-
- clipper
- hull model
- (and 2 more)
-
Rich the Gentleman's name is Russ and he lives on Bainbridge Island. Good luck..... I've already emailed him....introduced myself and proceeded to explain the situation we are facing. Your definition mimics that of my own... called, *Forced perspective*. In essence I attempted to explain to him this phenomenon, and how we are compensating. He agreed(when talking to Mike) that 7 or possibly more degrees should be fine...and even said that McKay used language like *I just want it that way*. So there is no real architectural reason it could not be the degree/angle we agreed upon...from our mathematically derived reasons. He nicely explained to Mike the very process I used to come up with my numbers. Now it's your turn to bring your side of the *science* to the table. Your skills of description will be employed fully...and we are very excited you're on it.... Rob
-
It ain't impossible. All the lower main deadeyes on my Glory build are at a maximum 2mm (Sometimes a single mm), from the bulwarks resting on their channel. The jig slips into the outer hole(outside) of the deadeye with ample room to secure it. Once the shroud is stropped to the upper deadeye...place the jig into the two side holes in the deadeye and secure your shroud to the mast. (The jig holds the deadeye in the exact location as all the others). Once done, simply slip off the jig and begin rigging the lanyard. And that begins with you cutting the appropriate length of line, tying a knot into one end and starting with the shroud deadeye threading through the first hole in the deadeye, pulling snug to secure the knot in the hole....then thread through the channel deadeye, back up to the top center hole in the shroud deadeye...back down to the bottom(outer) hole of the channel deadeye...and so forth till you've laced the lanyard and the two deadeyes together. Bring your last bit of line up from the channel deadeye and strop it to the back of the shroud, just atop of the shroud deadeye.....DONE. Now, since you are so close to the bulwark....I recommend, you place an extremely tiny drop of CA on the tip of the lanyard line...to stiffen it so it will easily do through the deadeye holes and not fray(Don't let the drop ball). NOW you'll probably have to use very thin tweezers to retrieve the line from behind the deadeye once you passed it through the channel/pin rail deadeye. This can be snug....this is why I recommend very thin tweezers. It's all doable....I know....because I'm doing it right now on my build. You can do it. Good luck. Hope this helps. Rob
- 444 replies
-
- 3
-
-
-
- Cutty Sark
- Revell
- (and 2 more)
-
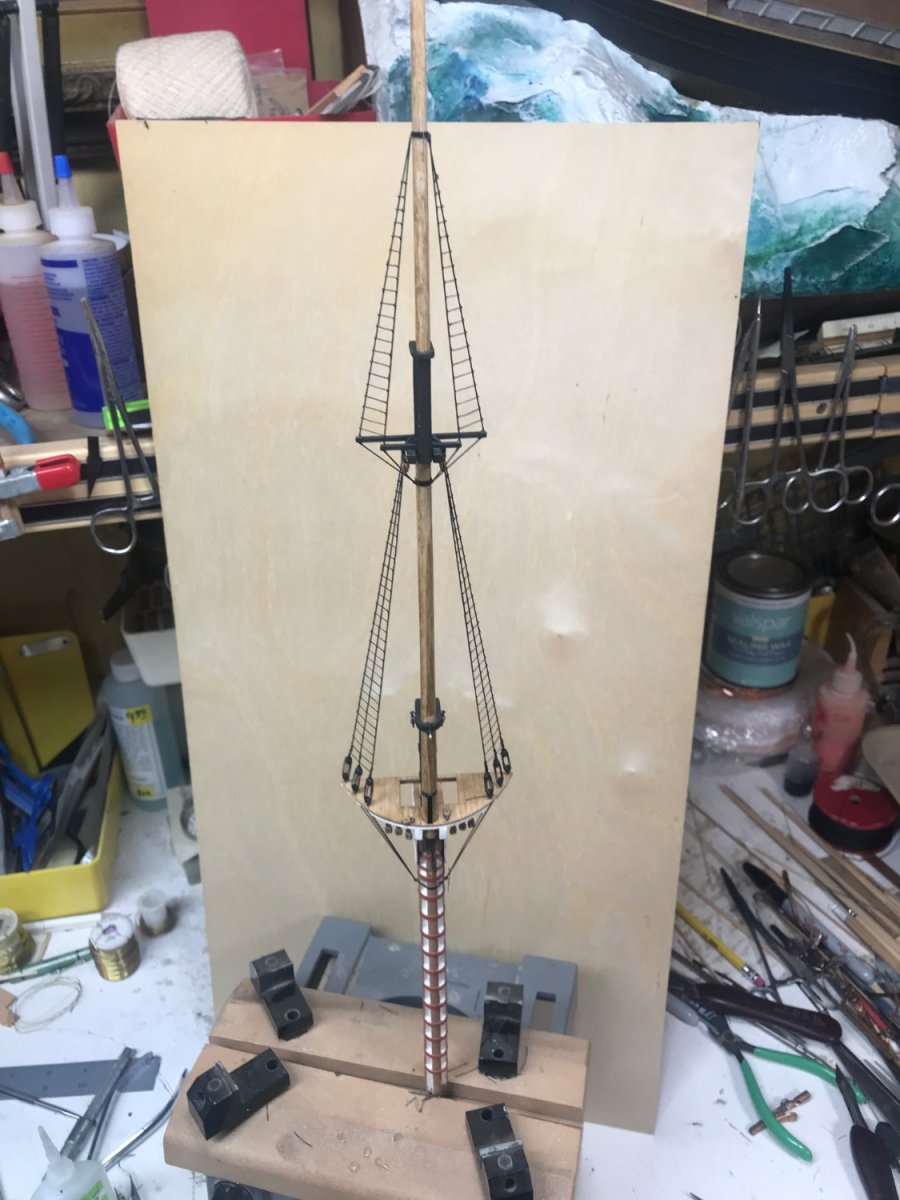
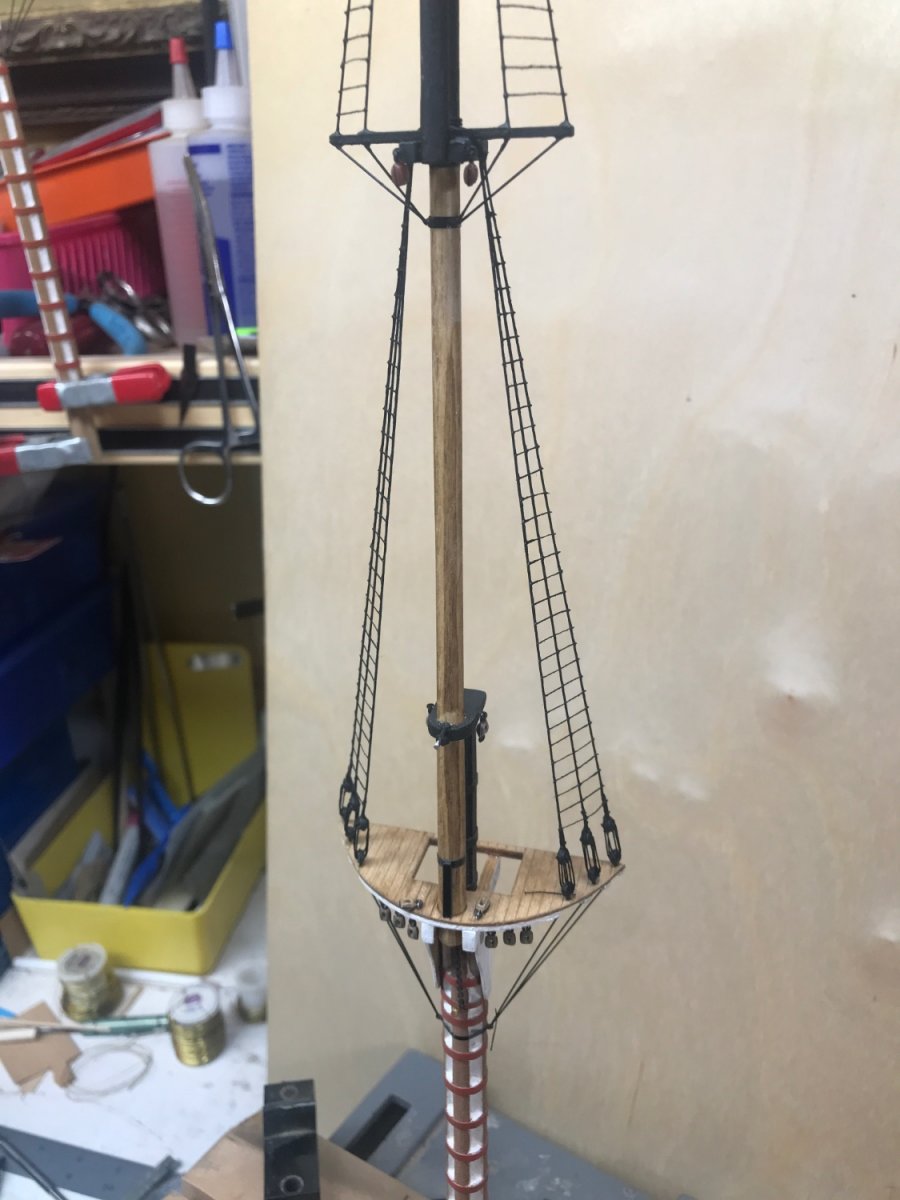
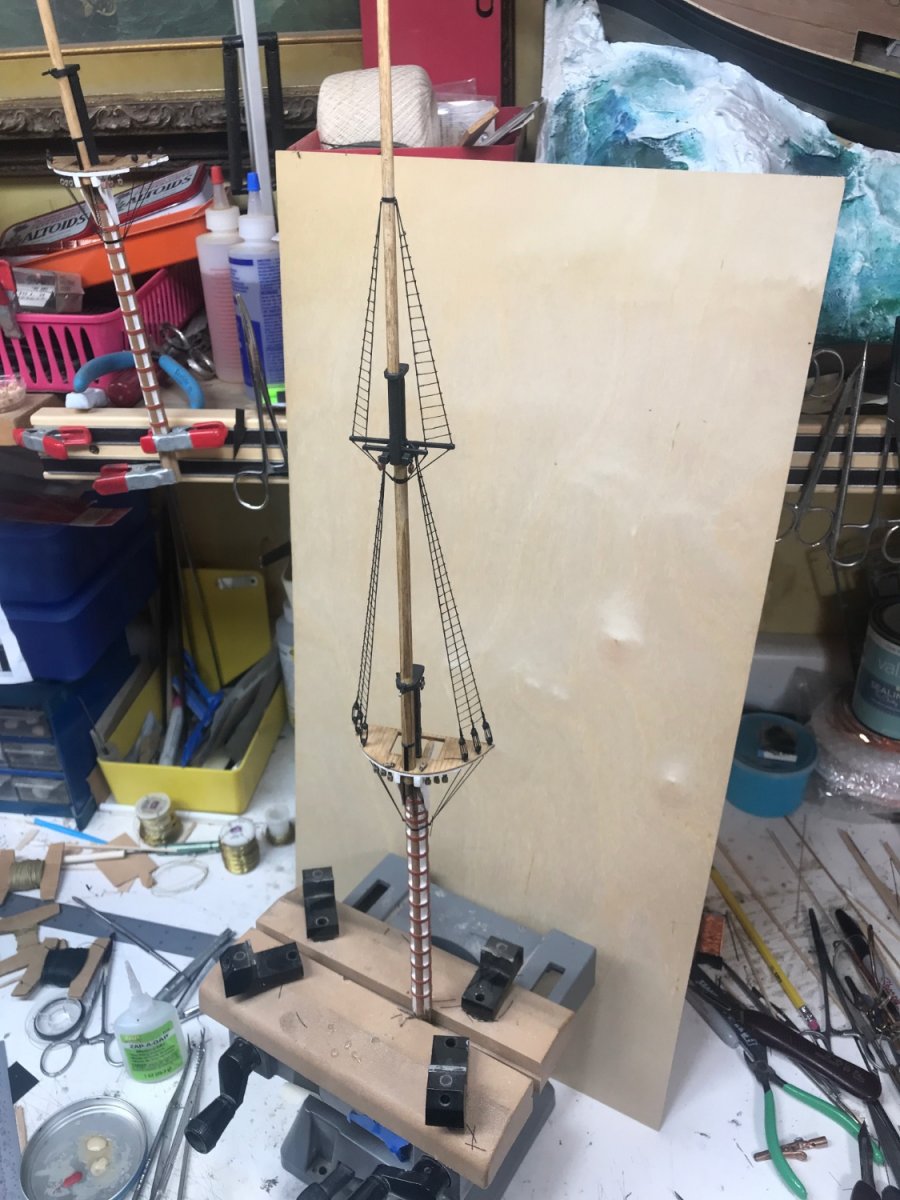
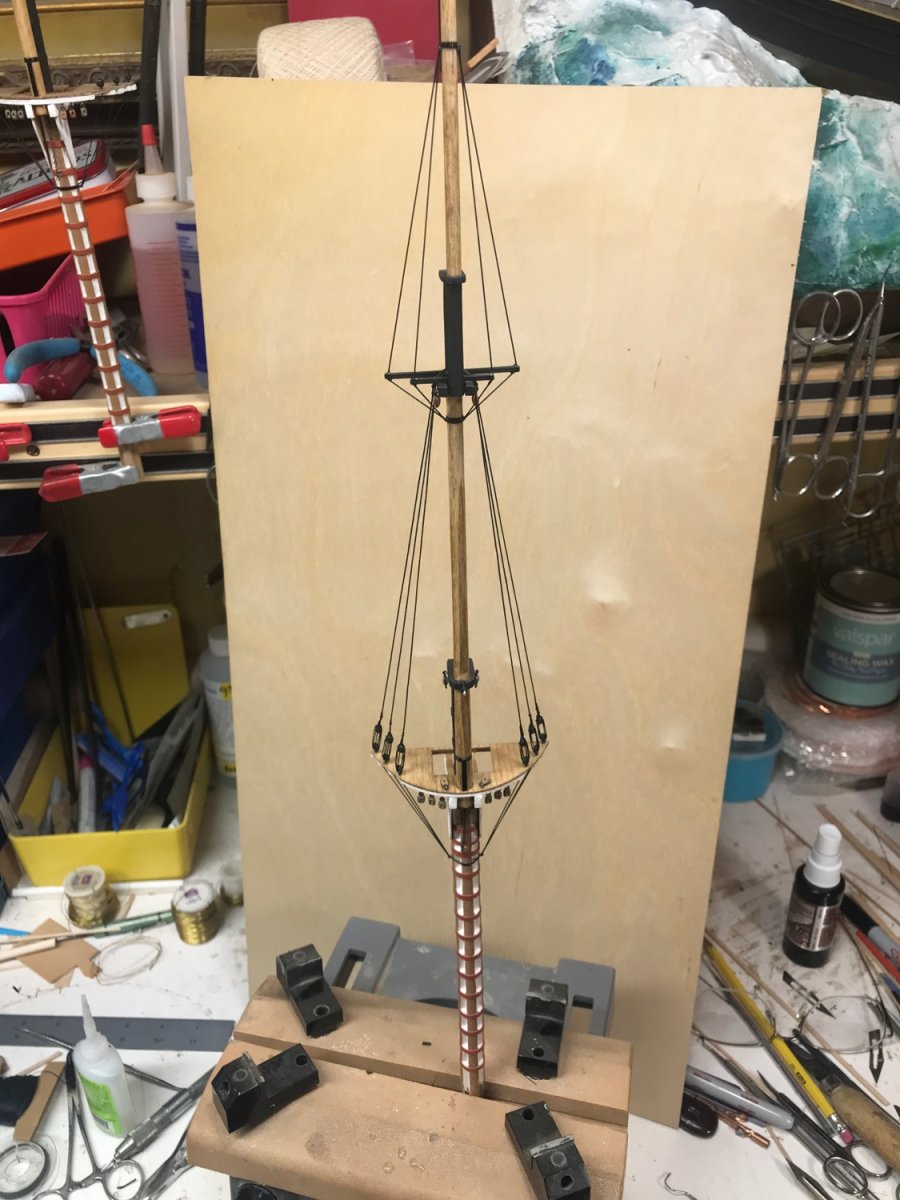
Finished with the shrouds…..now onto the rat lines. Rob


- 3,560 replies
-
- 6
-
-
- clipper
- hull model
- (and 2 more)