HOLIDAY DONATION DRIVE - SUPPORT MSW - DO YOUR PART TO KEEP THIS GREAT FORUM GOING! (Only 13 donations so far - C'mon guys!)
×
Bossman
-
Posts
283 -
Joined
-
Last visited
Content Type
Profiles
Forums
Gallery
Events
Everything posted by Bossman
-
 She’s looking great Bruce.
 -
Looking very nice Gary. Bet you will be glad to get her right side up again!
- 370 replies
-
- 1
-

-
- Model Shipways
- Confederacy
- (and 1 more)
-
She is looking mighty fine Bruce!
-
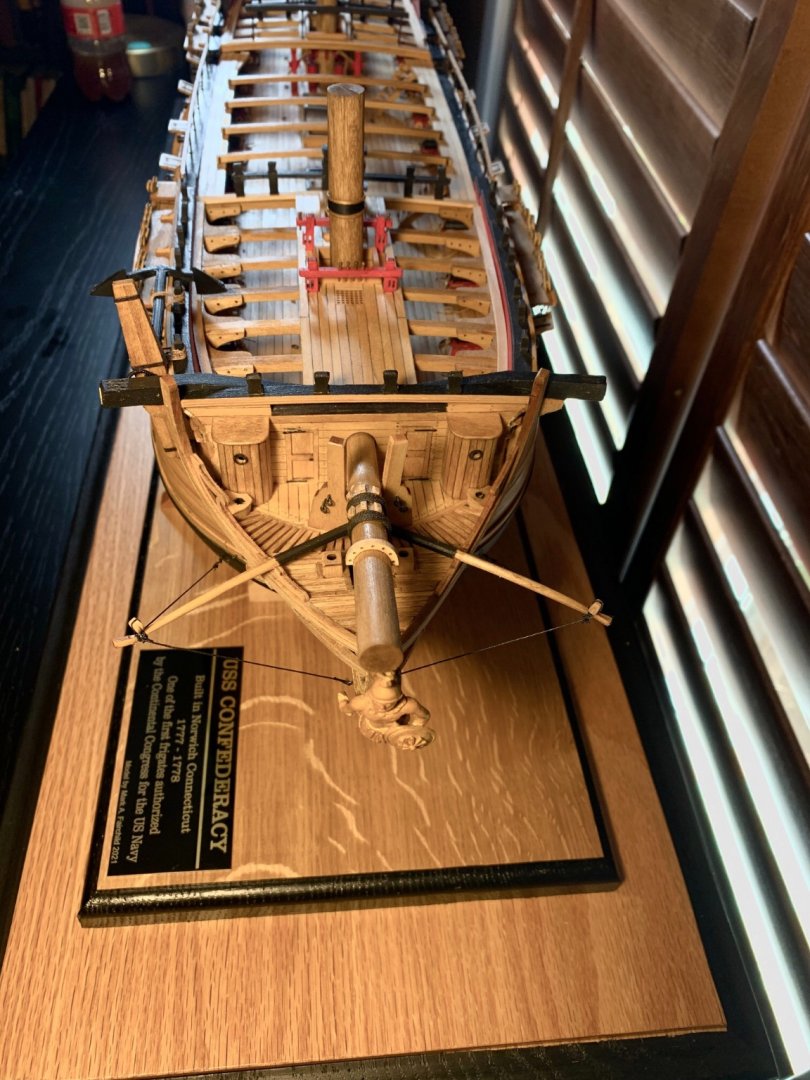
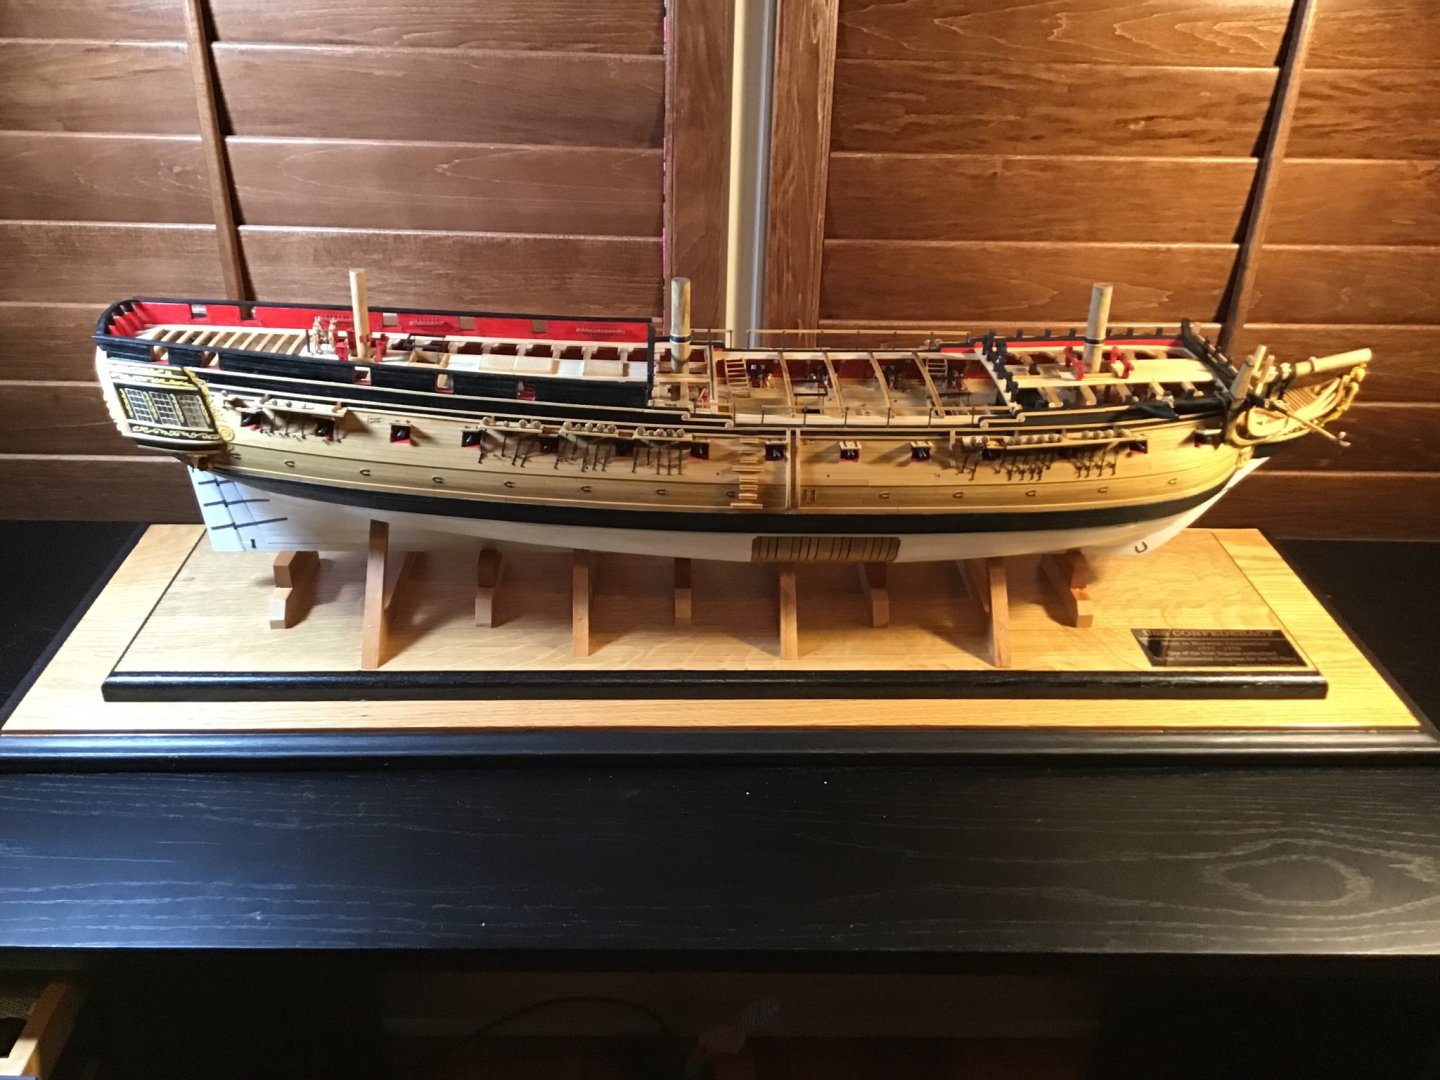
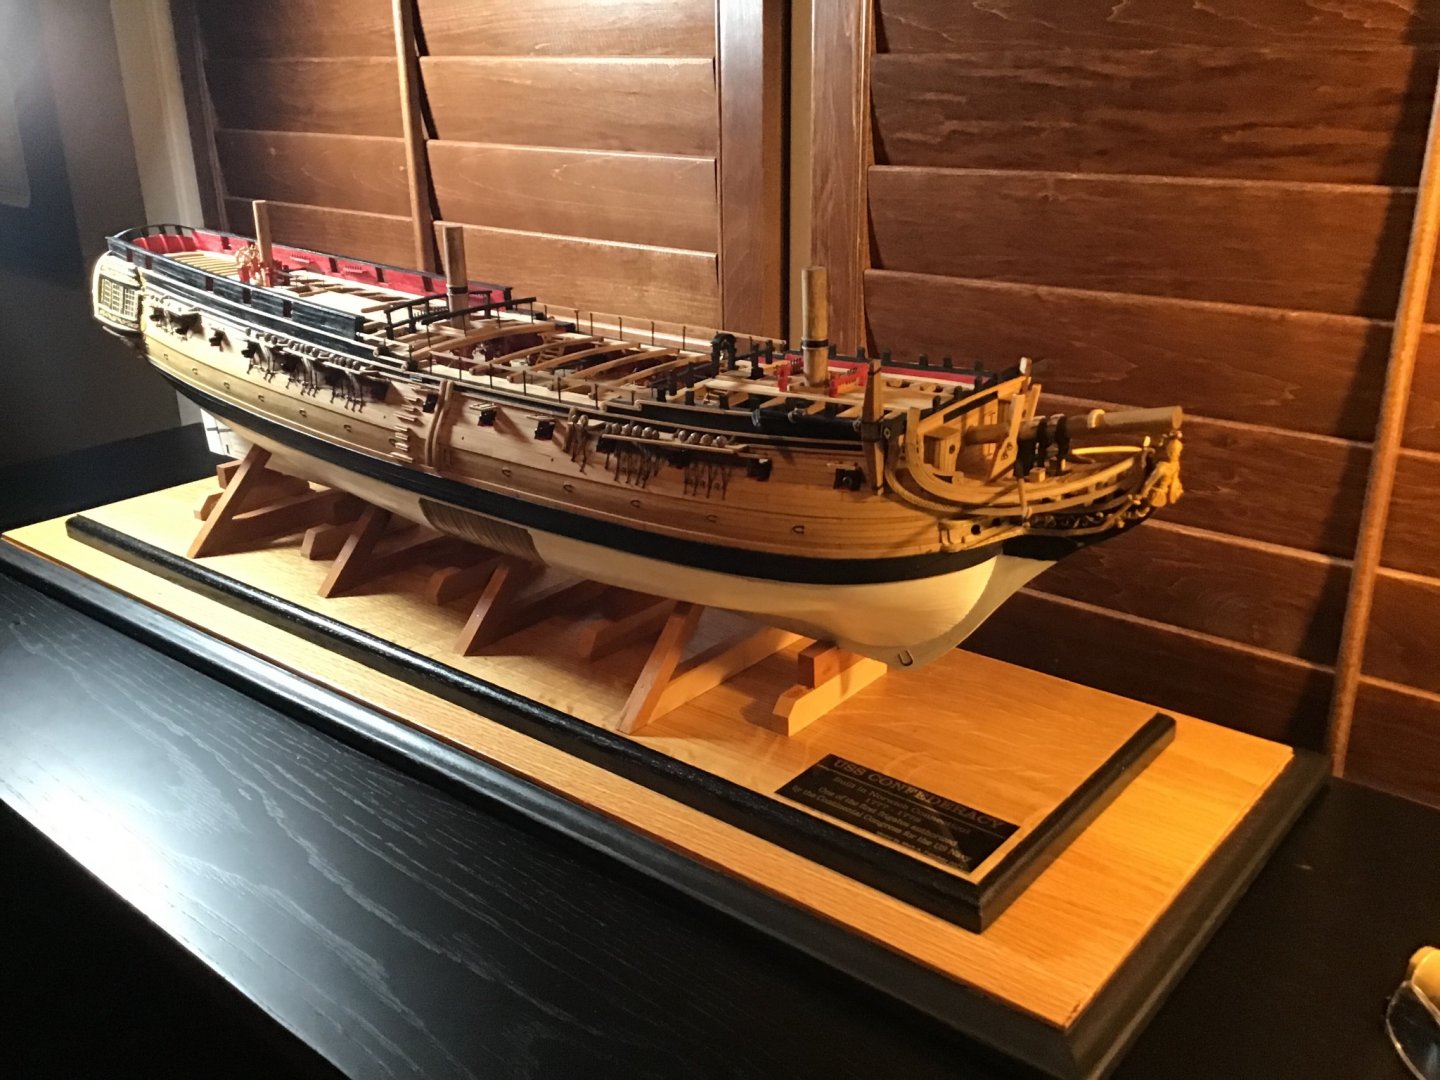
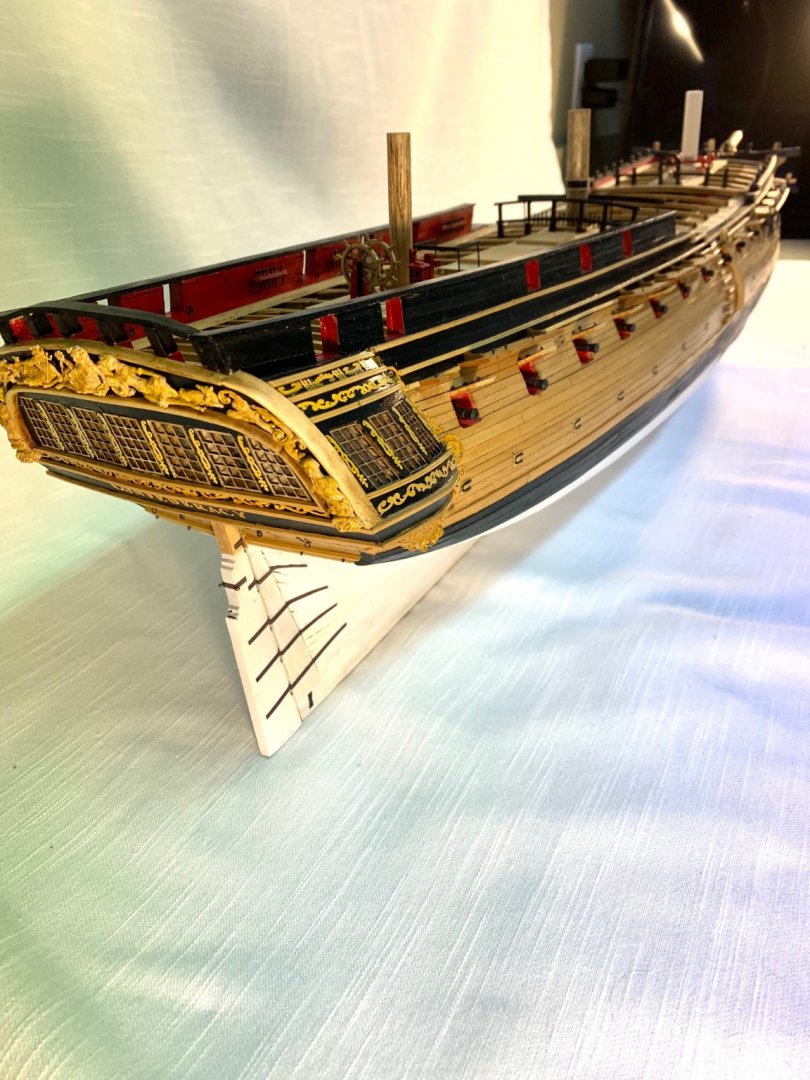
Thank you all very much! This project has been a lot of fun and she has a home at the University of Southern Mississippi Center for Veterans Affairs. Thanks again for following along. Gary, no worries mate! From the looks of yours so far I think it’s fair to say you will eclipse mine. I’ll be following along as you go. Here are a few more pics before I close this baby up.
- 127 replies
-
- 5
-
-

-
- confederacy
- model shipways
- (and 1 more)
-
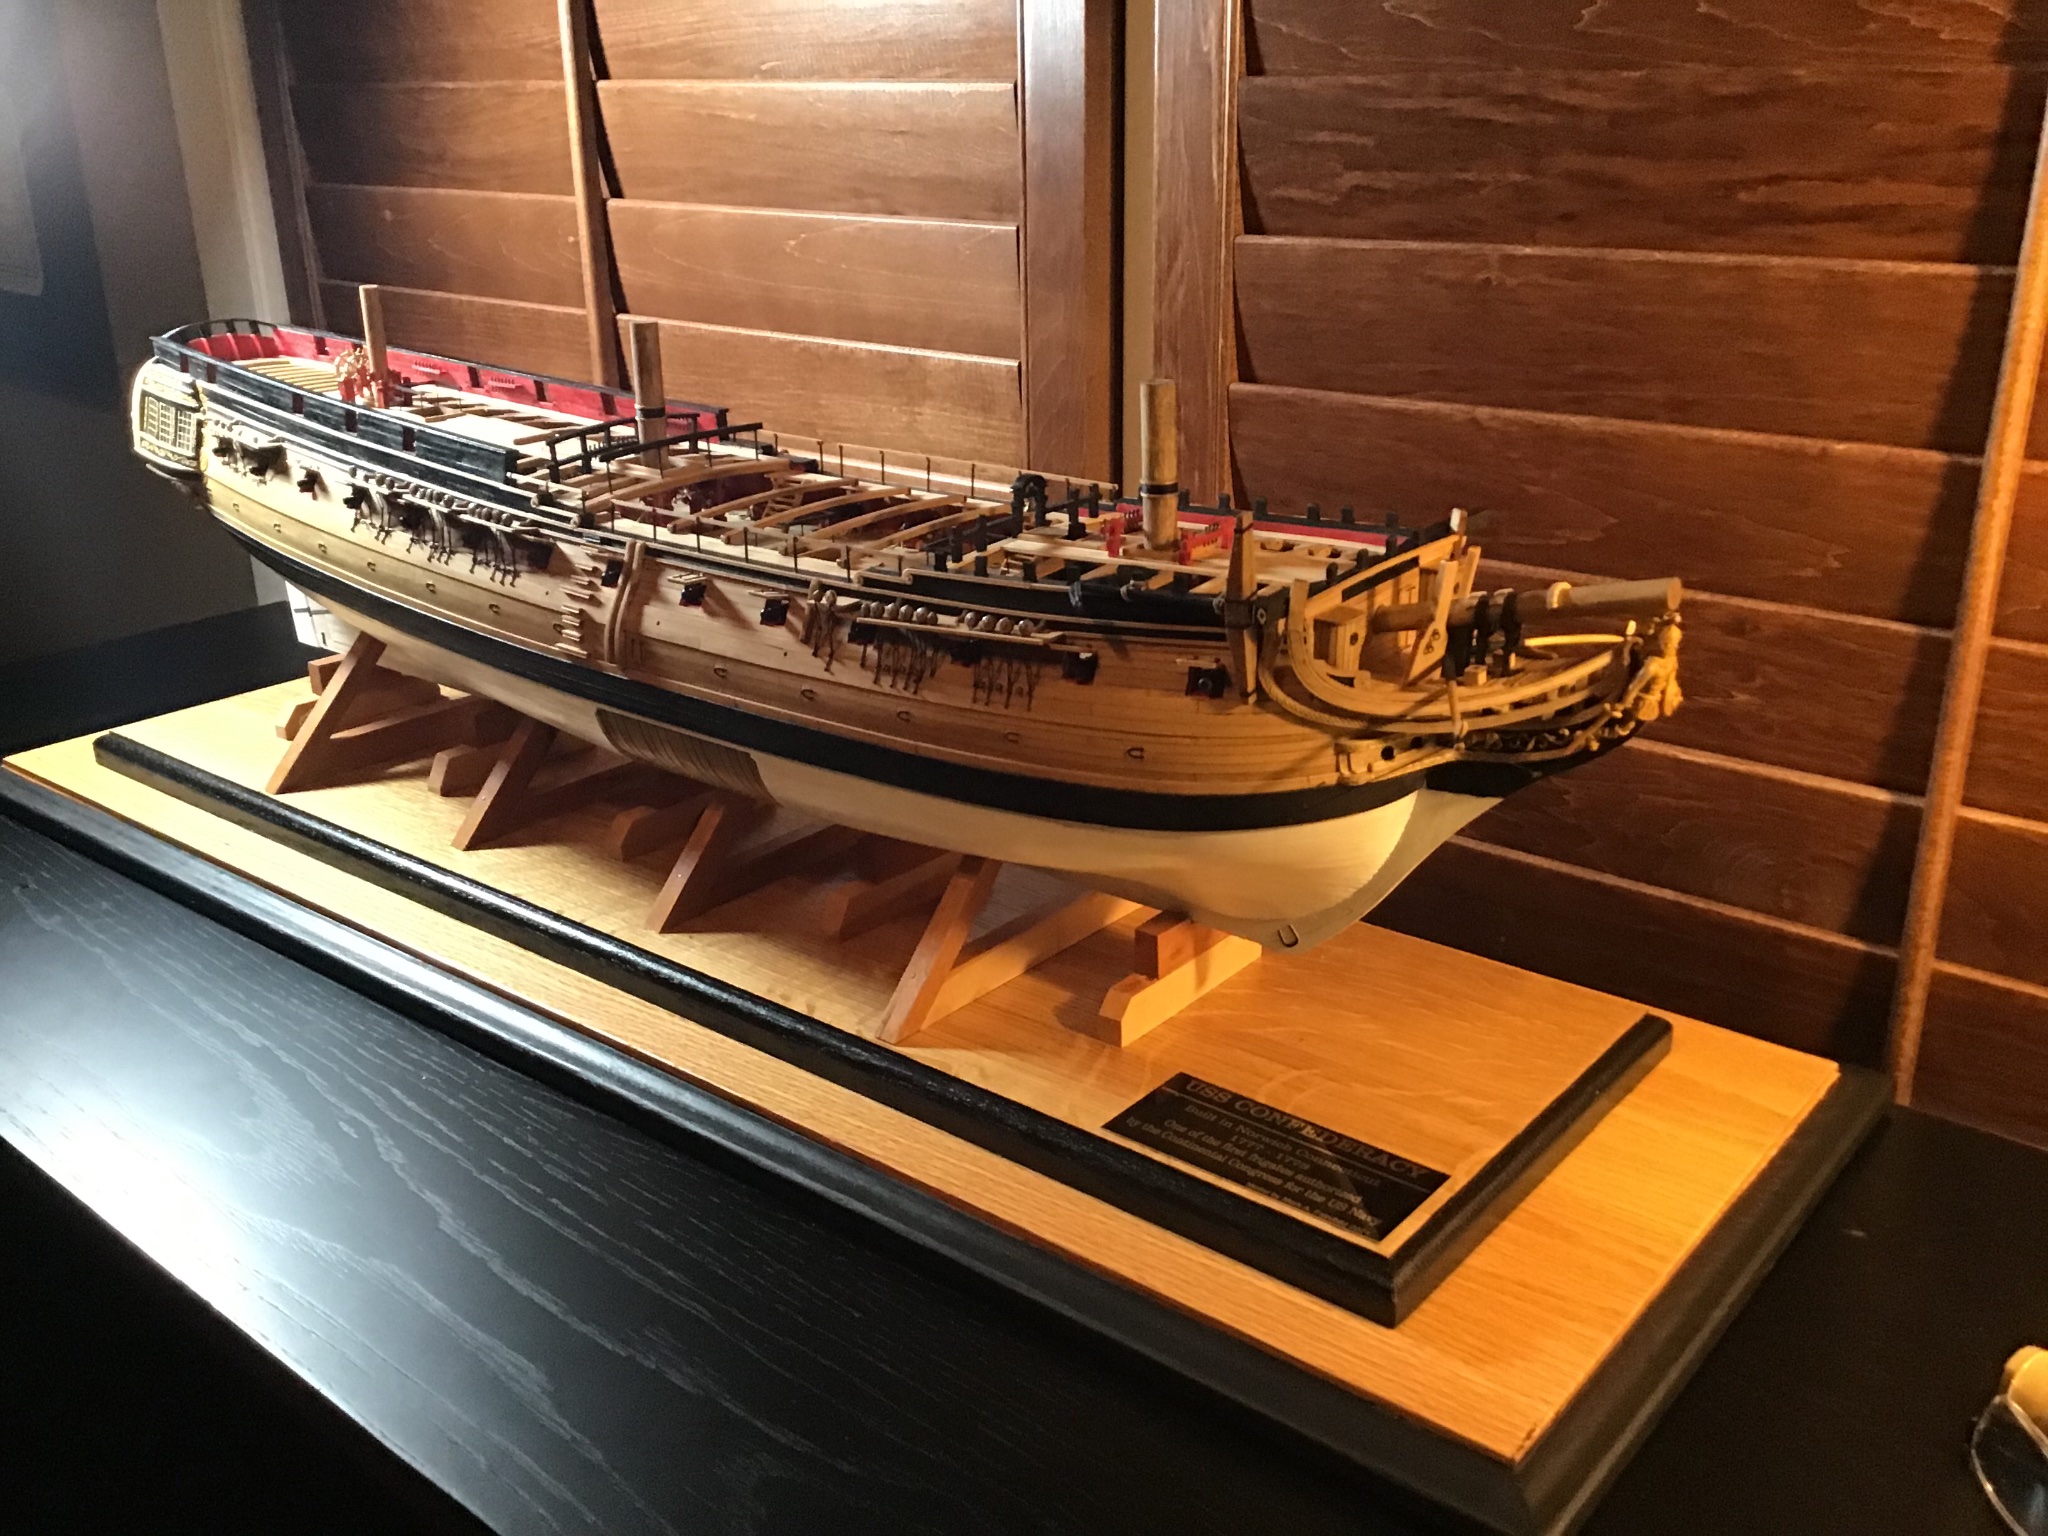
Well Ladies and Gents, I’m calling this puppy done! Waiting on 2 gangway ladders and one anchor to dry and install then the plexiglass case goes on top. I really do appreciate all the likes and comments. They kept me motivated when down. I can’t name all the build logs I took ideas and inspiration from but I thank you all for them. Not sure what’s next. There are some leatherwork and woodwork projects that are calling me so it will be a while before I start something new. Besides, the weather here is good and the fish are biting! It’s time to dust off the fly rod. thanks again for all the help, Mark

- 127 replies
-
- 15
-
-
- confederacy
- model shipways
- (and 1 more)
-
What were your first tools as a child?
Bossman replied to FlyingFish's topic in Modeling tools and Workshop Equipment
Growing up I the rural south, I never had “my tools” as a kid. You used dads or grandads. Axe, hatchets, handsaws hammers. I don’t remember at what age but but I’m sure it was pre teen when I graduated to a chain saw. The only instructions were, “that thing will bite you!” Luckily I still have all my limbs and fingers. -
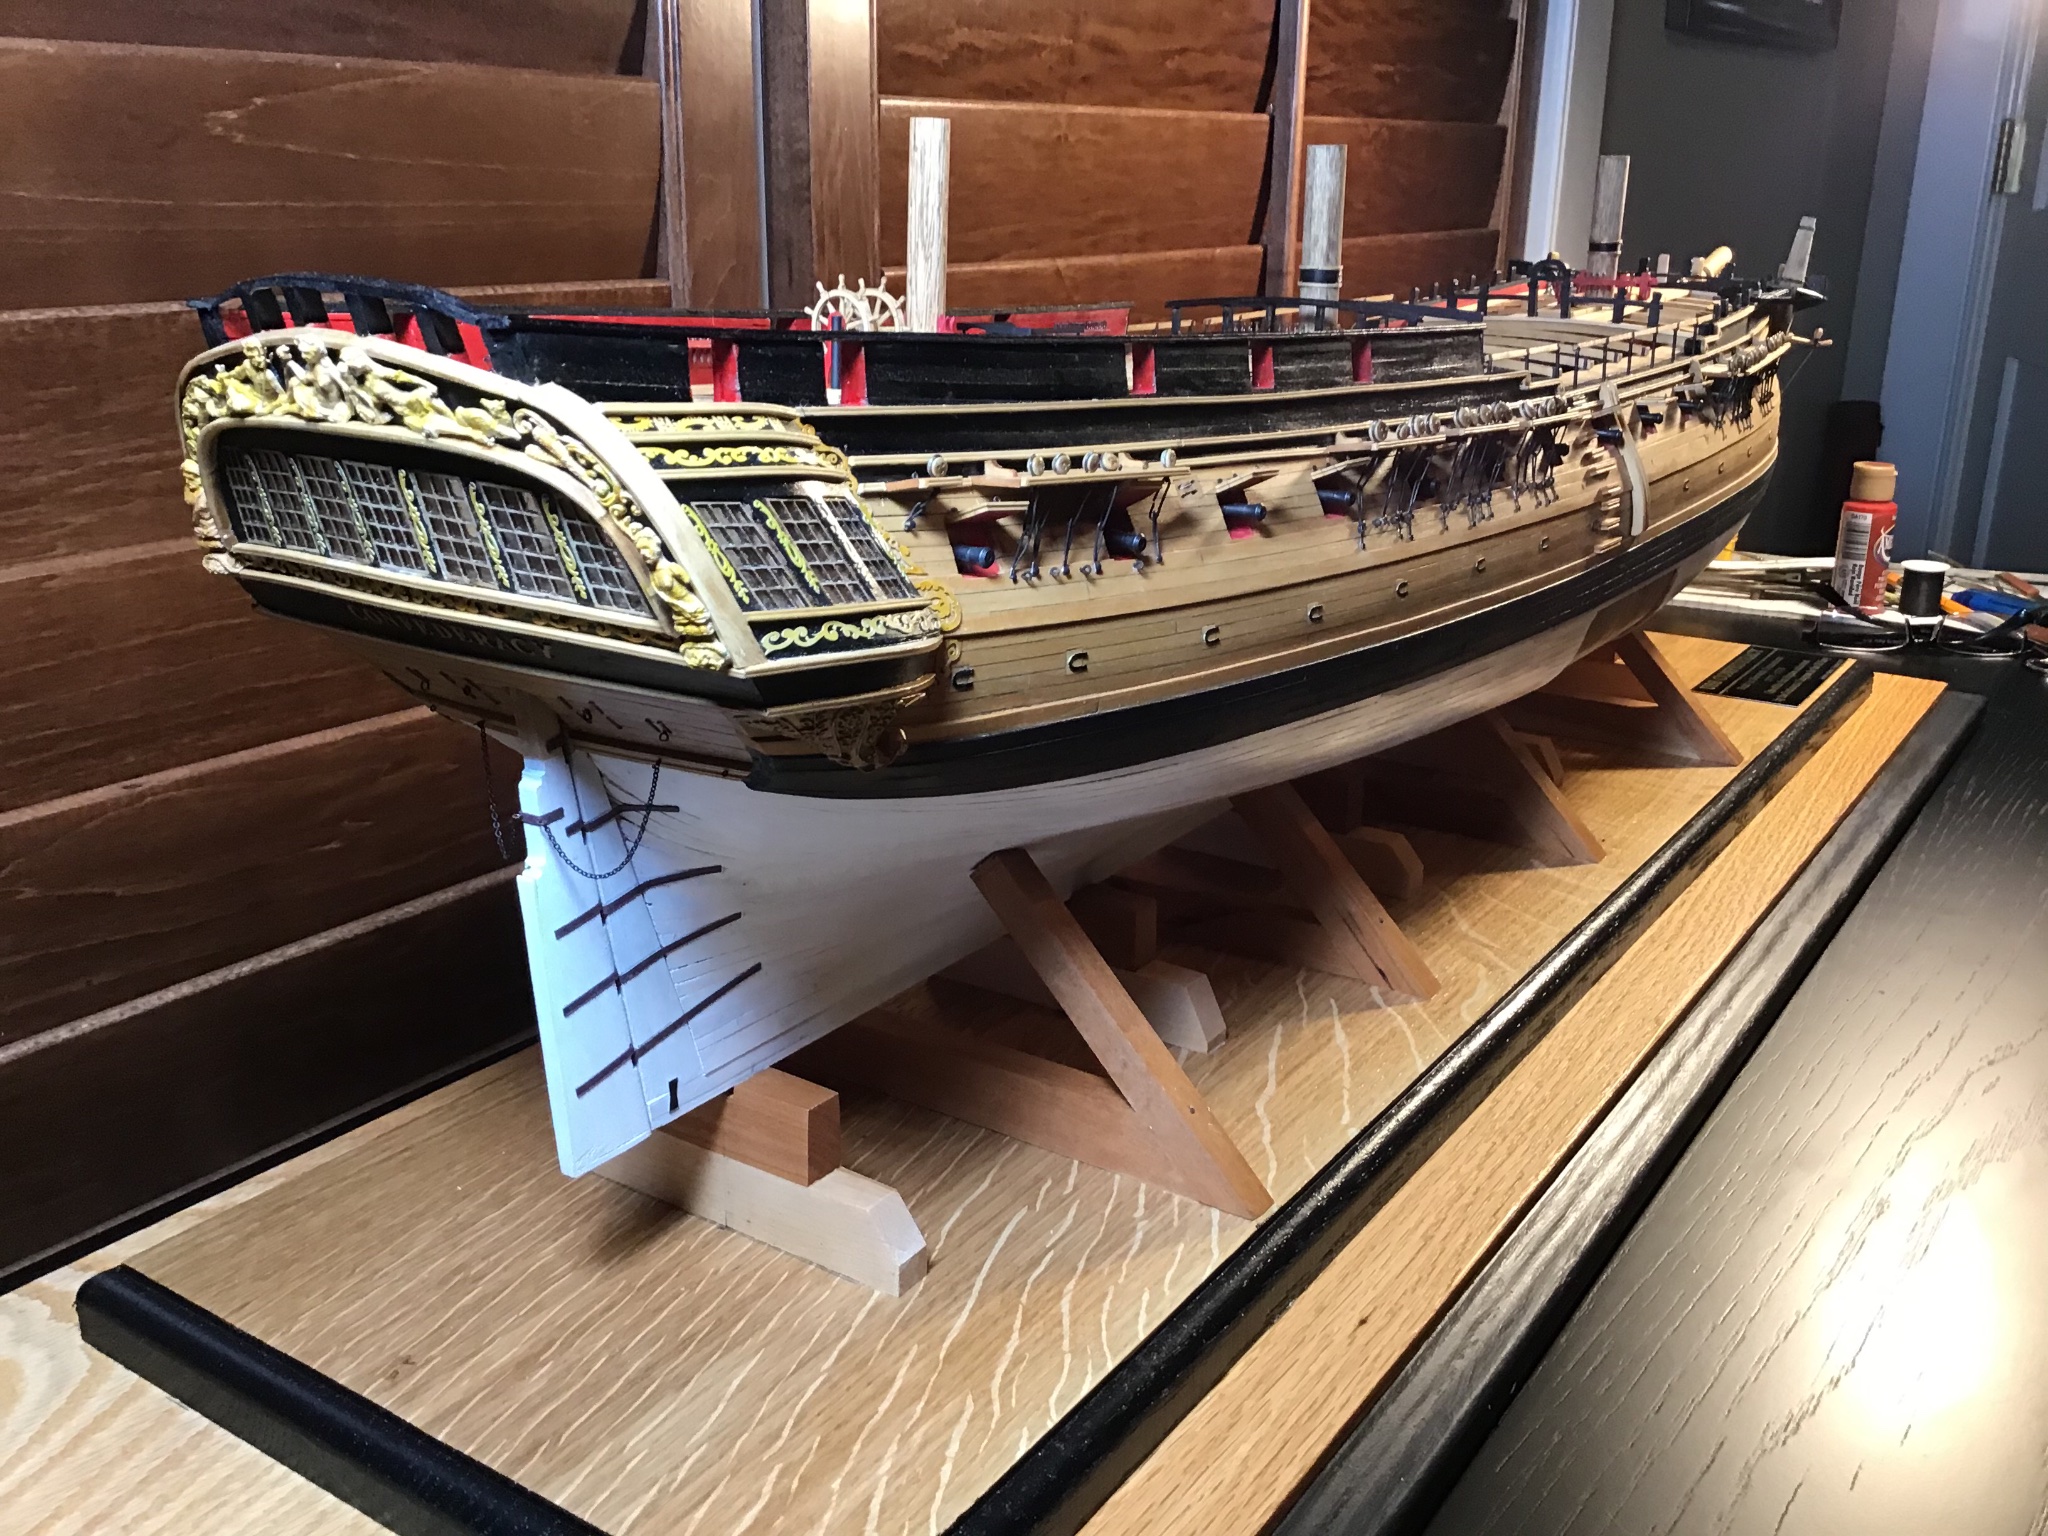
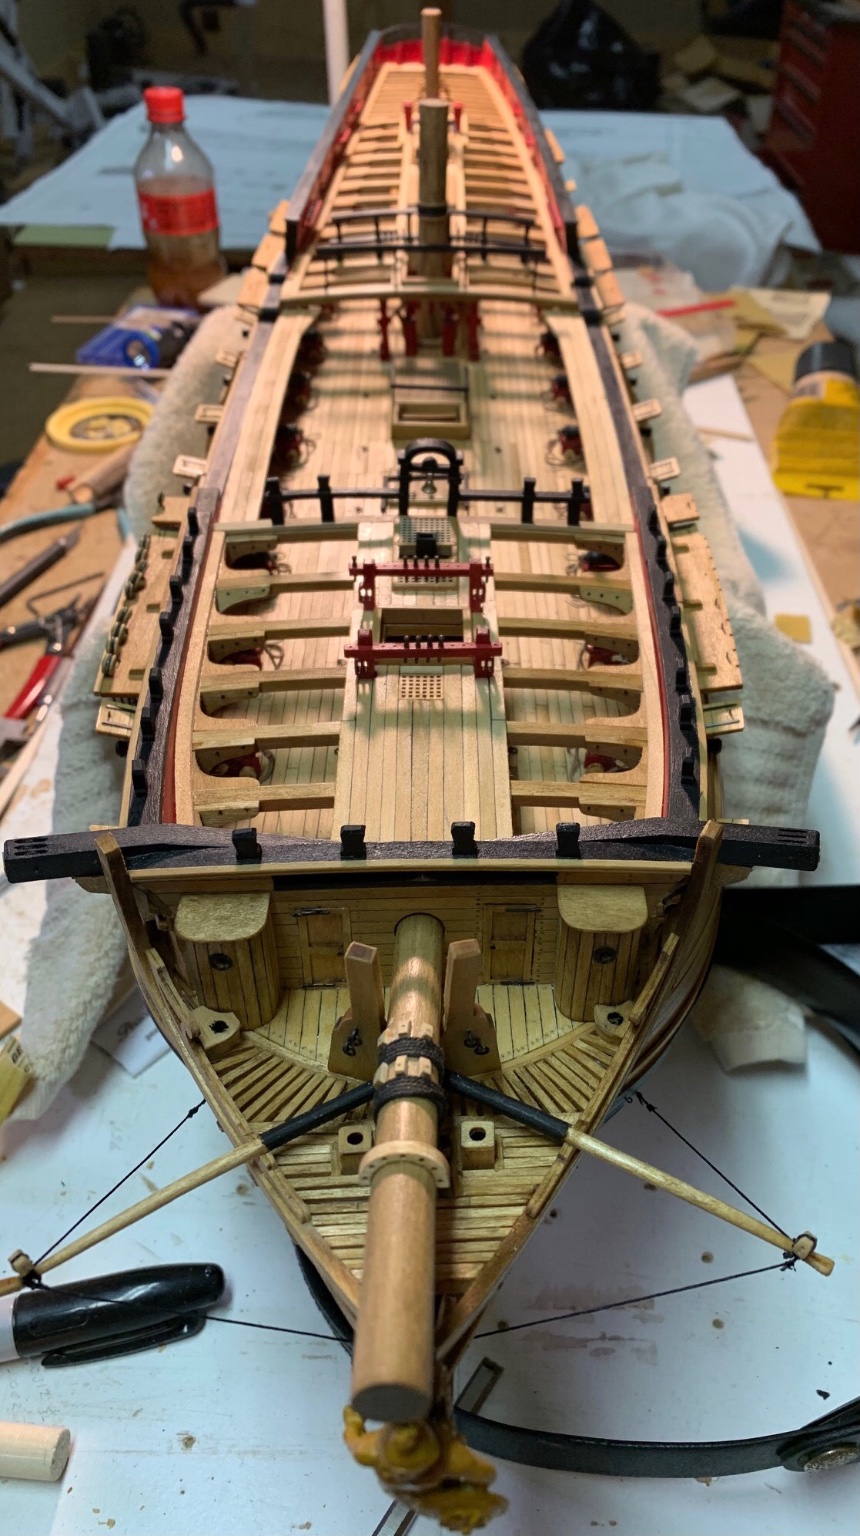
Just another quick update on the Confederacy. Thank you all again for the likes. I have finally finished making all the chain wale assemblies for one side. She has been towed out and turned so as to finish the other side. I’m calling the port side done. Deadeyes and chains, 3 more stairs in the waist and finish the for mast and I’m done!

- 127 replies
-
- 8
-
-
- confederacy
- model shipways
- (and 1 more)
-
Gary, she is really looking great! As for the fancy rail. It might be hard to get a nice flowing curve putting it on in pieces. At least is is with me. The reason I had a tough time is I used boxwood which was hard to cut on the model. If you are using basswood for the fancy rail, I would not hesitant using a full strip for the lower one. A chisel will cut it like butter. If I would have looked forward in the directions, I would have marked off the channel wales and not applied glue to the fancy rail in that area. Hind sight is always 20/20.!
-
Robert, top notch work and craftsmanship Sir!
-
Chris, she is, in a word, stunning! If there is a flaw, it’d not to be seen. Congratulations on a beautiful model. Maybe someday my skill and discipline can match yours but I doubt it.
- 290 replies
-
- 1
-
-
- confederacy
- frigate
- (and 1 more)
-
Excellent model Peter. She is an absolute beauty! Doing a few tackles as you go sure helps with the sanity end of it.
-
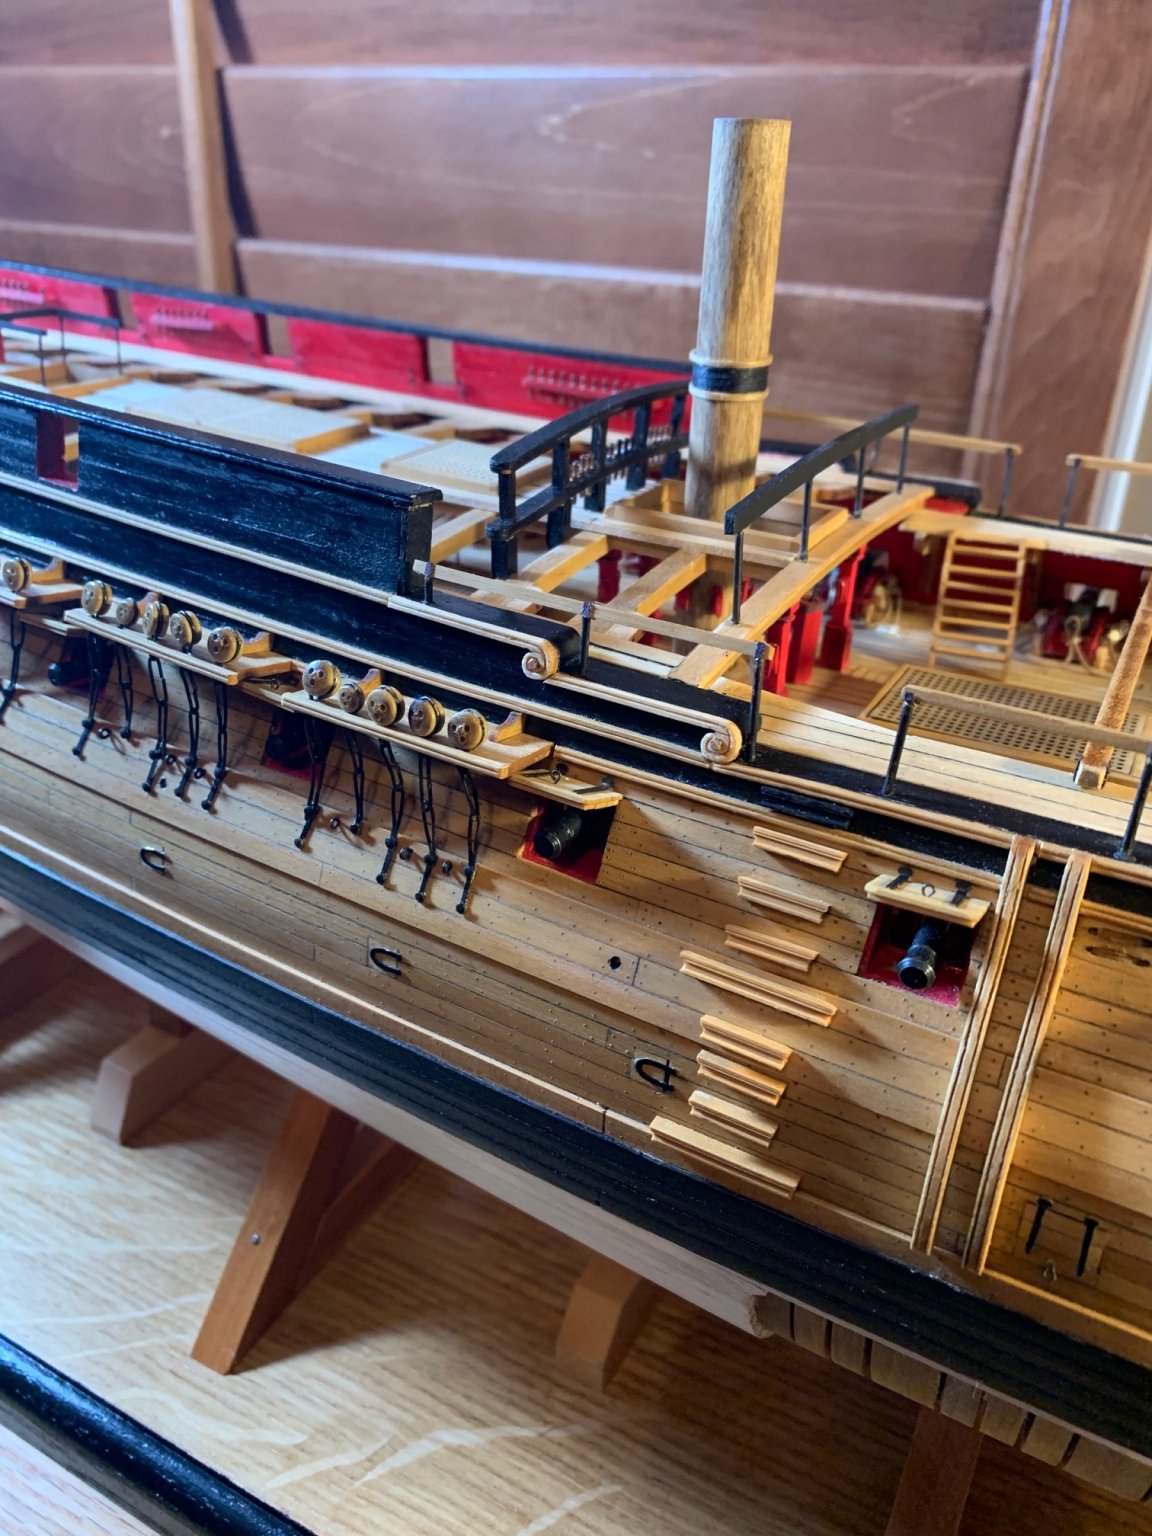
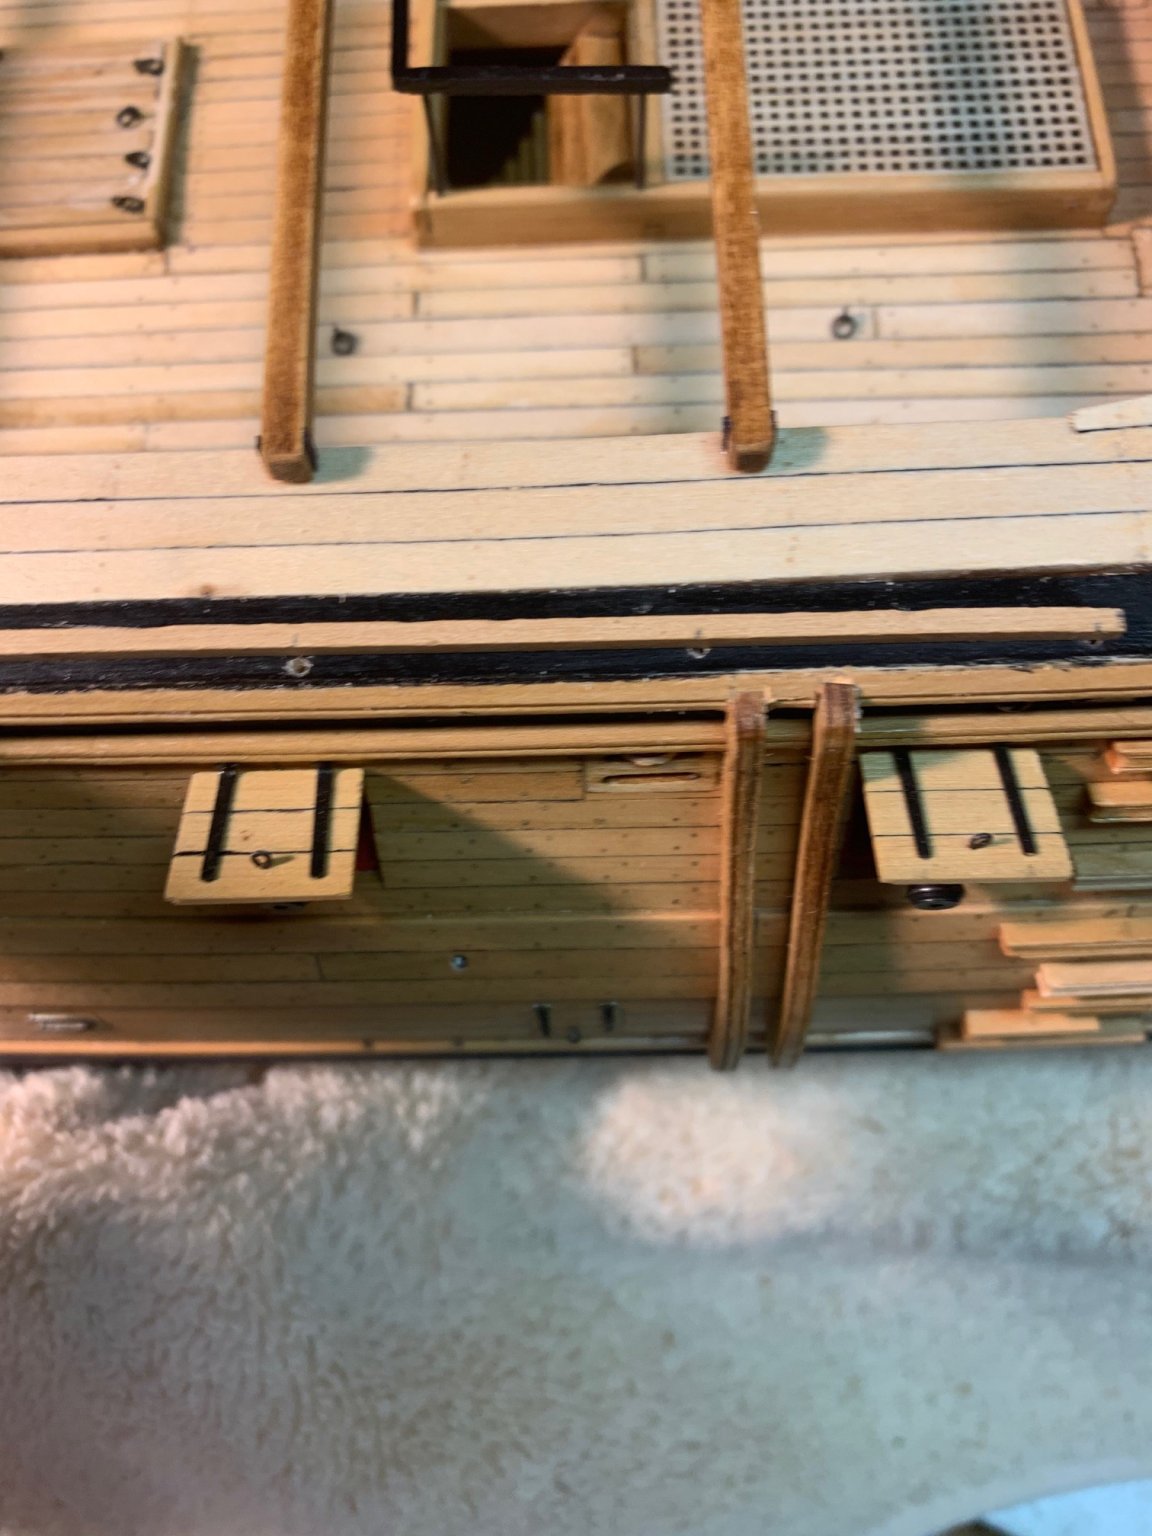
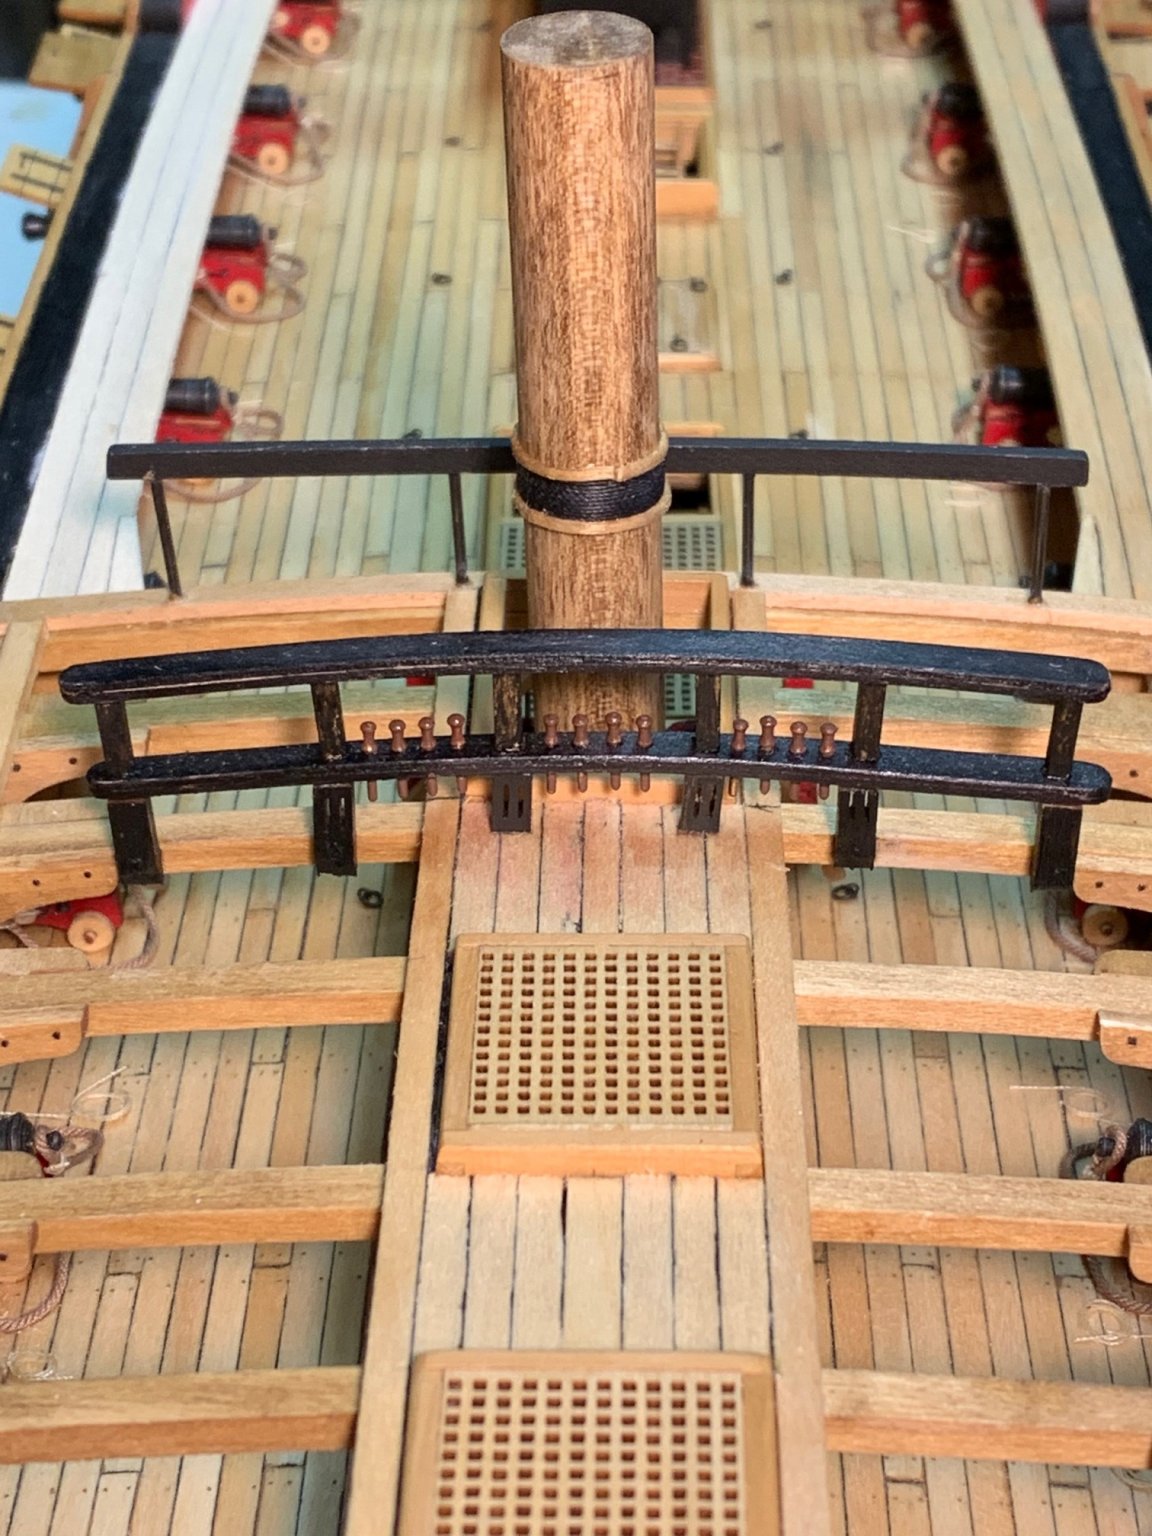
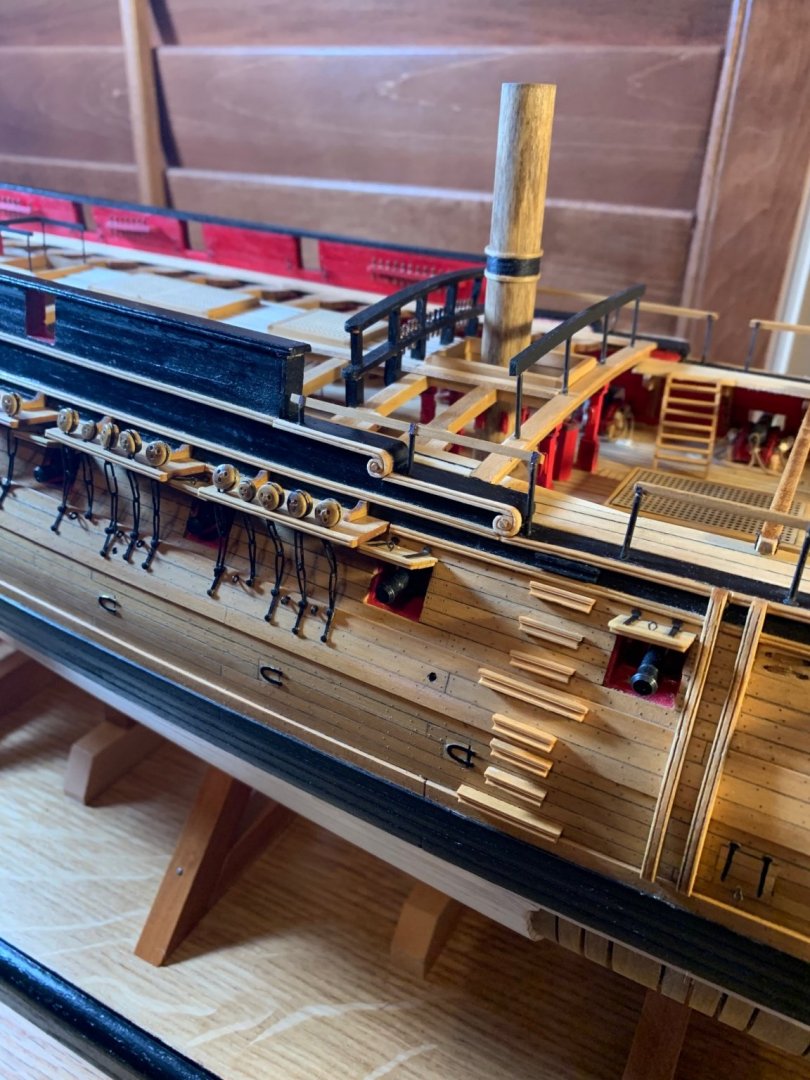
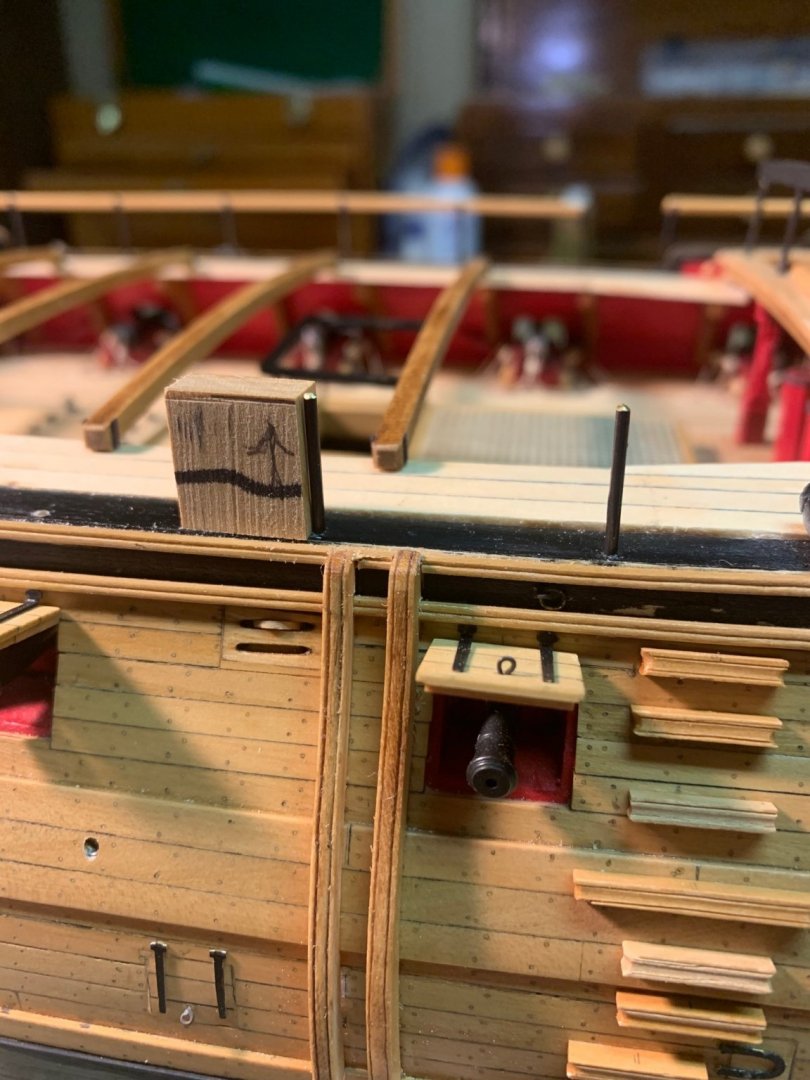
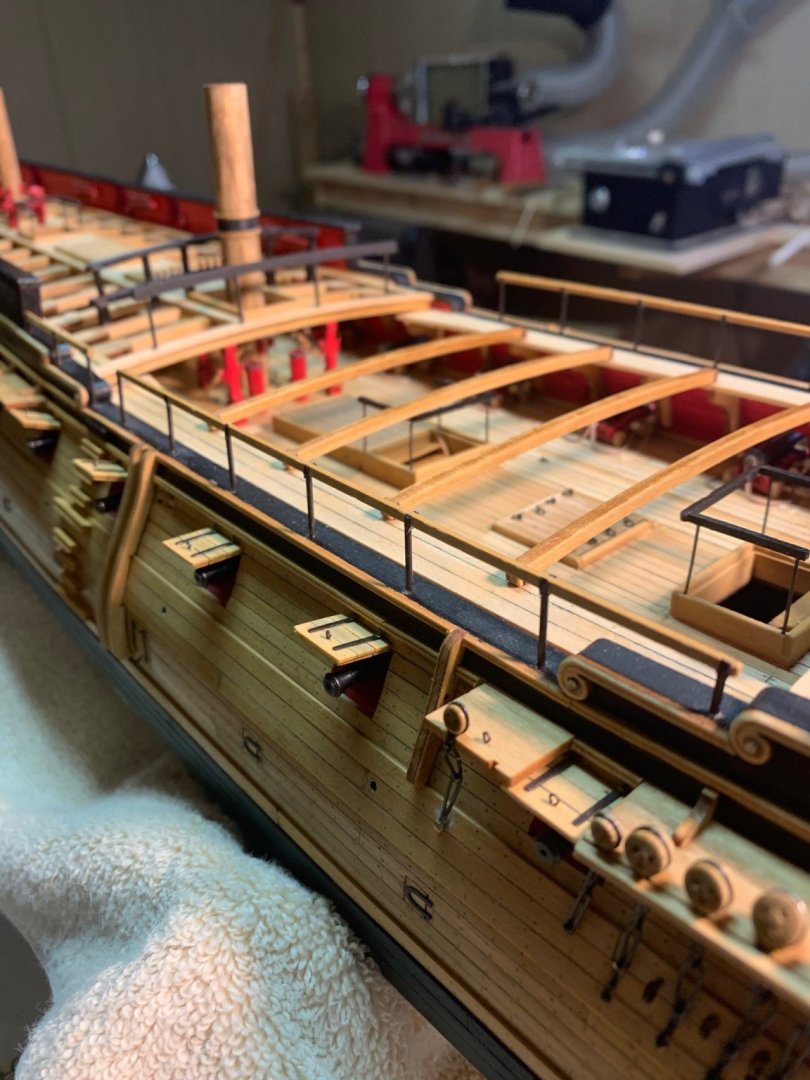
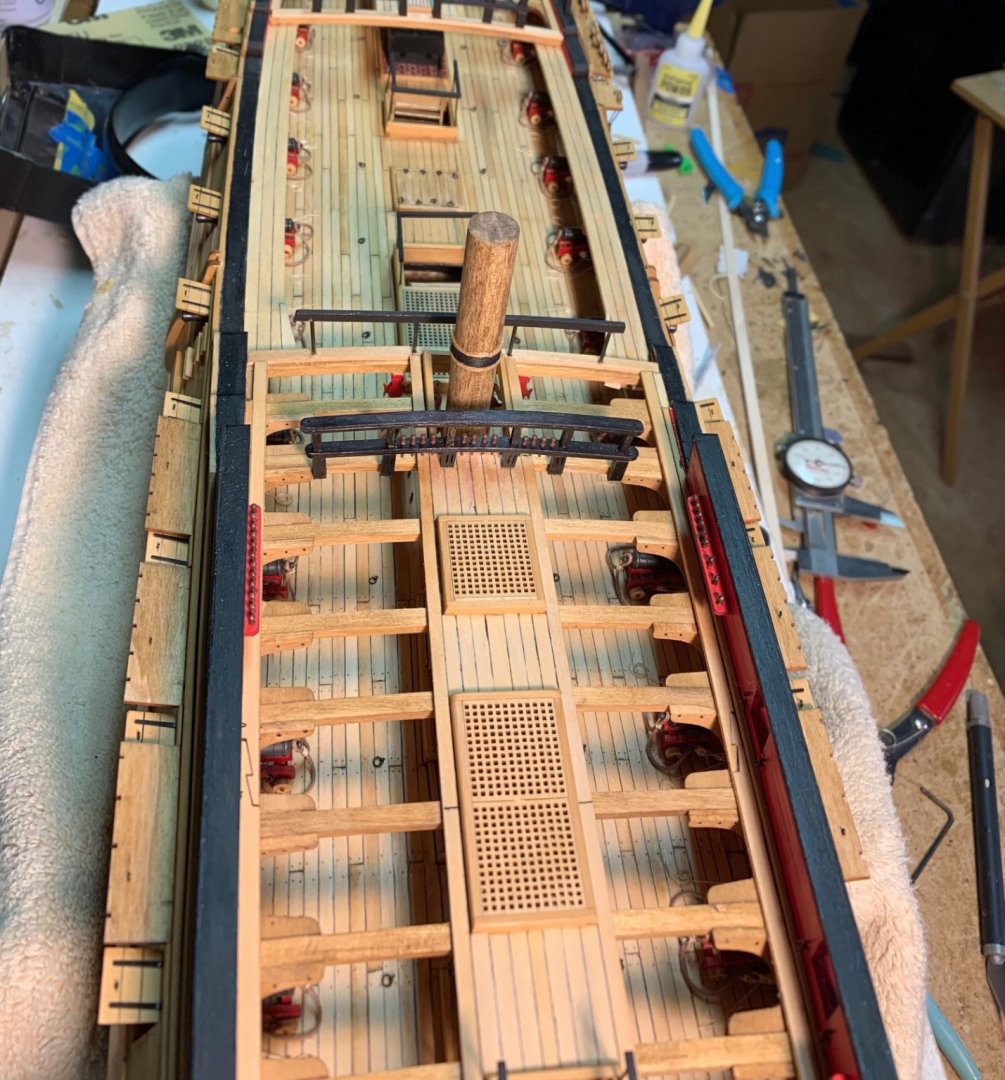
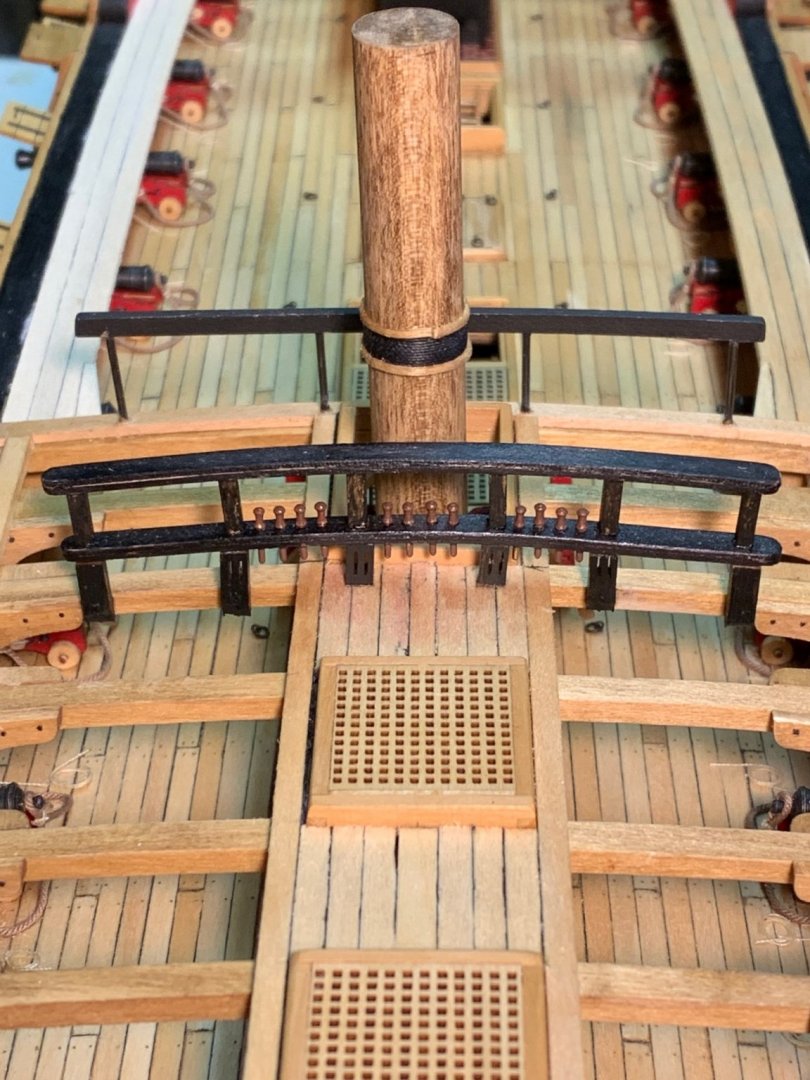
A real quick update. Today I tackled the waist rails. As with the chain assemblies, I opted not to use the photo etch. I used brass rod of appropriate diameter. Blackened before cutting. After 2 failed attempts I finally found the right method for me. I first laid out the holes for the uprights. Then marked the center on to the railing piece. next I used a scrap piece to set the height of the uprights. Next step was to carefully mark the uprights onto the rail piece and drill a hole half way through it. I see in the below photo I need to poly two steps and add a sheave! next I glued black construction paper to simulate the iron bands to the rail and attached the railing. It worked for me!

- 127 replies
-
- 7
-
-
- confederacy
- model shipways
- (and 1 more)
-
Think I will sit in on this one. Very interesting!
-
Thank you WG and Tim. She is a nice model to build but she is one big puppy! Thanks again for your kind words.
-
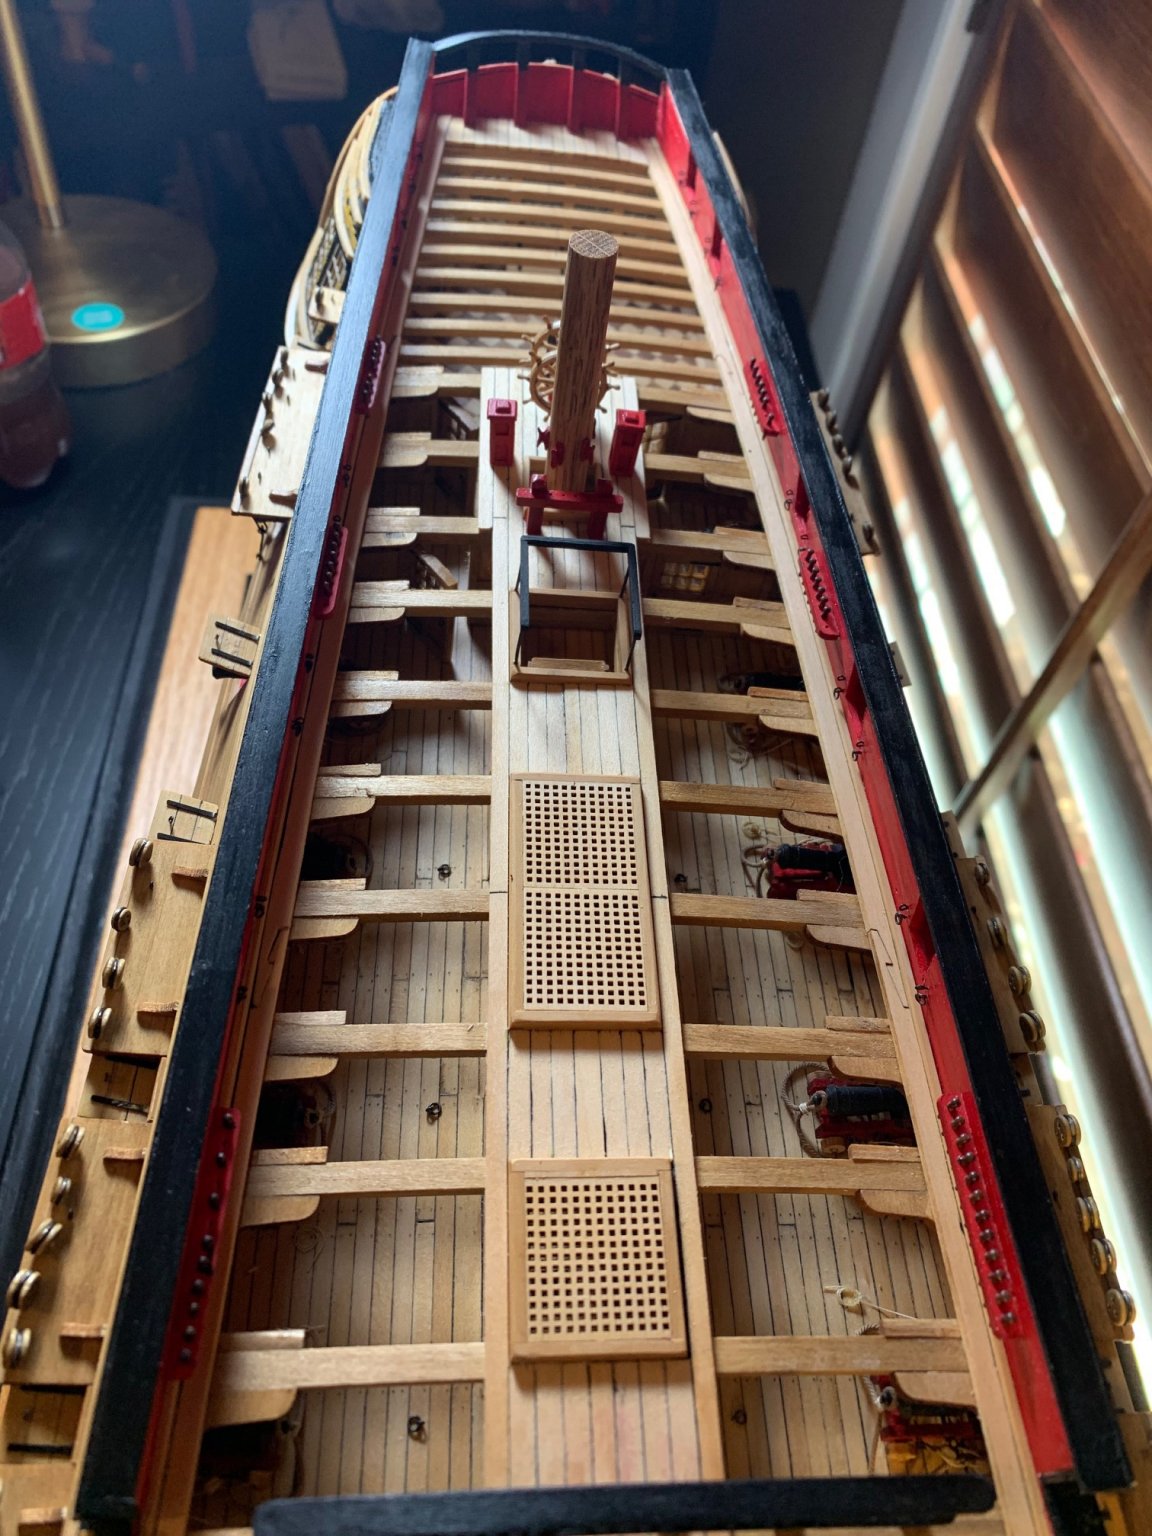
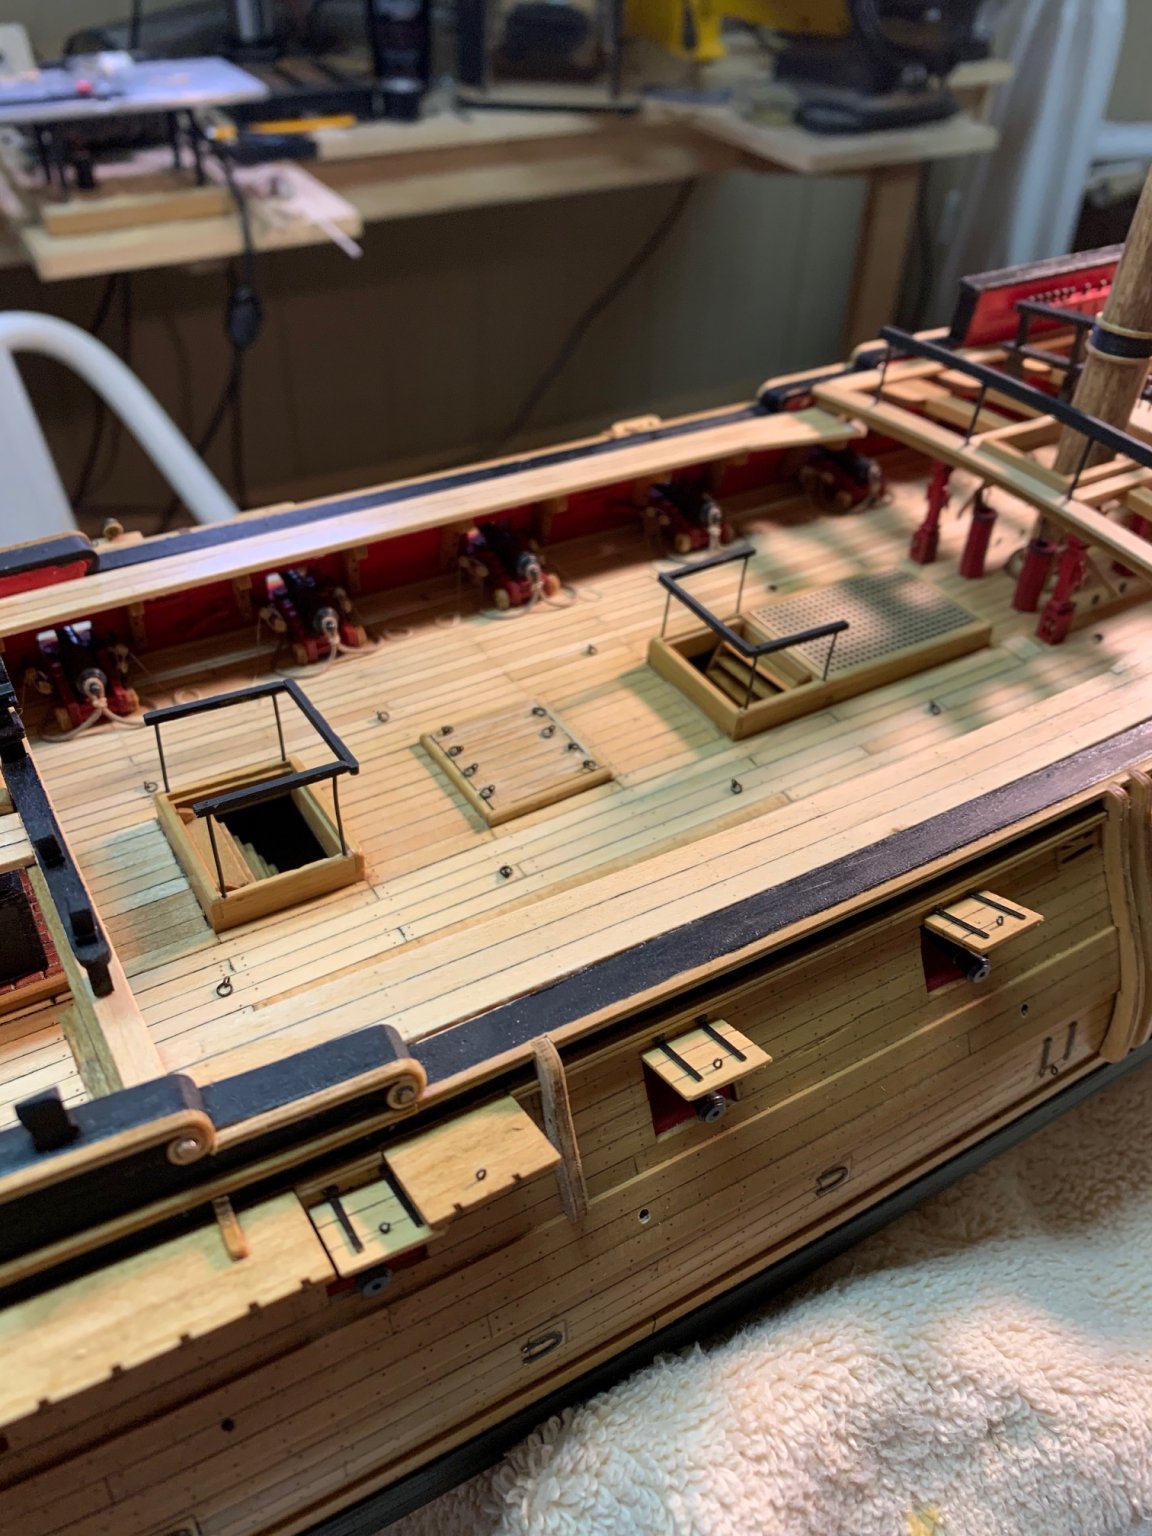
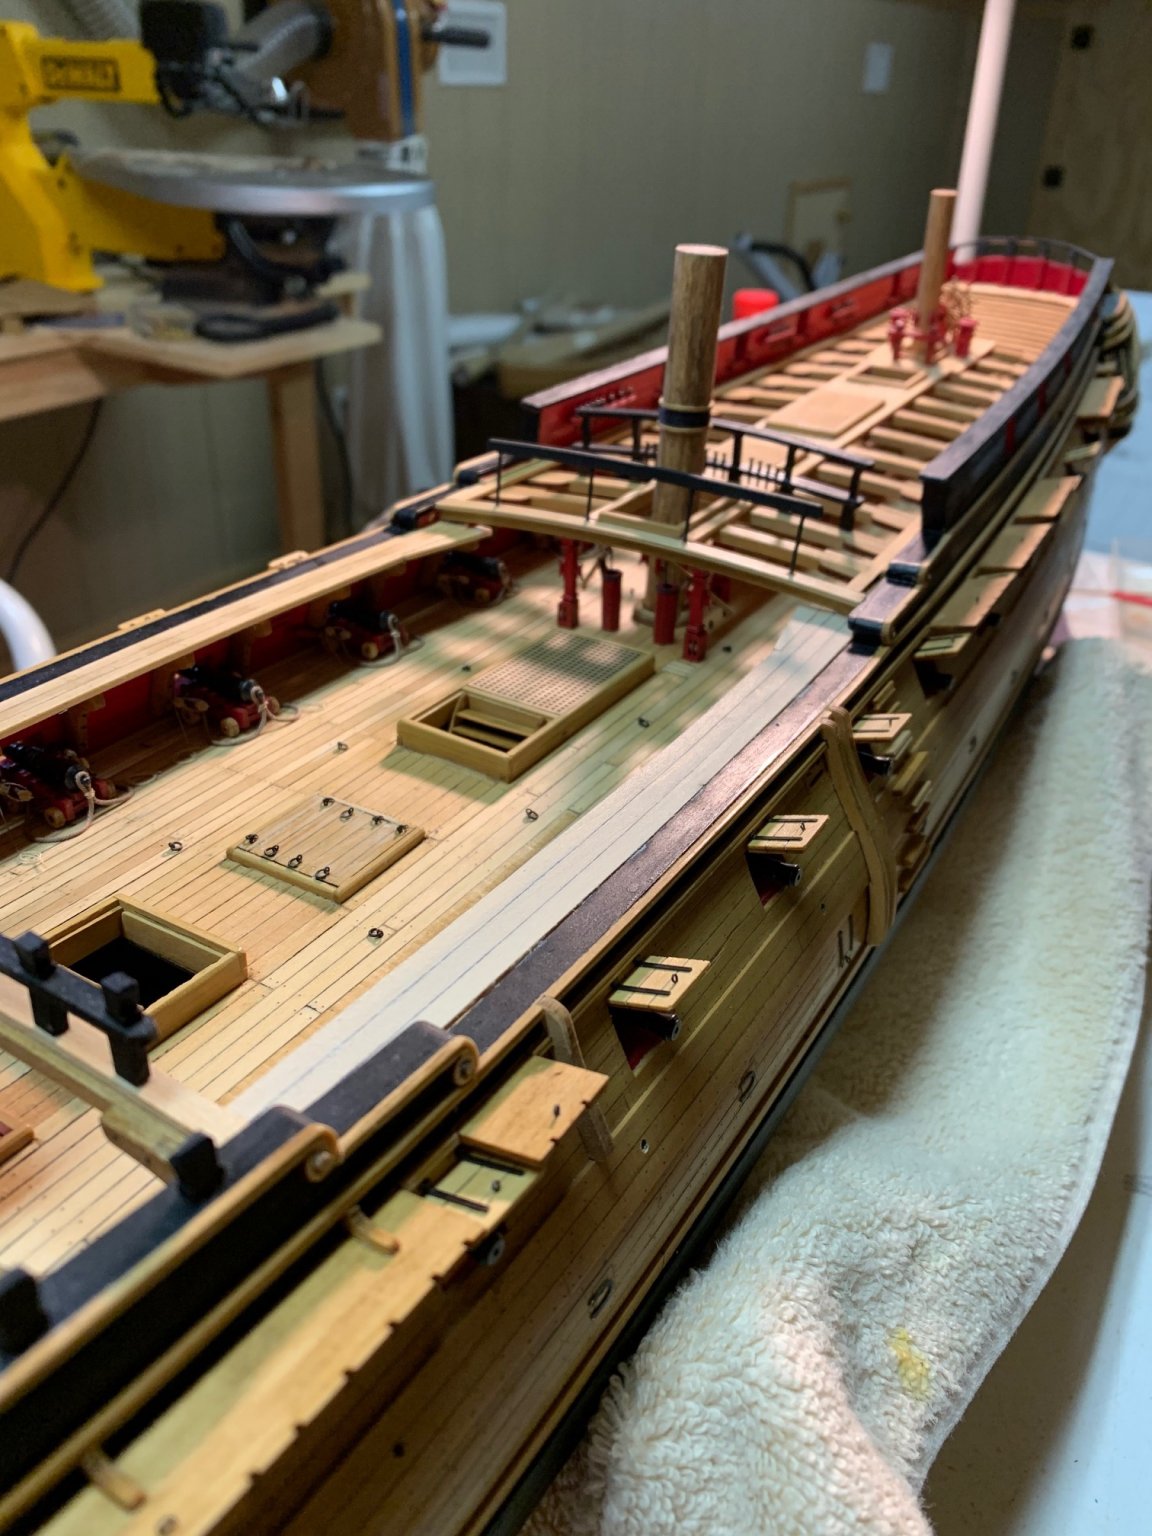
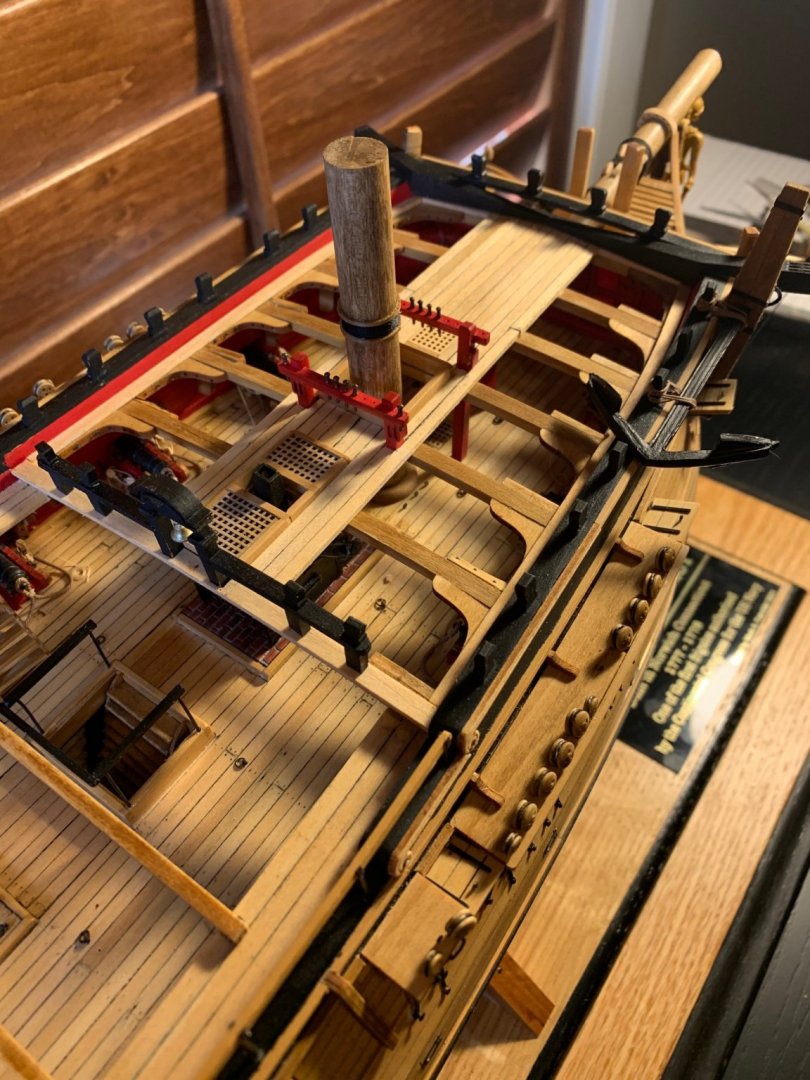
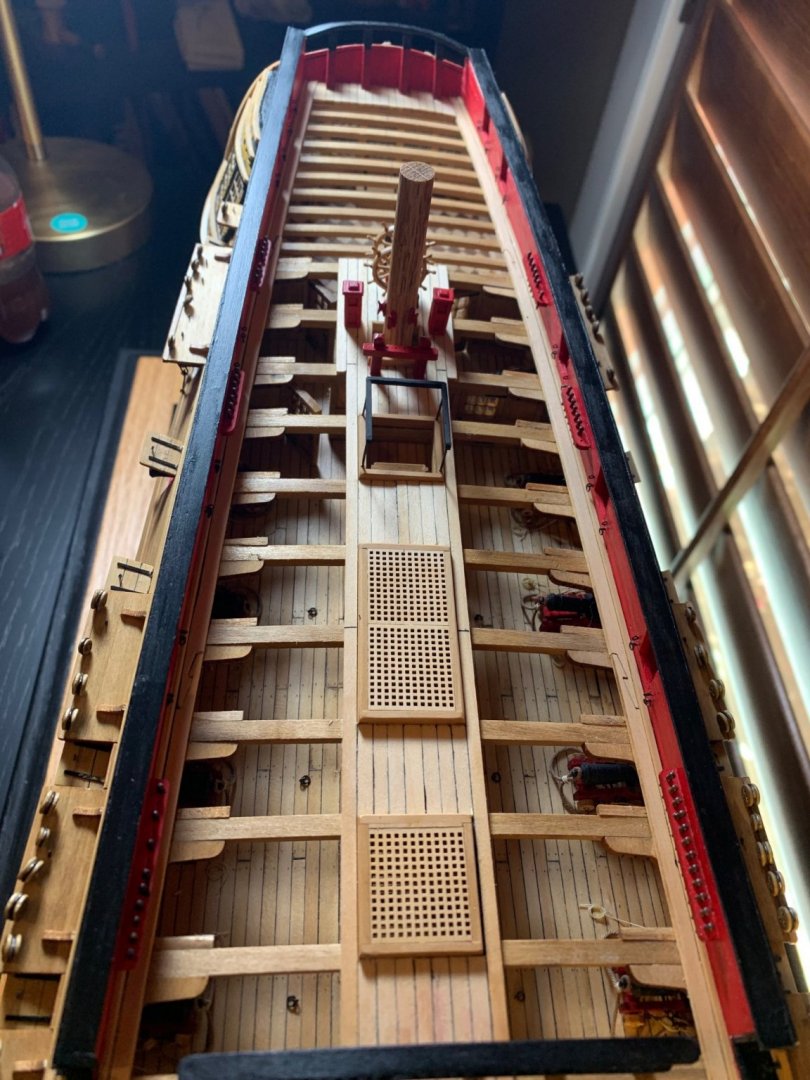
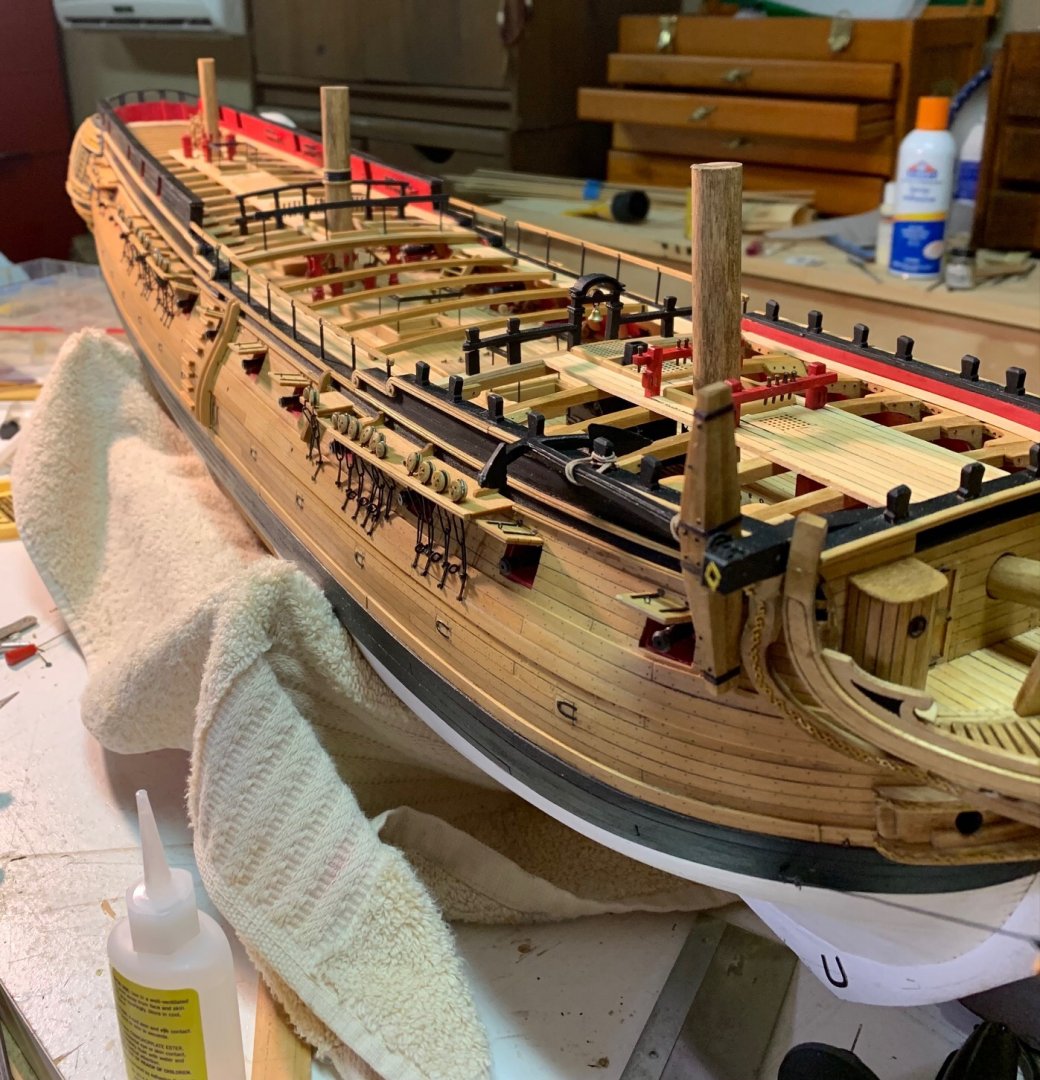
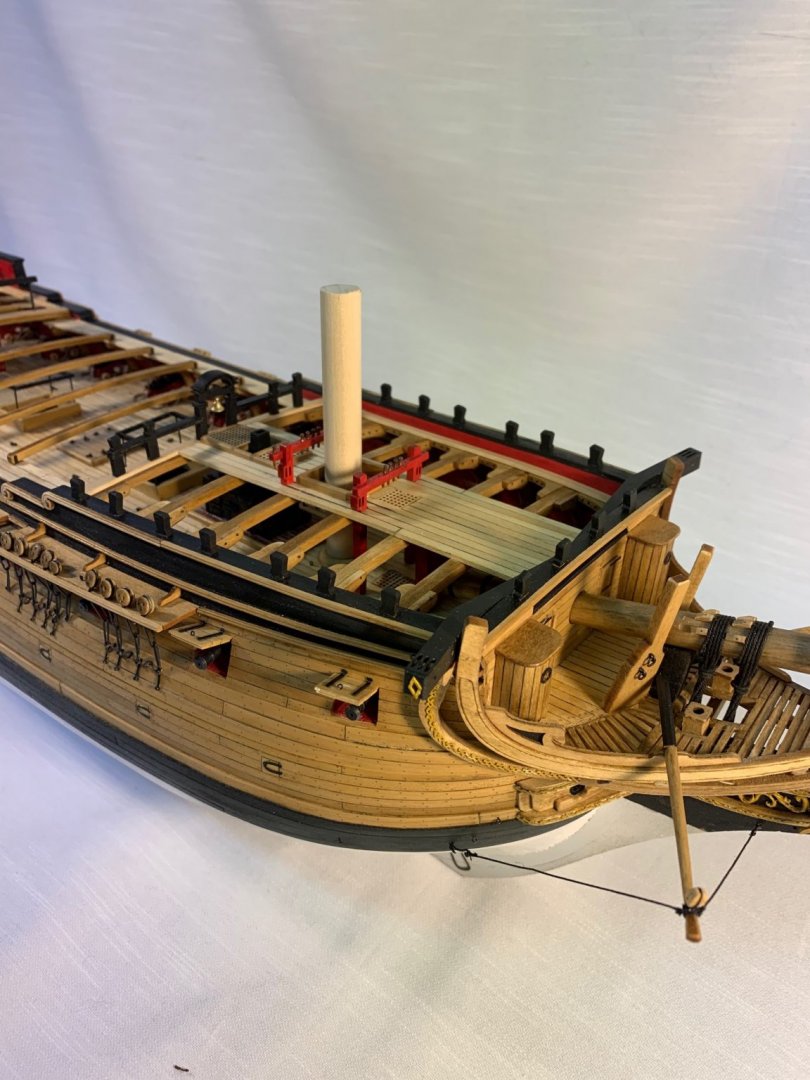
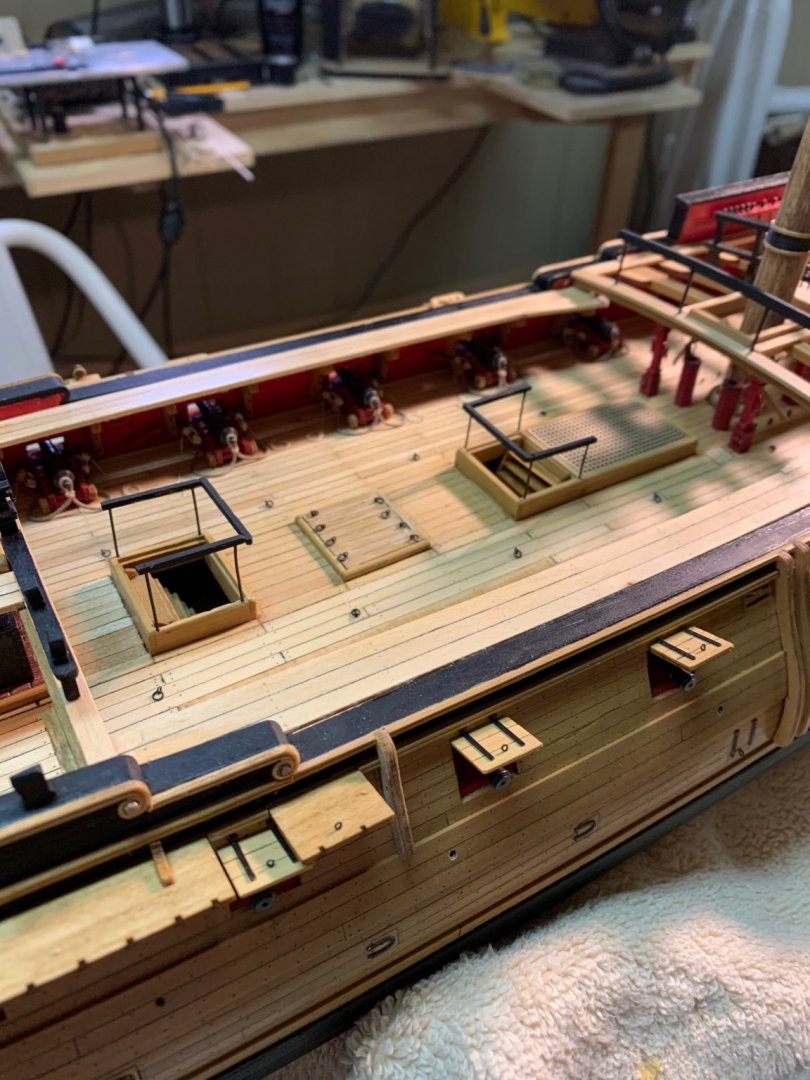
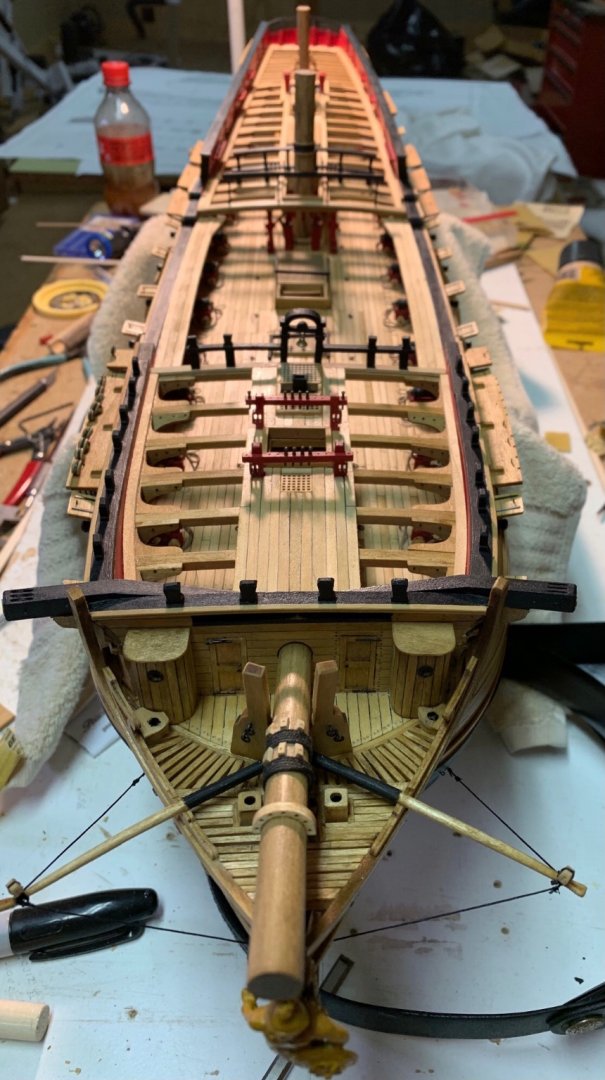
Skid beams are now in place. I got the chance to take a few pictures that do not show my neat, tidy work area. I’m not a photographer so this is as good as it gets. It is amazing to me, the mistakes that come through with a photograph. When I’m finished I will go through my photos and correct glue spots, scratched paint and that middle gunport in the bottom pic that’s hanging a little low! As always, thanks for the likes ladies and gents!
- 127 replies
-
- 7
-
-
- confederacy
- model shipways
- (and 1 more)
-
Thank you very much Bob. That was my thought. I have a book on ships boats around here somewhere but it has so far eluded me.
-
I need some education. The specific model is the USS Confederacy, 1778. Were ship boats of this period painted or left natural. Thanks in advance, mark
-
Thank you very much Sir! She is a very beautiful ship. I’m humbled by your kind words. Mark
- 127 replies
-
- 1
-
-
- confederacy
- model shipways
- (and 1 more)
-
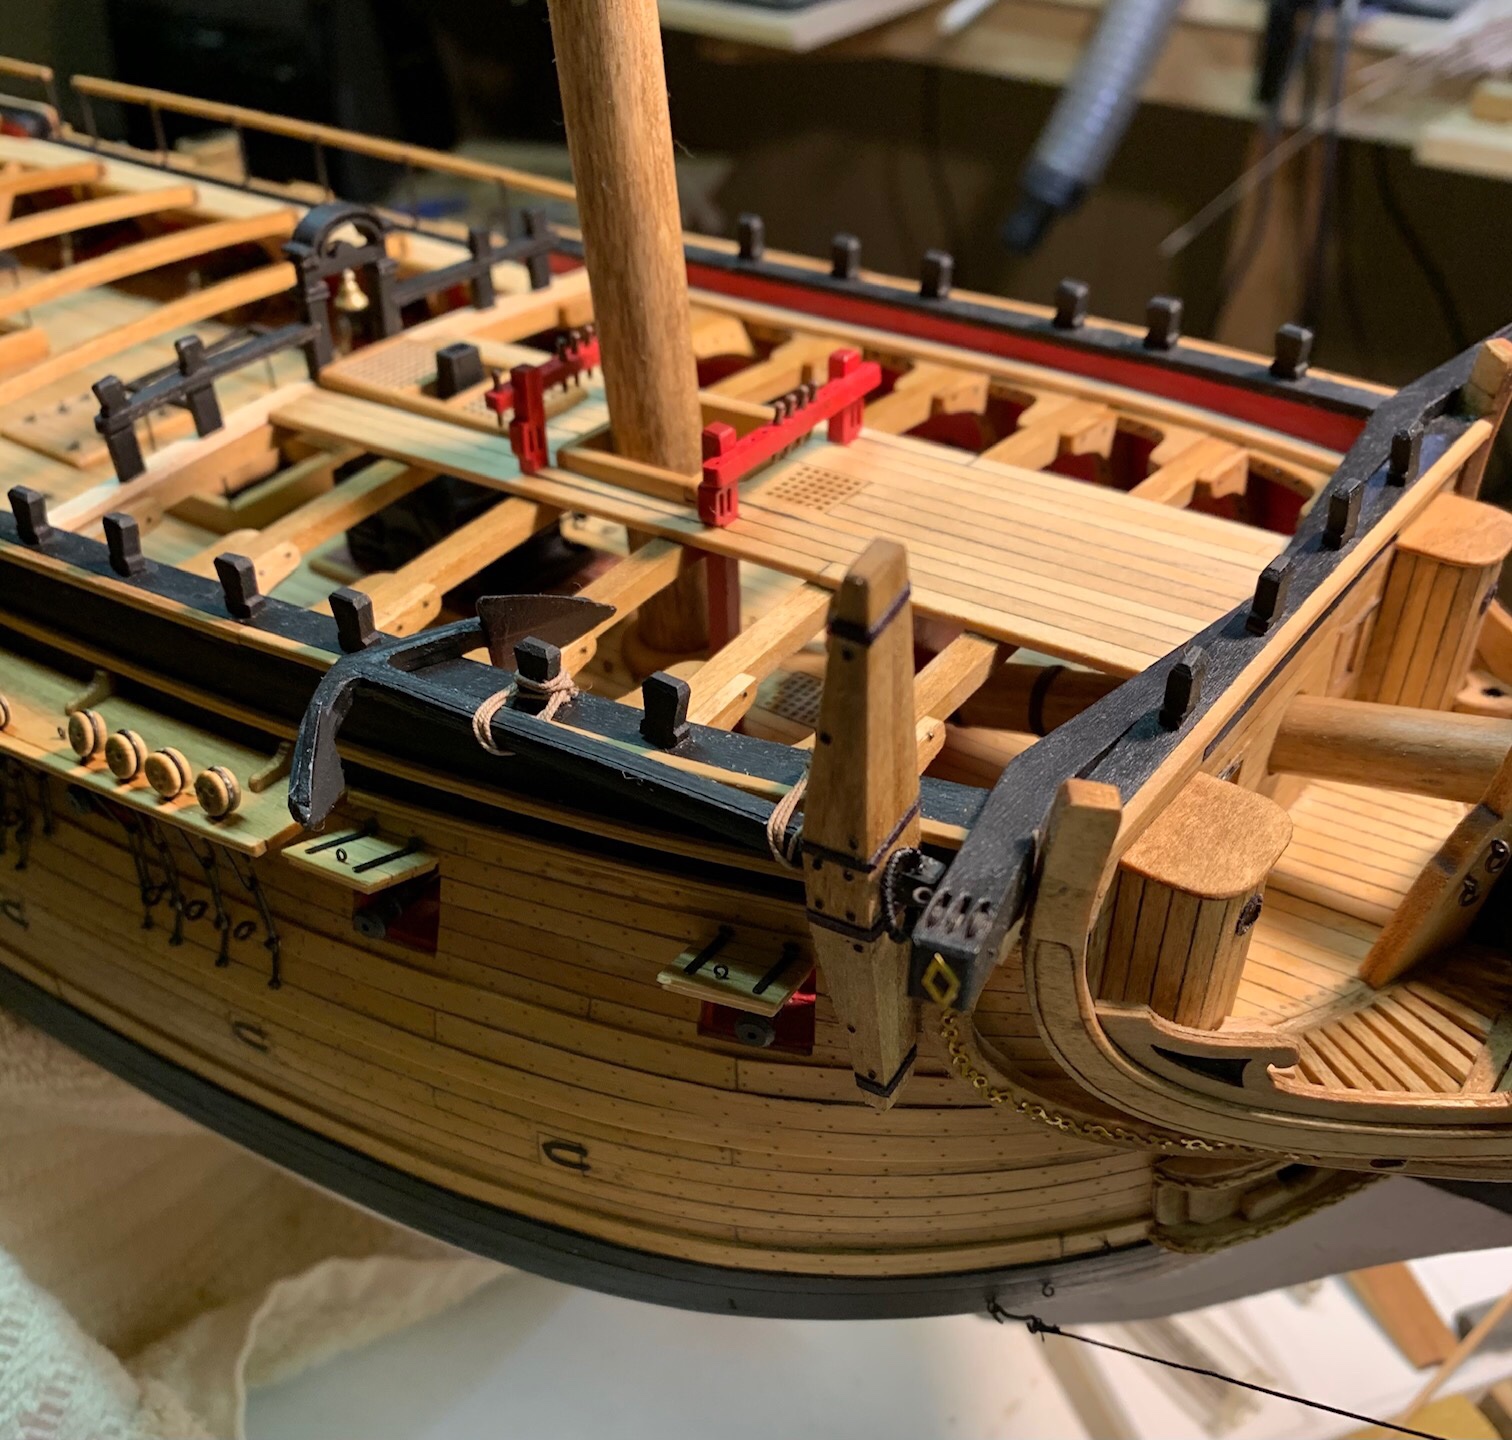
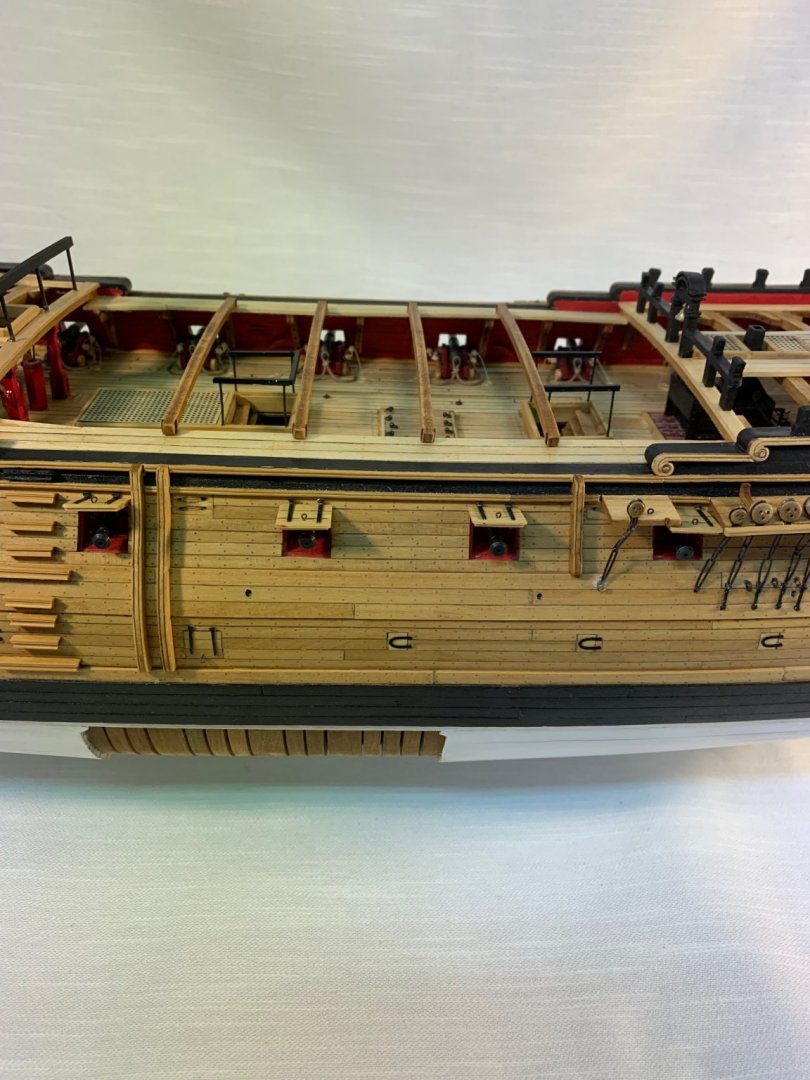
Thanks to all who have liked my work and took the time to look in! I’m finished up with the waist except for the skid beams and stairs. They are in the process of being finished. I did not use wire for the companion way stairs. I could not make it look right and rope would not either. I used sanded down pieces of boxwood. I have seen wood railings and if They were not used on the Confederacy, someone can prove me wrong. Personally, I like the look. So, the mentioned items in the waist, a few more gunports and chain plates and I’ll call this puppy finished! At the present time, I do not know if I will install the ships boats or not. I may put them on small stands next to the ship. Suggestion are welcome.
- 127 replies
-
- 11
-
-
- confederacy
- model shipways
- (and 1 more)
-
Lots of different ways to skin a cat. For myself, I paint the hull before adding small details. Using a piece of wire or appropriate treenails to attach the detail, like steps, with CA. There is no pressure or strain on them and this method works for me. Looking at a picture of the model, the steps are the same color as the hull where they attach. You may be able attach, mask and paint each color section as you go. Just a thought. Hope this helps
-
Thank you ringleheim. She makes into a nice model.
-
Thank you for the likes gents! Moving right along with this puppy. I finished rigging the last cannon in the waist and have installed the gangway on the port side. Sanding and nailing still to do. Also stepped the mizzenmast and main mast. Nothing to tricky here. Now it’s back to making chain assemblies. I can see the end of the road on this ship. It’s been a trip!

- 127 replies
-
- 11
-
-
- confederacy
- model shipways
- (and 1 more)
-
Dave, I don’t know how I missed this one but I’m pulling up my hay bale to sit on! Beautiful work.
-
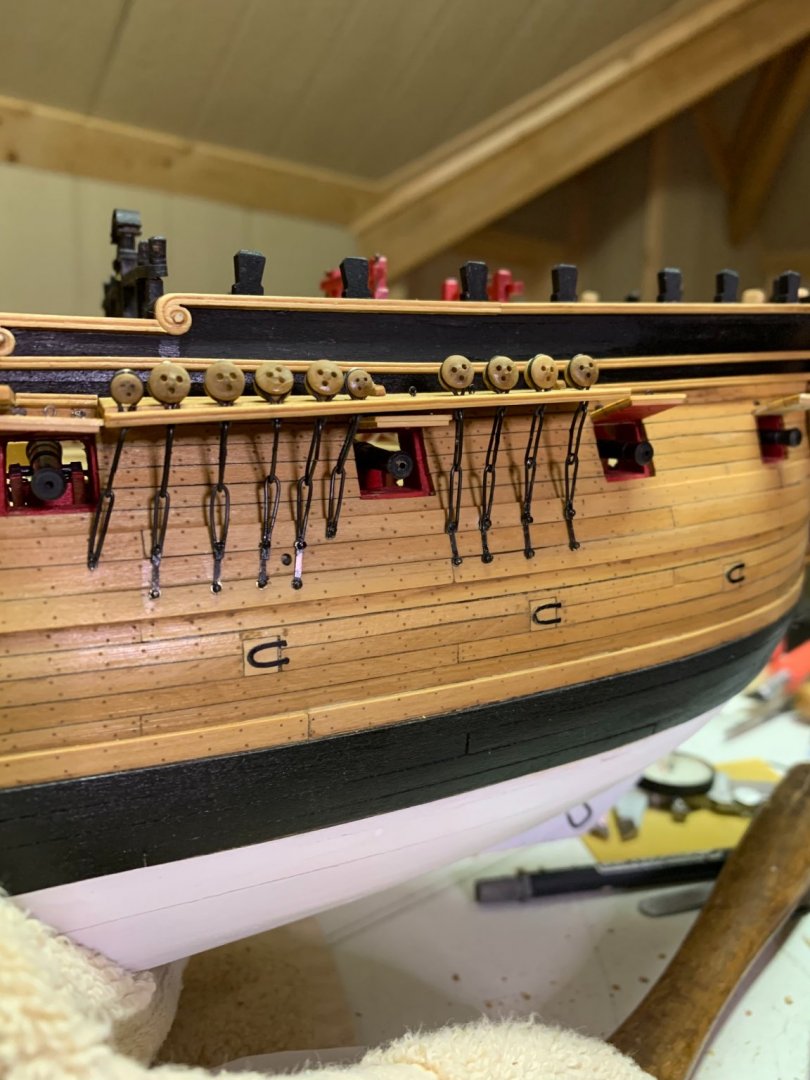
I’ve almost finished the chains for the starboard bow. A note for Confederacy builders! Make sure to check that the deadeye strops fit into the cuts before installing the channels. You will have a more melodious outcome. I’m happy with the outcome but have a bit more to learn about making chain plate assemblies. thanks again for likes and comments. Criticism is welcome as that is how I learn.
- 127 replies
-
- 7
-
-
- confederacy
- model shipways
- (and 1 more)
-
Welcome! That is a beautiful model!