


mog
-
Posts
196 -
Joined
-
Last visited
Content Type
Profiles
Forums
Gallery
Events
Posts posted by mog
-
-
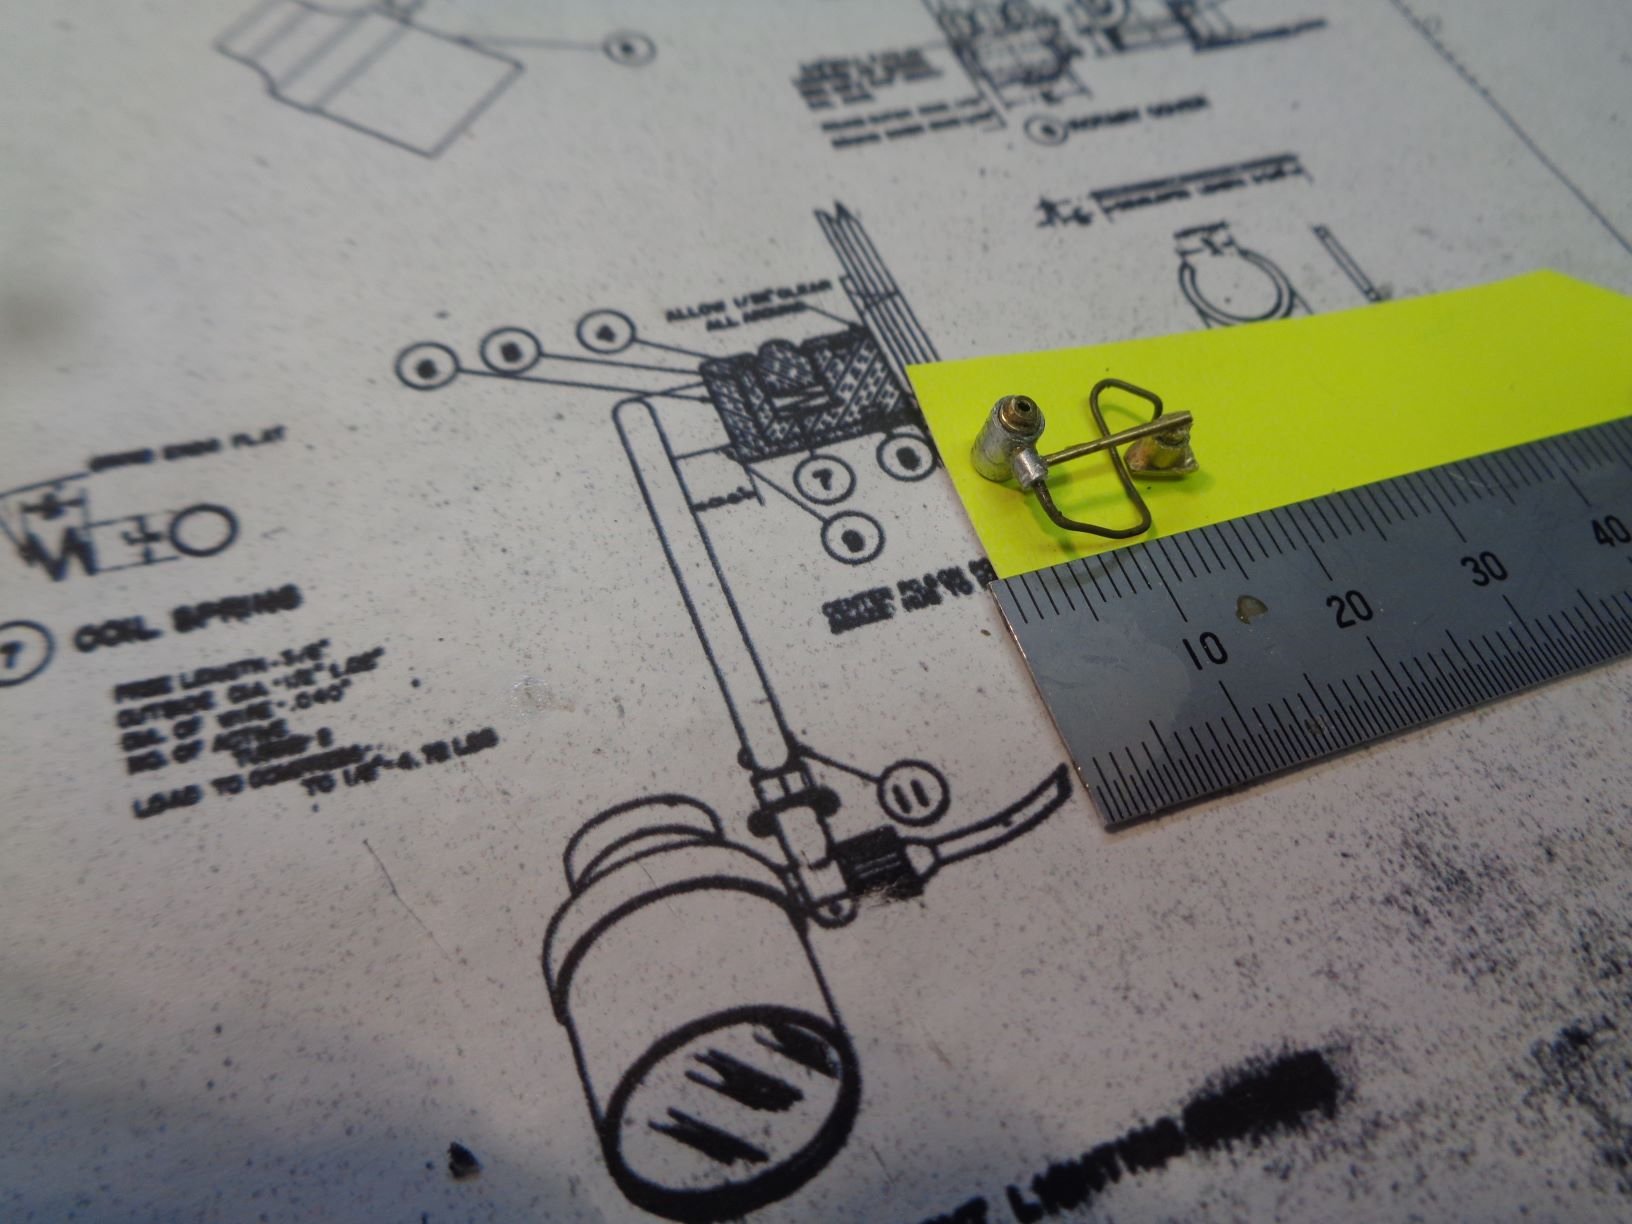
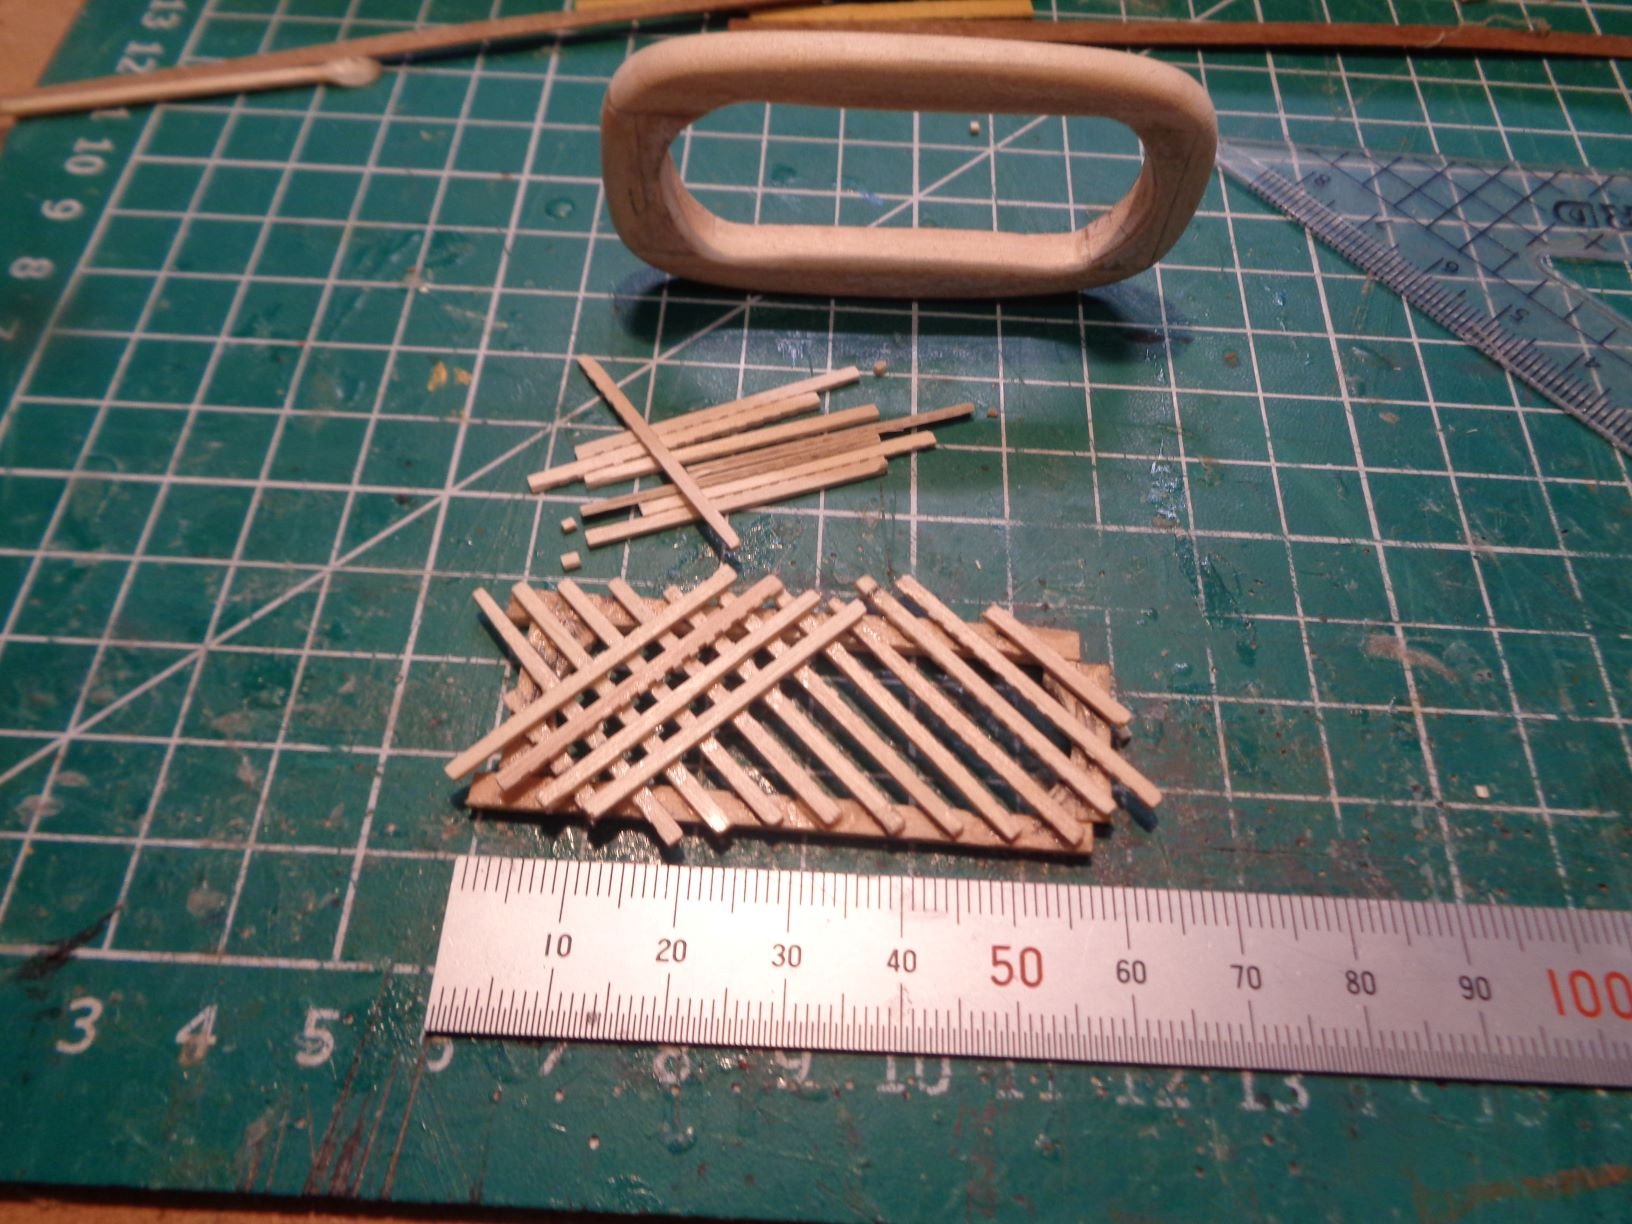
I have been using original ELCO plans, if you go to ptboatforum.com and pt103.com they are the experts on everything PT boat . if roll back on my build log you will find the torpedo tube build pics
Mike
-
Thanks guys, its been a big project, I have learned many new skills , but I think its going to be smaller scales down the road, cost, space, availability are the big drivers. I have the props and rudders , the boat will not be attached to the base, so she can be displayed on a static stand if an occasion would ever call for it
- popeye the sailor, mtaylor, Egilman and 3 others
-
 6
6
-
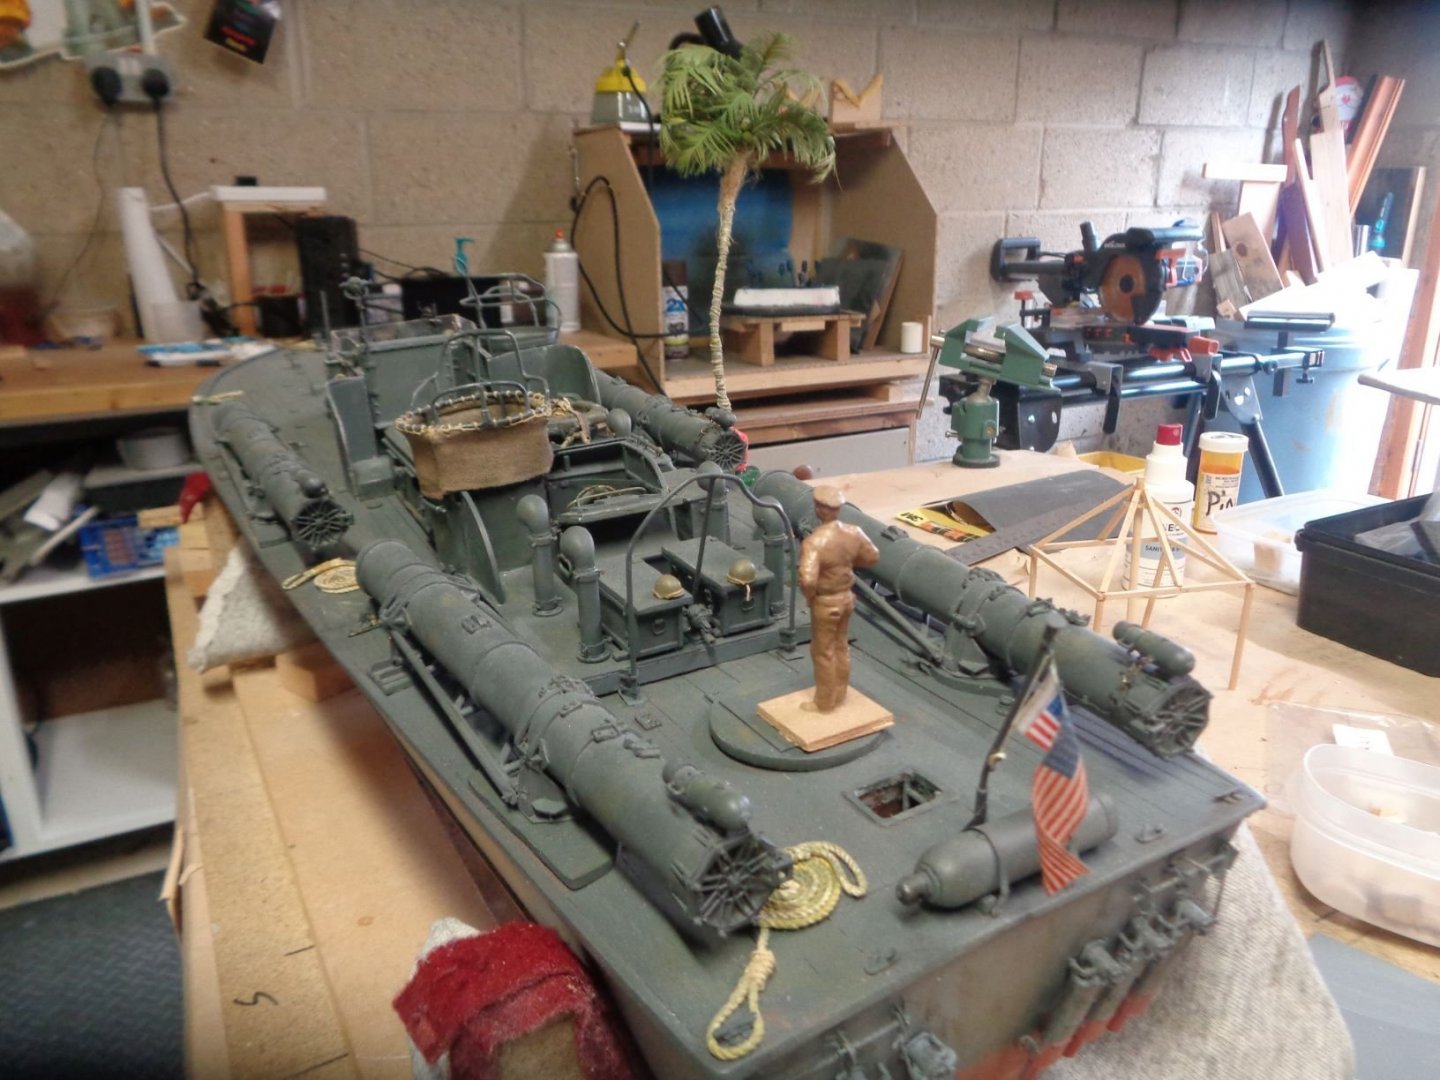
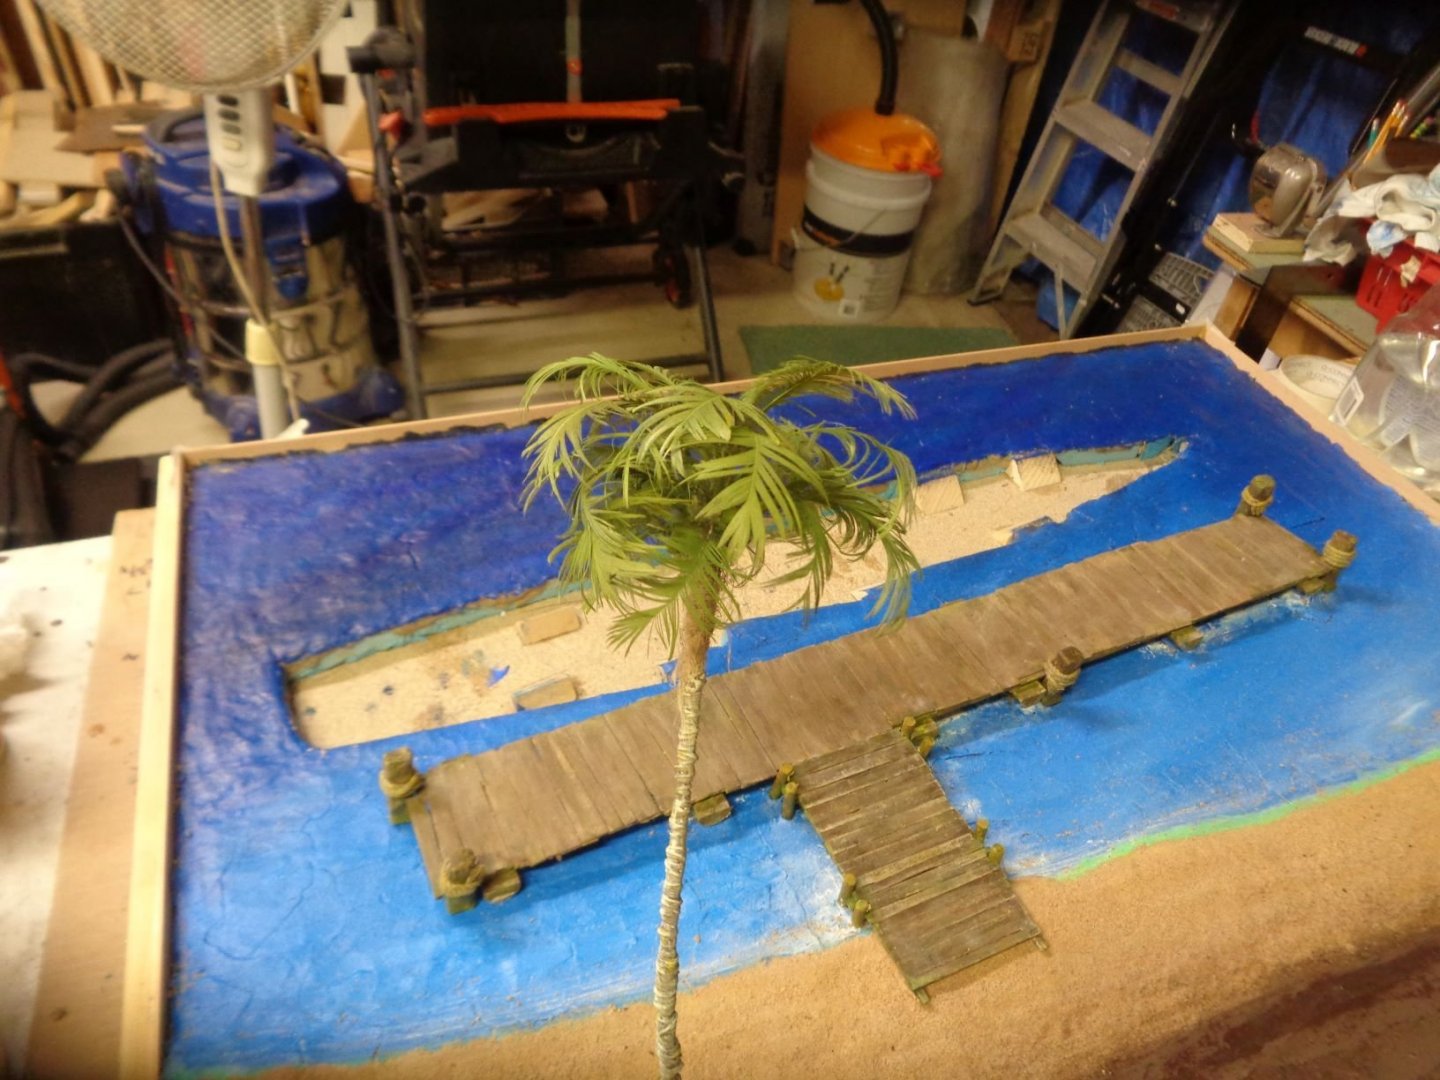
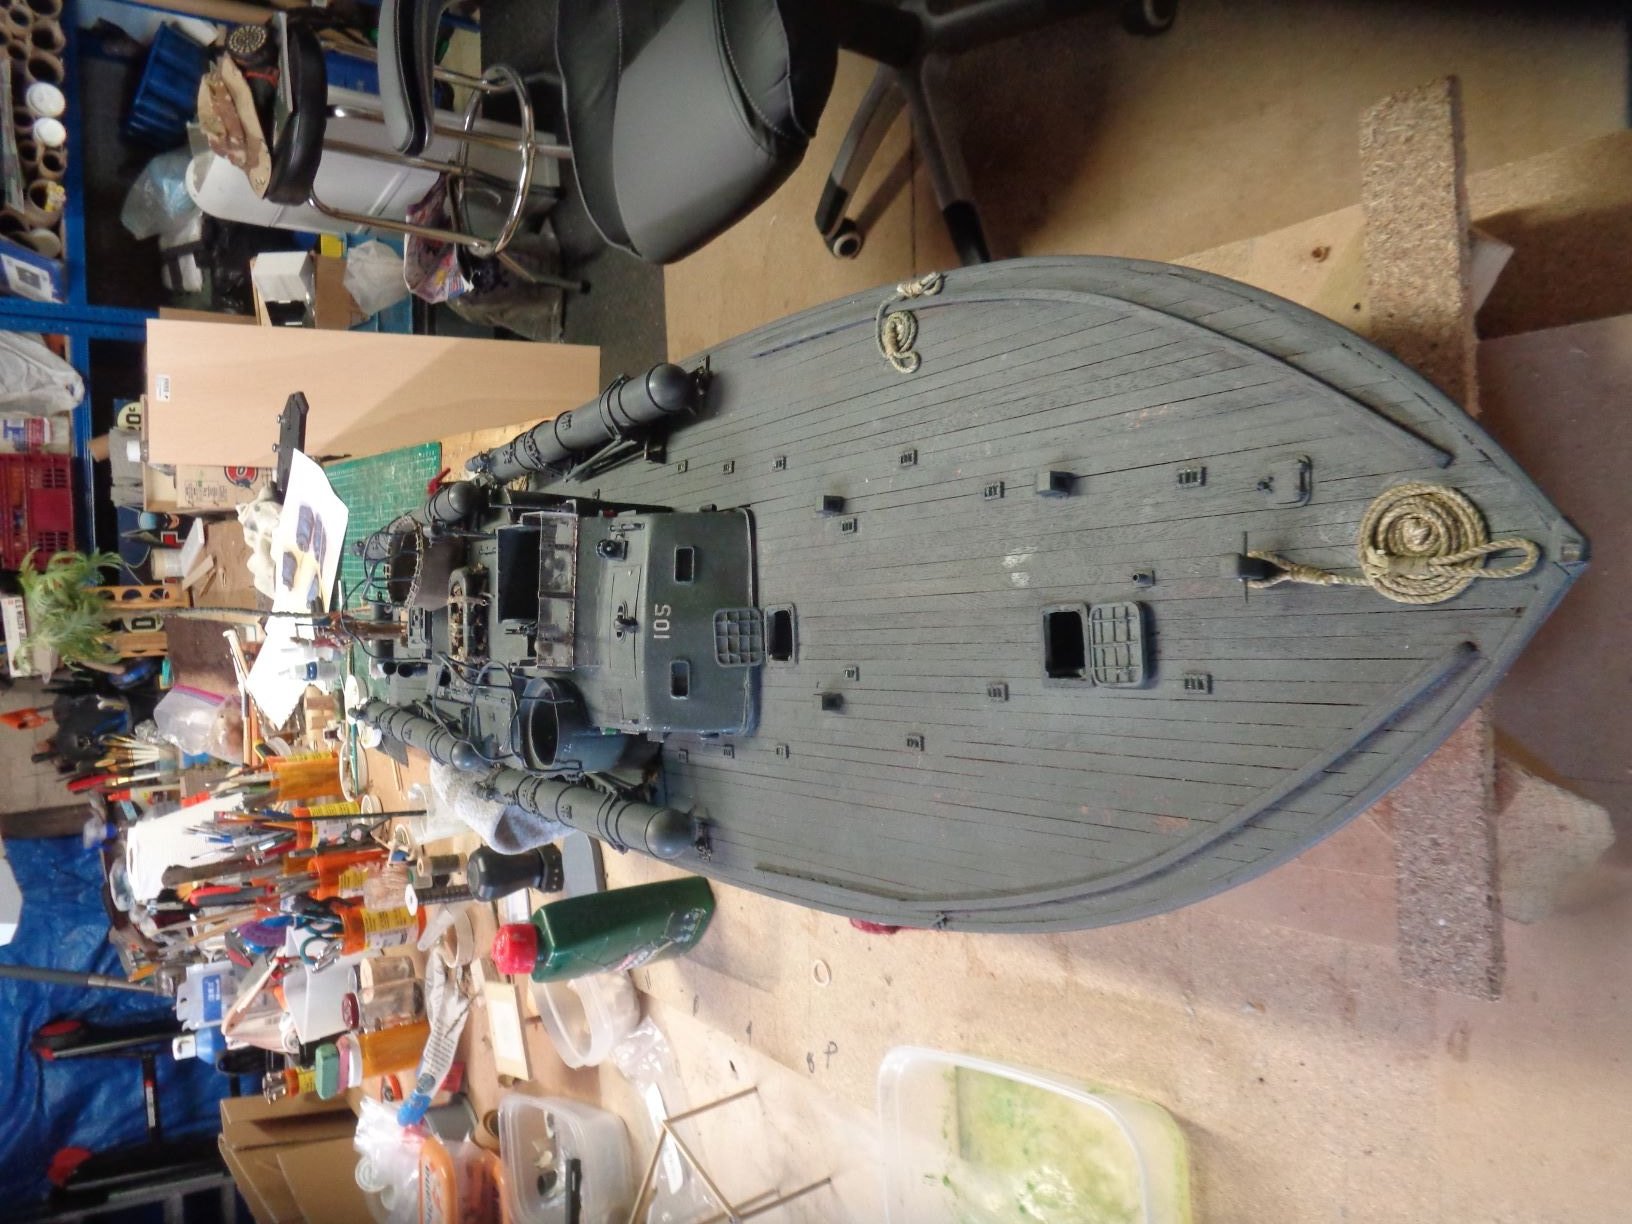
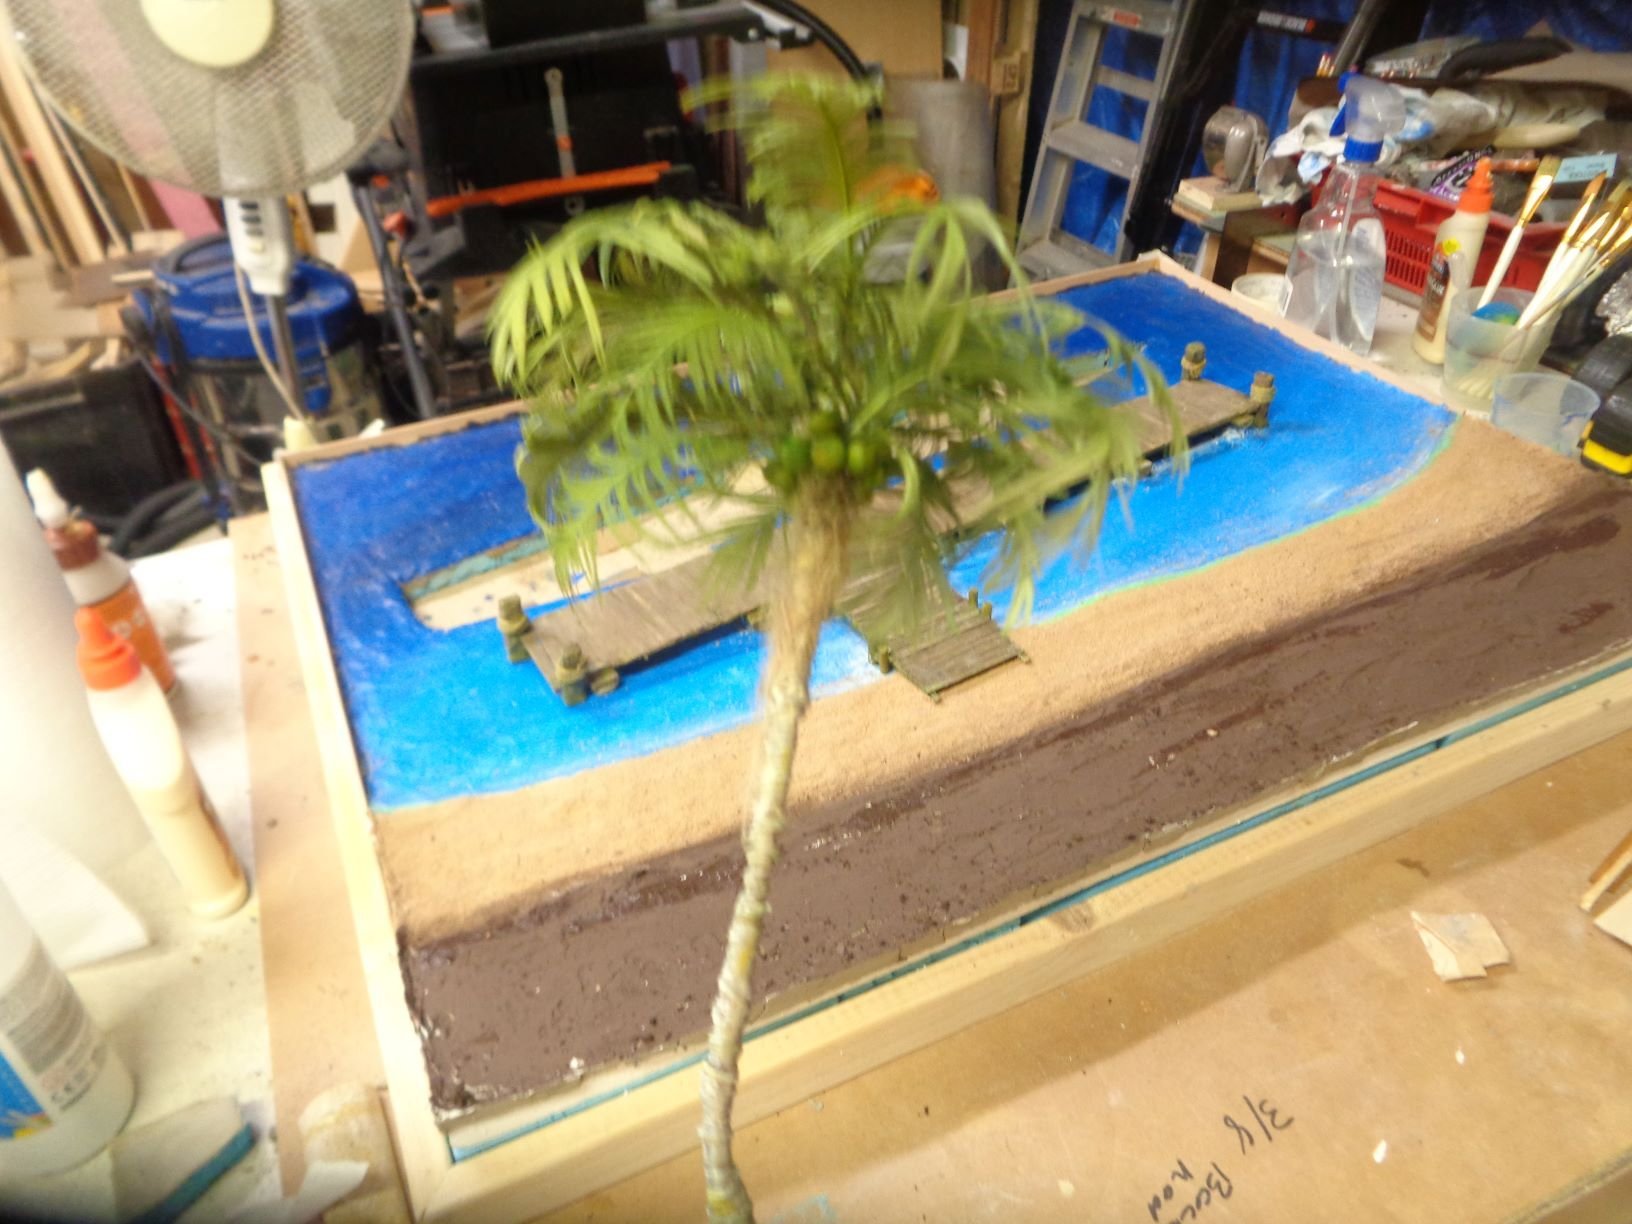
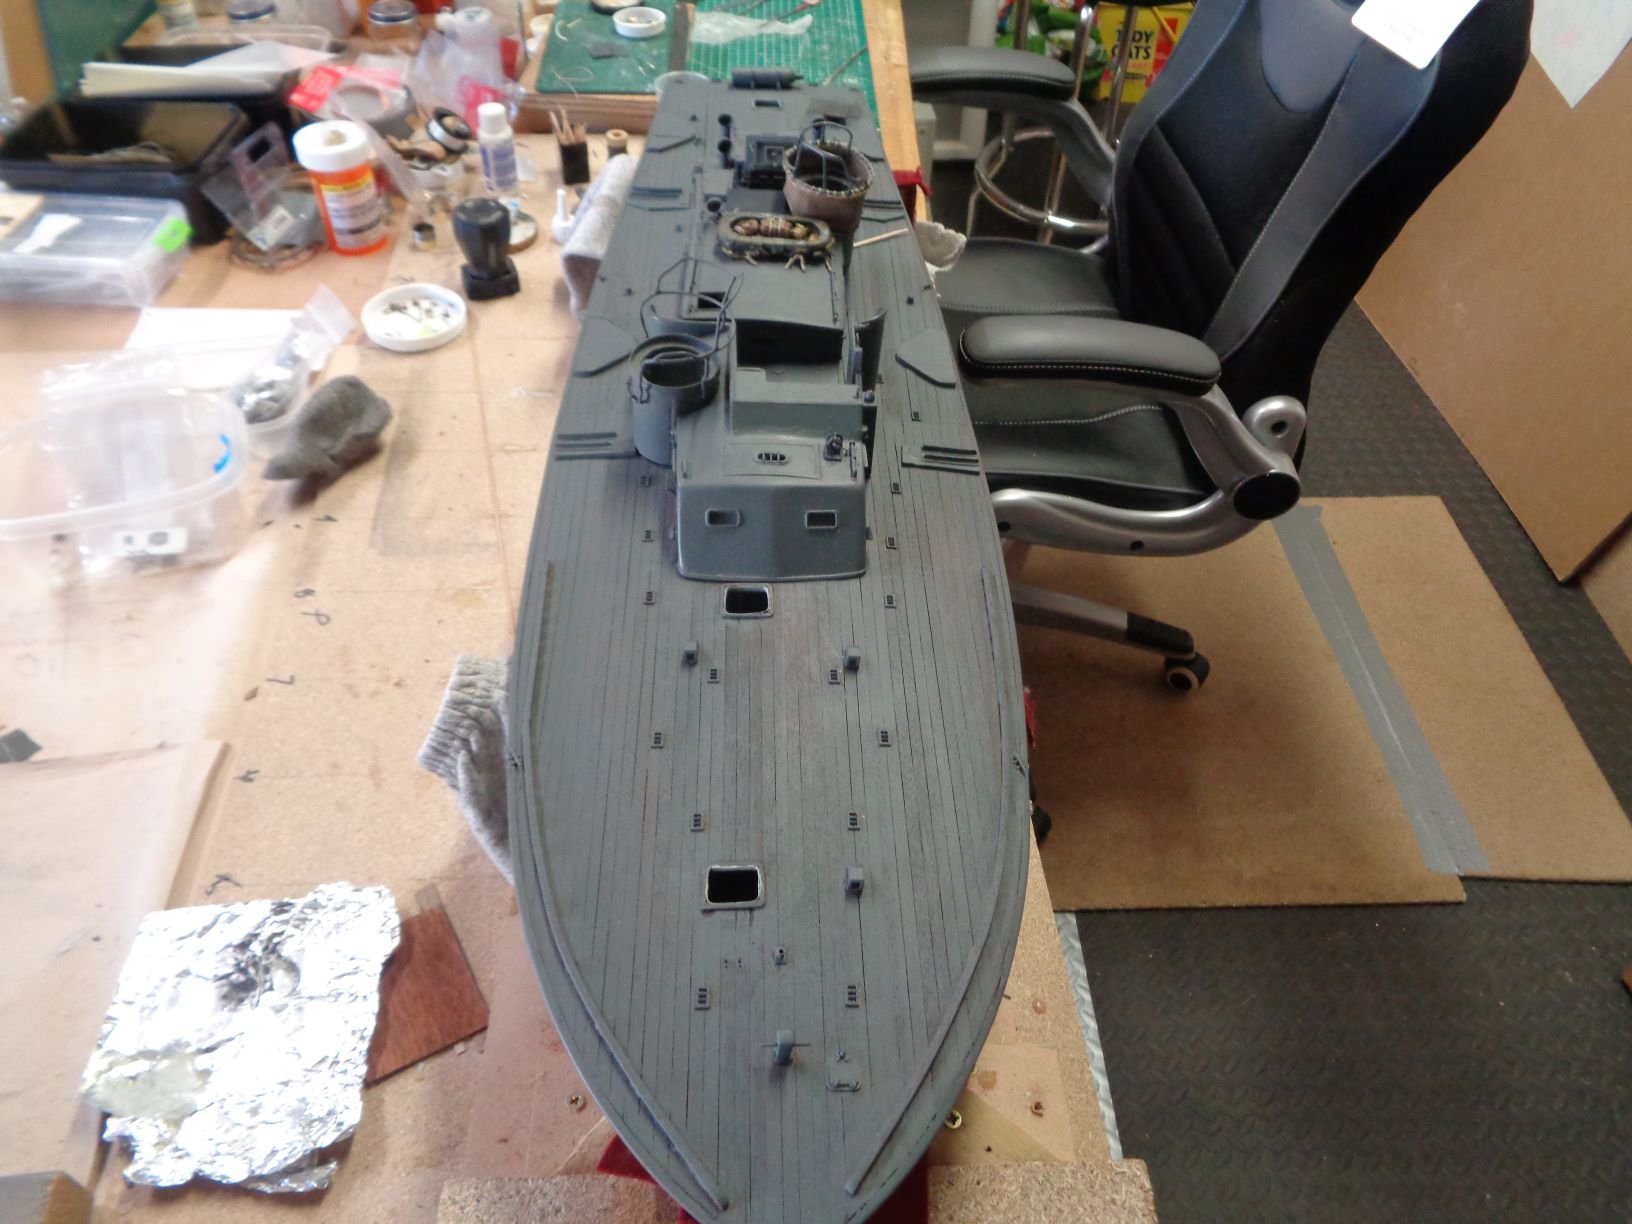
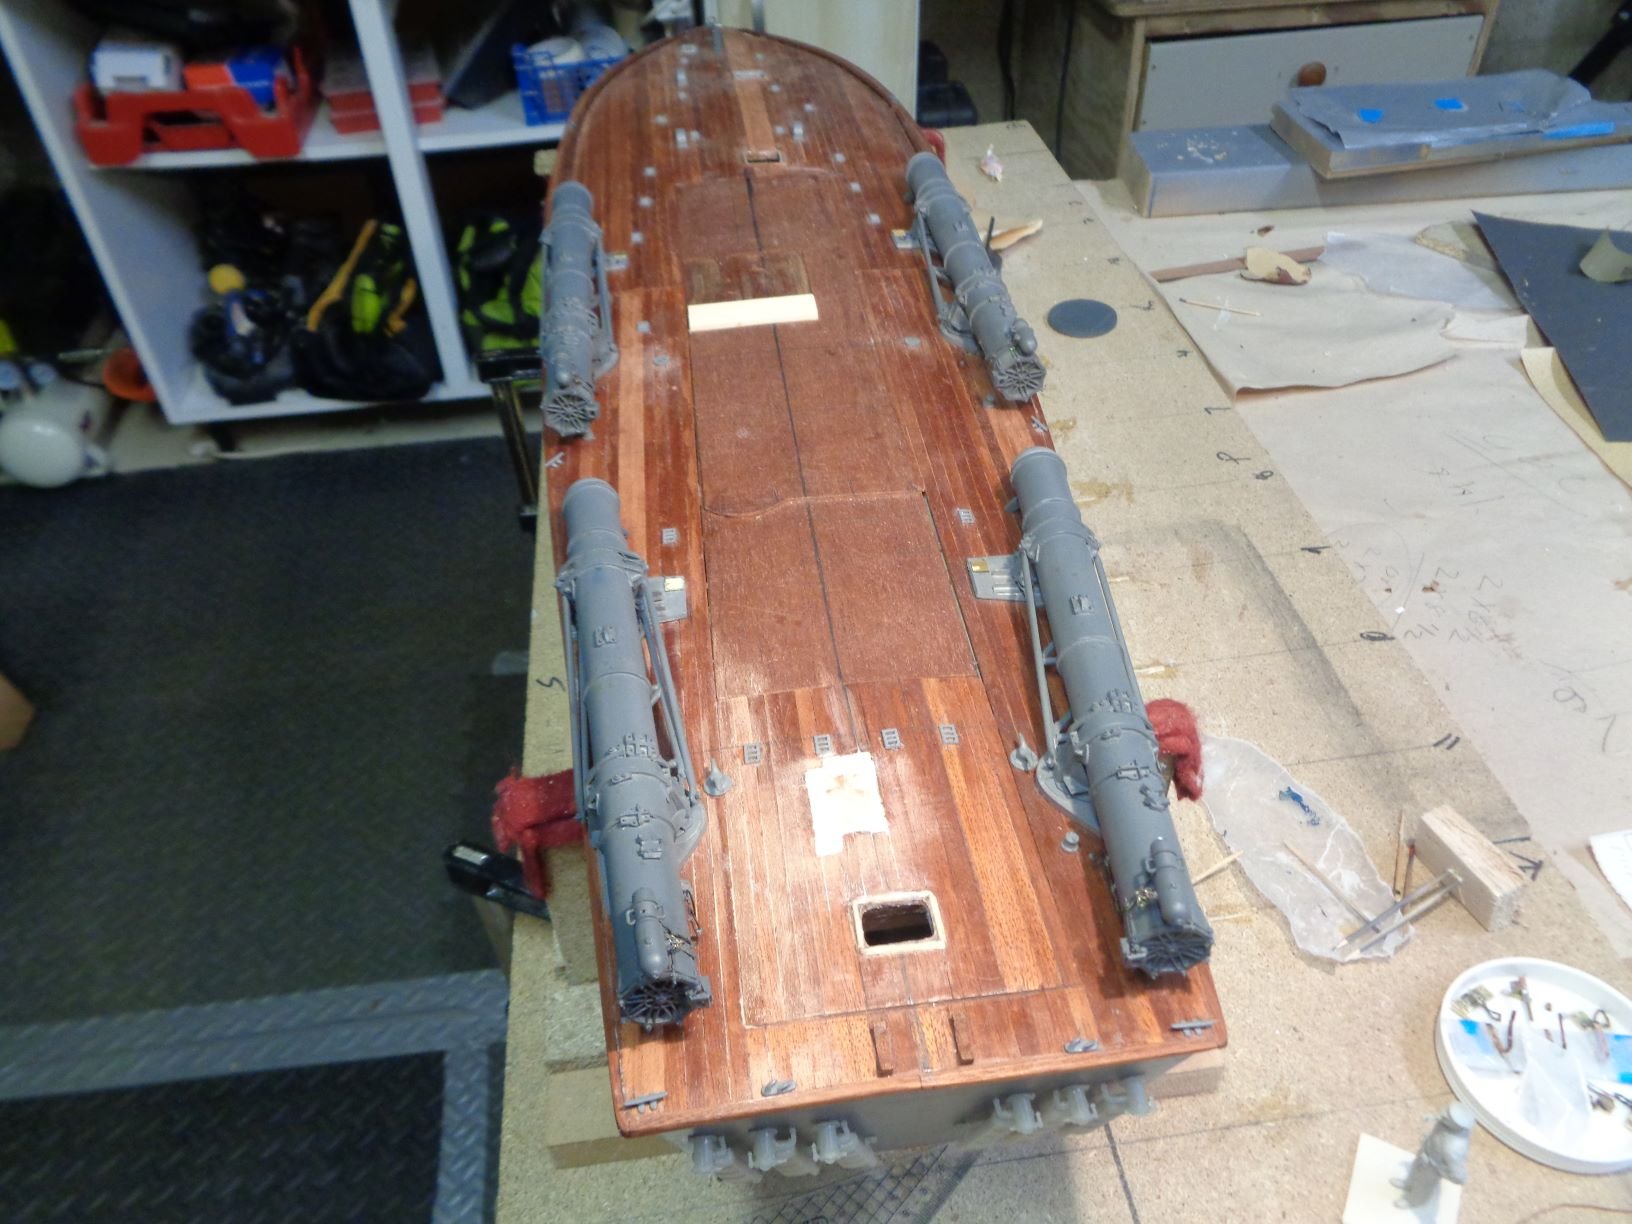
Have not posted for a while as most of the work has been on the repetitive side. Update: the105 boat is 99% complete. All the major work is complete, has been for about a month. the remaining work being added is dependent on the on finishing the water on the base. The base is very much a work in progress, many hours to go. The palm trees, have one fully completed mainly to make sure my technique would yield the look I wanted, if I did them one at a time its 5 days start to finish, building in bulk steps I have completed the trunks for 19 trees, the palm fronds , made from feathers takes the most time. 10 days to finish the water, 1 day drying time between coats, and maybe a month to finish the background. So much work ahead, but it’s getting there


-
coming right along , ya you have to watch the cutting things, they never land where you want them to, besides the old school label the 109 with /1 might indicate age. anyway looking good.
- mtaylor, popeye the sailor, Canute and 1 other
-
4
-
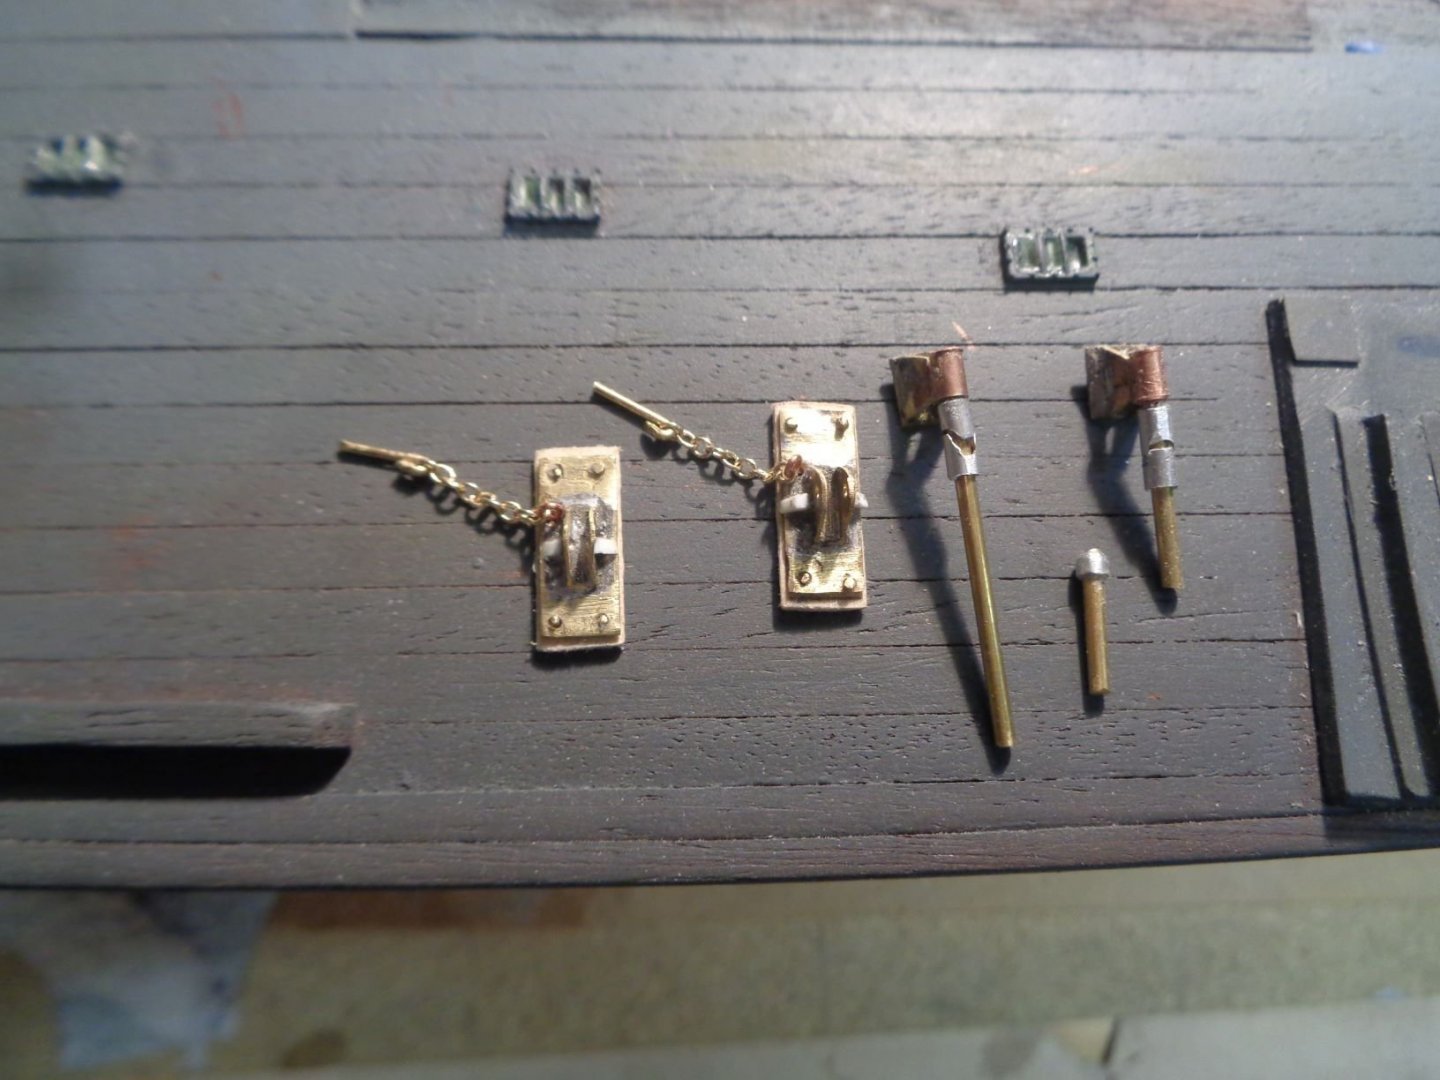
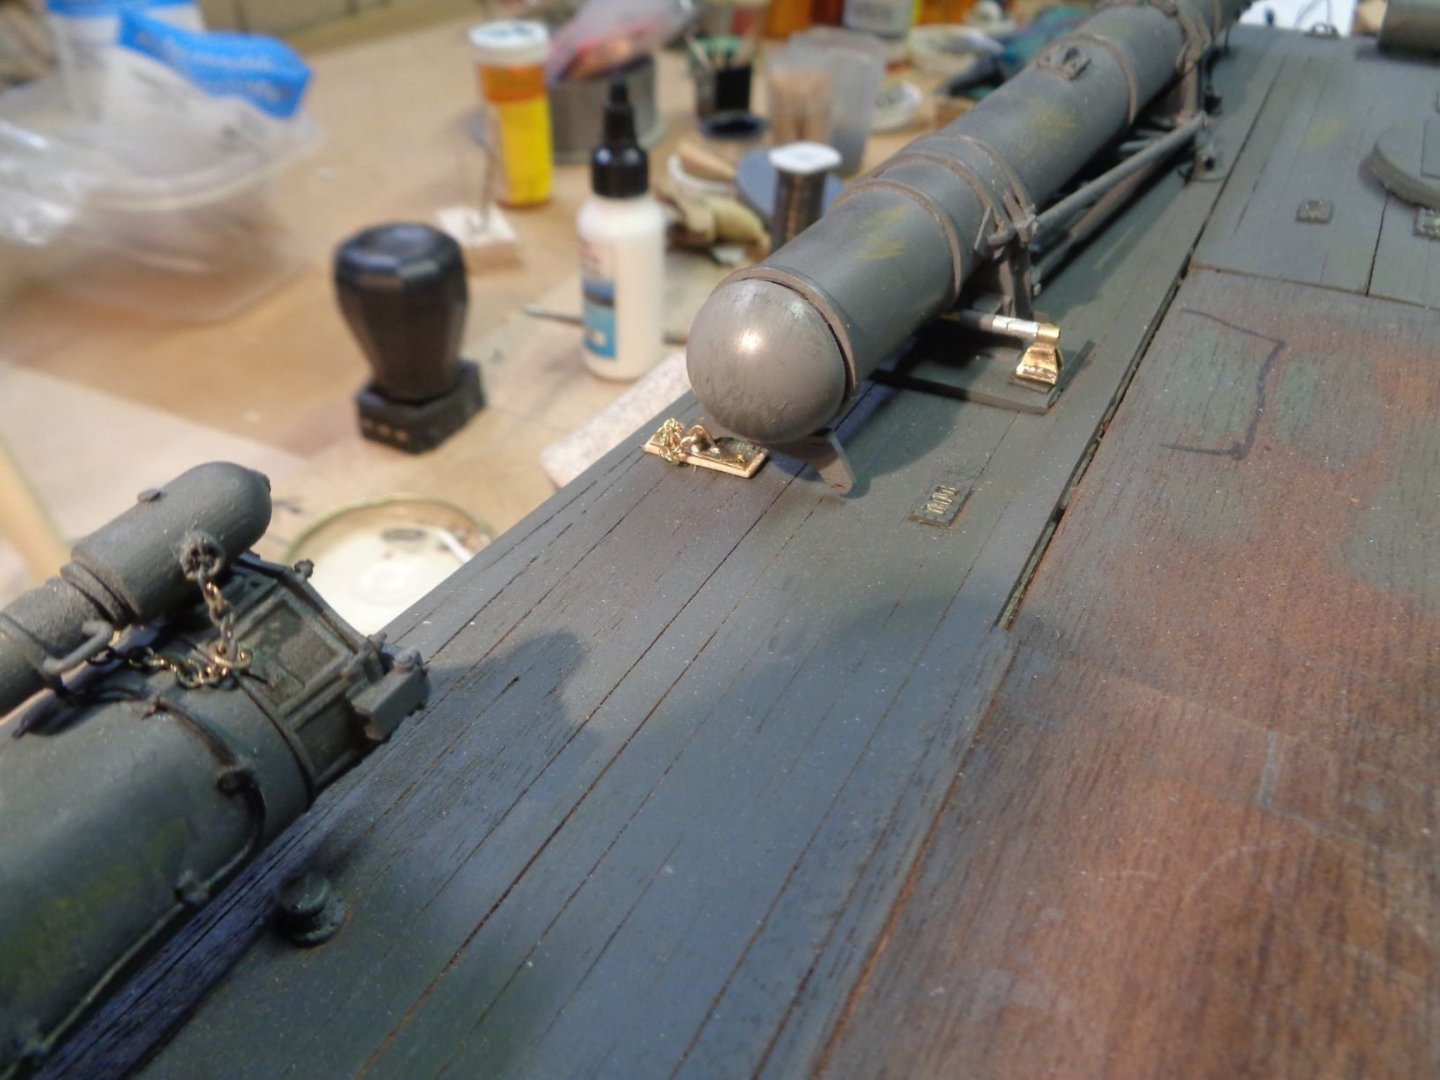
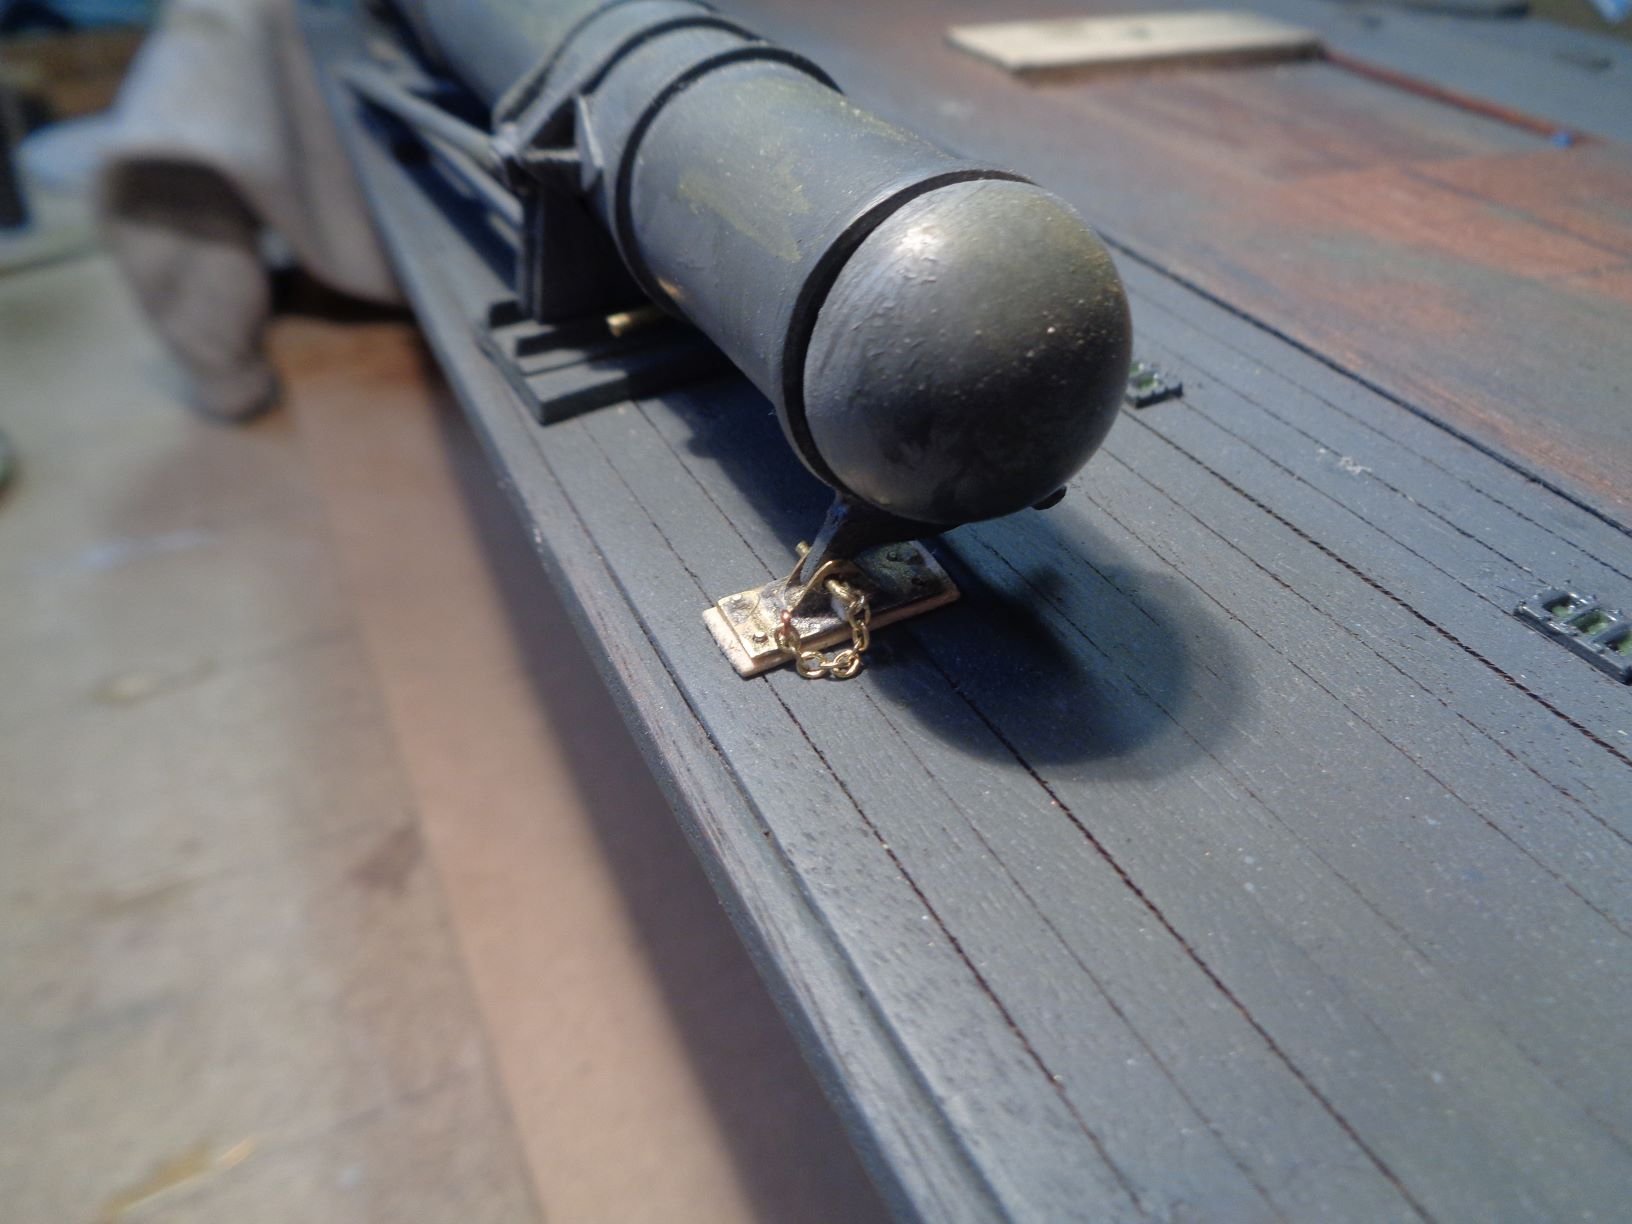
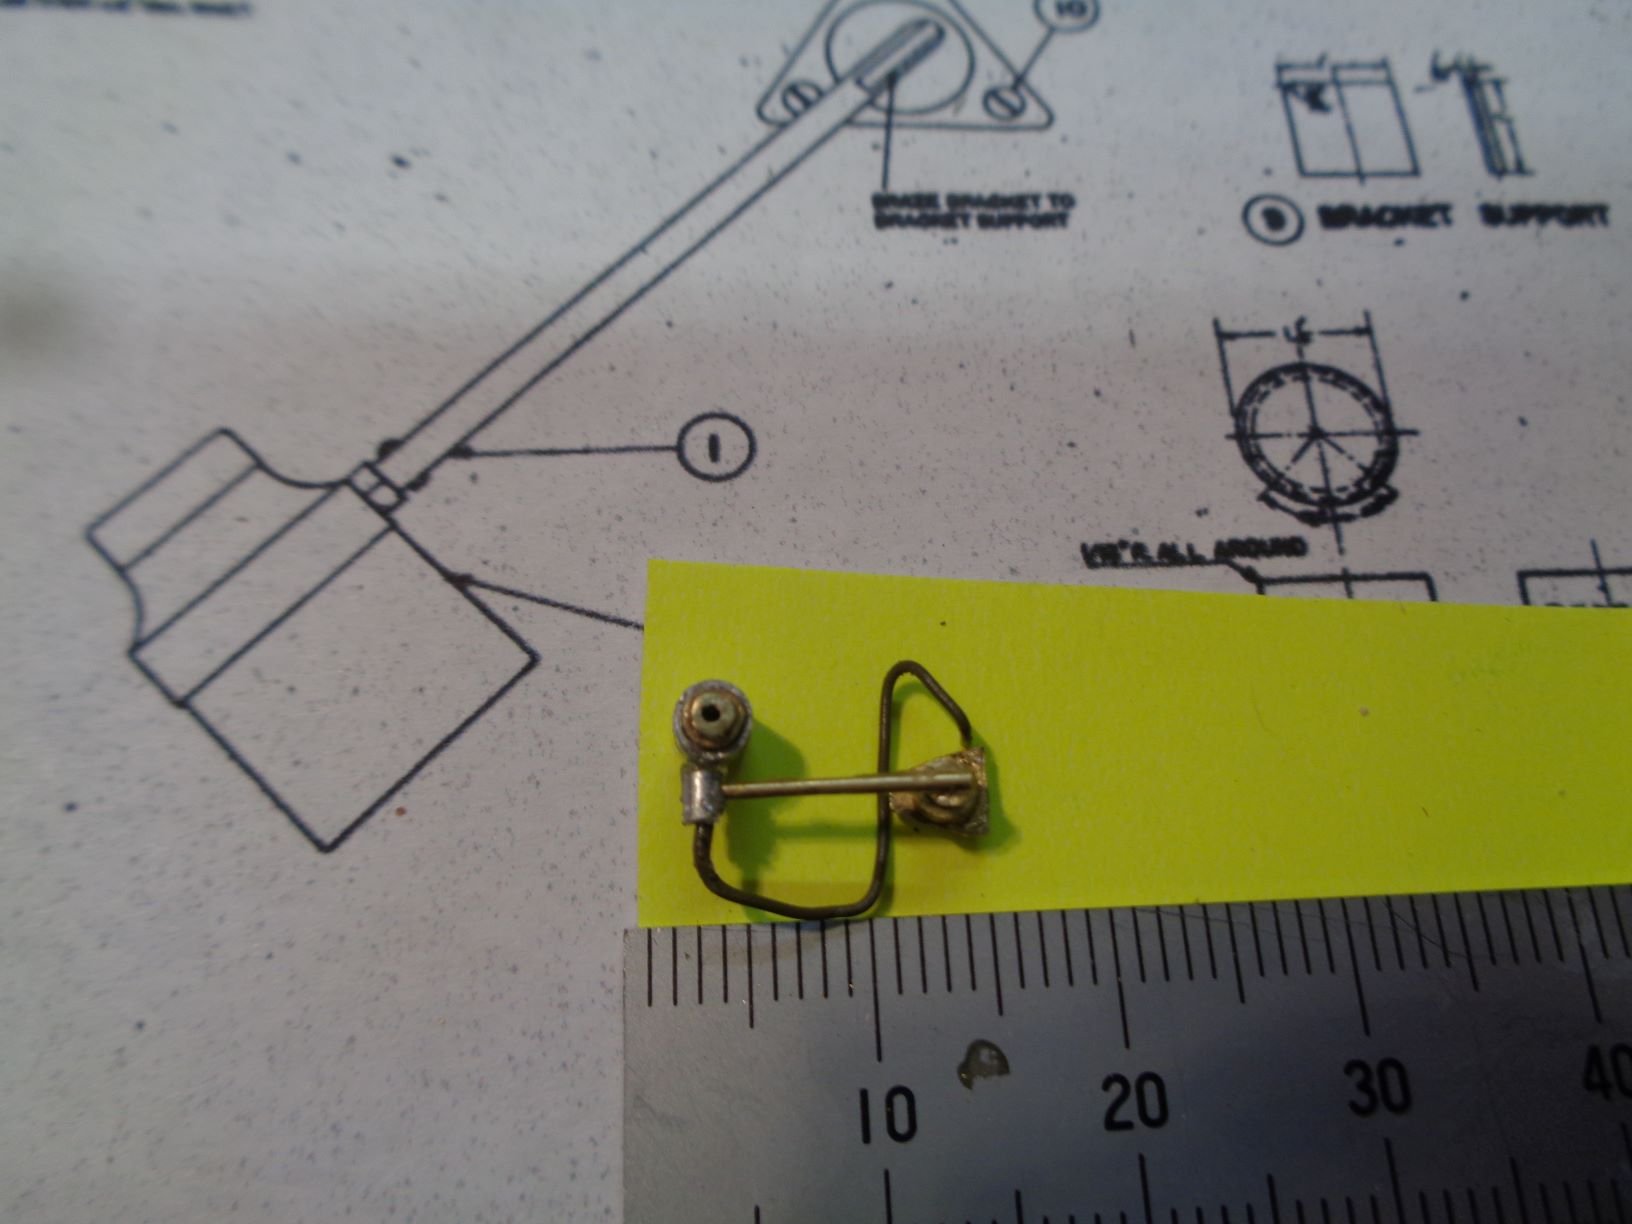
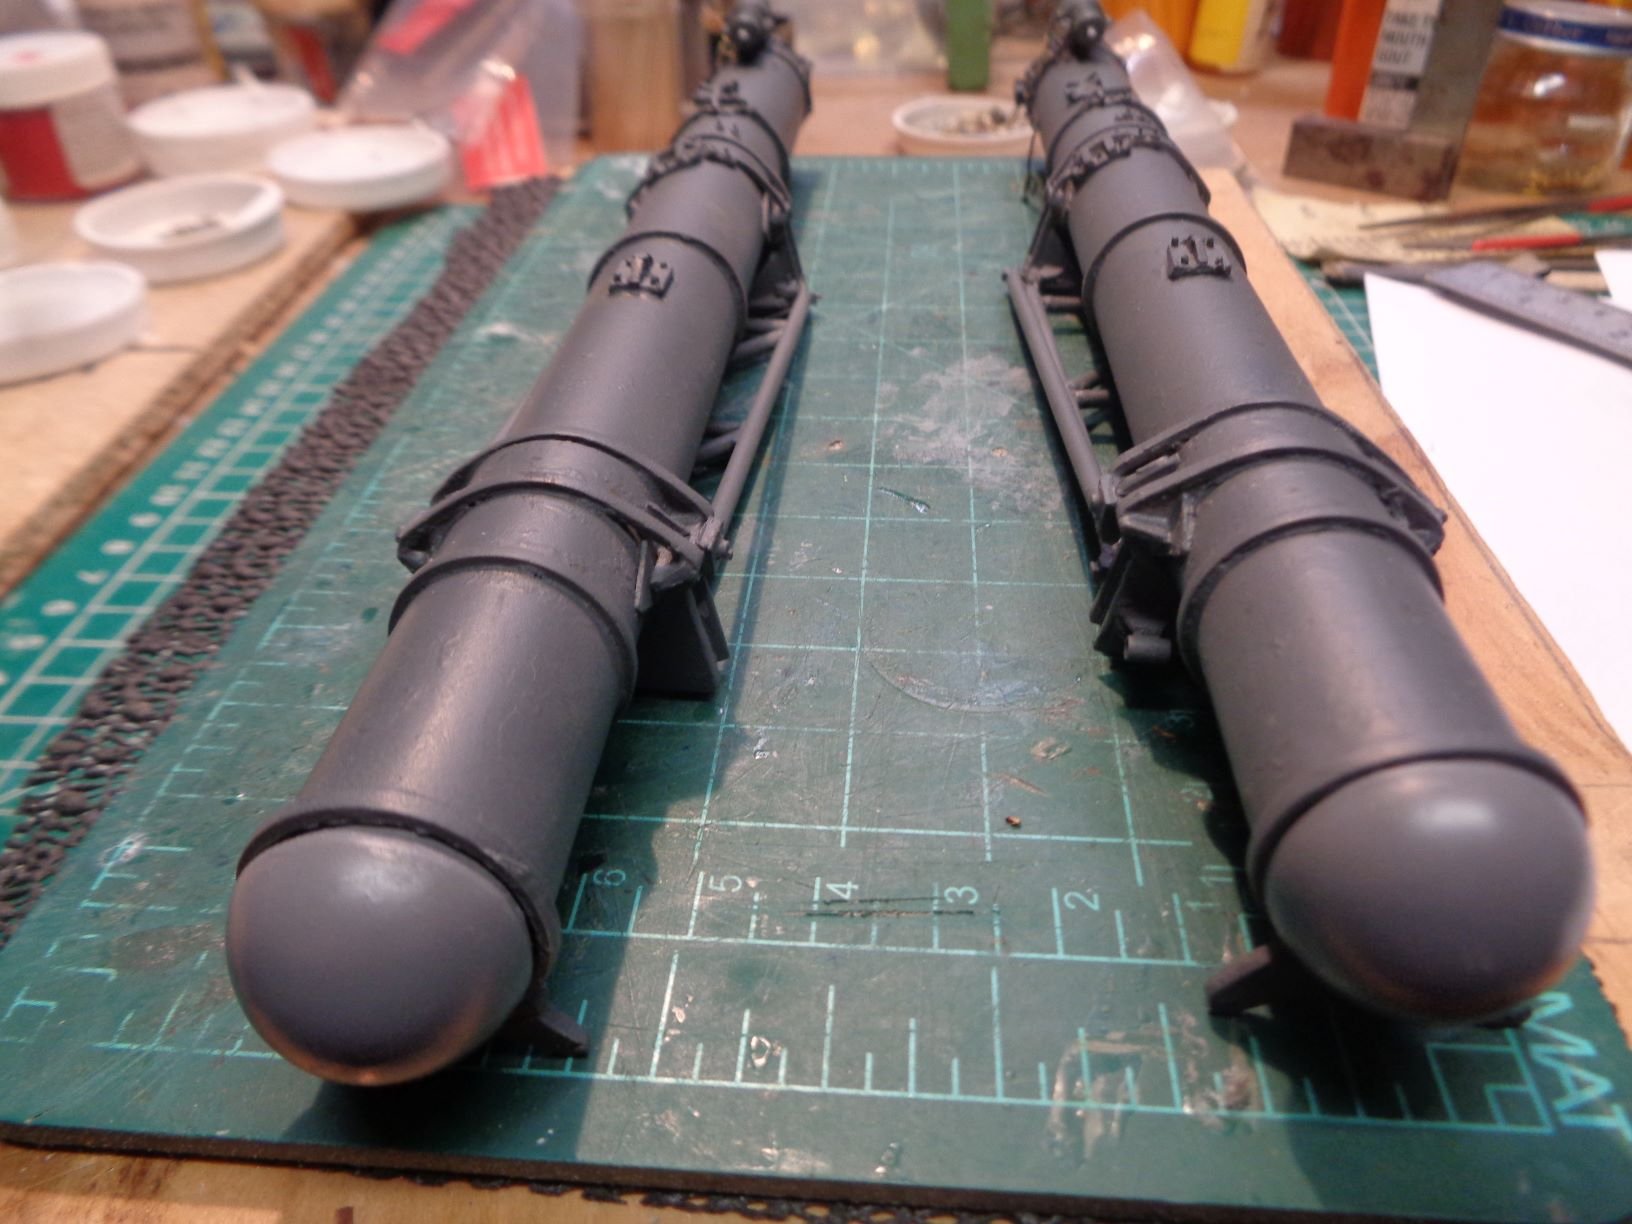
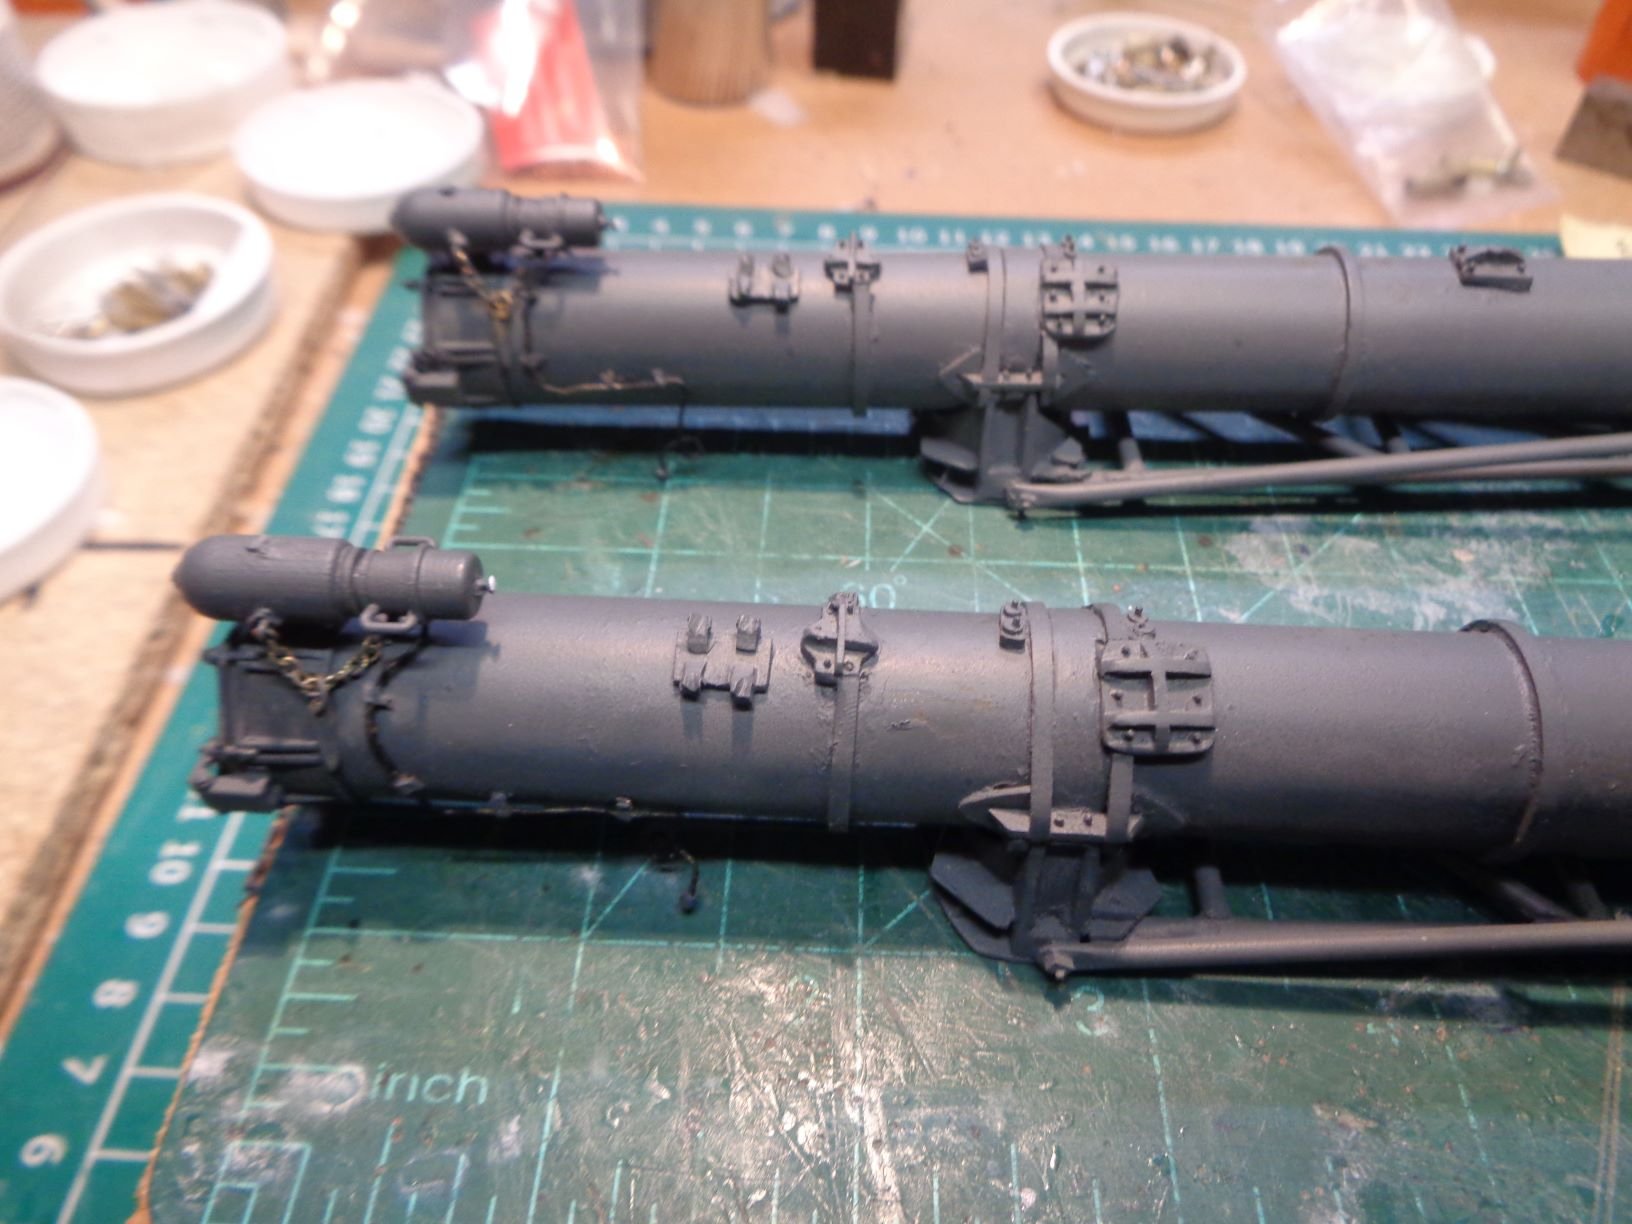
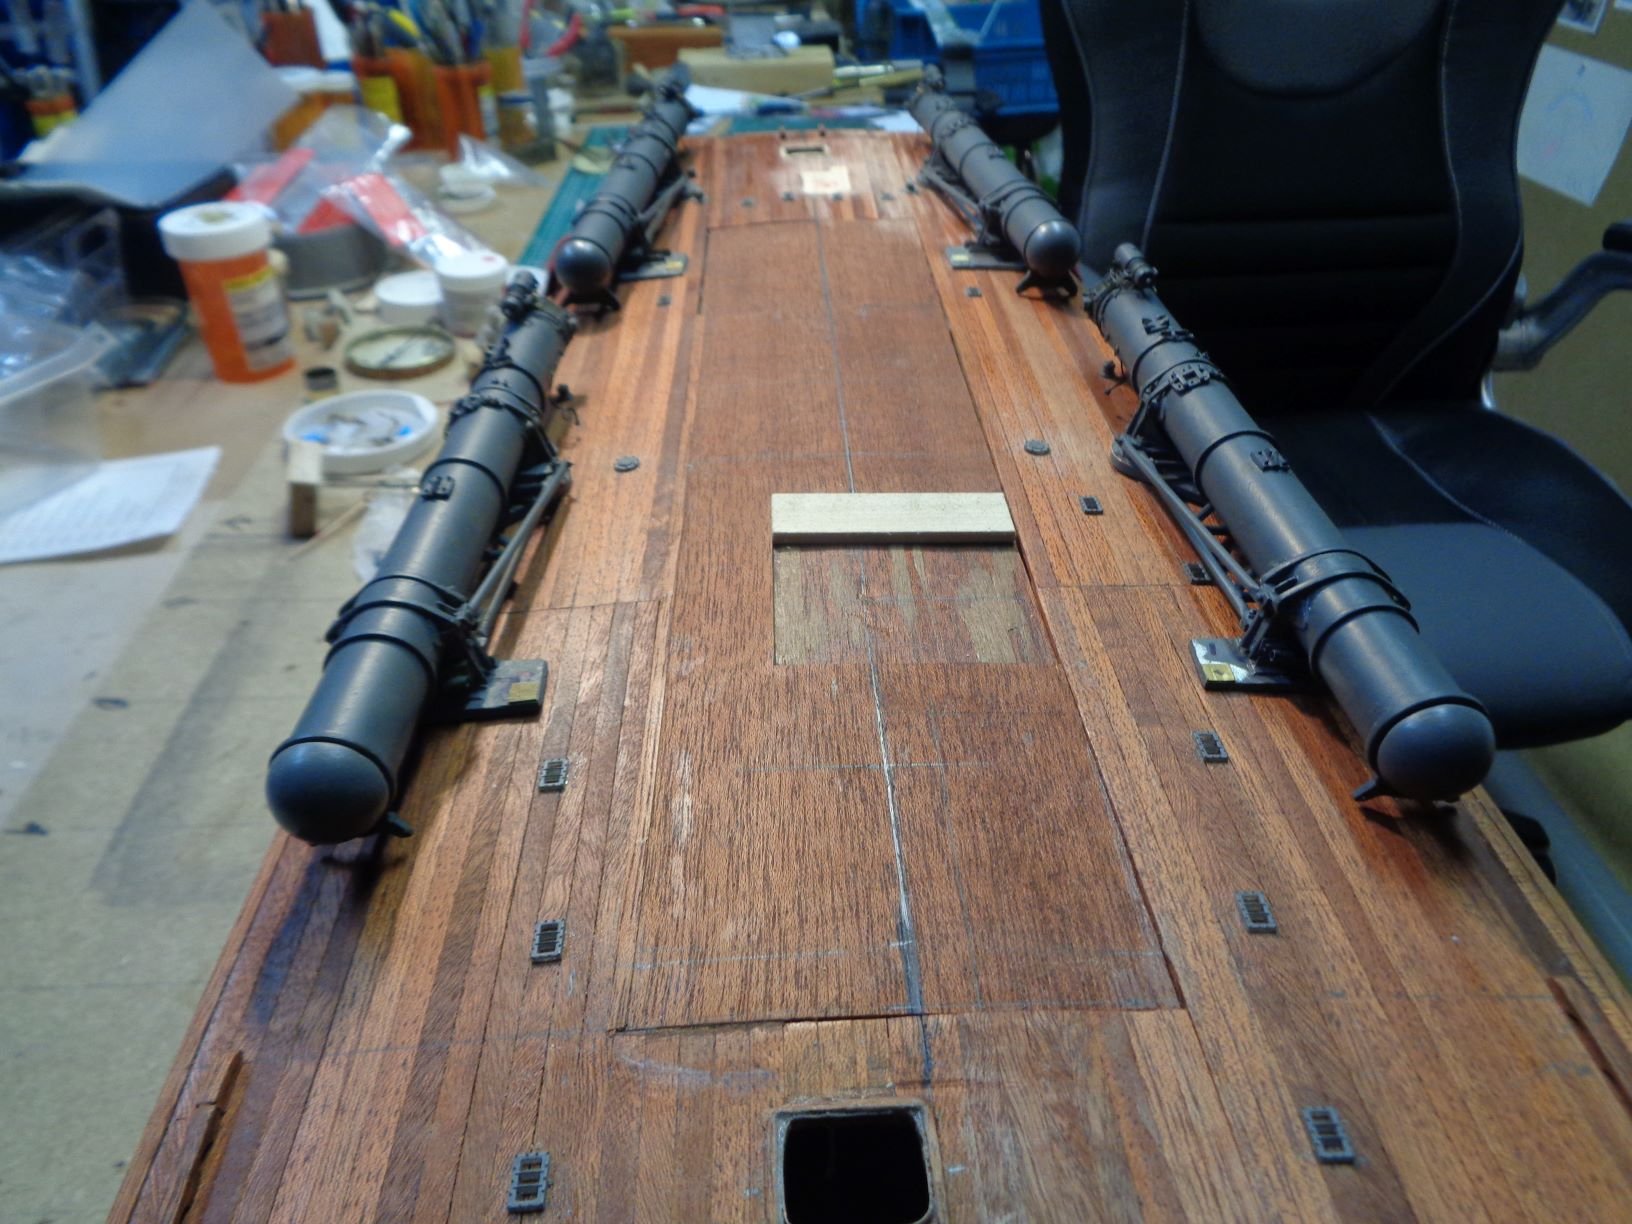
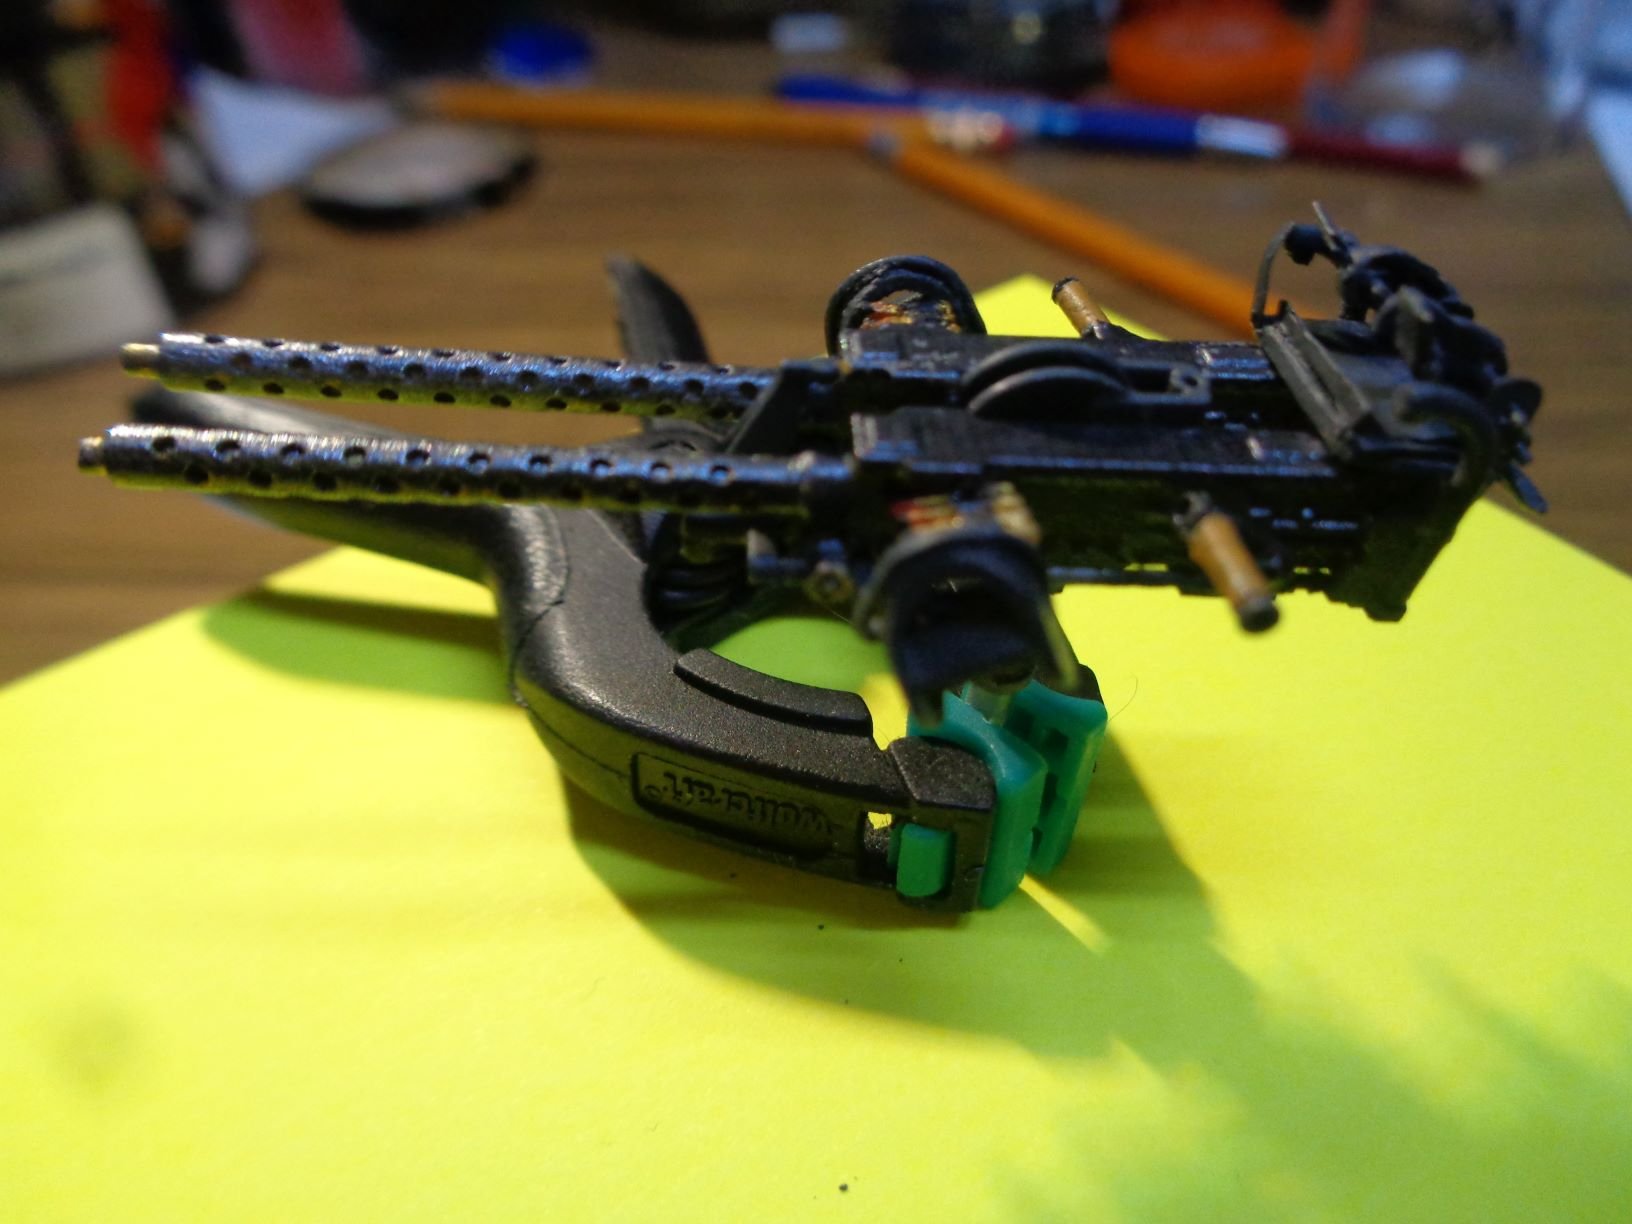
Attached torpedo tubes , training gear, TP Tube locks, and tube wiring plugs

-
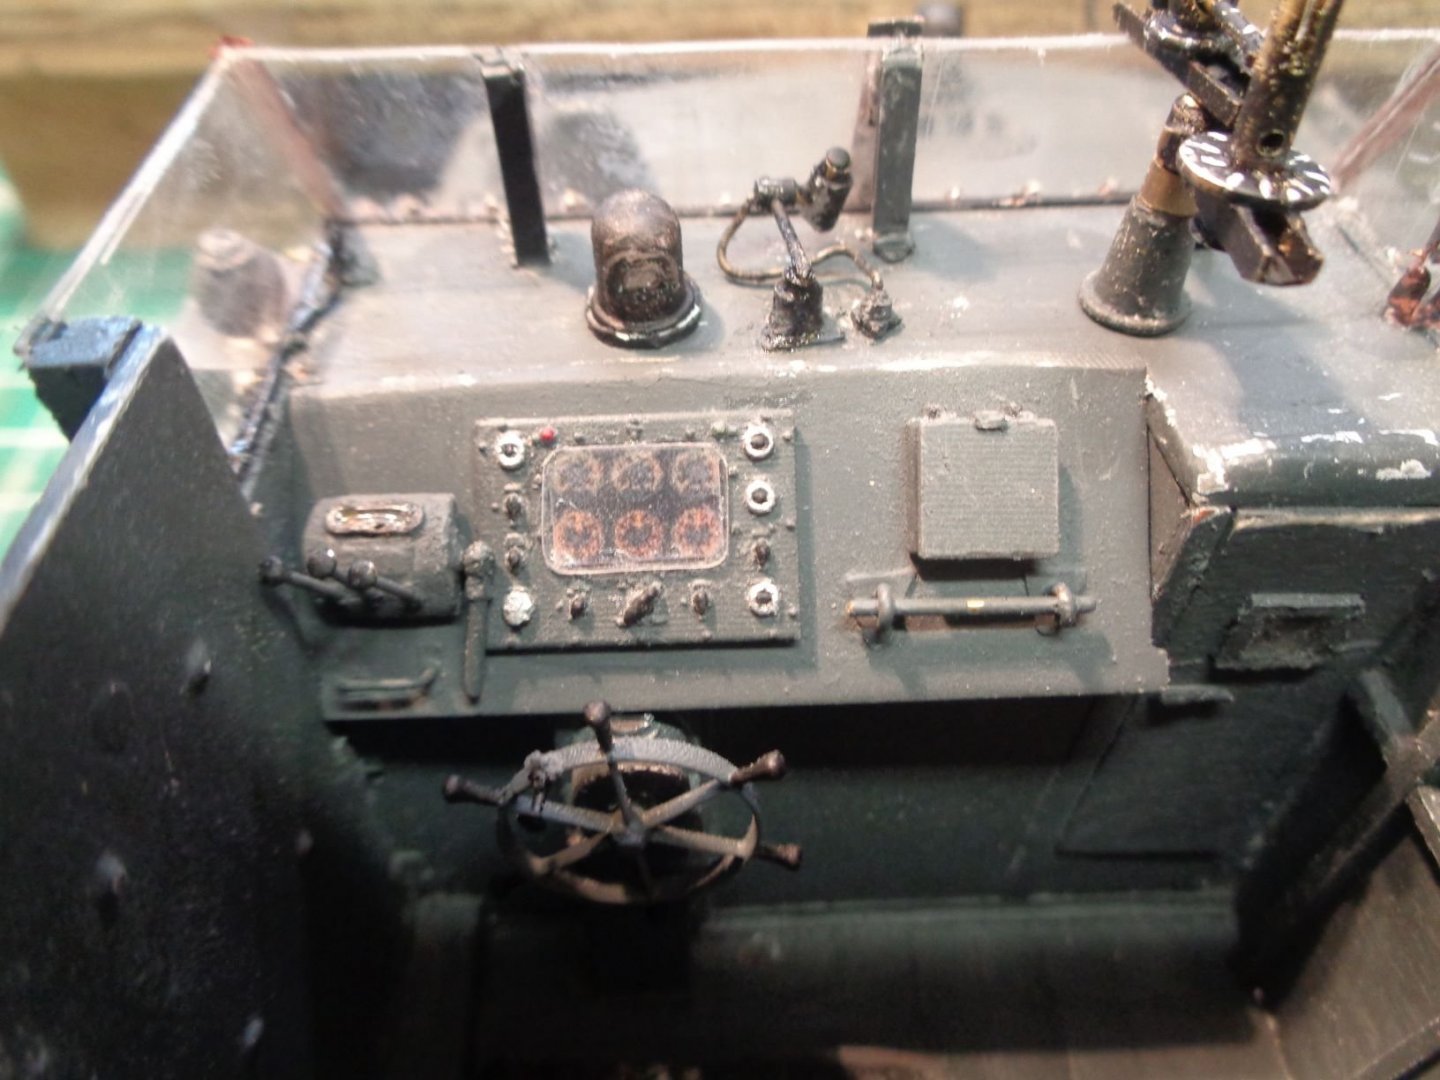
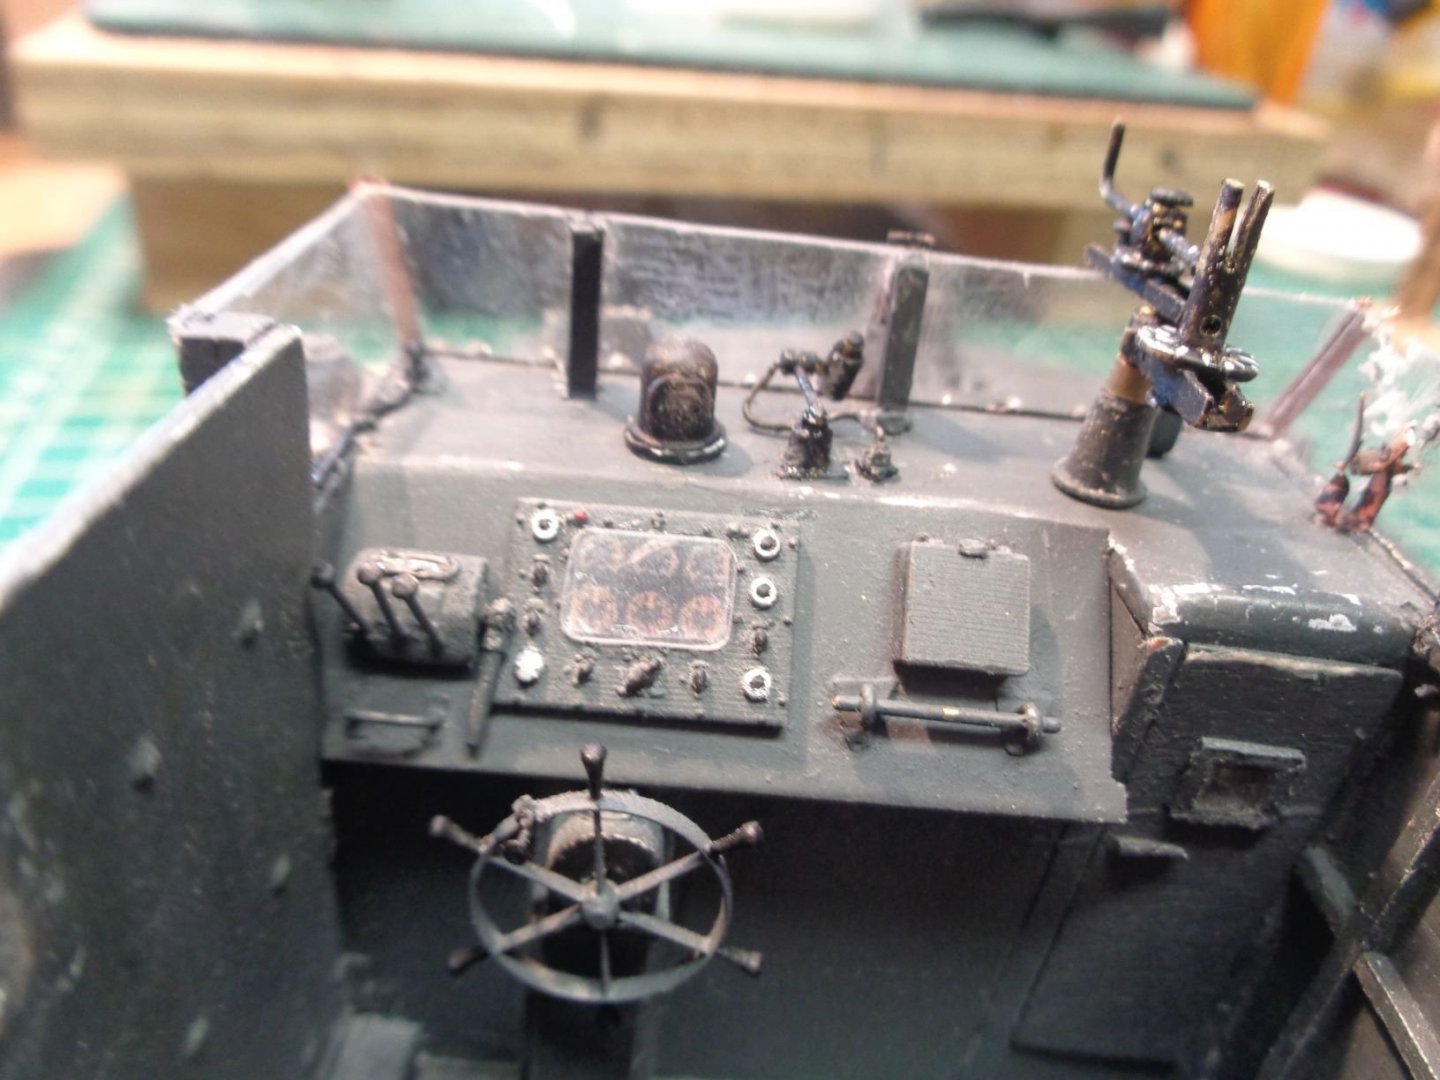
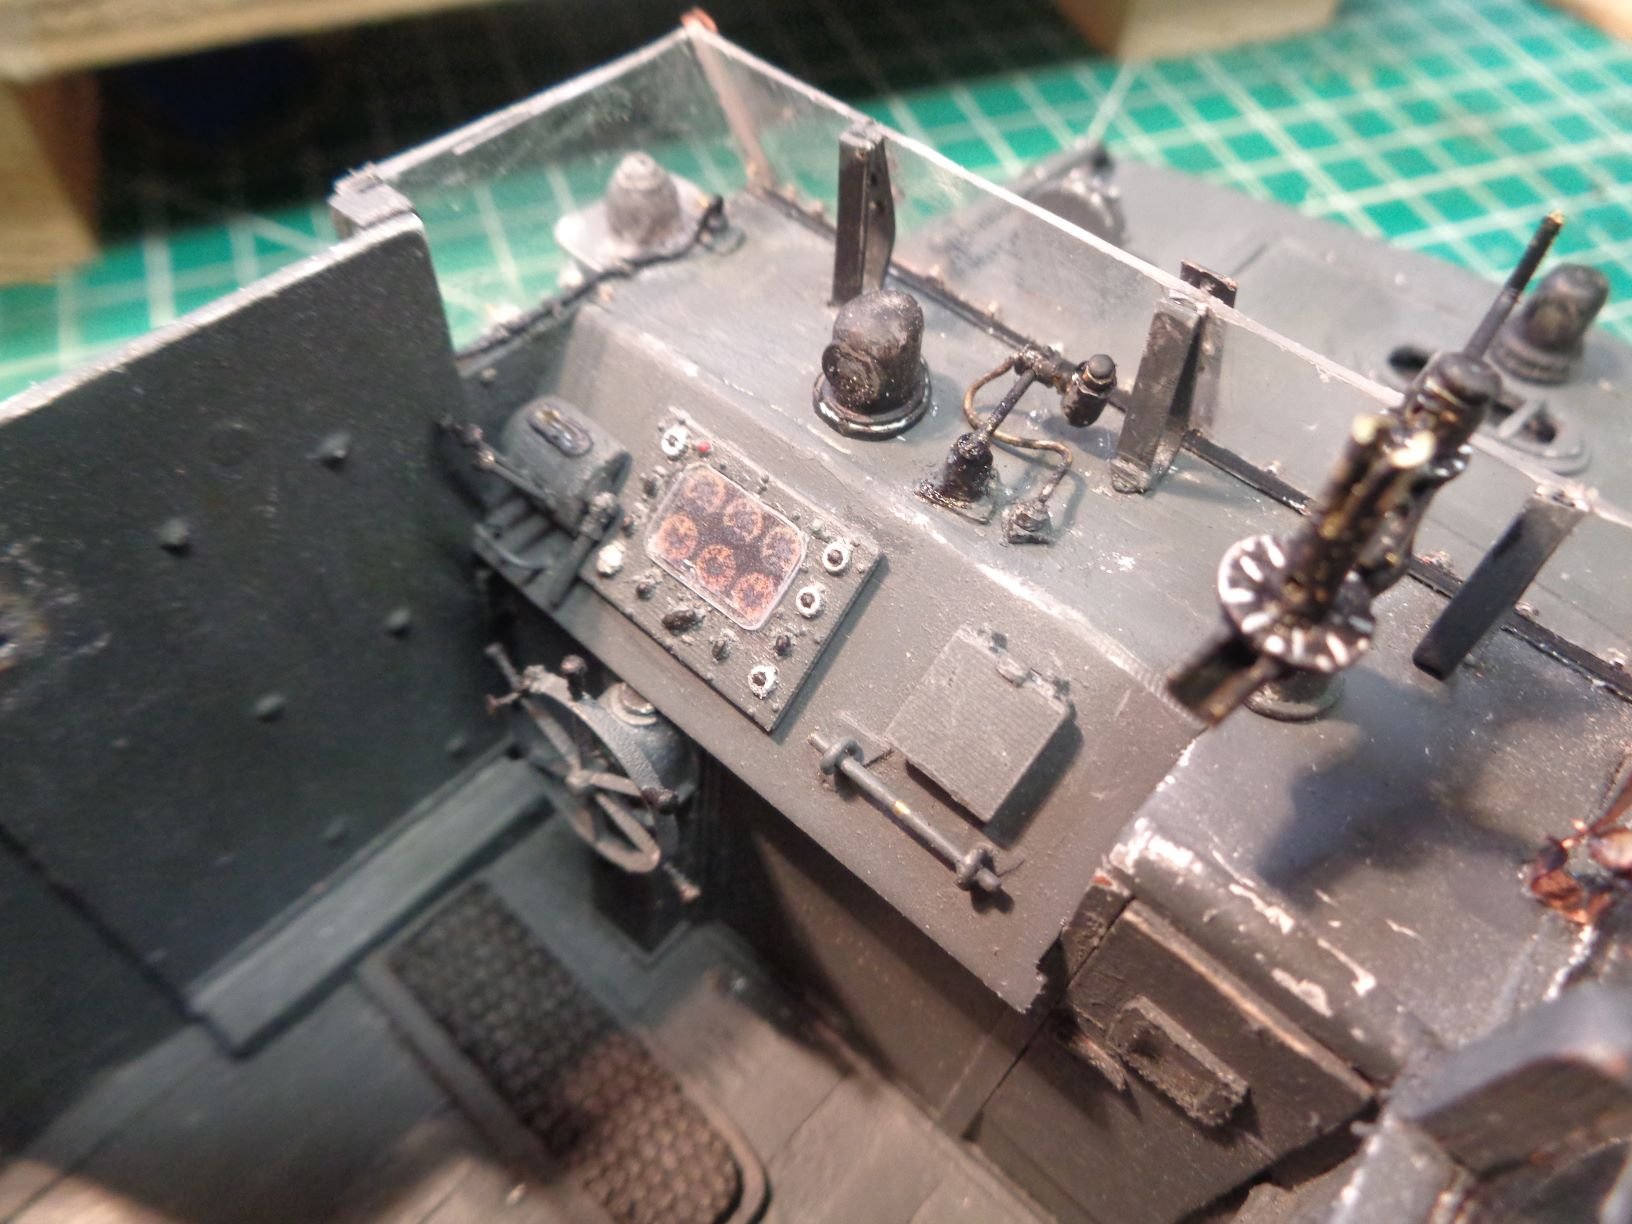
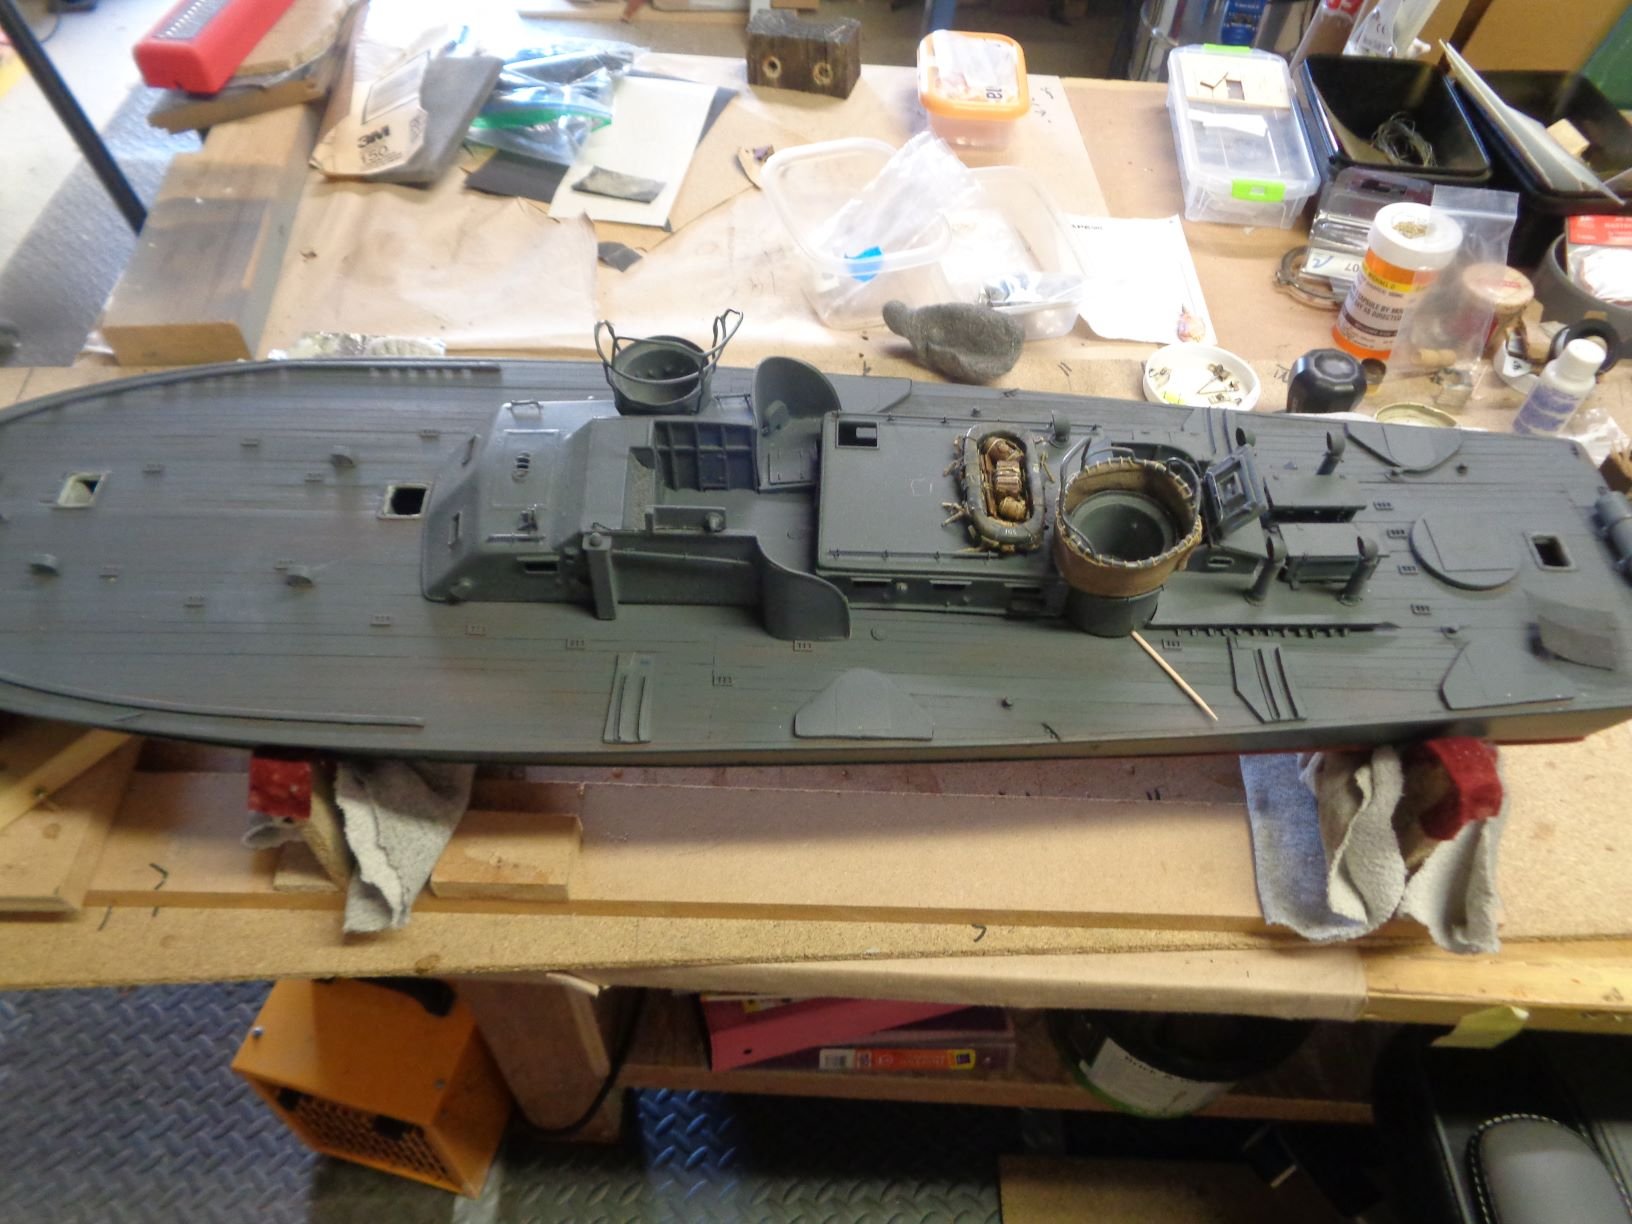
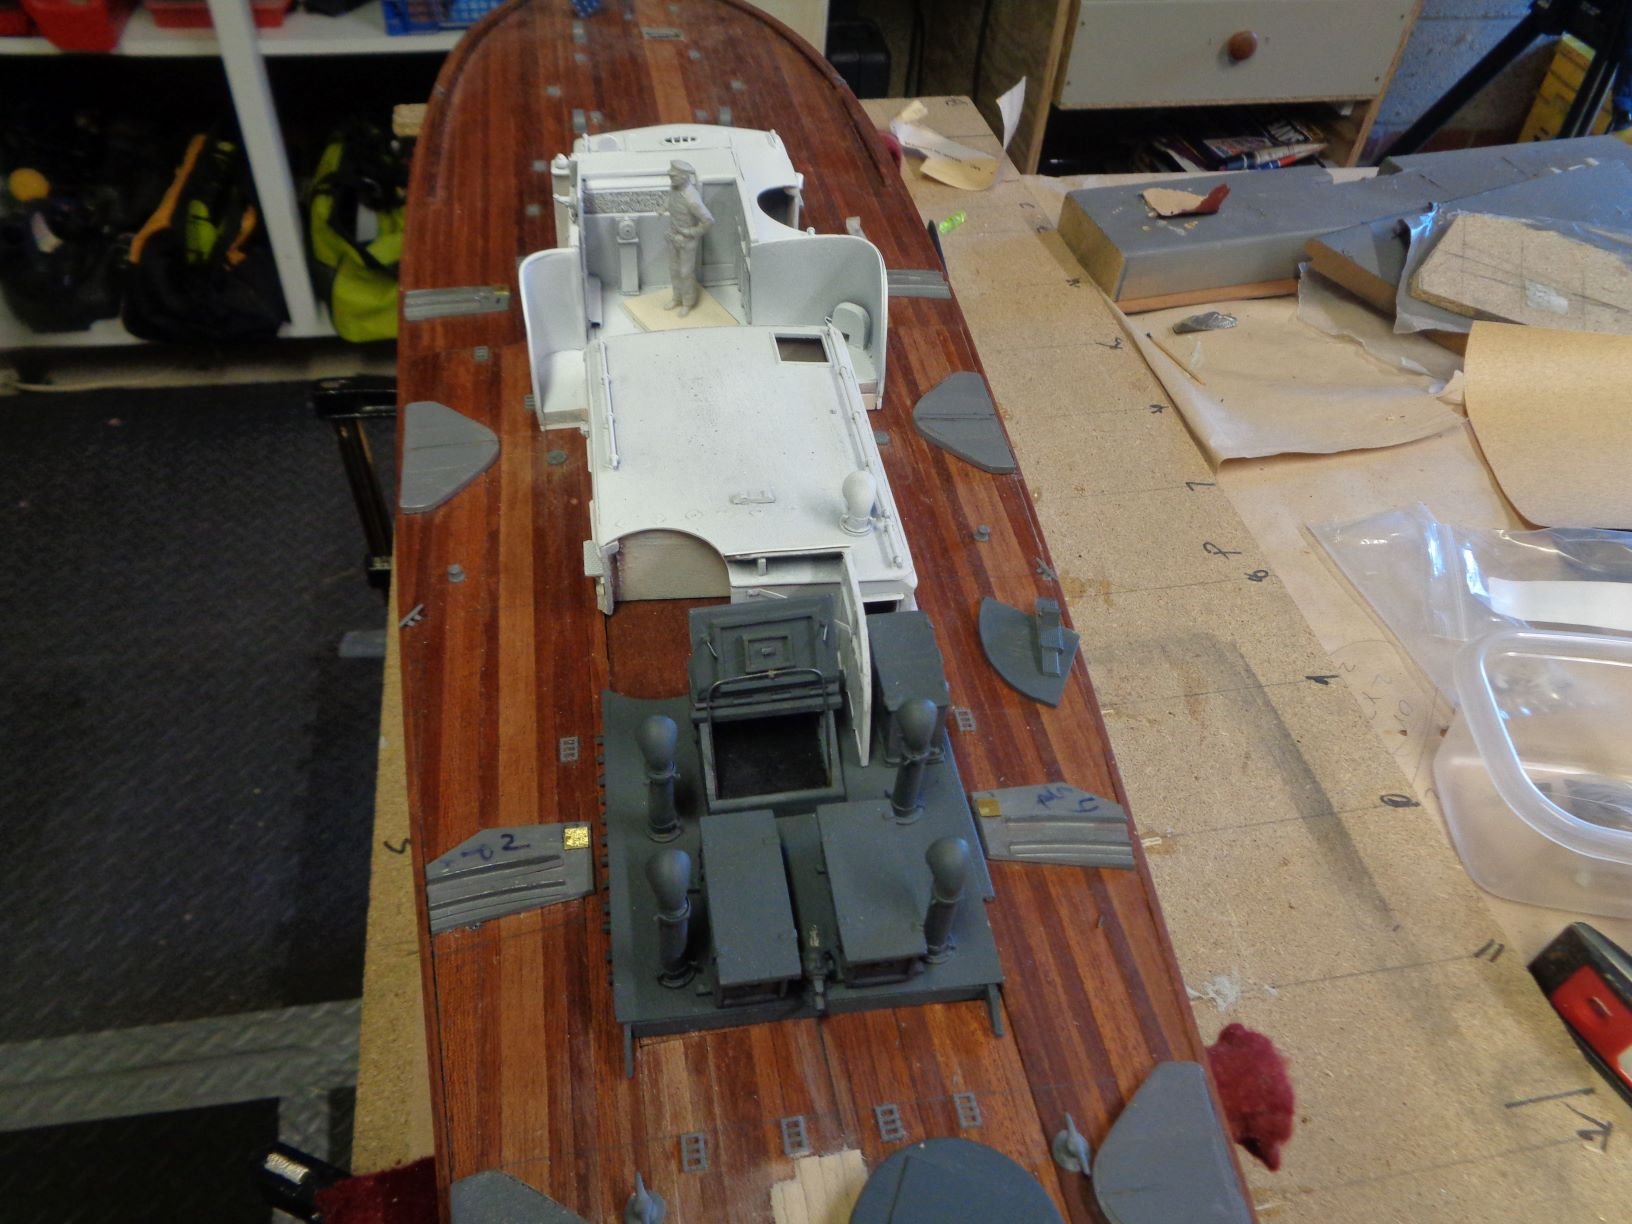
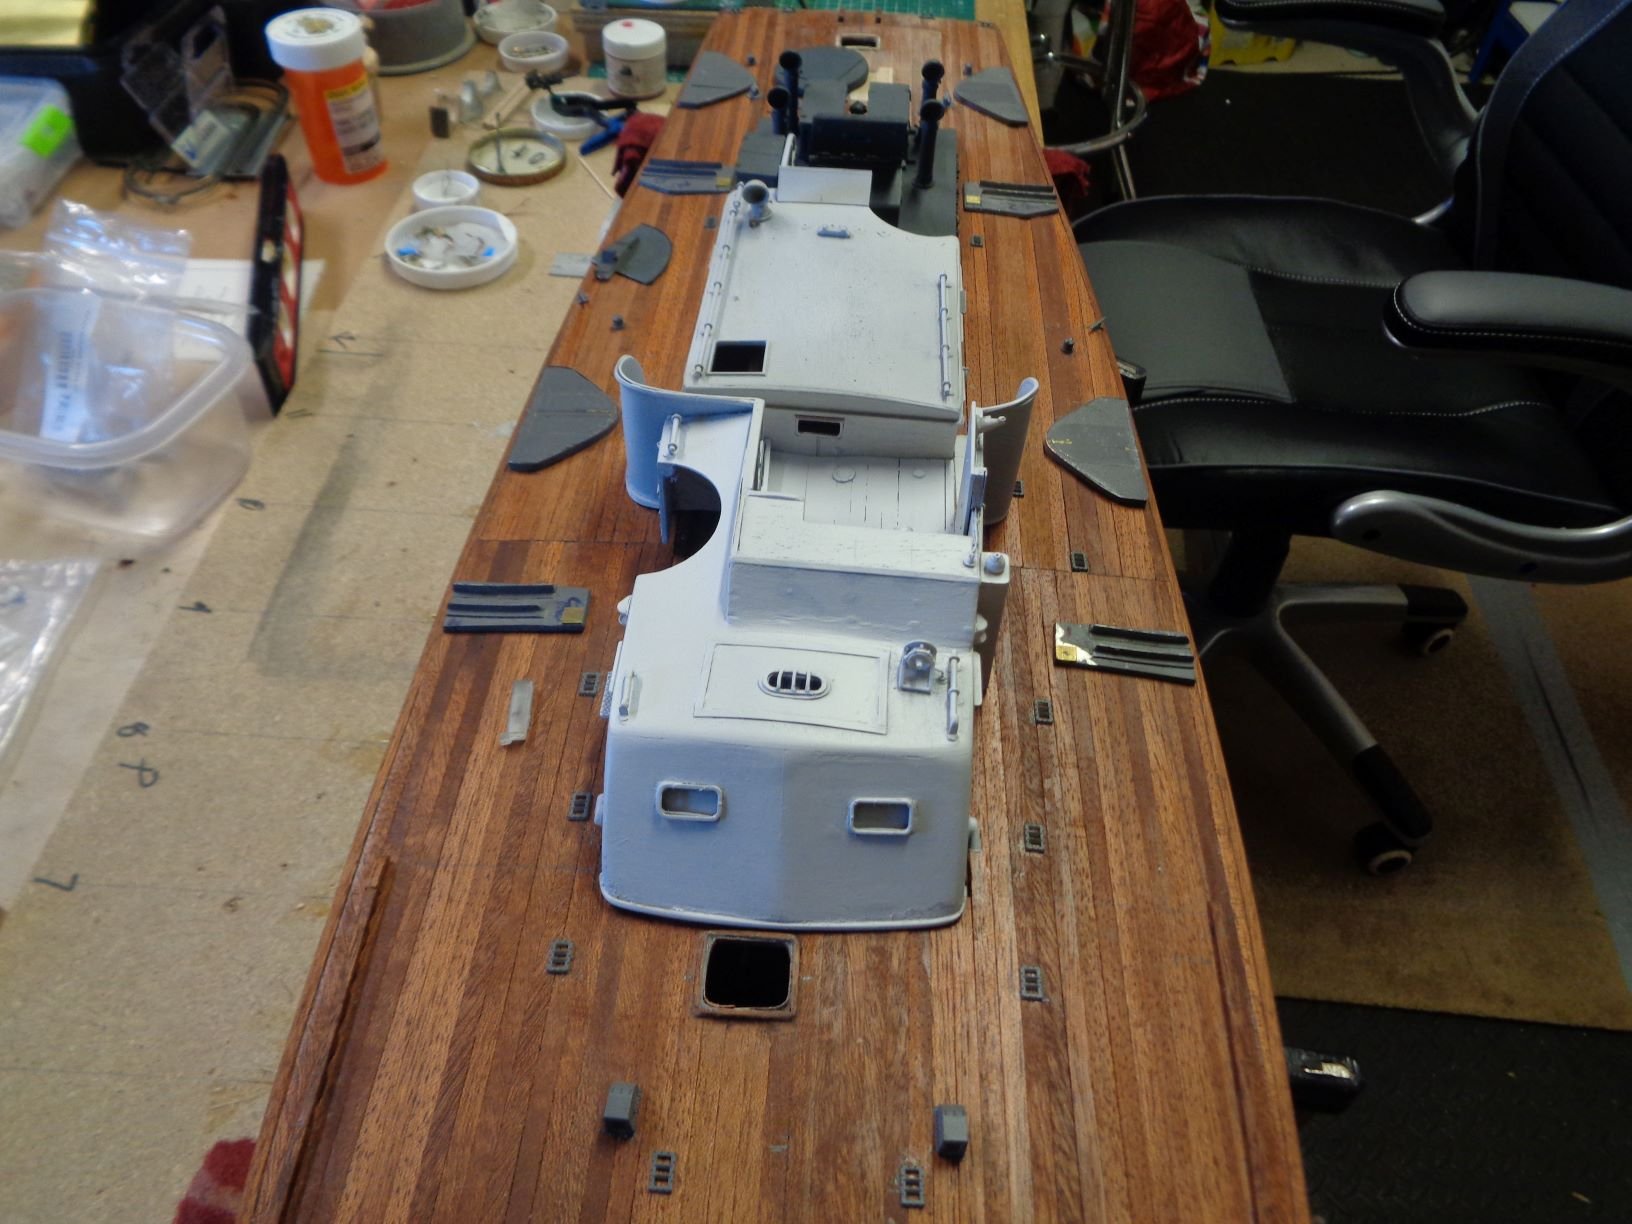
About finished with the cockpit area,
the windshield, a real pain, metal, plastic, drilling hole for pins, paint & canopy glue do not want to work well toughter, without looking like a 5-year-old tossed it all toughter. after 4 attempts I was at the end of my rope, but it was almost there, when Murphy showed up, a very slight slip of the hand & I took a chunk out of the std screen. Not wanting to start over for shot # 5 I turned the error into battle damage, which I have not shown clearly in the pics as it still needs a bit of work. The windshield weathering became easy after that. Installed the control panel and added the fluorescent light, compass, and torpedo director, them weathered the entire area. Again, there are many different ways to approach this build, all have there own merits, my vision here is to depict a boat that has seen action and exposure to the tropical elements of the pacific.

- mtaylor, bhermann, GrandpaPhil and 8 others
-
11
-
-
Coming right along
- Old Collingwood, mtaylor, Canute and 1 other
-
4
-
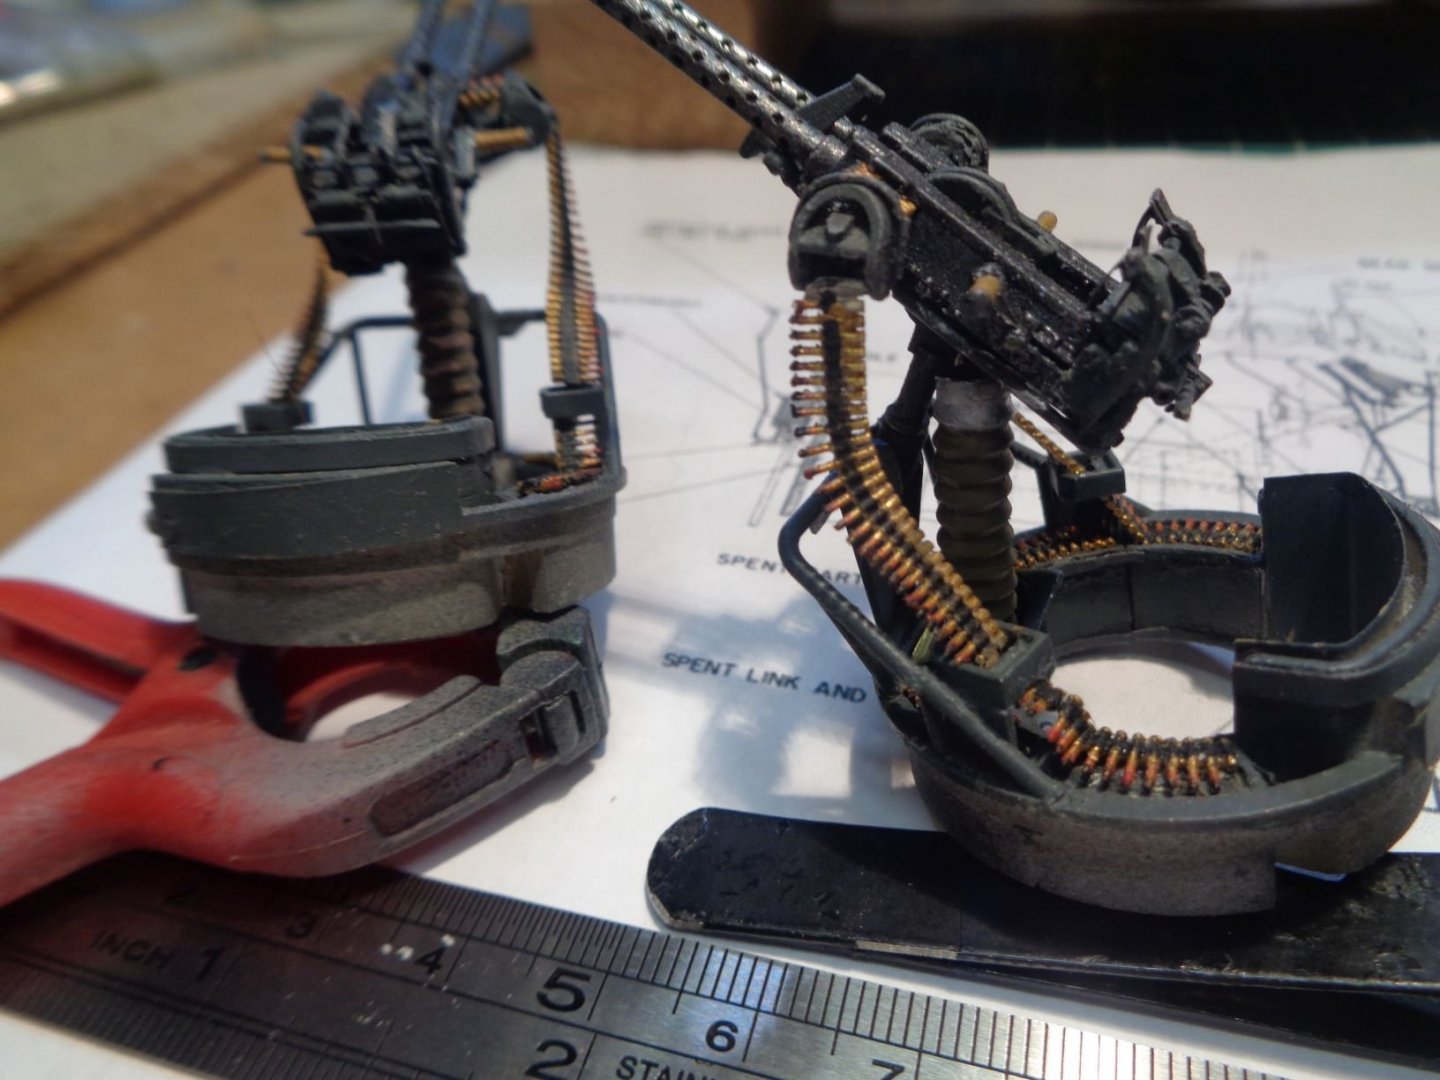
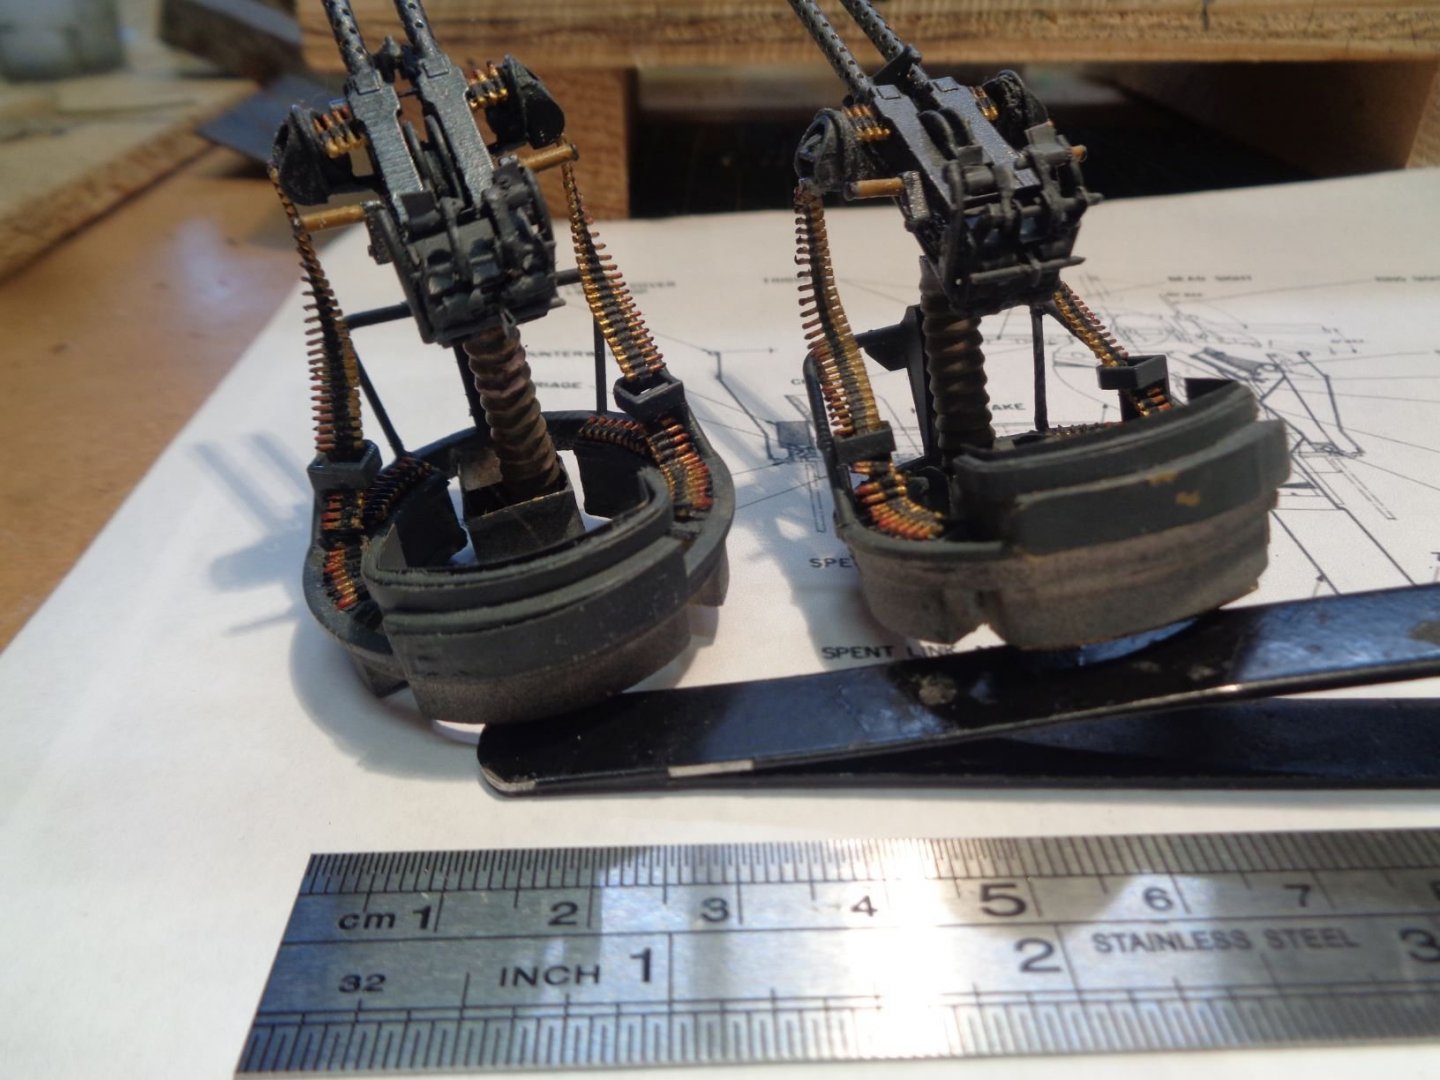
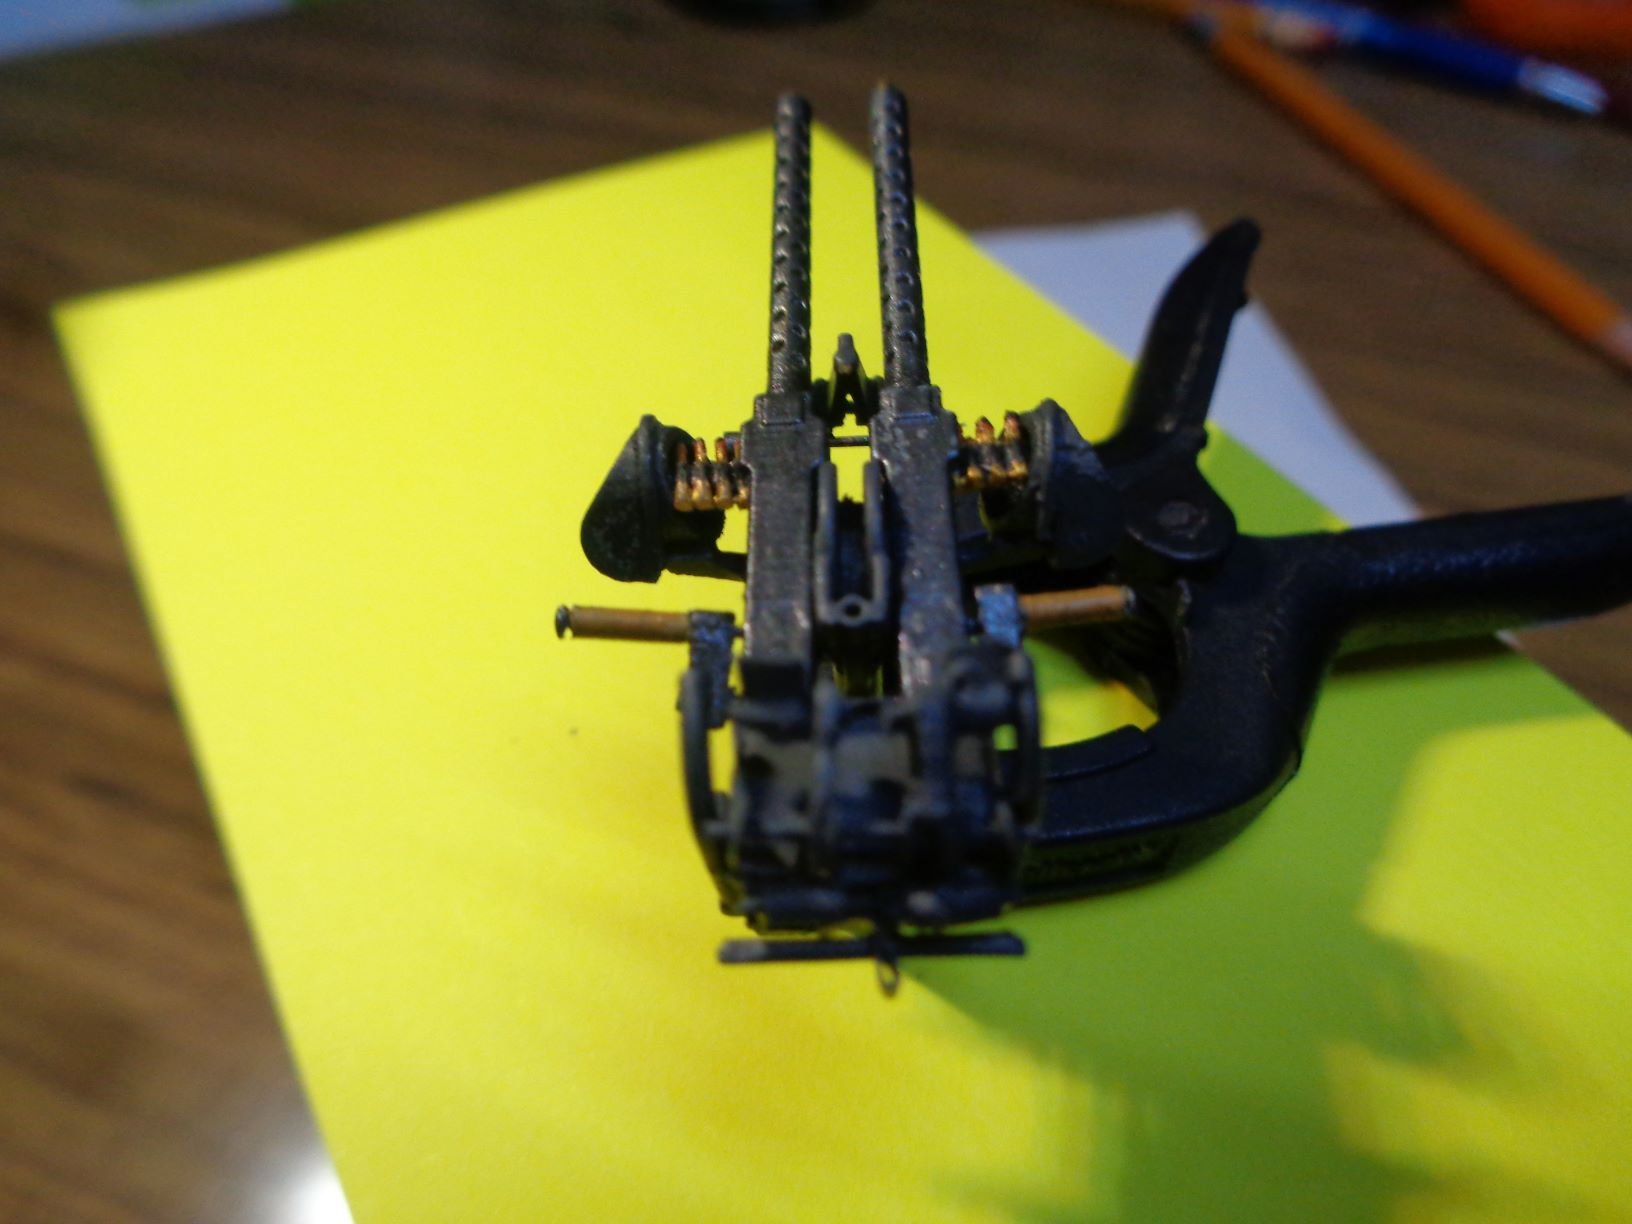
Added the spent cartage tubes under the gun mounts
-
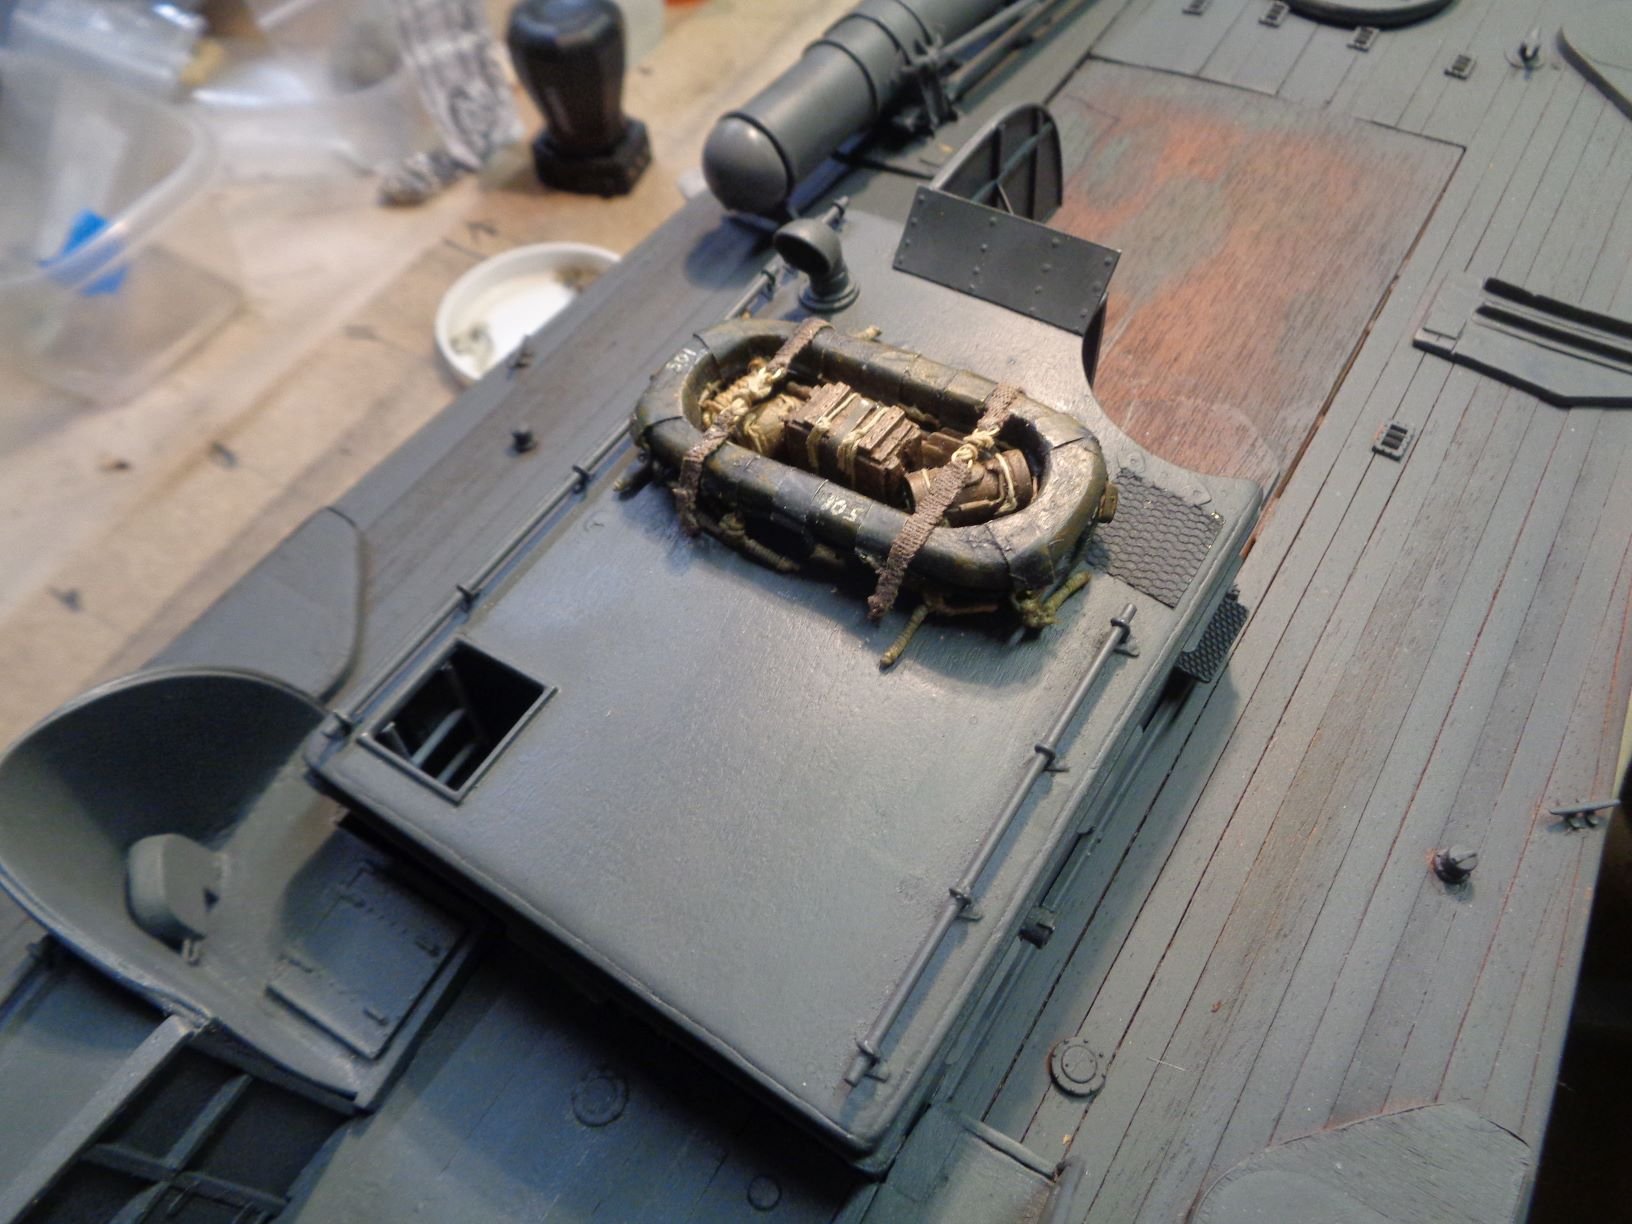
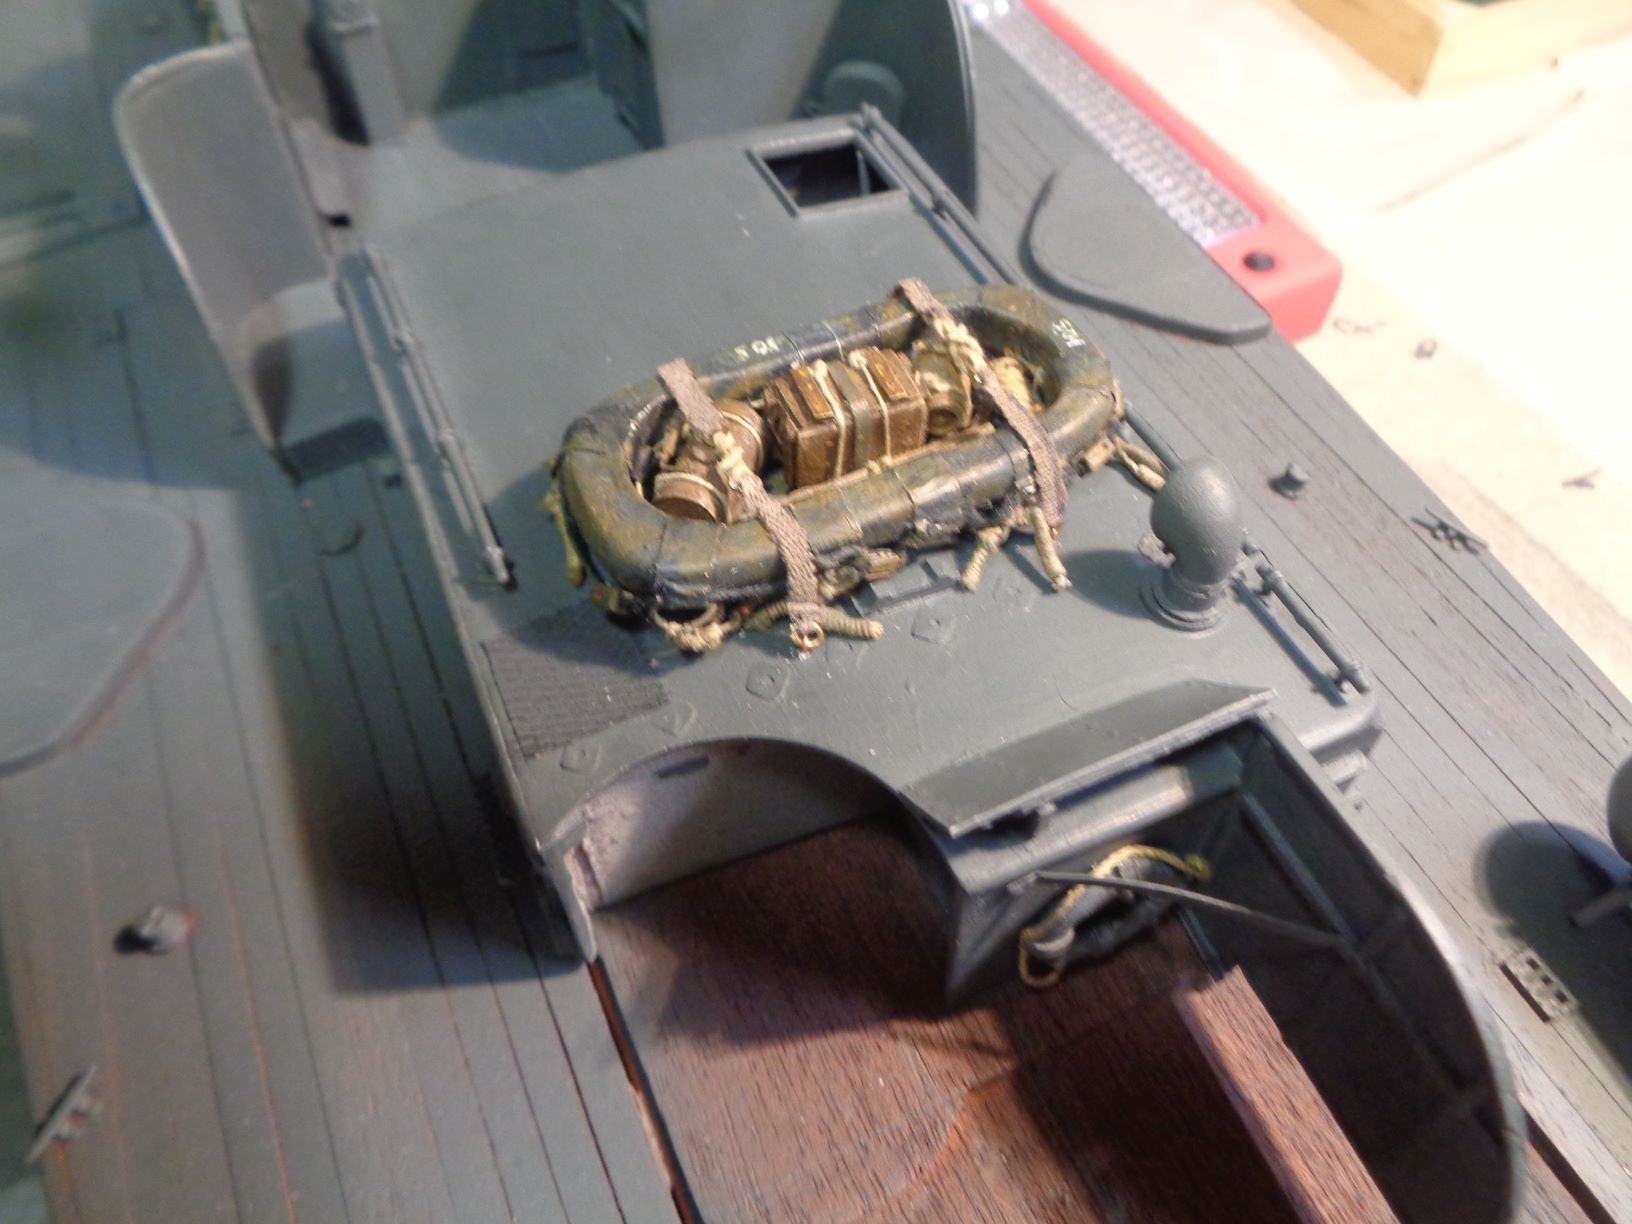
adding some early details to prevent breakage fitting other items later in the process


- Egilman, Canute, GrandpaPhil and 6 others
-
9
-
the deck paint is Black Grey by Vallejo model Air
-
-
-
Feel the rebuttal pain, I’ve keep track of the added costs to date, turned around receipts on a clipboard, safely hidden in the shop, to be honest once I cleared a couple hundred , I have not had the guts to look , holden 8702 he does very good work, problem is he’s so back logged , I might have to go back to shape ways to get more figures, buying off the rack so to speak, which is more expensive, because its thru them, however I just can’t wait maybe 3-4 months for him.
-
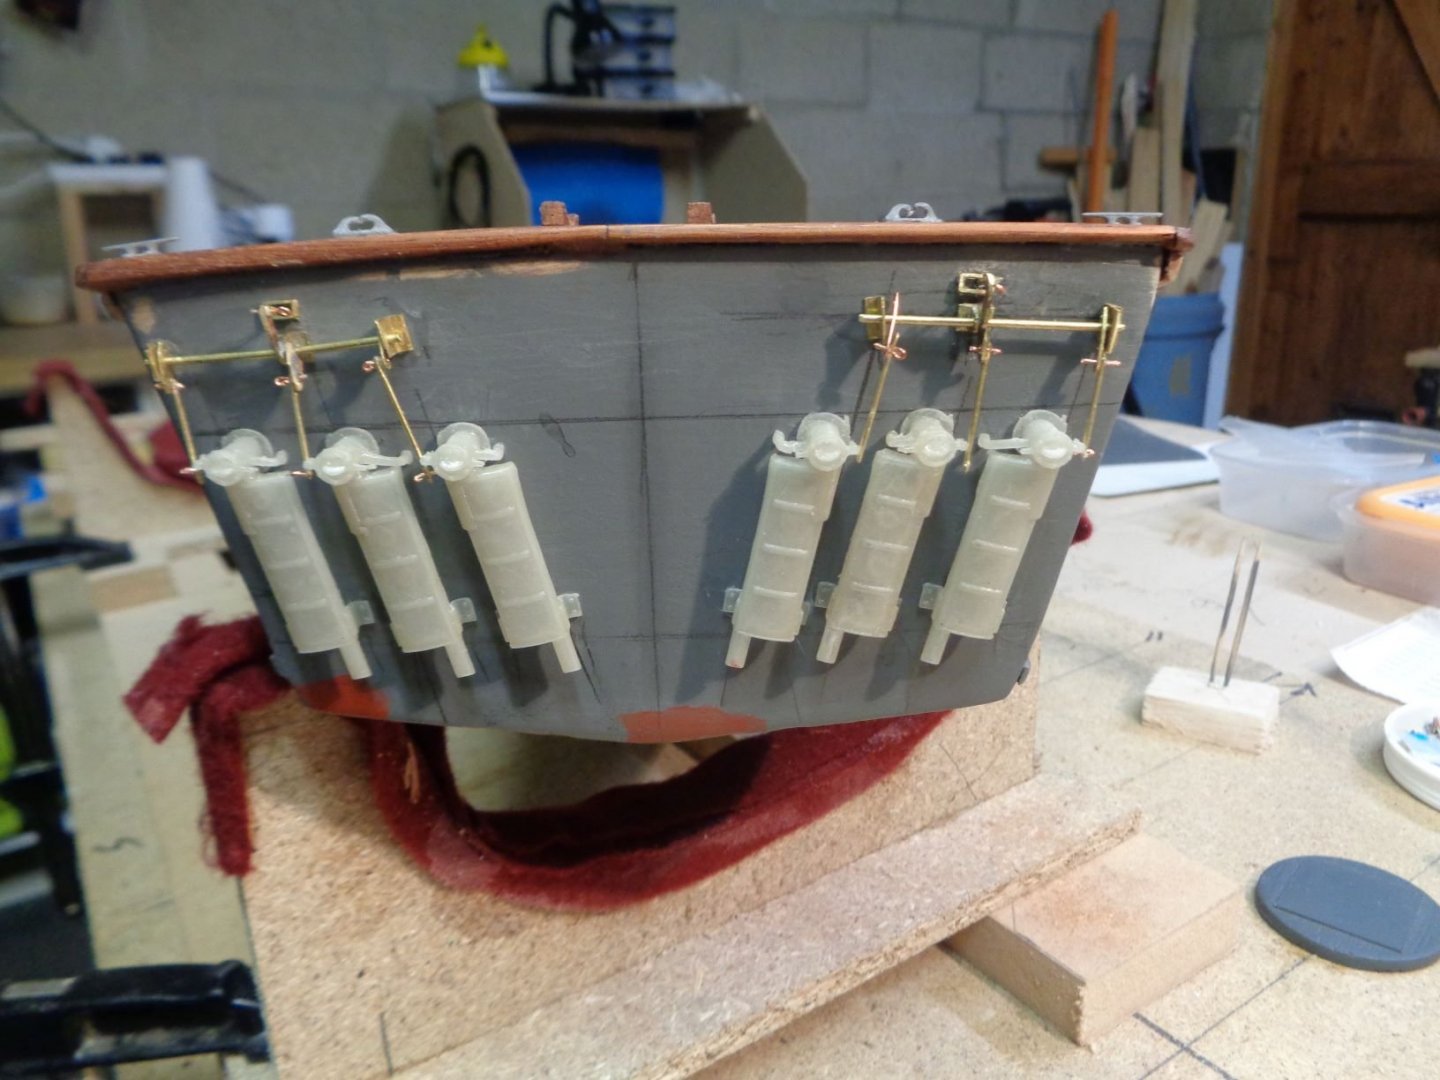
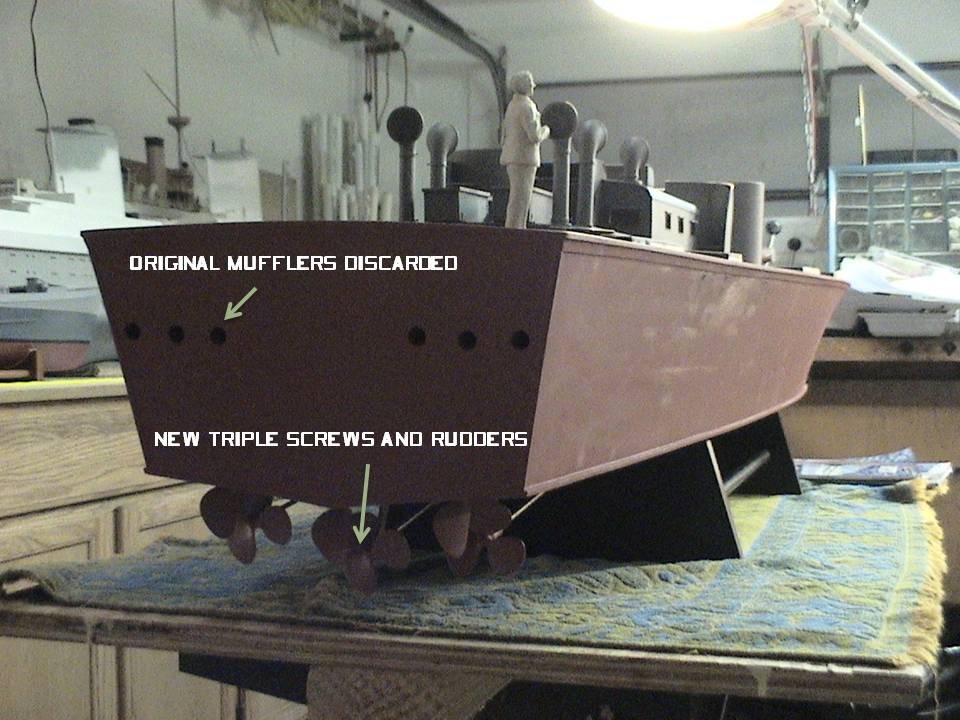
I got my mufflers direct from the designer in Spain , same panzer& tanks s guy who has designs on shapeways , however he did not like the way they were printing some of his work so s he’s now went Independent works in resin much stronger at smaller scale . My kit came with both types of mufflers did not like either, holding of on the underside of the hull until I decide a final display look.
- popeye the sailor, Egilman, mtaylor and 2 others
-
5
-
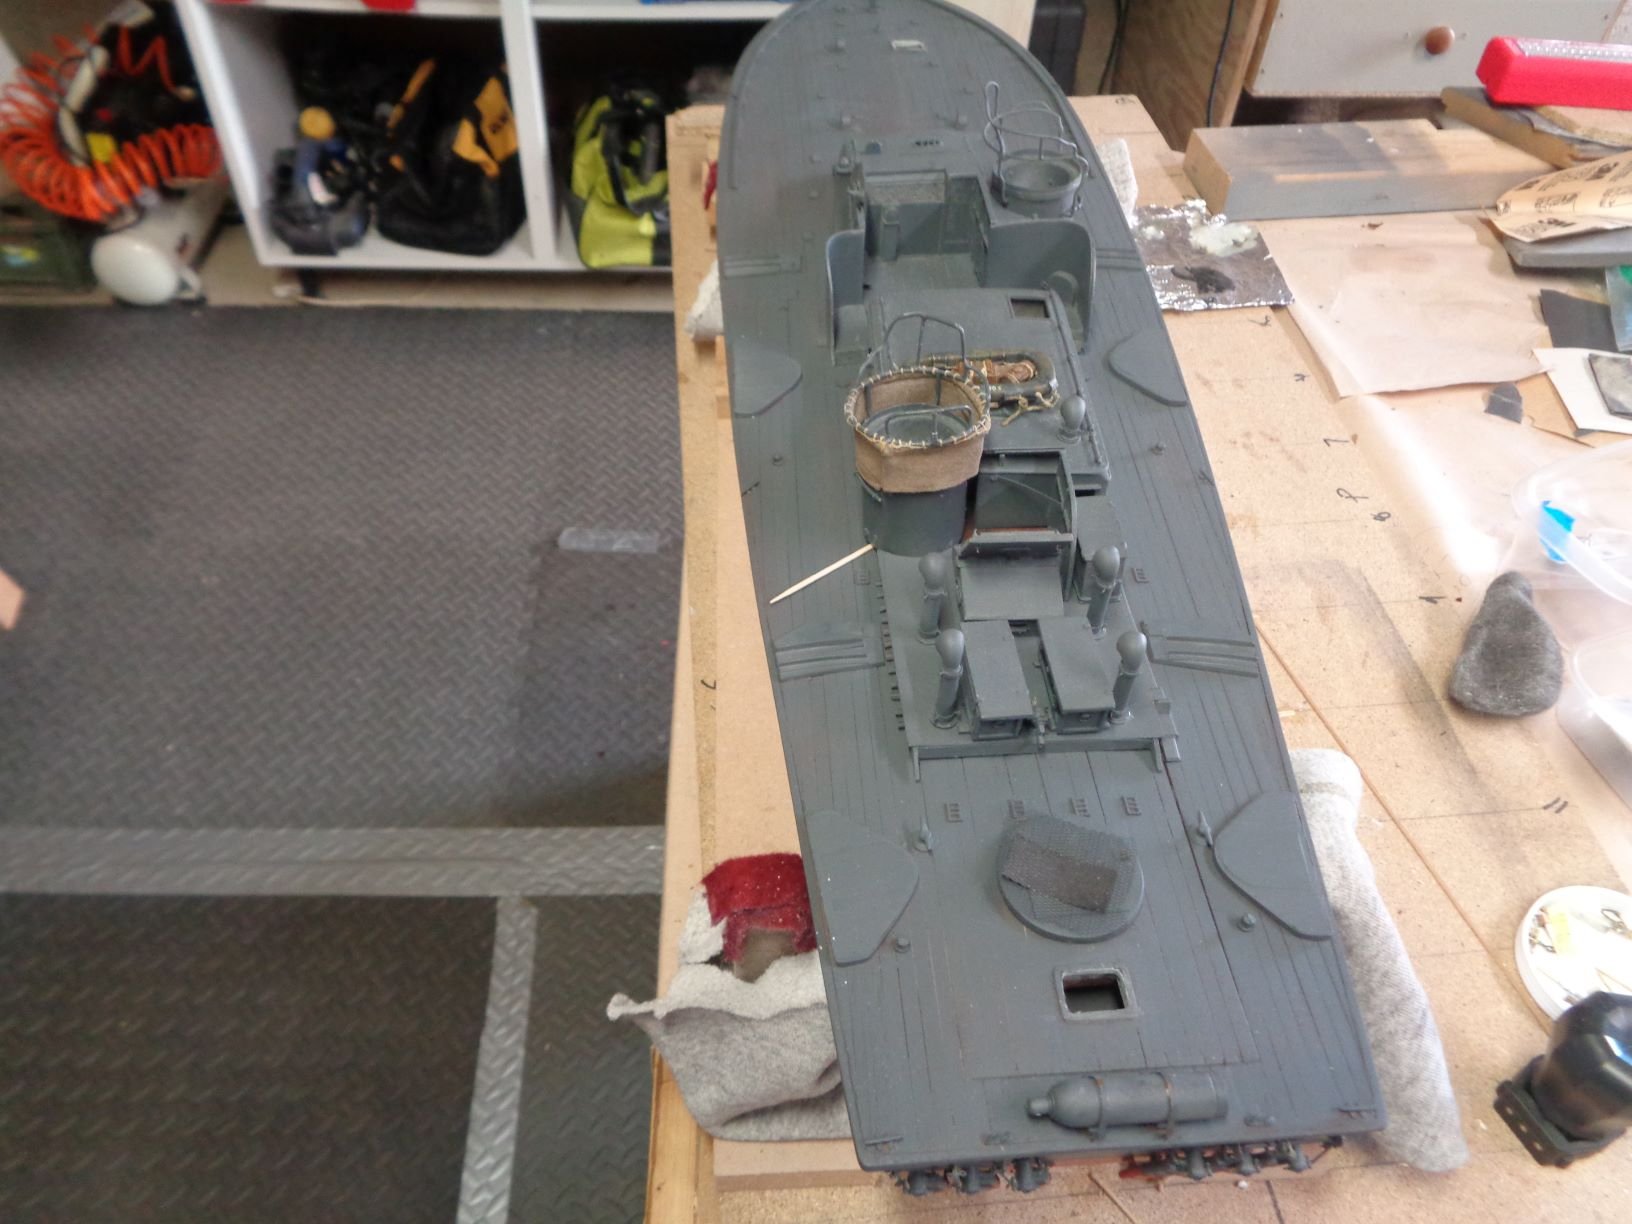
Canvas spray shield attached to the aft gun tub. Tub not attached yet so it’s placed at an angle for photo purpose
The “Canvas” process --Took a piece of old cotton tee shirt, stretched it out very tight tacked it down, several coats of spray primer was applied to both sides, followed by several coats of tan/ OD green regular
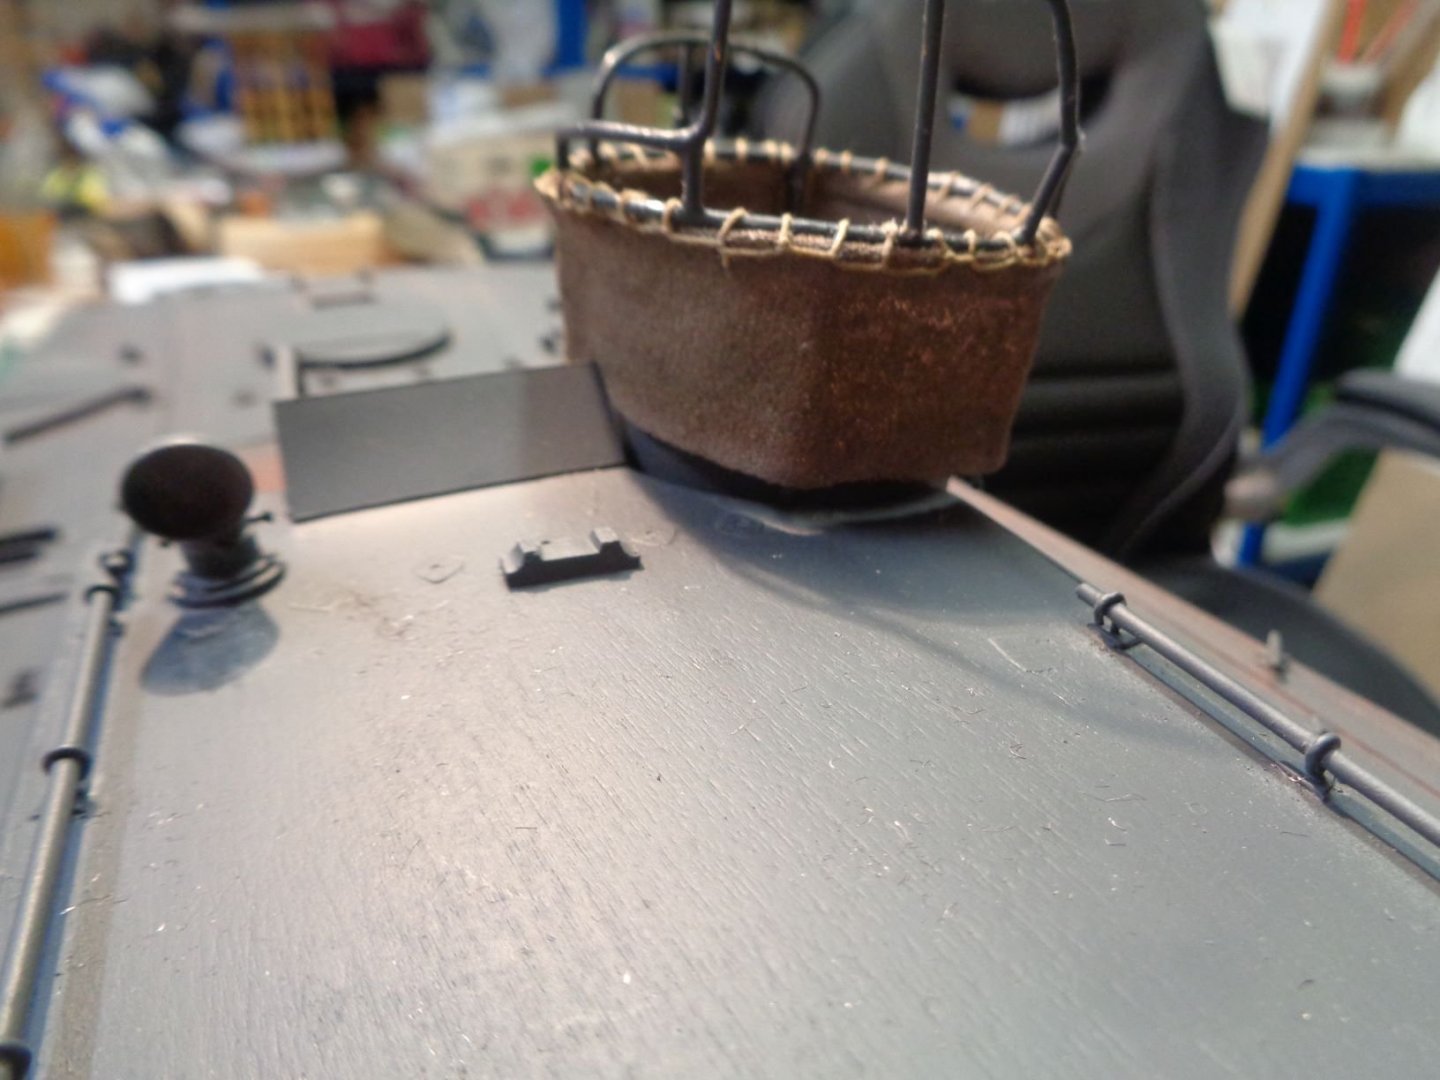
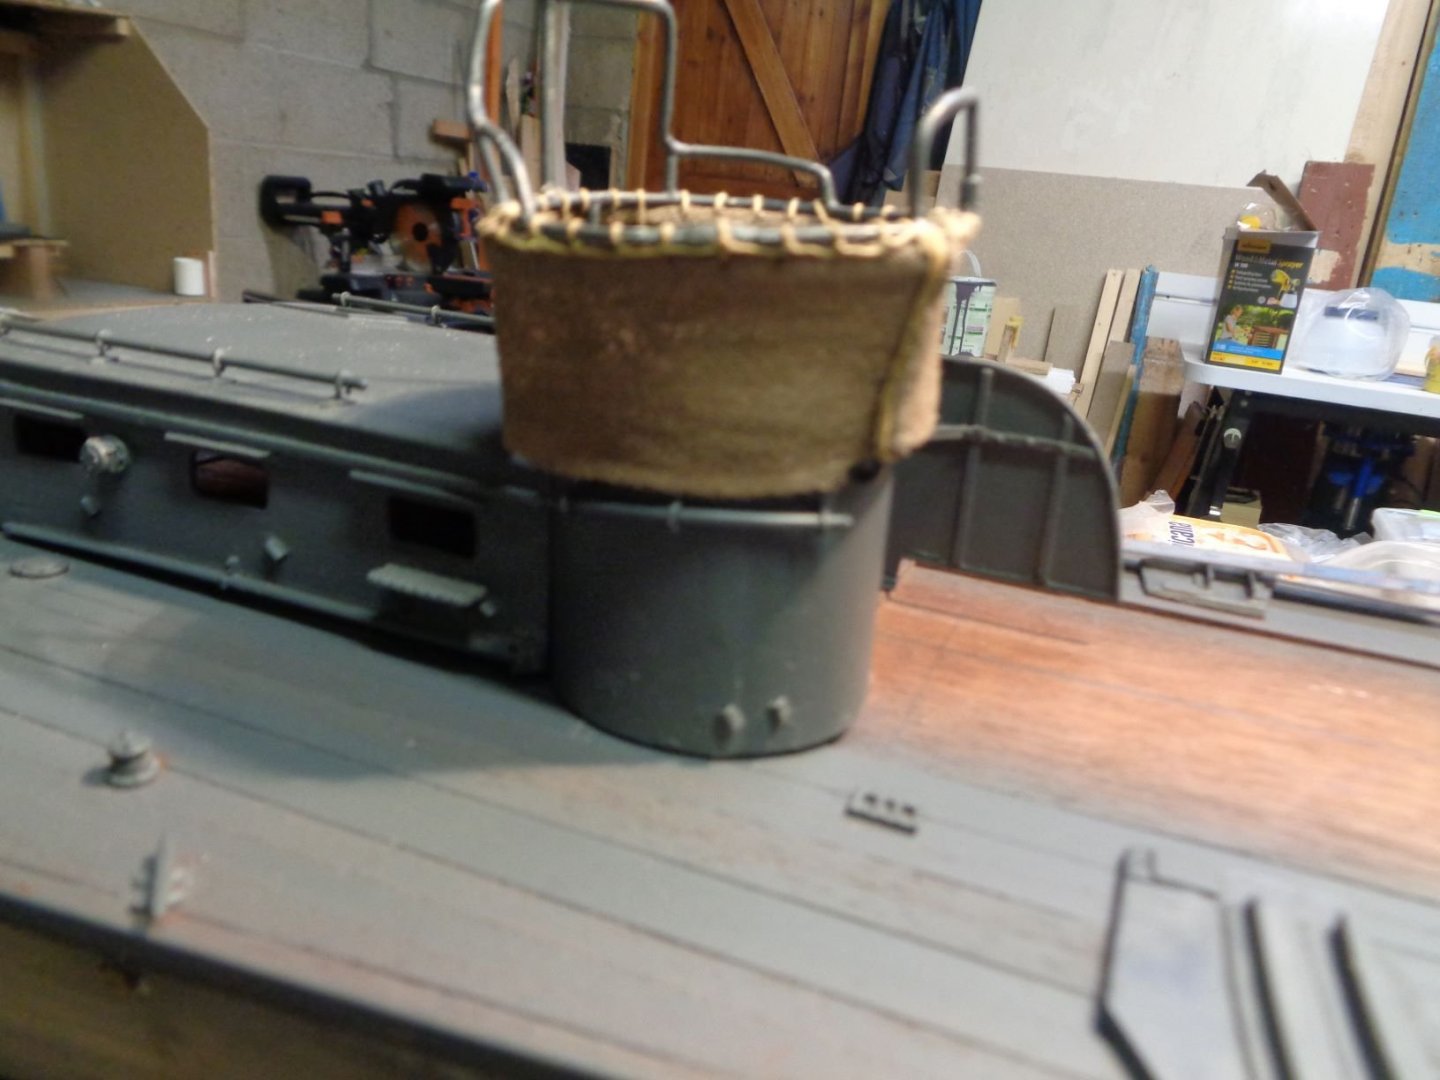
 can spray paint The drying, spraying process made the cotton stiff. Glued a plastic rod to the top to hold its shape, then made holes 5 mm apart in the top, sewed to the rail with rigging line treated with wax and white glue solution. Ship rigging experience came in handy here.
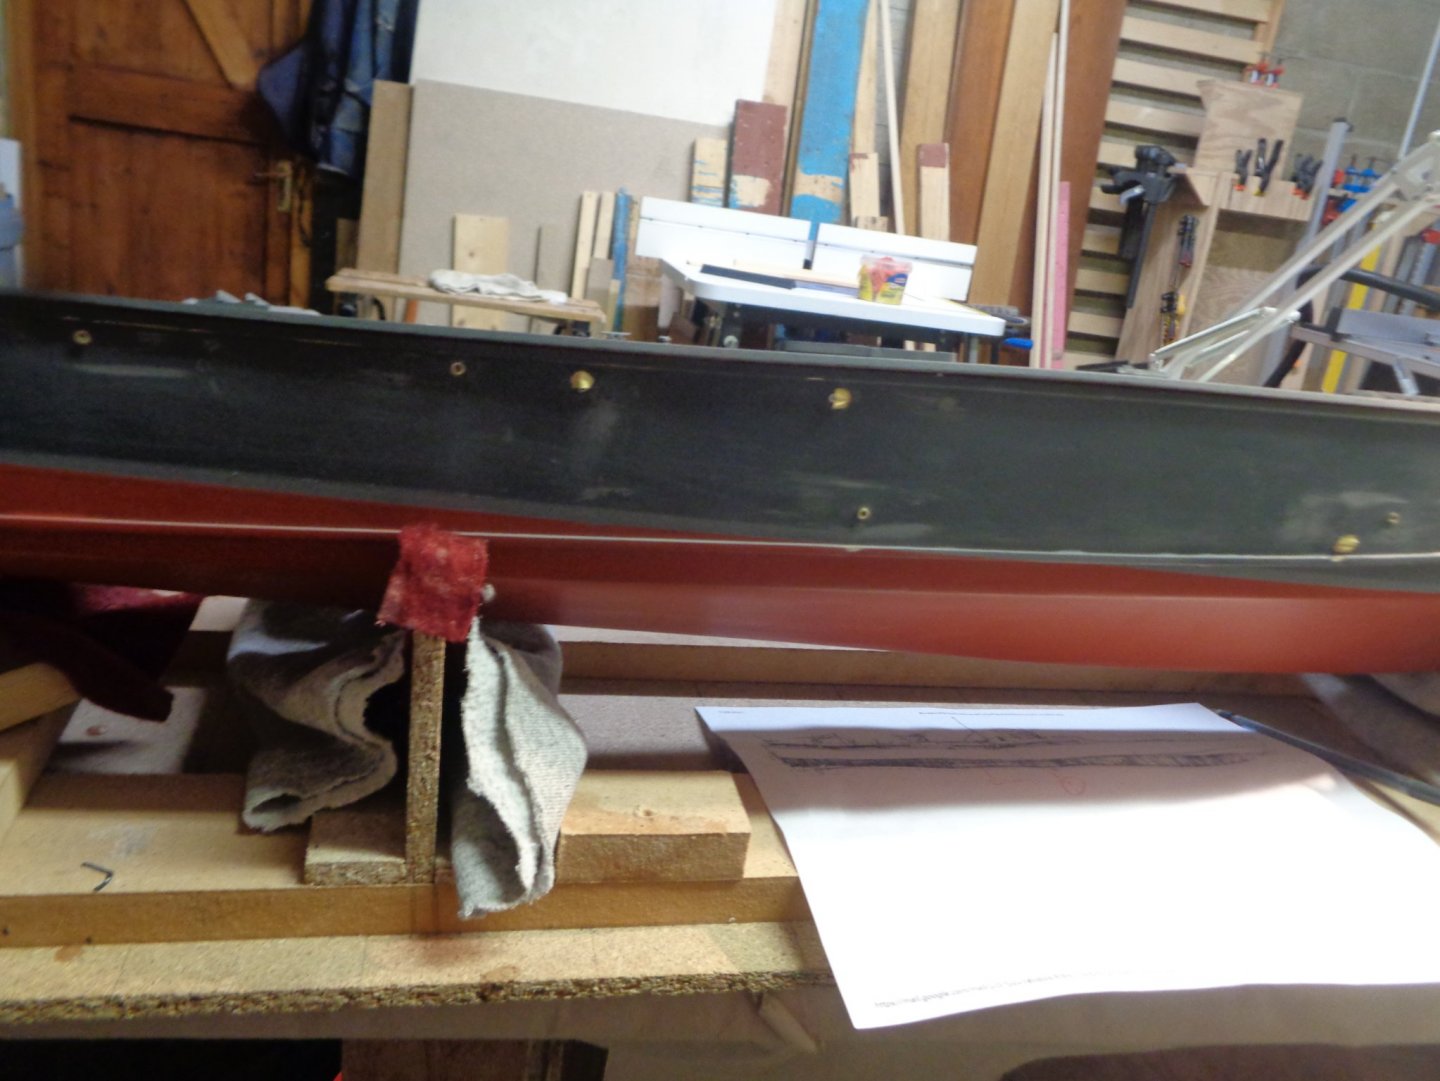
Added the hull drain & bilge ports ready for clean-up & weathering
-
Fabricated the throttle control bars, the mufflers are molded from resin.
I think its time to paint the hull and deck next.
Thanks guys for your kind comments, not so sure about one of the most detailed PTs , that’s more in the realm of a master builder , not a simple boat builder, trying to be accurate is important to me on this build , the real test comes from the experts at ptboatforum .com again thank you.
-
-
-
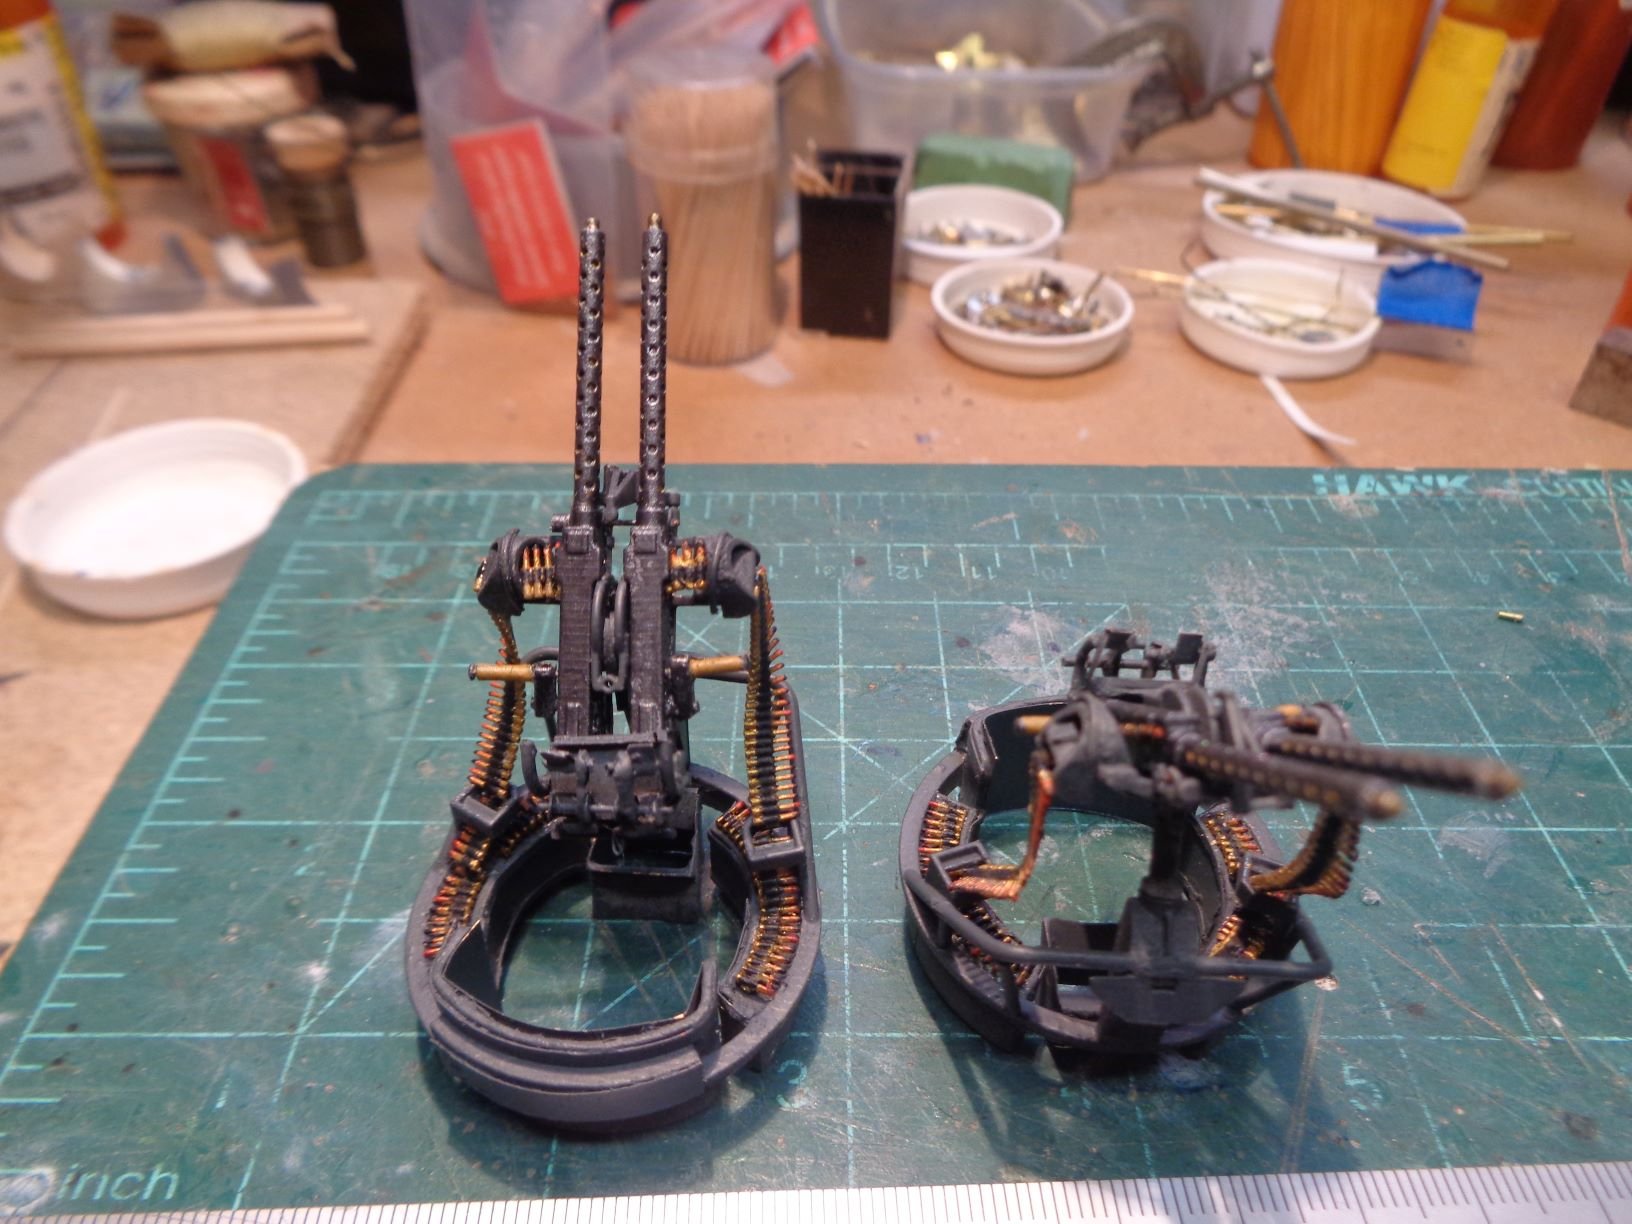
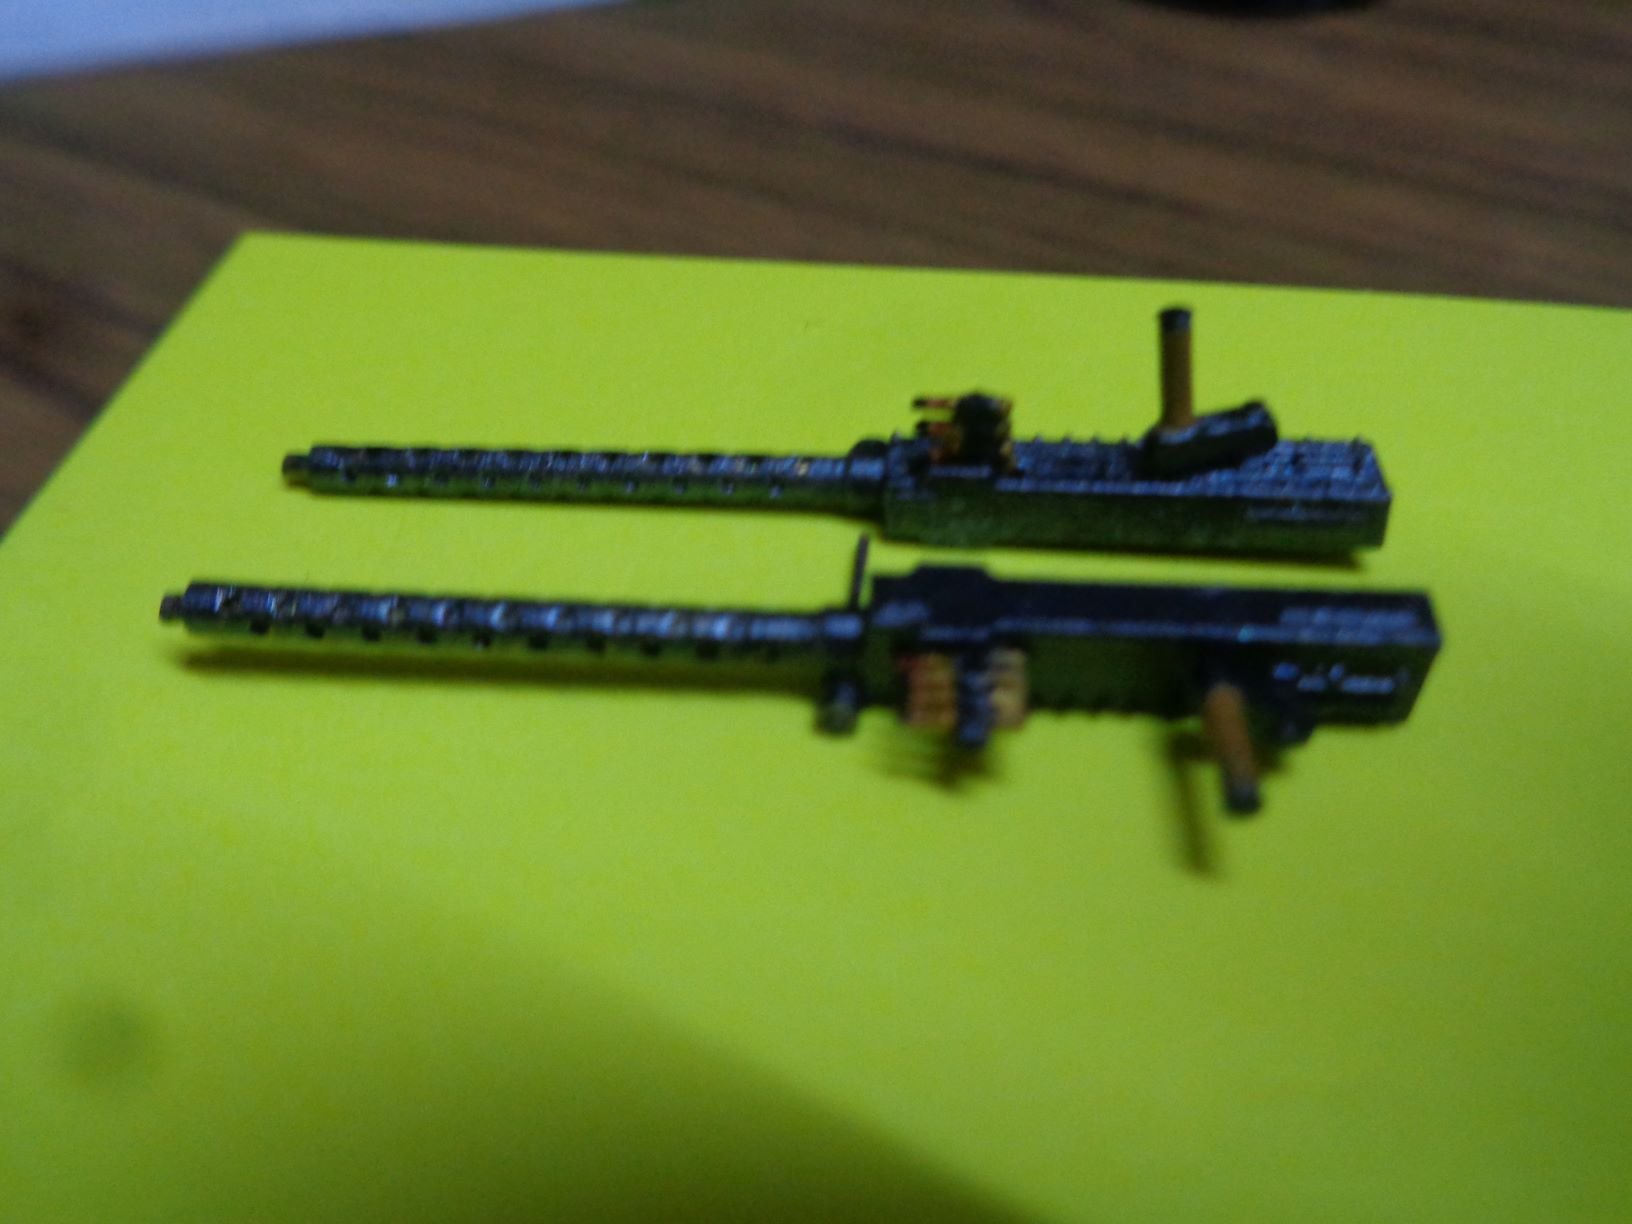
The 50’s & mounts started life as a kit , both were then heavily modified , on the 50’s I only kept the weapons body, everything else scratch built , with the mounts I kept the site post & the mount carriage bracket.
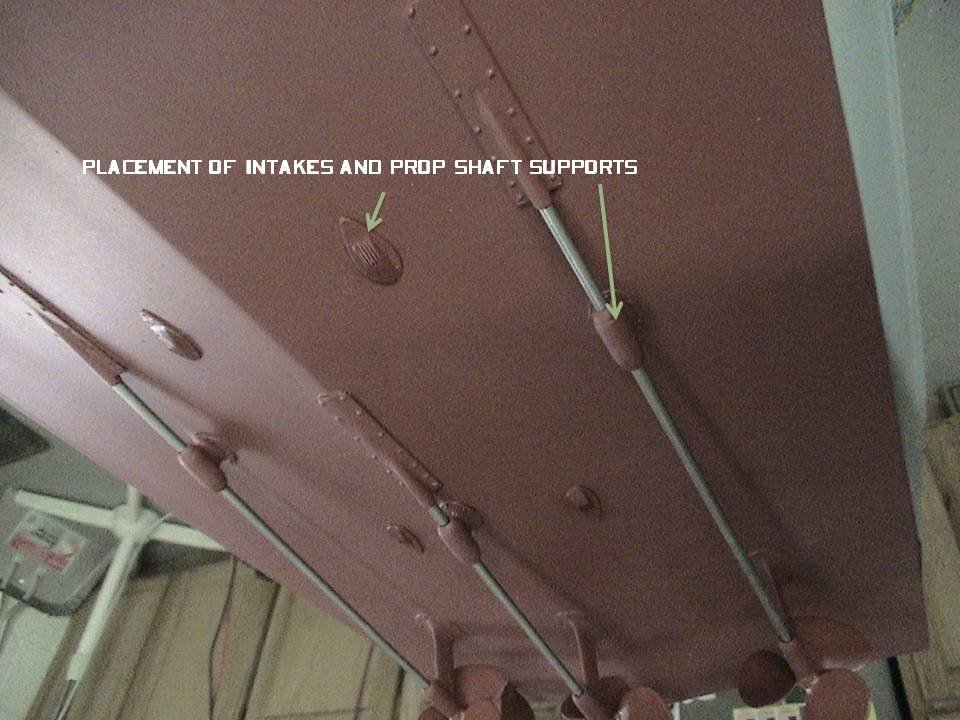
Rudders, shafts & screws , three engines three screws on a PT , for me I have the parts for 3, however still not sure if they will be used, depends on the final display,
The pictures are from master builder Gene Burgers 107 build
How the comments help[
-
-
-
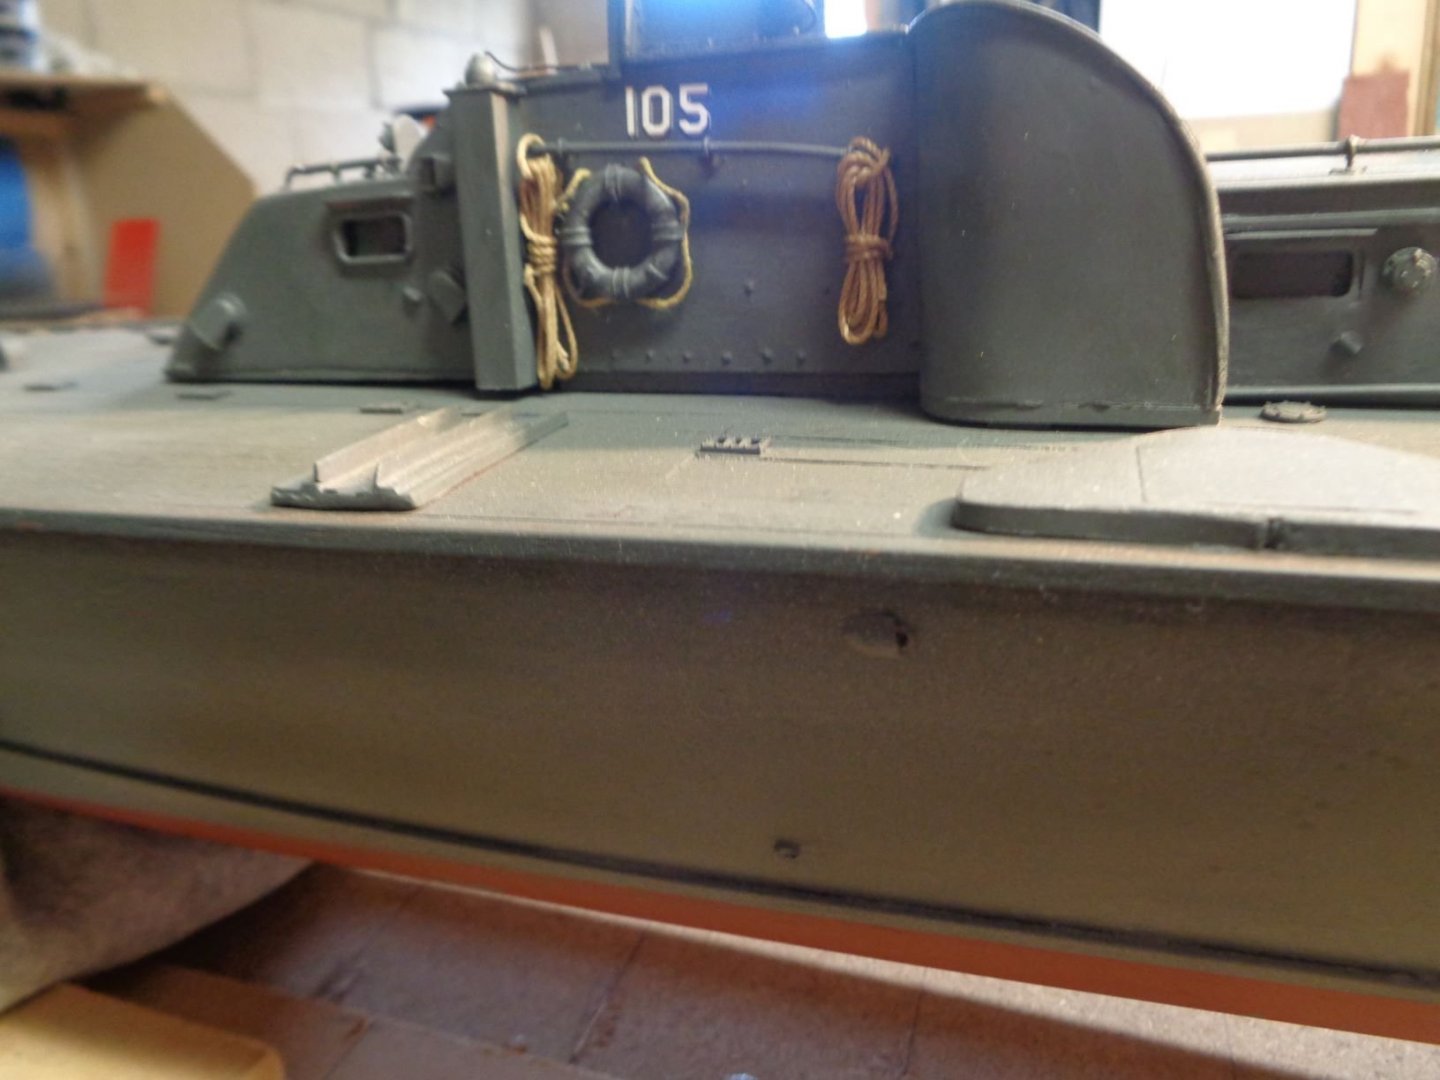
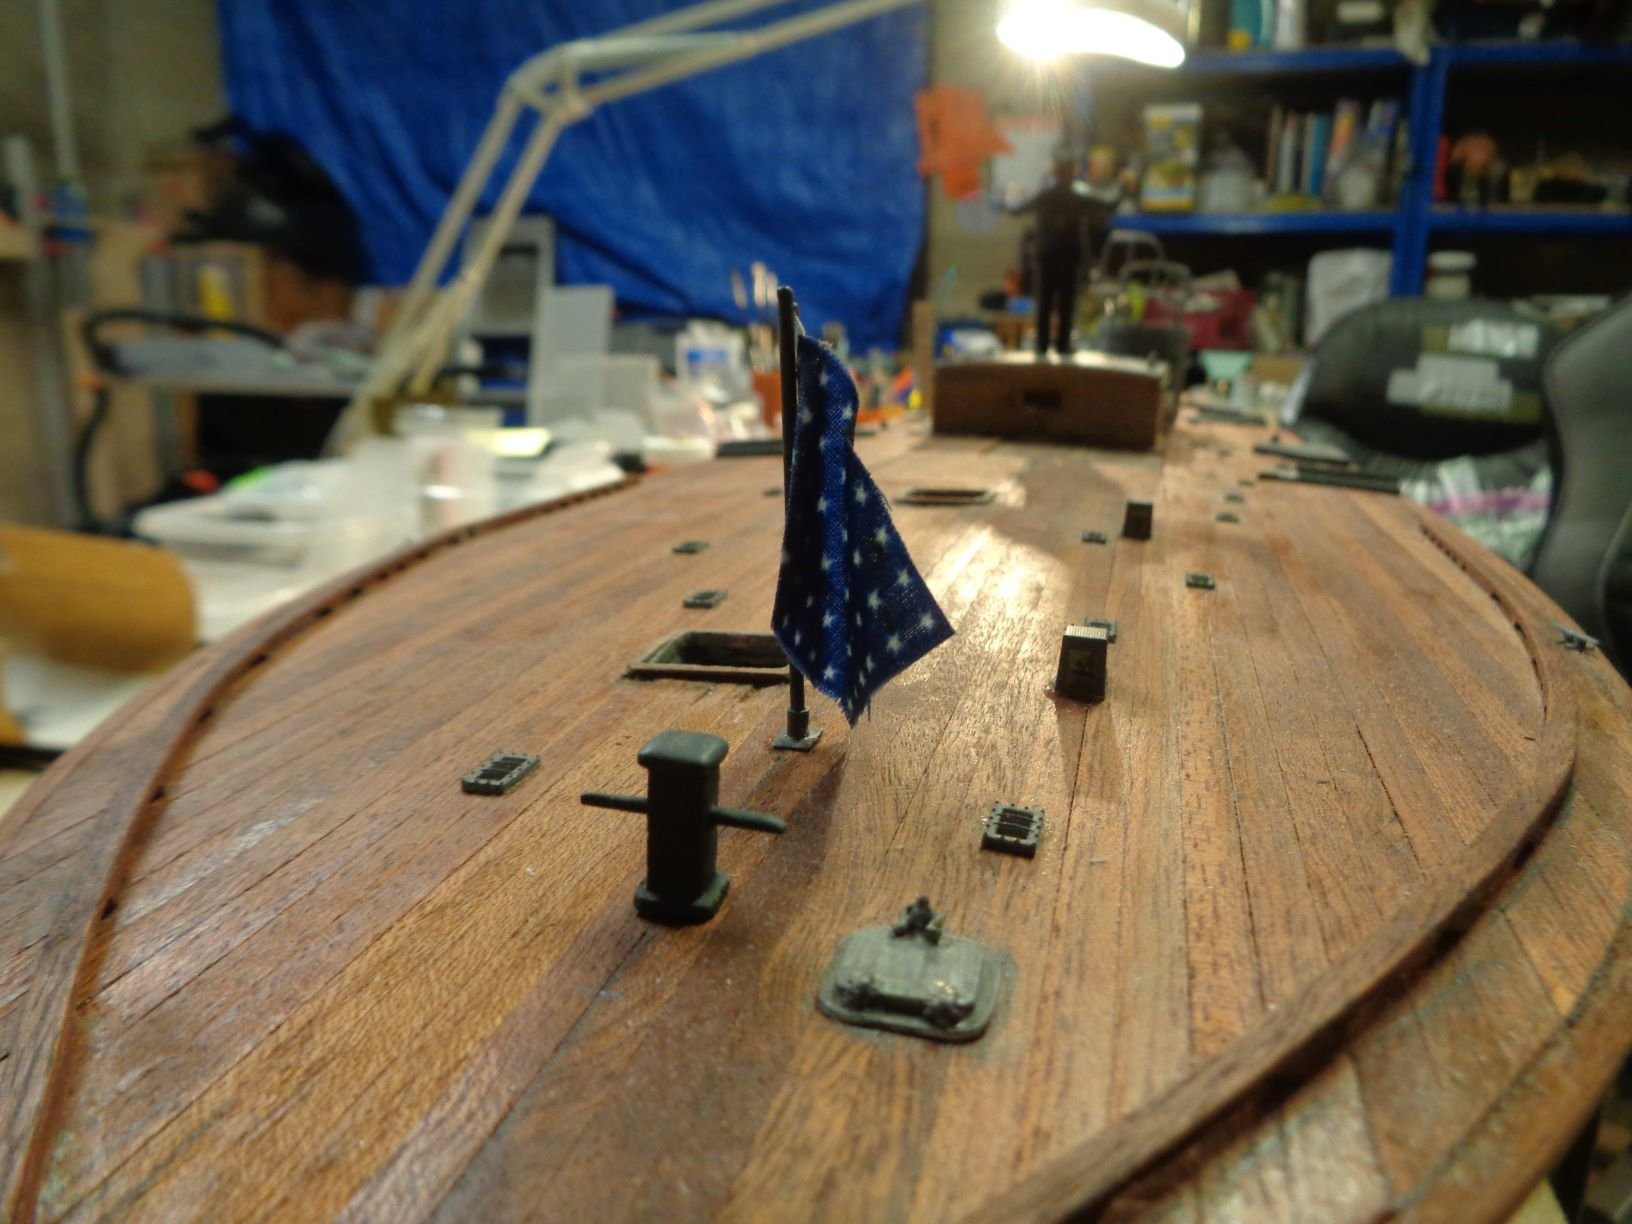
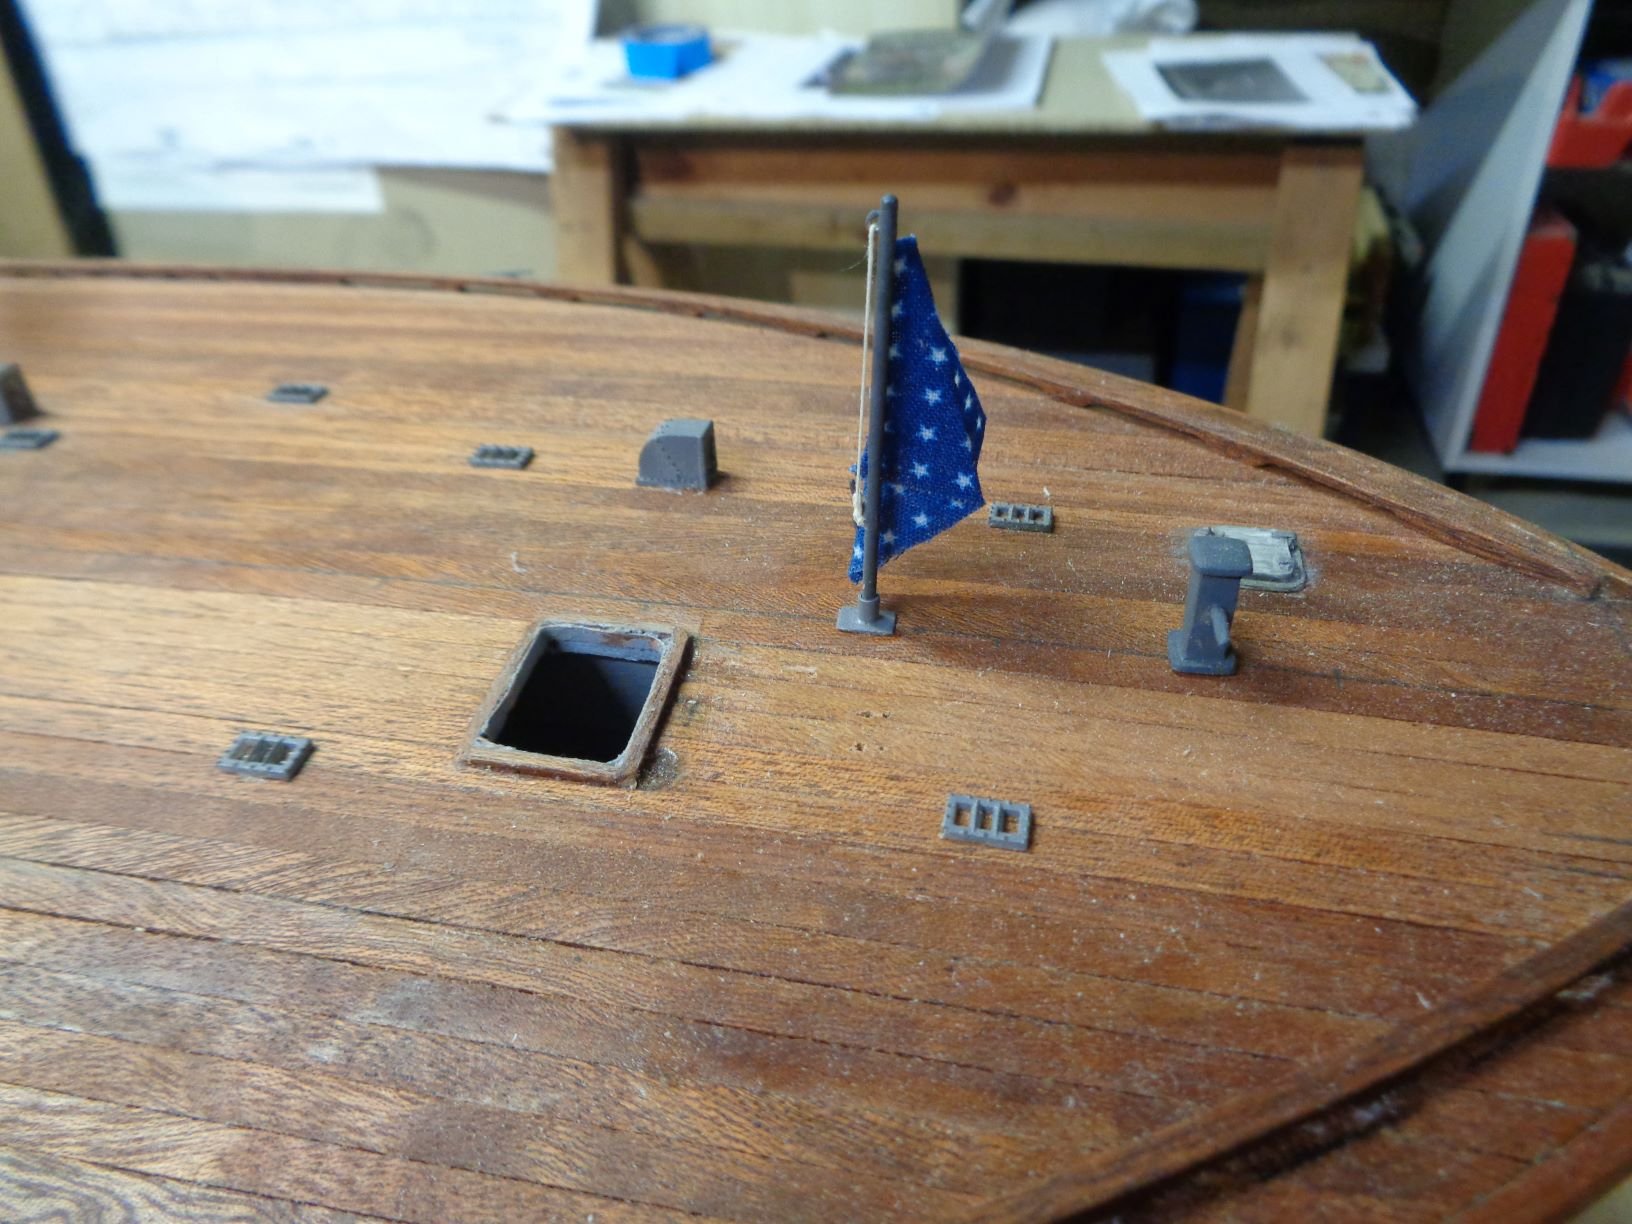
For flags ,numbers & lettering I use BECC model accessories . There flags are cloth & very good quality the flag in question is 48 star Naval Jack length C 38 mm , but 20-25 mm would work just fine. The jack was posted when a ship is docked or in port I have two US flags same measurements , for the numbering I use US/international pennant style 6mm , the best fit for 1/30 scale
- mtaylor, popeye the sailor and Egilman
-
3
-


PT 105 by mog - FINISHED - Dumas - 1:30 scale
in - Kit build logs for subjects built from 1901 - Present Day
Posted
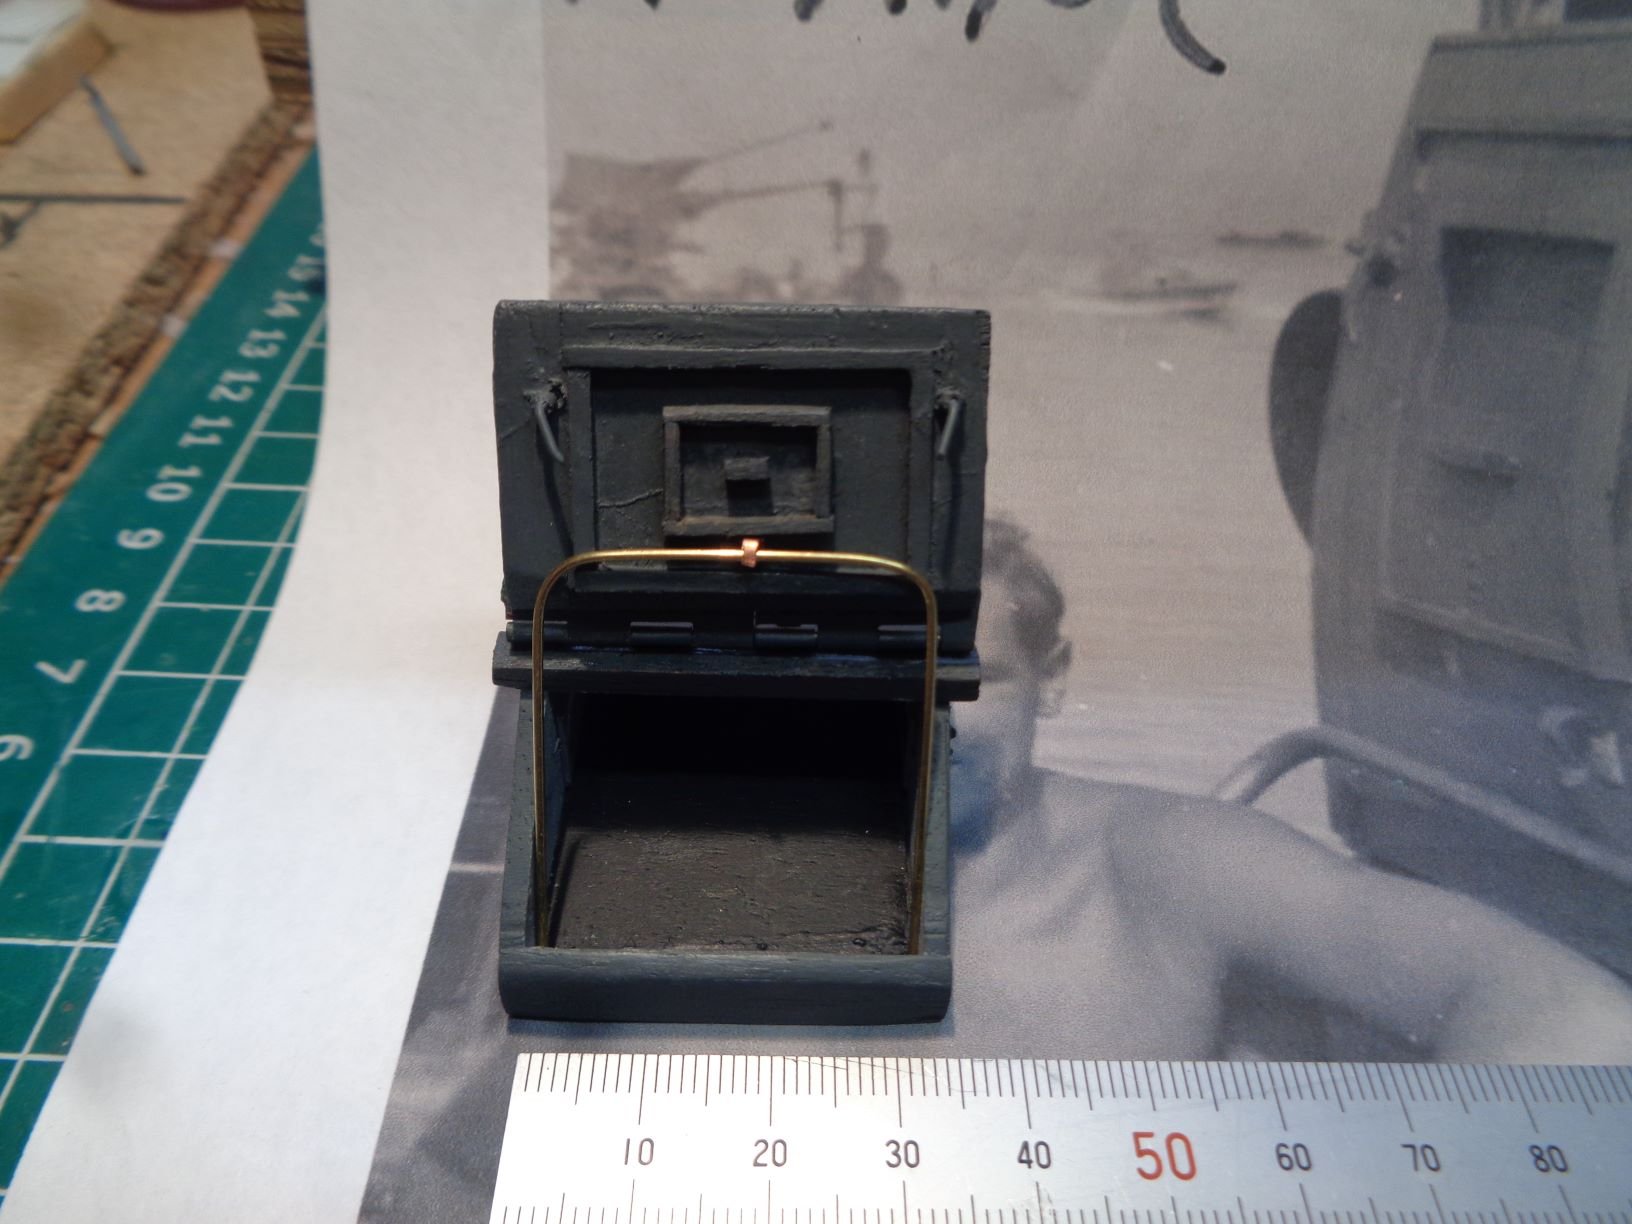
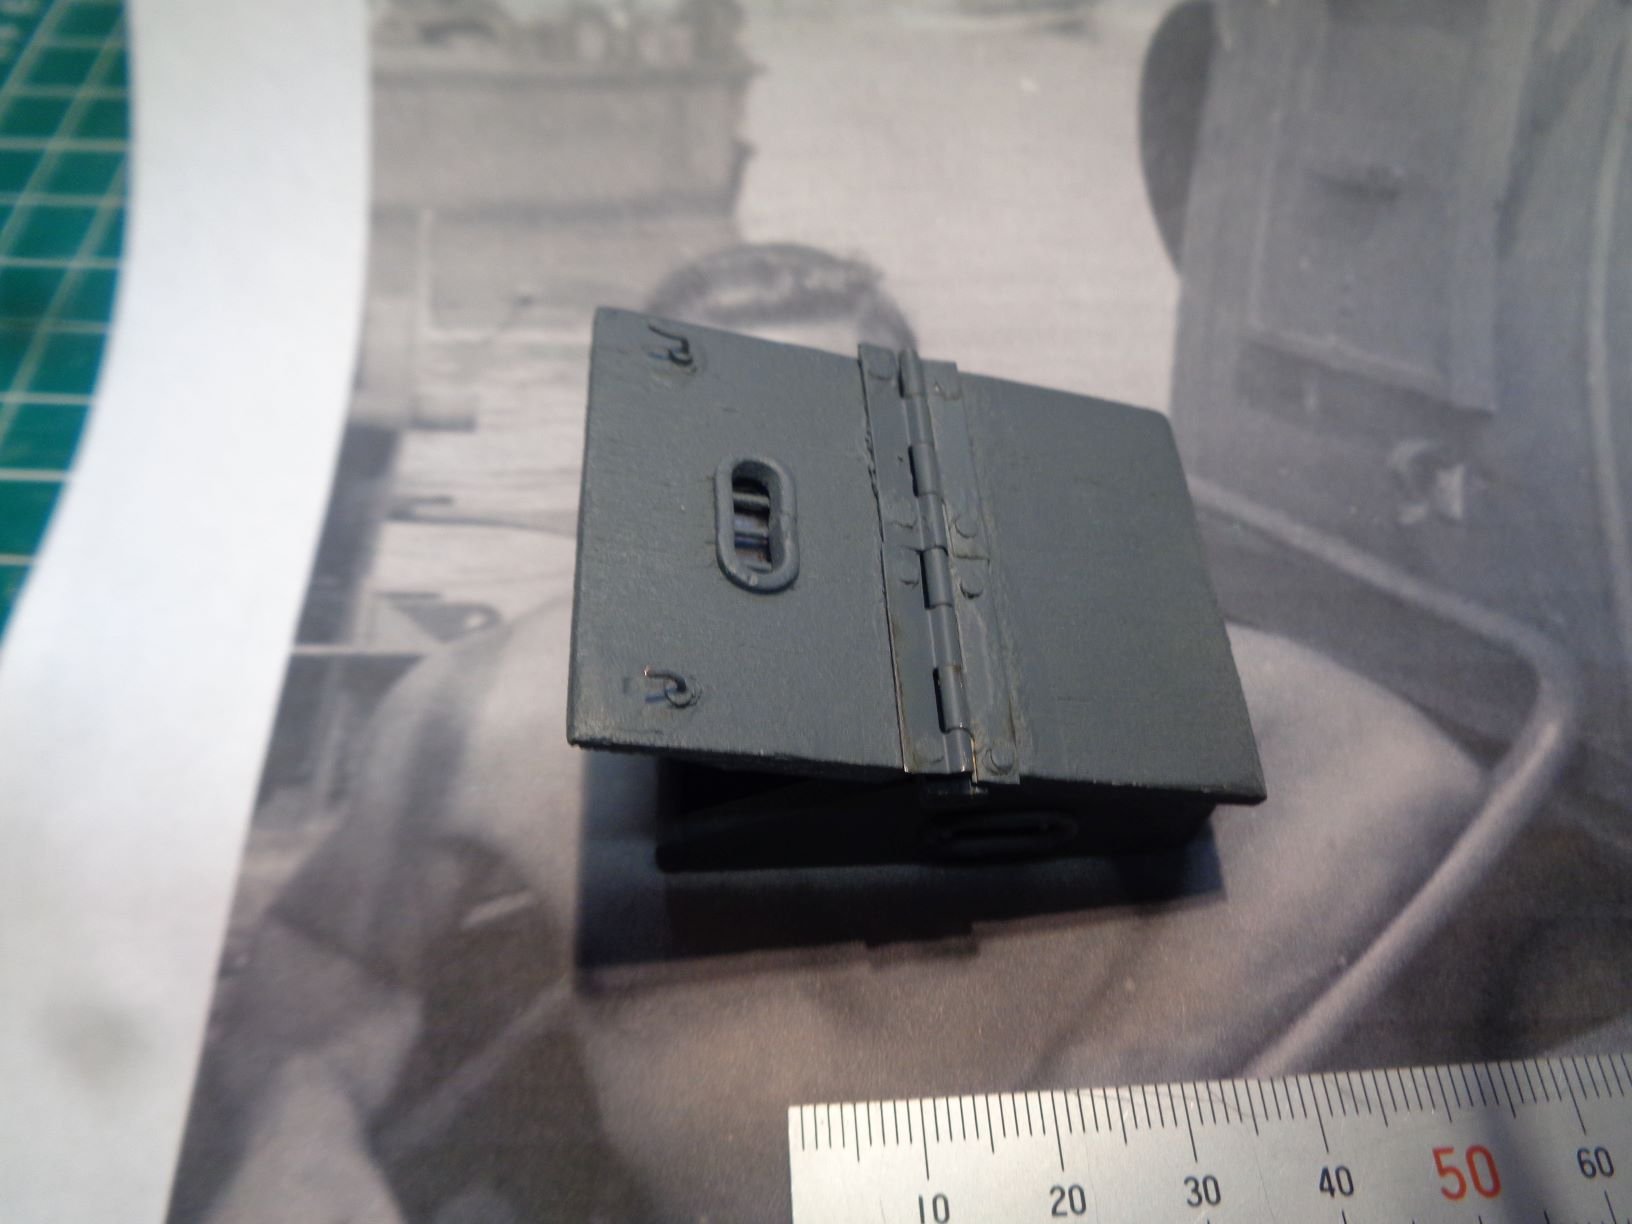
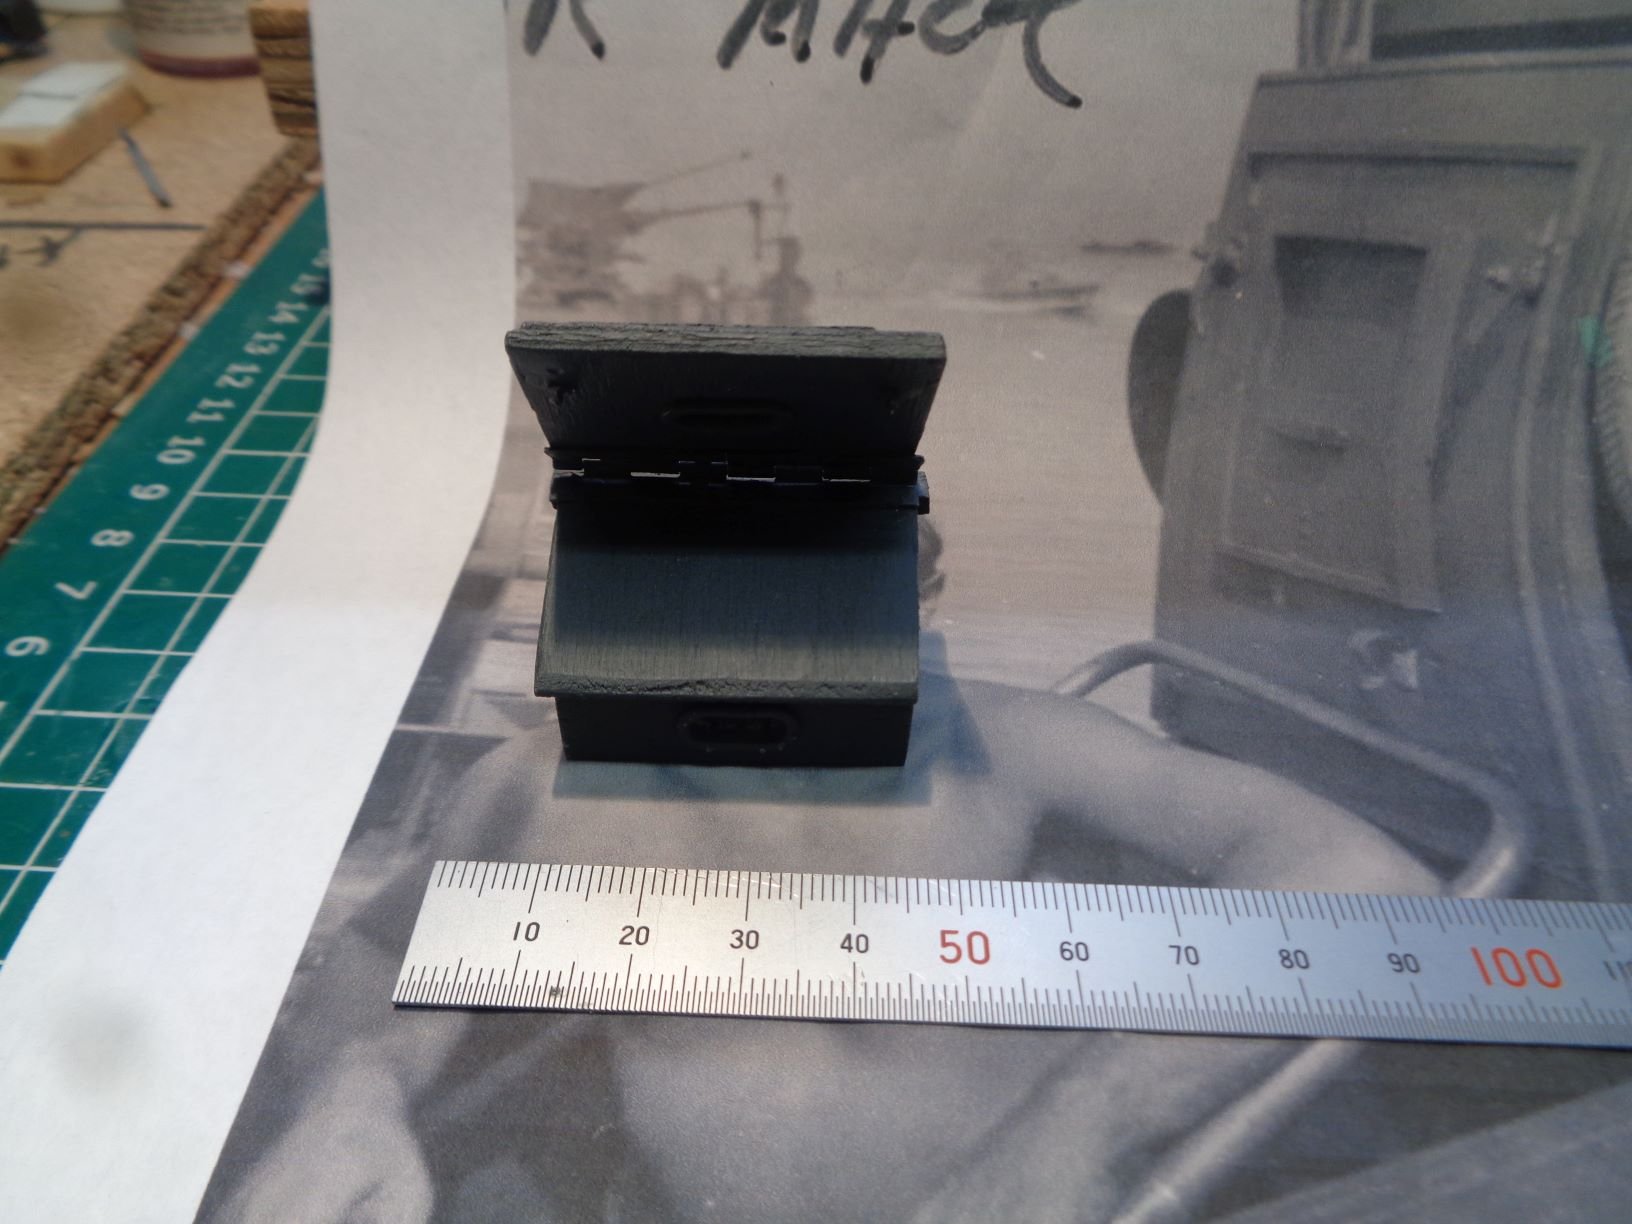
Completed the bow .50 Cal plus some ammo boxes , work is getting there slow but steady