king derelict
-
Posts
3,294 -
Joined
-
Last visited
Content Type
Profiles
Forums
Gallery
Events
Everything posted by king derelict
-
Nice recovery Mike. It’s looking very nice. alan
-
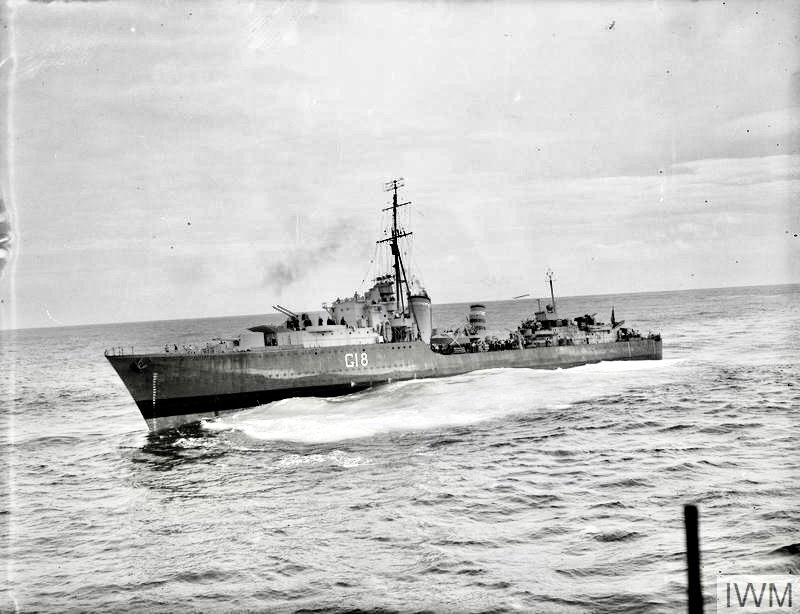
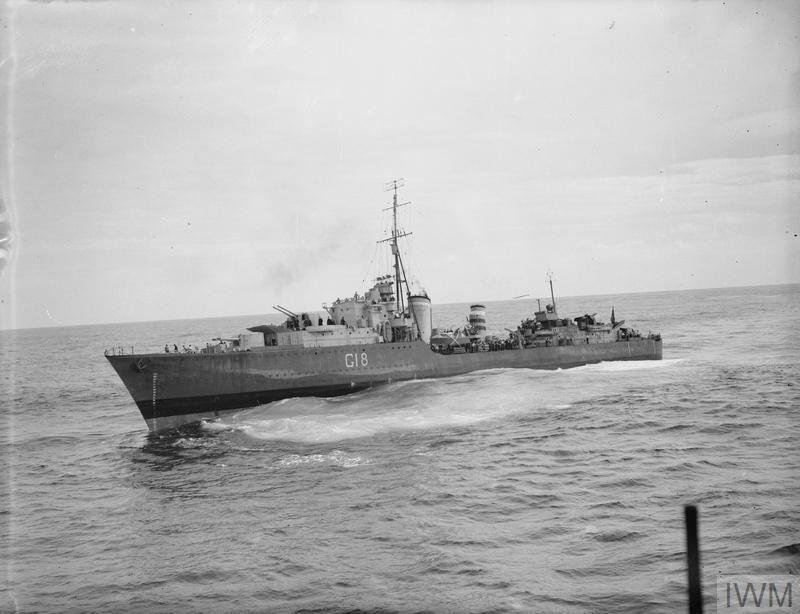
I thought there was quite a lot of good information there. I played about with contrast and exposure on the IWM photo and I can see the pattern better now but of course no nearer the colours is the white really a separate colour or deterioration of the paint? I read that Atlantic storms could strip the paint away. However the WA schemes all use light colours. It’s all rather confusing. alan
- 42 replies
-
- 2
-

-
- Zulu
- Tribal class
- (and 2 more)
-
Thanks Scott Your build photos are great and I think your version is a bit more accurate than mine. alan
-
Thank you very much Rob, These little ships pack a lot of enjoyment into a small space and take a bit of pressure off the display area. I found the railings went better with the ca glue because of being able to use less and a quicker grip. I was finding regular ca after a while gave me streaming eyes and nose, sneezing like a bad allergy. So far the BSI Gold (odorless) doesn’t so I will accept the extra cost and continue. alan
-
Thank you very much Andrew. I need to find some of those old kitchen matches to exaggerate things. alan

- 55 replies
-
- 10
-

-
-
Thank you Mike, I think I’m going back to ca glue for the most part. I need to try Future for small bits. I bought something called Tacky for the Loarre castle build but never used it. I’ll break it out and try it. Thanks alan
-
I imagine wiping ca onto a pen body generates a lot of fumes. My nose getting irritated just thinking about it The BSI Gold is pricey but they changed the cap and it does give you a sporting chance of finishing the bottle before it solidifies alan
-
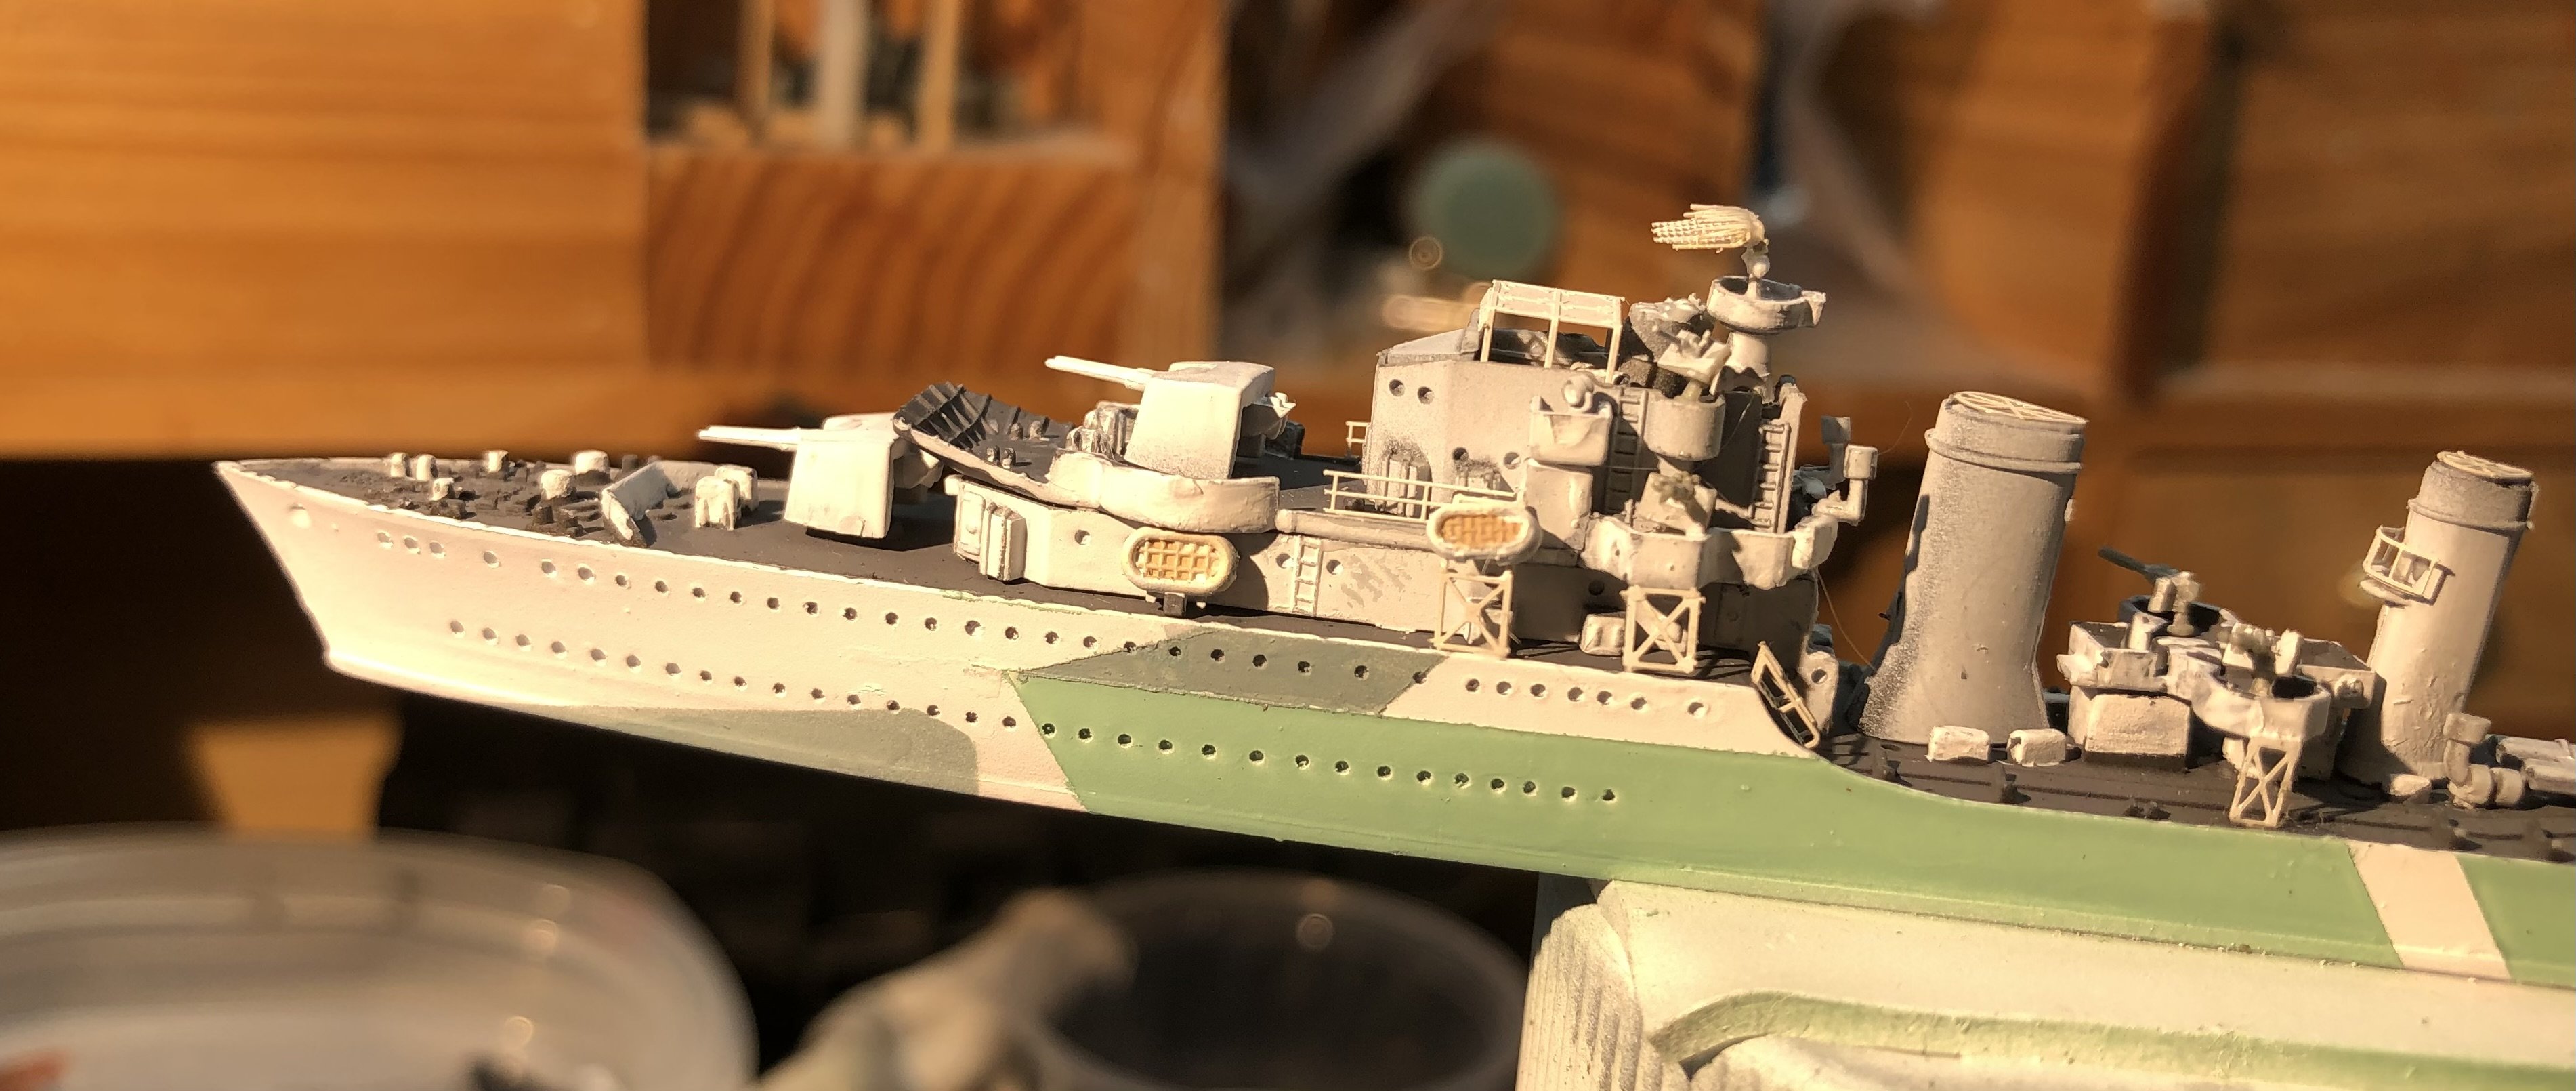
The research of the camouflage continues without finding any scheme that looks like the IWM photo. I did stumble across this rather interesting reference which looks broadly helpful (except in this case) https://shipbucket.com/references/Painters Guide to World War Two Naval Camouflage.pdf Notionally, HMS Zulu in this photo is wearing too dark a scheme for the Atlantic. The digging continues, meanwhile all applicable parts got a dose of Vallejo black acrylic primer. Thanks for looking in and the likes. Alan
- 42 replies
-
- 6
-
-
- Zulu
- Tribal class
- (and 2 more)
-
Thank you very much Mike. I think I’m a convert to Bob Smith Gold. It’s medium thickness, plenty of time to adjust and no odor. I was finding that the regular stuff was making me rather unwell if I used it for any length of time. I just posted the next installment, a Tribal sister, HMS Zulu. Alan
-
Thank you very much Jack. Trumpeter is not Flyhawk but the bits do fit even if they are sometimes inaccurate. alan
-
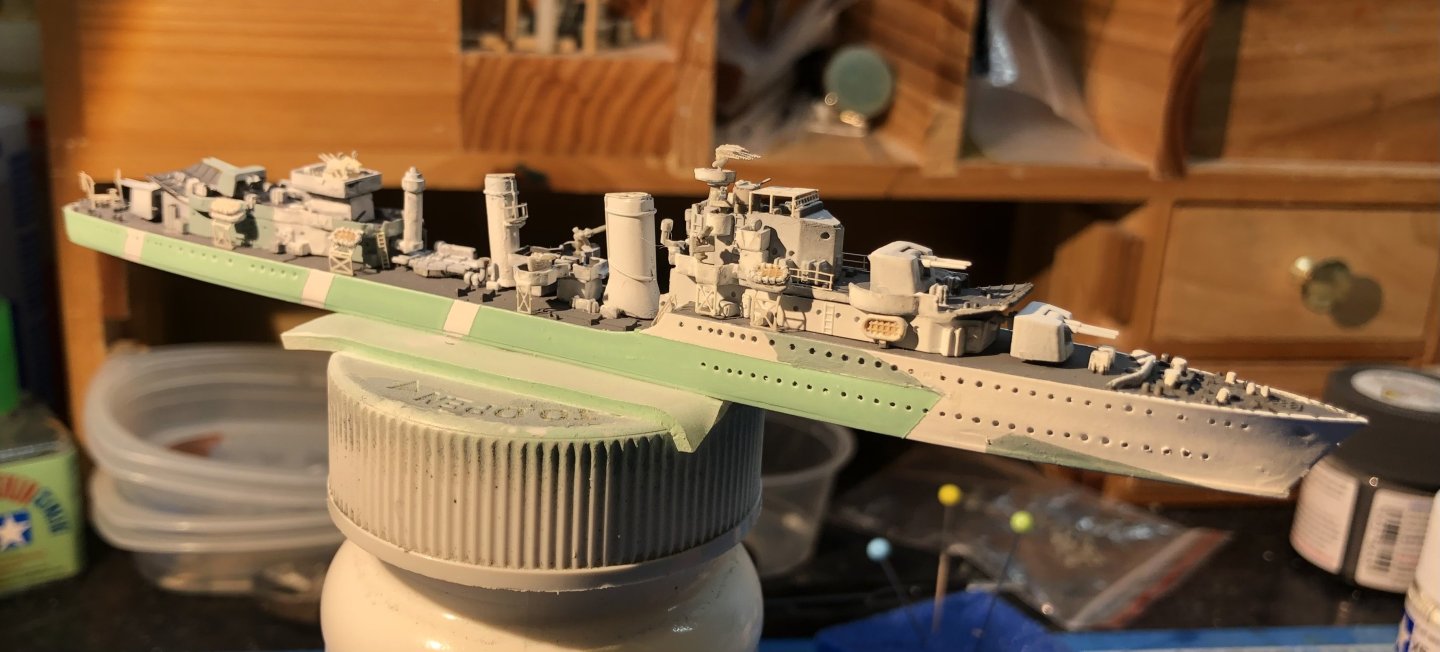
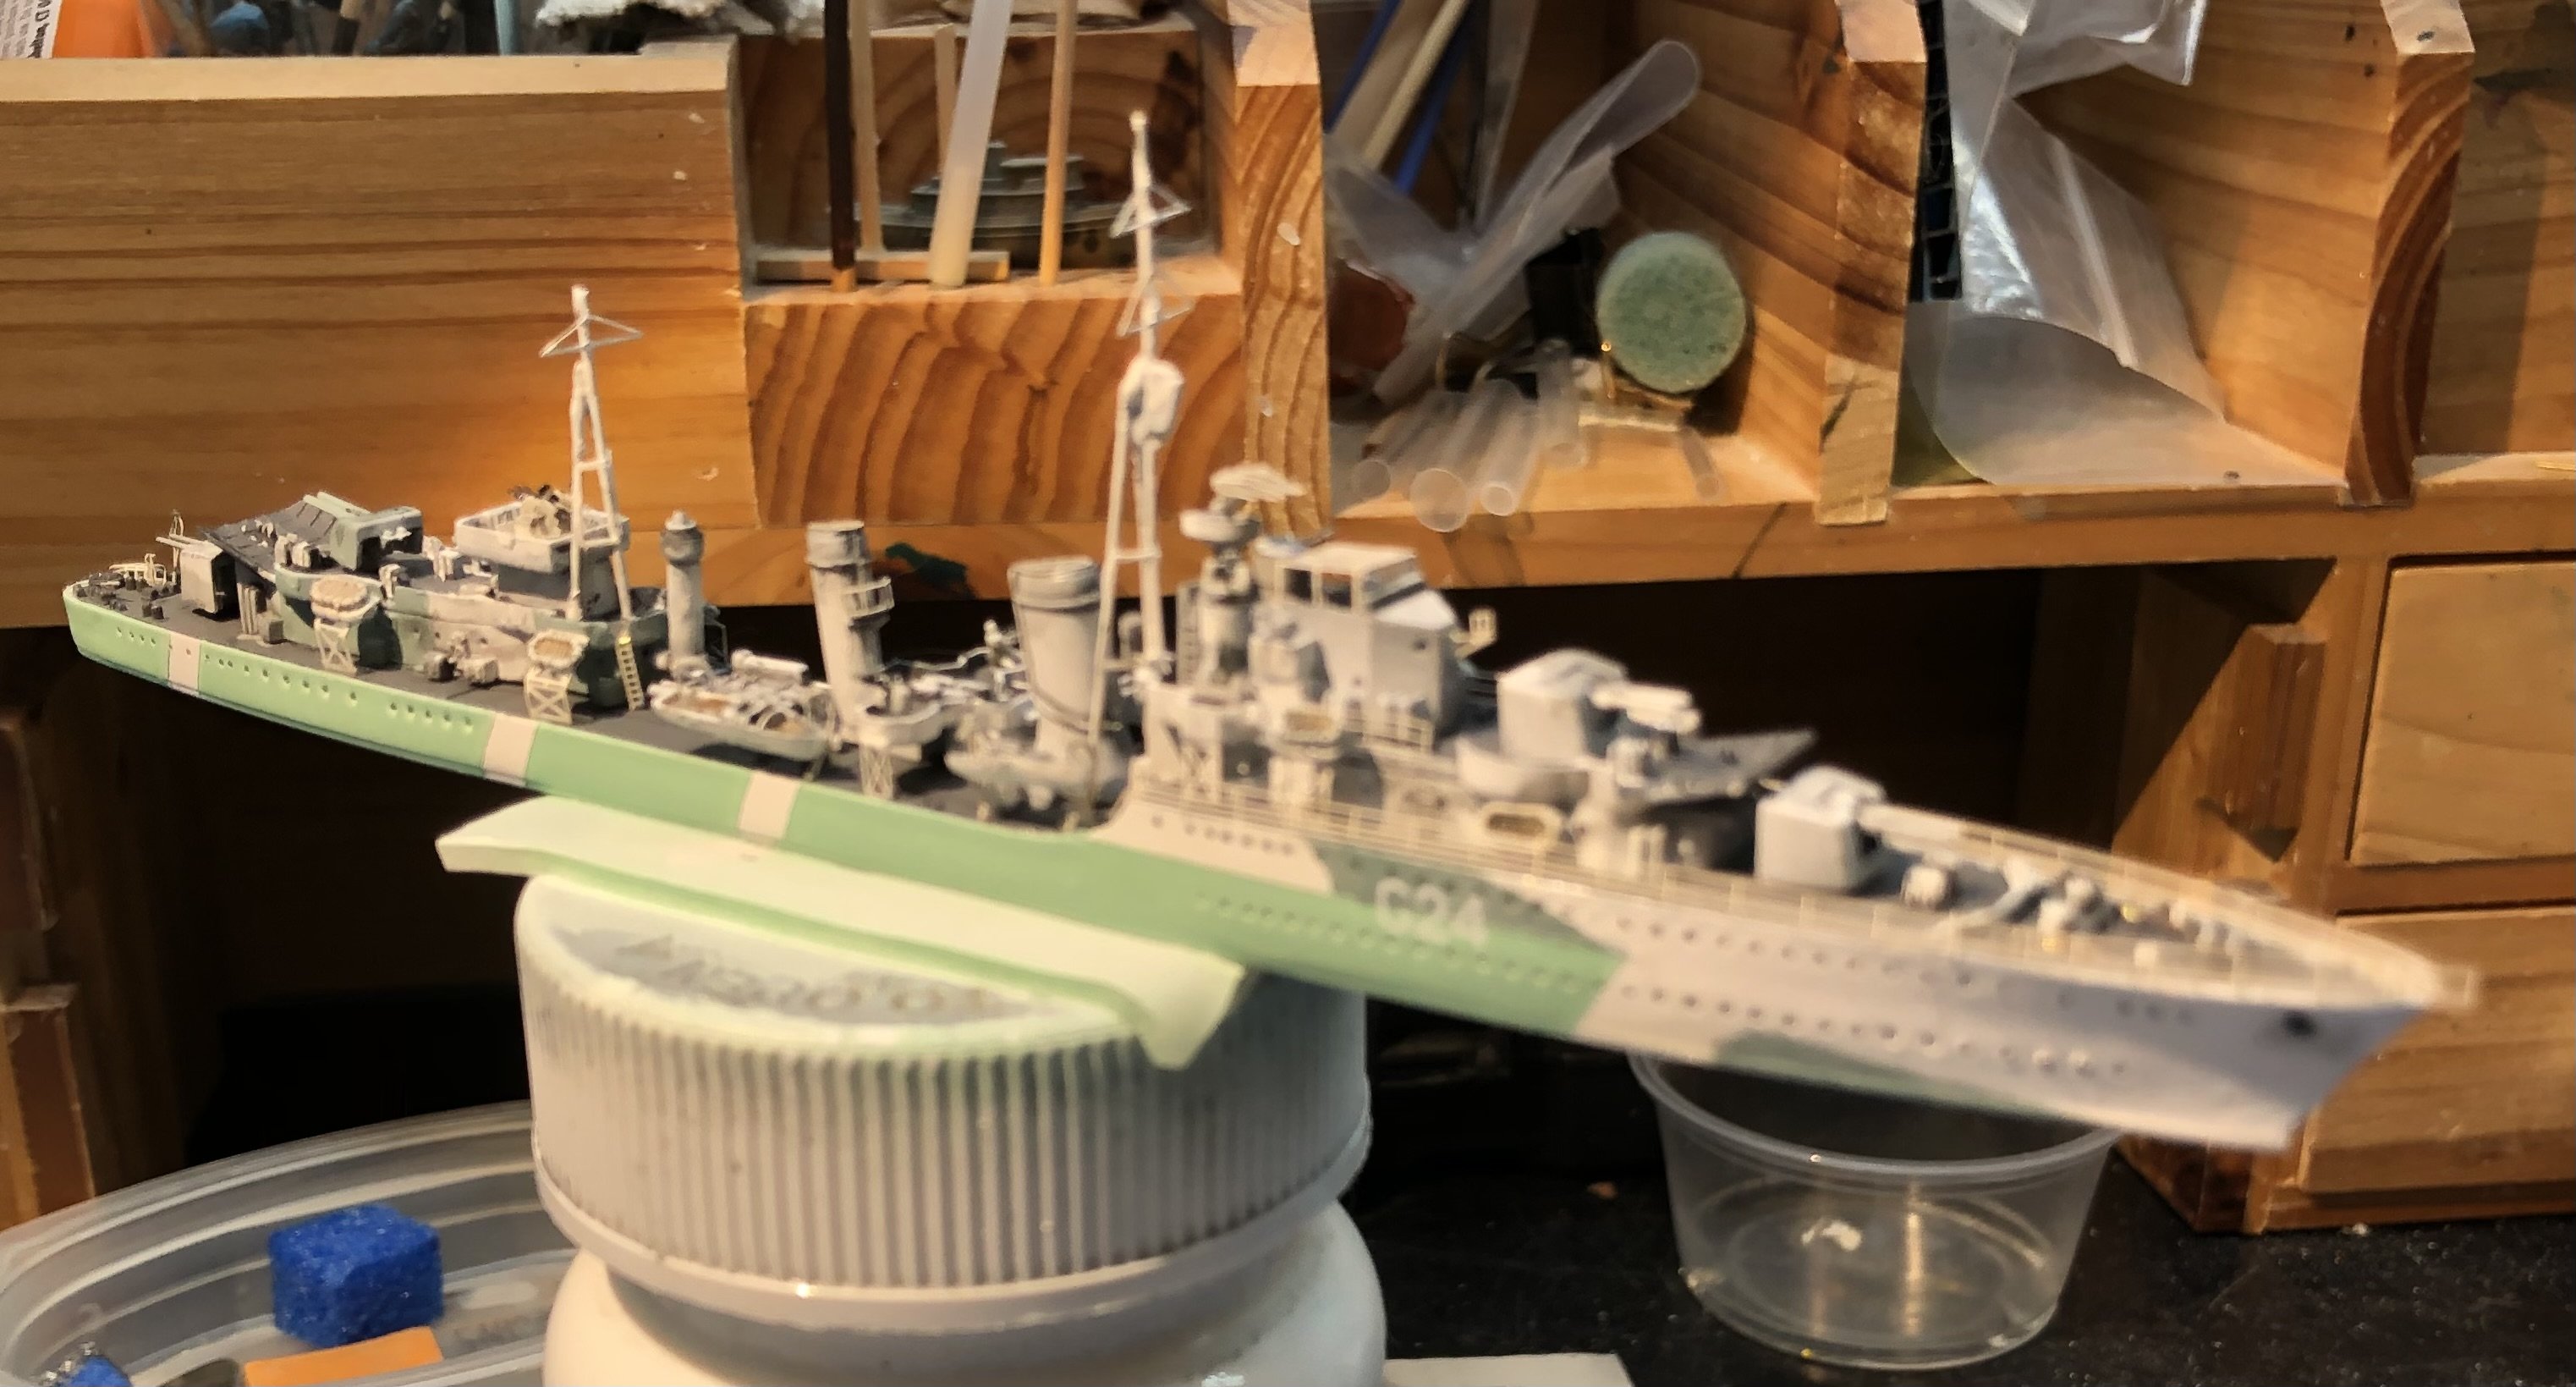
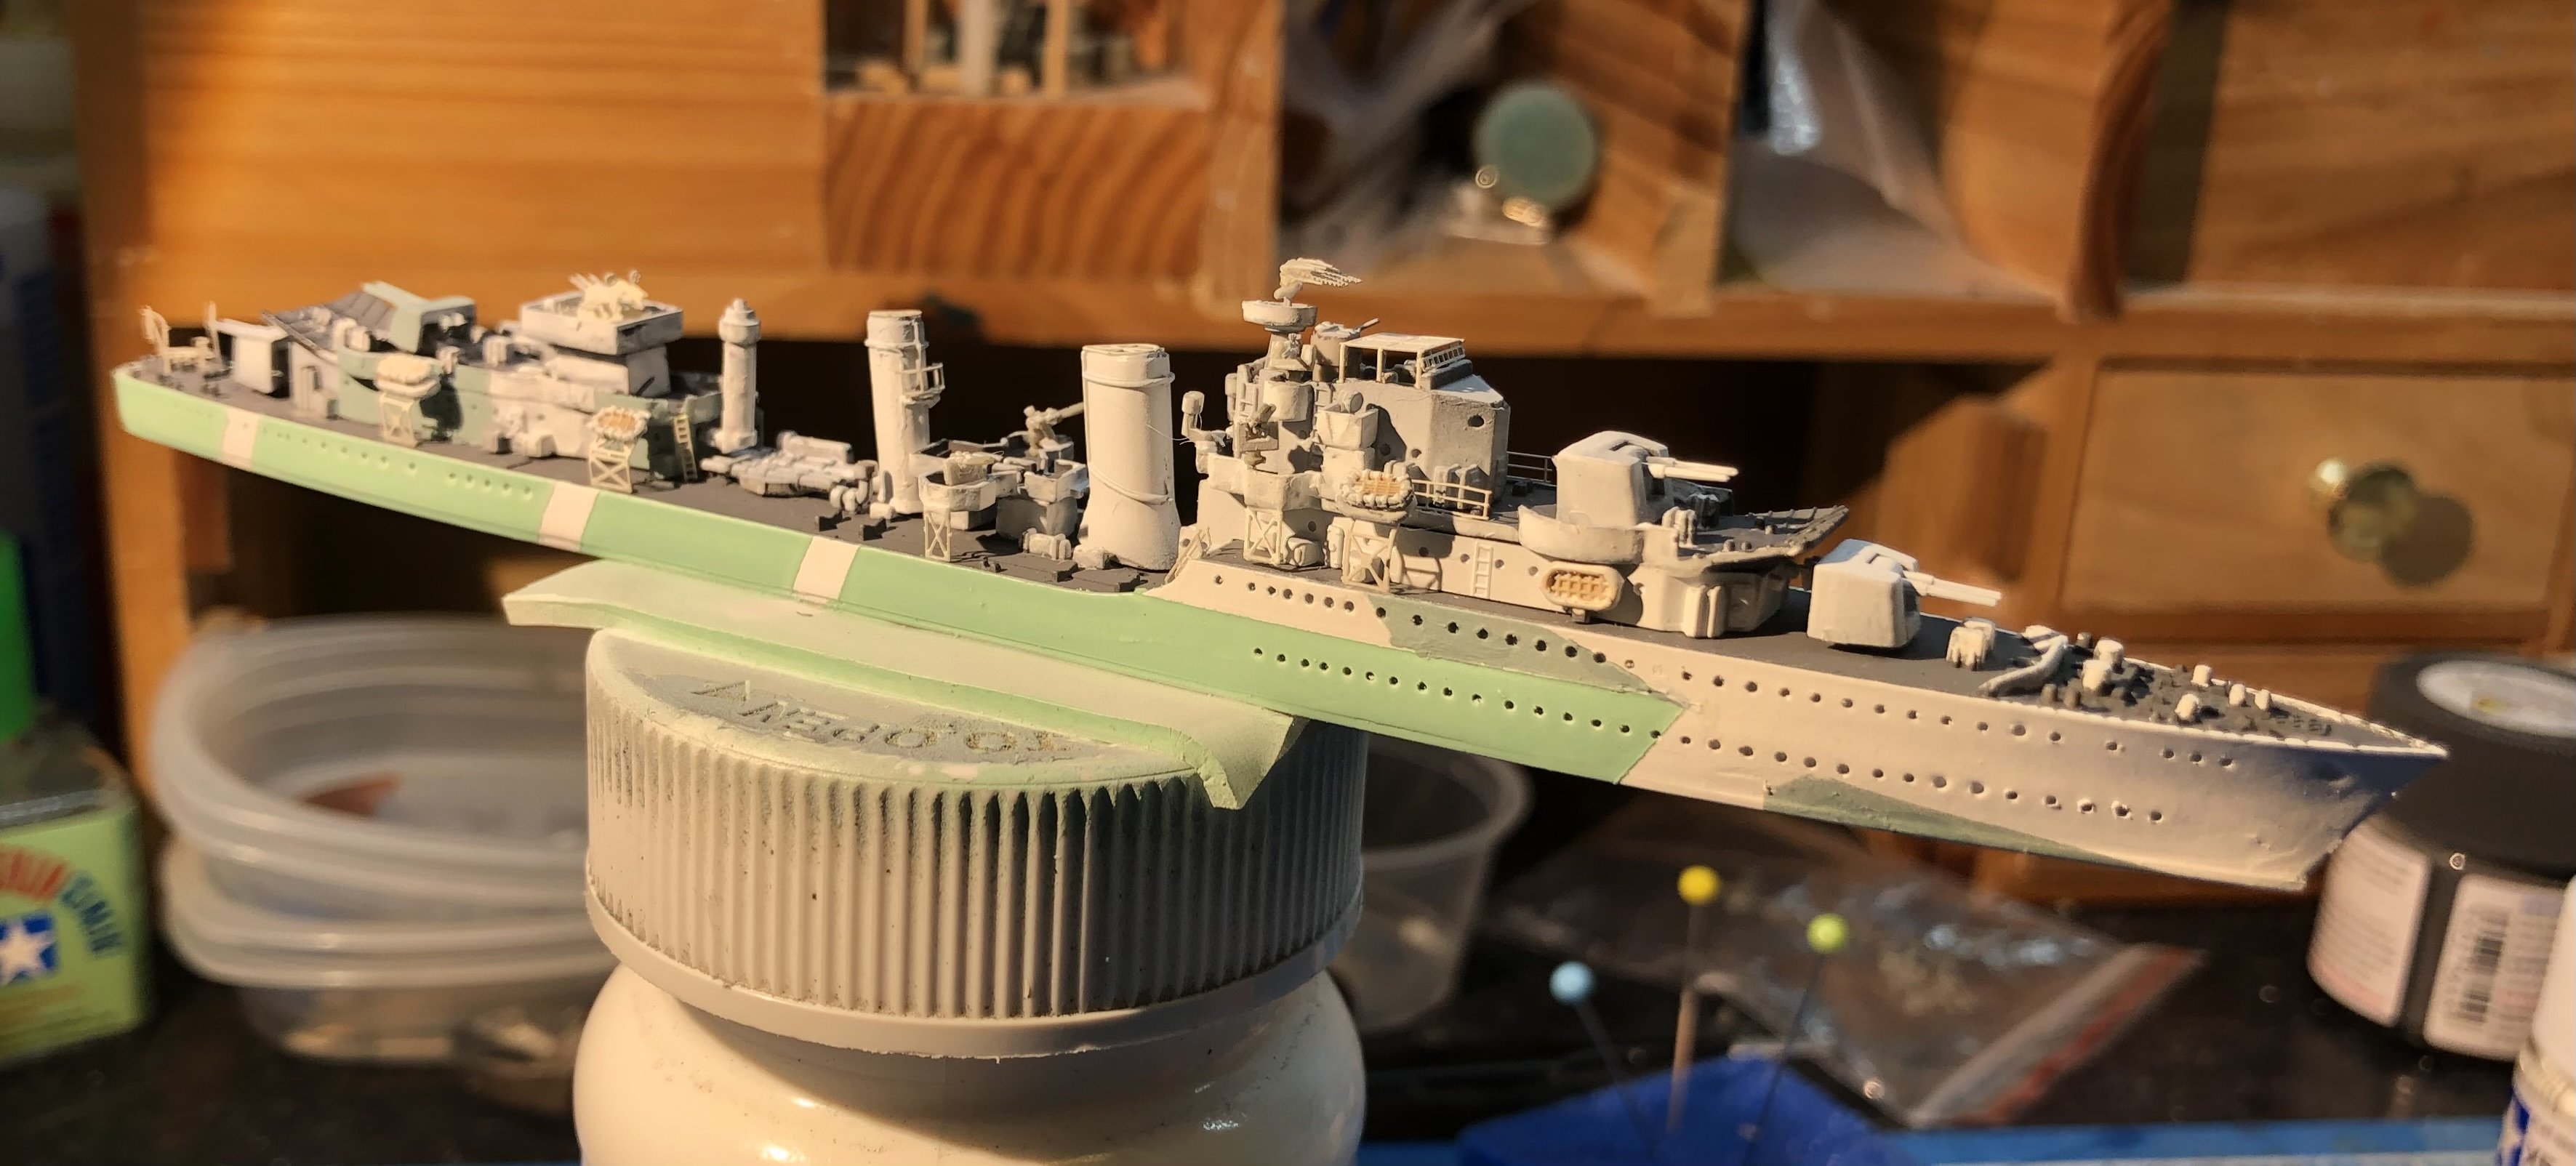
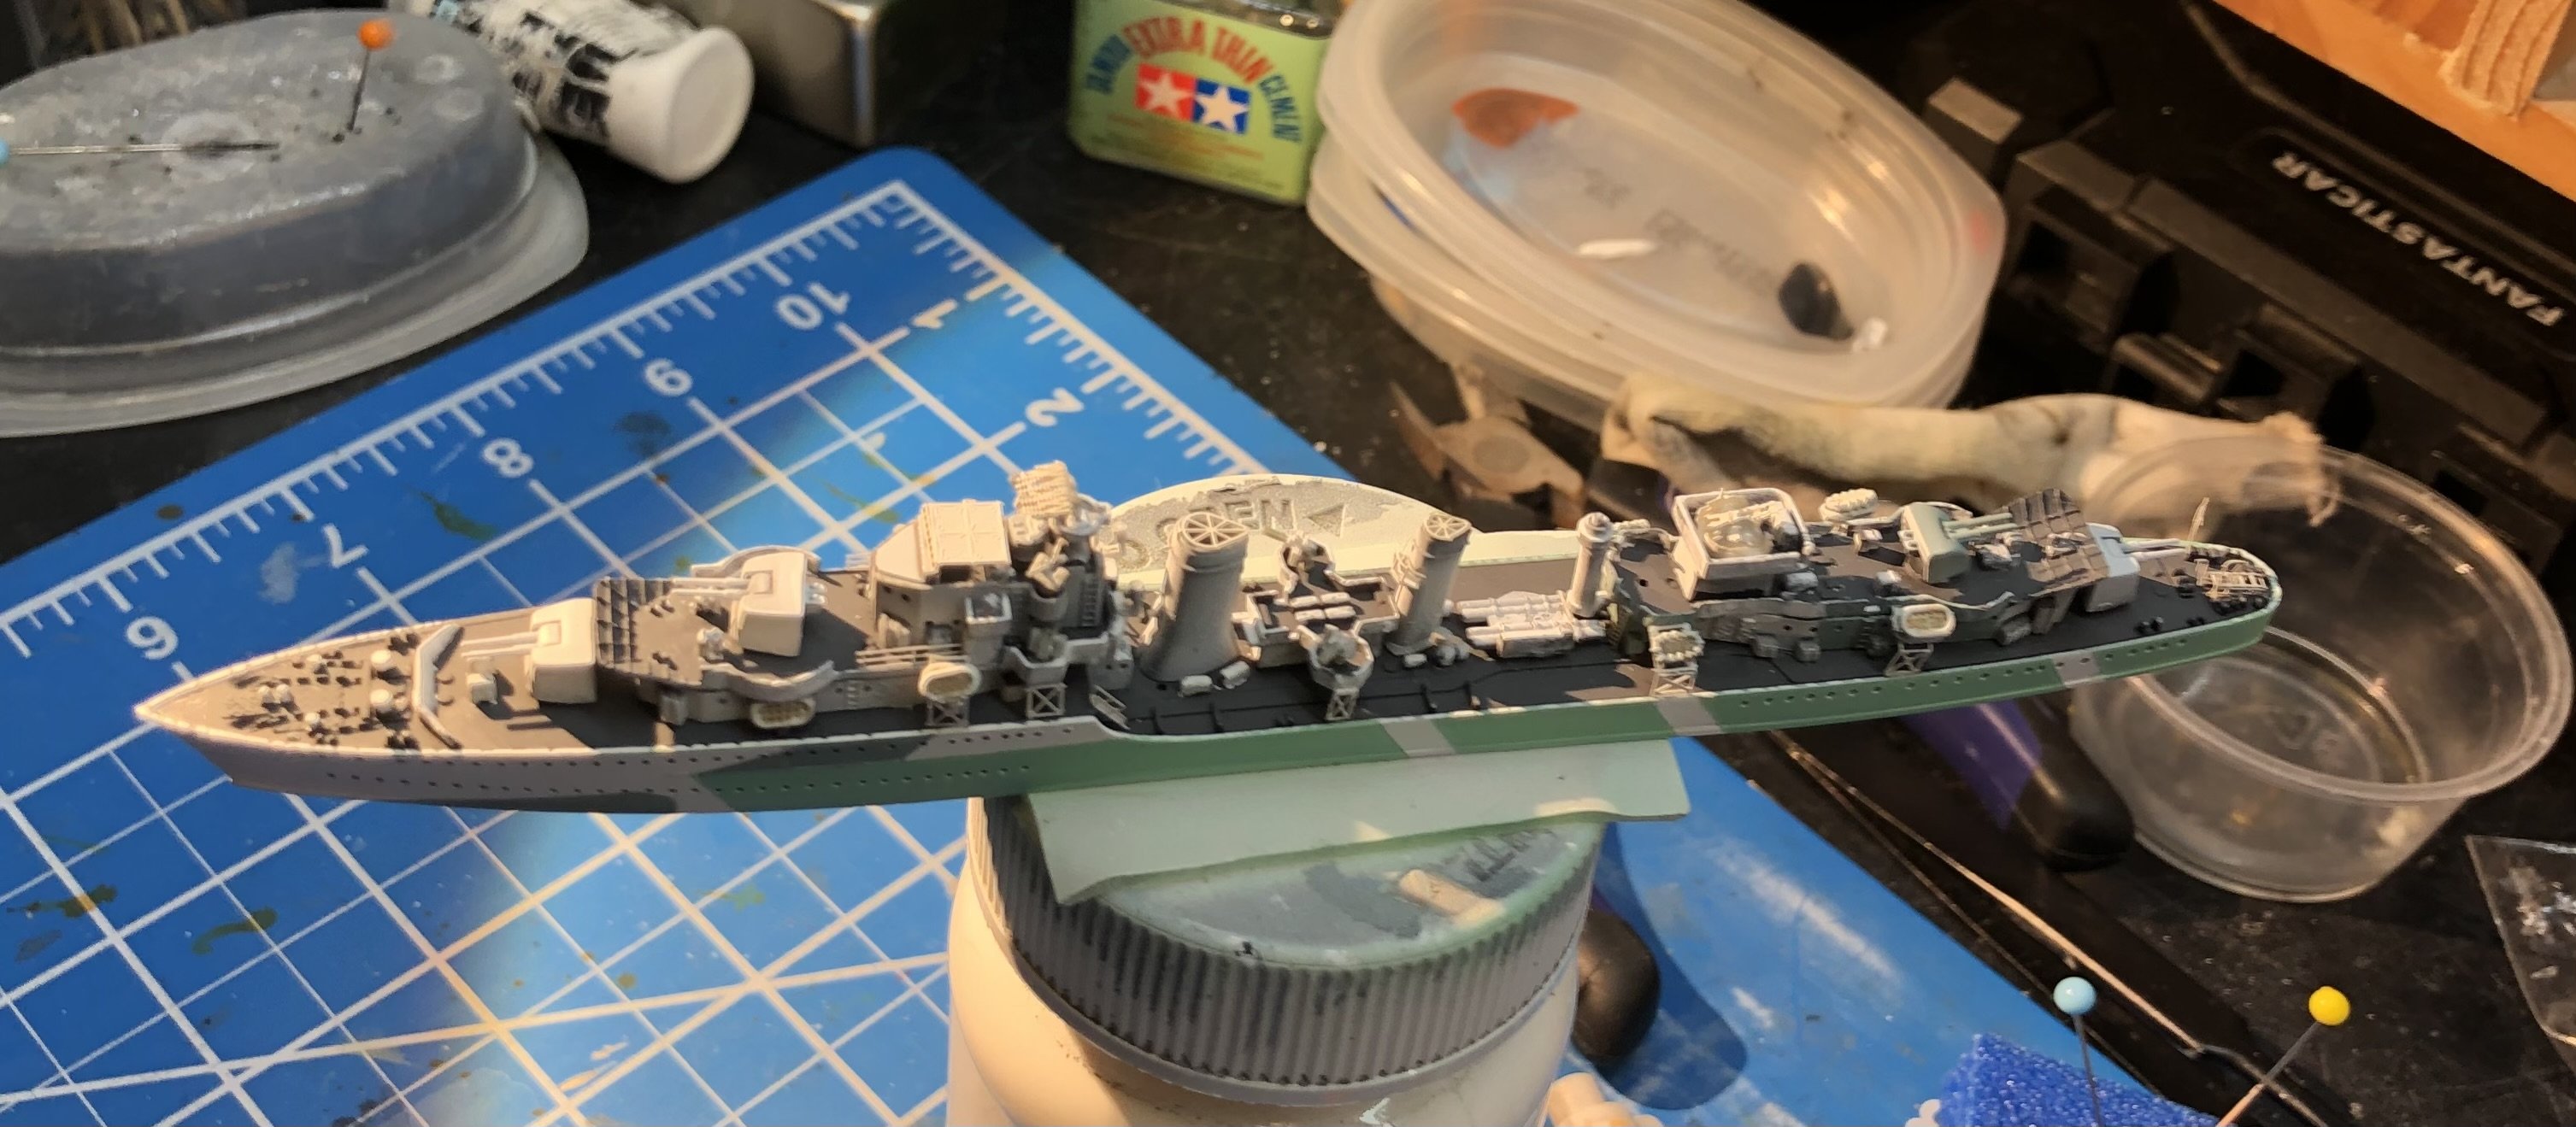
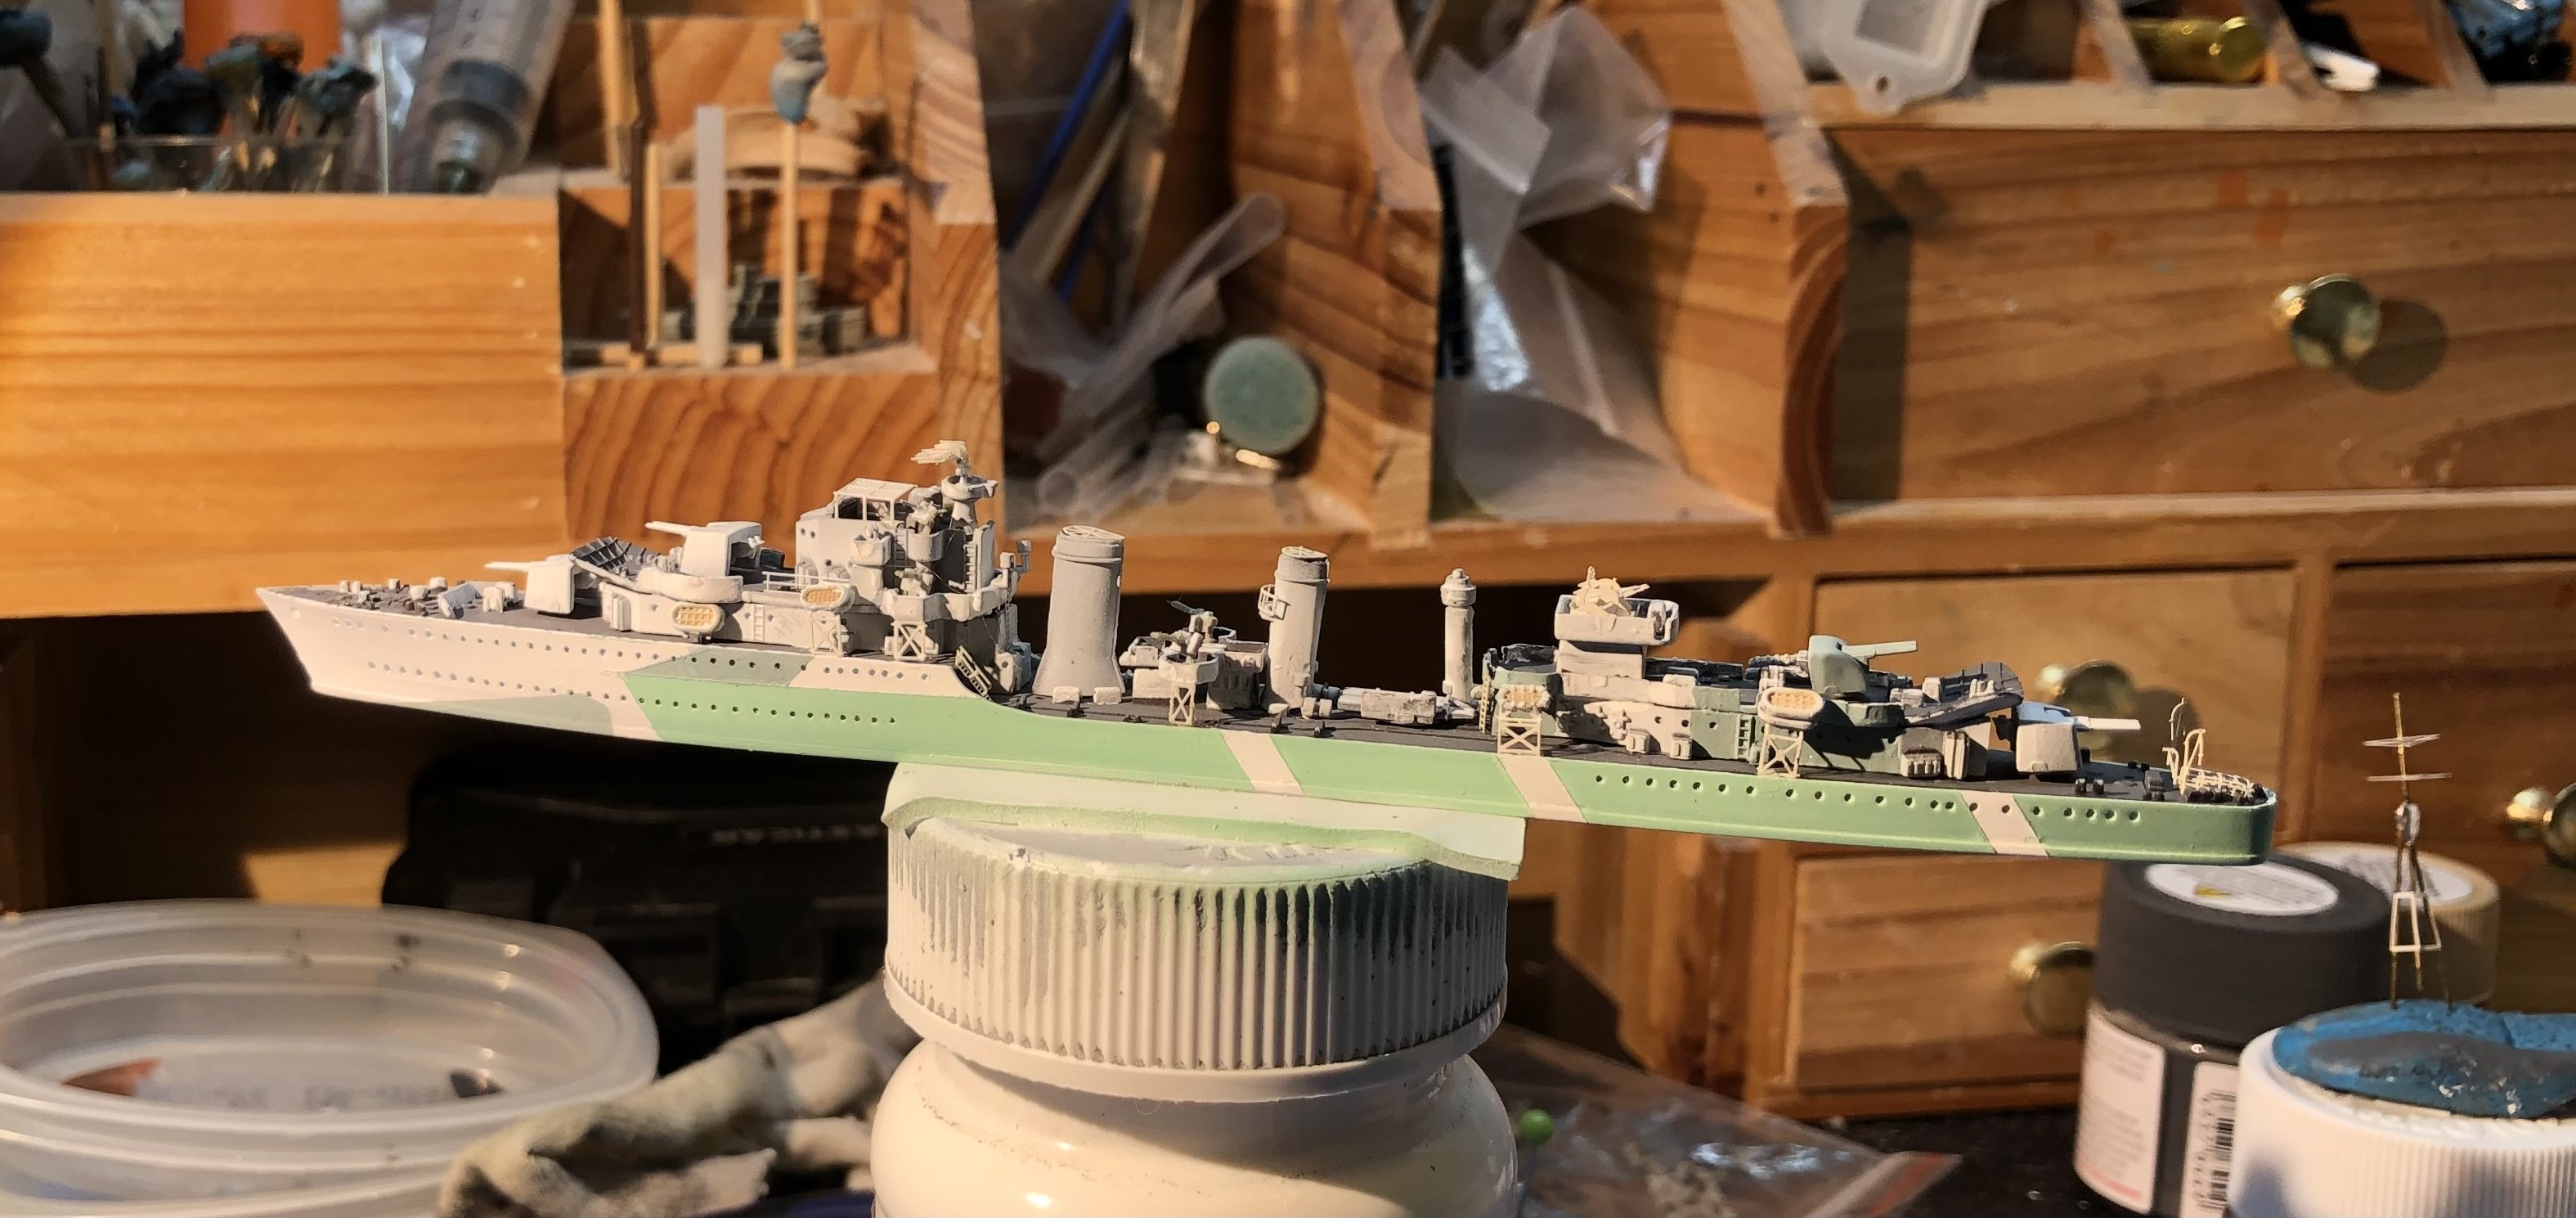
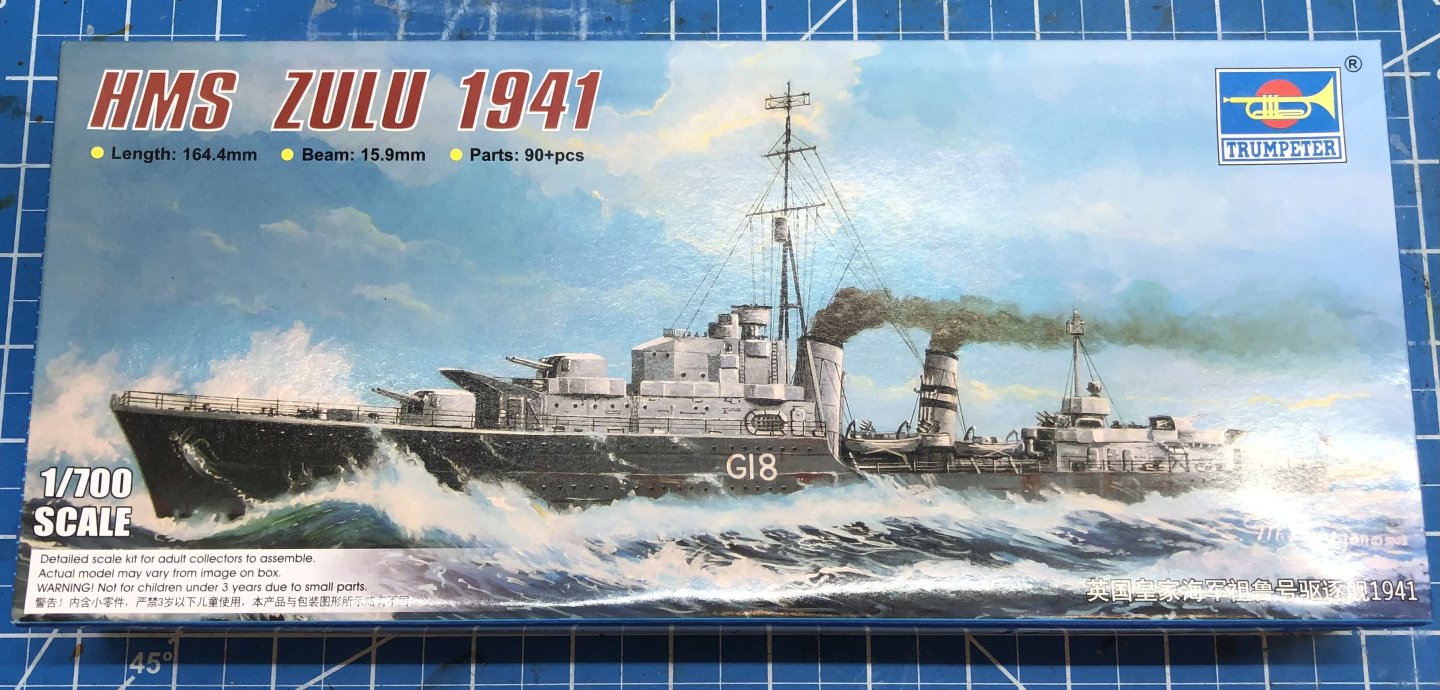
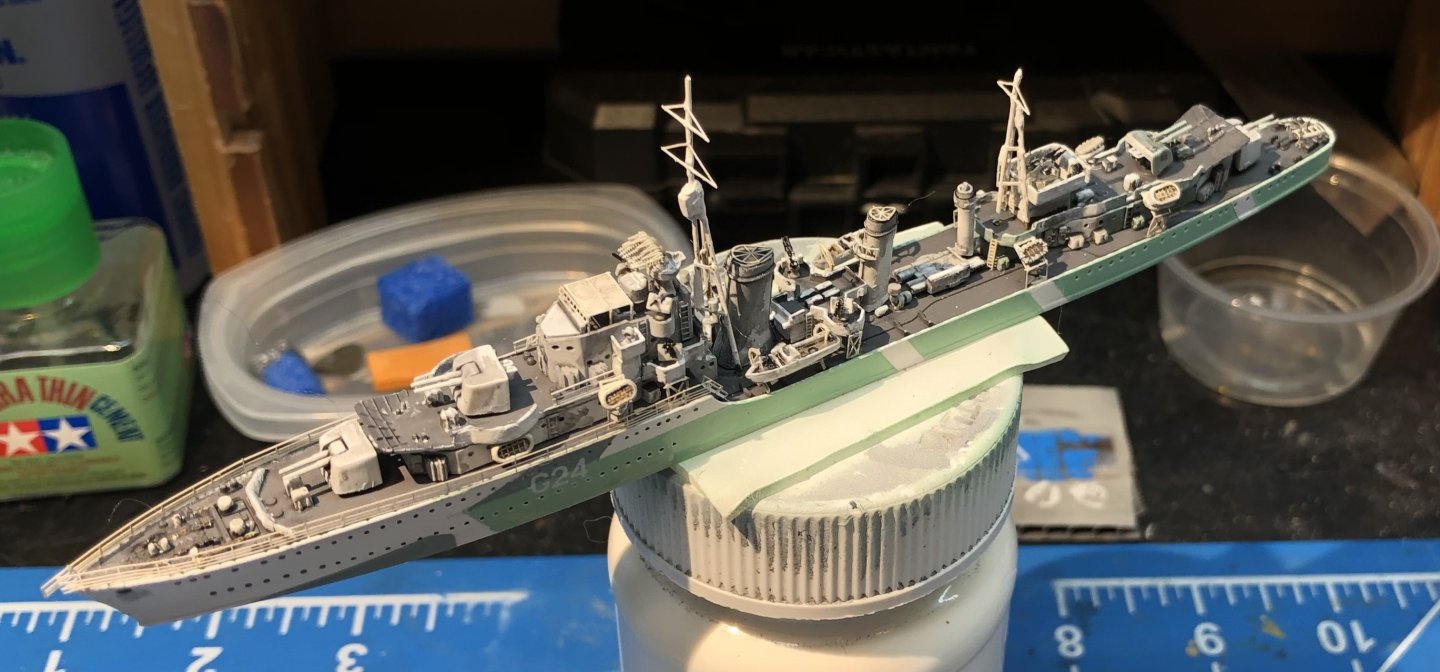
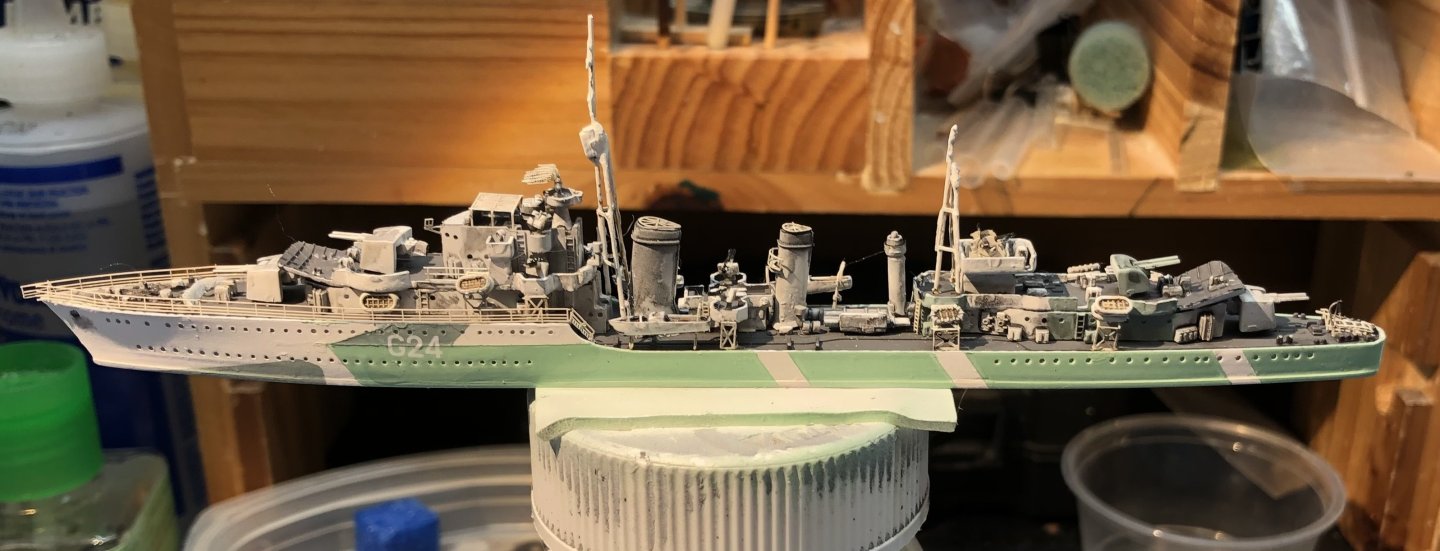
This is the start of another Tribal destroyer build. HMS Zulu this time. Trumpeter again so I think I know my way through some of inaccuracies and maybe correct some. The kit is identical to Huron except for one small sprue which provides the searchlight platform aft. Less secondary weapons which seems correct. I haven’t found many photos of Zulu apart from a few of her in the Atlantic in 1941. She was sunk off Tobruk in 1942 later refits don’t apply. The first problem is deciding what to use for the color scheme. Trumpeter calls for a Royal blue hull and blue decks which is unusual and in my books I only see that sort of scheme later in the war, 1944 - 1945. The IWM photo seems to show a multi colored hull but it’s hard to see the details further aft and deciding the colors is difficult. So I think I’ll browse my books and try to find something similar (or interesting) that’s correct for the period. sadly as seen in the photo I’ll be building another tripod mast and the PE lattice mast will languish. for looking in. alan
- 42 replies
-
- 8
-
-
- Zulu
- Tribal class
- (and 2 more)
-
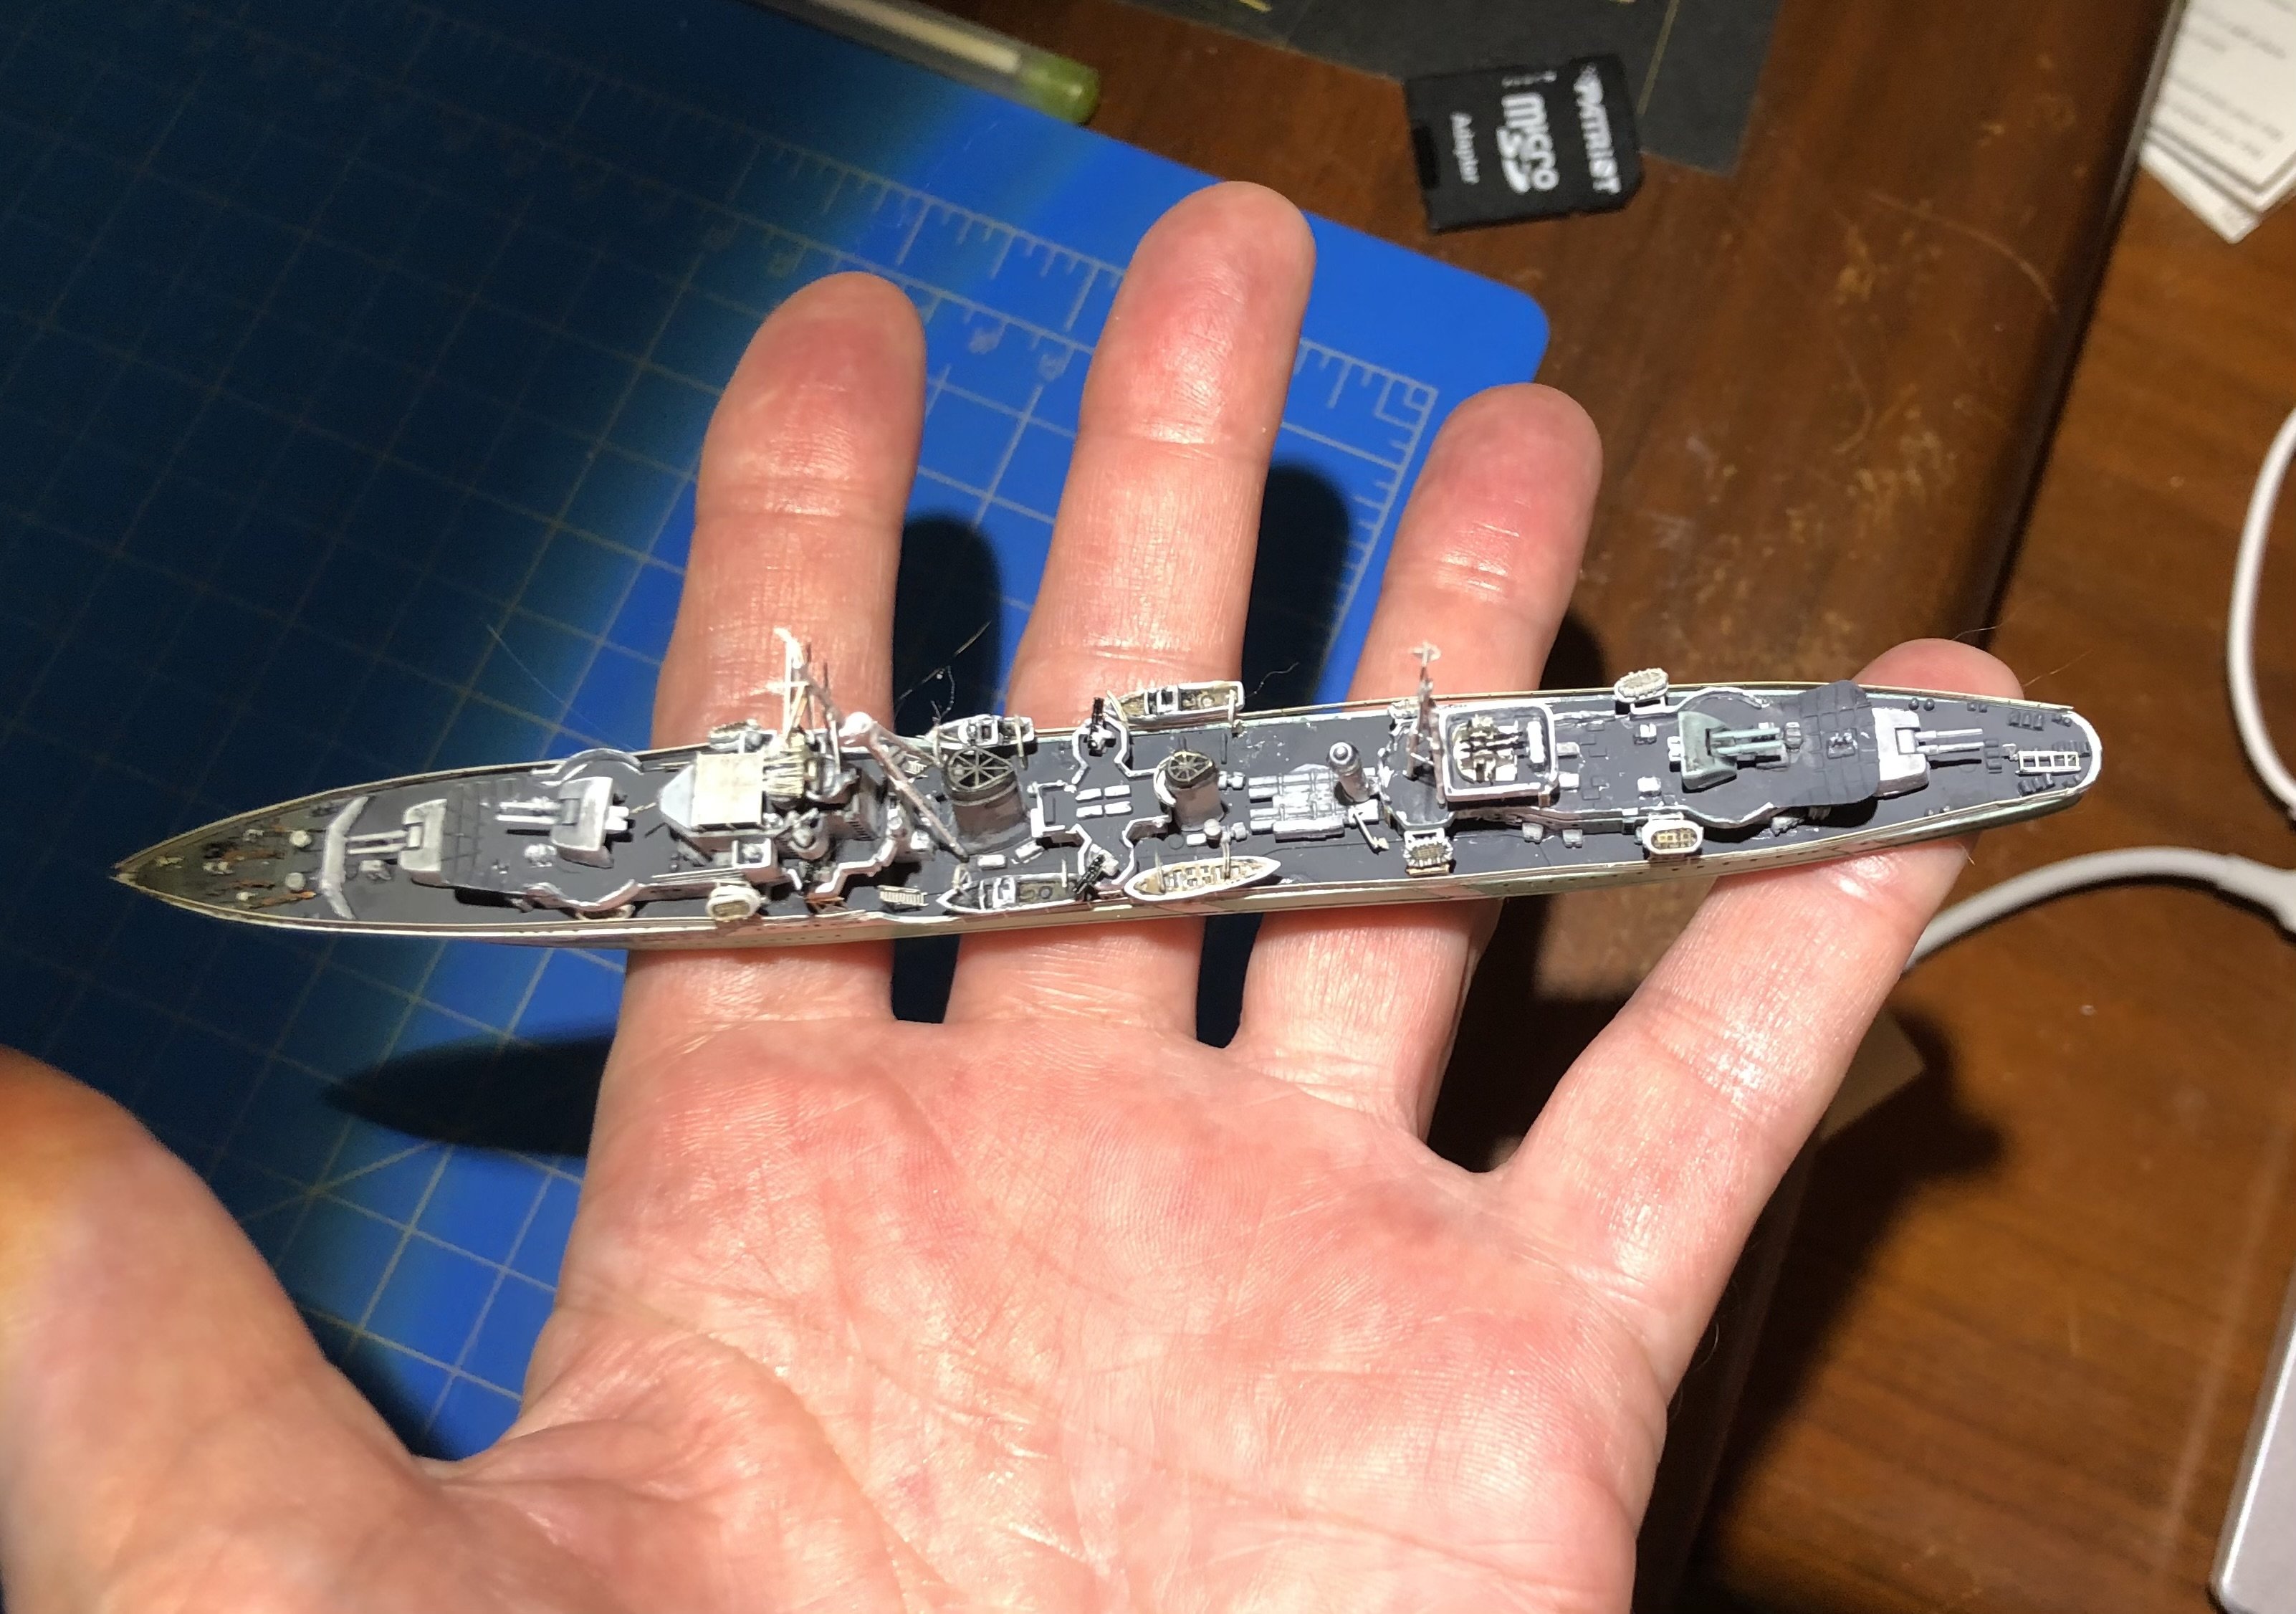
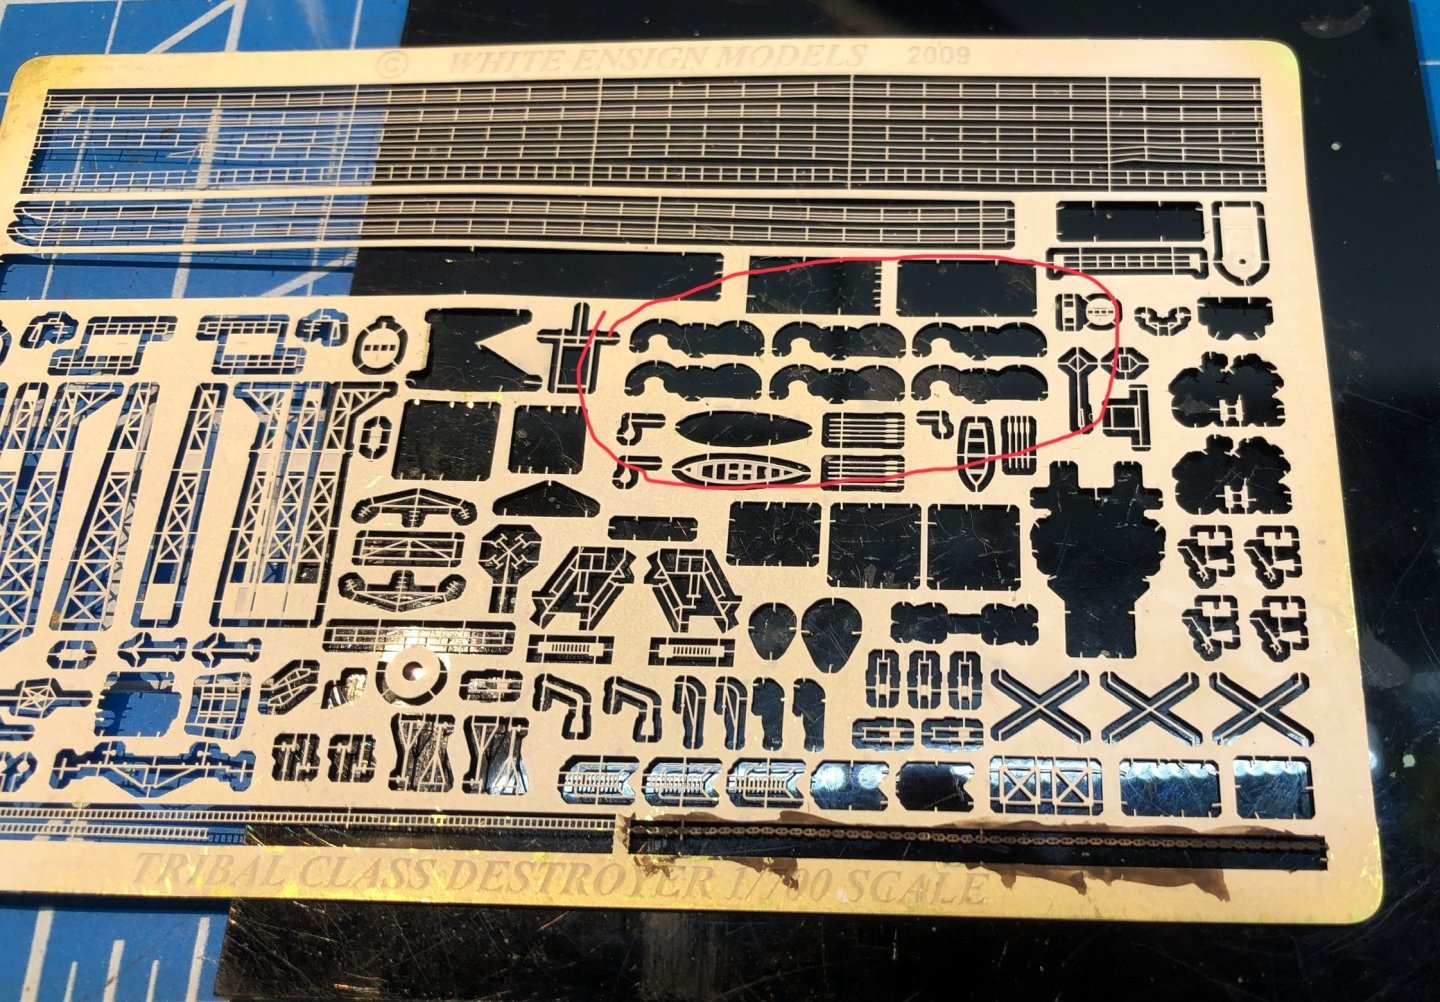
I think Huron is finished. I added the radar and DF gear to the masts and touched up the paint. I added a grey wash to the hull to tone the colors down a little and then weathered the ship, mostly the hull. It’s always easy to overdo the weathering at 1/700 but I think I reached an appropriate level. According to White Ensign they only provide three sets of davits because Tribals had three or less boats. I haven’t been able to confirm that so Ive stuck with four. I have a lot of PE bits left, hopefully some will get used on the upcoming builds. Out of curiosity I built Huron using ca instead of the usual white PVA type of glue. I found it easier to apply very small amounts of glue and the faster setting time was an advantage. It does result in a brittle bond and a few small parts got knocked off and had to be reattached. Thanks for looking in and for the likes and helpful comments. More of the same / similar in the upcoming logs. alan


- 55 replies
-
- 14
-
-
-
Hi Andrew. Thank you very much for adding the photos of the Argosy to my log. The photos are great. Ive not been to the Midlands Air Museum and Ive added to the list of places I would like to visit on my next UK visit. Luckily my dad lives within easy reach of Newark Air museum, RAF Cosford and the air park at Castle Donnington. The Coventry museum looks like it has a good selection of exhibits. Alan
-
Thank you very much Scott I would very much like to see your build log and would welcome the link. Thanks alan
-
Thanks Andrew. I will do logs for Zulu and Eskimo, there may be a bit of repetition but at least the camouflage scheme is different for both. alan
-
I’ve been adding little bits around the ship. I decided that putting the ships boats on davits has to be done now that I know that’s how they were really stowed. I think it’s going to make installing the deck railings tricky. Curiously, in spite of the ships having four boats WE only gives you three sets of davits. A root through the spare PE box has come up with some similar ones. The brass masts have been added and the forecastle railings are almost done. last significant items will be the main deck railings and the mast head radar HF/DF Some weathering and touch up. I’m not going to try to rig the masts, at 1/700 it’s beyond my eyesight. I have HMS Zulu and HMS Eskimo in the pile. I think I’m going to bring them out and build them while I can remember the quirks of the kits and need to make changes and also while Ive got the appropriate parts to add to each ship. Trumpeter has provided the same main sprue of parts with one addition sprue that individualizes the ships. They are all shown with the tripod masts which I think are incorrect for later war refits so I may get to use the lattice masts at some point. im not sure whether they justify separate logs or whether is going to be better to add occasional updates to this one documenting any departures from the Huron build. Thanks for looking in, the likes and comments. alan

-
Thanks Jav,the PE stretches me and some parts just don’t get used because they are too small for me to handle. alan
-
Great job on the instrument panel, it’s beautiful. alan
- 32 replies
-
- 2
-
-
- Model Shipways
- Miss Adventure
- (and 2 more)
-
We need a “super wow” emoji for builds like this one. Congratulations Rob, it’s beautiful and great photos as always. Very neat work and the kit details are staggeringly good. You deserve several martinis. alan
-
Clever idea to use the wooden beads. alan
-
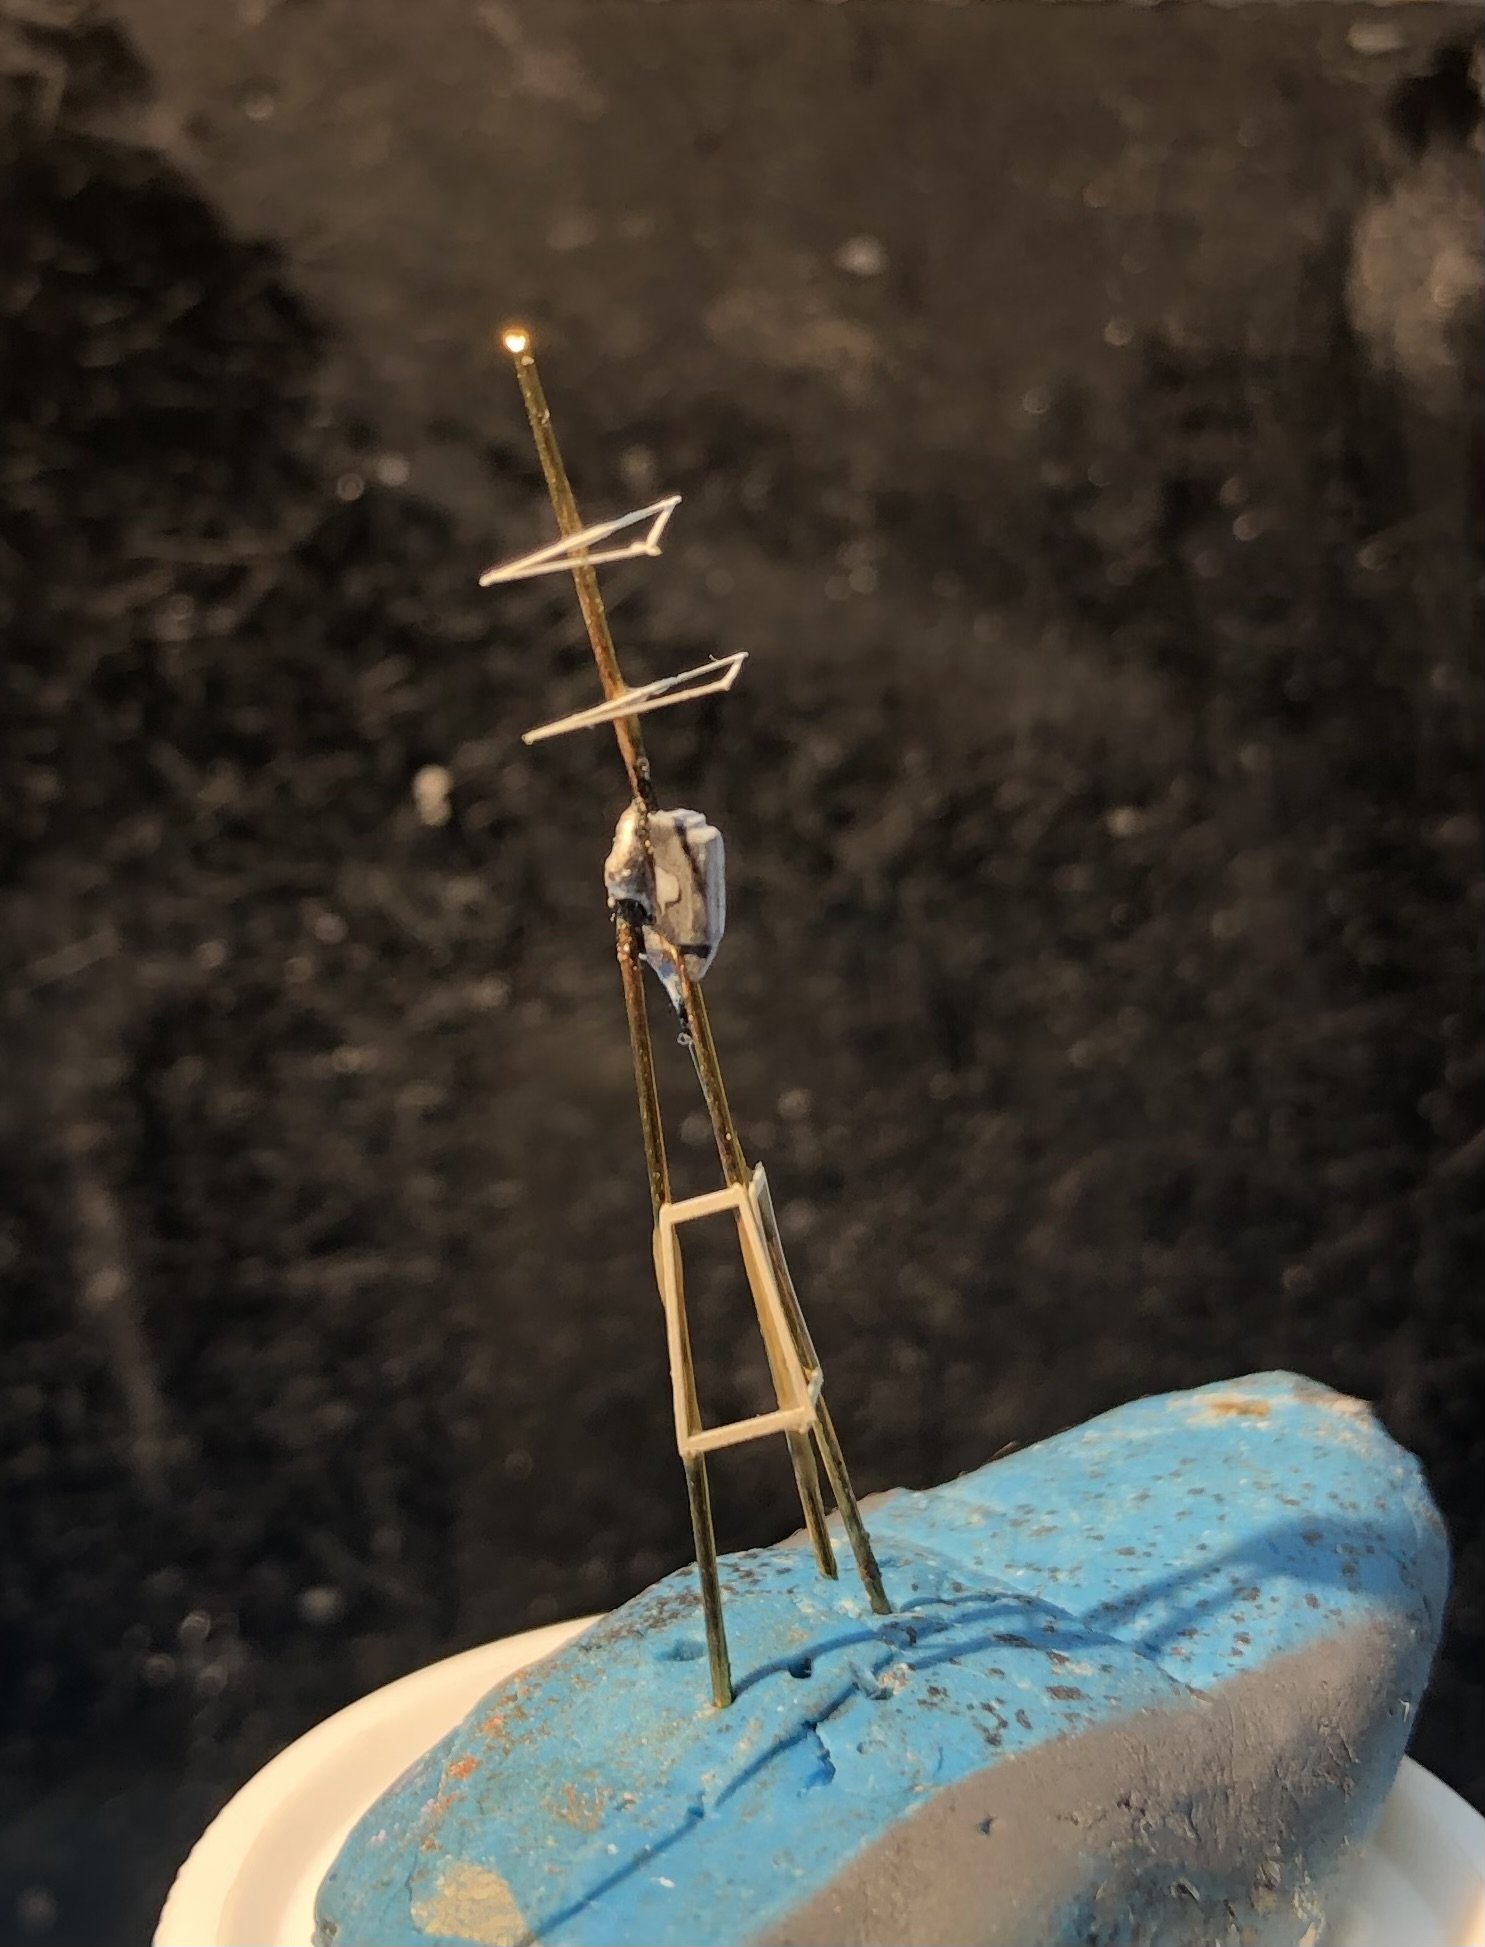
I sorted through my spares box and found some 1/700 twin Oerlikons with shield and some Flyhawk single 20 mm without. After cutting the stand off the singles and adding them to the shield they looked quite good. So my eventual solution to the 20mm gear was to put two twins in the waist gun deck and the lower positions on the bridge superstructure. I added two singles to the bridge wings. When I was researching the Flower corvettes I read that individual captains would take advantage of any spare armament to enhance their defenses. So this configuration echoes the photo and is close to the initial specification. Similarly the Carley rafts were often configured by individual captains. I’ve followed the photo again with three raft racks on each side, two carrying a pair of rafts. Other small details have been added, a depth charge rail at the stern and the second funnel I didn’t like the kit foremast, it’s a bit bent and it’s wrong too so I made up a tripod mast from brass rod and added the PE yardarms. So far so good. I think the mainmast is worse so that will be something to tackle tomorrow along with the ships boats. Trumpeter has the stowage wrong, the boats were swung from davits, not stored on chocks. That might be awkward to change but I will try and see how it goes. Thanks for looking in, the likes and comments. alan