HOLIDAY DONATION DRIVE - SUPPORT MSW - DO YOUR PART TO KEEP THIS GREAT FORUM GOING! (Only 20 donations so far - C'mon guys!)
×


Matt H
-
Posts
181 -
Joined
-
Last visited
Content Type
Profiles
Forums
Gallery
Events
Everything posted by Matt H
-
Hello and welcome.
-
Hello and welcome.
-
I have also attached the keel and temporarily taped the false keel on as per the instructions. I have removed all the bulkheads and did a quick dry fit test. They all fit great, a couple are rather tight, I didn't force them in until I get the laser char removed and shape the bevel a bit following the guided marks provided. I will update with more photos once I have the bulkheads sanded, shaped, and attached.
-
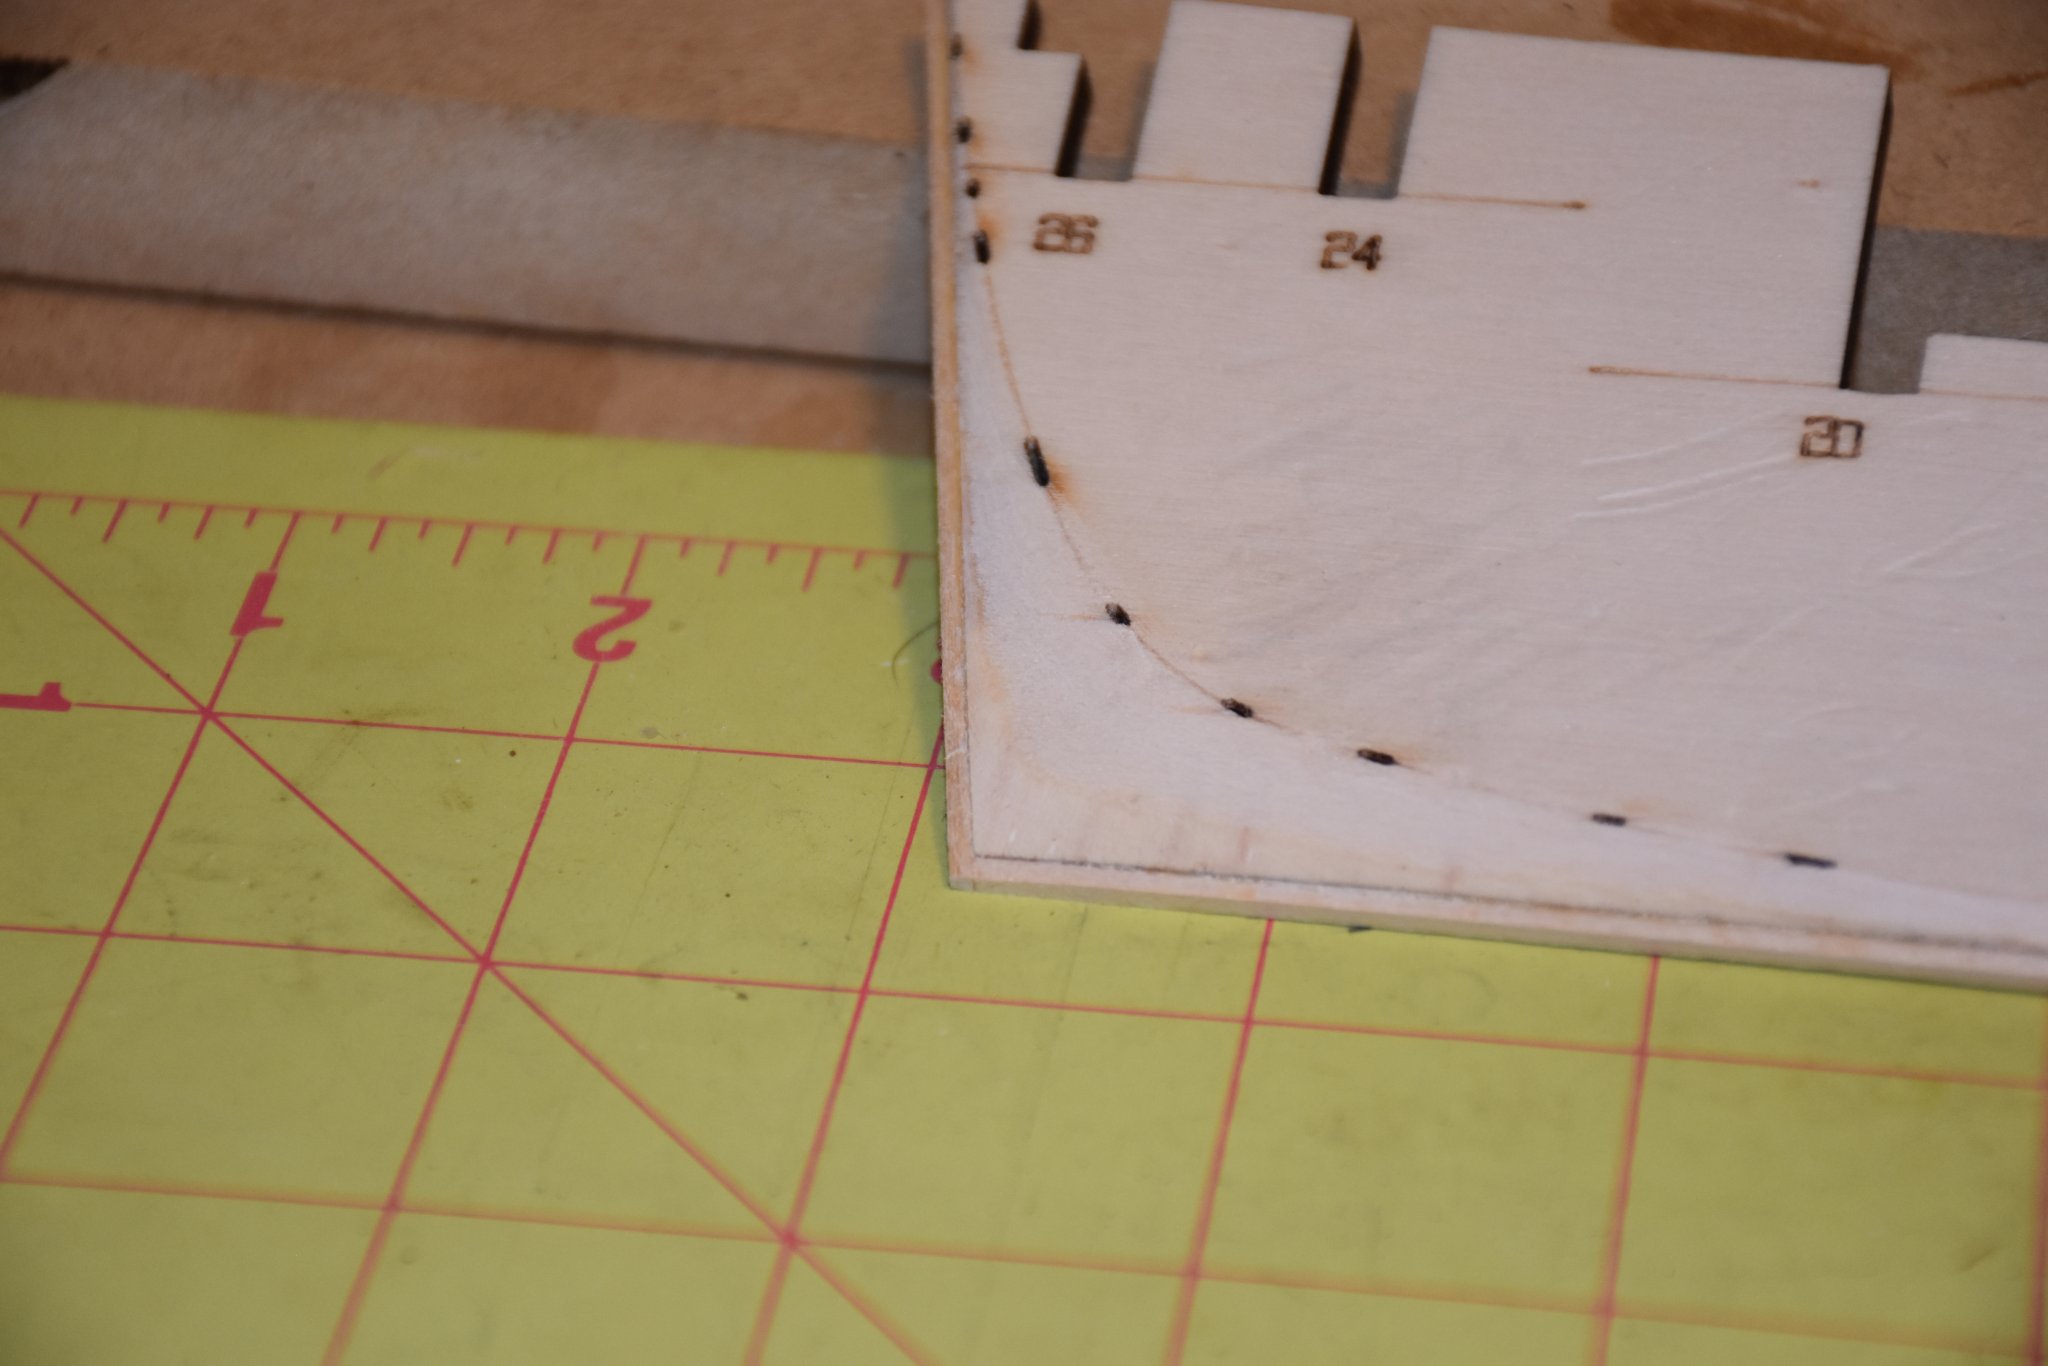
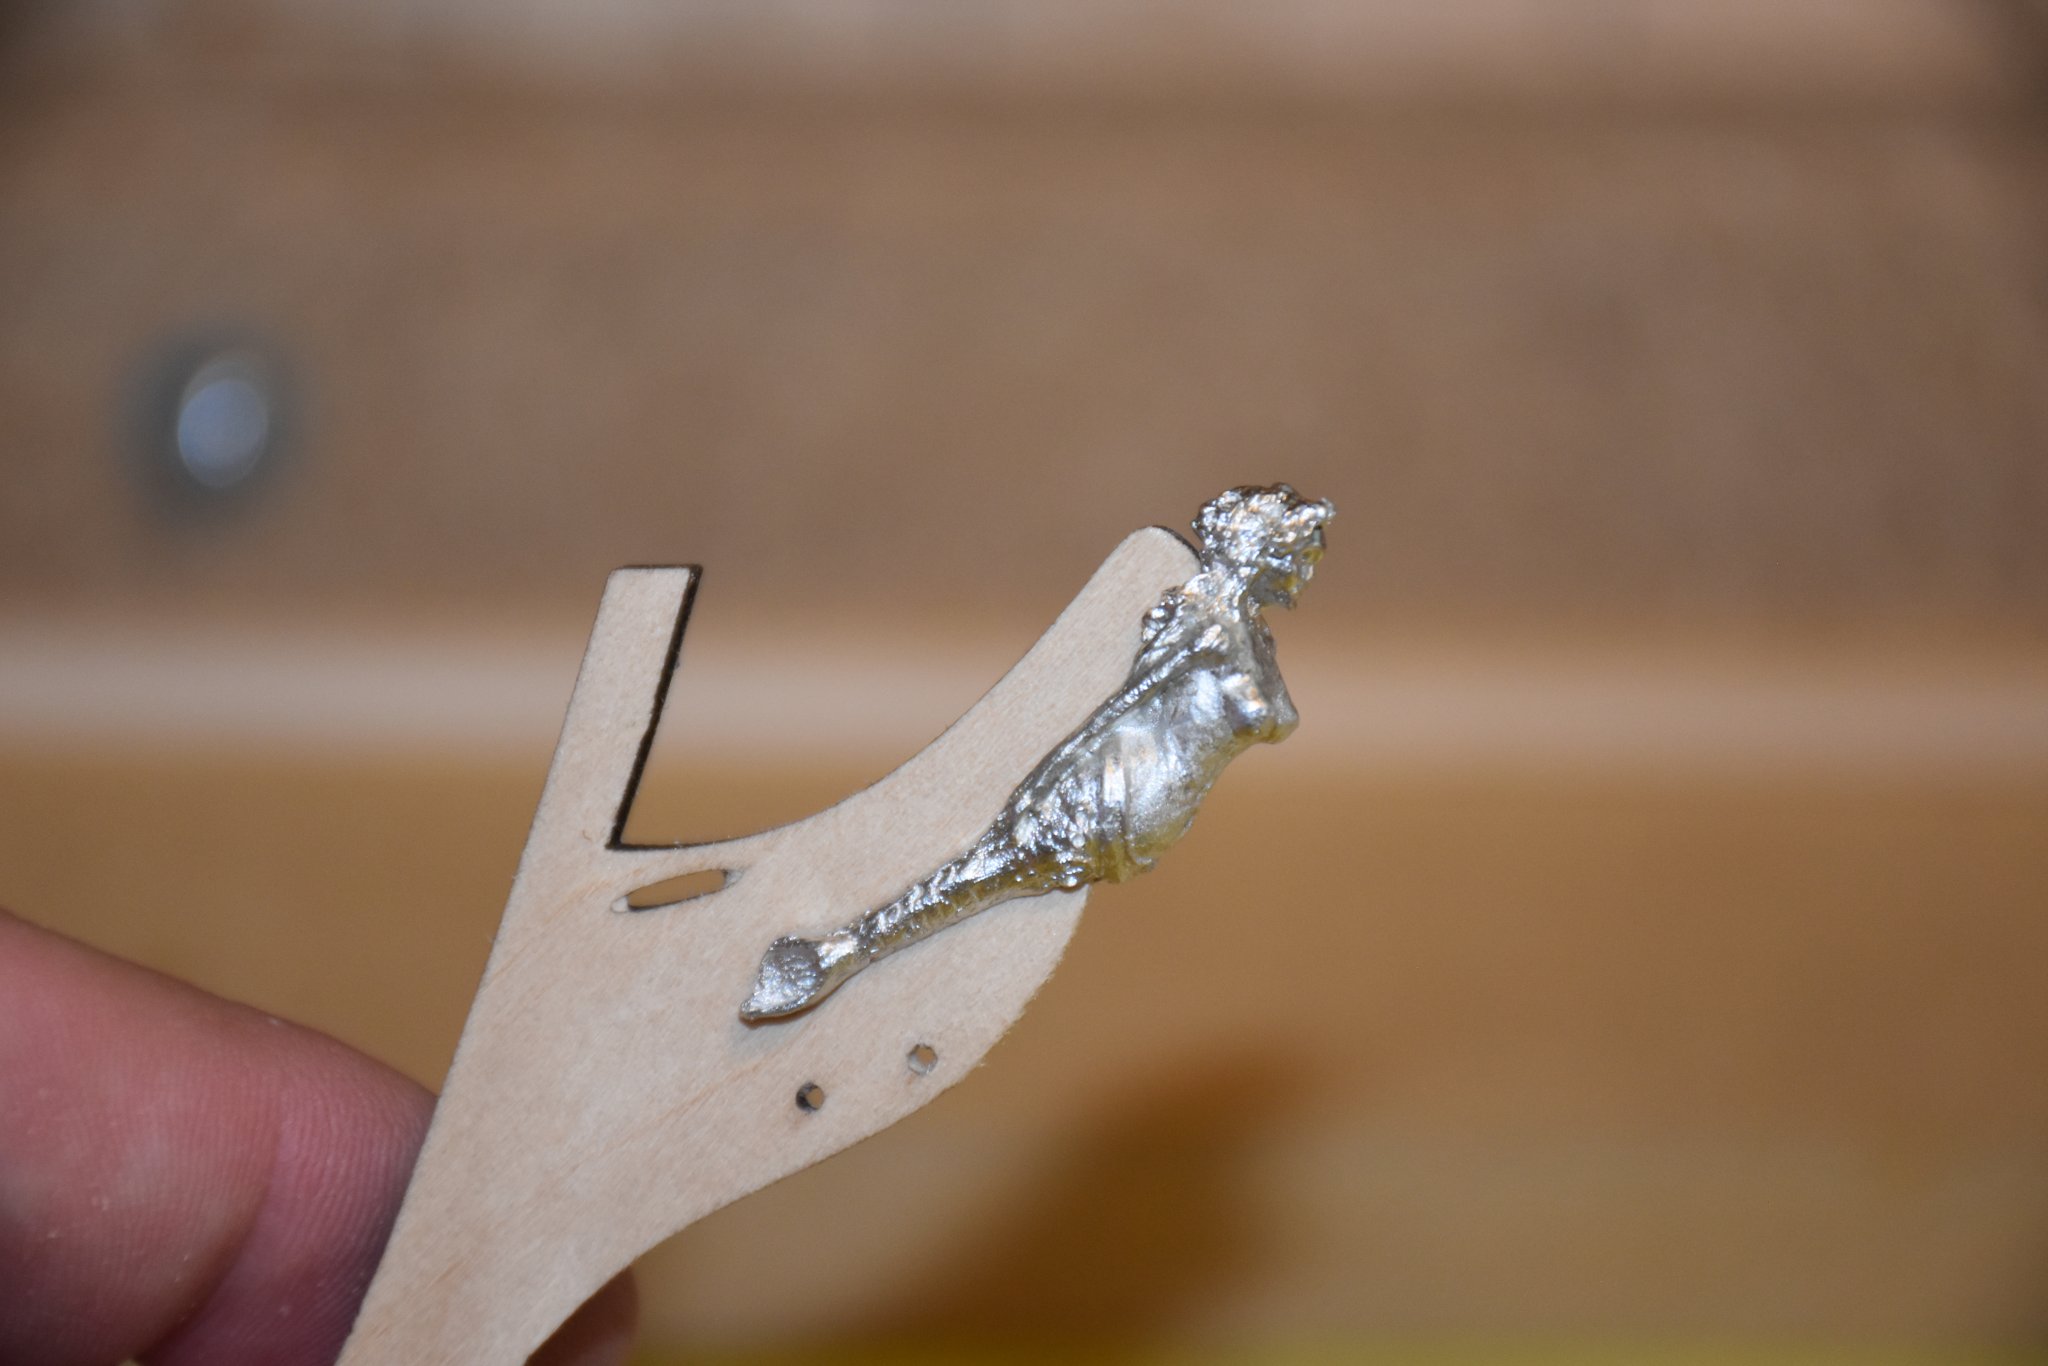
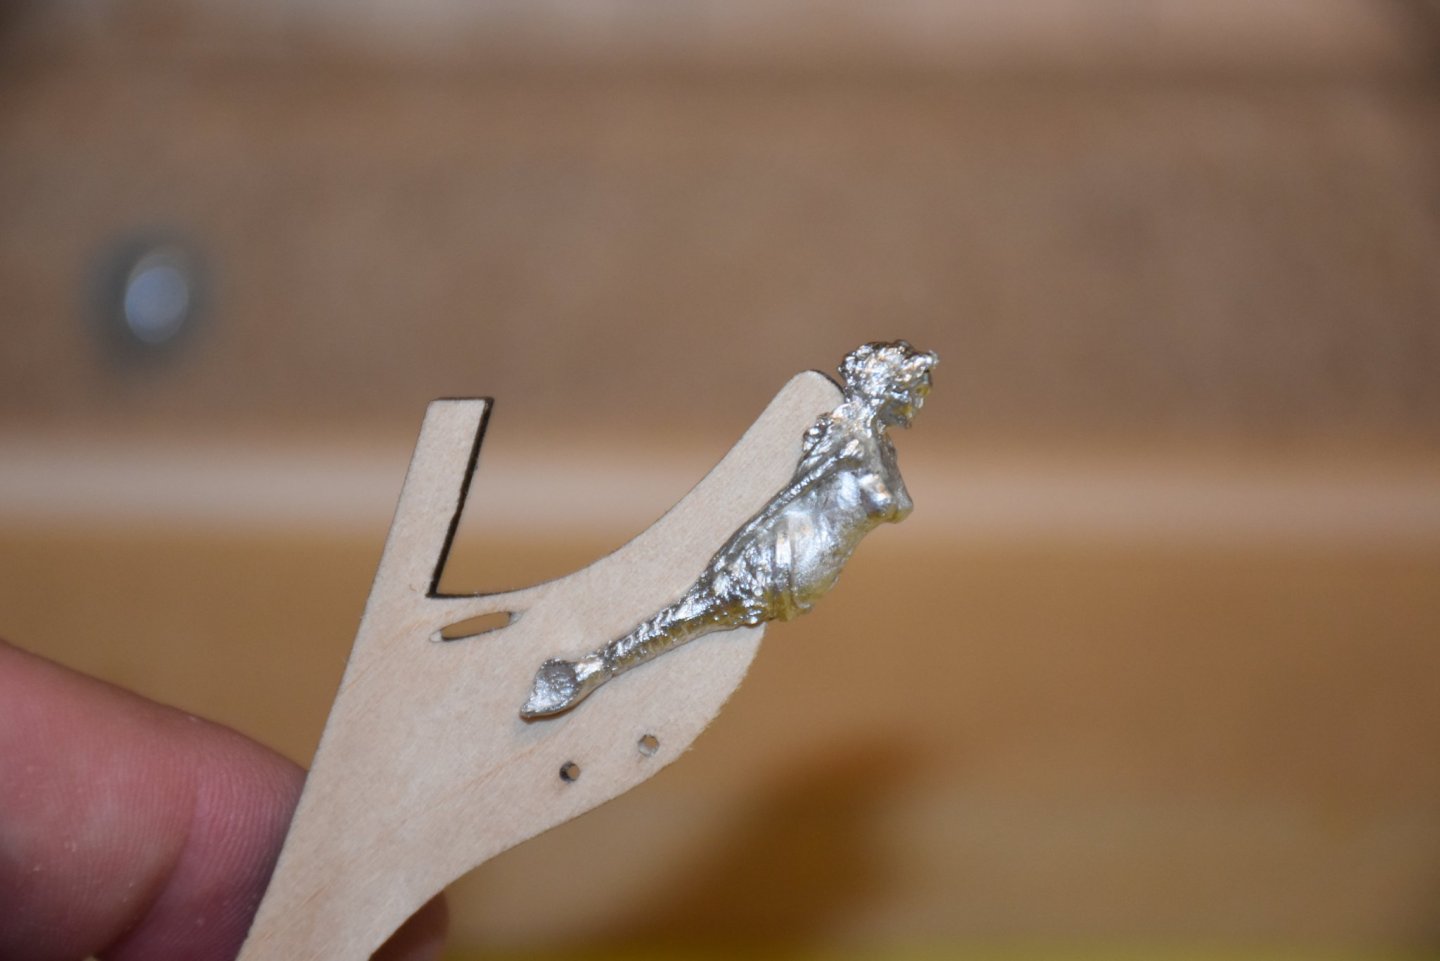
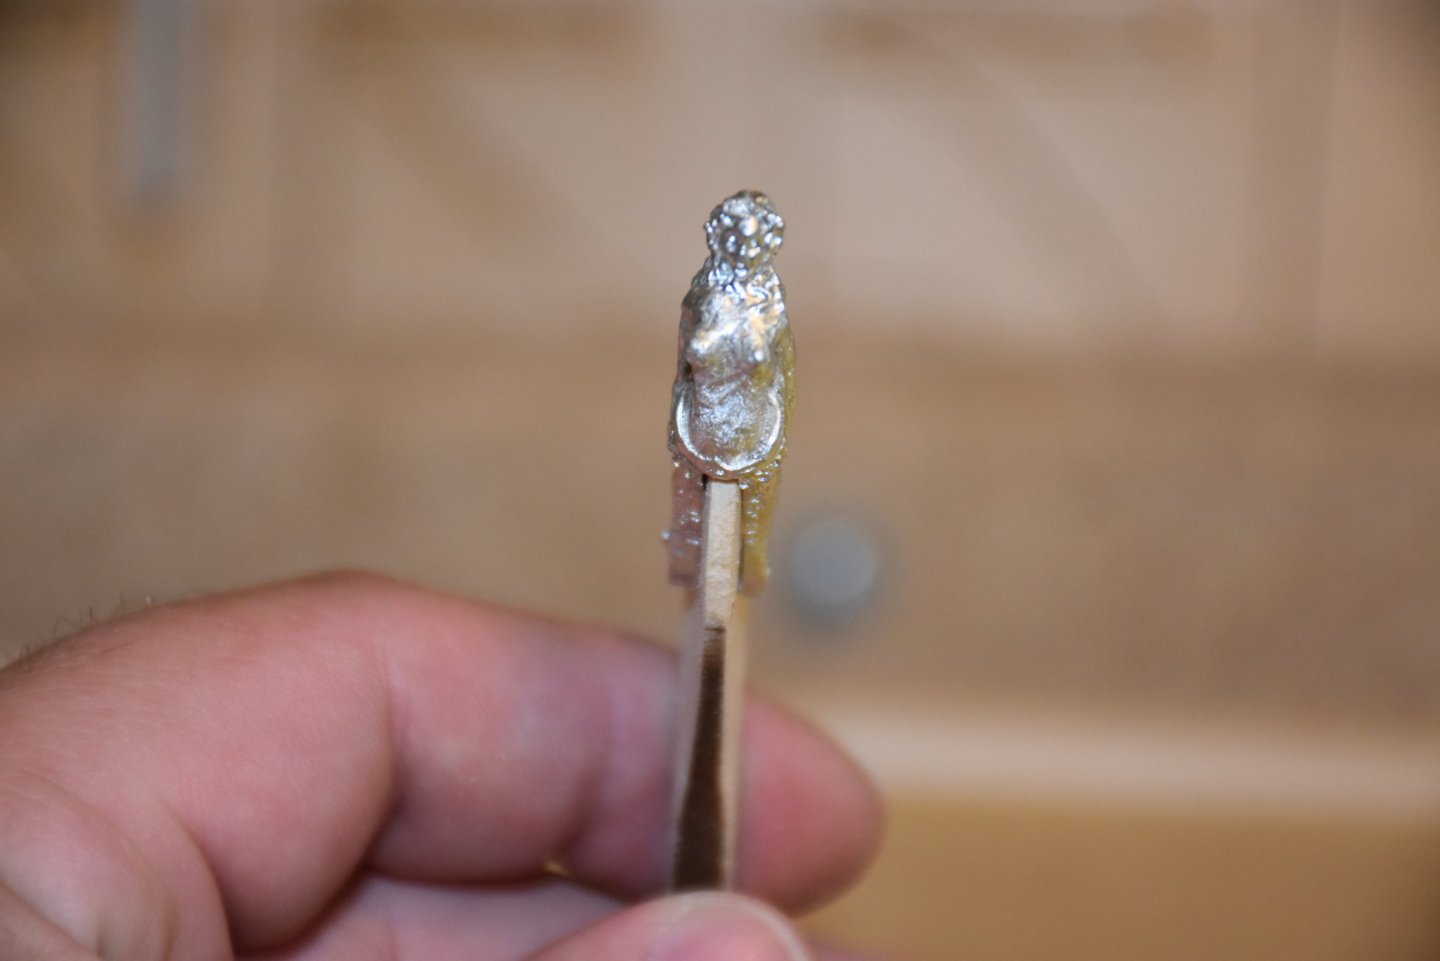
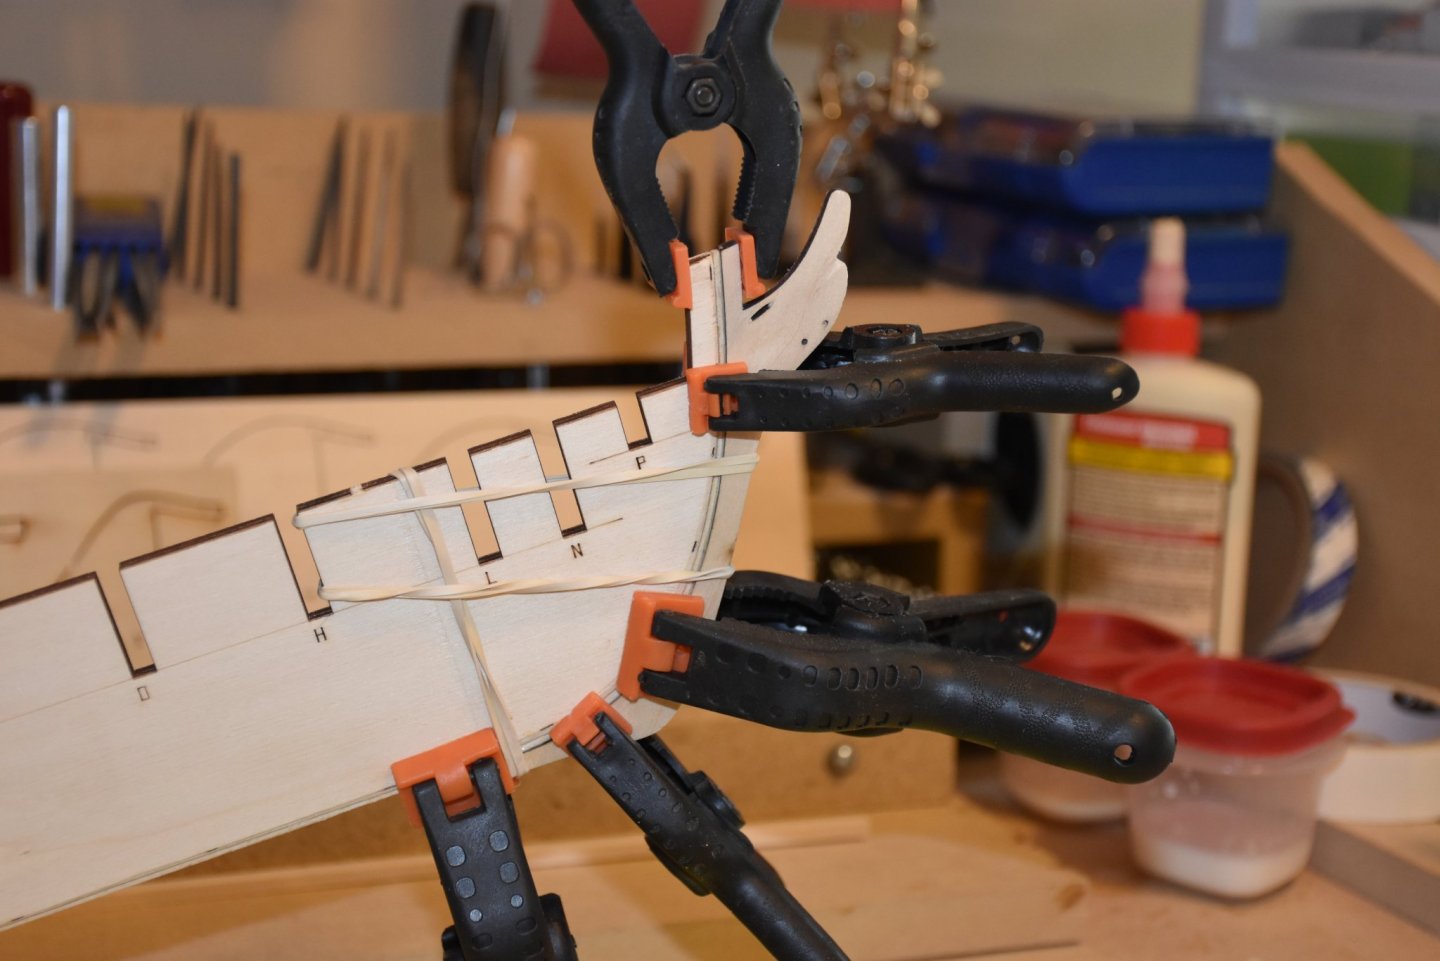
Got the bearding line done. First time I've ever made a bearding line. Along the very bottom and center there was very little to trim away, most of the shaping was at the stern. Then I sanded and shaped the stem knee and fit tested the figurehead. That took a while, a combination of sanding with small 1/2" x 1/2" blocks, by hand, and a little bit with a dremel sanding drum. I'm happy with how it turned out, I did have to cut out one of each of the head rails and compare it to the photos in Chapter 10 to make sure I had the figurehead positioned correctly to allow room for the head rails and the use of the pre-drilled holes in the knee. Lastly I attached the knee to the bulkhead former with a combination of rubberbands and clamps to hold in in place tightly against the bulkhead former and centered along the edge.

-
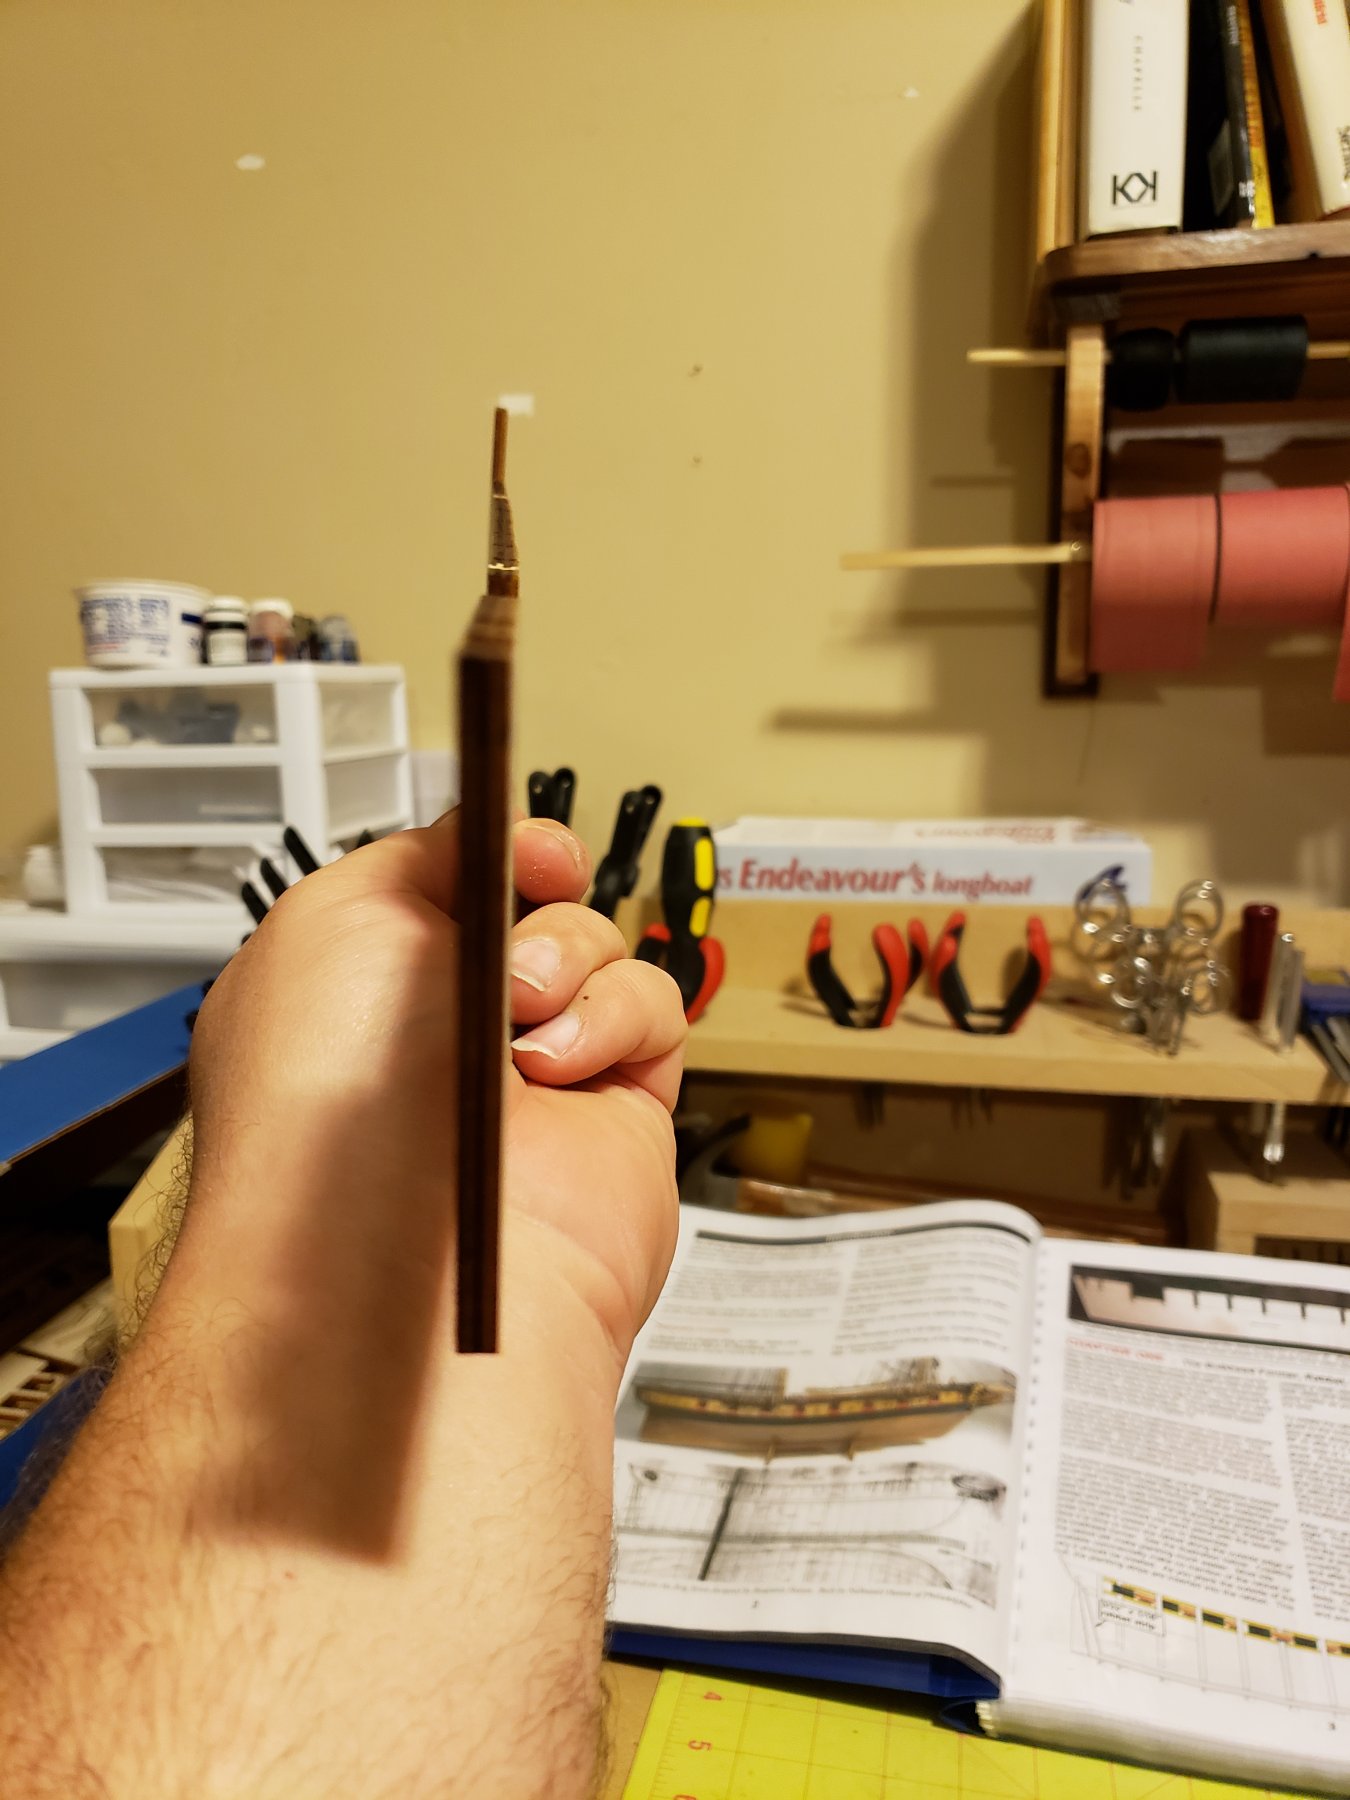
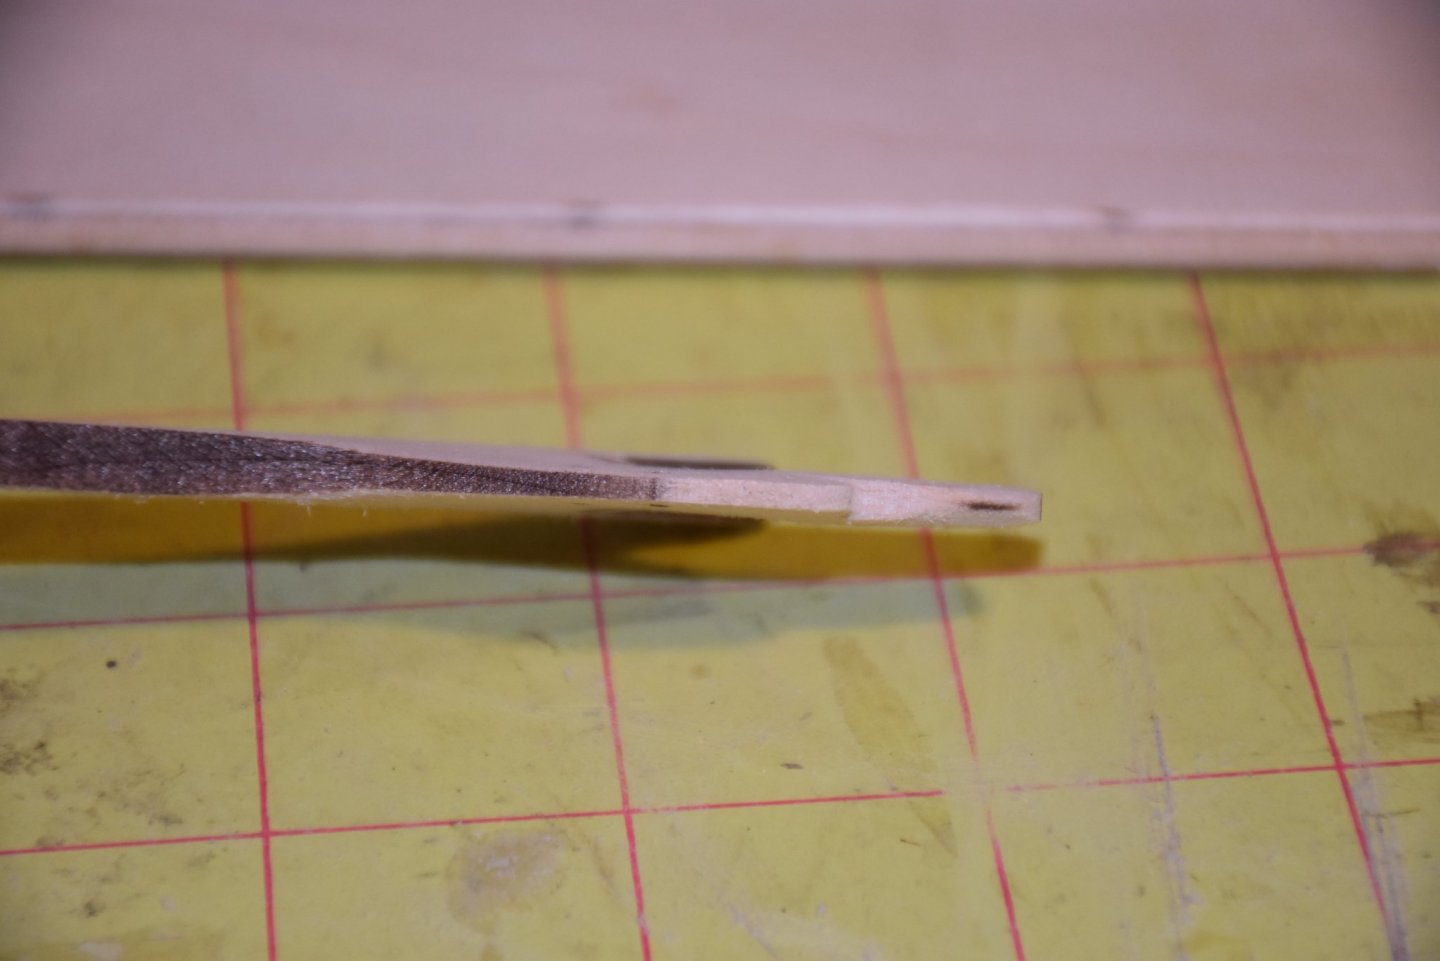
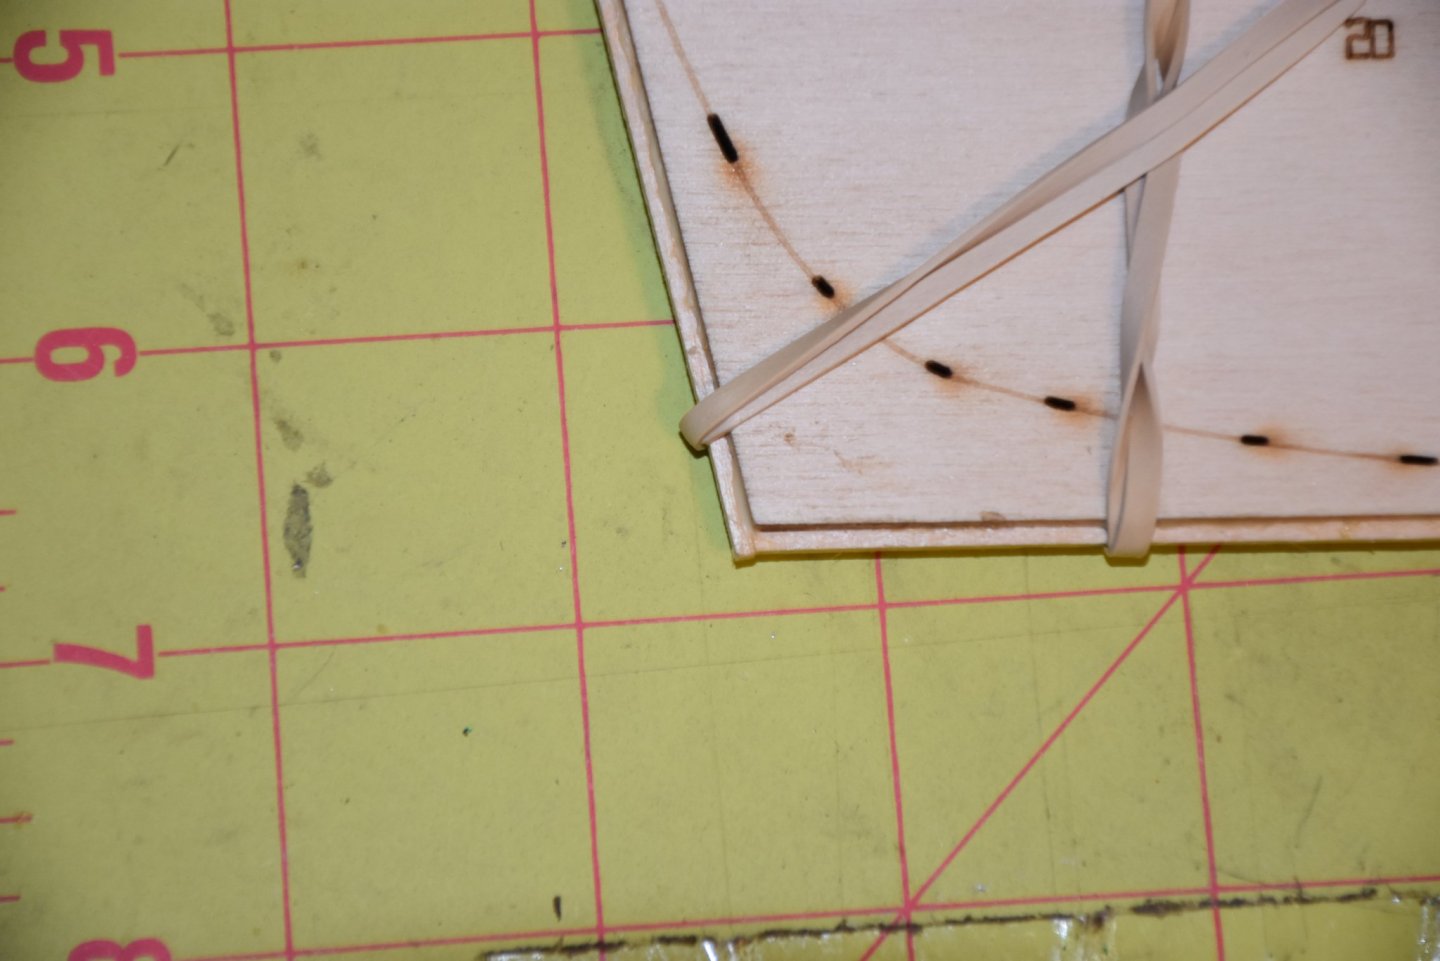
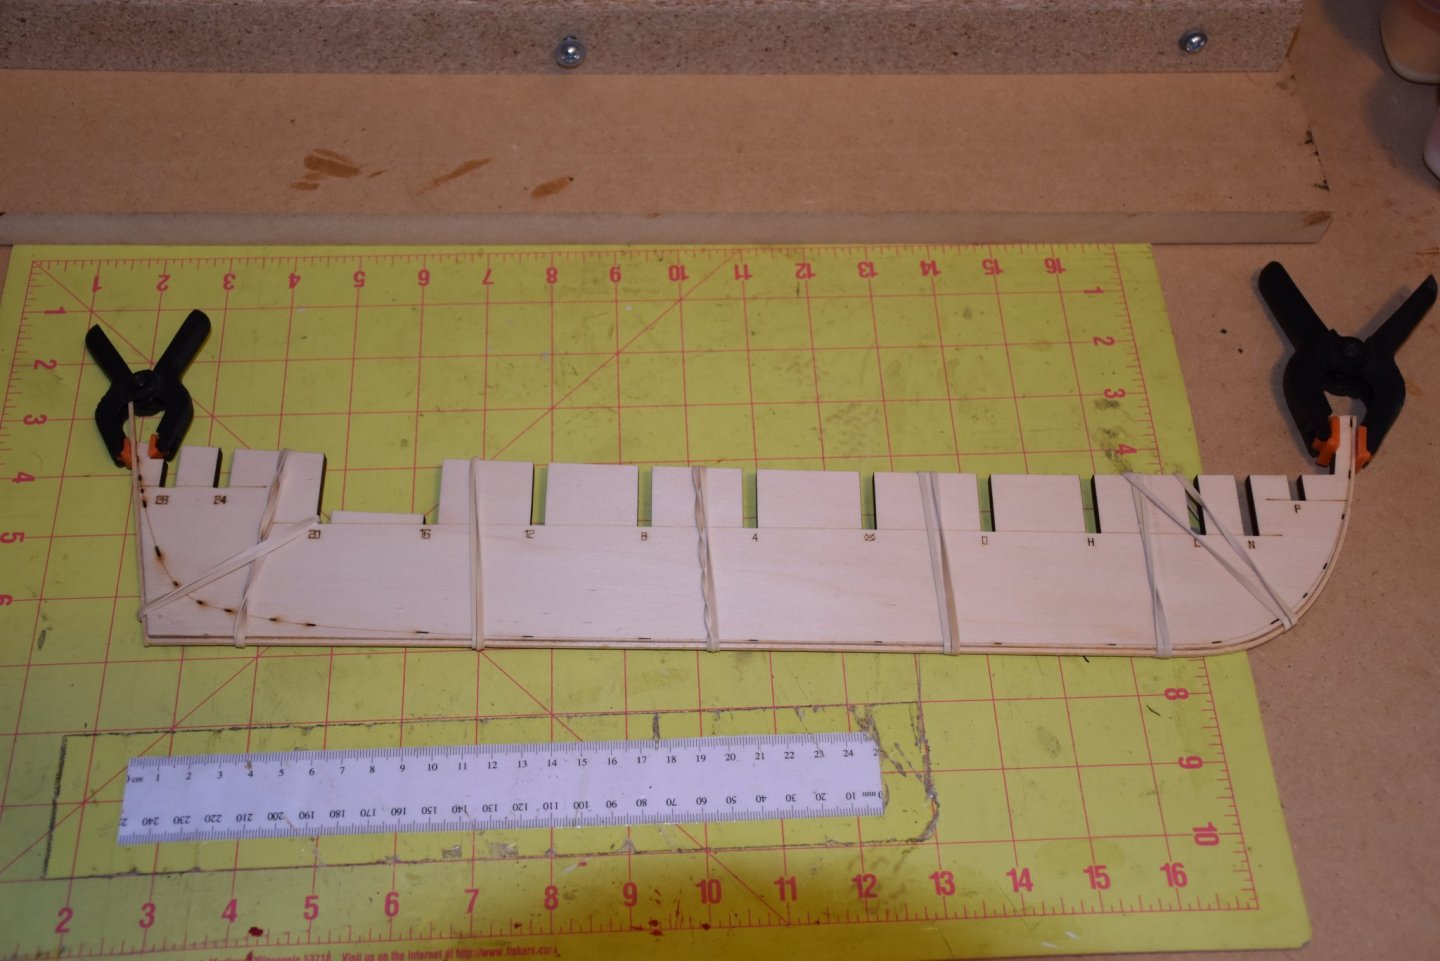
Here's a couple of photos of the strip for the rabbet formed and attached to the bottom and stern of the bulkhead former. I left just a little bit hanging over the top of the stem and the bottom of the stern, they will be sanded flush with the adjacent edges, the top of the stern will be cut and sanded off as well.
-
The replacement bulkhead former showed up today, it too has a bit of a bow, but no twist or kink, once tightened down in my homemade keel clamp it is almost straightened out, once the filler blocks are attached it should be good to go. I have soaked the rabbet strip and it is currently being held in place with a clamp and rubber bands. Once it dries later tonight I will glue it in place and let it set overnight before cutting the rabbet out tomorrow.
-
Hello and welcome.
-
That's a beautiful ship, lots of detail and symmetry, I love it. I sent you a private message. Have good evening.
- 10 replies
-
- 1
-

-
- reale de france
- kit
- (and 2 more)
-
Hello and welcome.
-
Hello and welcome.
-
Hello and welcome.
-
Hi everyone, a returning modeller now living in NZ.
Matt H replied to Jonny 007's topic in New member Introductions
Hello and welcome. -
Your work looks good, hello and welcome.
-
Hello and welcome.
-
Very nice process, they look good. What is the machine in the first photo, where you have the stock clamped down, drilled, then milled?
- 124 replies
-
- 2
-
-
- longboat
- Chaloupe Armee En Guerre
- (and 1 more)
-
Hello and welcome.
-
Greetings from the world of Harriers
Matt H replied to Harrier Preservation's topic in New member Introductions
Hello and welcome. -
Thank you for the advice, I was debating on whether to ask for a new one or if this was easily managed with filler blocks. Thanks for the input.
-
The bulkhead former is slightly warped, it has a bow in the middle. I think it will be easily corrected with some filler blocks.

-
Hello and welcome.
-
Hello and welcome.
-
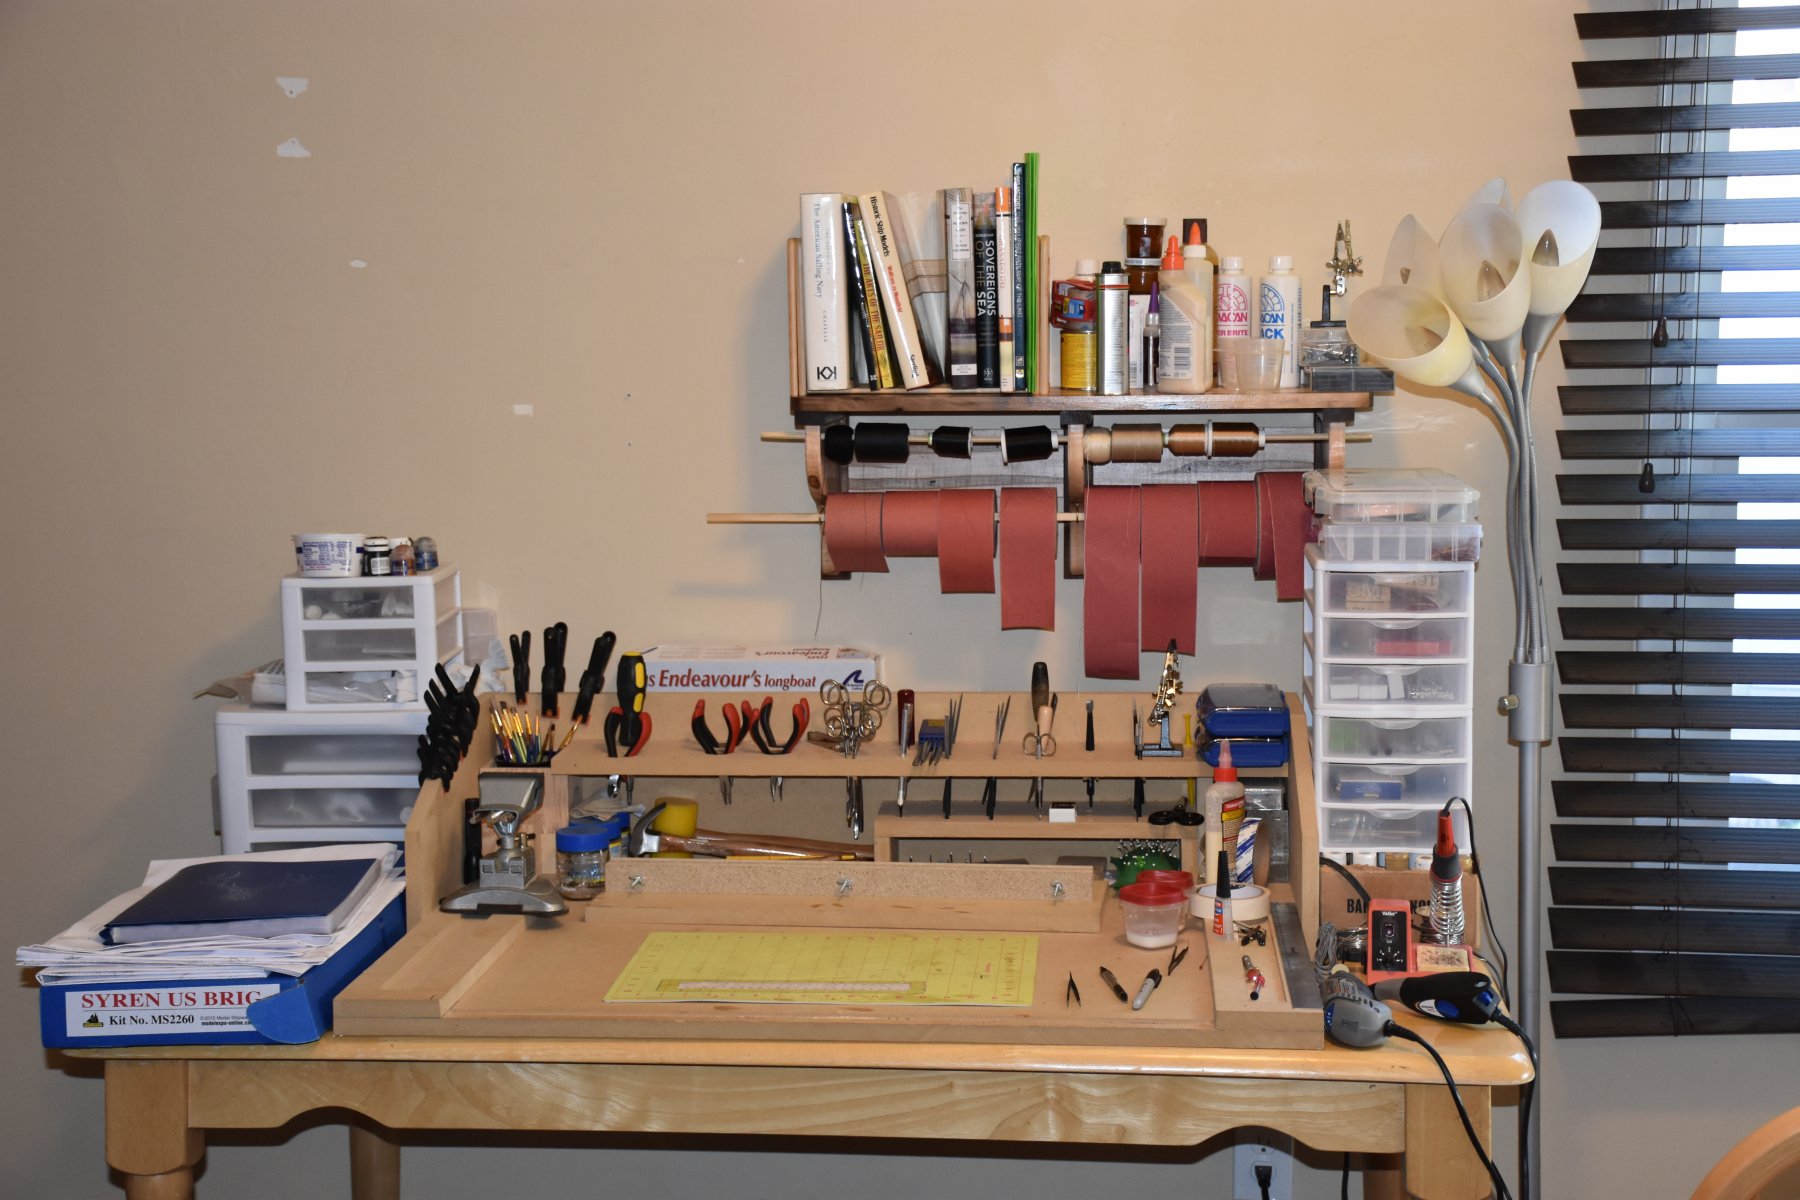
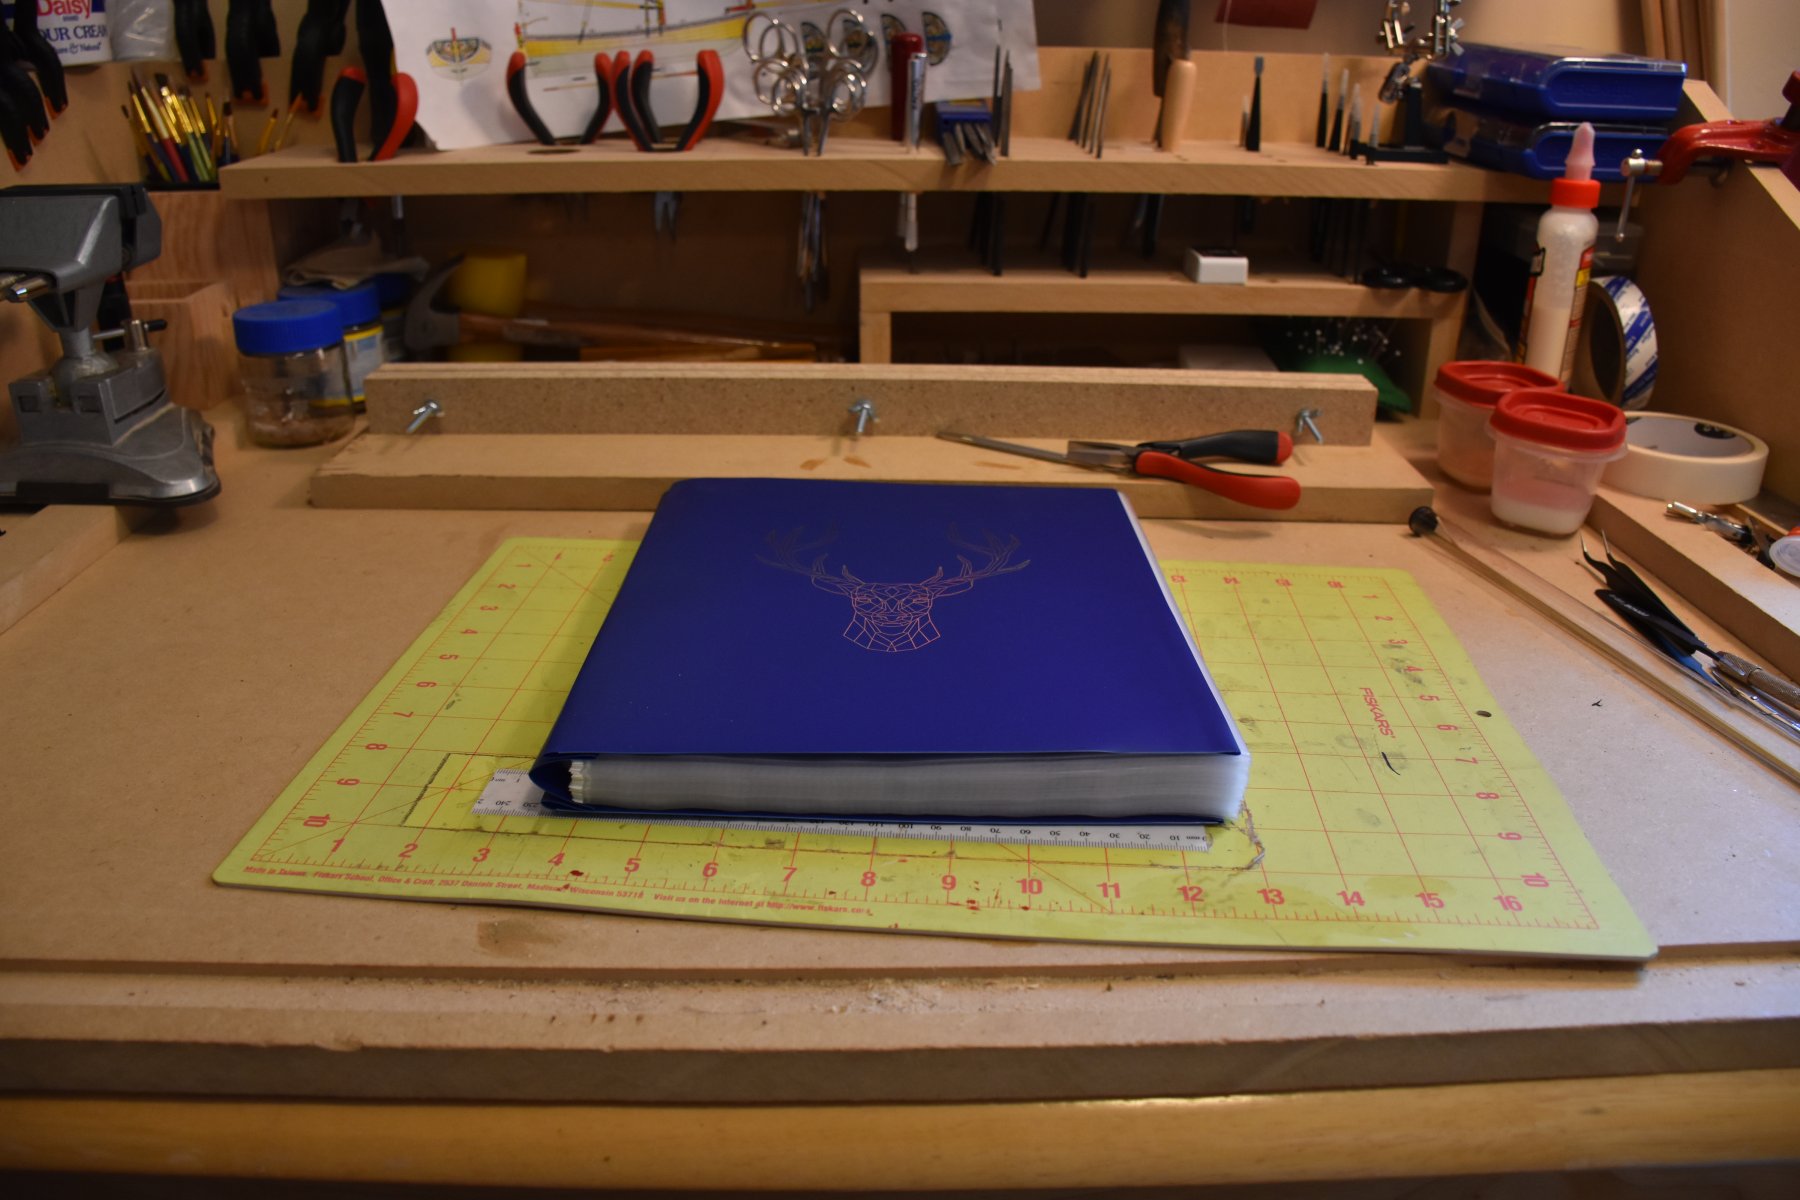
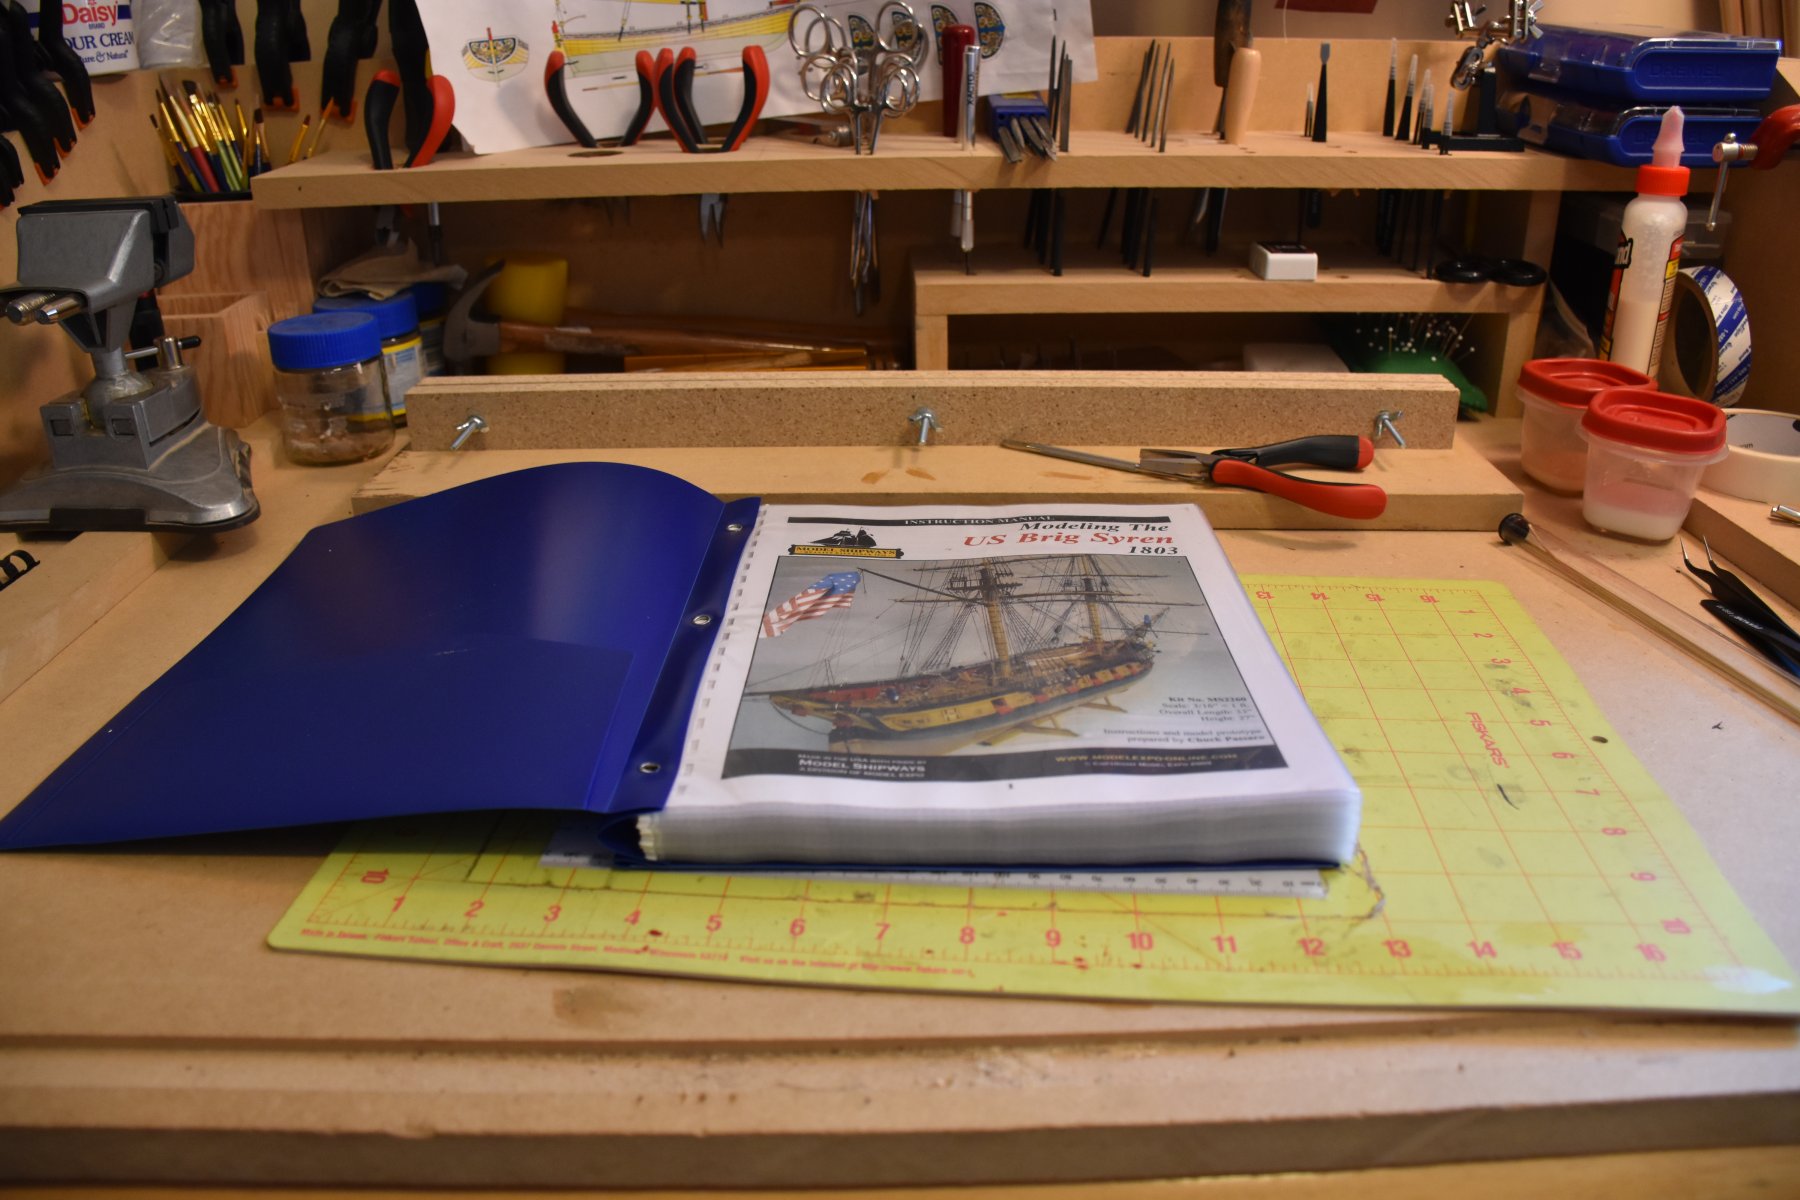
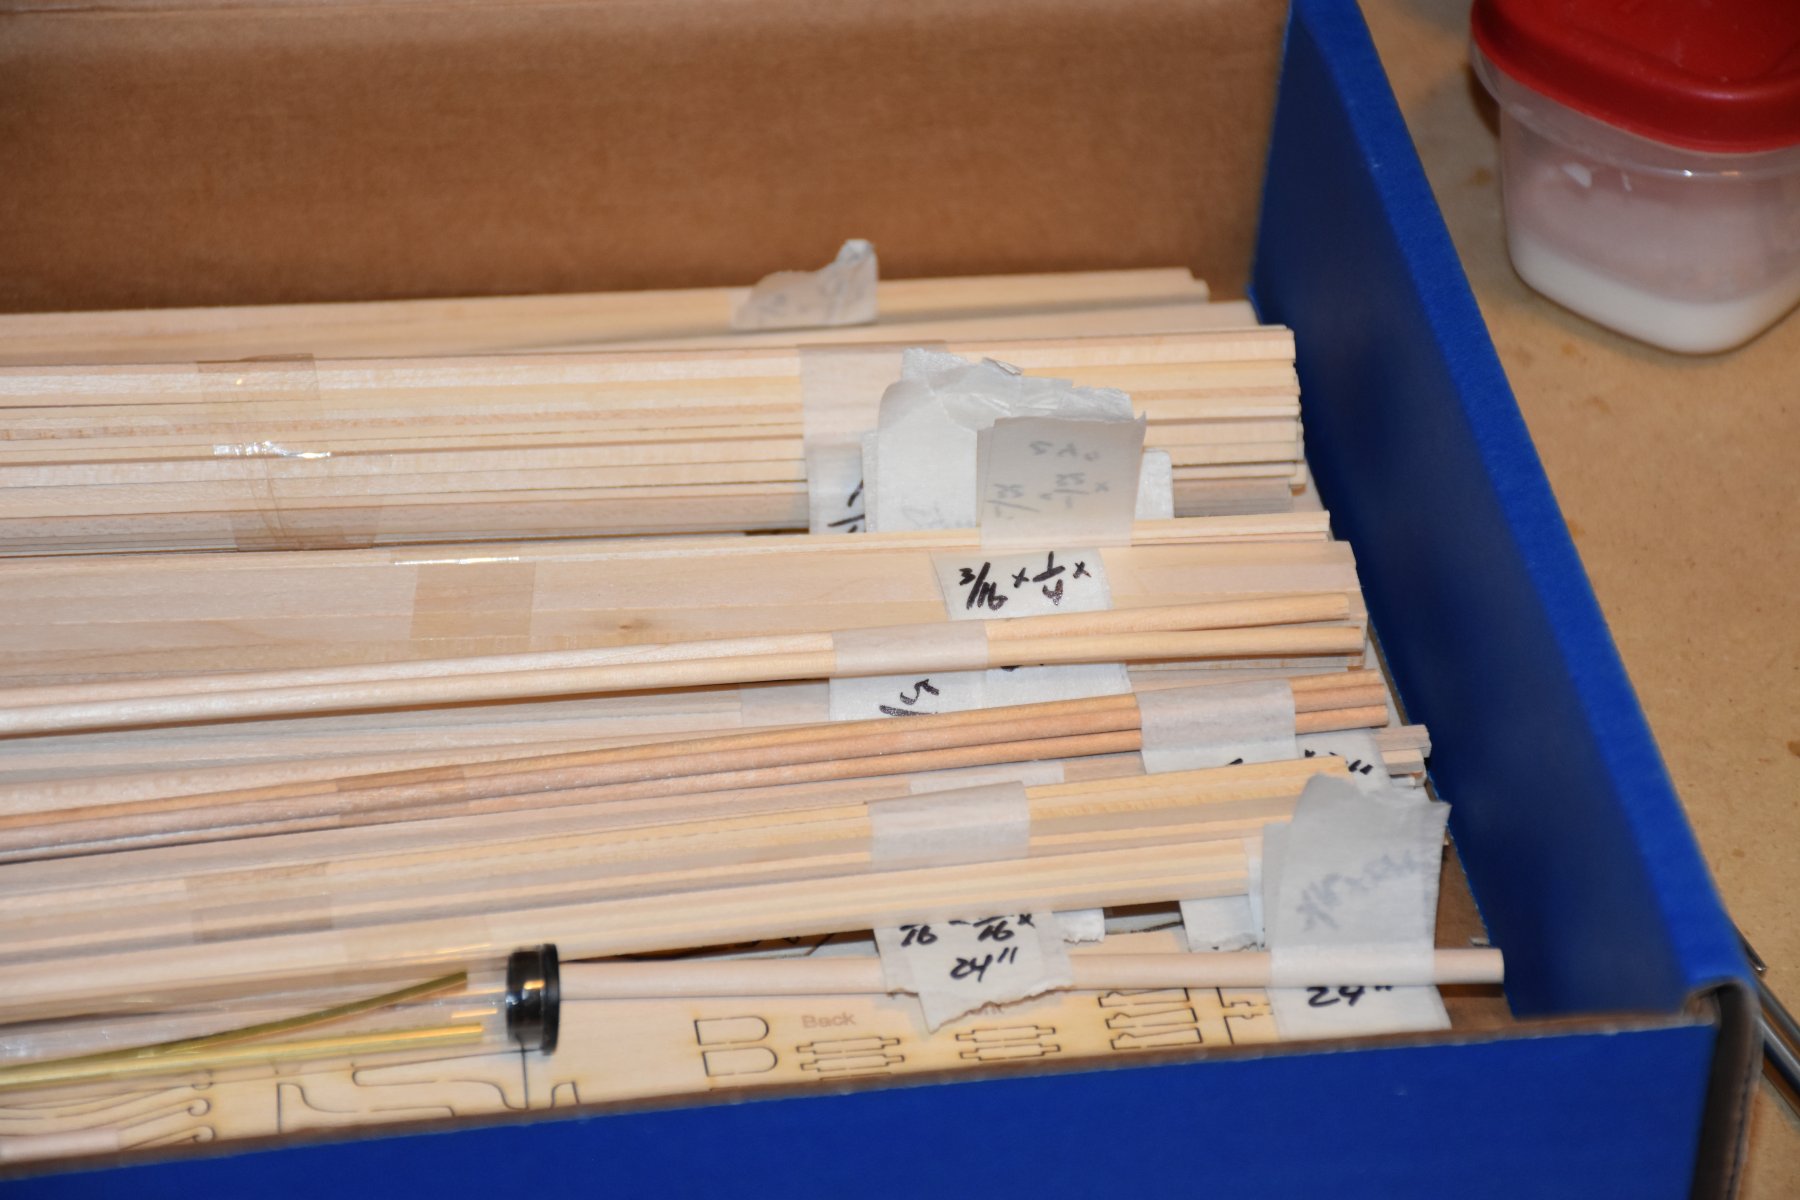
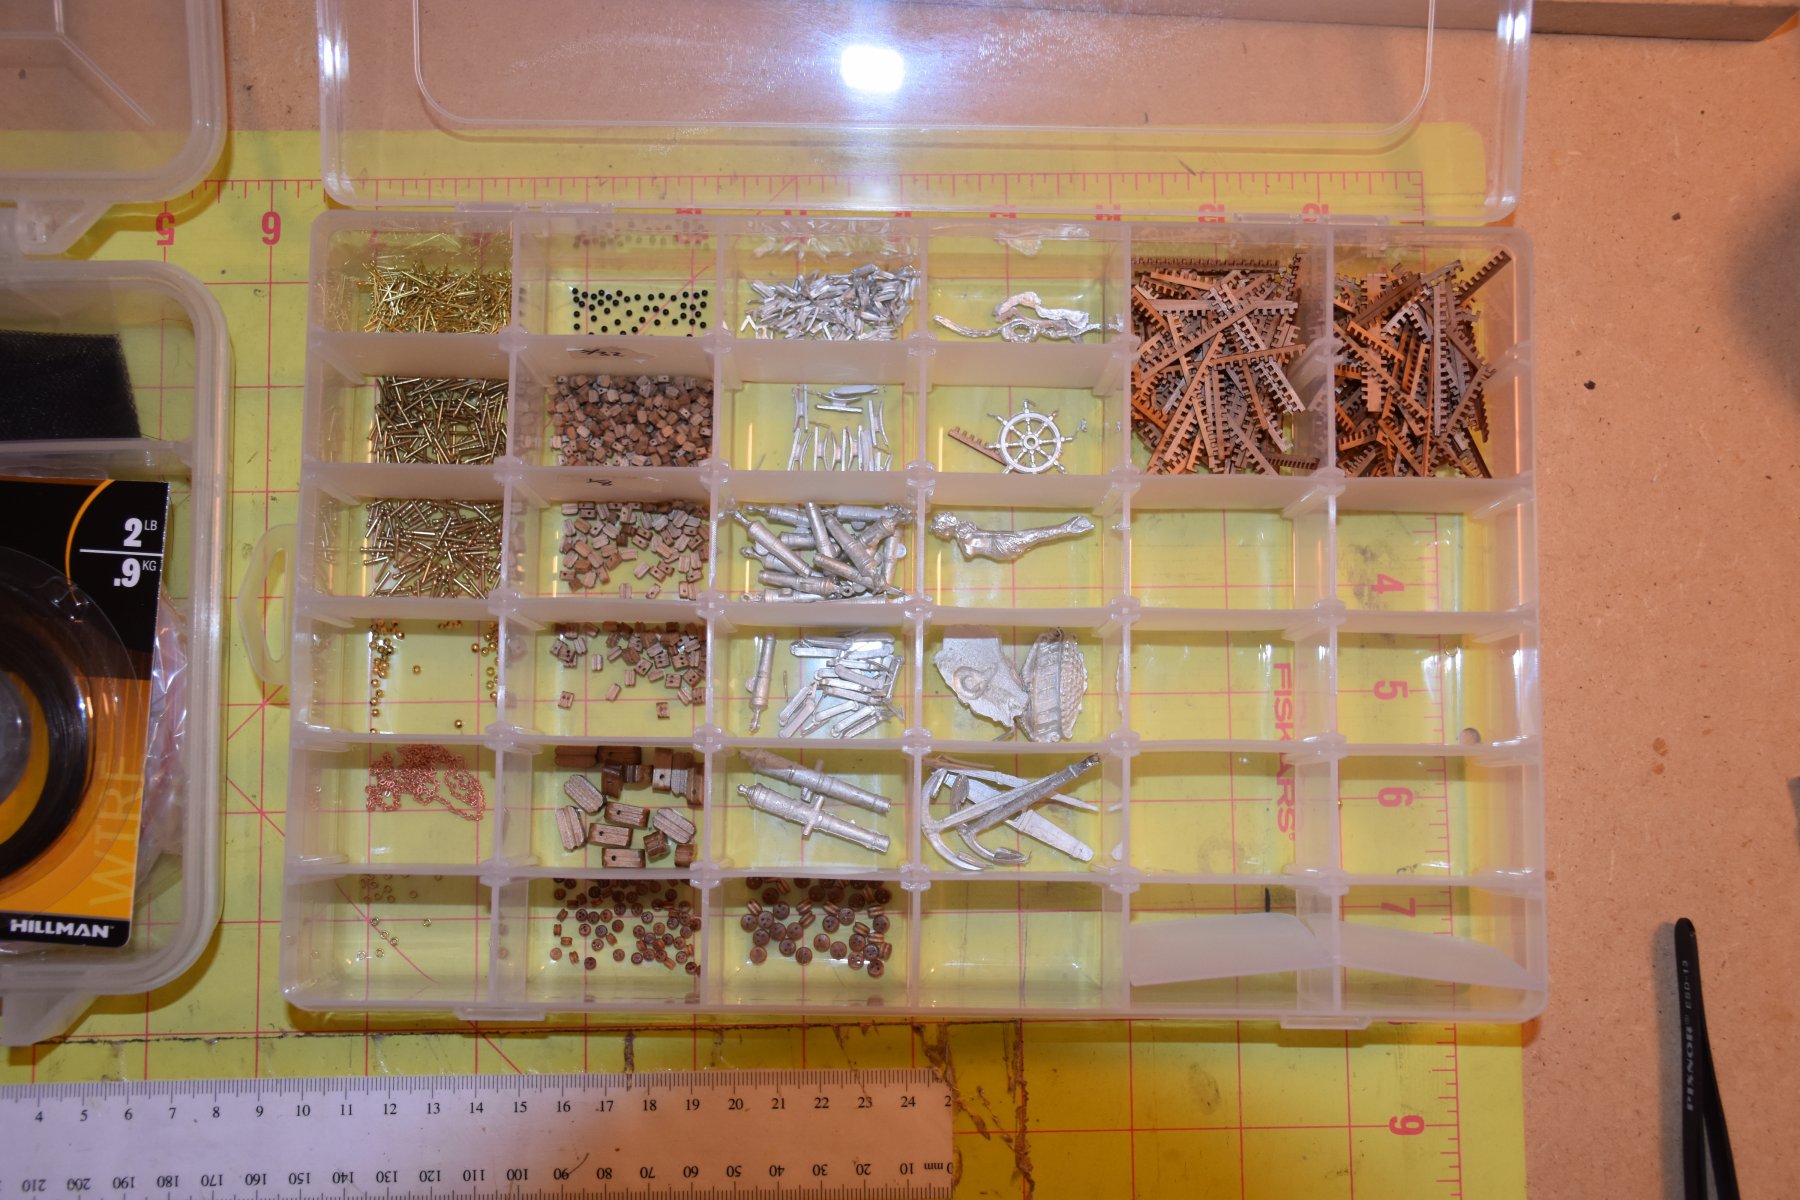
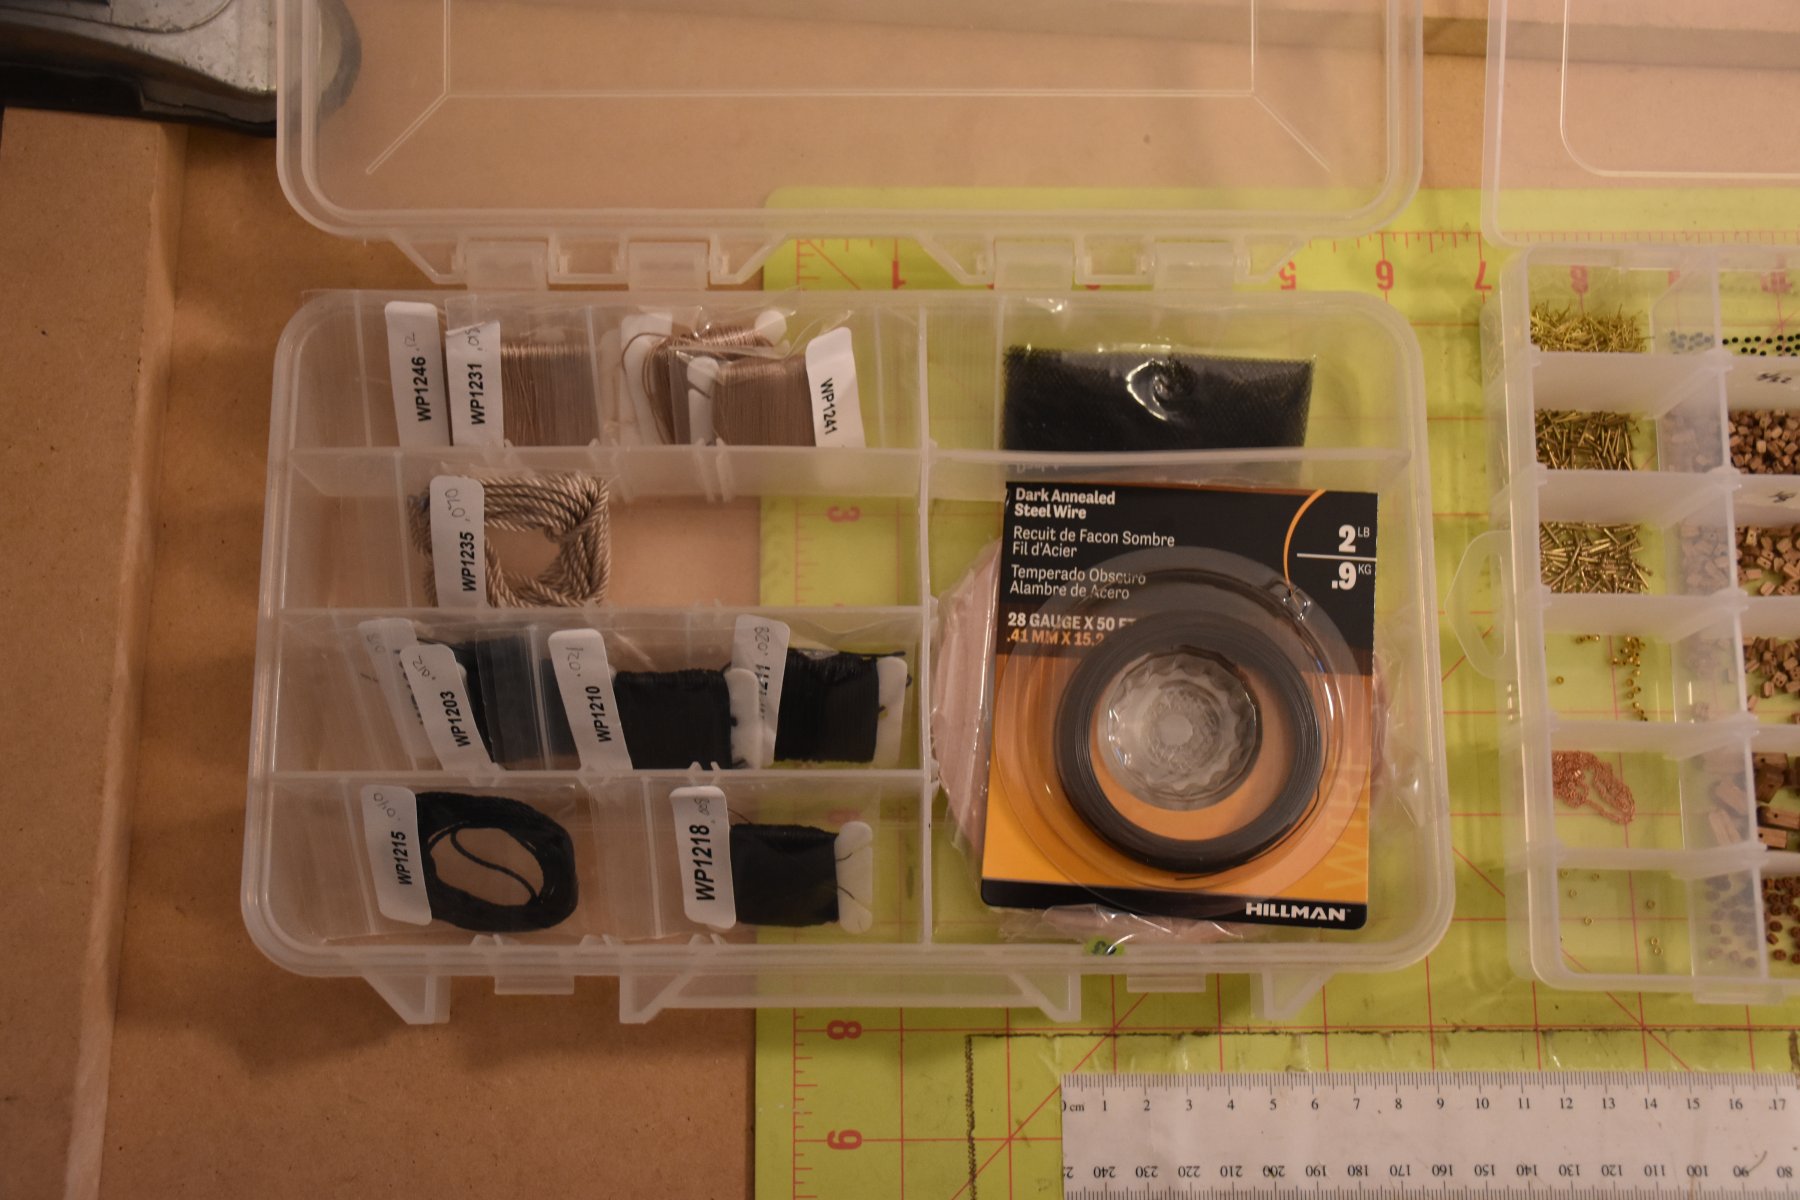
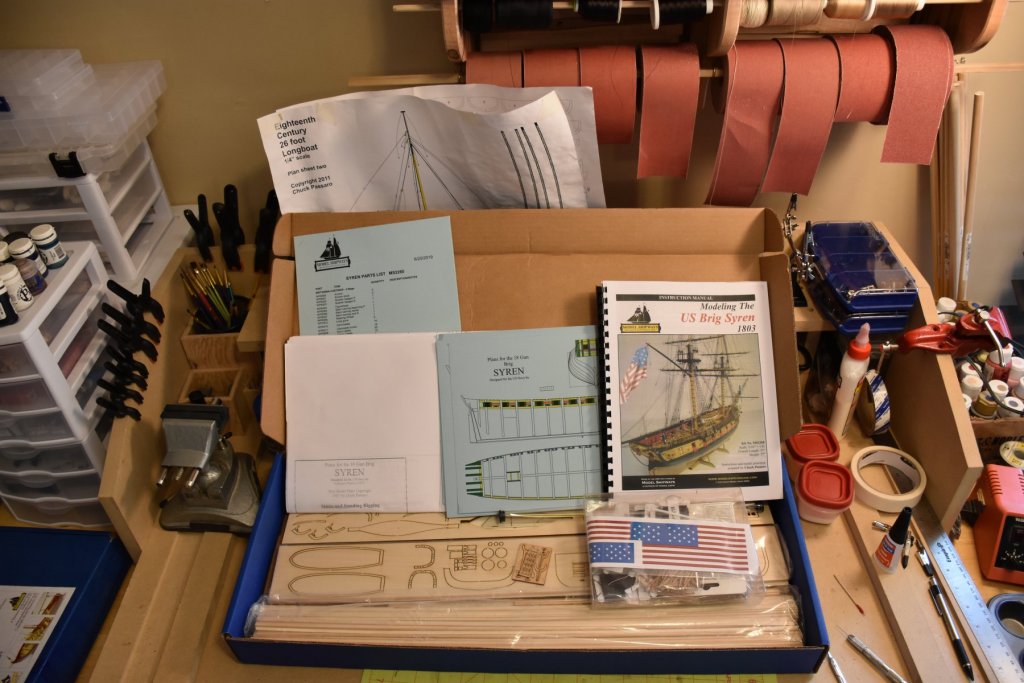
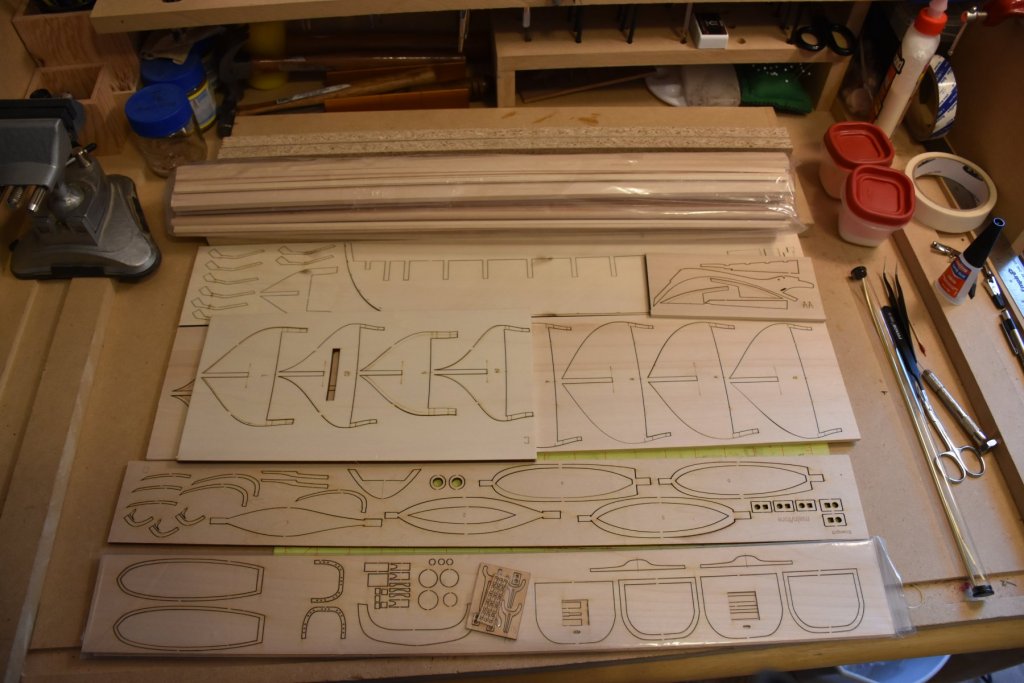
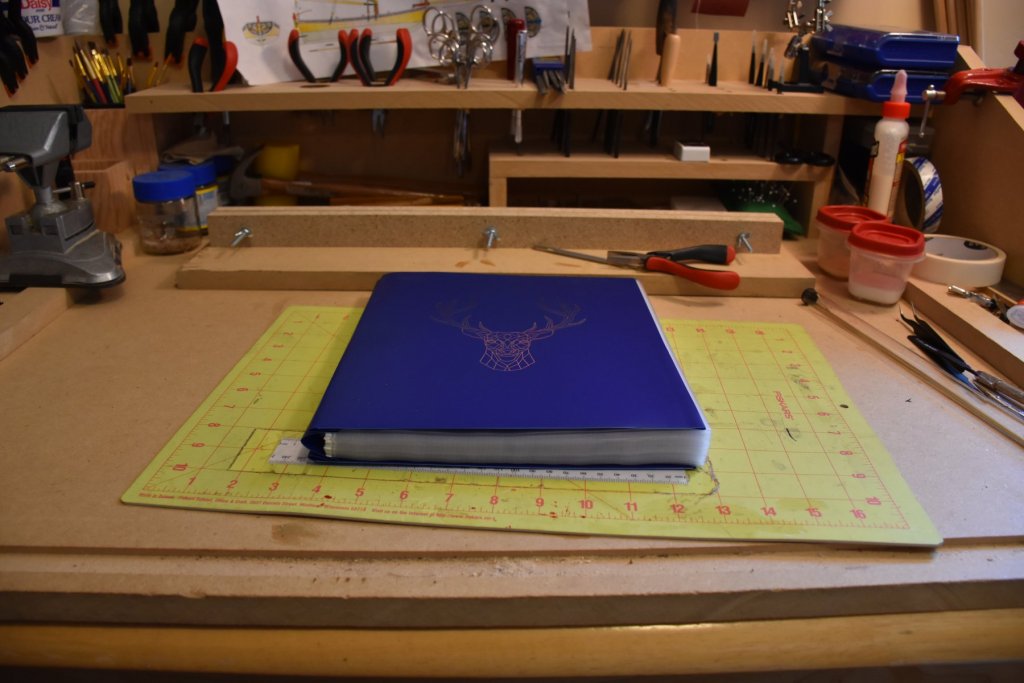
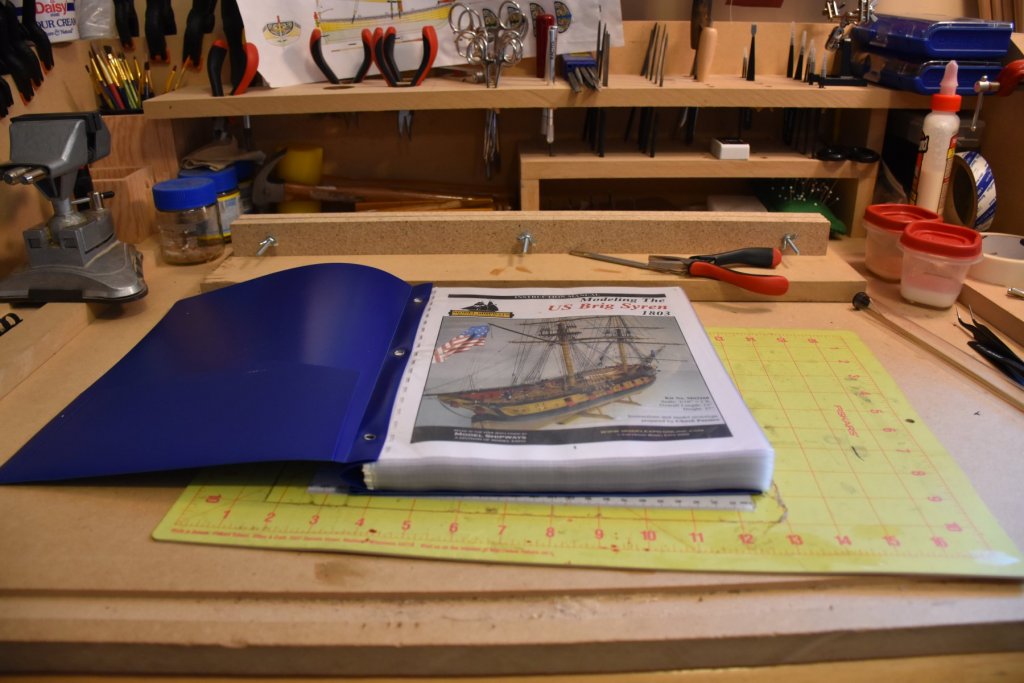
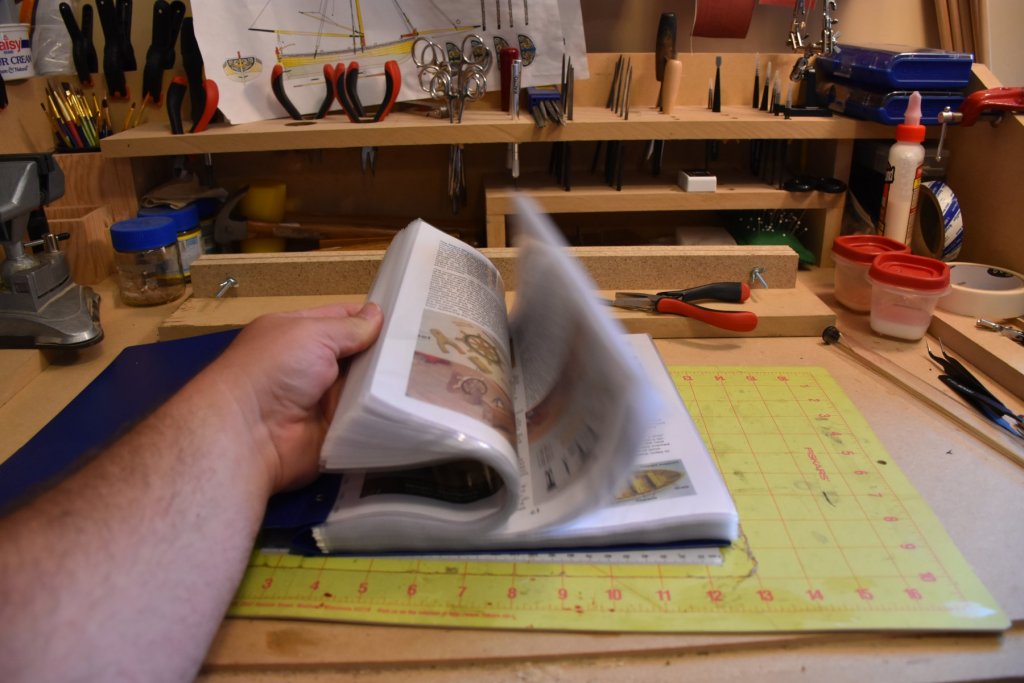
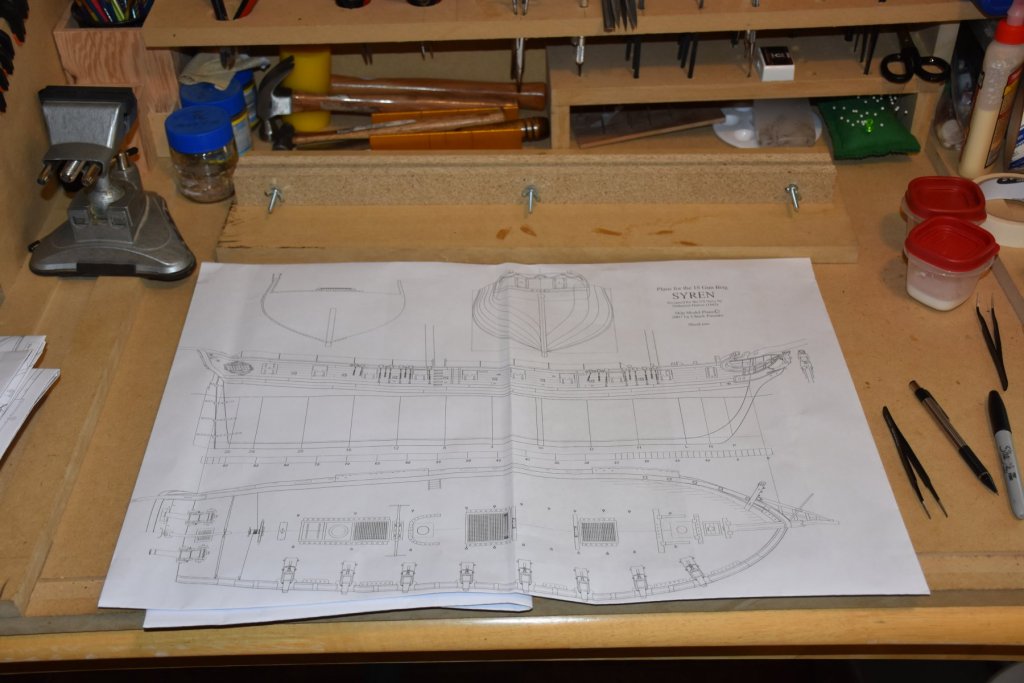
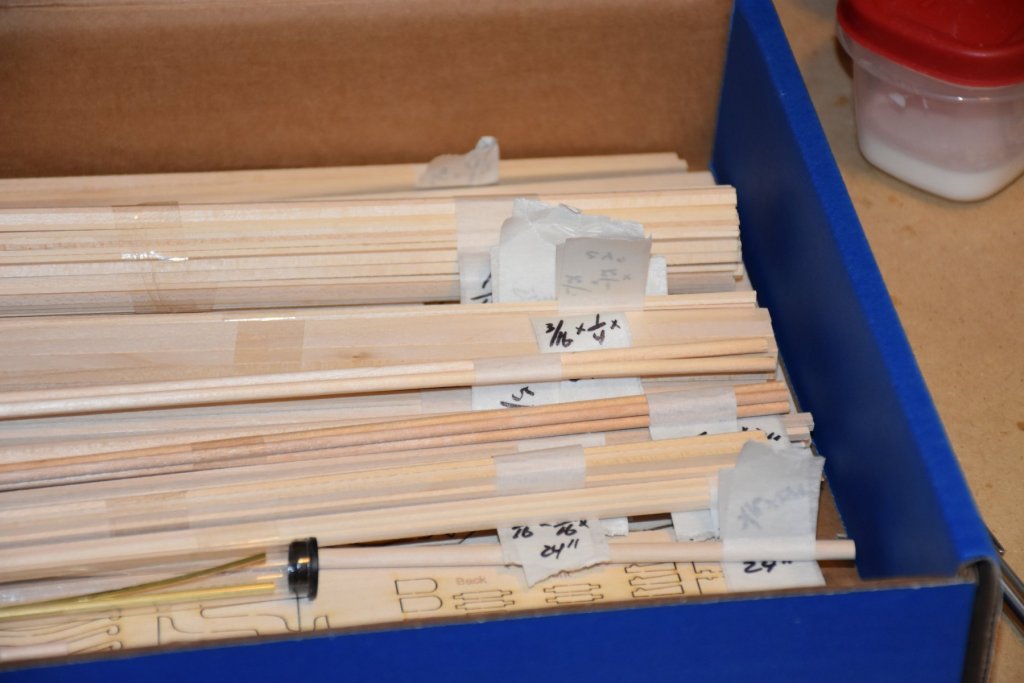
So just before wrapping up my first build the 18th Century Longboat, I decided to purchase this kit because of the excellent instructions. I also have a couple others on my shelf waiting to be built, the HMS Endevour's Longboat by Artesania Latina and the HMS Granado by Caldercraft. I intended on building the AL longboat first, but found the instructions very lacking in any sort of detail. So I picked up the 18 Century Longboat and worked on it for a little bit, before planking felt daunting and it sat for about 6 months before I finally decided to give it a go. Finished planking, then found I wasn't ready to try shaping and cutting out the cap rails, floorboards, or decks, so it sat again, and little over a year later, last month, I dug it out and finished it, my build log is below in my signature. I had intended on doing the Granado after that one, it's directions look pretty good, but I think the Syren's directions are a bit better and I was able to get it on a good sale a couple weeks ago. So here I am starting my second build, I will move on to the Granado after I finish this one and one day I'll get around to AL's HMS Endevour. I won't have nearly as much time as I have had these past 2 weeks, where I've finished the longboat, it's back to work for me. I am a high school CAD drafting and wood shop teacher, so my summer officially ended Sunday. Back to work for me yesterday, students return Monday. I plan to work on it a little each night and will try to remember to take photos and journal what I have done here on a regular basis. First off here is my complete workstation. I have enough wall space to hang the large plans on the wall to the left of area. The smaller plans for the Syren I folded up the white space around the edges and taped them up on the back side, they are small enough to fit in my work area when I need them. Next up is the required unboxing. Looks like I got the good sheets of wood and not the pink plywood I've heard about. My plans and templates also came the correct size and scale. I saw someone here do this to their manual and I thought it was an excellent idea. So when I finished my 18 Century Longboat I put it into a folder and protective sleeves just like this. I was just barely able to fit all the pages in with just enough length on the metal tabs to fold them over and contain all the pages securely. One of the plans, with the empty white space folded up and taped in the back. I took a complete inventory of all the parts, although admittedly I didn't count each and every block, deadeye, nail, eyelet, etc. I tapes and labeled the sizes of the various wood stock. And placed all the small items in a small plastic case with dividers.


-
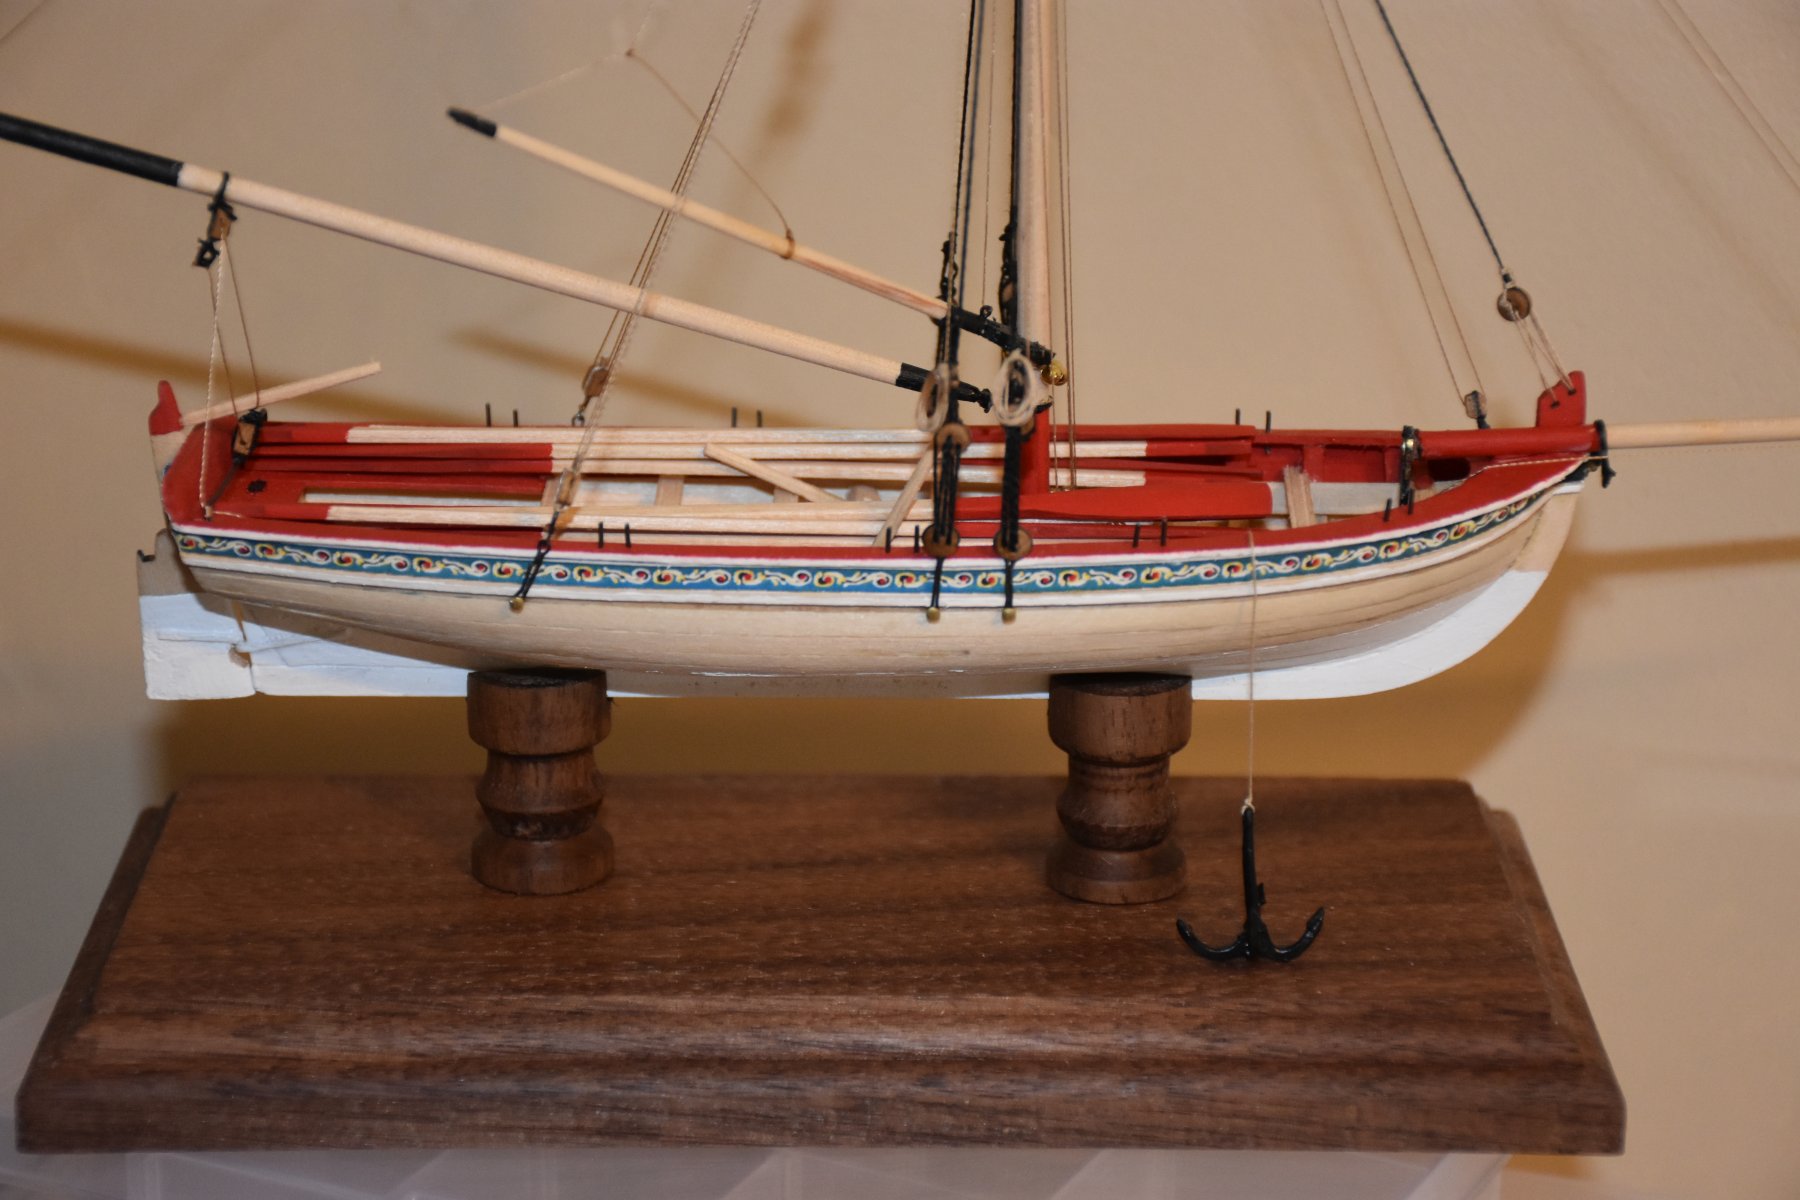
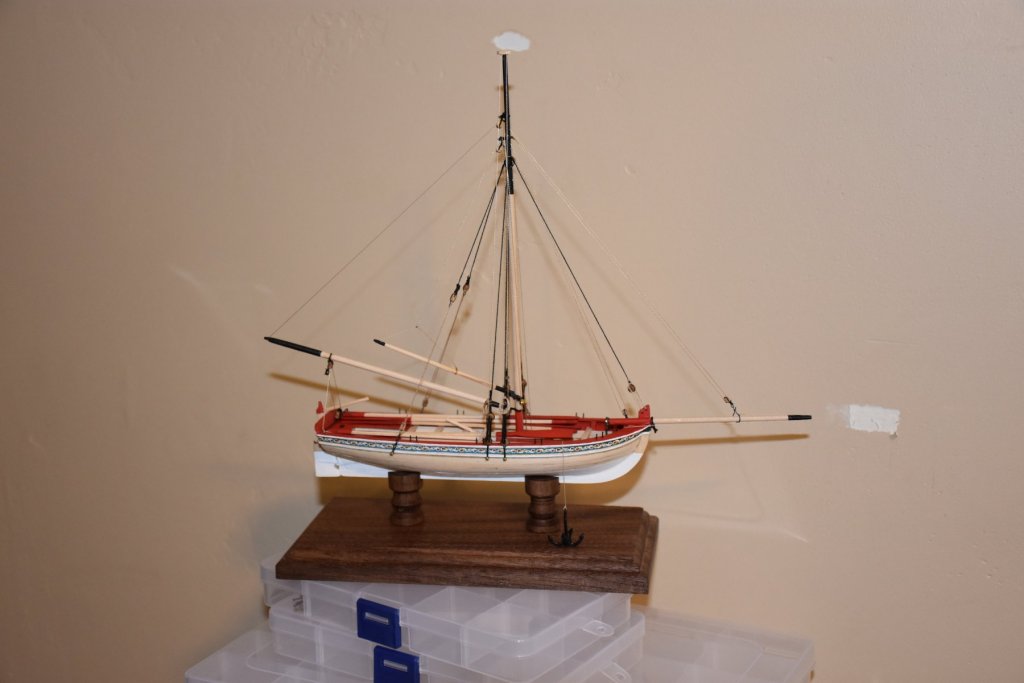
All right here she is all finished up, oars placed, but not tied and the anchor attached. This just wrapped up in perfect time, my Syren just arrived today. I'll be setting up it's build log later tonight with some unboxing, organizing, labeling, etc photos!

- 8 replies
-
- 6
-
-
- model shipways
- finished
- (and 1 more)
-
I tried blackening the anchor with Novacan Black Patina, one of the two pieces blackened up really well, the other half not so much. Then when I wasn't able to attach them with CA, I could not get it to stick, maybe something to do with the blackening I don't know. So I ended up soldering them together, however the pieces are very small and fragile, and I ended up melting right through one of the prongs and it fell off. It certainly didn't take much heat or time for it to happen, so after some playing around with it I was finally able to get it reattached, but unfortunately, it ended up with a blob of solder at the joint and I wasn't able to get it off very well. I finally decided to leave it, painted it all up black since the blackening didn't take all the way, and then I tied it to forward split ring attached to the center floorboard. I hung the anchor over the side and let it rest on the base. I then added a rope coil. After I tie the oars up in two bundles and place them in the boat, I will snap some photos of the anchor, and final finished product.
- 8 replies
-
- 1
-
-
- model shipways
- finished
- (and 1 more)