
J11
-
Posts
519 -
Joined
-
Last visited
Content Type
Profiles
Forums
Gallery
Events
Everything posted by J11
-
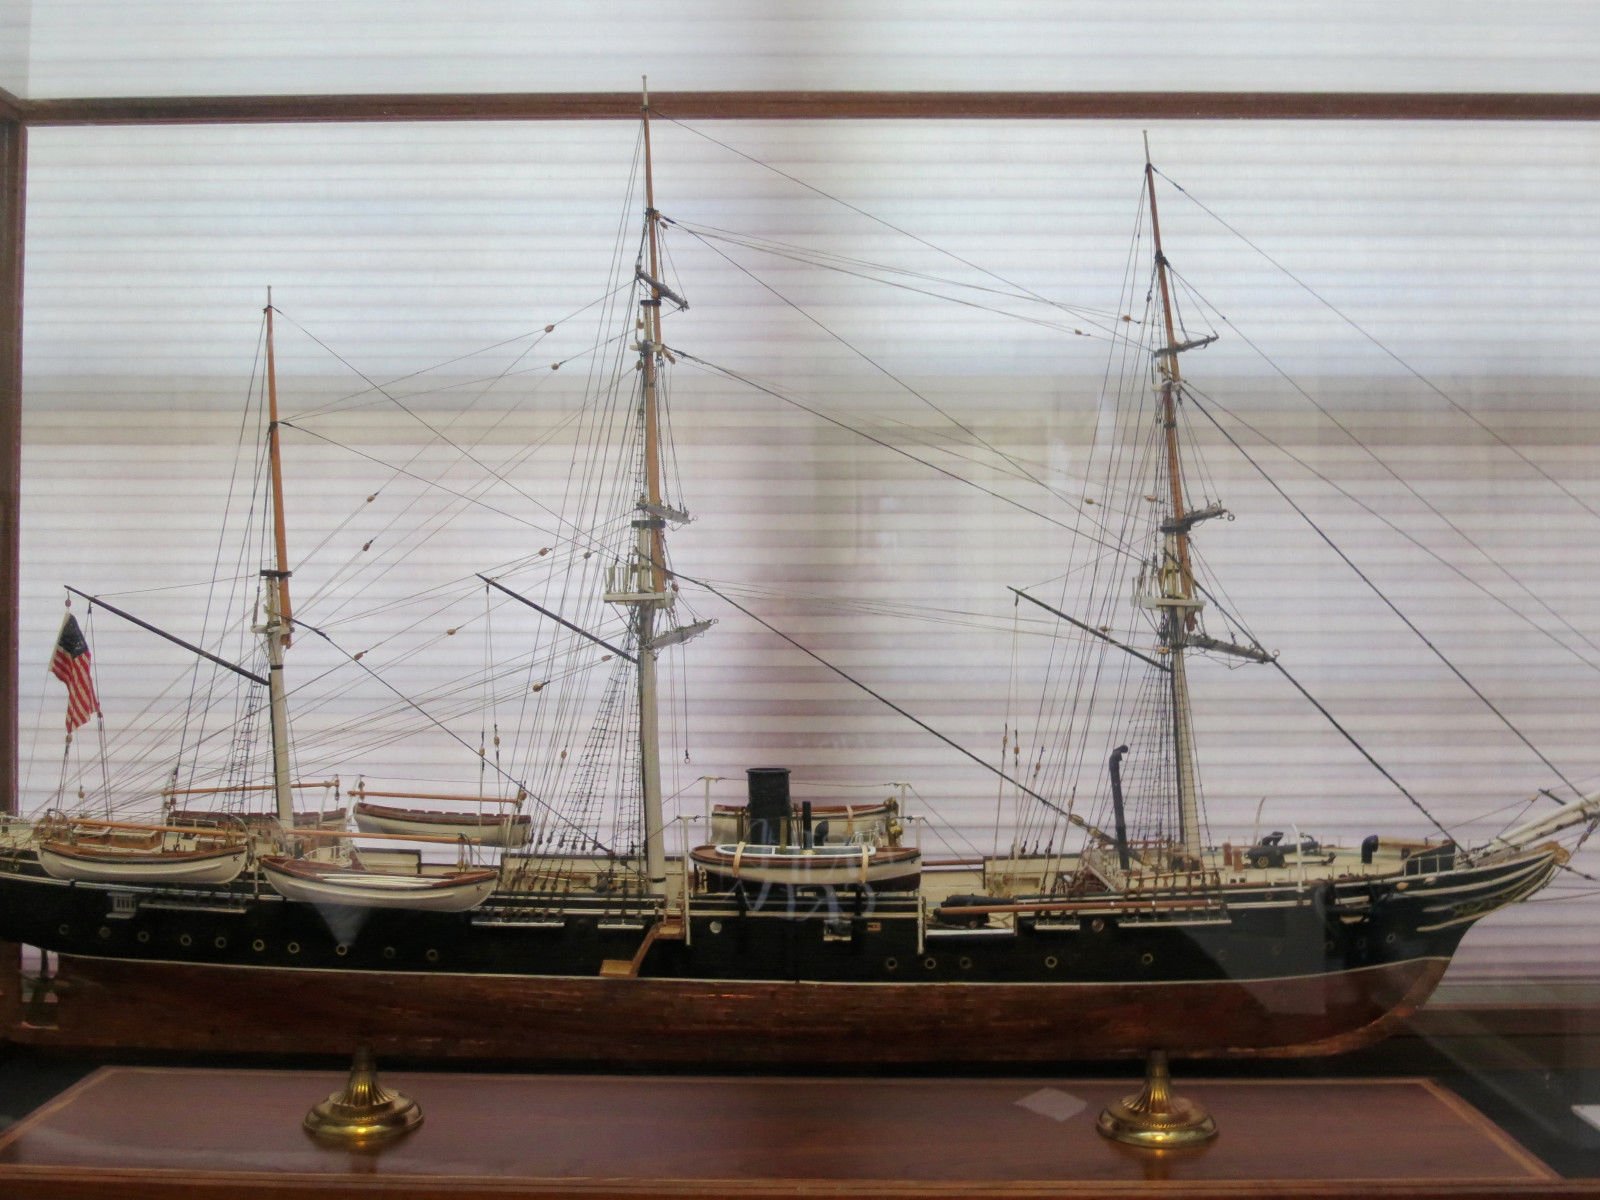
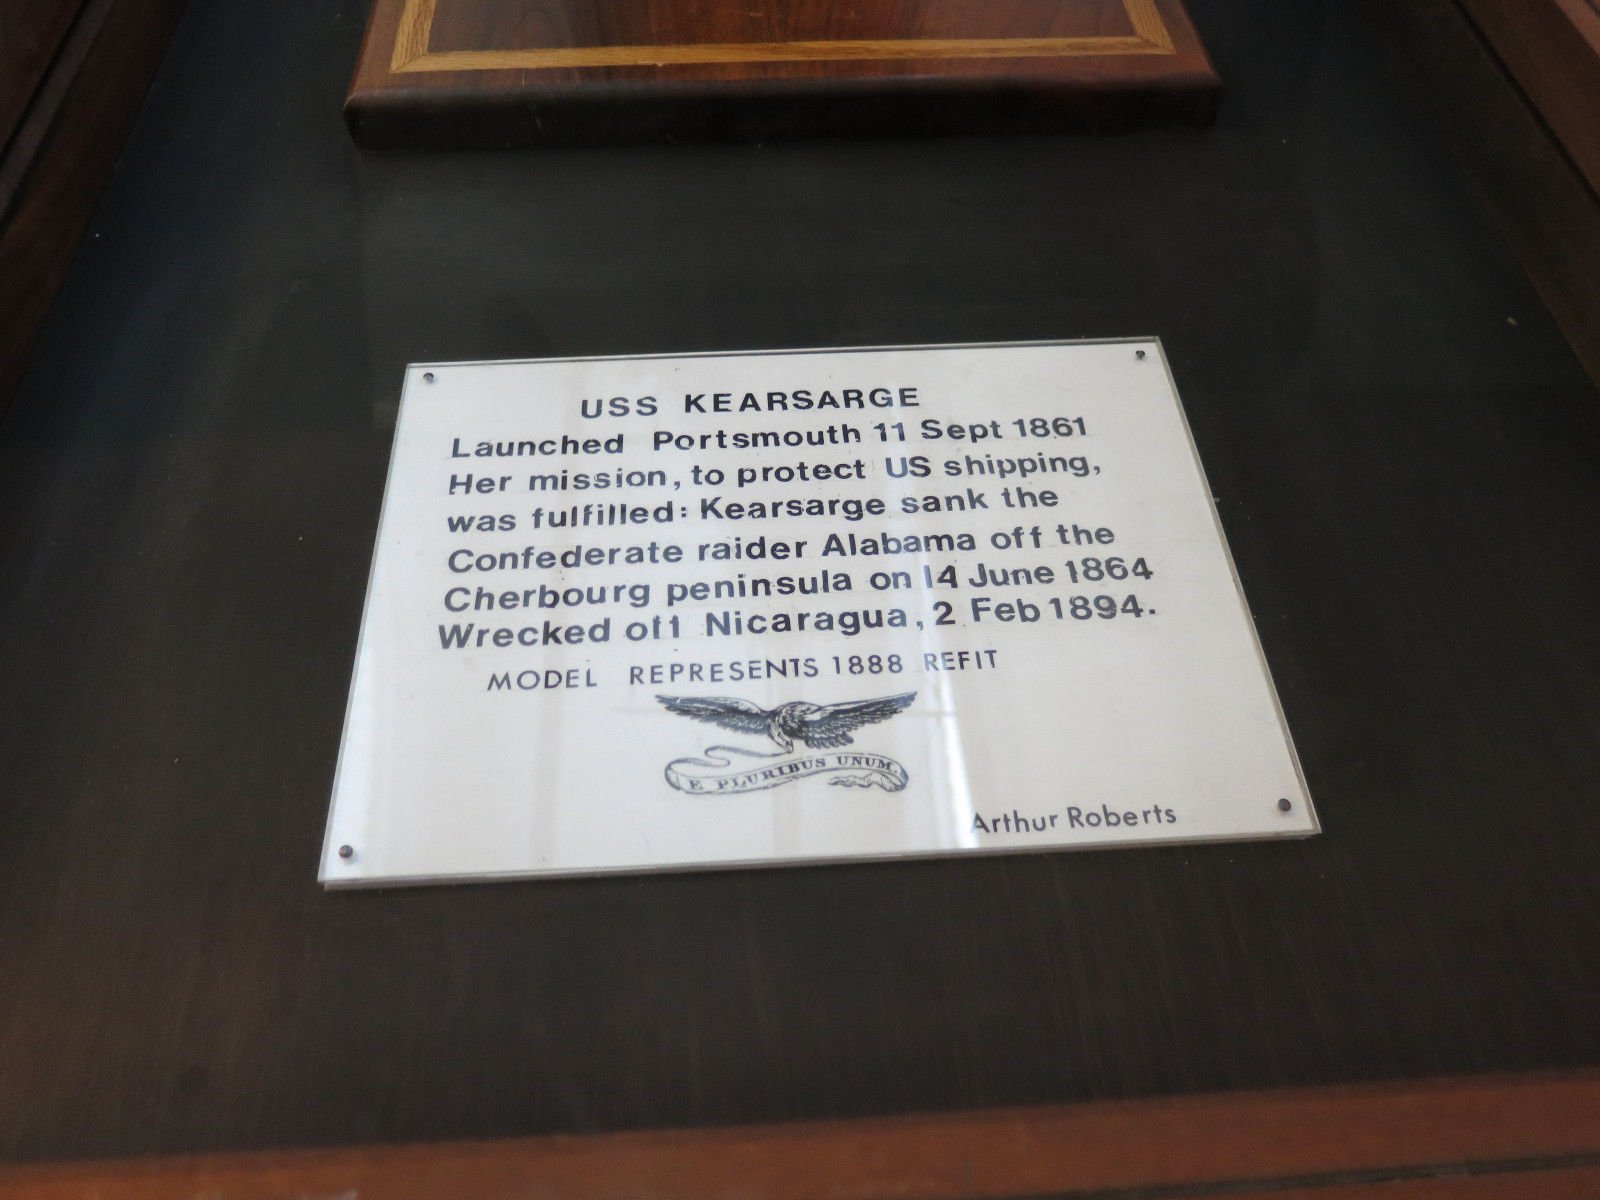
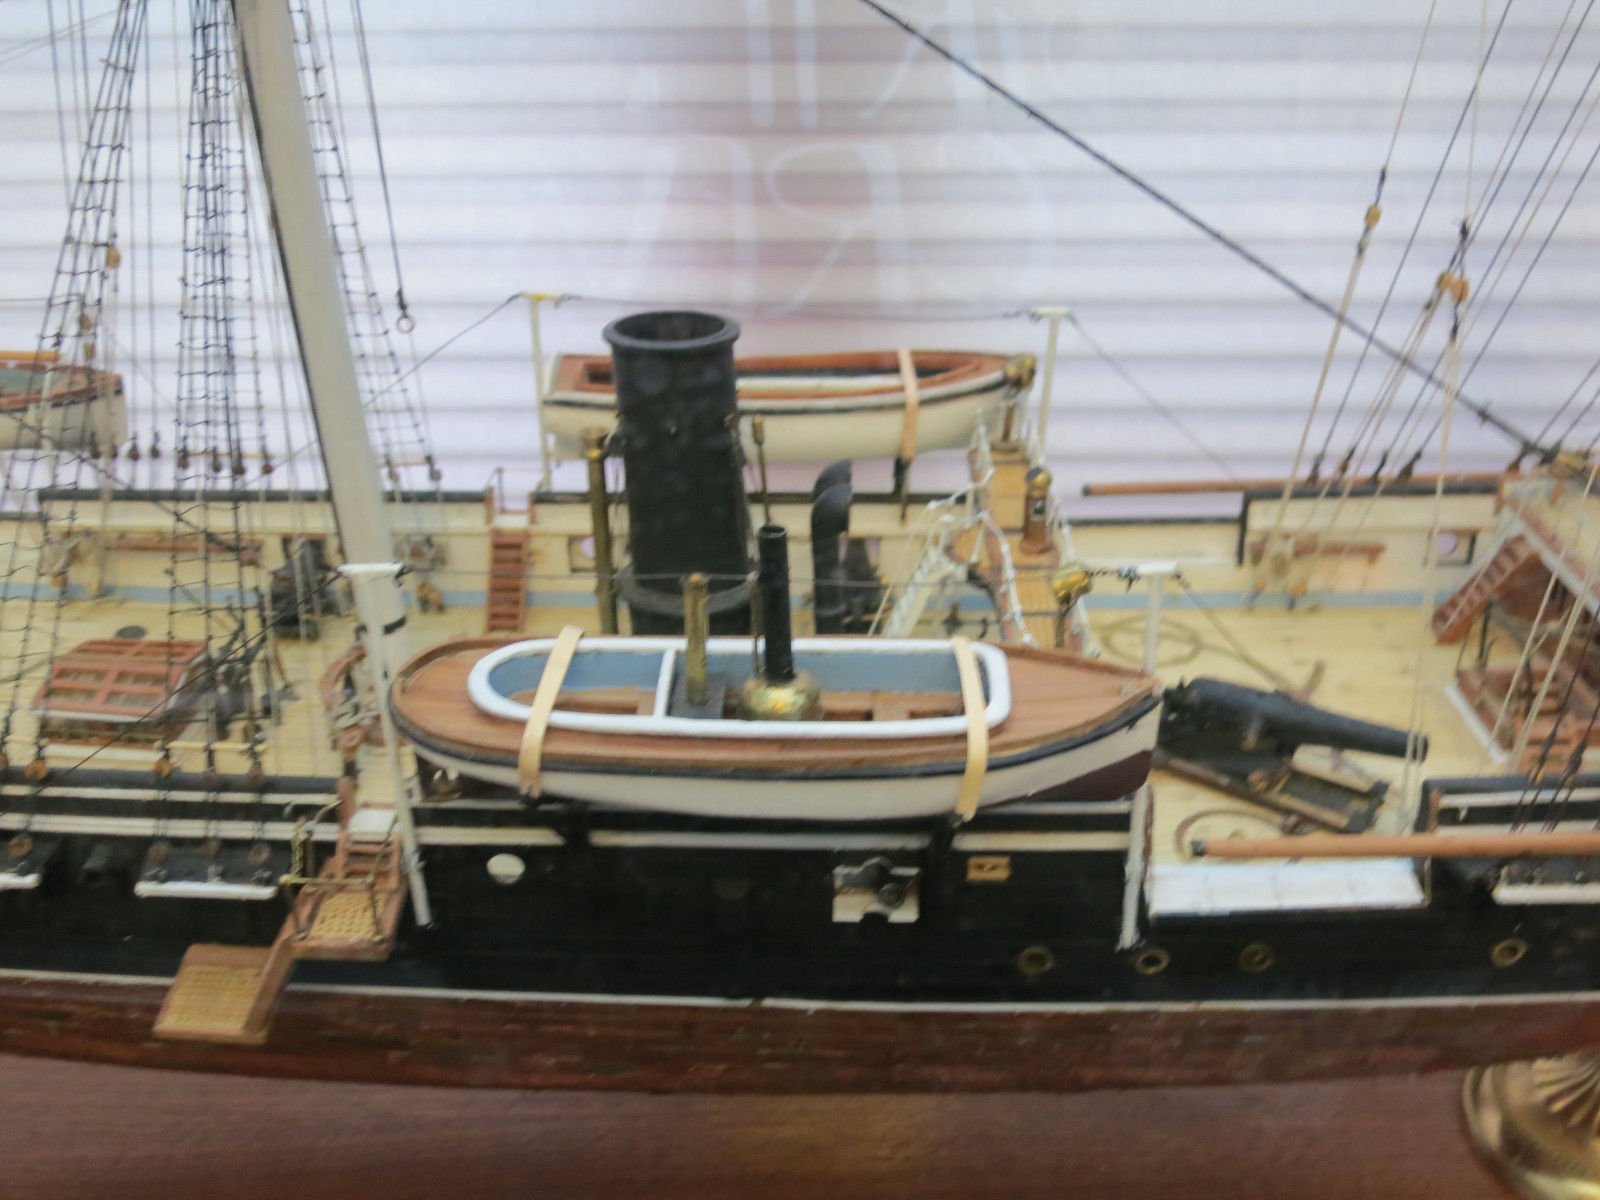
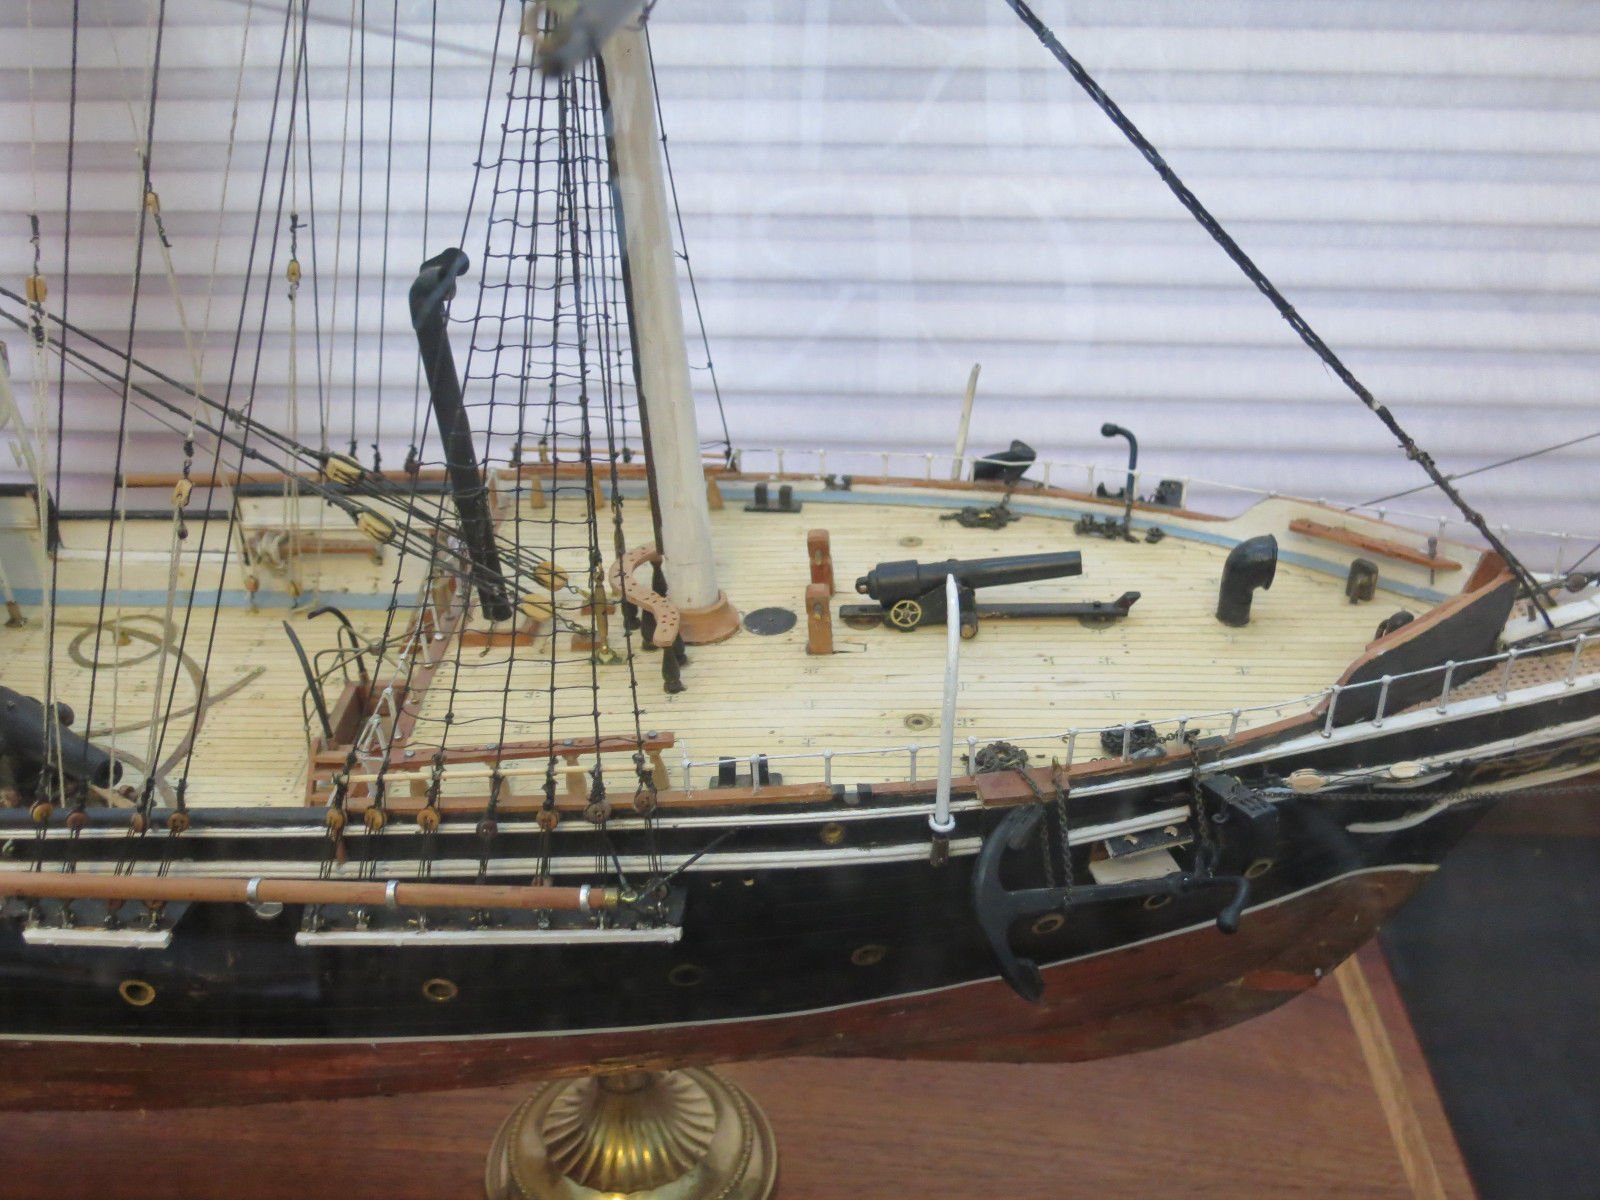
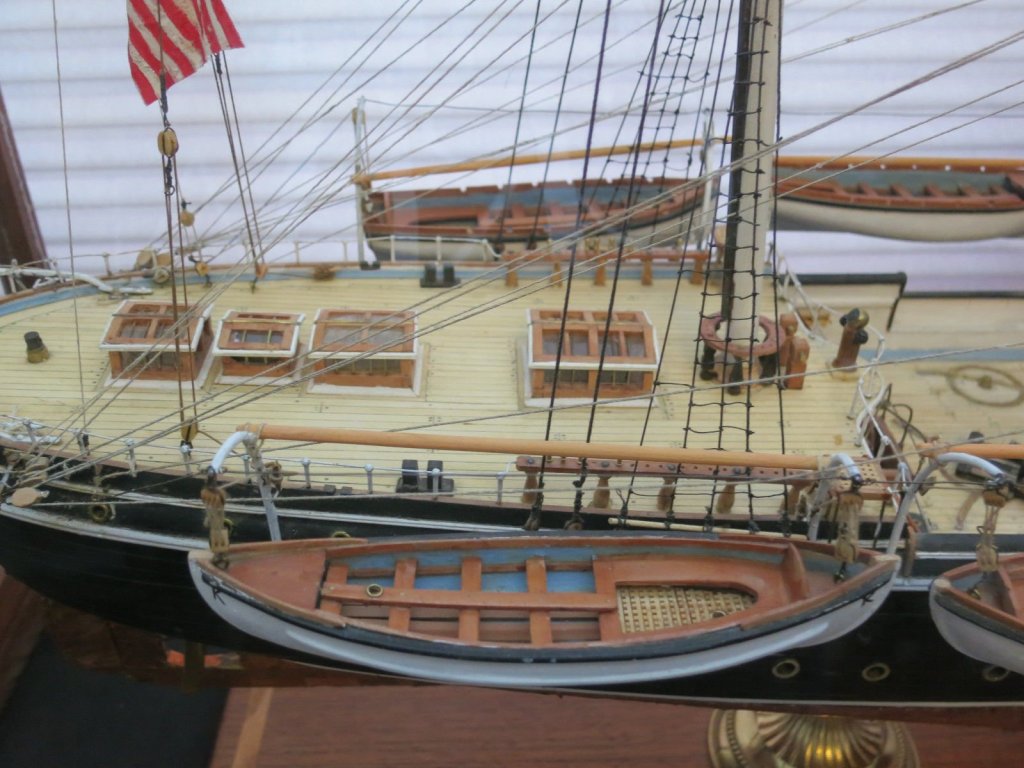
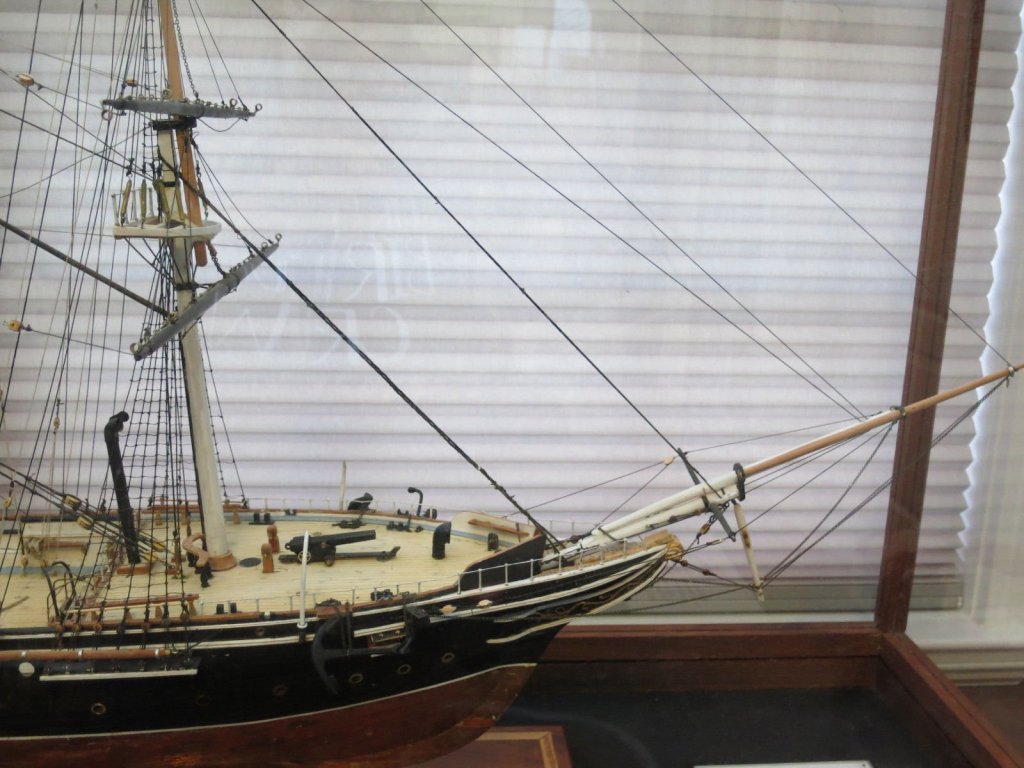
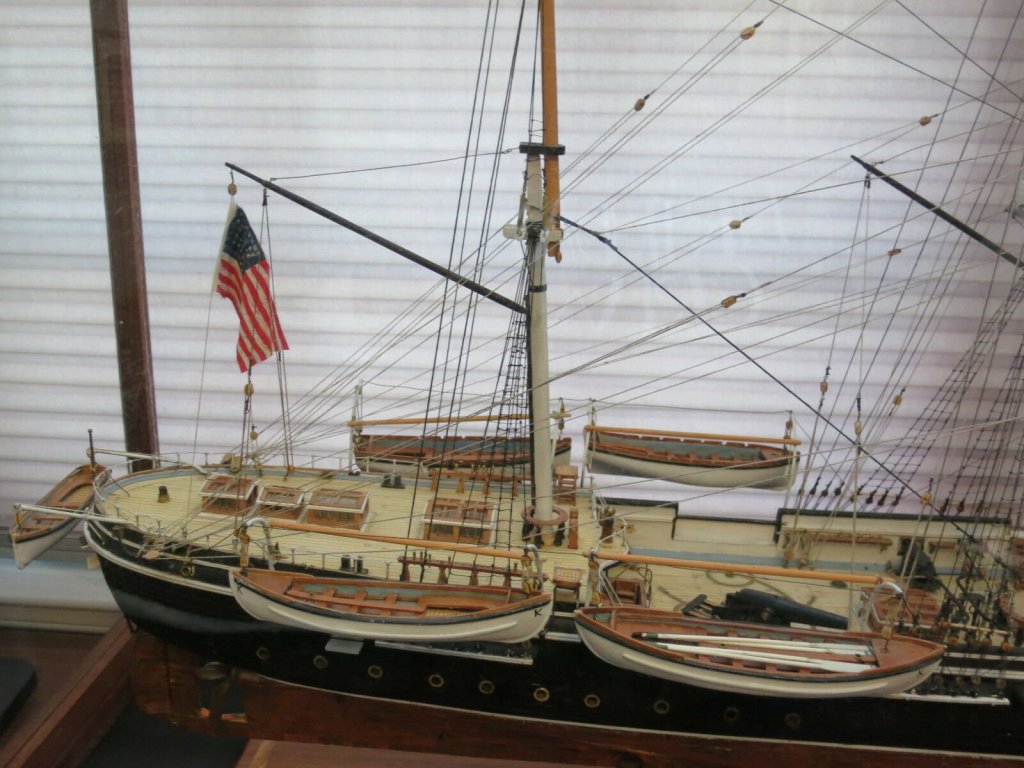
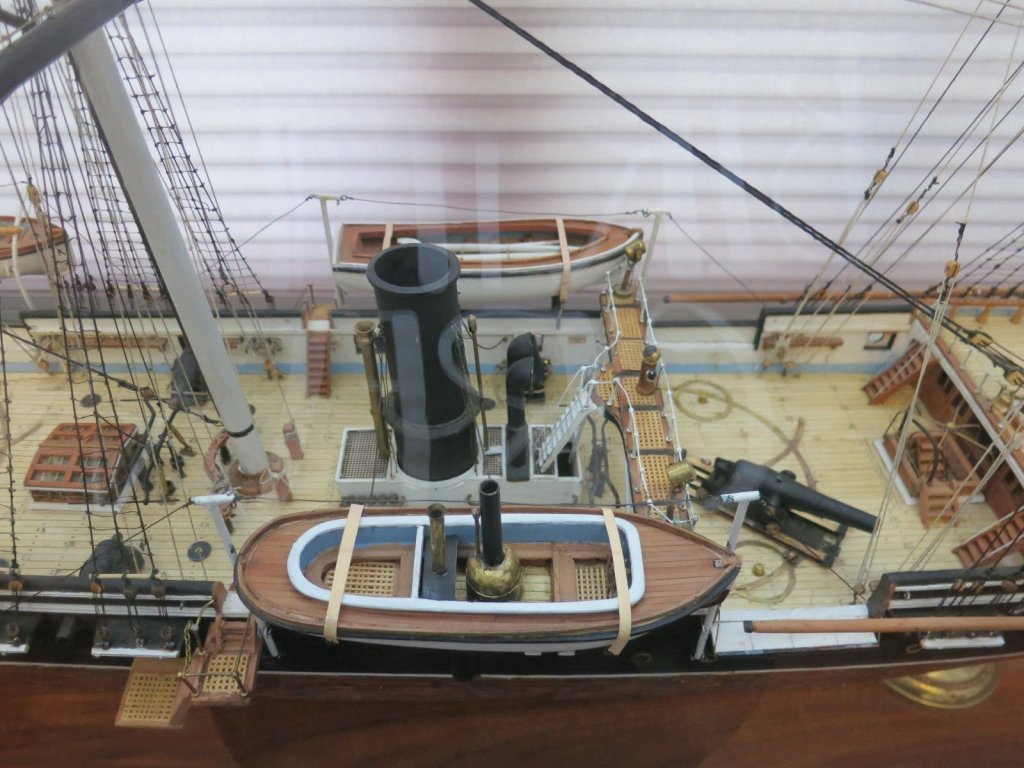
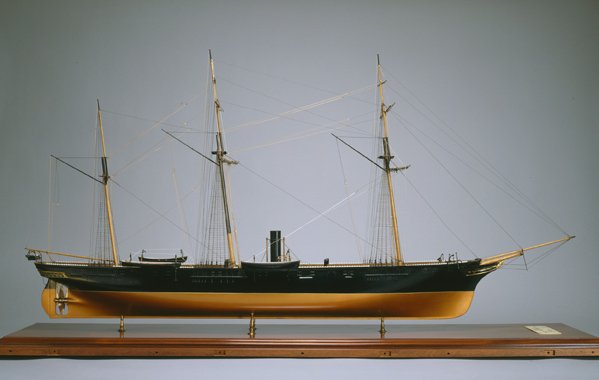
 Here's a reference of model images for the USS Kearsarge for those interested. @CDW There is a four part series for this build which I am working to get a copy for added research on the CSS Alabama. Model is 52" in length.


-
CDW, look forward to those images. If you can't find your line drawings for the Kearsarge, holler at me. I can probably get some copies of the plans also. Blue Jackets has a kit also which I believe we could get plans for also. Is the Kearsarge kit 1/96 also?
- 467 replies
-
- 4
-

-
- mikasa
- wave models
- (and 1 more)
-
I highly recommend CI's upgrade kits for those. My stomps didn't turn out as straight as I wanted but kinda looks like battle damage so definitely get some better stomps than I did, nice you have both of the kits also. Never heard of that pre-painted hull one before, very interesting. I look forward to your future build blogs on them.
- 467 replies
-
- 4
-
-
- mikasa
- wave models
- (and 1 more)
-
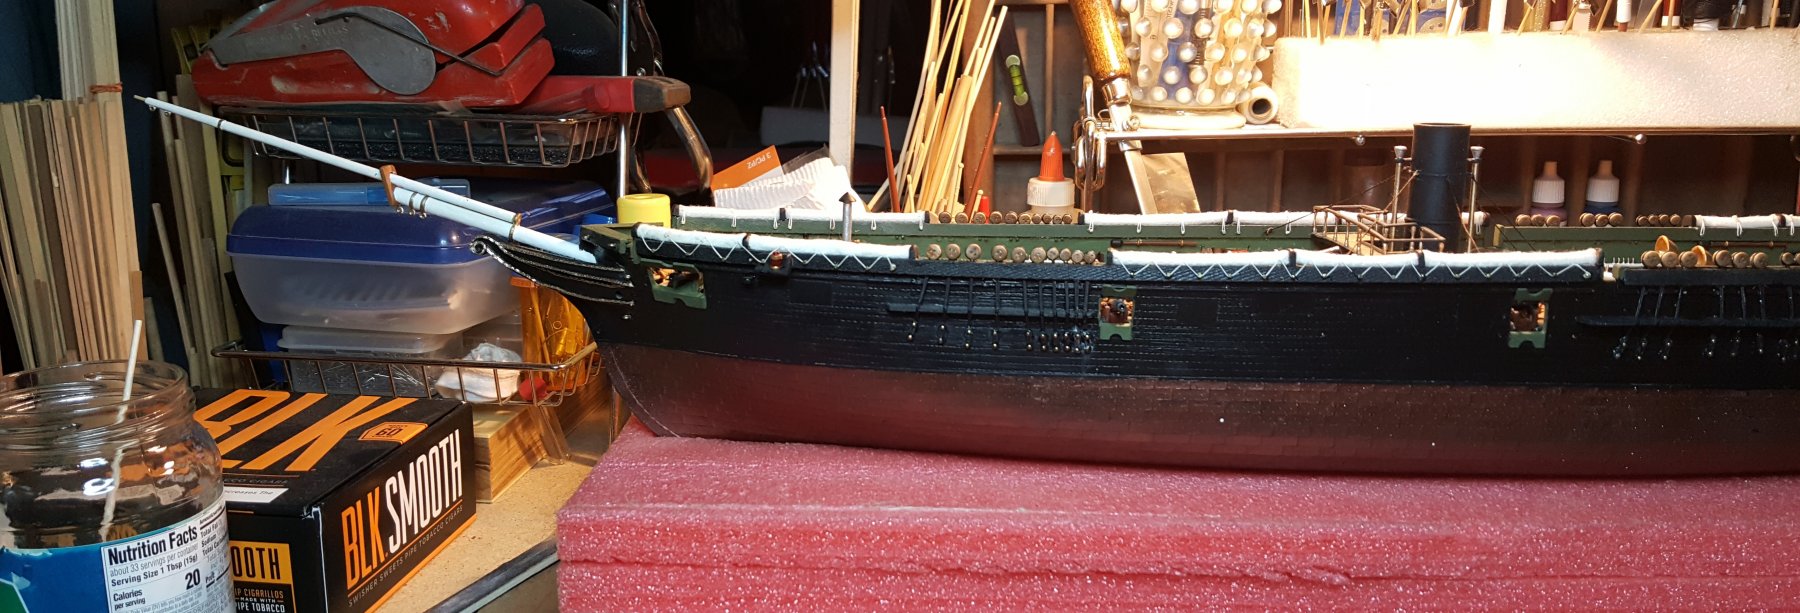
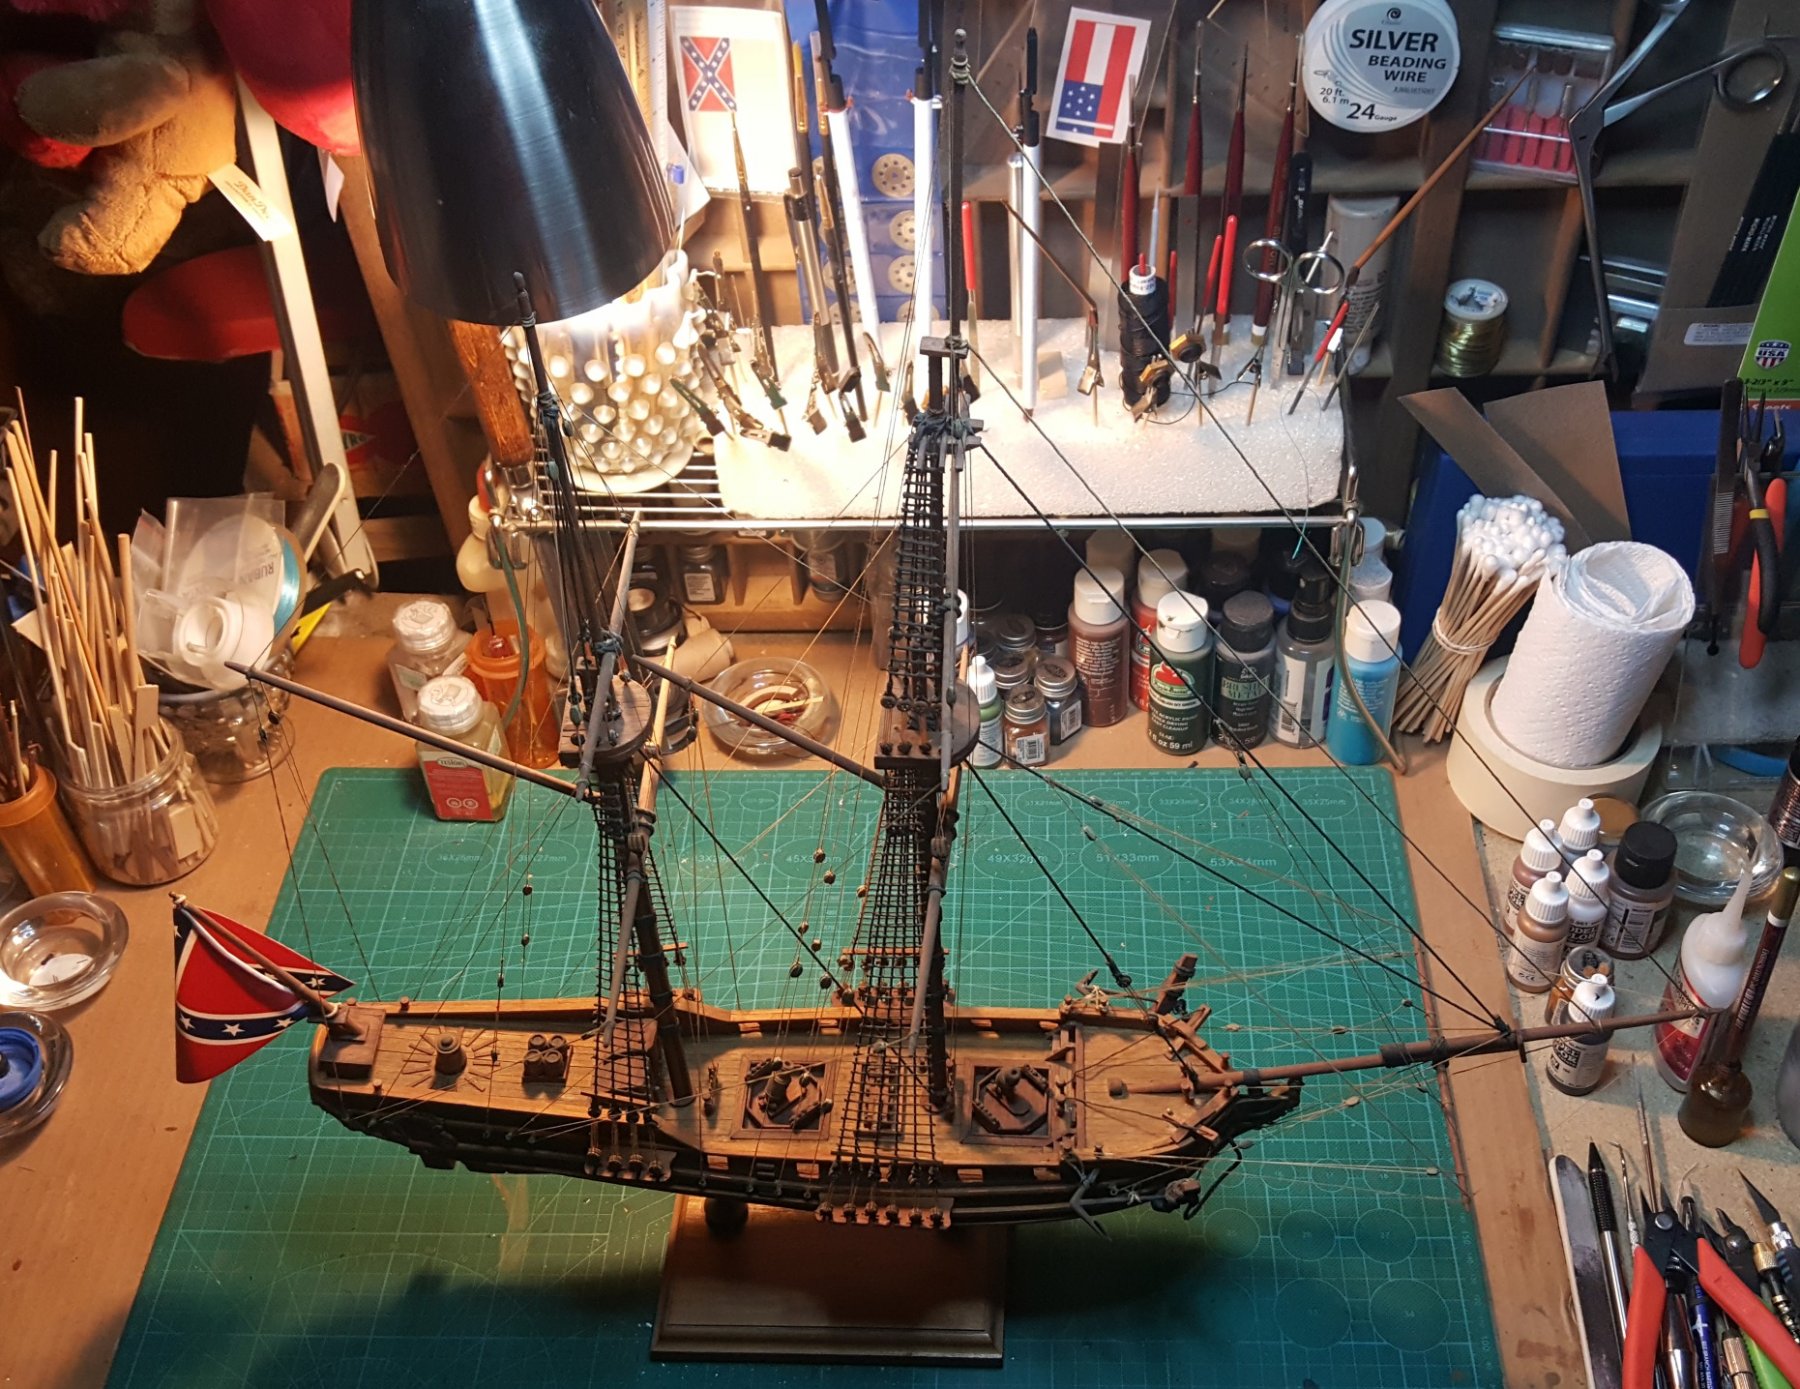
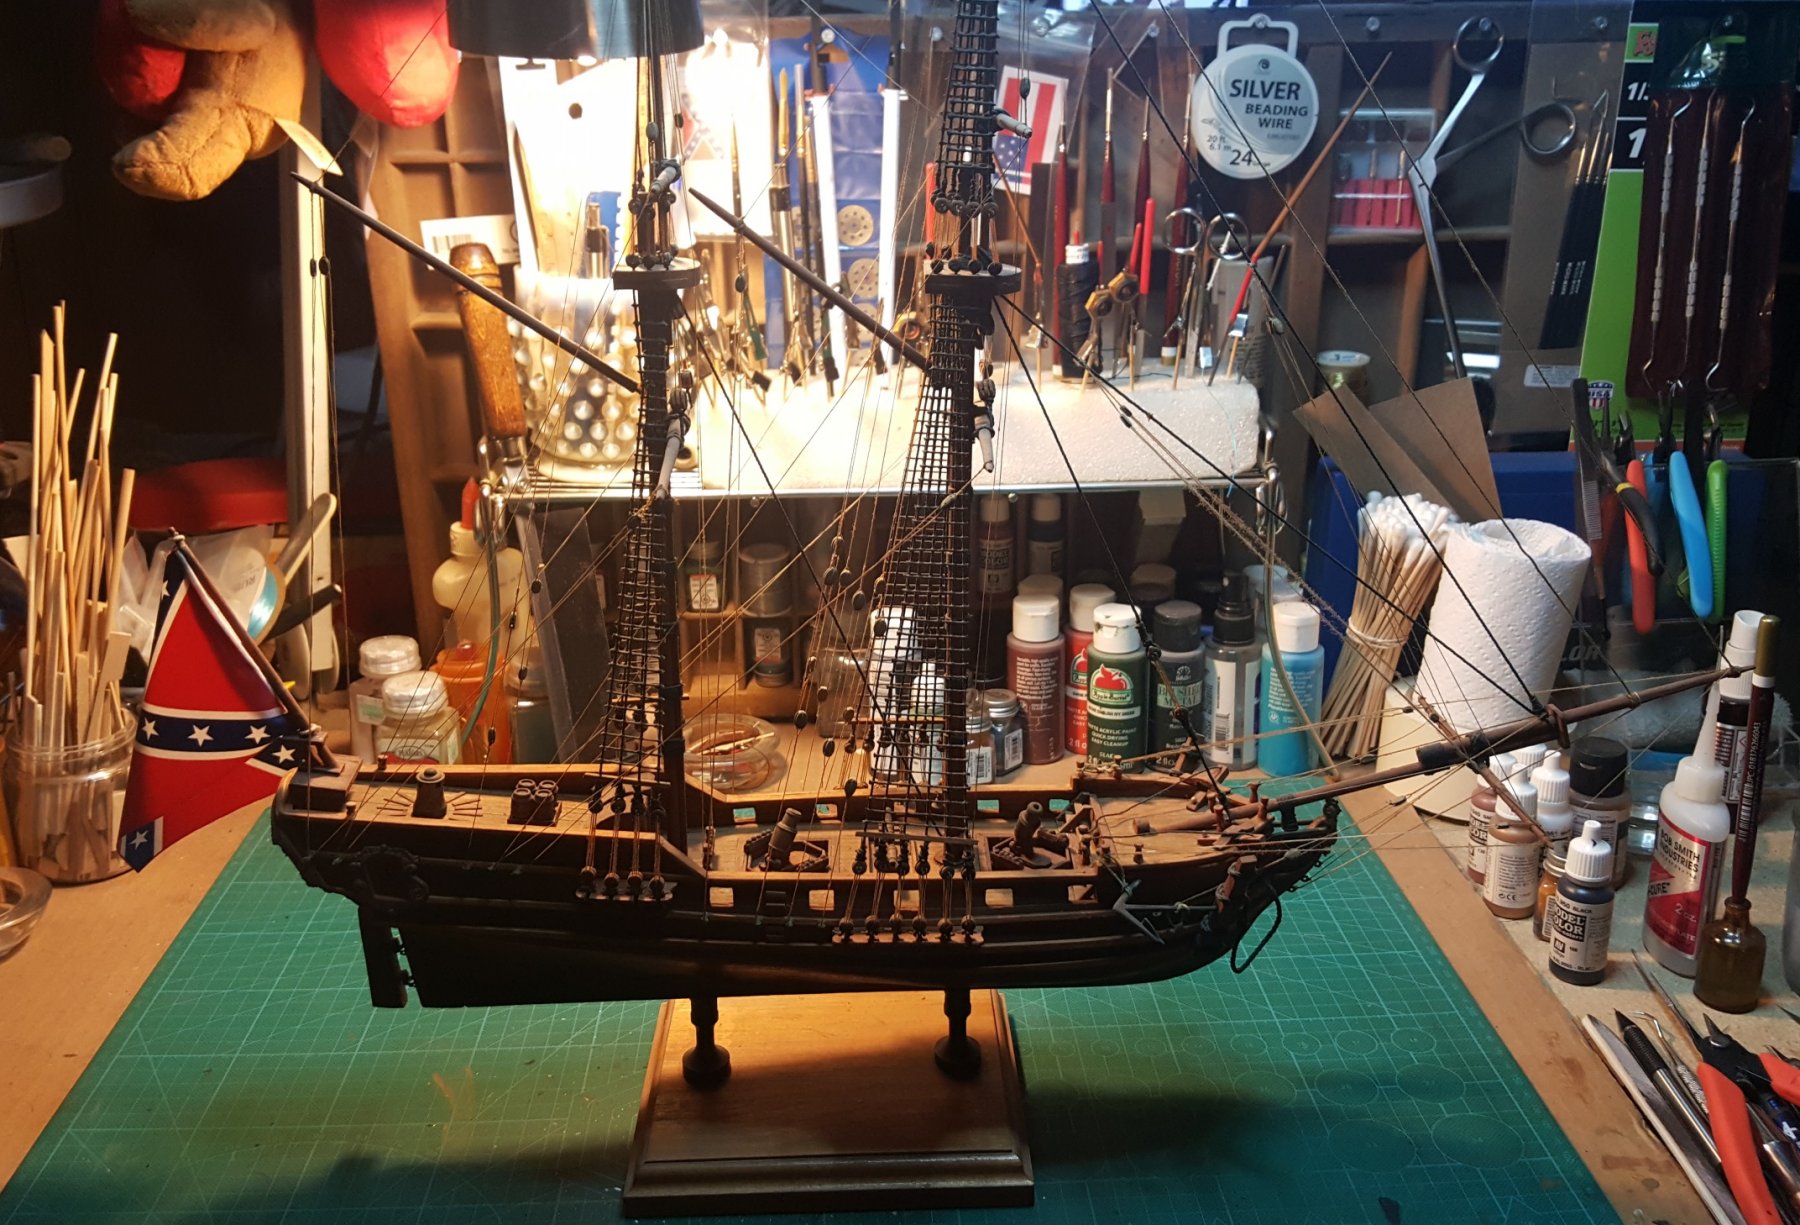
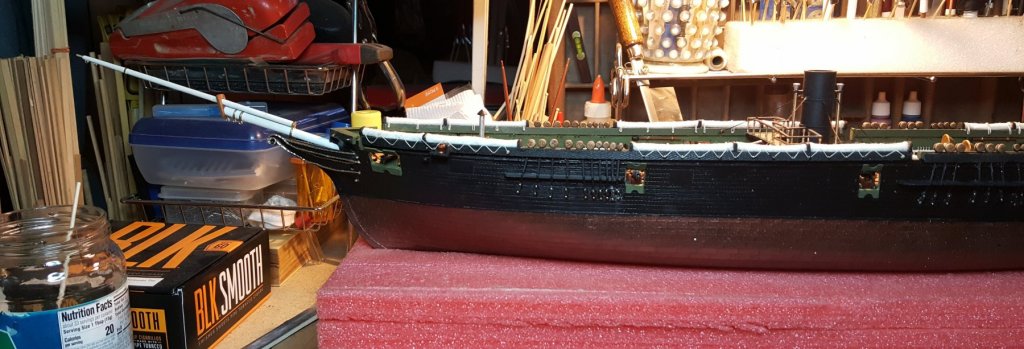
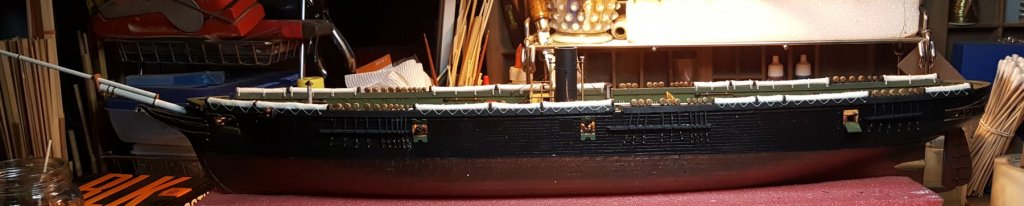
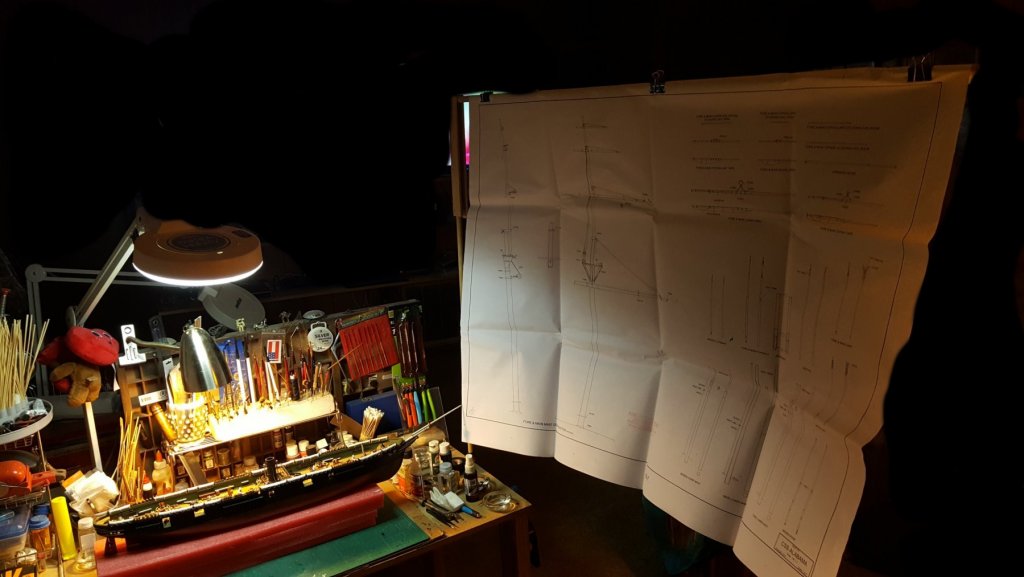
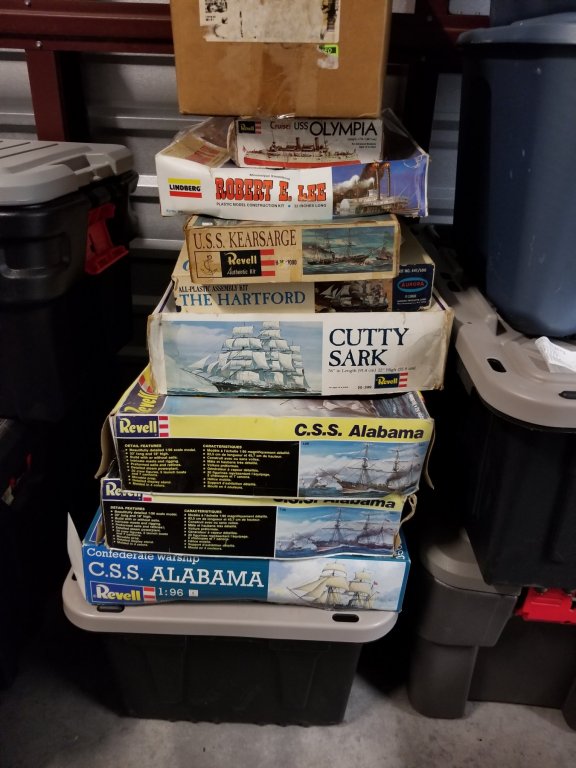
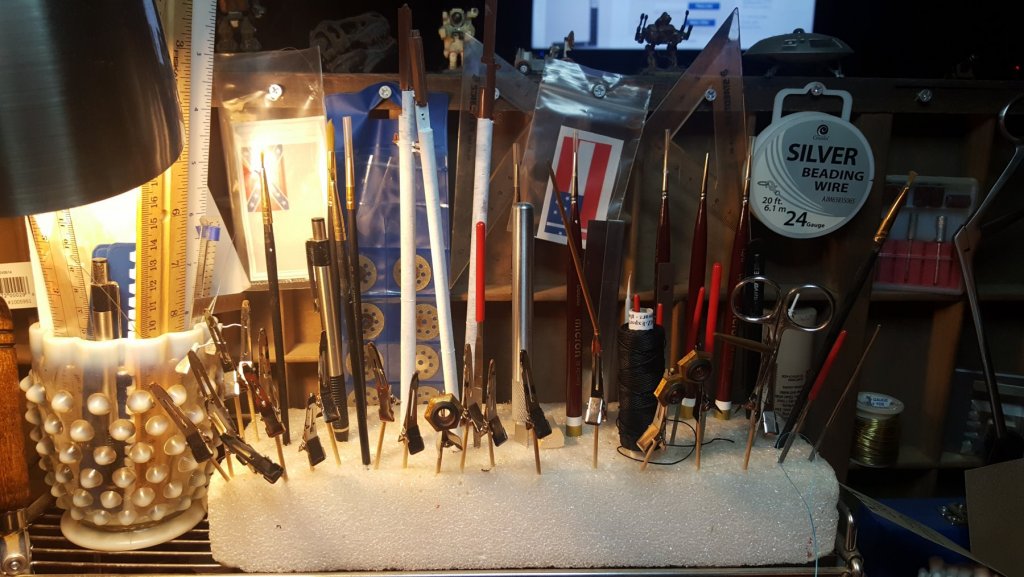
I agree, they are expensive but ebay has one a month pop up and they are in different conditions. Price is going up on them as being a rare historical model. There are two Revell Alabama models also, one from the 60's and one from the 70's. You can tell the difference from the box art work. The 60's one has better art work I feel than the 70's one for the box, but mine was pristine condition when I bought her and was lucky to find one in such perfect condition. Here's a gold mine which I didn't have the $1500 dollars to get them all and was crying for weeks. The stomp work is progressing and touch up painting will be next one I have all the nails in place. Then I have to work on the boom extensions for the main and fore mast. I will be making the metal hinge from scratch using wood and painted metal, ie brass. Also will be making the booms by scratch using black walnut dowels and sanding them to shape. I'll have more images in a couple of days as work progresses. My print holder which works with my mobile table.

-
Interesting information I didn't know about the kits. I will probably hunt down another CSS Alabama kit for putting back for my Grand children to enjoy as these are becoming rarer. Springtime chores and responsibilities are keeping me very busy and sorry for not updating this blog. I will have some images soon as the work on her is starting again. Appreciate all the response and likes on this build, it's been a challenge to try to get her as close to historical accuracy as possible and the rigging phase is very delicate for this model. Been working on a plan of installation of them which has to be the correct size of rope as to not overwhelm and distort the model. I have all the right sizes and feel I can represent it properly. Advise or suggestions for this is welcomed.
-
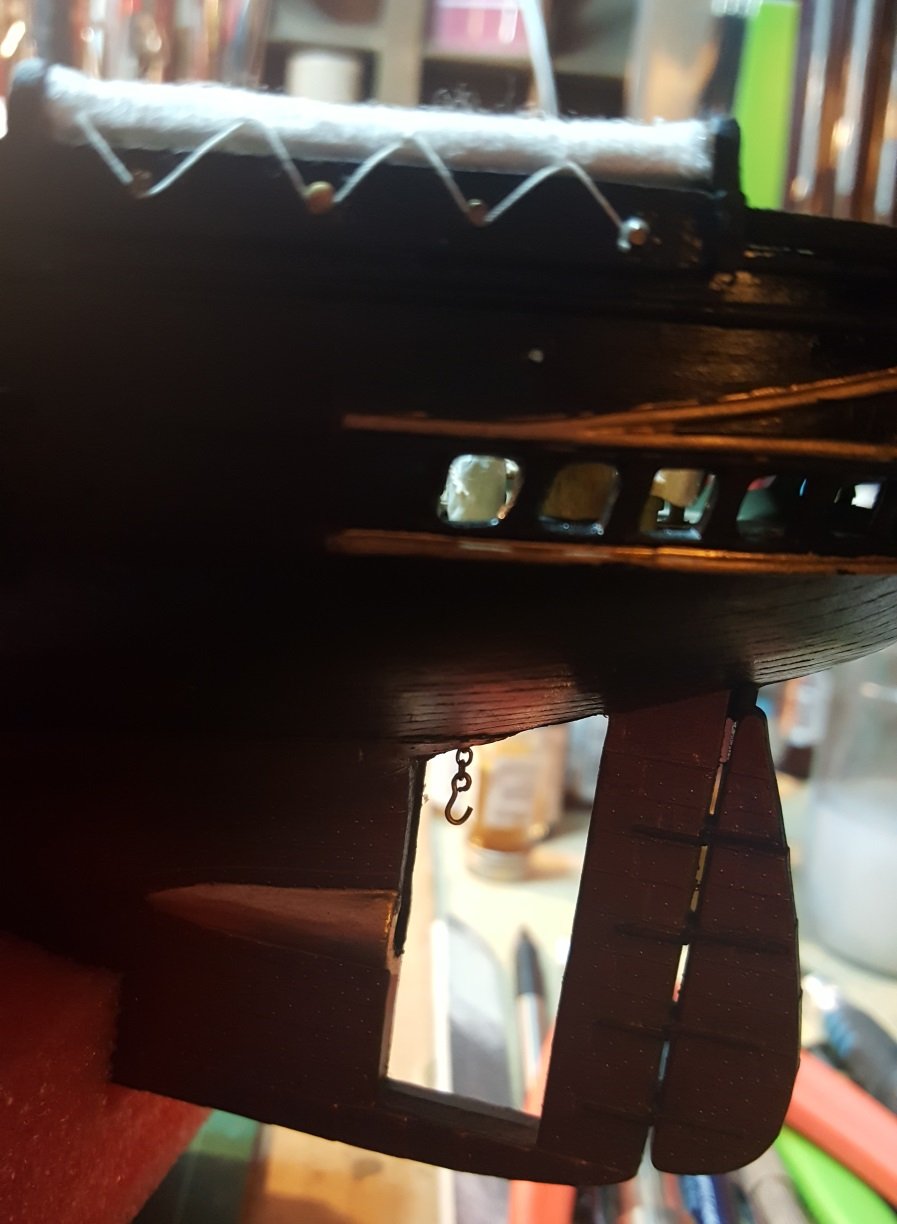
Thanks Bill, and as you have stated the Revell plans are off considerably as I also fully recommend "Blue Jackets Plans" which can be purchased by themselves from their website under the CSS Alabama model. For courtesy and copyrights I won't post images of the BJ plans as I do have them, and without them couldn't have gotten close to the 90% accuracy that I am at for the build. The bow on the model is wrong for the anchors, chains too, and the front spar, but is easily fixed along with the cannon's on the kit. To solve the cannon problem I picked up "Cottage Industries" upgrades William offers on his site and also had gotten some extra cannon tools and boats. There are four different types of long boats on the Alabama and the models representation on them are wrong also. The masts are wrong as the Alabama had 4 sail masts instead of the 3 on the model, also the metal cannon tread on the model is incorrect too, but I kept them the same so not to destroy the deck modeling detail. As to the length it's very close to the Alabama should be and seems to be close to the Kearsarge, so yes I would say it's probably the same mold but not far off. The hull is wrong as the bulwarks needed to be extended for the added detail. I have combined multiple images of the BJ model which is posted under a BJ built blog: http://modelshipwrights.kitmaker.net/modules.php?op=modload&name=features&file=view&artid=6397 along with three separate sets of prints. The BJ plans along with the Plans from the CSS Alabama: Builder, Captain, and plans by Summersell and some historical plans from the naval archive. Along with this reference site: https://mds.marshall.edu/css_al/. Plus consulting with some quality naval experts on Civil War talk which have been of immense help. Along with the original builders model: That's the reason I have said in the title of the blog 90% accuracy, I feel that's as close I can get to the real ship without spending $1000.00 on BJ's kit and extra parts and pieces for her. My data files on her are at 1.5 gig's and my extensive research has gone on for months and will continue till she's finished. I have changed some colors on her to make her a better show model and will be evident when I am finally finished. IMHO I would say that BJ's is the best and to upgrade the cannon's and add the hammock detail better for that kit. The nice thing about the Revell kit is it is out of production and a antique kit so I am enjoying working with it and producing a good representation as close as possible. Also please understand that there are discrepancies; it seems in all the prints. So I had to get as much information as was possible and was fortunate to be able to because of the web. Without the web I couldn't have gotten all the info I have correlated. It's been a search and interesting learning exercise from the build. I feel I will have her done in four more months but working out some procedures on building her is what really slows me down as the model is so fragile with the combination of plastic, wood, metal parts. But that's the fun and challenge that us model builders like.
-
Welcome back to MSW!
-
Welcome to MSW!
-
Welcome to MSW!
-
Welcome to MSW!
-
Your attention to detail and excellent craftsmanship is perfection with this build. As I was going over this gem of a ship I felt as if I was looking at a real ship in dry dock being built. Really like the over-all color contrast you have used. Your other two competed ships are true master pieces.
- 122 replies
-
- 1
-
-
- caldercraft
- agamemnon
- (and 1 more)
-
Welcome!! Check you scale measurements from the BL plans, see if you can get a good reference number to how wide the stern should be at your over lap point. If it is smaller than your actual deck board then cut and sand it down to match, (When cutting the deck board watch your deck board lines for proper fitting) If the overlap (deck board) is correct you will have to add some wood putty to increase the stern of the ship and sand the bottom solid hull to match you upper stern deck. Or add some wood extensions to in create the solid hull width at the stern and then sand her down. The BL solid hulls won't be perfect and there are a;ways adjustments one way or another. Once you have this completed, my suggestion is to individually plank your deck when it's time.
- 19 replies
-
- 1
-
-
- yankee hero
- BlueJacket Shipcrafters
- (and 1 more)
-
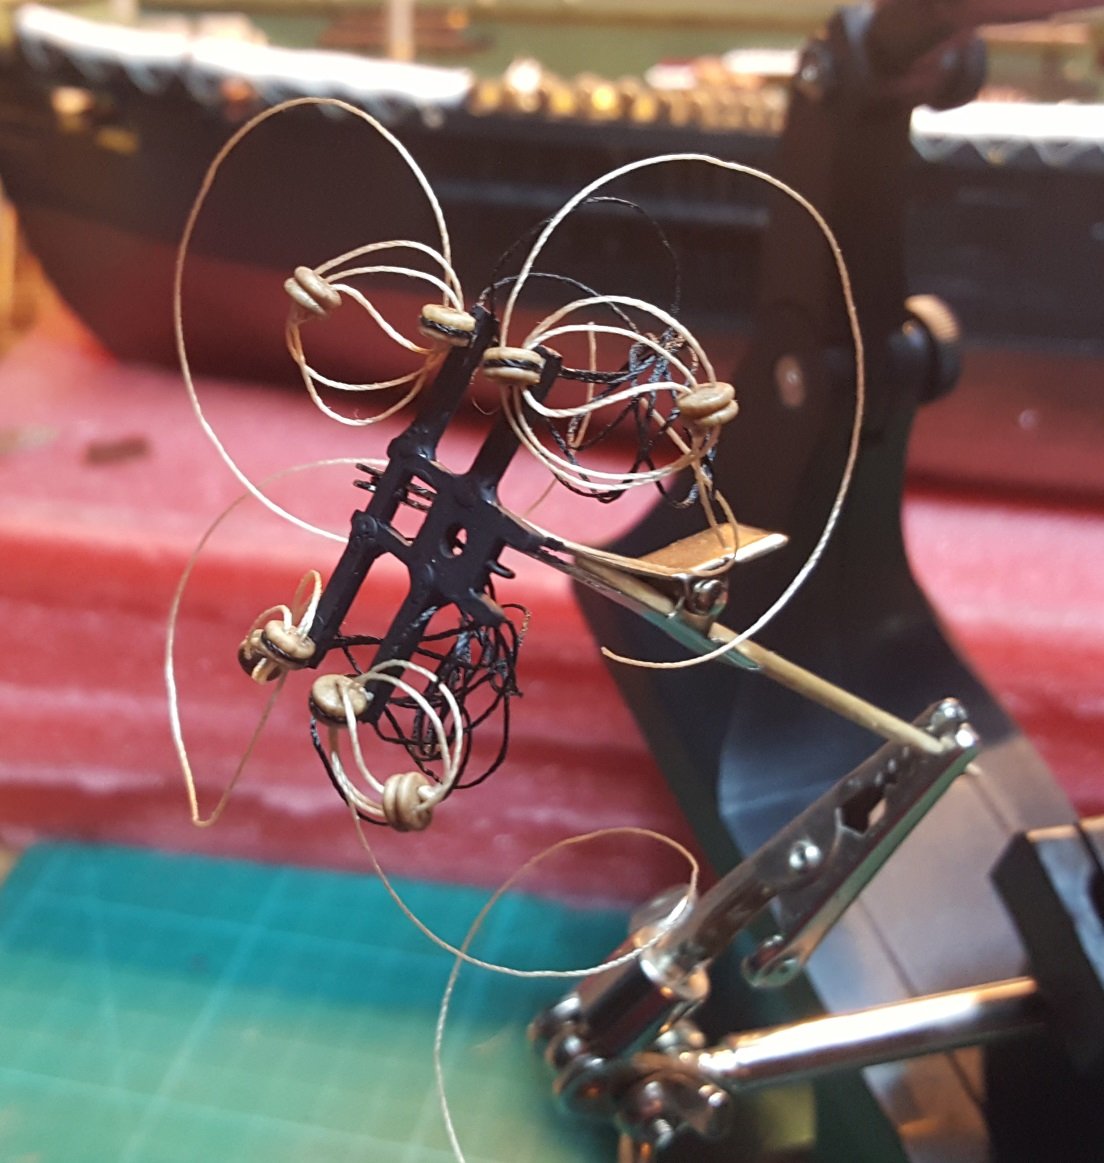
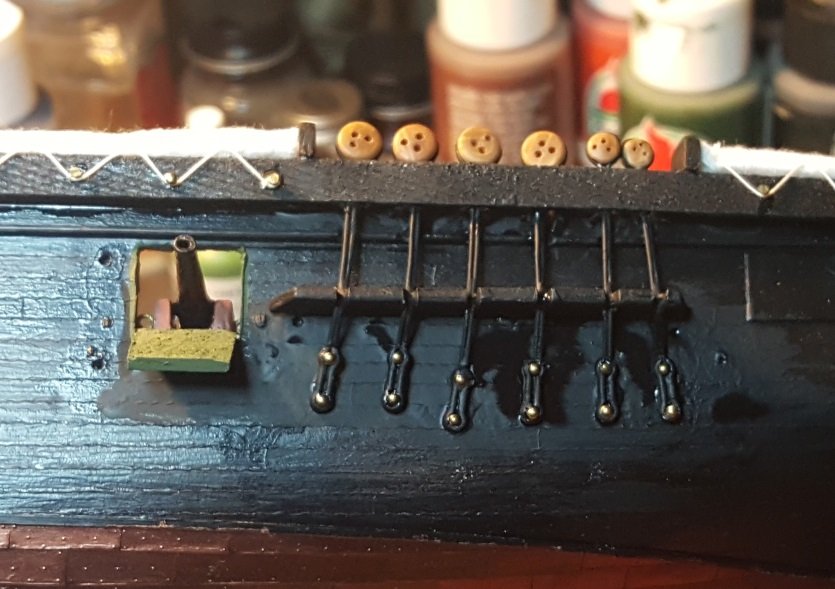
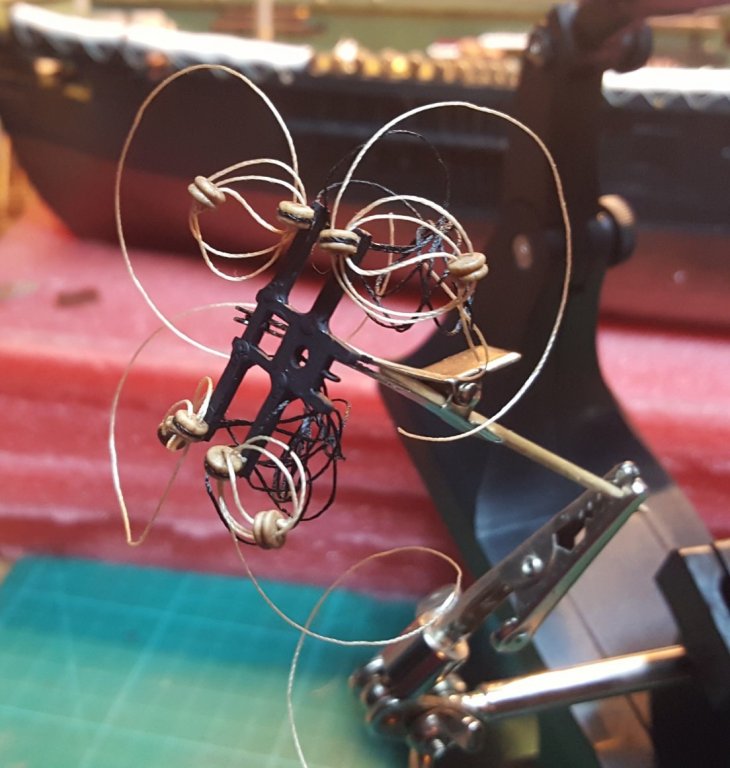
Thank you, I was amazed at how the Revell model was still around considering the last run of it was in the late 70's. I had picked mine up on Ebay and was 100 + dollars just for the model and now I'm seeing them go for even higher than what I paid for it. It was a hard decision as to even build this antique kit, but I broke the wrapper and went for it. Glad it has inspired you to start yours, if I could change one thing it is the dead eye stomps, try to find some already built as the scratch built one's I have done are really a pain. Look forward to your possible build blog. Here's the stomps almost finished as more painting has to be done but gives a good idea how these are turning out. But they are breaking and a real pain. Not to shabby, just wish I could have gotten them more even.
-
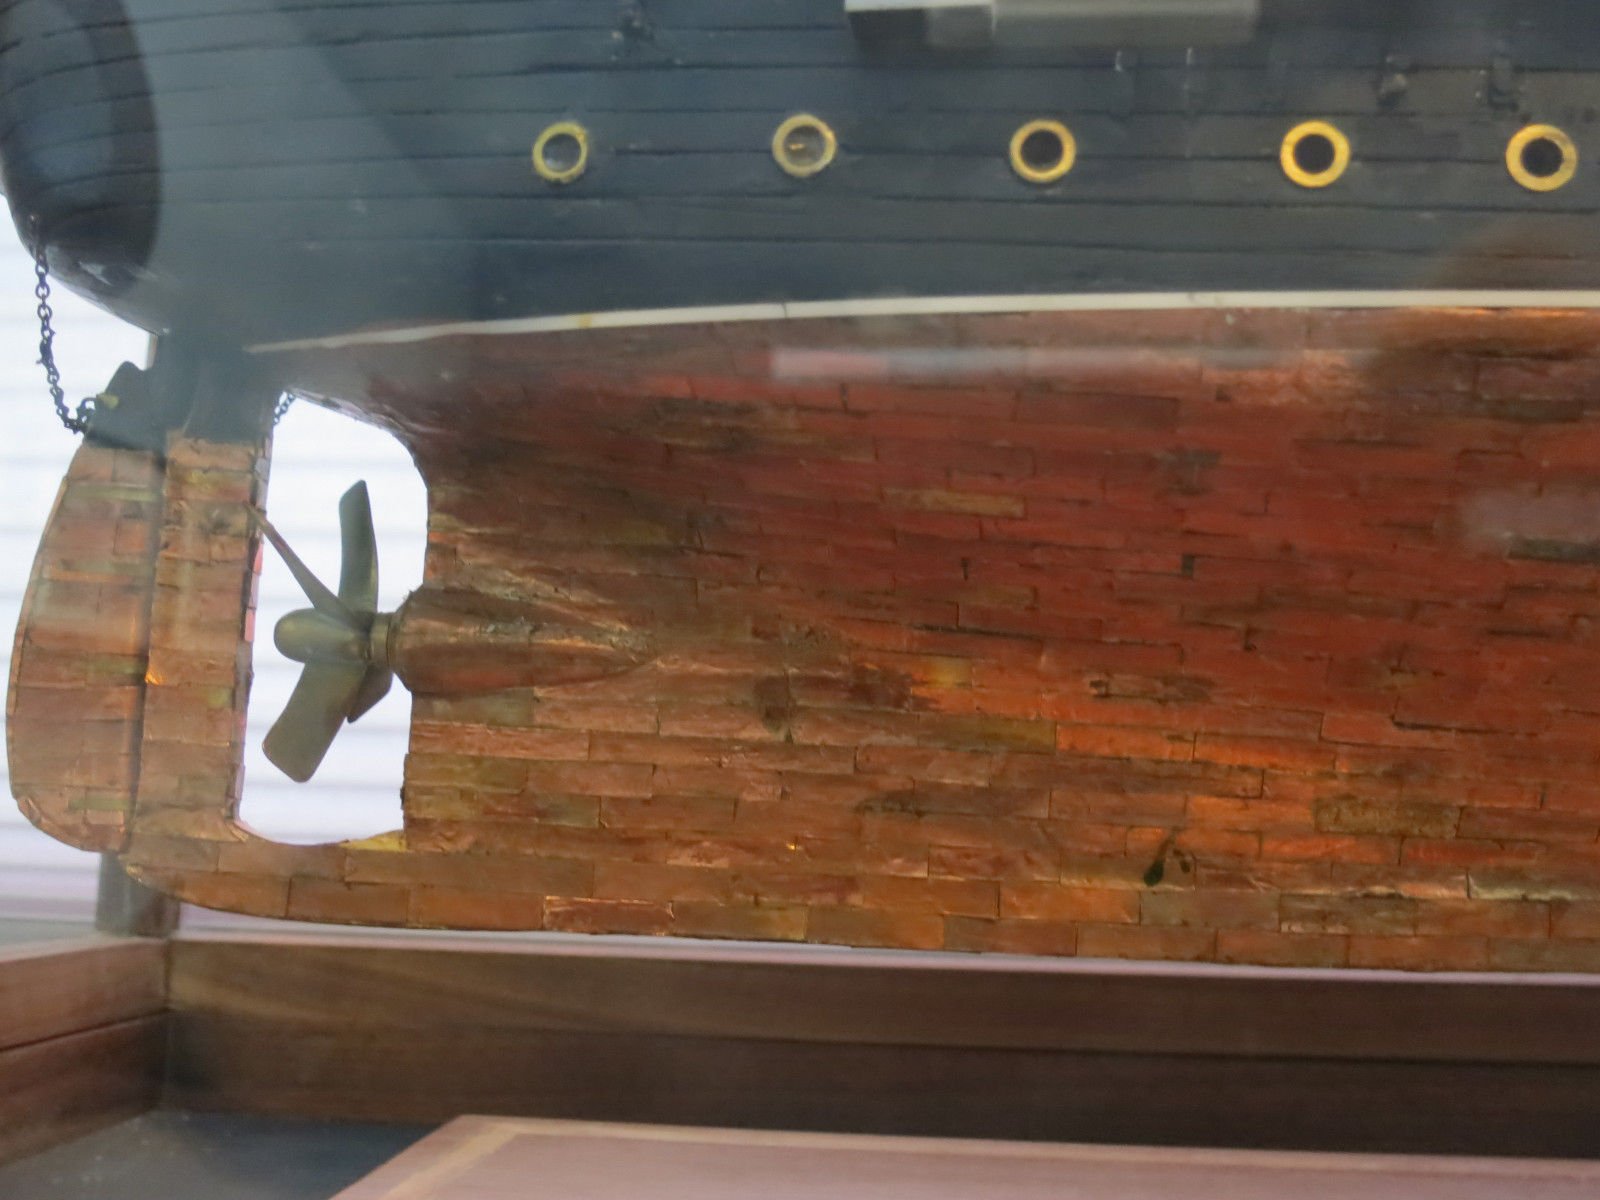
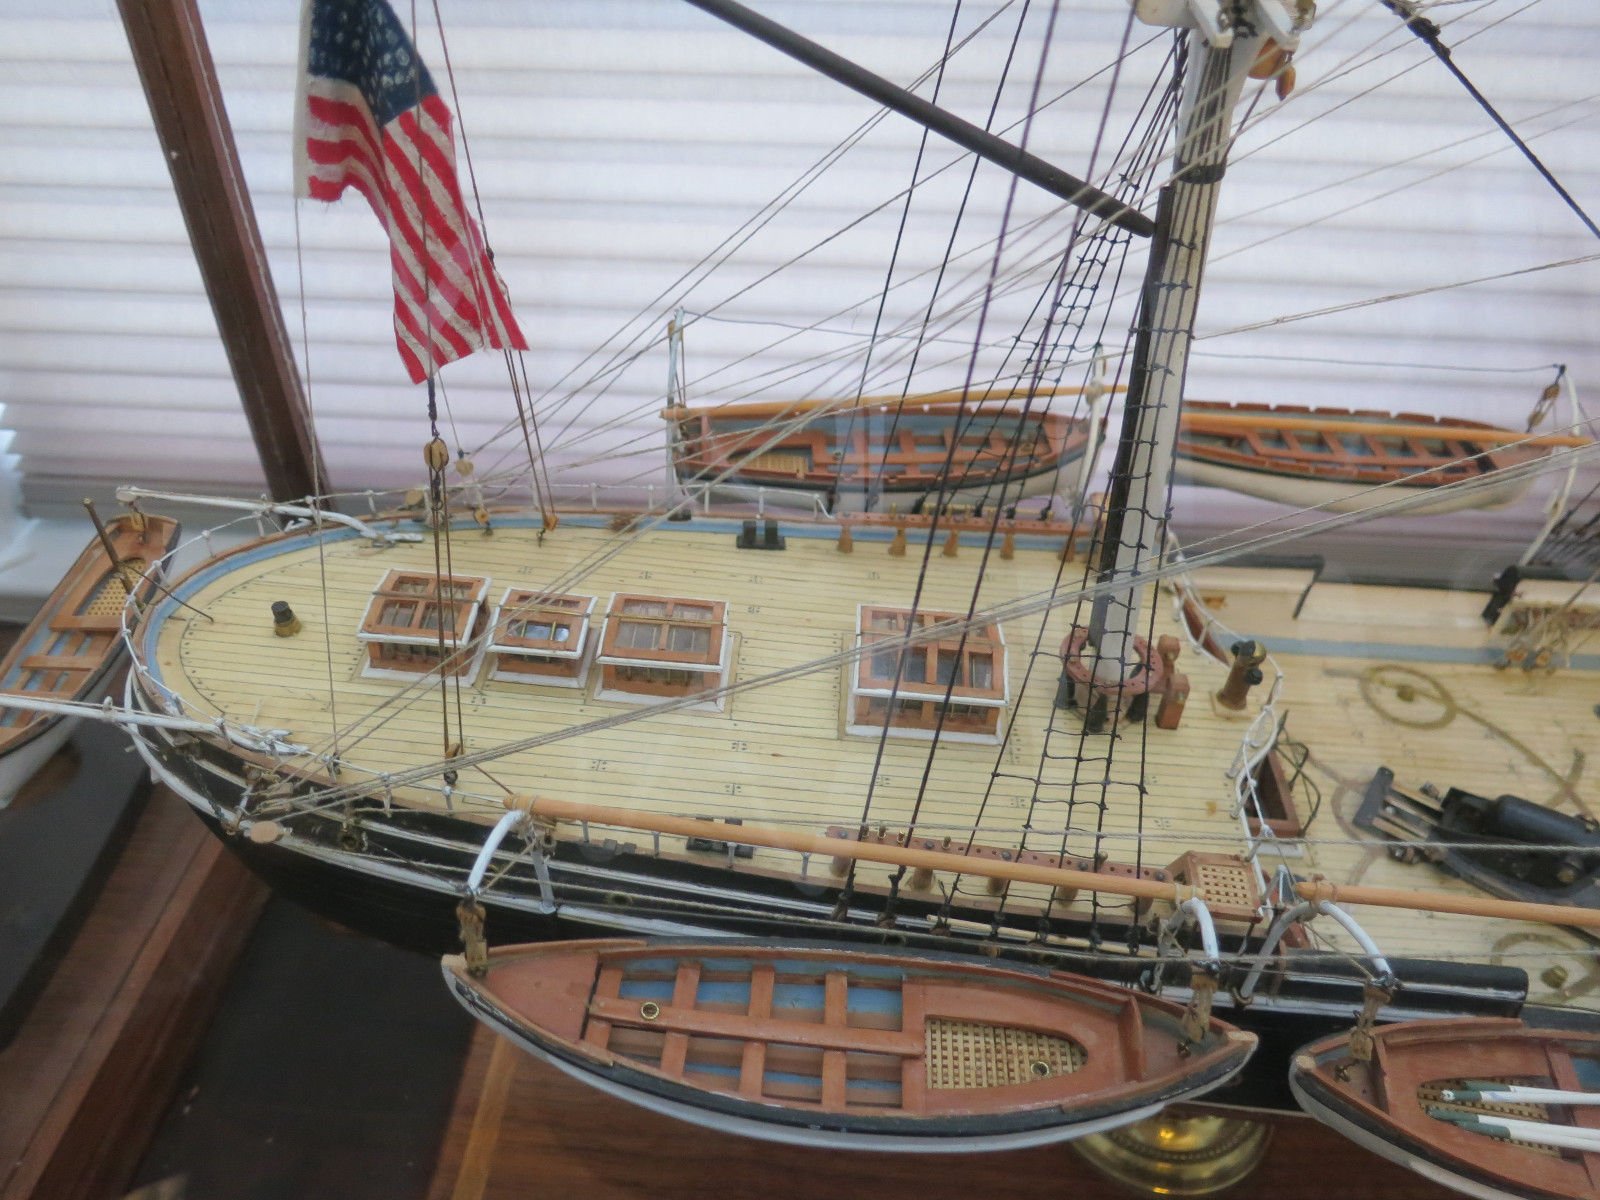
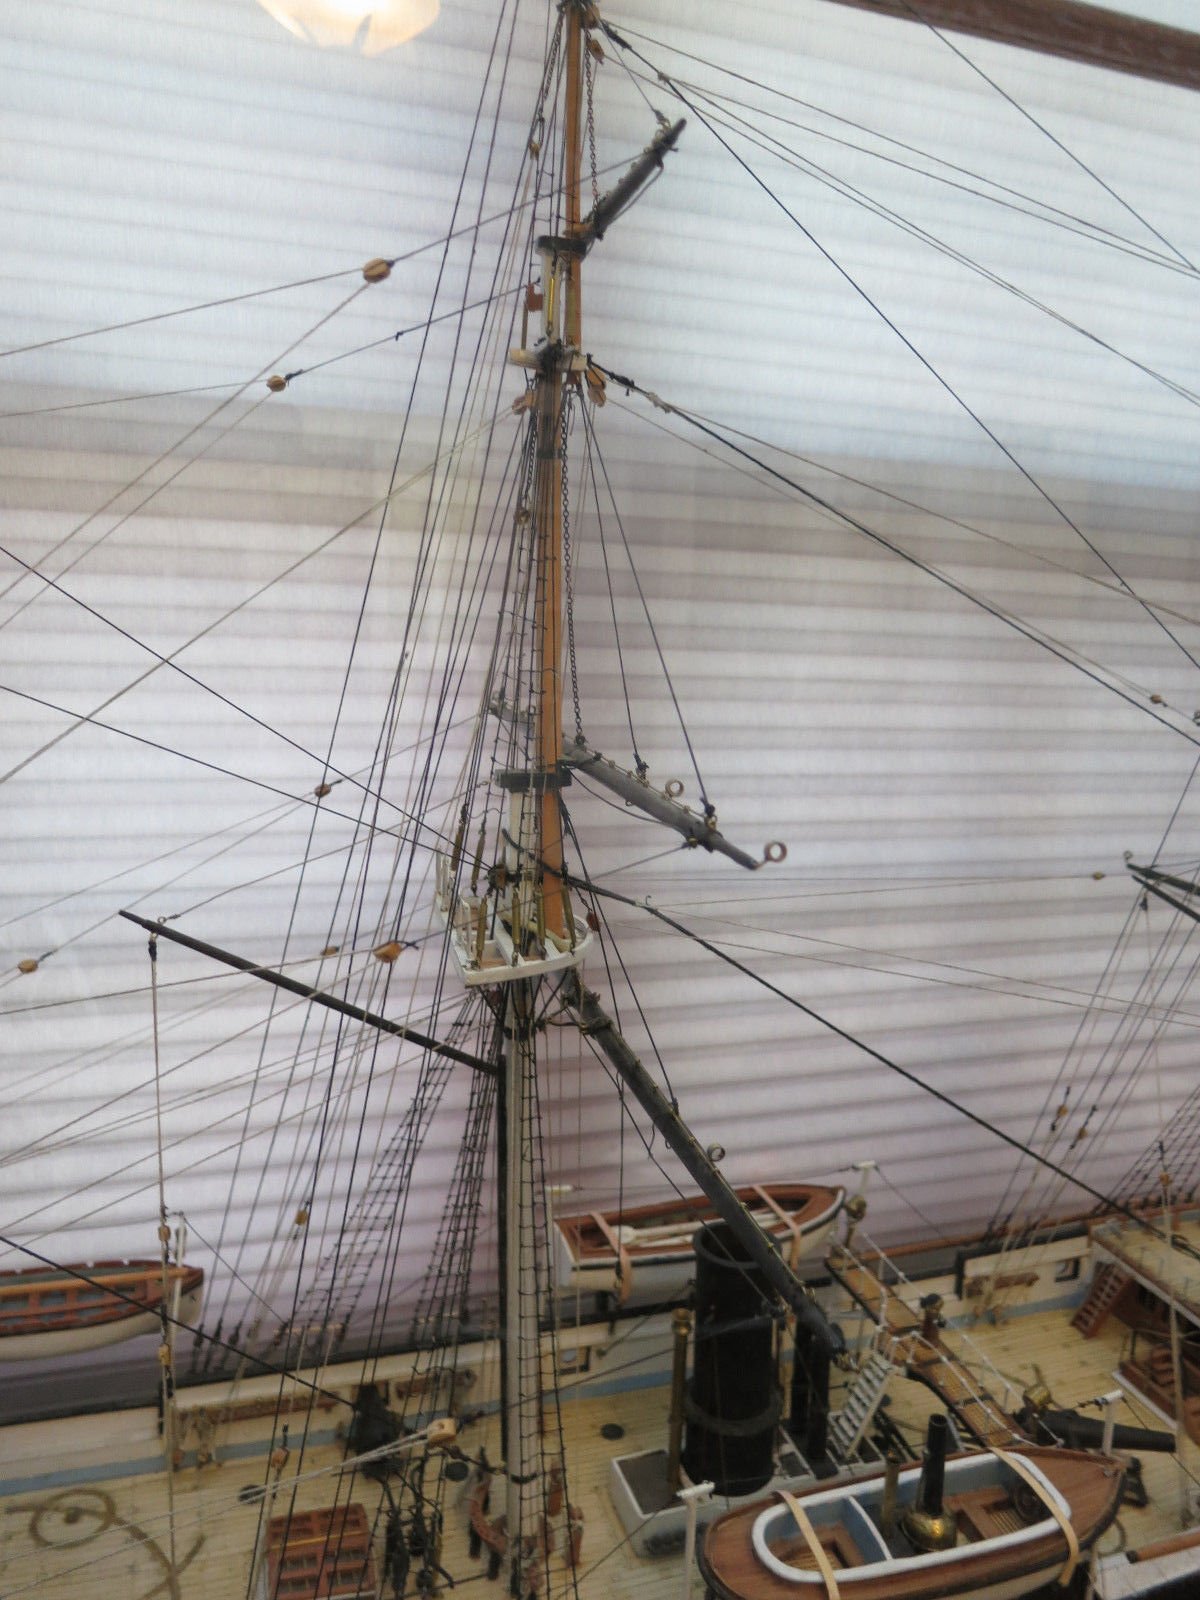
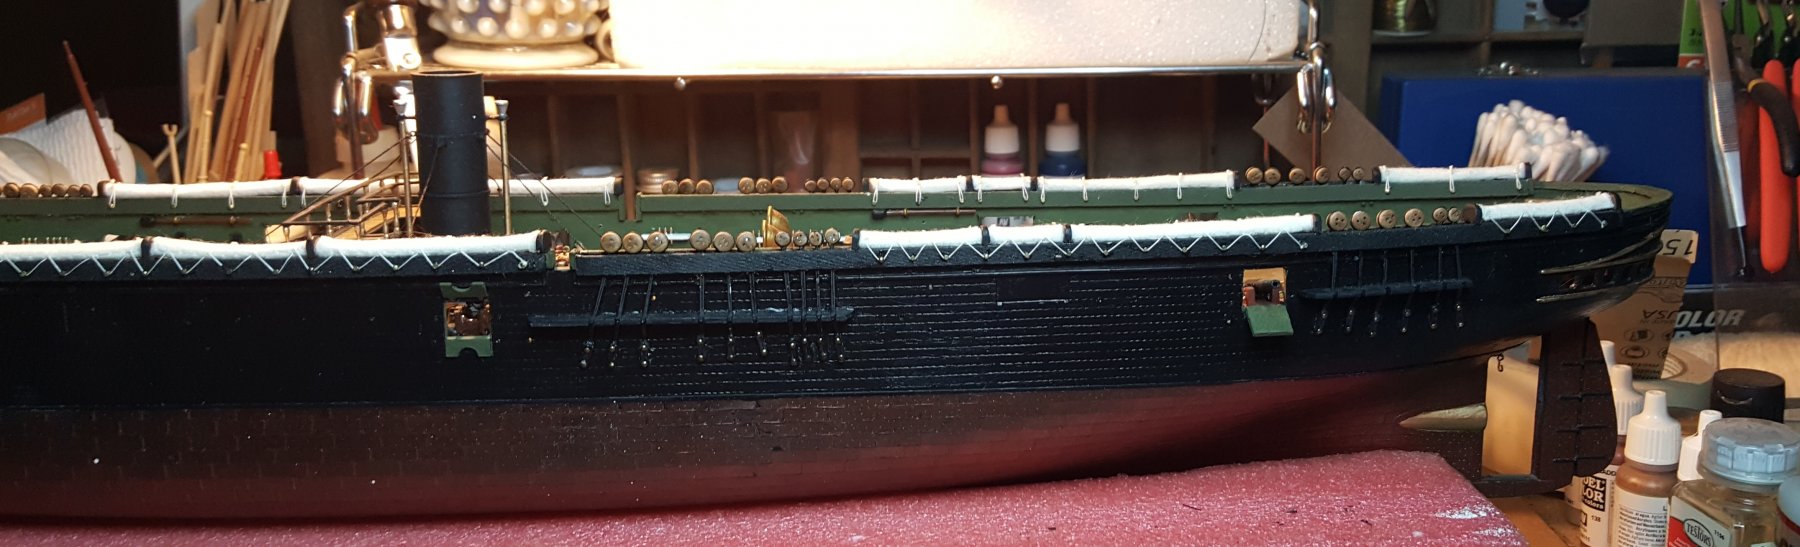
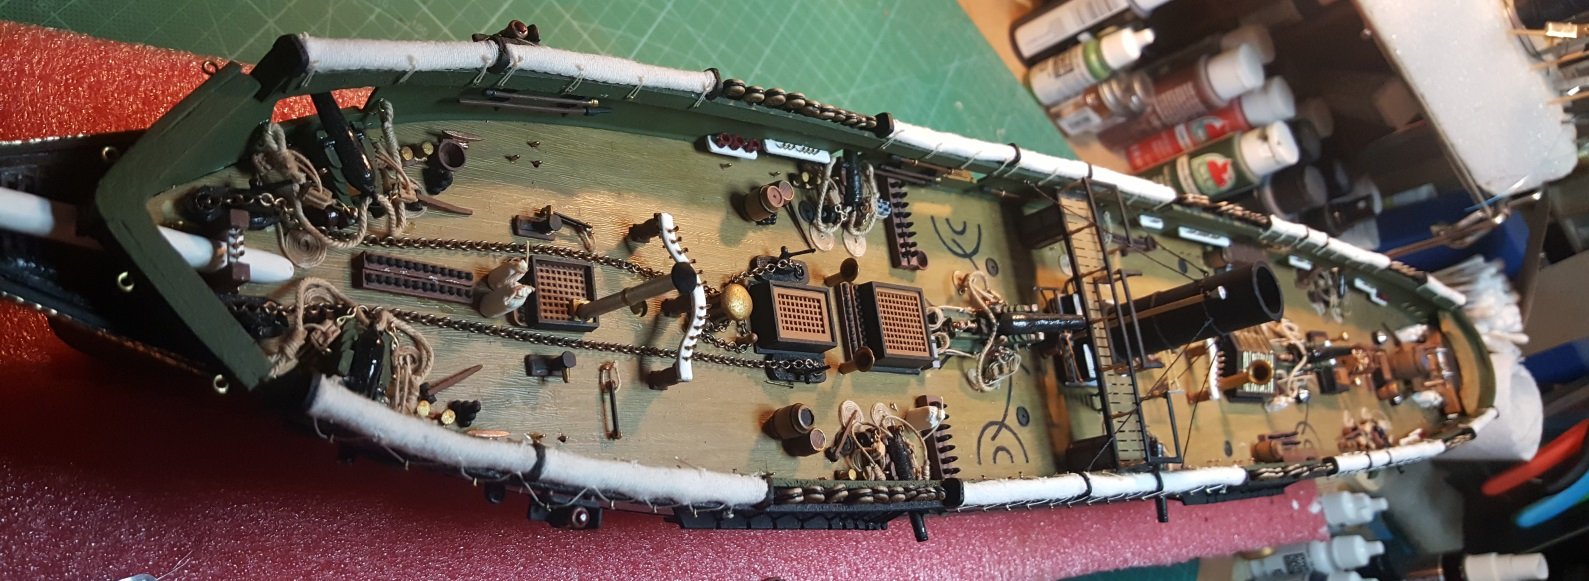
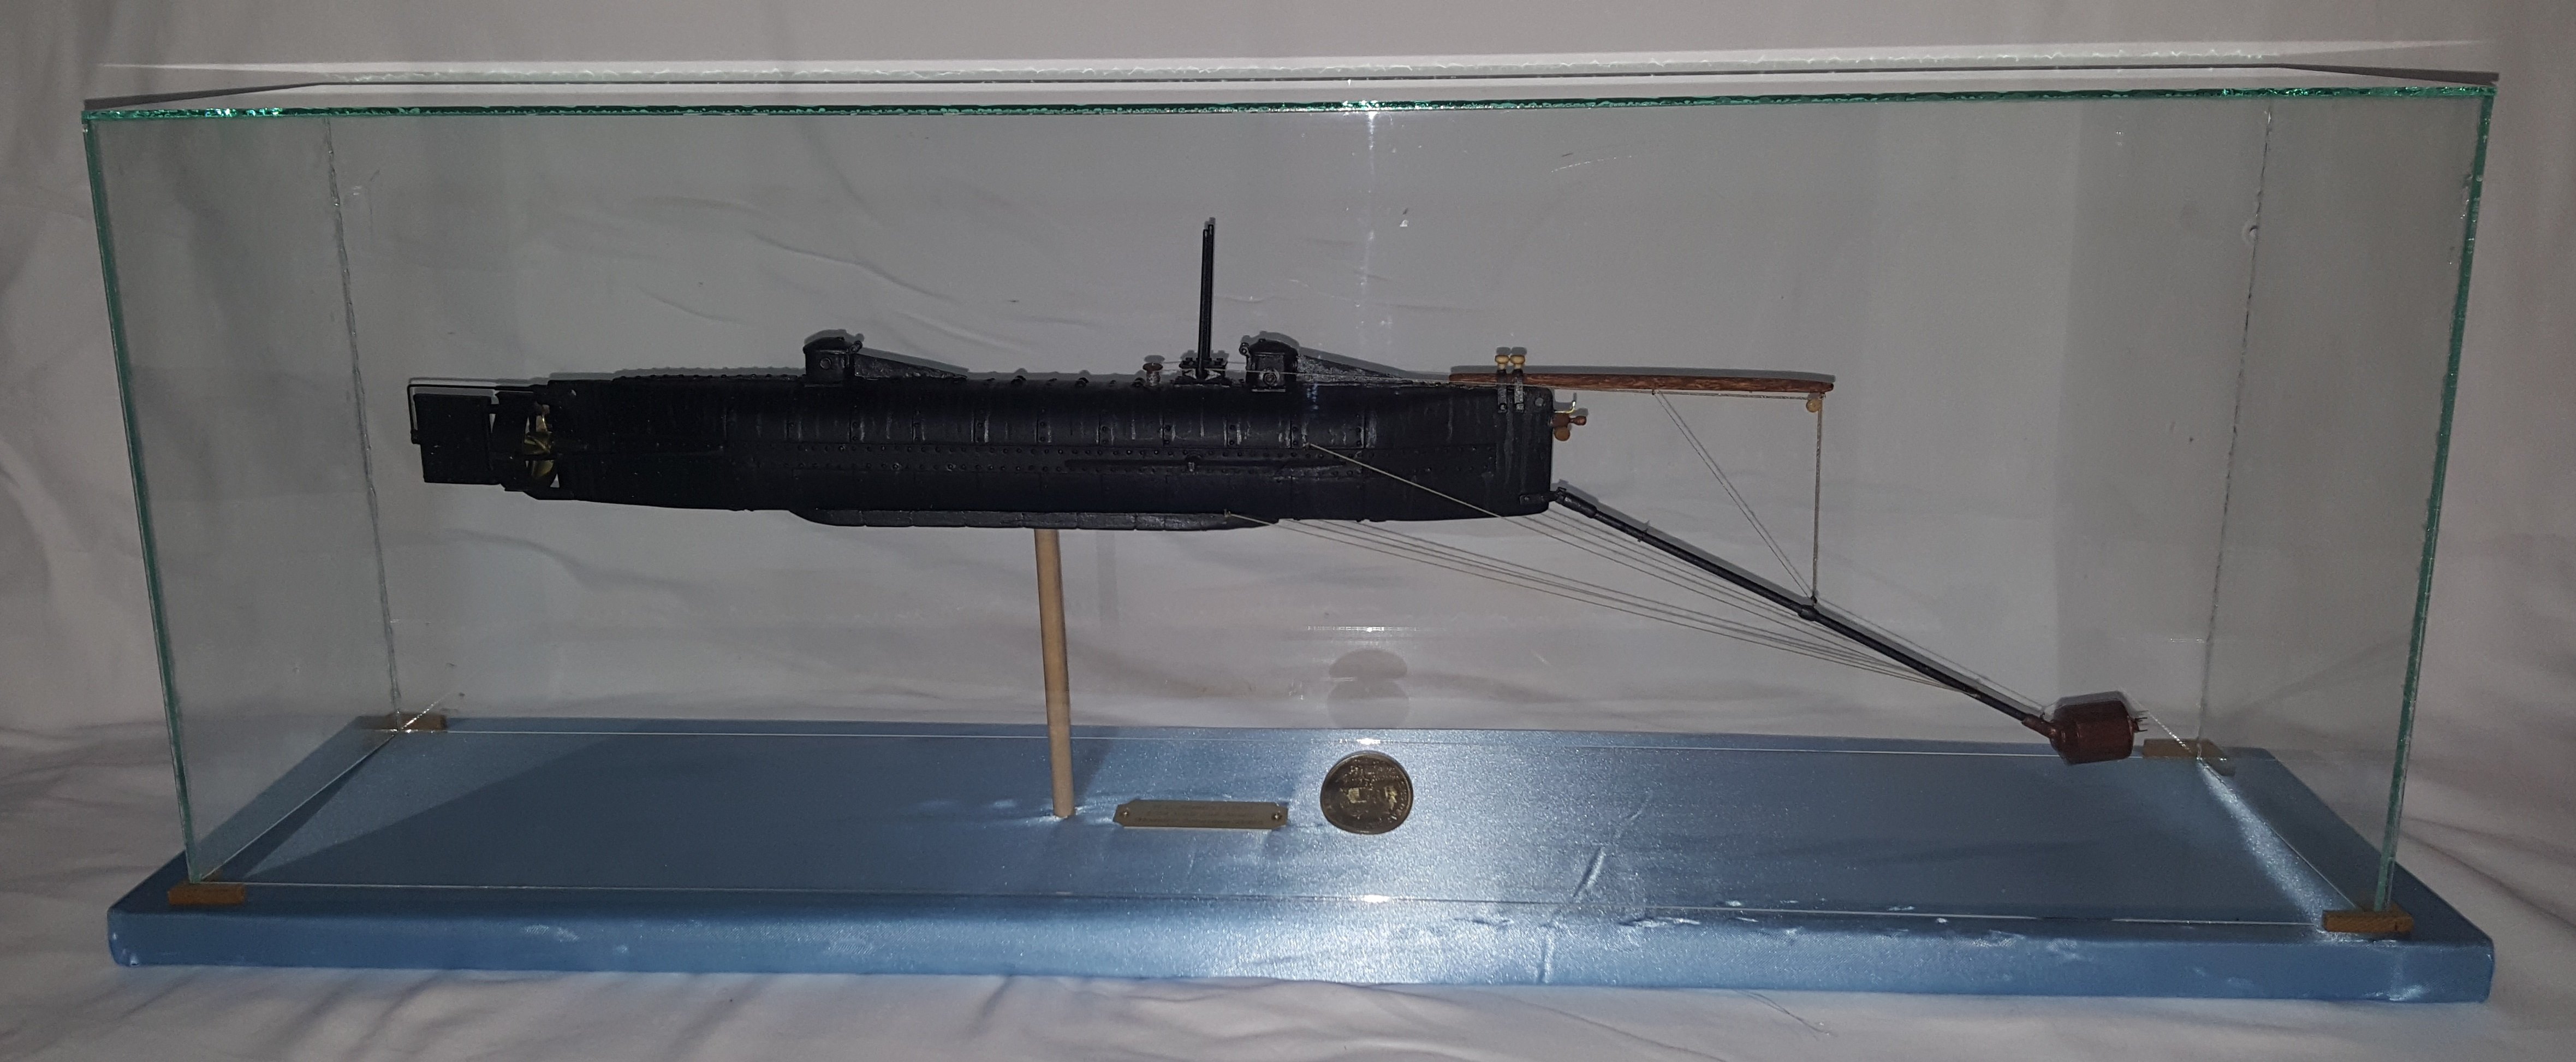
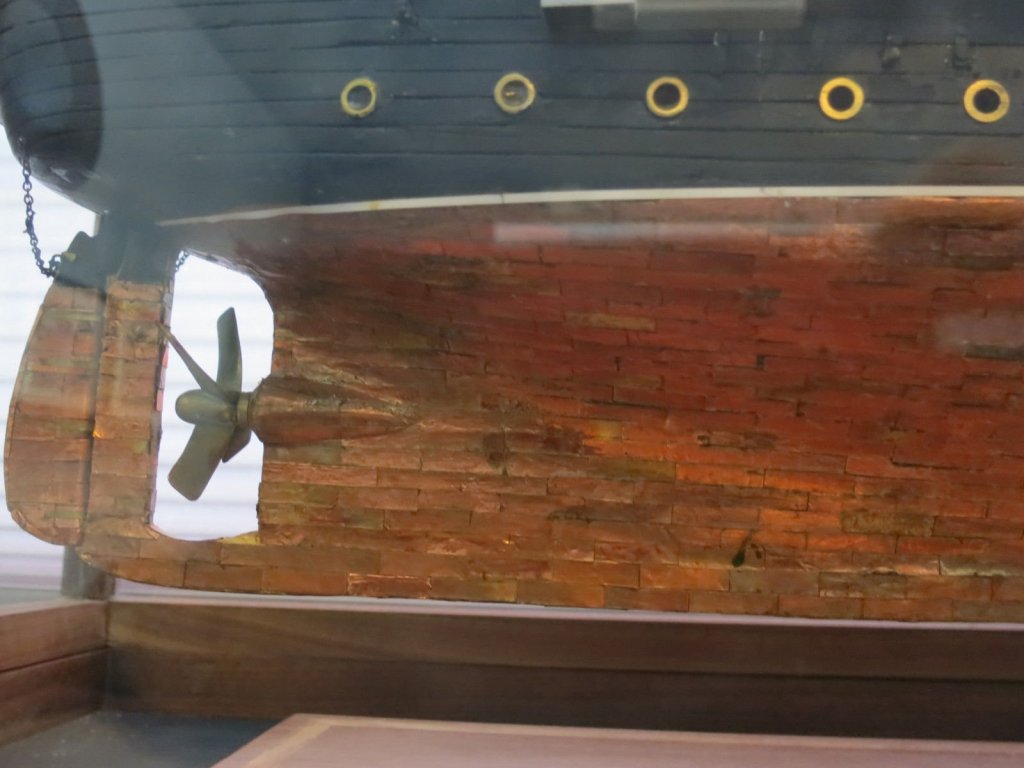
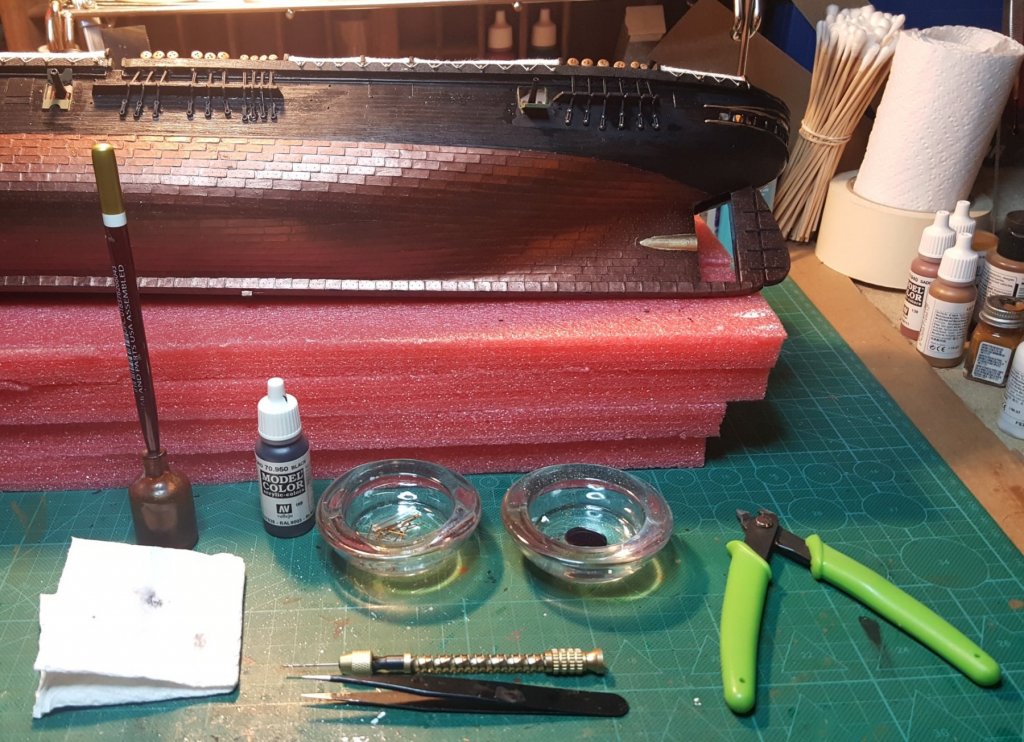
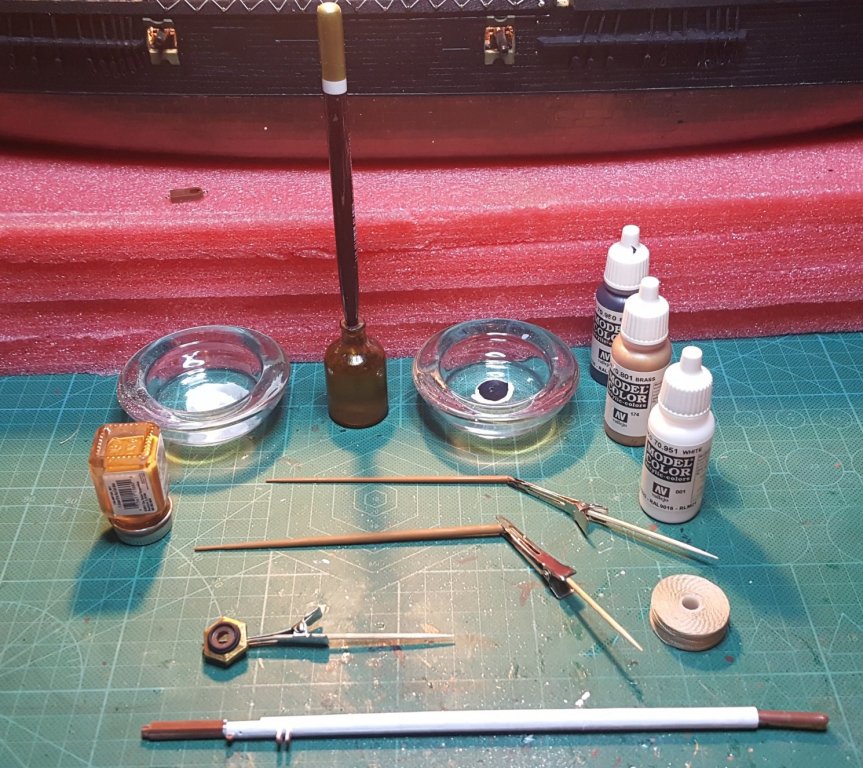
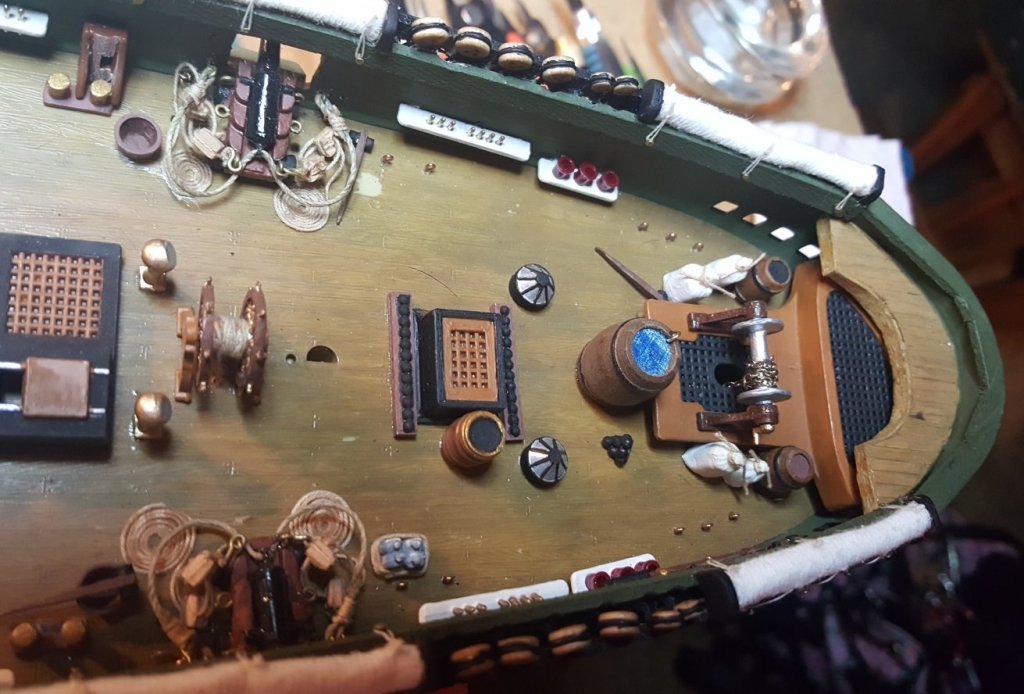
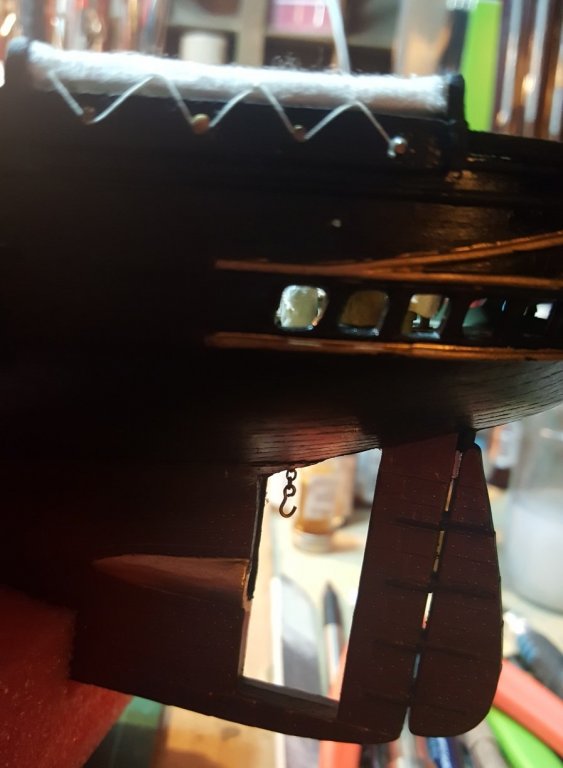
Some more images of the dead eyes being worked on as I will have to rig some of this backwards so not to break these fragile guys. Working out the procedures now to rig her and parts starting to come in. Love the Syren wooden blocks they offer and ordered a bunch. Thanks all for the info to find them too, really appreciate it which helps in a better quality model. Now for all my rigging I will only use Syrens blocks and other fittings they offer. Top Dead eyes prepped: Mizzen mast Parts and pieces with tools, note the small amber brush cleaning bottle. It dates from CW America 1862 and works wonderful for paint brush cleaner and holder as I work. The smaller glass bowls are from wally world which are very cheap .50 each and work great for dropping paint into and working from. Also a full view of the deck with all the completed tie downs on the hammocks done. Plus my cheat trick for painting many parts at once using just tooth picks and hair clips with a Styrofoam block. Here's the propeller chain which works to pull the propeller up and down when it was needed. This was a very innovative device for the period.

-
First rate work @SHIPSCAT for you first wooden ship build. My first wooden build was the Race Horse and was a couple of months on just sanding the hull right. All because of excess glue showing up, then learned I didn't need that much to hold the planks in place. That was 25 years ago which taught me a bunch on wooden builds as wonderful sites as this one didn't exist as of yet. The race Horse took me a year and half to complete. Here's a couple images of her, still holding up after building all those years ago. Yep the flag is wrong as the original England flag deteriorated after many years. So I turned her into a CW Confederate privateer. So keep up the great work on yours as it will become a wonderful family heirloom.


-
Popeye I will try the white the white glue as I do know it dries a lot clearer than CA, but so far I haven't had any trouble with the CA. Good old Elmers has come in handy in the past but didn't think about using it for rigging. Thanks ya'll been trying to scan some of the how to do files here, wow got a bunch and have already learned some new tricks for the wood ship builds which I'll probably start my La Couronne in between my other CW ships I want to complete.
-
CDW, I haven't heard of Sig epoxy and appreciate the info on that. Be looking for some real soon also.
-
I figured it's the type of plastic used as other types from the instructions are not effected, so probably has something to do with molecular bond of the plastic in these kits. I would do a test on any item with this product first just to gauge the reaction, I had tested first before I started to apply this bond epoxy, main reason was to see if it would caused a problem. Plus I have not seen a reaction yet with the CA either, which I was concerned with too. Also it is a pain because it take at least 24 hrs to dry, but I am allowing 48 hrs, I am first gluing with CA and the with a toothpick mixing the bond and applying very small amounts along the edges of the strops for more strength. I feel it's working but really won't know till I start gently drilling these, it's a trial and error process as I felt this was the best way to solve me strength problem for these. Will keep the blog posted on these and post images soon.
-
Since I have not used the epoxy on styrene, I would do a test first with a small amount to see the bonding reaction to it.
-
Loctight plastic adhesive epoxy and very small amount, will burn soft plastic if not used sparingly on a plastic model kit.