
J11
-
Posts
519 -
Joined
-
Last visited
Content Type
Profiles
Forums
Gallery
Events
Everything posted by J11
-
 Sea Hoss here's the information on the flags. No one can confirm as yet what the jackstaff flag was. The star count should be 35; it was just a few days before the 36th state, Nevada, was admitted. The Union position was that all states, including those which claimed to have seceded, were in the Union. p.s. just speculating, but if I were carrying out the attack, handling the spar torpedo and possibly the howitzer, I would dismount and stow the jackstaff.
- 33 replies
-
- 1
-

-
- picket boat
- model shipways
- (and 1 more)
-
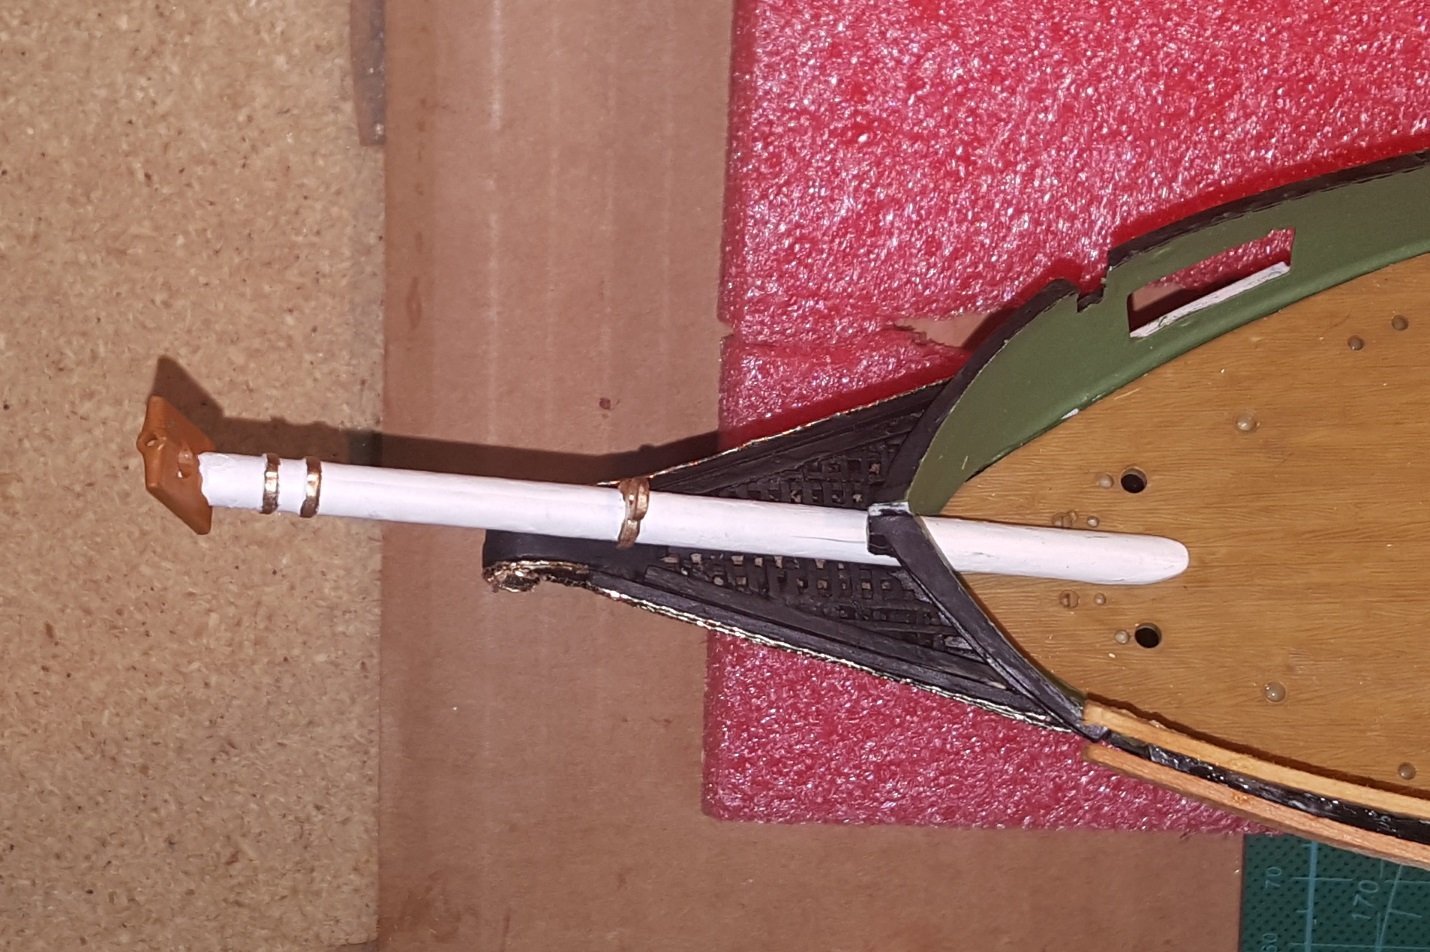
Here's what I'm doing for the mast changes from the plastic kit. Kinda cheating to keep everything the same scale without driving myself crazy scaling all the scratch built parts. Dead eyes are 3 mm and will paint the mount black when I finish adding the other dead eyes before final assembly. Also drilling the small parts for adding the brass eyes for block tie downs. The added square wood extensions are 1/32" square basswood as I knew I was going to have to fine drill each one and wanted as much strength as possible for them. I will be cheating a little for these but they will look close to what the knots should for the dead eye mounts. Black walnut dowel, shaped for the upper extension of the mizzen main mast is above the small ruler. I'll have to make a few of these for added strength for extensions and masts.

-
Many thanks.
-
Glad to help, amazing that this smaller Union historical Civil war ship is limited in historical drawings for us modelers. I have not found any reference to what other possible flags were used on her. The Union flag is on the stern flag pole as illustrated ( Watch the star count for proper flag) http://www.civilwar.com/resources/313-flags/148536-union-flags.html but not sure what was flown on the bow flag pole, possibly a pennant. Will put a feeler out for some more info on this boat to a couple of Civil war naval historians I know. See if we can find anything confirming the bow pole.
- 33 replies
-
- 1
-
-
- picket boat
- model shipways
- (and 1 more)
-
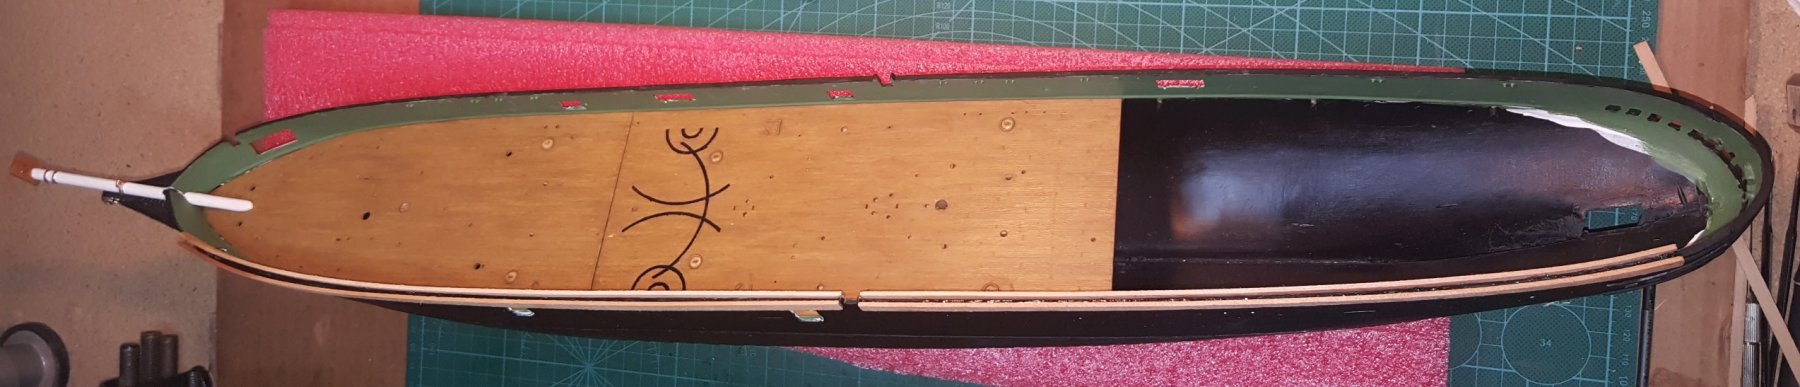
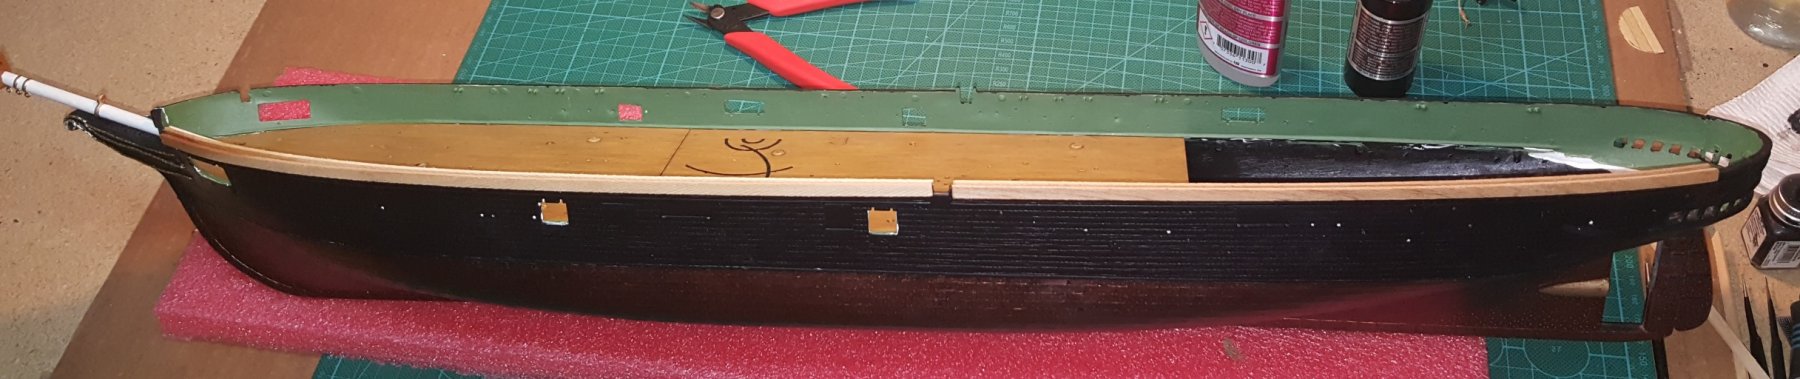
I am still going threw them very slowly to bond them properly to the hull as it takes a couple of days for each one to dry and I have to keep strong pressure on them to seat them properly. A real challenge for these scratch built guys. When I have some drilled and mounted properly I will post some images. Plastic, metal and wood; one weird combination of parts, just glad the ca and the bonding epoxy is work well so far.
-
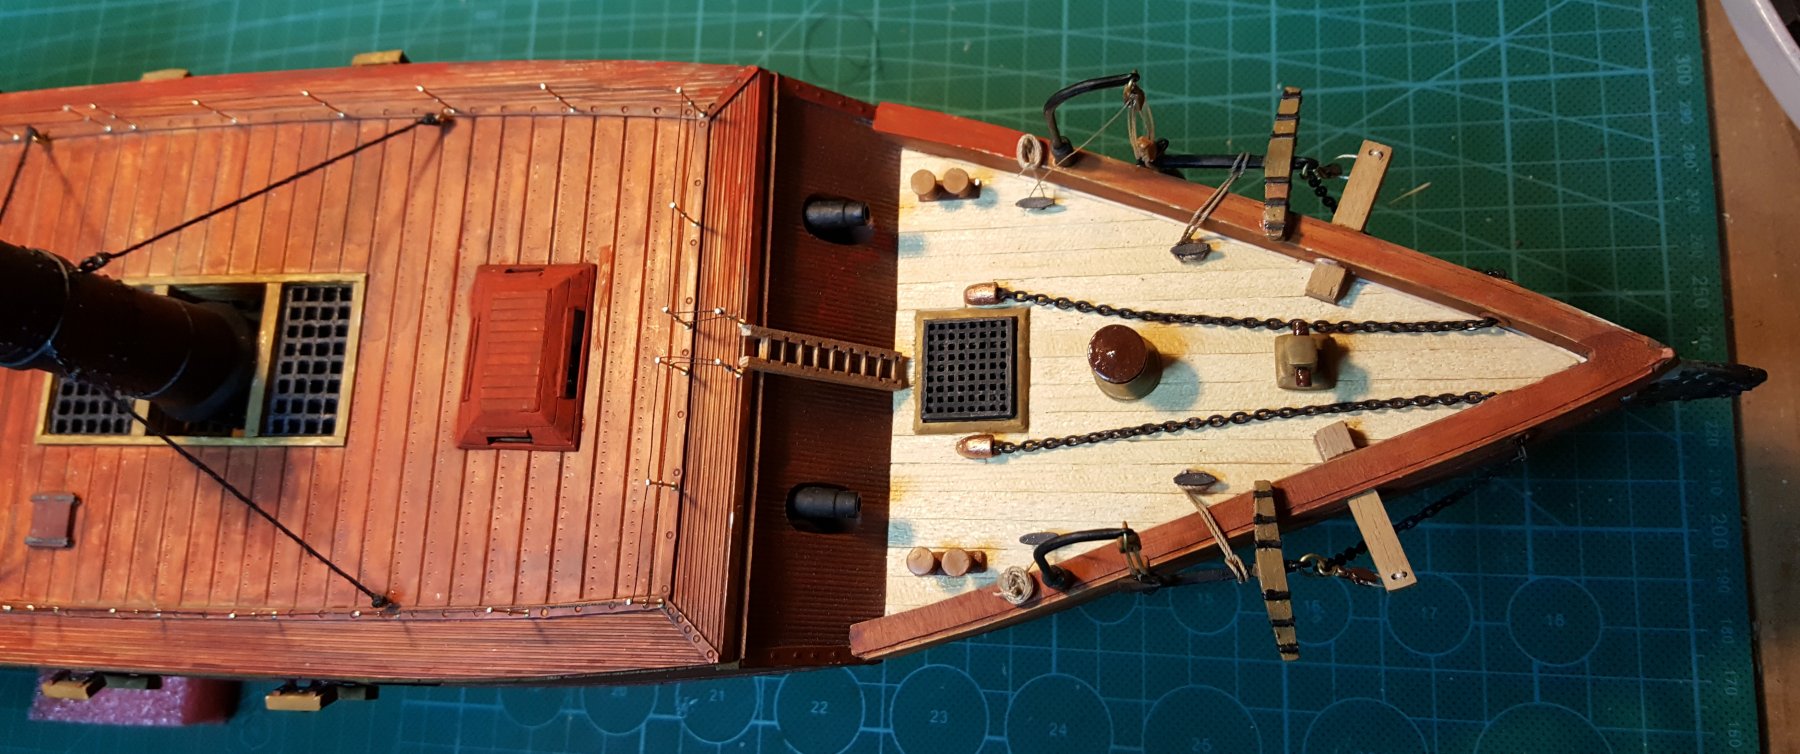
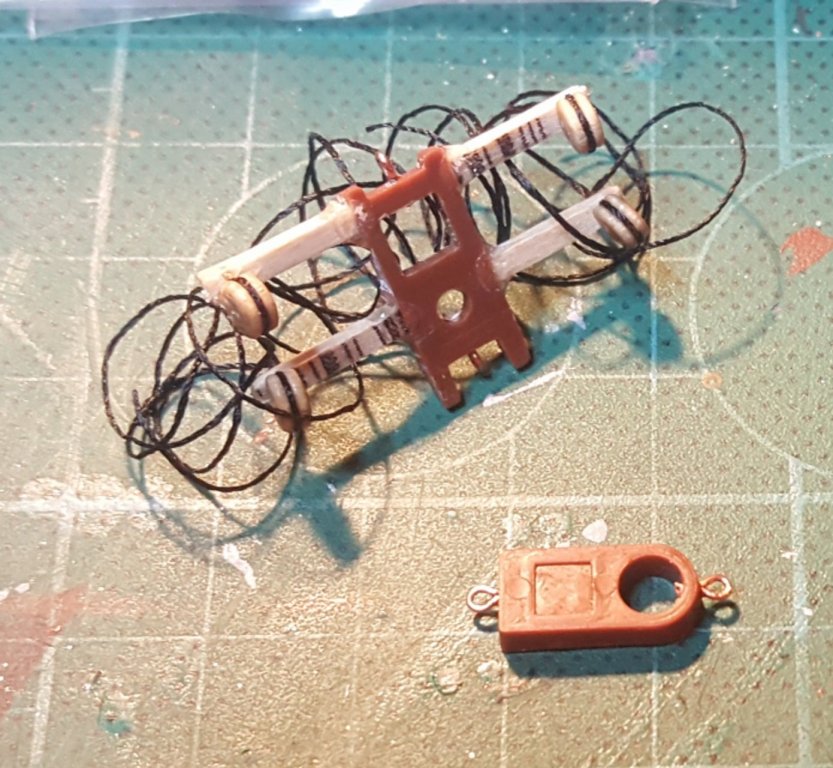
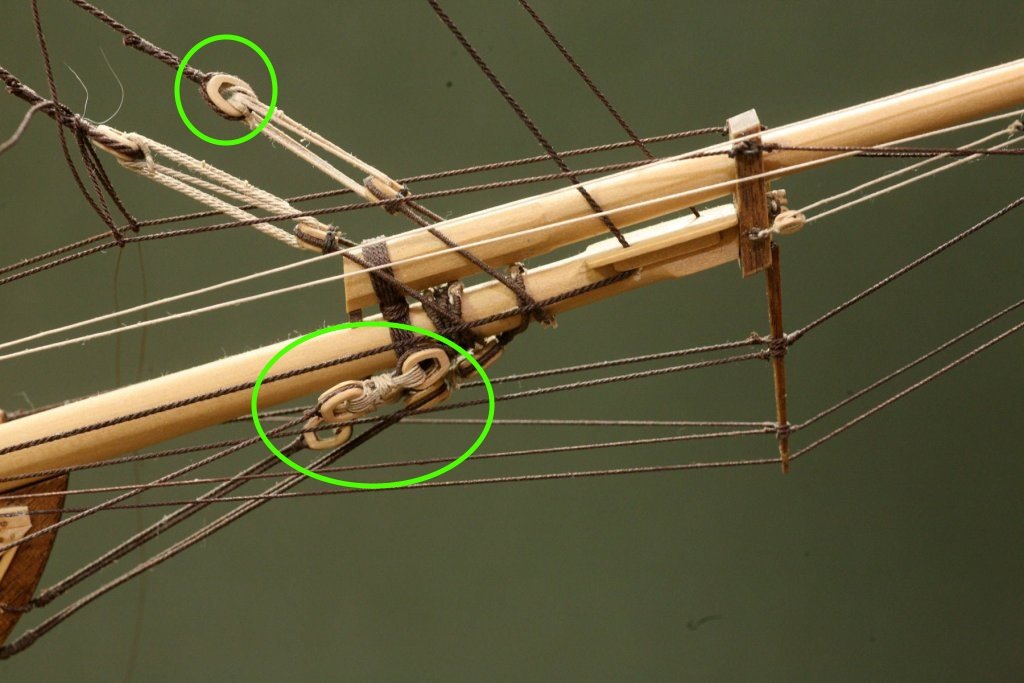
Yes, in fact am ordering my wooden blocks and different rigging lines now, one problem I haven't solved is finding a supplier for these guys circled in green. Anyone know of a supplier?? All of the eye bolts have been replaced on the deck with metal ones as the plastic ones were just to flimsy and not quality enough for this detailed build I'm working on. Thanks for the compliments, slow process to fine tune the details but worth the hard work and time.

- 383 replies
-
- 10
-
-
Your build is coming along nicely. Do you know where I can purchase some of these that are circled in green? Need a bunch for my CSS Alabama rigging and can't find a supplier as of yet.
-
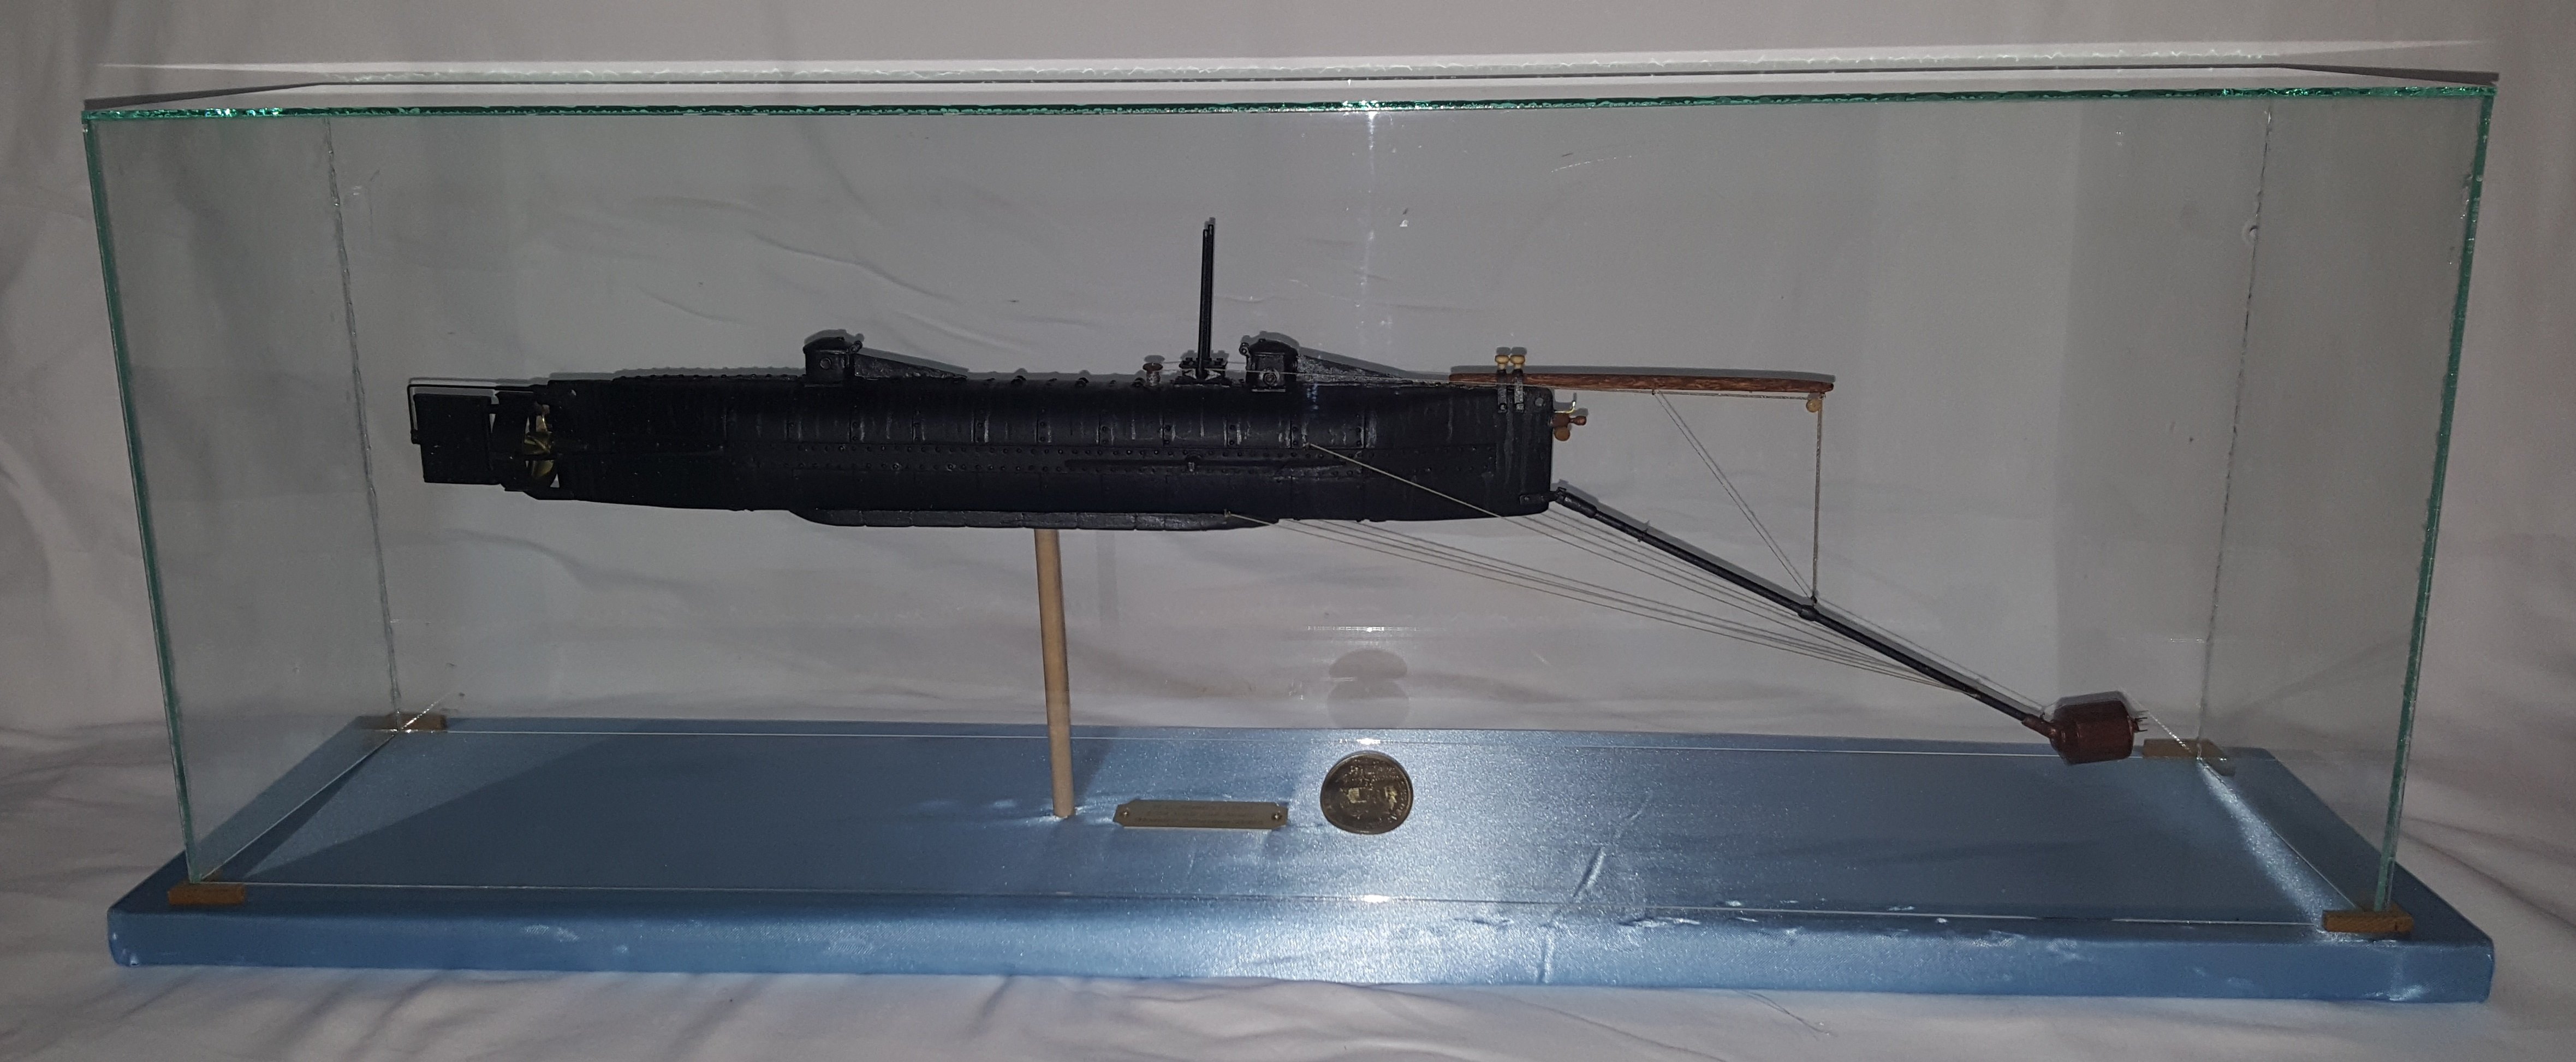
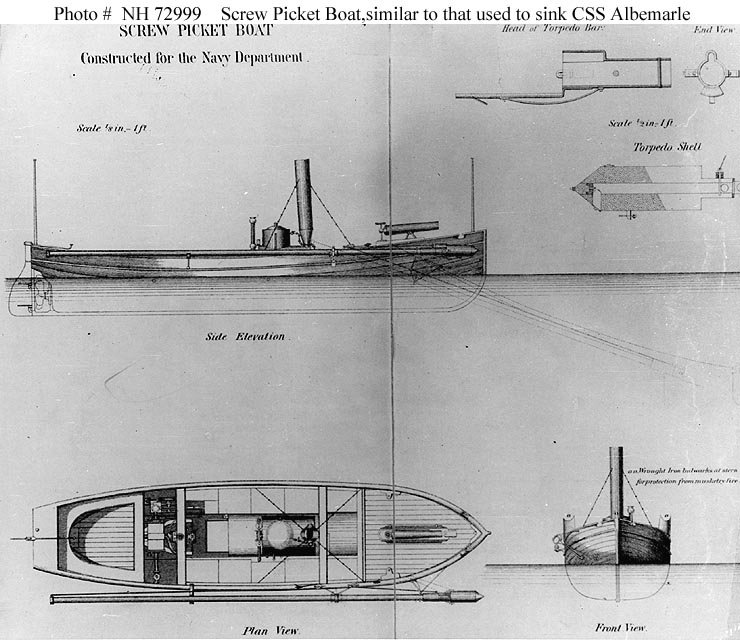
Here's some data on the USN Picket boat for the flag placement:
- 33 replies
-
- 2
-
-
- picket boat
- model shipways
- (and 1 more)
-
Magnificent detailing craftsmanship. Your build blog will help me considerably in completing mine when I start her. It does look like you used a light stain on your deck finish, may I ask as to what you used?
- 146 replies
-
- 4
-
-
- deagostini
- vasa
- (and 1 more)
-
Nice! Neat and clean, she's coming along beautifully.
-
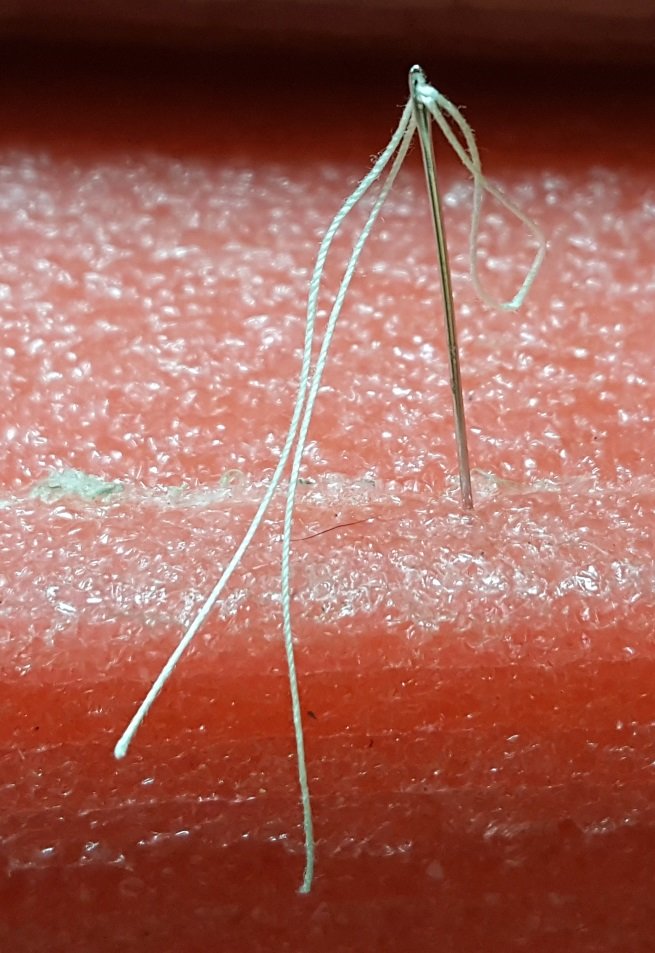
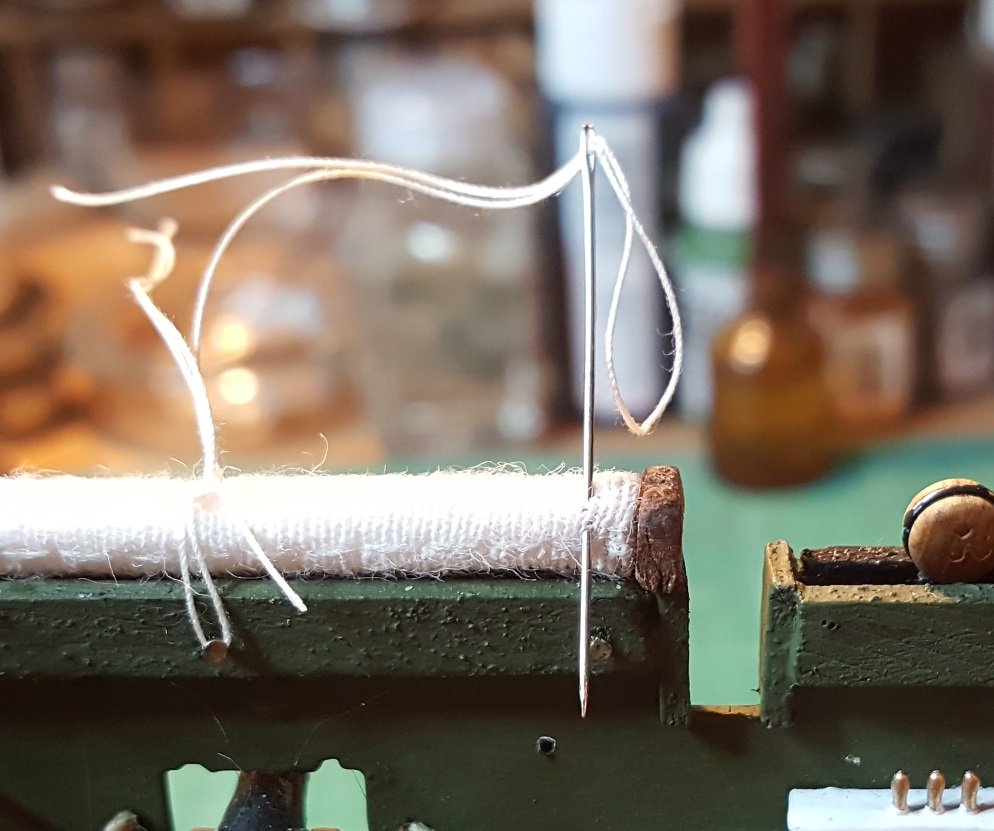
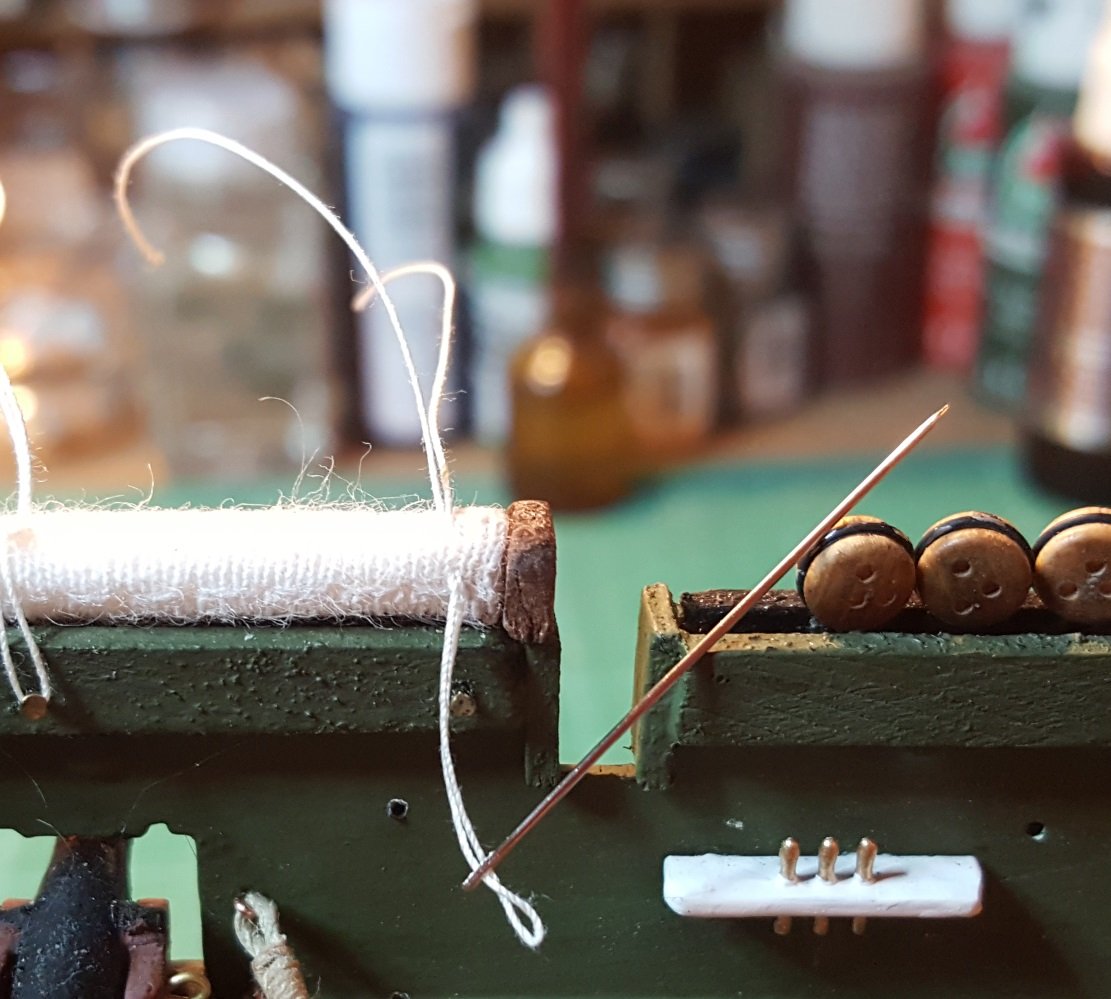
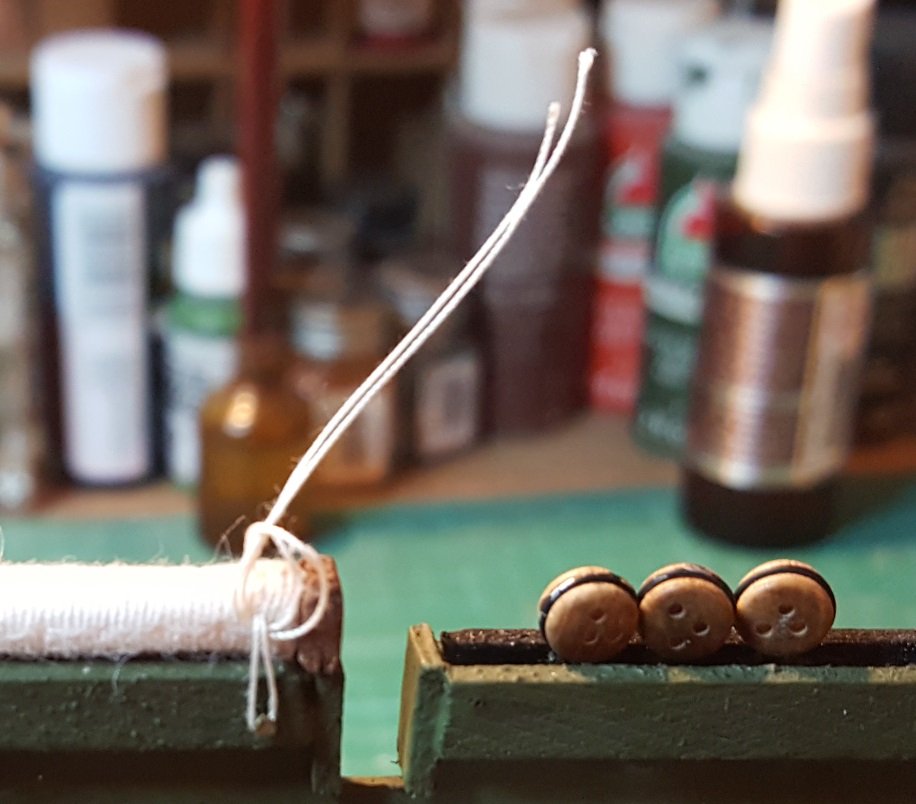
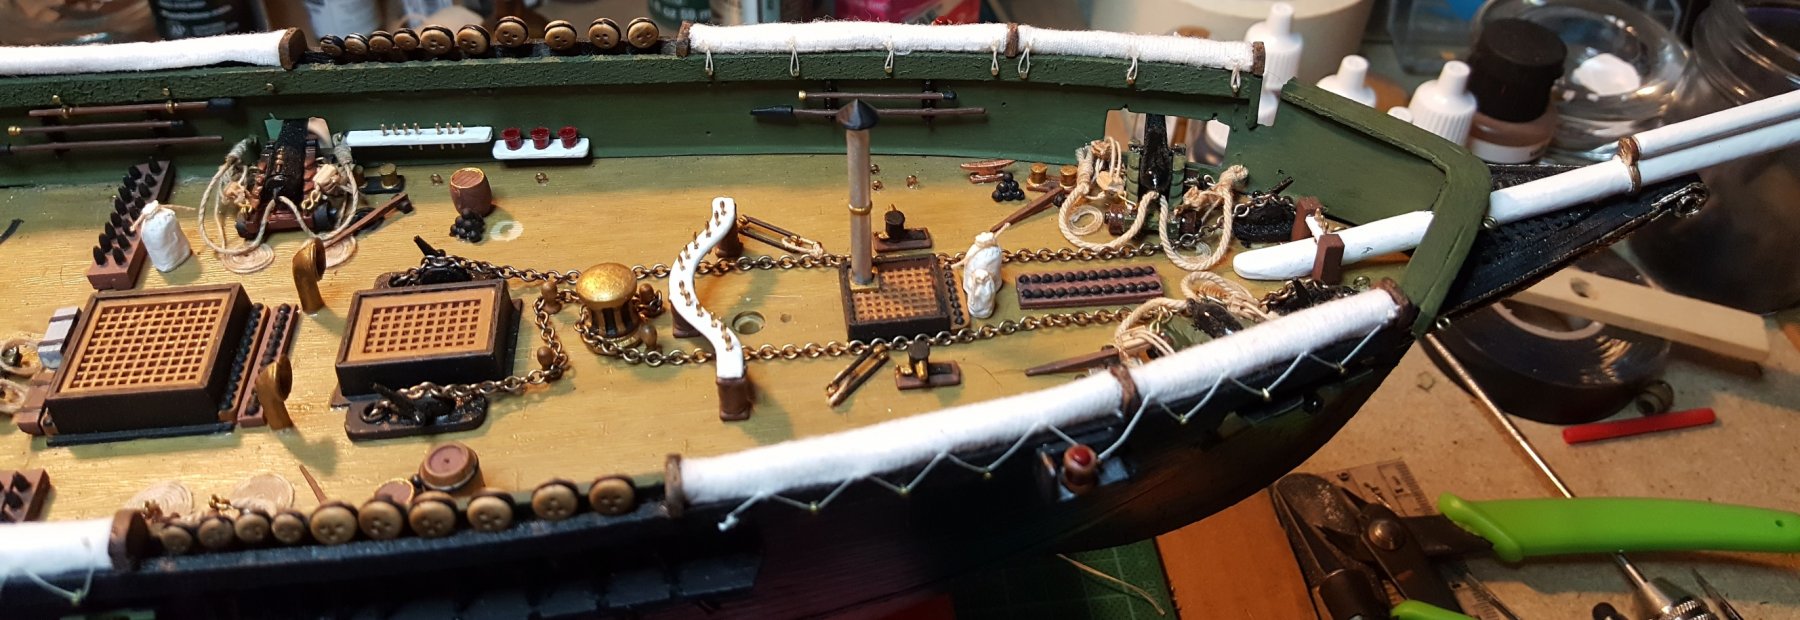
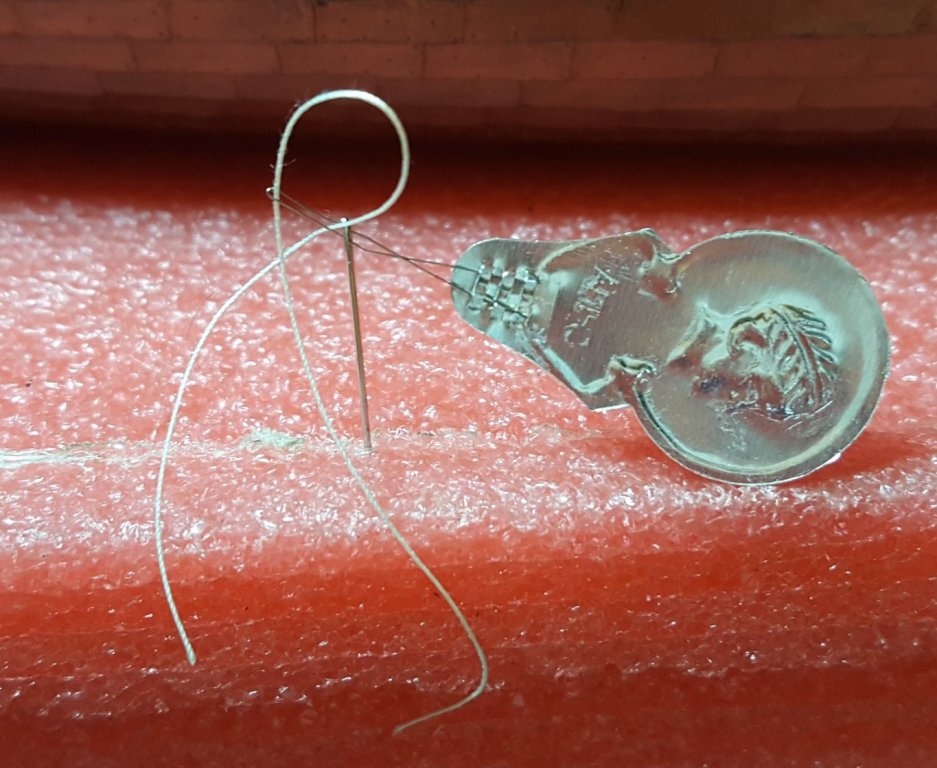
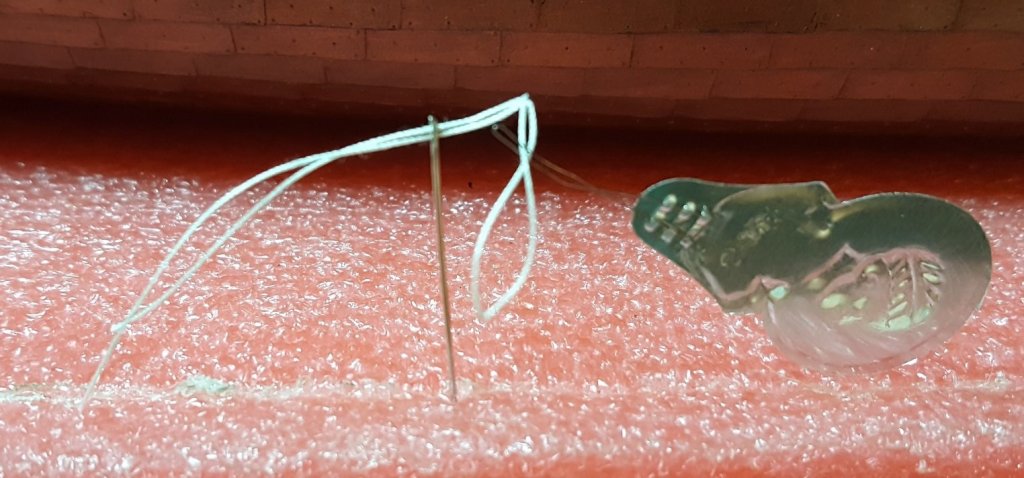
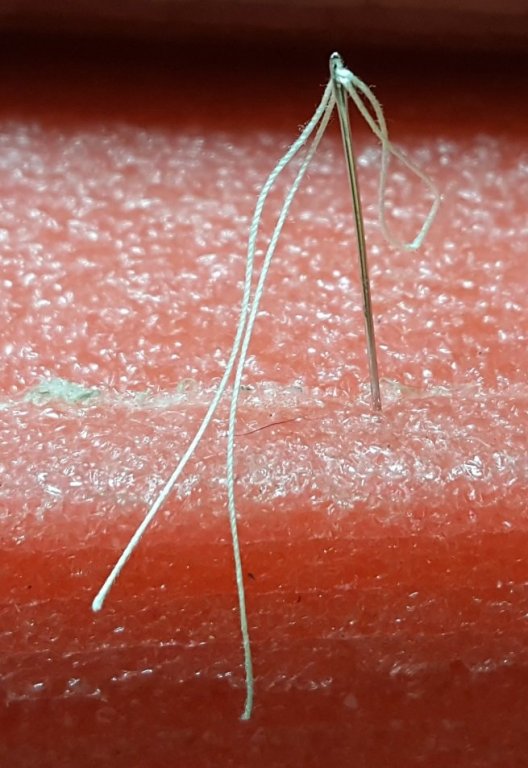
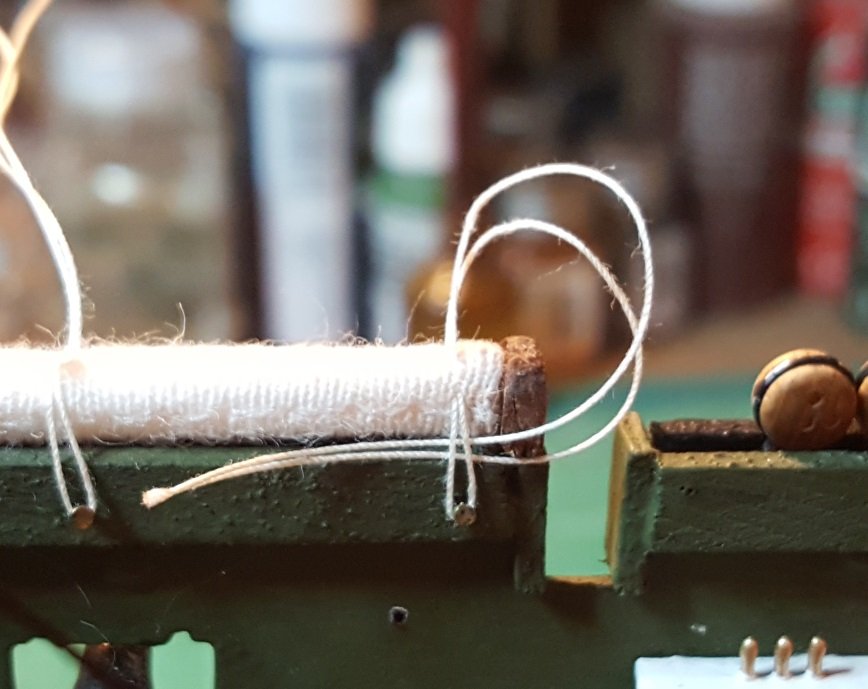
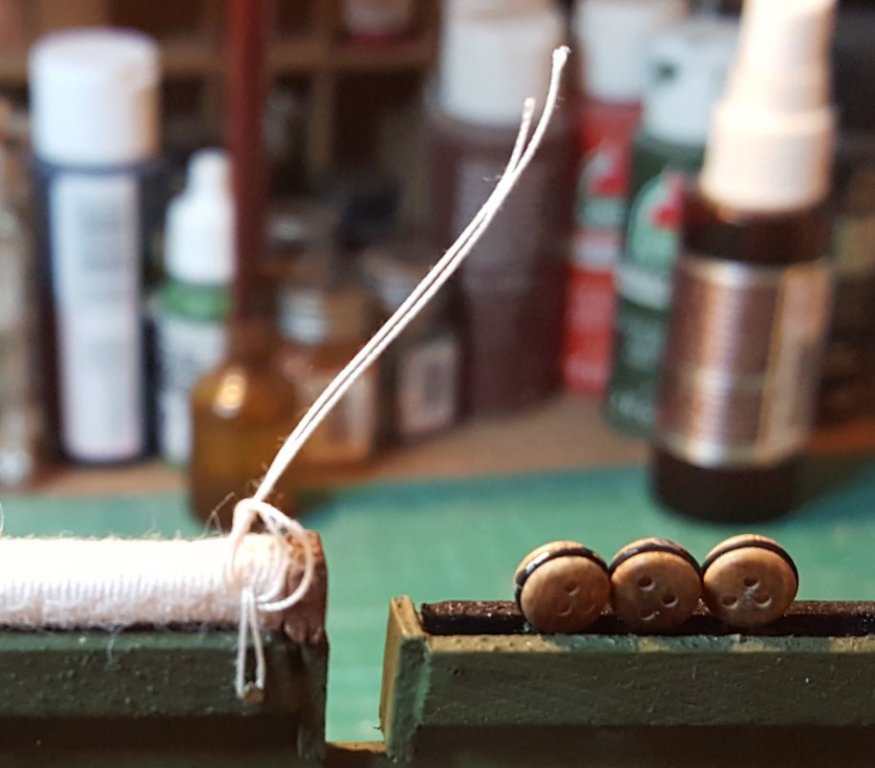
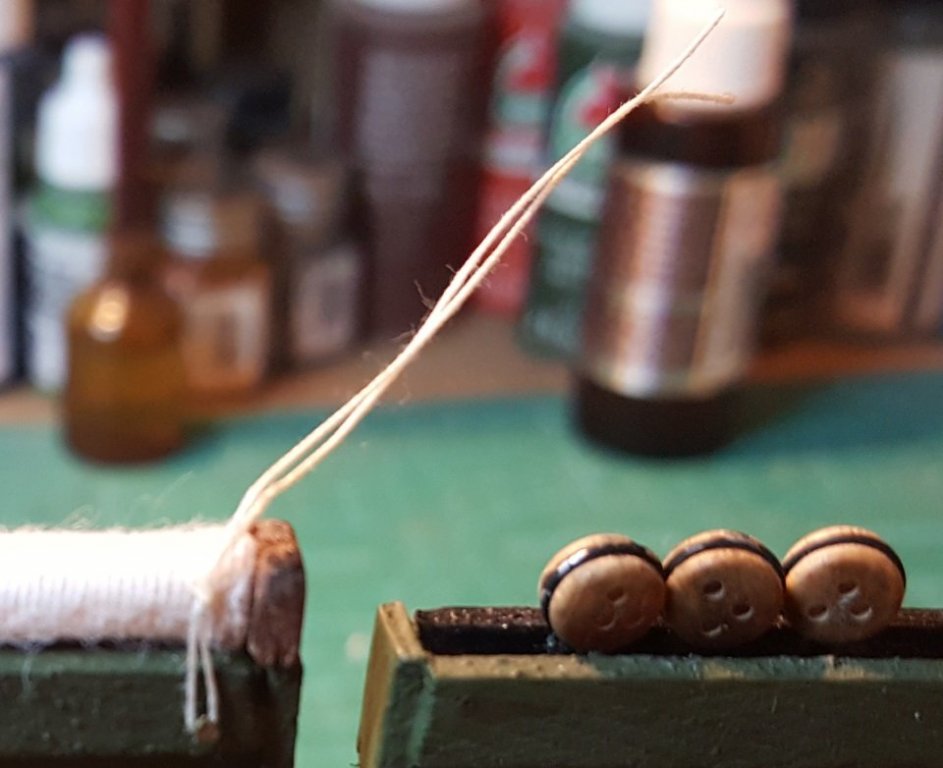
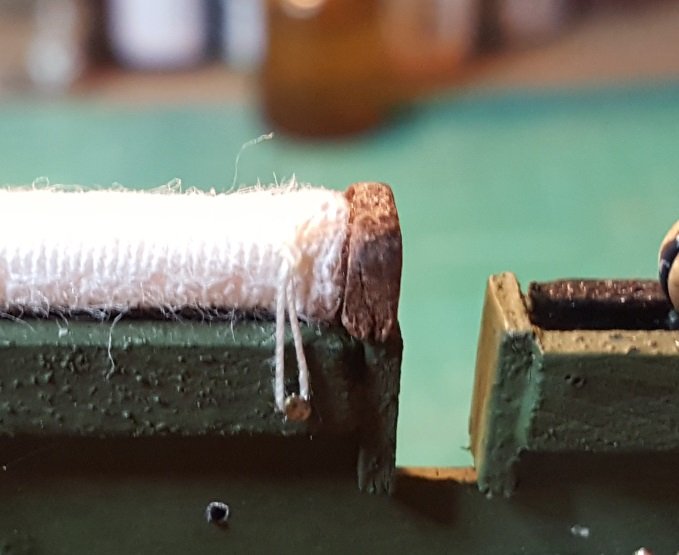
Here's the steps it took to tie these down without knotting the needle or the threader when working on them. Took awhile to figure out the steps but when it finally worked out they went smoothly to install and not get all tangled up when doing them. The first step: Material Second step: Threading the loop and the needle properly. Third step: Threaded properly. Step four: Ready for hammock install. Step five: Sewing from top started. Step six: Pulling threw for nail mount setup and needle removal. Step seven: Needle removal and tie loop setup with tight nail mount. Step eight: Loop behind nail mount for double knot tie off. Step nine: Back tie off for loop with tight pull up for securing main knot tie off. Step ten: Tight knot tie down completed. Step eleven: Apply maxi cure ca and cut excess off, finished tie down detail. Then repeat steps all over again for next tie down. As we know it takes slow movements and a gentle touch as not to strip the soft cotton or the thread when doing these type of tie downs. I am very satisfied with the outcome and have completed all of them. Moving on for rigging and mast install, will post images when I get the fore mast installed as it will be plastic and wood which will need to be painted and prep for rigging.


- 383 replies
-
- 16
-
-
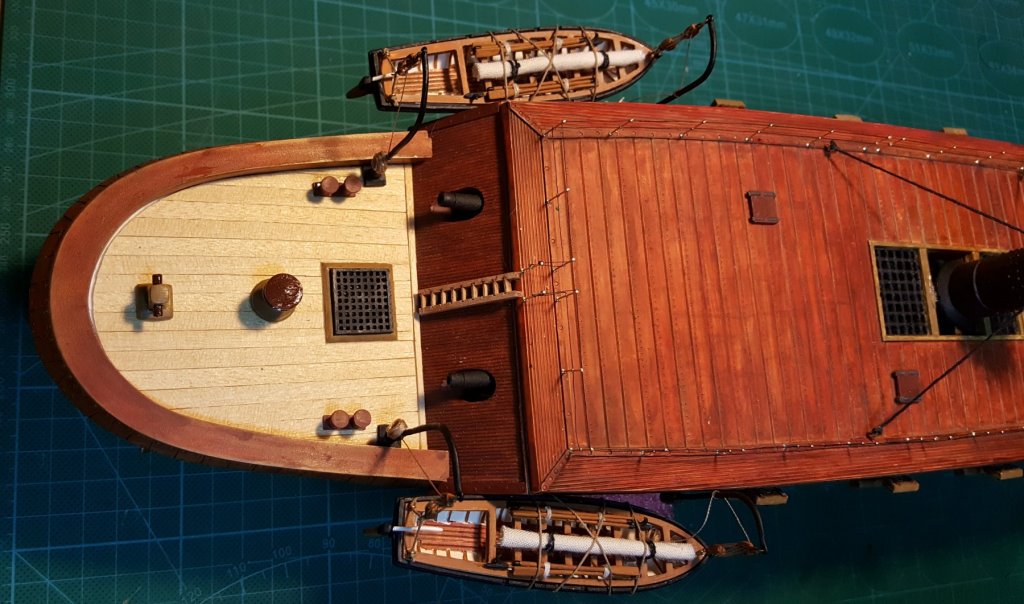
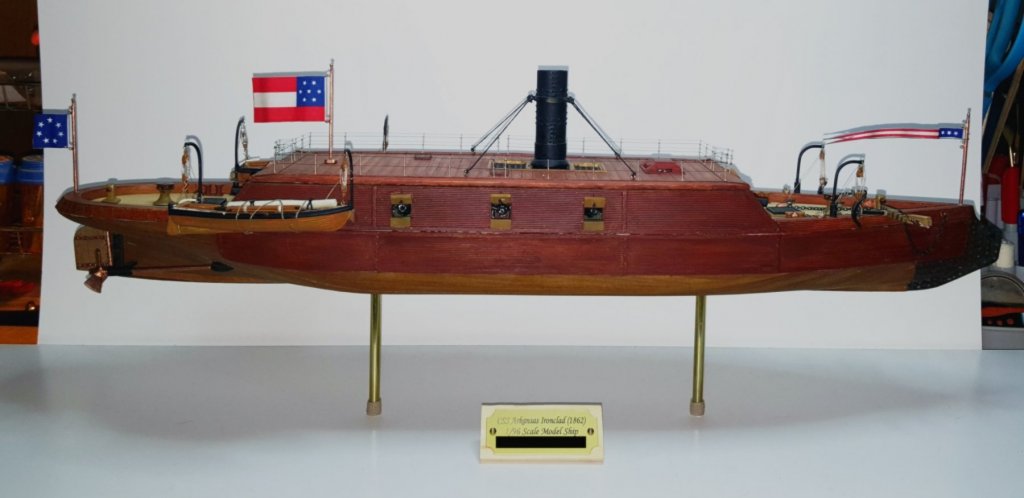
Here's the most up to date model which I made of the CC Arkansas, she didn't last but two months during her life but was a tough ship. If you have the time for some art work of her would be fantastic.

-
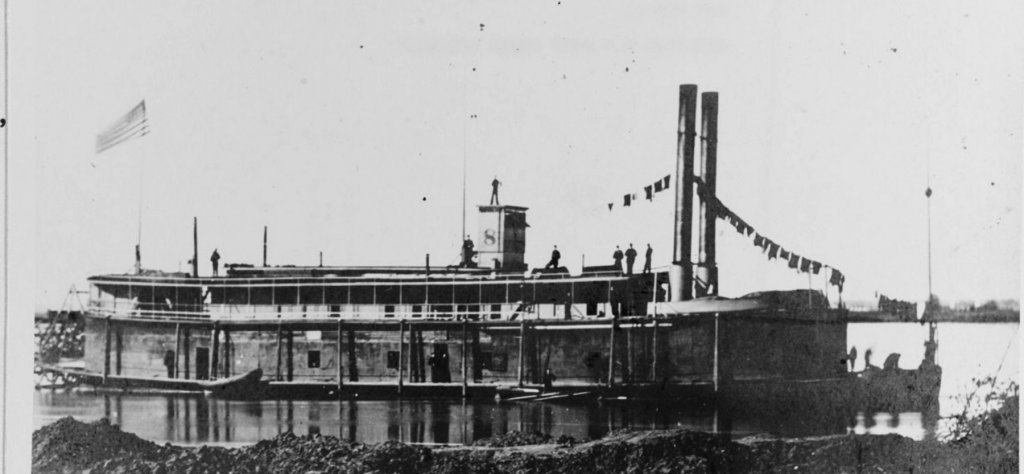
Wonderful Tinclad painting and look forward to more of these. If you need images or more information on any Civil war ship Union or Confederate I have extensive research and data with images. Here's NO #8 Union Tinclad which a friend of mine is building a model of using a older wooden kit as the basis. Your painting of them is very concise, thank you for posting your new work.
-
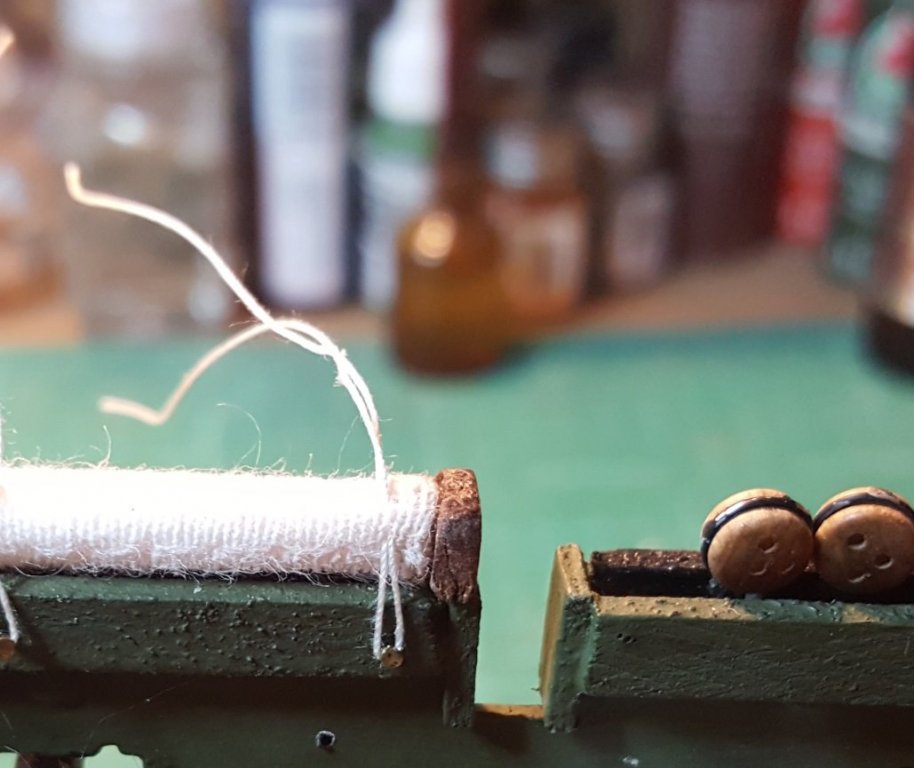
Completed all the outside hammock tie downs. Kinda like the pure white color and now undecided as to stain them or not. I also have started the inside tie downs which take more care and time as not to damage the other detail parts on the deck, figure a couple days to finish all of them inside on the bulwarks. She's moving to the rigging soon, I'll probably make a few custom ropes for certain lines. Will have to pick some specialty wooden blocks also, so I'll be getting those ordered.


- 383 replies
-
- 11
-
-
@modelshipwright , what is the carving tool you are using? Meaning manufacturer and bits along with rpm speed for you carving details. Seems that the rpm would be very high for such small carved pieces as to not break them. Fascinating work, a inspiration to us all.
-
Your color scheme is perfect along with the wooden deck. Wow! As other members have stated; "You would never know it was a plastic kit".
- 90 replies
-
- 4
-
-
- bomb ketch
- pyro
- (and 1 more)
-
Dapper Tom by AlanZL1 - Model Shipways
J11 replied to AlanZL1's topic in - Kit build logs for subjects built from 1801 - 1850
Alan, I would go at least 1/2" deep as to give you some strength for the foundation and even possibly 3/4". Also verify on the print you have the correct facing angle of each mast and drill the proper angle. Use a basic protractor on the print to get the right angle. -
Exquisite work, look forward to following.