HOLIDAY DONATION DRIVE - SUPPORT MSW - DO YOUR PART TO KEEP THIS GREAT FORUM GOING! (Only 36 donations so far out of 49,000 members - C'mon guys!)
×


DenPink
-
Posts
818 -
Joined
-
Last visited
Content Type
Profiles
Forums
Gallery
Events
Everything posted by DenPink
-
Cutty Sark by NenadM
DenPink replied to NenadM's topic in - Build logs for subjects built 1851 - 1900
Hi Nenad Just wow I love your work my friend. Denis- 4,152 replies
-
- 4
-

-
- cutty sark
- tehnodidakta
- (and 1 more)
-
Hi All Just to say thank you all for your likes and comments. I have planked the next deck, and sanded it all down and one coat of varnish (two more coats to do). Sorry about all the dust you can see ha-ha, will clean that up soon. Denis.
-
Hi All Sorry I am back ha-ha. Just dry fitted the next deck up from the quarterdeck . Put the mizzen mast in to locate the position of the deck as you do with all the decks. As this deck over hangs by about 23mm going on the plans number 8 I had to cut this amount off. Next is to glue the deck on. Denis.

-
Cutty Sark by NenadM
DenPink replied to NenadM's topic in - Build logs for subjects built 1851 - 1900
Hi Nenad I agree with George and Captain Steve. Denis.- 4,152 replies
-
- 3
-
-
- cutty sark
- tehnodidakta
- (and 1 more)
-
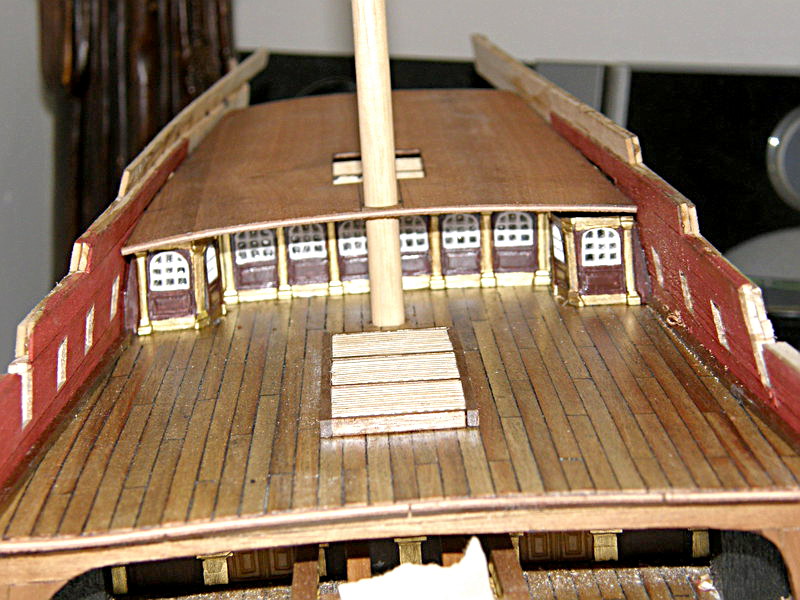
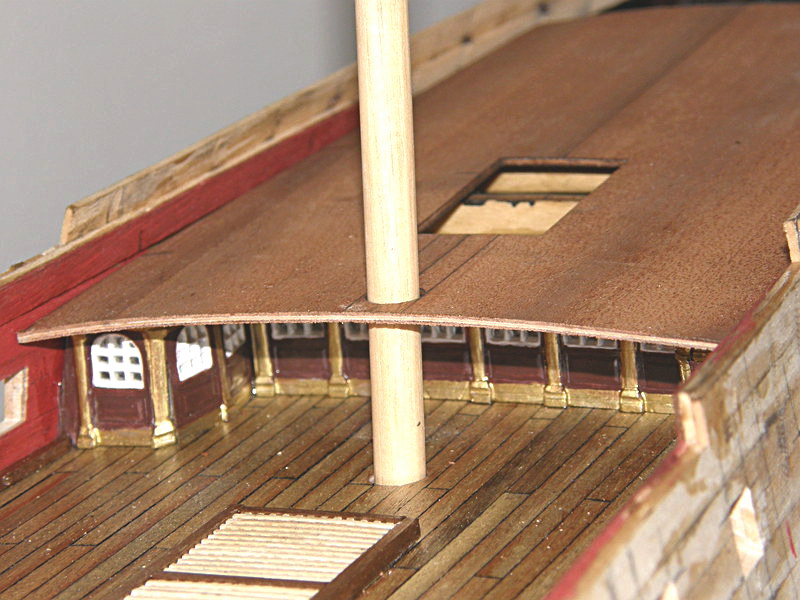
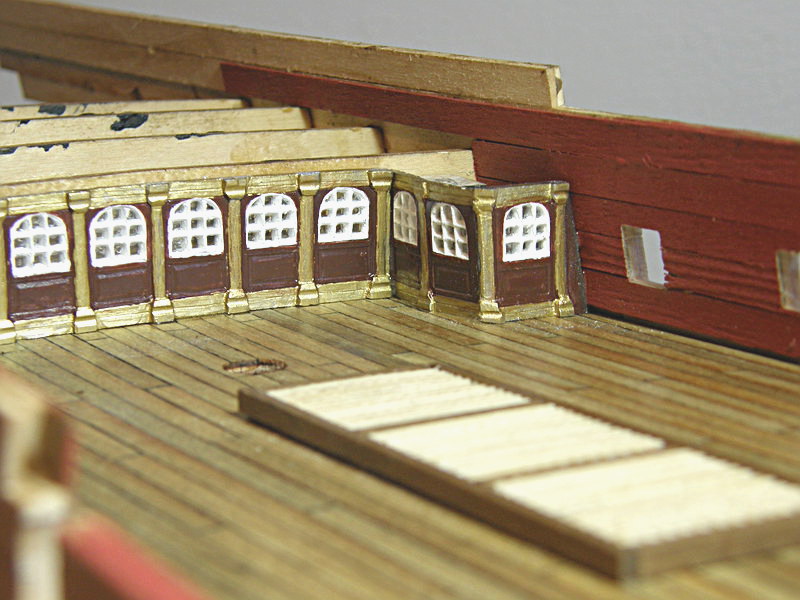
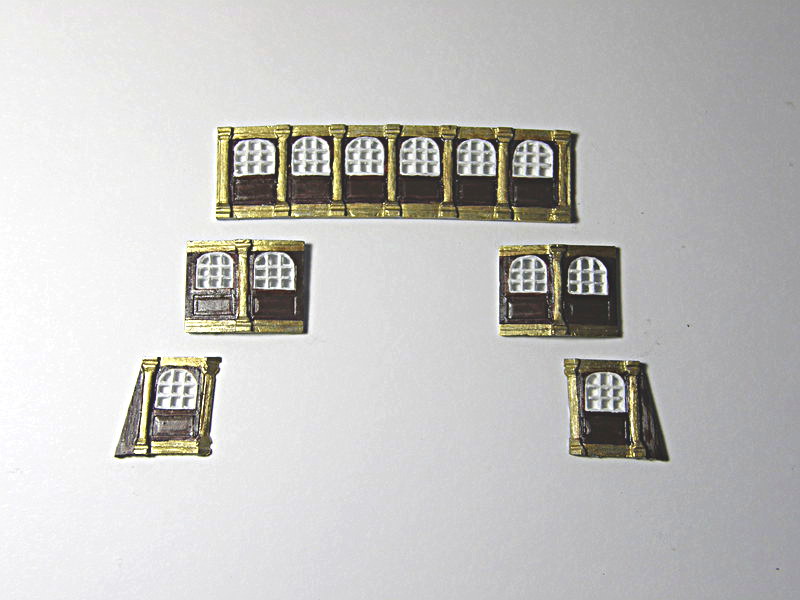
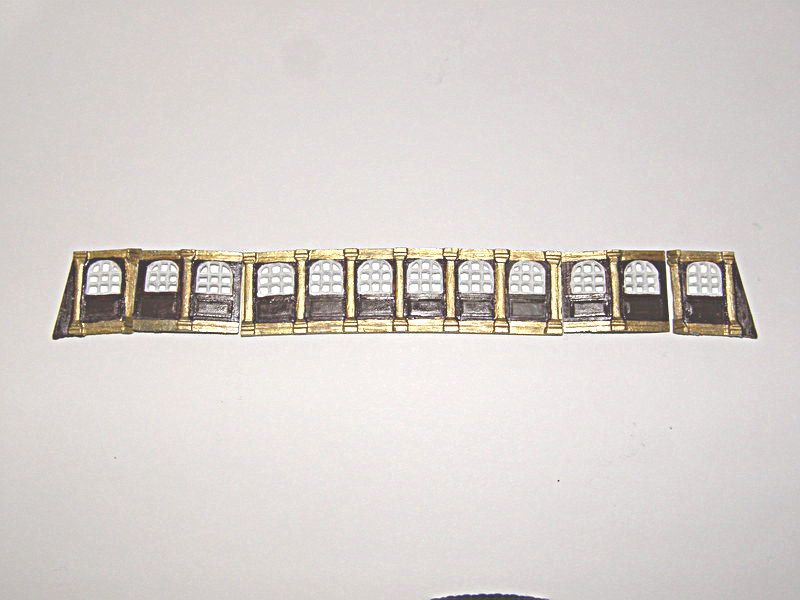
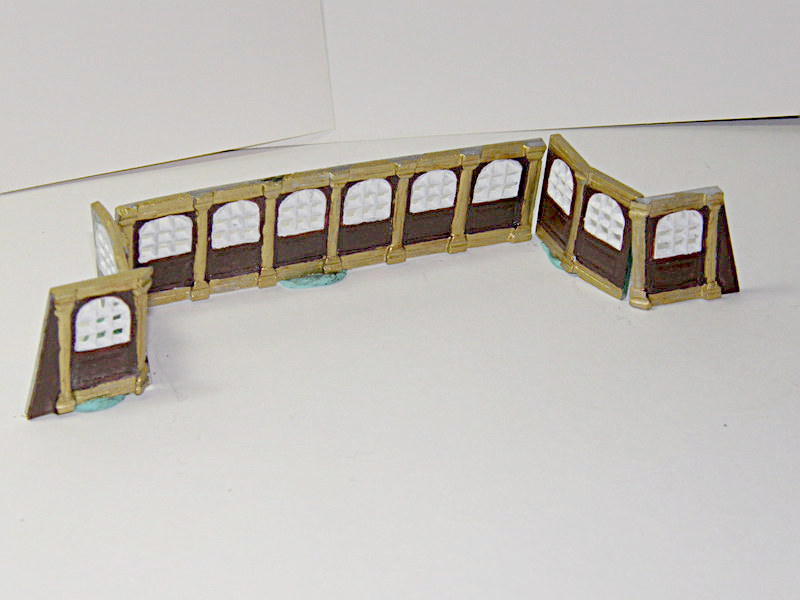
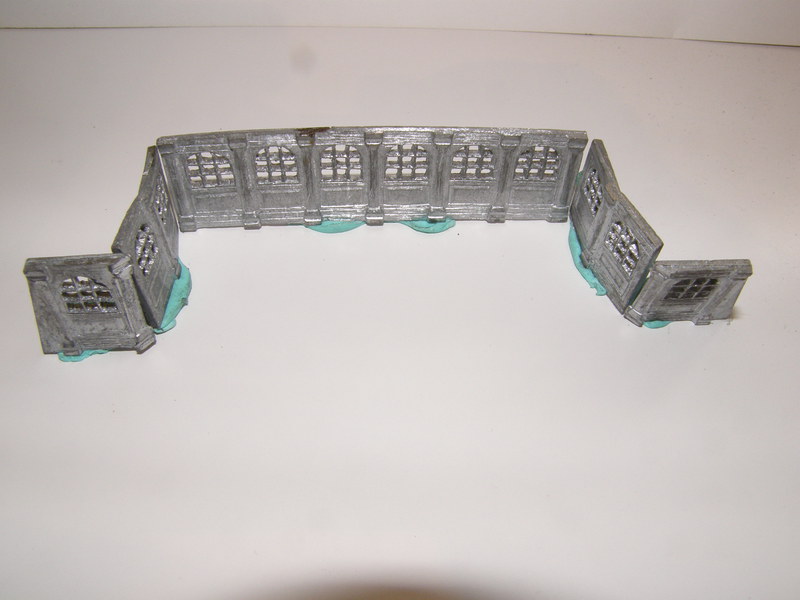
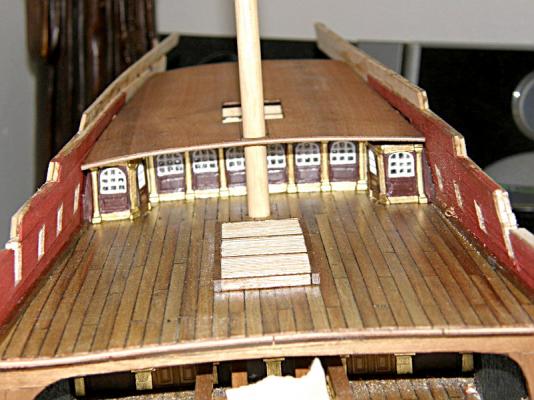
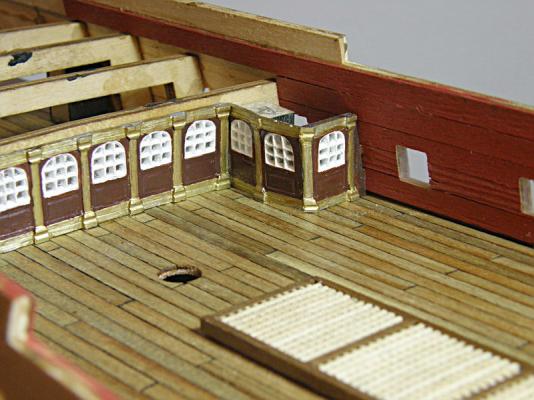
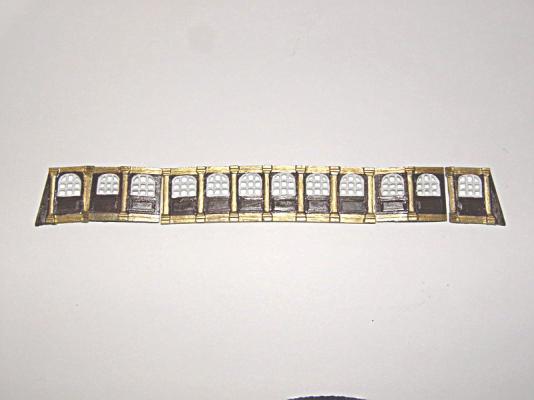
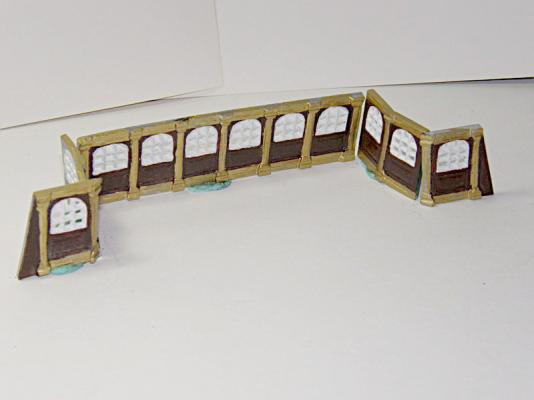
Hi All Windows now glued to quarterdeck. Sorry a bad day of painting :angry: . Denis.


-
Thank you all. Denis.
-
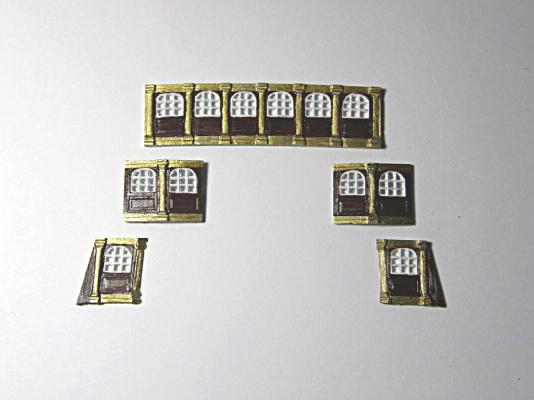
Hi All First sorry about the photos I have a crap camera. Painted the windows to the quarterdeck. Next is put the liquid glass on the back, then see if it all fits on the deck. Denis.
-
Hi Greg The windows will be the same as before . The colour's will be white, dark brown and gold, no light brown as there is no doors. Thank you also for your kind words. Denis.
-
Hi All Cannon ports are cut out. Dummy cannon blocks glued ( this time with pins in them ). Now just dry fitted the quarterdeck windows. Have to clean them up and paint them. Denis.
-
Cutty Sark by NenadM
DenPink replied to NenadM's topic in - Build logs for subjects built 1851 - 1900
Hi Nenad. Also what Patrick said and Mark. Denis.- 4,152 replies
-
- 9
-
-
- cutty sark
- tehnodidakta
- (and 1 more)
-
Hi Jesse Love your workmanship it is a credit to you, well done. Keep up the good work. Denis.
- 1,306 replies
-
- 6
-
-
- syren
- model shipways
- (and 1 more)
-
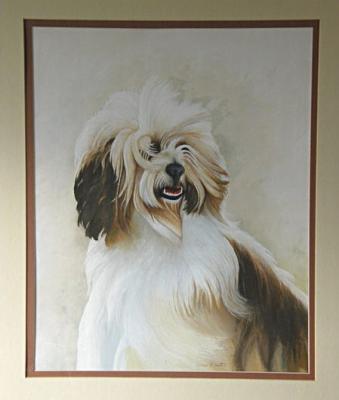
Hi All Just in case anyone is wondering what Greg was saying re the fur on the dog. I did water colour paintings before I started ship building. Greg is also a very accomplished painter in acrylics and oils. Denis.
-
Hi Greg Don't worry about it Ok. Denis.
-
Hi Greg Thank you for the info it has been noted. Did you get the photo I sent you ???. Denis.
-
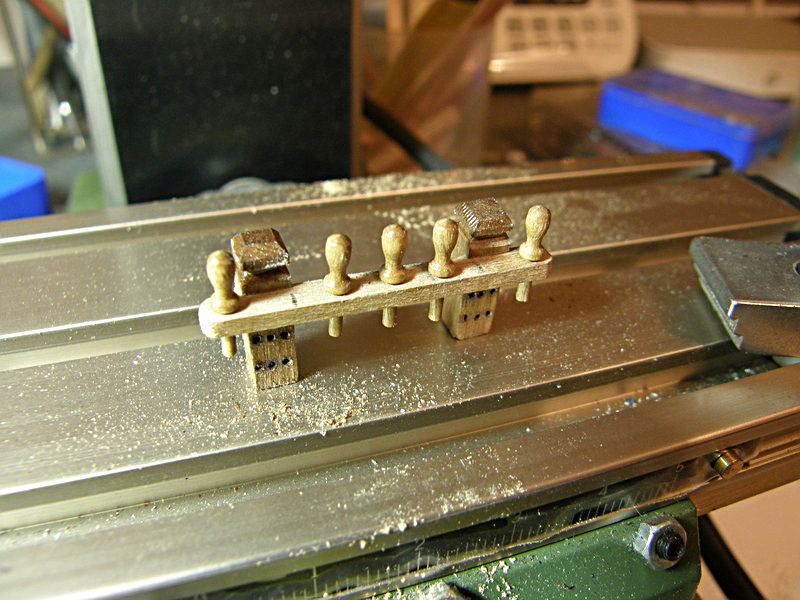
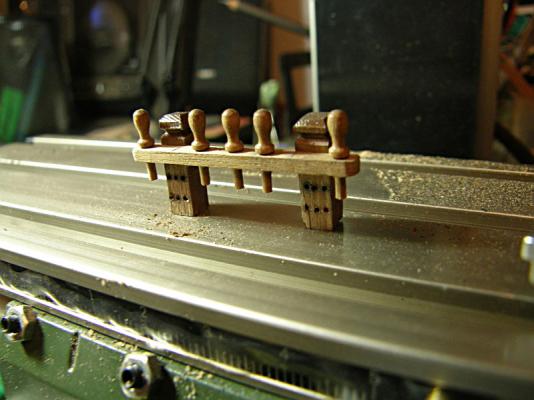
Hi Brian The plans don't call for the main mast fife rail to have belaying pins. But I am sure it must have had them. The kit supplies 14mm ones. I think I will go with the 10mm ones. But if any one can help please advise me. Denis.
-
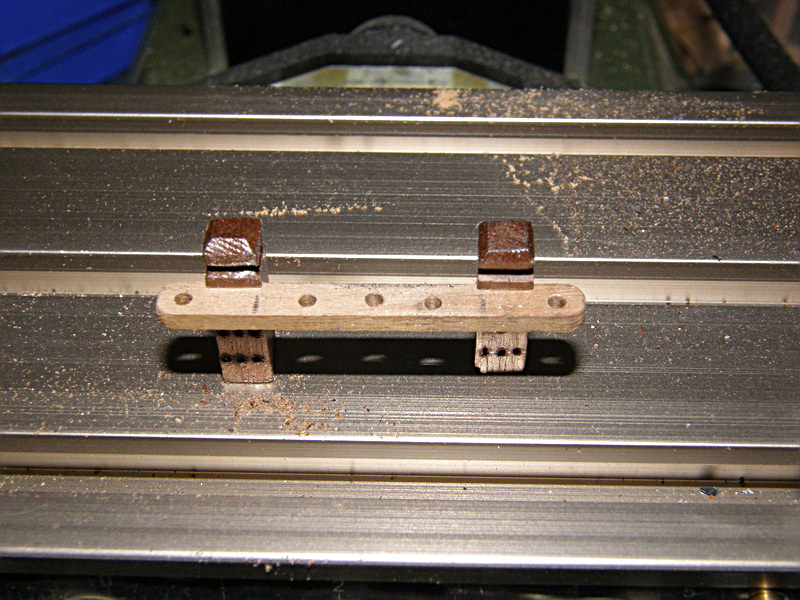
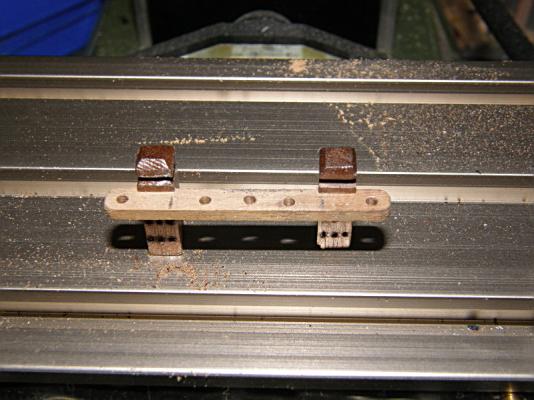
Hi all Just made the bitts and fife rail. Just dry fitted, now will take it apart and clean it up. The belaying pins are 12mm but may change them to 10mm ones. Denis.

-
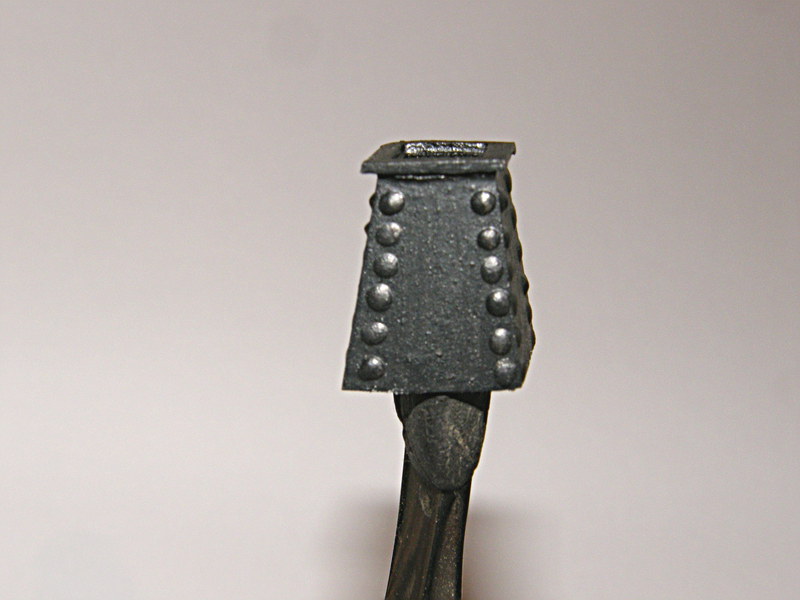
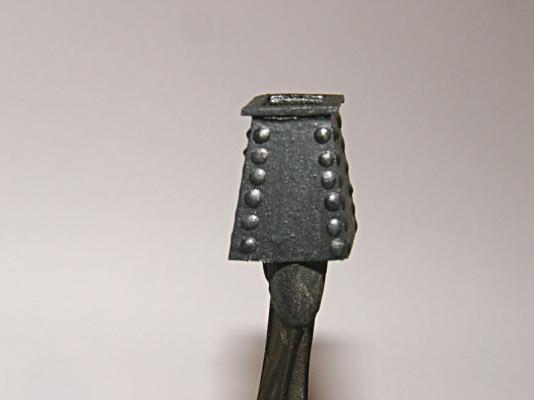
Hi all As I did not make the stove I only did the chimney that comes out of the forecastle deck. I did add a lip to the top of the chimney. I thought that I would also add some rivets to the sides. I got some PVA glue and mixed it with some flour to give the PVA some body (thicken the PVA up). I know the photo looks bad but it looks Ok in real life if you know what I mean ha-ha. Well it is only about 16-17mm high. Denis.
-
Hi Thomaslambo In hindsight I would use a pin + Epoxy, I was lucky it happened now and not when I had the second planking on. Denis.
-
Hi Pete You are correct in putting a nail in the dummy blocks before gluing to the deck. We all put nails in the deck furniture ie bitts etc before gluing don't we. I should have realised I should have done the same thing with the dummy cannon blocks. I will put nails in the remanding blocks I have to fit. Thank you Pete for your advice I do appreciate it. I know what went wrong, when I put the CA glue on the bottom of the blocks they moved so I had to move them back by this time the CA was just about dry, this became the weak point. If I had a nail in the block they would not have moved. Again thank you Pete. Denis
-
Hi Greg It is Ok we all have to redo things it is part of model building :) . Denis.
-
Hi all. Had a bit of a disaster :( . Two of the dummy cannon blocks under the forecastle decided they did not like the position they were glued in. The little so and so's moved to the center of the deck, and they did not ask me . Now what do I do, after some thought I decided to take two hull planks off. I have now re glued the blocks back. Now putting the hull planks back. So much fun . Denis.
-
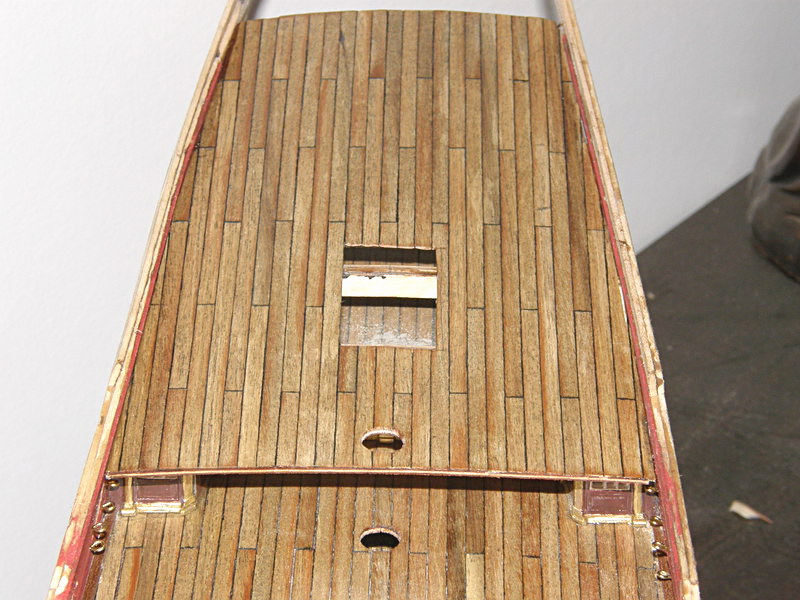
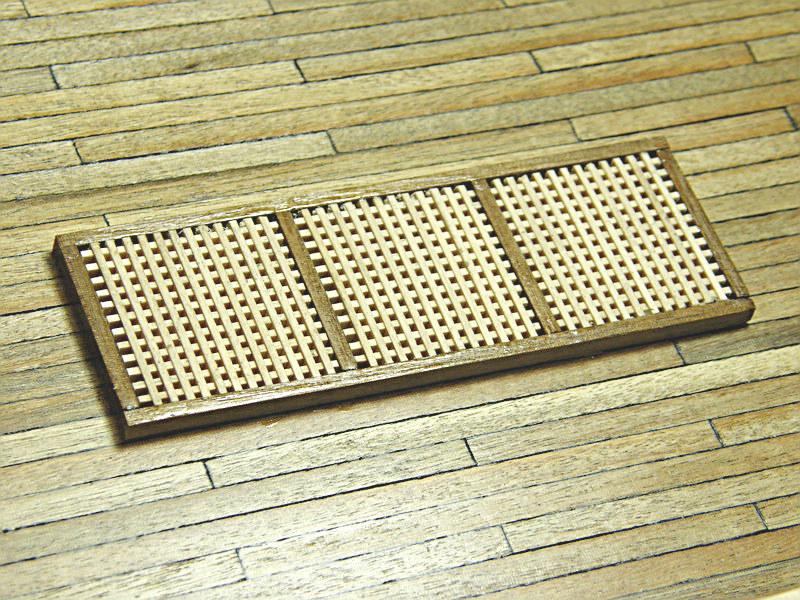
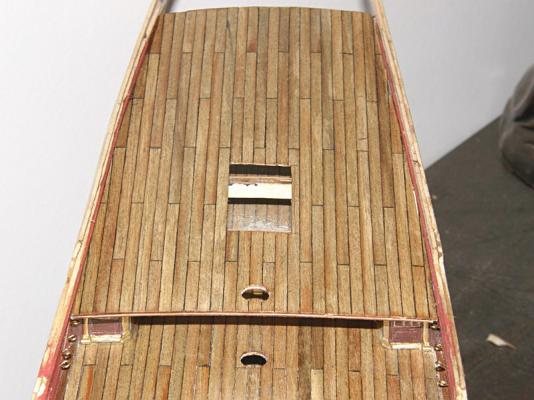
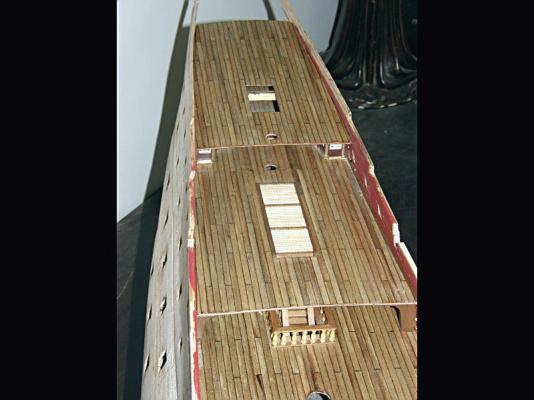
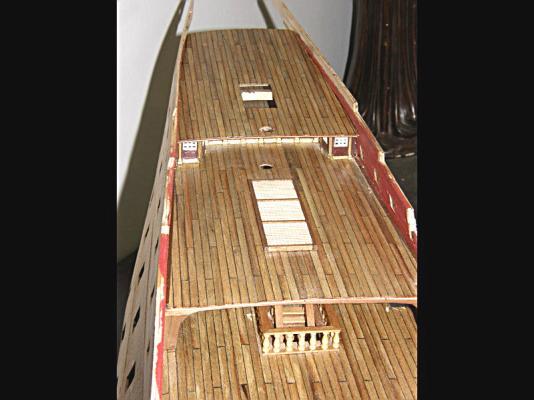
Hi All Have finished the gratings for the quarterdeck. Denis.

-
Cutty Sark by NenadM
DenPink replied to NenadM's topic in - Build logs for subjects built 1851 - 1900
Hi Nenad As what the people have said above, let us all hope your mother in law recovers soon. My thoughts are with you and your family. Nice work on your CS. Denis.- 4,152 replies
-
- 8
-
-
- cutty sark
- tehnodidakta
- (and 1 more)