GrandpaPhil
-
Posts
6,011 -
Joined
-
Last visited
Content Type
Profiles
Forums
Gallery
Events
Everything posted by GrandpaPhil
-
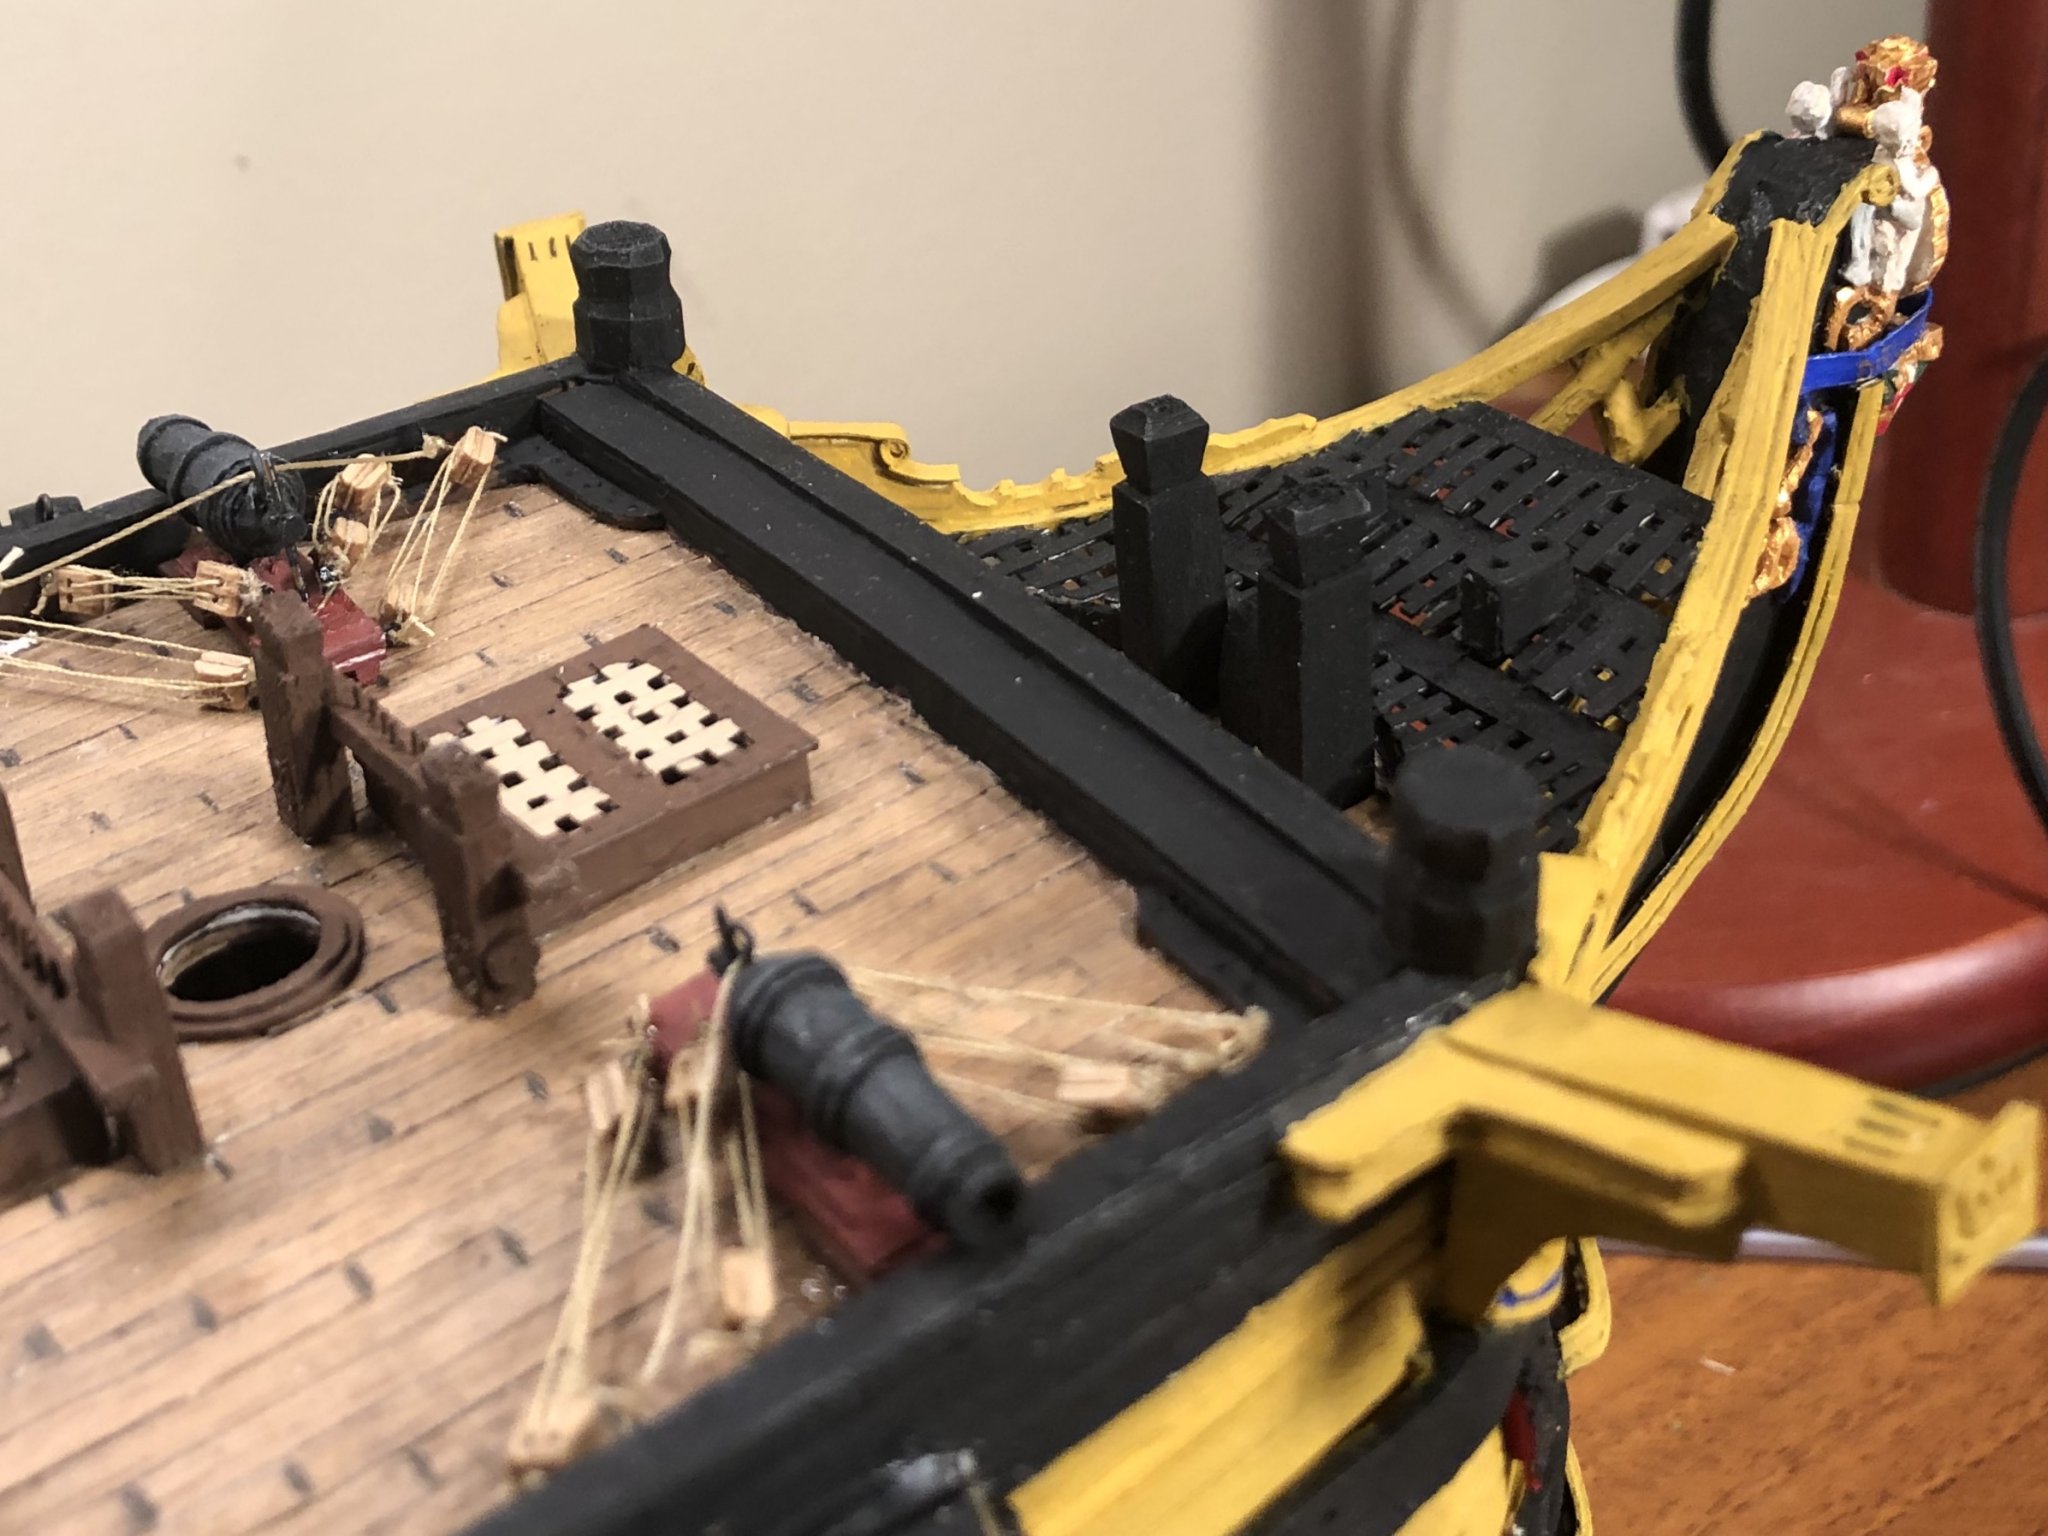
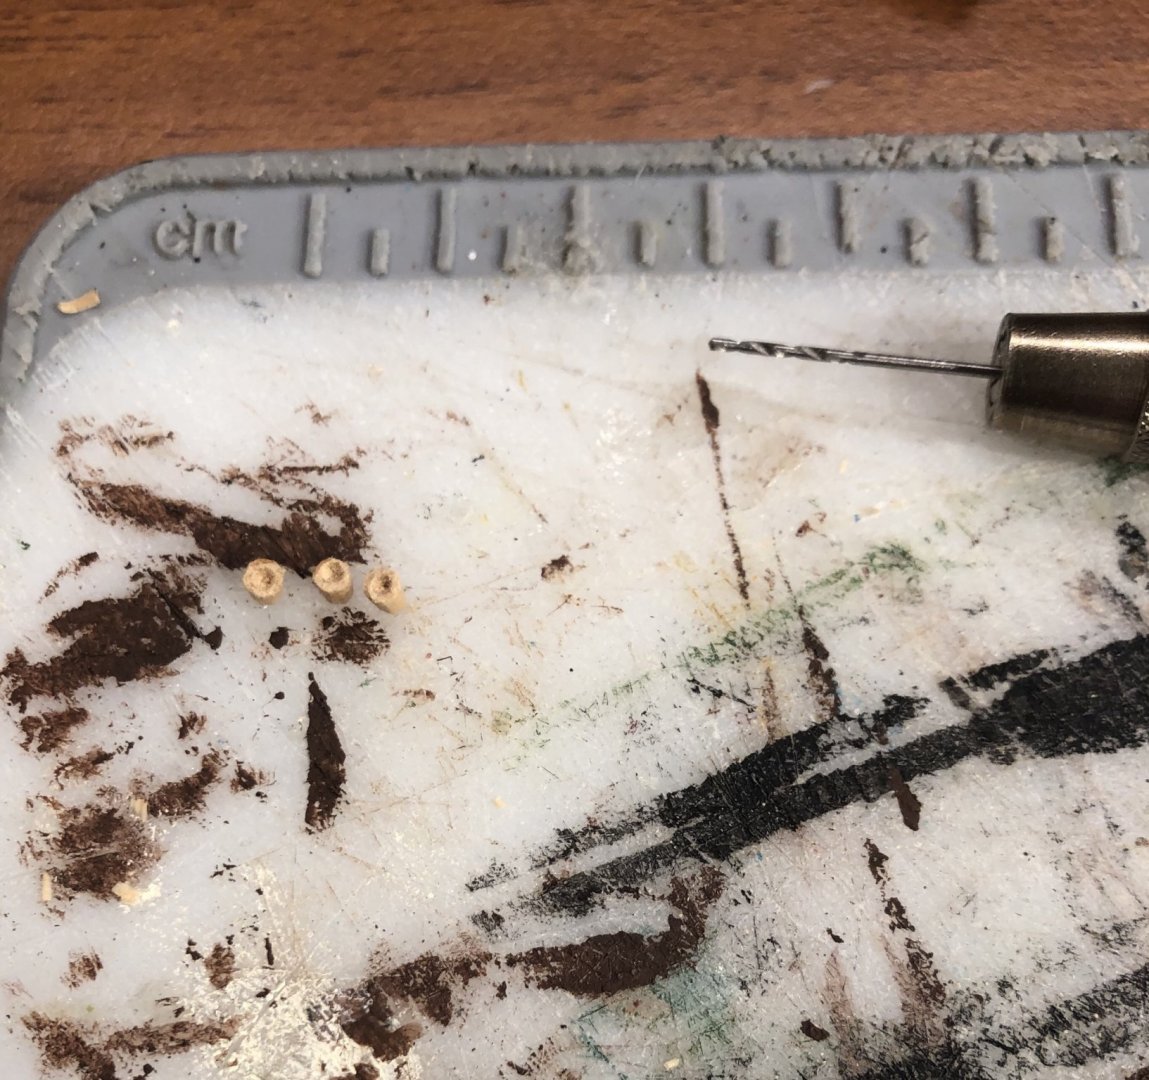
I am using a drill bit to drill a pilot hole and a scalpel to hollow the tops of the buckets out to give the impression/illusion of depth and it being an actual bucket. A lot of the detail on this model is just giving the impression of the detail being there, due to the scale.
-
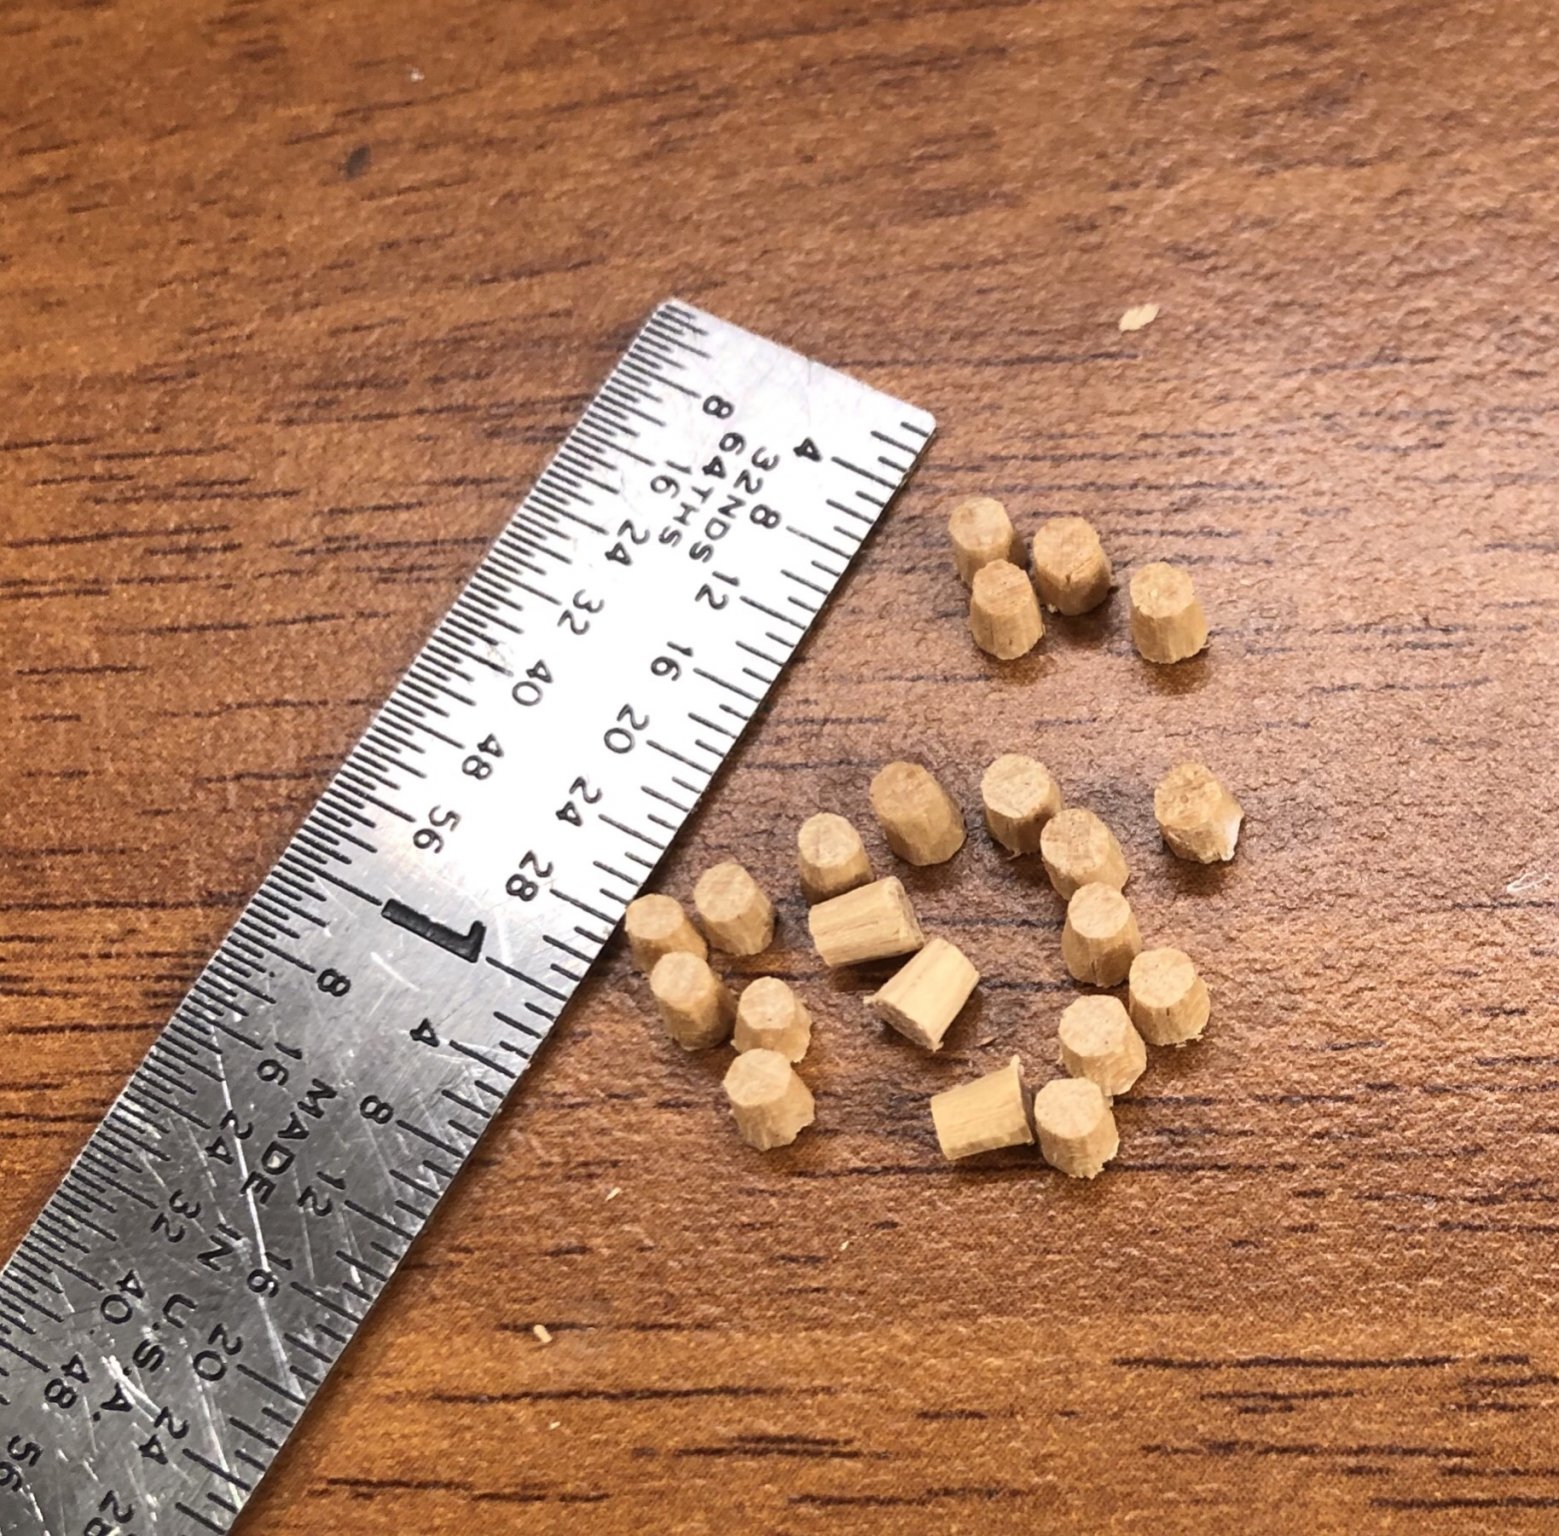
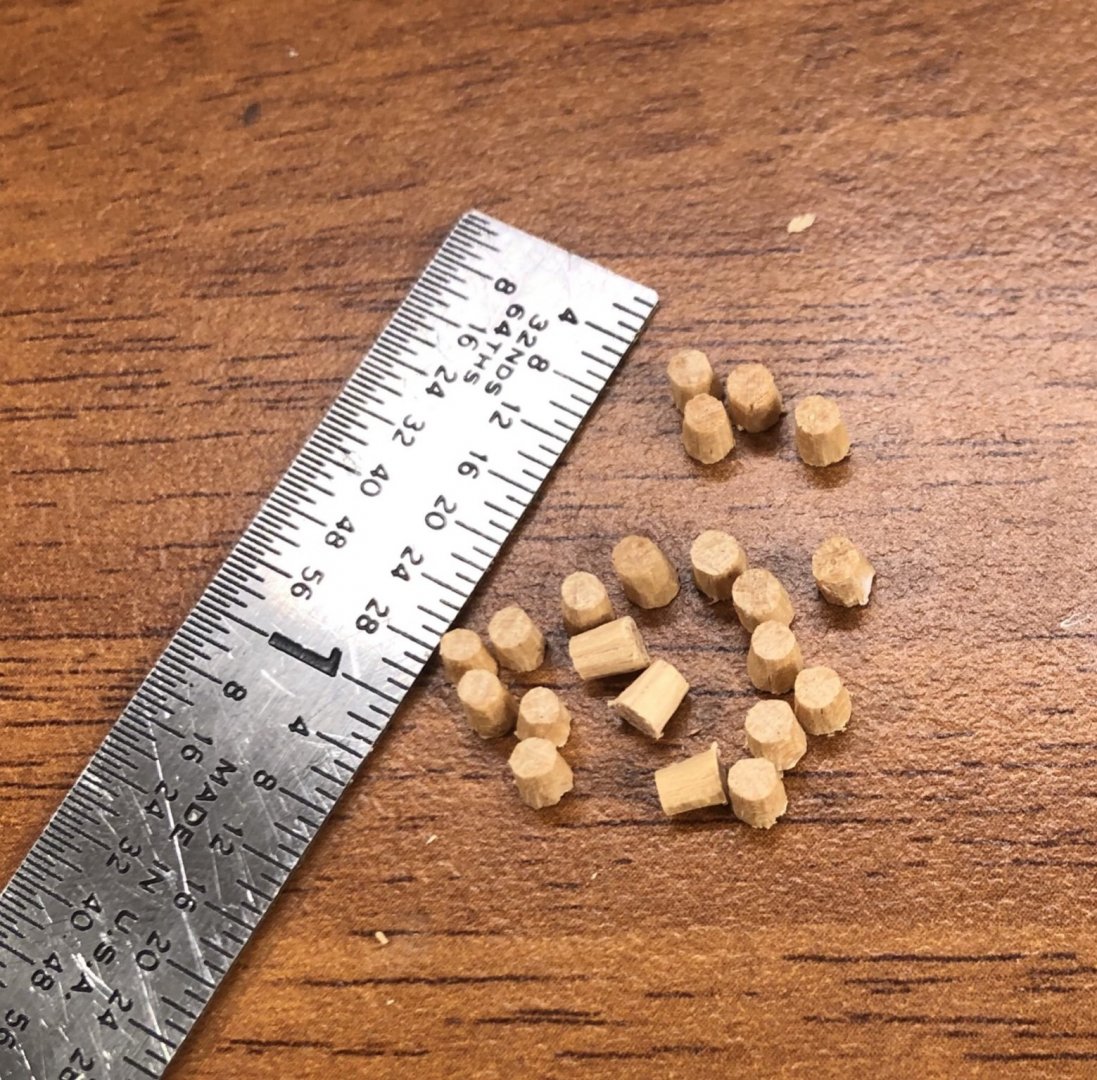
I’m glad you like my binnacle, Robert. Thank very much, Richard! I have 21 rough cut buckets:
-
I use a scalpel. It works well for me. I mark the piece with cut lines using a pencil and go from there.

-
Welcome!
-
Welcome!
-
Welcome!
-
My favorite is Delta Ceramcoat paint. I used their black and “Antique Gold” for my Victory. You can find it at Hobby Lobby or most other craft stores in the craft paint section. I used copper tape for the coppering.
-
Welcome!
-
Welcome!
-
new modeler from Barcelona and some Albatros photos
GrandpaPhil replied to Geowolf's topic in New member Introductions
Welcome! -
Congratulations! Well done!
-
Most kit plans come with the templates for the die cut and laser cut parts. That is a cheaper alternative than buying the kit. Cornwall and Age of Sails both have a nice selection of kit plans for reasonable prices. It’s just copy, paste and cut at that point (plus you can alter the scale at will at that point). Plus the plans for Triton are $5 with complete POB templates and the plans for Winchelsea are $15, with all templates provided. I have both sets and plan to modify both for masting and rigging.
-
The Revenge is a neat ship. I’m looking forward to seeing this!
-
Welcome!
-
Welcome!
-
Welcome!
-
Welcome!
-
Greetings from Central Pennsylvania
GrandpaPhil replied to Bill135's topic in New member Introductions
Welcome! The Sultana is a great kit and was my first actual ship model. -
Good job on the quarter badges and stern galleries!
-
Welcome! Well done!
-
Thank you very much, OC! I am glad you found that useful, Emmet. It saved me a lot of time.
-
I like to carve cannons from dowel rods. It works well for me.
-
Thank you very much! It went back together much better than I thought it would. I thought for sure I would have to redo much more of the rigging.
- 22 replies
-
- 4
-

-
- kate cory
- restoration
- (and 1 more)