GrandpaPhil
-
Posts
6,011 -
Joined
-
Last visited
Content Type
Profiles
Forums
Gallery
Events
Everything posted by GrandpaPhil
-
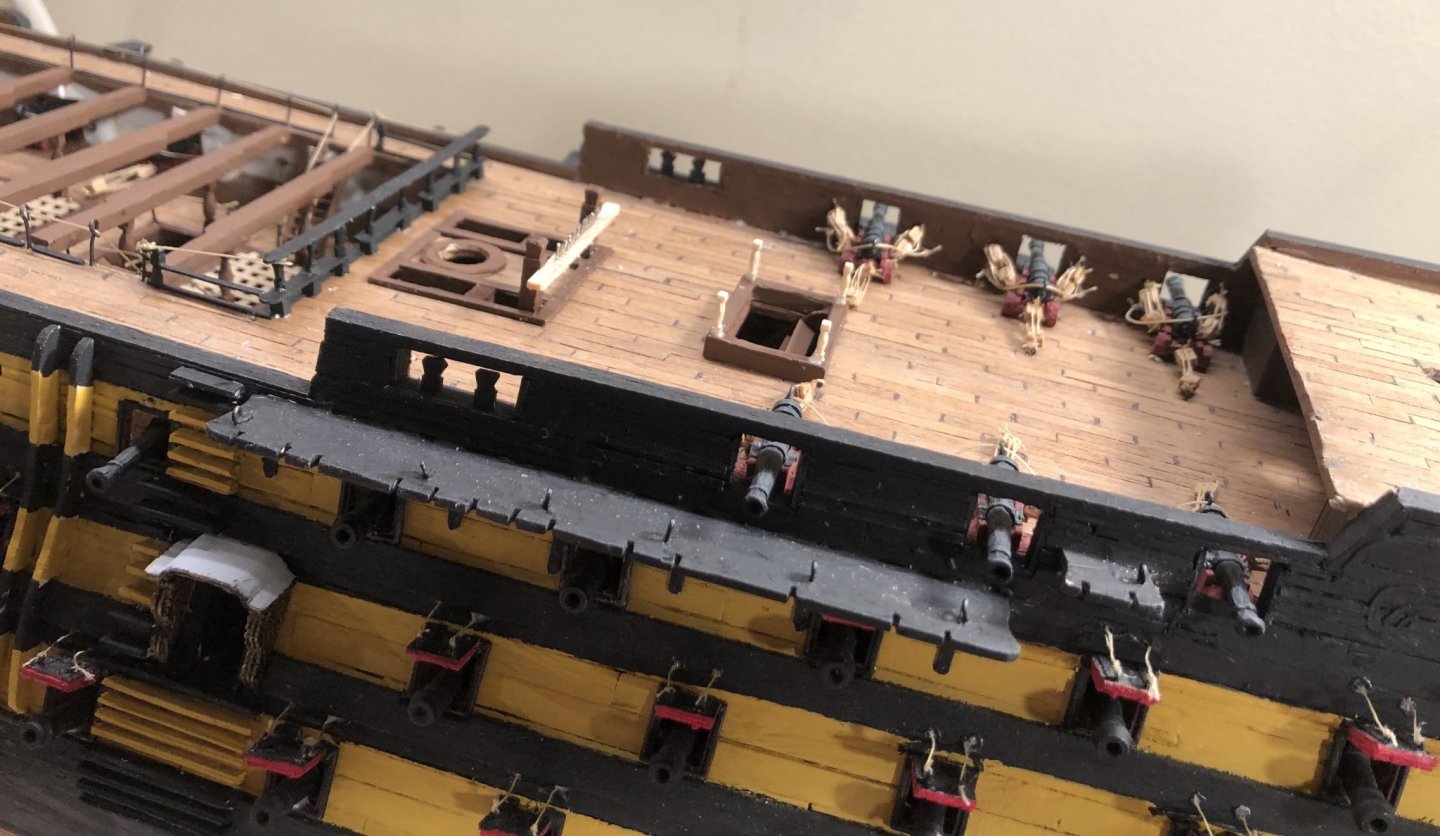
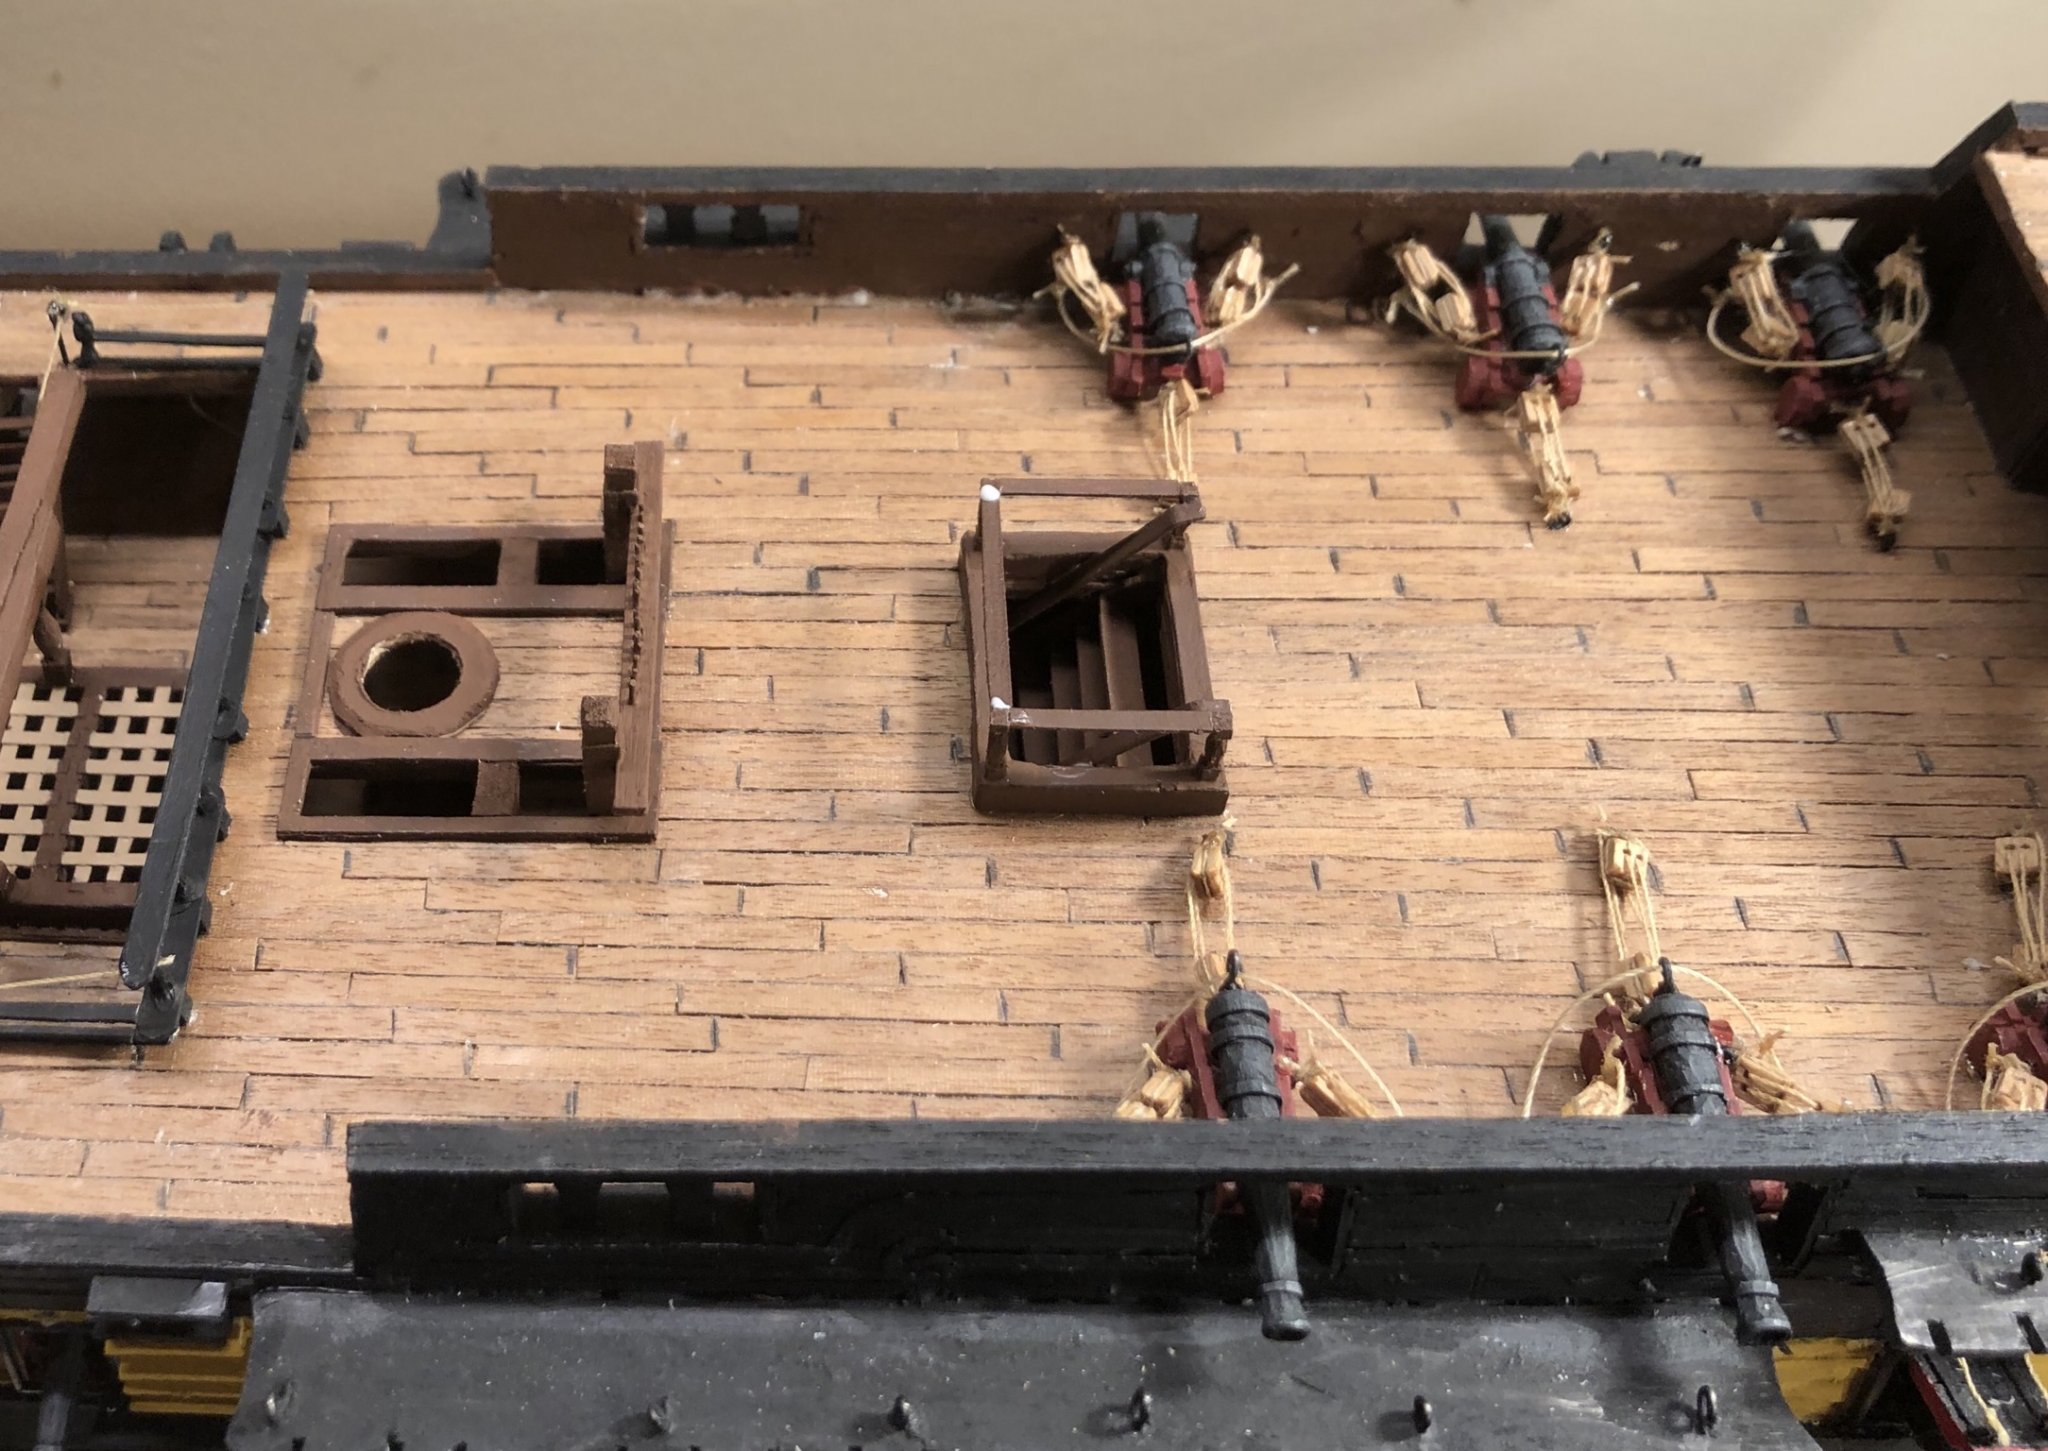
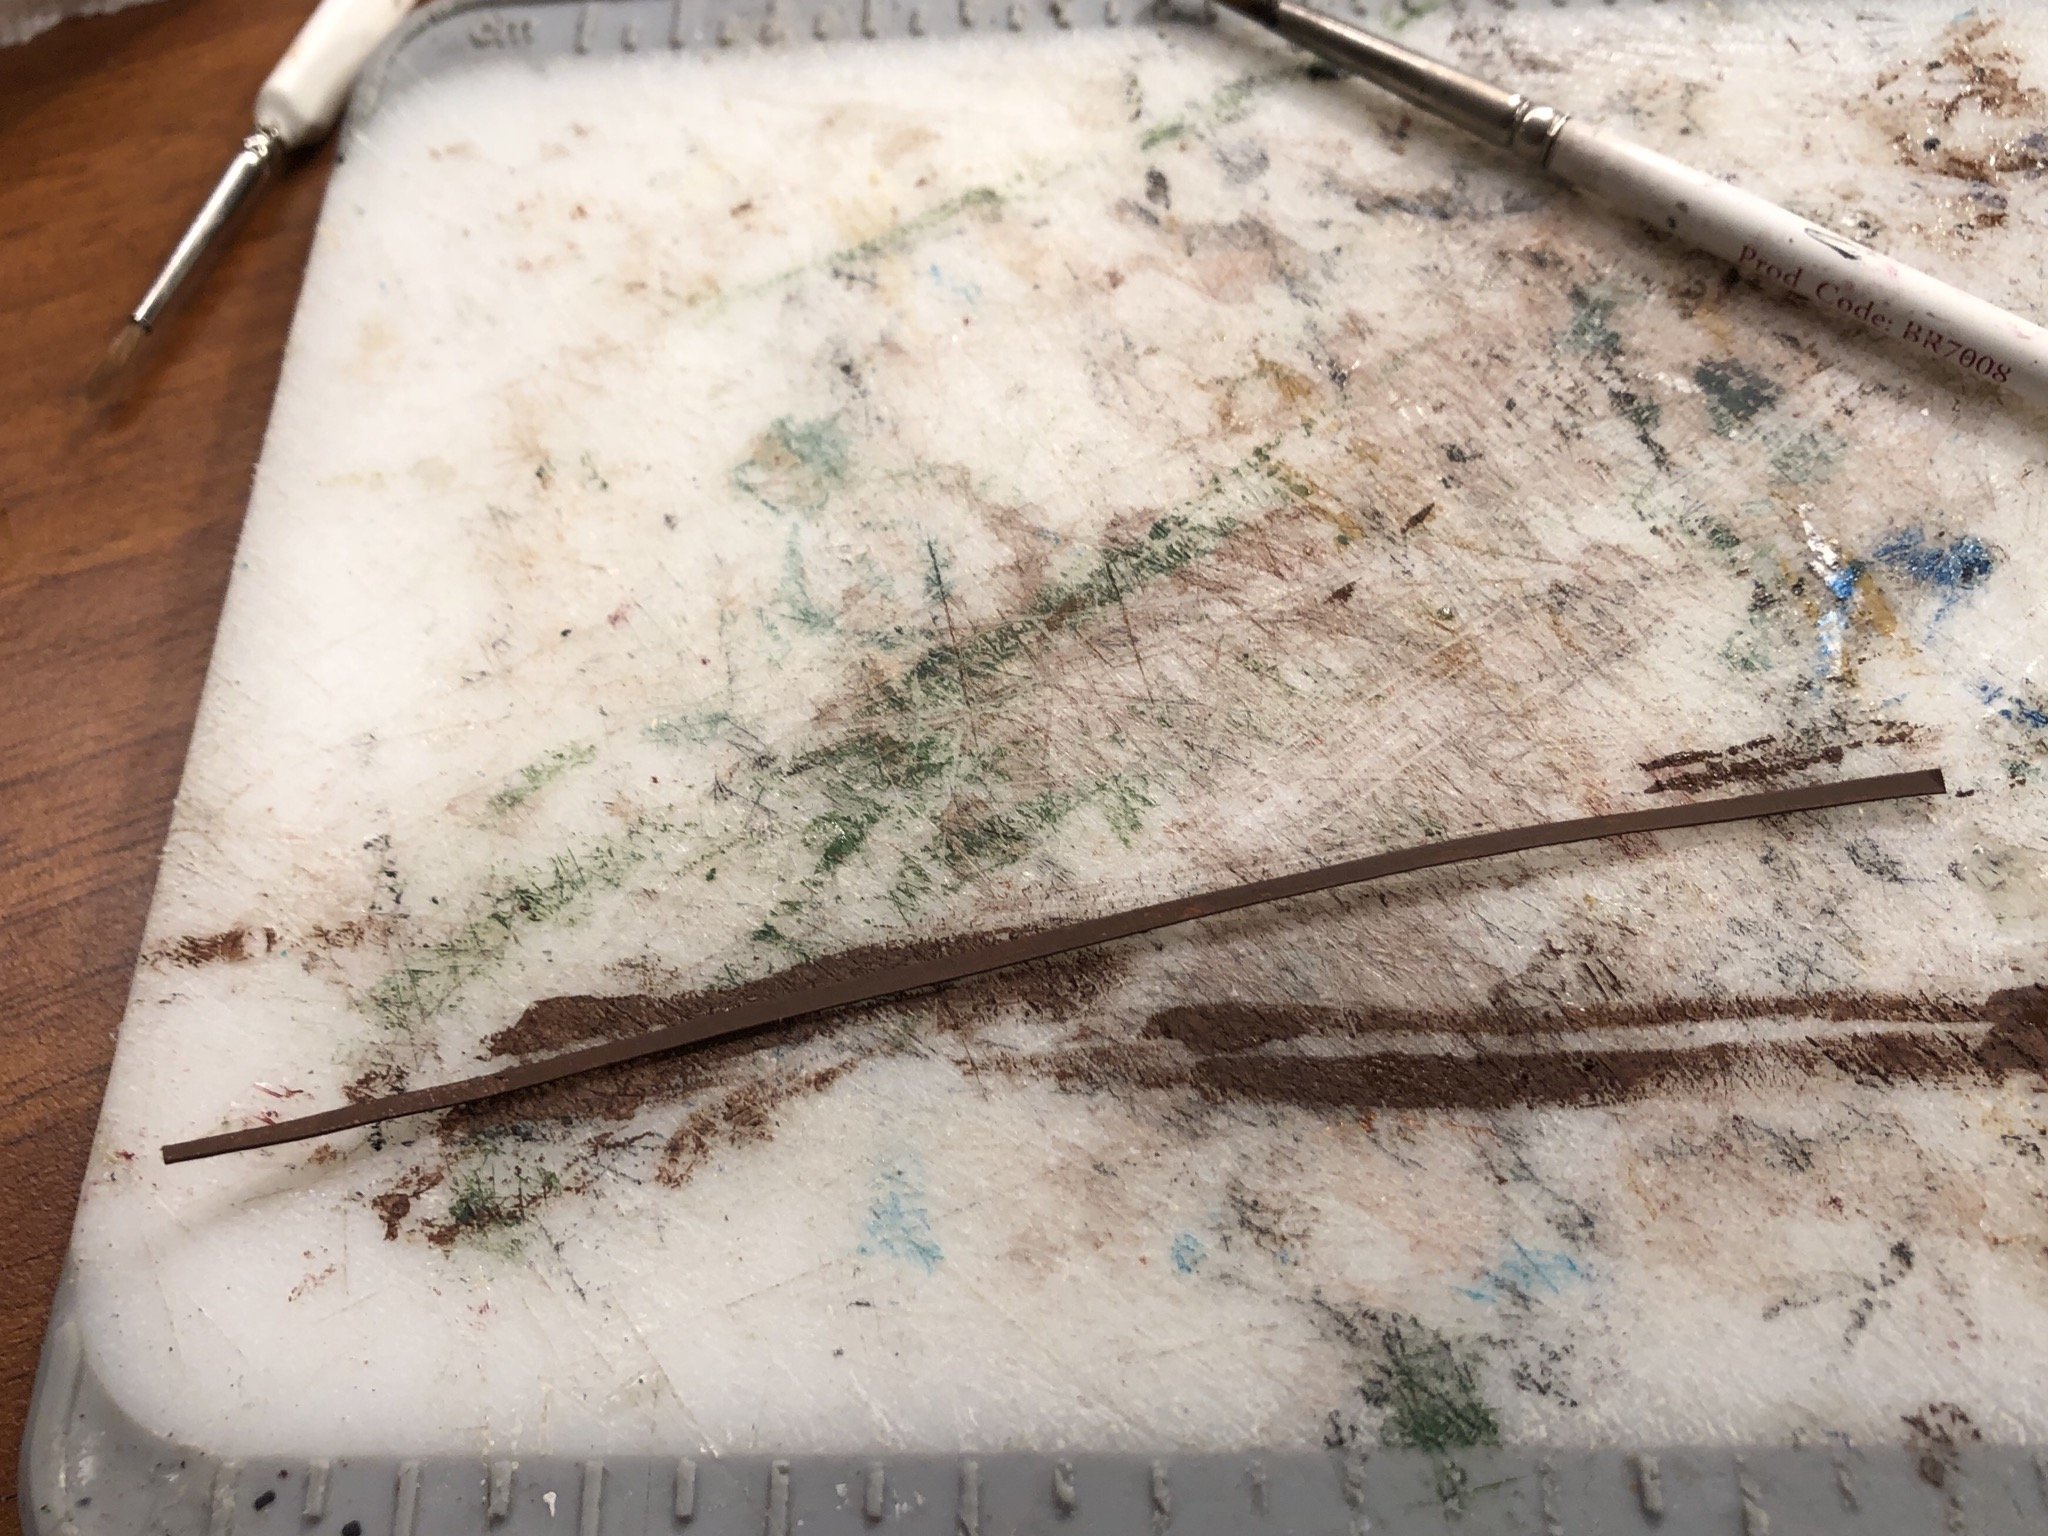
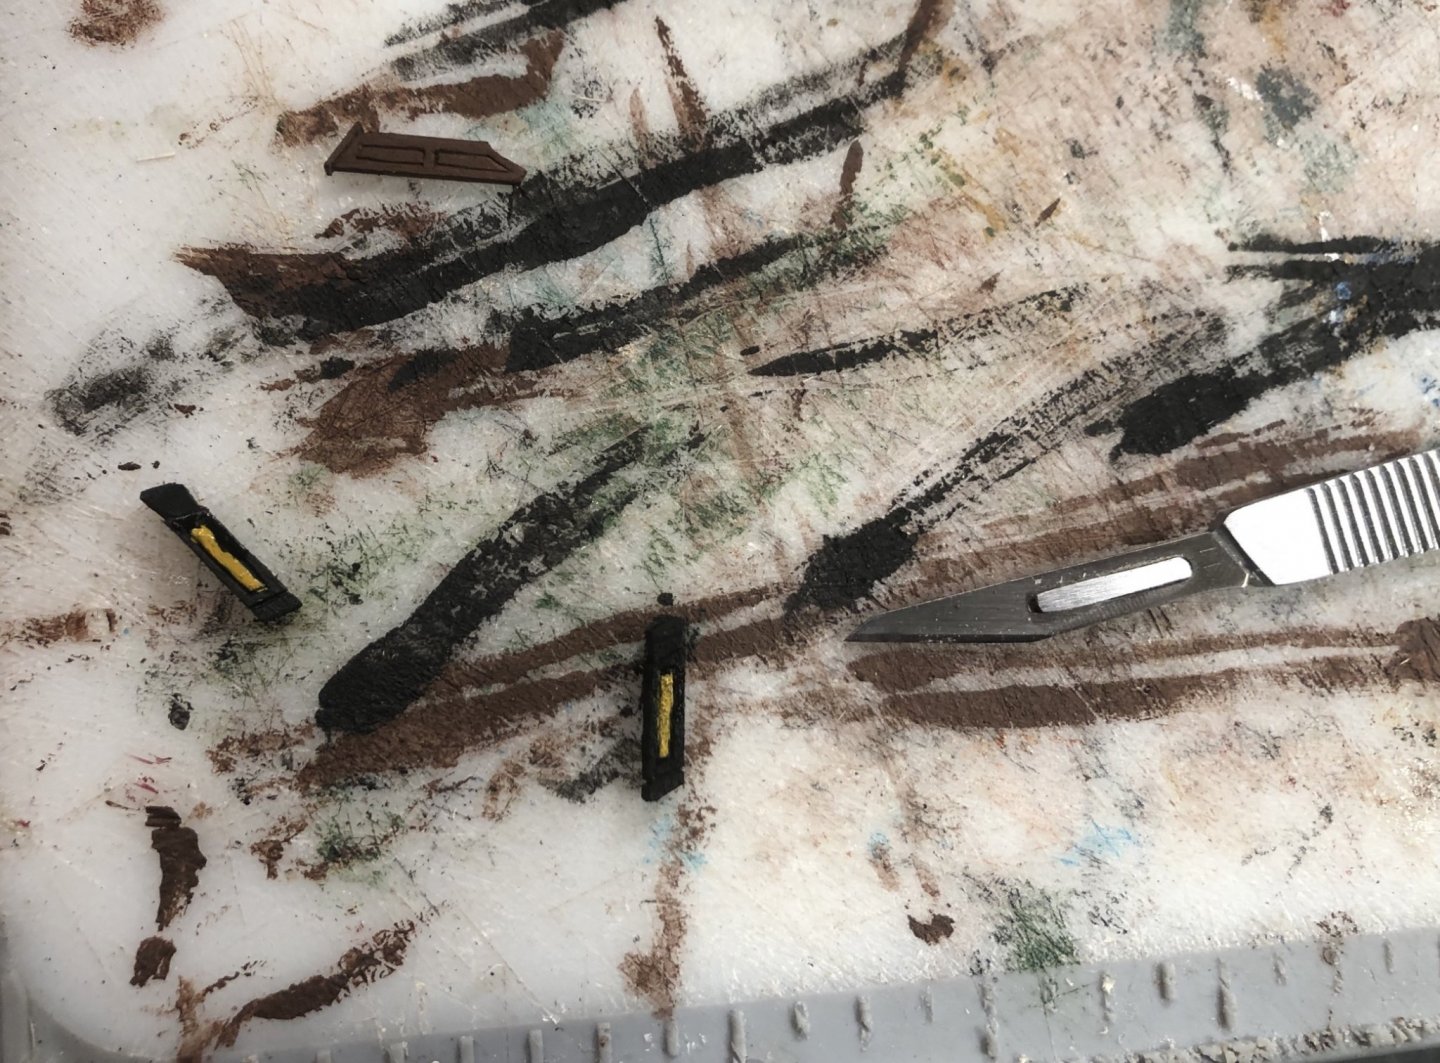
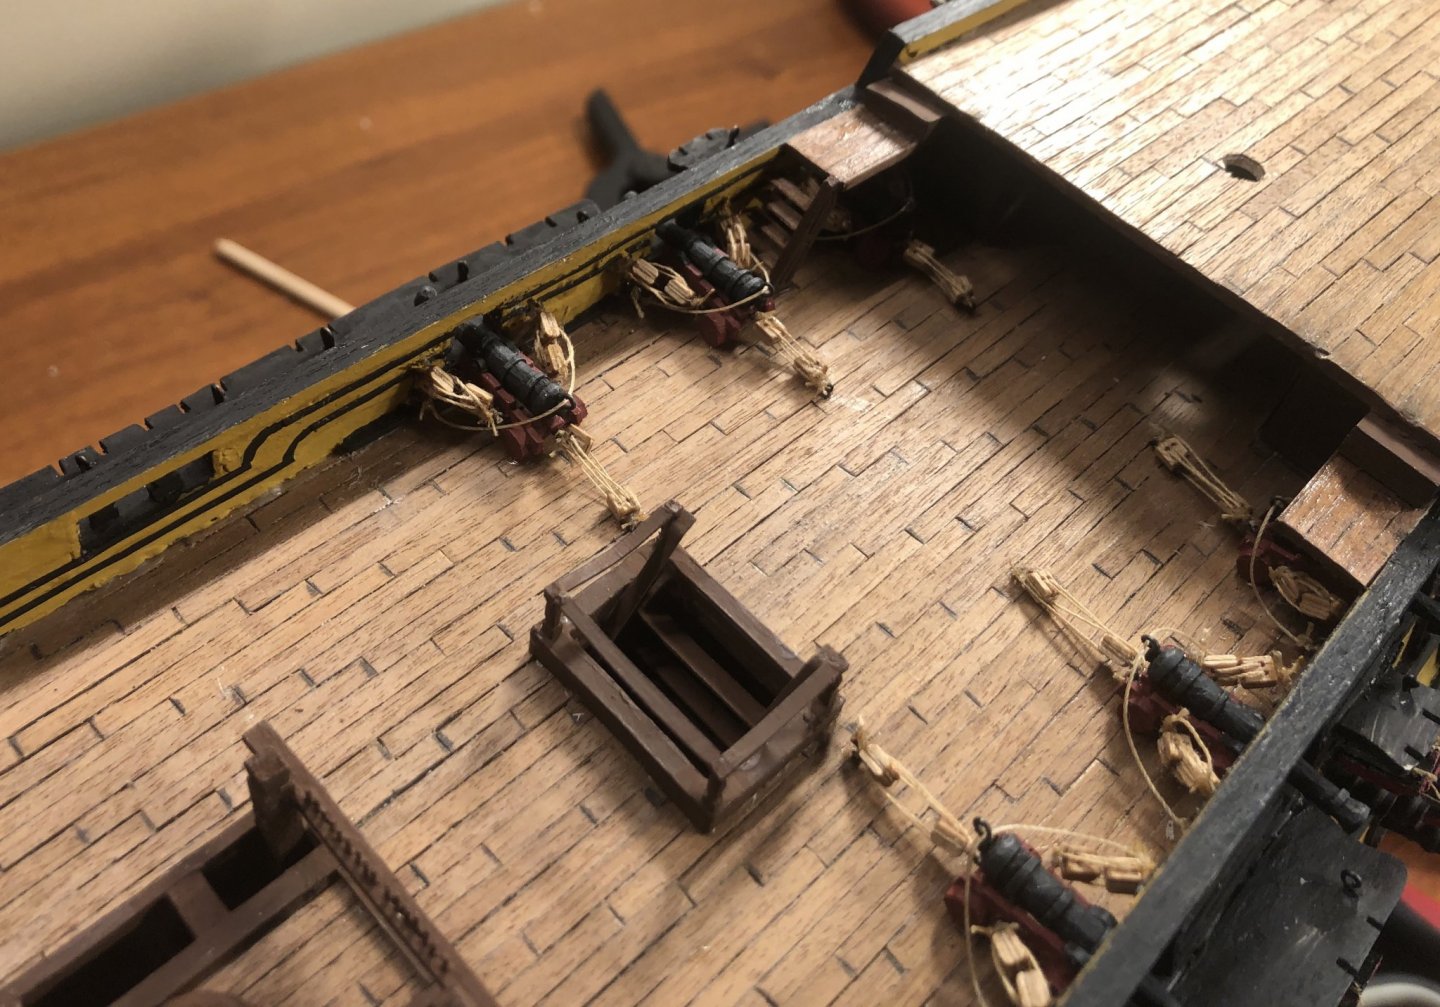
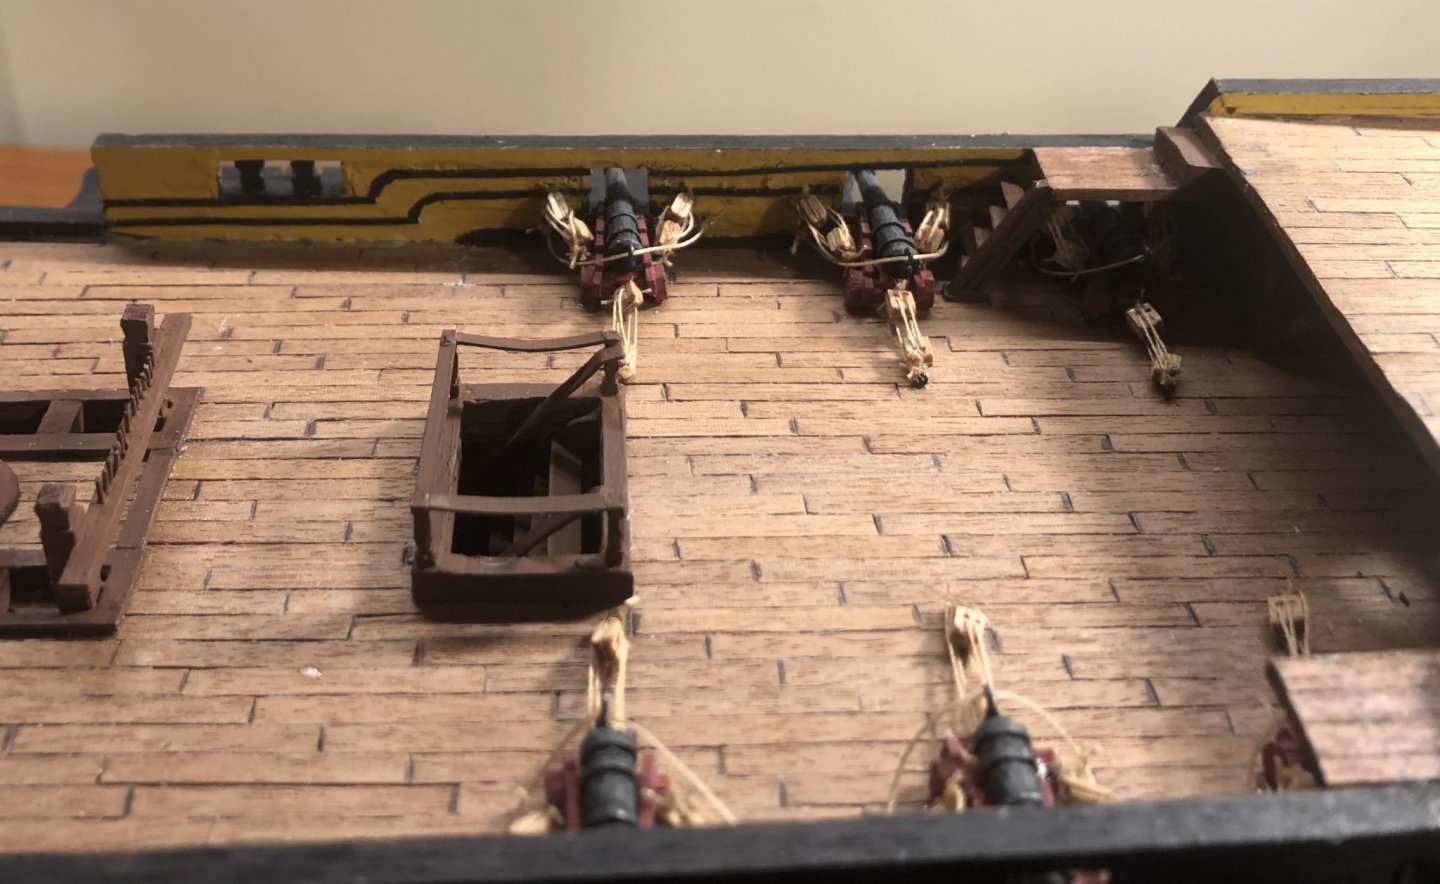
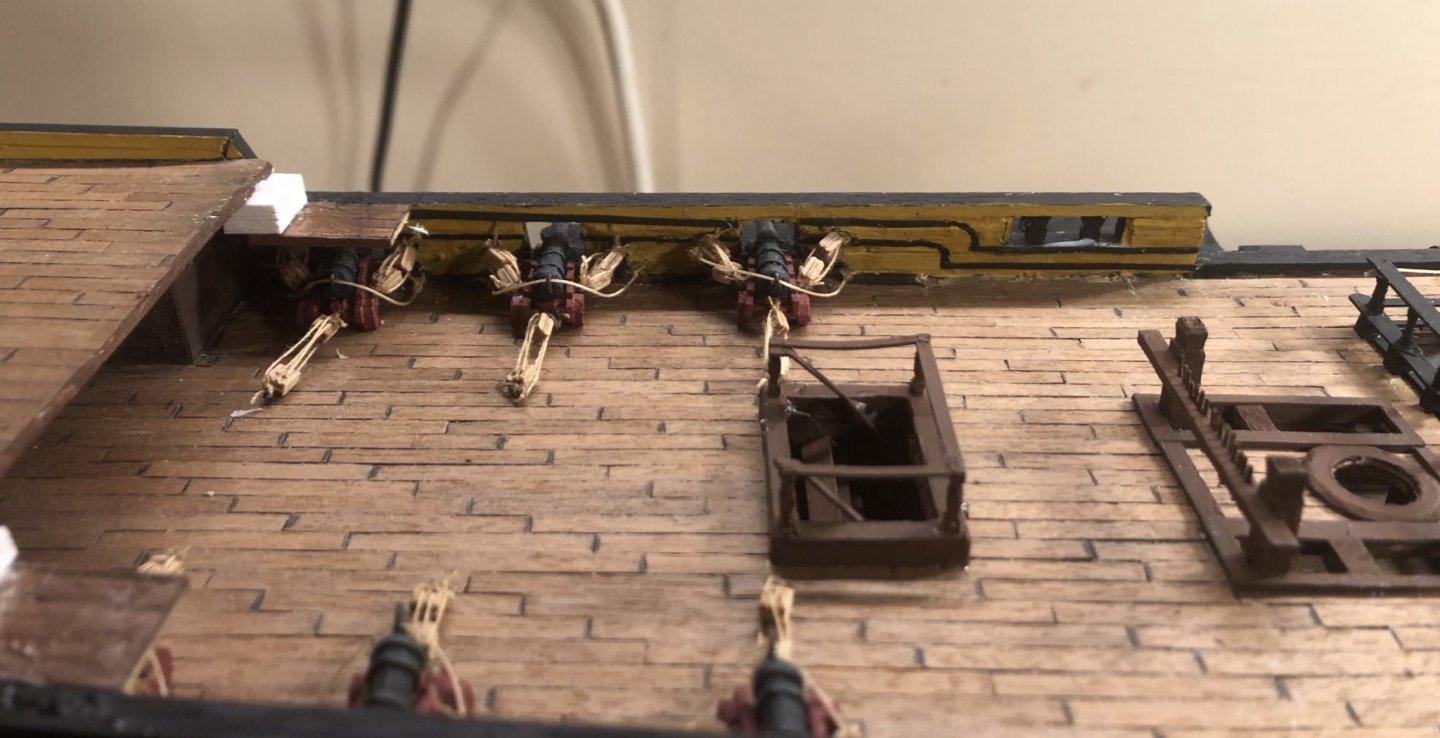
Thank you very much, Richard! Thank you all for the comments and the likes! The bitts are installed and progress has been made: I made part of another rigging fitting that I do not know the name to. It looks like a large cleat. I will post pictures the next time I work on Victory (soon).

-
Welcome!
-
Welcome!
-
New Member: Boats Billy, Wichita, KS
GrandpaPhil replied to Boats Billy's topic in New member Introductions
Welcome! -
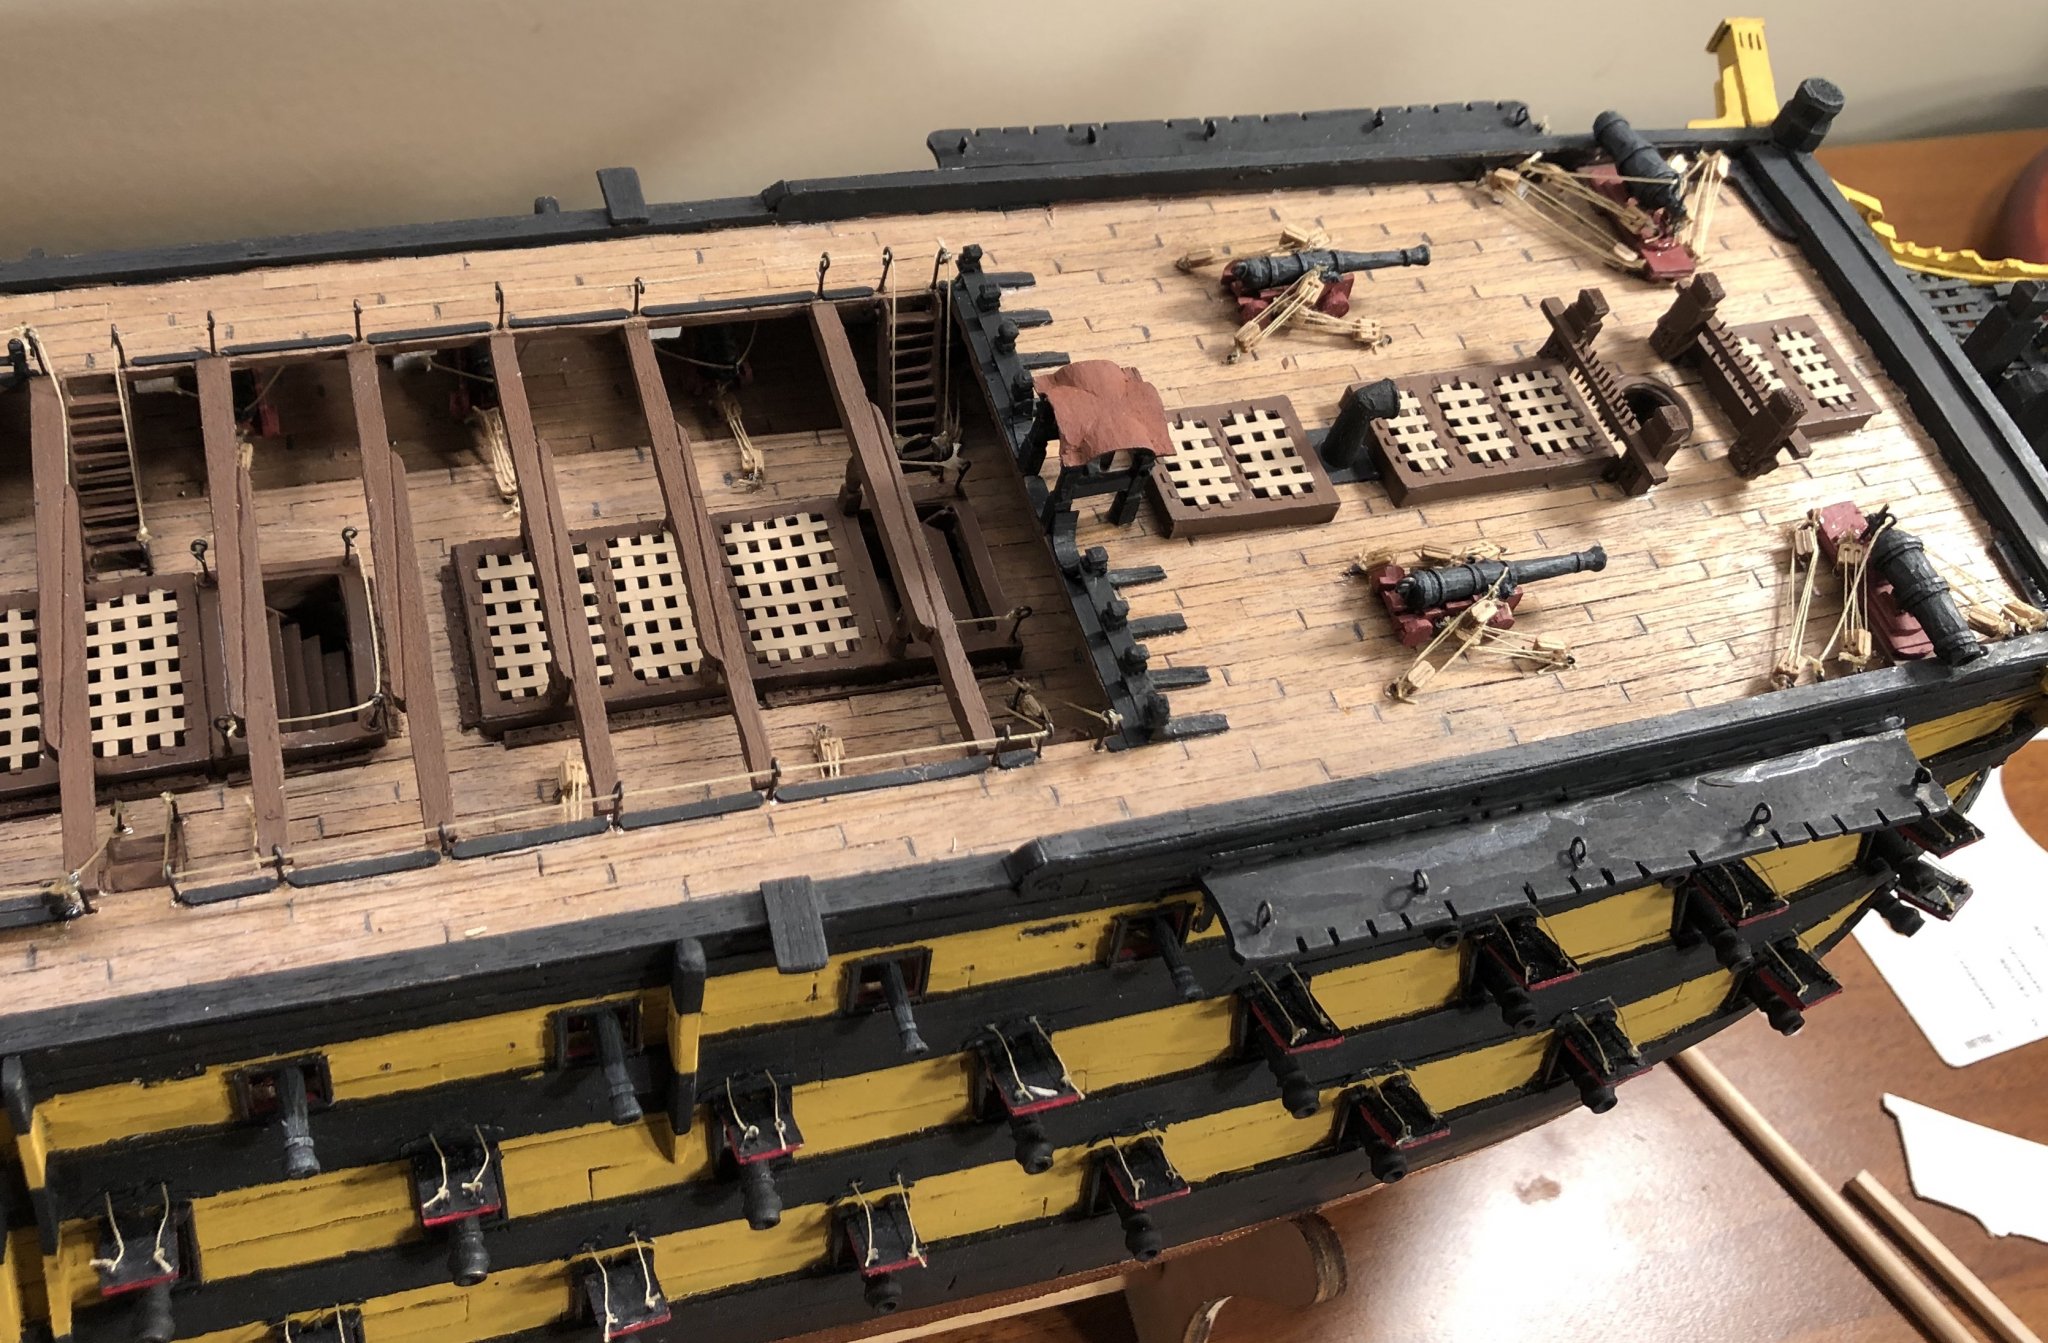
Thank you all very much for the comments and the likes! The starboard mouldings are complete and the starboard ladder is in place. The side of the portside ladder is made and the two bitts for the quarterdeck are made and pending final painting/completion.
-
Congratulations! Beautifully done!
-
Congratulations! Well done!
-
Congratulations! Well done!
-
The first set of mouldings are on:
-
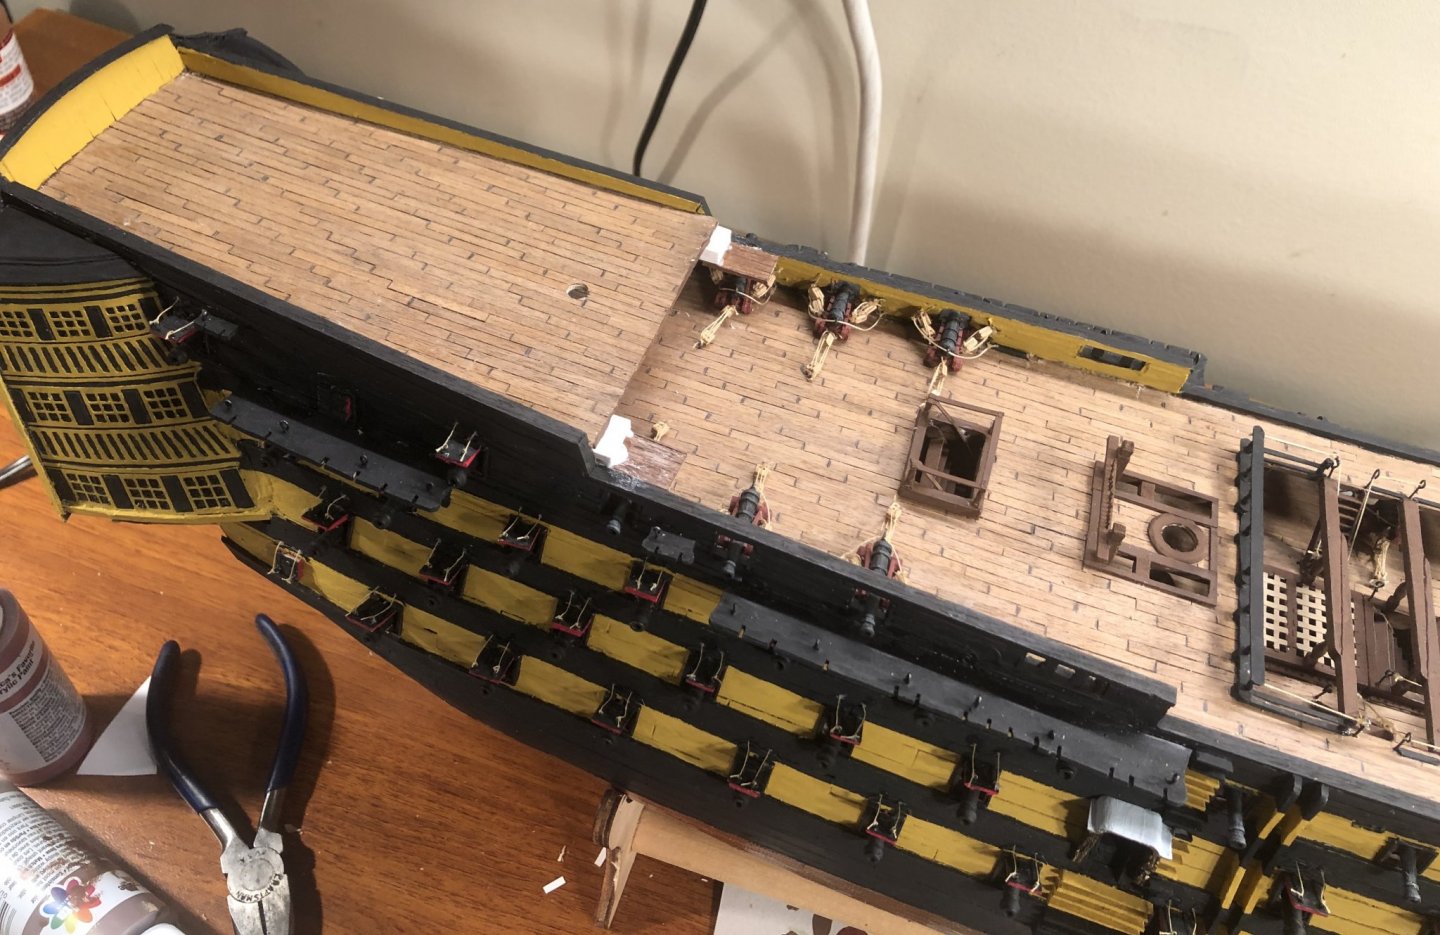
The quarterdeck and poop deck bulwarks are now yellow ochre. The landings are back in place, with the step down. I have the first piece for the inner bulwarks mouldings cut and painted.

-
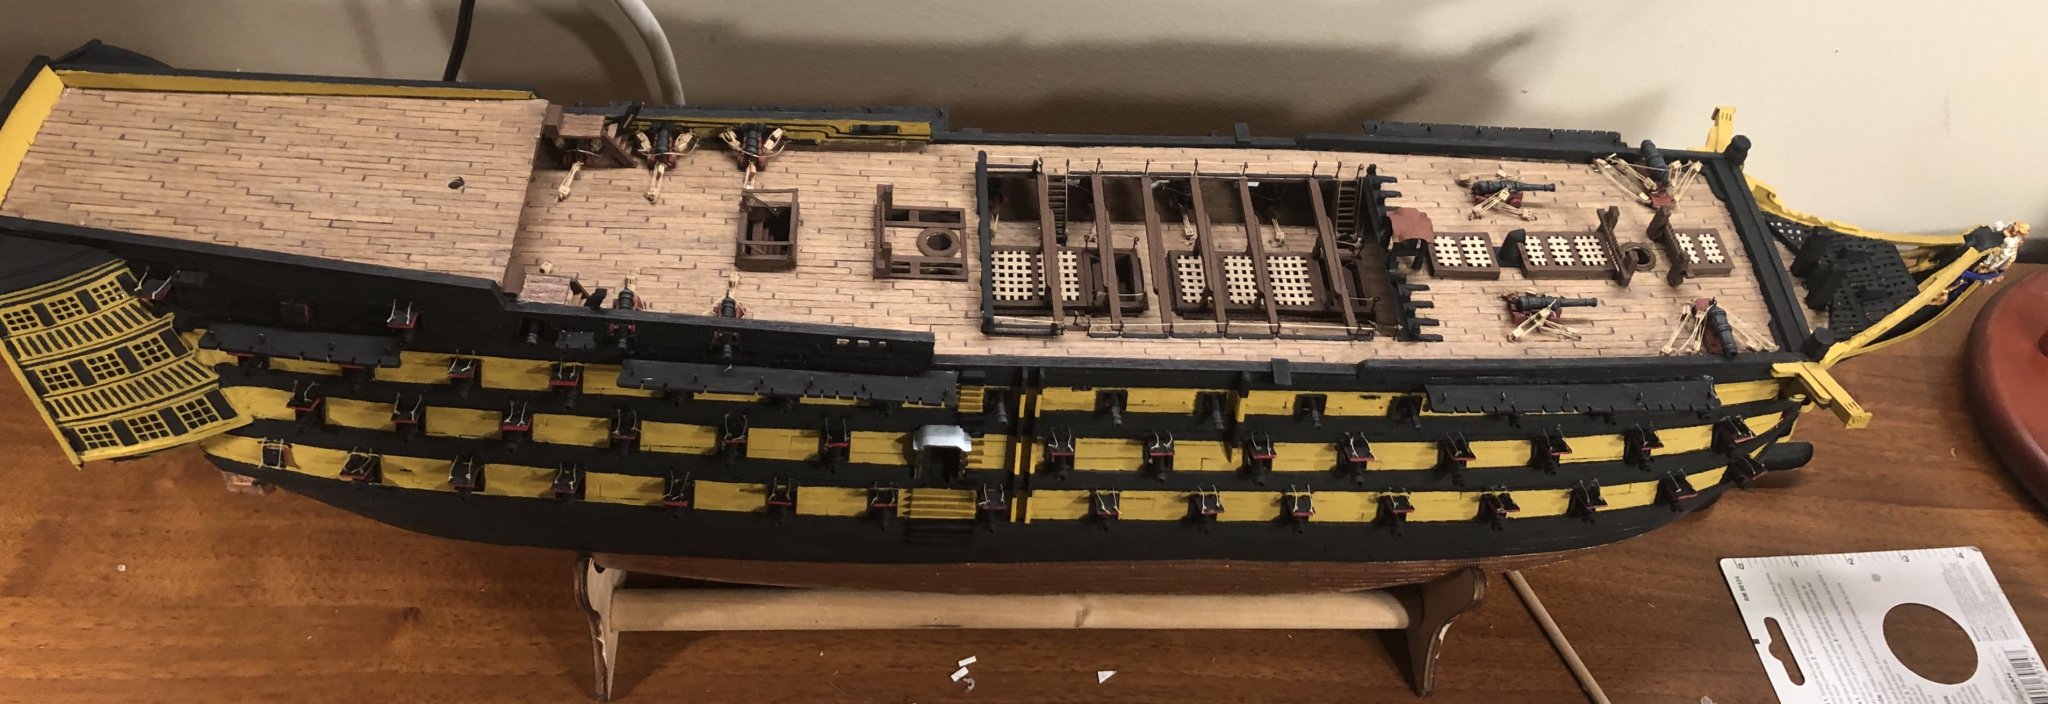
The forward and waist bulwarks are now black. The poop and quarterdeck bulwarks will soon be yellow ochre (Ceramcoat Antique Gold). The gun carriages should also be ochre, but it is too late to fix that (meaning that I am not willing to rip them out and redo them). It means that they will stand out well, lol. Oh, well. This entire project is a learning experience. Moving on, lol.
-
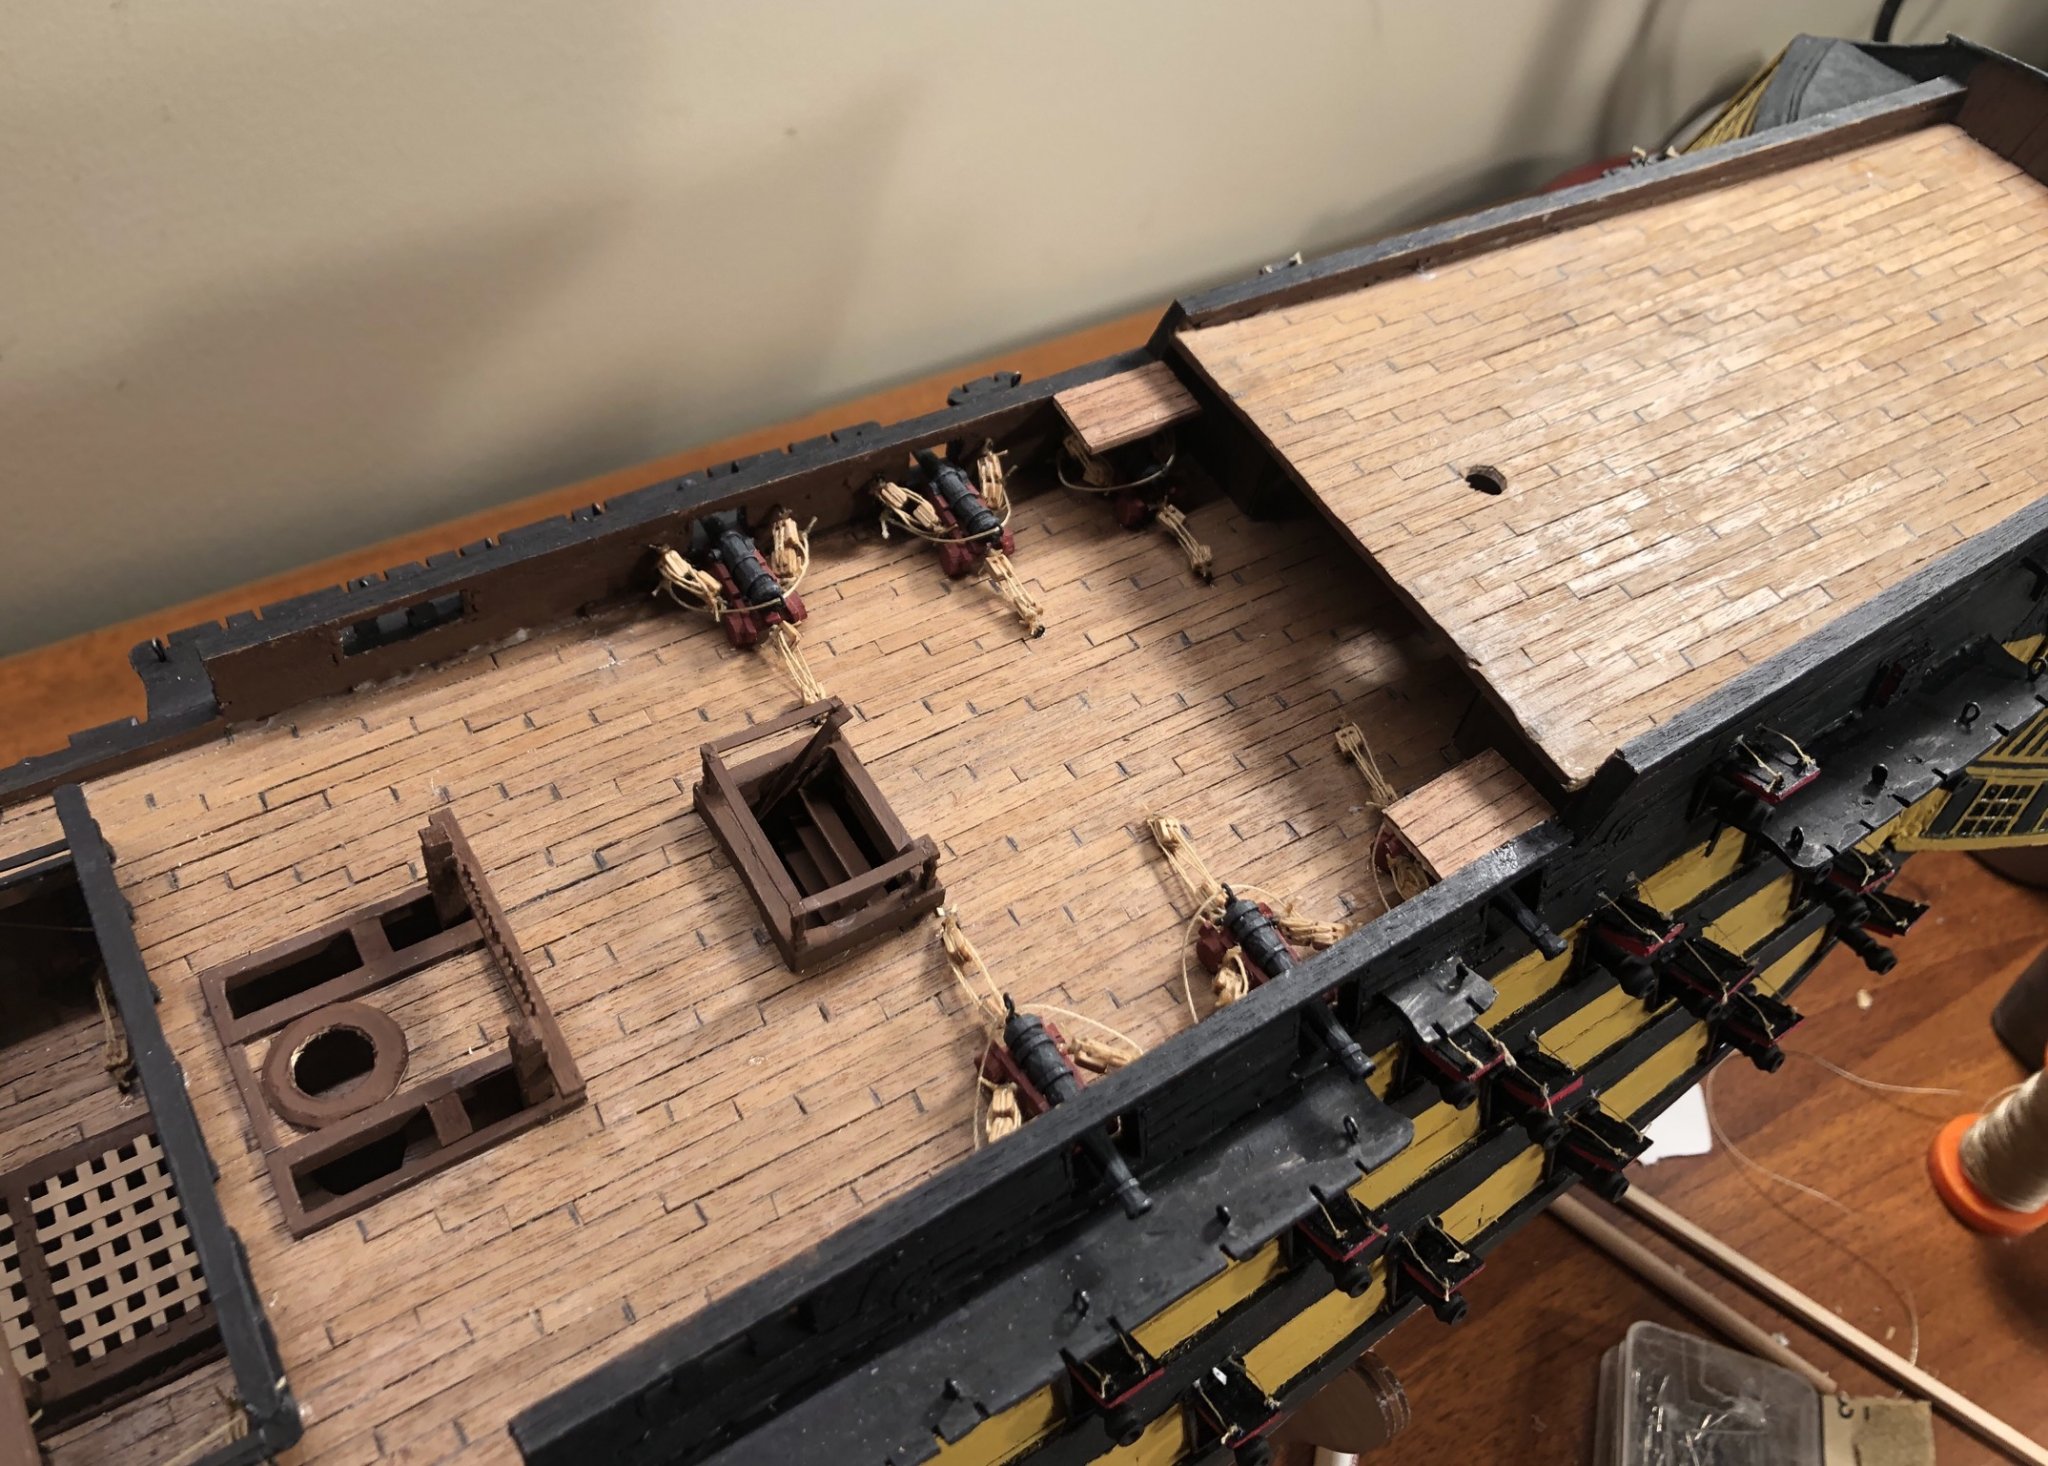
Thank you very much! After examining some pictures of the inner bulwarks of the Victory while trying to determine paint schemes for rigging fittings with carvings on the quarterdeck, I realized that I painted the entire inner bulwarks incorrectly, so I am going to adjust them and add the mouldings to the inner bulwarks on the quarterdeck.
-
And, they are in place:

-
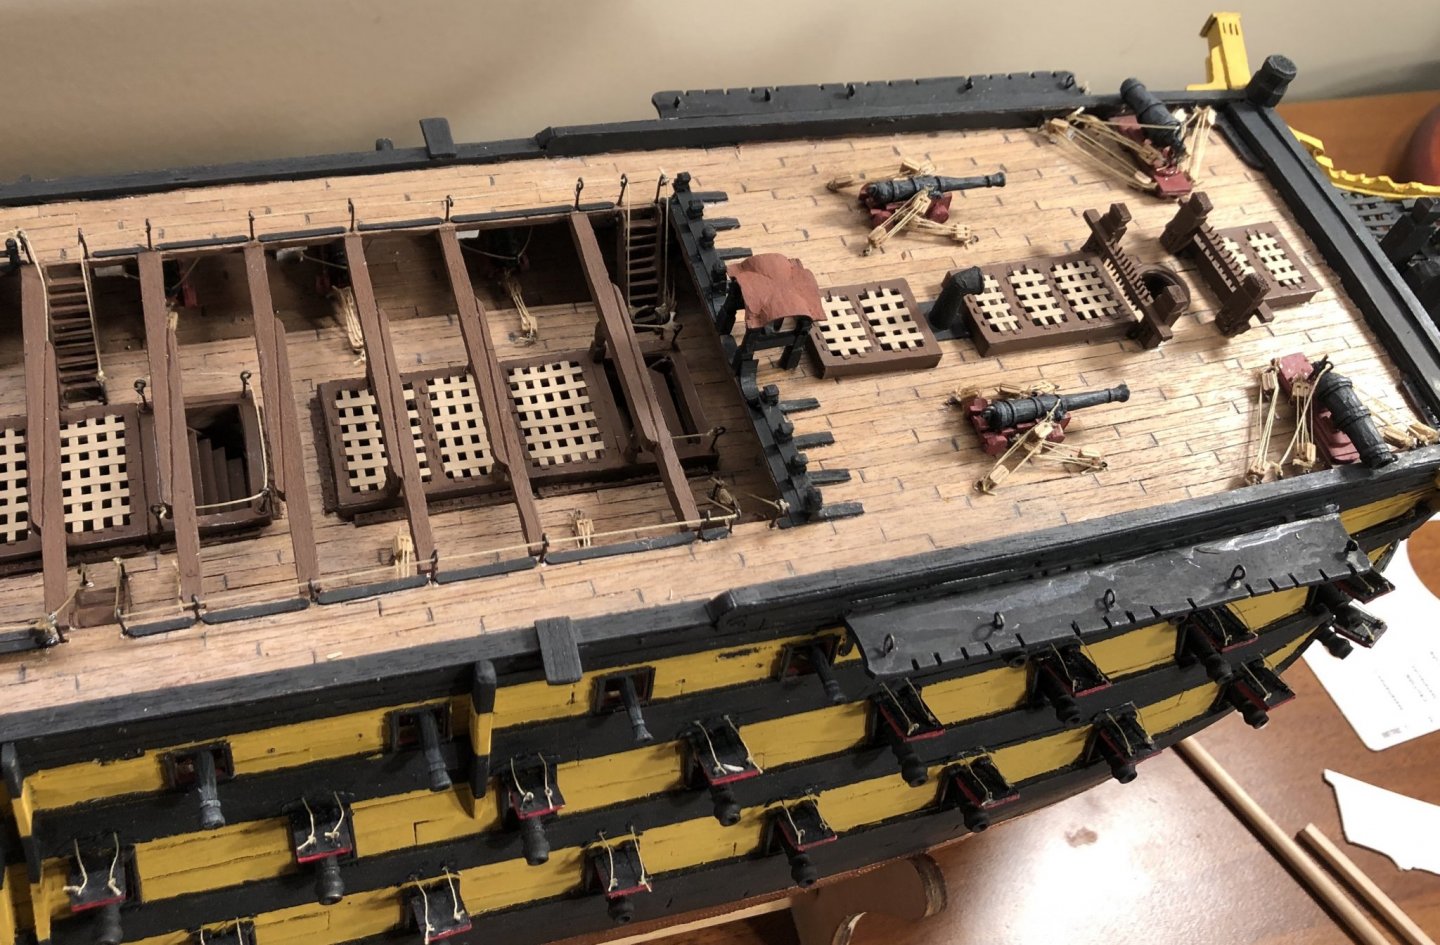
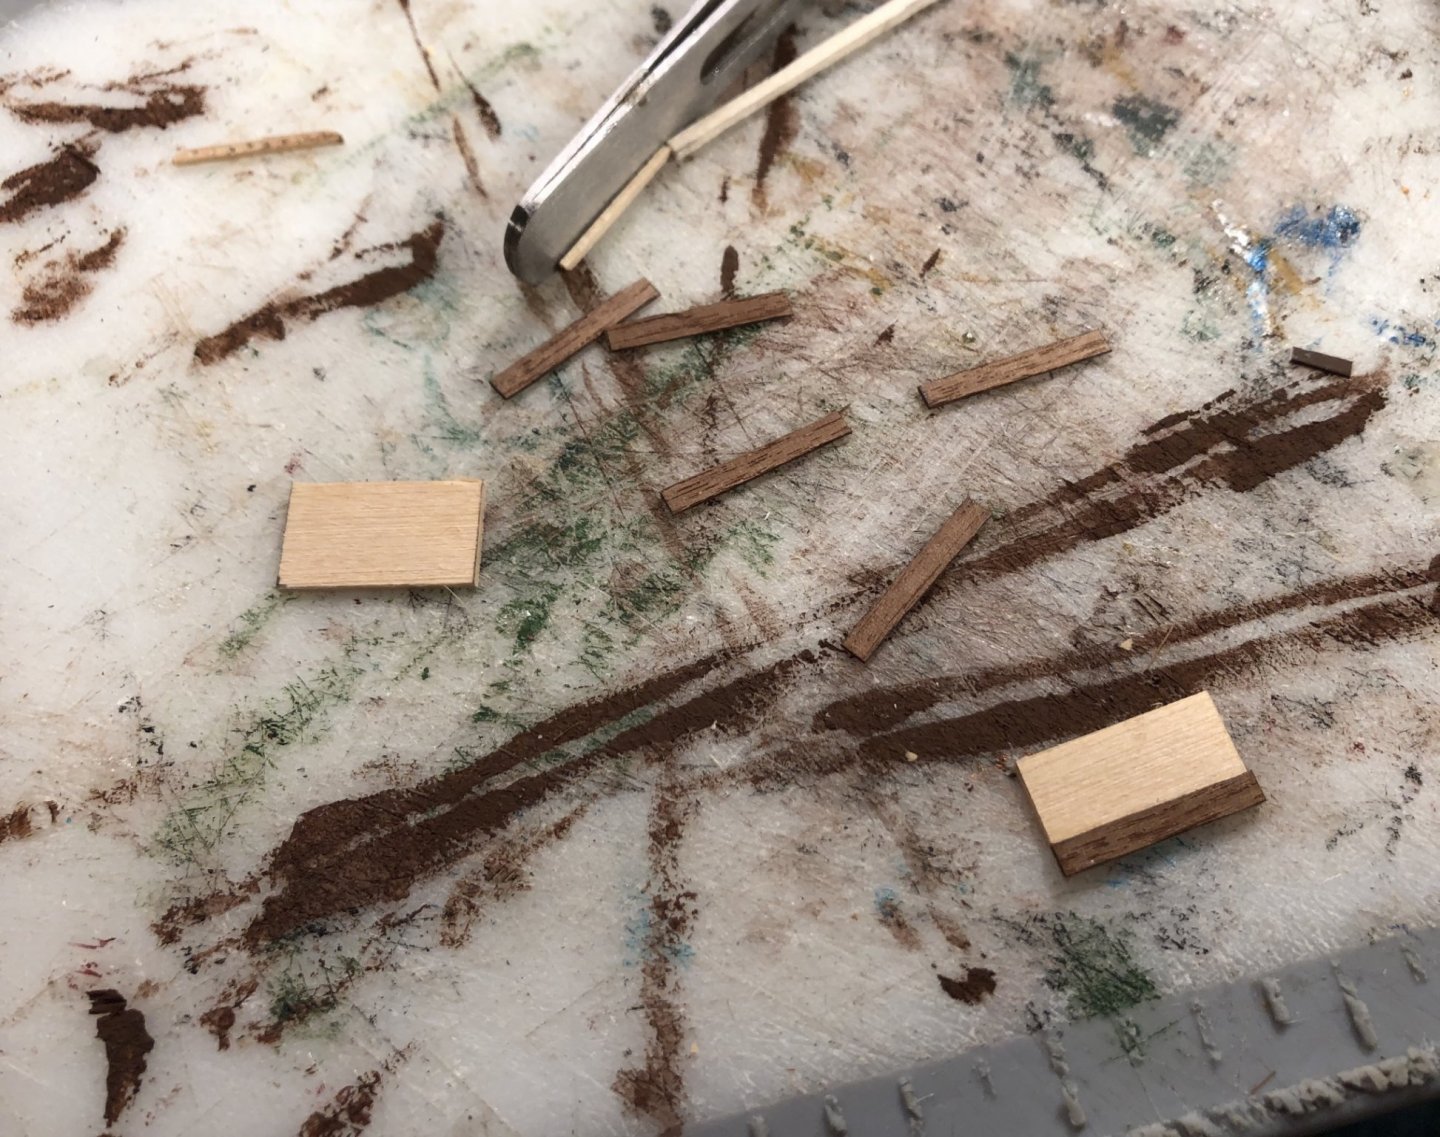
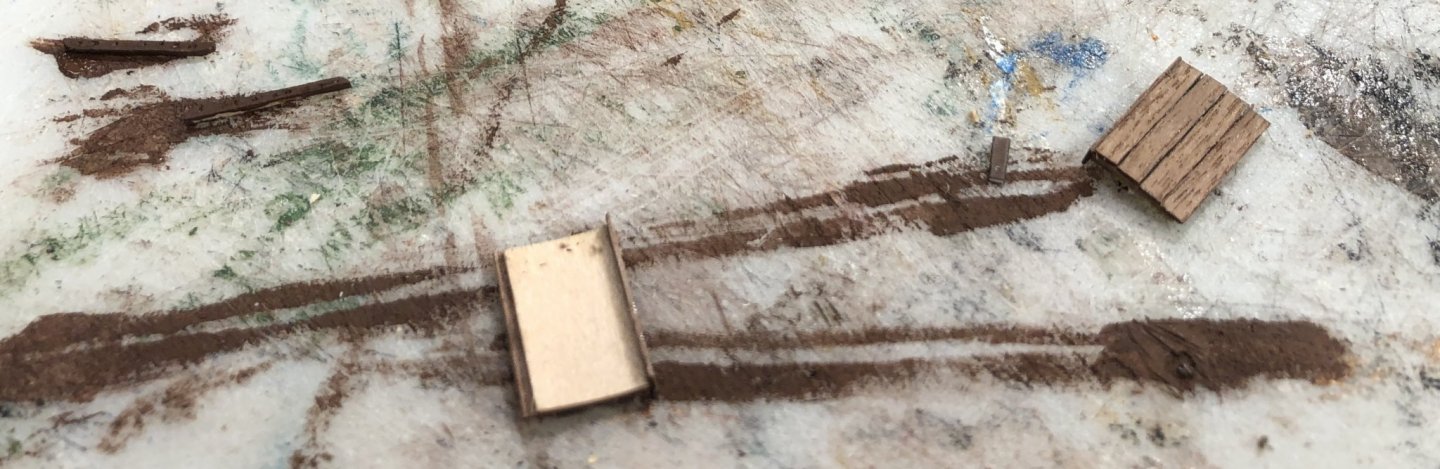
Thanks, Edward! Thank you all for the likes! I made the last two shot garlands. You cannot really see the rest in place, so I didn’t take pictures. I decided to use some of my leftover walnut planking, to match the rest of the deck, for the landings on the ladders which connect the poop deck to the quarterdeck. I only have a few (relatively) more deck and hull fittings to make.
-
One completed railing:

-
One fife rail, four railing stanchions and the rails: