GrandpaPhil
-
Posts
5,938 -
Joined
-
Last visited
Content Type
Profiles
Forums
Gallery
Events
Everything posted by GrandpaPhil
-
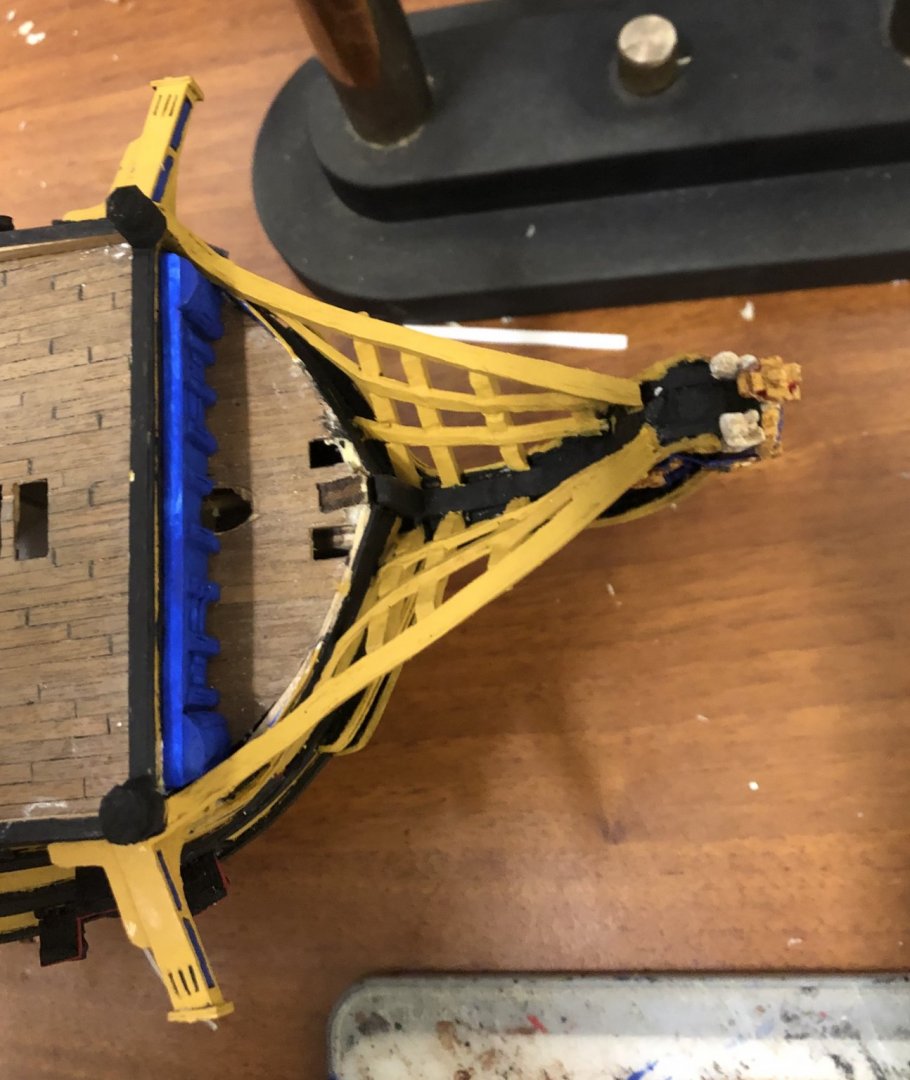
OC, I know, I thought about that. I was planning on cutting slots for the gammoning after the gratings dried, but I forgot. Thank you for the reminder. The Victory is the first ship that I’ve built which has a double gammoning. This should be interesting (but fun).
-
Thank you very much, Mark! This build has been a learning experience. I’m getting better.
-
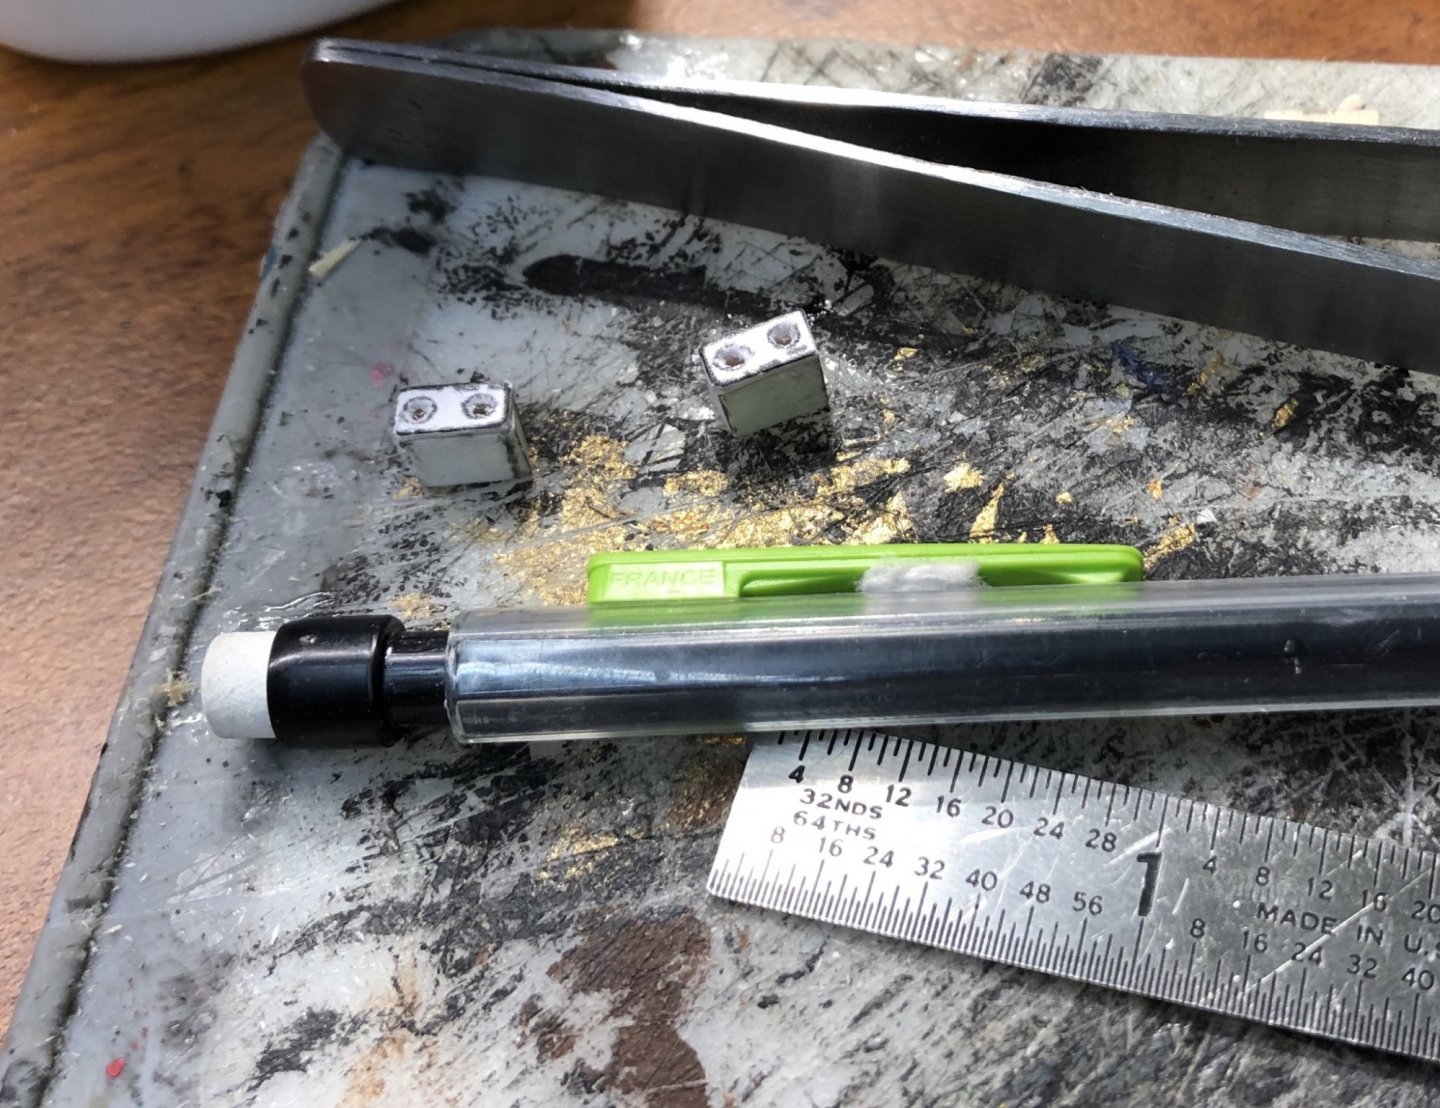
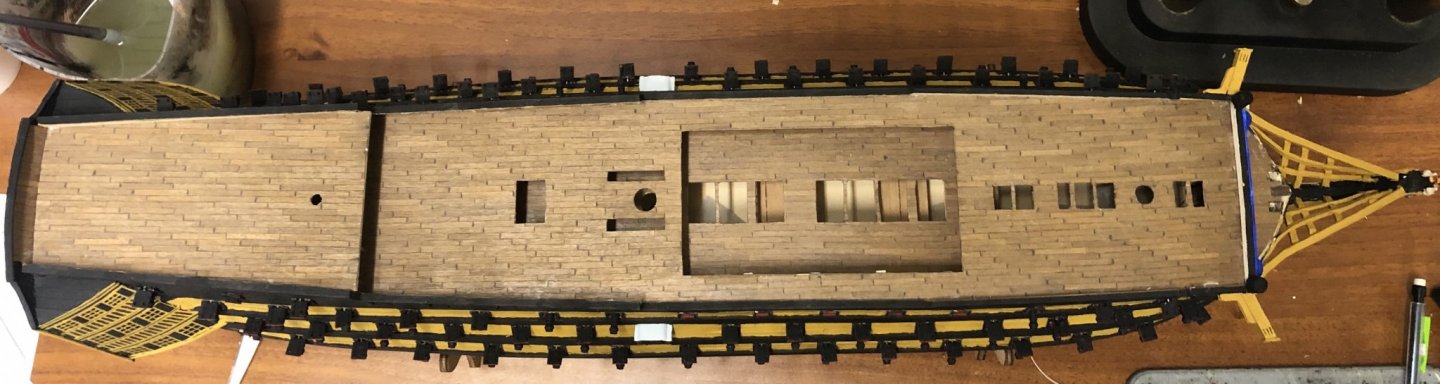
I found out that my rigging line doesn’t fit the HO eyebolts that I used in the gunport lids. I need thinner thread. I also didn’t like the way my decks looked. So, I started making gratings...
-
Thank you all for the likes and the comments! I am currently gathering ideas and looking at other builds to try and prevent the warping and twisting that I have had in the past. I think that I am going to fill the gaps in the bulkheads with balsa this time. The covering is going to be card, so strength won't be an issue. Balsa is light, so weight won't be a significant issue.
-
Congratulations! Well done!
-
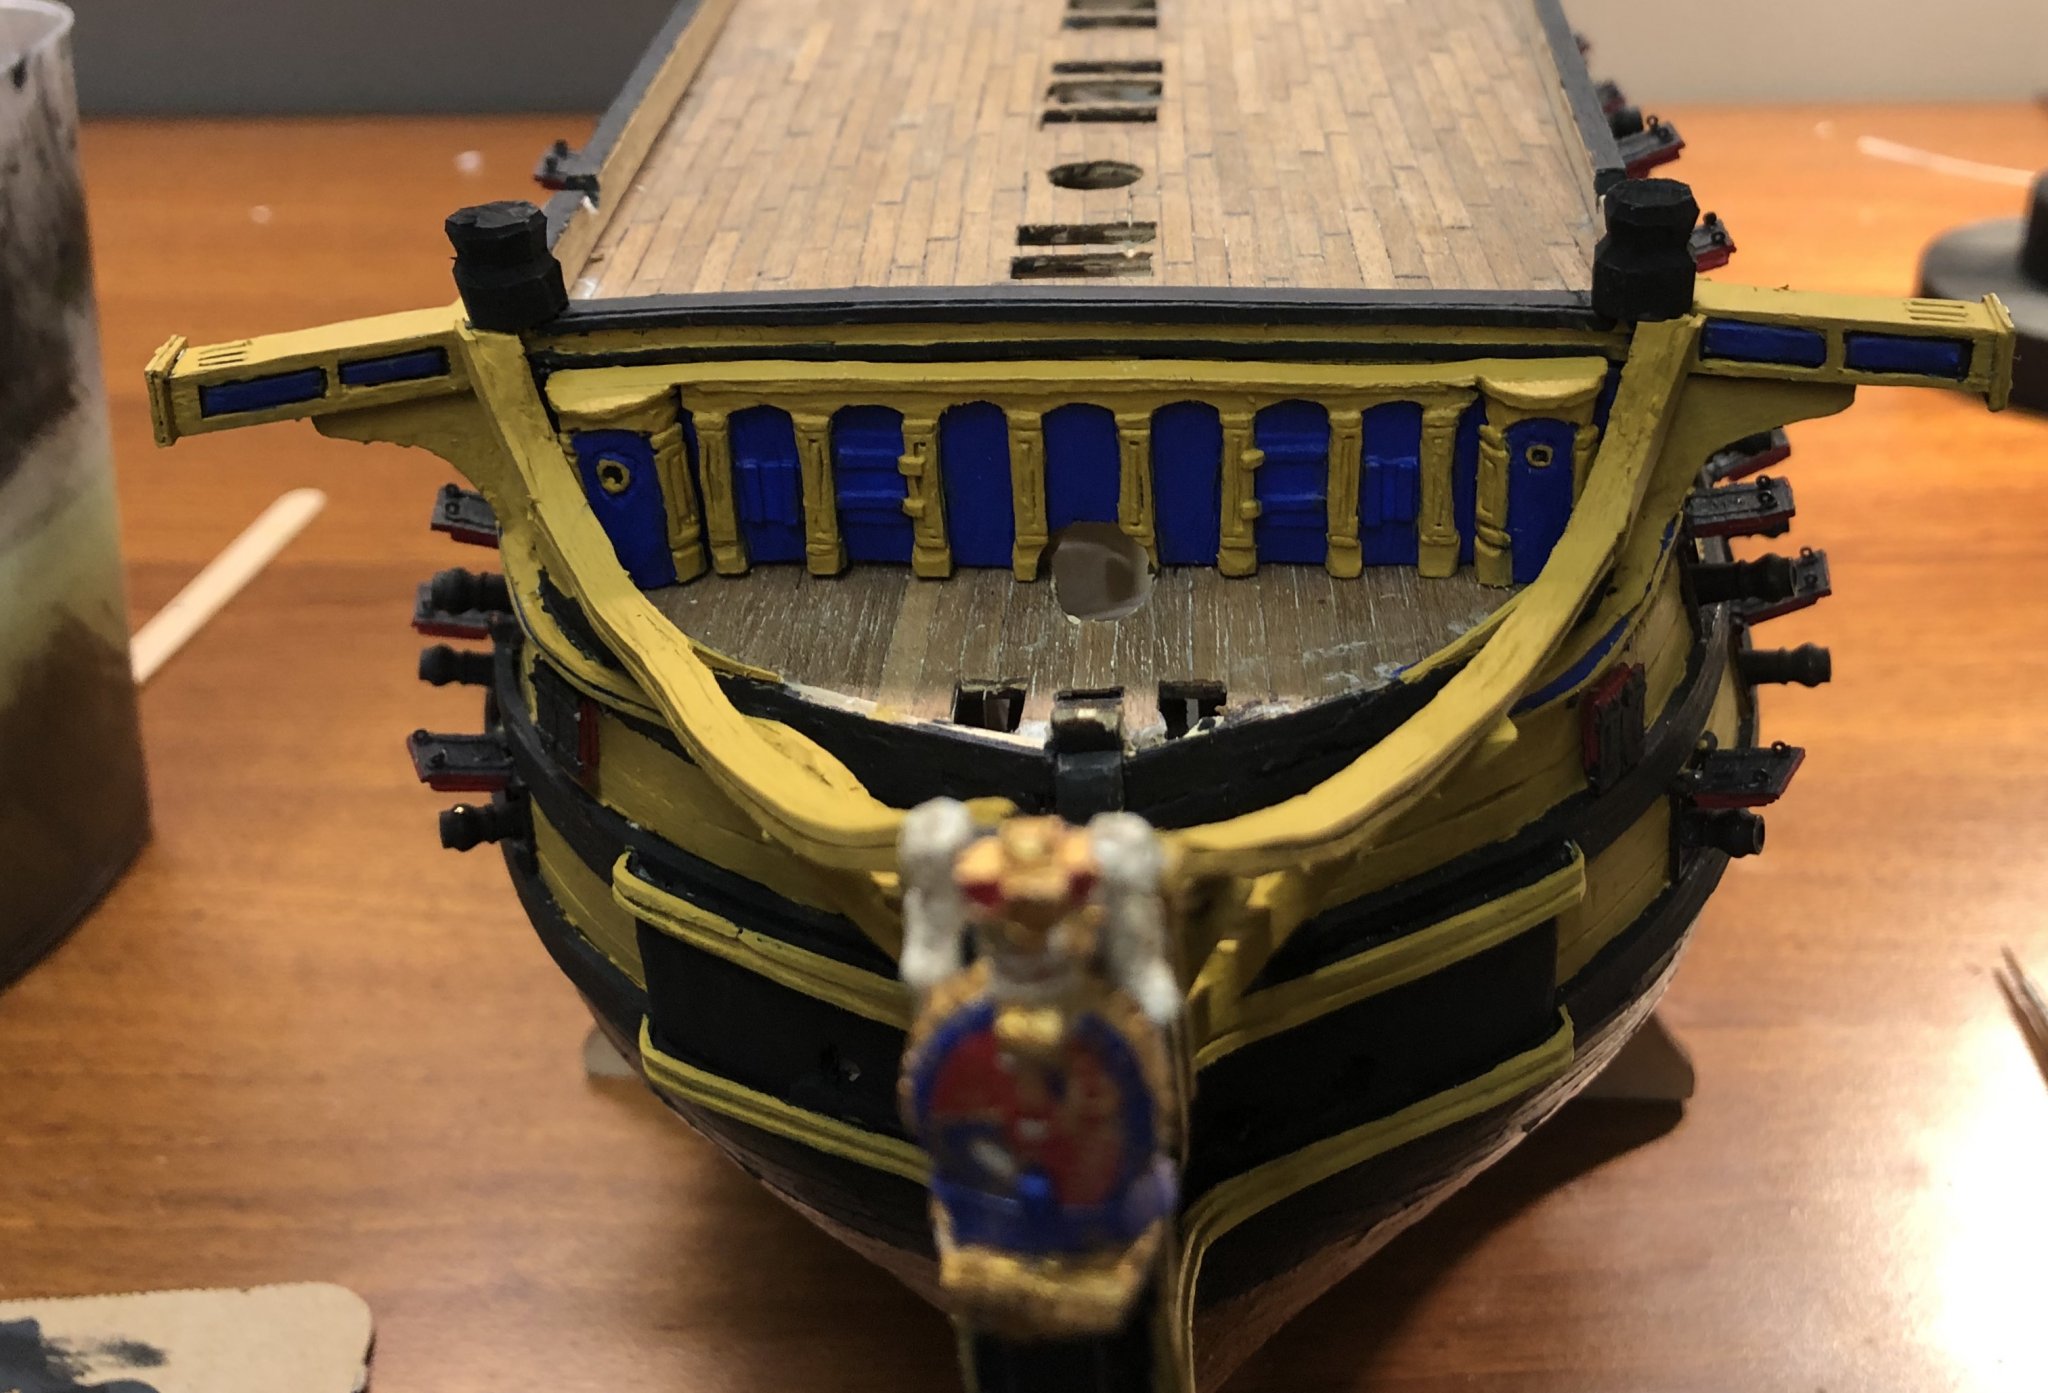
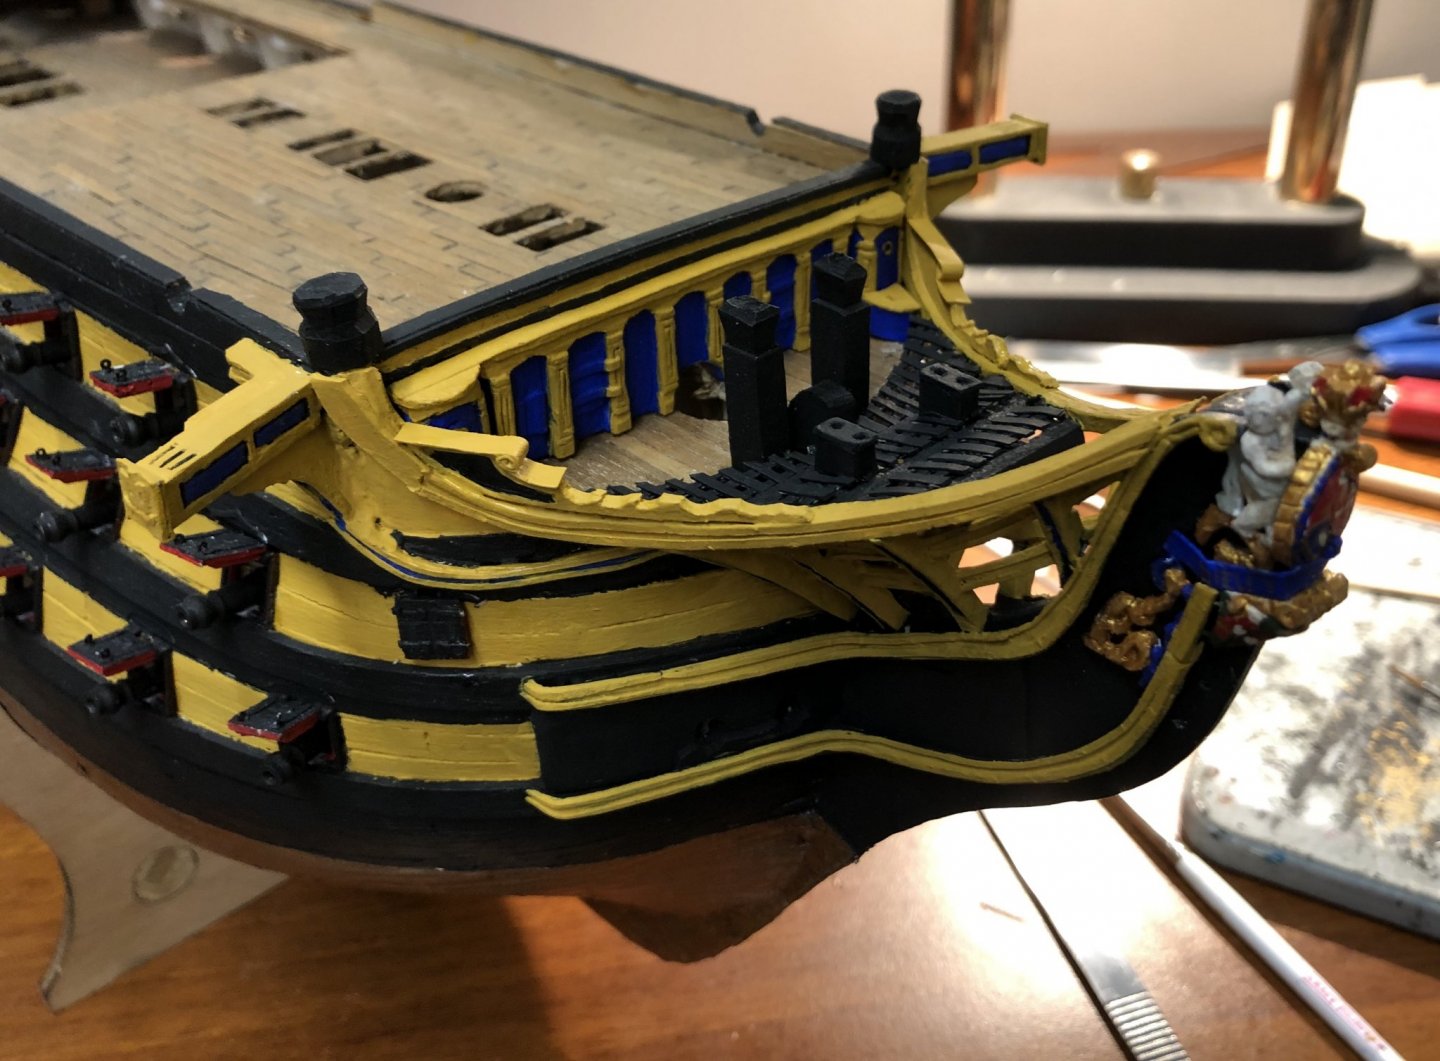
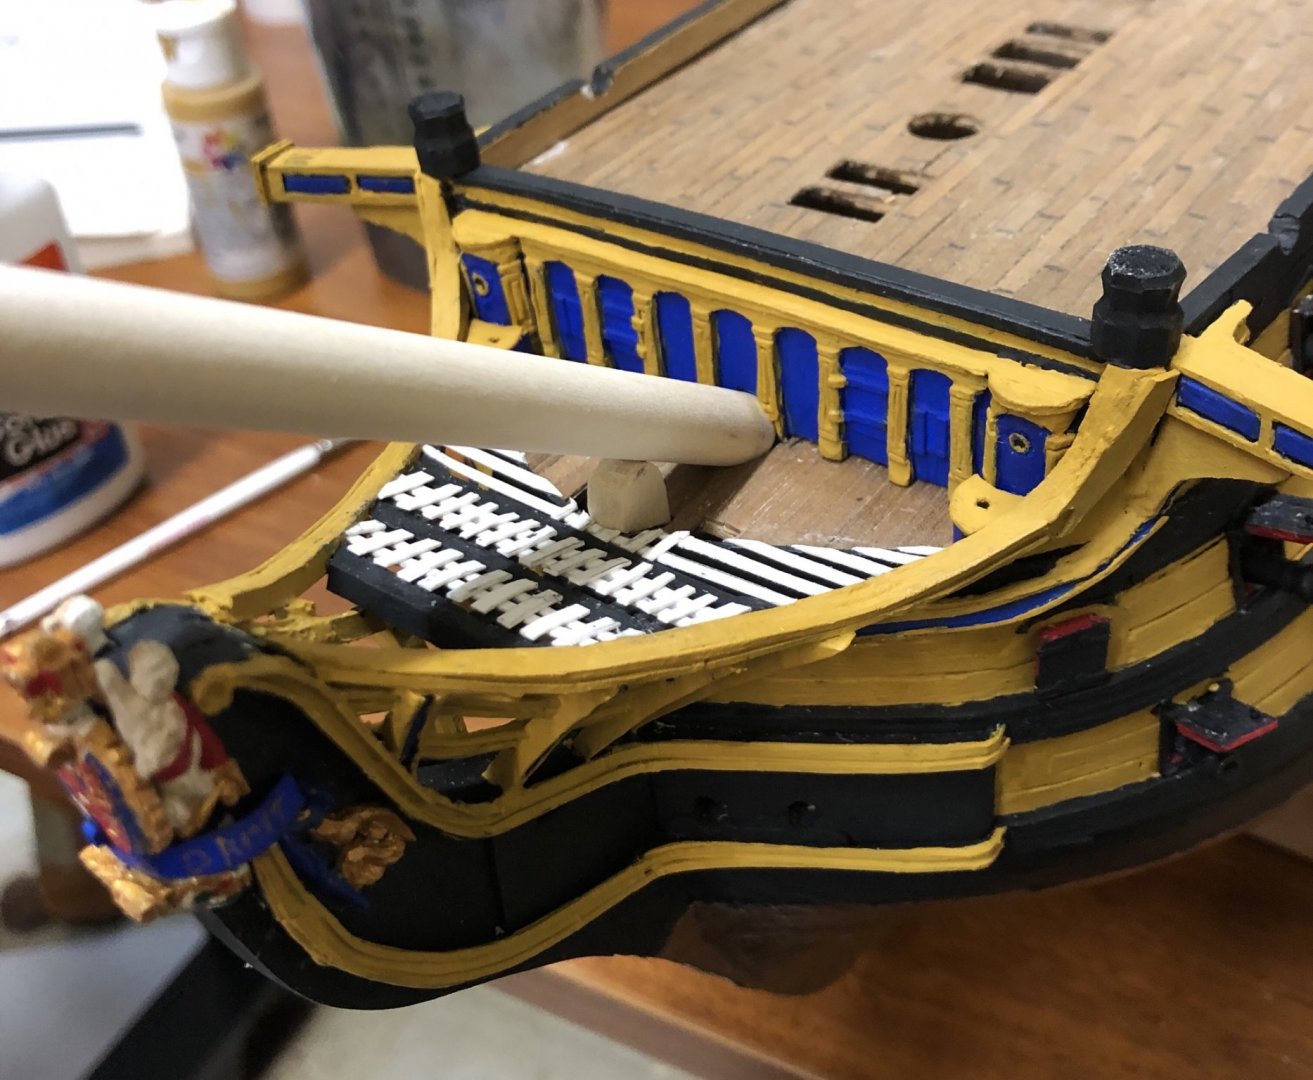
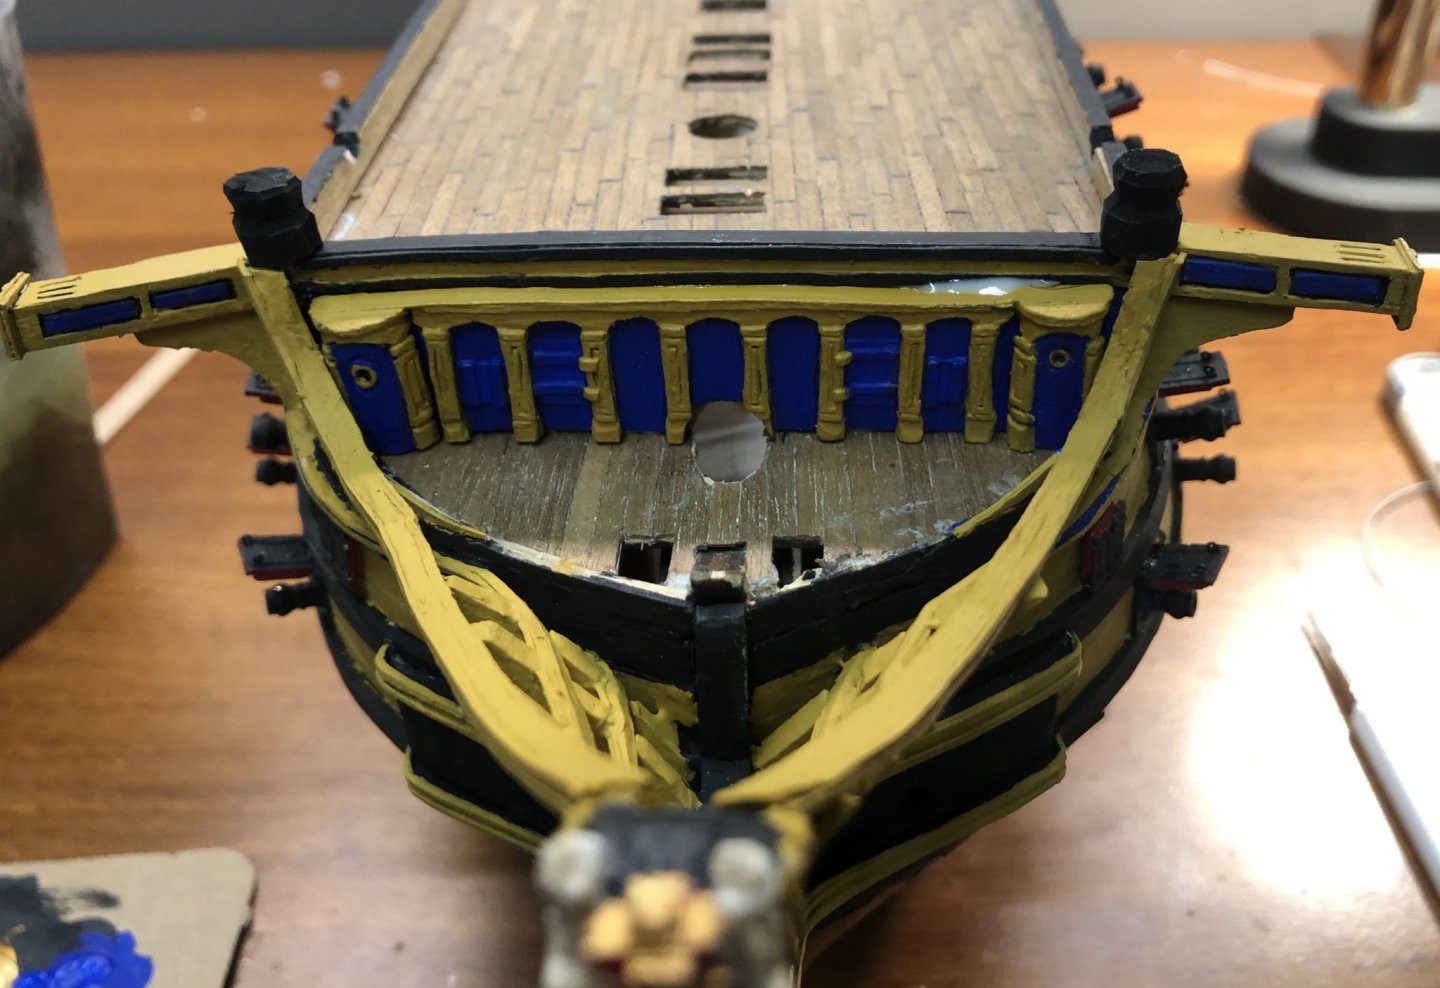
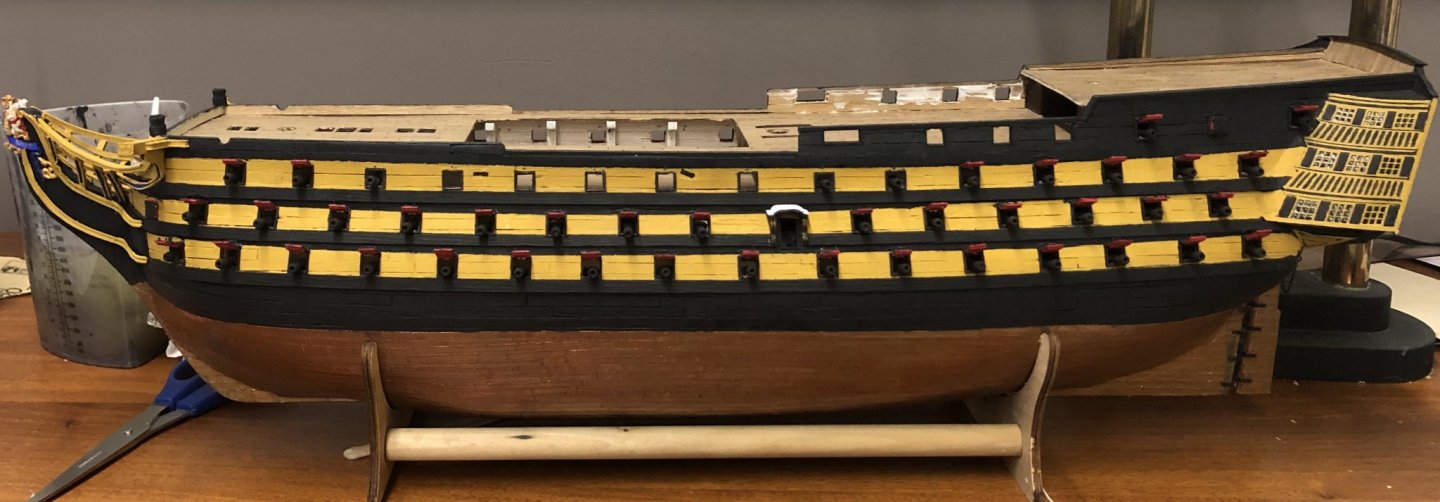
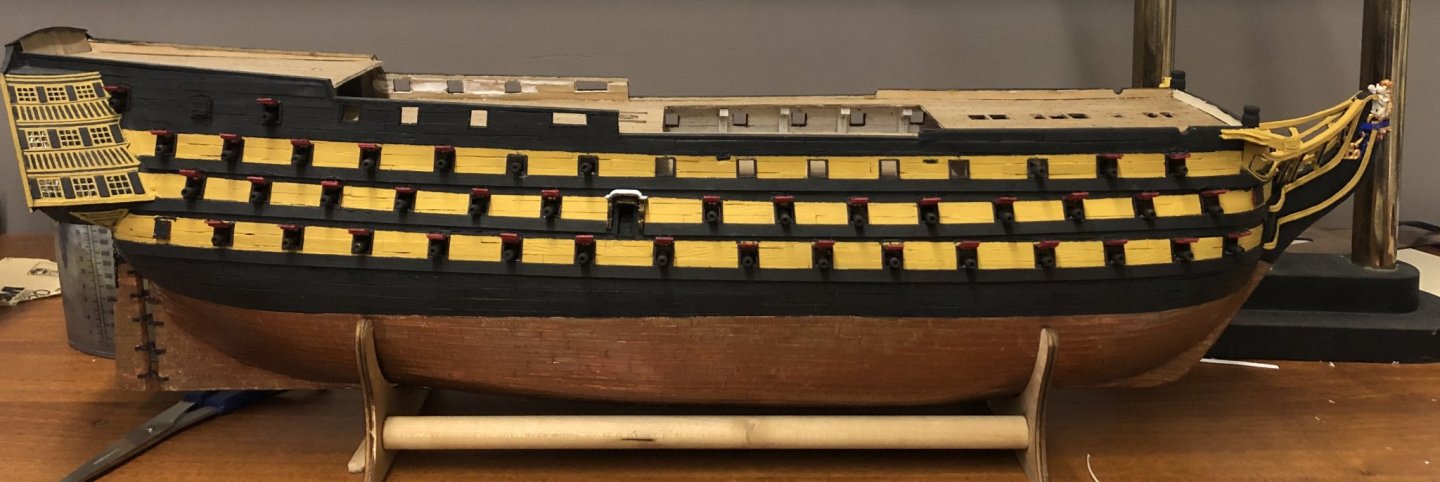
I finished the head, except for the boomkins and the netting. I’m waiting until I get to the masting and sparring stage before I install the boomkins to prevent accidentally ripping them off. I’ll do all netting at the same time because I have to install netting all along the rails. I’m currently finishing the sides, then I’ll start at the front and work my way back on the deck fittings. Maybe, we’ll see. Either way, I’m having a lot of fun working on the Victory. Deciding to scratch build the rest of the model was a good decision. I’ve been having a lot of fun with it. I just finished the hardest part that I had left which means that the rest should go smoothly (aka: I’ve already been down this road).

-
Congratulations! Well done!
-
Congratulations! Well done!
-
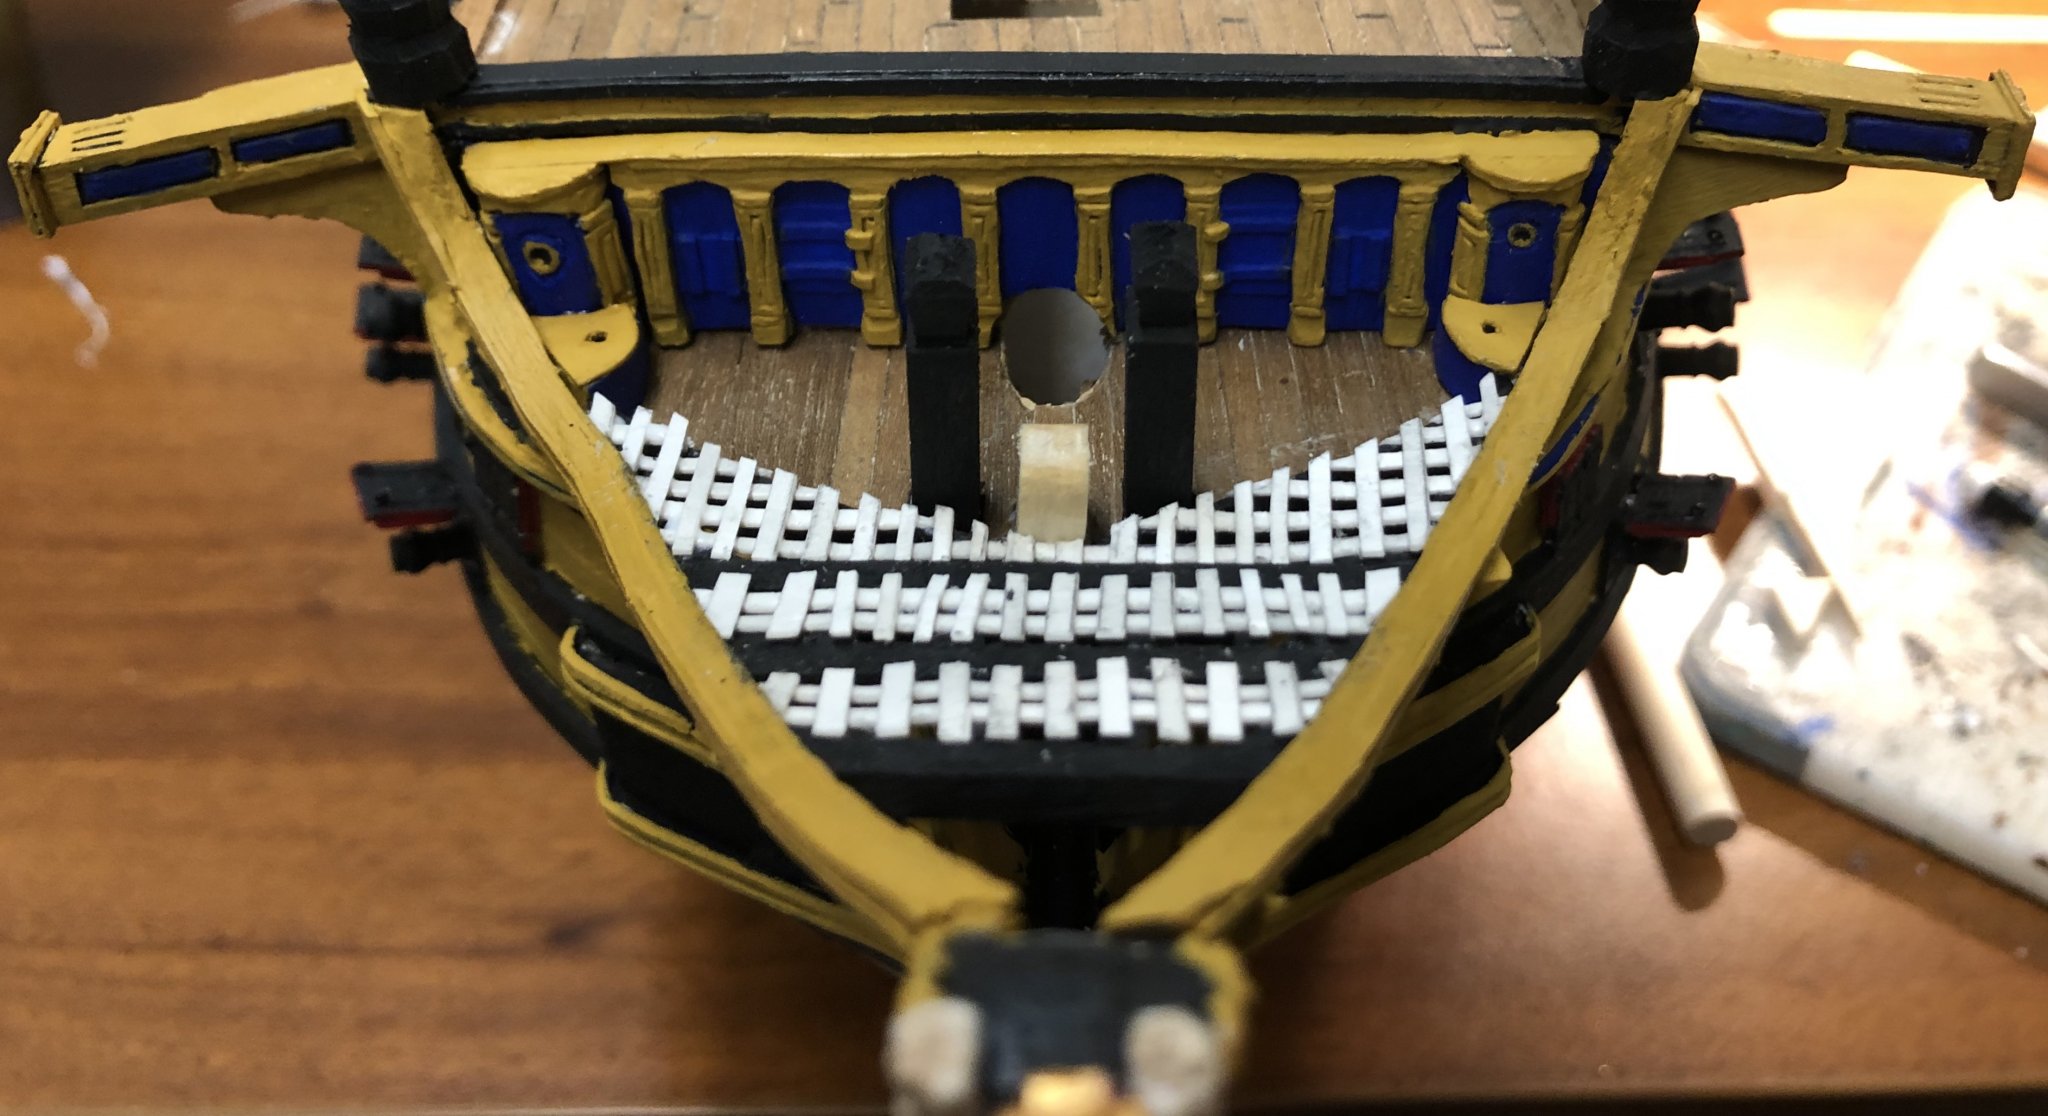
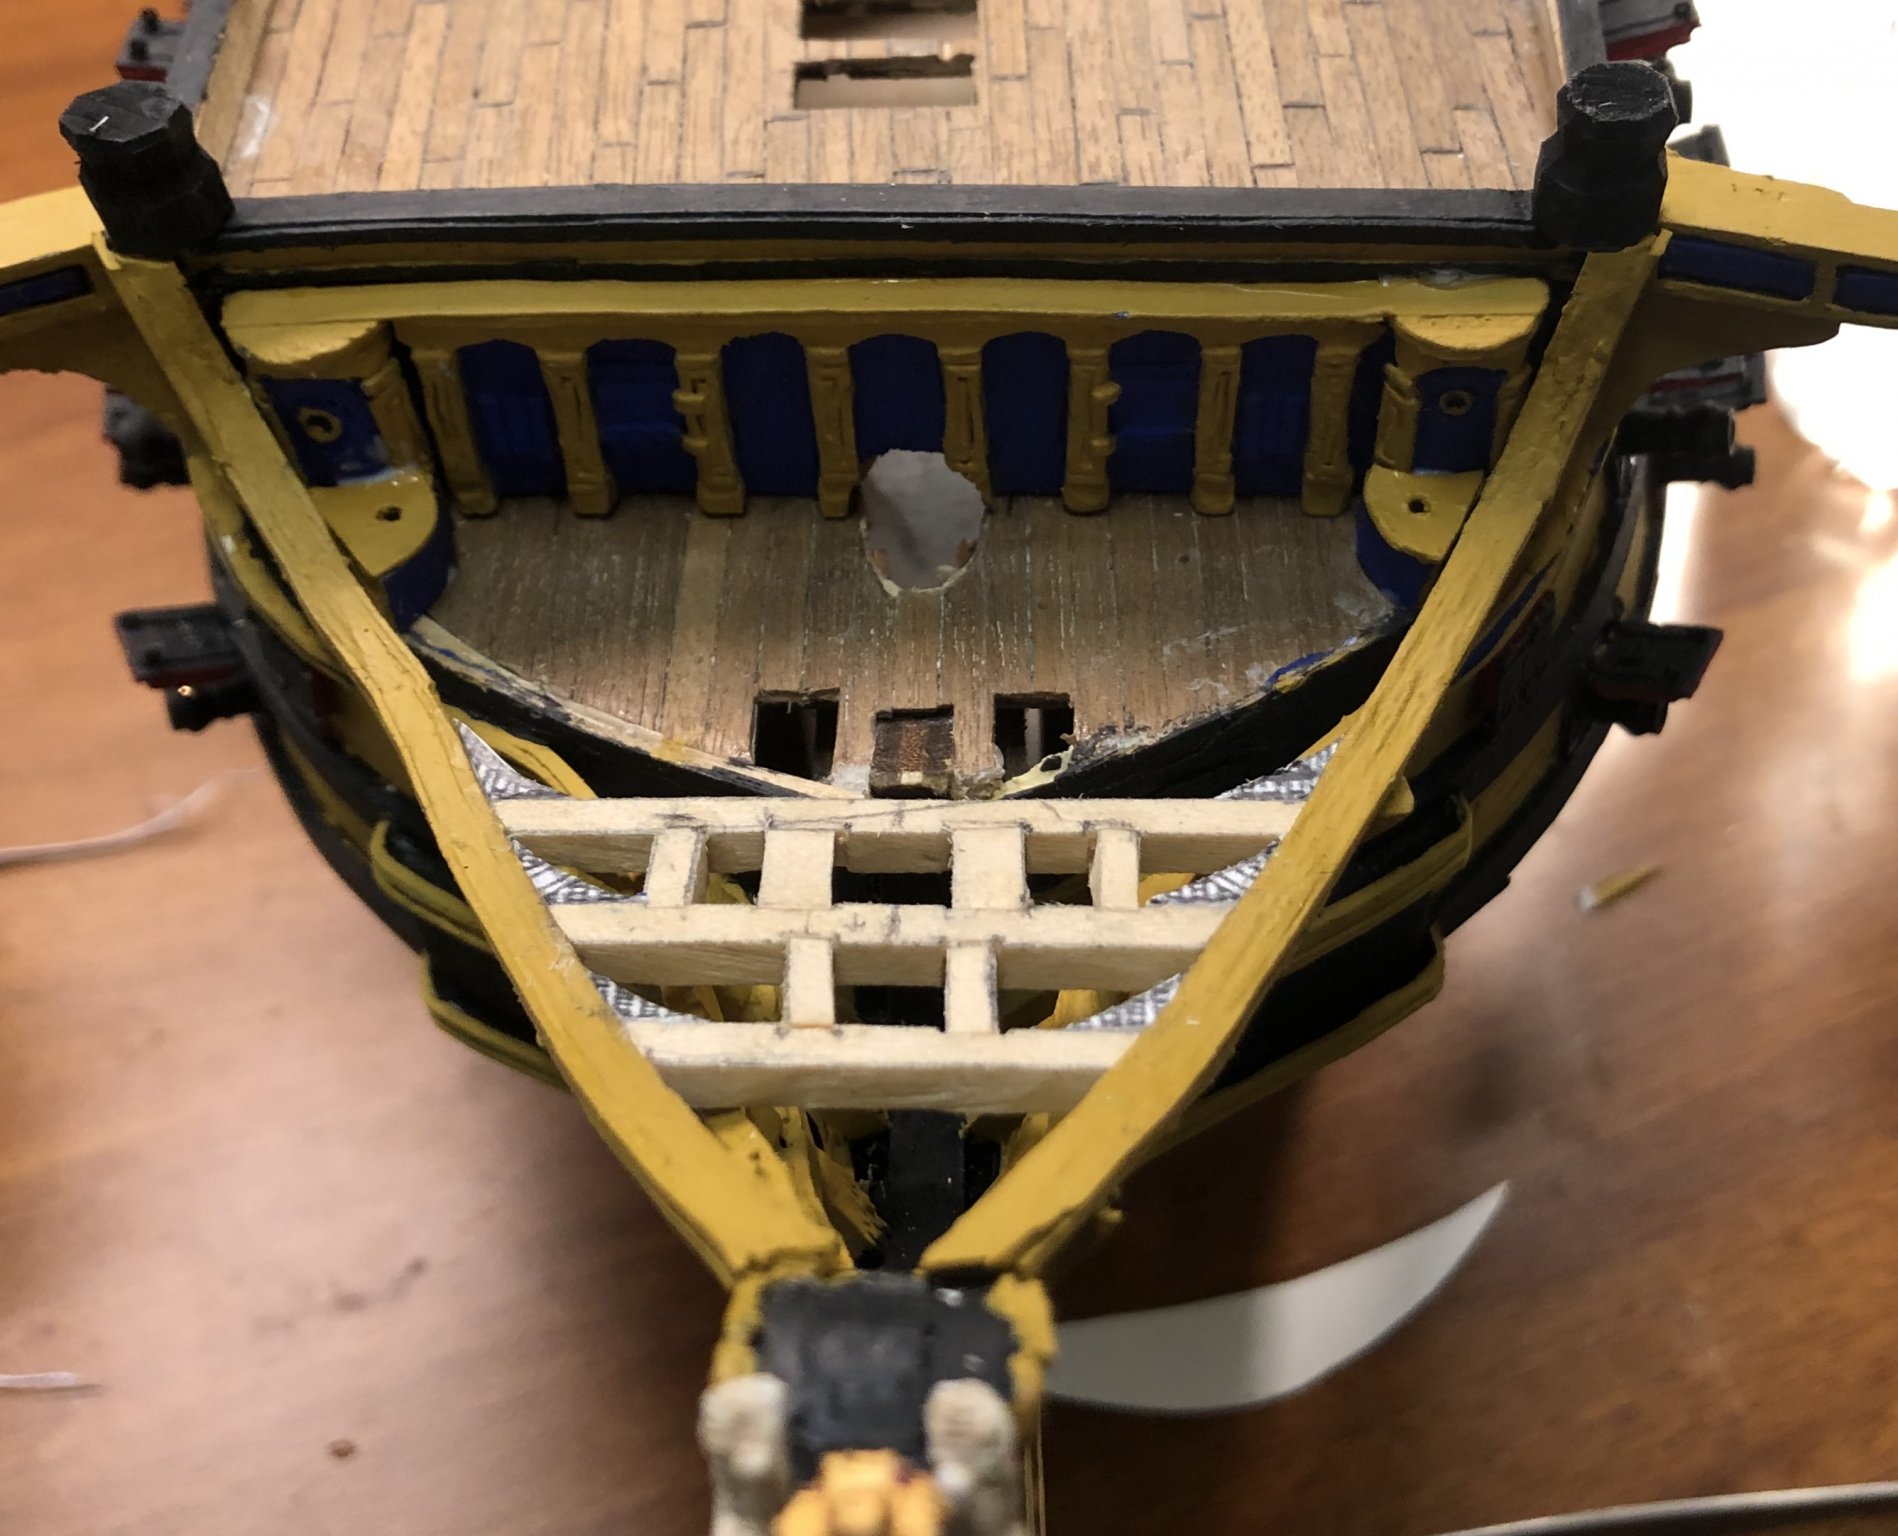
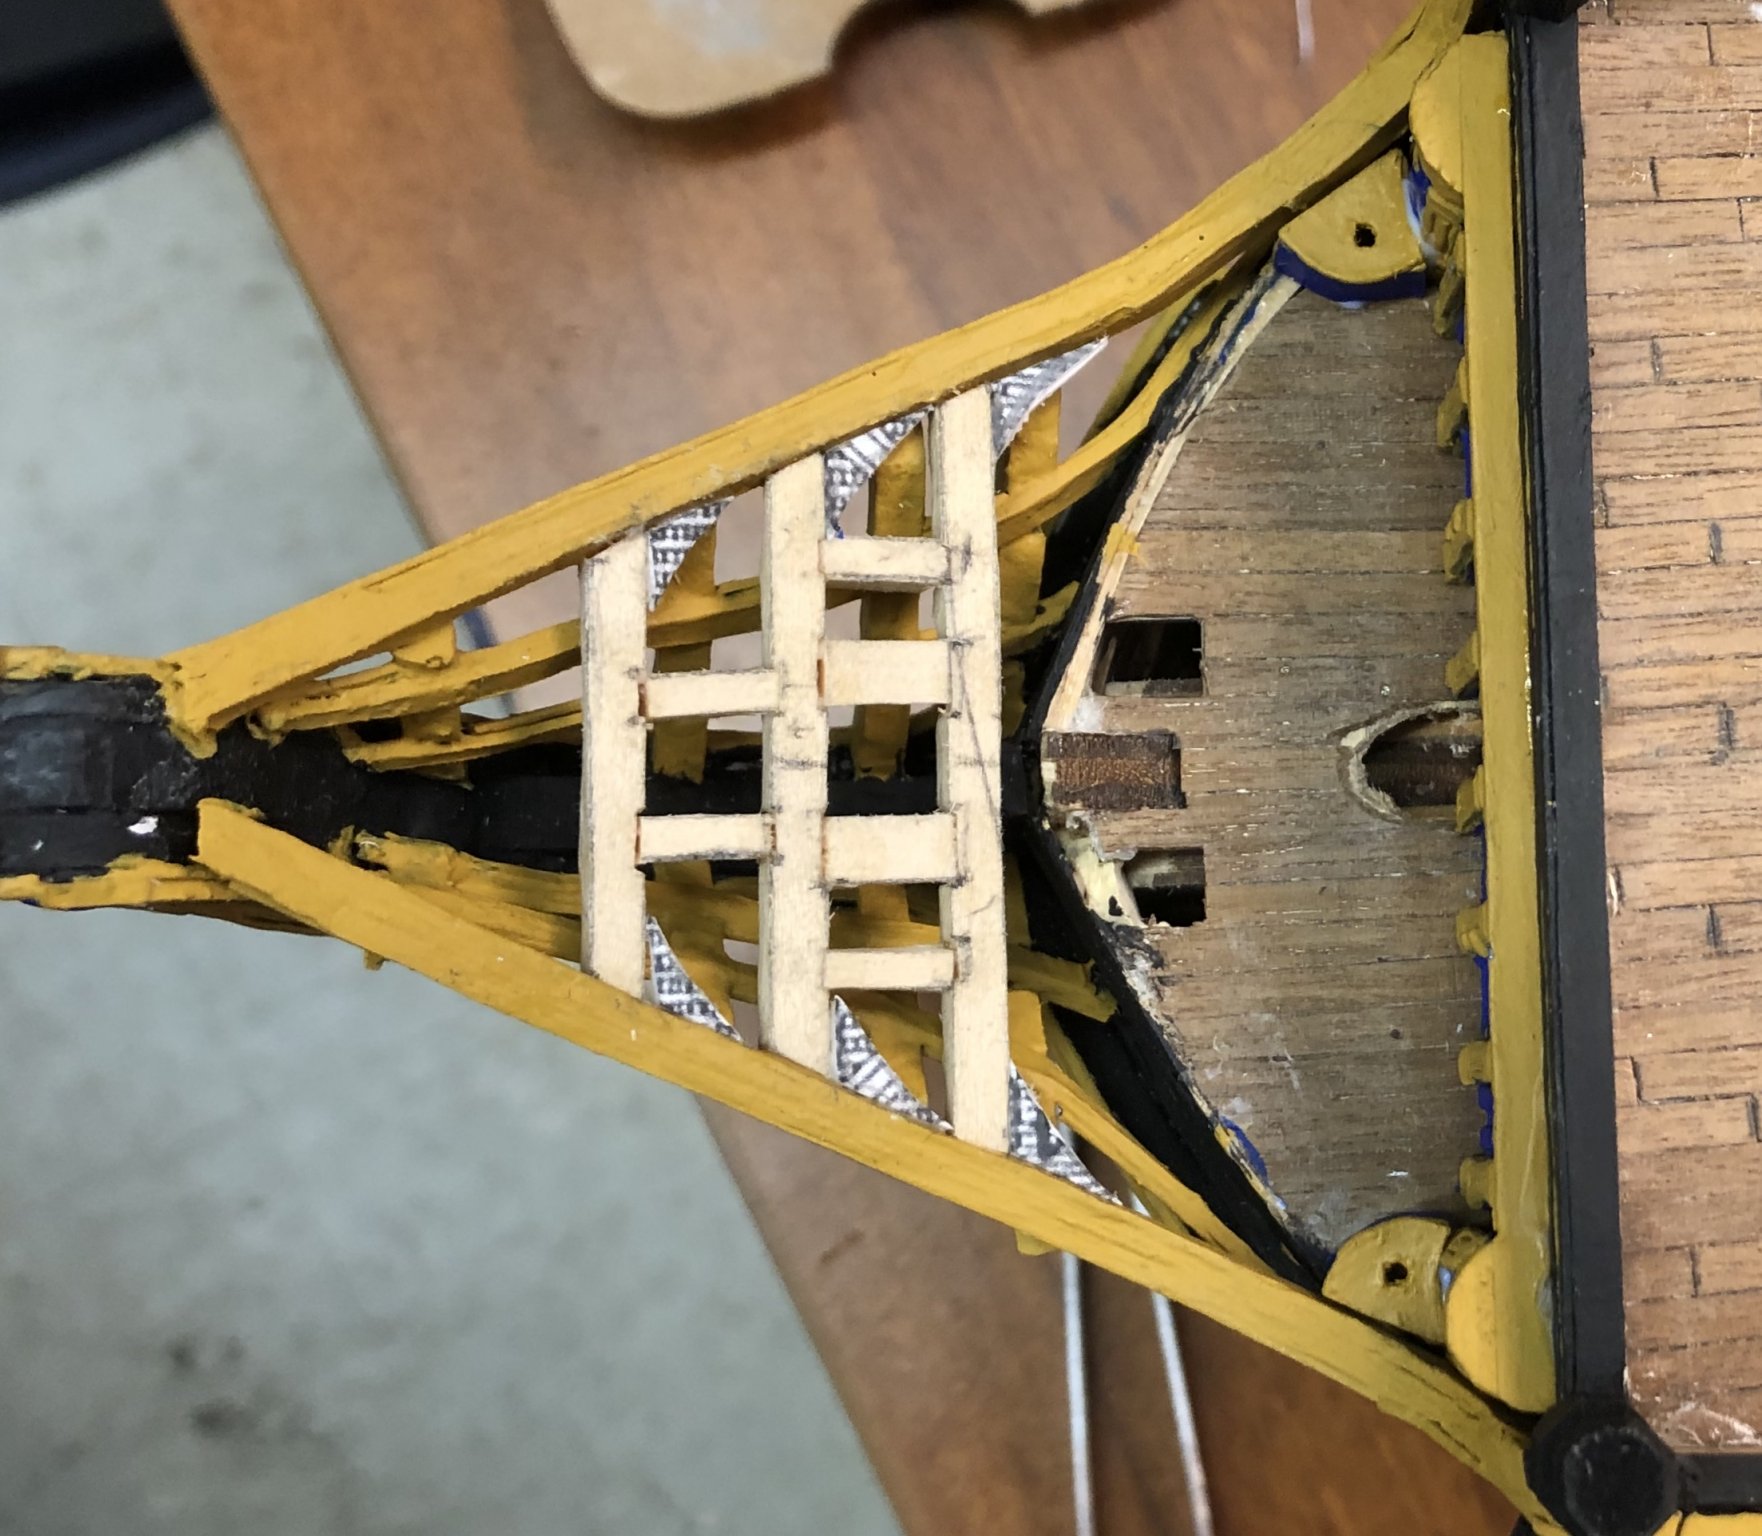
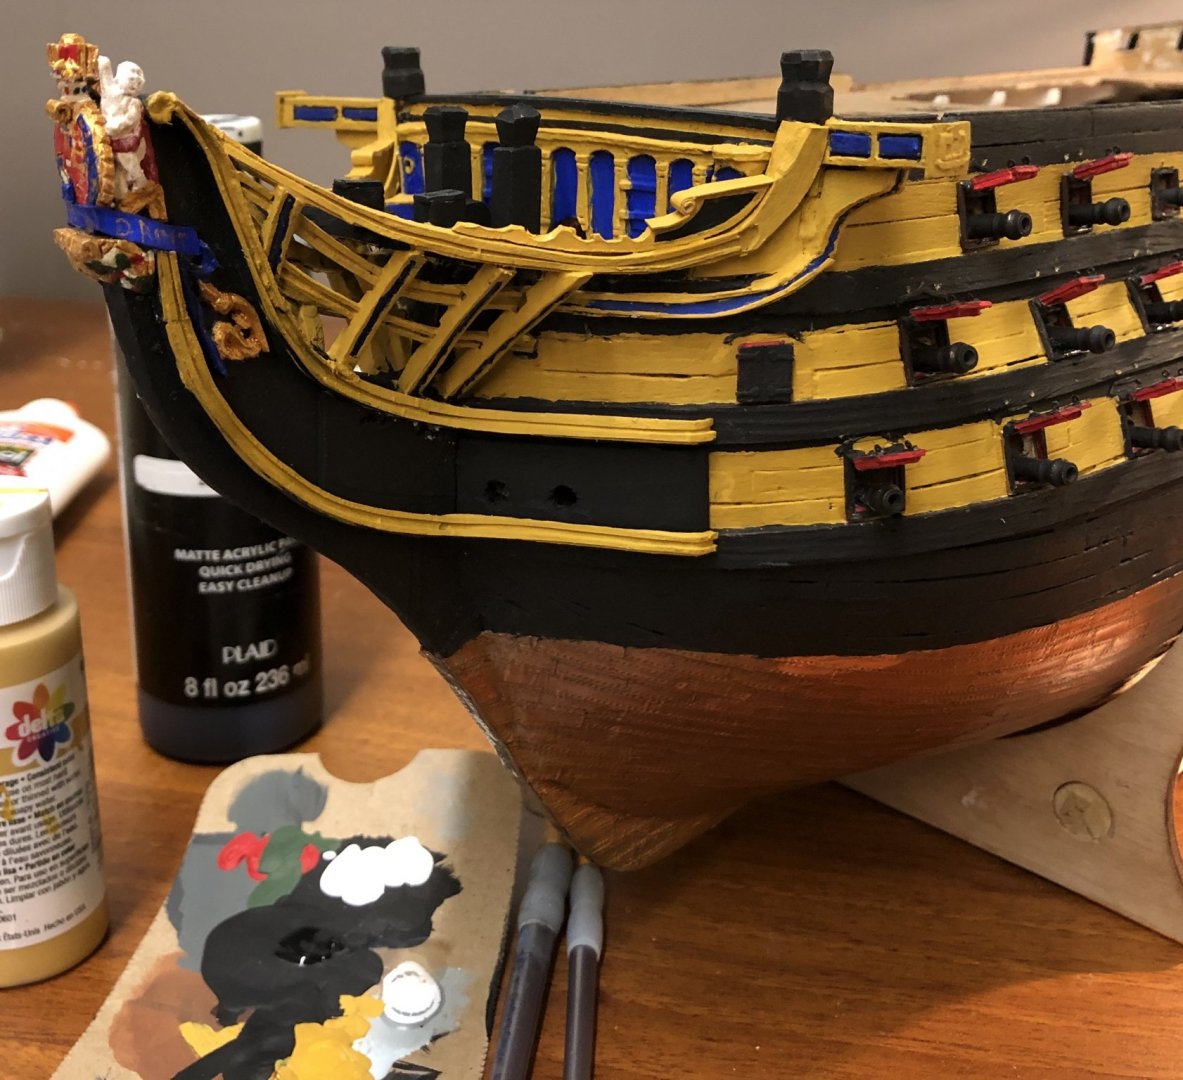
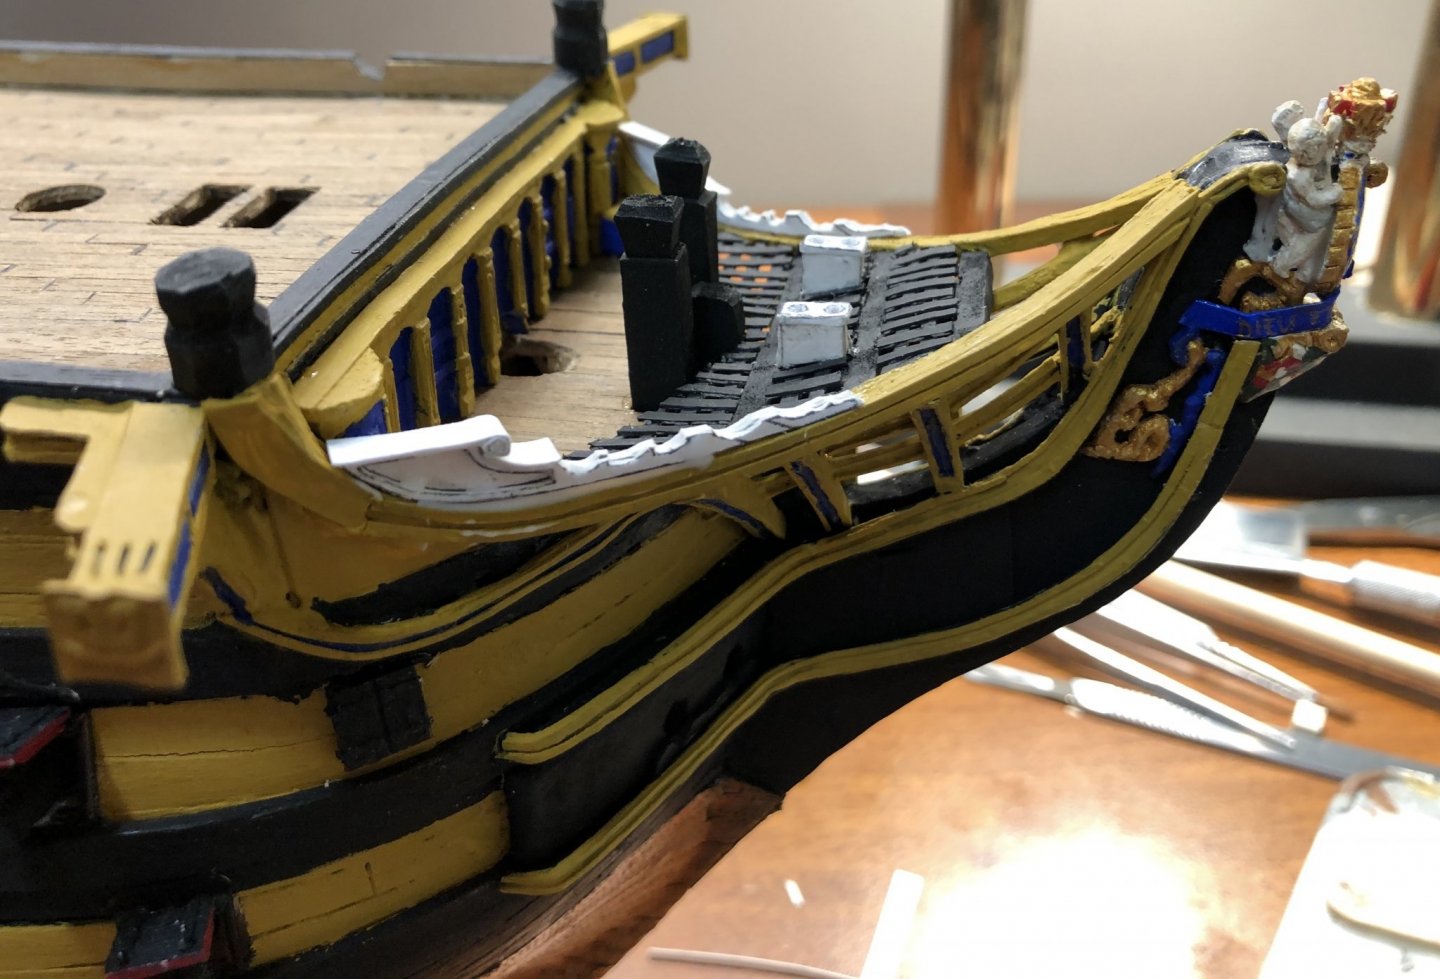
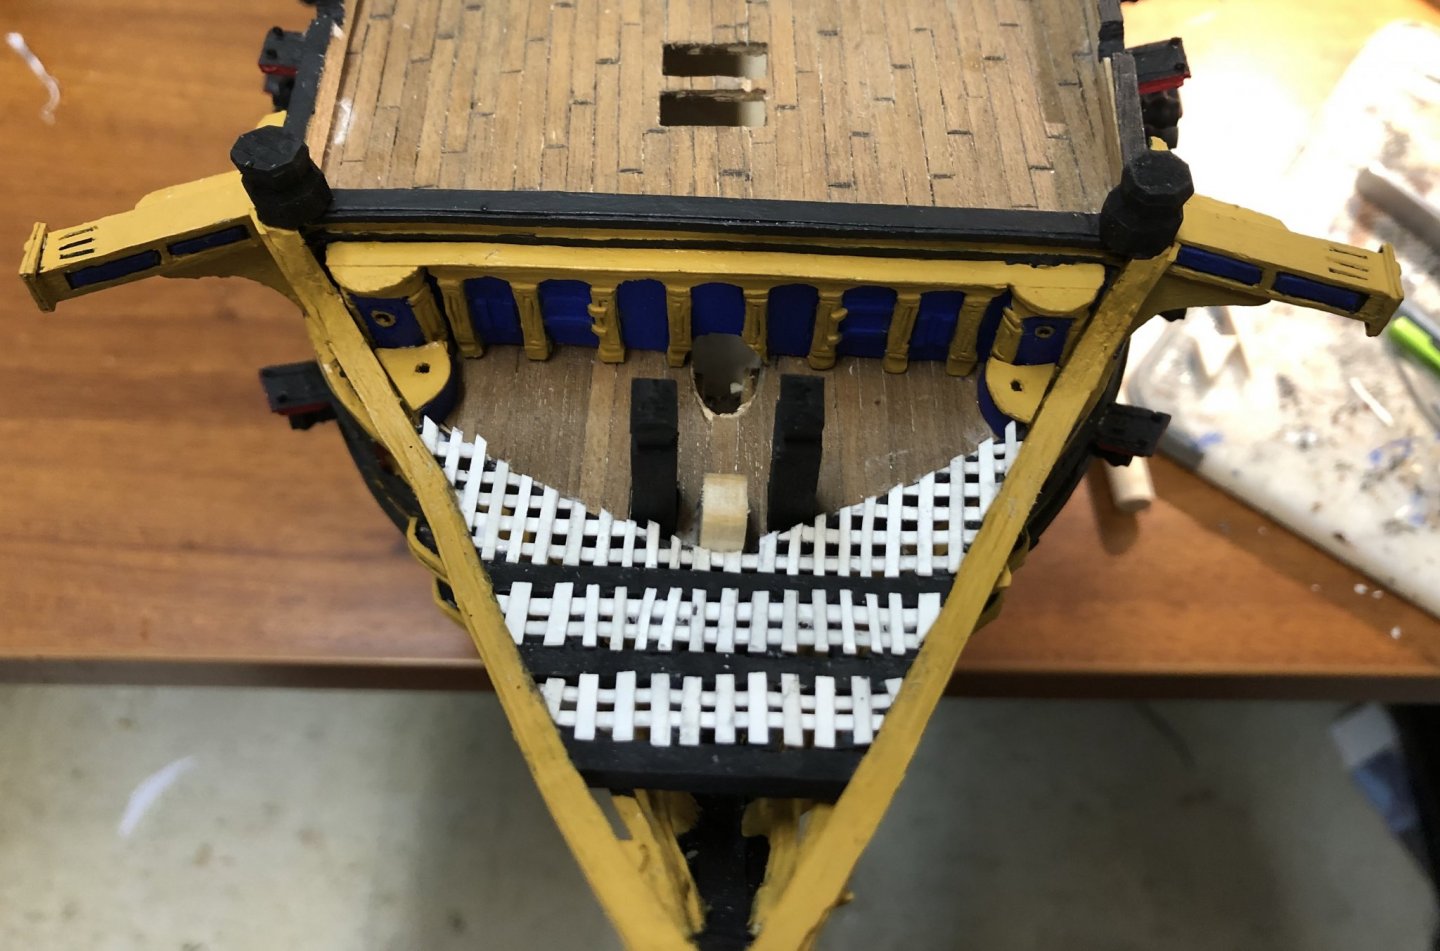
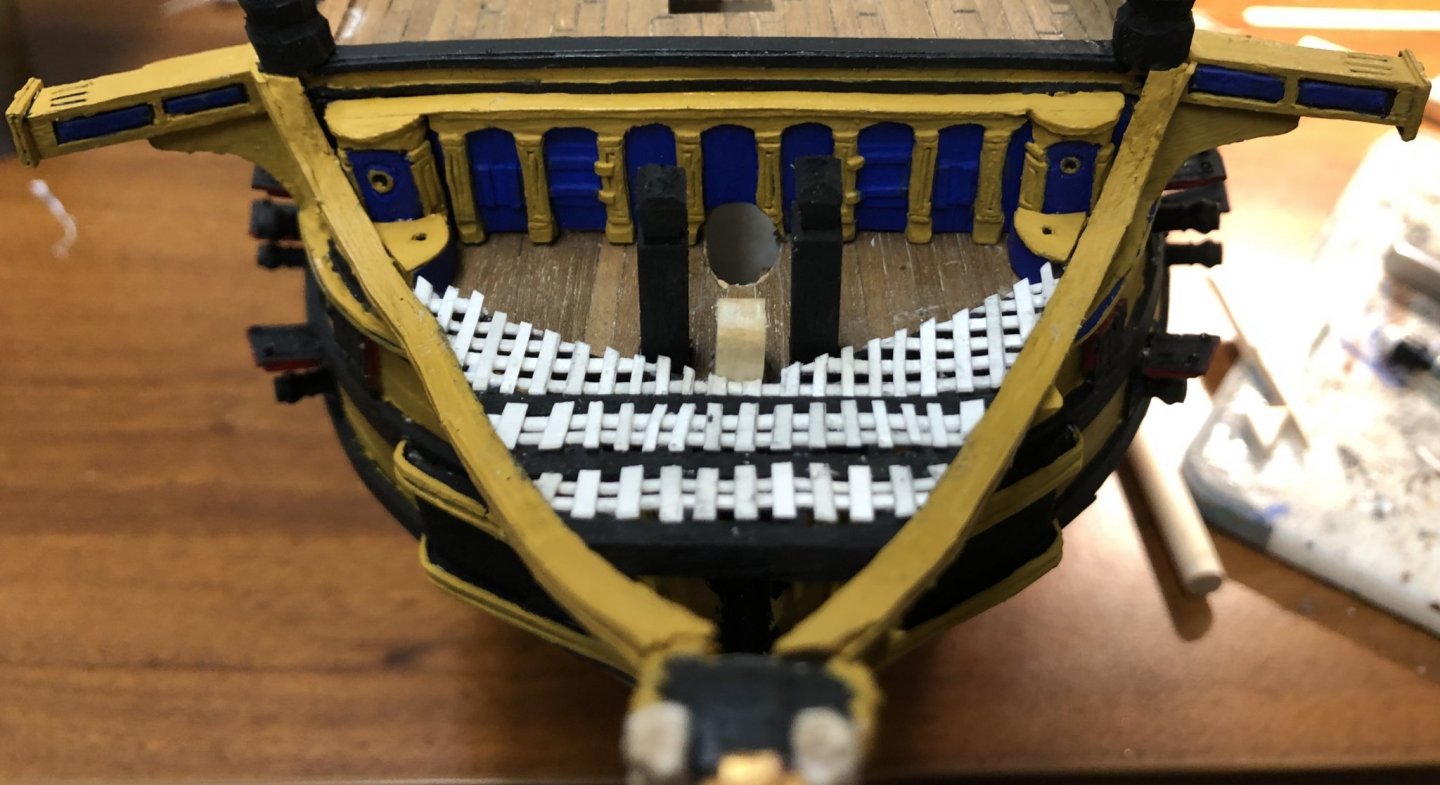
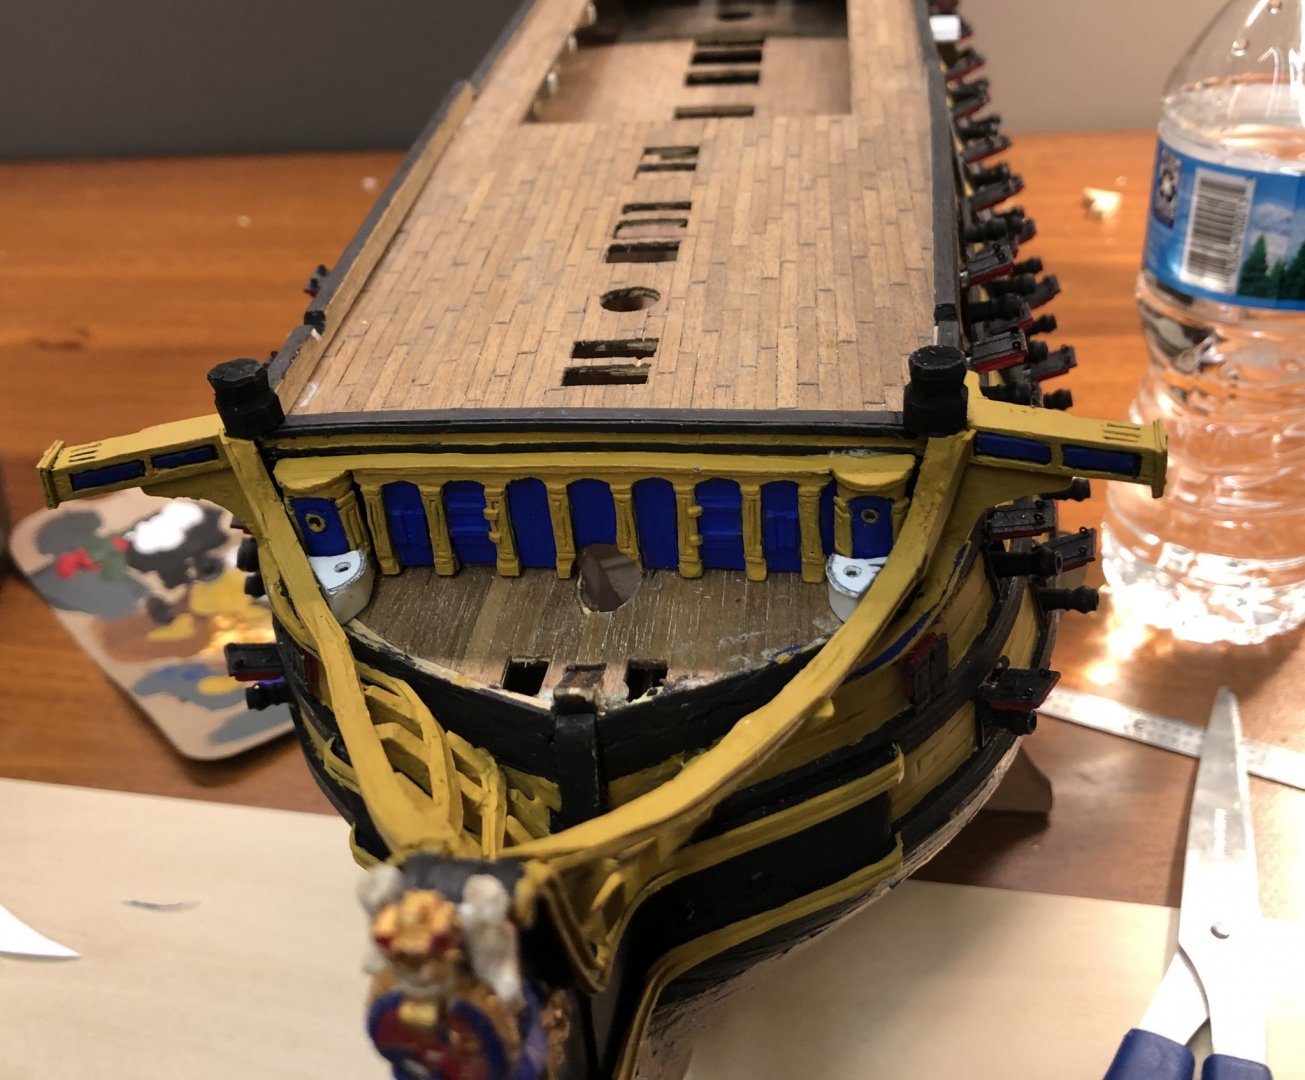
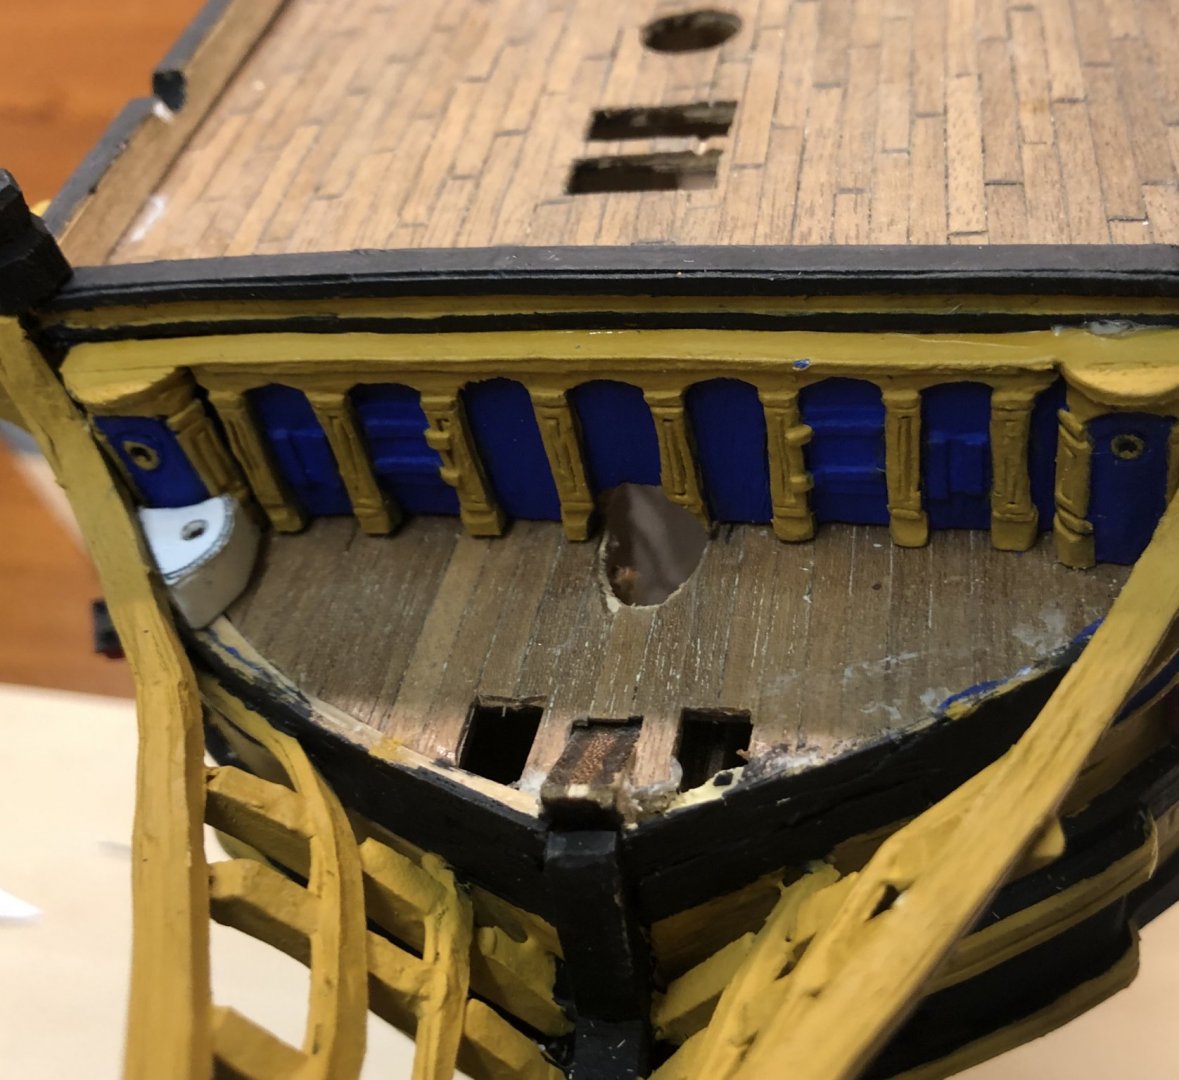
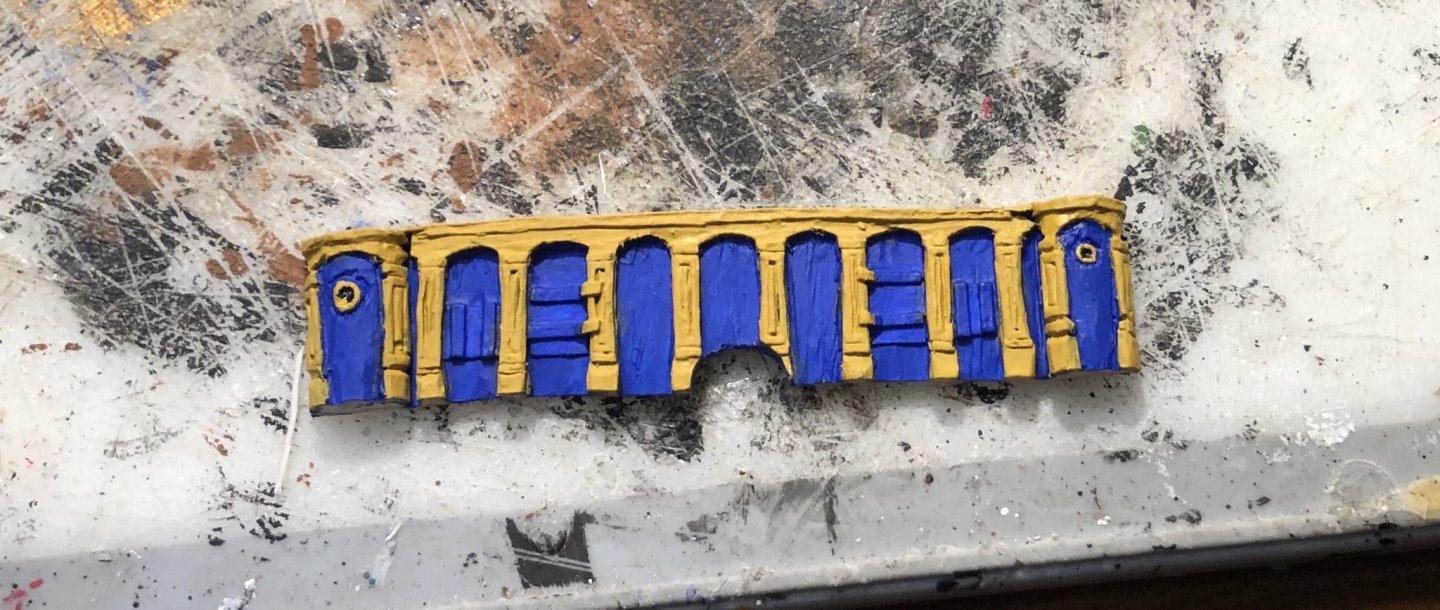
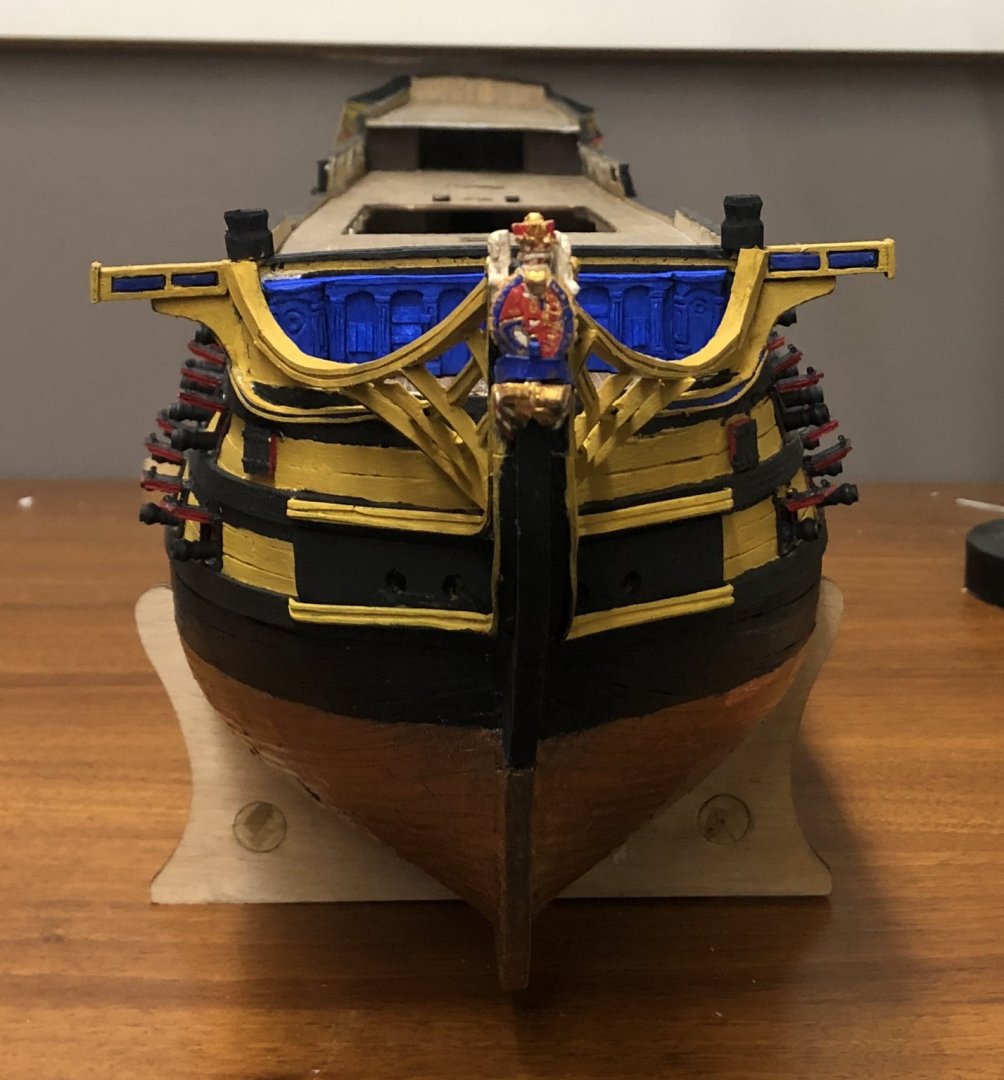
The seats of ease and the fashion pieces are made and on. Except for some minor paint work, the head is done. I started drilling the holes for the gunport lid rigging. I have the port side done.

-
Thank you for the likes and the comments! I have the double seats of ease made. After they dry, I’ll bevel them to sit level on the head gratings.
-
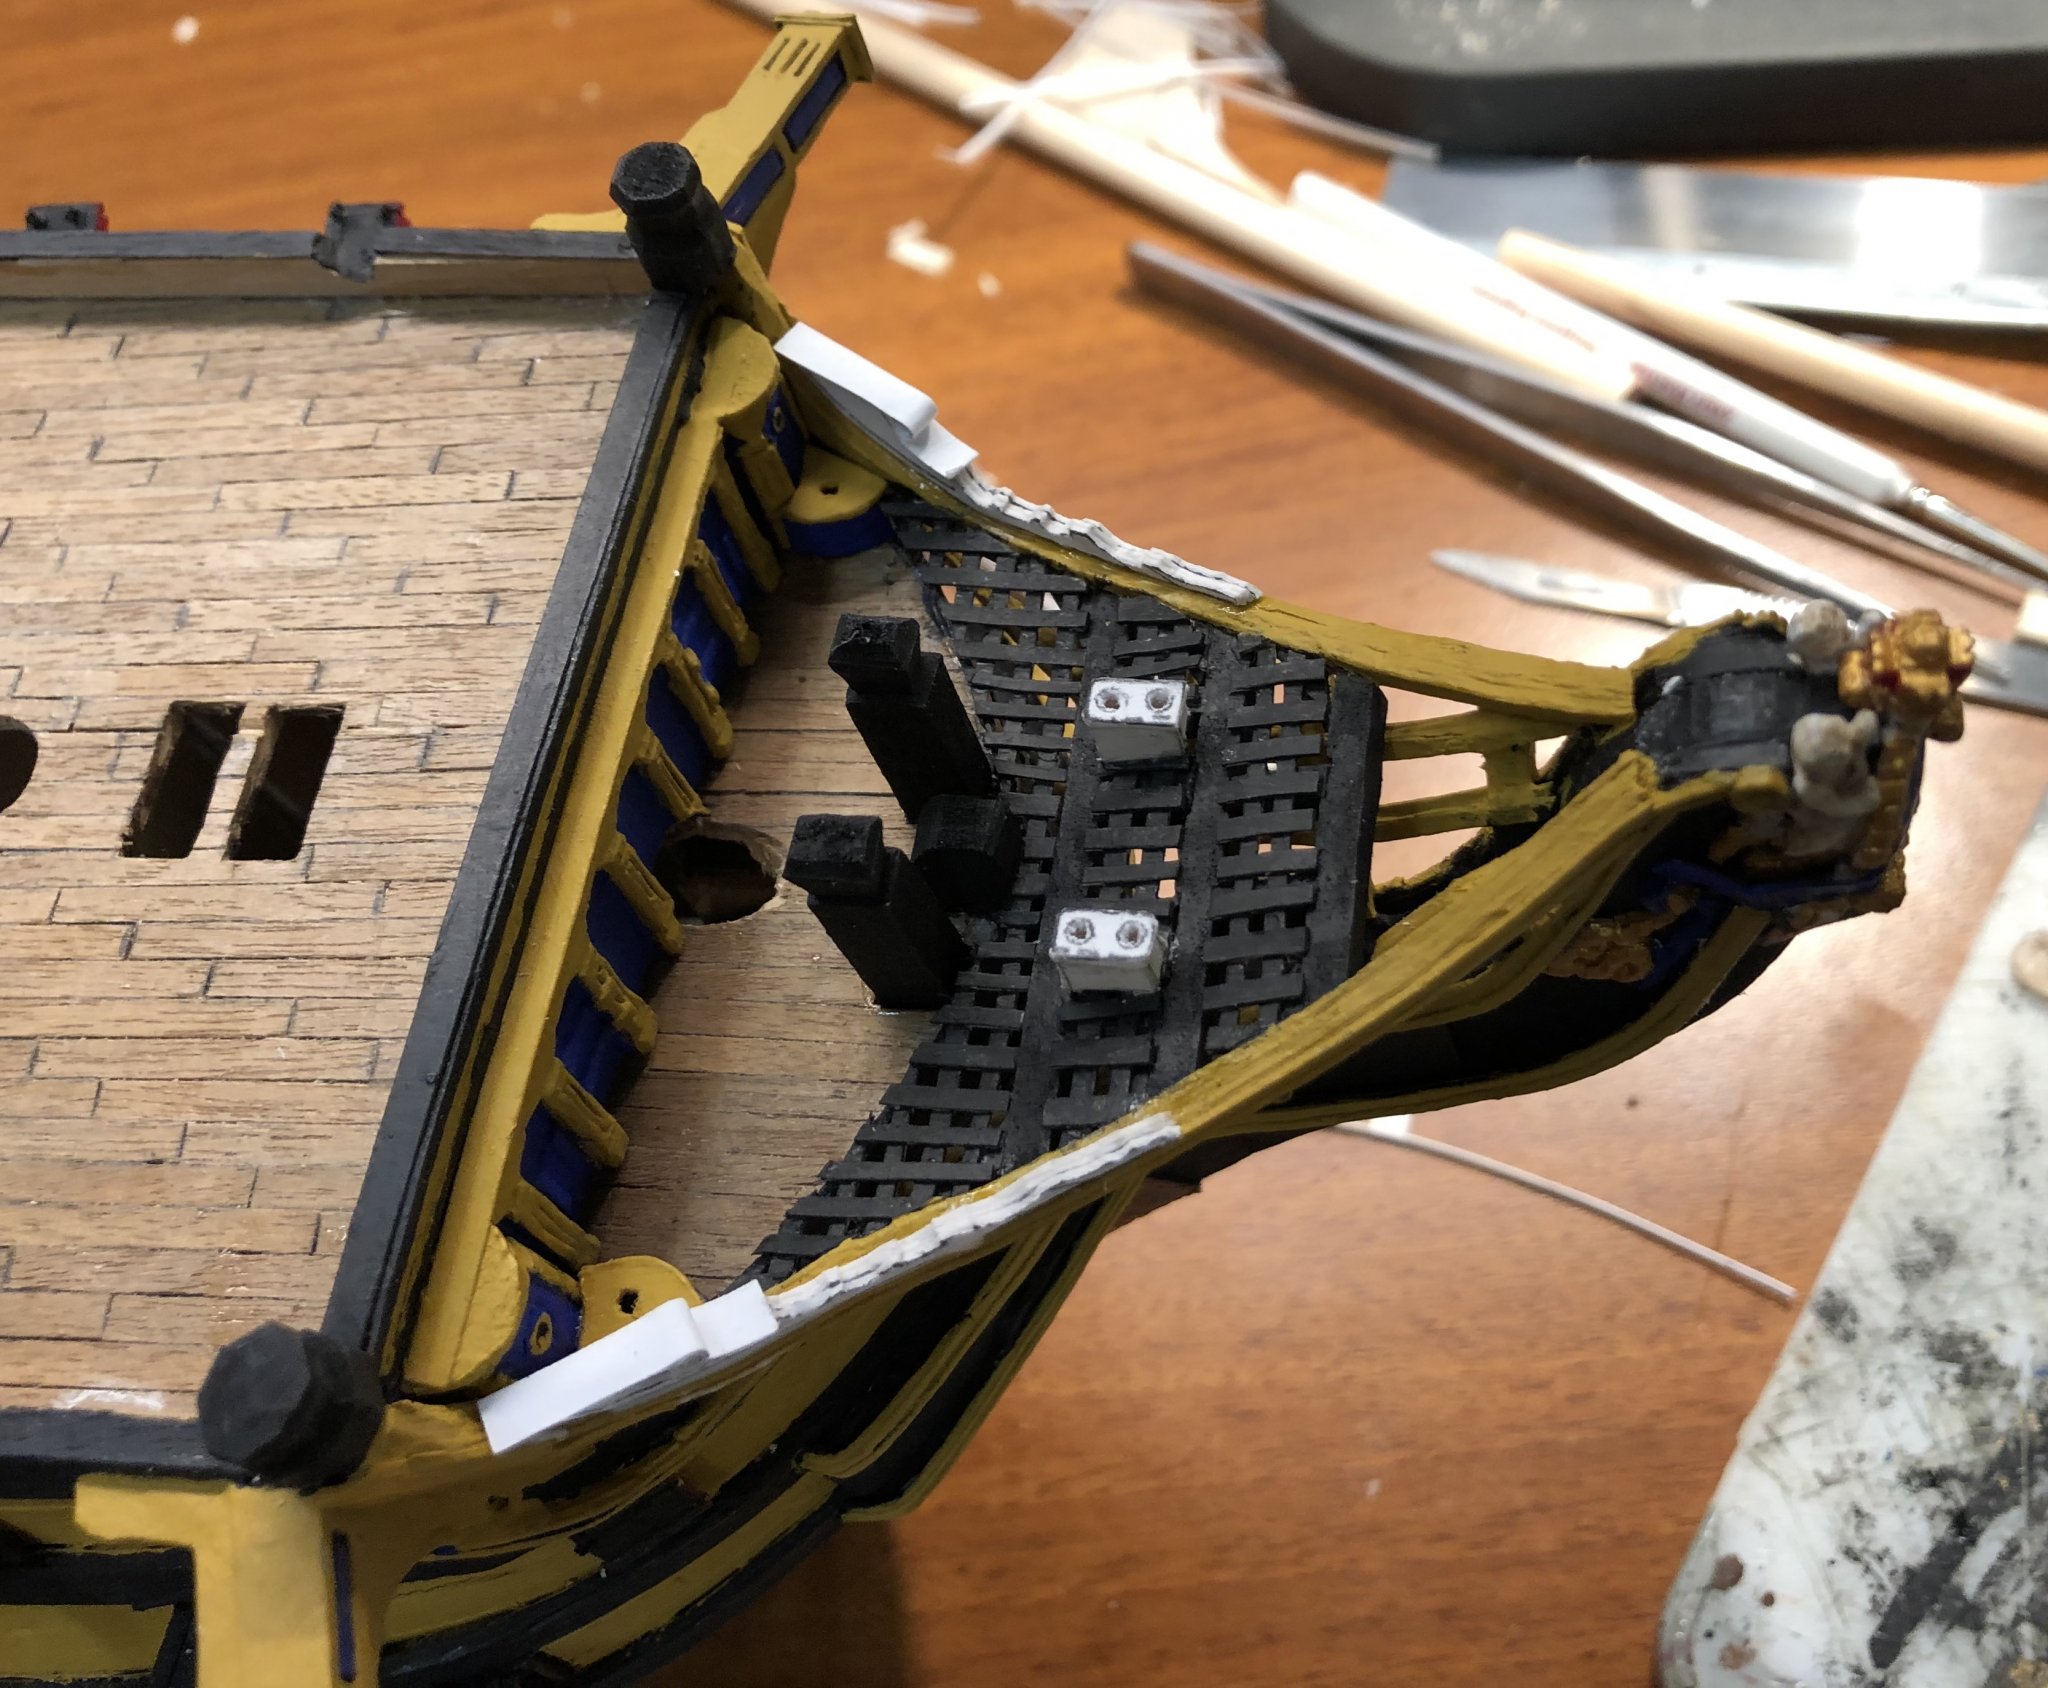
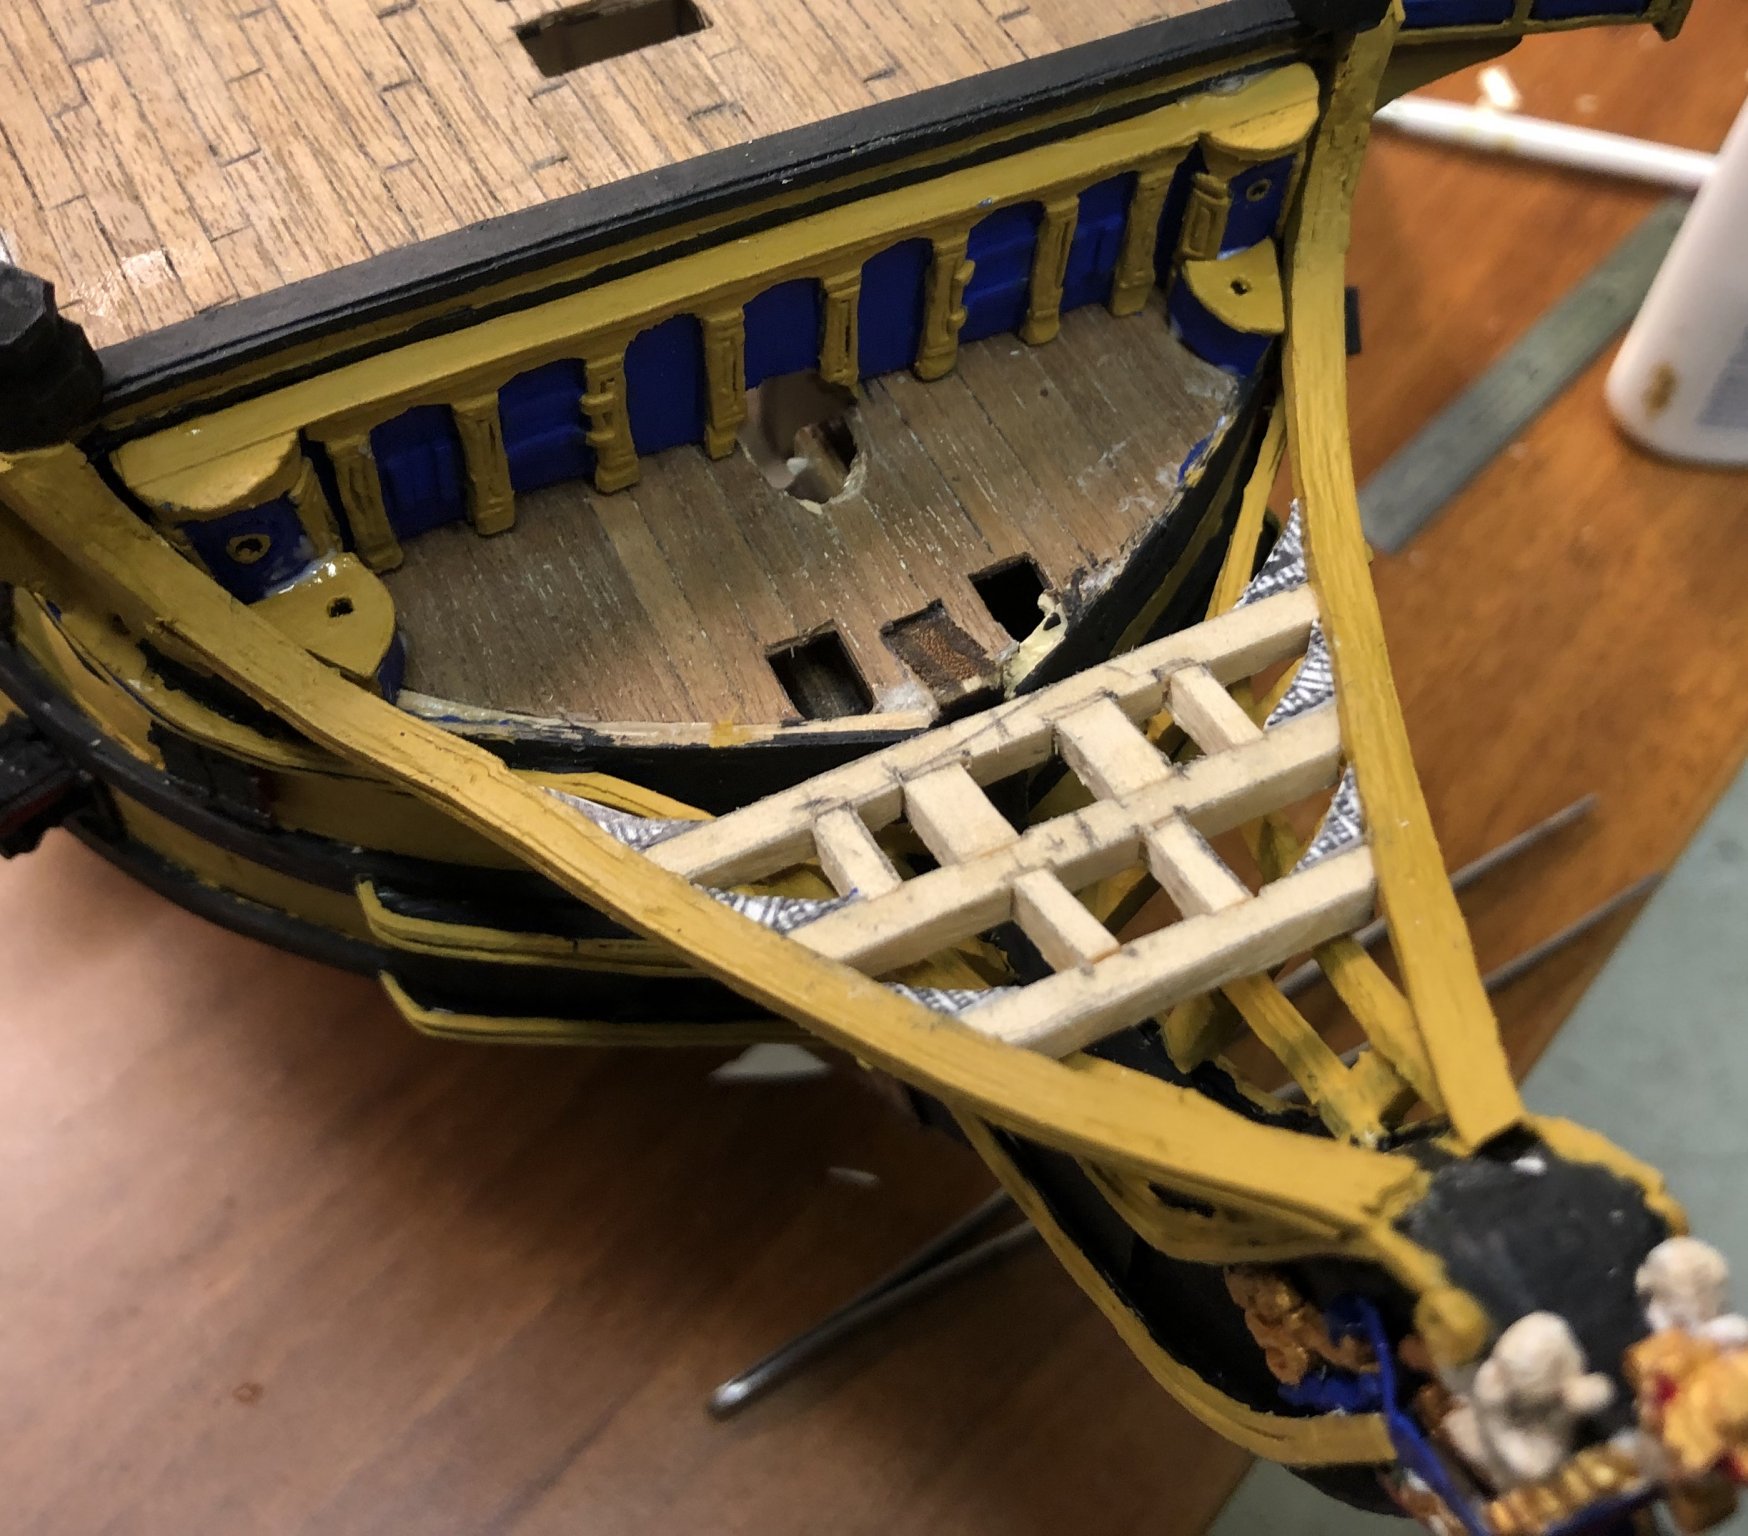
The head gratings are in place. They need some trimming and some paint work. The knight heads are just dry fitted. I extended the beak head and will paint it when I paint the gratings. I just need to make two fashion pieces that sit on top of the head rails and two double seats of ease and the head will be complete. I’m holding off on making the boomkins until I get further along so I don’t break them.
-
Beakhead extension
-
Okay, will do. Thanks for the tip.
-
Thank you, Danny. I bought the Mont Marte glue that you recommended a while back. I’ll give it a go with the Big Fitz and let you know how it goes. Moab, thanks for the heads up.
-
Thank you all!
-
Welcome!
-
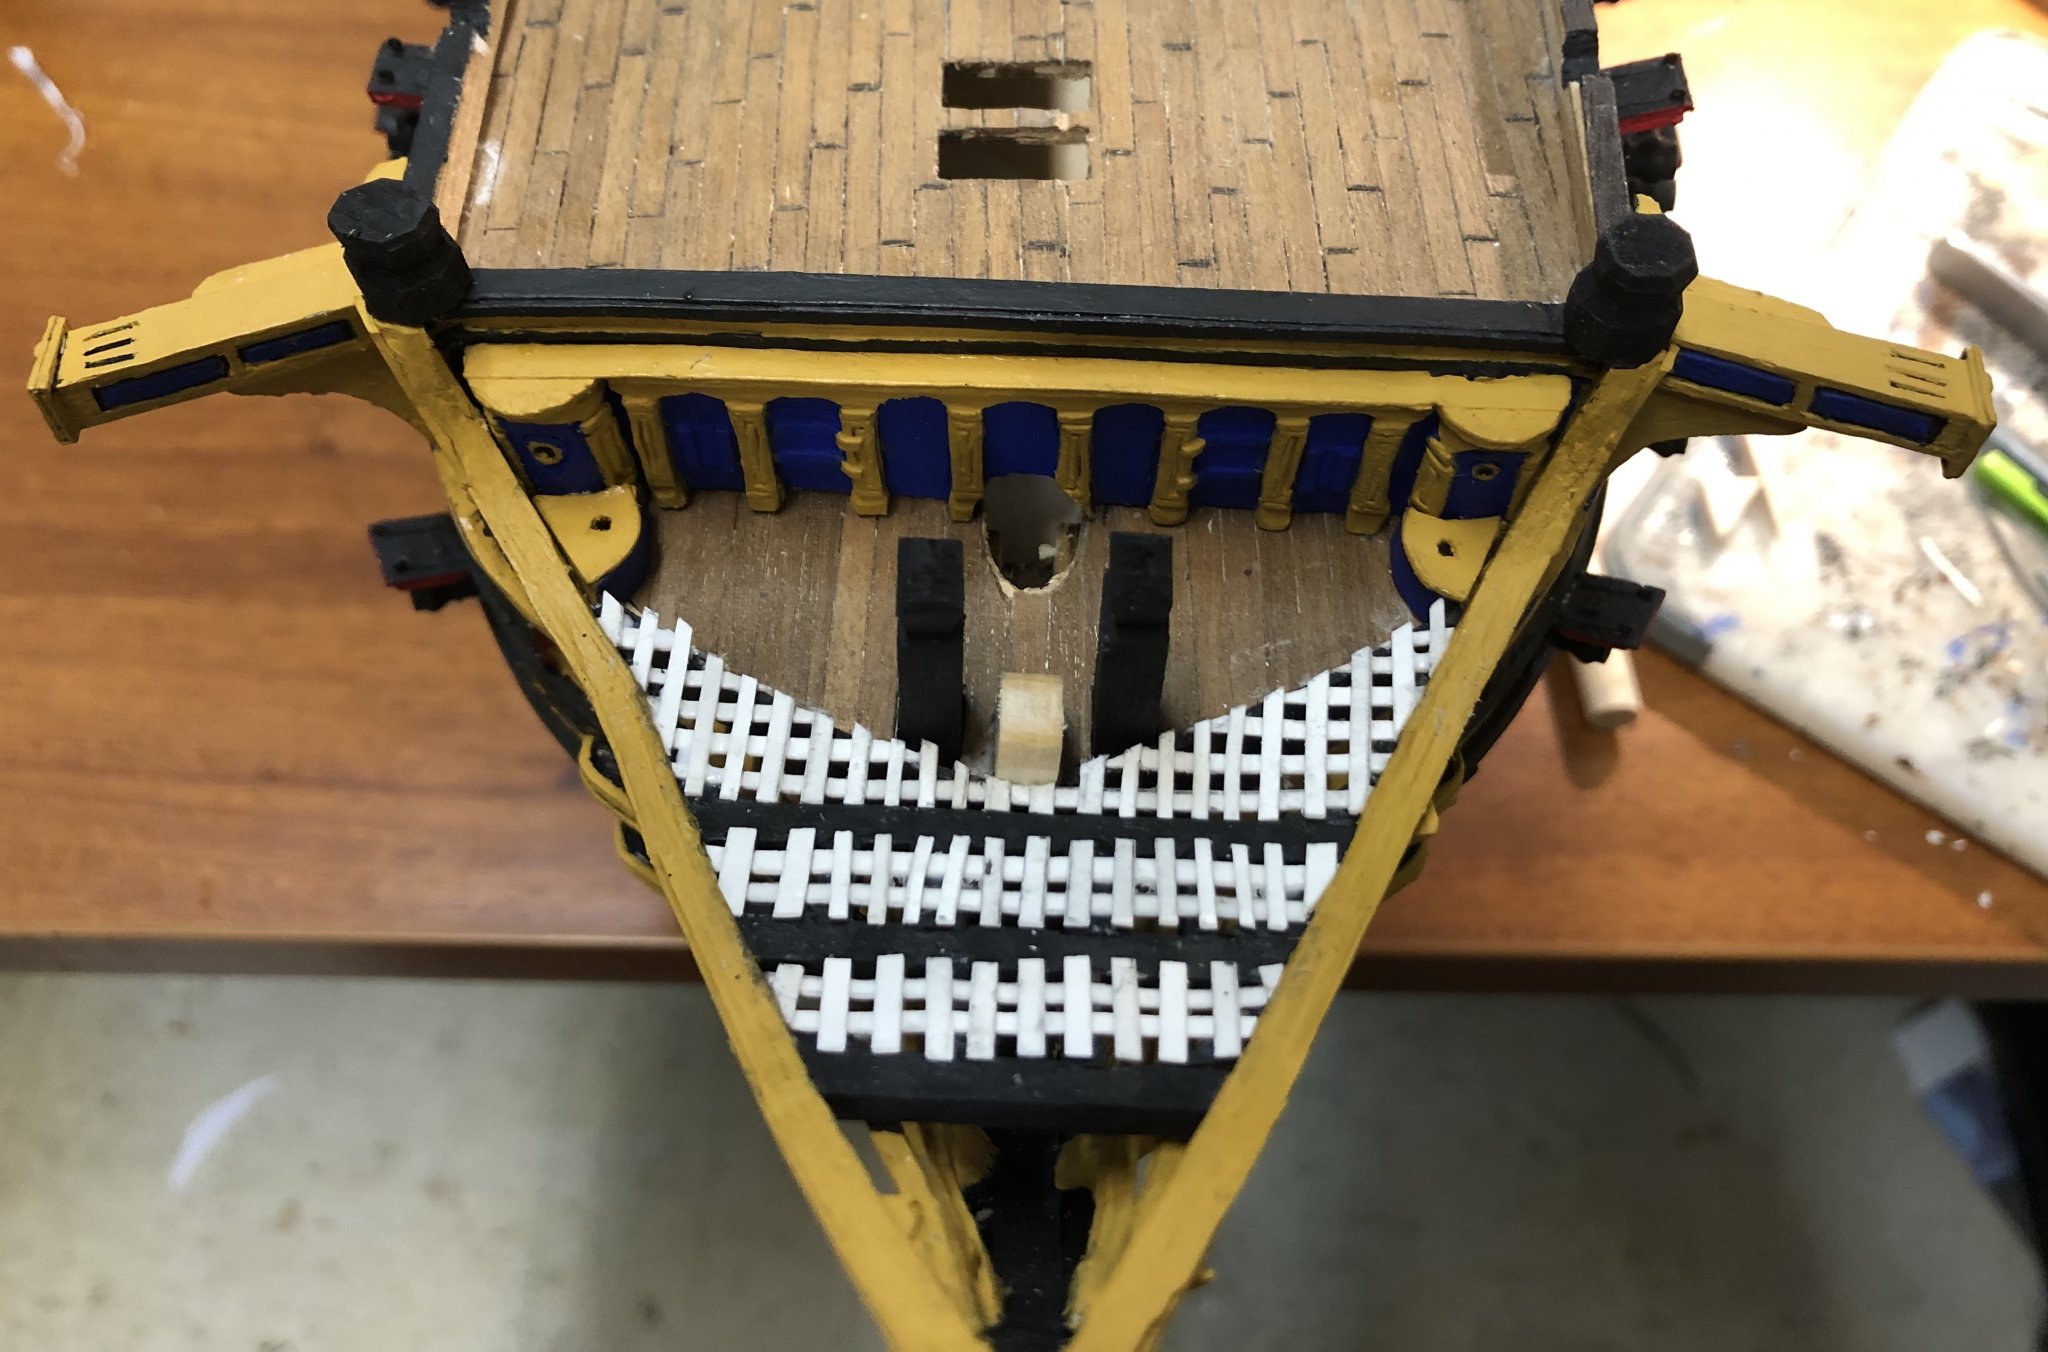
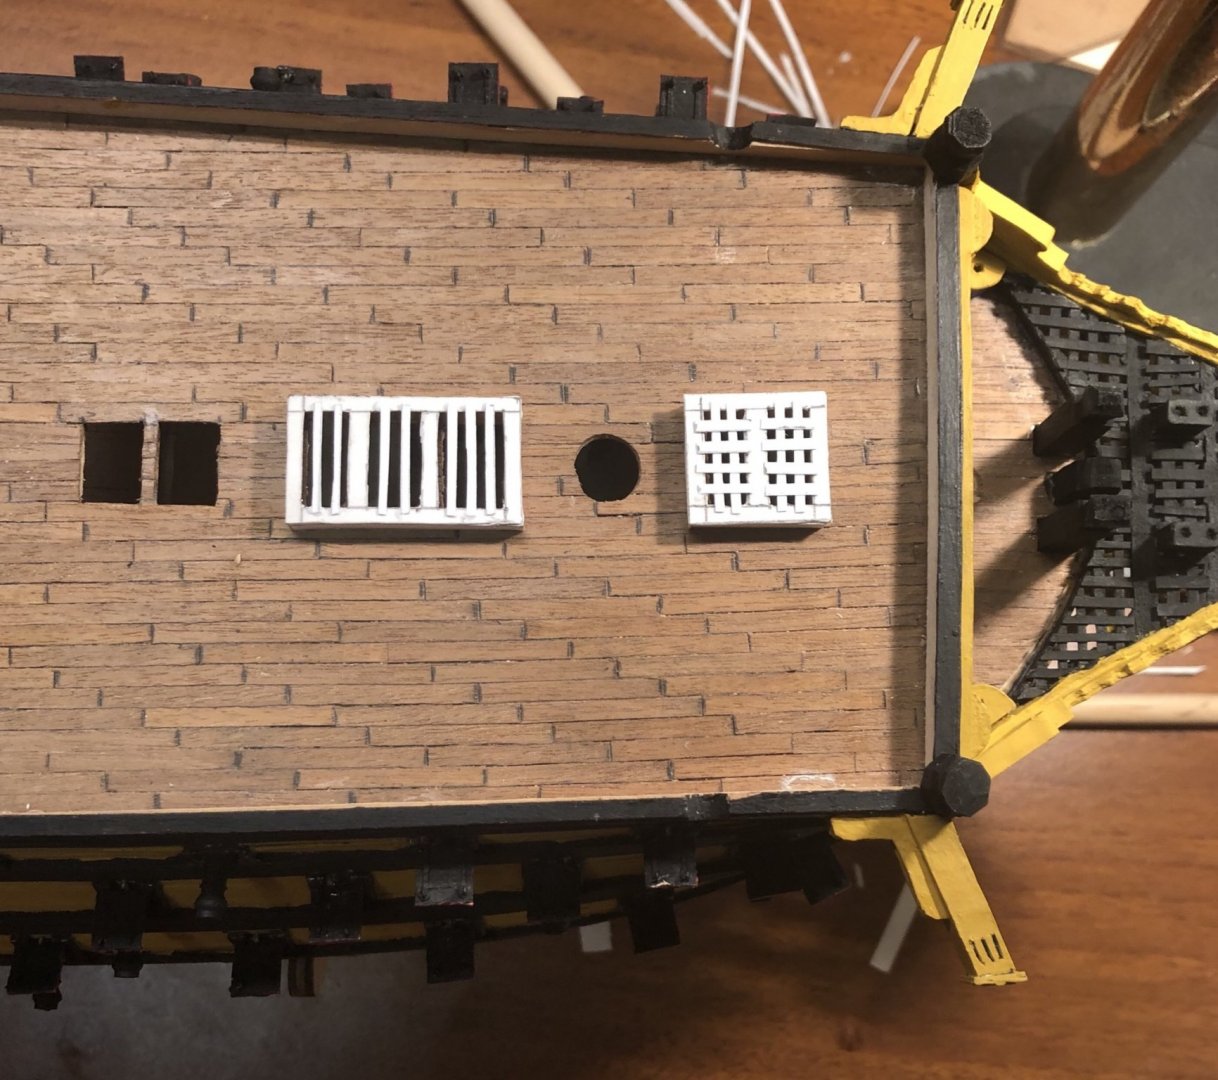
The gratings now have something to sit on, so next step: painting.

-
I have the framing for the head gratings in place. The first set of seats of ease are painted and installed. I have a few more pieces to make and install so I can paint the framing. Then I will start the gratings themselves. I am going to use the exact same method I used on the Prince de Neufchatel to make the gratings.


-
I’m building the head gratings IAW zu Monfeld’s drawings.
-
Ye other olde head: It’s only dry fitted.
-
Ye olde head: It’s only dry fitted.
-
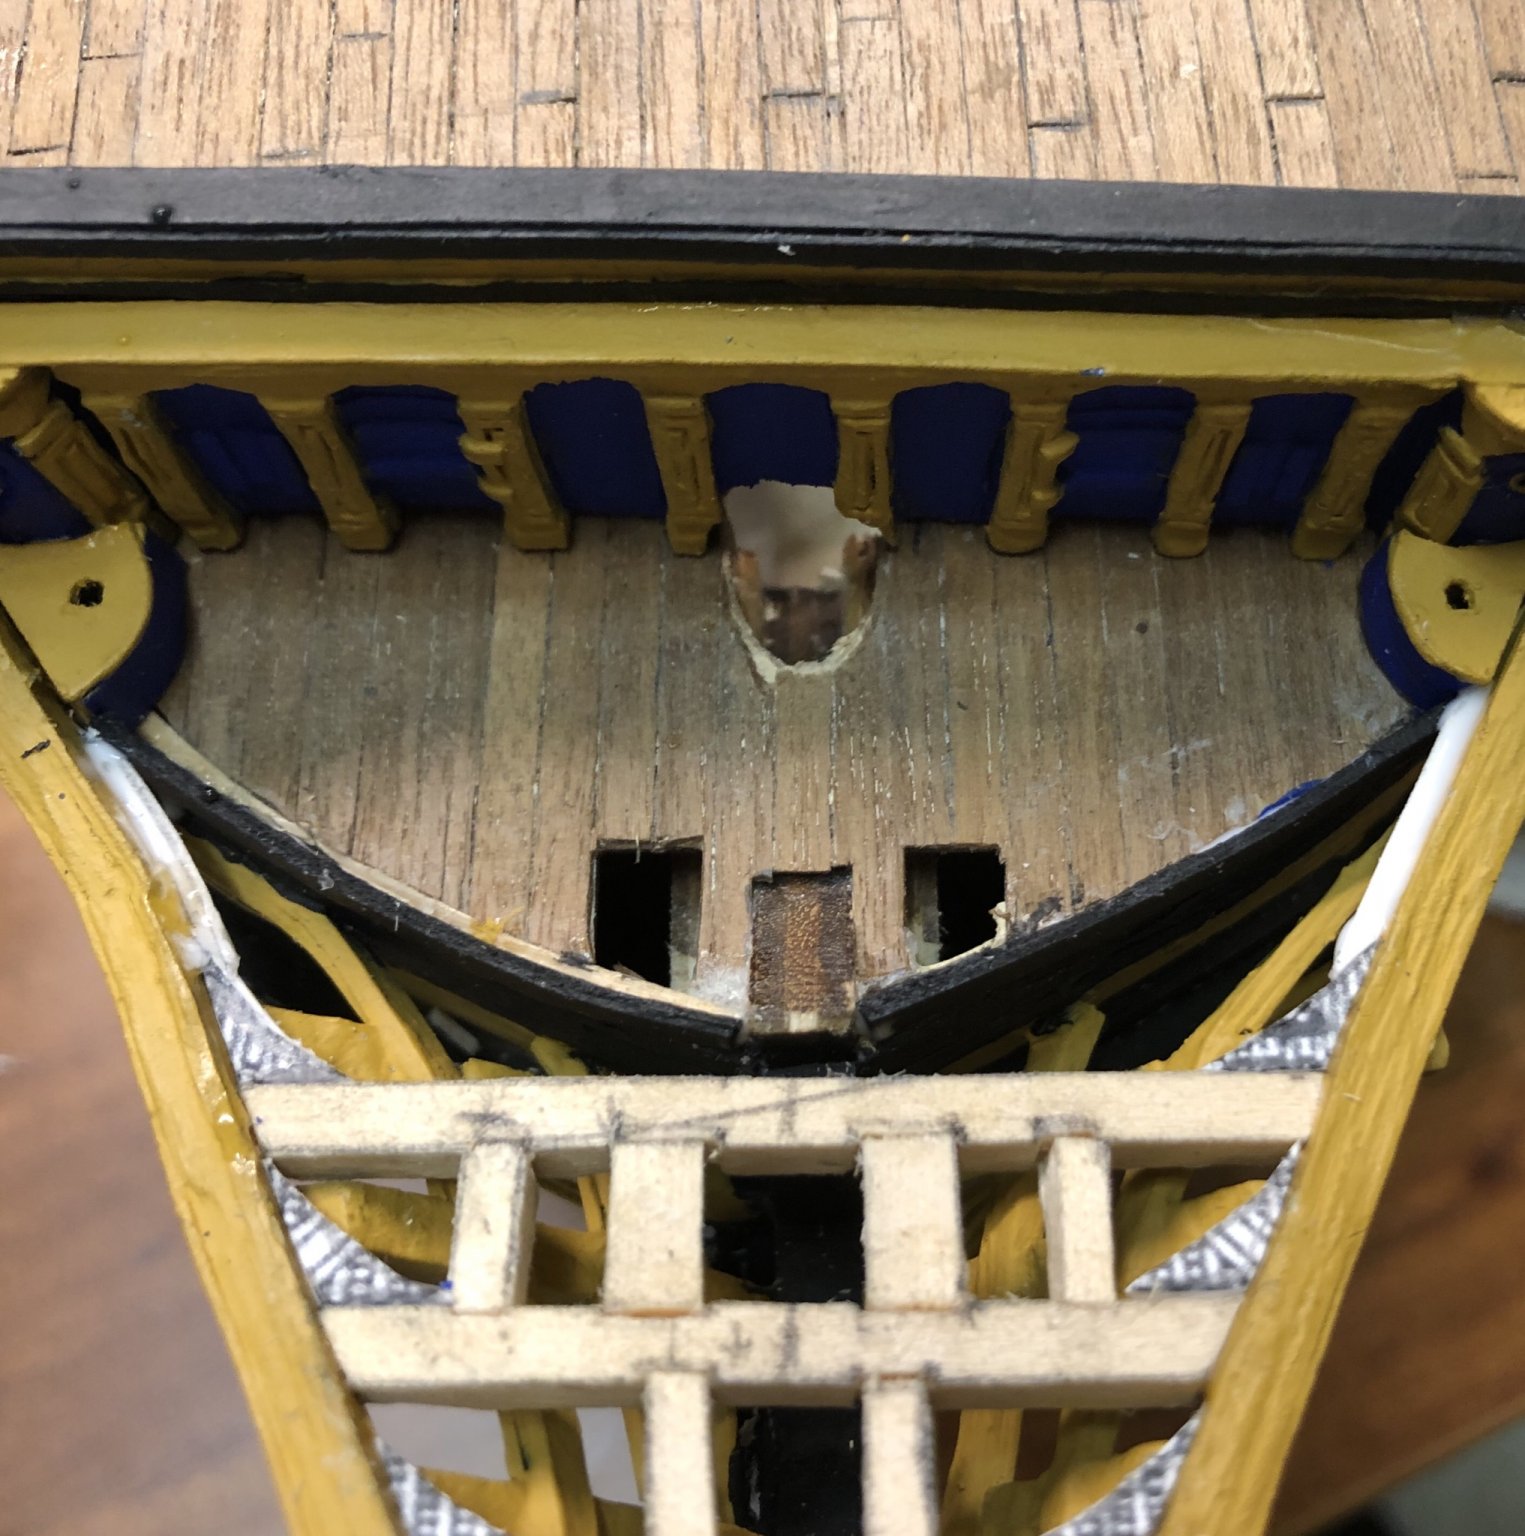
The beak head bulkhead is done and permanently installed.

-
Here is where I am starting off for the day. The center piece is partially base coated. The top rail needs touched up. I also had a fortuitous event this morning. I discovered that I had a good sail plan for the Victory which is the last thing that I lacked. I found it on page 190 of Bjorn Landstrom’s The Ship. I had planned on pausing Victory to build the Edmund Fitzgerald but I believe that I am going to press on with Victory. I am two and a half years into this build and I think it is time to finish it.
-
After reflection, I think I’m going to use the same building methods as I did for the Prince de Neufchatel because it worked very well the first time.
-
Dan, How do you laminate card without it curling? I have had a time with it. I’m looking at starting another card build. On my last one, the bulkheads and the center keel plate warped badly after lamination and I was wondering if you have any tips.