HOLIDAY DONATION DRIVE - SUPPORT MSW - DO YOUR PART TO KEEP THIS GREAT FORUM GOING! (89 donations so far out of 49,000 members - C'mon guys!)
×


GrandpaPhil
-
Posts
6,140 -
Joined
-
Last visited
Content Type
Profiles
Forums
Gallery
Events
Everything posted by GrandpaPhil
-
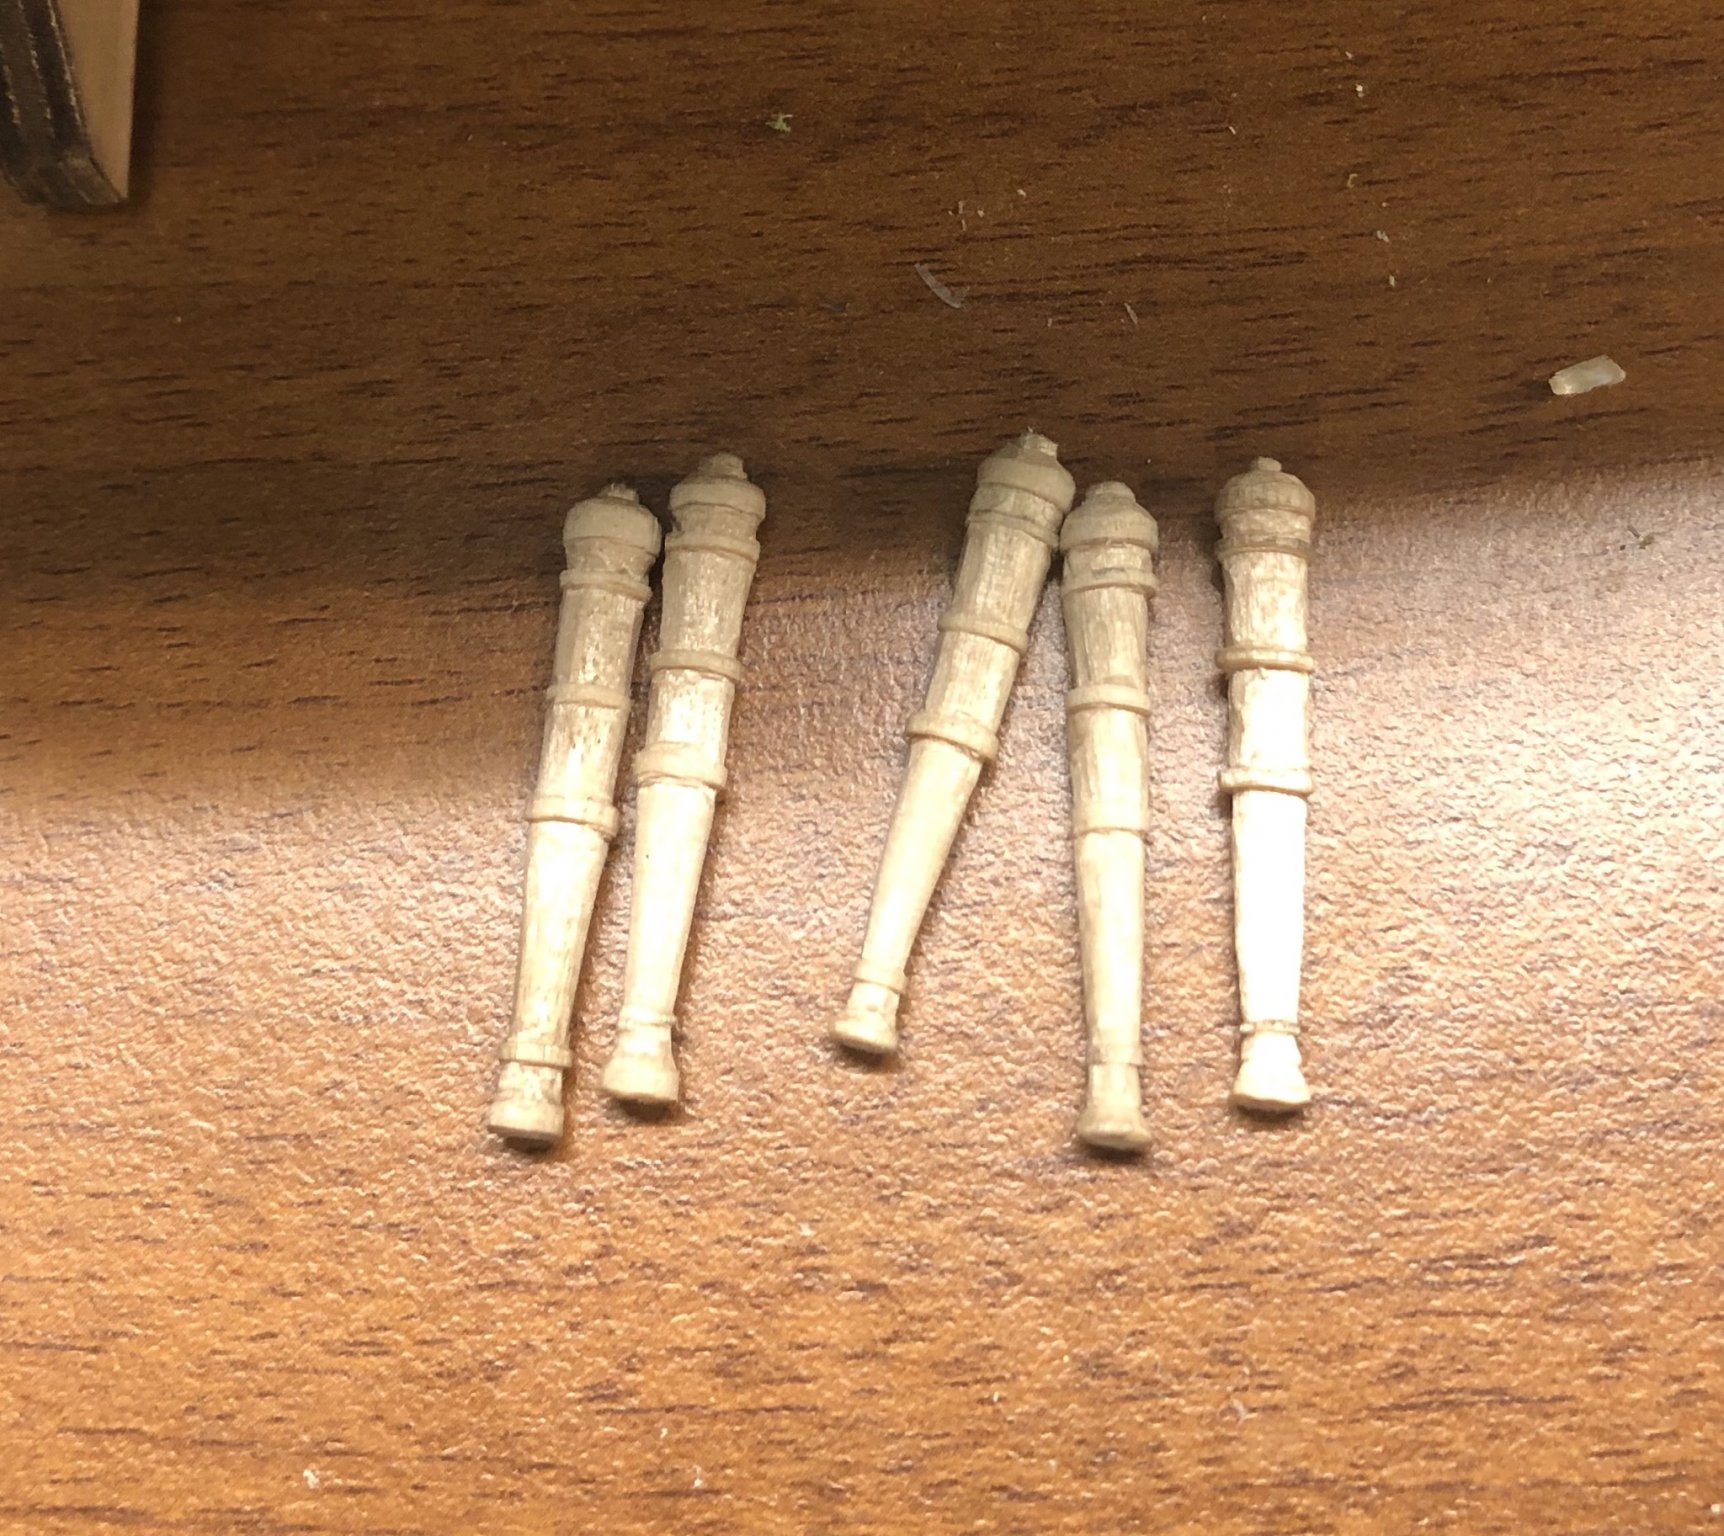
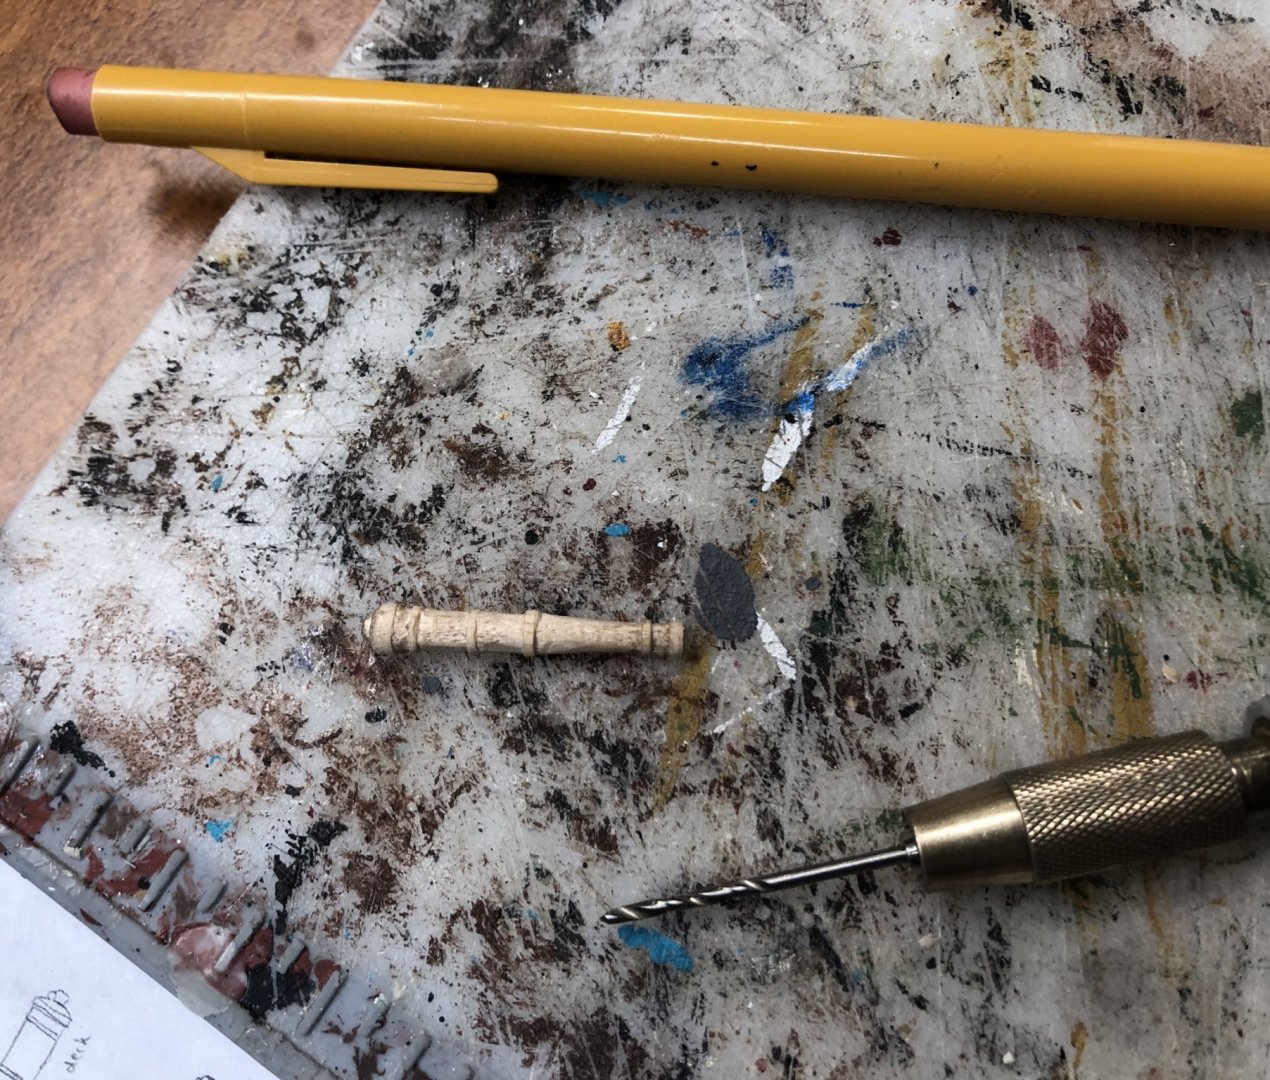
Thank you very much! Here’s long 12 no. 5
-
Thank you all! Here is the first bow chaser:
-
Is there any guide for scratchbuilding in card?
GrandpaPhil replied to ubjs's topic in Card and Paper Models
I used that tutorial to build my Prince de Neufchatel from card (my build log is one of the card builds mentioned). Ab Hoving does an amazing job of explaining how to go from plans to model in card. The part about translating line drawings to keel plate and bulkheads also applies to wood. -
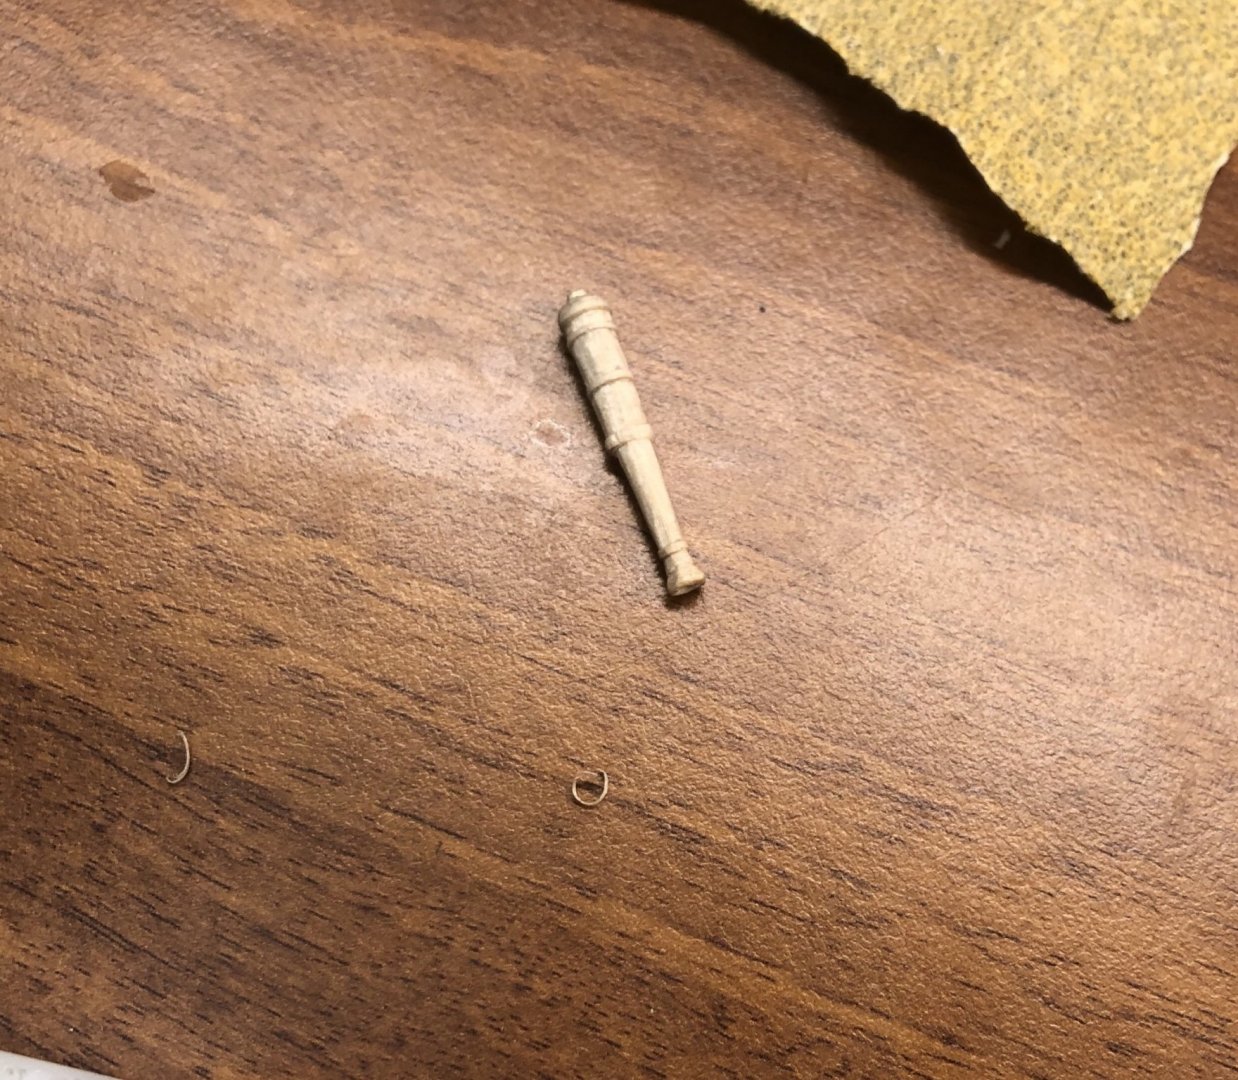
I made a mistake tonight. I cut my fifth 12 lb long gun too short. So, it is being made into one of two bow chasers (a medium length 12 lb gun).
-
Newbie just starting needing help
GrandpaPhil replied to NomaD7801's topic in New member Introductions
Welcome! That kit looks like fun! -
All I can say is that is amazing.
-
Glad to see some more progress! It’s looking good!
-
That looks like a good selection for the future. I am also trying to finish my Victory this year. I also have the Bellona and Granado planned for sometime in the future (although mine will be from the AOTS plans, probably in 1/72 scale). I look forward to seeing your progress on your various builds.
-
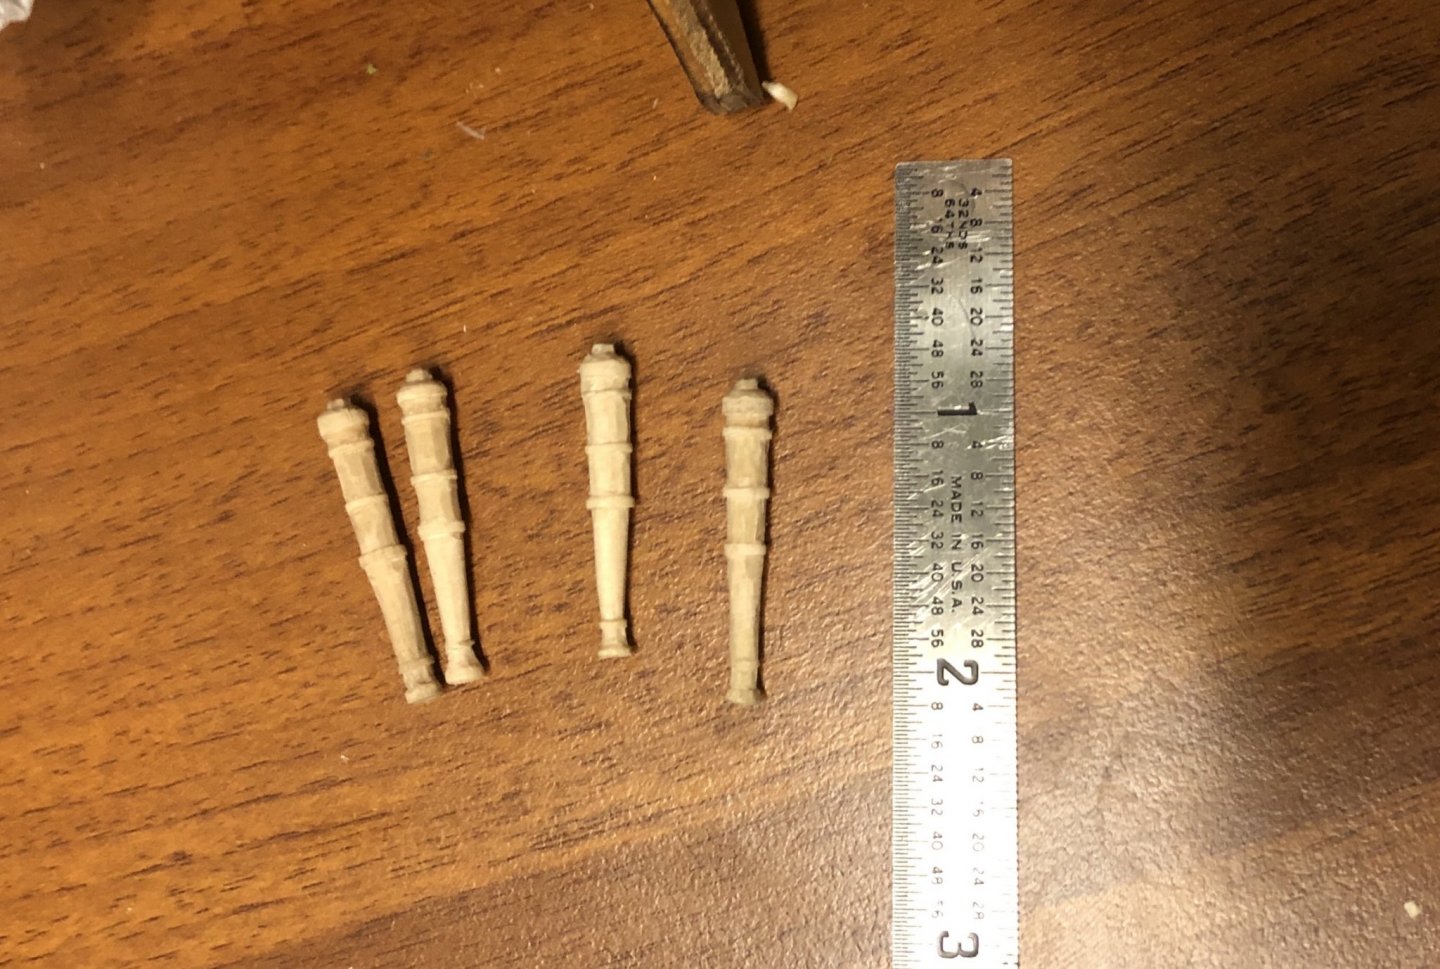
I made my fourth cannon. It’s actually the fifth, but I threw one away because I used a dull blade on it and it split out on me, beyond what I can repair. I put a scale next to them. I integrated the cascabels into these, unlike last time, where I glued a seed bead onto the back end of the cannons. Quick note: I am using a scalpel to carve dowel rods. These are not turned.
-
Just starting, in Boothbay Maine
GrandpaPhil replied to S Gottlieb's topic in New member Introductions
Welcome! -
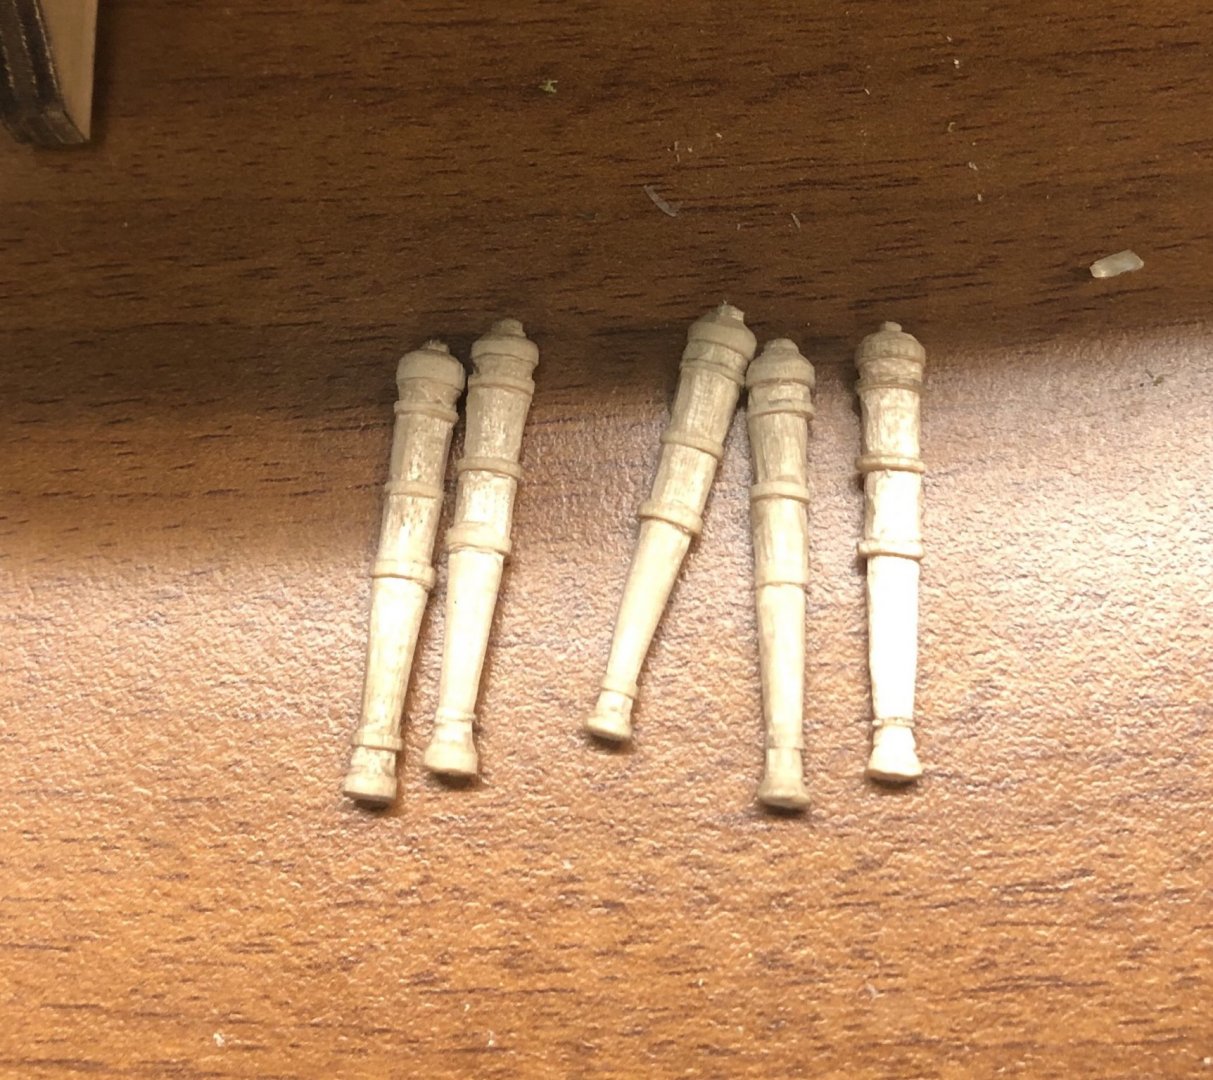
I’m glad you guys liked them. I made three today over the course of an hour and a half. Once I sand them all, they should turn out like the last set (I think those turned out well). Although, at 1:98, they are much smaller than last time.
-
One 12 lb long gun. The first of ten.
-
I’m starting on the cannons. I had a blast making them on the Prince de Neufchatel, so I’m making the rest of them for Victory (plus I liked mine better).
-
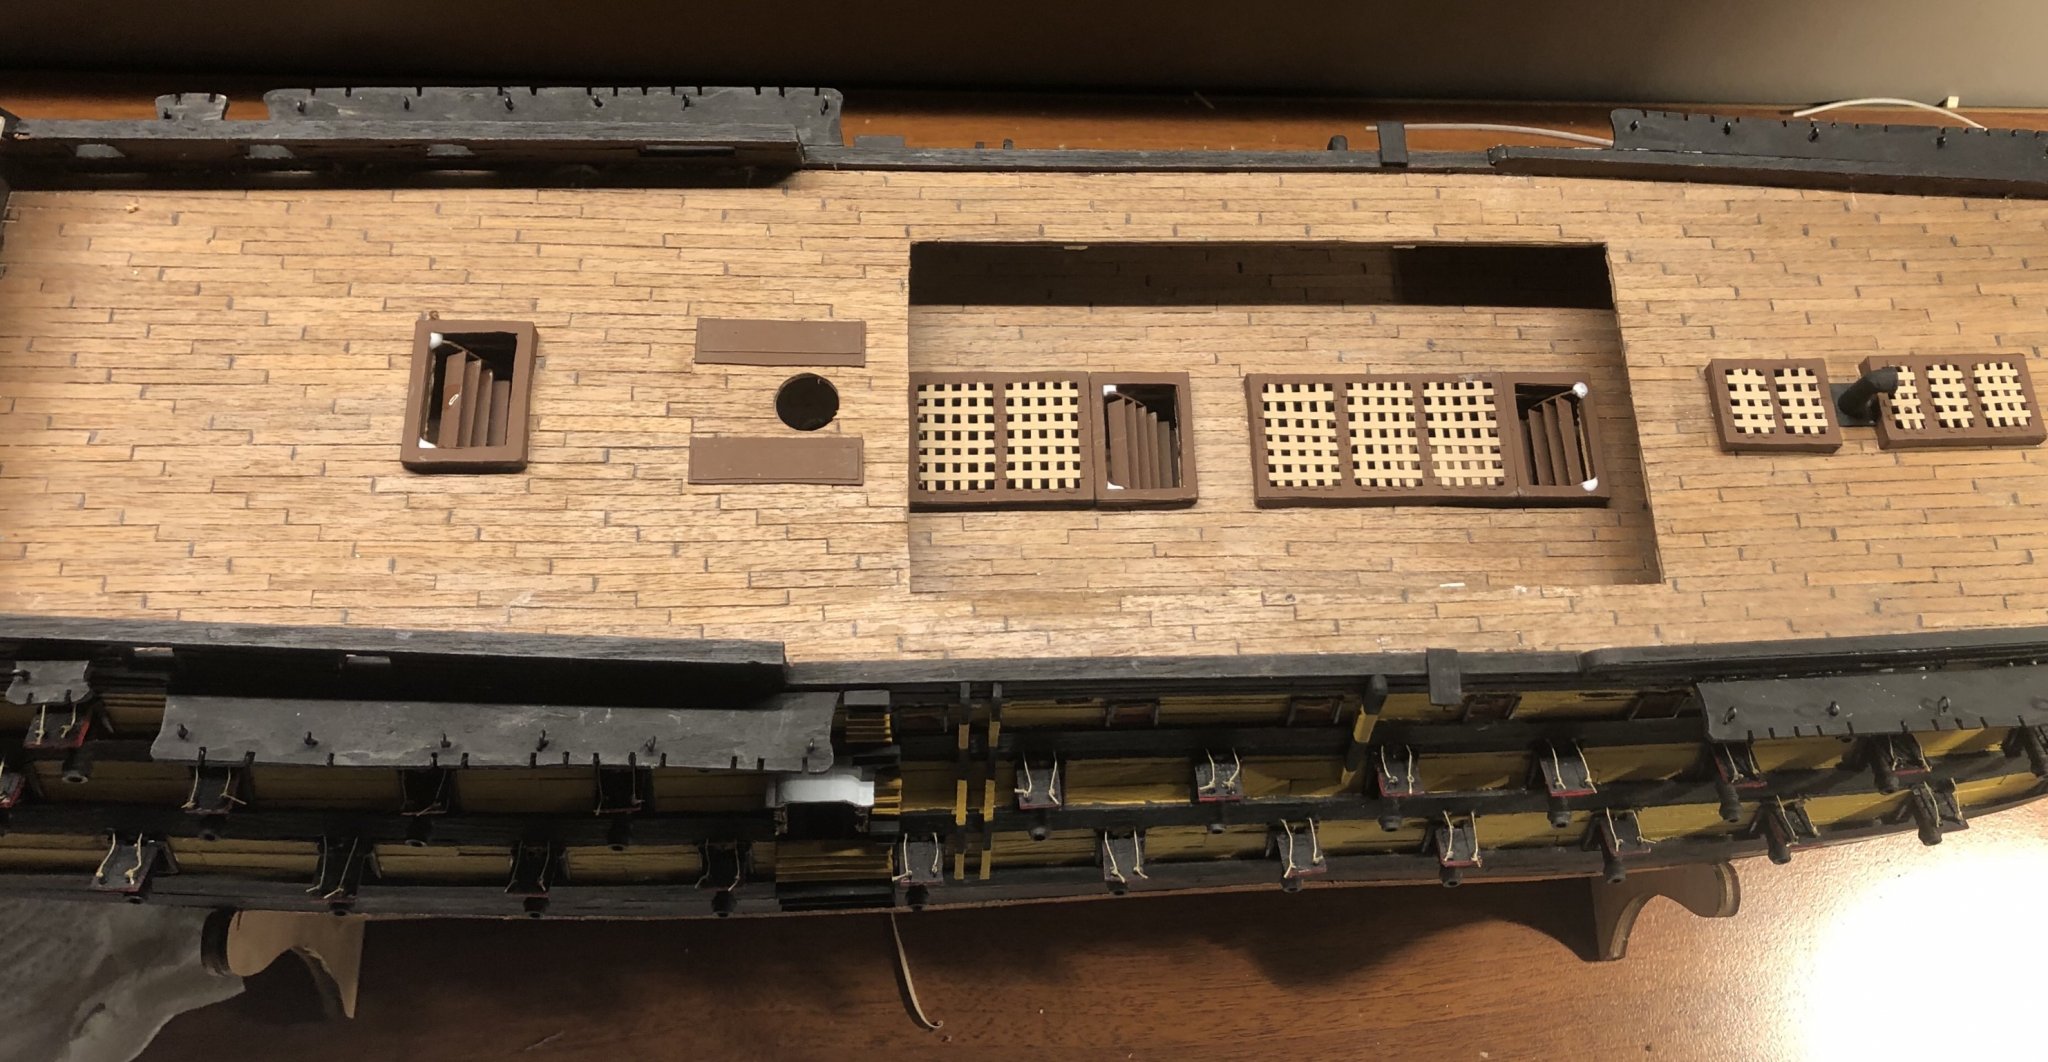
I installed the ladders. They are made of poster board. They aren’t perfect, but they are the first generation of ladders that I have scratch built.

-
Rafale by CDW - FINISHED - Hobby Boss - 1:48 Scale
GrandpaPhil replied to CDW's topic in Non-ship/categorised builds
Excellent! -
Welcome!
-
Congratulations! Well done!
-
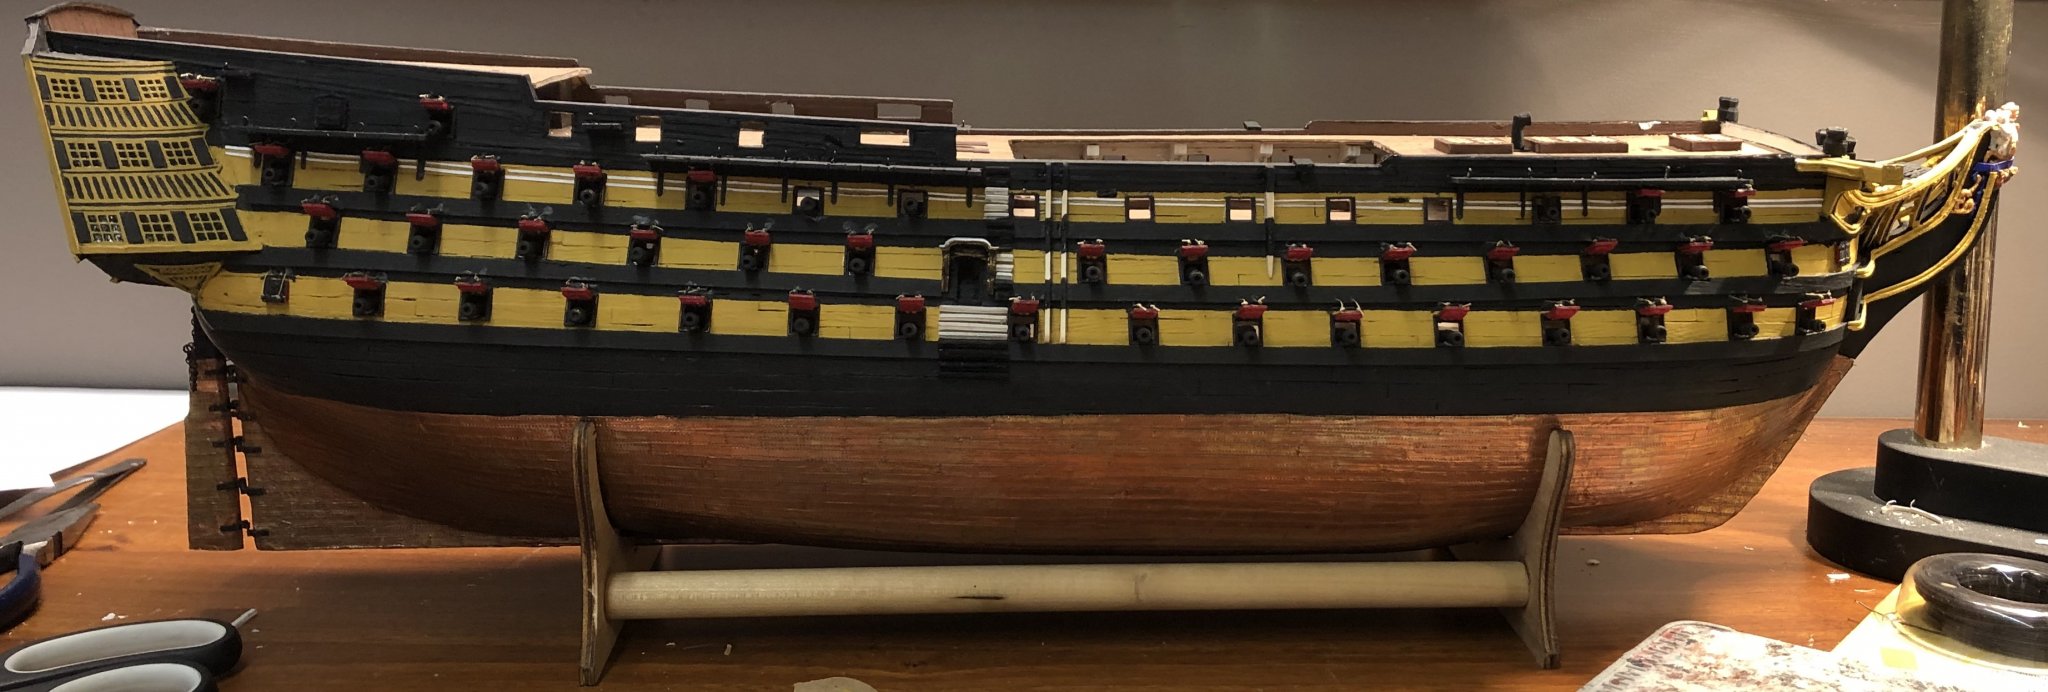
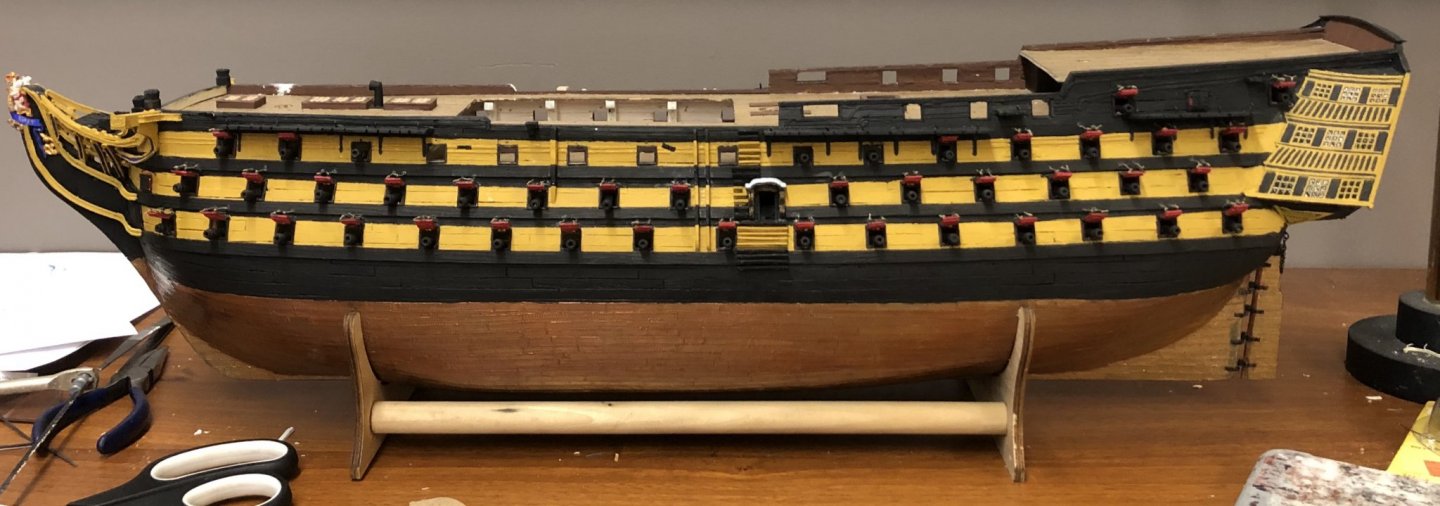
Thank you, everyone, for all the likes and the comments! I painted the starboard side. I’m happy with it. Time to fit out and arm the upper gun deck and spar deck.

-
The black is done on the starboard side.

-
The Victory now looks like she belongs to Nelson’s fleet. The port side is painted.
-
It’s a useful tool. I found out about them on this forum (I don’t remember who had it). It’s perfect for anything that has to be fitted to the hull. I also intend to use it to make the cradles for the ship’s boats.