GrandpaPhil
-
Posts
6,163 -
Joined
-
Last visited
Content Type
Profiles
Forums
Gallery
Events
Everything posted by GrandpaPhil
-
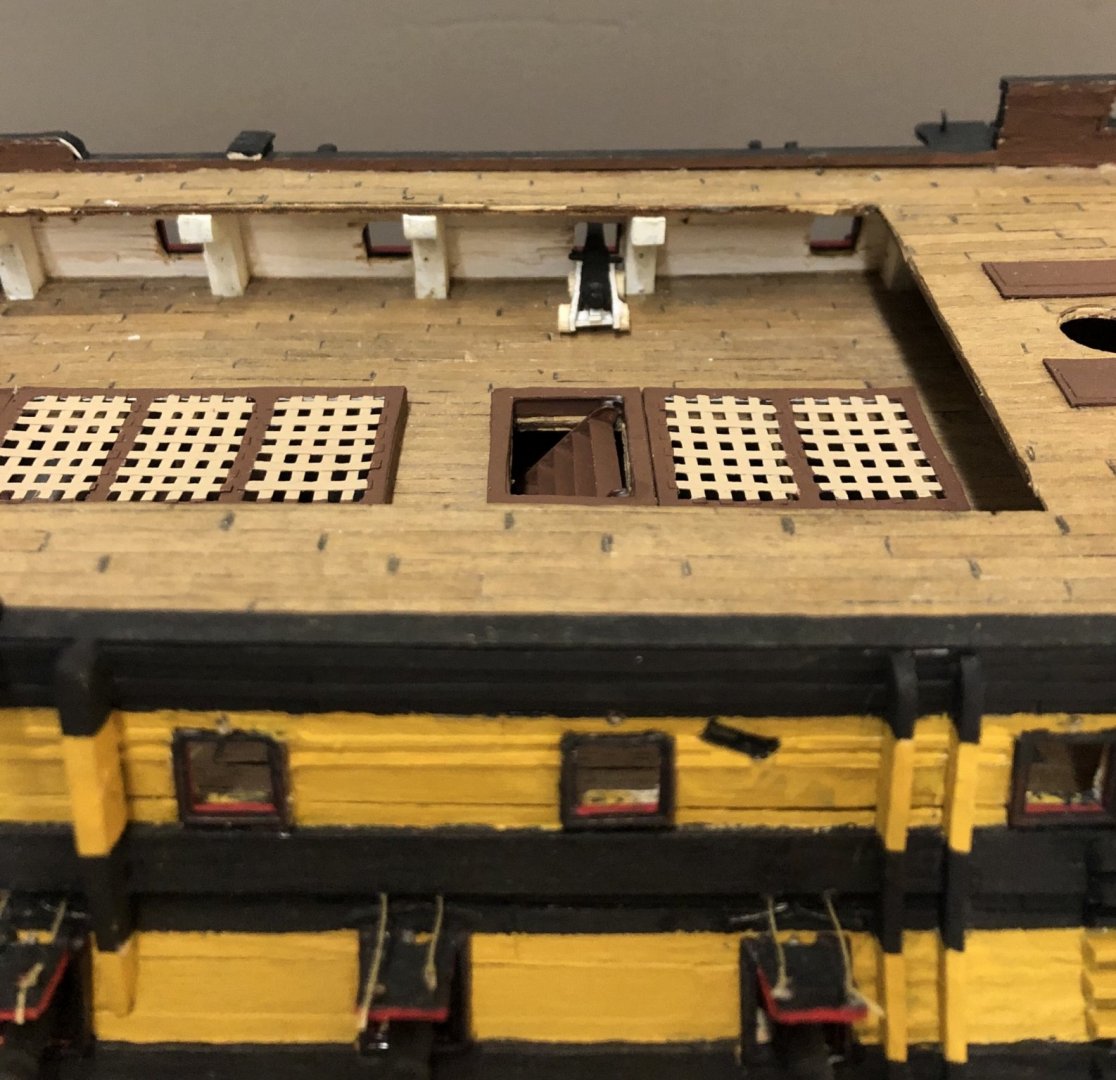
The test fit is a success:

-
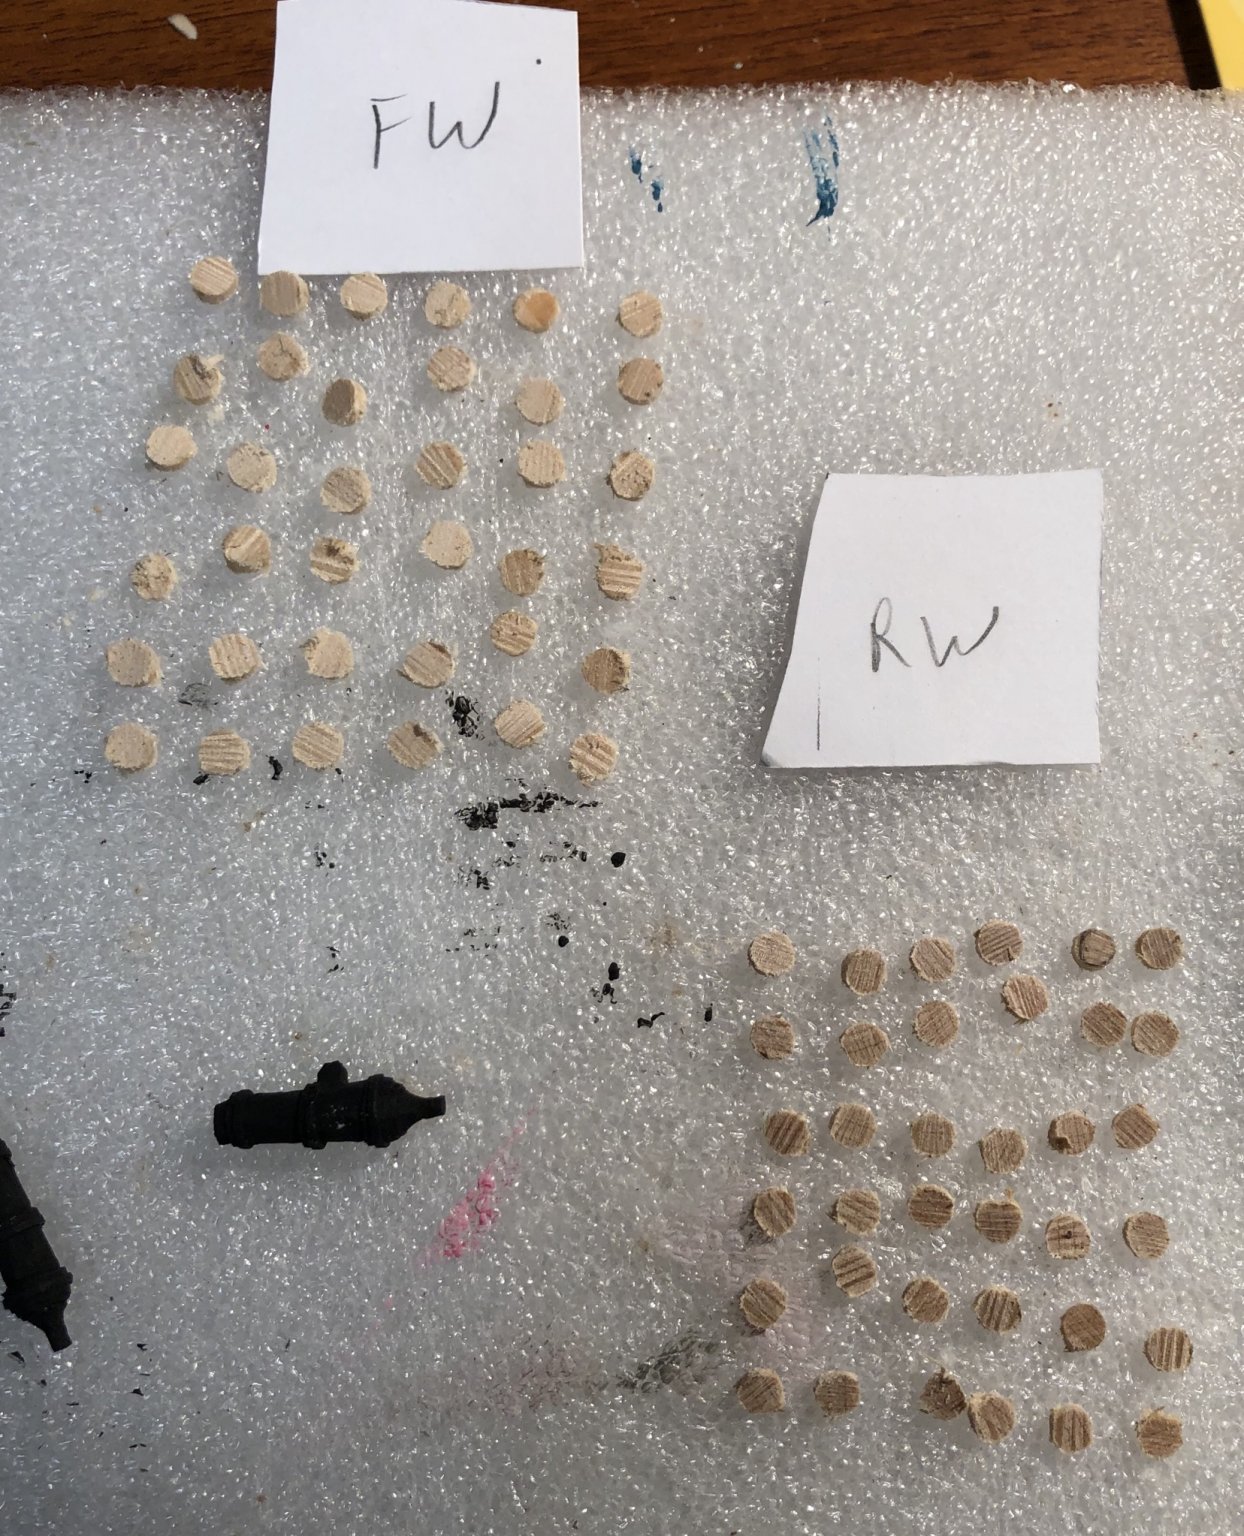
72 wheels. The rear wheels are 1/16” less in diameter than the front wheels.

-
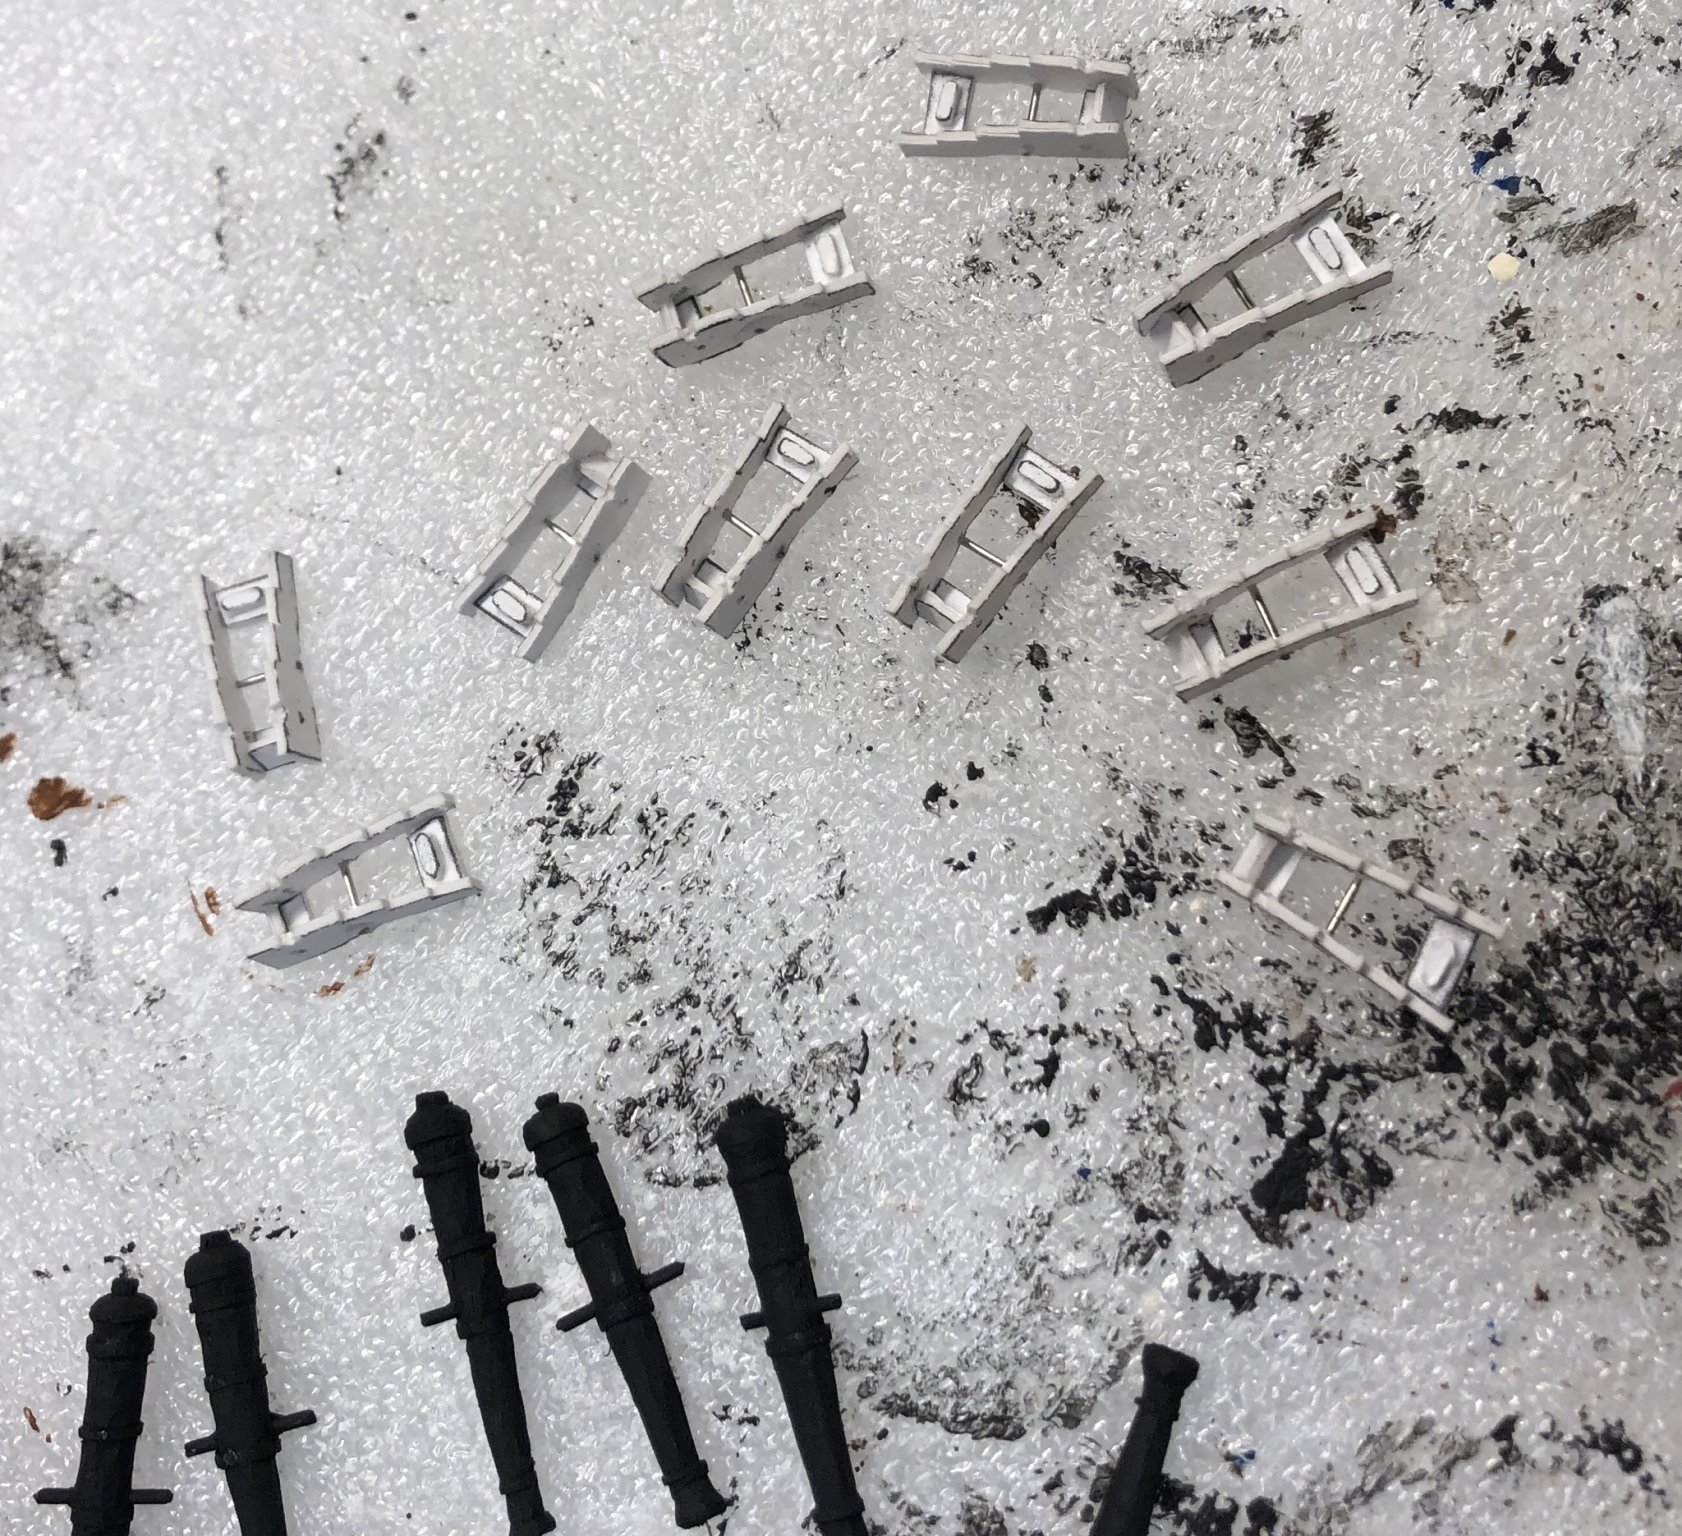
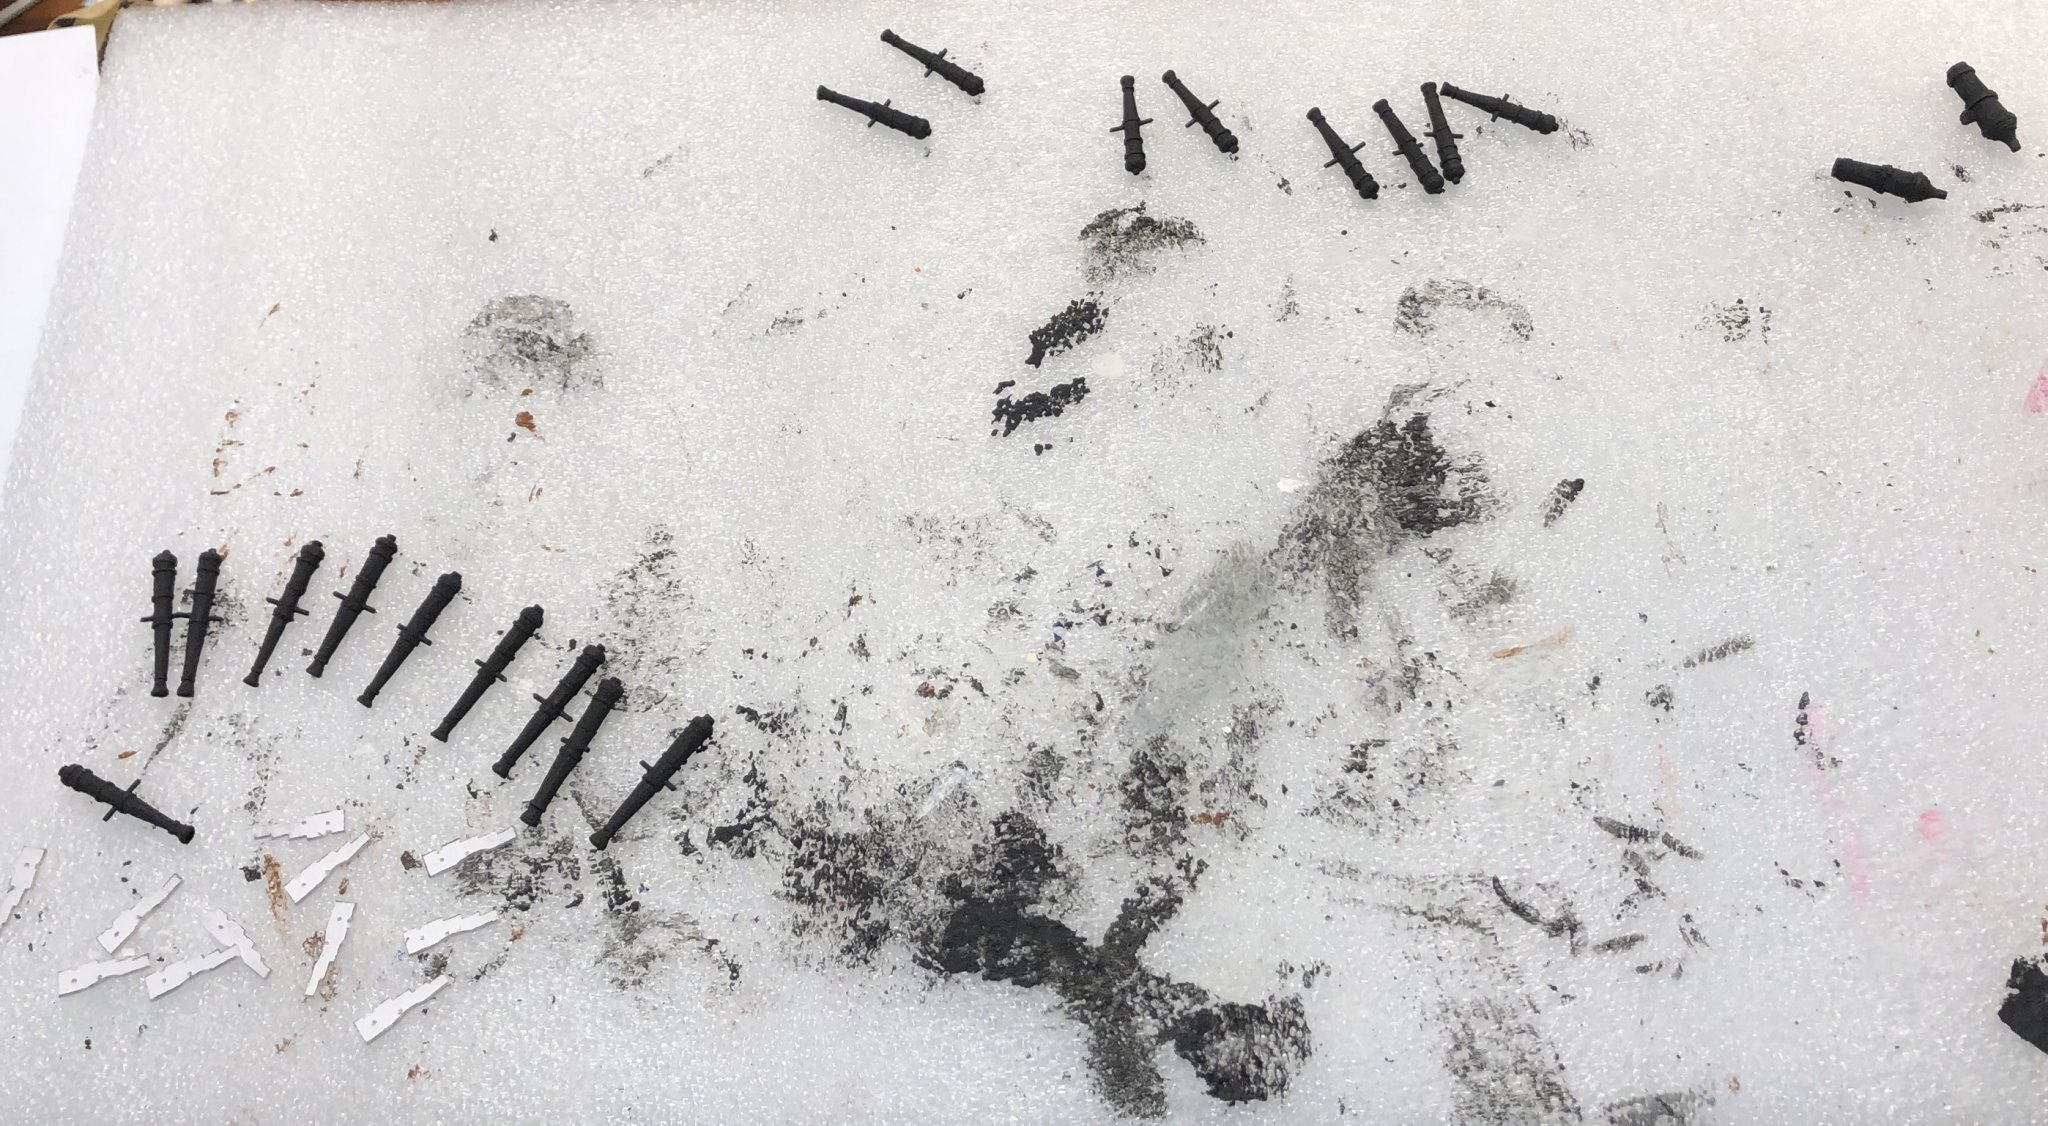
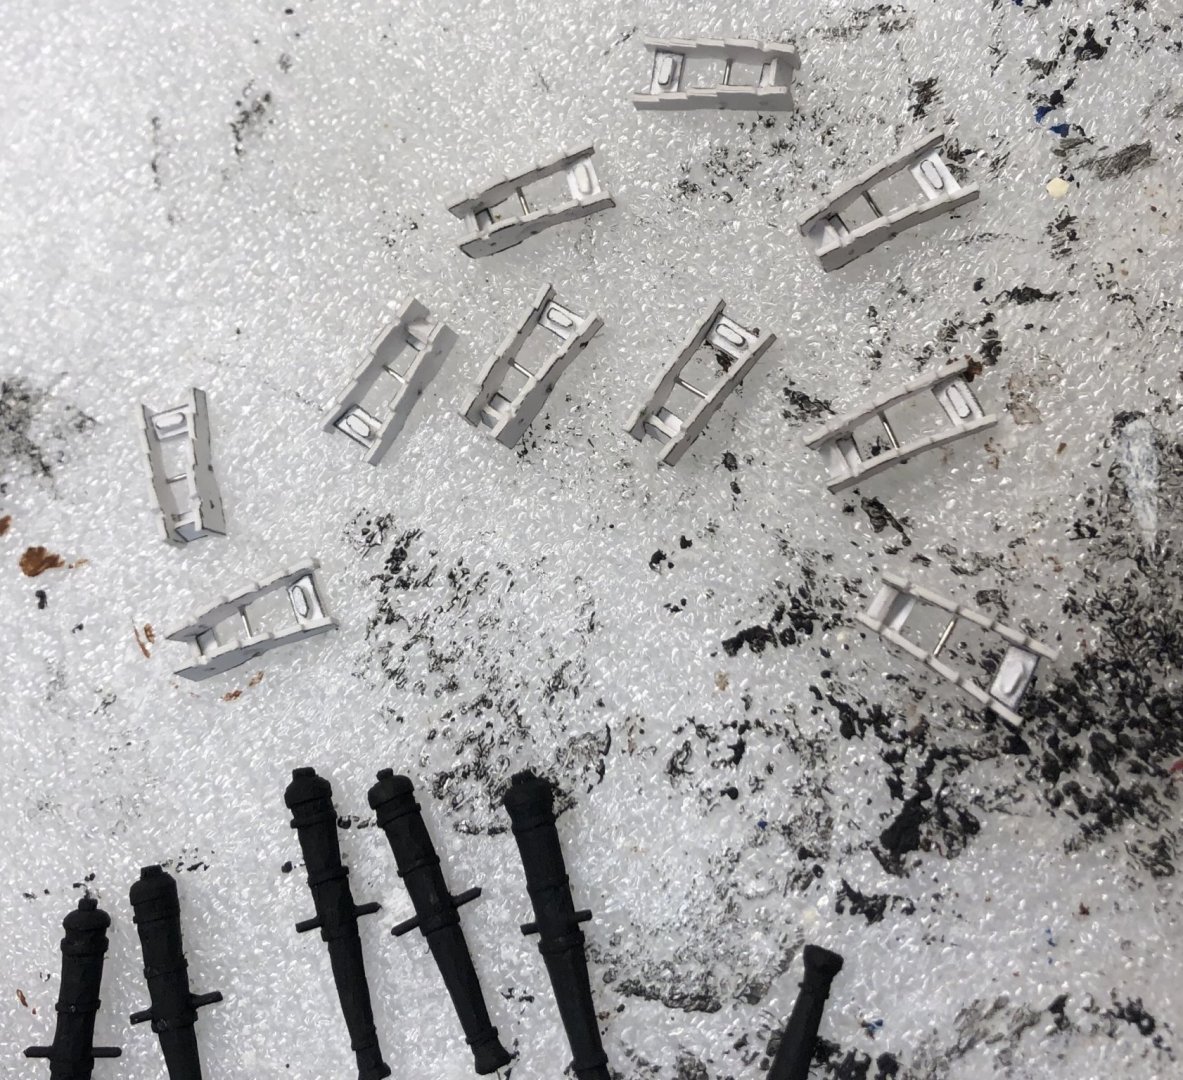
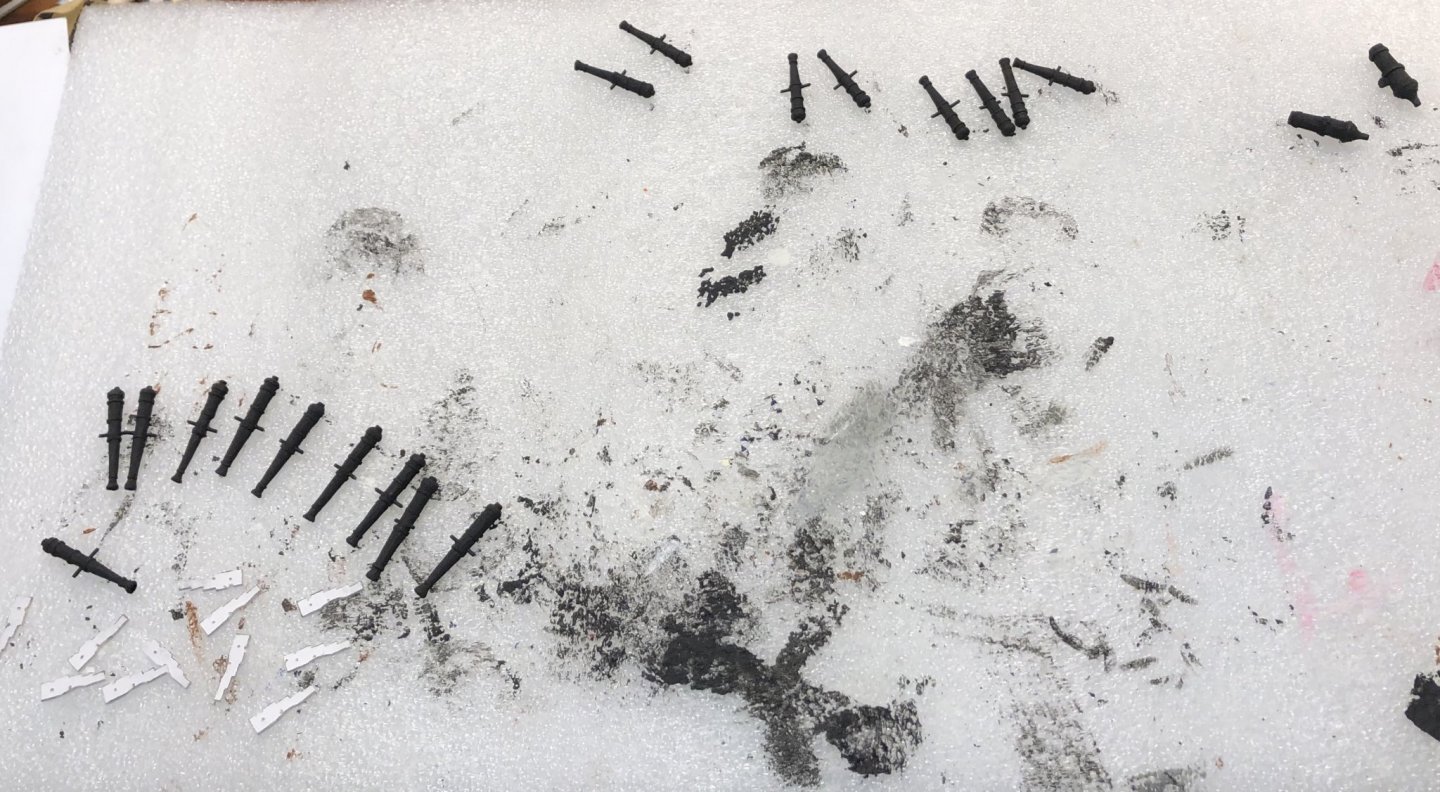
Thank you all! I’m currently working on making the gun carriages for the long twelves:


-
Welcome!
-
The cannon barrels are painted black. I’ll add the faux metallic effects to make them look like cast iron after I put them on their carriages. I have been cutting out pieces for the long 12’s carriages.
-
Welcome!
-
Welcome!
-
Respect time and detail
GrandpaPhil replied to TheAuthorsDaughter's topic in New member Introductions
Welcome! -
HMS Victory by helge - Caldercraft - 1:72
GrandpaPhil replied to helge's topic in New member Introductions
Welcome! -
Yep, I’ve had those nights before. They are awful.
-
Hello and yet another Syren in progress
GrandpaPhil replied to Kevin53's topic in New member Introductions
Welcome! -
Thank you very much. It is intended for a game called Bolt Action. I have built several models from this line. I have never played it, but the models and miniatures are top notch.
-
I run all rigging thread through a block of beeswax, that I got at the hardware store. It works wonders for preventing fraying.
-
Copper tape works well too. I’ve used it for two models now.
-
Welcome!
-
Welcome!
-
Welcome!
-
Welcome!
-
I did. I found them on clearance, lol. Seriously, though, thank you very much!
-
Thank you! I want to build a Char B1 Bis eventually. Those were monsters. A lot of the early war allied tanks were behemoths, though. They were just too slow. But, they look neat.