GrandpaPhil
-
Posts
6,165 -
Joined
-
Last visited
Content Type
Profiles
Forums
Gallery
Events
Everything posted by GrandpaPhil
-
Thank you all!
-
Welcome!
-
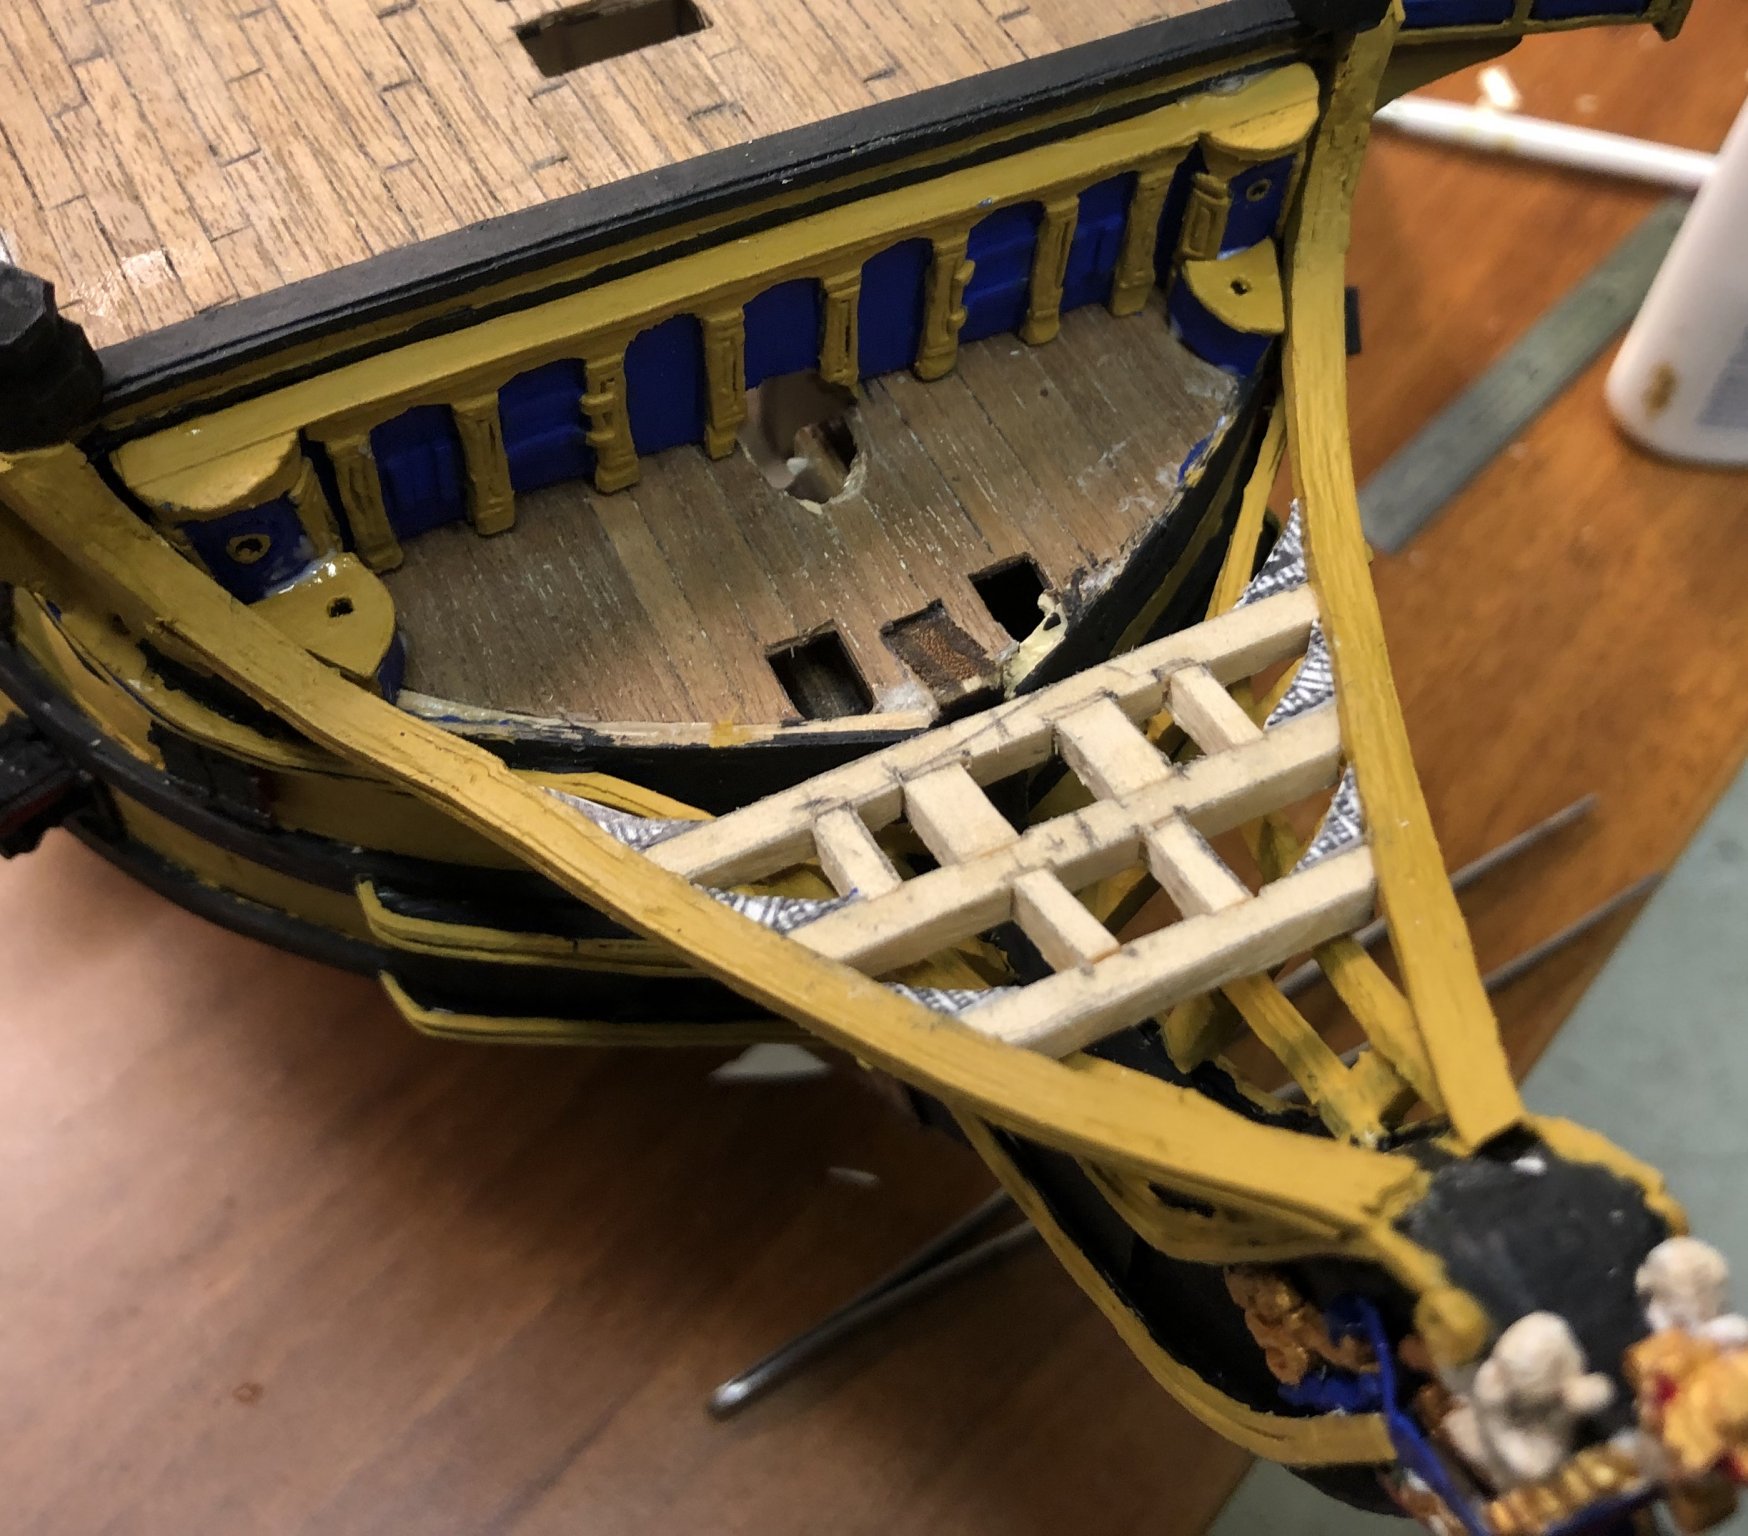
The gratings now have something to sit on, so next step: painting.

-
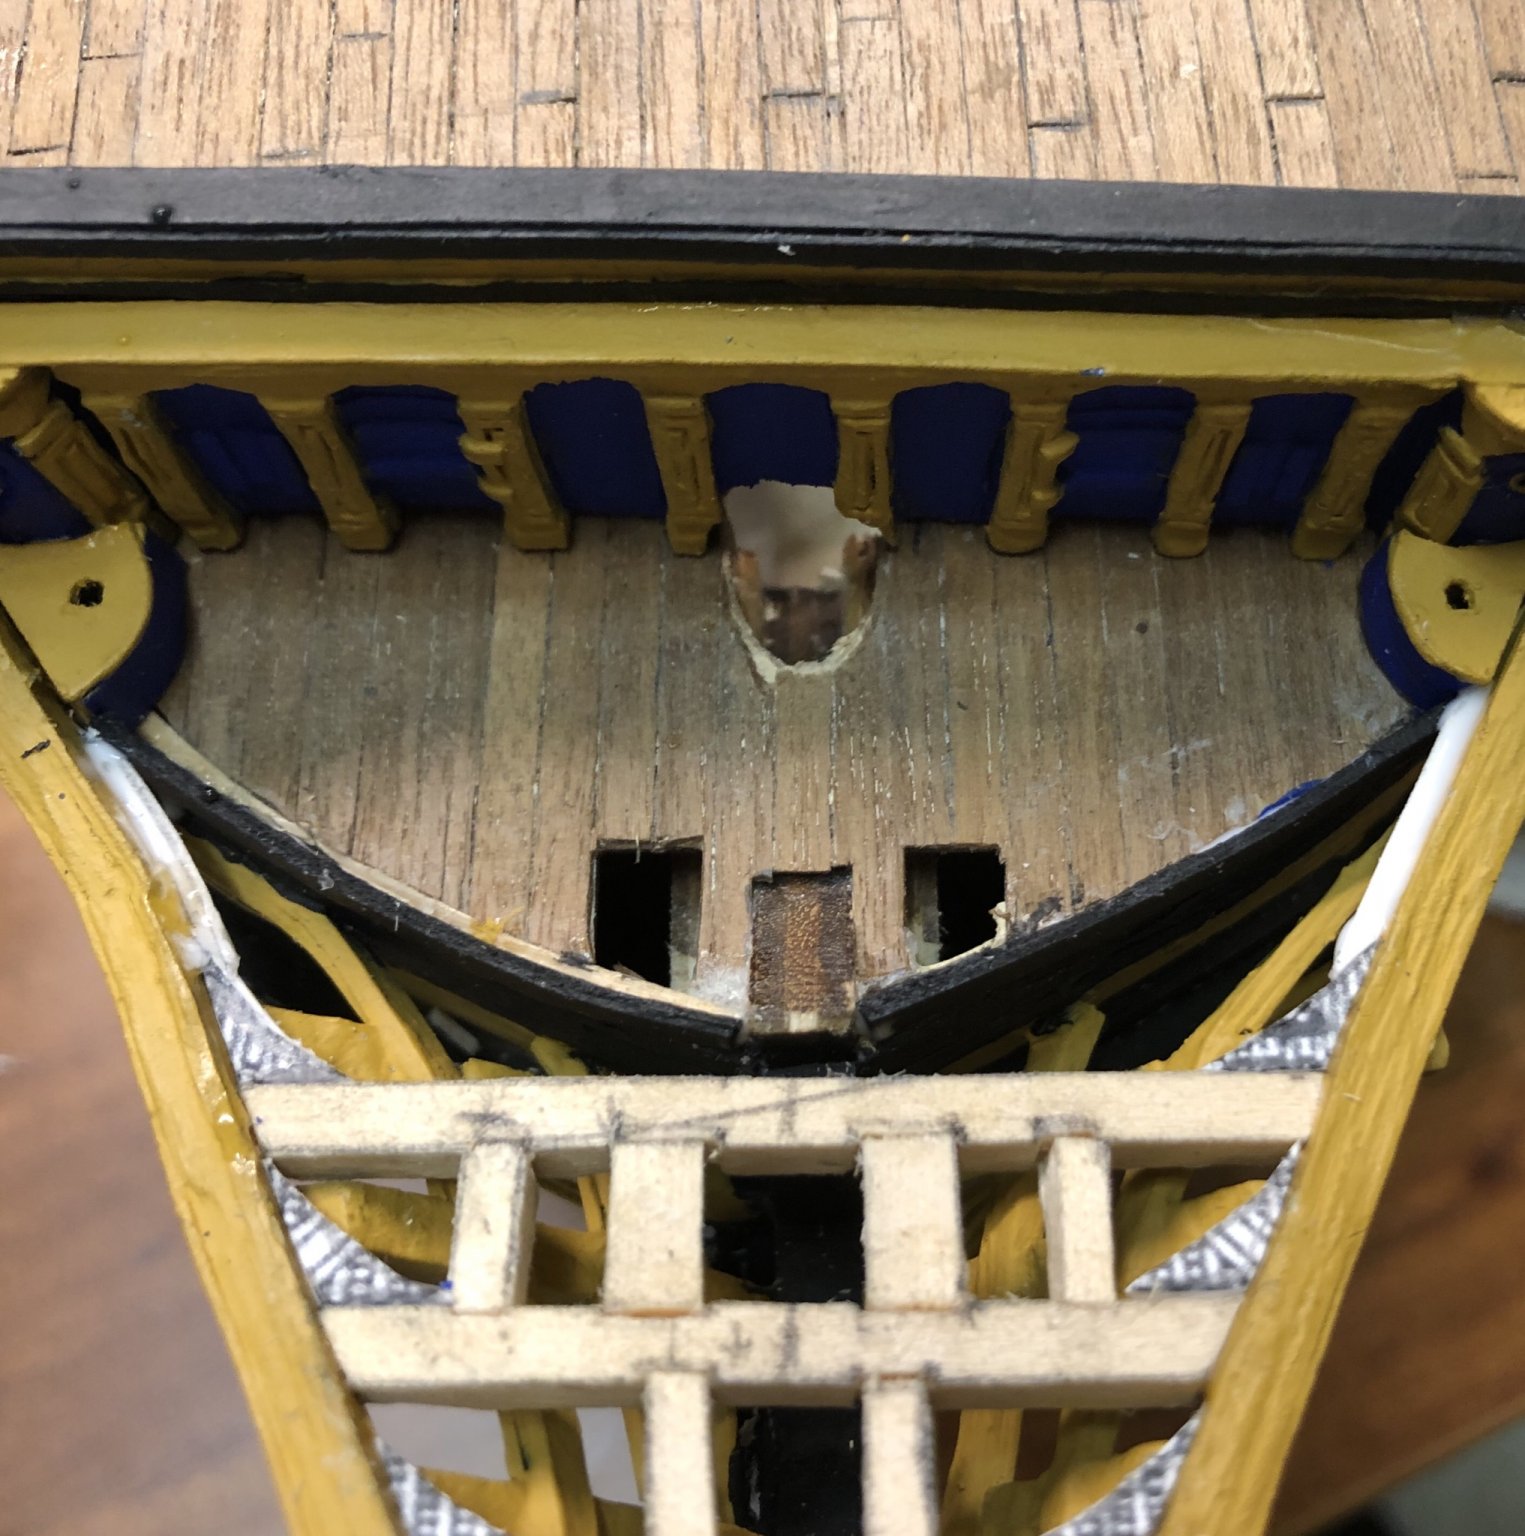
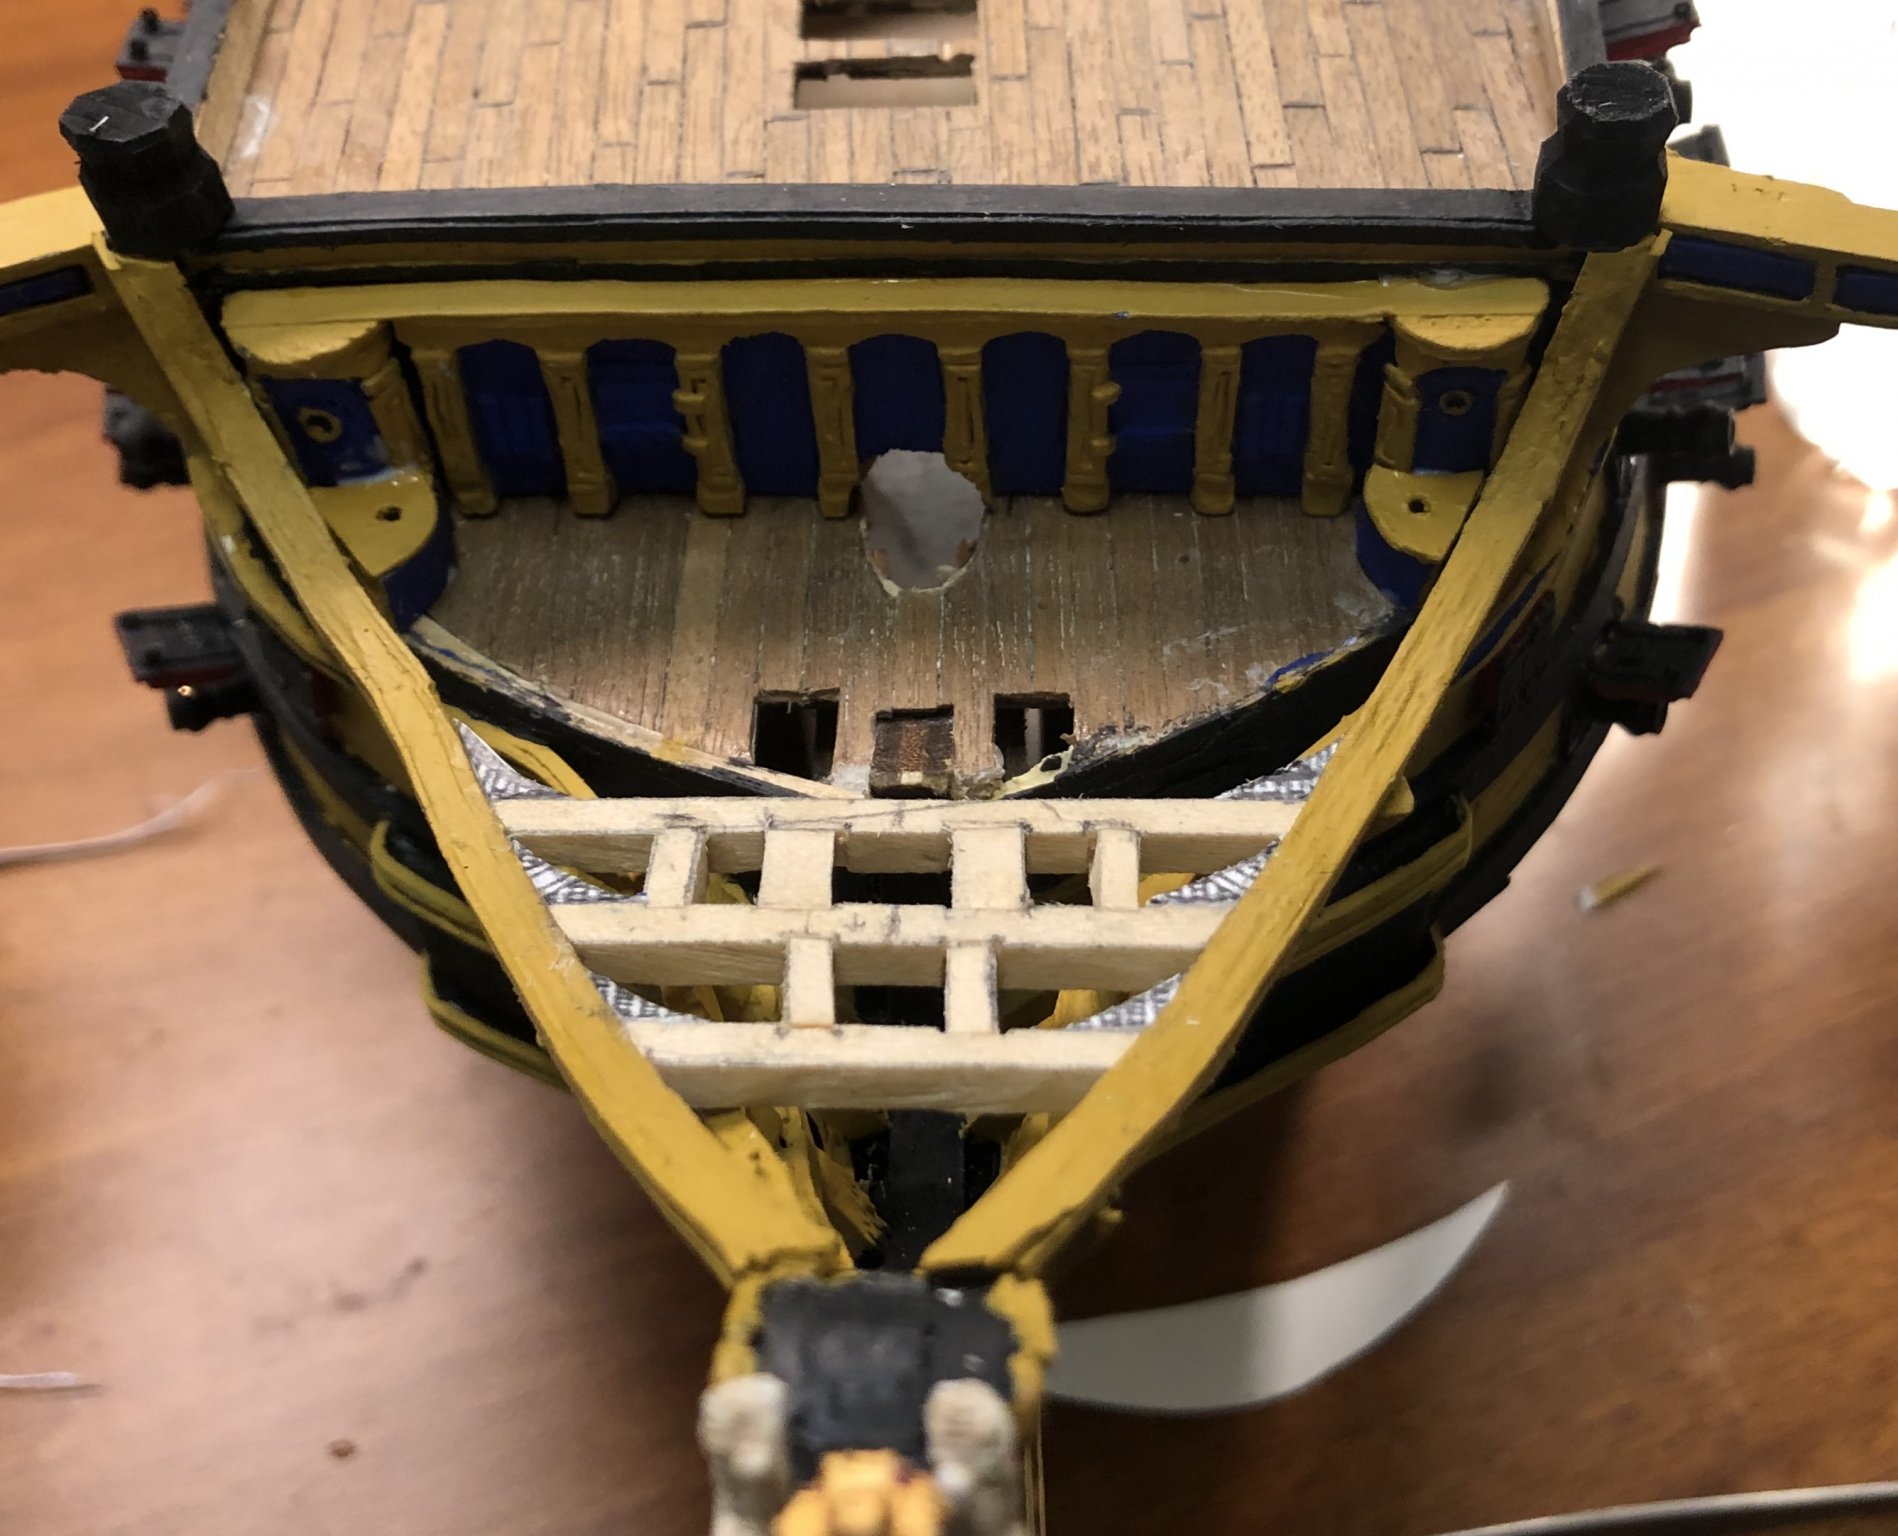
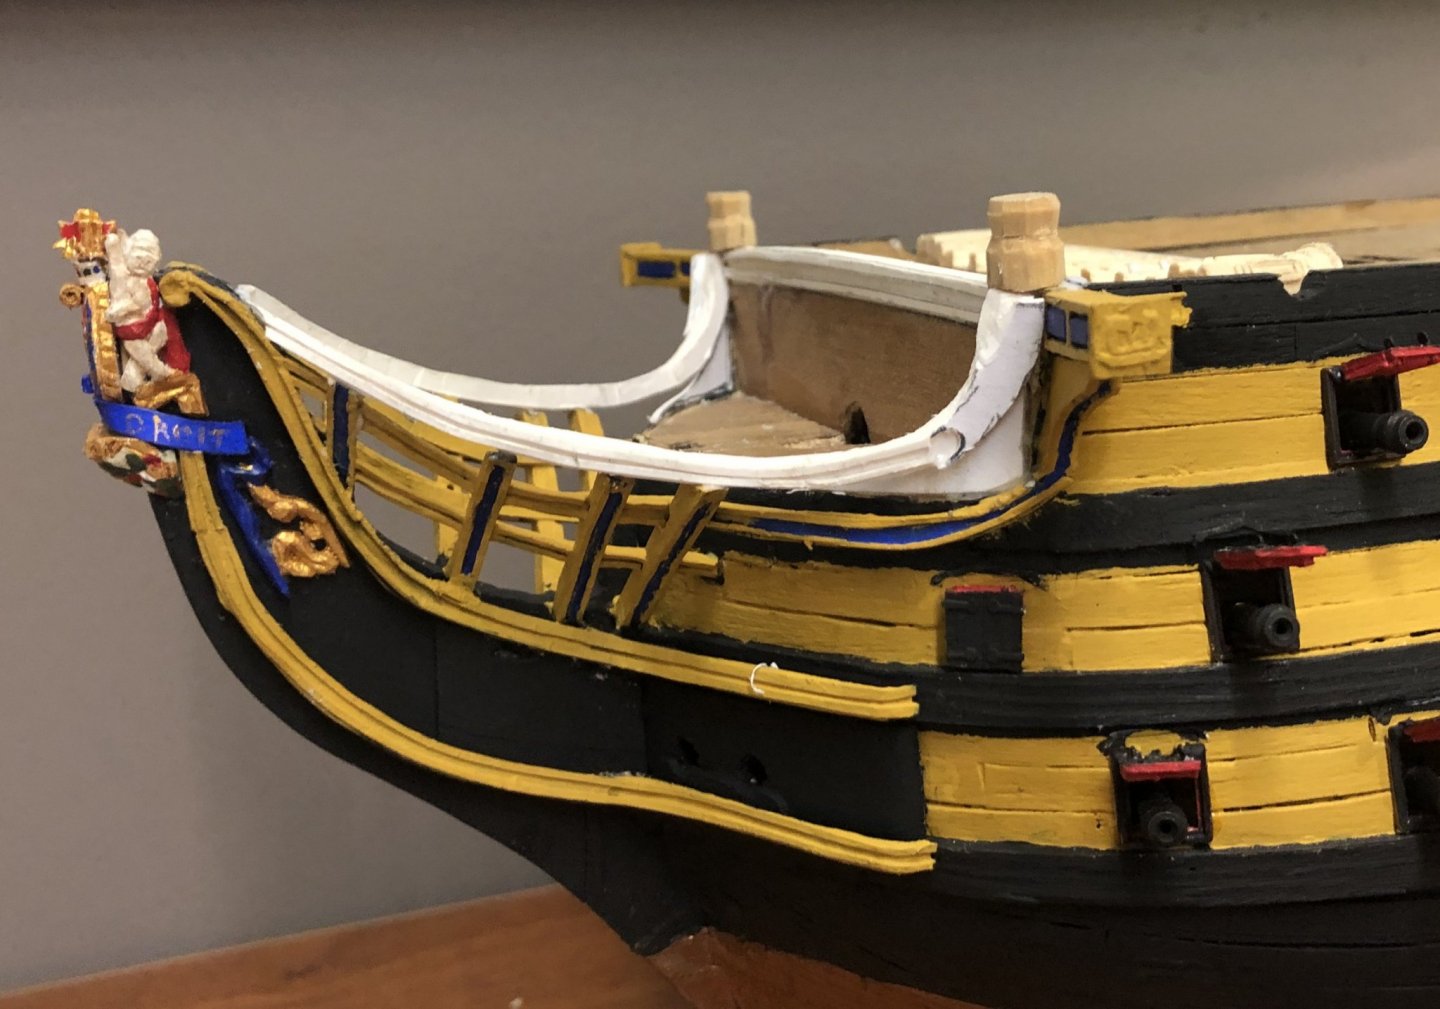
I have the framing for the head gratings in place. The first set of seats of ease are painted and installed. I have a few more pieces to make and install so I can paint the framing. Then I will start the gratings themselves. I am going to use the exact same method I used on the Prince de Neufchatel to make the gratings.


-
I’m building the head gratings IAW zu Monfeld’s drawings.
-
Ye other olde head: It’s only dry fitted.
-
Ye olde head: It’s only dry fitted.
-
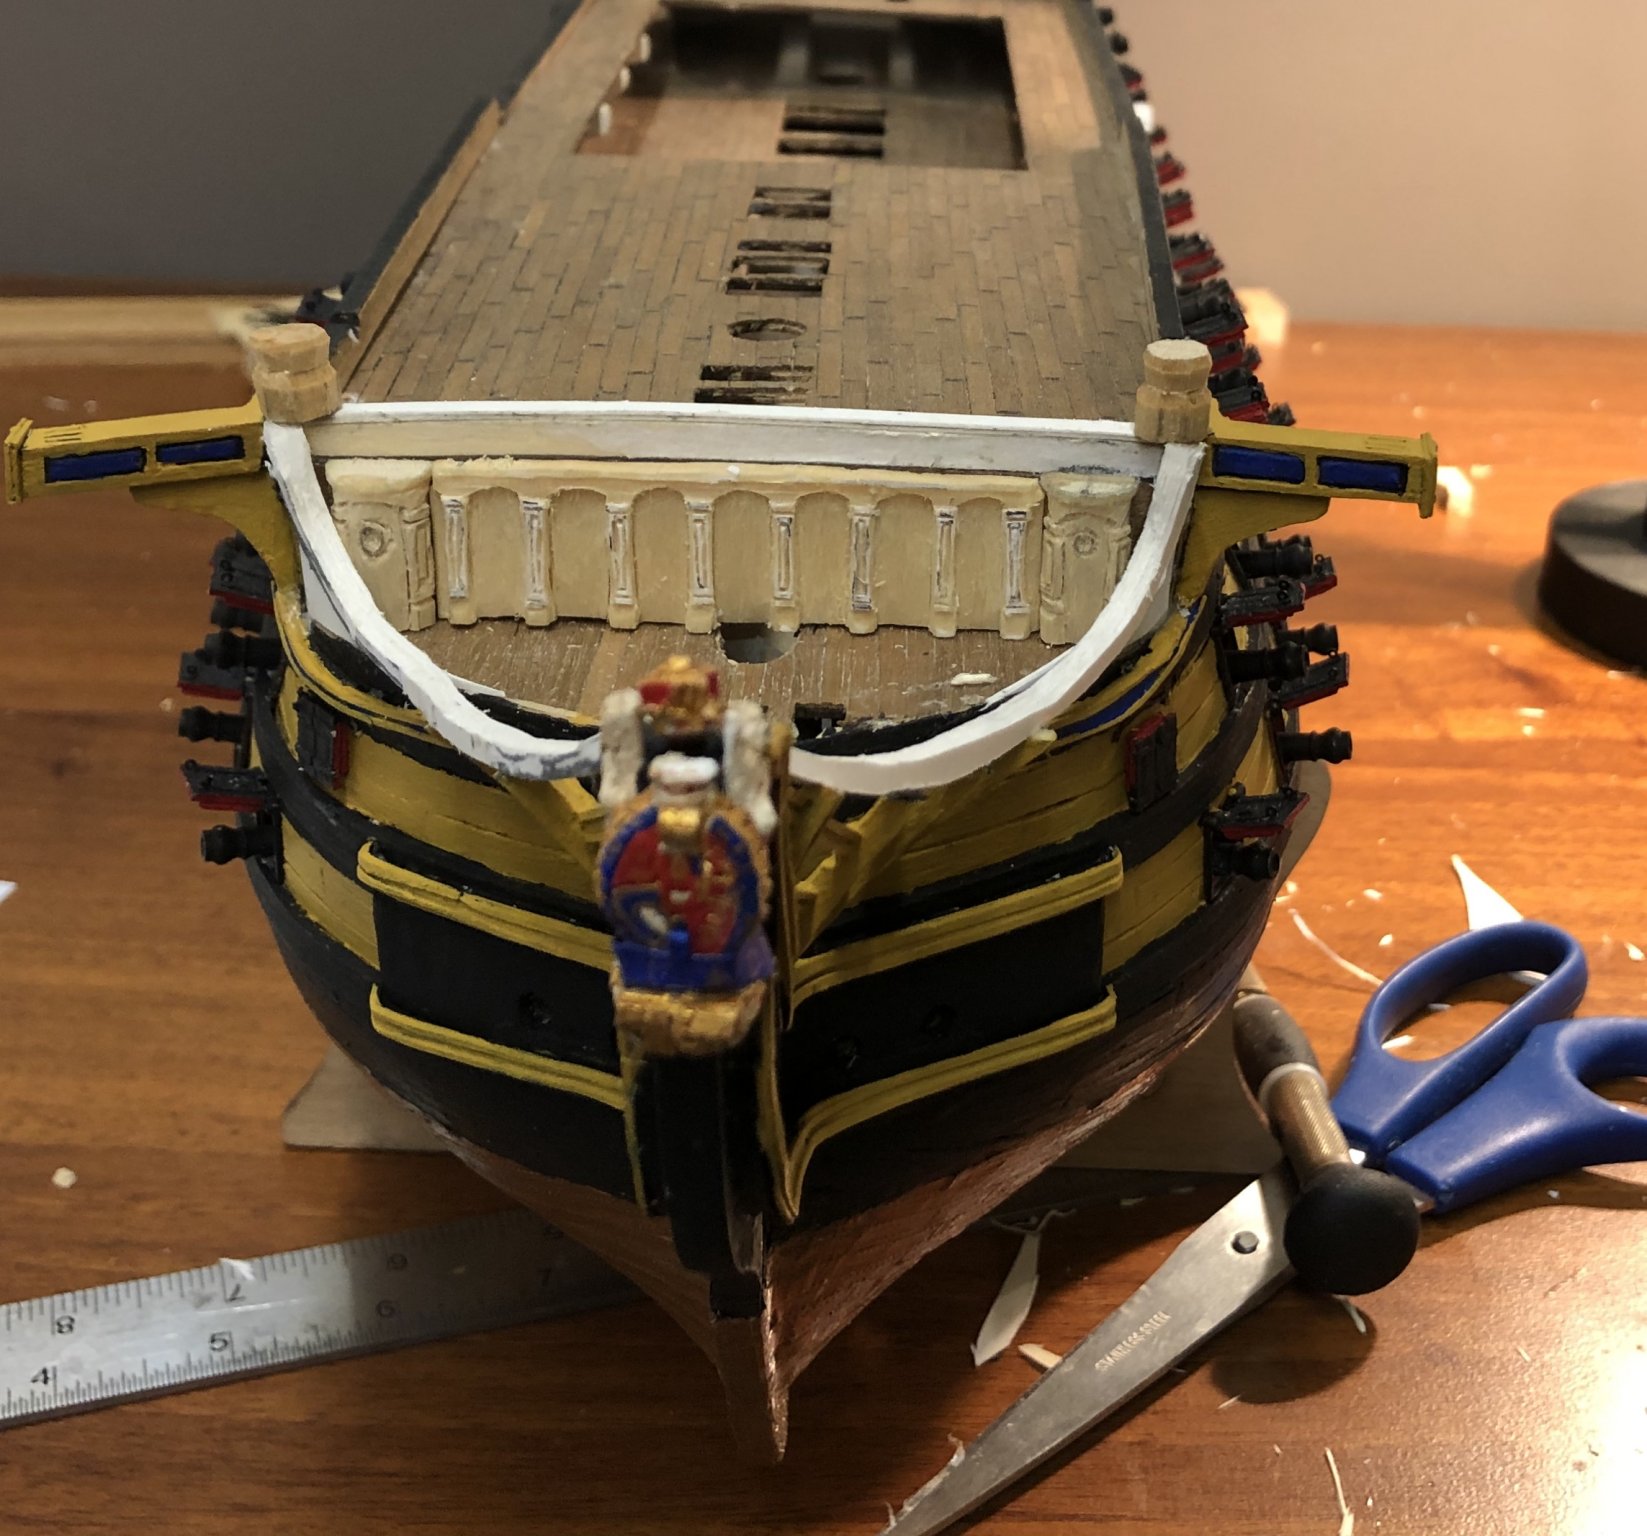
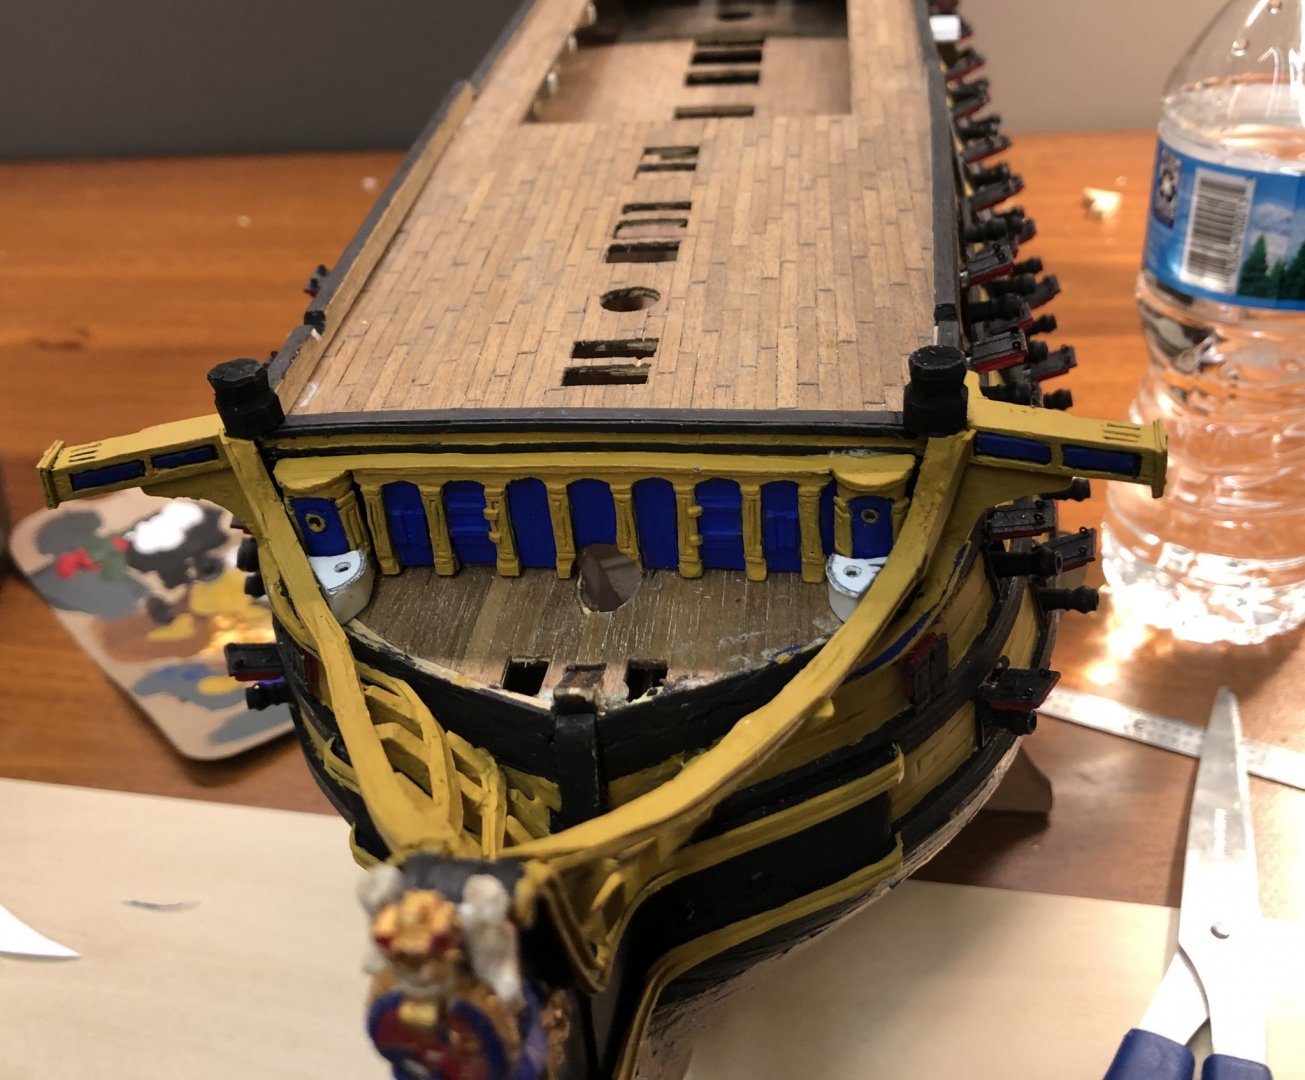
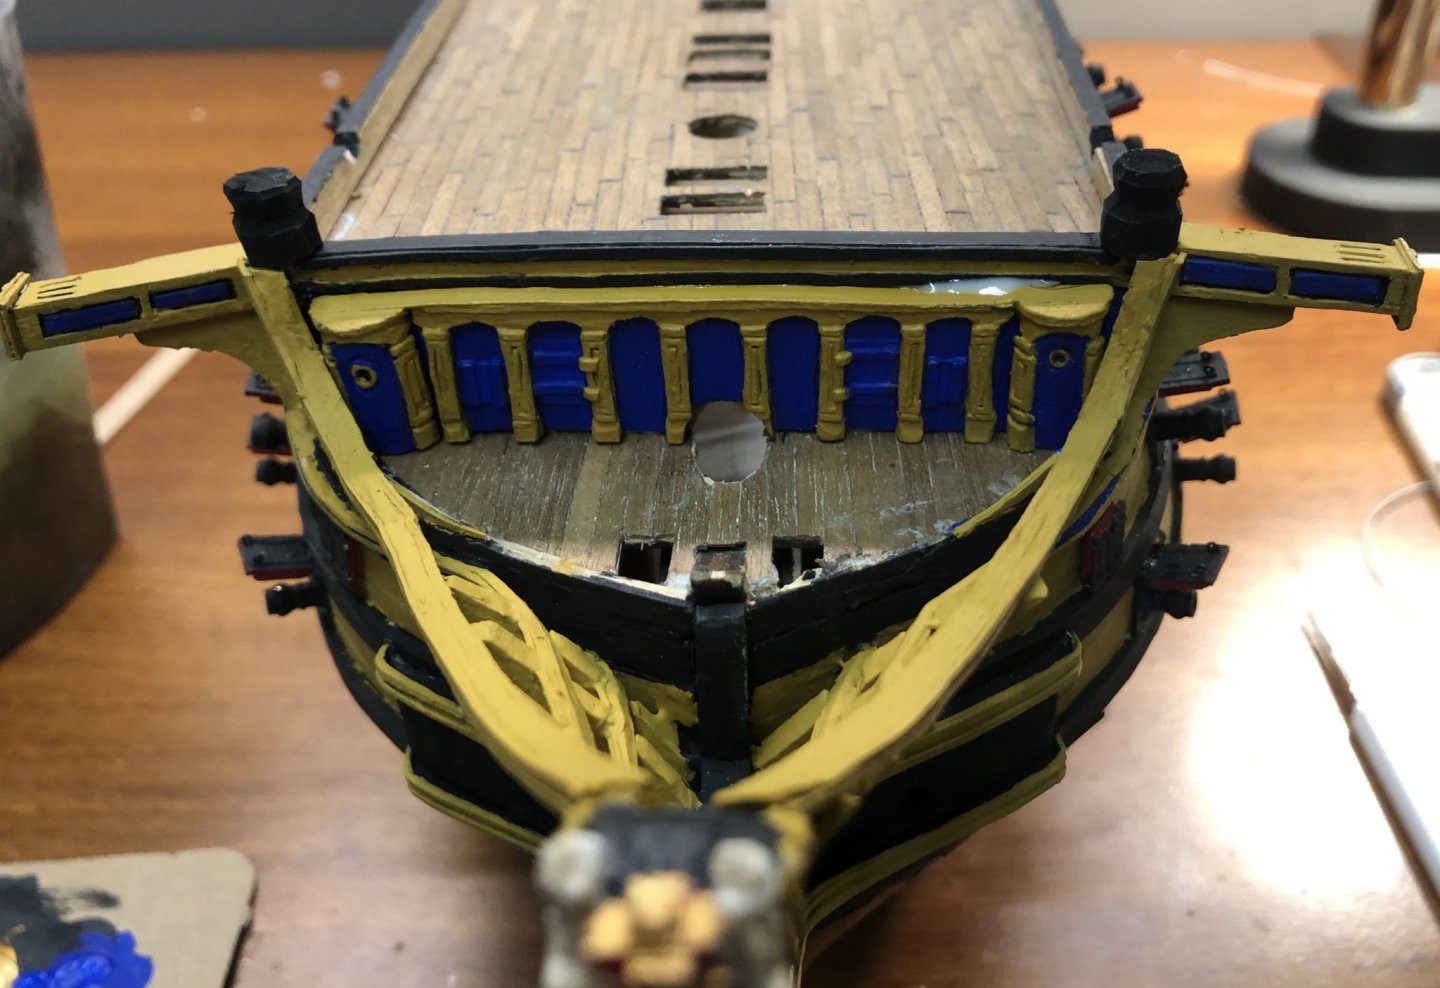
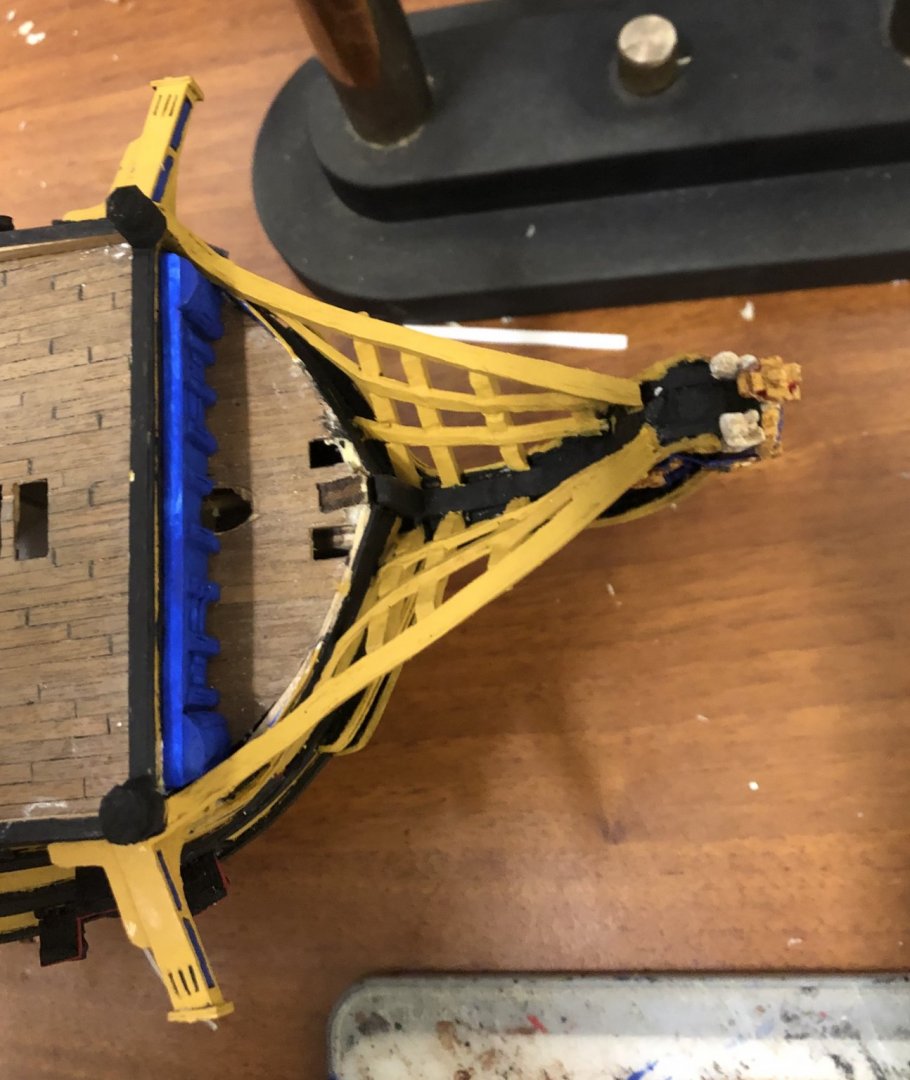
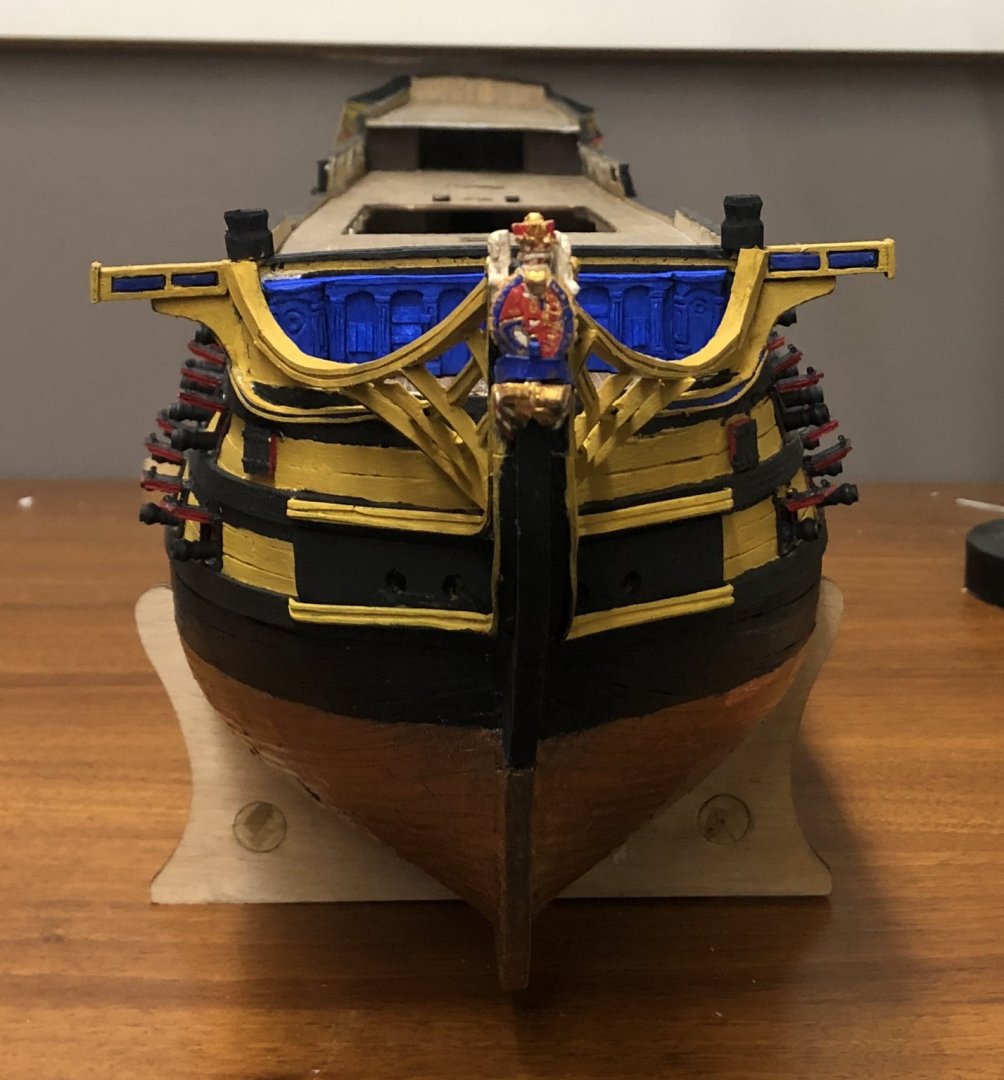
The beak head bulkhead is done and permanently installed.

-
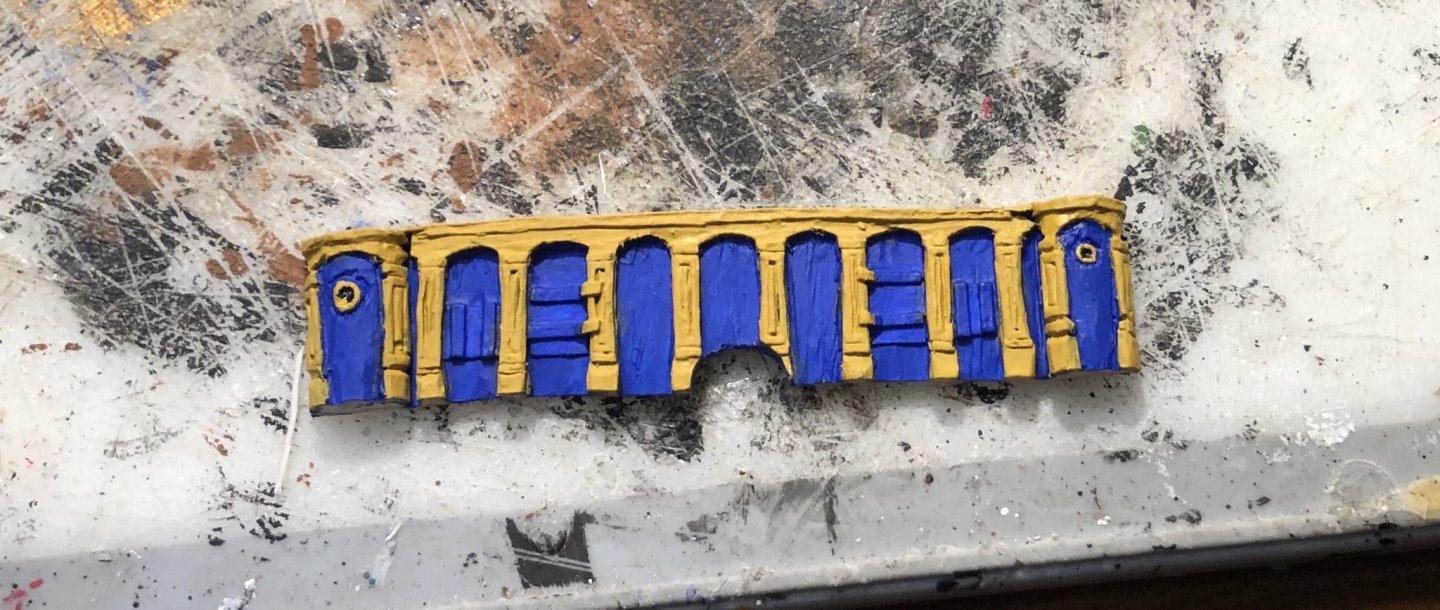
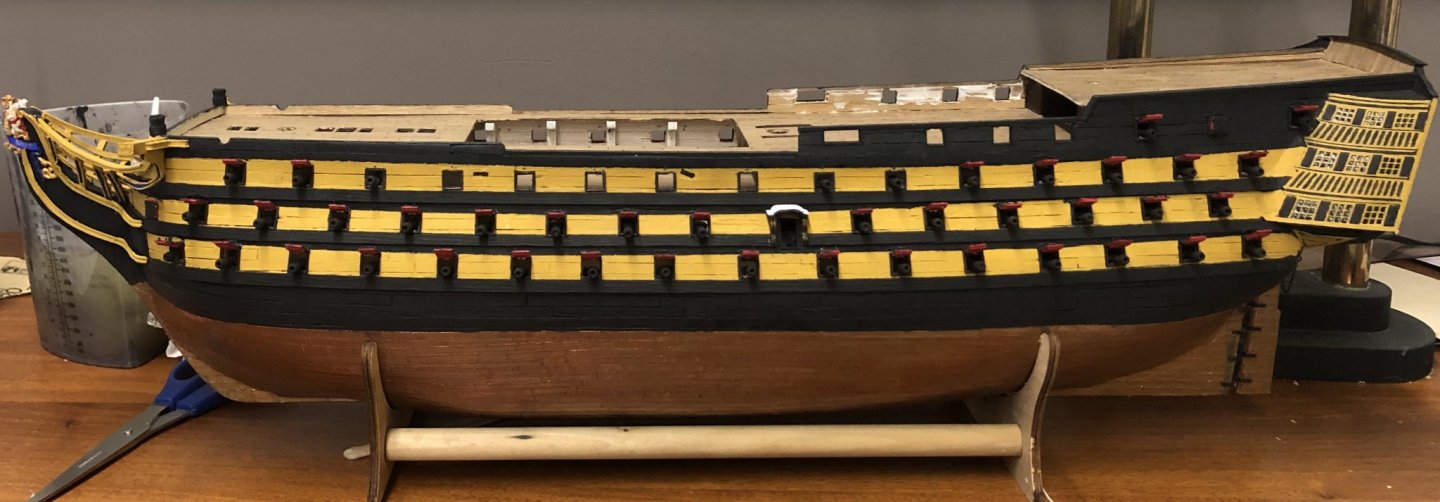
Here is where I am starting off for the day. The center piece is partially base coated. The top rail needs touched up. I also had a fortuitous event this morning. I discovered that I had a good sail plan for the Victory which is the last thing that I lacked. I found it on page 190 of Bjorn Landstrom’s The Ship. I had planned on pausing Victory to build the Edmund Fitzgerald but I believe that I am going to press on with Victory. I am two and a half years into this build and I think it is time to finish it.
-
After reflection, I think I’m going to use the same building methods as I did for the Prince de Neufchatel because it worked very well the first time.
-
Dan, How do you laminate card without it curling? I have had a time with it. I’m looking at starting another card build. On my last one, the bulkheads and the center keel plate warped badly after lamination and I was wondering if you have any tips.
-
The head rails only lack paint now, otherwise they are done. I made the mouldings. The beakhead bulkhead is just test fitted in place. Next step: paint!


-
I got a set of plans for the Edmund Fitzgerald, today. They are in 1/192 scale and originate from the Archer Company in Toledo, OH from 1978. I will be putting the Victory on hold in the near future for this project. I am going to build her POB. The keel and bulkheads will be 1/4” plywood. The covering will likely be the leftover houghtboard that I used for the Prince de Neufchatel. The Edmund Fitzgerald was steel, so I’m not worried about planking detail. Plus 1/192 scale makes it difficult to put tiny details on anyways. I’ll start making sawdust in the near future (it depends on when I get to a hardware store).
-
Welcome!
-
Congratulations! Well done!
-
Welcome!
-
Would the Triton of 1773 have been coppered as built?
-
Welcome!
-
Yep. I take my stuff when traveling on business. On my last business trip, I made a bunch of test carvings off the sterns of the Triton and the Winchelsea just to see if I could.
- 221 replies
-
- 1
-

-
- queen anne barge
- Syren Ship Model Company
- (and 1 more)
-
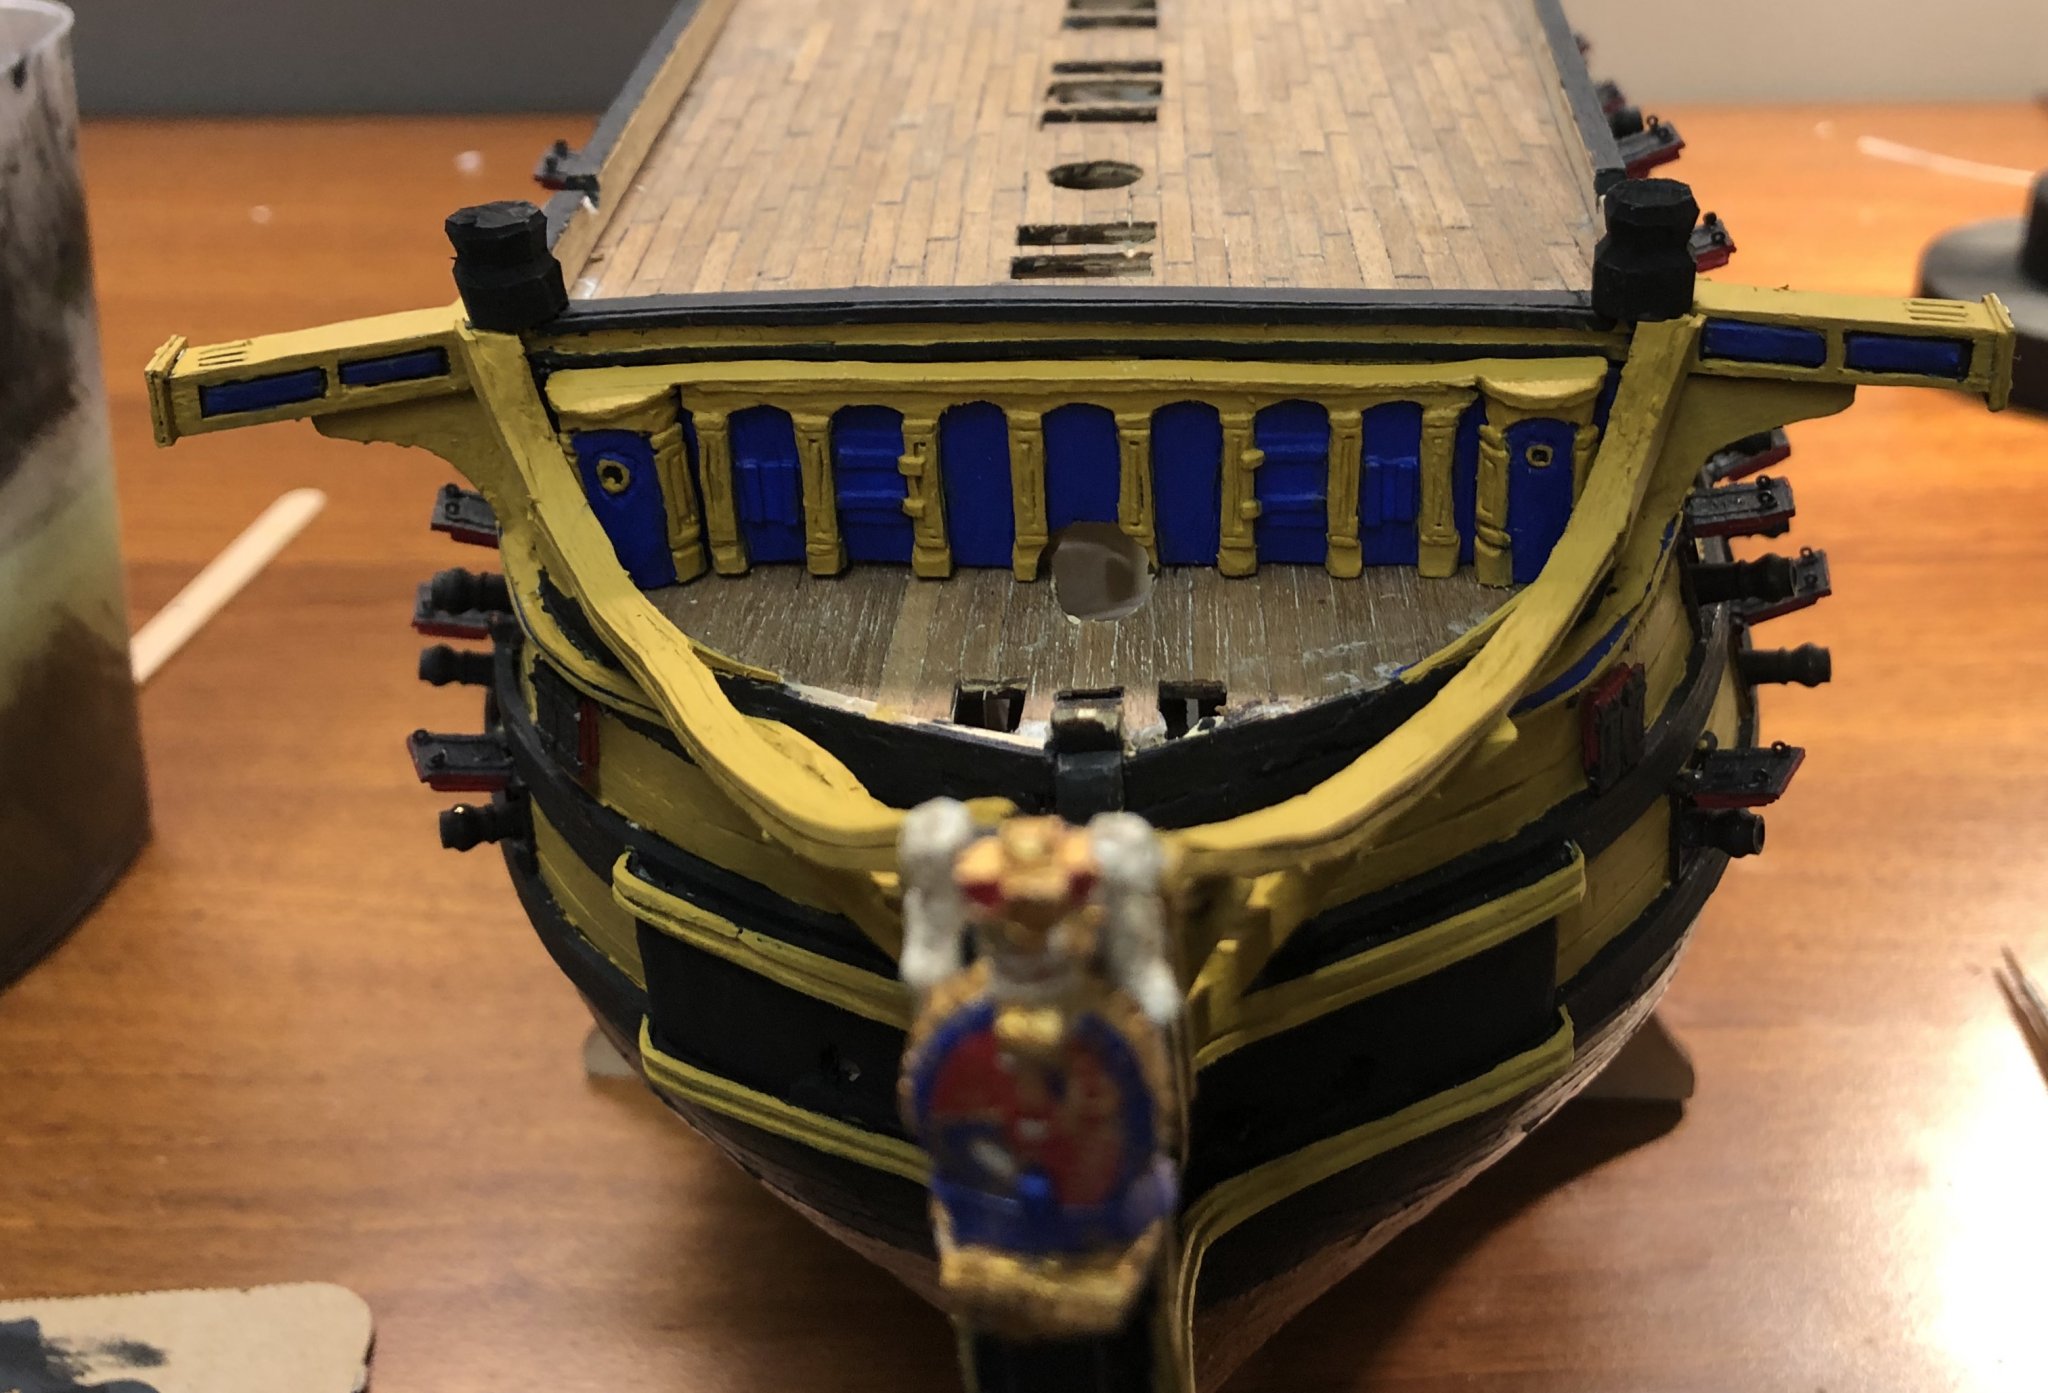
The beakhead bulkhead is carved and is test fitted. I need to adjust it to take the bowsprit, but otherwise it is okay.

-
Quick question, when did the Royal Navy start coppering their hulls?
-
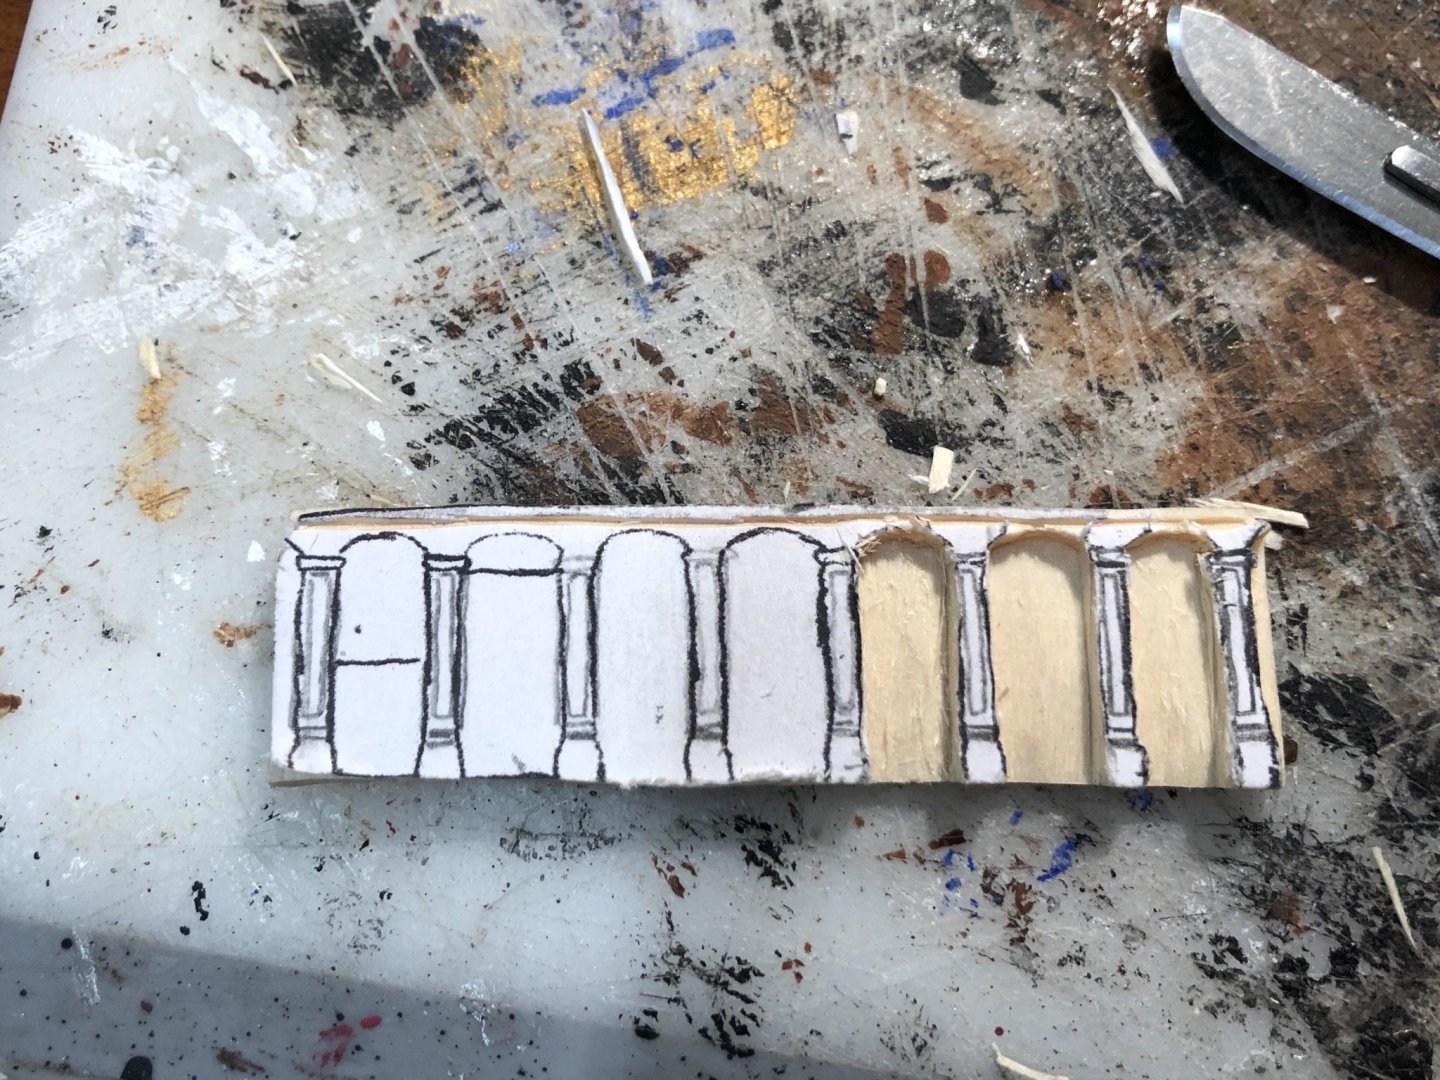
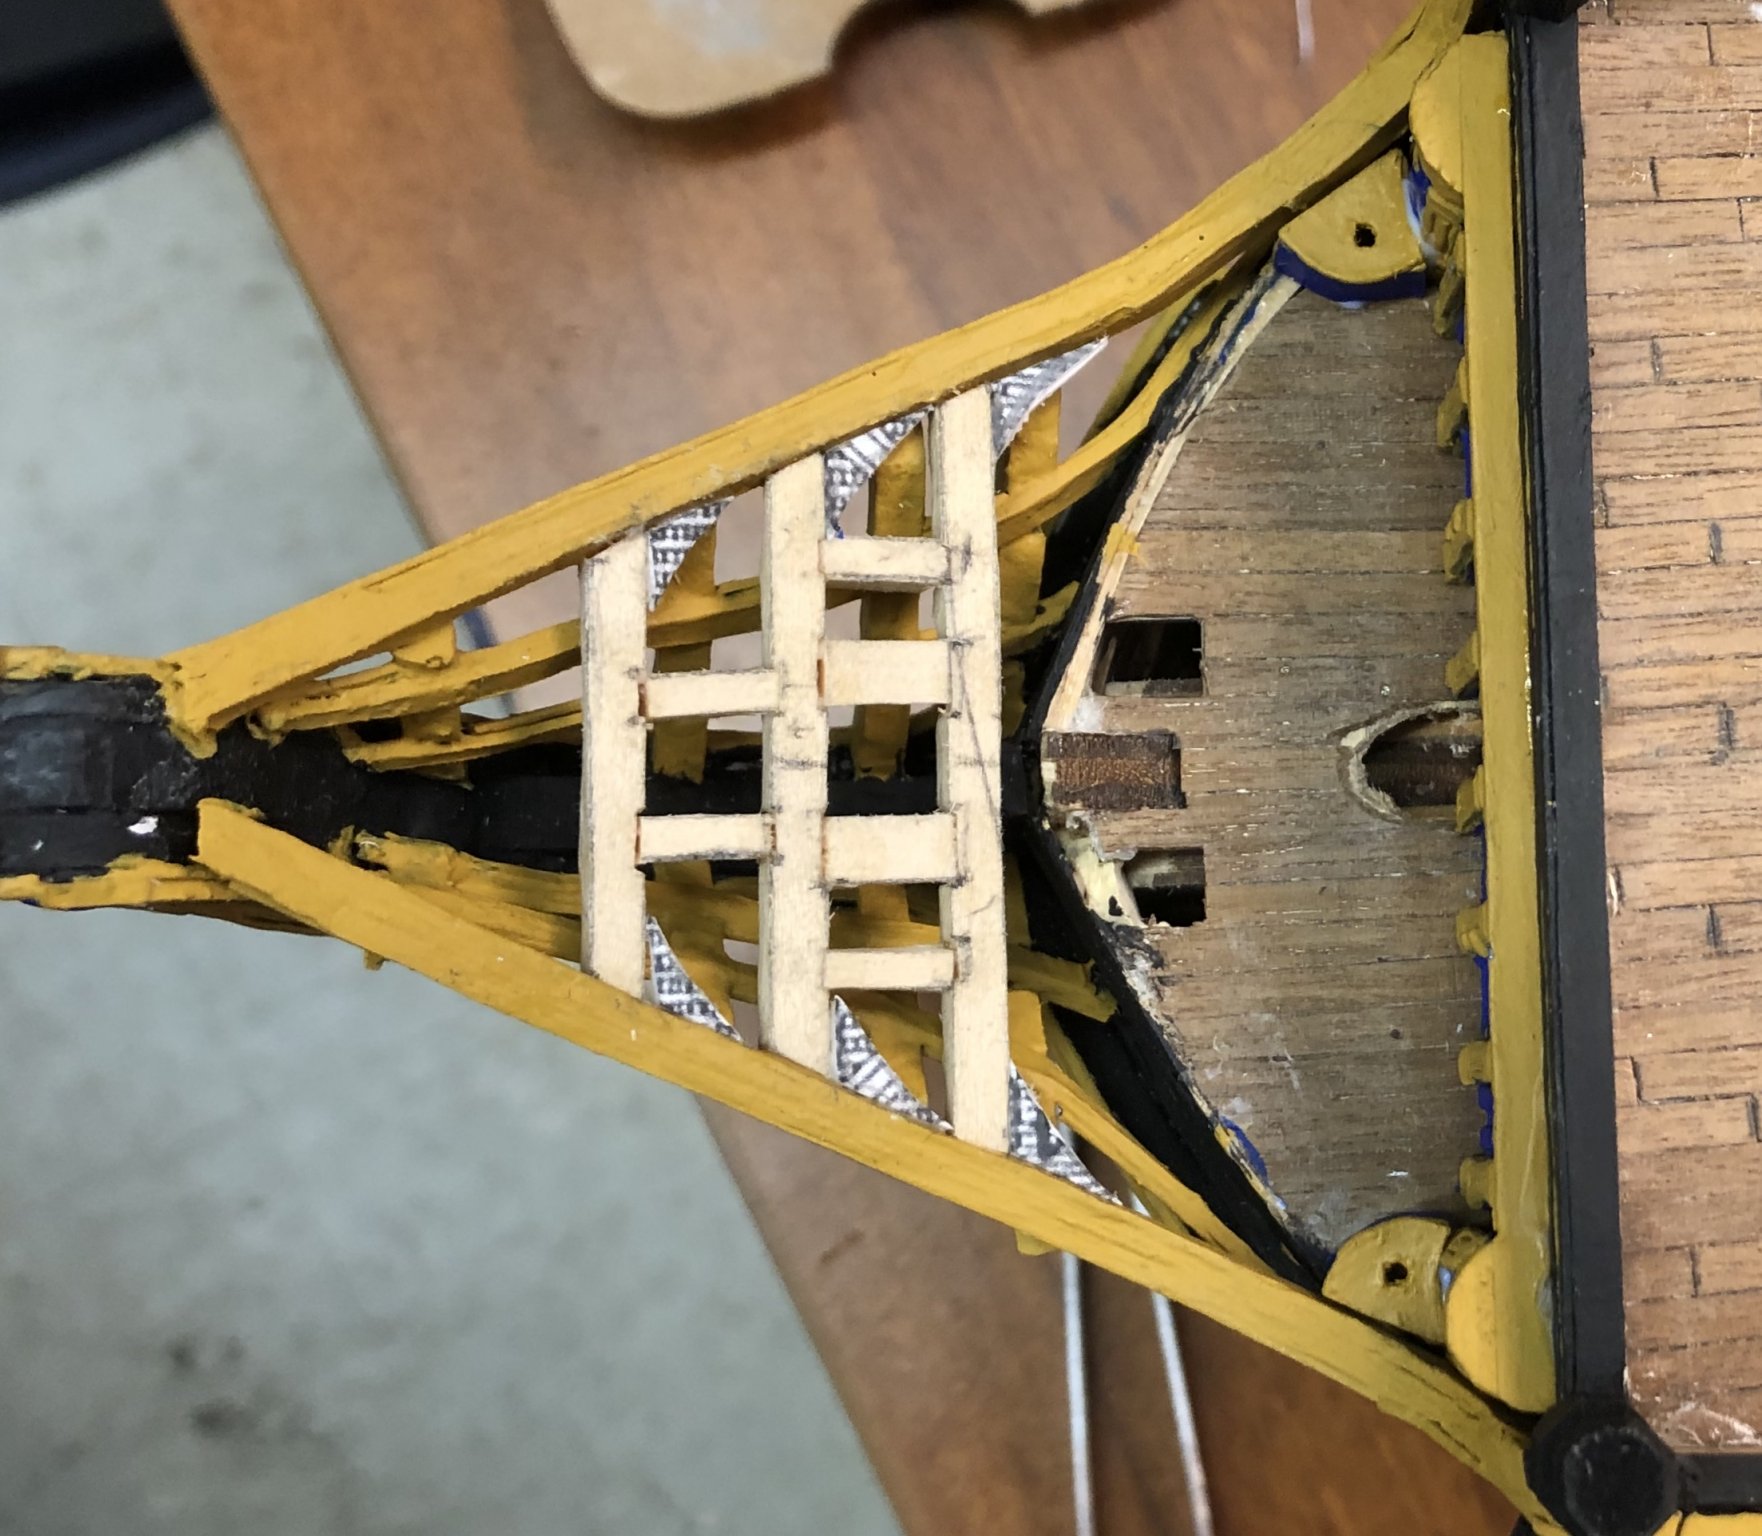
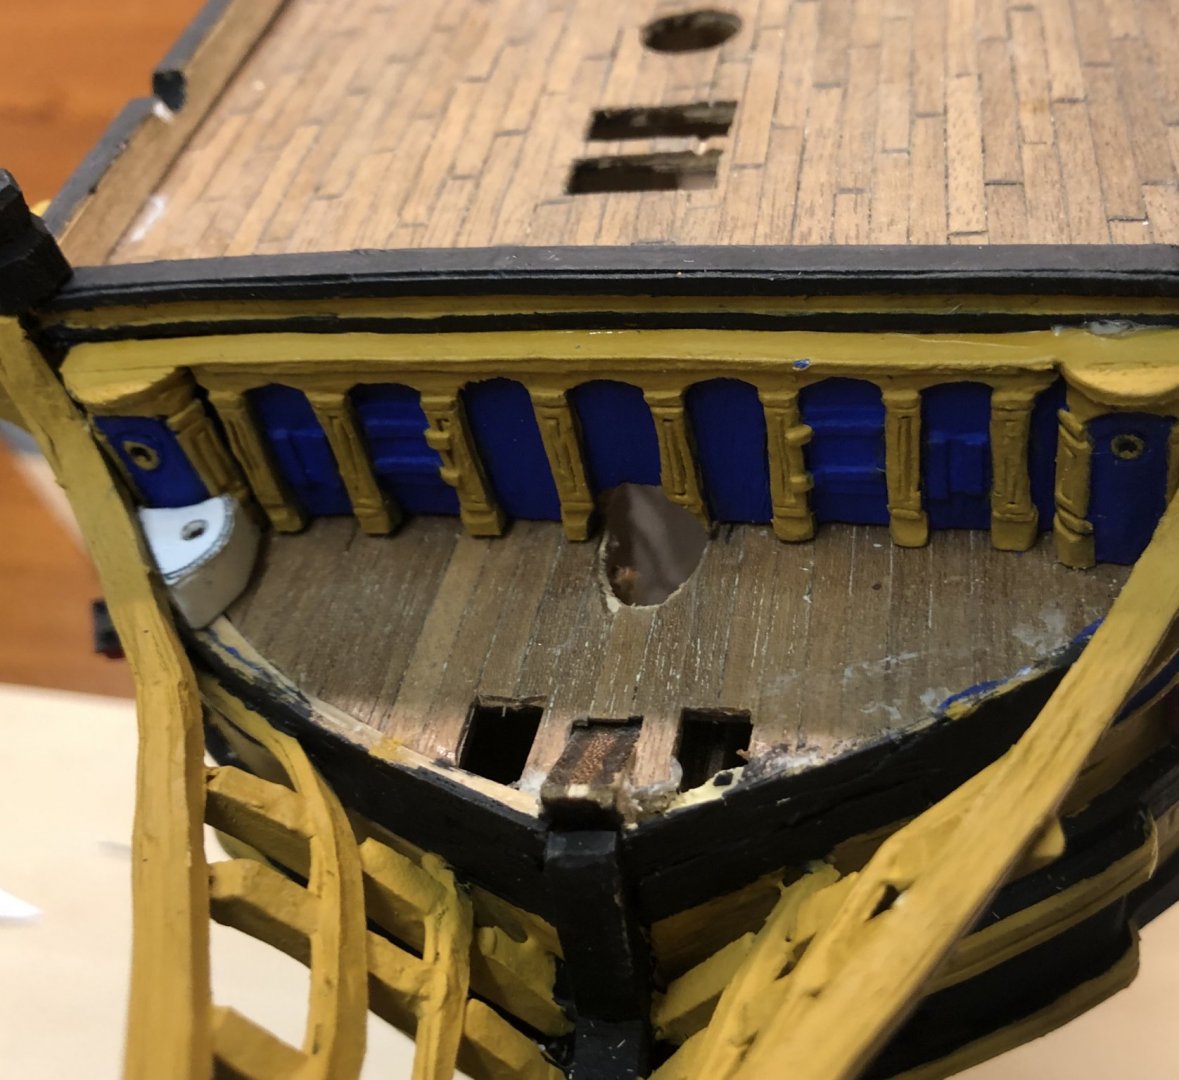
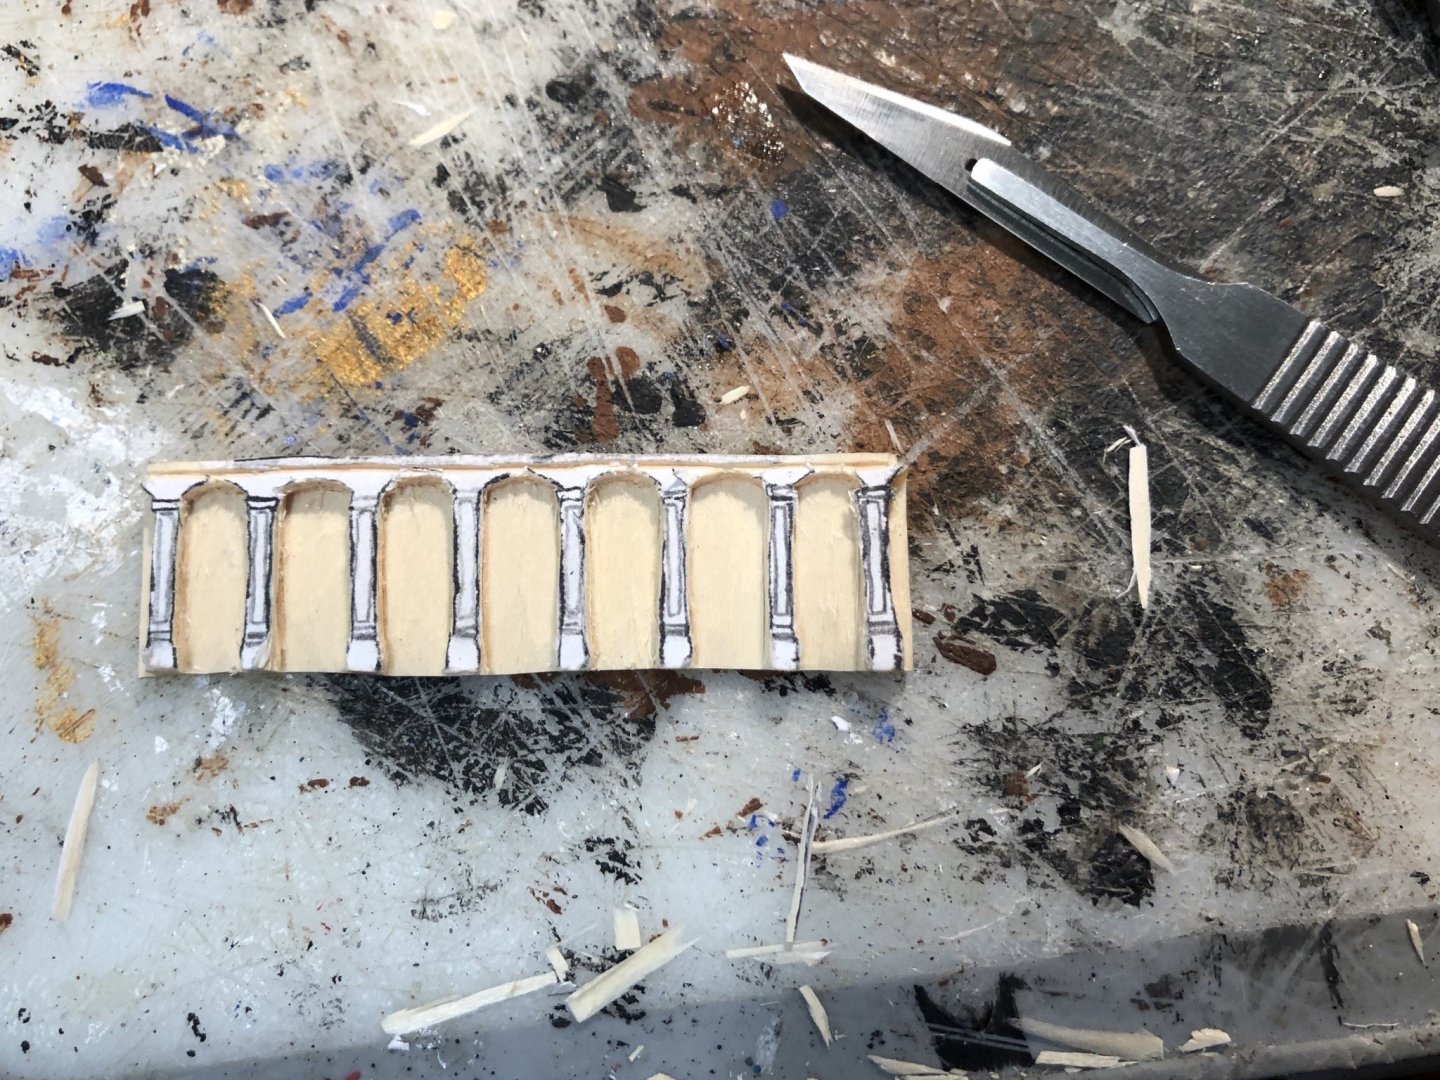
The arches are hollowed out now:
-
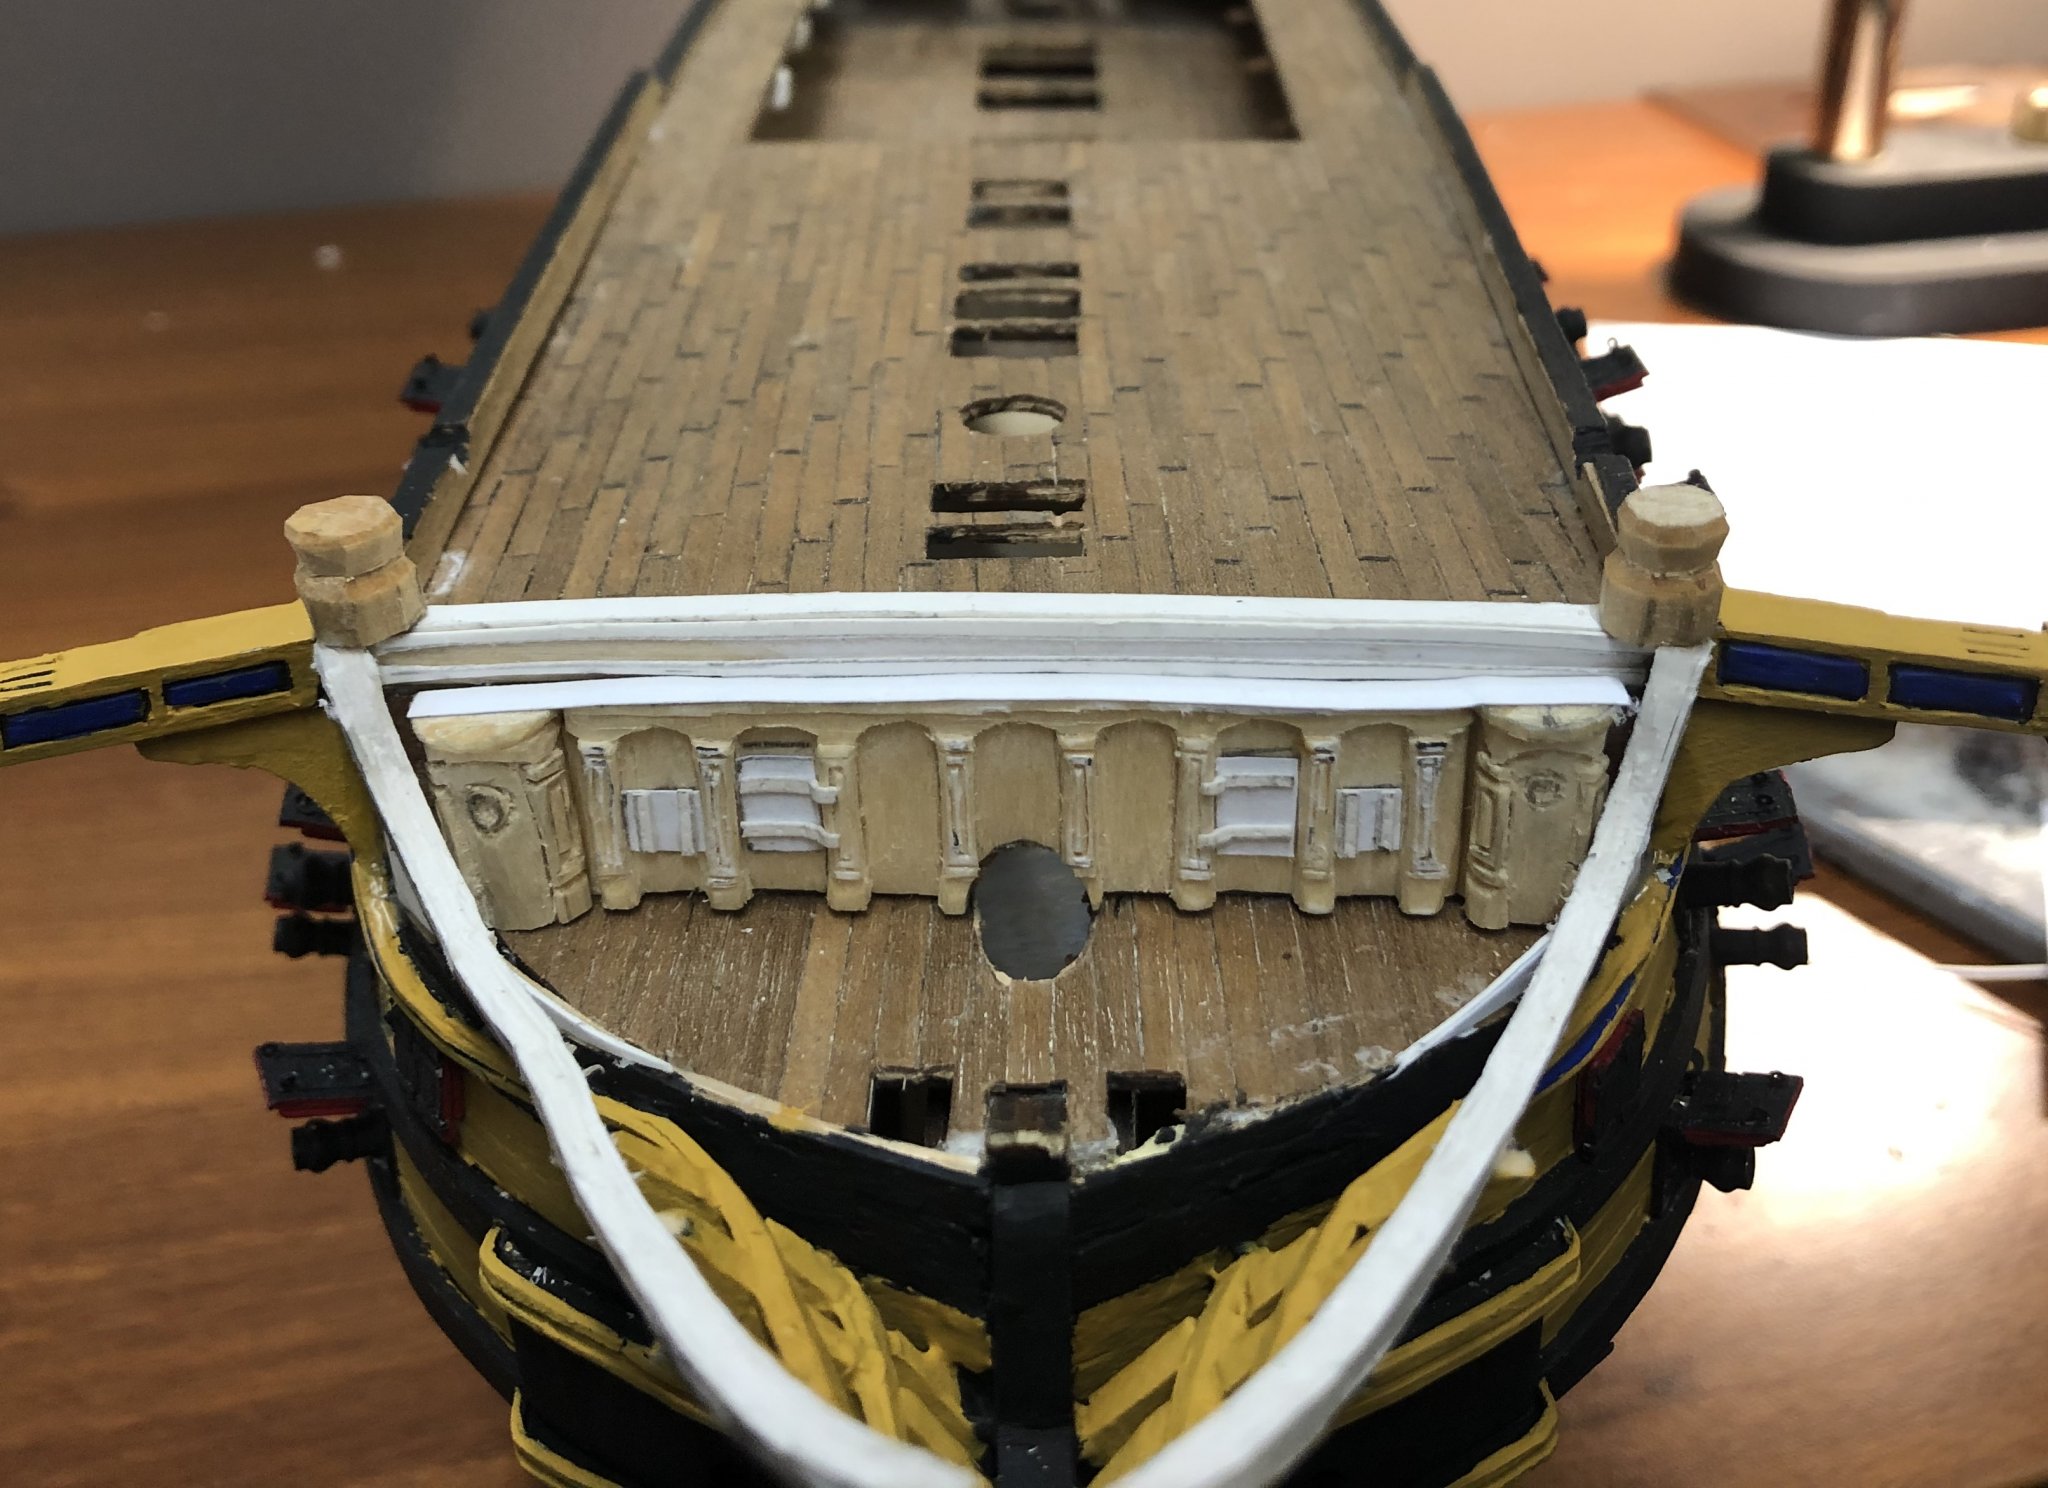
My beakhead bulkhead is being carved. In hindsight, I should have made this in multiple pieces. Oh well. Live and learn. If it doesn’t turn out well, I’ll make another.