GrandpaPhil
-
Posts
4,920 -
Joined
-
Last visited
Content Type
Profiles
Forums
Gallery
Events
Everything posted by GrandpaPhil
-
Very cool!
-
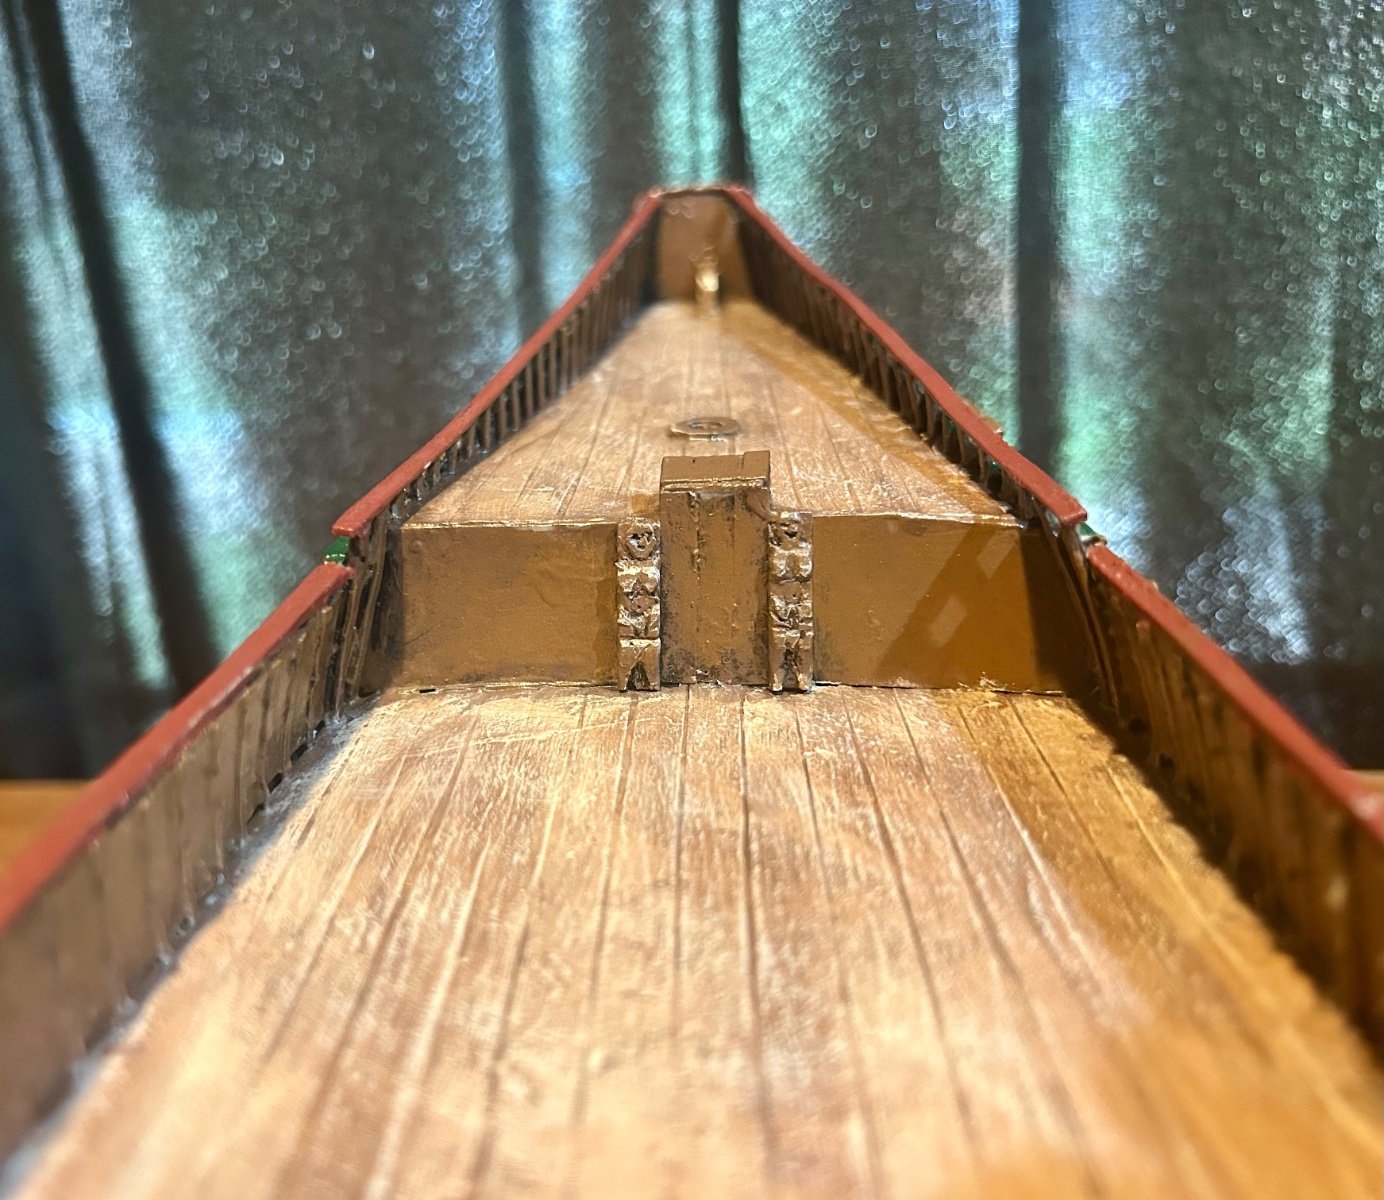
Working on the inner bulwark fittings: Staghorns are made, pin racks are in process. As mentioned in my Revenge build, I am going to be making belaying pins in the near future for both models at the same time. I want to try and carve them, because at 1/64 it would look better to have actual belaying pins. Those will be among the last fittings that I make for this model.
-
Meriadoc, It is a most excellent book and is one that I value quite a lot. In other news, Esther’s hull is nearing completion. I need to make 48 belaying pins for Esther and since the Revenge would have had similar sizing, and they are in the same scale, I am going to make the 110 belaying pins for the Revenge at the same time. They will most likely be made from toothpicks, carefully carved with a scalpel.
-
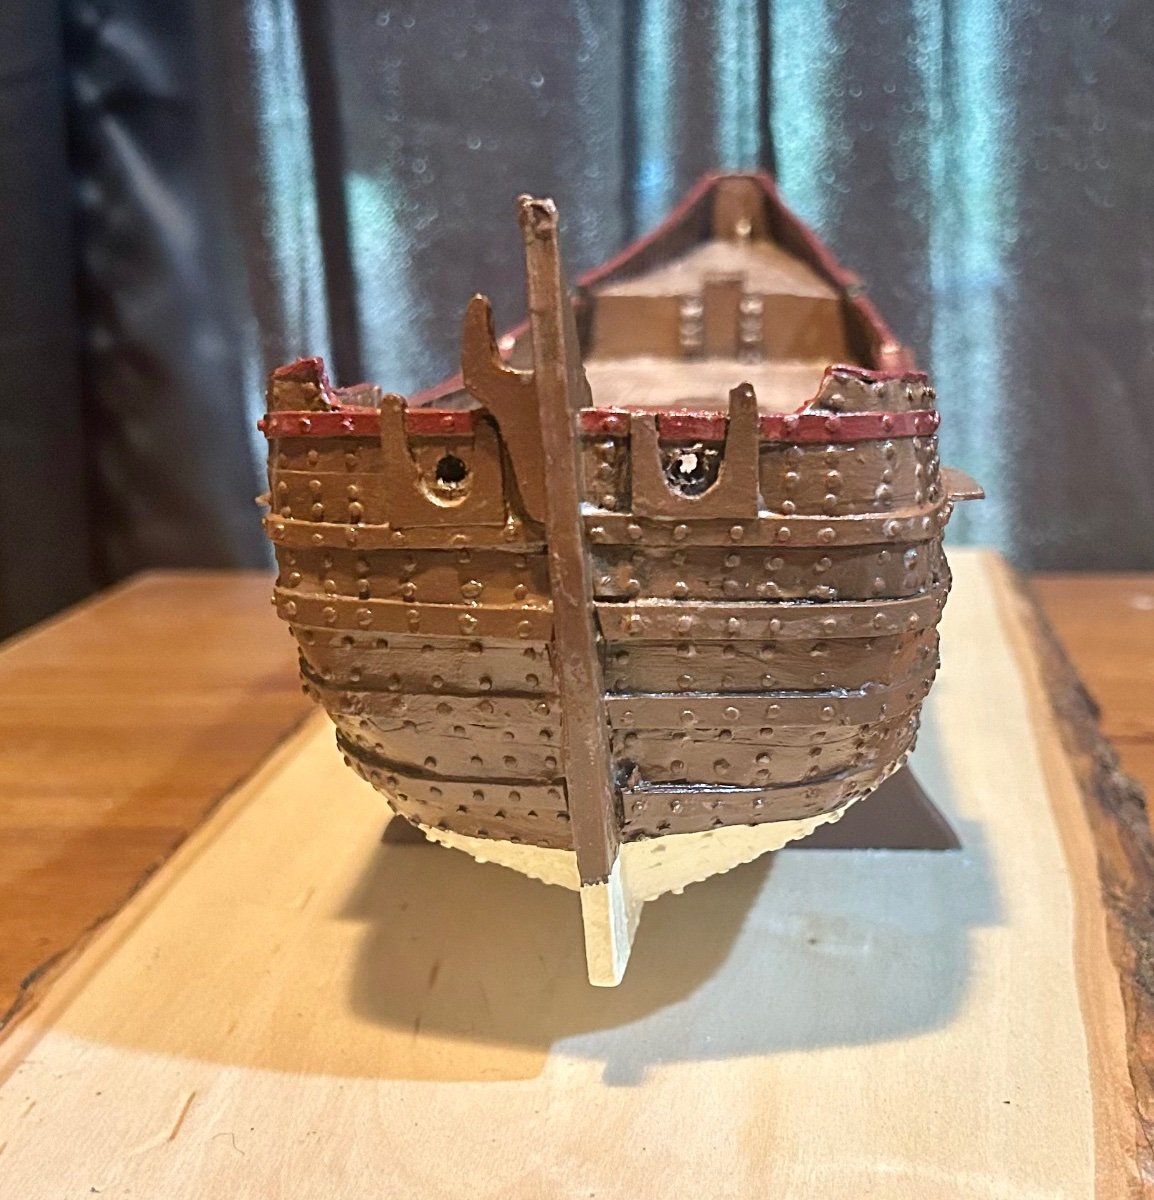
Rudder’s on and many eyebolts have been installed:
-
I just had the ultimate confirmation of my construction methods. Esther just survived being dropped on her nose from workbench height, with no damage. She weighs close to 8 pounds now from all of the stick pins and other reinforcement. I guess those 4200 stick pins did some good, lol.
-
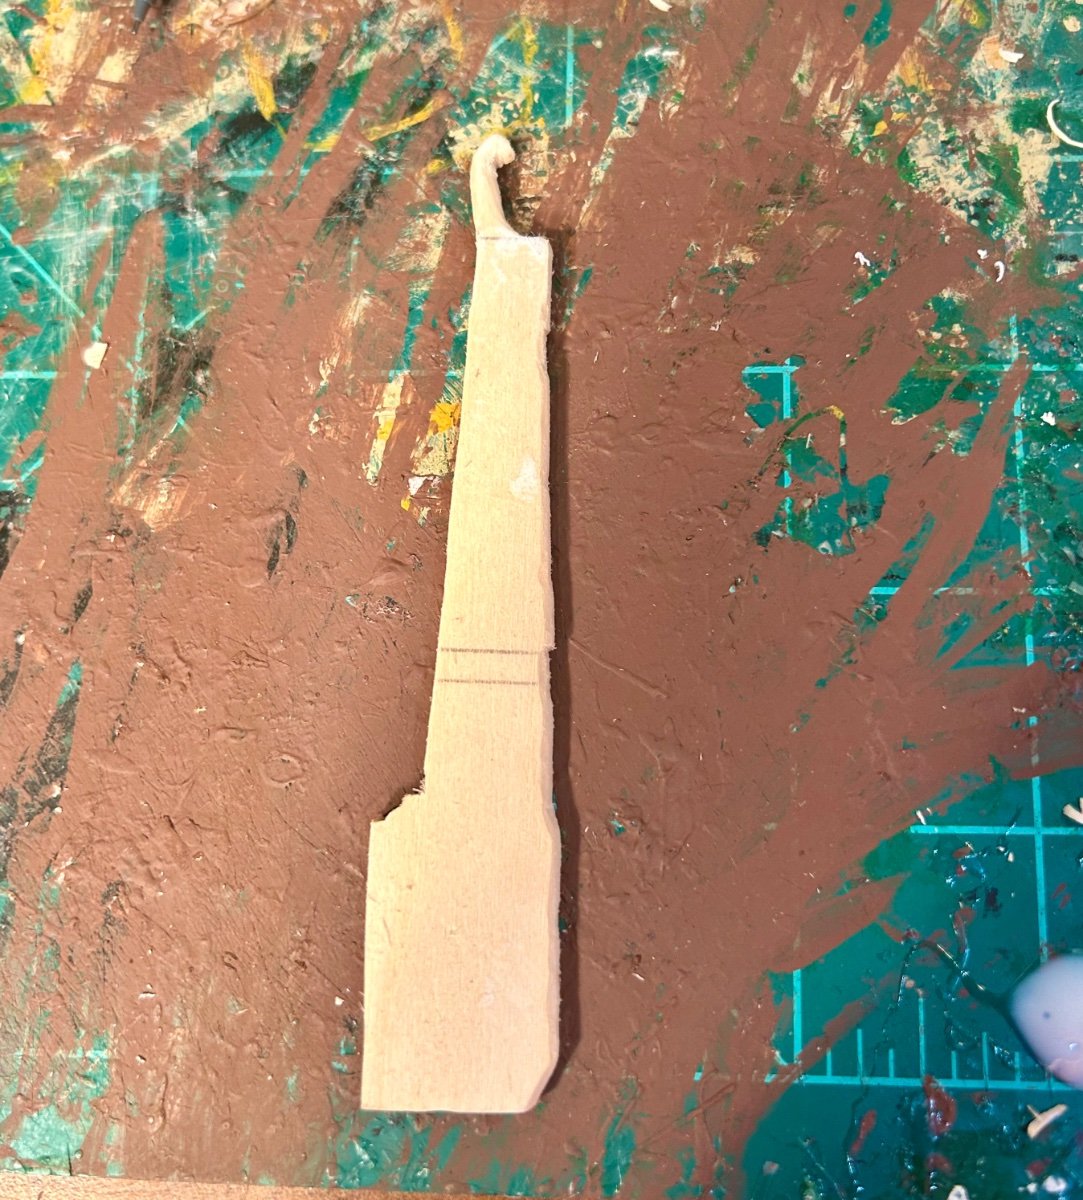
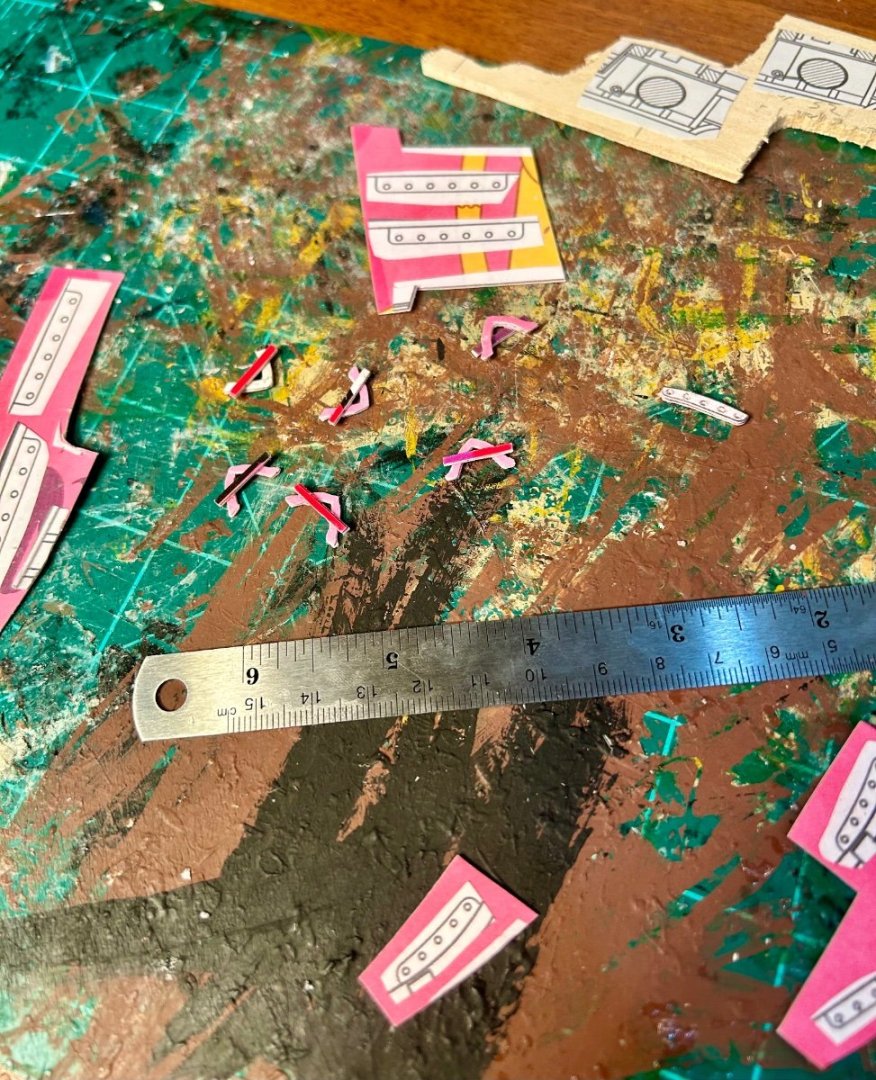
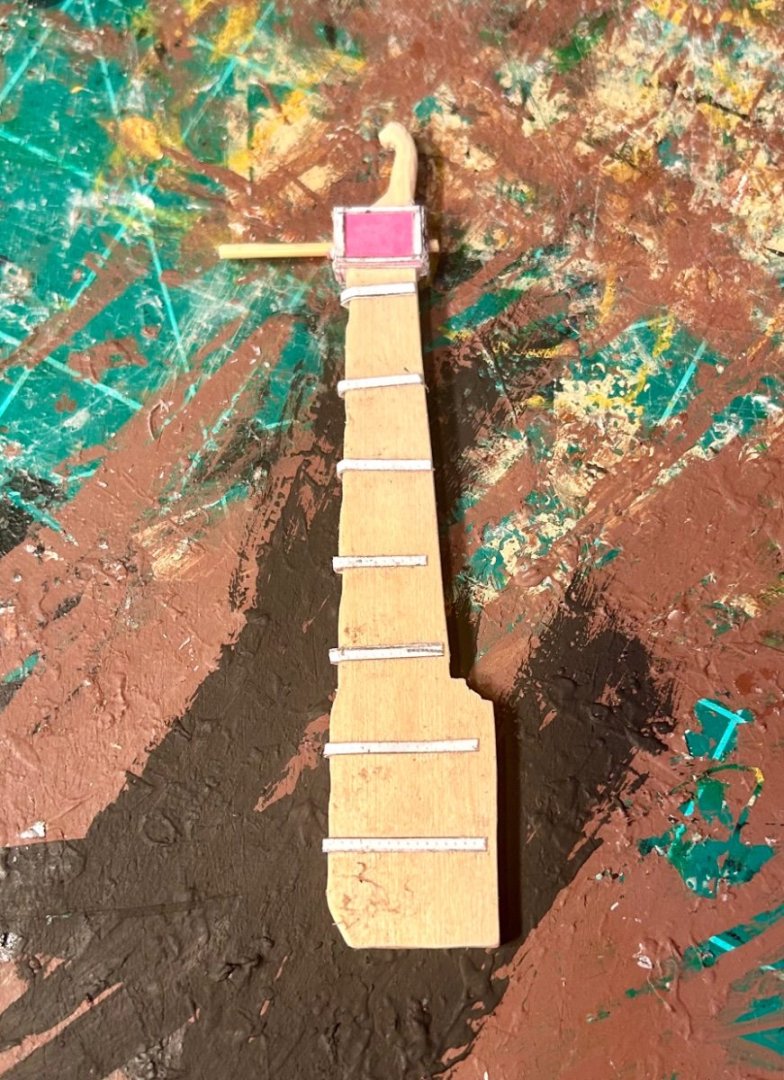
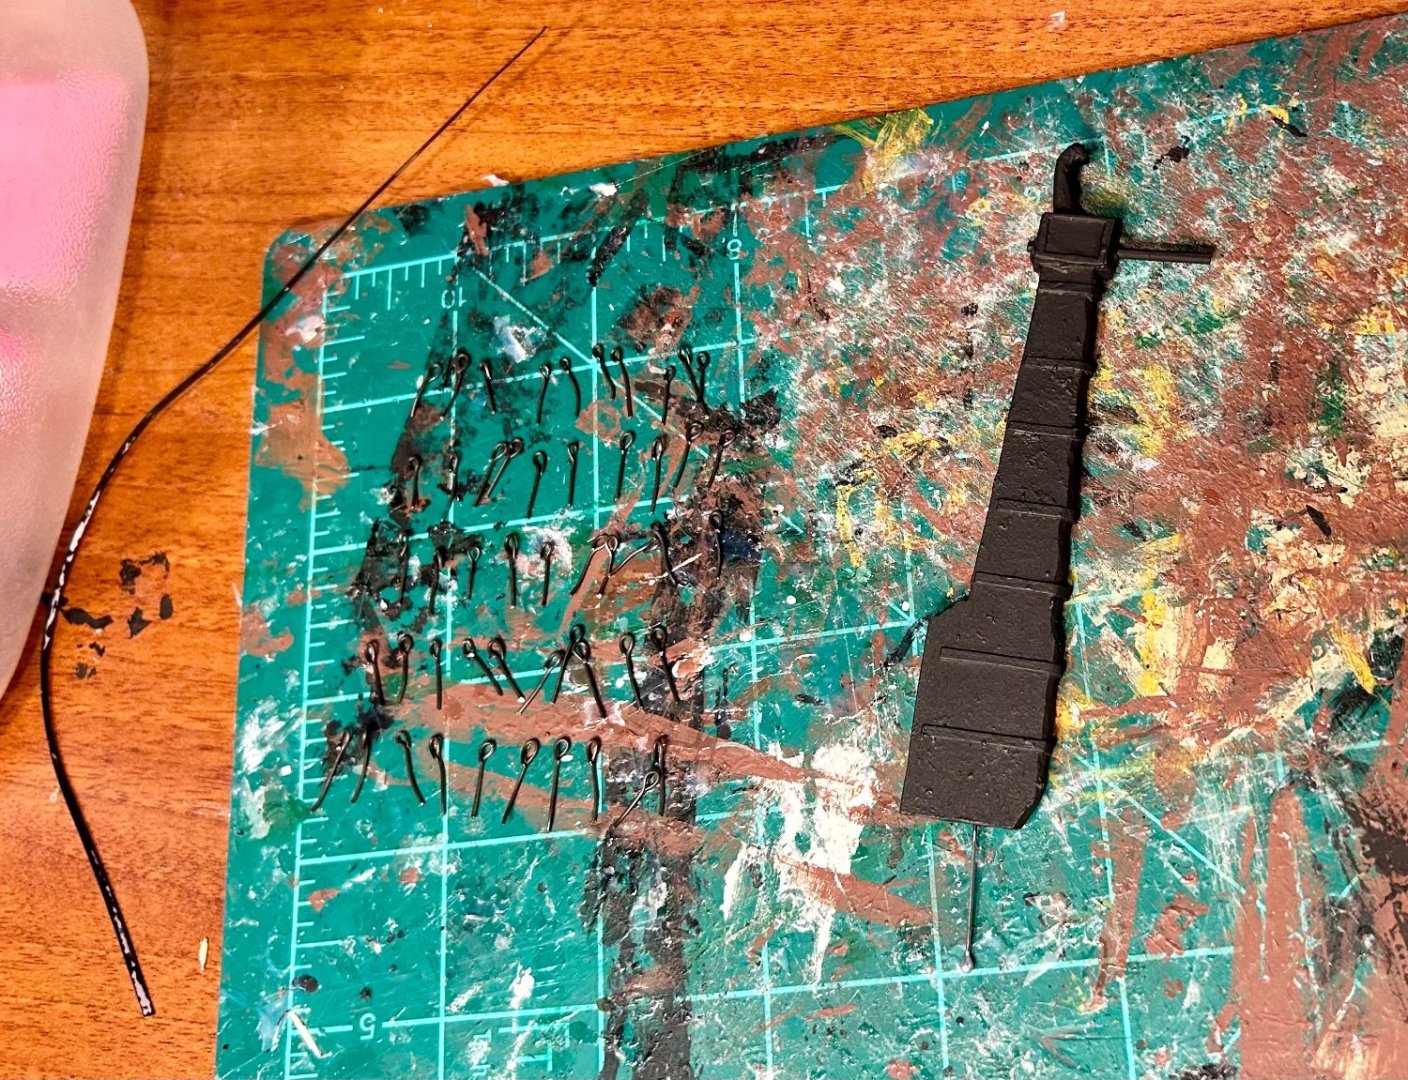
Added banding and made holes for eyebolts: Made the rudder and discovered a crooked band when I took the picture: Fixed the band, primed the rudder black, made 50 eyebolts: The piece of strip on the left side is the rudder banding that goes on the hull. I use a straight edge and a pounce wheel to make my banding. The eyebolts are made of blackened annealed wire from a hardware store.


-
Excellent work!
-
The African Queen. My First Listing and First build here.
GrandpaPhil replied to a49kid's topic in New member Introductions
Welcome! -
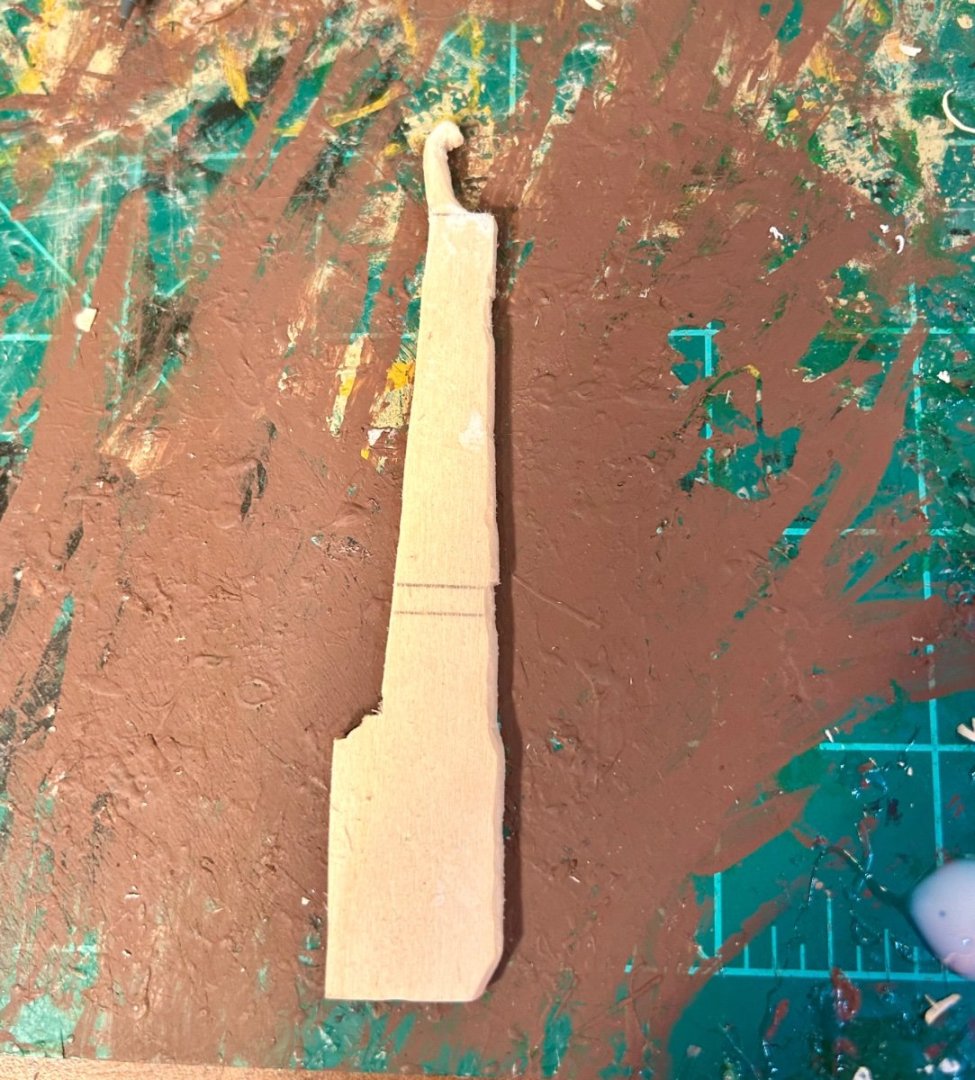
It’s time to make the rudder: Once I install the rudder, Esther will have caught up to the Revenge.
-
I like to use beeswax. It makes the rigging line less frizzy and less prone to tangling.
-
Welcome!
-
Work slowly. Use wide jaw tweezers. Only use enough pressure to grip the rigging fittings to prevent them from flying into oblivion. Give yourself plenty of slack on rigging. Run your rigging through beeswax before using it. Remember, you will not know your full capabilities unless you try. If you fail, try again implementing lessons learned from the first try. Most importantly: have fun!
- 34 replies
-
- 1
-

-
- card
- Revenue Cutter
- (and 1 more)
-
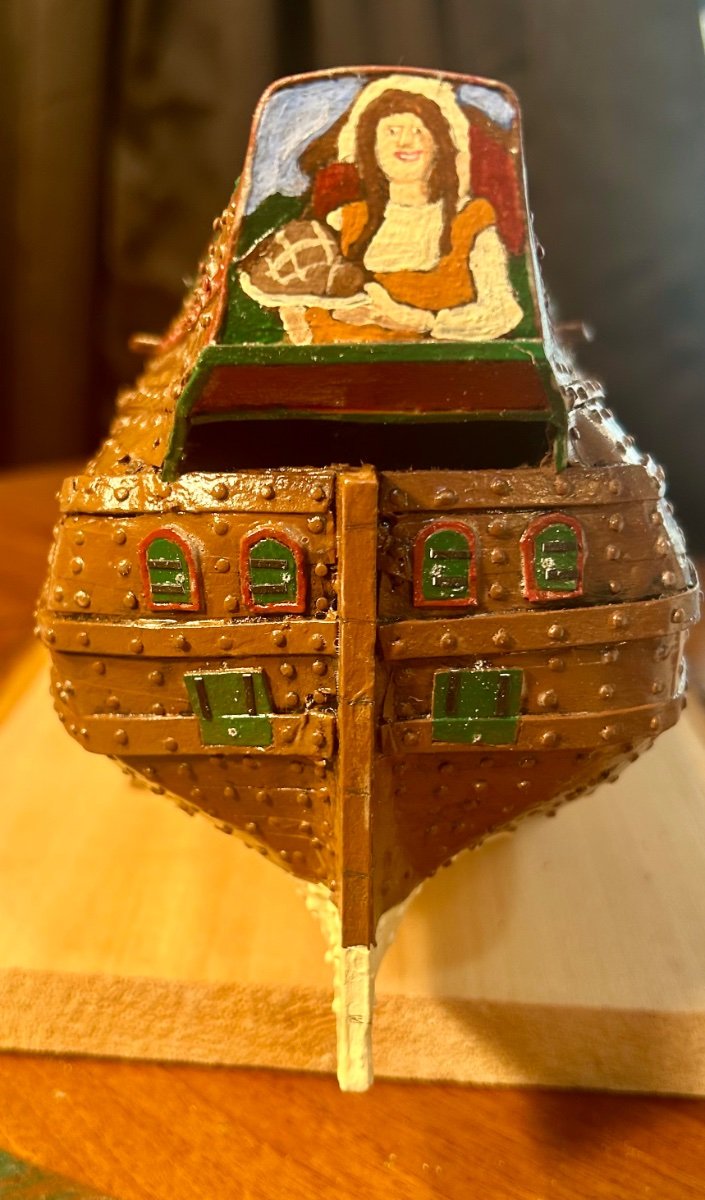
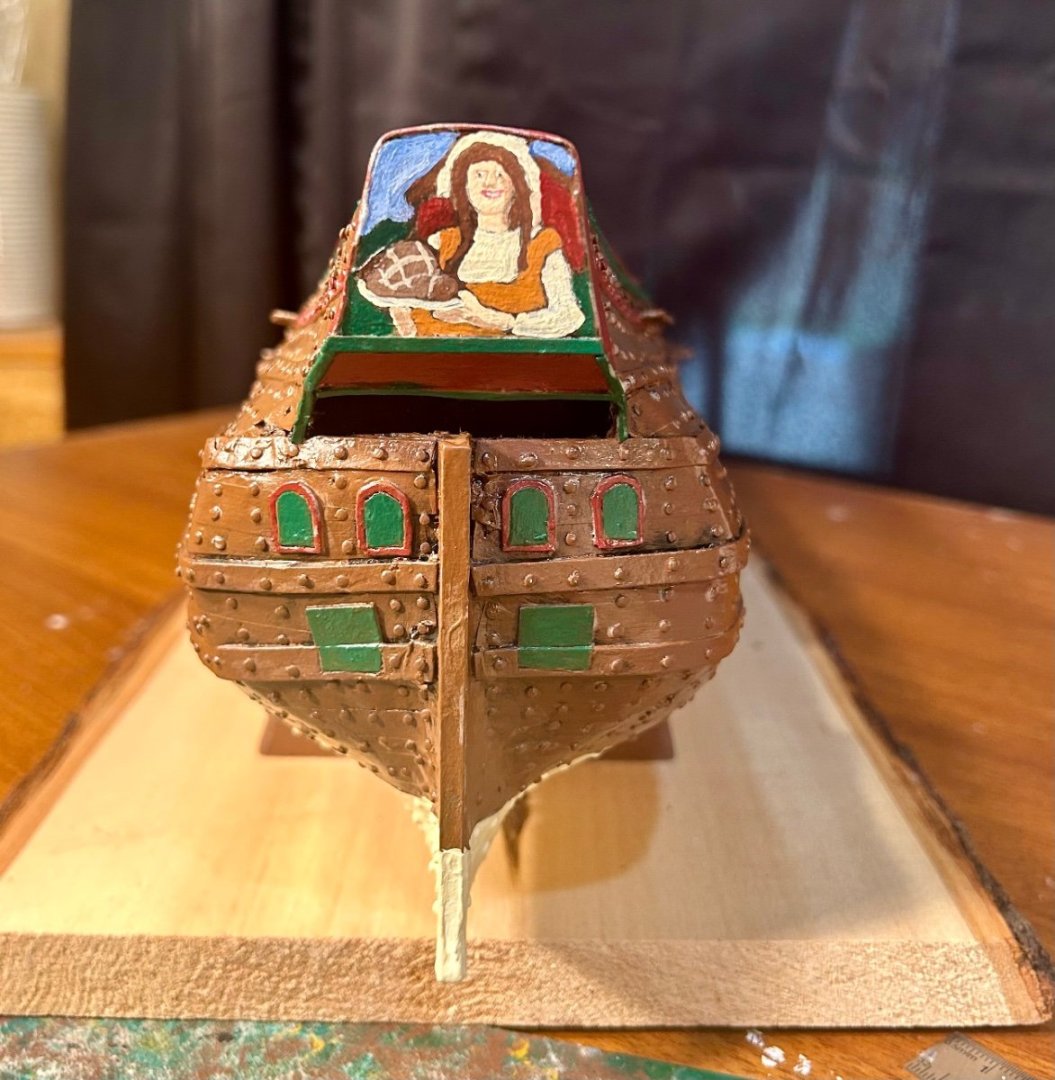
The initial base painting is complete, to include trim, minus touchups and sealing a second time: Esther has her full complement of decorations. This includes caryatids which will be left a wood color: And, a transom painting of Esther holding a platter of fresh bread with her home in the background: I do not usually do 2-dimensional painting, and certainly not portraits, much less in miniature. However, I think that came out well enough. I did the painting, but the layout of the picture is the work of an AI image generator.


-
Welcome!
-
Thank you very much! The plans in Search for Speed Under Sail were pretty straightforward. I ended up researching what most of the lines did to figure out routing and some of the installation. It is important to note that one must make allowances for some rigging routing if you want to install studding sails.
-
I used the diagrams out of Search for Speed Under Sail for the rigging/belaying of my Prince de Neufchatel.
-
Welcome!
-
Welcome!
-
Congratulations! Very well done! Looking forward to the next one! Out of curiosity, what did you use for the rigging?
-
Welcome!
-
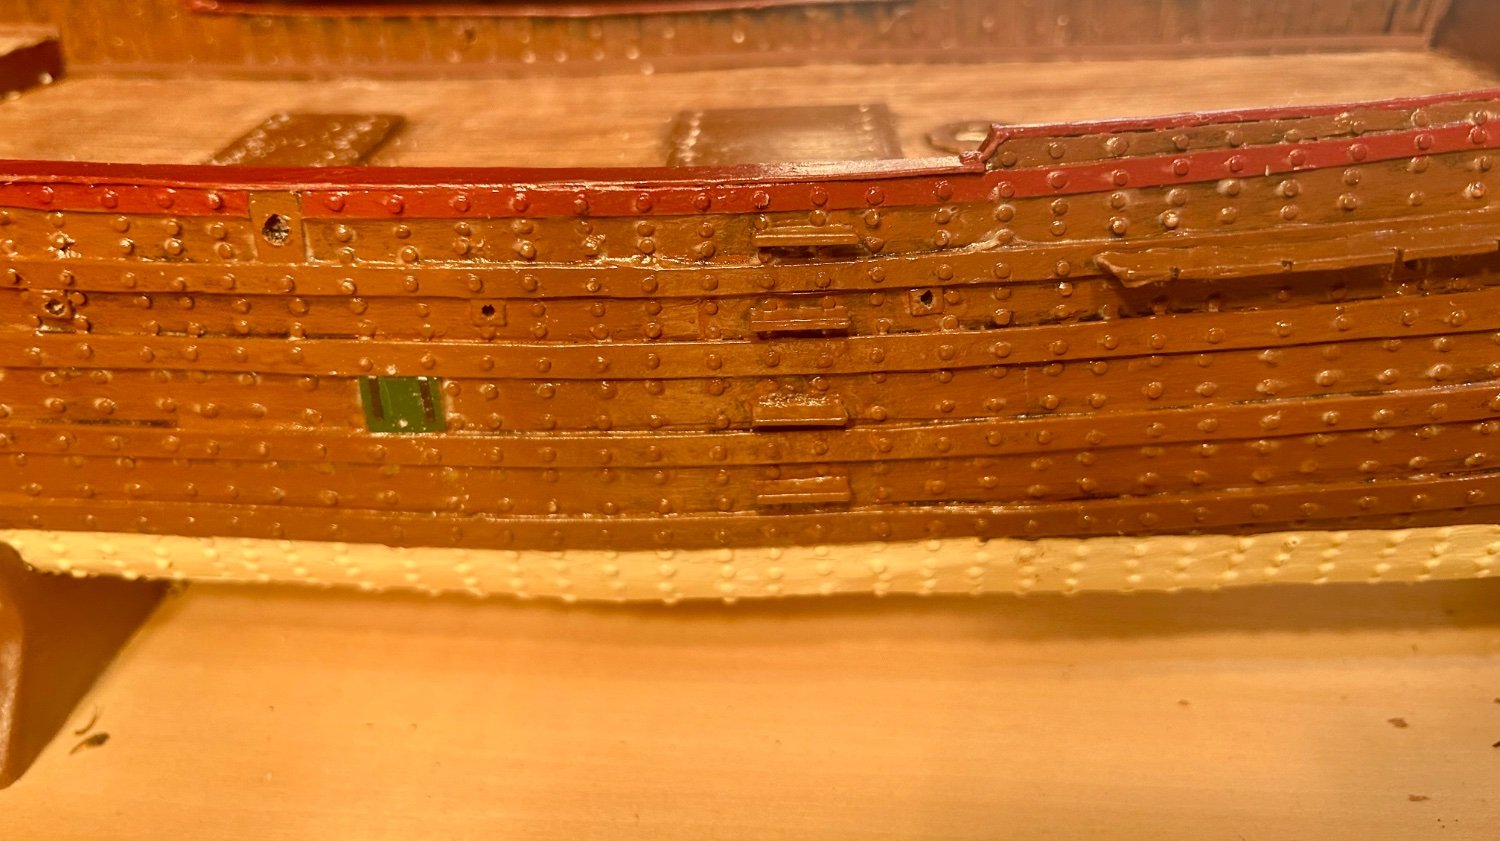
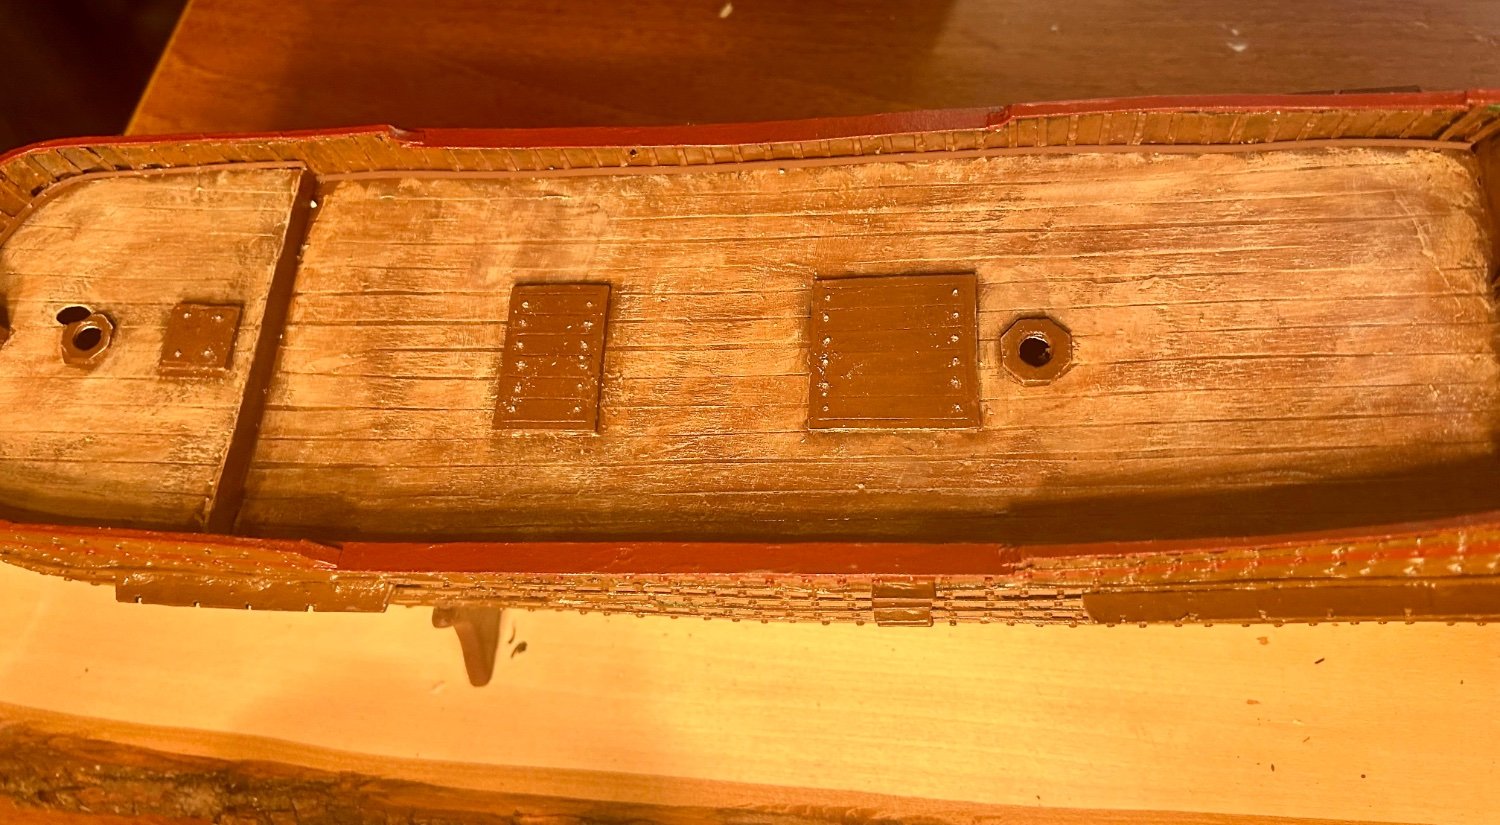
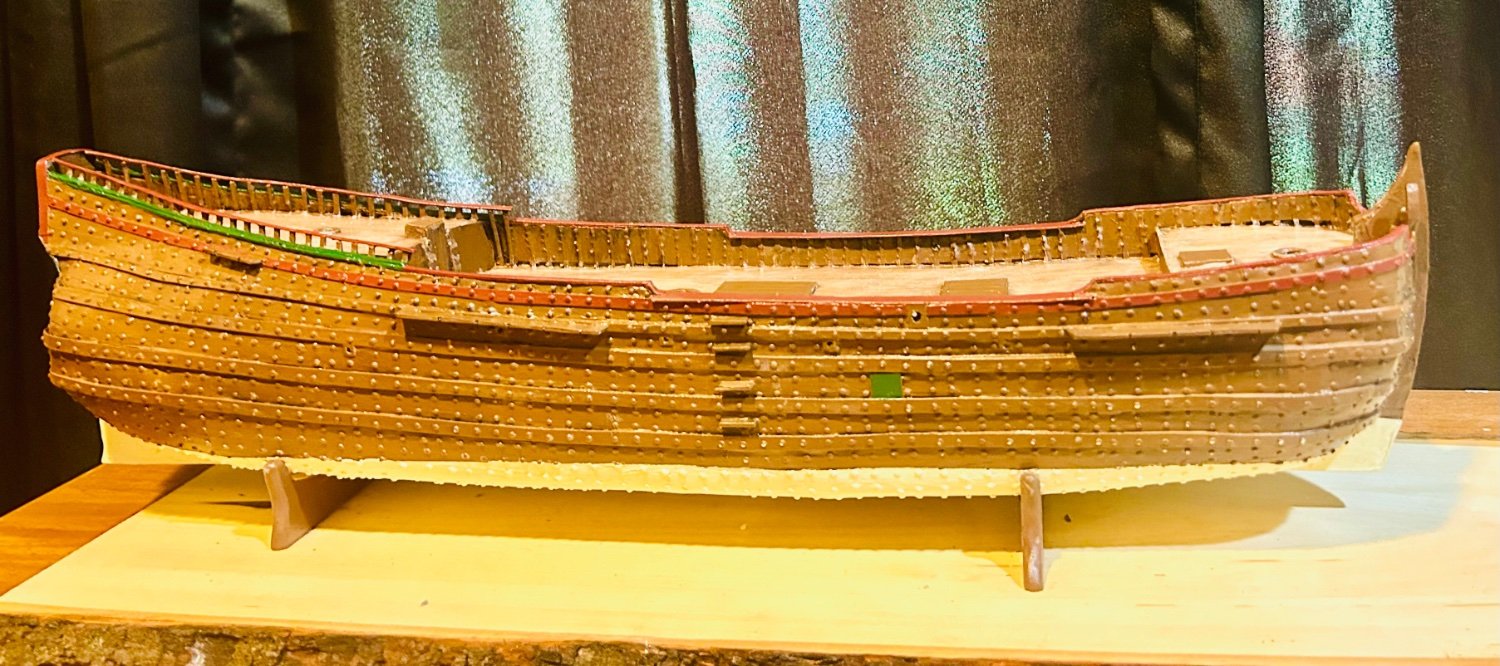
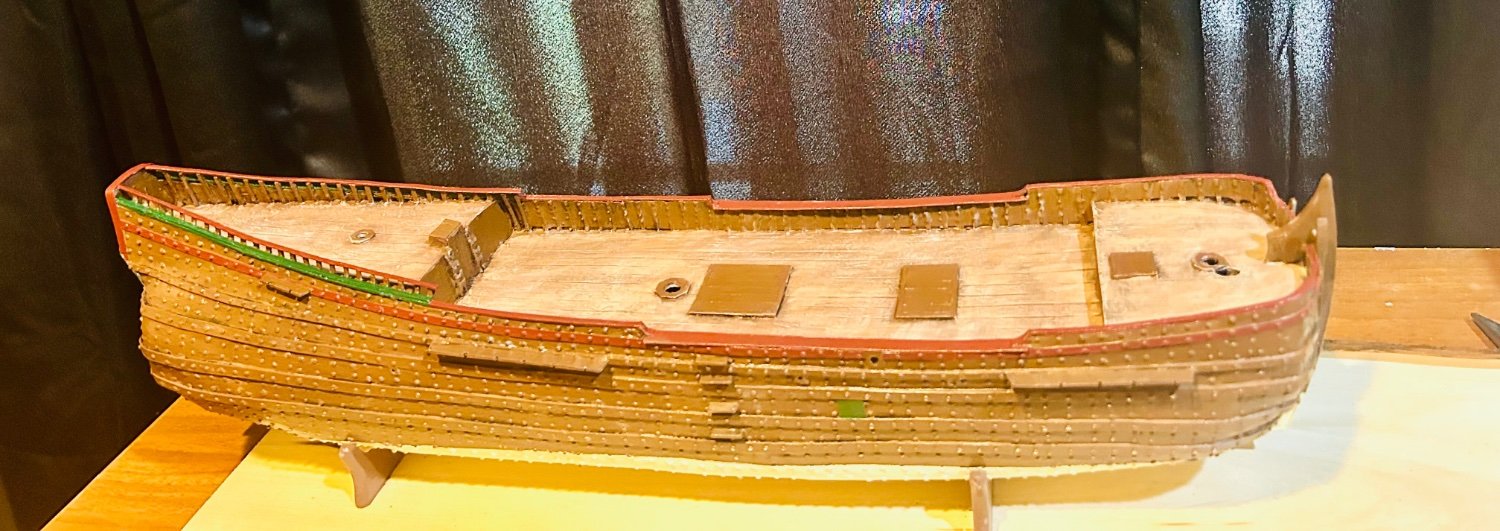
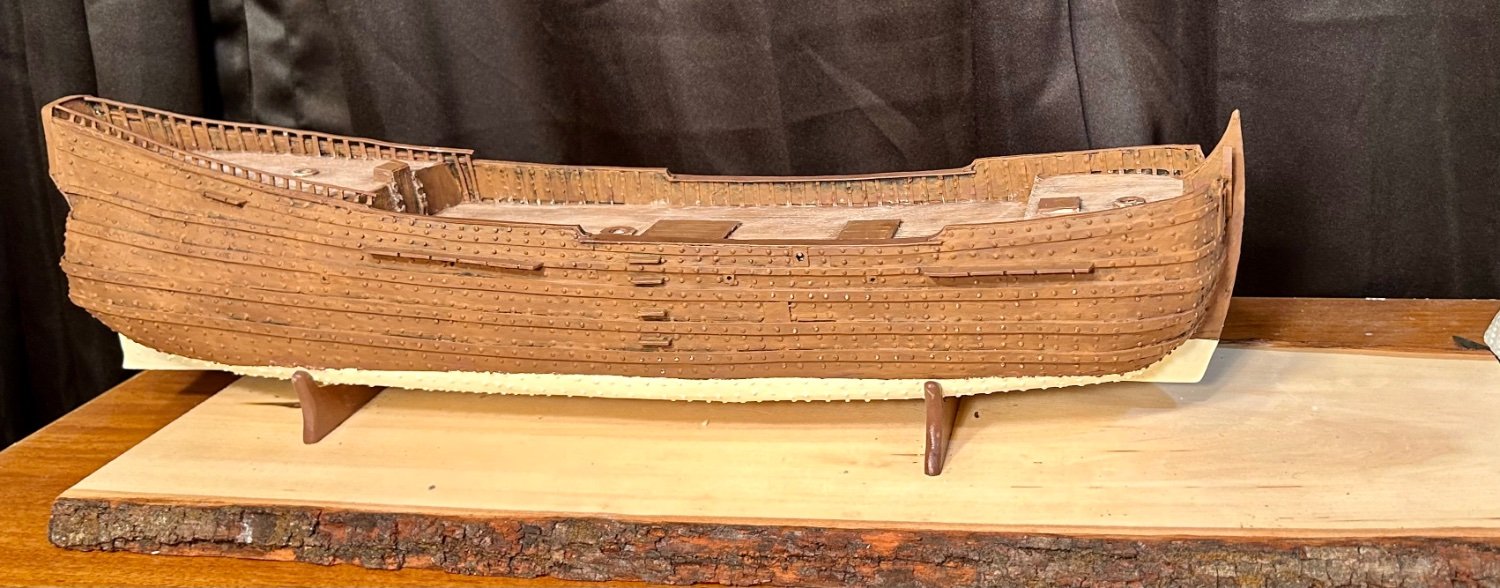
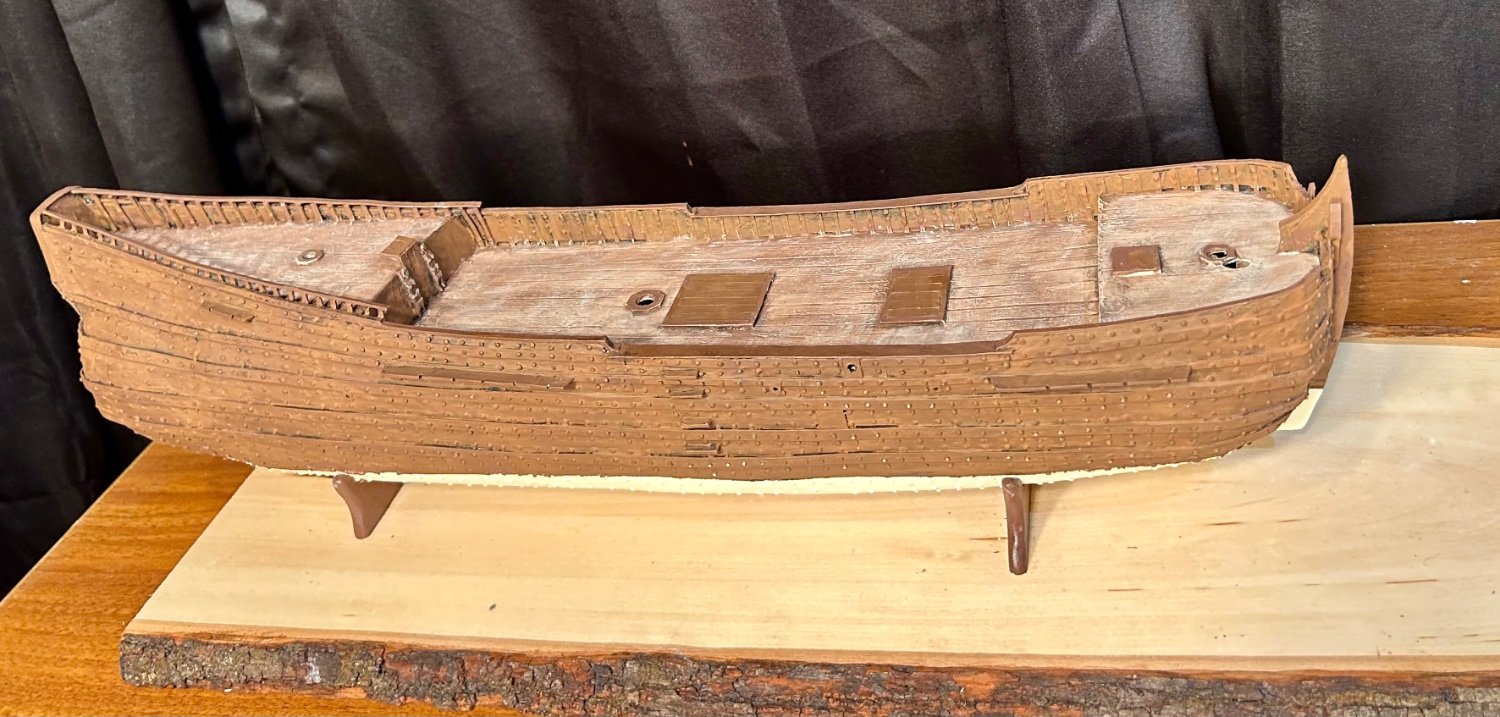
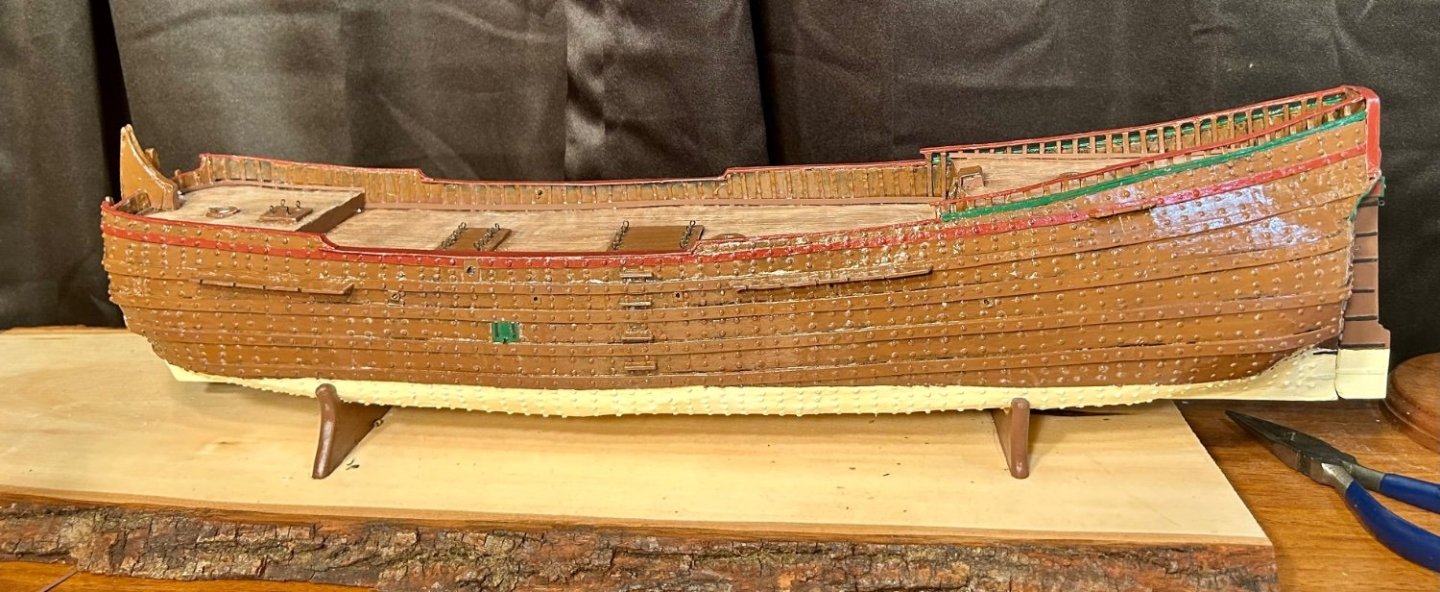
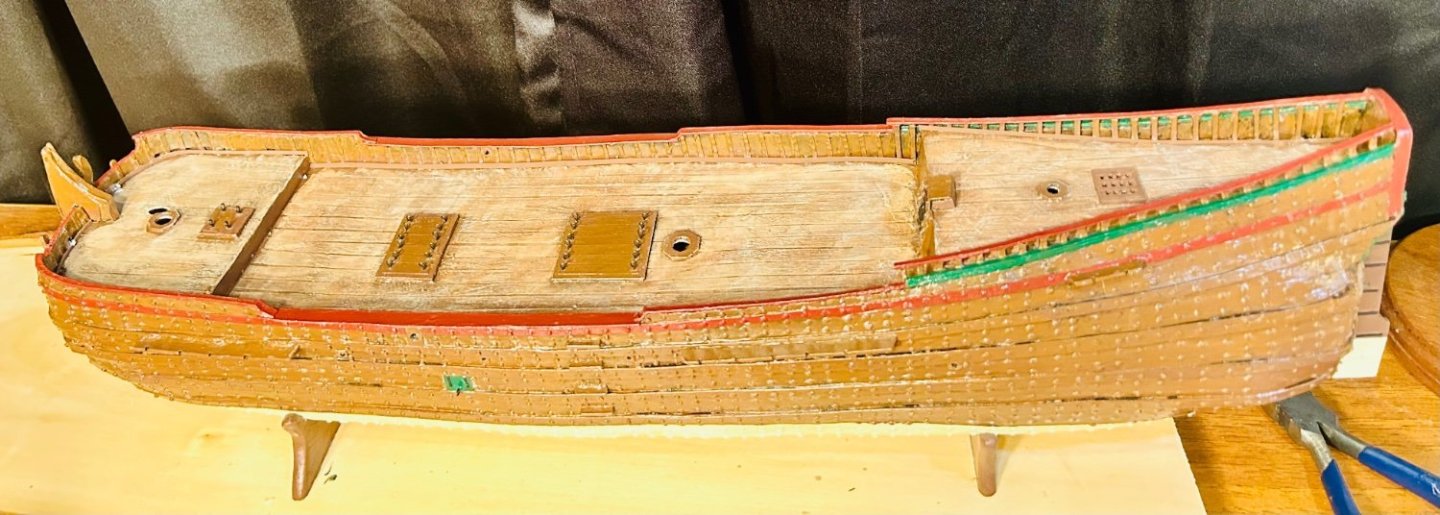
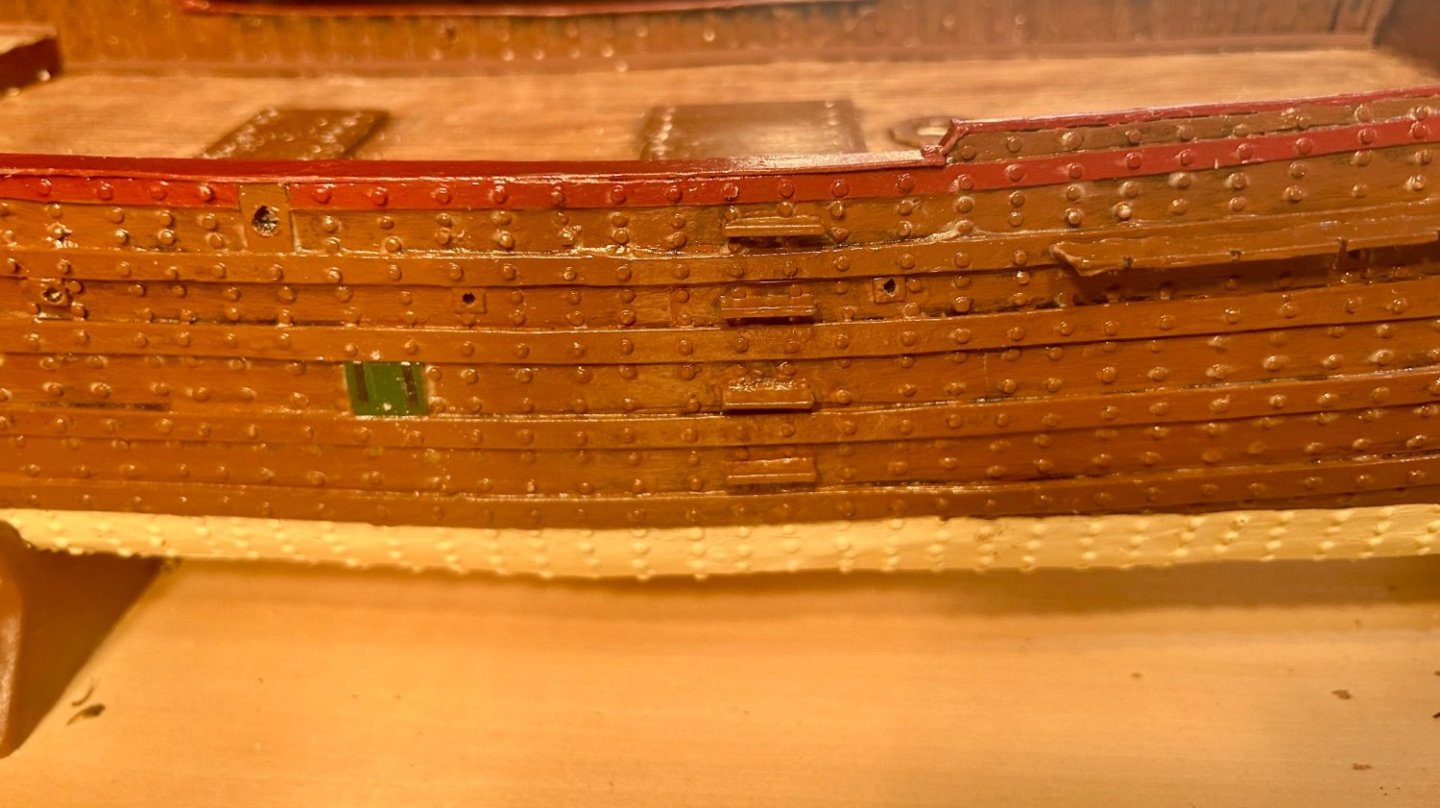
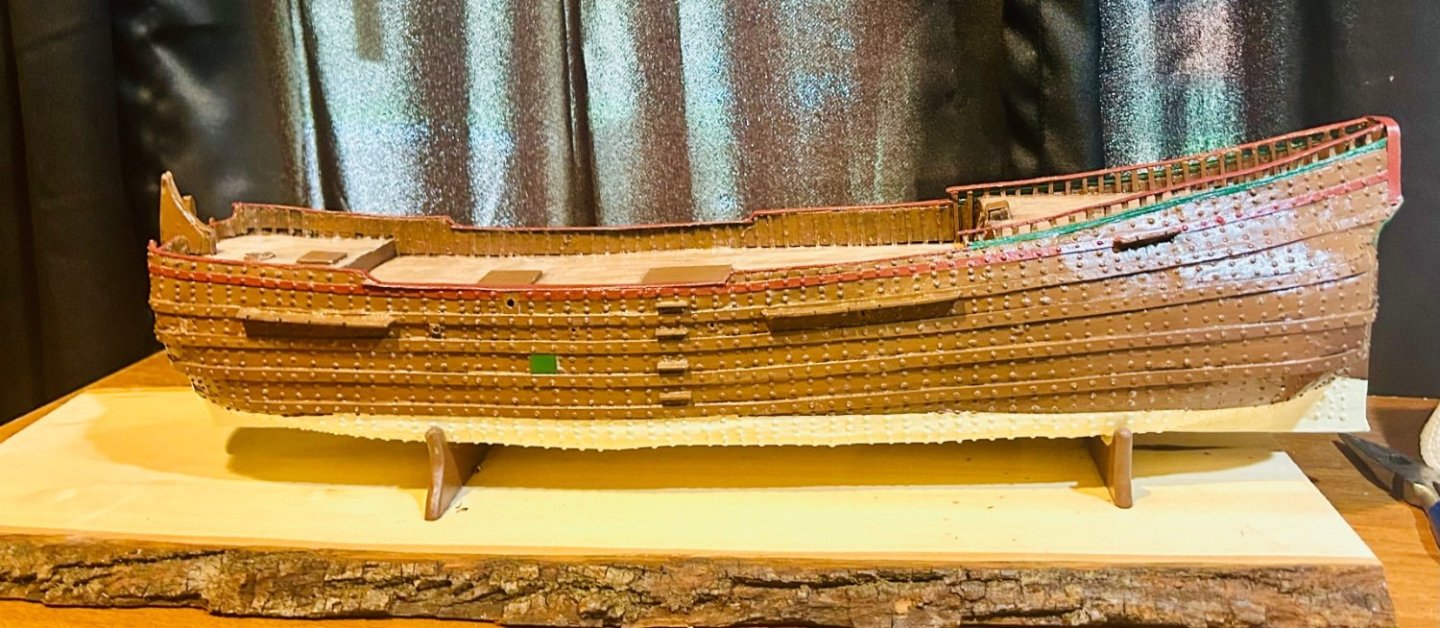
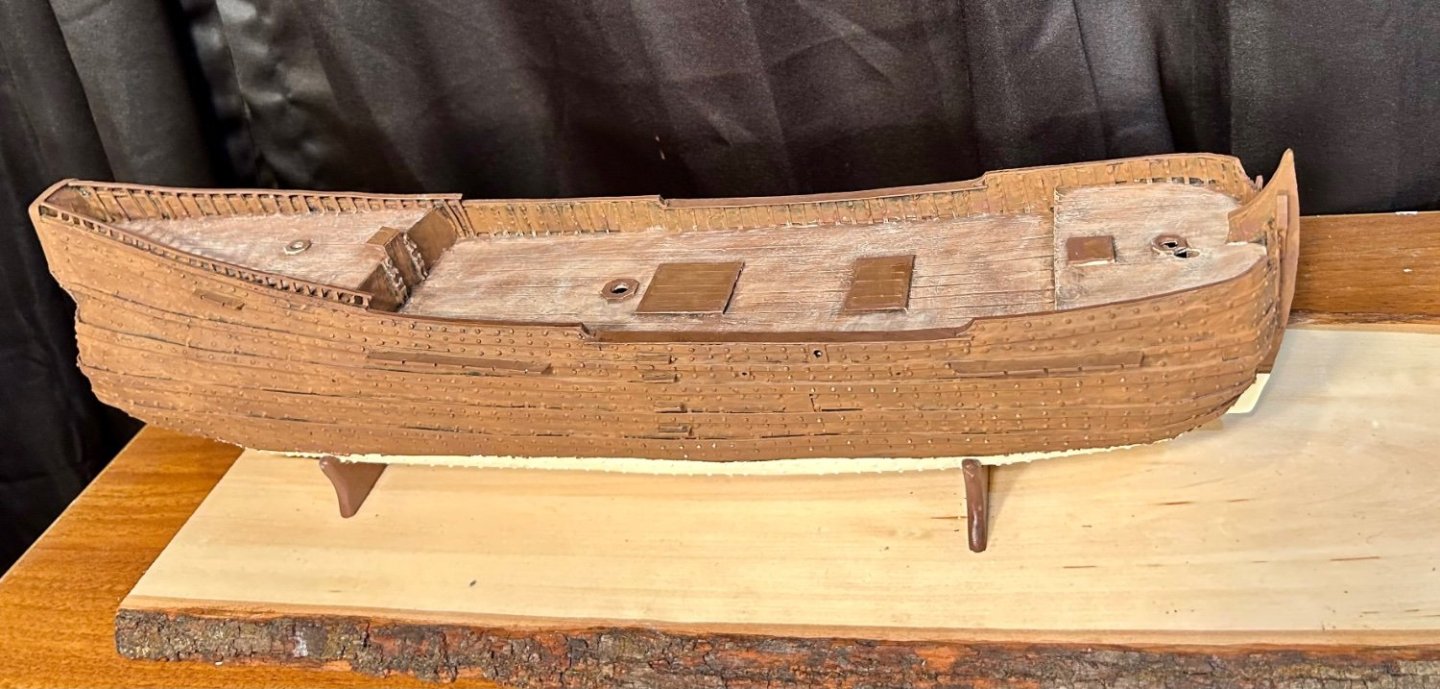
Making progress: The deck looks like old wood. The outside looks like old wood and the area below the waterline is painted. Next up: the wales and railings need painted and then on to most of the carriage bolt heads!

-
Excellent work! The decorations are coming along nicely!
-
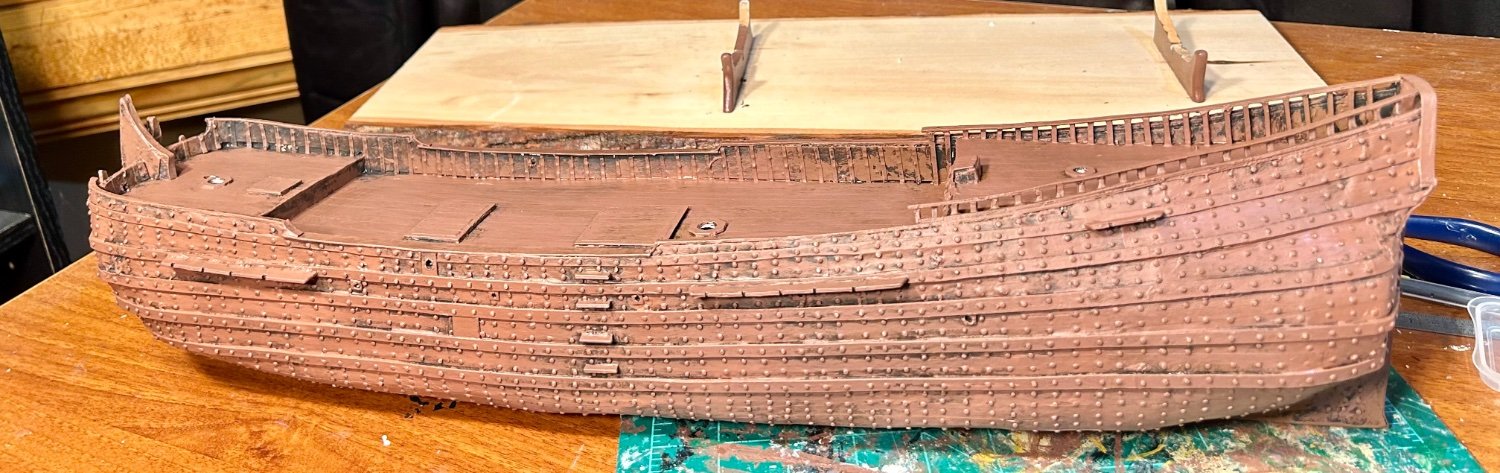
Working on layering up shades of brown:

-
Very nicely done!