


grsjax
-
Posts
1,046 -
Joined
-
Last visited
Content Type
Profiles
Forums
Gallery
Events
Posts posted by grsjax
-
-
I agree that metric is easier to use but that said if you have a set of drawings in Imperial it is generally better to go with that rather than converting everything into metric.
Digressing a bit, I had a 1970 Triumph 500 that had metric, SAE and Whitworth fastenings. Made for a real nightmare when trying to find the right wrench.
-
-
The other day there was a thread on using an electric toothbrush as a sander. Can't seem to find it now. Can someone point me in the right direction?
-
The question is, does CAF still sell the kit. Another question is it a legitimate kit that can be here on MSW?
- thibaultron and mtaylor
-
 2
2
-
- thibaultron, mtaylor and VTHokiEE
-
3
-
This 1/48 model of a British ceremonial barge used to be on the CAF website but I can not find it now. Has it been discontinued?
- thibaultron and mtaylor
-
2
-
-
Nice looking boat. Would be an interesting kit in wood and 1:48 scale.
- B-Ram and thibaultron
-
2
-
-
-
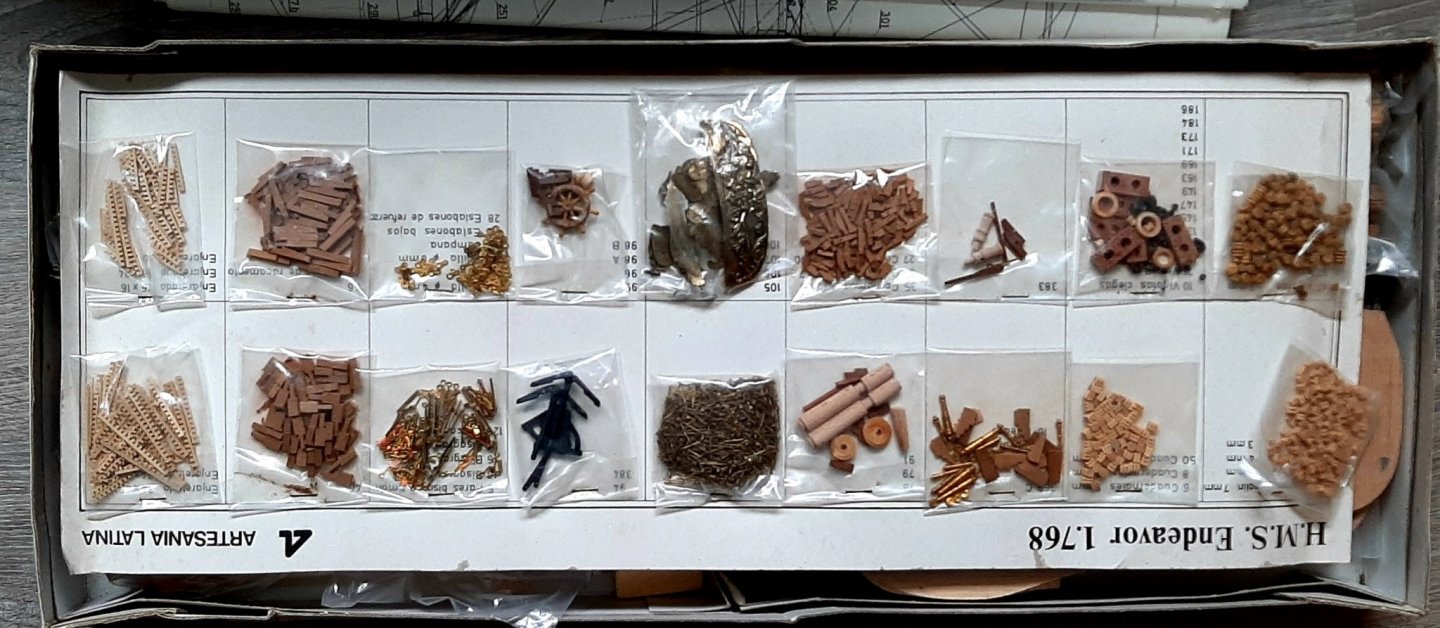
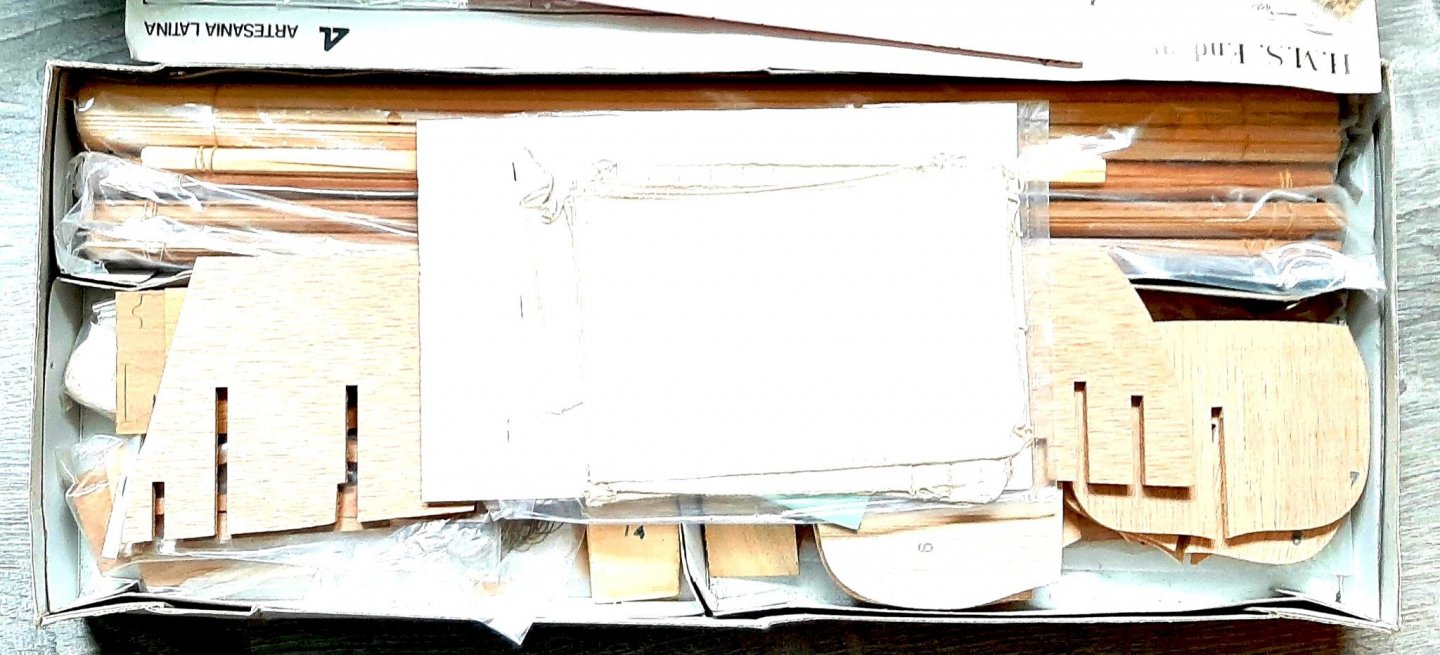
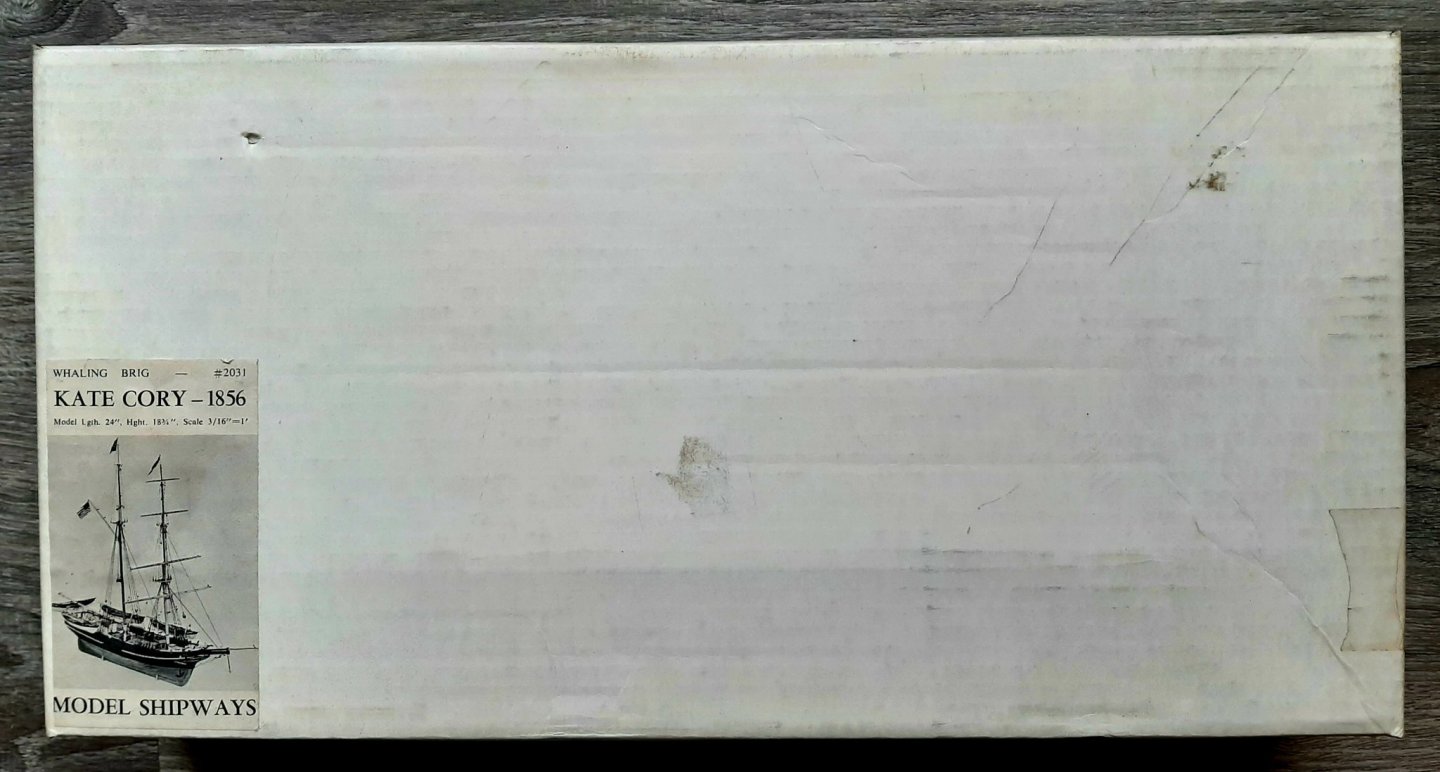
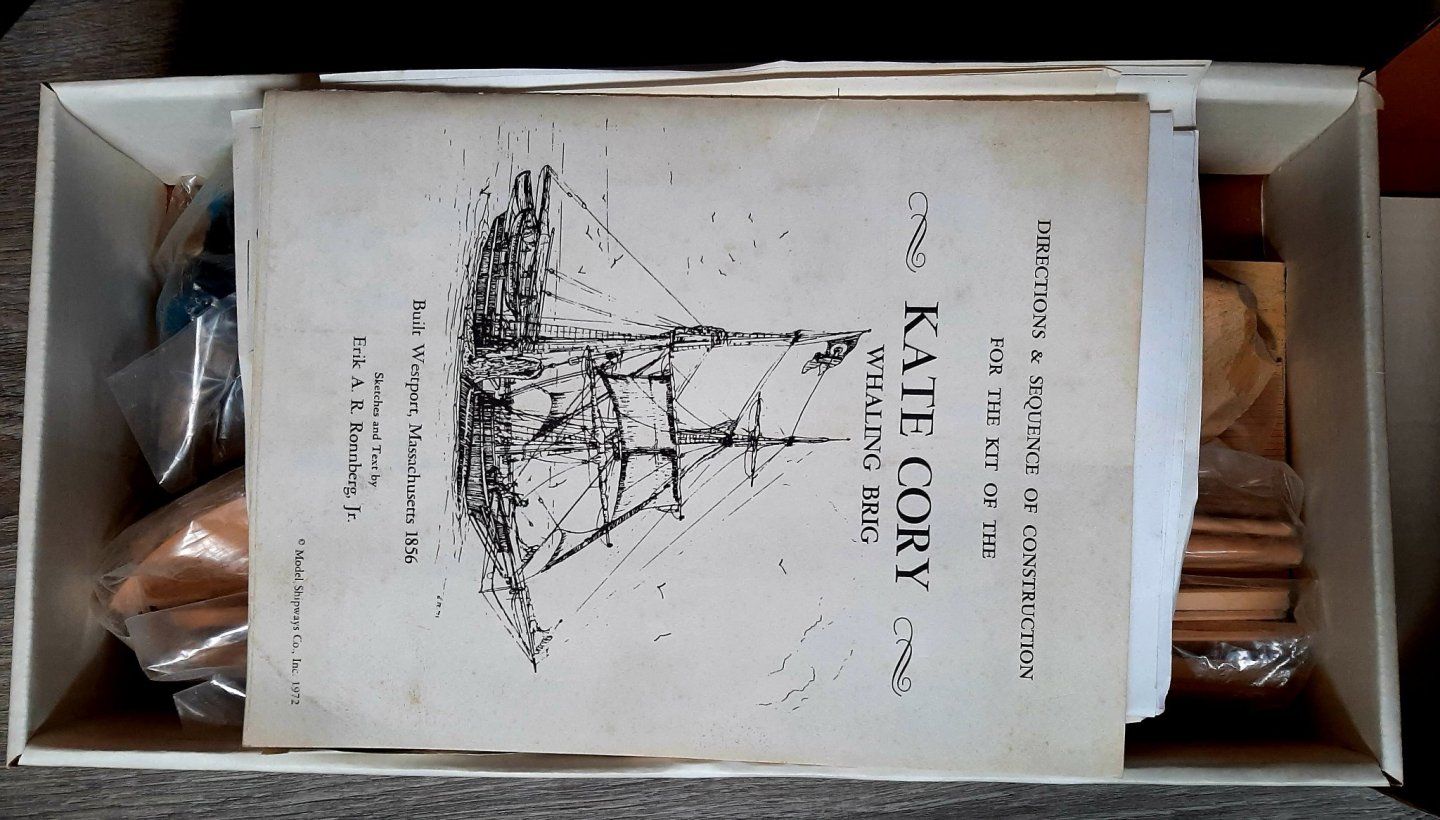
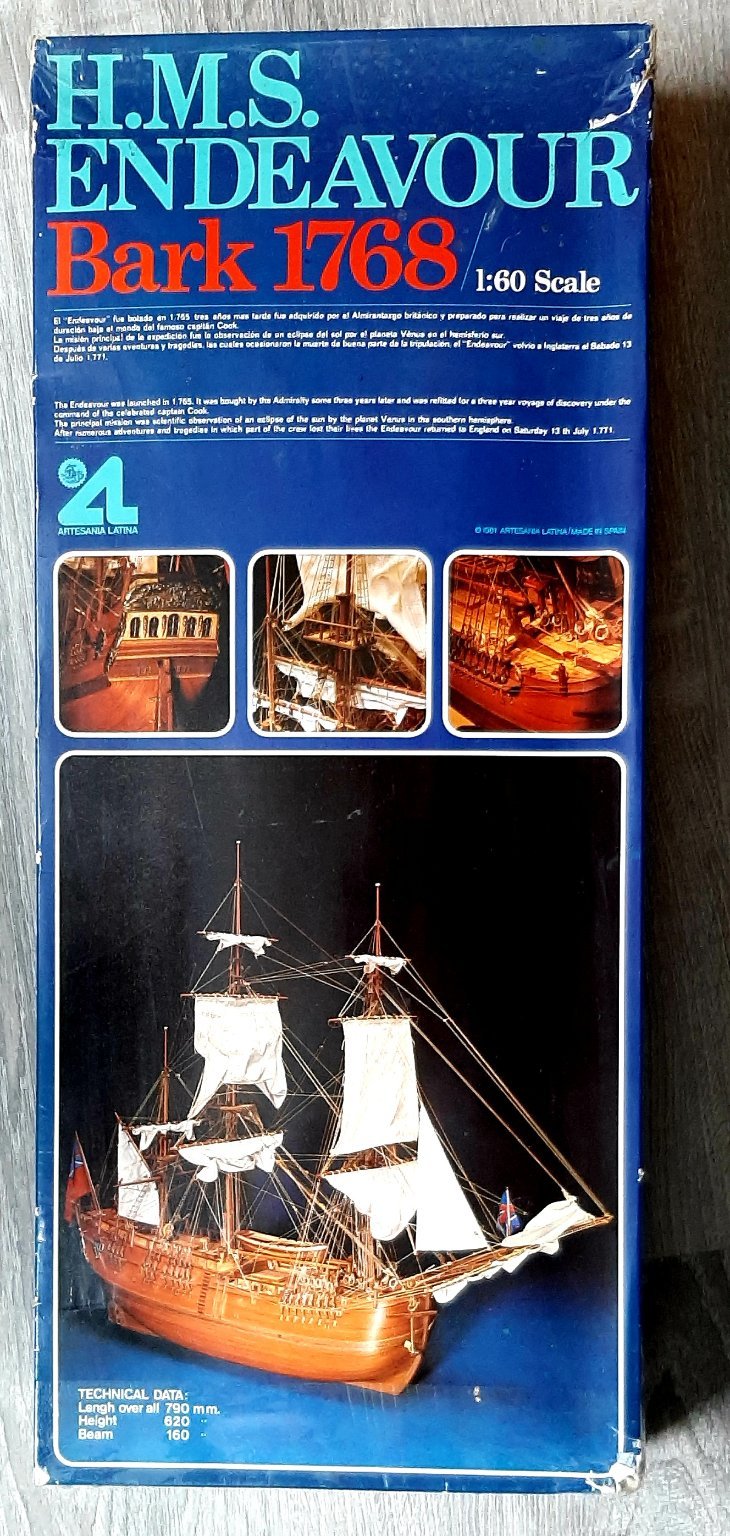
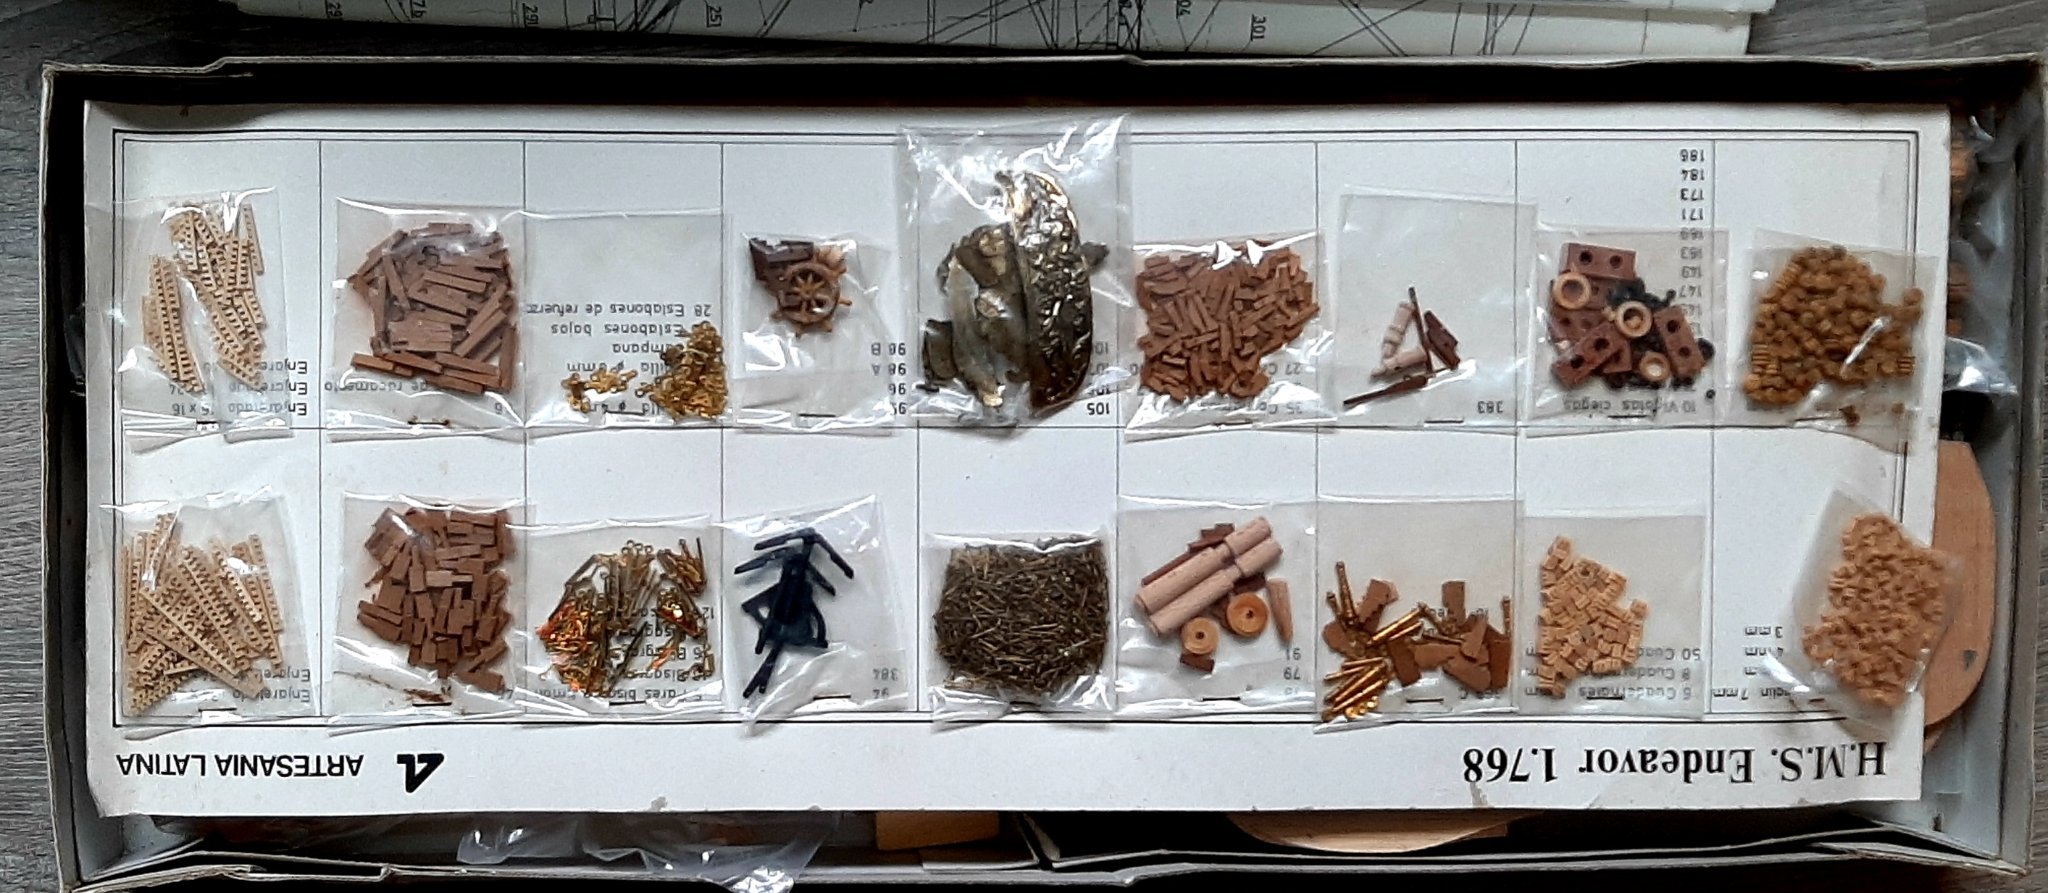
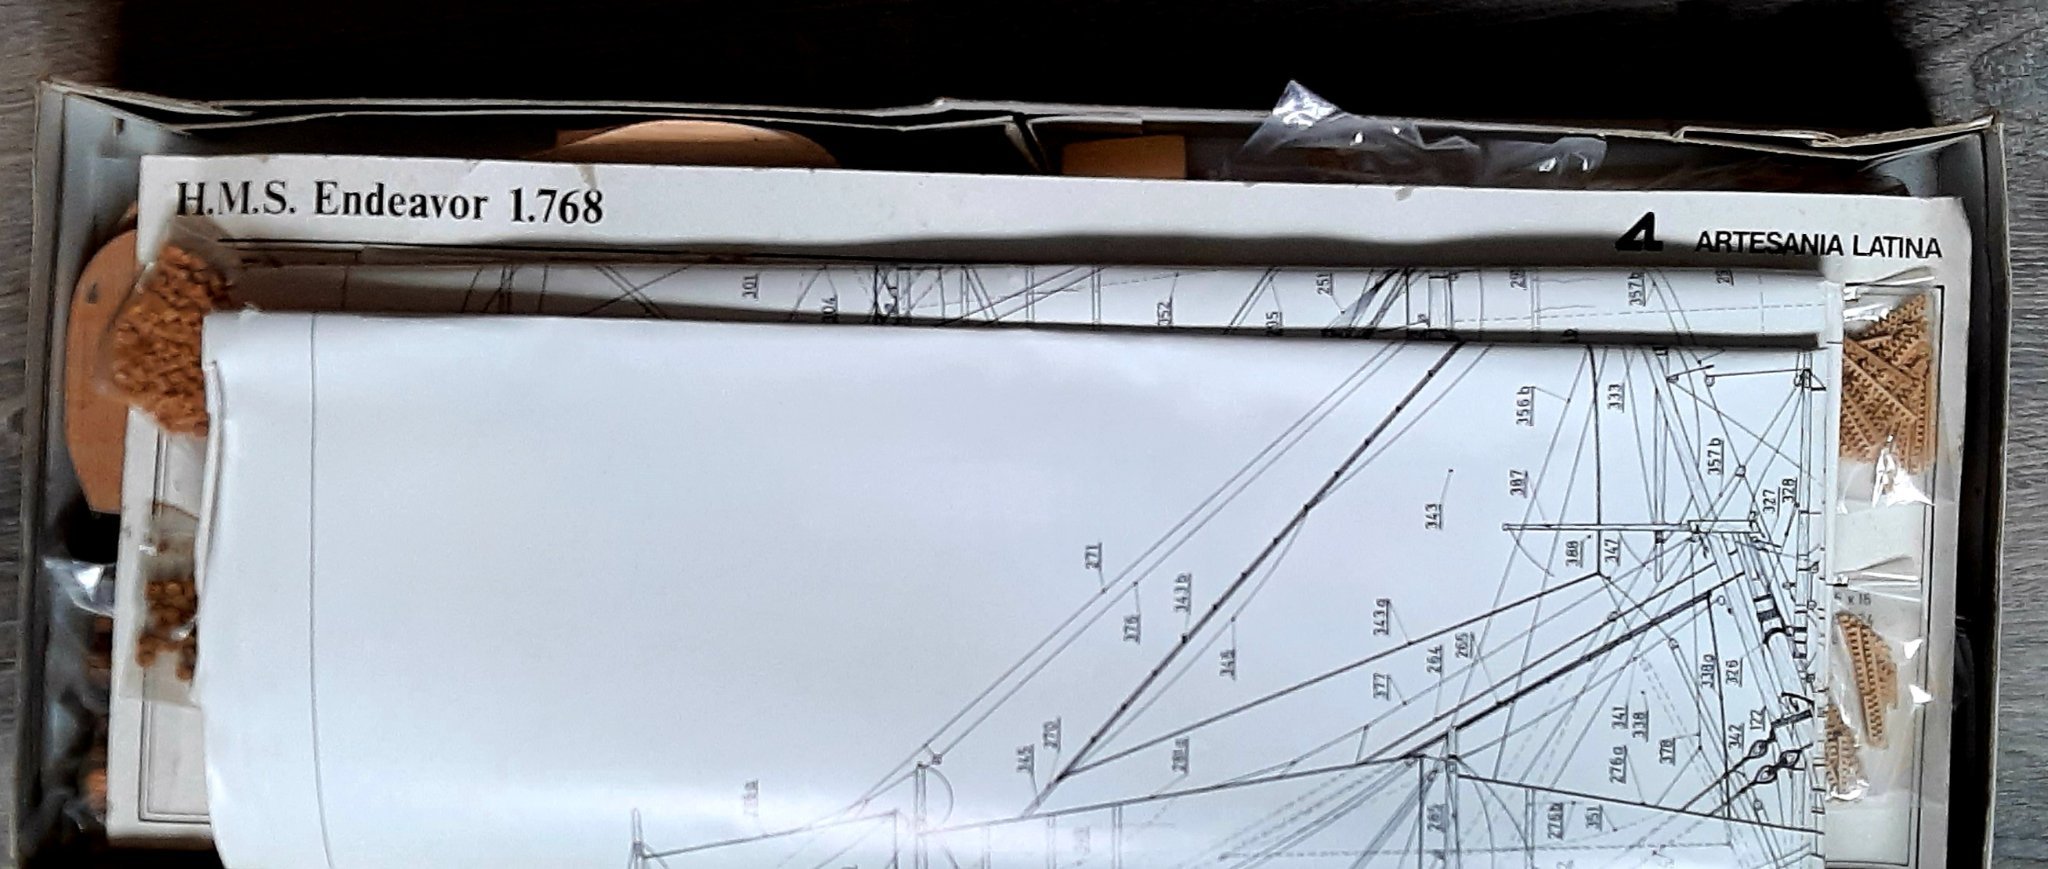
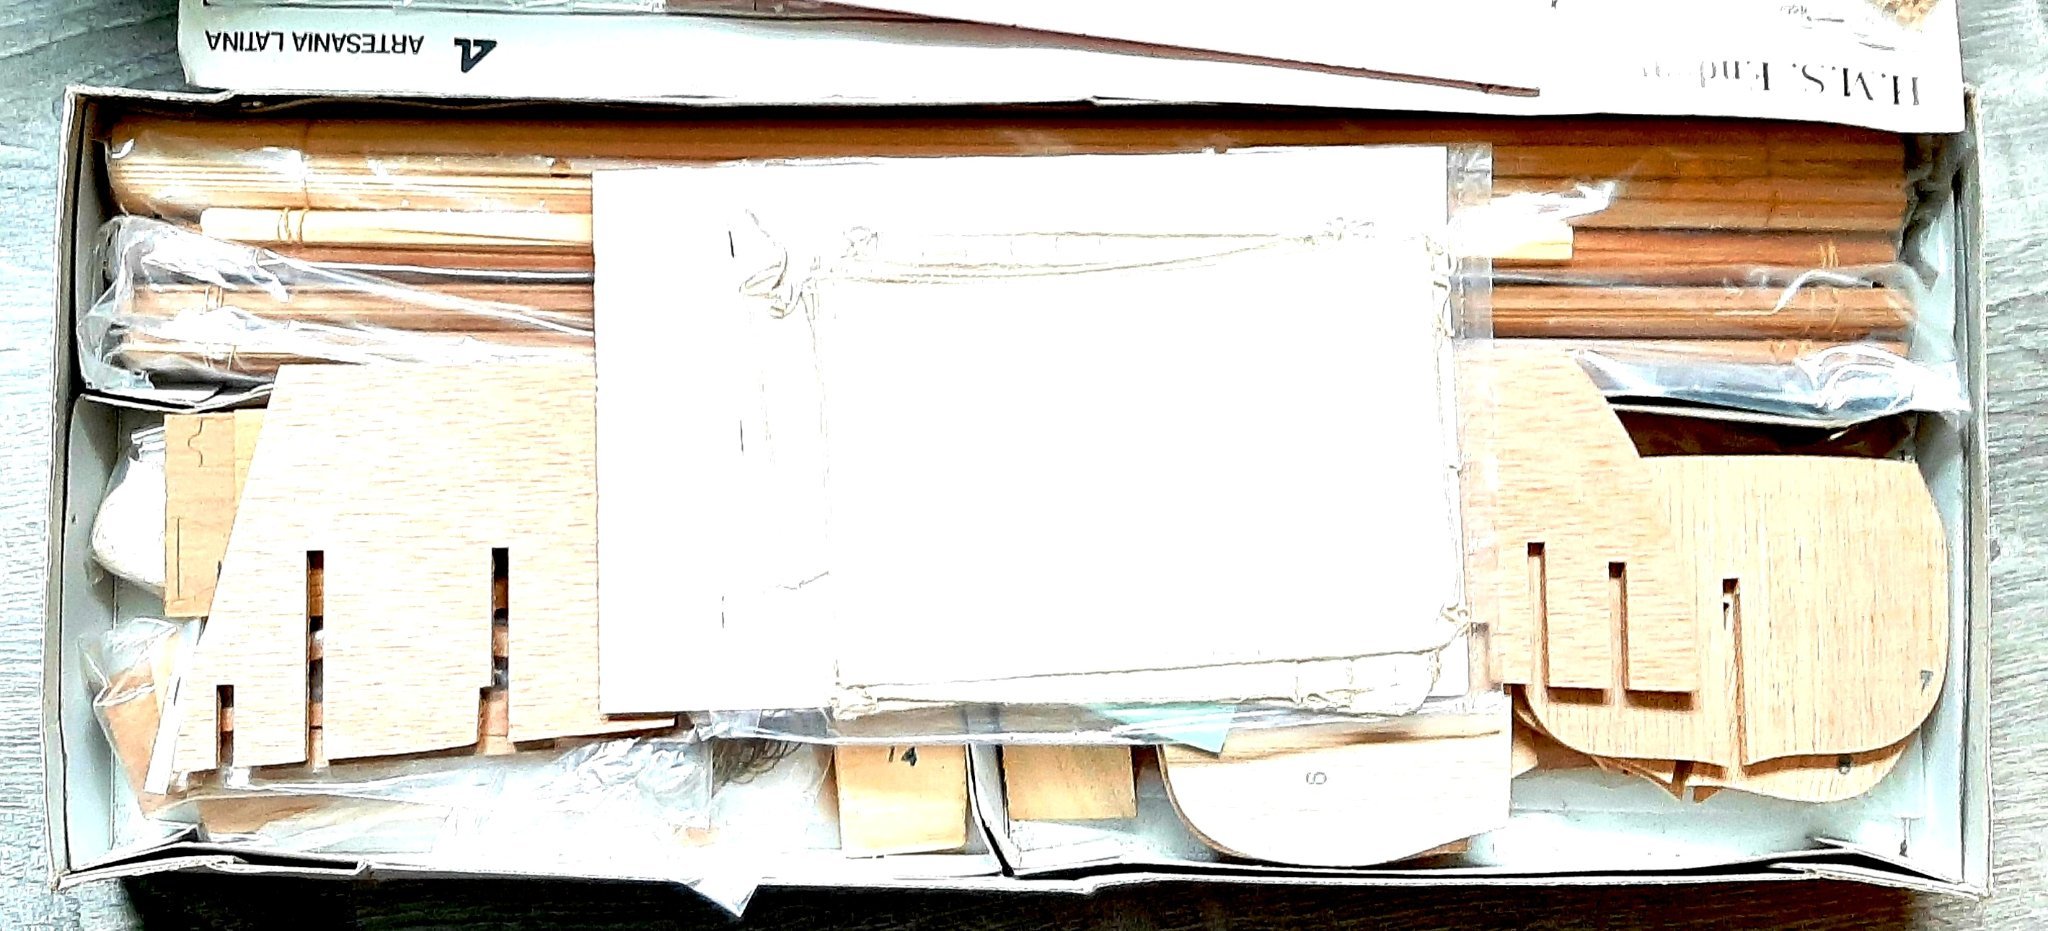
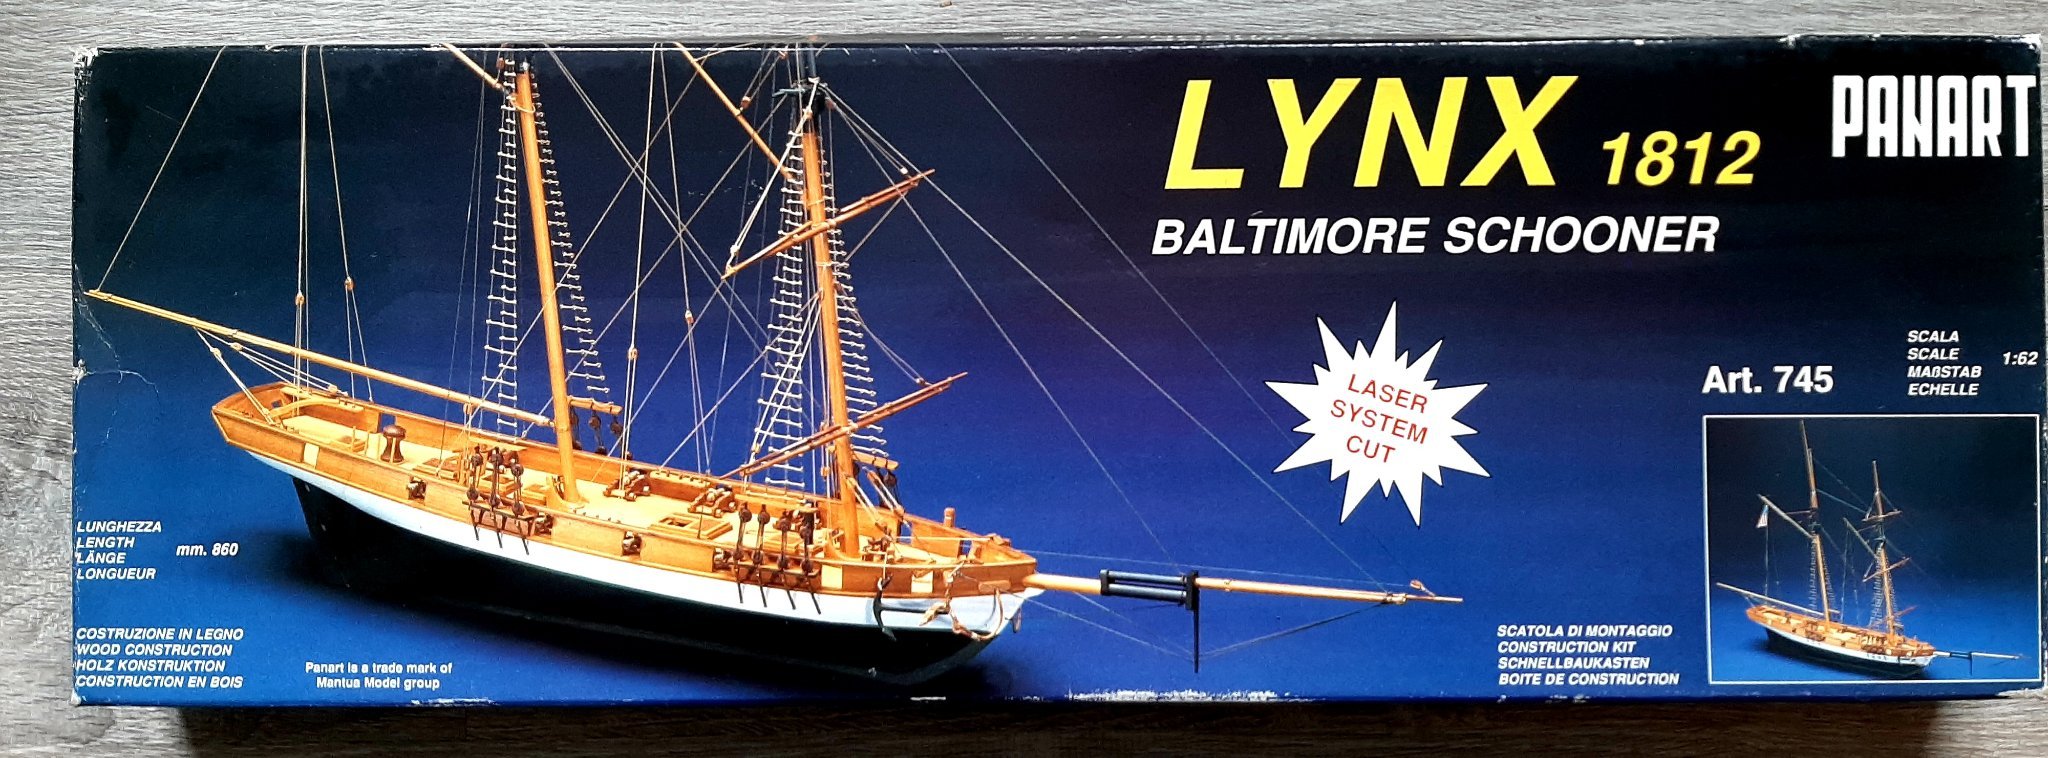
3 kits for sale. HMS Endeavour, Whaling brig Kate Cory and Schooner Lynx.
Drop me a PM if you are interested. Shipping is from zip 96720.
1. Artesania Latina HMS Endeavour 1:60 scale. Box is a bit beat up but all there and in good condition. $150 + shipping
In the last Endeavour pic the sewn sails don't show up very well.


2. Model Shipways Kate Cory. White box. Box is a bit soiled but kit is complete and in good condition. $150 + shipping
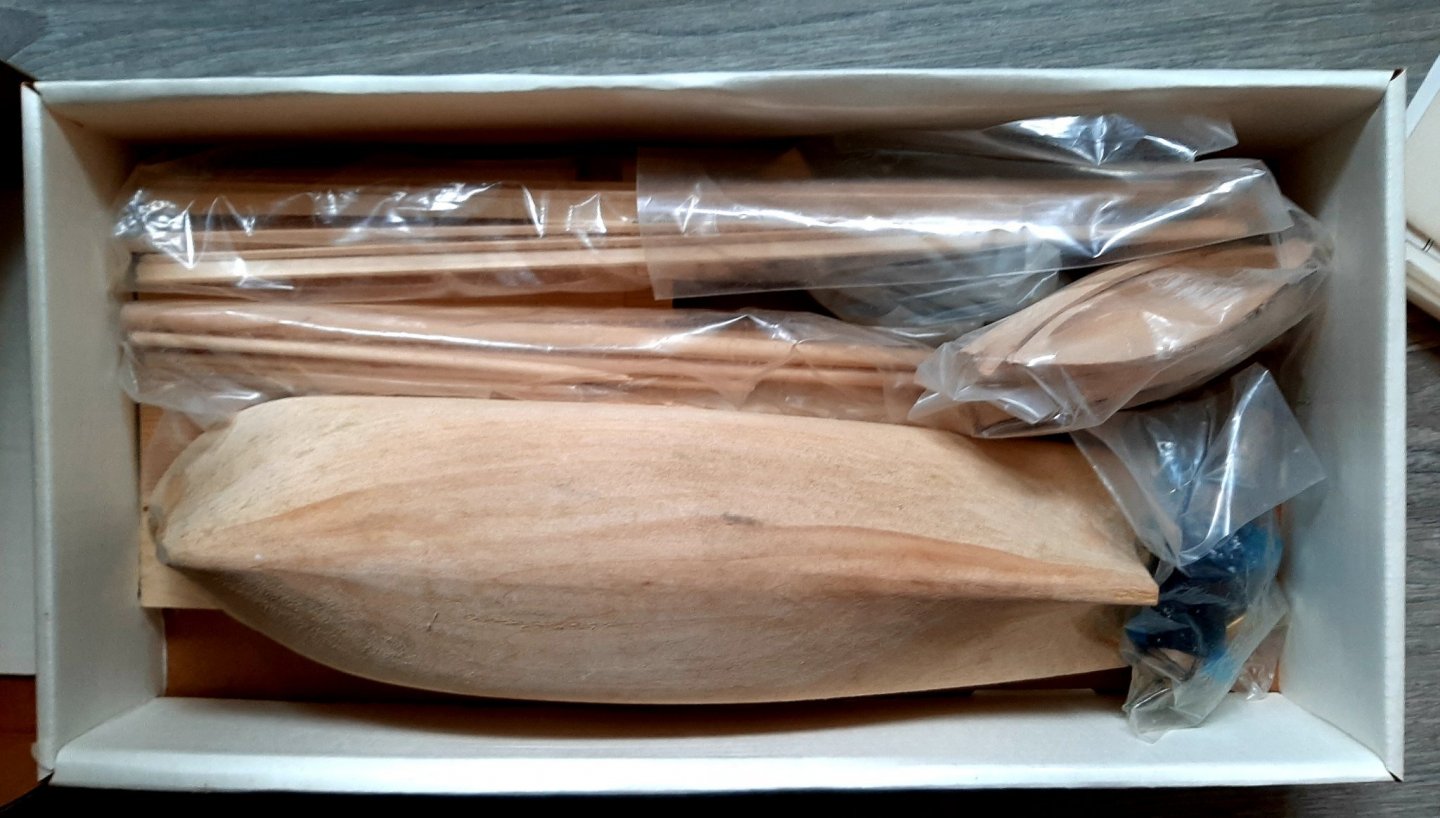
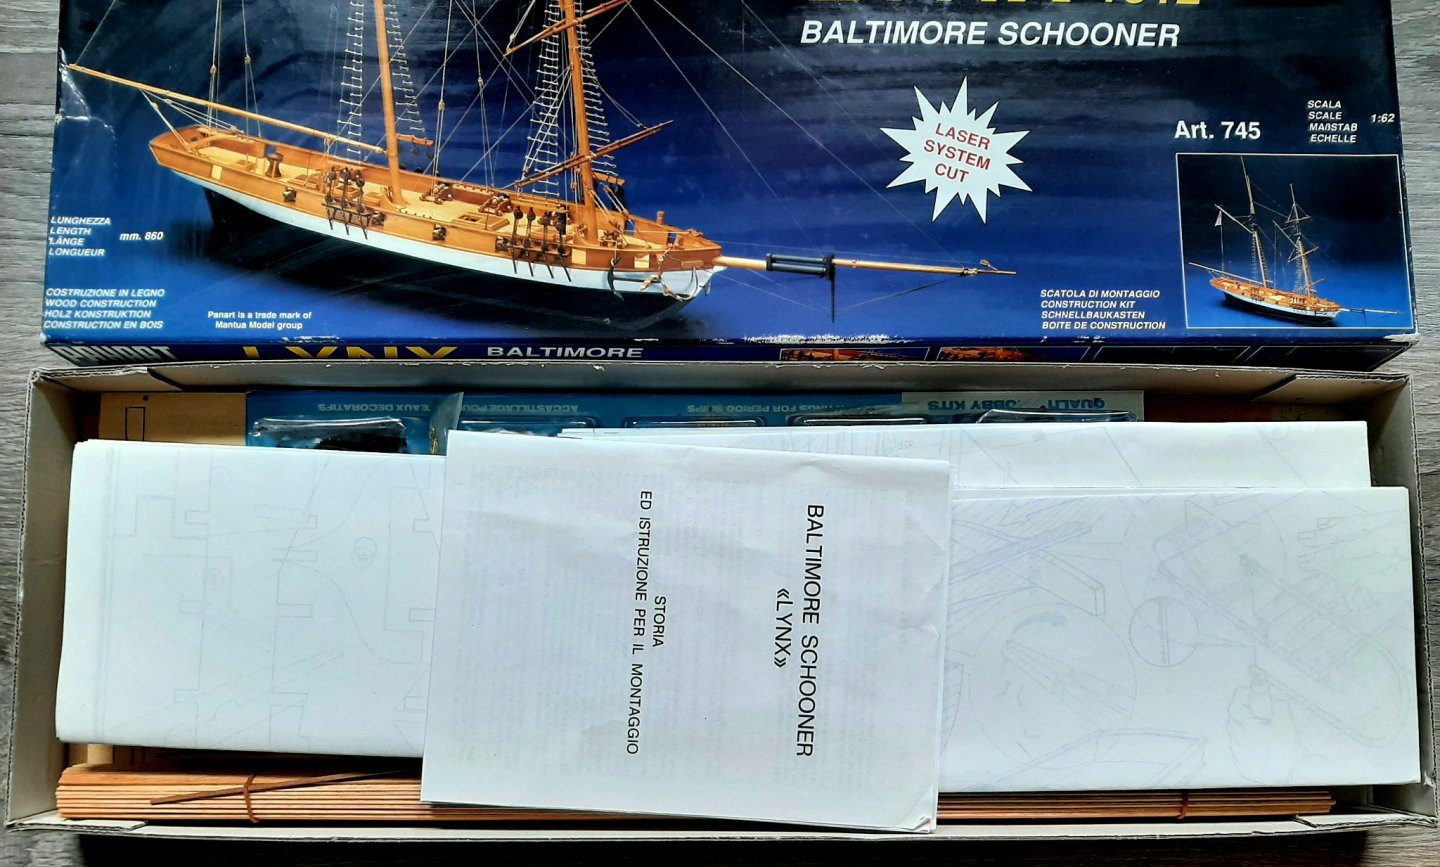
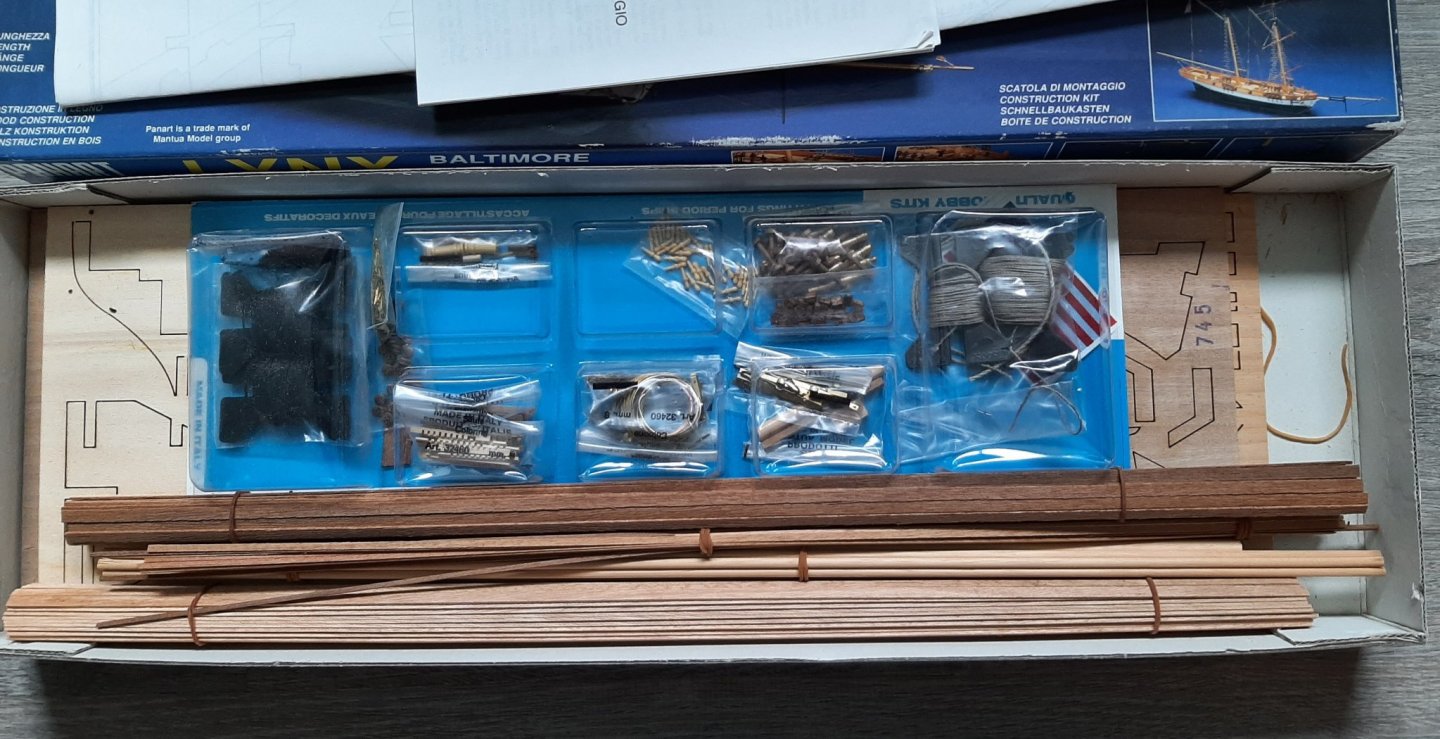
3. Panart Lynx Schooner. Box worn but contents are complete and in good condition. $100 + shipping

-
While visiting family in Oregon recently I stopped in at Woodcrafts of Portland. They had a bin of Brazilian Ebony on sale. Anyone ever used this wood?
Price was a fraction of Gabon Ebony. The wood is very hard, fine grained and black. Not as fine and black as true ebony but very close. It does have a visible grain when you look closely at it and the color is not as black as ebony. However after smoothing up a small piece and finishing it with a clear coat it looks good.
- thibaultron, mtaylor and JeffT
-
3
-
-
38 minutes ago, Laggard said:
This newbie got model shipways 18th century longboat as his first kit.
You might want to back track a bit and get the Model shipways Lowell Dory Kit as a place to start. It is the first model in their Ship Wright series and guides you step by step thorough the process. The Norwegian Pram is the next in the series. It will take you further along the path to mastering wooden model building.
- ccoyle, mtaylor, Ryland Craze and 2 others
-
5
-
Lovely blocks. The char doesn't seem to be that bad and as you say a dip in stain or ink takes care of the problem.
- thibaultron, cajunrandy214 and mtaylor
-
3
-
Thank you all for the good wishes. The surgery went well and I am almost pain free now.
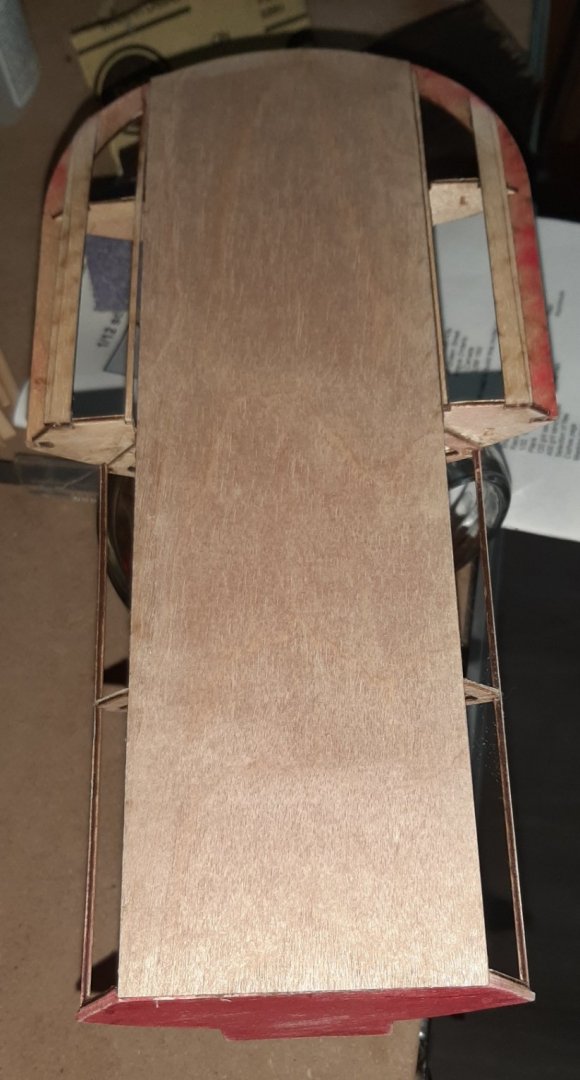
Got the first panel on the underside of the boat in place. The instructions say to very carefully line everything up to avoid twisting the frame. I was very careful but when I finished gluing the veneer to the frame sure enough the frame was slightly twisted. Looking at that very thin veneer and the very delicate frame stringers I was thinking that it was going to be impossible to get that panel unglued. I came up with a solution that actually worked and didn't destroy the boat. Lucky I used PVA glue to attach the veneer. Instead of trying to remove it I ran isopropyl alcohol along the glue line, let it sit for a few minutes and then put the boat upright on a flat surface and weighted it down all around and crossed my fingers. I seems the alcohol softened the glue enough that the parts could shift a little bit under pressure. After a full day I removed the weights and checked the alinement and everything was good.
-
-
If you have a lathe you can use it to mill parts. A milling attachment for a lathe is a lot cheaper than a mill and can do most of the milling necessary on a model. Here is a link to one for a Taig lathe sold by Little Machine Shop https://littlemachineshop.com/products/product_view.php?ProductID=1956 There are milling attachments for most lathes on the market so you shouldn't have a problem finding one to fit yours.
-
Can't see the pictures.
-
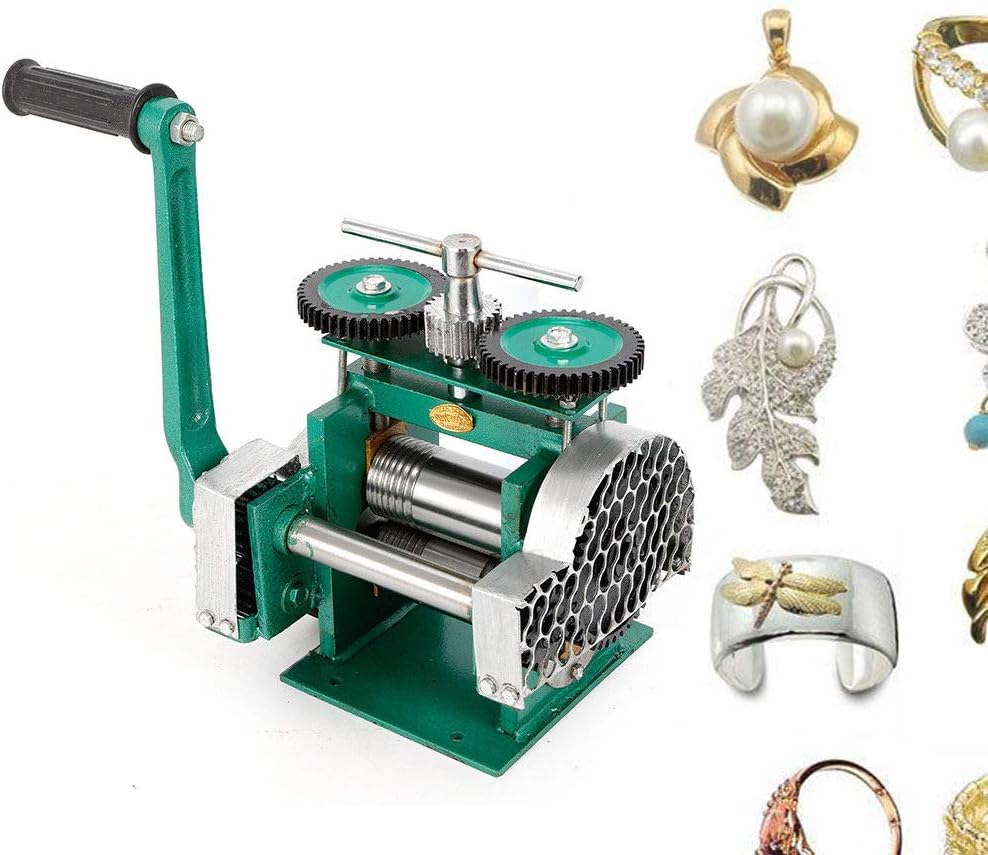
This is called a slip roller or rolling mill. The MicroMark item looks pretty cheaply made from aluminum. For a few dollars more you can buy one on amazon that will be much stronger and produce better results. Some of them have rollers that can be changed for use with different size tubes. One thing to think about is that the rollers will flatten wood strips to some extent.
-
-
I needed some small turnbuckles for a model and ran across a vendor called Harbor Models https://www.harbormodels.com/ . They mostly sell parts for RC ships but they had just what I needed, 5/16" long working turnbuckles in brass.

Dimensions:
M=M1
O=8mm (5/16")
L-min=13mm (1/2")
L-Max=18mm (23/32")
D=1.8mm (1/16")
f=.7mm (1/32")Price seems pretty reasonable at $2.75 for one or $26.90 for 10. Shipping was fast.
-
-
19 hours ago, ship69 said:
E. Servo Products - Heavy Duty Drill Press?
200-20,000 RPM, 9.5Kg, c 230 watts? (power used)
Elegant little thing but seems to be more of a high quality Drill Press, except that it looks like Mill Heads are available??
http://www.servoproductsco.com/html/heavy_duty_drill_press.htmlLooks like a good drill press but does it have heavy duty quill bearings able to take a side load during milling and does it have a solid or hollow column? Both of these issues are going to be important in doing any kind of milling.


Laughing Whale/Midwest Kits
in Wood ship model kits
Posted · Edited by grsjax
I asked this question before but didn't get anything pointing me to more information. Still want to know, is there a list or archive of all the models produced by Laughing Whale and Midwest over the years. I remember catalogs from years ago that had a lot of models from these manufactures that no longer are available and no information about them anywhere. Sometimes I will run across an old ad or an ebay auction for one that I have never seen before. I know Bluejacket took over Laughing Whale but they only offer a small number of the old kits.