HOLIDAY DONATION DRIVE - SUPPORT MSW - DO YOUR PART TO KEEP THIS GREAT FORUM GOING! (Only 68 donations so far out of 49,000 members - Can we at least get 100? C'mon guys!)
×


Long9Ron
-
Posts
222 -
Joined
-
Last visited
Content Type
Profiles
Forums
Gallery
Events
Everything posted by Long9Ron
-
Very nice clean cut Pete. Your lucky to have a mill bit. I just used my scroll saw and steady hands. Well, sort of steady hands...
-
Pete Will wait and see what happens for a couple of days. I'm in no rush for the beams right now and I can always re-soak and bend them again if needed.
-
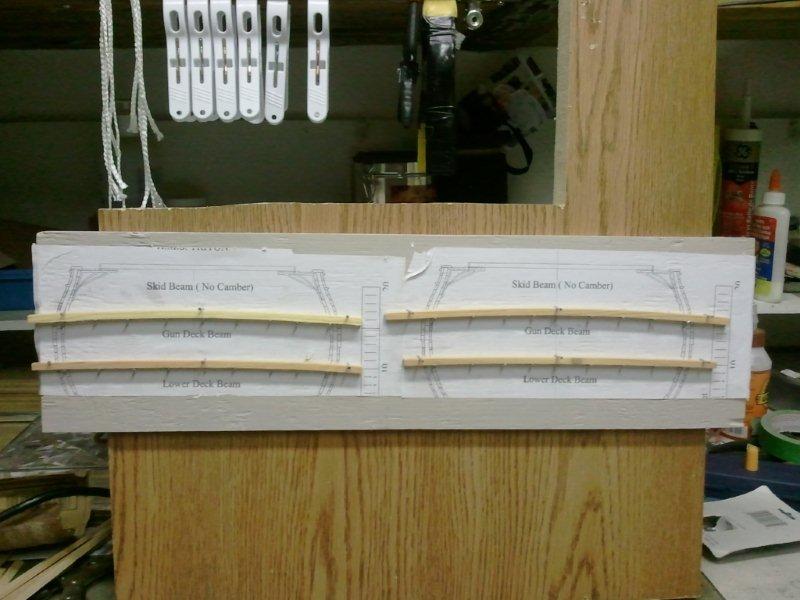
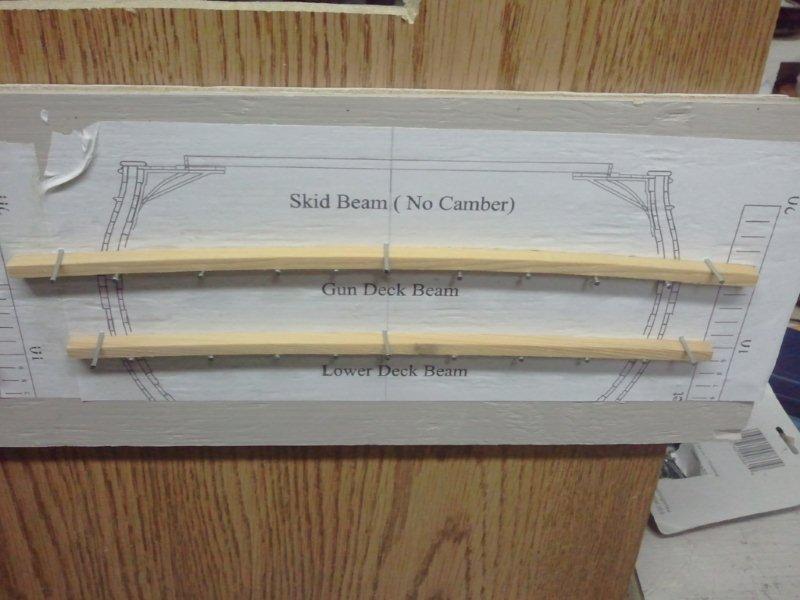
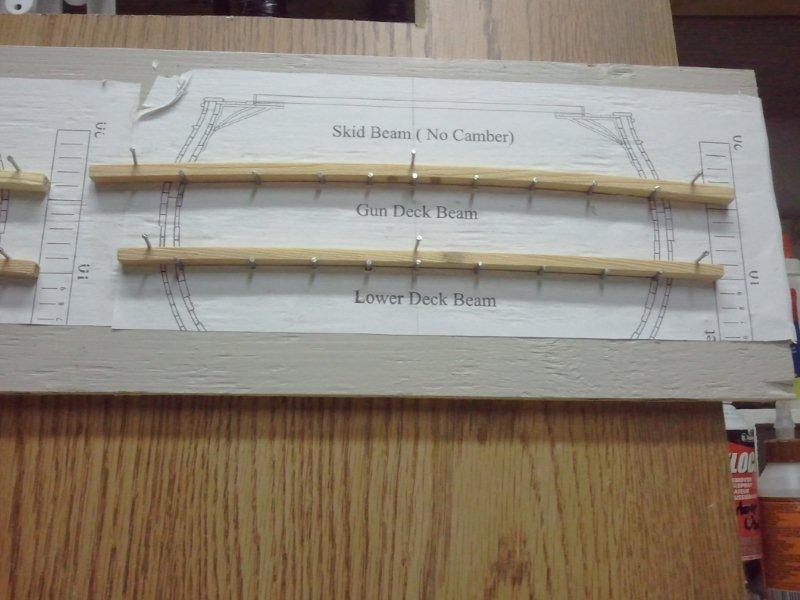
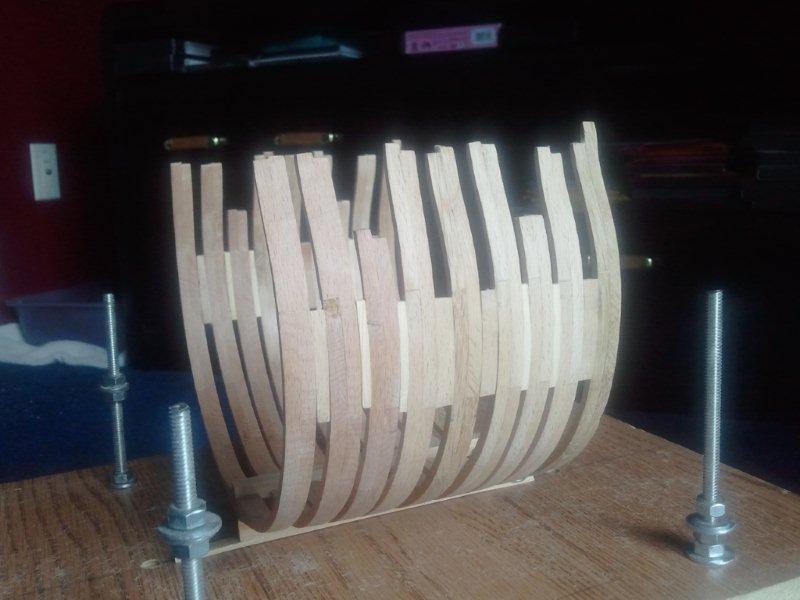
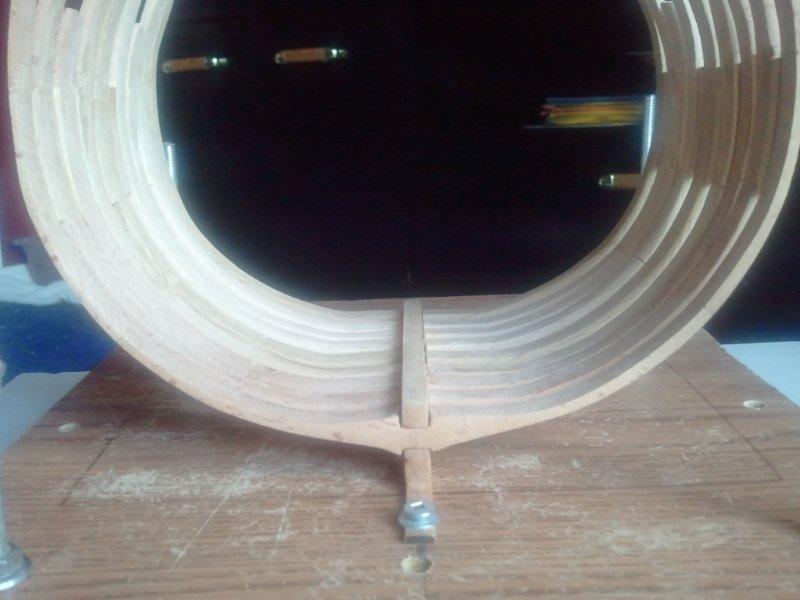
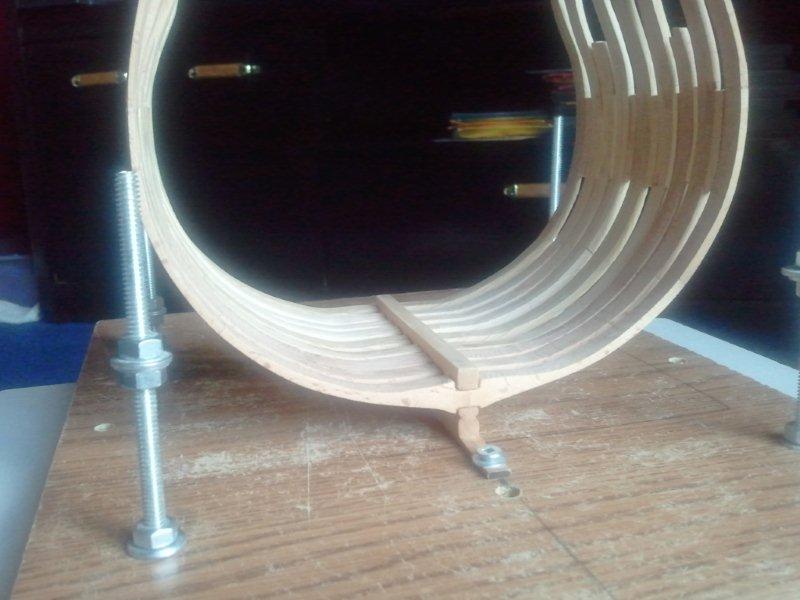
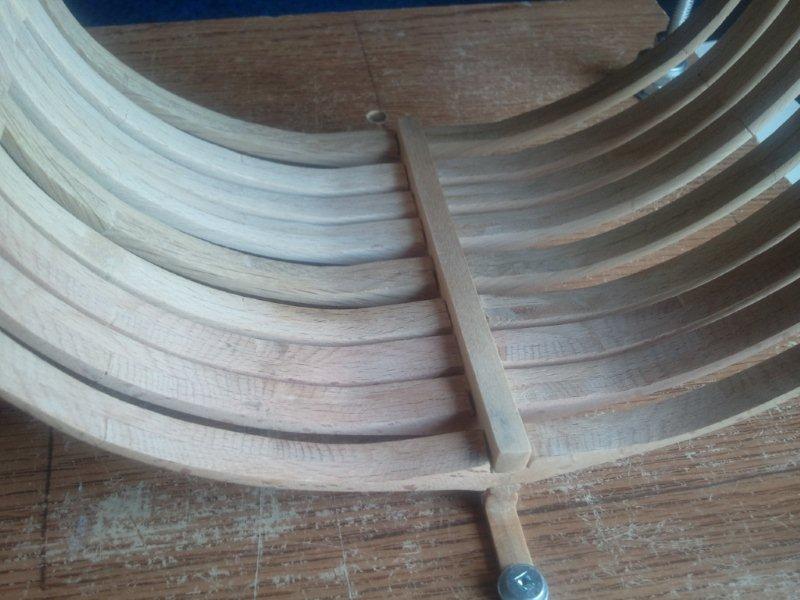
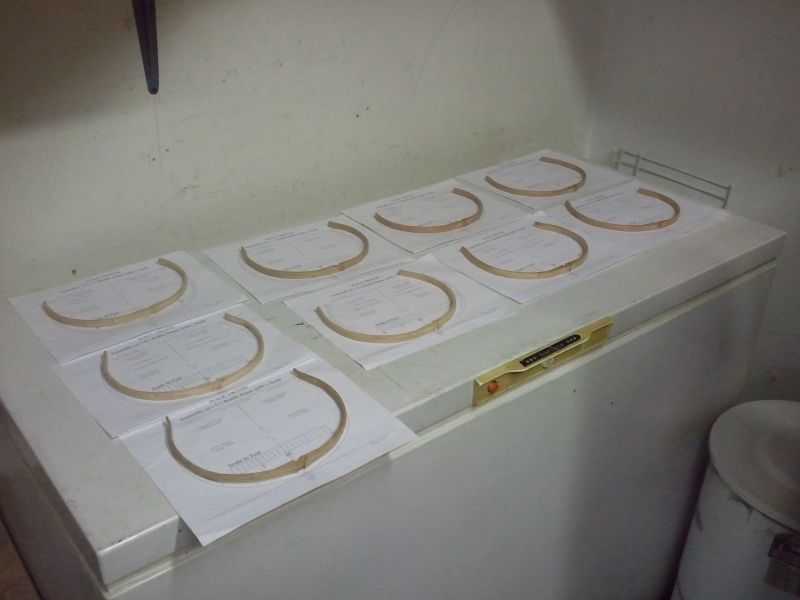
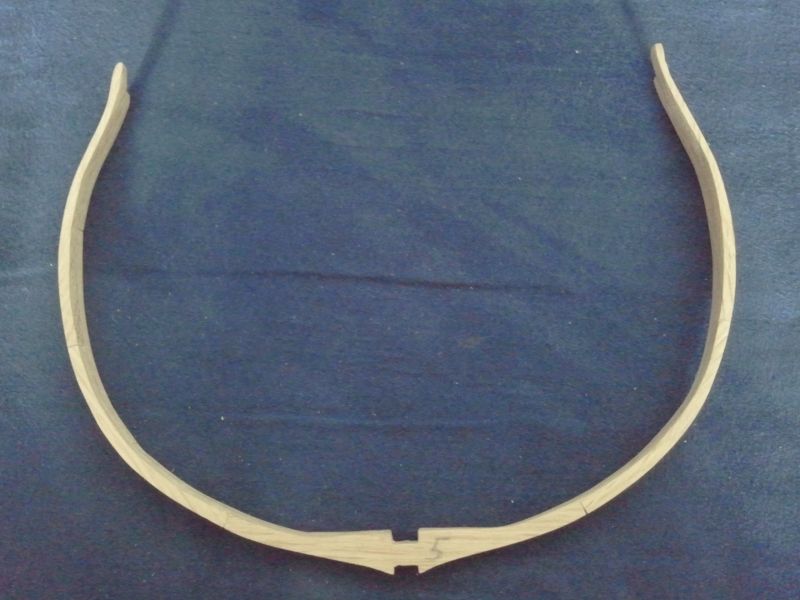
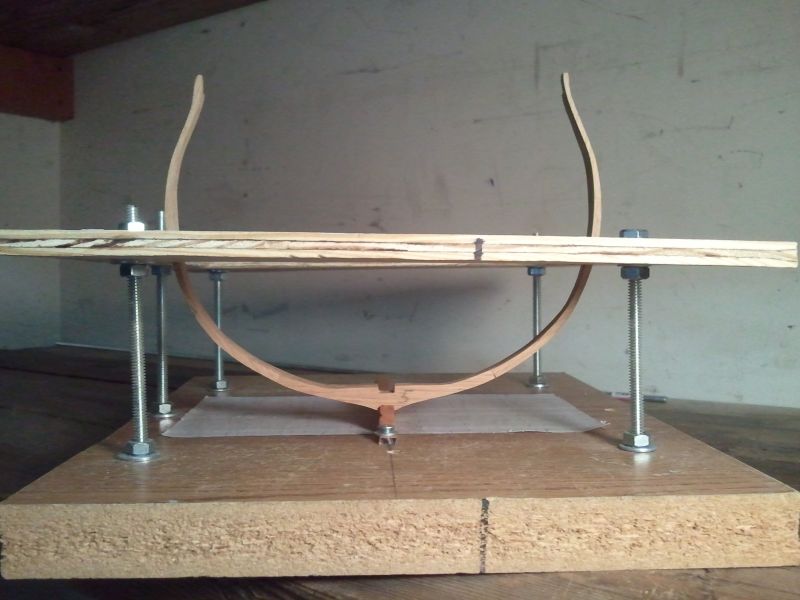
Just a little more to post at this time. I have been cutting my lumber to size for the planking and such and have the beams cut to size. I made a little bending jig by gluing the frame drawing to a piece of wood and hammering finishing nails along the beam edge and then I soaked the beams in hot water for about an hour and mounted them in my bending jig. I will let them dry for a day or two before removing them from the jig. I think it will work just find. When that is done I will repeat the whole process for another set. Thanks to Snowmans idea. Hope I don't get any mold on the wood or I will have to do the old bleach trick on them. Well, back to work, still making planking..
-
I can't take the credit for that great idea. It was Larry's idea for the tea bag staining.
-
Cross-section by russ - FINISHED - 1/48 scale
Long9Ron replied to russ's topic in - Build logs for subjects built 1751 - 1800
Hi Paddy Welcome. Not to take over Russ's log, but I don't think he would mind if I directed you to this link. http://modelshipworld.com/index.php?/topic/116-keel-drawing-first-drawing-for-trition-cross-section-and-access-request/ Russ, I hope you didn't mind me doing this. If so, just let me know with a PM. -
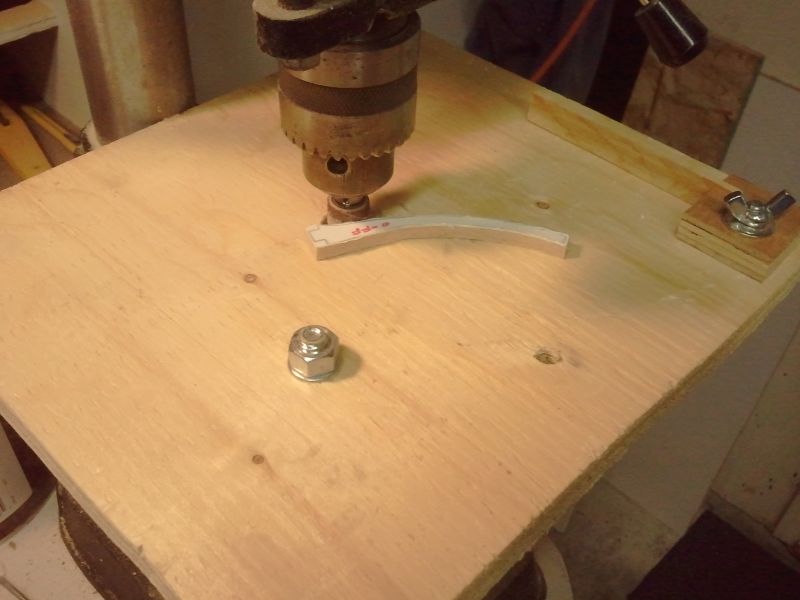
Thank you all for your kind words and advice. I think that I will go with the Natural color of the toothpicks. If my frames were of a darker color wood then I might go for the stained walnut, but my wood is very light, so I think the best one for now is the light one. As Joss said, they may stick out as a sore thumb if I don't line them up correctly and being my first time at treenails that would most likely happen. Maybe when I get a little more experienced at it I will use a darker treenails. Have to pick up some drill bits before doing any treenails.
-
Pete Frames are looking very nice. Way better than mine.
-
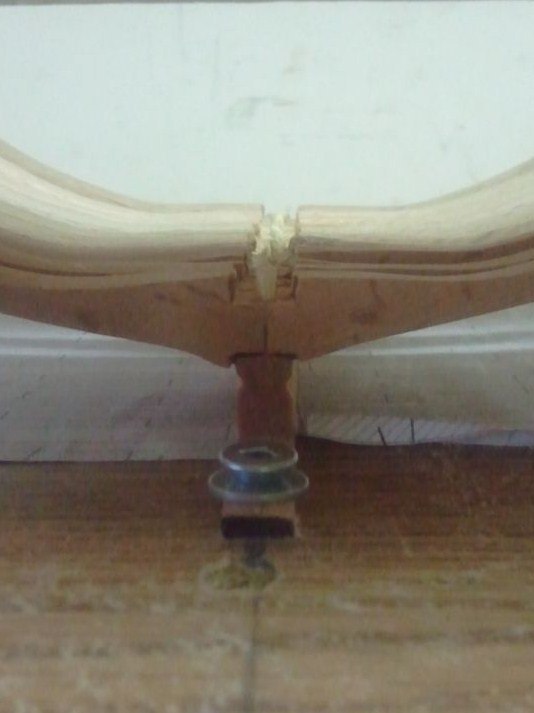
I have soaked the wooden toothpicks in Dark Walnut stain for a week now and just looked at them today. It seems that the stain has soaked right into the core of the wood. I might end up soaking a bunch and use them in my build. Haven't decided which way to go as yet. Natural or dark? While the toothpicks were soaking I worked on my frames. Which in my opinion are not very good, but I will be using them the way they are. You can see where I filled in the gaps with a sawdust-glue mixture and some other sloppy areas. But, overall I think they will work and I think I will not have any of the frames showing in the end product. Sorry for the quality of the pictures, taken with my cell phone. I have also cut some lumber for the inside planking and have my beams cut. I will be soaking the beams and bending them soon. After I do some inner planking and treenails of course That's it for now.


-
Larry Thanks for the tea idea. I will have a cup while I think about it. I mounted my frames today and decided to do the treenails on them using plain old wooden toothpicks. Frames mounted. Treenails installed by freehand. Not to good. But, they won't be visible later. Sanded down and ready to mount the Keelson. More pictures to come after I do a little more work.

-
Nice looking frame Christian. Wish mine were as nice.
-
That's good information to have Christian. Thanks. It is going in my Things to Know Database.
-
Snowmans Thanks for the pictures. That's a great idea for uniformity.
-
Larry Thanks for the tea tip. I may try a batch with some milk and sugar. Christian has a point there. What is the standard for the Triton? Two treenails or one in each outer plank? I know that this was mentioned somewhere in the Victory build, but I can't remember where or if it was for the decking. Russ may know about the Triton.
-
Joss, Daniel and Larry Great ideas. I will have to put them all into my Things to Know Database. I'm not sure yet which way I will go. More testing to do. I also heard that a wood filler in the holes may be an idea. Larry - What brand of tea did you use. Earl Gray? Thanks
-
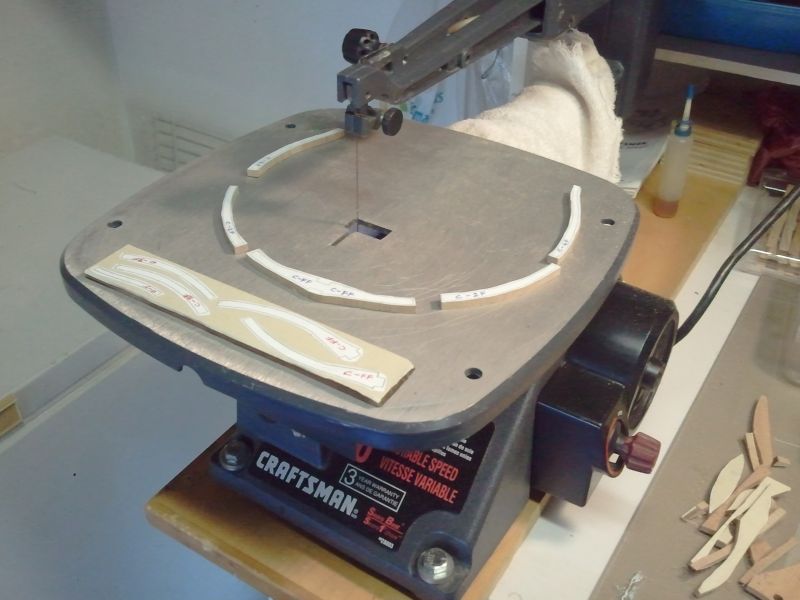
Well I'm starting to slow down a bit and looking more at the detail of the work done. As this is my first build I have a lot to learn. Lessen learned to date...... SLOW DOWN AND CONCENTRATE ON QUALITY NOT QUANTITY. I noticed that my frames were not up to my standards. I don't like to do a sloppy job, but I'm just learning and this is my first build. There were a few gaps in the frames and a few dents and such, but, I have decided not to redo them as they will be hidden anyway because I think I will do a full planking on the inside and out. But, I did decide that I would use a sawdust-glue mixture to fill in the gaps. Just to try and fix it up and to learn how to fix my mistakes as I go along. One reason why I decided to plank inside and out all the frames is because in my quick rush and inexperience, some places of the frames are too thin due to poor cutting and sanding. I believe that I can live and learn with that. Anyway, I have made the frames and filled in the gaps and I'm ready to mount them in the jig. I'm also doing a little experiment on some wooden toothpicks. I have sanded some down to take off the shine and also cut off the ends and I'm soaking them in a dark walnut stain for a few days to see if the stain will penetrate into the core of the wood. I did do a small sample of the same but did not let them soak at all and I notice that the stain only coated the outside of the wooden toothpicks and not the inside. That was not good enough, so I thought that I would soak them for a few days to see what would happen. Will update later. Notice in the above picture, my zero insert for my scroll saw. It works a lot better now and doesn't break off the ends of the pieces when I cut them. Well back to work. Hope to have a few more pictures to post later.

-
Colin Beautiful build. I love it. I think that I will have to do one in the future.
-
Looking good Larry. Nice to watch you build. It looks like you decided not to stain the toothpicks. Do you have a closeup picture of the finished outer planking using the toothpicks? I would like to see how much they stand out without the stain. Thanks
-
Snowmans Looking great. Did you use a template to mark off the holes for the treenails or did you measure and mark each spot? What size drill bit did you use to drill the holes for the toothpicks? Do you have any closeup pictures of your toothpick staining? I'm also doing a test on toothpicks, I'm soaking them in a dark walnut stain for a few days to see if the stain will penetrate the toothpick. My first test only soaked the outer surface and not the core. Sorry for all the questions.
-
Marius As Rusty said "Welcome to the Triton build". I will follow your build. Have fun and as I have learned, take your time at it, don't rush.
-
Nice work Joss. Thanks for re-posting.
-
Cross-section by russ - FINISHED - 1/48 scale
Long9Ron replied to russ's topic in - Build logs for subjects built 1751 - 1800
Russ Just came across your build today. Thanks for sharing it and showing me that it will take time and experience to progress to building better models. I myself believe that you learn from the mistakes that you make and will think twice before making it again. I also very much like the idea of showing cargo in the hold. I think it makes the model more authentic looking. That's why I was trying to gather the true dimensions of barrels used on the ships of that period. So I could turn them on my lathe to the scale used. But, that's another story. -
Sinan, Russ, Mark and Larry Thanks for the kind words. I think that I'm rushing too much. I just get excited and want to go, go, go. I must slow down. Grant You know your 100% right. The thing is that this is all a learning curve for me. Learn as I go thing. Never have built a wooden model in my whole life. I think that my mistake was that I first cut out the pieces on the scroll saw and cut just outside the lines. Then I used the mini drum sander and sanded right down to the line and then I assembled the frames and sanded more, and in some spots the frames are to thin. I think that I should have roughly cut outside the lines and then assembled the frames and then sanded the whole frame to size. I think that I assembled the frames pretty sloppy also, which added to the situation. Some of the joints have a gap. I'm debating whether to use a sawdust-glue compound to fill the gaps or to live with it and maybe plank the whole section and leave no framing exposed.
-
Pollex Thanks for researching and posting the above information on the Victory barrels. I see that there was no mention of the Leaguer in the email. It sure would be nice to have all the dimensions of all of the barrels that were carried on board of the ships during that time period, but I think that would be impossible due to the fact that it depended upon where the ship was in the world when they took on supplies. I would assume that each country would have had their own barrel size standards for that time period. Would it be possible to have your contact on the Victory measure the Leaguer that Nelson was shipped home in? The more information that can be gathered on this subject would help model ship builders re-produce at scale authentic looking cargo for their models.
-
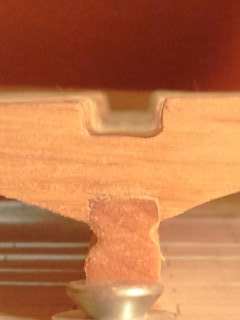
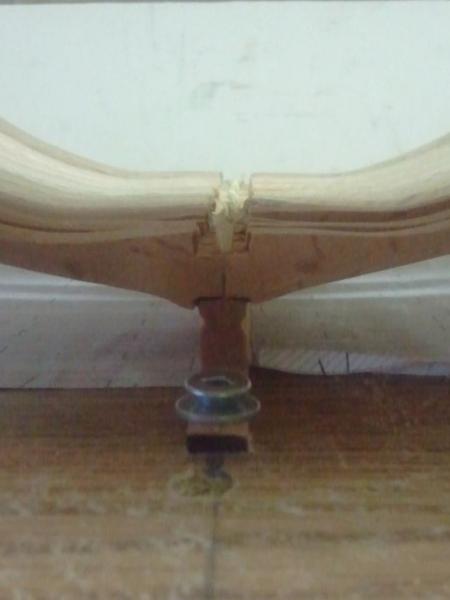
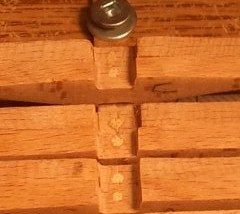
Thanks Larry for the kind words. I have been busy again in the garage, cutting and sanding and building frames. Have to make a Zero insert for the Scroll Saw. I found out that with the way it is the wood will chip on the ends, due to not enough support under the wood piece. Learn as you go. This is a picture of my very first frame. It turned out okay, but I think I could have done better. This is the same frame just loose in the jig. The Keel joint is a little sloppy, there is a shadow on the left hand side because of the camera angle. Well back to work, another eight more to go. It sure takes a lot of time to make these frames.
-
Nice work Grant.