


LyleK1
-
Posts
531 -
Joined
-
Last visited
Content Type
Profiles
Forums
Gallery
Events
Posts posted by LyleK1
-
-
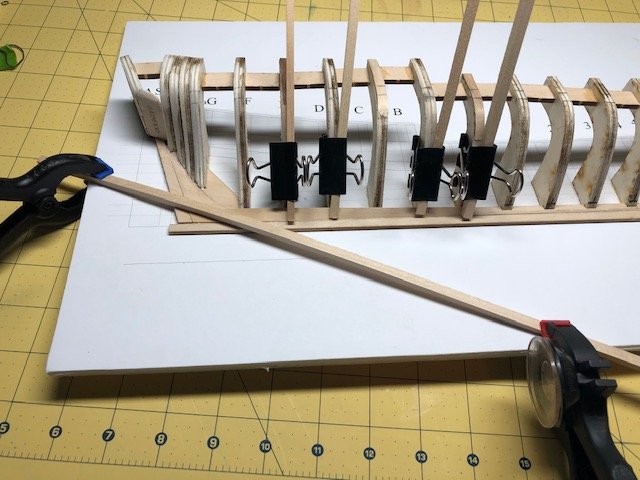
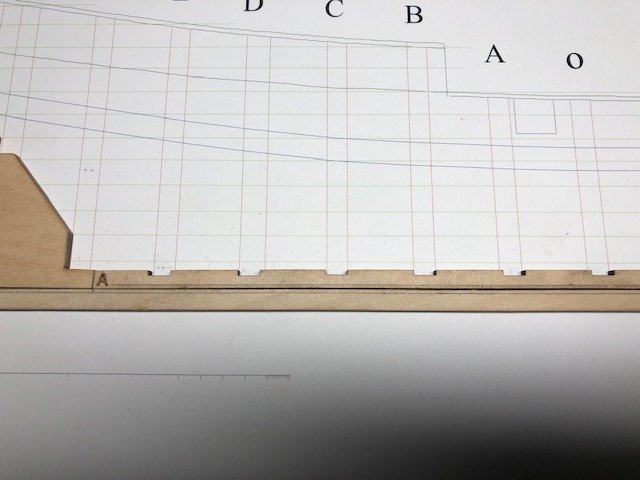
So, got the wale lines marked and used some chart tape to check for good fairing and alignment.
In the last picture, you'll notice the gap between the frames and tape... more sanding, oh boy!
... a little while later...
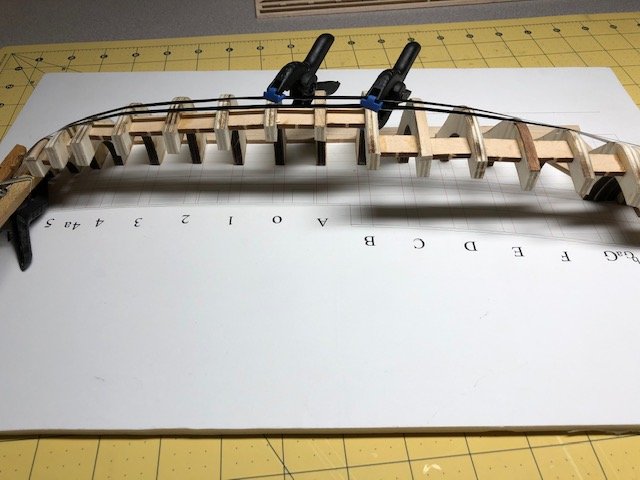
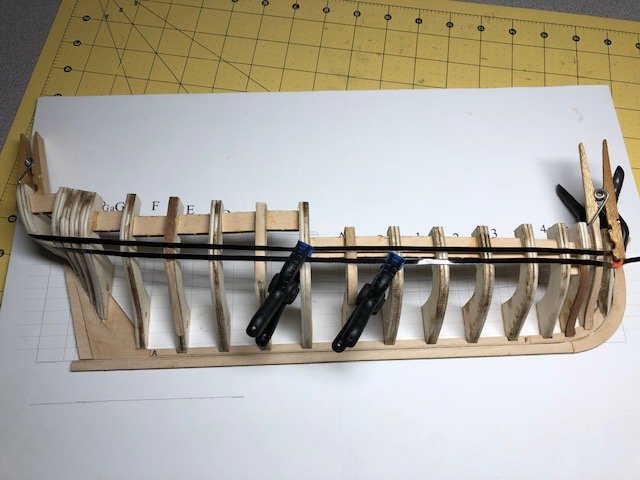
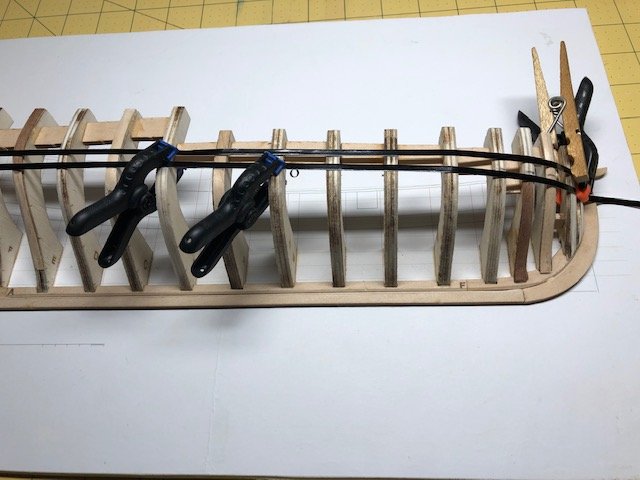
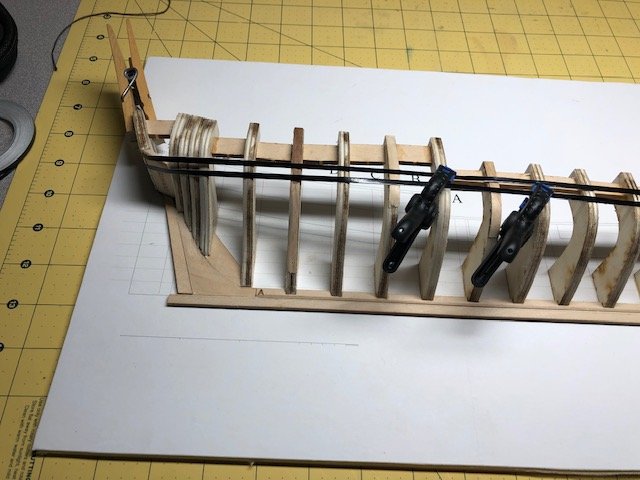
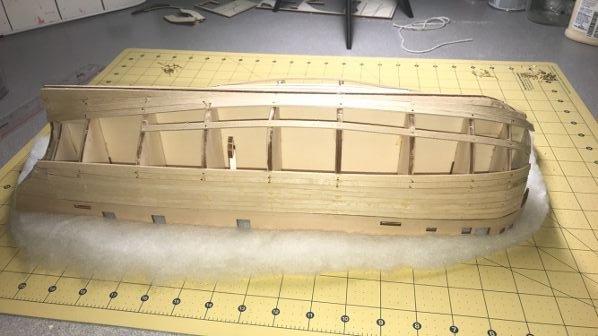
Let the planking begin!
Following the instructions of marking the height of the garboard and the frames and well documented in the other build logs (yeah, I forgot to take pictures!), I cut my first piece, the aft garboard:
After much thought, I devised a clamping system that would hold the plank in place but not mar the surface of the soft basswood. First plank down and drying!
When gluing into place I made sure that the plank was down in the rabbet and I noticed a mistake I made when doing the rabbet... extending it to the stern post. Not sure if I'll leave it alone or possibly use a a little glue and sawdust to fill it... we' ll see how it looks!
-
2 minutes ago, Mish said:
the supplied planks were not long enough to reach all the way to the transom
They are not meant to be "full length" planks.
This a double planked hull so you can hide any seam or errors, it's the next layer that needs to be your best work!
-
This was my very first build! I loved it!
You can see pictures in the Gallery.
I hope you don't mind a little constructive comments...
Planking is probably the hardest part of the build... maybe right beside all the rigging!
Planking should be done with a few planks along the top and then up from the keel. Once you have 2 or 3 boards on one side at the top and bottom, switch to the other side.
And continue doing the same throughout the planking.
The problem with doing one side is that it does tend to pull the model out of shape!
The planking at the stern should have continued up to the transom. You may need to remove some of it and redo that part.
If I can help in any way, let me know... I finished mine in February and it's still fresh in my mind.
And boy, did I make my fair share of errors! Attached a couple of pictures to show what I mean
I hope you continue to enjoy the build!
Good luck!
-
Thanks Dan.
I have been following your build log too!
It's always nice to have a few pictures and examples when I'm a little unsure of how to move forward.
-
I am using a wood glue (Elmer's)... I didn't know an Indian Pale Ale would release the glue! Hahaha!
Pretty tight around that area and just thought it would be easier to shim rather than remove and fix.
Fairing is the least favorite part of the build for me... but I do find some satisfaction in getting it right!
I am enjoying the build and learning a lot!
-
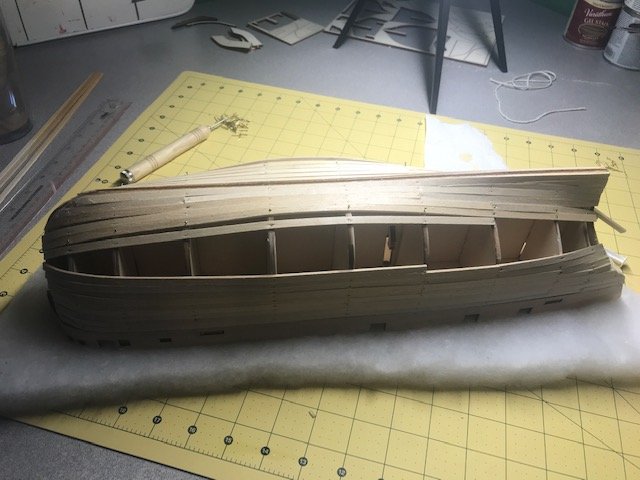
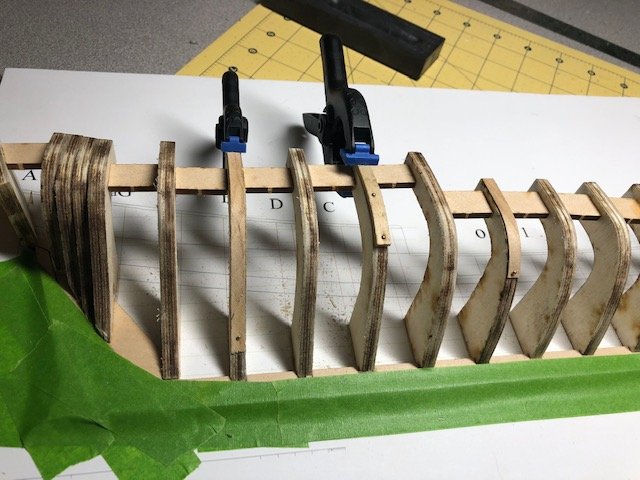
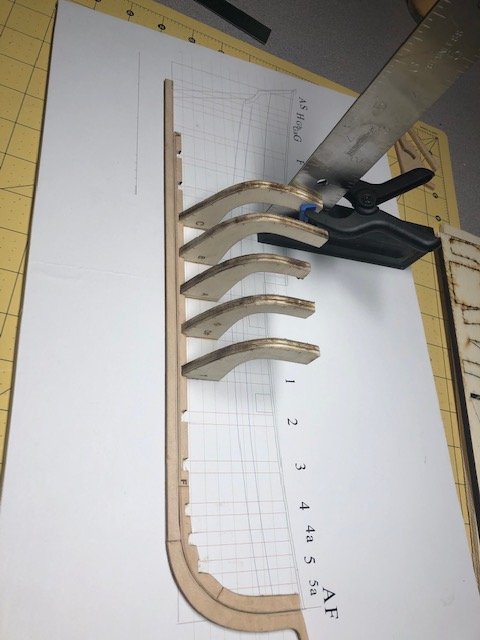
For the last few days I have been slowly fairing and shimming and shimming and fairing!
And the results are pretty good... still have a spots to finish up.
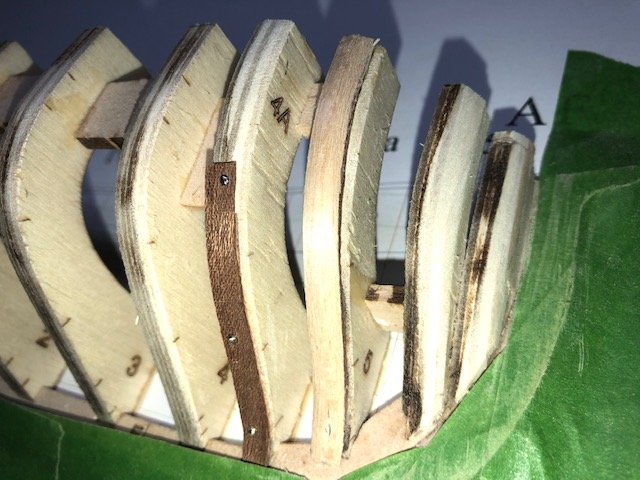
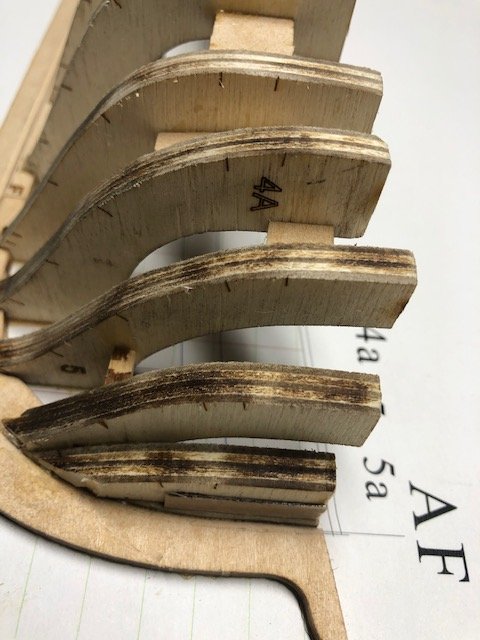
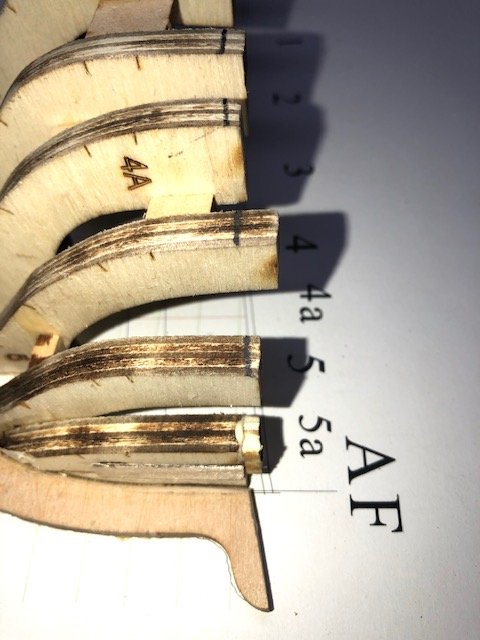
I made a big mistake with the placement of one frame that took a lot of shimming. Frame 5 was not set properly. I did not notch the keel deep enough. I should've noticed... but I didn't:
_LI.jpg.d17a9c168dc33fb4711c2d0eafa6cd5e.jpg)
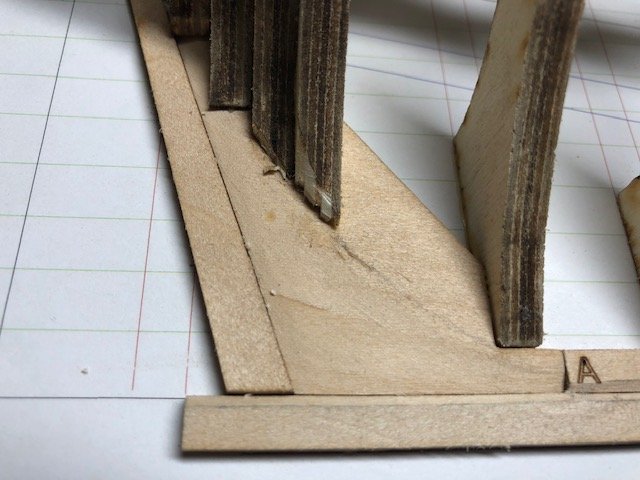
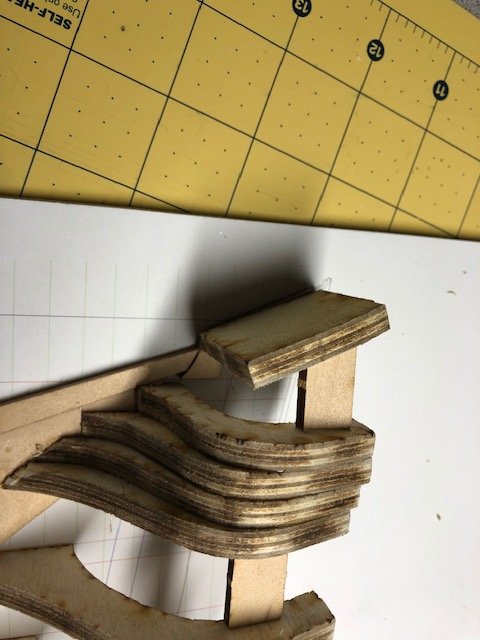
The result of my error is that the frame was set back too far. The picture below shows it:
.jpg.d1bf89ad75c79db8893663a230437bf3.jpg)
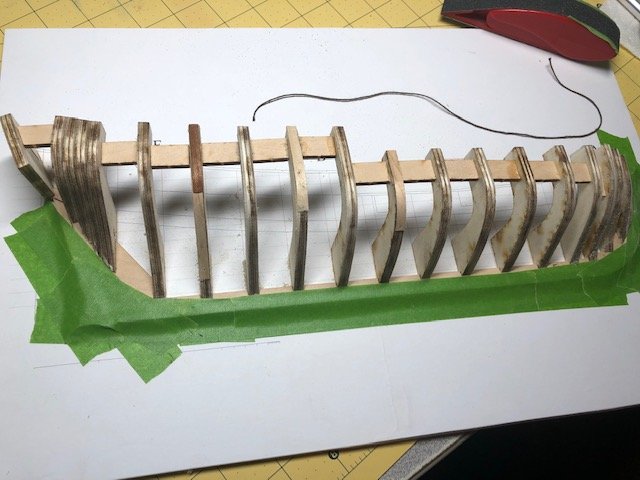
Rather than remove it and mess with re gluing, etc. I chose to shim it out. It took a few shims and sanding but the results are good!
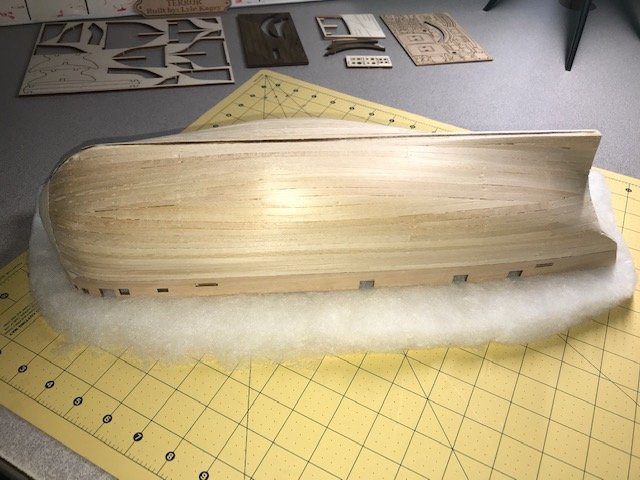
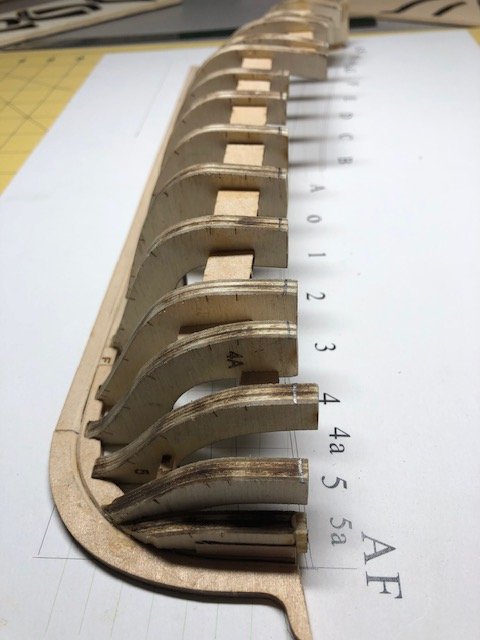
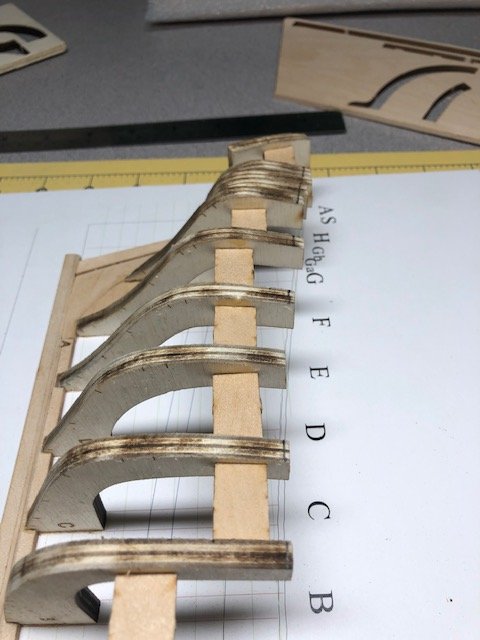
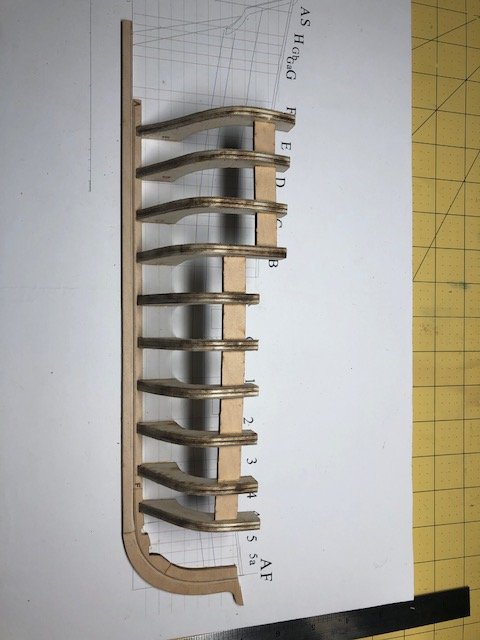
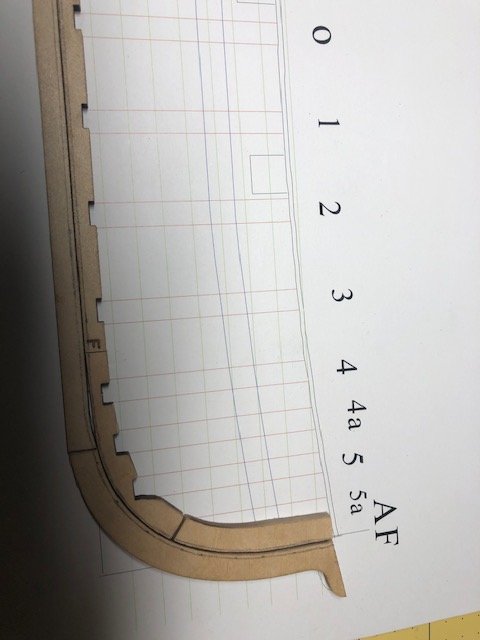
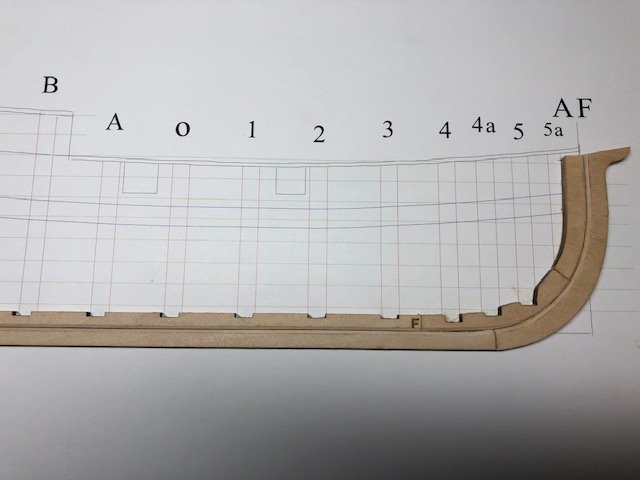
The pictures below show the fairing nearly completed. Should finish today... Found a couple of spots to touch-up using a string and running over the frames to ensure no dips or humps from frame to frame:

Once the sanding is done, I'll mark the Wale lines. Frame B has been marked.
More to come!
-
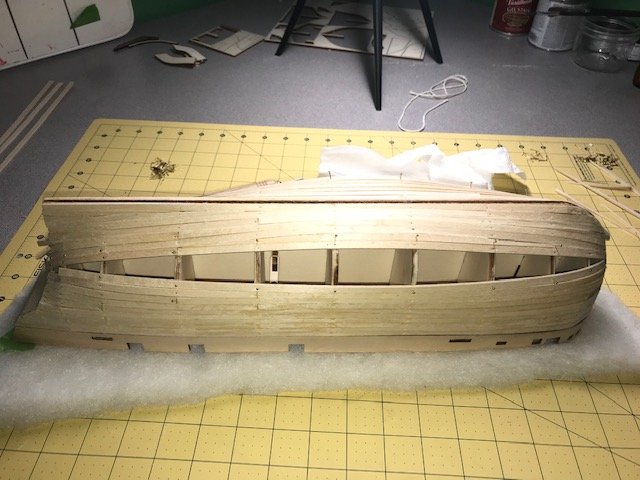
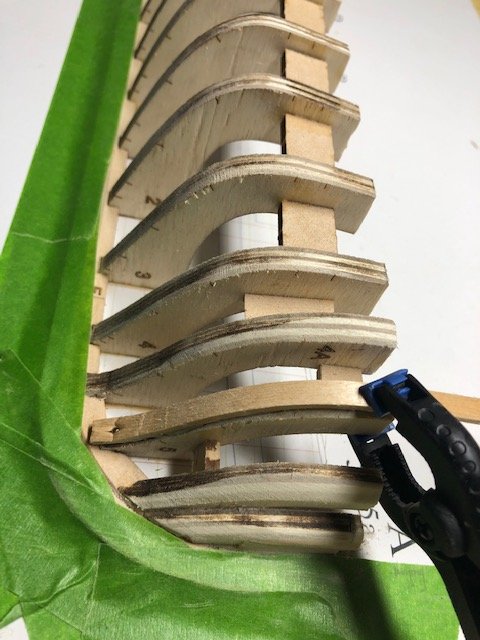
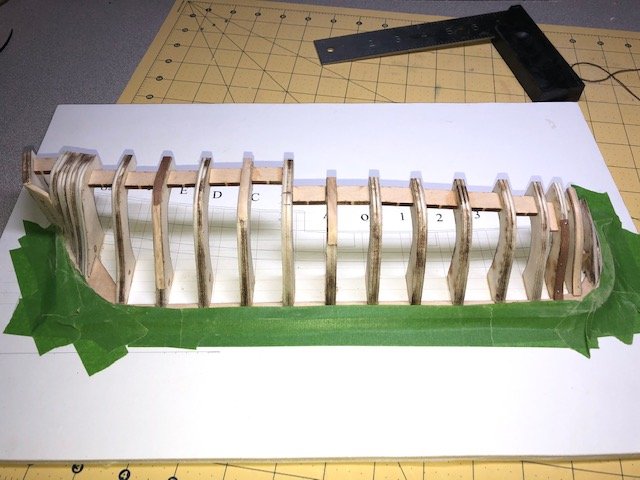
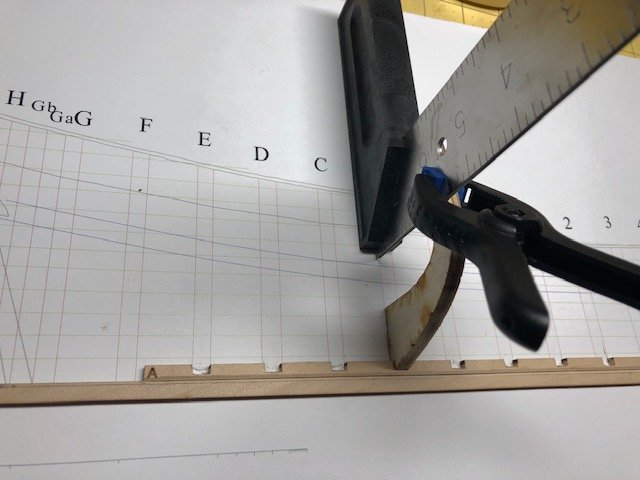
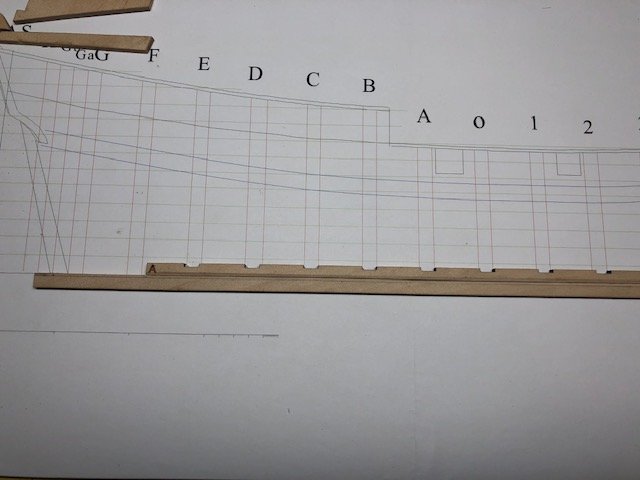
Before fairing, I cleaned up the tops of the frame to match the lines on the plan. I still have a little touching up to do but they are pretty close...
I used a piece of thread to run along the frames and found several frames that needed some shimming:
Although not shocked, I was a little surprised by the amount of shimming that I needed to do because I was very careful setting up the frames. Nevertheless, shims installed!
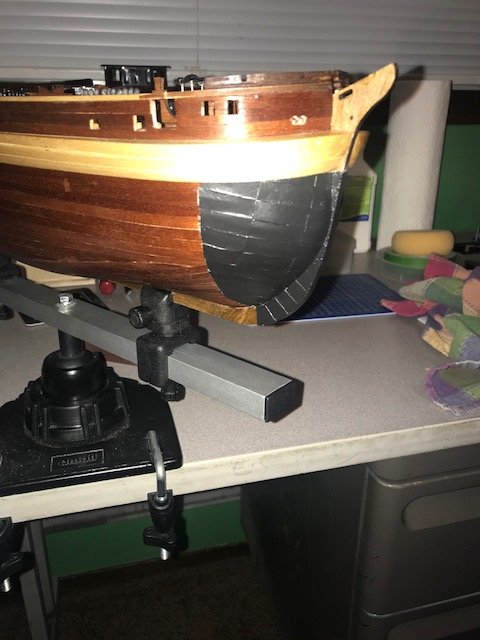
The tape is to protect the softer basswood keel sections and deadwood...
Fairing started... More later!
-
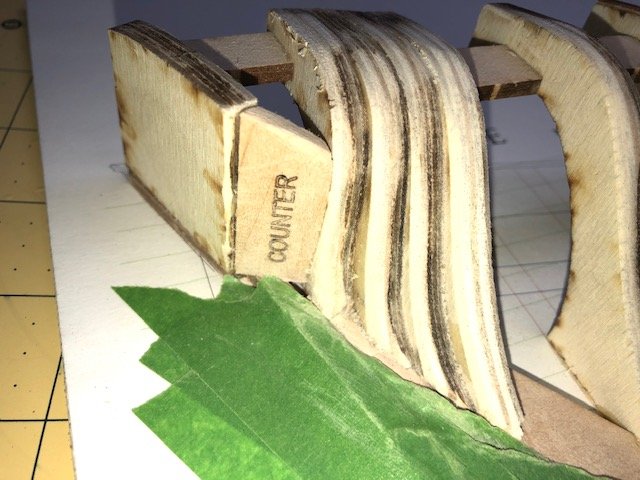
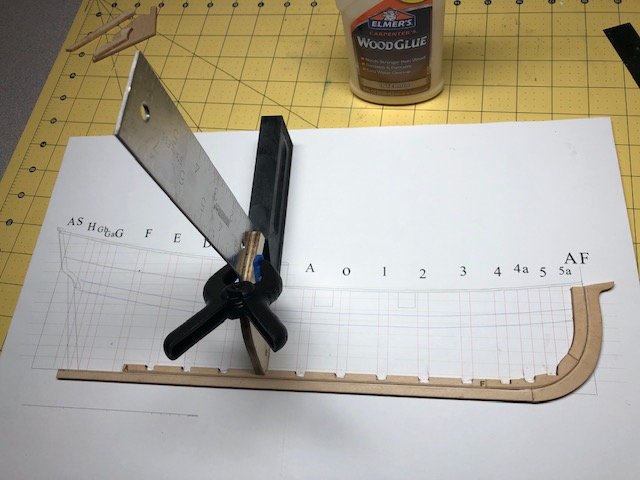
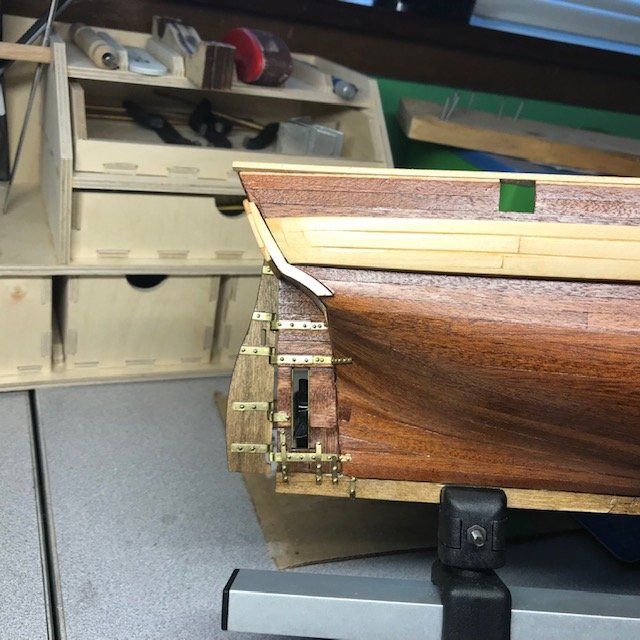
Bearding line... And how to properly fair the deadwood was where I got a little stuck. I messaged Toni Levine for some clarification and after getting her response and looking at a few more pictures (the final product, in particular), I realized that the deadwood was being faired or sanded from the bearding line to the aft edges and along the keel. The sanding would be a gradual decrease ending at the same thickness as the planking material (1/32"). Simple!
The picture doesn't show much... which was I struggled with what to do. But with the stern post and keel in place, there is a difference of 1/32" in height. Once the planks are laid they will butt up against the stern and keel for a flush finish!
Moving on!
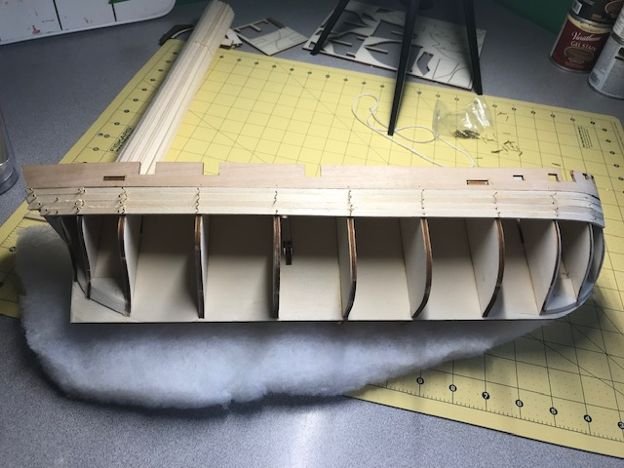
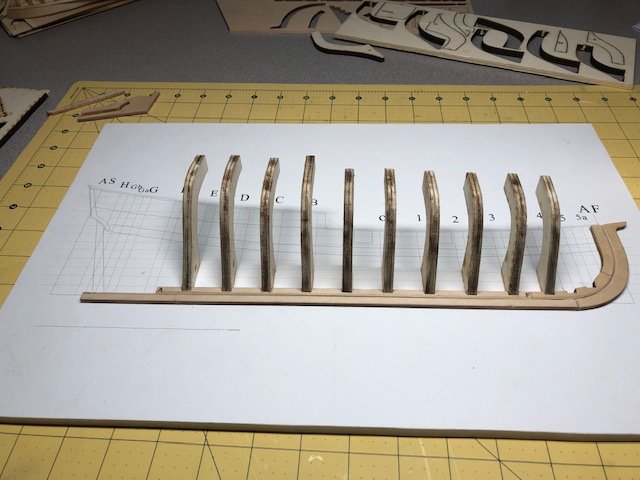
I have all the frames in place and their spacers:
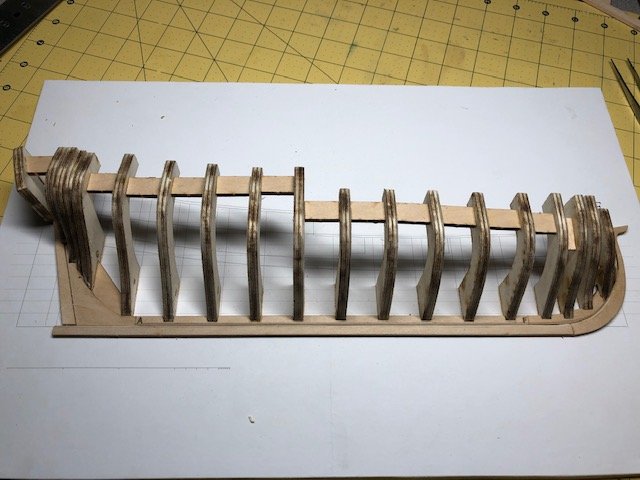
Some of the spacers had to be handmade... Also, on the foremost frame I added a very thin piece to make sure the bulkhead ended right at the rabbet. I'll be adding one more piece to make it the proper shape.
I marked out the top line along the frames and will begin sanding them to make an even top. On the foremost frame I had to add a little wood to make it to the top line:
Fairing the frames is next!
- Duanelaker, GrandpaPhil, bruce d and 3 others
-
 6
6
-
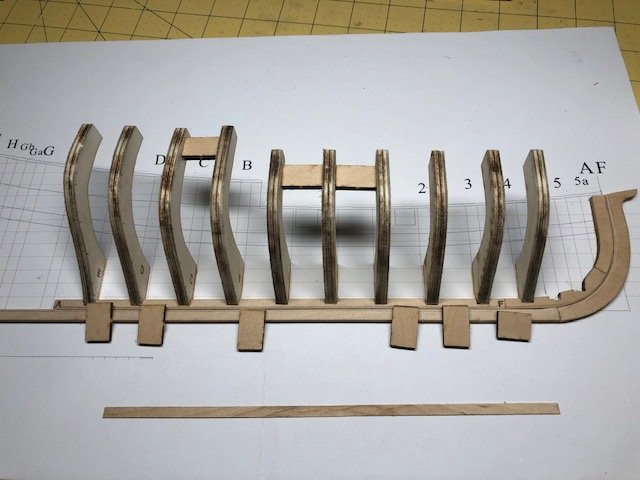
Frames E through 4 are now in place. No real problems and am happy with the results. I did end up cutting a couple of the frame slots a little deeper to ensure the garboard would fit properly into the rabbet.
The next step is to install the spacers between the frames. Again, fairly simple work:
Some of the spacers required a little sanding (besides the charred edges)... Some required a shim to make them fit properly. I used a piece of thin planking material from a previous build and it worked perfectly.
Once the shims had been glued and dried, the rest of the spacers were installed.
According to the instructions, the next step is to get the bearding line plotted and sanded. I found this step to be a bit confusing and after looking at some of the other build logs... I'm still a little uncertain on how to proceed! I messaged Toni Levine for some guidance. I'll be sure to clarify my confusion and the proper steps on my next post!
-
So, over the last few days I've cut the frame notches deeper to accommodate the frames and begun gluing in the frames:
As I noted in the previous post (a hint from another log) the base of the frames did need a little leveling out... not too much but definitely need to be done.
Also, as I placed each frame, I measured the distance between them at the base and the top to ensure the distance remained uniform.
More to come once I place all the frames!
- bruce d, Duanelaker, GrandpaPhil and 2 others
-
5
-
Hi Tim,
I have been following your log very closely as I have this same kit cued up and ready to start soon.
Beautiful work! I hope to duplicate your work and maybe even get lucky enough to make some weathering improvements too!
On your post above you stated that you rubbed glue on the thread prior to twisting it. What glue did you use?
On my last build I used CA glue with good results but with the larger scale I'm thinking that won't work as well.
Appreciate your answer.
-
Moving on to the laying out and cutting of the rabbet...
Seems pretty straight forward and was!
Following the instructions, I drew out the lines on the keel, keelson, stem and stemson.
Having never done this, I was a little confused and grateful to find the build logs to look at for clarification:
The rabbet along the straight sections of the keel is essentially a 45 degree cut in each piece 1/32" deep. It gets a little more complicated at the stem. Again, essentially, the 90 degree cut (total cut when both pieces are combined) gradually works in to a 45 degree cut on the stem only. Again, staying at the width of the planking material (1/32").
I chose to cut the rabbet with a sanding block. Pretty simple and took very little time but its important to keep the cut uniform in the angle of the cut and the depth (1/32").
The curved stem pieces were a bit more work but the sanding block I used has a curved surface and made it easier... The final result after gluing the pieces to the working board:
Next are the frames... I removed a couple and found the slots to be a little sloppy, no need to enlarge the width. However the keelson slots will need to be cut deeper per the instructions. Also, after reading some of the other logs, I'll be checking that each frame sits flat on the working board.
That's for tomorrow!
-
Glad to see another build log!
I'll take some time to peruse it this weekend! Headed out on the boat for a little "self quarantining" with the wife!
I'll get back to it next week!
-
Hi all,
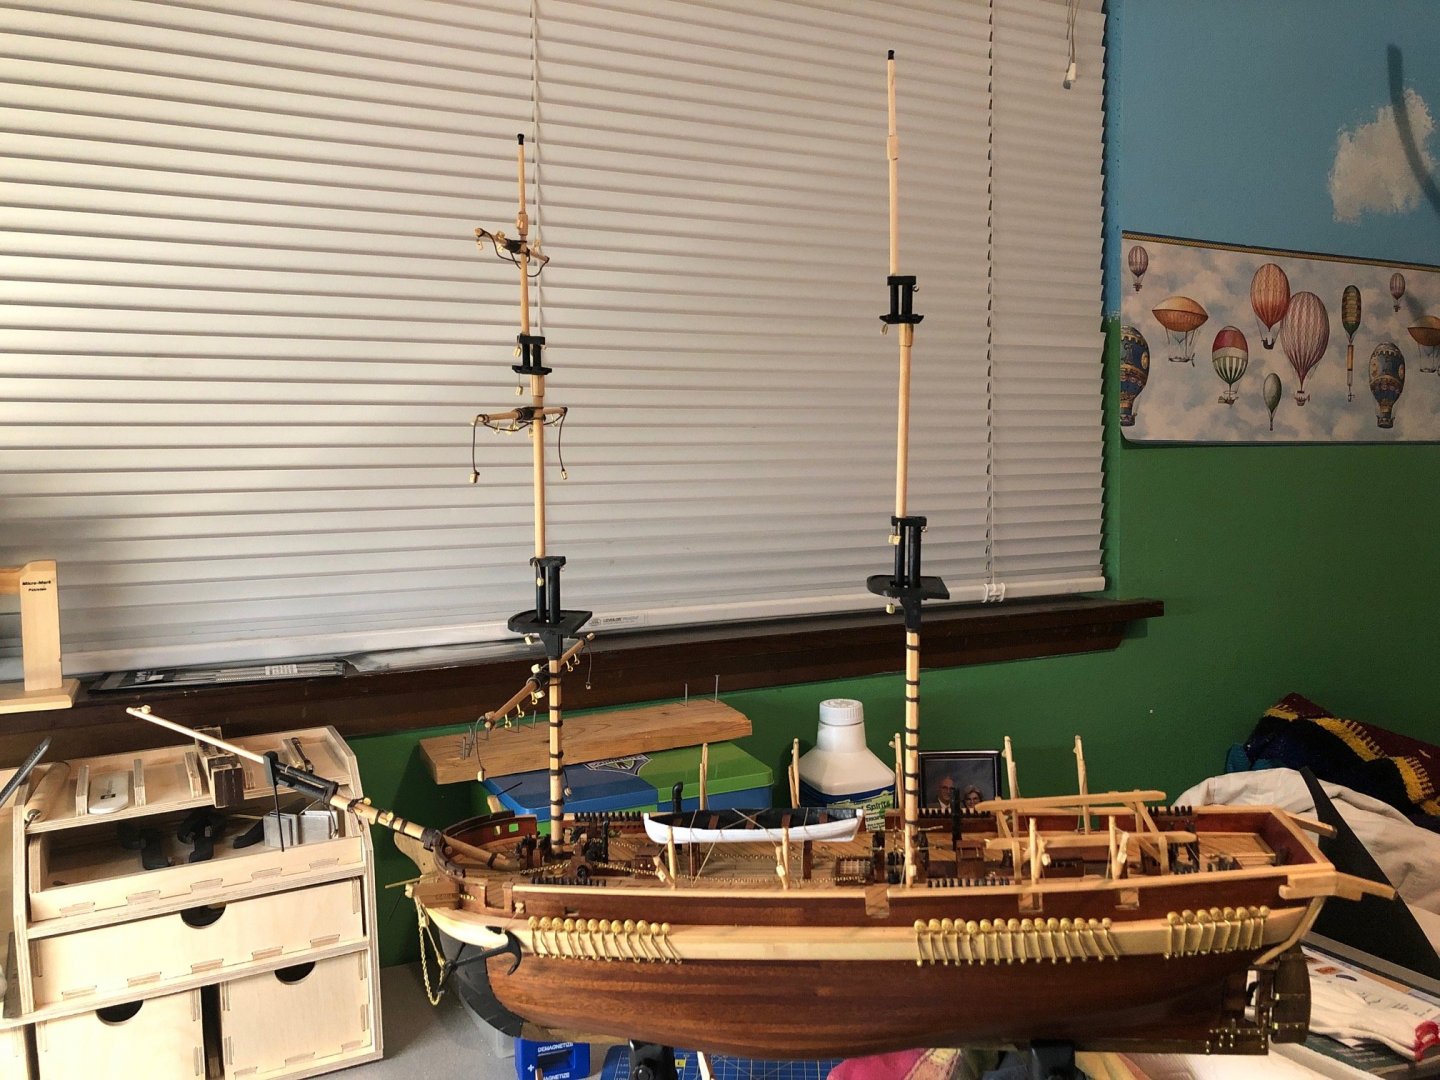
This is my first build log. I didn't discover this site until I was nearly finished with my first build, the HMS Terror. I am planning to post pictures of the Terror in the "Completed models" section.
A quick introduction... I am new to the hobby with about one year of experience but that one year has been a lot fun and a lot of learning. I am really diving in and am very interested in making historically accurate models. My next project, AL's HMS Bounty, is one that I plan to do a lot of kit bashing and hopefully producing a historically accurate model. I am still a working guy and I find time in the evenings and the weekends to work on my projects. I also own a boat and spend a lot of time on it.
I joined the NRG a few months ago and am learning from all of you! This half hull project will help me be a better, more historically accurate builder!
So, here we go!
I received the kit about a month ago but didn't get going on it until today!
The kit came well boxed and wrapped in material to prevent damage from occurring, especially to the planking material:
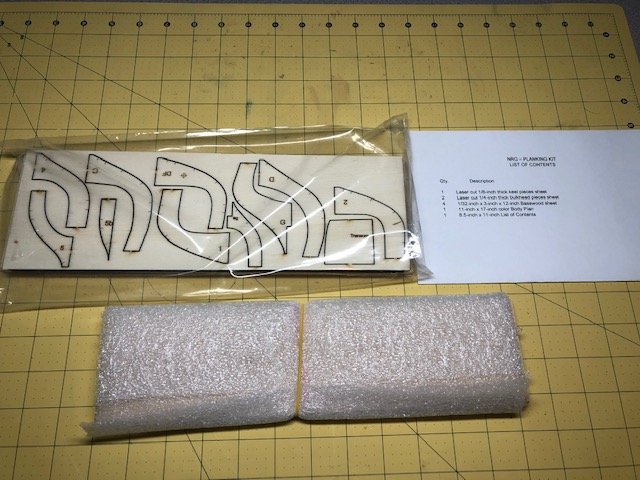
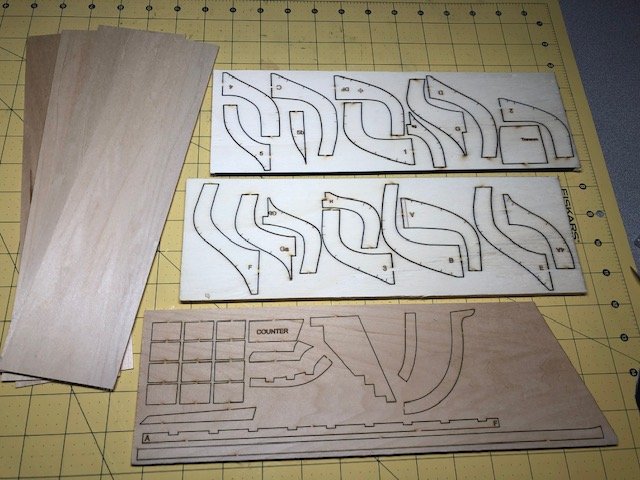
Inside the plastic bag are three pieces of laser-cut plywood, one with the frames, etc and one with the keel sections. Wrapped in the bubble wrap are four sheets of basswood:
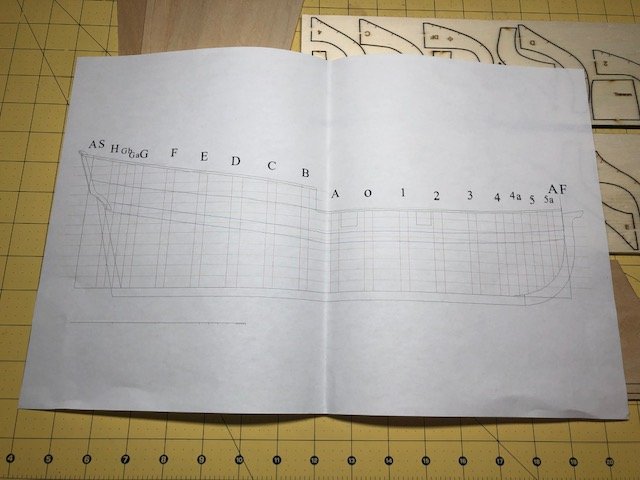
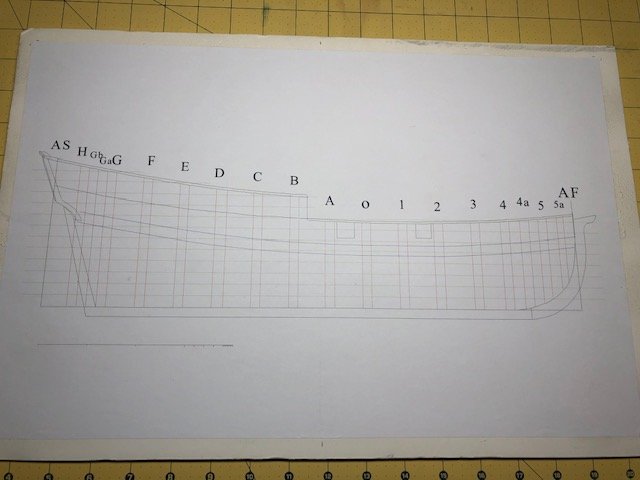
Also, included is the plans - a single piece of paper:
The nice folks at NRG emailed the instructions to me in a separate email. I'll be following these to the letter! Or at least trying!
The first thing to be done is adhere the plans to a working board. I happen to have a piece of 1/4" foam board laying around and I decided to use it for my working surface. I have a 3M spray adhesive and chose that for my glue:
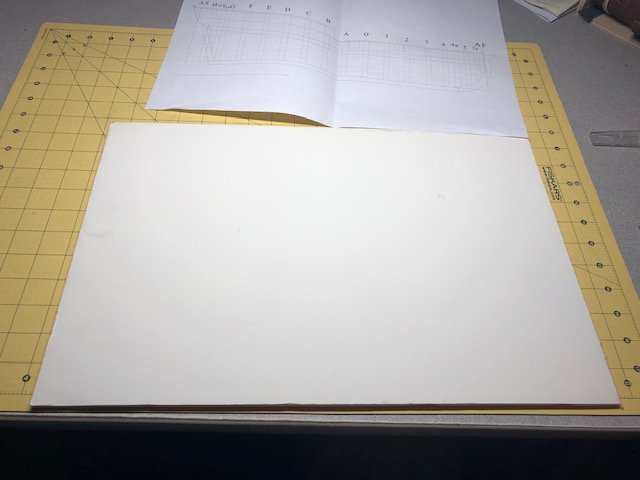
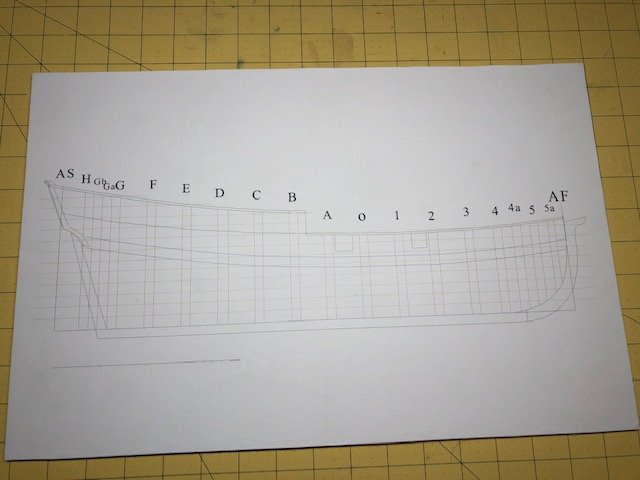
Once the glue was tacky enough, I laid the plans down and smoothed out ensuring there were no wrinkles or bubbles:
...and trimmed the edges of the board to match the plans:
Next, I removed the keel sections and laid them out on the plans. The pieces have not been cleaned up or the char removed yet.
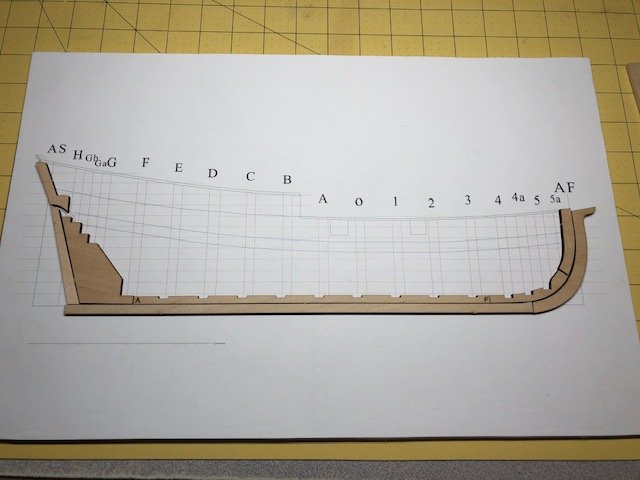
That's it for this post!
I know that there are two other build logs on the site, one from the original builder and one other. I hope that my log will show something different that will help others down the road.
More to come!
-
I just finished assembling mine!
Looking forward to my AL HMS Bounty build using this tool,
- mtaylor, Keith Black, thibaultron and 1 other
-
4
-
Excellent! Keep us posted on your progress when you get started...
Inspiration!
- GrandpaPhil and mtaylor
-
2
-
-
I enjoyed reading the build blog to this point!
I'm new to wood ship modeling and am working on my first kit, the HMS Terror. Someday, I'd like to try a scratch build... not yet!
I am curious about TFFM... What does that stand for?
As I continue to learn and build a tool inventory and more importantly, confidence in my work, I would like to eventually try a build from scratch.
Thanks in advance for the info!
-
I used an electric plank bender... Looks like a soldering iron with a big round head. Worked really well.
They are not expensive!
- ObviousNewbie and mtaylor
-
2
-
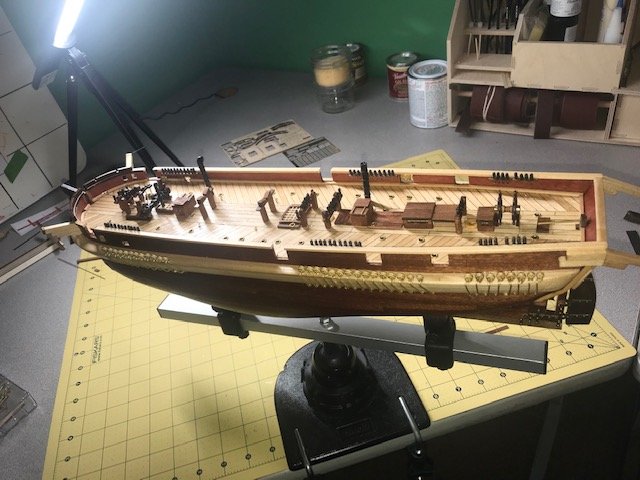
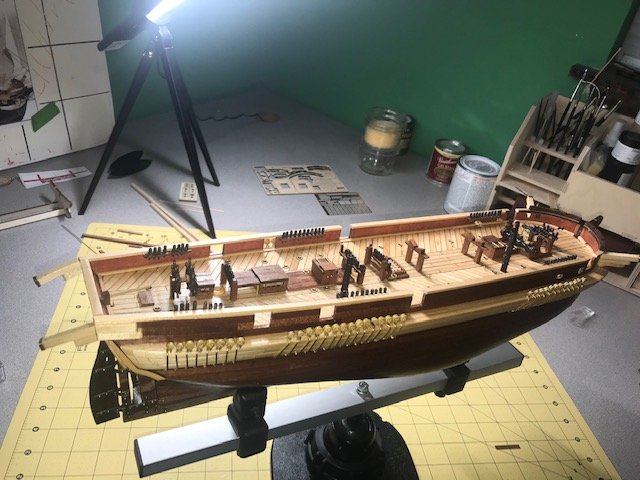
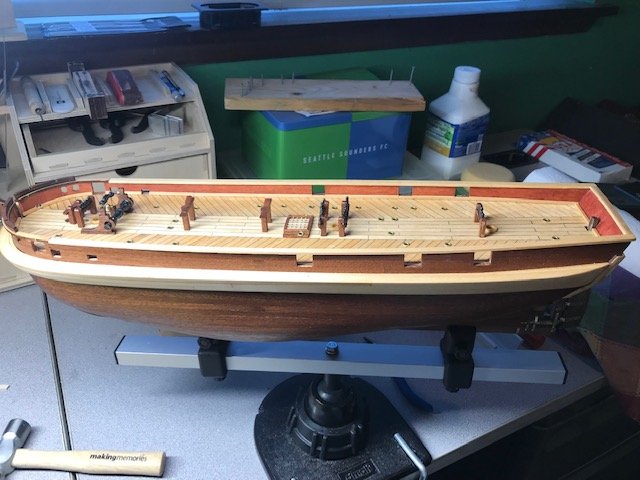
I have elected to not paint my hull and various other parts. I just think the unpainted look is better!
I noticed the varnish and paint too... Seems odd. I would choose one over the other depending on what you want to do.
Good luck on the build and keep us posted.
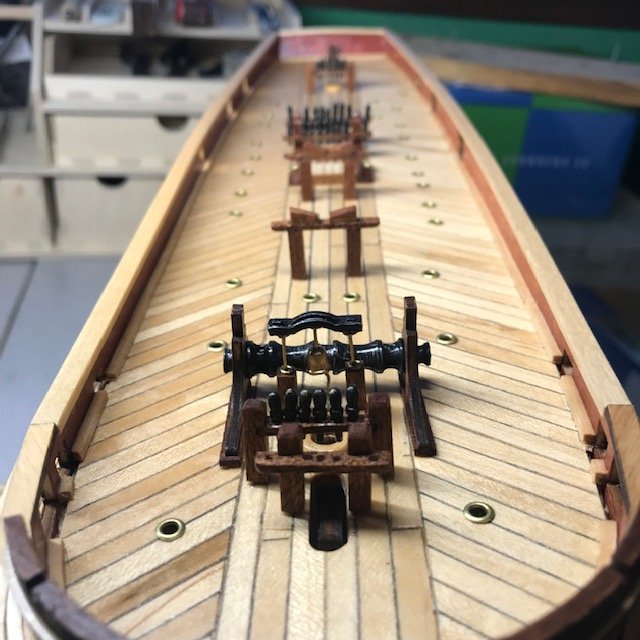
Here's a couple more shots from yesterday.

- GrandpaPhil and mtaylor
-
2
-
I chose the HMS Terror as my first build...
I find it challenging but not to the point of frustration.
Of course, I am not finished but I have completed the hull and many of the deck fixtures. I am currently installing the the rat line pillars. So, the rigging is still an unknown for me but I am looking forward to it.
I think the best thing about OcCre and many of their models, is the videos that take you step-by-step through the build. Regardless of how you intend to build a model, these videos can help you figure out the rough patches! I believe the Beagle has the same videos too.
Good luck and make sure you include some progress pictures once you get started!
Here is a few of mine... for inspiration!

- mtaylor, GrandpaPhil and Duanelaker
-
3
-
Love the build...
Working on the deck fittings on mine now.
An curious why you decided against the ice shield on the bow?
I have decided against painting mine too... just too hard to cover up the beautiful wood!
The hard part is not knowing what I should paint and what should be left natural wood.
Suggests?

Half Hull Project by LyleK1 - FINISHED - NRG
in - Kit build logs for subjects built from 1751 - 1800
Posted
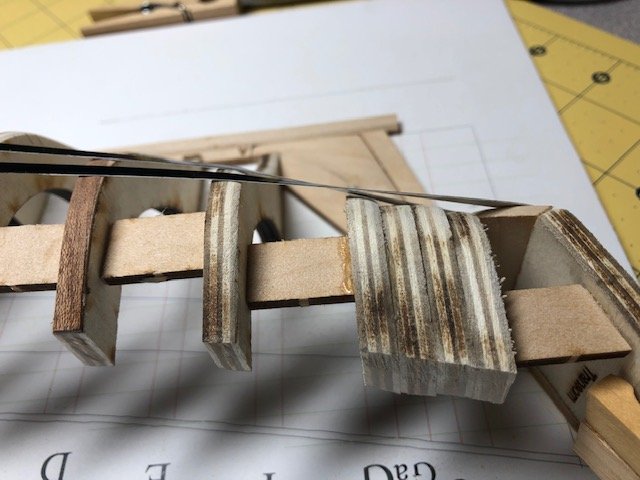
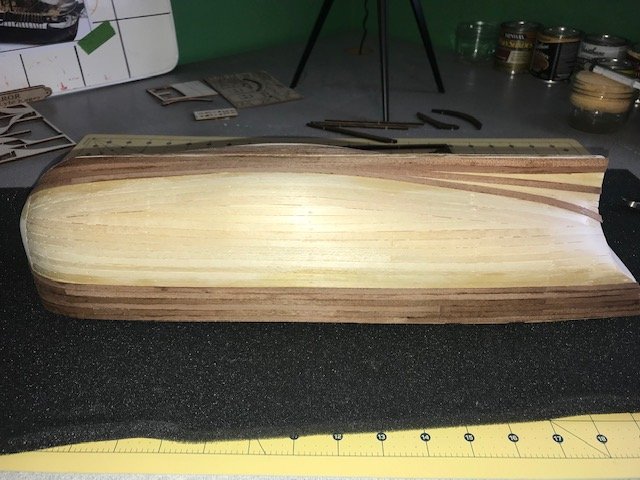
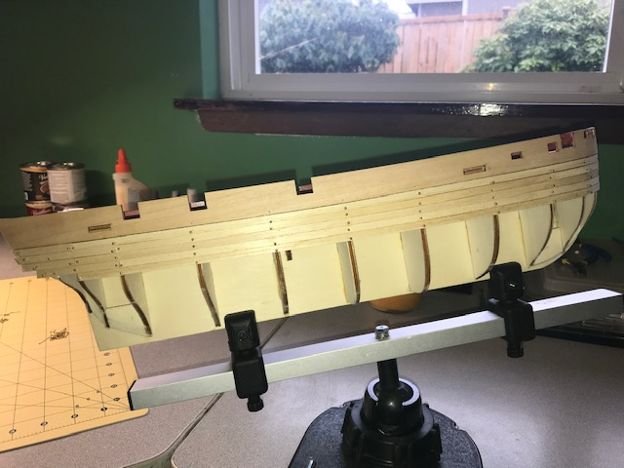
I'll just say, cutting your own planks is tougher than it looks! Especially when trying to match it up with the one below...
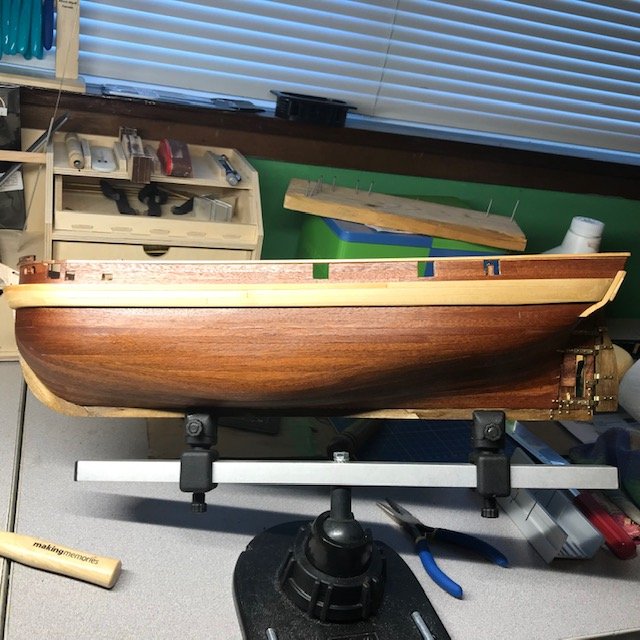
I have completed the garboards and the broad strakes. I think I could've done better but overall it looks ok. Sometimes I'm my own worst critic.
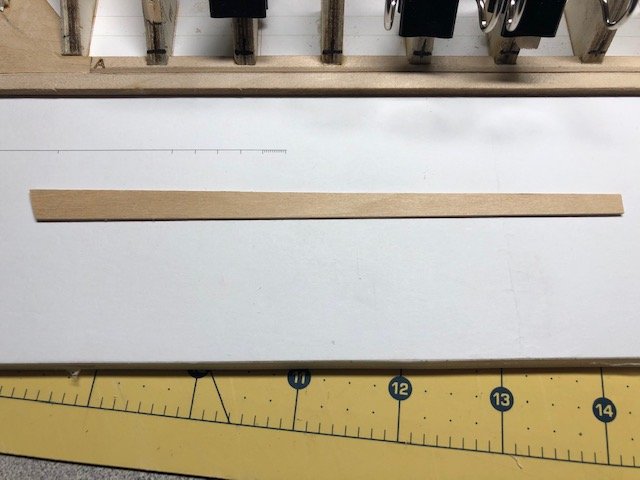
The pictures below show the process of making one planking and the results:
First a picture of the completed aft garboard:
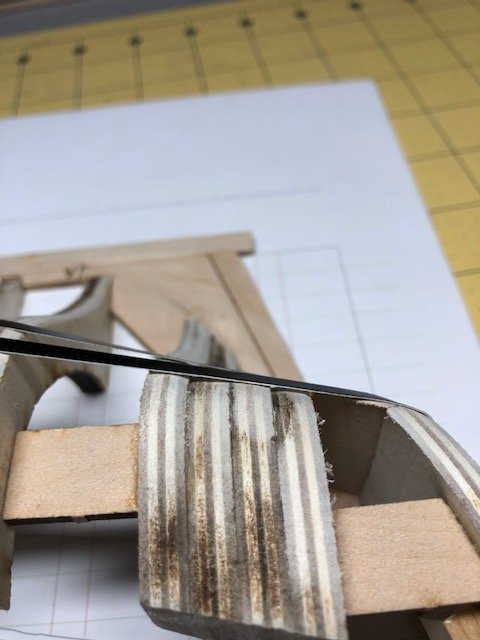
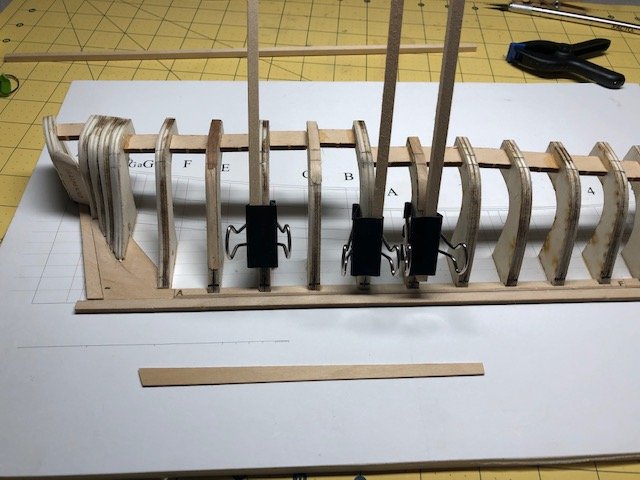
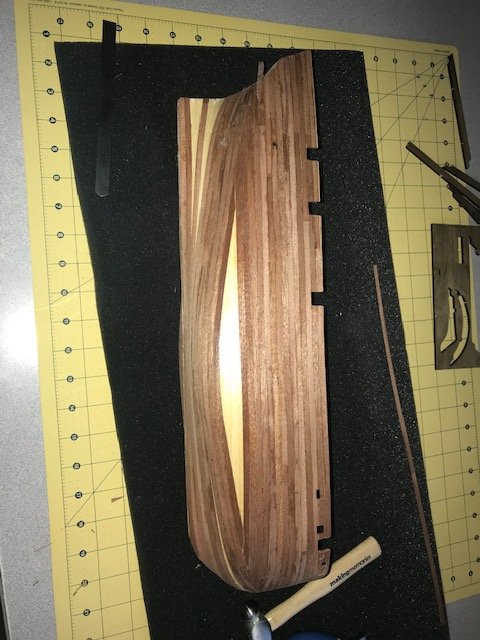
Laying out and cutting the fore garboard:
And gluing into place:
And the broad strakes:
Next is the laying out of the planking belts, marking them and beginning the third row.
See you soon!