


mikegr
-
Posts
591 -
Joined
-
Last visited
Content Type
Profiles
Forums
Gallery
Events
Posts posted by mikegr
-
-
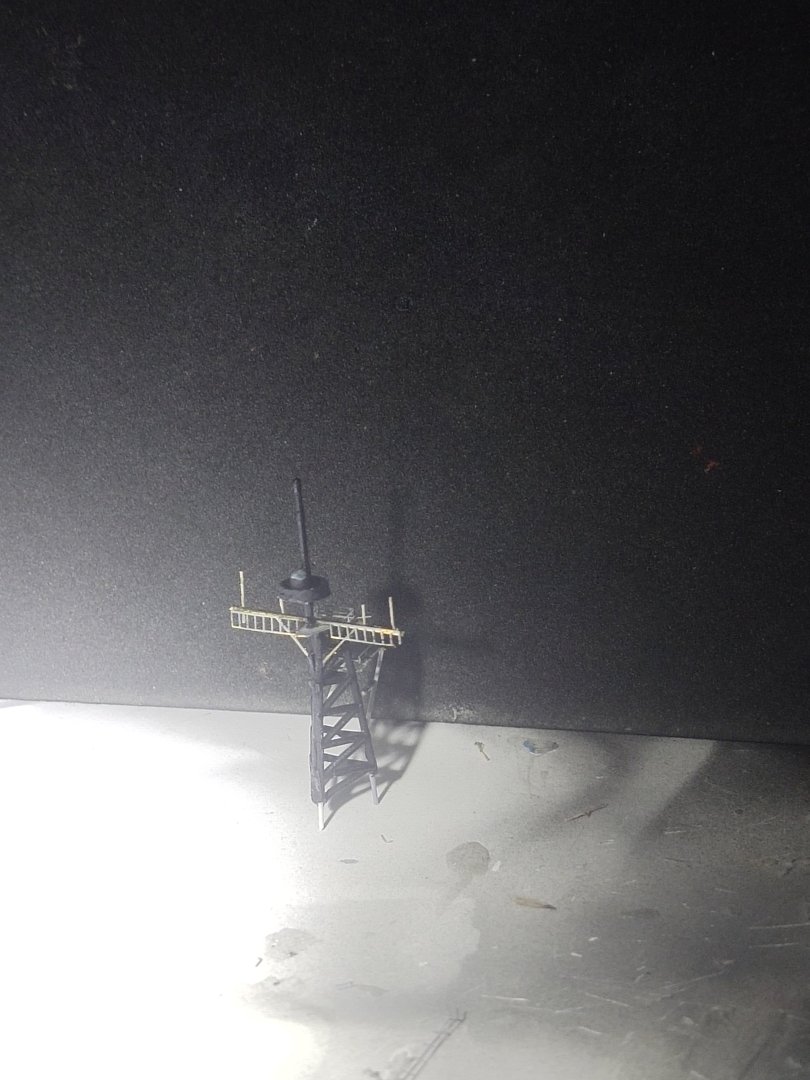
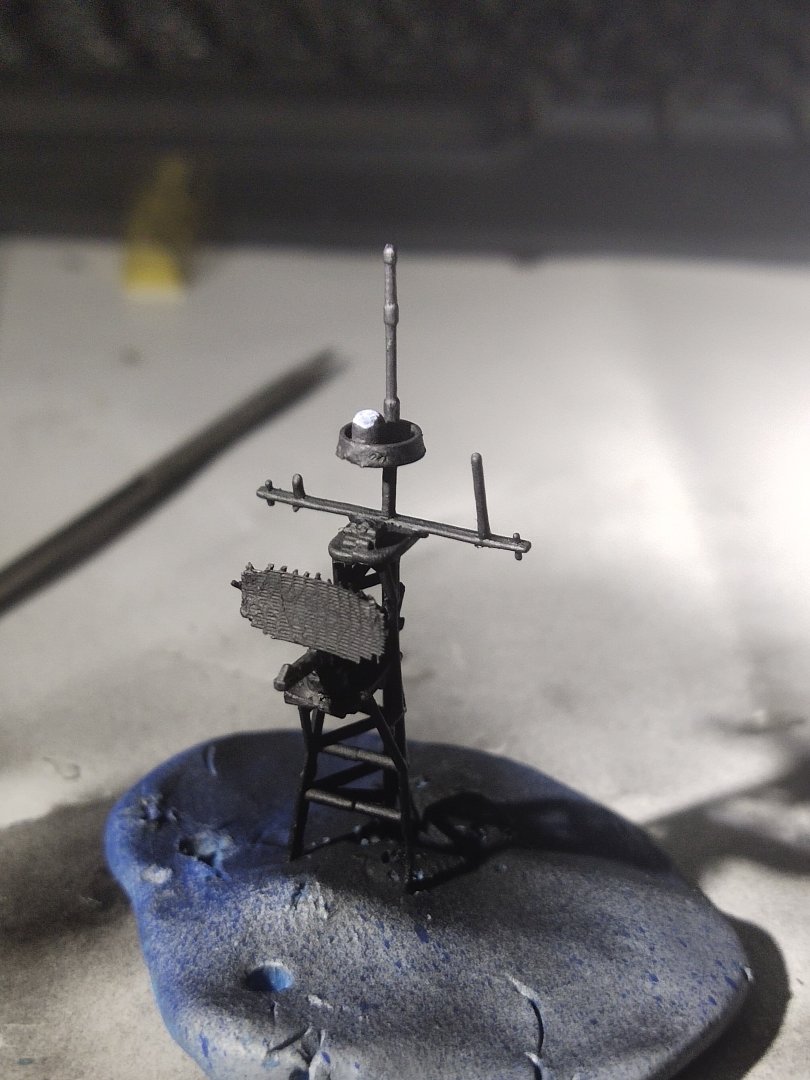
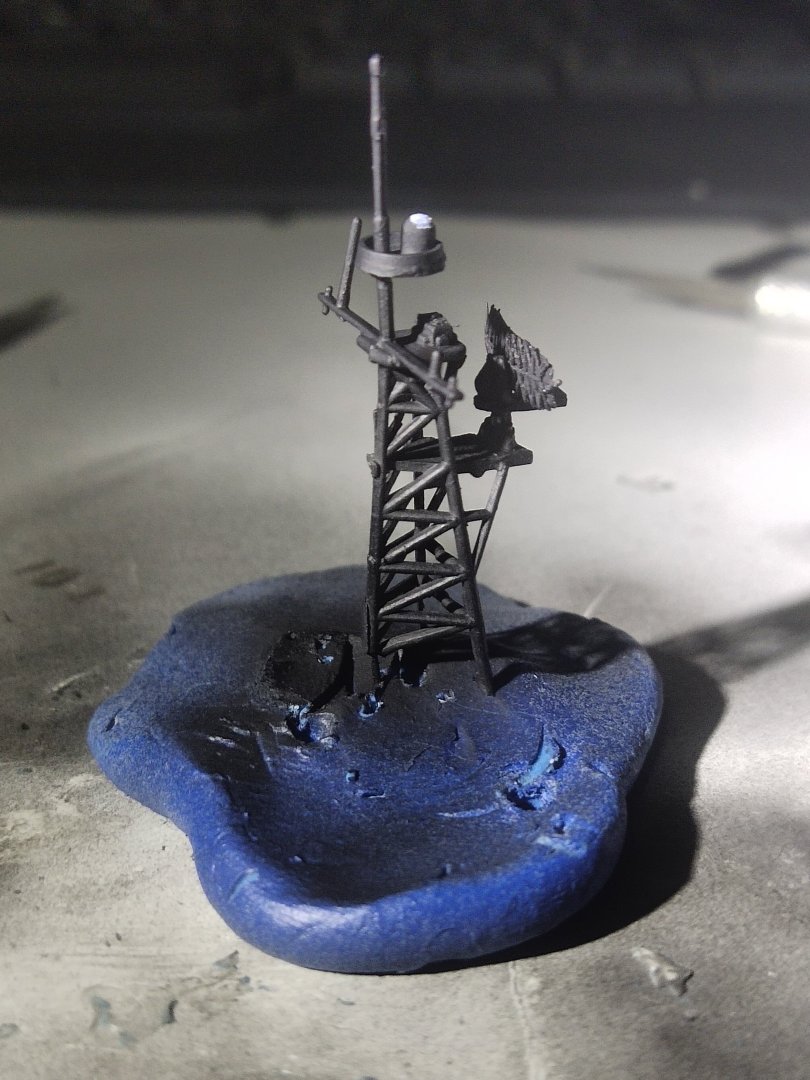
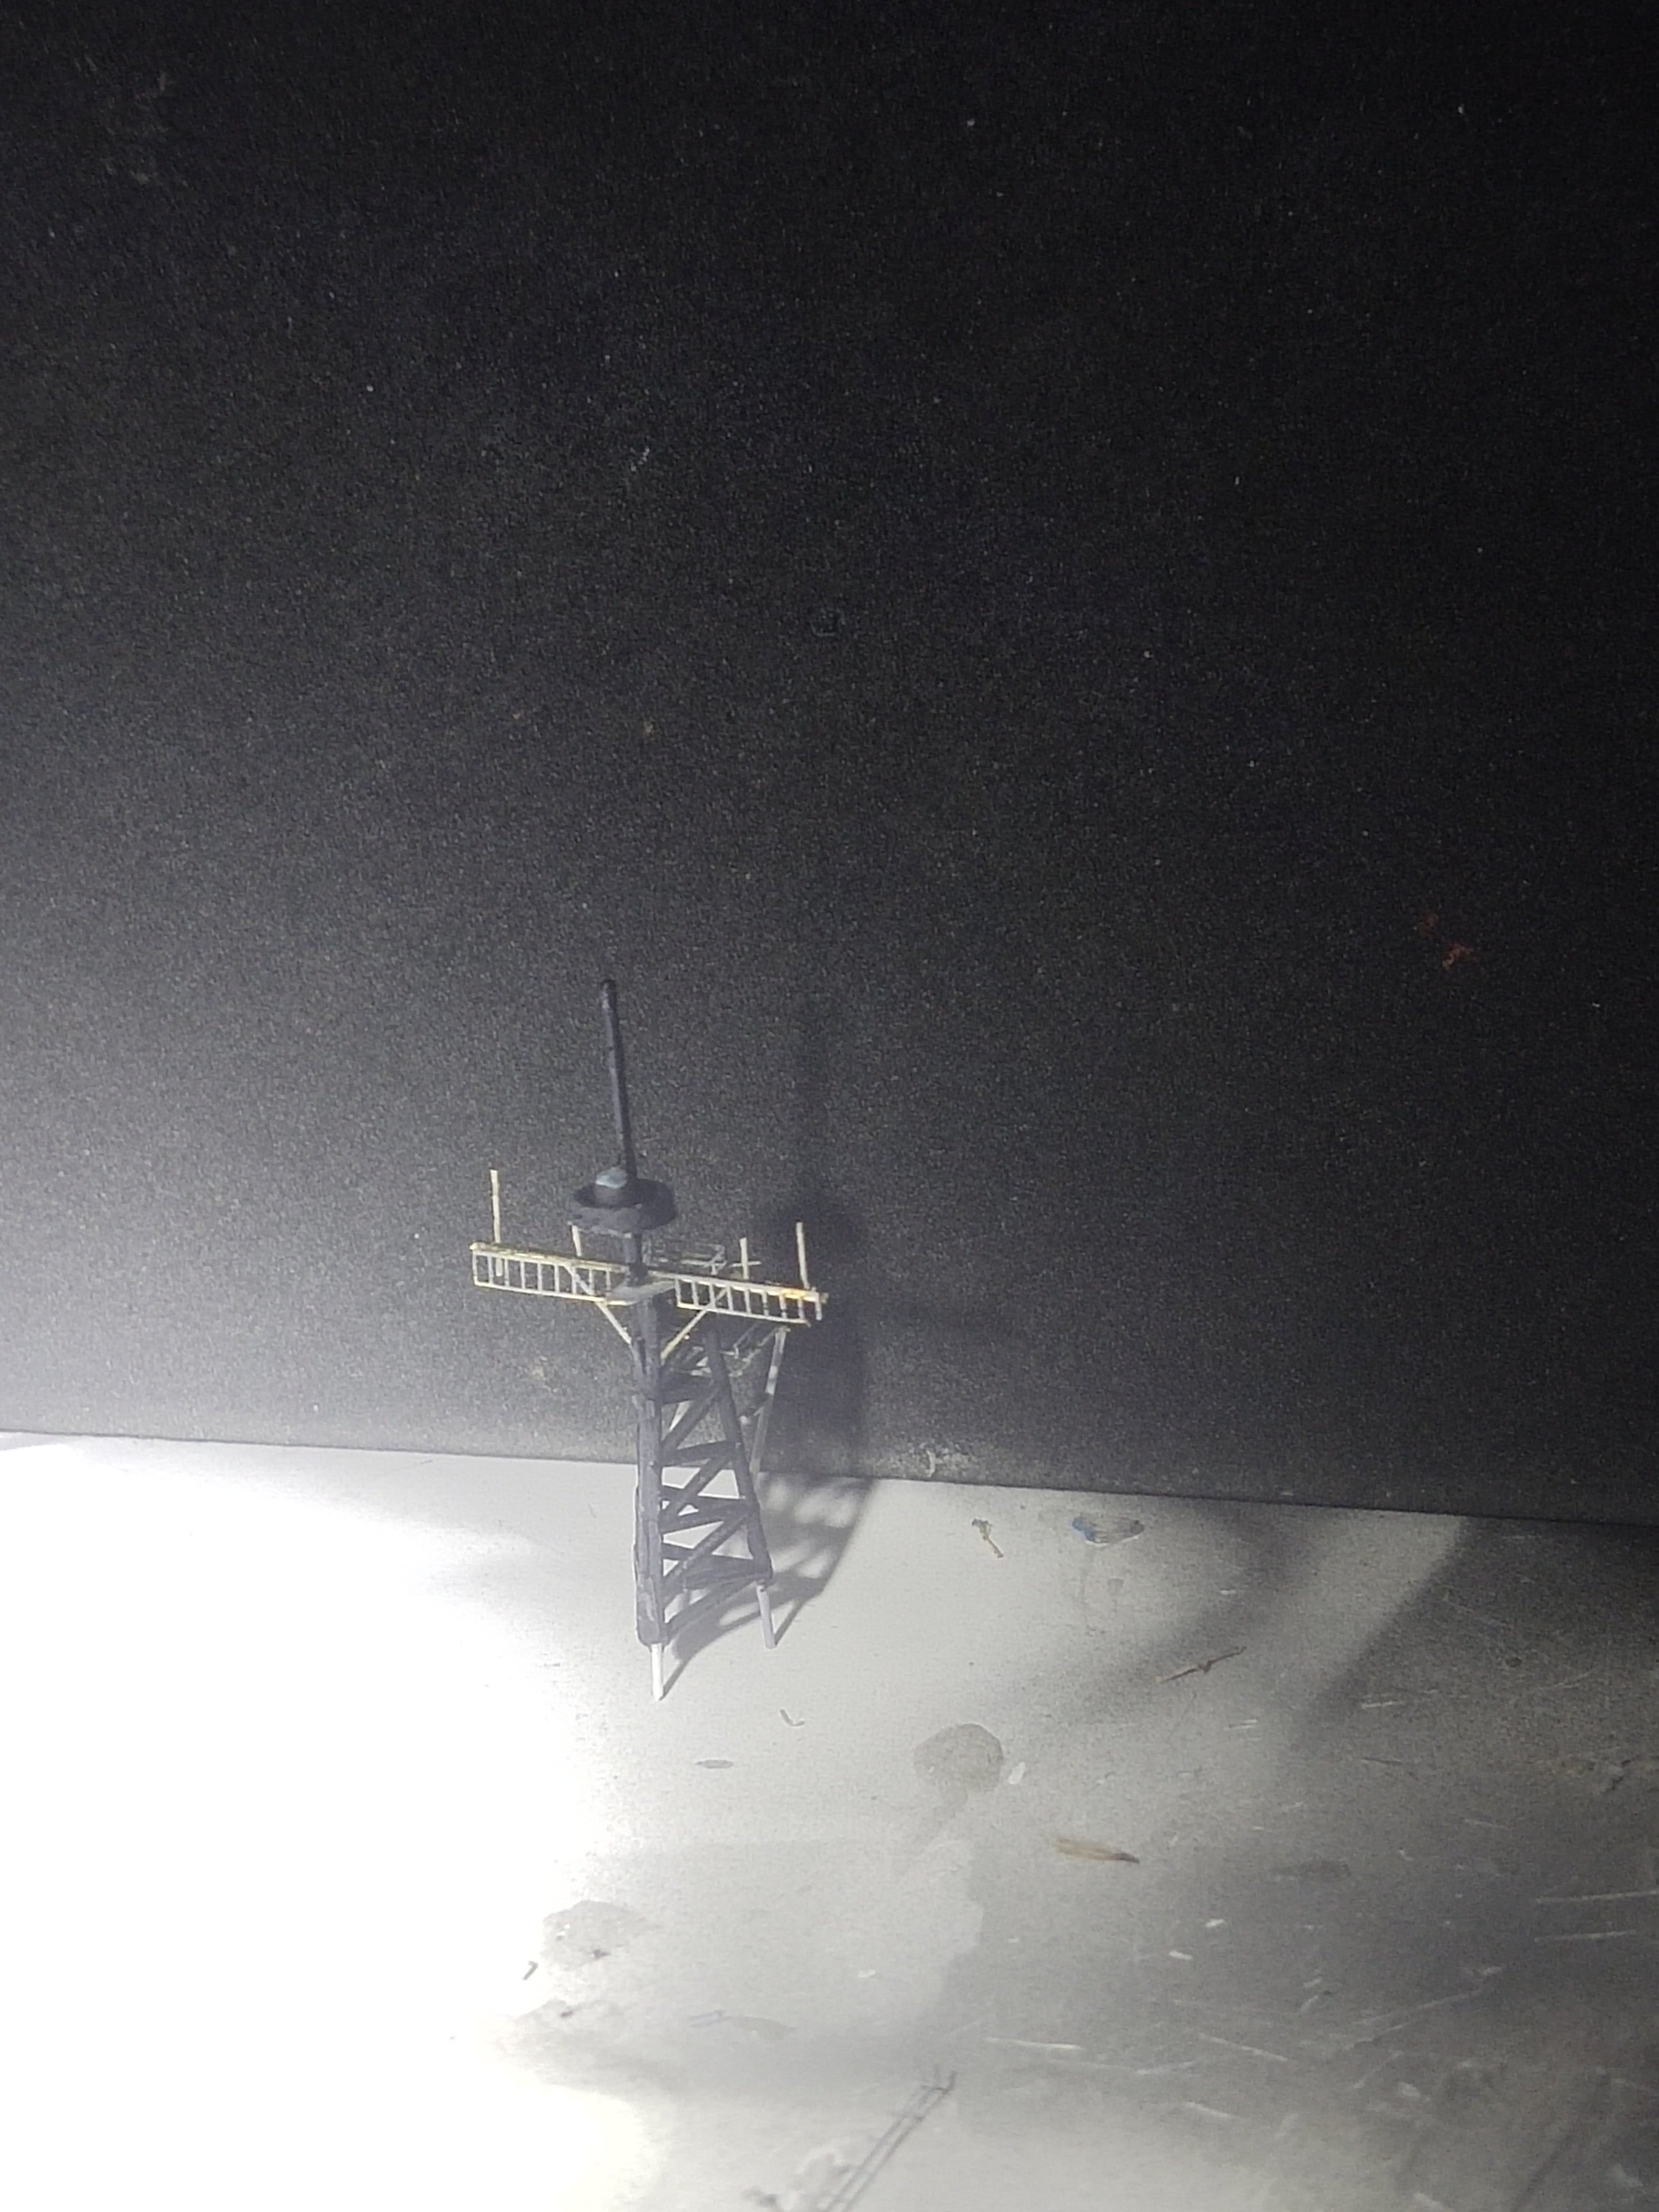
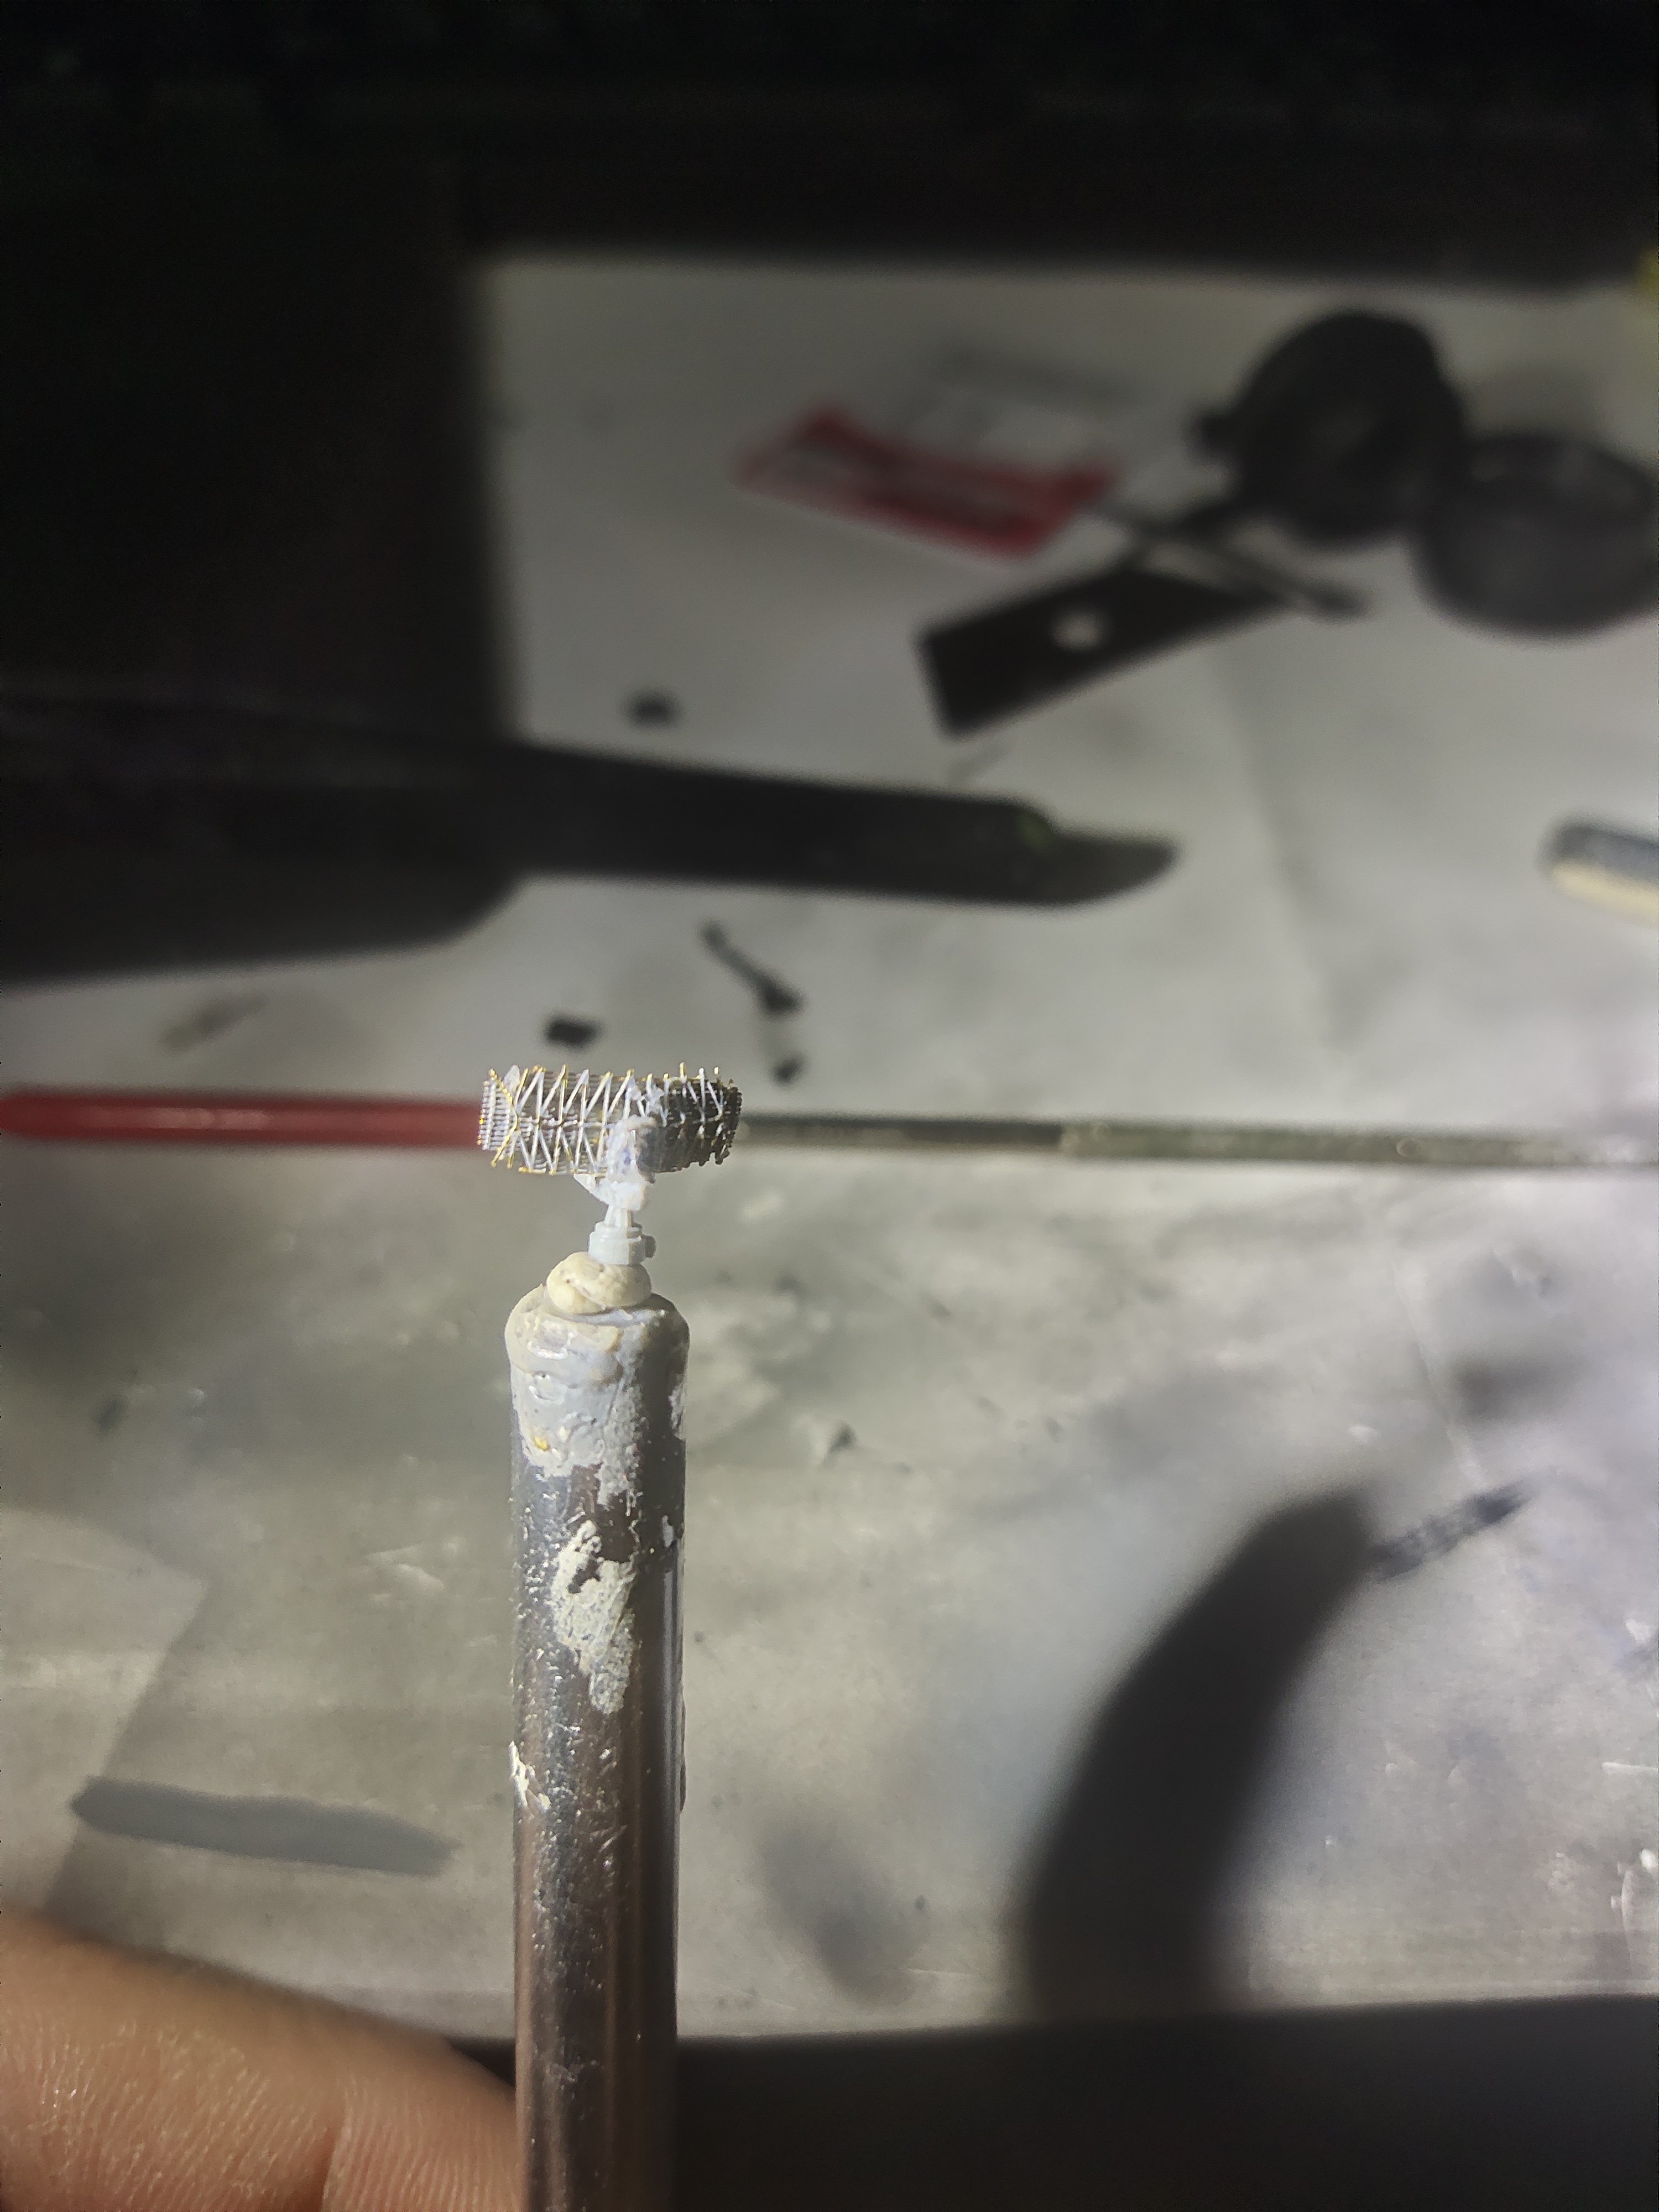
I decided to work on the mast. Different materials used. PE parts, plastic rods,, rails and brush hair.
After painting, time for dry fitting
- yvesvidal, mtaylor, thibaultron and 1 other
-
 4
4
-
One evening one piece.
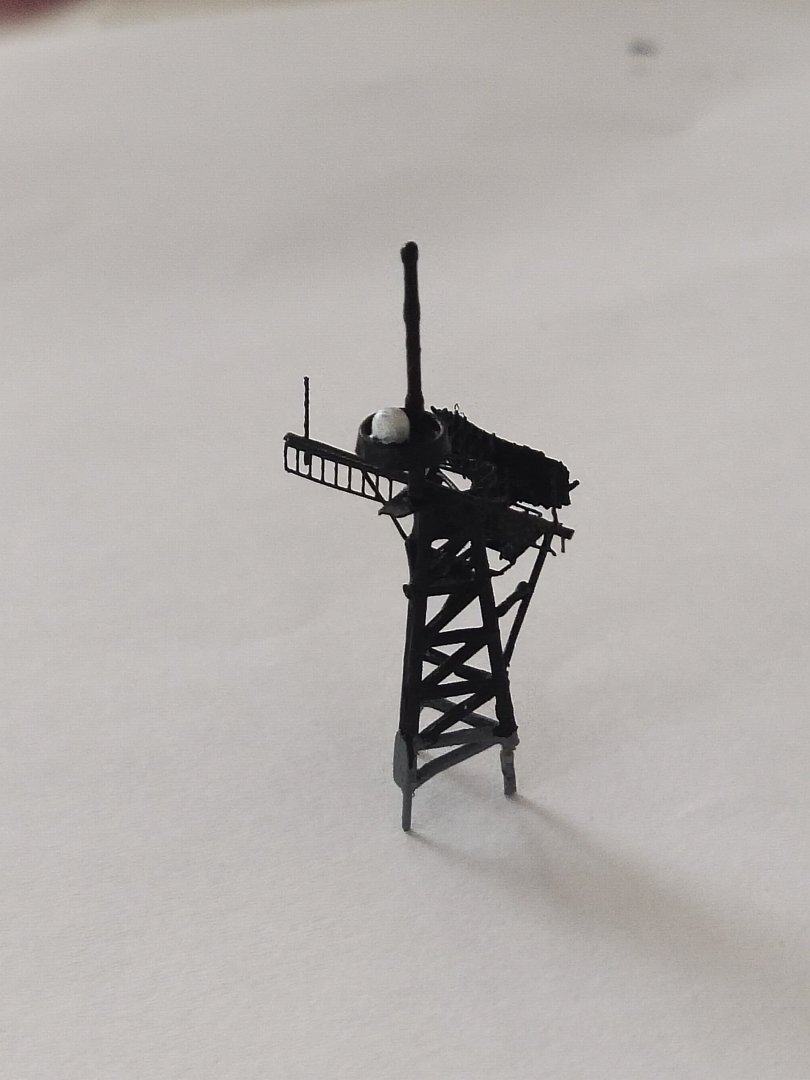
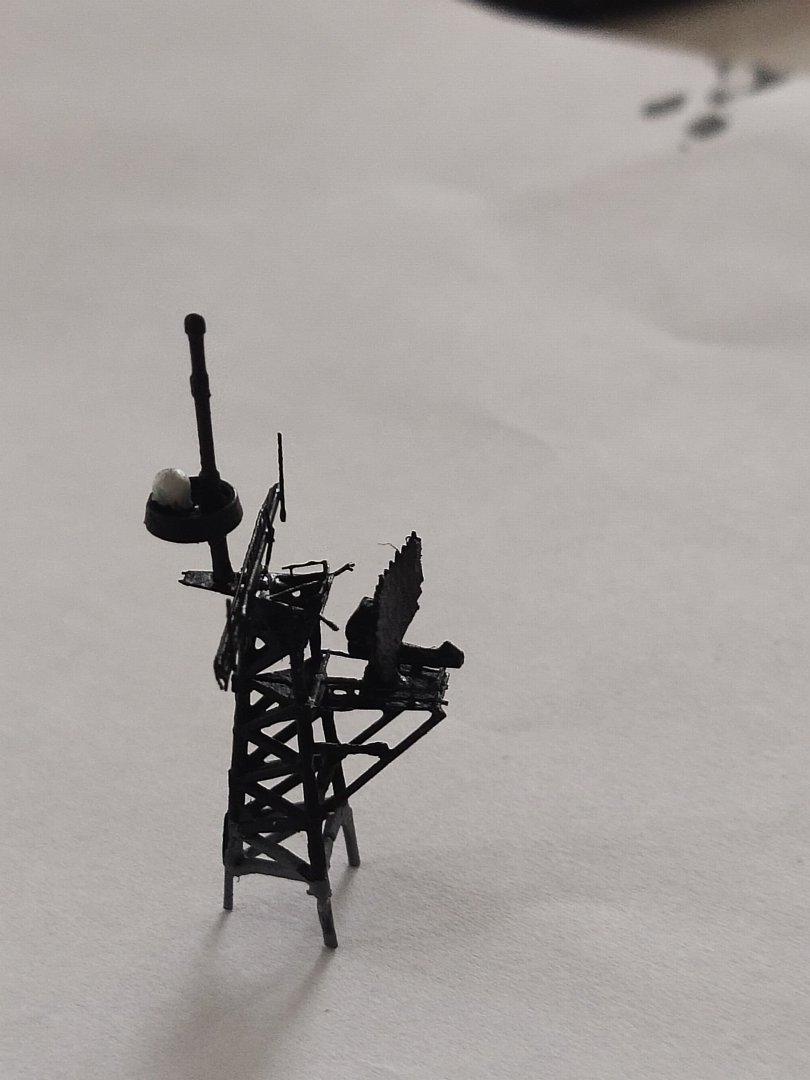
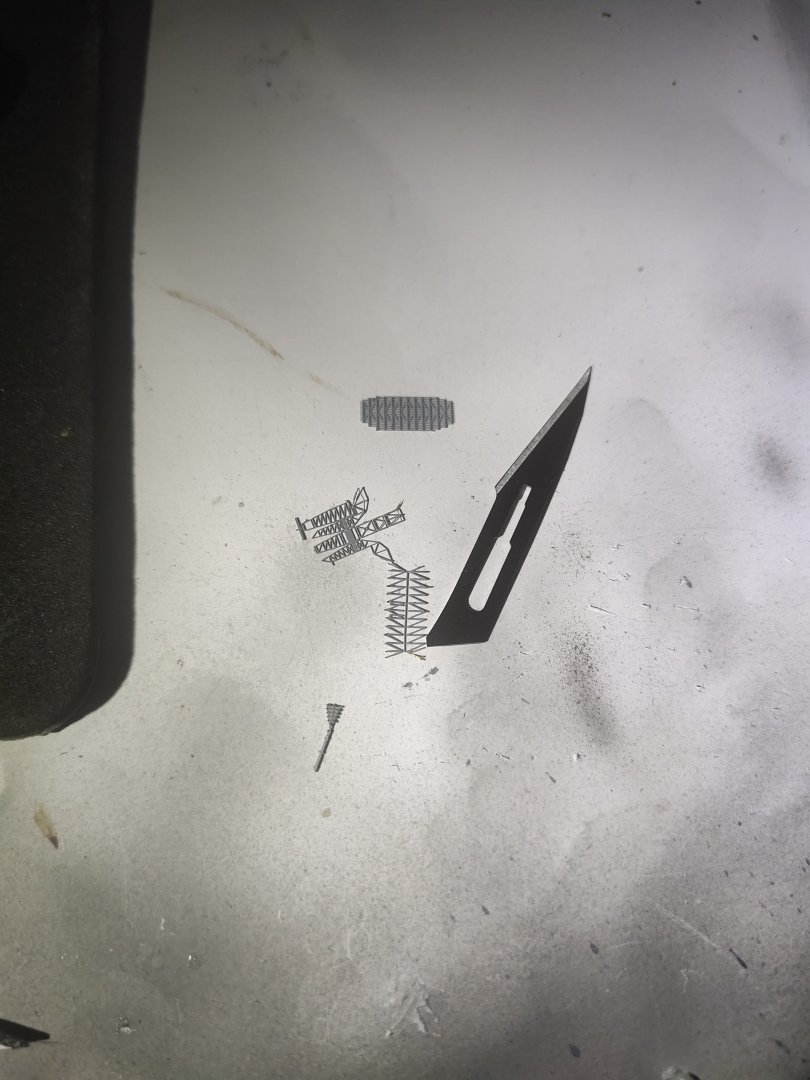
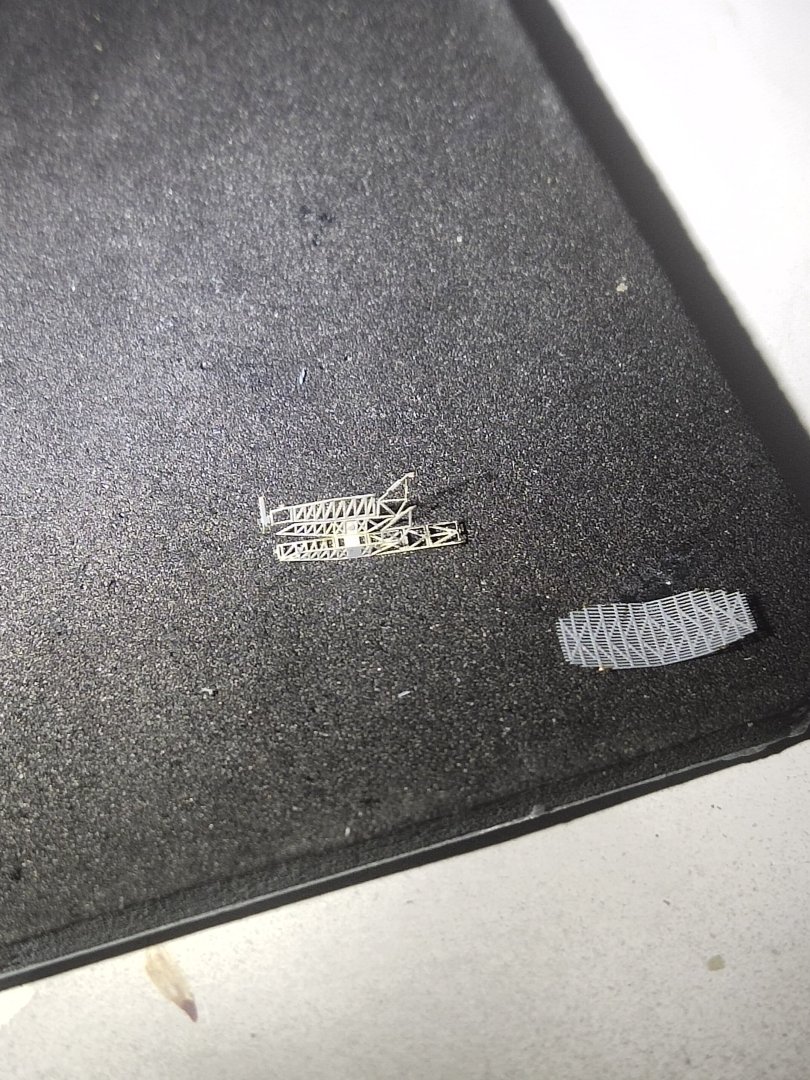
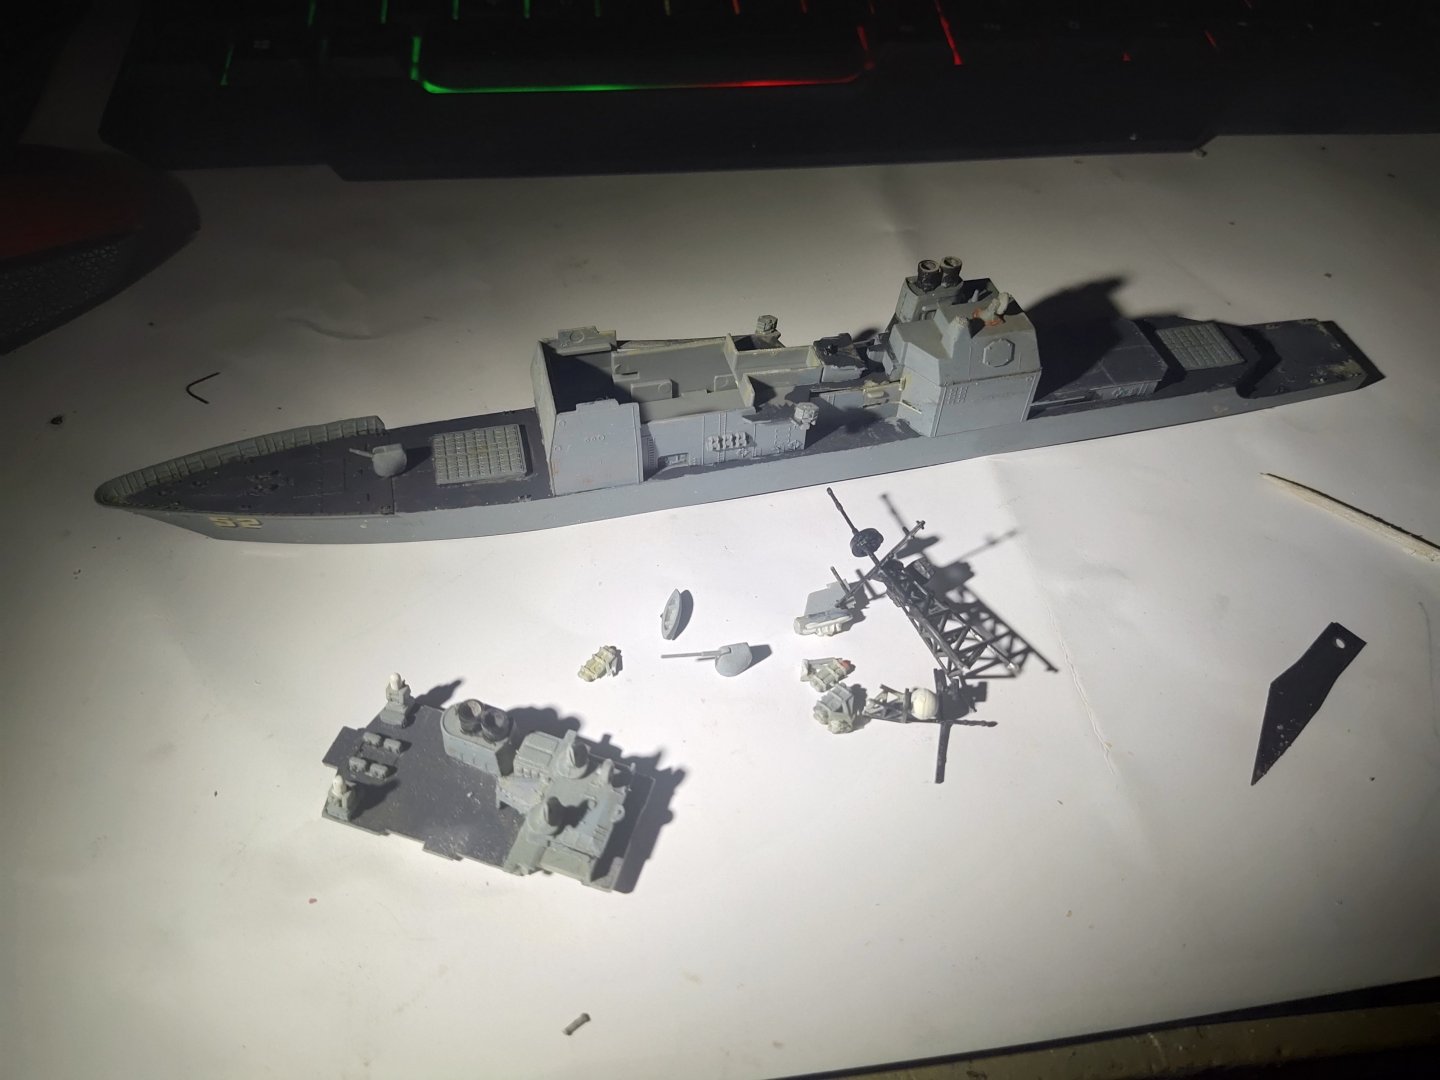
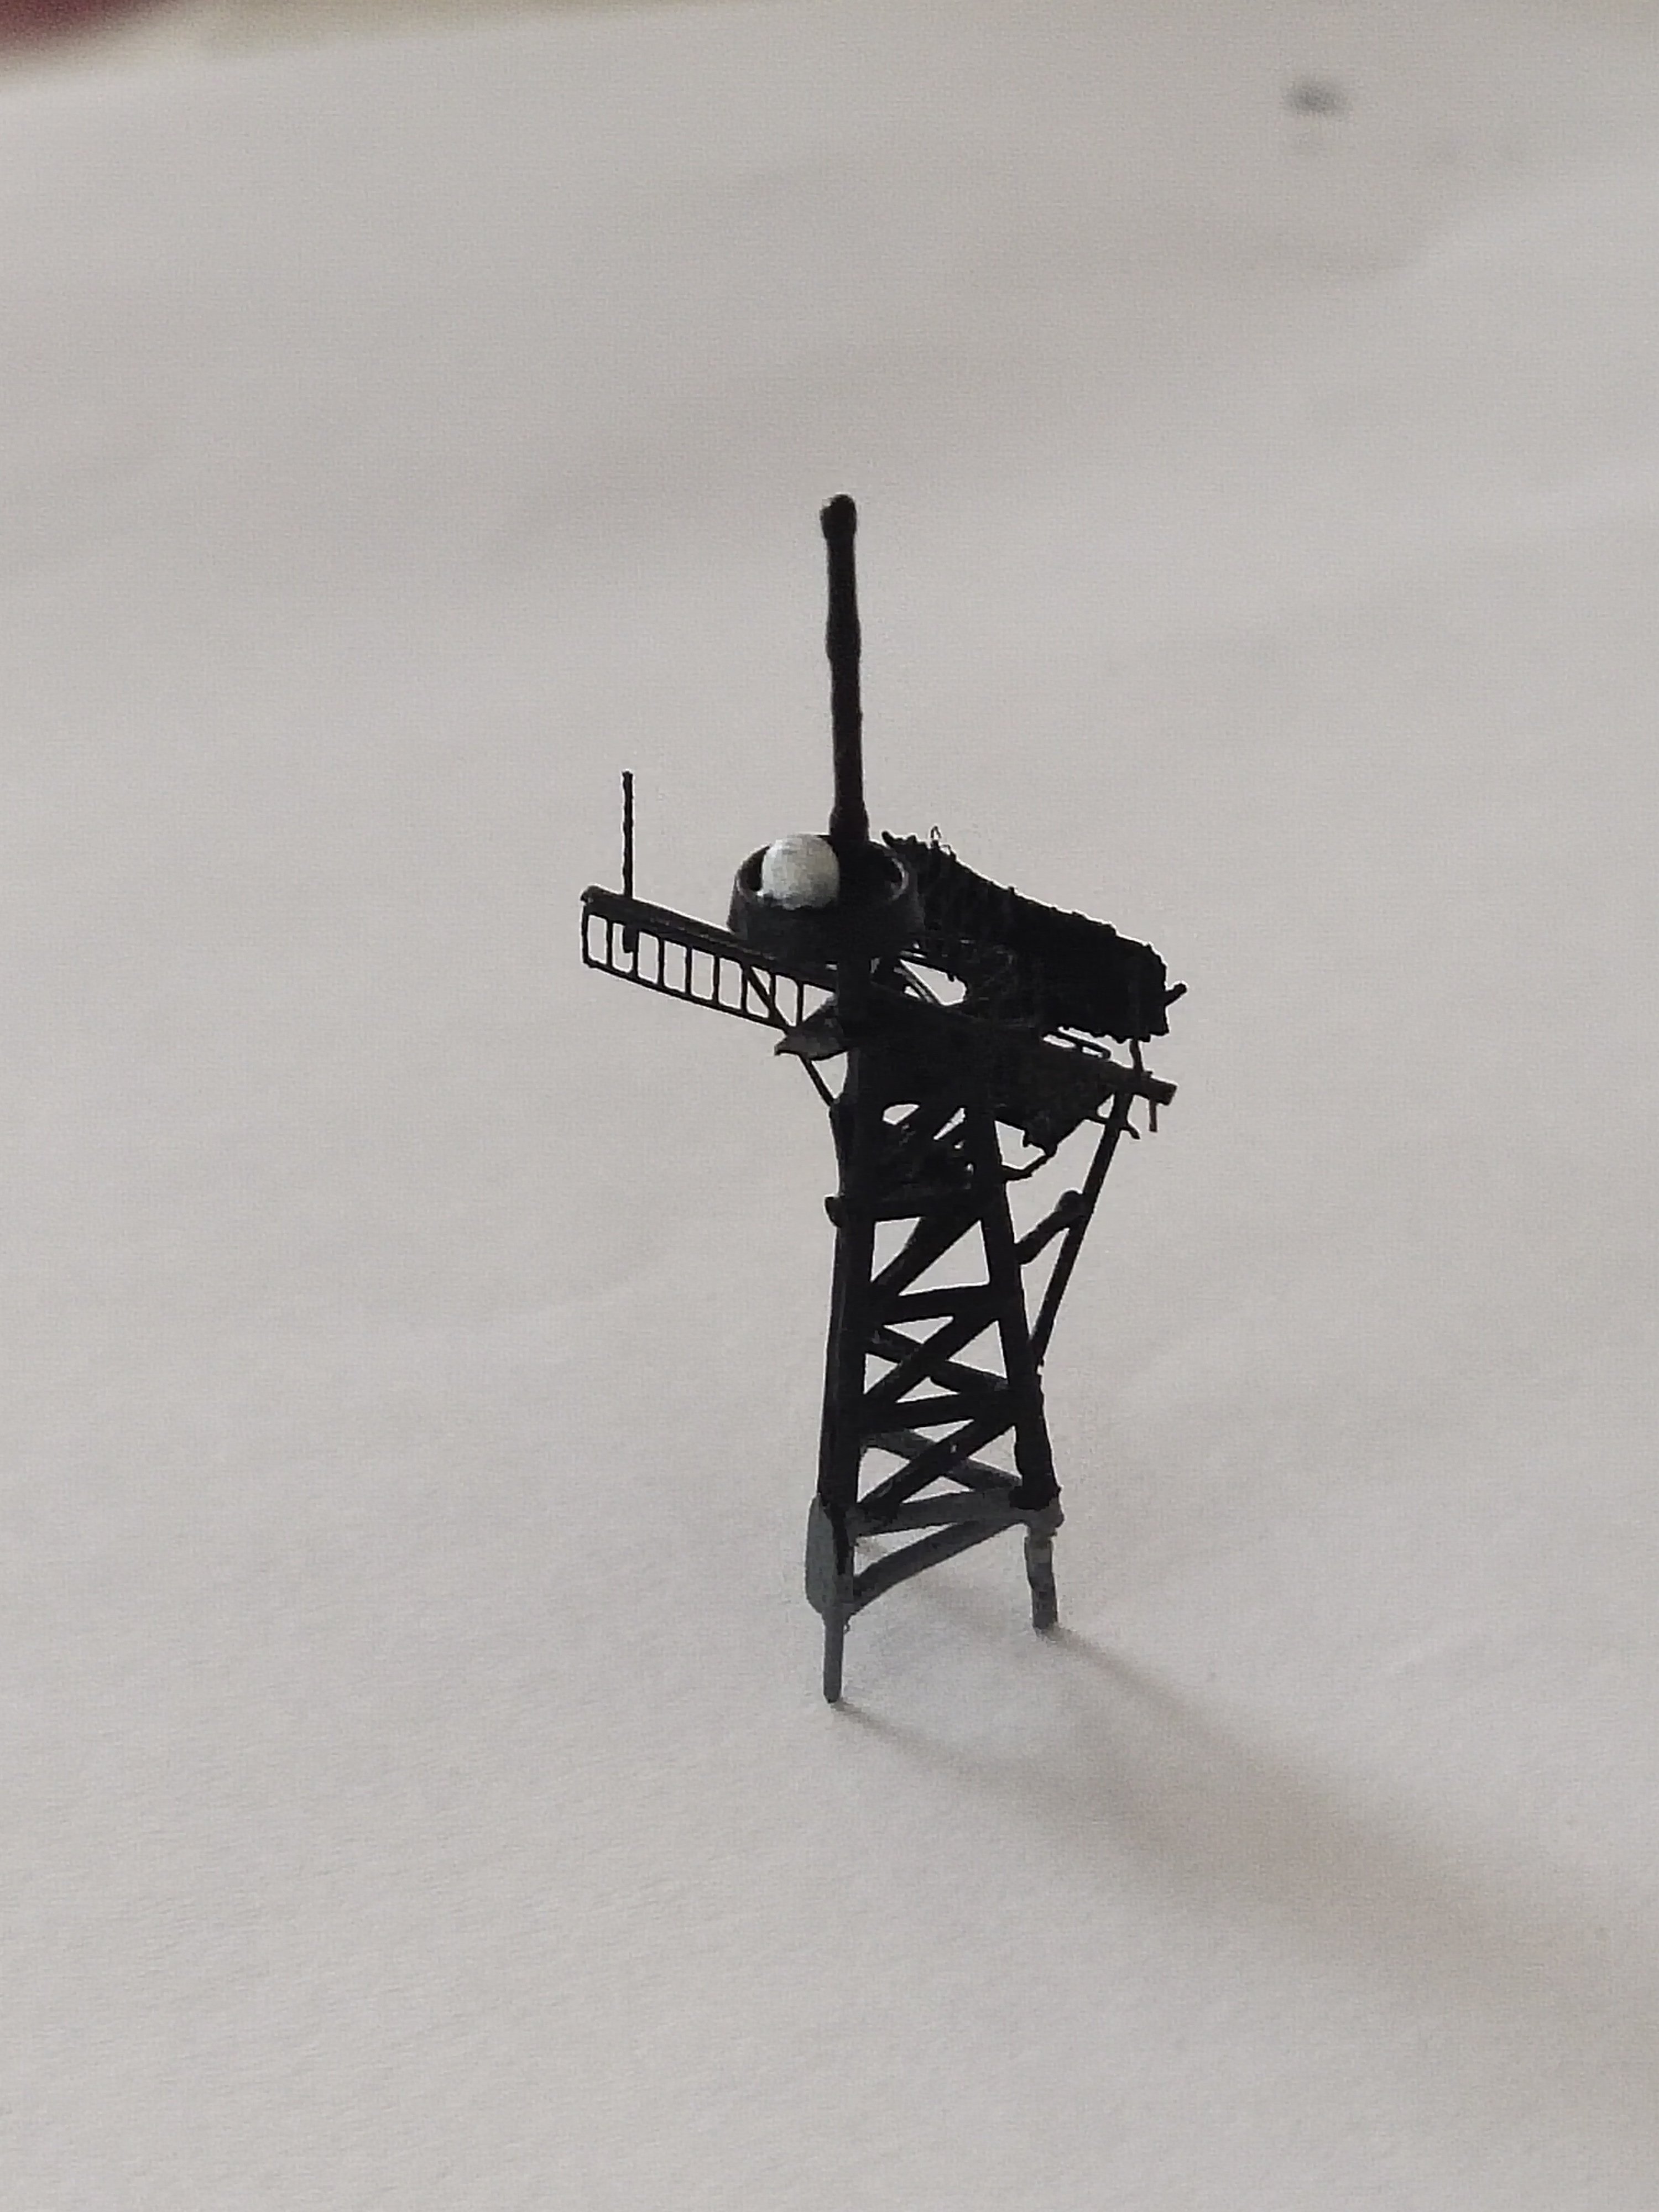
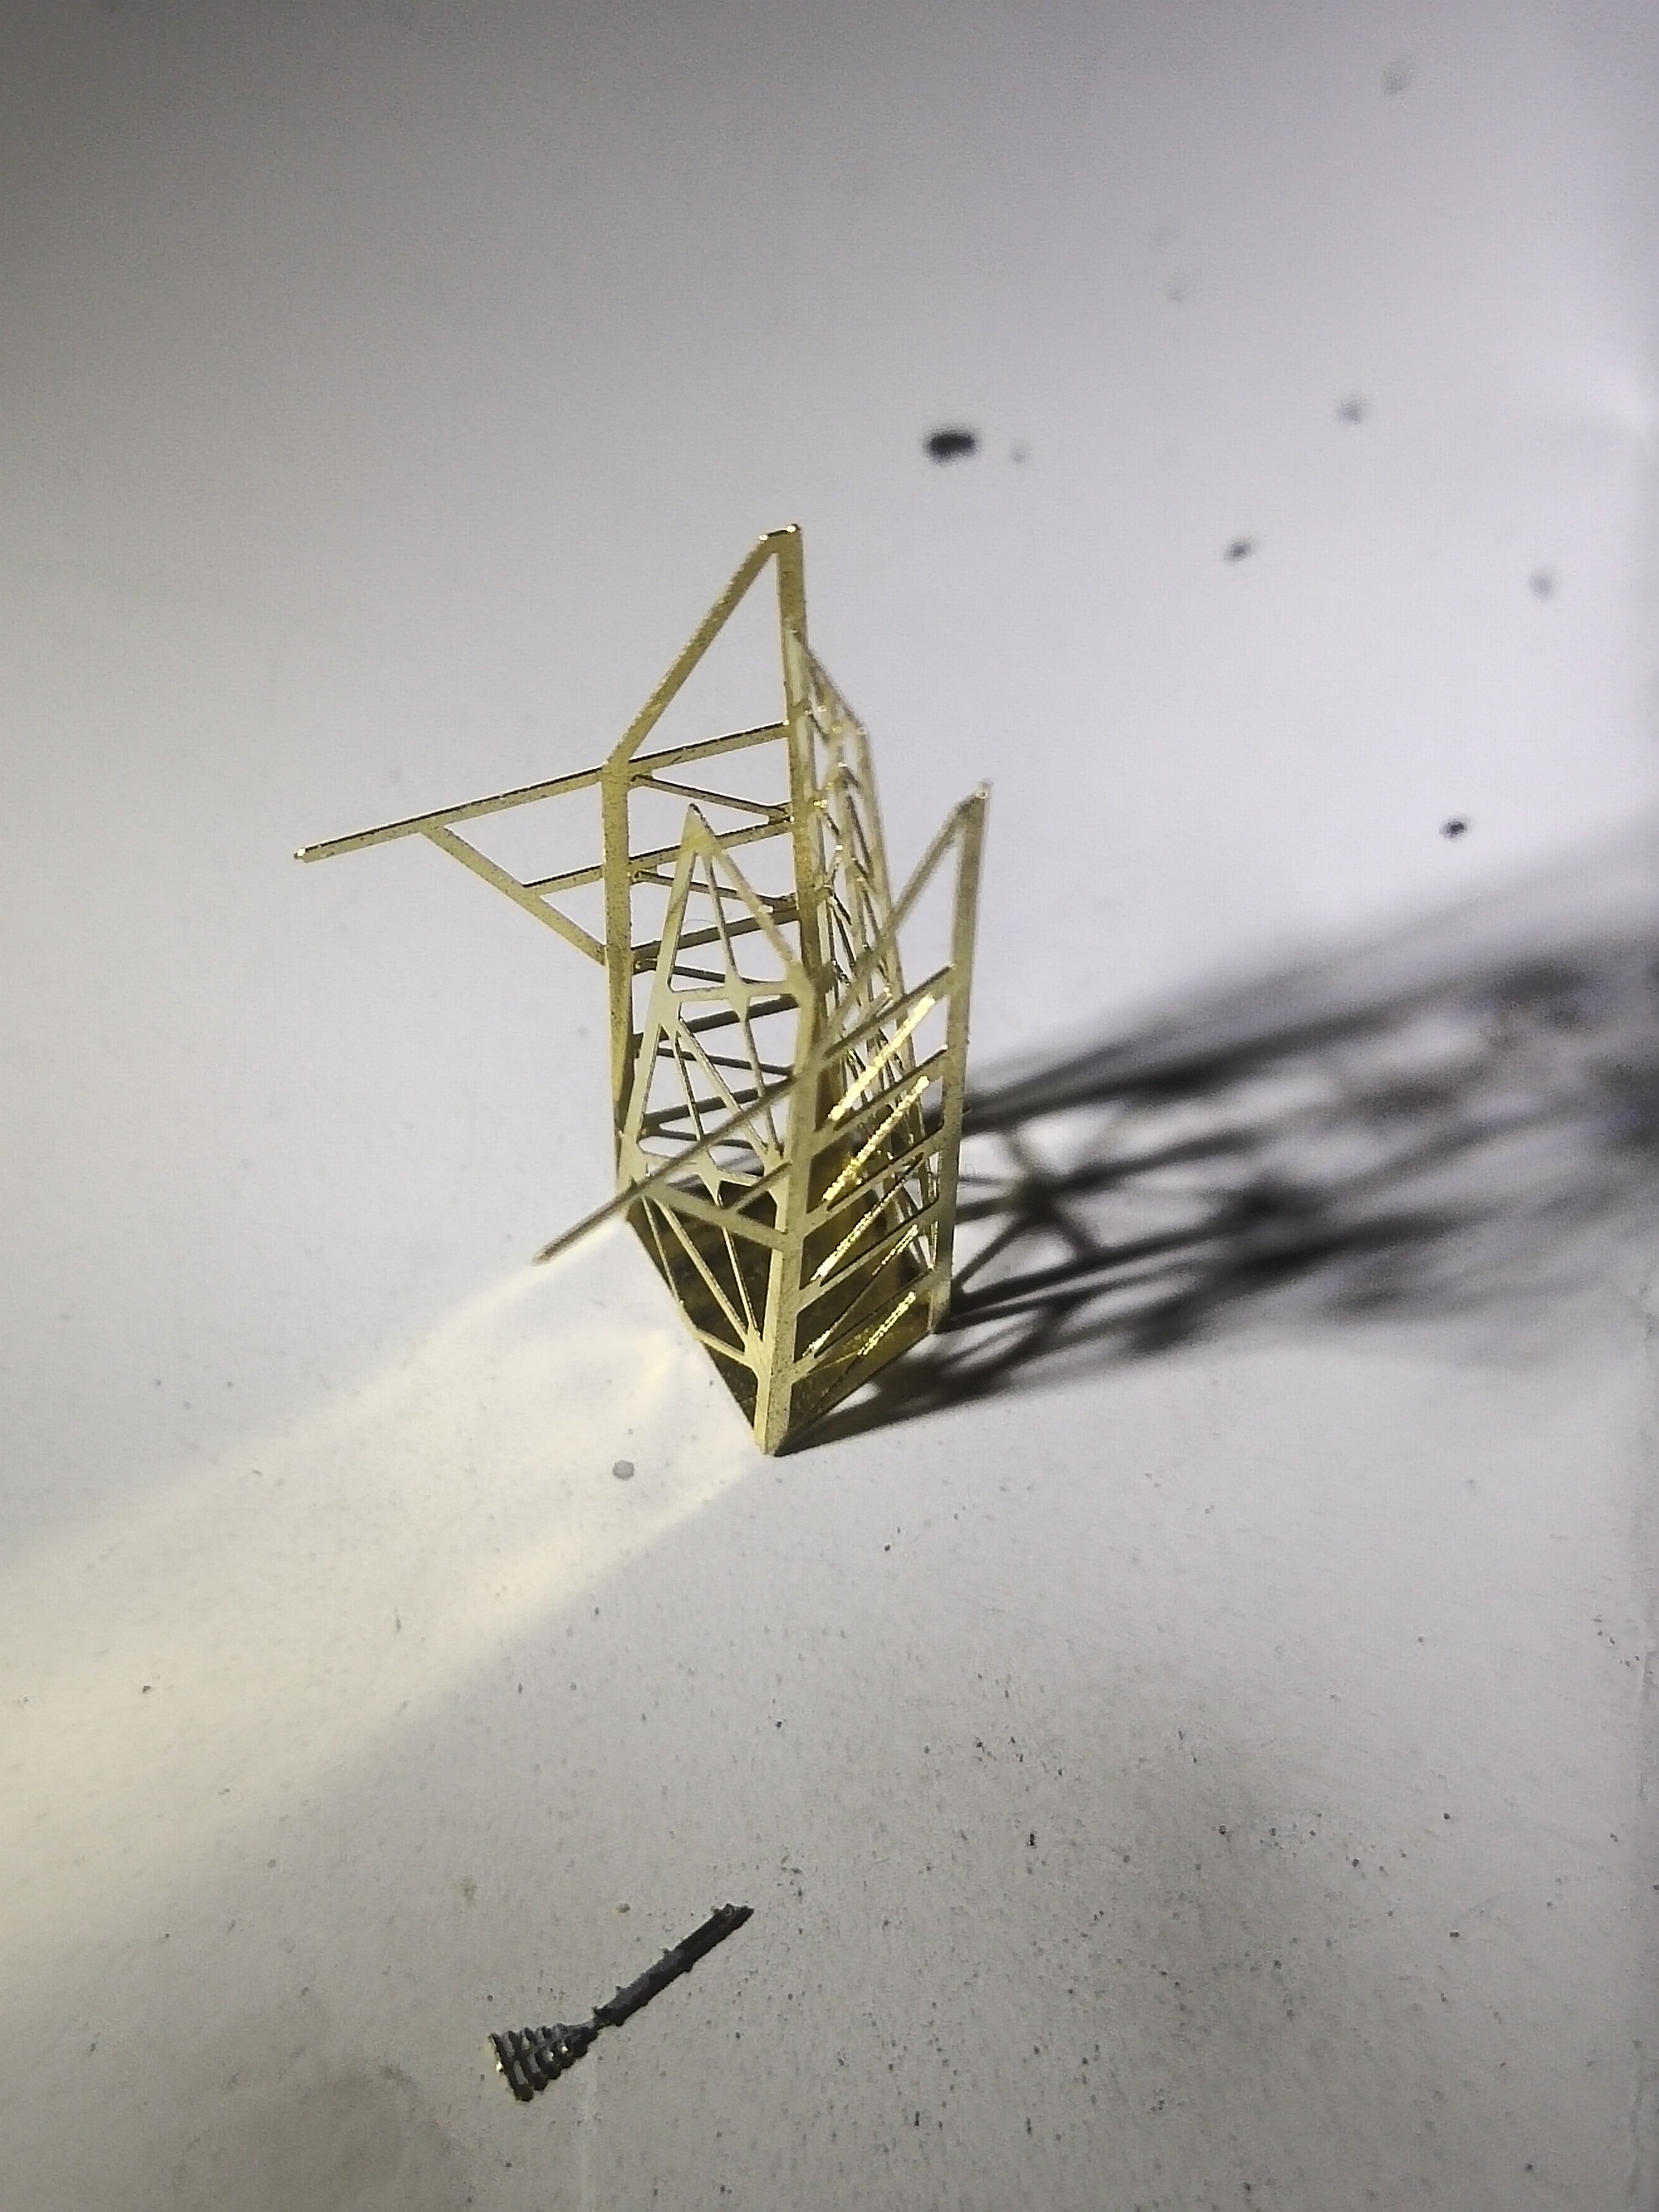
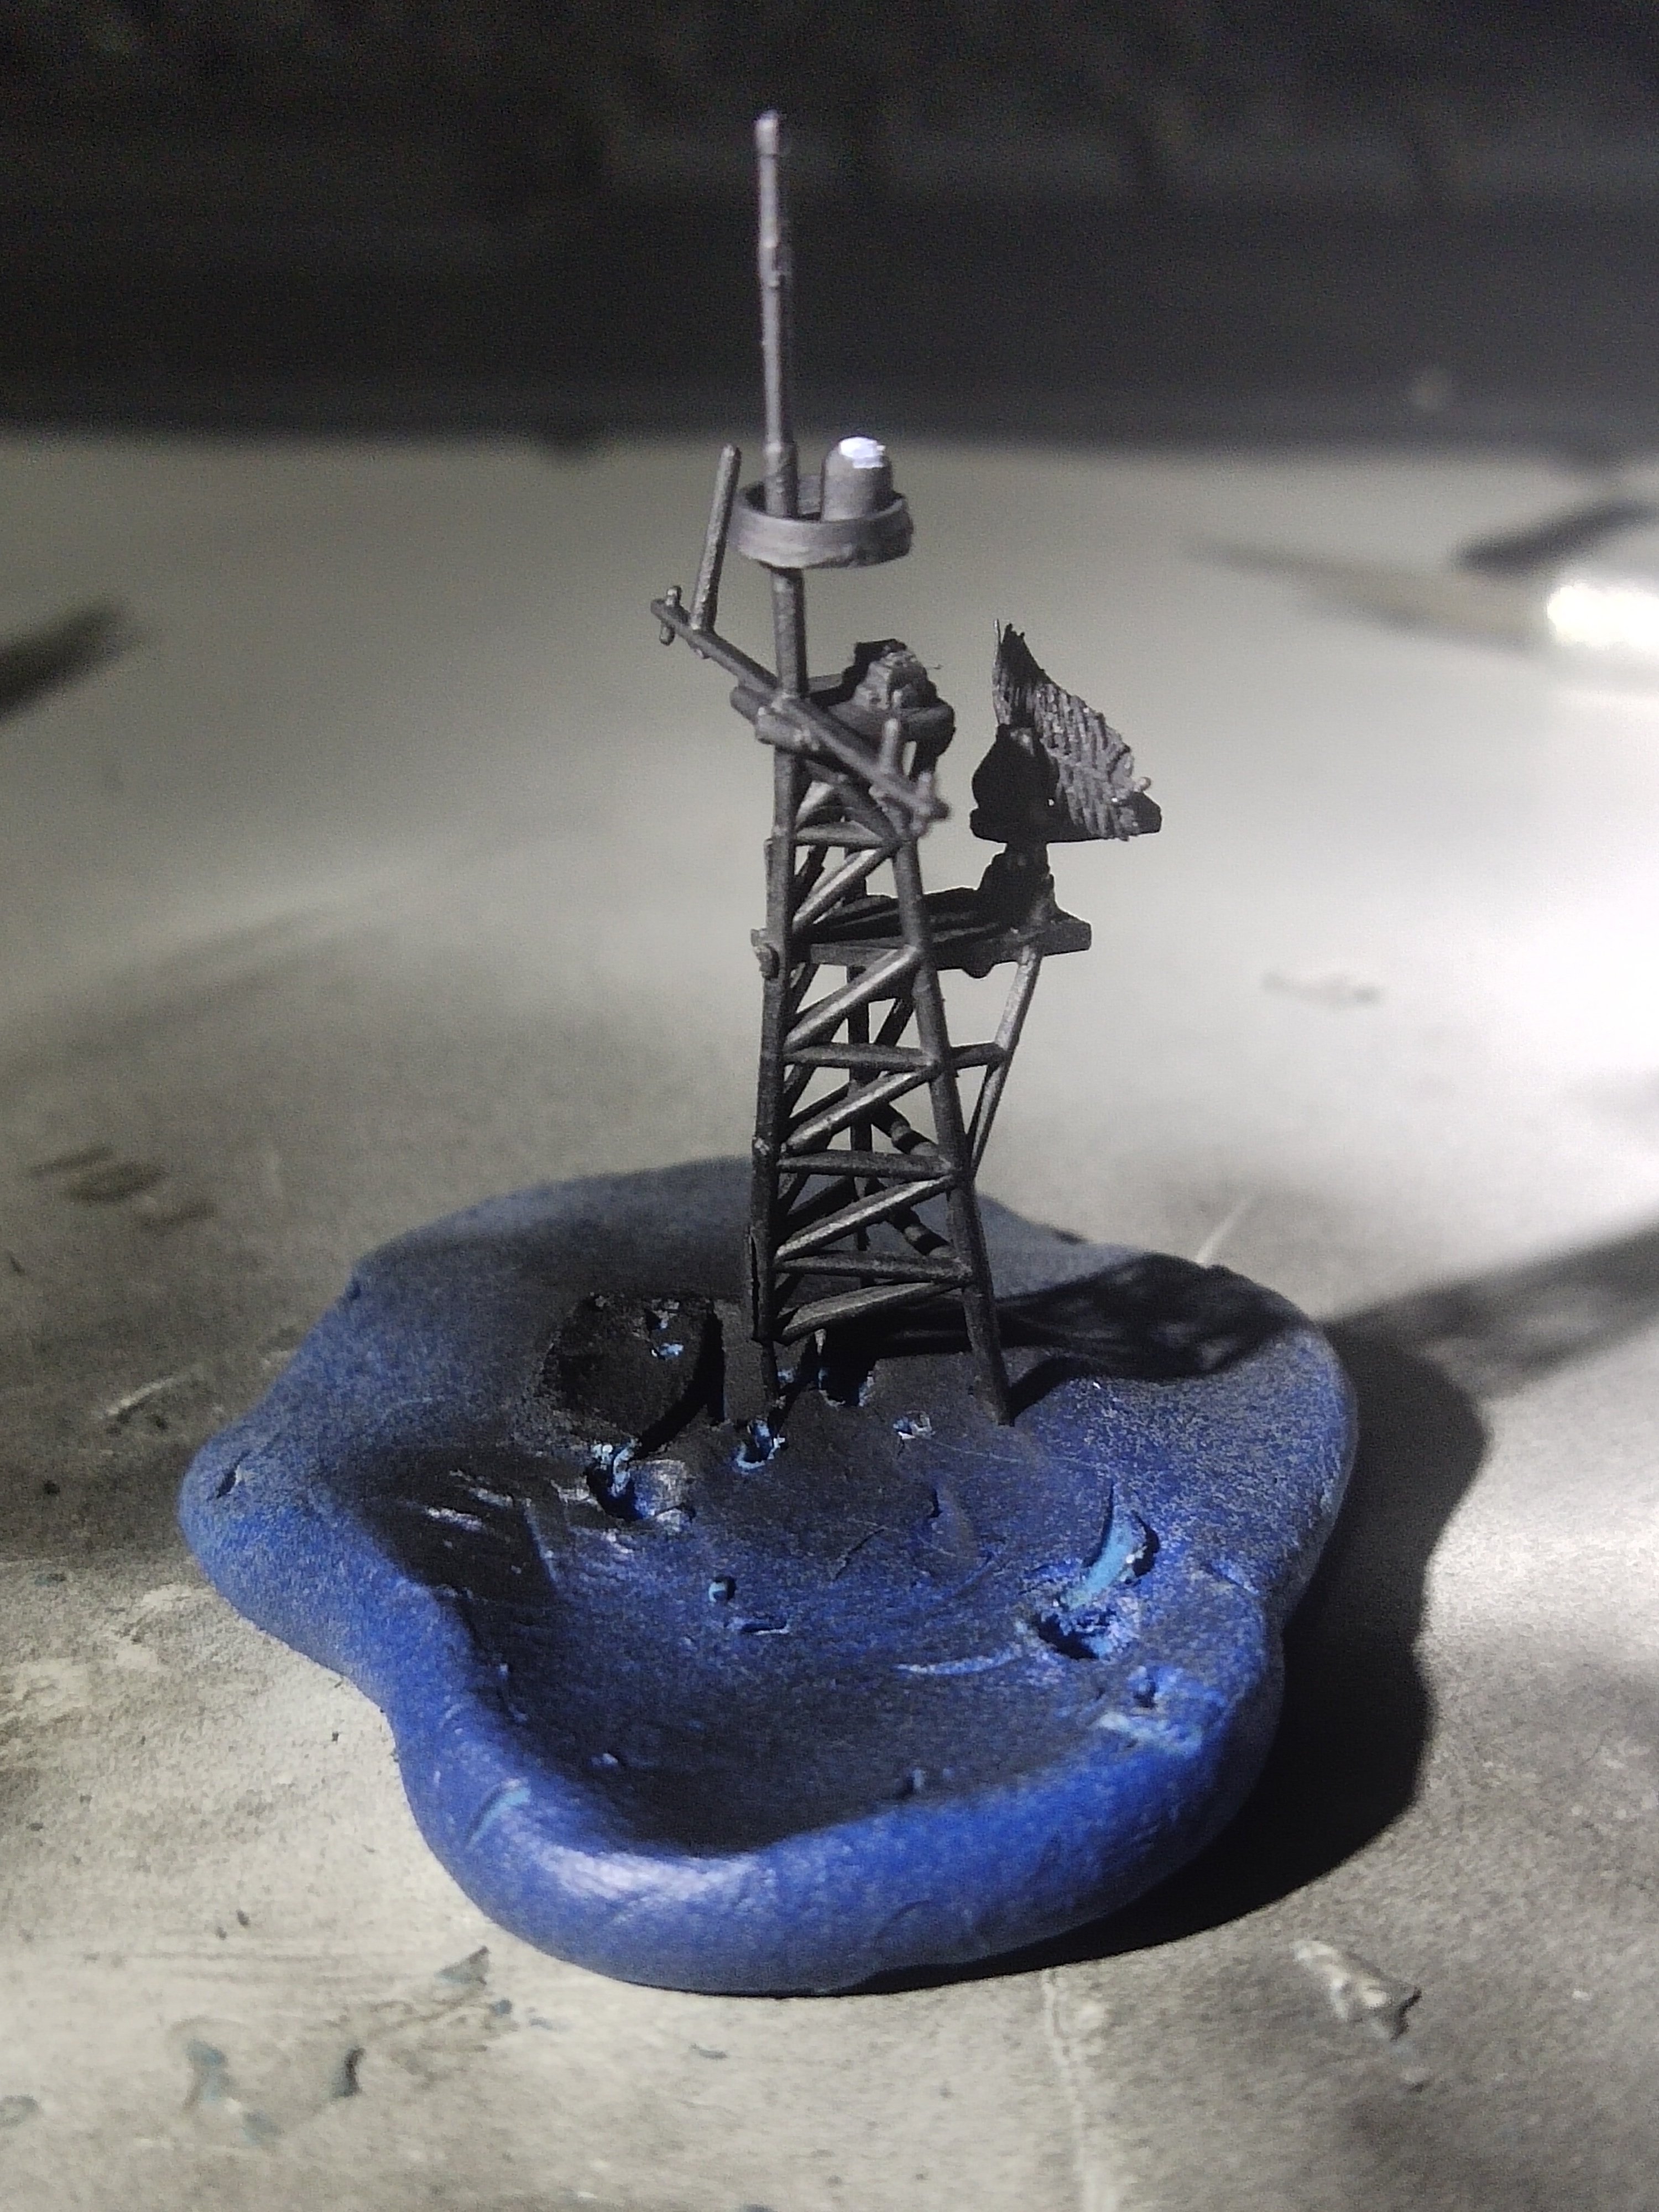
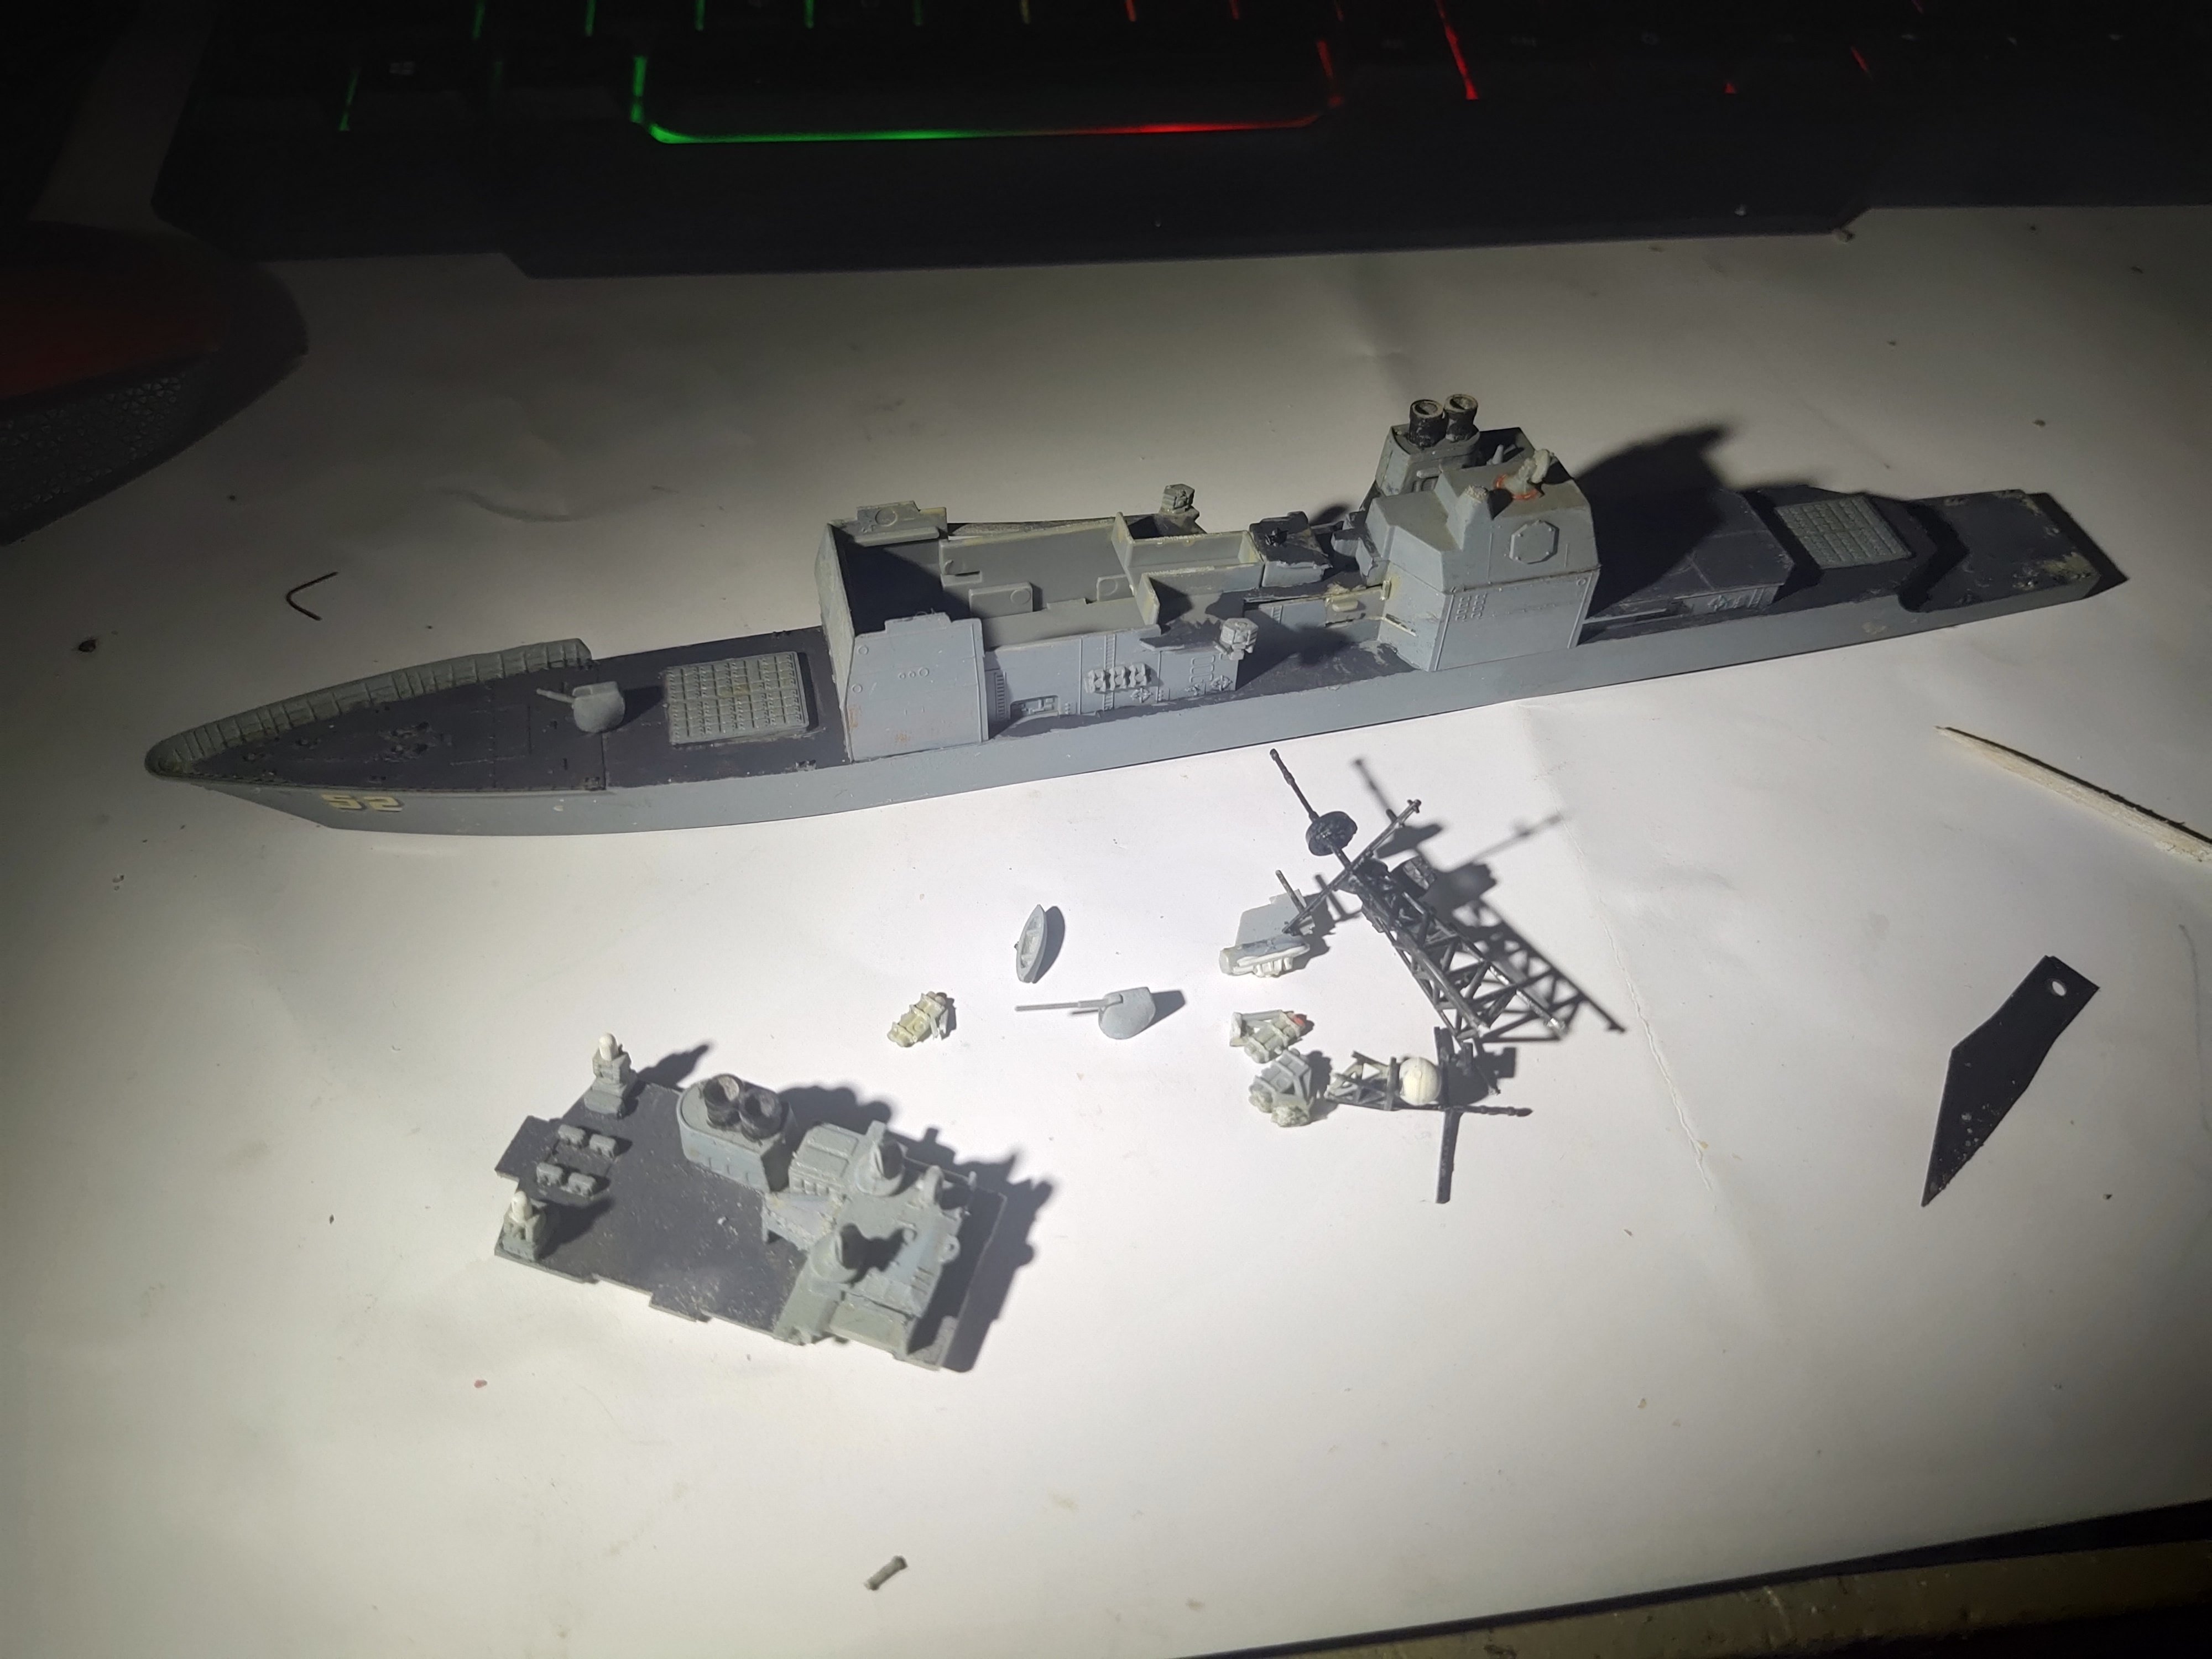
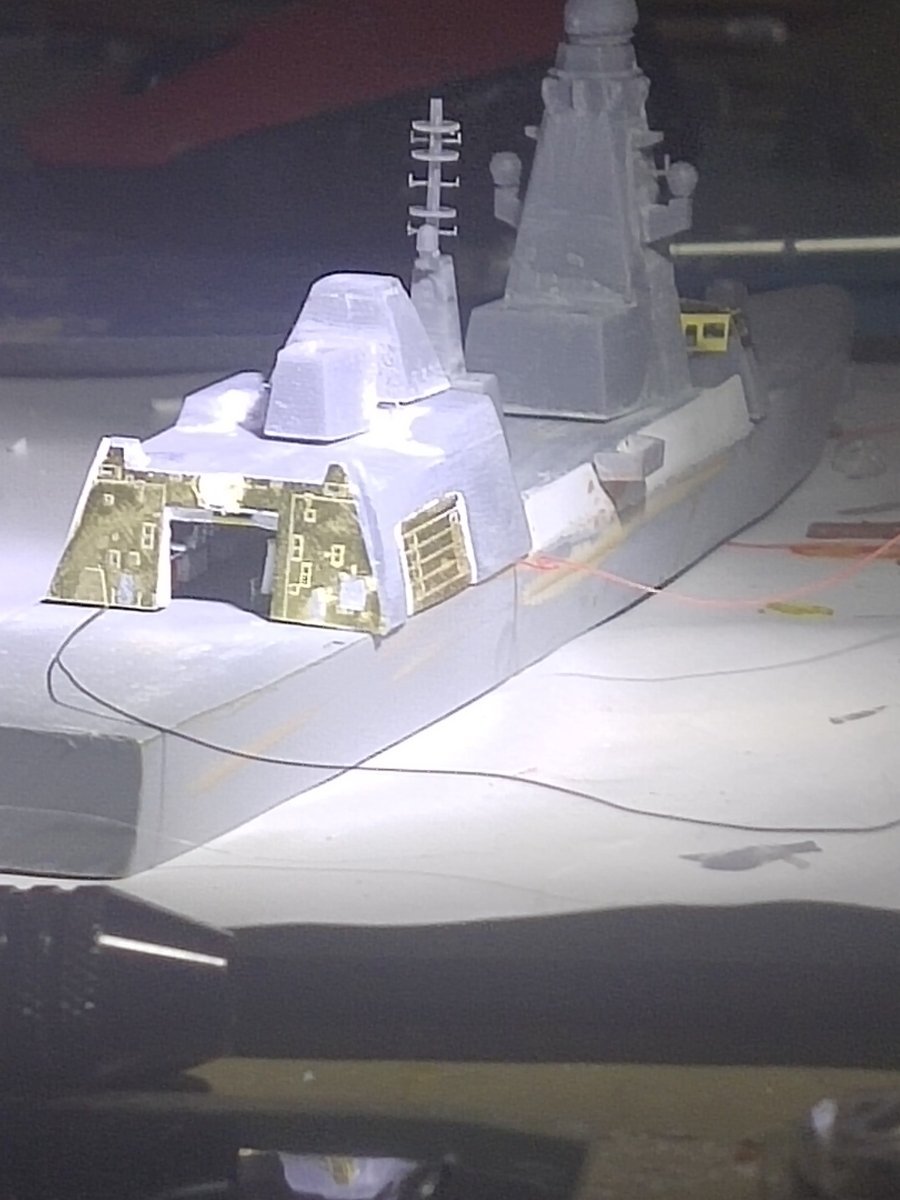
I decided to work on the main mast. While assembling the PE part it came obvious that while it was detailed, the tripod was too thin, more of a 2d shape. And since Ticos have a reinforced mast like Spruance class I decided to work on the original part.
Work begun on SPS Radar. While holding the arm with tweezers and trying to attach the radar, it twisted and bended. I took another set from my spares, but proved very delicate and broke after a slight bend. Perhaps If i could use 10 sets I could have damaged all. An attempt to glue them failled, still looked wrecked.
So basically I took the arm of the plastic piece and add the main radar plate on it. It was the best solution I could think after all other options have failed


- thibaultron, king derelict, Baker and 4 others
-
7
-
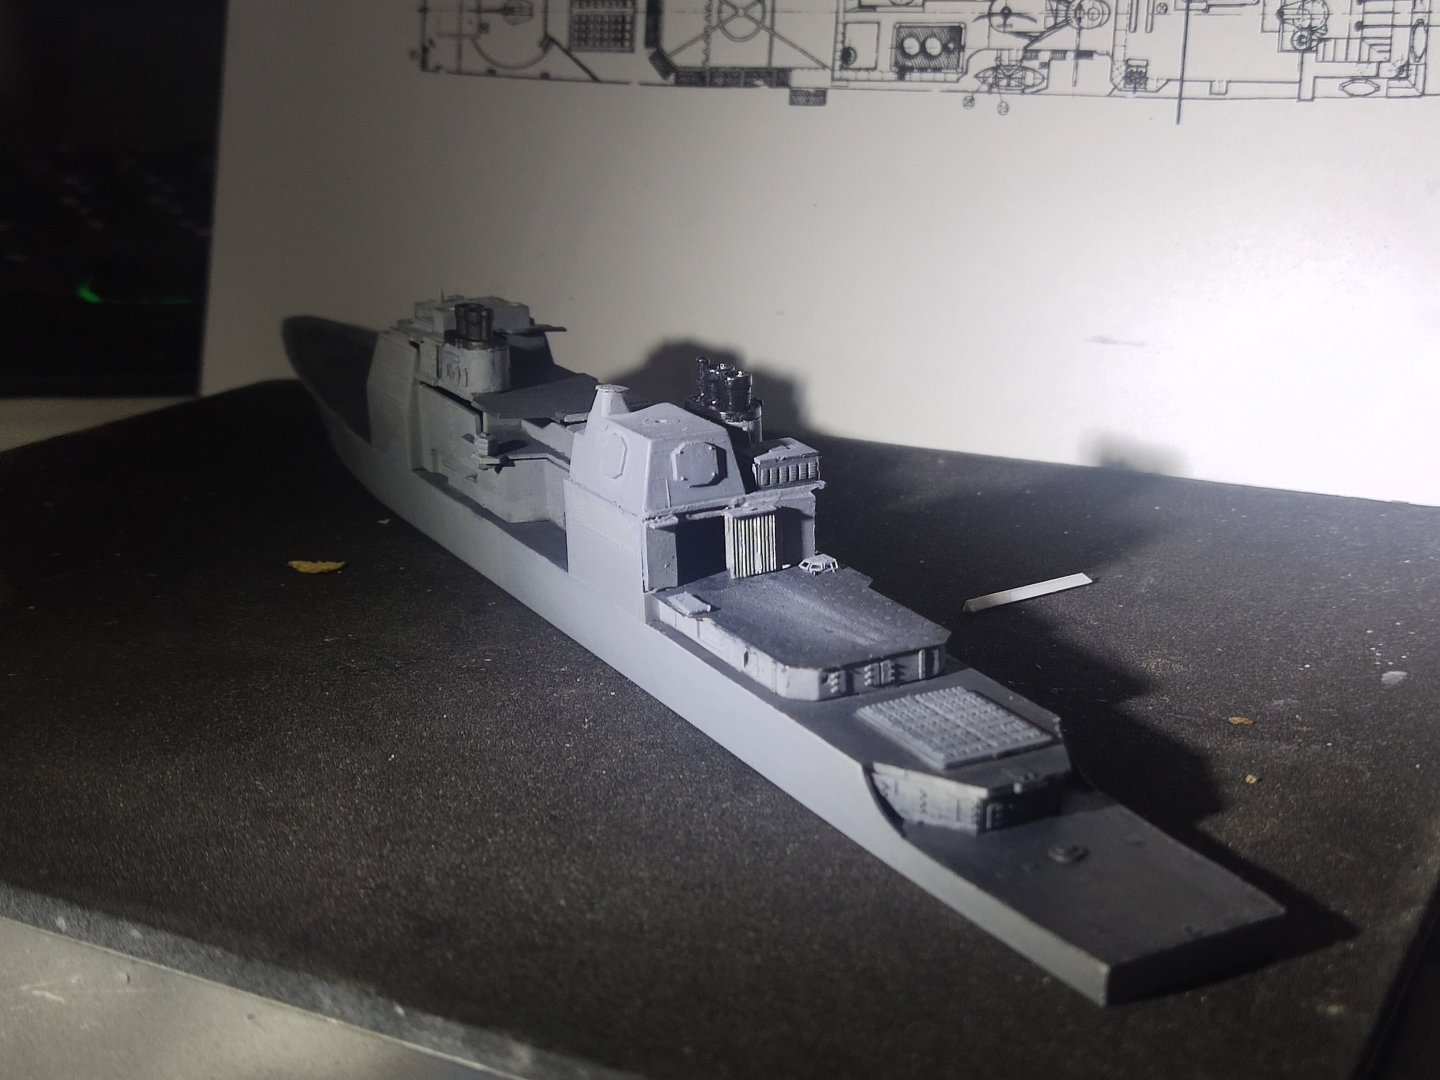
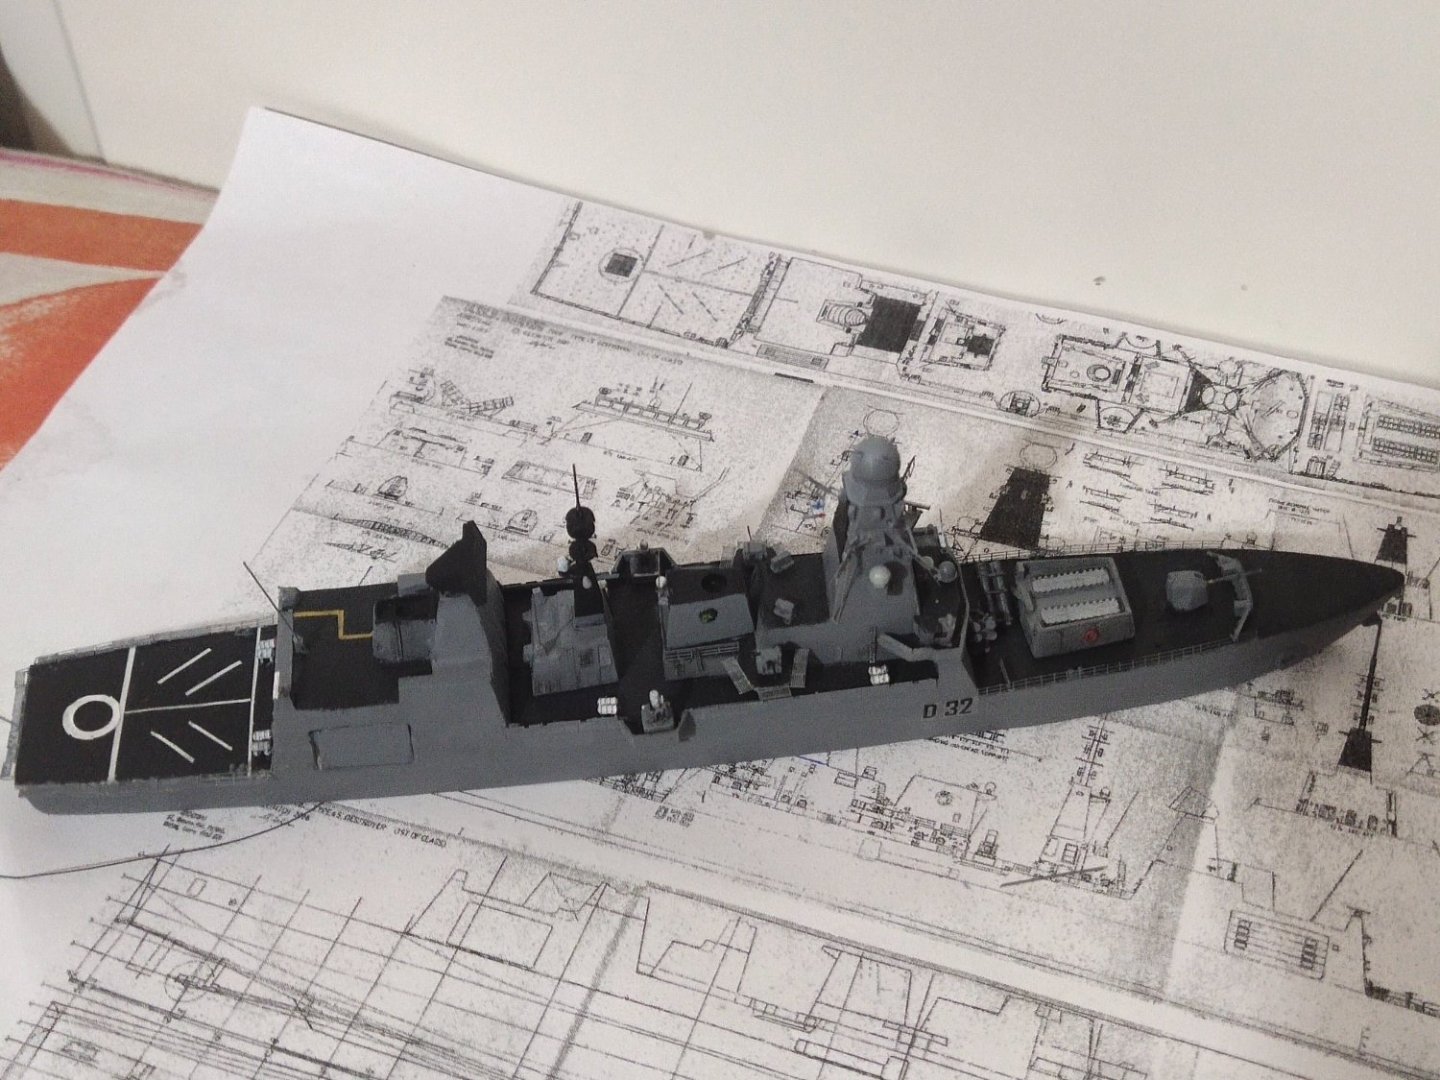
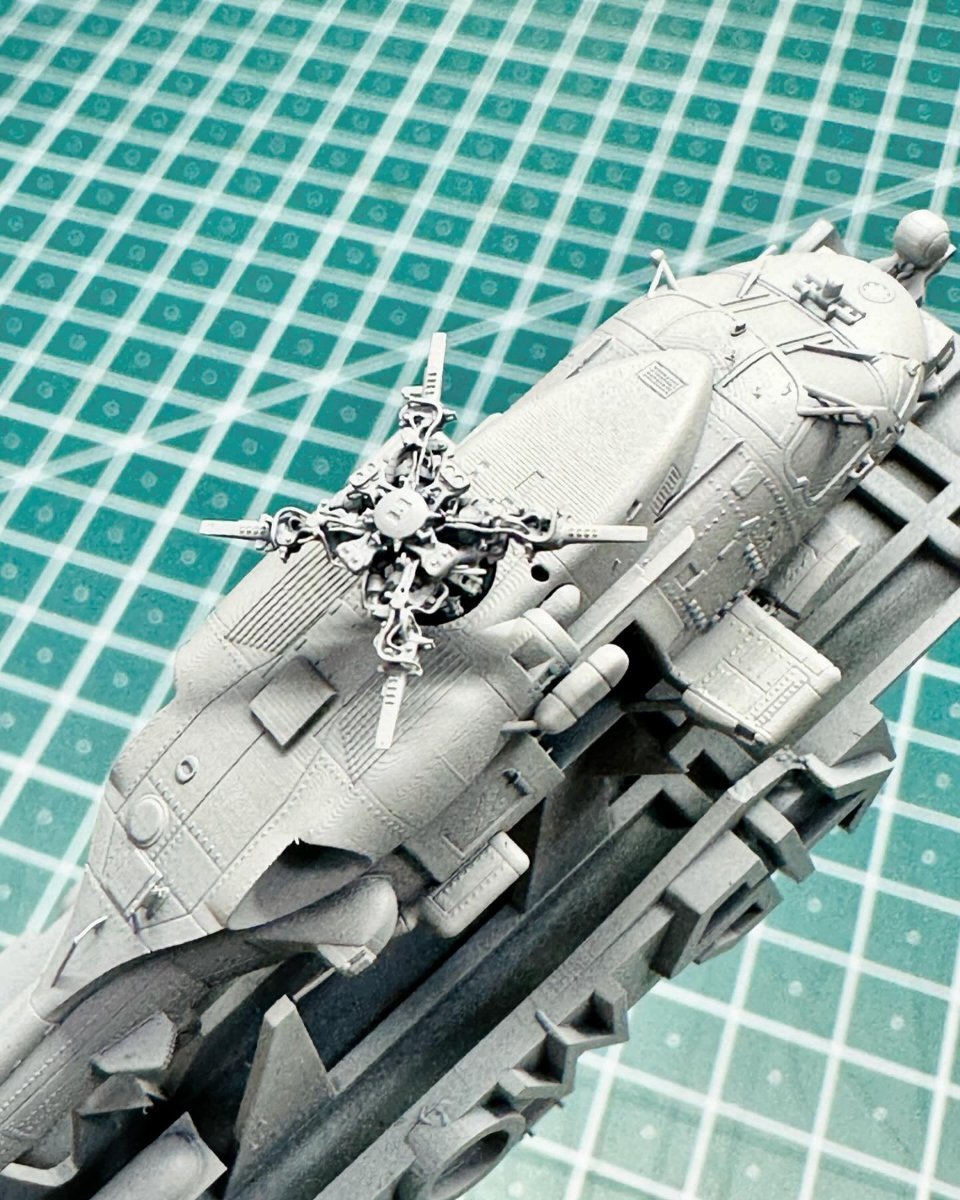
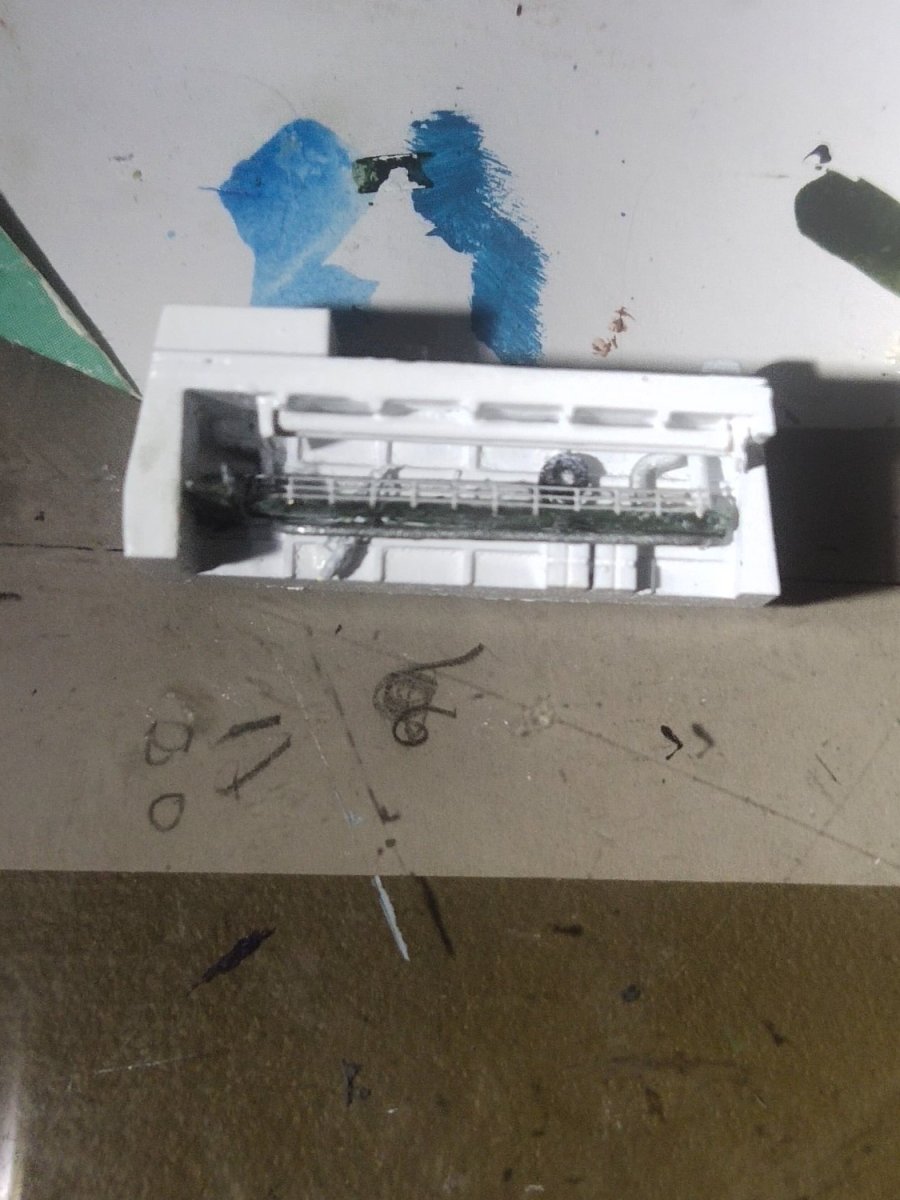
The helicopter deck has been fitted. A third pipe was installed on both funnel caps. Hangar reconstructed.
All major pieces have need added i only need to glue the forward bridge section

- Old Collingwood, mtaylor, Canute and 4 others
-
7
-
The PE are good but they don't have instructions.
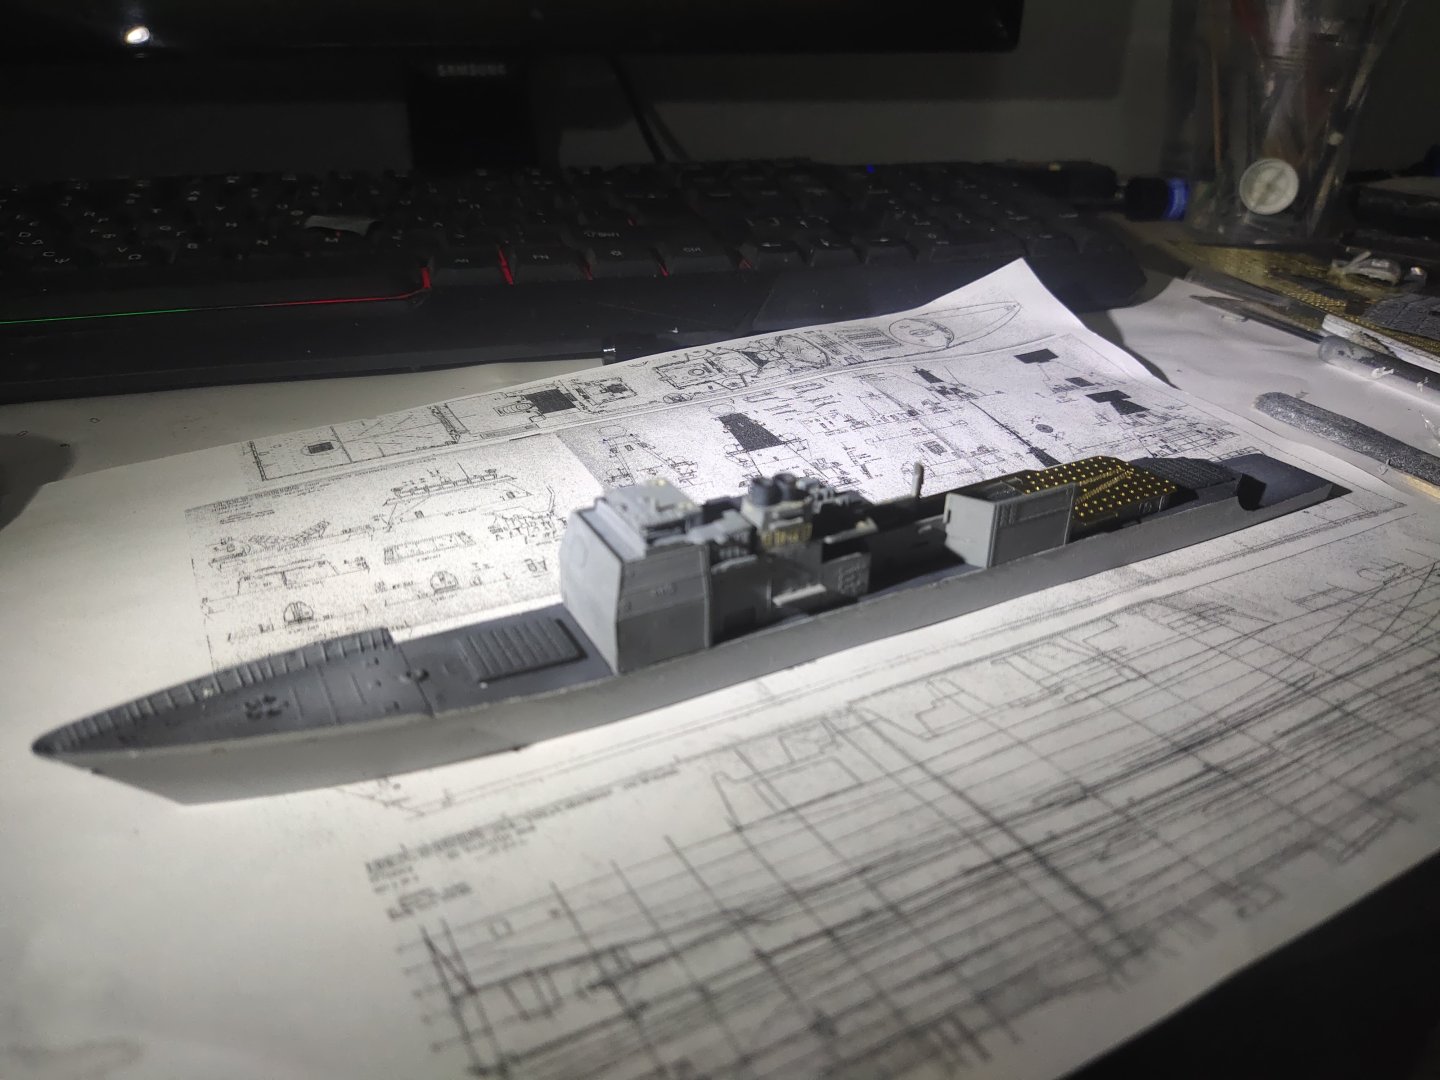
The fit the heli deck properly I had to remove the hangar. I removed the side deck pieces and worked on them. Added doors, handrails and removed moulded life raft barrels. I will replace them with my own one. Sided pieces were joined together. Need to add boat facilities and other minor details. Main deck was painted with faded dark grey and hull sides with primer

-
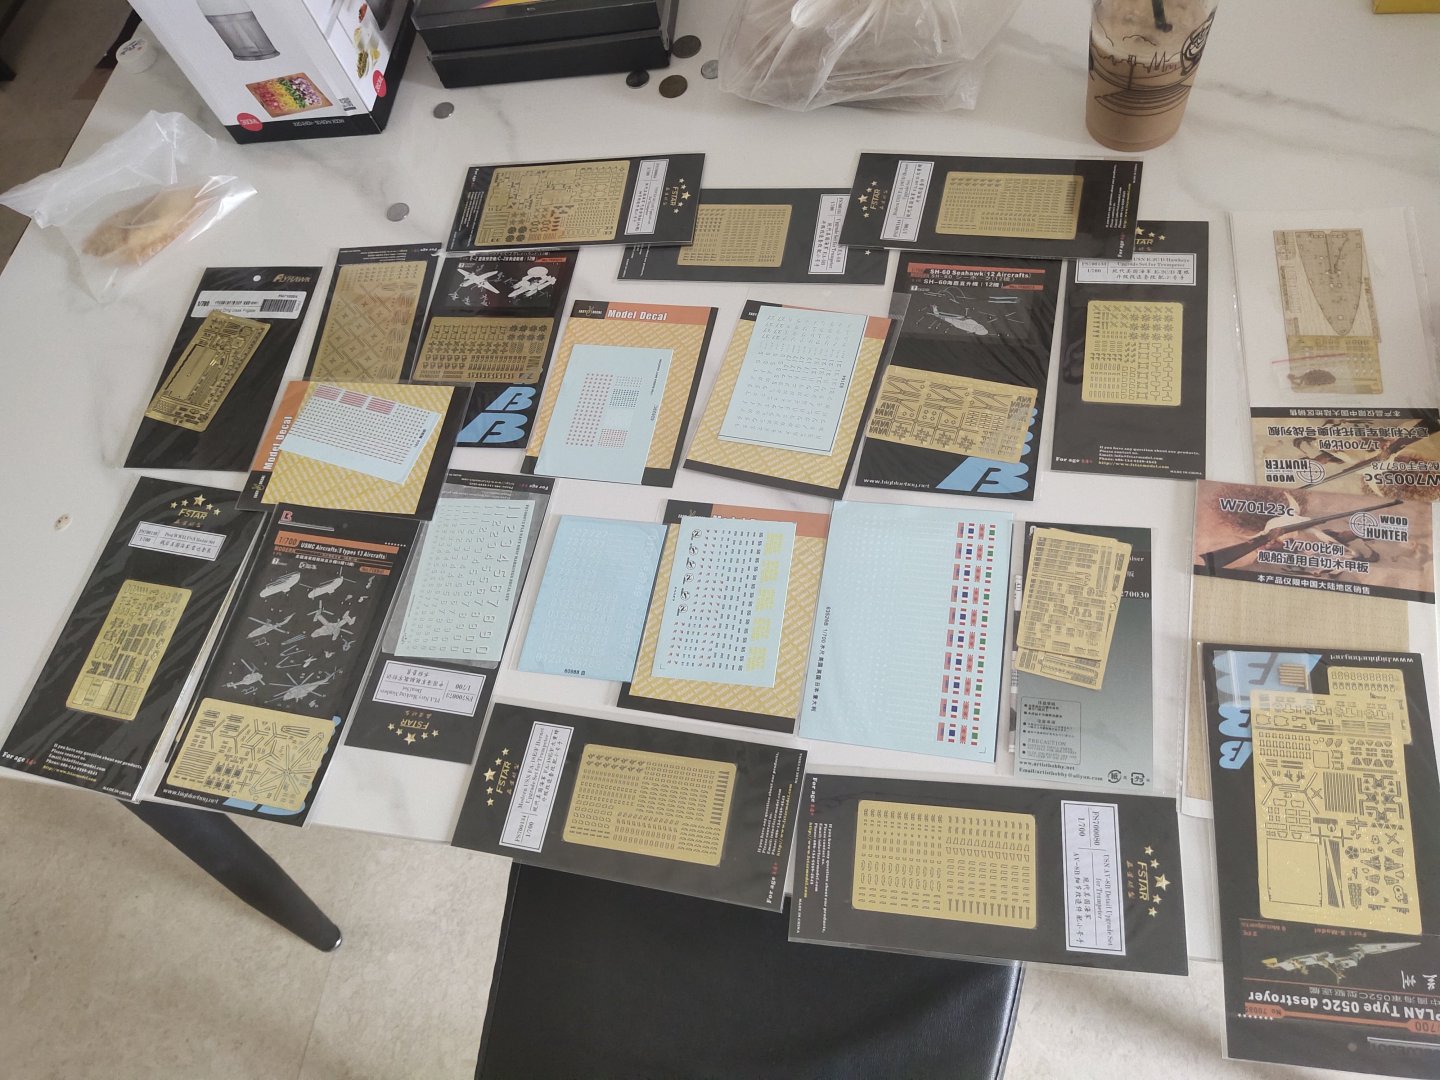
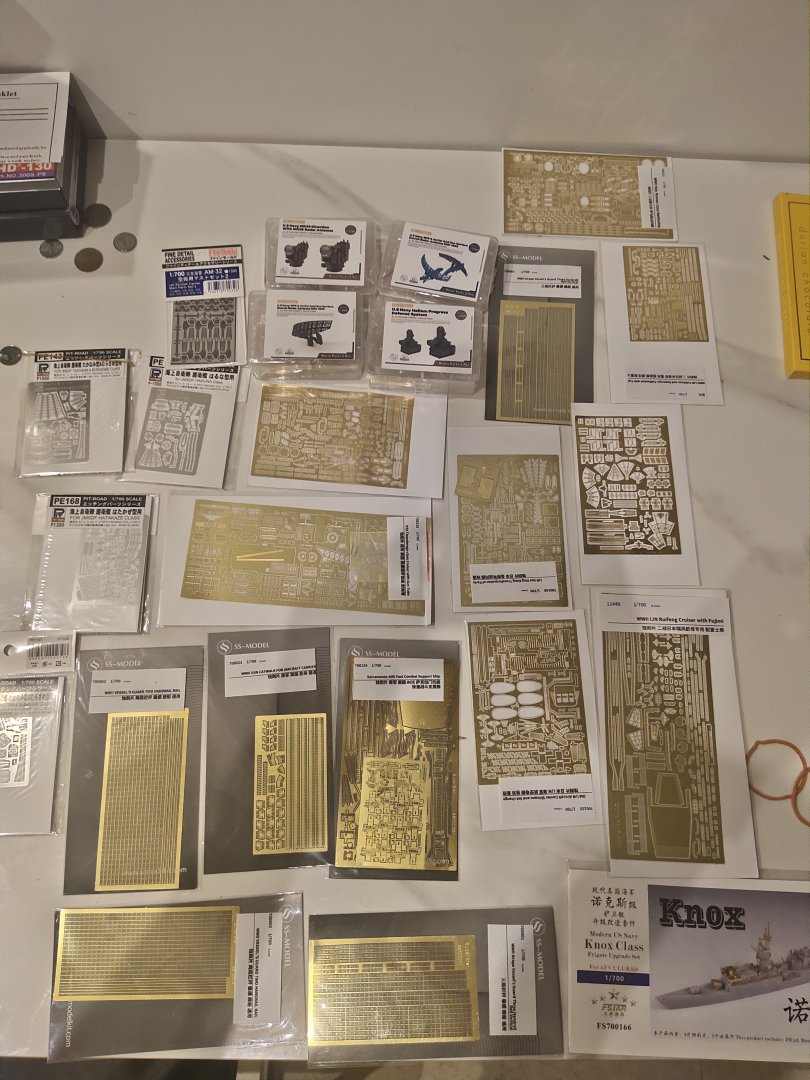
For this model I recently got an extended PE set, even has gun "tube" as well as decals.
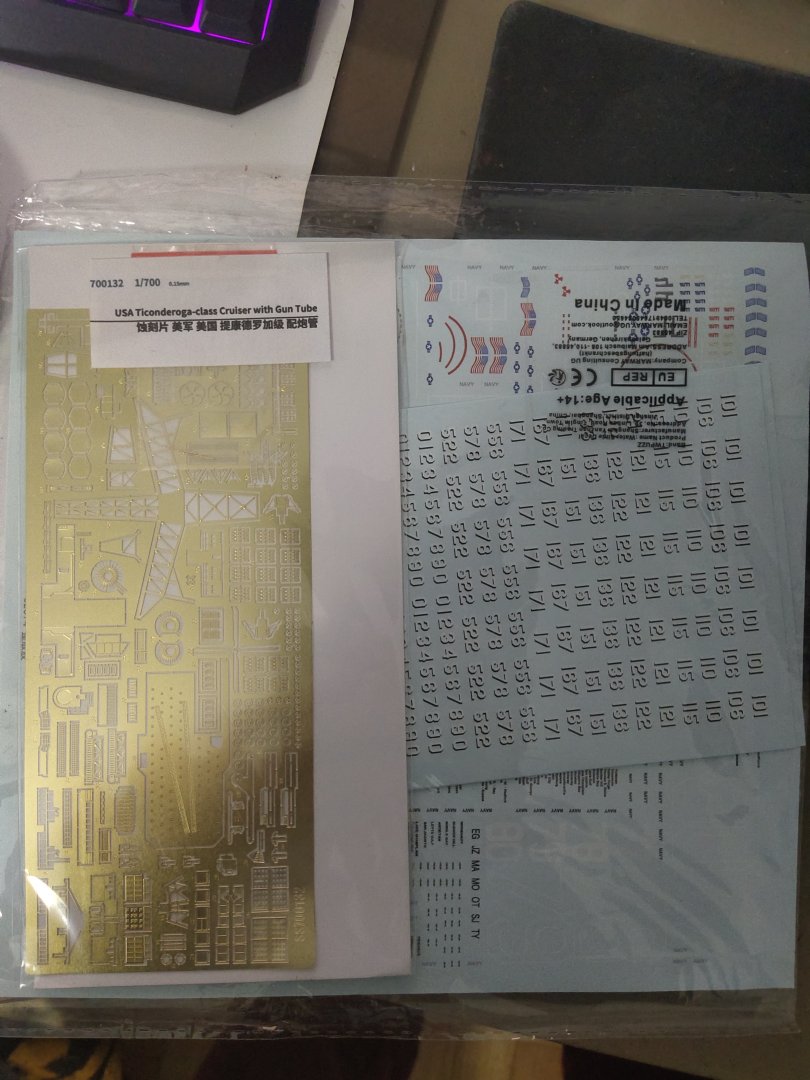
After some washing I stripped down the model. I'm going to take my time on this. For today's work, was only the cut of the plastic and the addition of bridge windows

-
16 hours ago, king derelict said:
Great haul Mike,
Looking forward to more excellent builds
Alan
thank you ,
hope you get a satisfactory result with your challenging project
-
16 hours ago, king derelict said:
Thank you OC. The last and most difficult bit coming up - the bursting wave. I think I am going to retreat a bit and get the two Flowers moved along a bit first. I think one of them will need to be fixed in place for the final bits. So far its turning out better than I hoped and I am continuing to learn
Alan
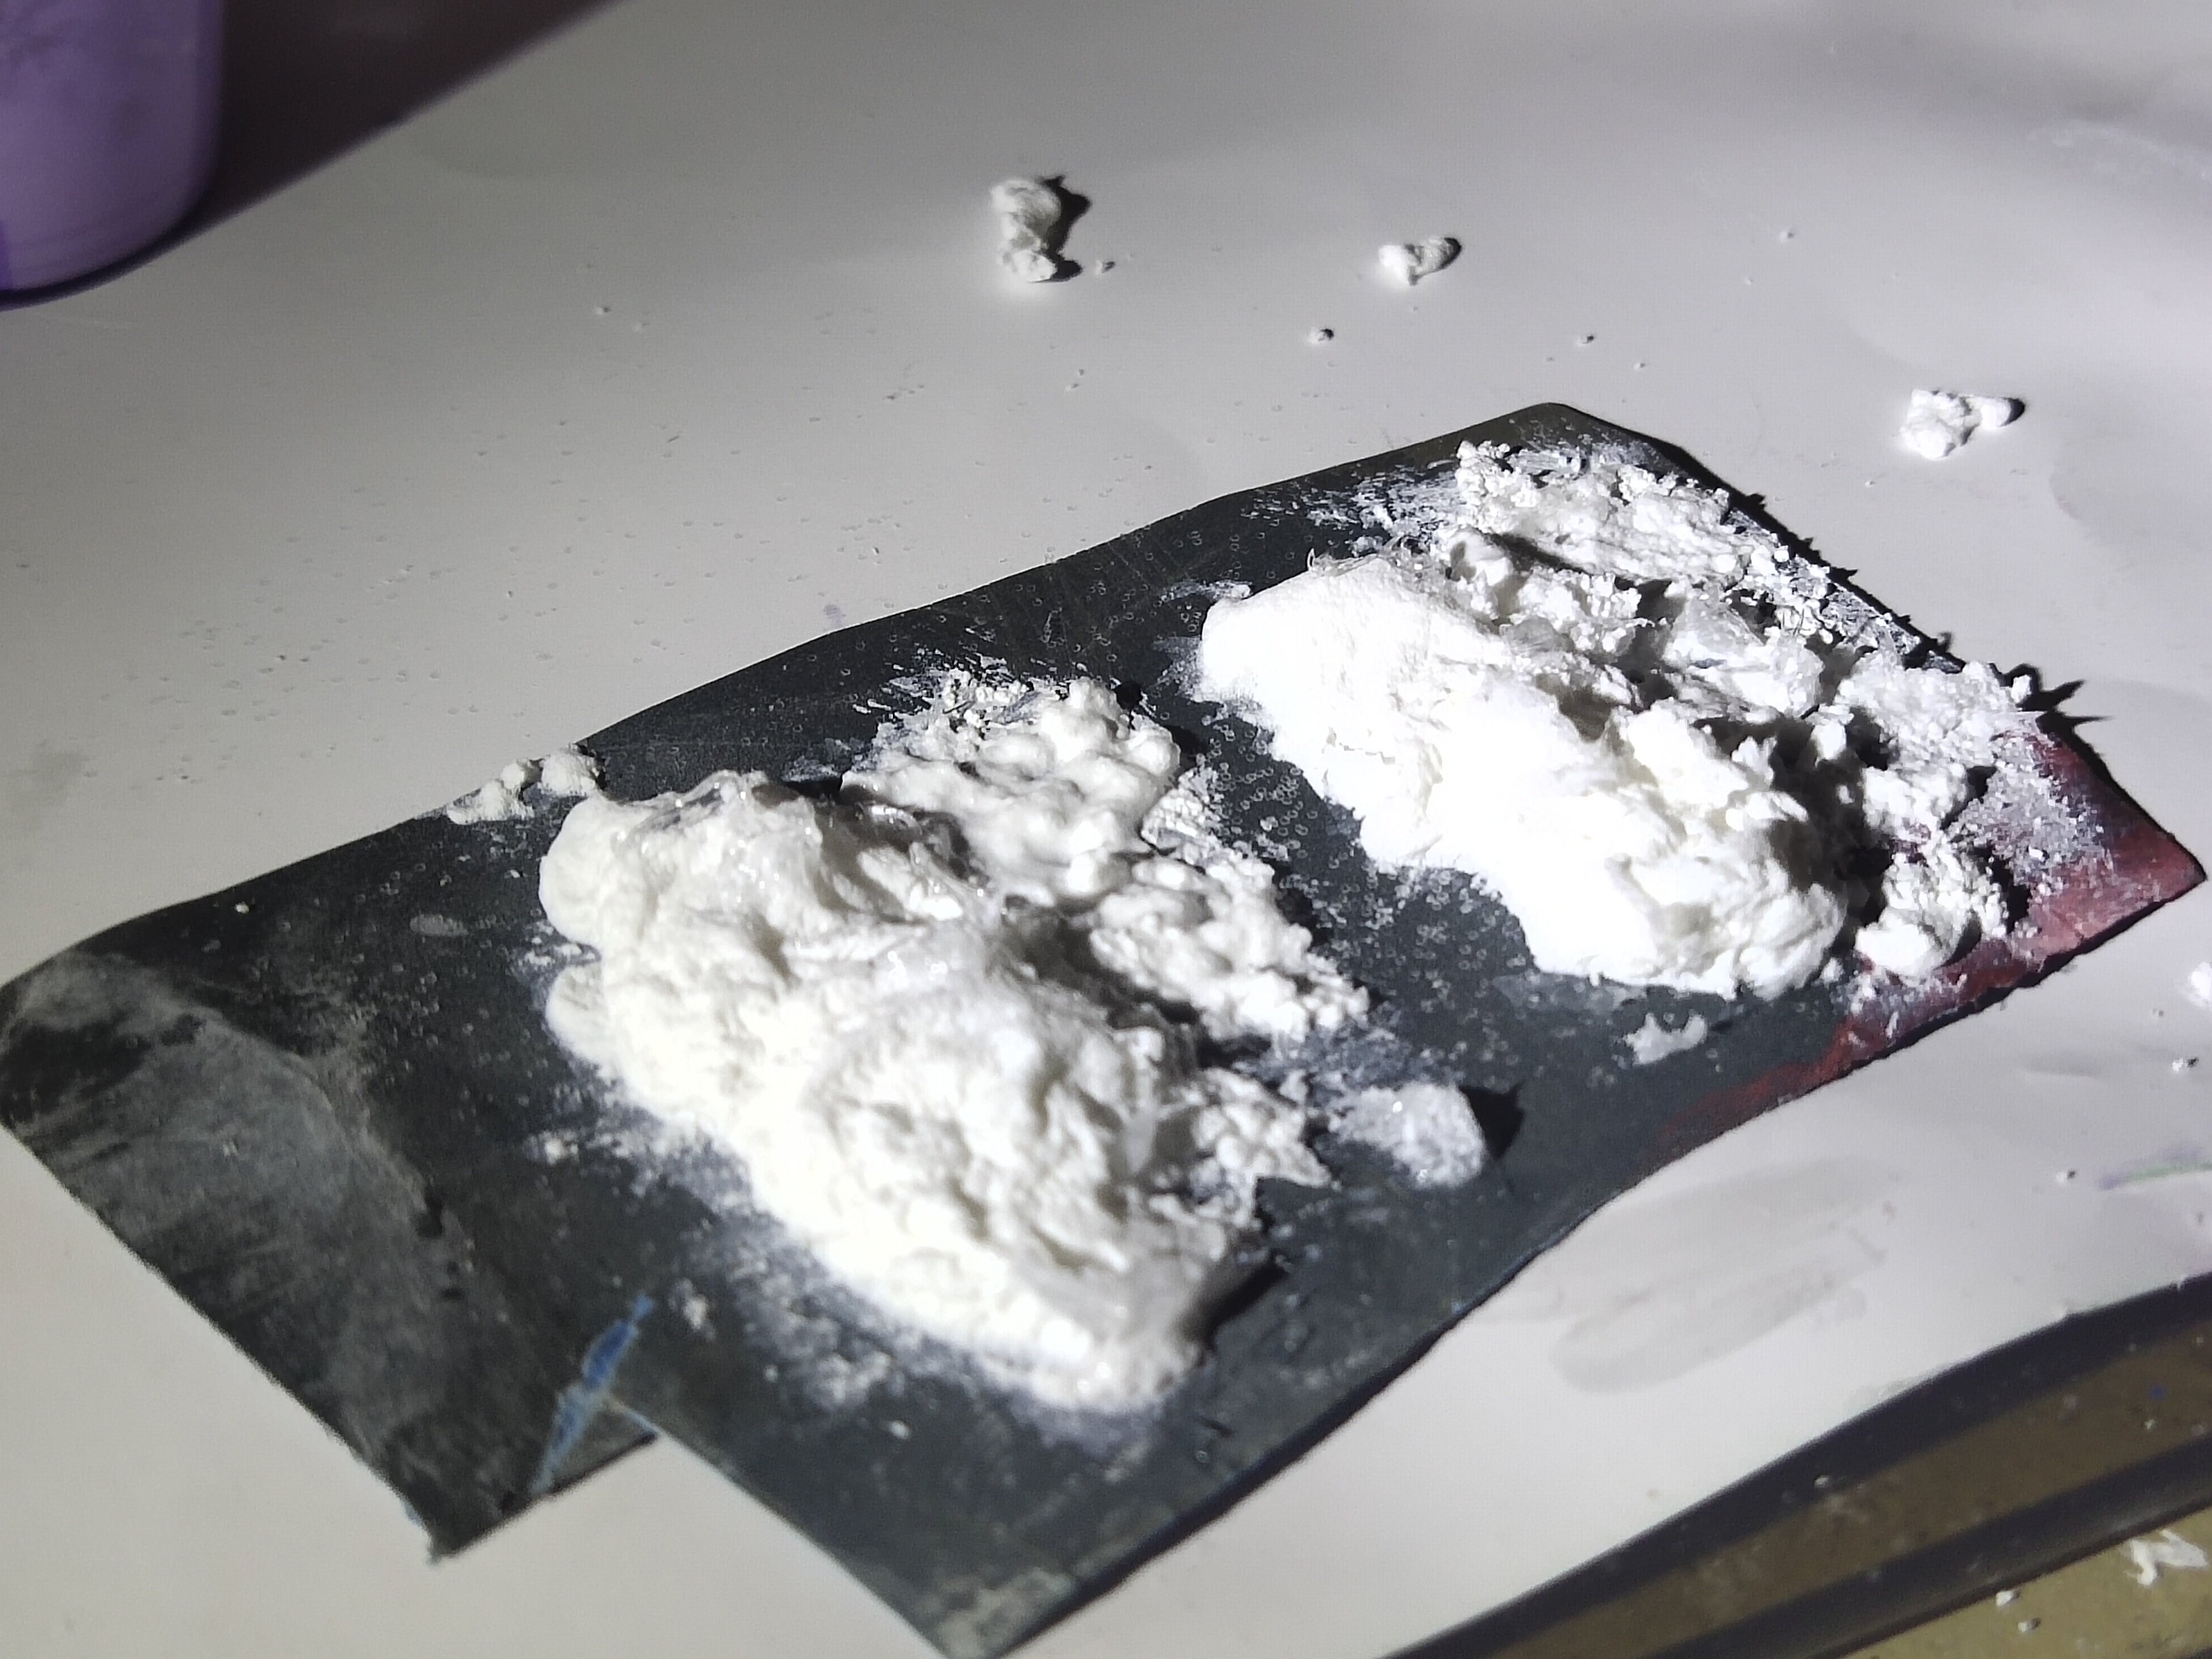
You may consider using snow paste. Ready mix or home made. I use ready one since I bought it but hand made is superior because you can adjust the texture from coarse (usually on waves top) to smooth(wave base and around)by adjusting the portion of baking soda. When dry, you can add silicone bits with a toothpaste to increase the water splash effect.
On the right wave I used hair blower on hot so the wave get more foamy because of the baking soda

Regardless the chosen method you should lightly airbrush white around areas where foam will sit, to make smoother the transition from white to dark ocean color
-
Wind of change
USS Bunker Hill by Arii
After my trip in Malaysia I came back pretty loaded to continue my task
- king derelict, Veszett Roka, Baker and 5 others
-
1
-
 7
7
-
-
If you consider using cotton and gell for waves make sure the latter is of those that will not get yellowish over time.
Personally i consider cotton as an emergency solution as its white color is not white enough, just compare it to white acrylic and see the difference
- Canute, mtaylor and Old Collingwood
-
3
-
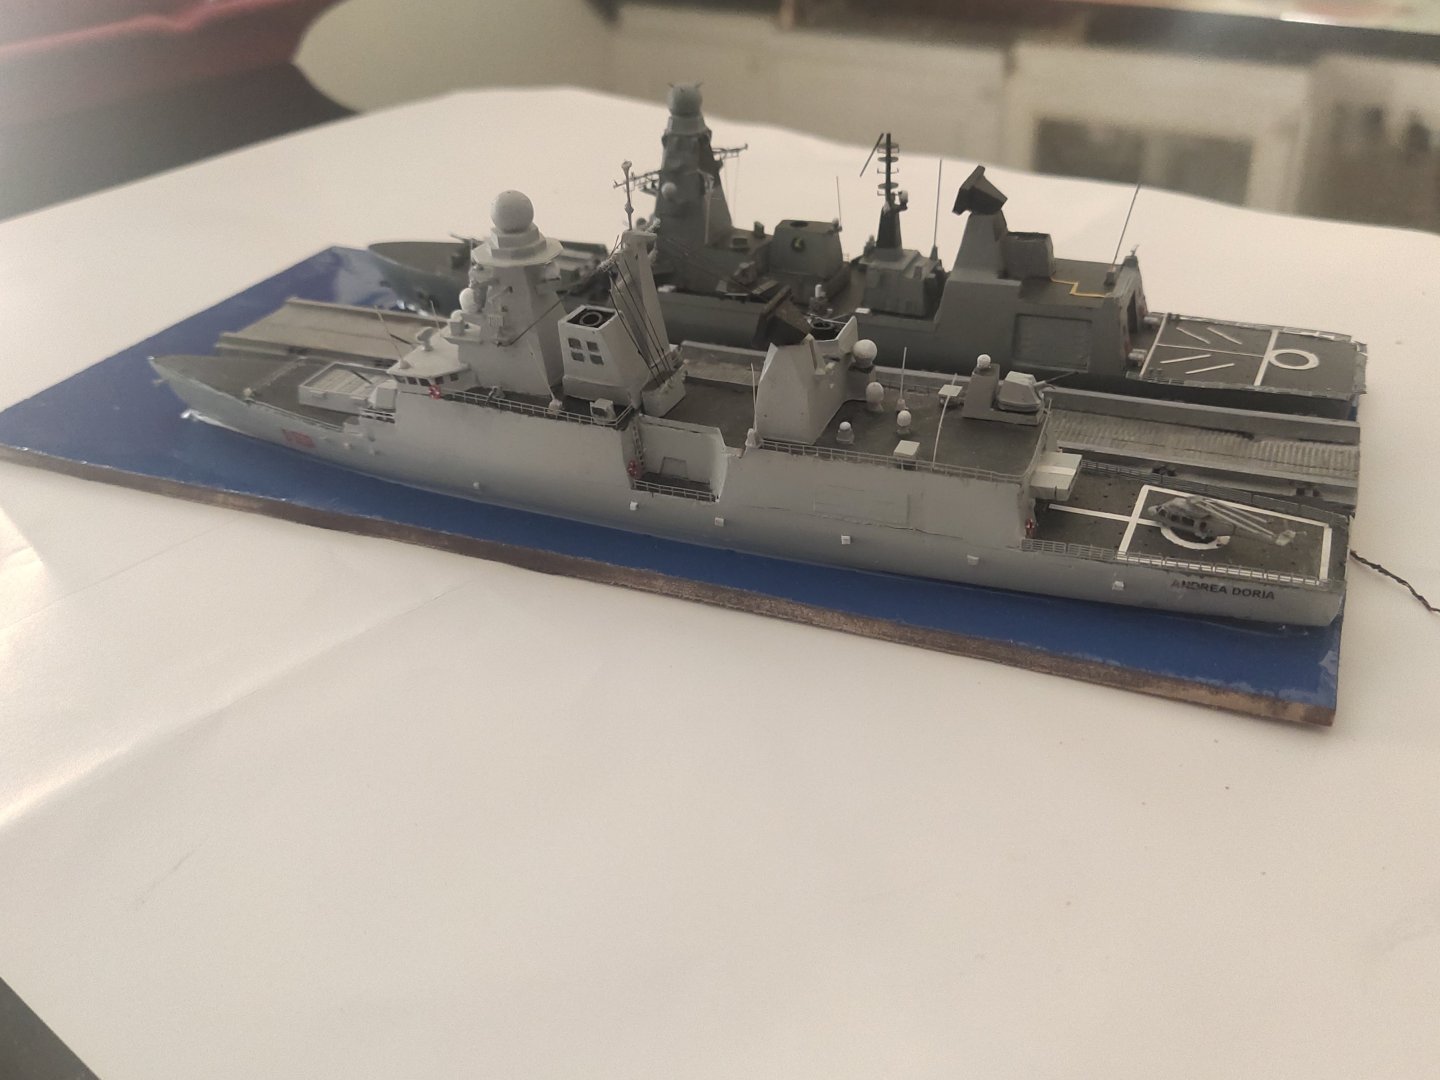
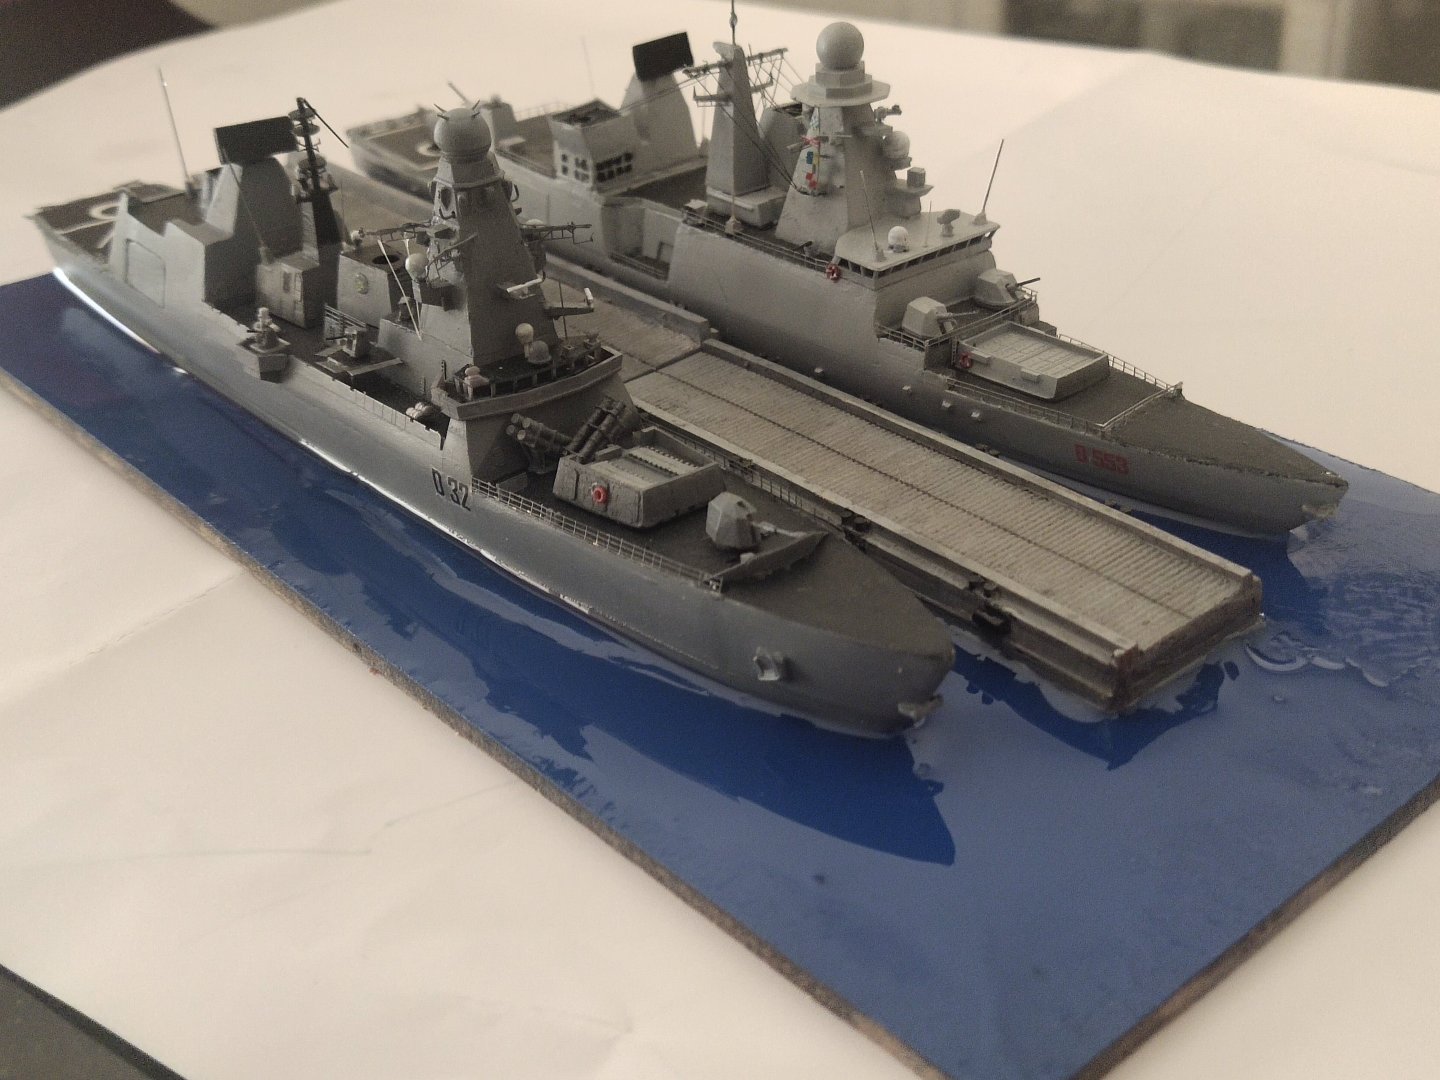
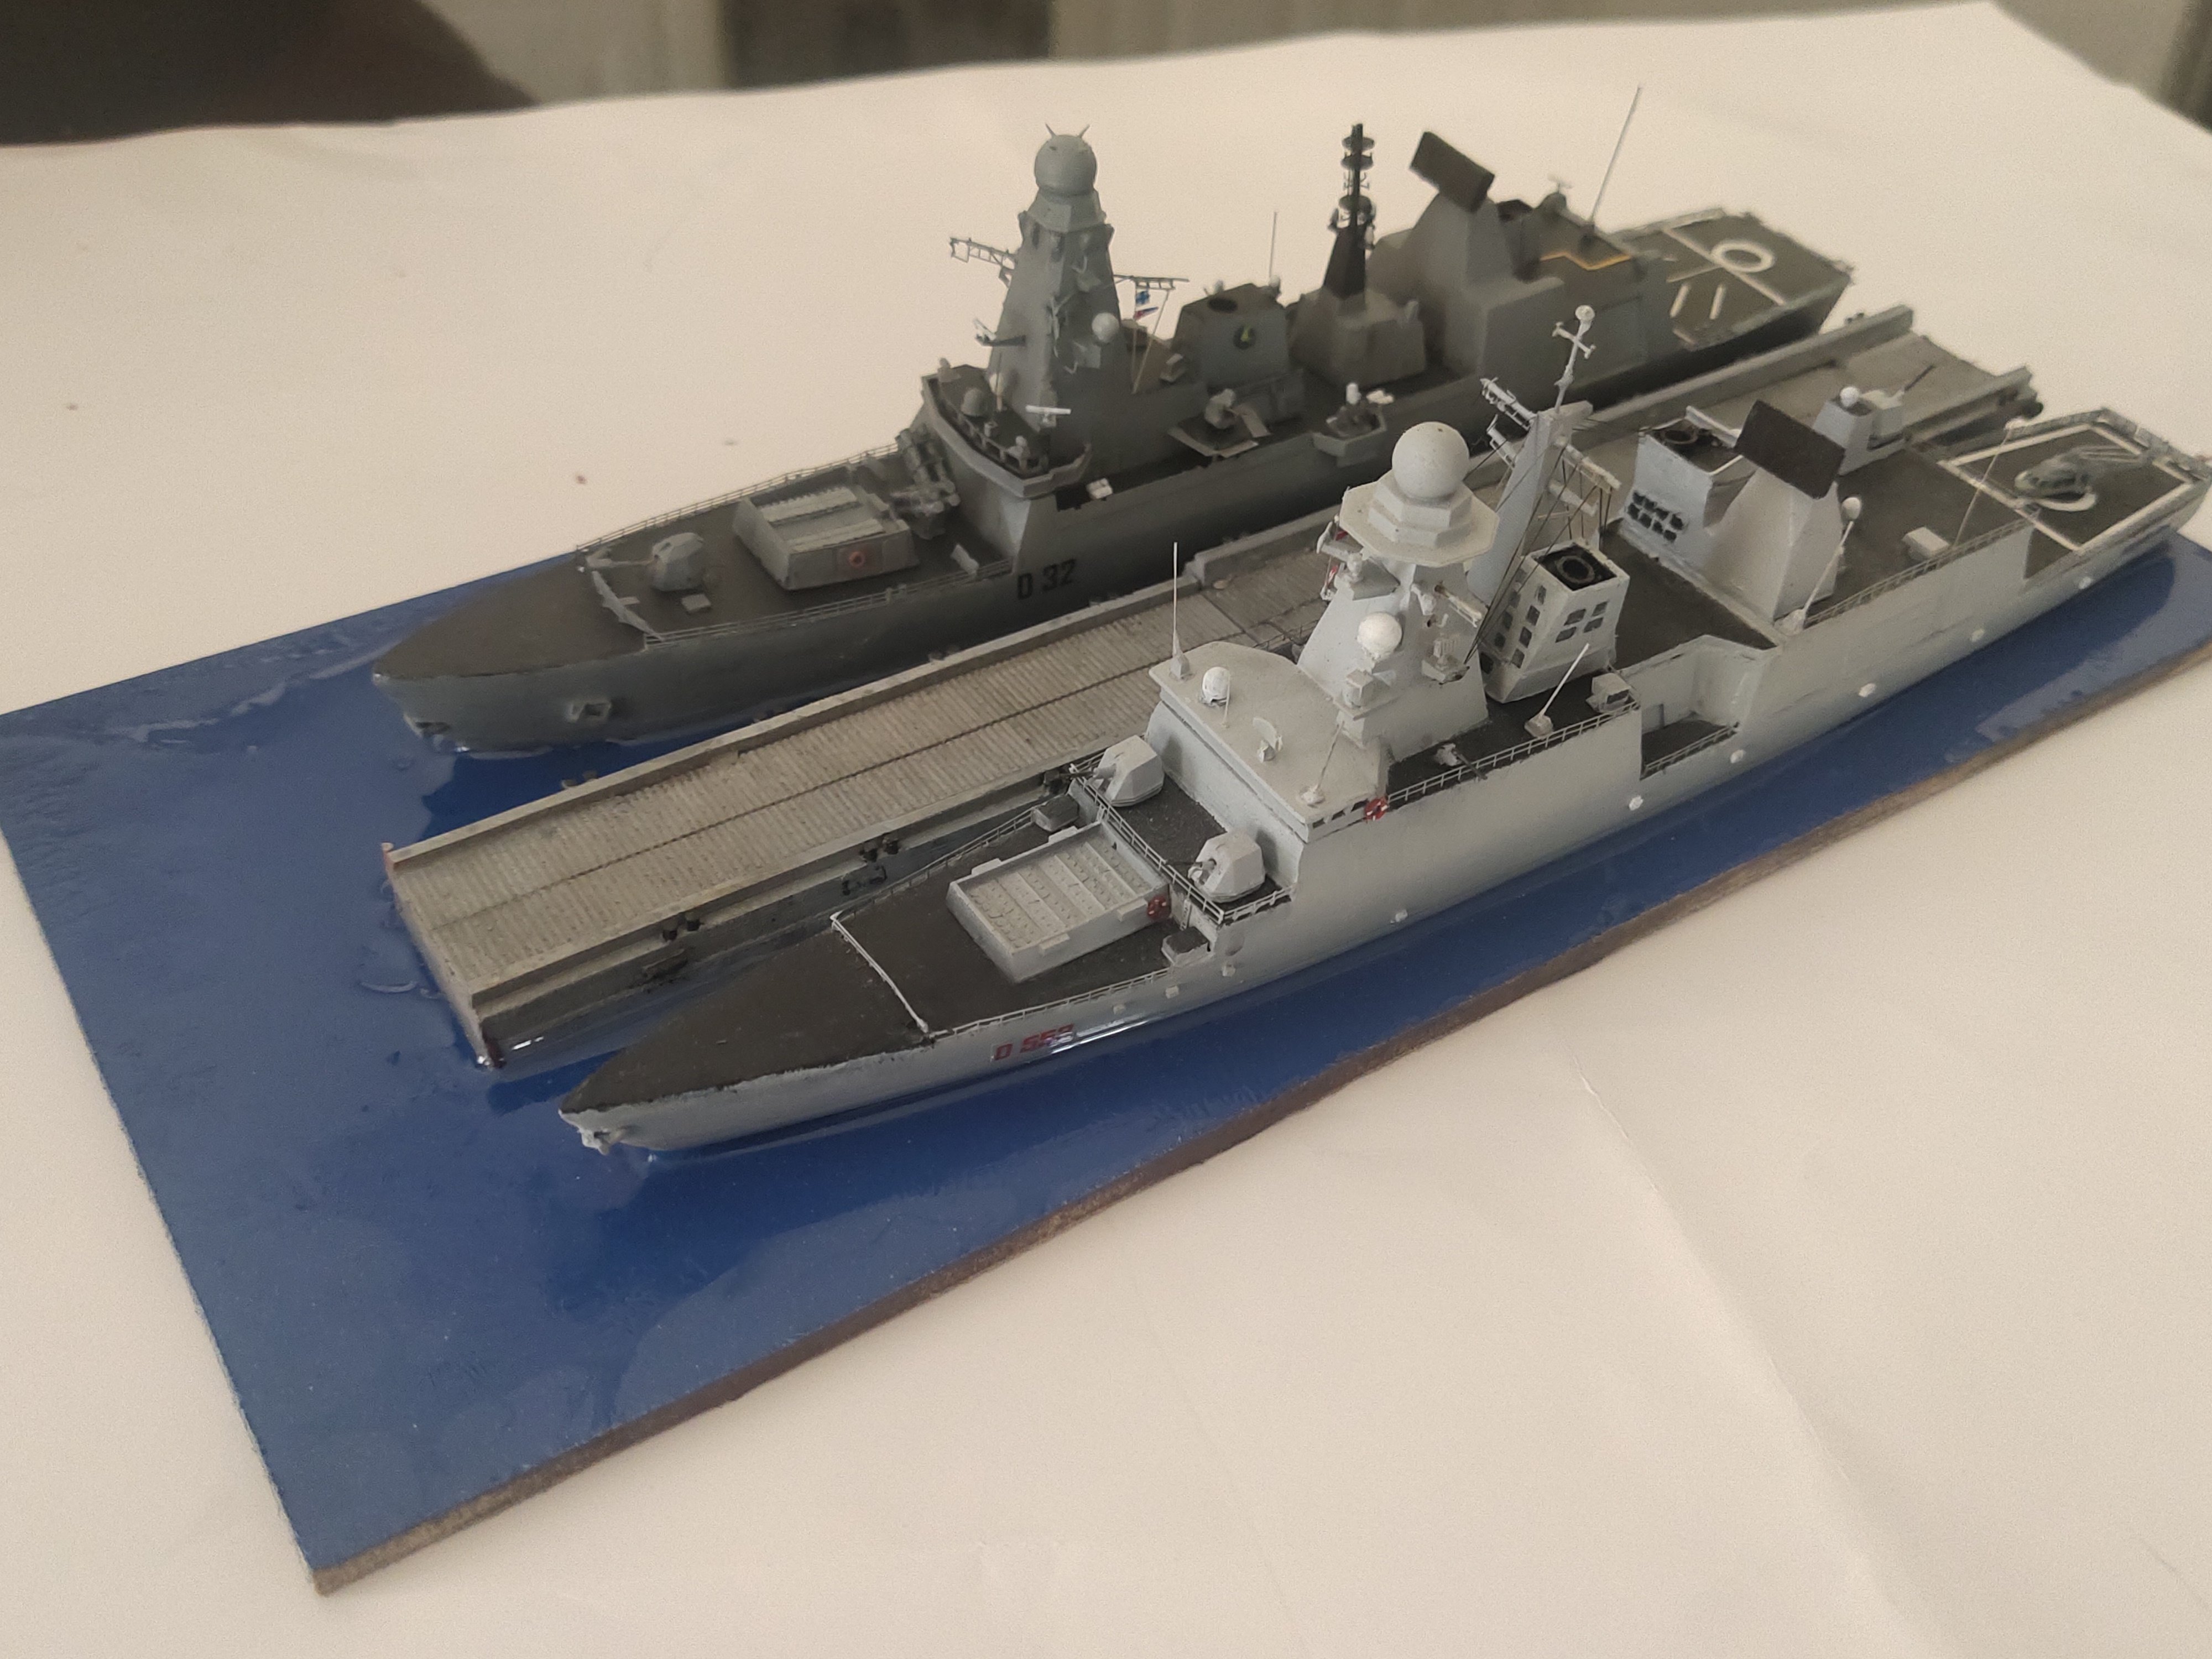
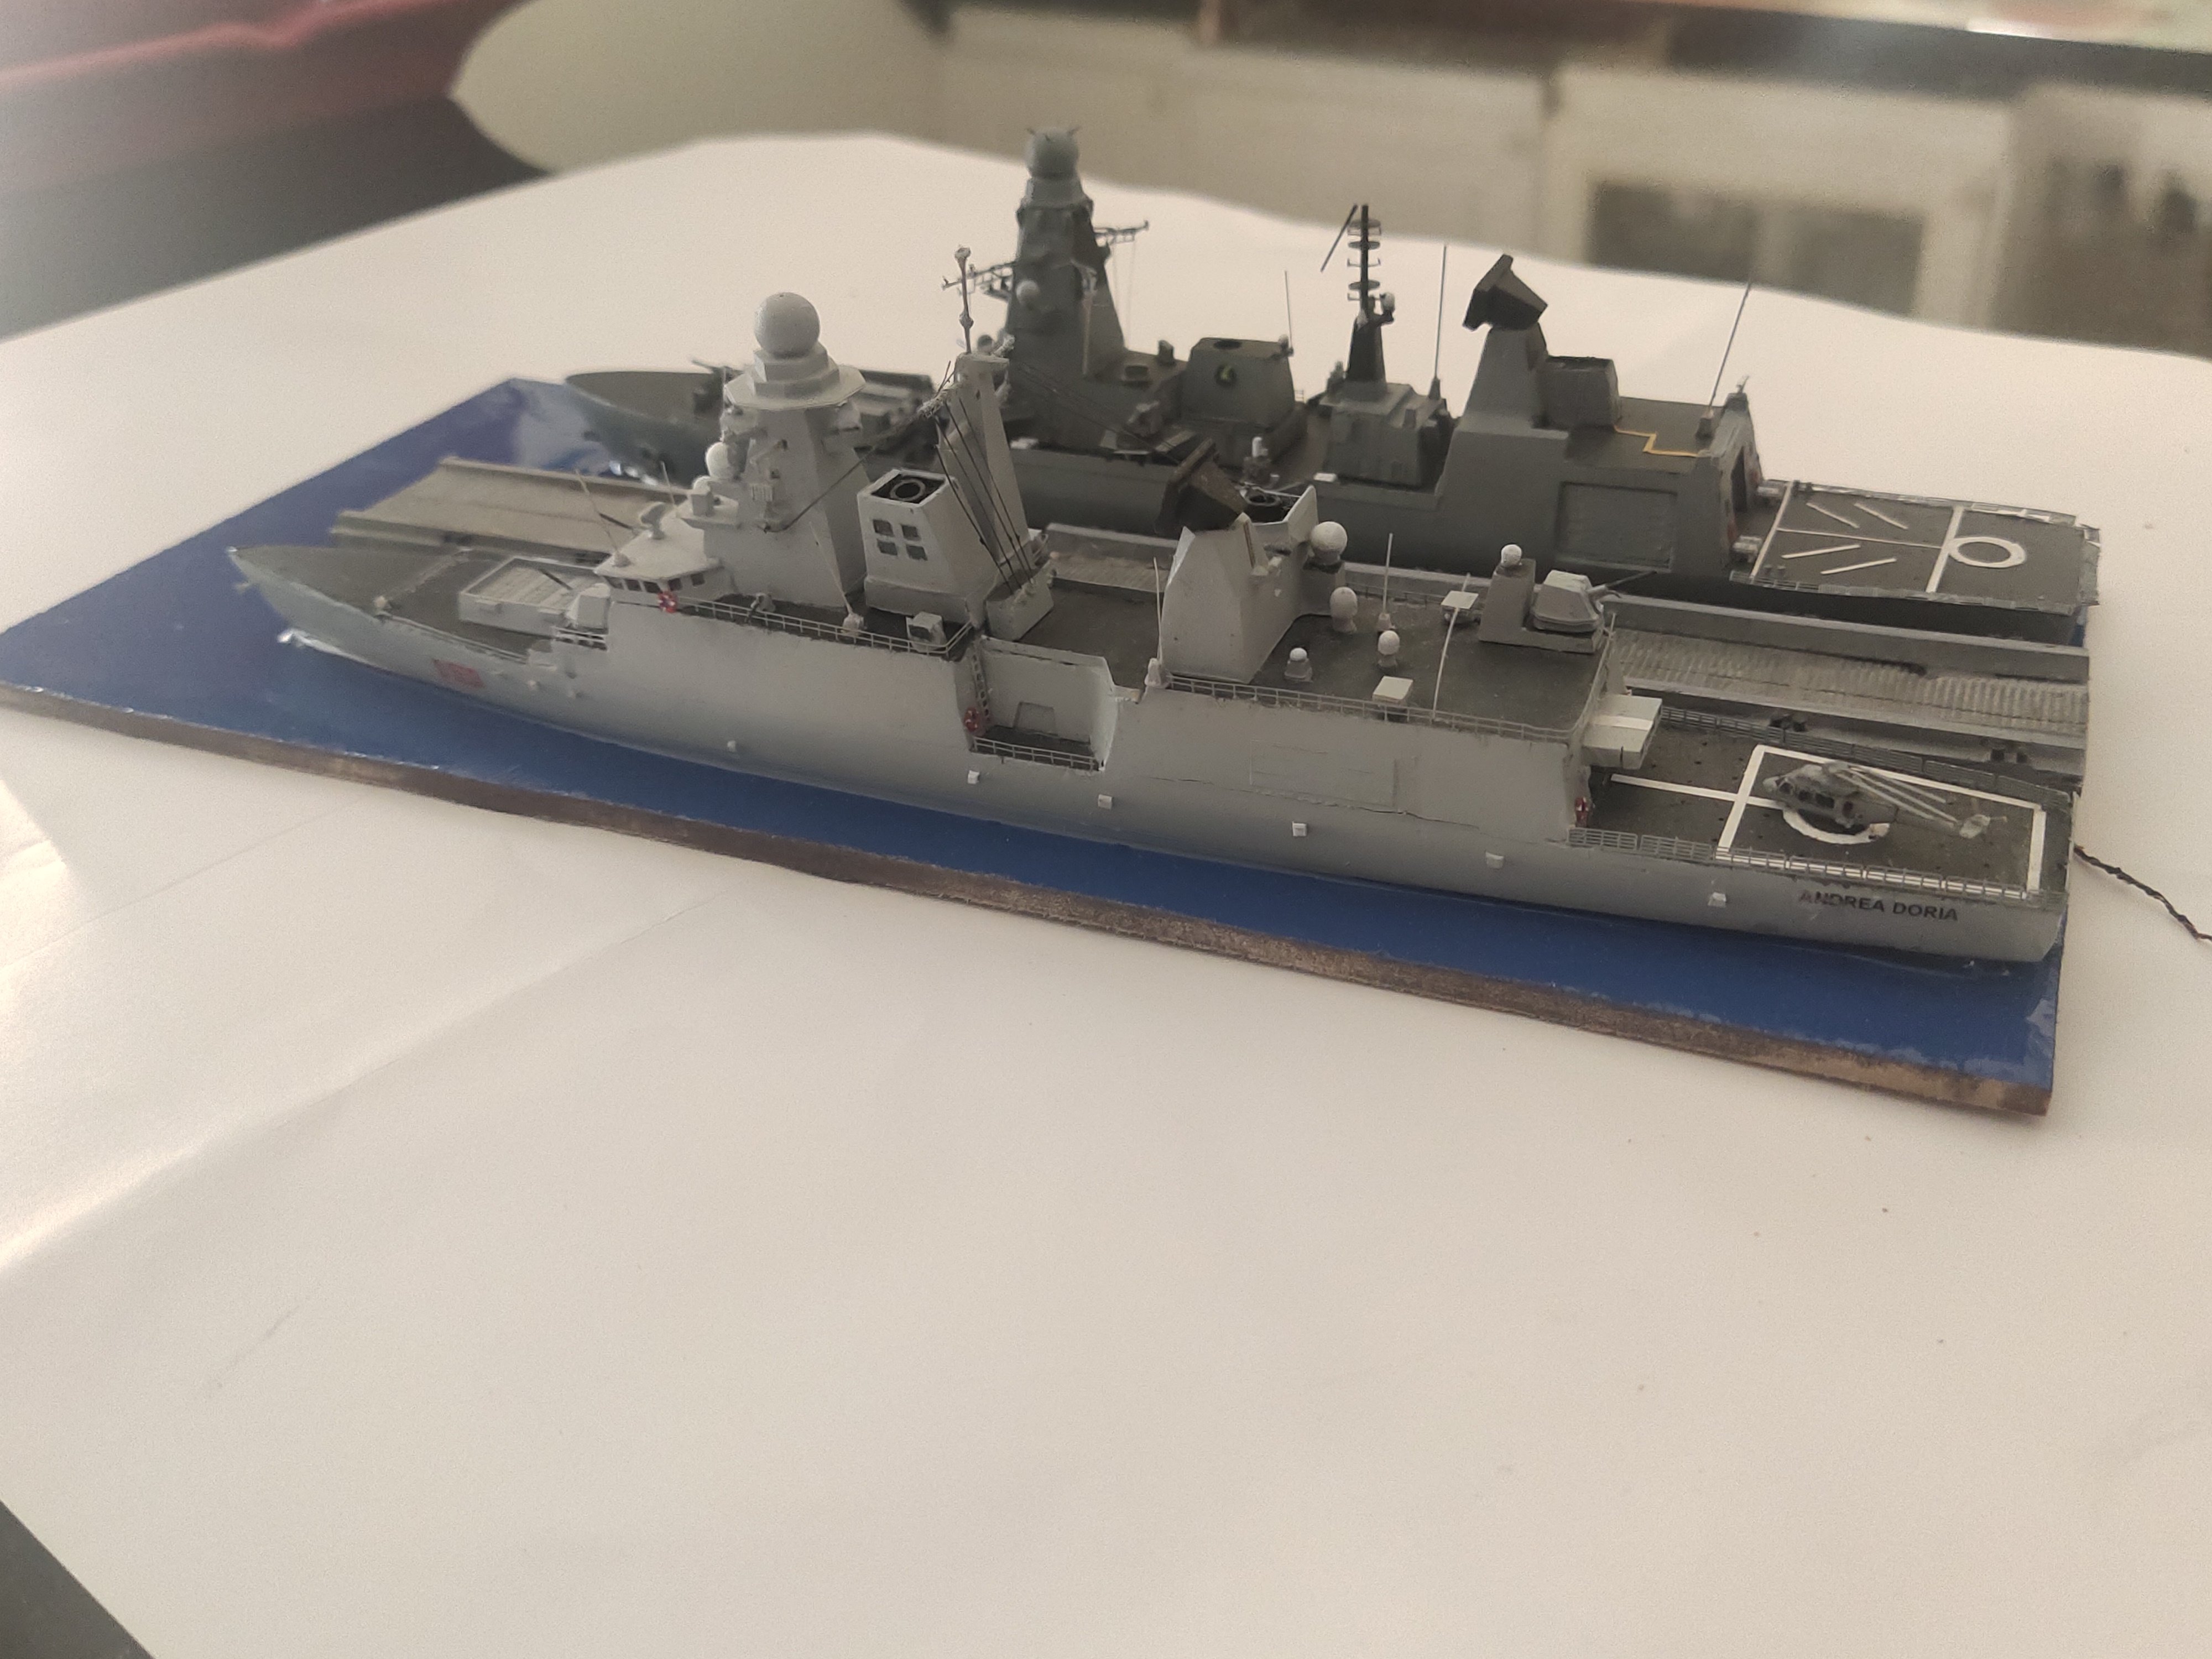
I pour the resin and added a second part of dock. In my hurry to finish it yesterday I made a rookie mistake and forgot to check it the surface was flat so the small inclination so the resin was distributed unevenly. Anyway the purpose was just to display the ships together.

-
So I proceed finishing the model with final details. I put it aside with the Horizon class and add a drydock. Tomorrow I will pour the resin. It will be a simple sea representation


-
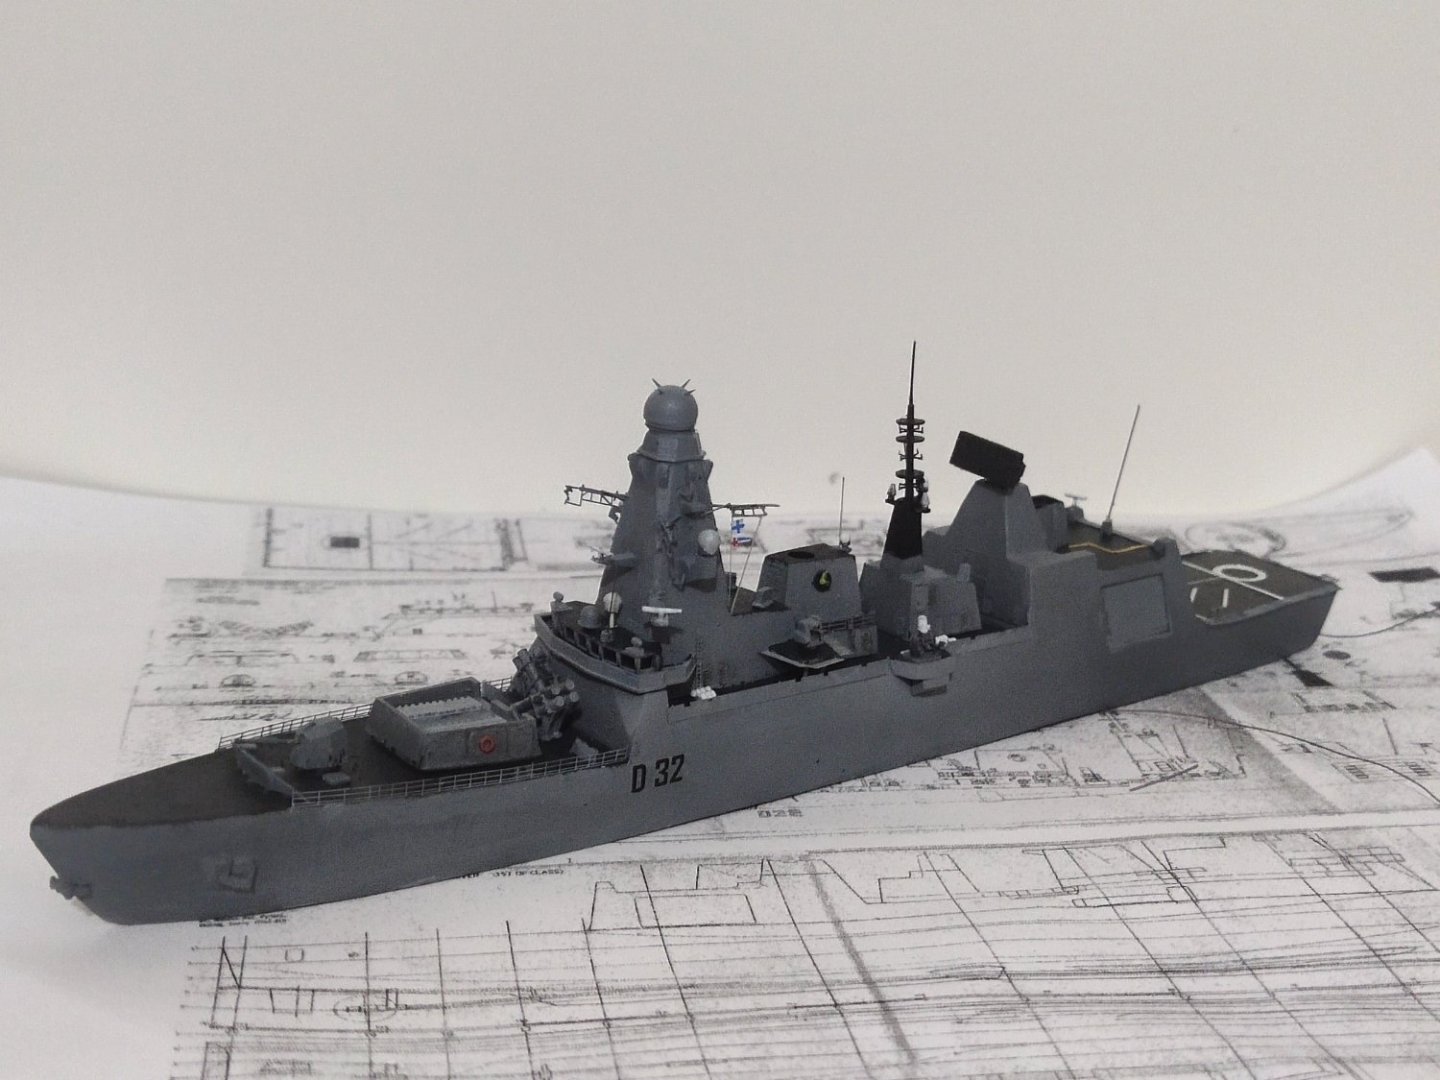
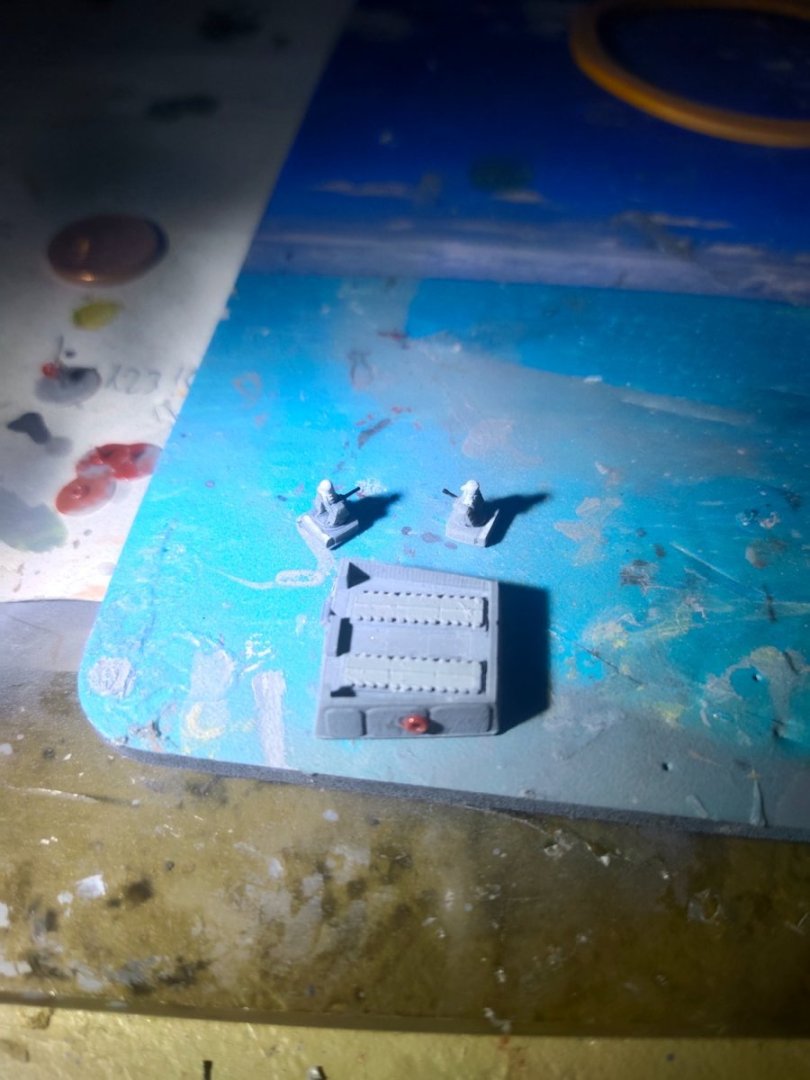
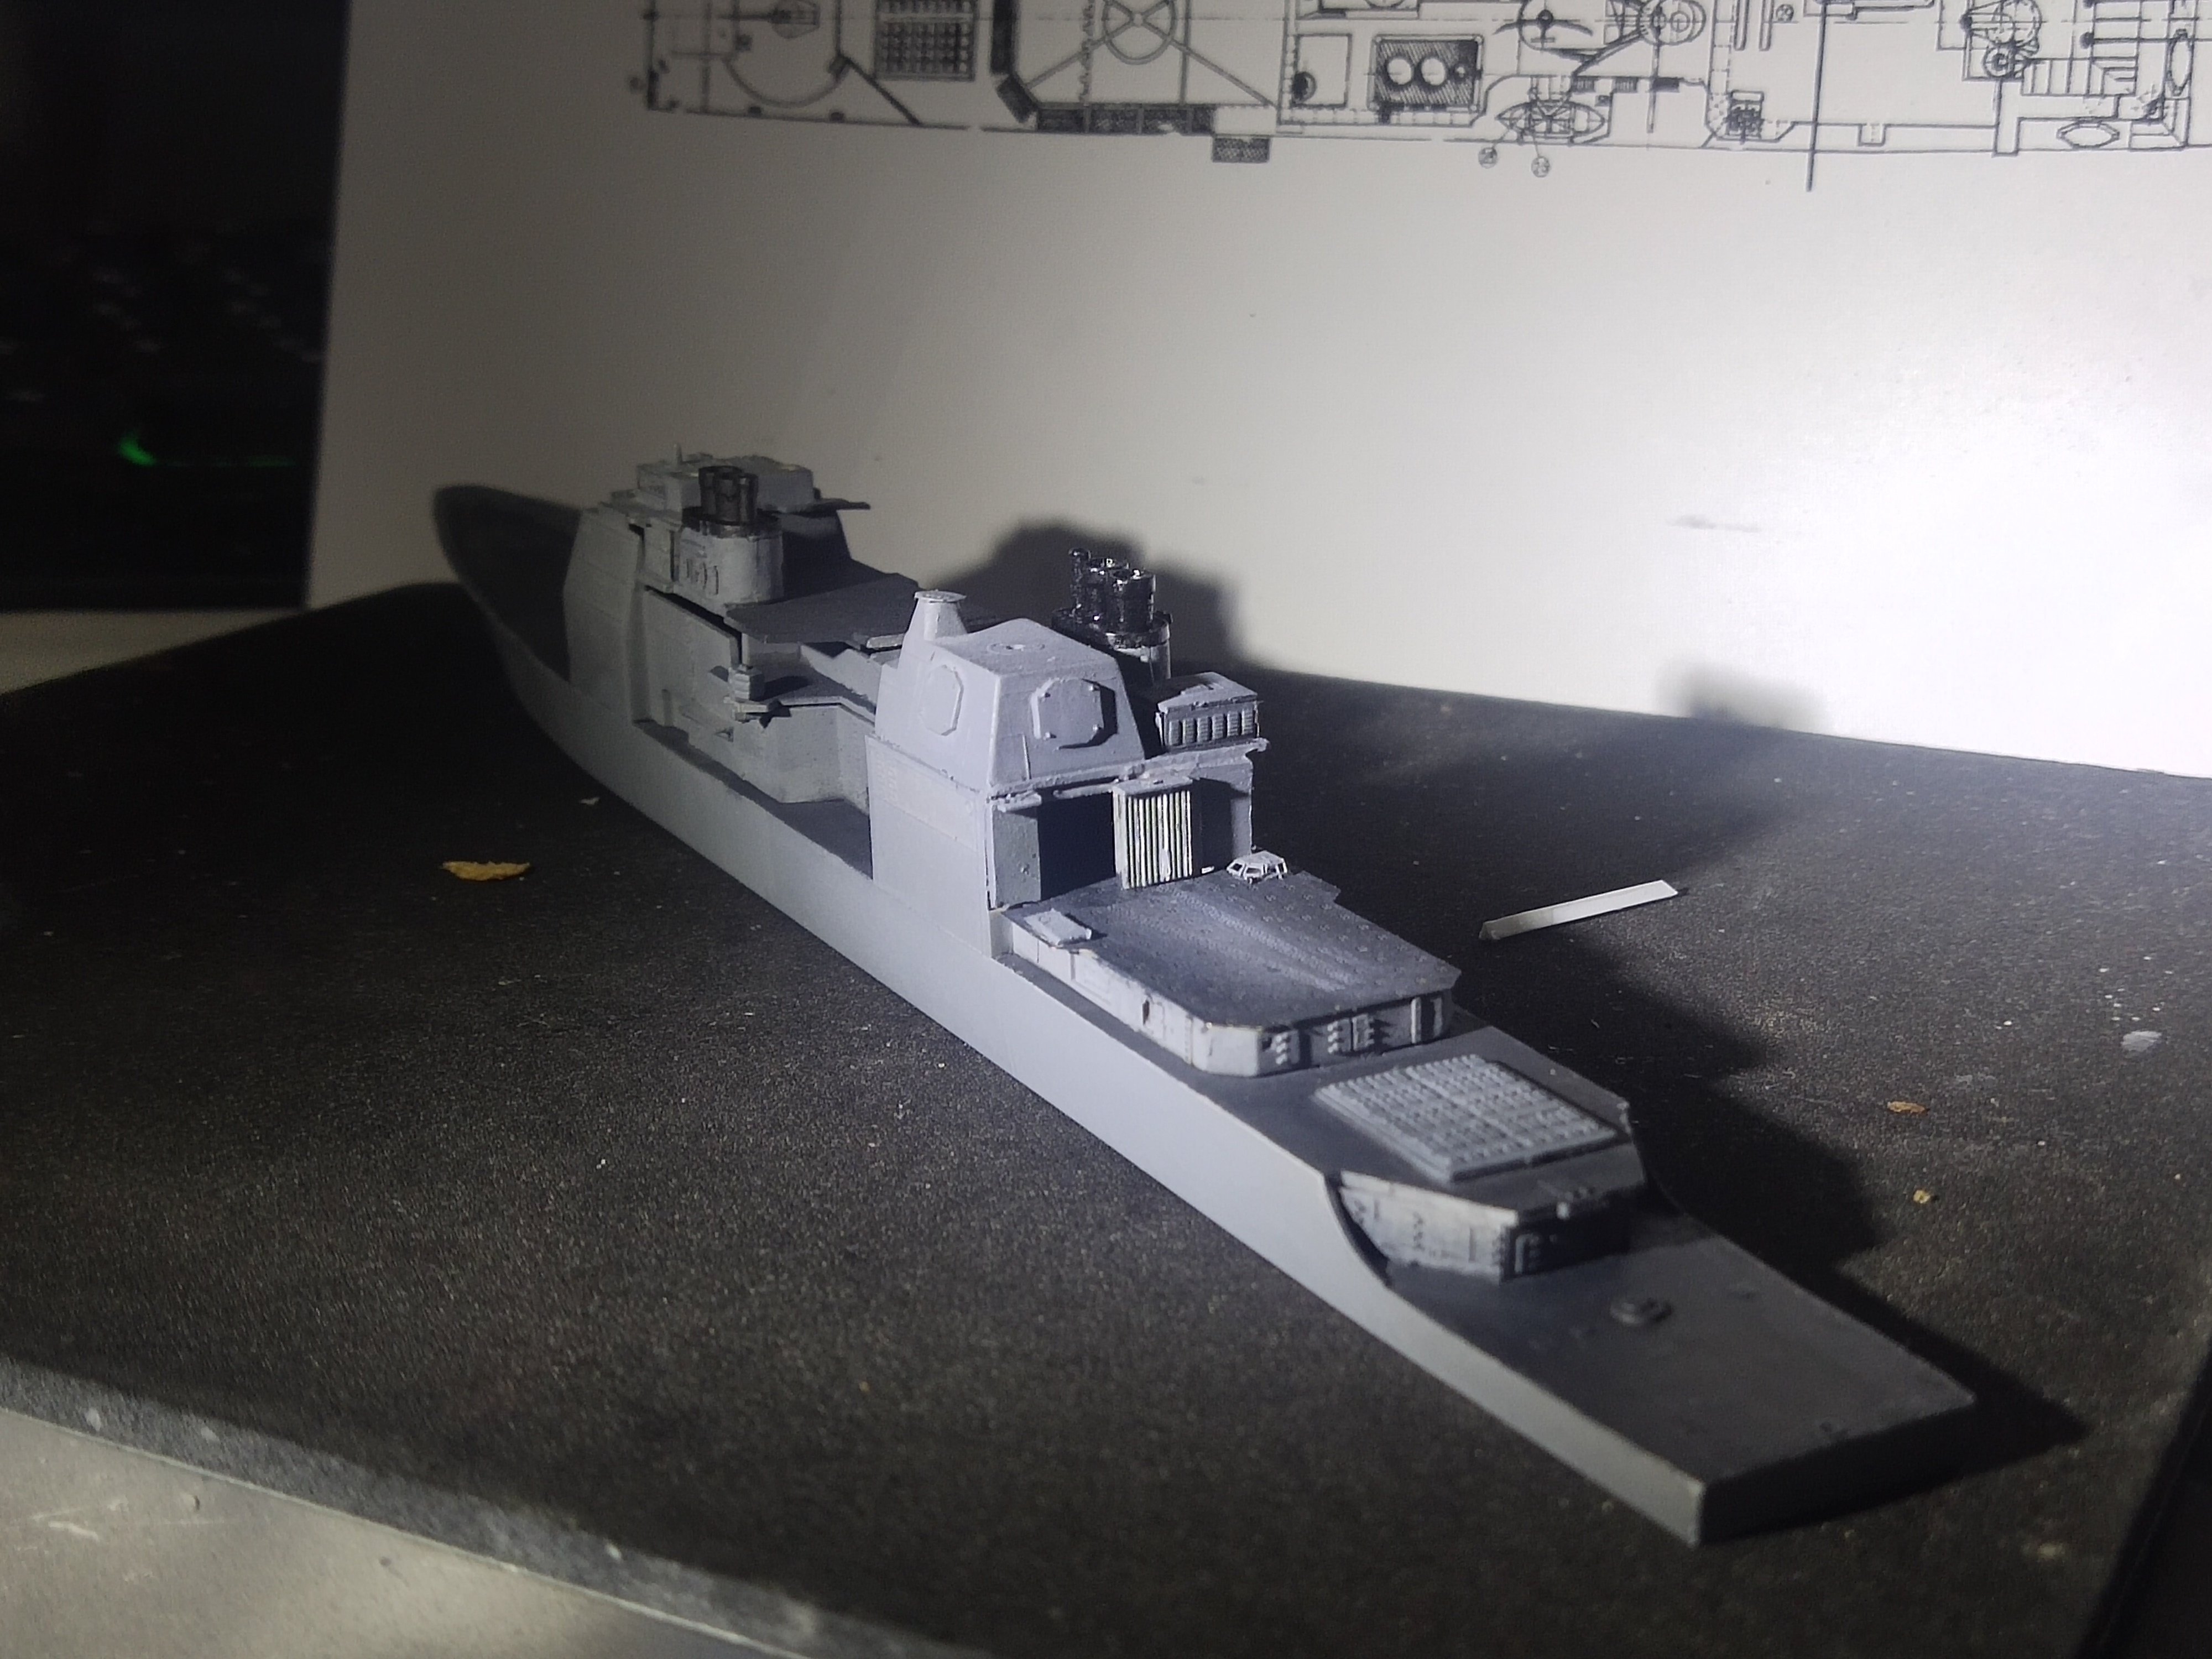
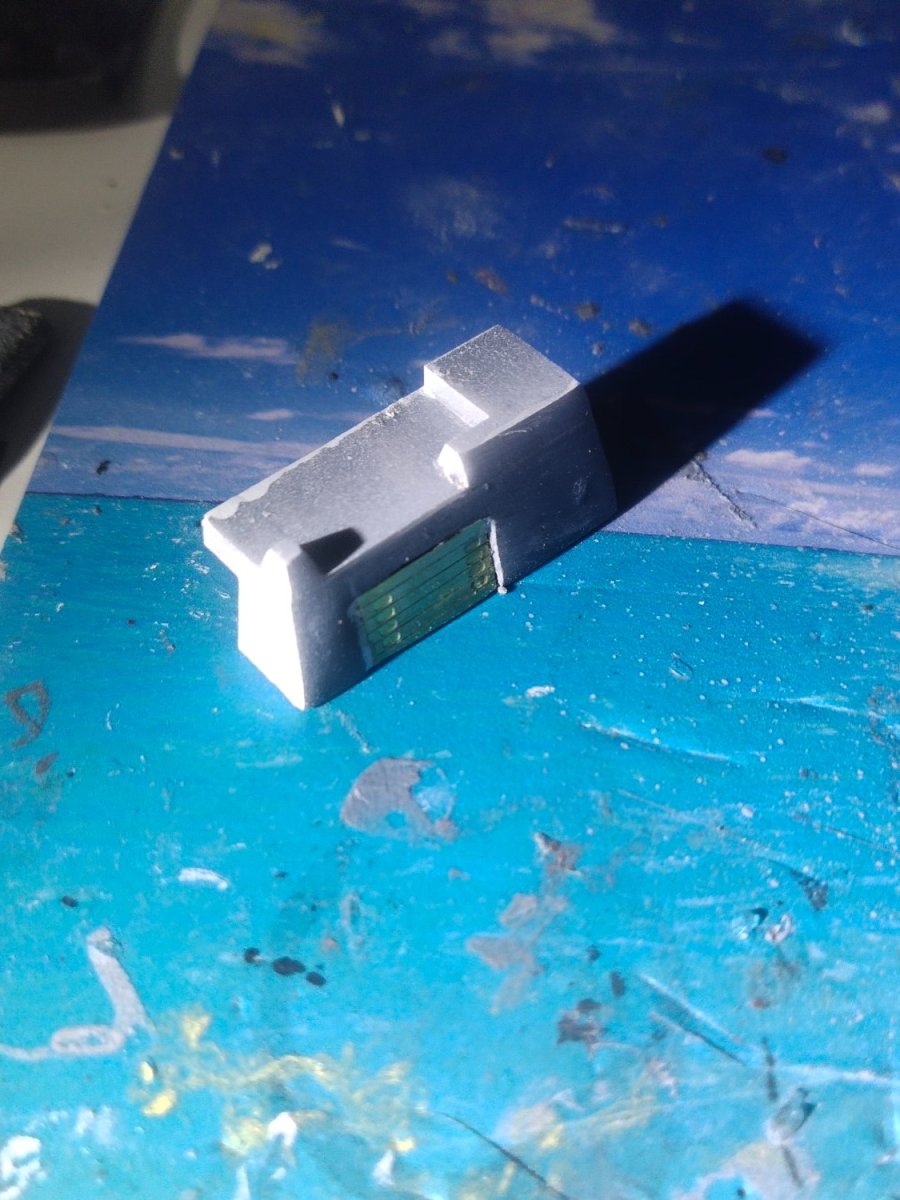
I redesigned the forward launcher in more reasonable dimensions and painted the Phalanx. Other details were added like barrel life raft and rings.

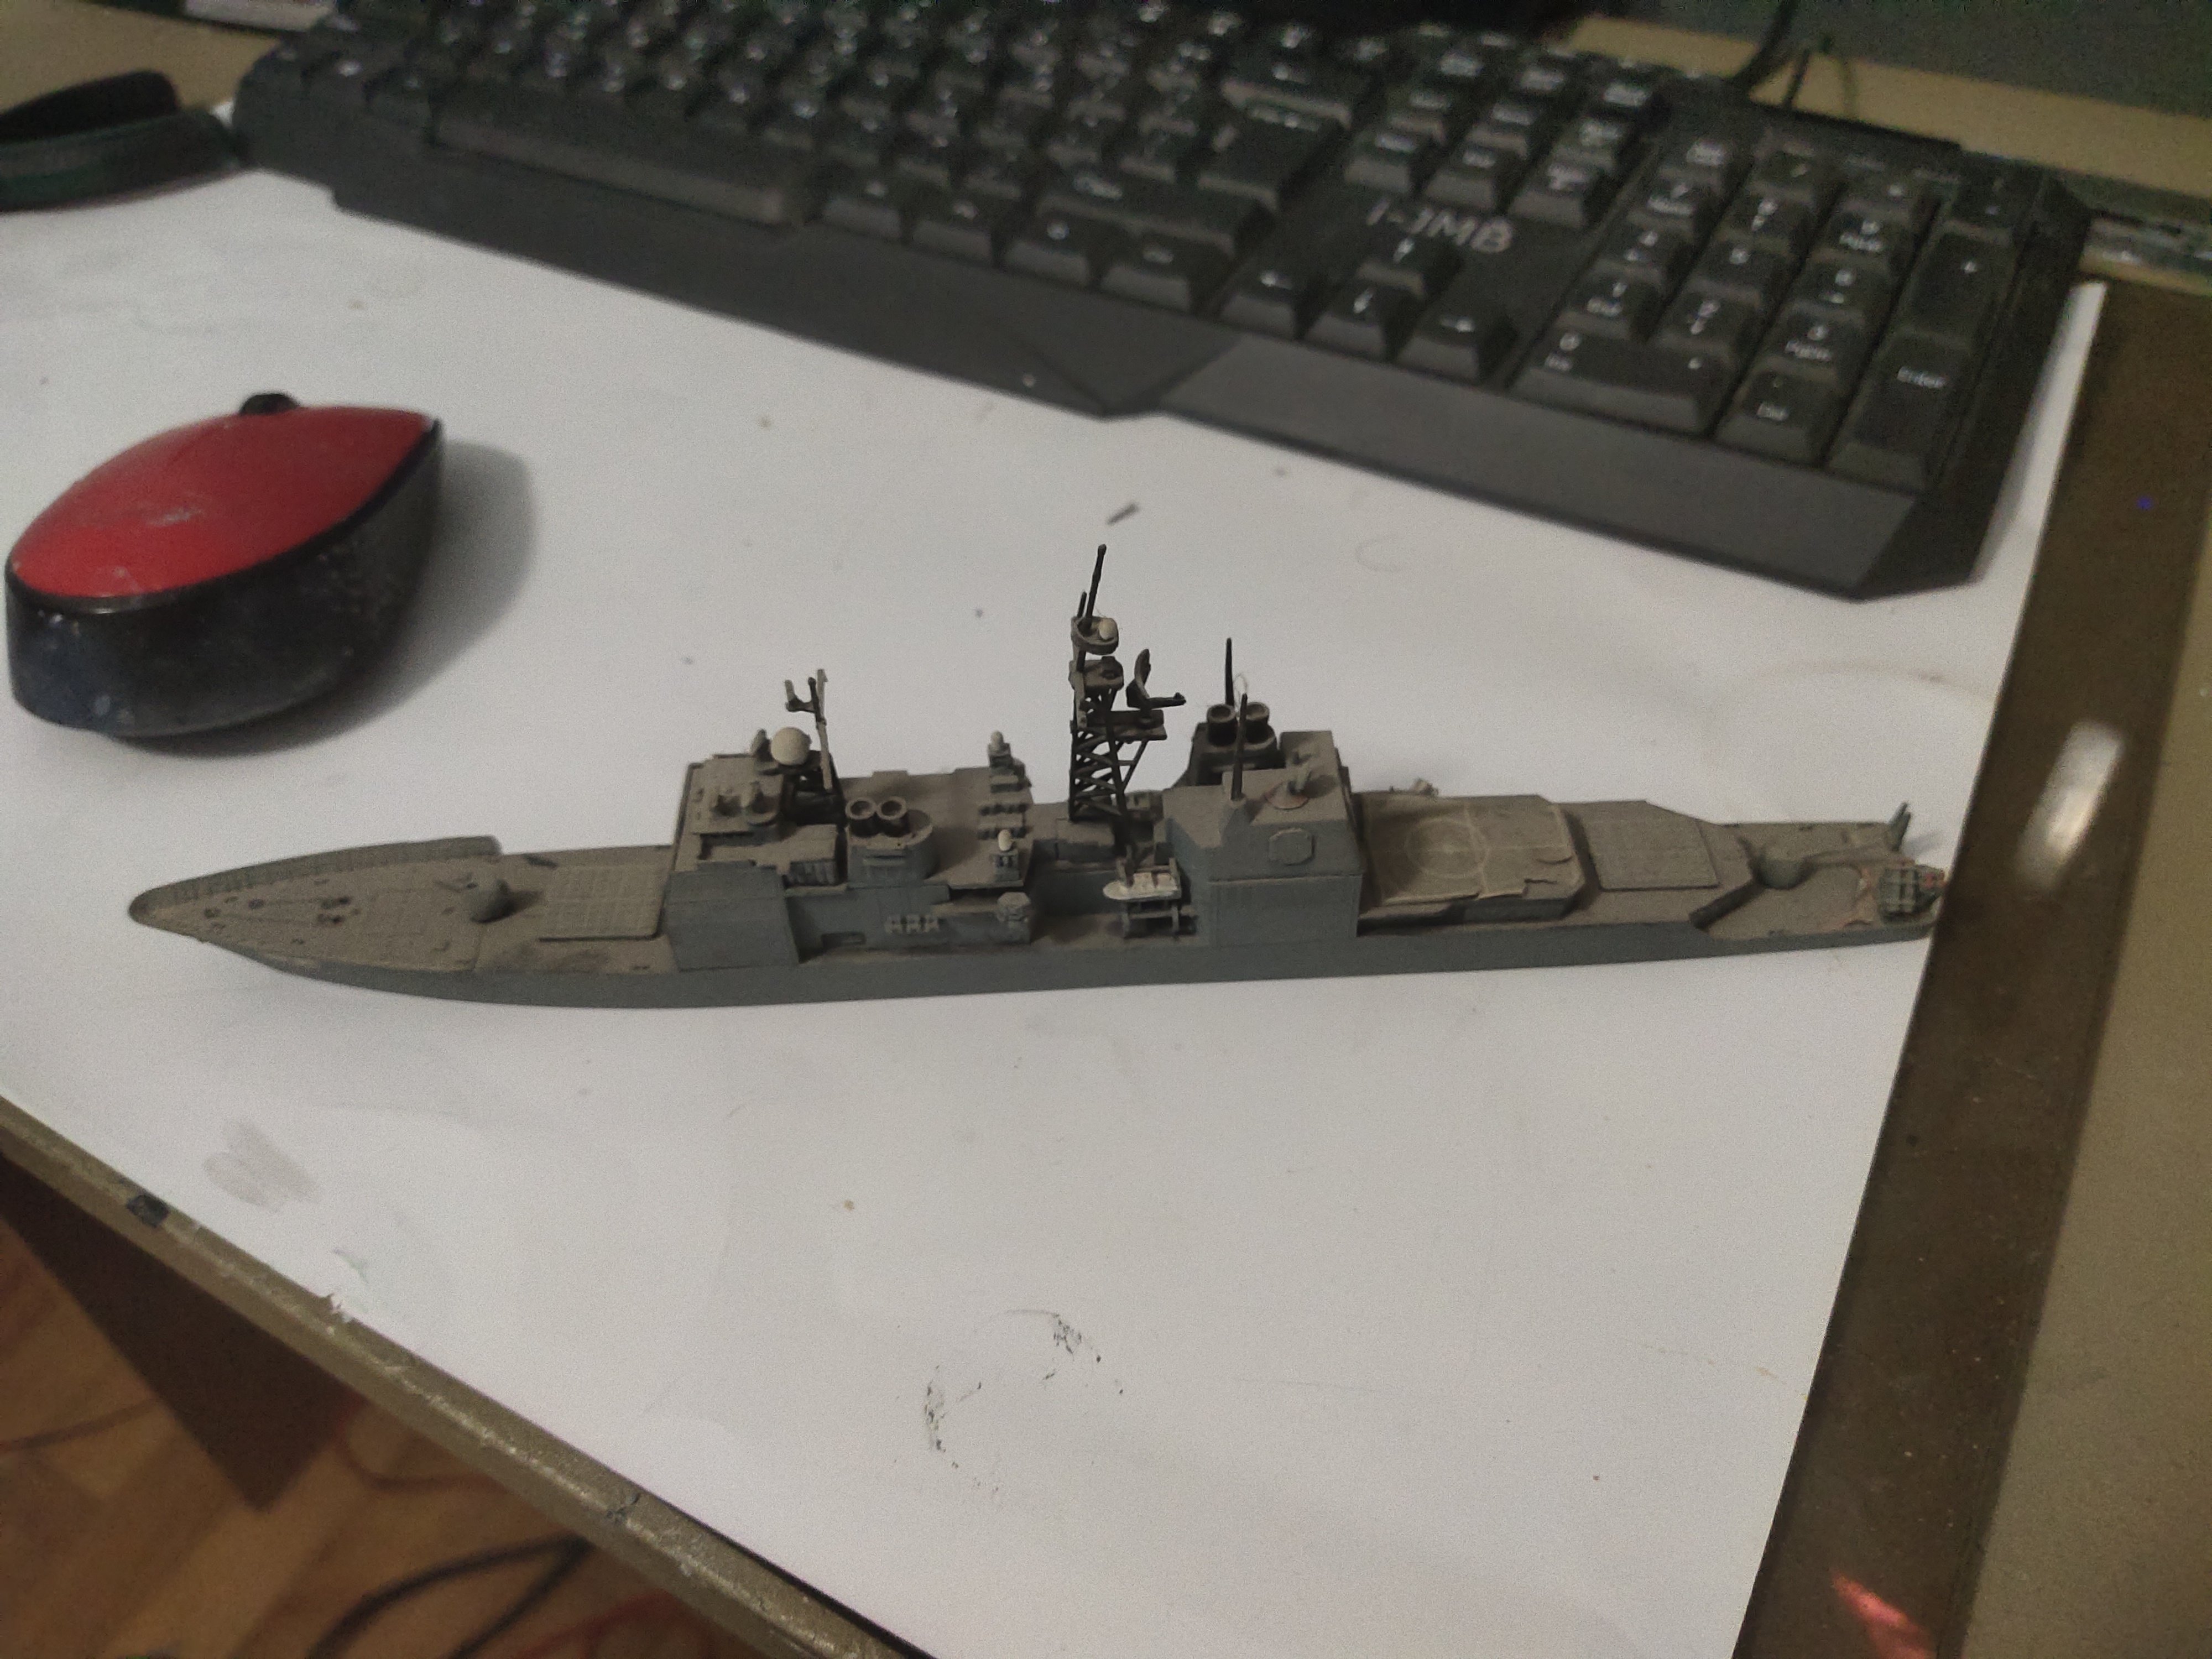
-
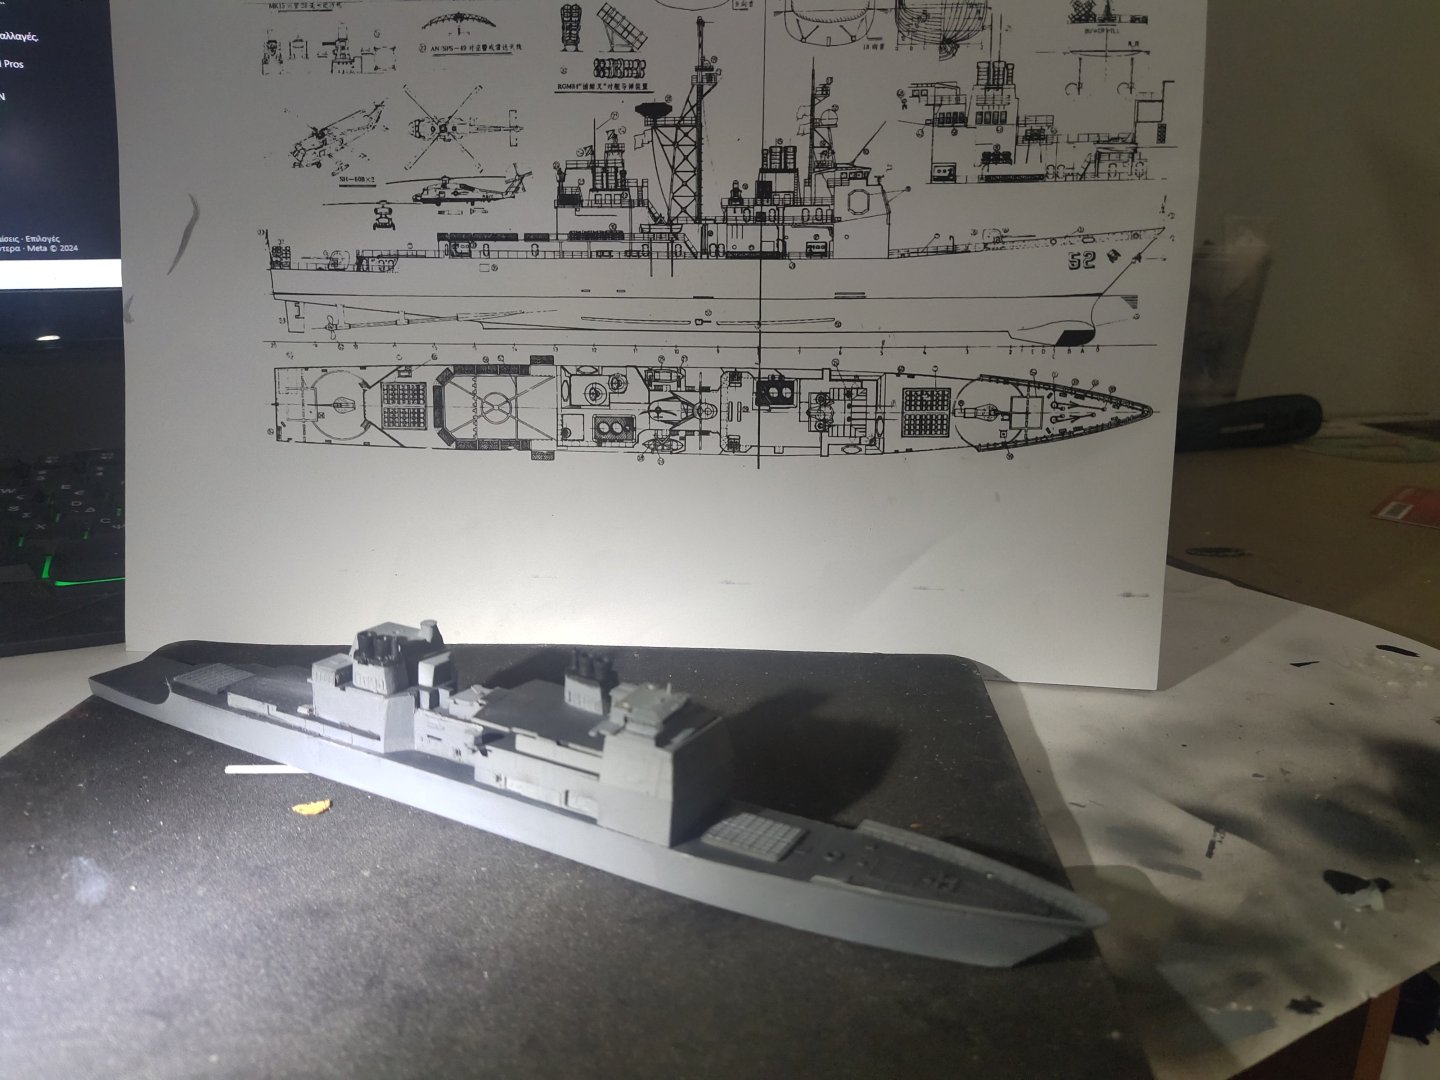
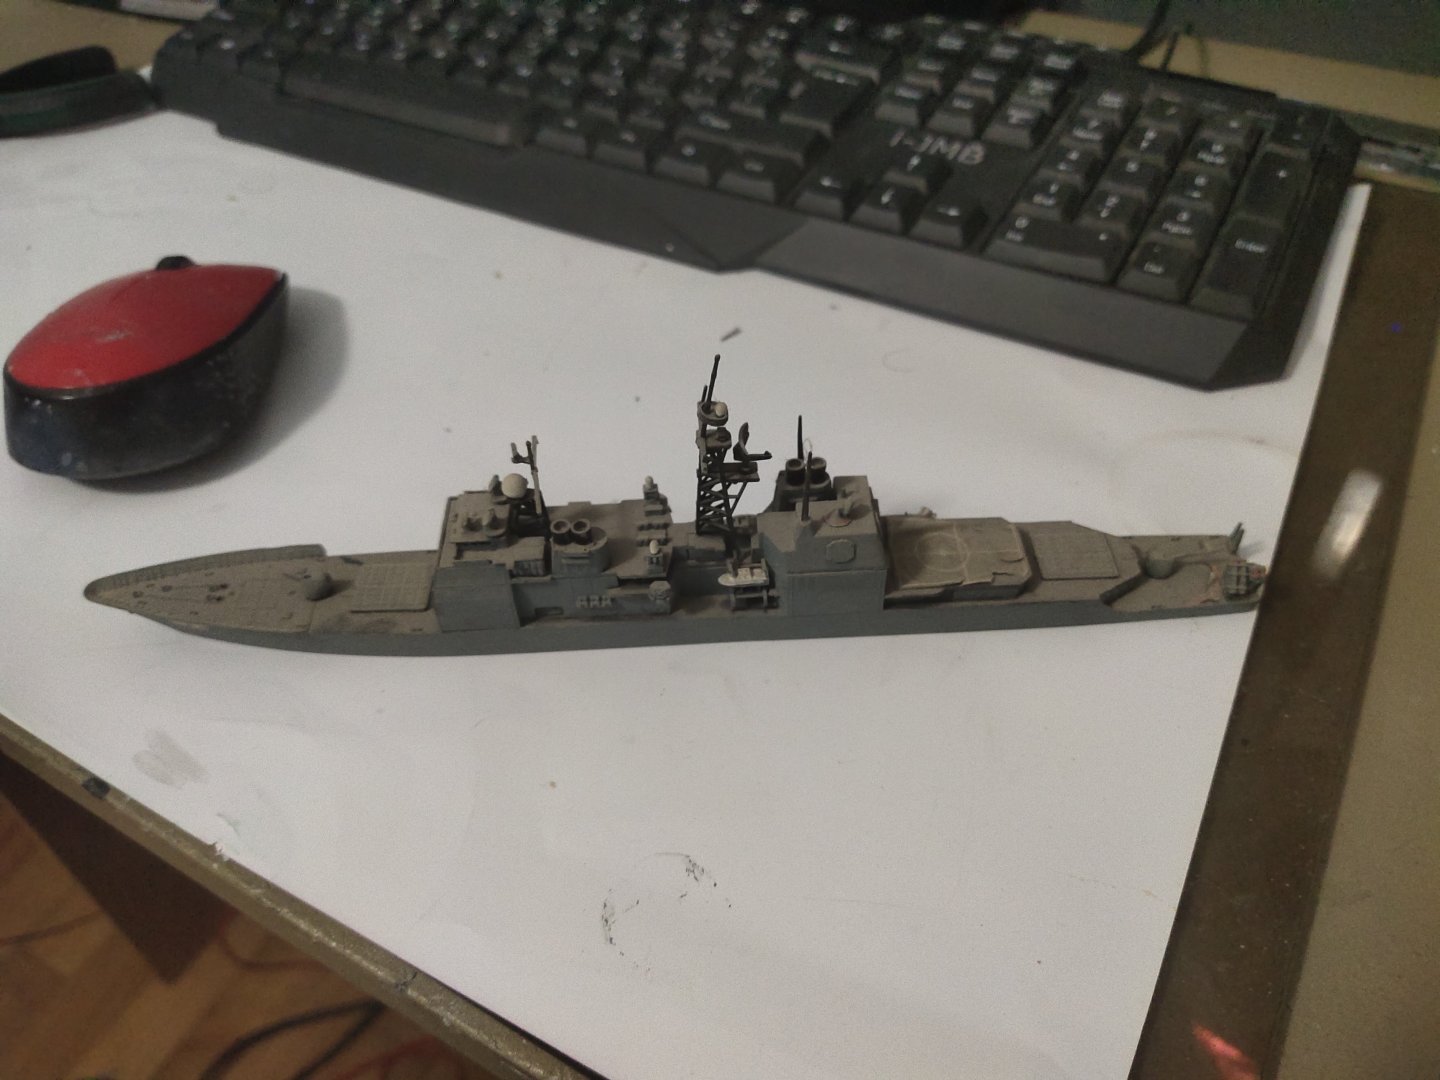
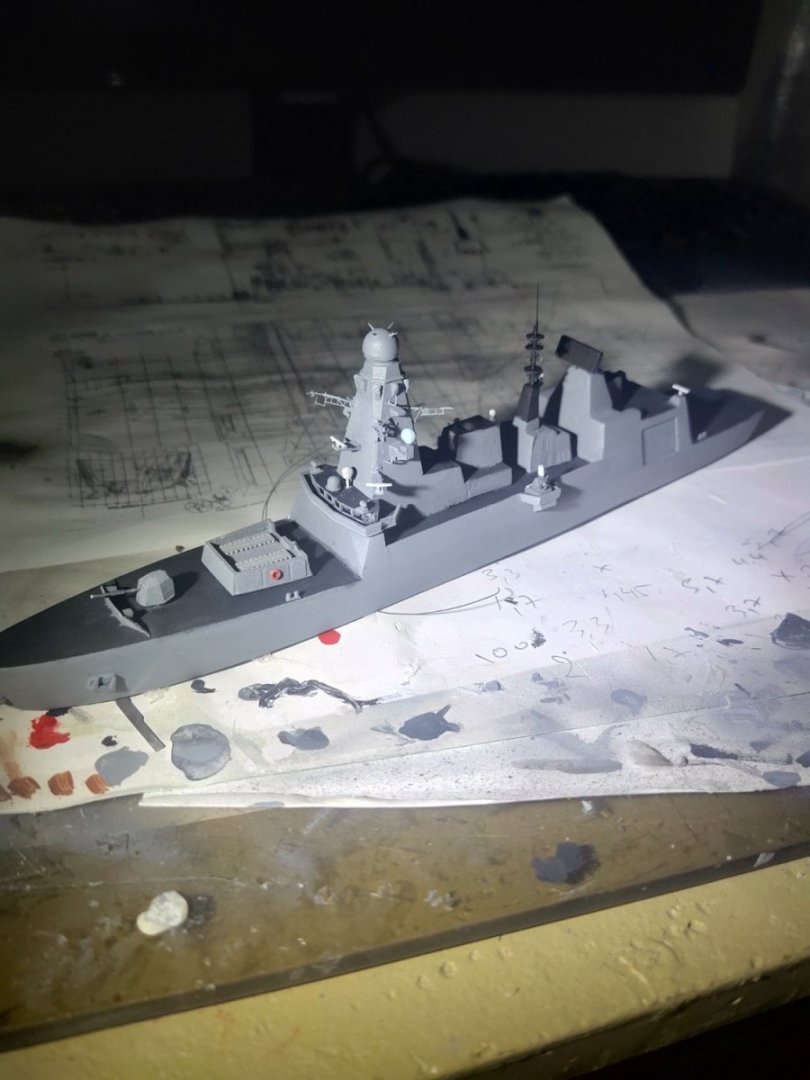
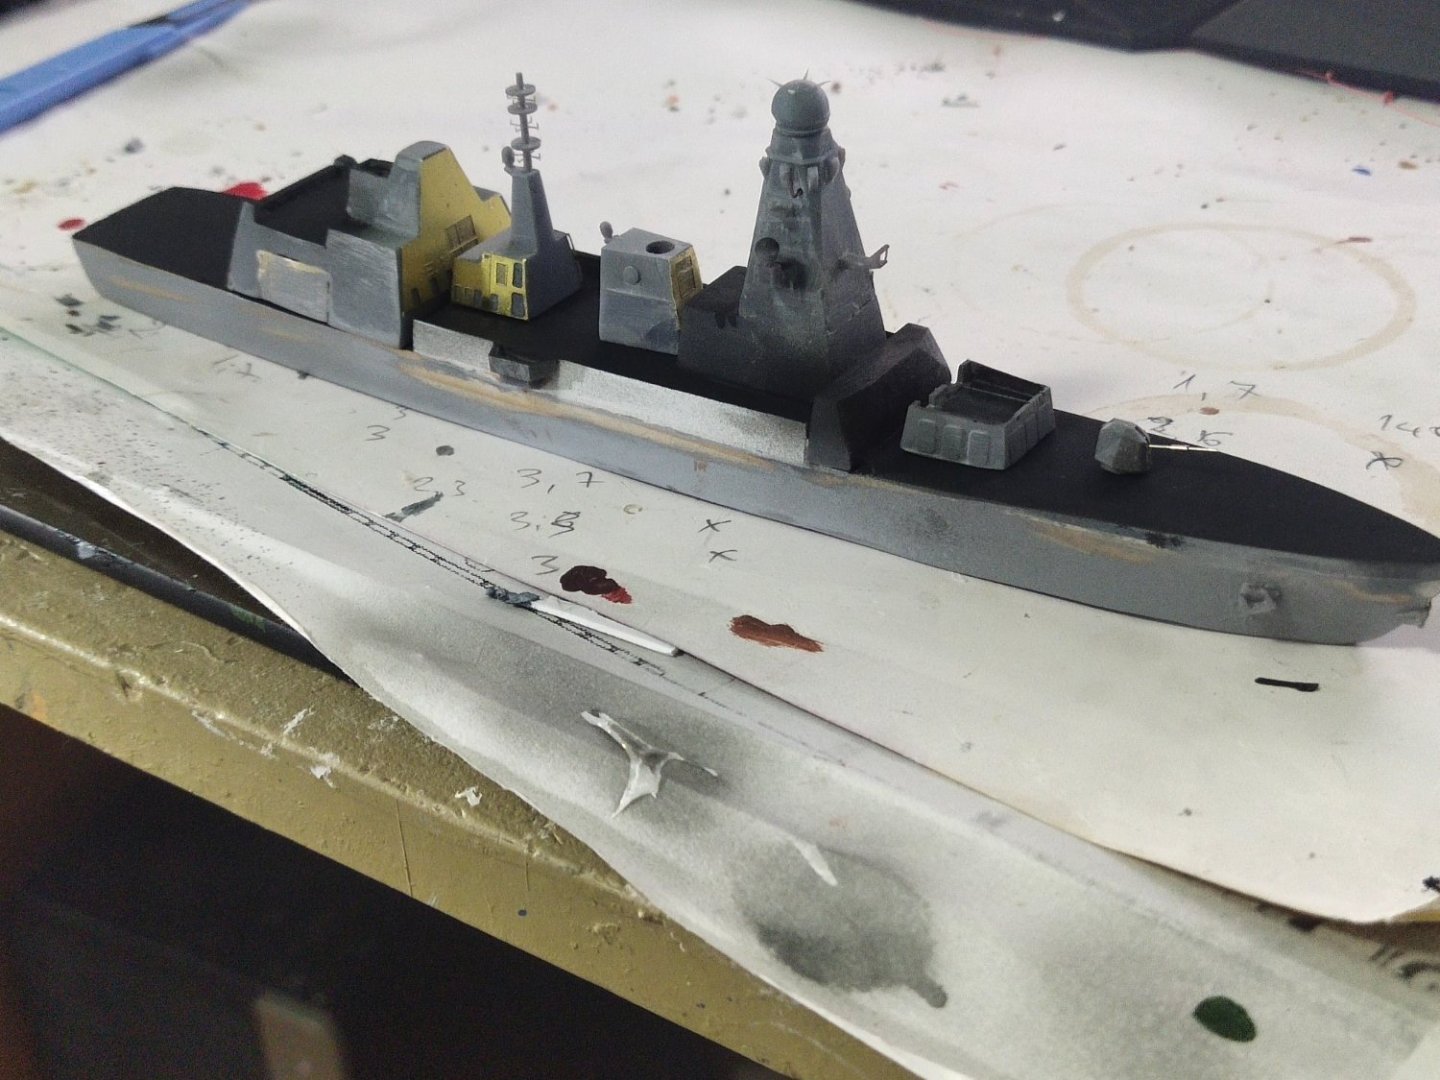
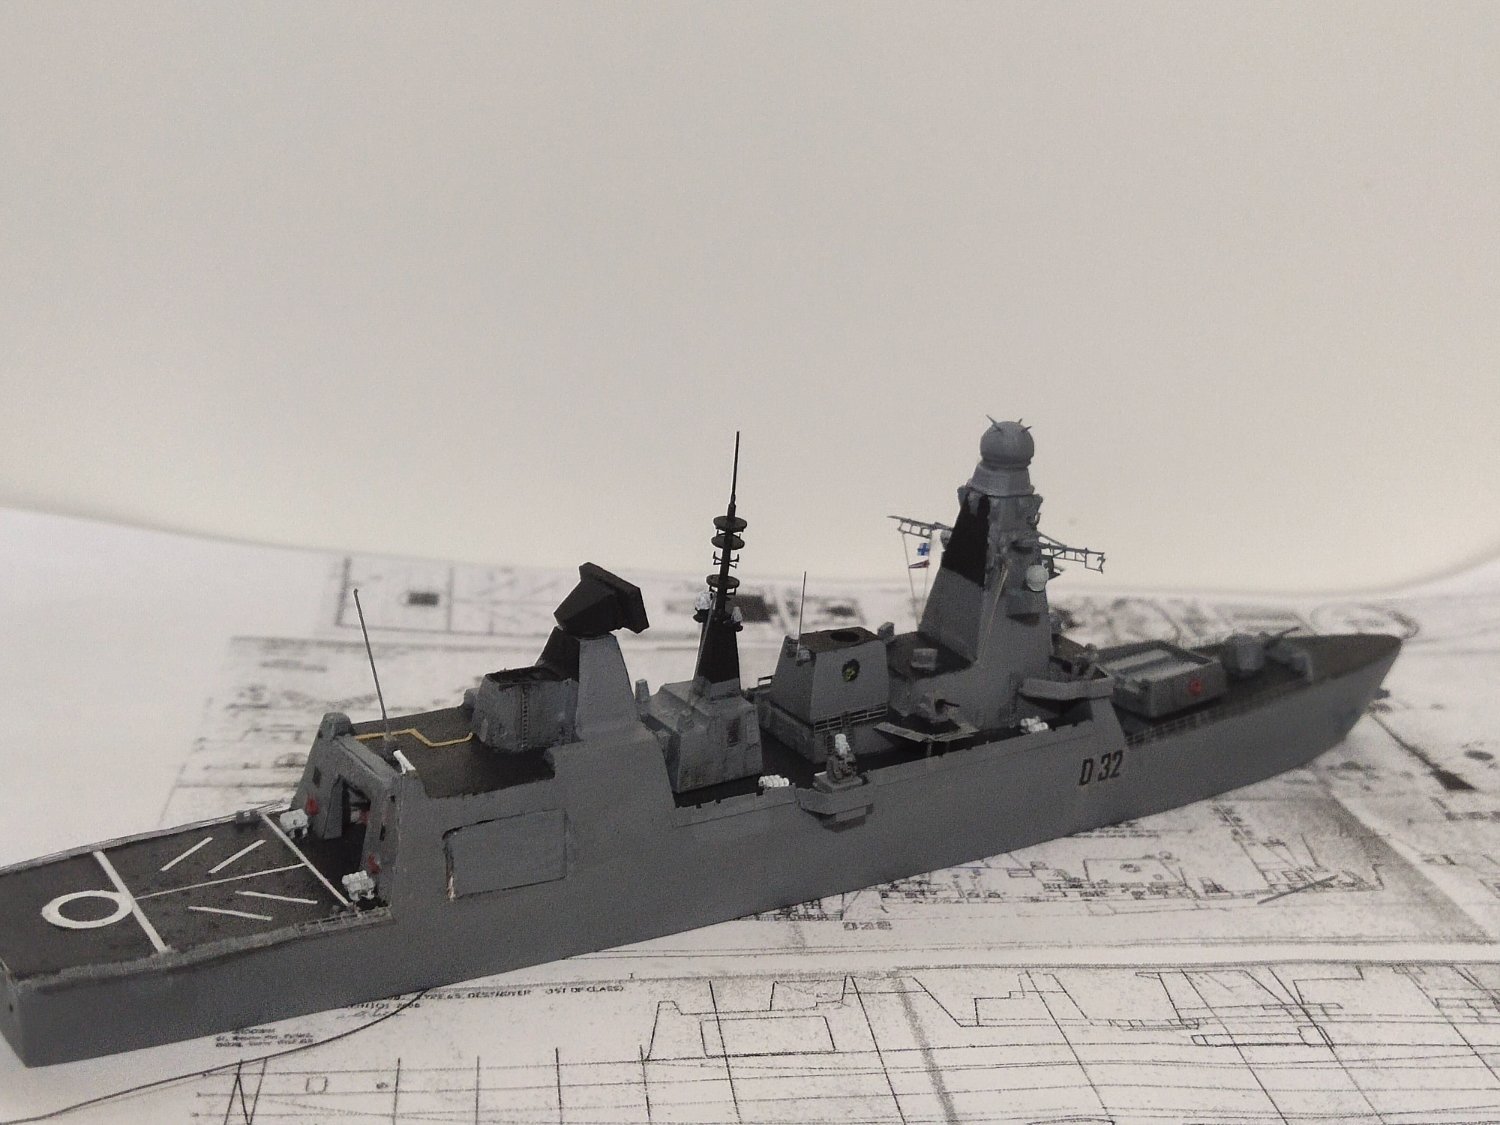
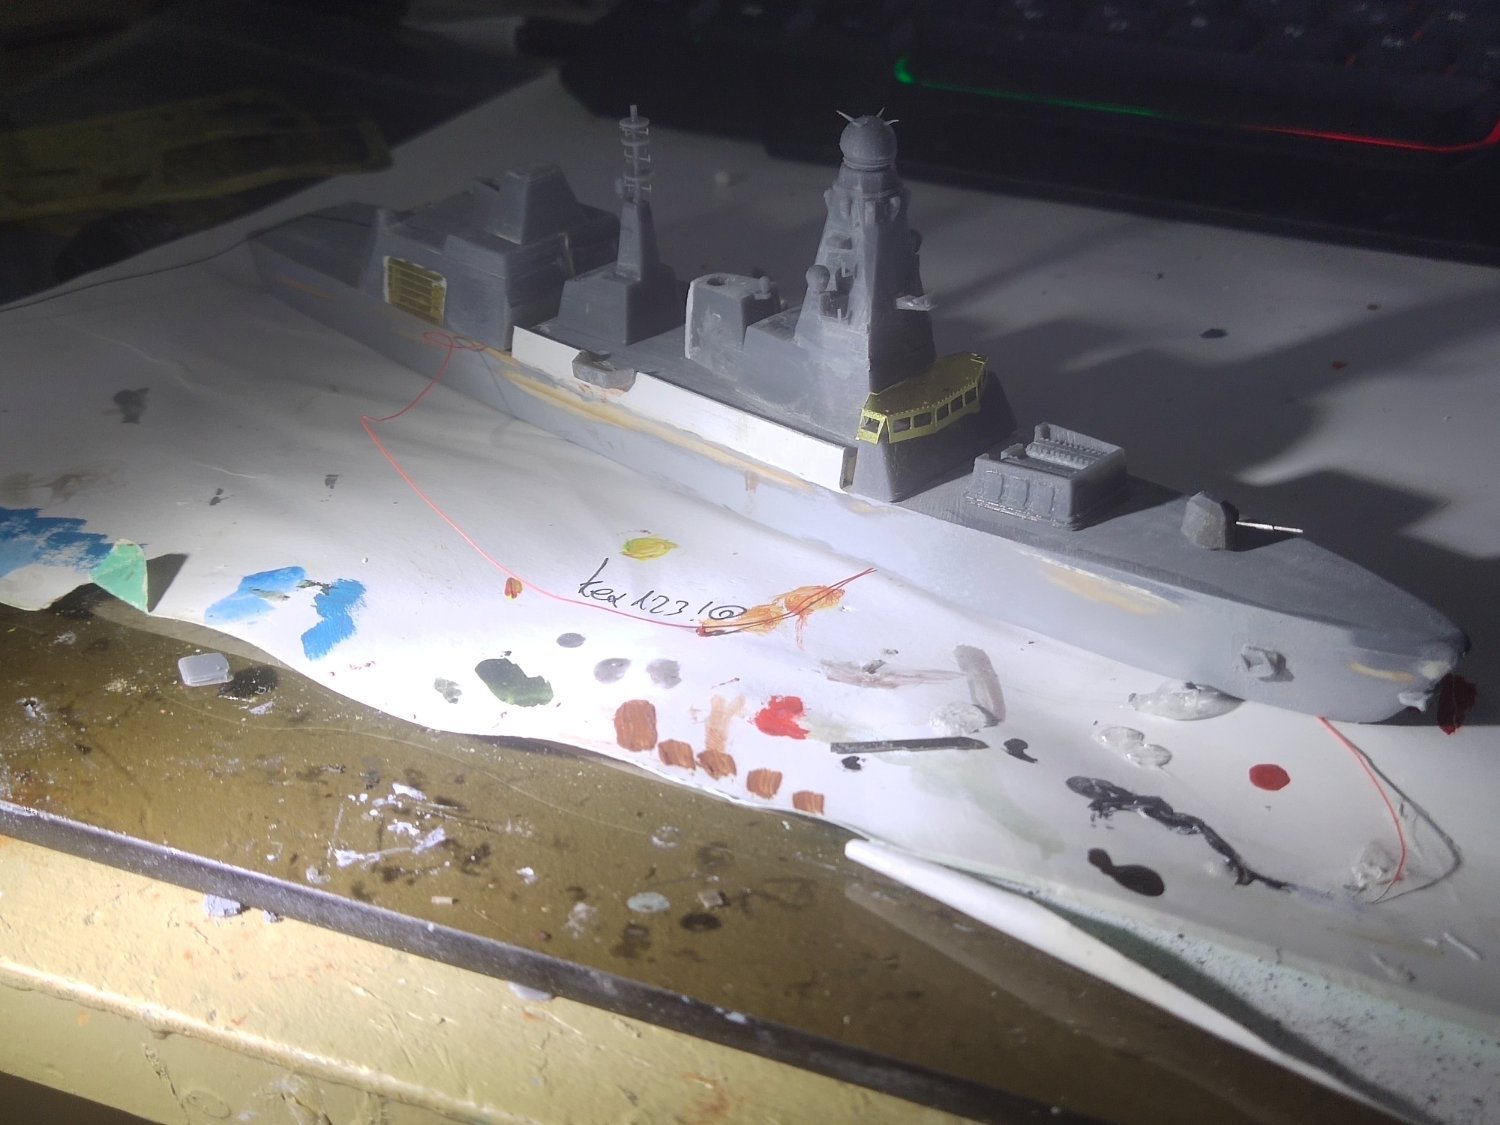
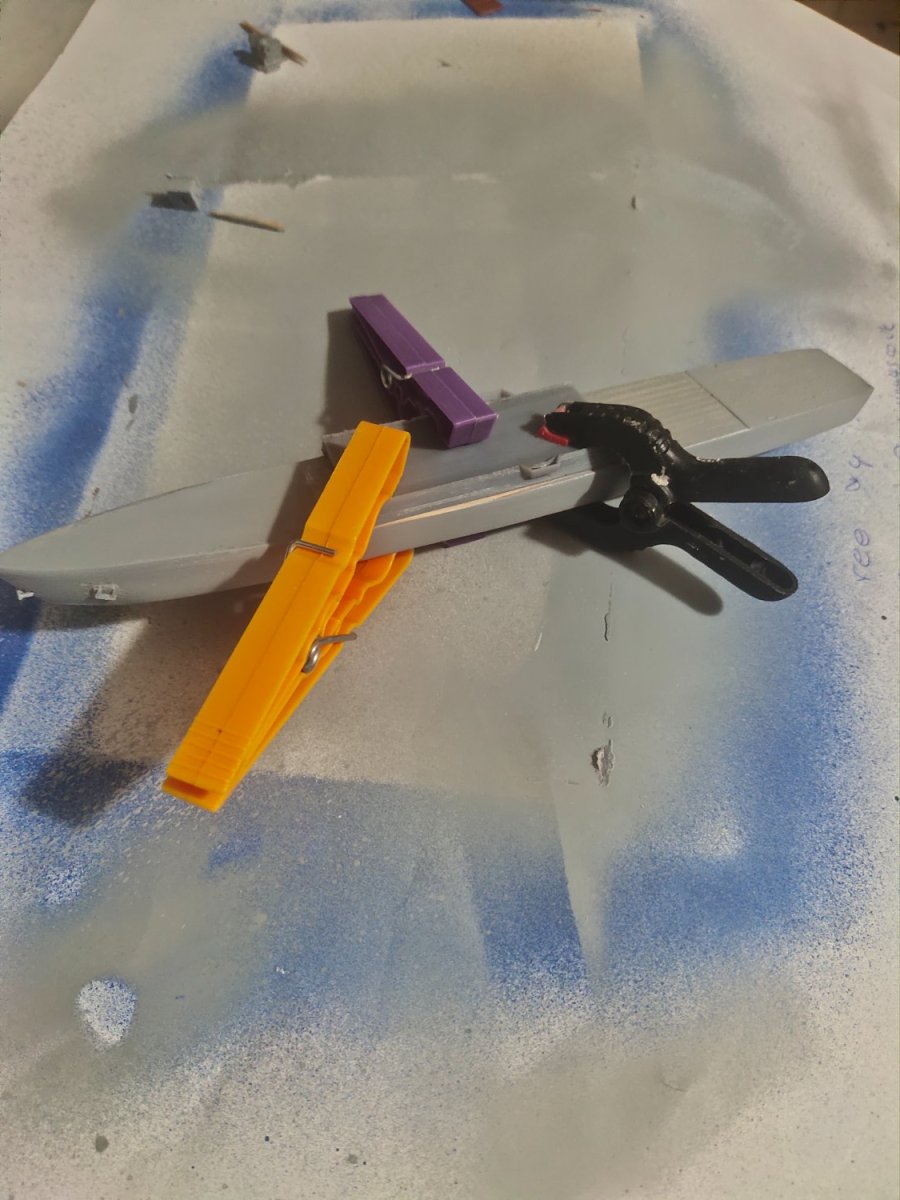
So after painting, repainting, fittings, misfittings, repairs and more I got to the point to glue all main pieces together. Now I need to add details, go for final paint job and rigging
- KeithAug, GrandpaPhil, Canute and 2 others
-
5
-
On 3/12/2024 at 10:15 AM, RGL said:
Looking good. Aftermarket is your friend ! I’m off the the Malaysia model show this year and hope to see this in person. You know you’ll have to build another one now !


It looks like Gundam
- Canute, Bill Morrison, uncarina and 1 other
-
4
-
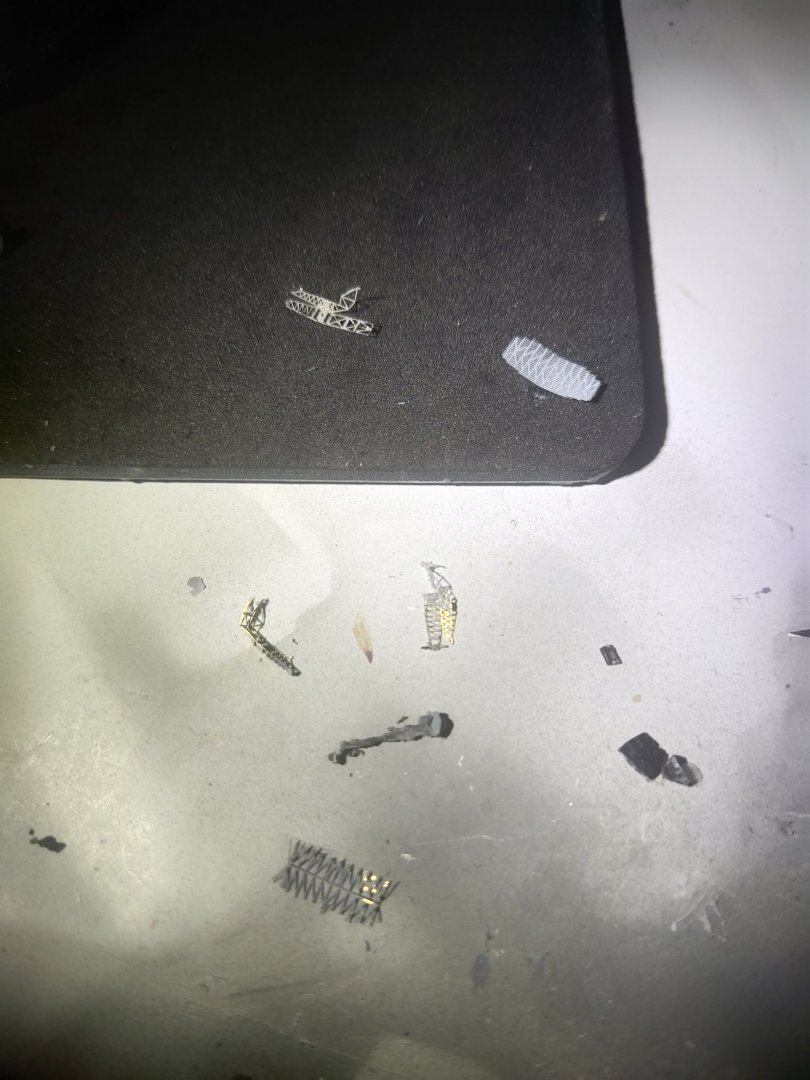
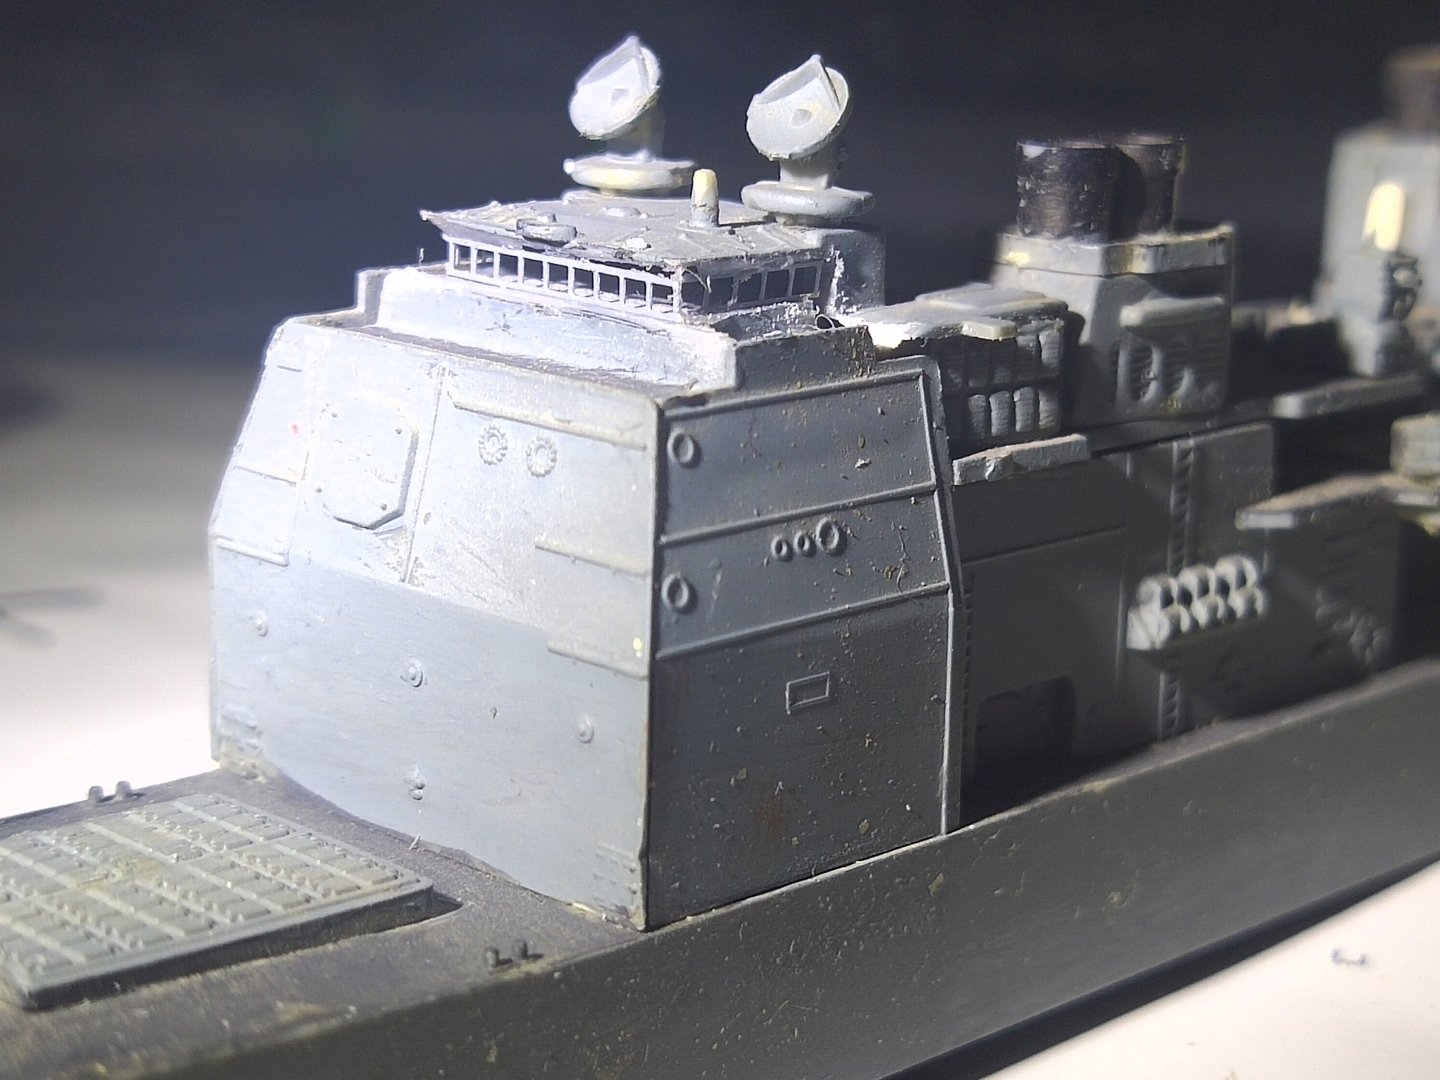
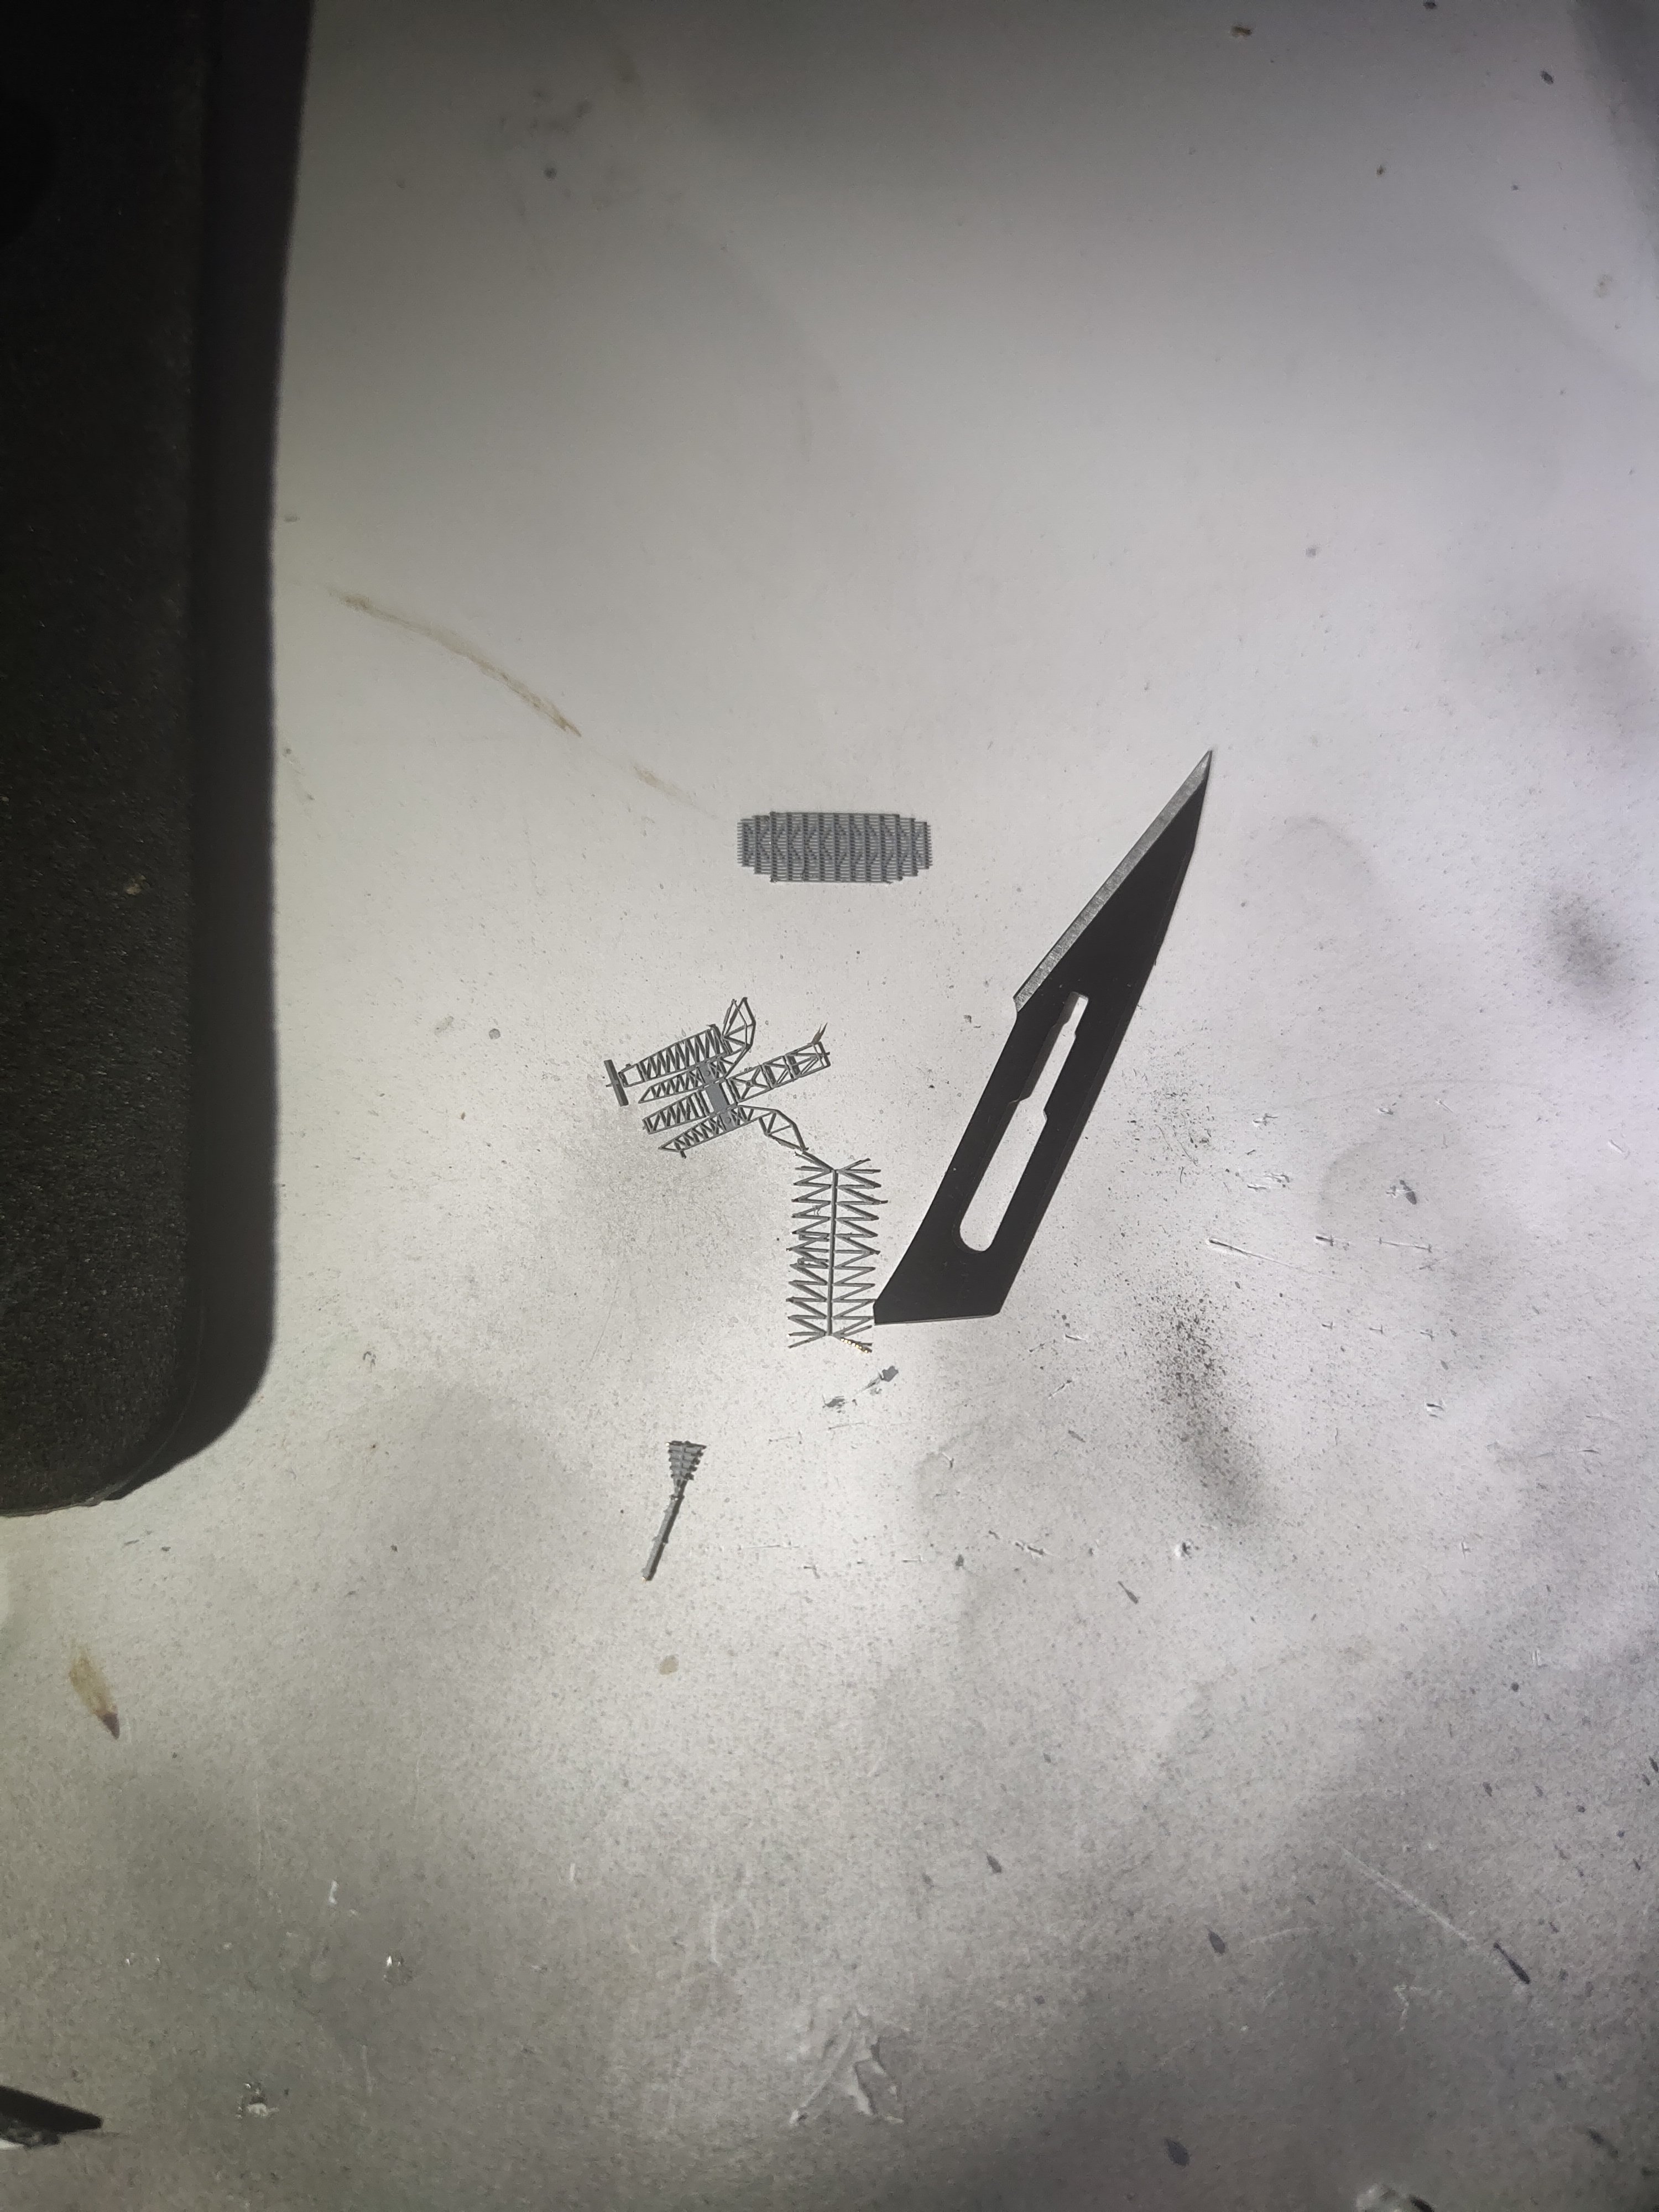
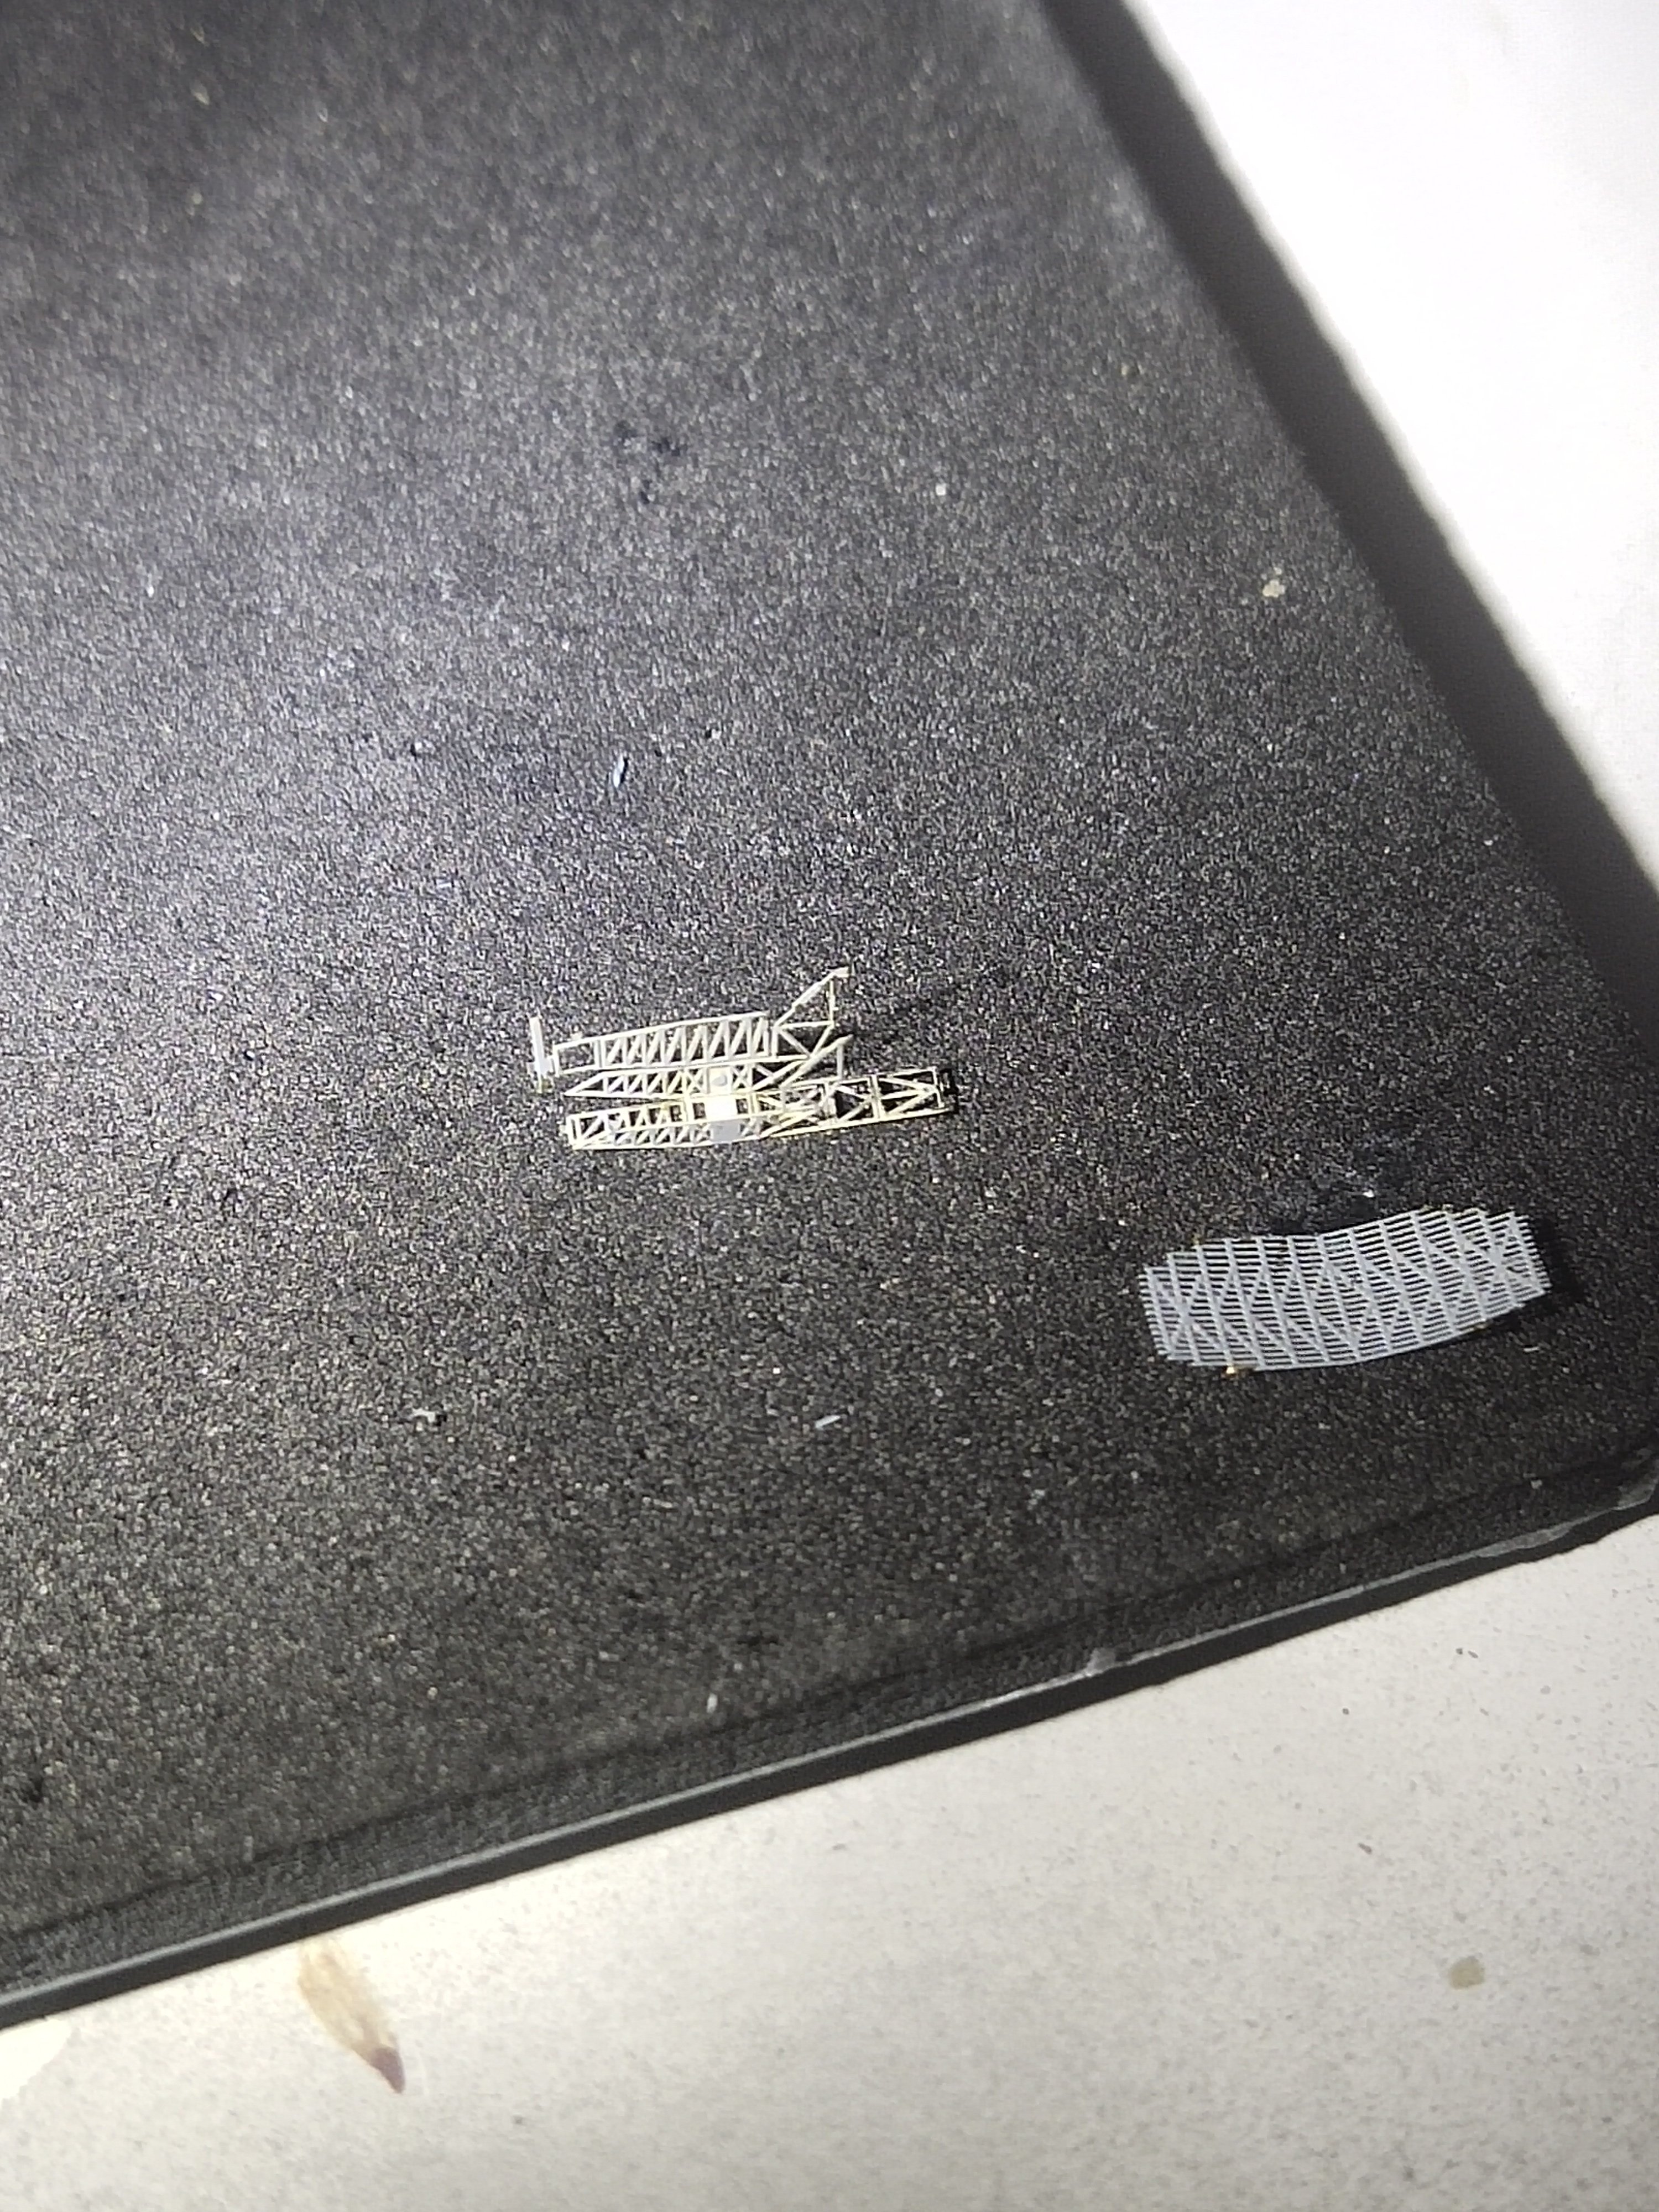
Today's progress was some micro work on the main mast

-
2 hours ago, patrickmil said:
Thank you!
Apparently there are quite a few upgrades coming out for this kit now. When it's all said and done, I'm willing to bet the cost of all of the upgrades will far exceed the cost of the kit. That said, the upgrades appear to be very detailed.
Some modelers report 300$ on upgrade parts for a 50$ kit.
Though I do not count my spendings, I cannot cope with that
- king derelict and Canute
-
2
-
-
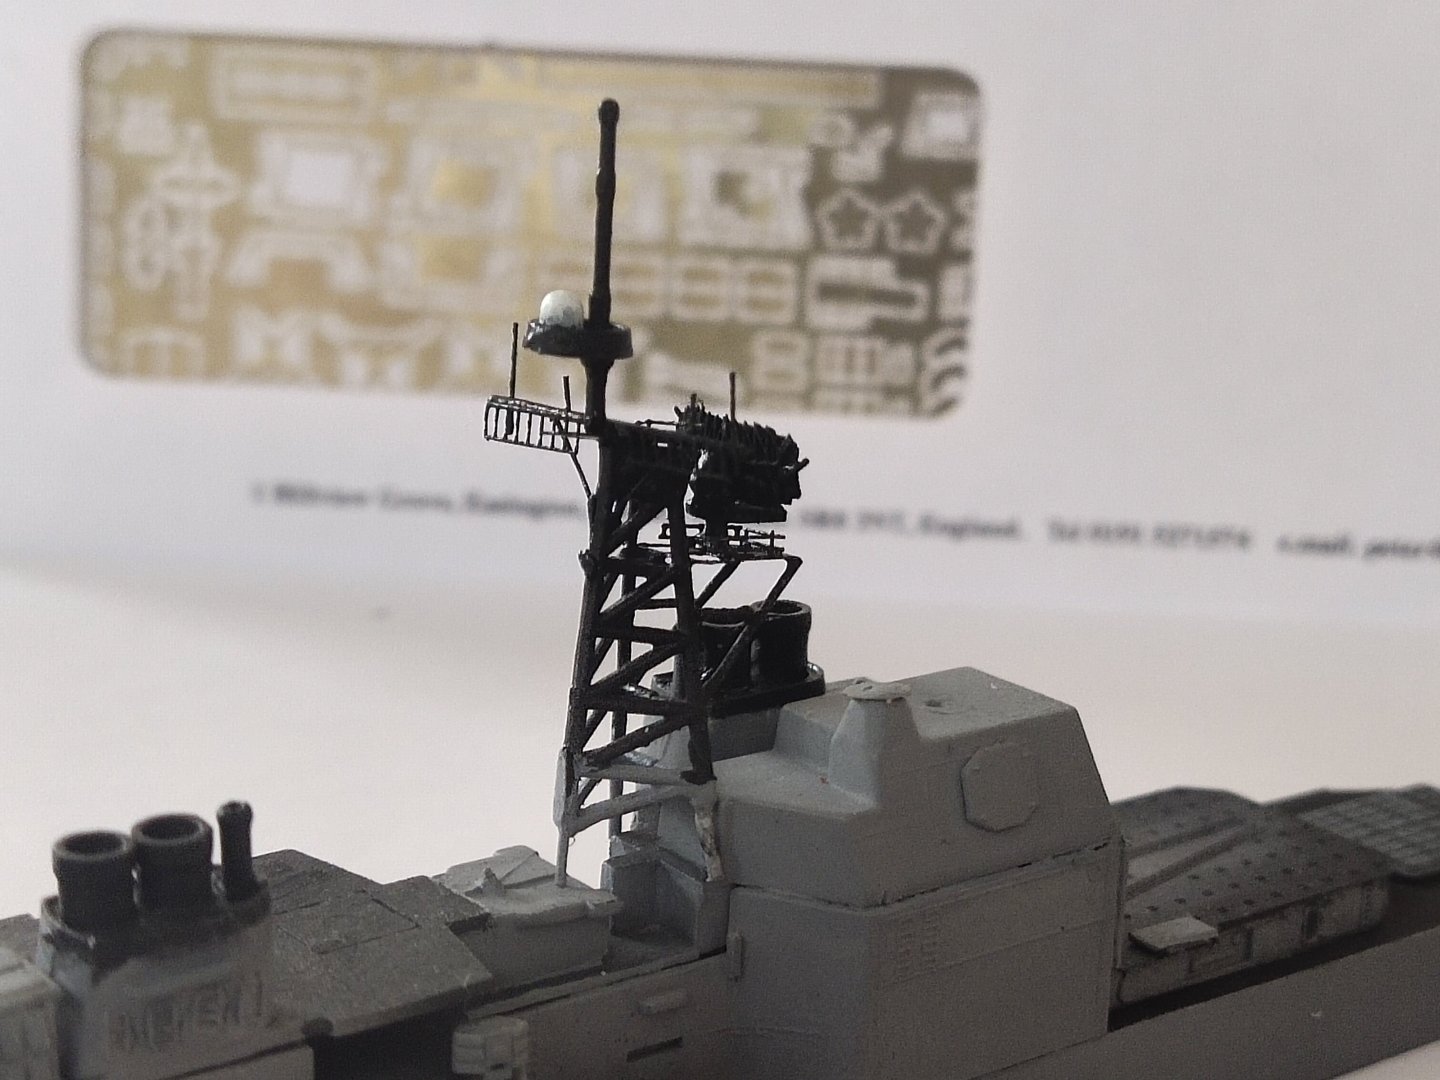
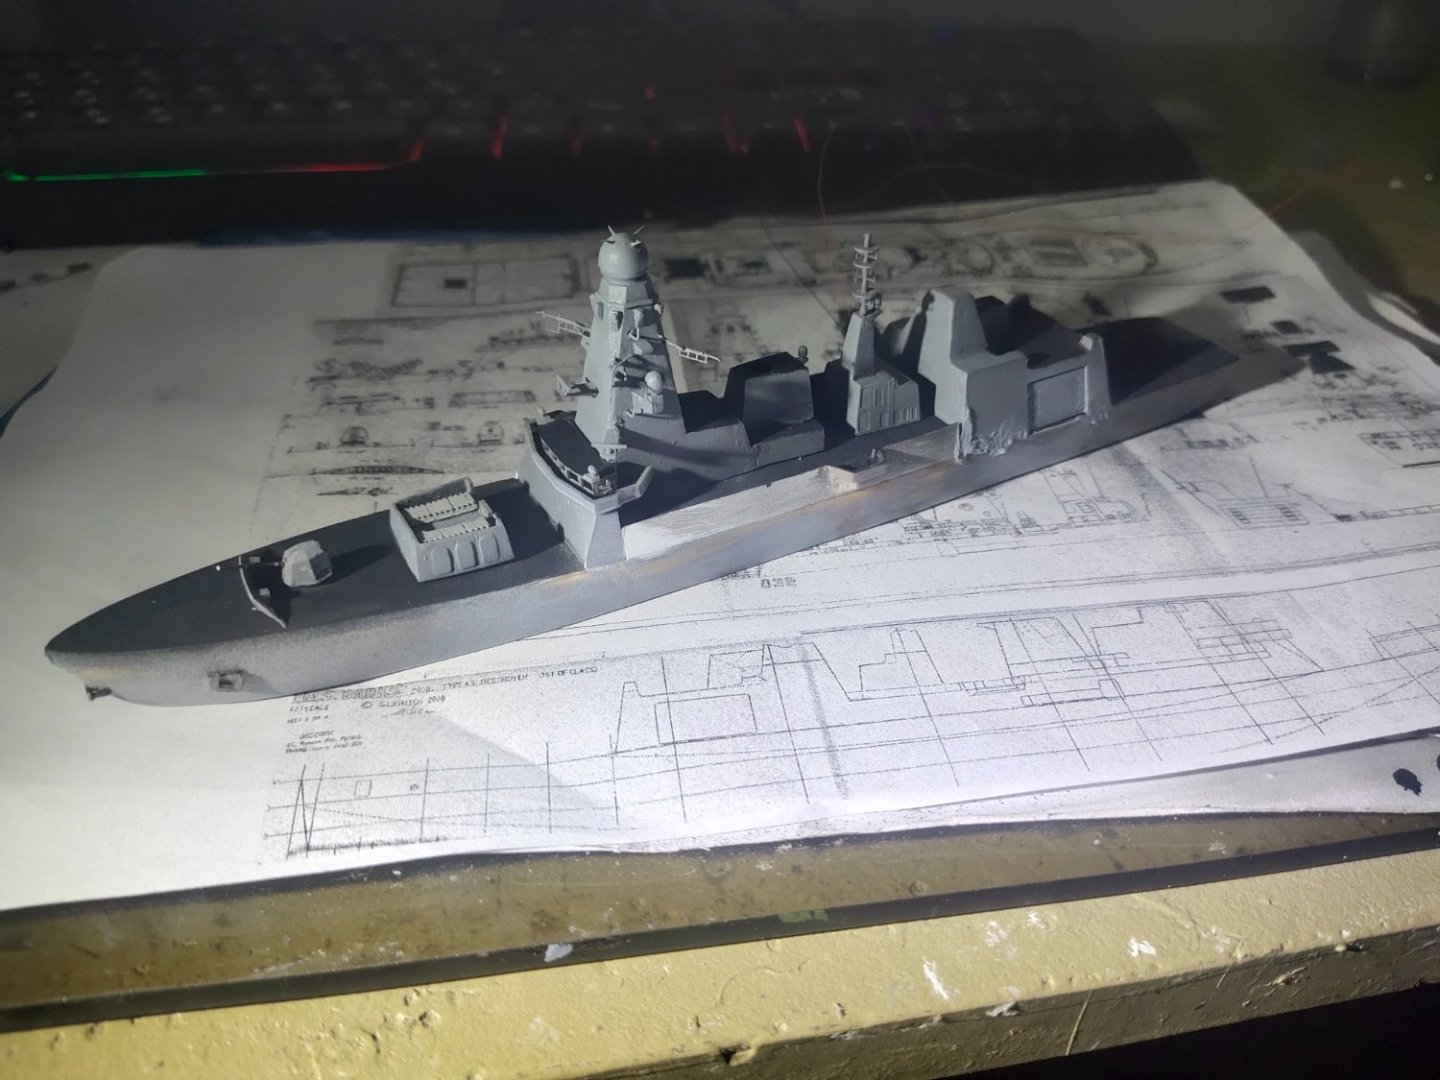
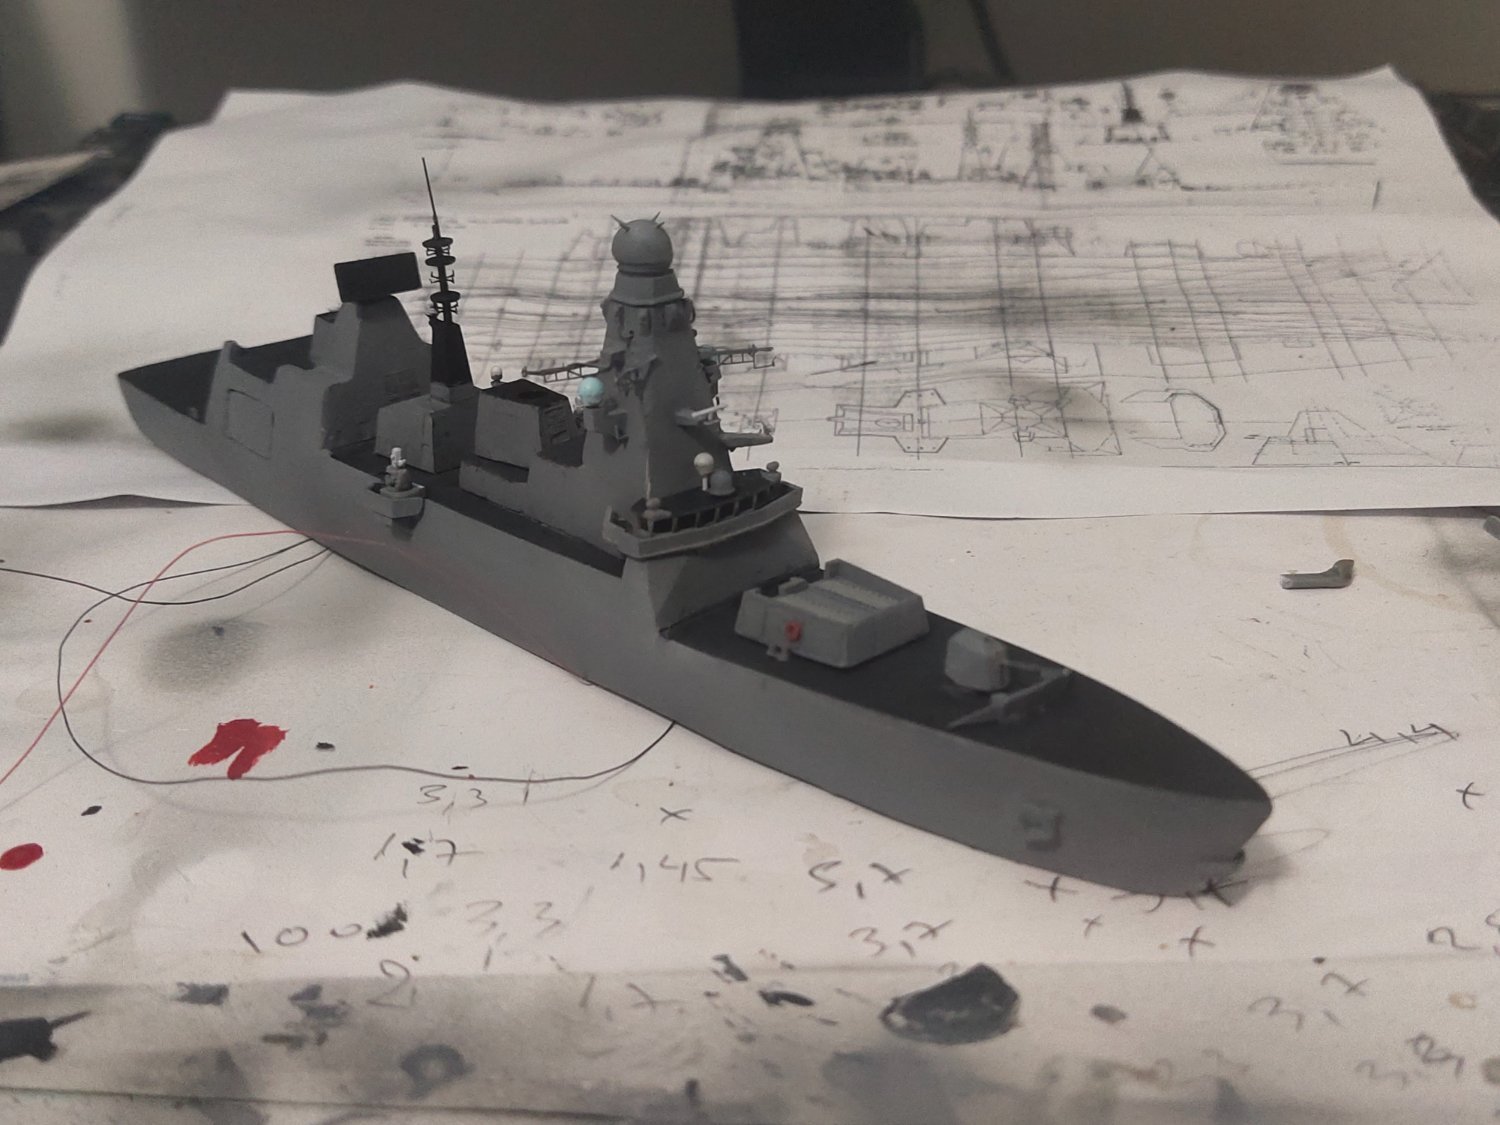
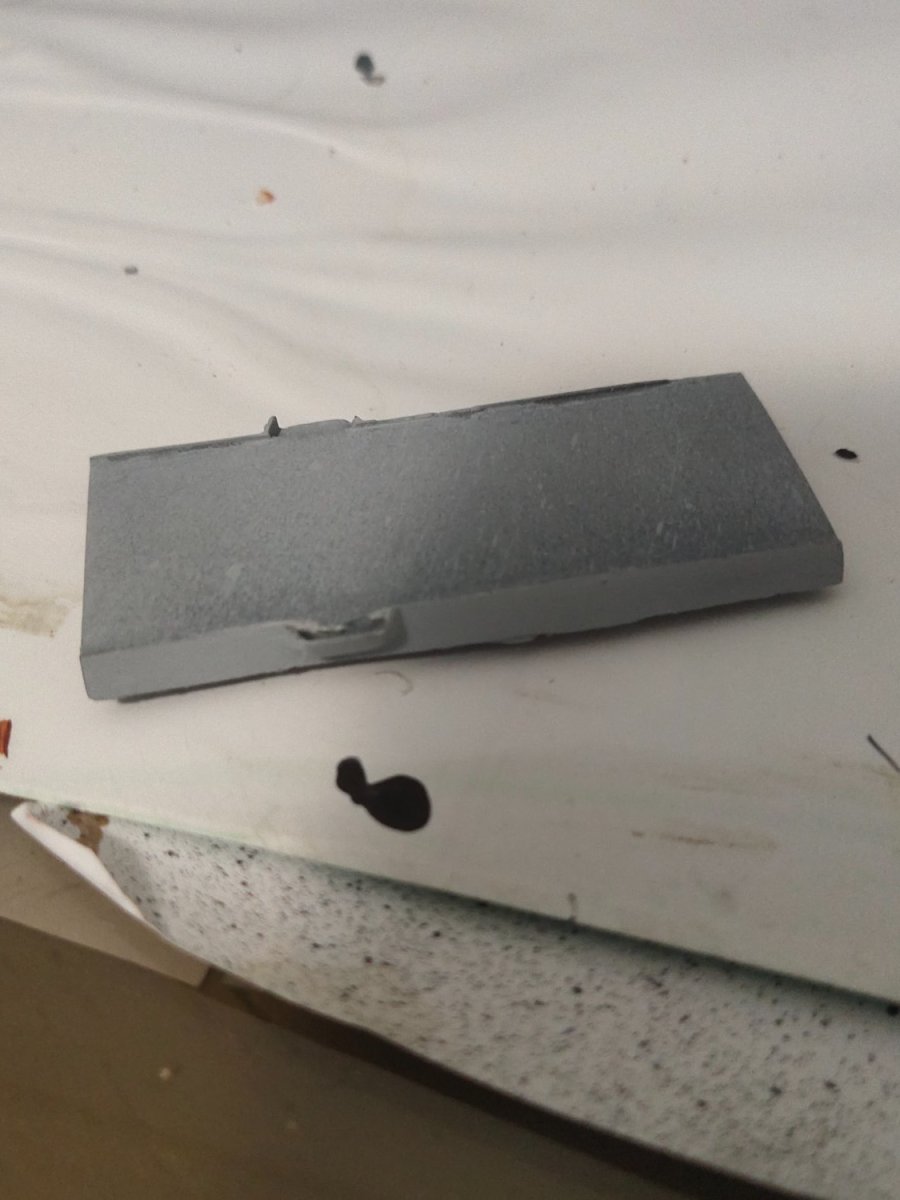
Today I painted the dark grey and added some PE after the proper adjustments

- Old Collingwood, Canute, FreekS and 4 others
-
7
-
11 hours ago, king derelict said:
Thank you OC. And now i realise that moving to 1/350 doesn't really make it easier. Its a bigger scale but now you can detail tinier elements. The braces for the venturis are absolutely tiny and there are ready use ammo holders for the 4 inch gun that are ridiculously small. I'm undecided whether to even try them If they escape the tweezers they will be lost forever.
Alan.
There is no cure. Whatever the scale there always will be tiny things that have to be worked with absolute precision. Its just the amount of work that differs like painting hulls in 1/200 instead on 1/700
-
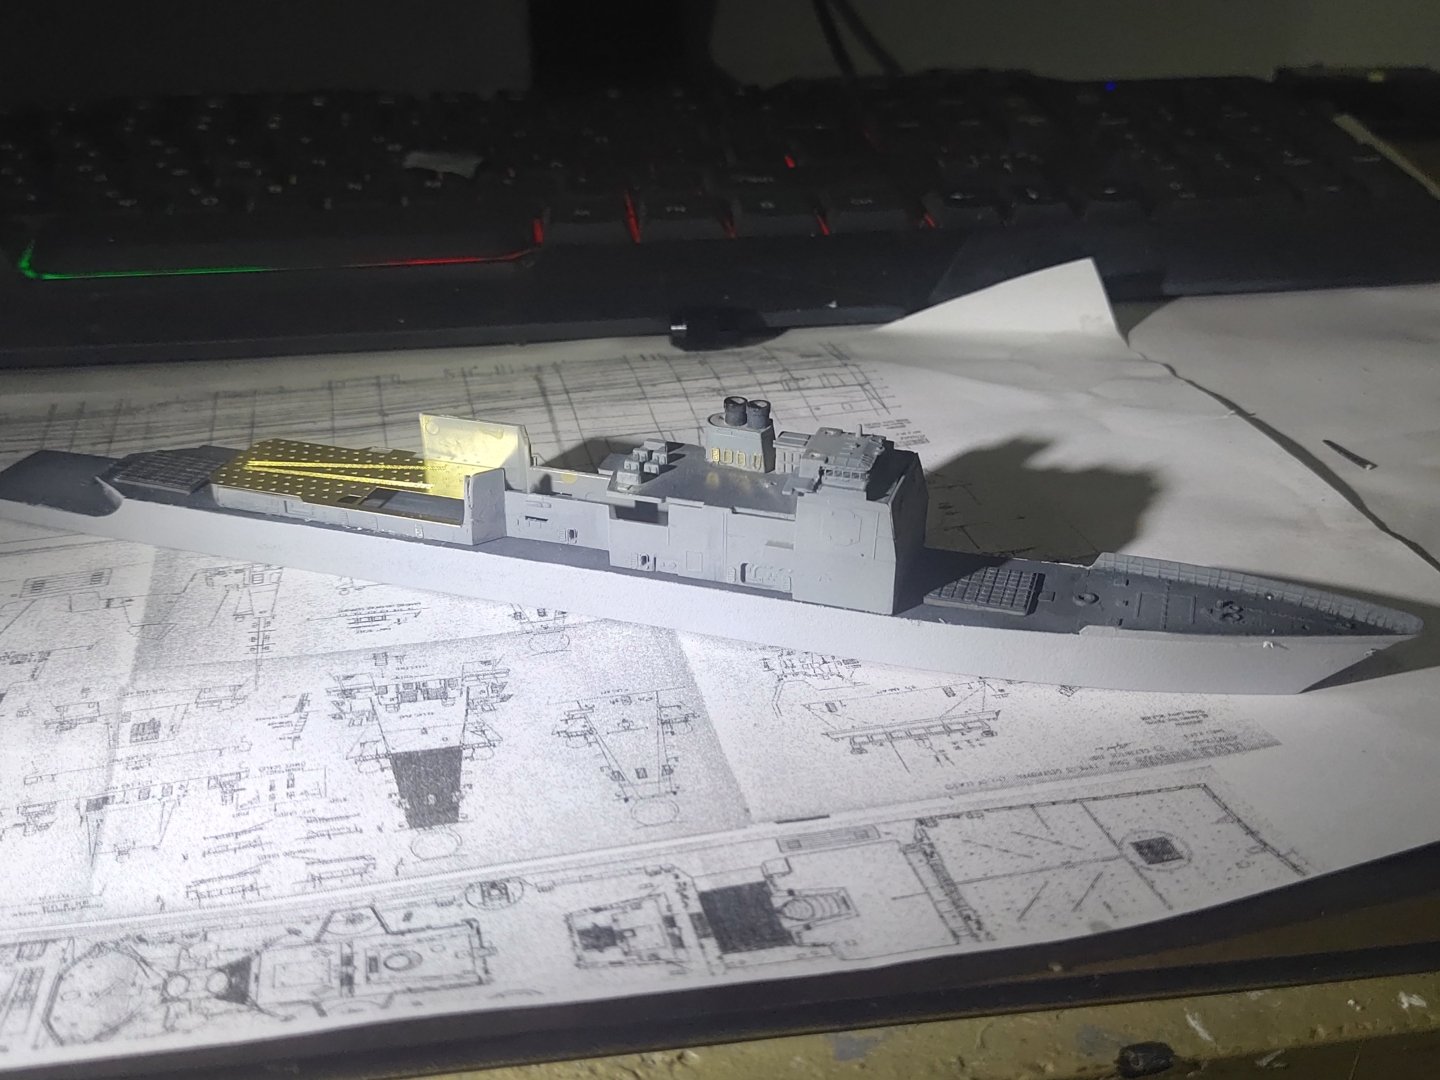
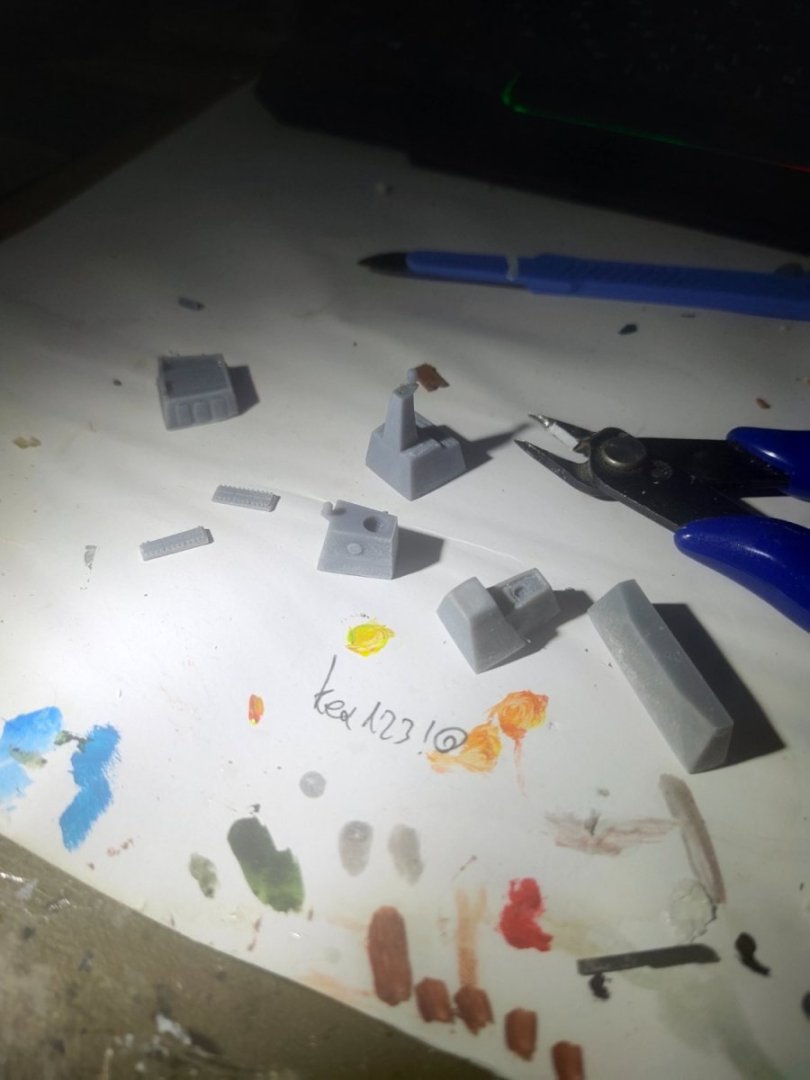
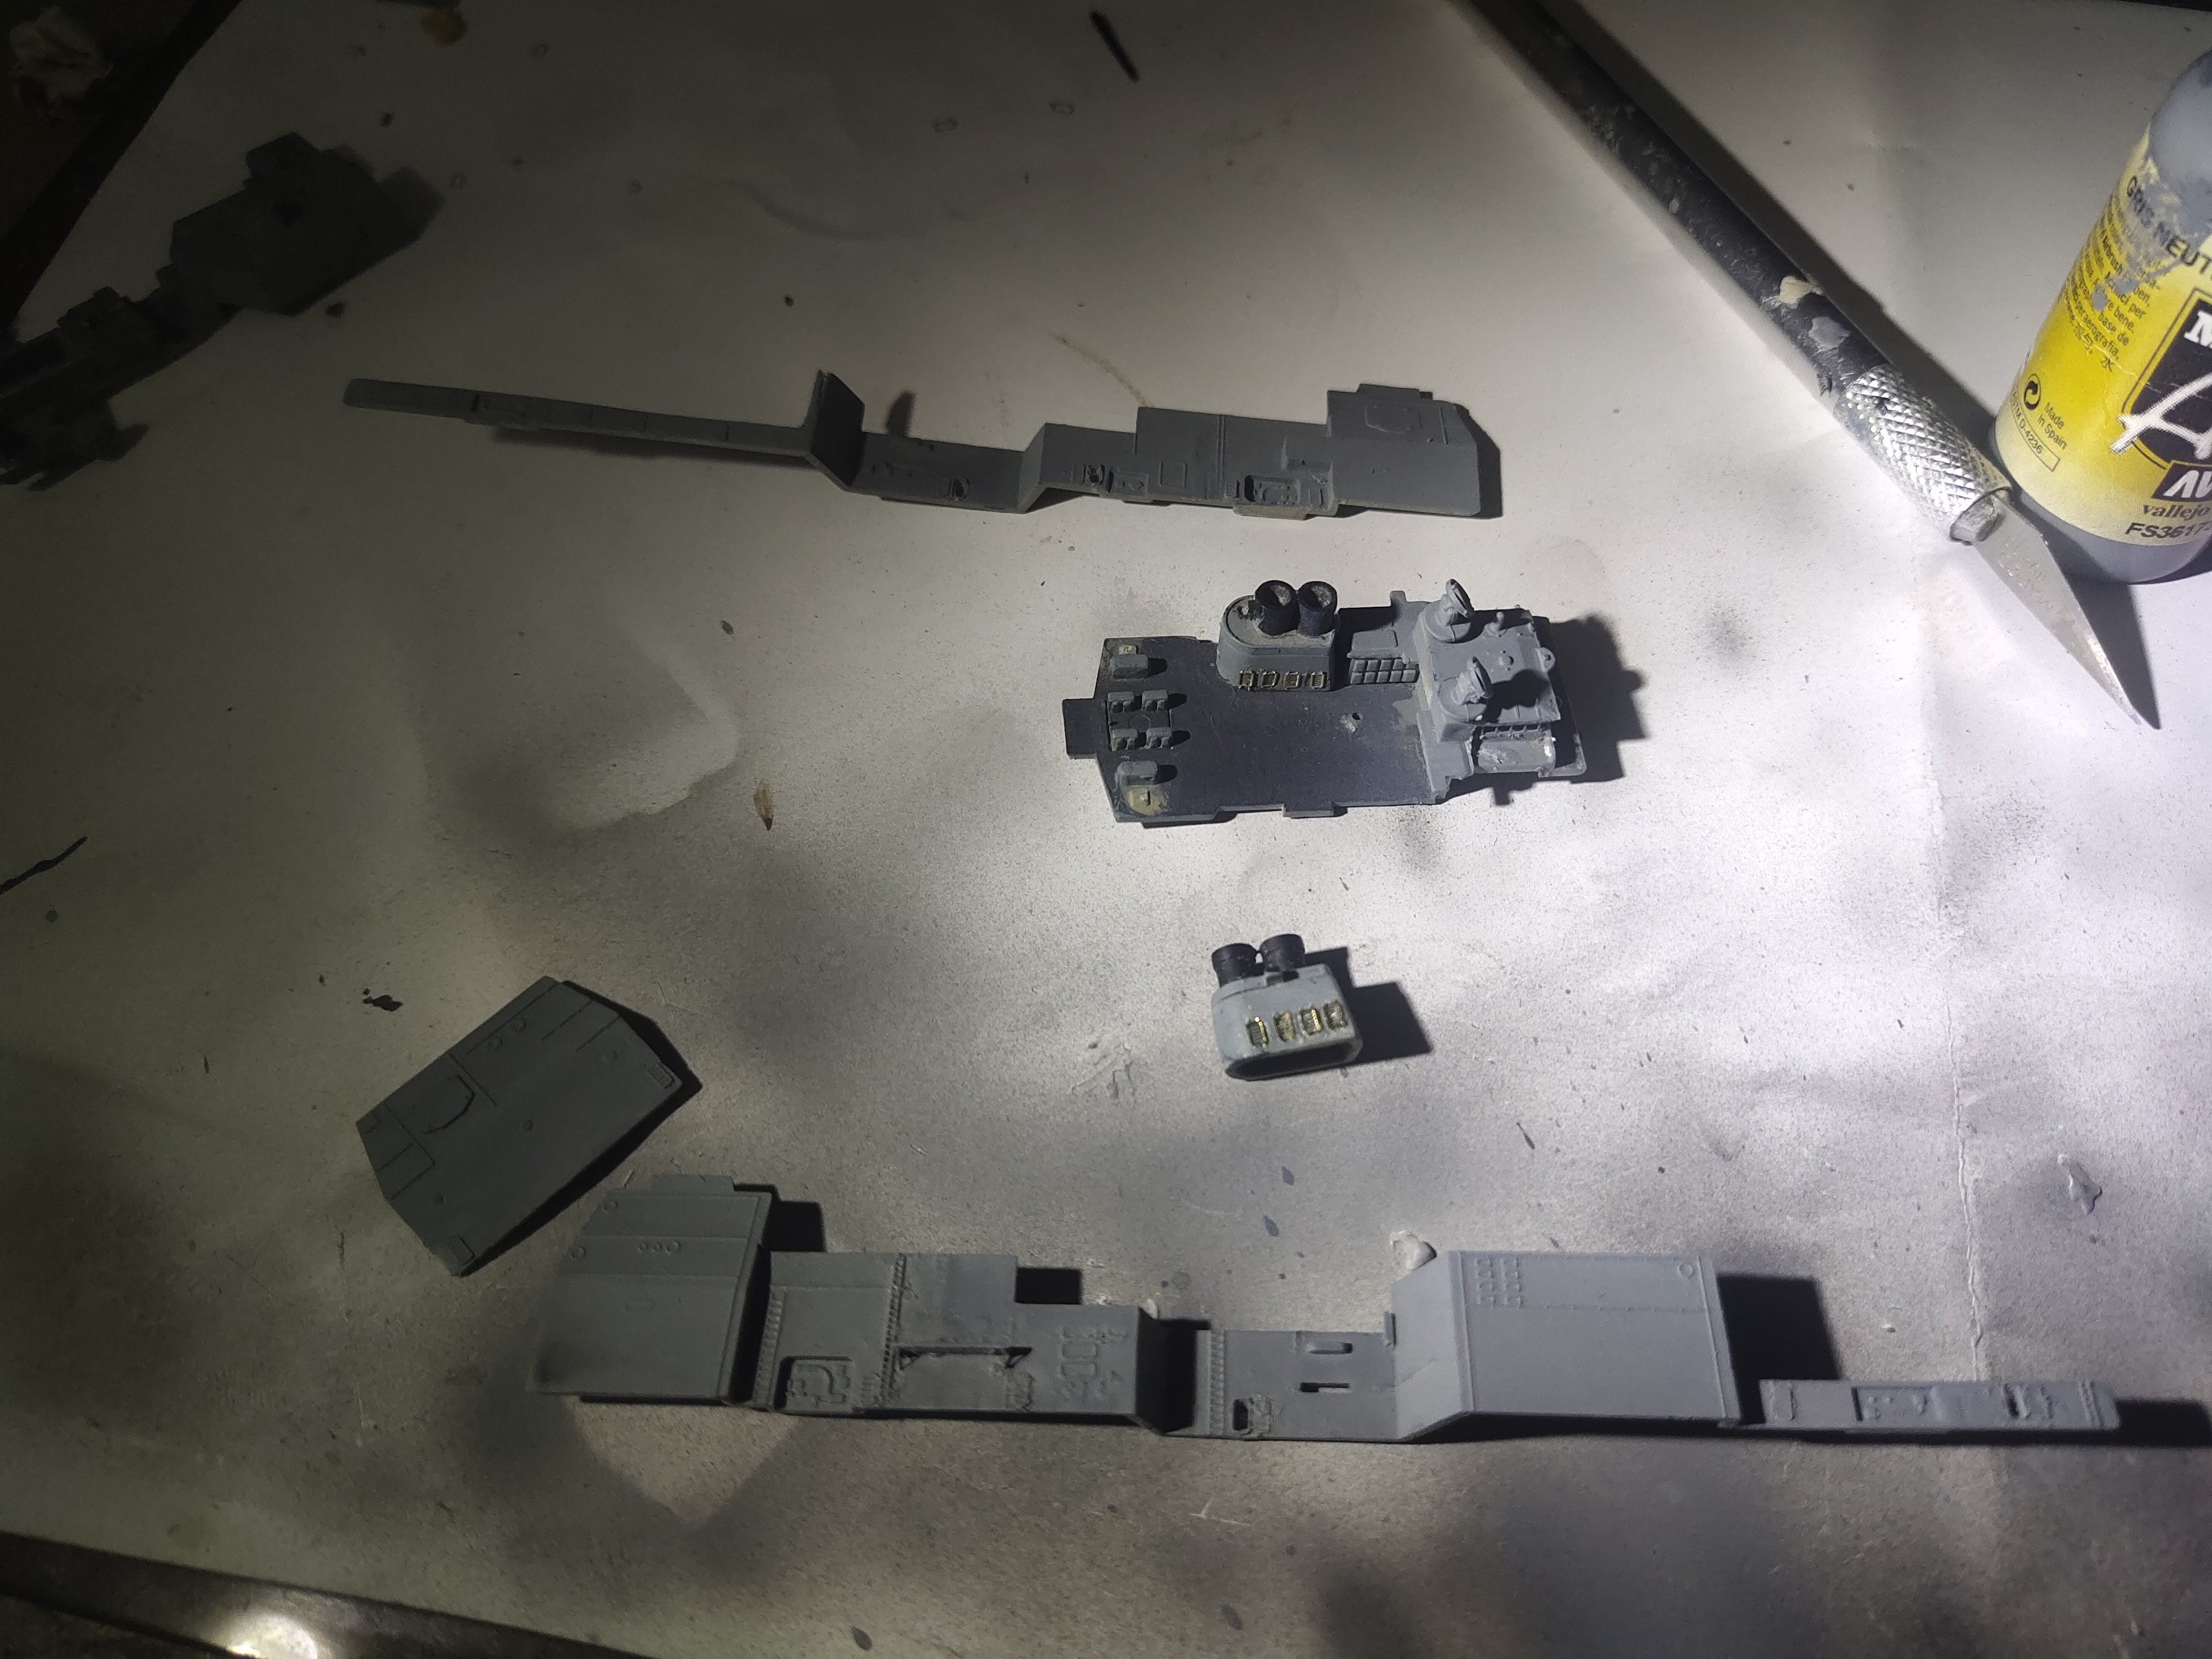
I printed most of the parts.Since I used a plan to calculate the size of the pieces and the PE parts are made to replace standard plastic parts of specific kits some misfitting is expected. Some PEs won't be used as the required details is already designed at the parts I printed.


- mtaylor, GrandpaPhil, Canute and 4 others
-
7
-
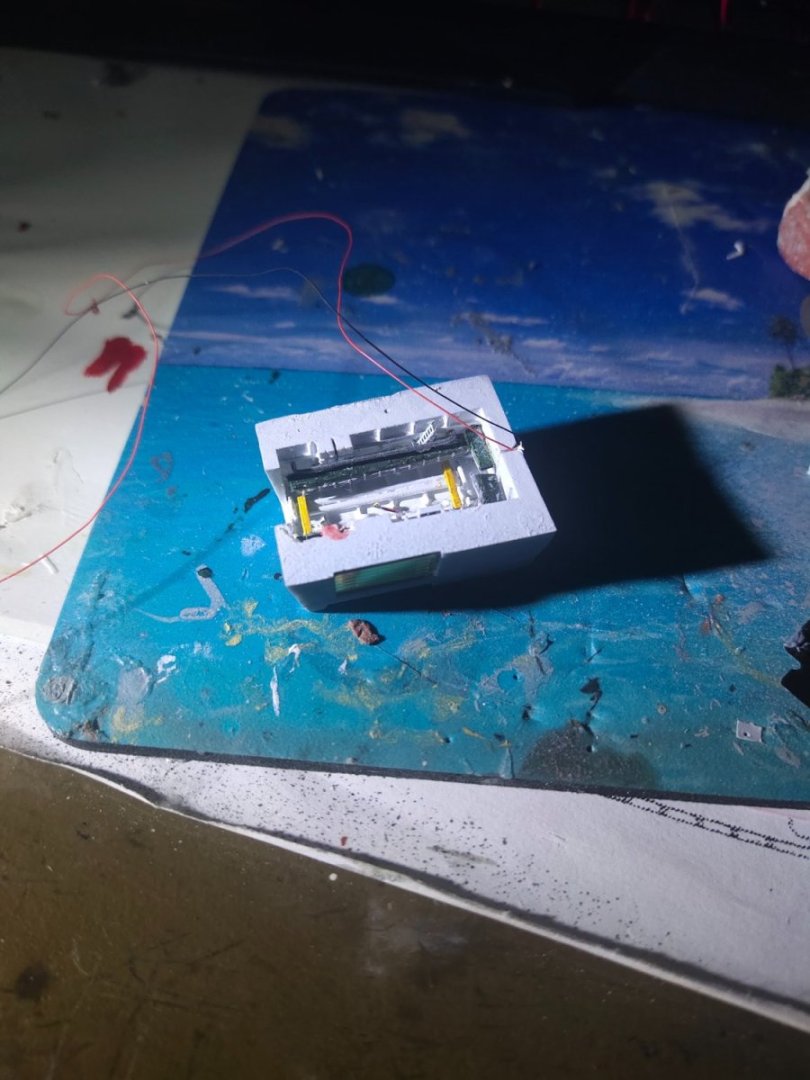
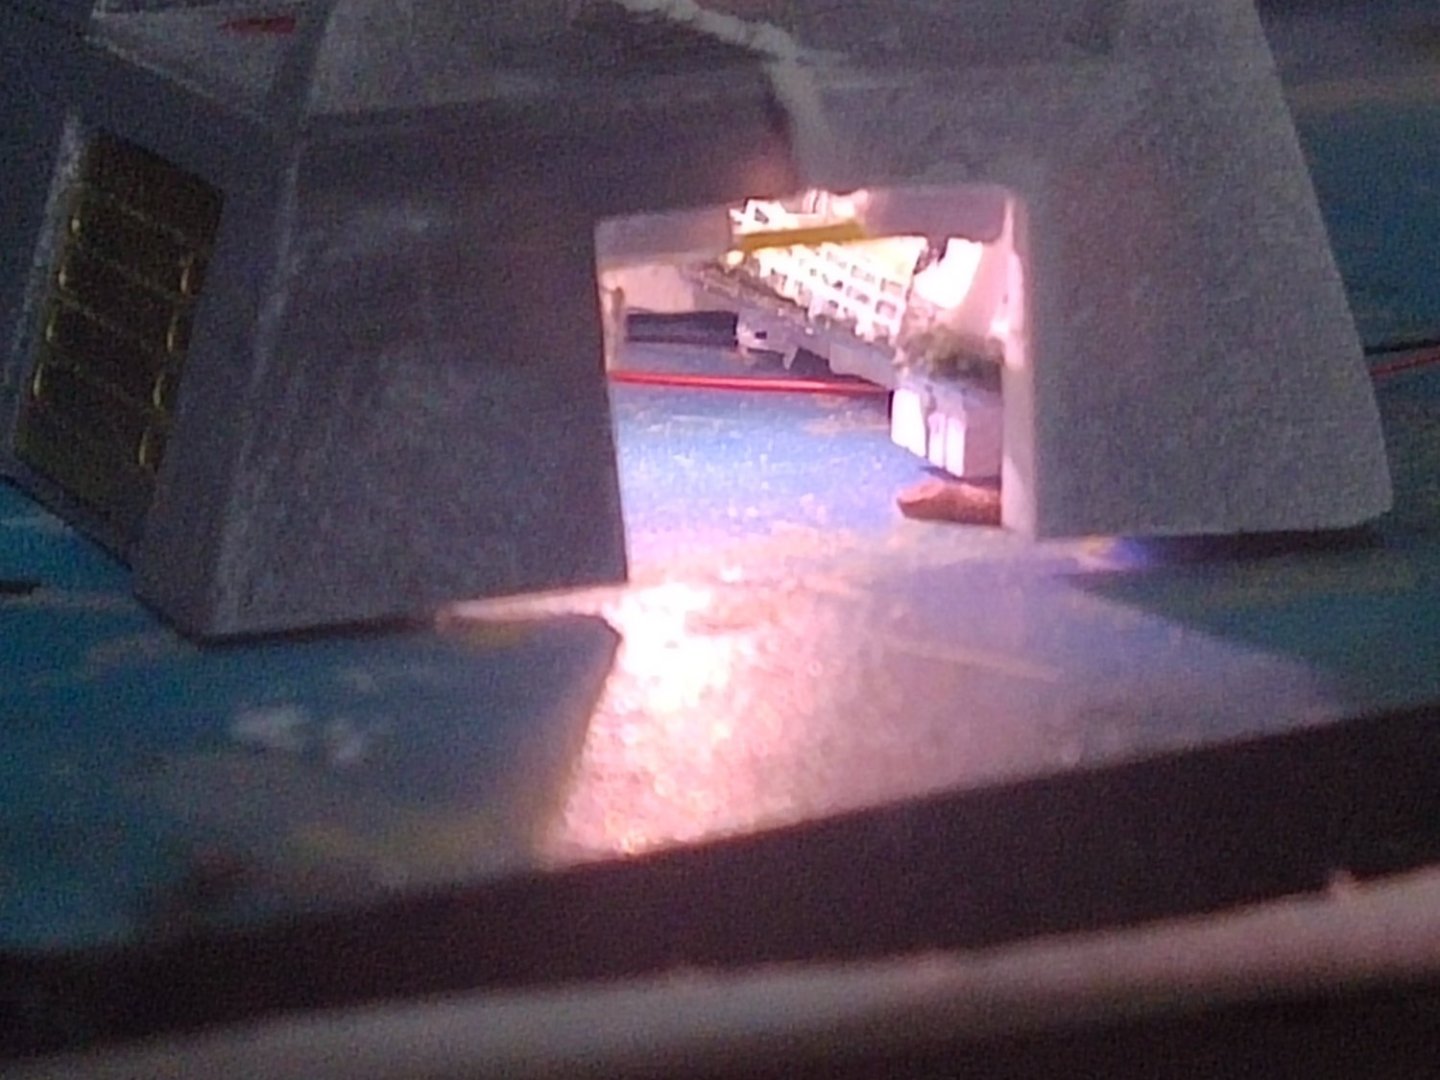
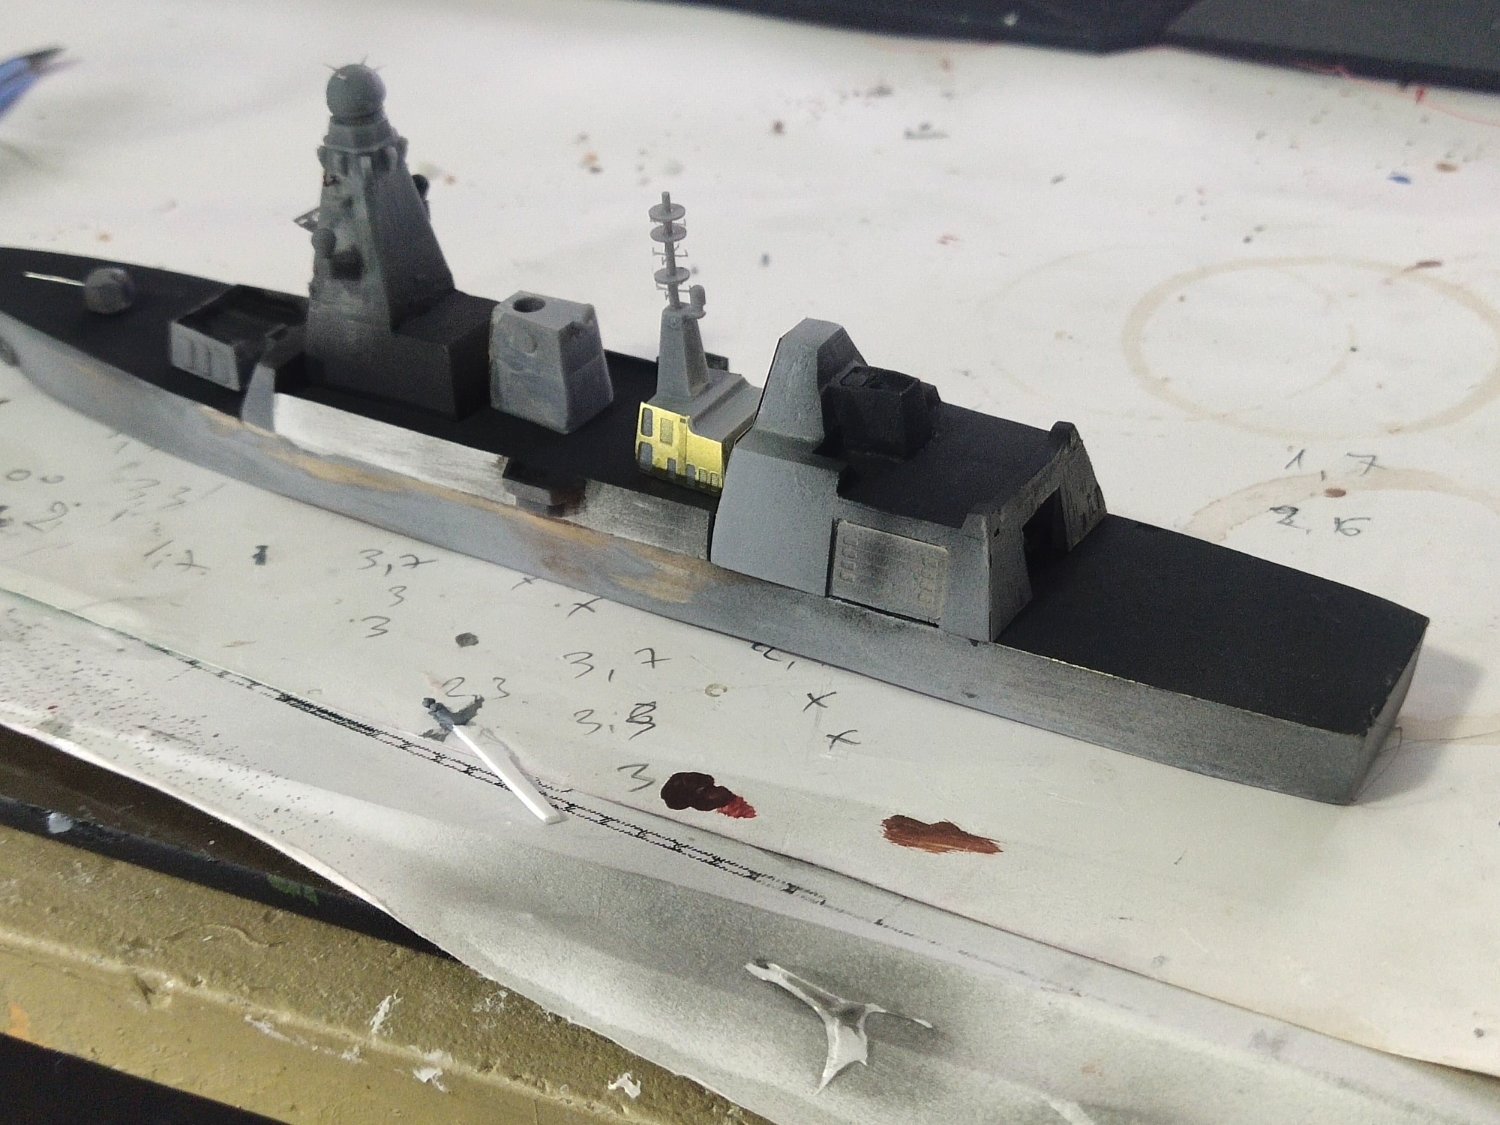
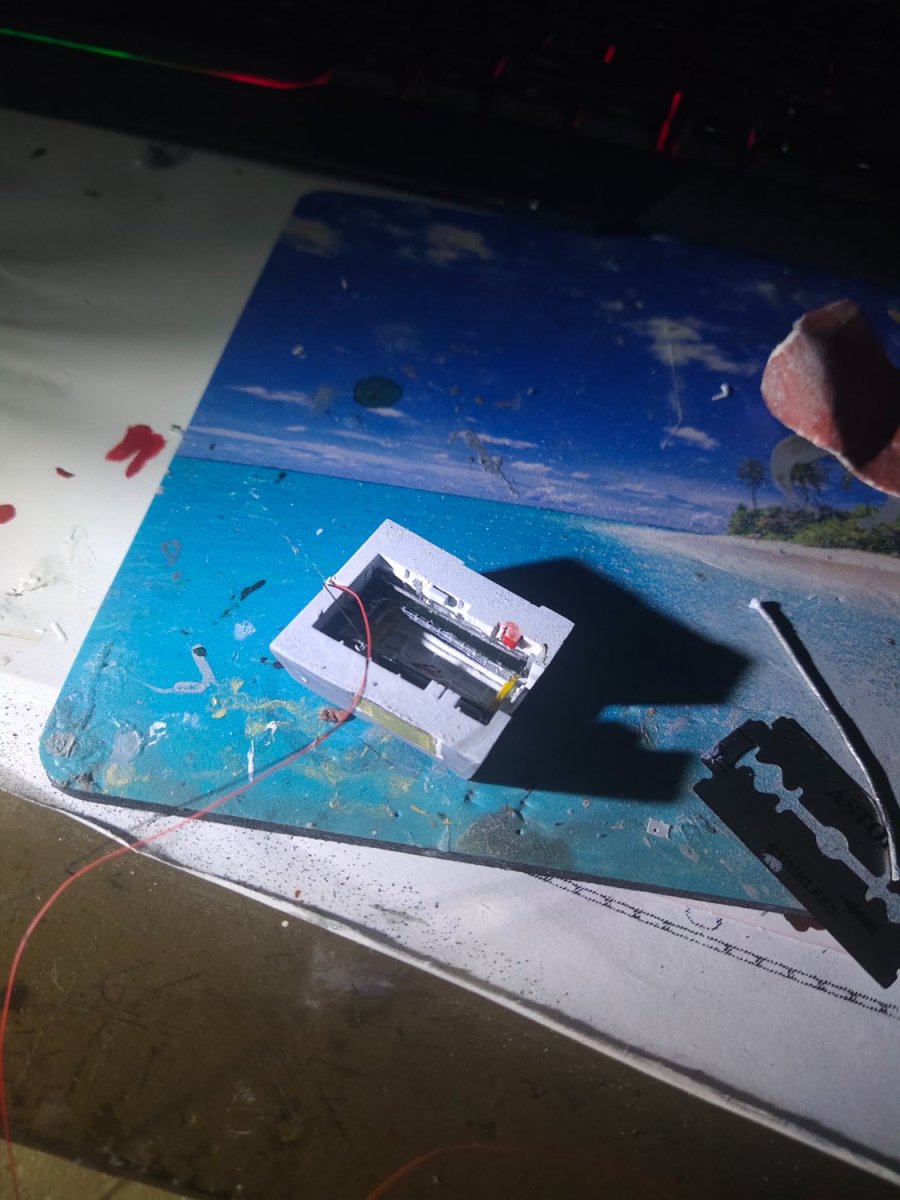
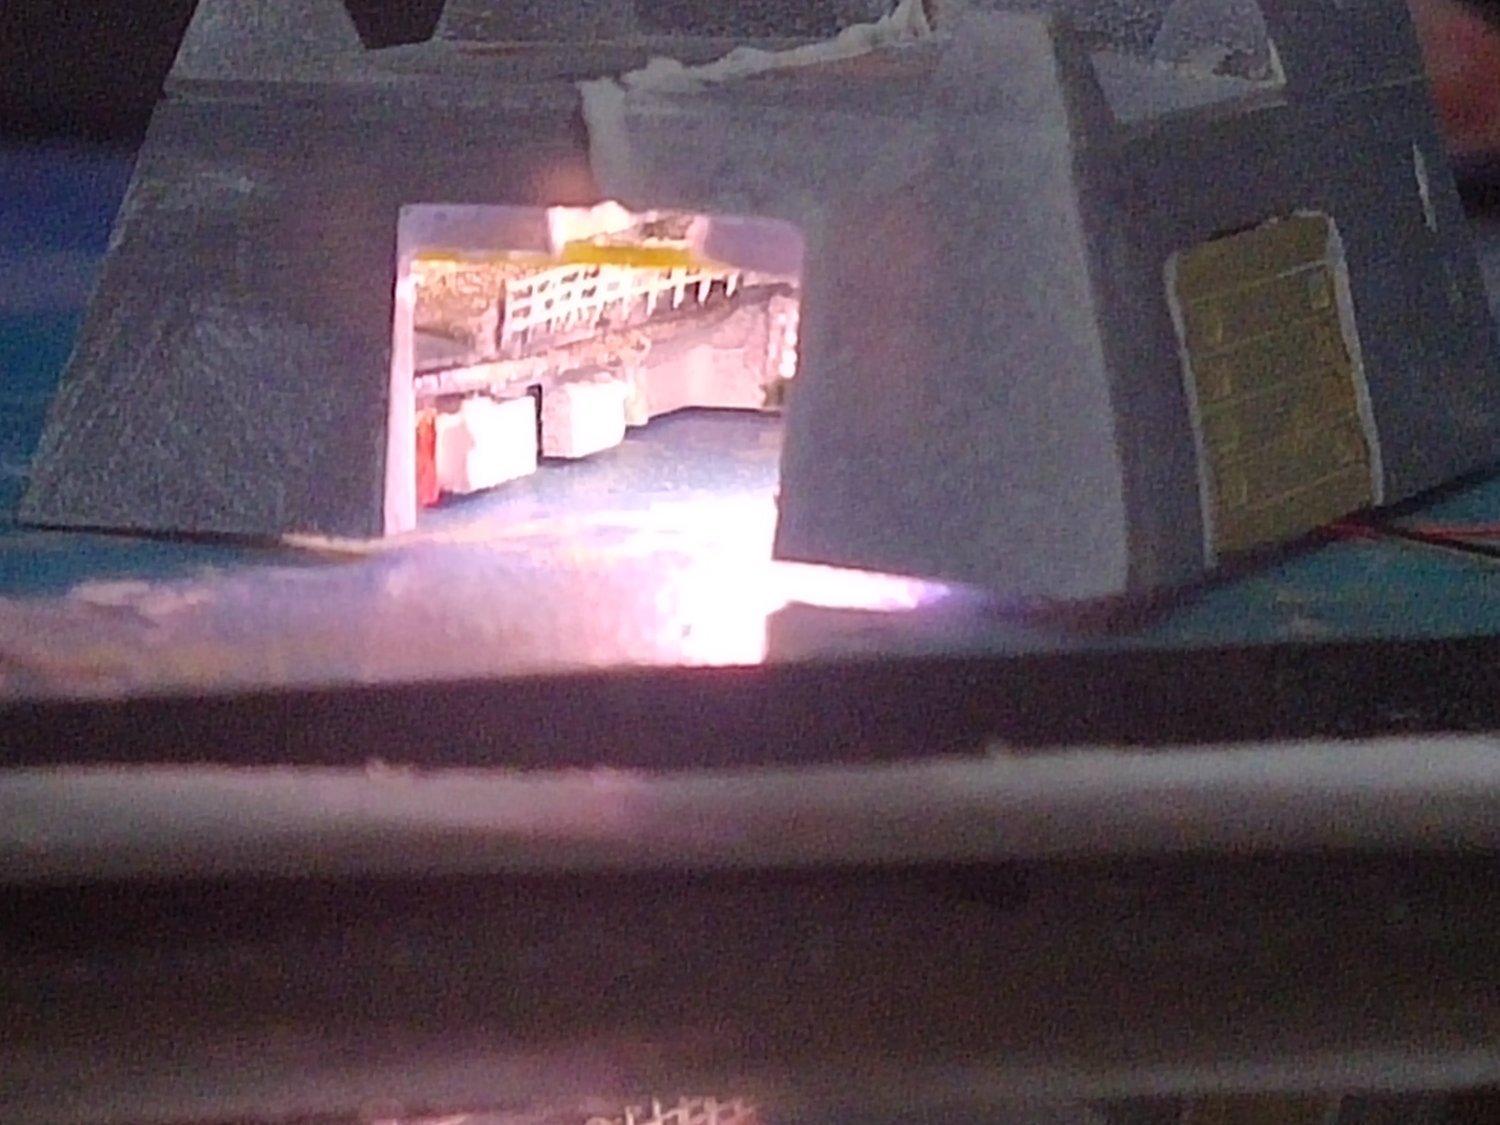
So I made the second part and glued them together. Light was tested. Some misfittings at the end of the hangar won't be visible so I don't bother.


- GrandpaPhil, KeithAug, yvesvidal and 3 others
-
6
-
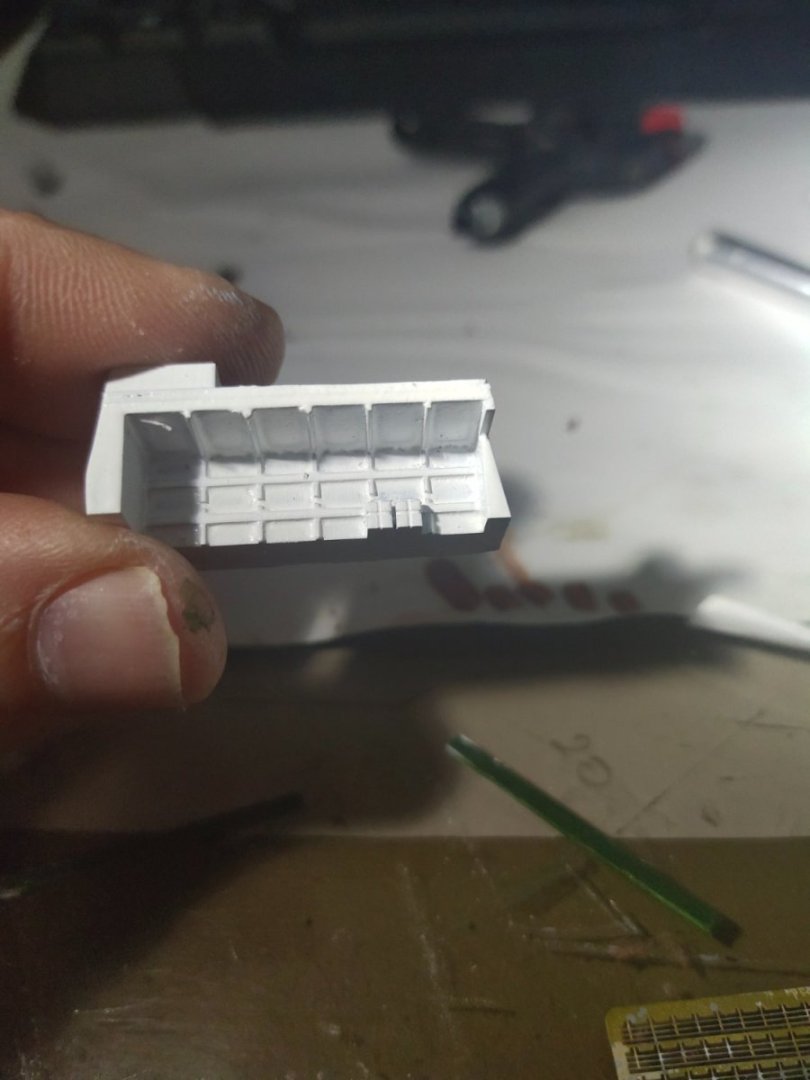
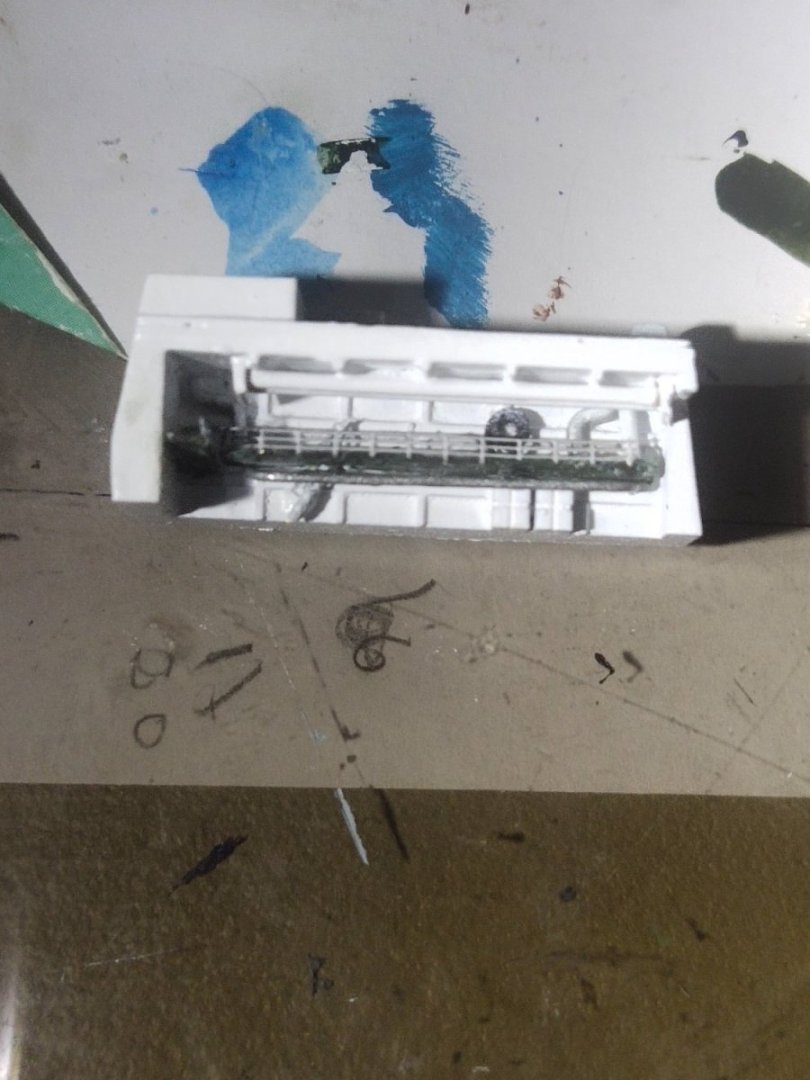
Next was the hangar. I printed the right half and made some adjustment to fit the PE externally. I made them in separate pieces so I can scratch built the interior more easily them glue them together. Like in Horizon class because of the side compartments for inflatable storage, the heli hangar is somewhat narrow.

- yvesvidal, KeithAug, GrandpaPhil and 3 others
-
6
-
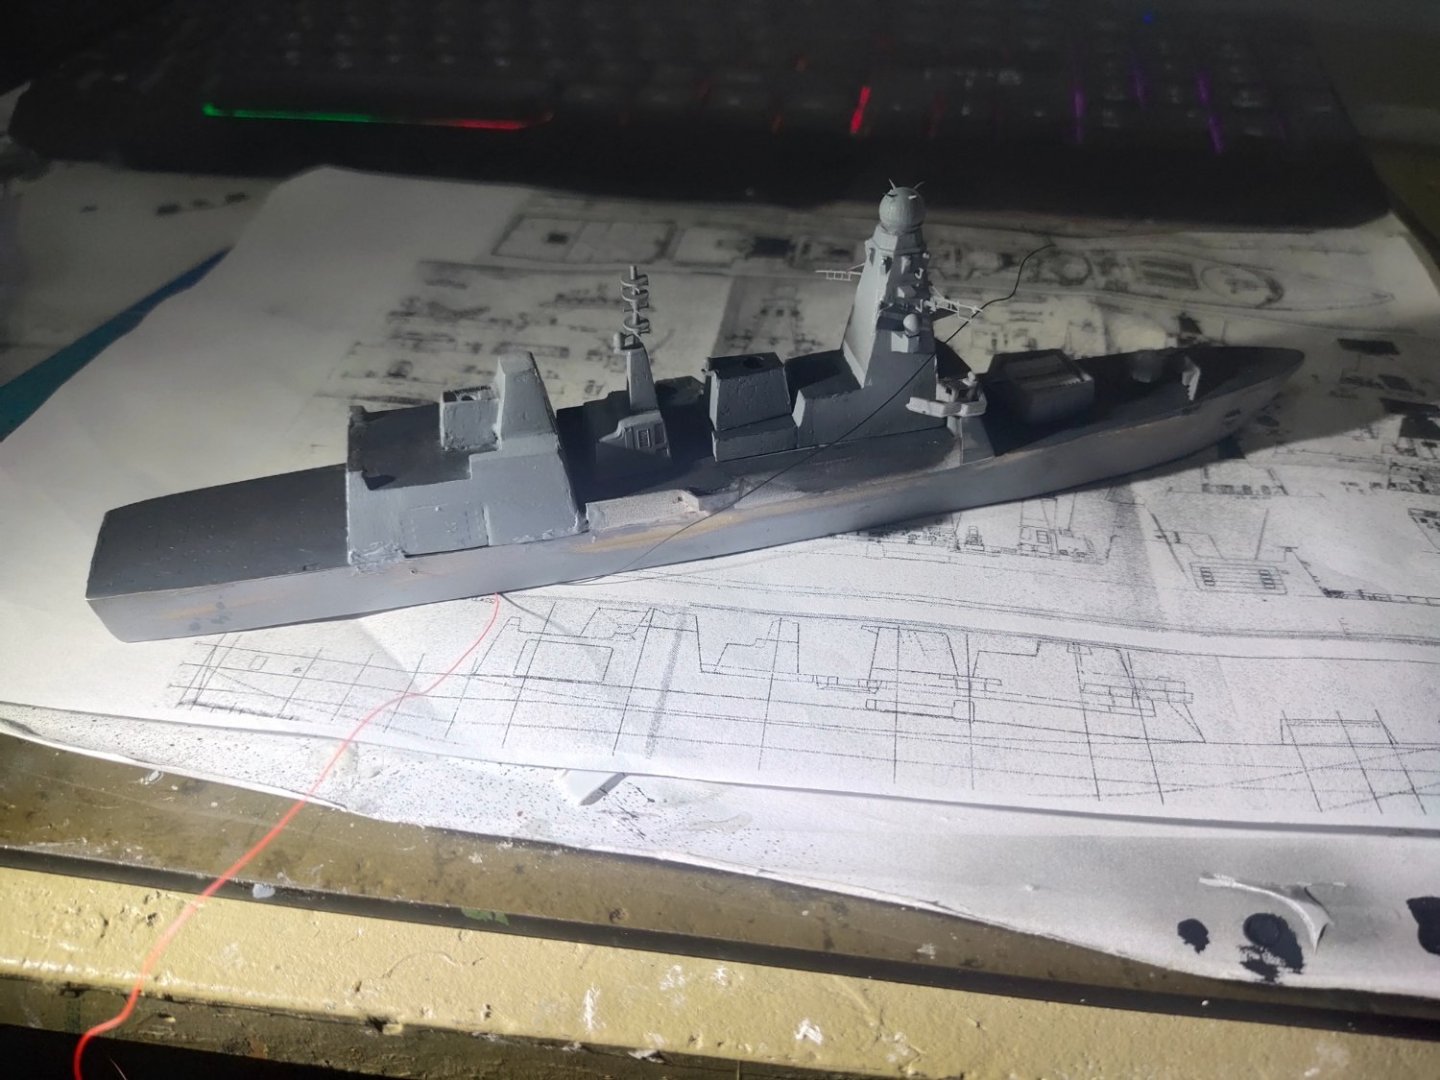
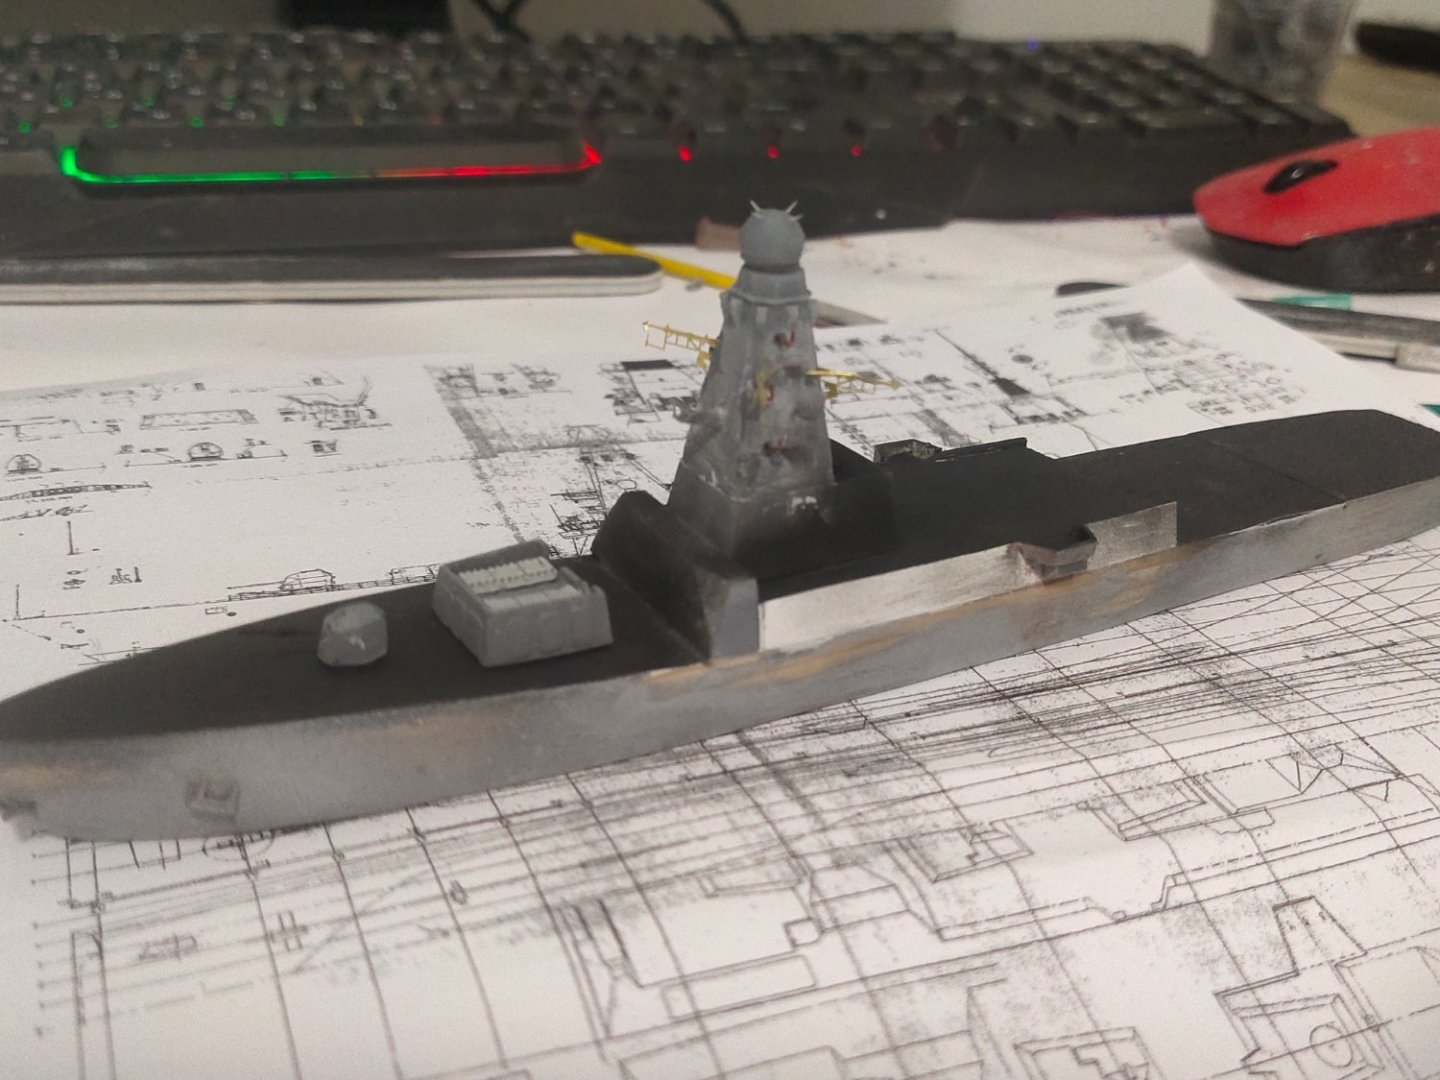
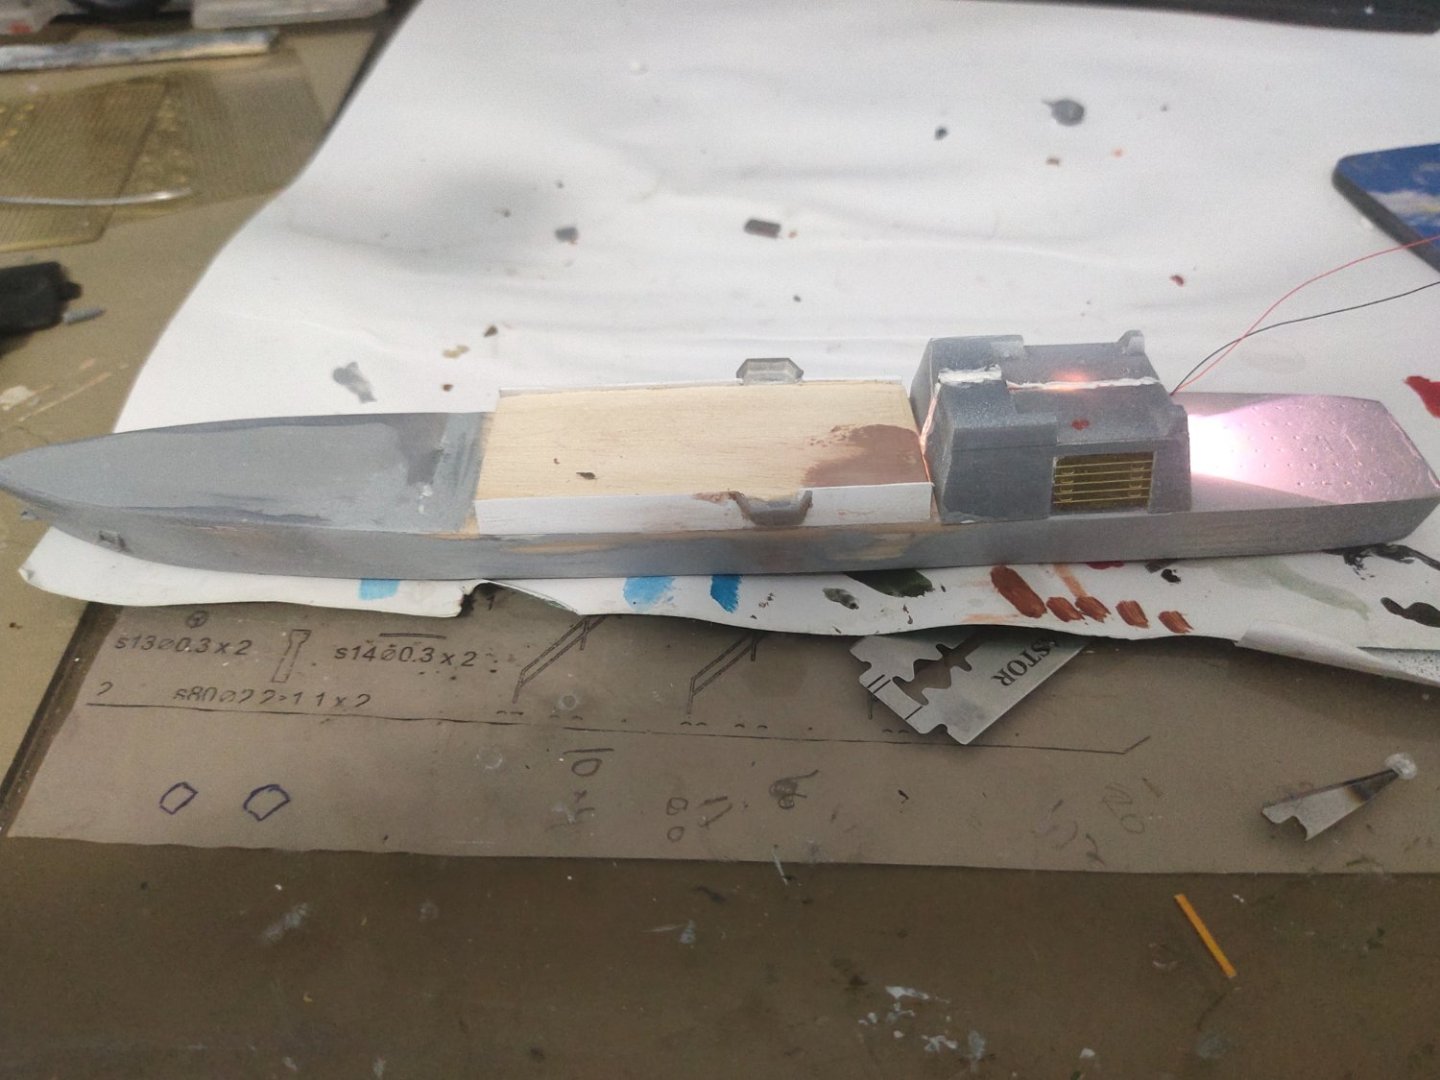
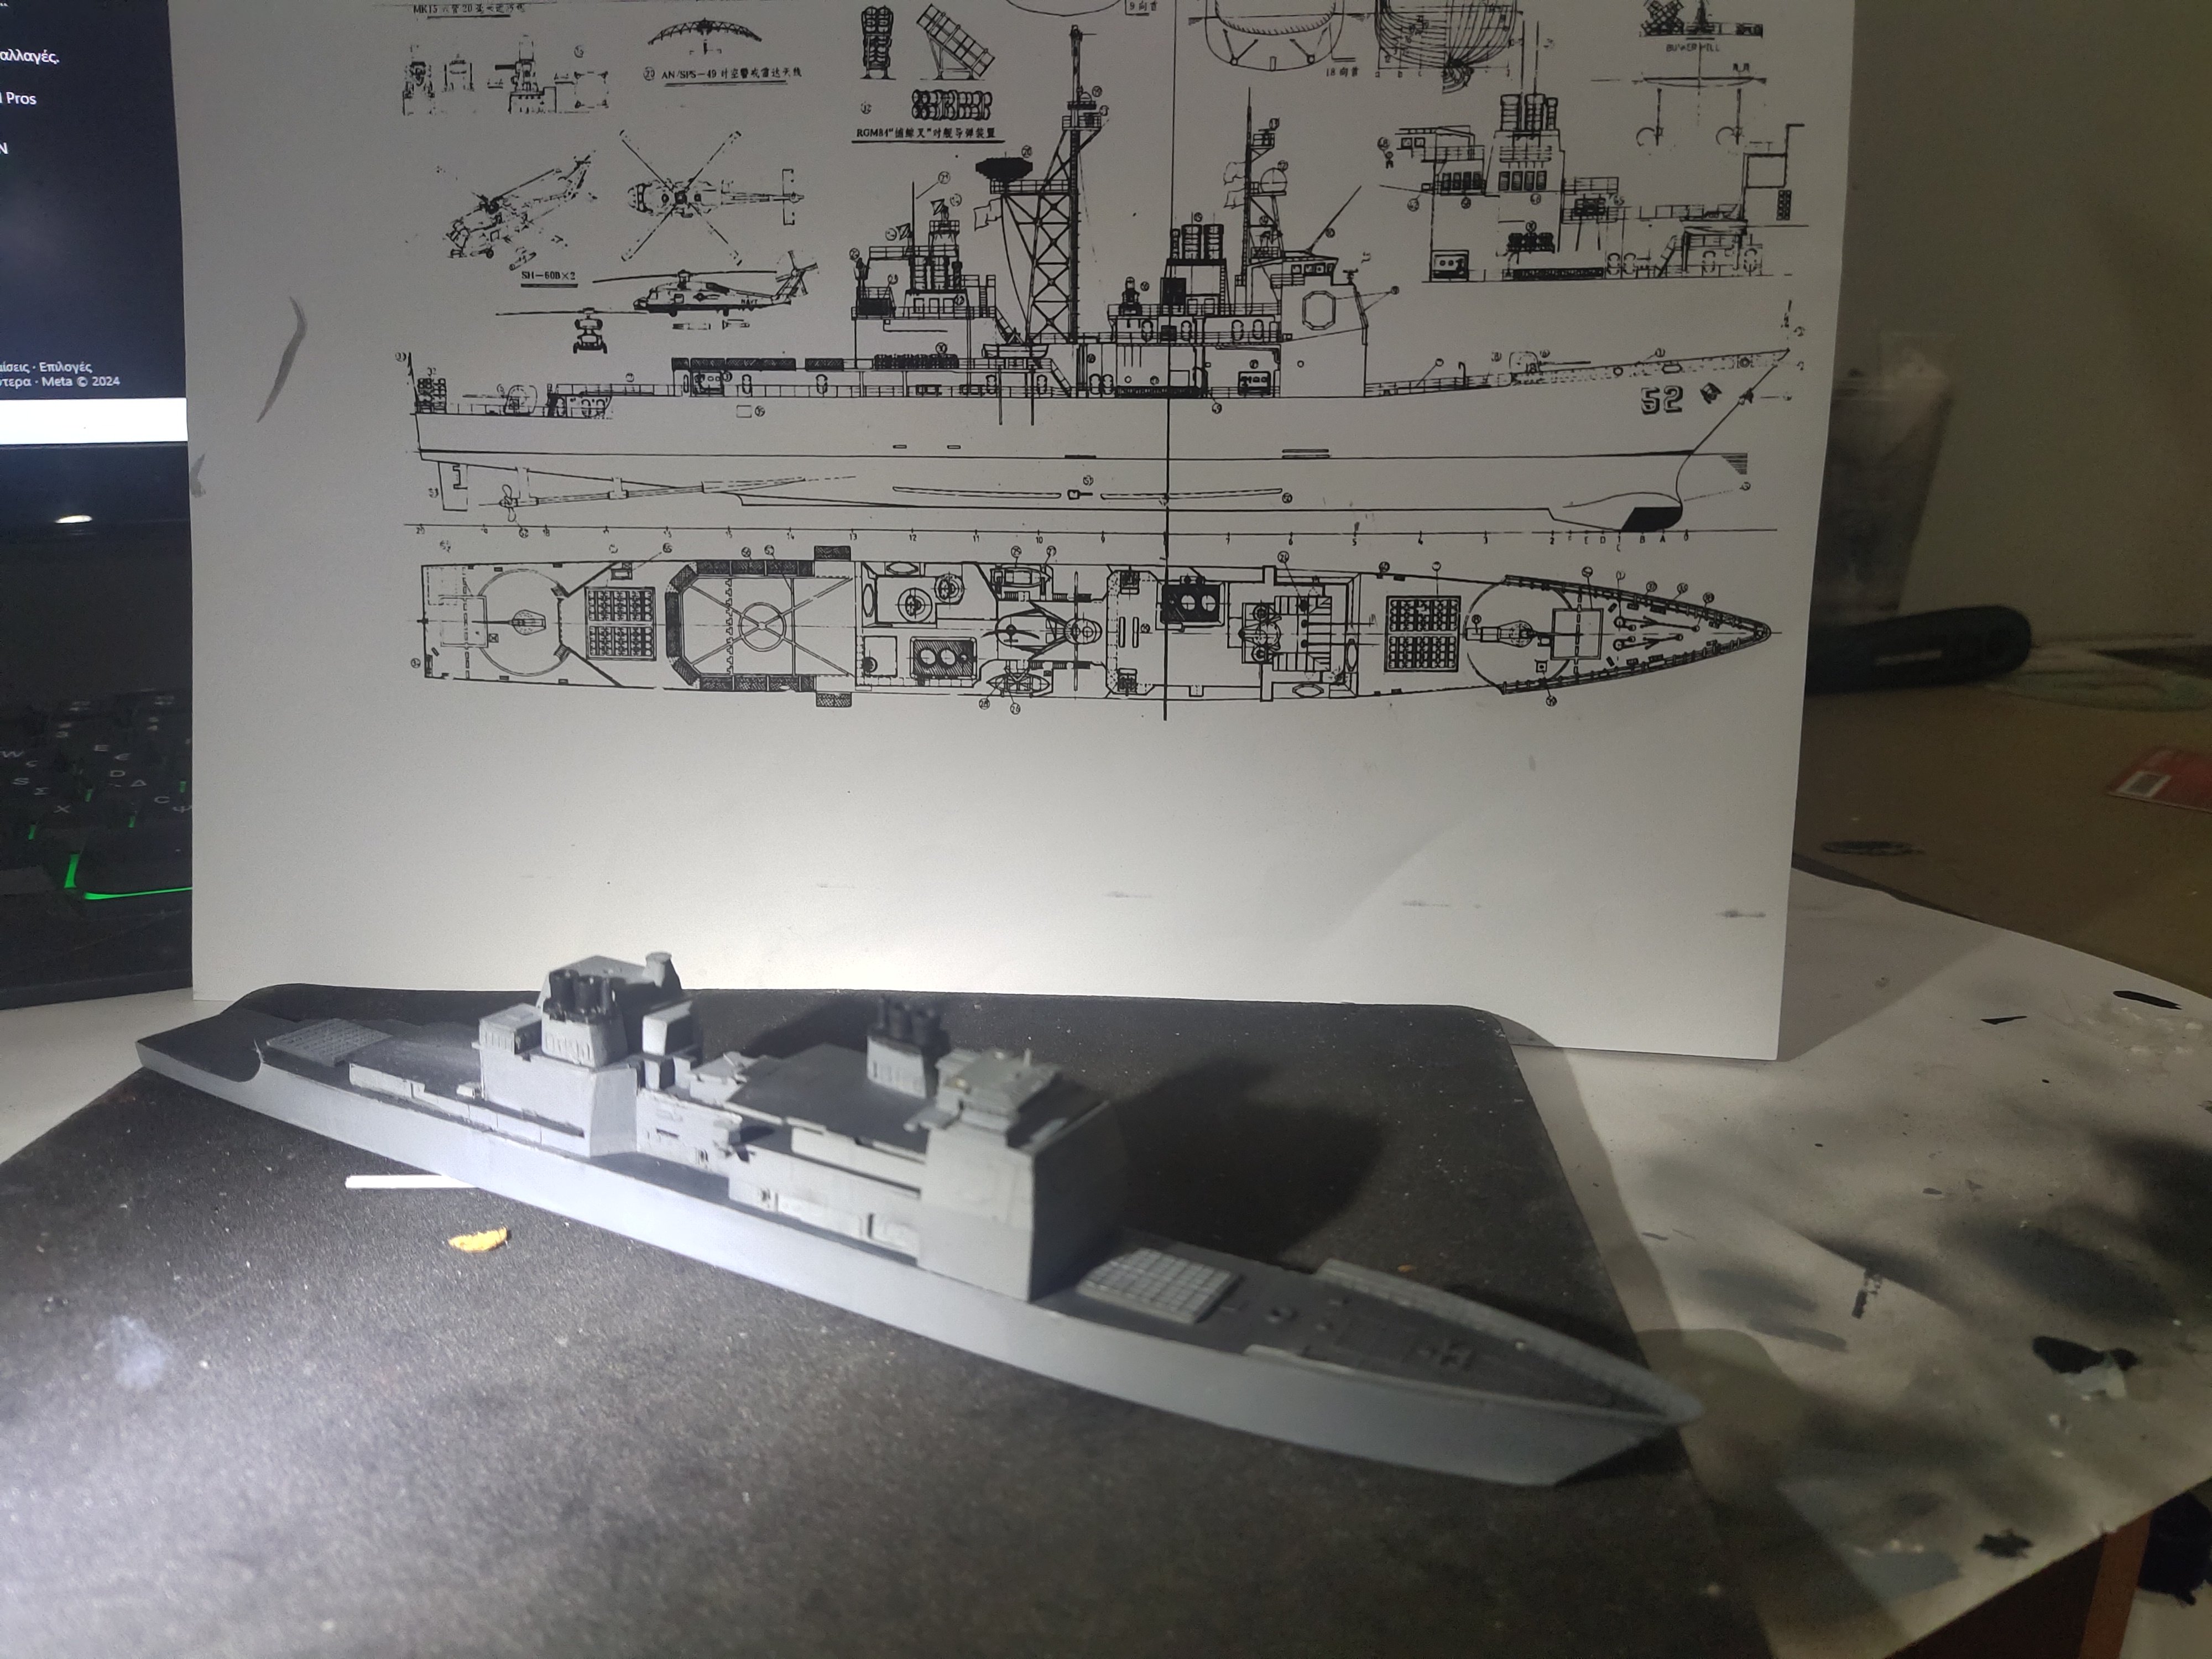
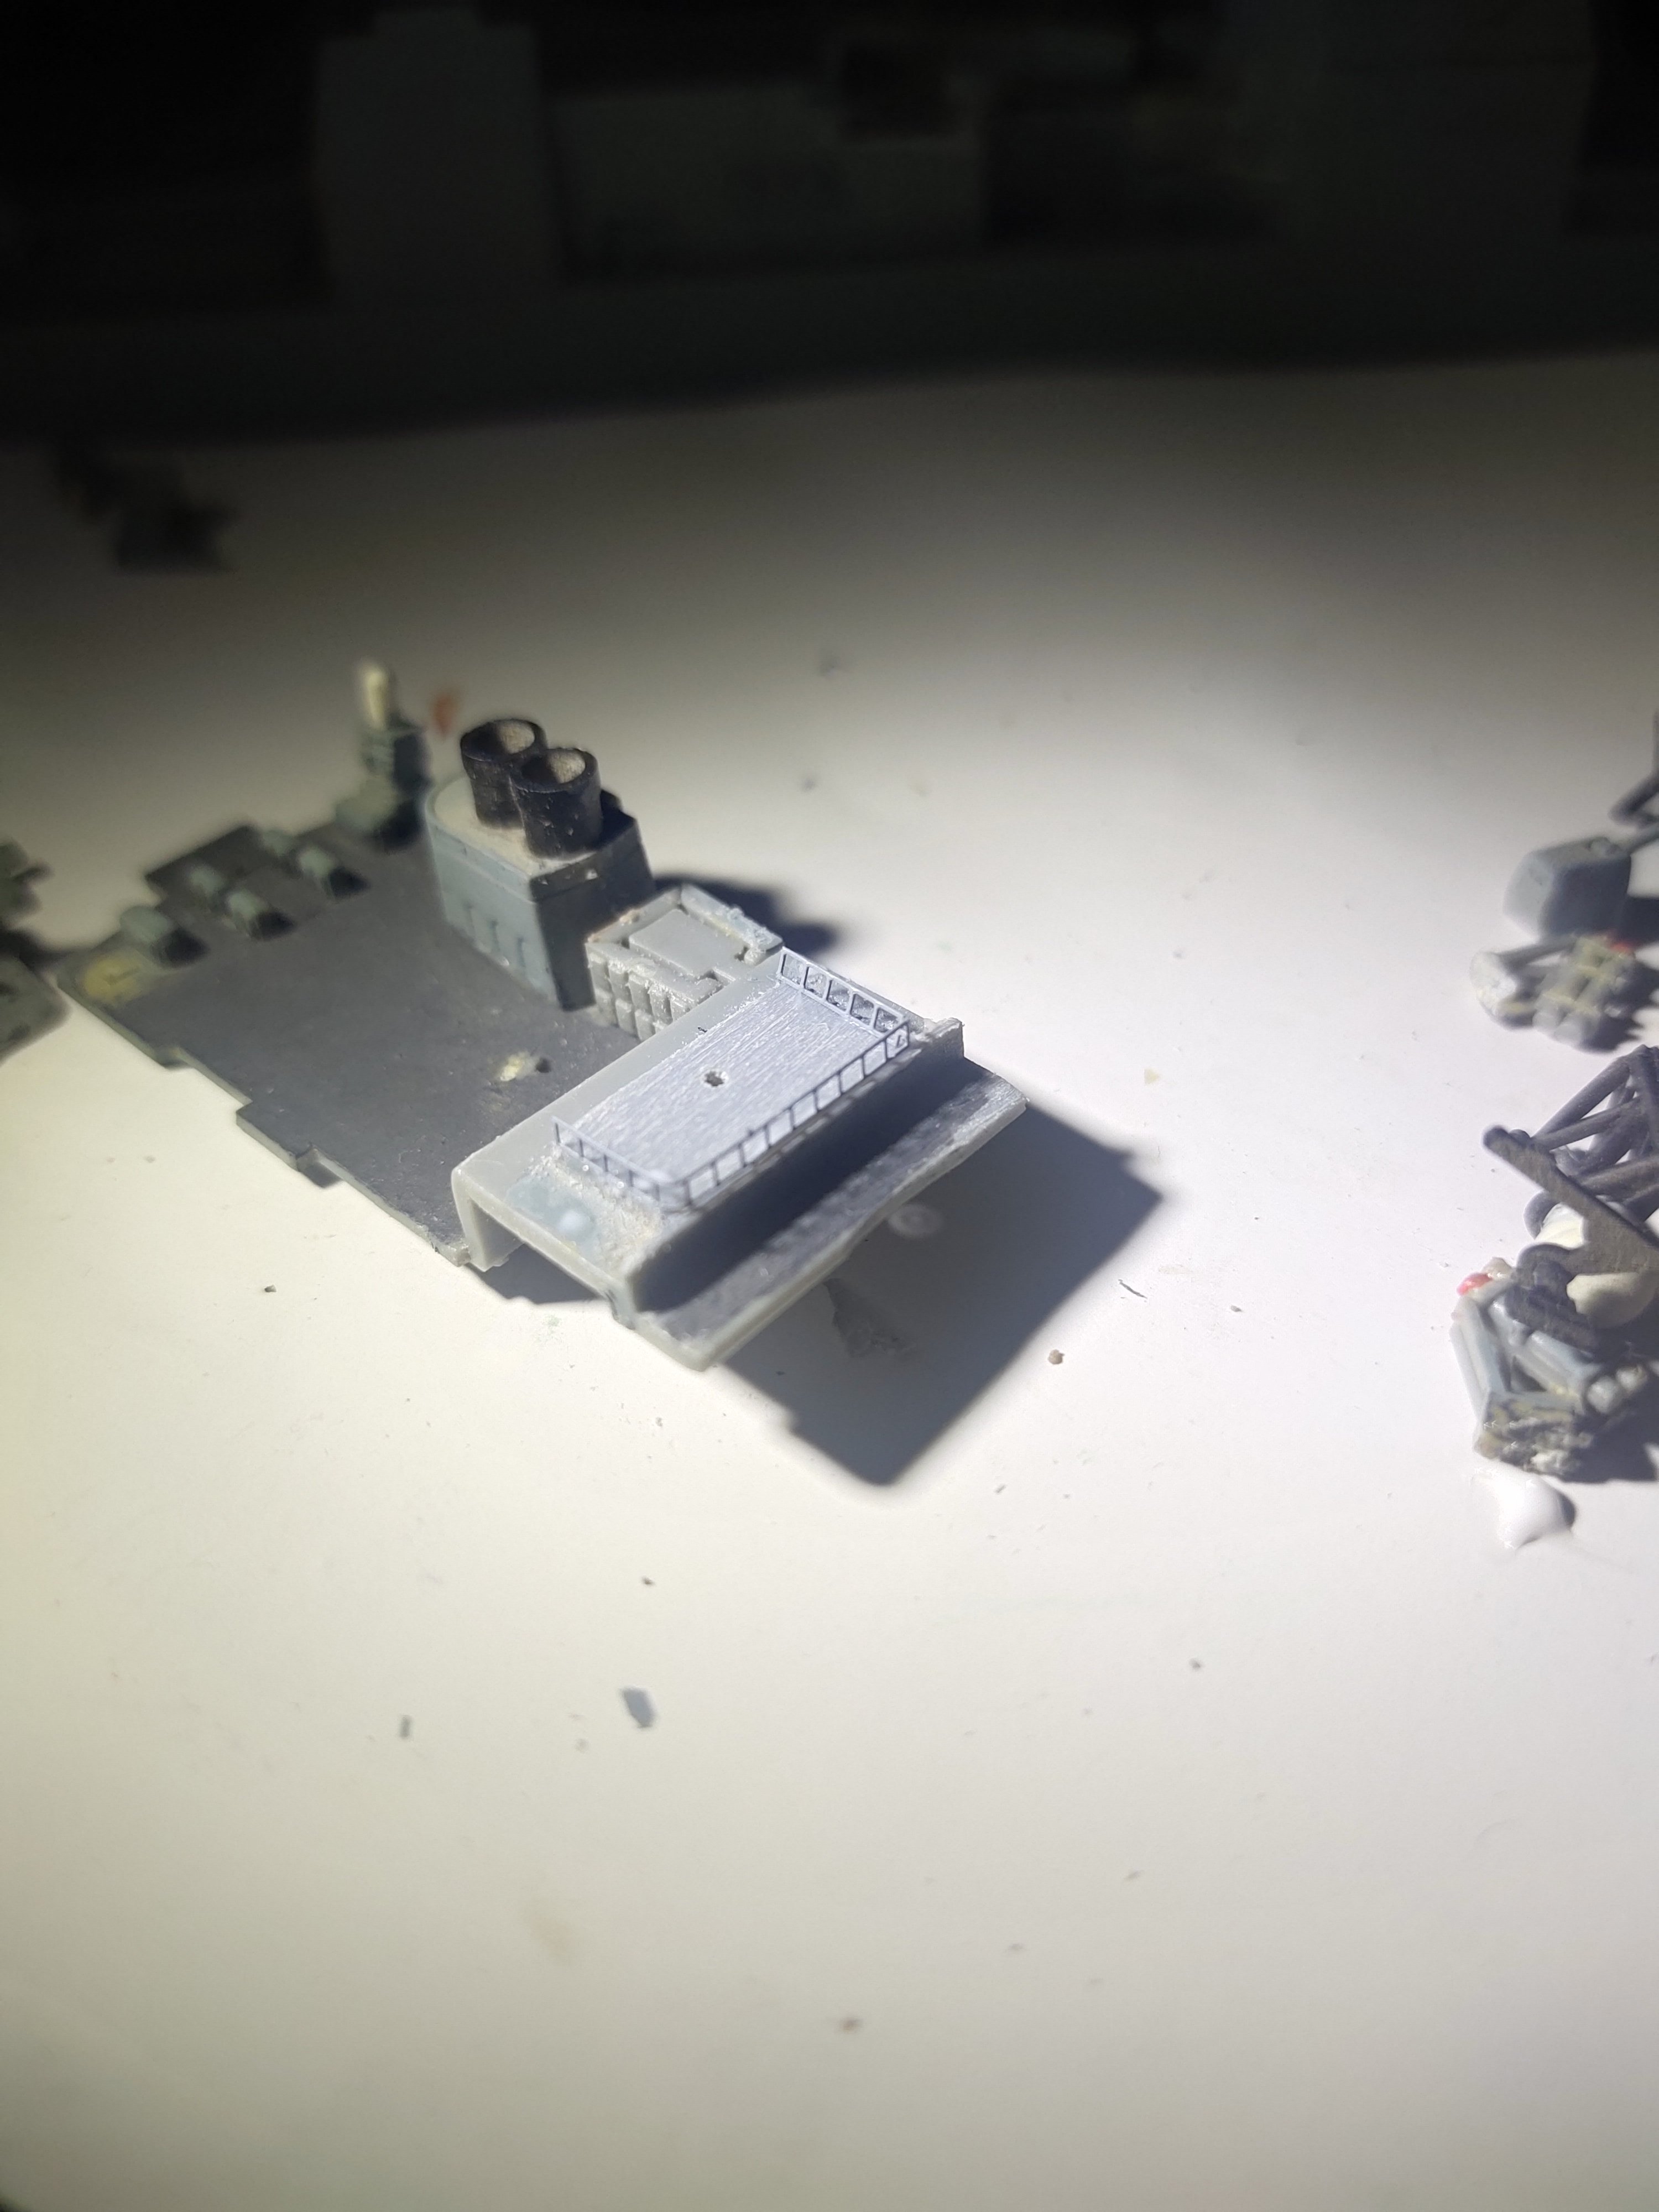
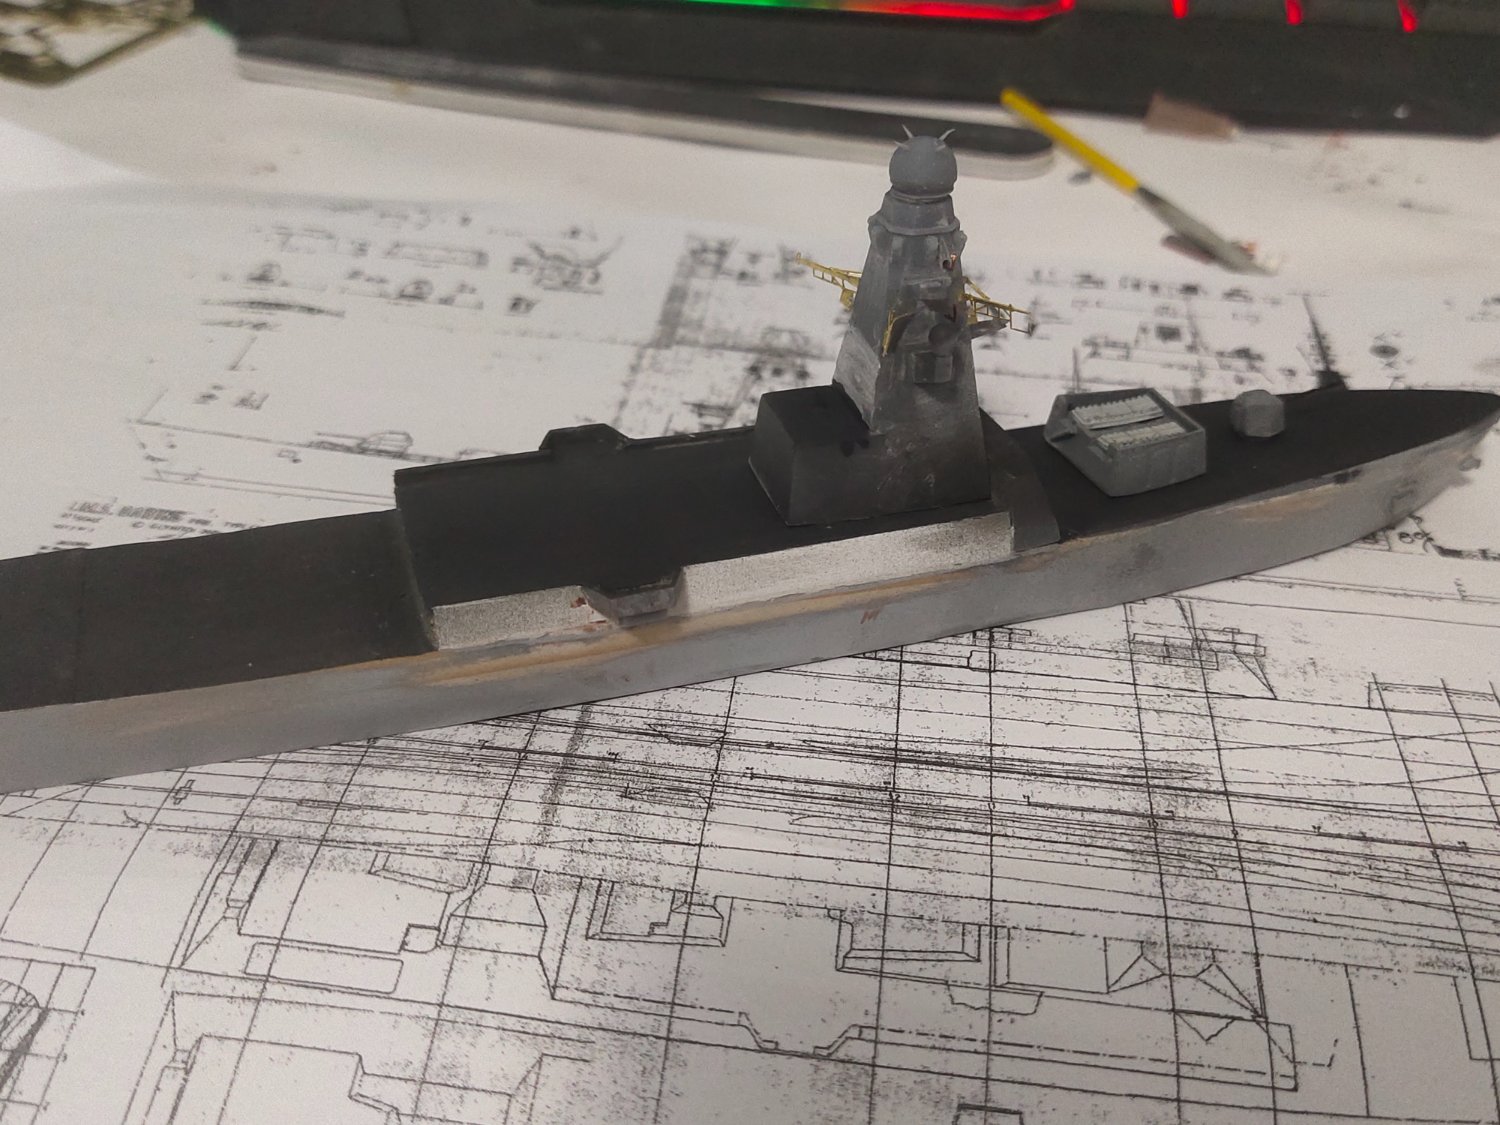
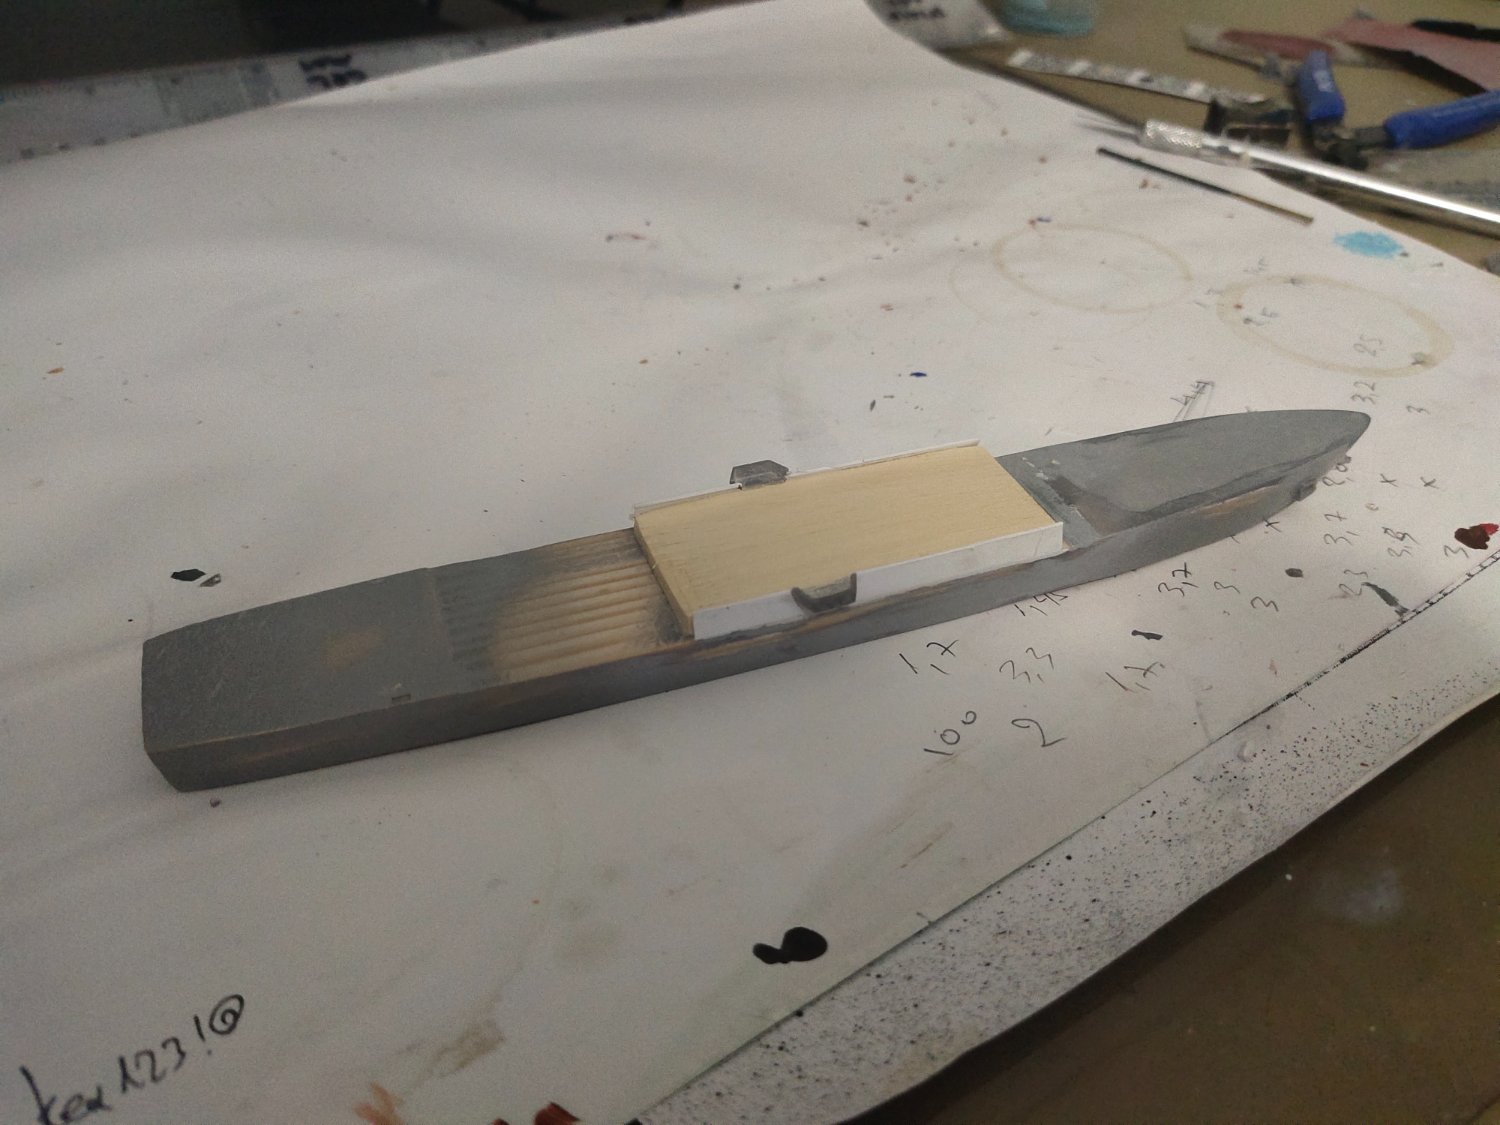
Next was to print the central area between the hangar and the bridge where funnels and towers will placed upon.

However because of warping problems that I couldn't solve after many attempts, I removed it and replaced it with plywood wrapped with plastic fillets for a smoother finish. This handwork took me 2 hours instead of 2 wasted evenings, what a bitter lesson.
Fortunately the other piece, the main canon printed just fine and a barrel made of needle pieces was added along with hand rails.


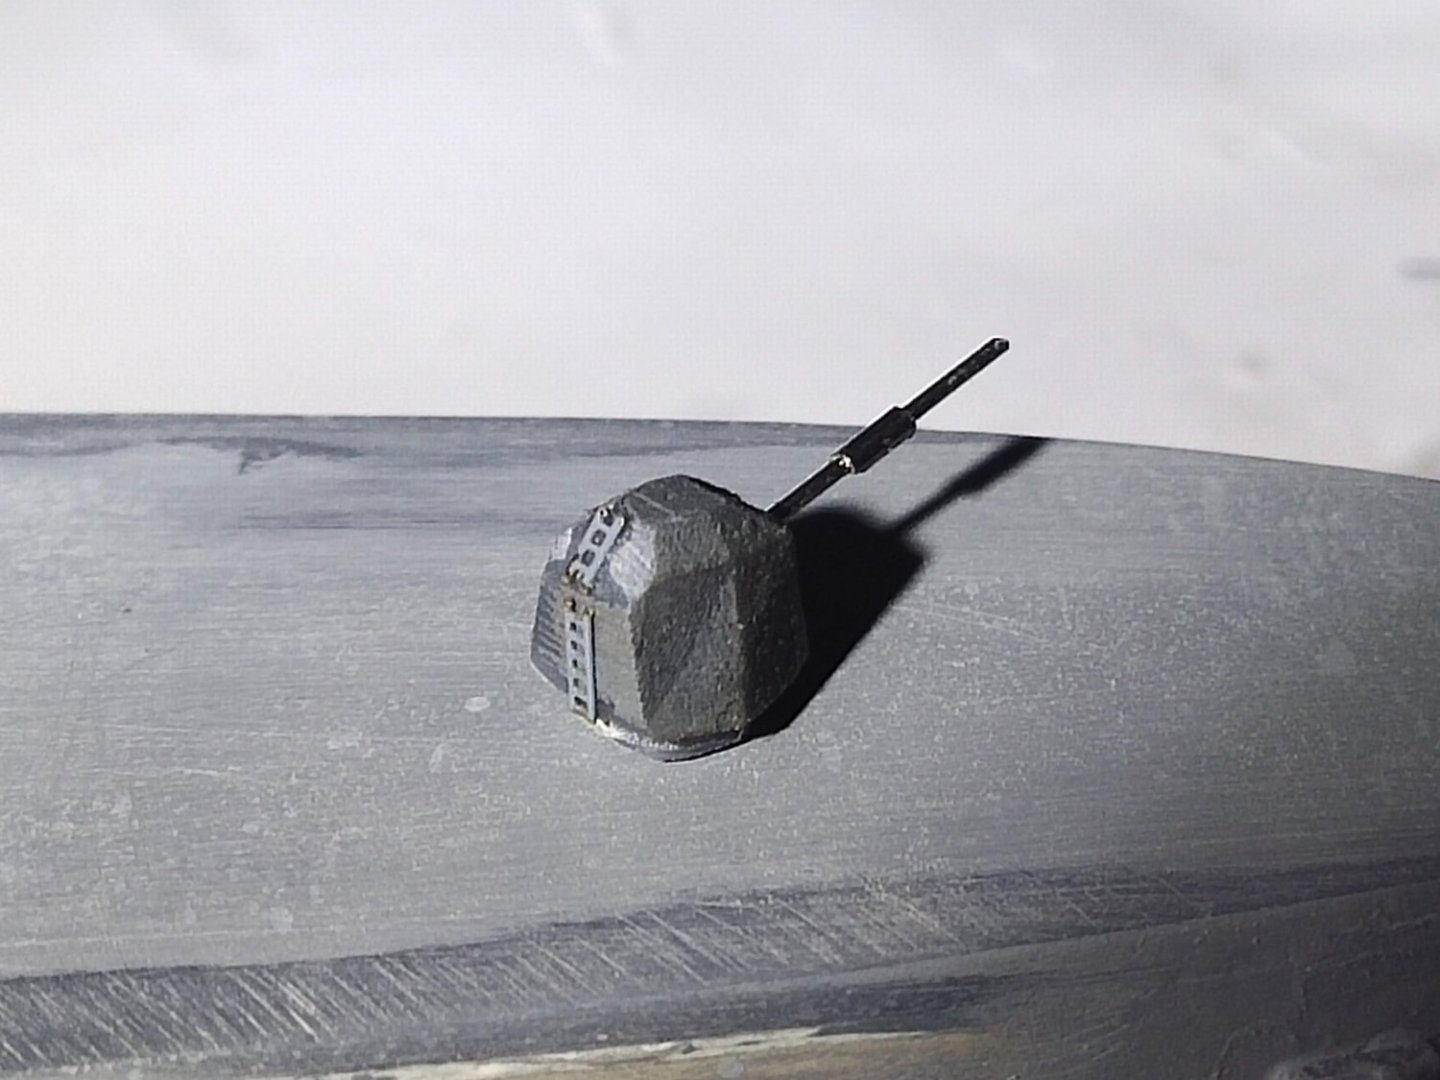
- GrandpaPhil, mtaylor, ccoyle and 4 others
-
7


LPH-11 USS New Orleans by Spaceman Spiff - Iron Shipwrights - 1/350 - RESIN
in - Kit build logs for subjects built from 1901 - Present Day
Posted
sad that there in not a worthy kit of this class in 1/350 or even in 1/700