mikegr
-
Posts
828 -
Joined
-
Last visited
Content Type
Profiles
Forums
Gallery
Events
Everything posted by mikegr
-
Cap San Diego by mikegr - 1/160
mikegr replied to mikegr's topic in - Build logs for subjects built 1901 - Present Day
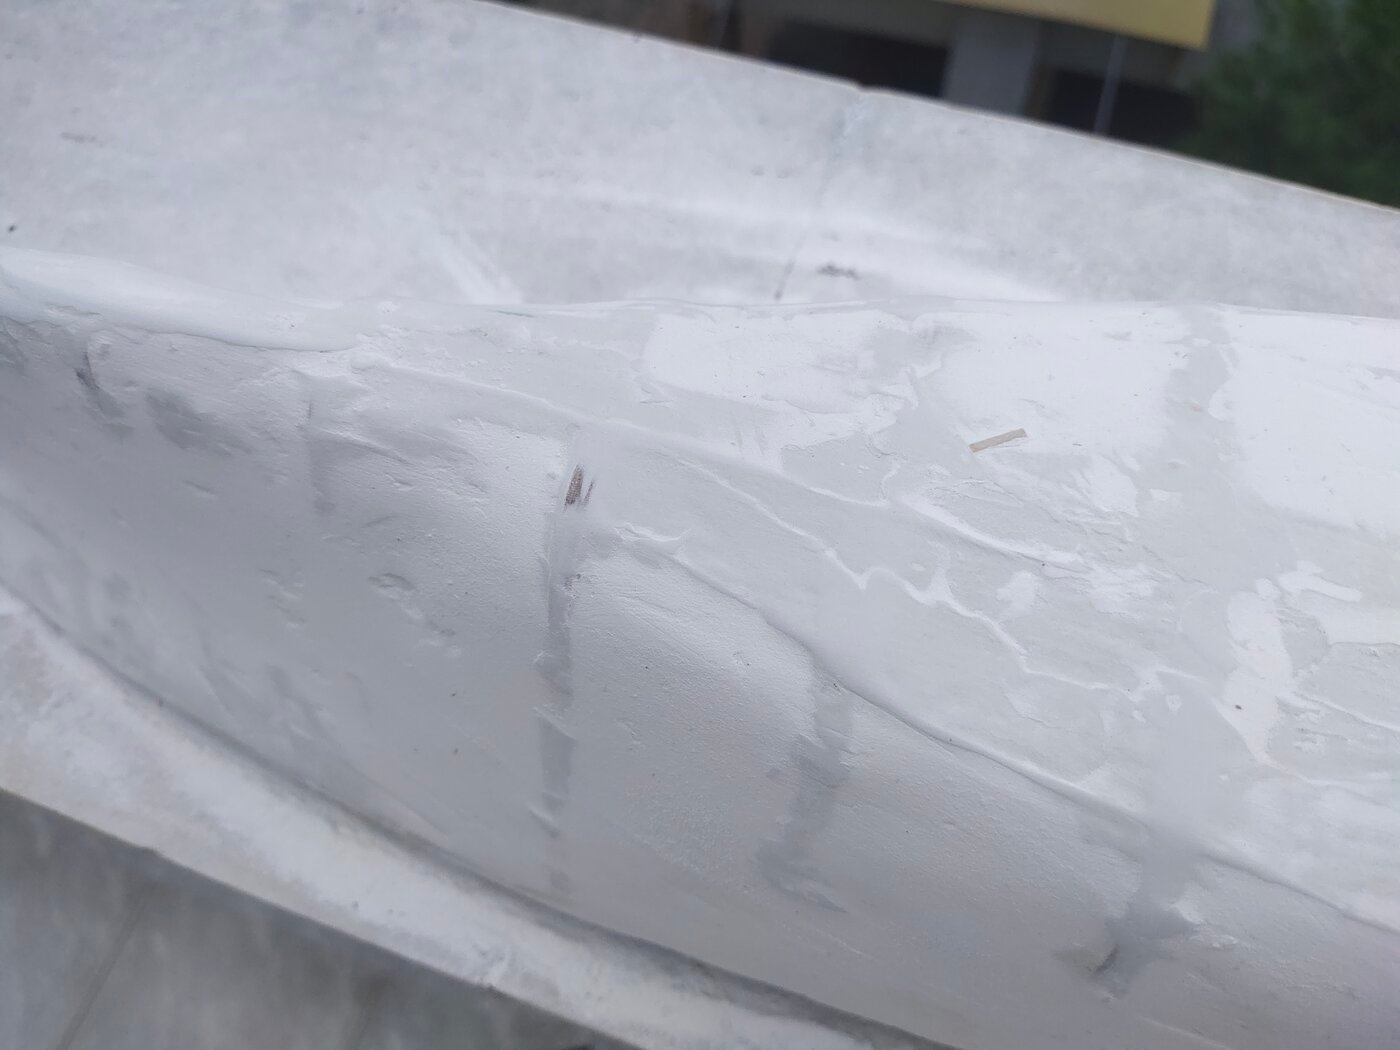
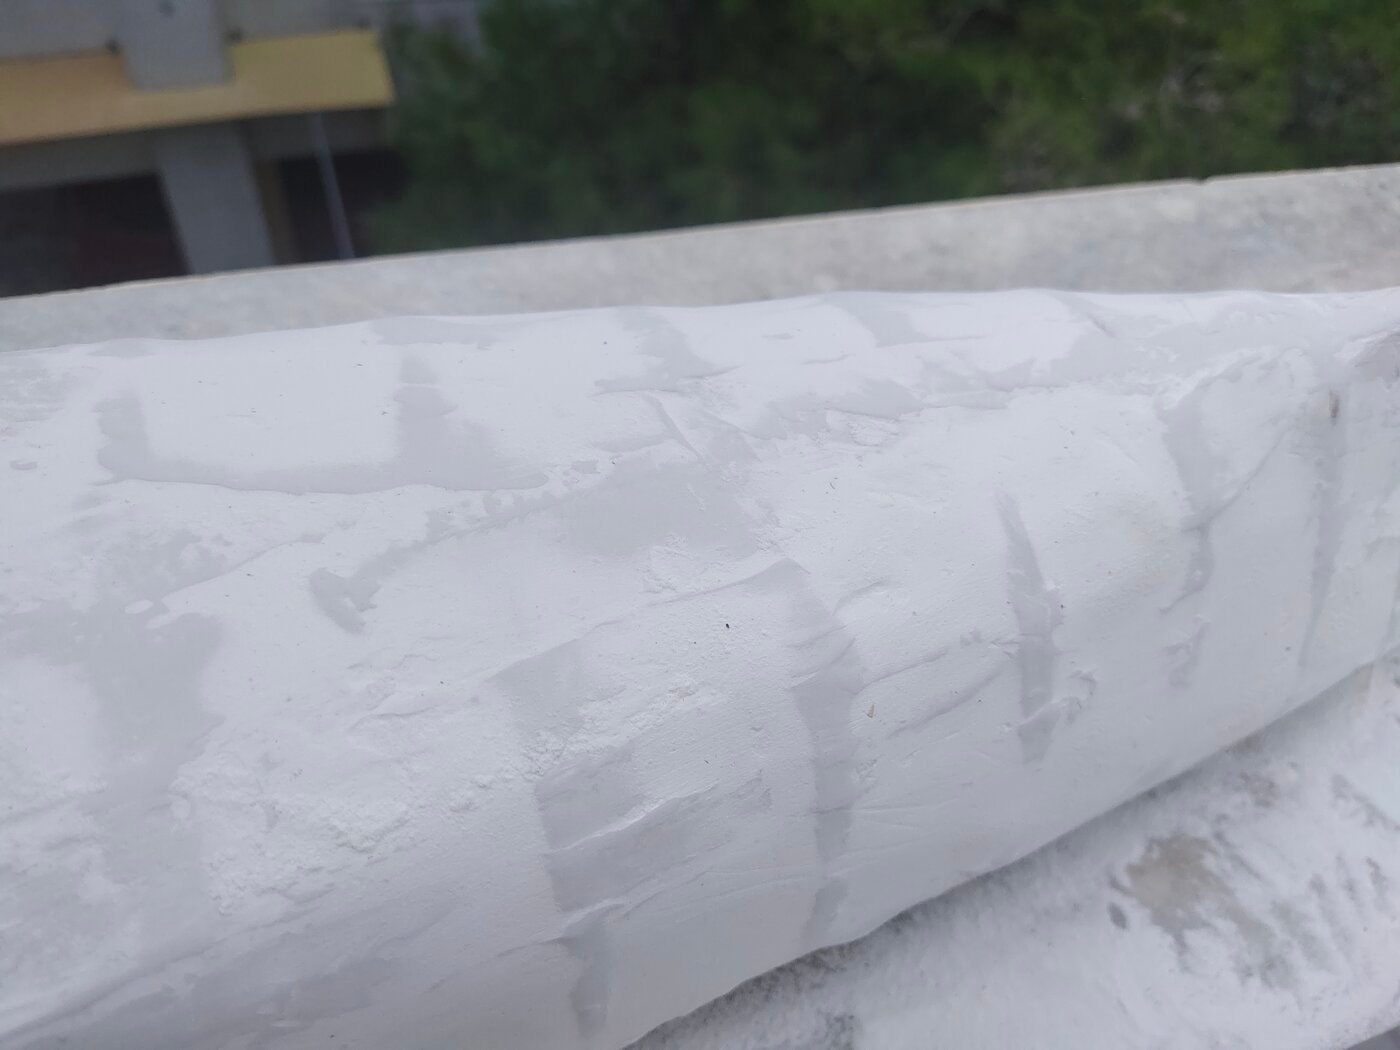
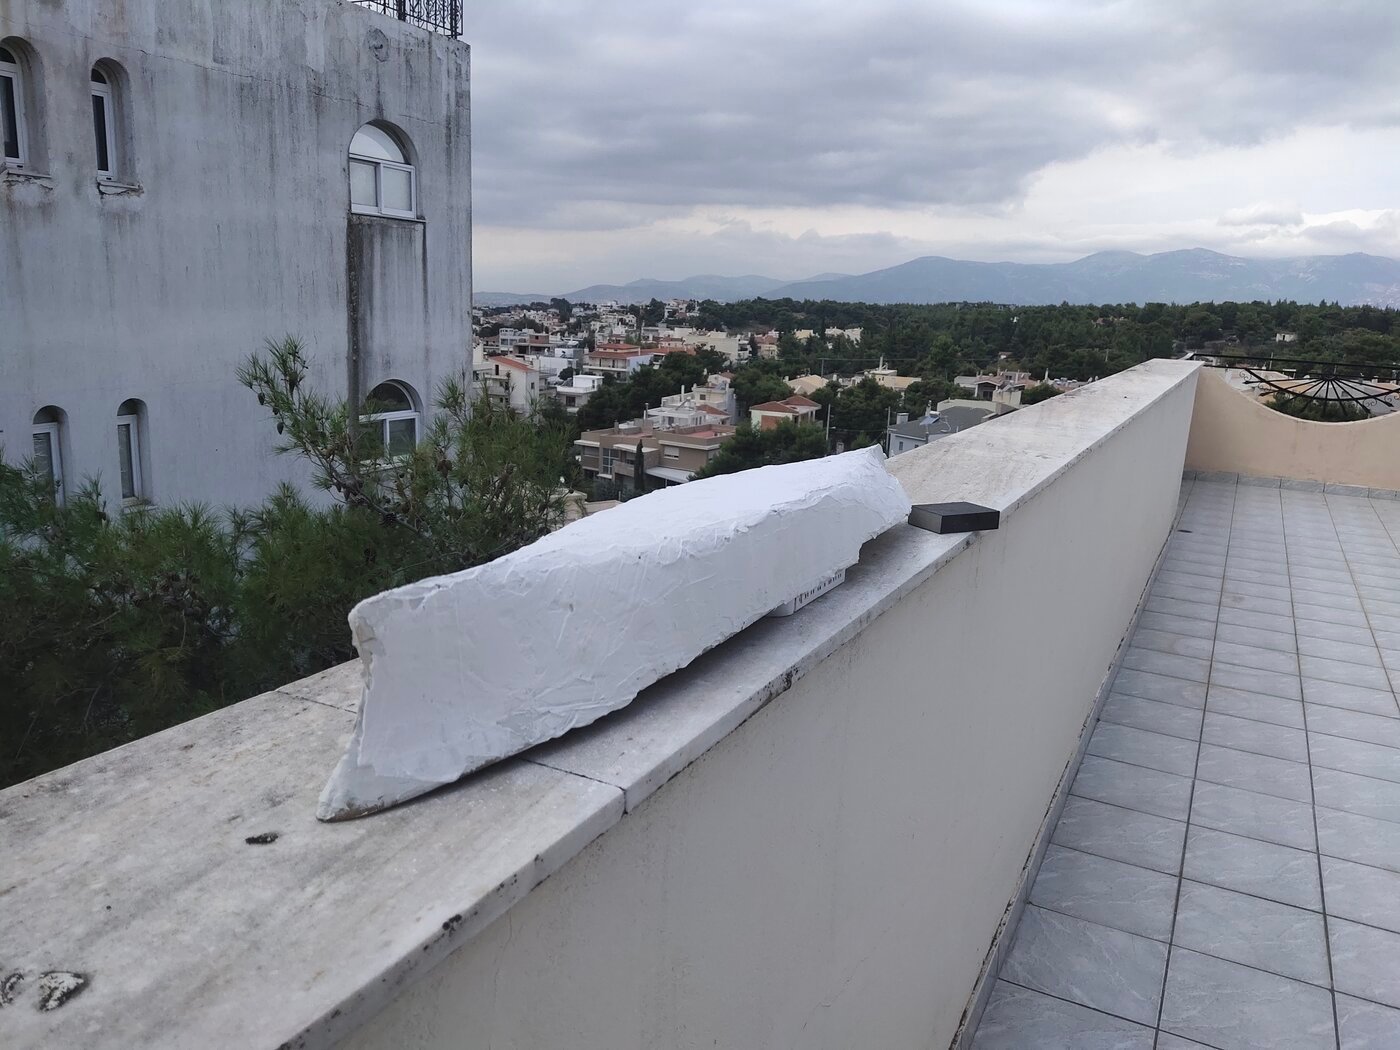
the last accident literally smashed my hopes for an easier work on shaping the hull. Giving the perfect shape is crucial for the appearance of the model. However I will need a great amount of filler (added weight) and a lot of extra sanding work. Under these circumstances I realized one thing: The project Cap San Diego is over... Why? Because Cap San Diego Lite is on. Learning from the rookie lessons I already started the process of a new hull with different approach. With better materials and lighter as the previous one would require a big amount of filler. Keel will be made from 4mm plywood instead of 8 so I can work easily the sharp bow and the round stern. Bulkheads are made of 2-2.5 mm wood instead of 3. For main deck a strong wood less than 1mm thick will be used instead of the 2.5 mm MDF which proved too heavy and problematic (don't forget I use paper model plans so I need to to adjust wood thickness according to plans.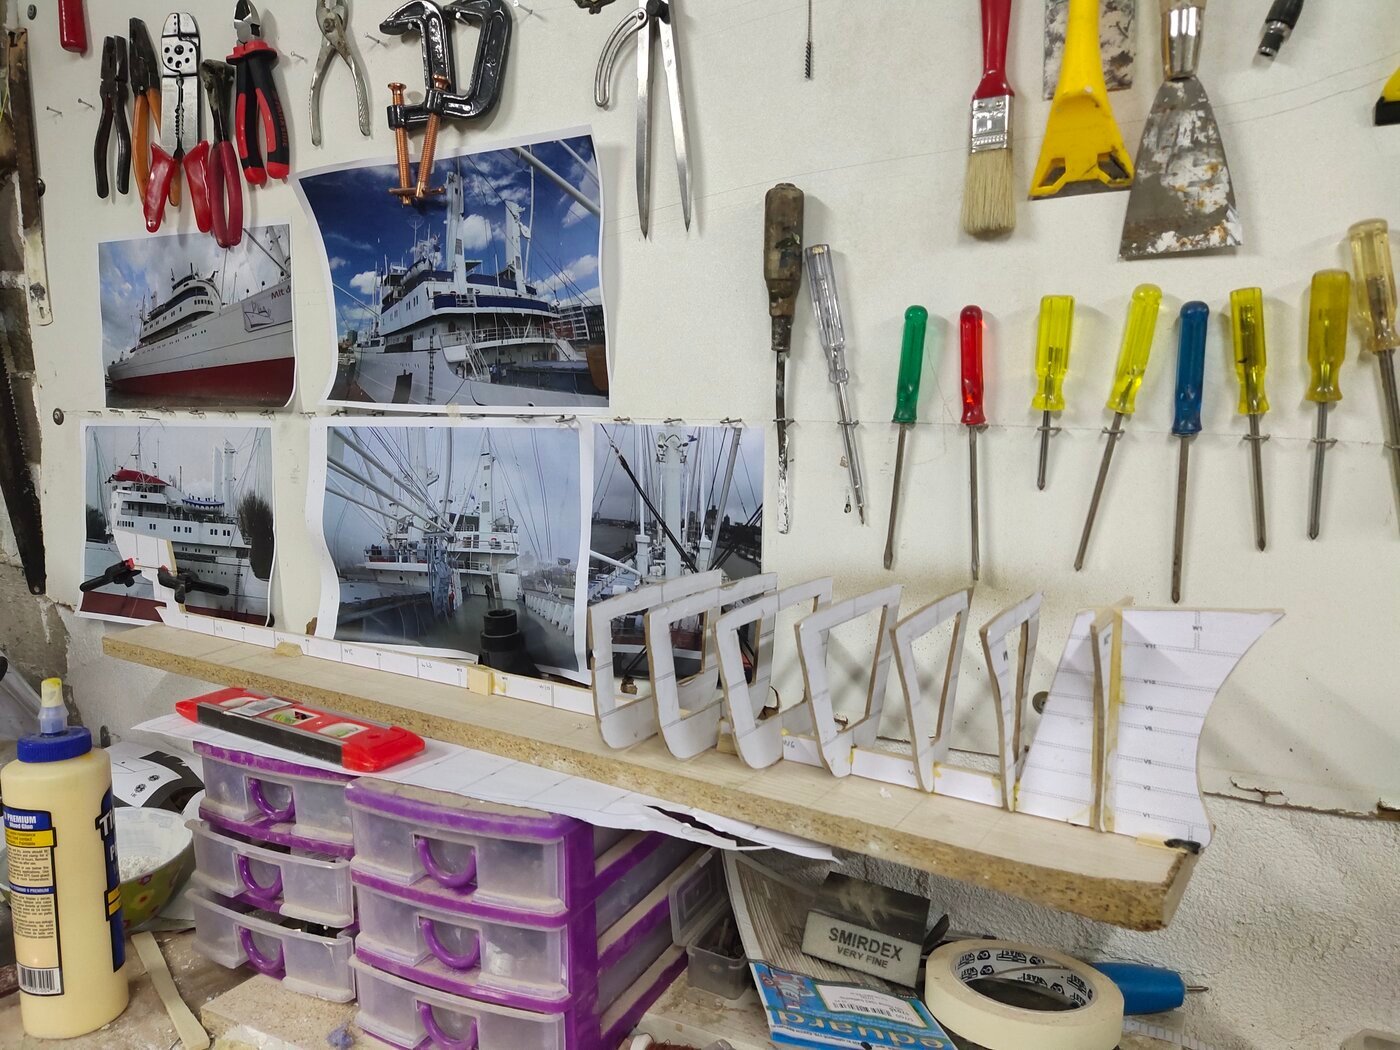
-
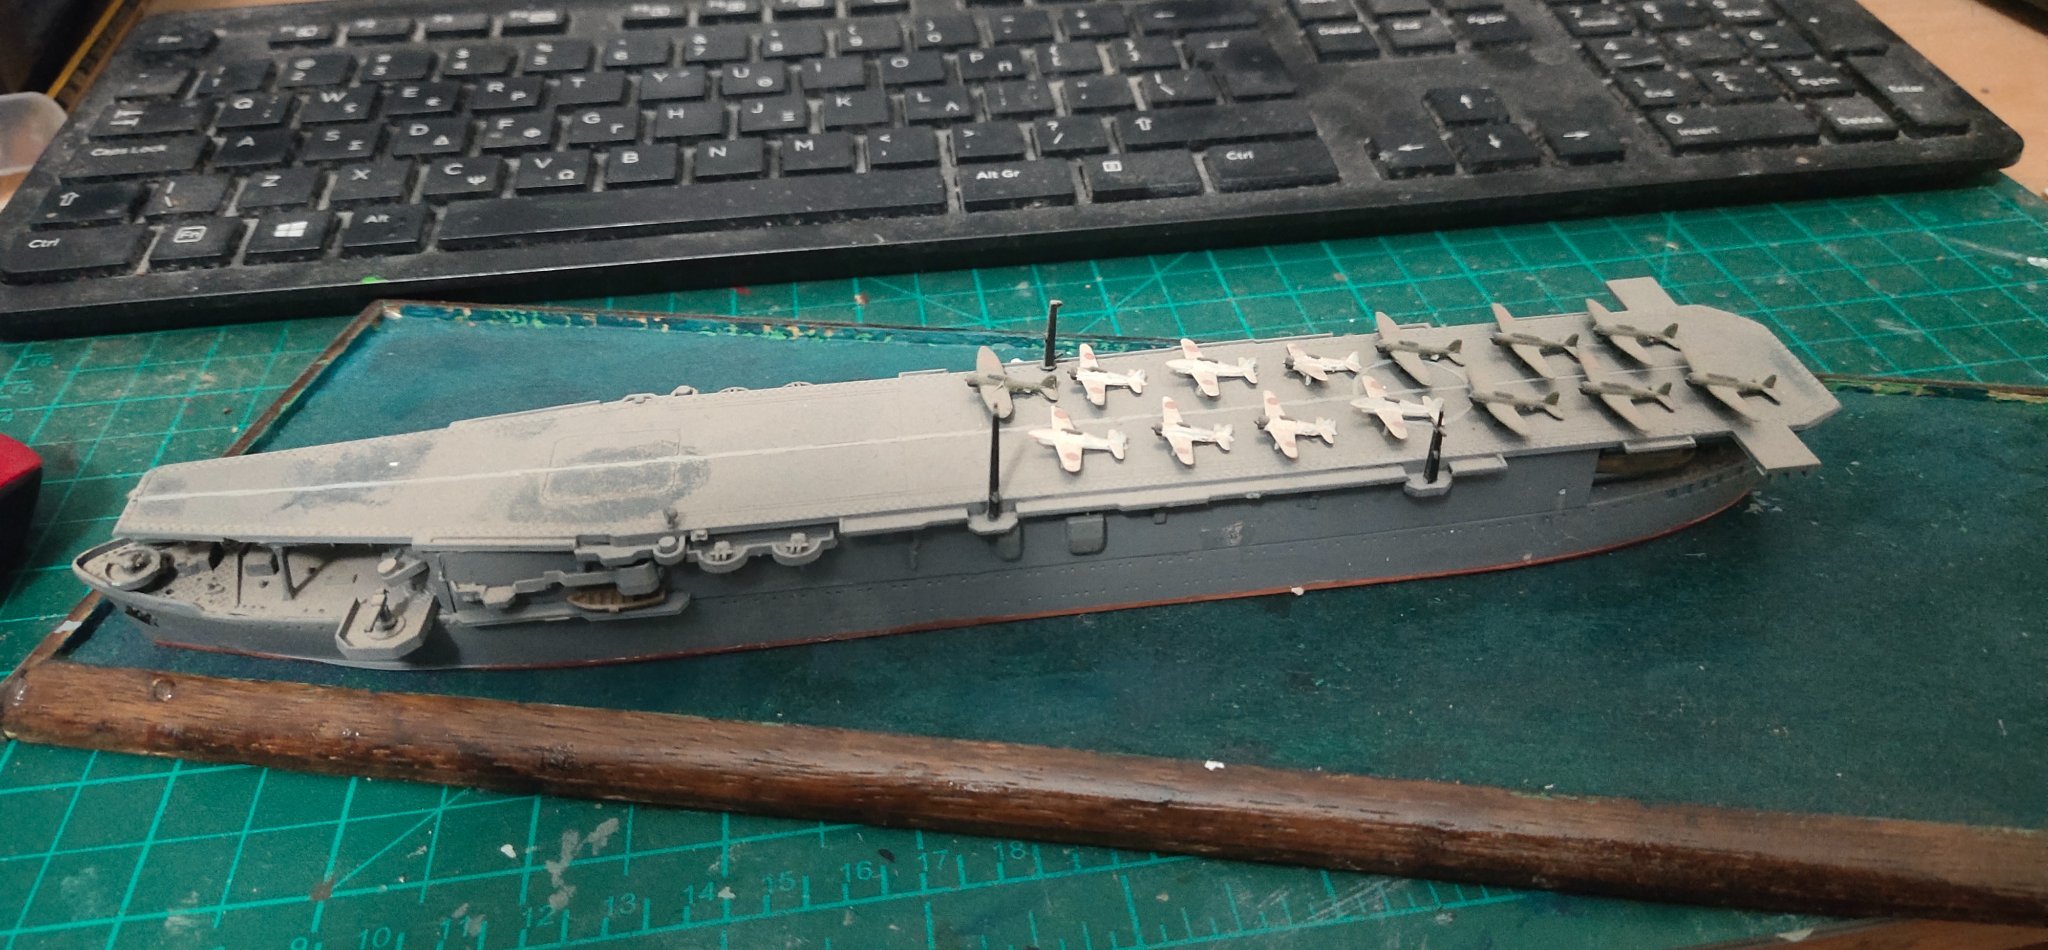
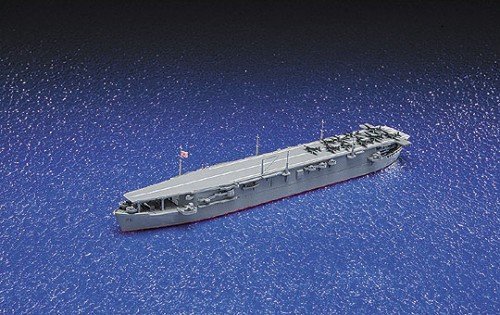
Next project. Aoshima IJN Taiyo. A not so popular warship and even less popular 1:700 model.

- 360 replies
-
- 10
-

-
I found it also on a domestic seller, kind unusual. About 100usd per half gallon. I also found this, it comes at 500 ml can. If does what promises might be a solution. https://bormawachs.com/dettaglio_new.php?idprod=0641&cat1=2&lang=2 A friend who owns hardware store, gave me some polyester, he insist that soak the wood in it, will solve my problem. I get i will do some experiments and if doesn't work i will buy a specialized product.
-
Even talking about static models i am concerned about weight distribution, for an unknown reason i want my projects to be built not top heavy. Maybe later decide to make an R/C project. For frame and bulkheads i would use a thicker and strong wood. But everything from main deck and above must be lightweight and durable. For smaller superstructure parts i have a lot of options. Aluminum, styrene and balsa sheets will do just fine. But for main deck that can be from 50 to 100+cm long i would rather use something strong but also flexible so it can keep up with the curves of the hull. Carbon fibre is expensive only if used extensively, making my own sheets is possible. Besides ordering high quality wood from Europe is 60€+ minimum shipping even for minimum order cause of the item dimensions. So at the moment i need either to improve what i have and learn how to use it functionally or need to find substantial materials.
-
Υes there are. Carbon Fiber. More flexible, stronger and thinner that wood. When you say resin you mean epoxy or fiberglass resin? I understand that cloth is required to make the hull waterproof. Is it required on static models?
-
What is exactly wrong with balsa? It is used extensively in R/C airplanes as well as for high end models like the USS Indiana, built for the Indiana World War Museum in Indianapolis
-
I am based in Greece. Best access to wood is from North Europe, mostly Germany. Shipping though can be prohibited because of their size and the recently increased rates. Note that i work on modern ships so "quality wood" appearance is not an issue for me. In contrast, i have to convert all wood texture to a totally smooth surface before paint. I also avoid to use styrene for large surface parts, i prefer wood. From my theoritical research one way to reinforce big and thin surfaces is by adding cloth and polyester at the back side of them, of course i need to experiment as i haven't use resin/liquid polyester before
-
I am looking for thin but durable wood sheets to make some parts like longer main decks etc. I found only one supplier selling quality wood like lime, walnut, birch Air plywood from 0.4mm thick. But he's somewhat far. So at the moment only balsa is quite available around. While its easy to work with it is sometimes too fragile especially if less than 1.5 mm thick.
-
What is the best way to harden wood? Let's say balsa 1-1.5 mm. CA glue? Epoxy? Polyester?
-
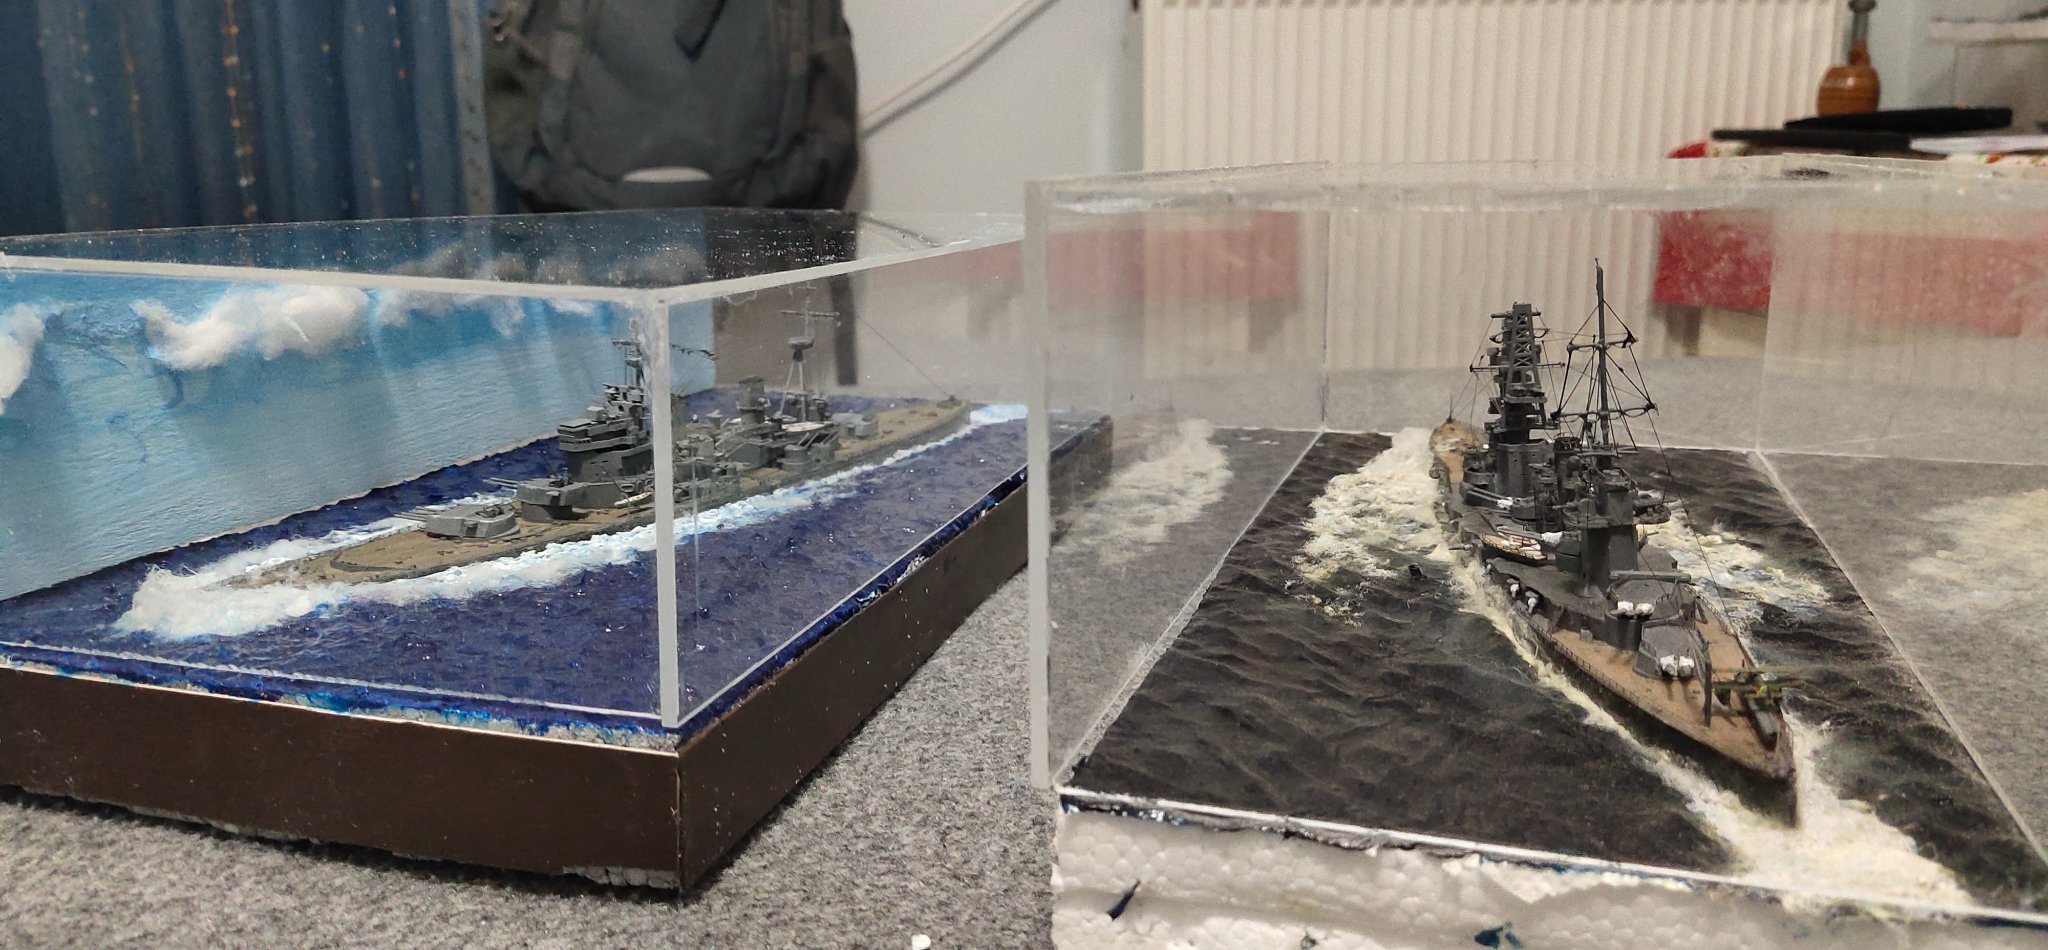
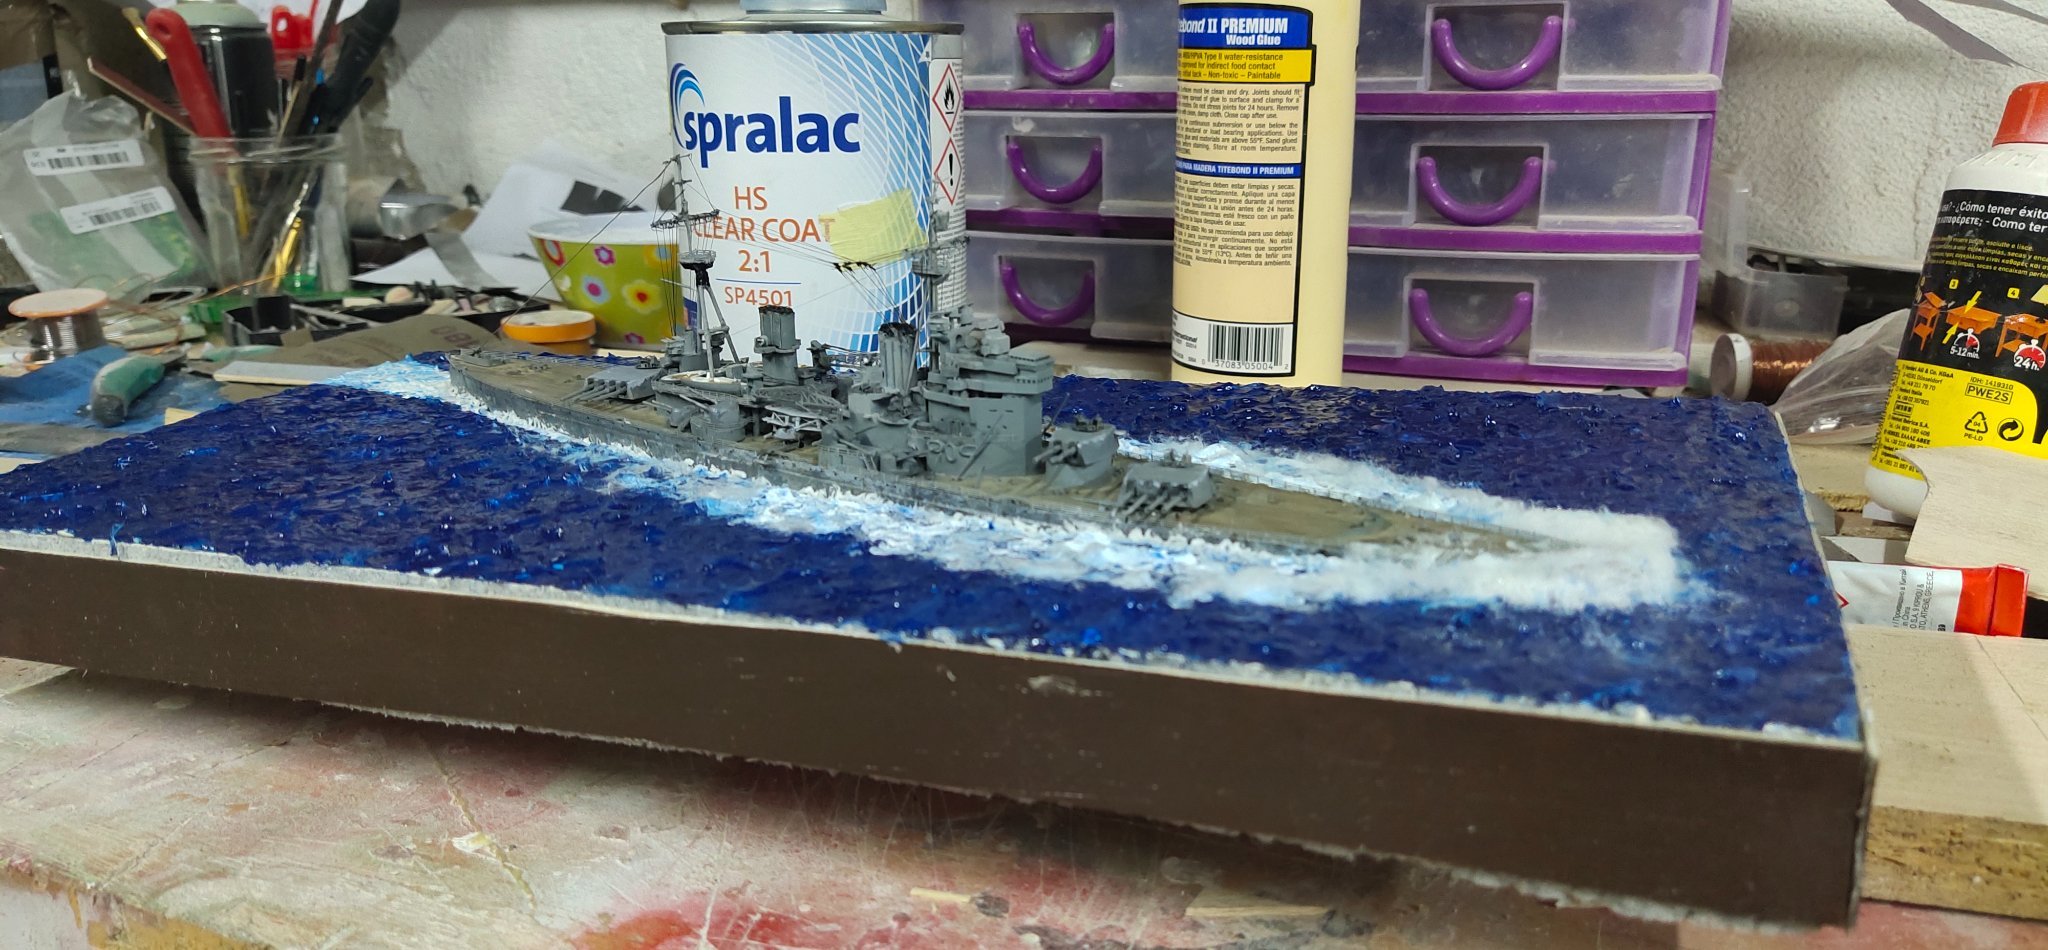
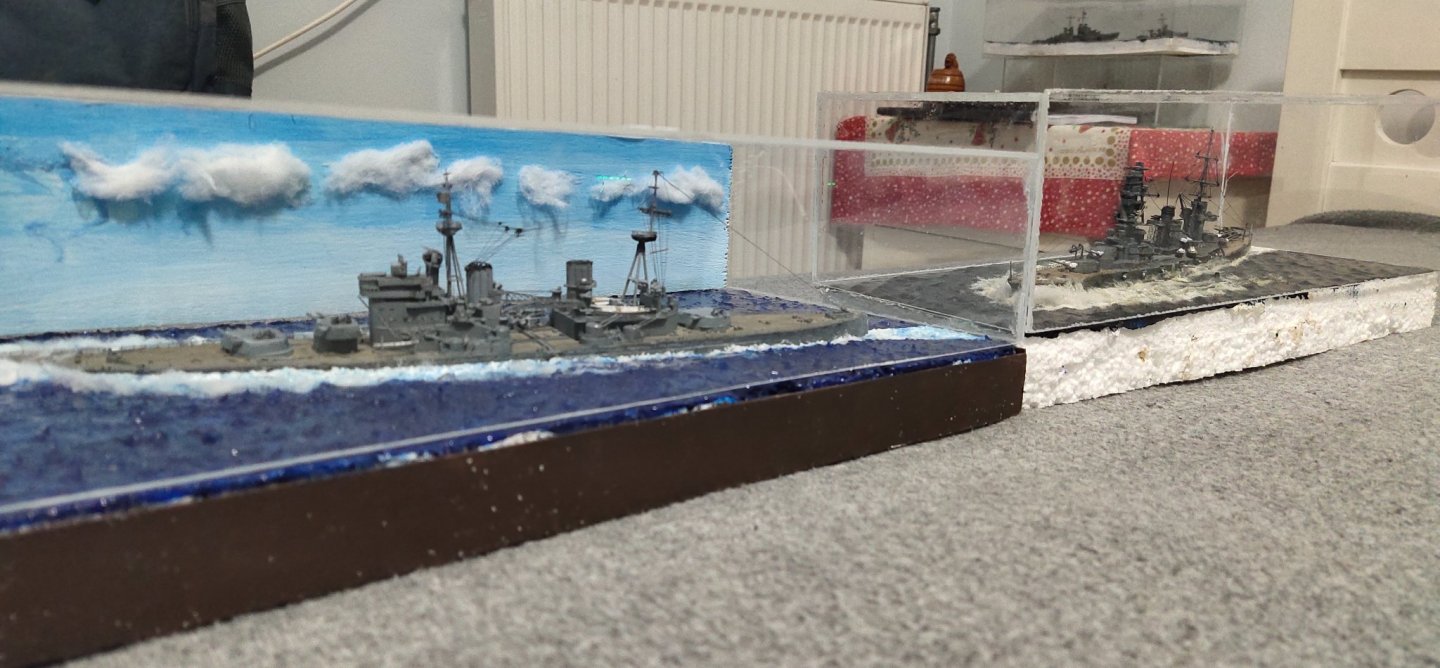
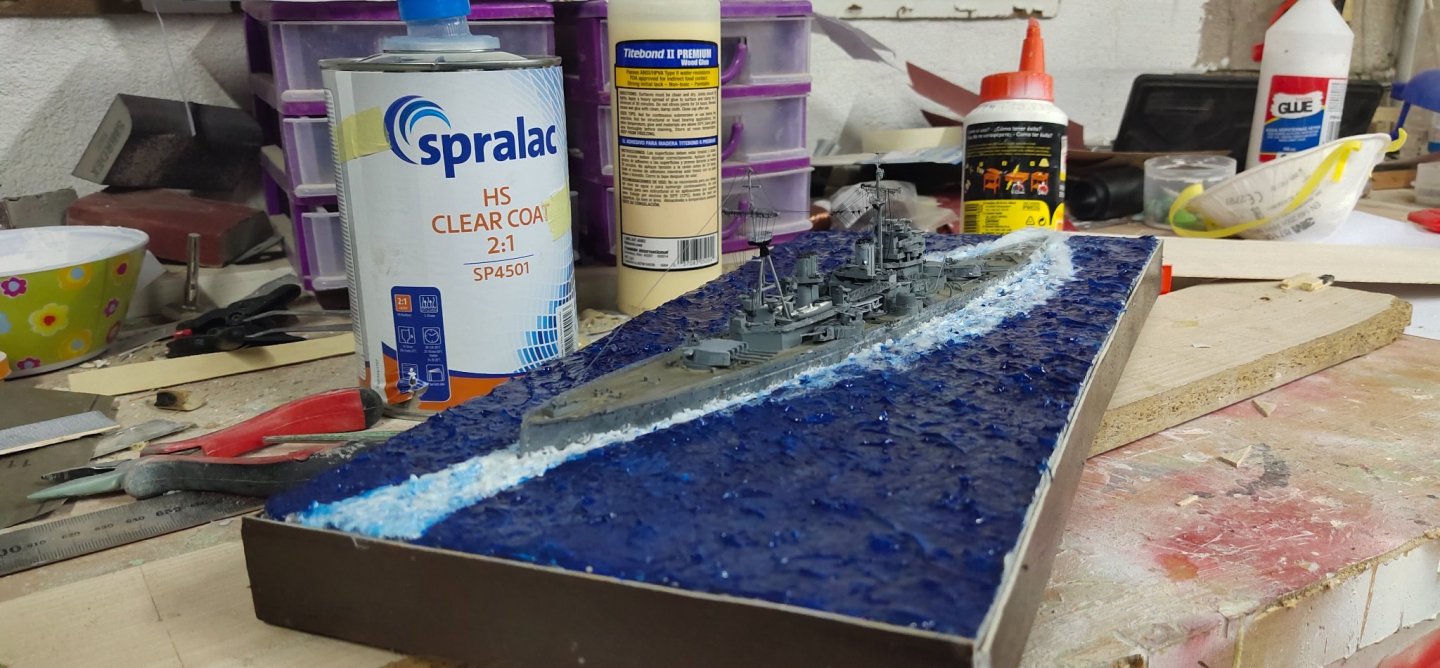
I made a 3/4 fiberglass case The taller caser in Yamashiro reflects the higher bridge and masts. Yamashiro vs PoW. A possible scenario than never happened

- 360 replies
-
- 14
-
-
I am building my first project from a card model to wood and there are some things to be considered for a successful make. Spare plans is a must. I already ruined a complete hull(for other reason) so i restart now. One key factor is to adjust thickness of wood accordingly. For example if you use a 3 mm wood for deck you need to calculate this to the total hull height (as paper deck has almost 0 thickness). Otherwise you need to use thin woods. There are quite thin and strong woods to work with starting at just 0.4 mm. However they are not available in many countries and the cost is considerable. Balsa below 1.5mm thick is very fragile unless you harden it with chemicals, like resin or other.
- 31 replies
-
- 3
-
-
- Borodino
- Dom Bumagi
- (and 1 more)
-
SMS Karlsruhe by Wreck1919 - 1/100
mikegr replied to Wreck1919's topic in - Build logs for subjects built 1901 - Present Day
this is a fantastic built. Did you cut the 1.5mm wide wood pieces by yourself or have them cut at the shop? -
Japanese WW2 ships are unbeatable in details if you can handle them. Competition in 1/700 has lead the companies to offer products almost identical to 1/350 scale. This is very welcomed for us. Of course this has lead to some overscale like rivets and porthole frames. But at the end, its up to the builder. It is a hobby for personal recreation and he is the one who needs to feel comfortable with the outcome.
-
nice clean work. Hull looks not easy for a beginner. I suggest you work with balsa than MDF for plating the hull as the latter has some issues with humidity and need some special treatment. Balsa is the no1 alternative for us that our modelling wood market is restricted.
- 31 replies
-
- 2
-
-
- Borodino
- Dom Bumagi
- (and 1 more)
-
Cap San Diego by mikegr - 1/160
mikegr replied to mikegr's topic in - Build logs for subjects built 1901 - Present Day
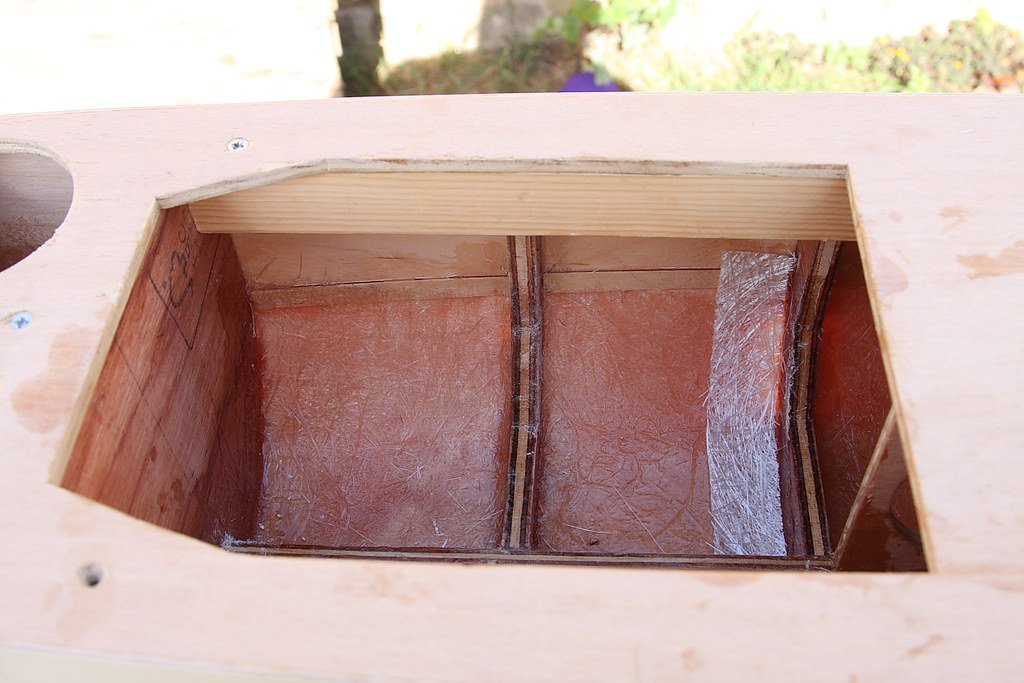
I was thinking to cover the hull with thin aluminum 0.20 mm stripes then use automotive filler. This would reduce the sanding and shaping hull time. As i started the process i decide either to enlarge the metal pieces to reduce work load or skip it at all and go straight to smooth the hull using car body filler, sanding and repeat the process unit I get the desired effect. Which I did. It would be proved a disastrous decision. Even hull didn't have any great imperfections, it took around half kilo of filler to cover it all. Then after a few minutes the hull area between frames collapsed. I have seen this happen on another project while using rubber adhesive glue. Probably catalyst heated polystyrene and forced it to shrink. I added locally some acrylic putty to fill the gaps. Even it was easy to work with, body filler on the other hand is not. So working with hard and soft ingredient at the same time is not an option. Another layer of car body filler will do the job although this would require lots of extra sanding effort plus will increase even more the weight of the hull.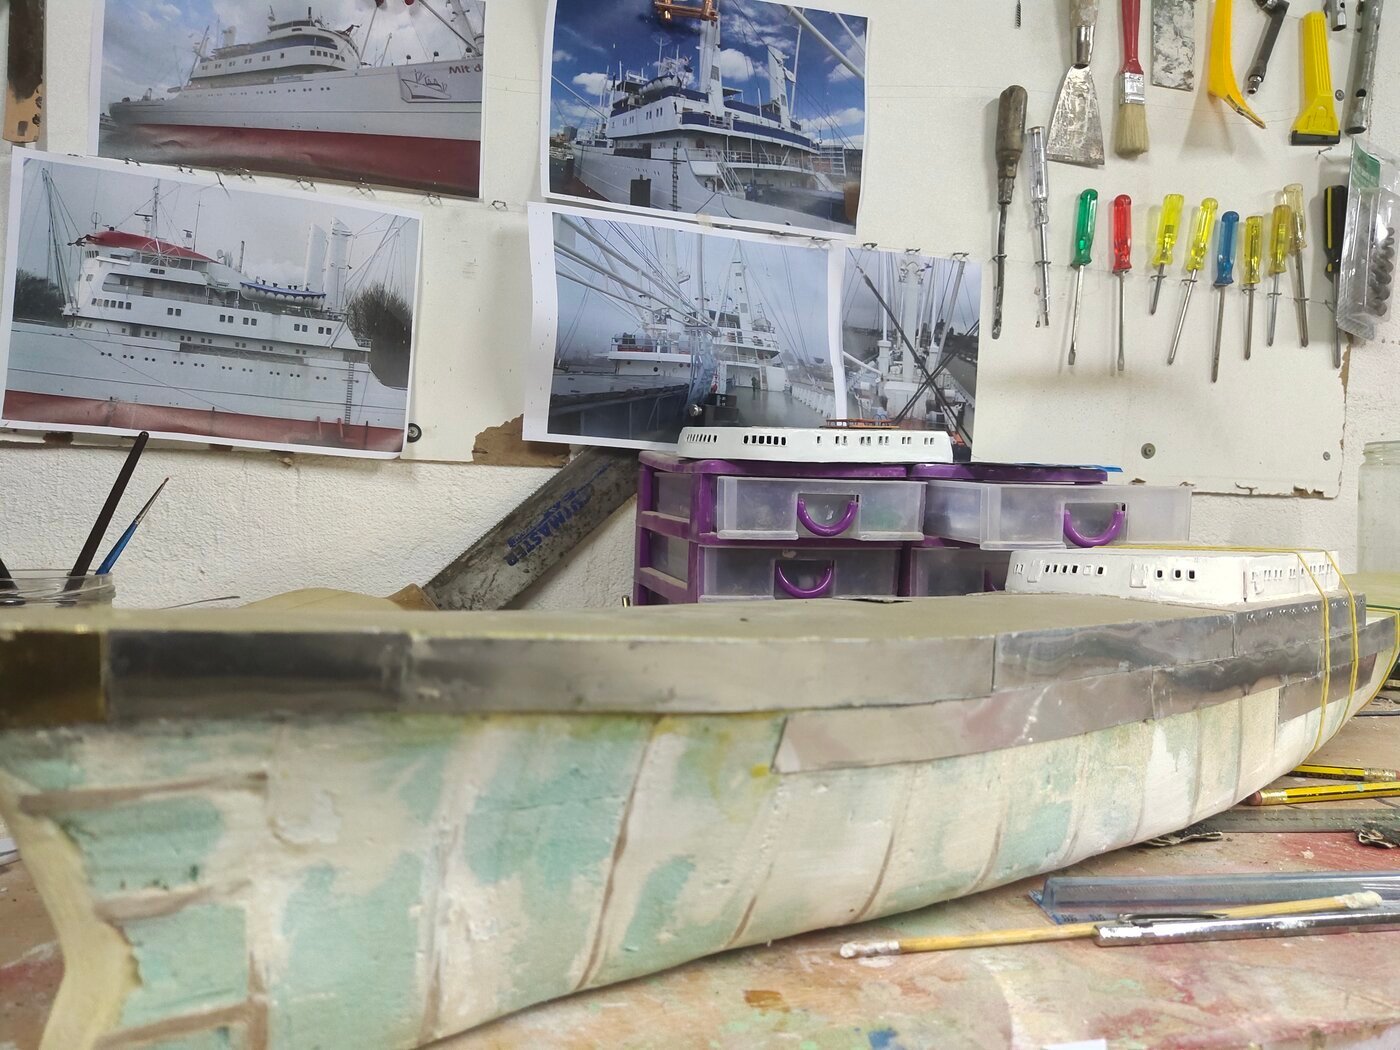
-
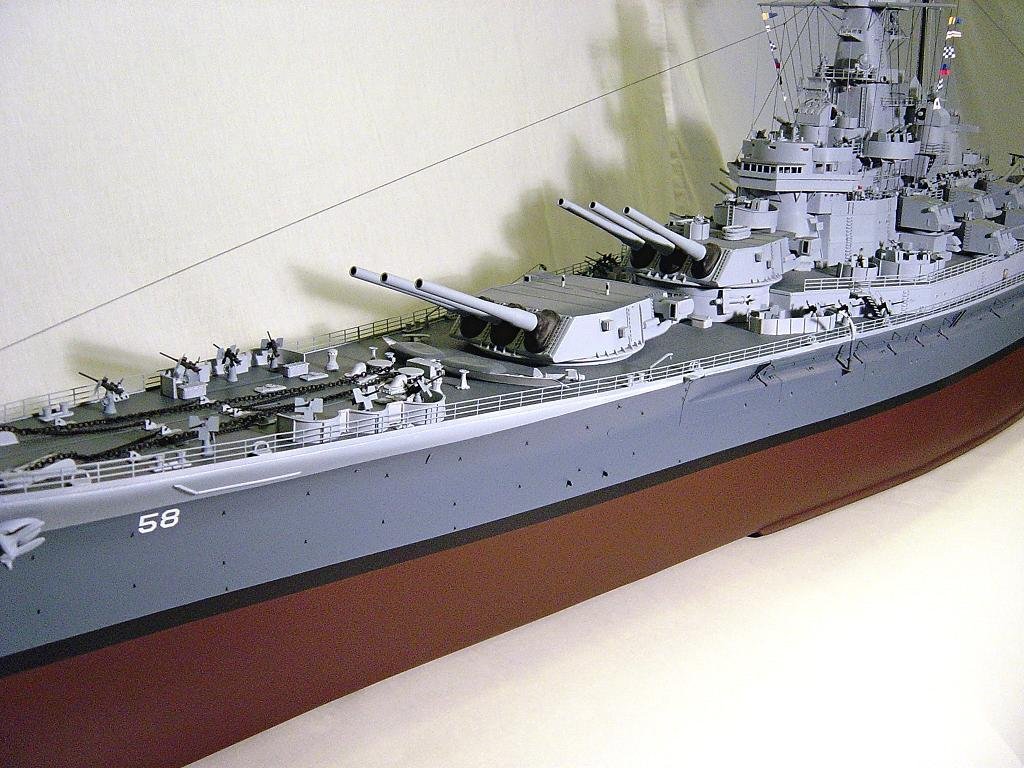
Great build. is this a resin kit collection on the background?
-
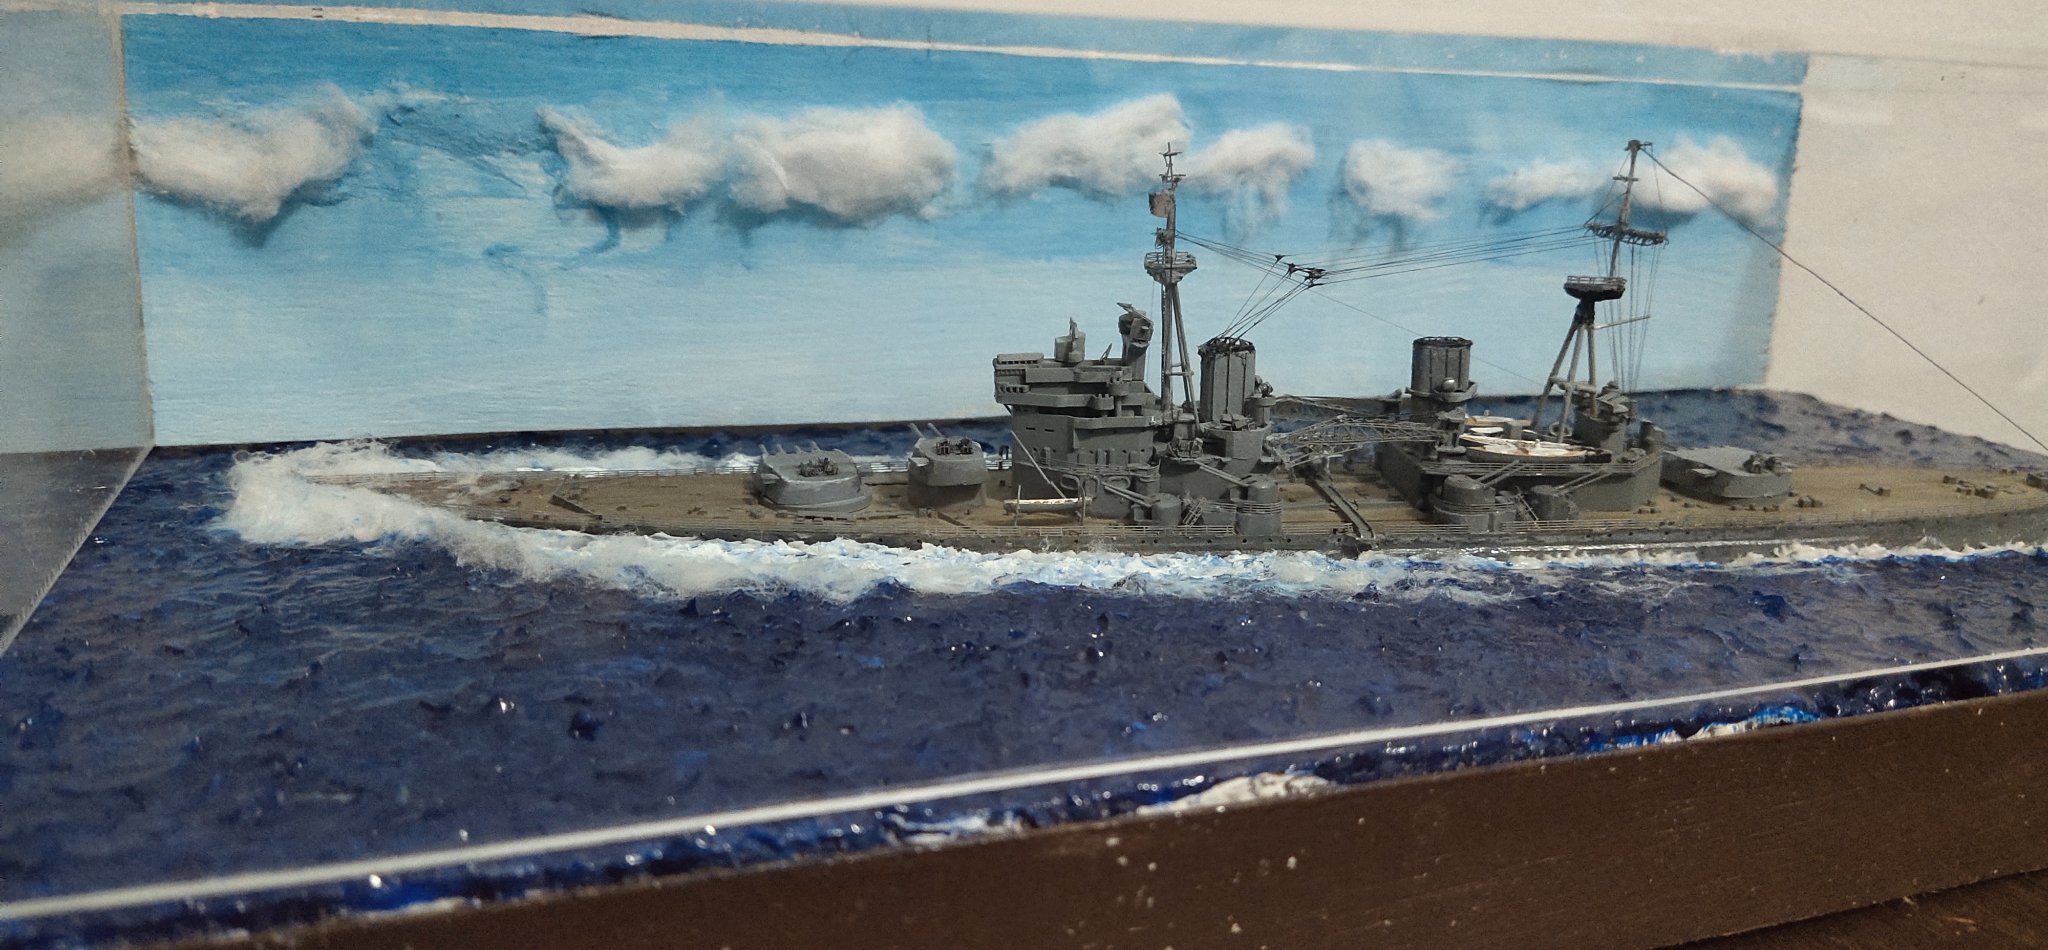
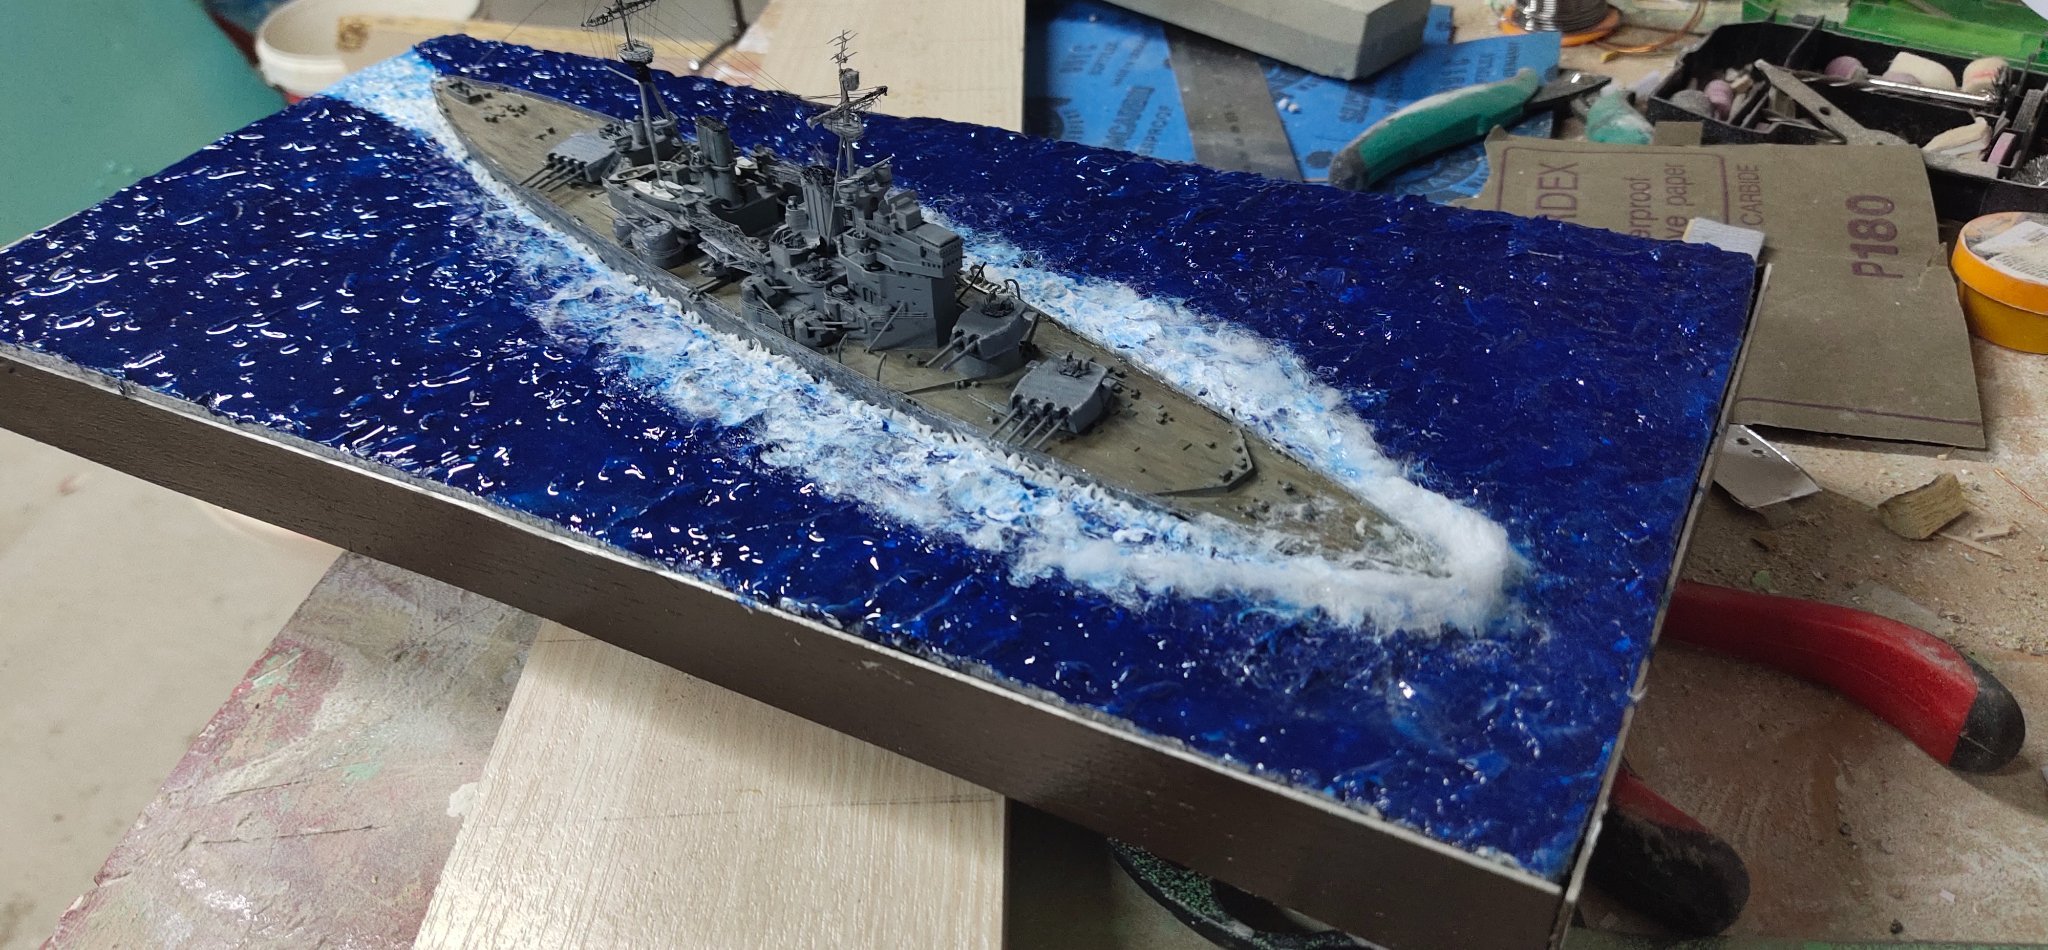
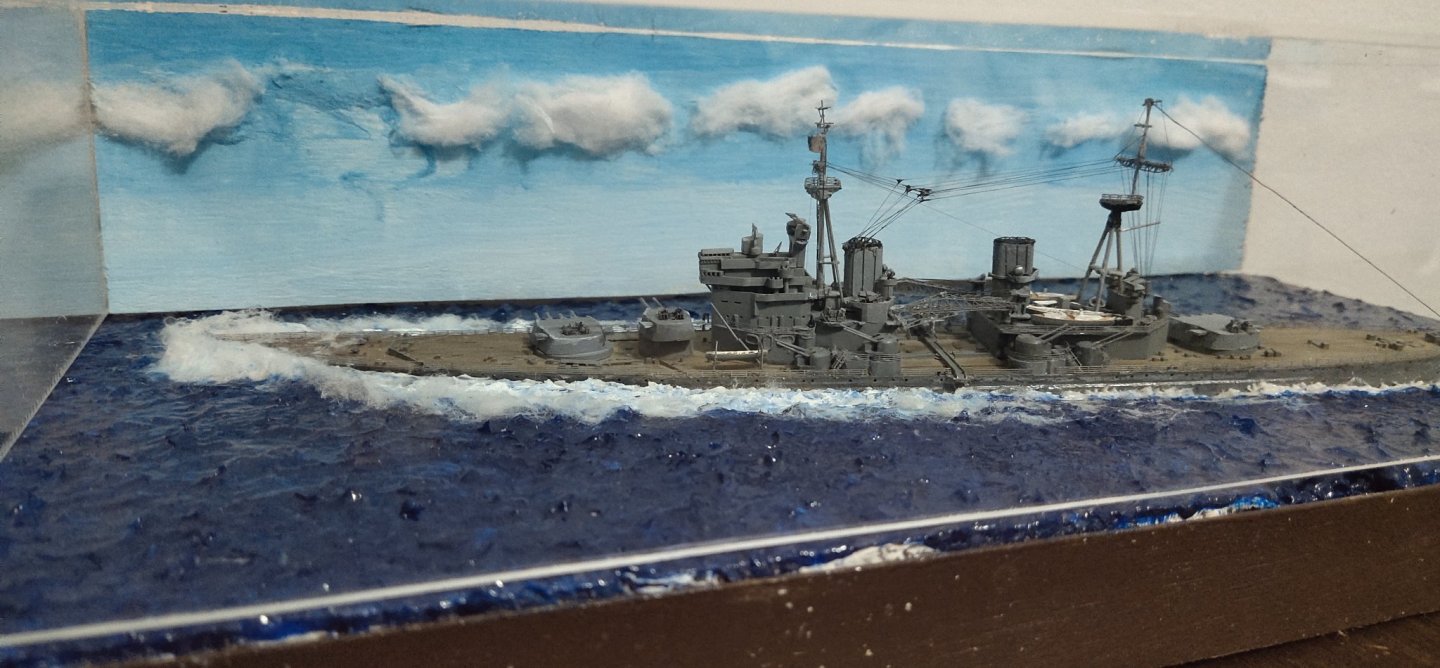
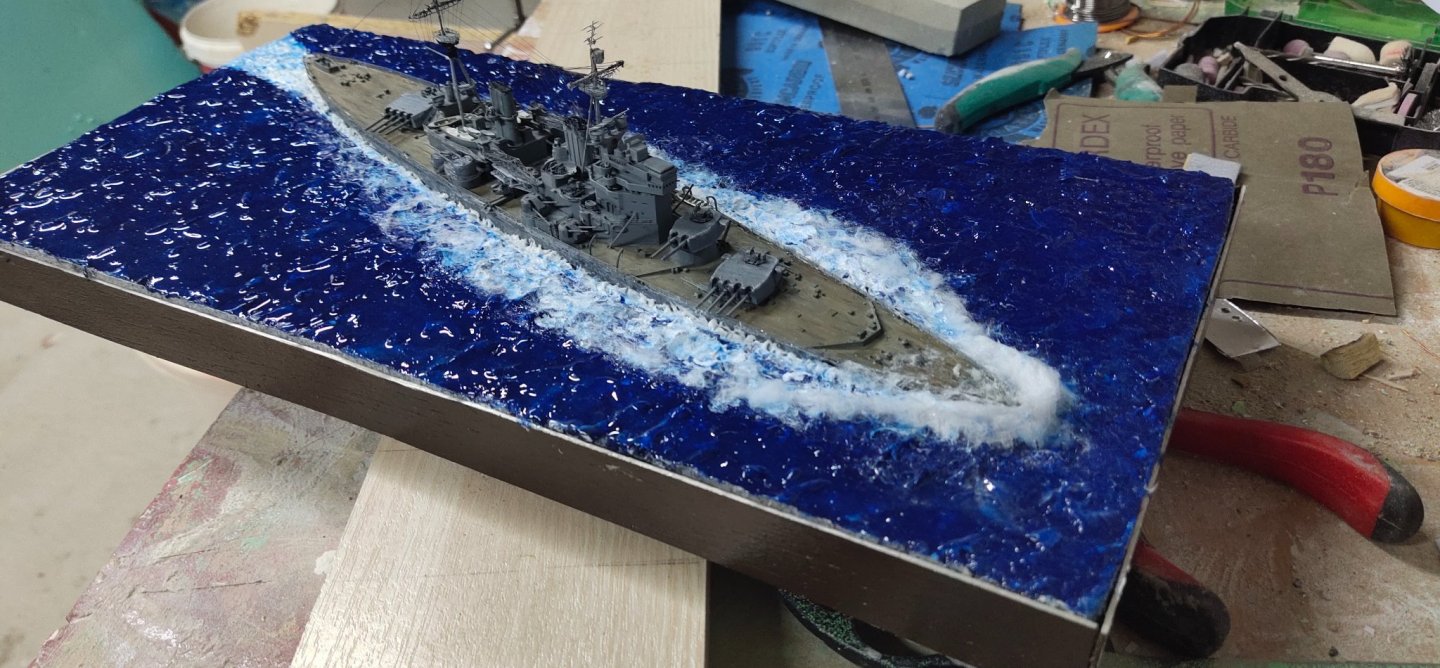
Done. POW training her turrets during heavy swell. Not the thick rigging from rear mast top to stern. I put it here temporary to correct the mast top forward inclination cause by elastic rigging. Lessons learned: 1. Always control its tension when use elastic rigging with fragile masts. 2. Best CA glue simply can't compete with soldering in strength if you want to make brass mast.

- 360 replies
-
- 11
-
-
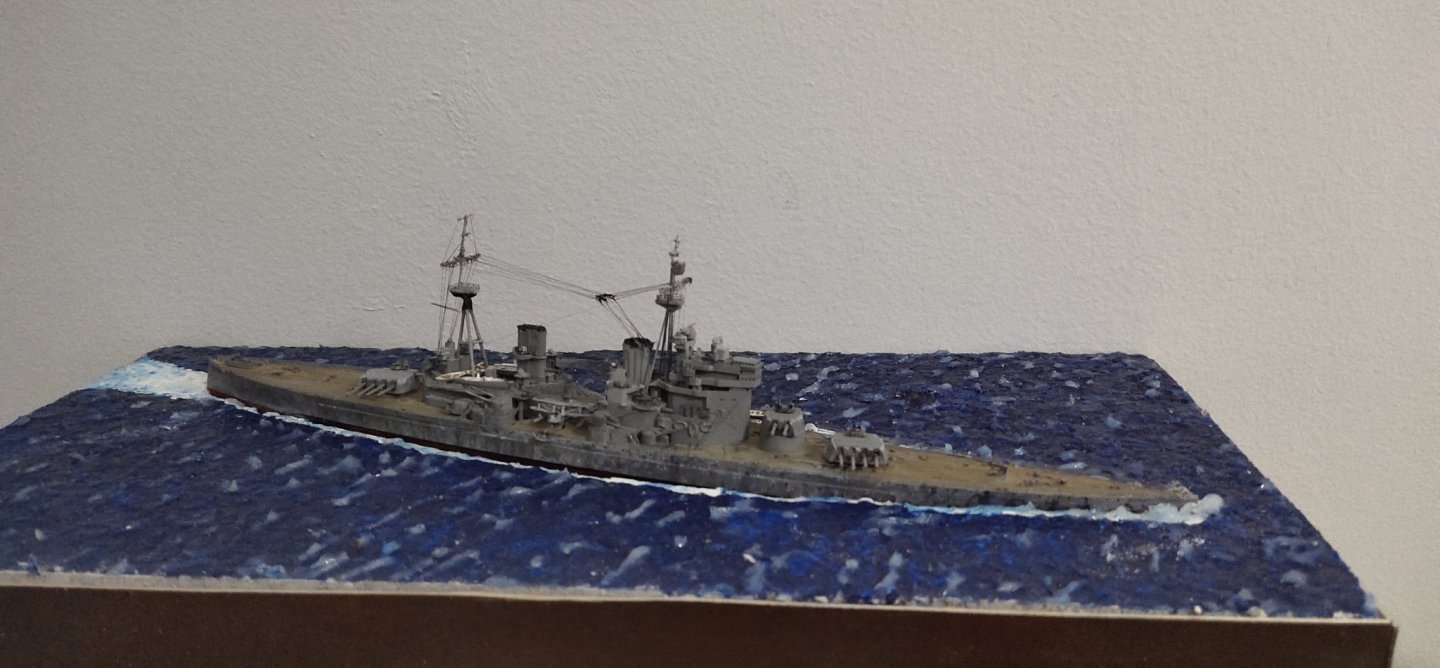
I think the lower rope on the first pic is a bit more realistic.
-
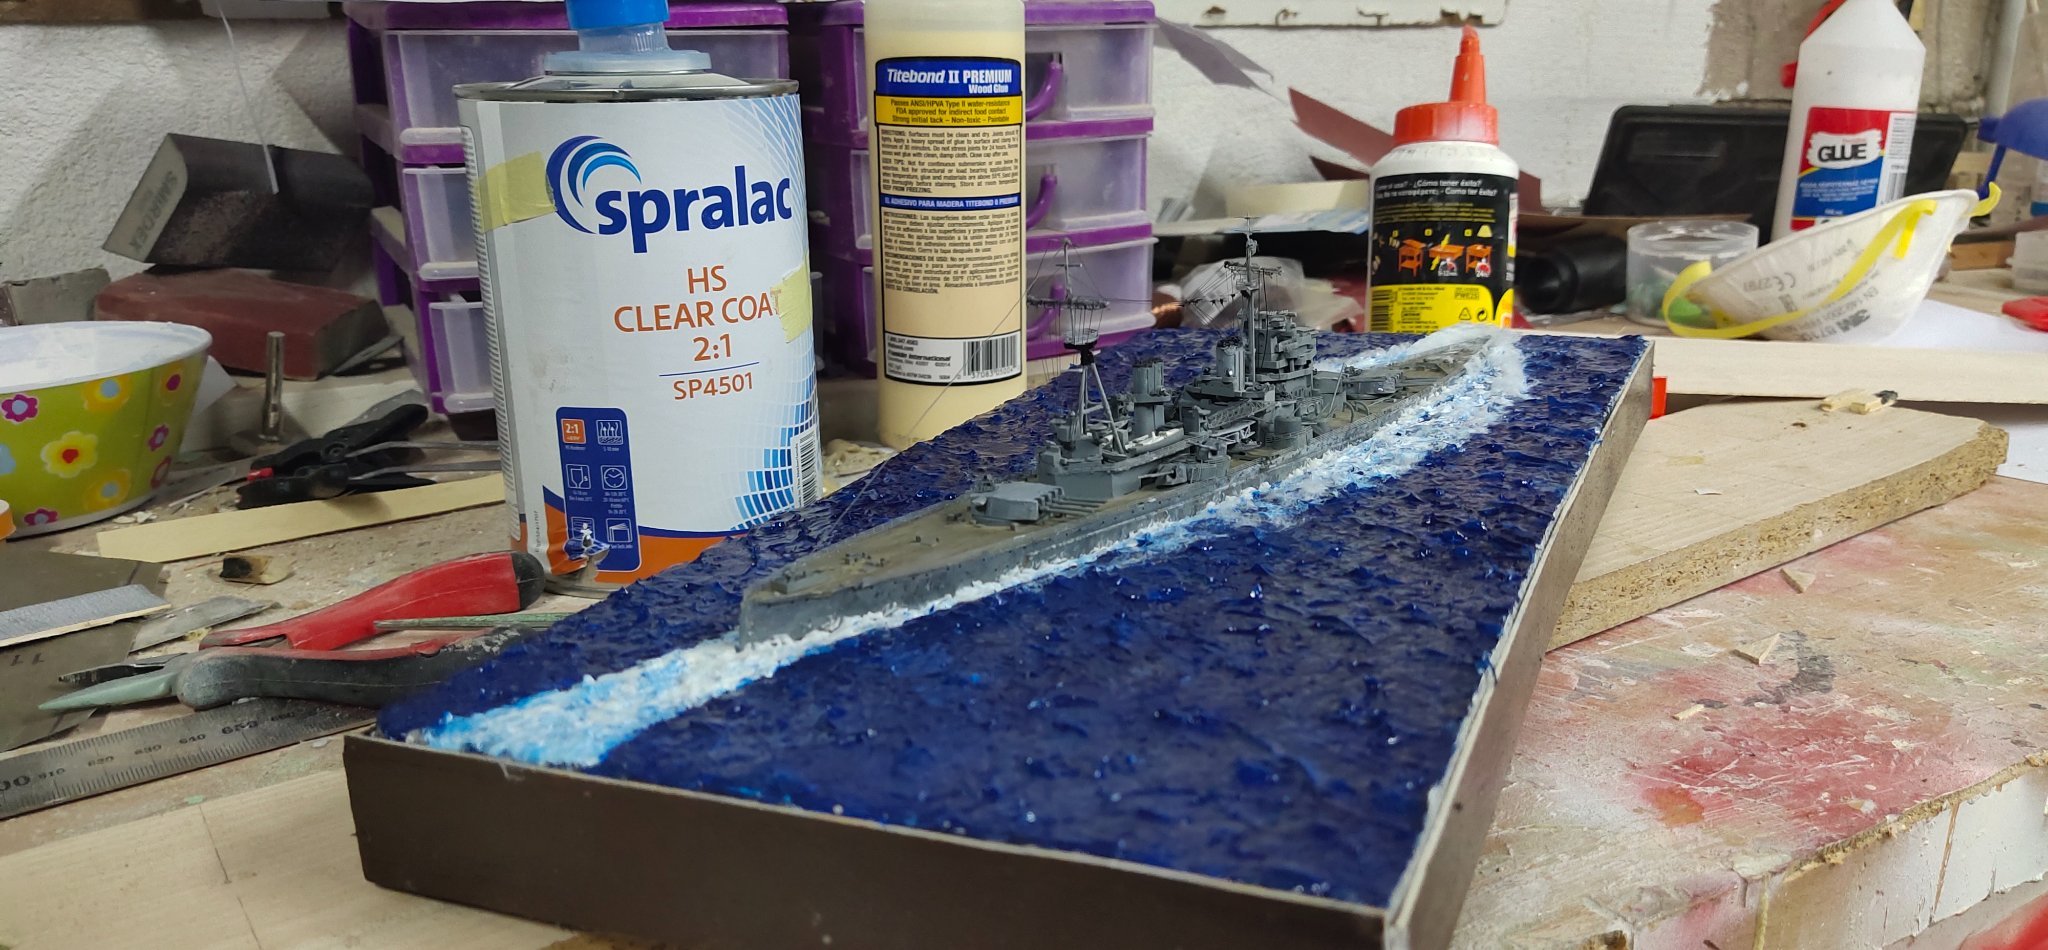
I covered the sides with painted balsa and did some test fittings before adding final details
- 360 replies
-
- 10
-