mikegr
-
Posts
828 -
Joined
-
Last visited
Content Type
Profiles
Forums
Gallery
Events
Everything posted by mikegr
-
Because enamel paint should be perfectly thinned in order to work easily with it without the risk of microdrips getting under the tape. An airbrush could help but still need experience about matching color thickness, spraying distance etc. A white thinned paint over dark paint would require several layers. A primer would have helped here.
-
Cap San Diego by mikegr - 1/160
mikegr replied to mikegr's topic in - Build logs for subjects built 1901 - Present Day
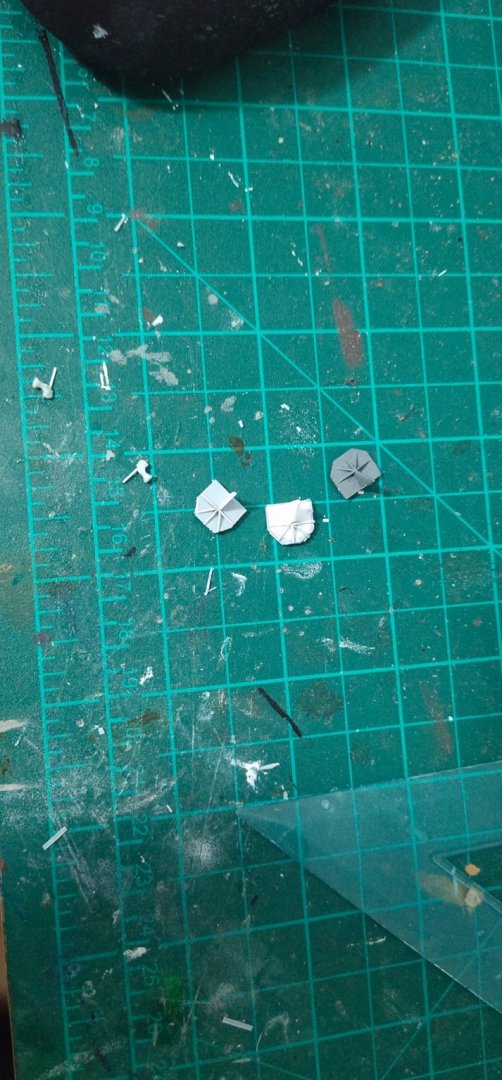
The windows are made with office staples cut in L shape and glued together so they can display the frame as seen on pic. I experiment in many surfaces: Aluminum 0.20 mm thick. Strong and durable while also easy bending. Opening precise window holes was hard. Balsa. I used it on the face of the bridge deck. Very easy to form window holes but fragile. I had to create 3 faces. Also need to be smoothened to avoid the wood texture. Styrene. Easy to work with, no need for smoothing. Kinda inferior material though. I used hair dryer to dry paint on it faster and it curved in no time. For cranes the nightmare is the rigging. I have dozens of photos but still need to collect details. I bought some single and double pulleys. Amati has also triple as well as other useful parts for modern ships. I will need approx 60-65 In total. I also need to practice with soldering to make some parts like this cage after the rear crane
-
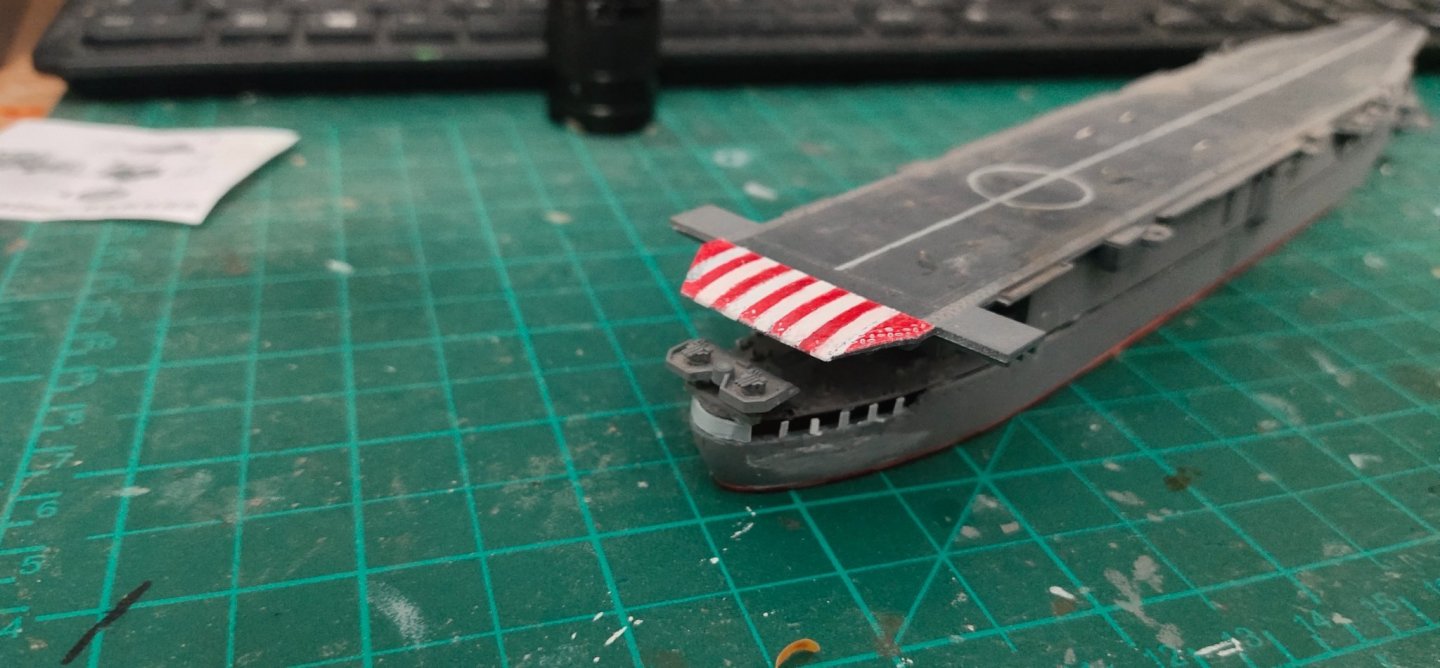
I did some paintwork on the rear deck. I used brush. It was trickier than I thought. I also modified the bow making an "open" frame.
-
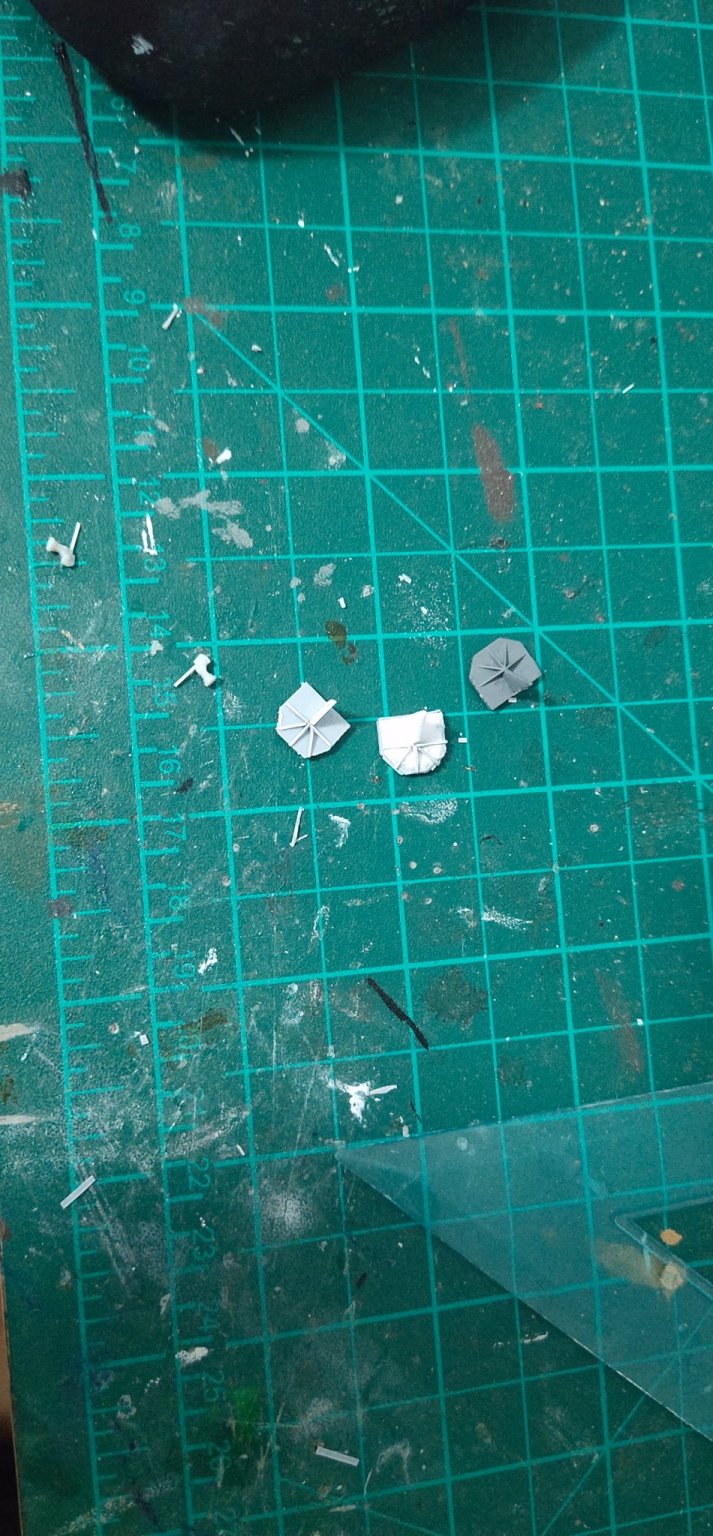
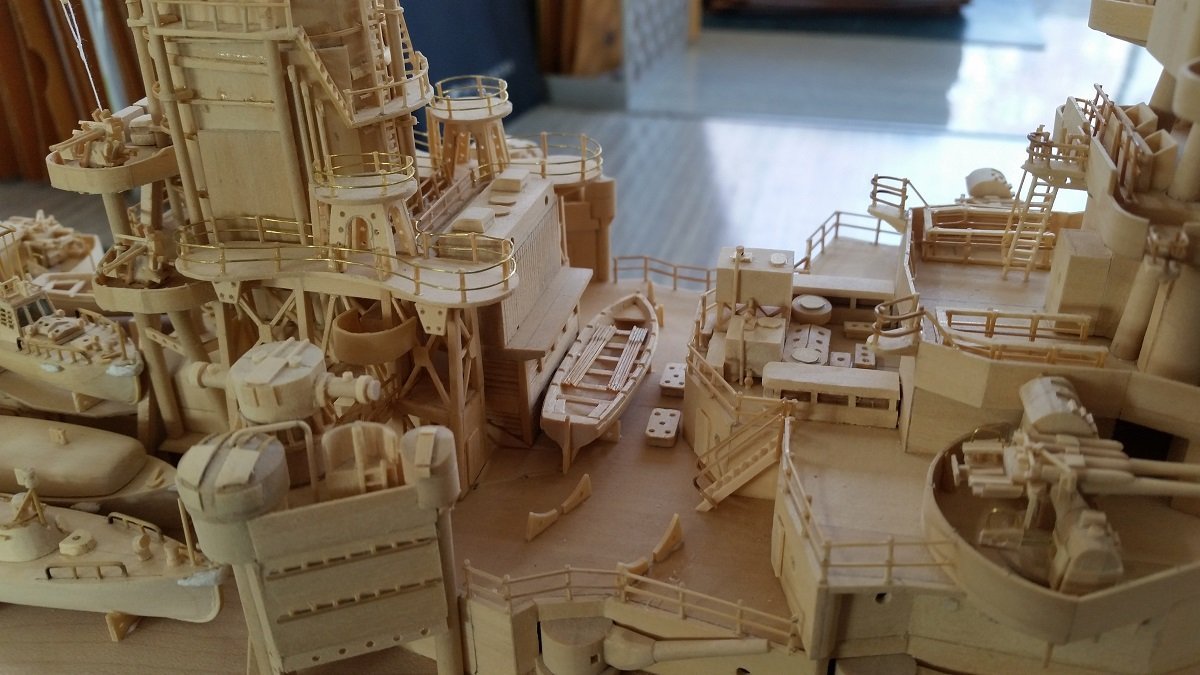
gotta love those life rafts and paravanes. Most manufacturers can't produce this even in 1/350.
-
i personally avoid ebay as much as possible, commissions for sellers has rised a lot, means prices have gone up. Some PE parts i bought straight from shop, prices where 40% cheaper than listed on ebay.
- 27 replies
-
- 4
-

-

-
- eBay
- kit piracy
- (and 1 more)
-
Cap San Diego by mikegr - 1/160
mikegr replied to mikegr's topic in - Build logs for subjects built 1901 - Present Day
this is the hull after several layers of filler and primer
-
when comes to hull painting i "reverse" the hull. For example to paint the freeboard area, i put the hull upside down to make sure paint overflow wont go underneath the tape. For under the waterline, hull is sitting properly. In both cases spray can in pointing downwards
-
I built 4 of the 8 25mm AA guns. Lesson learned: Epoxy primer is better that Etch primer for shinny parts.

-
Some missing planes are no big deal but two missing AA 4.7" must be replaced. I scratch built the supporters and got 2 guns from my spare box.
-
did it work?
-
most of these brigs were built domestically in Hydra, Psara and other areas. They were funded by Greek ship owners from their maritime profits. In other words it was their private contribution to the War of Independence. From the ancient ages of battle of Salamis to later ages, the built of light but fast and maneuverable ships along with good seamanship was the key factor of the Greek Navy. After the reform of the Greek State the government decided to form a Navy by ordering vessels from abroad like the American frigate Hellas and more.
-
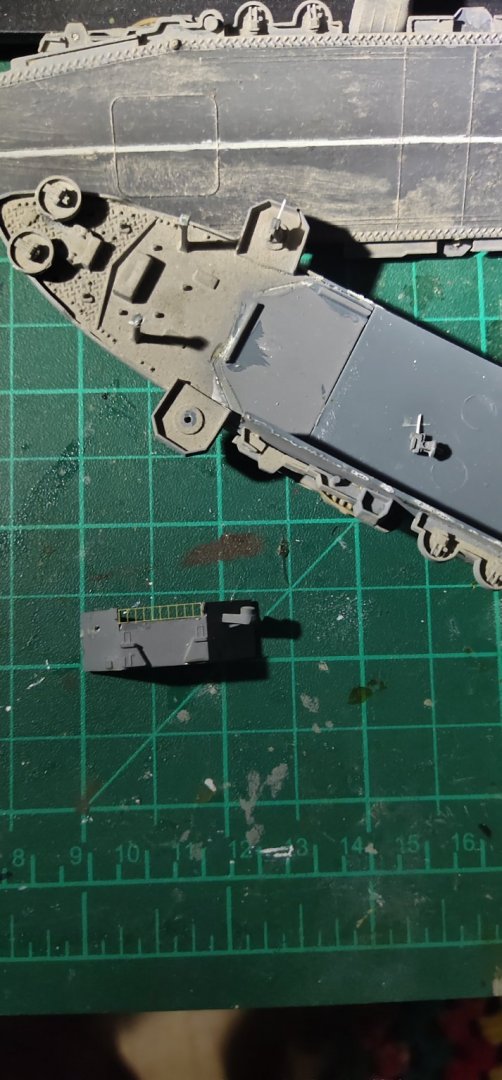
I removed the flight deck so I can work easier underneath. Square barrels of 5" guns were replaced by proper round ones. Added PE bridge windows.
-
I bought my first airbrush too it comes with a mini compressor. Mostly for general painting and making shades on sea base. First attempt was white not the best color to start with. Will see how it goes.
-
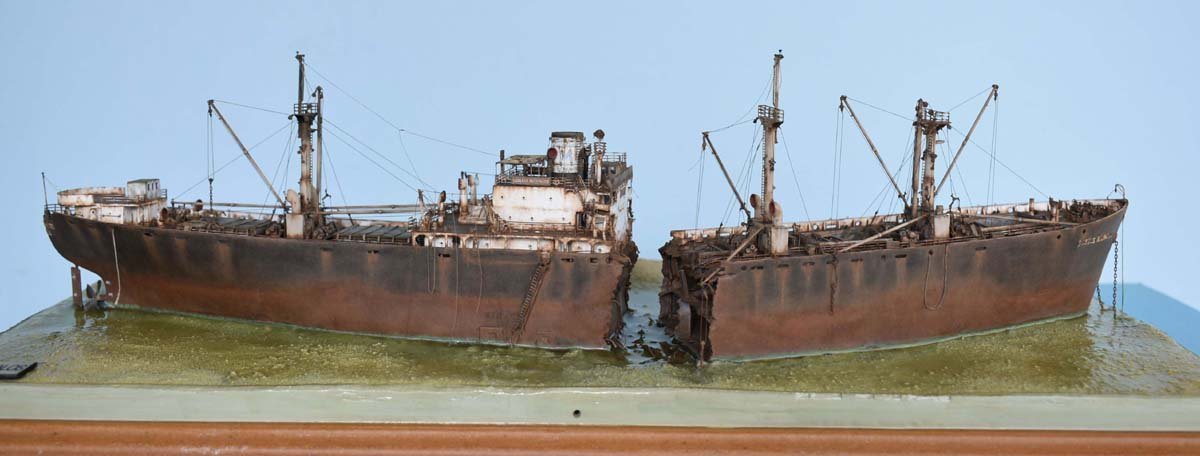
PE may look marginally better. What makes the difference between a nice model and a great one is that 5% extra detail. However i have to agree that this may not be an issue. There are many ways to overcome missing details or improve appearance. For example great paintwork can be critical. But can be of no importance at all Take a look at this is fine artwork based on superb painting which is beyond critisism. However looking at this handmade masterpiece it is easily understood that painting is of little if no importance. For me considering the fact that this is made only with basic tools in hand and not even putty for corrections, i believe painting would only damage the model
-
Cap San Diego by mikegr - 1/160
mikegr replied to mikegr's topic in - Build logs for subjects built 1901 - Present Day
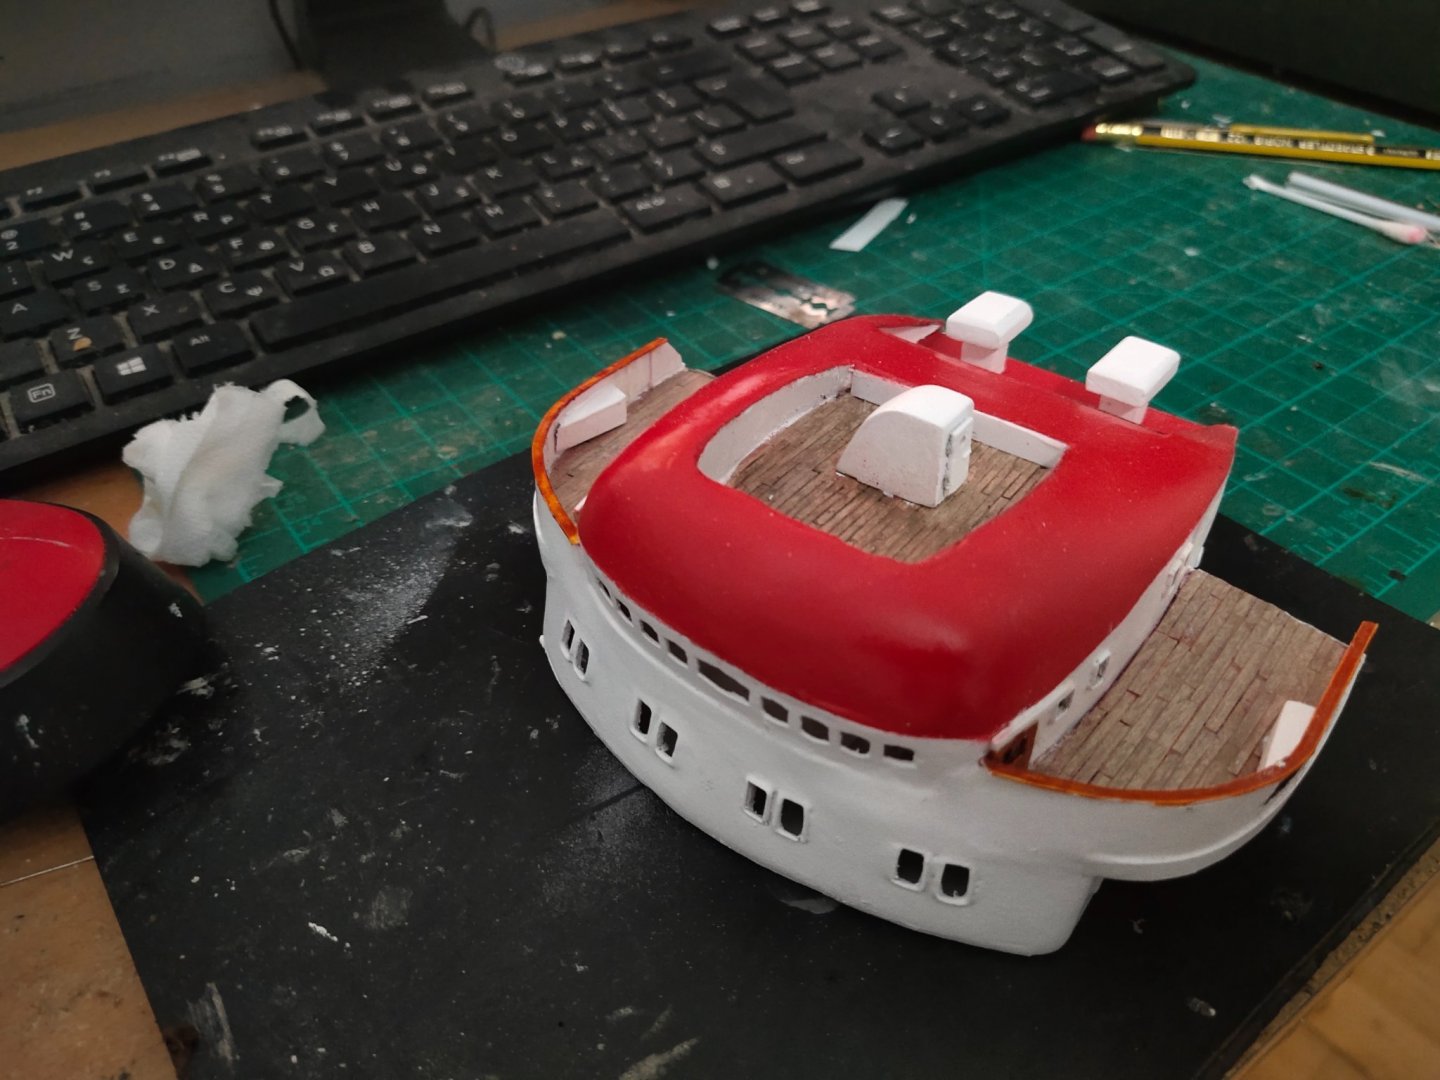
Meanwhile bridge deck is done, only details need to be added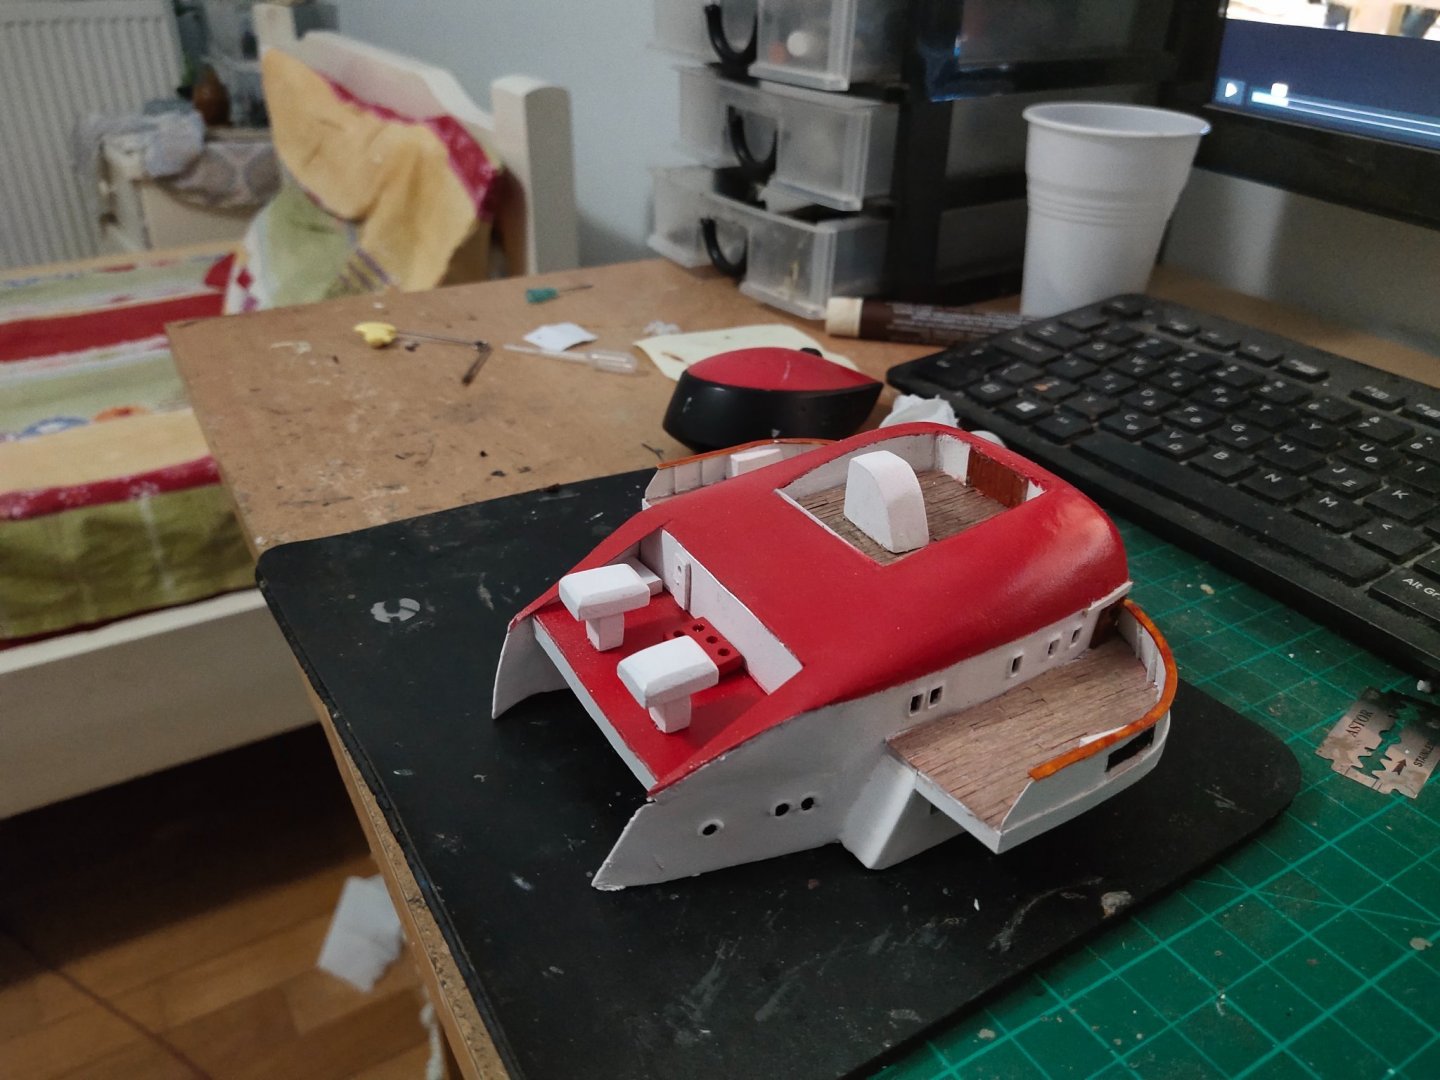
-
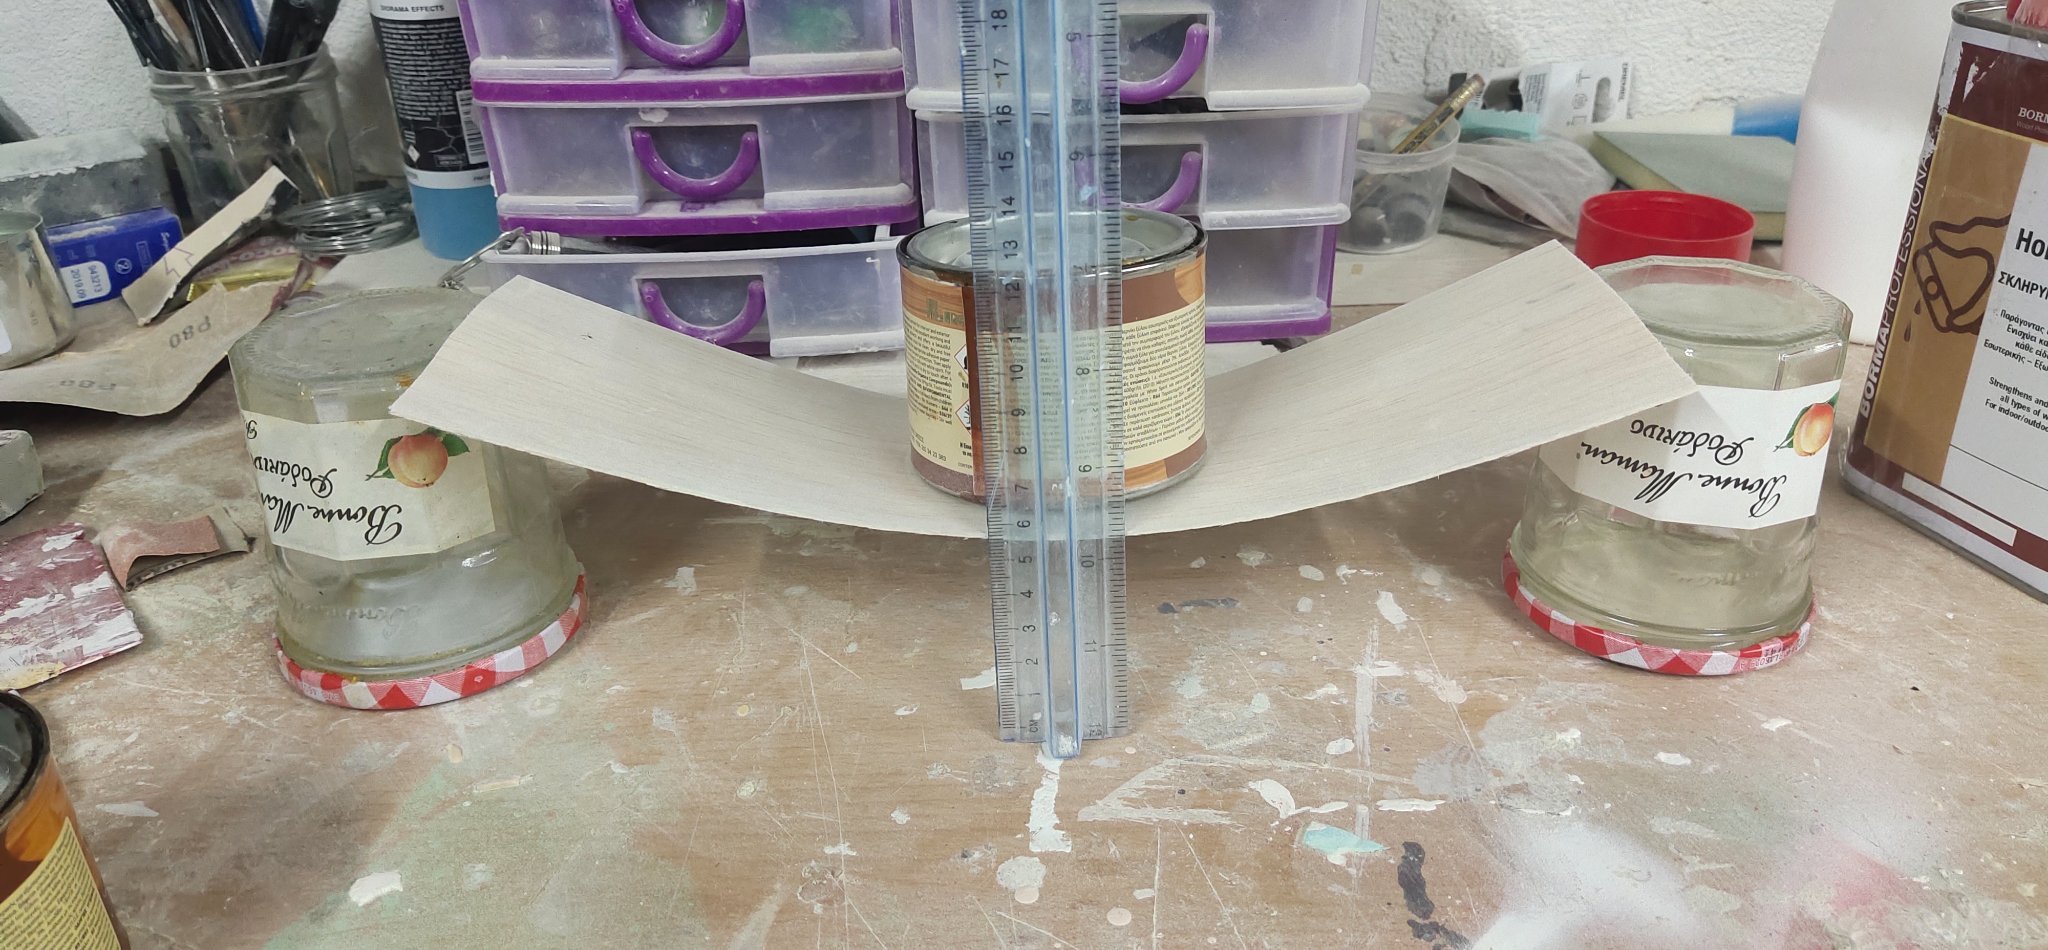
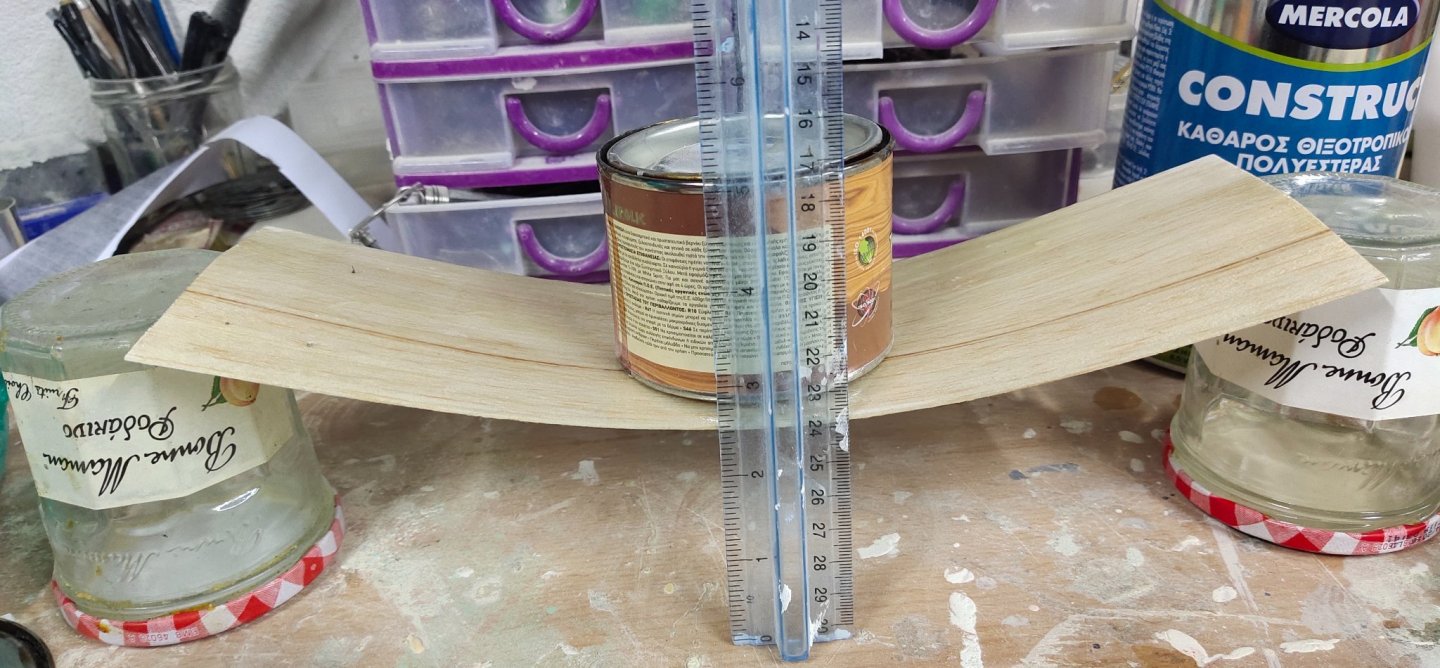
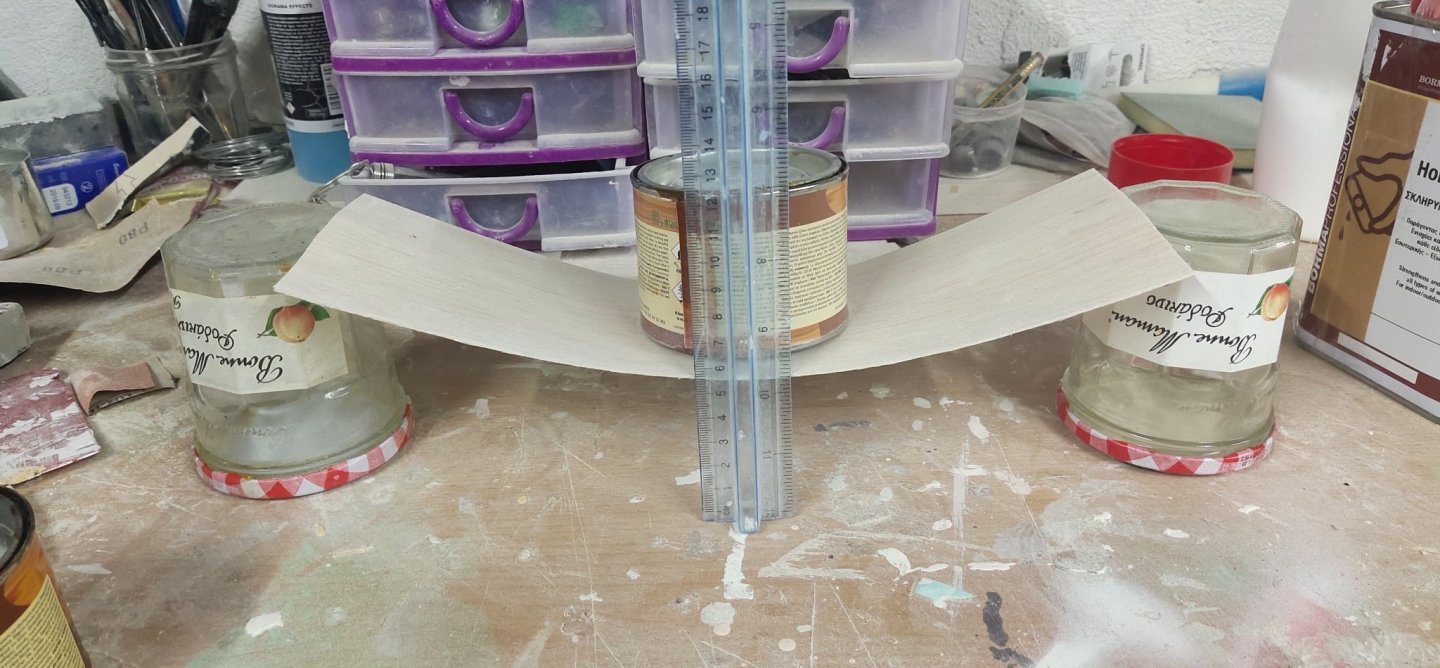
So basically I got the wood hardener product. It is a transparent liquid with water consistency and smells like glue for plastic models. I decided to do the "jam" test. I cut balsa 1 mm thick in about 32x10 piece. I coated with it with one layer then a second one after some hours (balsa absorbed it really quick). Another same dimension piece was given a couple of layers of one ingredient epoxy.A third one was coated twice with polyester.Each one was given tested with a 200gr weight on it. One the right corner you can see the product (hardener, epoxy, polyester). As you can see the first piece had a min distance of 5.5 cm from the table, the 2nd about 6.5 cm and the 3rd one 6cm. That means the epoxyfied balsa was the most rigid of all. Or at least, epoxy is as good as a wood hardener. Note that polyester was well absorbed but wood remained sticky means that wasn't dried, perhaps more catalyst should have been applied, not sure if that plays any role.

-
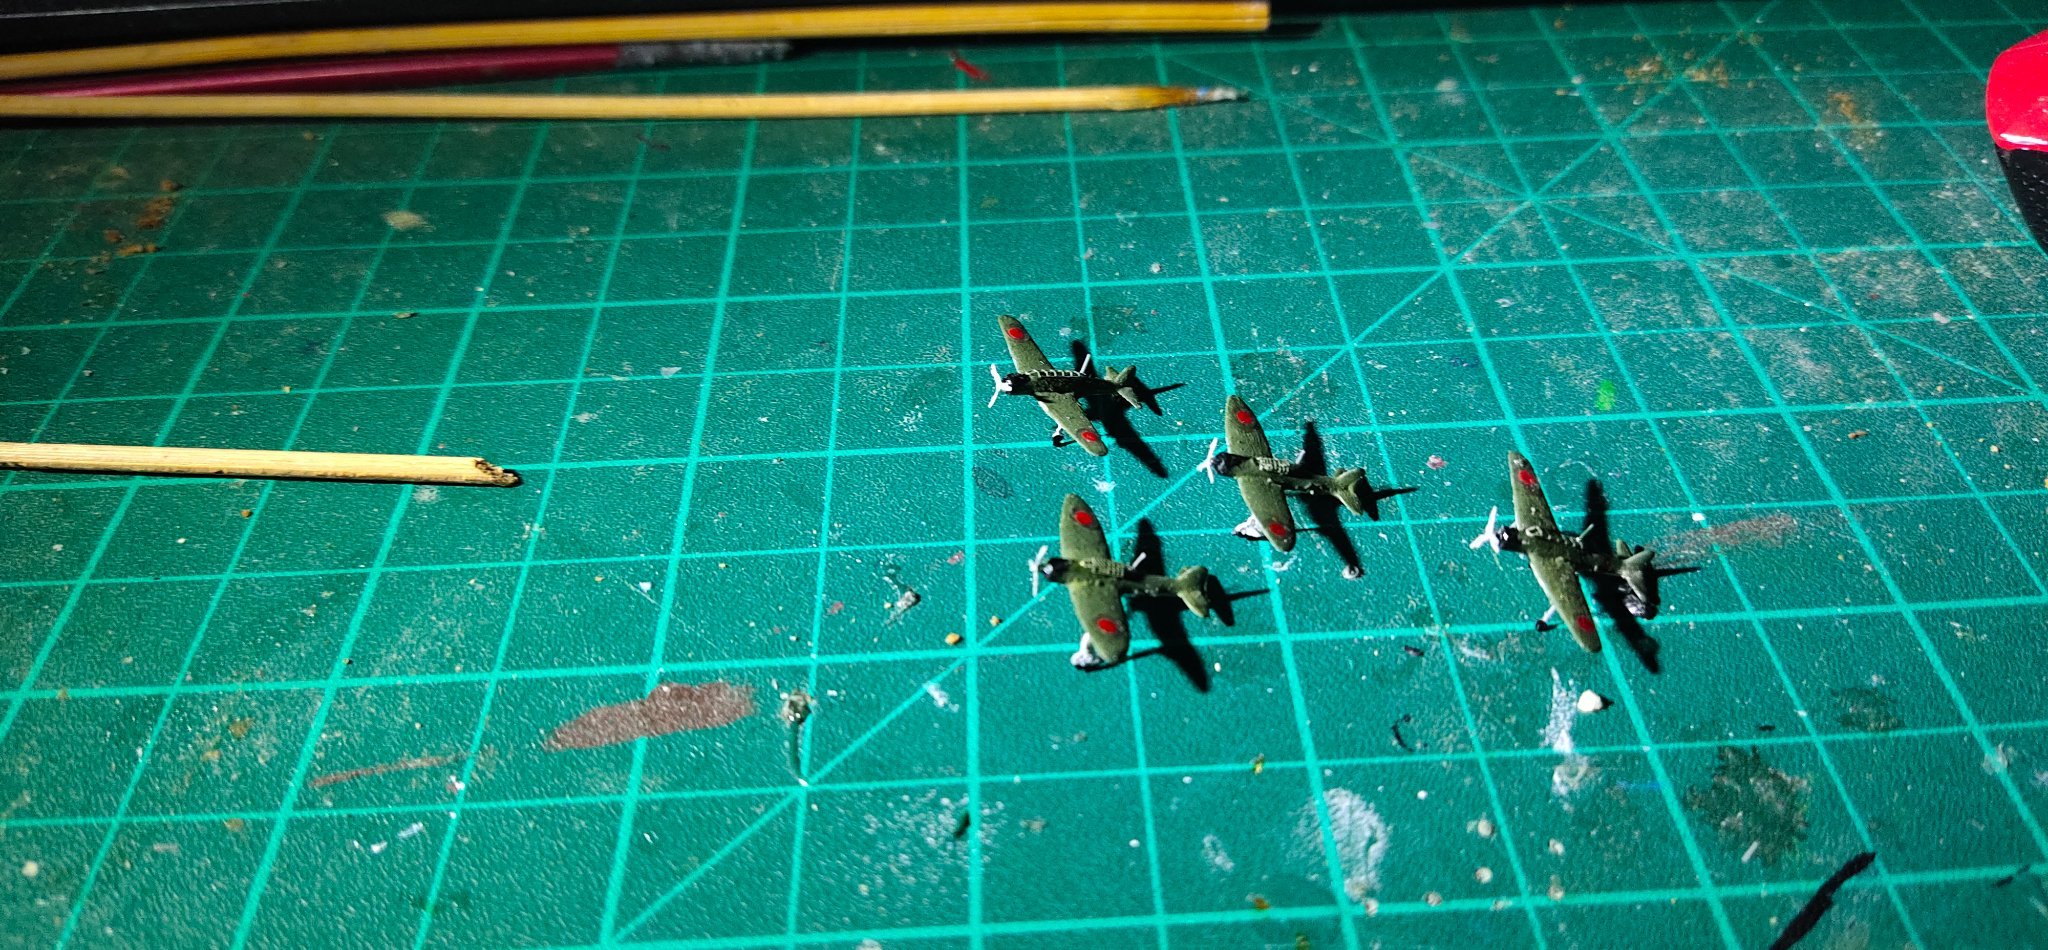
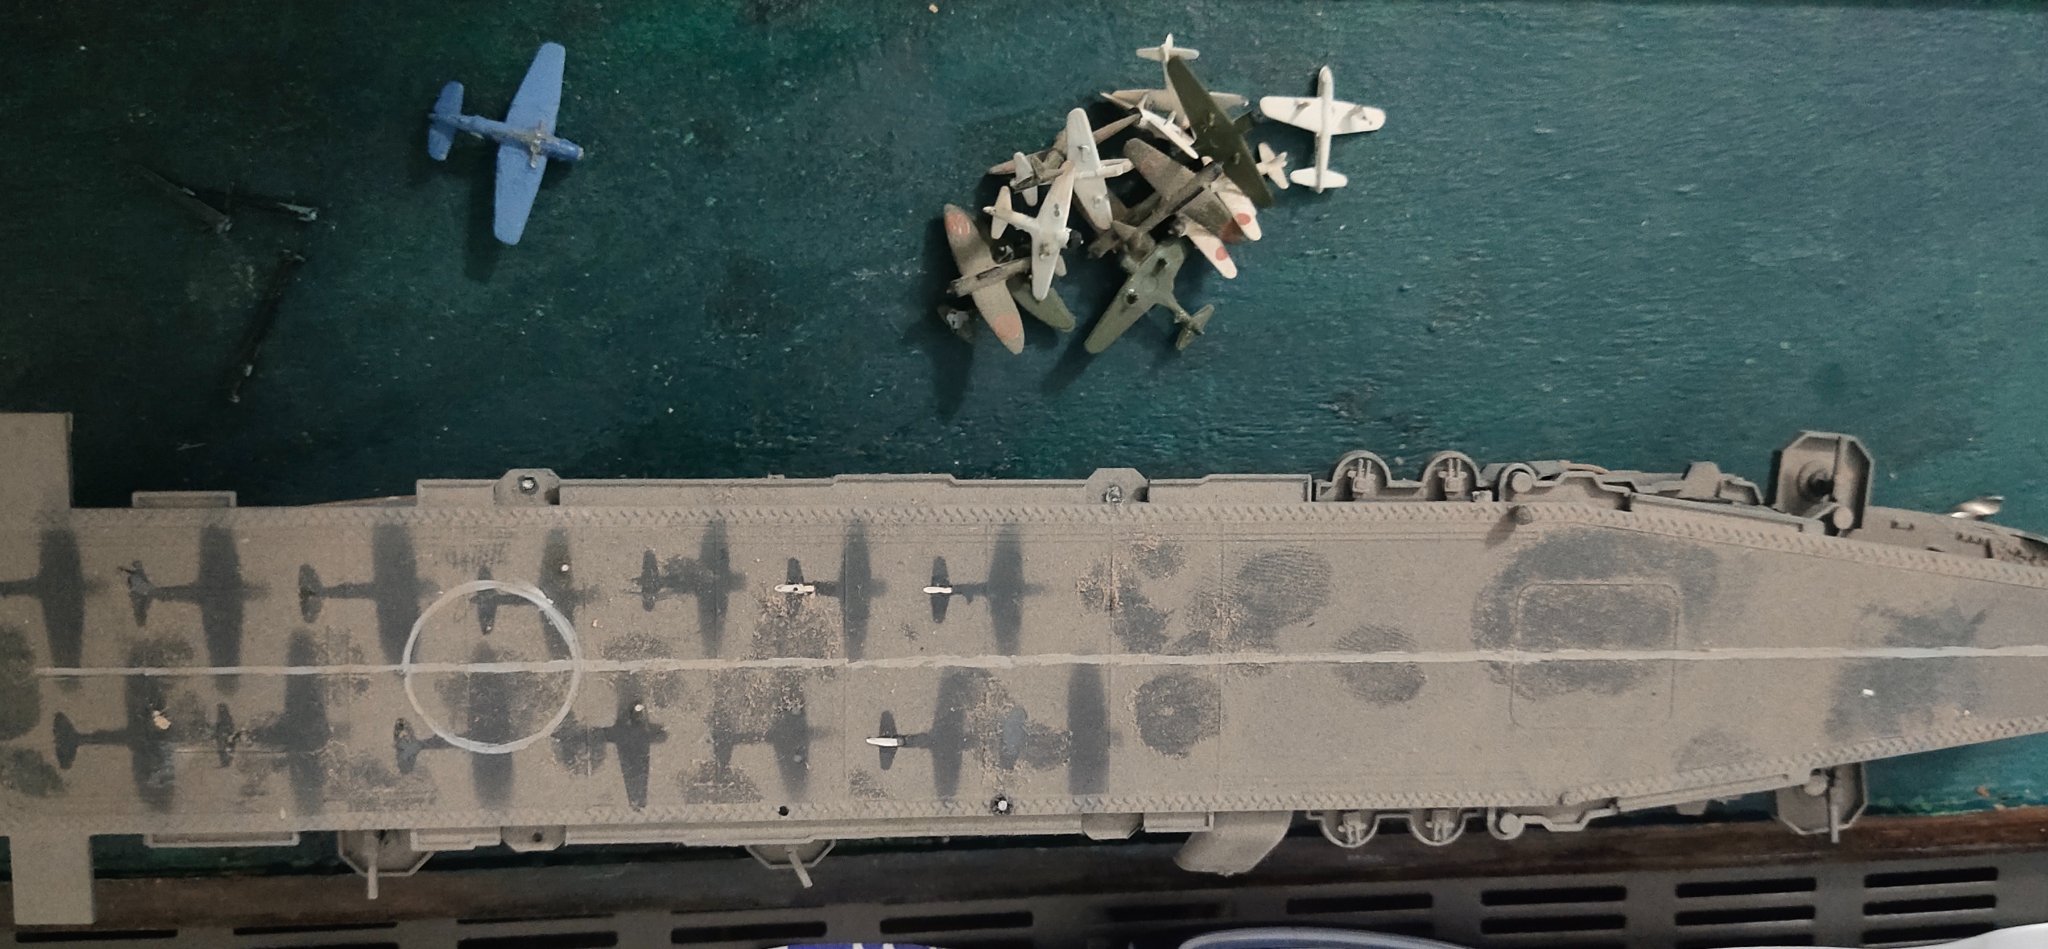
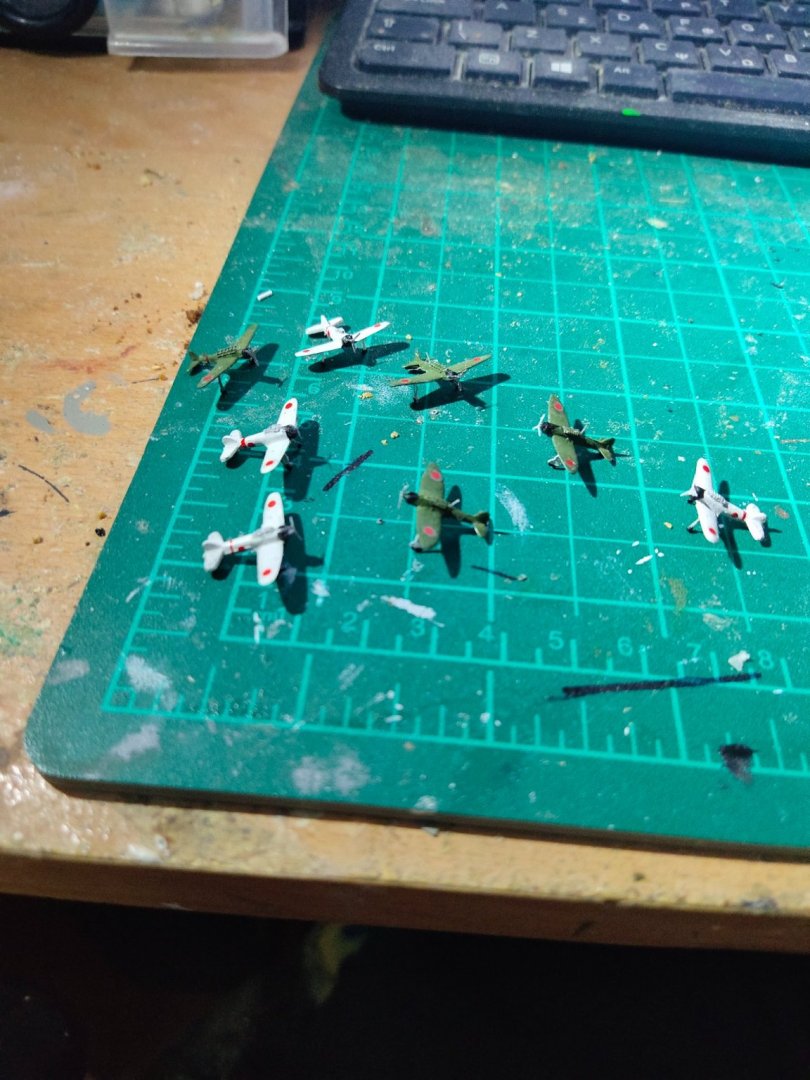
The air fleet is almost done. Smaller that before but better with better look
-
Cap San Diego by mikegr - 1/160
mikegr replied to mikegr's topic in - Build logs for subjects built 1901 - Present Day
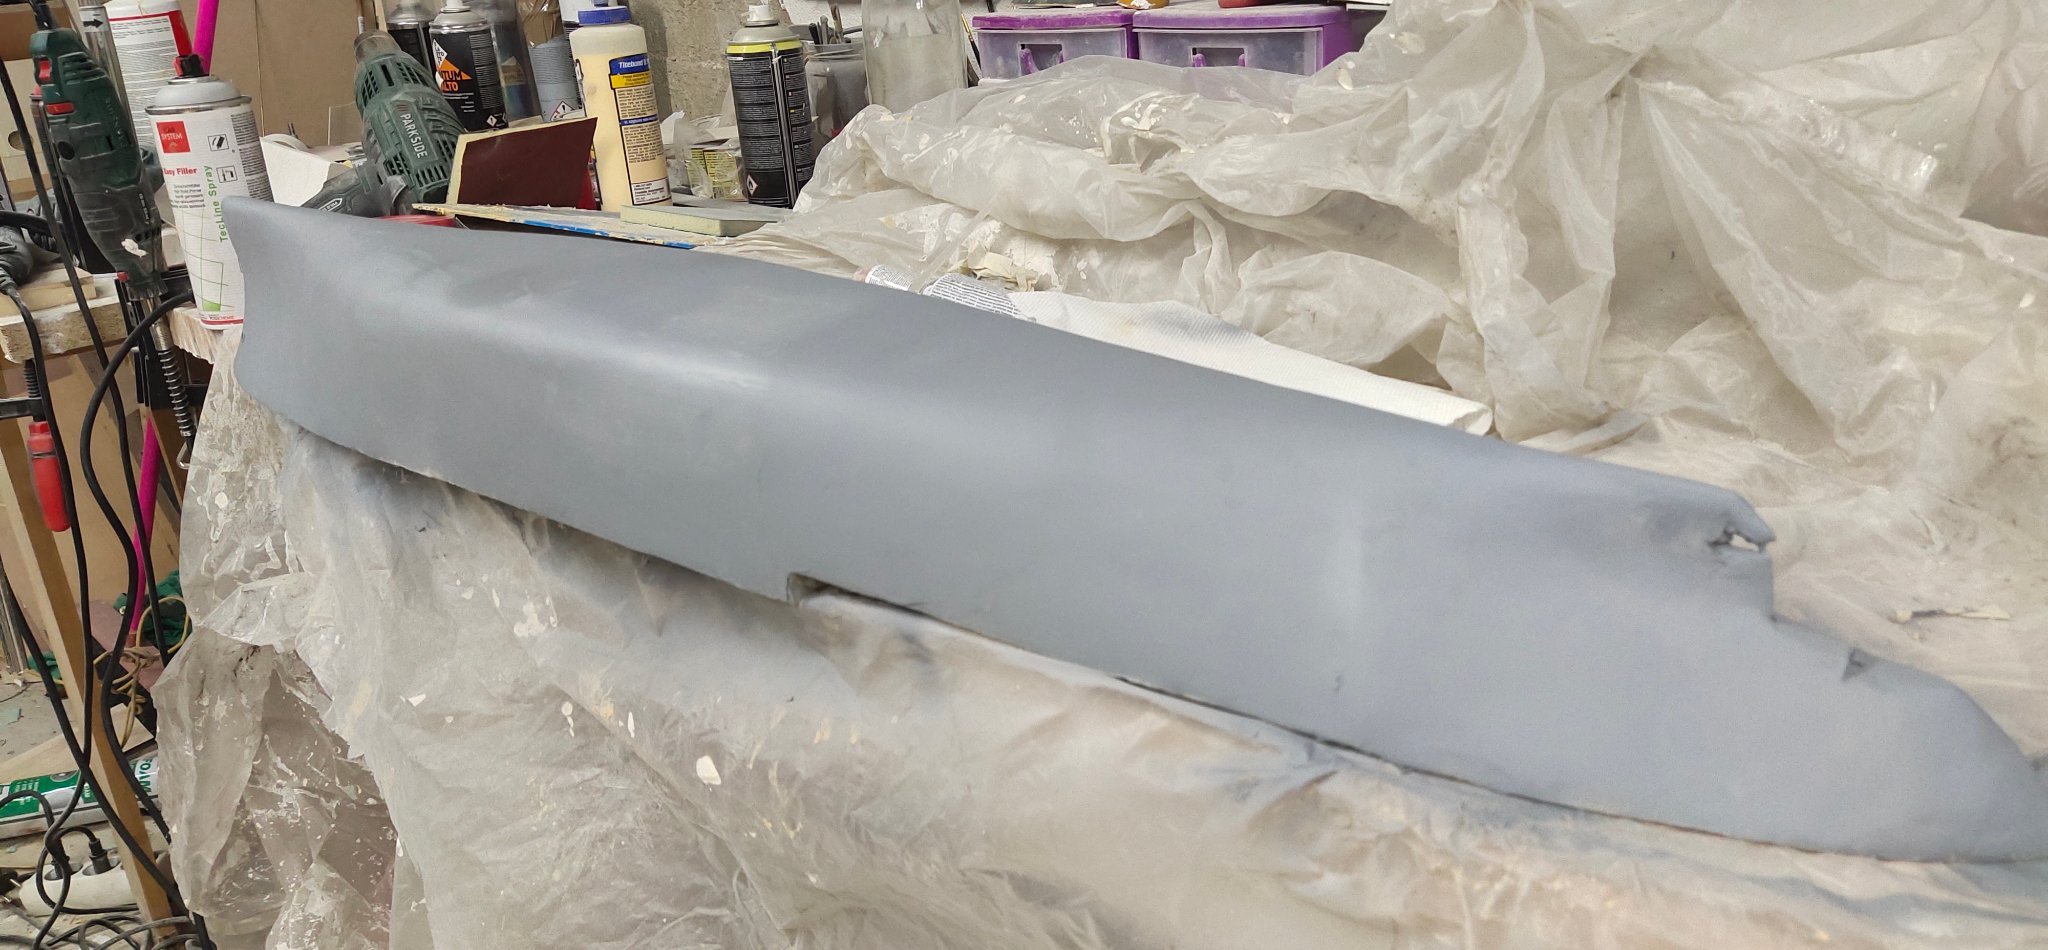
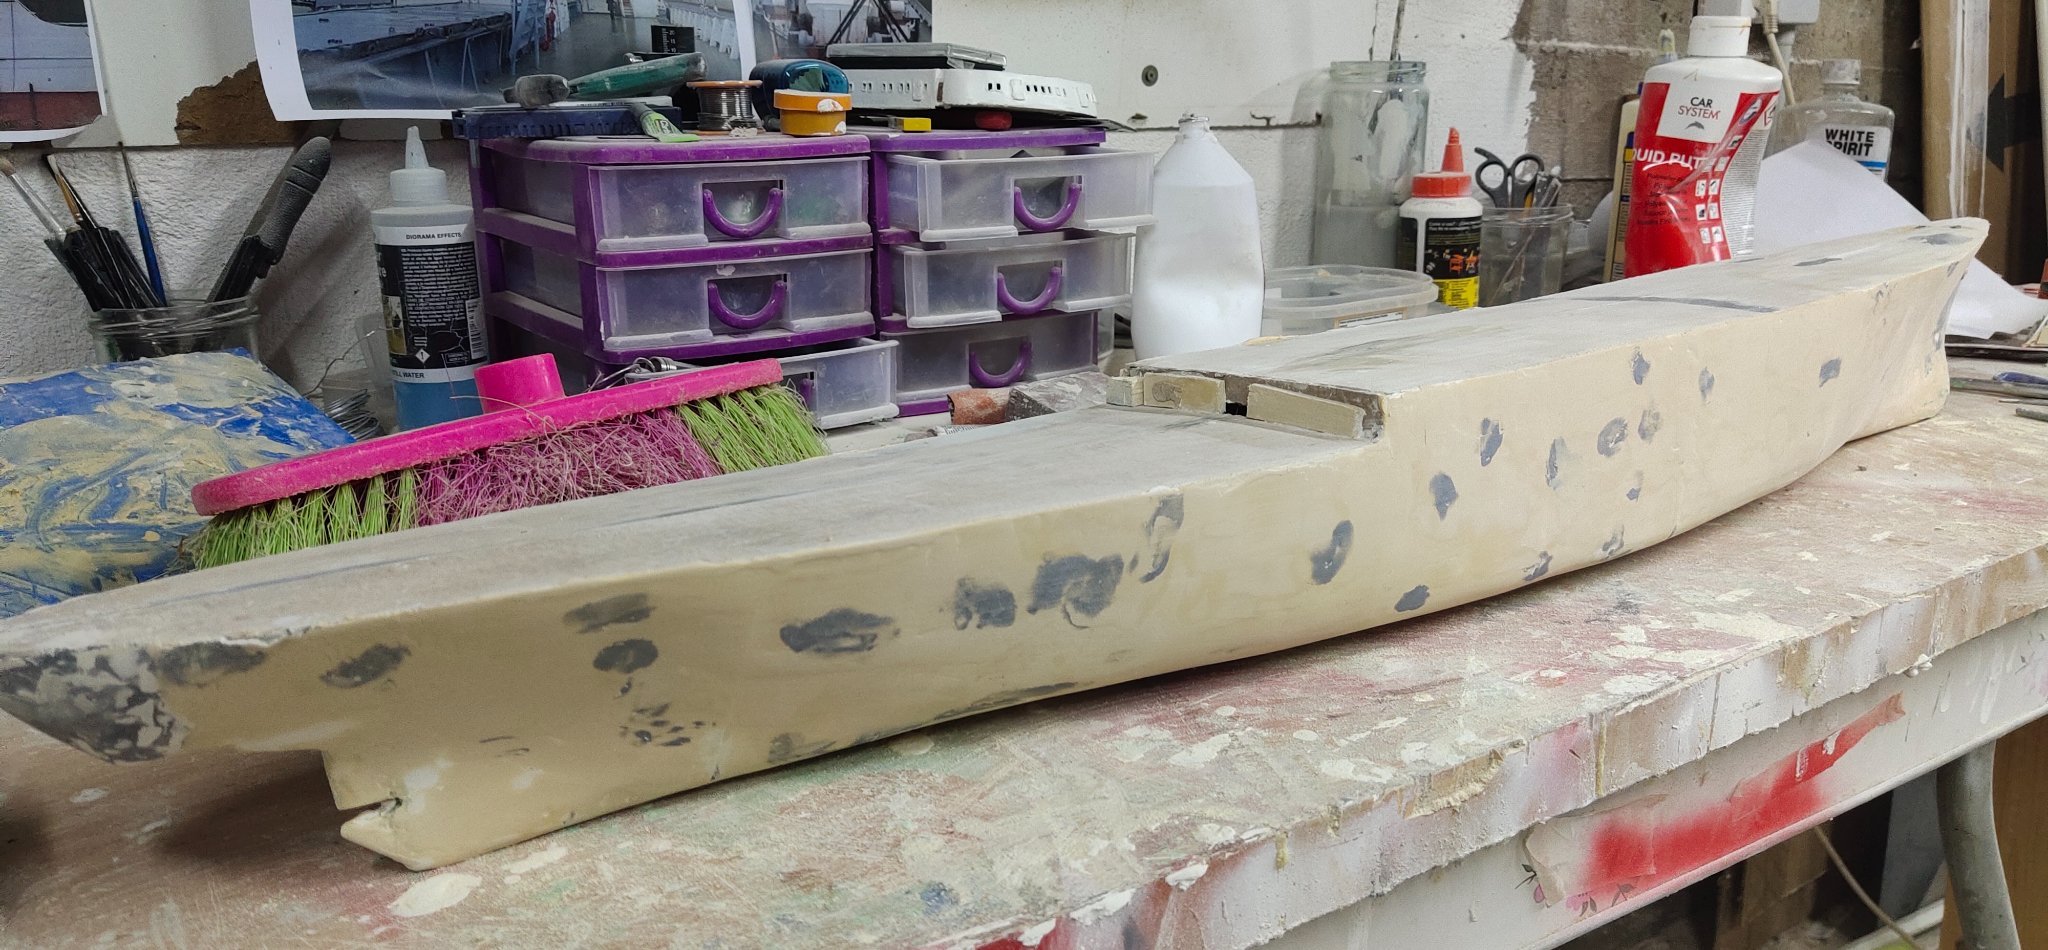
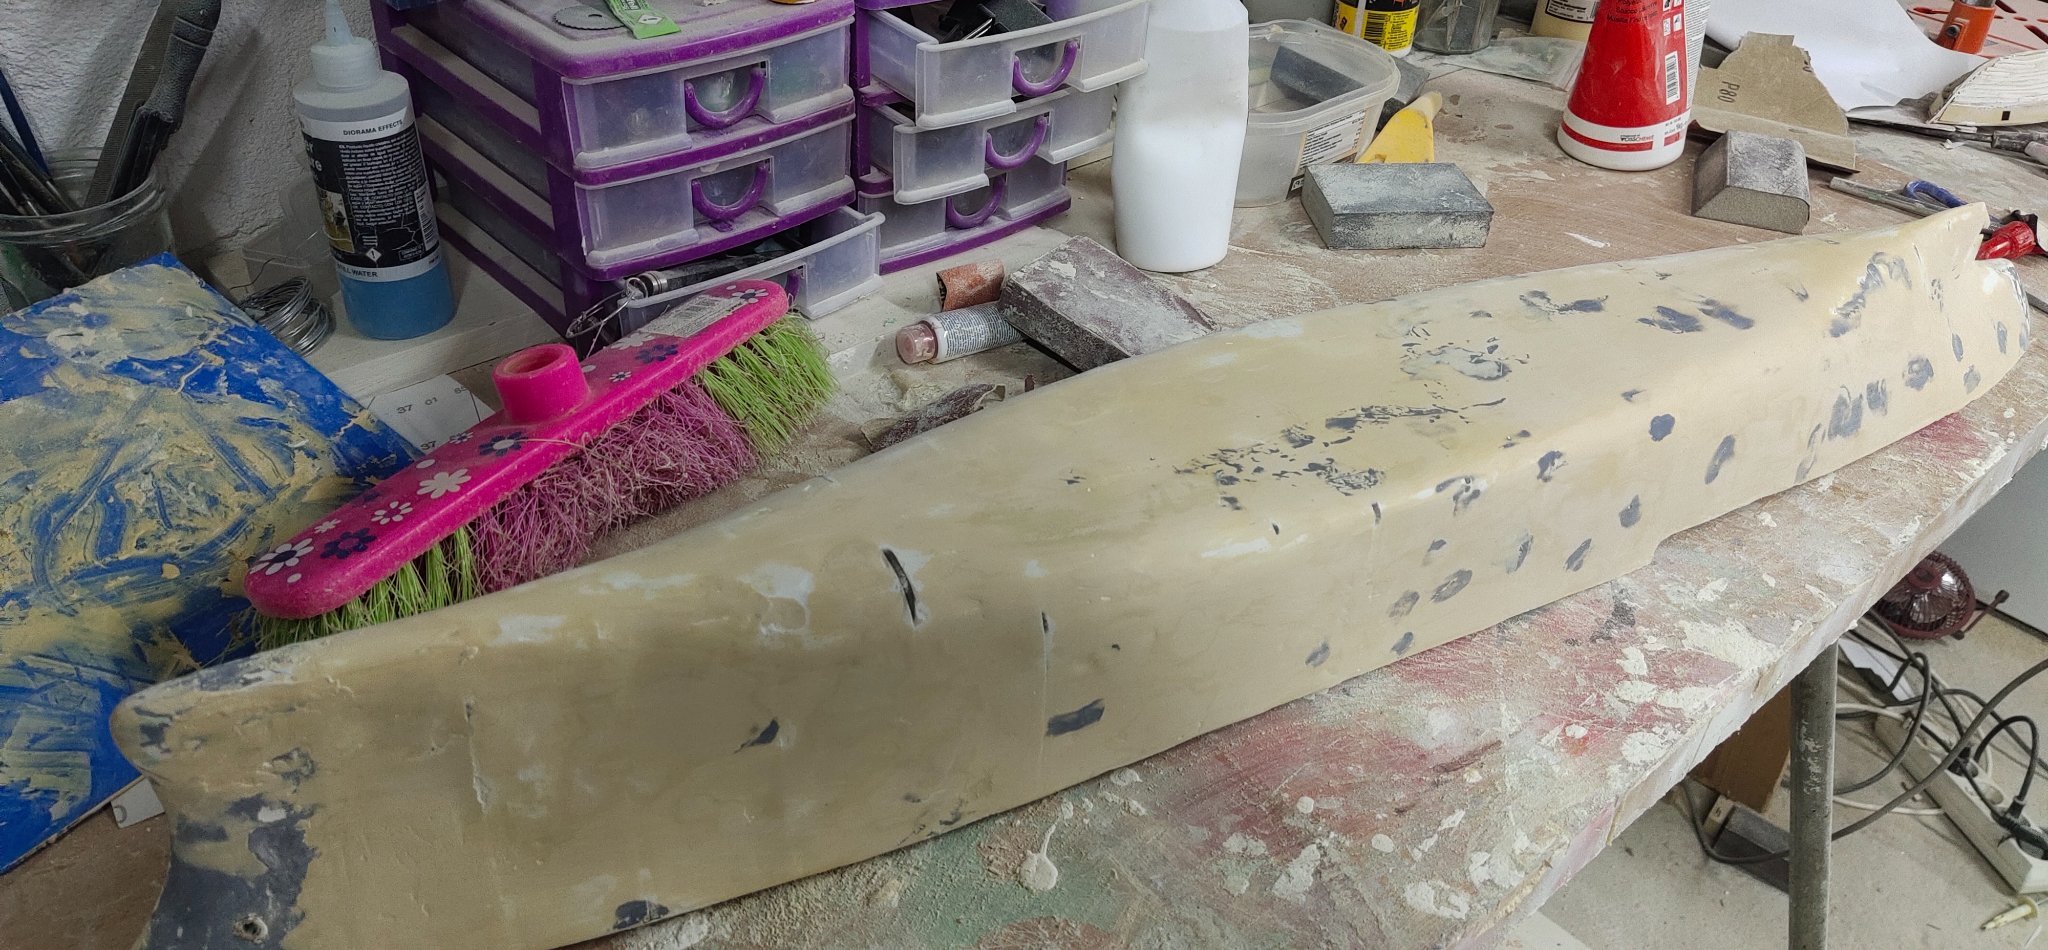
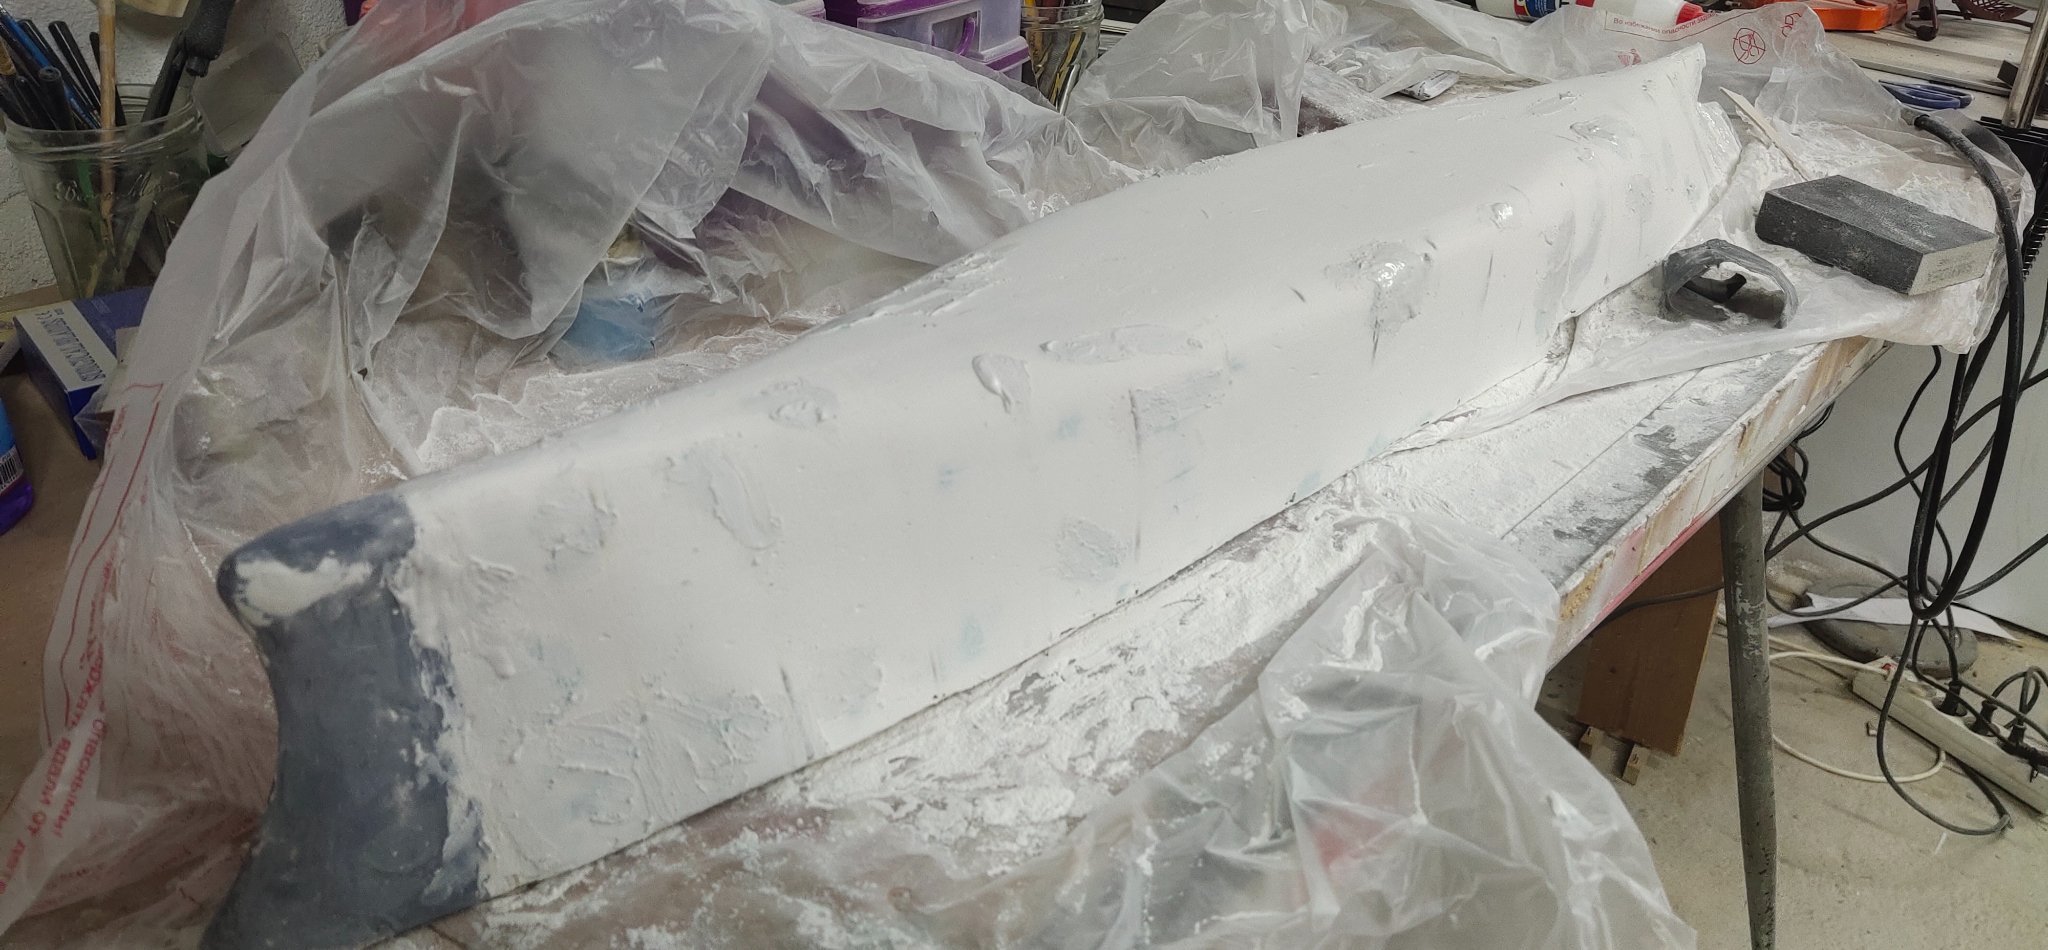
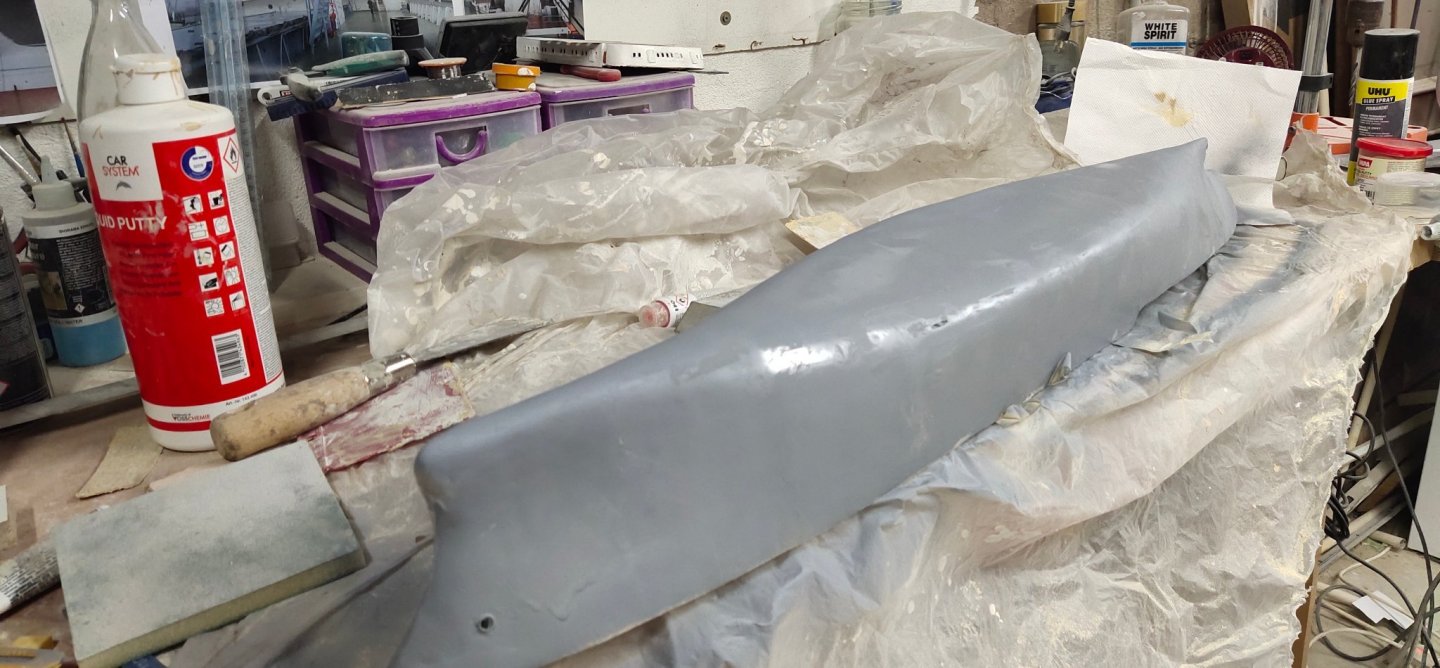
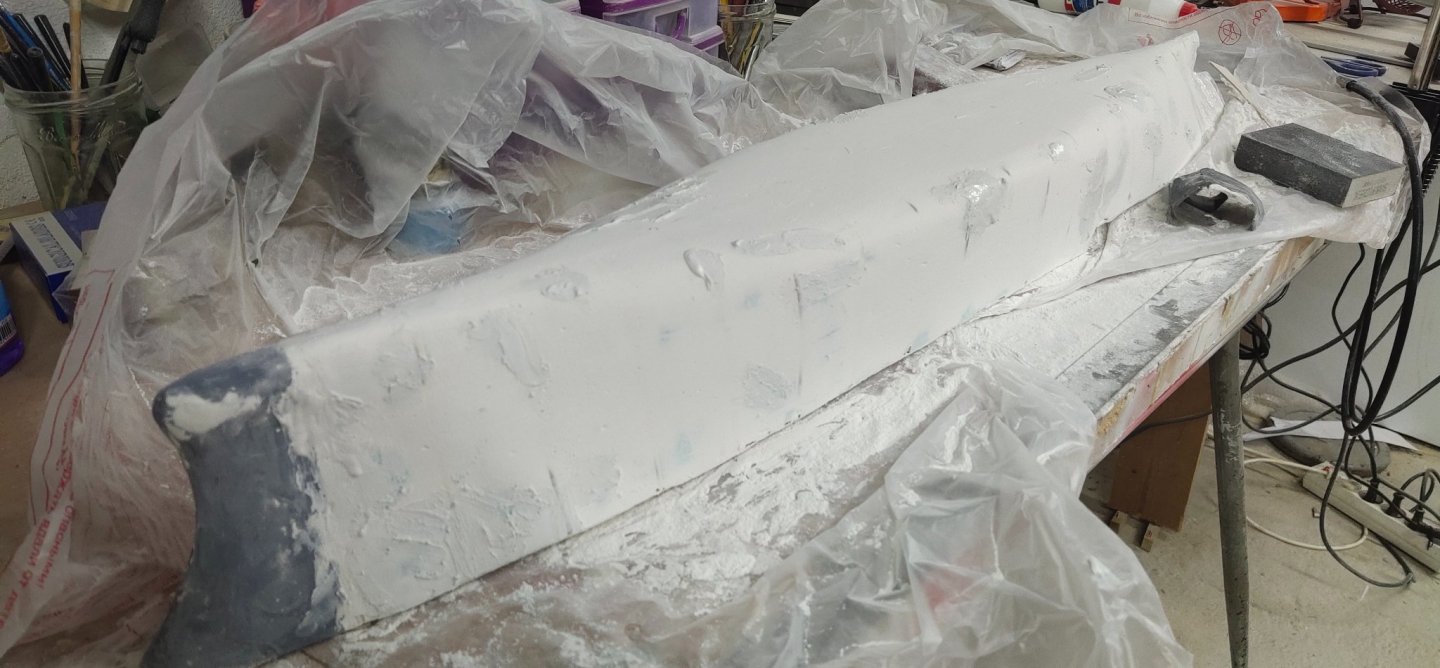
I have applied several layers of thick primer and sand it. It got an almost smooth surface. Then I applied a coat of car body filler liquid, bought in a bottle. It is a bit more easy to work with and gives a fine smooth finish. I applied several coats each time less amount of it. I used glaze putty to fill in small holes. There's a lot of work to be done yet.
-
The first batch of air group is done. Some PE parts were nightmare and the belly of the planes is not well painted but it won't be visible.

-
Cap San Diego by mikegr - 1/160
mikegr replied to mikegr's topic in - Build logs for subjects built 1901 - Present Day
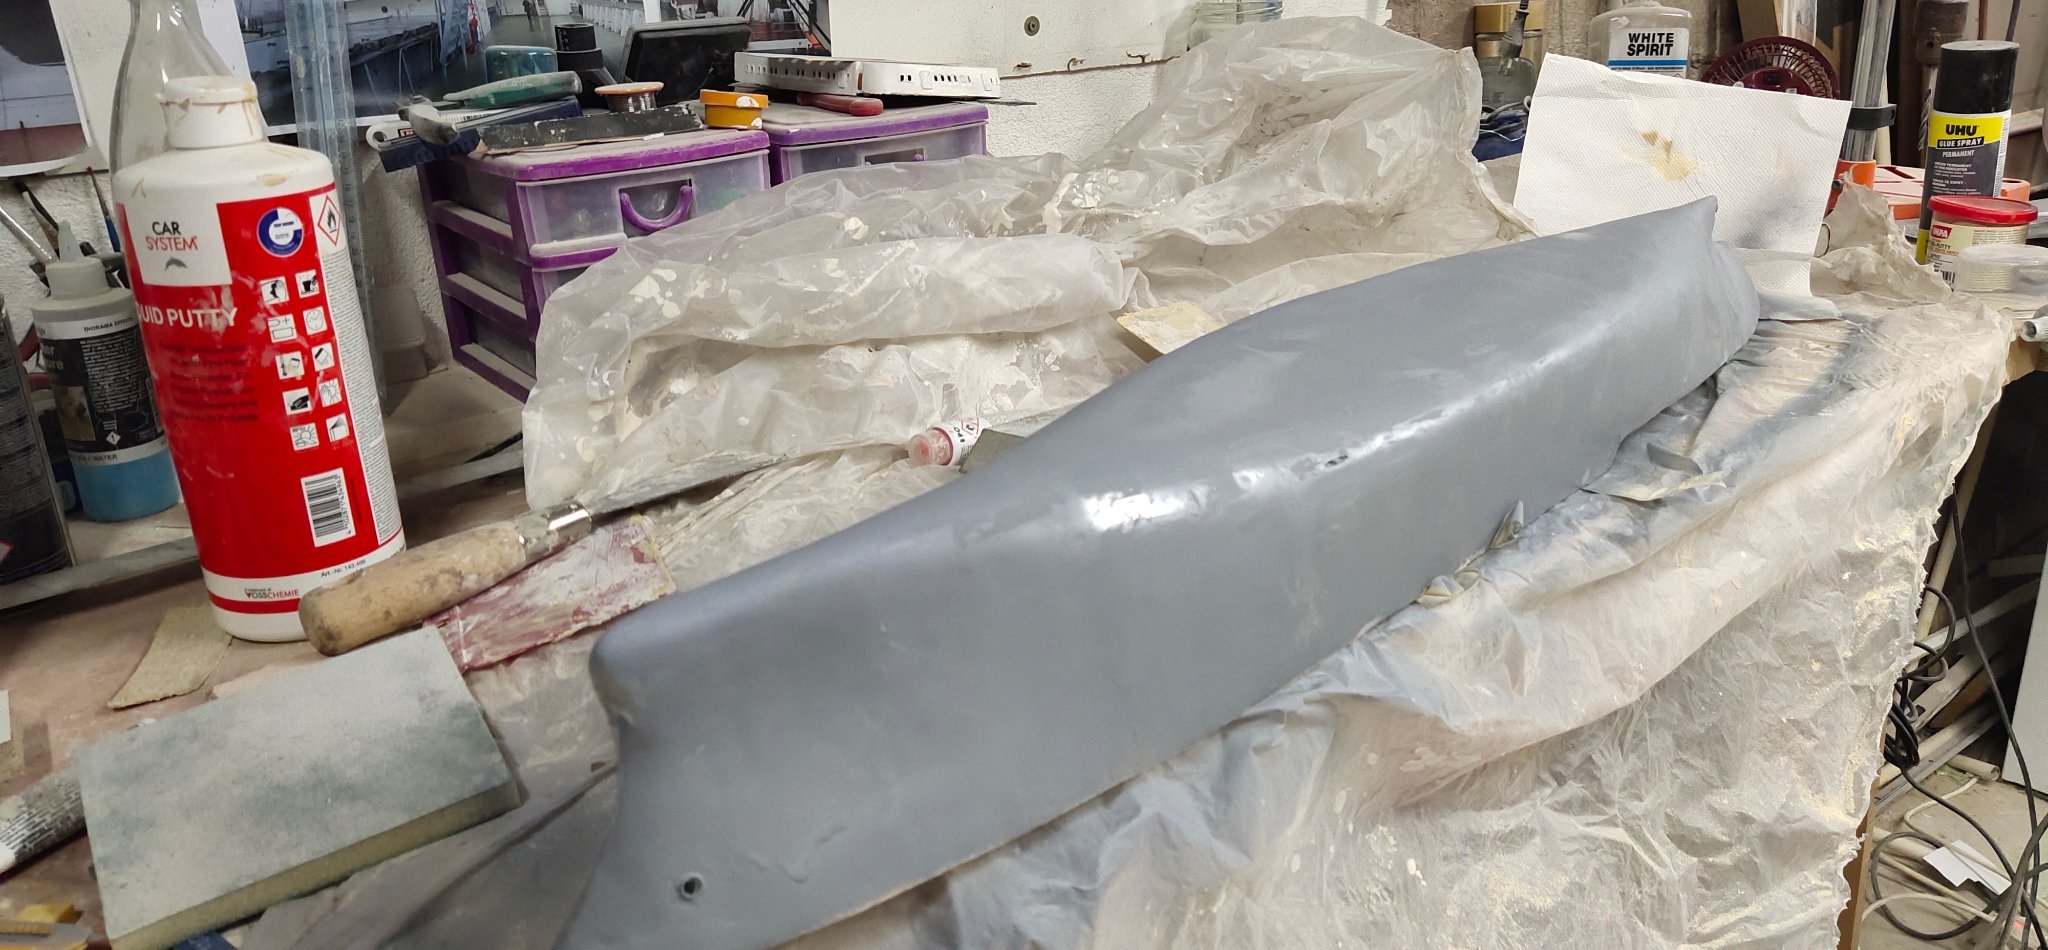
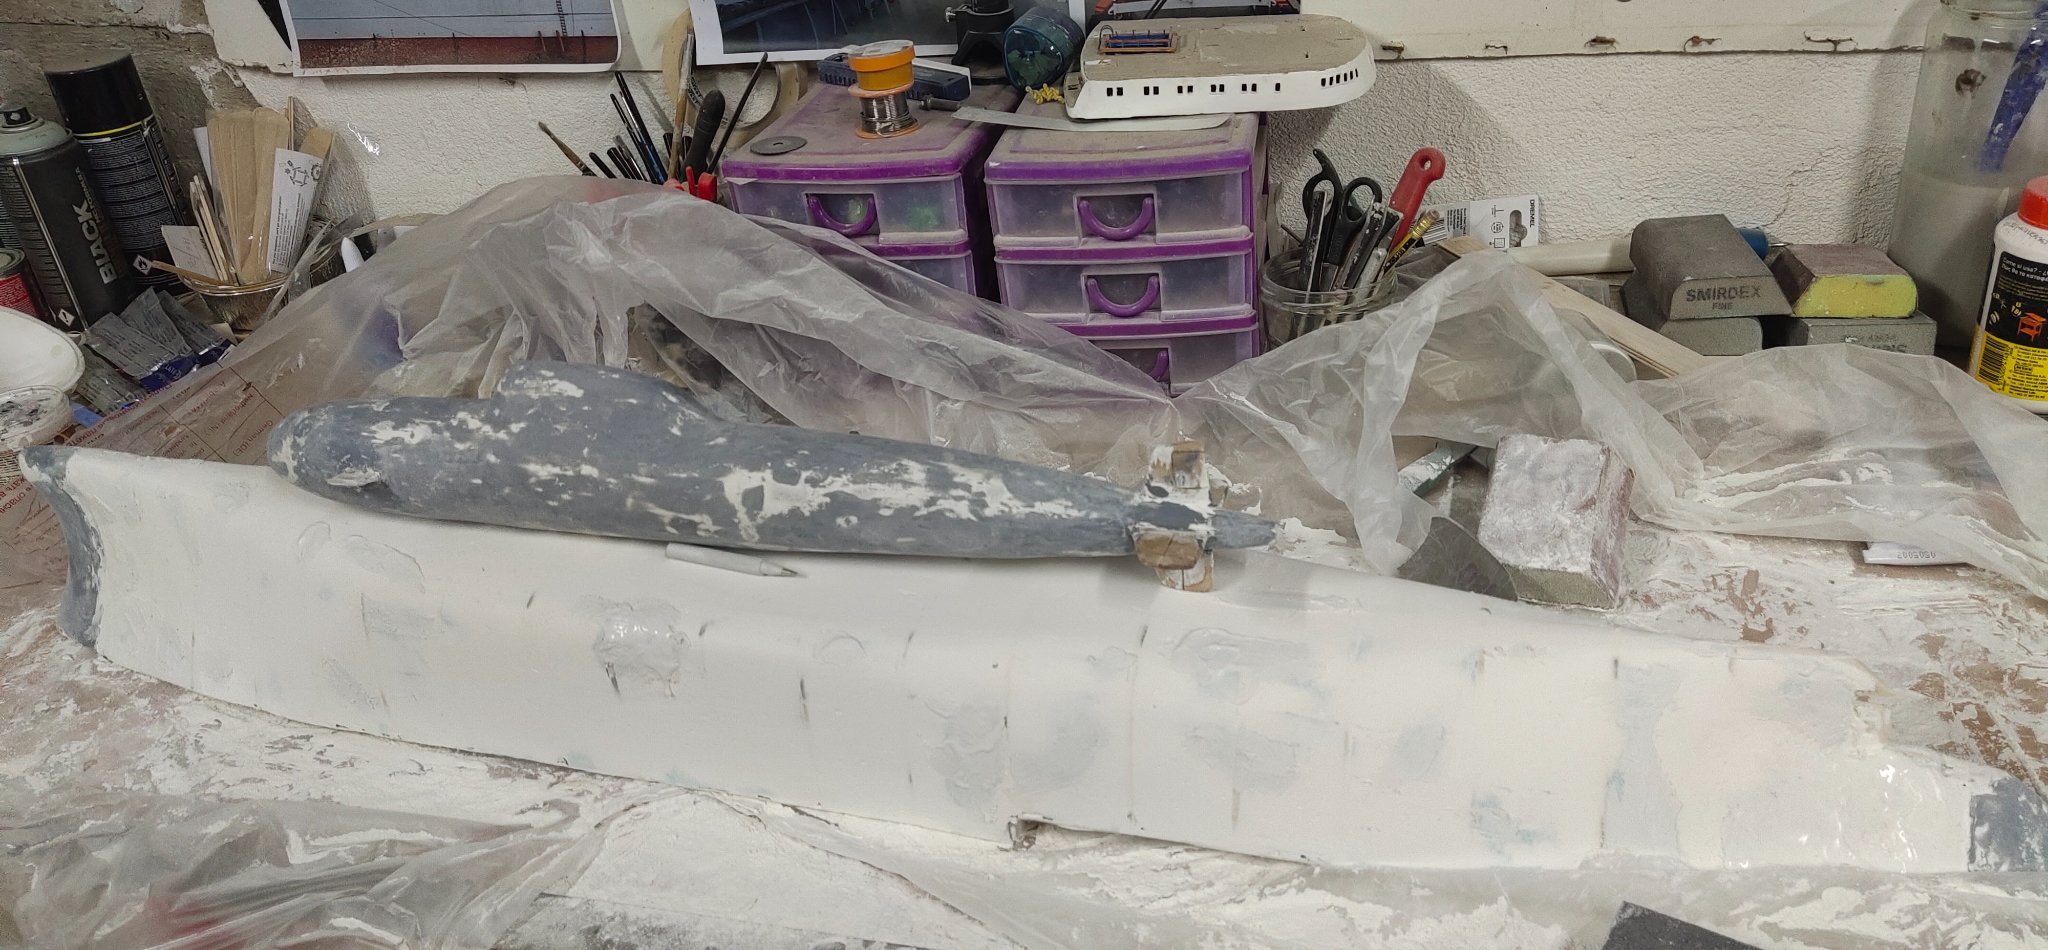
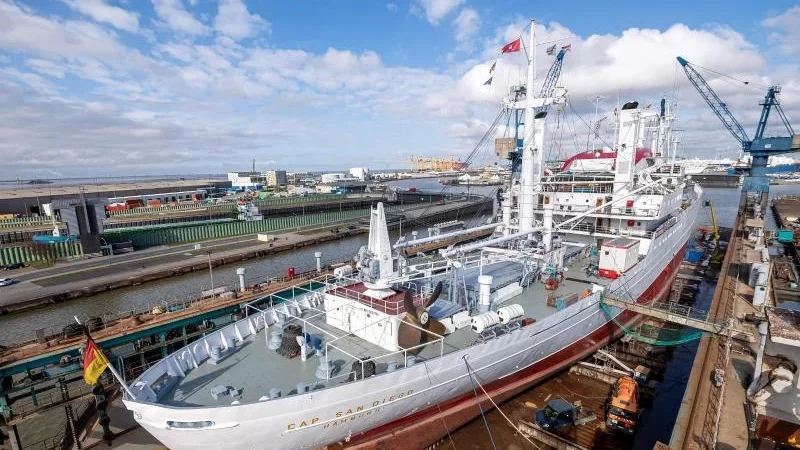
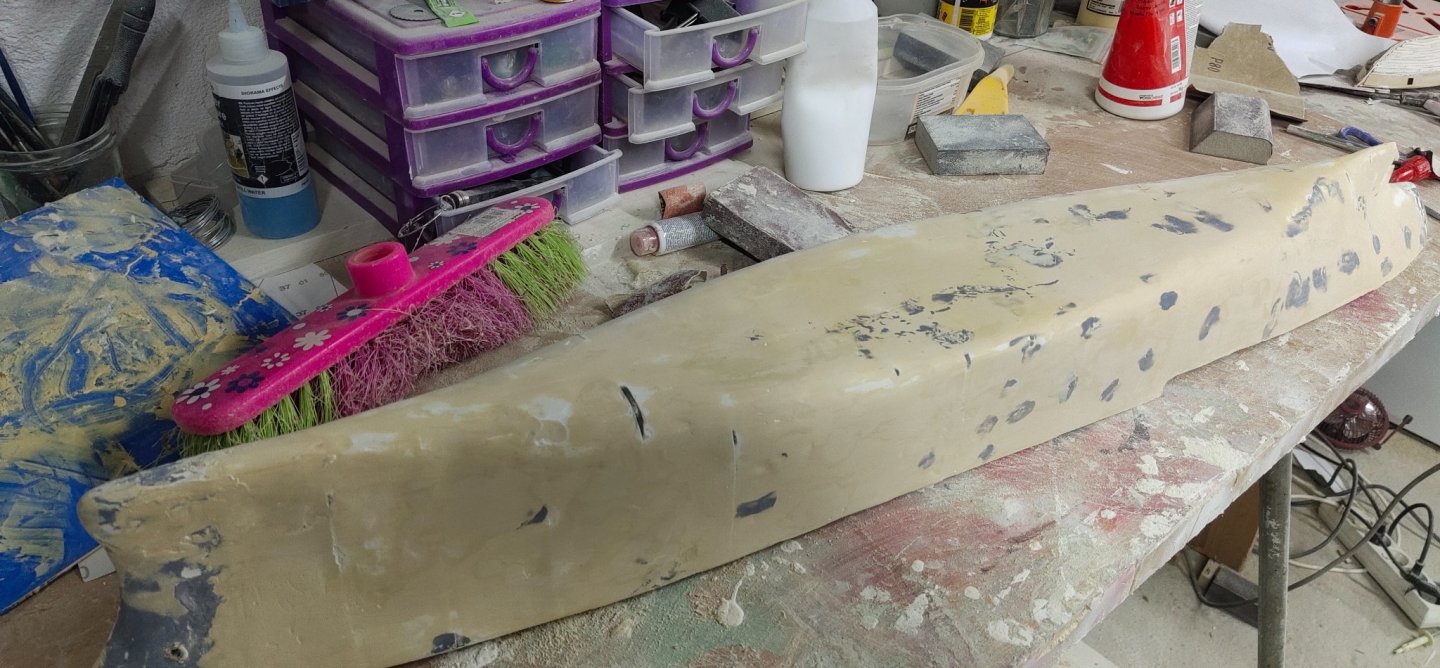
It is a bit sad that there's no interest for making a model of this fine ship. Thats why I decided to built my own. I have finished filling the hull, thick coated with acrylic putty and sanded. Too much dust but this was sanded down easily in 30 min. In some areas the layer was thinner and polystyrene was exposed. This time I put bit if wood filler locally for quick dry. After done with it I will give several layers of thick acrylic layer, gesso style.This will create an extra protective layer and smoothen the surface for the final car body filler application. Like I did with my experimental Alfa class project.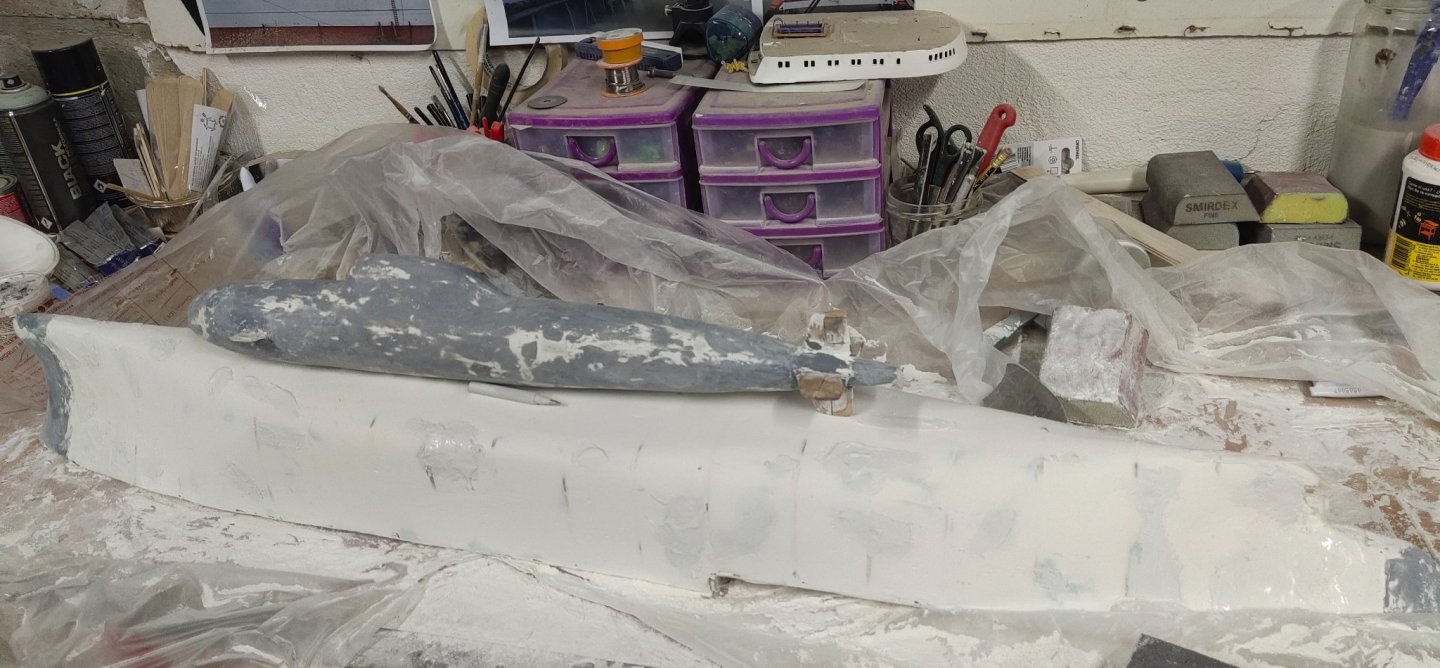
-
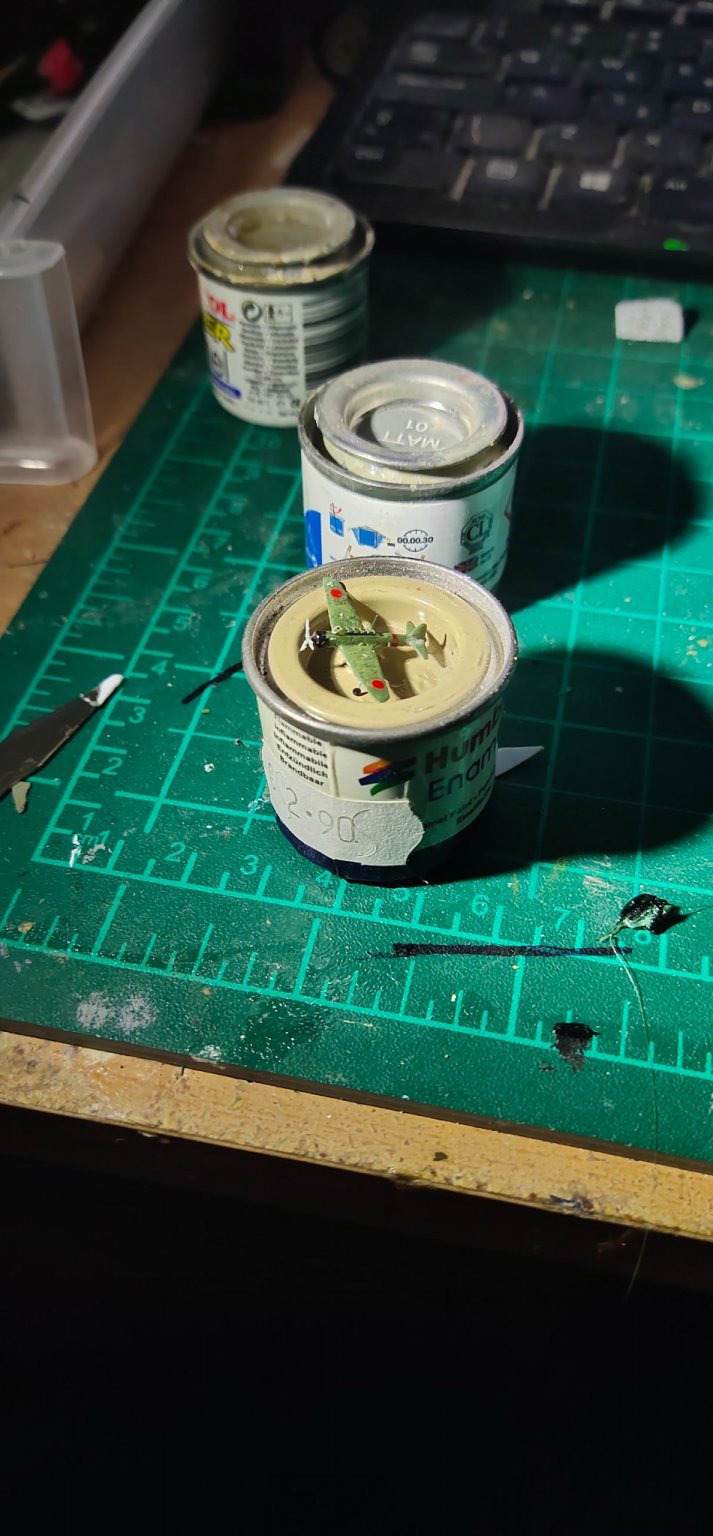
I (re)built at last the first plane

-
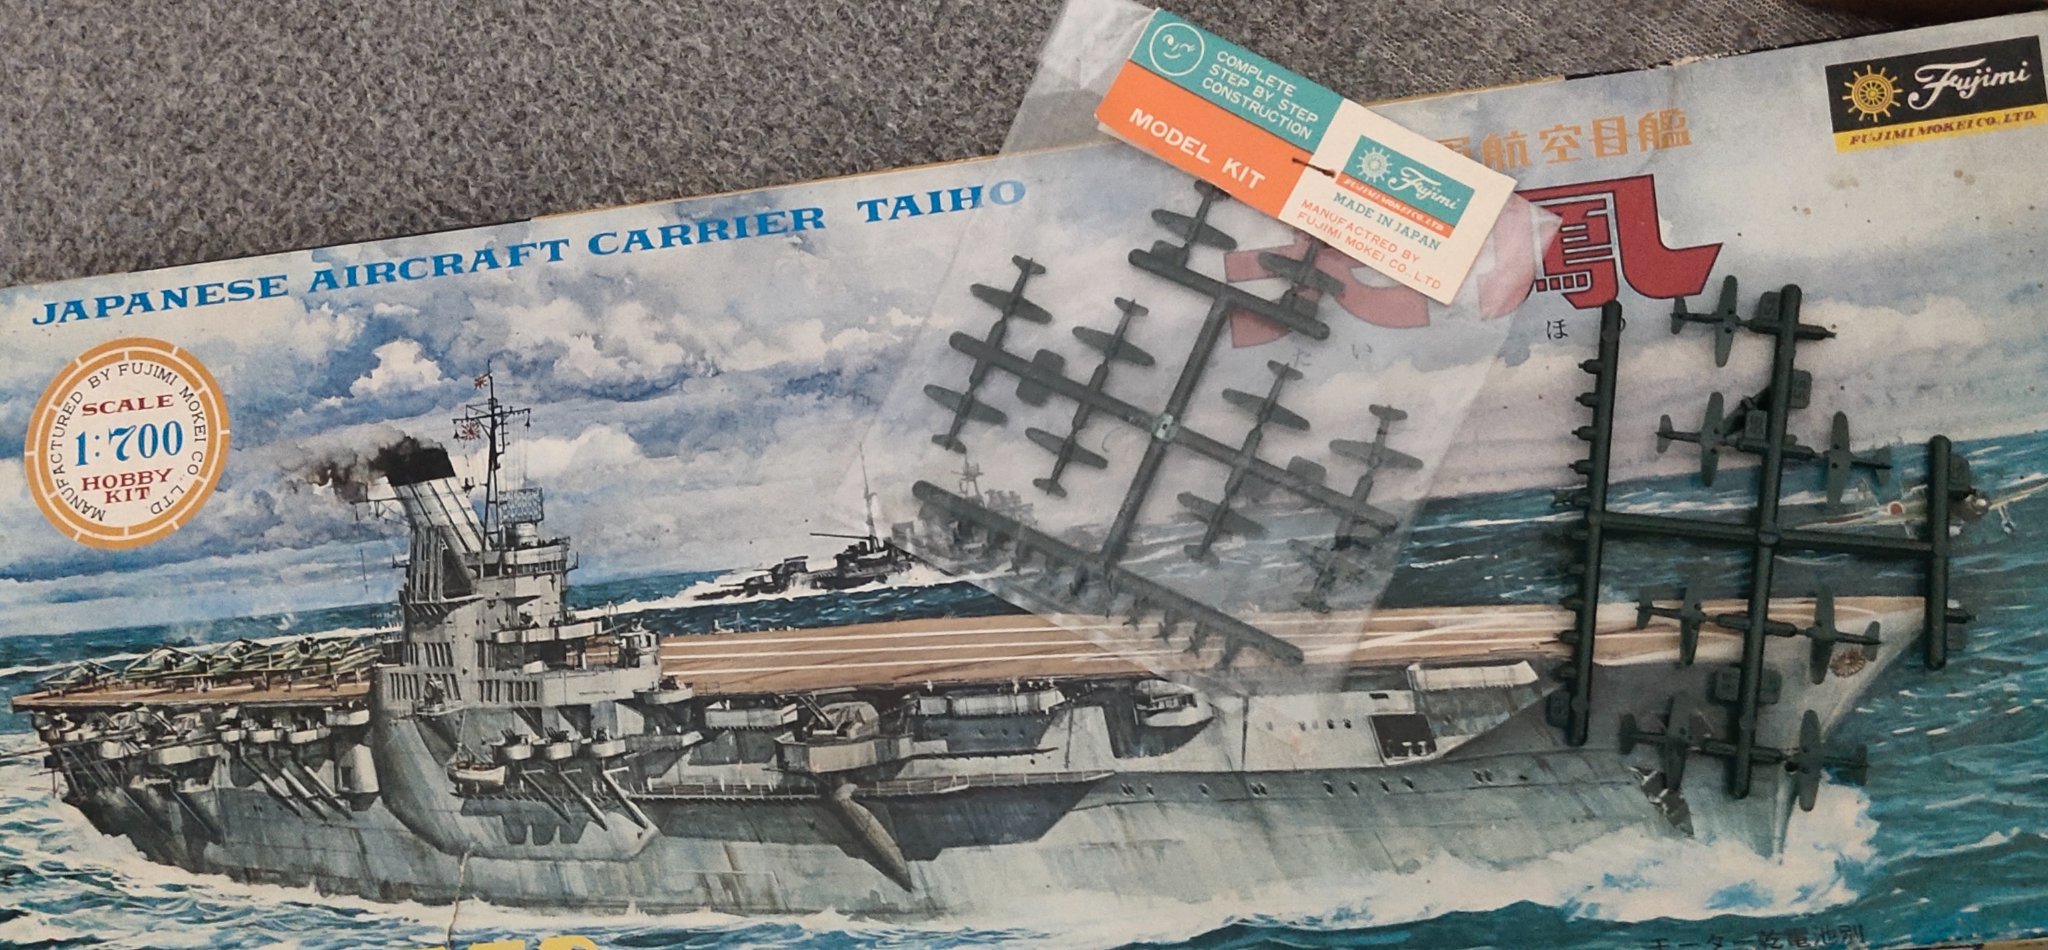
I think its time for a clean up I am going to use some planes from an old vintage fujimi kit. They don't look that bad they even have their own propellers, of course I will use PE instead of them.


-
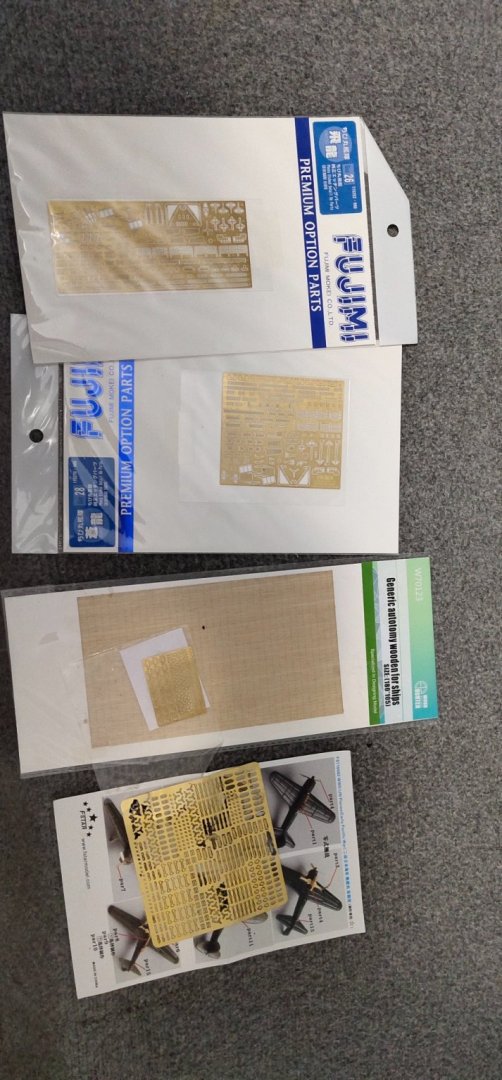
To rebuilt this I have several PE parts. IJN aircraft upgrades, 25 mm AA guns and some other parts from where I can extract some useful items like masts, safety nets,railings etc. Finally I have wooden deck sticker that can be cut on demand