mikegr
-
Posts
827 -
Joined
-
Last visited
Content Type
Profiles
Forums
Gallery
Events
Everything posted by mikegr
-
I'm done with railings. Also did some contrast weathering. That means in the dark areas only light color weathering is applicable while in white areas I could use some black and rust color. Time for rigging now


-
The reason I bought Italery is because of the Italery kit. Its a B-58 which means metallic color painting is a crucial job. But at the time only one code was available to buy. So I look alternatives too. One company I consider is Green Stuff World but I never tried their products https://taleofpainters.com/2019/04/review-green-stuff-world-metal-colors/
-
Its good you found some quality metalic acrylics as many modelers avoid them. I have italery and Tamiya but haven't test them so far
-
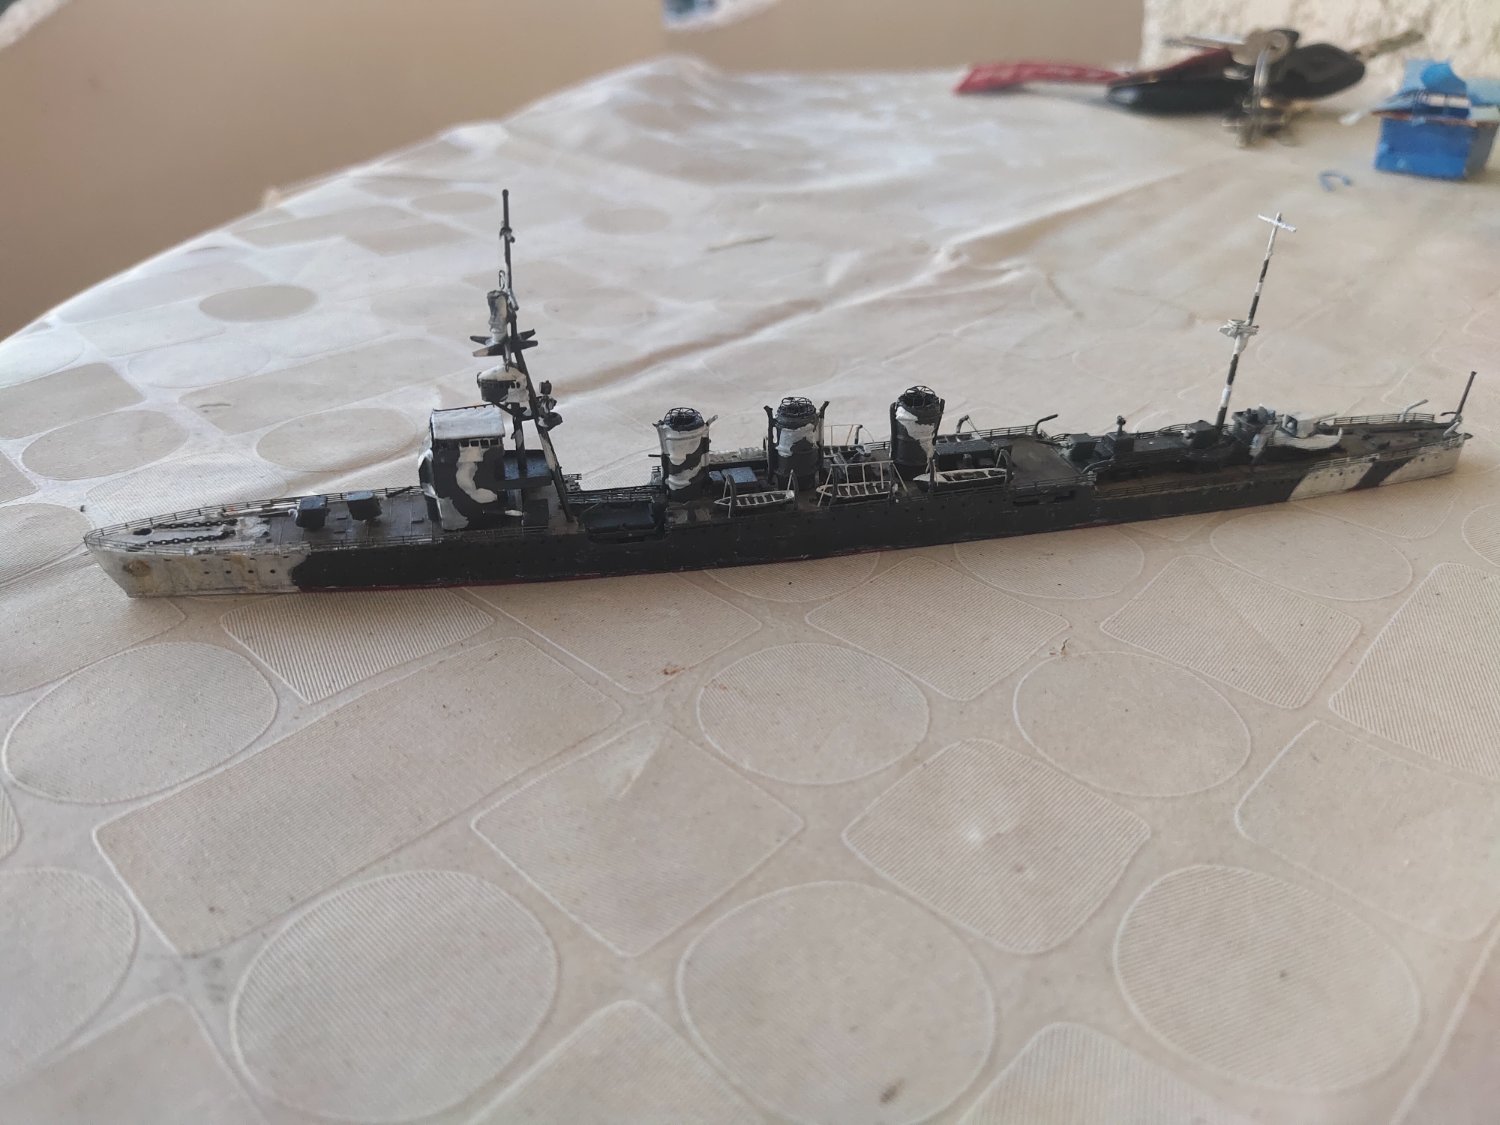
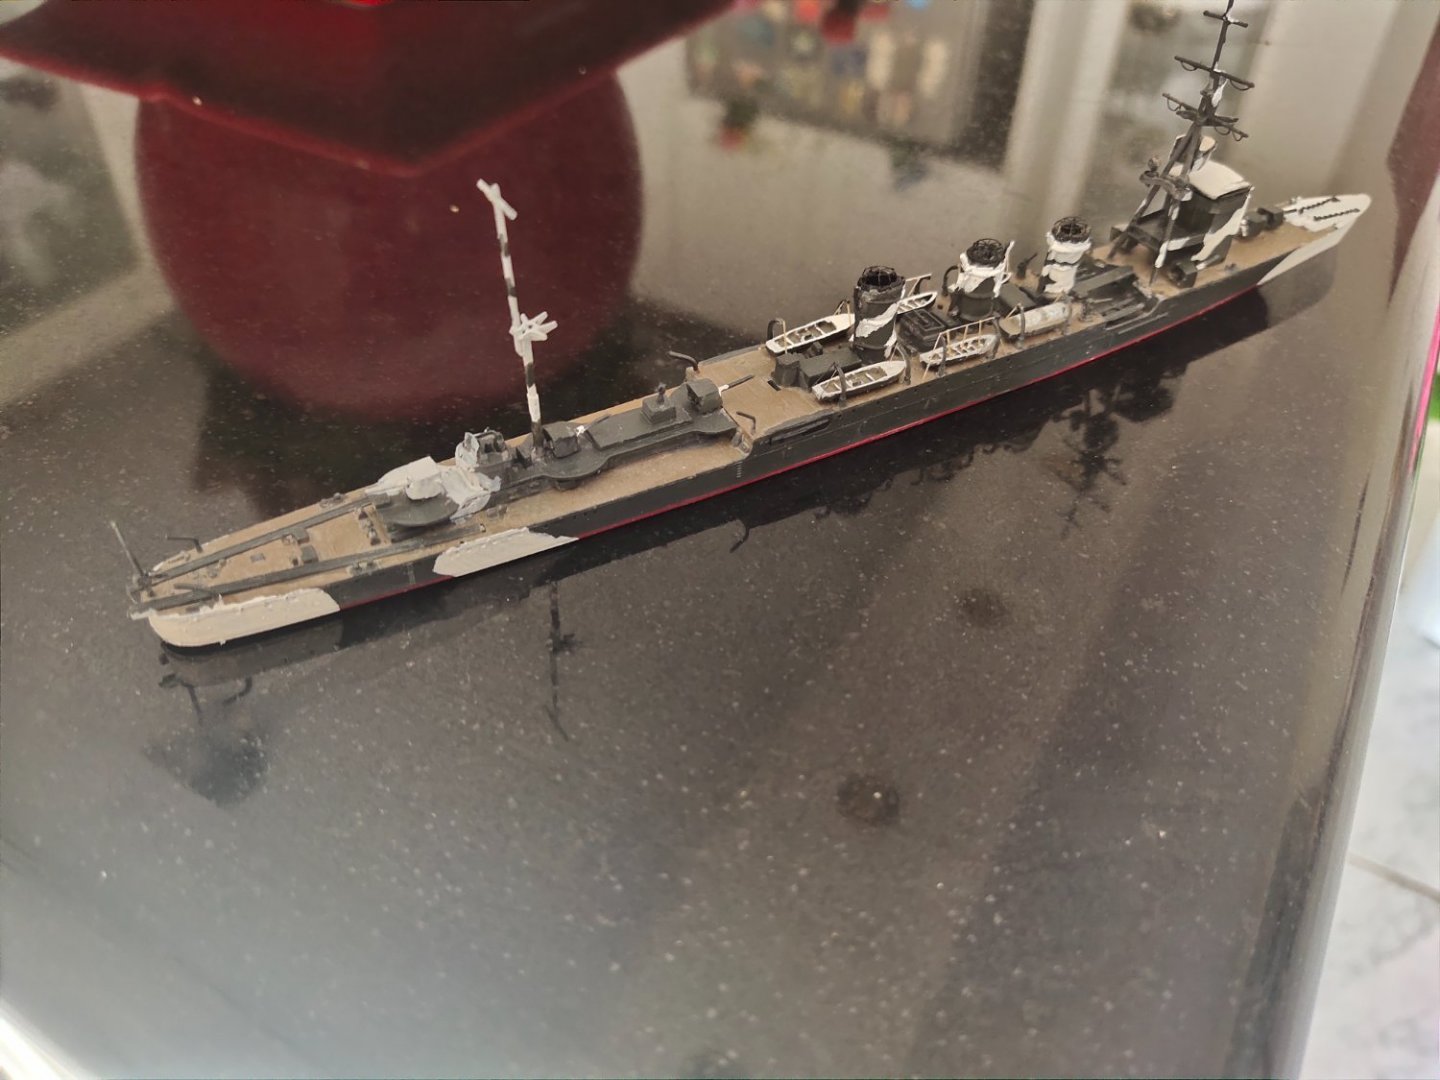
Camouflage extended. Boat work and ropes added. Metal anchor added

-
thanks, i return the favor with my comment
-
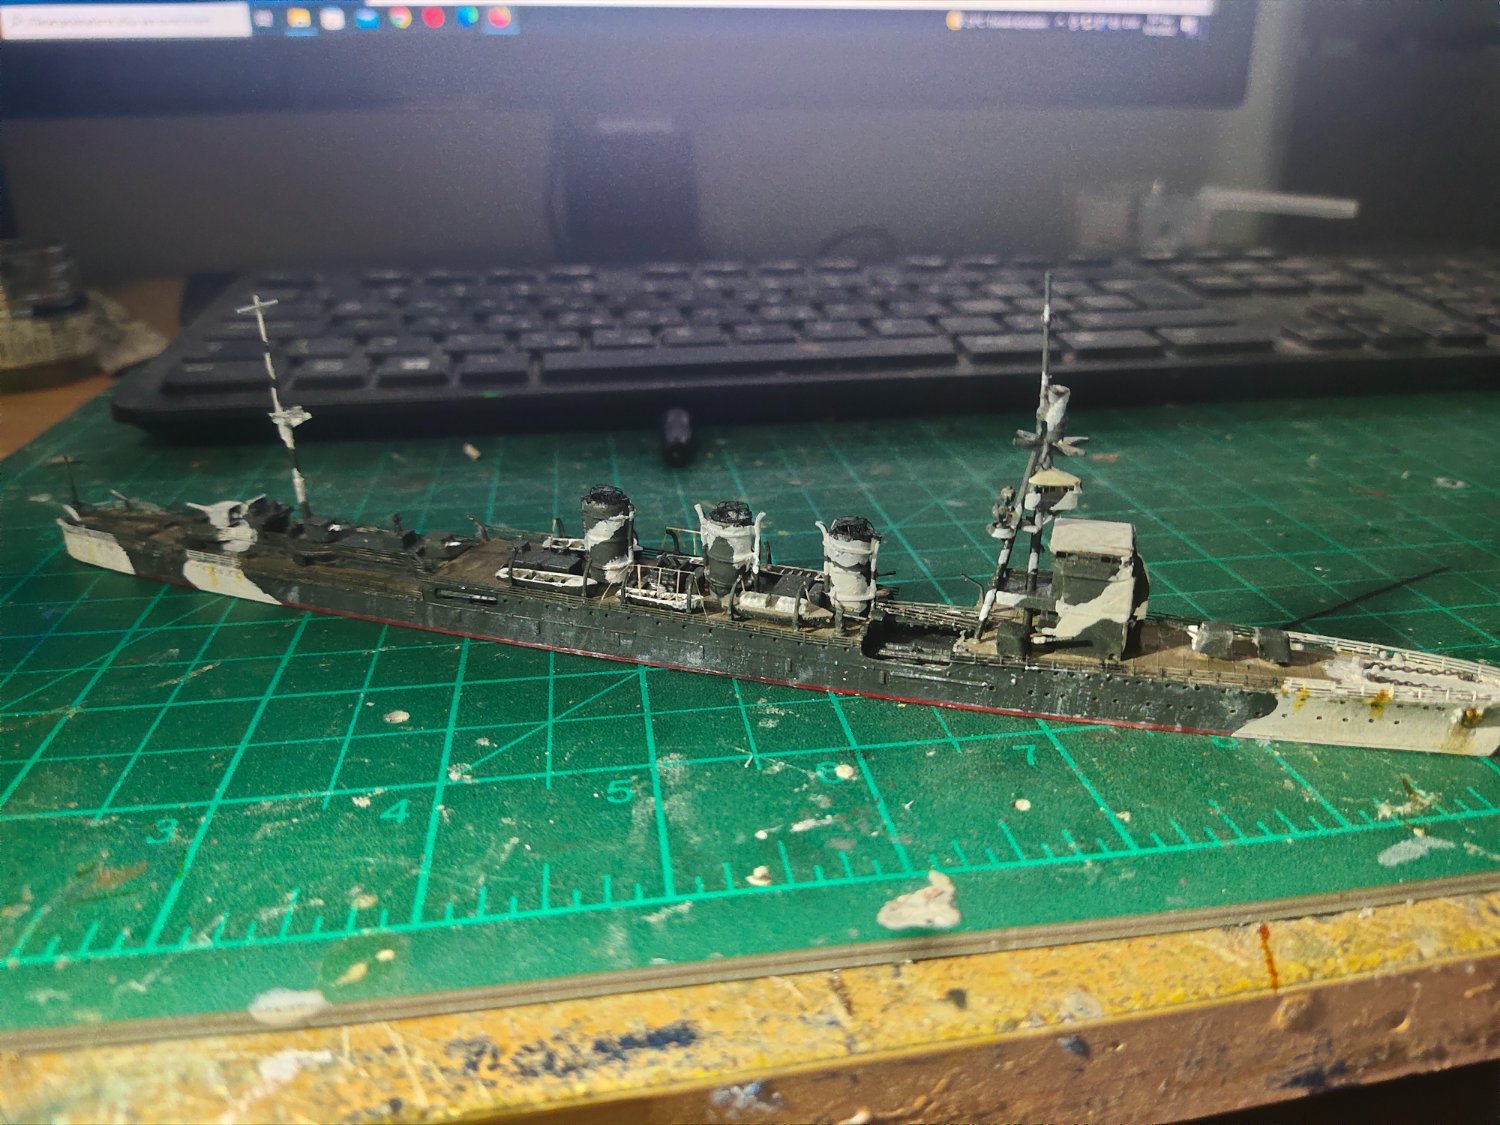
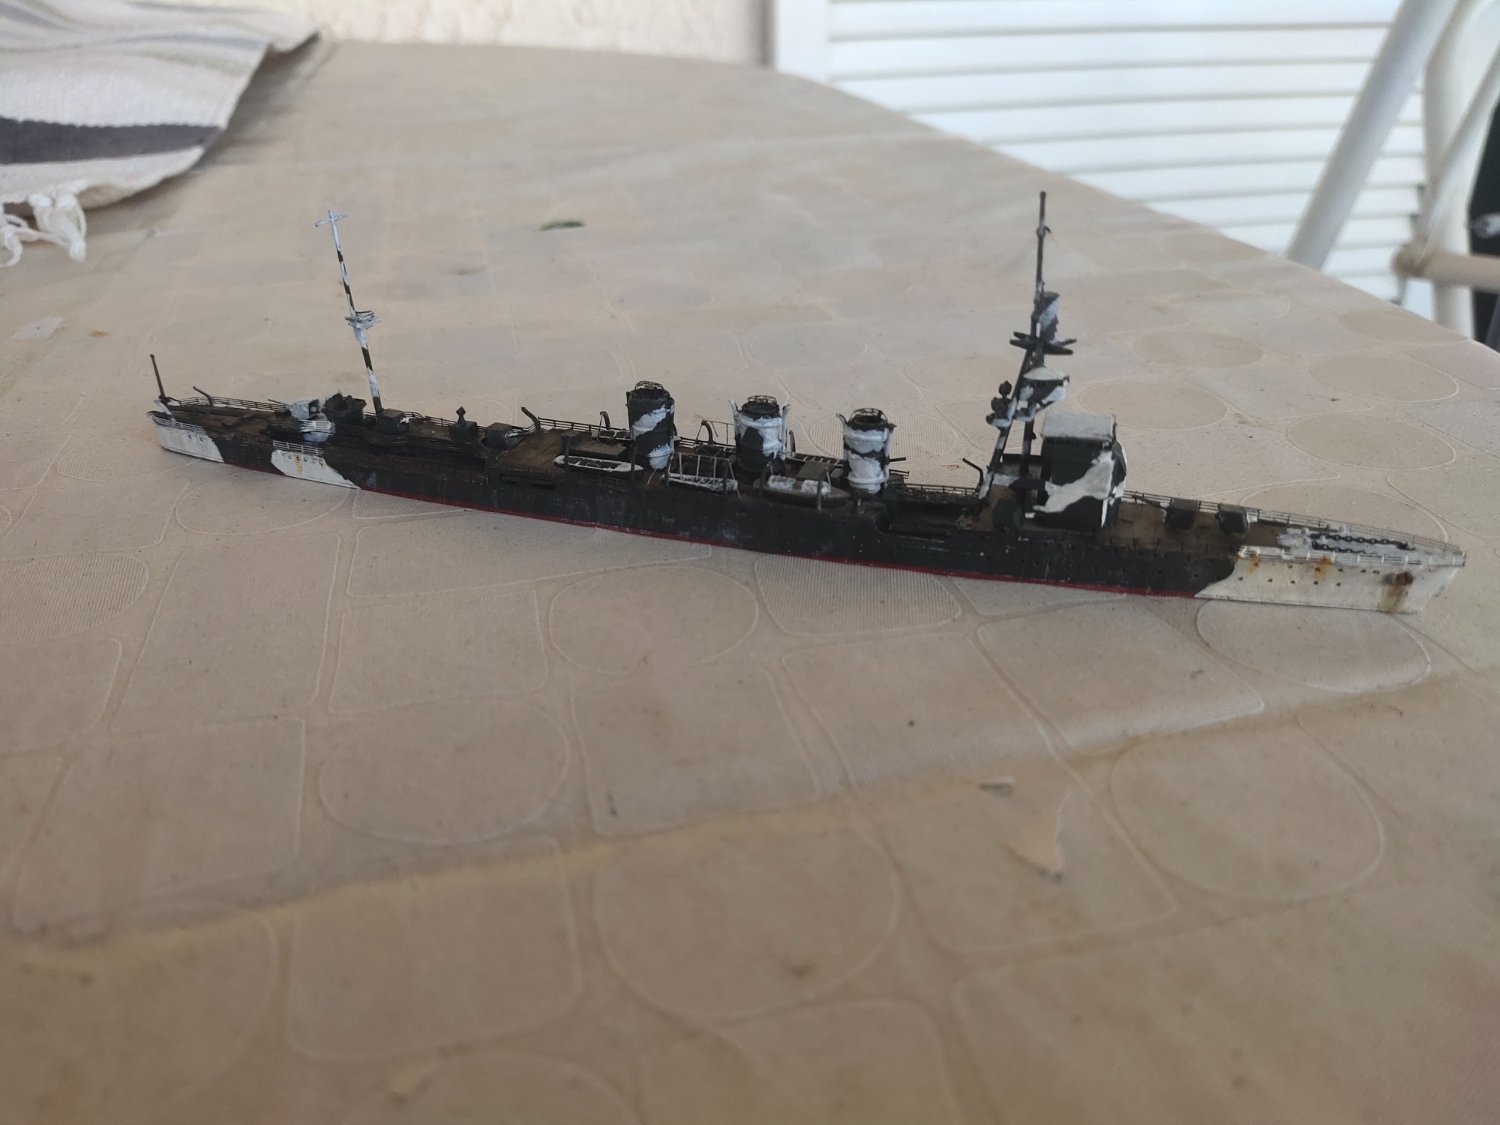
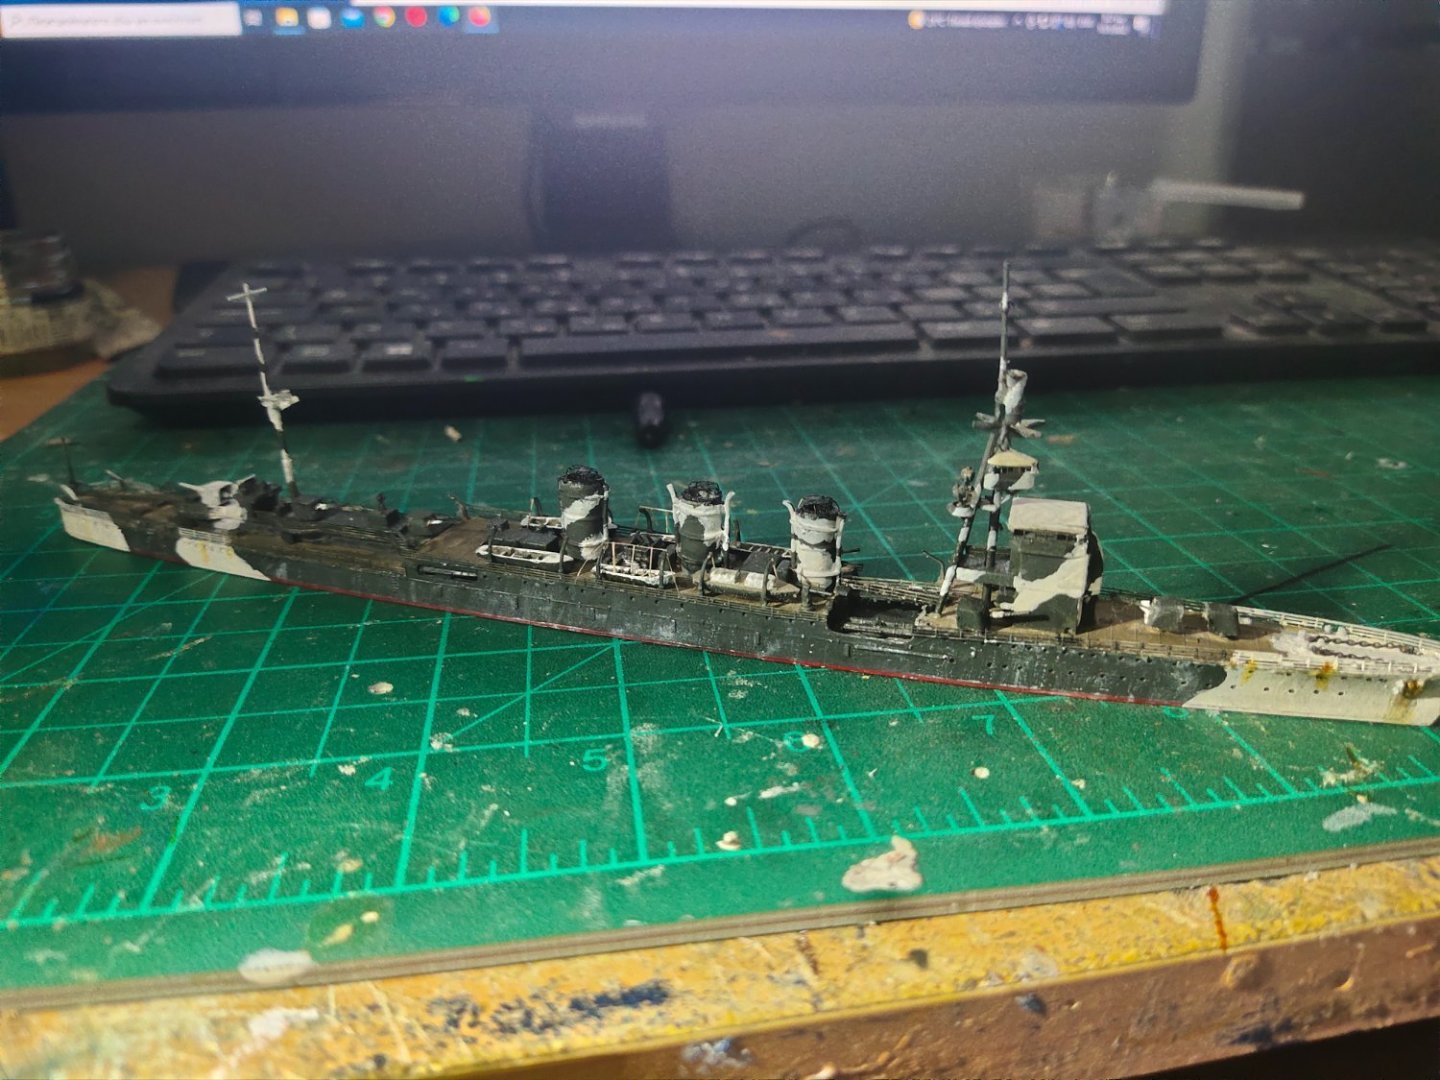
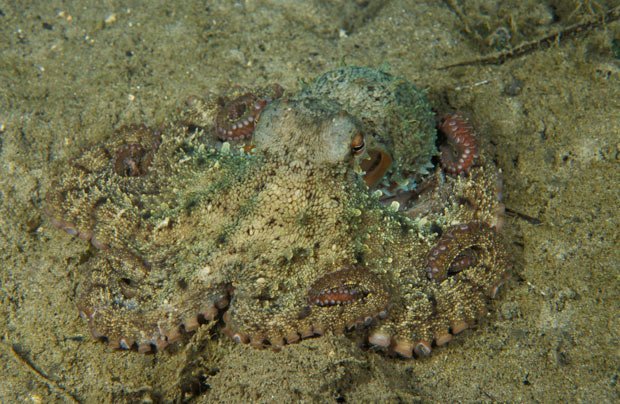
Just a small update. I installed the funnels, did some mast work while experimenting with snow camouflage. It certainly worked to a point while passed almost unnoticed in the freezer until an octopus next to it revealed the presence of Kiso. We can't compare to nature at this point I guess
-
in 1/700 every rigging is overscale but a good overscale. Usually anything between 0,03 to <0,5 would be fine. Less than this would be hardly visible material is up to you each one has pros and cons
-
from what i researched this model in order to save cost it not only comes with full of plastic but laos hasn't any fans so good ventilation would be required It is generally proffered to use manufacture's resin although its not a rule. Watched a long anycubic review on you tube, a guy had several print results by just changing lubricant on the axle
-
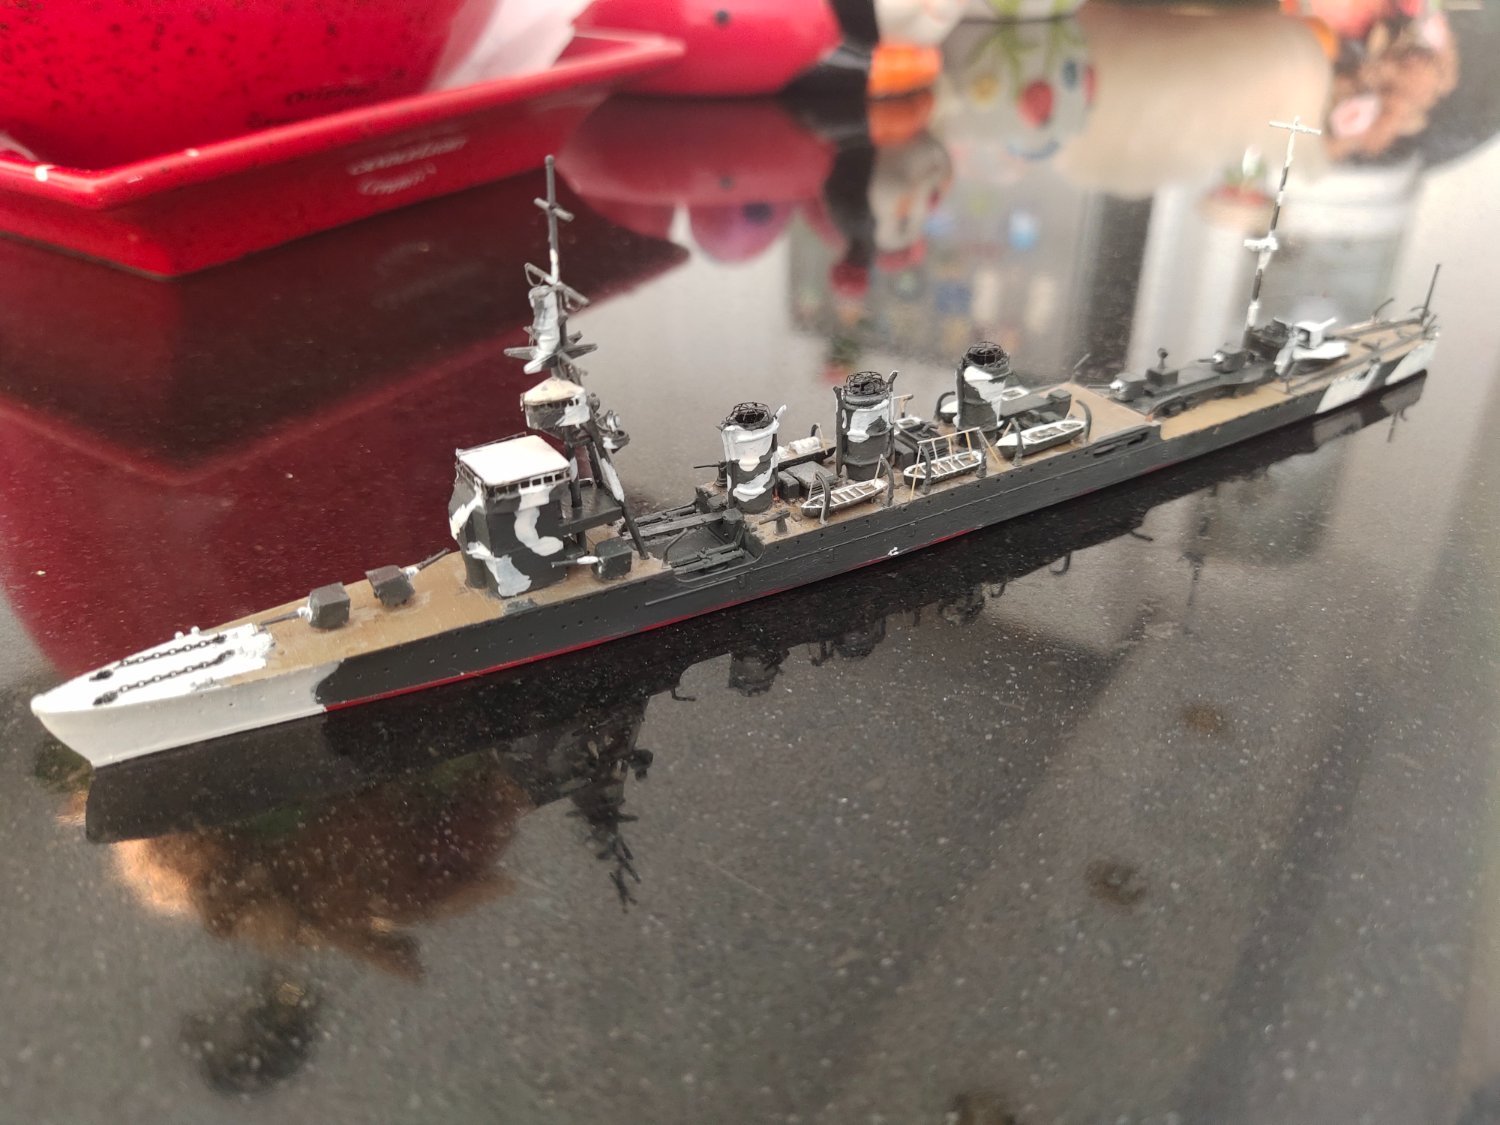
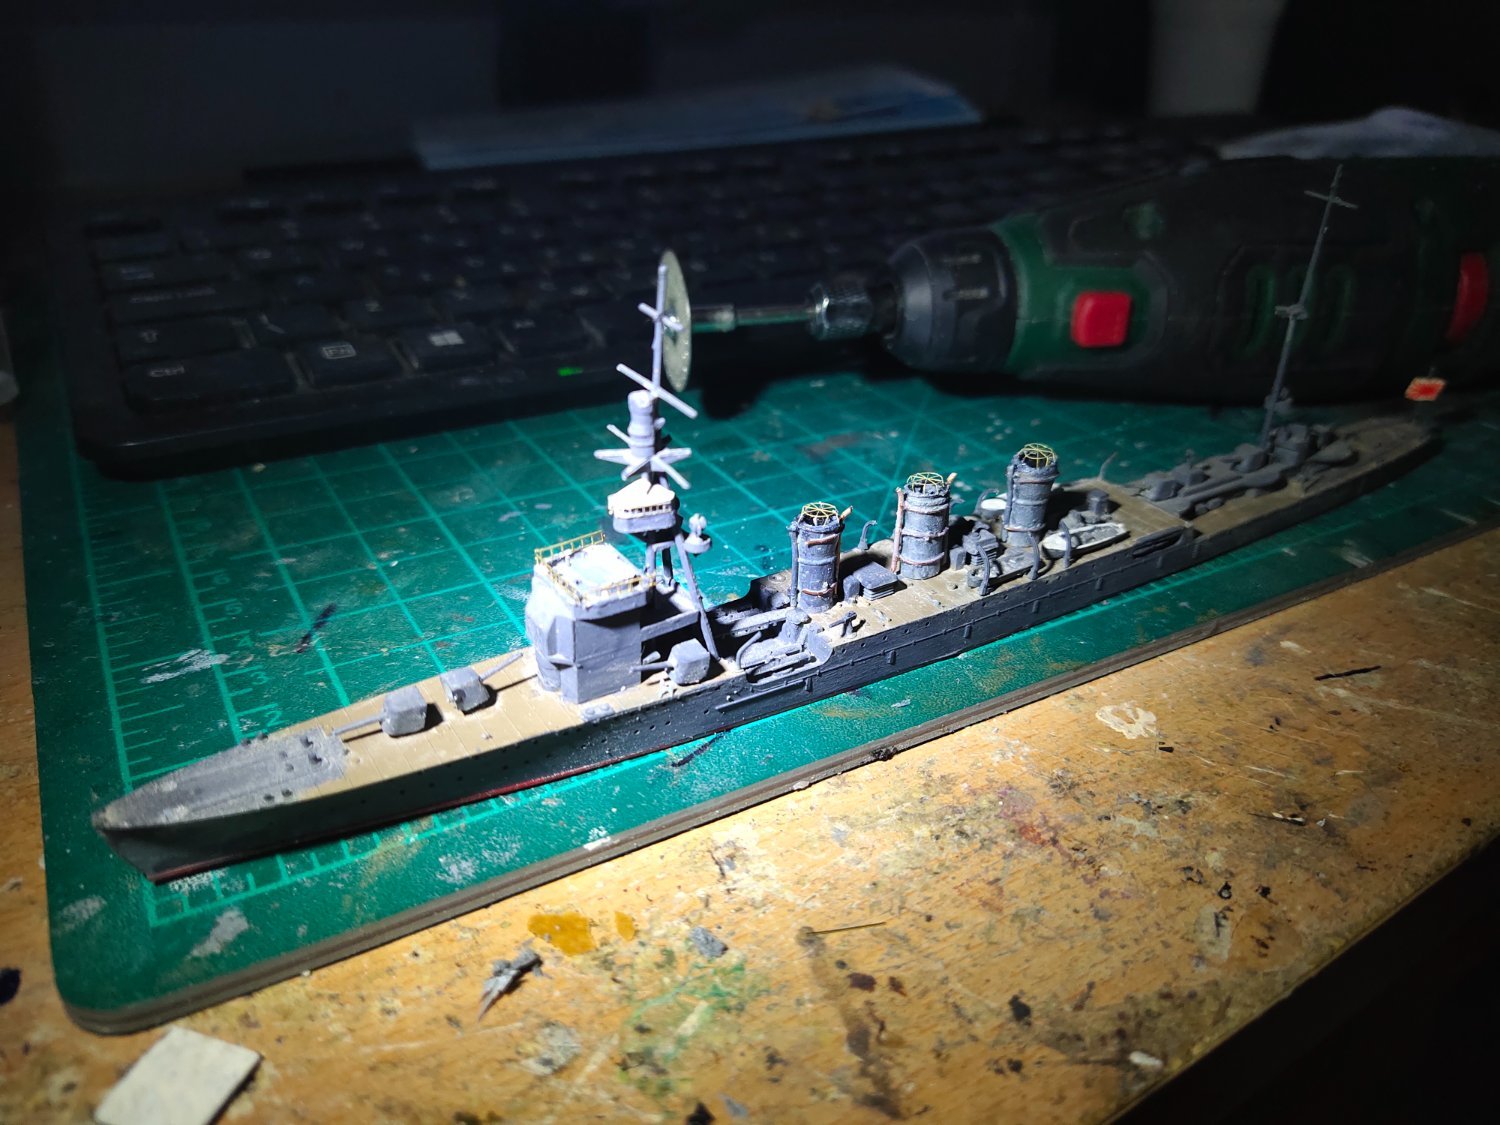
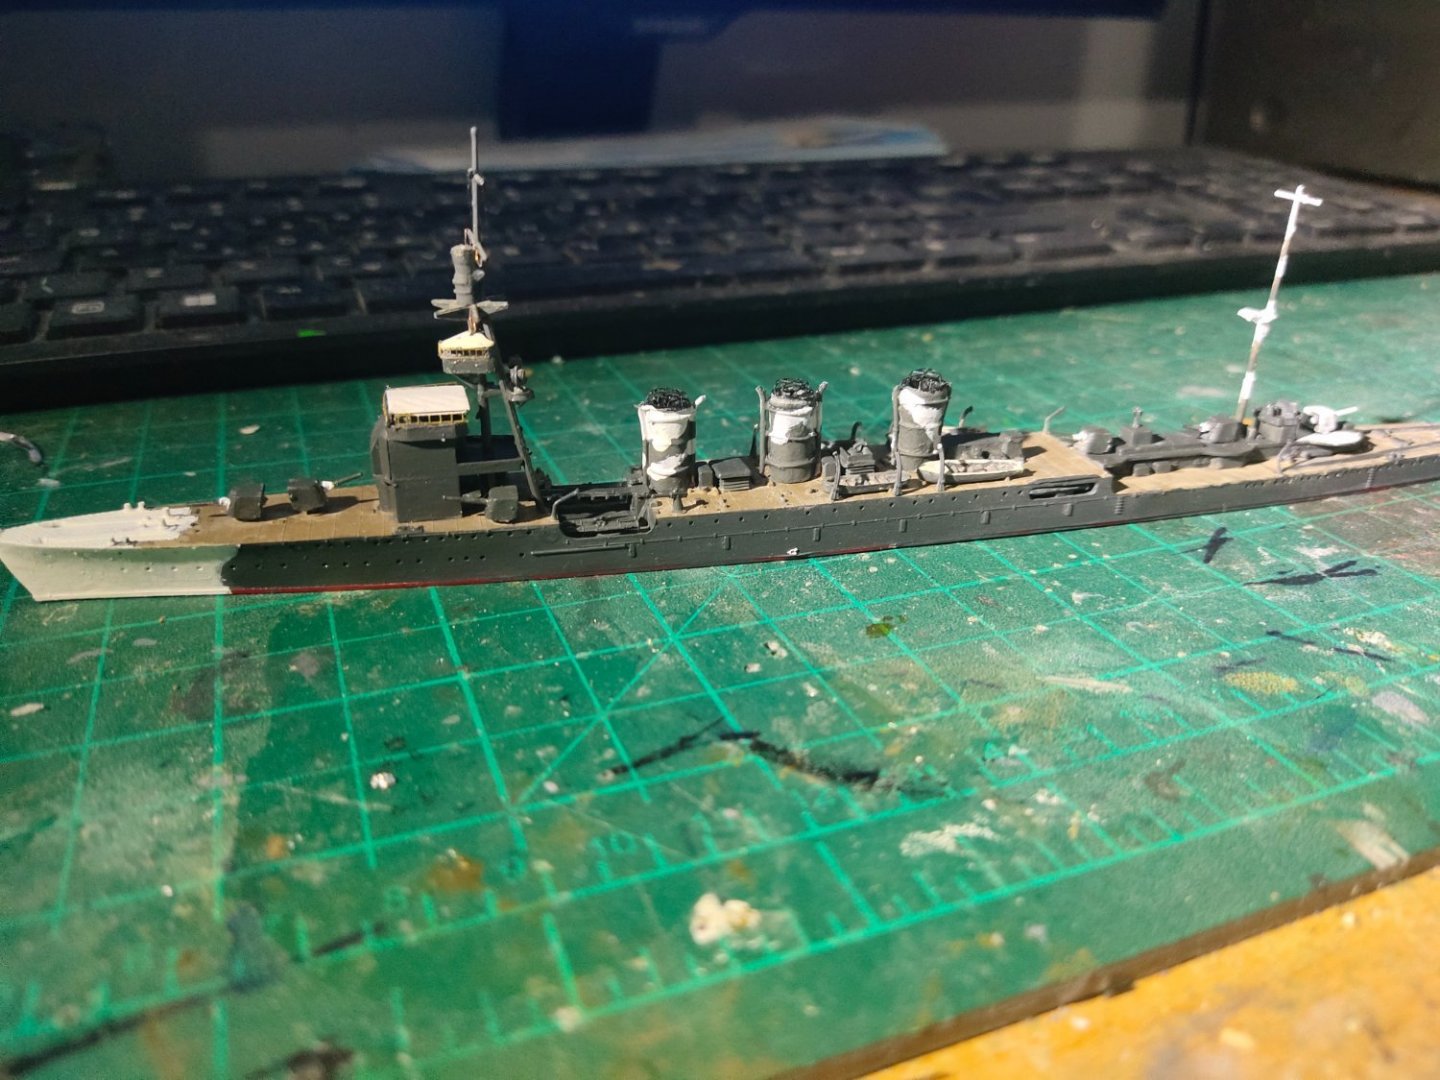
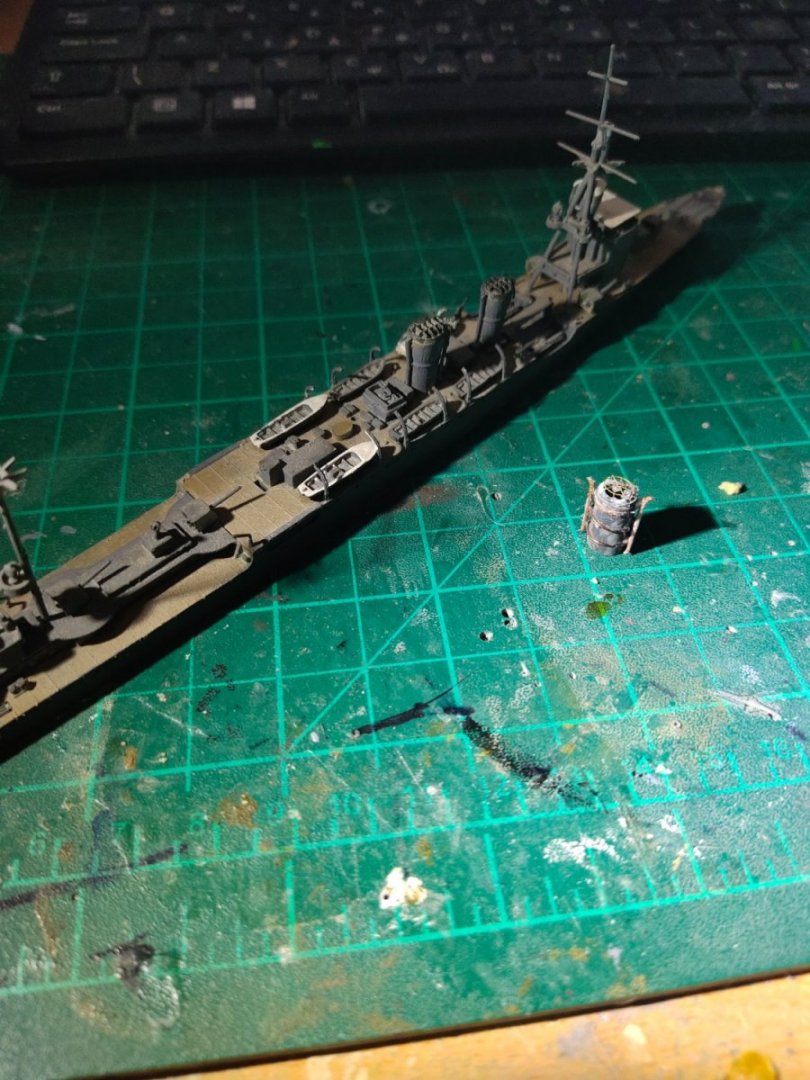
A small update. I glued the funnels and coat them with metal/plastic primer. This is a solid built model wish I knew the glue I used lol. I had to use dremel tool to remove some parts while others were too fragile to be removed by force

-
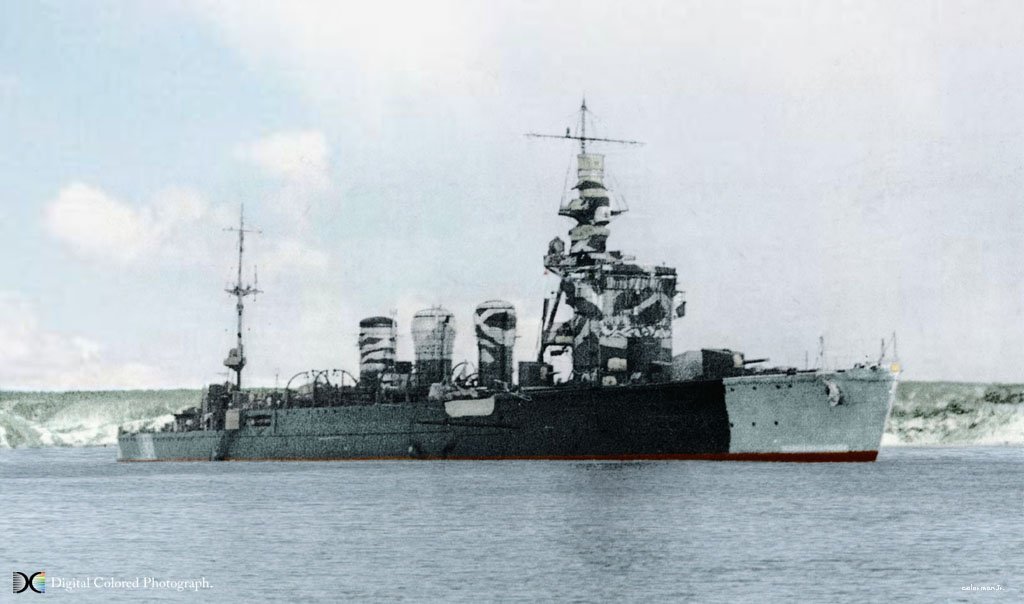
I don't have specific PE parts for this but only general PE for IJN ships. I will present camouflage scheme, as it appeared during Aleutians invasion. The ship participated in this non famous mission. Finally it was sunk in Philippine Sea after she was attacked by 350 aircrafts
-
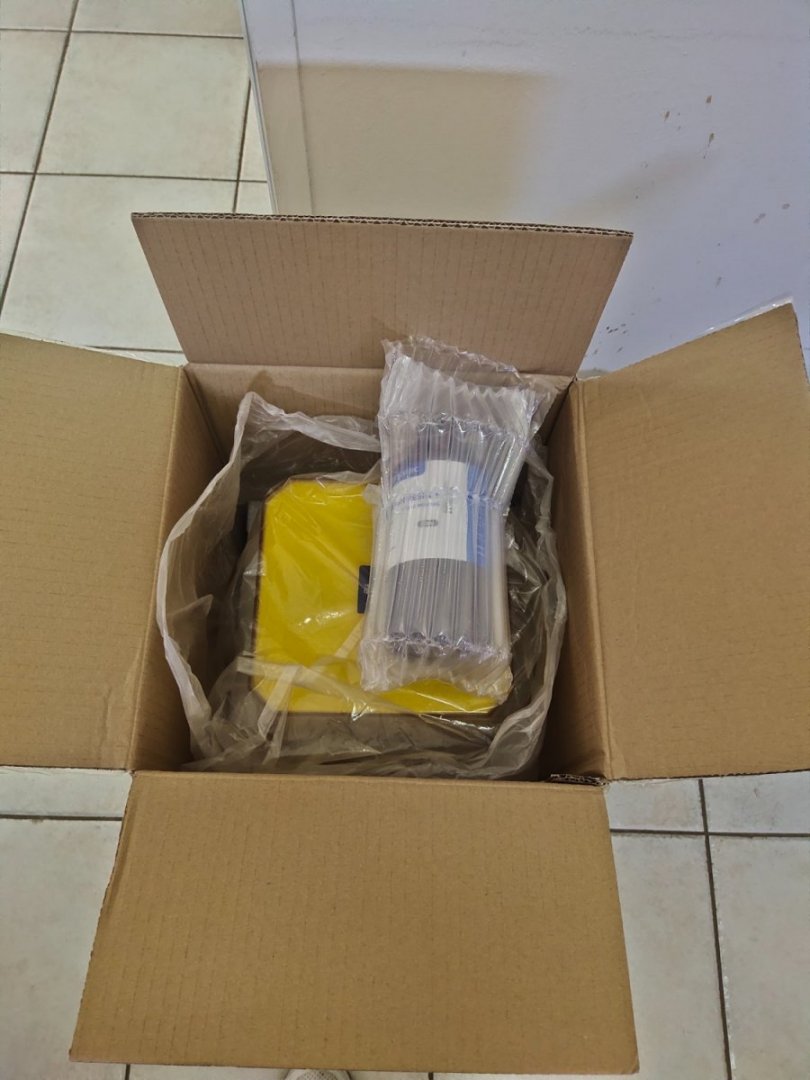
I received my 4K Anycubic Mono today with water washable resin. I will be able to use it on May and write my first impressions.
-
Cap San Diego by mikegr - 1/160
mikegr replied to mikegr's topic in - Build logs for subjects built 1901 - Present Day
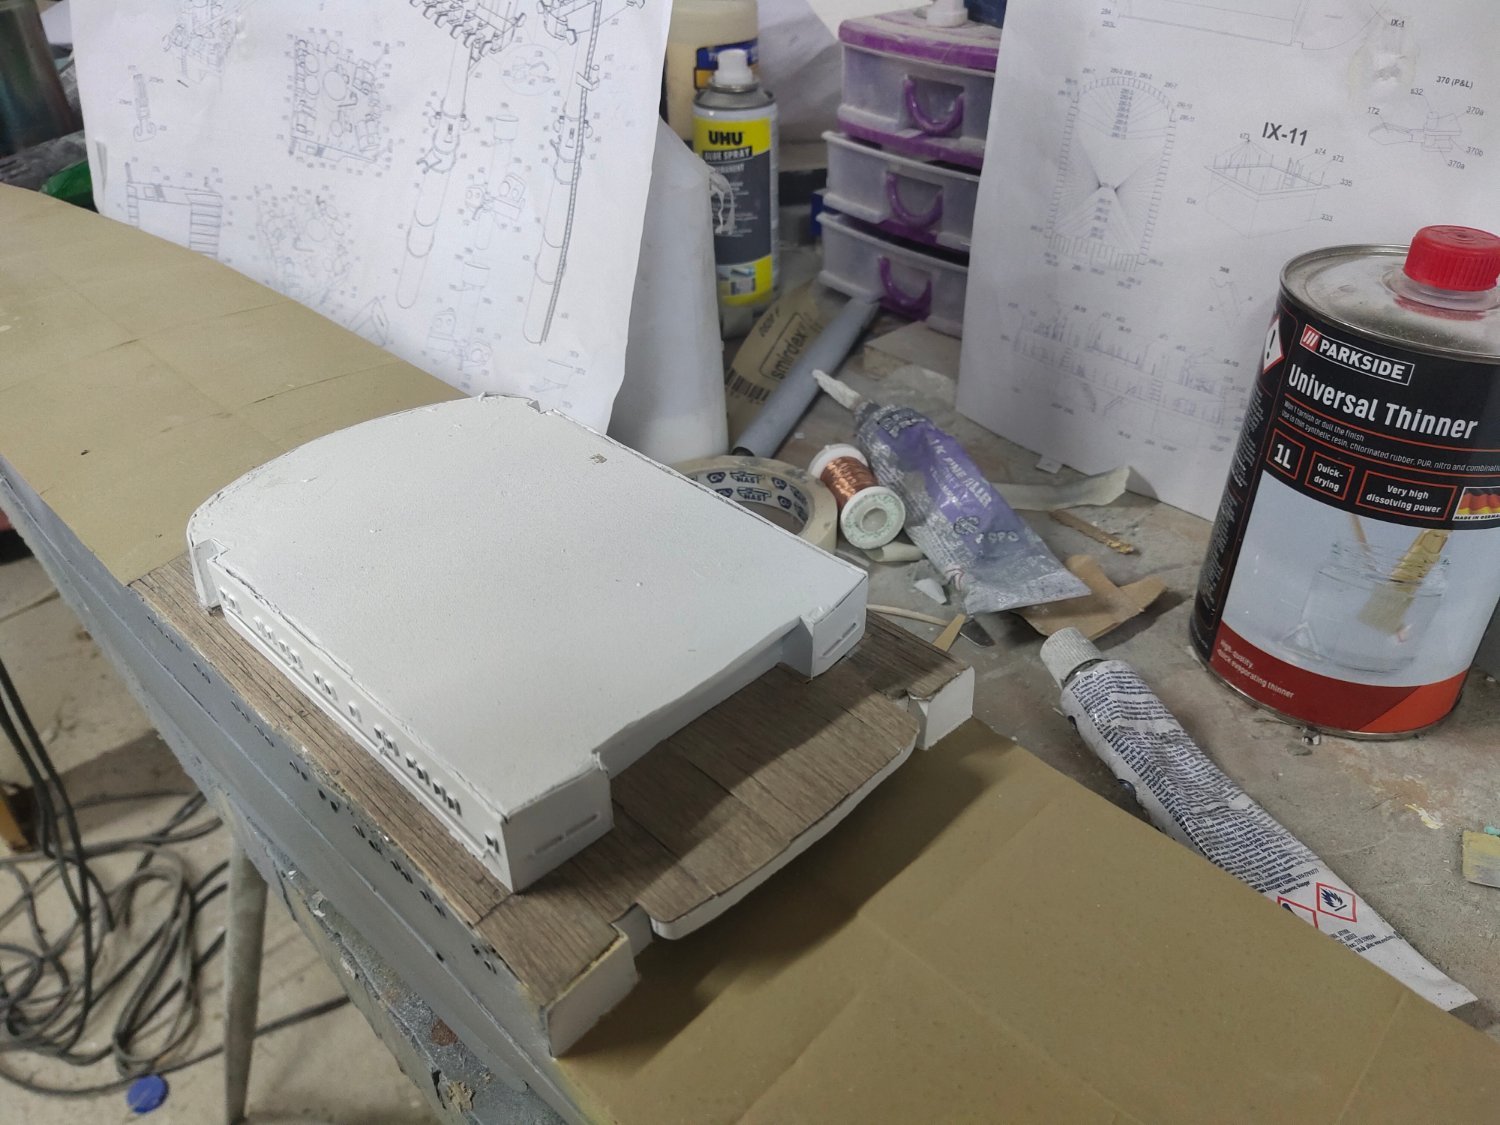
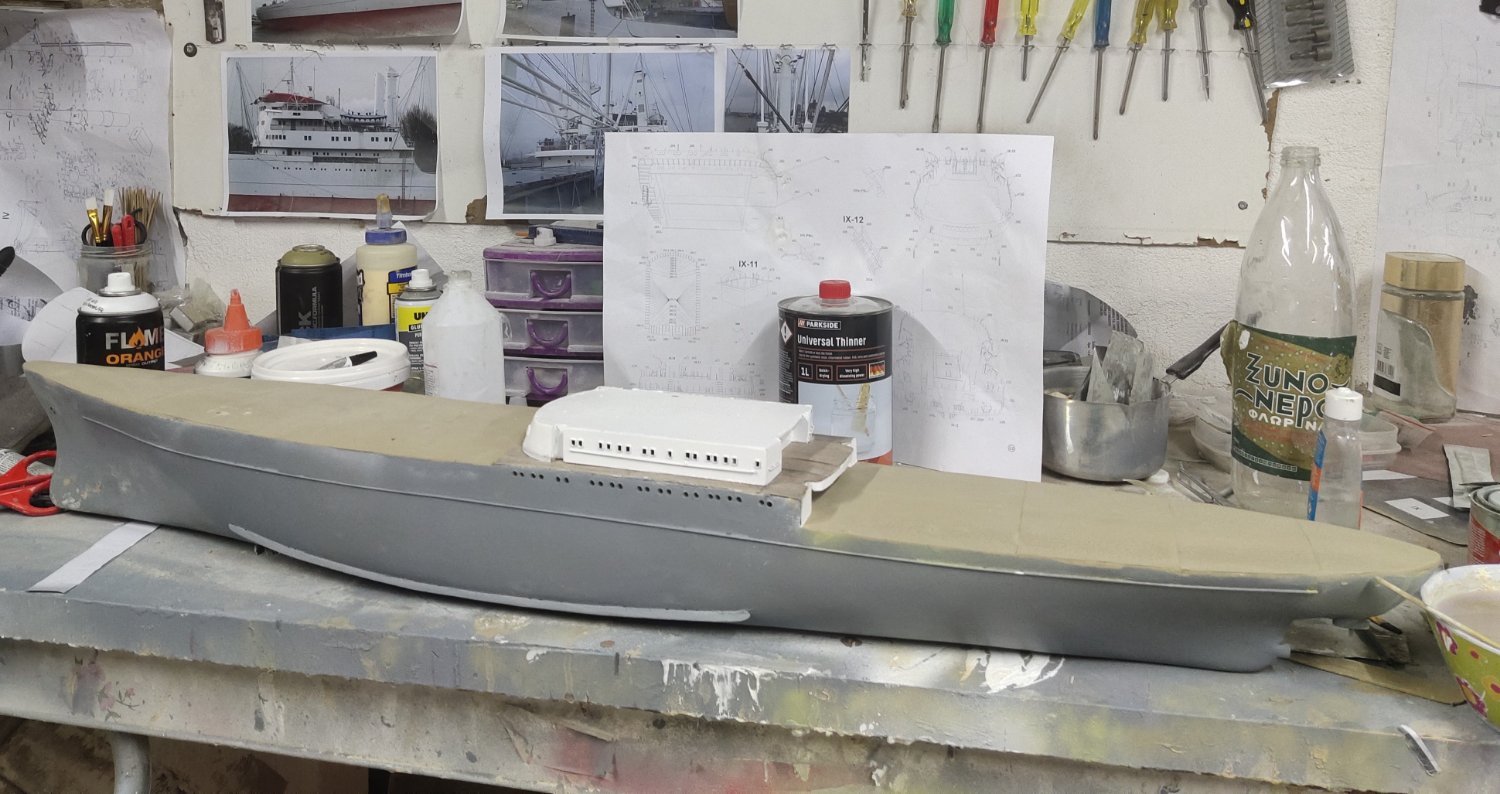
i have finished planking the main deck. Then i added the lower accomodation. I added some details like handrails but not doors and firestations, i will do this prior to completion. I also scratchbuilt and installed rear main deck extensions with supports, roof pipping, doors and other details. Took a close pic but not much detail is visible. I also gave a first coat of color to main deck. Working on perfecting the hull is still going on

-
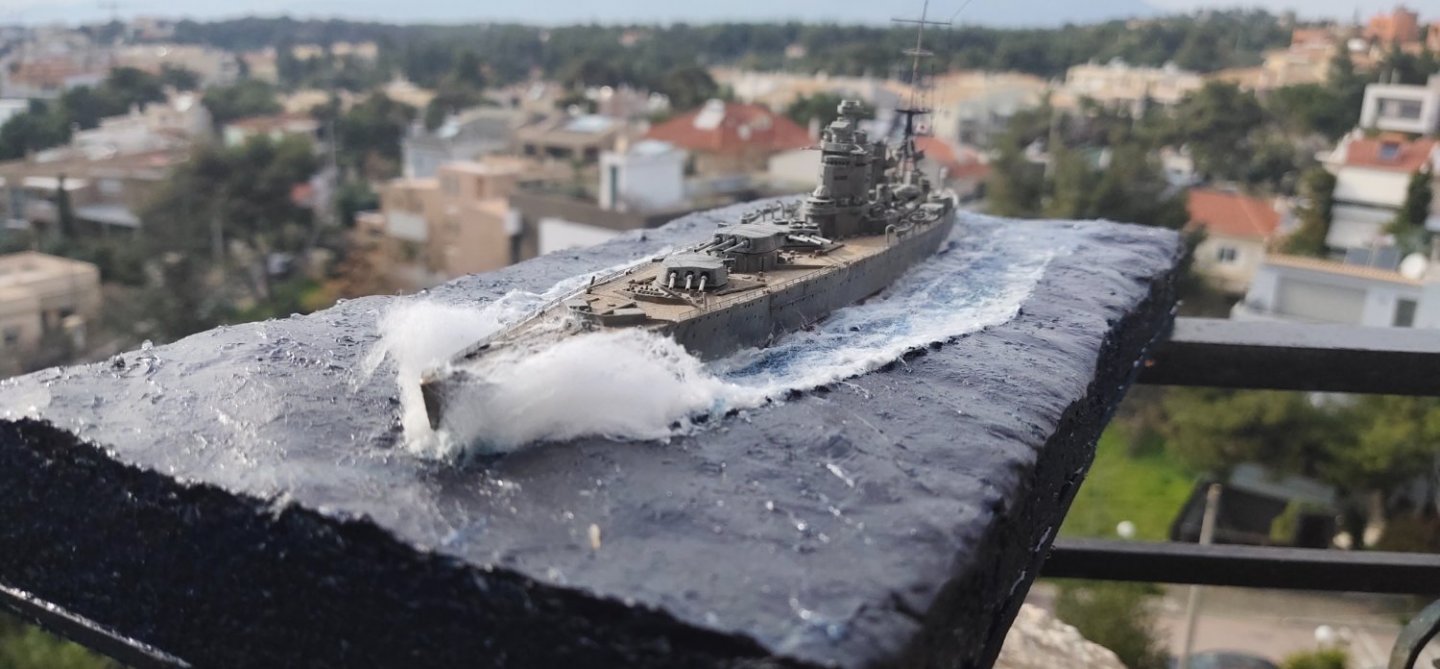
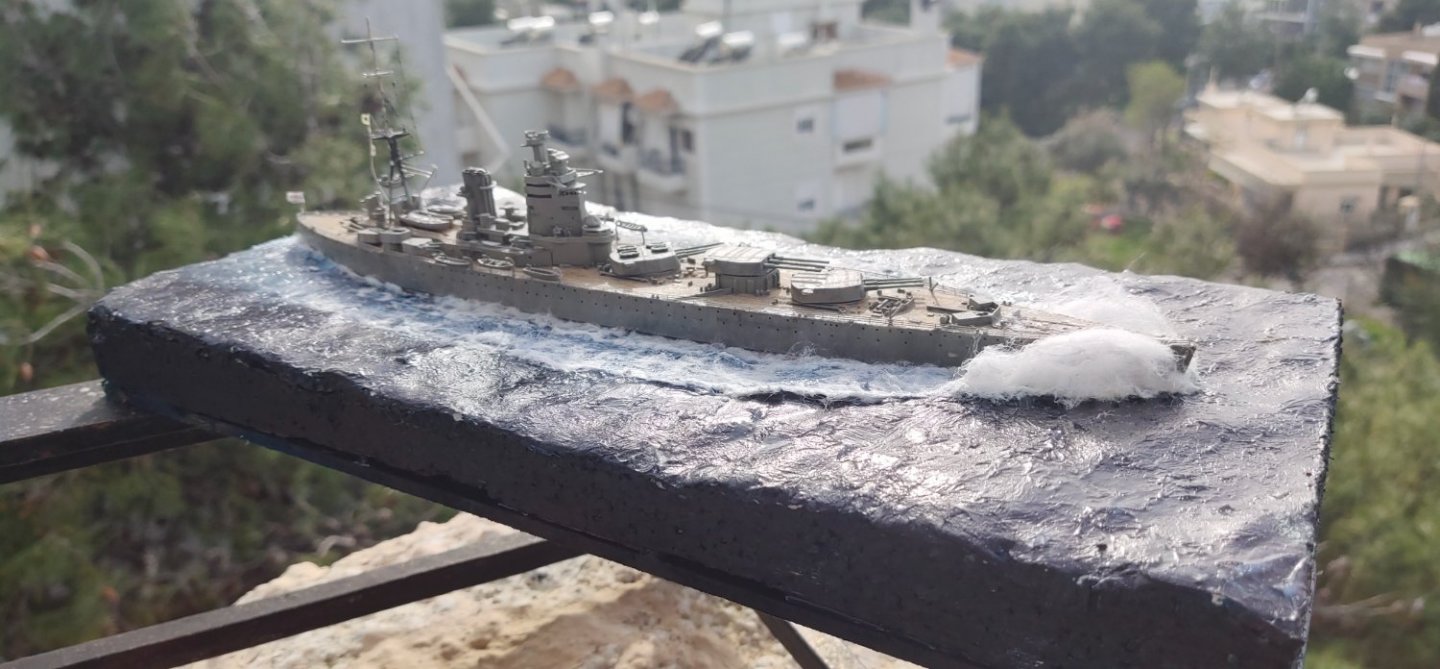
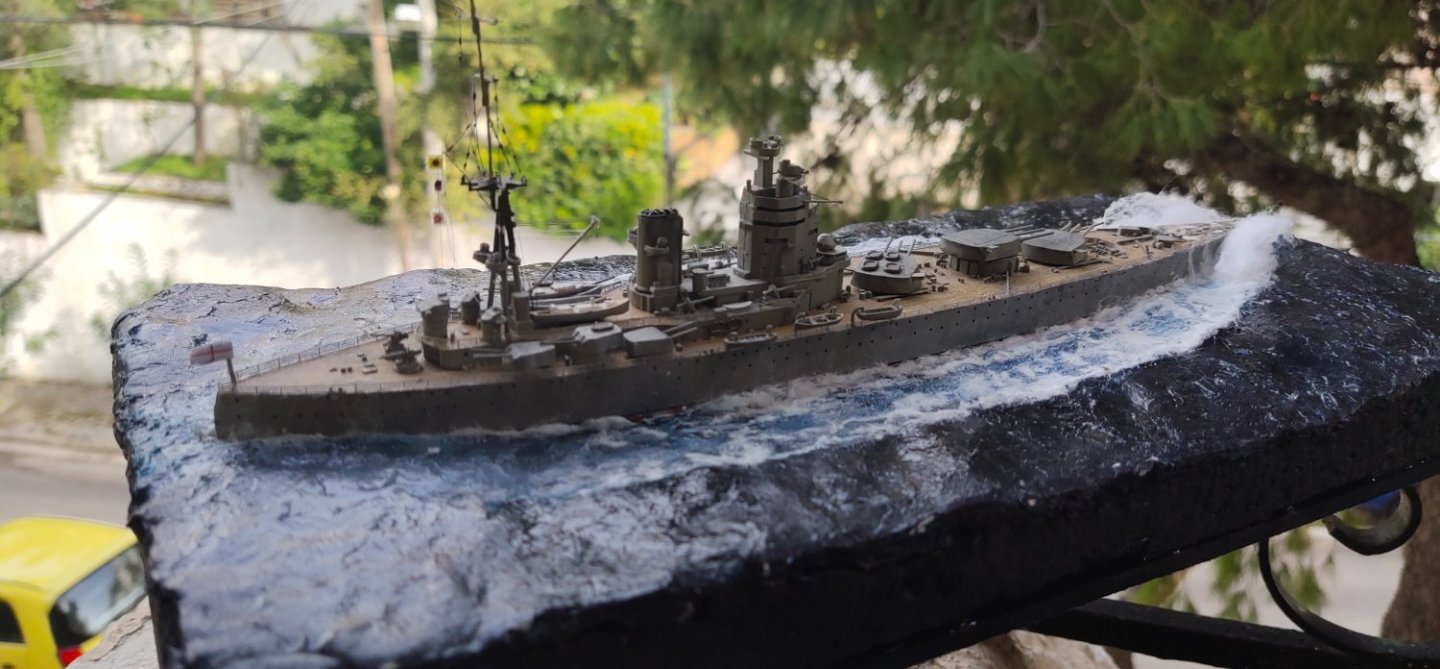
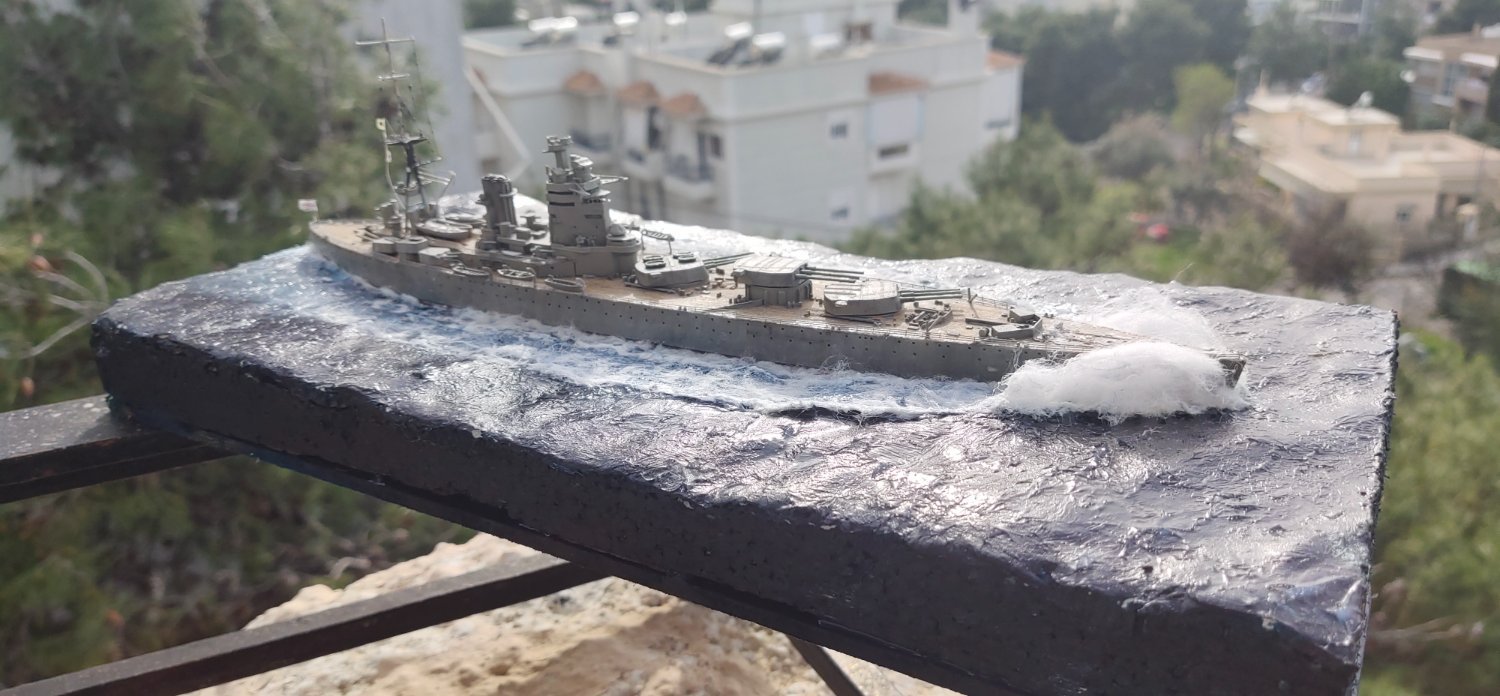
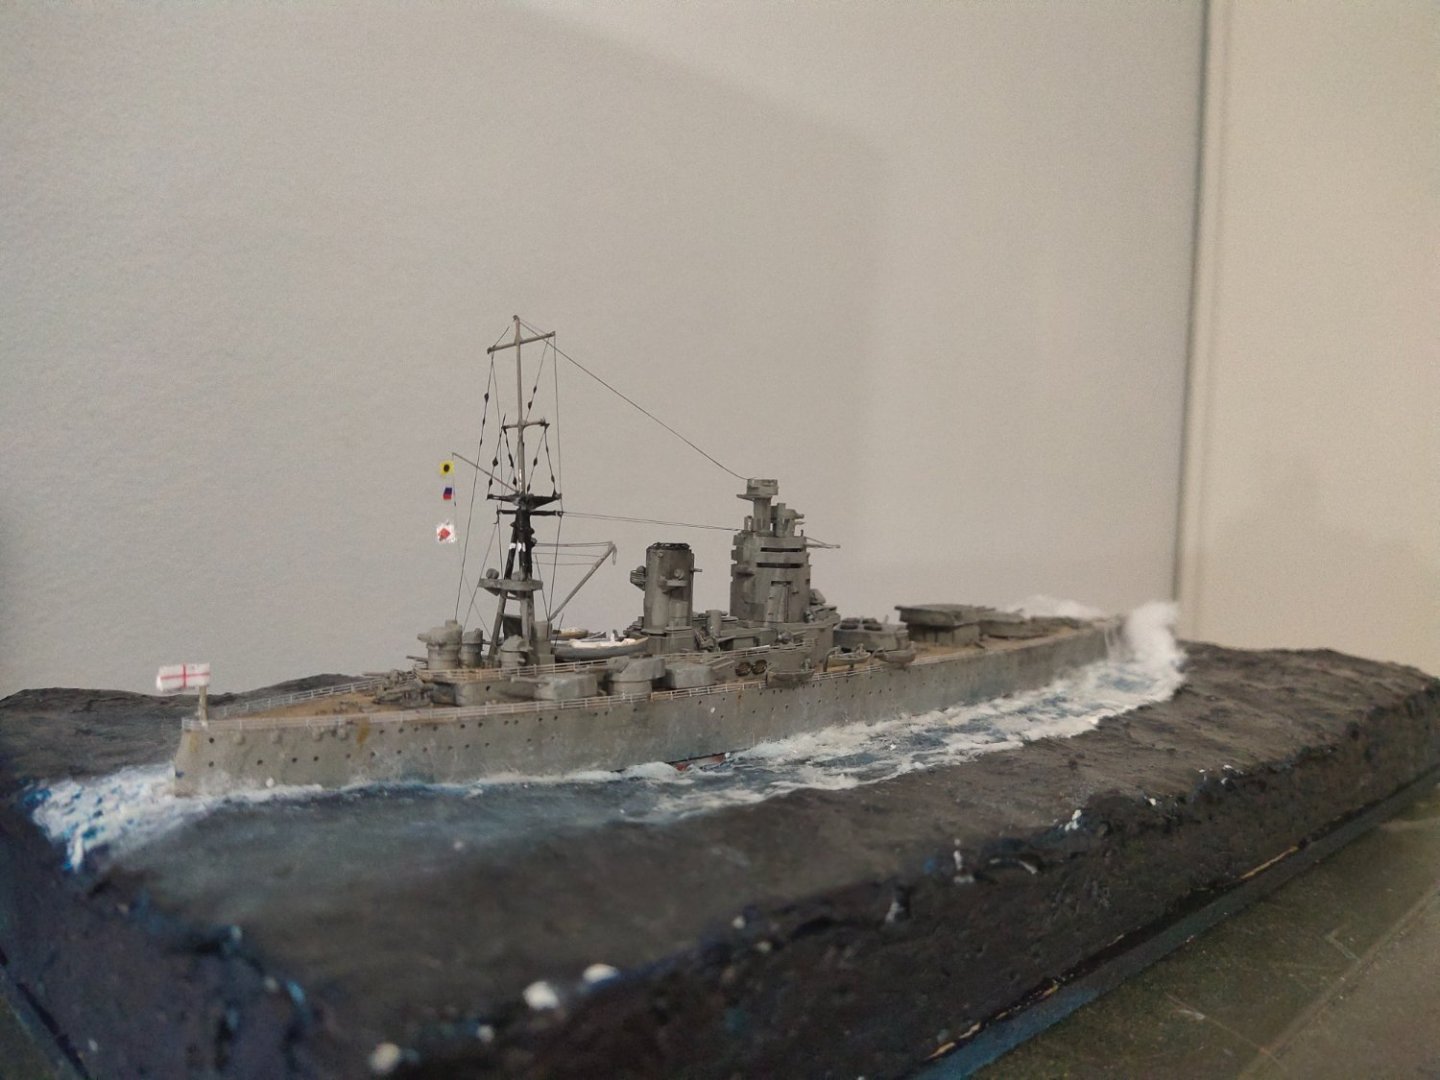
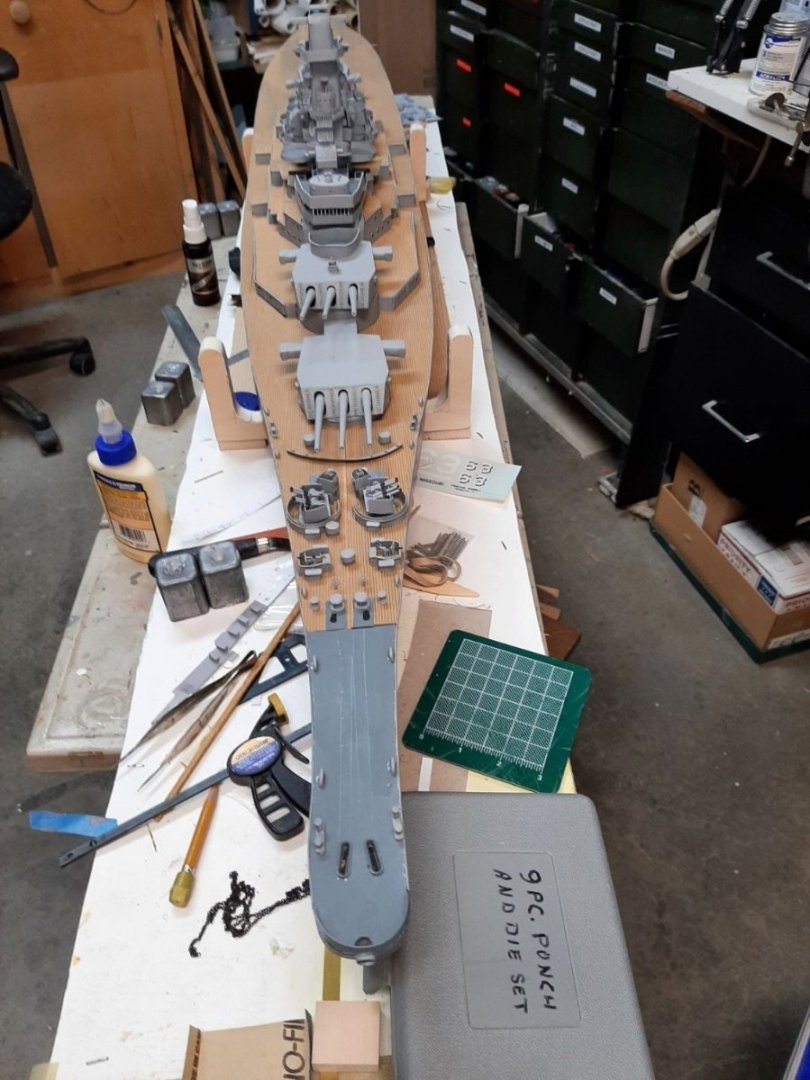
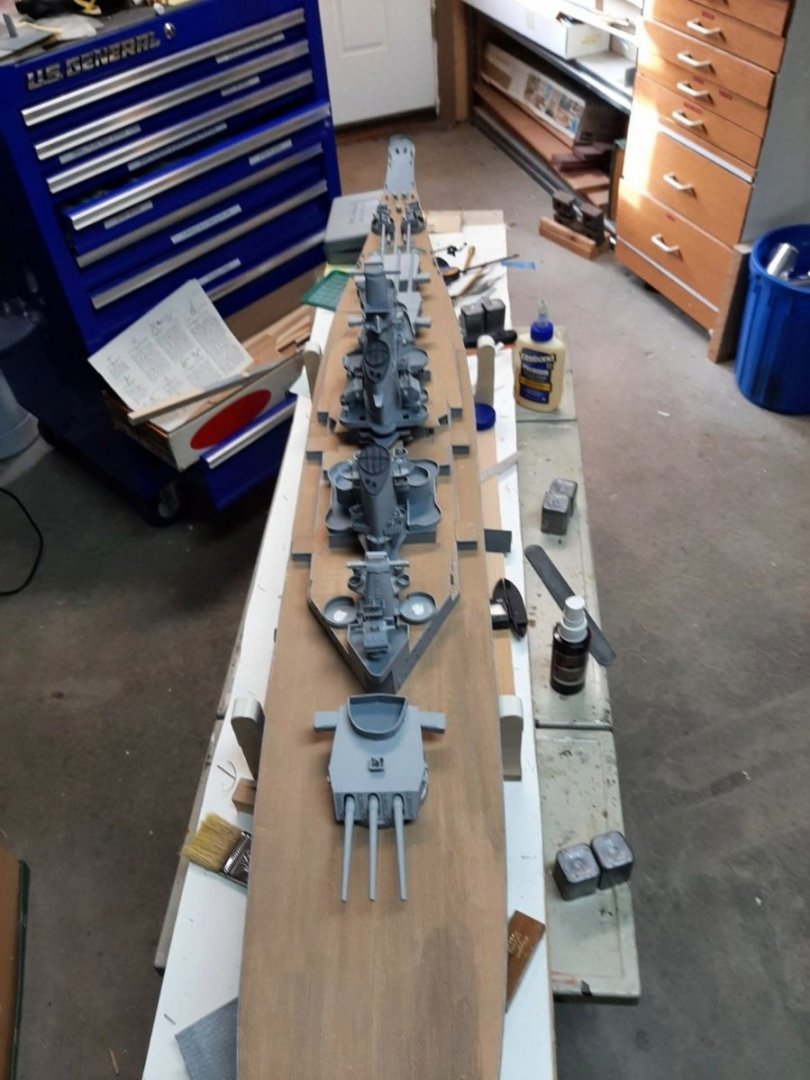
Rodney had main mast replaced by a soldered one and new rigging. It set sail to Atlantic Next project IJN Kiso by Tamiya
-
Wow. Indeed one of the best underwater shapes A clear proof of size doesn't matter
-
Hope u don't mind I re uploaded them
-
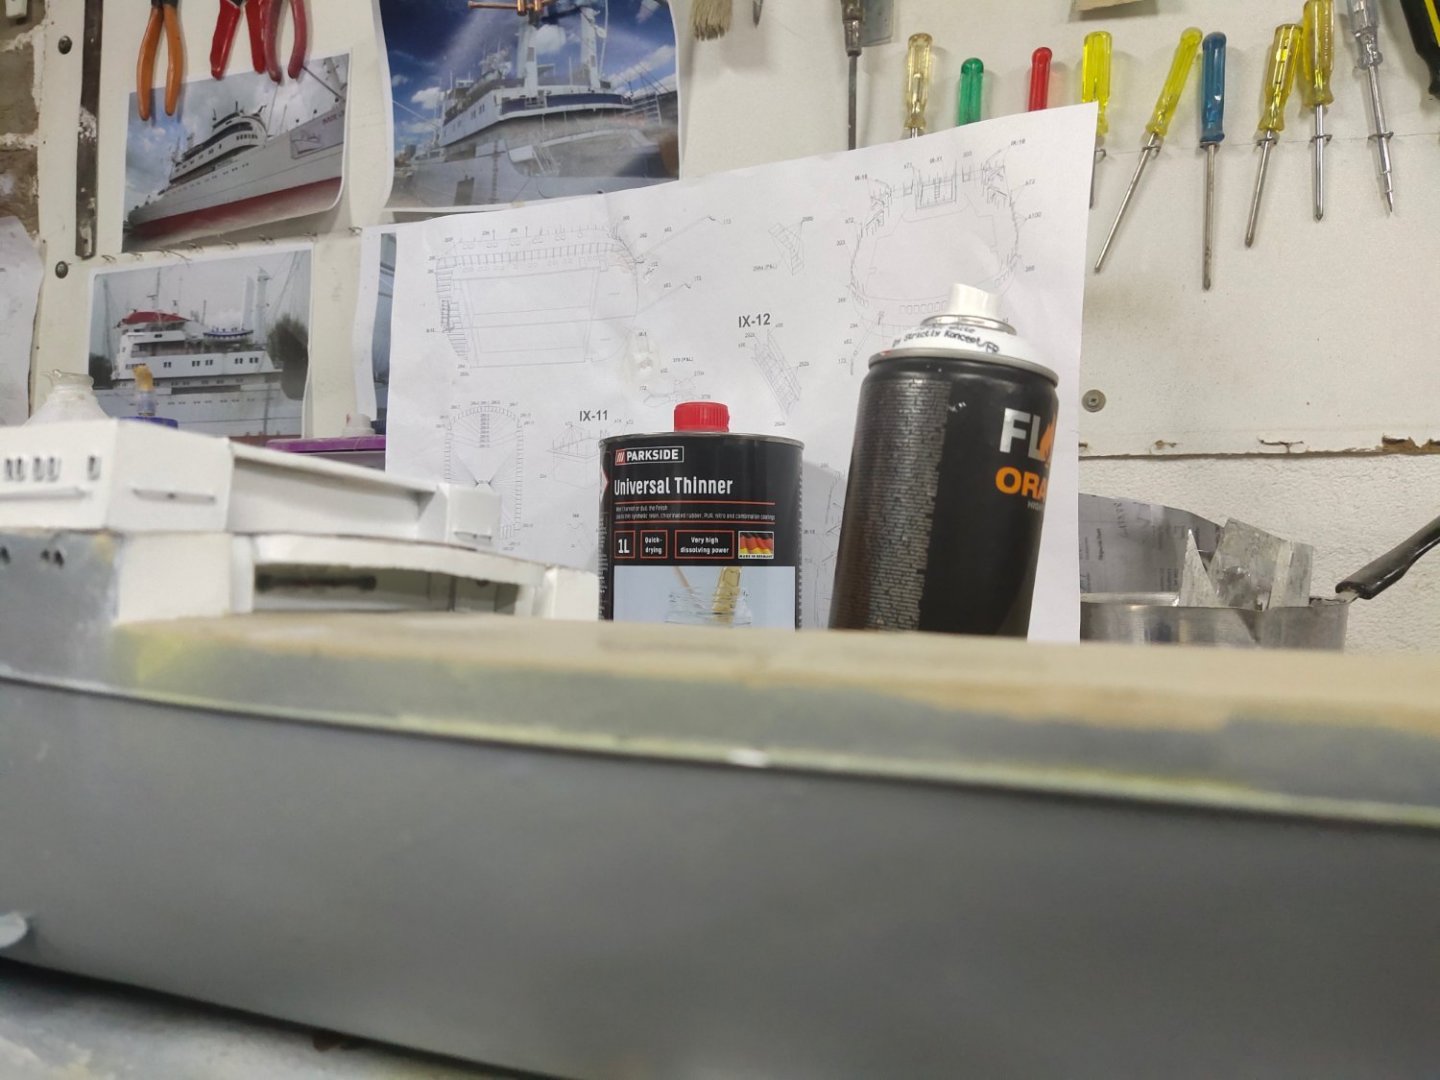
Thanks these plans may help enhancing the model with further detail meantime i found this building log quite useful from a guy saying that this was his first built i think. Pretty encouraging!
-
That was a small disappointment to me also, I was tricked by the gunholes later noticed that they empty. Gotta still learn a a lot.
-
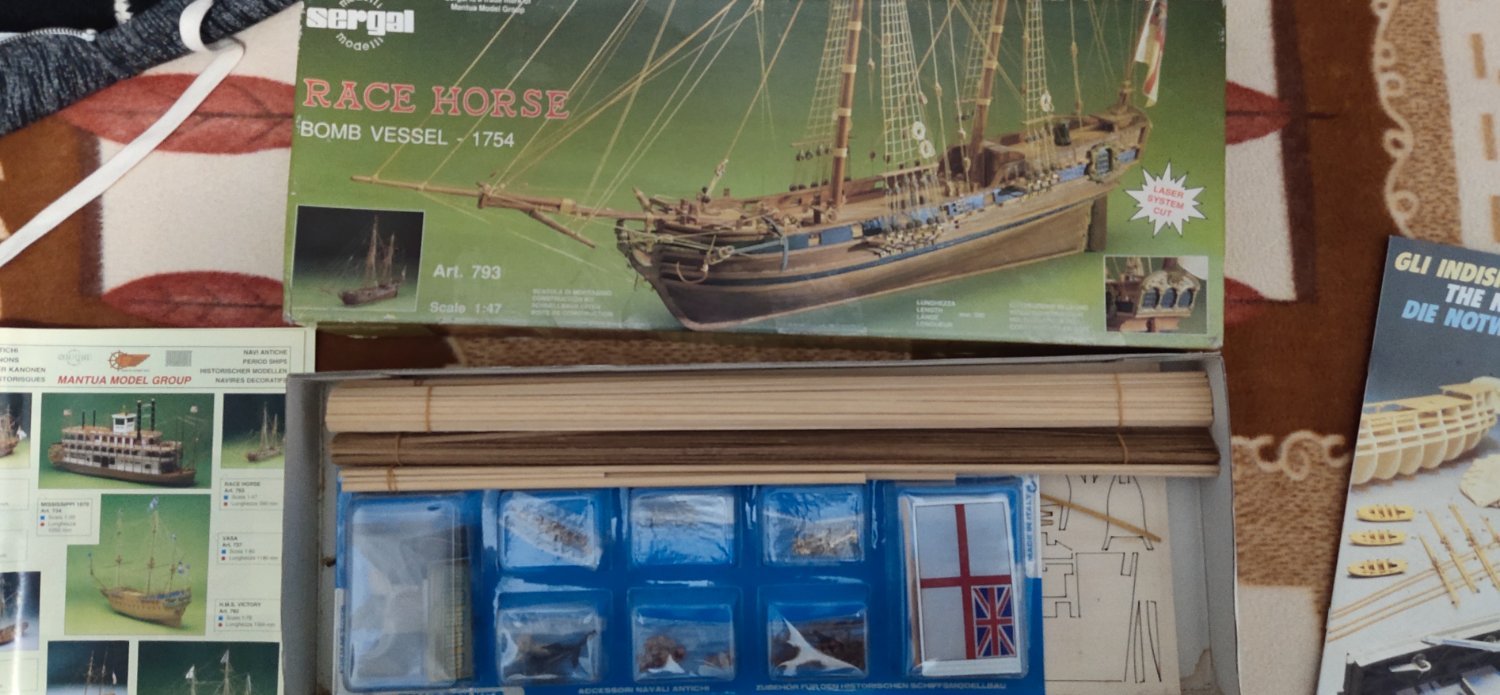
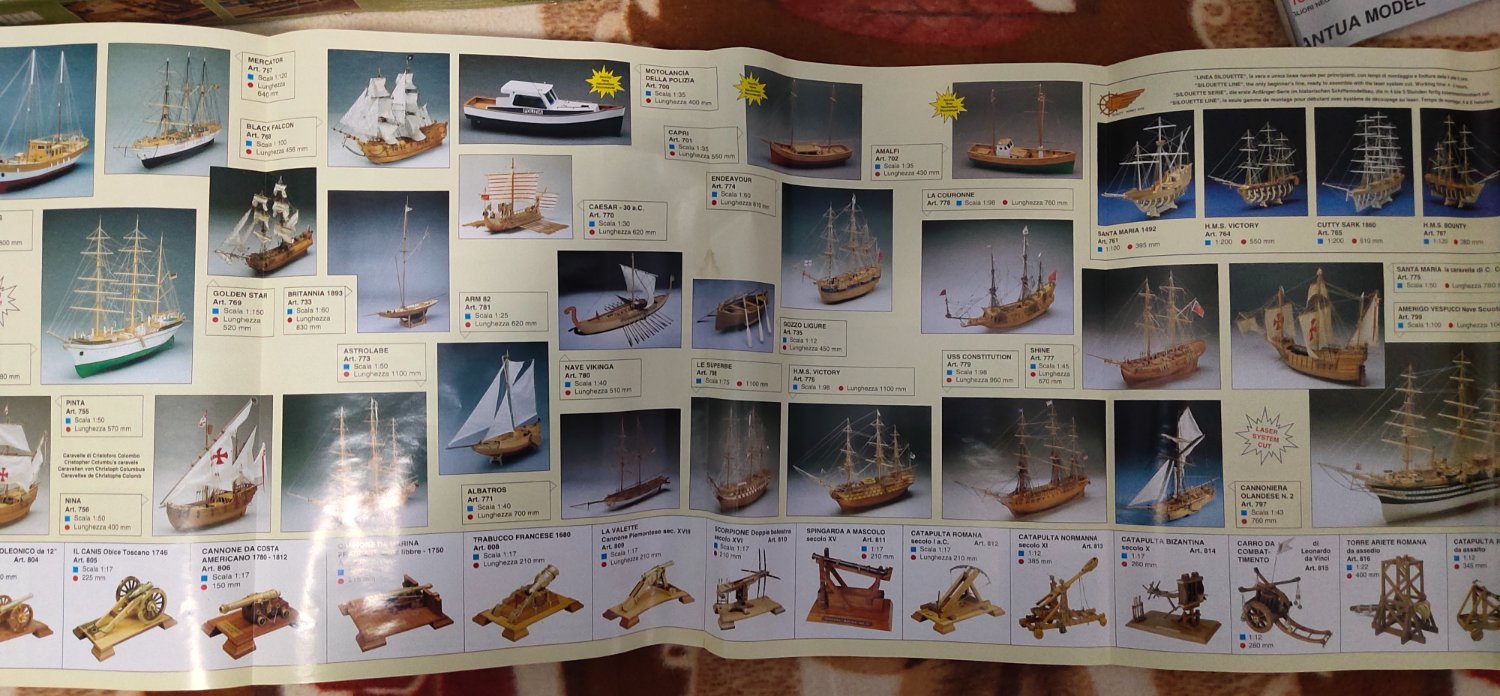
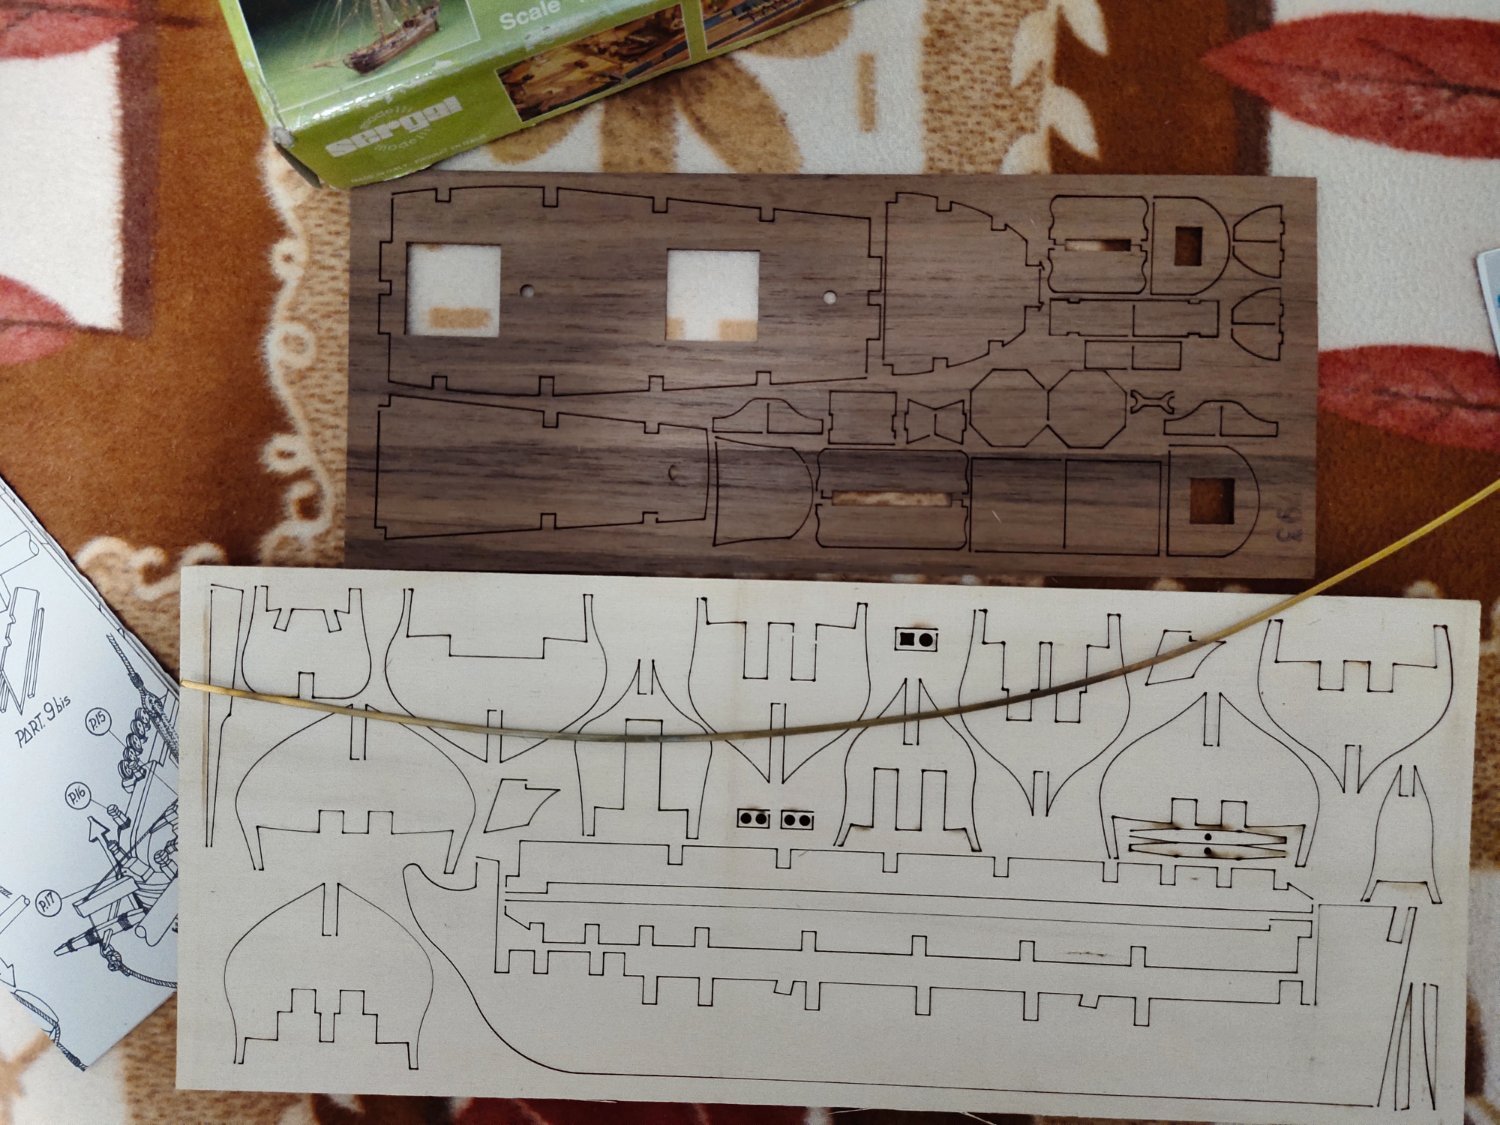
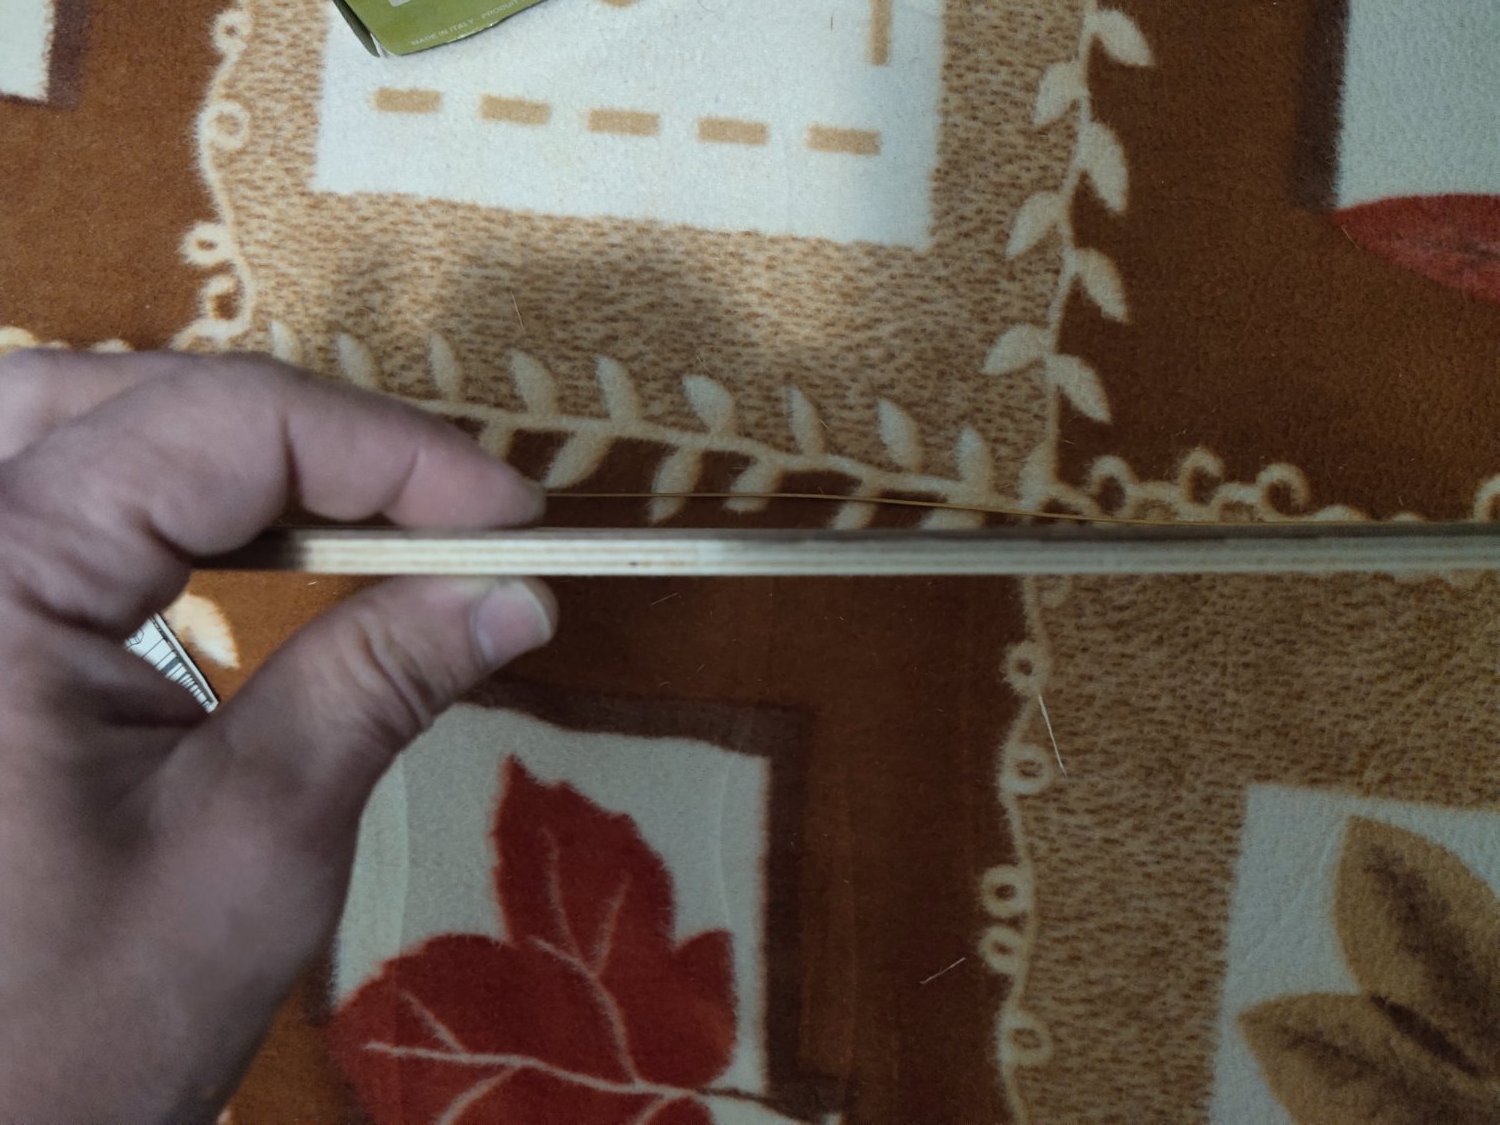
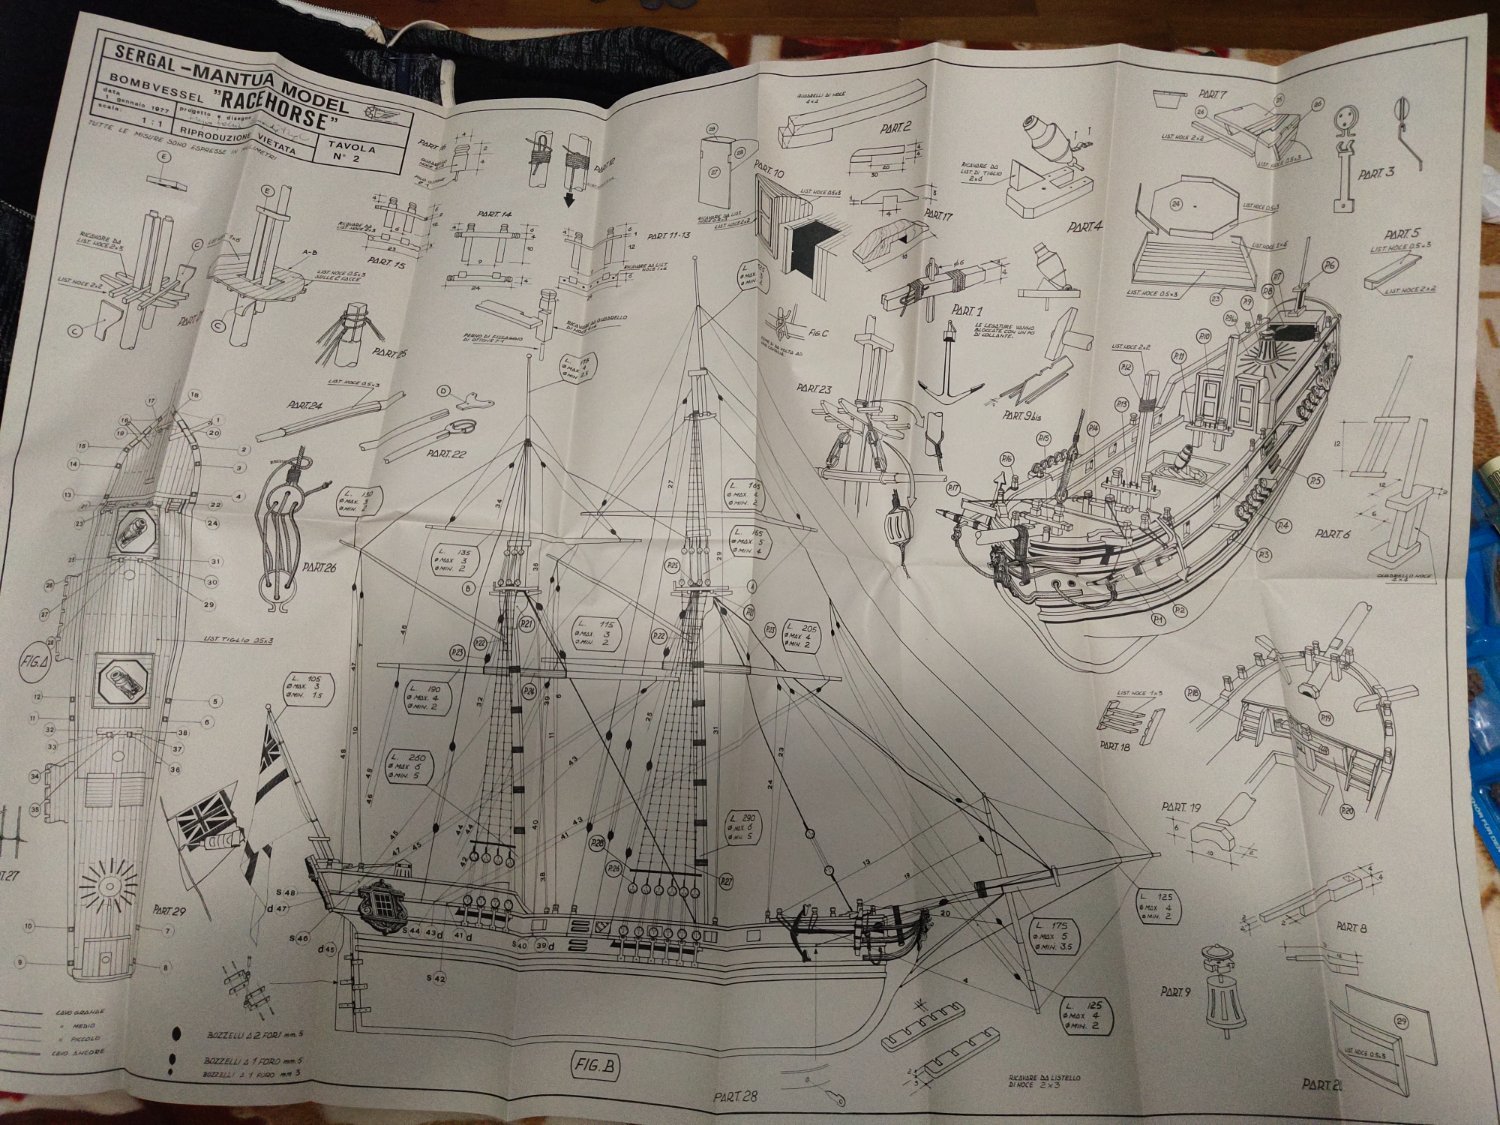
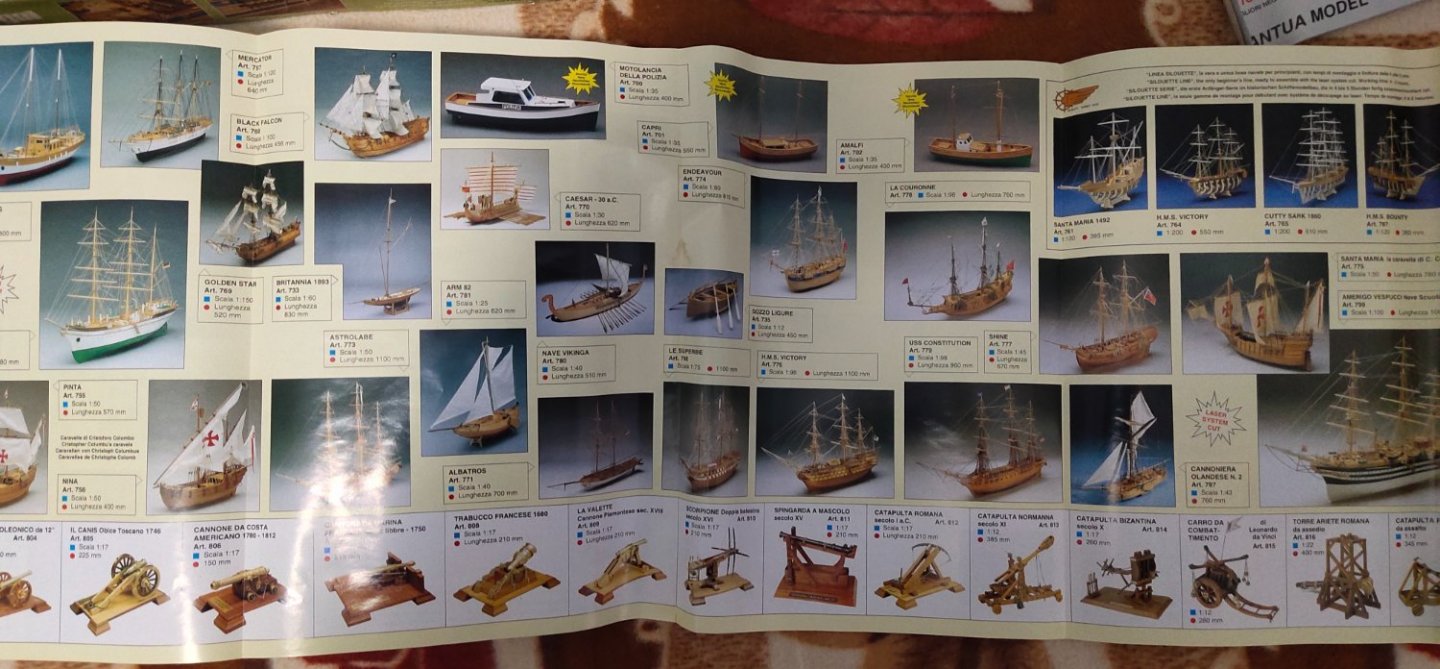
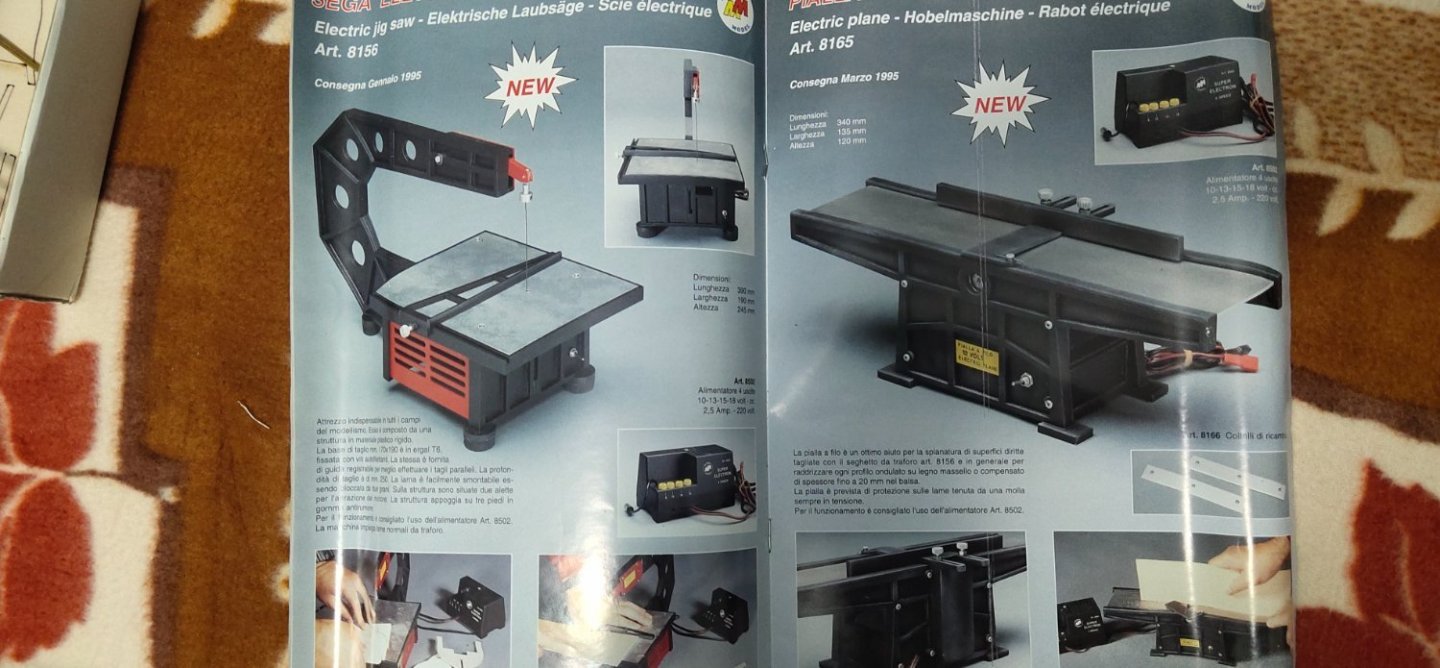
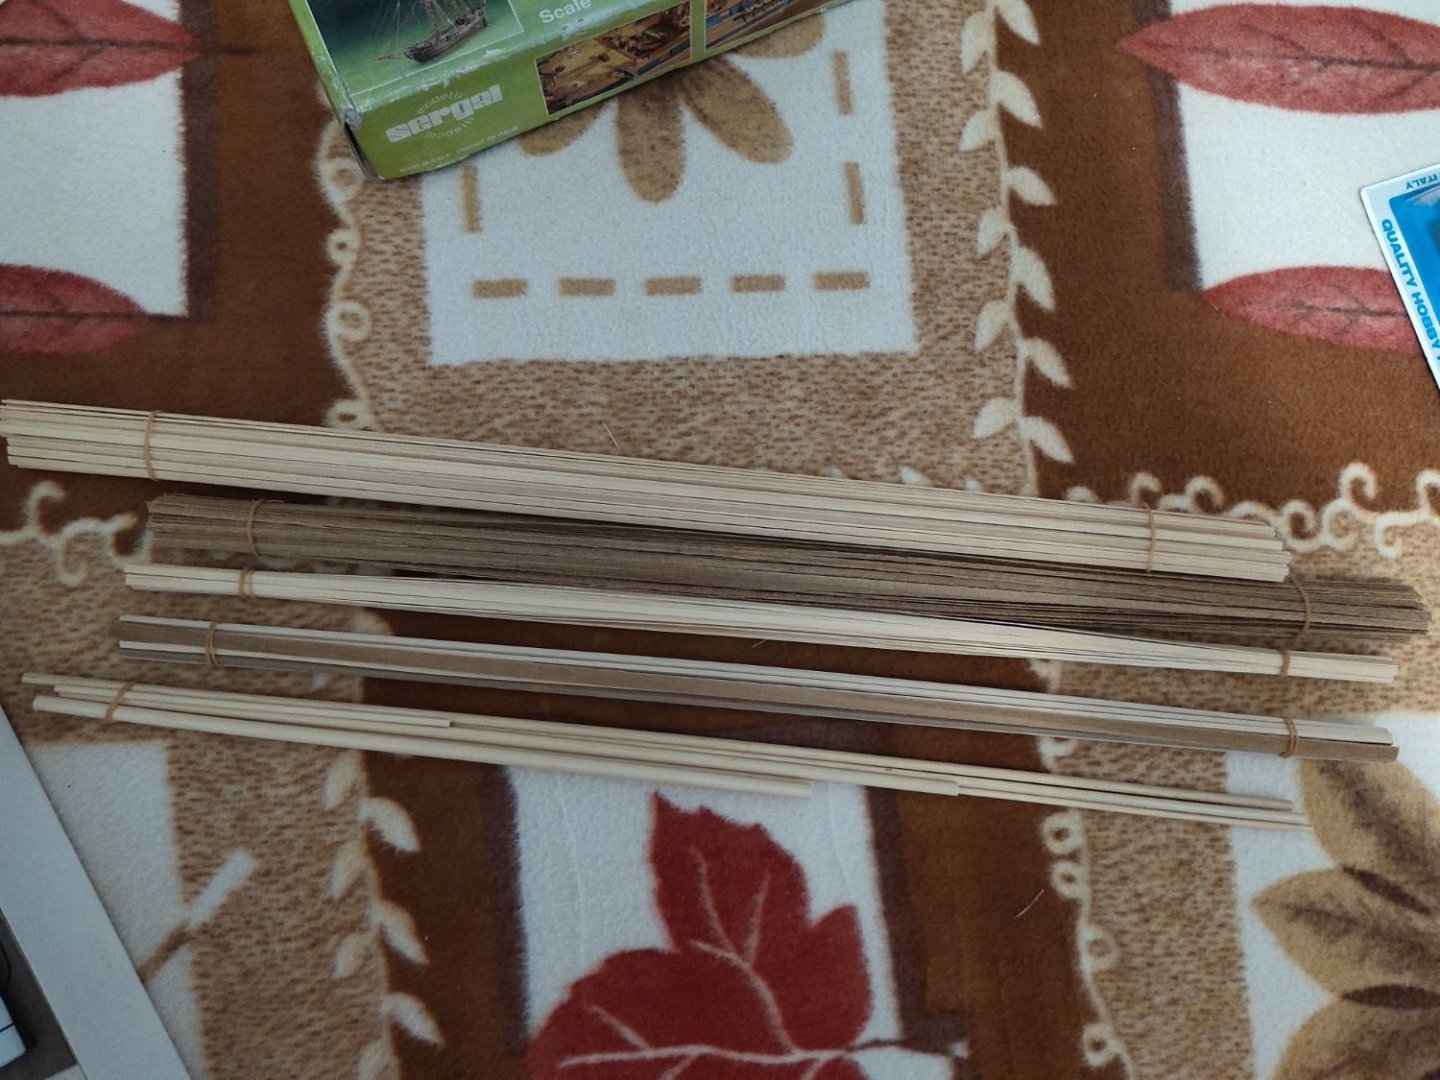
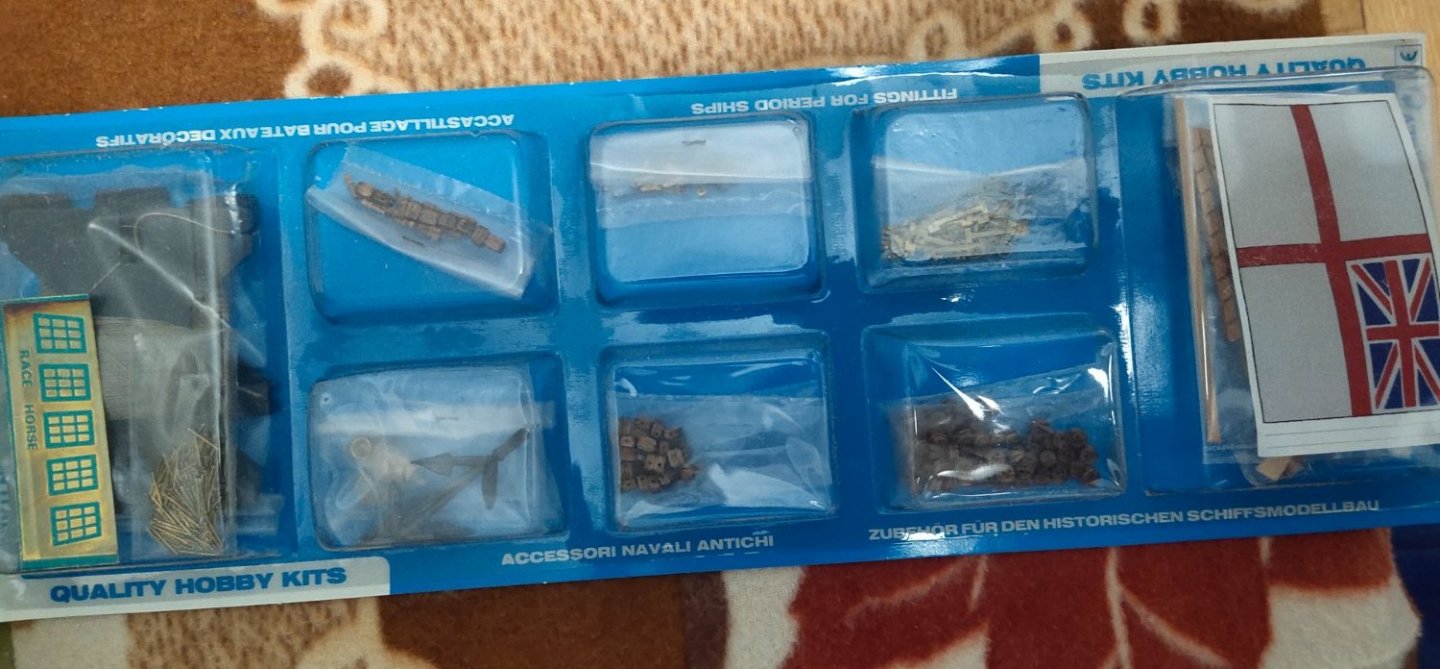
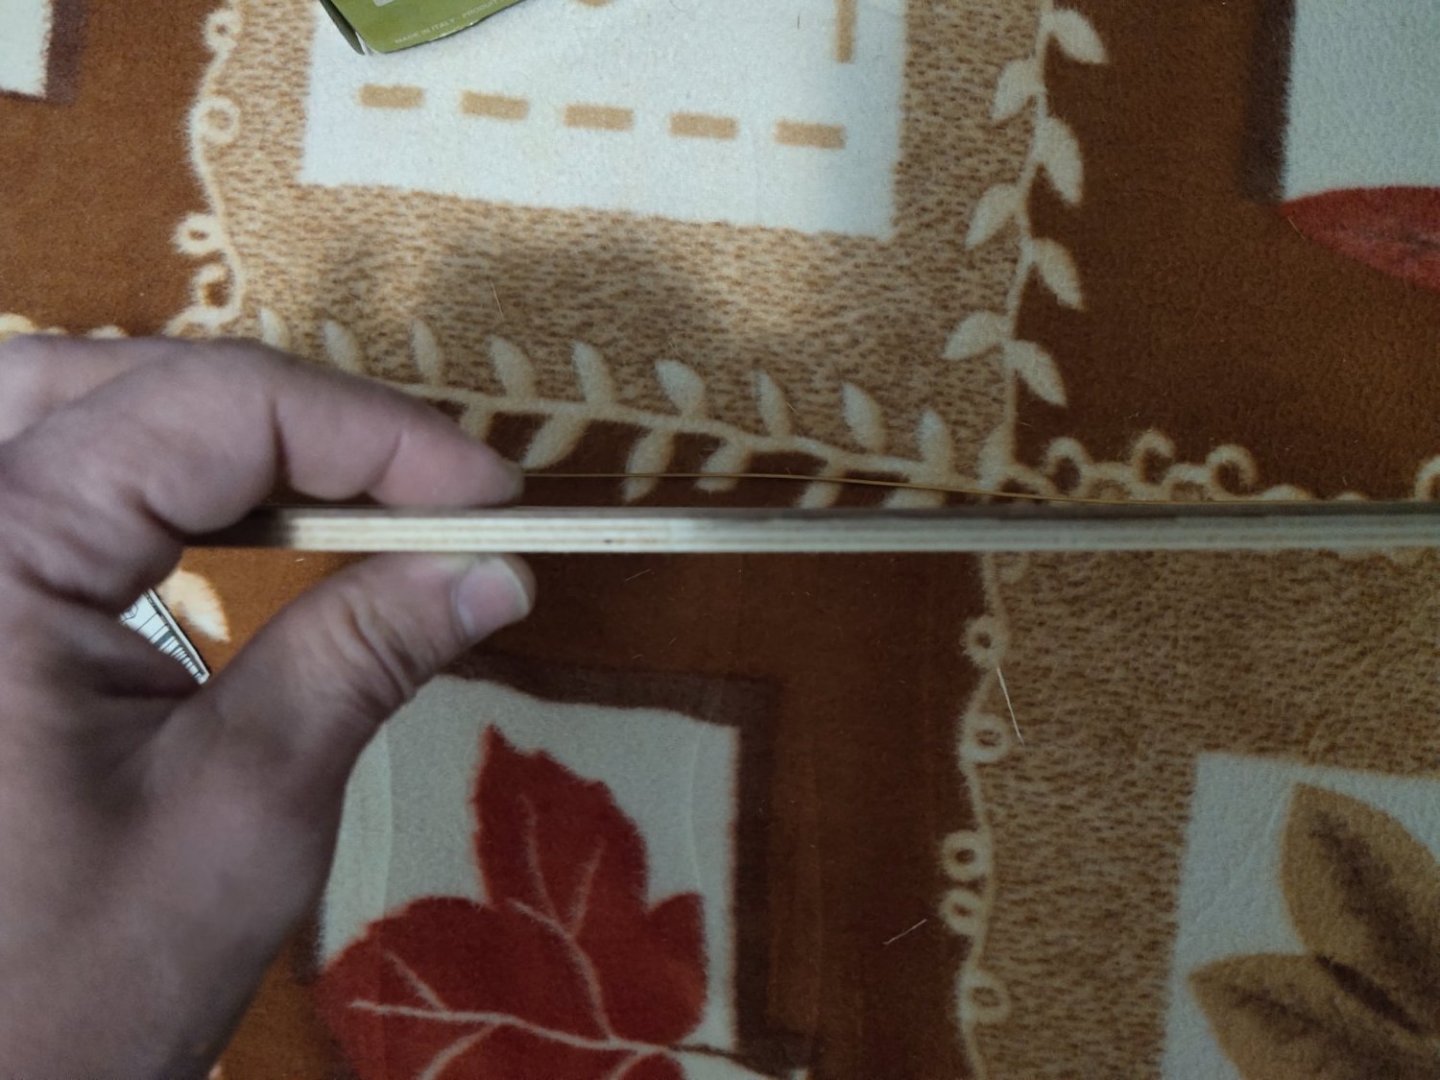
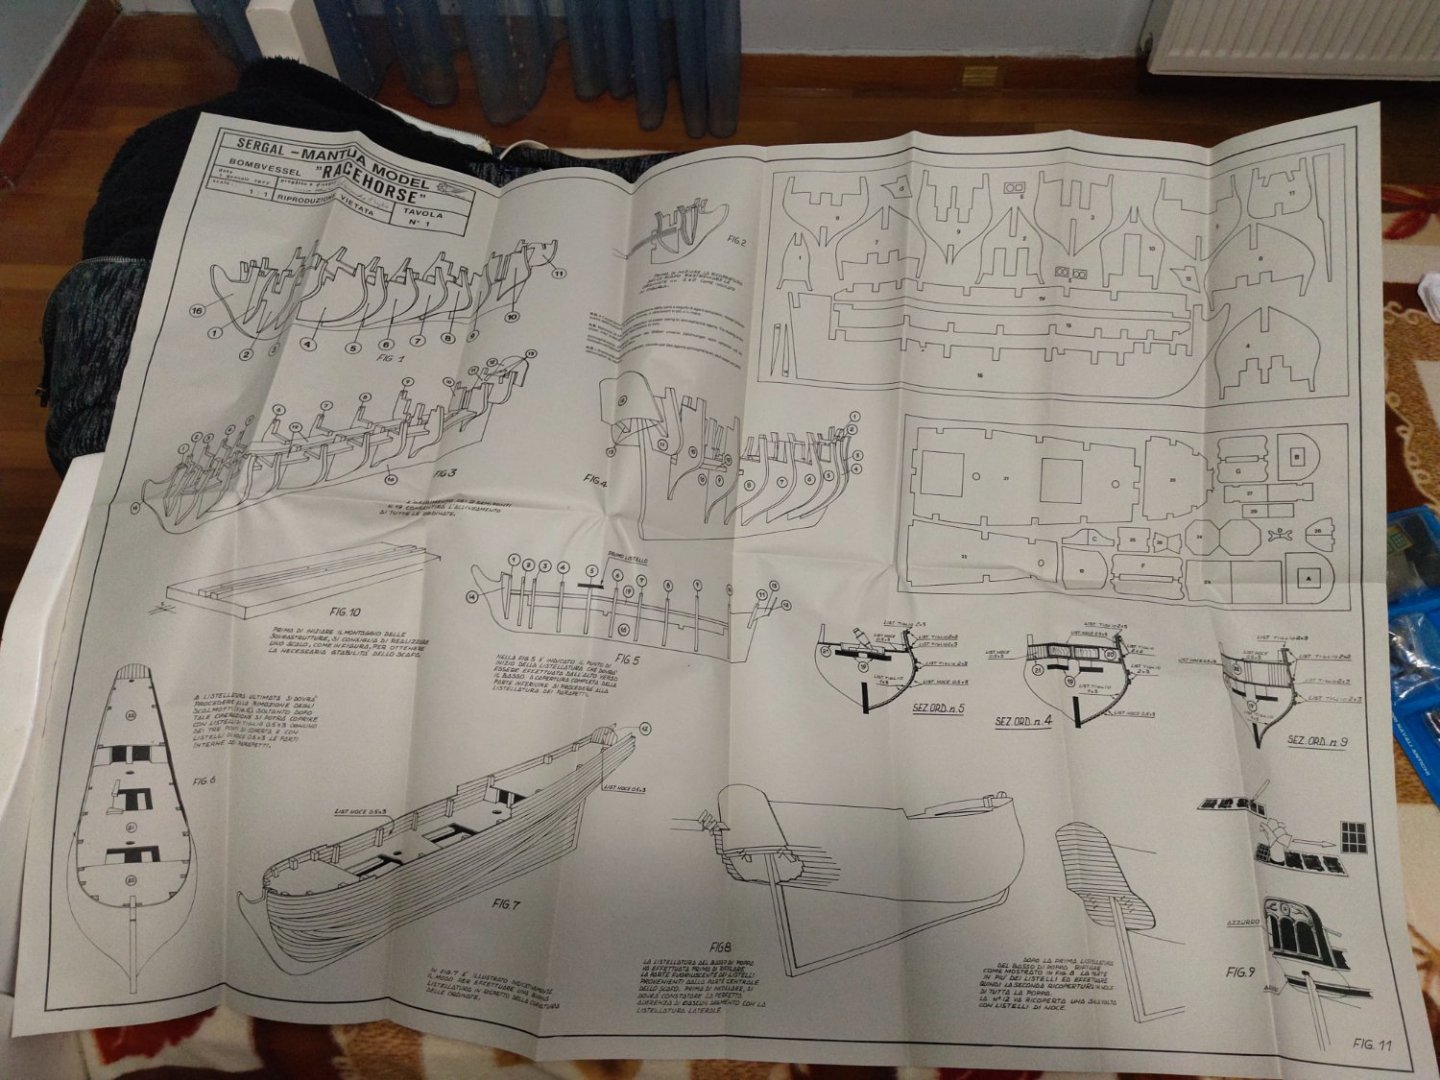
This is my first wooden kit. I haven't built any. However I found it on a Facebook sale for half or less of the original price and decided to give it a chance. The absense of a 3rd mast calls for a significant less rigging job. This along with the interesring silhouette of the ship drew my attention immediately. The 1/47 Scale also sounded pretty satisfactory. HMS Racehorse was an 18-gun ship-rigged (i.e. three-masted) sloop of the Royal Navy. Originally the French ship Marquis de Vaudreuil, she was captured by the Royal Navy in 1757 and refitted as a survey vessel for the 1773 Phipps expedition towards the North Pole. Renamed HMS Thunder in 1775, she was captured back by the French in 1778 Now the kit. I don't know much about the quality of the woods but considering the price that seems like a basic kit. There are two illustrated booklets one presenting other models of the firm and the other some useful electric tools to work with wood. There are four bunches of wood stripes. One for initial planking, one for final planking, one mixed.one (spare?) and a final one I suppose for the deck. Next are the detailing parts like pulleys, anchors as well as nails and a British flag so big that I could stick it on my jacket(I mostly built 1/700 scale lol). Underneath this some more brass parts. No PE included. From a first point of view there is some space for improvement like adding some extra detail perhaps some barrels, a brass bell and more Next are the parts for the hull, deck, frames, etc. These come in 2 laser cut sets, one plywood, I guess about 4mm thick and another one quite thinner from a wood unknown to me. Looks like same with the one used for final planking. Finally there is a curved brass strip which I don't know what's for, yet. Finally there is a 2 sided sheet for instructions. It occupies half of the bed I guess model is displayed in real scale 1/47 but more experts modelers will know better. It seems pretty basic I think and without planking instructions. Fortunately there is so much info online that actually I am confused of which way I should follow if ever decide to start it


-
I have finished the project minus rigging and some other minor repair