HOLIDAY DONATION DRIVE - SUPPORT MSW - DO YOUR PART TO KEEP THIS GREAT FORUM GOING! (Only 13 donations so far - C'mon guys!)
×


mikegr
-
Posts
815 -
Joined
-
Last visited
Content Type
Profiles
Forums
Gallery
Events
Everything posted by mikegr
-
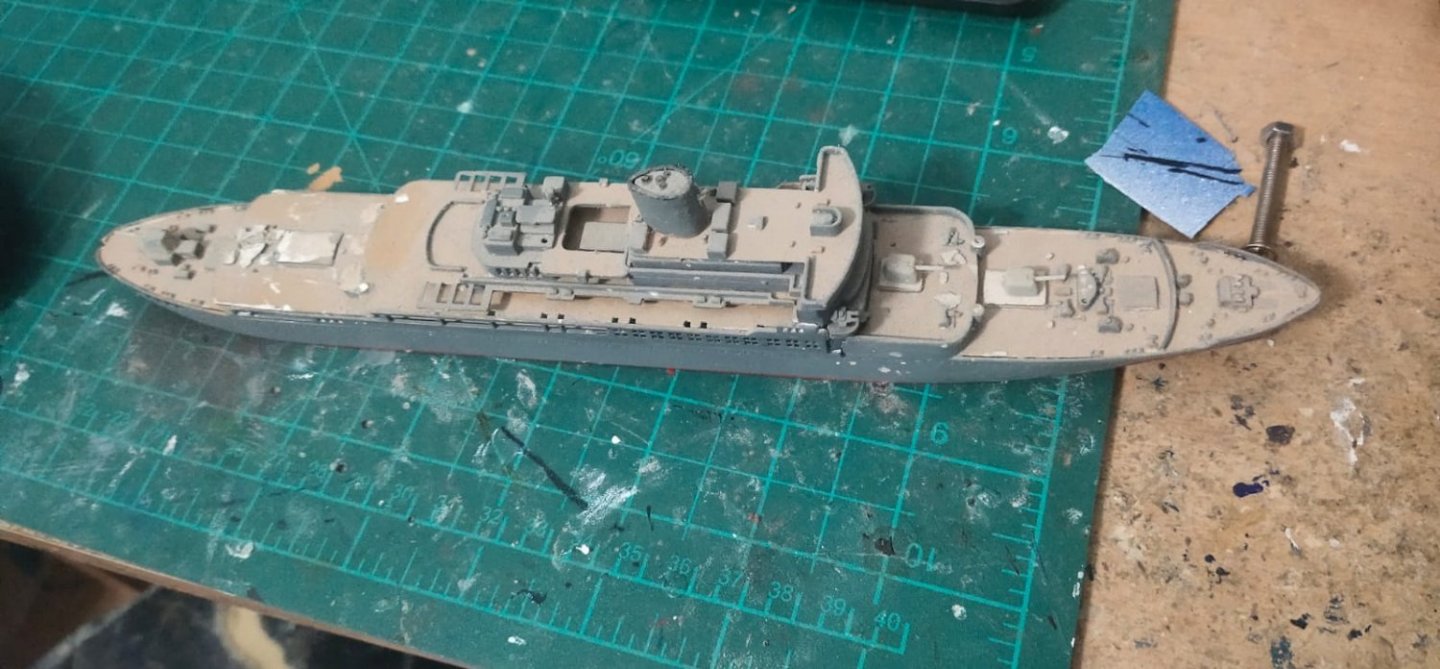
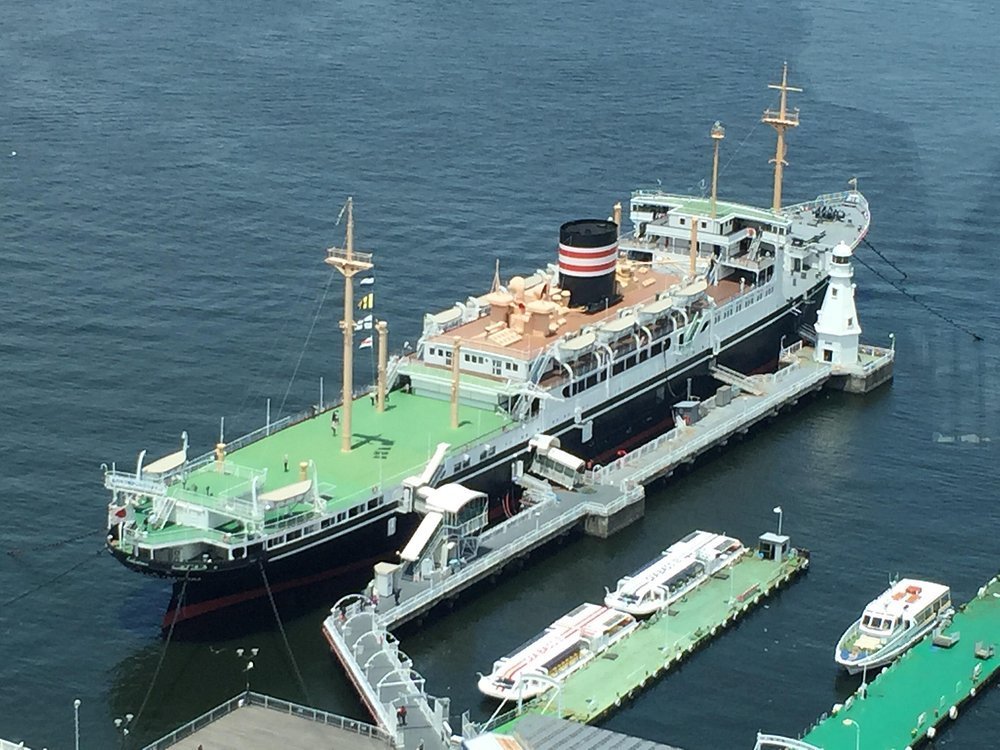
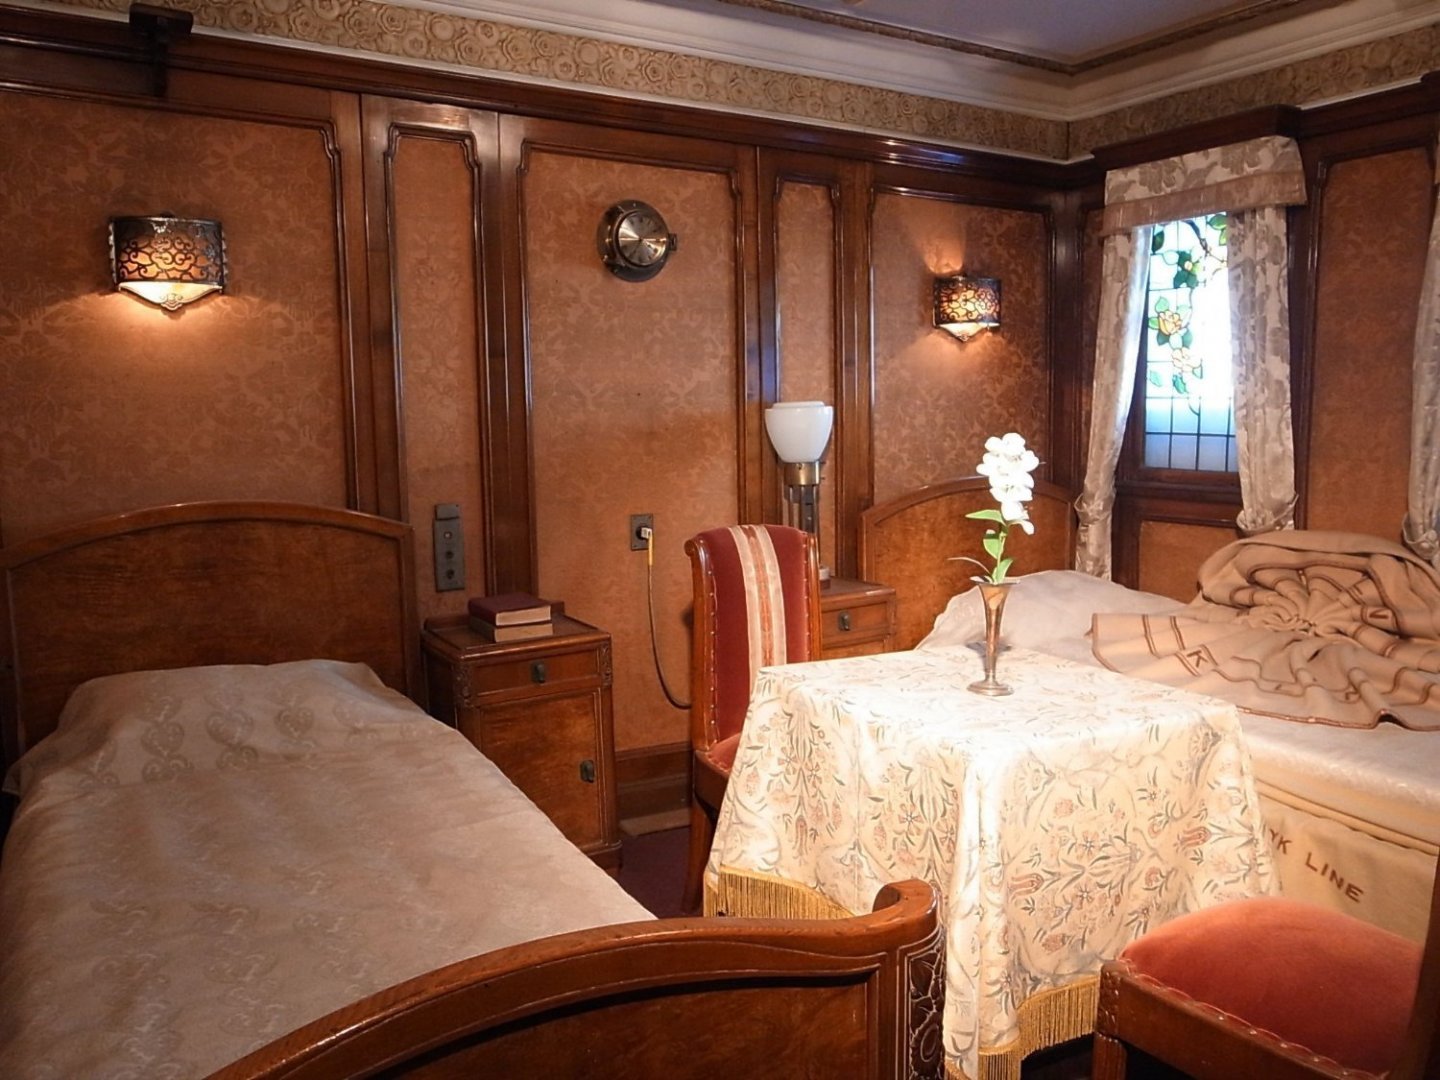
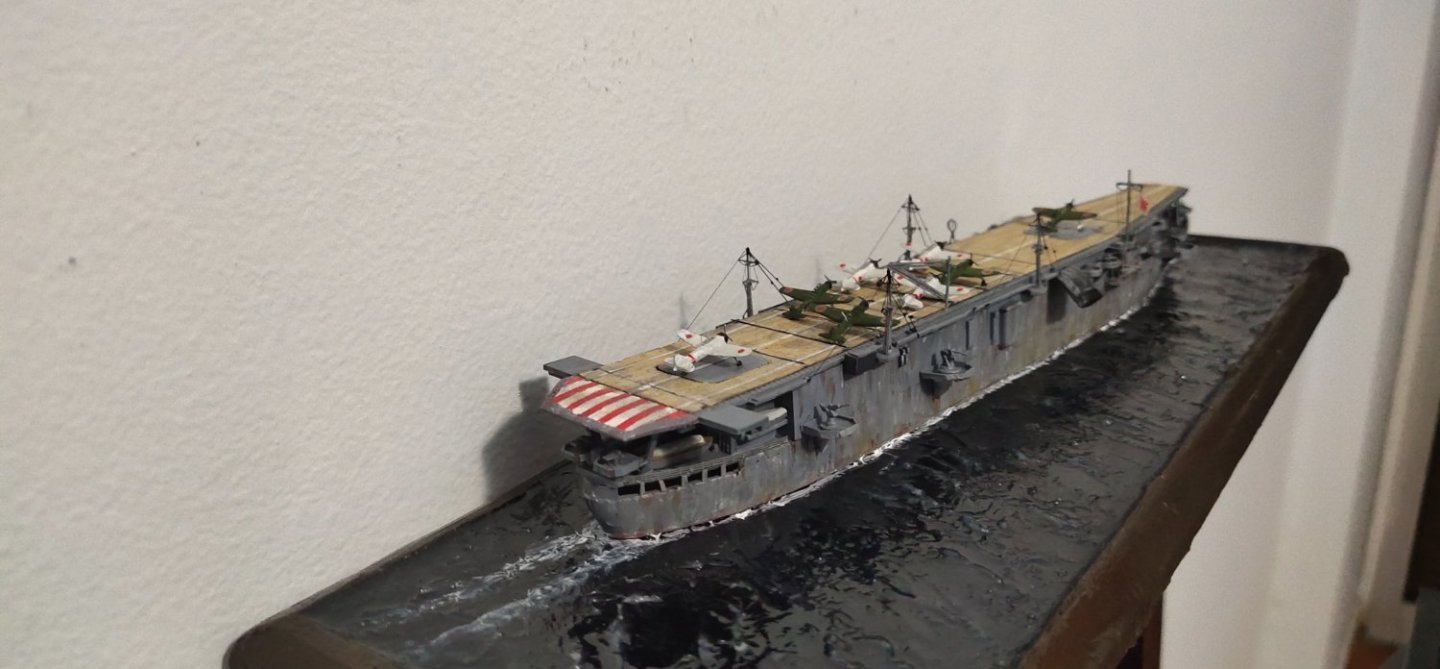
Νext Project: Hikawa Maru by Hasewaga. Before i go on, a small correction: Previous model IJN Taiyo was by Aoshima not Tamiya. Both Taiyo and Hikawa Maru share the same hull design. The latter has an interesting story, built as a cruise liner, Japanese liners were not that famous as western builds. She was converted to a hospital ship. I was suprised to find out that she is a museum ship i n Yokohama. Now the model. At the time was built i had in mind to convert her in seaplane carrier thus the AA armament. There was a rear deck made by an expired credit card (!), cranes and seaplanes but they are missing. After some consideration i decided to built it as it looks today, a liner museum ship since there is good amount of pictures and plans available unlike Taiyo

-
Cap San Diego by mikegr - 1/160
mikegr replied to mikegr's topic in - Build logs for subjects built 1901 - Present Day
I finished yesterday the first stage of sanding. Today I done the 2nd stage, applying filler and hand sanding locally and repeat. The 3rd stage left now: applying glazing putty in smaller areas and spots. This will be done in daylight out of the basement when the weather will allow it. In sunlight every bump and imperfections will be revealed. The fiberglass method is messy but I think reduces the working time. And since I'm into modern ships I may follow the mould - fiberglass method for my future builts. Another reason is the materials. Polyester and glass mat are easier to find than modelling wood and comes at reasonable cost.
-
Cap San Diego by mikegr - 1/160
mikegr replied to mikegr's topic in - Build logs for subjects built 1901 - Present Day
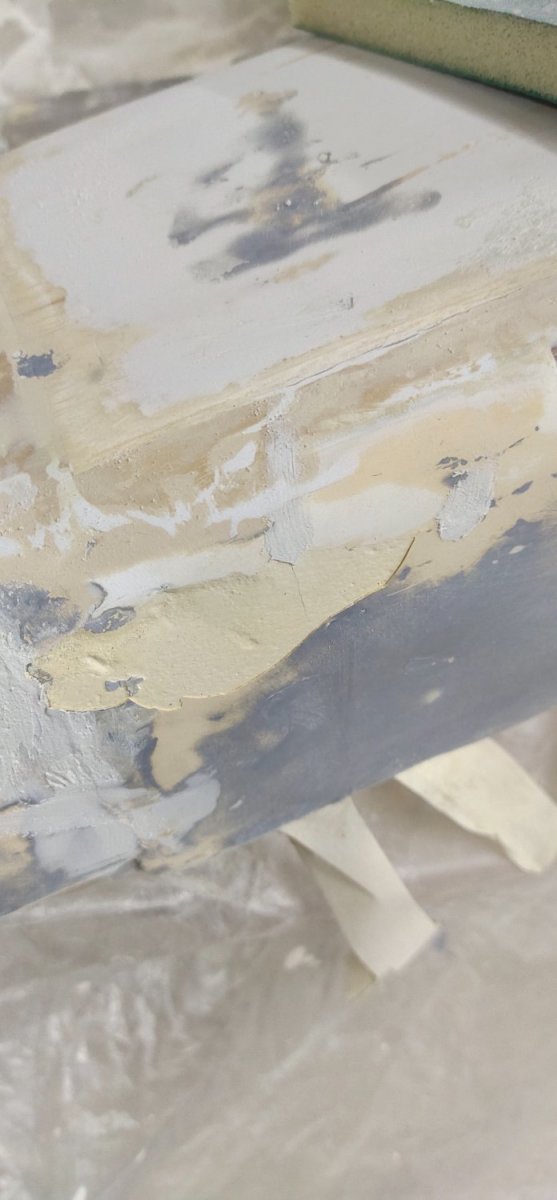
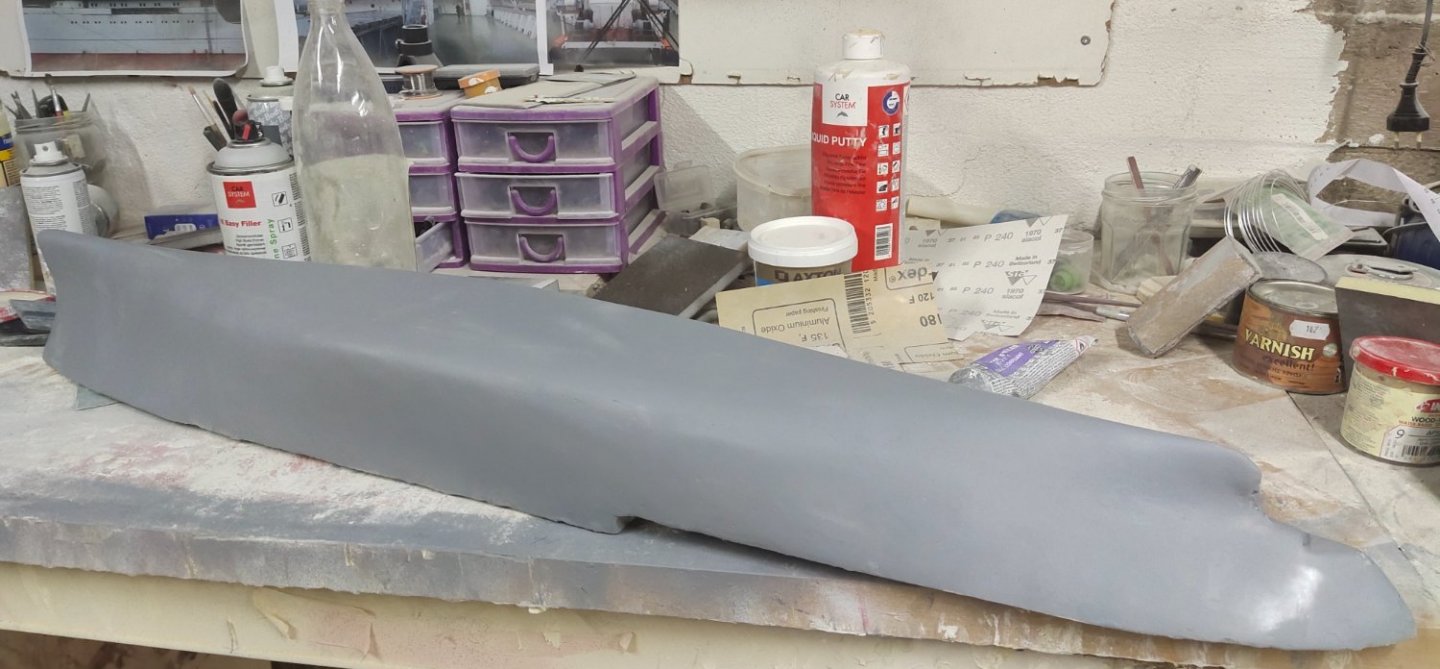
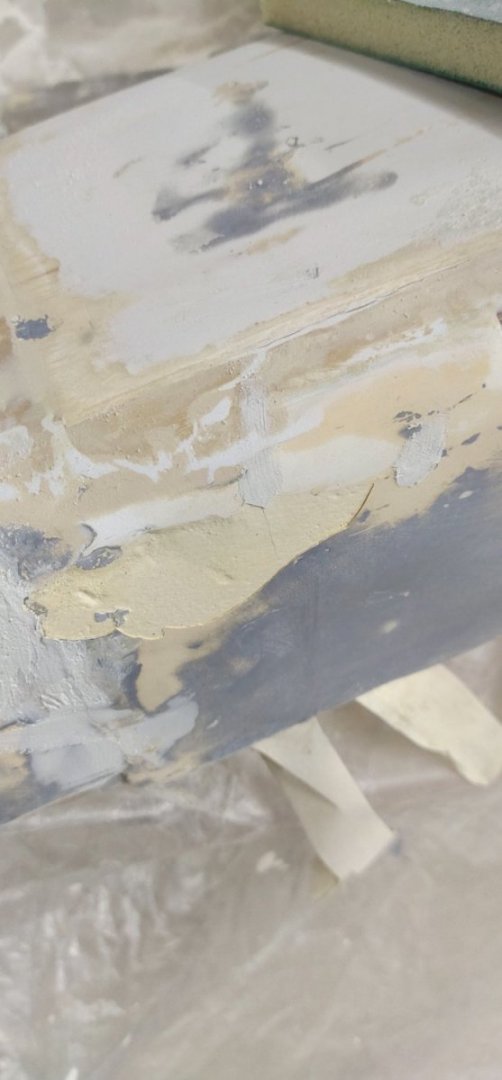
Ι removed the hull from the base and cut the excess material around. Now its time to work on the hull. I research about what material to use then i found a meterial called micro bubbles . this mixed with polyester would make a soft layer of filler similar to car body filler but easier to sand. The bubbles were very difficult to find and pricey. I coated with another resin the hull and water sanded it with 400 grit paper on electric sander. Then i put a thin coat of car body filler spreaded with my finger. For the sides i use liquid body filler (light brown) and for the bow i used a basic layer of lightweight spakle then glazing putty on top for smooth finish. I dry sanded the surfaces initialy by electric tool then by hand. Overall about 30 minutes. The body show no signs of fatigue and it seemed like it had the required strength while weight increased slightly. I will cover with filling primer later and get to the final details. I think hull now will be in shape in a quite shorter time than before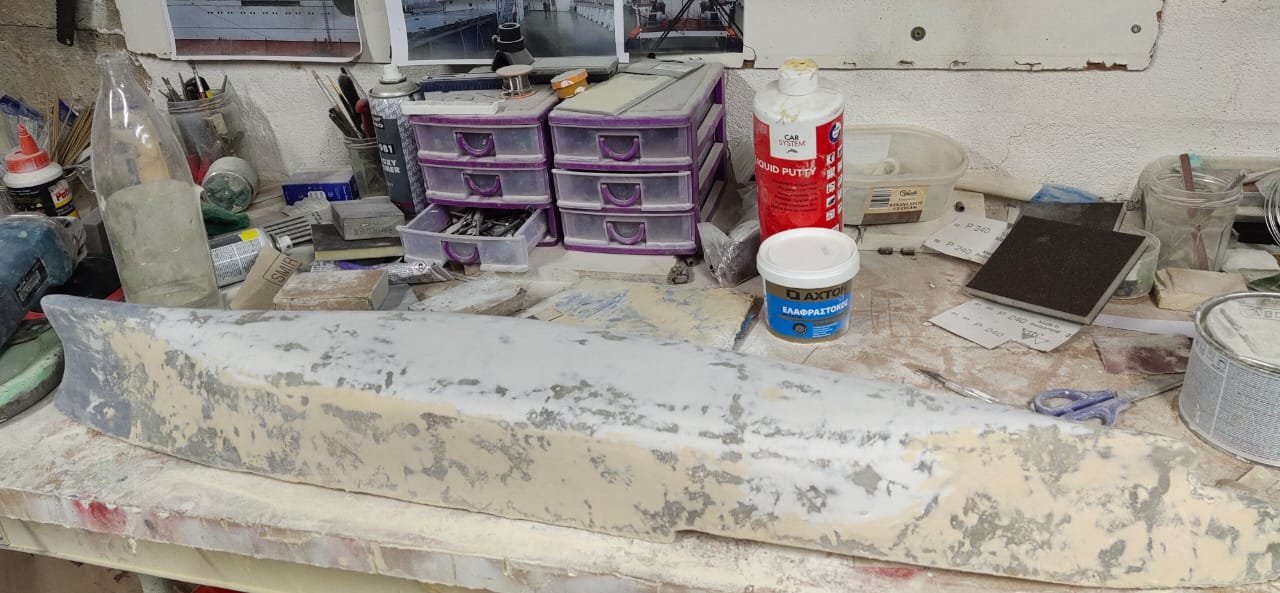
-
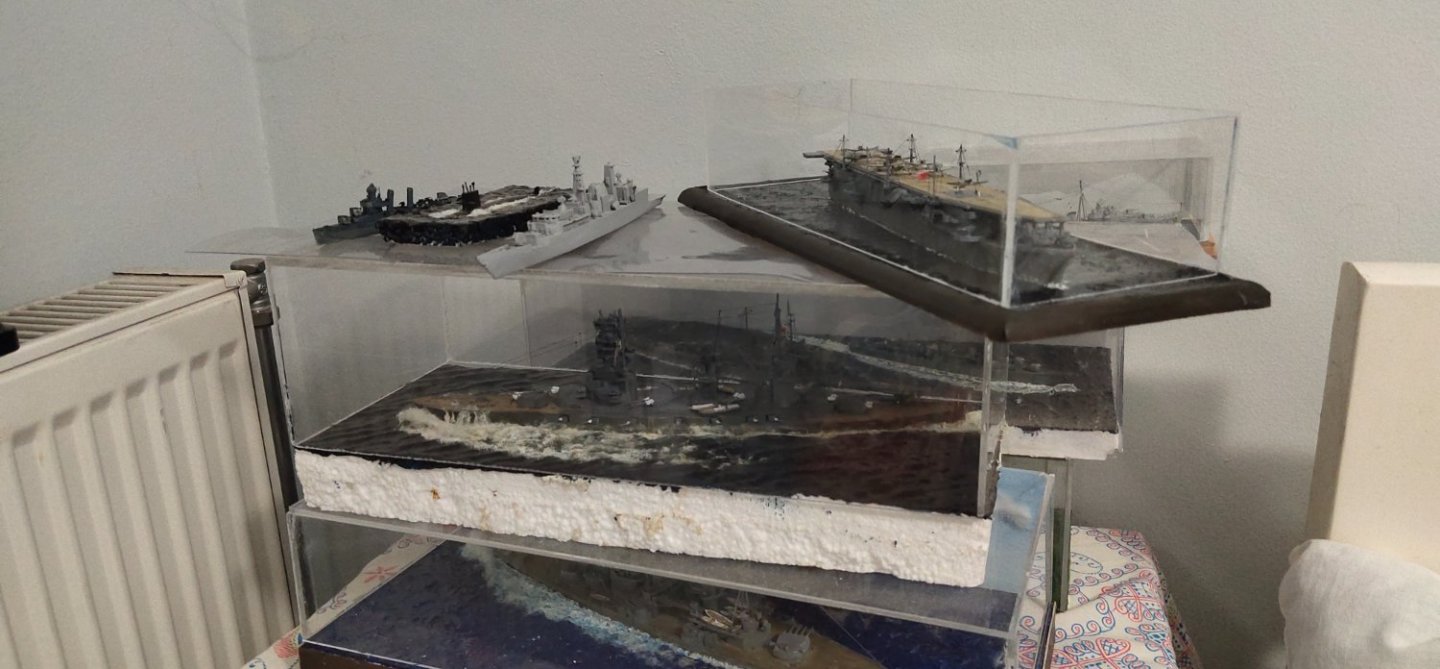
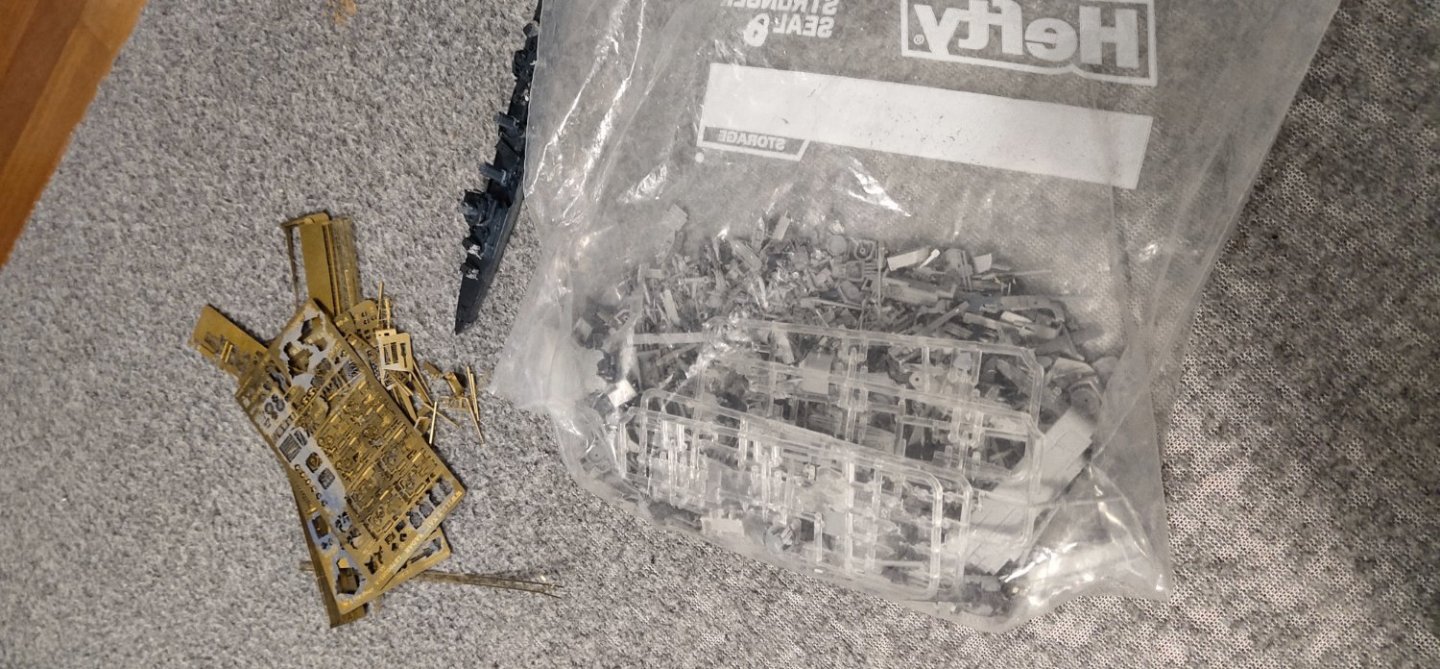
I finished the model by making a plexiglass case as usual. For conviniency roof will be made with 0.5mm PVC. They do great job protecting the model from dust but they occupy more space. Seems I am having problem already with about 25 more to rebuild plus some dozens to build from the start. Last month I received a message from a silent follower. He had some spare parts for 1/700 ships and instead of selling them on eBay for a few bucks he offered to ship them overseas to my door. To unfamiliar persons this looks like a scrap pile but for us may be a little treasure. And a boost for my effort. A big thanks for the follower.
- 347 replies
-
- 10
-

-
wish there was a model for Iwo Jima class as well. Can't believe there's no interest on this model. Fine example of the Cold War Era.
-
Αfter a short build, a long build. I have this and Boxer as well. I think Hobbyboss is generous when comes to PE details. Of course there is space for extra improvements. either way its going to be an interesting project.
-
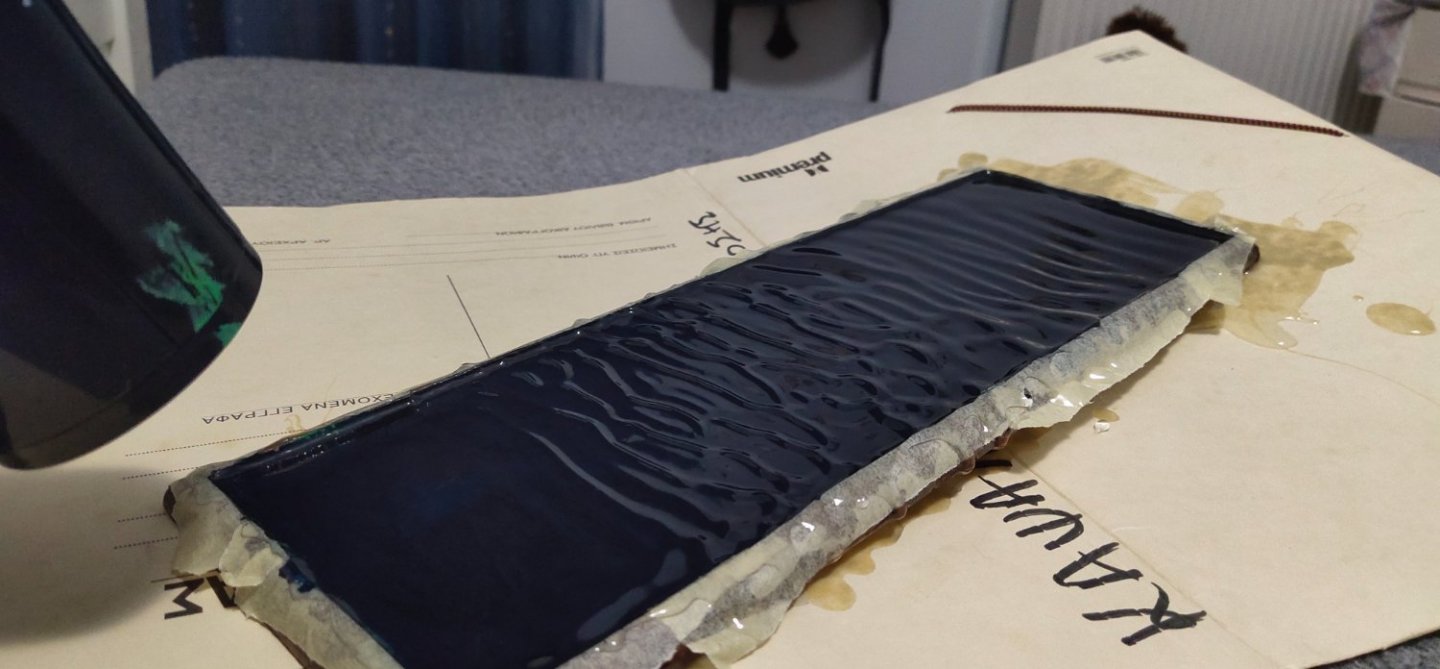
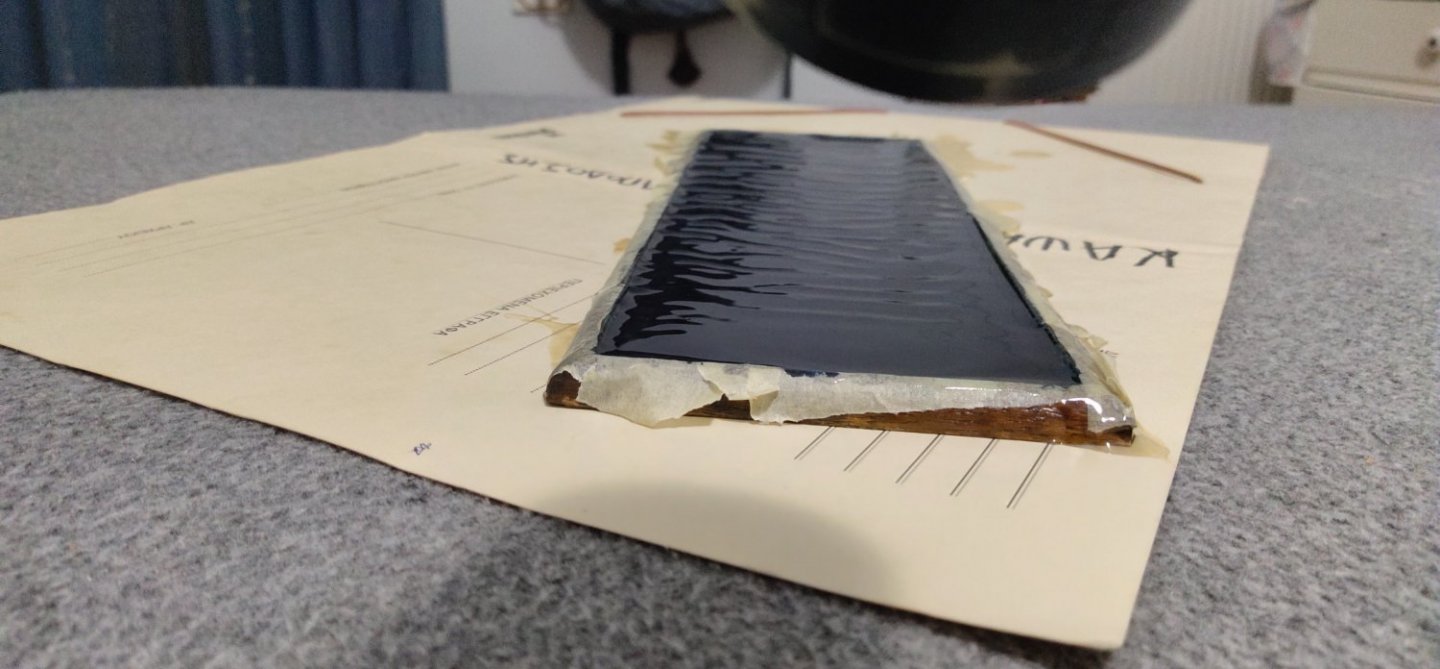
So I poured the resin. The intention was to form a light-medium wave. I used a hair dryer to form the waves. It was a bit early and resin wasnt thick yet so I spilled some, making a mess on the base. After some time using the gun up and down I let it rest. I repeated the process until the epoxy has thickened to the point that was stable even when i used the dryer almost touching the base. Next morning I discovered that epoxy was back 90% in the original form. Even looked solid while blowing it probably the slow curing time prevent it from holding its shape😕. Having no other option I used medium gel to make a bit rough sea. I have used it in the past and concluded that this reduces the resin transparency, which I don't like. So while I was satisfied with the model built regarding the time spent, the sea base was just a repeat of a previous attempt with nothing new to offer.

- 347 replies
-
- 12
-
-

-
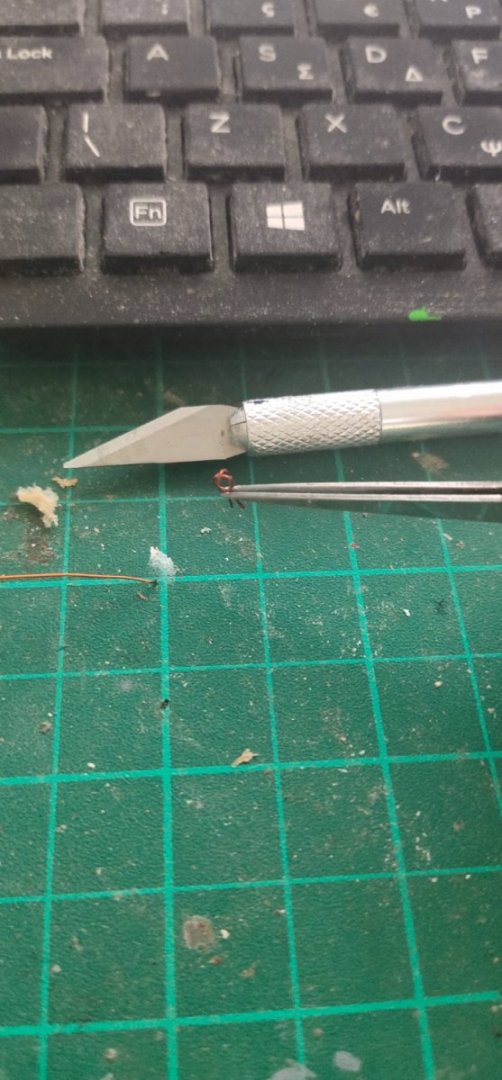
These fragile thin blades are surgical type. They are flexible and sharp but can break frequently.
- 32 replies
-
- 4
-
-
- tamiya
- king george v
- (and 1 more)
-
Air brush vs paint & brush
mikegr replied to jefferyt's topic in Painting, finishing and weathering products and techniques
Obviously is hard to get enough experience to build a fine wooden model before you turn into retirement age. Unless you are into this for many years. Back to the airbrush matter, there are many videos on youtube. From few minutes to hours. It is a lot different world and need a lot of learning and experimentation. I bought a kit with mini compressor mostly for general painting and making wave effects on sea dioramas. For detail painting like miniatures an advanced set is required. -
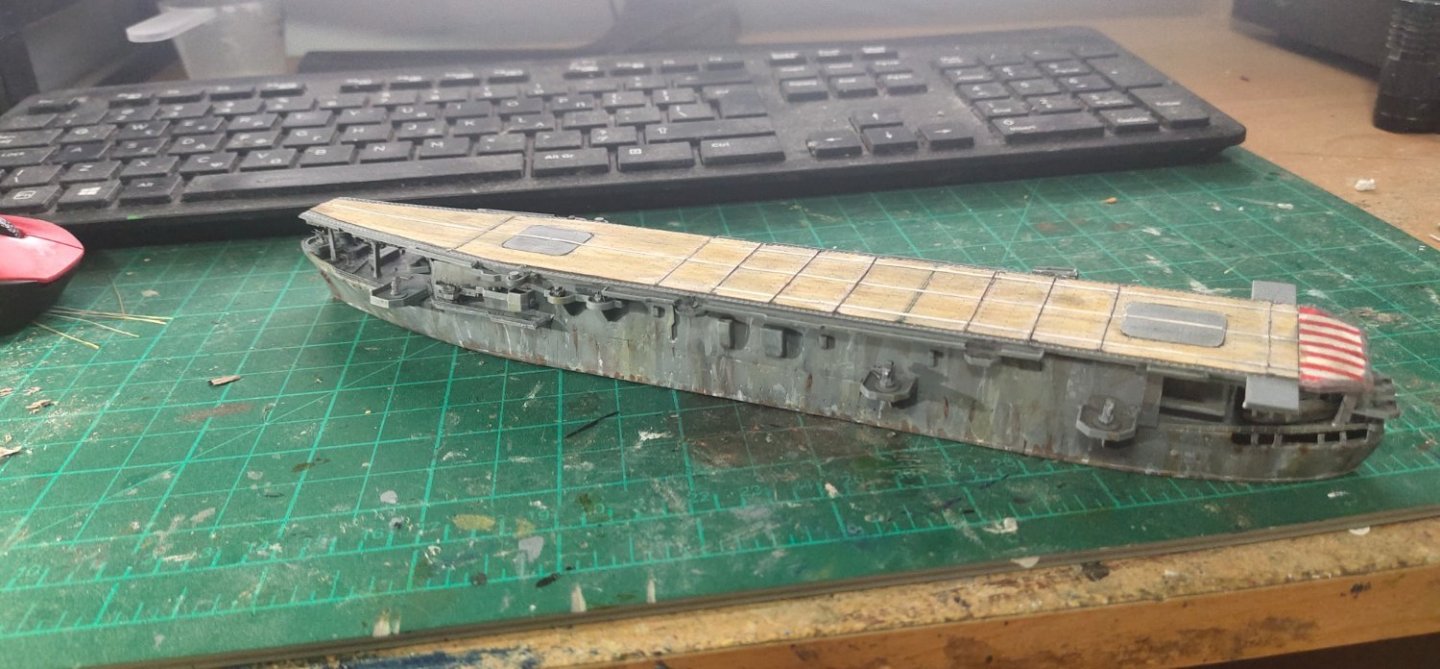
I consider this class as the most appropriate for entry level into aircraft carrier scratch built. Its not easy but the absence of side openings at the hull can reduce time work considerably. I have Gambier Bay plans consider to built in 1/144.
- 126 replies
-
- 7
-
-
- Thetis Bay
- Finished
- (and 4 more)
-
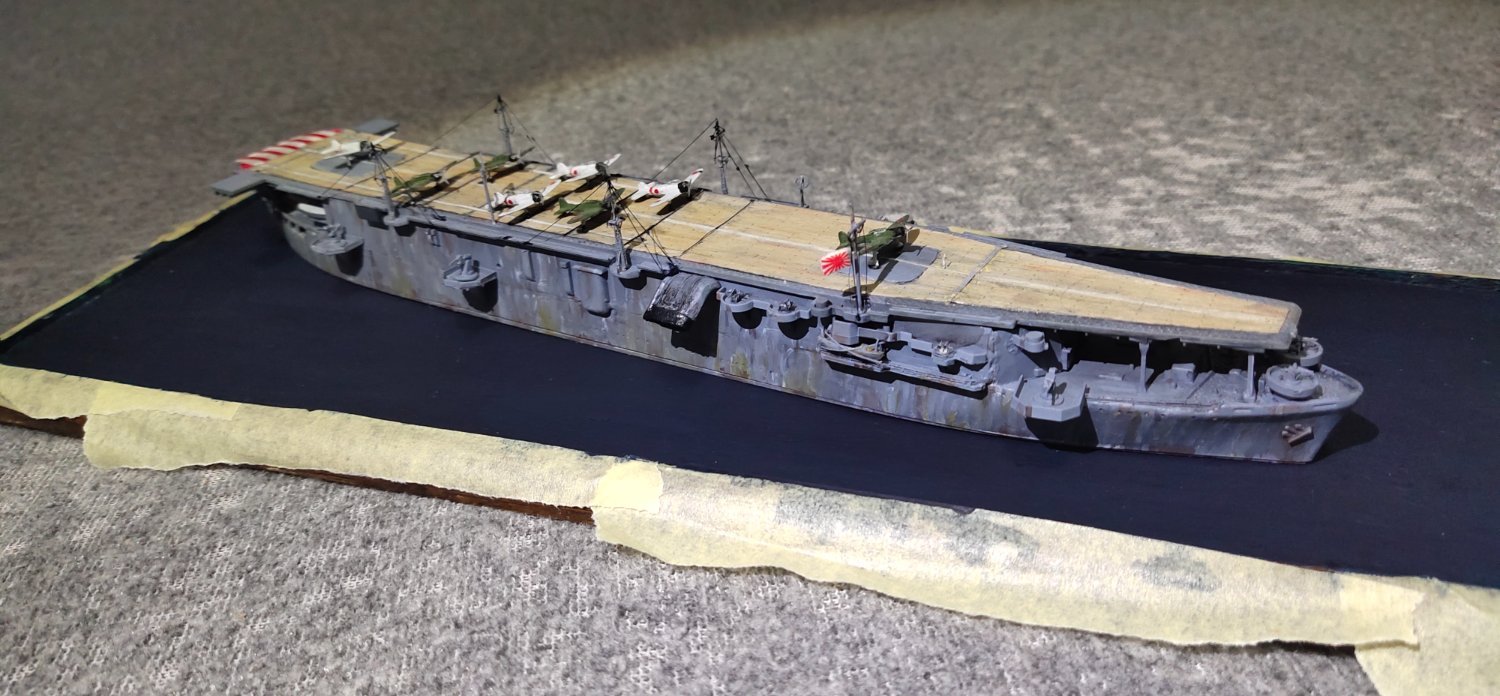
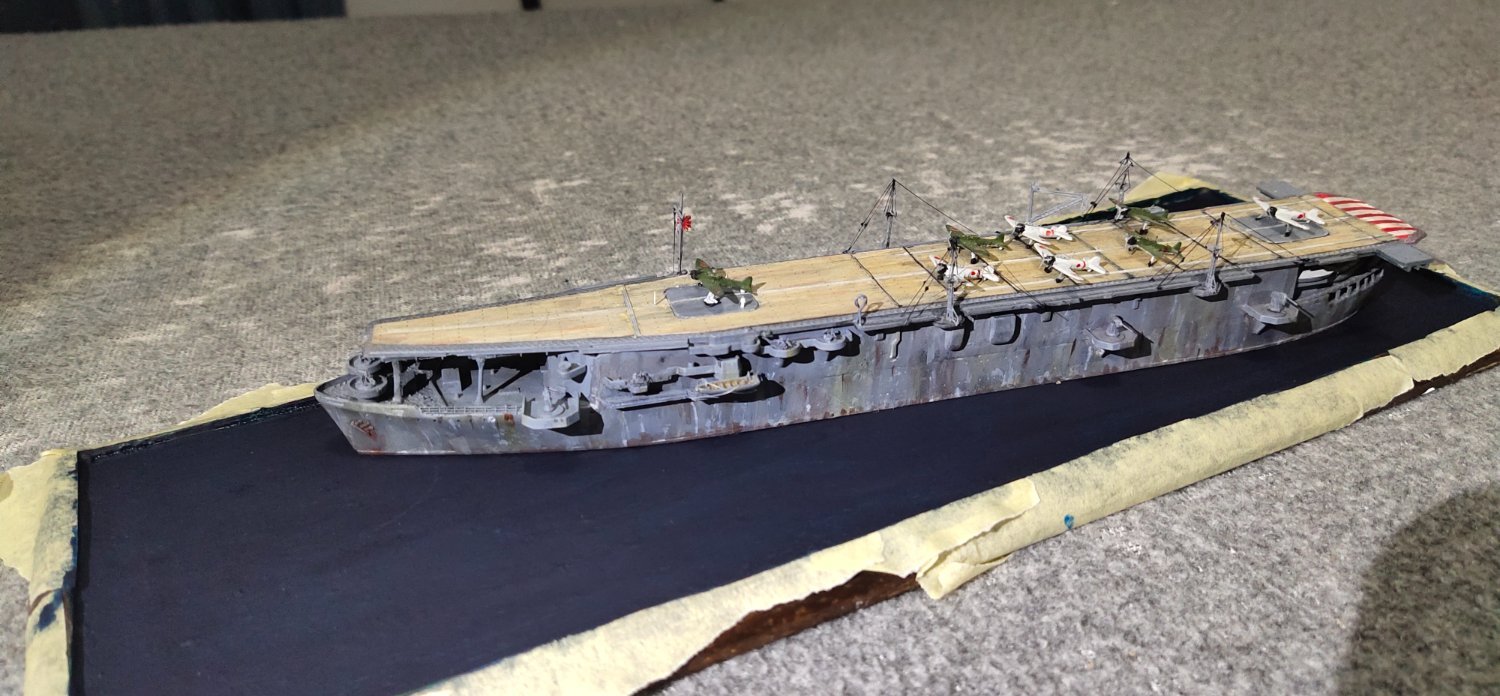
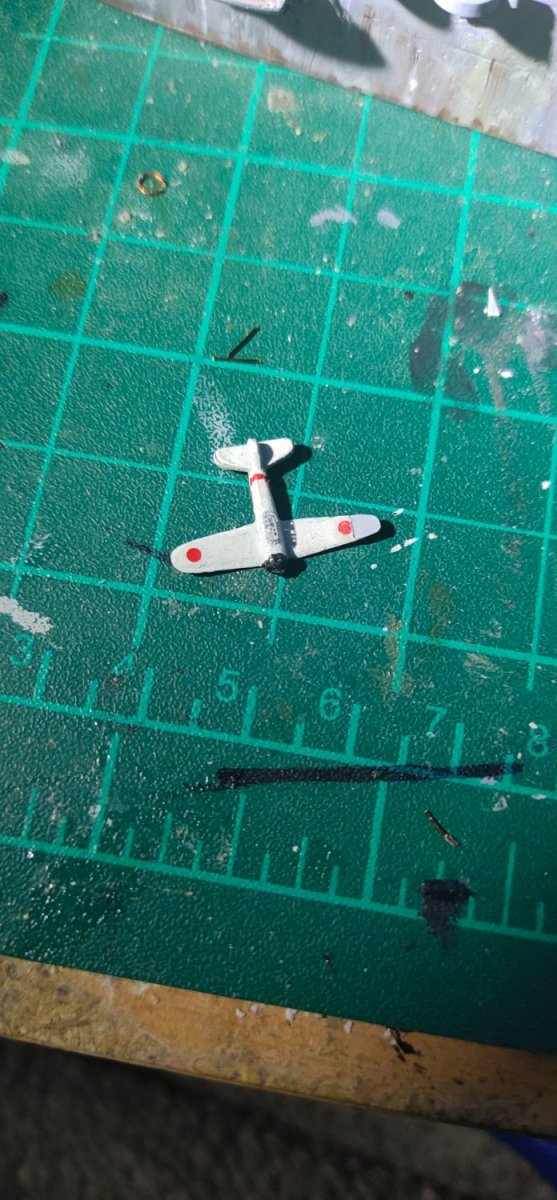
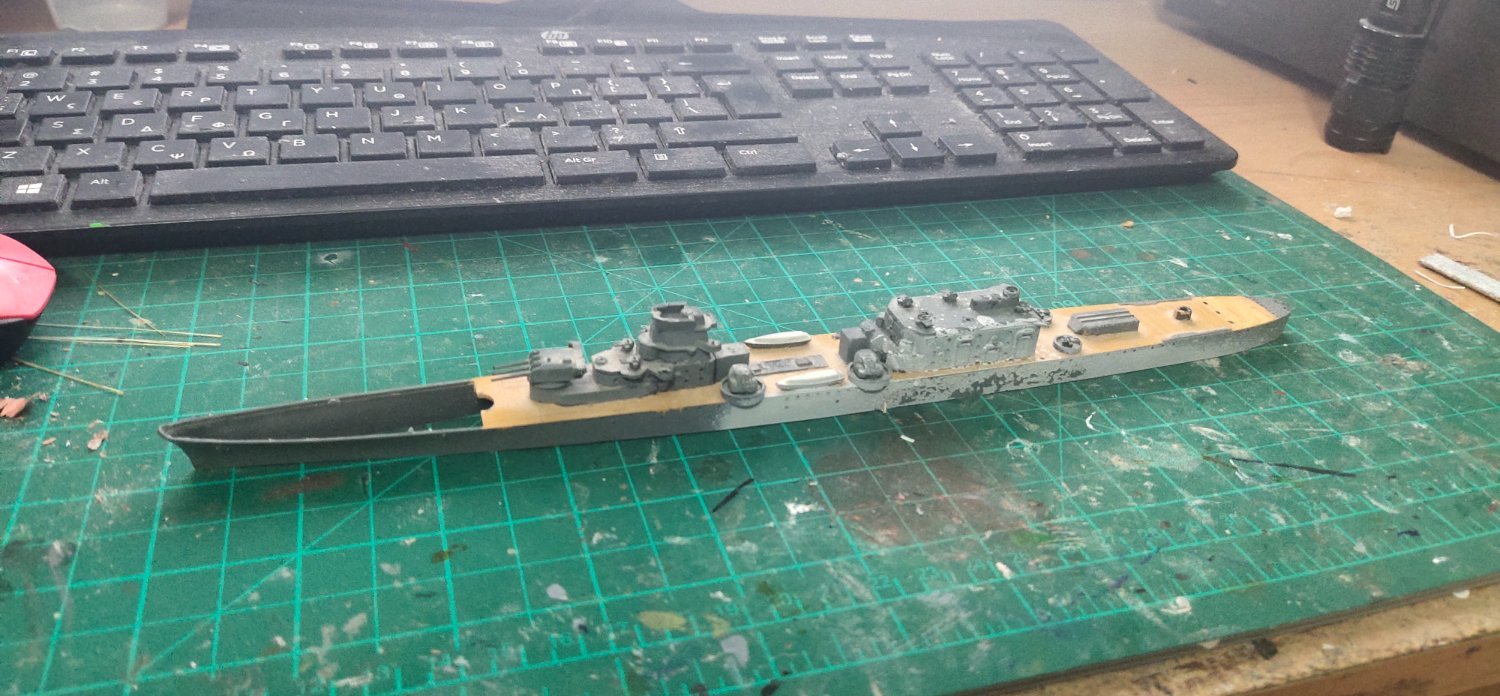
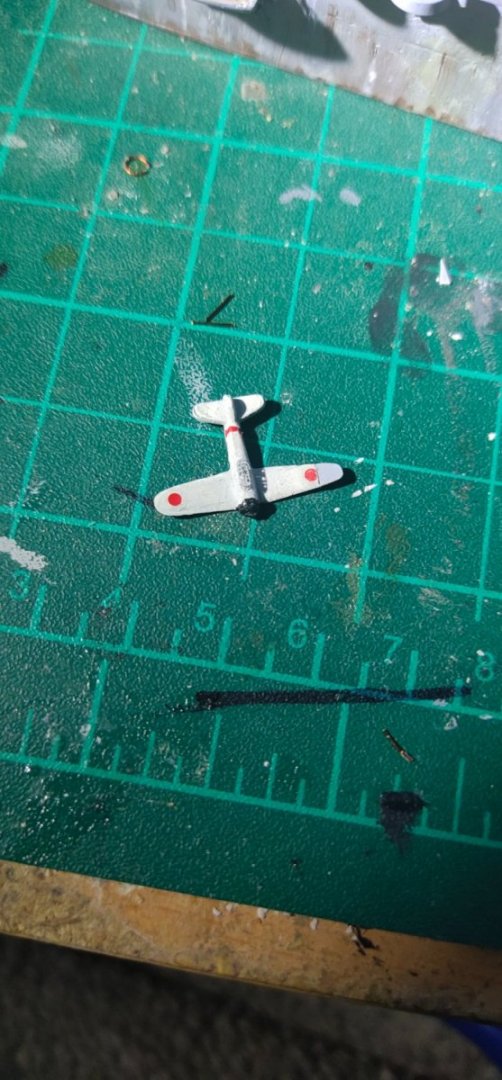
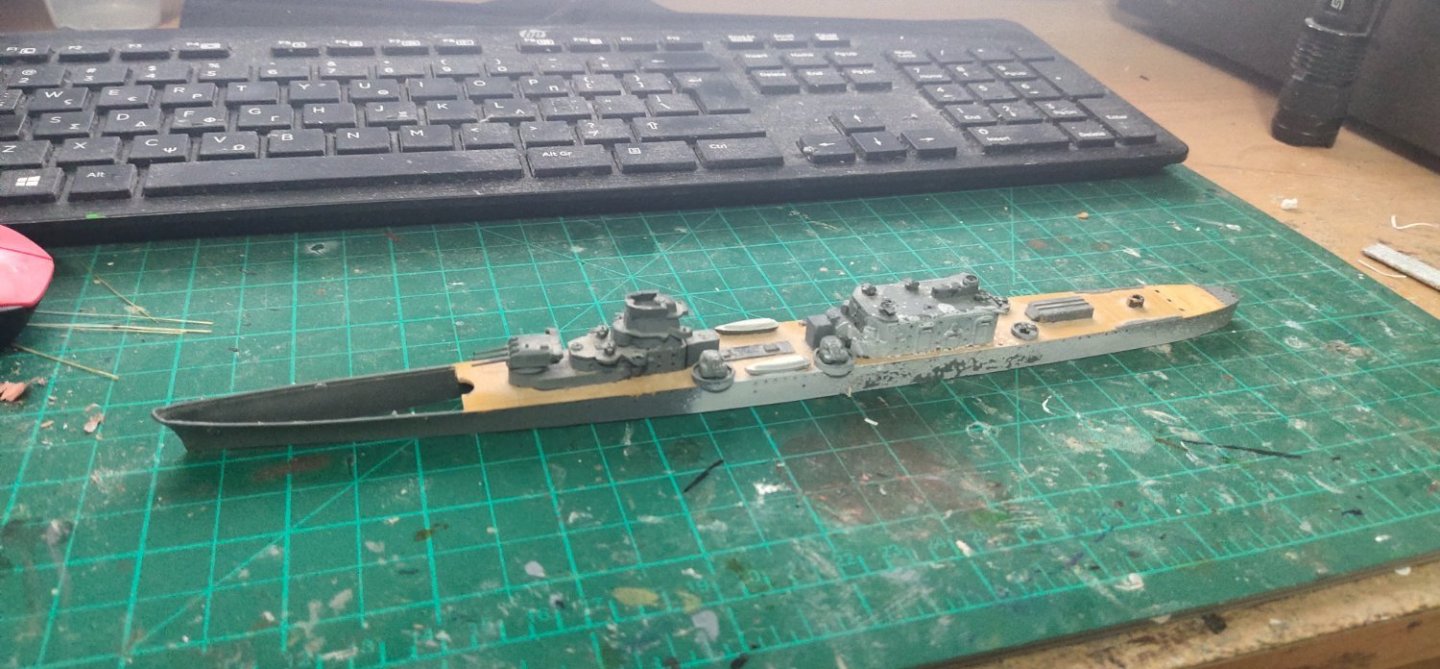
I found at last some info online and some pics of a nice finished model so I had the chance to add some details. I scratch built a communication loop antenna. Apart from fragile PE parts i have to work with weathered plastics. One piece of wing broke off just while sanding it. Air group has landed and antennas too. Only one was rigged for today.
-
I decided to use airbrush approach for weathering but some bad paint thinning prevented me. I used the old brush technique. Deck is not glued and some 5" gun barrels missing. I will airbrush practice on my Aoba experimental hull this weekend.

-
welcome aboard. both ships Victory and Bismarck were legendary ships and deserve a place in the modeler's corner. The decision is yours.
-
looks like the 70% of the job is about making the hull and the rigging, comparing to a WW1 or later warship were superstructures is the most complex part of it.
-
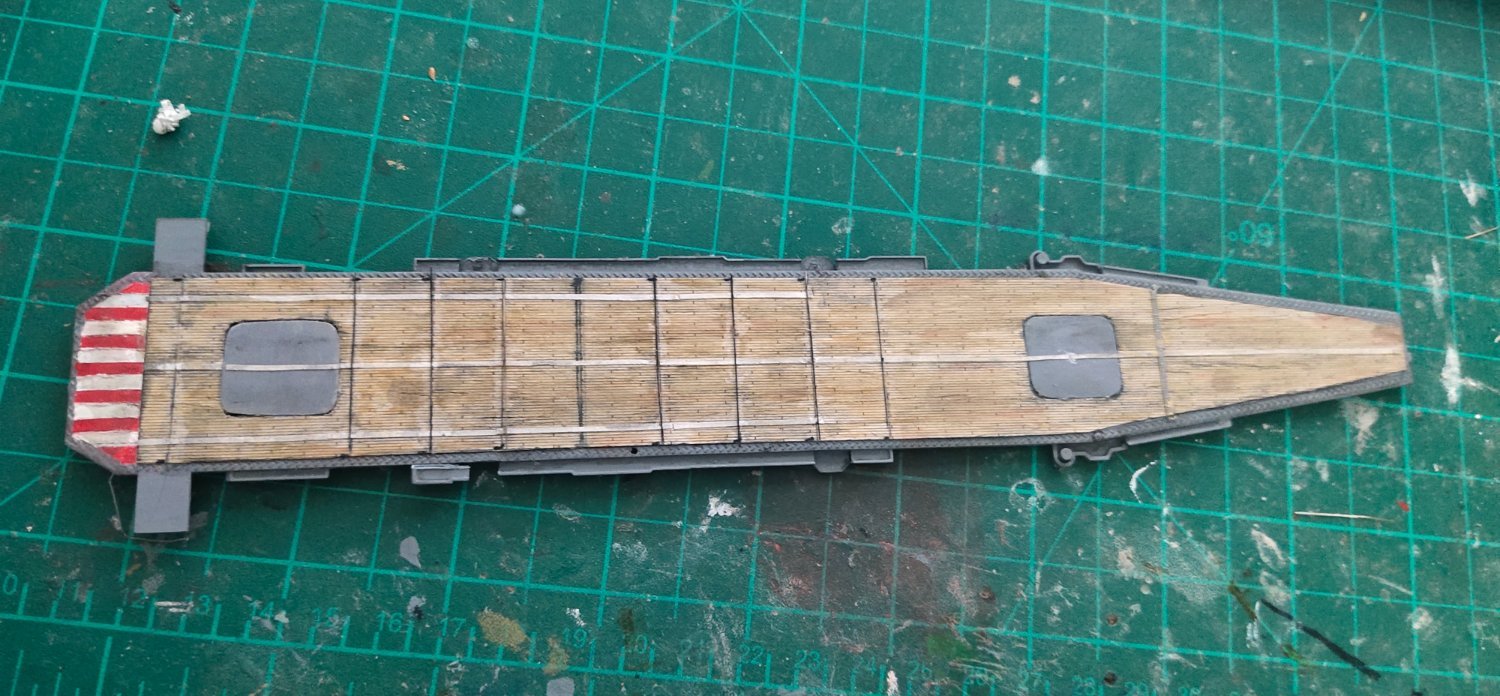
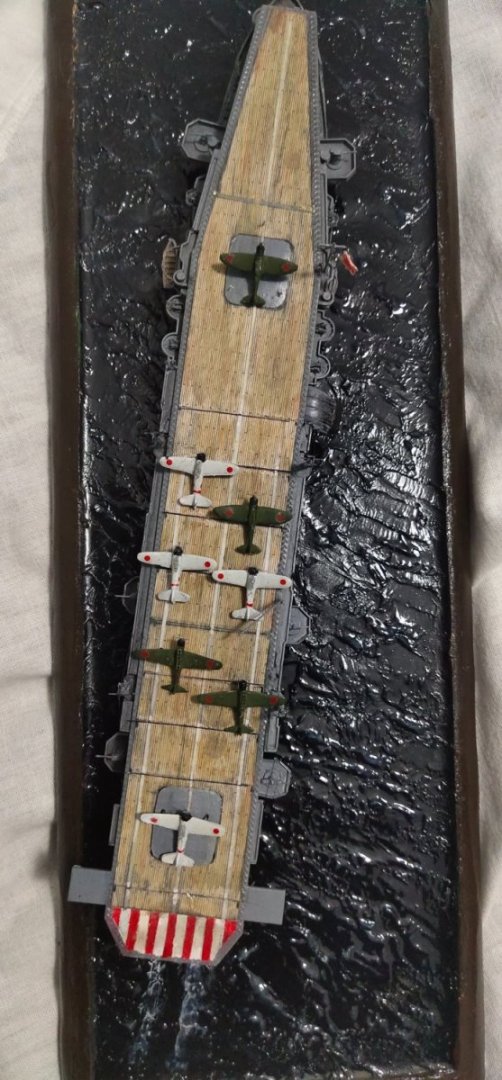
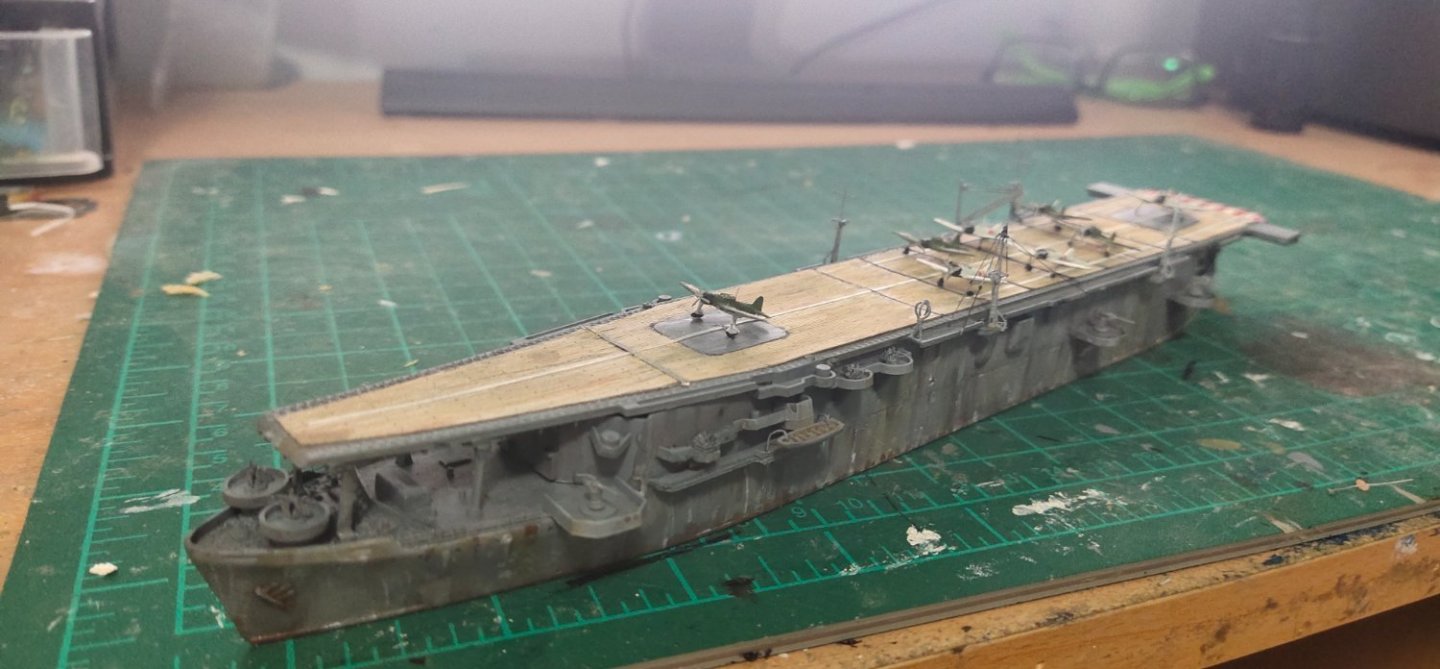
I finish weathering the deck. I had to remove the arresting cables put the white stripes and install them again. Kinda foolish.Correct planning is useful apart modeling skills. There suppose to be a circle but I don't have it neither I'm good enough to airbrush one, I can't afford a second deck disaster. This is going to be a heavy weathered rusty dog of war.

-
too many modelers use bottles to stick their parts for painting . Maybe i should follow .
-
Cap San Diego by mikegr - 1/160
mikegr replied to mikegr's topic in - Build logs for subjects built 1901 - Present Day
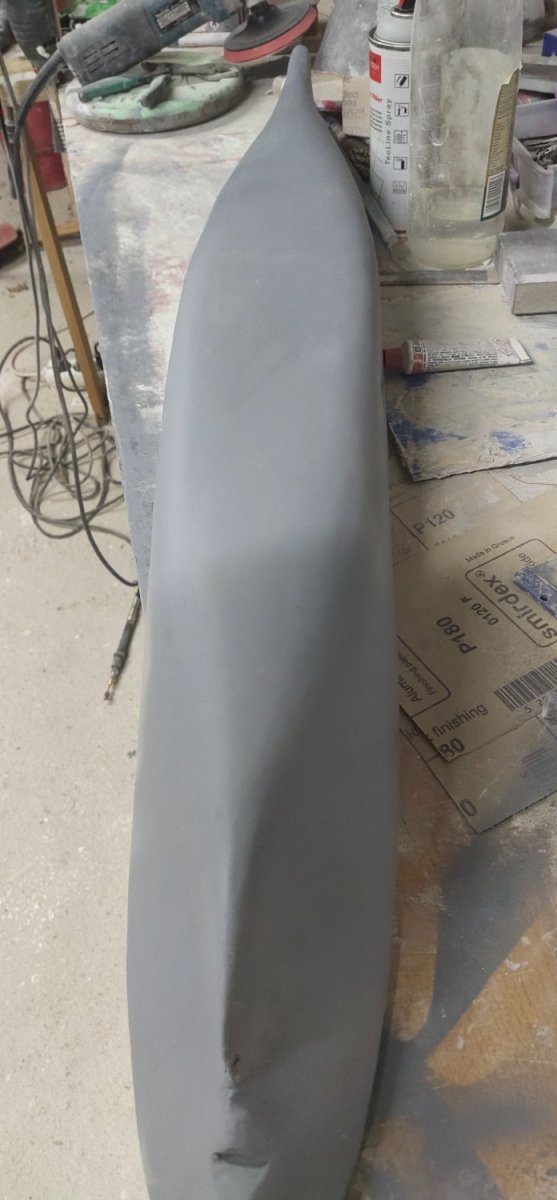
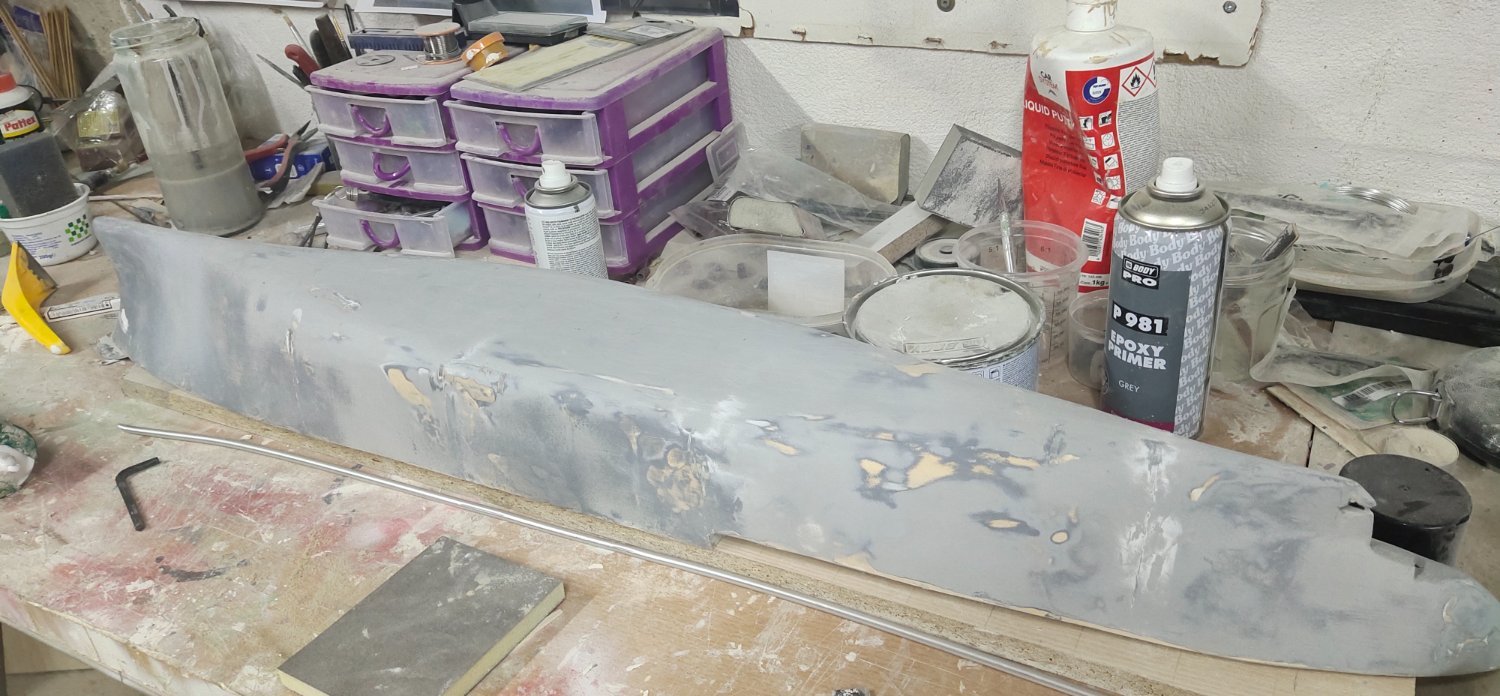
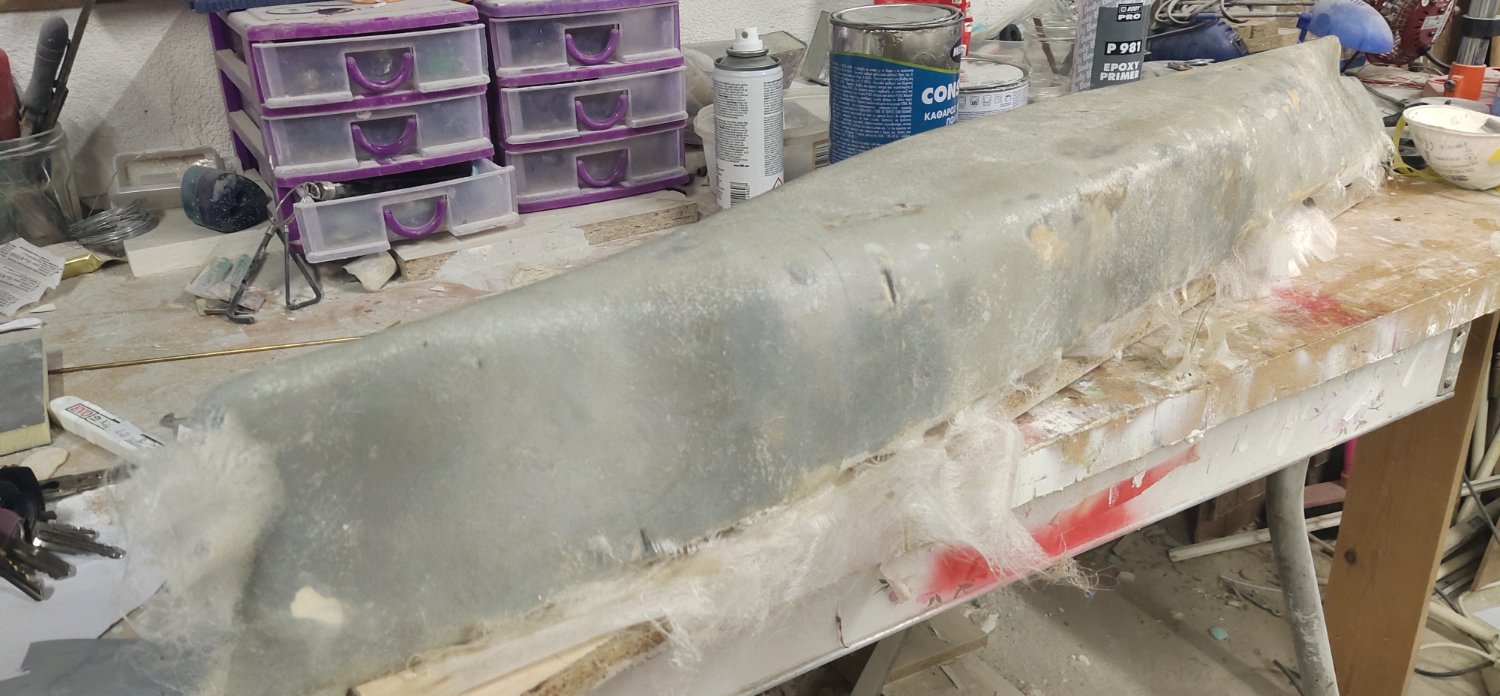
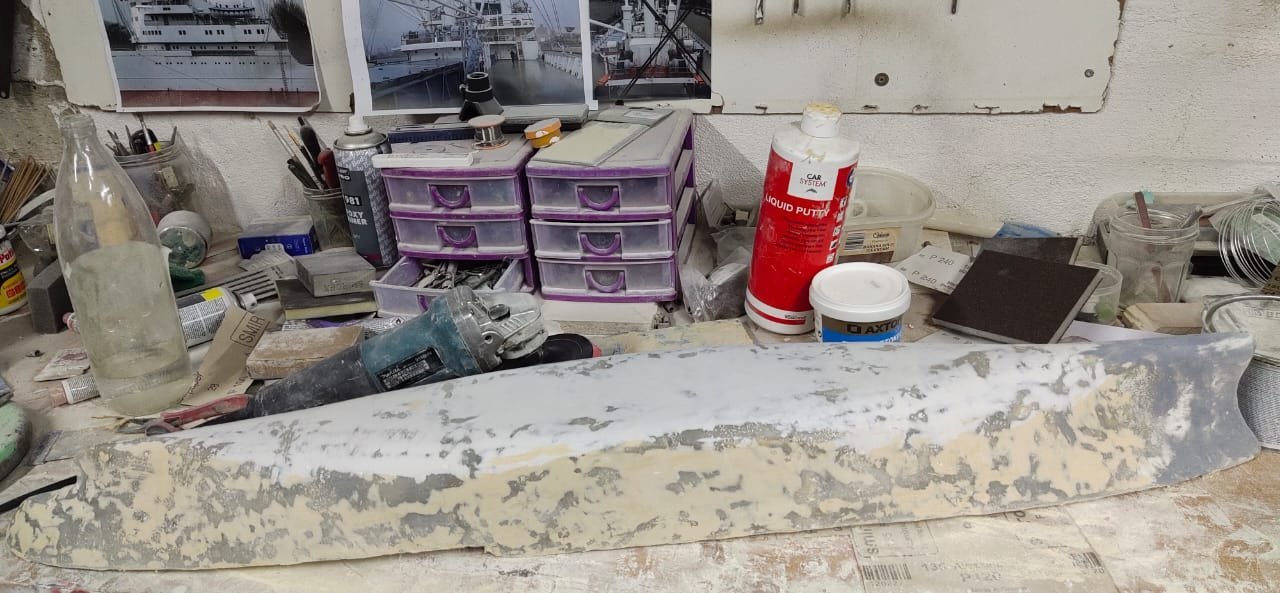
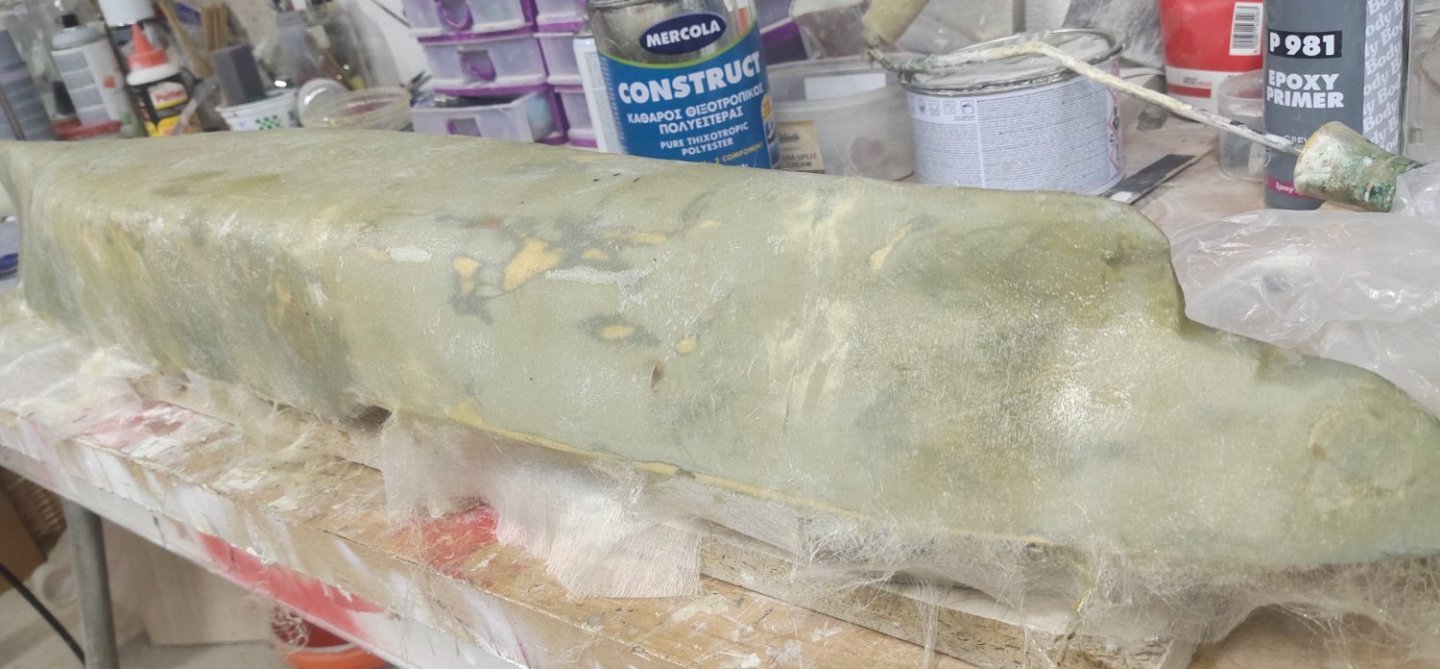
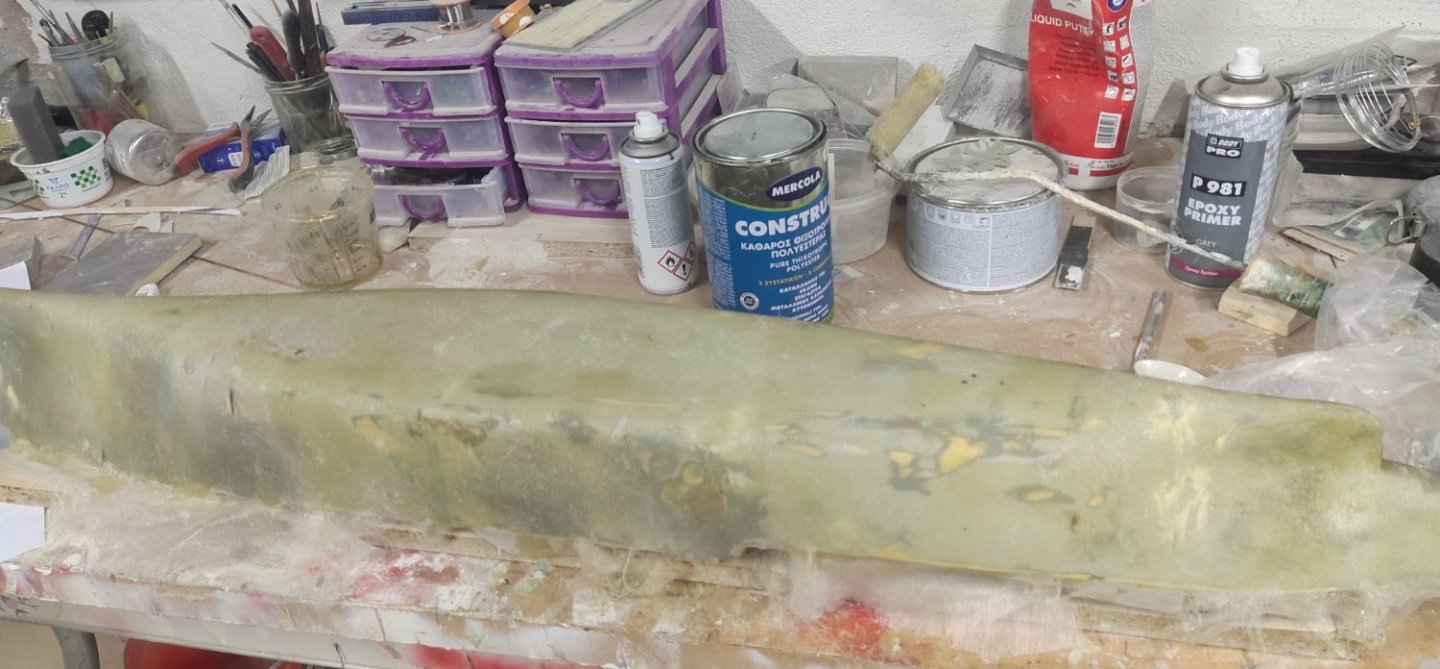
I have finished the hull to the polishing point. However during hard sanding I noticed vertical surface cracks at the point where main deck lowers and meet the aft deck. Even I had fortified this joint that wasn't enough to make up for the absense of a unified deck and planking. Also some filler peel off appeared in some areas. Another lesson learned. Under these circumstances, laid up of a 3rd hull seemed inevitable. After consideration and online study I decided to to risk and try a new for me technique. Wrapping the hull in fiberglass. To make it a bit more rigid and avoid another two week season of sanding I chose an extra light fiber mat, 30gr per sqm heavy. I gave it 3 layers. 5 would be better but I was afraid of extra resin causing problems with foam again. I will probably do the rest work after at least 24 to 48 hours.

-
So I got some video suggestion from youtube lately Is this kit the most difficult indeed? Maybe some one else may have other opinion? I would like to hear your thoughts.
-
Traditional Humbrol enamel (01)has worked fine for me. I used it with brush only, no thinner. I have no experience with airbrush
-
I have sold this problem by using high quality autobody epoxy primer. But I use it on spray and even it has flow regulator needs careful handling and proper spraying distance as it may flood the tiny parts. Also it may cover the parts numbers on sprues.
-
You may consider using gel CA for rapid PE gluing wherever this needed like masts etc...