mikegr
-
Posts
826 -
Joined
-
Last visited
Content Type
Profiles
Forums
Gallery
Events
Everything posted by mikegr
-
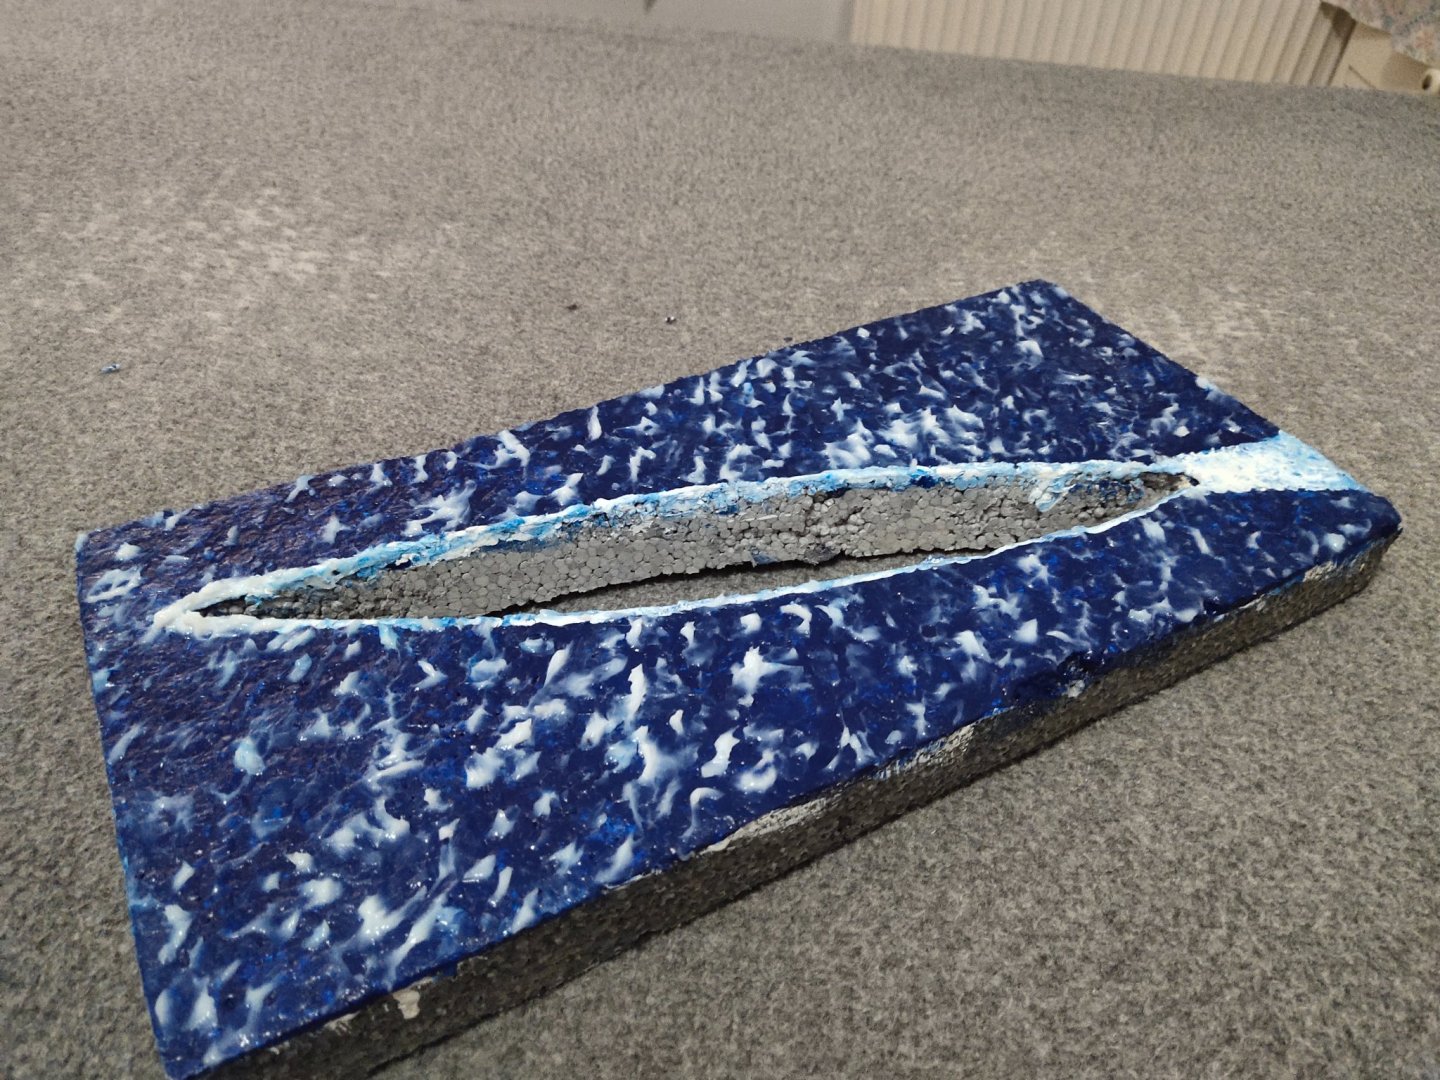
A set back on my scratchbuilt consumed most of my free time so I left behind on this. I used expanded polystyrene on this so I can dig in easily. Give it 3-4 layers of primer and paint. Added a heavy coat of gel and waiting for it to dry at for 24-48 hours.
-
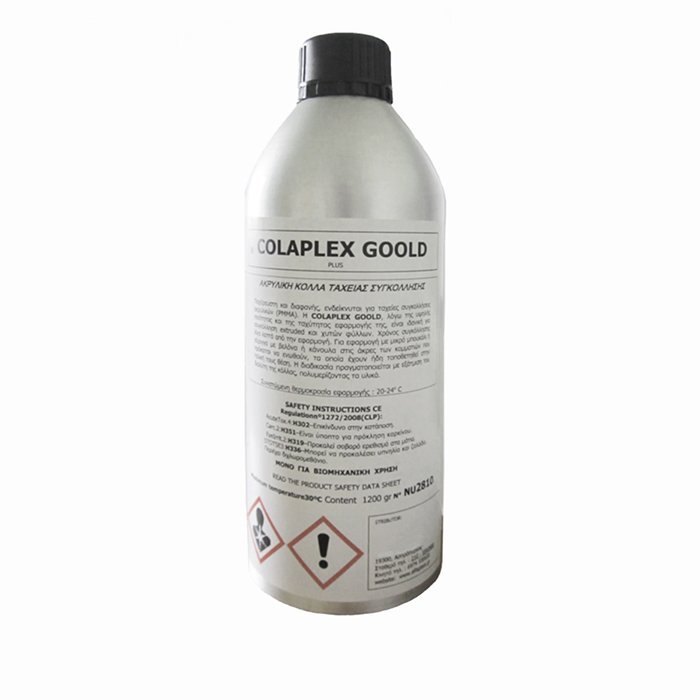
how does this react to plexiglass? Does it keep it clear or make it whitish? Professionals are using a chloroform based glue which keeps the plastic 100% transparent. But this is extremely hard to be found and usually comes to 1 kg bottle sold for 60-80 euros.
-
Nowadays kits in 1:700 are so advanced that can be almost comparable in details to their biggest cousins.
-
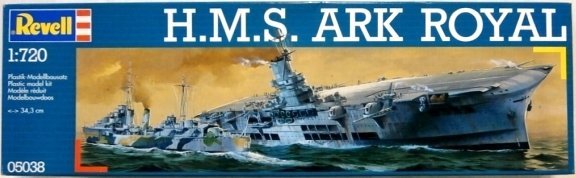
I remember this kit at 90's There was a toy store on my way to school had it along with Matchbox Seasprite as well as few other kits. Price was approx 10$. Finally I built it in 1/600. I have to say those double hangars made the ship look too tall. Definitely not the most handsome model, at least in my eyes. Maybe in waterline version looks better.
-
I done with weathering. These ships on photos seems to have issues with their paint so I did a lot of chipping. Unfortunately after some corrections sea bed proved a bit small unless model will be displayed anchored. I will make a new one with a different method.
-
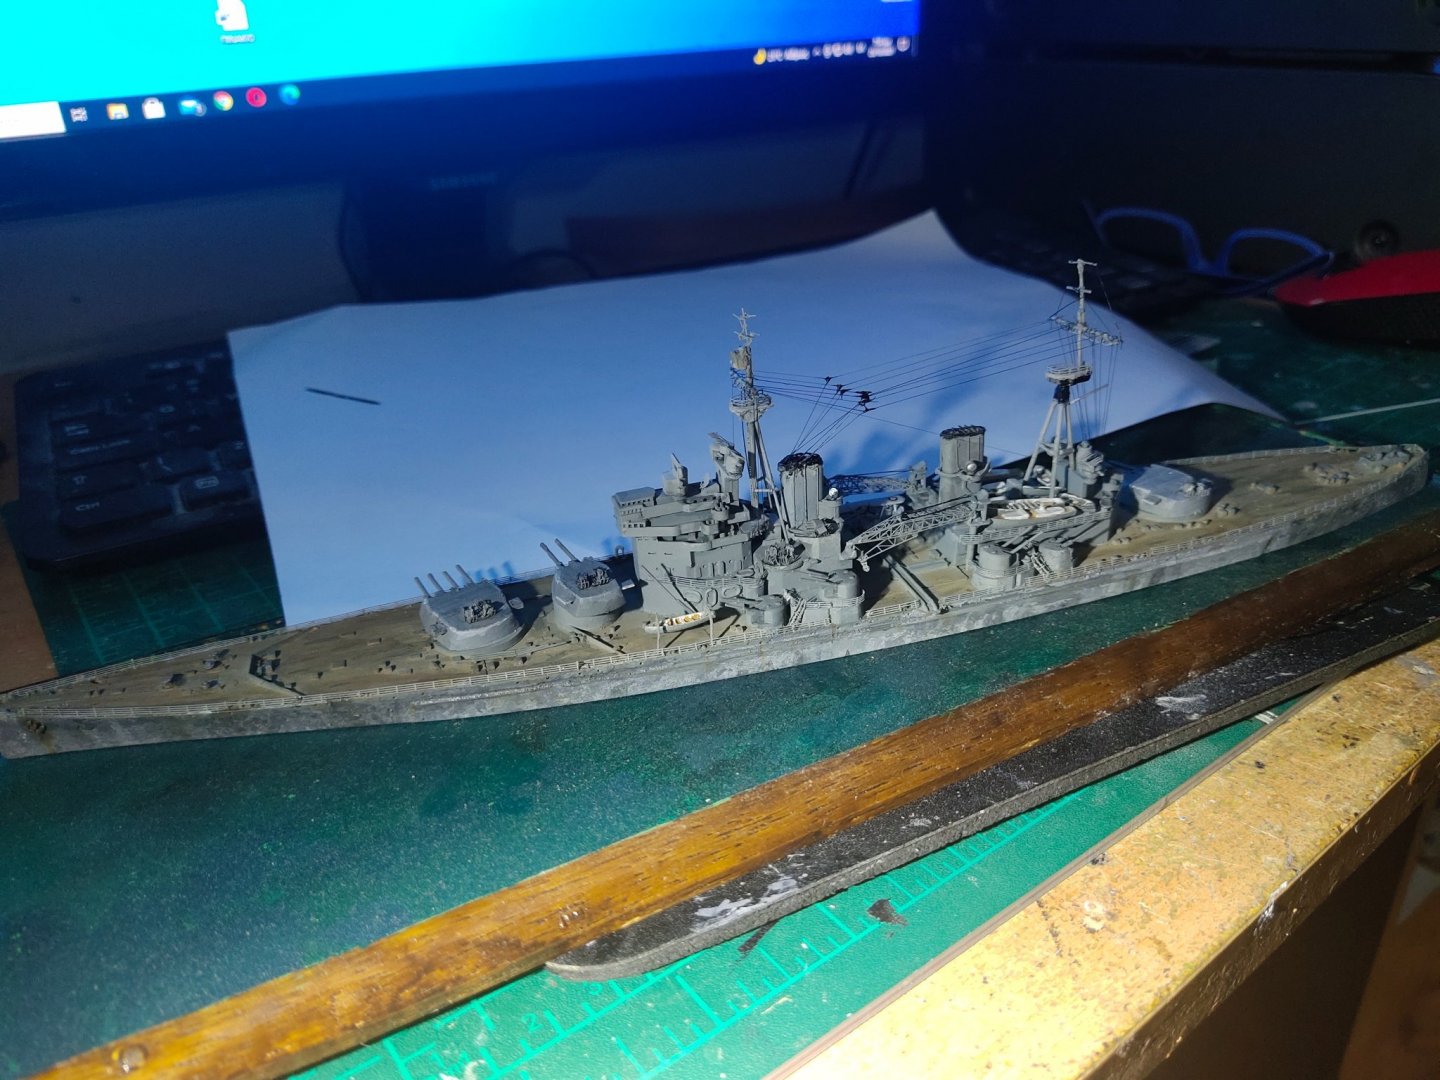
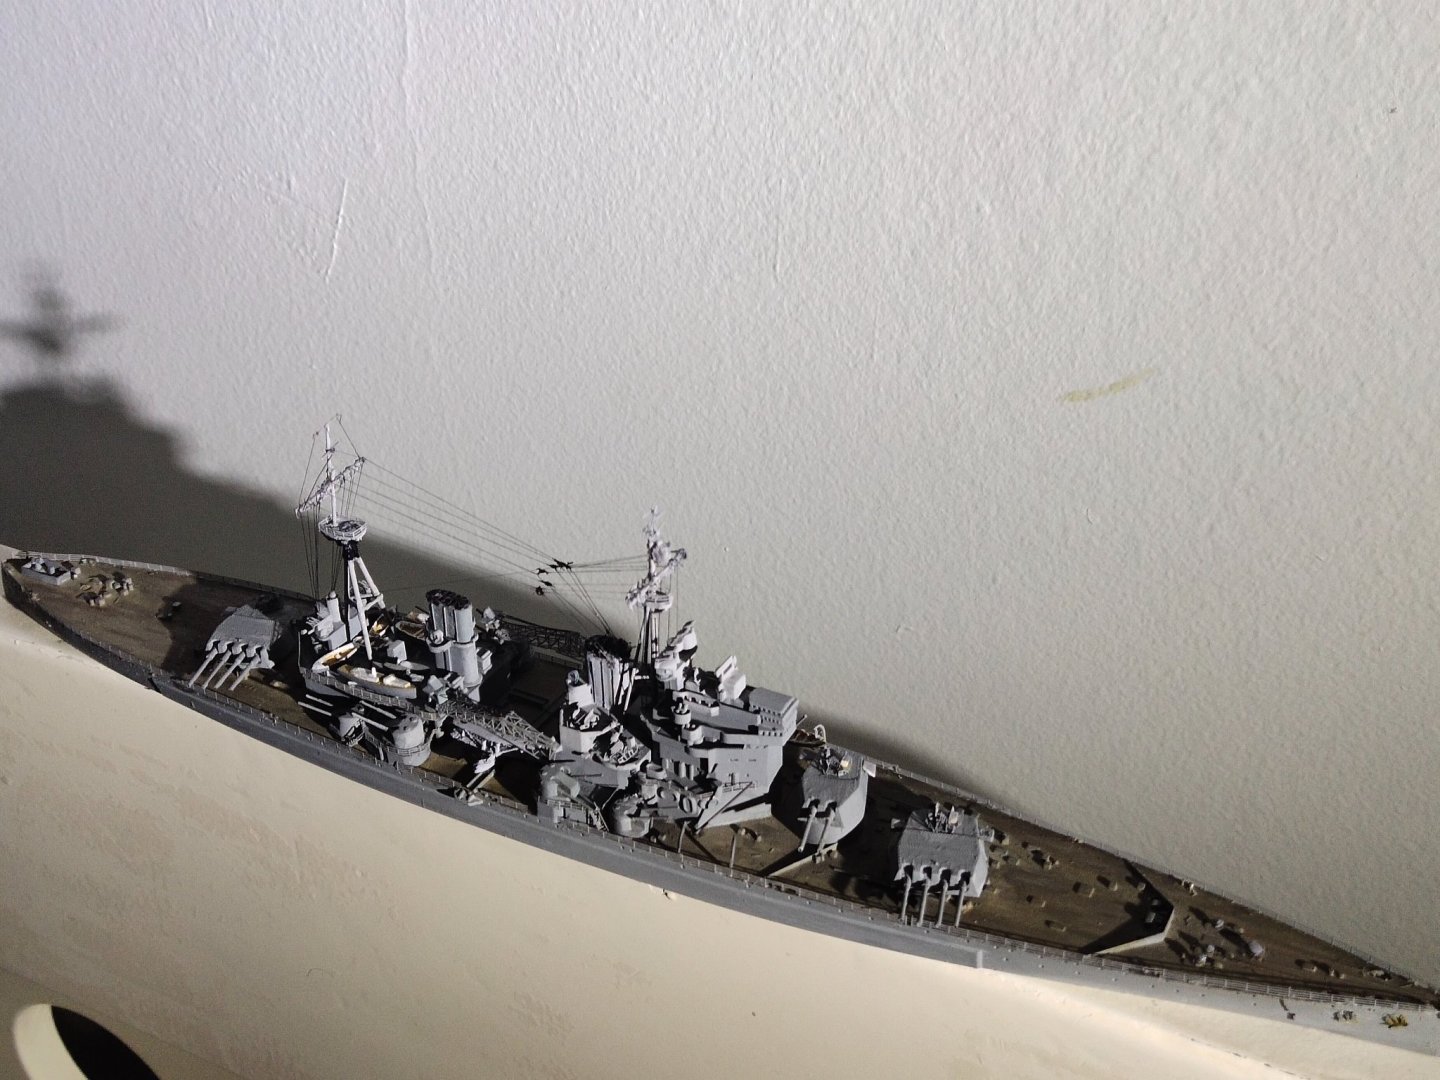
I finished rigging added rails and whatever boats I could found as I have missed a couple. Took the pic with light near the bright wall so 0.05 mm elastic rigging can be visible. Anchor chains and weathering are left for tomorrow.
- 360 replies
-
- 11
-

-
The Asian channel owner makes elite builds. The sea bed is top world class, comparing to Flodberg and Katseas creations. However require more materials and its more complicated to be built.
-
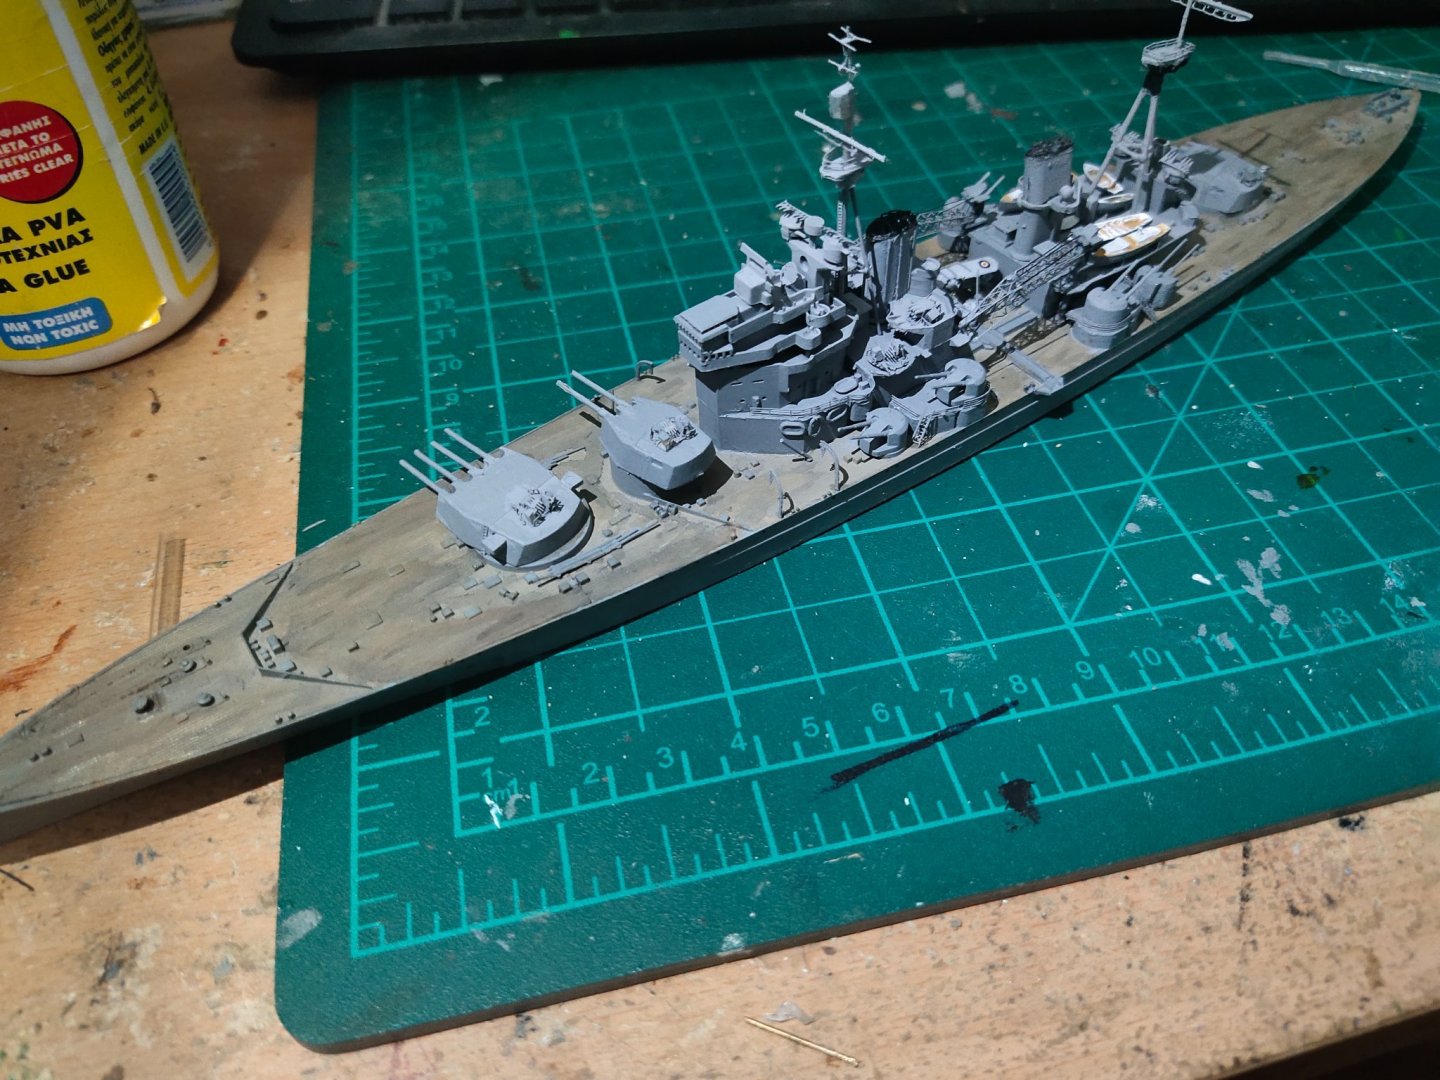
I am in a hurry to finish it by this Sunday at least the model if not the sea bed. I glued almost everything except few pieces left as well as rails on main deck. I did also deck weathering. After gluing parts, rigging and weathering. I do rigging first before works comes first , then pleasure(rigging is boring).
-
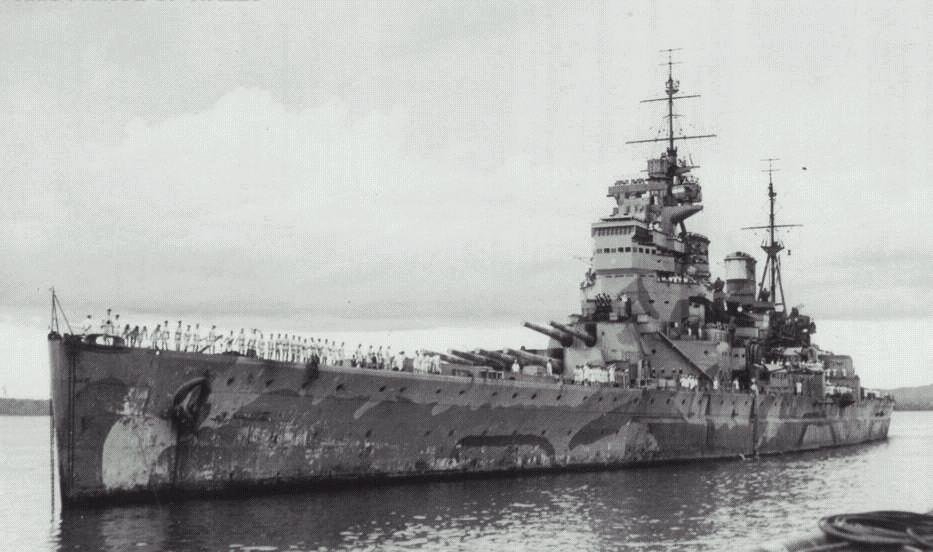
That is another type of addiction. Sometimes I compress my work time in order to post my updates regularly.😁 On the aerial picture I sent you can see the weird color of the Atlantic although this might be somewhere of North UK coast. The problem with aluminum foil is that sea will look a bit messy as the waves are not pointing to a specific direction. Of course this does happen sometimes in reality its just for me looks a bit unusual.
-
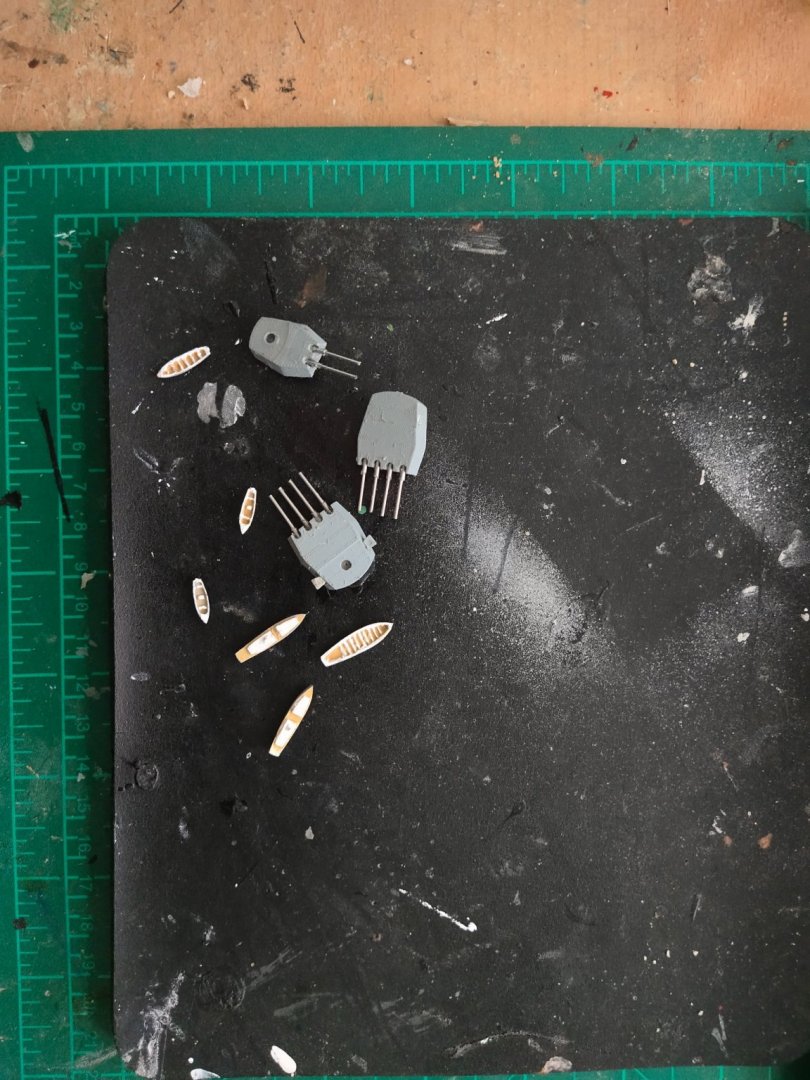
Done with the barrels. Boats repainted with toothpick
-
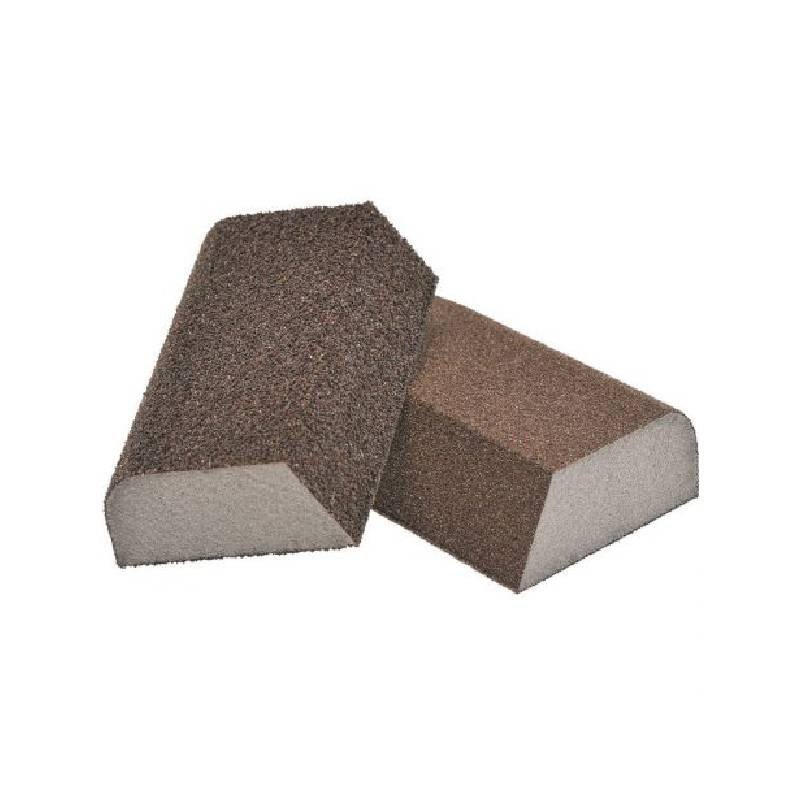
For wood I use dry type from 80 to 240 grit. For hull sanding and other tasks I use sanding sponges I like their grip and the shape. I also use rectangle ones which I replace the paper once it get worn. I glue it with PVA. Sometimes I combine grit. One flat side 240 grit, other with 120 etc...
-
I think slicing software does estimane the amount of resin needed. Is it reliable?
-
Because its for him. Otherwise a modeler wouldn't spend 1500$ for a kit with plastic deck🙂
-
Styrene also has smoother skin than balsa. It looks more natural if used for steel made ships.
-
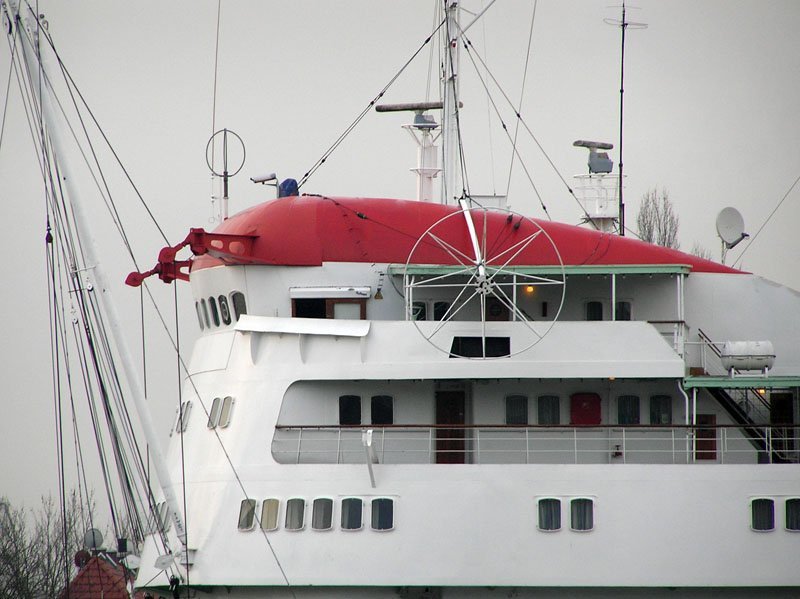
Cap San Diego by mikegr - 1/160
mikegr replied to mikegr's topic in - Build logs for subjects built 1901 - Present Day
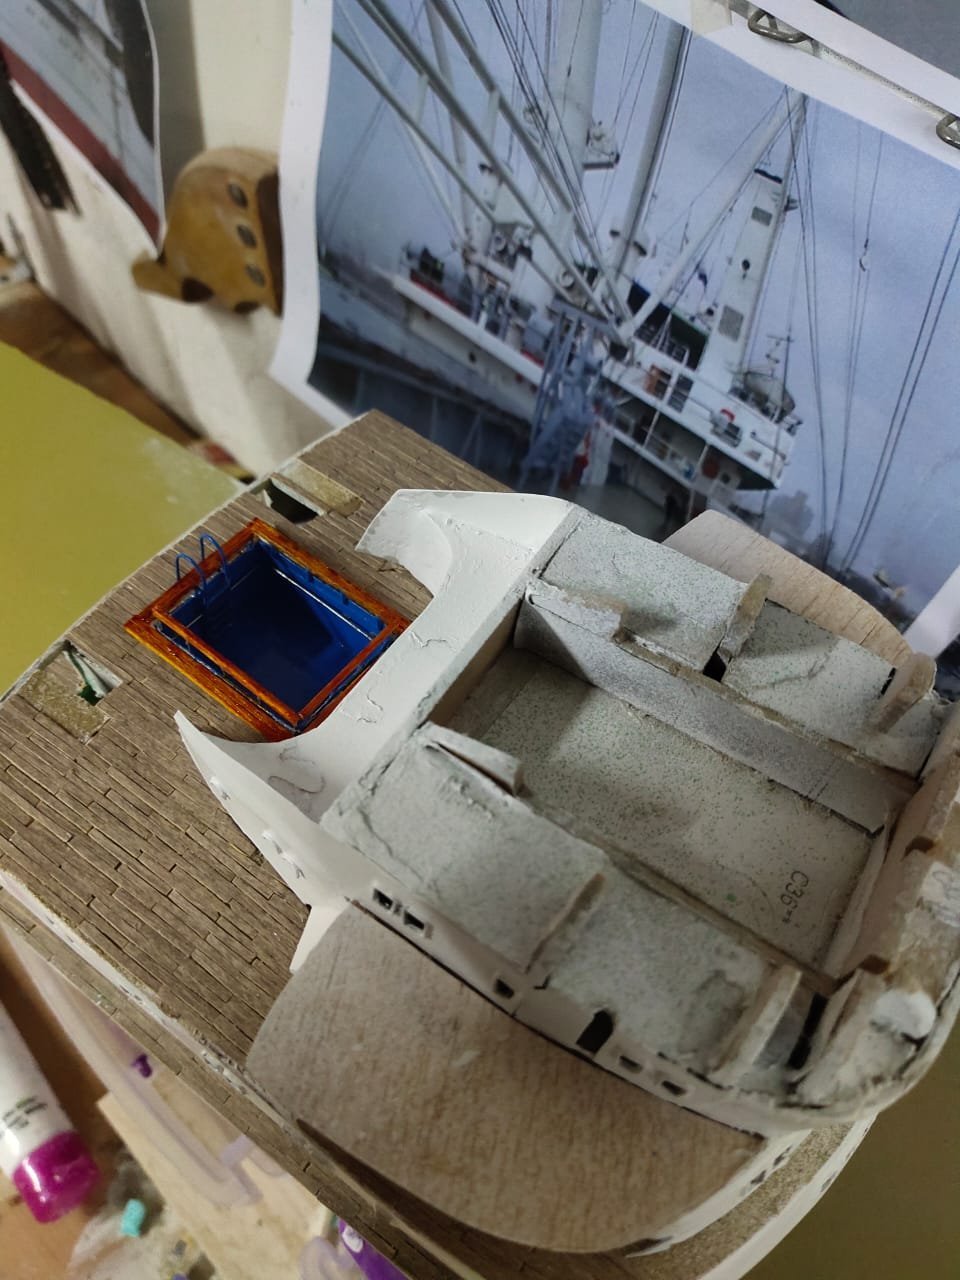
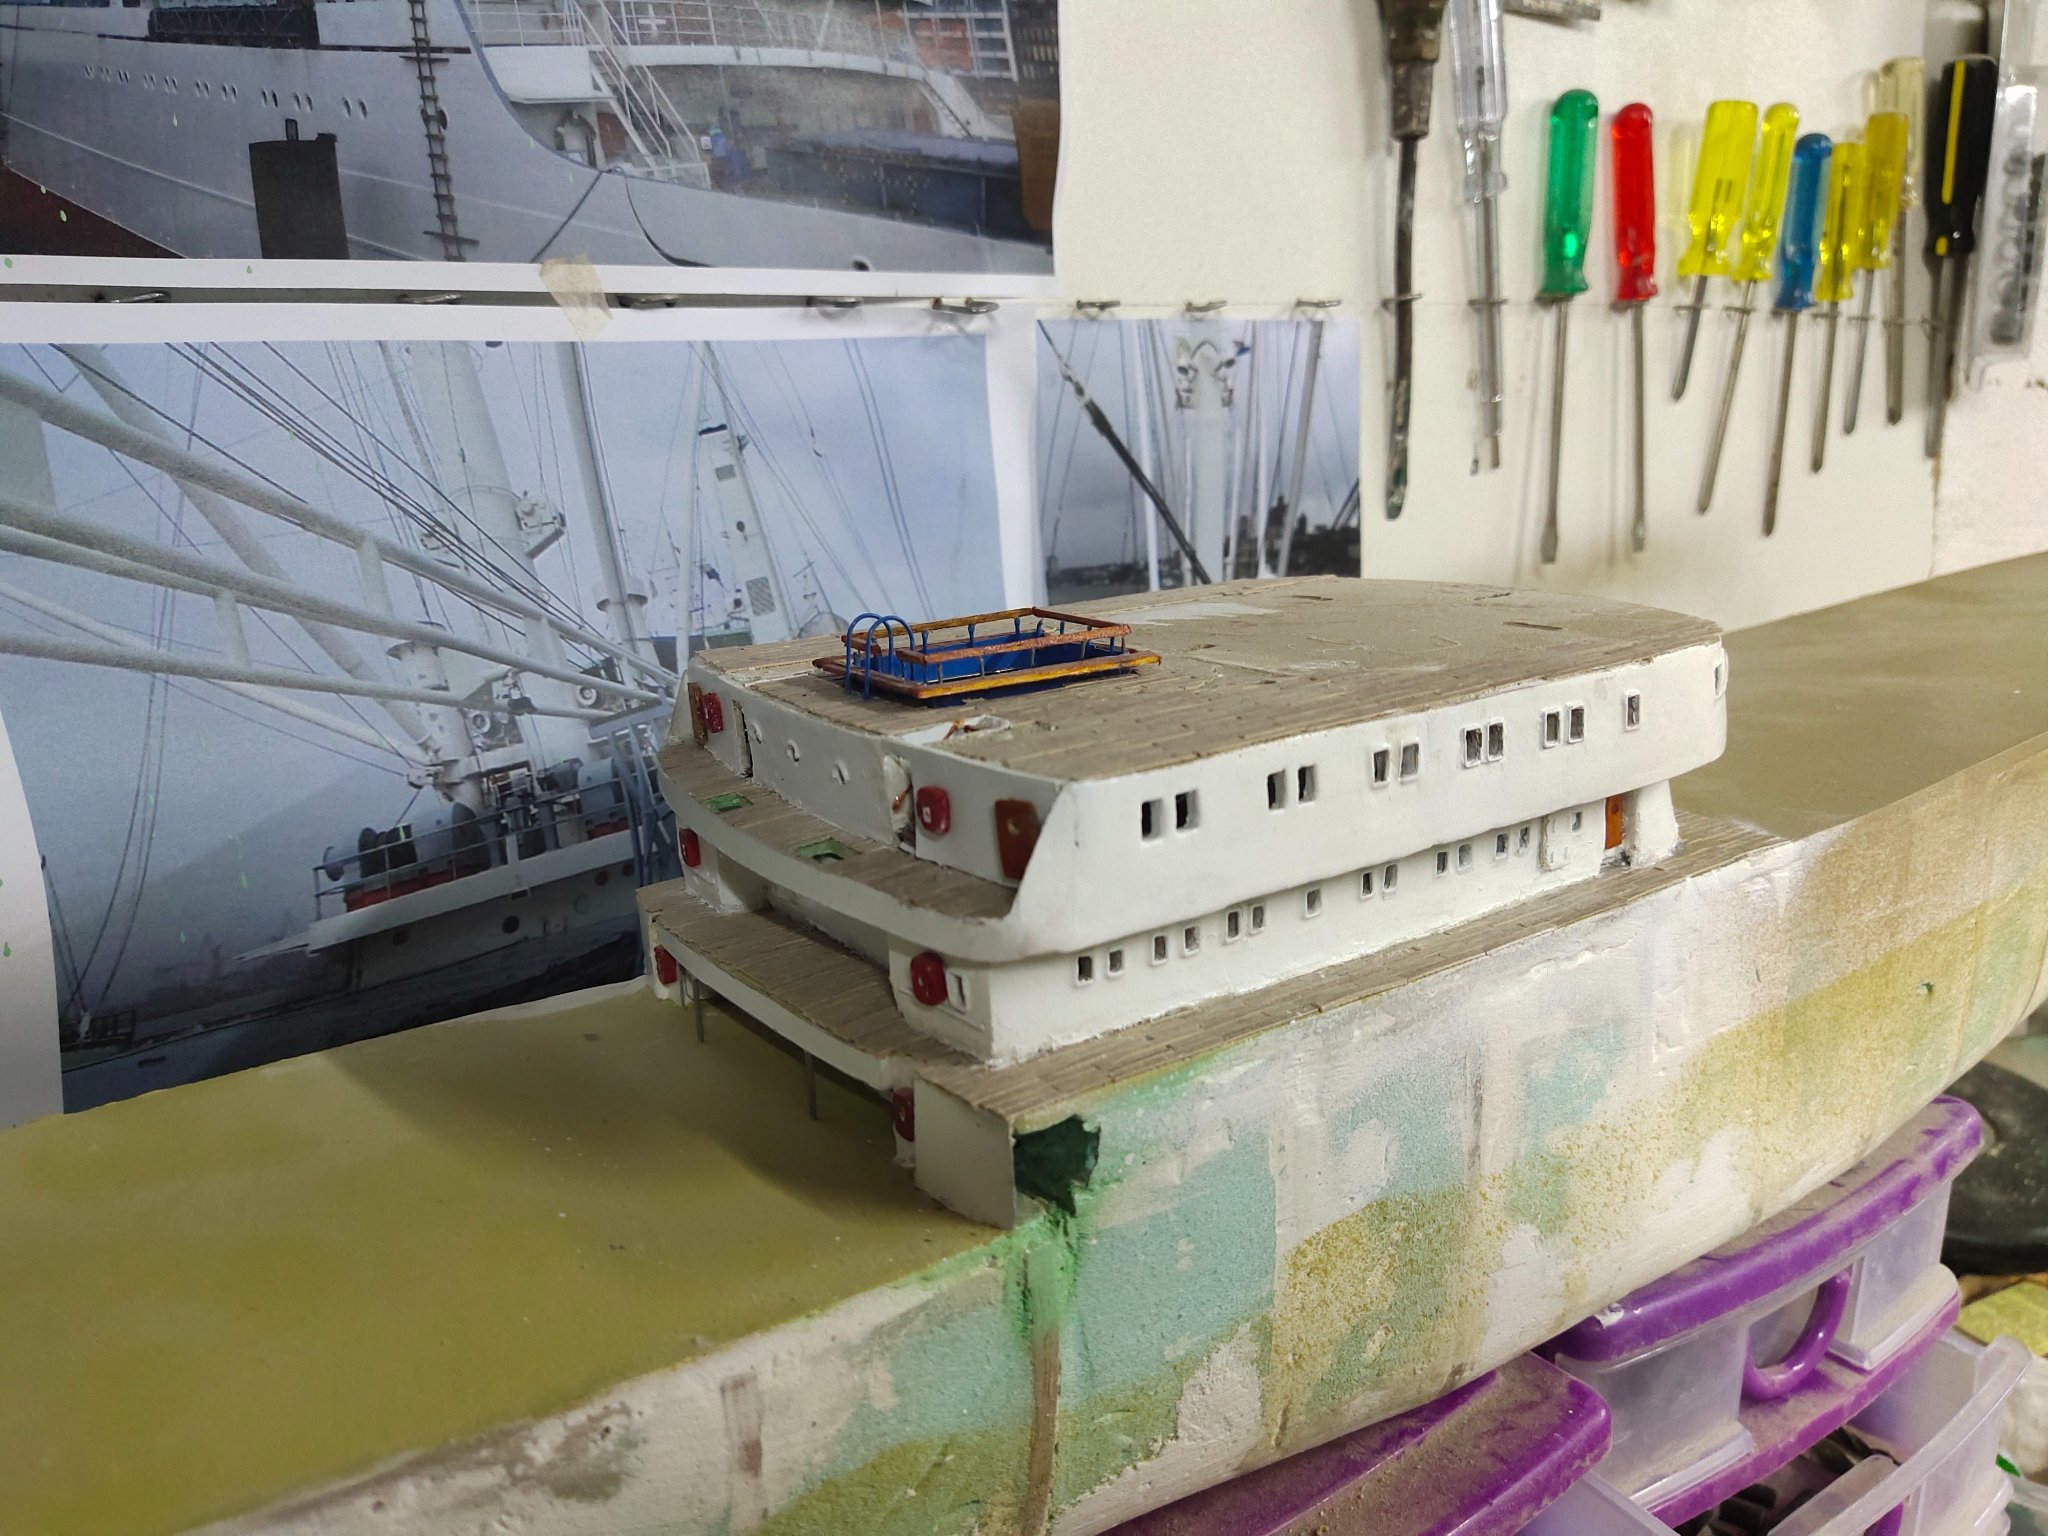
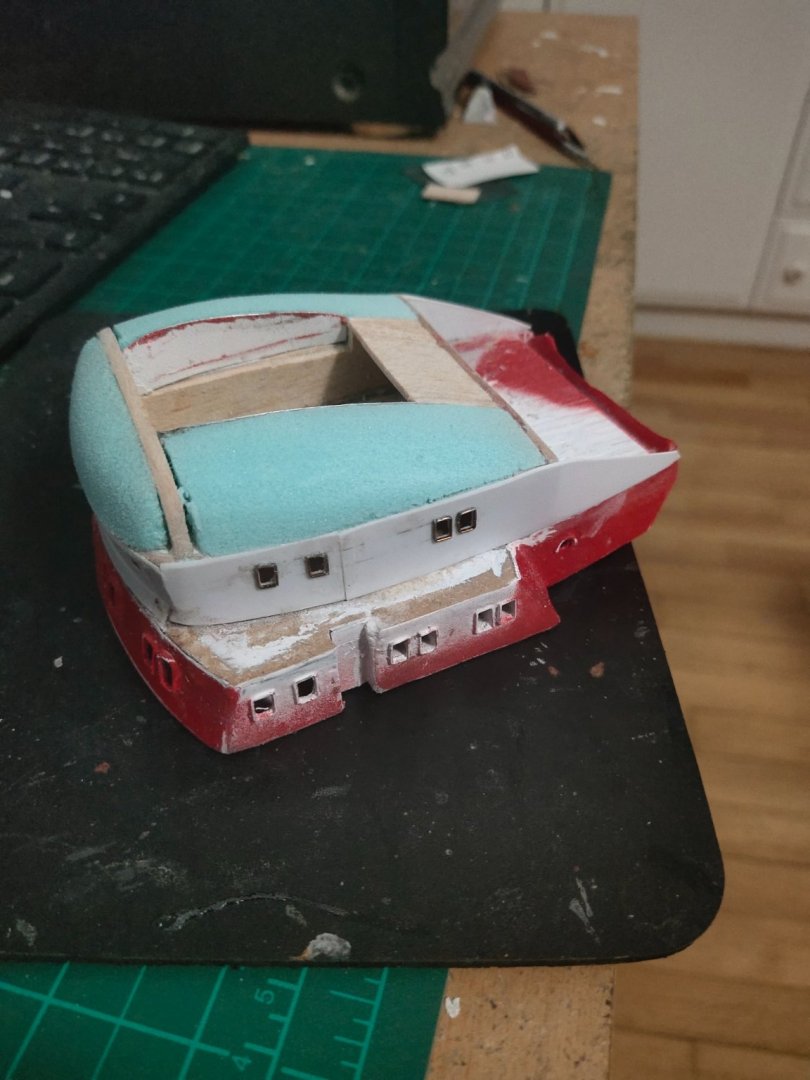
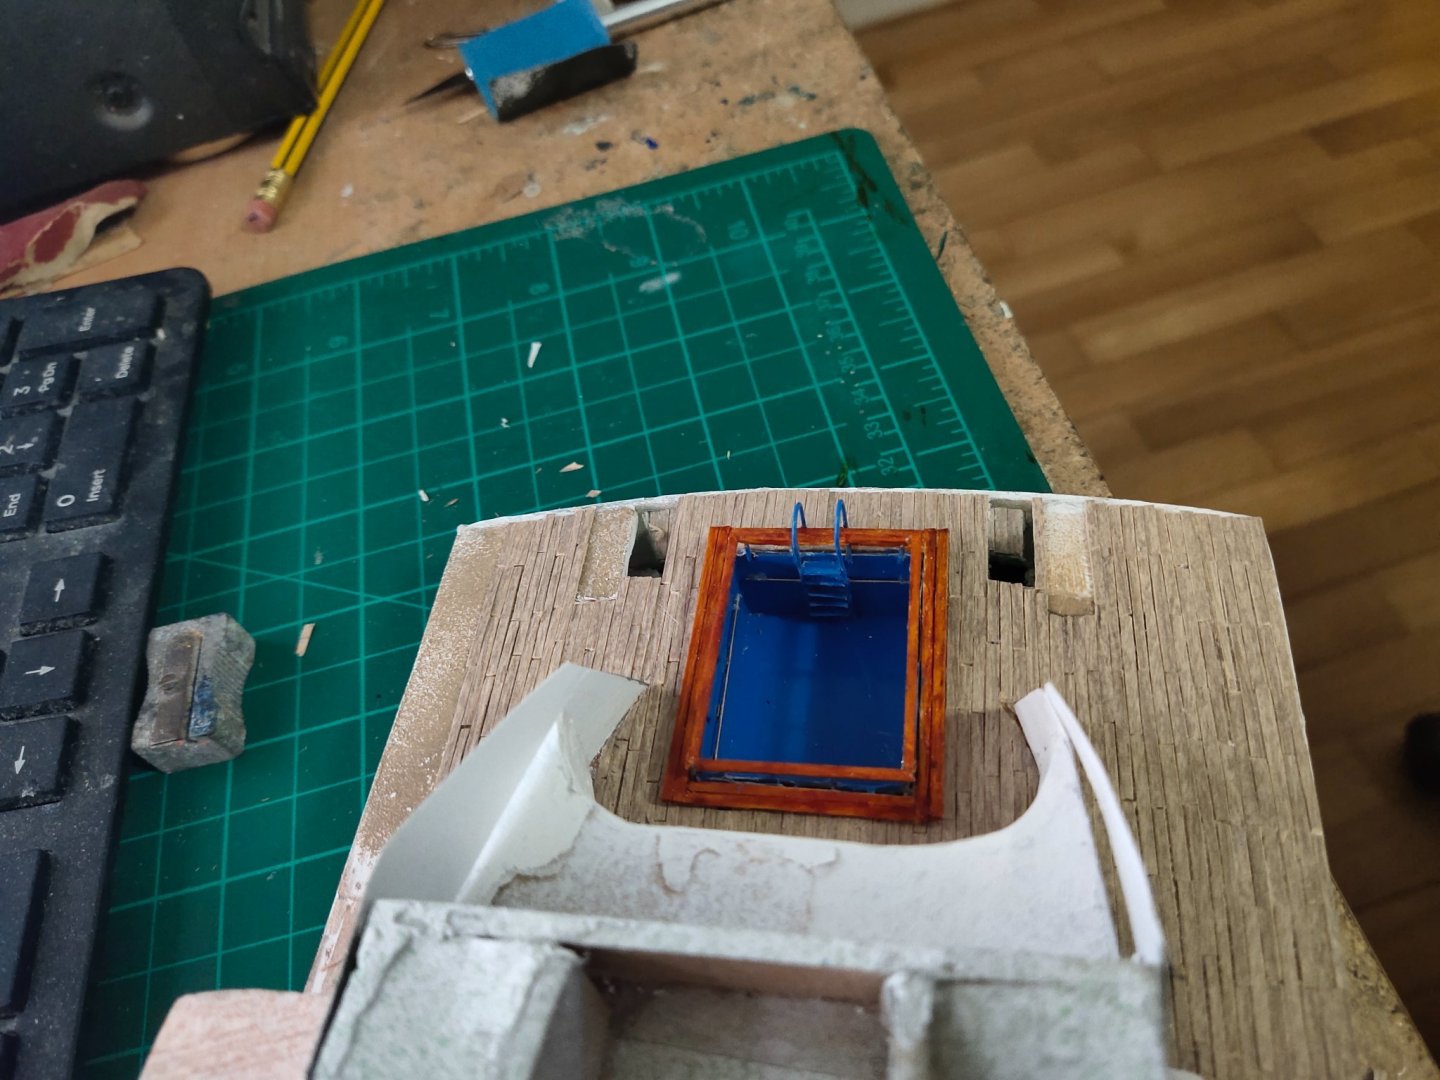
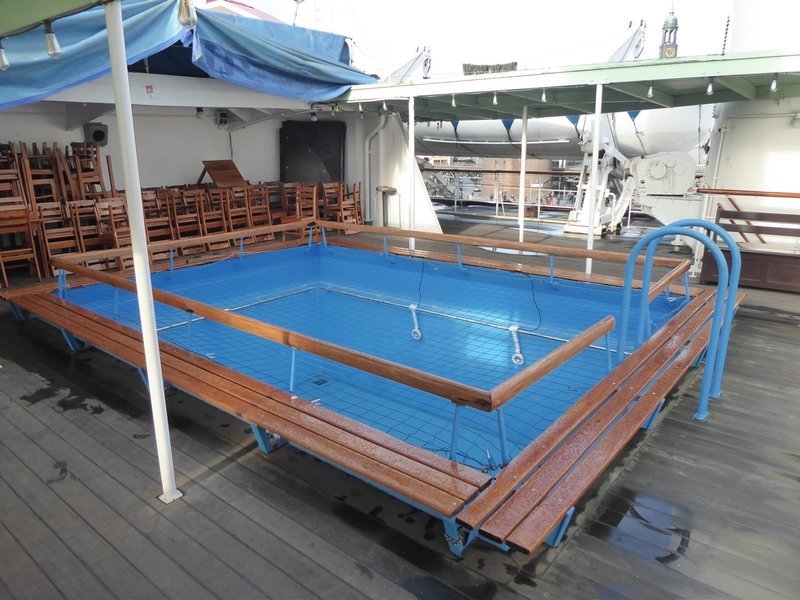
I finished the pool deck. The wood veneer color matched closely to the real one. I start working at the bridge deck. The complex shape will be made with the same technique. Polystyrene shaped, then car putty and sanding.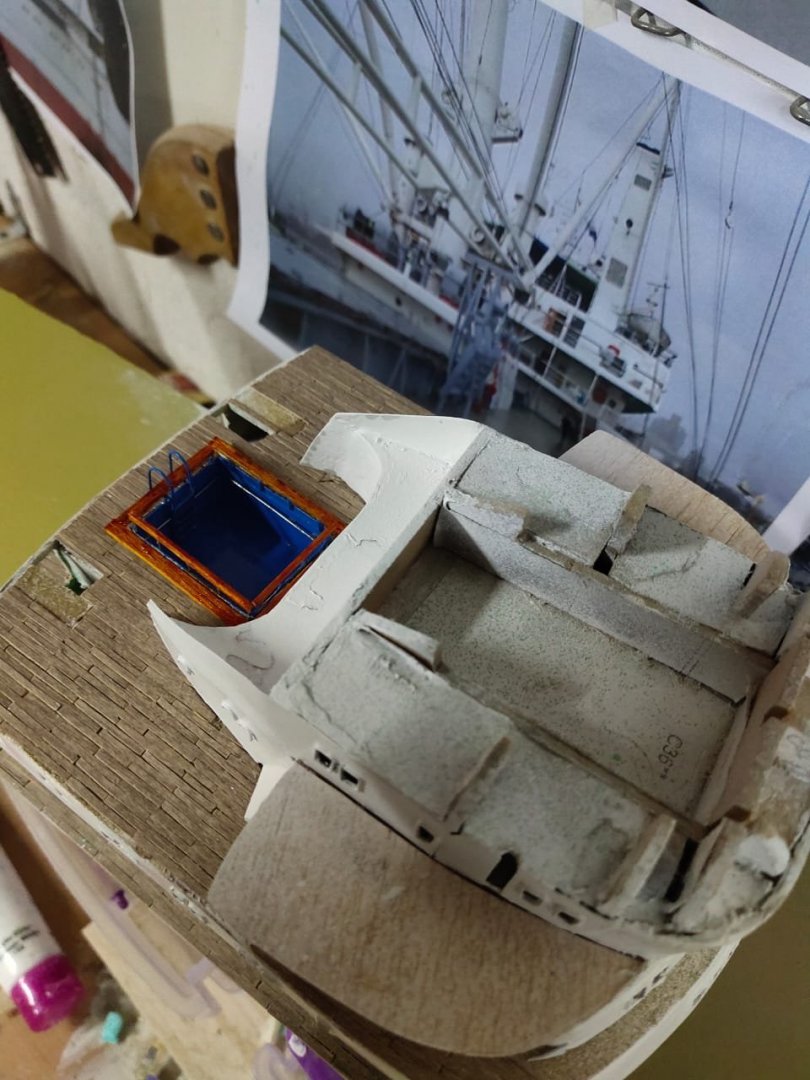

-
I am going to build them as a full hull presentation. However i am very motivated and ispired by this top art work which i like to share here


-
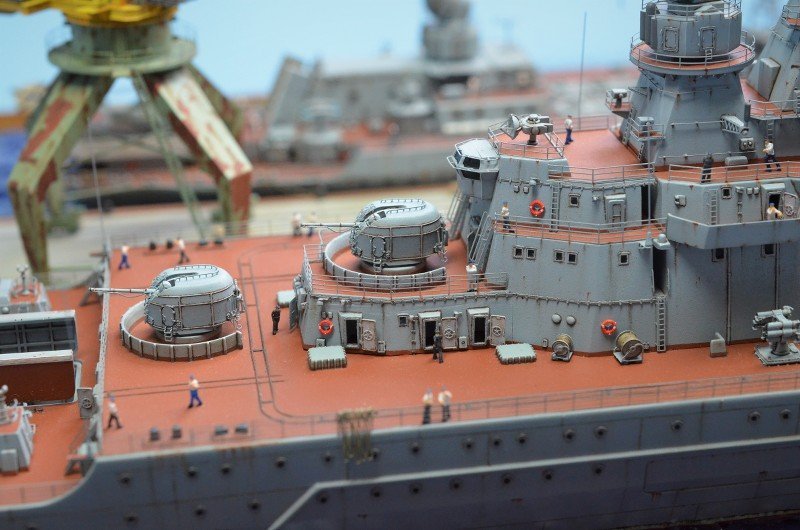
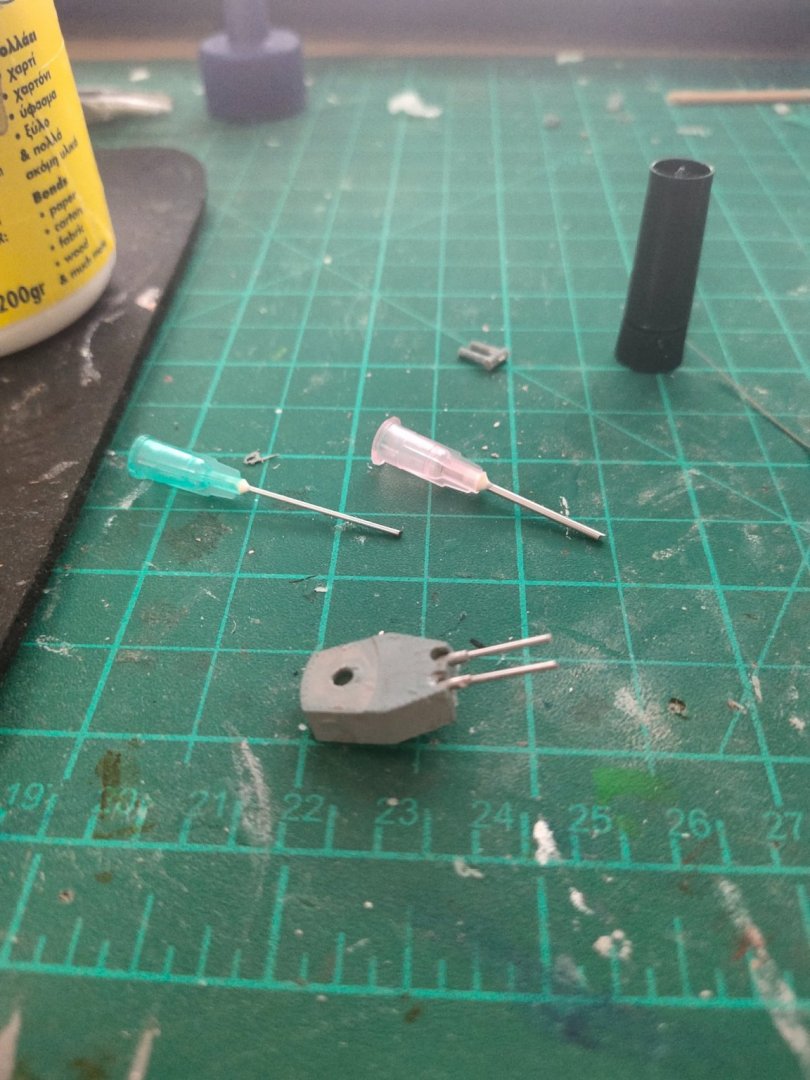
I upgraded the barrels. I make them from medical needles. They have thinner walls than brass. They even come in 0.03mm hollowed, make them ideal even for the secondary guns. They cost about 3$ per 100
-
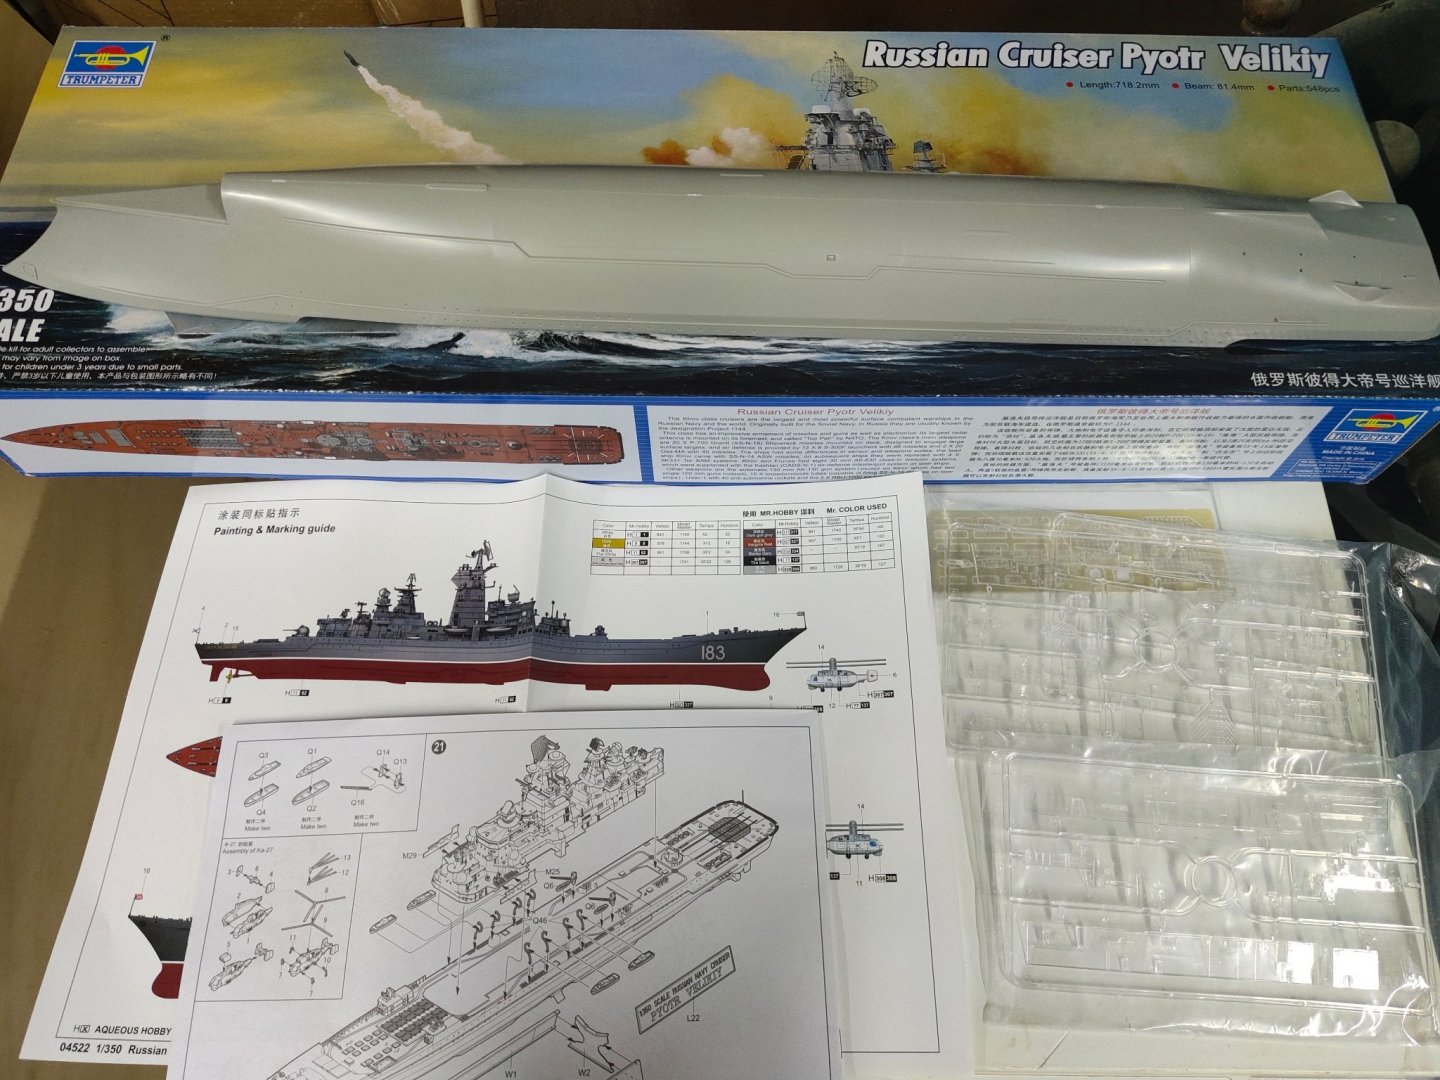
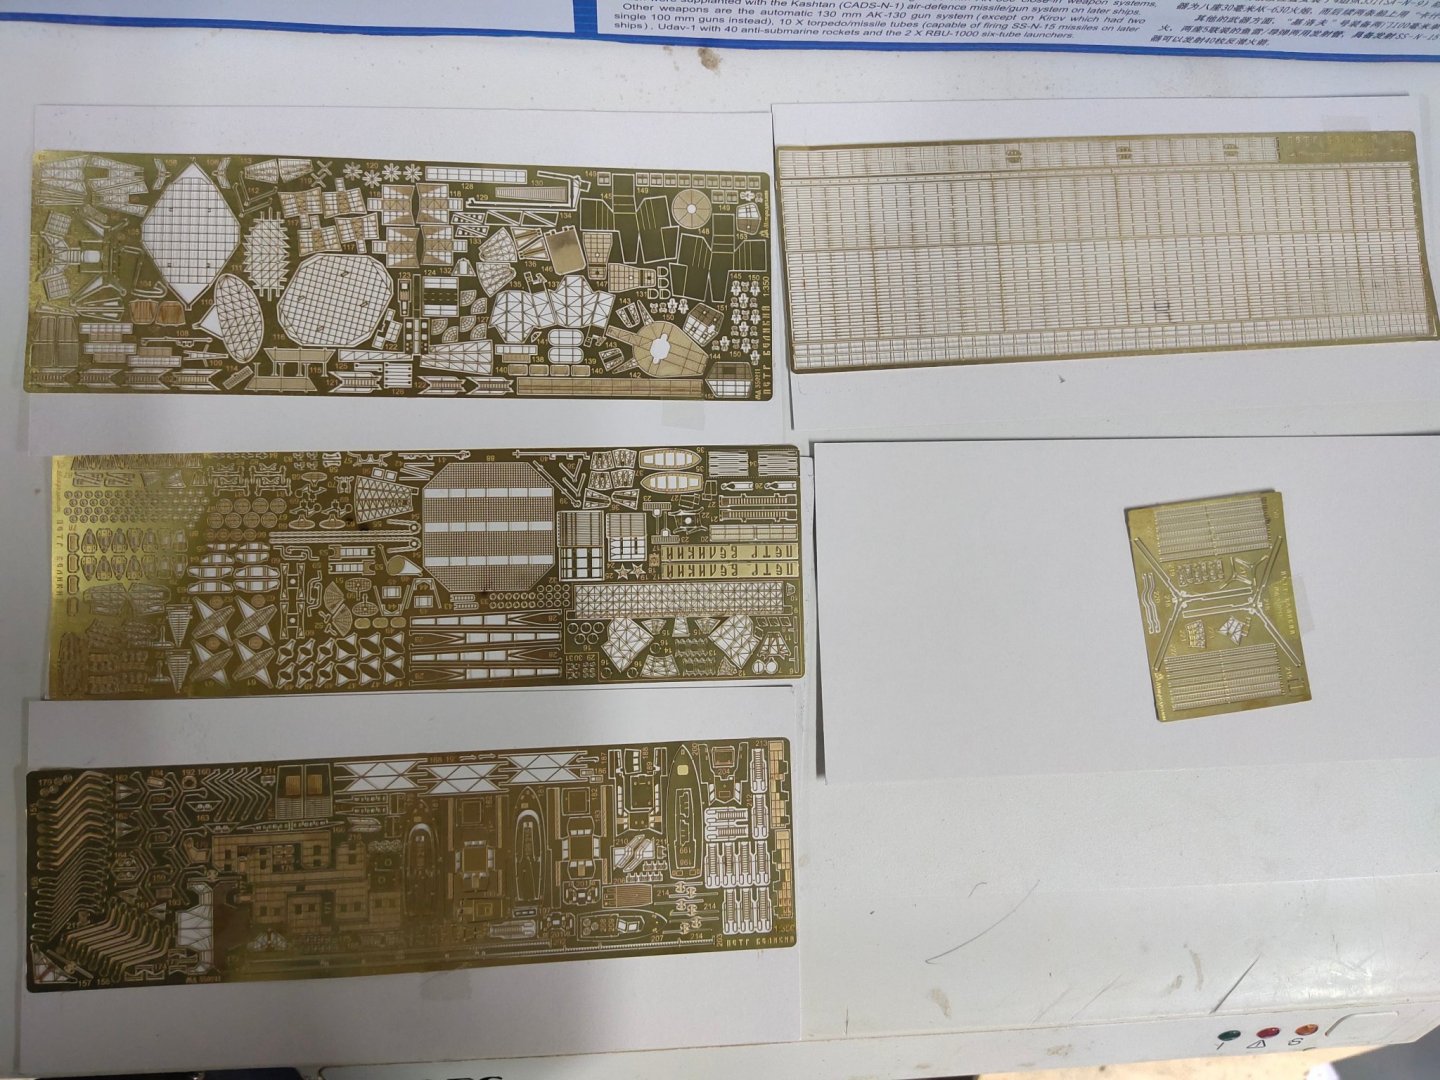
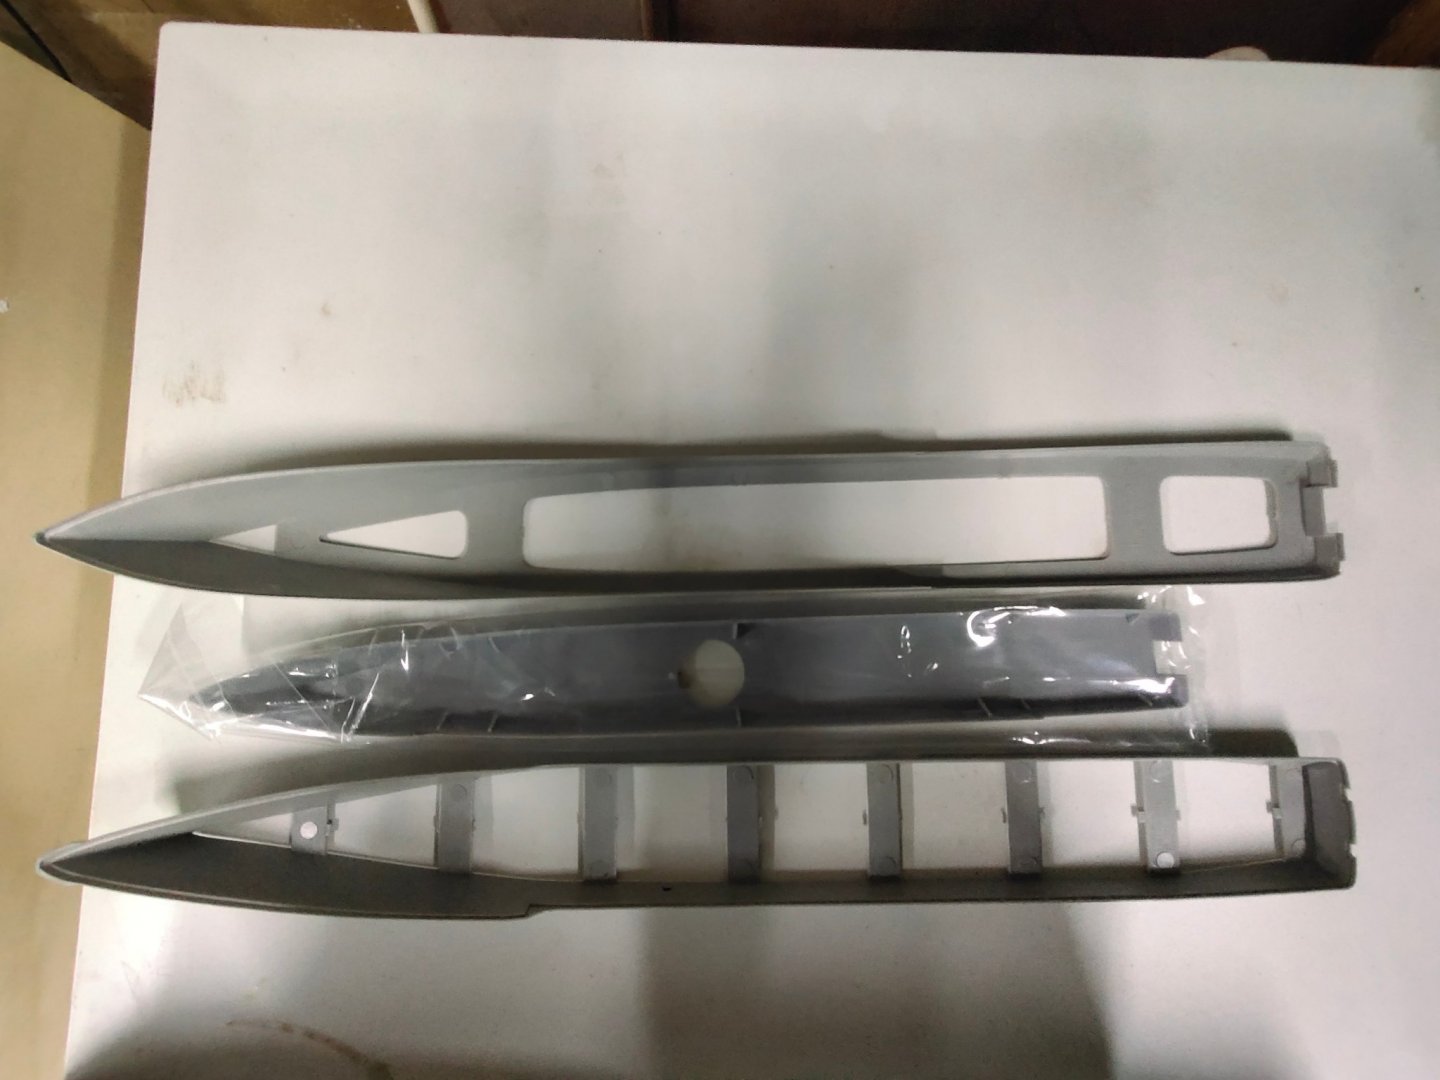
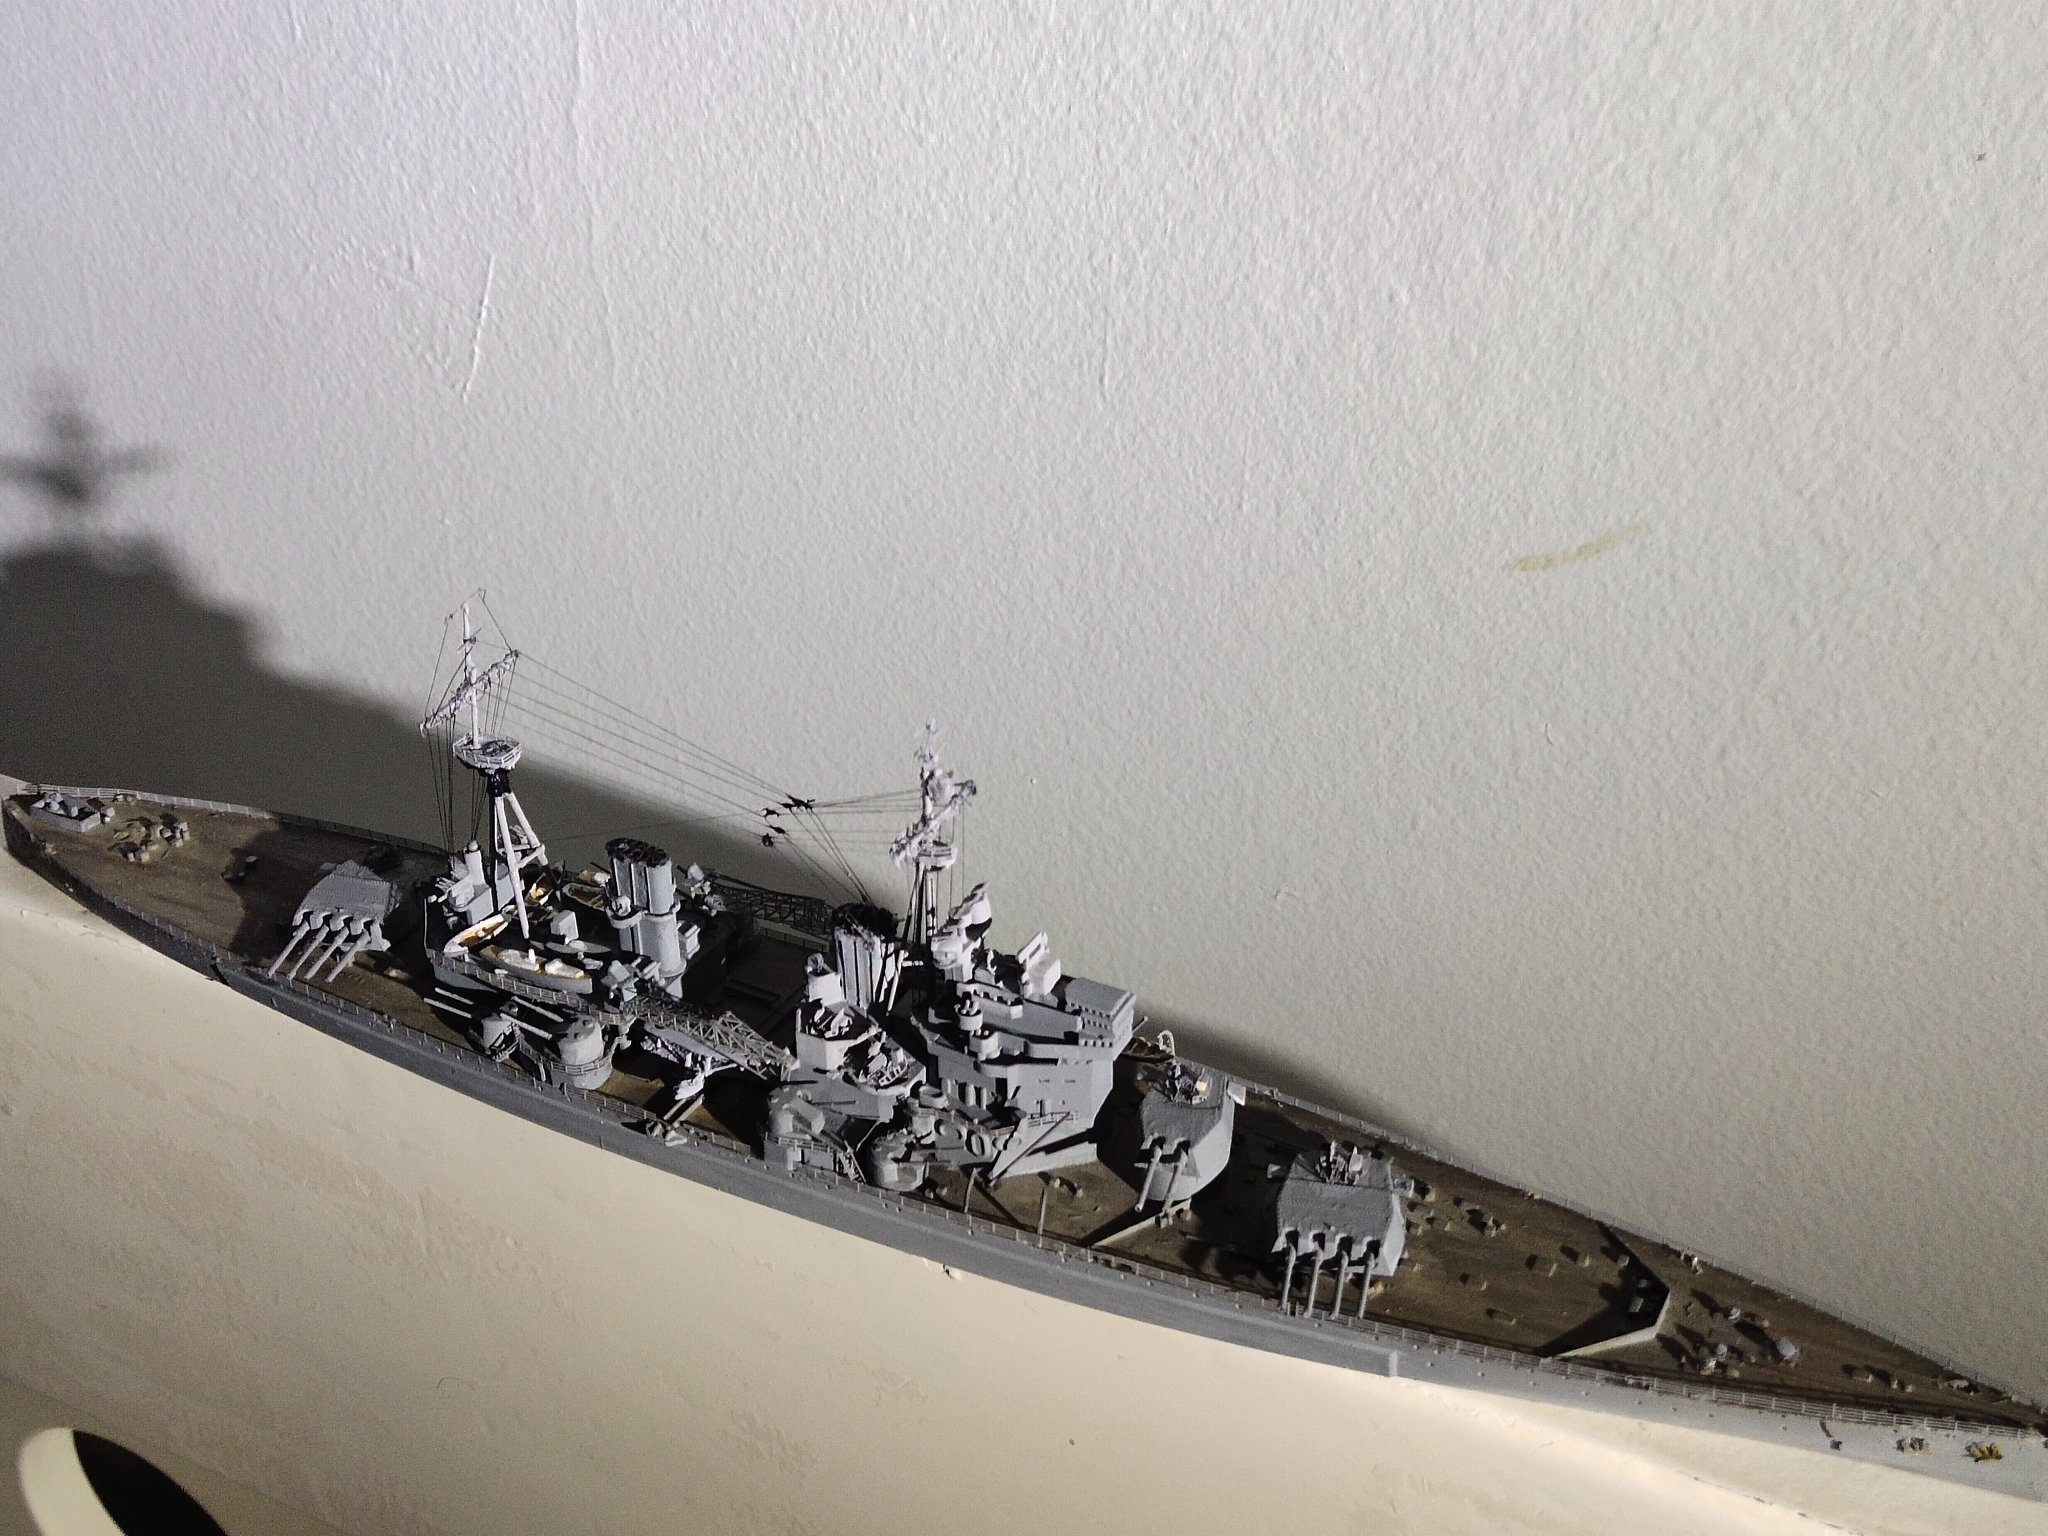
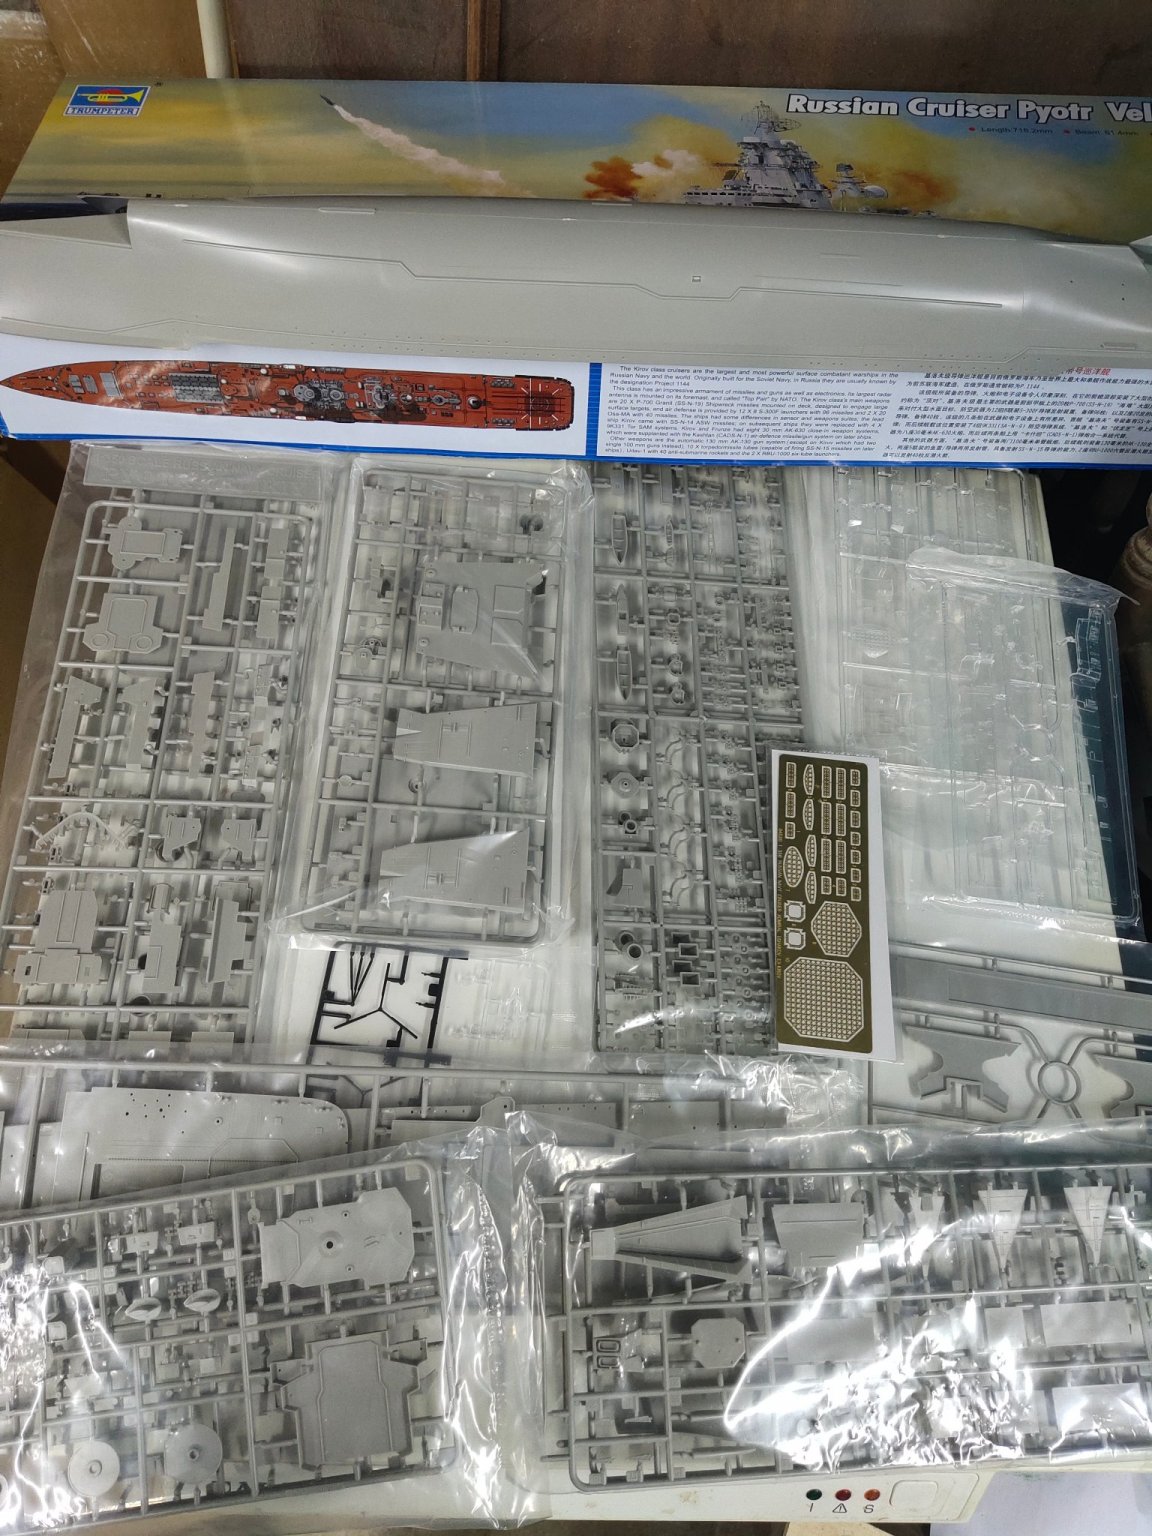
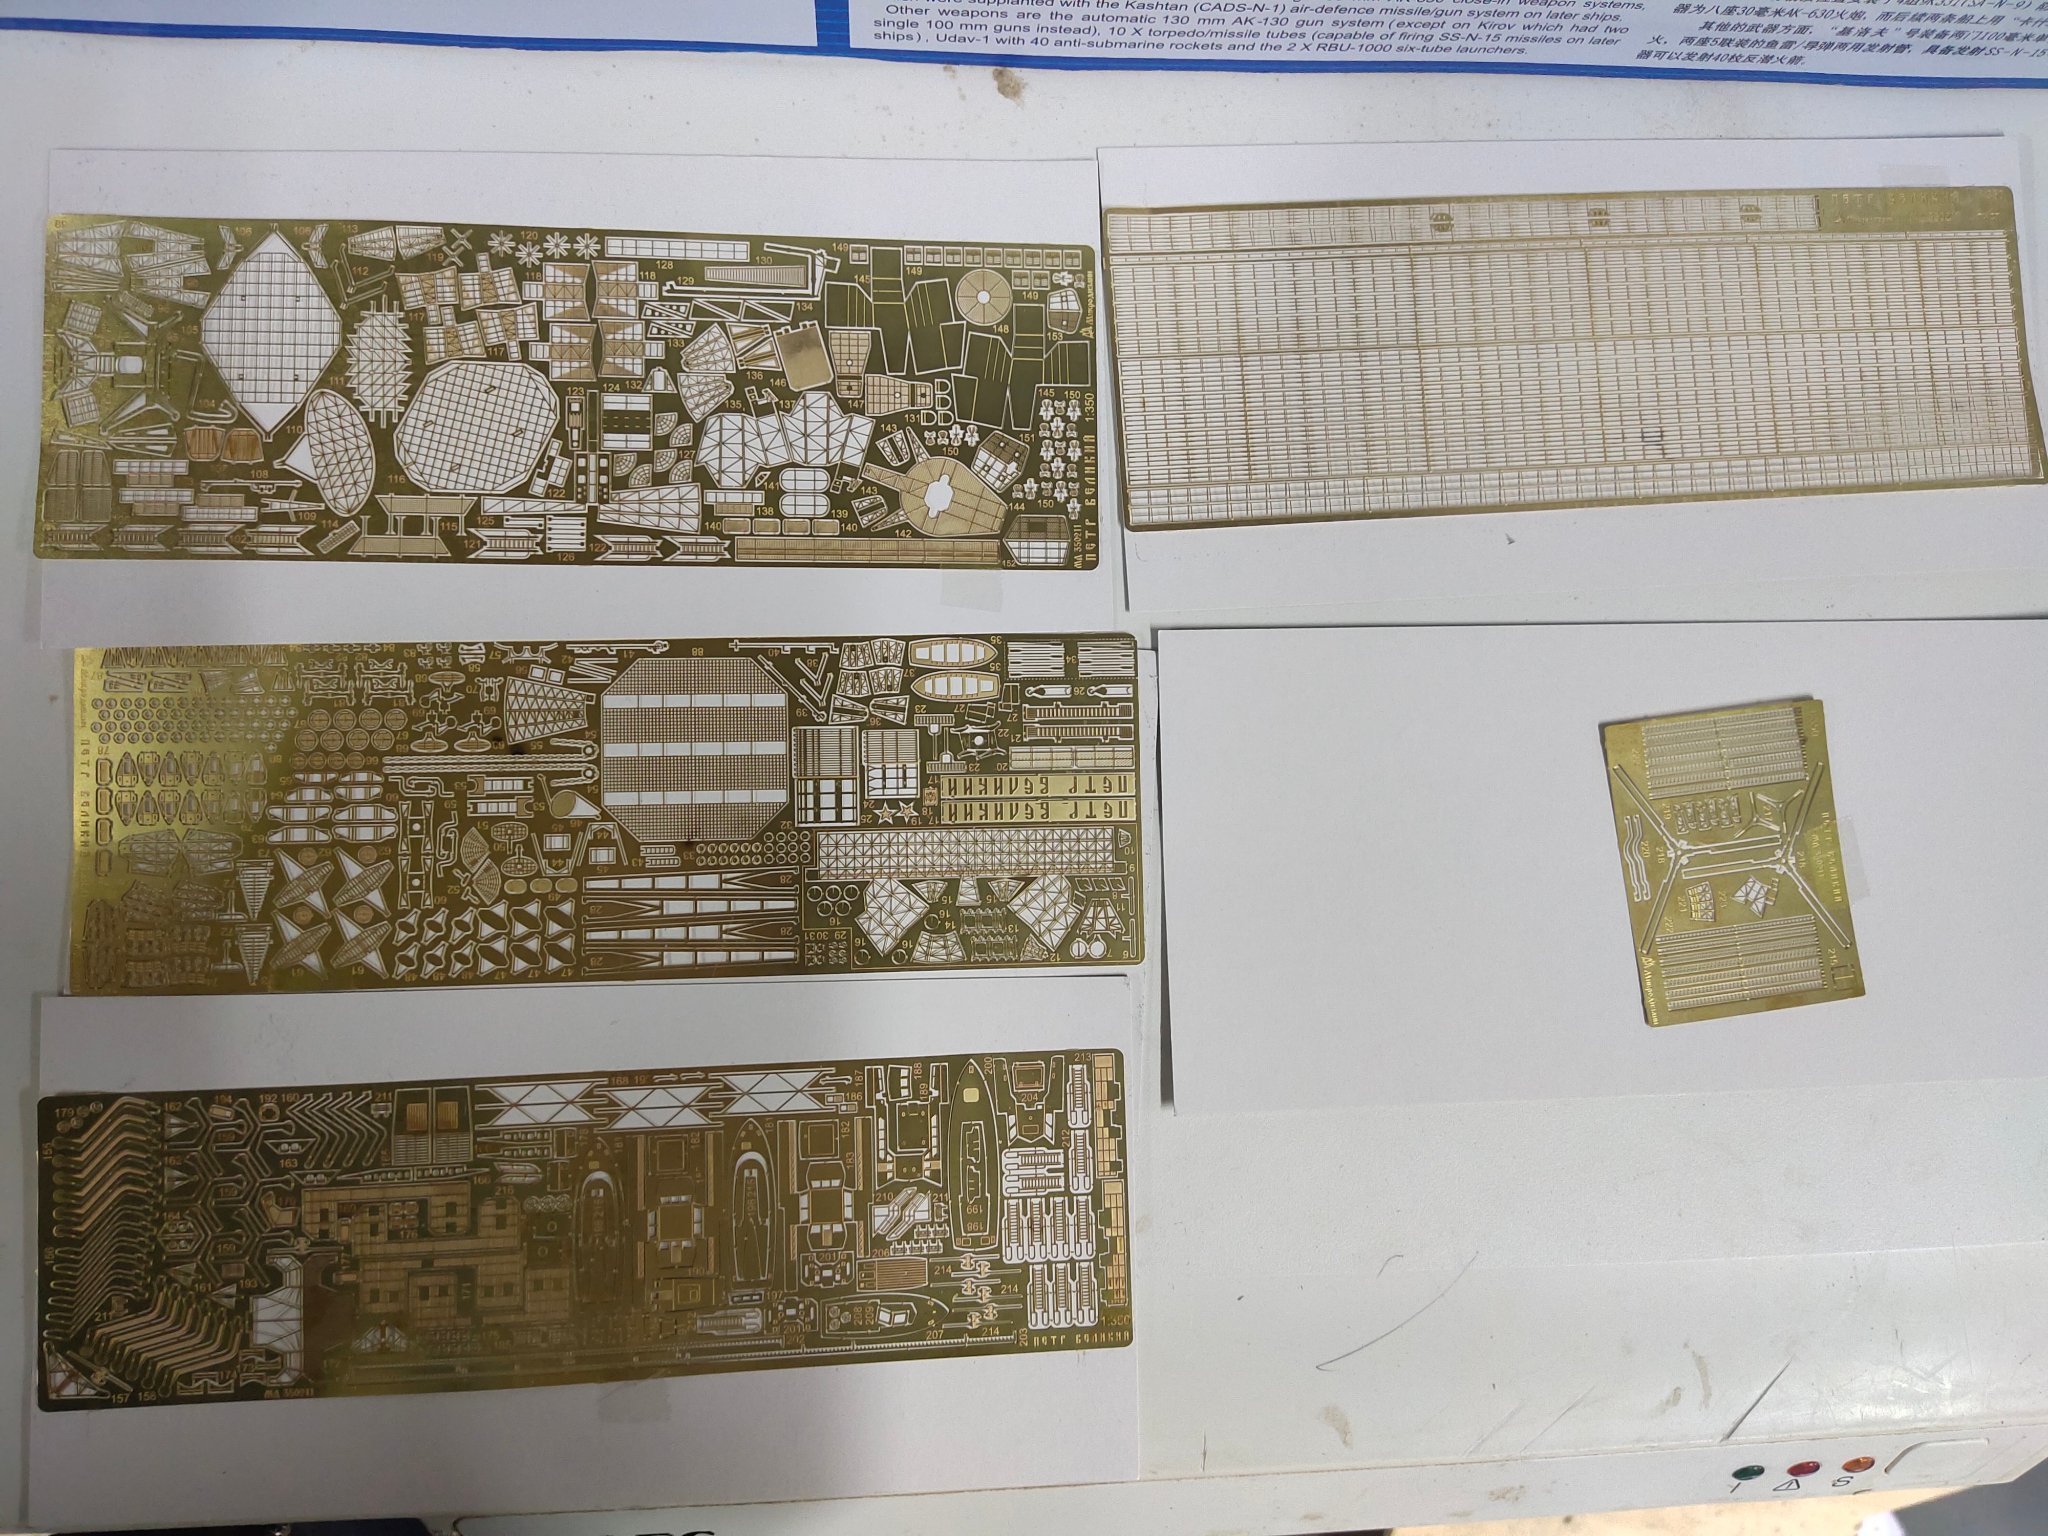
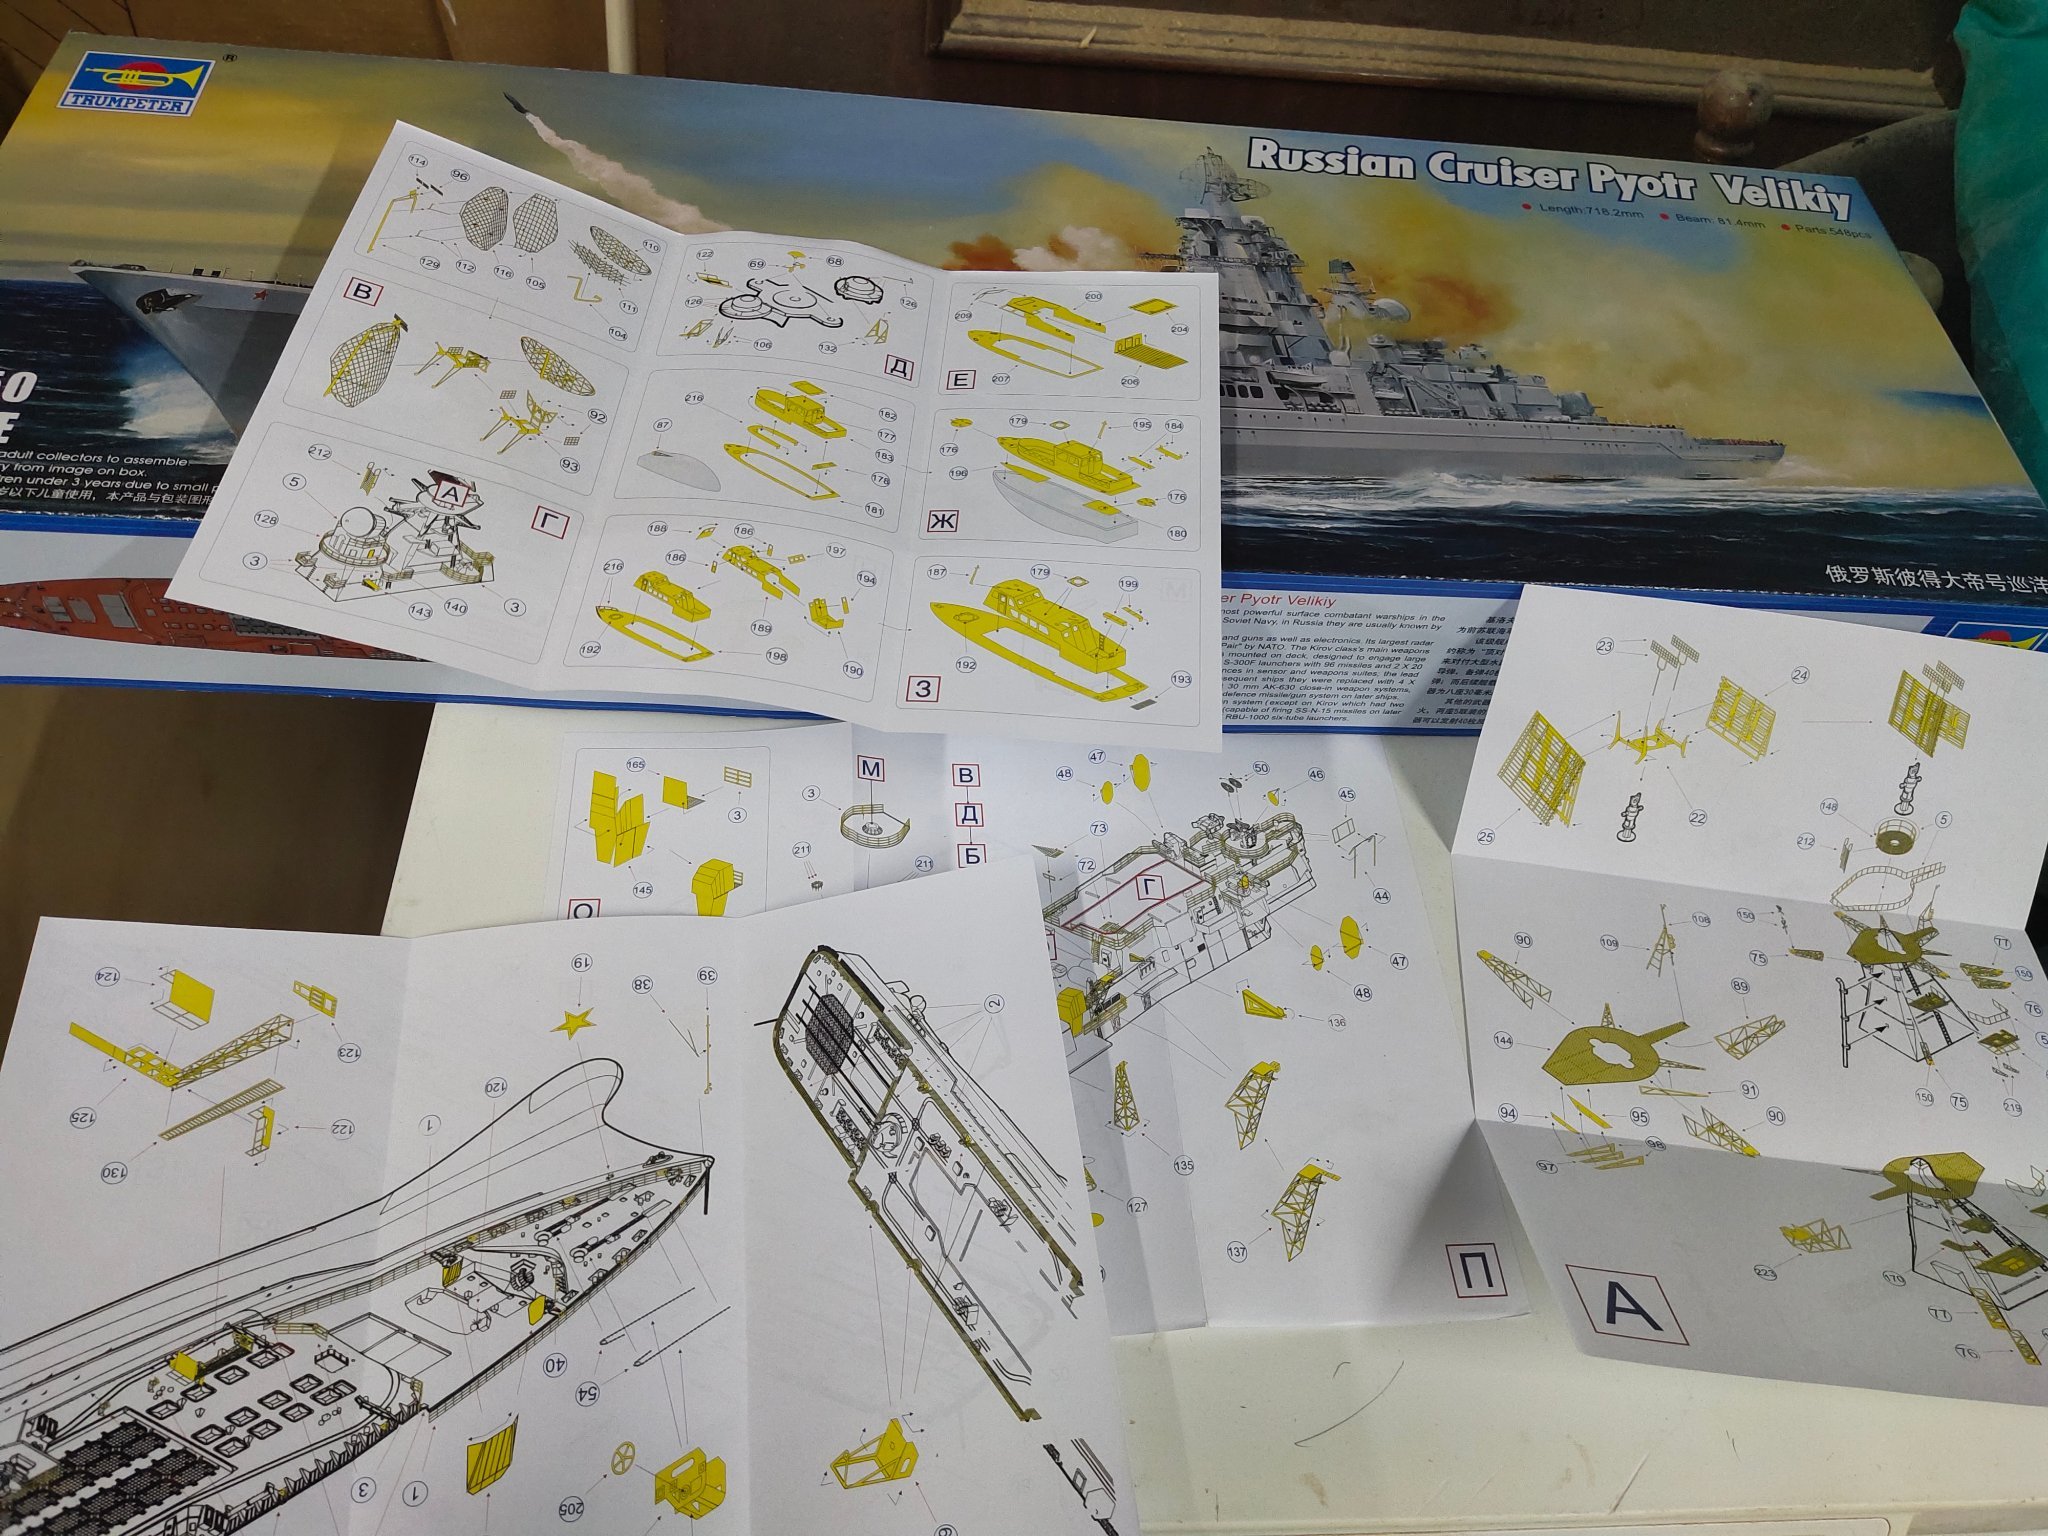
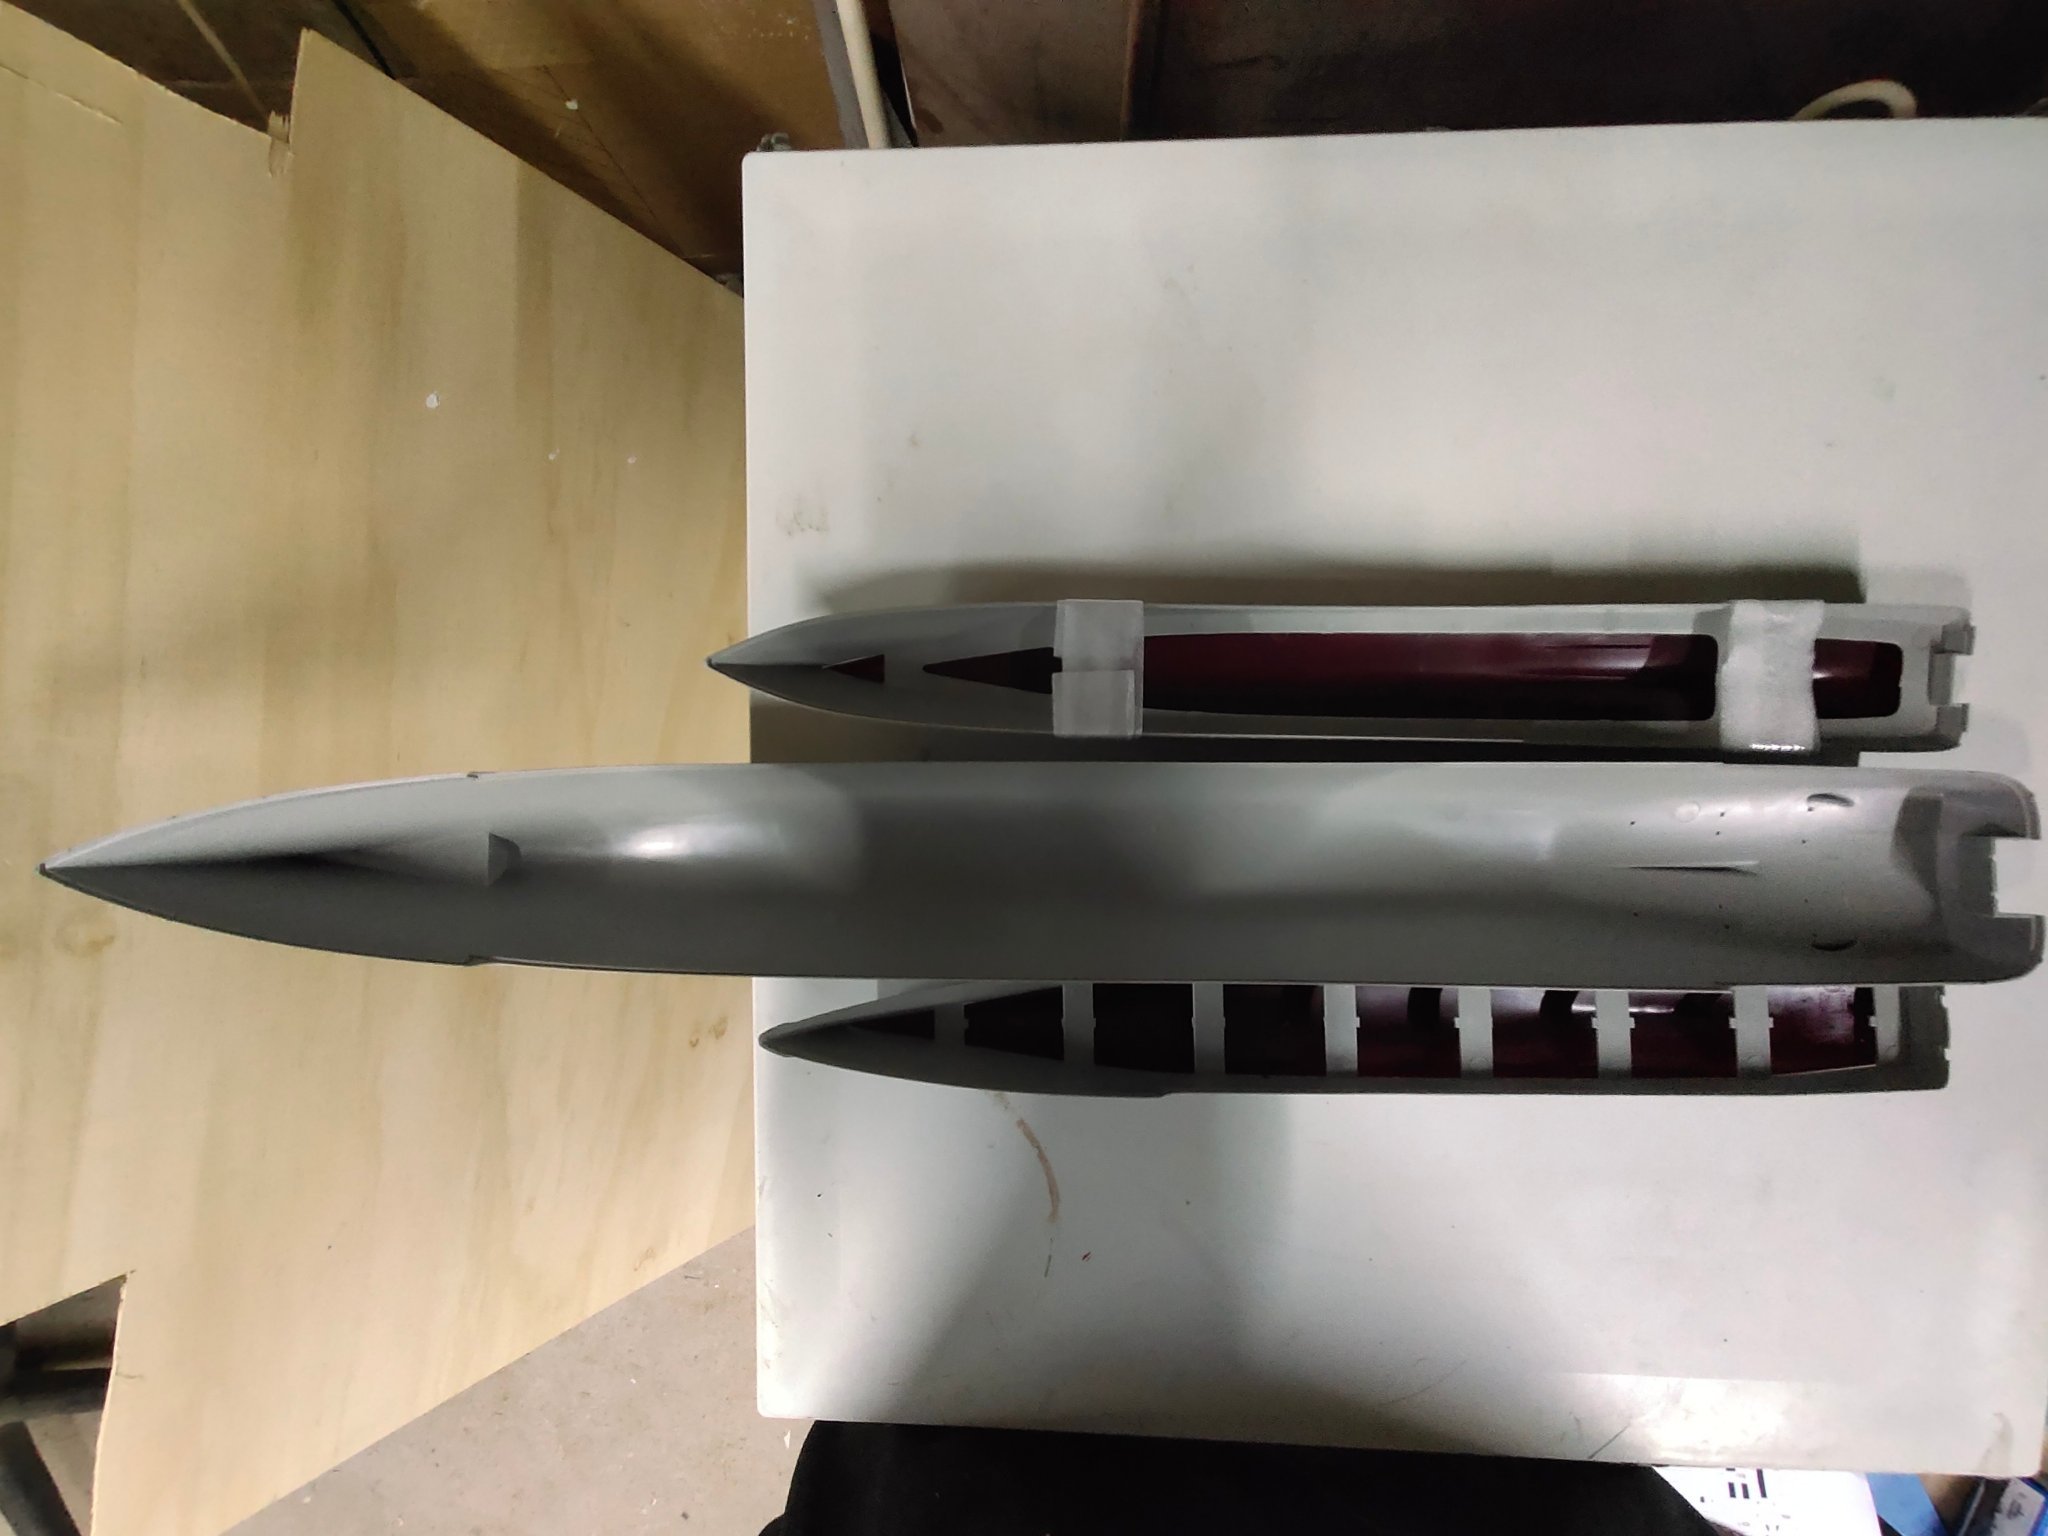
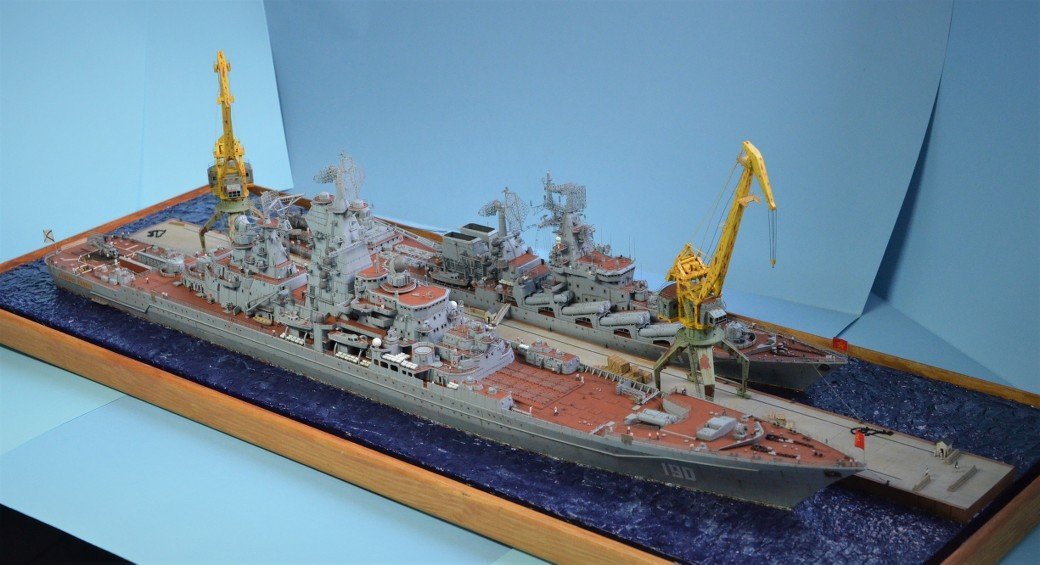
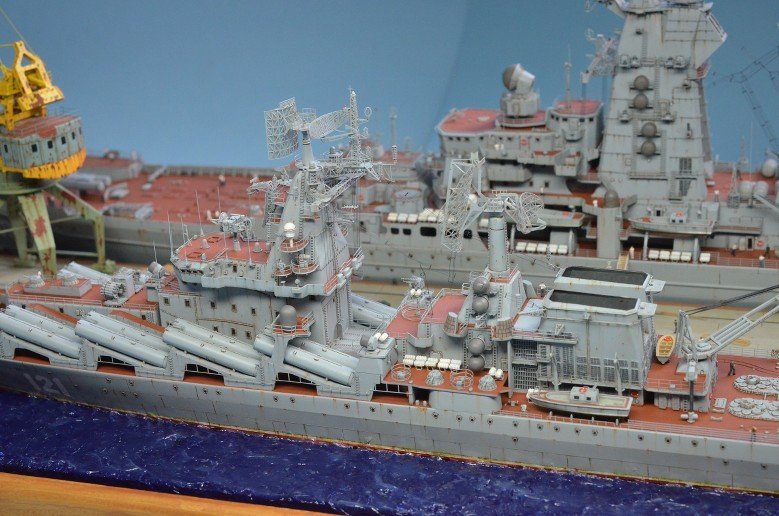
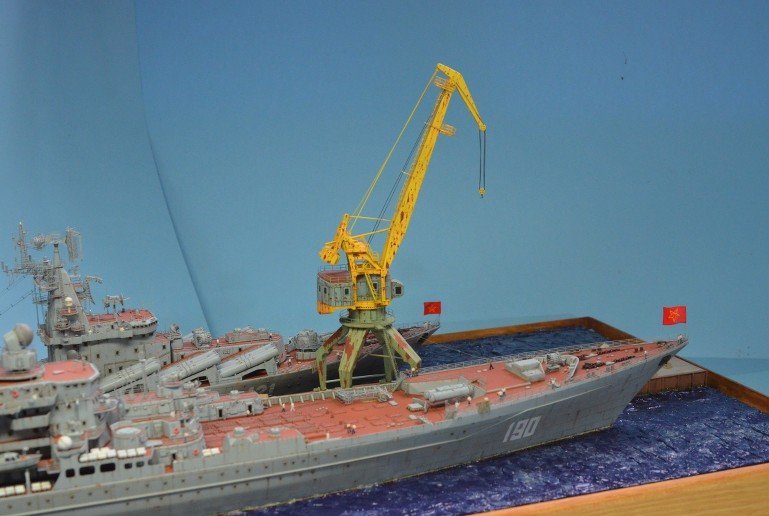
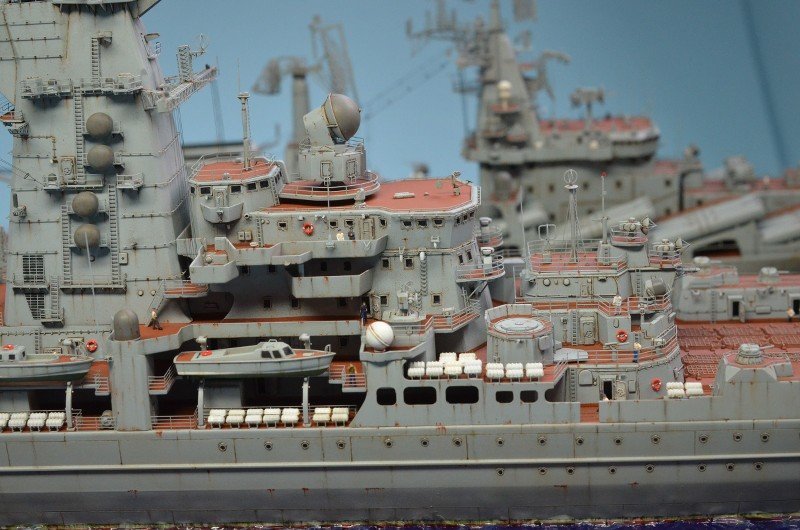
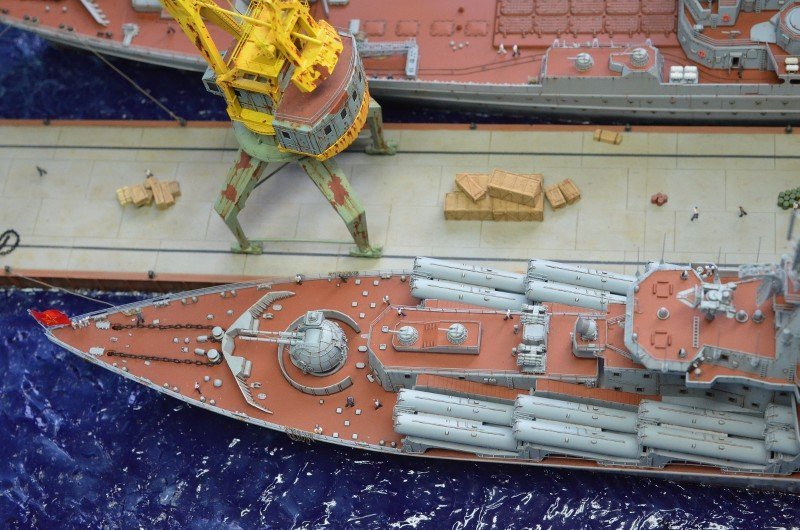
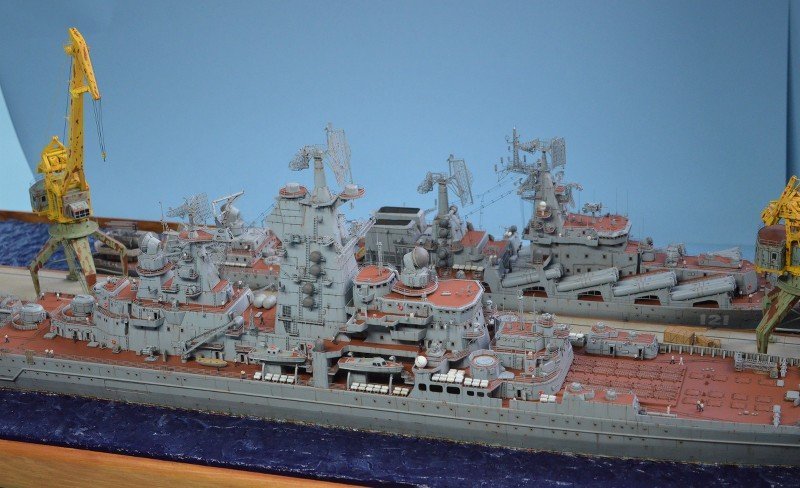
Opening the box of the Pyotr Velikiy , its easy for someone to realize why these ships are considered battlecruisers. Their size is close to ww2 battleships. My workbench is occupied so i took the photos on top of my deep freezer, the only available flat space in the room. The kits itself has 550 pieces and its 72 cm long. It has 16 sprues, 3 of them in clear color and one additional with PE radar parts. The radar parts comes both in grey and clear plastic as well in PE form. The instruction manual comes in 24 pages plus the illustrated sheet for painting reference. The hull is also in one piece, no waterline option is available . The PE parts as expected are more than the previous kit and certainly they wil take this ship to another level of details. The railings provided could be enough for two medium size 1/350 ships. Finally i took two comparison shots so we can better understand the size of the kits. Pyotr Velikiy is in the middle, Panteleyev on the upper side and Sovremenny at the lower. I resized Pyotr Velikiy to 1/700 and compared again. Still stands with dignity I hope i can take some comparable shots with the finished models soon.