.jpg.1288f2f3342cd7901c13b9acfc9852a3.jpg)
PietFriet
-
Posts
82 -
Joined
-
Last visited
Content Type
Profiles
Forums
Gallery
Events
Everything posted by PietFriet
-
.thumb.jpg.891f66d64fd4486179970eca1dfee43e.jpg)
Mantua "blue painted" photo-etched brass
PietFriet replied to Alexisgm97's topic in Metal Work, Soldering and Metal Fittings
Not an answer to your question but maybe an alternative to consider. The wood version is separately for sale for less than 20 euro. The article number is 44101. -
Who determines what is right and can the right thing not be different for different people. Personally I enjoy reading about other people's opinions as it helps me form my own.
-
Please let us know if it works. I create the basic shape in blender but I can see that for some shapes it is easier done in fusion 360.
-
I don't know about the Pickle specifically, but typically the mast rests on the false keel. If so just glue the mast to the false keel to keep it in position. As you probably have figured out, for a next build it is always a good idea to address the positioning of masts before you start planking the hull by building a receptacle. Often same extra wood on either side of the false keel will do.
-
The pen tablet I use is this one. You still use your pc.

-
If you use blender as if you are working with clay, then the pen strokes and pen pressure control are more natural compared to a mouse. Converting drawings is either 2D, e.g. you only get equal thickness, or 3D if the 3rd dimension is given as a grayscale. The latter can sometimes be created from photos but I found that shadows in photos are not a good way to convert into 3D. Which is why I went the sculpting route. Once (if) I master that it should give me a lot of flexibility to create any decorations without having to rely on finding the right source material. I am still optimistic about that🤪
-
I agree that Fusion 360 is not the best tool for that. Although I am still in the learning phase, I use indeed the sculpting tool in blender to make decorations. I don't have a background in graphic design and have spend about 2 months practicing before even attempting to make decorations; yesterday finished my first 3D crown for a door panel. A pen tablet is a must but a basic version can be bought fairly cheaply. I have no experience with 3D scanning as I found it impossibly to find the items to scan. This is not to discourage you, just realise you are starting a new hobby😀
-
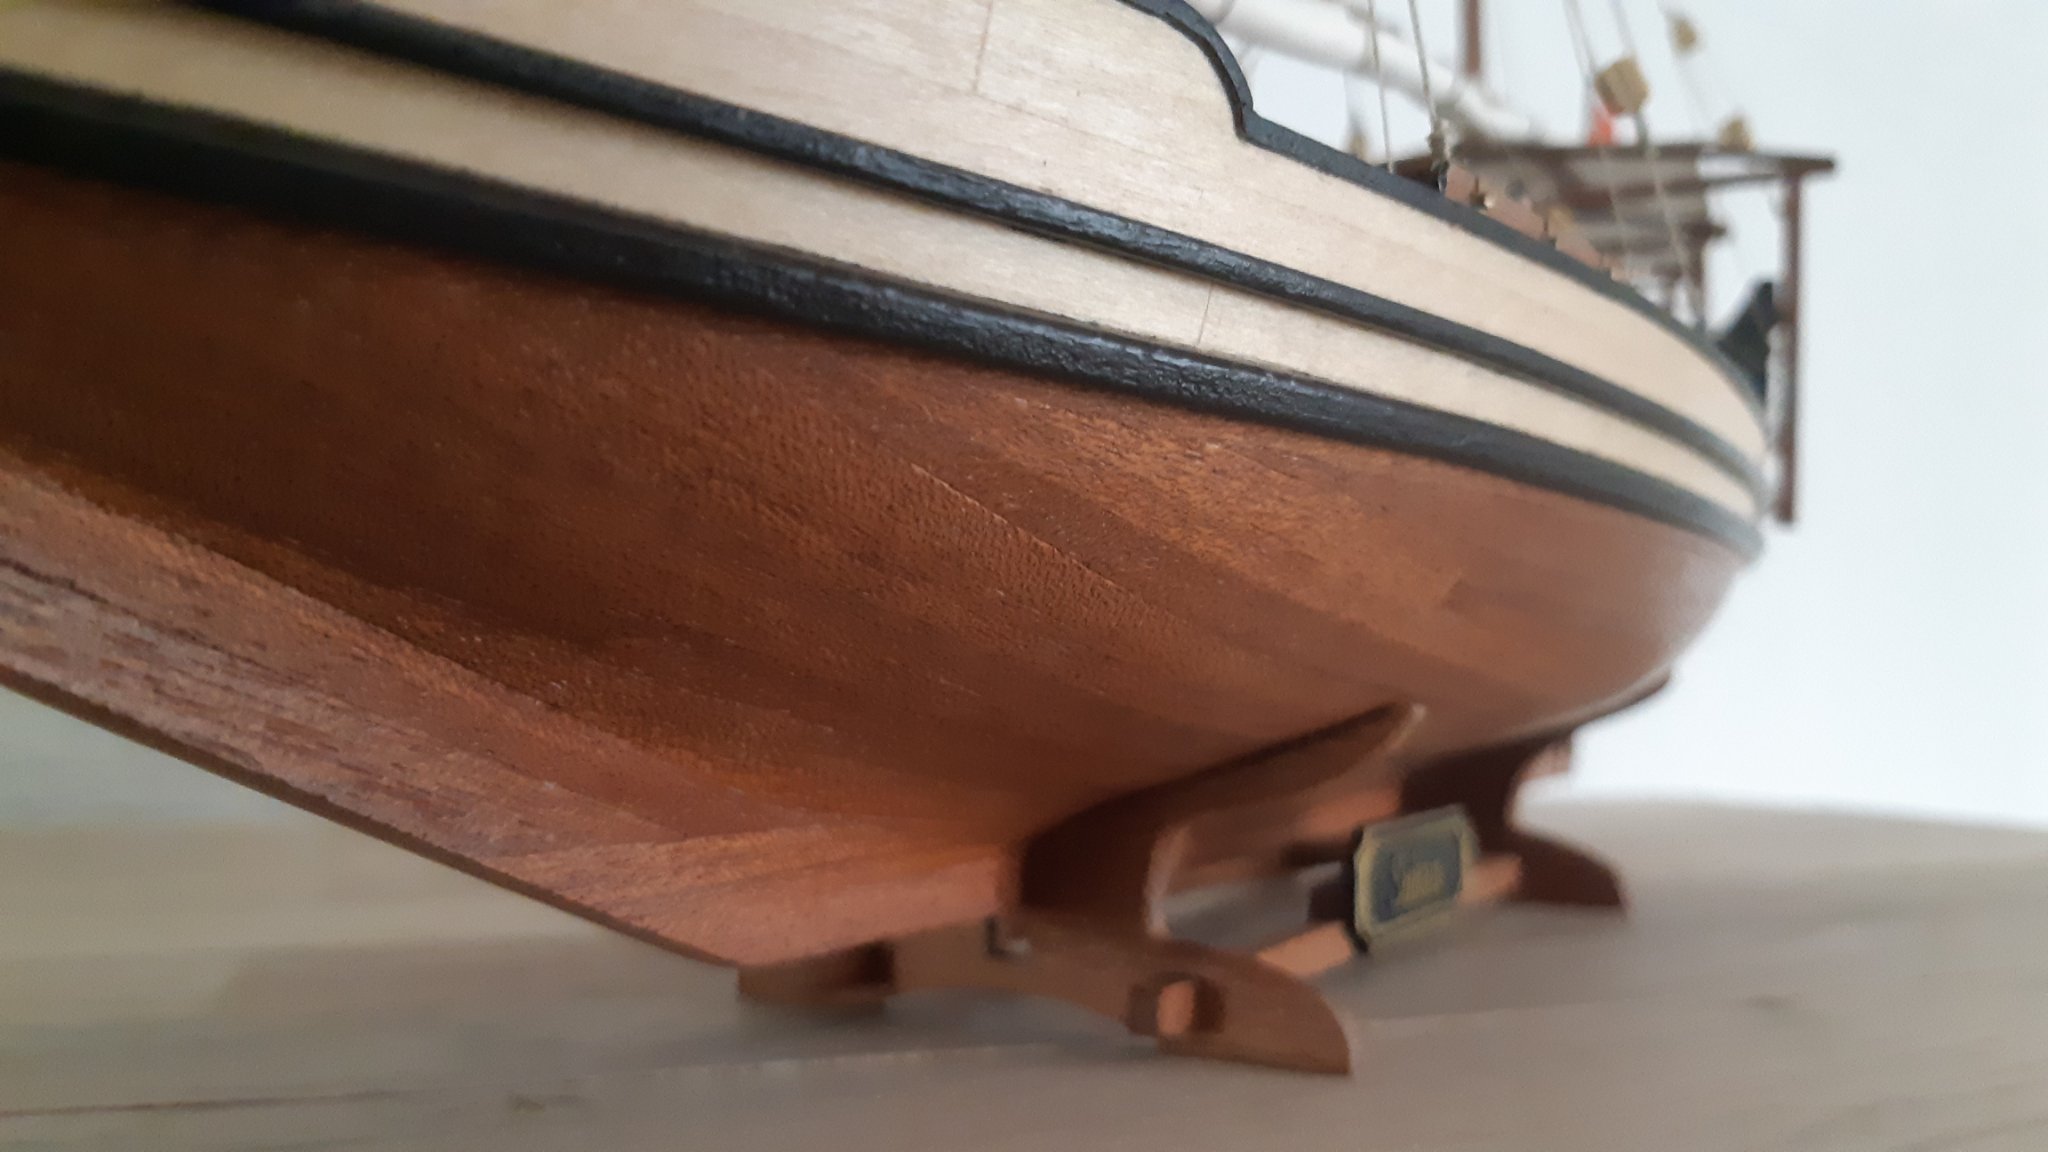
Manic. This is how sapele looks like when varnished with water based mat finish. If yours is an AL model then I would expect it to look the same.

-
I bought a resin printer a couple of months ago so that I can print my own decorations, since I'm not very good at carving or sculpting. The detail you can achieve is insane, but it requires a lot of practice to get there. Many things can go wrong, but everything can go right as well! For me it is all part of the fun, others could get frustrated. The one thing I had not realised is that the total initial cost is about twice the cost of the printer itself.
-
Fascinating stuff. The contract I'm basing my design on shows that the bottom has only risen 1.5" at 85% of the ship width. So unless they used small width planks to turn the bilge then indeed the chine seems inevitable. It is when you see other (Witzen) drawings without the chine that you start to wonder though, so your thoughts on this are much appreciated. I think you mentioned in another post already that without design drawings the ship was very much an outcome from the ship master. With no two ships the same we are probably wrong to strife for a single outcome. That's why I am inspired by your approach to try to replicate the process and see what happens.
-
I'm looking forward to that! Wefalck, I'm not sure that is actually the case. I would think that technically it is possible that a chine is a consequence of a building method and available tools. In your example of carveel and clinker planking it is the consequence of a choice, which is not the same thing.
-
Having recently completed an AL ship I'm largely with amateur. Where the planking reaches the keel under an angle, plank over the false keel. Then sand it until the resulting flat 'bit' has the width of the false keel. For the parts where the planking needs to be flush with the keel I sanded the multiplex on both sides but not all the way. The remaining thickness was reduced by sanding the planking once finished. That way you have control over the final thickness to match the keel pieces. Personally I would not attempt a rabbet line at the bottom or front; that's not what the kit is designed for and would indeed over complicate the build.
-
Some very useful tips!
-
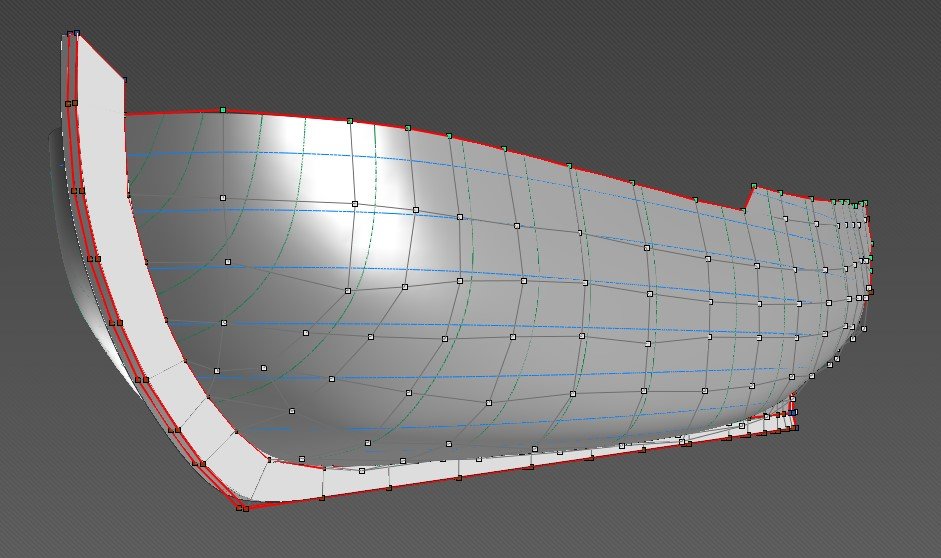
Hi Kiyoo, That is indeed the same functionality. Anyone interested to follow the method you describe may also want to look at Delftship as a tool as it is free to use (as long as you don't want to do hydrostatic calculations) and it may have the benefit of framing areas that you indicate in the picture that can't be framed. There are a couple of tutorials on this forum. I am very interested to see what software you use, as they tend to have a fairly steep learning curve. That has been my main issue when picking CAD software (apart from the price). Making a step-by-step guide to get to the laser cutting will definitely be useful, so I'm looking forward to its reveal! Below on example of Delftship
-
Isn't this what people have been doing for years with Delftship? Maybe I'm missing the point.
-
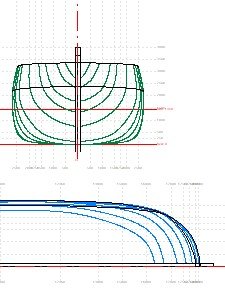
Thanks Ab. For the time being I will aim for the pronounced transition as the bottom is rather flat (1.5 inch rise over 16 feet). I may end up losing it either in the software or when building POB style. Interesting challenges with scratch building even before cutting wood!
-
Ab, I have a question about the drawings you are showing. In your first sketch of the lines plan, it shows a fairly sharp edge going from the bottom towards the bilge. I understand from your book on Witsen that this is the result of the building method/tools of that time. However, in Rene's drawing this sharp edge has become a short radius turn. As I am currently designing a statenjacht based on a contract, I am very interested to understand what shape I should aim for. Peter
-
Deck or Hull
PietFriet replied to acaron41120's topic in Building, Framing, Planking and plating a ships hull and deck
I always plank the hull first. For the kits I build I had to cut off the frames at deck level after planking the hull so you want to cover that while planking the deck. Regardless, I find that the deck generally fits poorly so any adjustments made can be covered easily, including a possible gap between hull and deck. The only disadvantage is that the last deck planks require extra care when installing, particularly when the hull curves inwards. -
You are actually the only person that can answer that question.
-
I use light oak as the way I understand it, the deck is/was always light of colour. I use matt/satin varnish, water based from the DIY store. After that I use steel wool to make the deck smooth. You can put additional pressure in areas where people walk to get a weathering effect. Something I don't do because I feel that you would need to weather the whole boat to make it natural. Peter
-
When I woke up this morning I did not feel the need to buy a vice. After reading this post I just ordered the Stanley 360. Lesson learned; stay away from this section of the forum 😀. Peter
- 20 replies
-
- 12
-

-

-
In the initial phases of the build I use metal angles screwed on a wooden board. Make sure you position them so that they fall inbetween the frames. Make it a tight fit so that the false keel slides inbetween them. That will keep the keel straight while assembling the frames. You can then place spacers inbetween the frames to create a firm structure that will keeps its shape (much better). I also make sure it is positioned on the board when installing the first couple of planks on either side. If only I had a picture to show you, but there are many building logs here that will show you what I mean. I would never (ever) compensate by bevelling because you will end up with a different hull shape, very likely not symmetrical.
-
Glue first layer planks?
PietFriet replied to Rivals's topic in Building, Framing, Planking and plating a ships hull and deck
If you are concerned I would do it. It won't hurt and you don't want to keep wondering whether it is strong enough. Whether it is actually necessary is difficult to say. If you did not fair the frames properly there may not have been sufficient area for the glue to hold. Although if you used CA glue it won't need a lot to start with. Also, if you edge glued the planks it will likely not be required. -
The last picture shows the coat of Hamburg, but that's as far as I get.
-
Or this one as a set: https://www.amazon.es/Modelcraft-PSA35-ingletes-Multicolor-piezas/dp/B01M4K49OU/ref=mp_s_a_1_16?dchild=1&keywords=razor+saw&qid=1606333622&sprefix=razer+saw&sr=8-16