


Mirabell61
-
Posts
7,313 -
Joined
-
Last visited
Content Type
Profiles
Forums
Gallery
Events
Posts posted by Mirabell61
-
-
-
Thank you Keith,
I had already ordered small brass wheels for guiding the lines and brass U-profiles for the slide bar-supports. I think I`ll do the slide structures from 2mm thick 4-layer laminated ply, or from 2mm thick aluminium plate if the ply turns out to be too flimsy
Nils
-
Right Keith,
I also have my doubts about the boats weight and the friction in the system. It was my early thoughts to include some lead weight or so into the lowered boat boat as well, but, the intentsion to show one of the boats lowered for entering over the side, would overrule the doubts, even if it should not work as mechanicly foreseen. (only staticly bringing into position)
It is ambitious for me to model that mechanism for this small scale, and what materials would be suitable for doing so. Hope I´ll get it done somehow
Nils

pic out of Helmut Thomas`s (model) magazine, allthough he did`nt include this shown feature himself
-
Hi Valeriy,
wonderful work. Are those the boat-winches?
Nils
- FriedClams, Keith Black and Canute
-
 3
3
-
John,
thank you very much. I am evaluating to make the derrick-mechanism workable and trying to find right suitable function in scale 1:87.
Here a preliminary (not scaled ) scetch, of which I think it may work. The boats would have to be handmade with help of wooden model, silicone mold, inner plug, and resin outforming. I intend to show one boat lowerd to the main deck and the other resting secured in fastening position. What do you think about it?
Nils
- mtaylor, FriedClams, KeithAug and 6 others
-
9
-
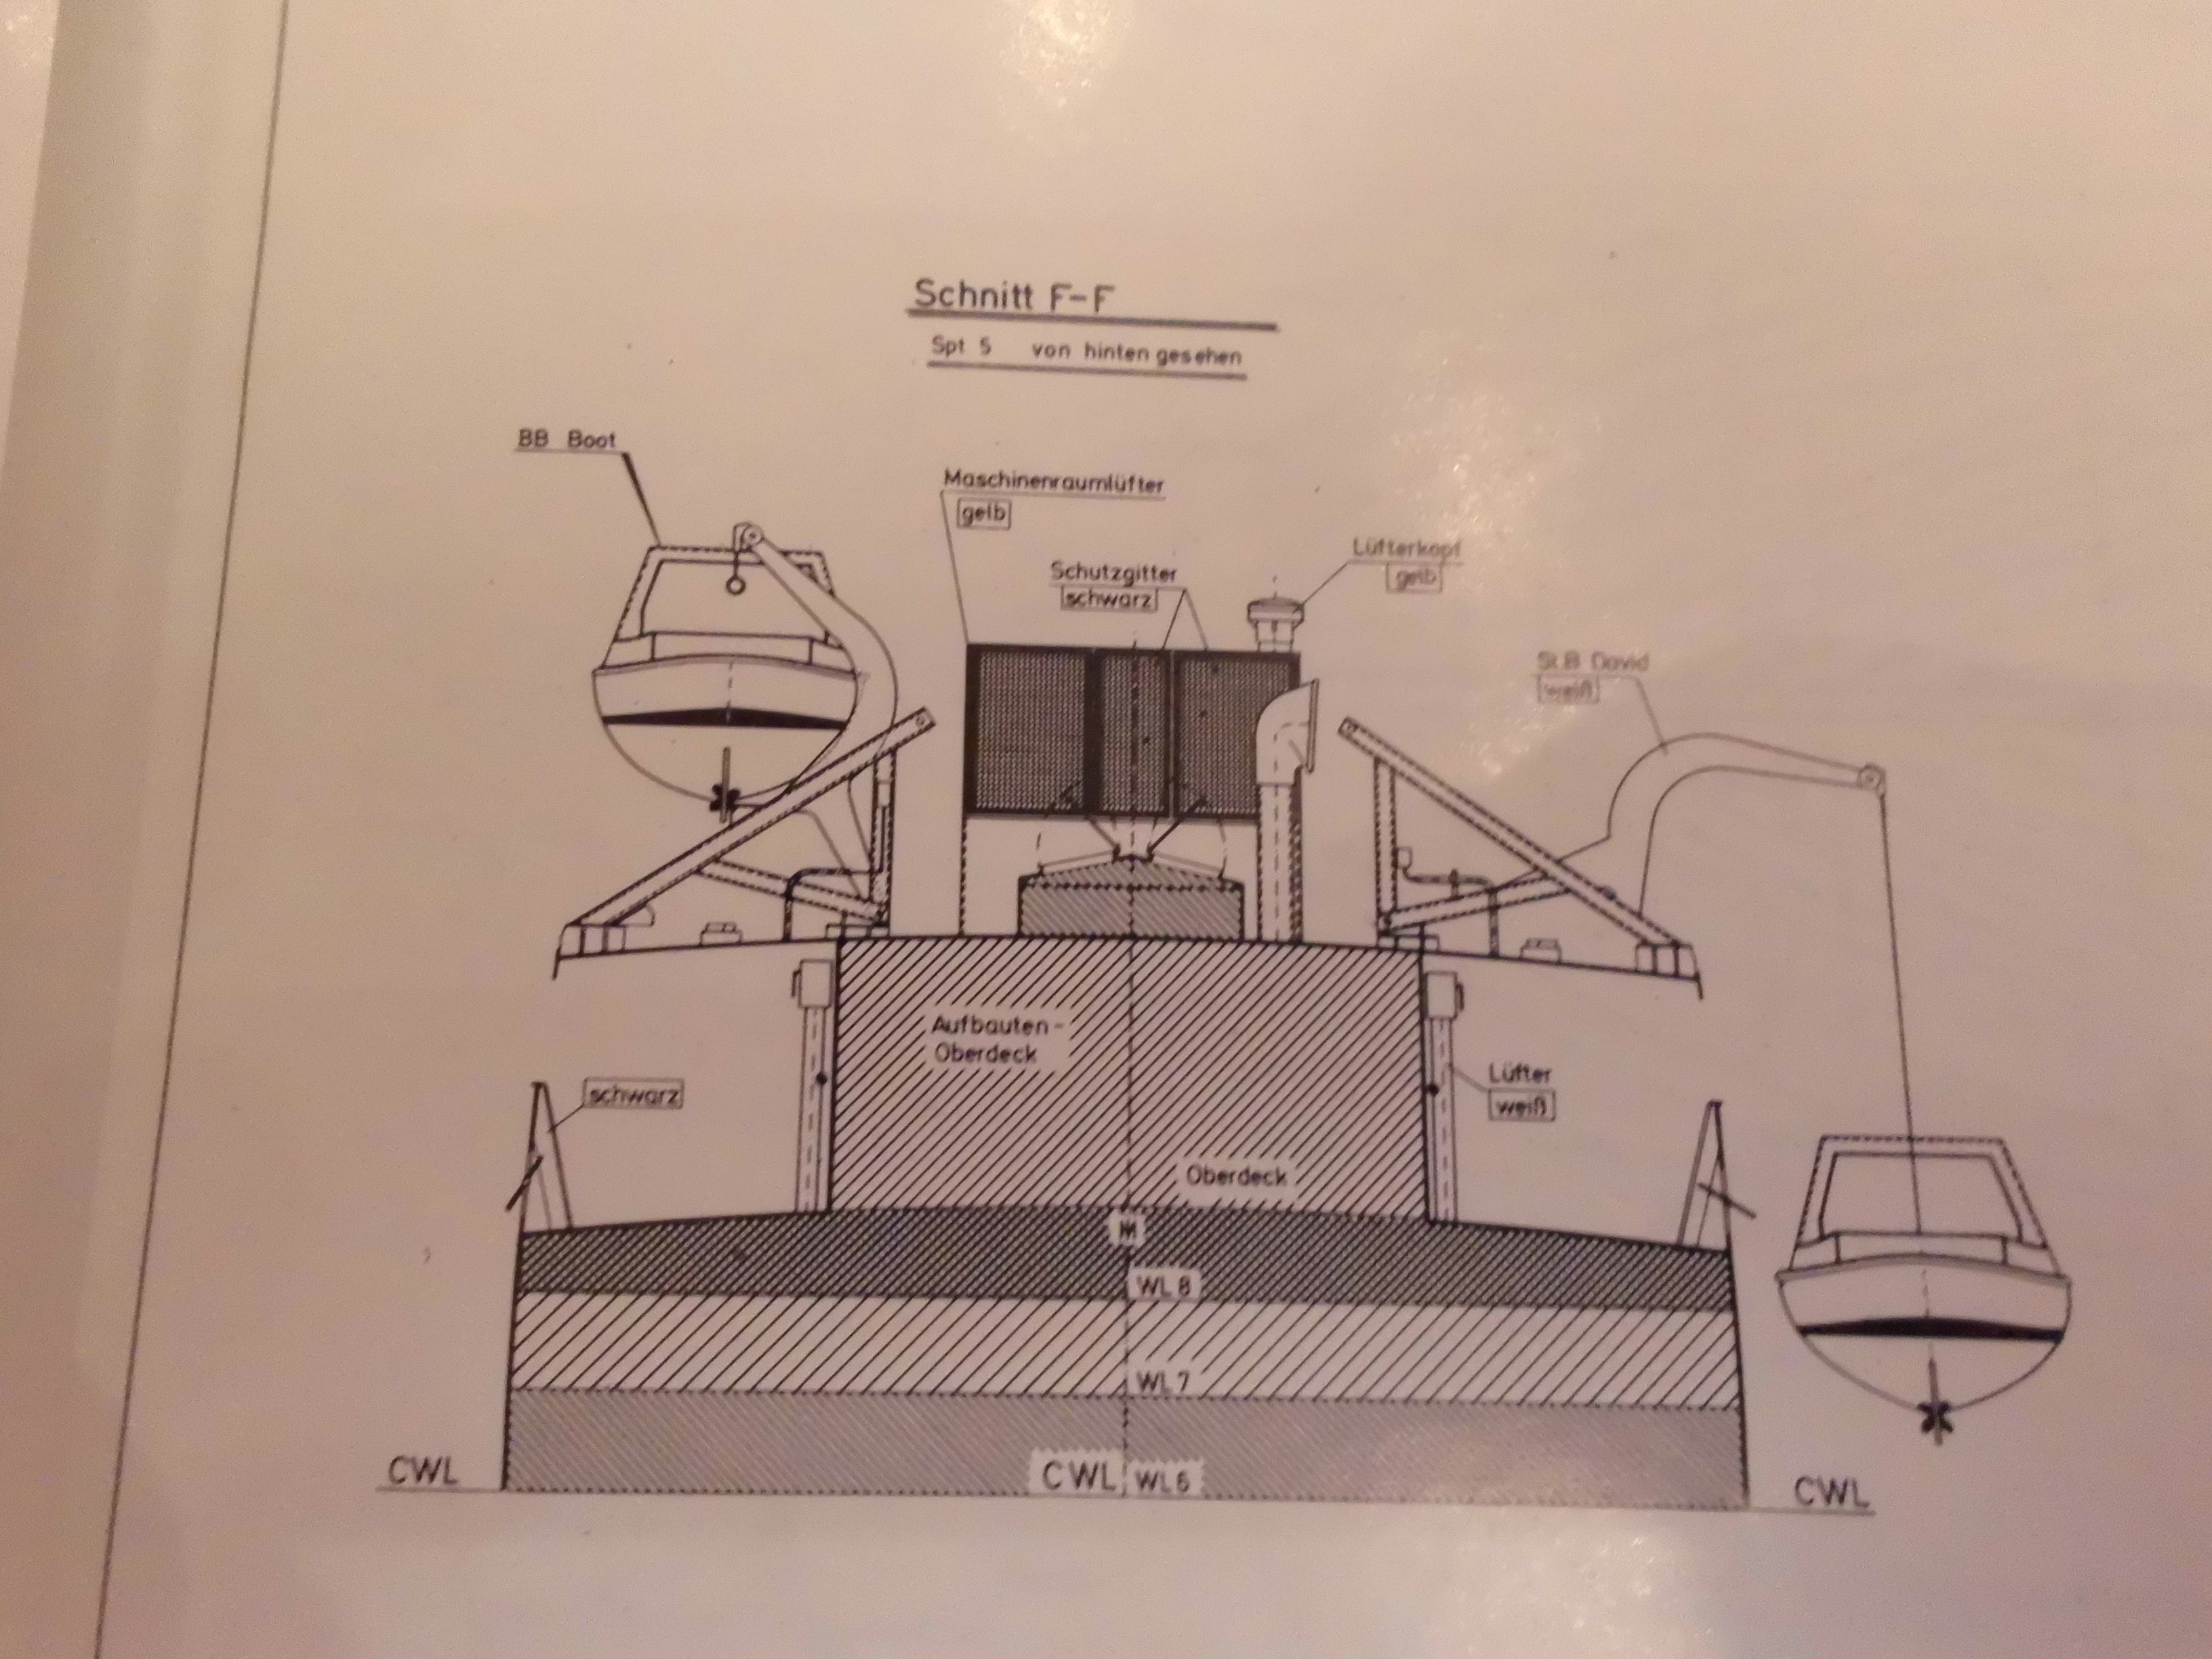
Update
the walls of the bridge deck pending some rails etc. and the 6 stairways are under process. The nav.light screens are now matt black and the port nav.light is dry fitted, to check the dimensions
Nils


port nav. light

forward stair to the boatsdeck
aft stair to the boats deck
-
Hello Eric,
I have`nt seen a Building plan on the market of neighther Alexander von Humbolt 1 nor of version 2
If I were to build the version 1, I would buy the revell plastic model (version 1 ) in scale 1:150 and use this for adopting all relevant details and ratings in to the scale I`m going for. The revell plans usually provied all neccessary belaying- and rigging plans. and Also a second hand book of the Alex would be of advantage for detailed pictures.
for the frames I would use those of the Gorch Fock (simular hull shape) except for the super structures
Nils
-
lovely work Keith,
very nice planking progress
Nils
- Keith Black, mtaylor, KeithAug and 2 others
-
5
-
-
Thank you very much Peter,
and for your kind words
I`m pleased that the Gorch Fock has inspired you to do the model
Nils
-
Uwe,
many thanks for your input and your words
Relating to the lightscreens I asume that during its duty the ship was updated acc. to Colregs, and after Roels comment I looked up the color of the sheets (photos) on the real thing, it looks like they are realy matt black, and the ship was on duty and on position until 1988.
for me it was always clear that the lightscreens would be red /green because I thought the color would increase the illumination of the nav. lights, also I never heard of the Colregs regulations before. Now my decision is to go for matt black.
Nils
-
very nice progress Jond,
I like your project
Nils
-
Roel,
Many thanks for the explaination of the appropriate Colregs chapter.
I`m looking for my little can of Humbrol matt black already
Nils
- mtaylor, Jack12477, Glen McGuire and 1 other
-
4
-
Thank you very much Roel,
I never heard of "Colreg regulations) before, . Good to learn something further and especialy with resp. to Nav .lights housng dull black backround. Good to learn something new for my modeling. You`re right, at this stage I can easily correct that.
I looked up Colreg regulations in Google and found a listing of these regulations, but unfortunately not the passage where it stipulates the matt black neccesity to nav. lights containment background.
Please could you kindly copy me that passage, if you found it there. Many thanks. I believe this is also of interest for fellow modelers as well.
Nils
- Canute, Glen McGuire, Jack12477 and 1 other
-
4
-
-
Update
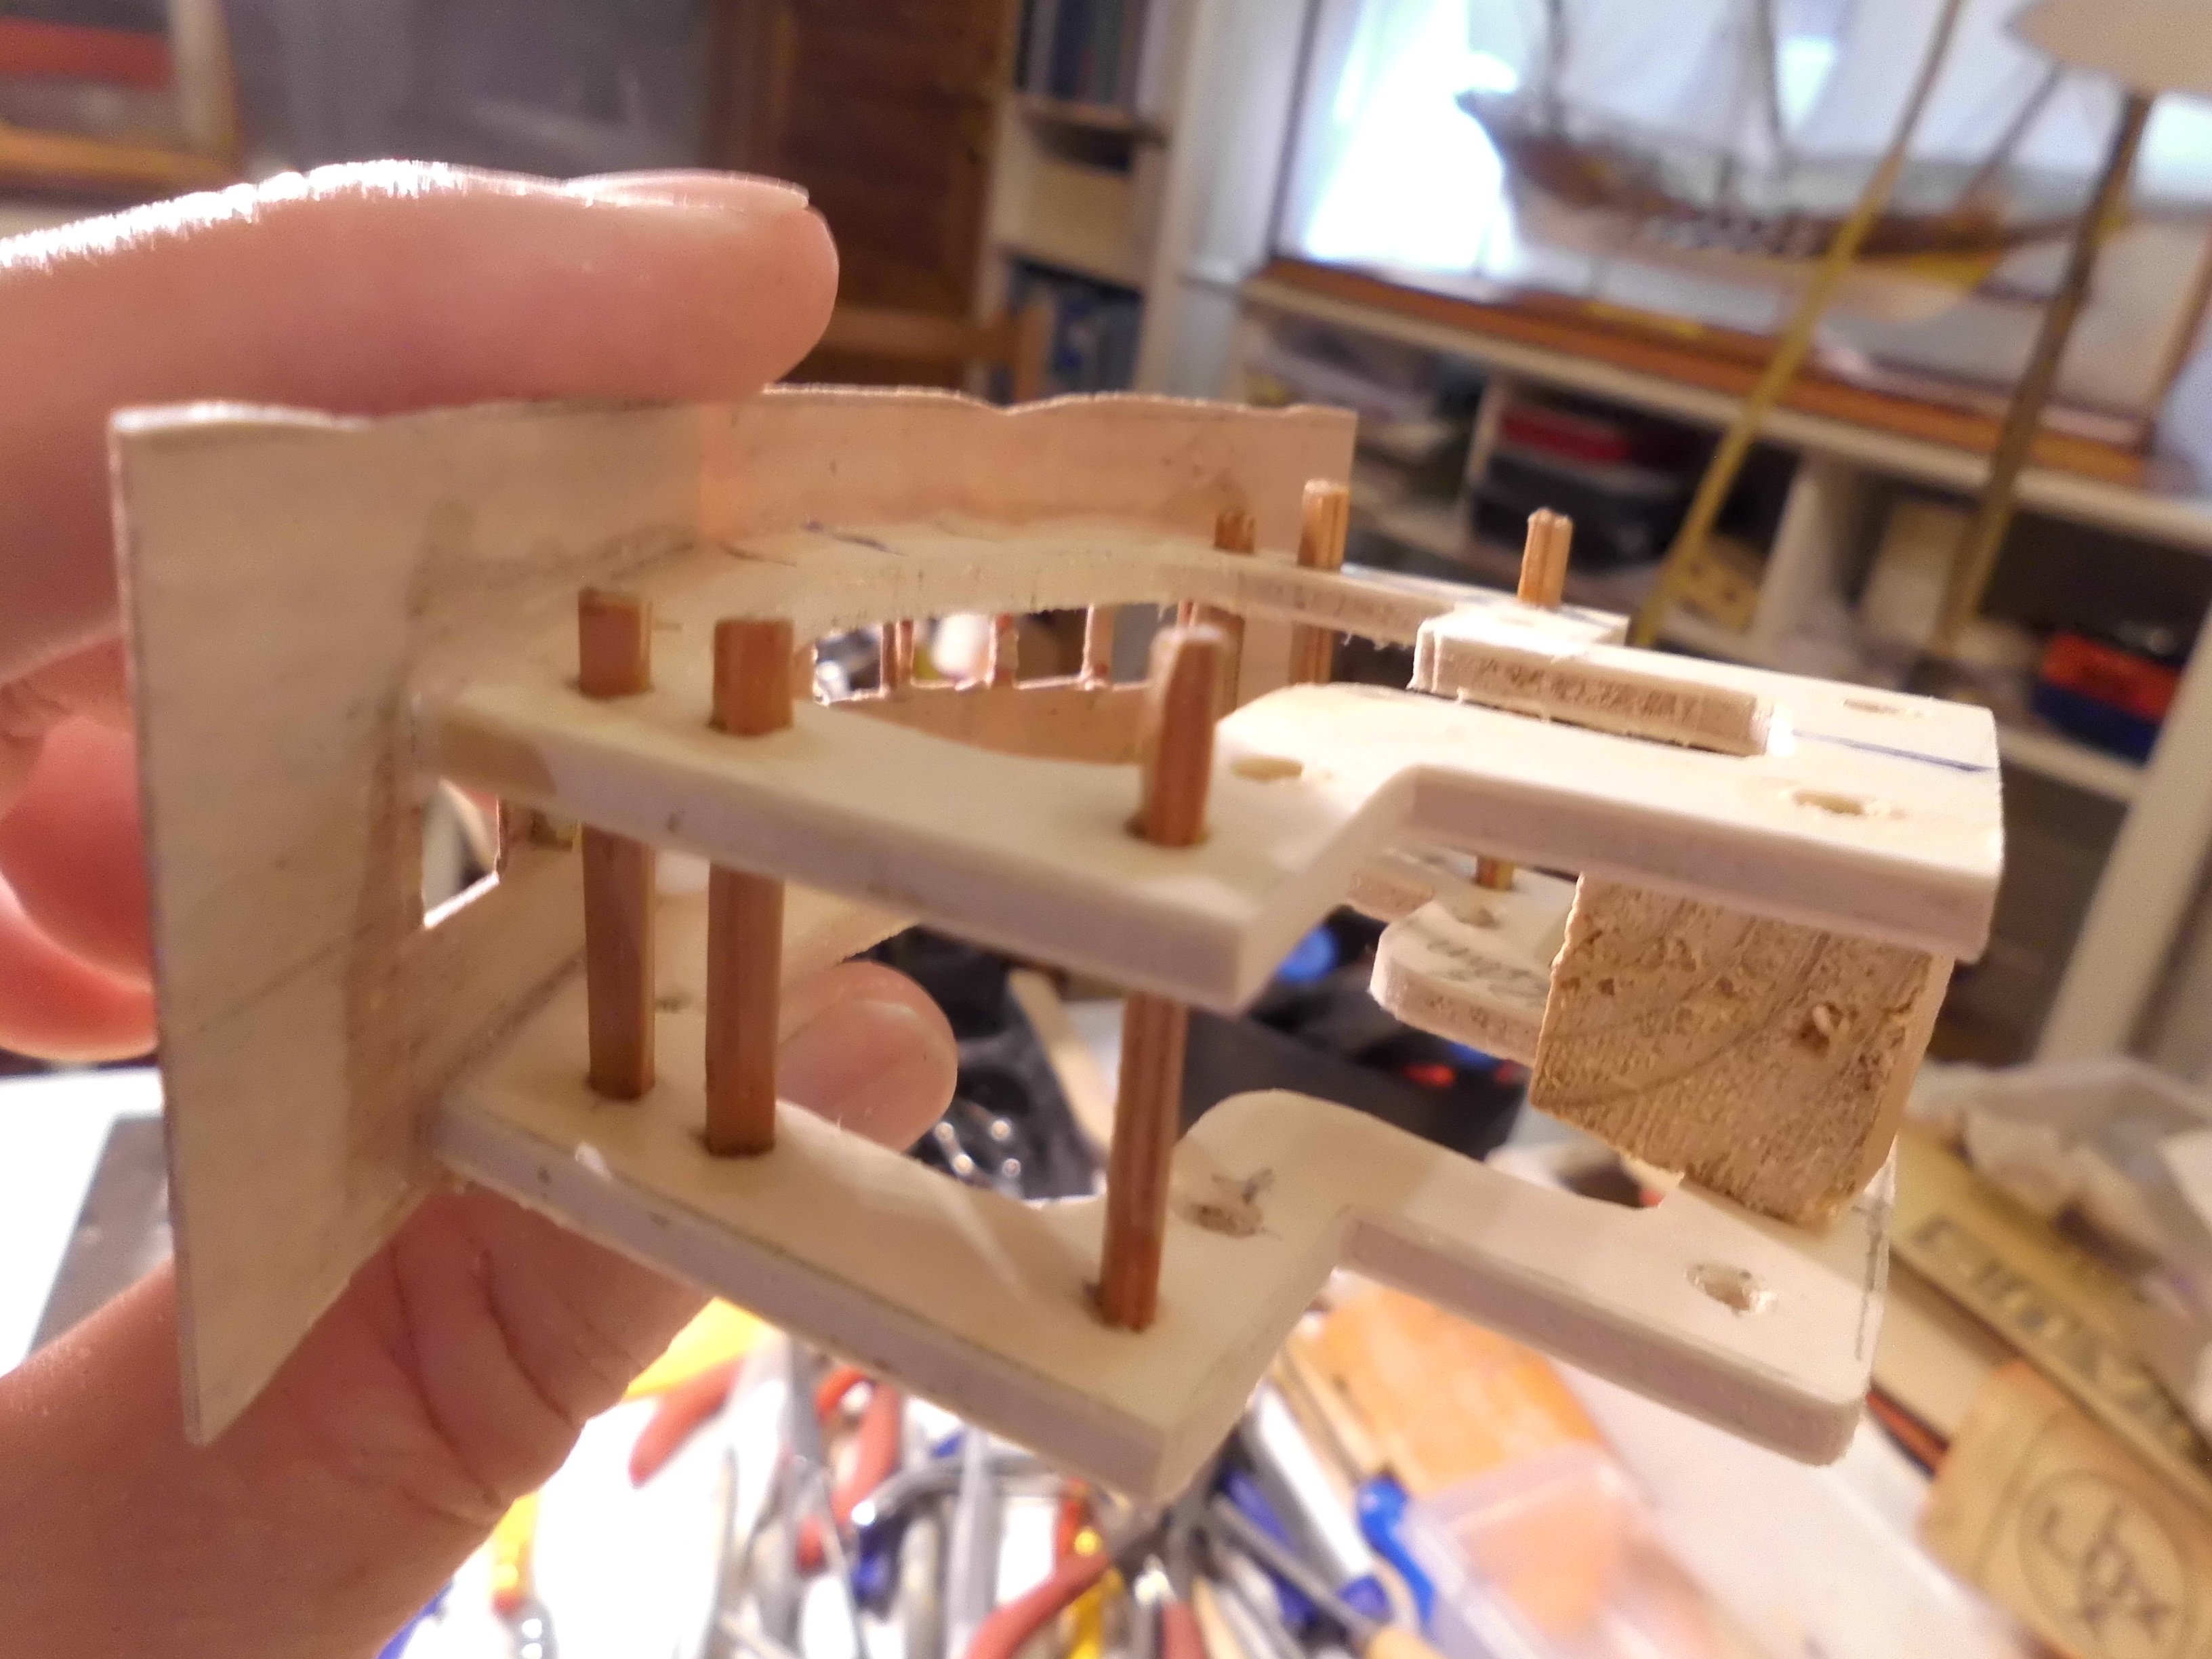
this sequence is dedicated to the build of the wheelhouse, nav- and controlroom. Also the planked deck for the "monkey platform" is ready for mounting. The nav. light containments will be integrated in to the wheelhouse railing panels
Nils

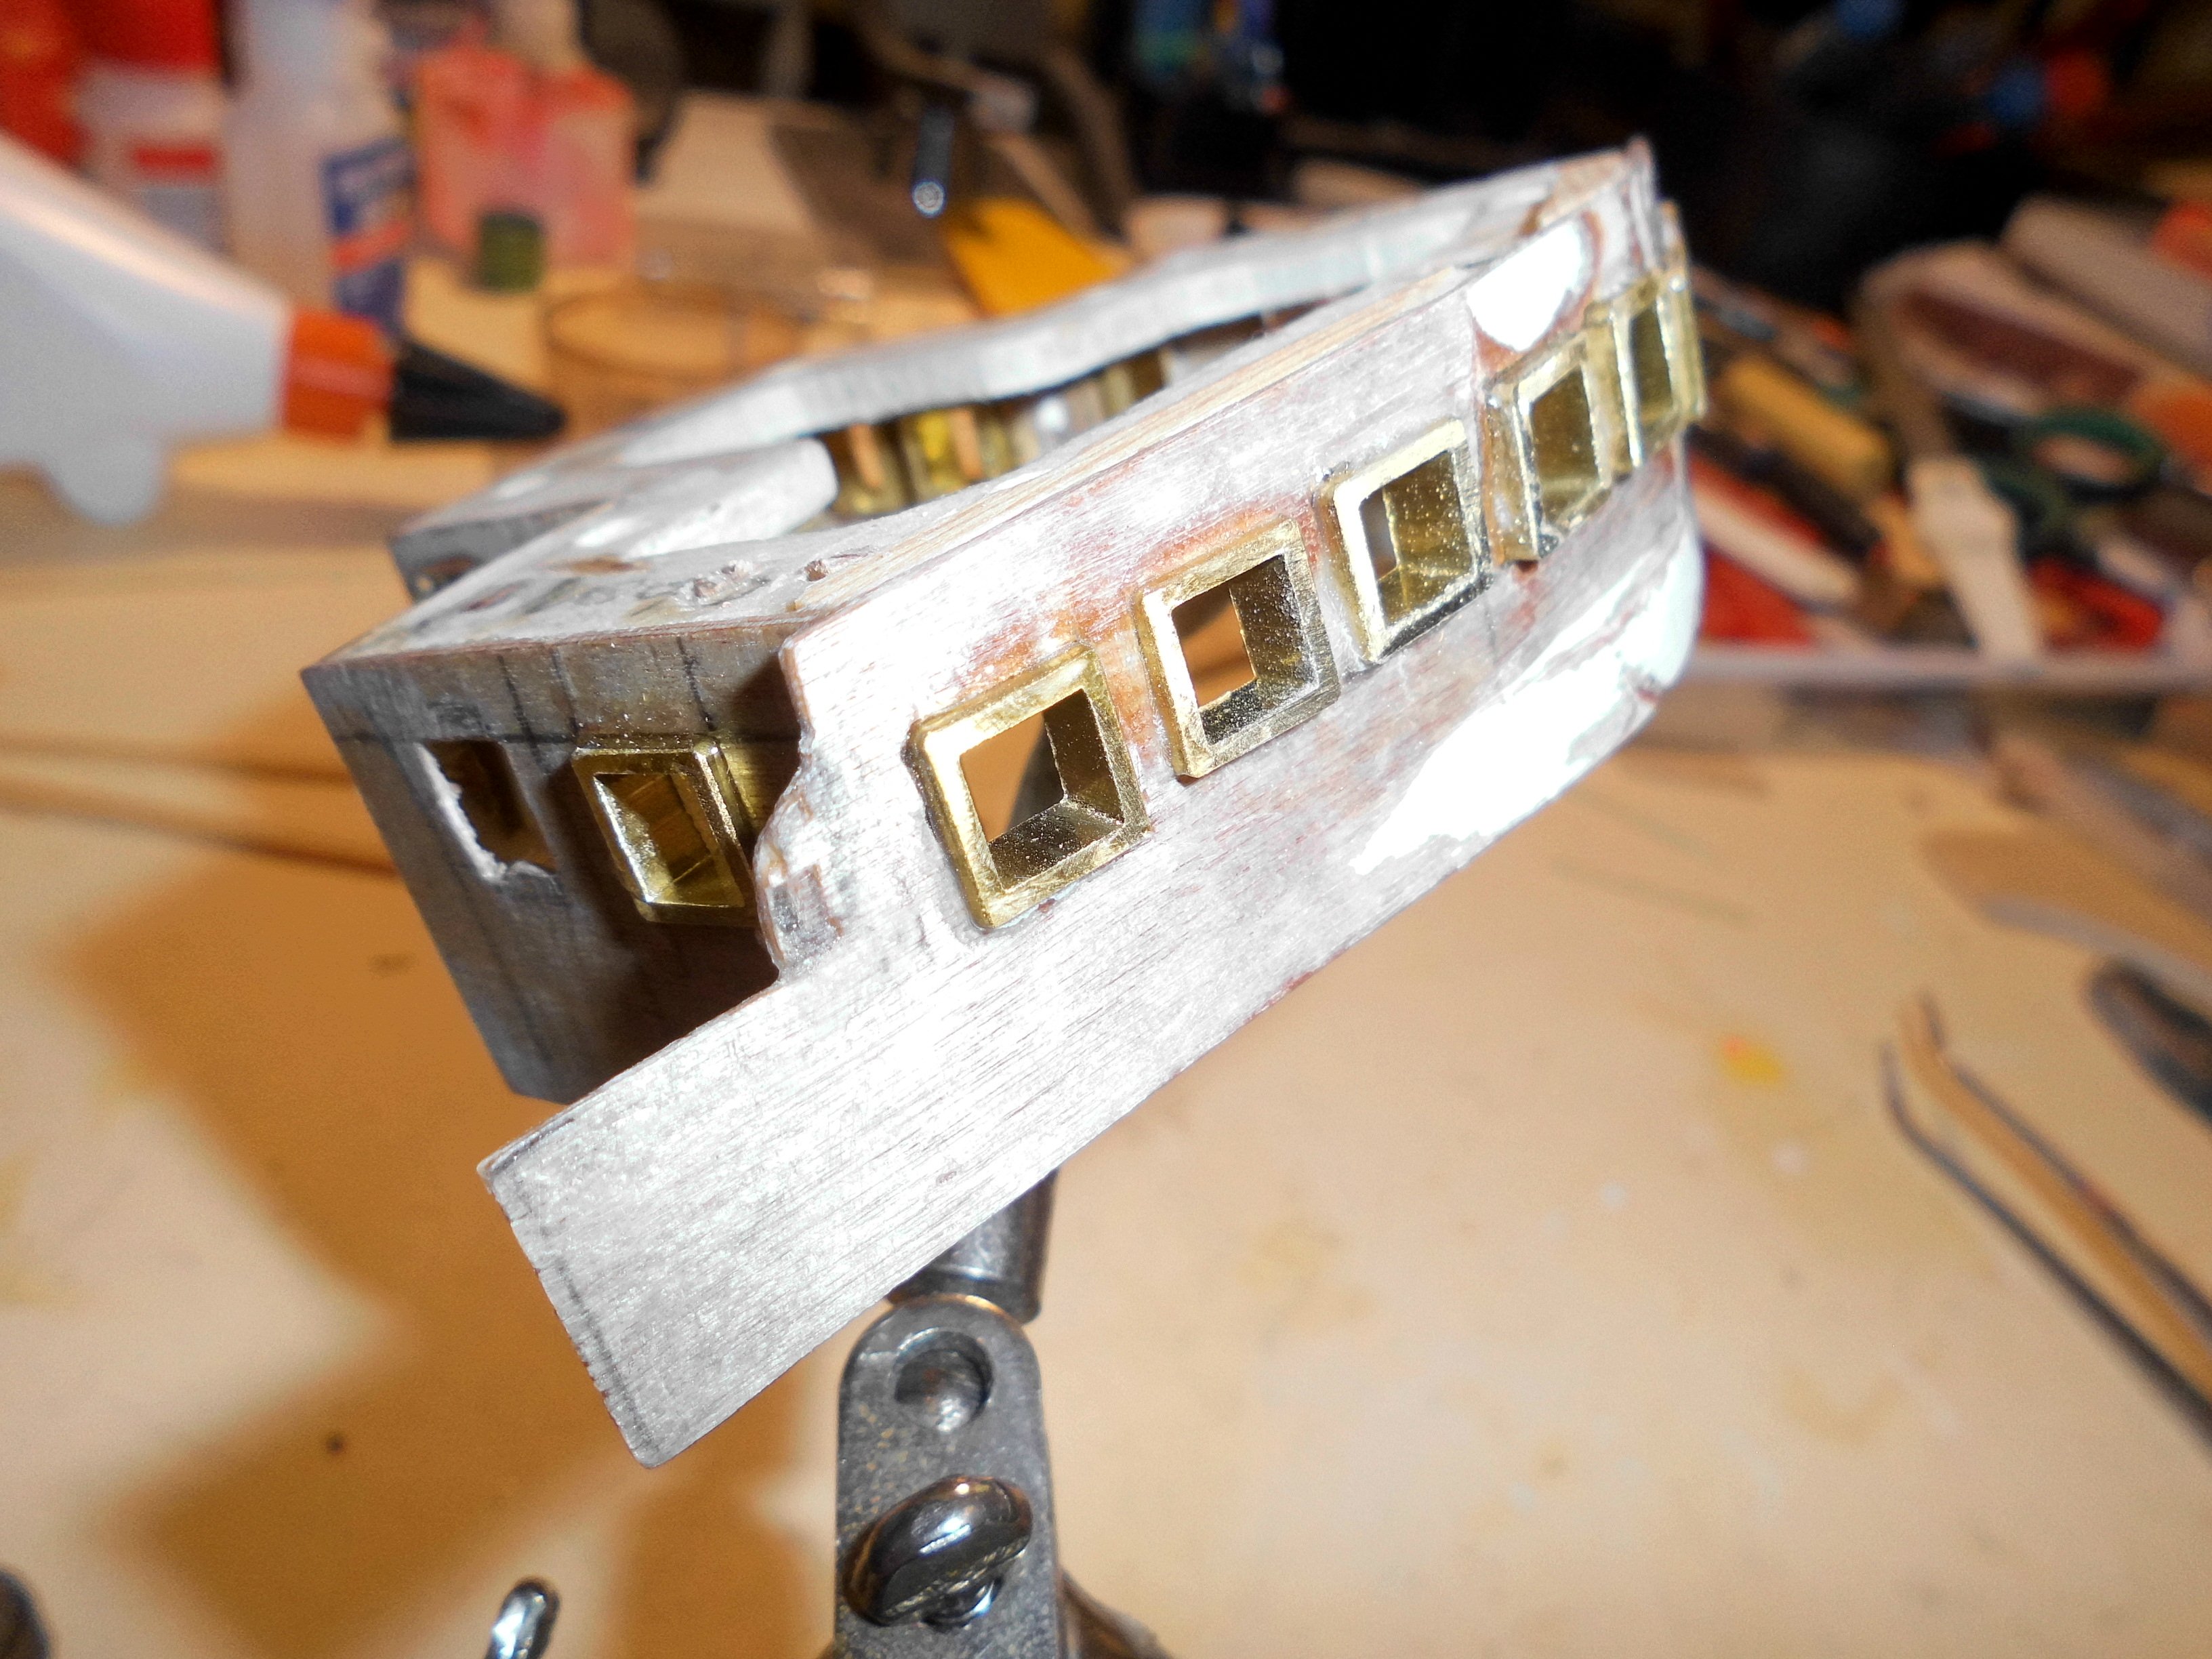
brass windowframes ( square-tube) are fitted in, tight fit

the wheelhouse walls are from 0,8mm ply mounted to the framework
section is painted and the monkey plattform deck has dryfit
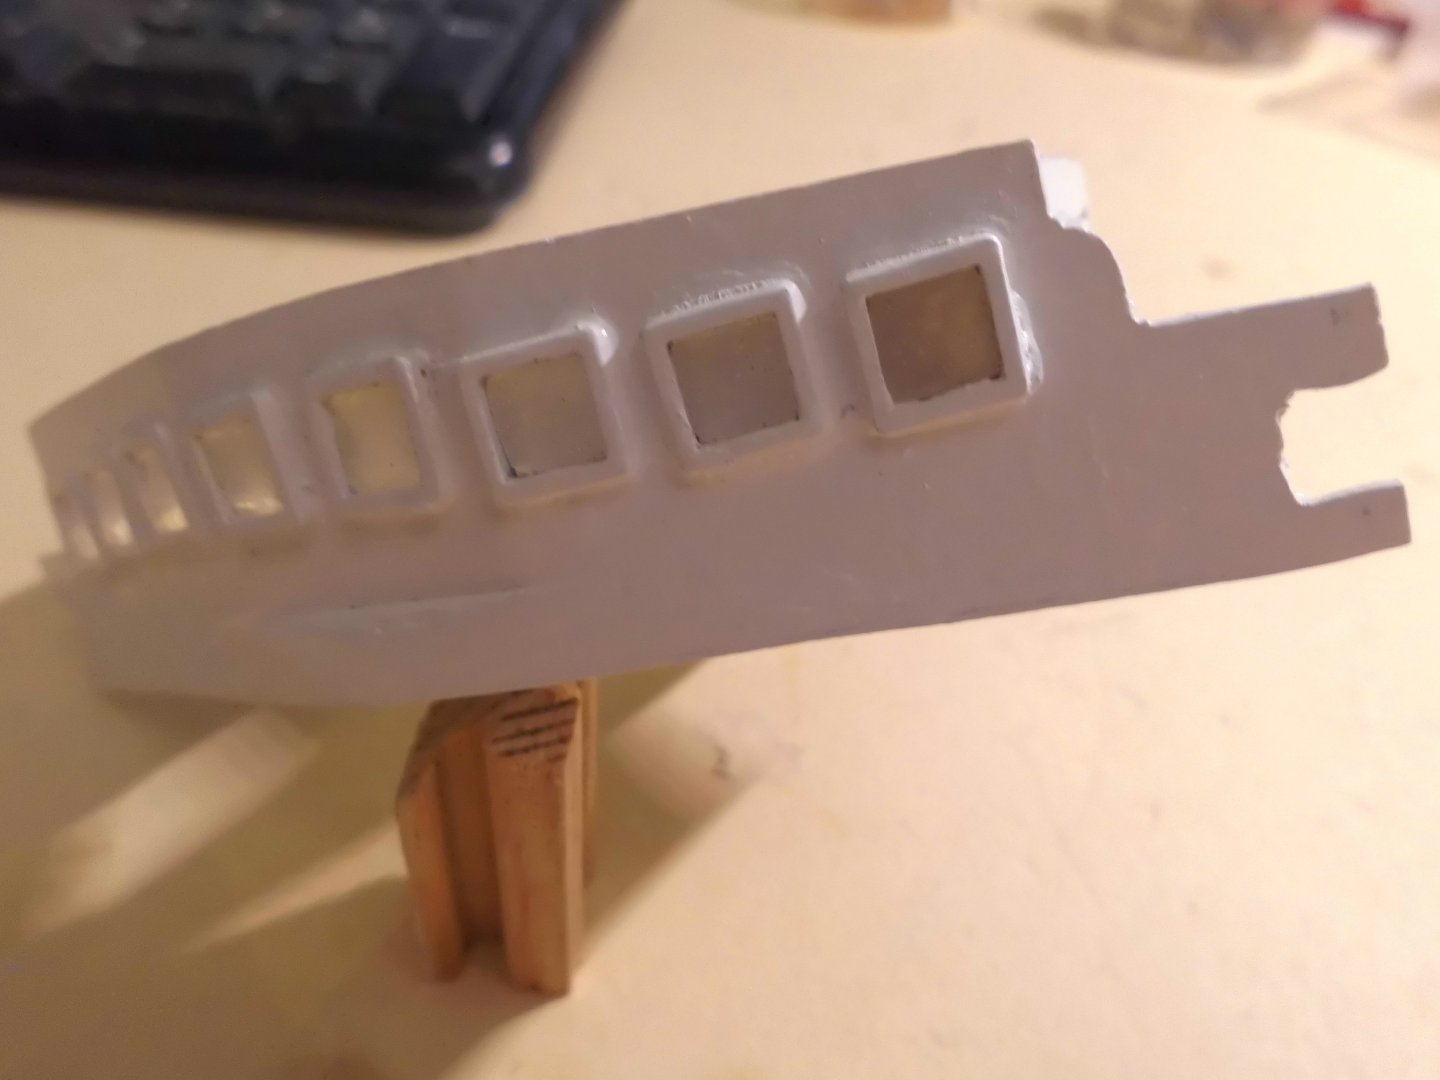
The "glassing" of 18 windows
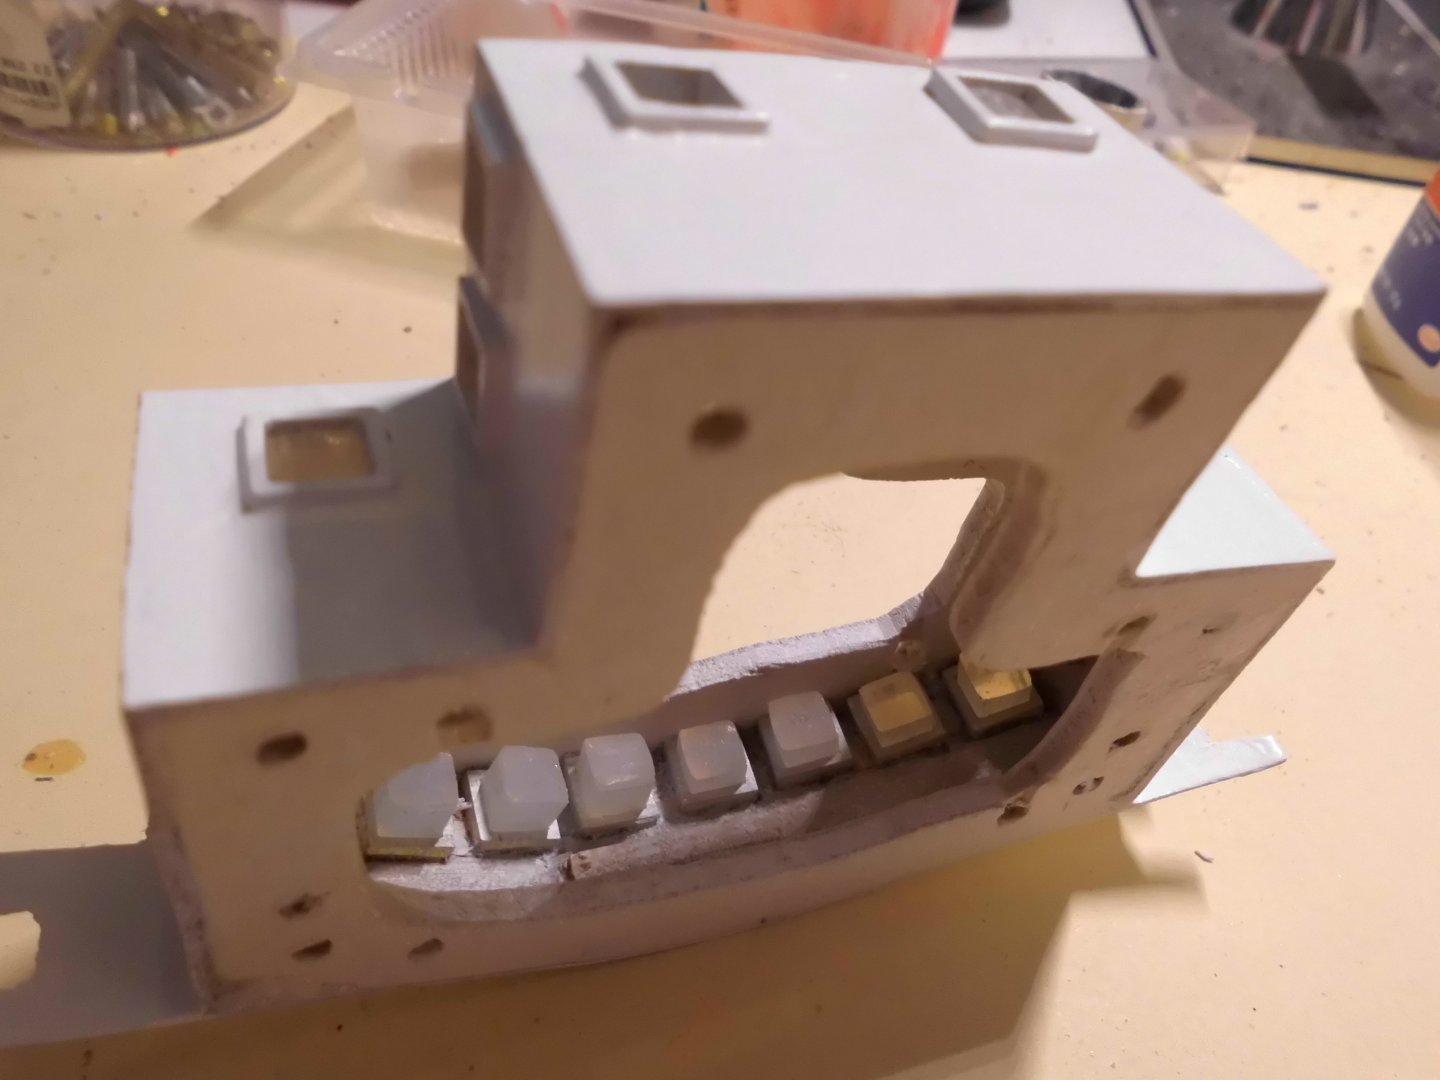
silicone glassing bits pressed in, tight fit into the window frames
the "monkey plattform" deck will be permanently glued on, when the wheelhouse section is screwed down to the boats deck
-
good progress Greg,
she`s looking great
Nils
- Greg Davis and Paul Le Wol
-
1
-
 1
1
-
Hi Sterlingclements,
beautiful and excellent built "America". I love the sights into the ship
Well done !!
Nils
-
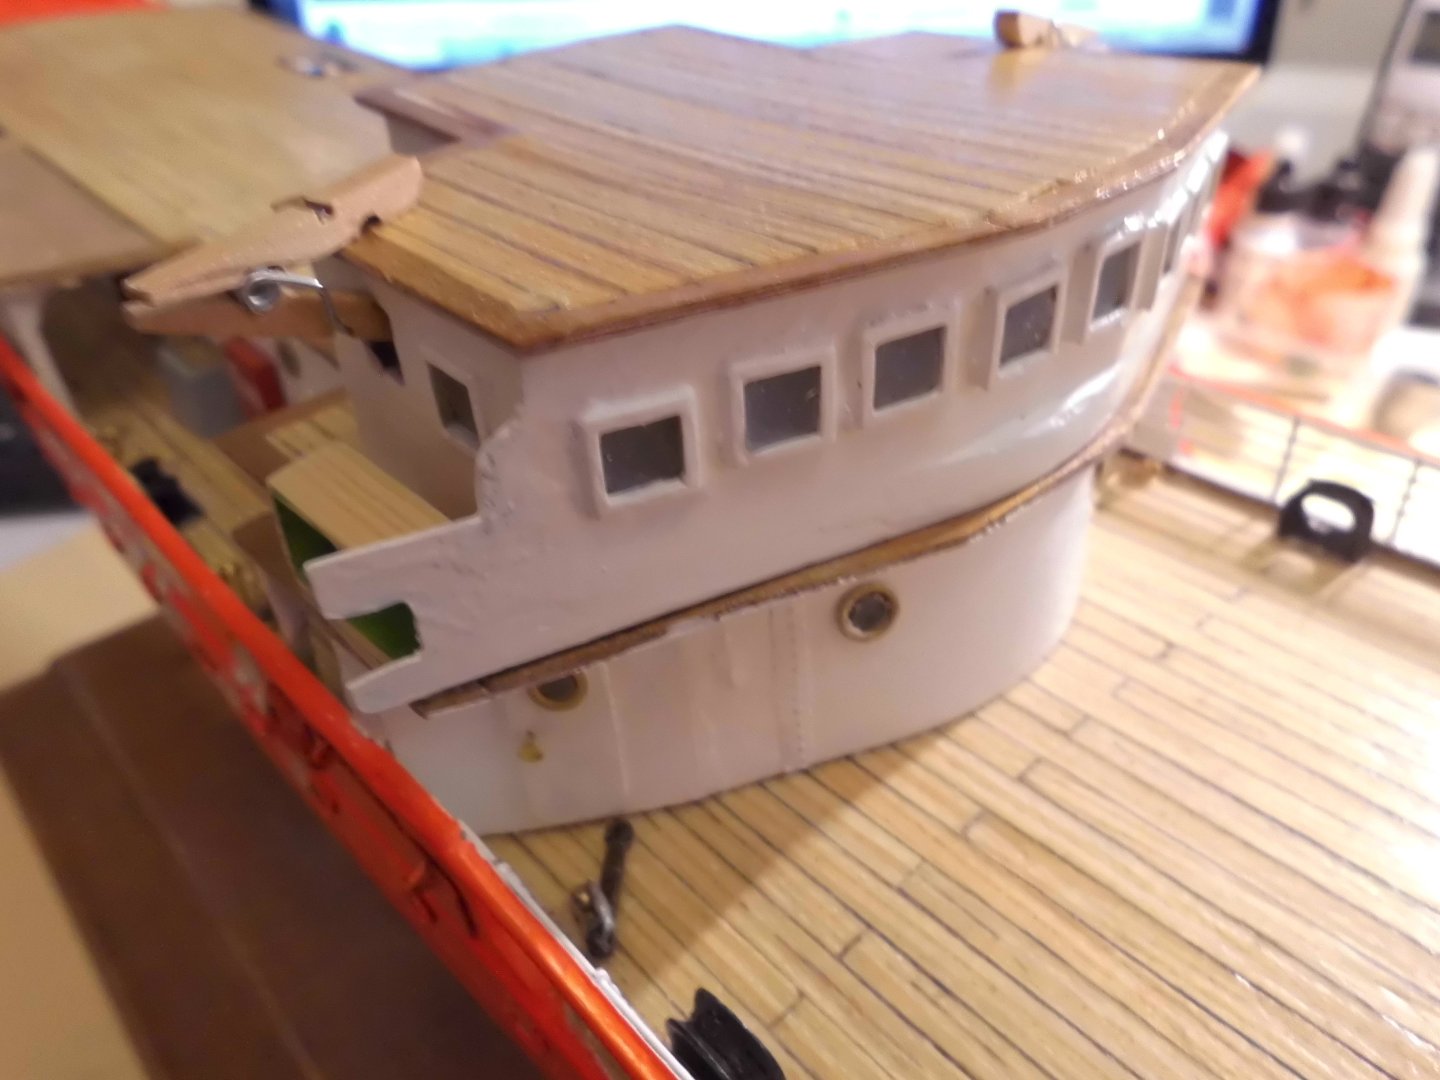
Hi Keith,
there is no particular reason, the reason is just, that I was looking for a way to do the window frames. Using squarebar tube it worked well with my Ergenstrasse, The brass squarebar is 1 mm thickness, in scale that would simulate the windowframe dimensions so here it goes again ......
for small scale ( etc 1:160) an alternative is to fix approriate slide guides on the inside of a window front and then slide in one an acrylic stripe that covers all windows simultainiously That is completely without any glue and a clean job. I used that version on my "Kaiser Wilhelm der Grosse" model
Nils
- FriedClams, mtaylor, Jack12477 and 2 others
-
5
-
Veszett,
The brass square tube was easy to get, but it looks that my supplier for 6 x 6 mm silicone rod has run out of stocked material. Fortunately I still have enough left from my Ergenstrasse.
The other flat sides with theire window outcuts will be easier to make
Nils

- FriedClams, GrandpaPhil, mtaylor and 3 others
-
6
-
thank you very much John,
I`ll take off the wheelhouse now (screws) and do the remaining sides. The six preliminary pillars of the frame will stay in place until the sides are all closed and then cut away.
Nils
- FriedClams, Canute and mtaylor
-
3
-
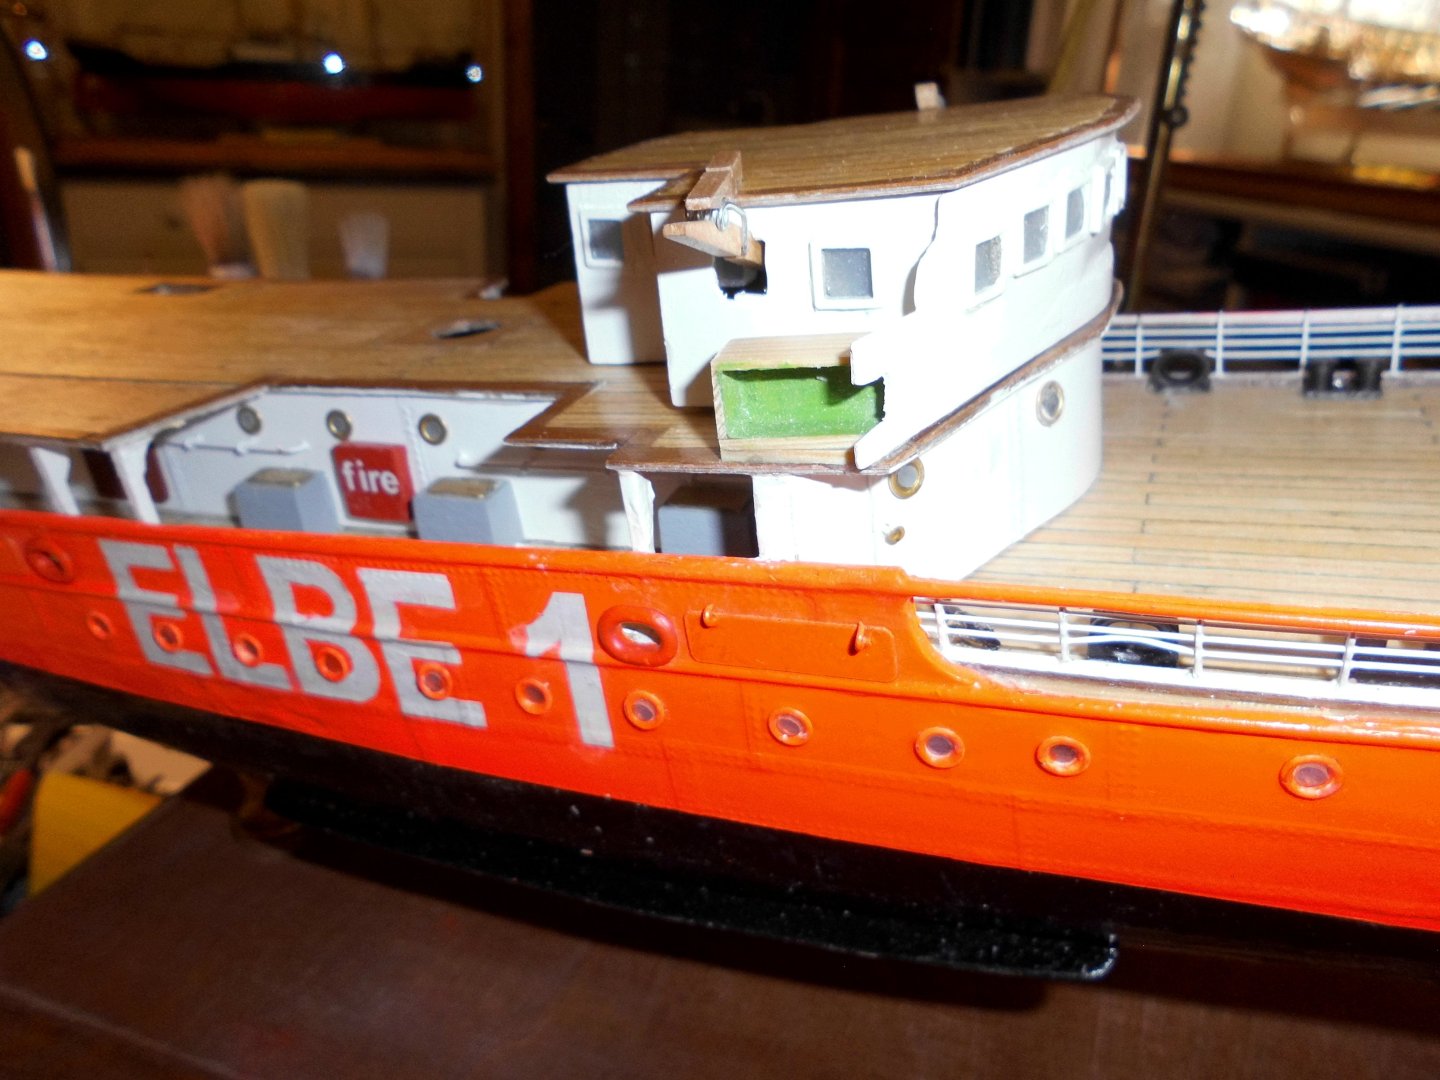
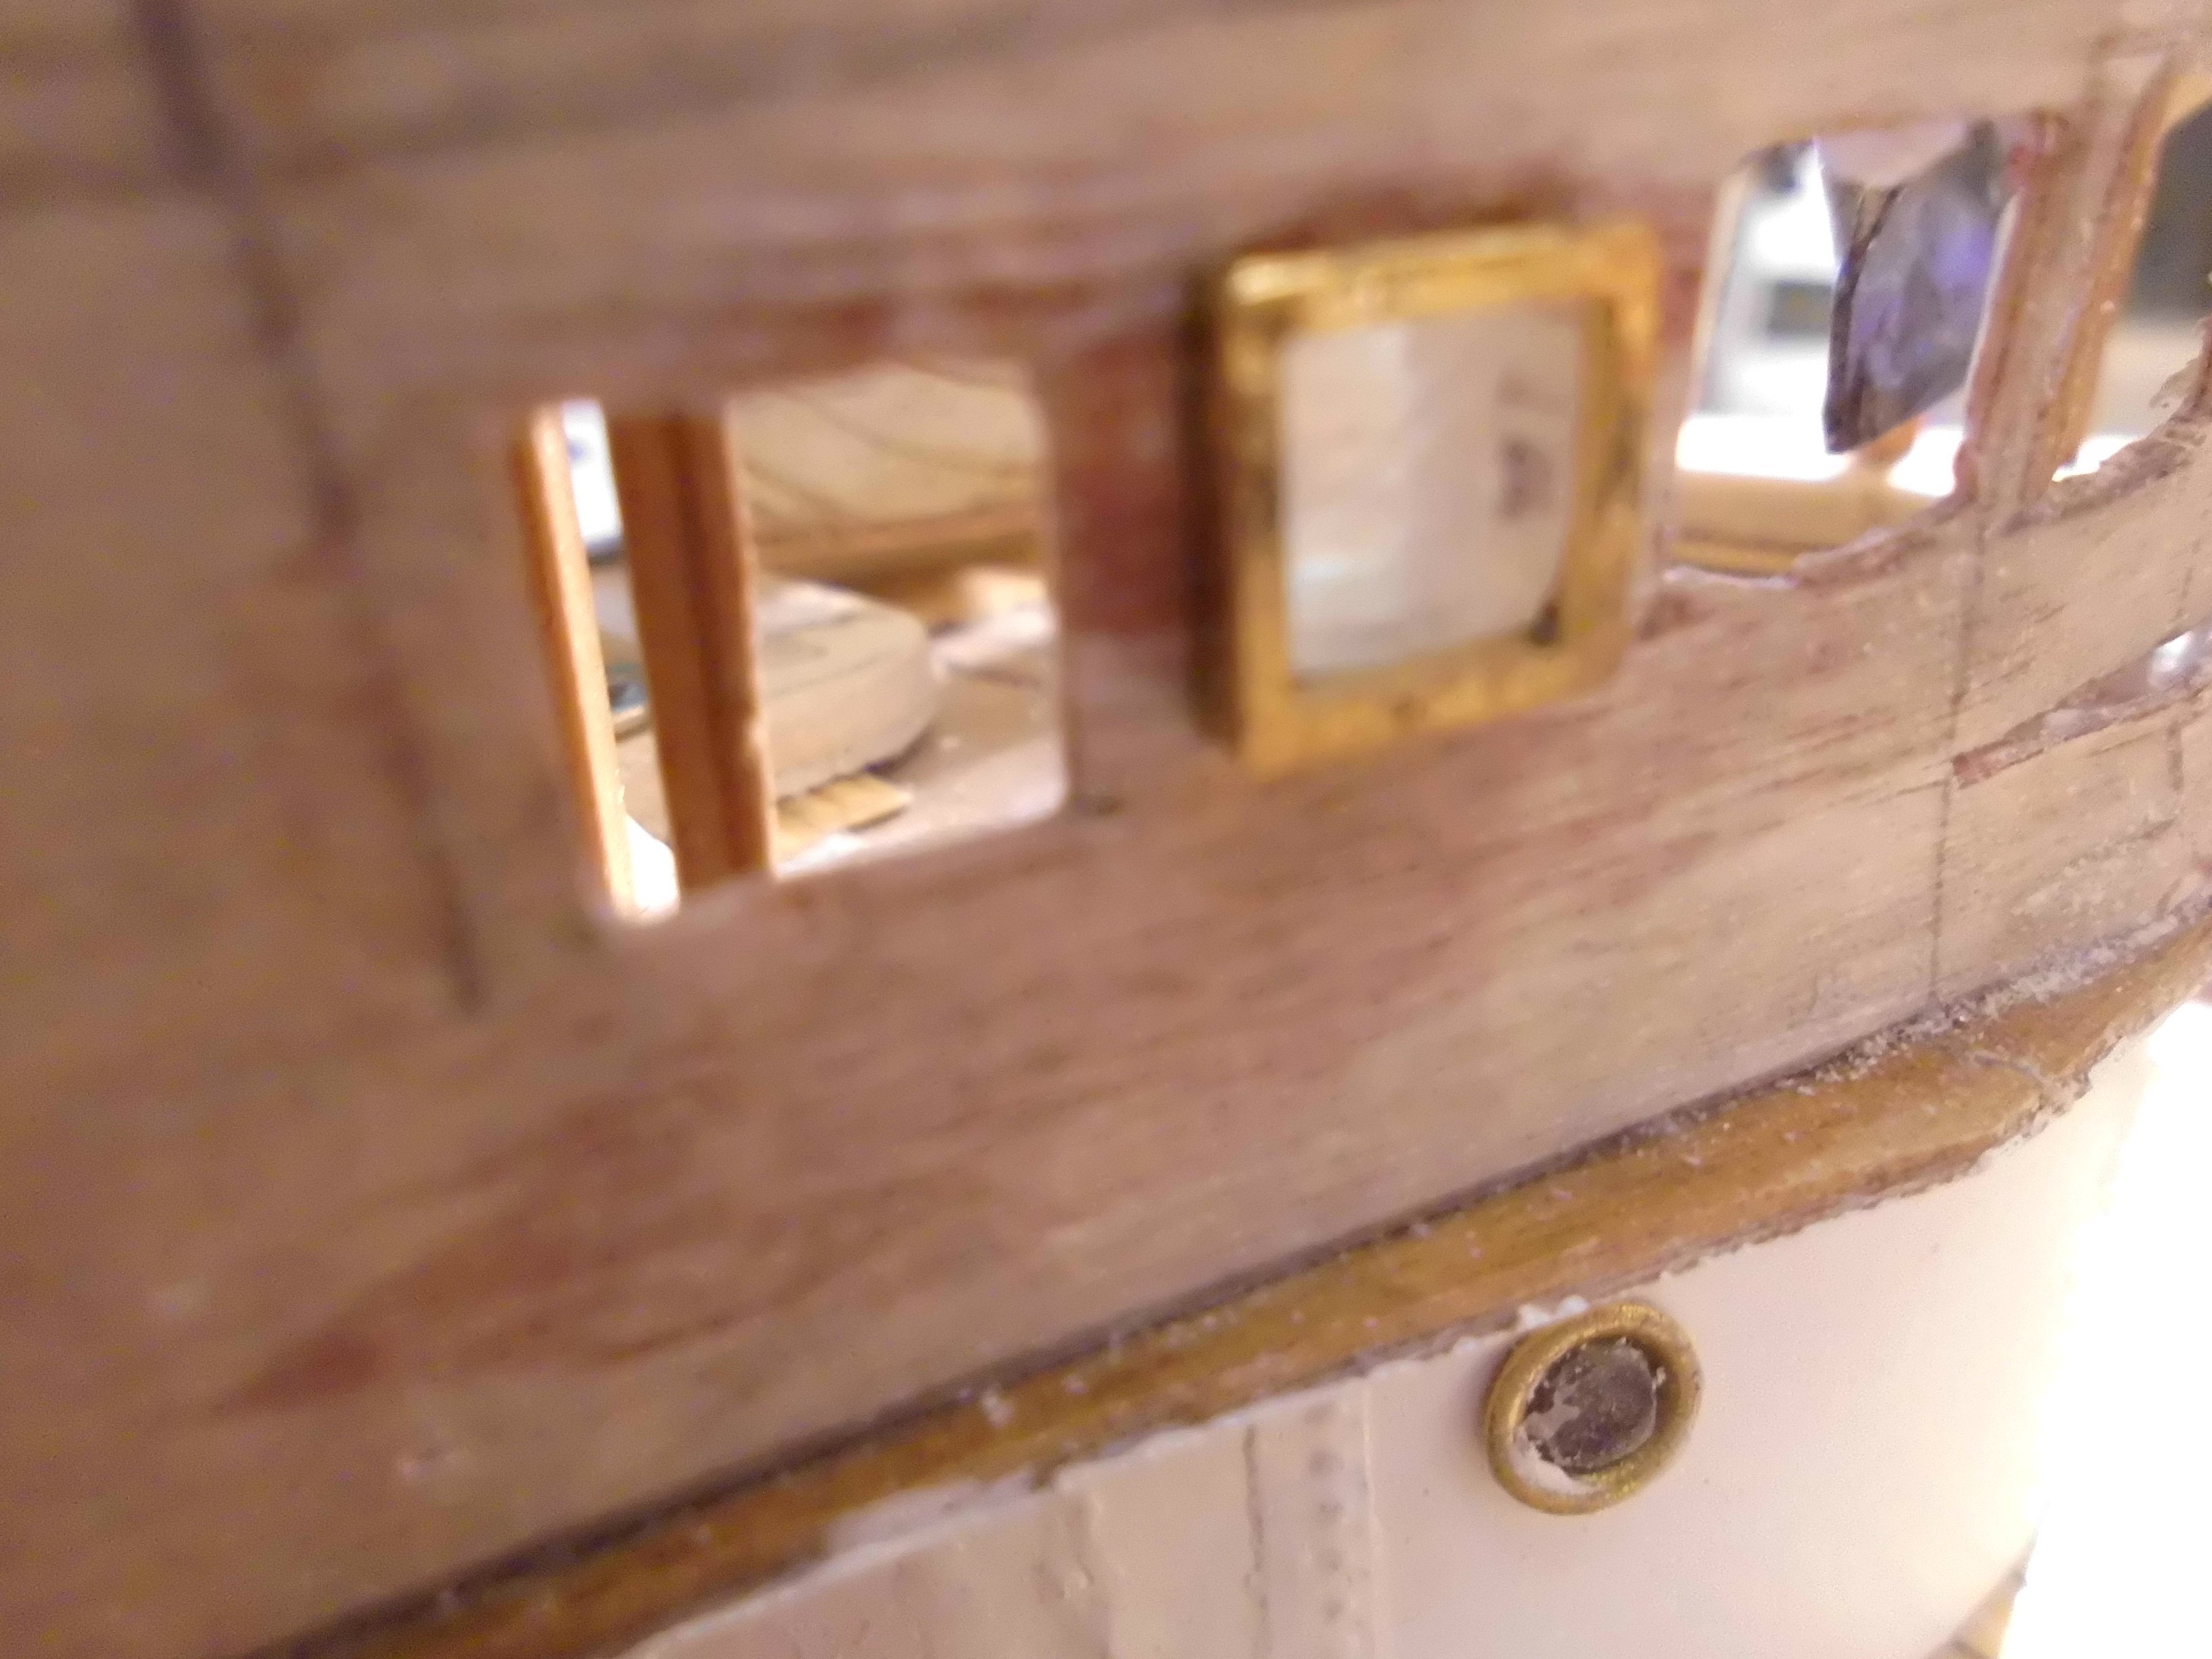
Hi Veszett,
I refrained from using flat transparent polysterol or food containment packages because its too messy with the glueing in, and CA leaves sometimes leaves a nasty stain.
I`m quite happy with the methode I described, also the silicone is translacent (semi transparent), so I need not worry what the inside of the appropriate superstructure looks like, I do`nt have to fit it out
Nils

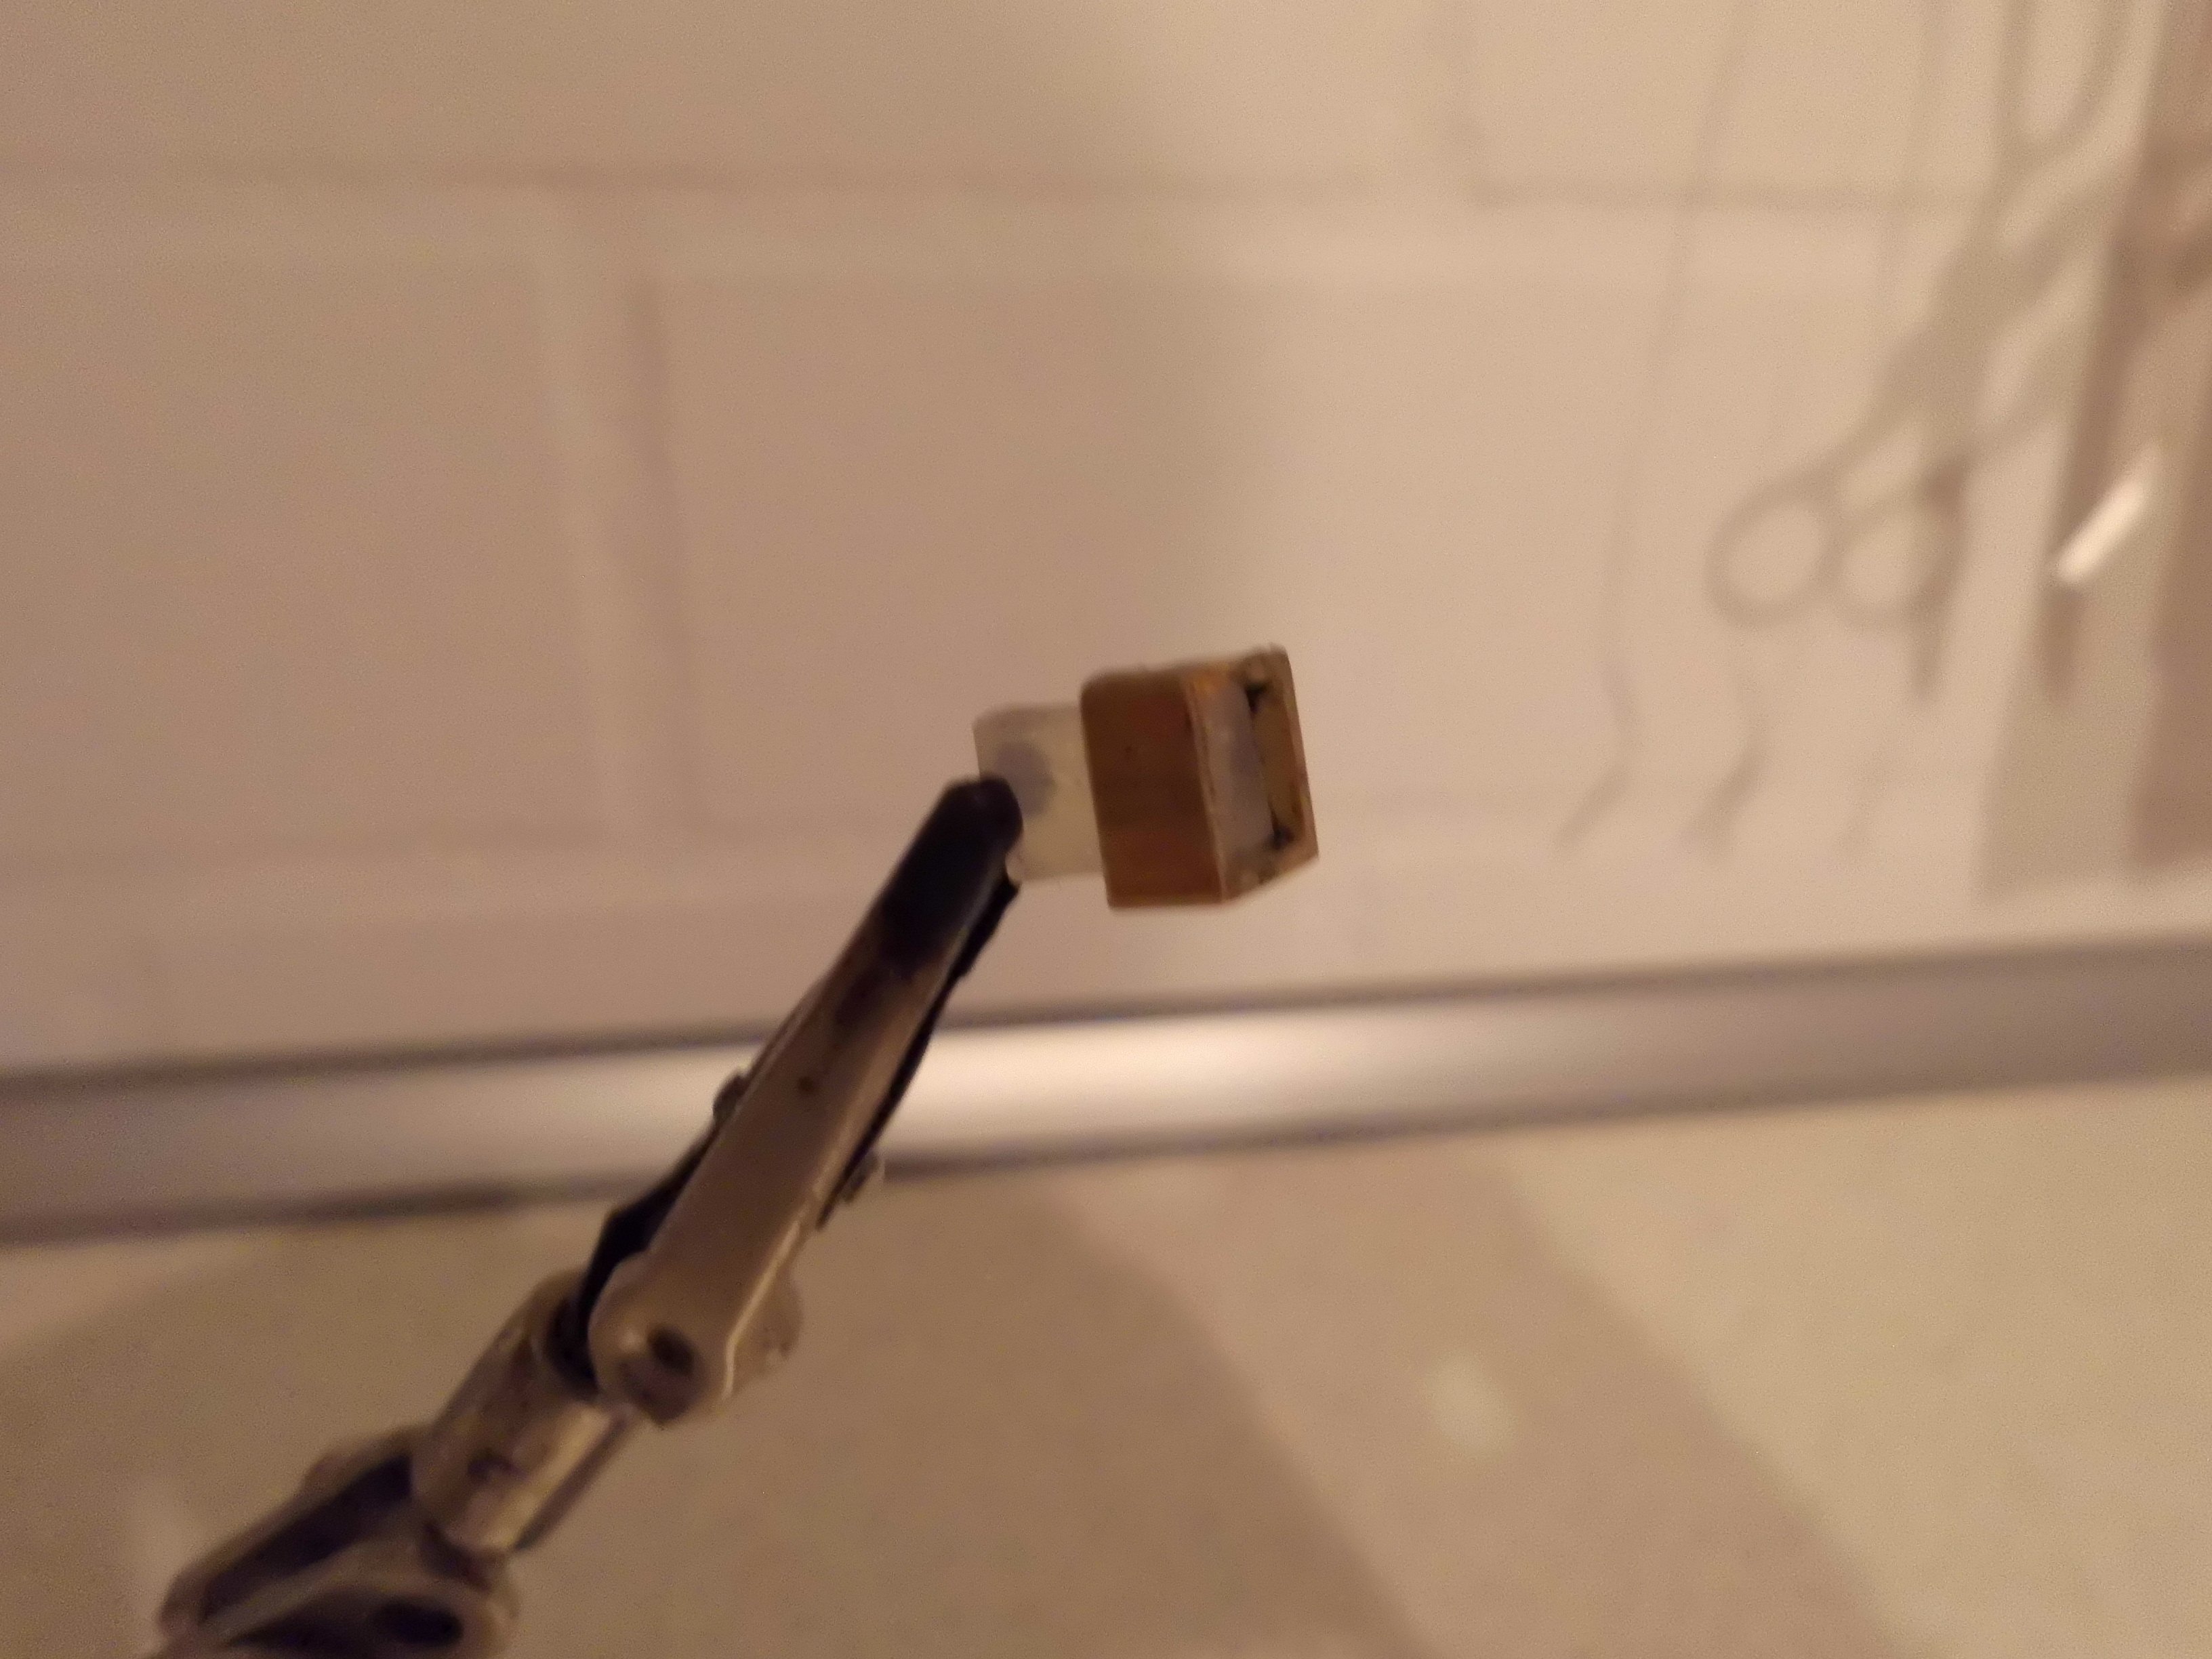
square silicone bar 6 x 6 inside a 8 x 8 square brass tube, sorry for the rather poor photo quality

mounted it would look like this (second from left window )
-
-
Rudder chain device is great Valeriy,
obviously it was not hyraulic operated yet
Nils
- Valeriy V, FriedClams, Keith Black and 3 others
-
6

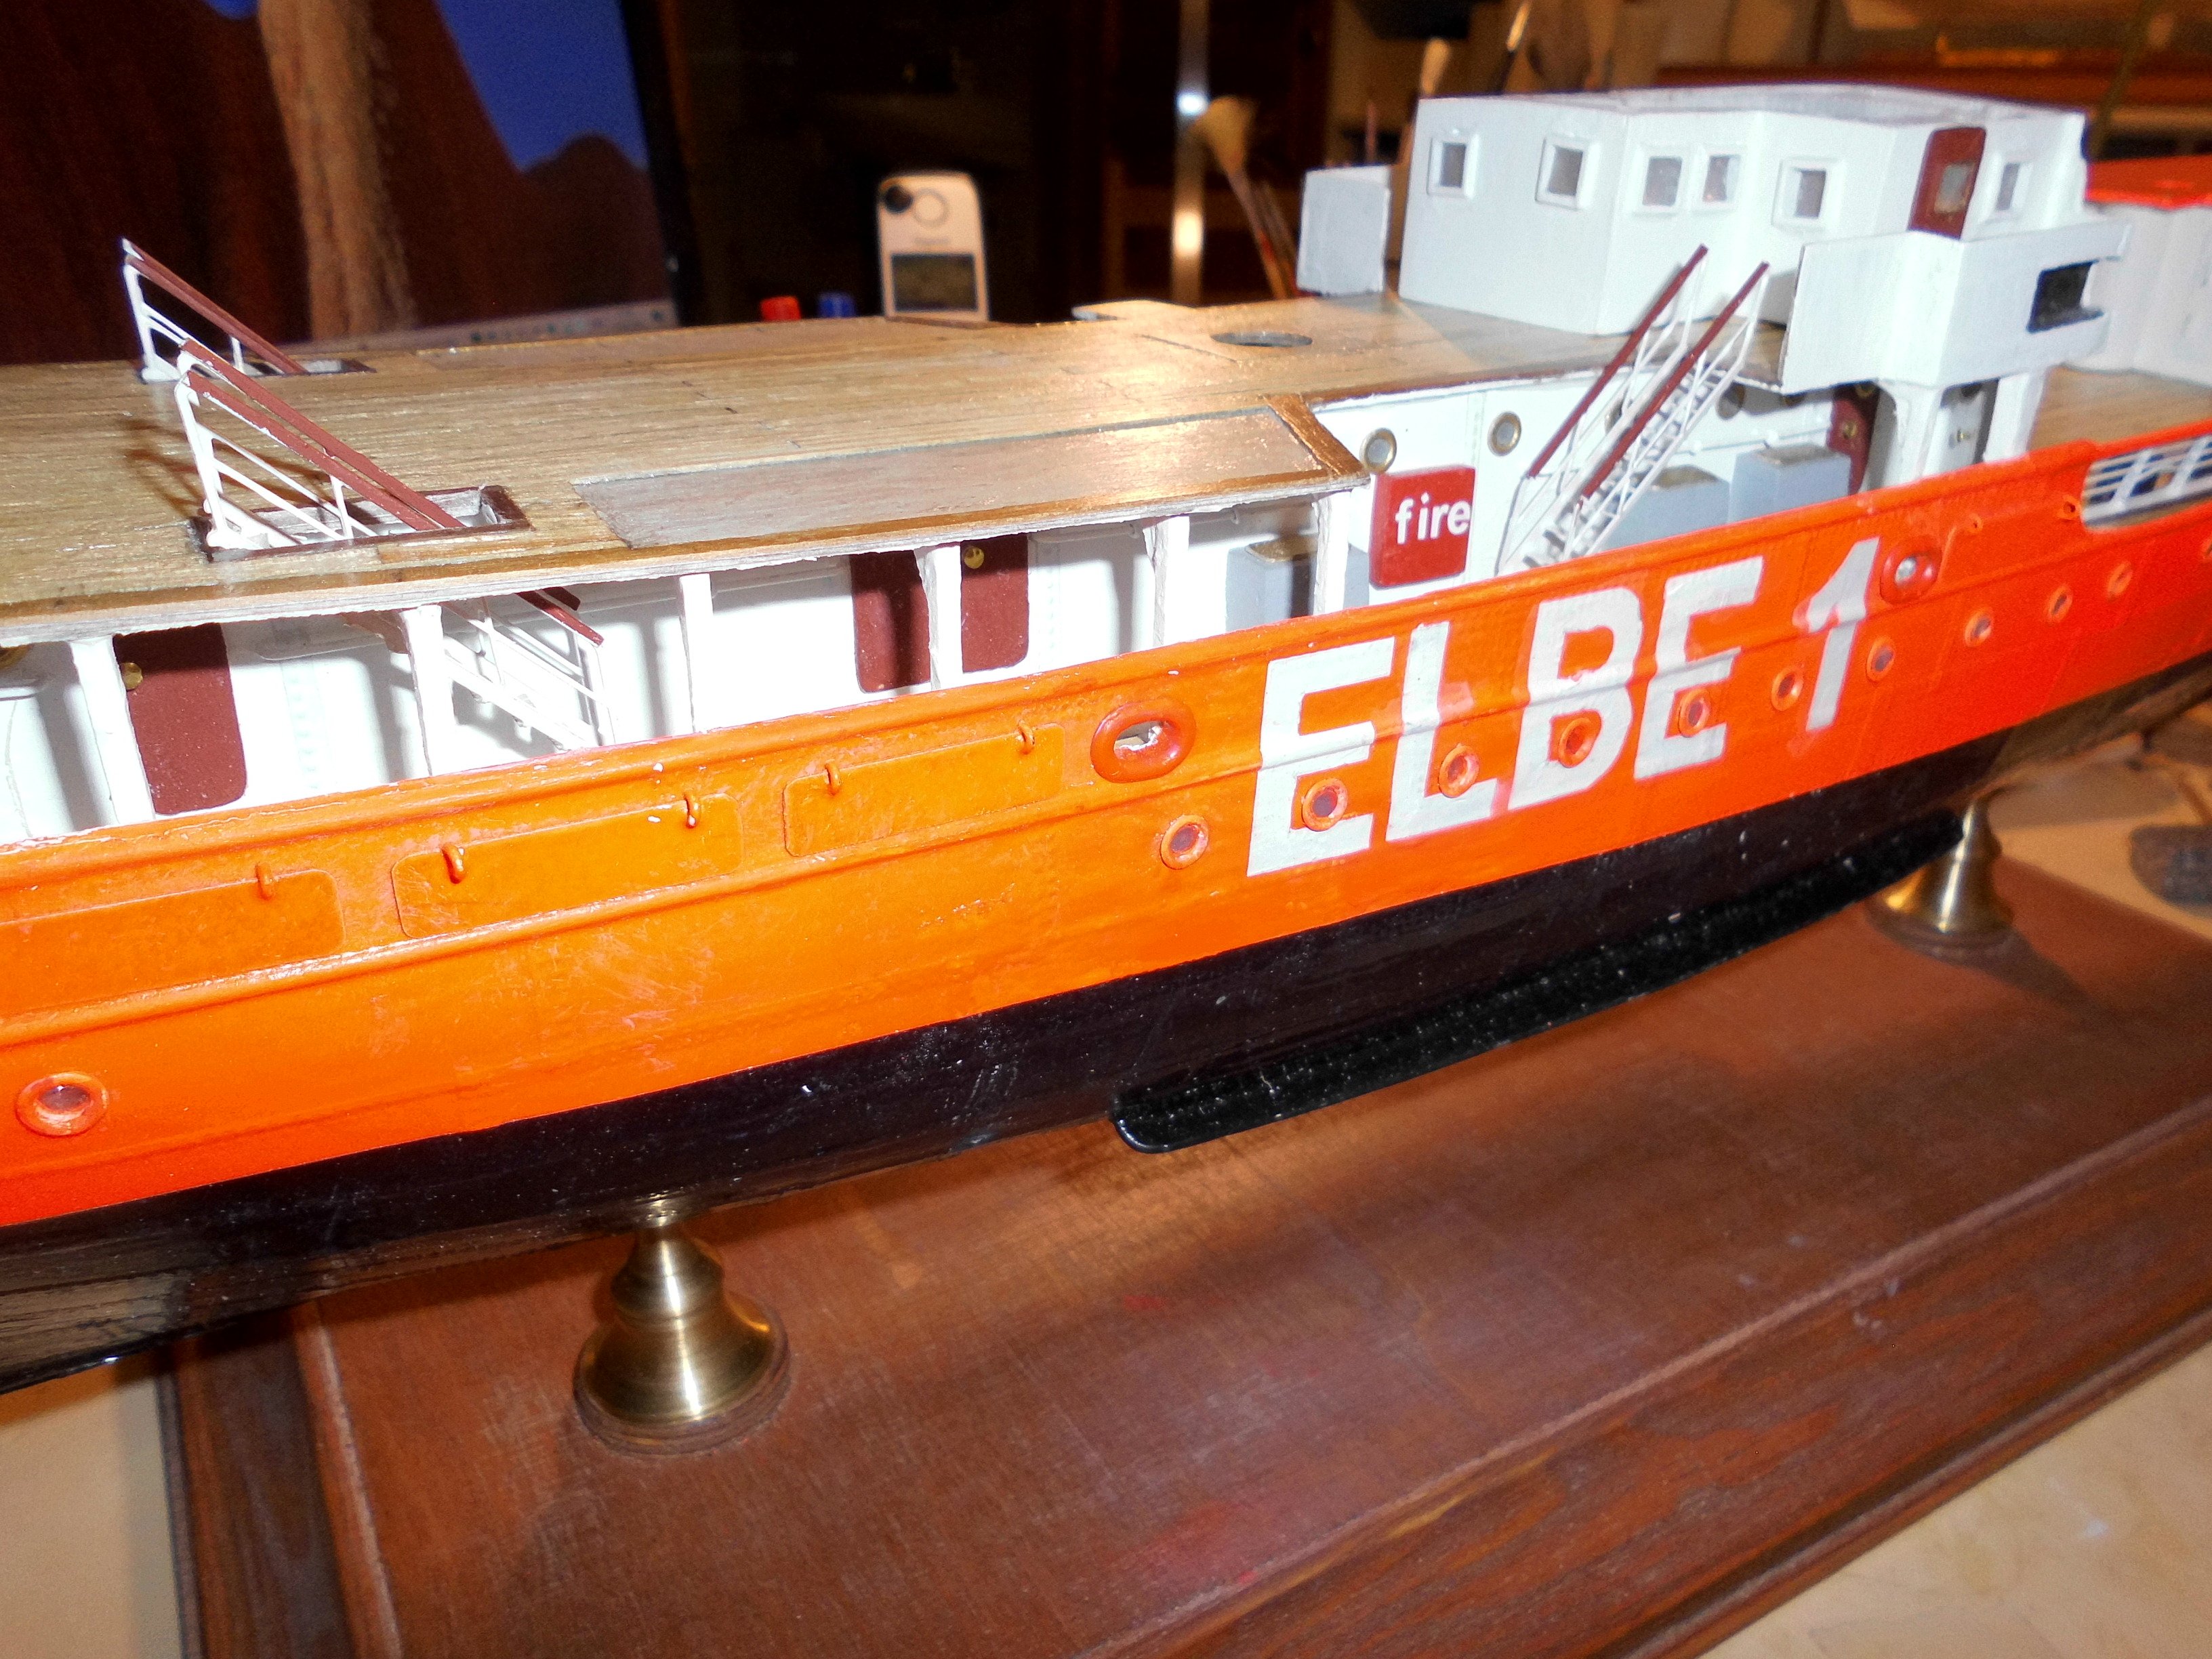
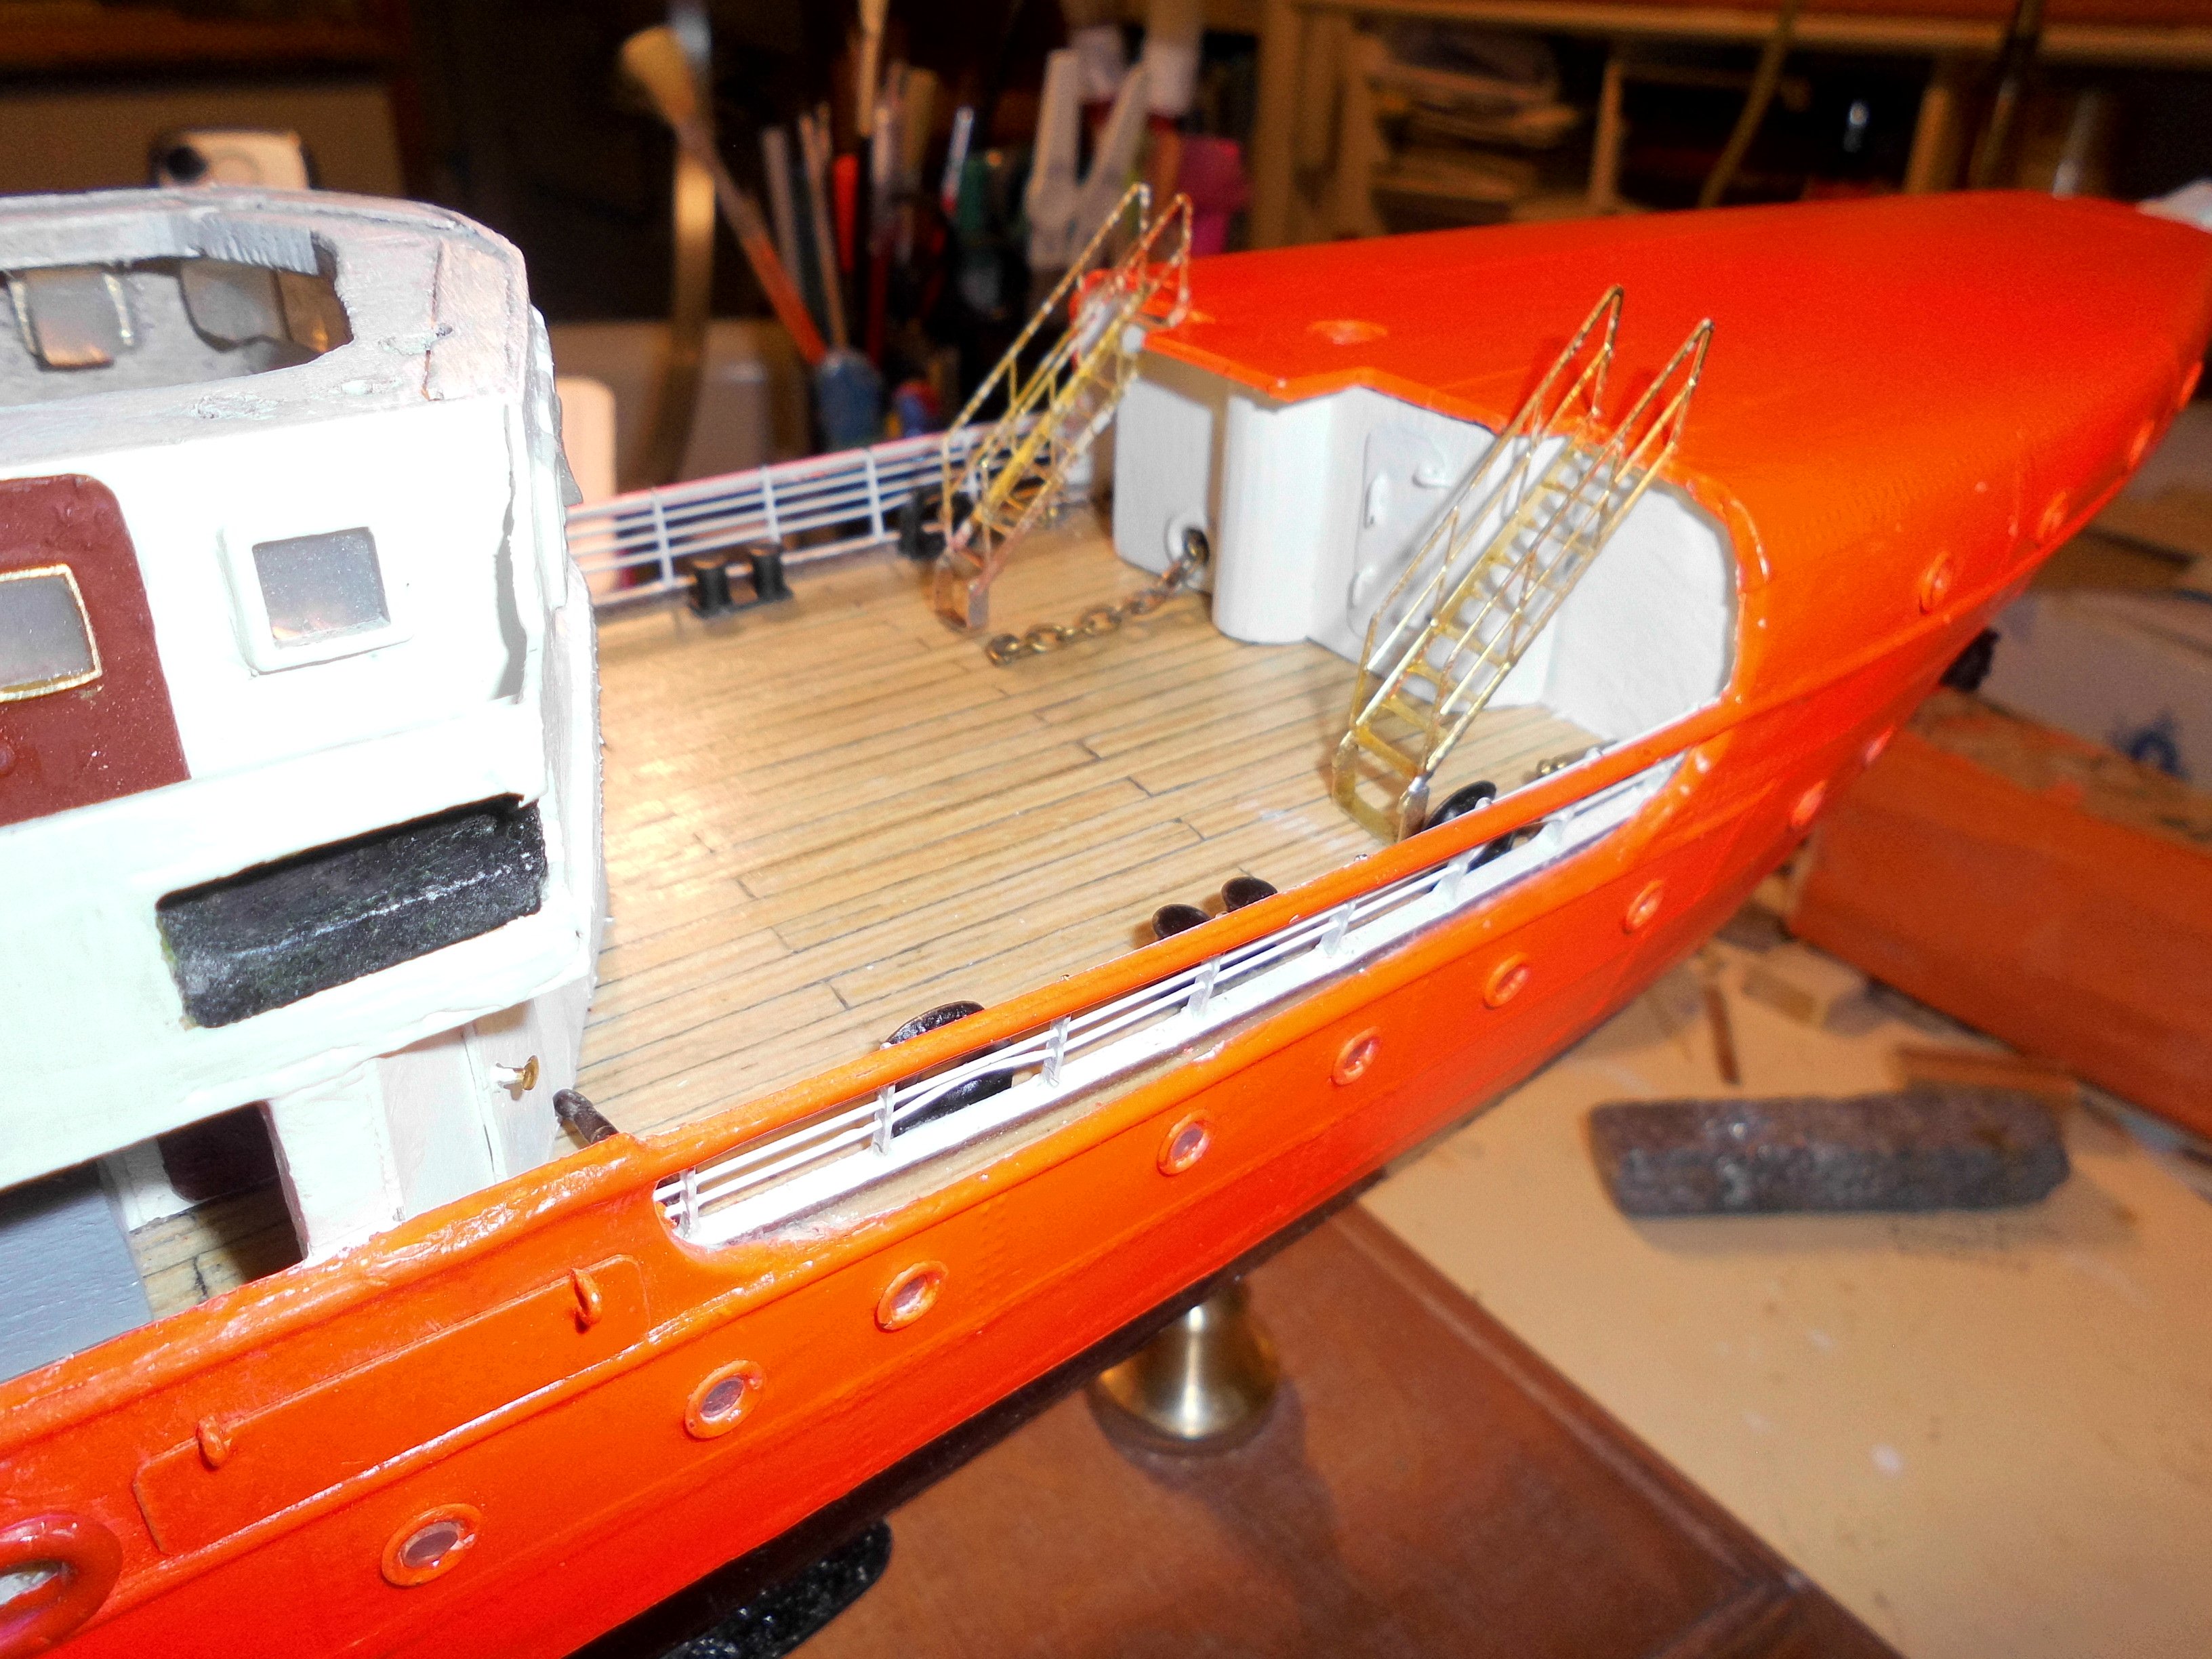
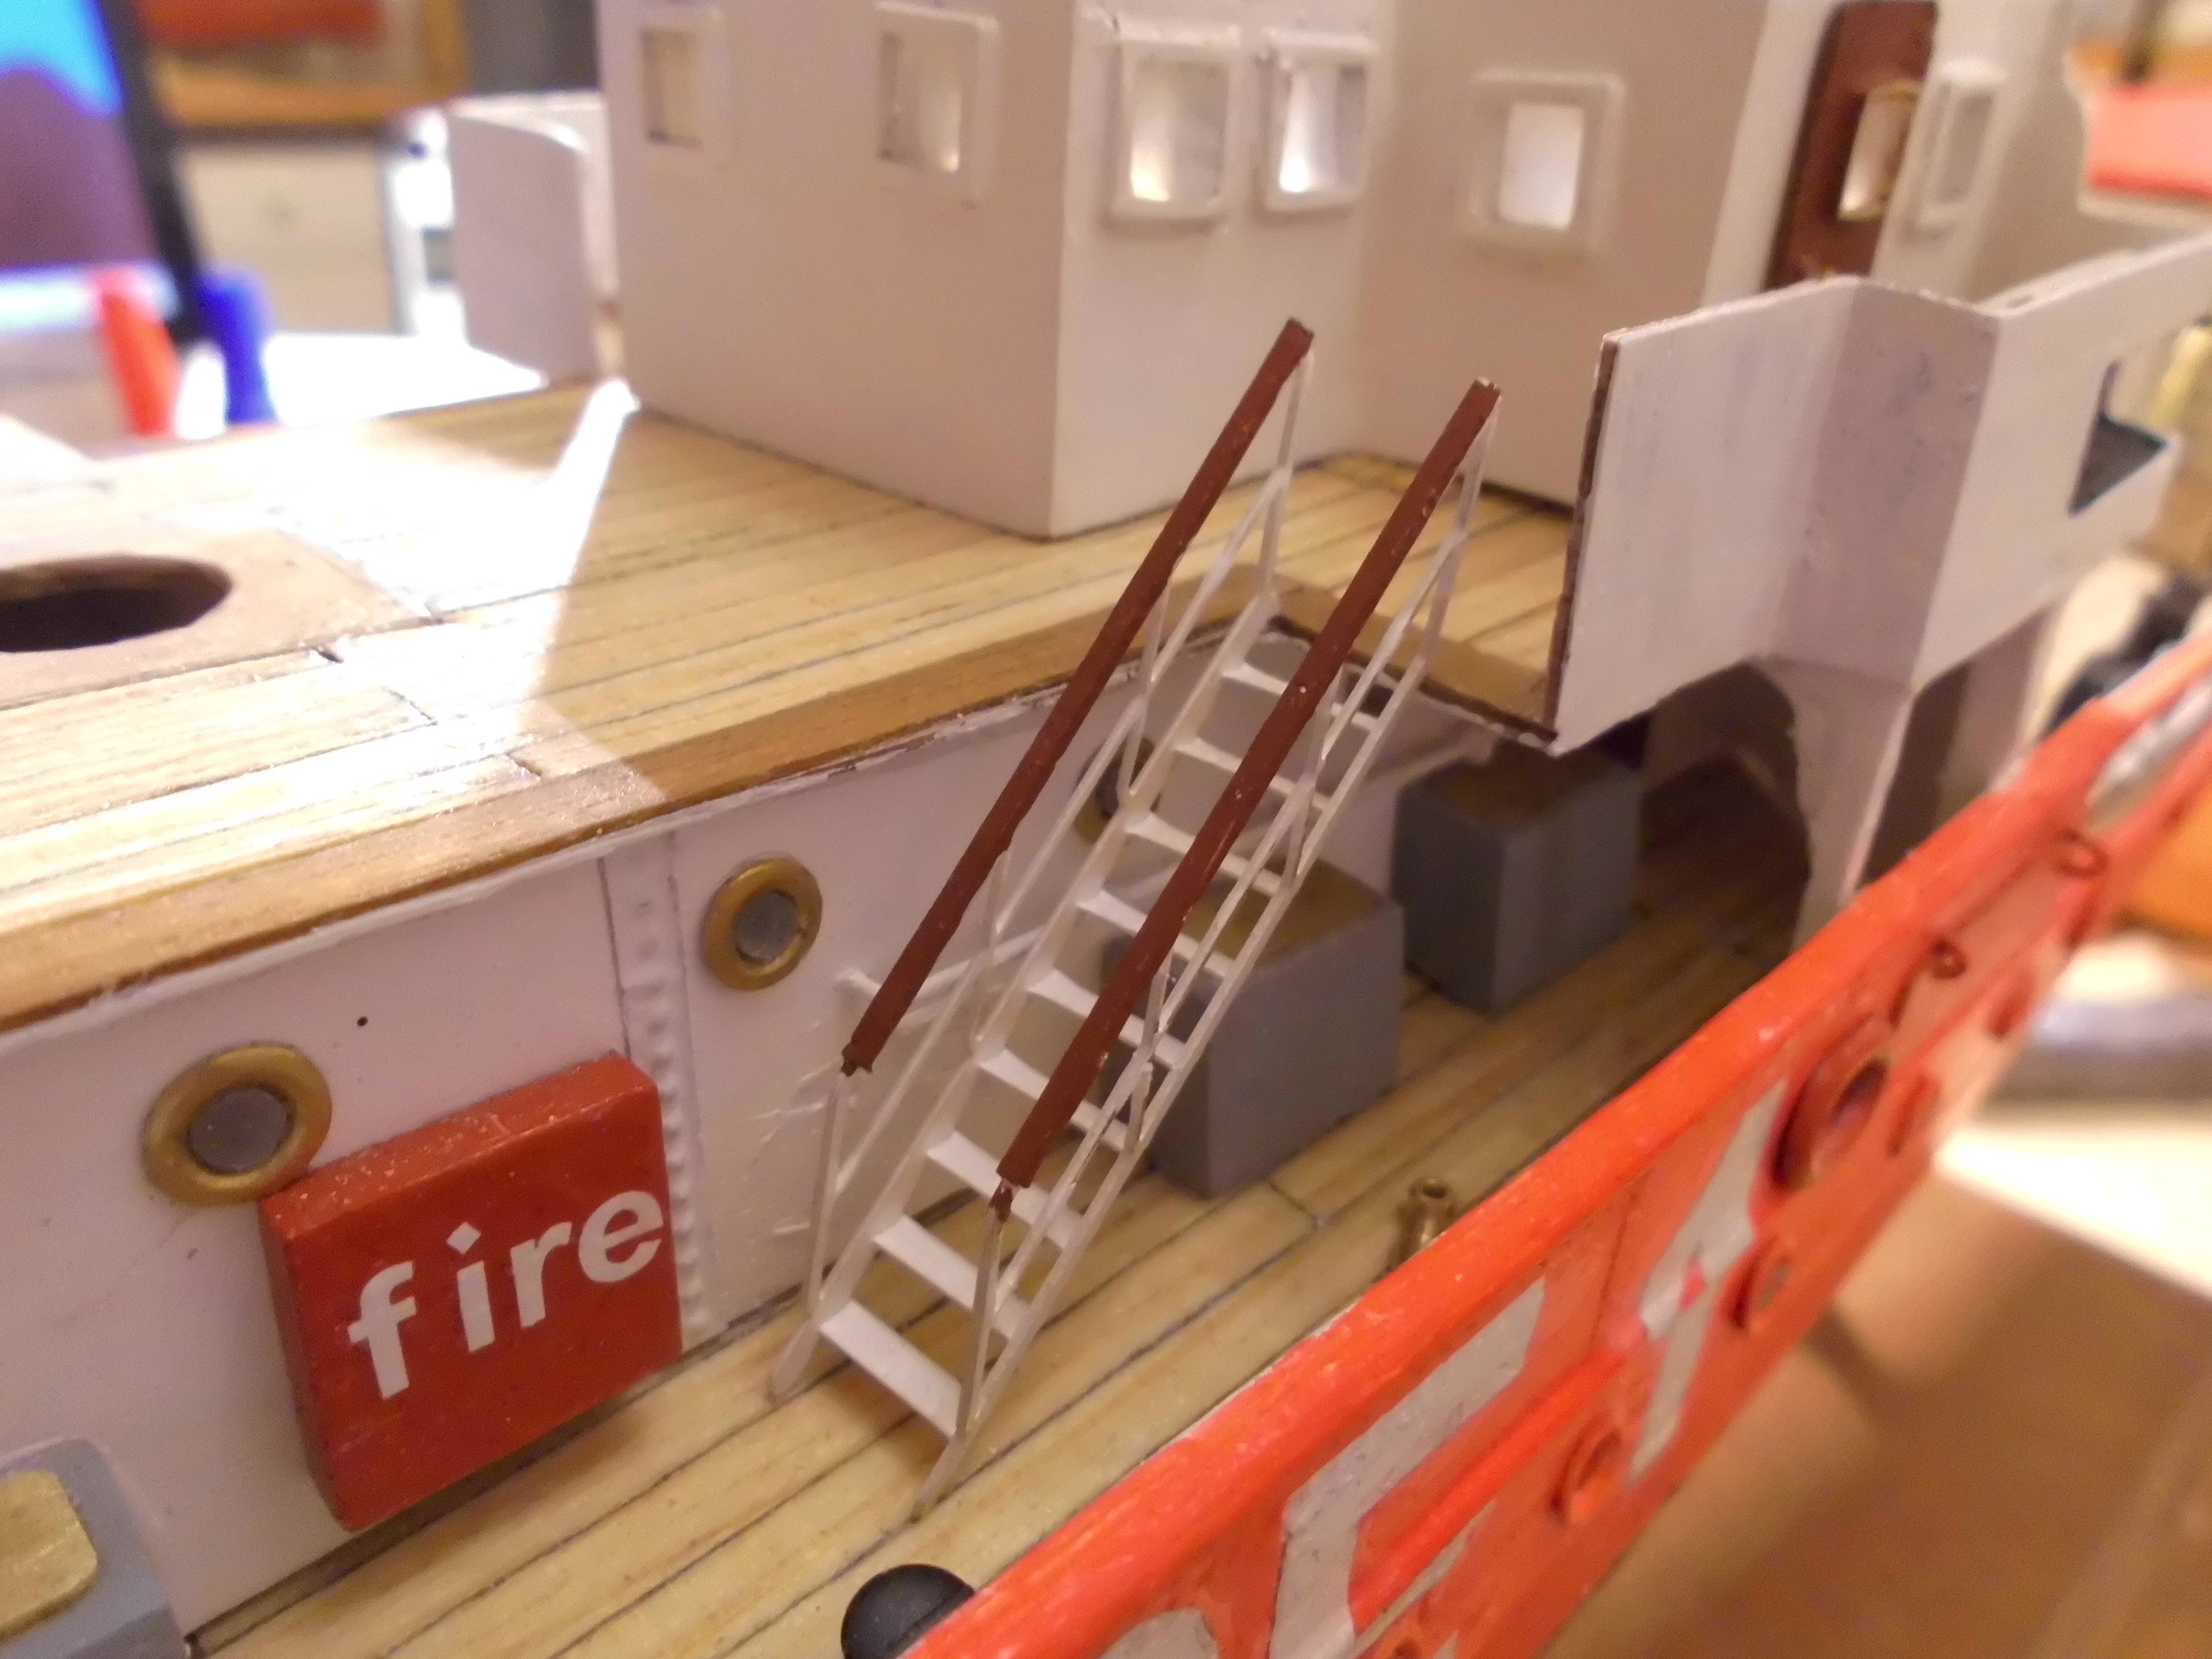

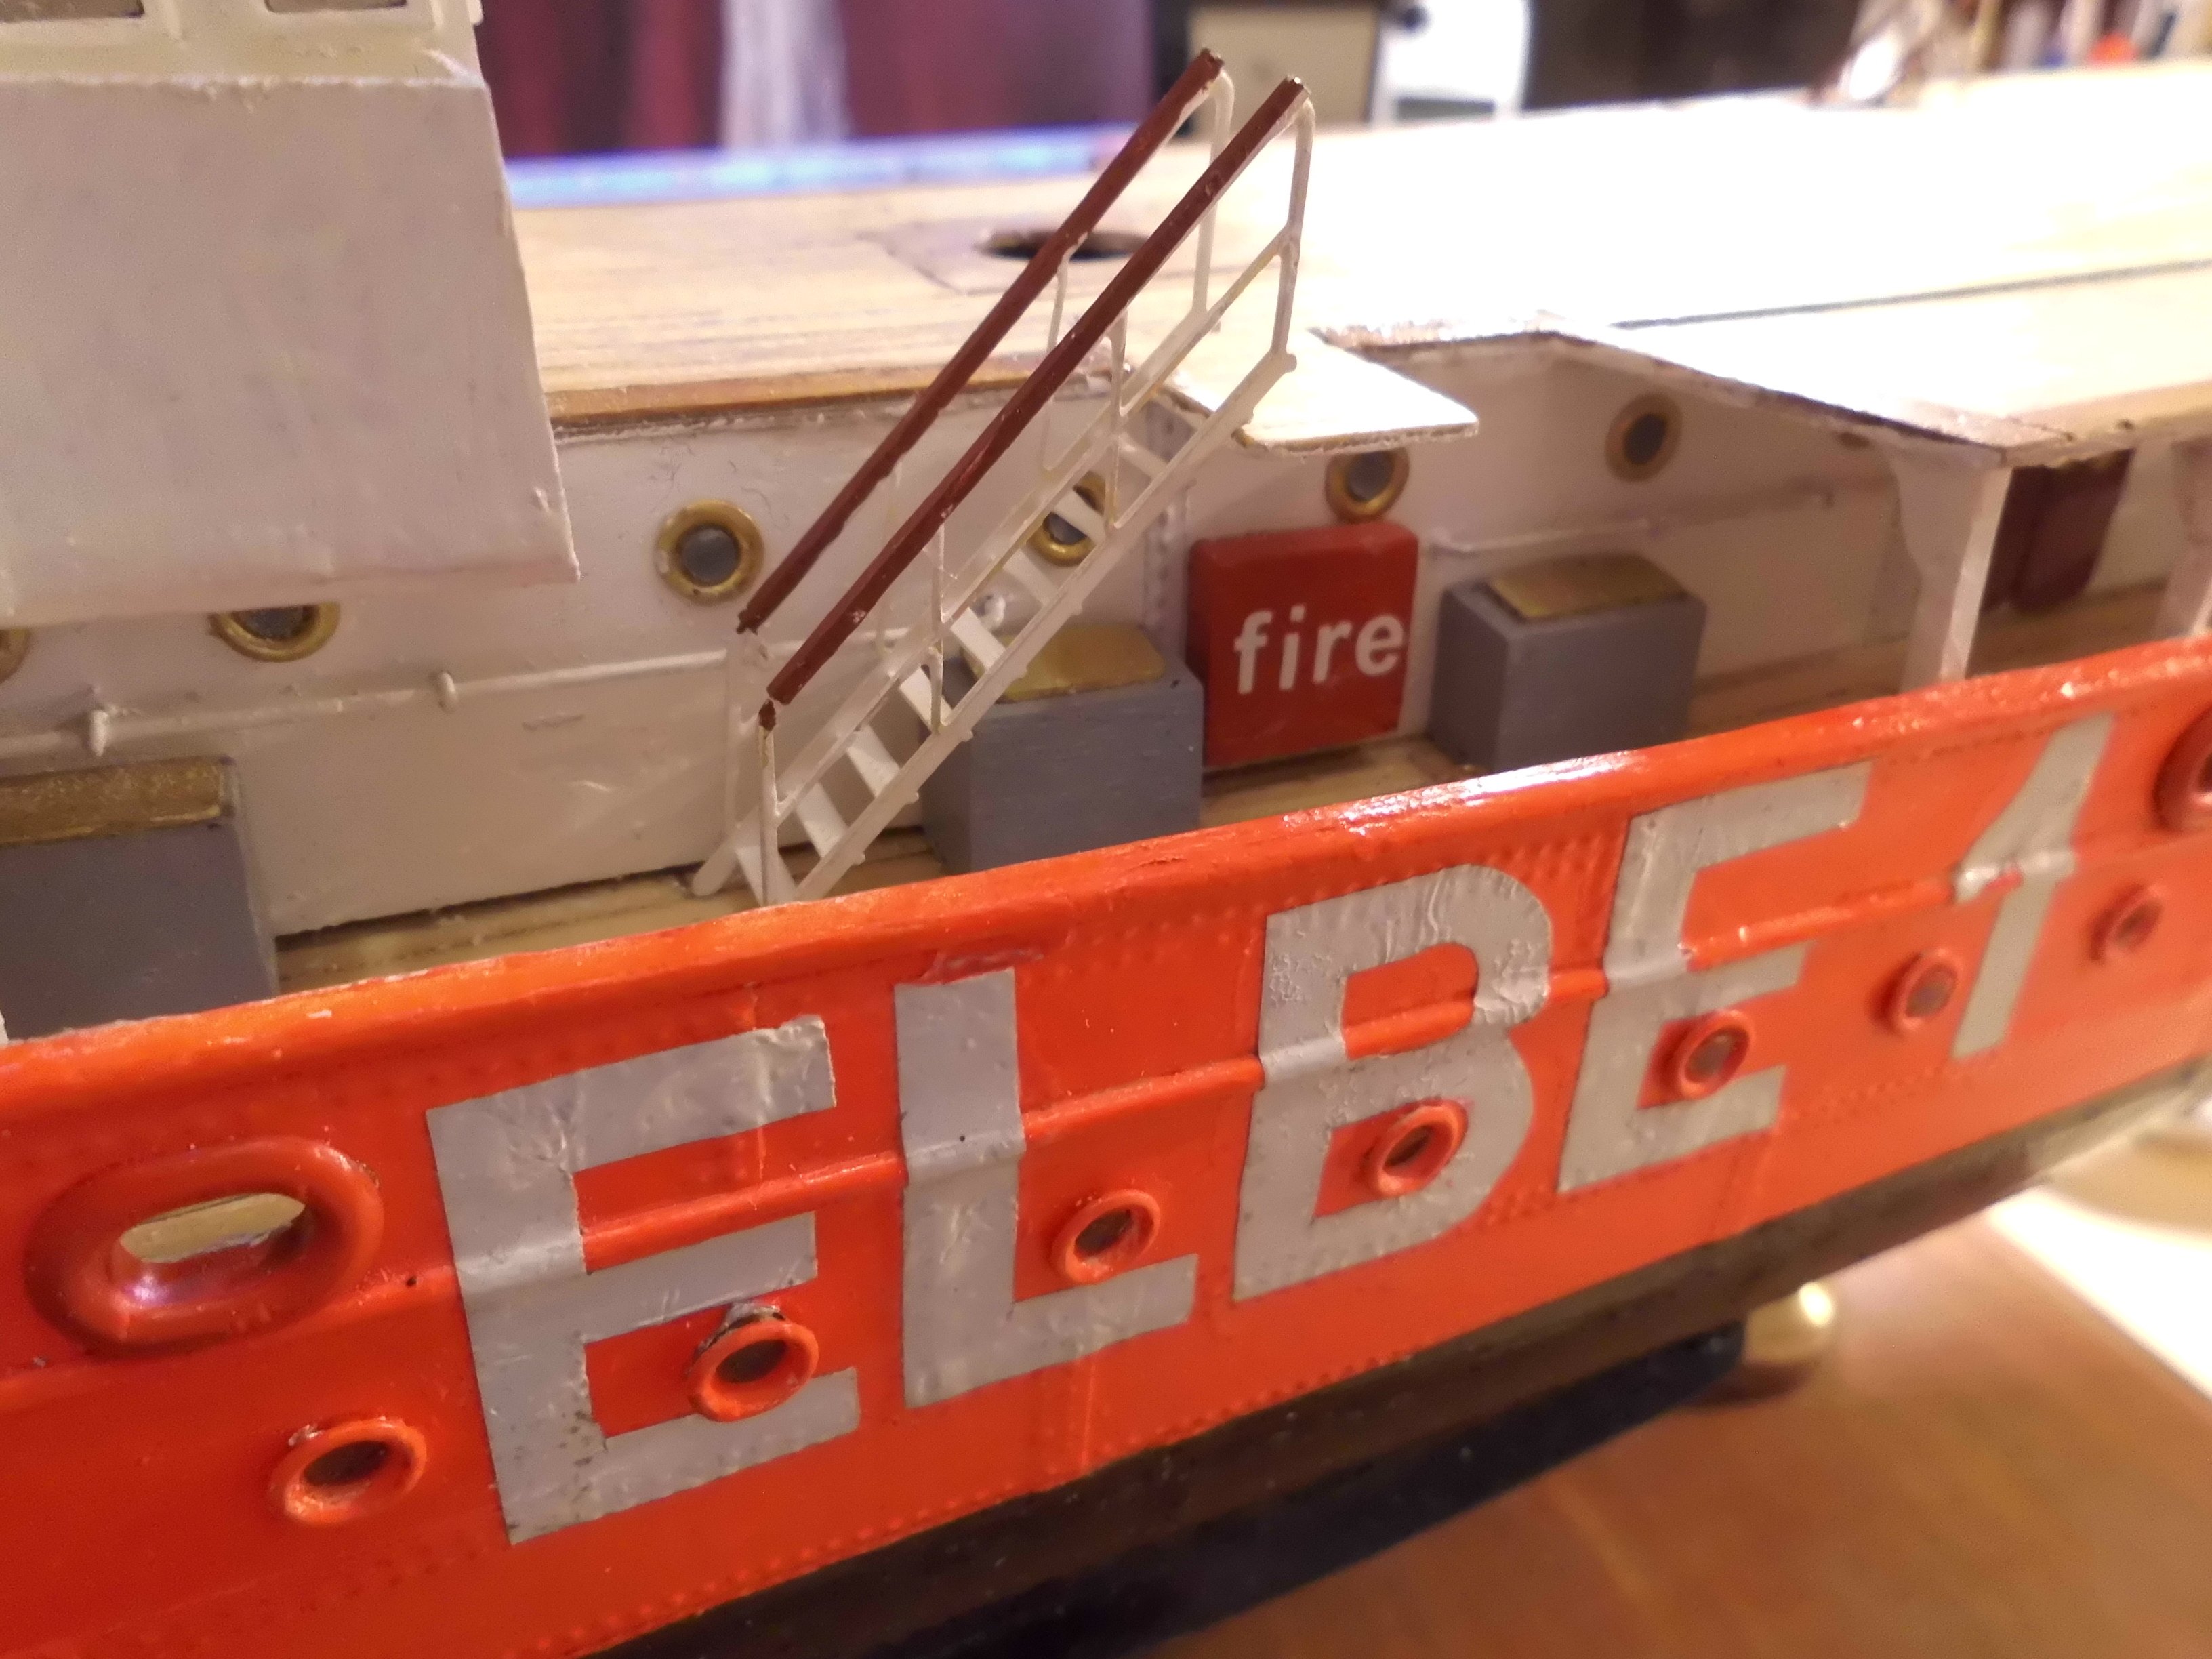


ELBE 1 1948 by Mirabell61 - scale 1:87 - Lightship
in - Build logs for subjects built 1901 - Present Day
Posted
Hi John,
gravity, yes I thout so....
made the 4 arms of the davits, and the rail round the bridge
Nils
the 2mm tick 4 layer beech ply
the arms for the davits, it looks like the 2mm ply is strong enough
greatly magnified the first prototyp boats hook, with integrated 3mm roll
the bridge rail
stairway to the bridge