HOLIDAY DONATION DRIVE - SUPPORT MSW - DO YOUR PART TO KEEP THIS GREAT FORUM GOING! (Only 13 donations so far - C'mon guys!)
×


John Ruy
-
Posts
1,566 -
Joined
-
Last visited
Content Type
Profiles
Forums
Gallery
Events
Everything posted by John Ruy
-
 Yep… Forgot to mention that. 😆 Your jackstays are looking good. 👍
- 294 replies
-
- 1
-

-
- charles w morgan
- model shipways
- (and 1 more)
-
Yes I did… Fortunately, my conversation regarding the adoption went much better than yours. Build Log coming soon. Thanks Rick 😎
-
That’s a great idea. 👍 Coming soon…
-
That’s a lot and the view through that port is all you need to make it worth it. Very cool Yves 😎 You might want to print up some build photos for a build album to put on the shelf with you finished display case. You have got to preserve these pictures of the lower deck details. 👍
-
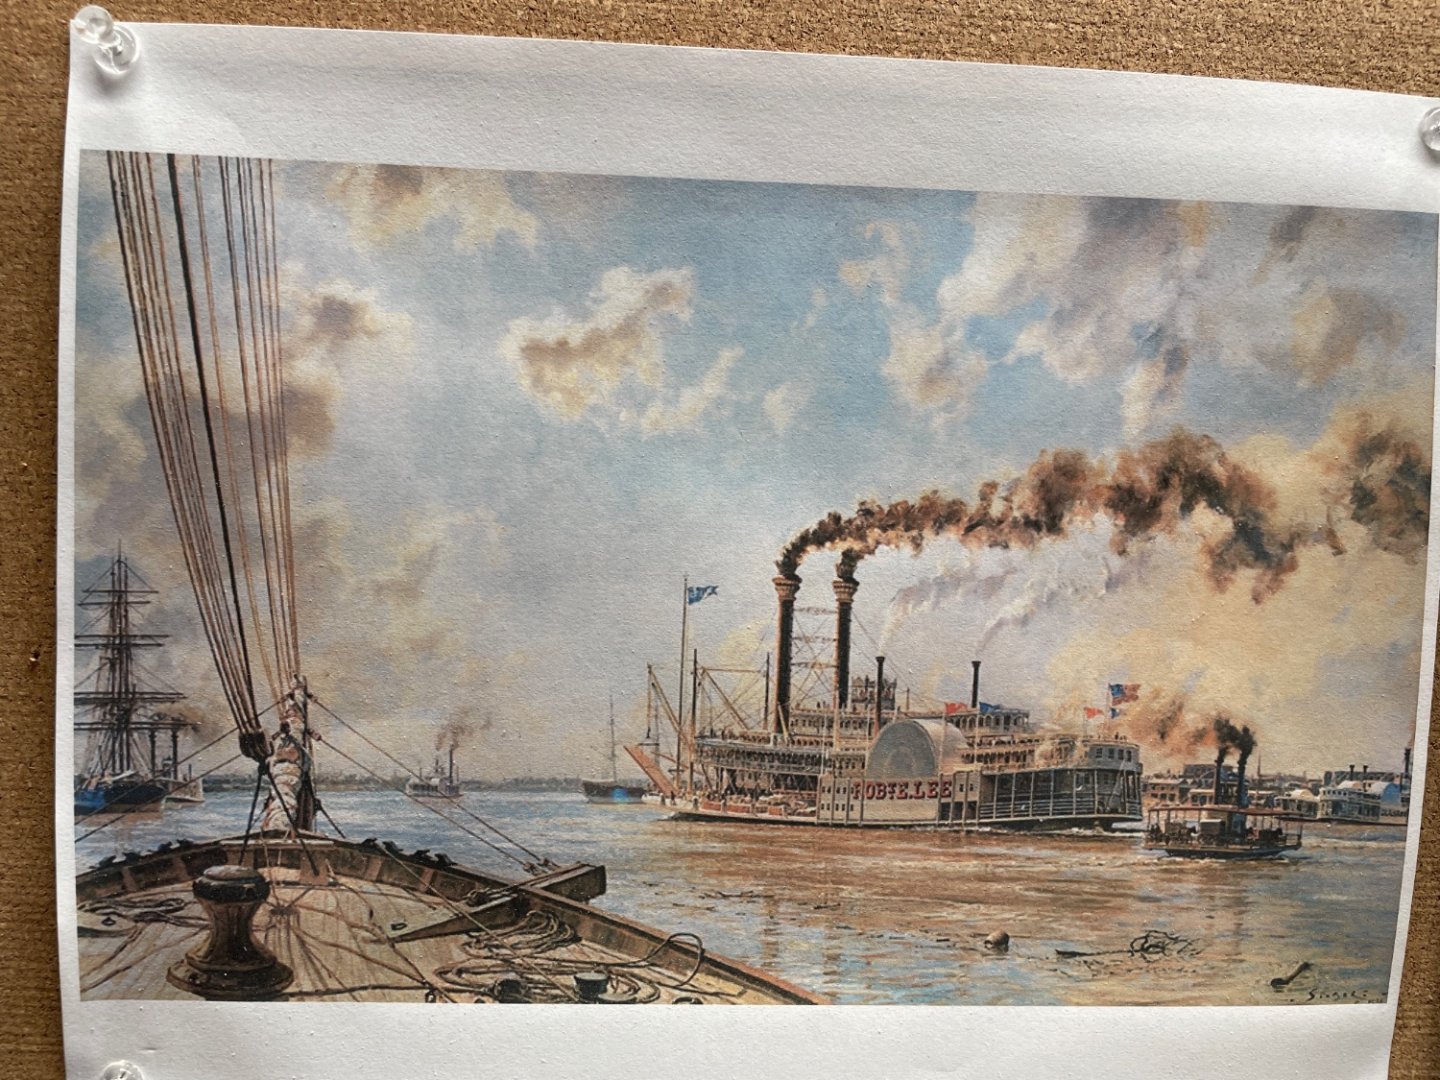
Yes it is… wish I could afford his work. It’s just a printed copy off the internet, for my personal inspiration. 😎
- 238 replies
-
- 1
-
-
- Robert E Lee
- steamboat
- (and 3 more)
-
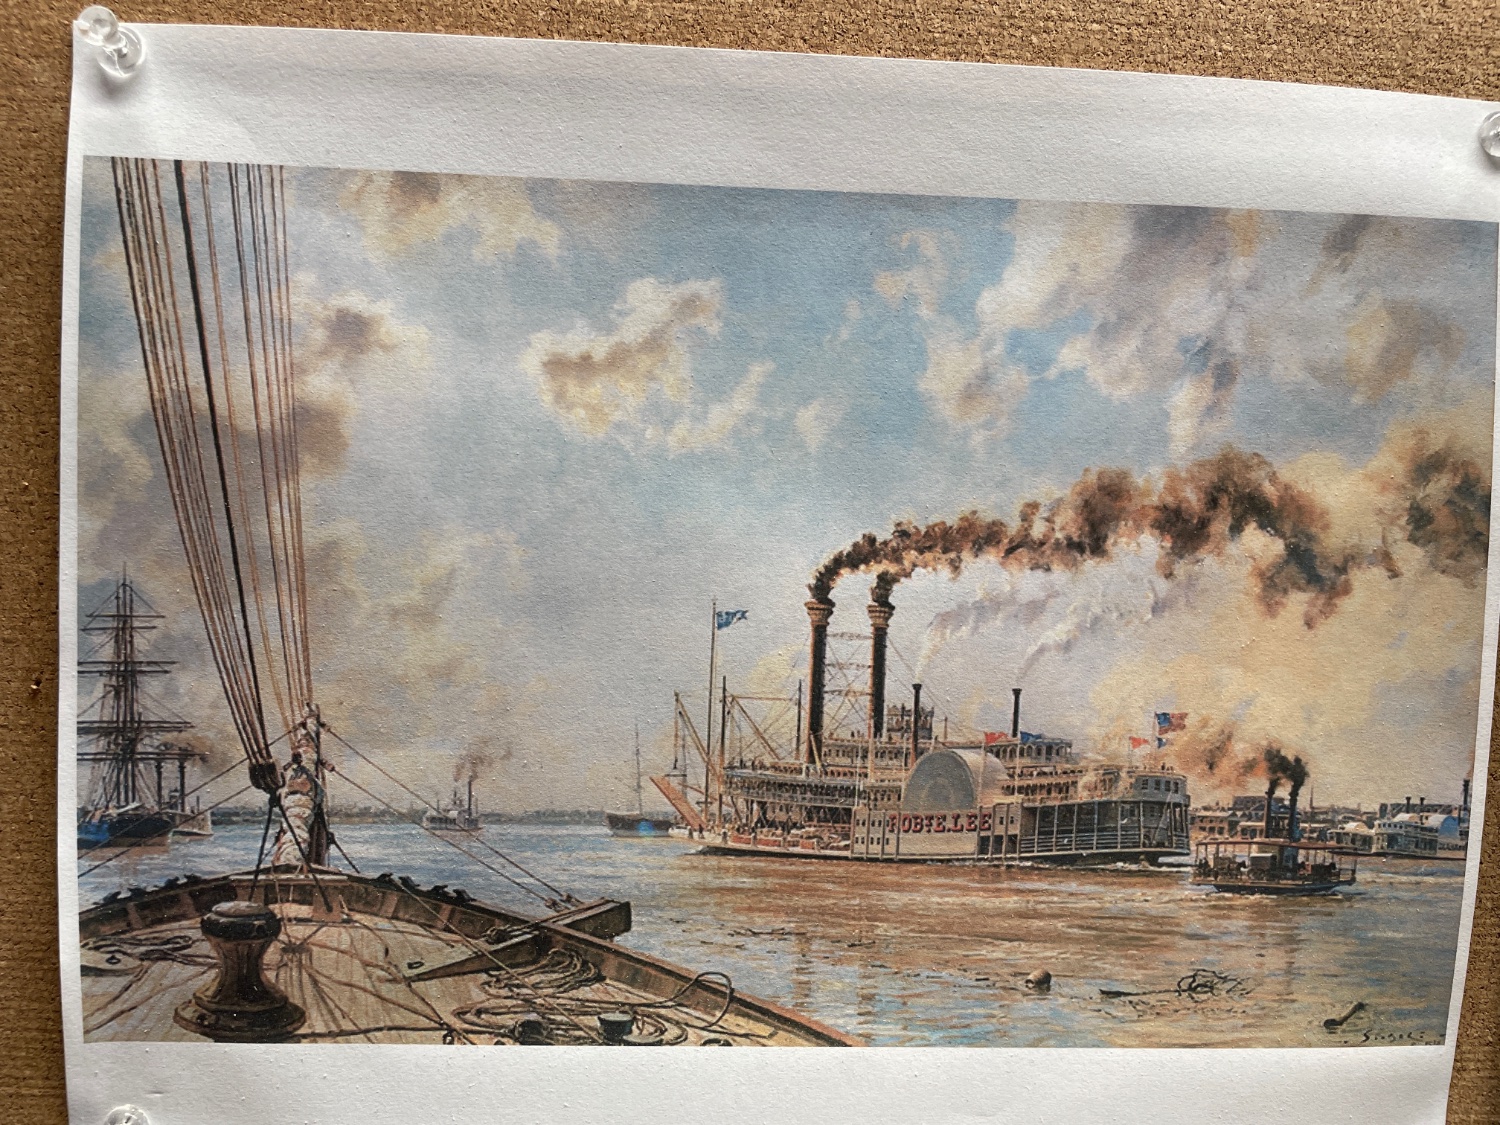
Don’t think I haven’t considered it. 🤪 That would be a huge undertaking. Dioramas aren’t my thing, yet. I’ll stick with finding good art for now. My favorite so far… Wouldn’t this scene make a great diorama?
- 238 replies
-
- 7
-
-
- Robert E Lee
- steamboat
- (and 3 more)
-
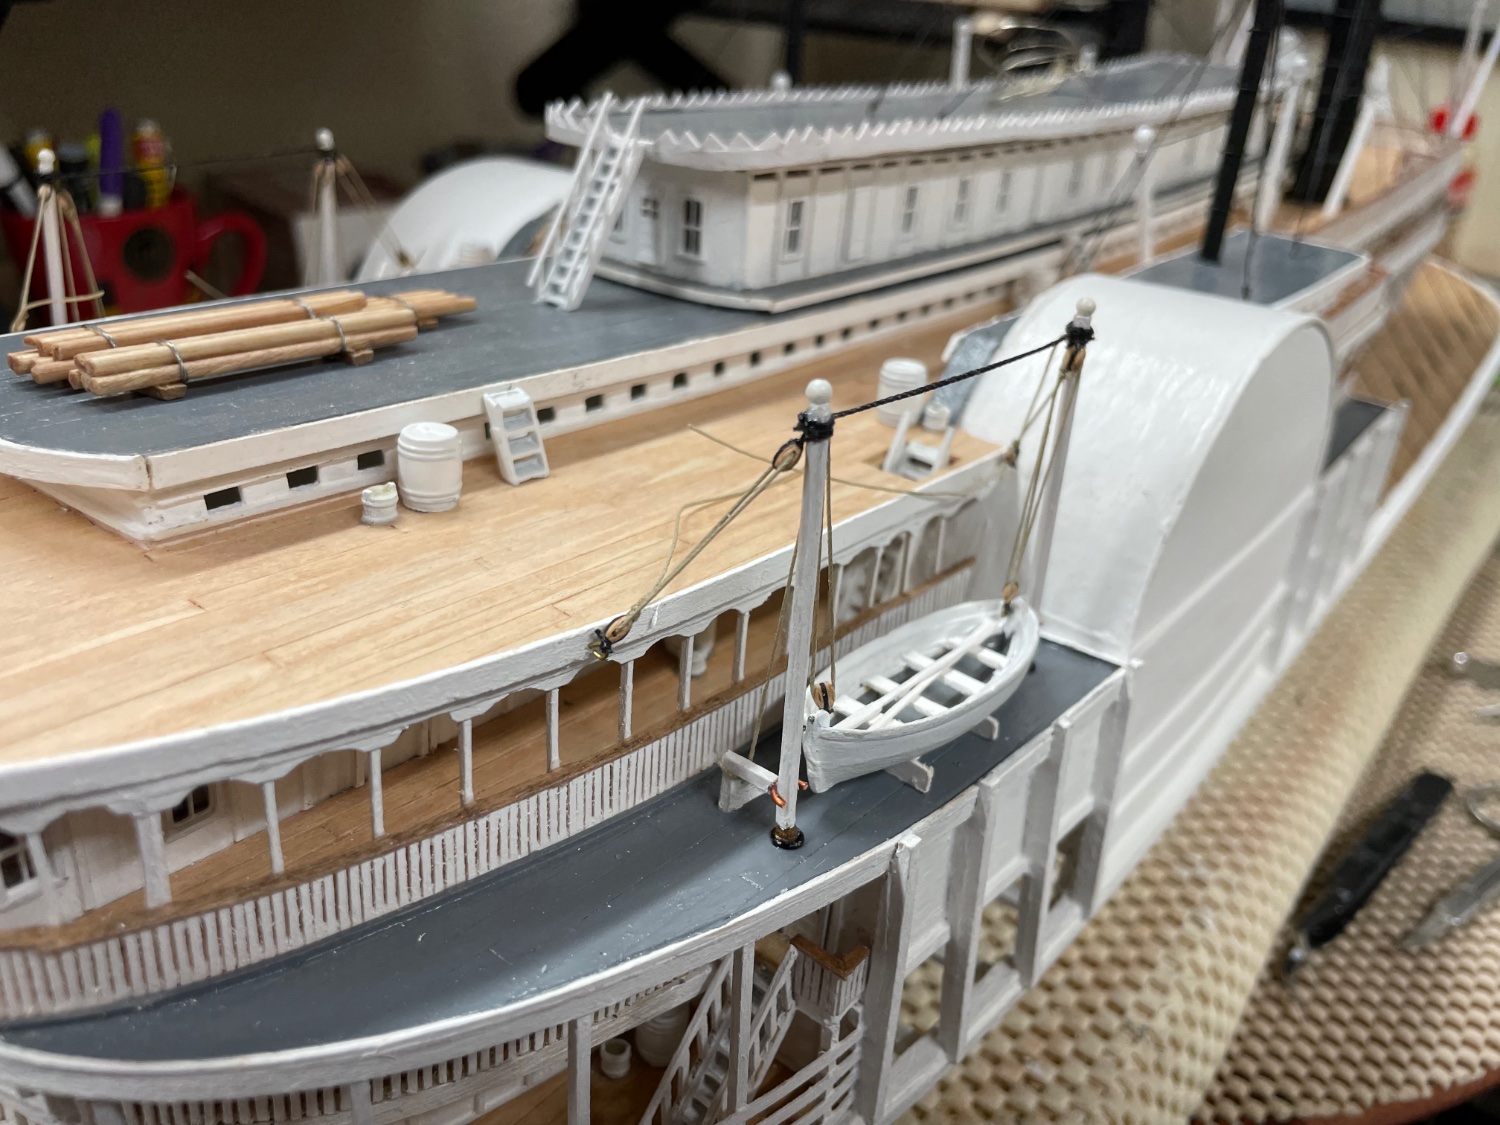
Life Boats… Davits… Life boats mounted and rigged. Considering the number of passengers aboard one of these steamers, it would seem to me these would be considered more a rescue boat 🛟 as they were probably deployed to pull survivors out of the river and ferry them to the shore. Just a thought. 🤔 Time to finish those fiddley railings. 😆 Cheers 🍻


- 238 replies
-
- 9
-
-
- Robert E Lee
- steamboat
- (and 3 more)
-
Work Boat… Work Boat mounted and rigged. 😎 Onwards… 🍻
- 238 replies
-
- 14
-
-
- Robert E Lee
- steamboat
- (and 3 more)
-
Some details… Ok, back to those railings… Cheers 🍻


- 238 replies
-
- 9
-
-

-
- Robert E Lee
- steamboat
- (and 3 more)
-
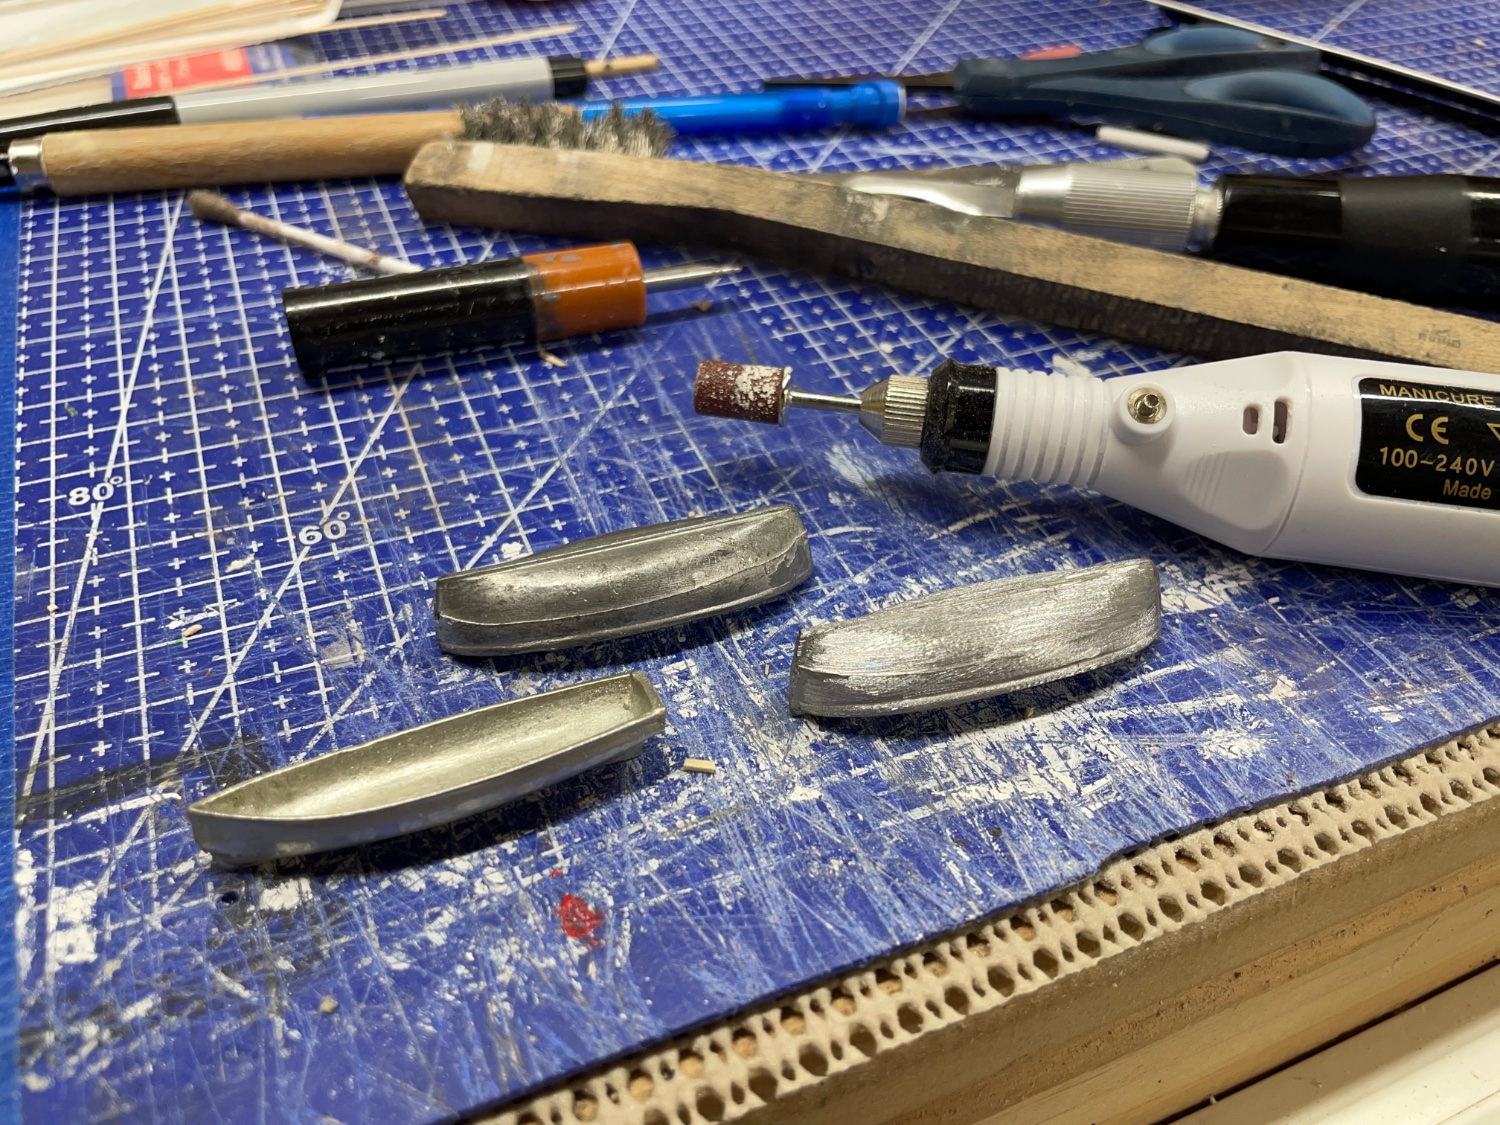
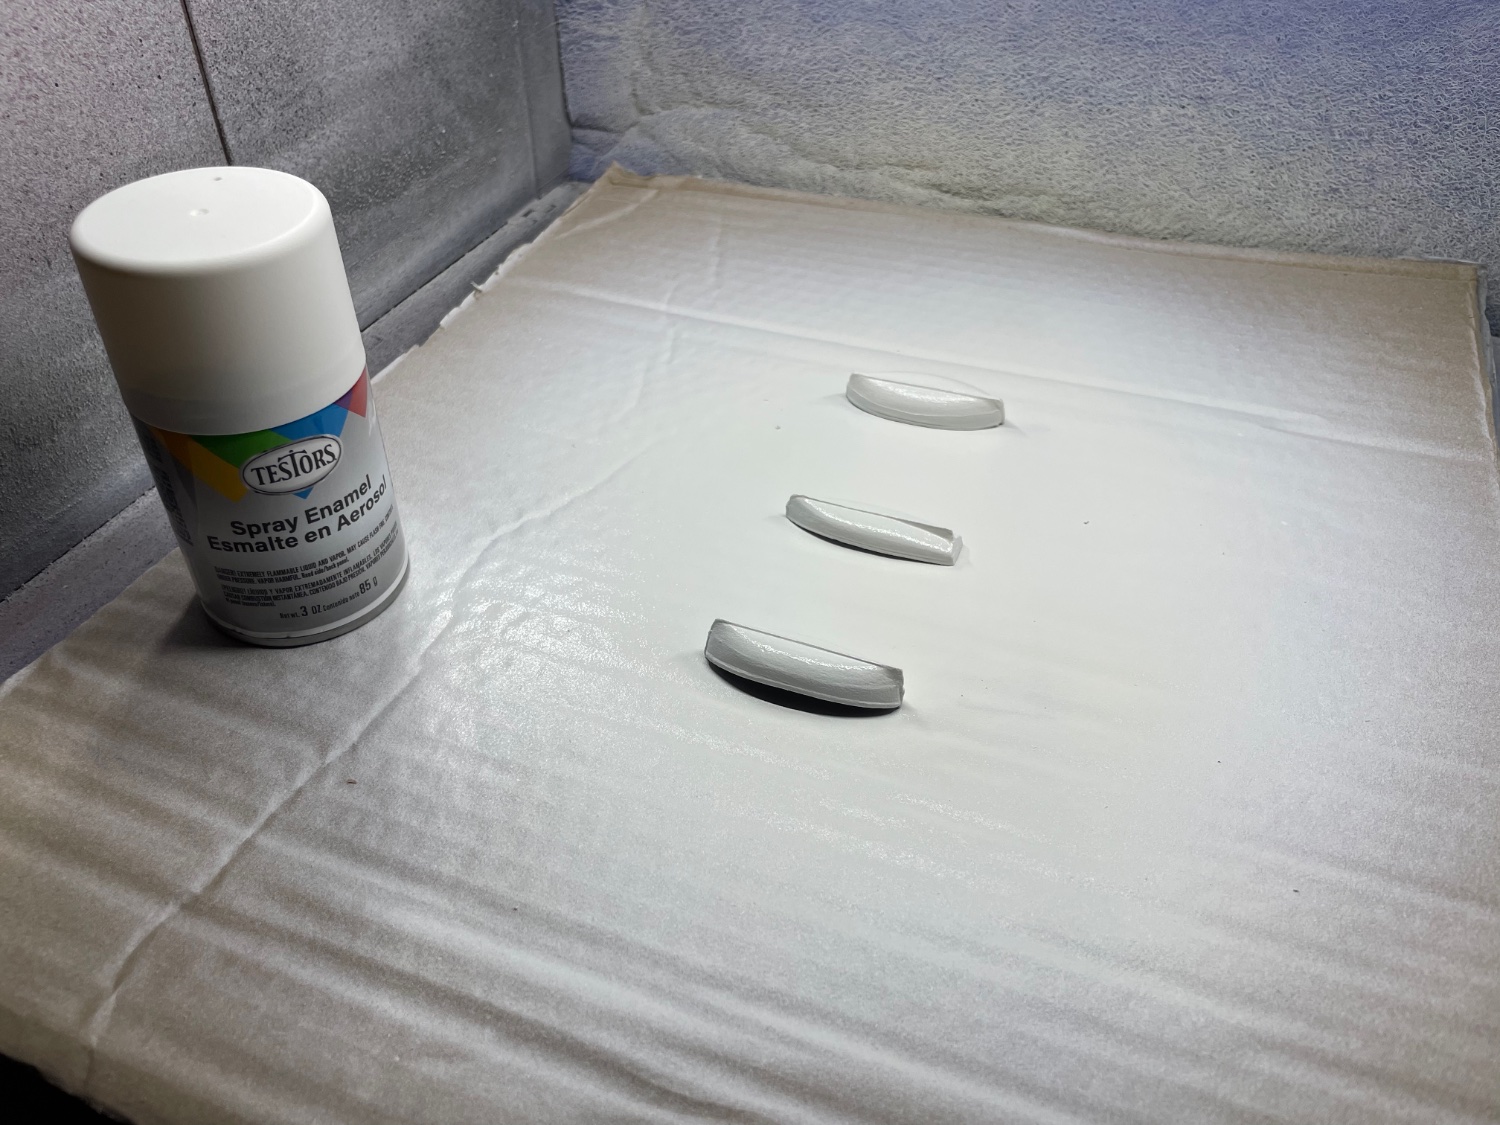
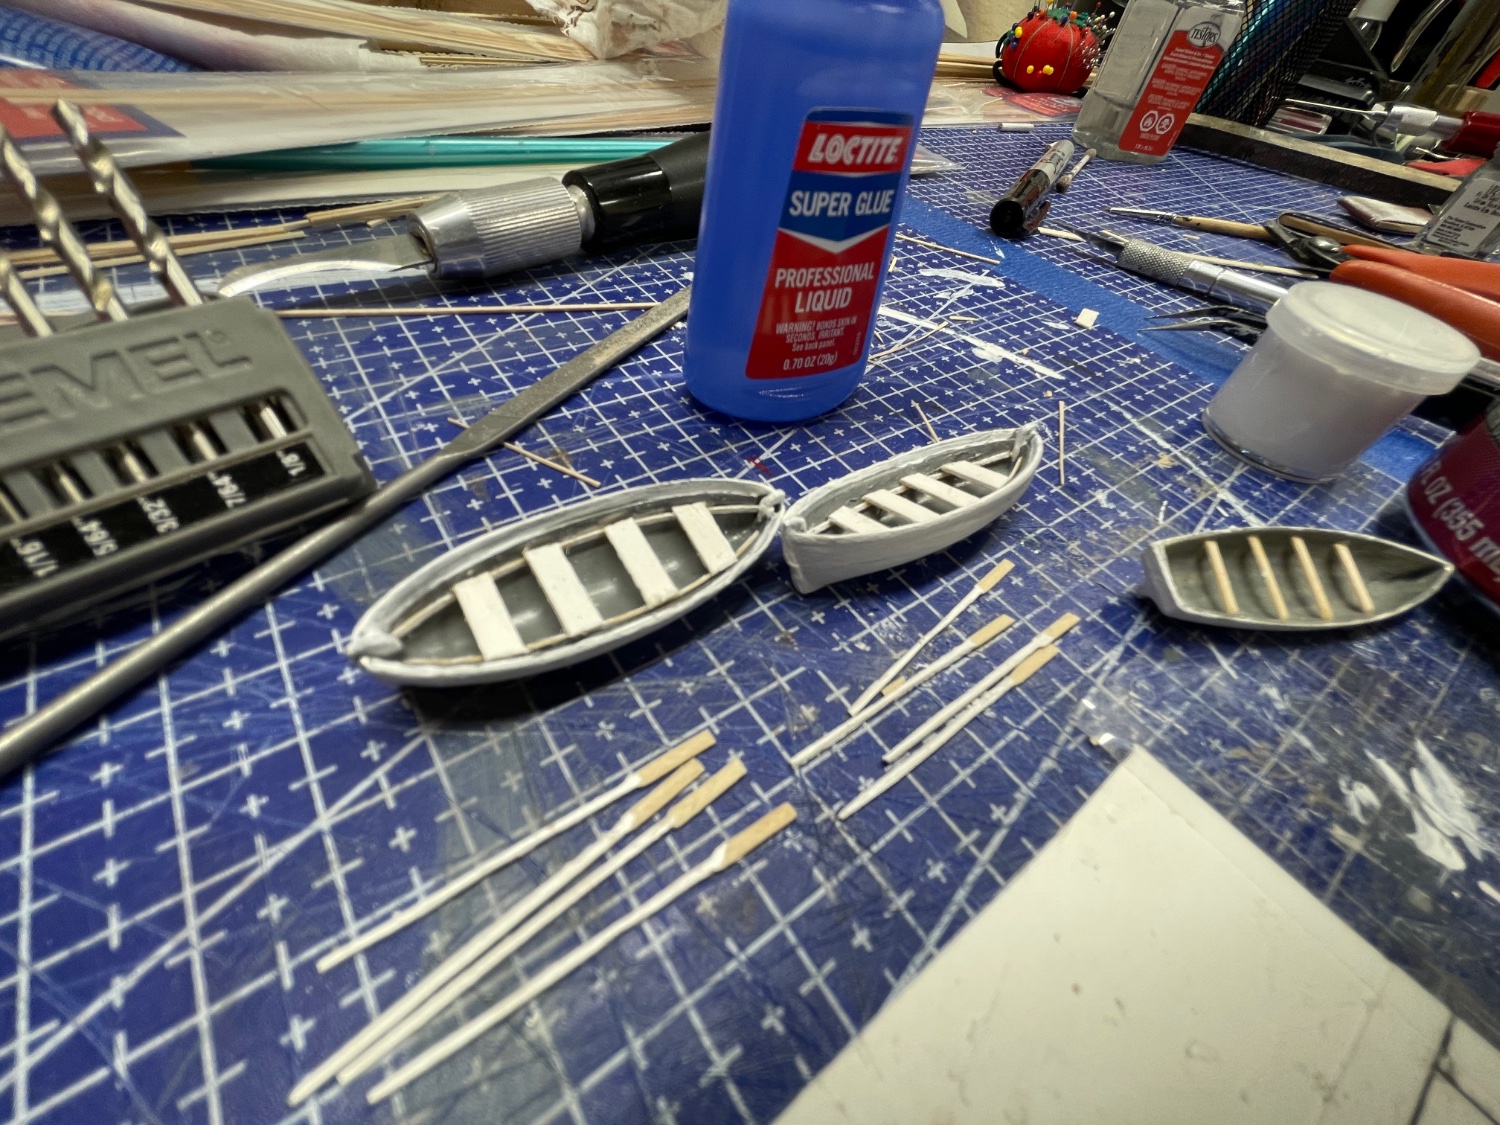
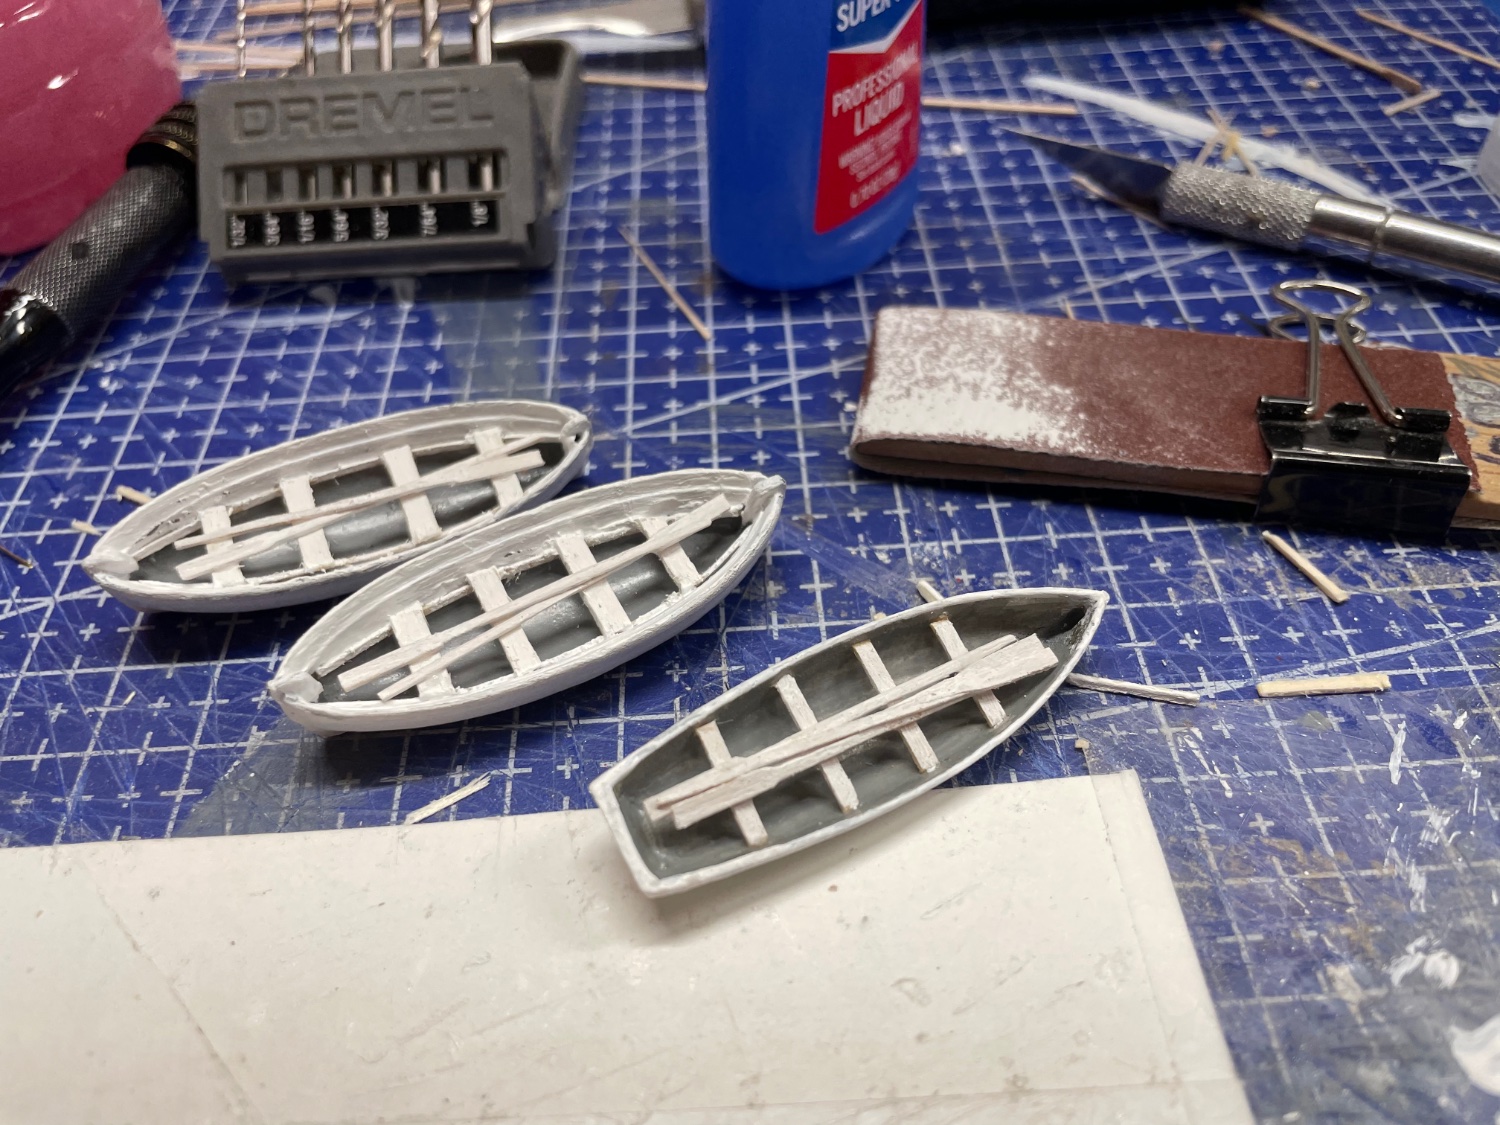
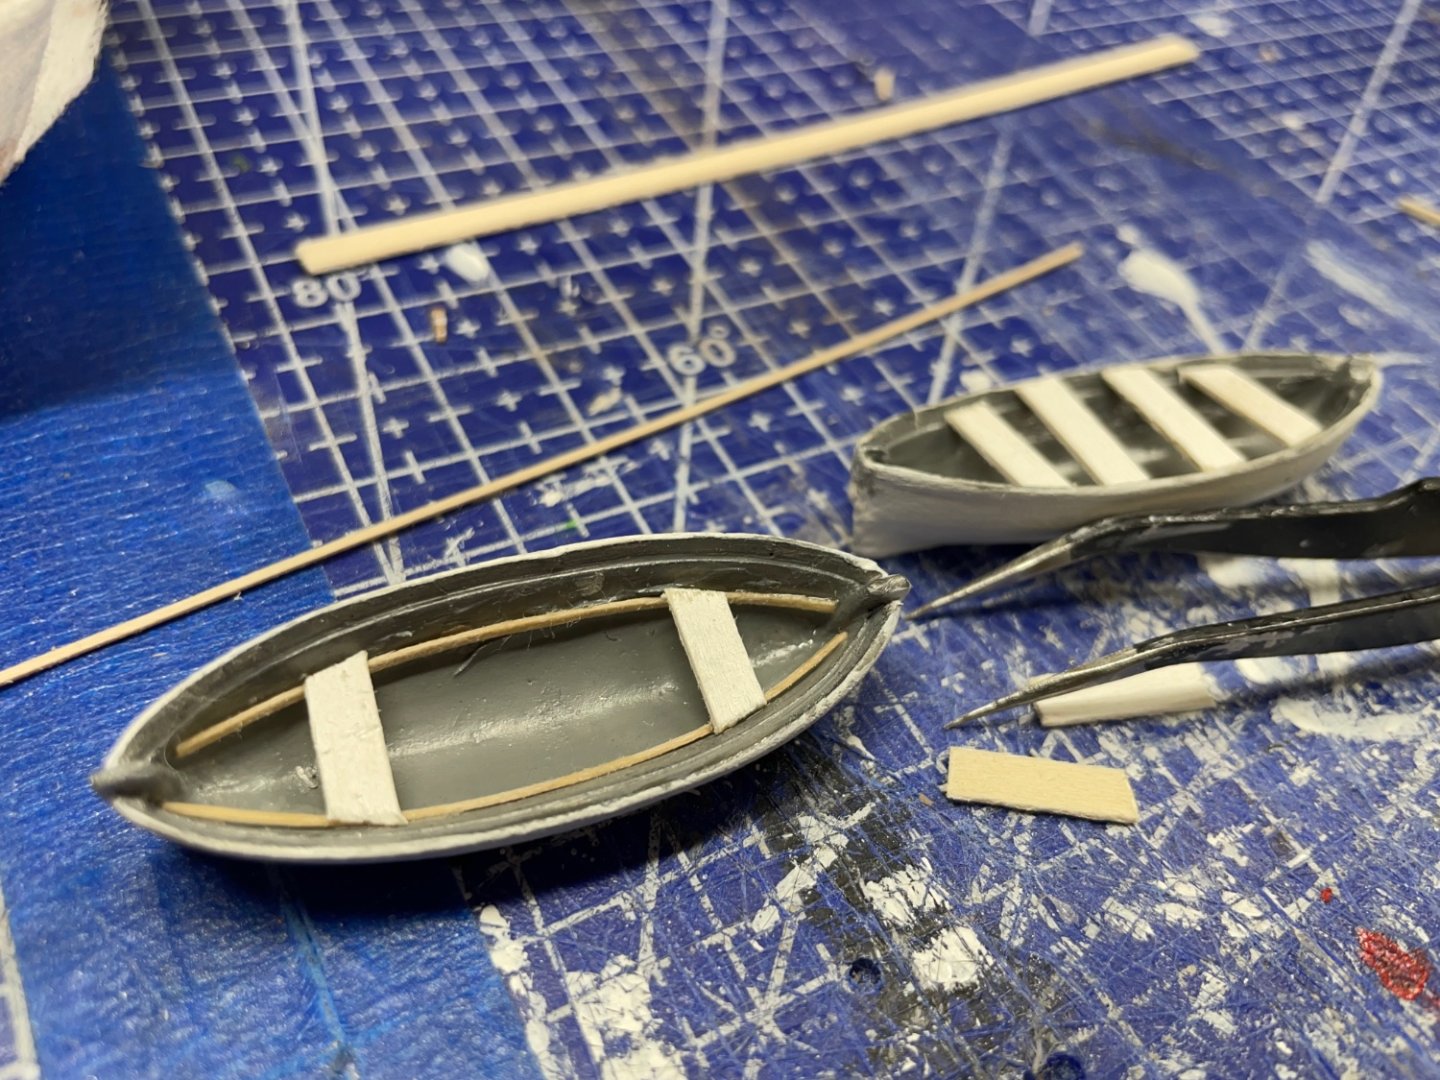
Life Boats and Work Boat… Found these metal boats on eBay… Painted the hull flat white… Painted inside gray and fitted seating… carved out some very small oars… Ready for mounting. More details and still have railing to build for the Hurricane Deck. Cheers 🍻


- 238 replies
-
- 8
-
-
- Robert E Lee
- steamboat
- (and 3 more)
-
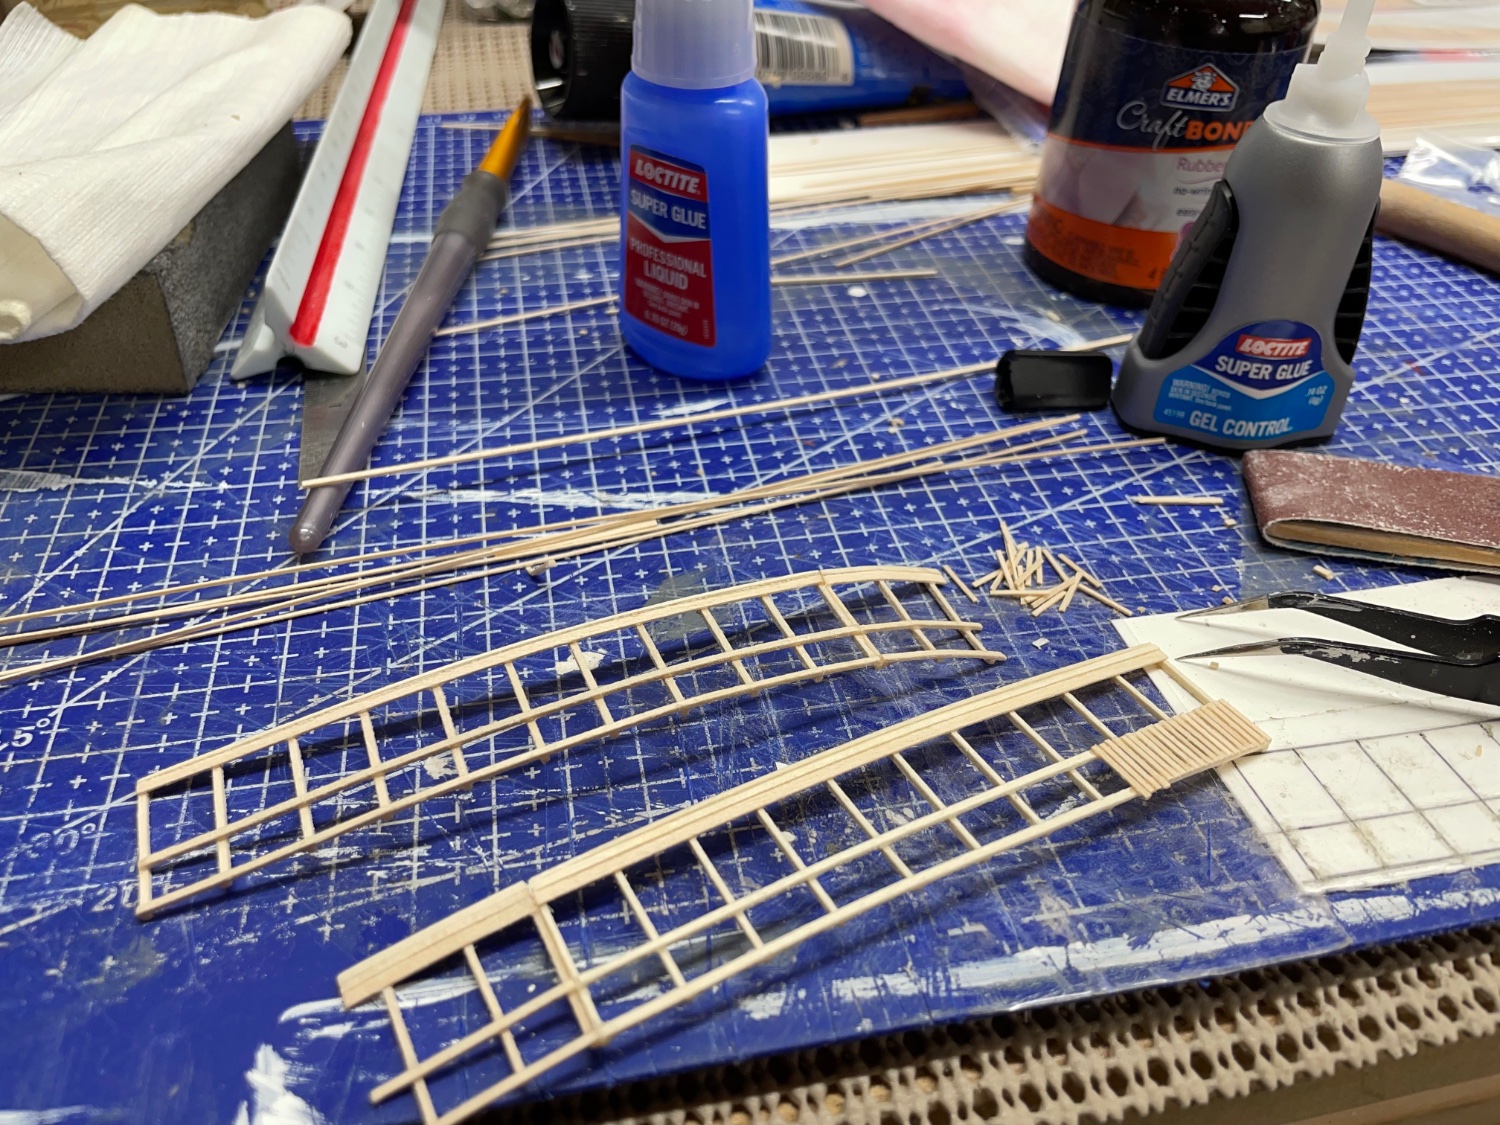
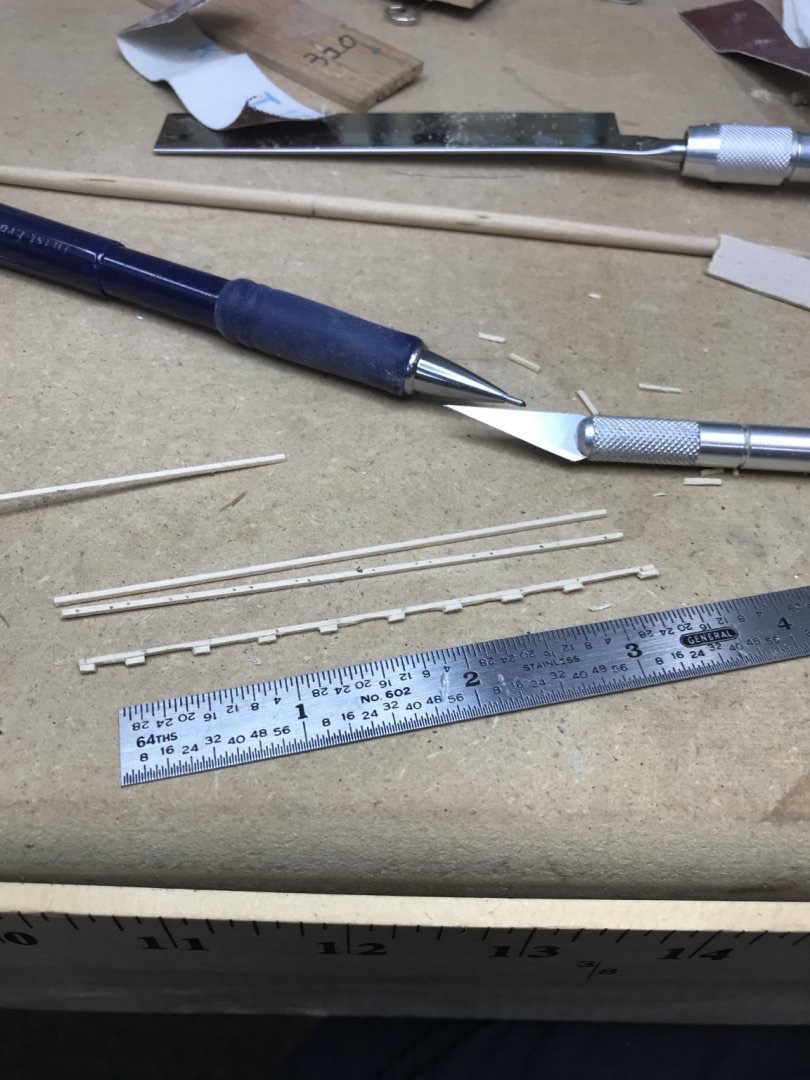
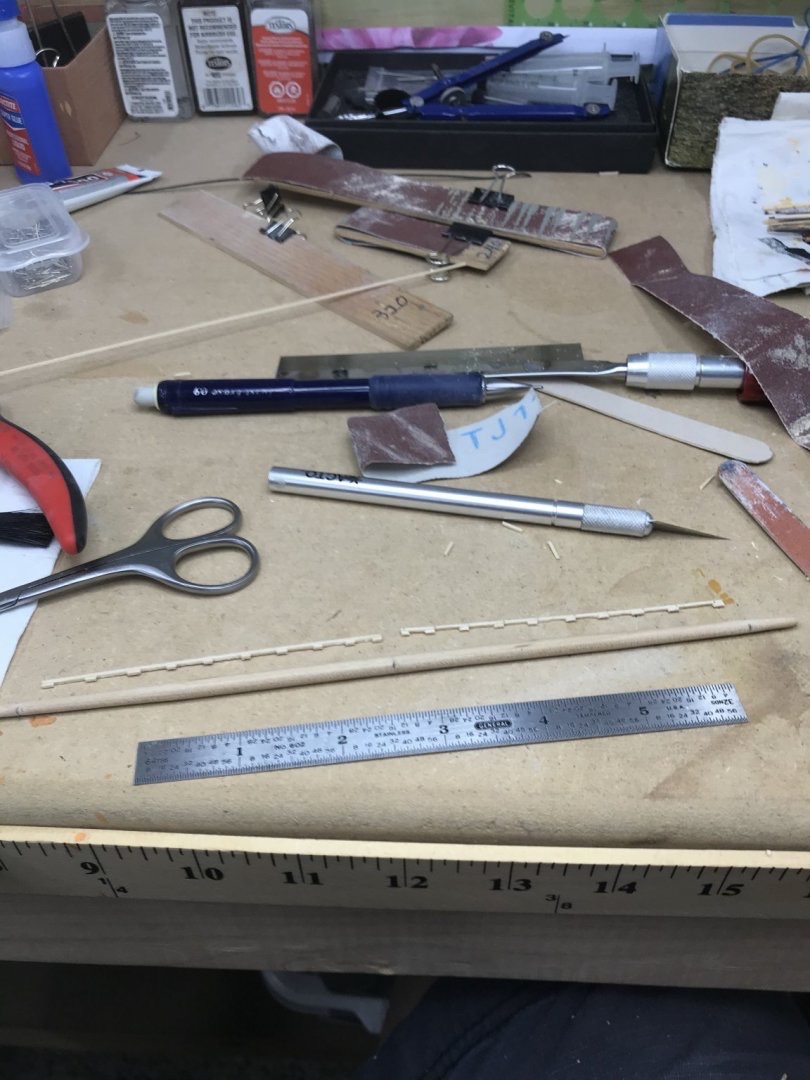
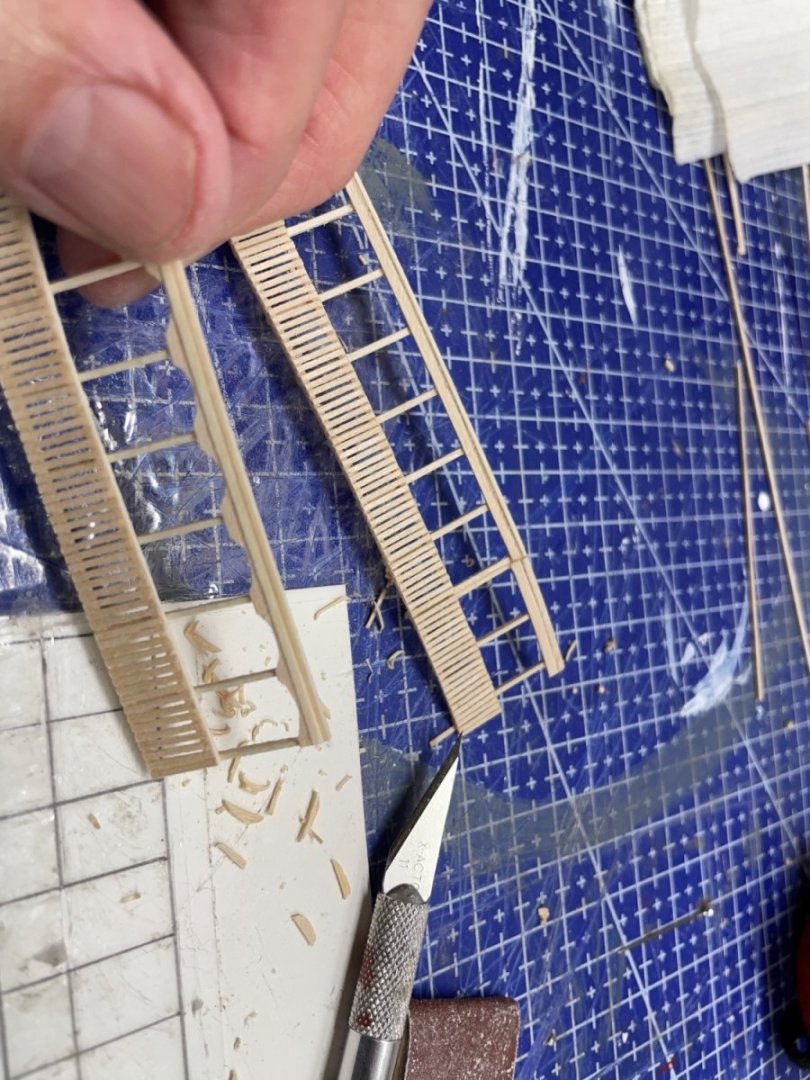
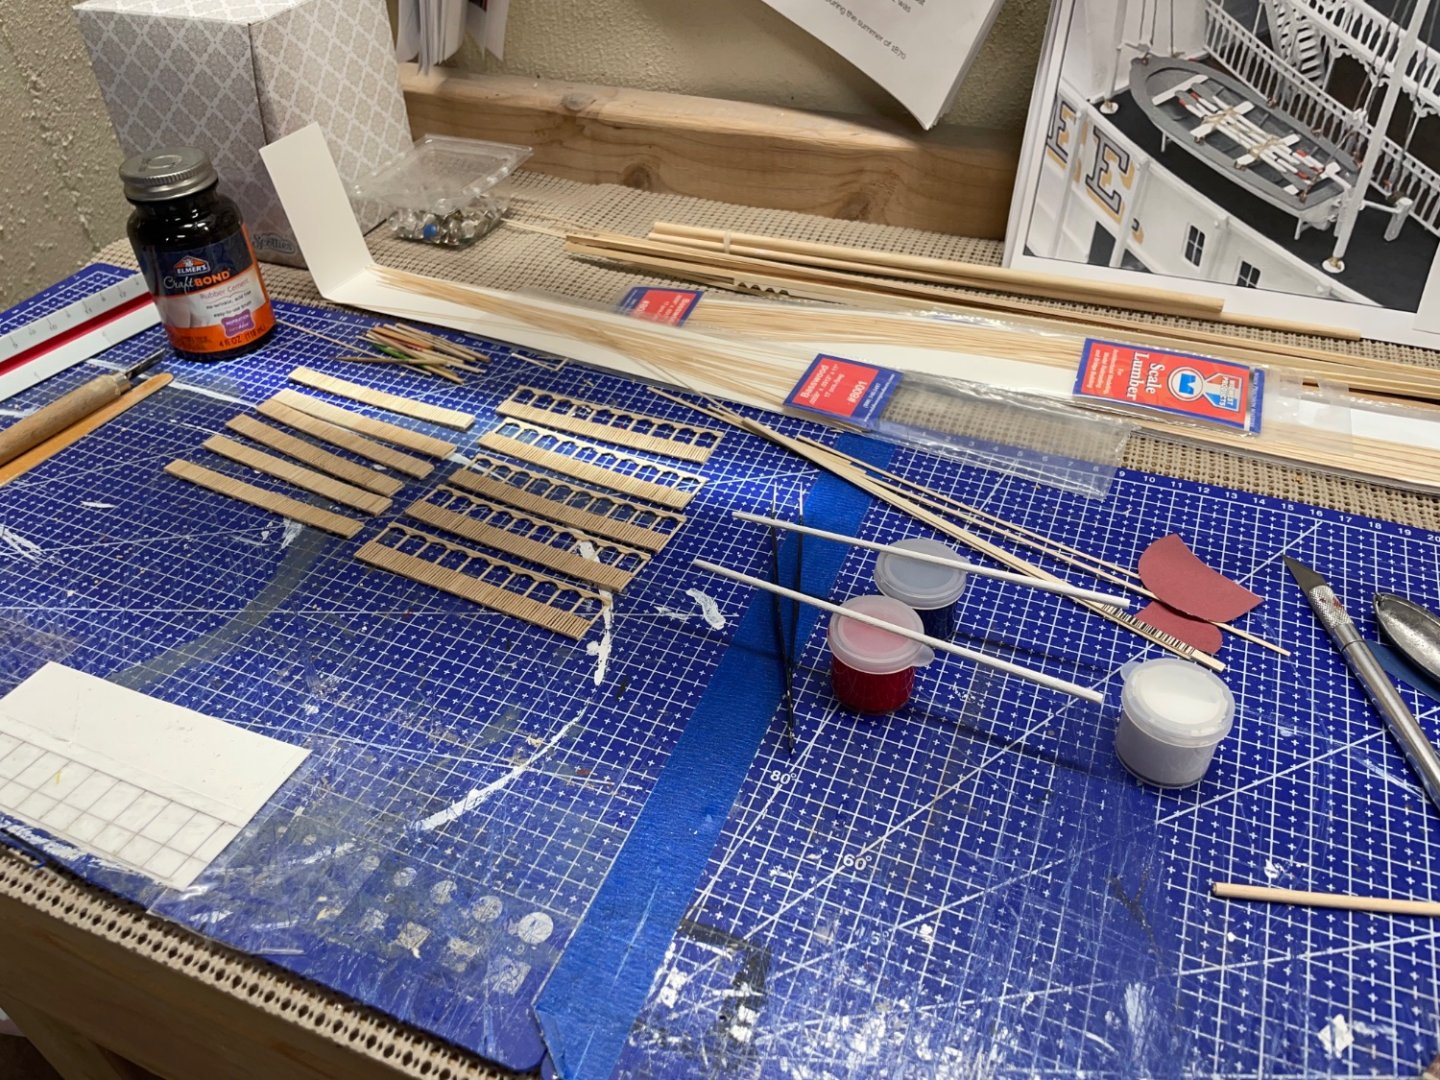
These pics might be helpful as well… I laminated two 1/32 x 1/32 strips and cut out the spaces.
- 294 replies
-
- 2
-
-
- charles w morgan
- model shipways
- (and 1 more)
-
Here is the price sheet for Northeastern Scale Lumber. Find the material on there web site is very confusing, as they list everything in HO and O scale. A quick email to them will get you what you need. 1/32x1/32 basswood strips are listed in the upper left of the sheet at .37 cents for a 24” strip. My build log for the CWM shows how I scratch built them. Hope this helps. John https://www.northeasternscalelumber.com/uploads/2022 Retail Price Sheet.pdf
-
Try…. https://www.northeasternscalelumber.com/ I built mine from 1/32 x 1/32 basswood strips. They are relatively local and ship quickly. John
-
Actually, it seems to come naturally. I use acrylics and it brings out the wood grain. As long as I don’t over do the perfection. 😆 Thanks for noticing and calling out the perfect imperfections. 👍
- 238 replies
-
- 2
-
-
- Robert E Lee
- steamboat
- (and 3 more)
-
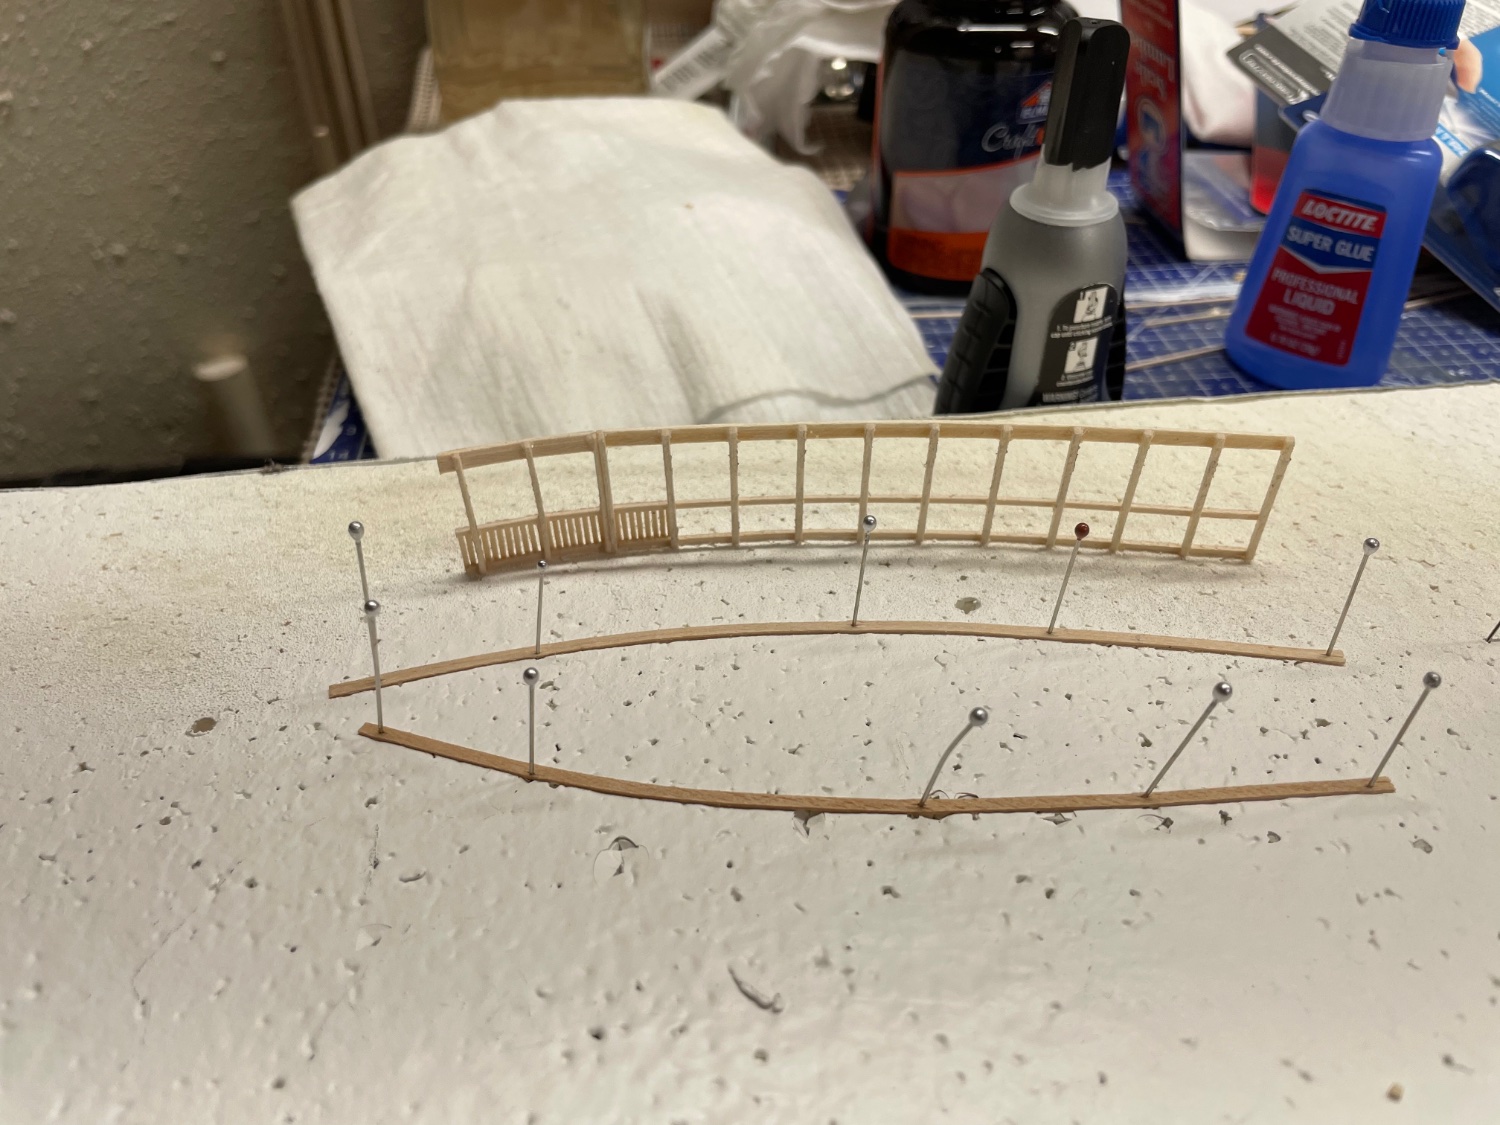
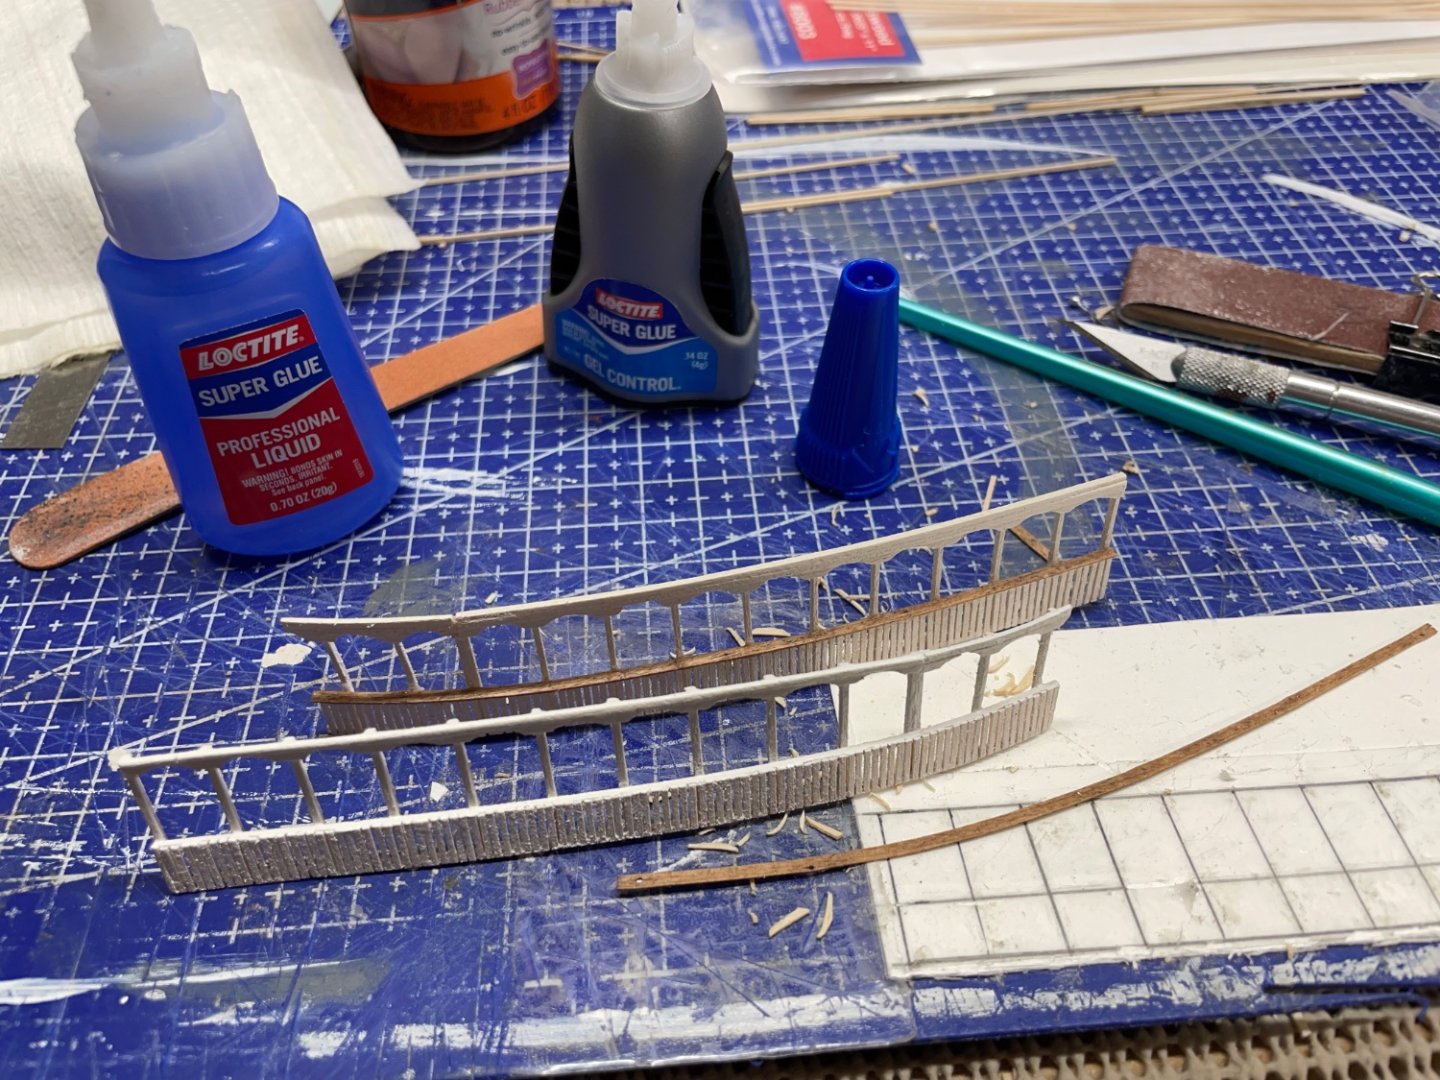
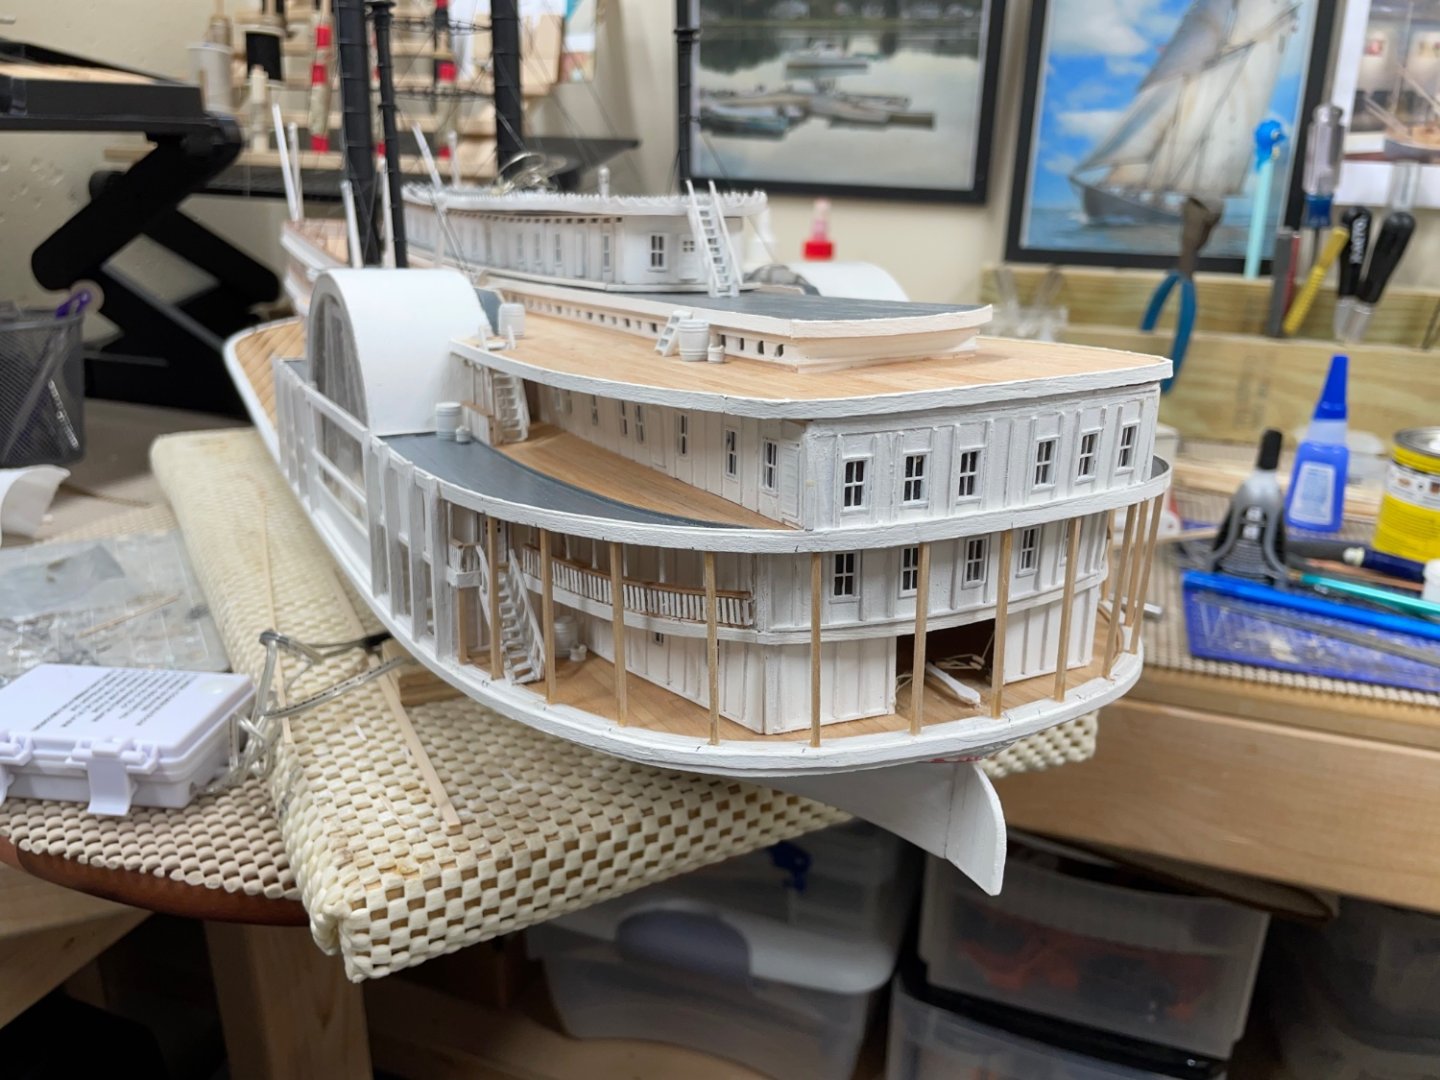
Curved Railing Sections… Hand carved Drape Arc… Soaked and bent top rail… Painted railing sections and stained top rails. Boiler Deck Railings completed. 😎 Cheers 🍻


- 238 replies
-
- 9
-
-
-
- Robert E Lee
- steamboat
- (and 3 more)
-
One heck of an attempt Tom… Fortunately I had a metal casting for the transom to work with on my CWM. Nice job on that “suggestive” Eagle. Holds up to photo magnification. Looks Great! 👍 Good luck with your parents move, that can be a difficult situation. 😔 John
- 200 replies
-
- 4
-
-

-
- Whaling Bark
- Charles W Morgan
- (and 1 more)
-
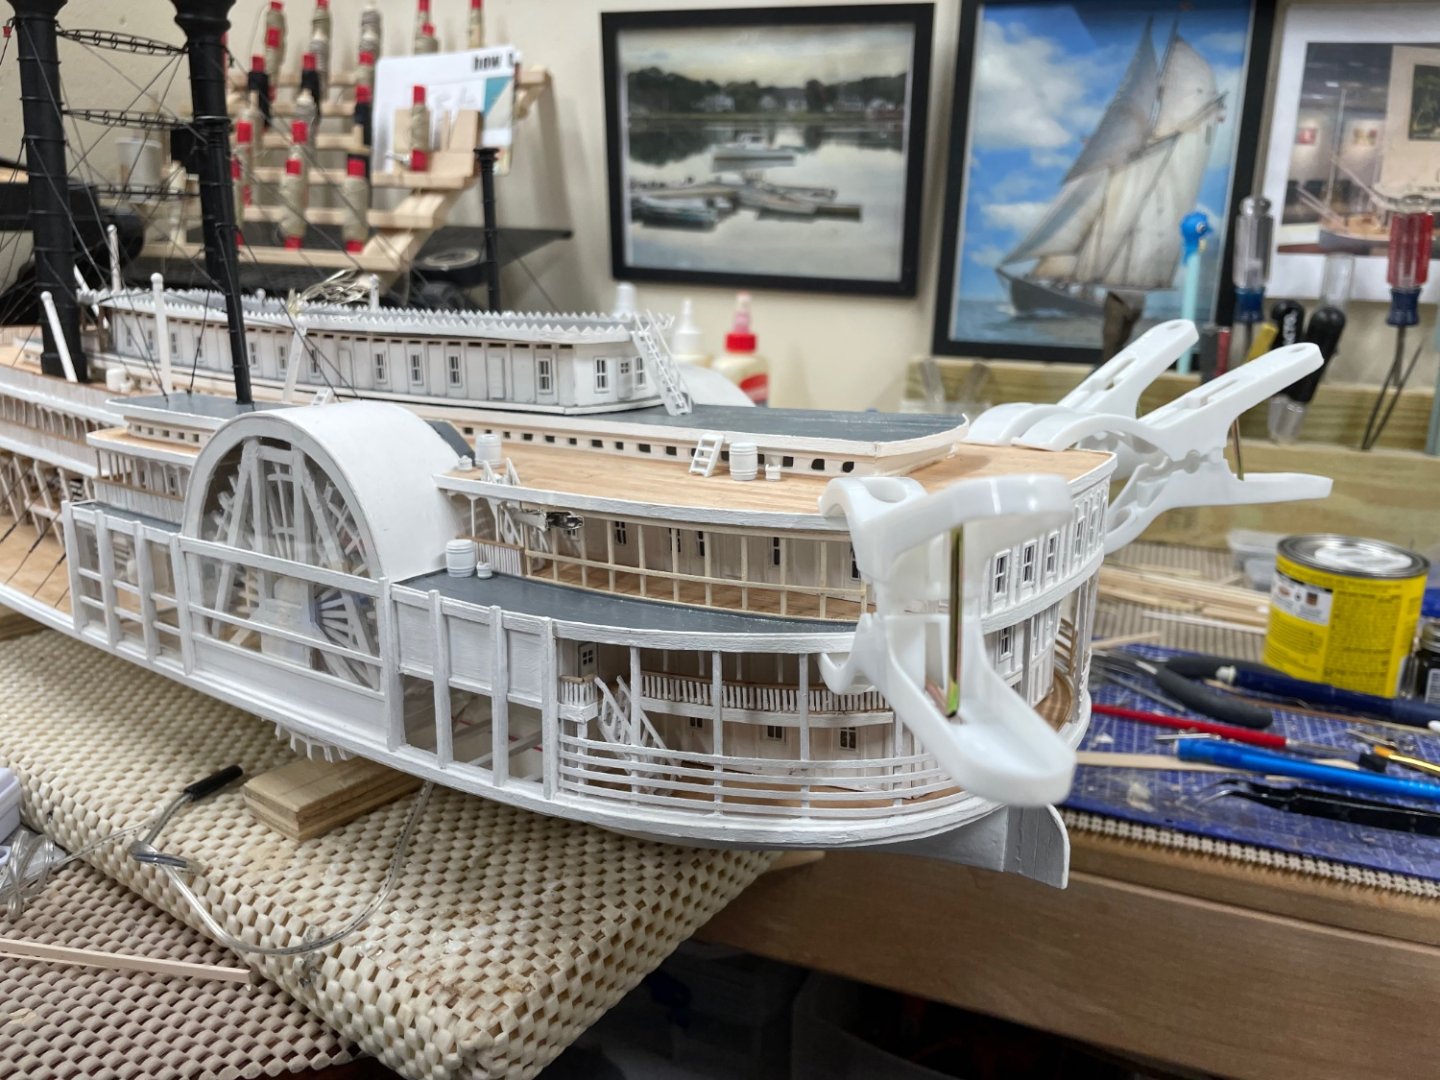
Stern Railings completed and painted. Boiler Deck Railings continue… Railing frames soaked and bent. These will need to dry prior to adding the stanchions, then paint. Cheers 🍻
- 238 replies
-
- 7
-
-
- Robert E Lee
- steamboat
- (and 3 more)
-
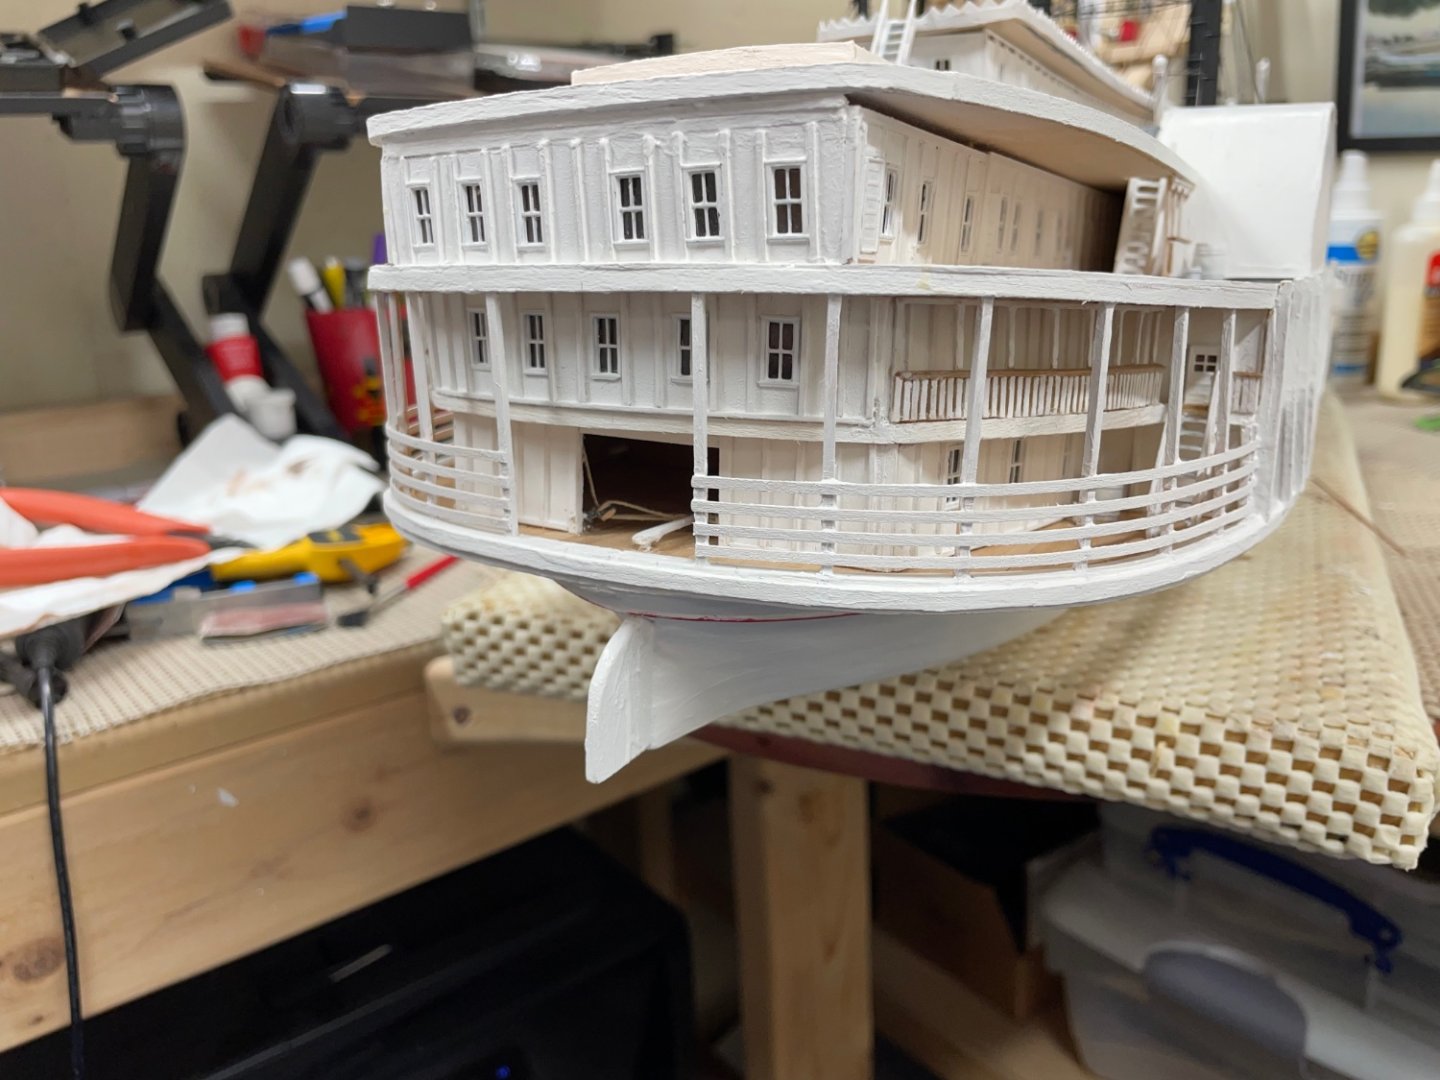
Stern Railing 2.0… After taking another look at last nights work, I decided another railing tear out was in order. Much better… OCD wins out again. 😆 Cheers🍻


- 238 replies
-
- 10
-
-
- Robert E Lee
- steamboat
- (and 3 more)
-
Thanks Brian, I will hit the one year mark the end of November. Lots and lots of small bits to come. 😆 Every time I take a look at the prints there are more details. Not to mention derricks, rigging, a work boat and life boats. She is coming along… Cheers 🍻


- 238 replies
-
- 8
-
-
- Robert E Lee
- steamboat
- (and 3 more)
-
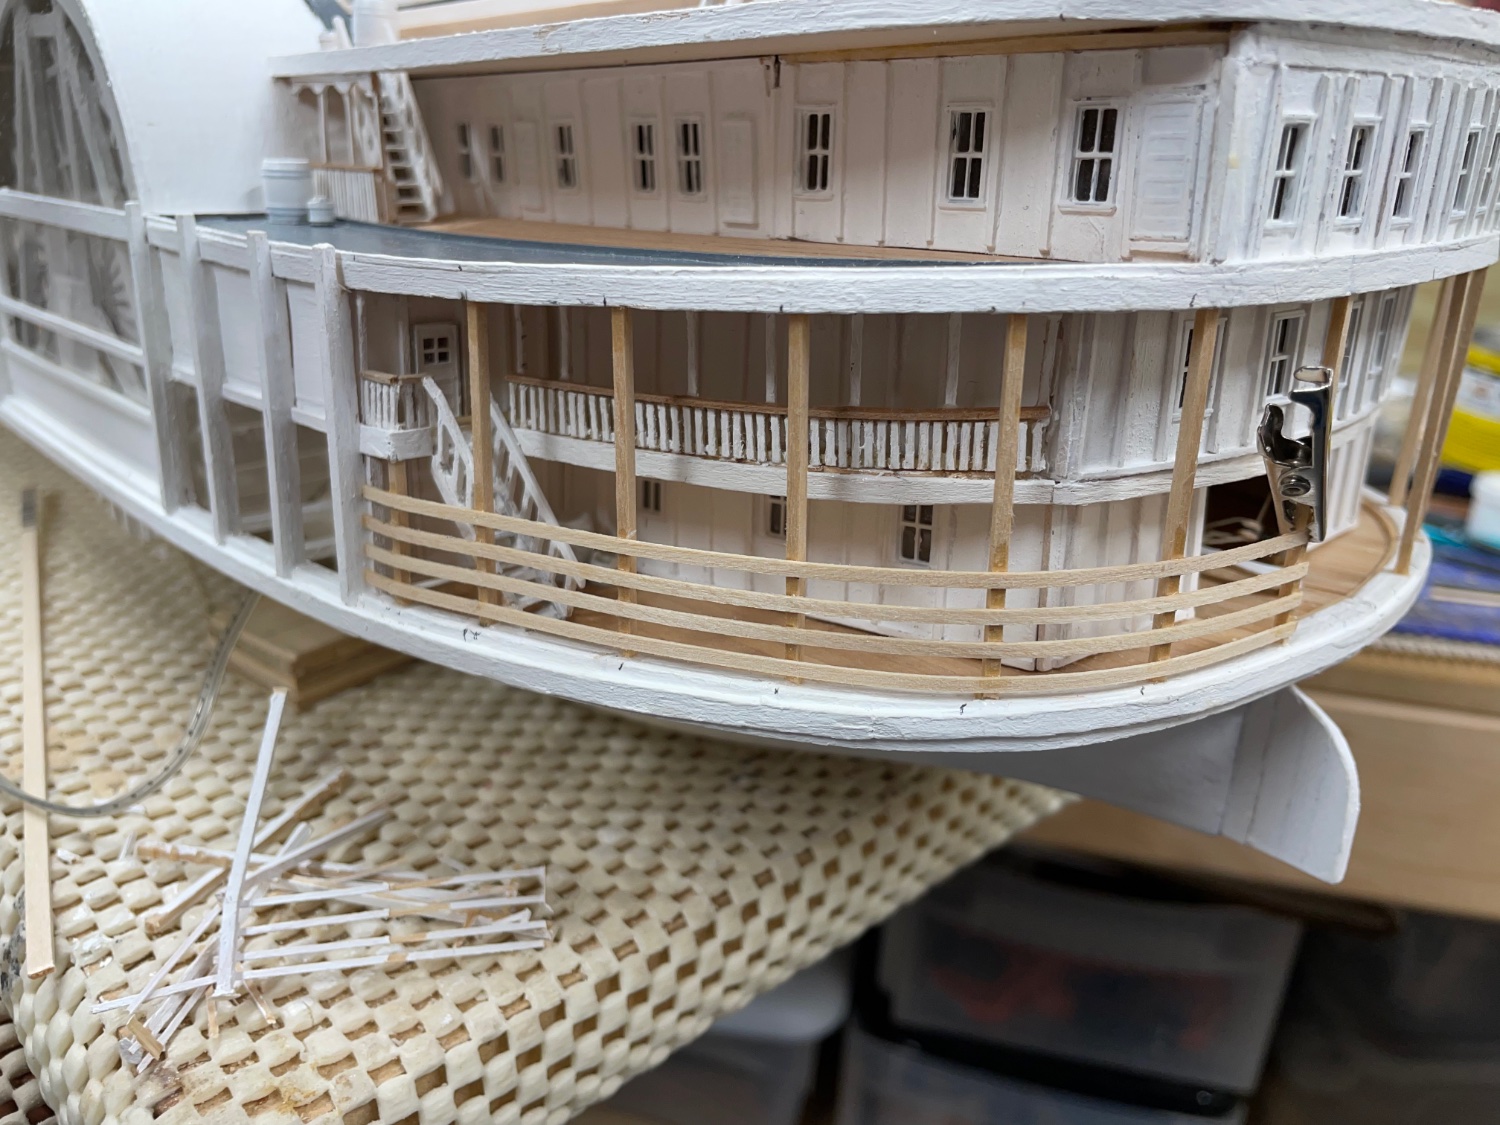
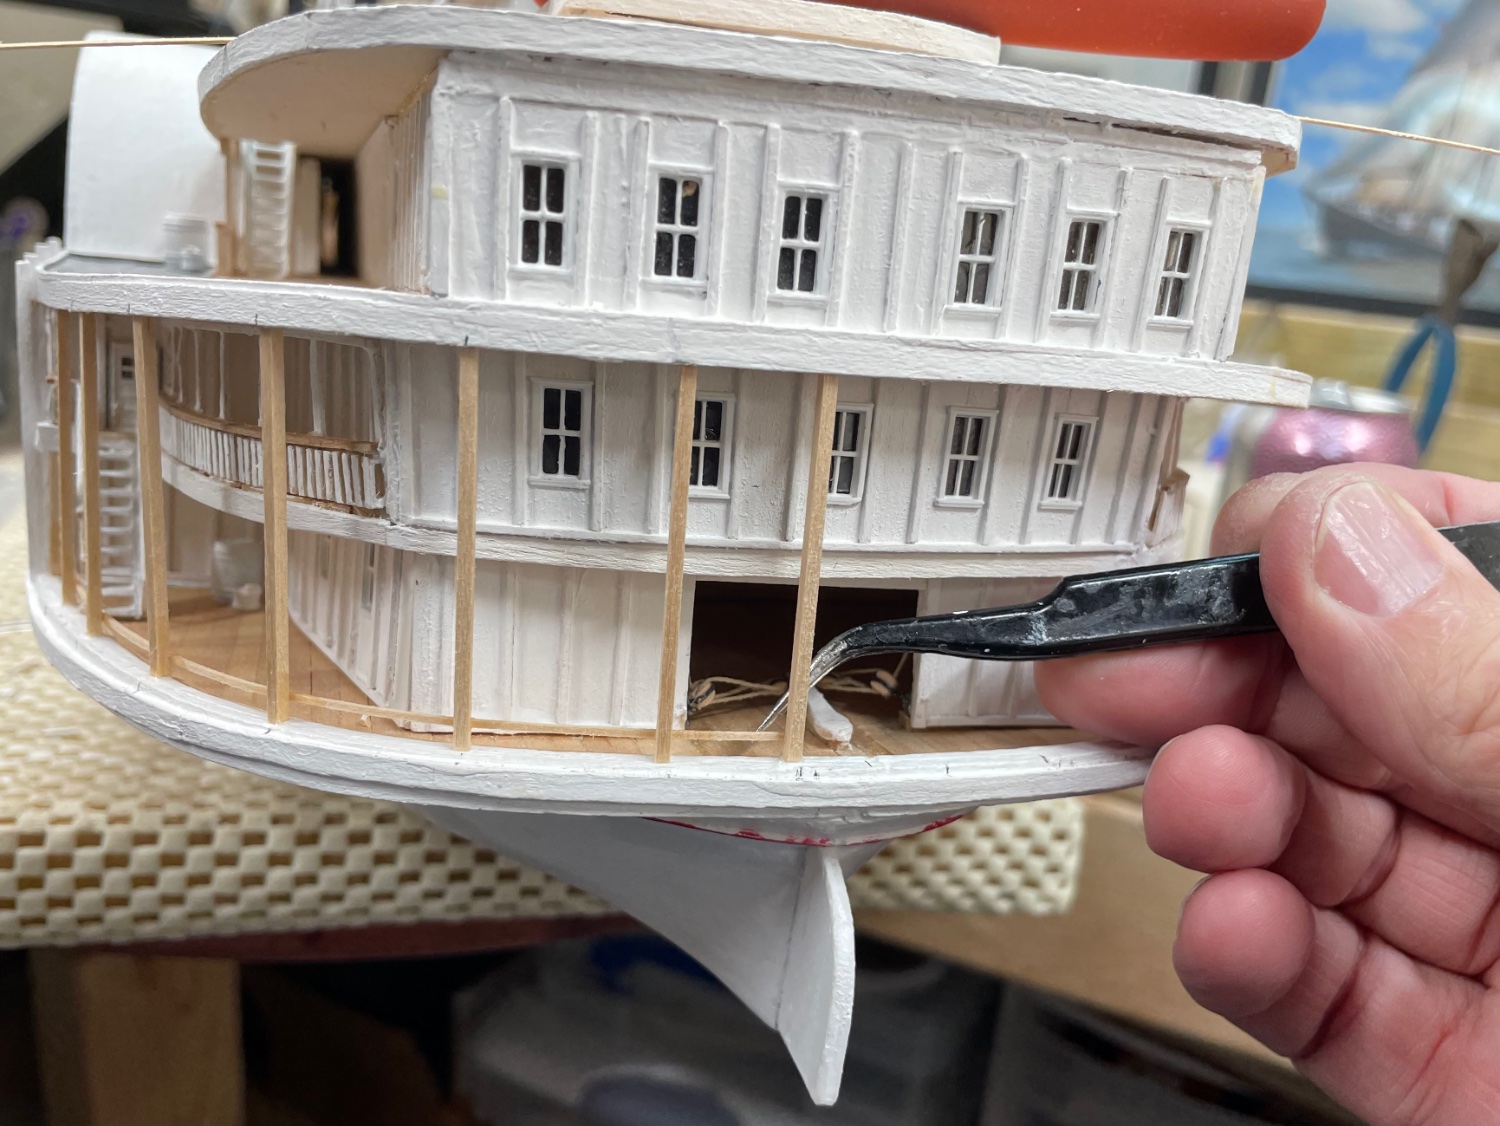
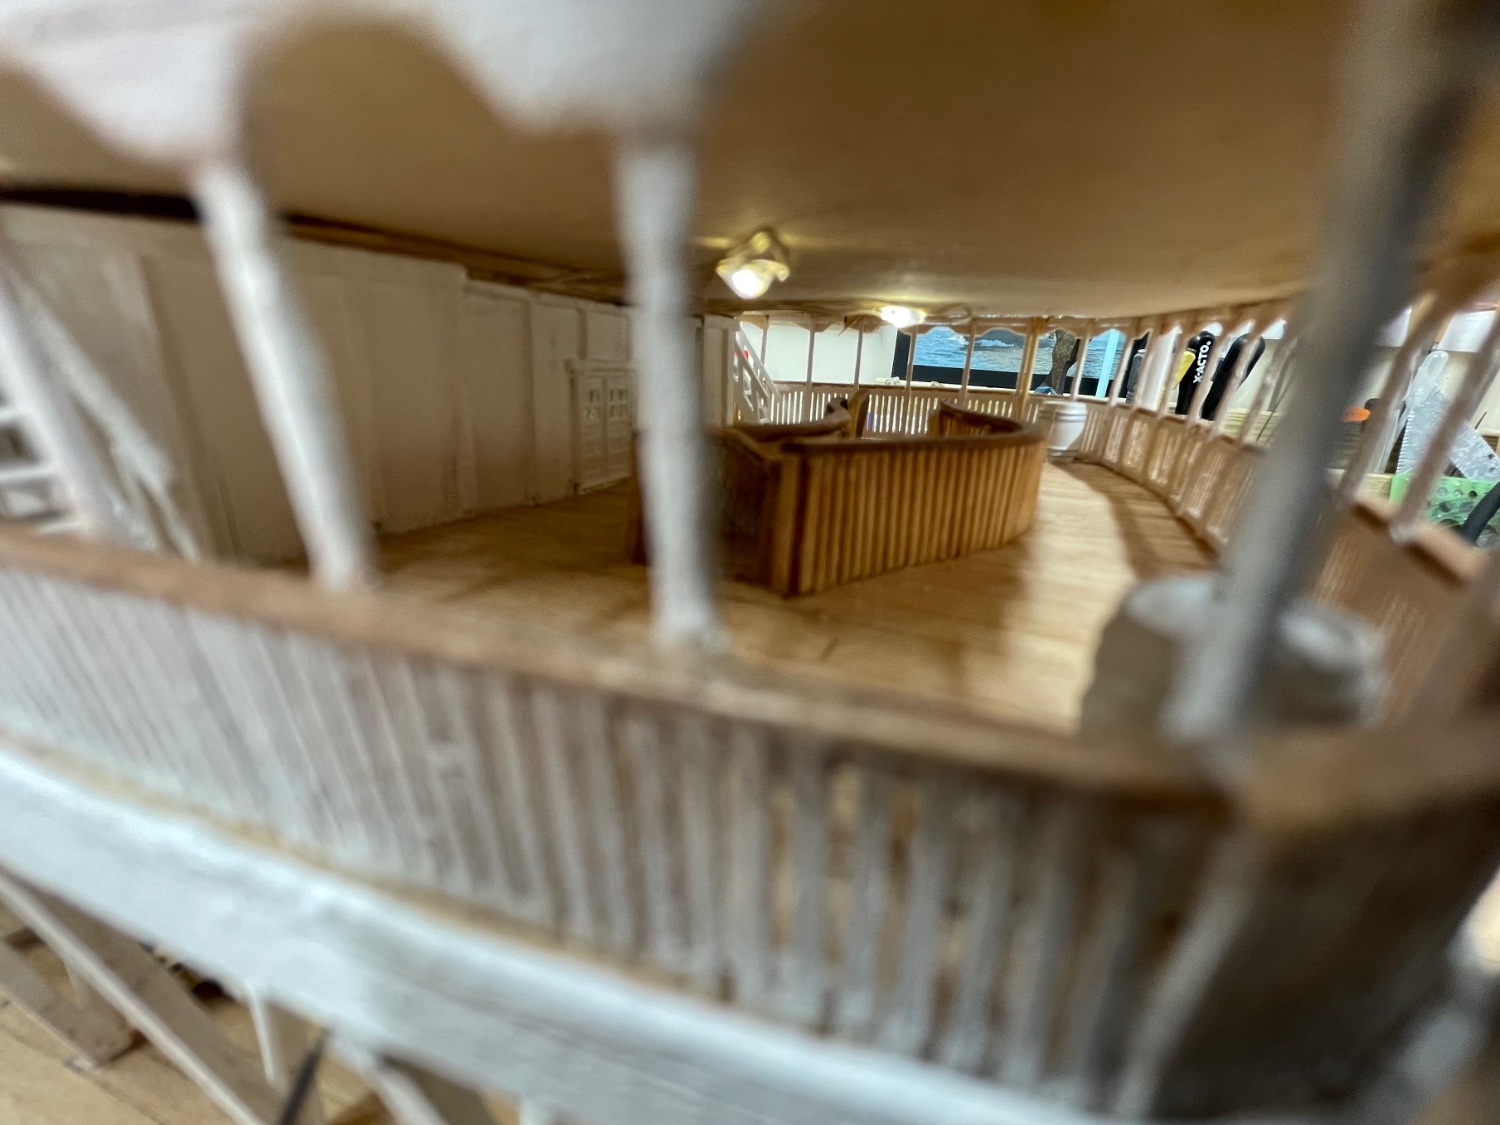
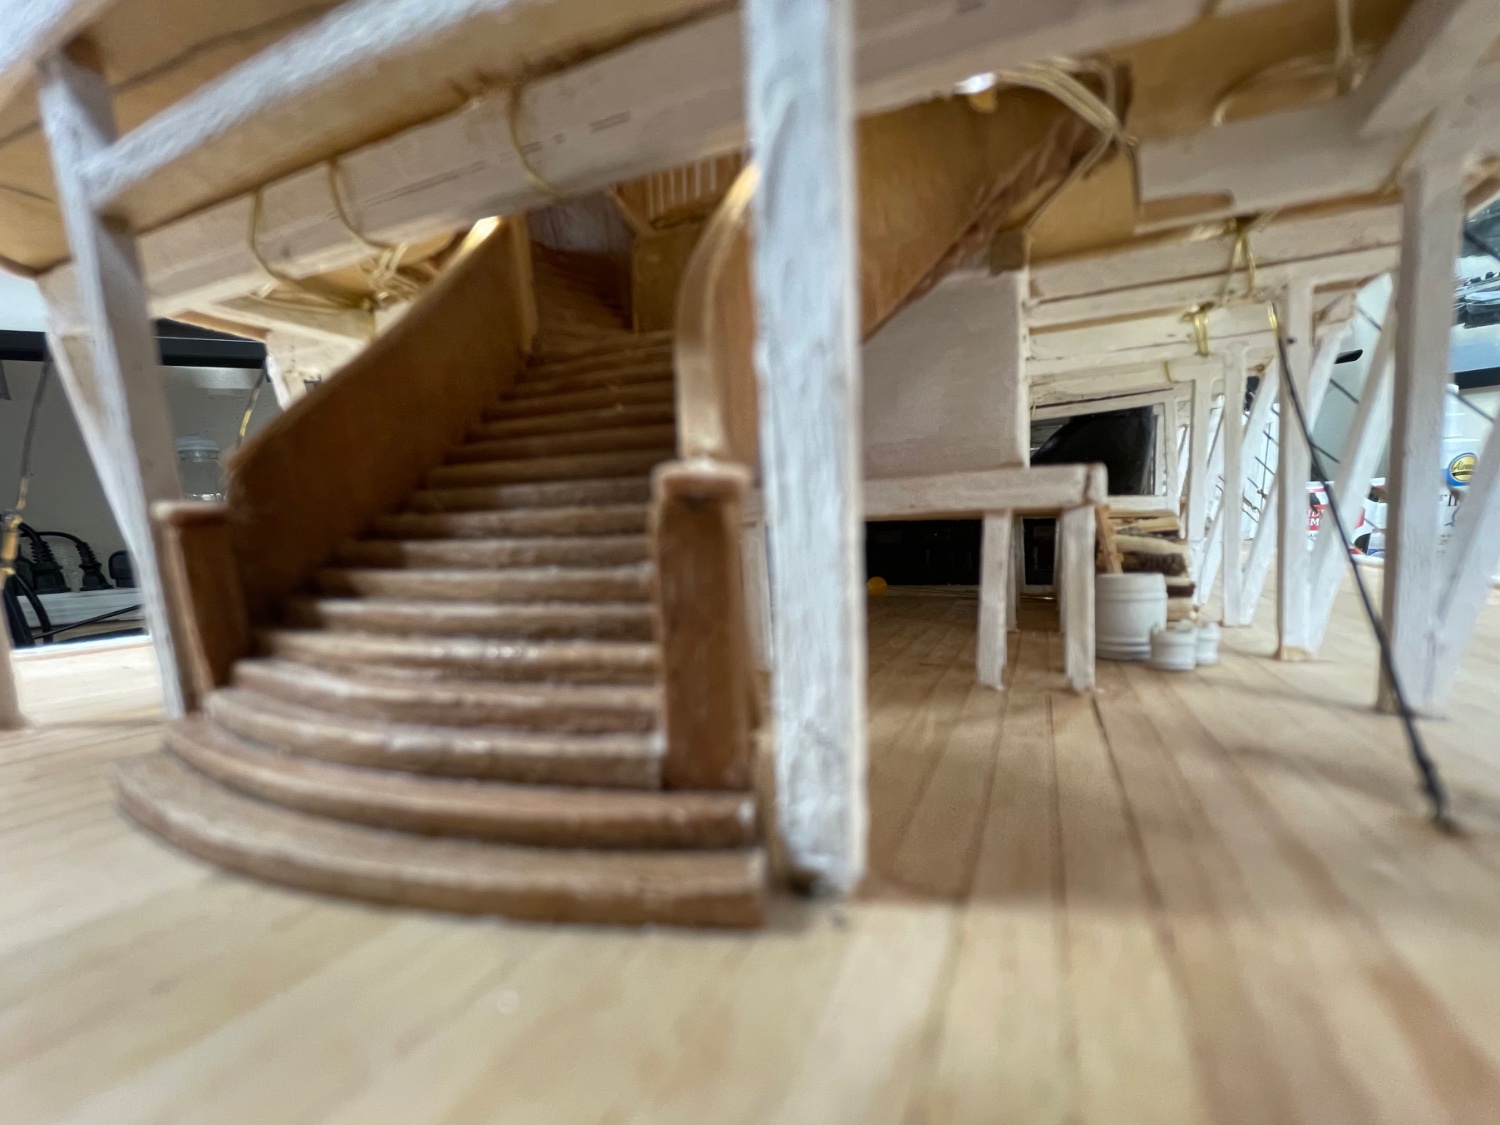
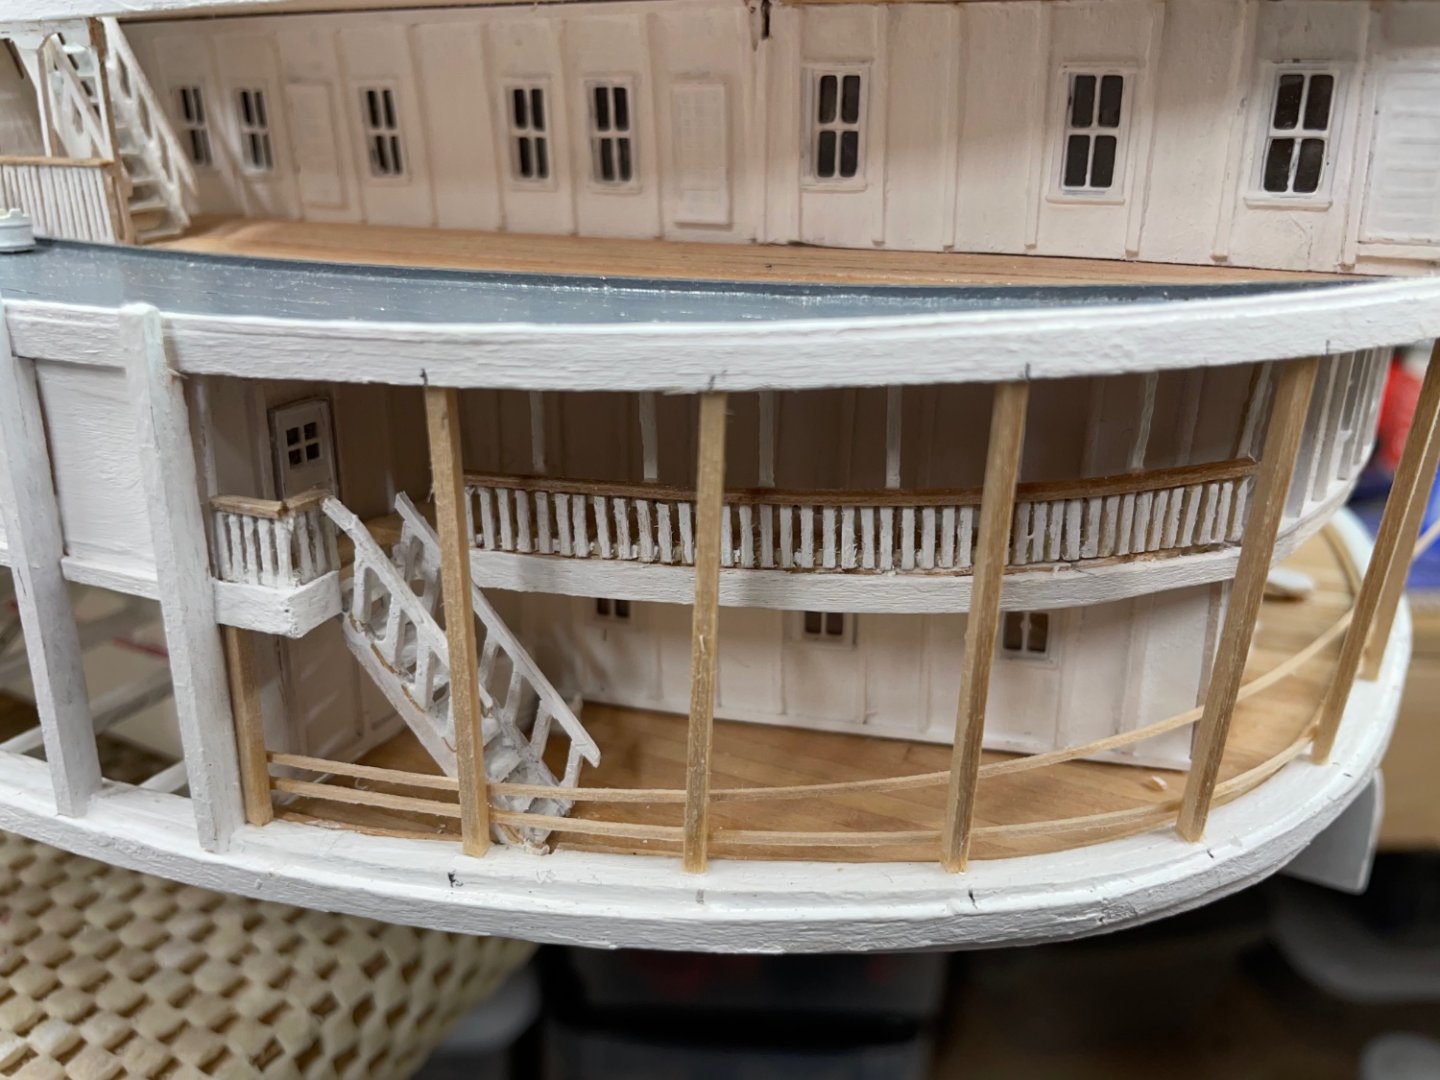
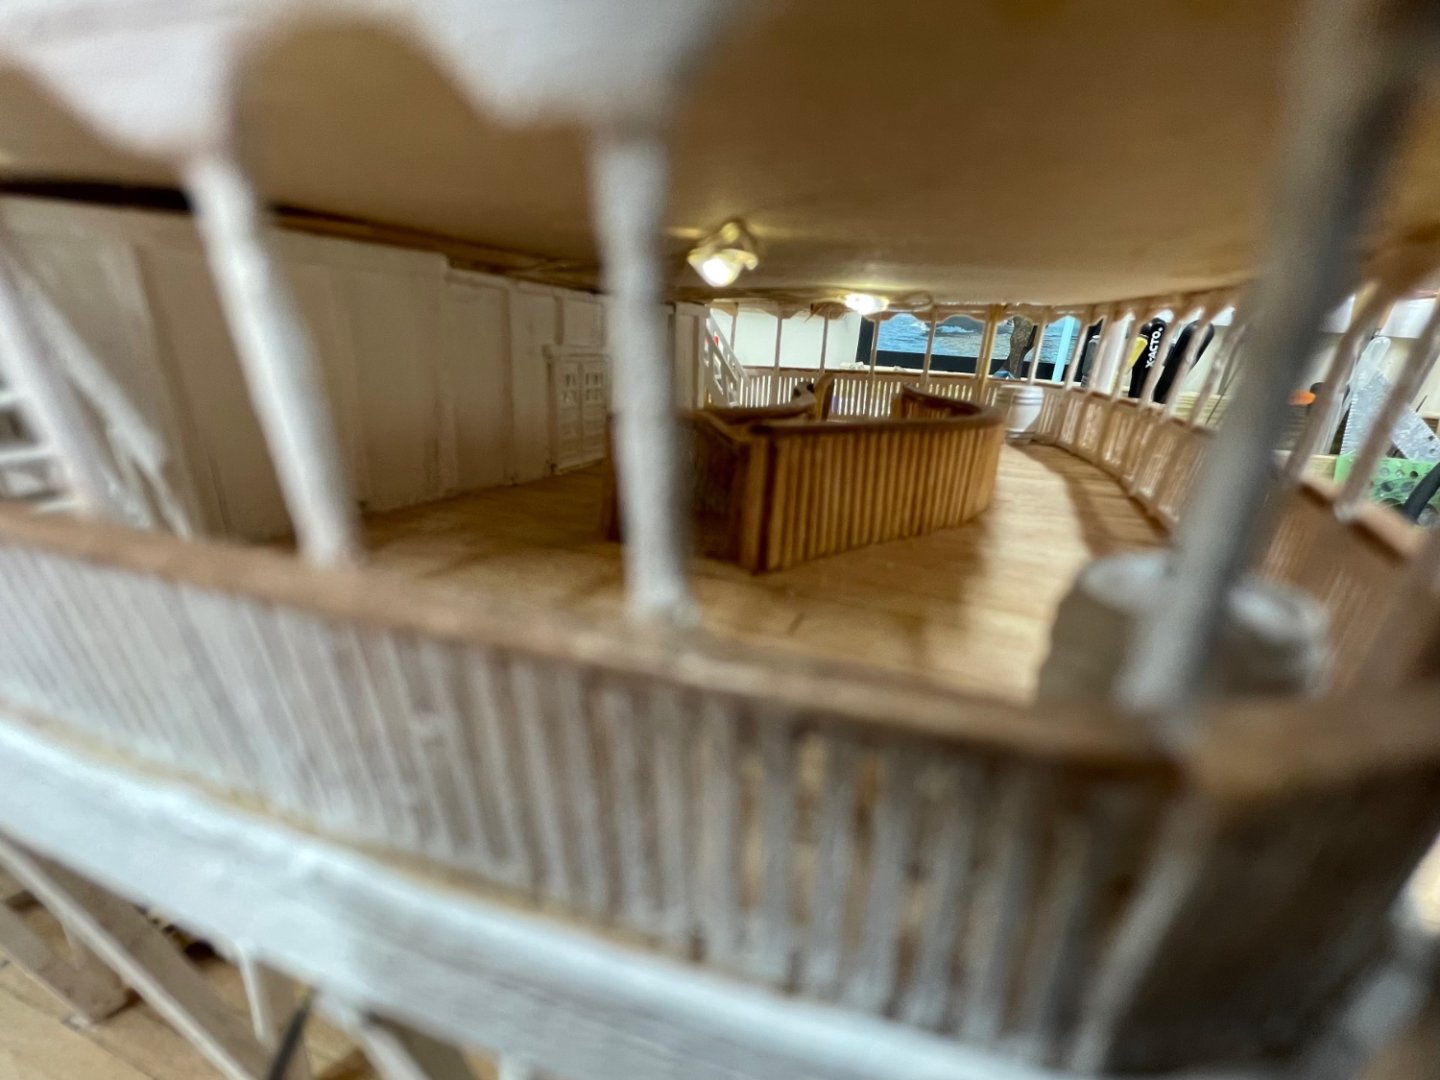
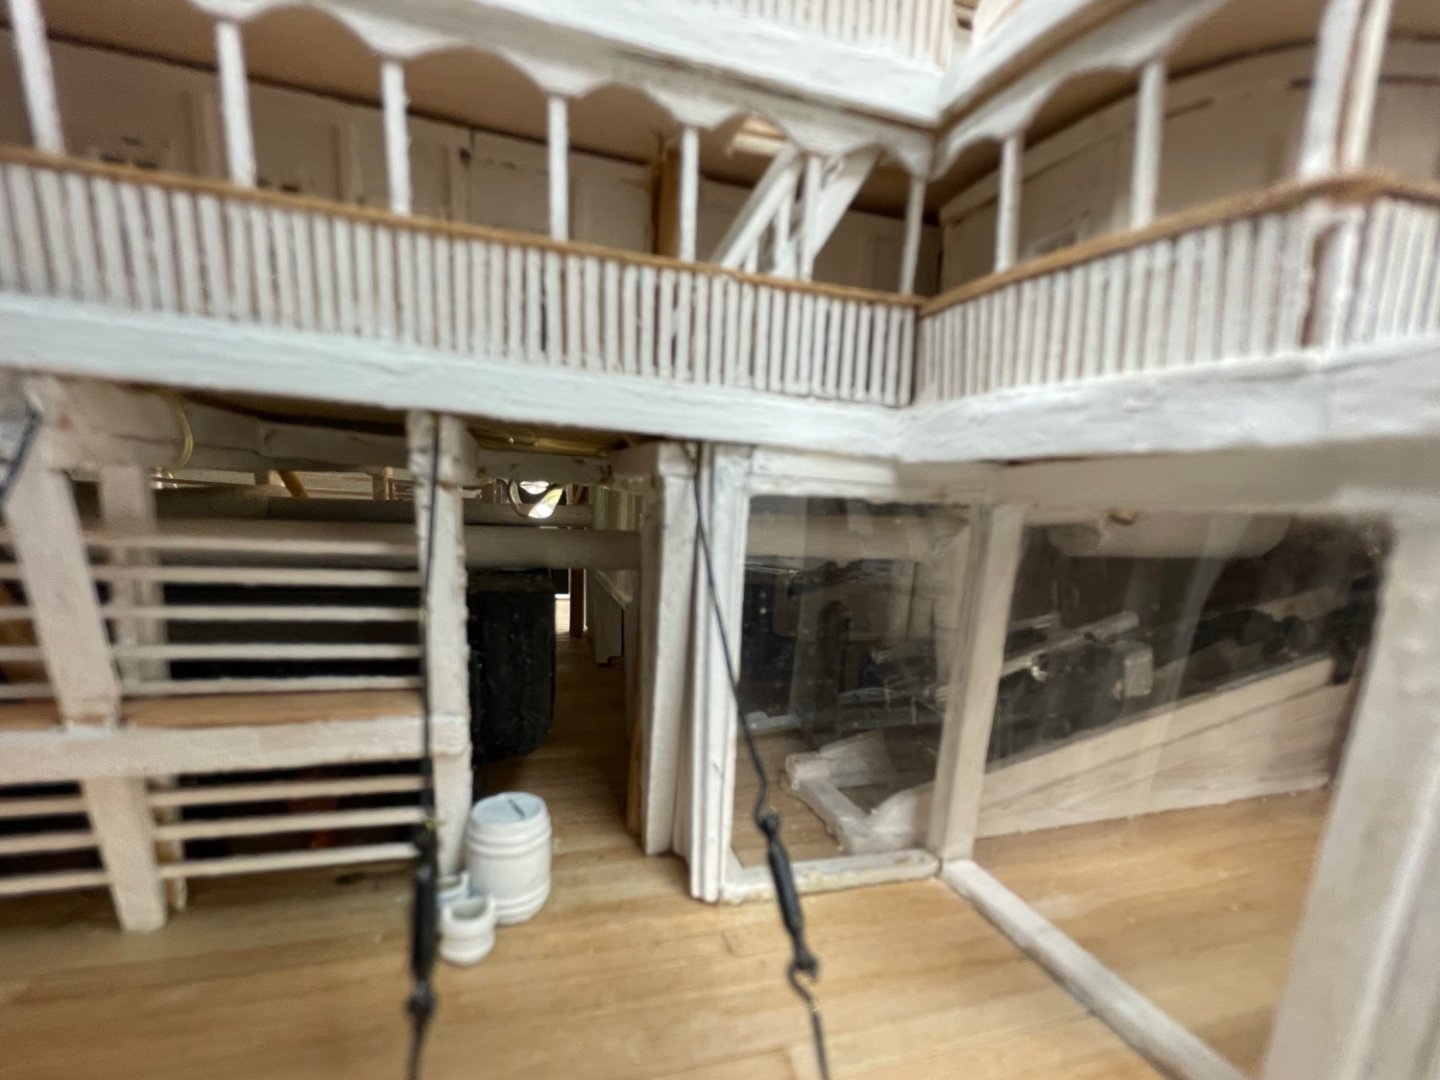
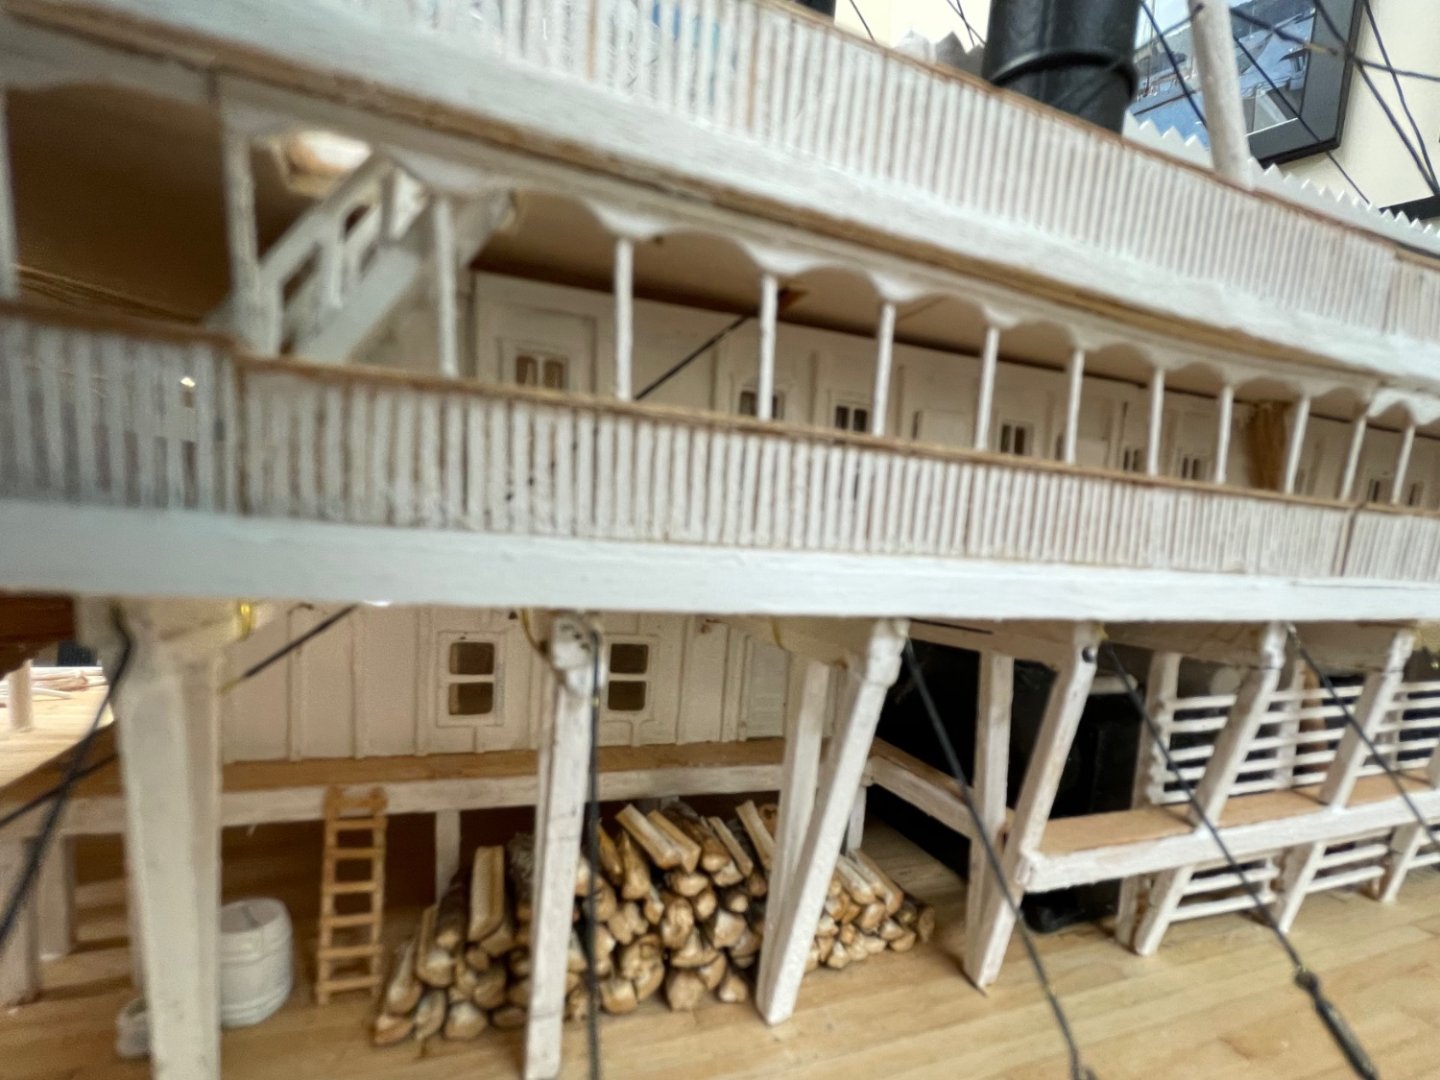
Some close ups of completed work… Top of the Grand Staircase as seen from the Boiler Deck Saloon Entrance. Grand Staircase as seen from the Main Deck, ready for arriving passengers. Main Deck Boiler and Fuel storage. A peak into the Engine Room. Cheers 🍻

- 238 replies
-
- 9
-
-
- Robert E Lee
- steamboat
- (and 3 more)
-
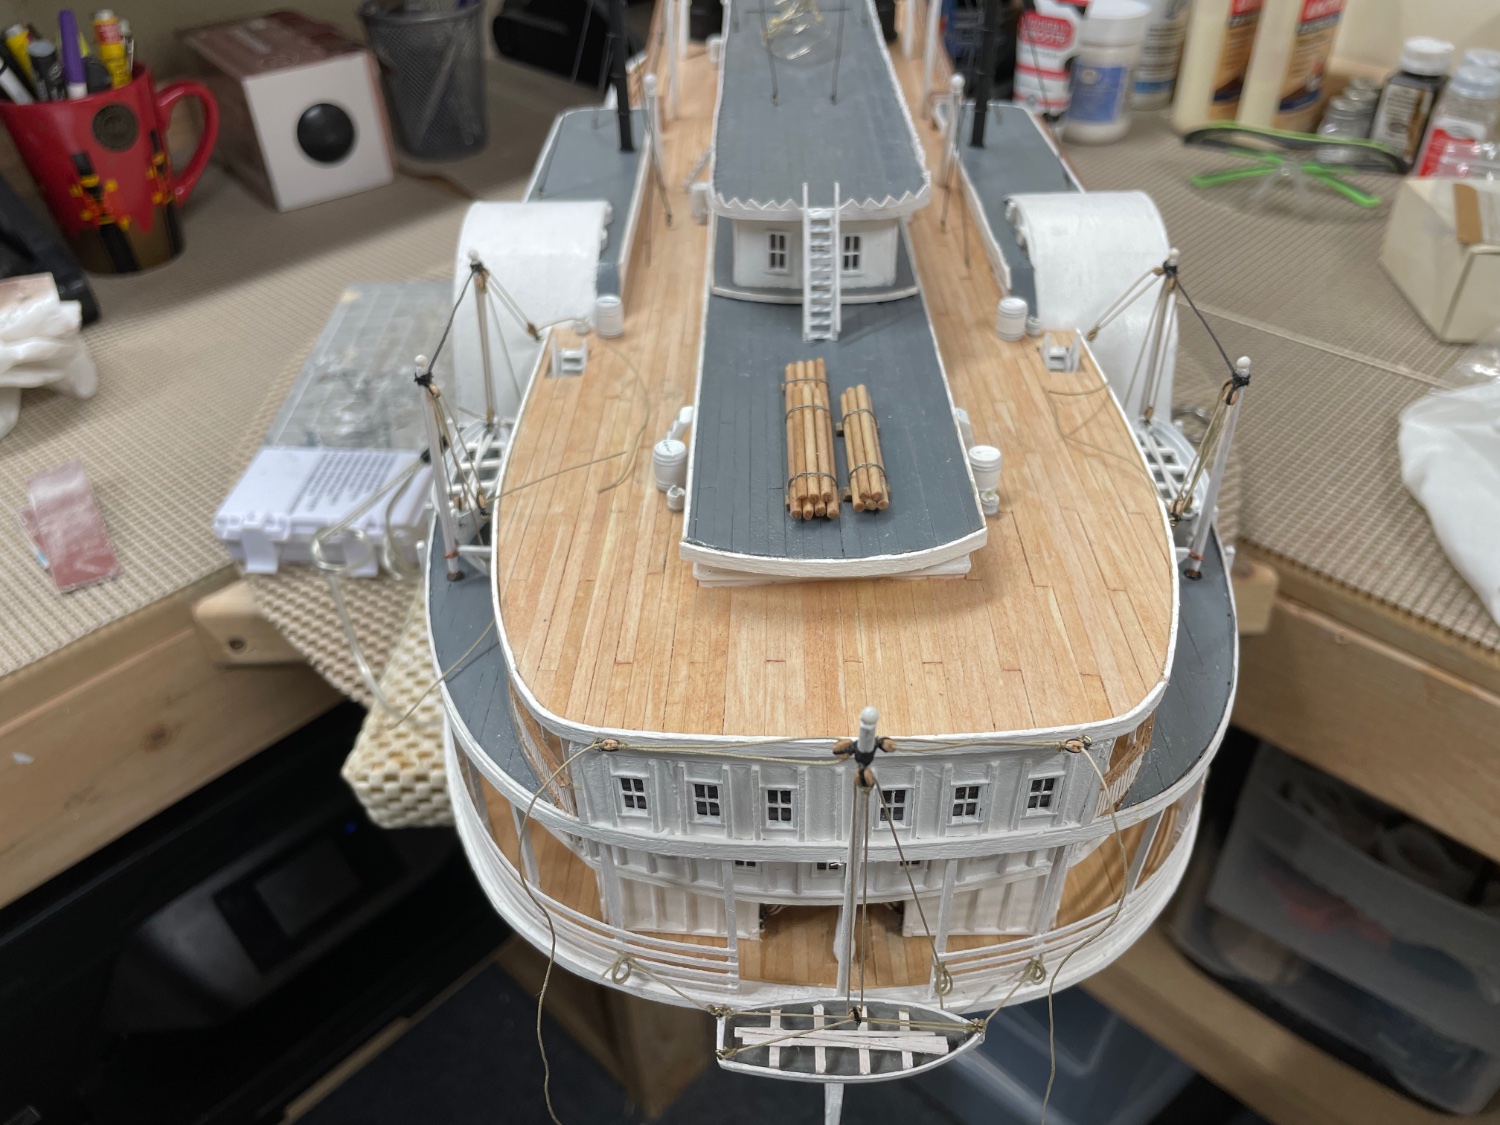
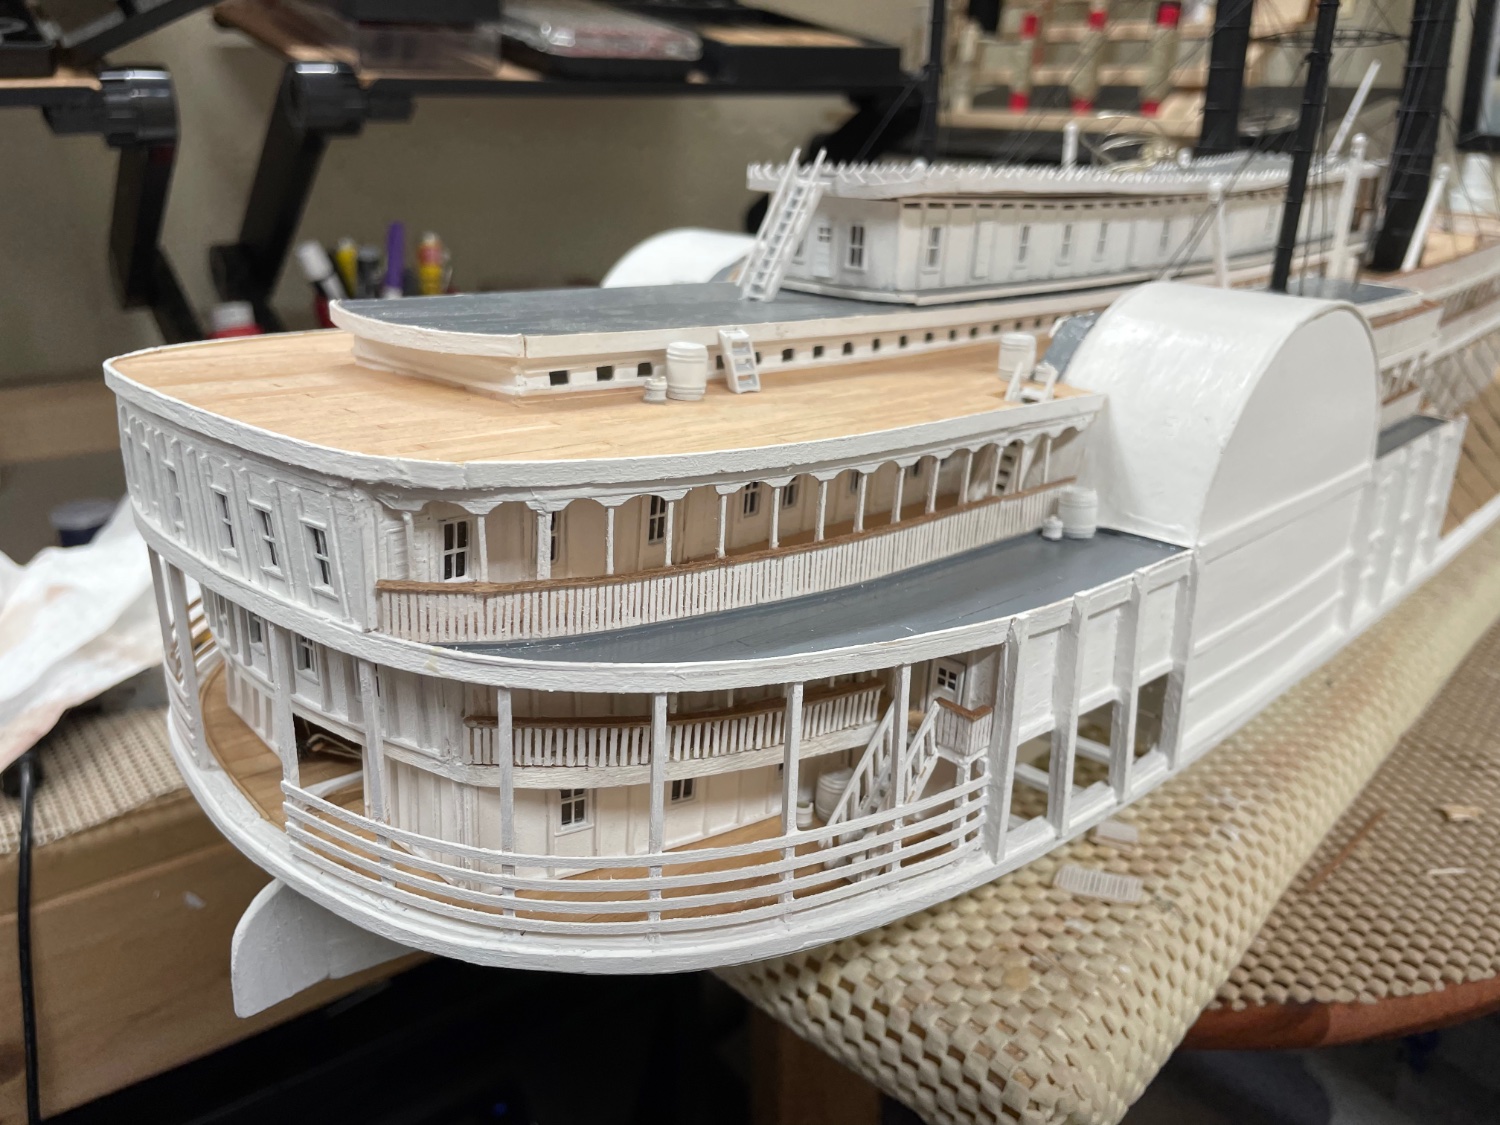
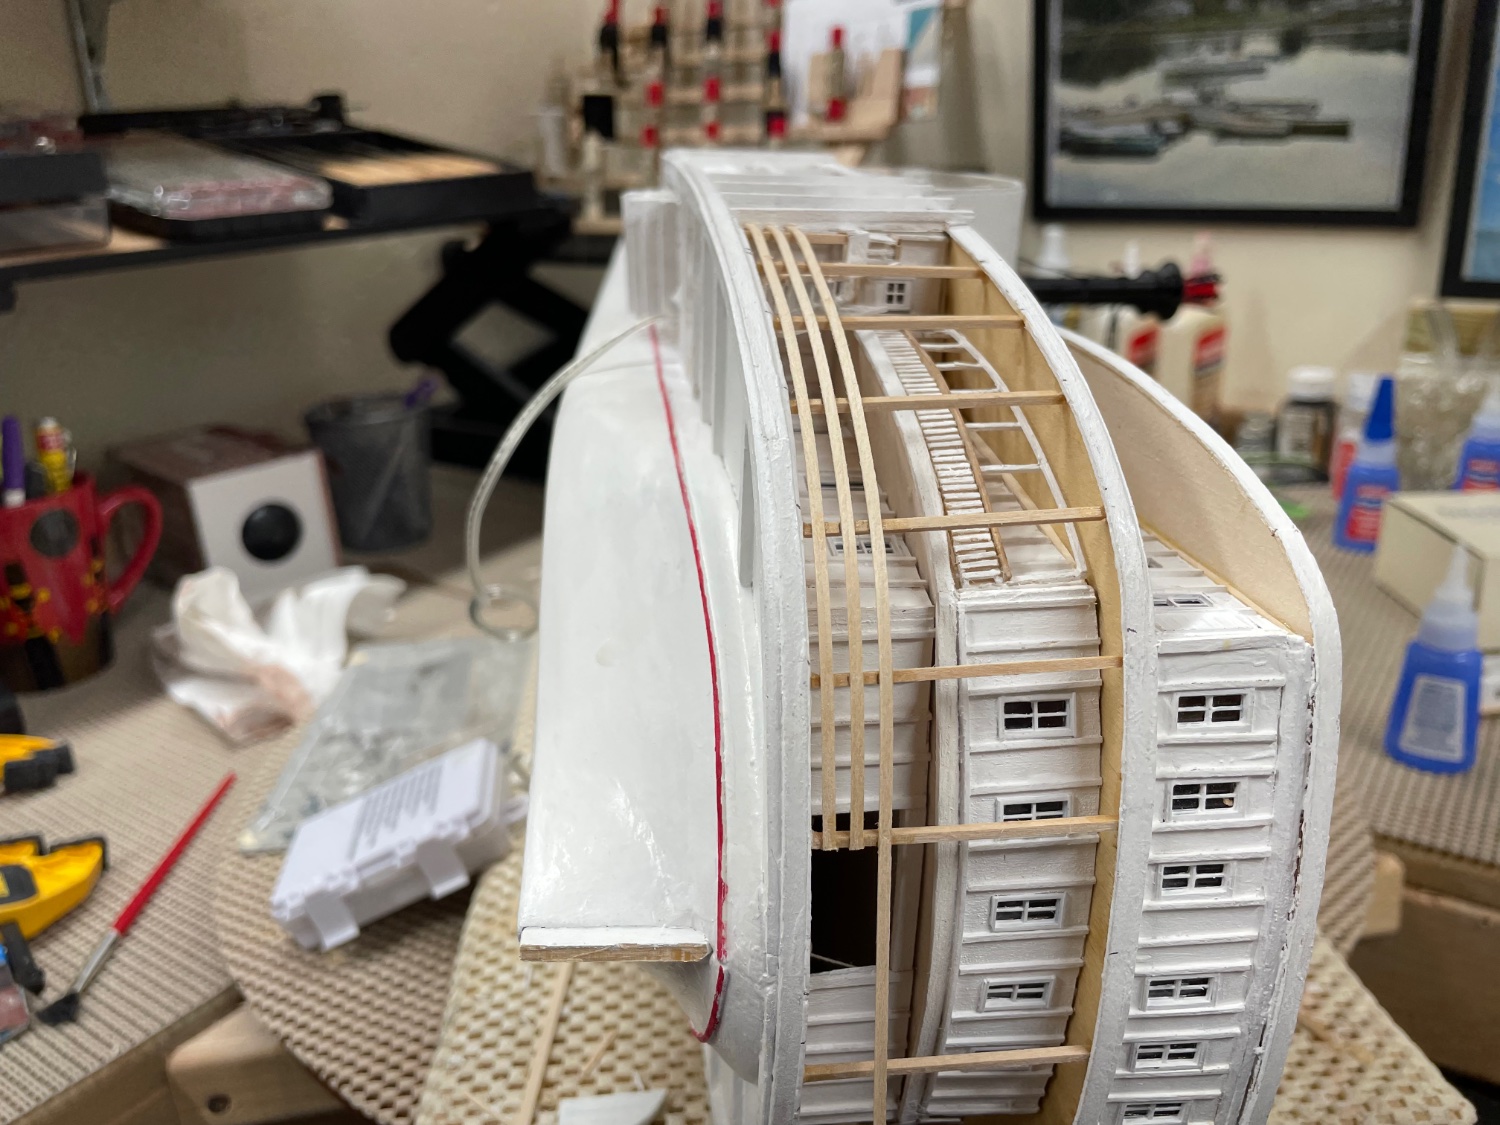
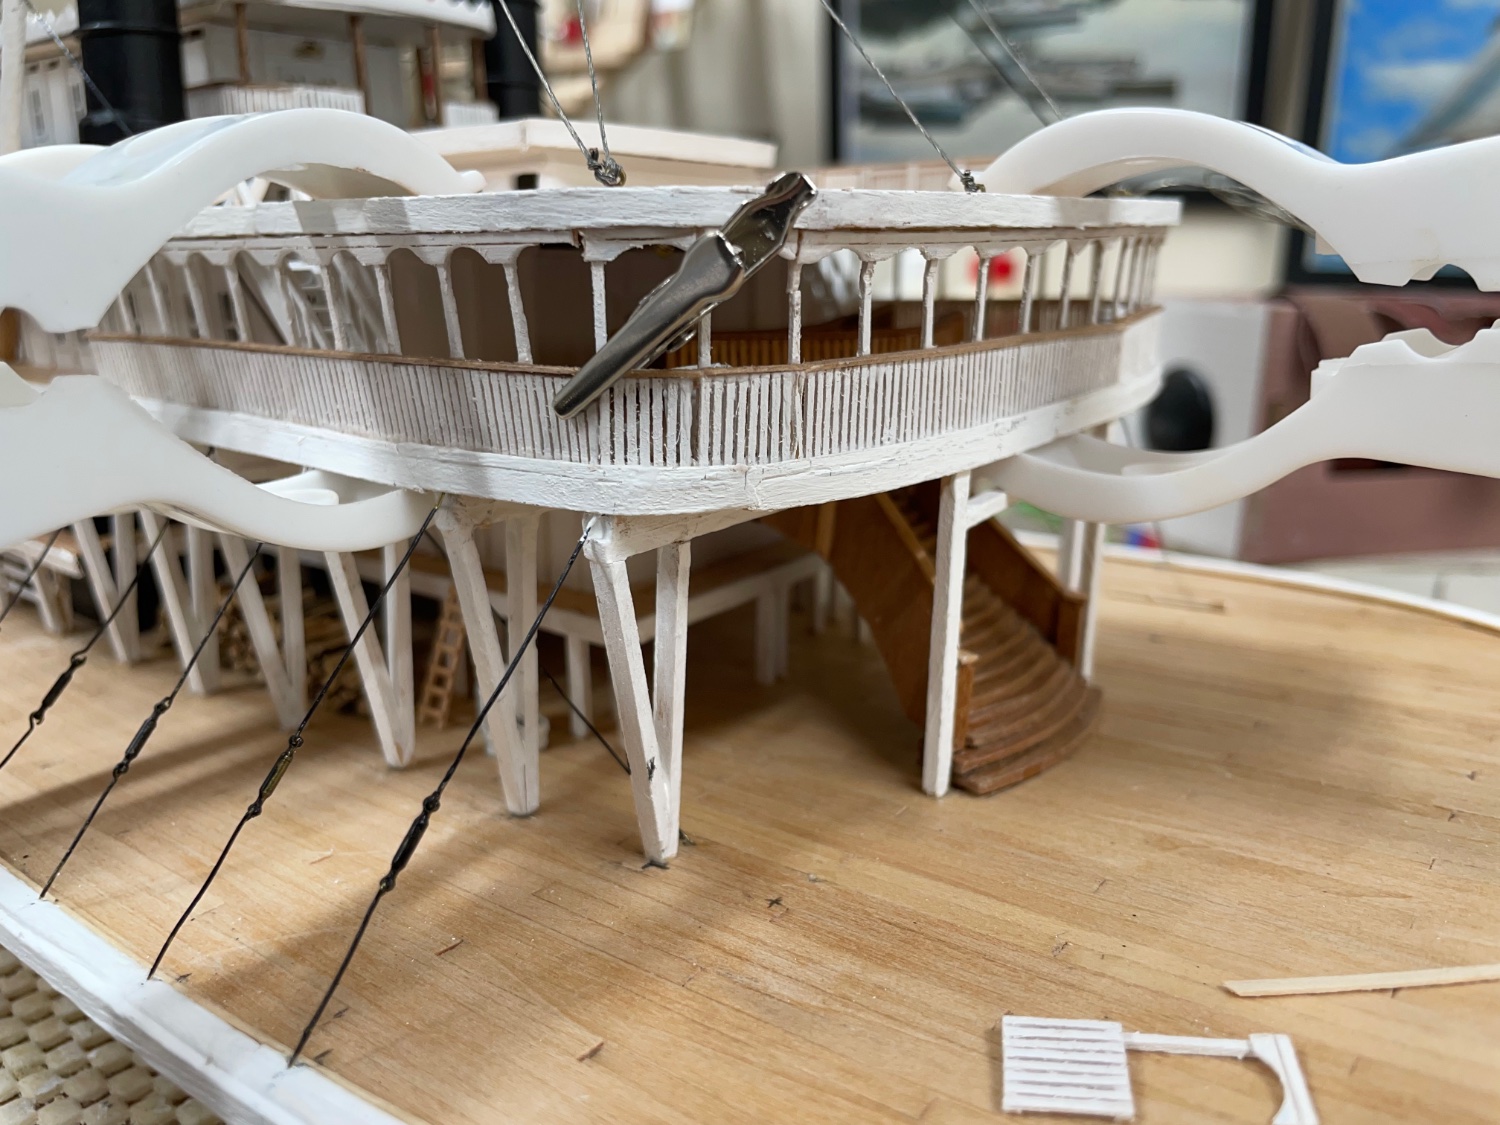
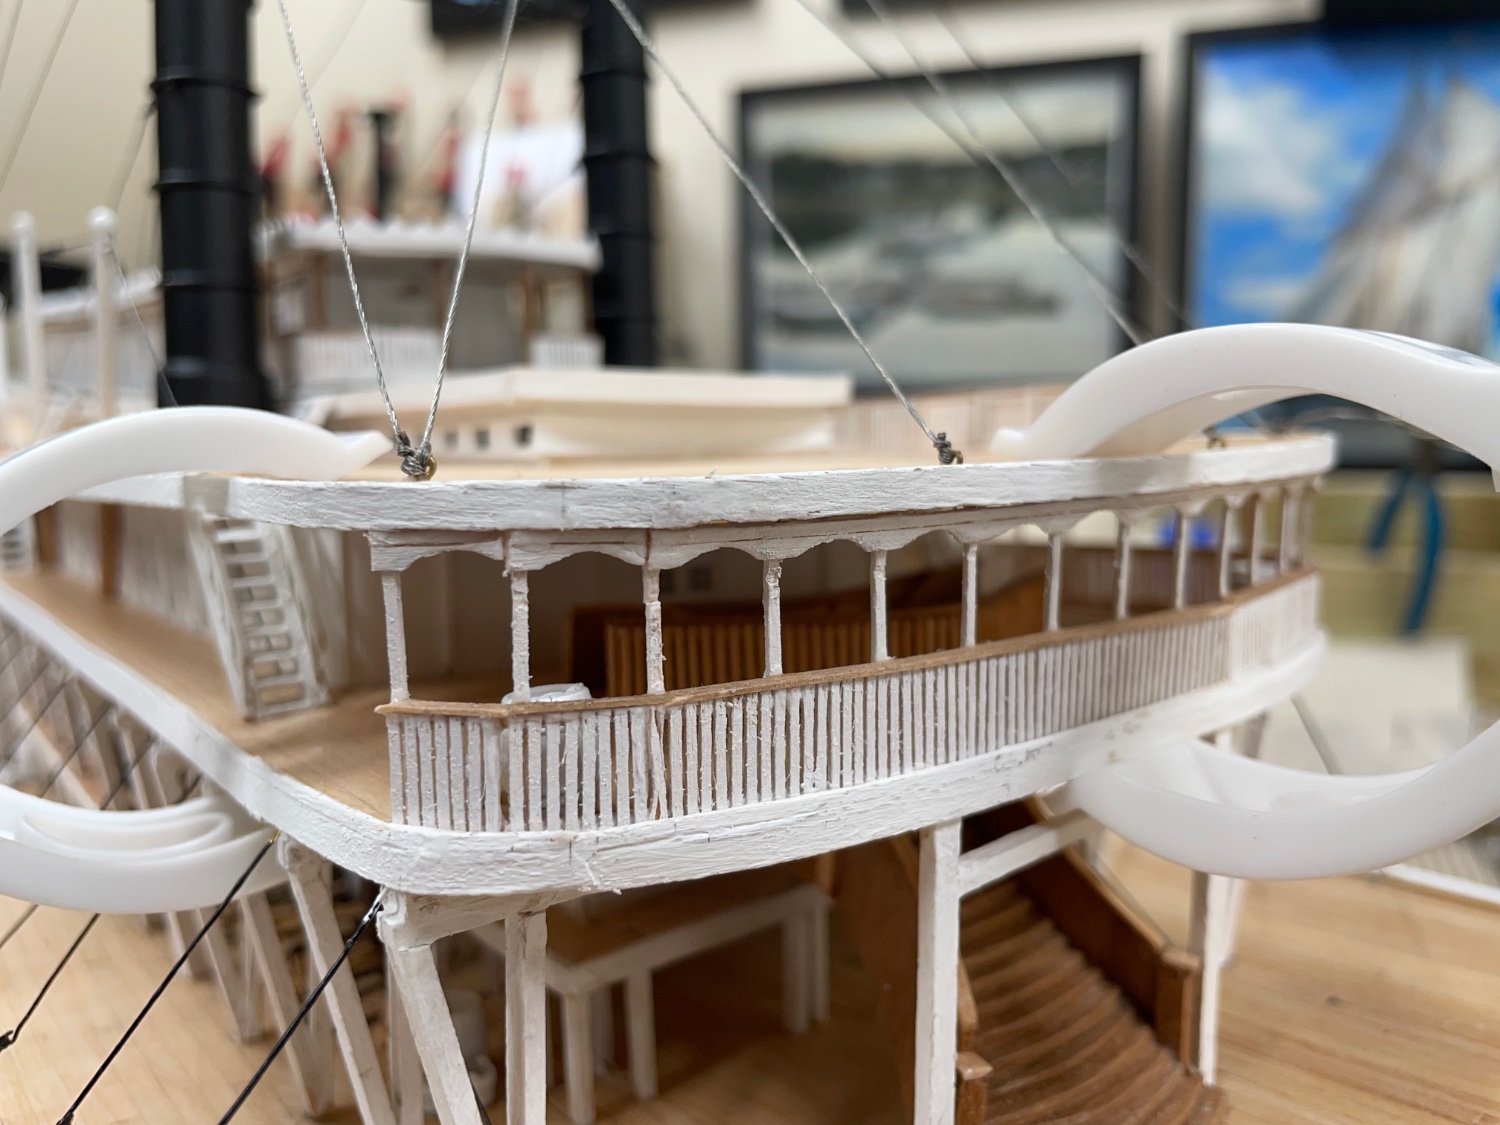
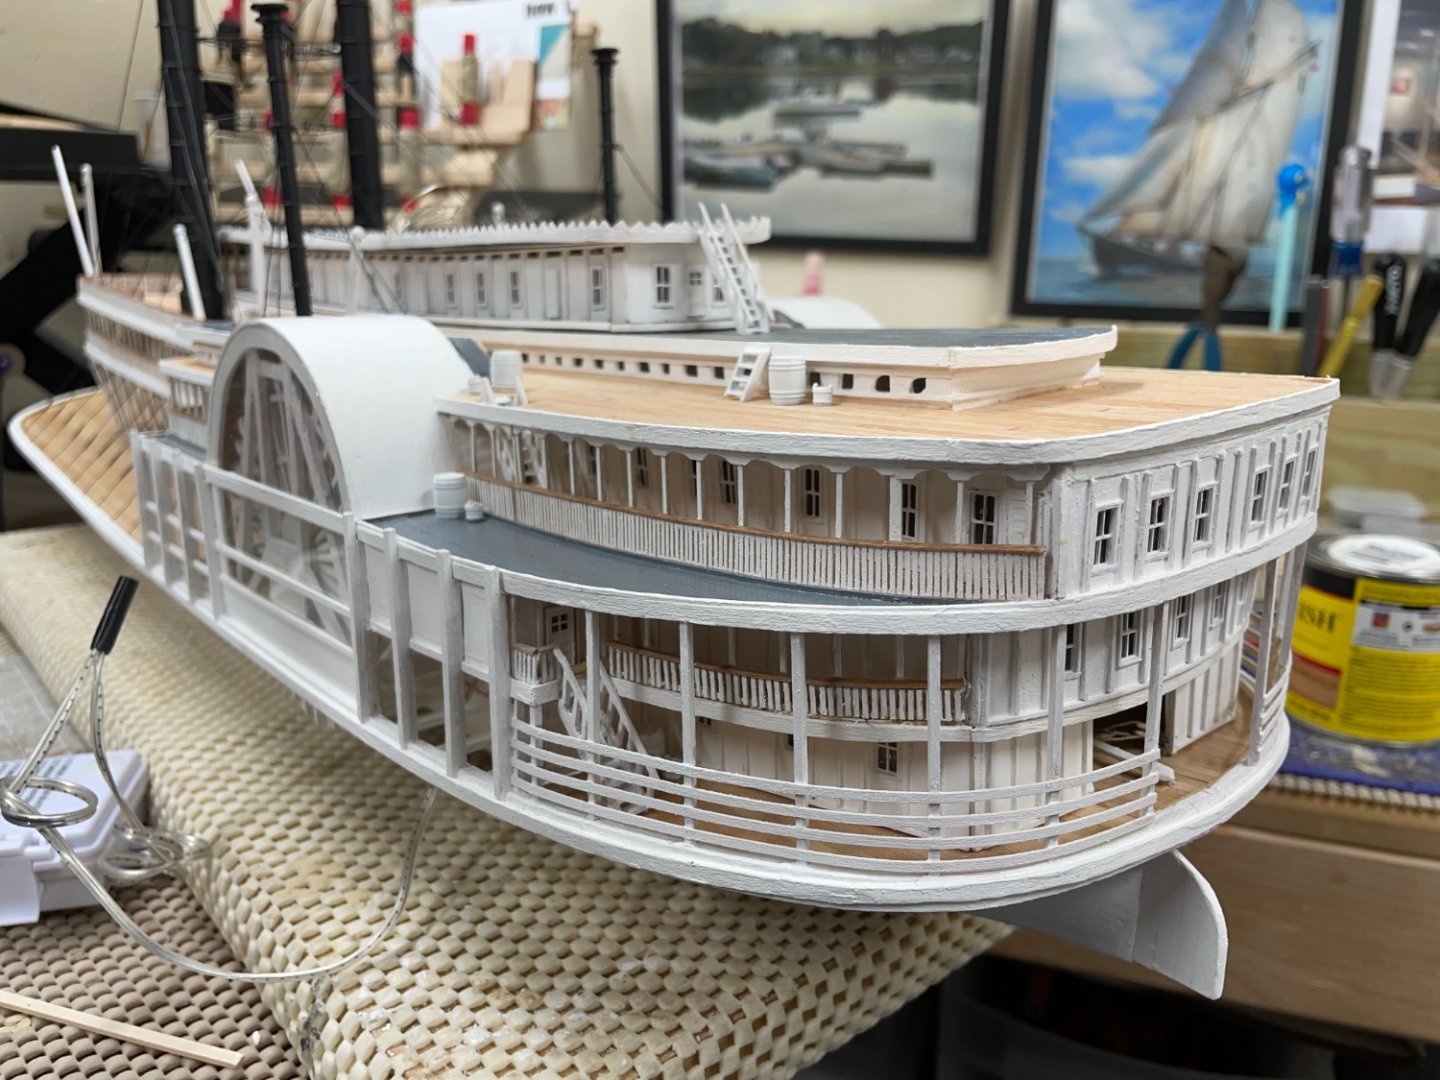
Railings continue… Completed mounting forward railings on the Boiler and Hurricane Decks. I will have to assemble more to do the same aft of the paddle wheels. Started installing horizontal railing on the stern. A bit tricky gluing these rails in place. Progress is being made, more details to come… Cheers 🍻


- 238 replies
-
- 9
-
-
- Robert E Lee
- steamboat
- (and 3 more)
-
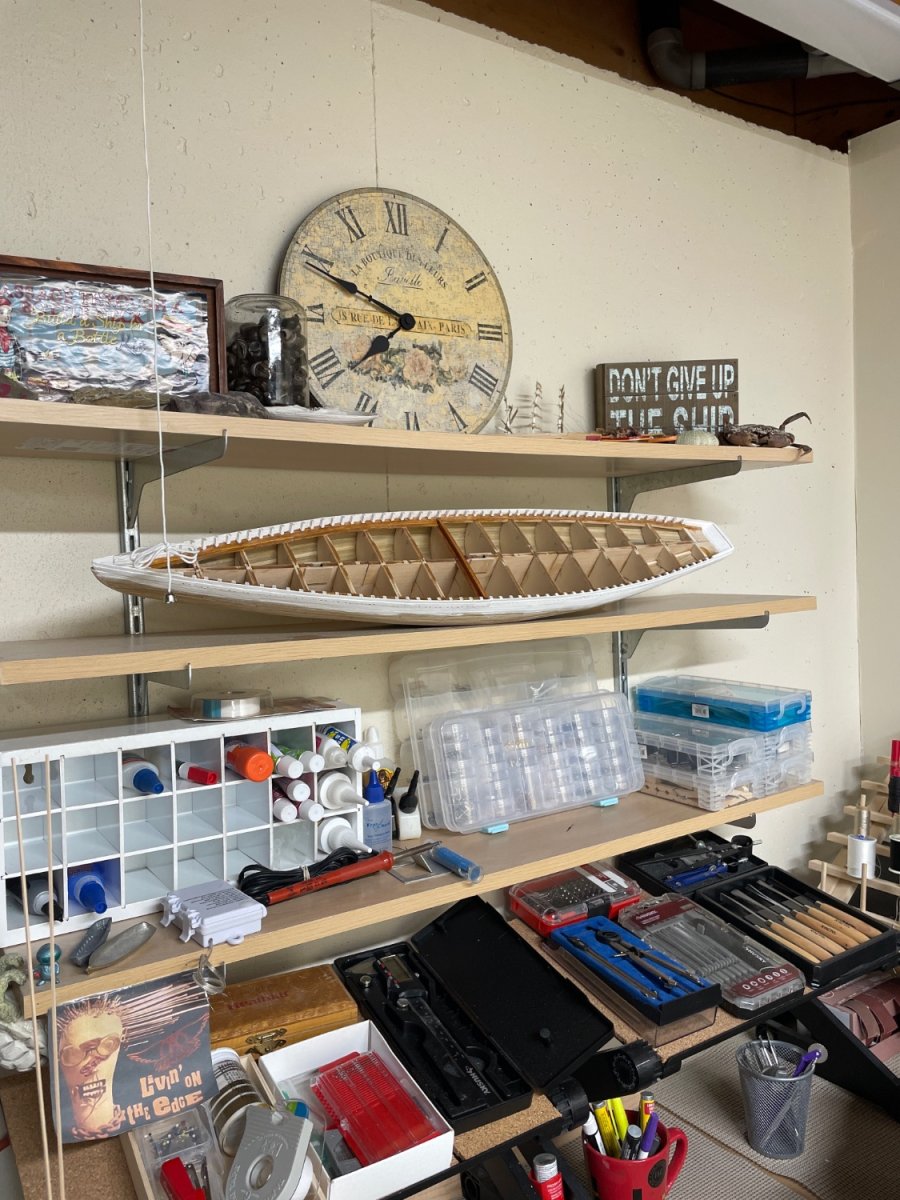
Just a quick note. Wanted you all to see The Bluenose “On the Shelf”. I will be back to finish her, although I may be a while over on my Robert E Lee build. Cheers 🍻

- 282 replies
-
- 6
-
-
- Bluenose
- Model Shipways
- (and 1 more)
-
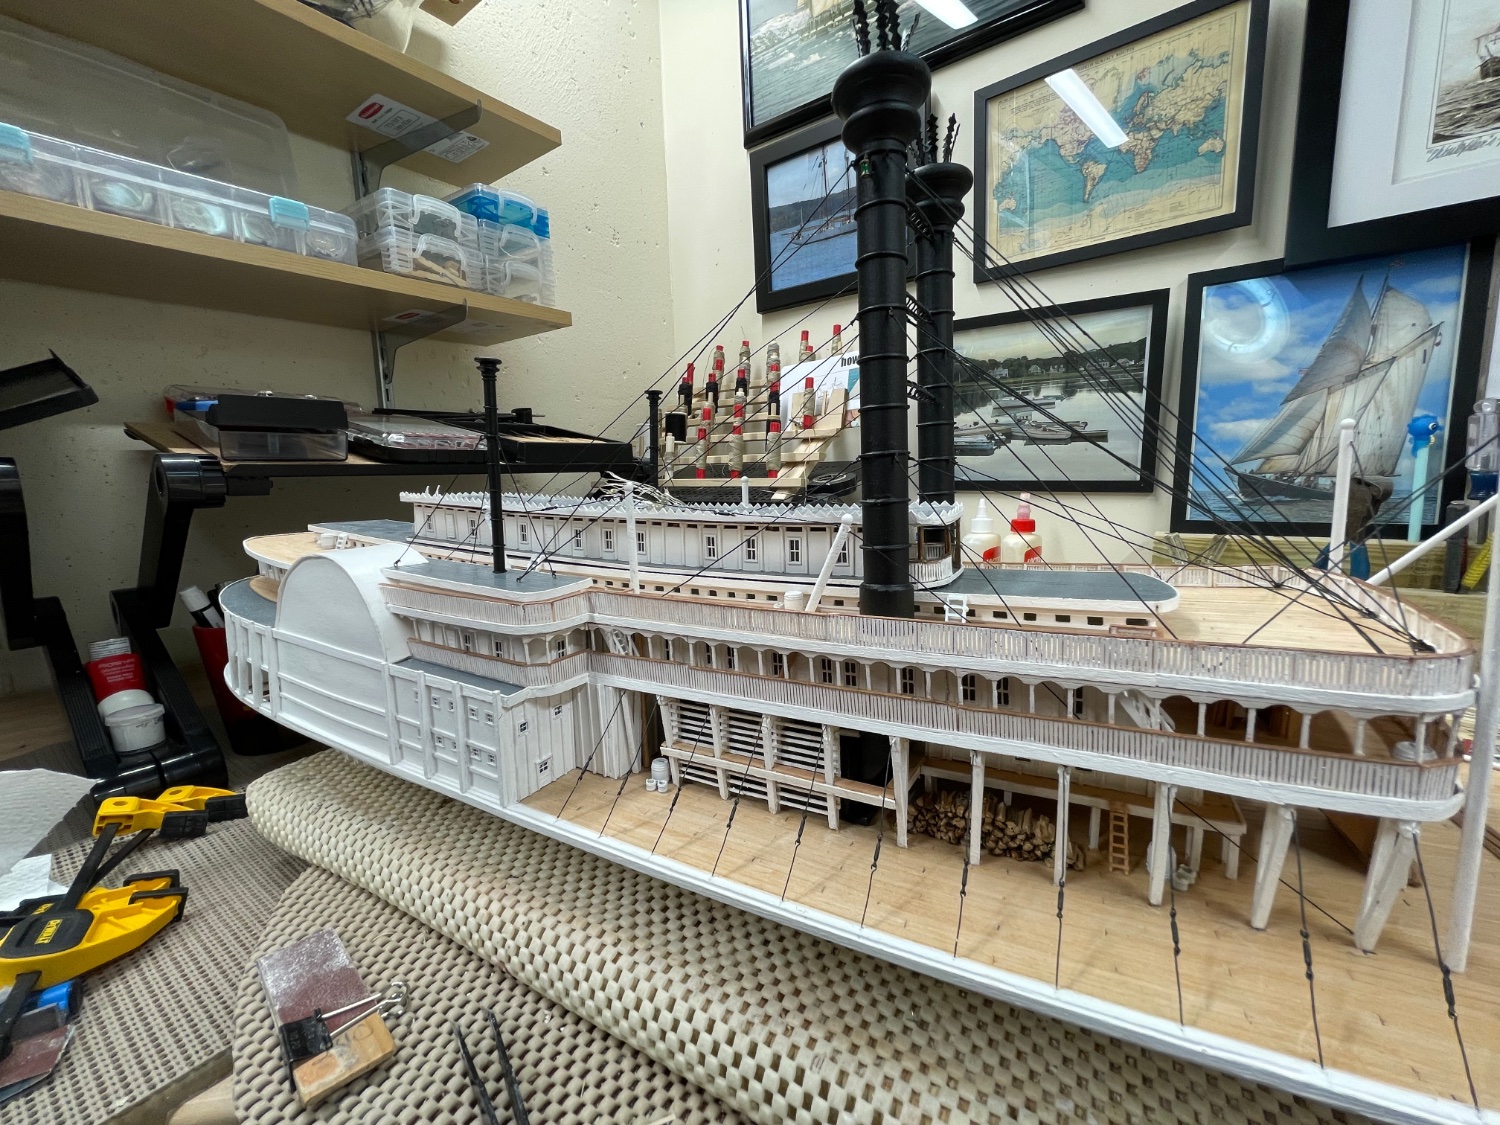
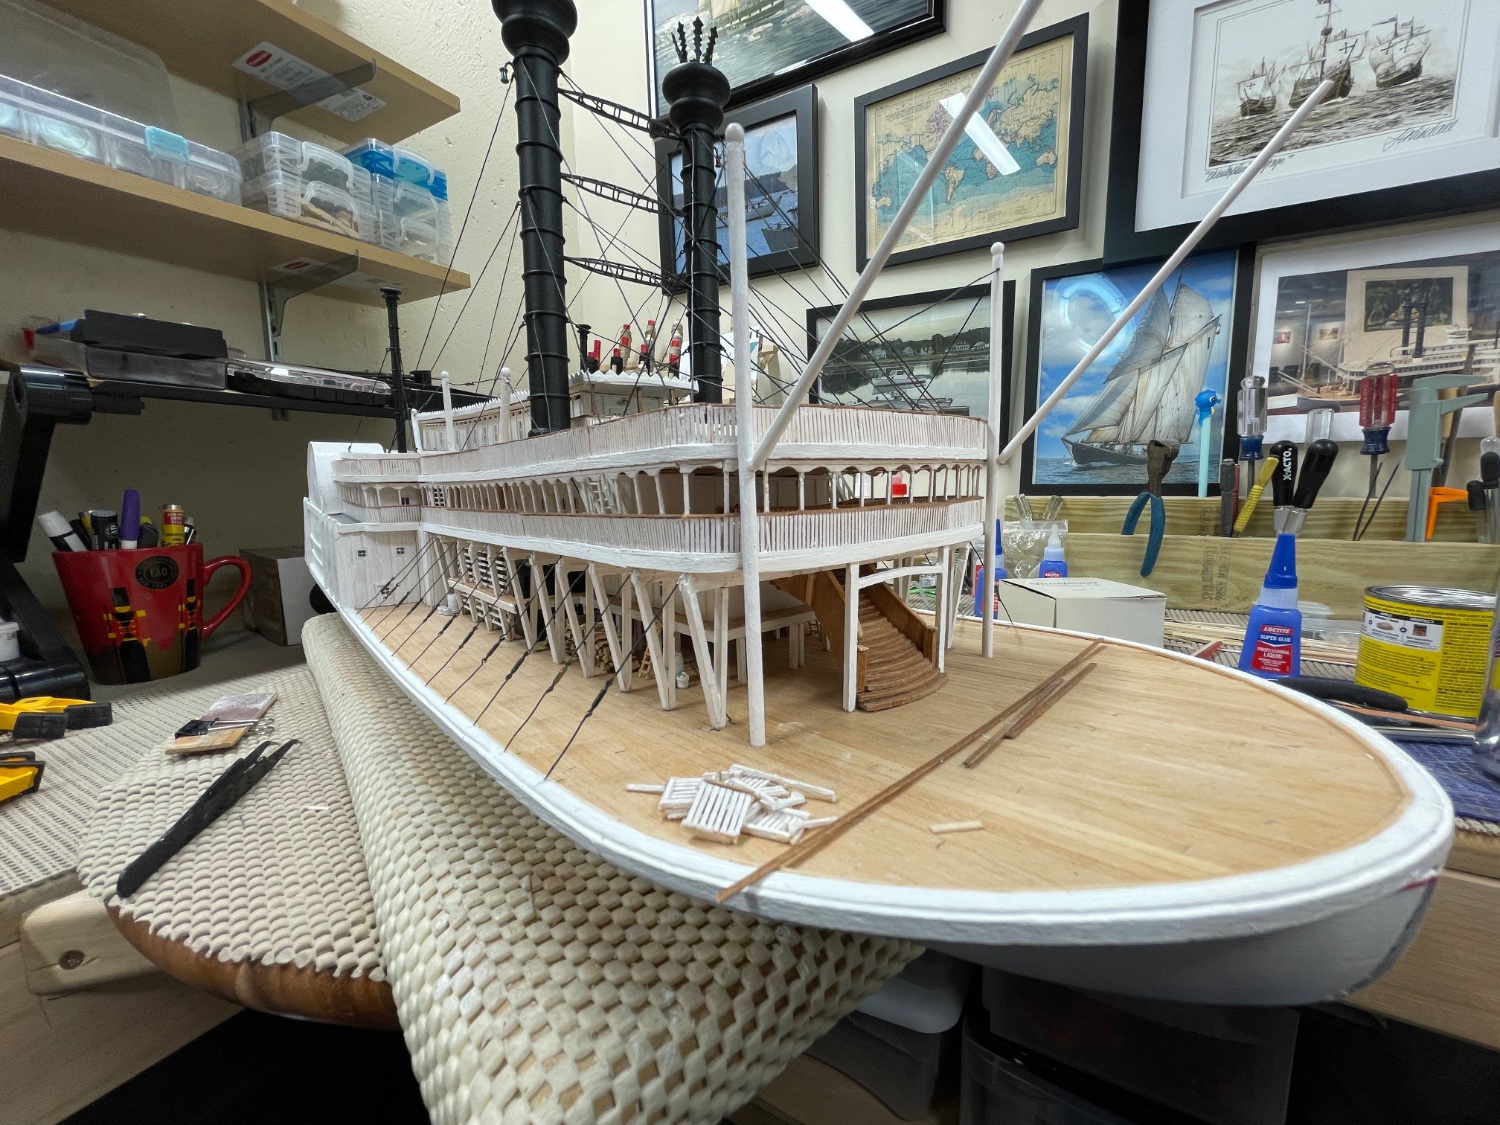
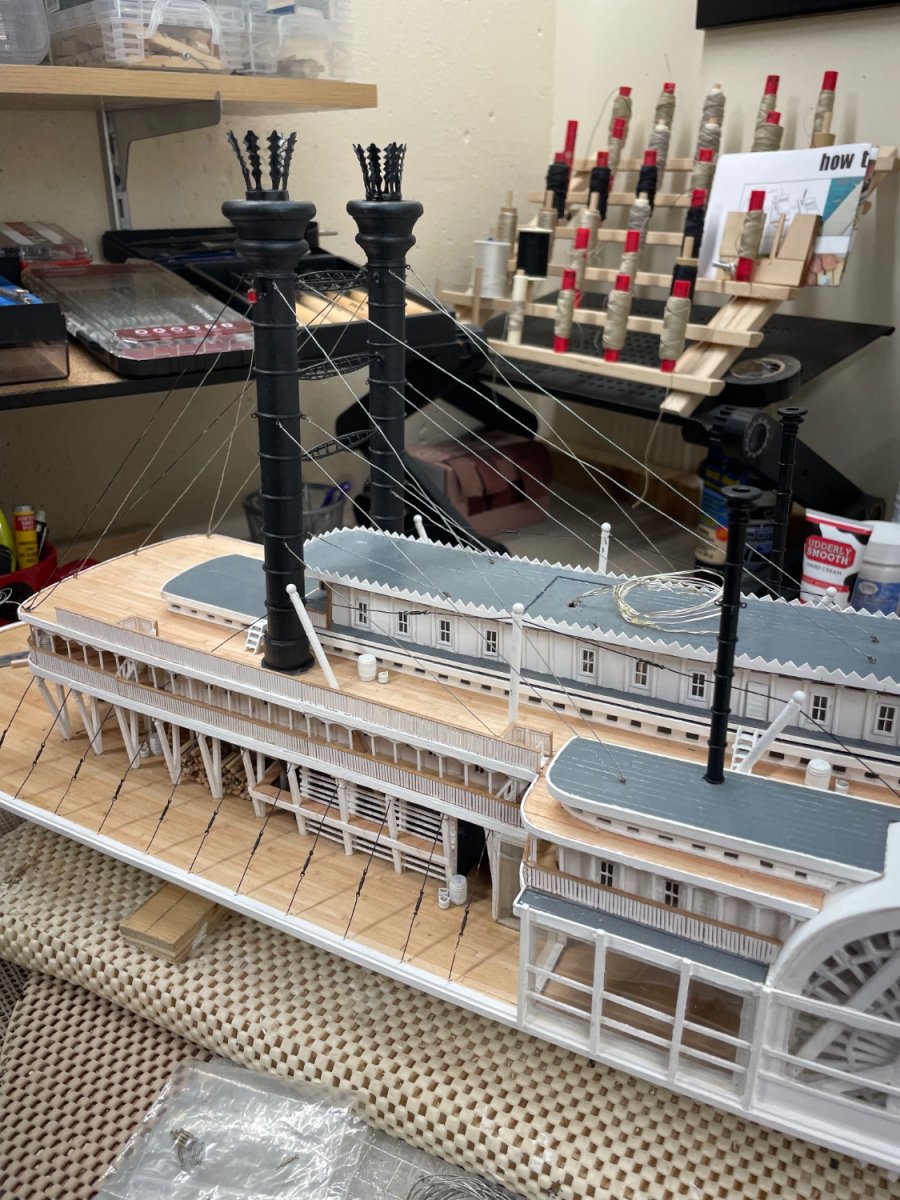
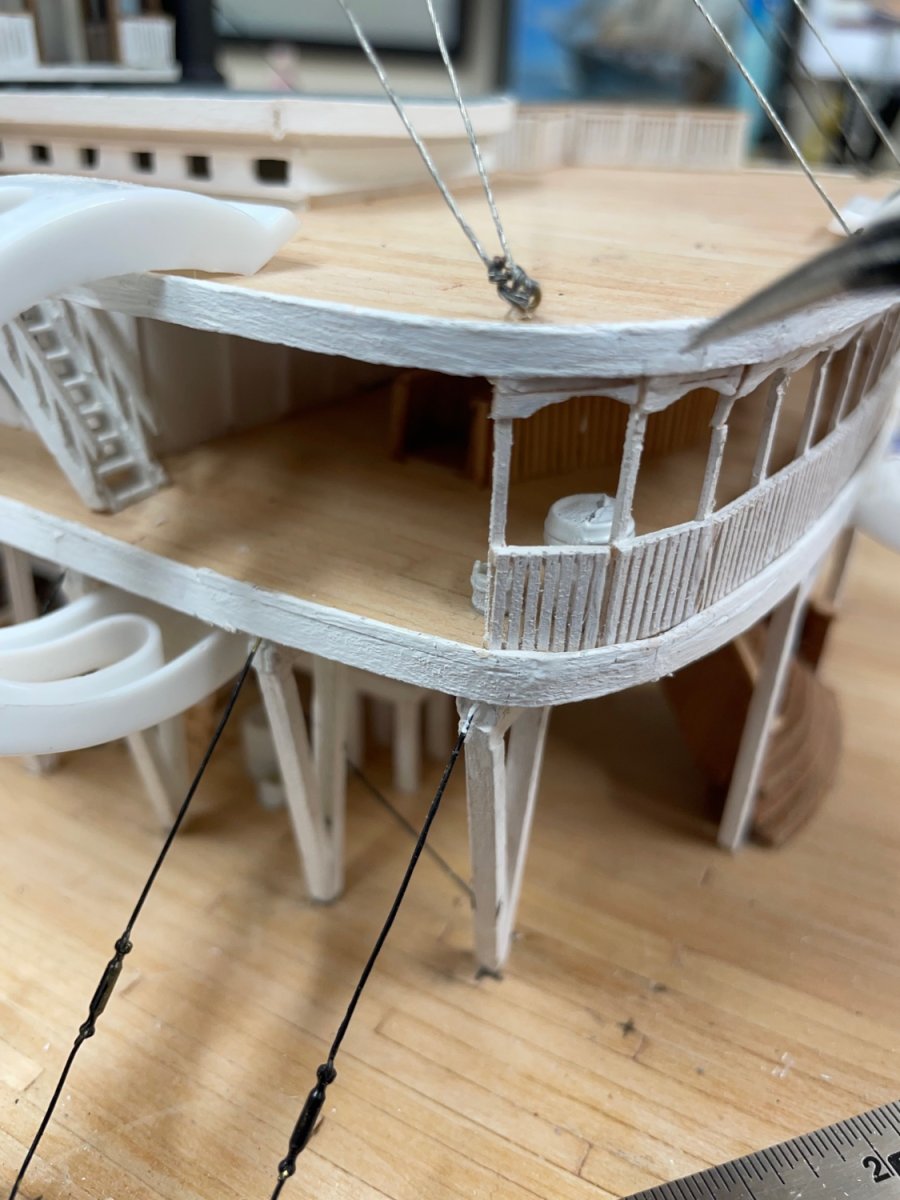
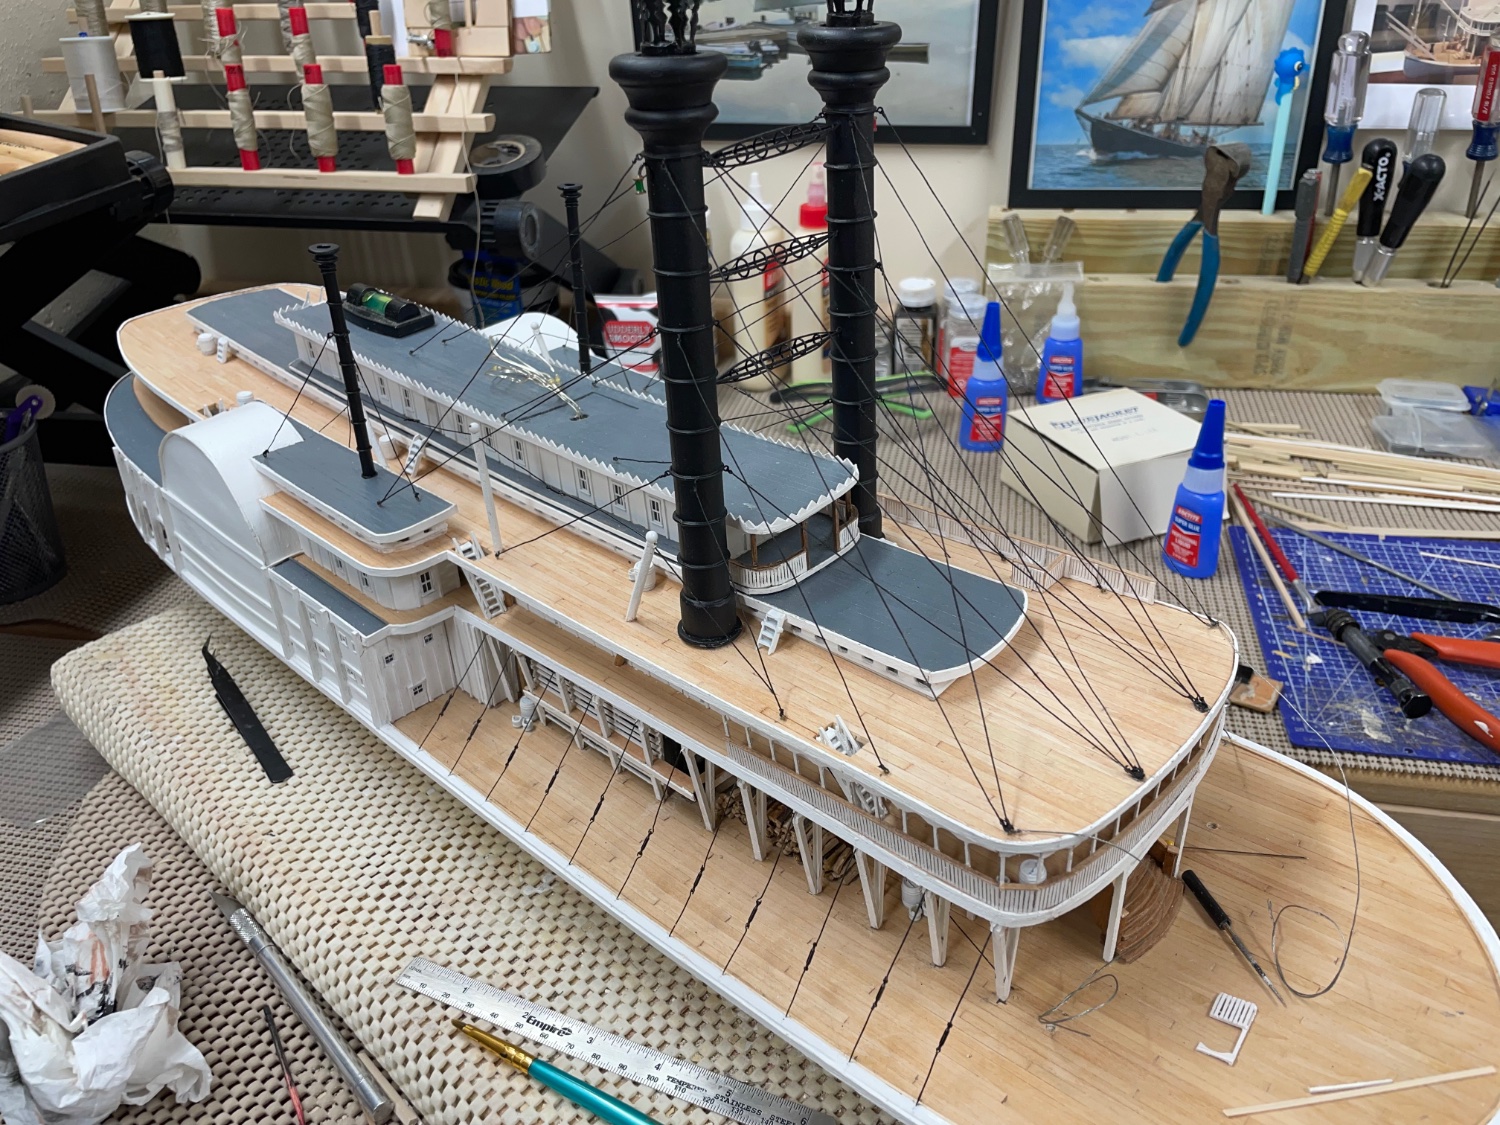
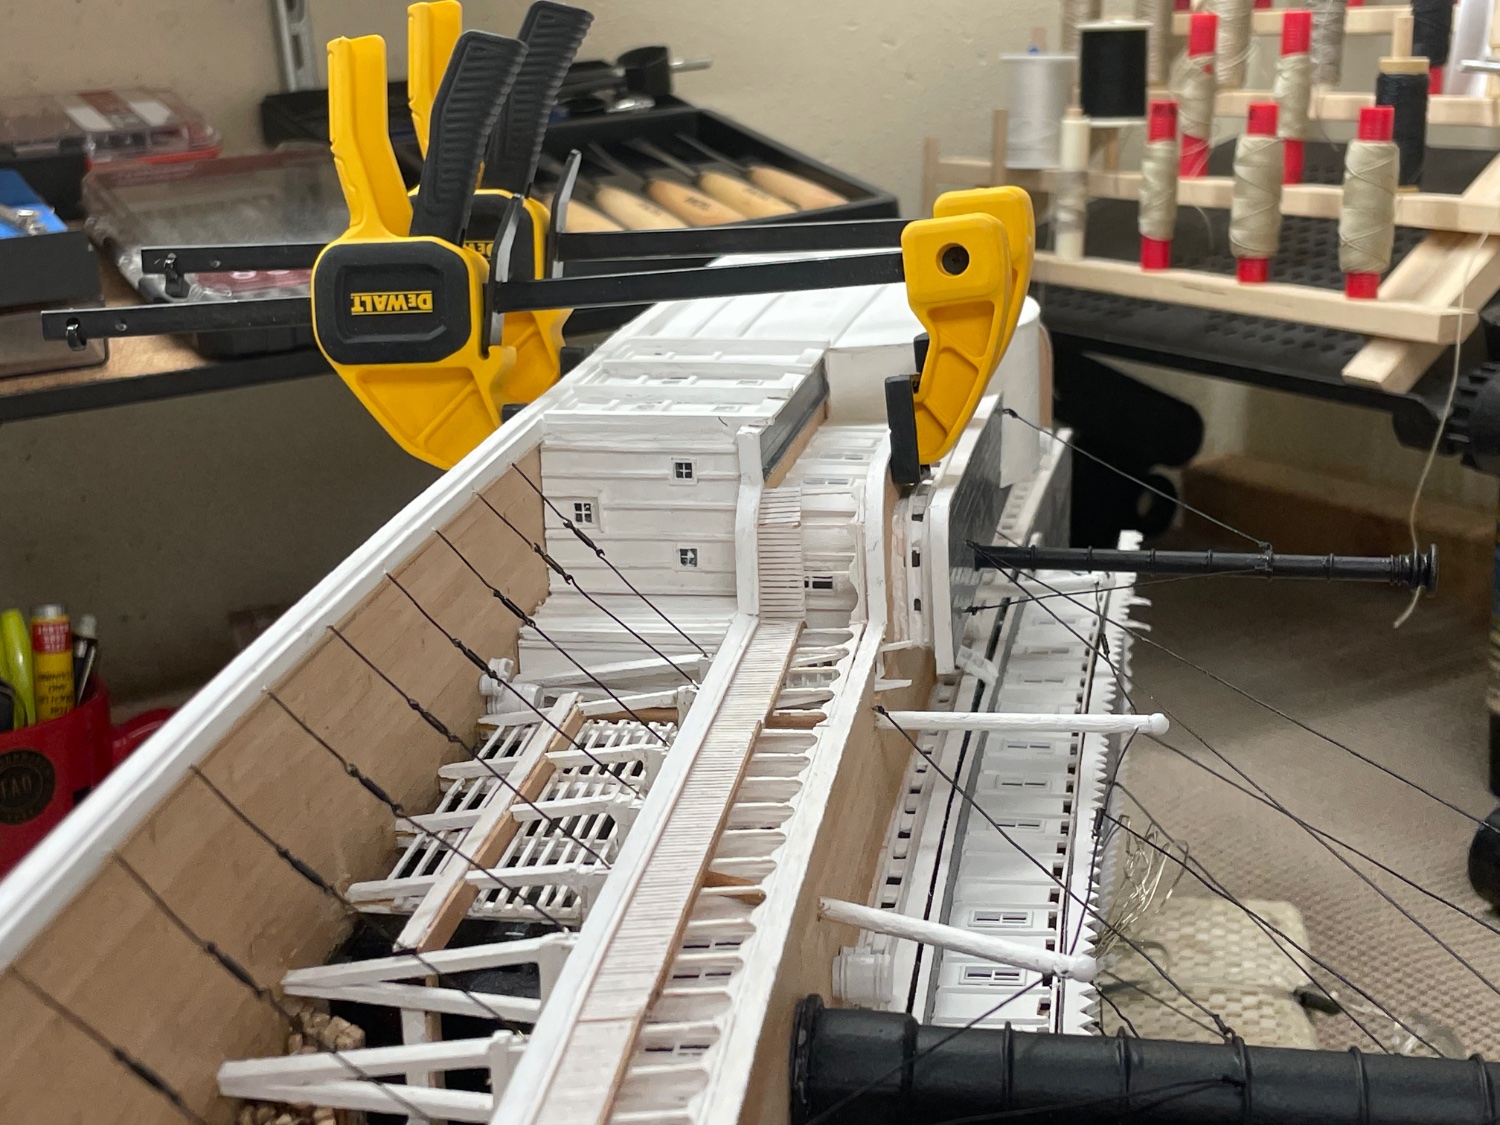
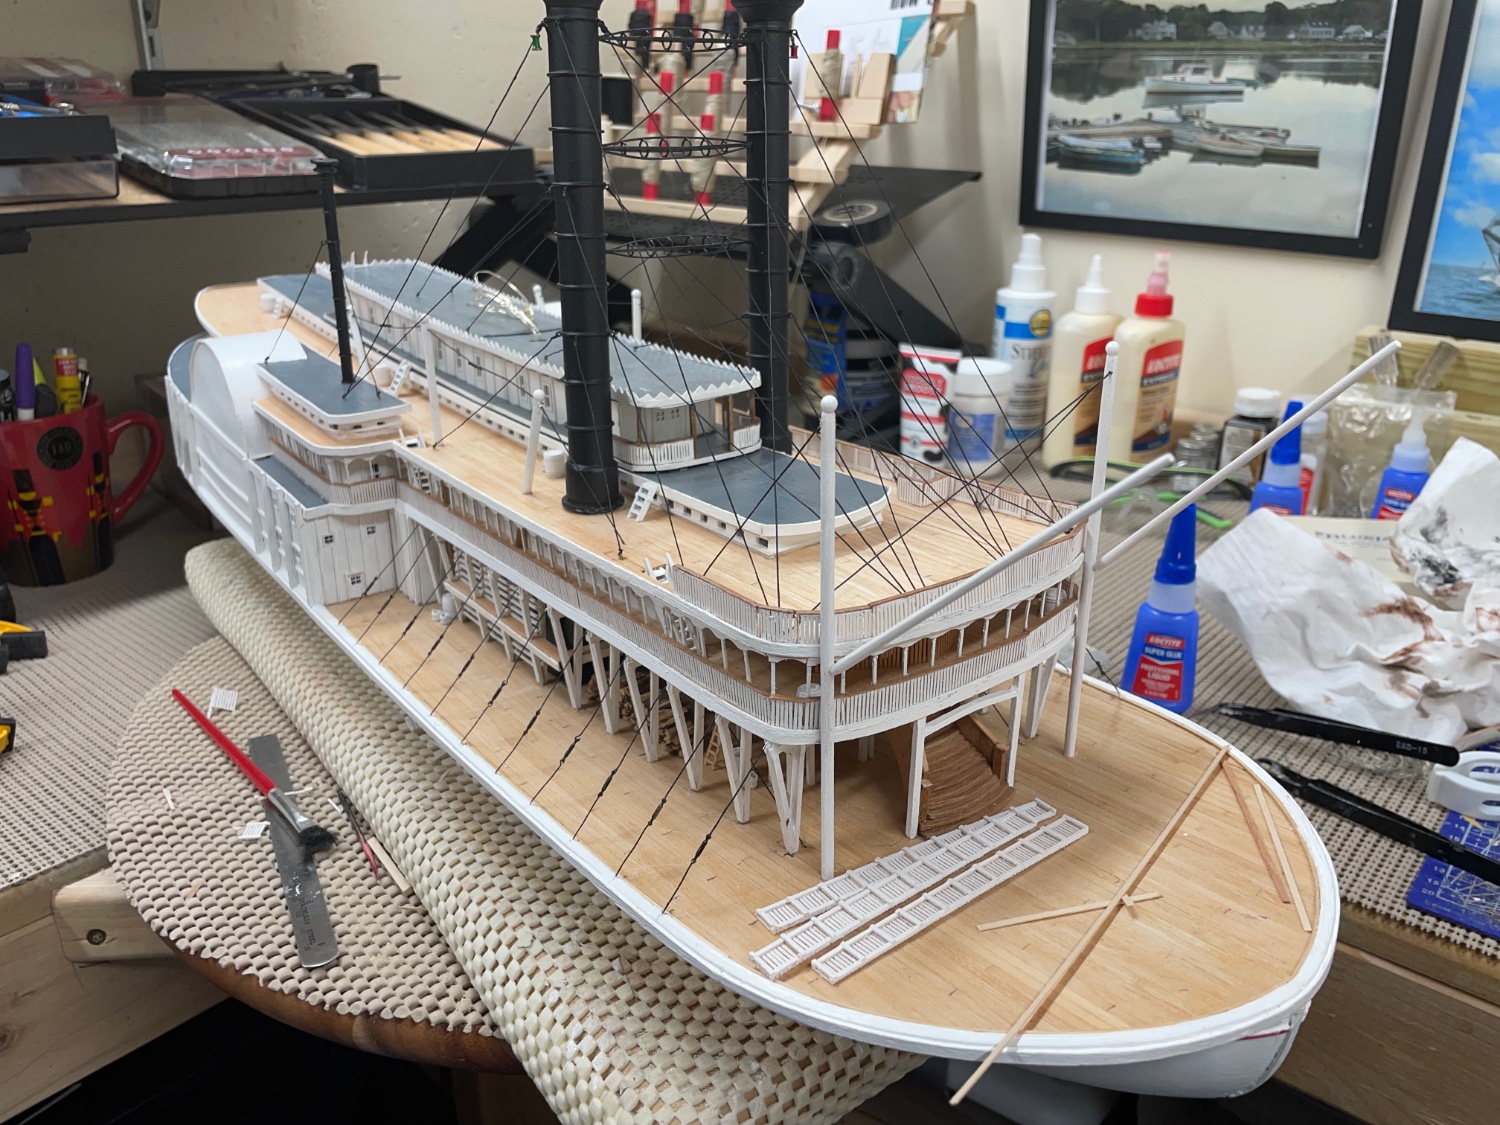
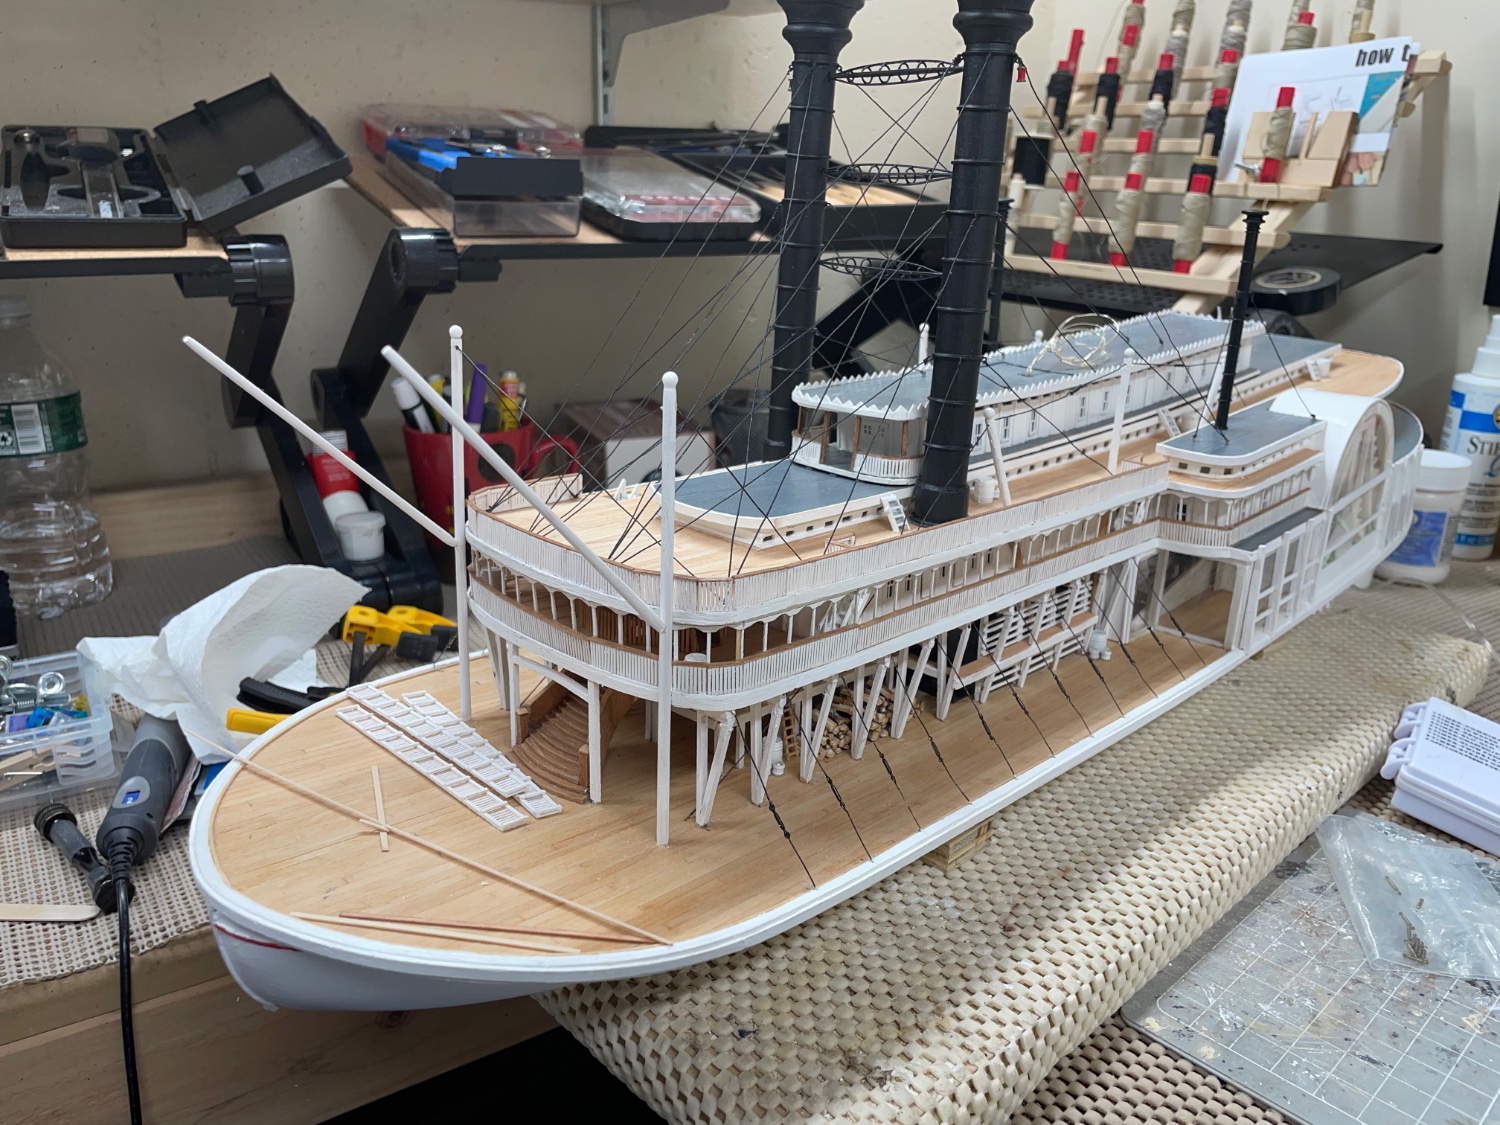
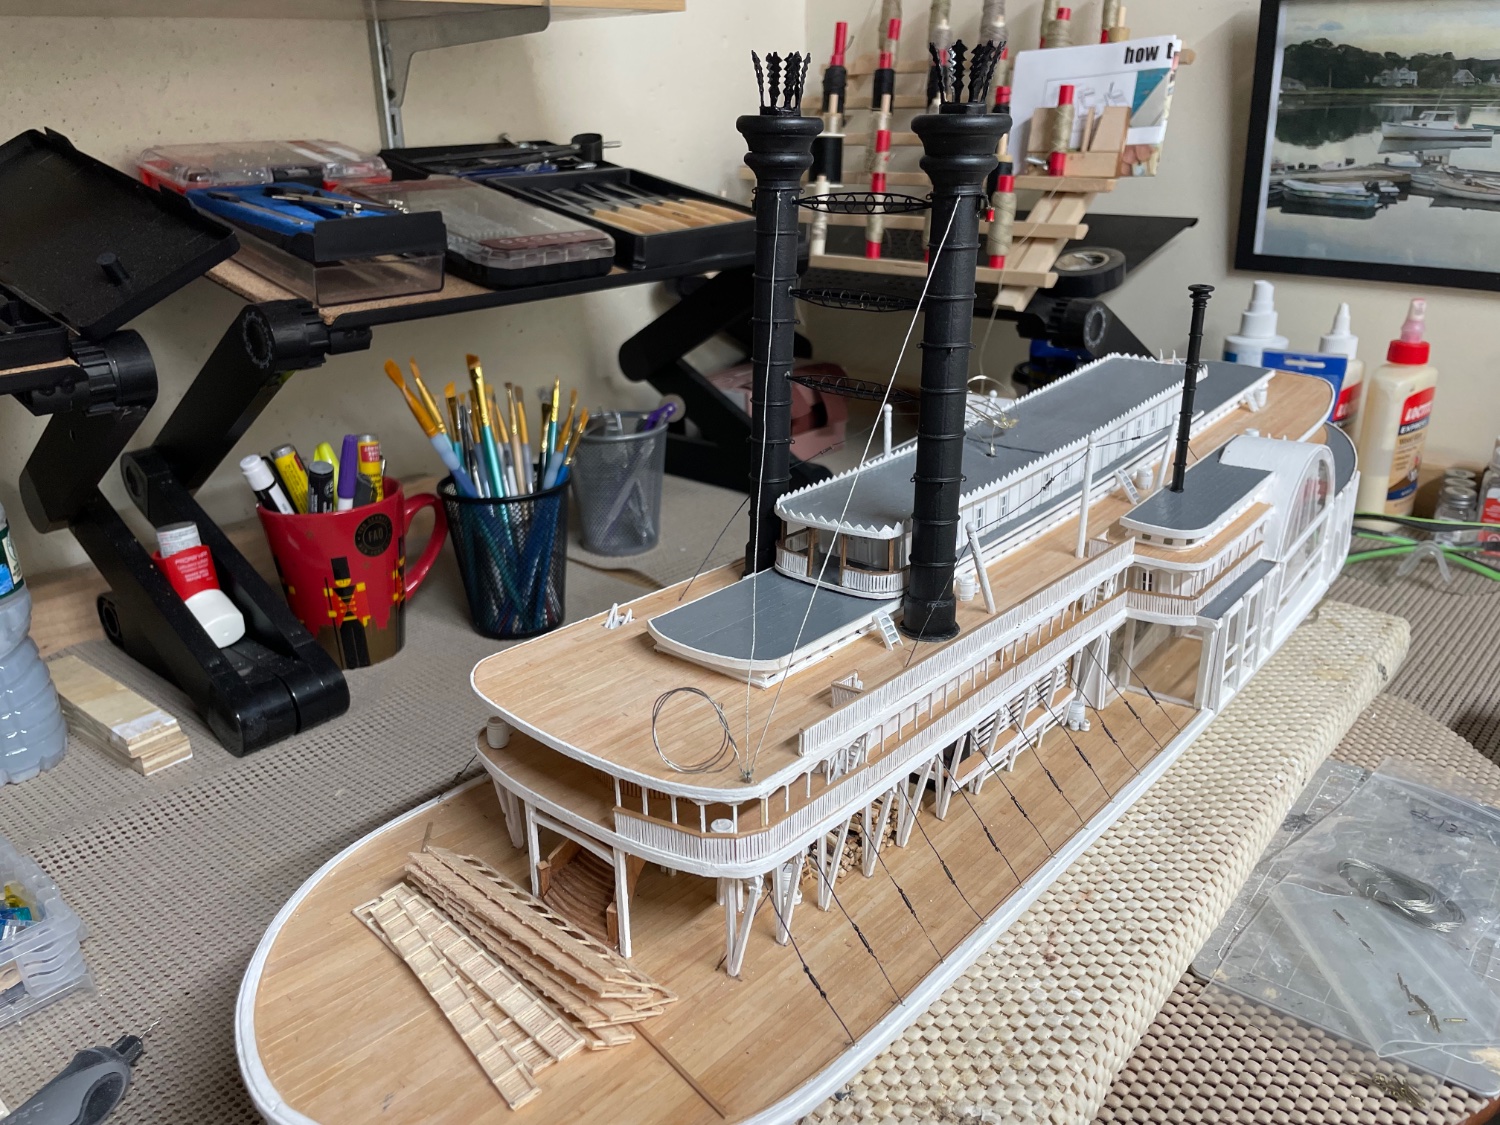
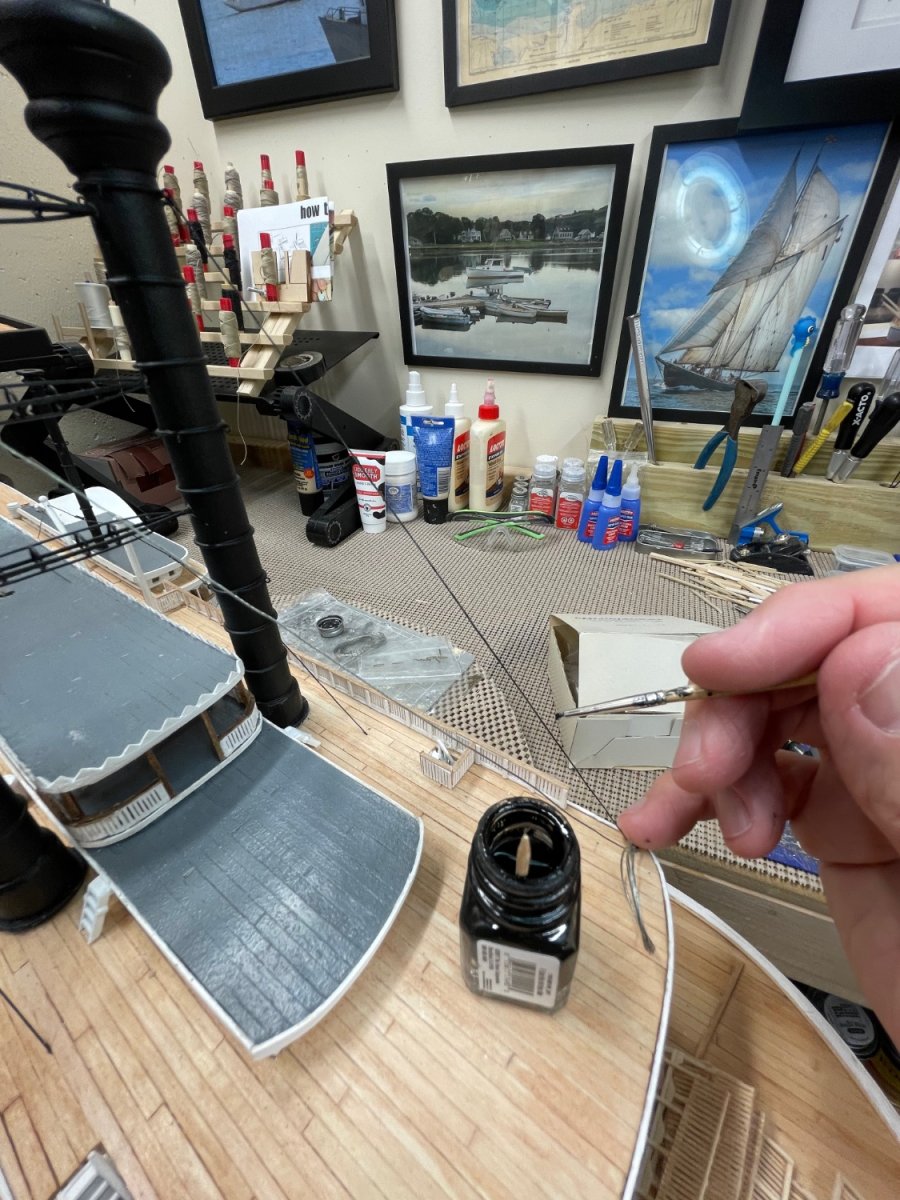
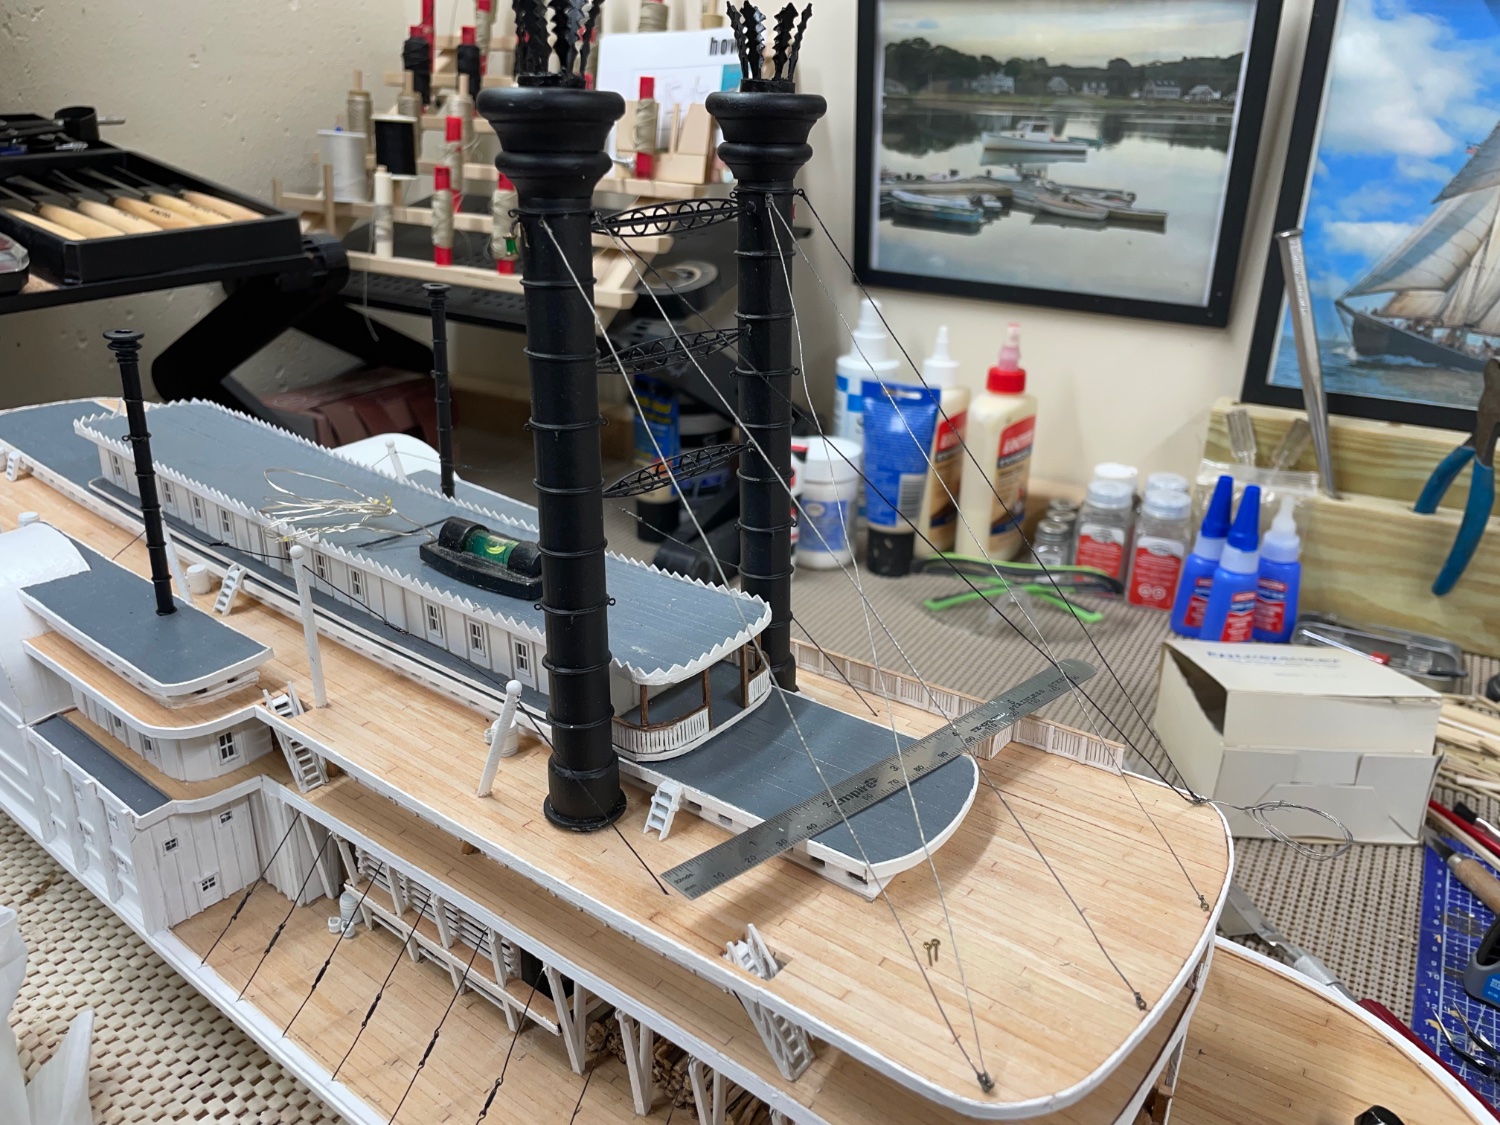
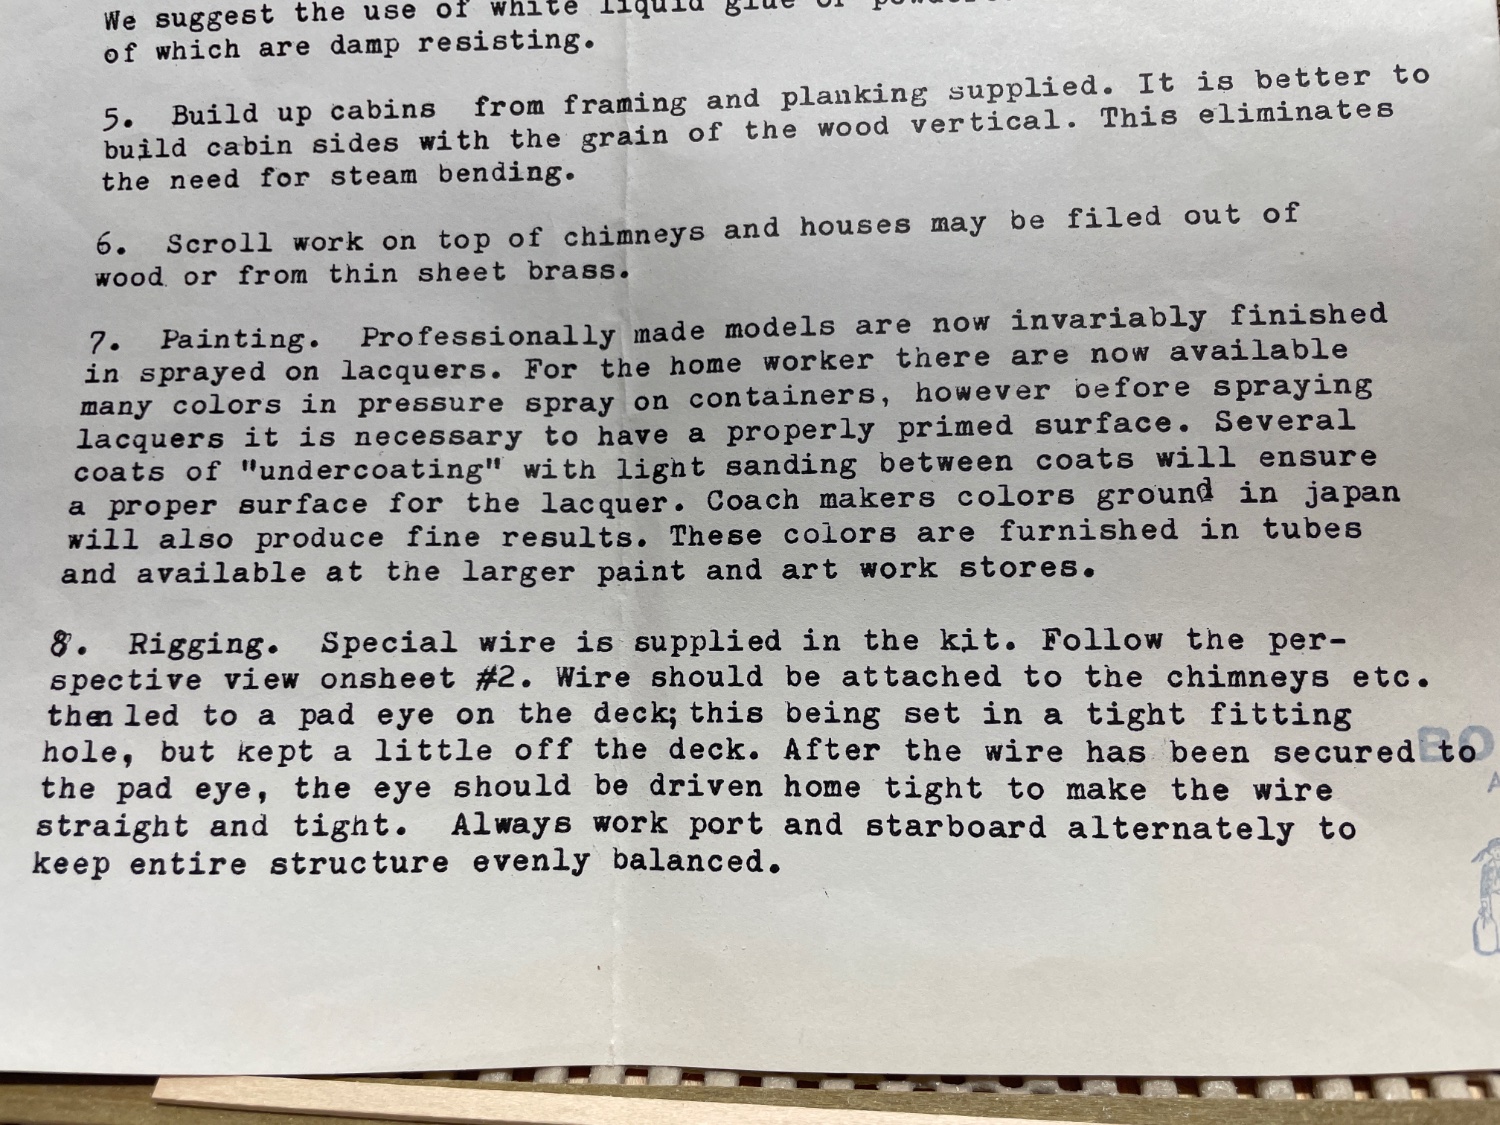
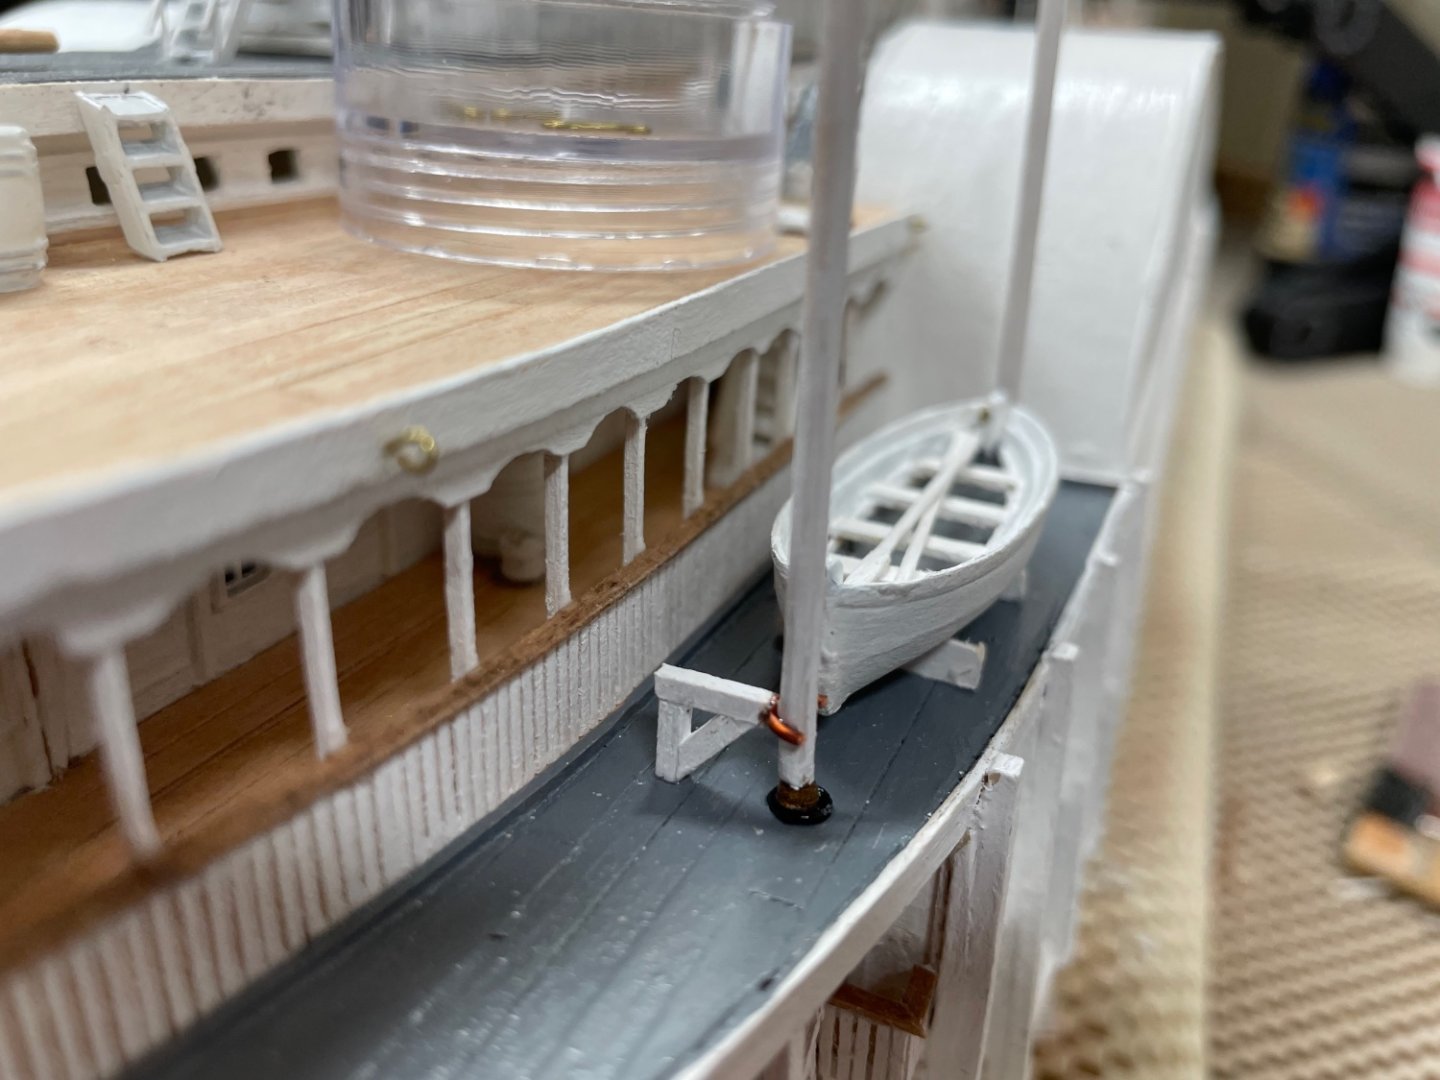
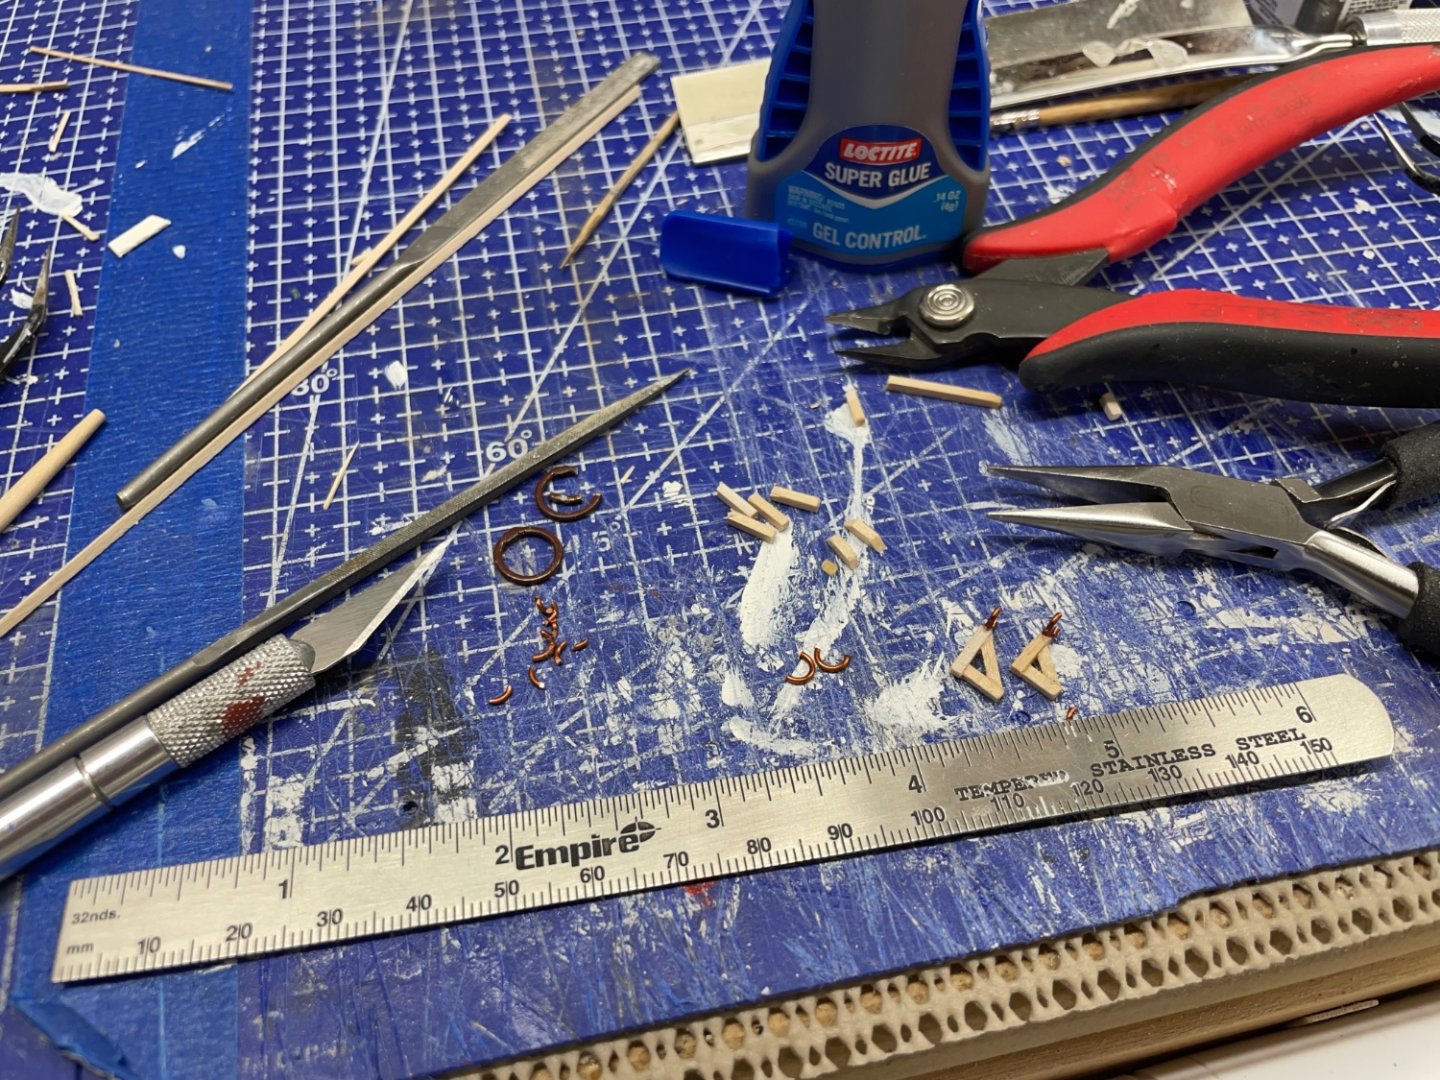
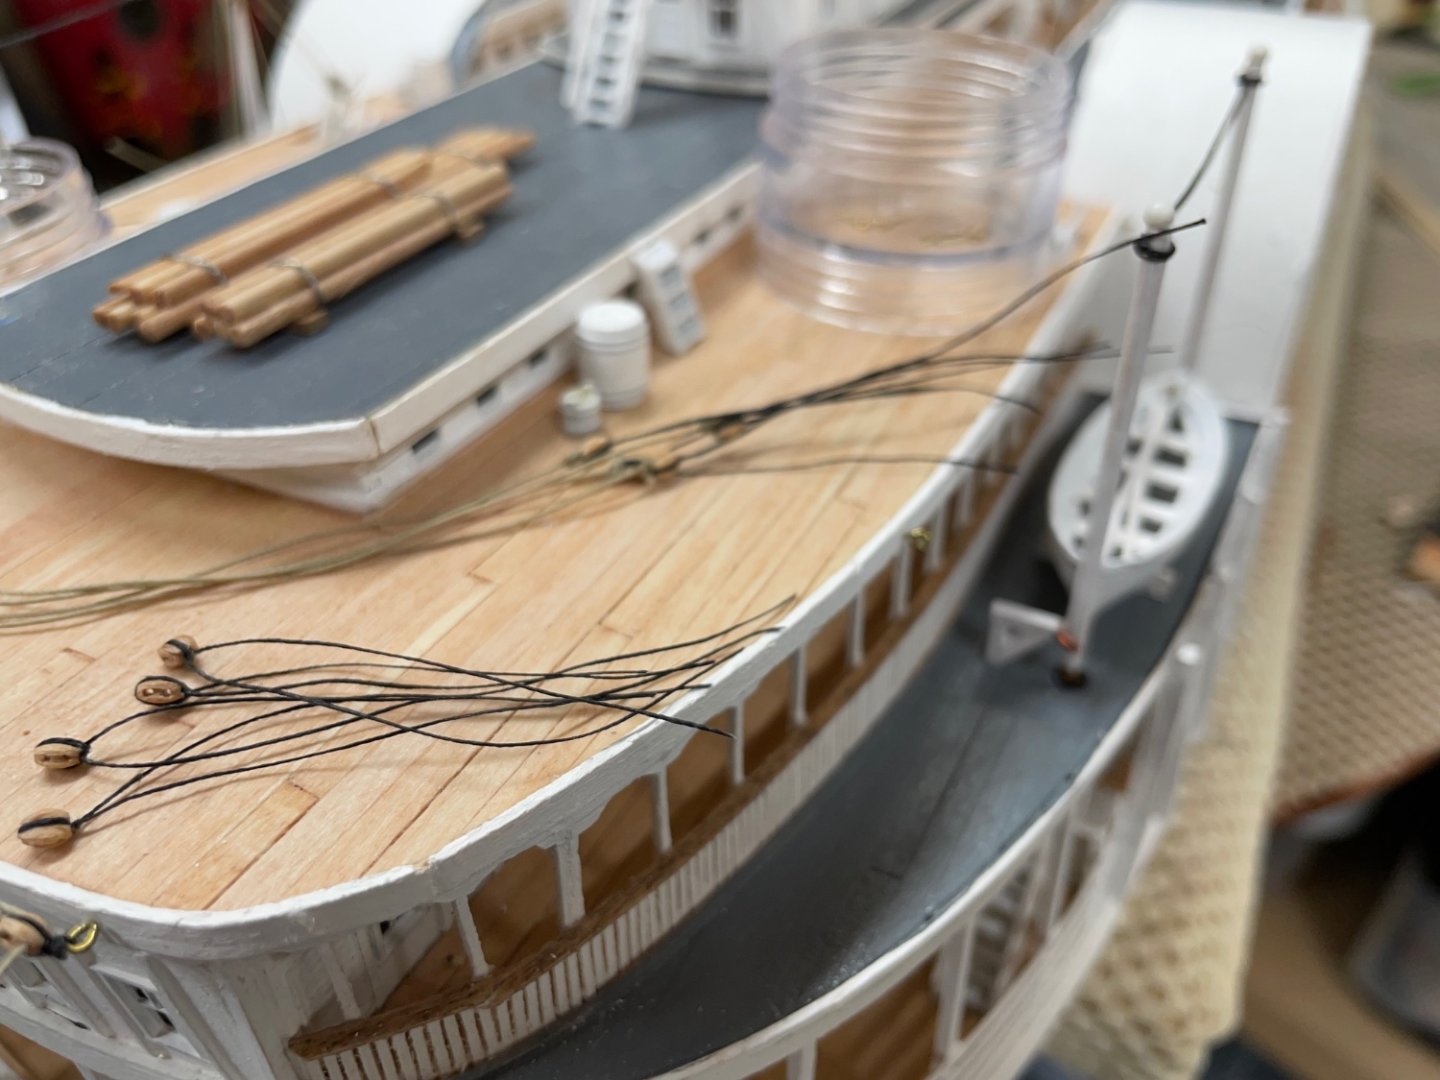
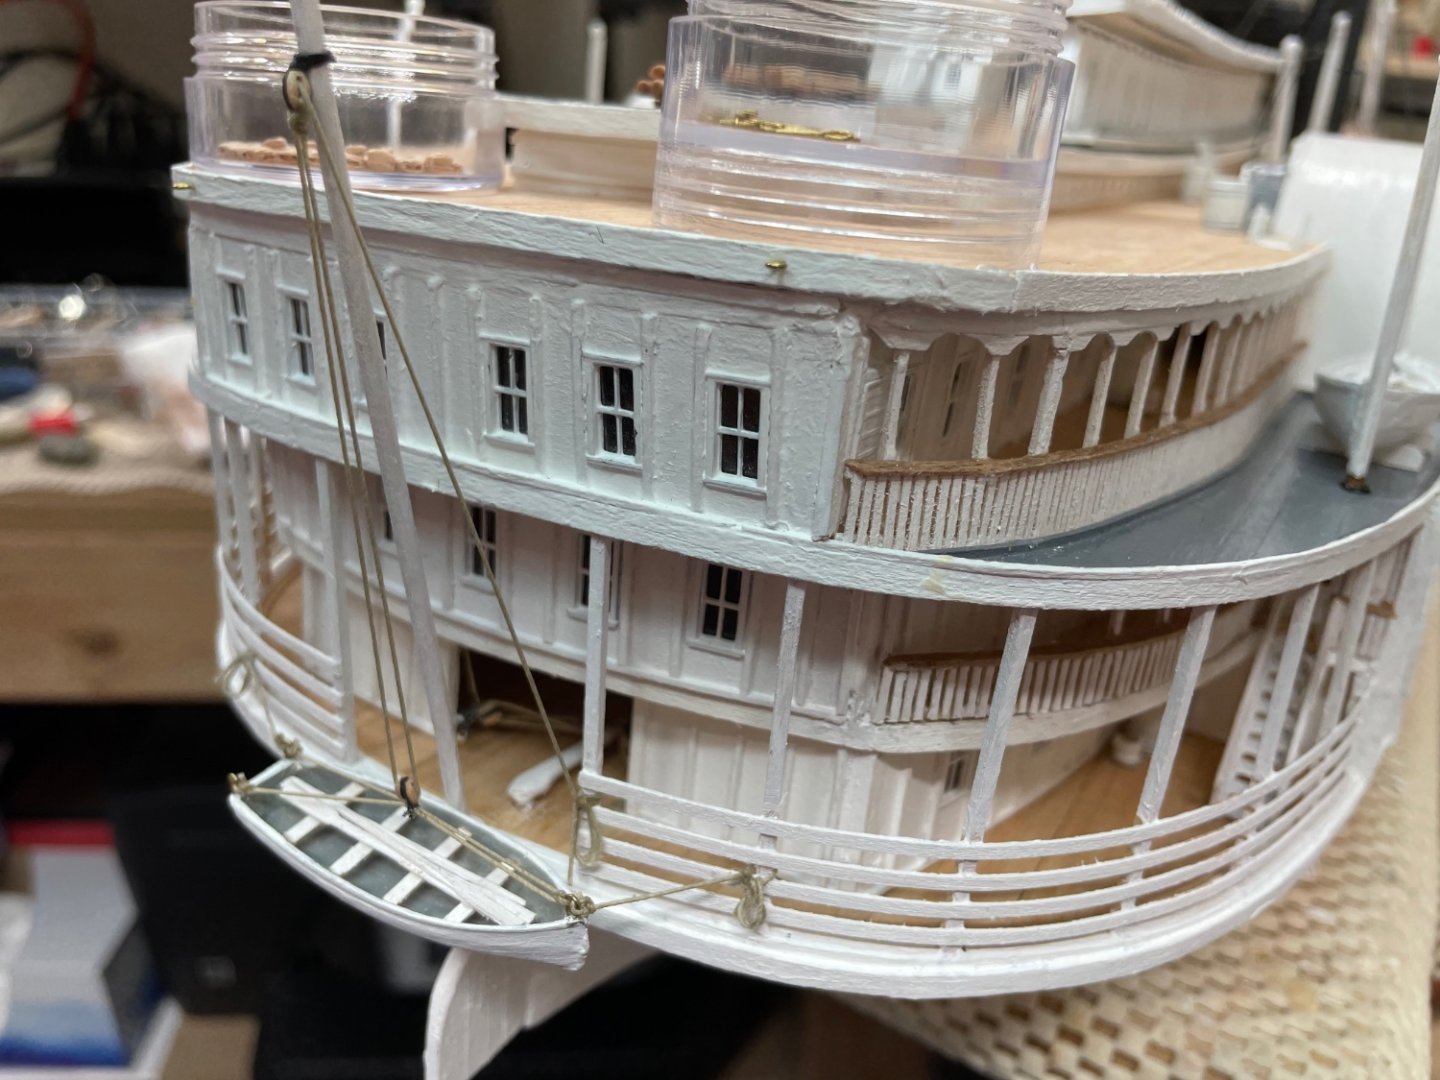
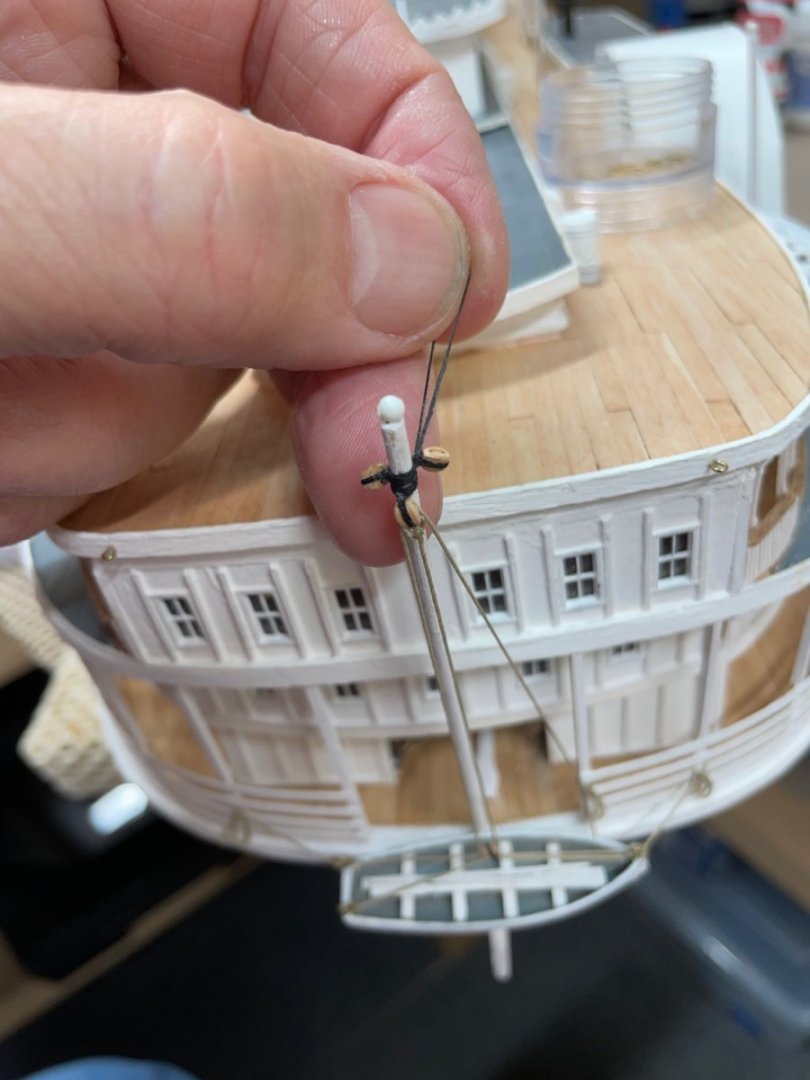
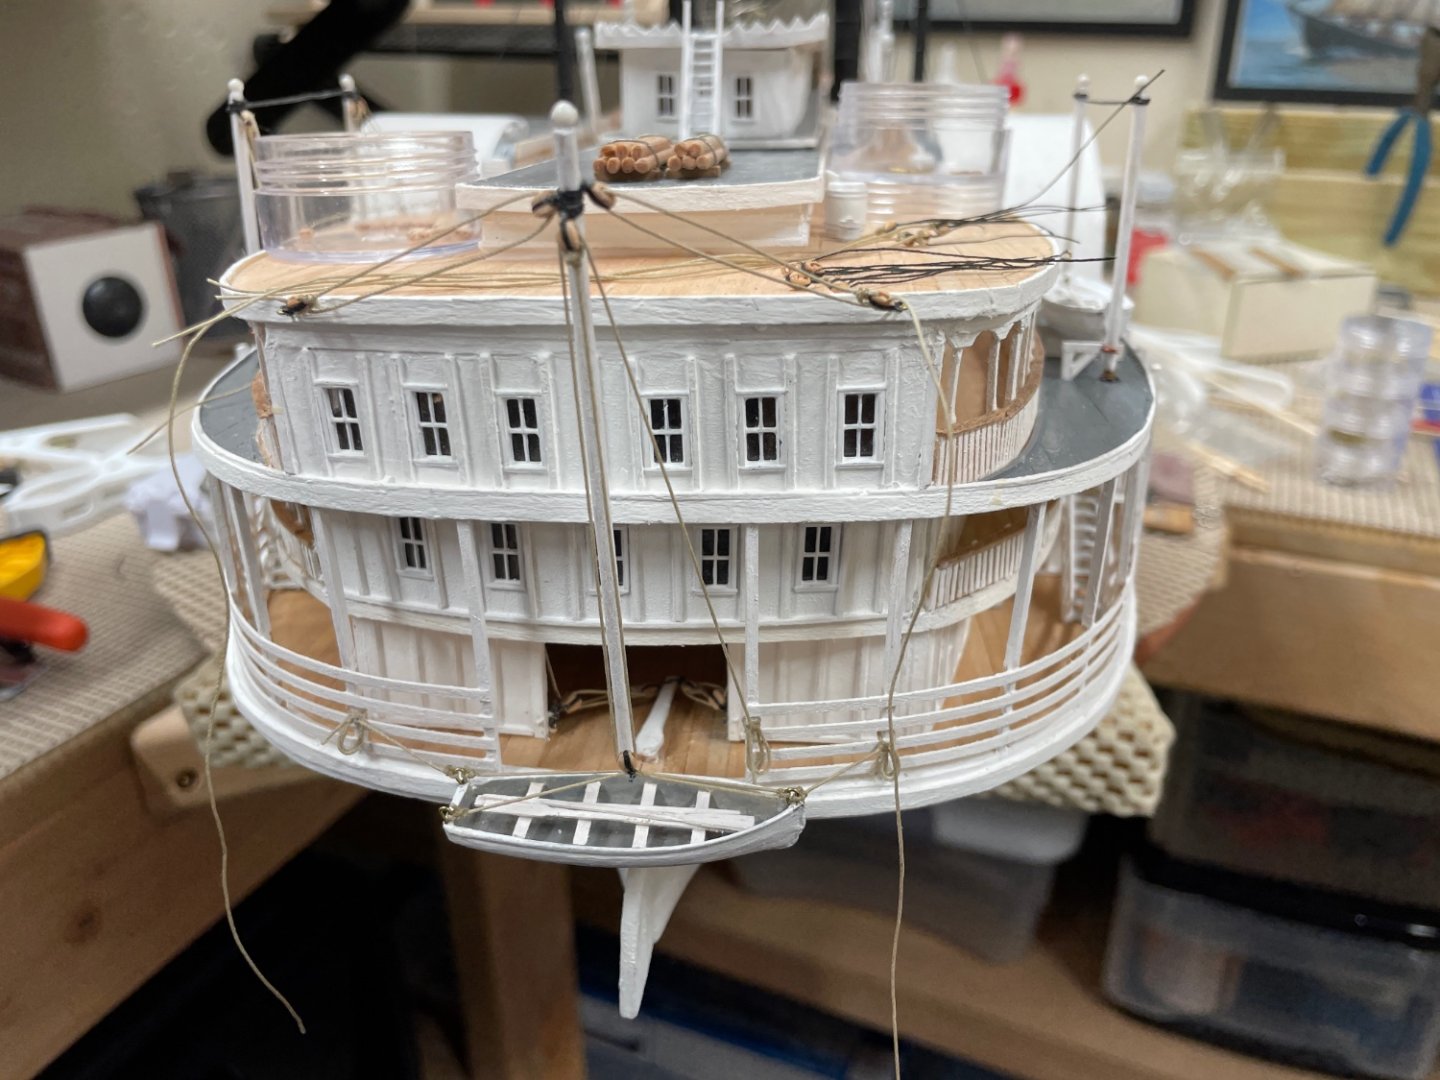
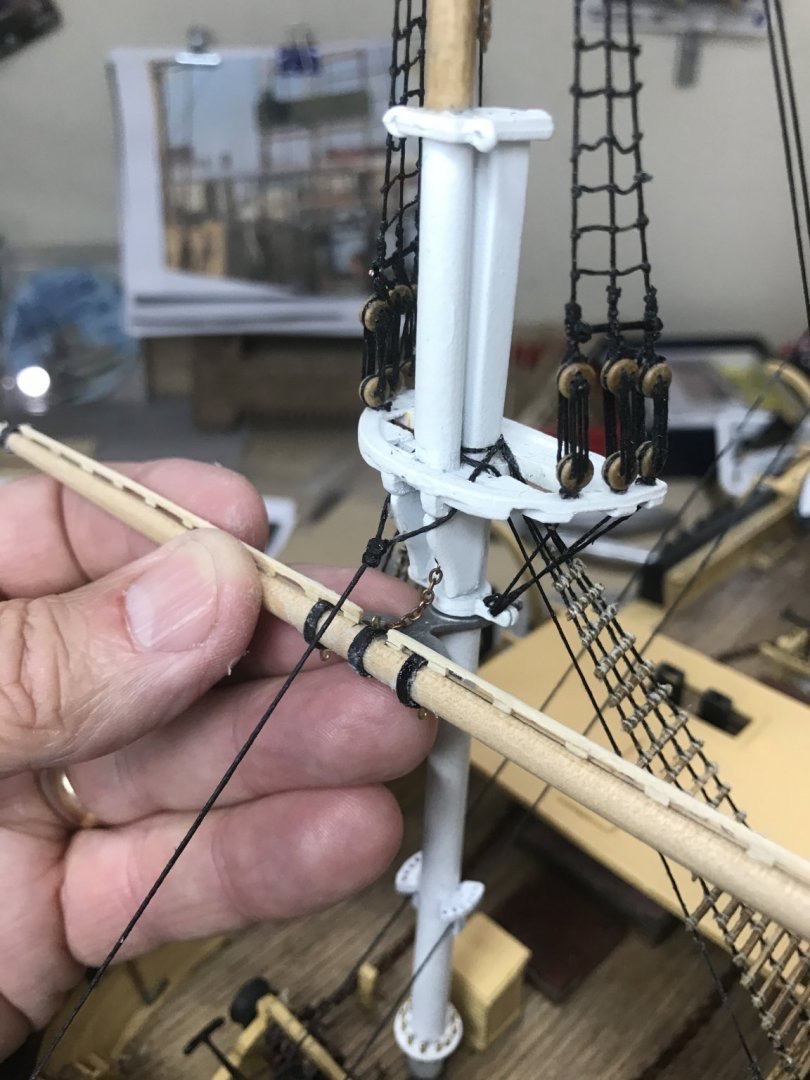
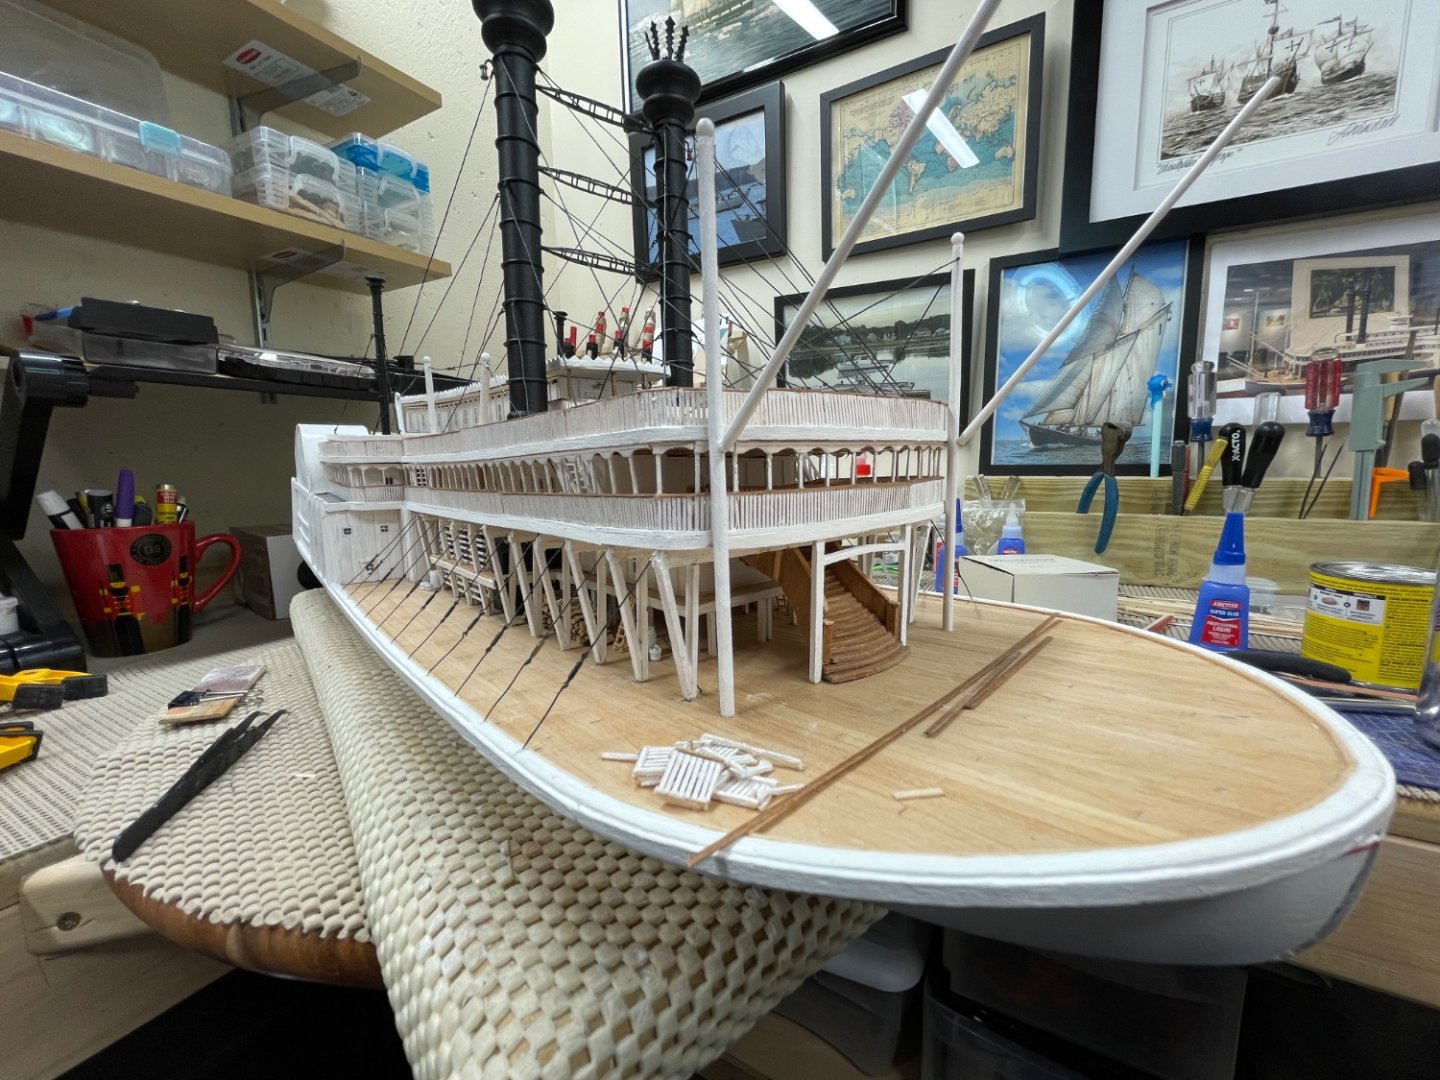
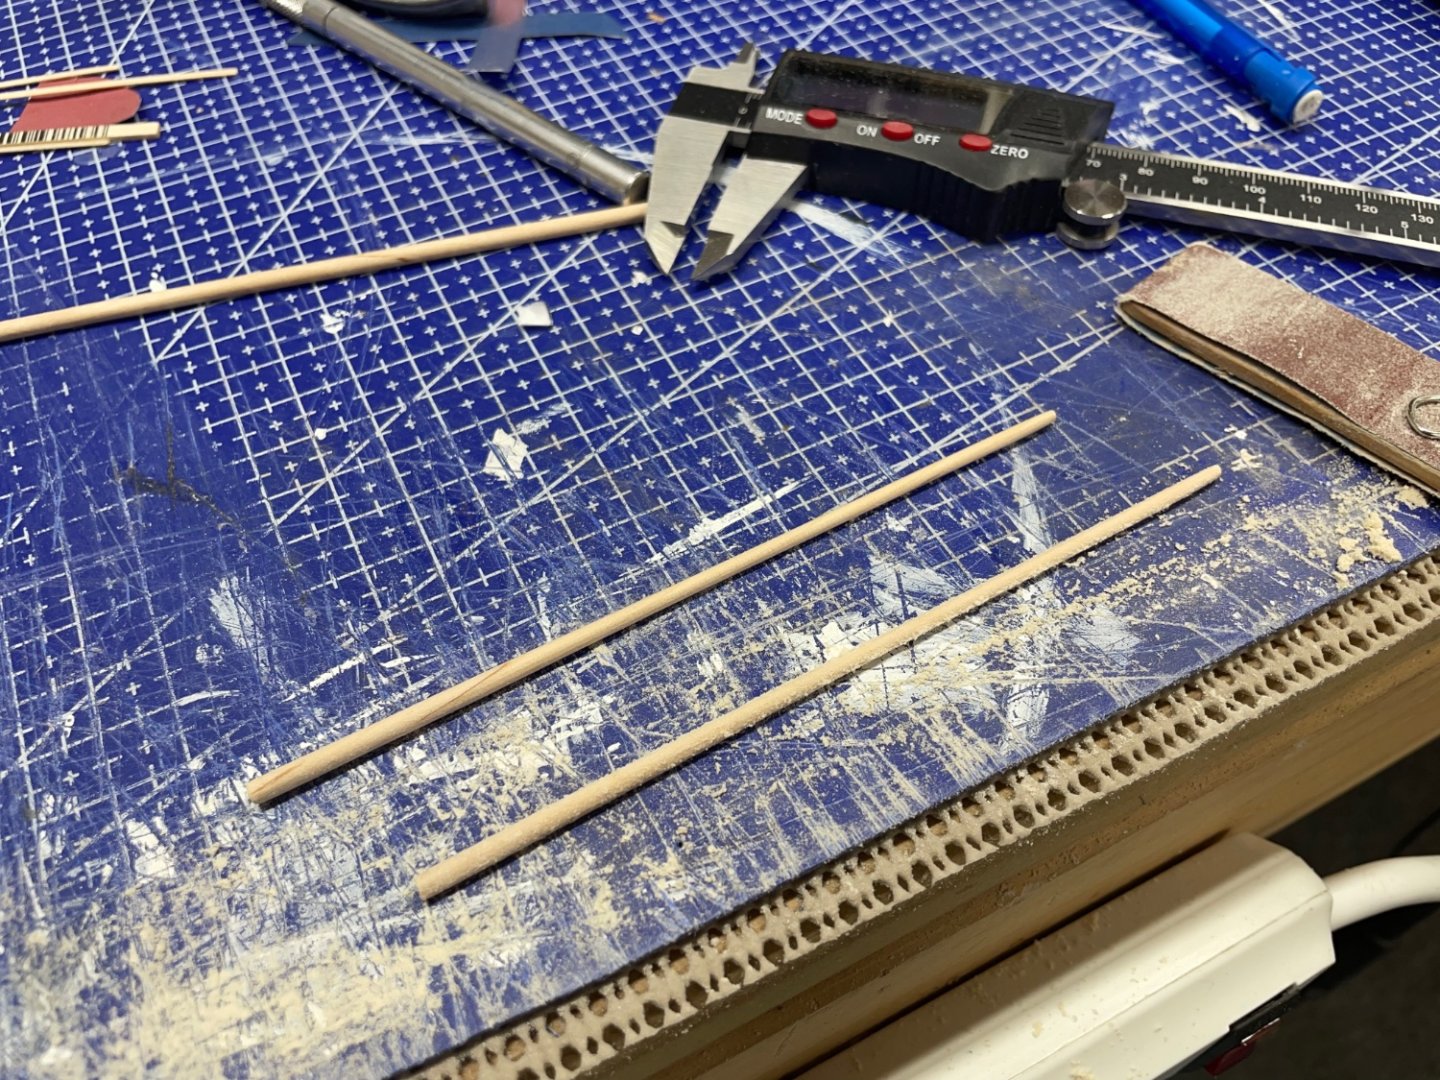
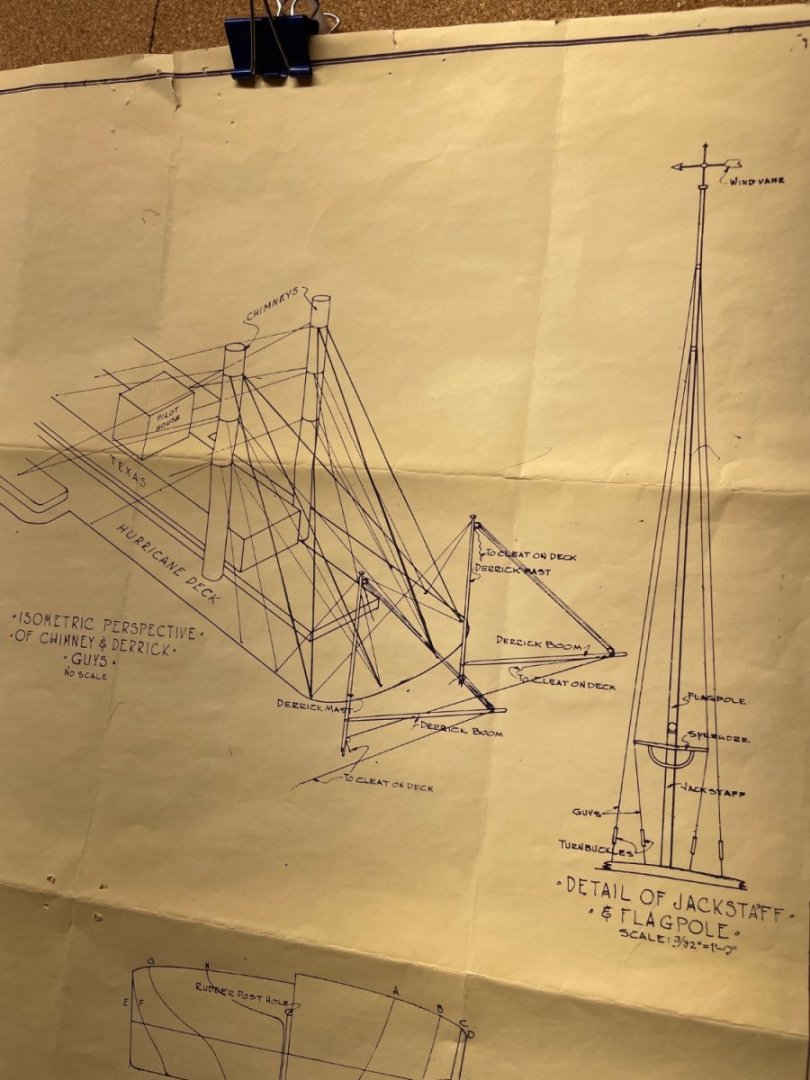
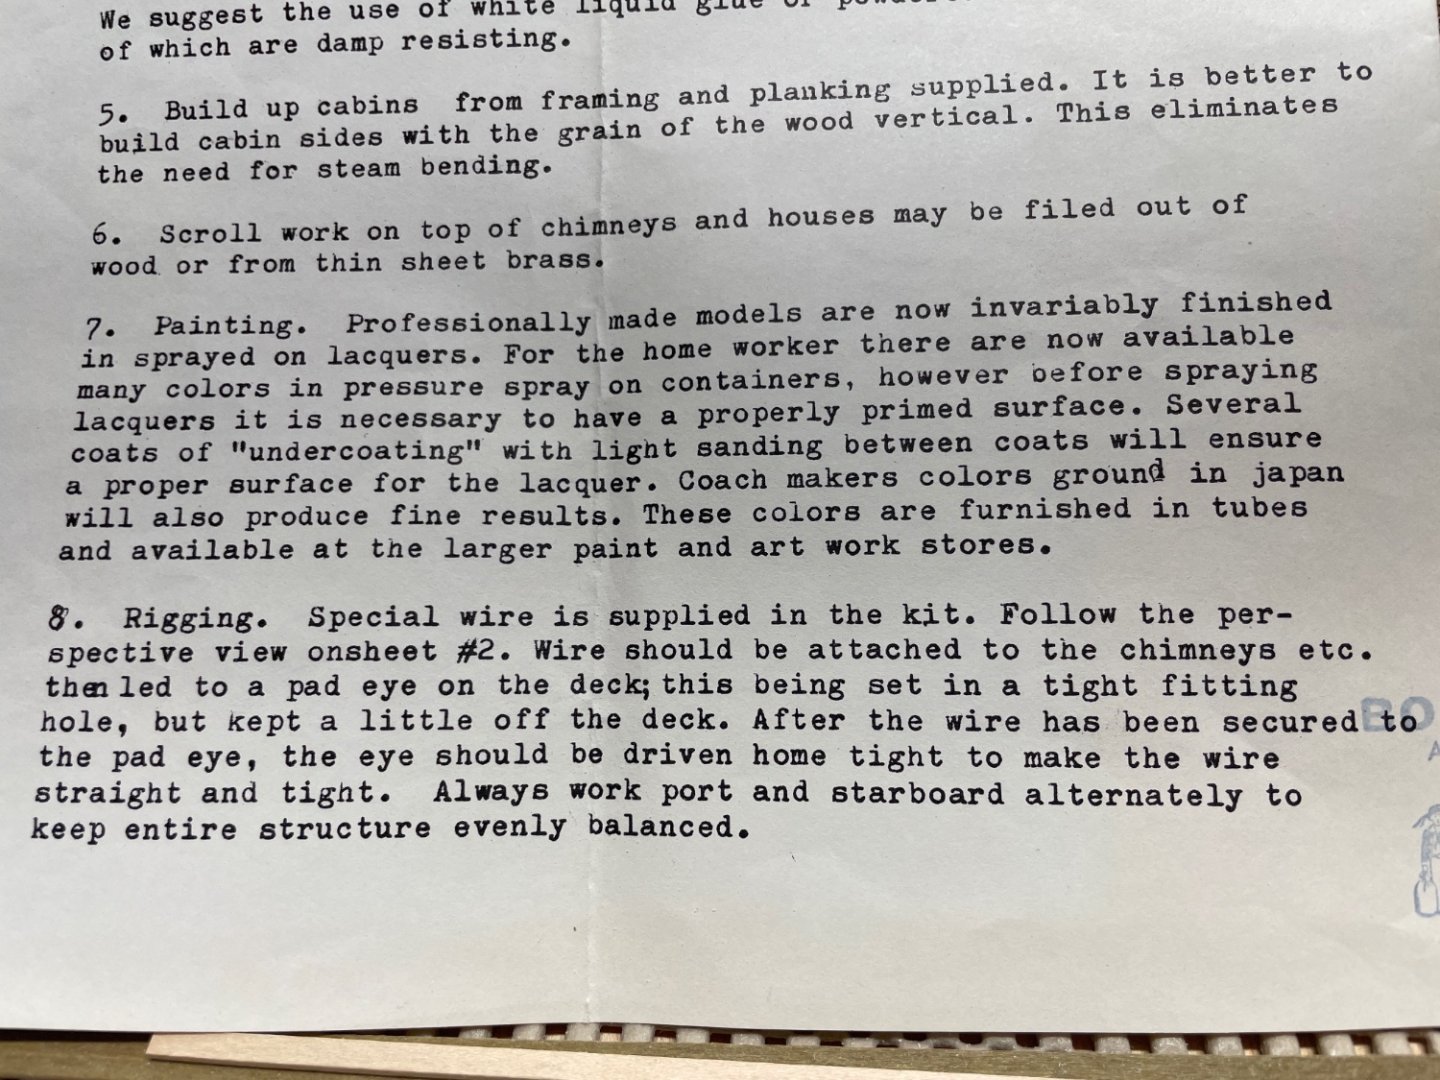
Back from a stretch with the Bluenose. Still building out those “finicky” railings, when I noticed I would need to anchor the Chimney Guys to the Hurricane Deck before I could install the railing. I needed to study the drawings carefully to fully understand the guy cables. Bluejacket has supplied stranded wire for this purpose. Given the following instructions, this rigging is no simple task. 🤪 So here I begin on yet another tedious task. So far it’s going well. This endeavor has now moved me to build the Derrick Masts, tapering 1/8” dowel and painting them white. They are also part of the guying system. You will notice in the above photo those “finicky” railings needing to be painted. 1 of 3 forward cable guy systems installed. Another three sets will need to go aft of the chimneys to keep everything taught. As you can see in the drawing provide above. I originally thought I might be a year to finish. It may just be a bit longer. 😆 But then this is what we live for right? Cheers 🍻


- 238 replies
-
- 5
-
-
- Robert E Lee
- steamboat
- (and 3 more)