John Ruy
-
Posts
1,585 -
Joined
-
Last visited
Content Type
Profiles
Forums
Gallery
Events
Everything posted by John Ruy
-
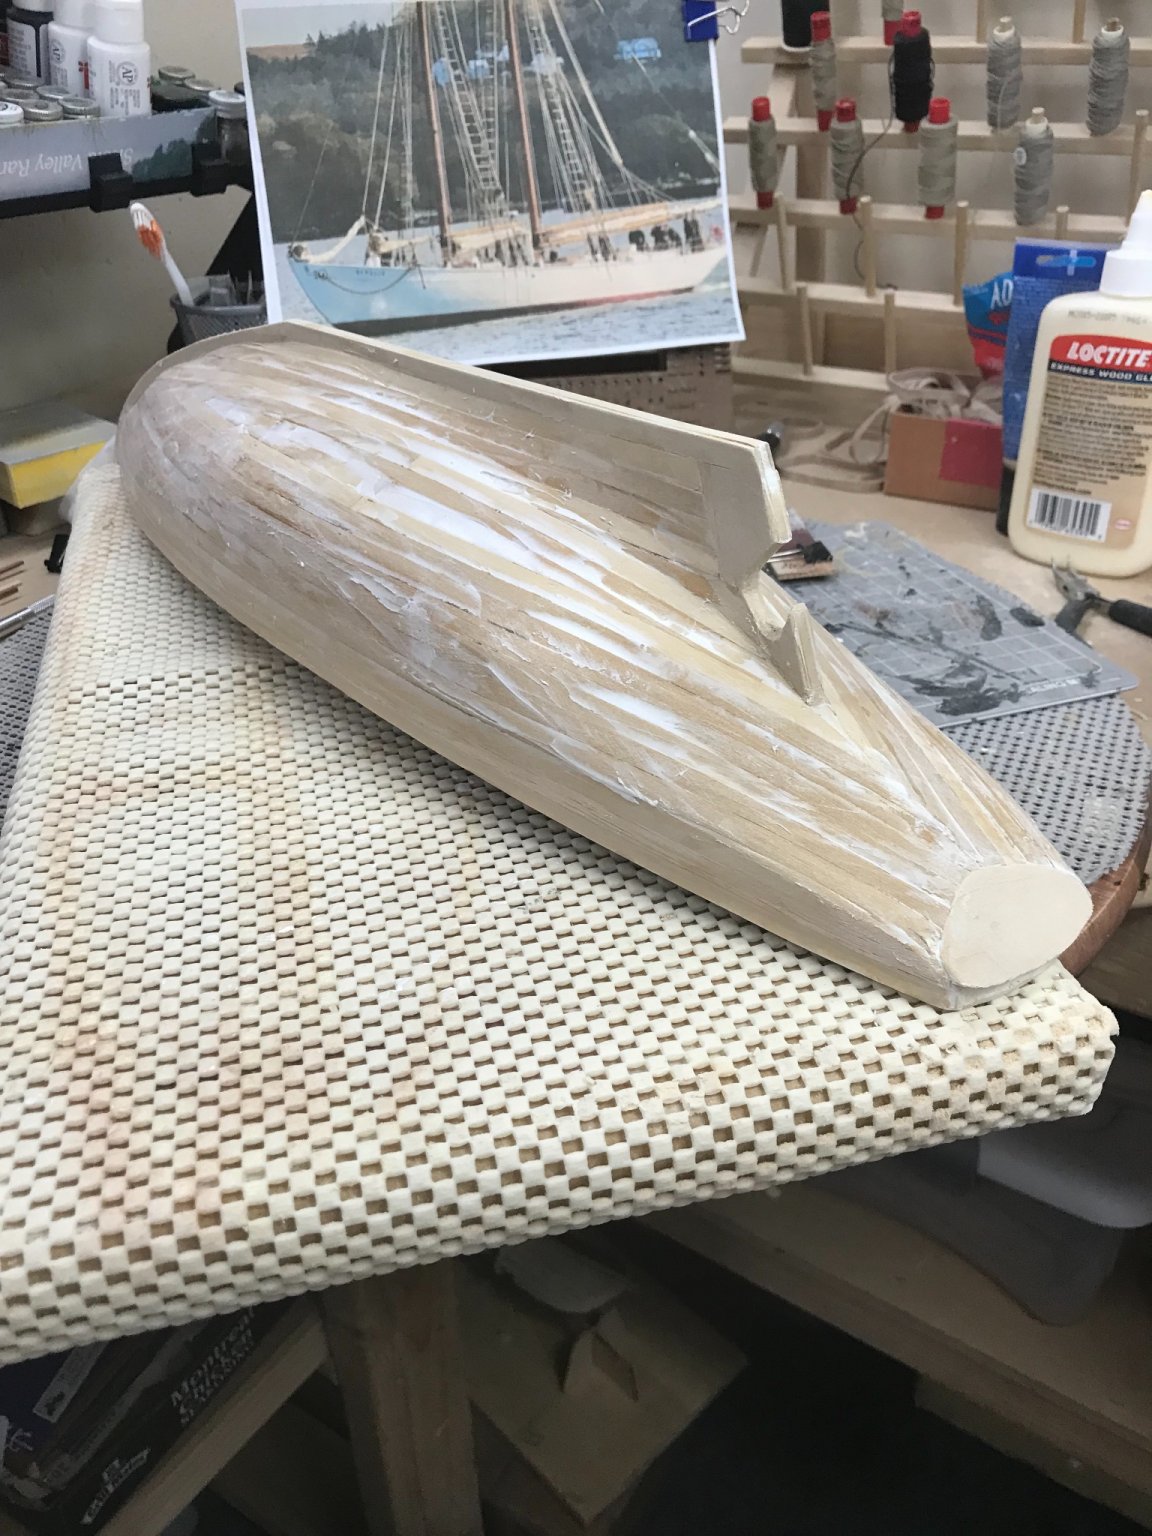
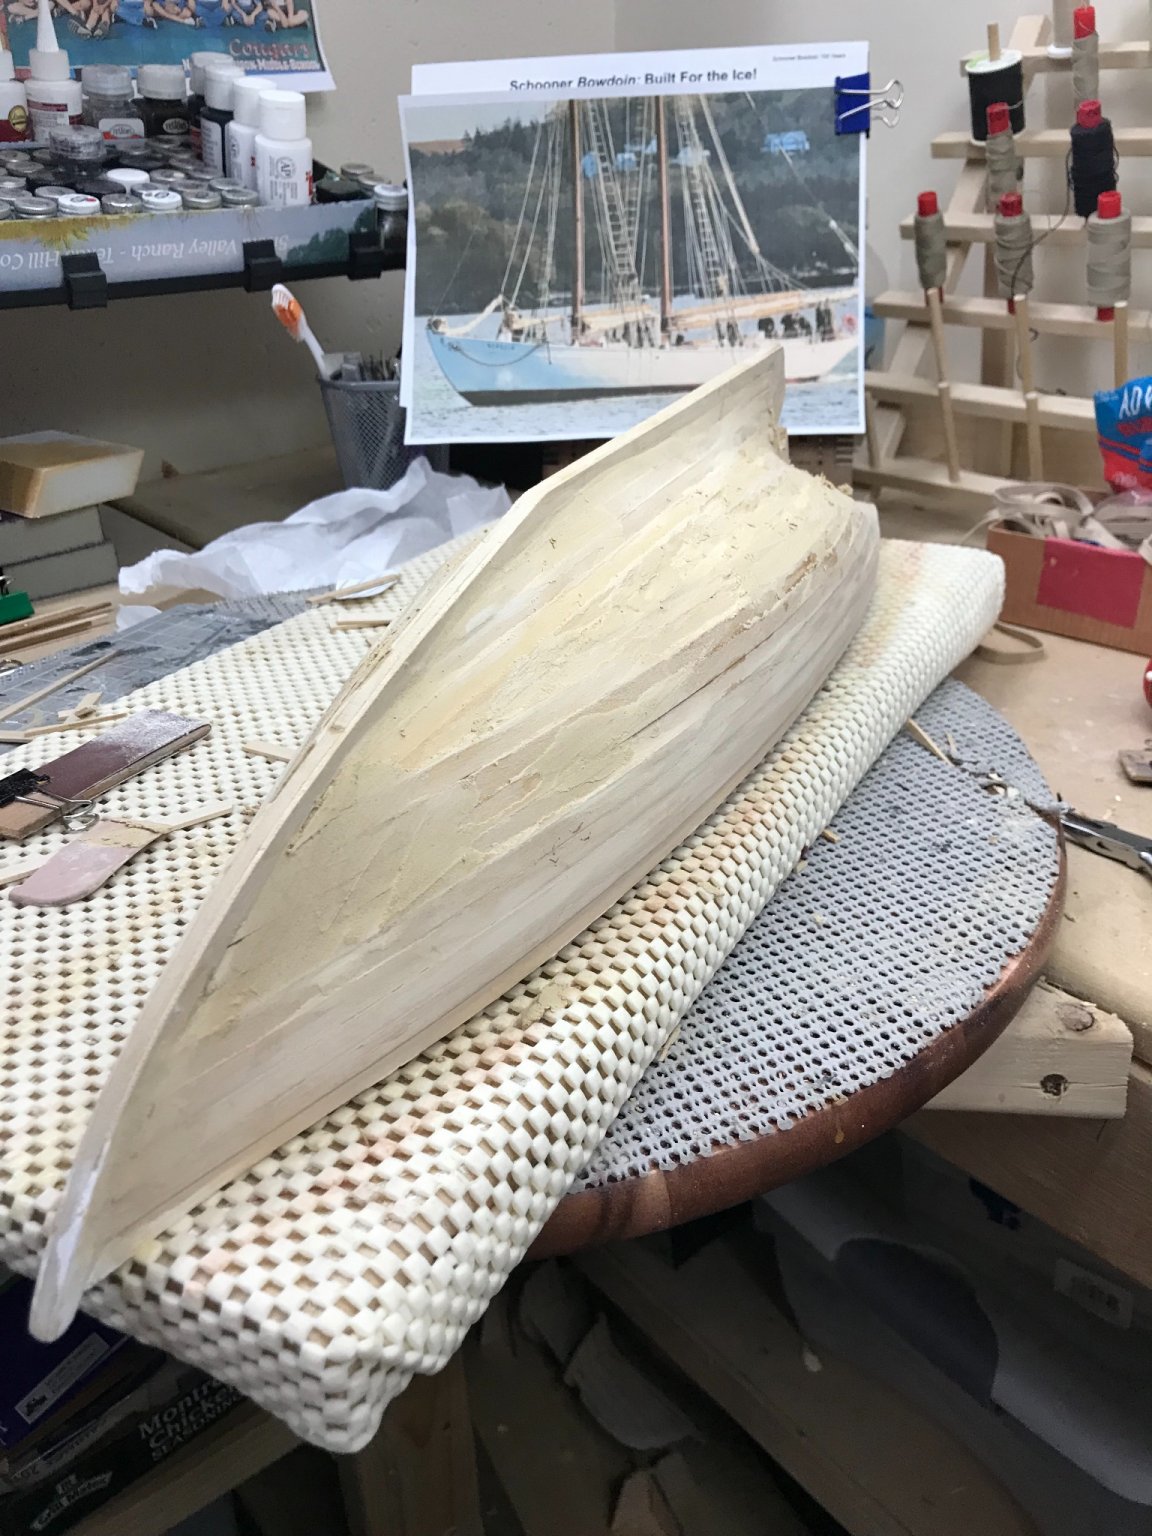
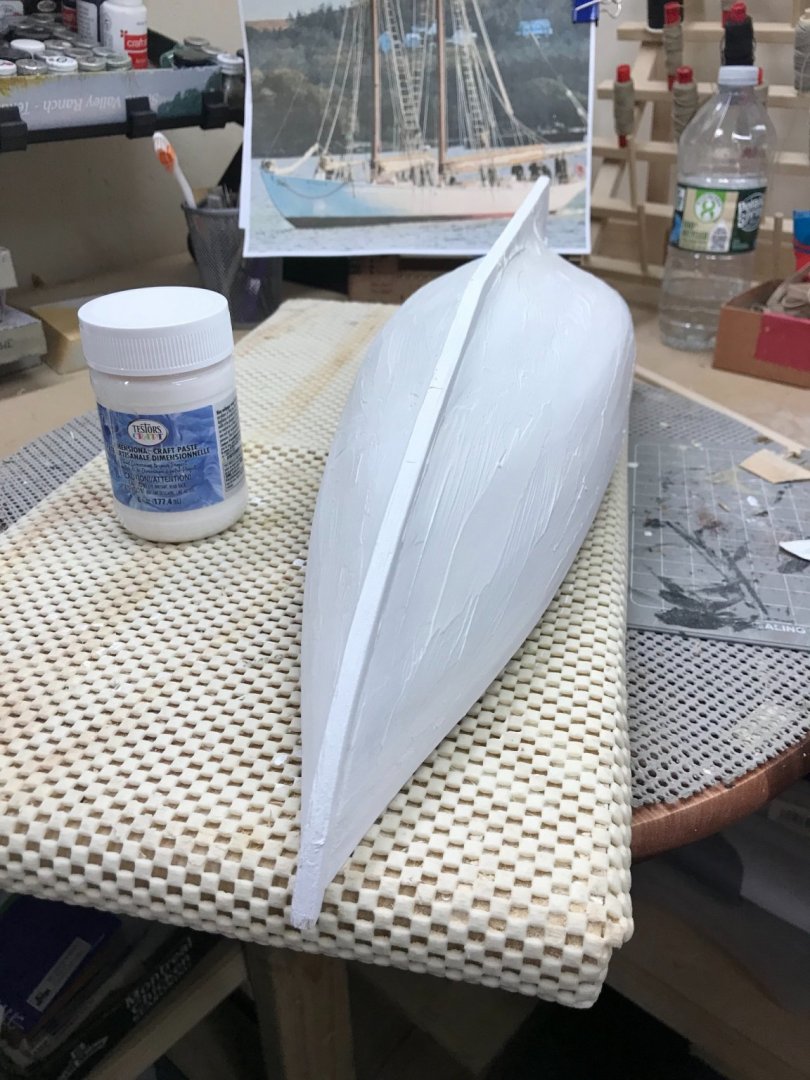
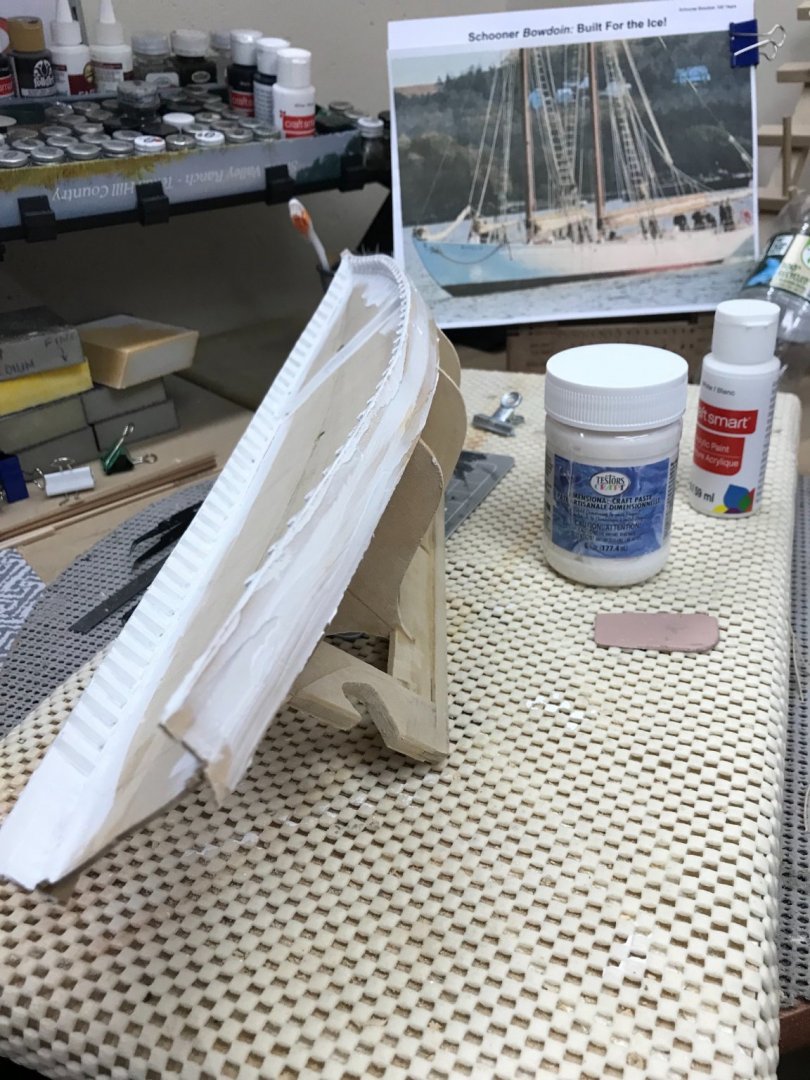
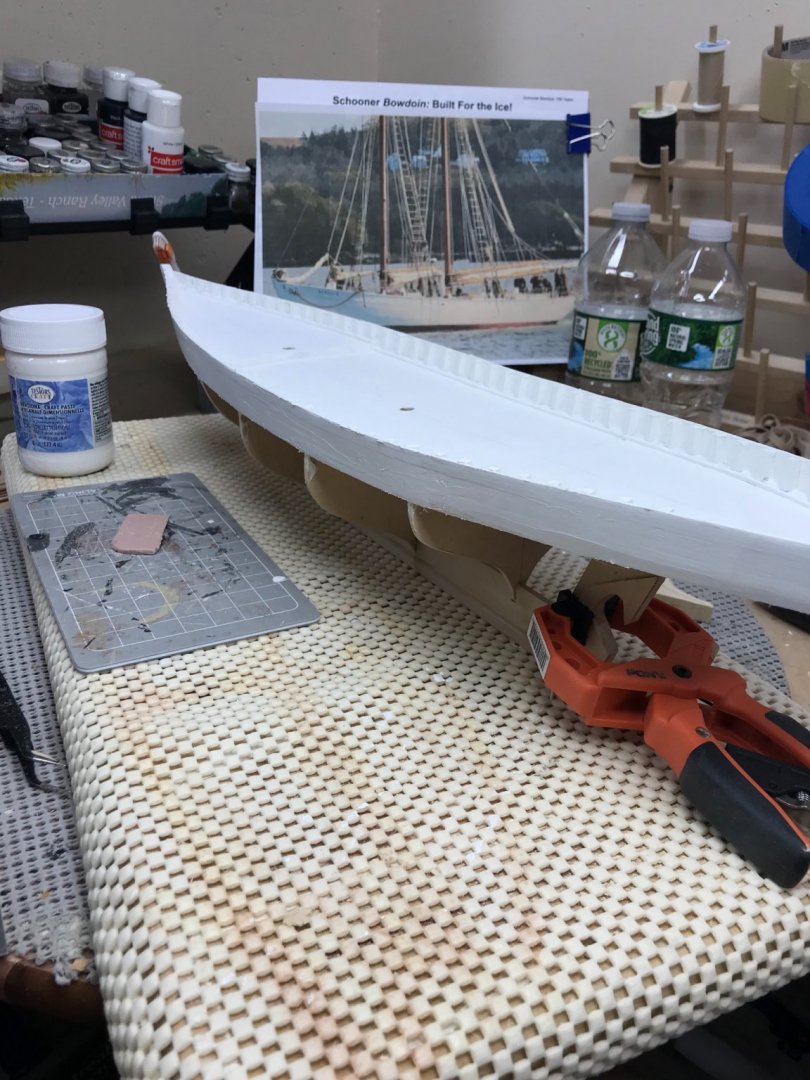
 Sanding the hull… Not quite where I would like it to be… Another thicker layer of craft paste. I will have to let this dry for a few days before sanding. 😝 Later…
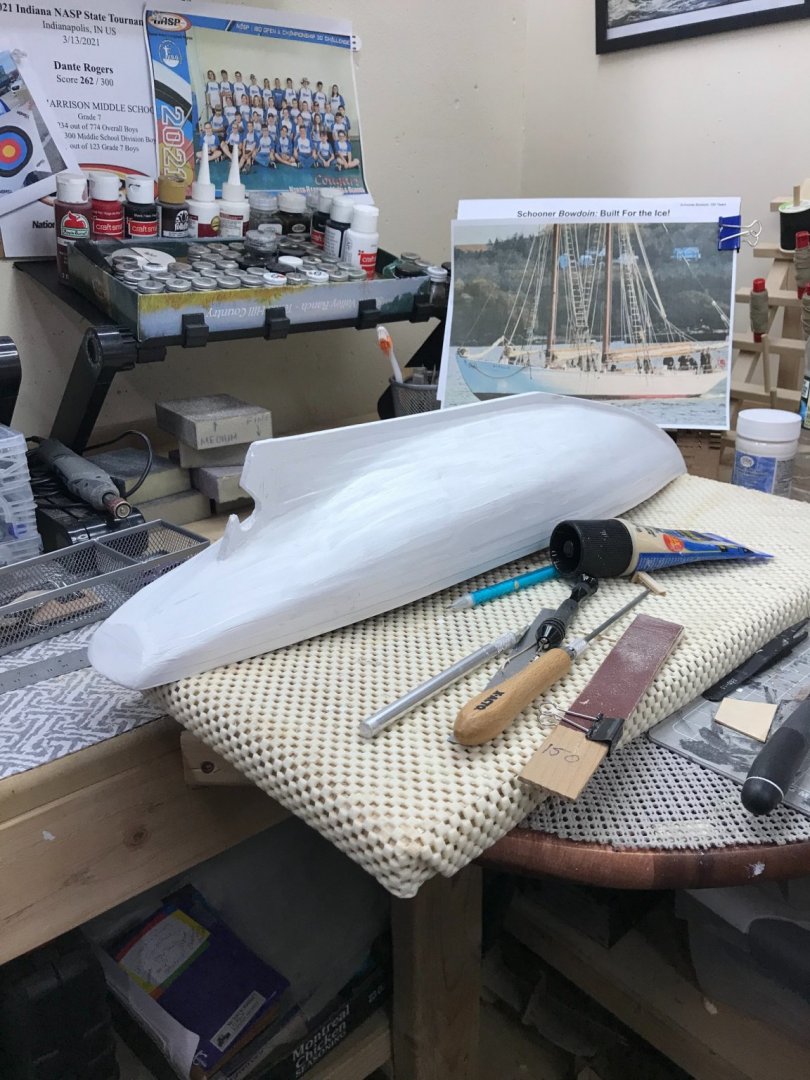
- 127 replies
-
- 7
-

-
- Bowdoin
- Arctic Exploration
- (and 3 more)
-
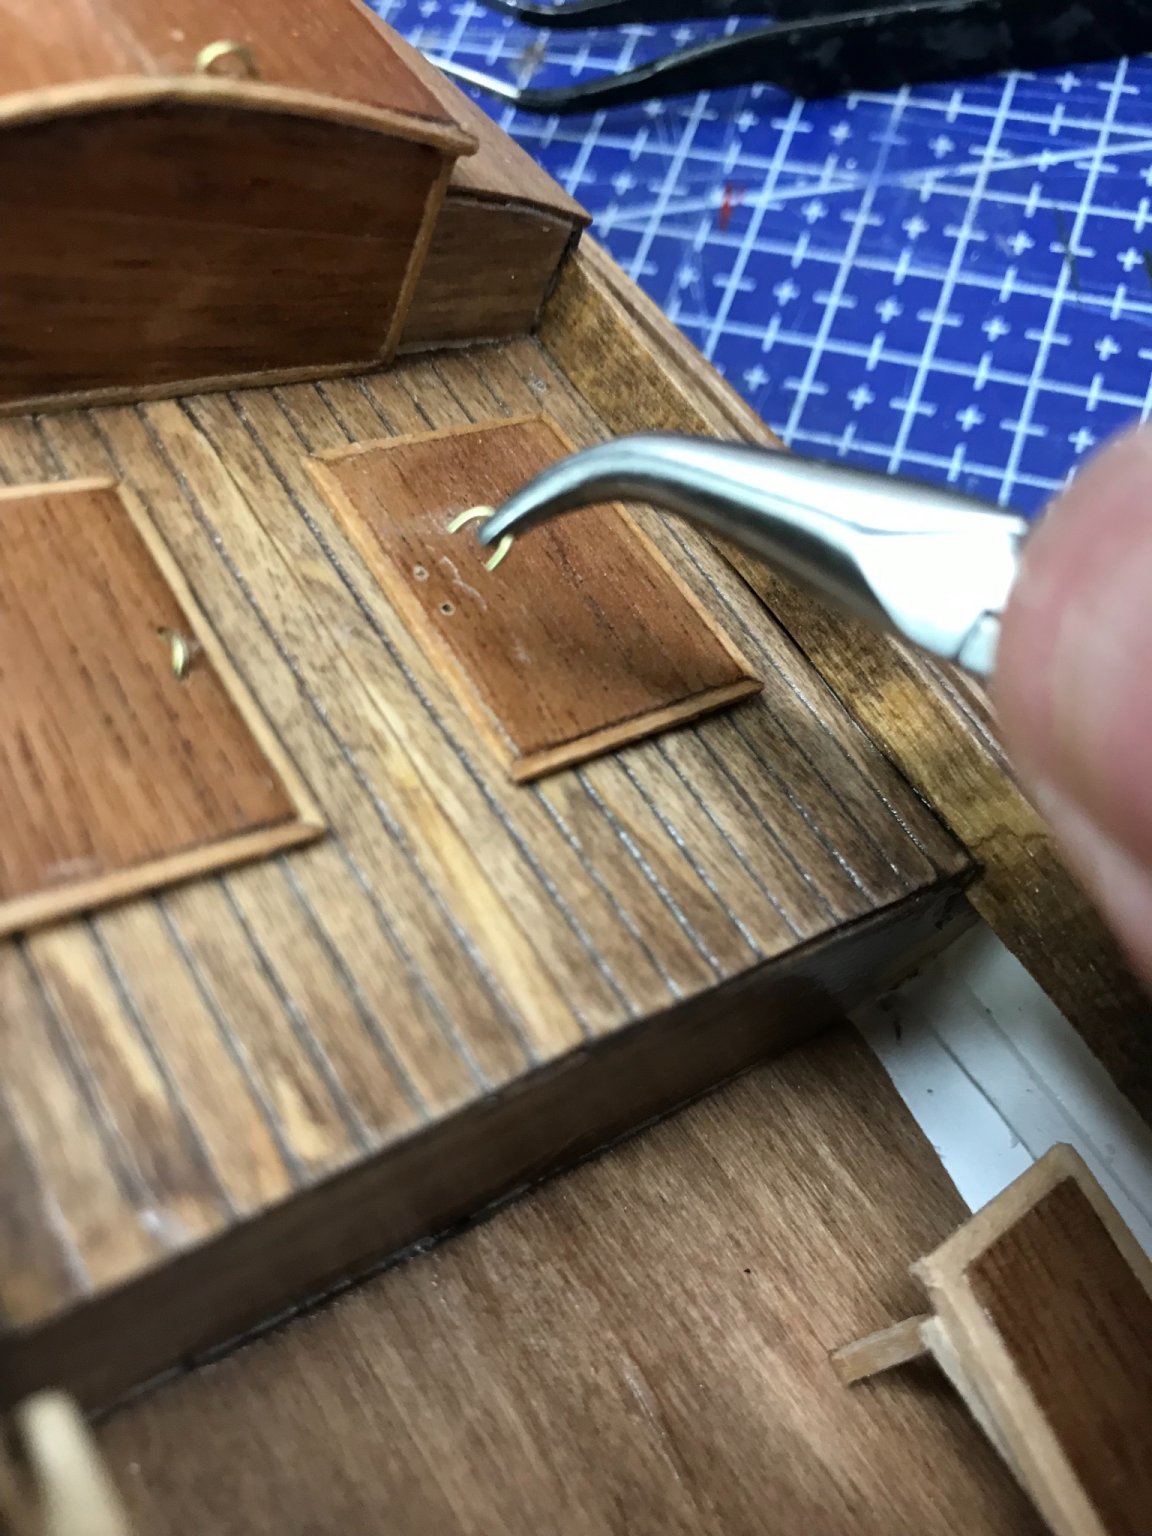
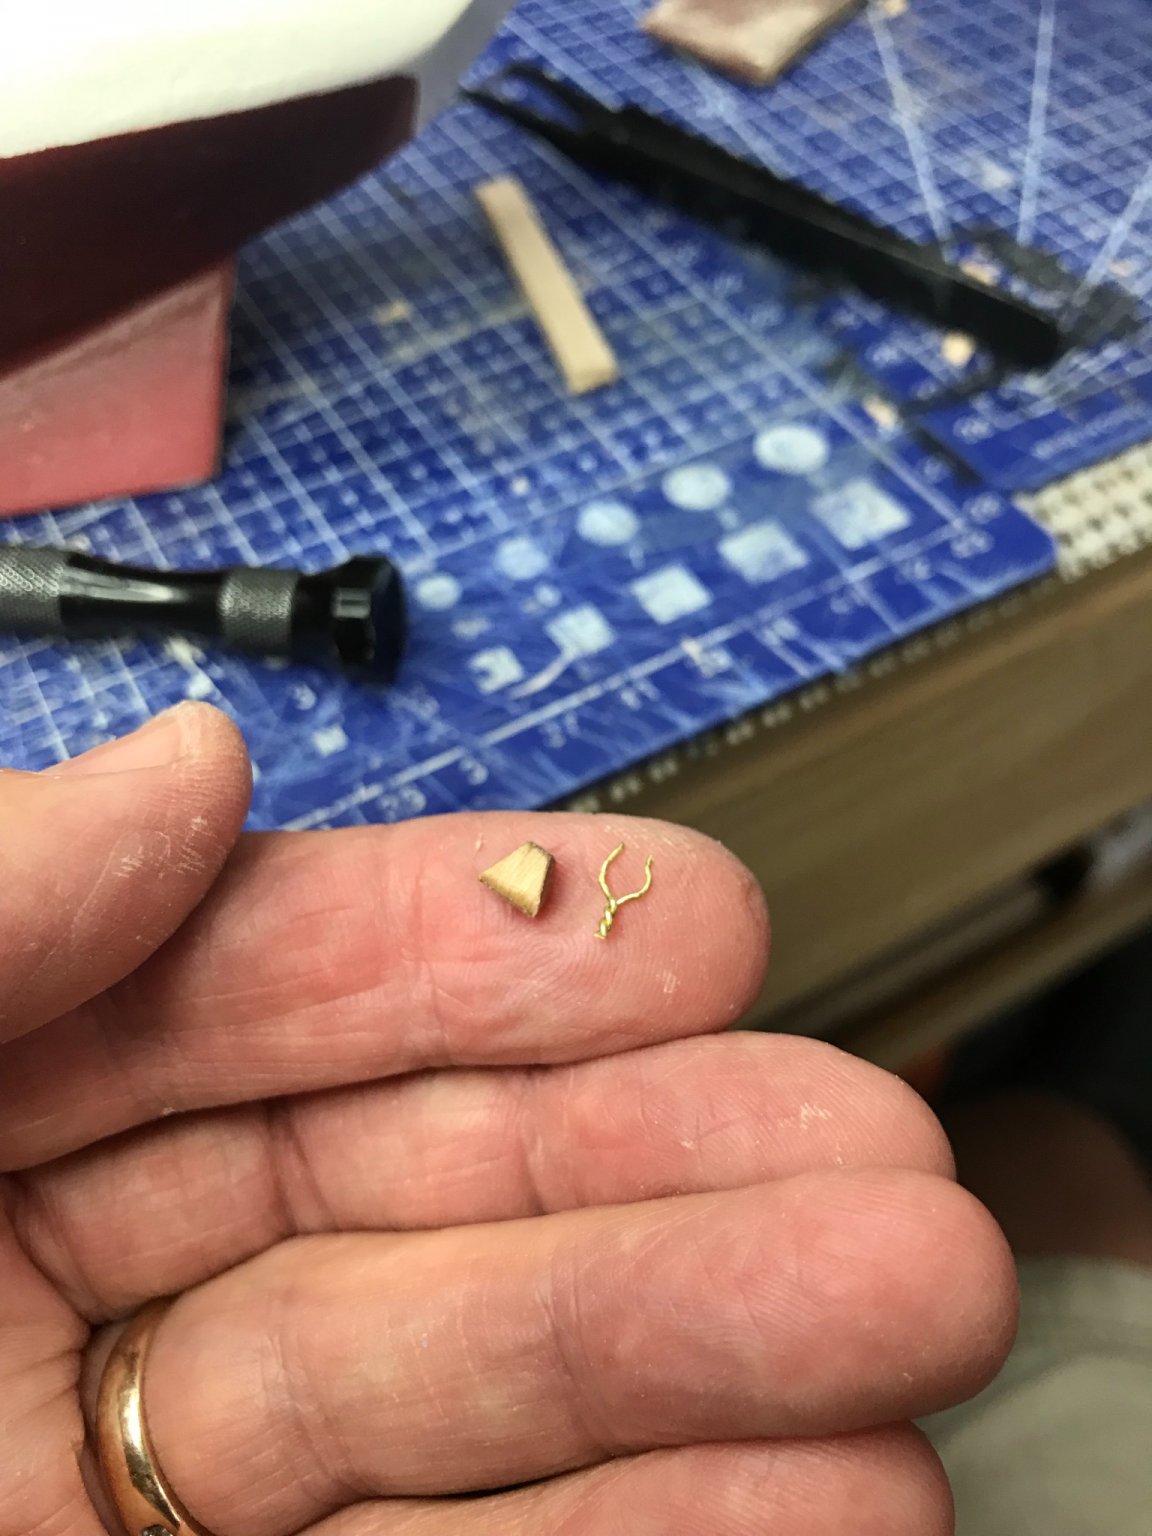
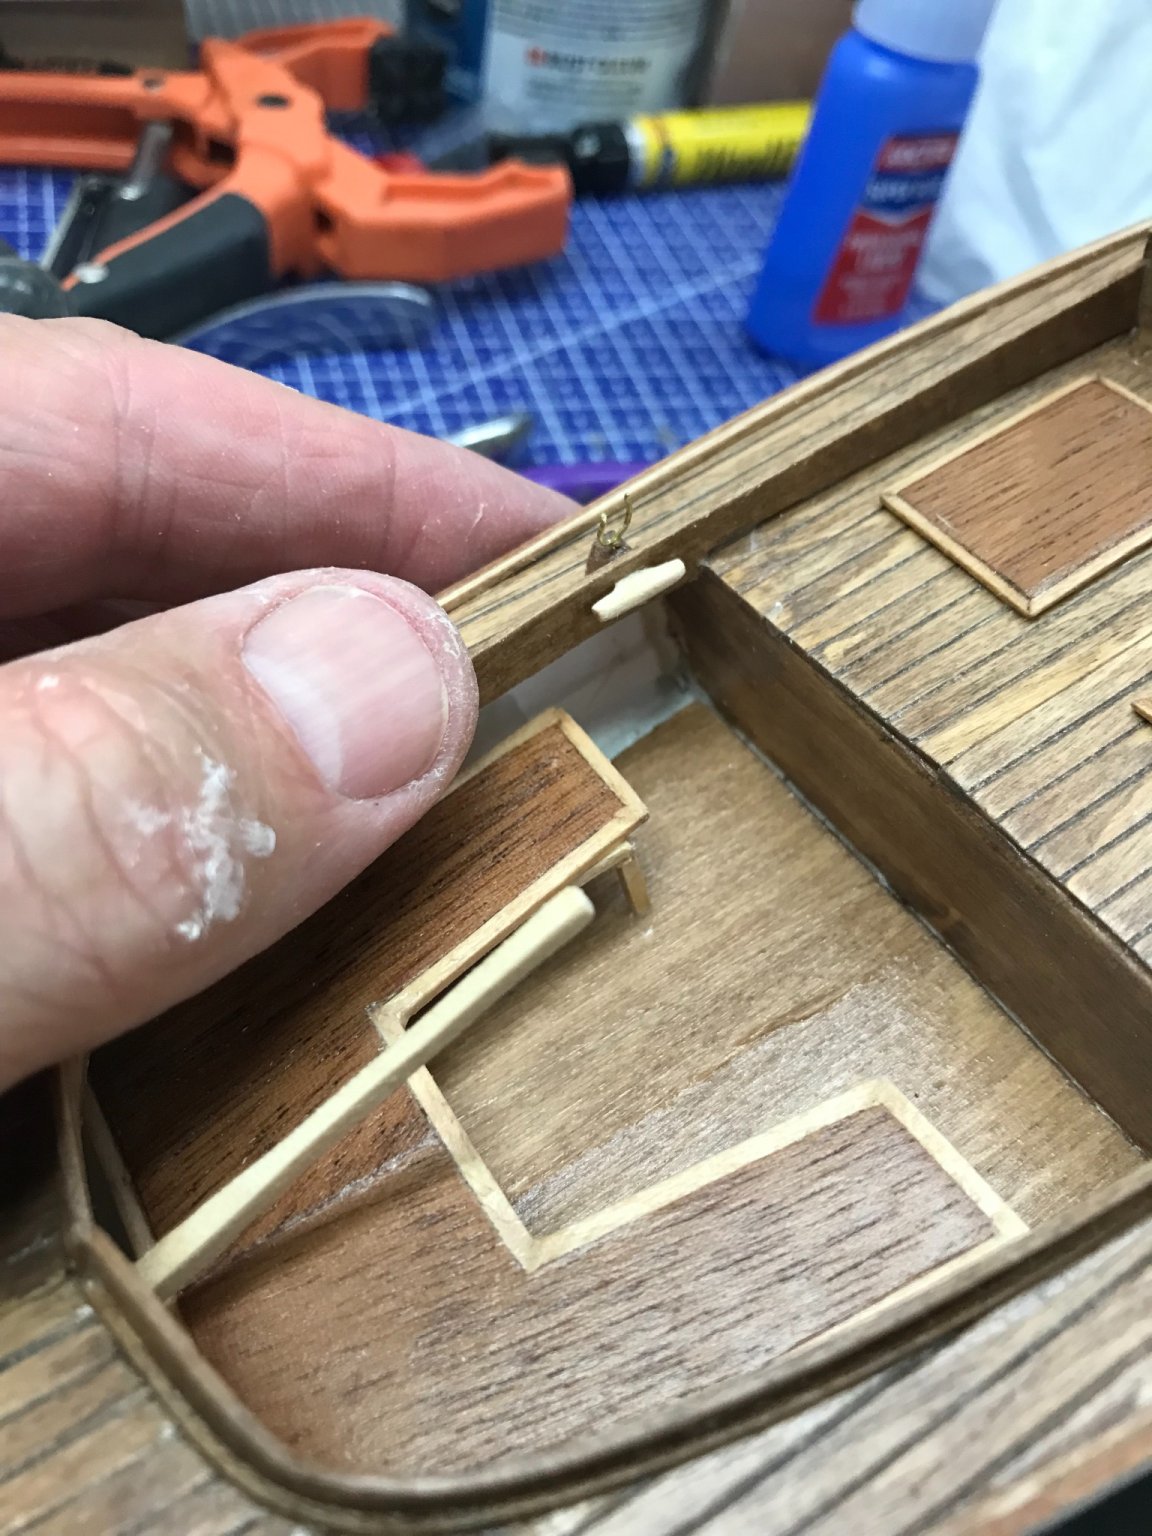
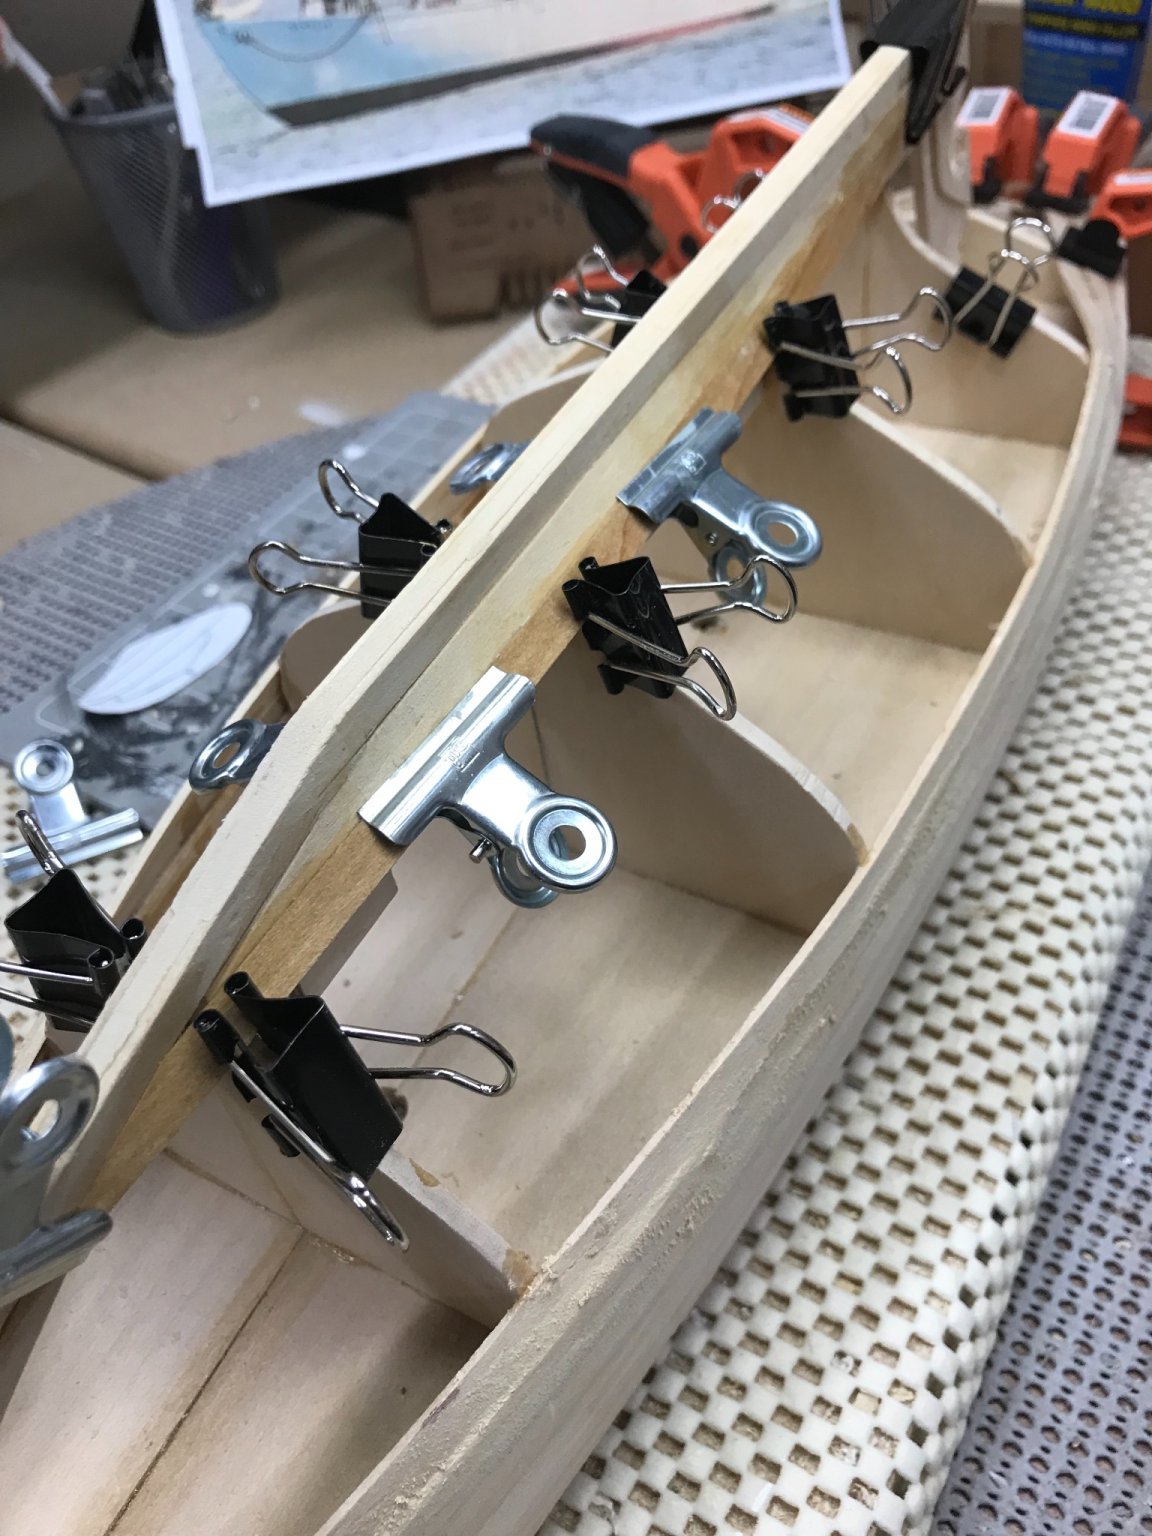
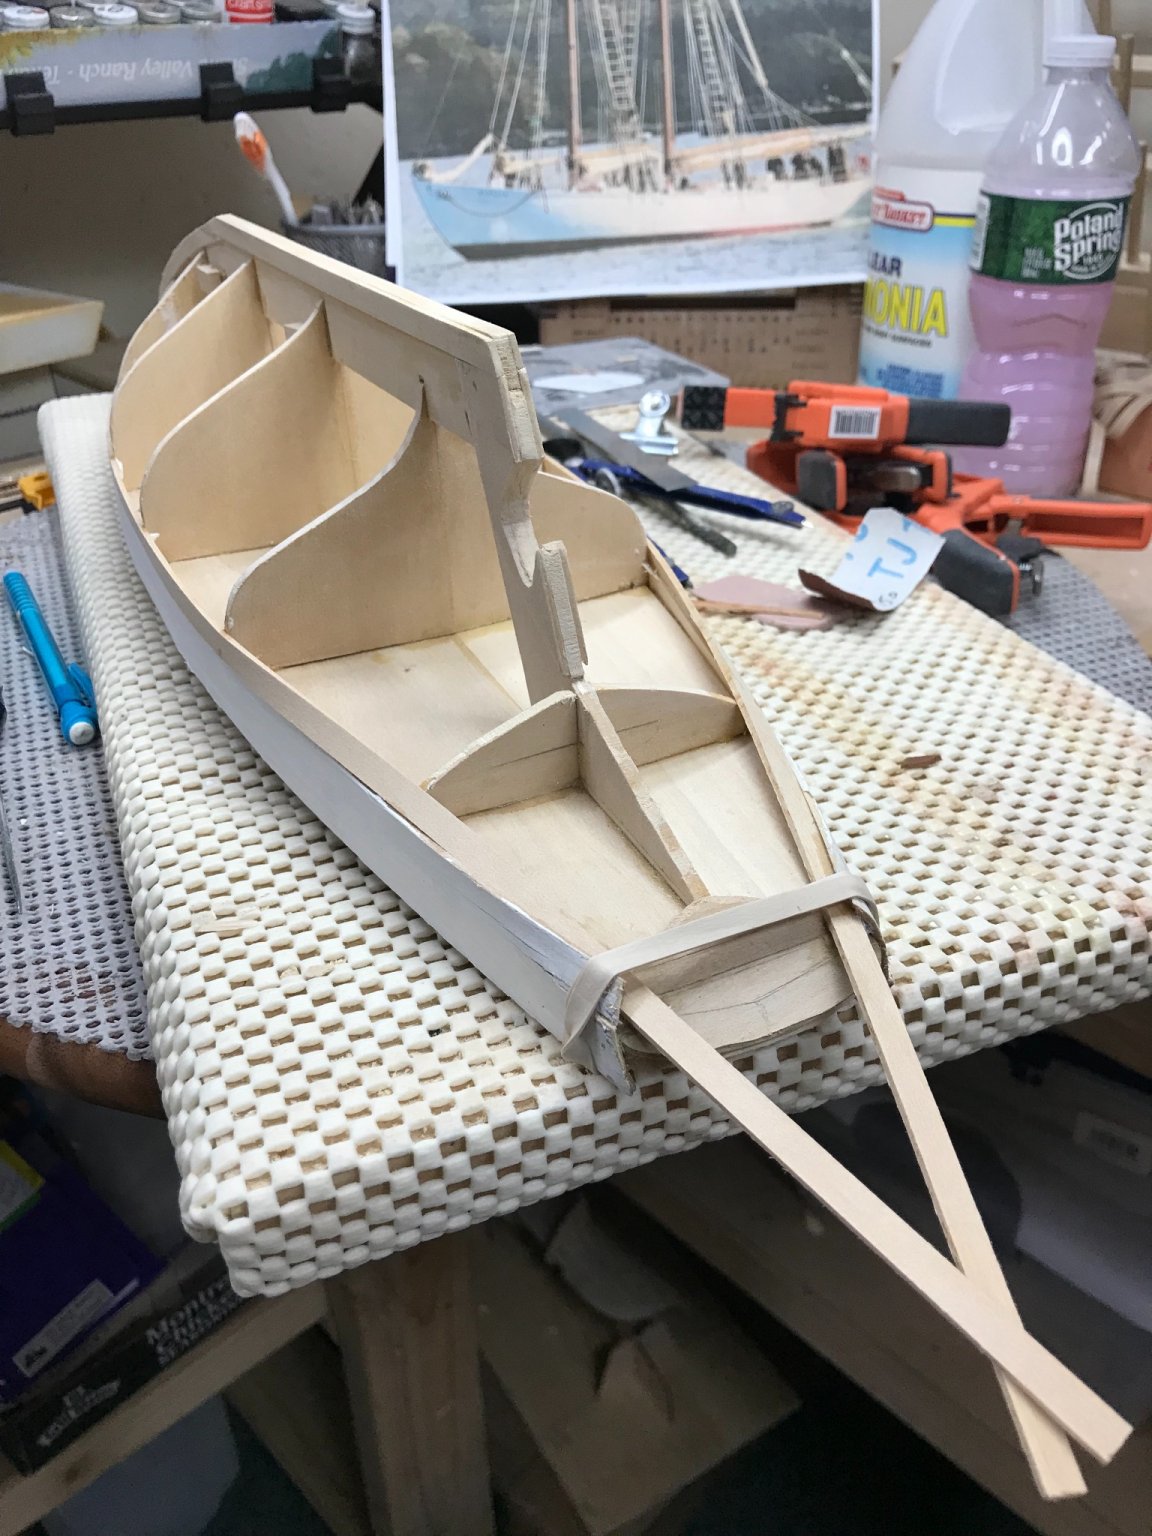
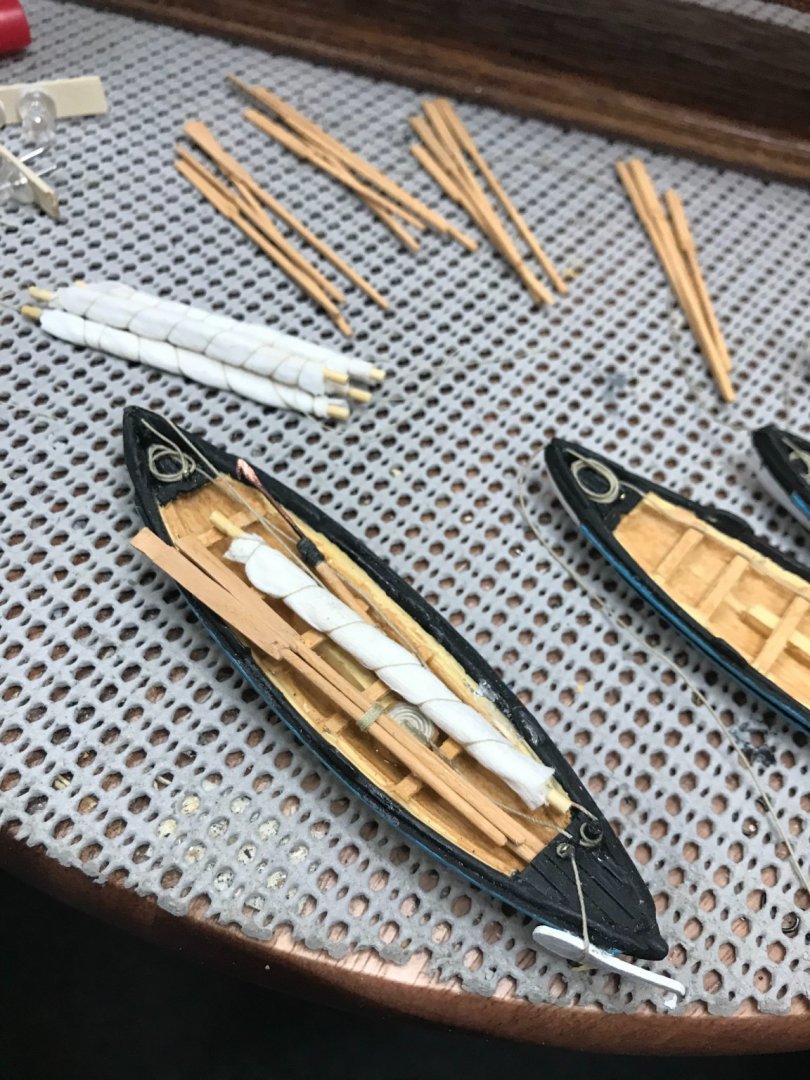
The devil is in the details… Isn’t that what they say. 😆 Oar Lock blocks Oar Locks made of wire… Oar Locks in place… Tiller formed from 1/32x1/33 stock… Made from scratch Cleats. Need four more. 😝 Onwards… 🍻


- 26 replies
-
- 3
-
-
- Maine
- Laughing Whale
- (and 2 more)
-
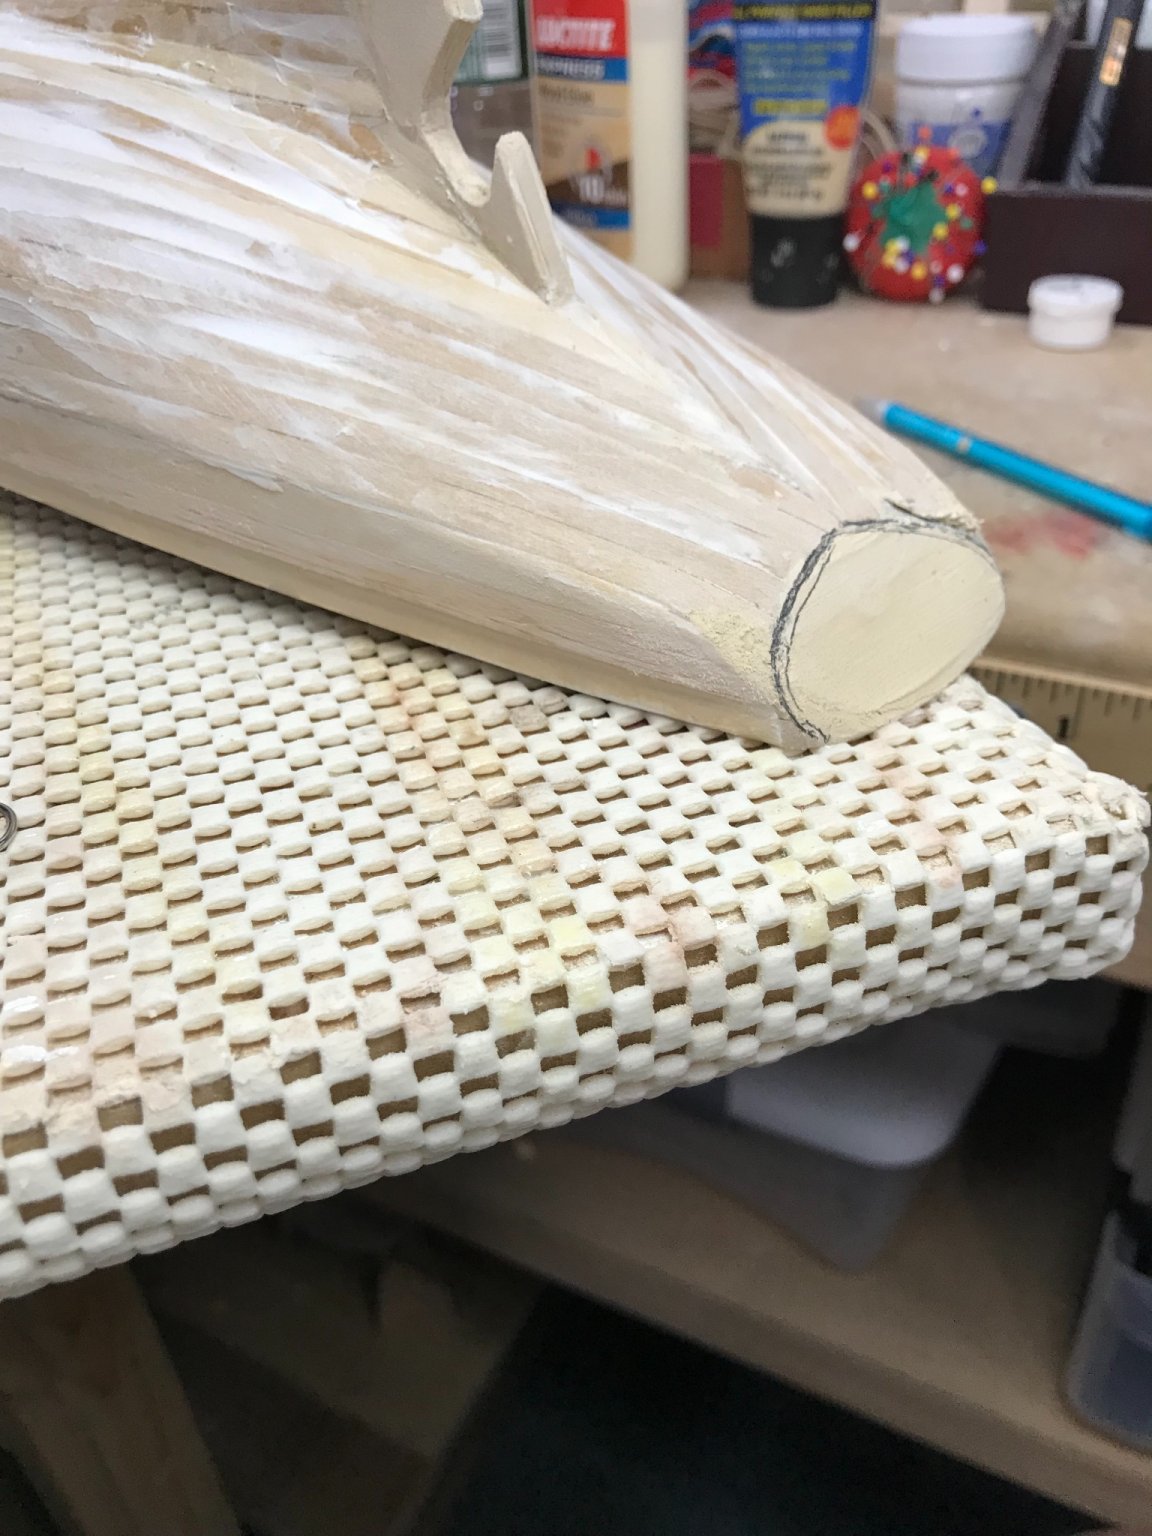
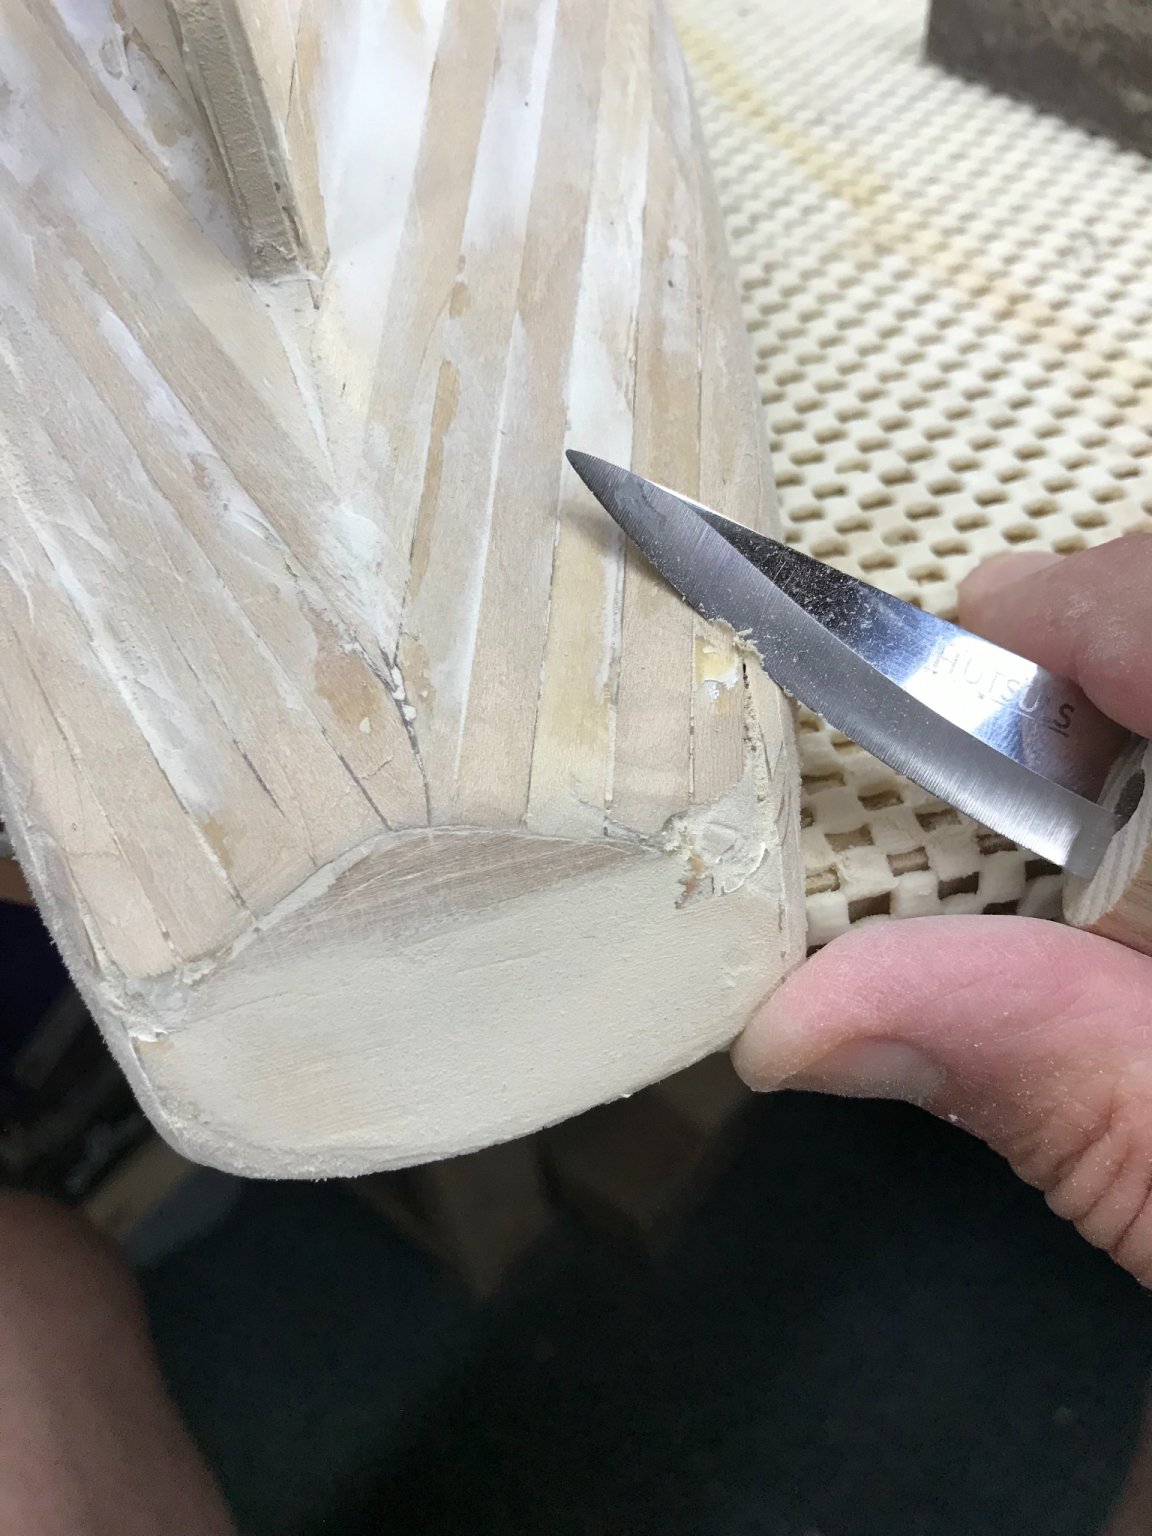
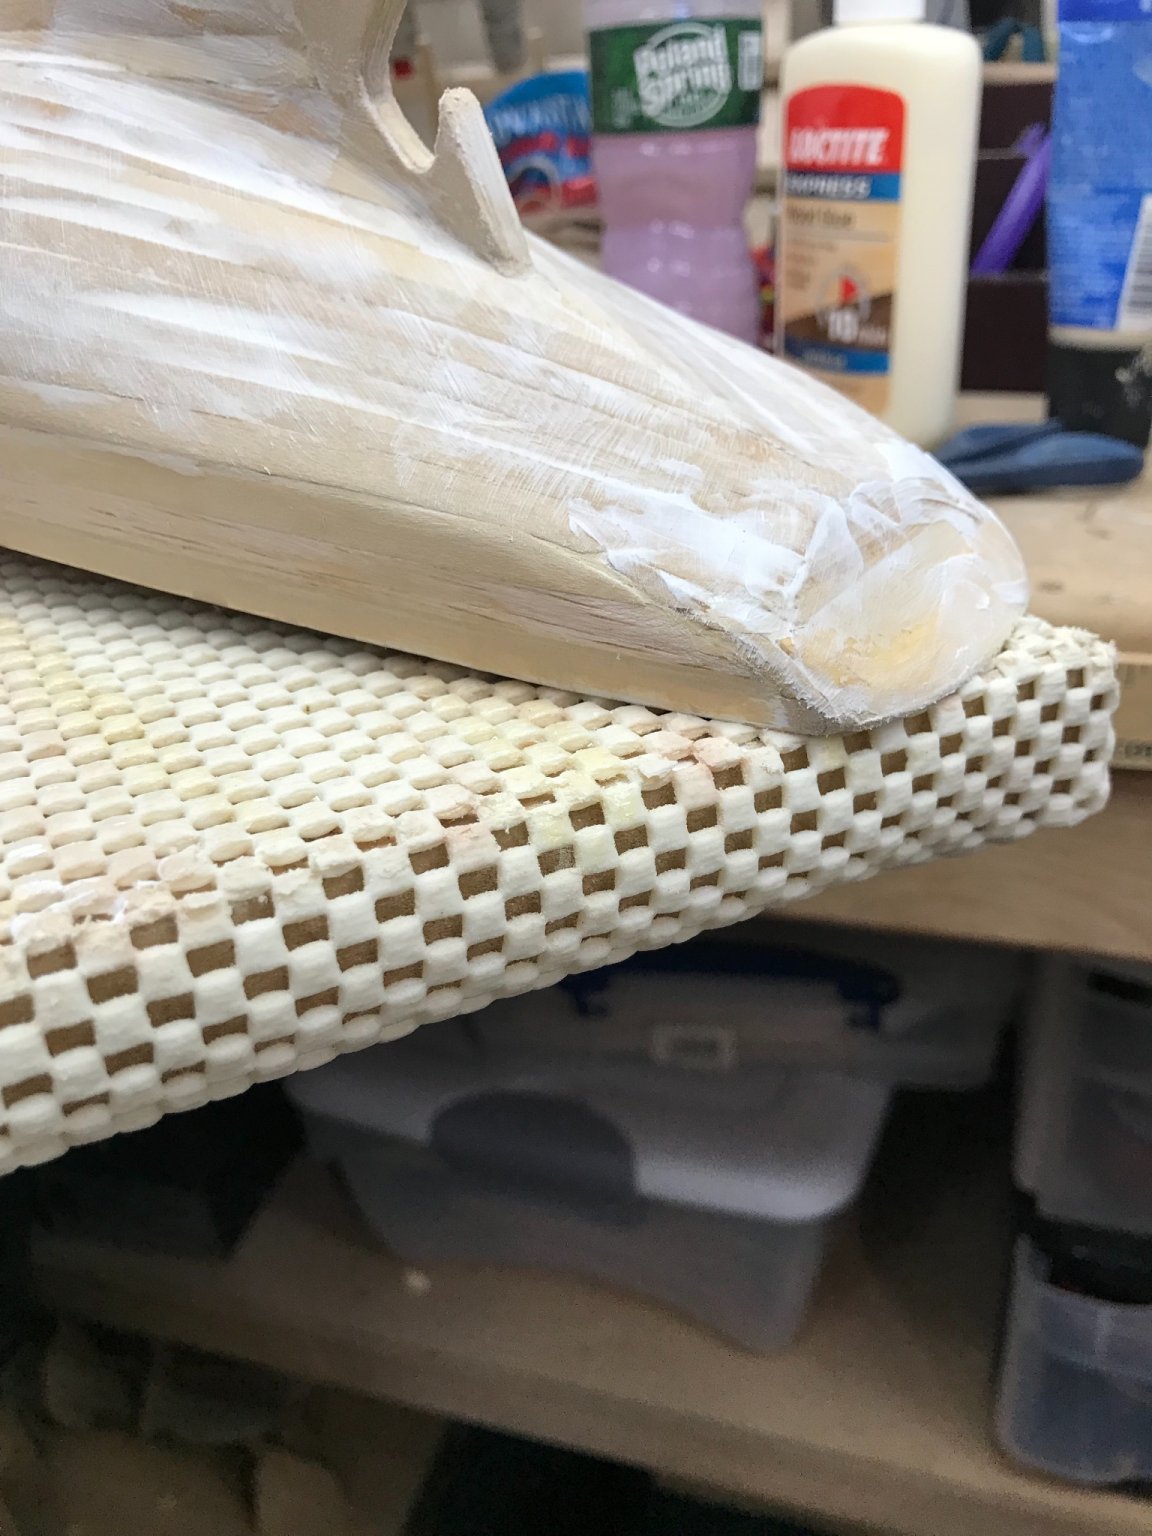
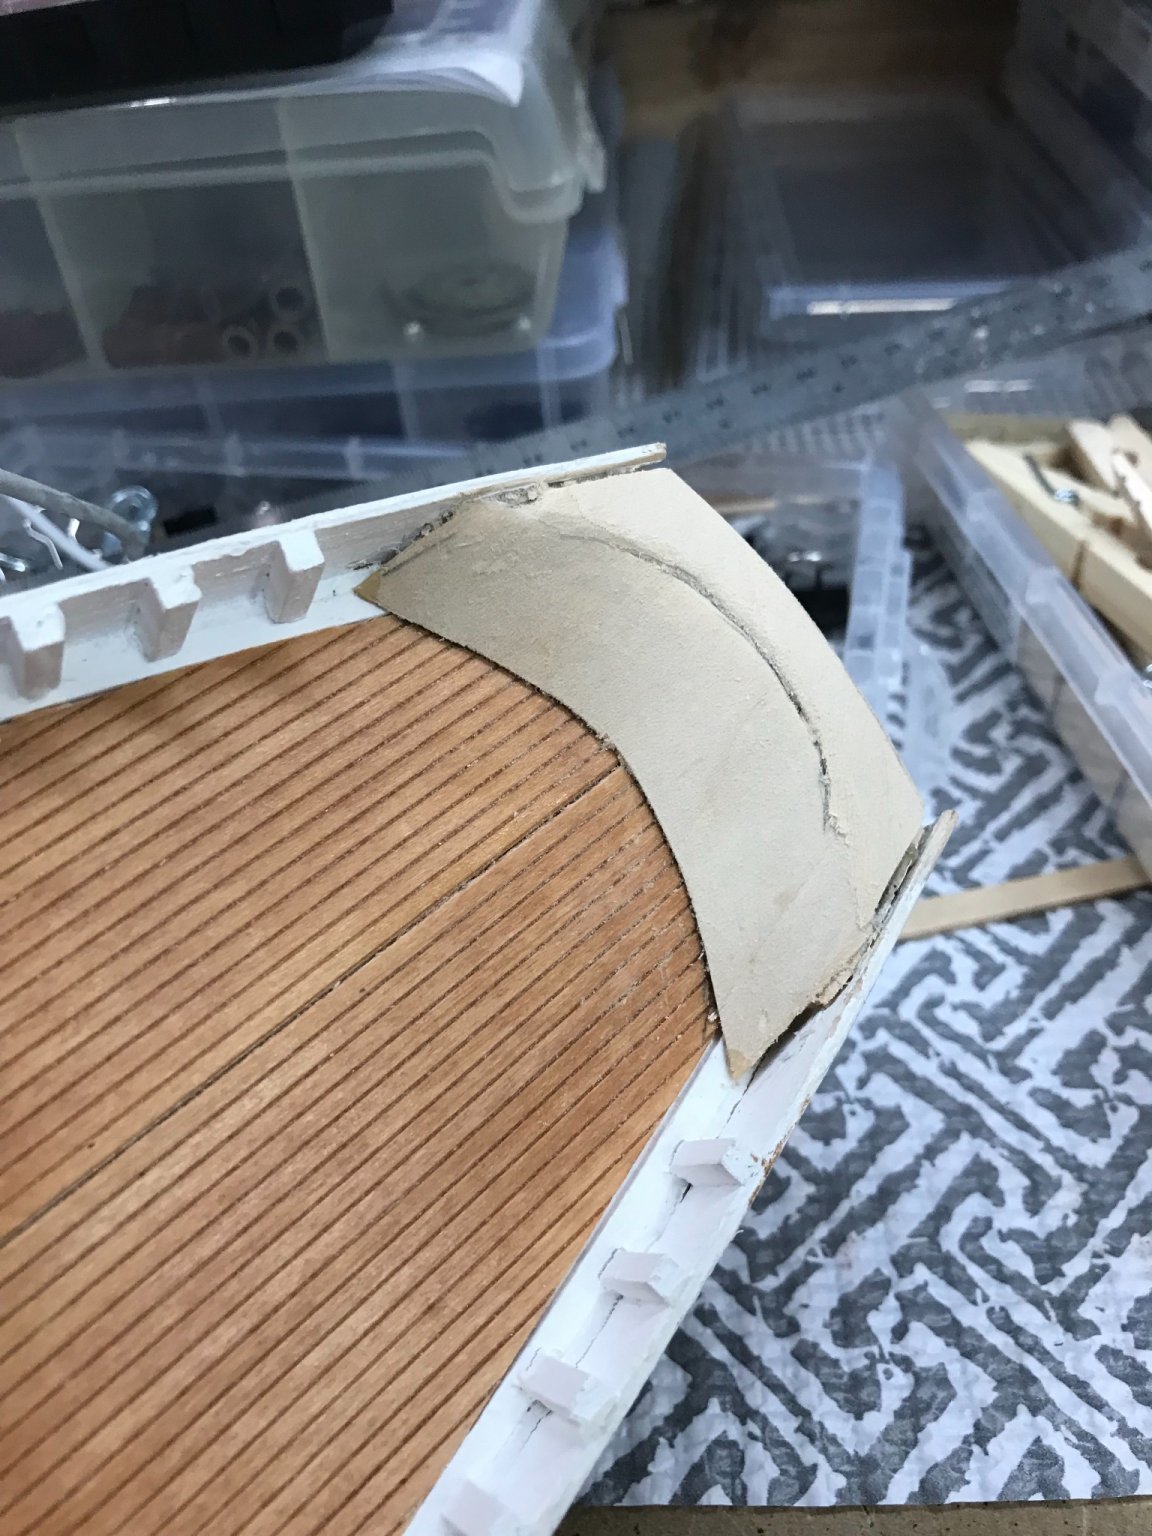
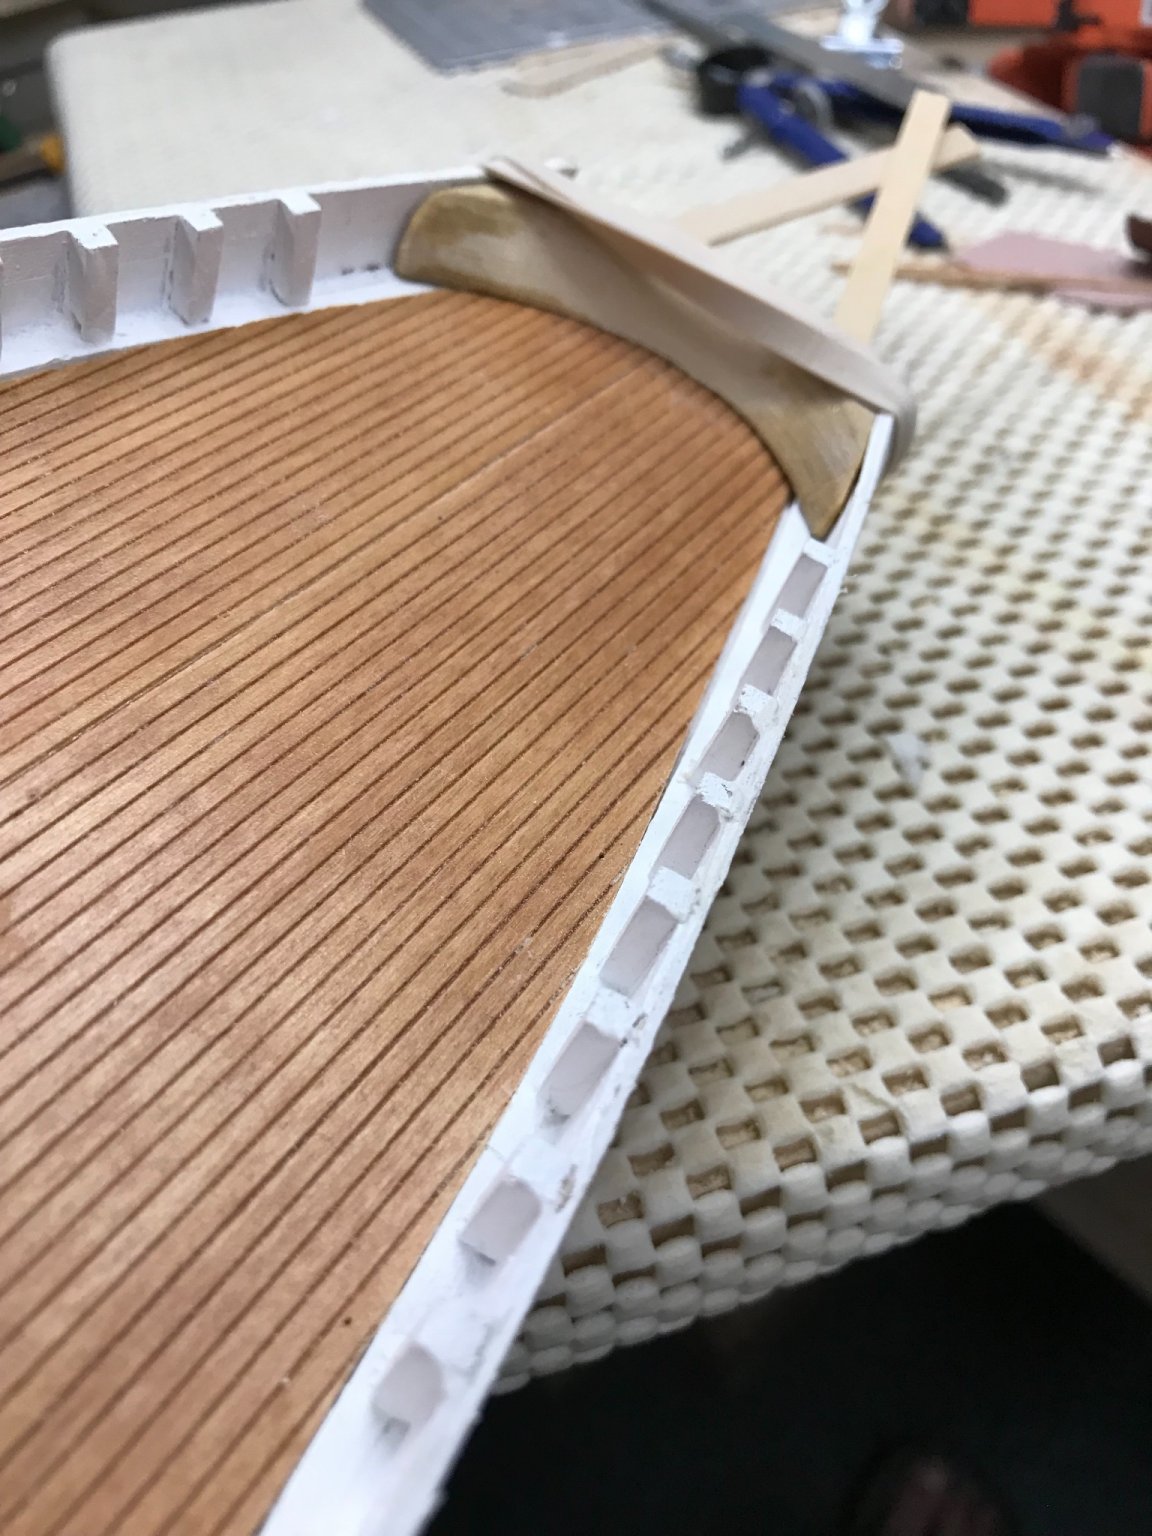
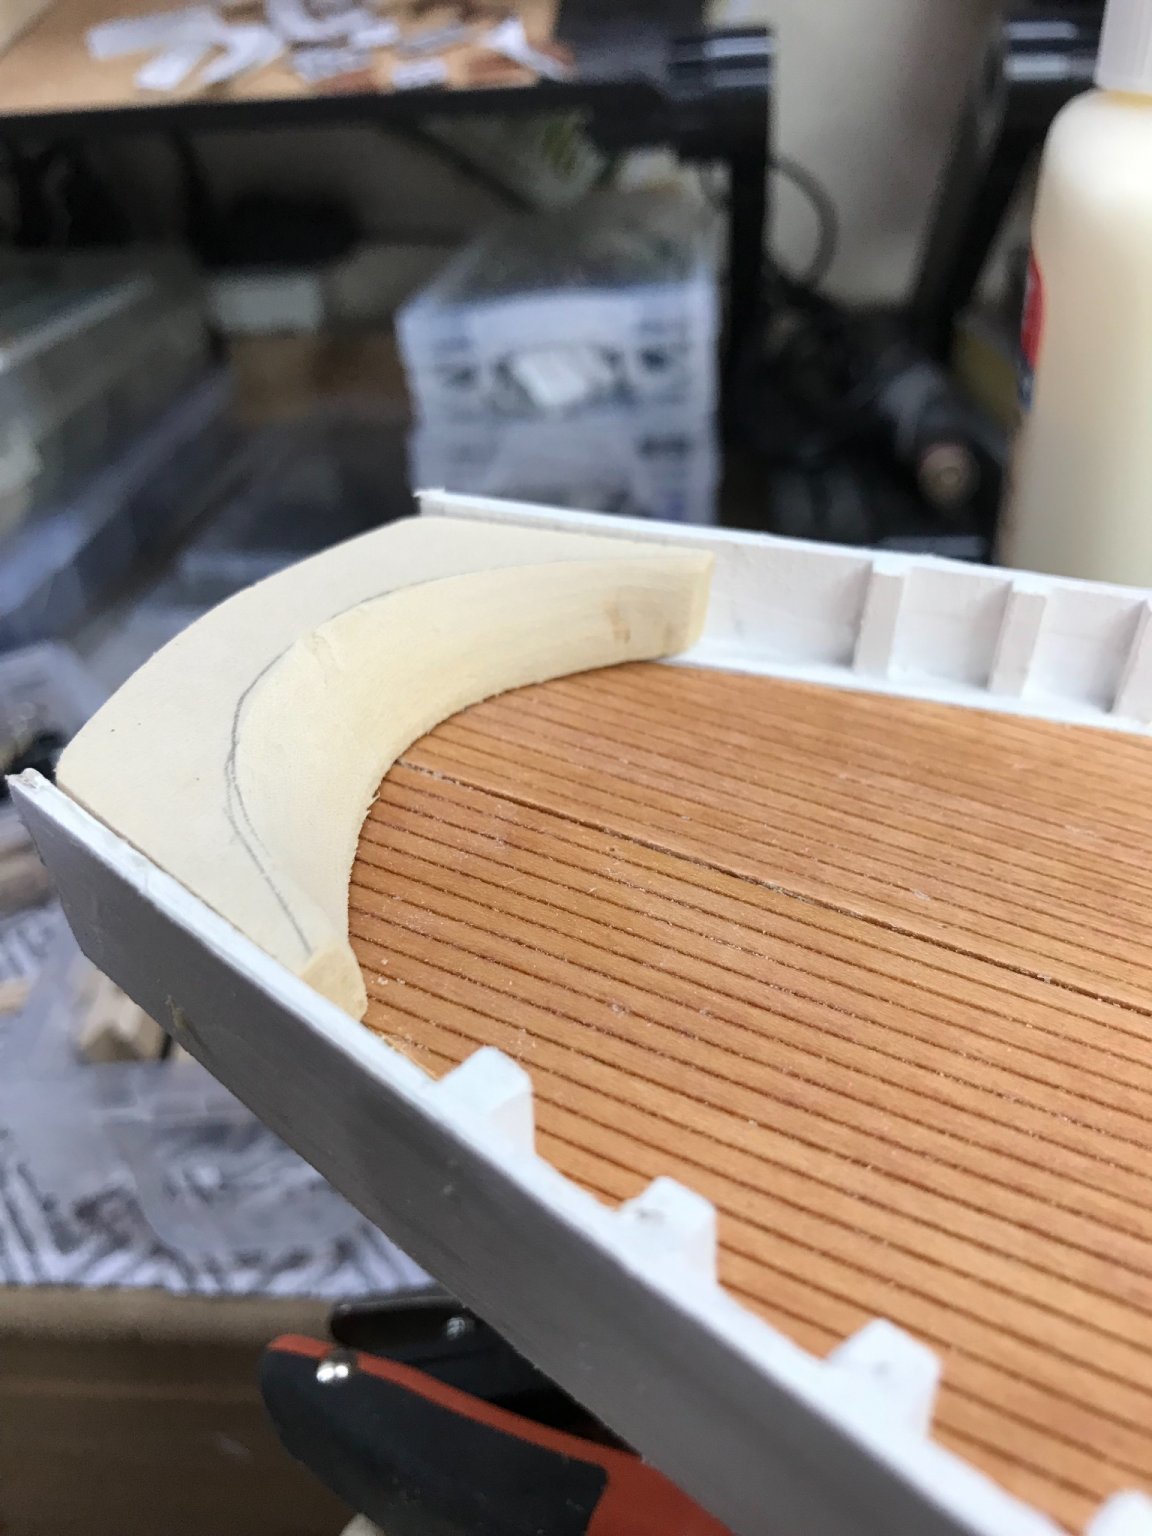
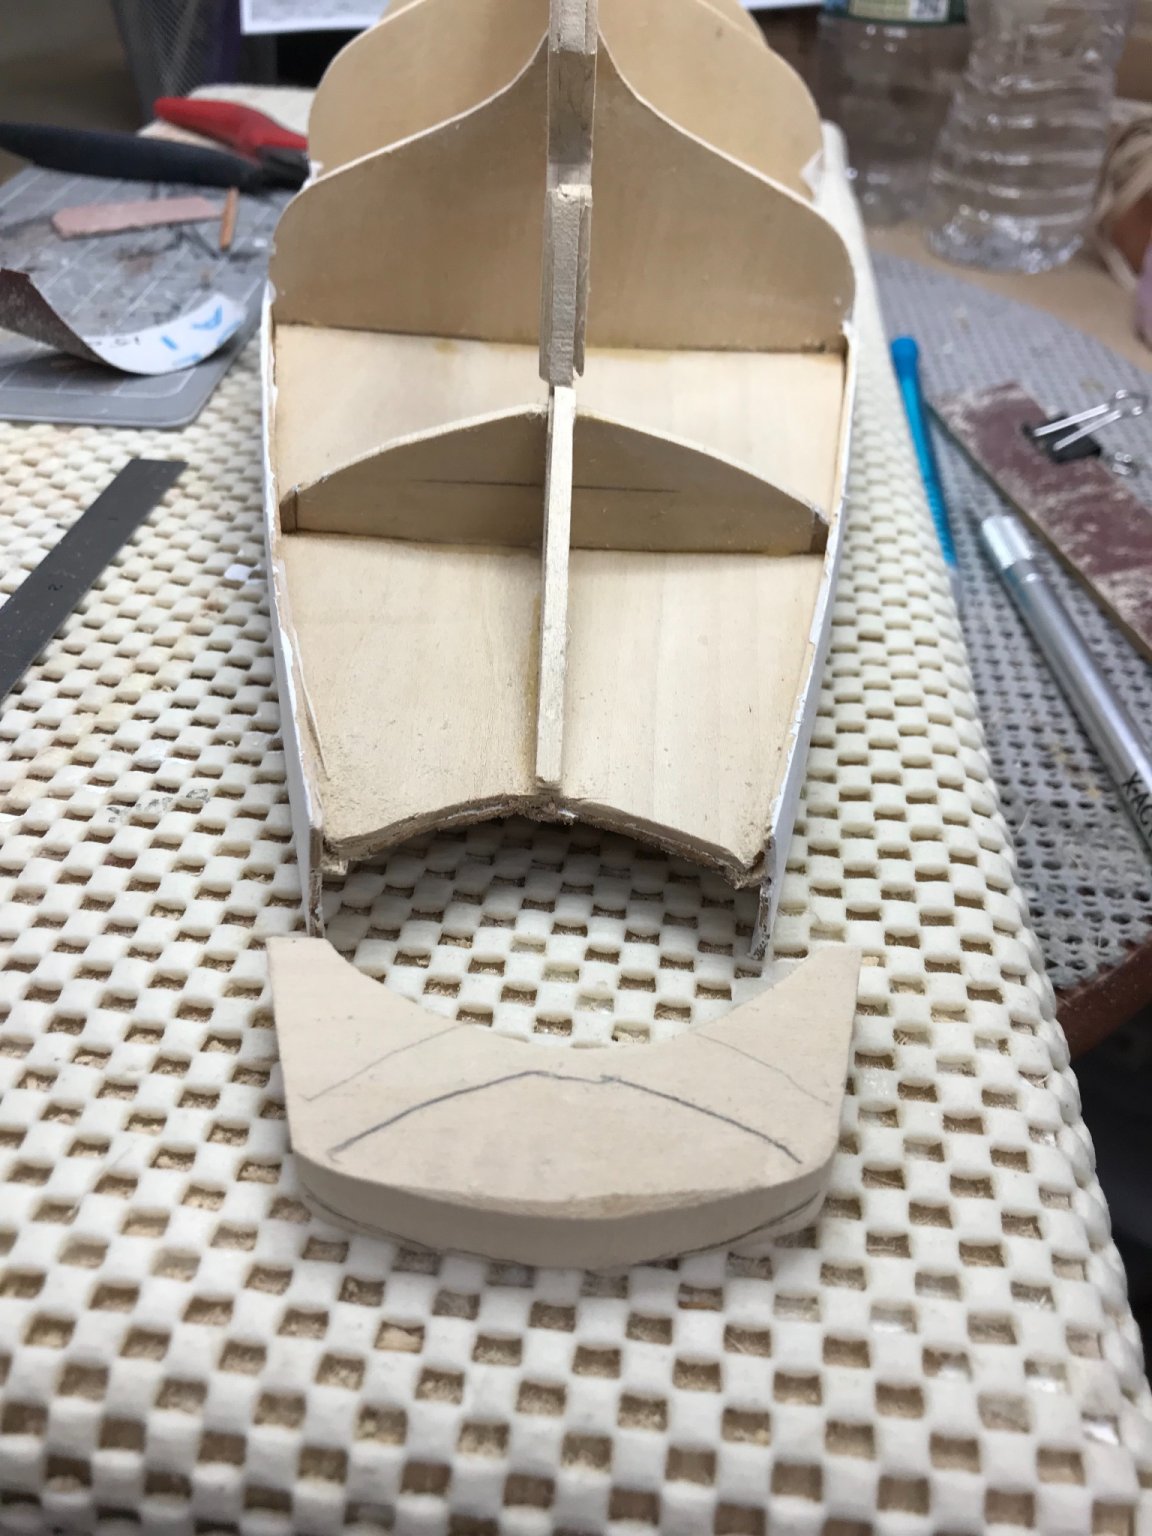
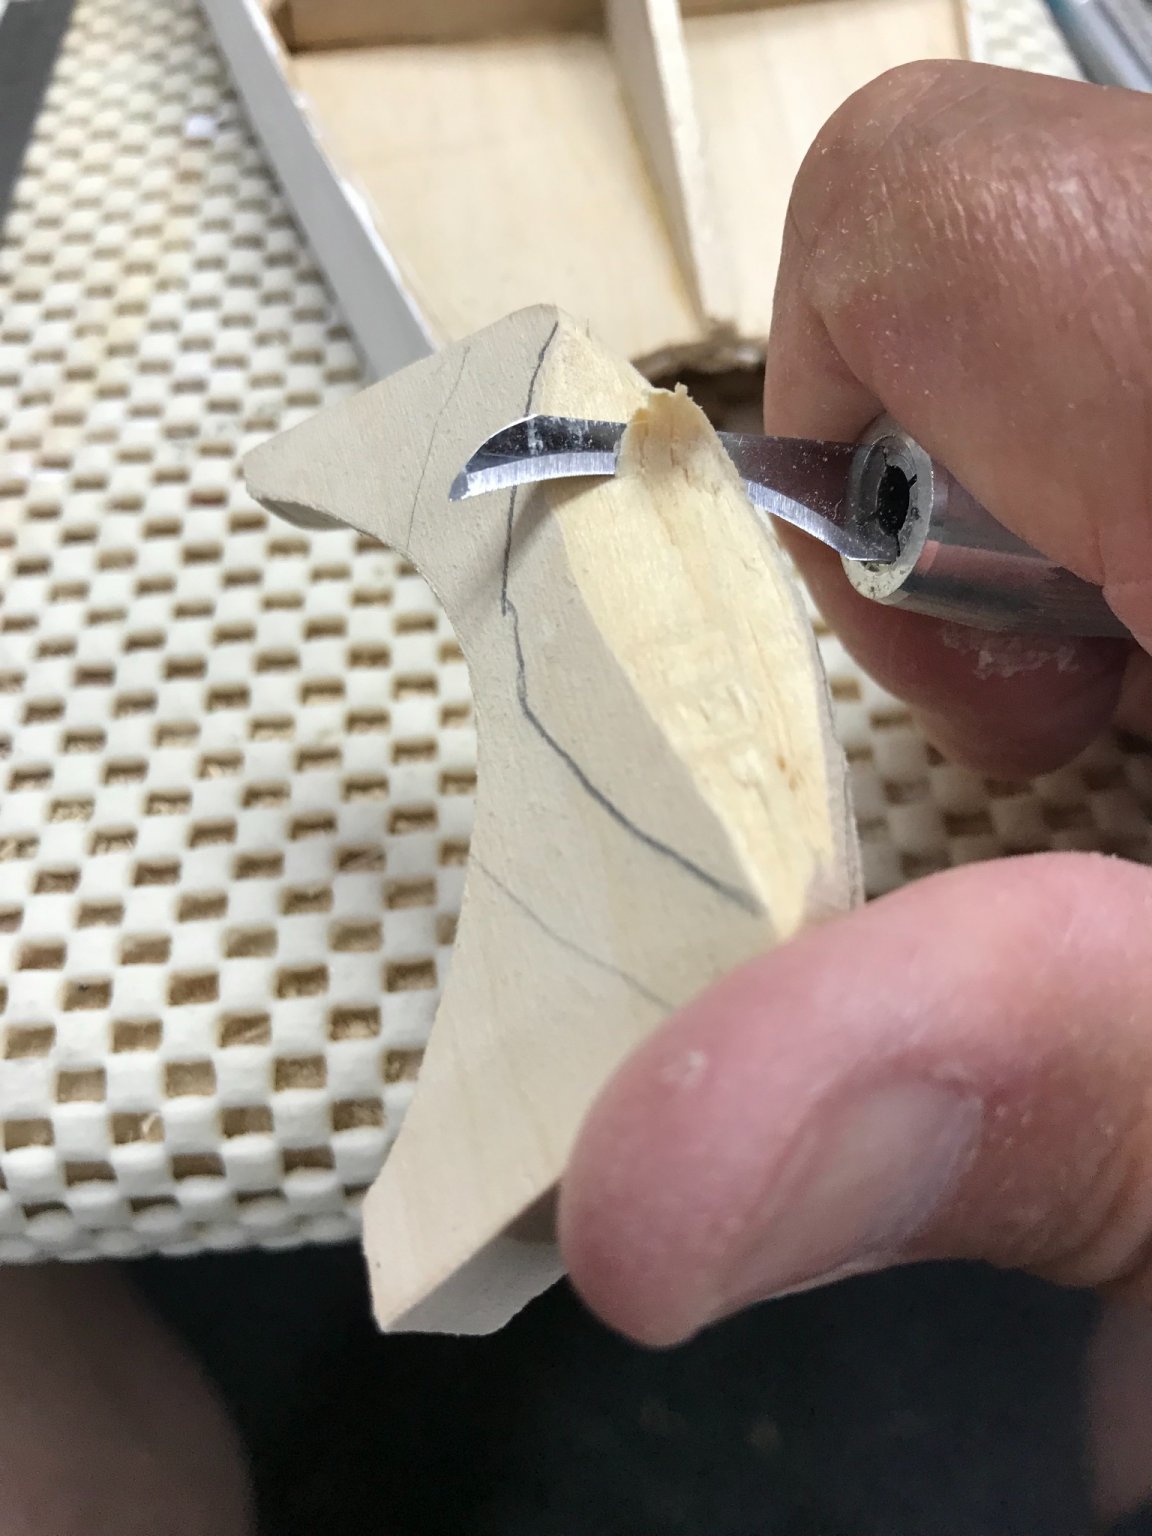
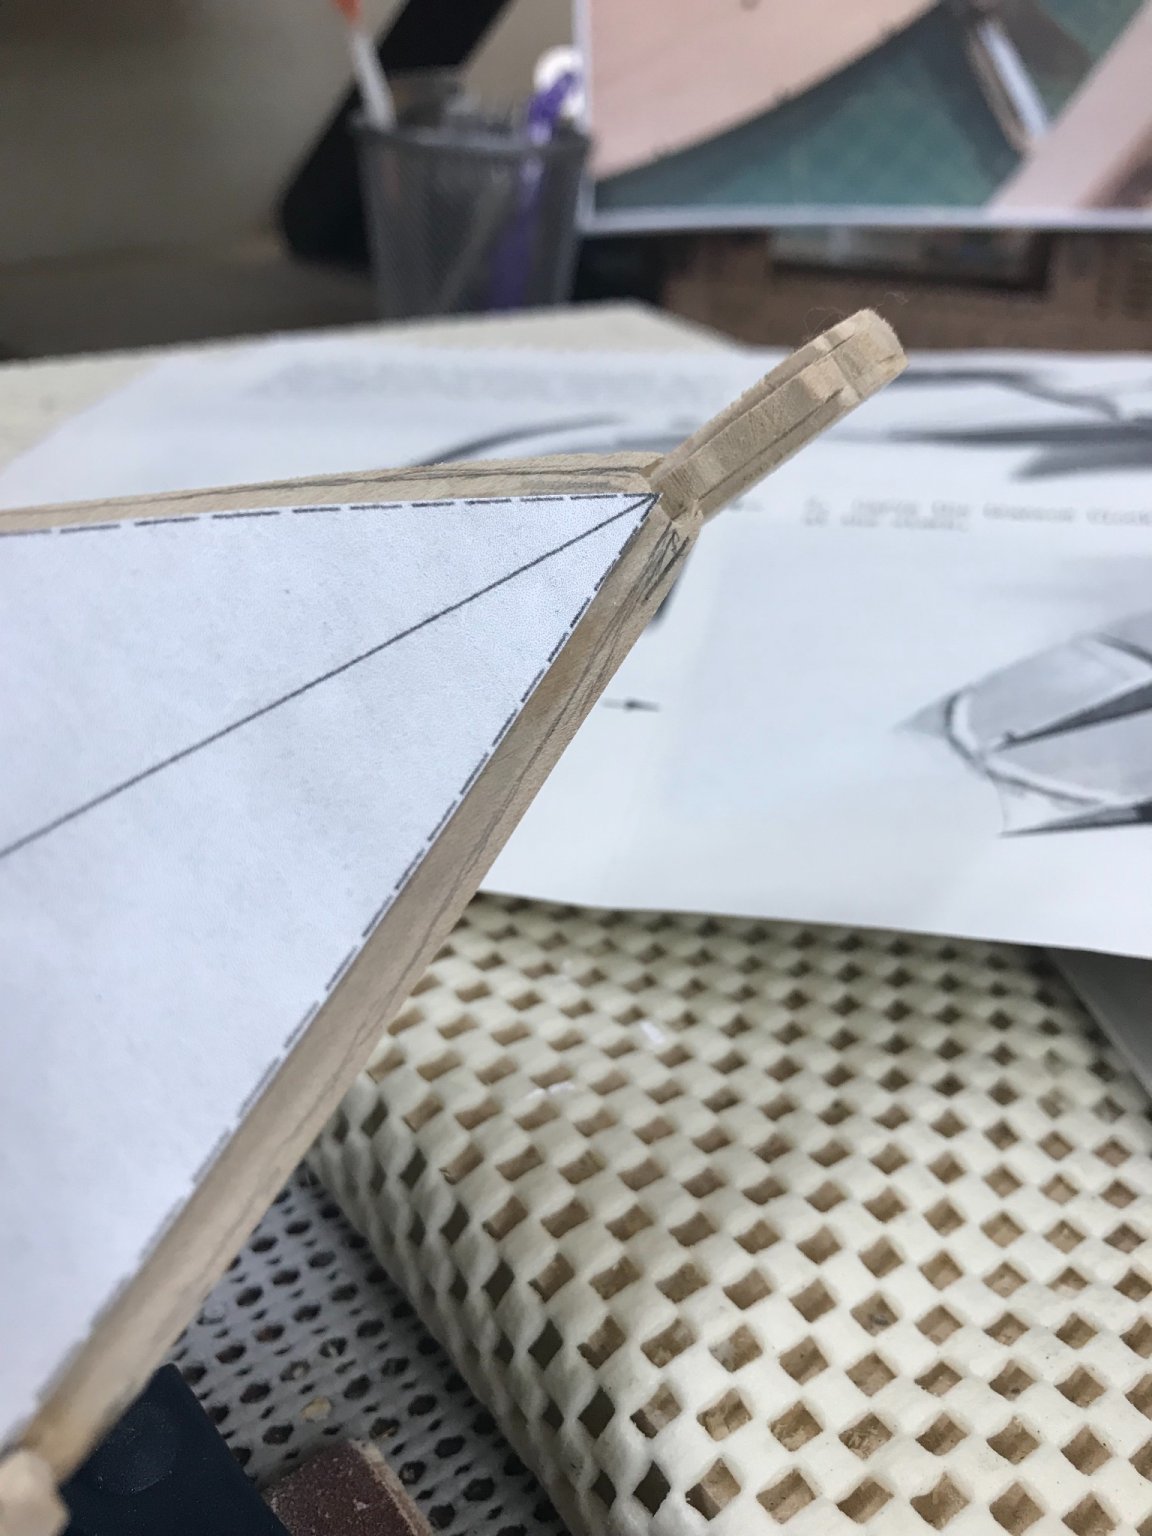
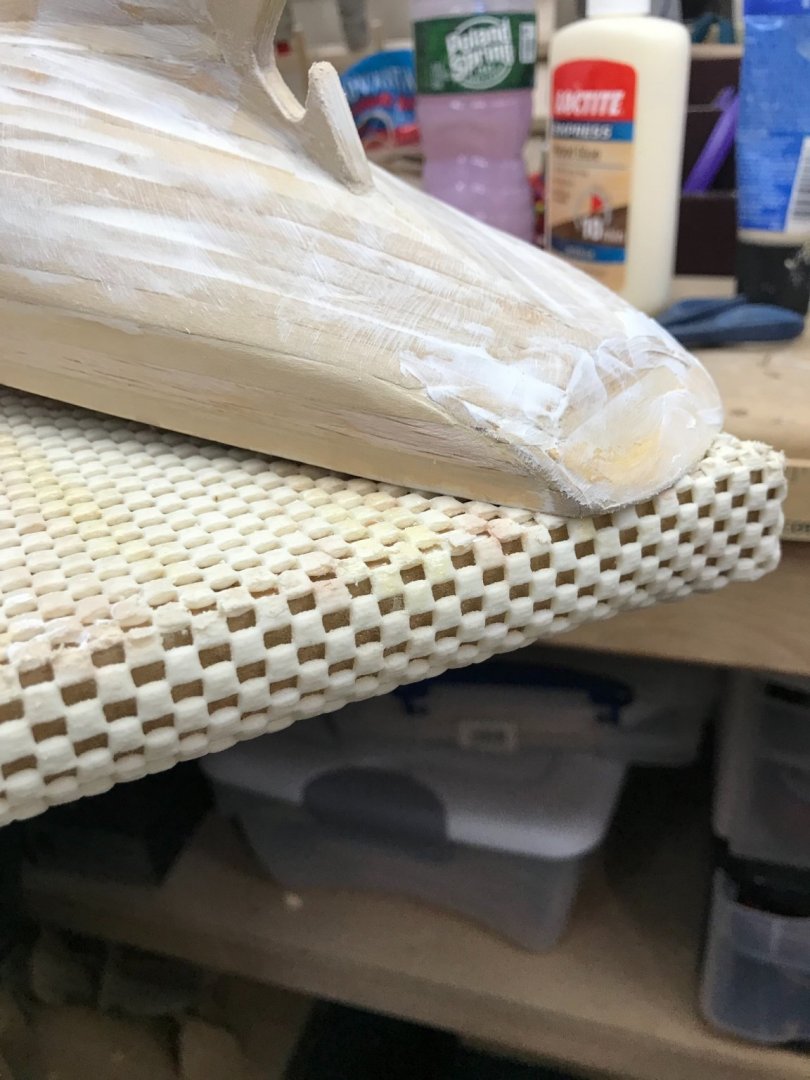
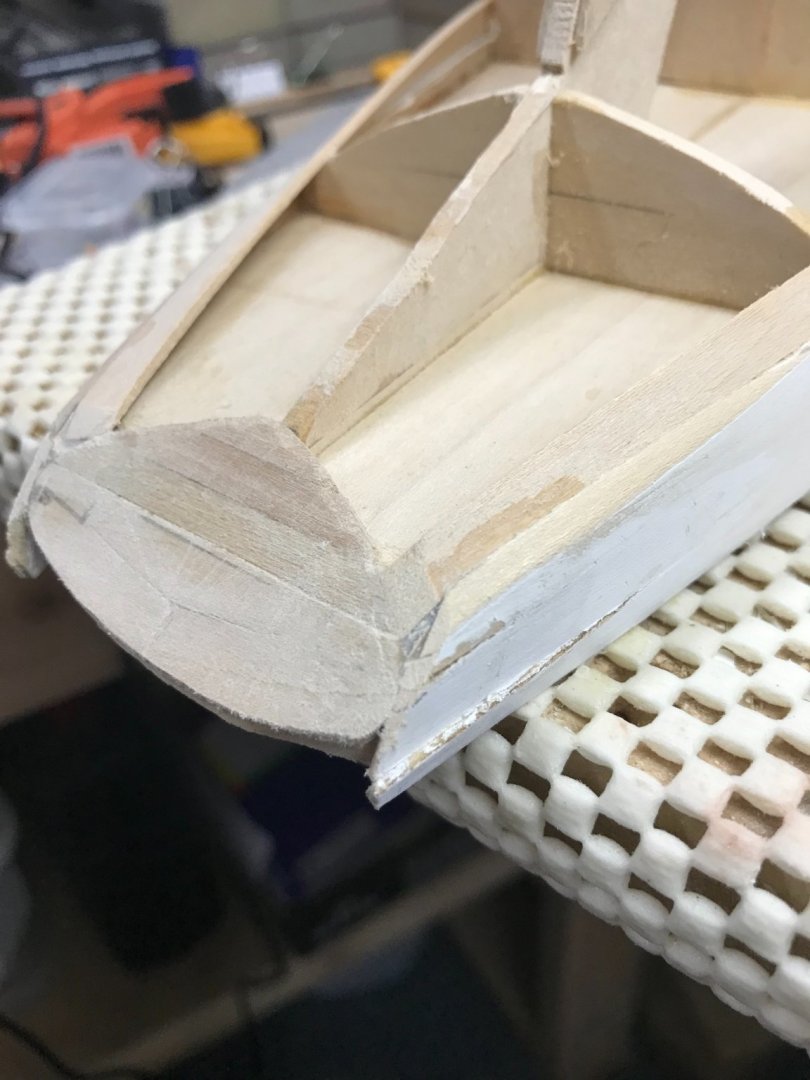
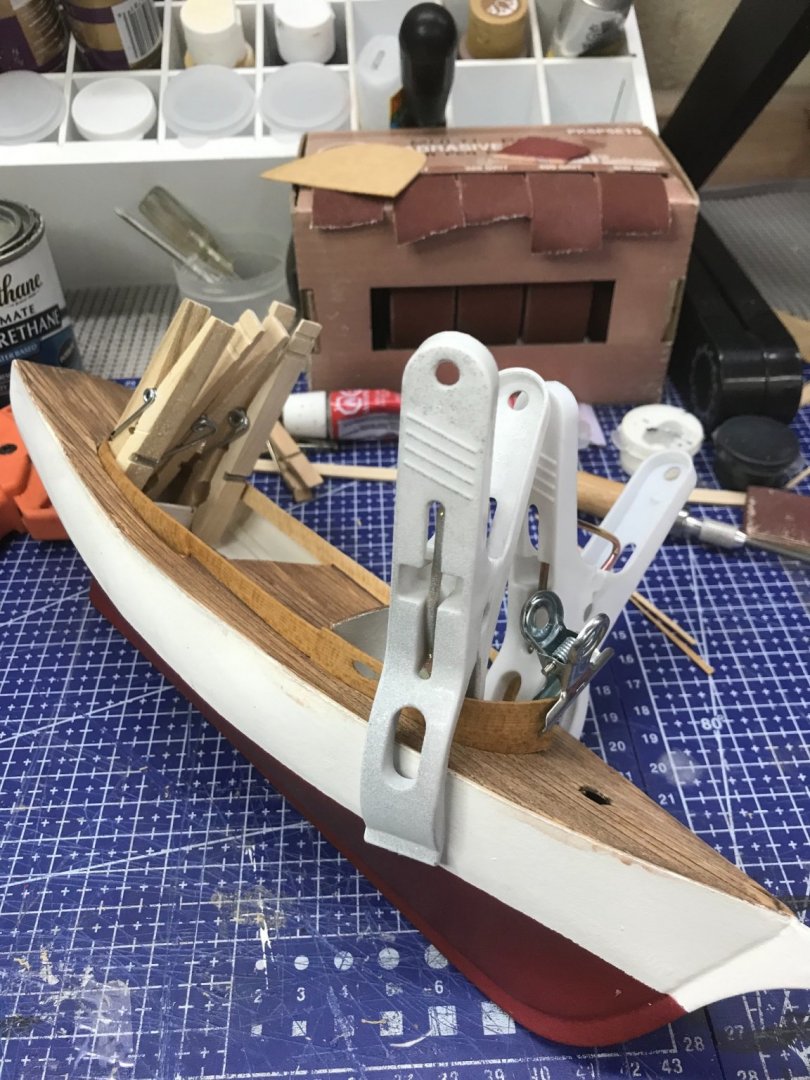
About that Transom… Funny how you will notice details in a photograph that you missed while building. Taking a close look at this photo of the tail and transom, and review of the drawing I noticed transom does not meet the rail, as it should. Fortunately it is a wood carving project after all. 😆 I sanded down most of what I had built up in the previous steps. Now that the transom meets the railing. I remarked the transom with the template I had used all along. Re-Carving to bring the planking into the transom. Much better… 😎 Another “thin” coat of Testors Craft Paste and we are ready for another overnight dry. It wouldn’t be perfect if we couldn’t fix it, right? Cheers 🍻


- 127 replies
-
- 6
-
-
- Bowdoin
- Arctic Exploration
- (and 3 more)
-
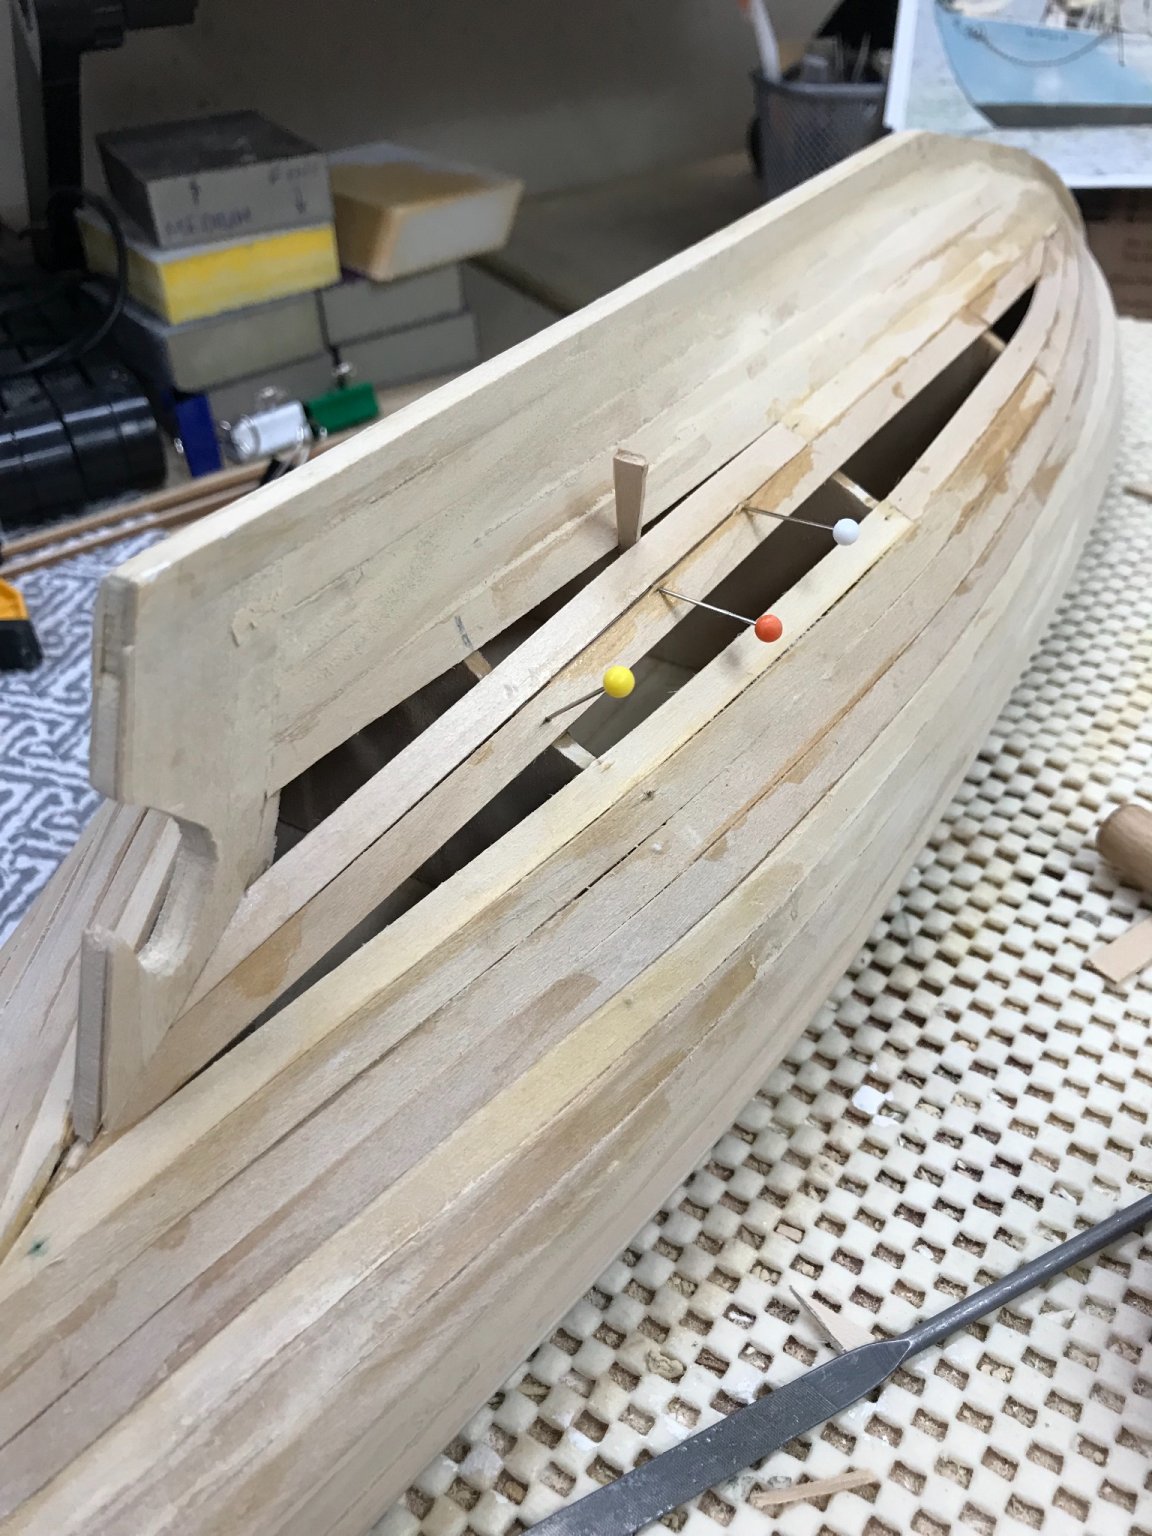
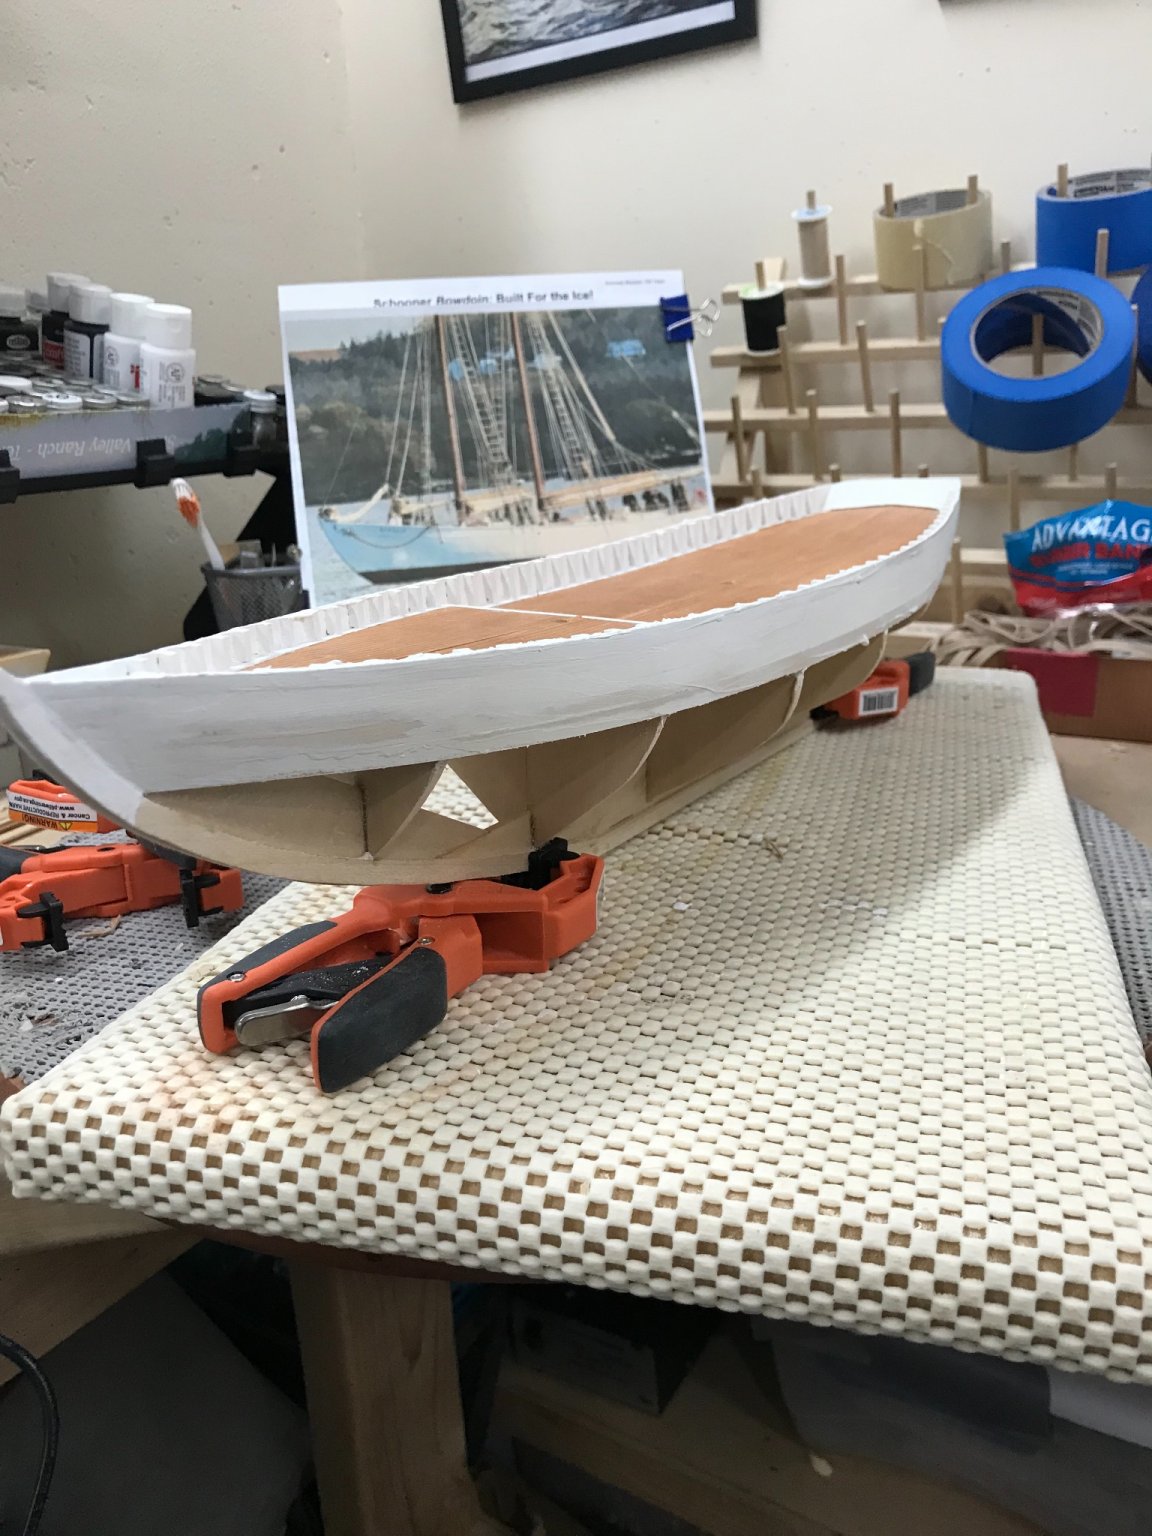
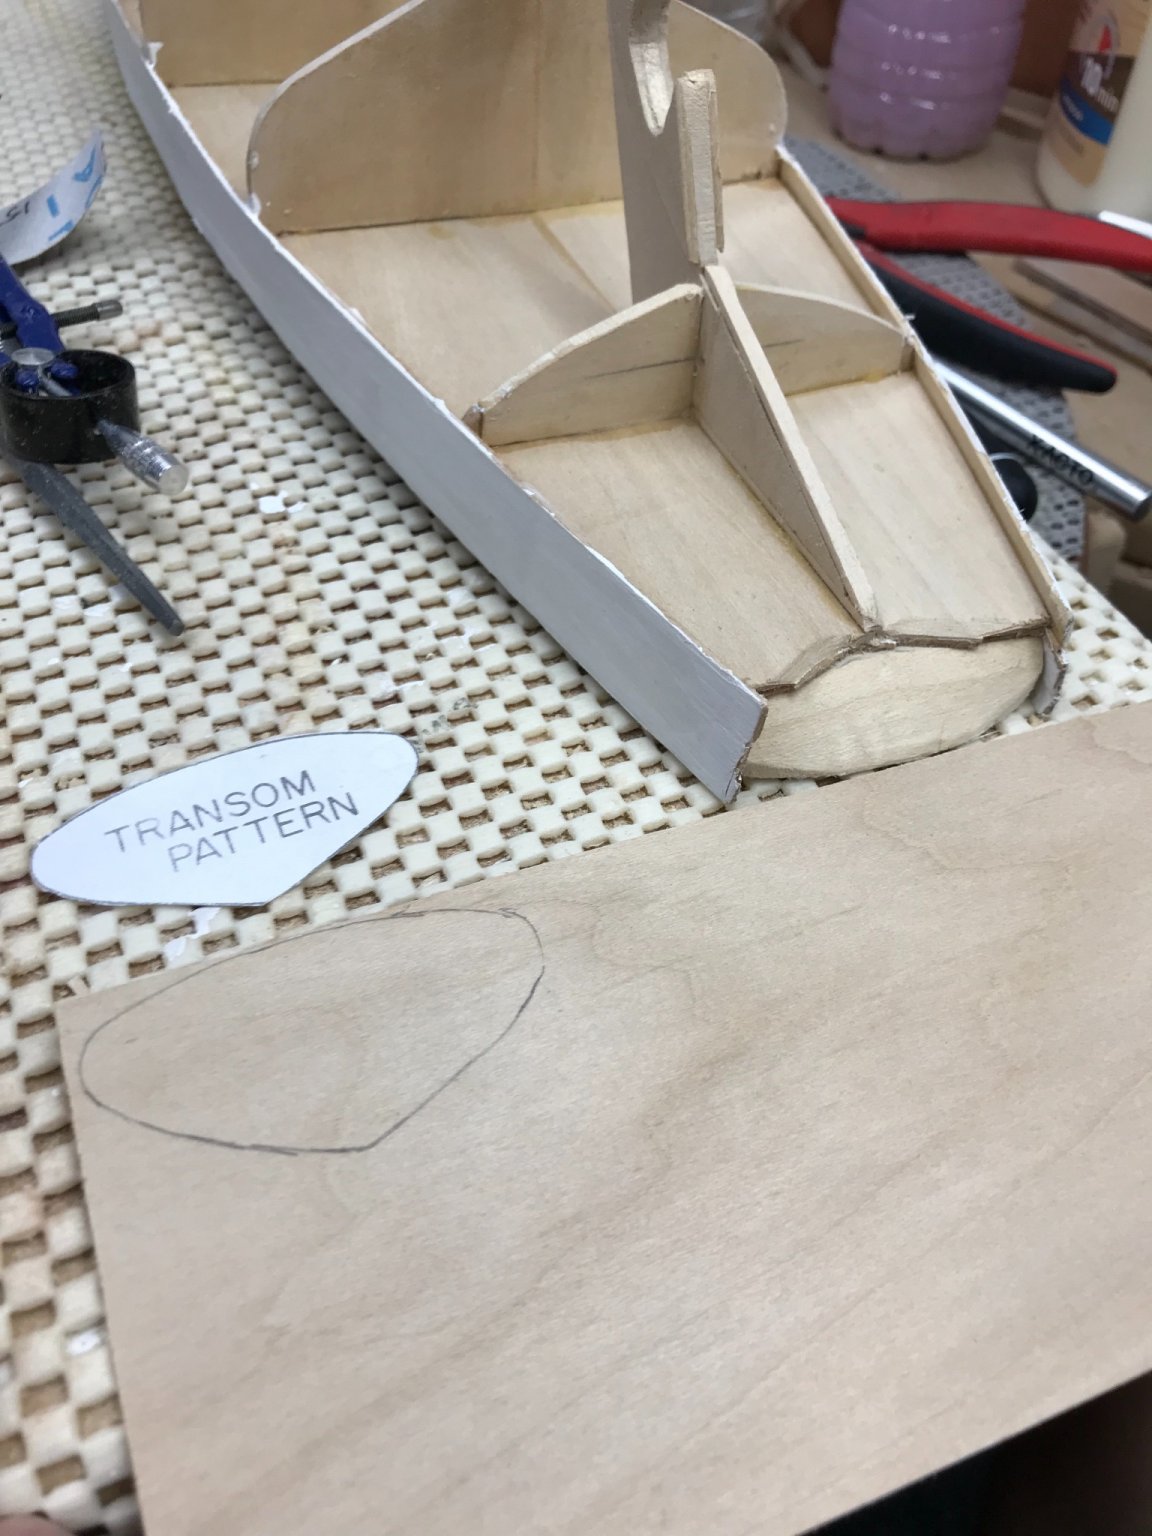
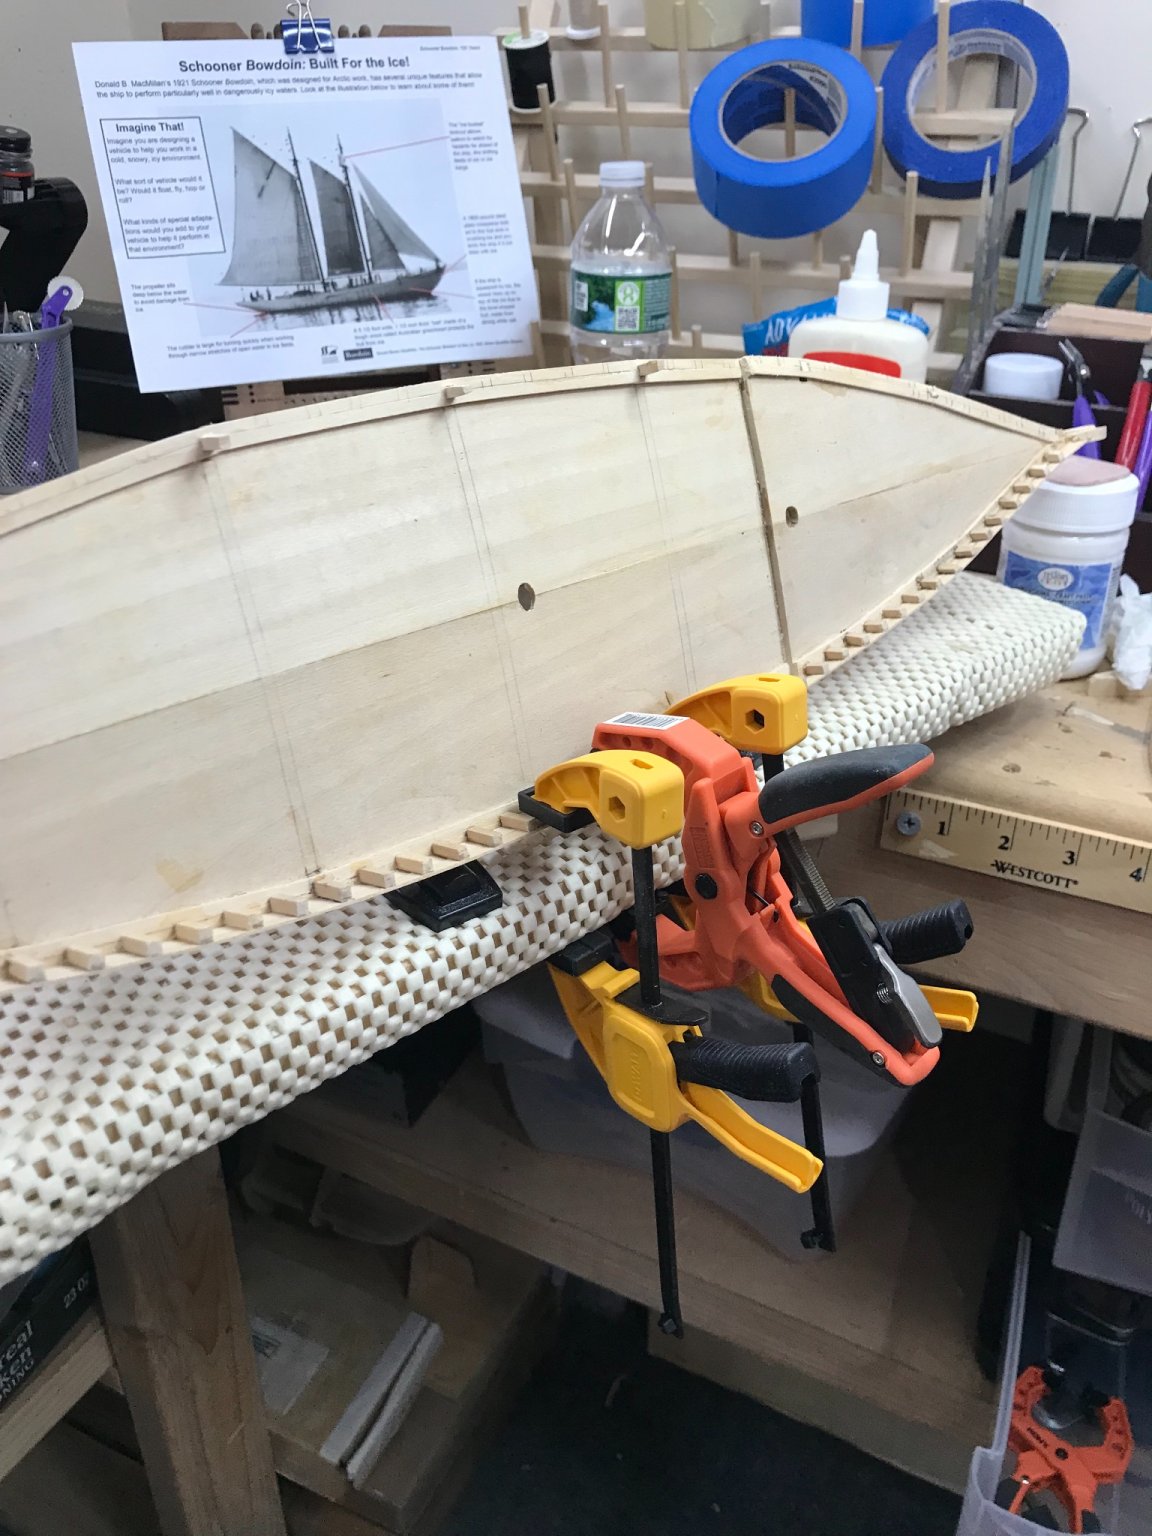
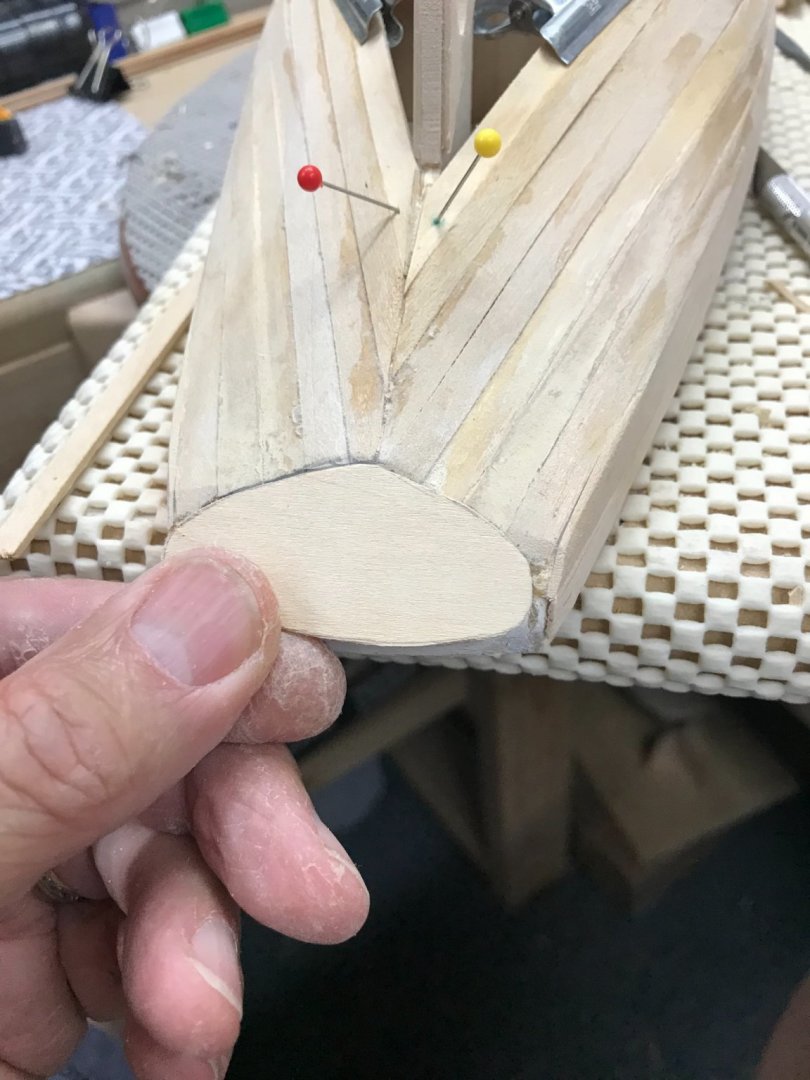
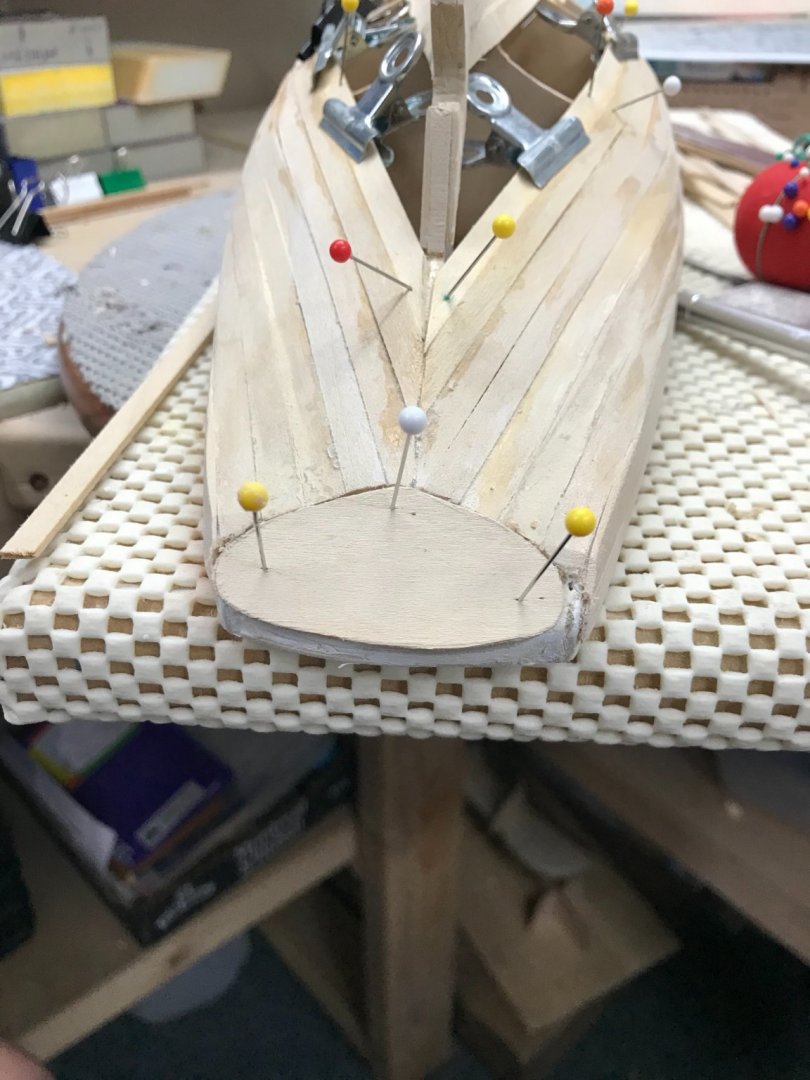
Planking continued… Using ammonia and water to soak planks in place. Tapering planks to fit the stern at the transom. Clamping wet planks in place as they dry. Planks will need tapering as get closer to finishing the hull. Stern shaping up nicely. Trimmed up planks at transom. Cut out another transom pattern from 1/32” material to fill the transom up to planking. Things getting a bit tight, some tapering required. Wood filler in all the cracks… We will sand this down tomorrow and see how she looks. Cheers 🍻

- 127 replies
-
- 7
-
-
- Bowdoin
- Arctic Exploration
- (and 3 more)
-
Looking forward to seeing you continue this build…. Looks like she’s been waiting for you. 👍
-
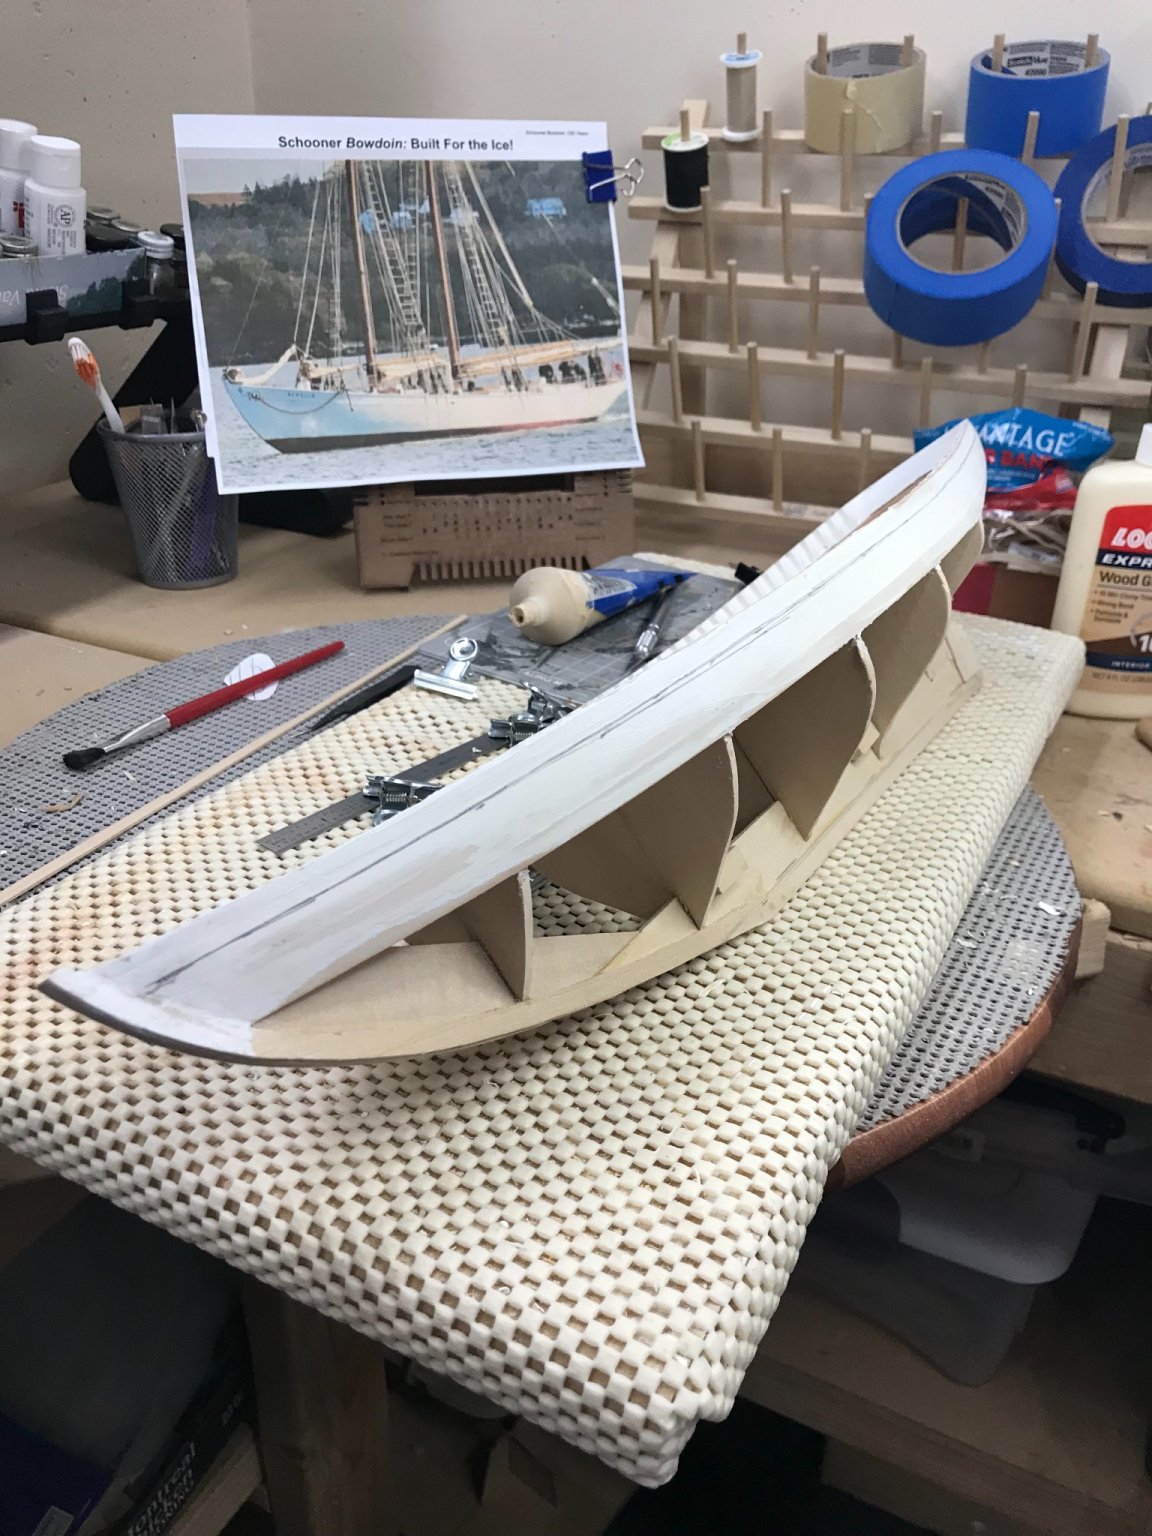
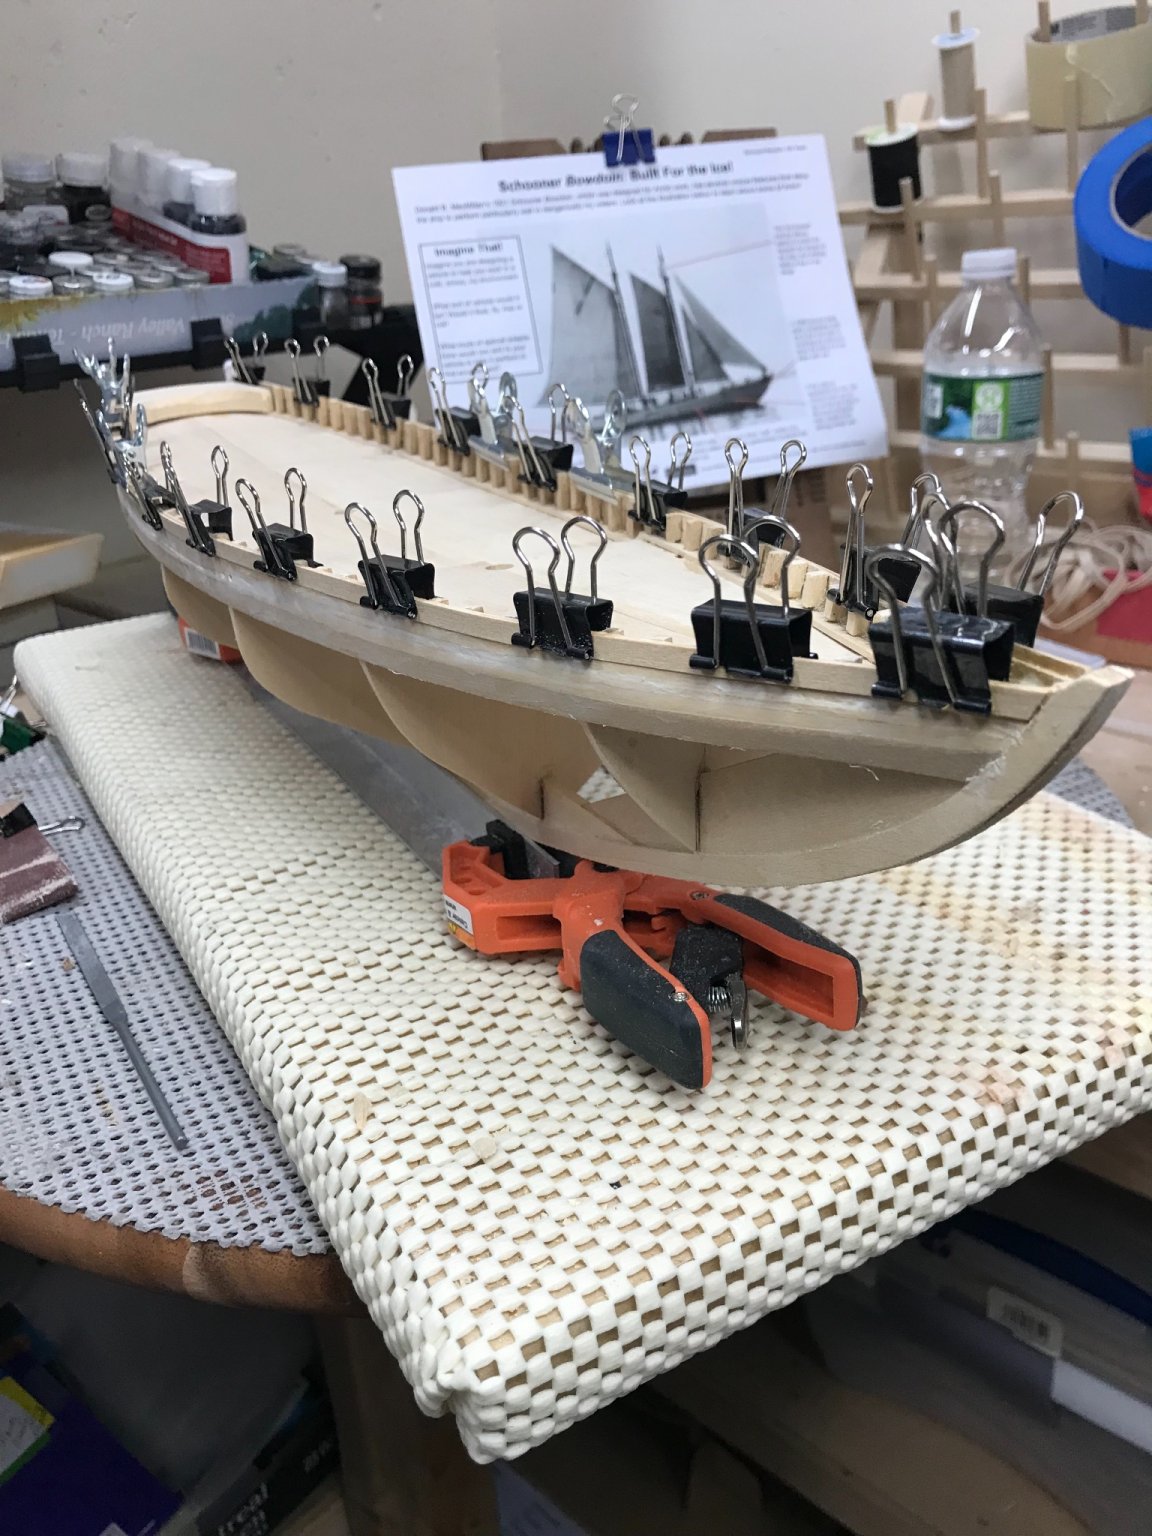
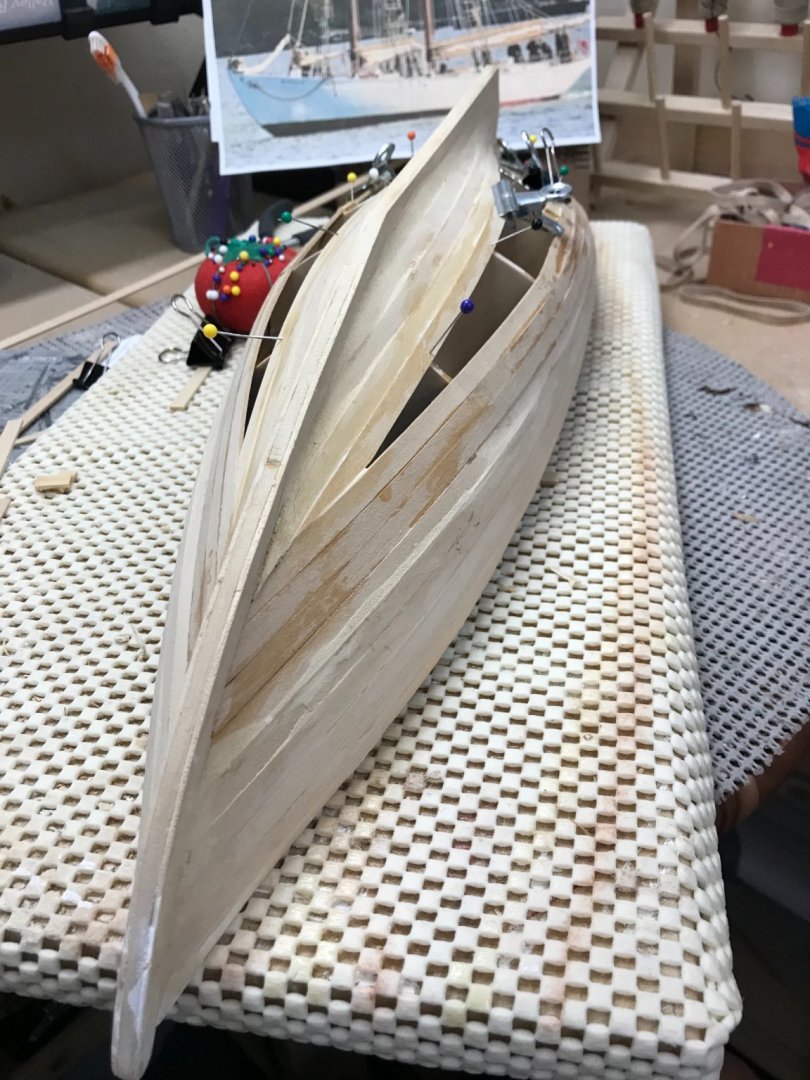
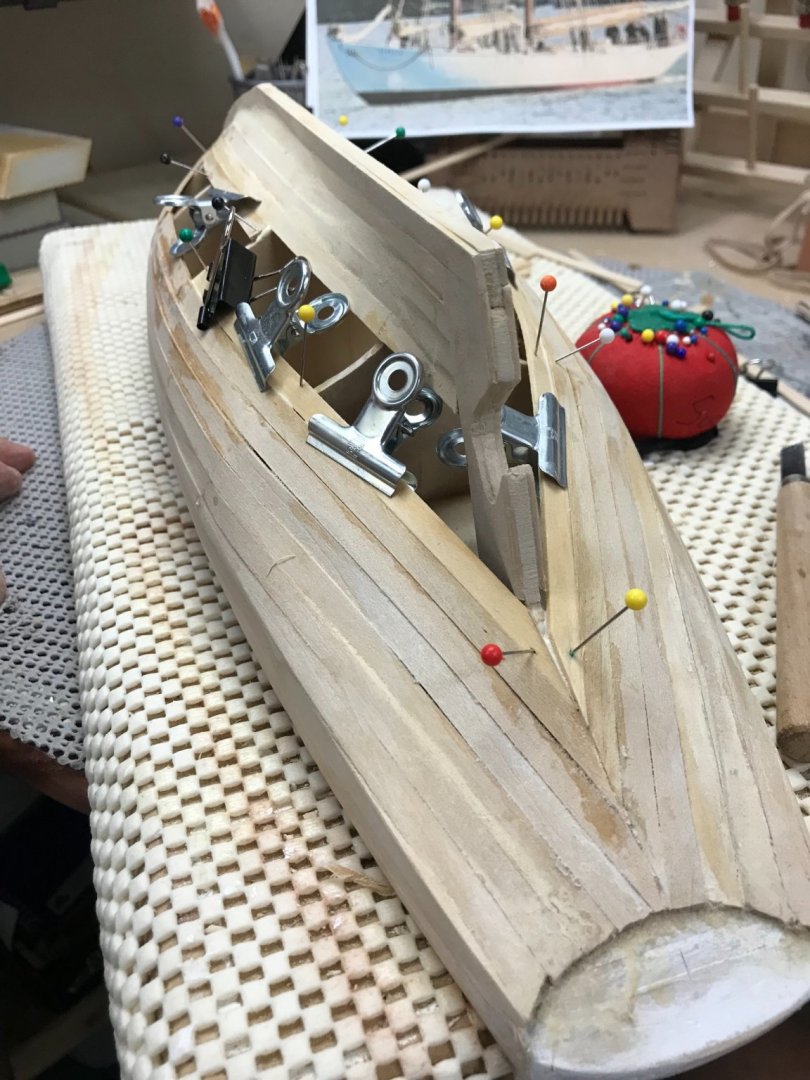
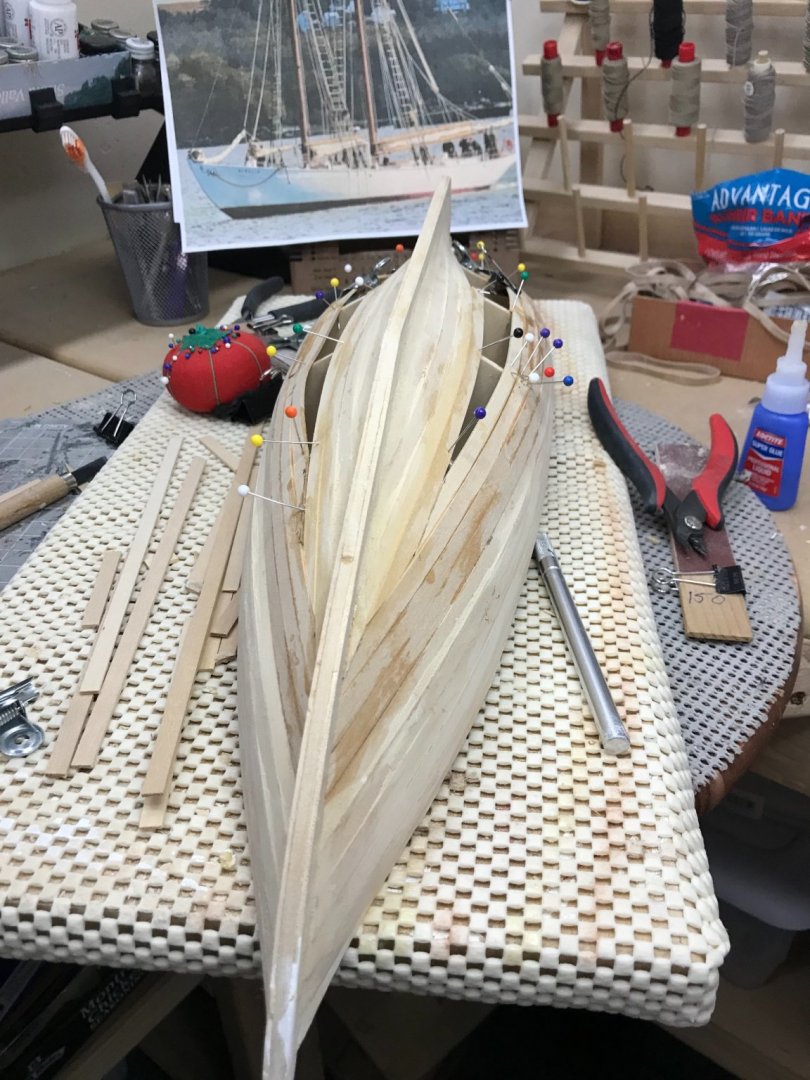
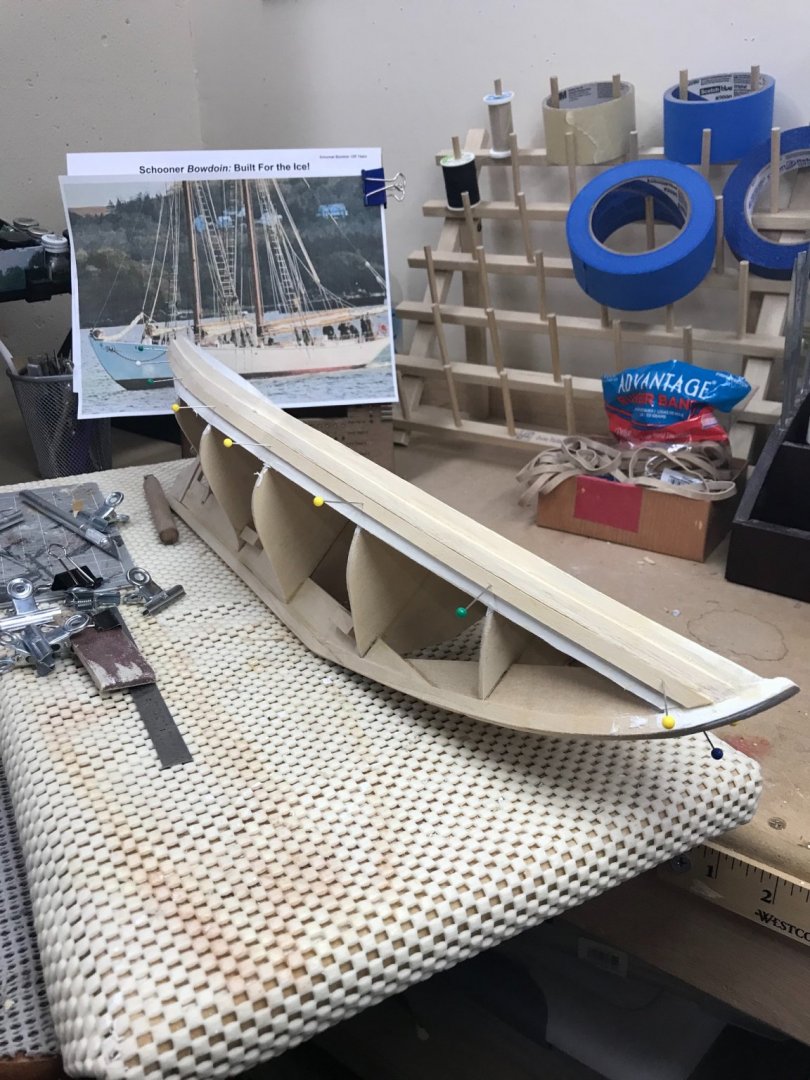
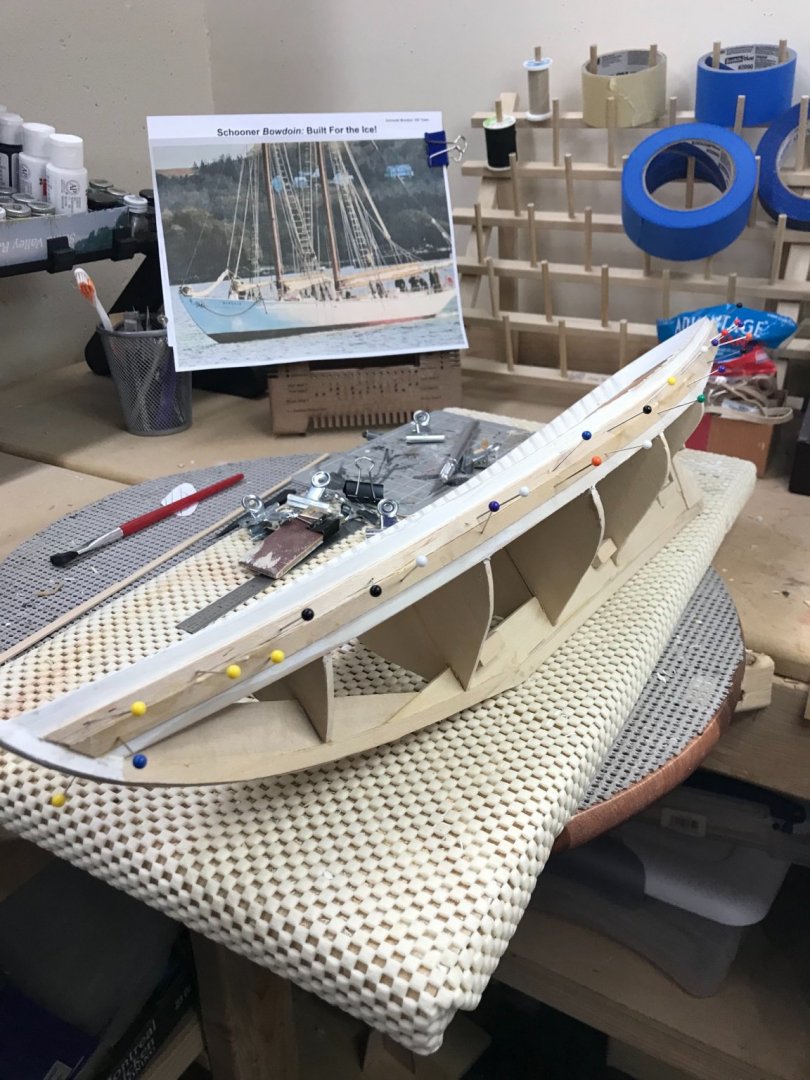
Planking… Not so sure I like the Craft Paste, it is a bit too rubber/vinyl like. 🤔 I will probably go back to wood filler for smoothing out the hull. Pencil marked the bulwarks/deck for a starting point to lay the first plank. Created a gauge and wood glued the first plank. Second plank in place… I have found that pins are working better than clamps. Switched back to CA glue at this point. Will need to wet these last two for the twist to the transom. Creative clamping, but I think I have got it. Starting a few rows from the keel up, while the stern dries. This is a very “twisted” hull. 😆 She is coming together nicely, albeit with some effort. 😝 Plastic wood is my friend… See you next week. Off camping to Mount Blue for a couple of days. Cheers 🍻


- 127 replies
-
- 4
-
-
- Bowdoin
- Arctic Exploration
- (and 3 more)
-
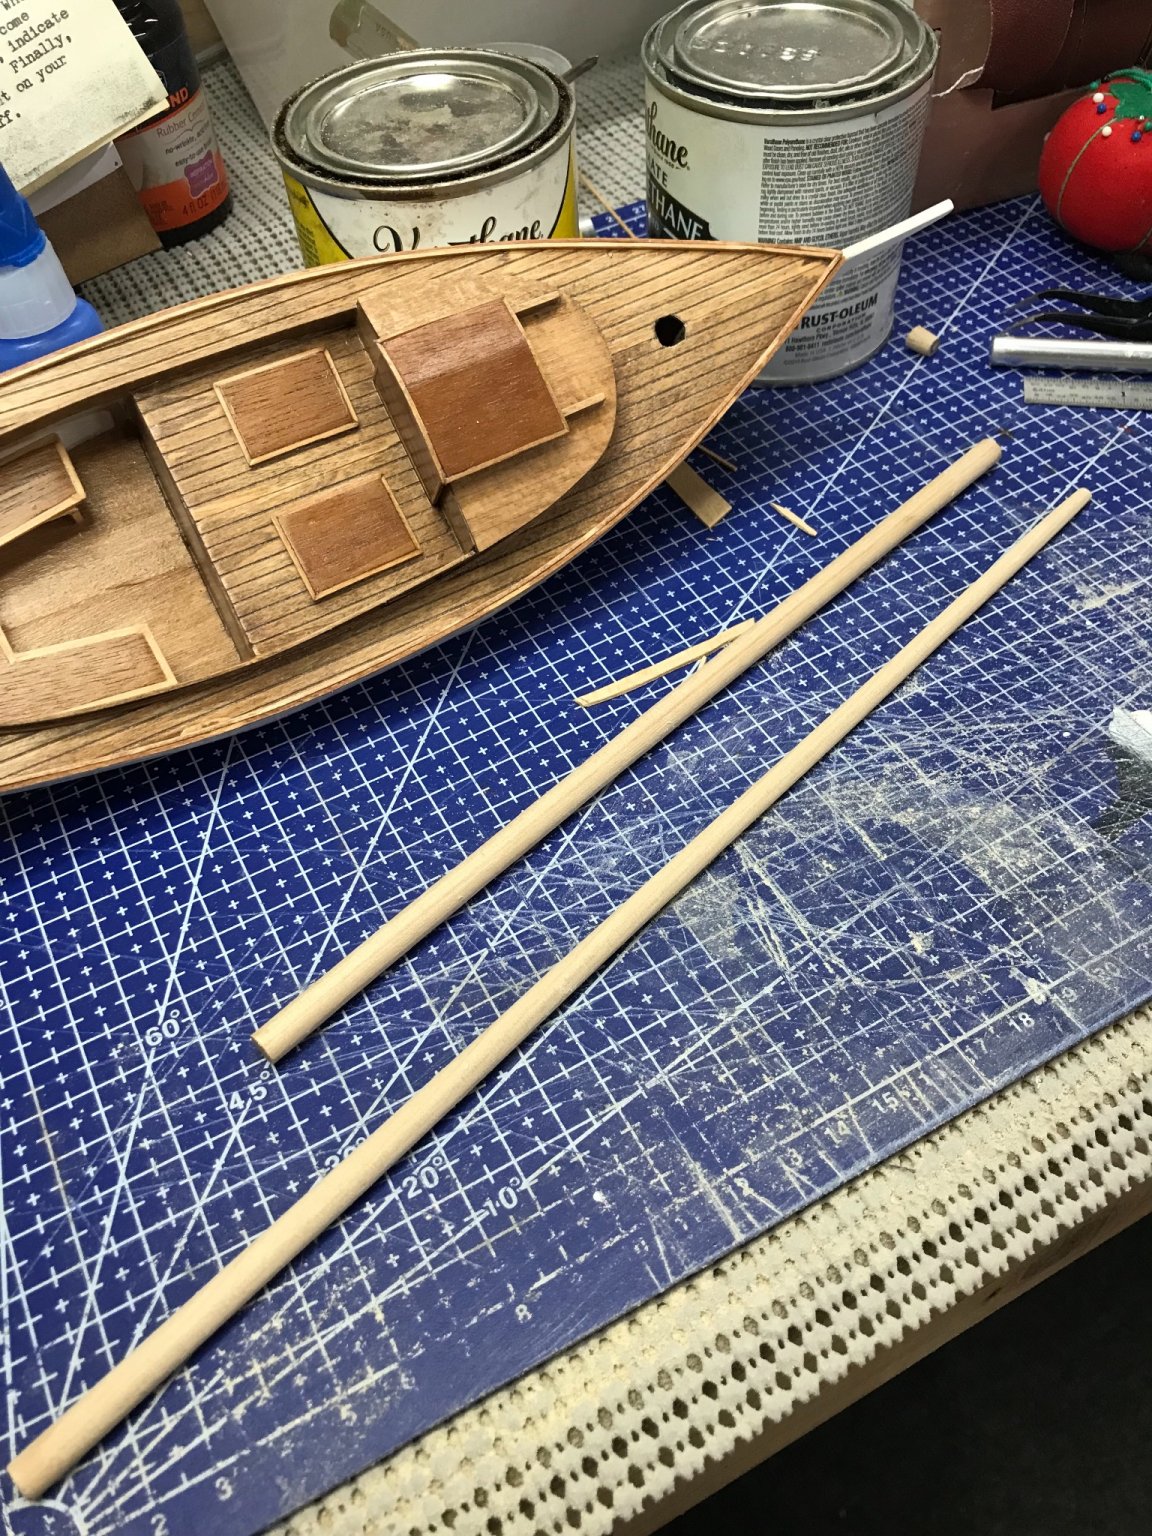
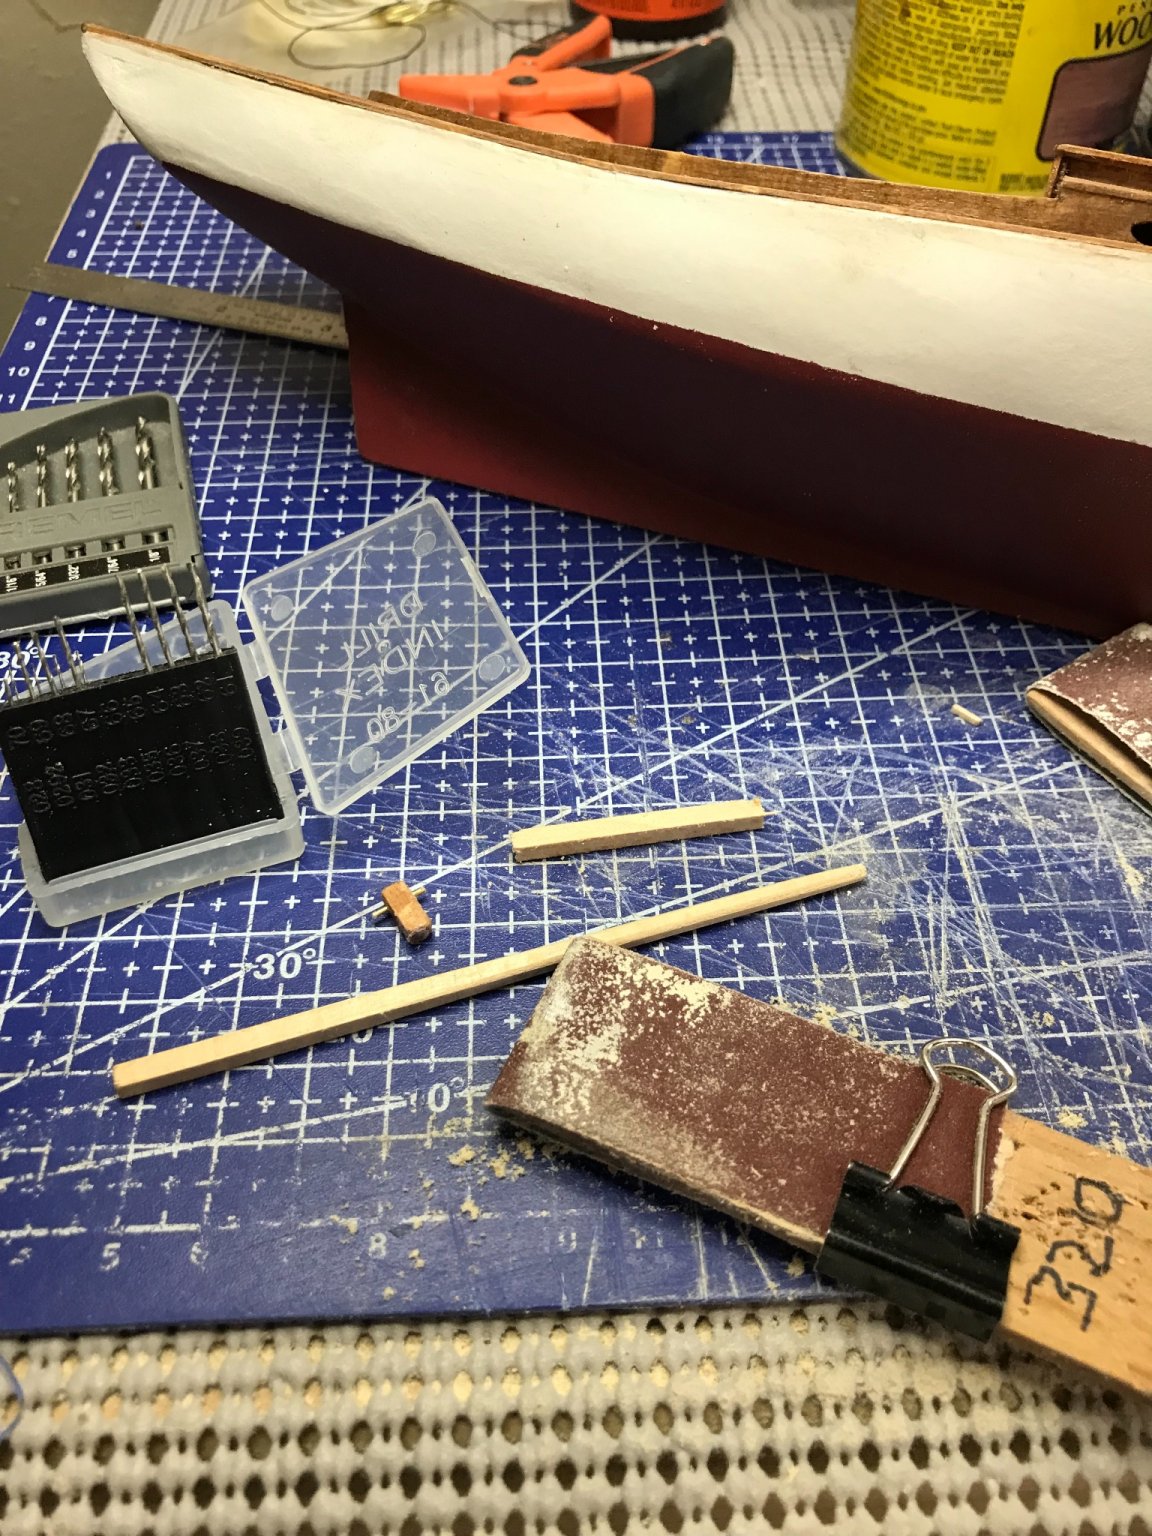
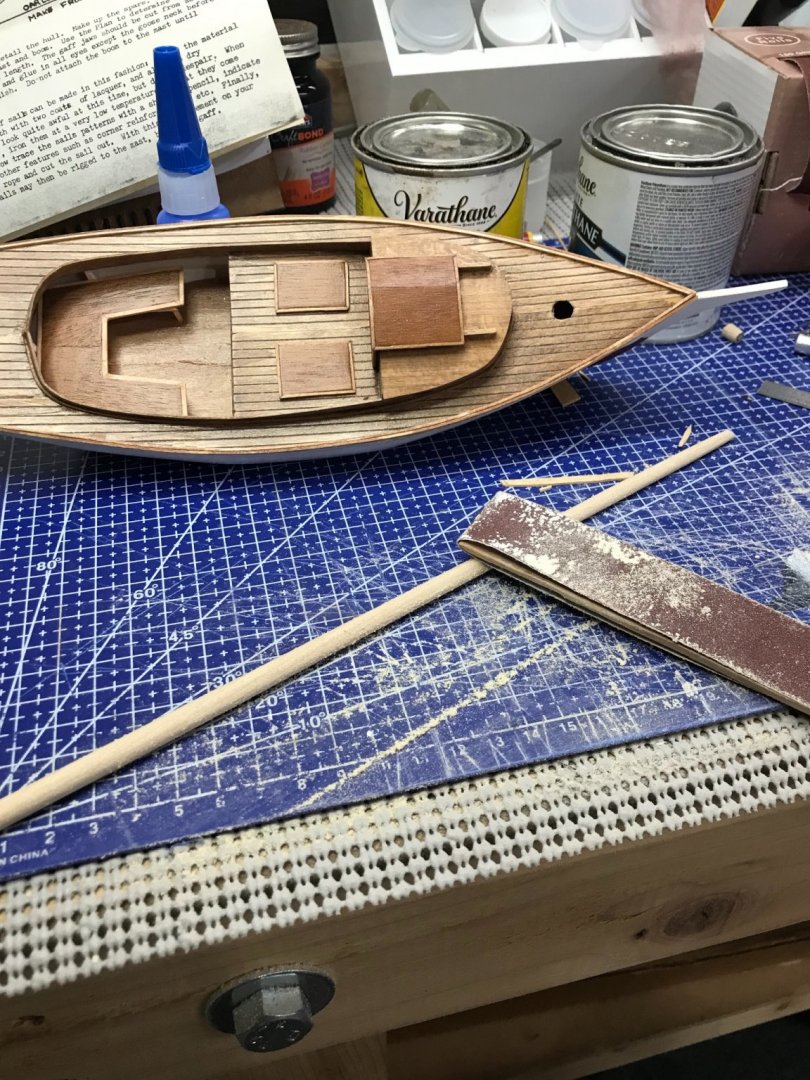
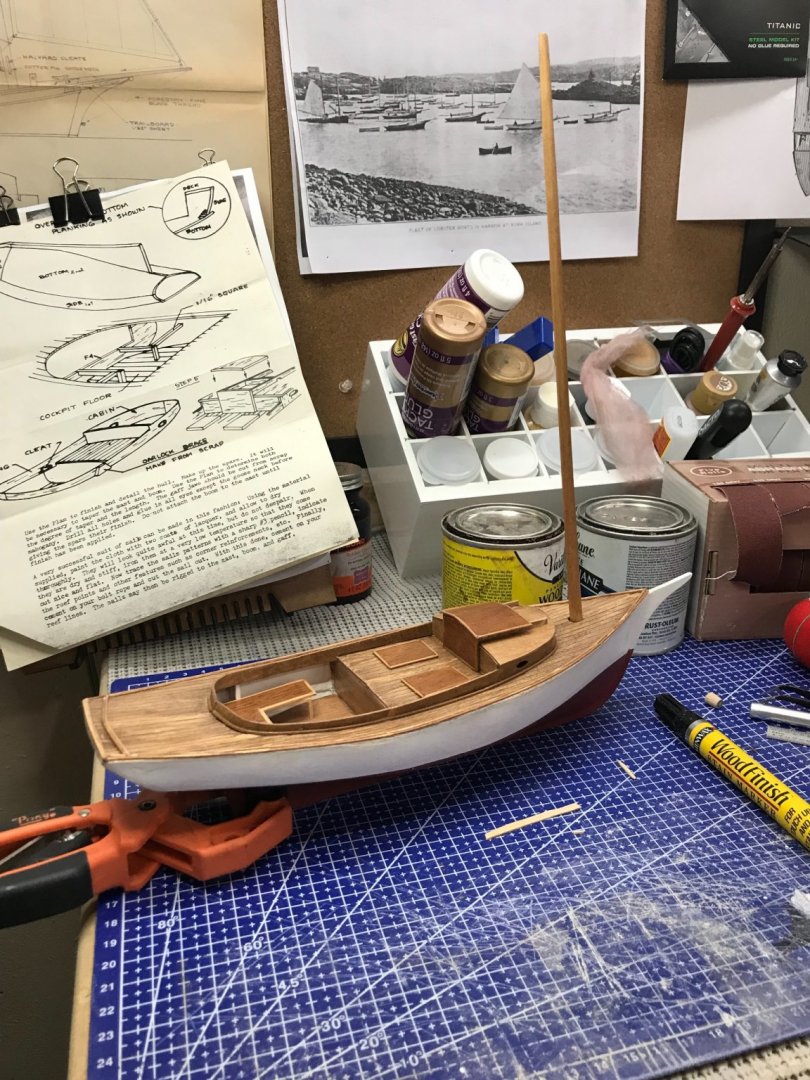
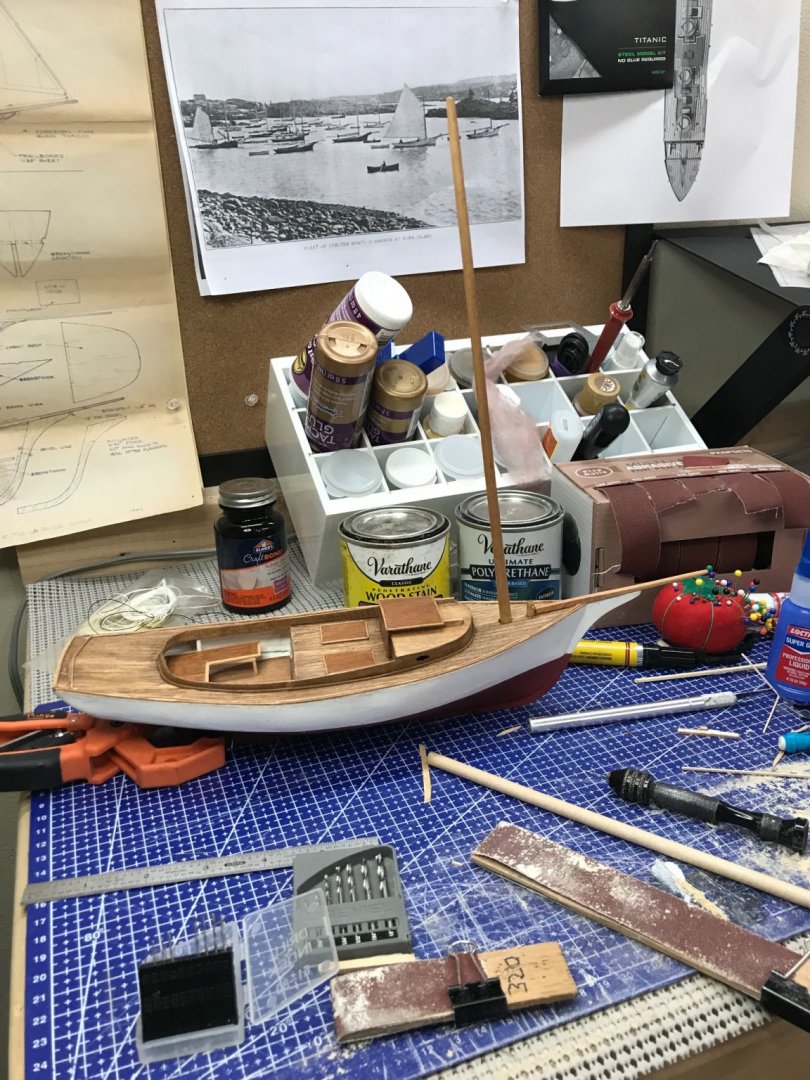
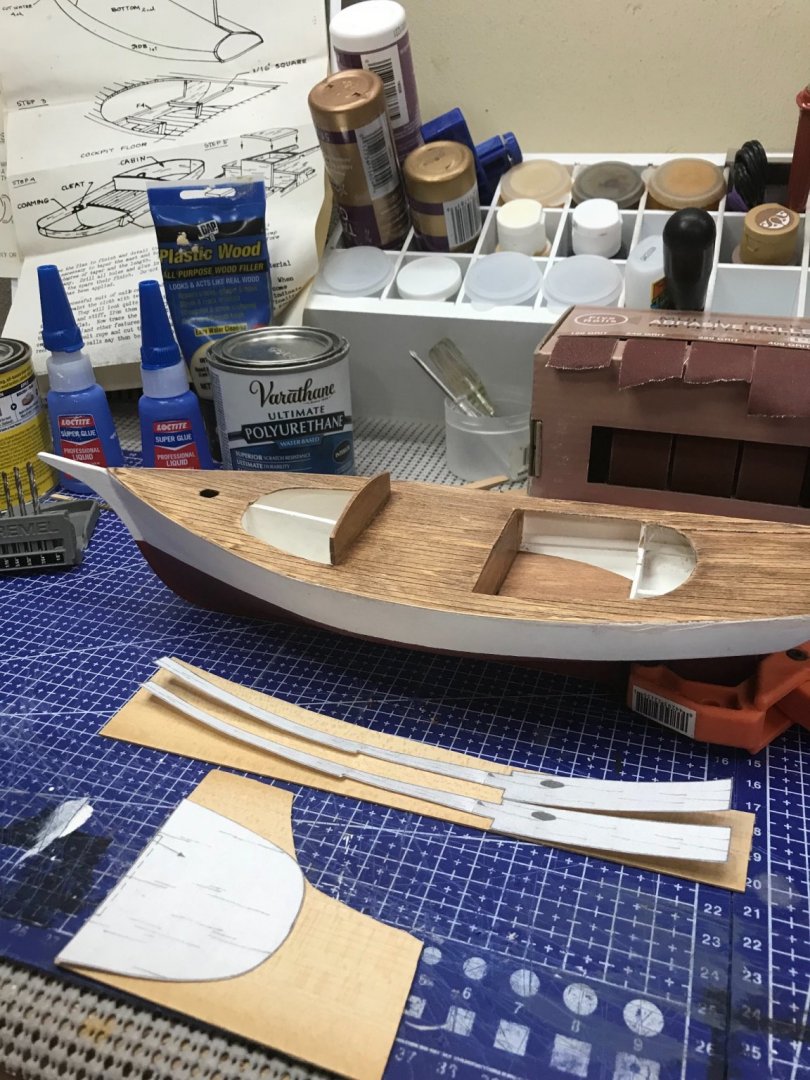
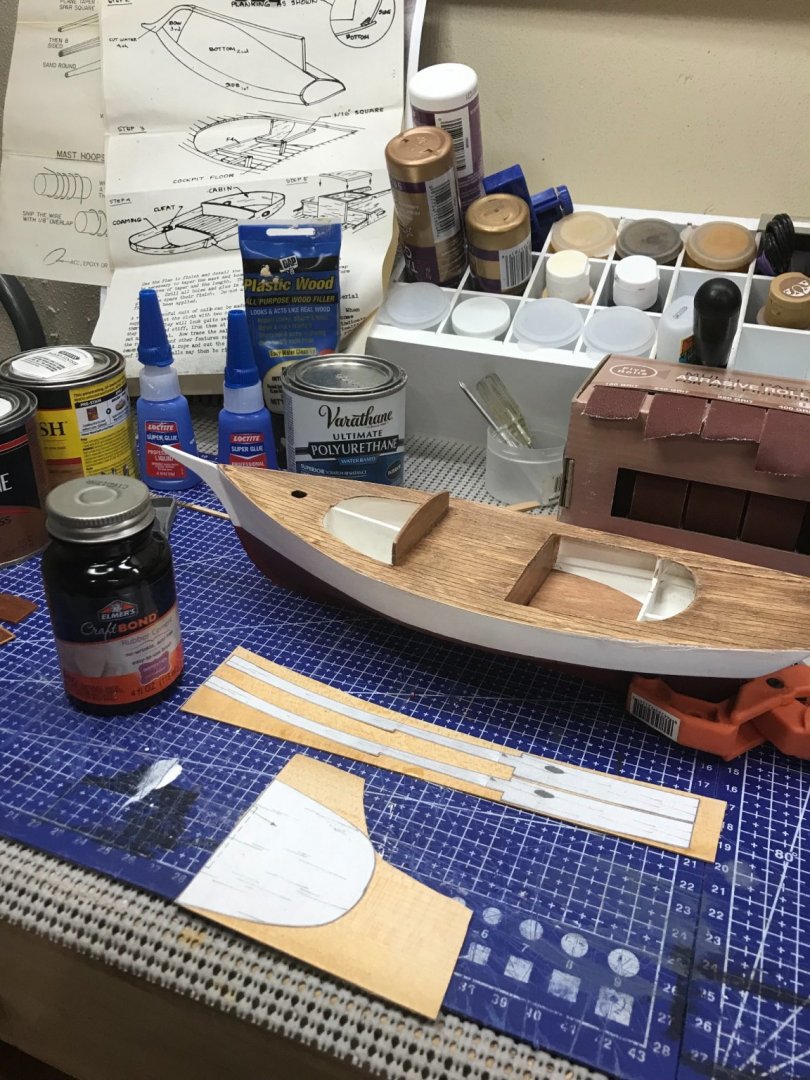
Back to my Smack. 😎 1/32” trim molding around the deck. No tapered spars in this kit. Hand tapered Main Mast ready to go. Mast stained and mounted… Just a bit of a Fore Bit… 😆 Tapering the Bow Sprit… Getting close to rigging time. Later. 😎


- 26 replies
-
- 3
-
-
- Maine
- Laughing Whale
- (and 2 more)
-
Finishing up the tail piece and transom. Trimming down the side planks. Planking roughed in around the Transom. Used some 1/32” sheet material to extend the forward side of the tail piece. Filling and sanding the bulwarks planking and tail end around transom. Third coat of craft paste. Should be ready to finish the water ways after this sets and is sanded again. 😎 Progress… 🍻


- 127 replies
-
- 6
-
-
- Bowdoin
- Arctic Exploration
- (and 3 more)
-
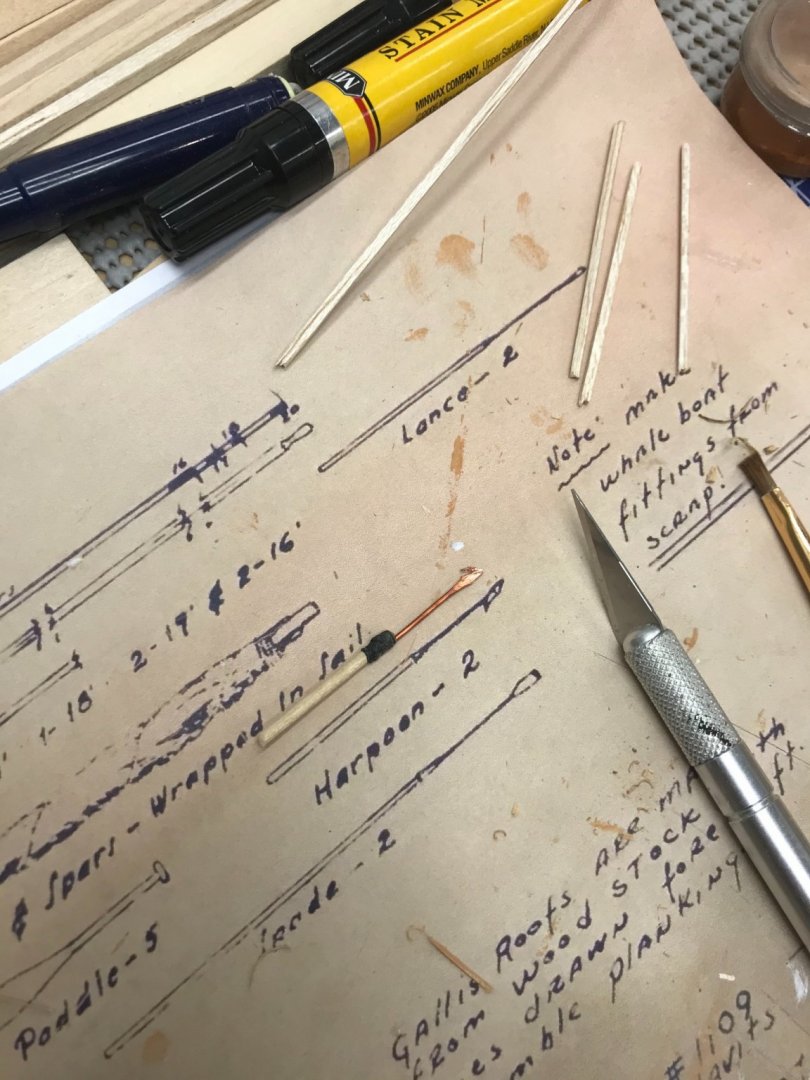
Here is a pic of a harpoon. They were typically made of tree branches to be expendable. Larger than a lance pole. cheers 🍻
- 294 replies
-
- 1
-
-
- charles w morgan
- model shipways
- (and 1 more)
-
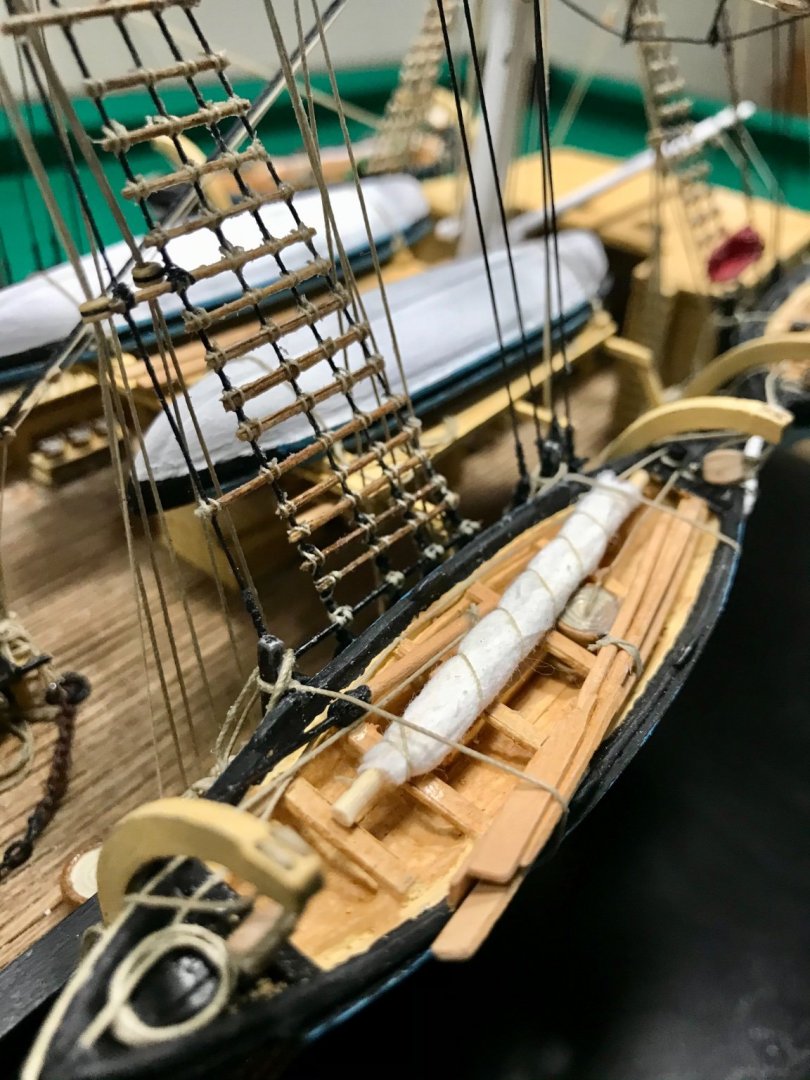
Ron, Here is a photo of a harpoon In my Whaleboat on my CWM. This may give you some perspective? The Harpoon shafts were a bit larger than an oar. My CWM was a bit smaller scale, this photo may be helpful as well. Your Morgan is looking great. 👍

- 294 replies
-
- 2
-
-
- charles w morgan
- model shipways
- (and 1 more)
-
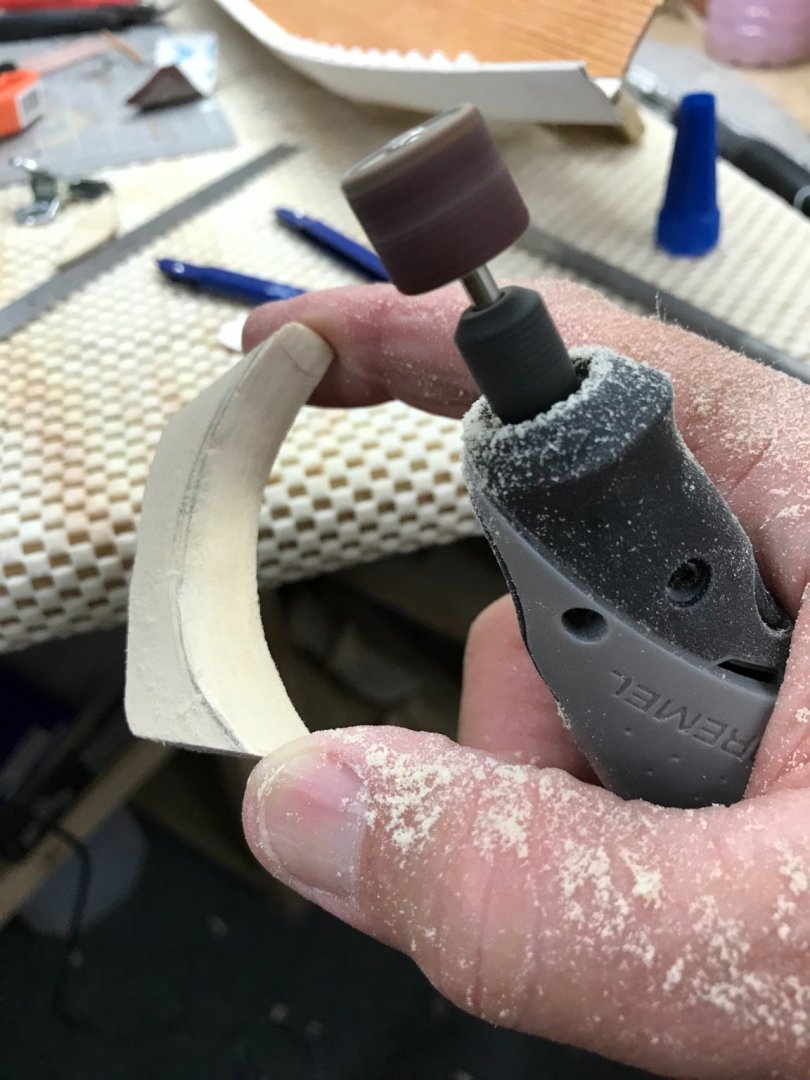
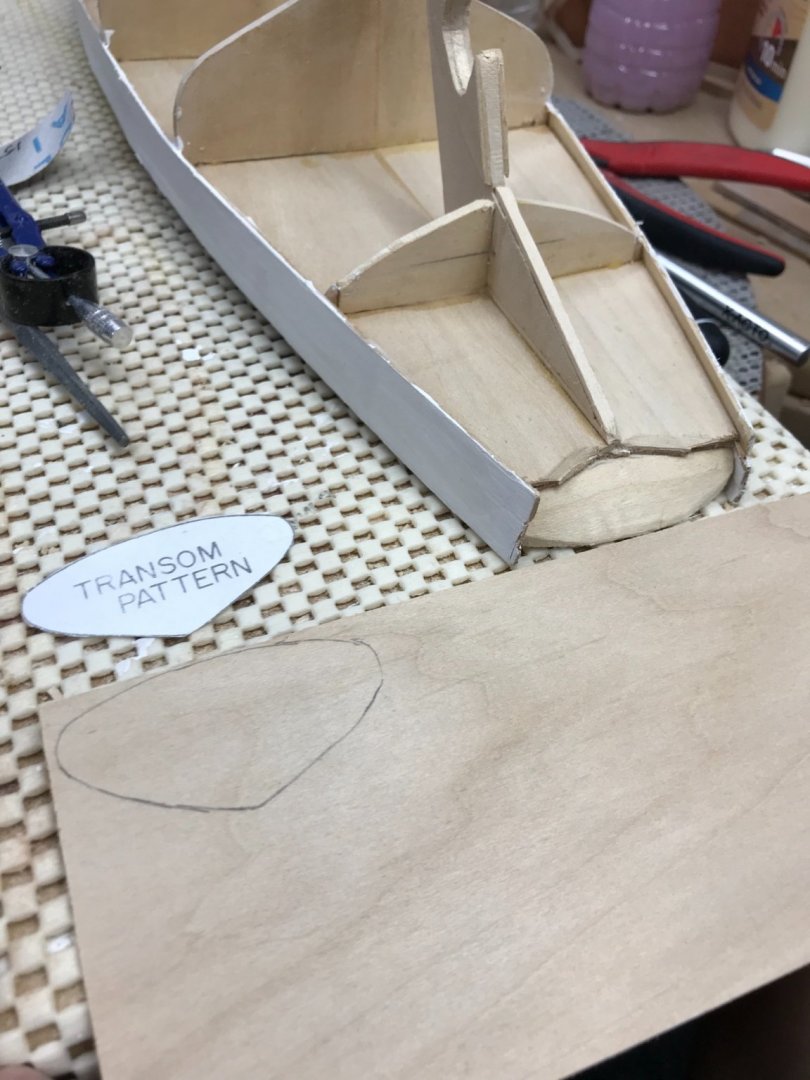
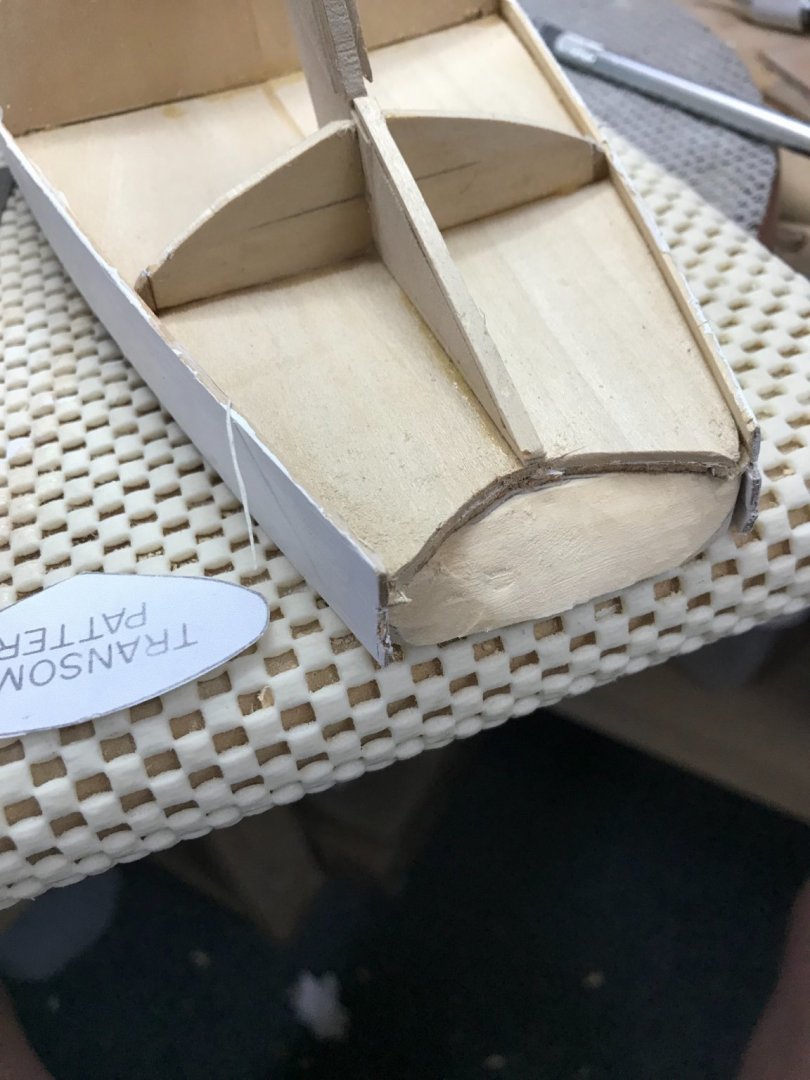
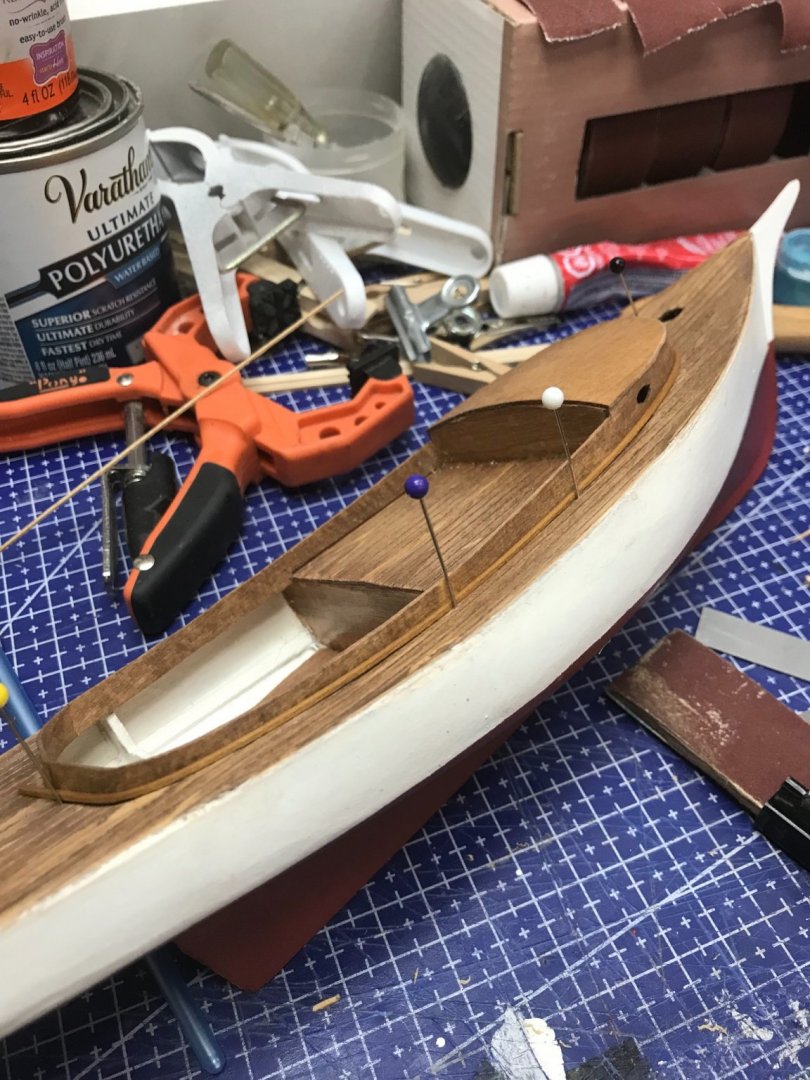
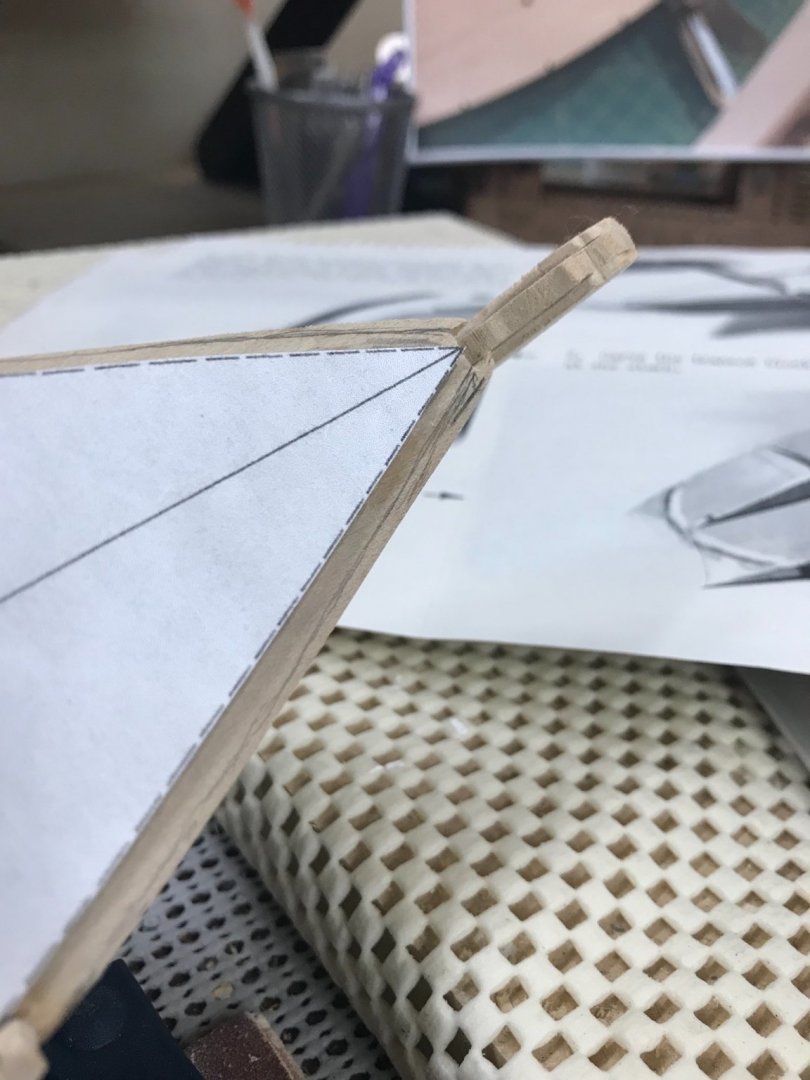
About that Transom… Finalized the shape of the tail piece with a mini roto sander. Cut Transom out of 1/32 material. Laminated 1/32 planks… Transom In place… Restoration photo… I think I will plank this piece to give it a flatter appearance. Started planking, something tells me this isn’t going to be easy. 😆


- 127 replies
-
- 6
-
-
- Bowdoin
- Arctic Exploration
- (and 3 more)
-
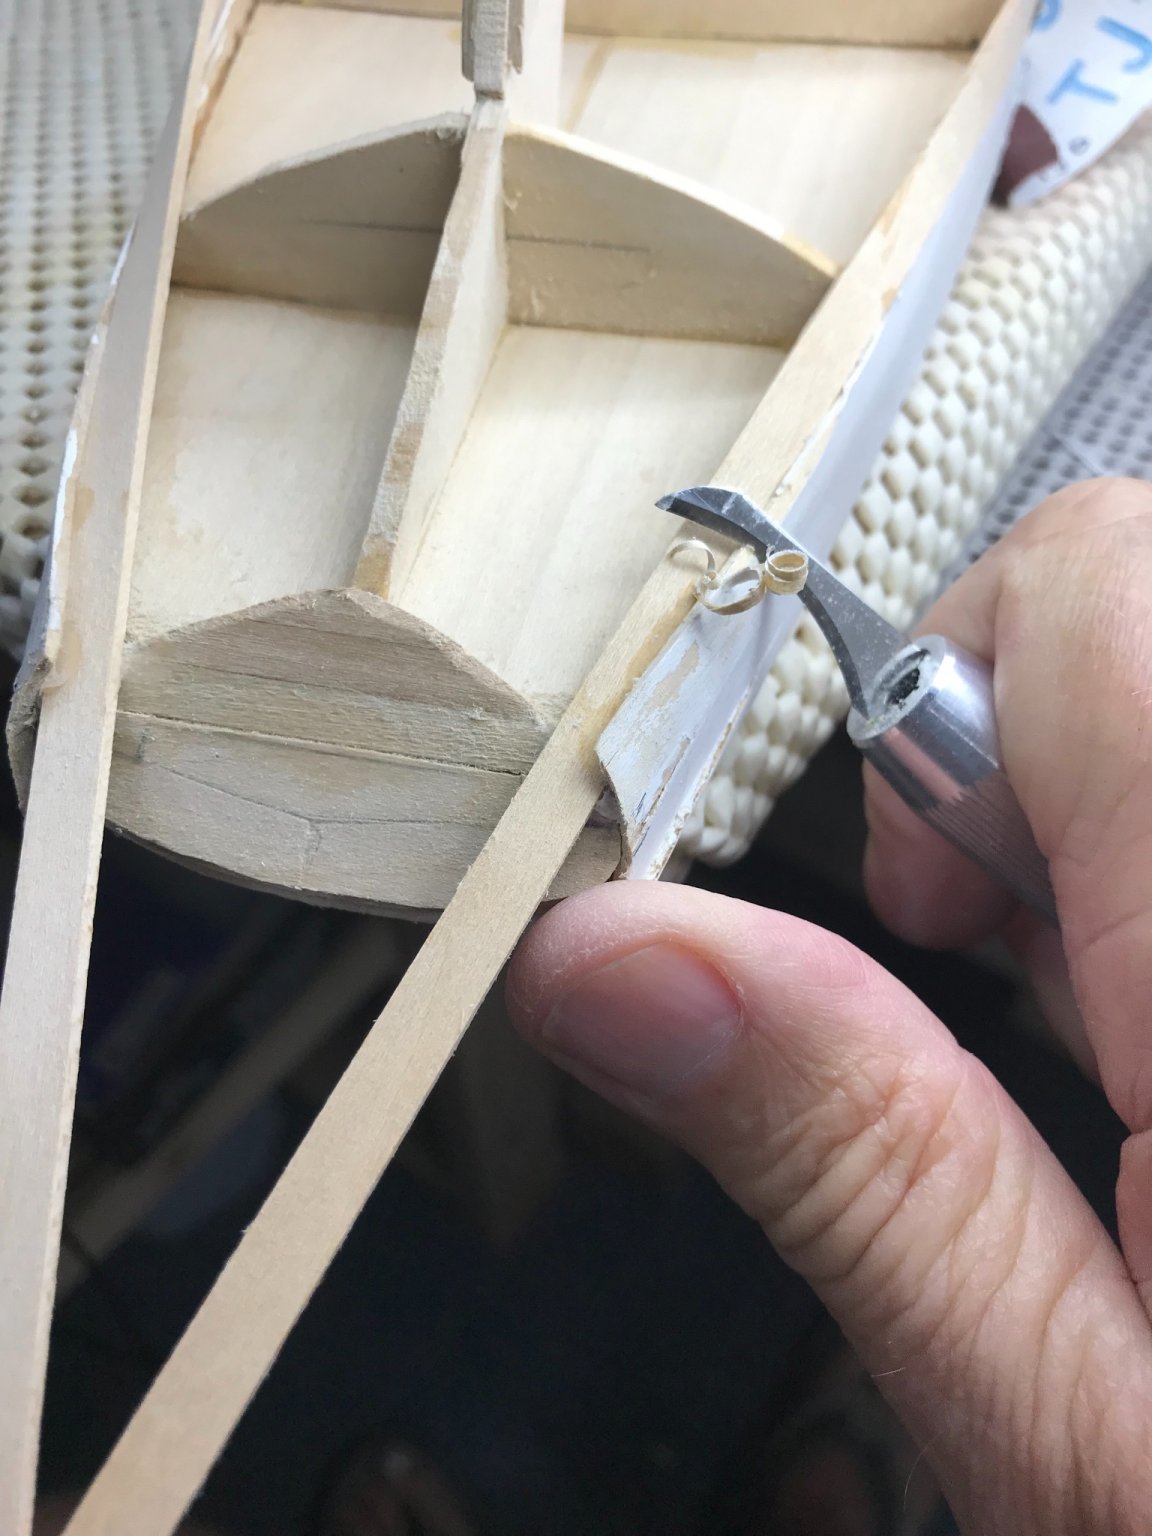
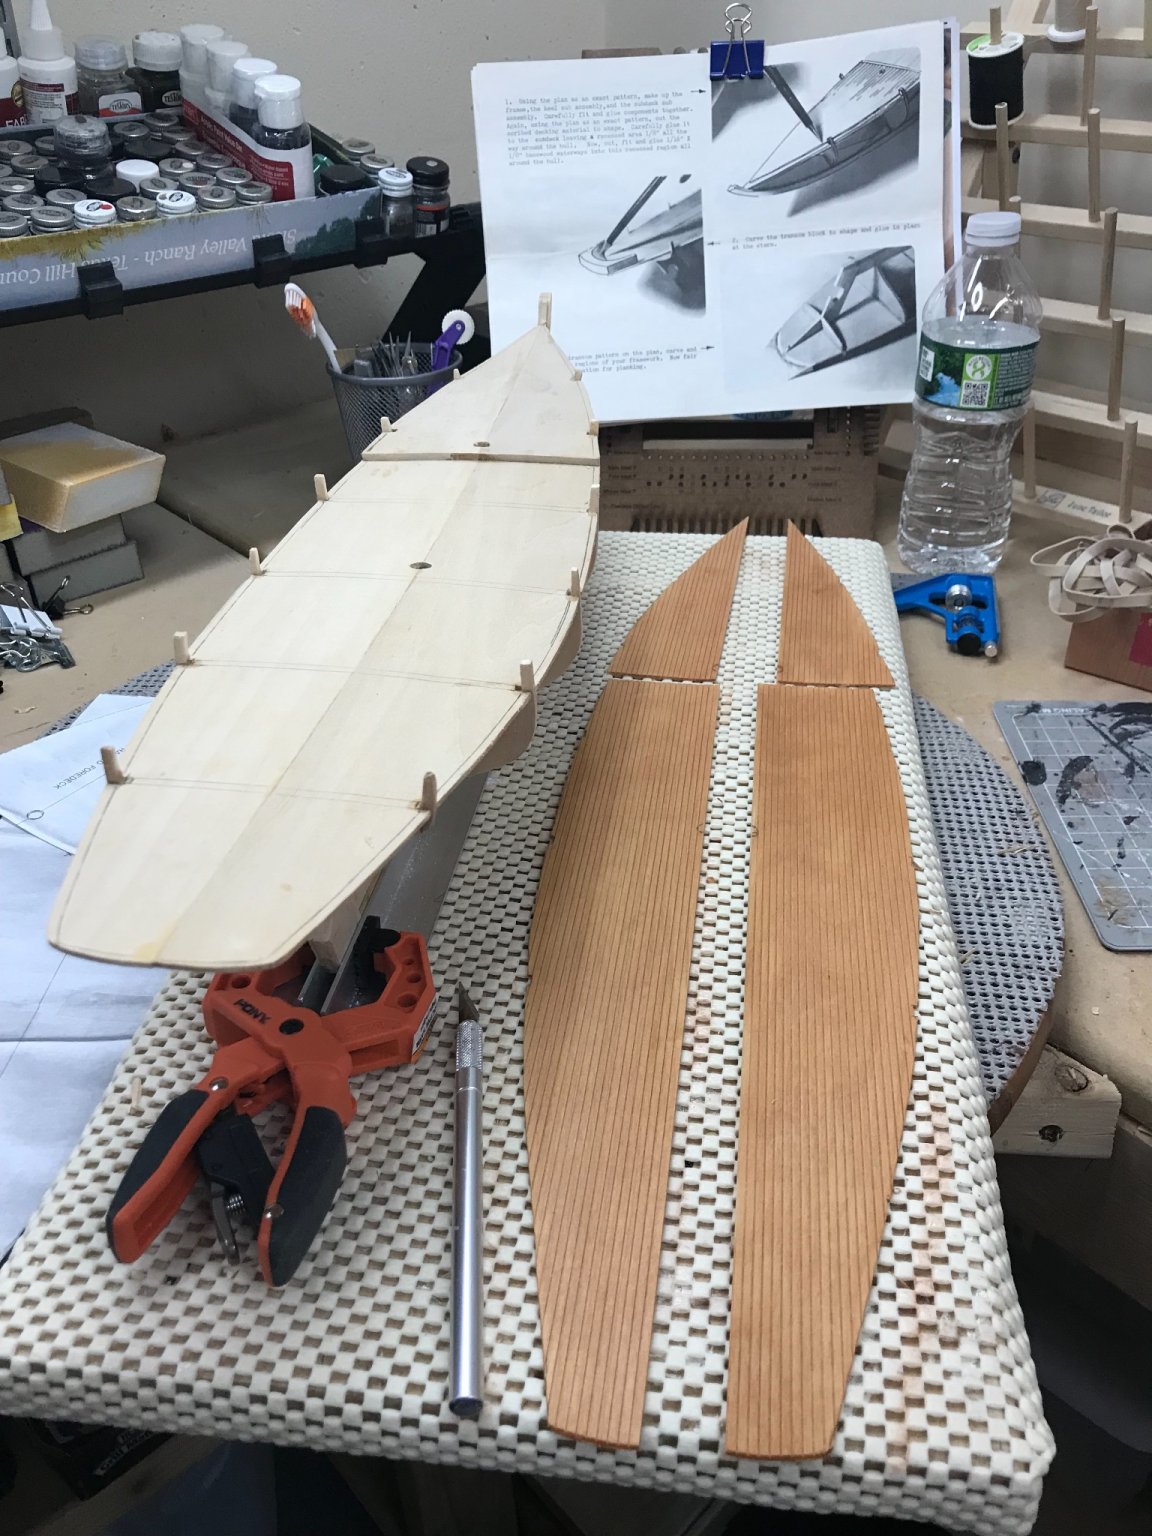
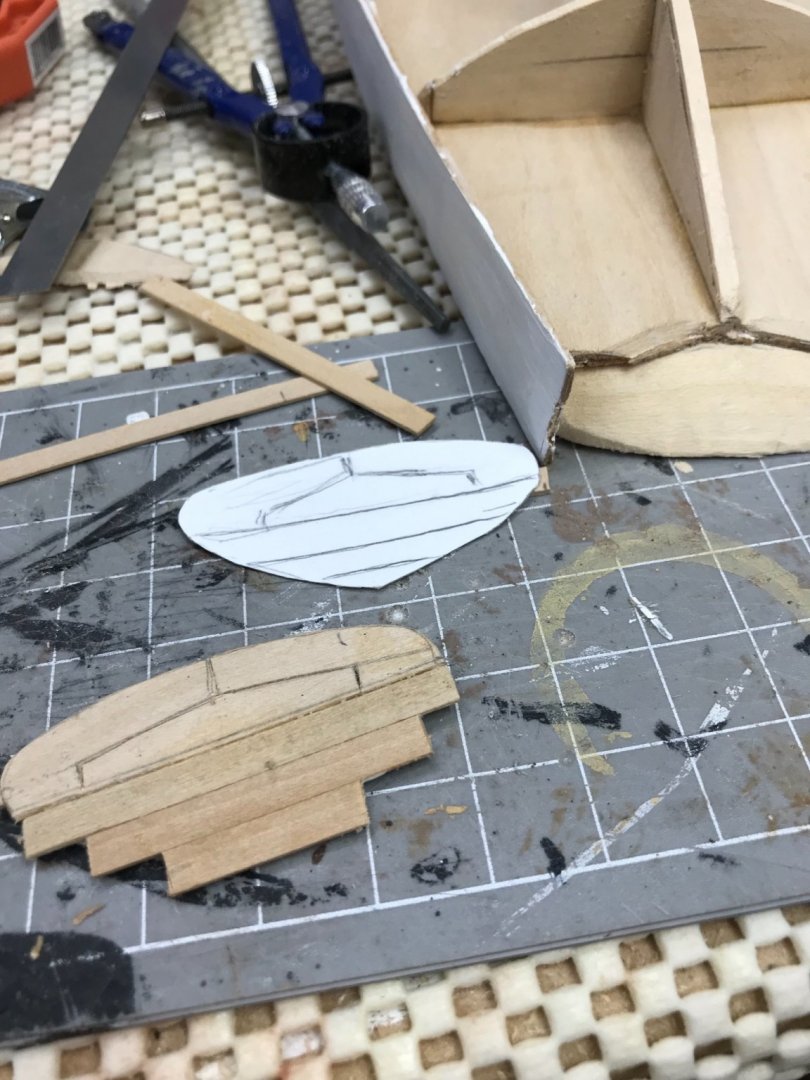
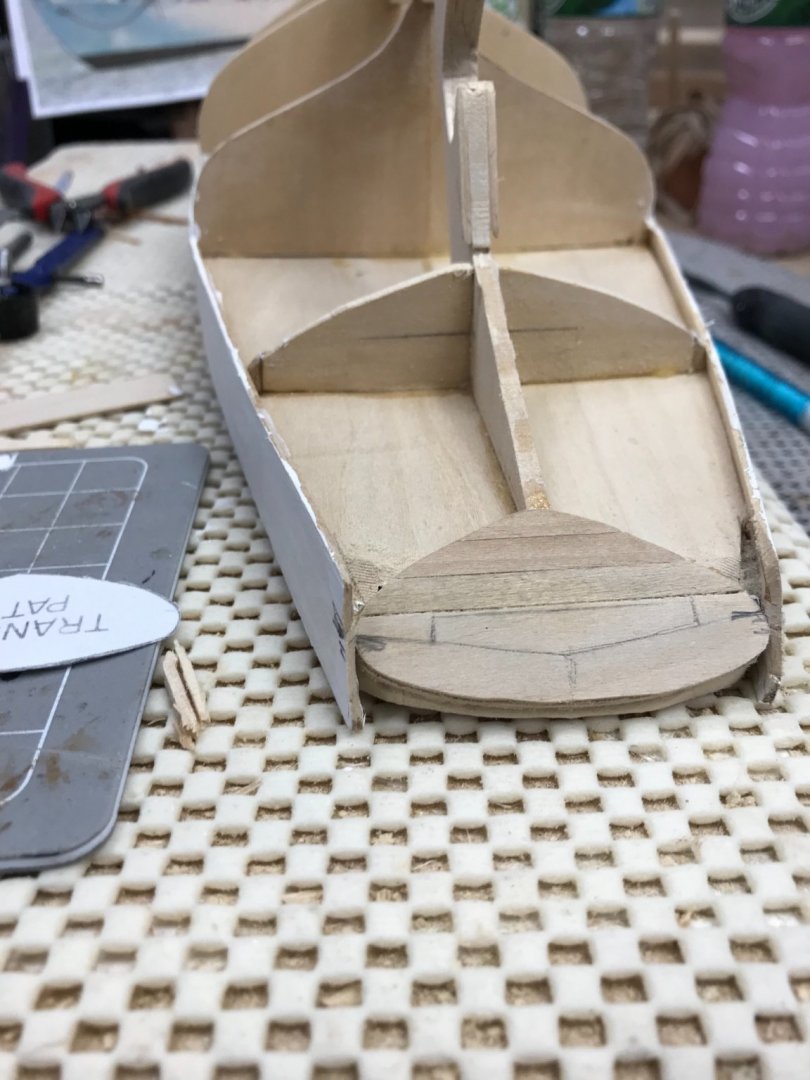
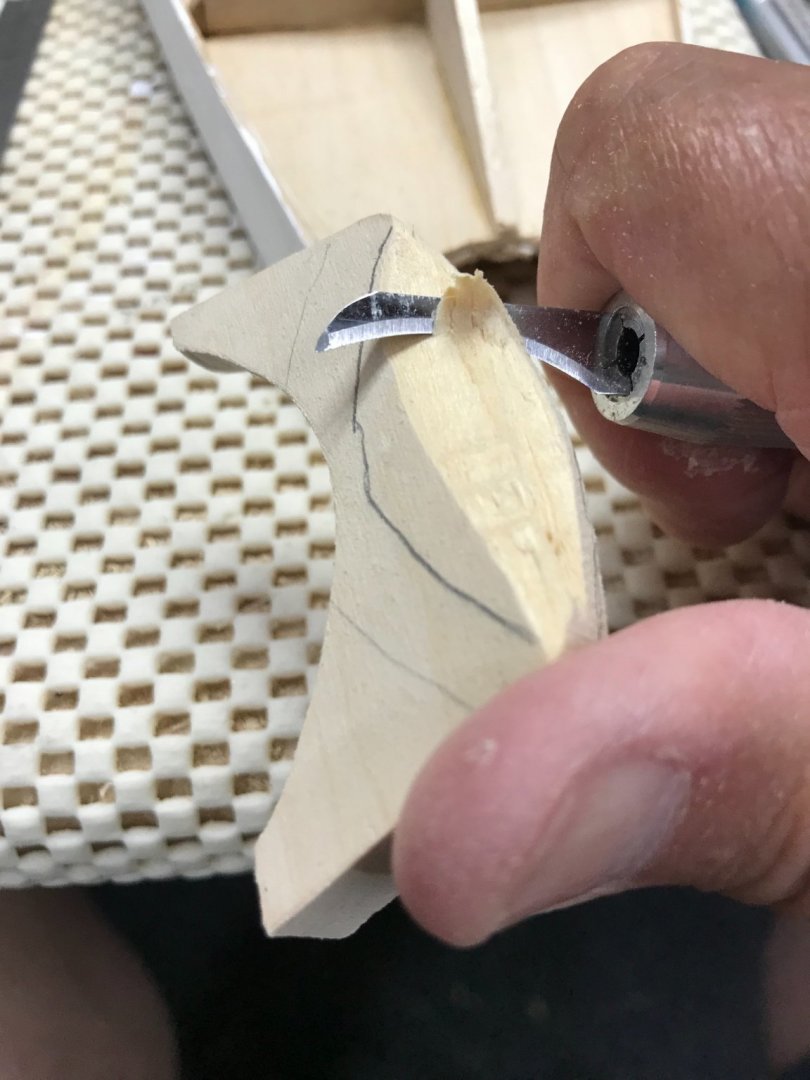
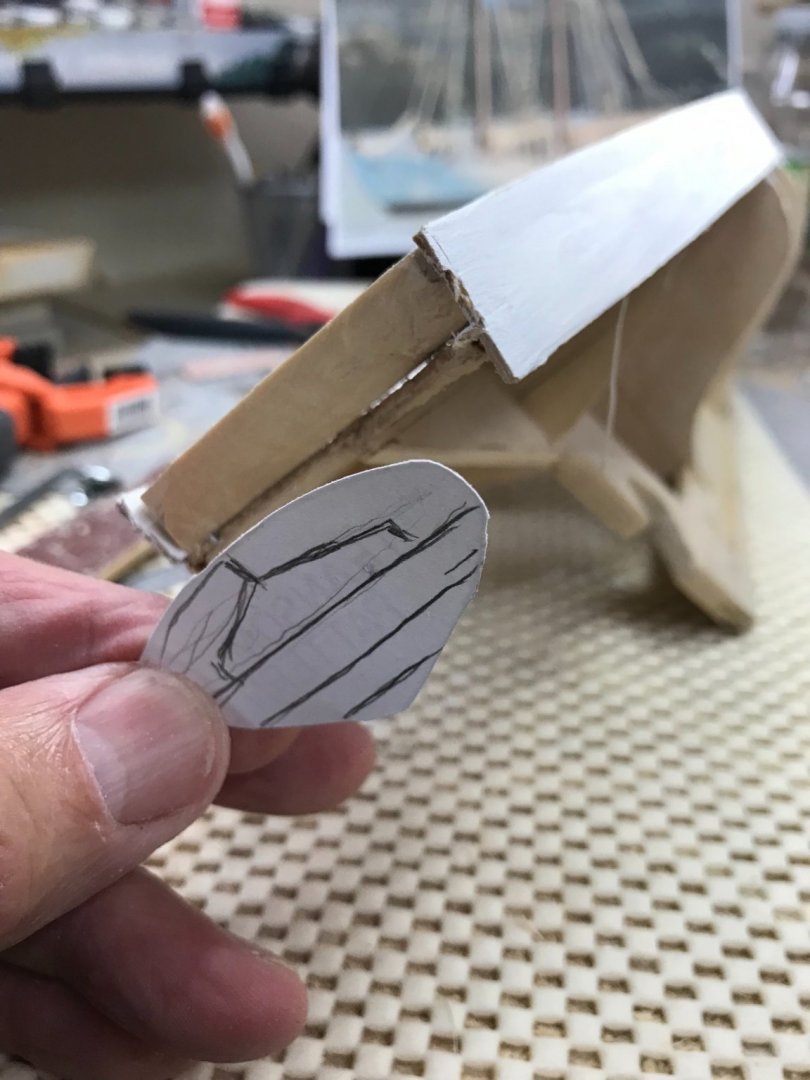
Decking and Transom… Scribed decking glued down successfully, I think individual planks may have been easier. 😆 Inside of tail piece carved out… Cutting and carving for the transom. Almost there… 😝 Transom planking pattern, taken from restoration photos. Onwards… 😎

- 127 replies
-
- 7
-
-
- Bowdoin
- Arctic Exploration
- (and 3 more)
-
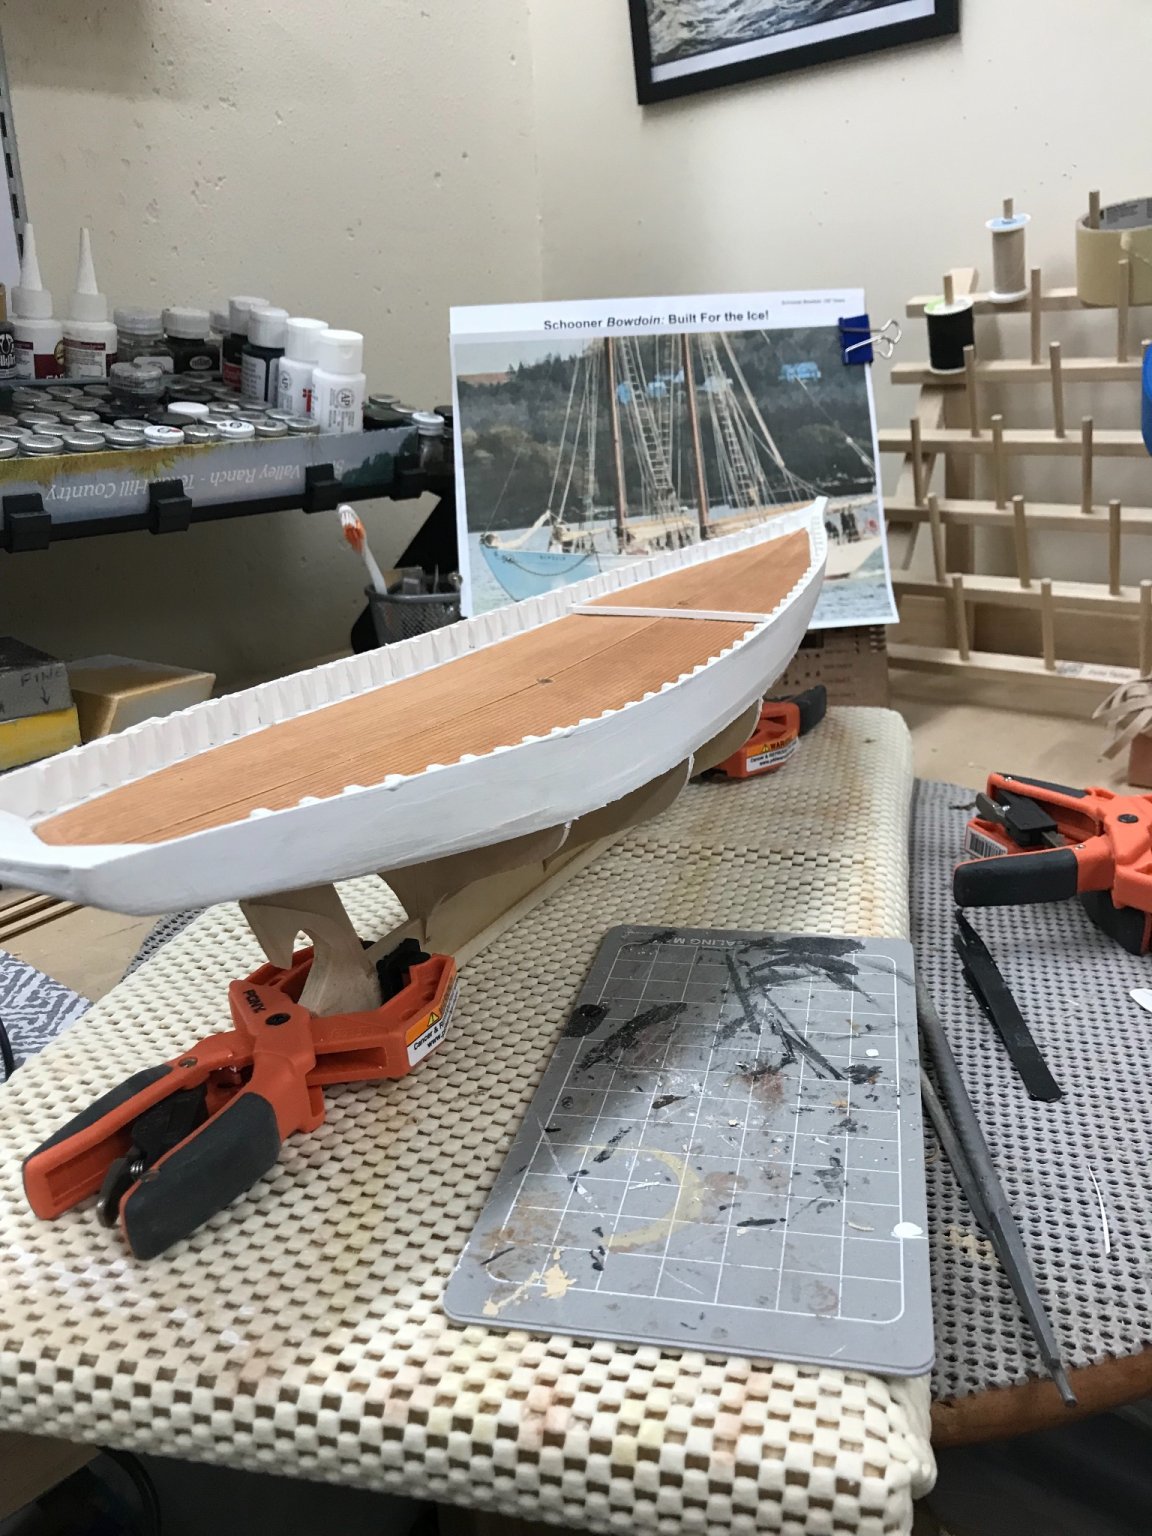
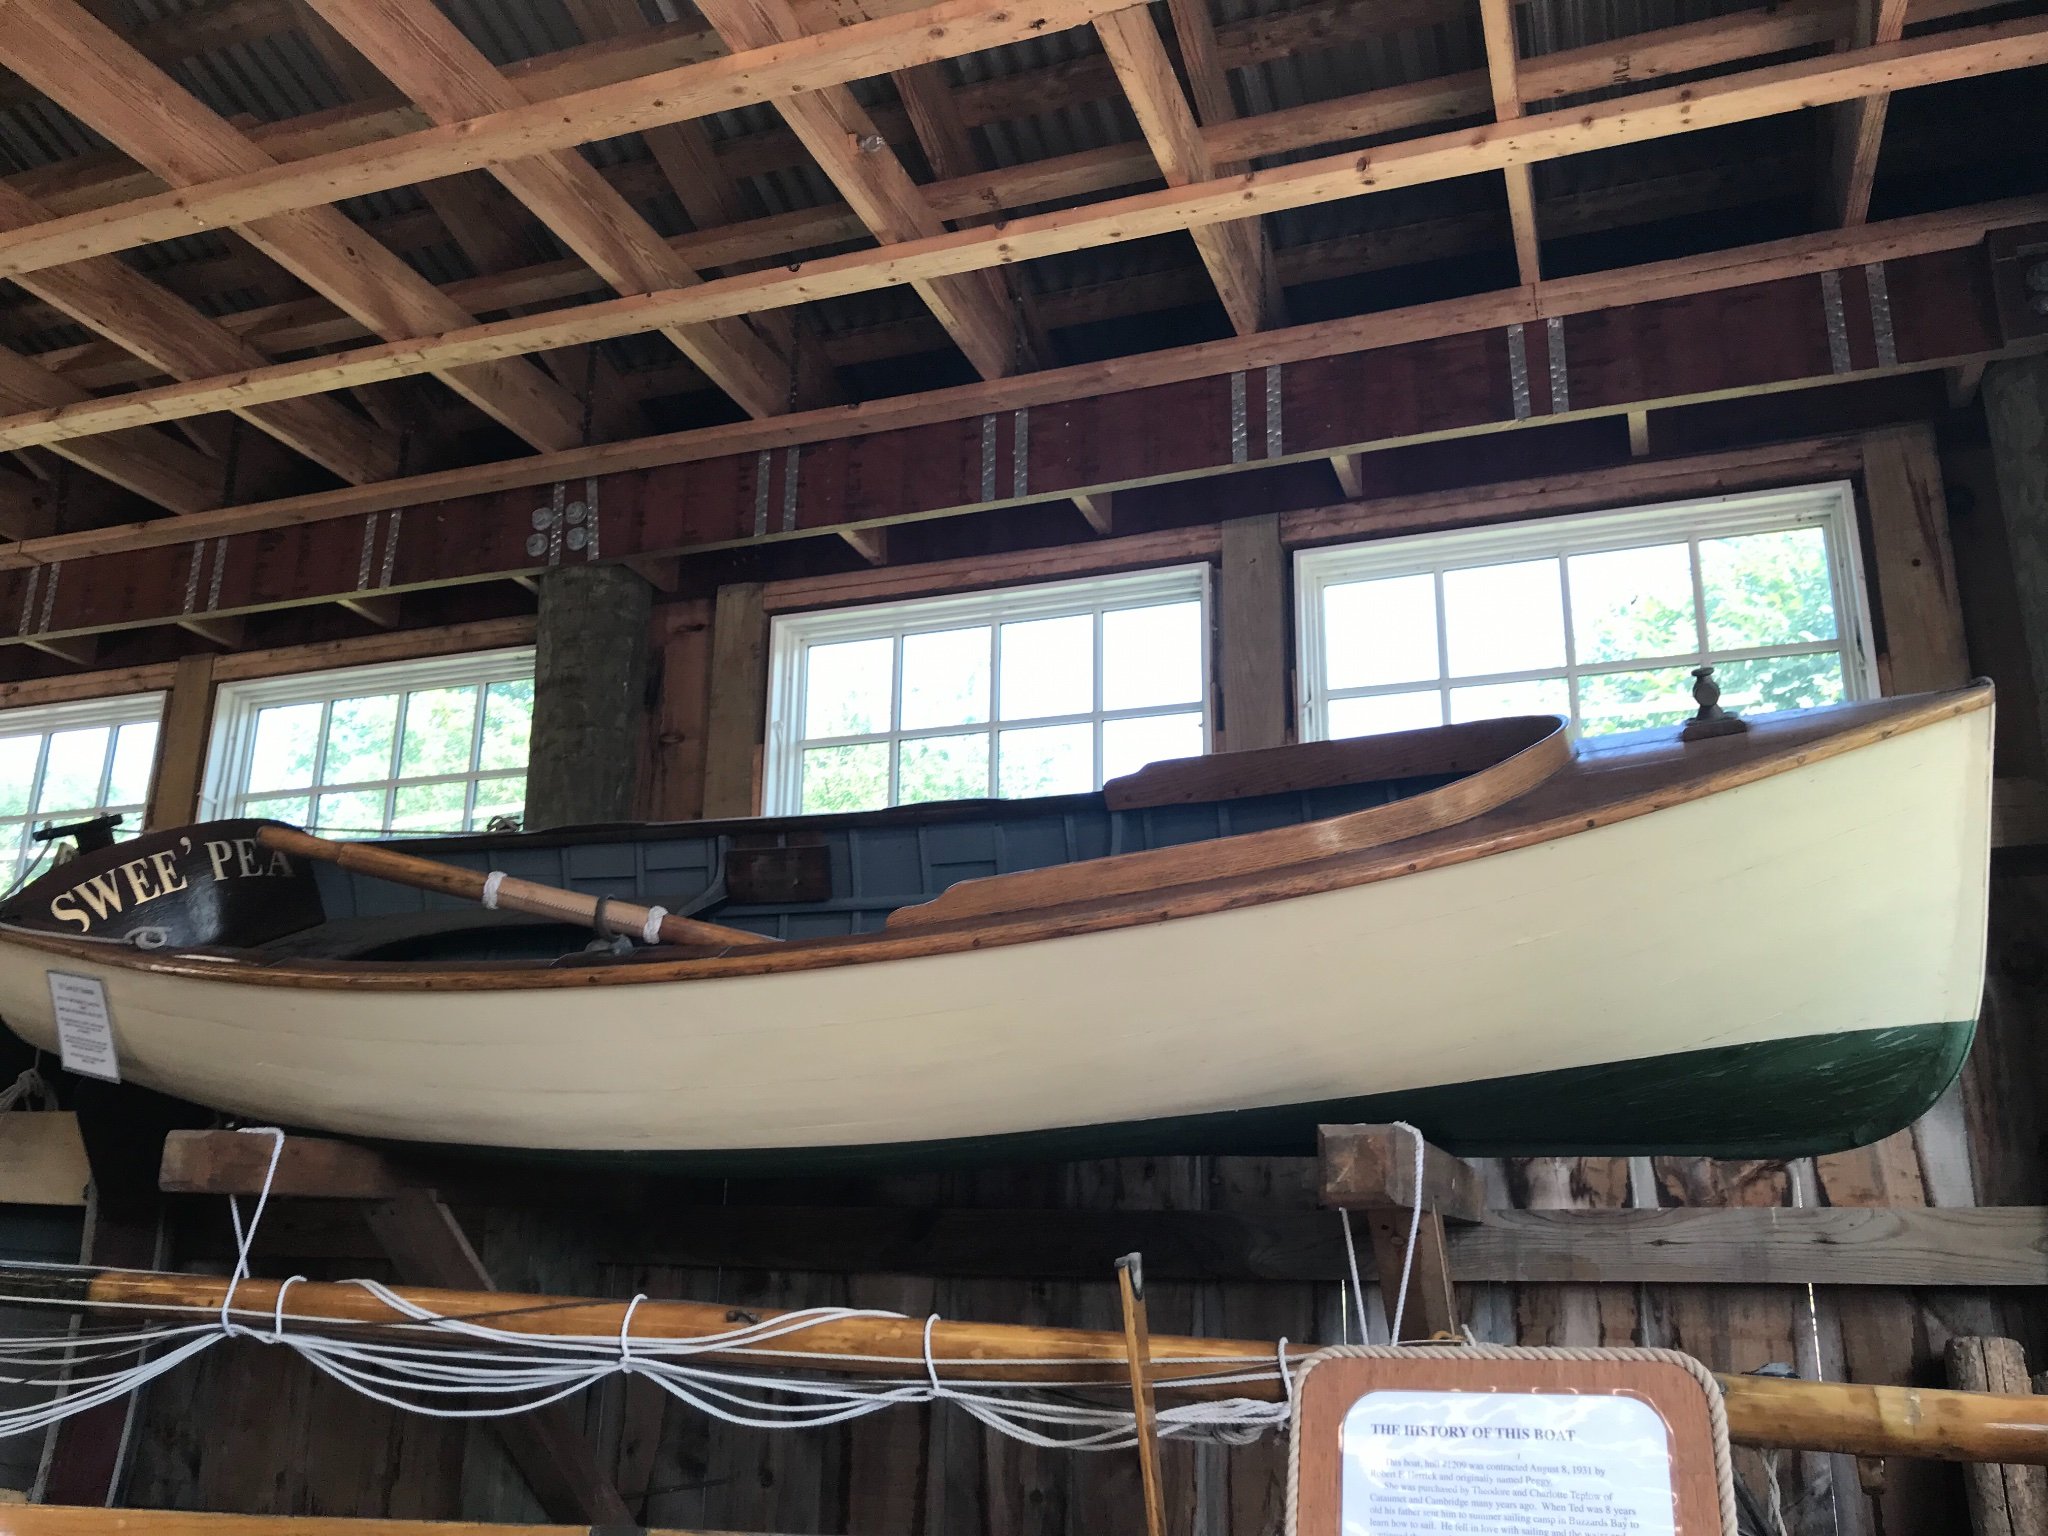
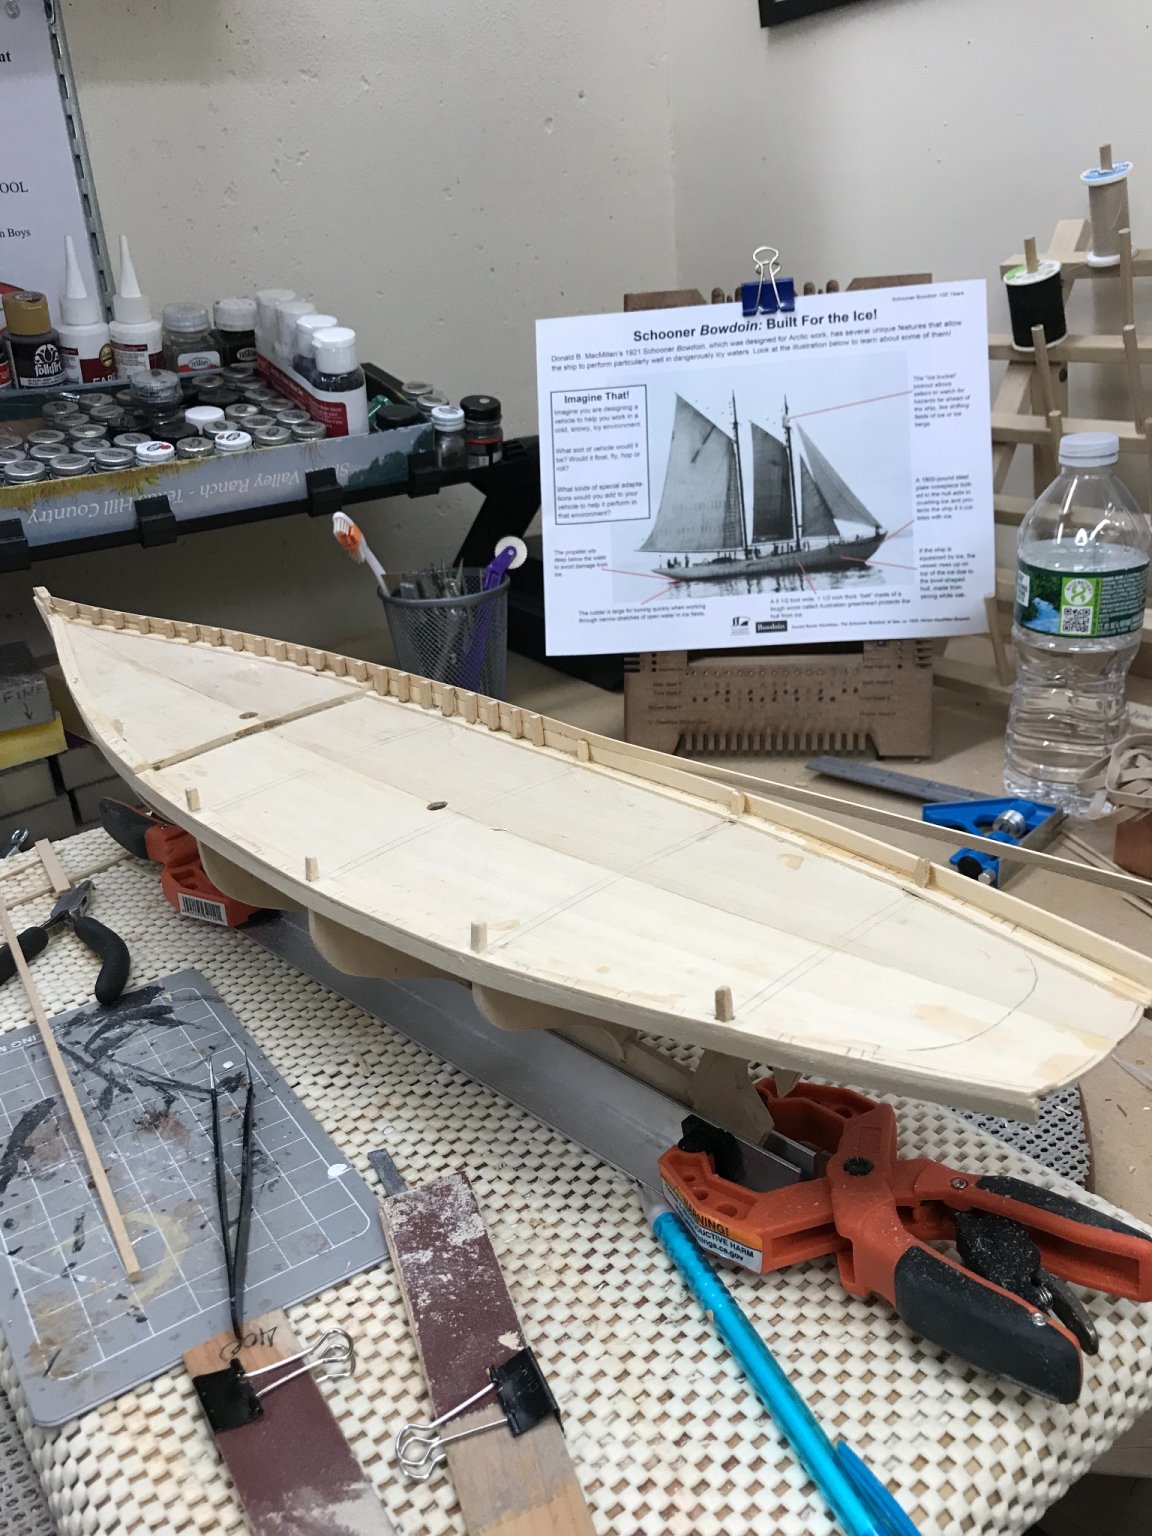
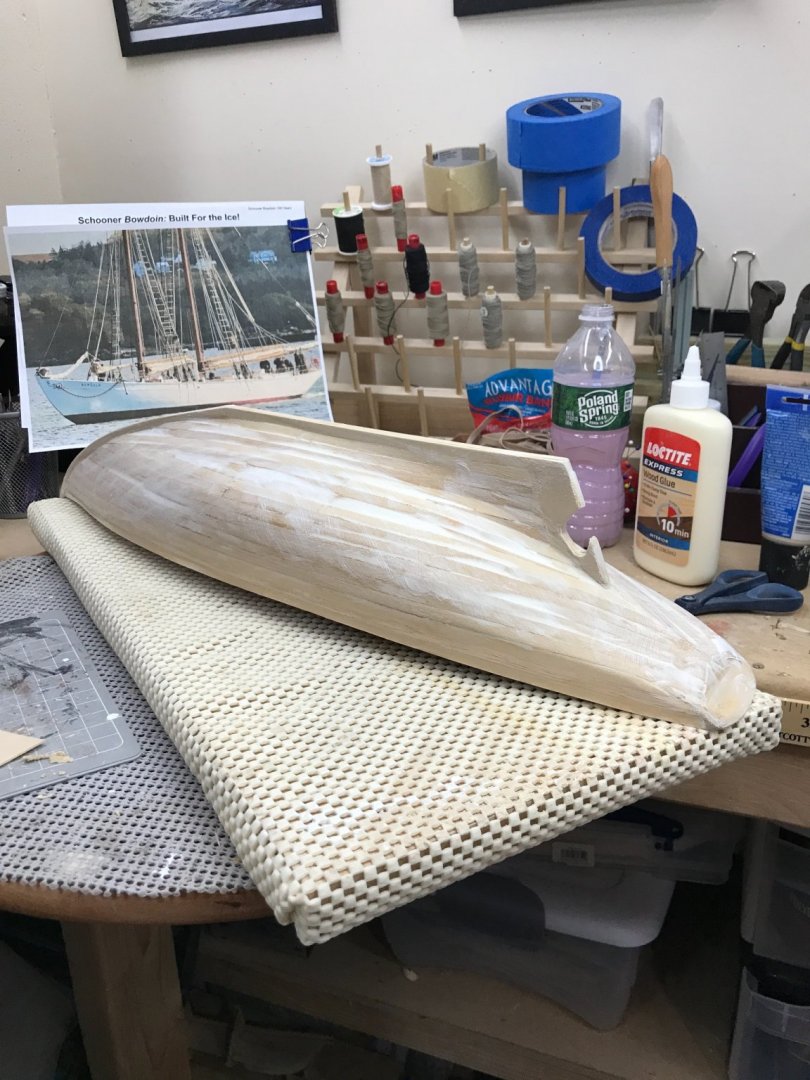
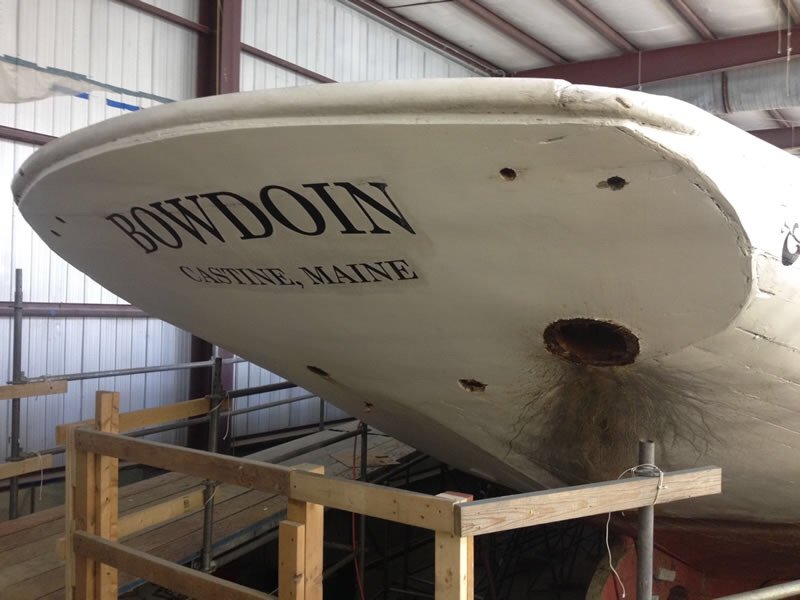
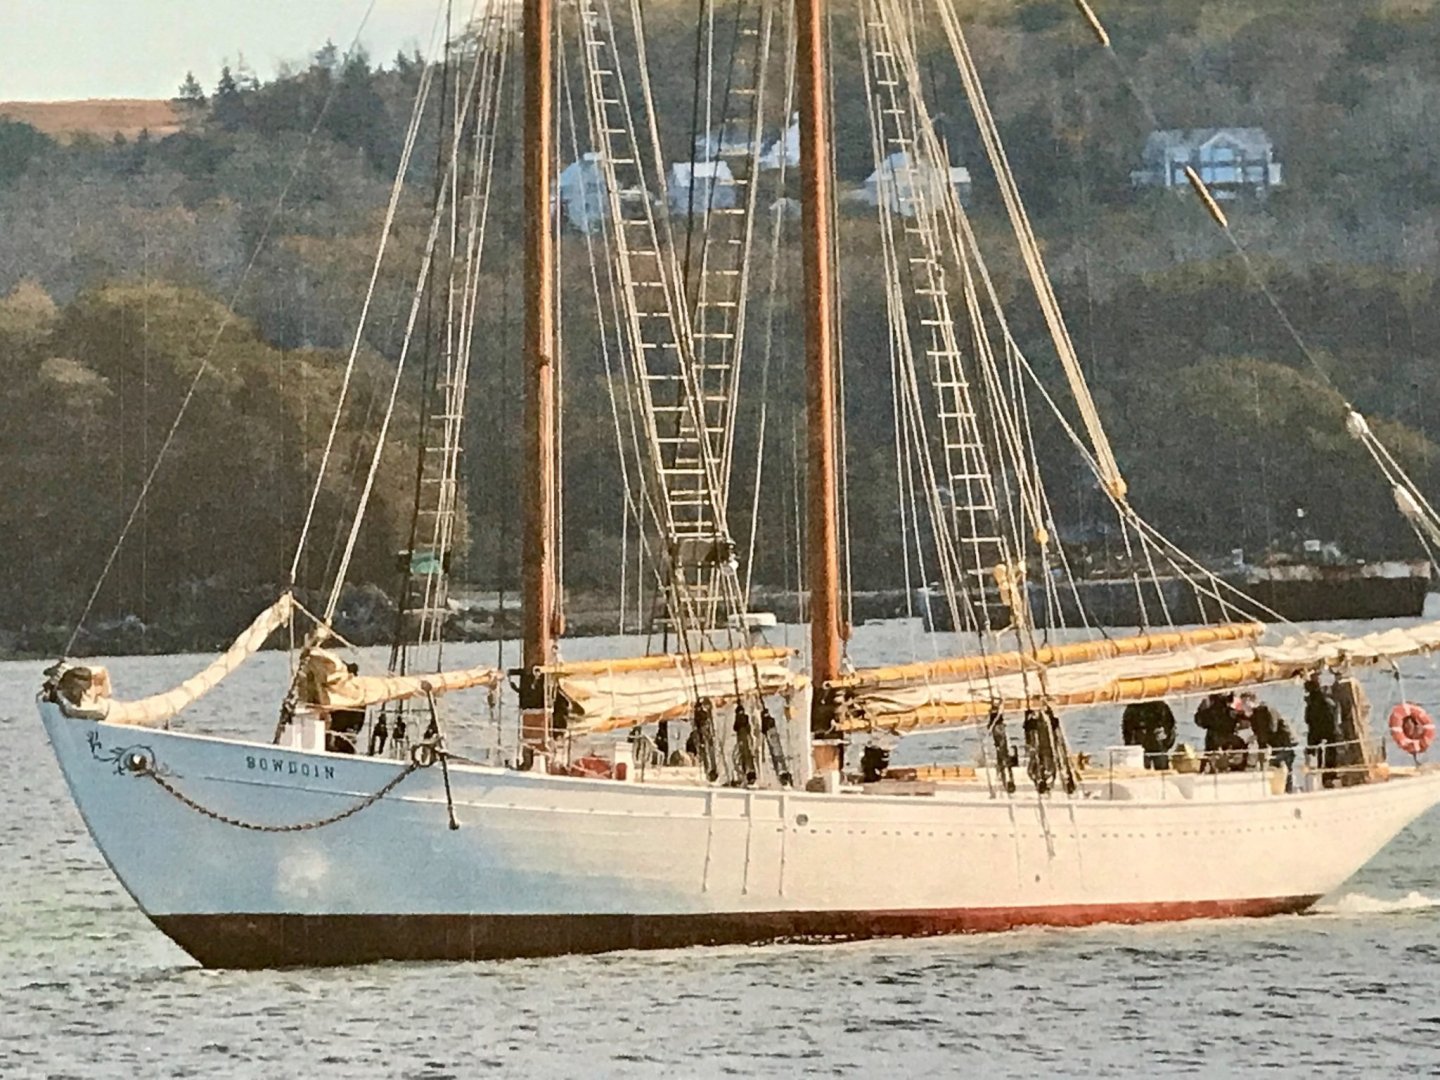
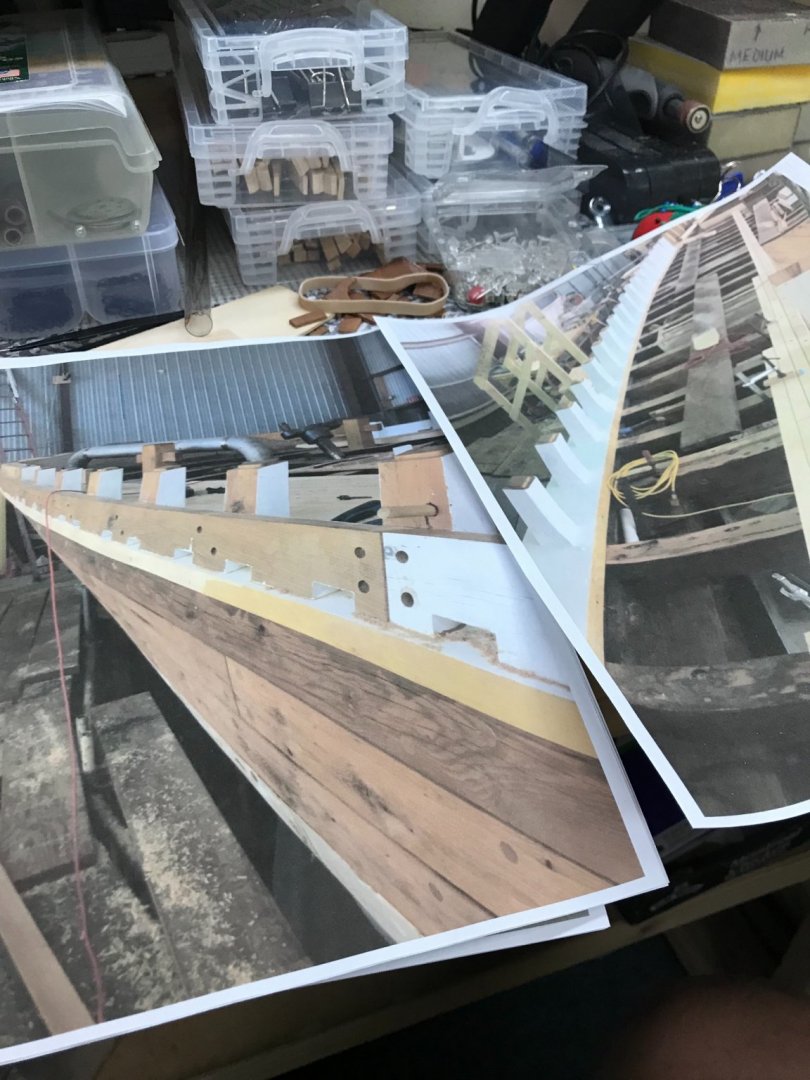
Back from Cape Cod, great weather. Stopped in to the Cape Cod Maritime Museum. Great boat building shop, got some appreciation for the craft. Awesome… 😎 Back to the Bowdoin… This is a photograph I took myself two years ago in Castine, ME. The Bowdoin is working out of the Maine Maritime Academy. Looking at this hull and the restoration photos from the Academy’s web site. I will adjust planking in accordance to this latest restoration vs the instructions of the Laughing Whale kit. That said this Bowdoin will not be the 1921 version. 😆 A bit of custom clamping to correct the Bulwarks. Clamping on additional 1/32 plank on the bulwarks Bulwarks complete… Sanding… Painting and craft paste. Second coat… Later 🍻


- 127 replies
-
- 3
-
-
- Bowdoin
- Arctic Exploration
- (and 3 more)
-
Ron, It’s good the see you back at it again. Glad your a settled and able to start work on the CWM. She is a beautiful ship to build. Welcome back, I look forward to watching your progress. John
-
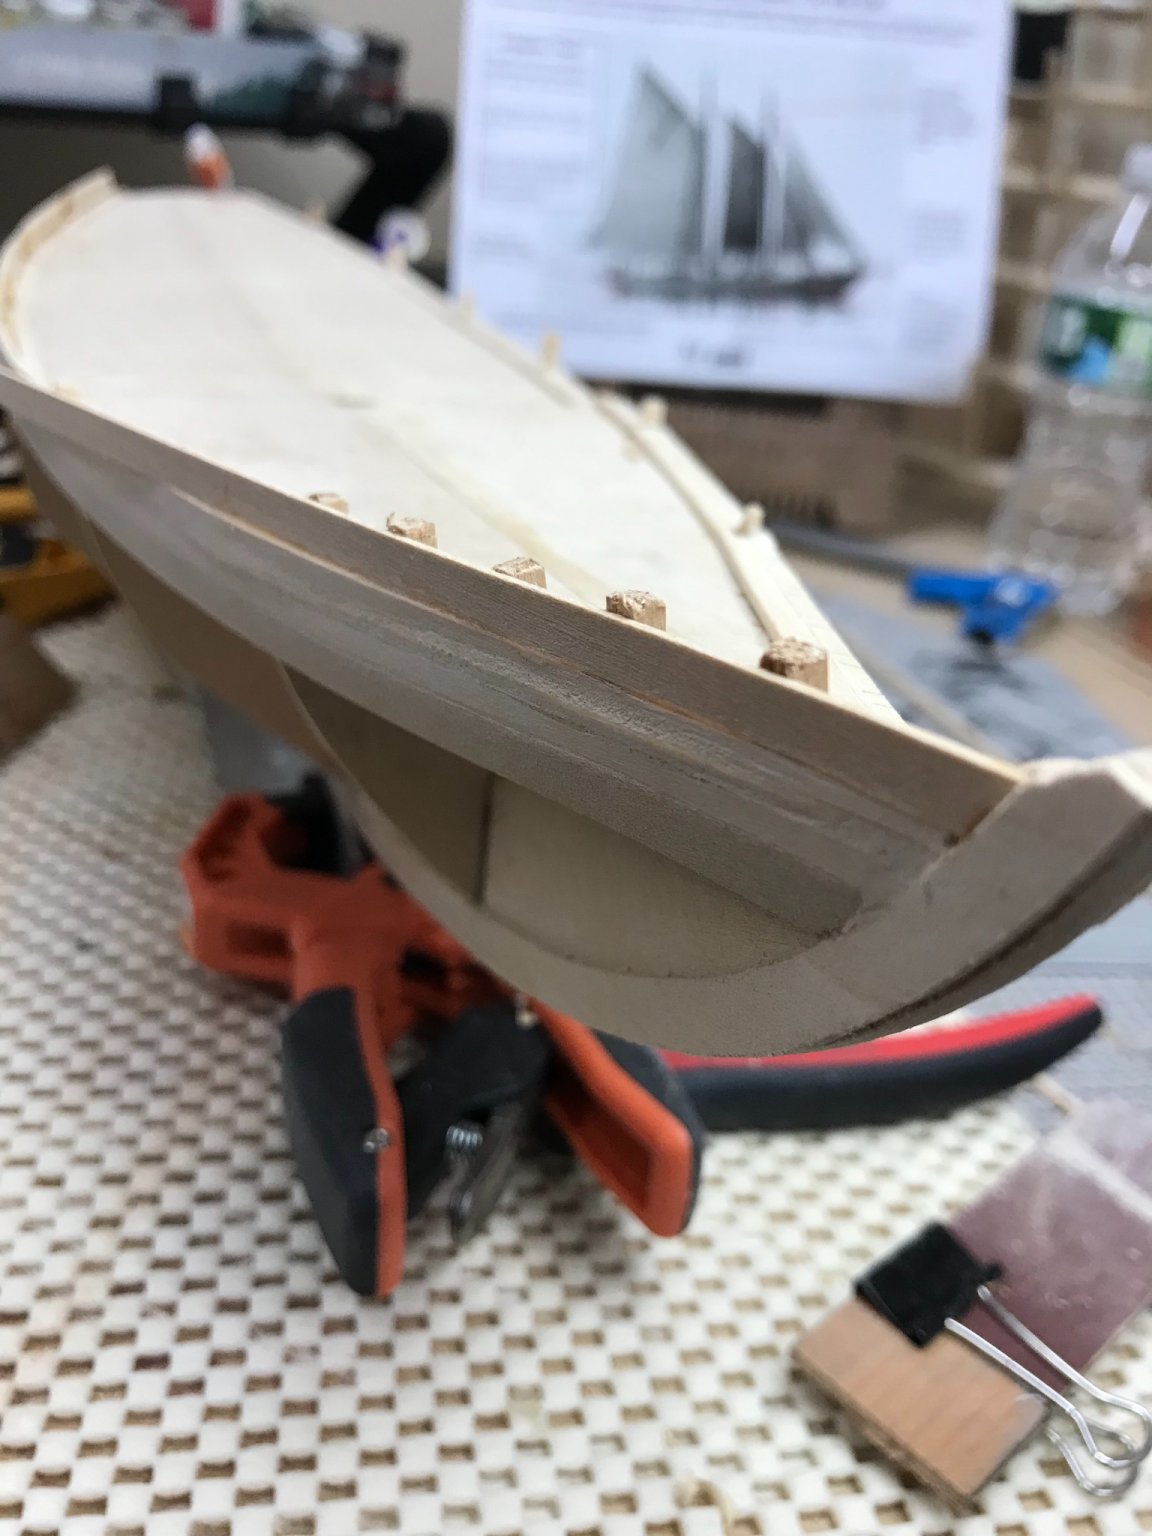
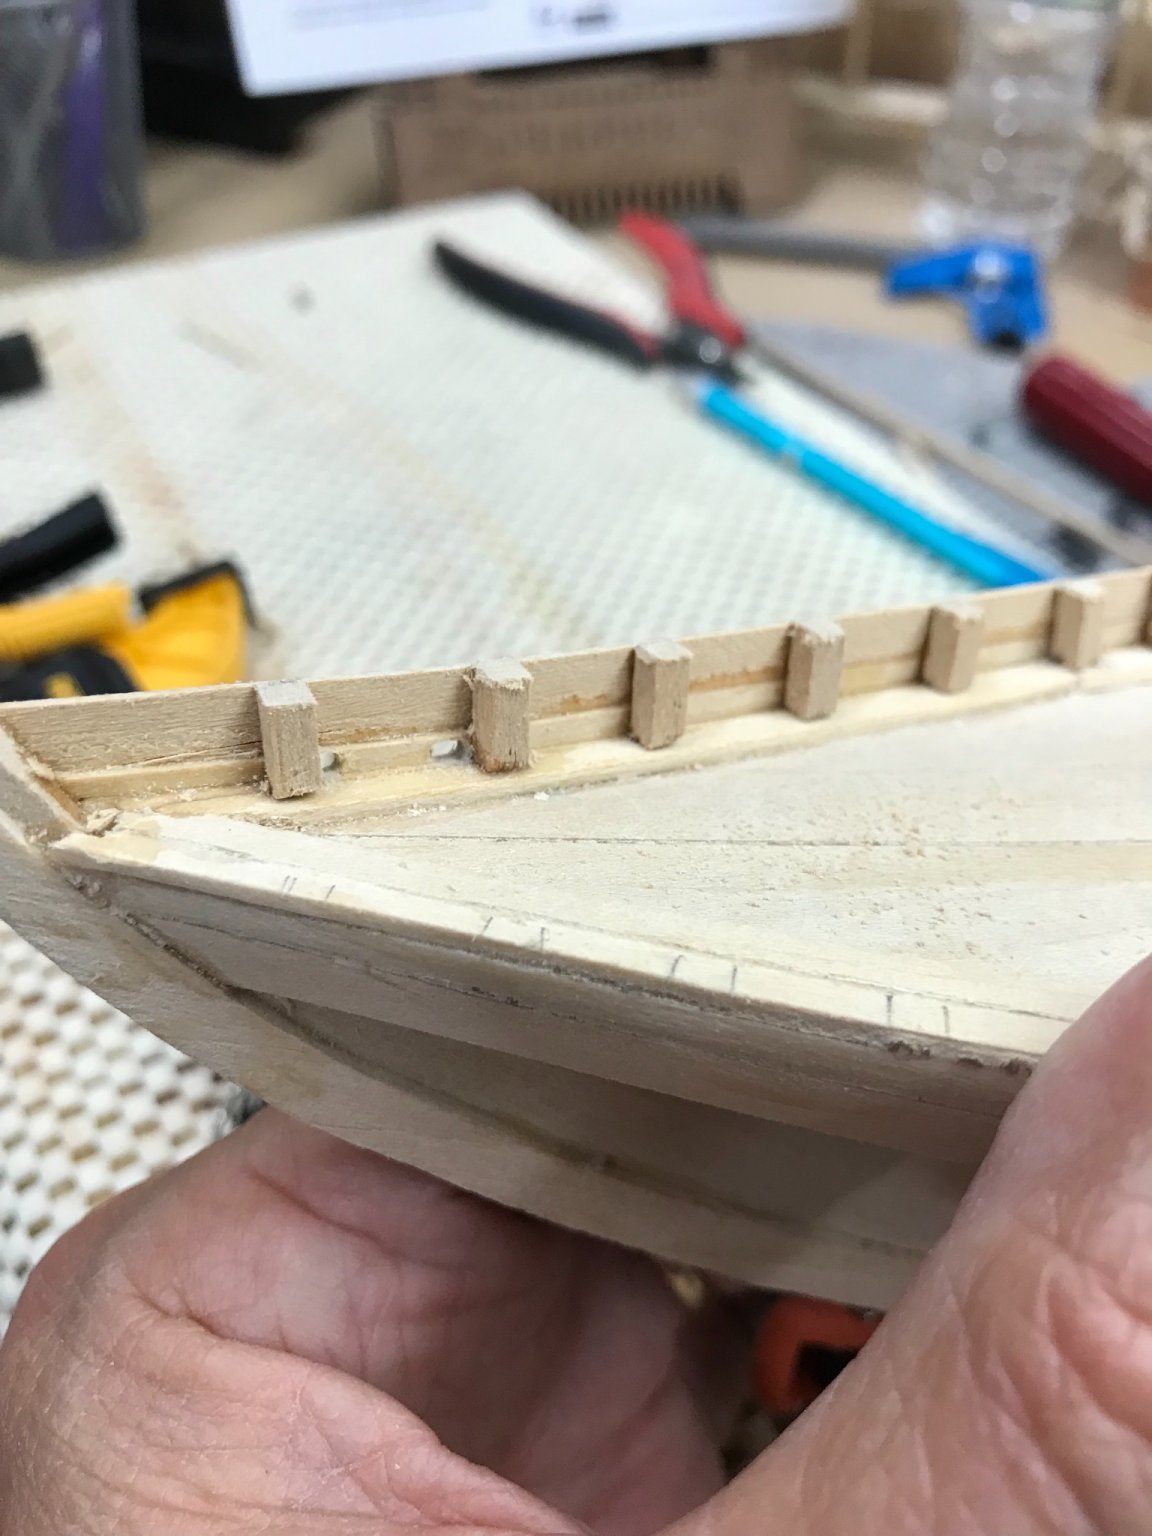
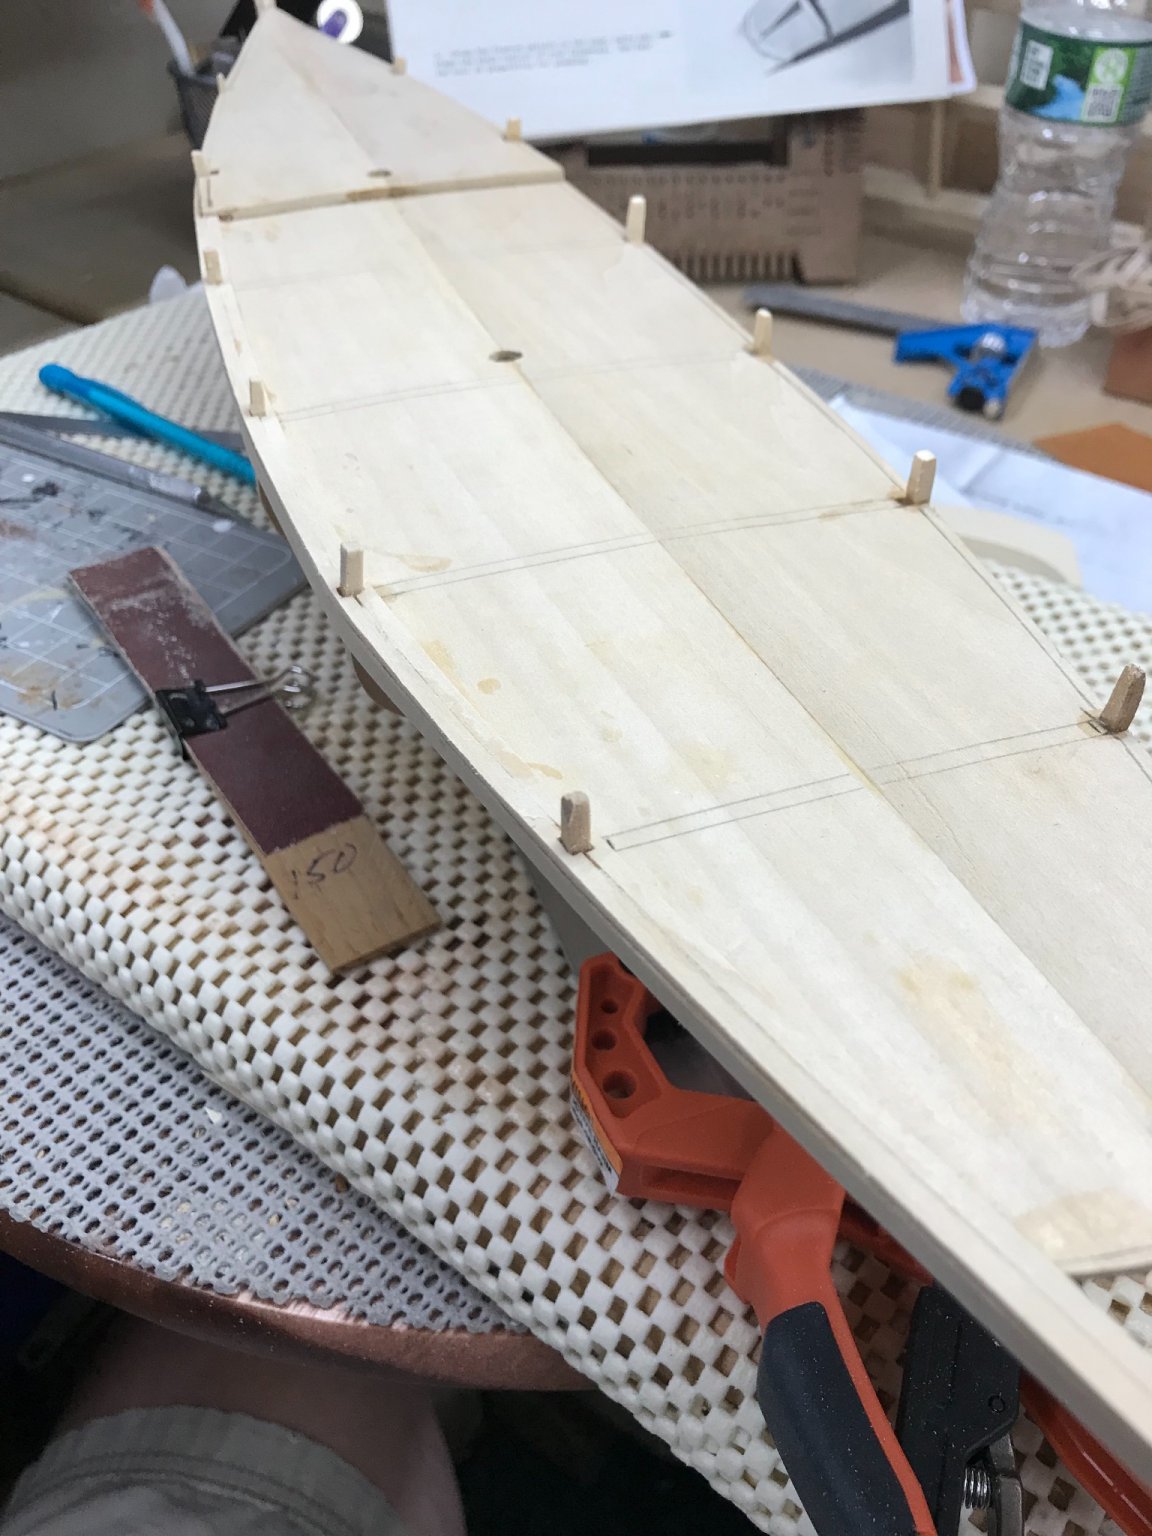
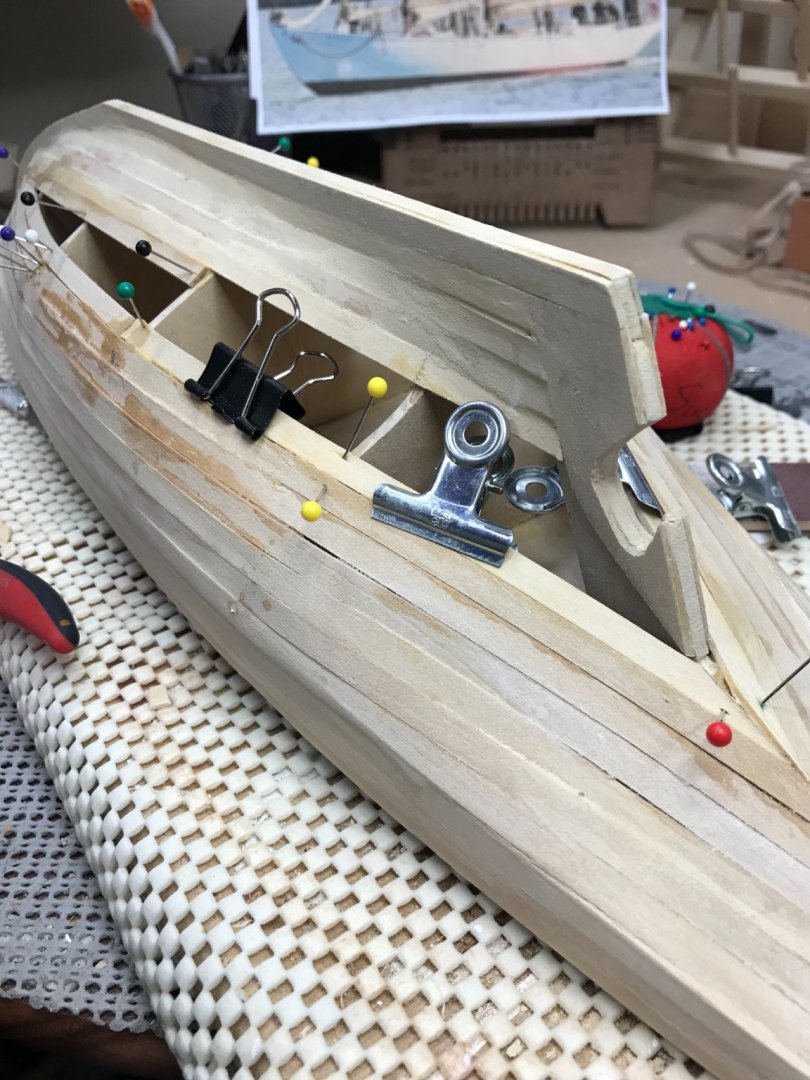
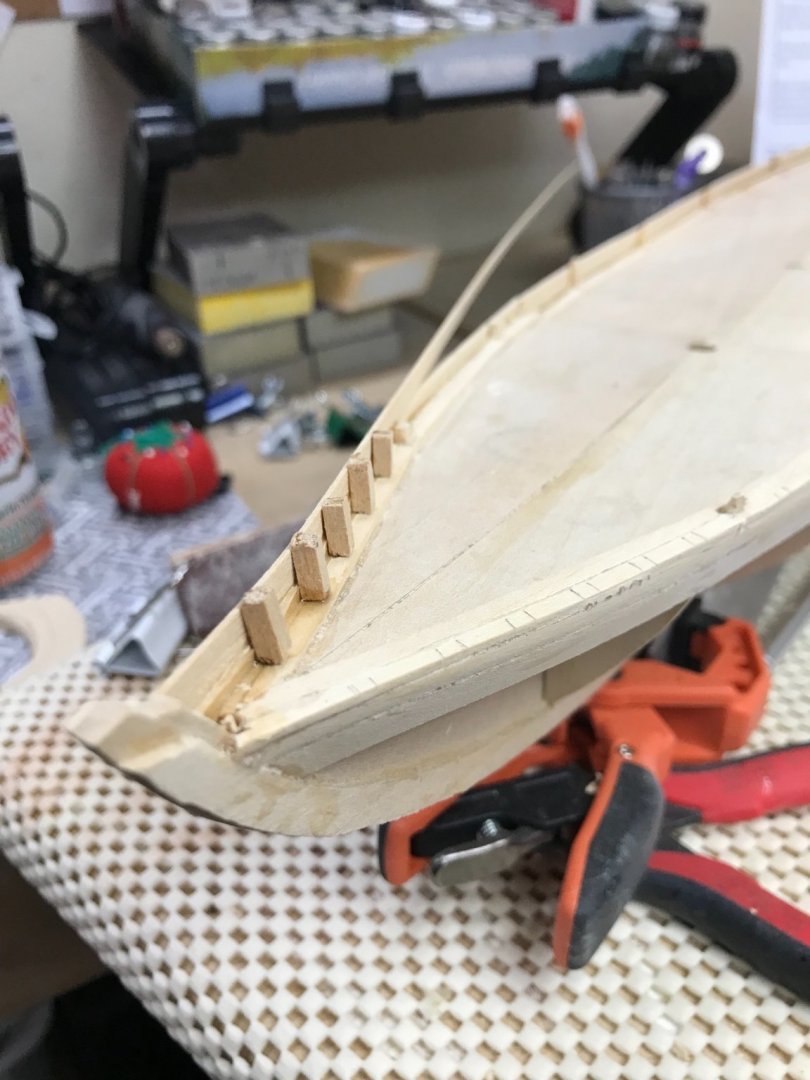
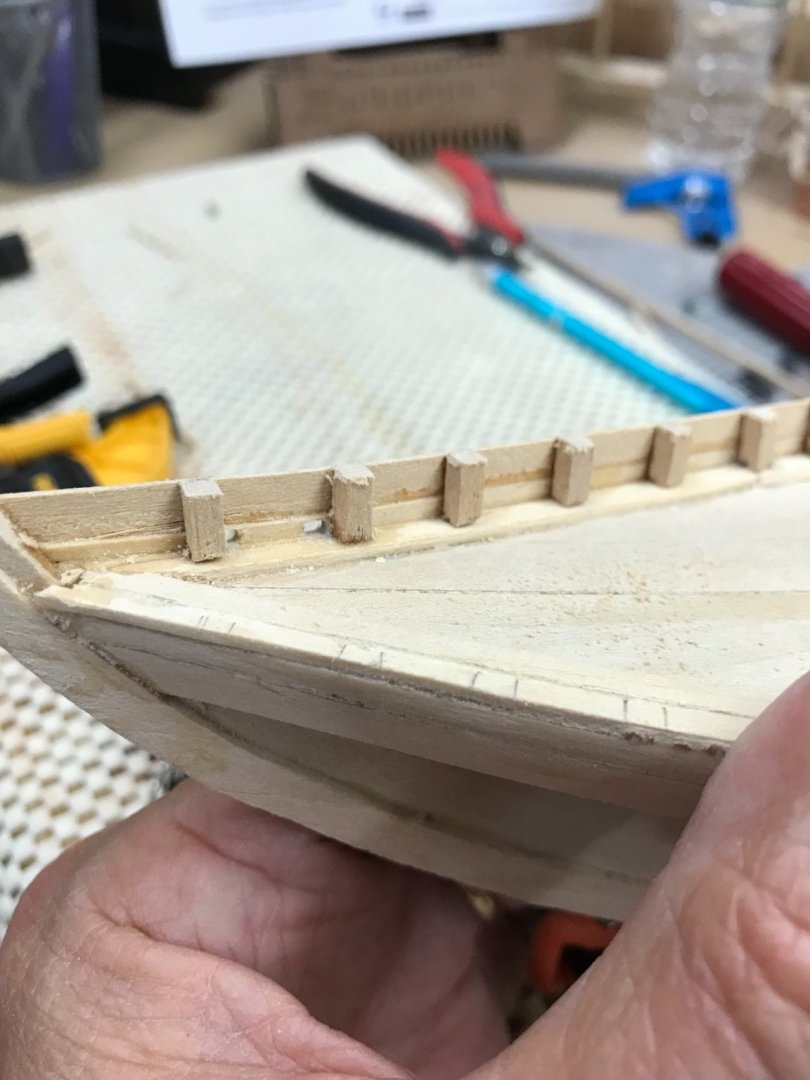
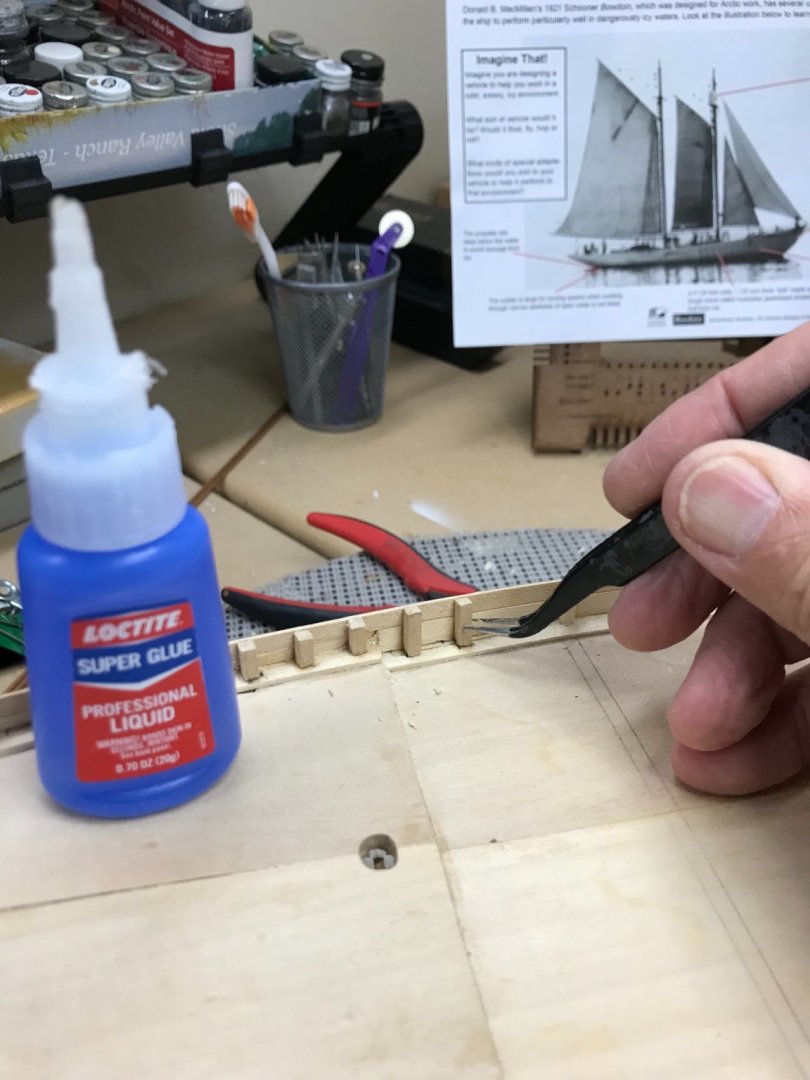
Bulwarks and Waterways… And so it begins… I have worked out the bulwark planking and have started cutting the timbers. Using CA glue to facilitate a quicker process. No clamping time… 😆 Cut my first waterways. A bit rough, but some filler on the planking and some needle filling will clean it up. Sanding off the timbers as I go… Waterways from the inside on the fore deck. Placement exactly 1/2” (32/64” actually). Measure twice glue once… First two waterways it on the main deck. I’ll need to square these up. Enough for now more later… Off to the Cape for the week. Finally got some good camping weather. 🤞 Cheers 🍻


- 127 replies
-
- 4
-
-
- Bowdoin
- Arctic Exploration
- (and 3 more)
-
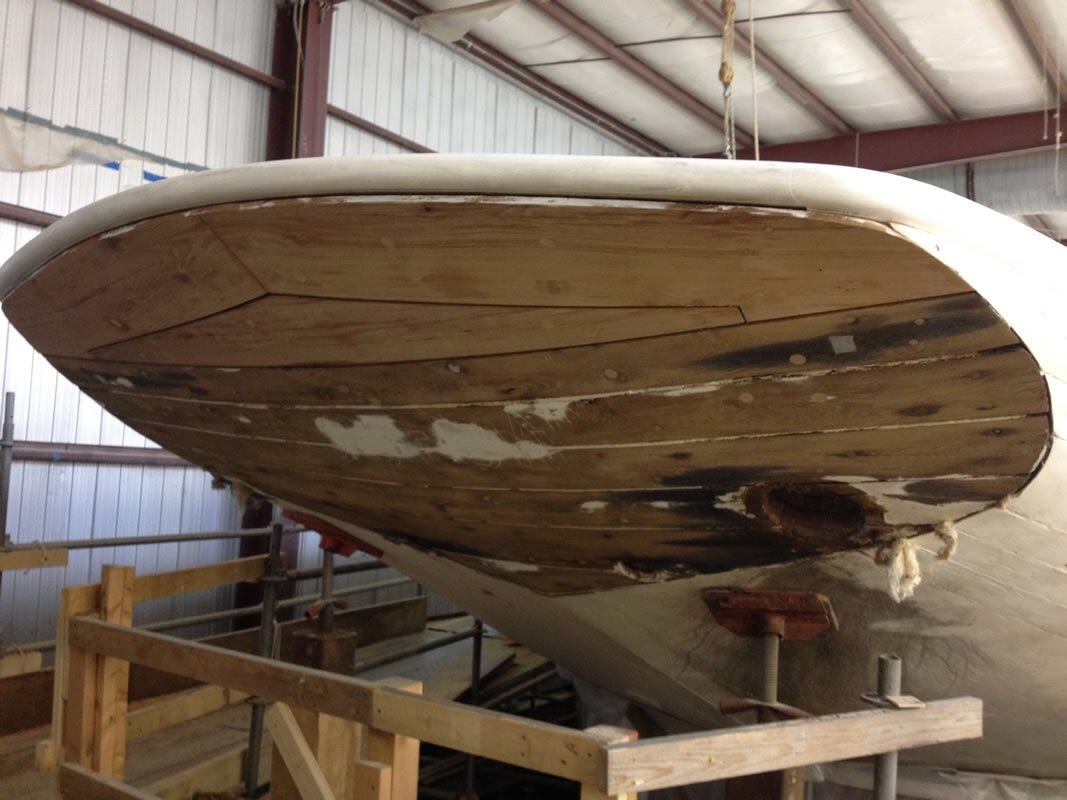
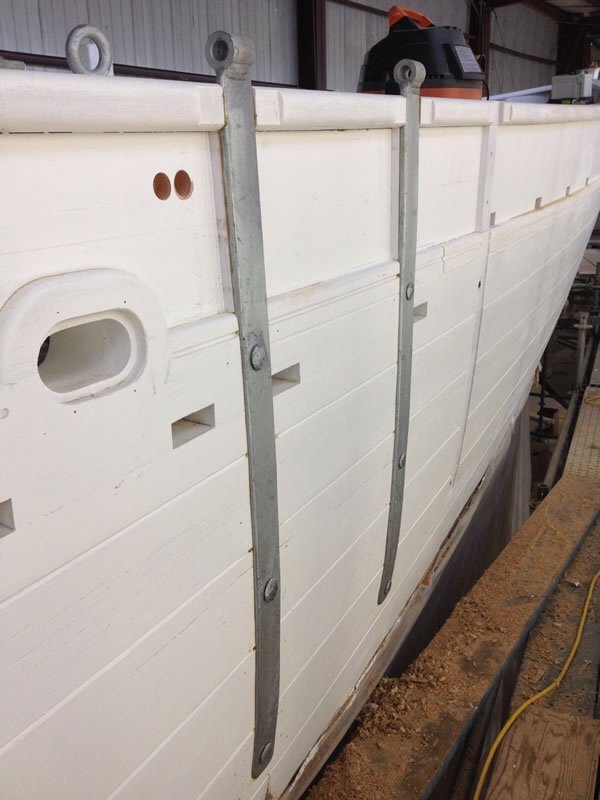
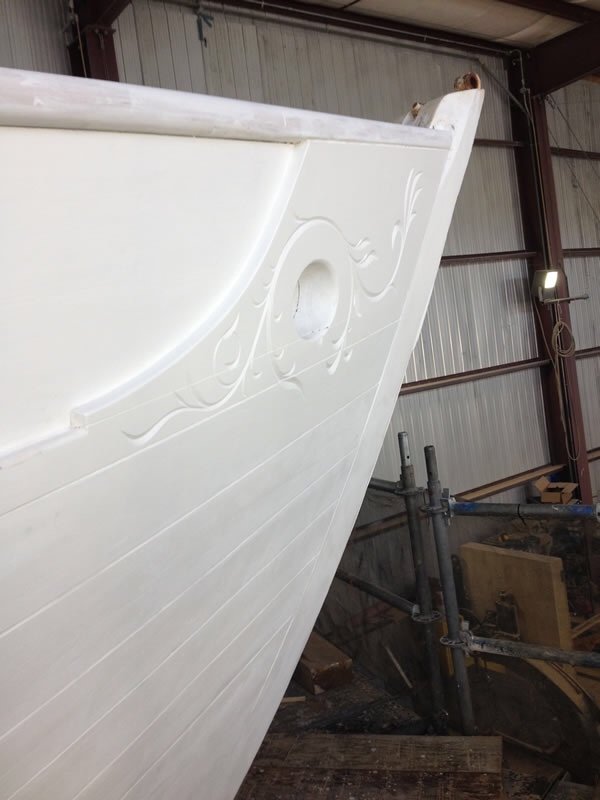
More photos of the Bowdoin restoration. I will be using these photos to guide my building of the bulwarks and waterways. Photos are from the Maine Maritime Academy Bowdoin Deck Restoration Project web site. Many Thanks to Andrew @ahb26 for your build log on the Bowdoin and your reference to this site.

- 127 replies
-
- 2
-
-
- Bowdoin
- Arctic Exploration
- (and 3 more)
-
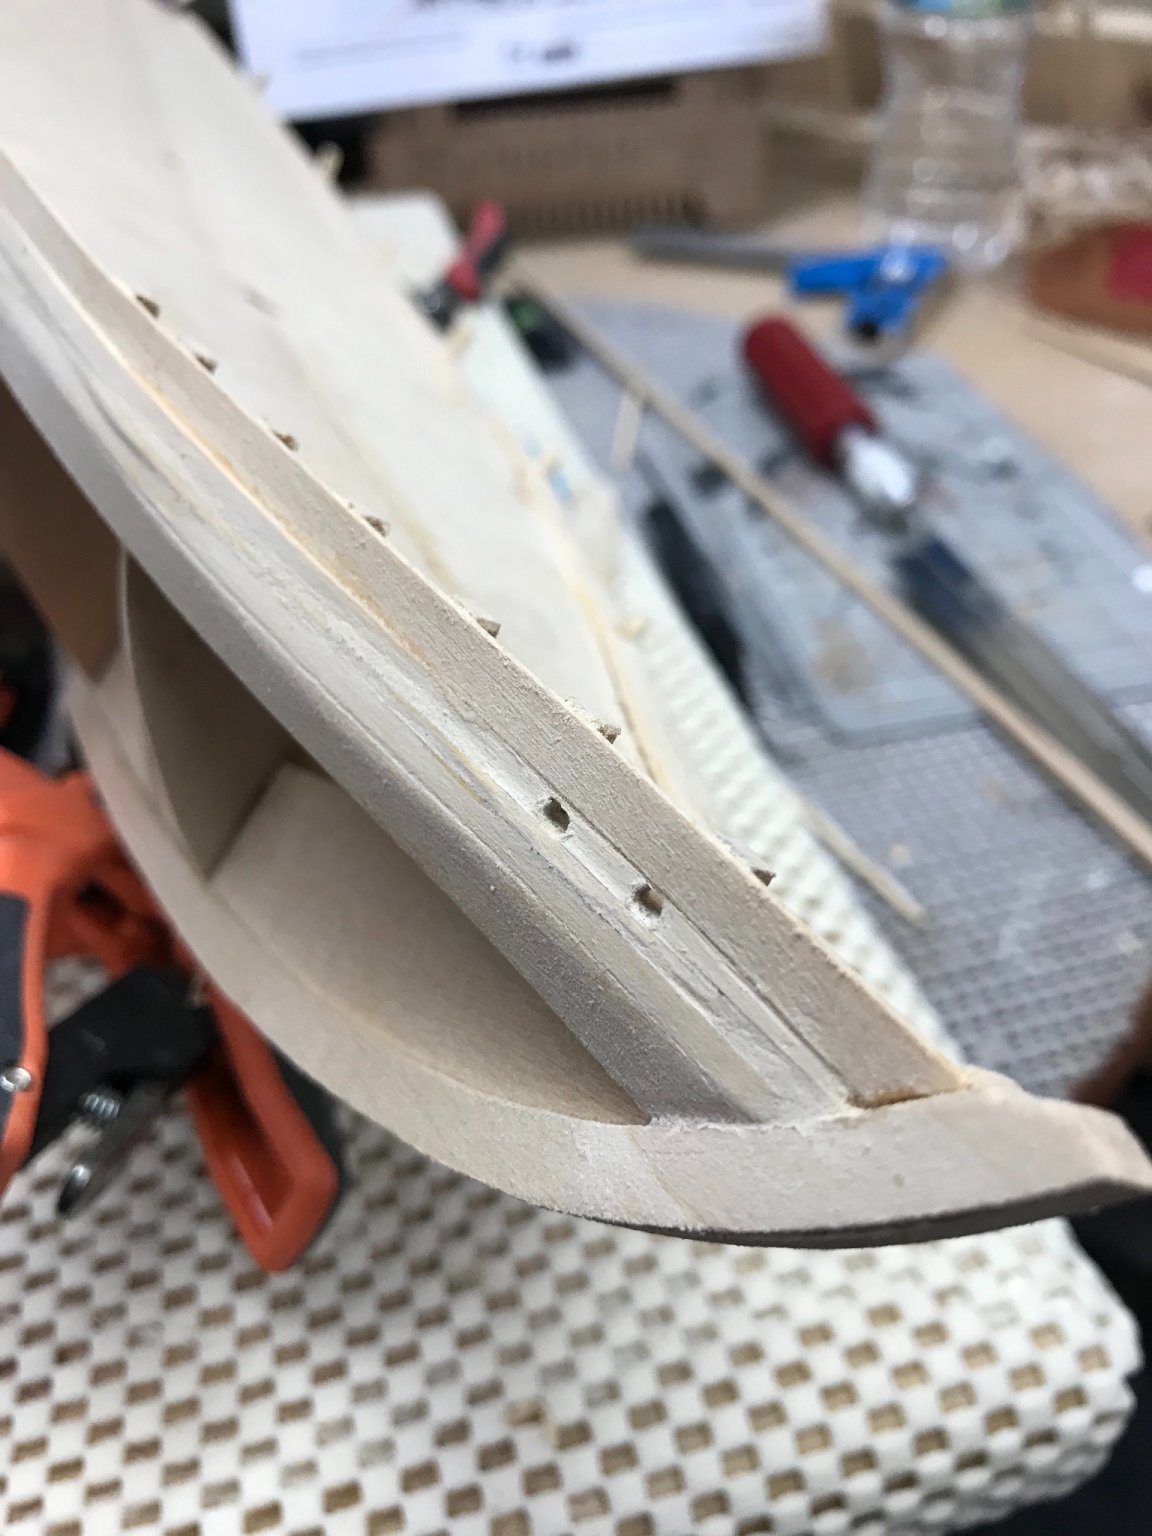
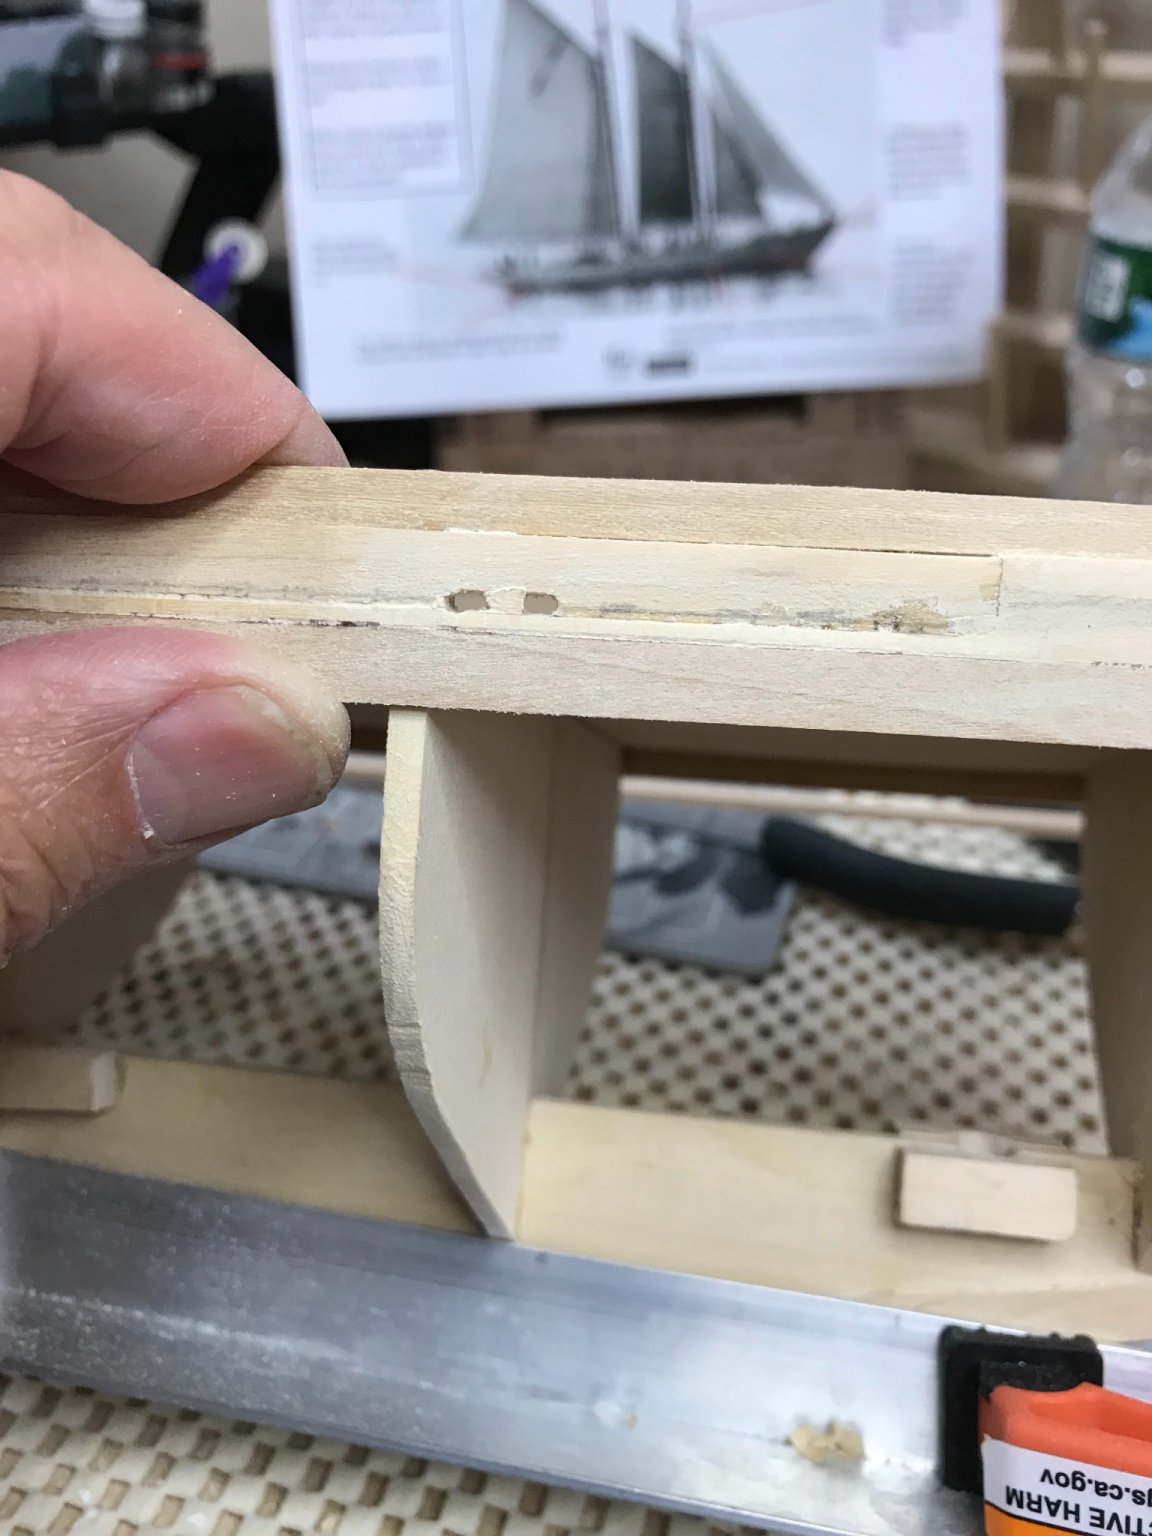
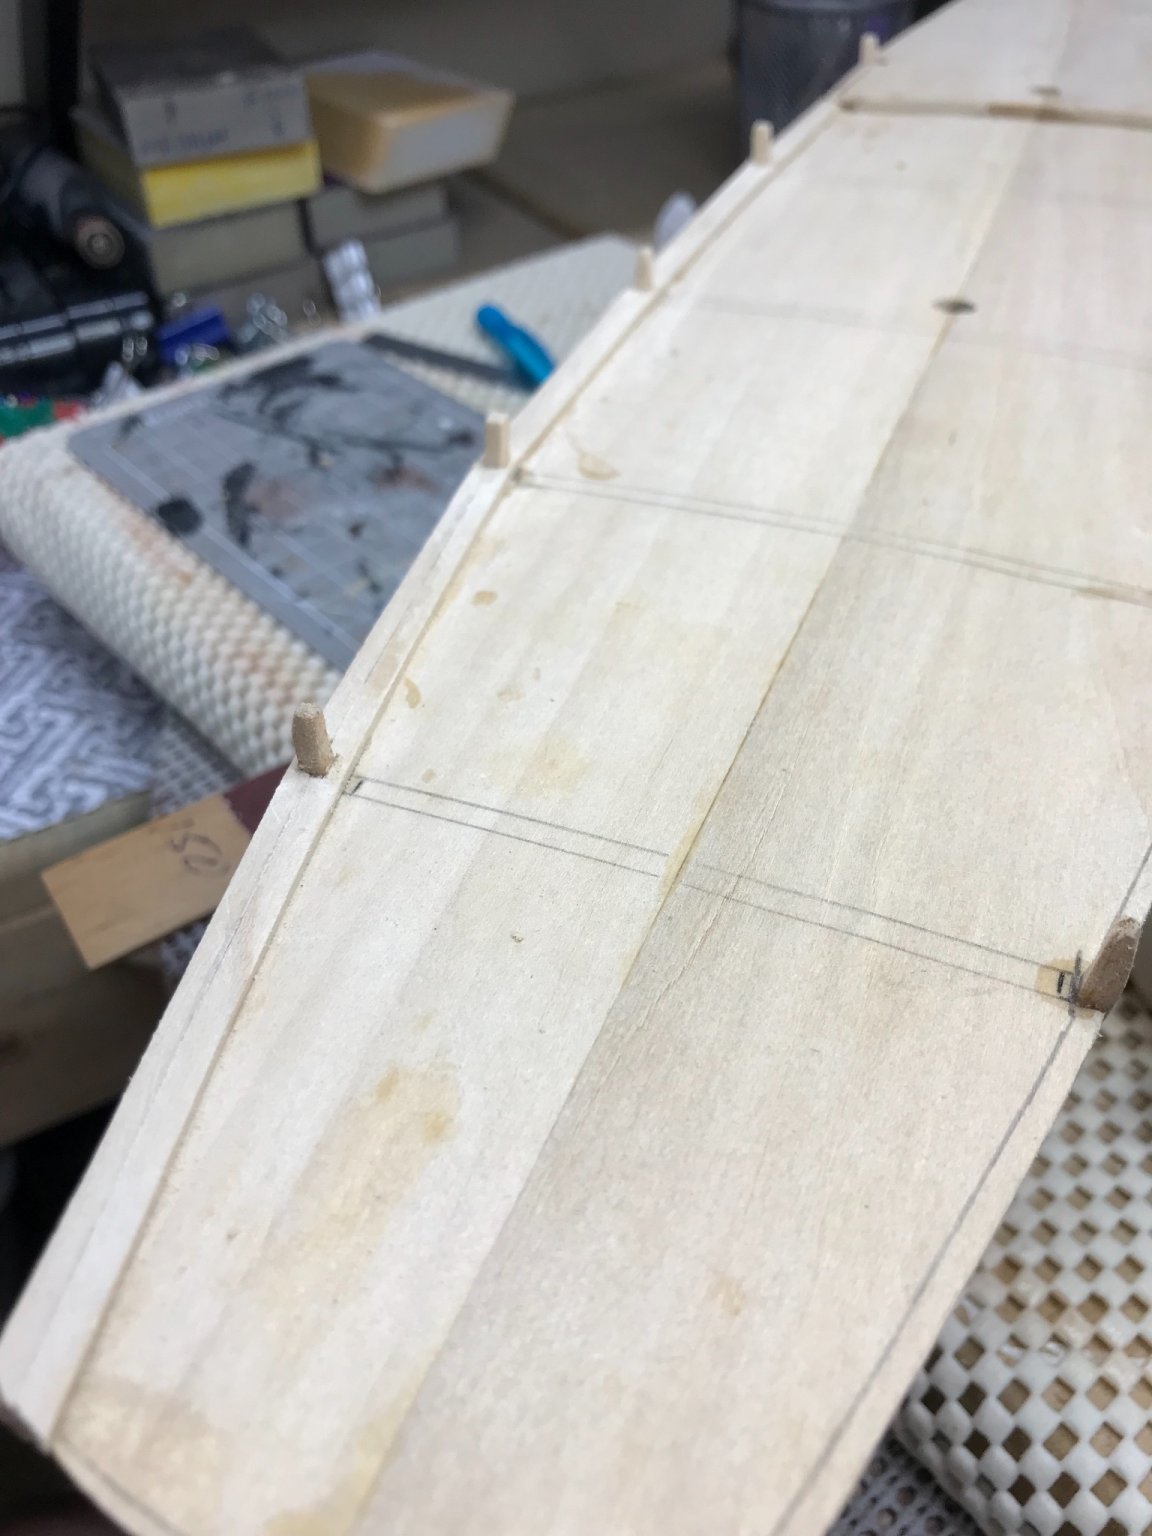
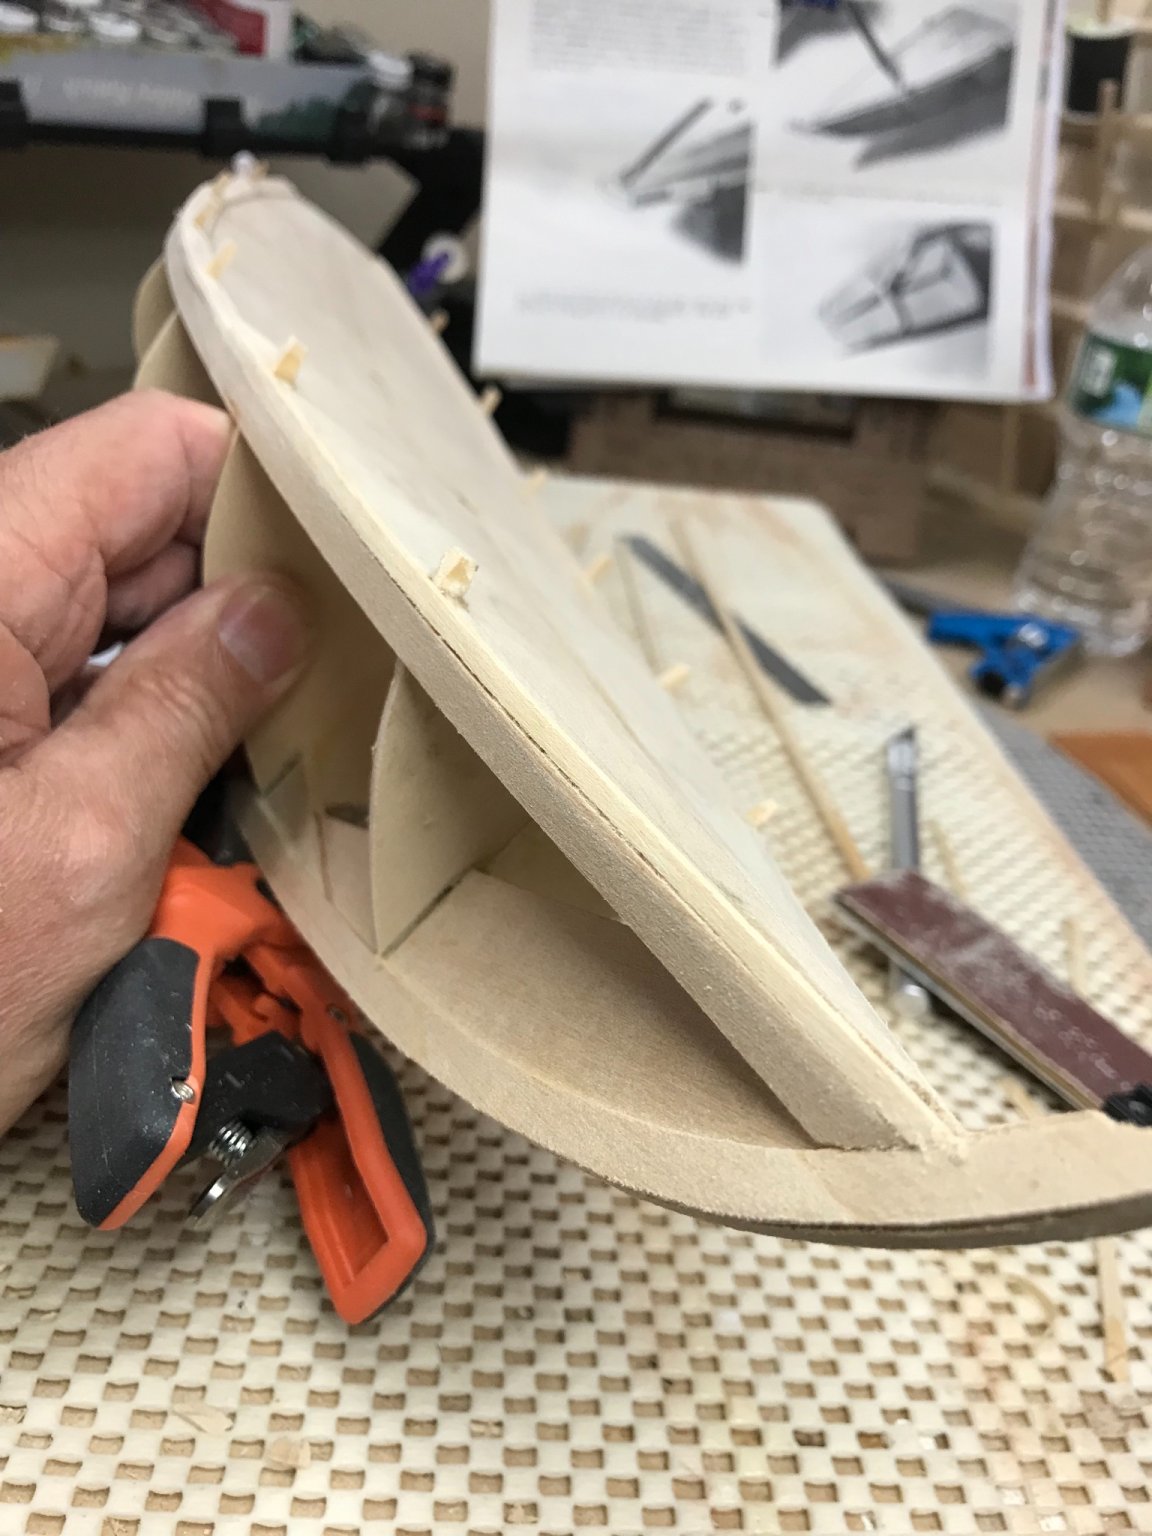
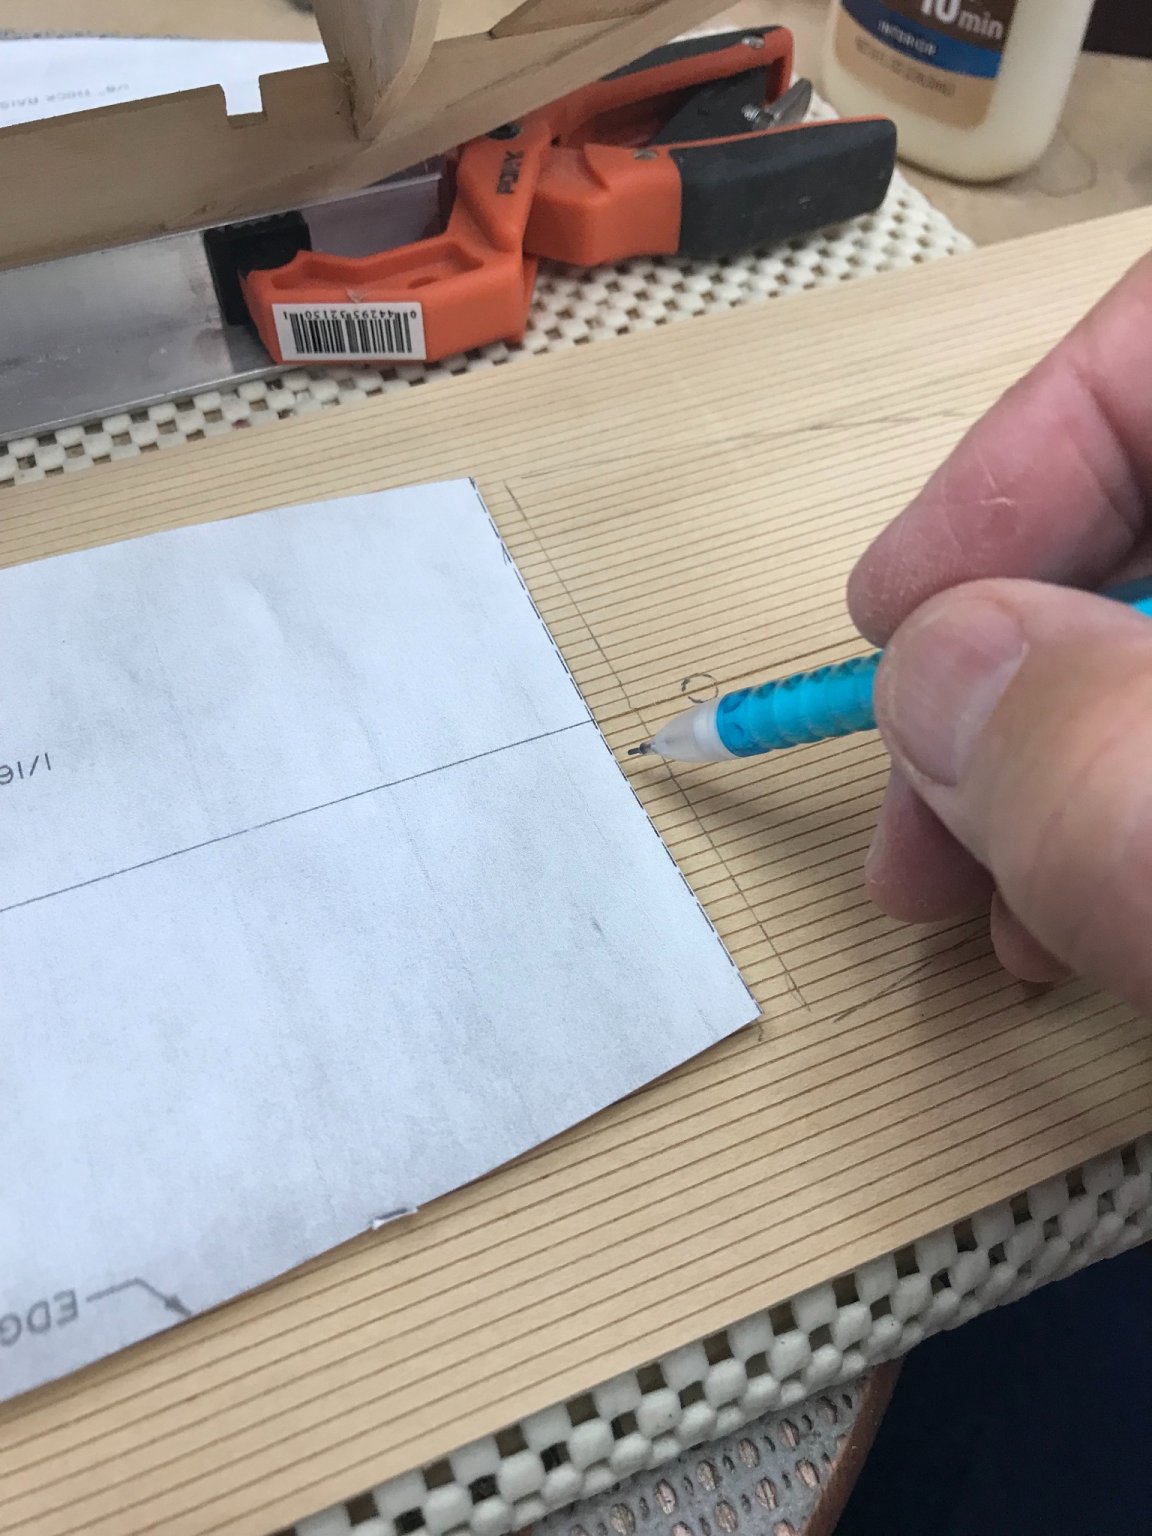
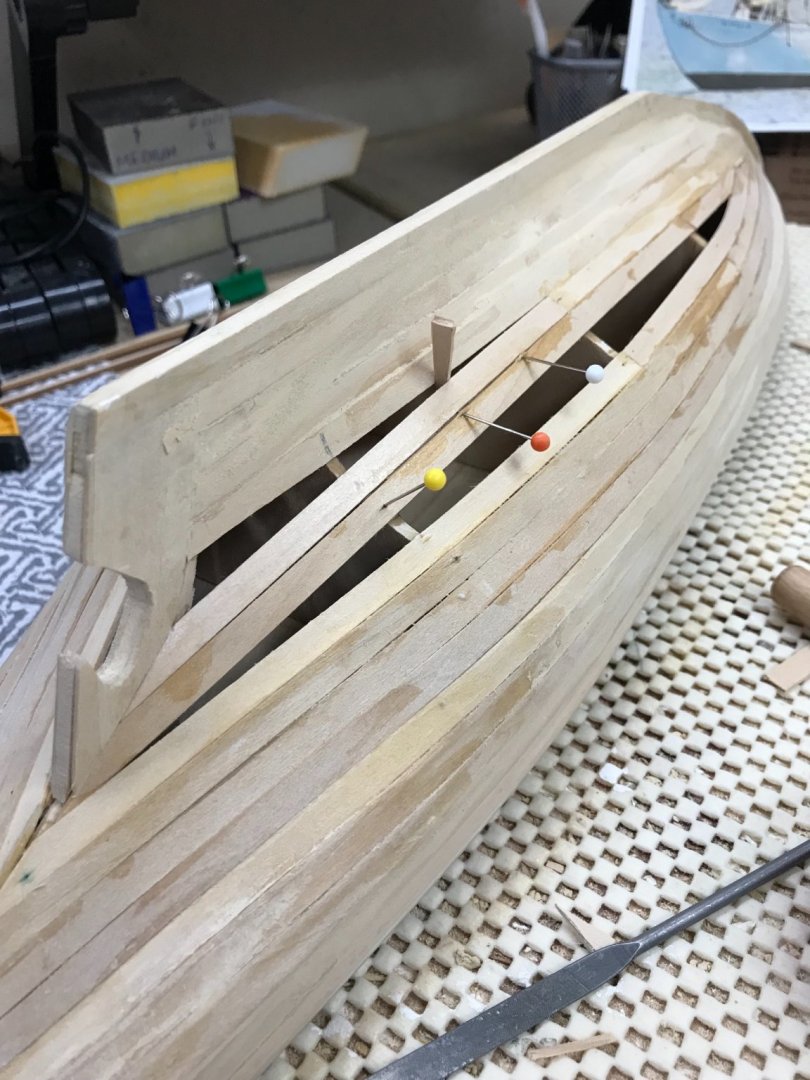
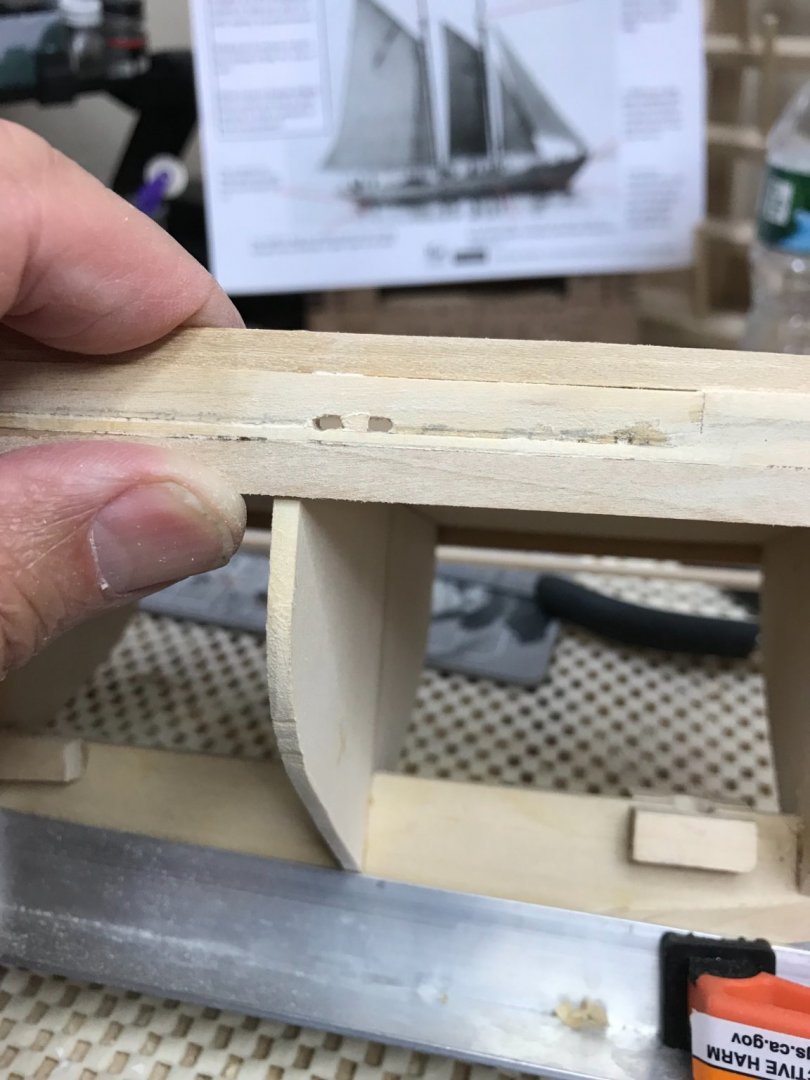
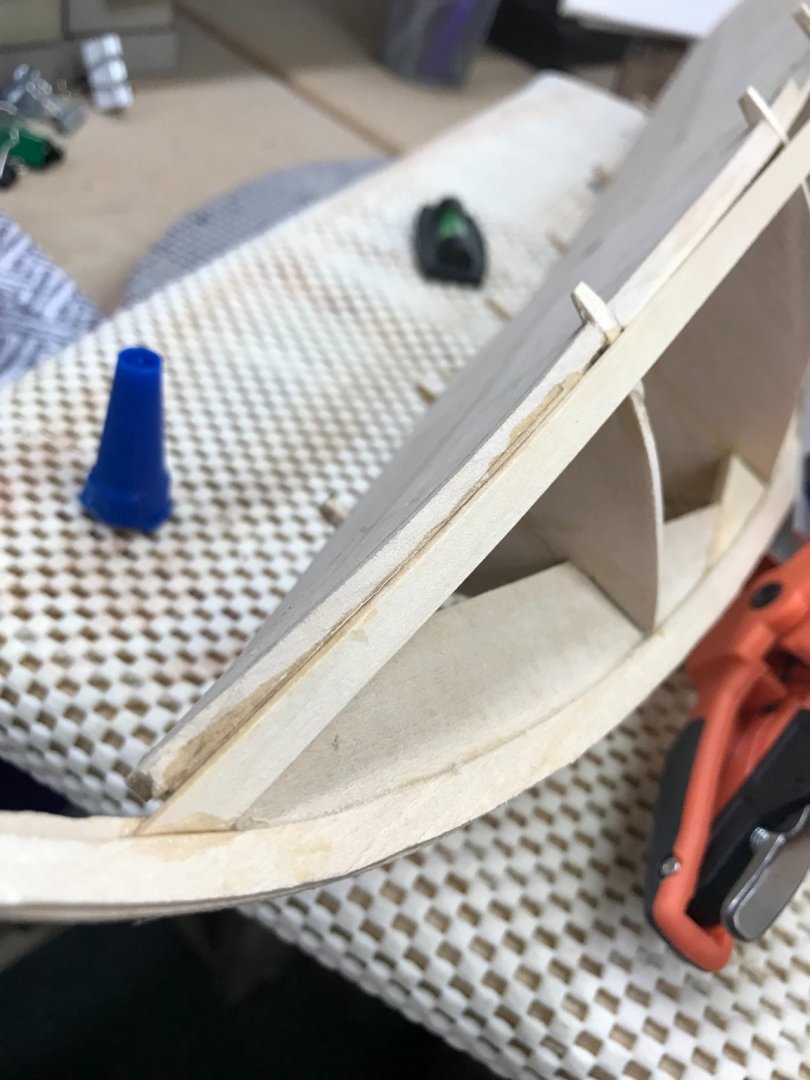
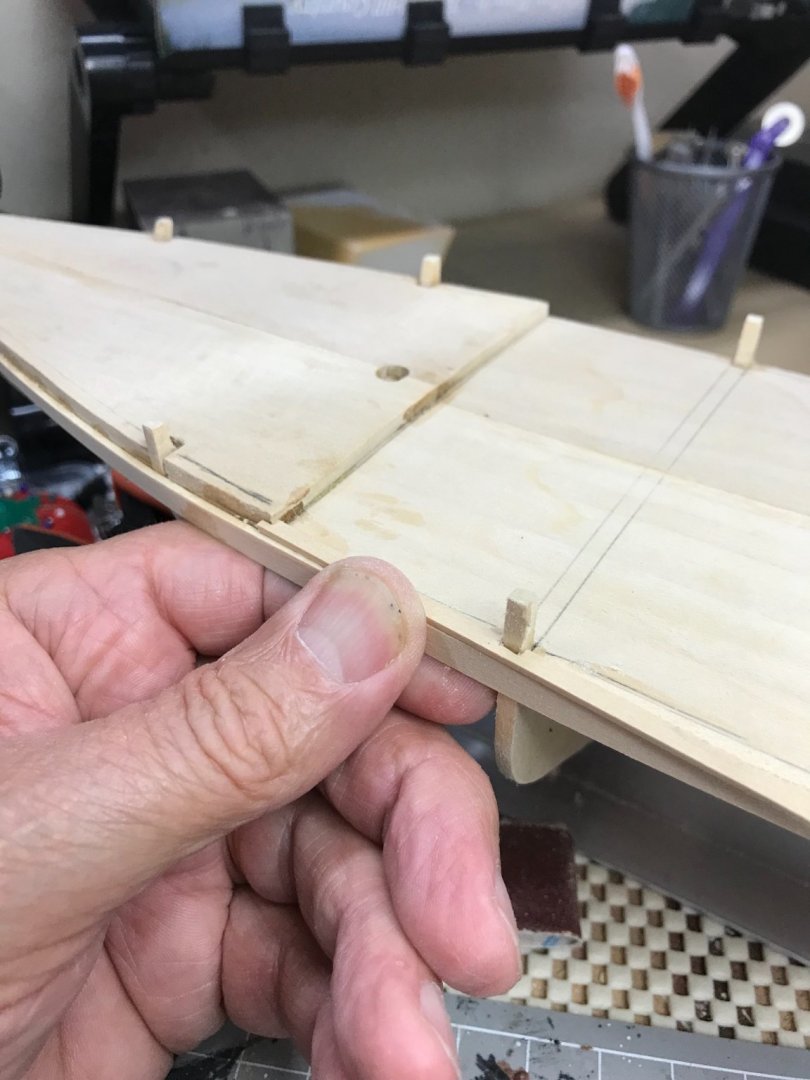
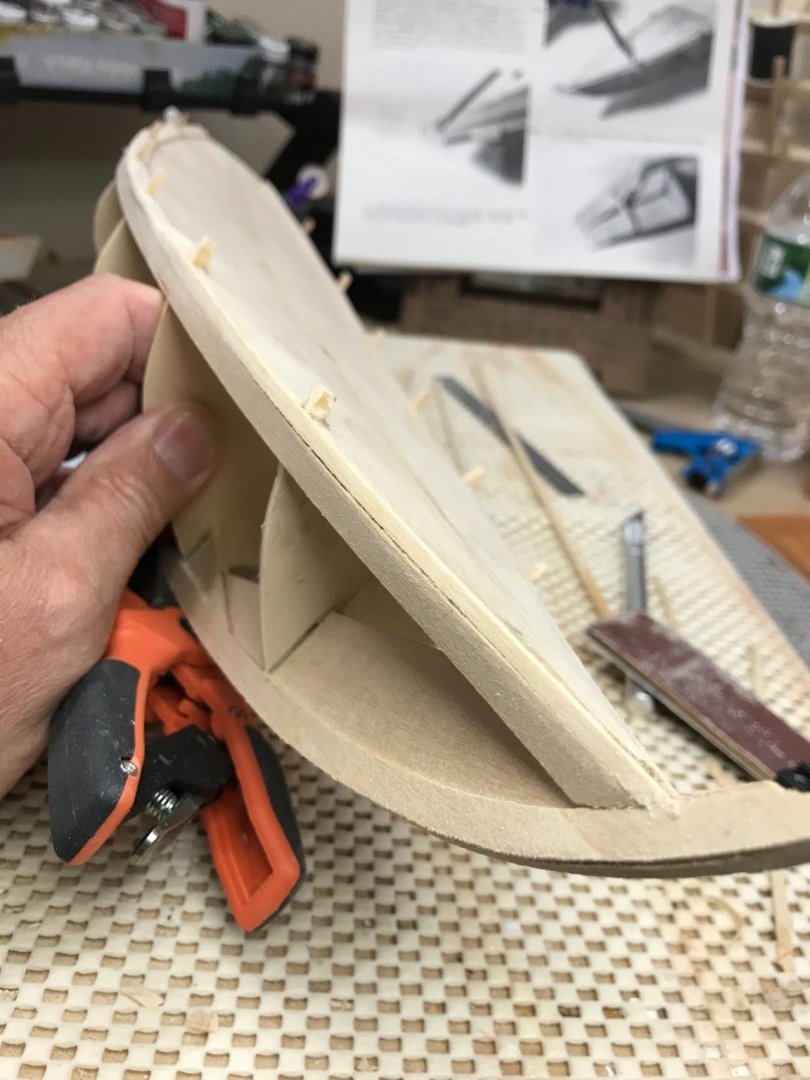
Waterways… After viewing photos of the Bowdoin Restoration, I noticed the Laughing Whale Bowdoin does not show the same waterways. I am building the waterways as follows. I am starting with first plank at the same level as the main sub deck. I notched 1/8” strips and placed them on the outside edge of the deck. I did the same on the inside… The fore sub deck is a step higher. Sanding and shaping as I go… Waterways completed. View from the stern… Trimmed up deck templates to fit new waterways. I will use the new template to shape the decking to fit inside the waterways. Later 🍻


- 127 replies
-
- 2
-
-
- Bowdoin
- Arctic Exploration
- (and 3 more)
-
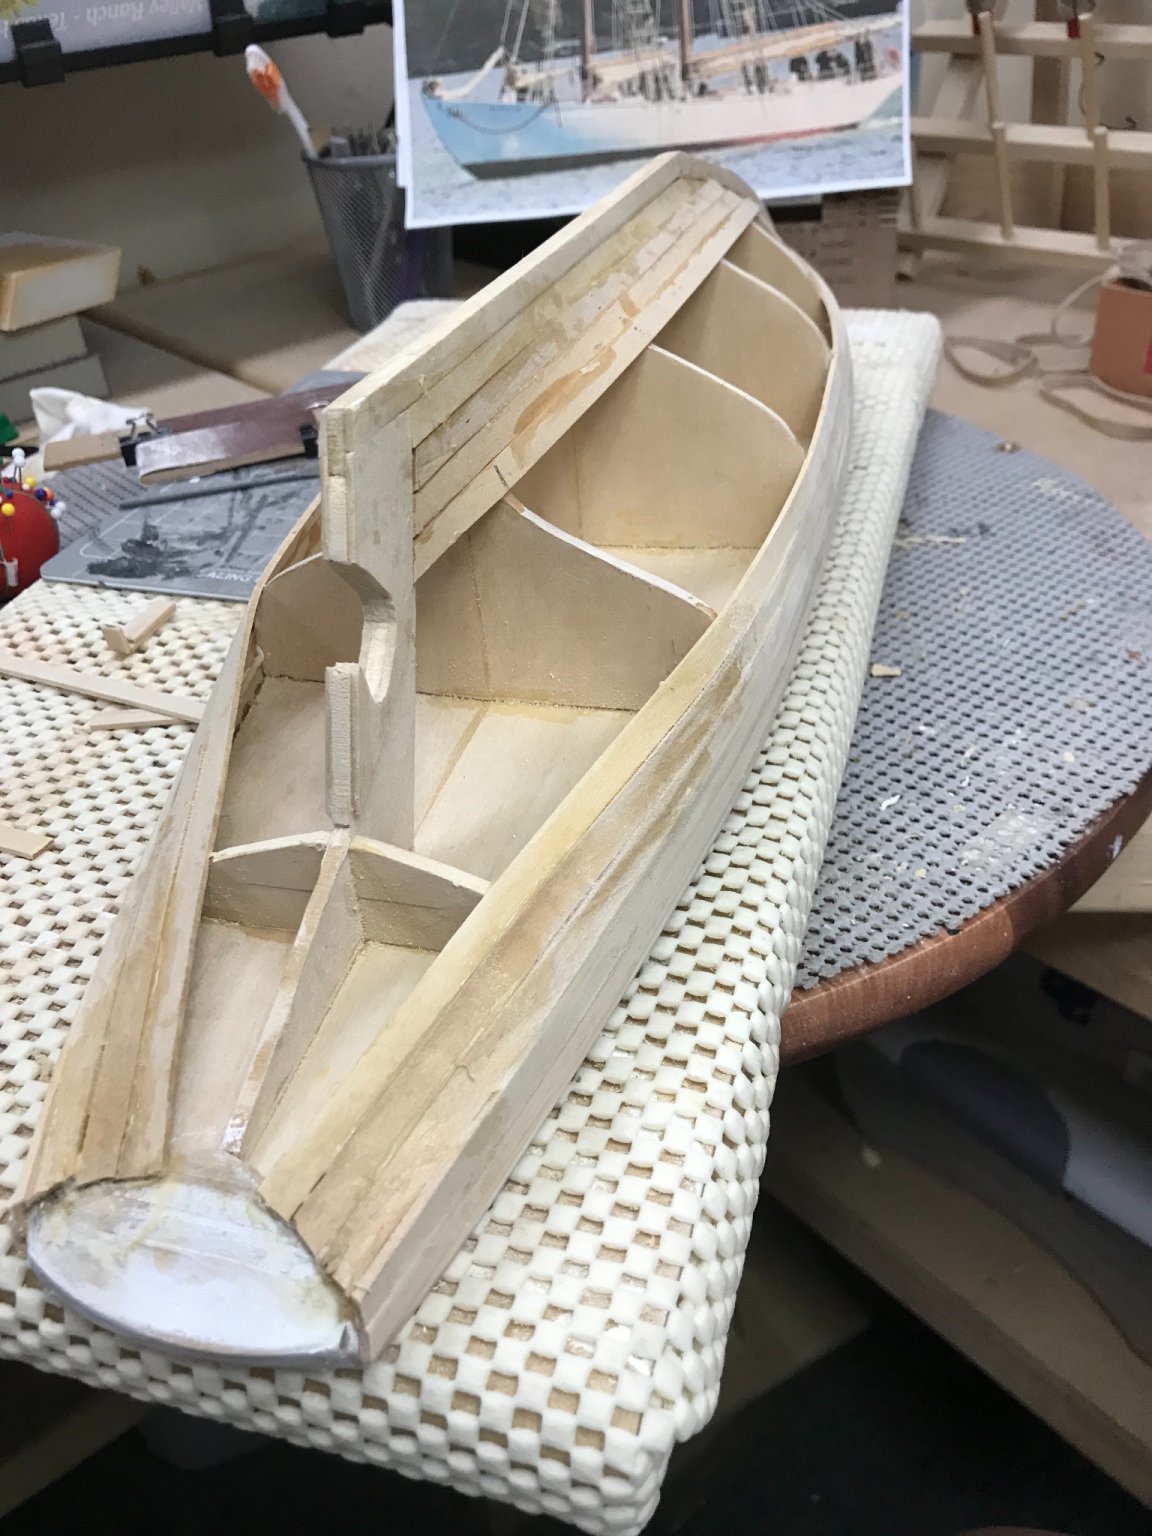
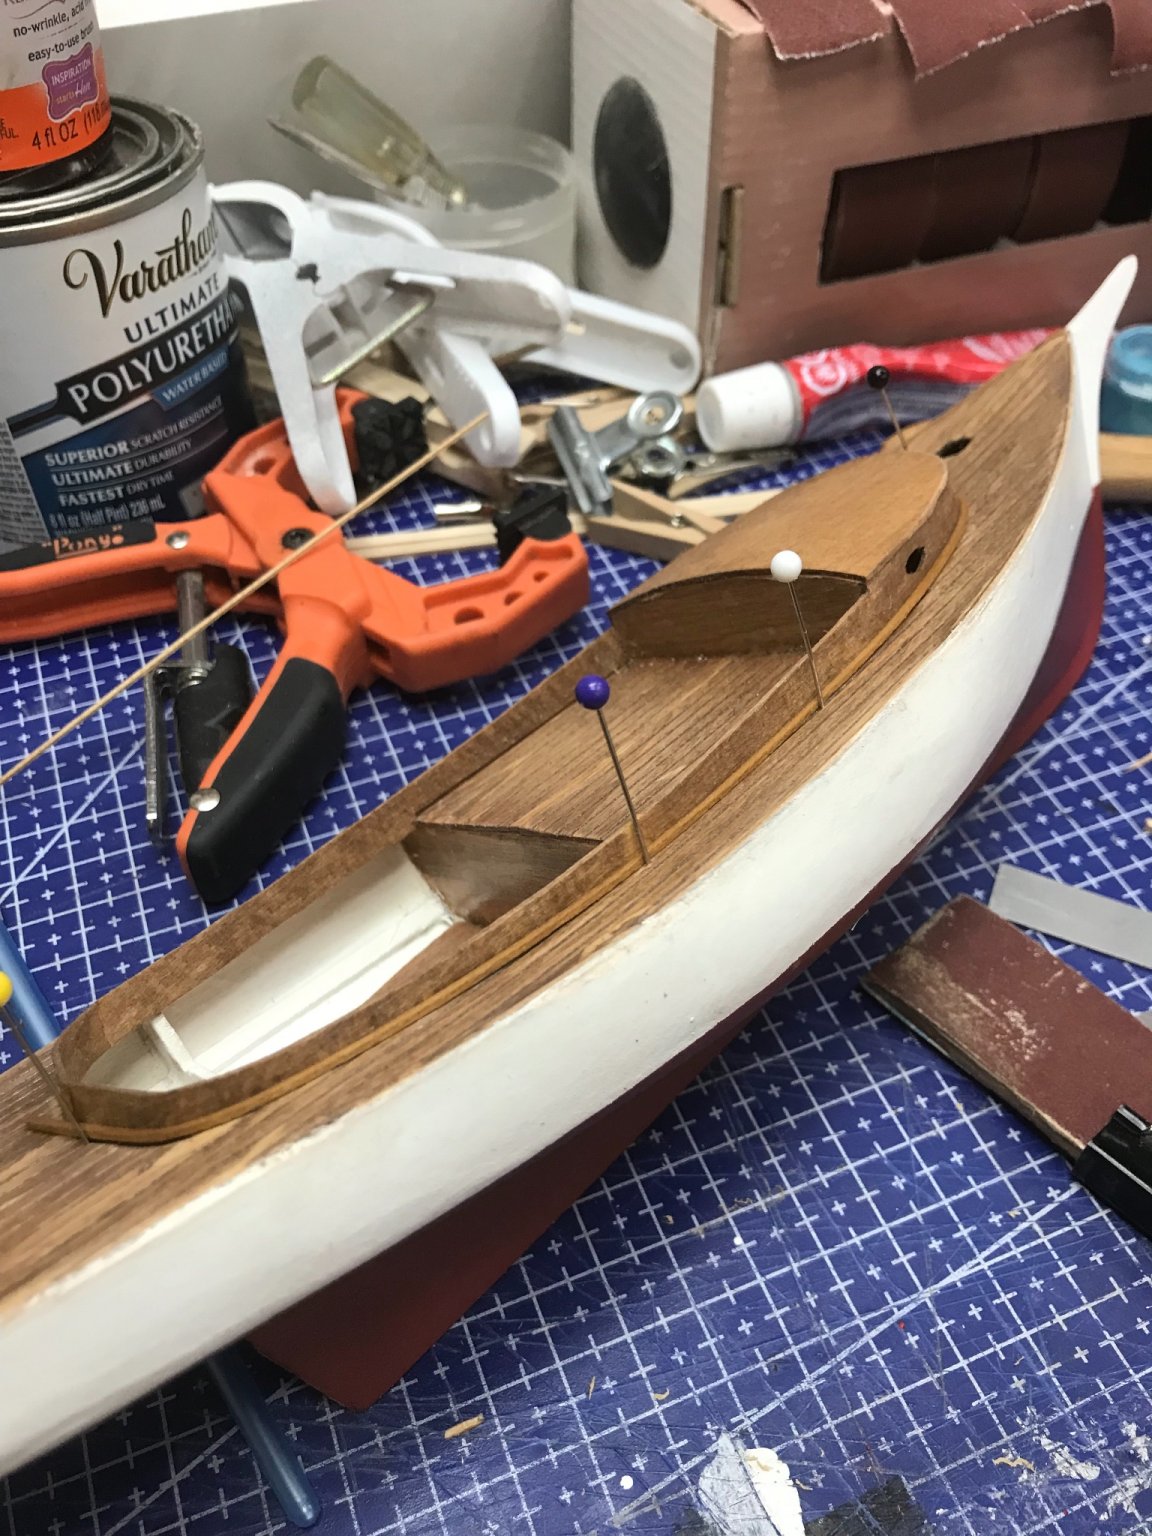
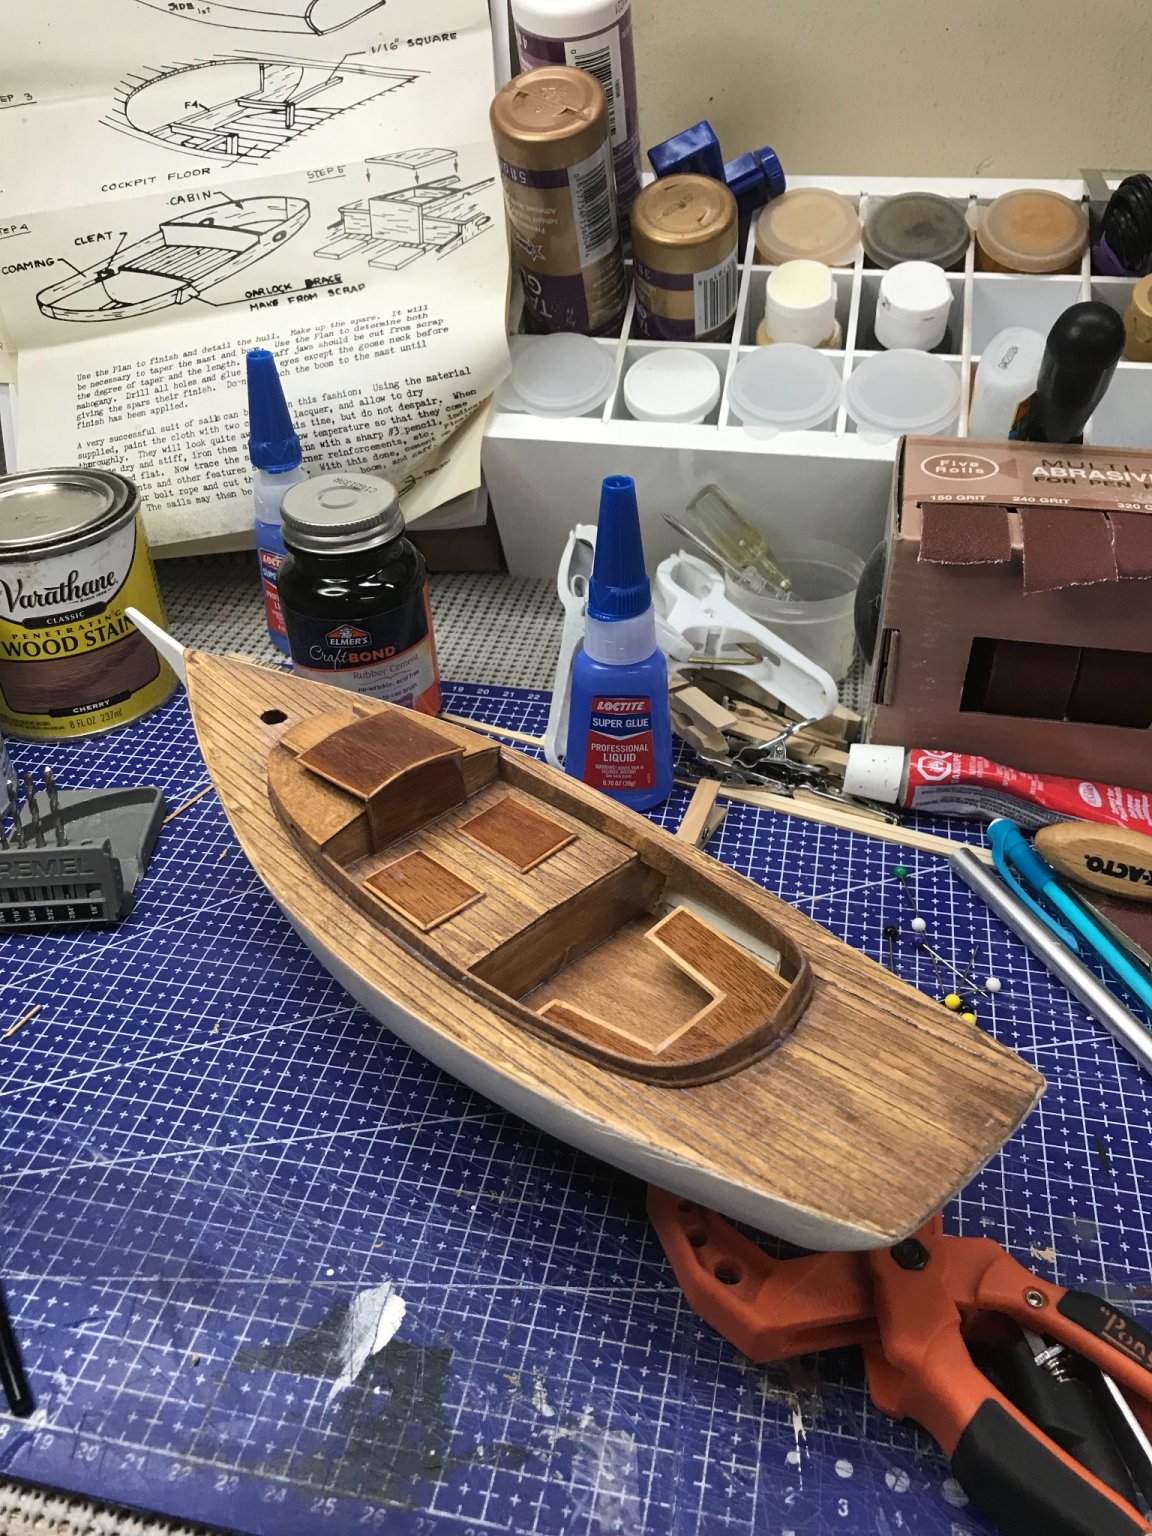
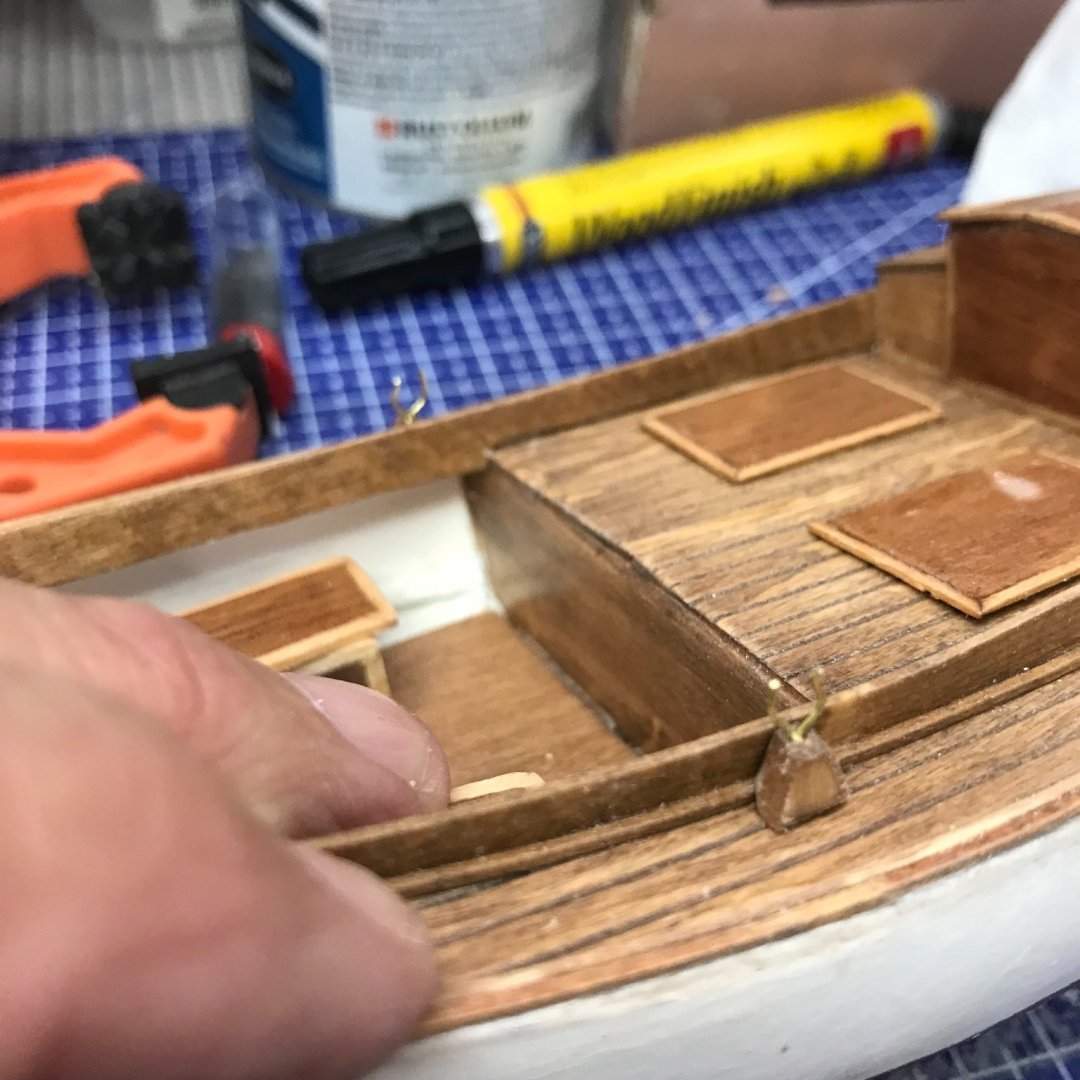
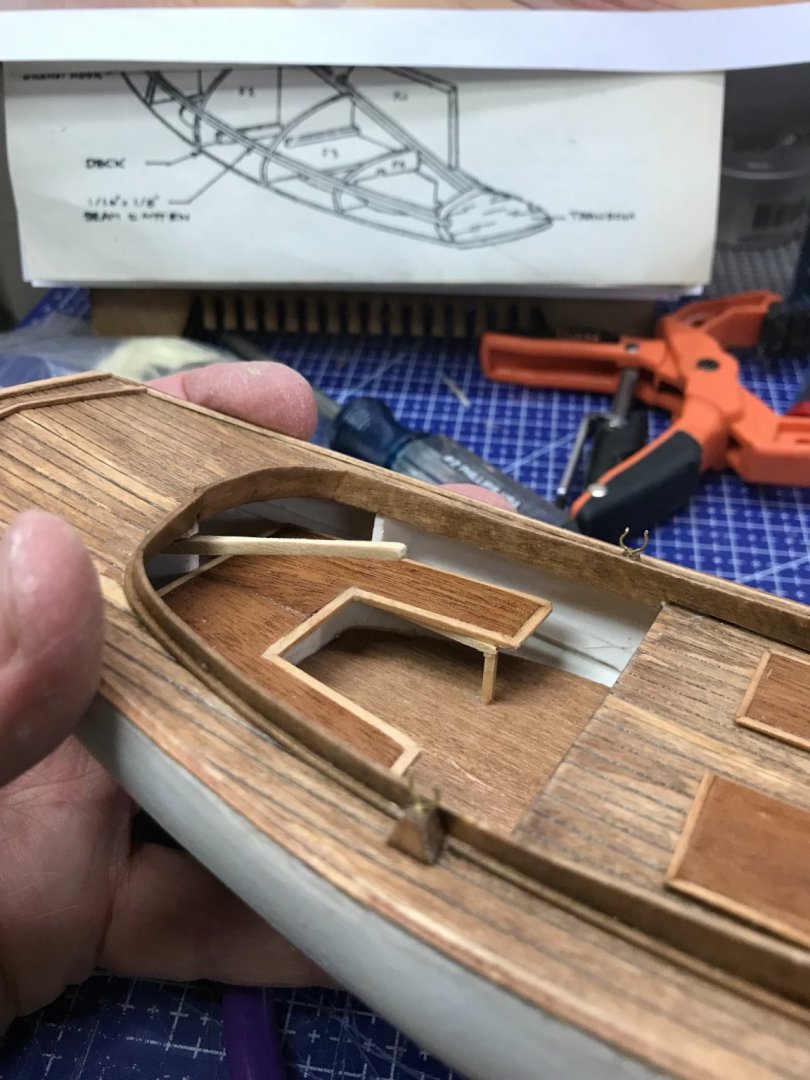
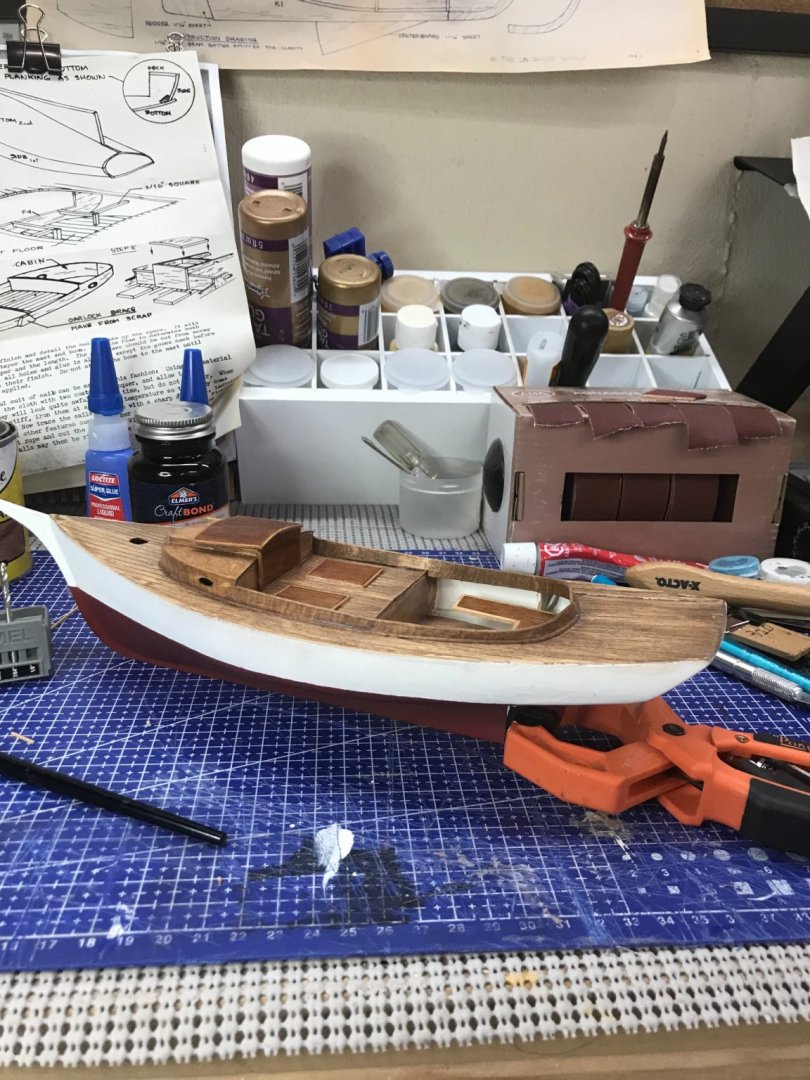
Cabin continued… Once I glued the Cabin Coaming and roof into place, I placed 1/32” trim at the base of the Cabin on the deck. Added the Cabin Hatch, Live Well Covers and Seating. She is starting to come together. Another day. Cheers 🍻

- 26 replies
-
- 4
-
-
- Maine
- Laughing Whale
- (and 2 more)
-
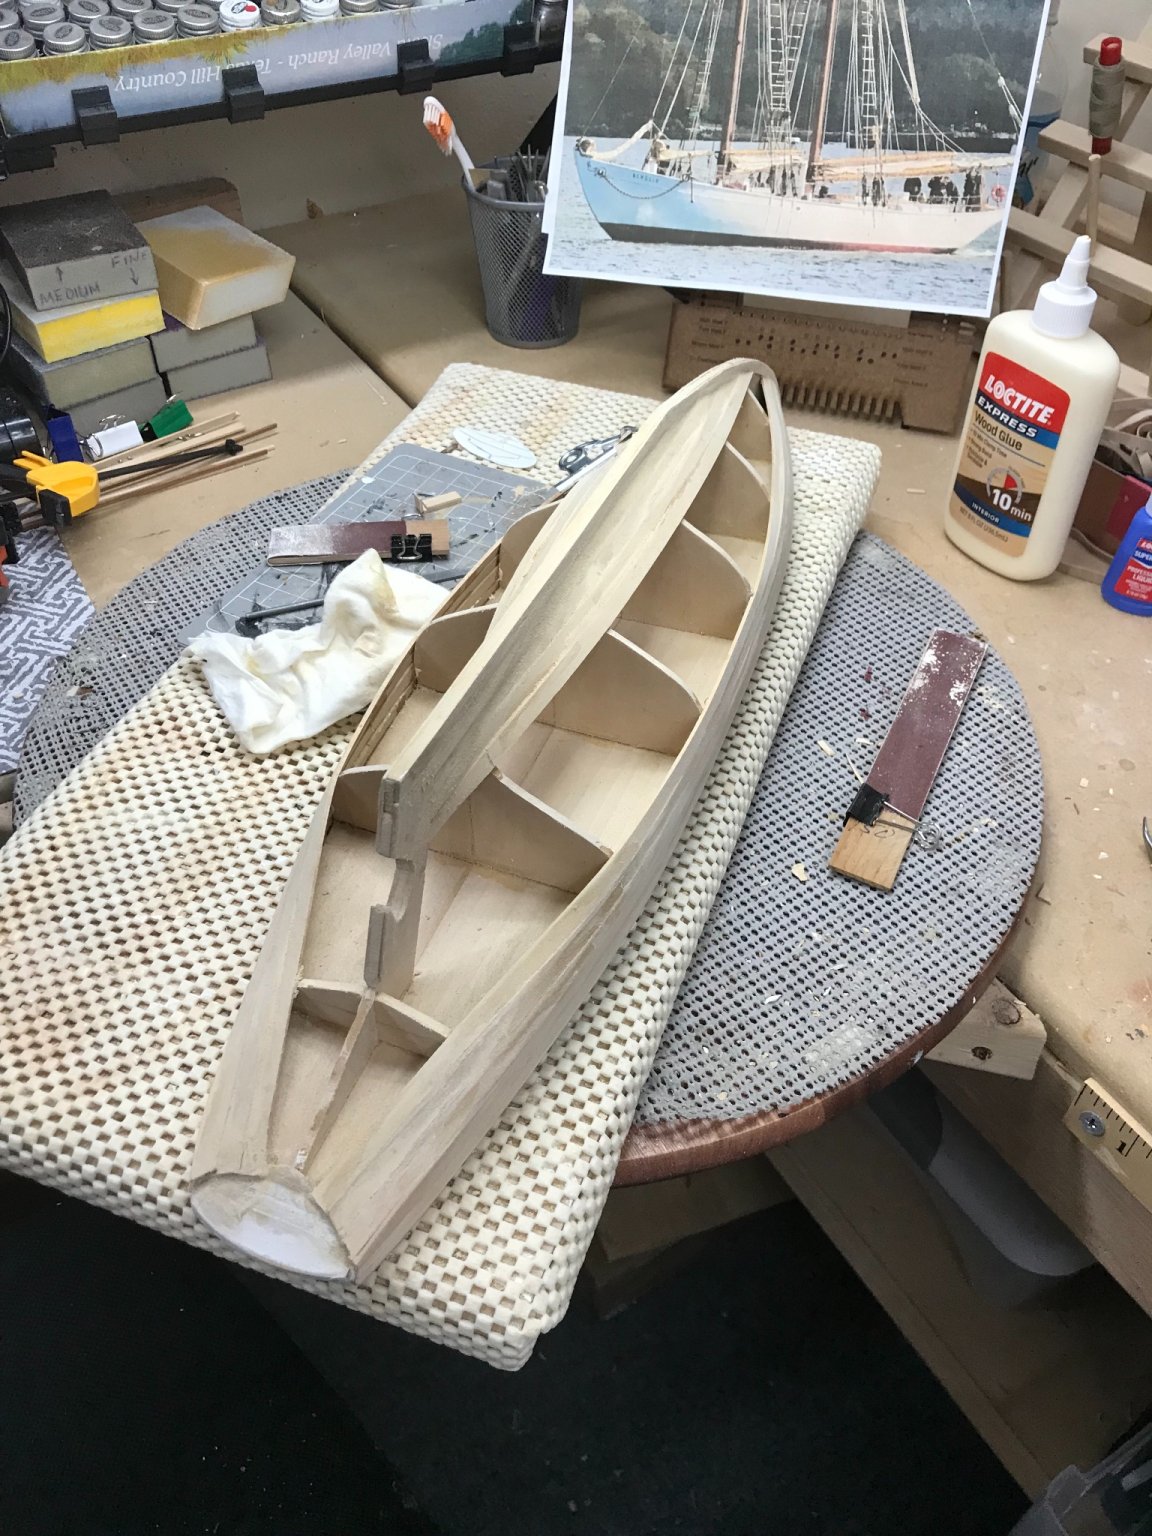
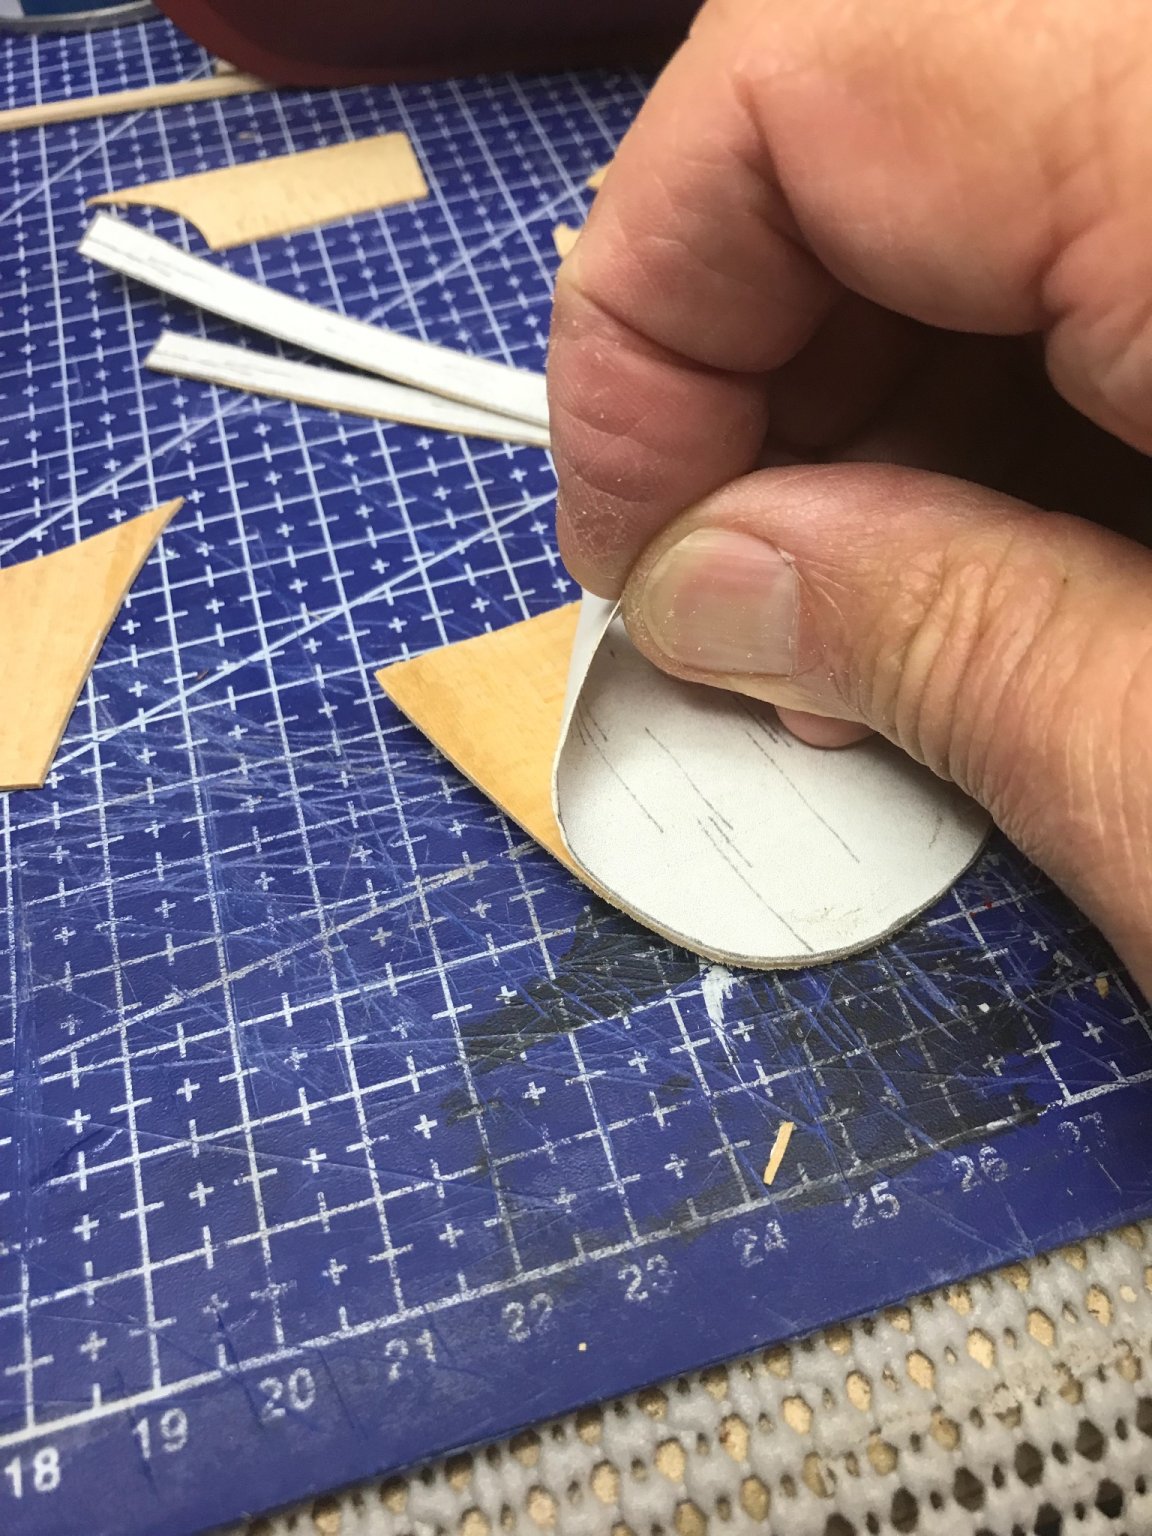
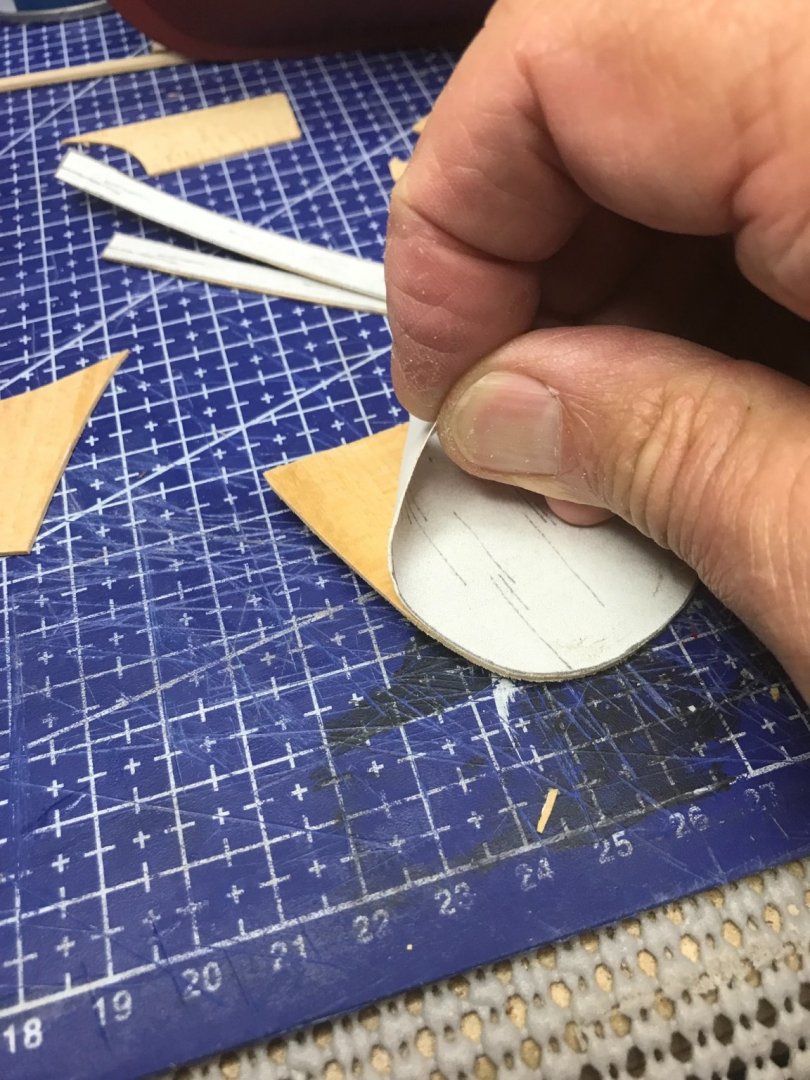
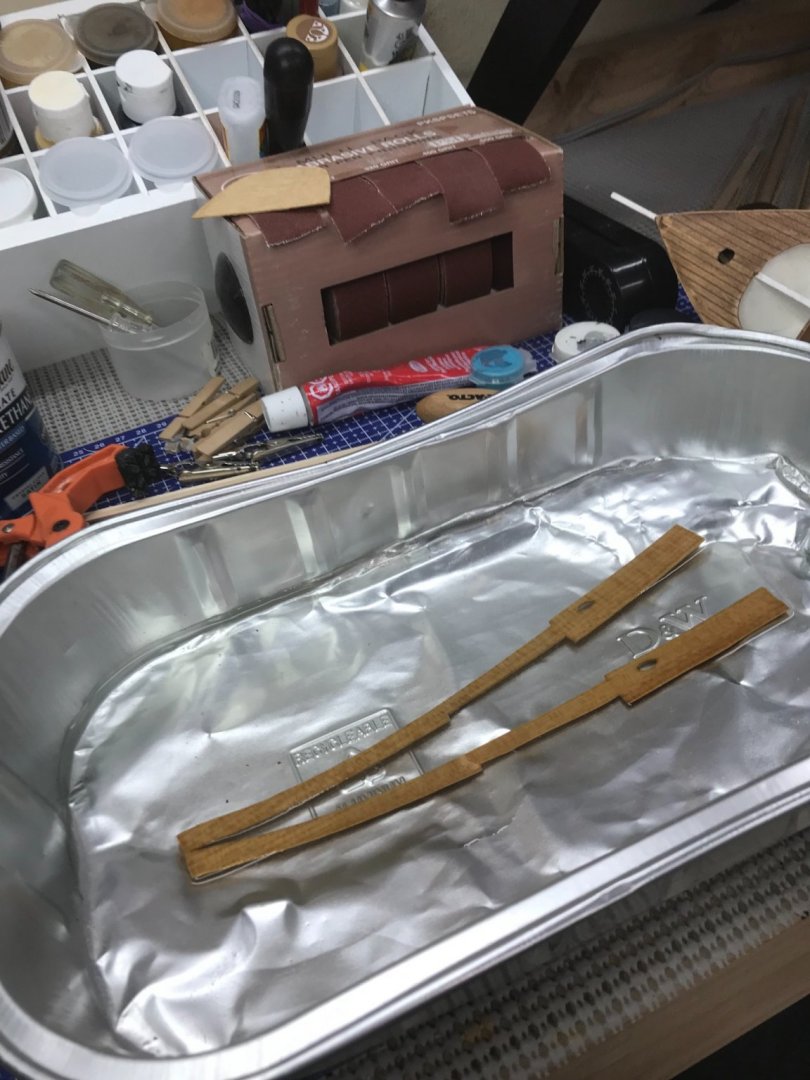
Cabin Coaming and roof… Photo copied sections of plan drawing to creat templates to cut out cabin coaming and roof from 1/32” material as stated on the drawing. Used rubber cement to to attach templates to 1/32” Bass Wood. Carefully cut out the Coaming and Cabin Roof. Peeling off the templates… Soaking the Coaming in Ammonia/Water, as it will need to wrap the cabin. Shaped both sides of the Coaming and it’s in place with various clamps until it dries. I will be back… 🍻


- 26 replies
-
- 2
-
-
- Maine
- Laughing Whale
- (and 2 more)
-
Thanks Bob… I think I’m starting get the hang of it. These vintage kits do force skill development. 😆 Lots of scratch building with little if any instruction. Thank goodness I have MSW Build logs to reference. 🙏 I appreciate your comments along the way. Thanks again for your encouragement.
- 127 replies
-
- 1
-
-
- Bowdoin
- Arctic Exploration
- (and 3 more)
-
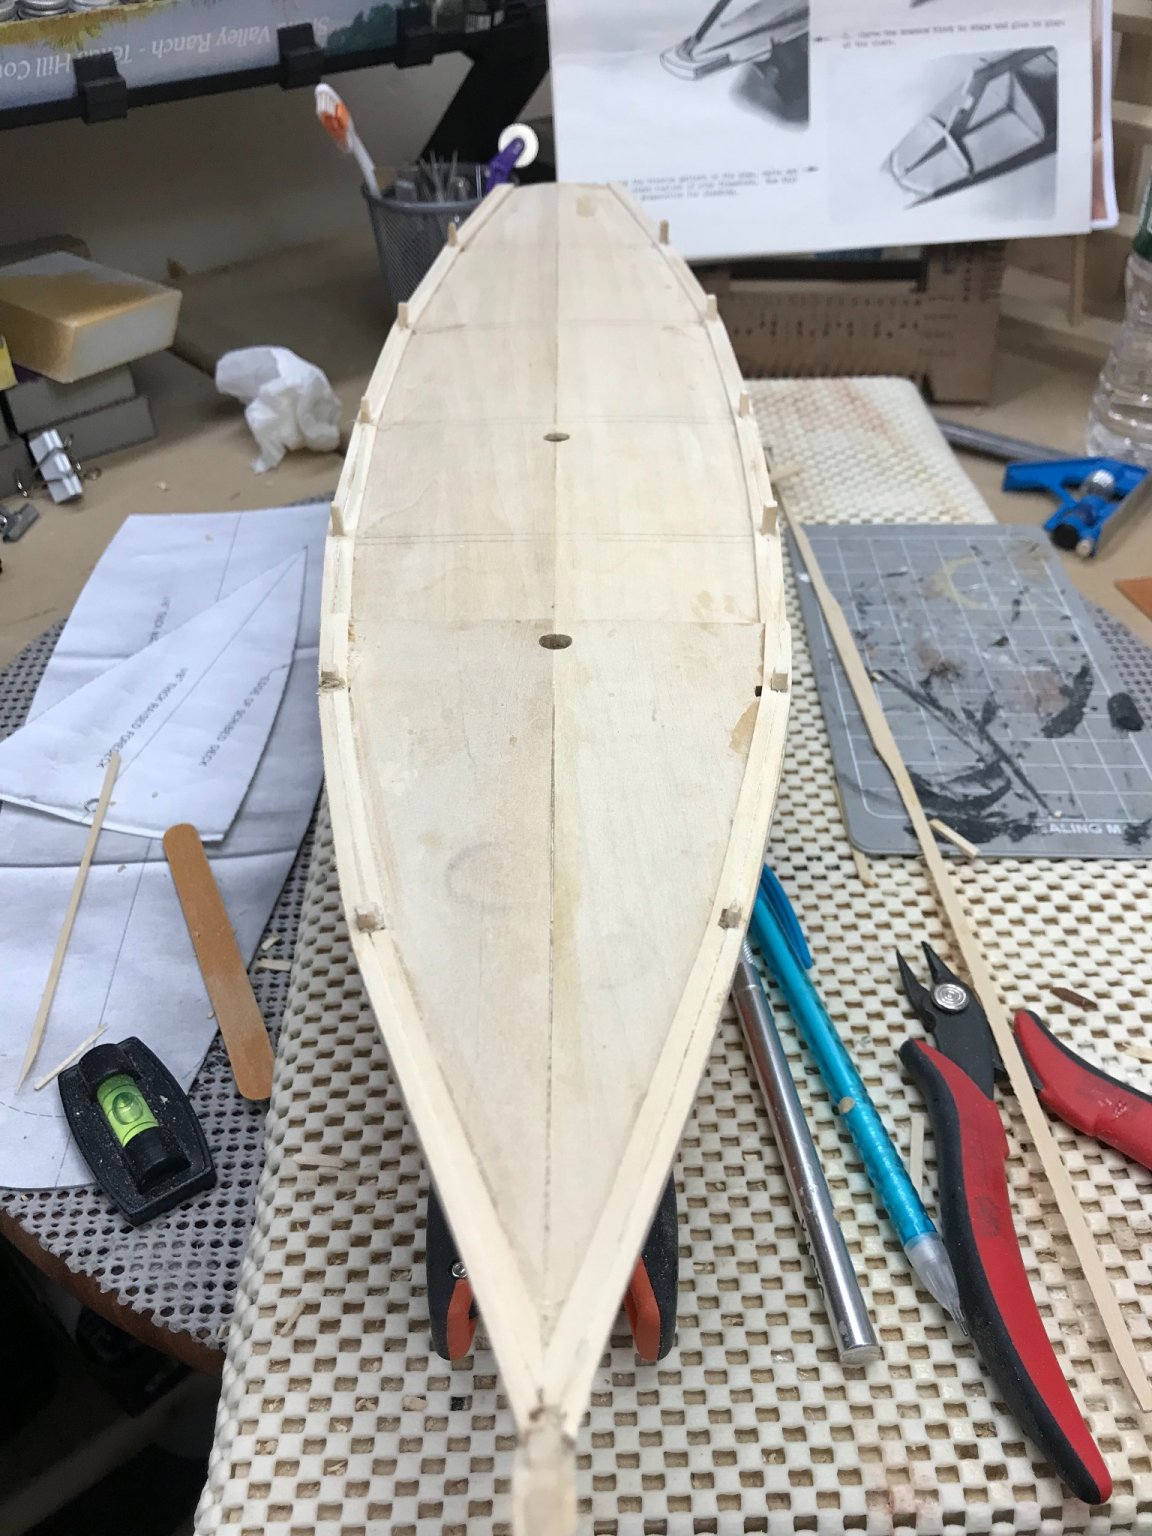
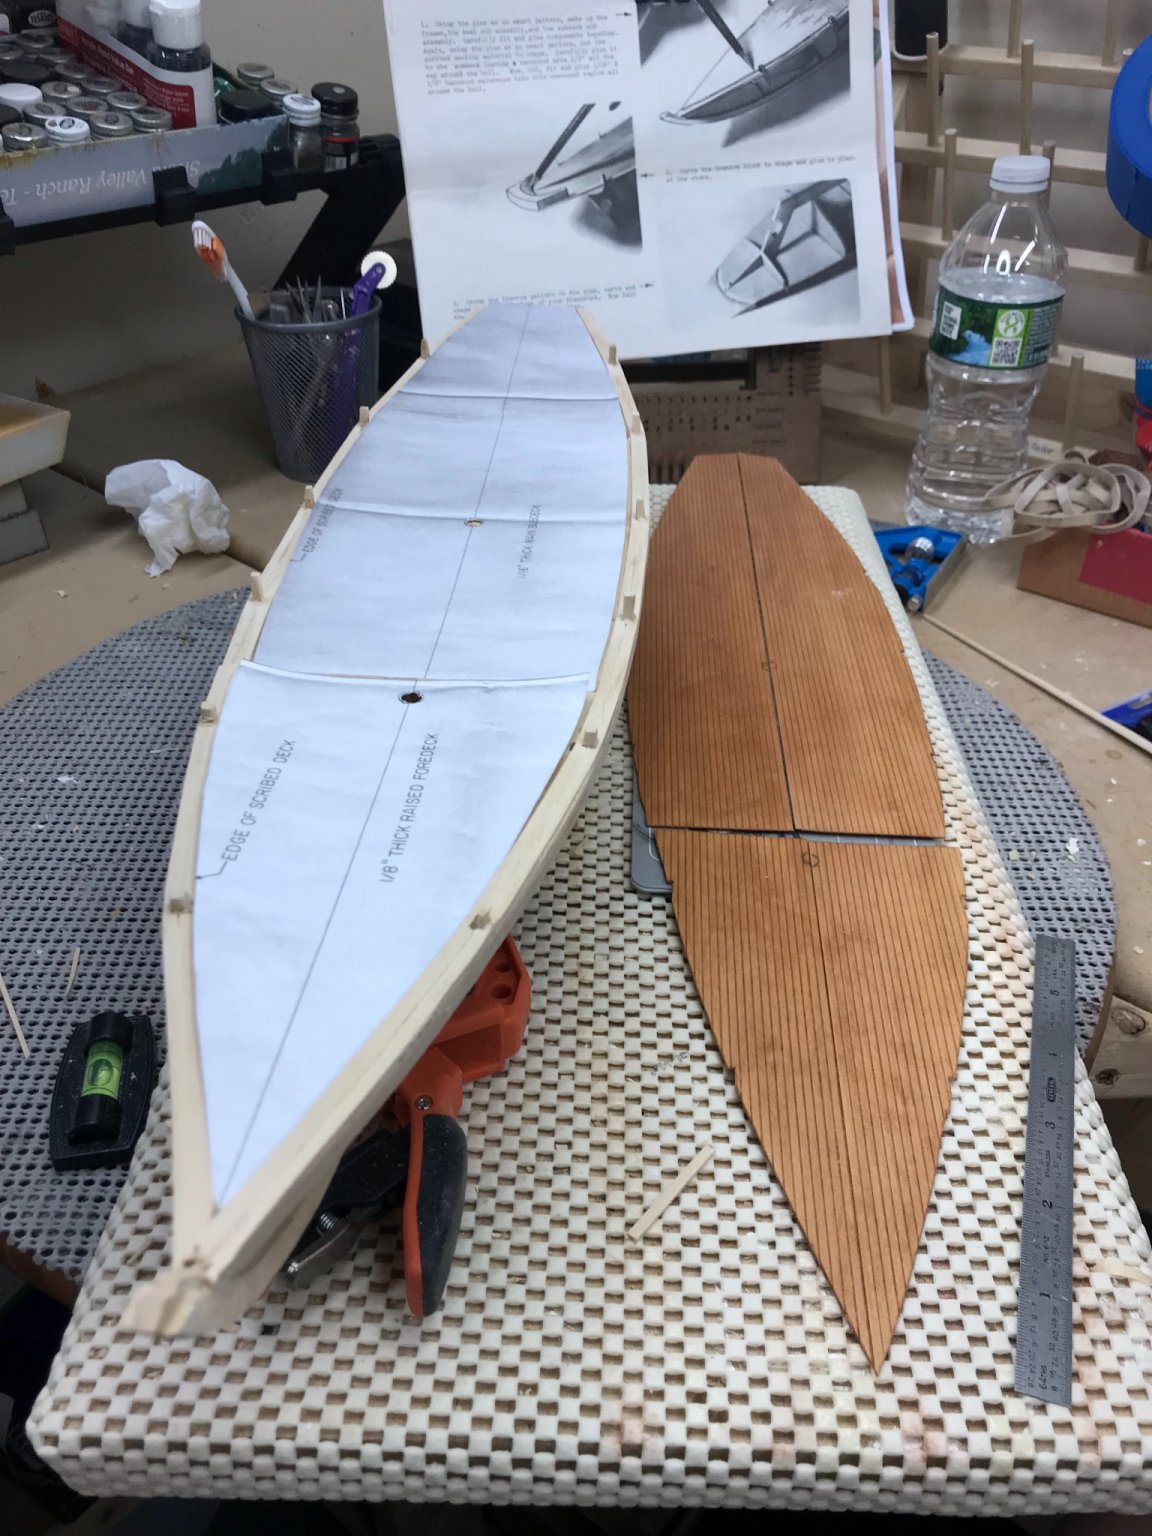
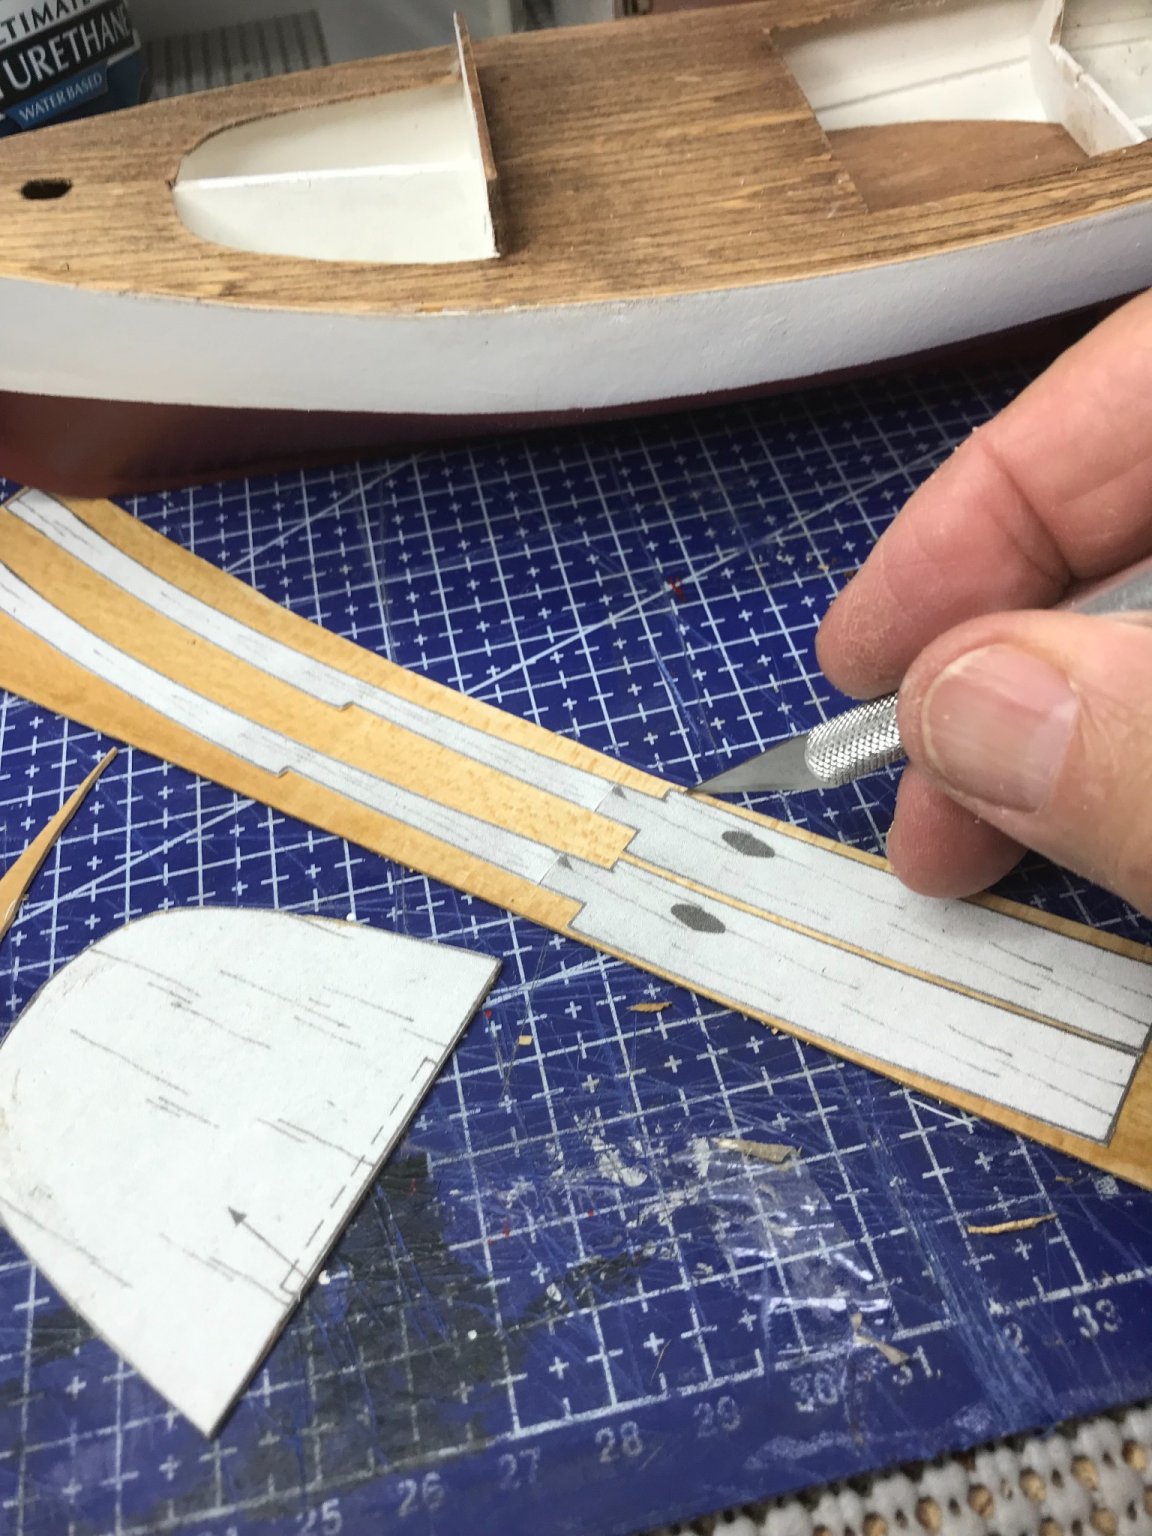
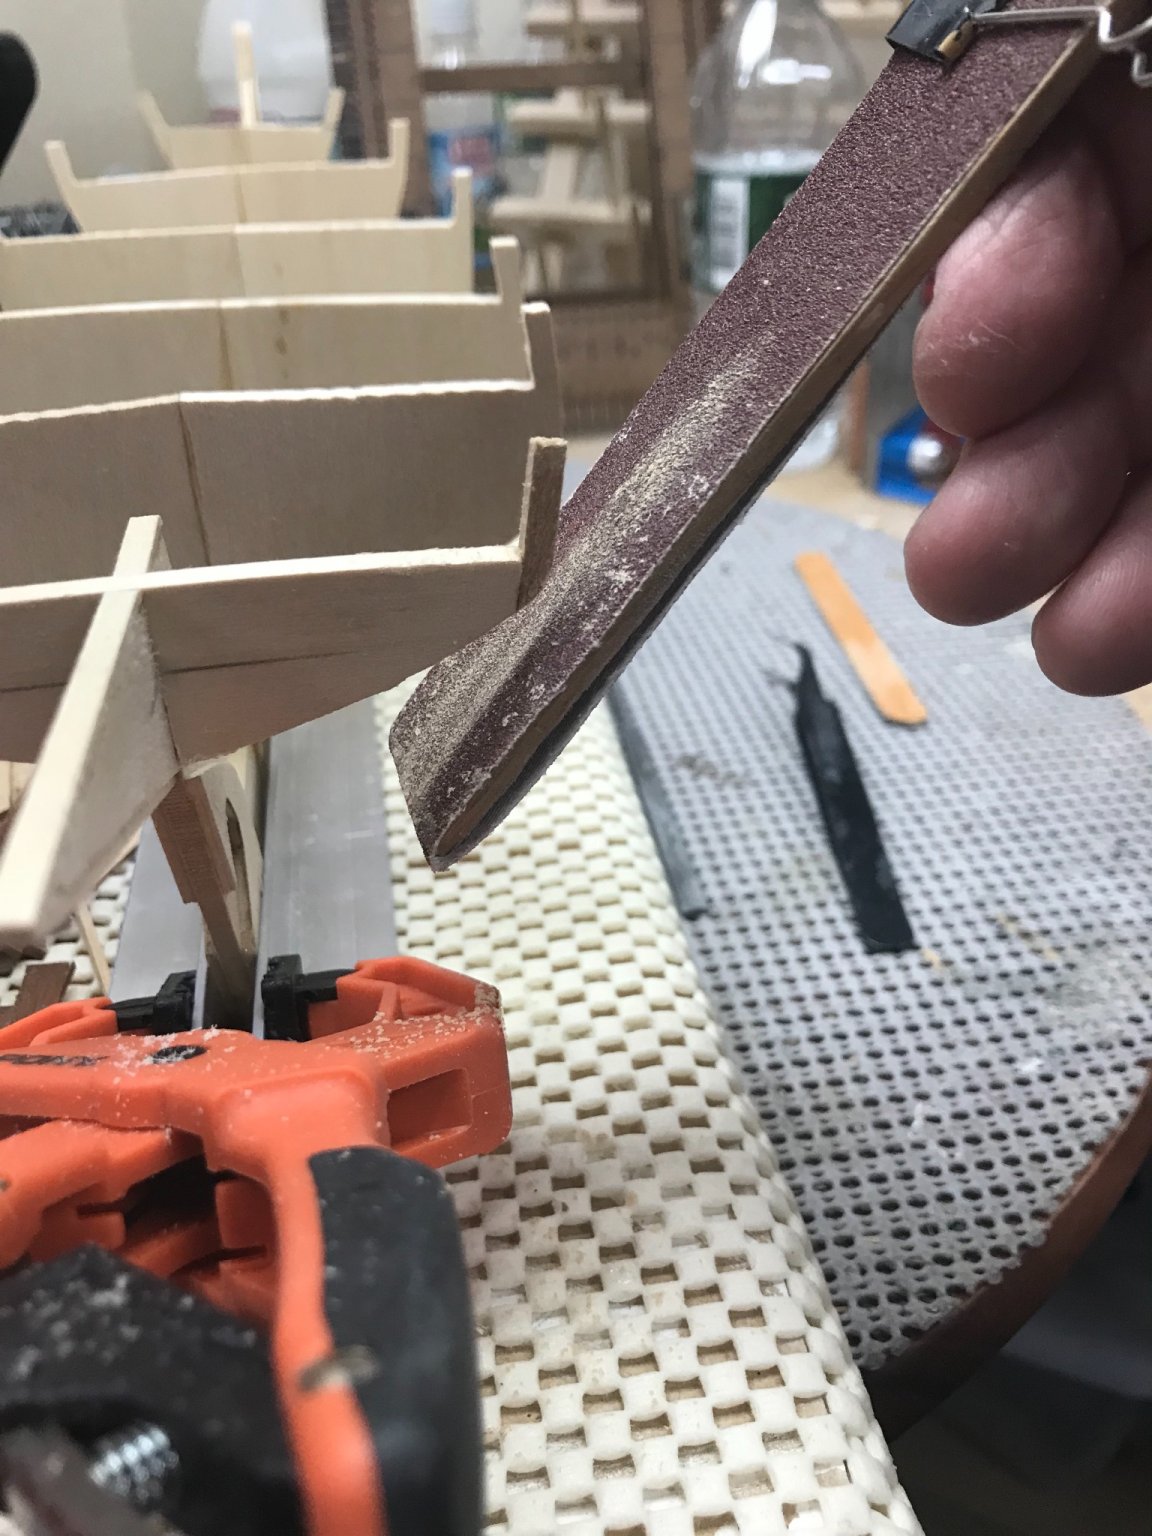
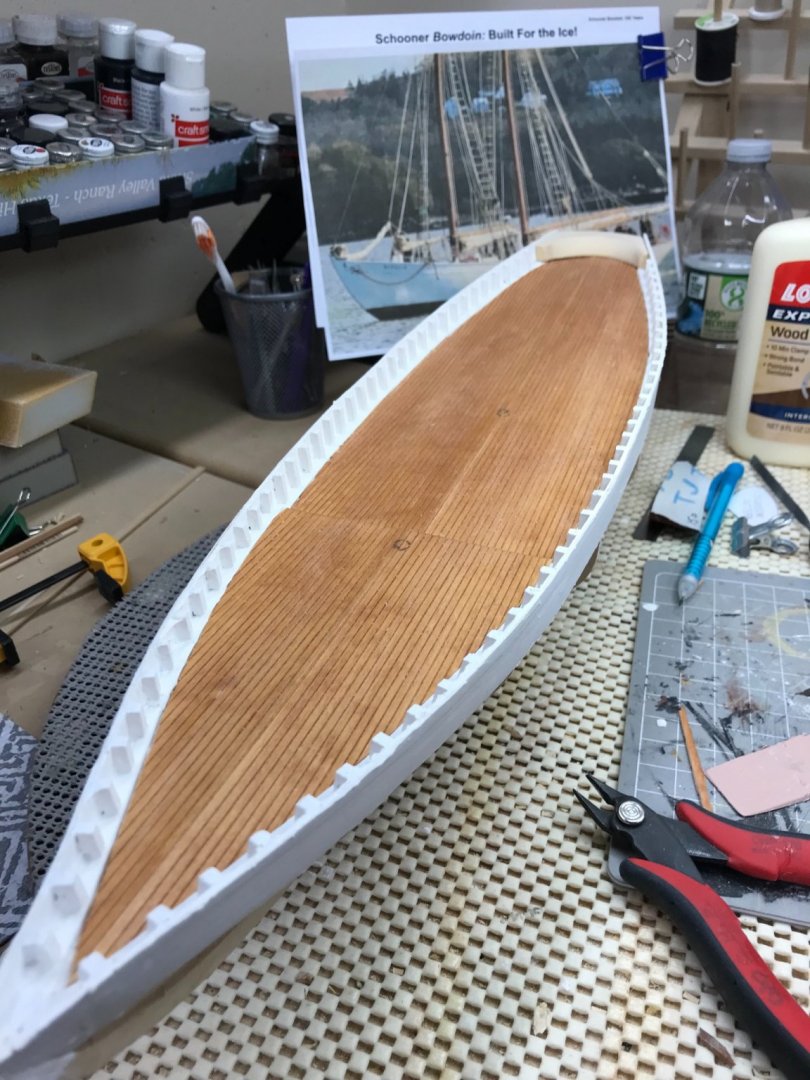
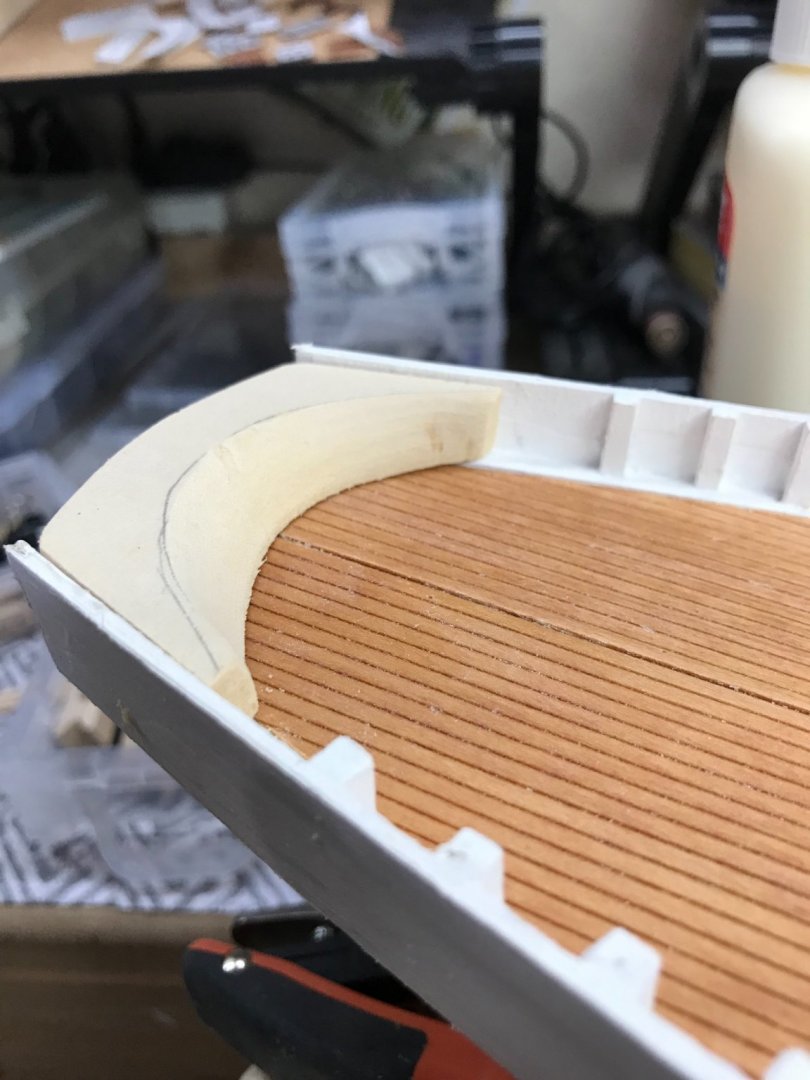
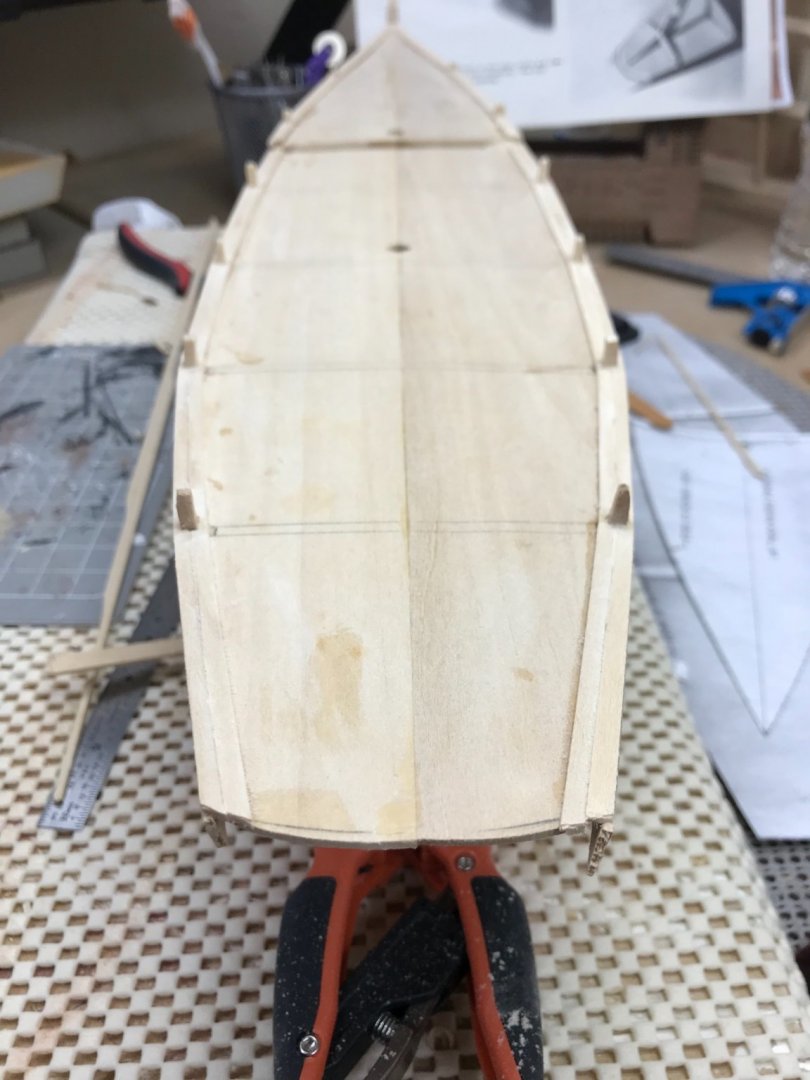
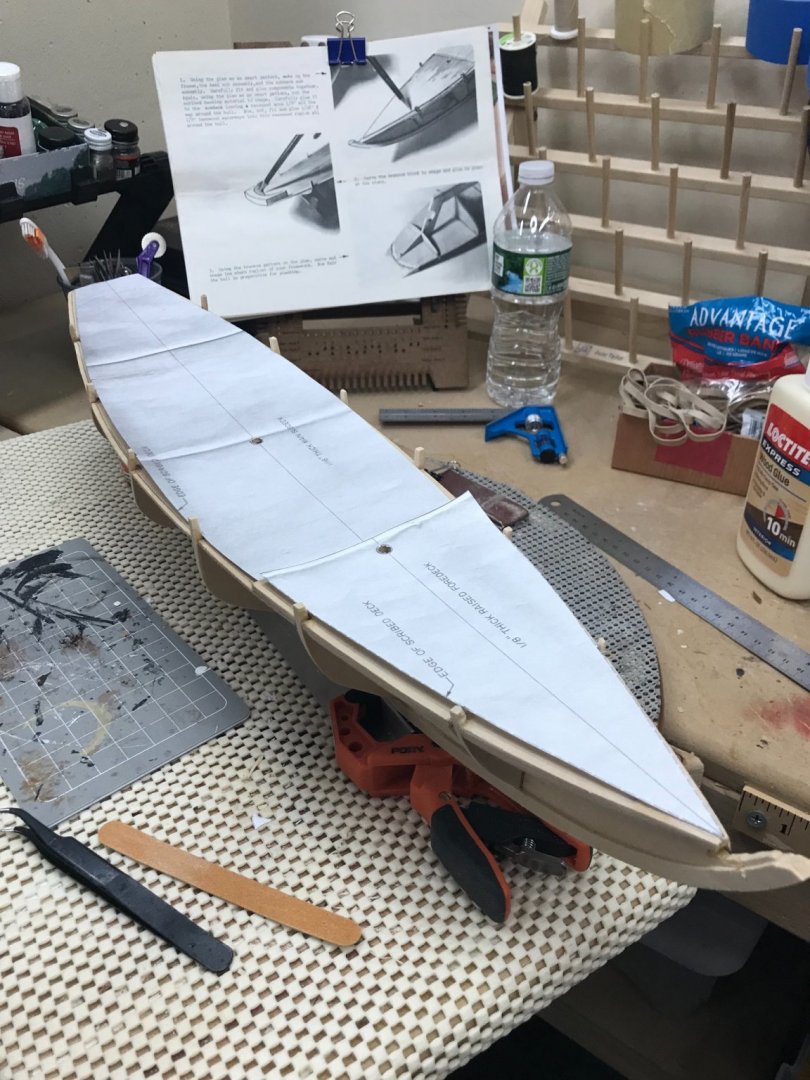
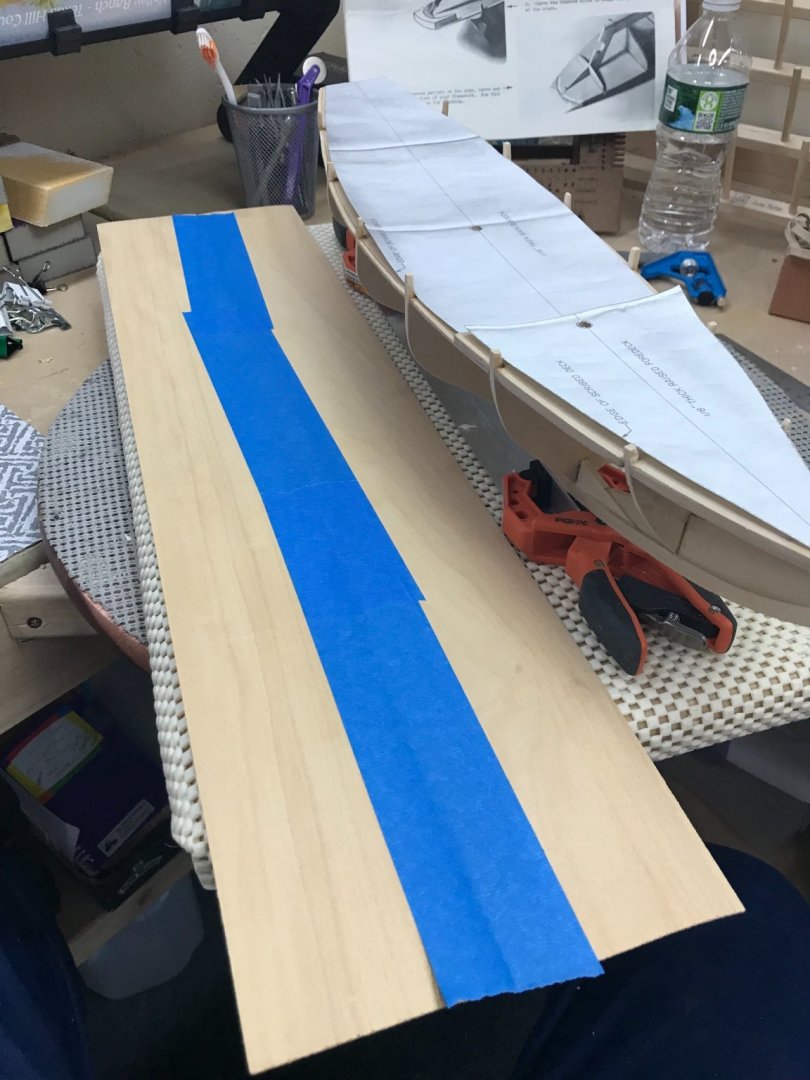
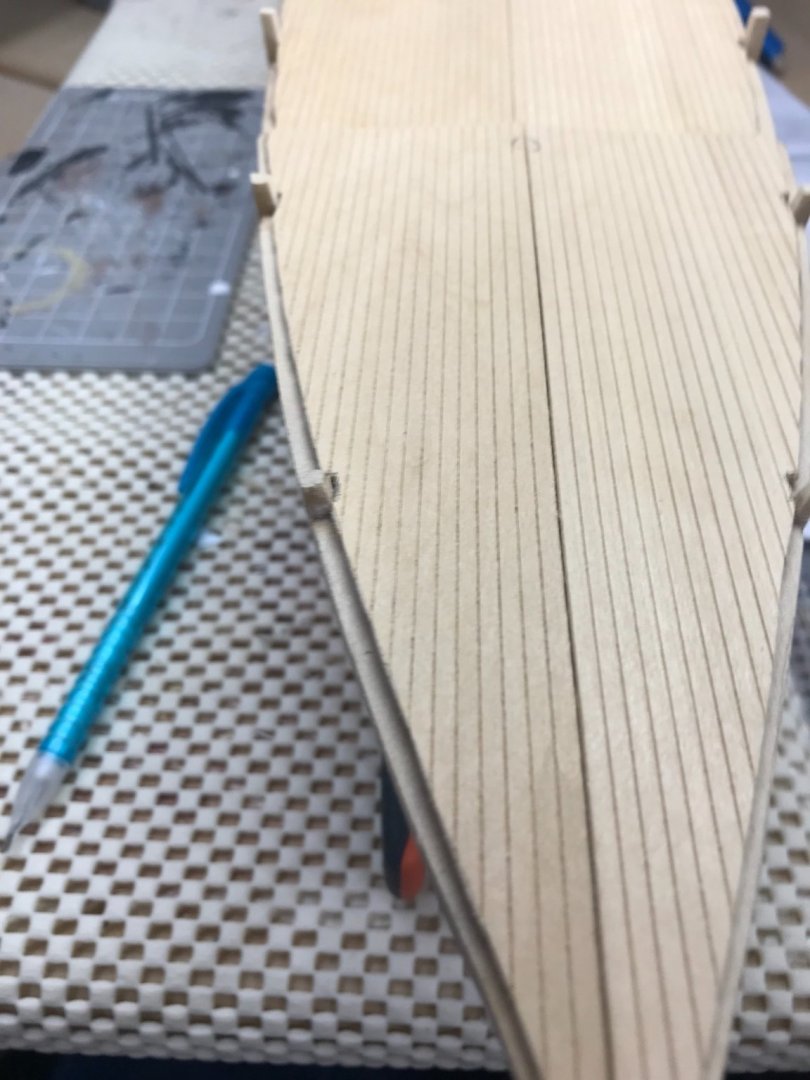
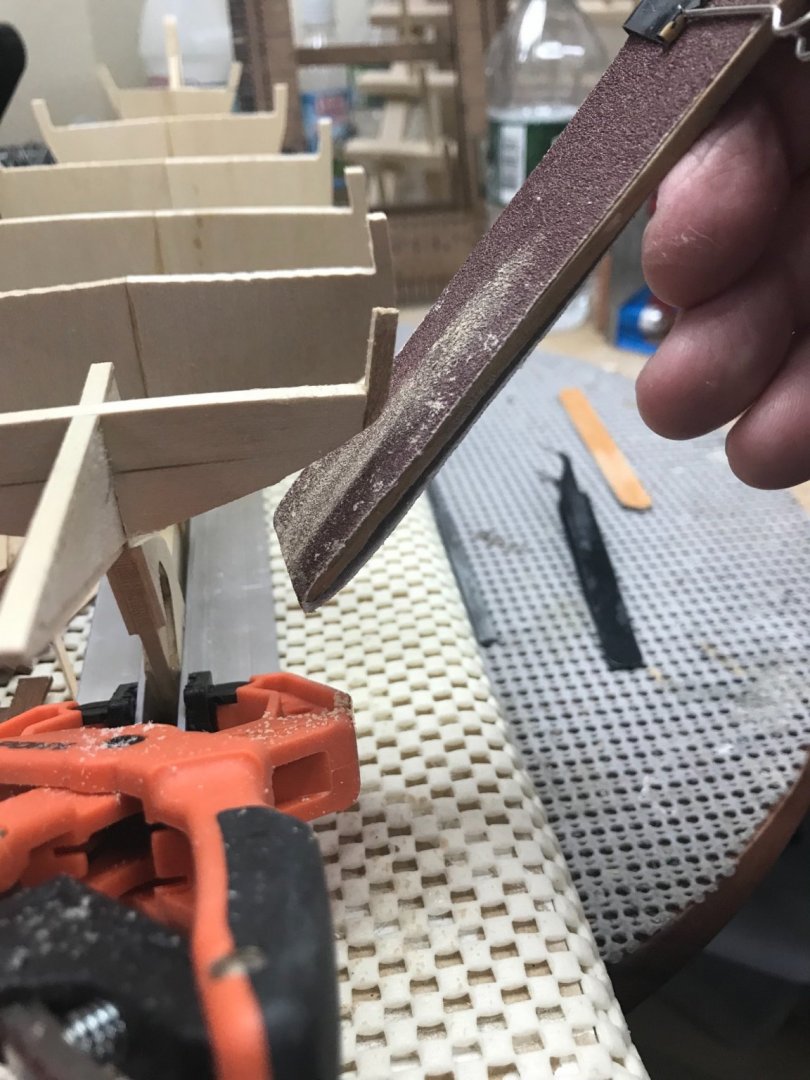
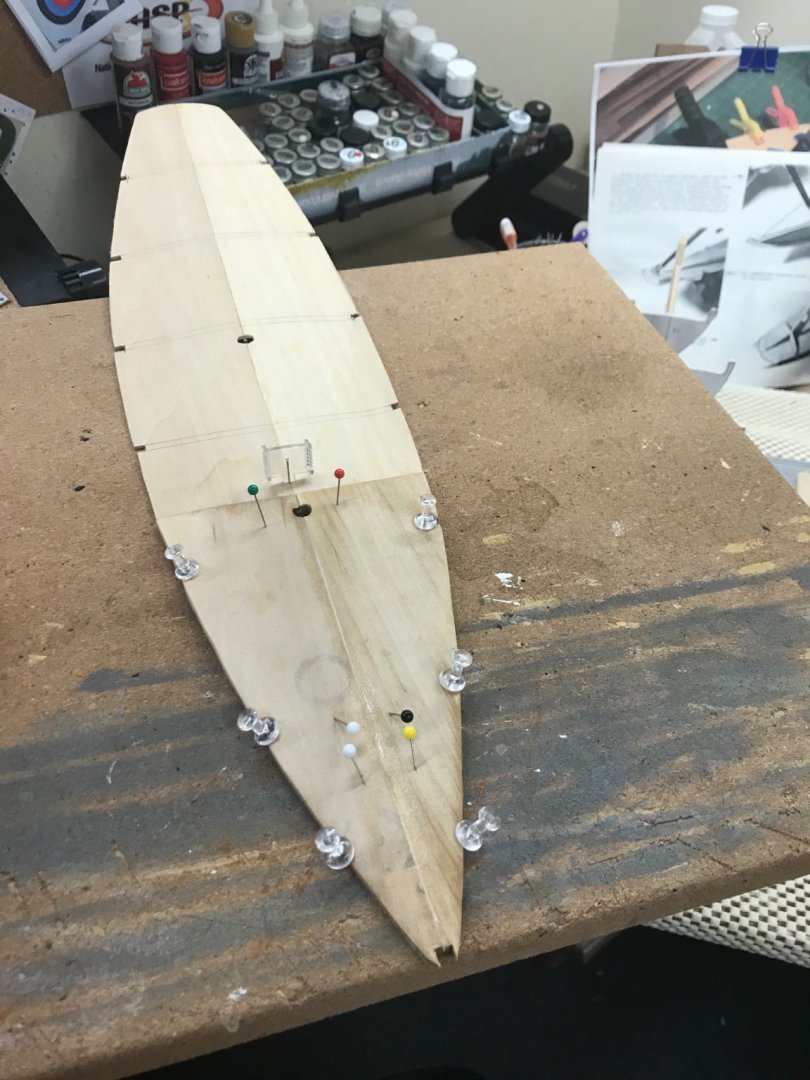
It actually came out straight. 😆 A bit more 150 grit, to fare things up. Laid out the templates for the scribed decking. Needed to narrow up the bow a bit. Templates are all set… Scribed decking is in two halves. Used painters blue tape to hold temporarily while I mark and cut out the decks. Traced out templates with pencil Notched out the decking for bulkheads. Dry fit looks good. 👍 Thought I would stain the decks cherry. I will give them a coat of semi gloss poly, before I glue them down. (tomorrow) It was a good day… 😎 Cheers 🍻


- 127 replies
-
- 9
-
-
- Bowdoin
- Arctic Exploration
- (and 3 more)
-
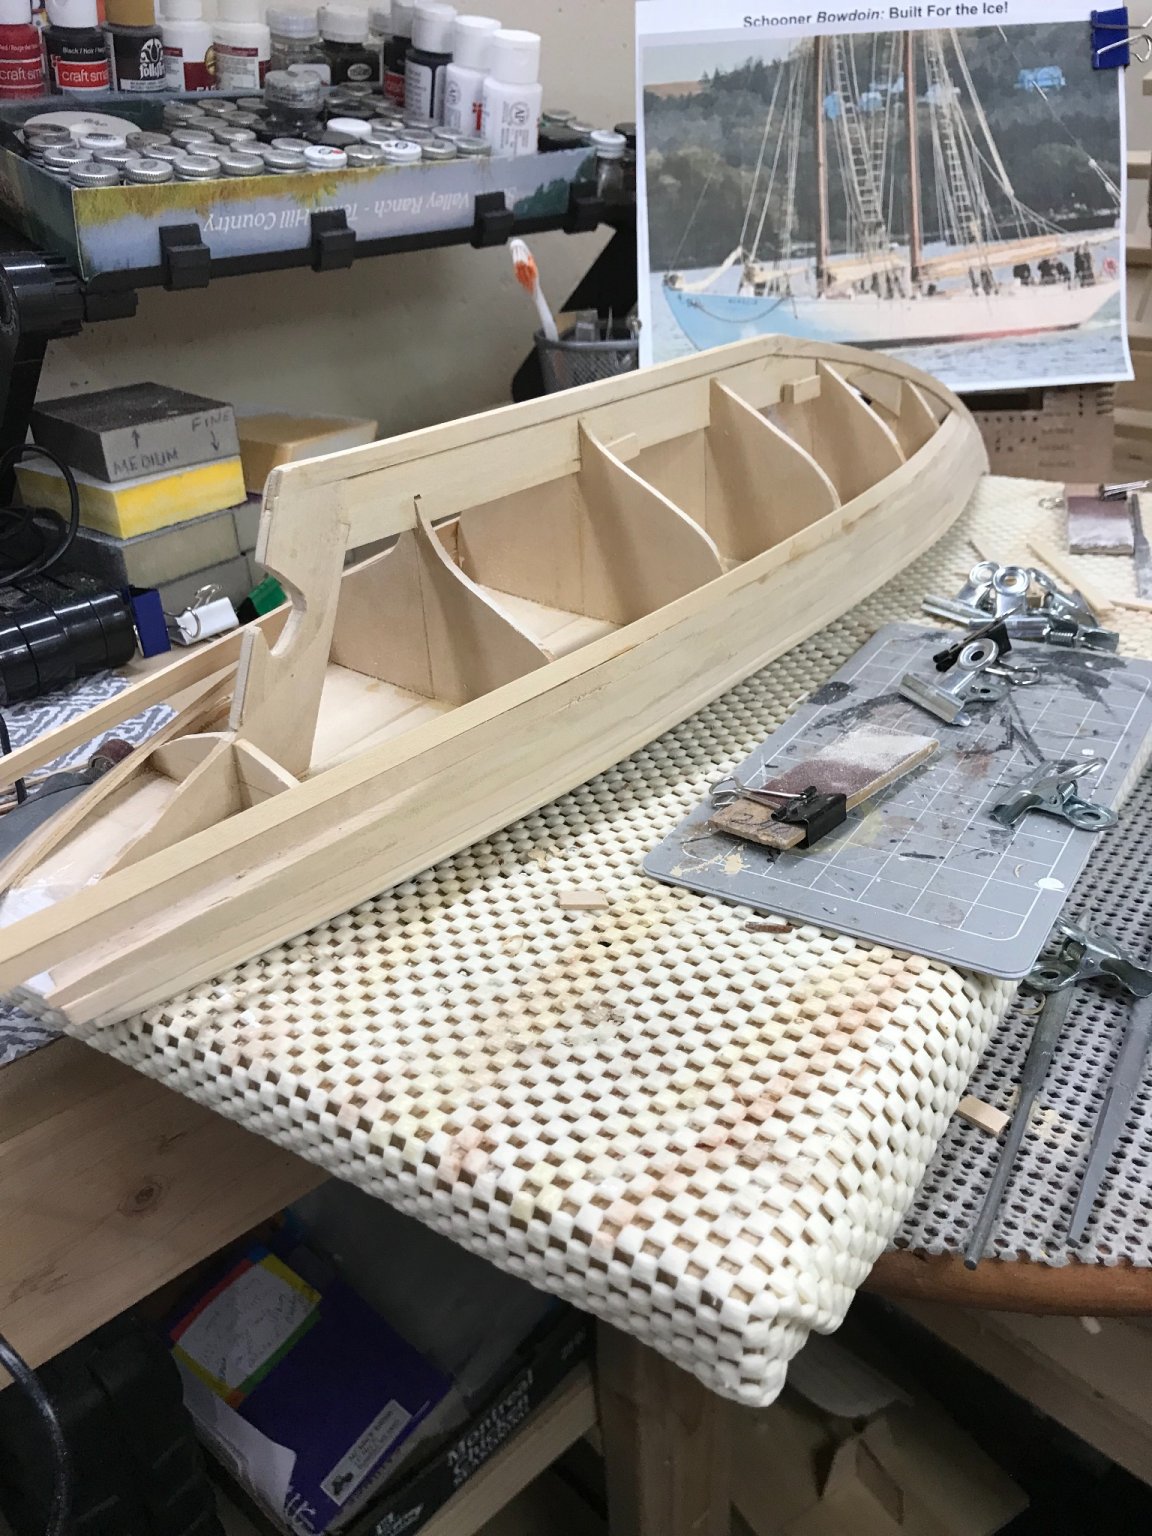
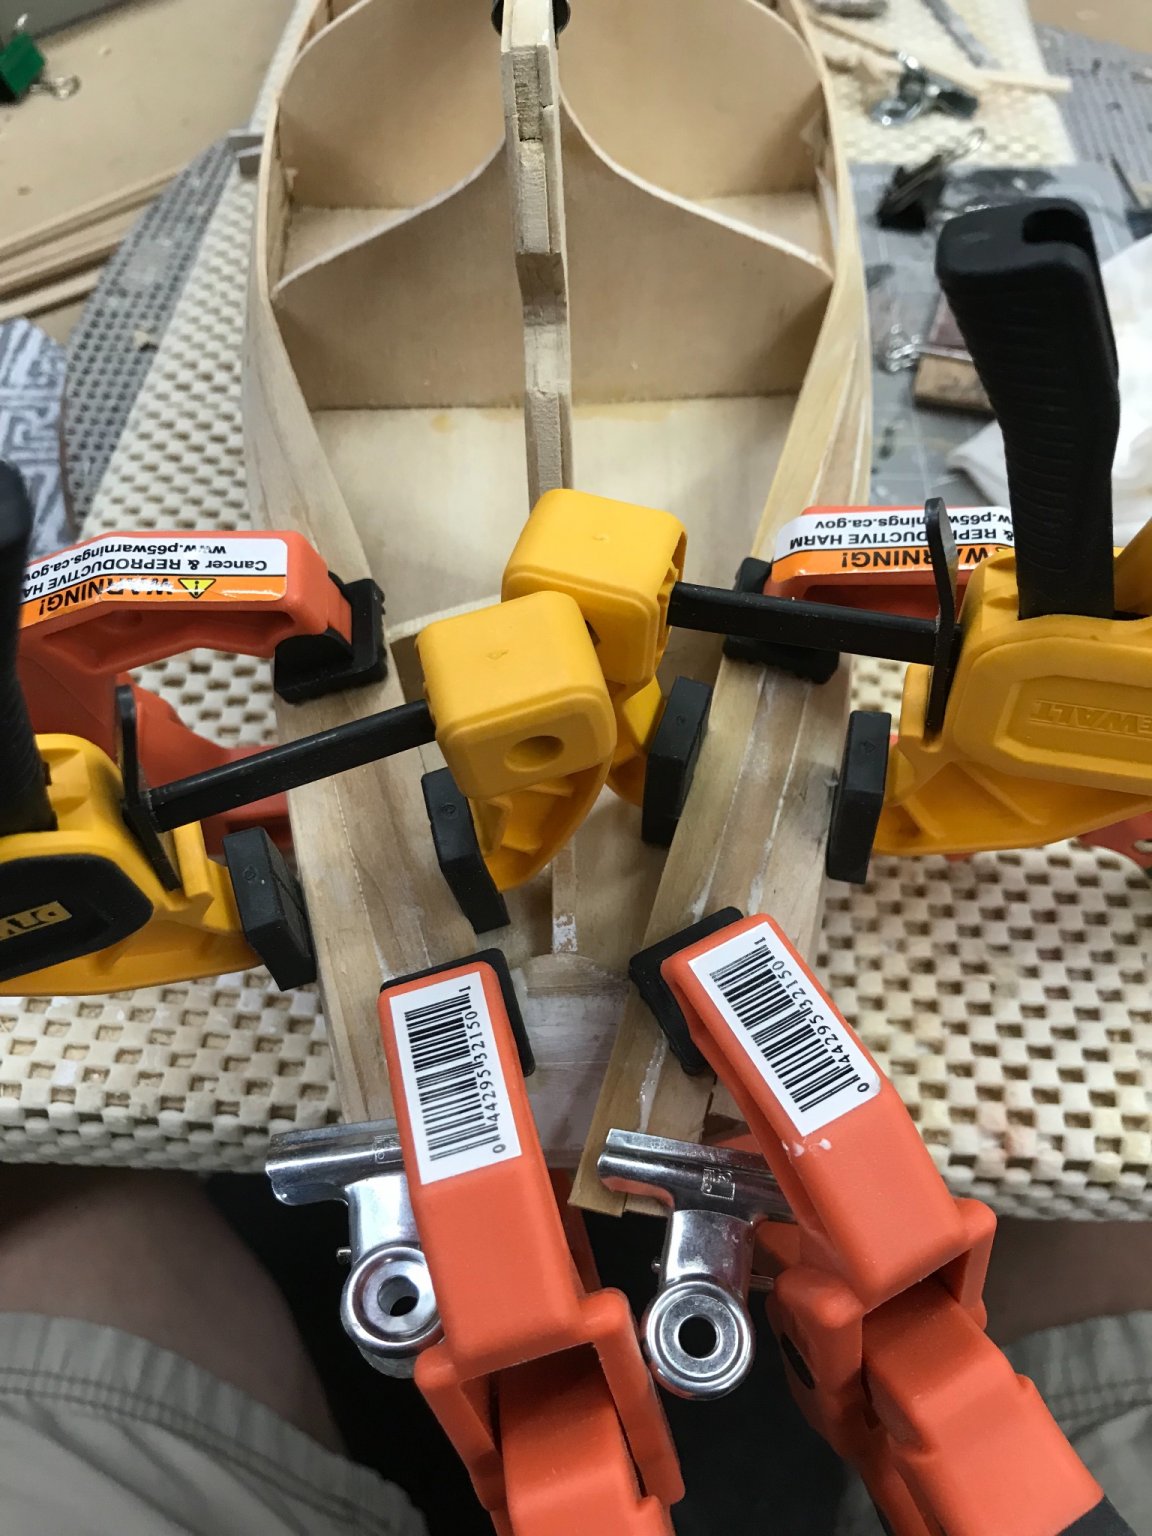
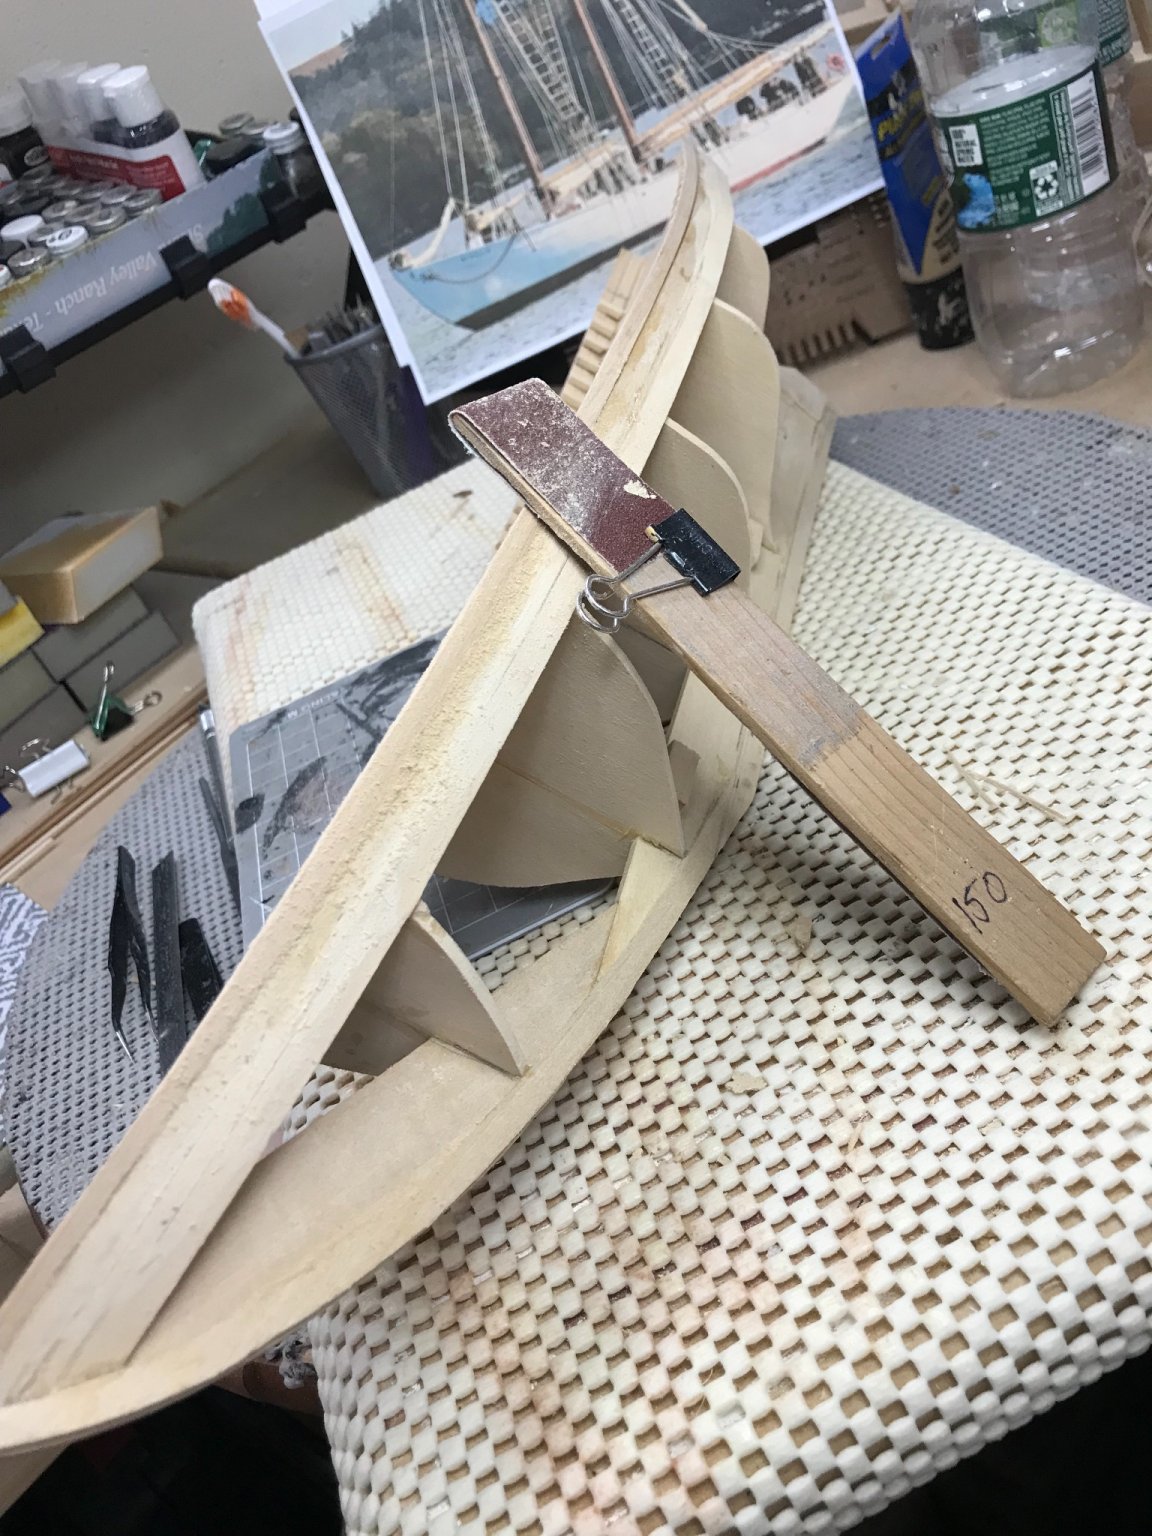
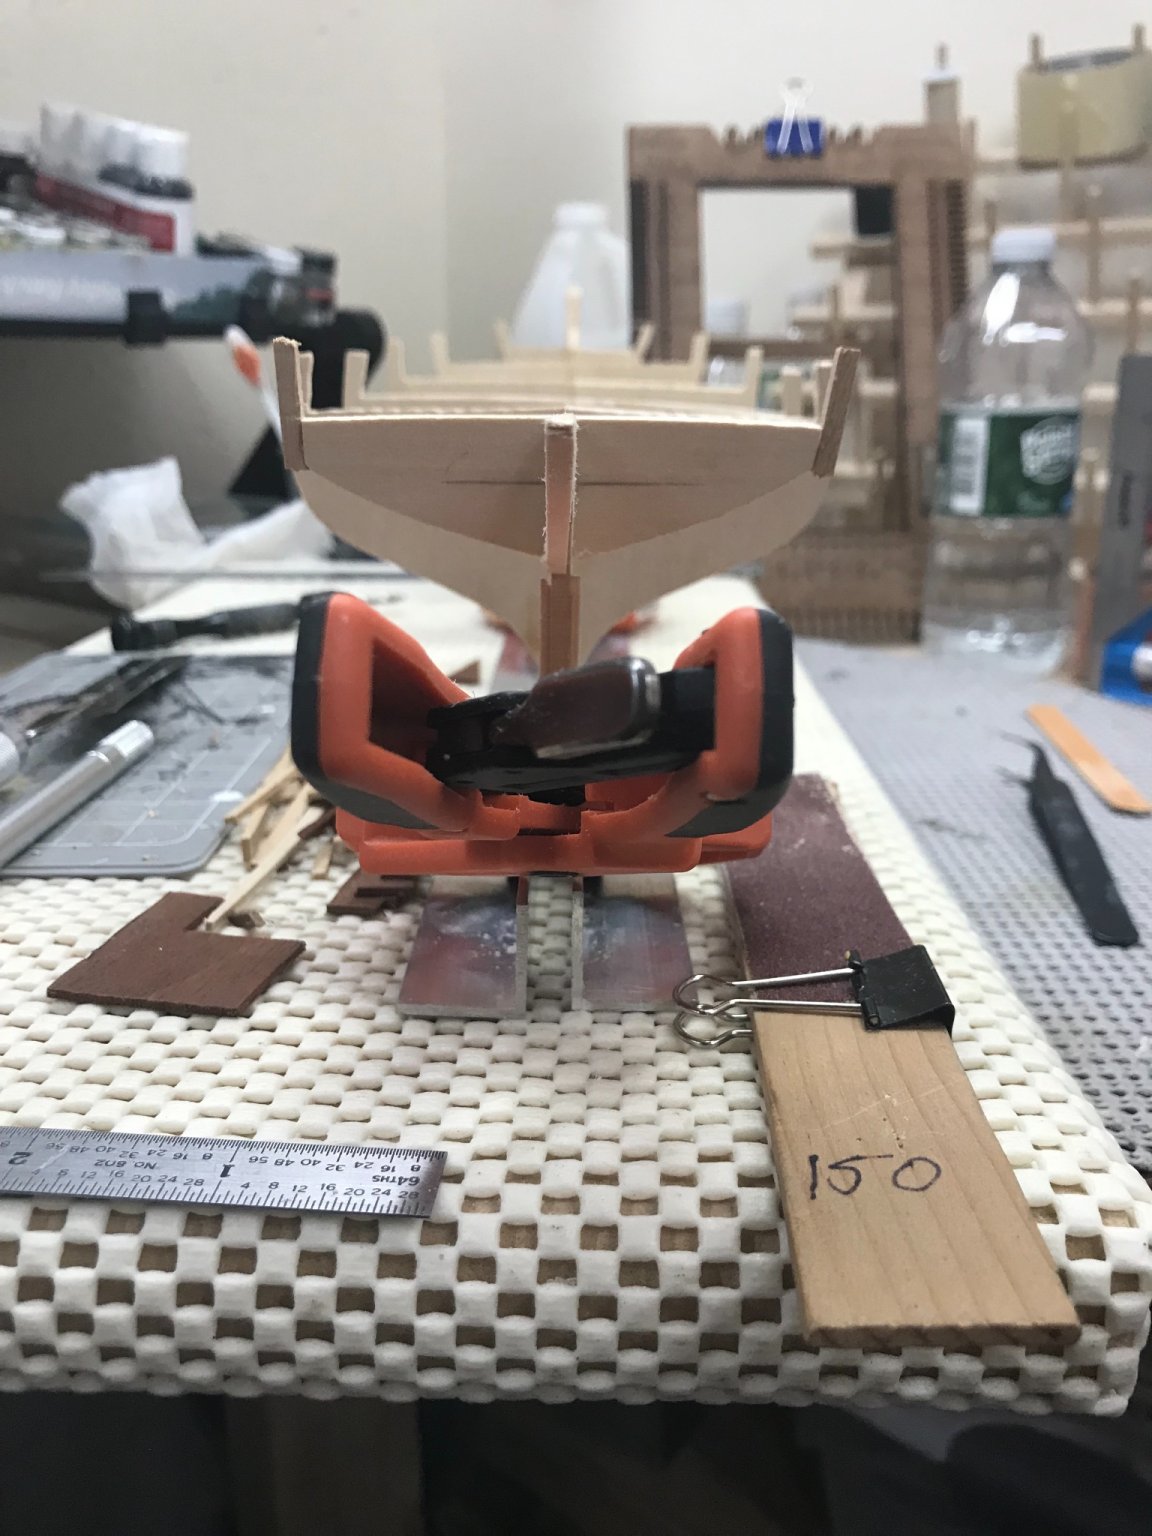
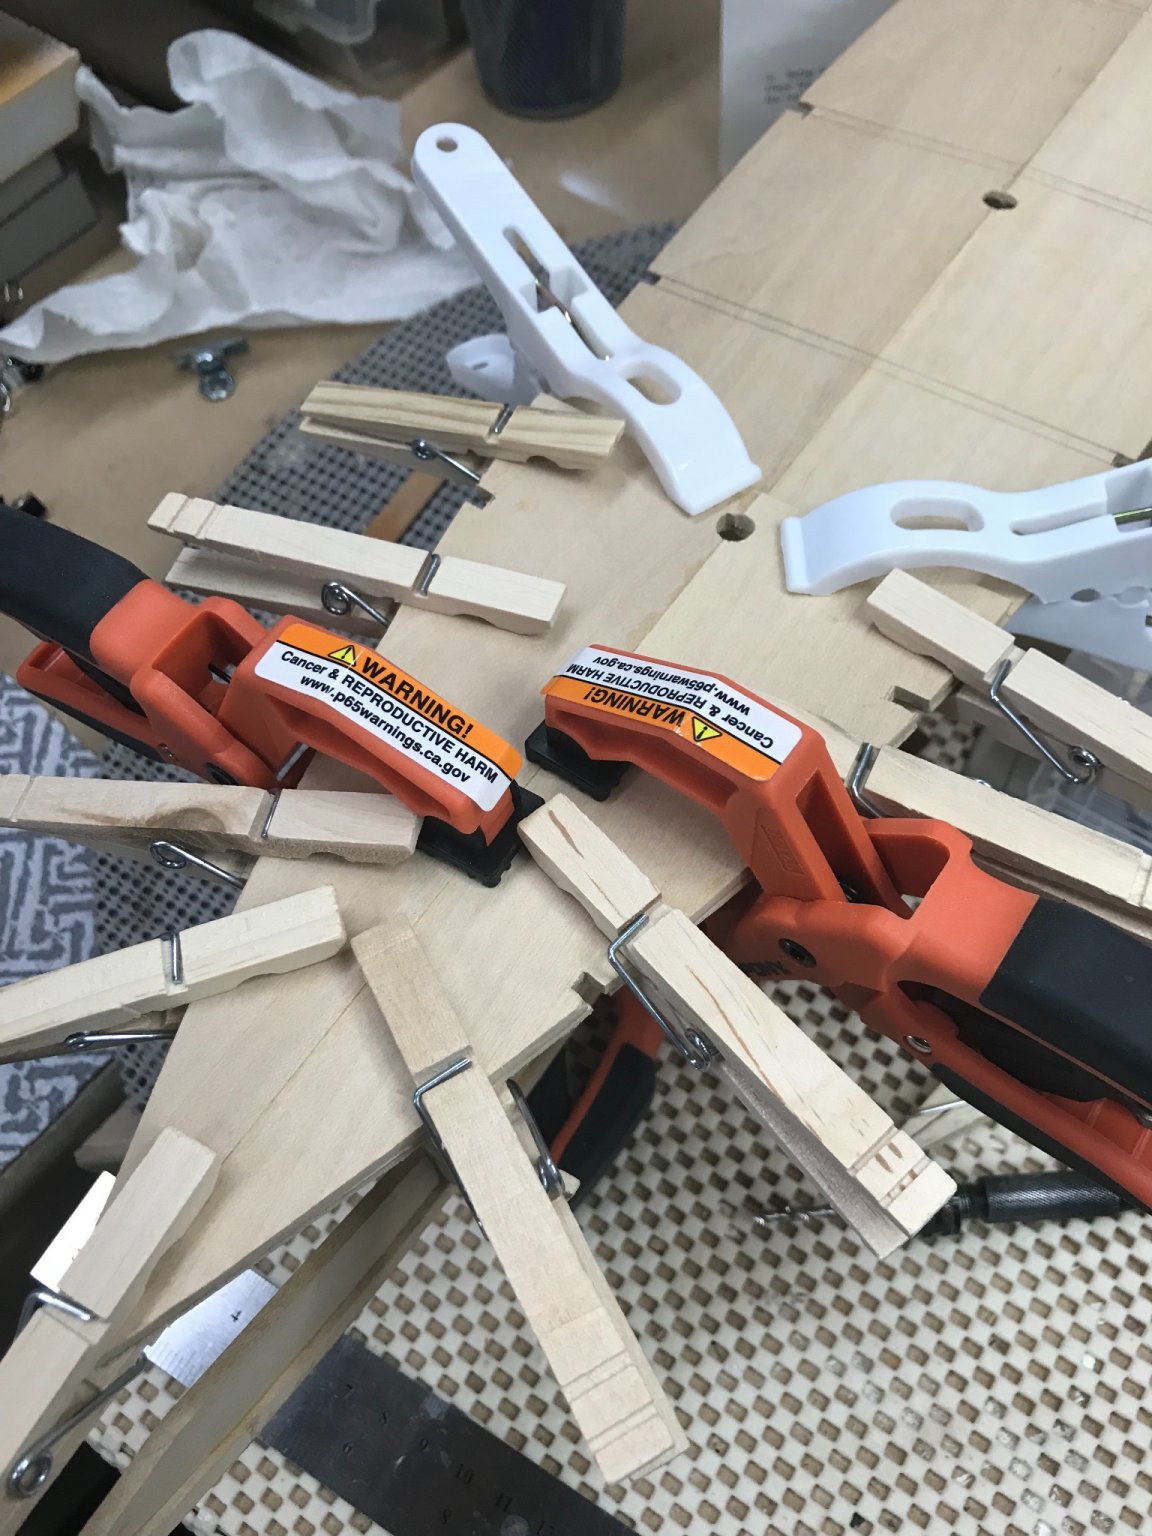
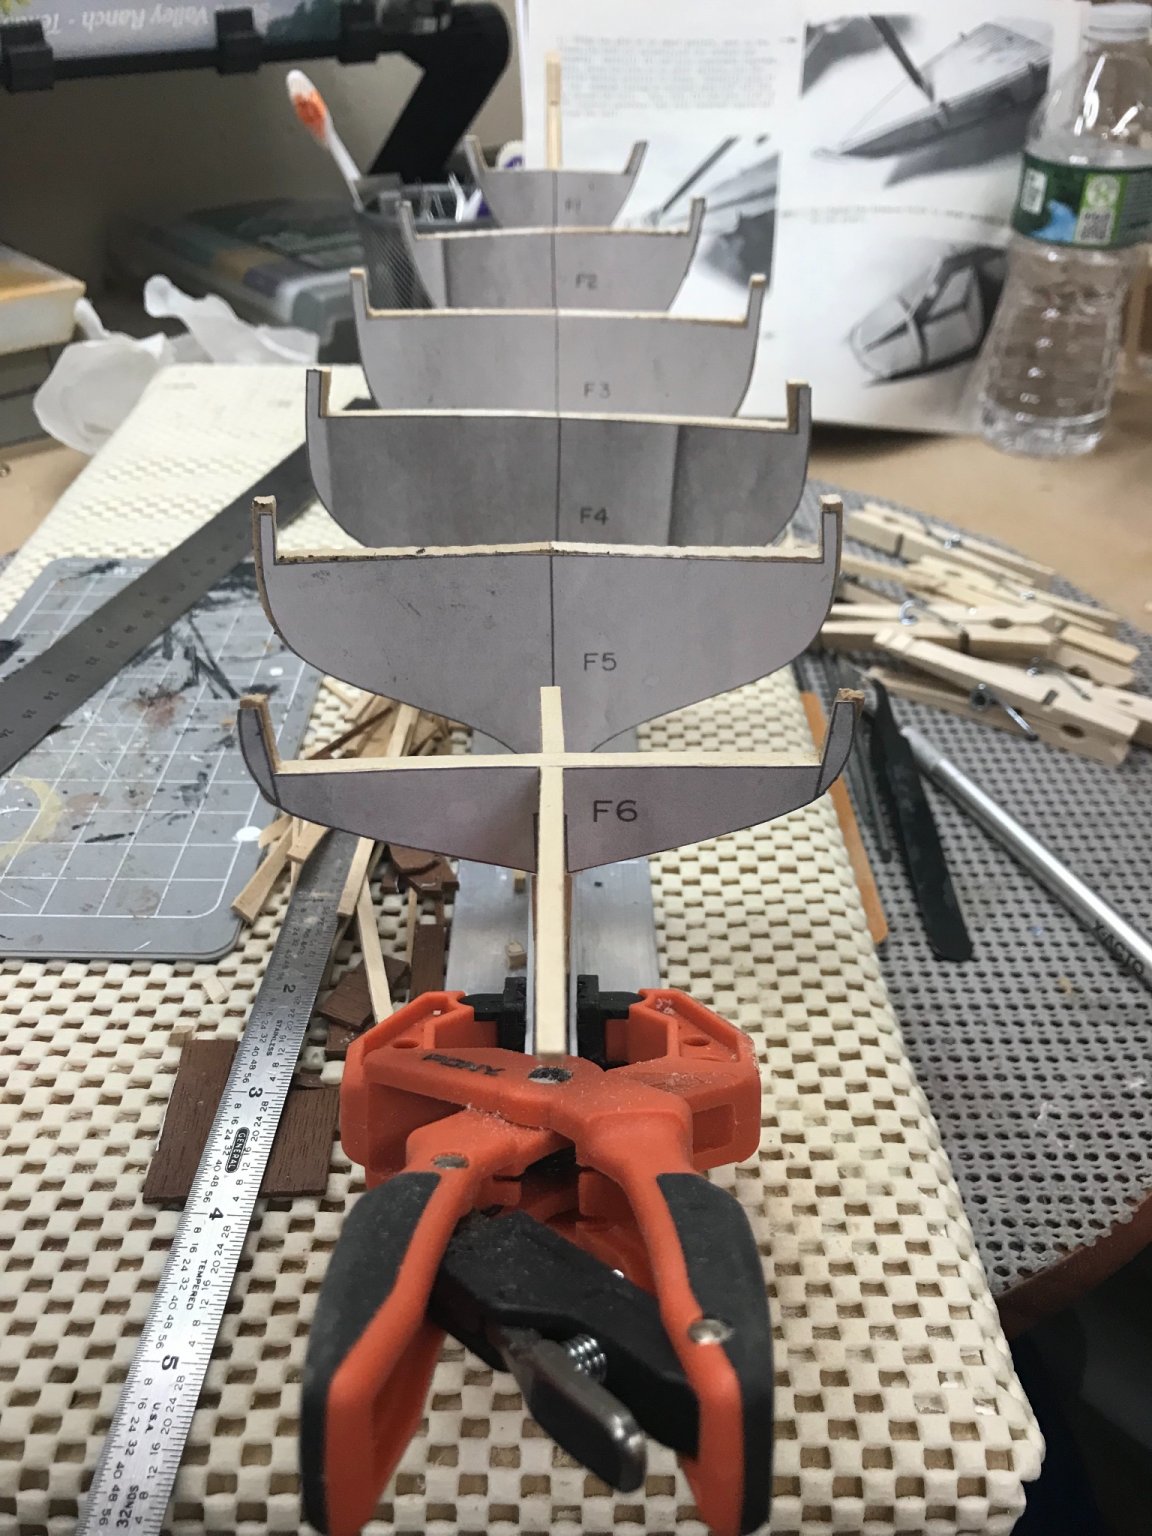
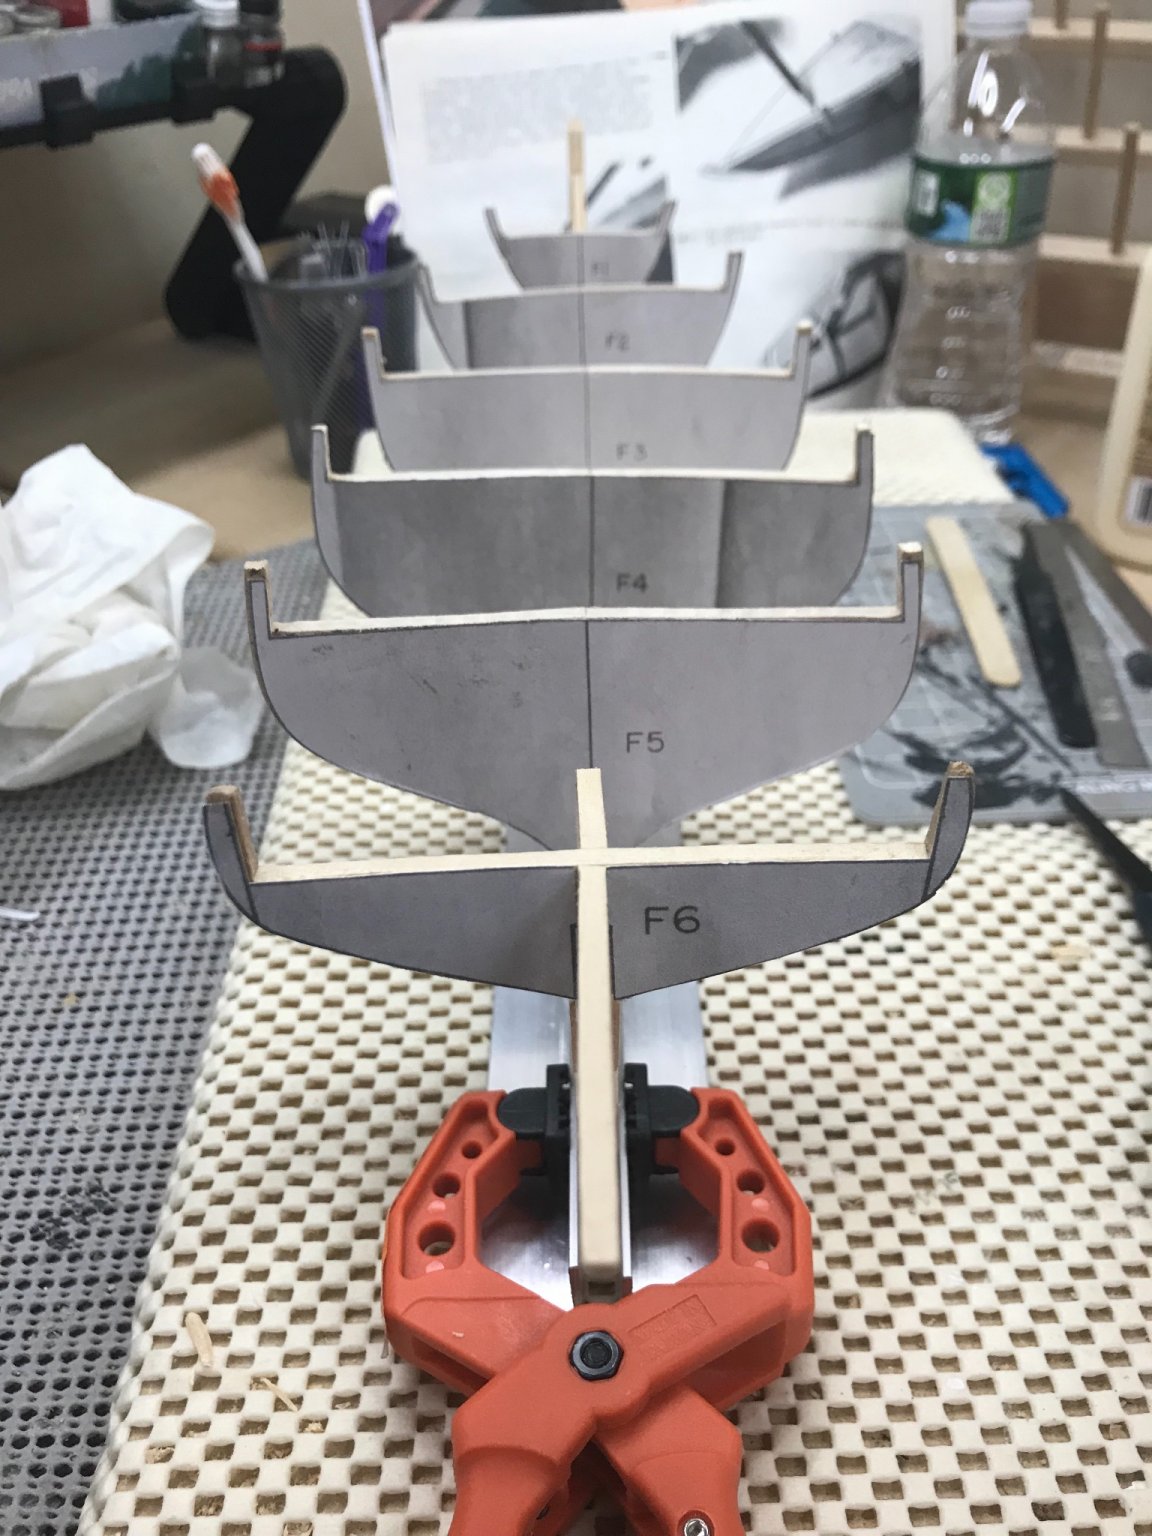
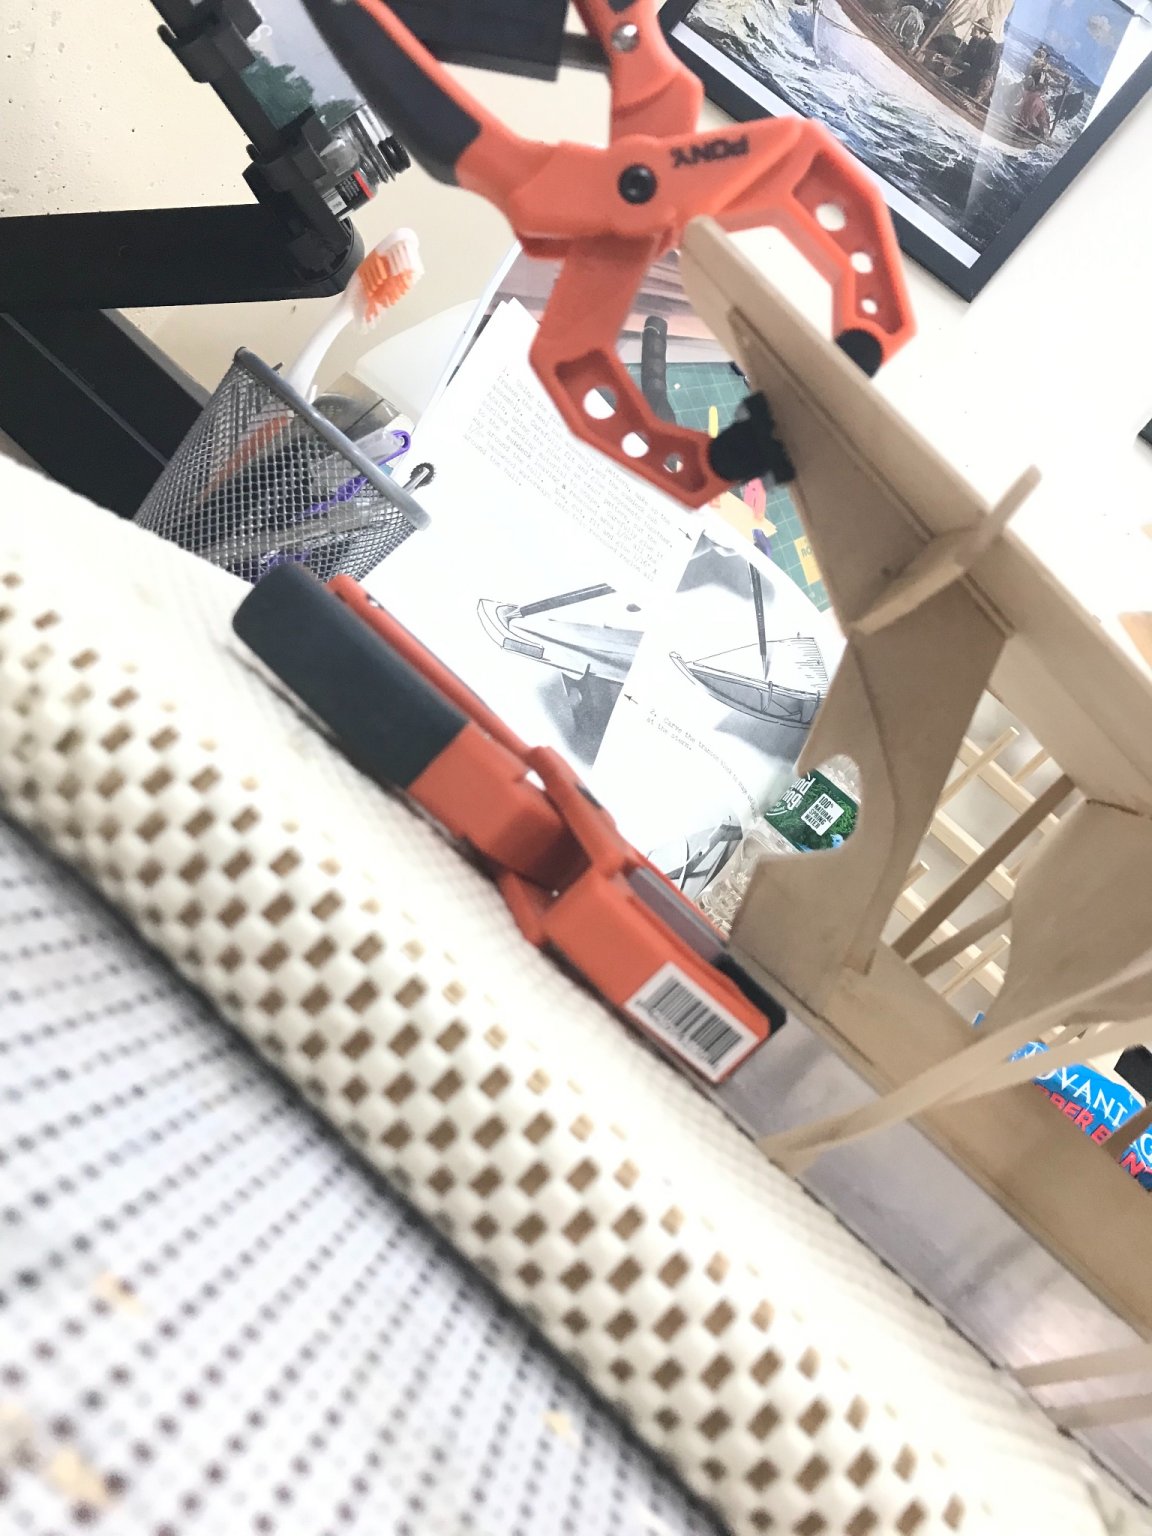
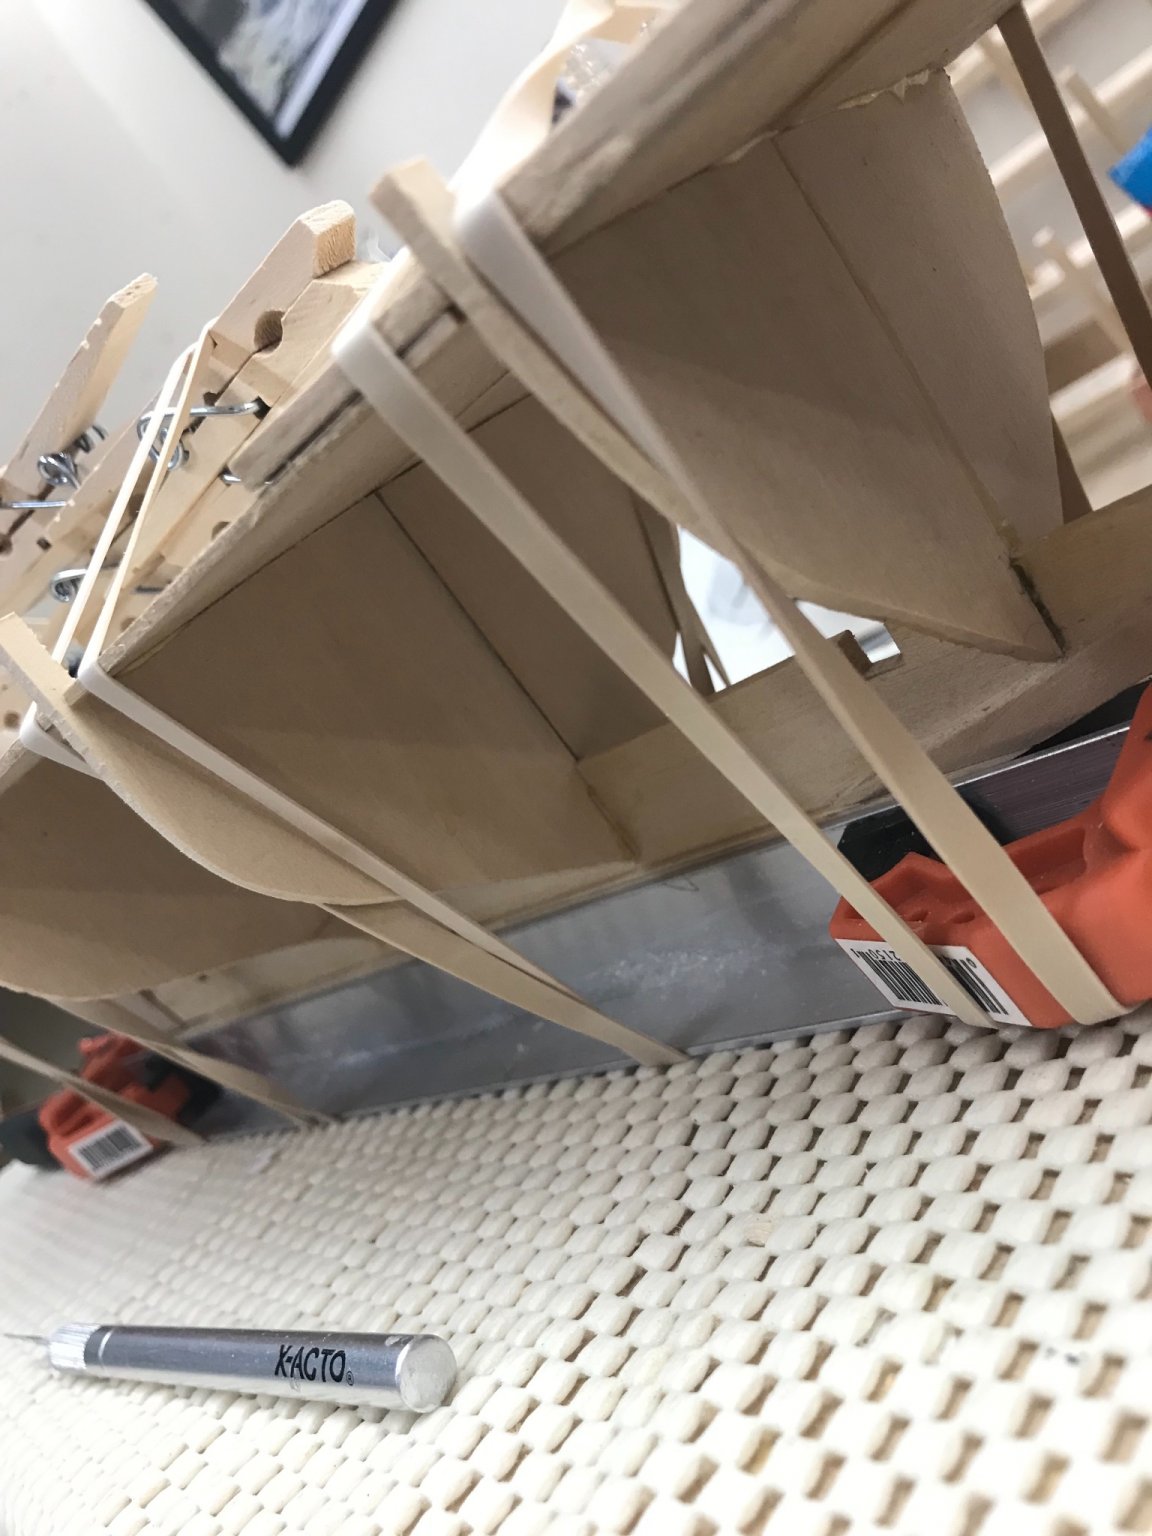
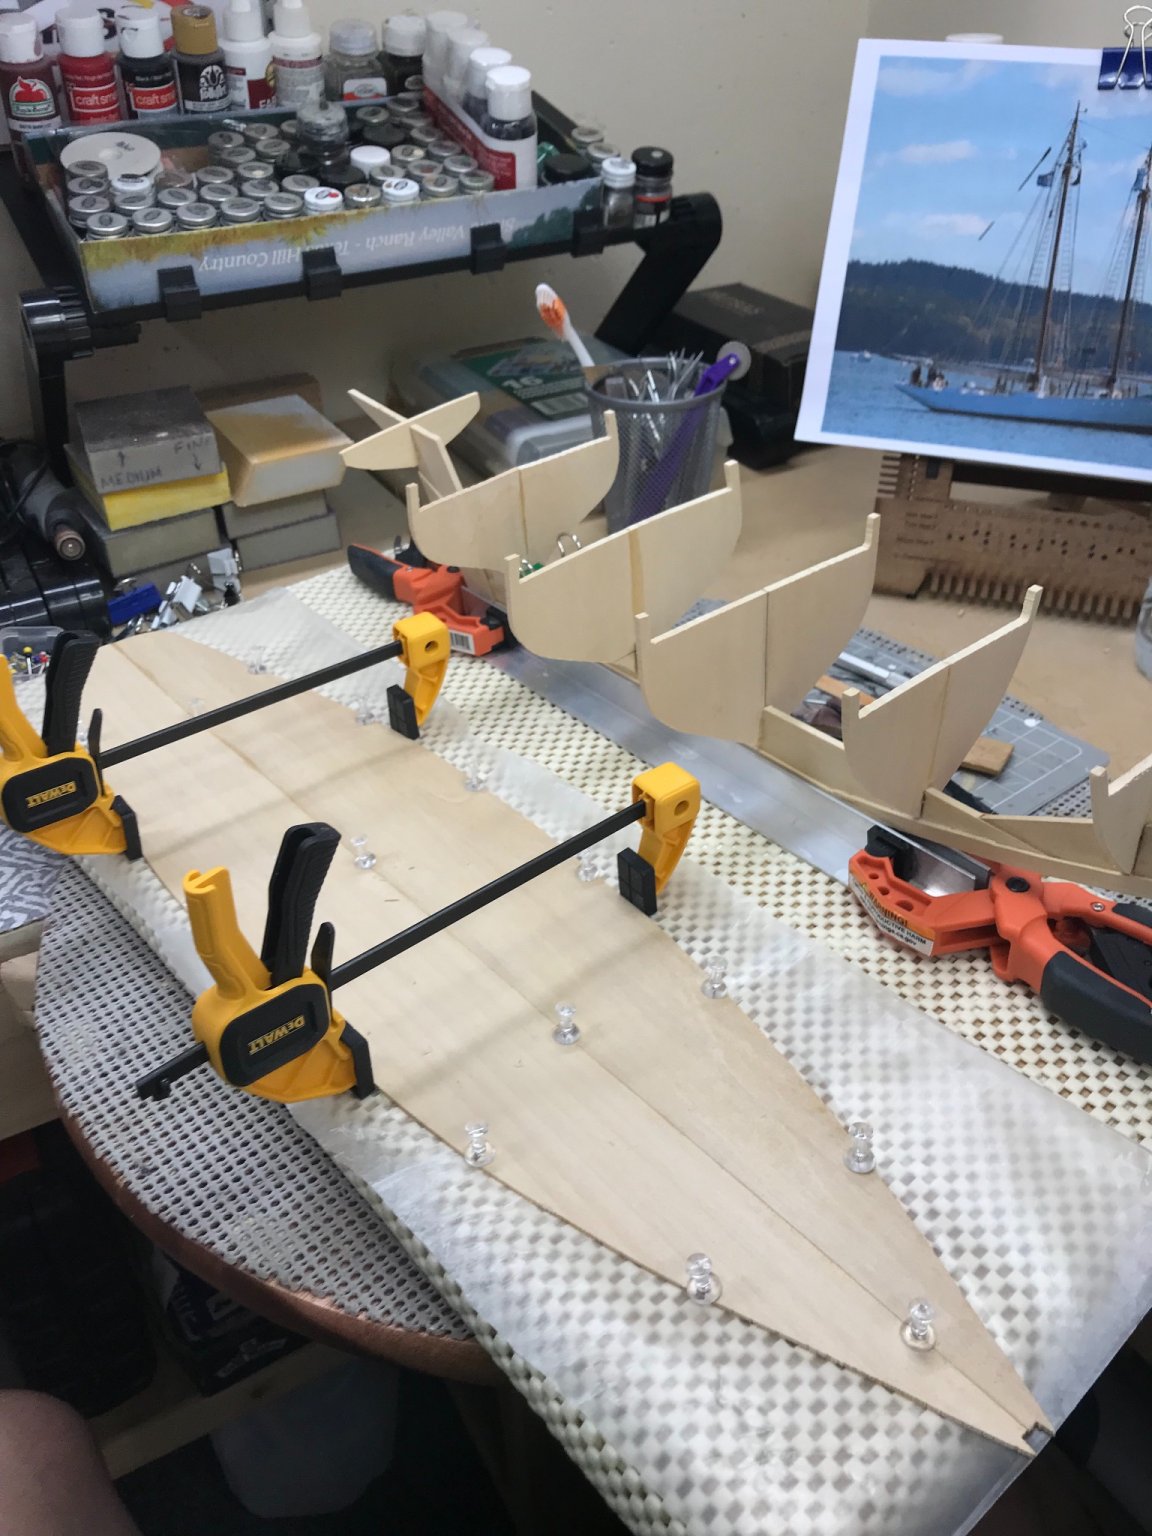
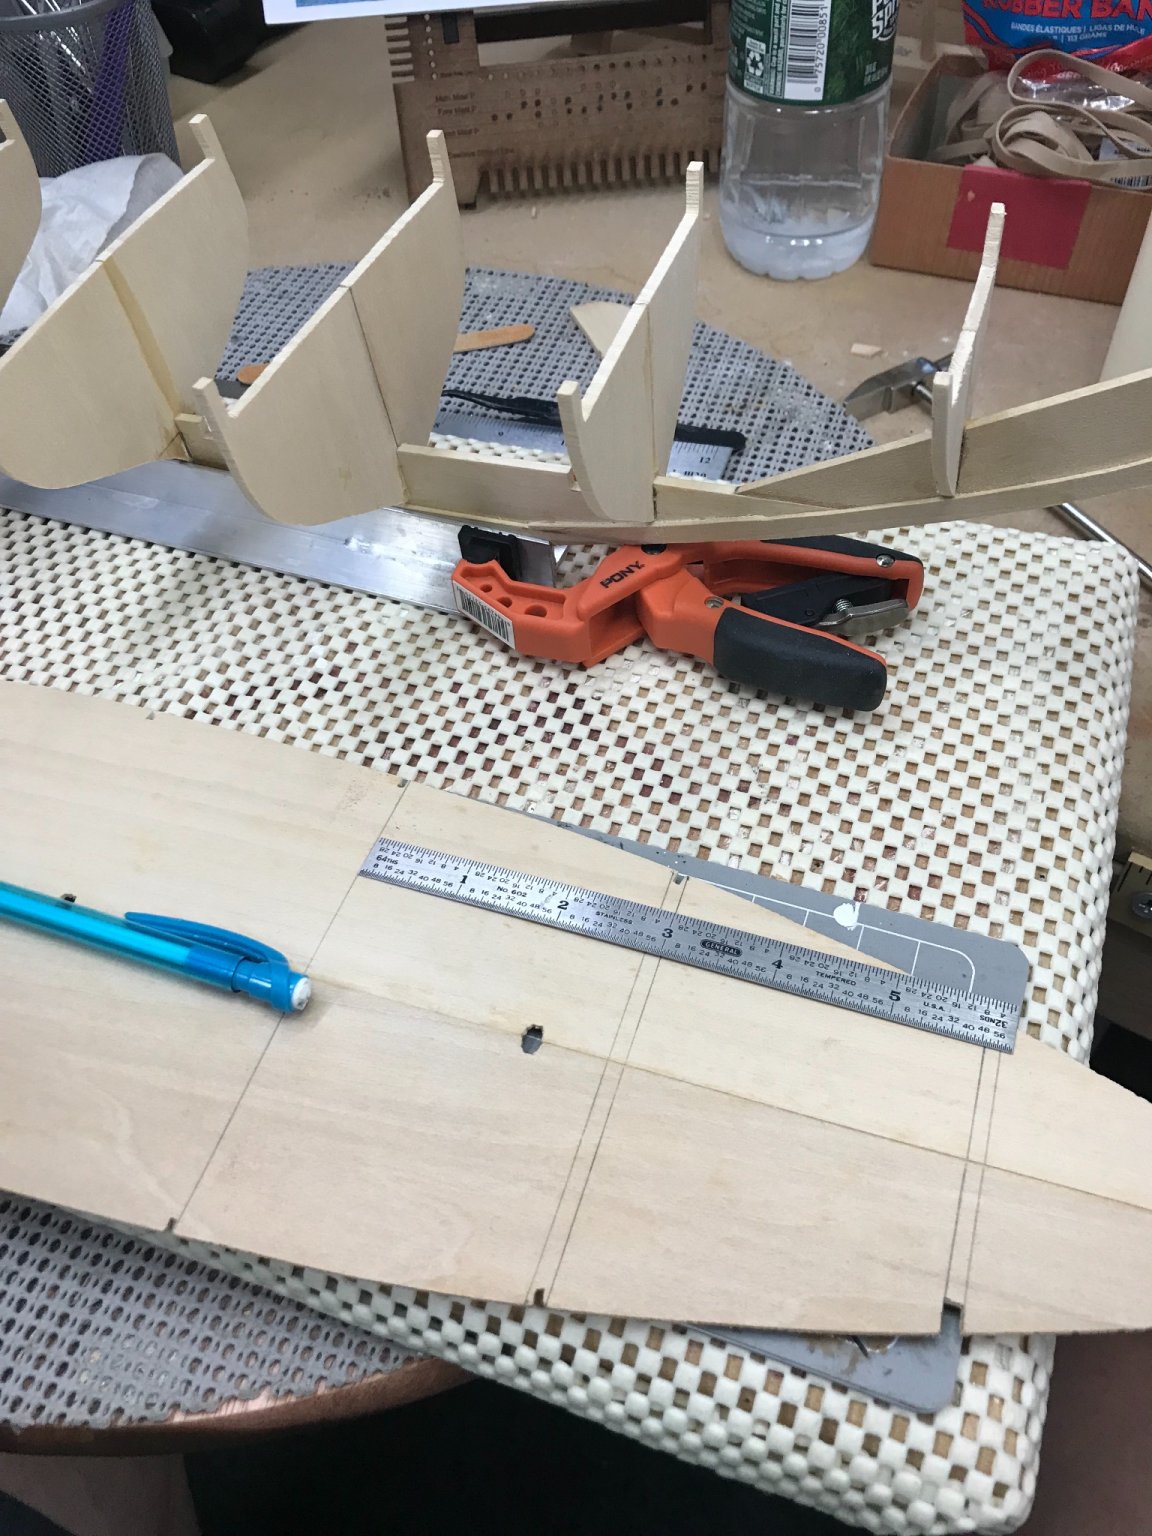
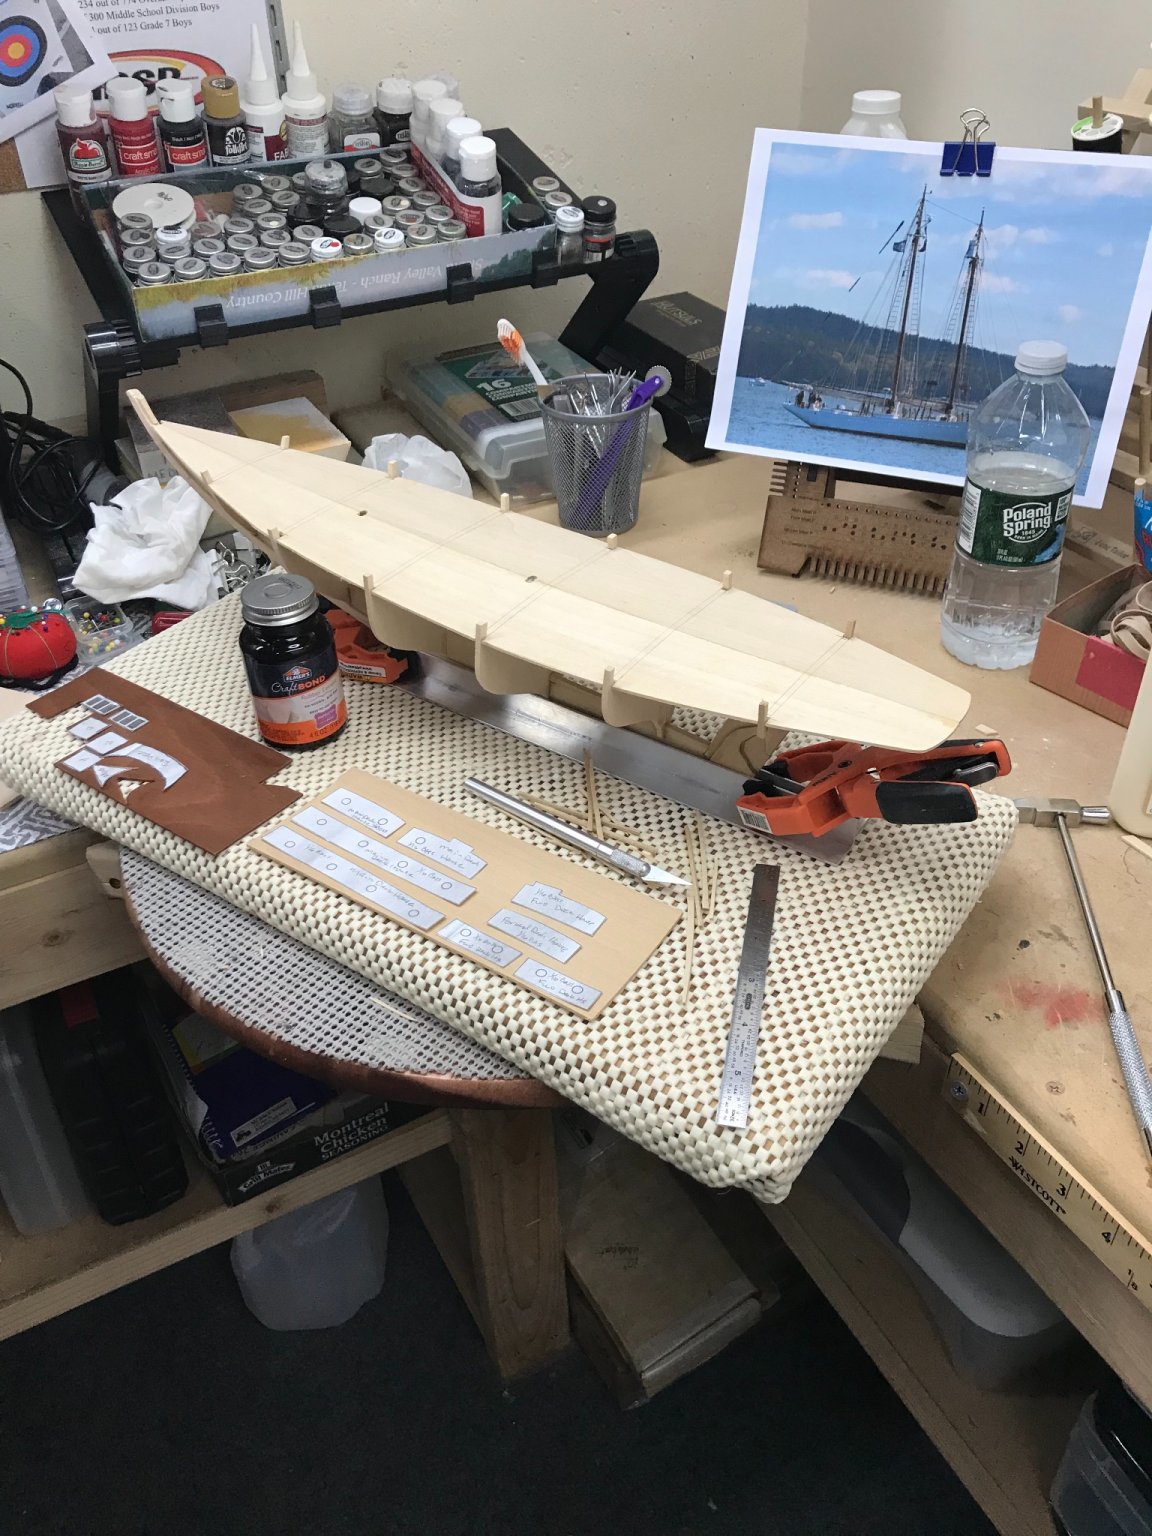
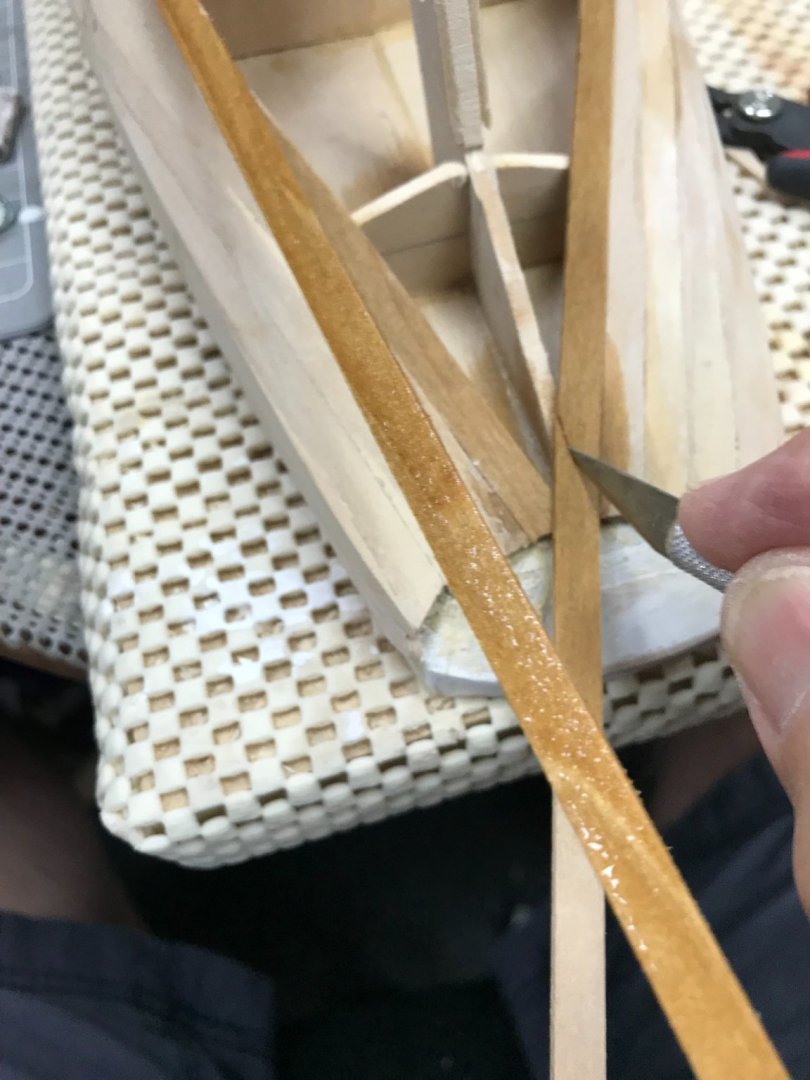
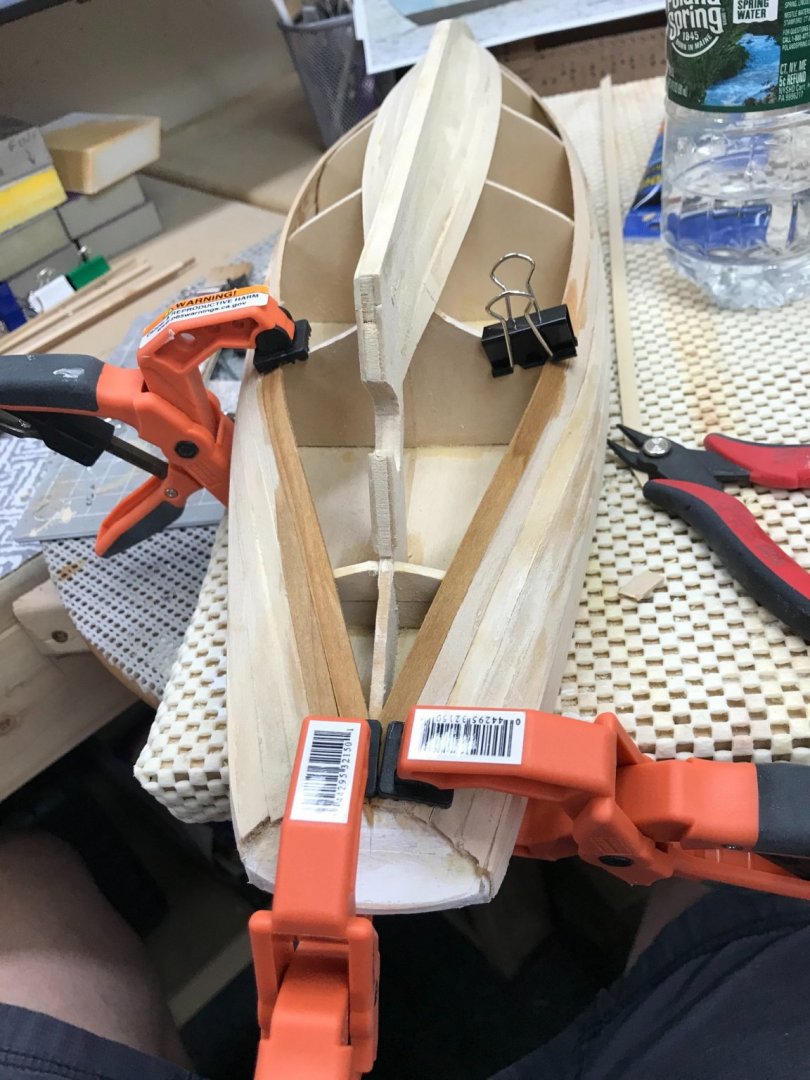
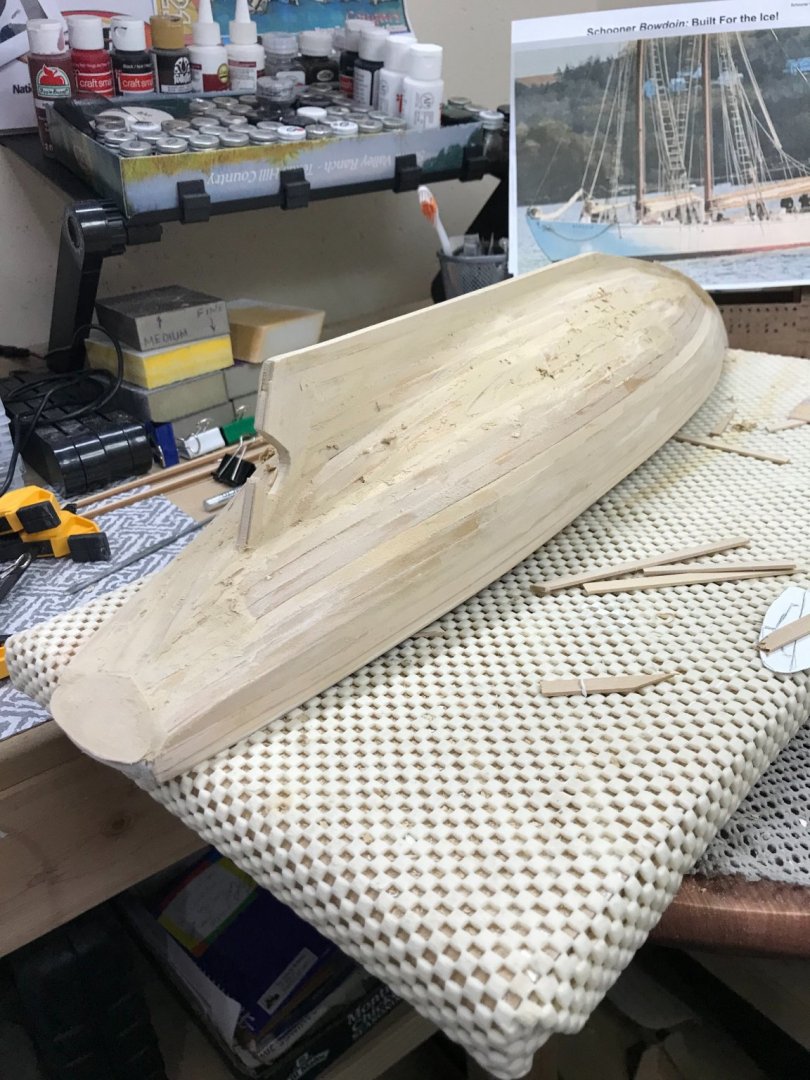
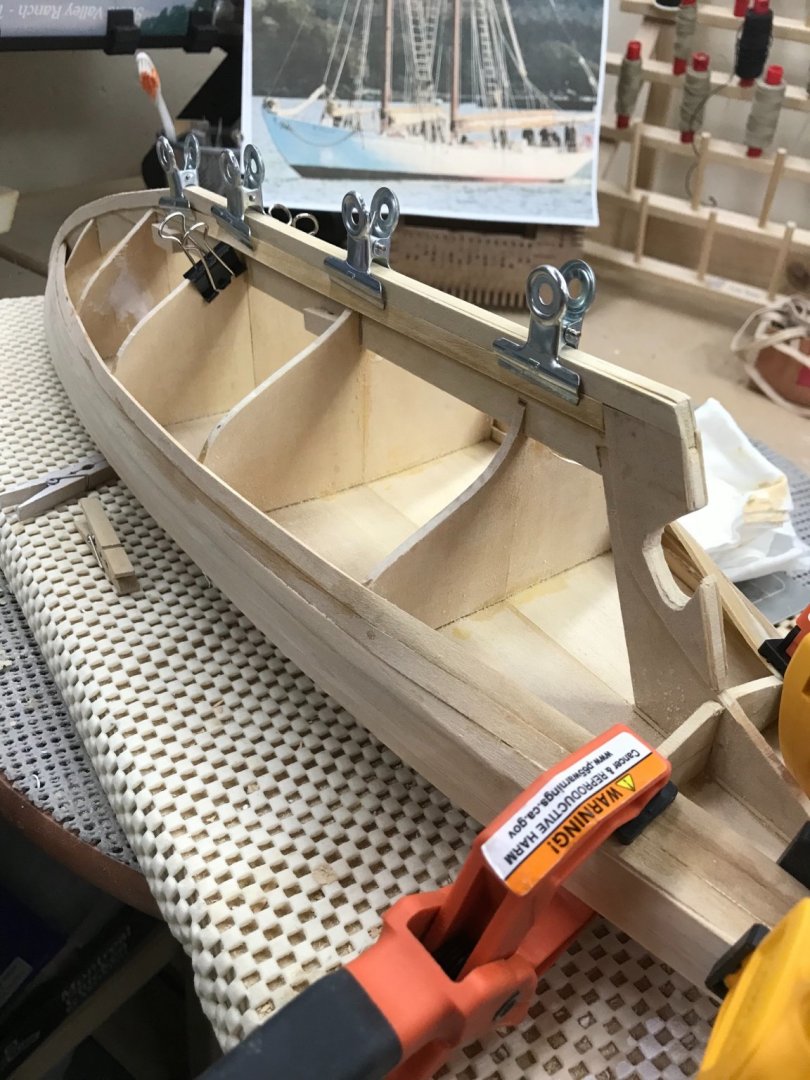
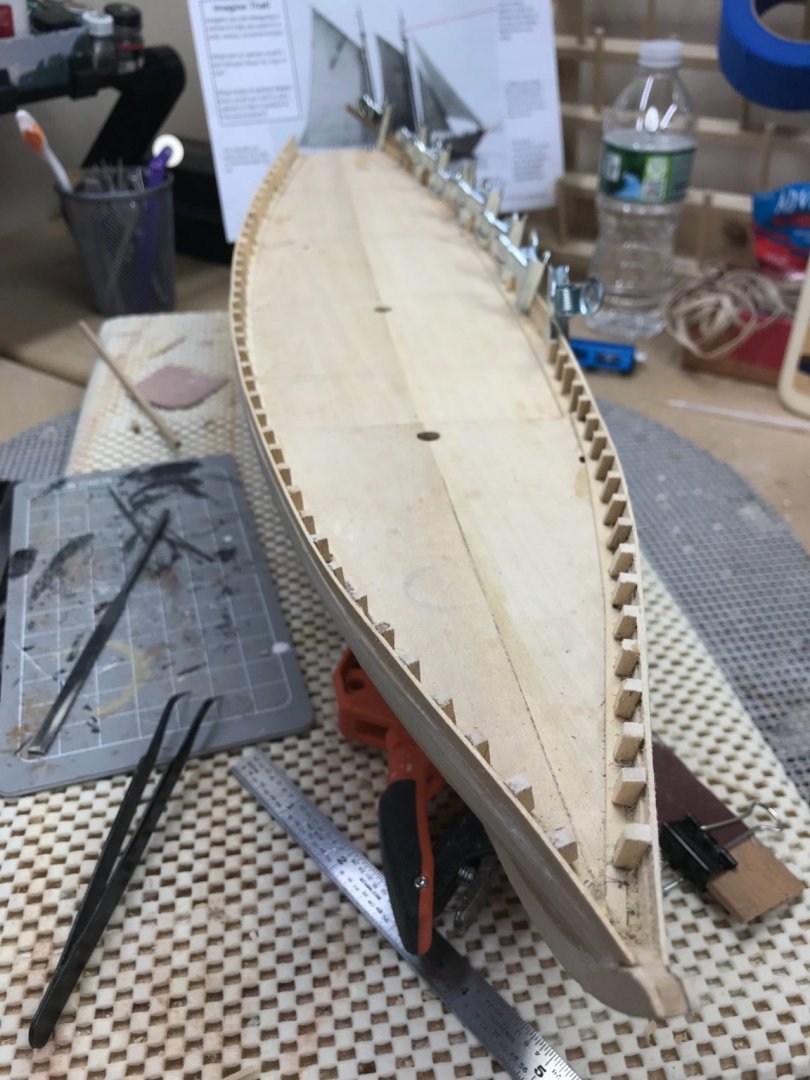
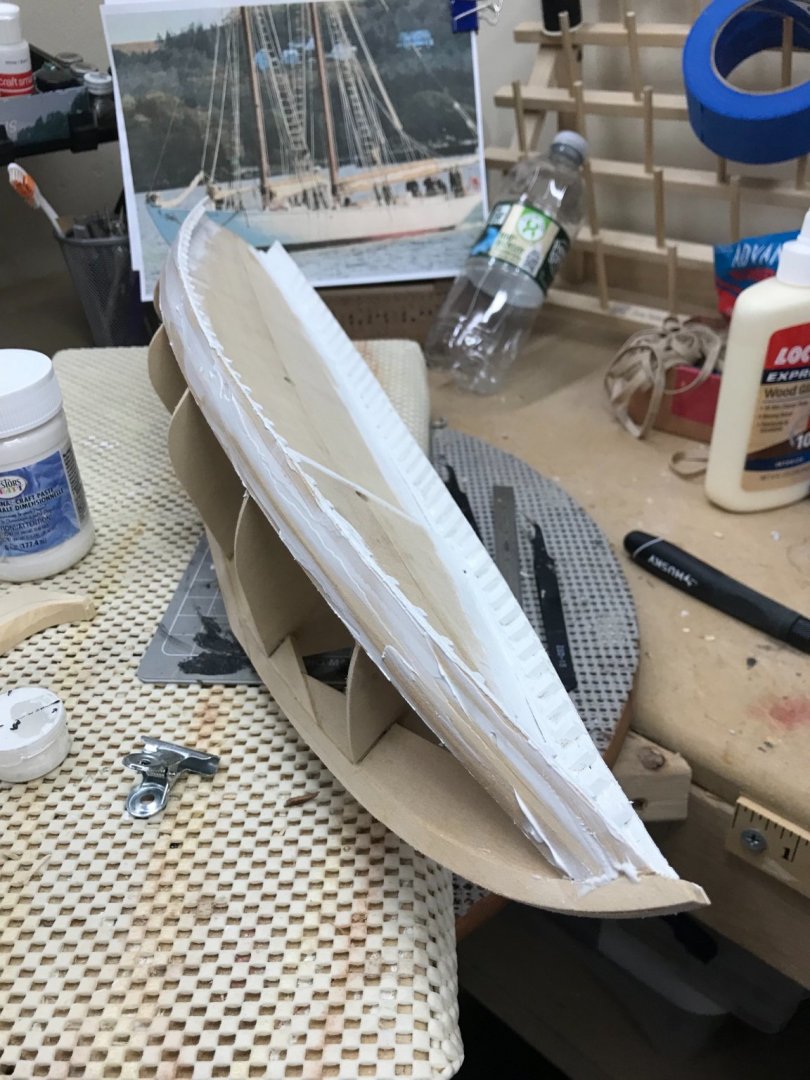
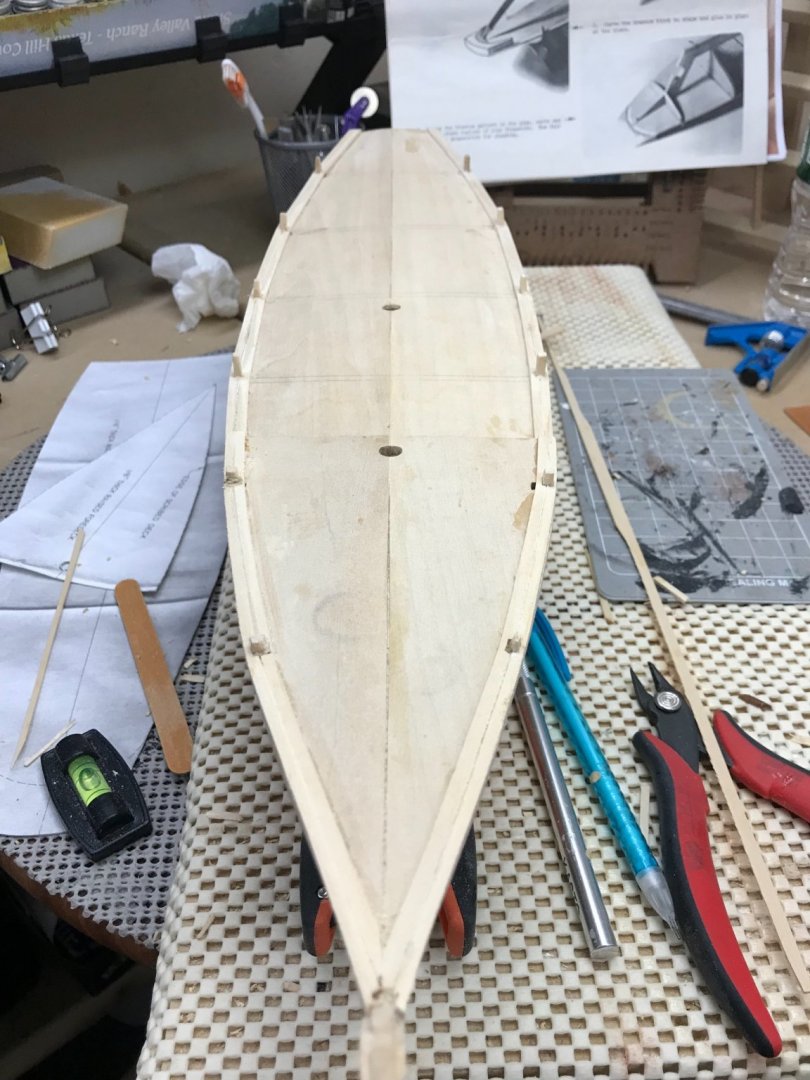
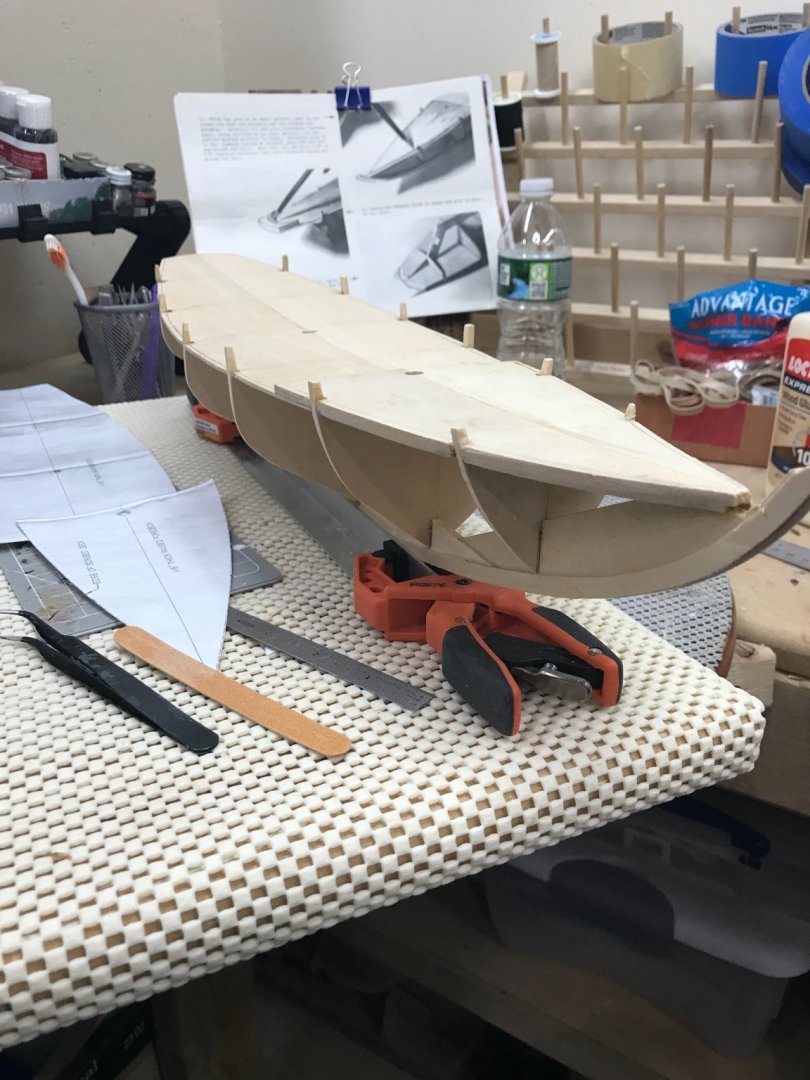
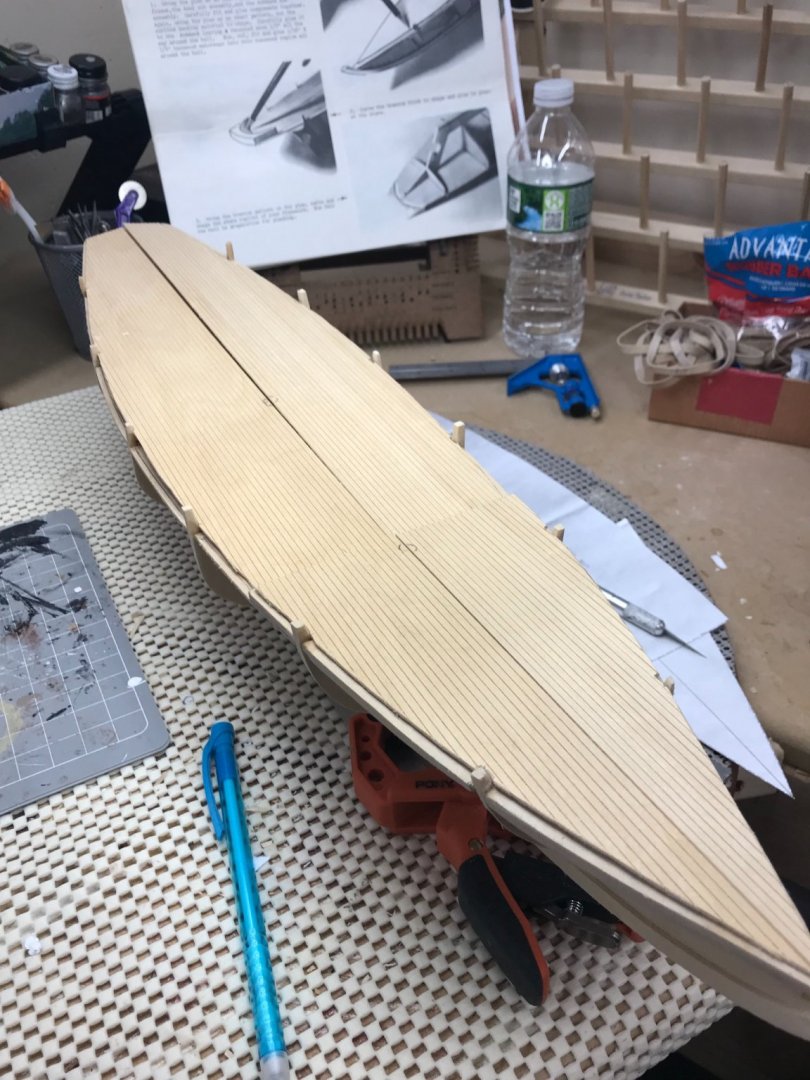
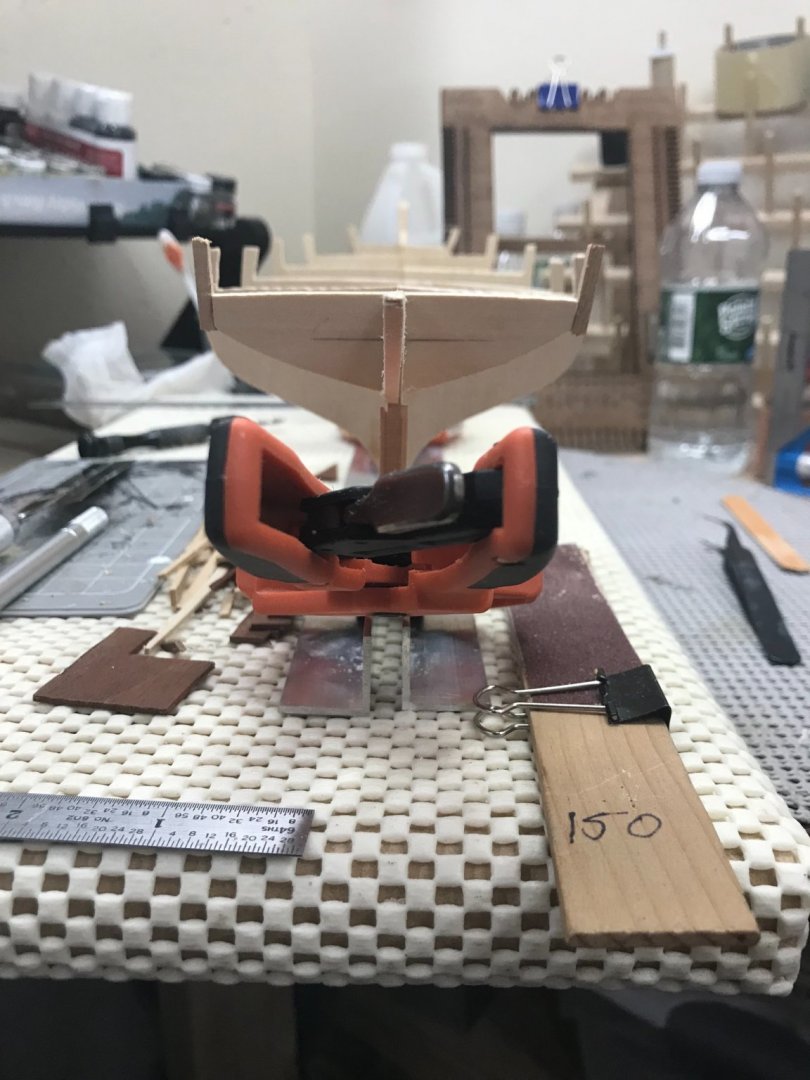
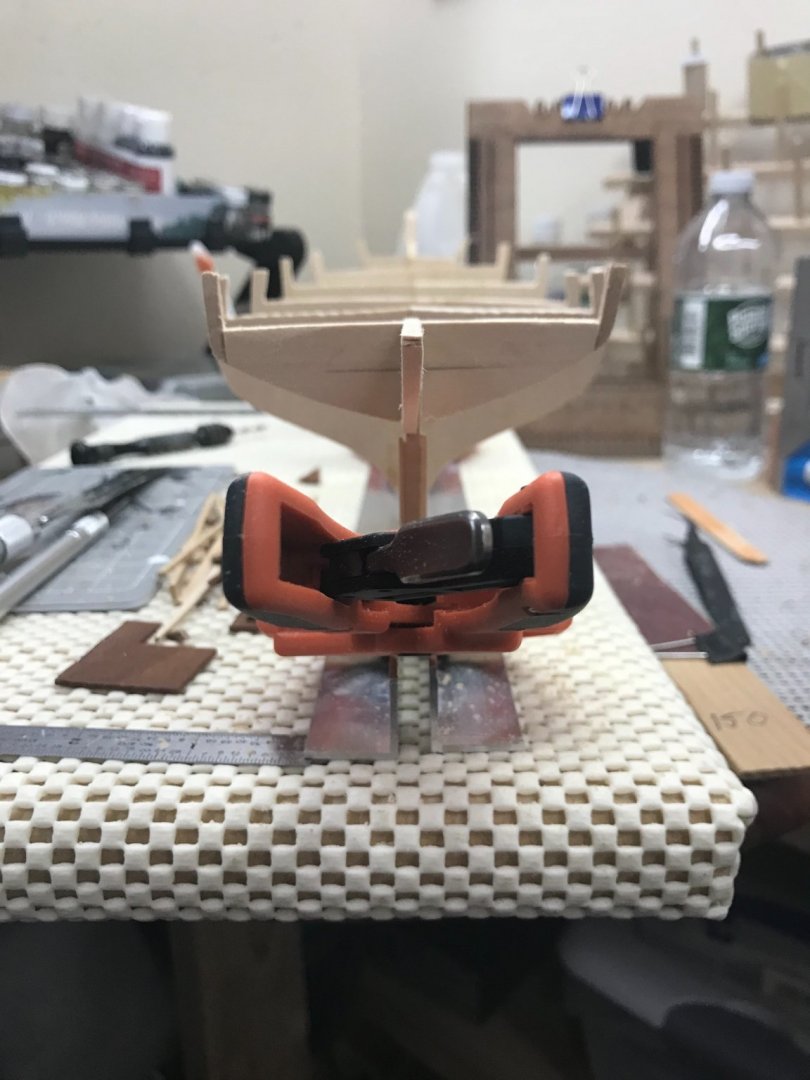
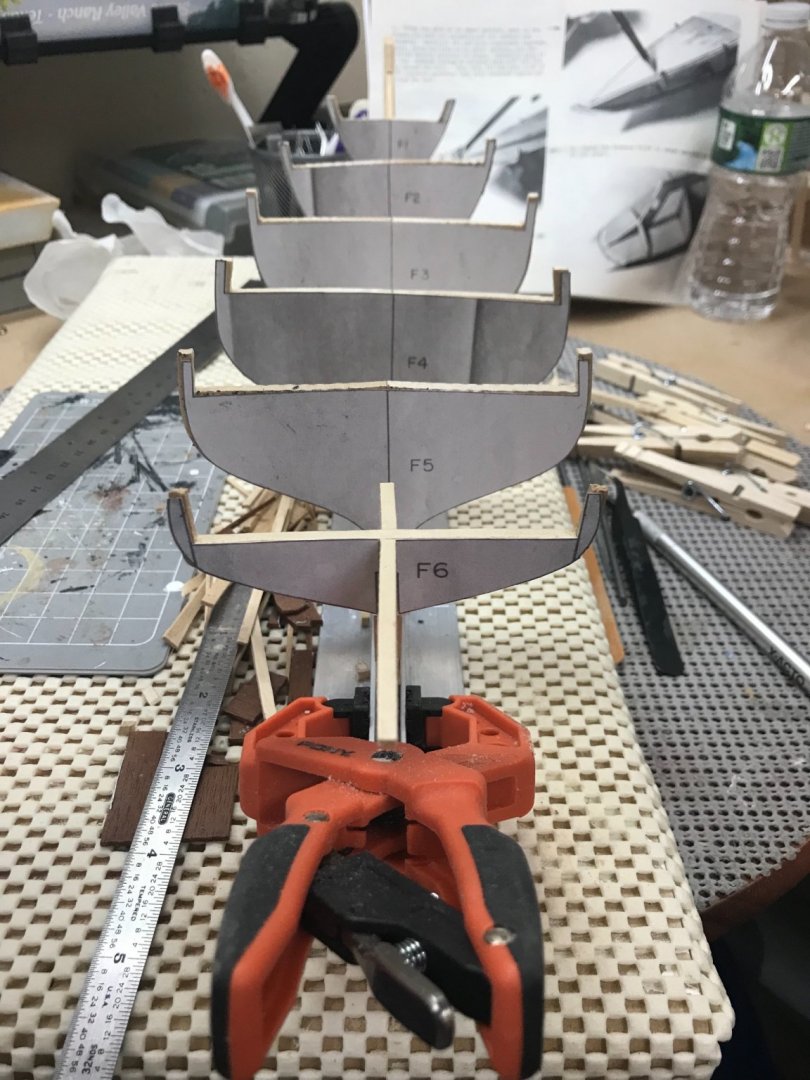
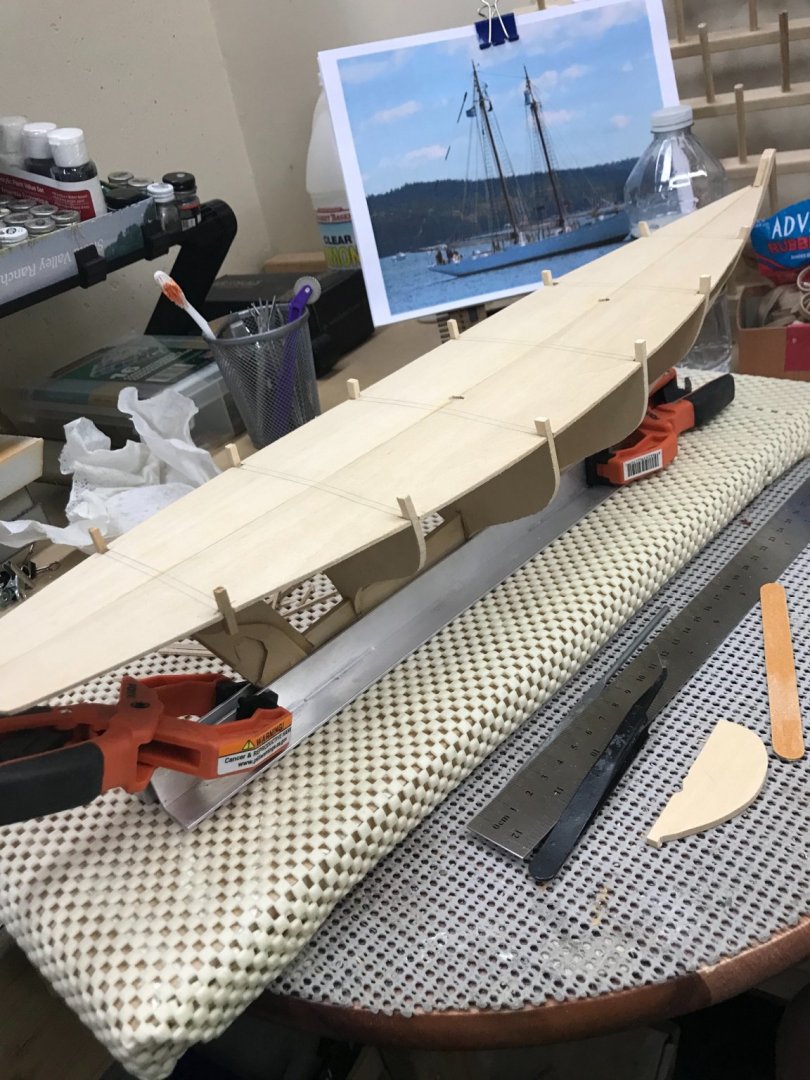
It’s been a good day in my MSW. Progress… Used strip wood to fare out the bulkhead surfaces for the sub decking. Begin shaping the bulkheads for mounting of the sub deck. 150 grit sanding… This view shows the rough cut bulkheads…. I decided to use templates to get the bulkheads shaped properly. I should have done this before I mounted everything to the keel. 😩 Hind sight is always 100%. 😆 Moving on… 150 grit and persistence gets it right. 😎 Gluing down the fore deck… Soaking wet, trying to get the curve right. Had to re-glue and clamp… Ta Da… sub deck glued in place. Straight, I hope 🤞 We will know more when I remove the Rubber Band/Close-pin Clamping System. 😎 Bulkhead to sub deck joints look good. 👍. Later 🍻


- 127 replies
-
- 4
-
-
- Bowdoin
- Arctic Exploration
- (and 3 more)
-
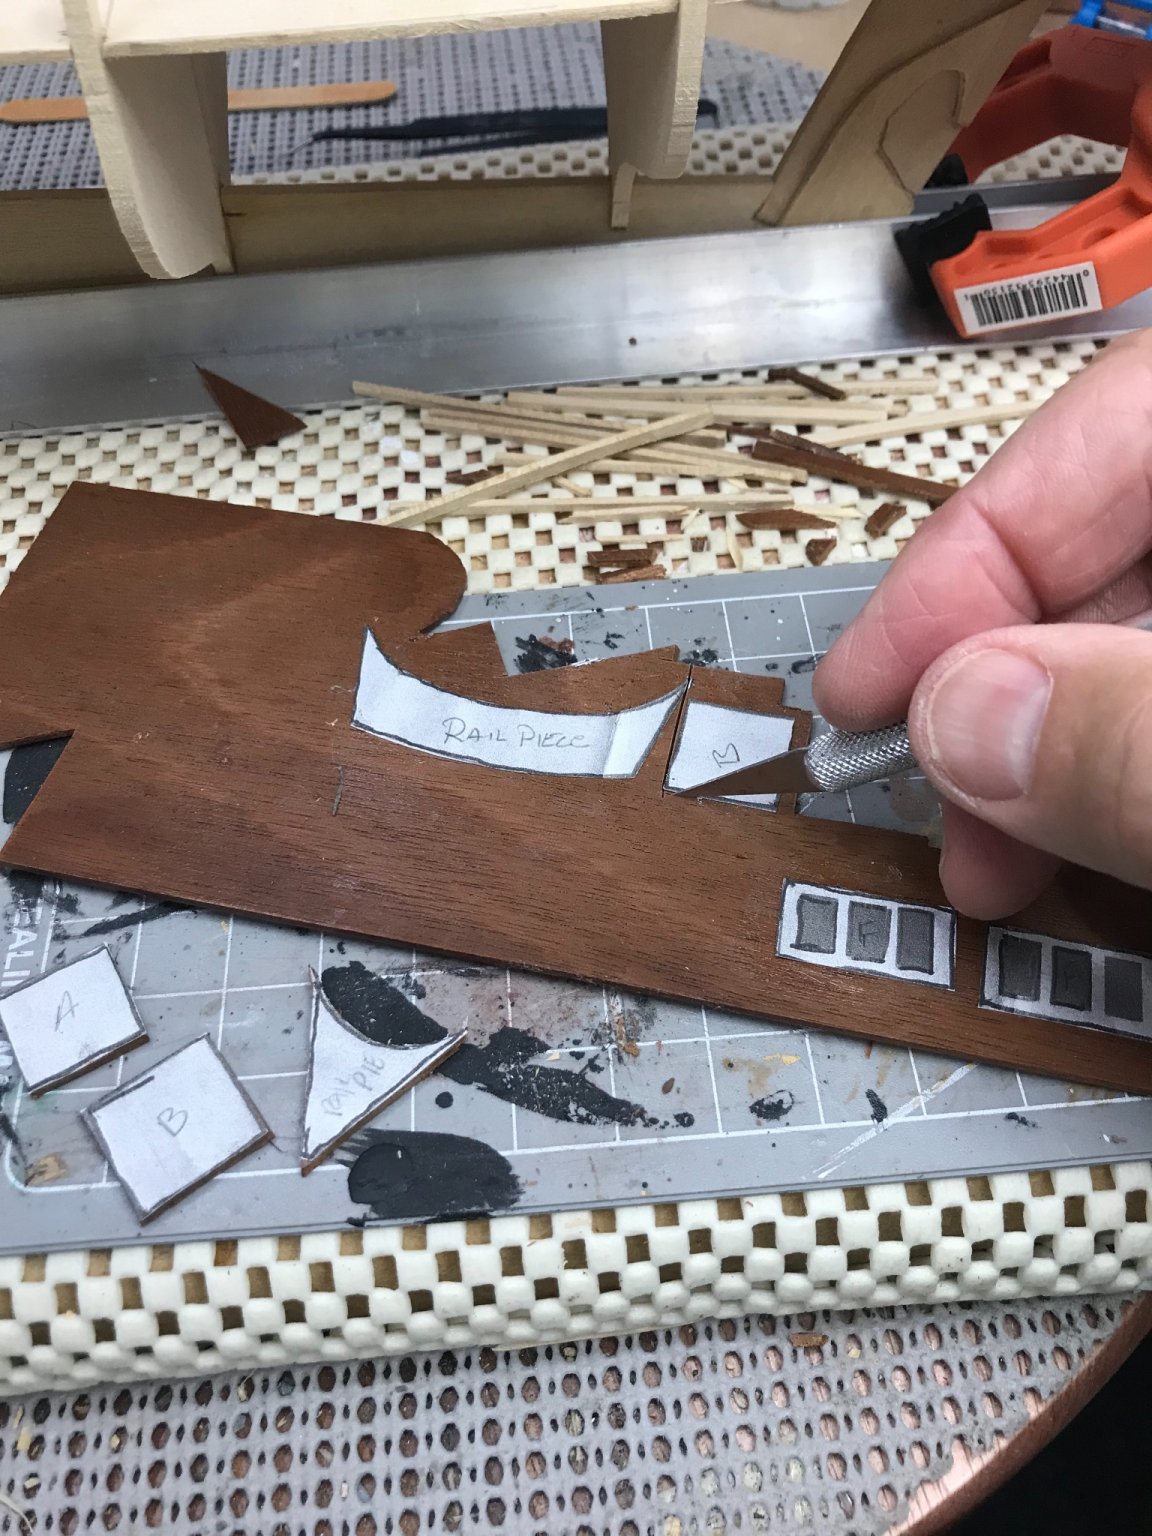
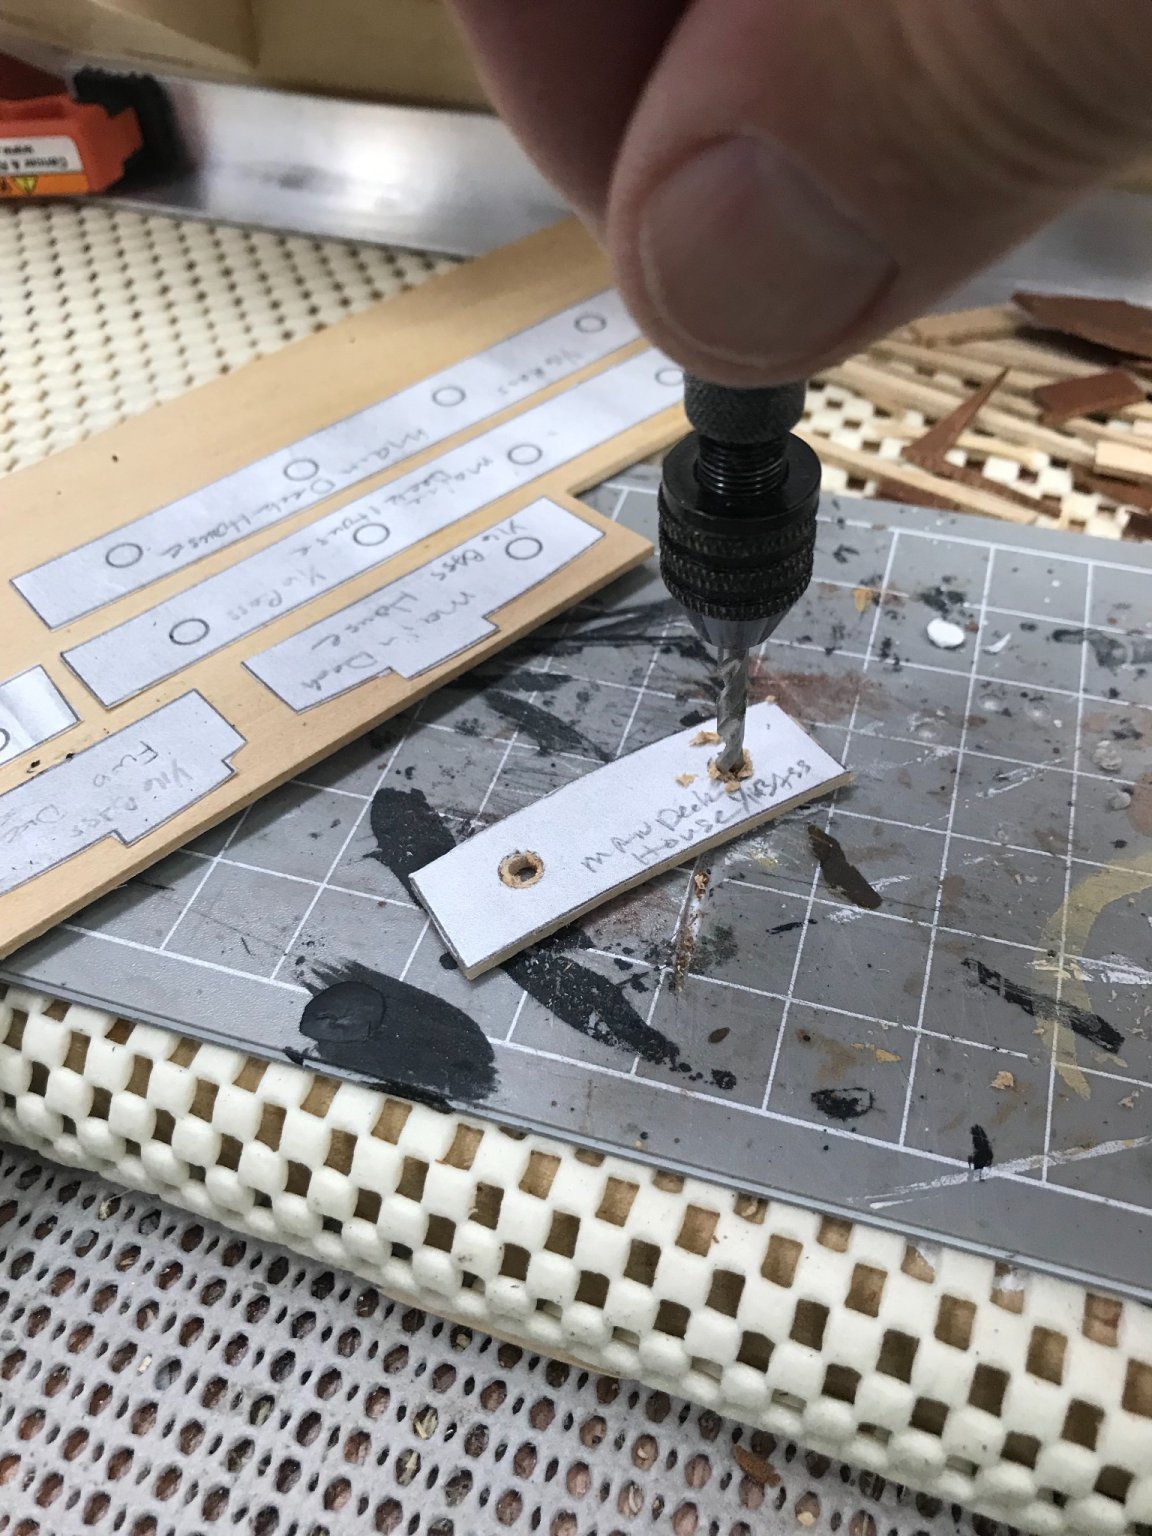
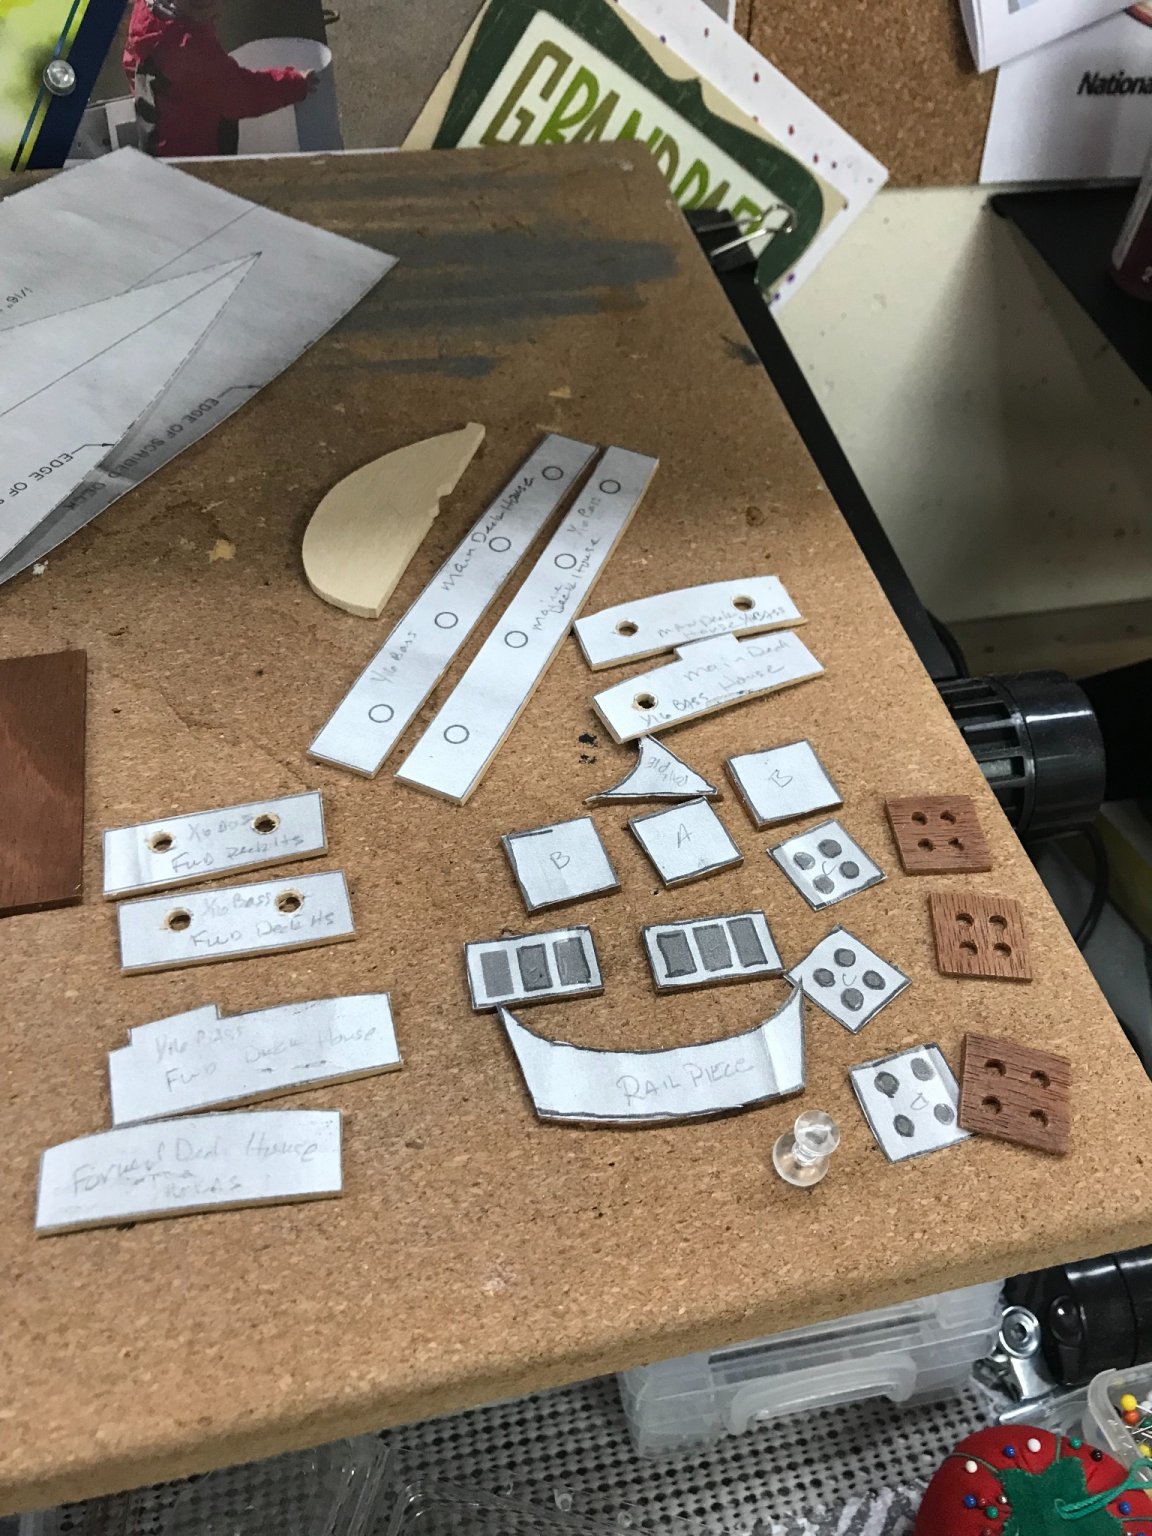
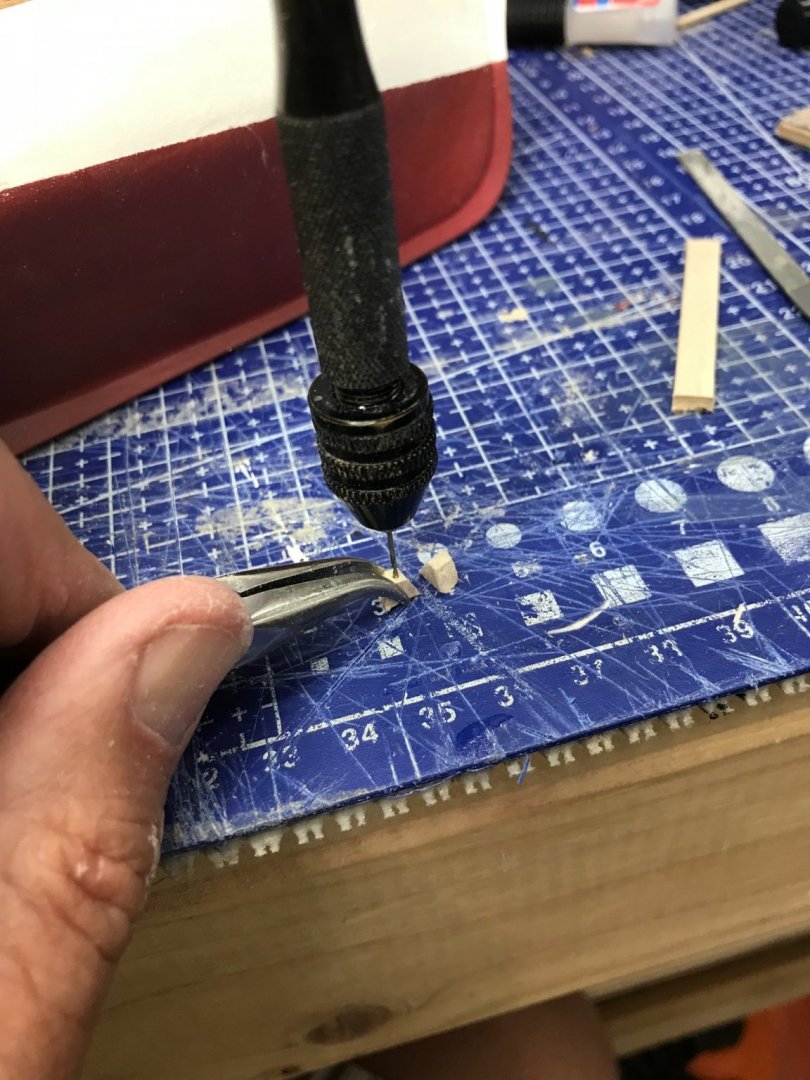
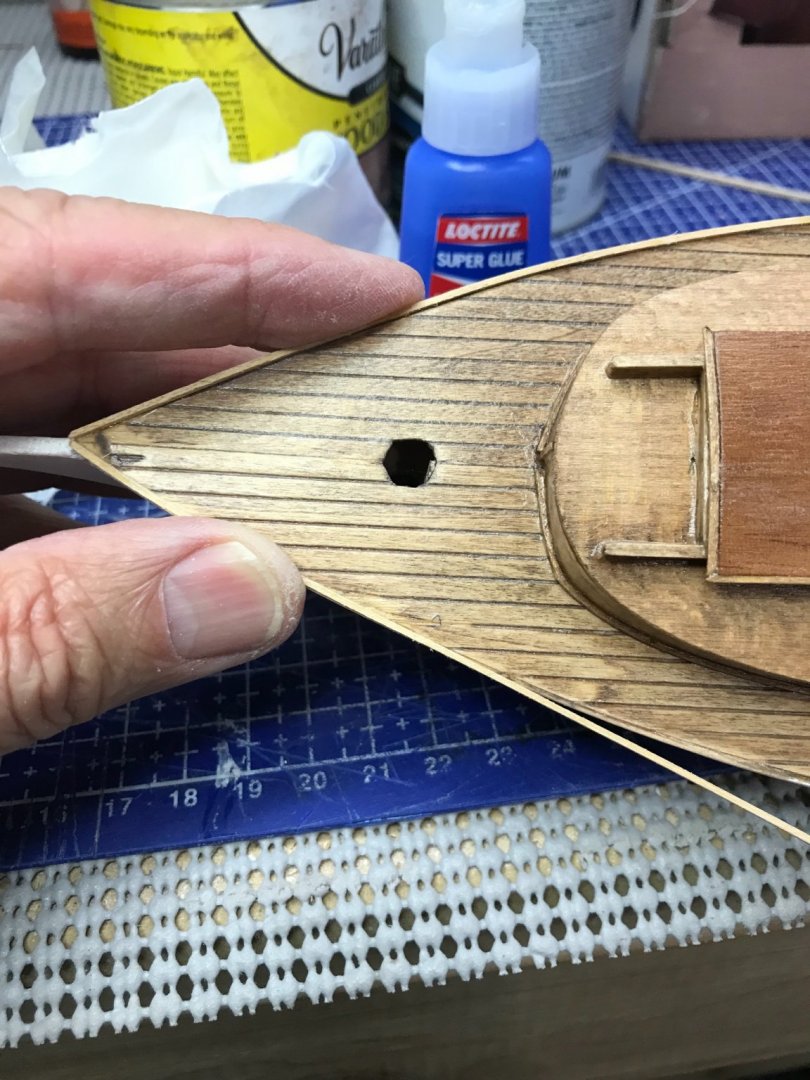
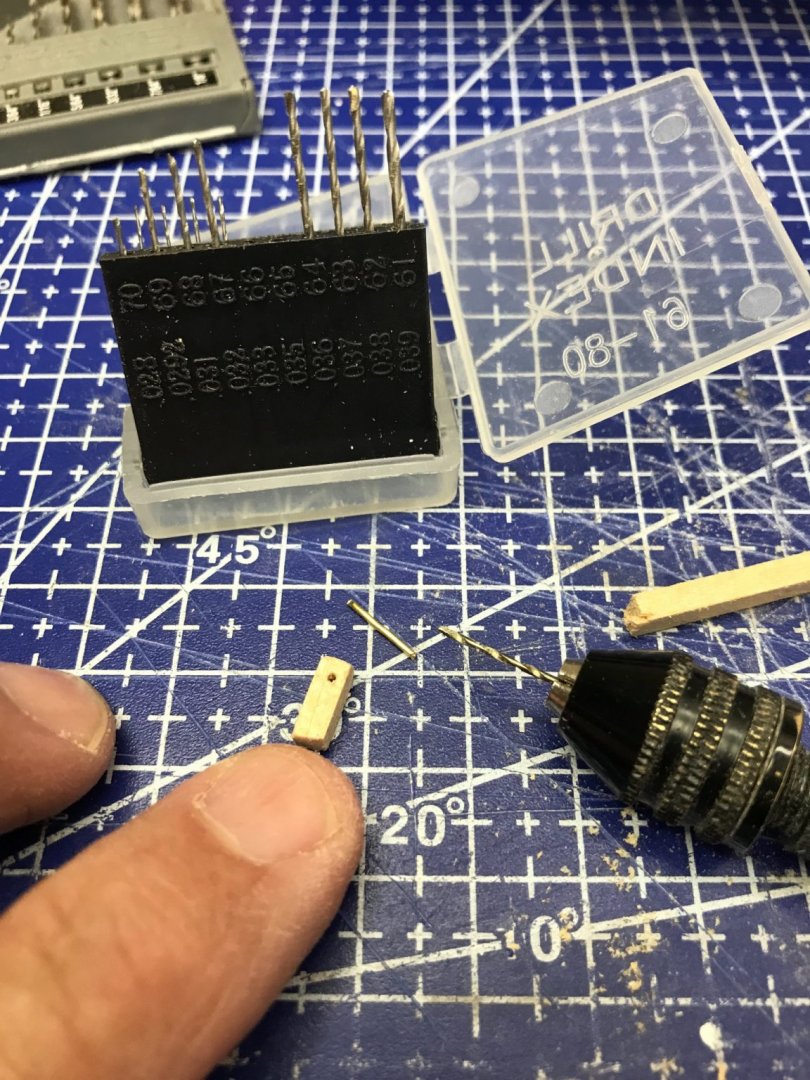
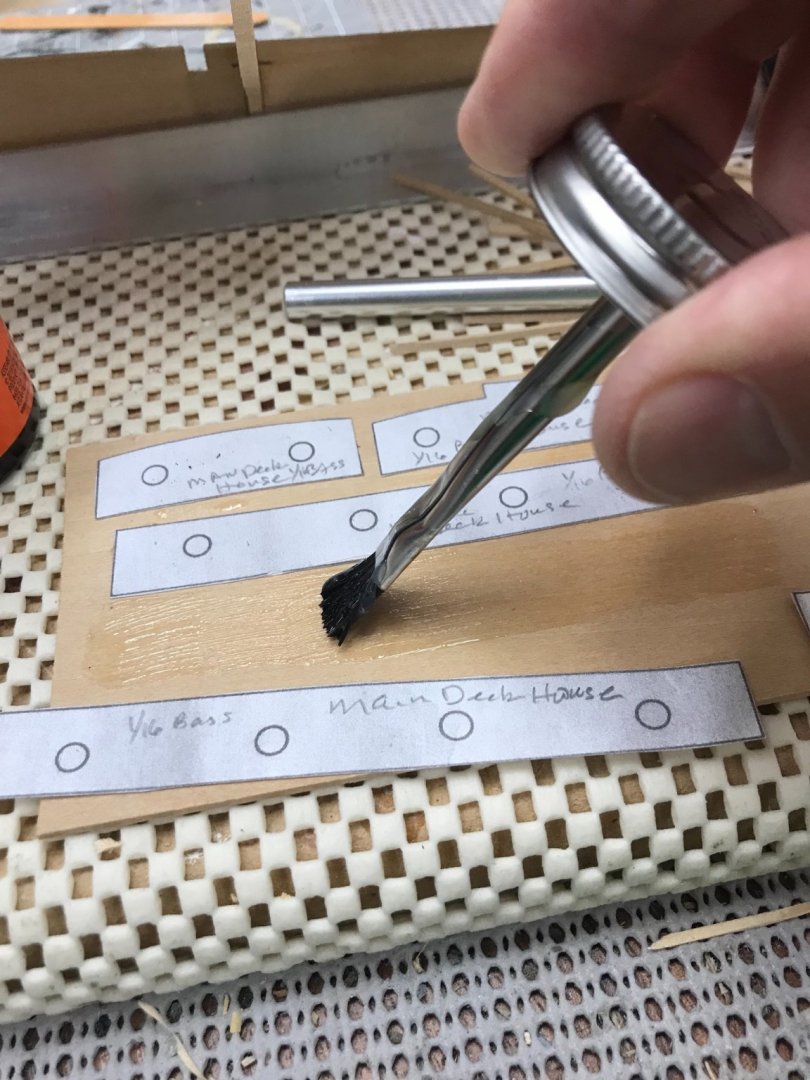
Rubber Cement Templates… Thin coat applied… All templates laid out… Carefully cut using light pressure and multiple passes… Drill out portholes with 1/8” bit and finalize to the correct size with round needle file. Be careful not to split the wood. On the shelf until I finish planking and decking. Onwards. 😎


- 127 replies
-
- 4
-
-
- Bowdoin
- Arctic Exploration
- (and 3 more)
-
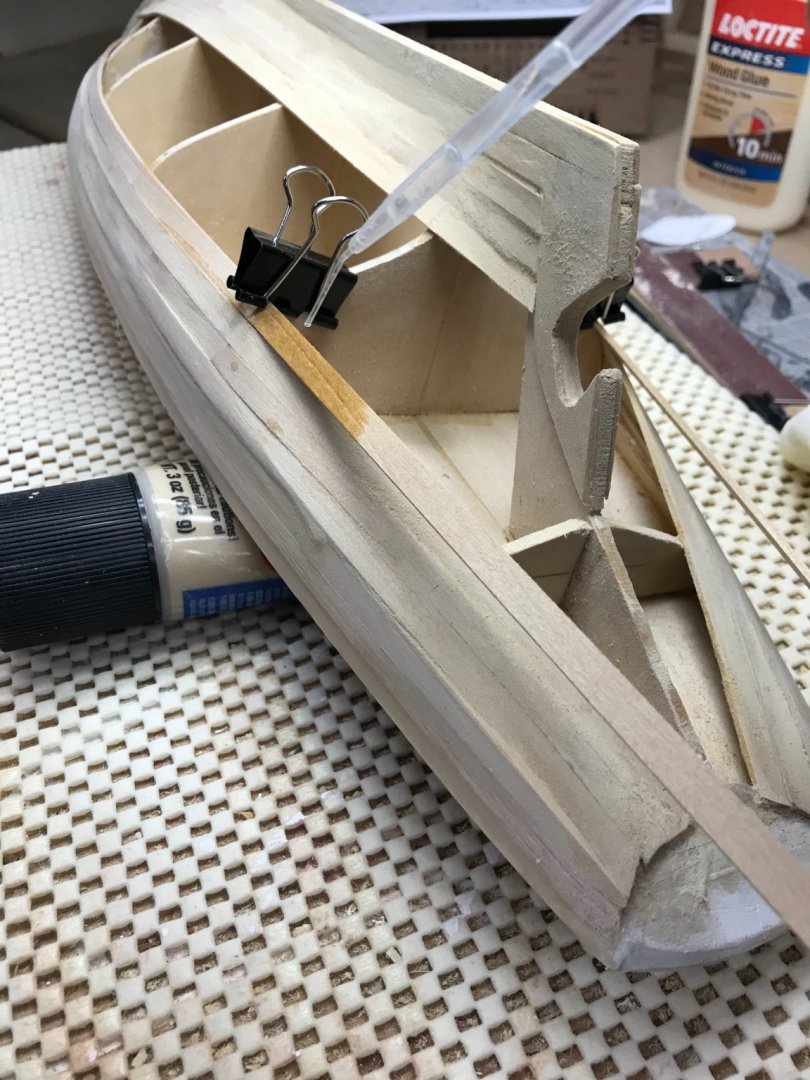
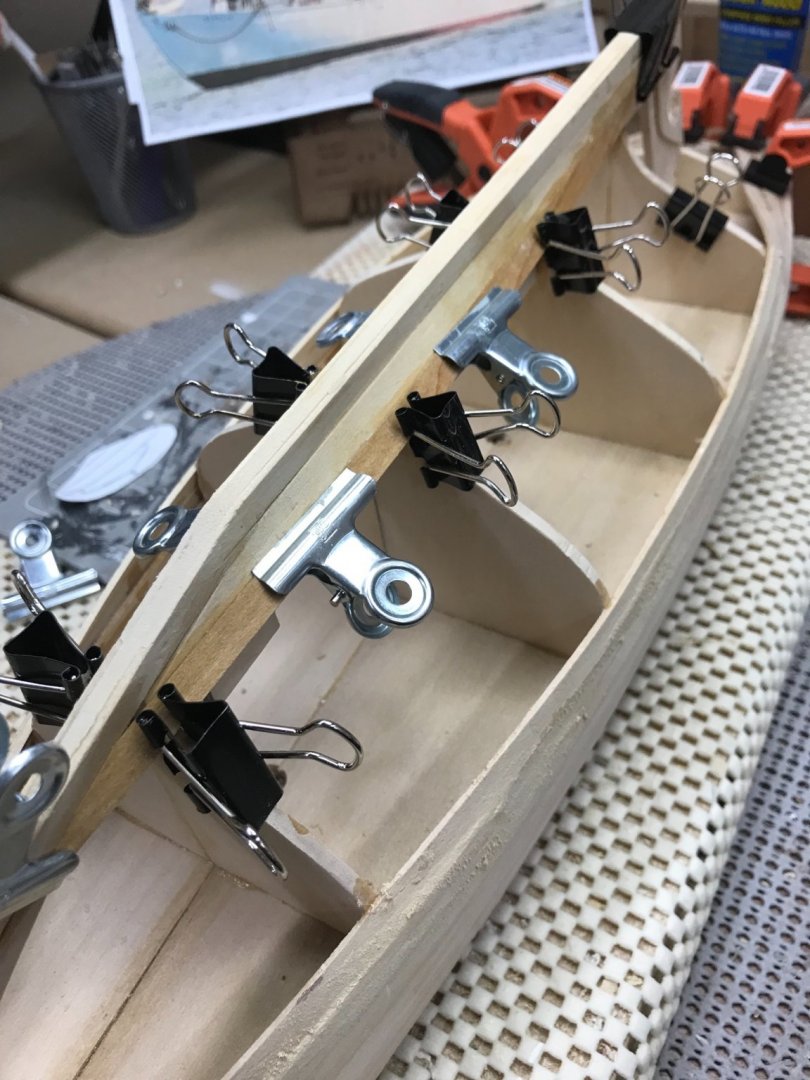
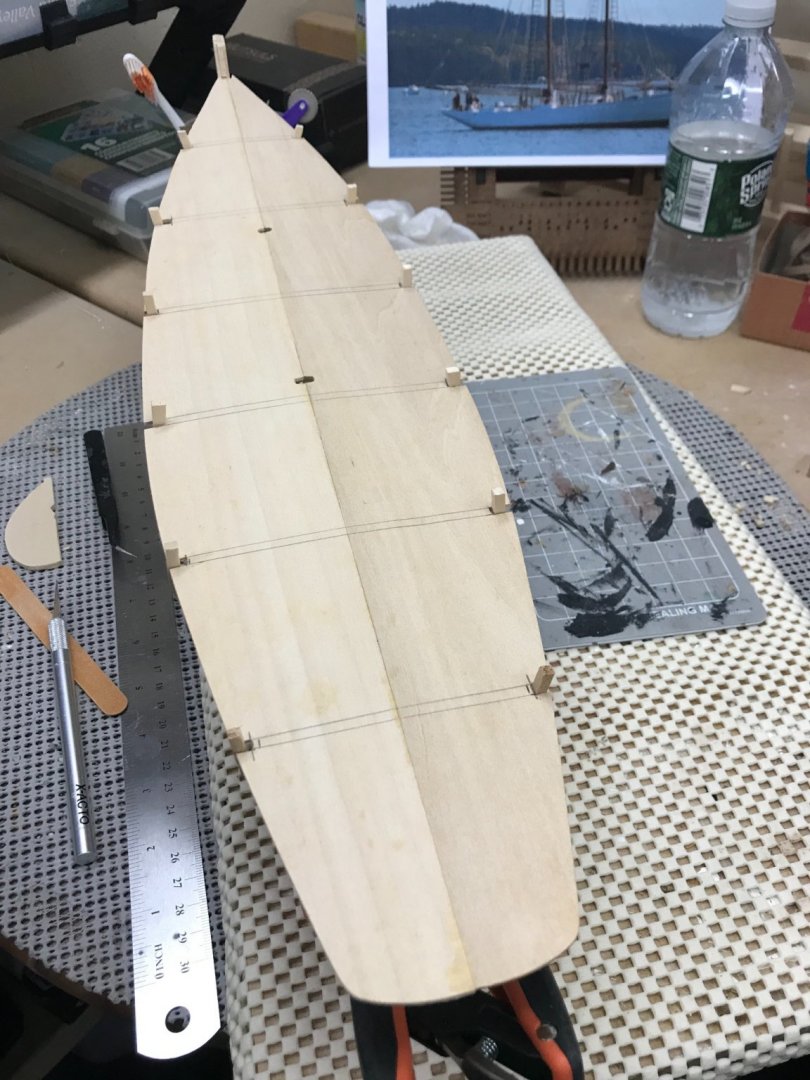
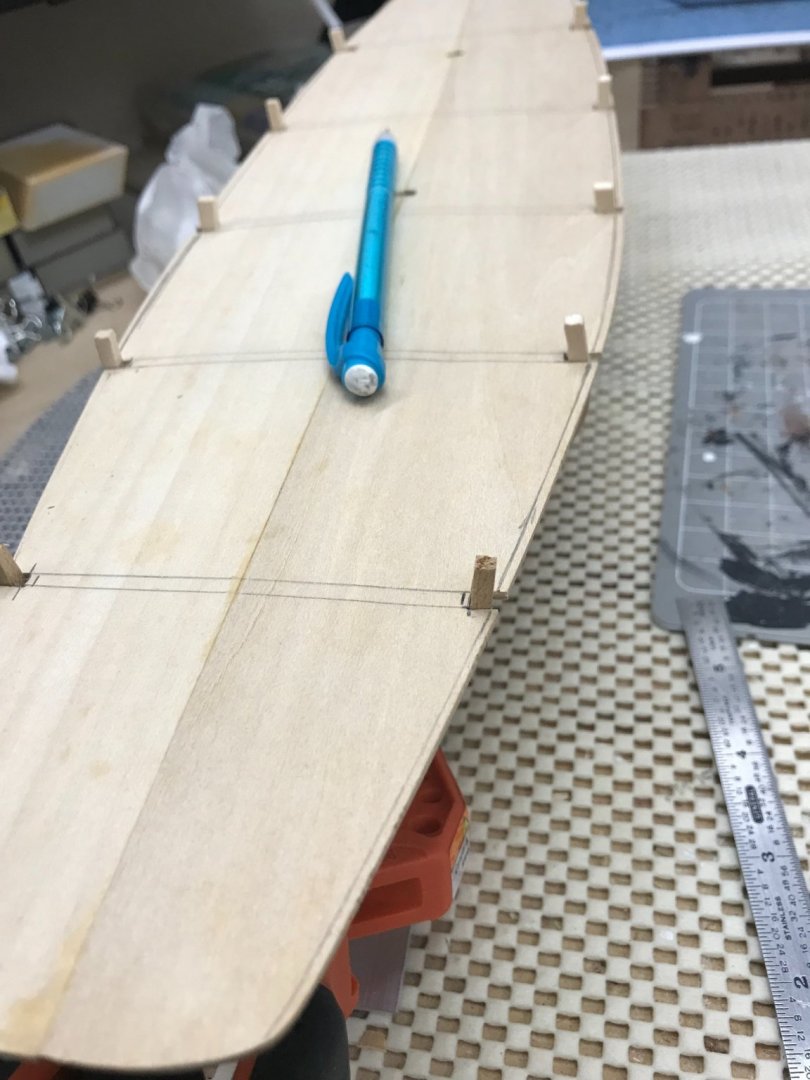
Installing the sub deck… Clamped the two precut halves of the sub deck together with the 10 min clamp wood glue. Precut slots for the bulkheads needed some adjustment. Checking the fit… Need to trim up edges, marked with pencil. Looks like a good fit… Next up, cutting out deck furnishings. Using Rubber Cement to hold templates in place. (Old school) 😆


- 127 replies
-
- 7
-
-
- Bowdoin
- Arctic Exploration
- (and 3 more)