John Ruy
-
Posts
1,585 -
Joined
-
Last visited
Content Type
Profiles
Forums
Gallery
Events
Everything posted by John Ruy
-
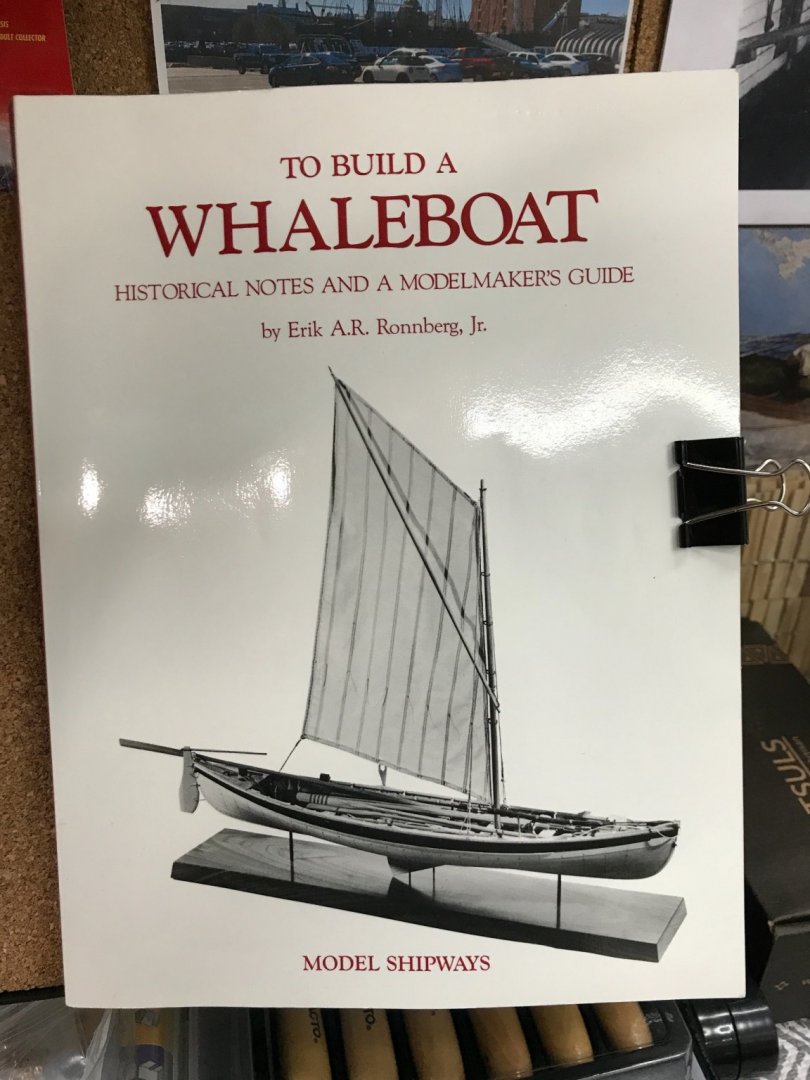
 Mike, Congratulations on a Beautiful Model and Display. Great job, your attention to detail is everything I aspire to have. 😎 I’m just finishing my Néw Bedford Whaleboat and will be using your detailed build log for inspiration and guidance in my final steps and quest for detail. Thanks for taking the time to put this together. What’s your next venture? John
 -
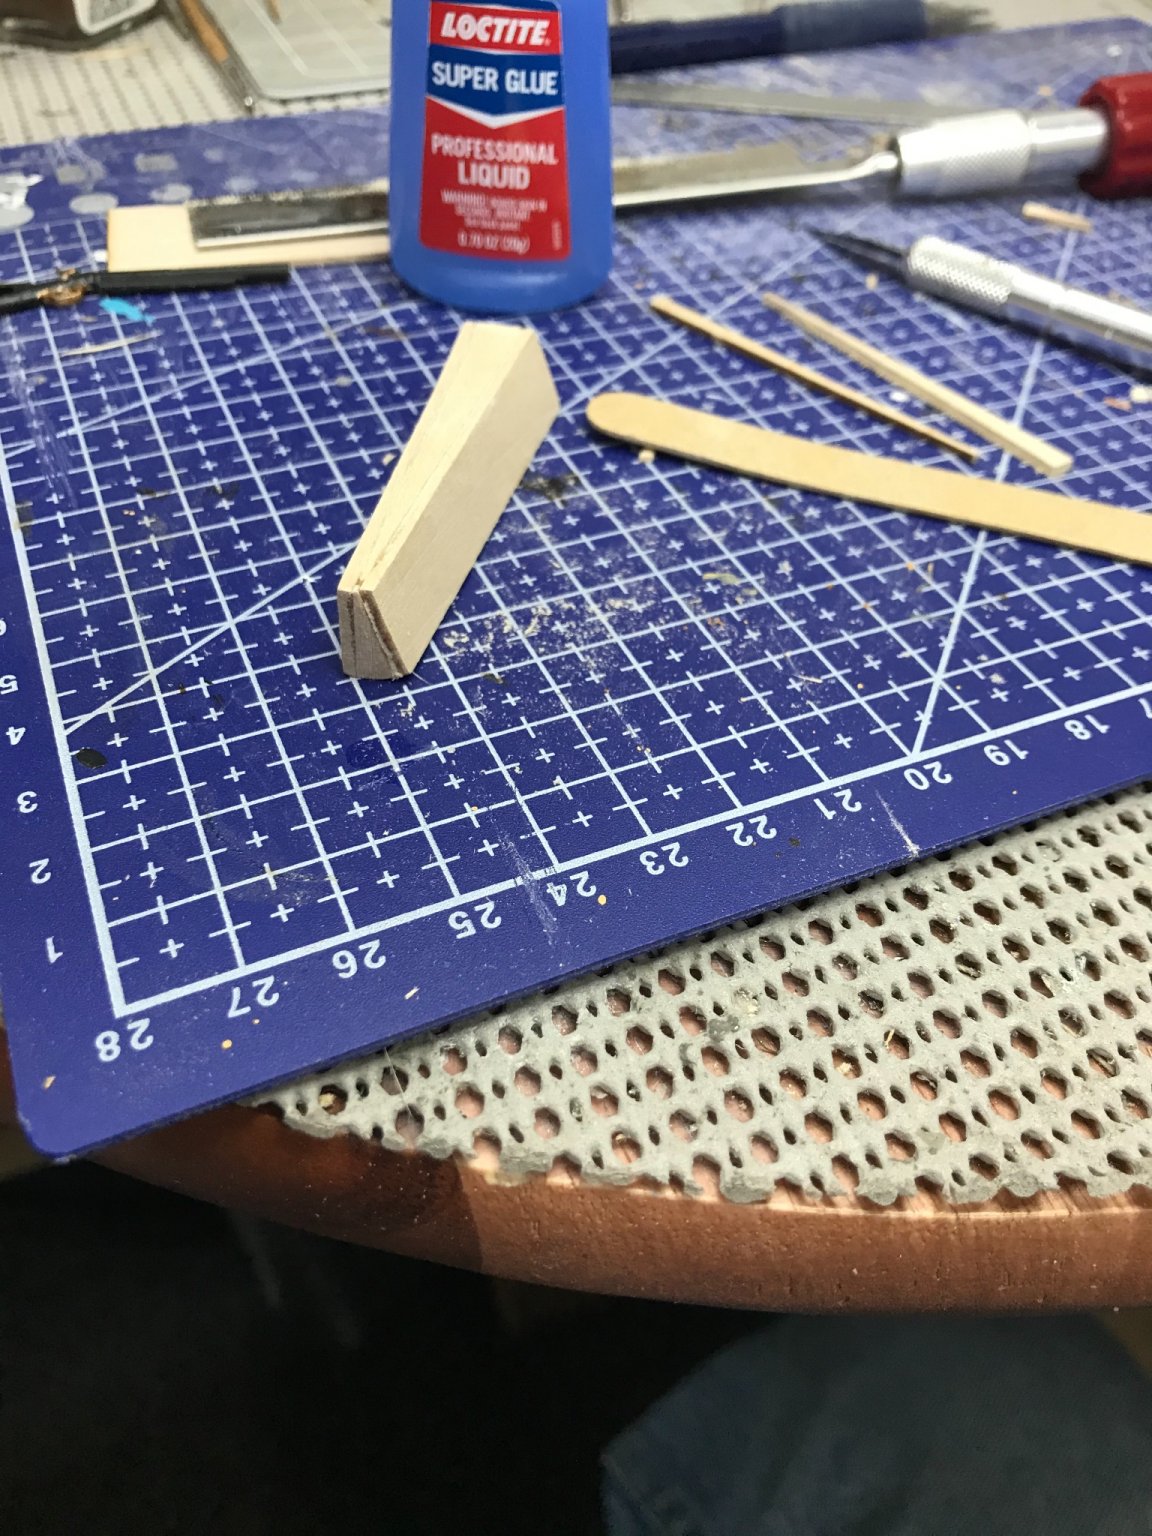
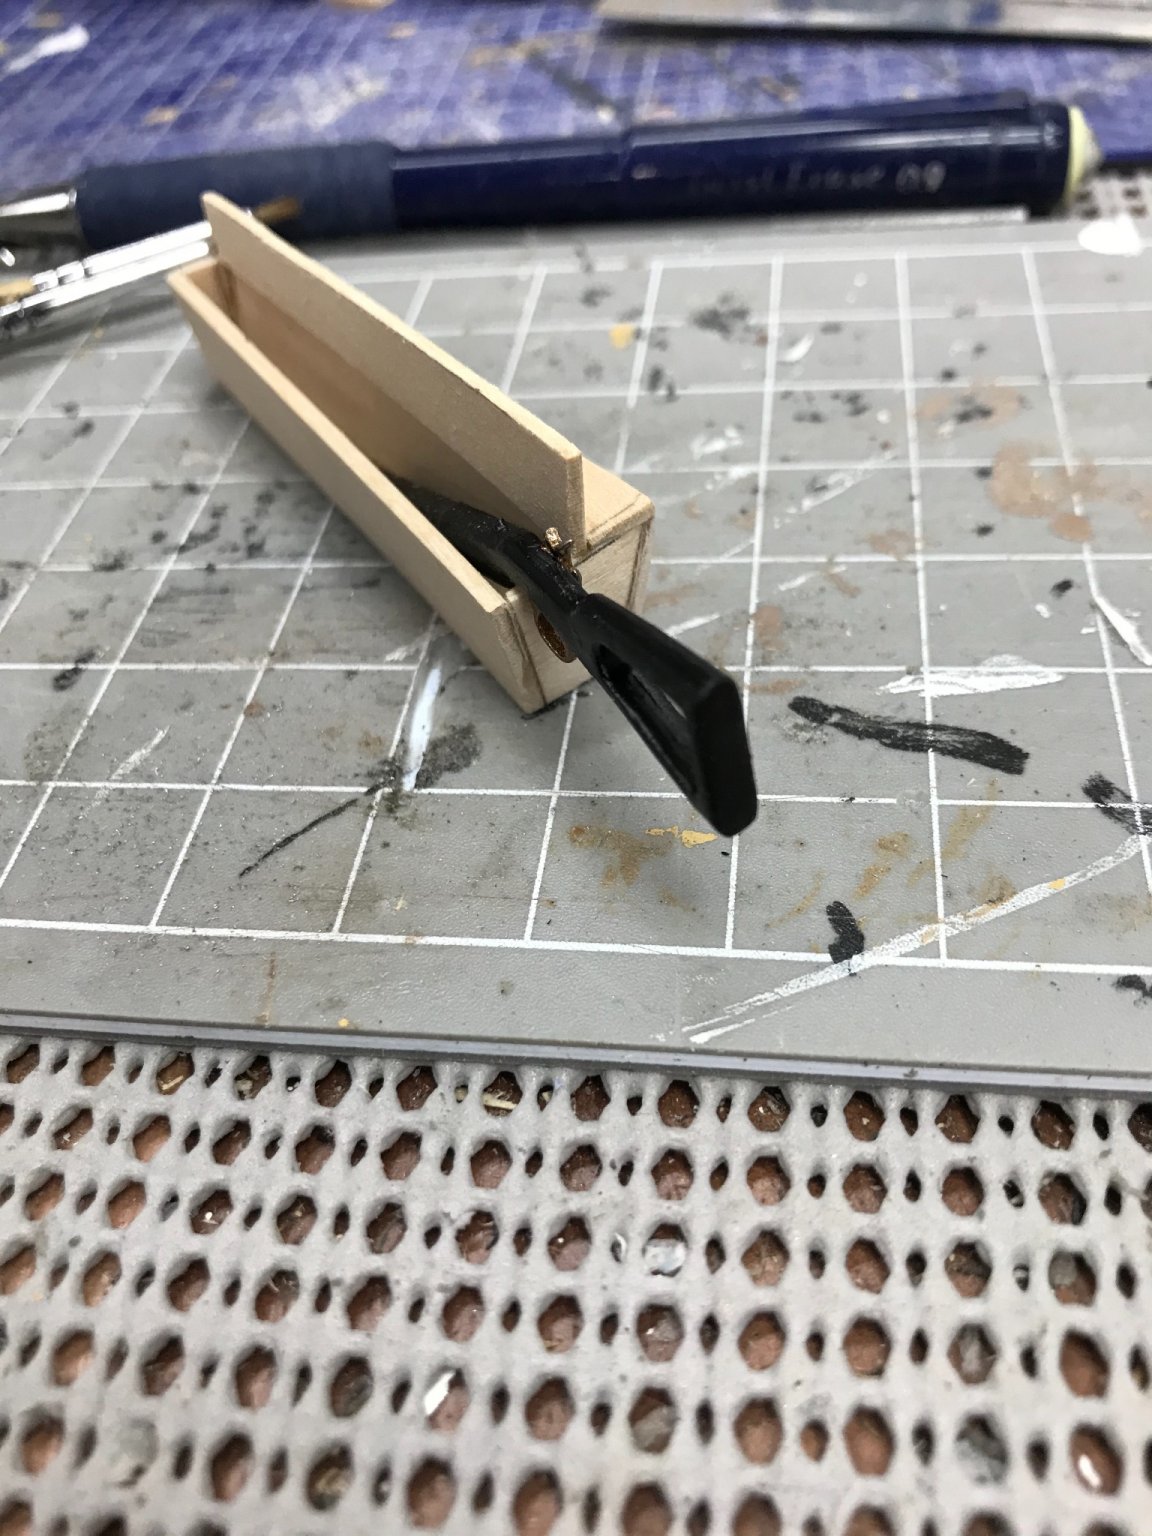
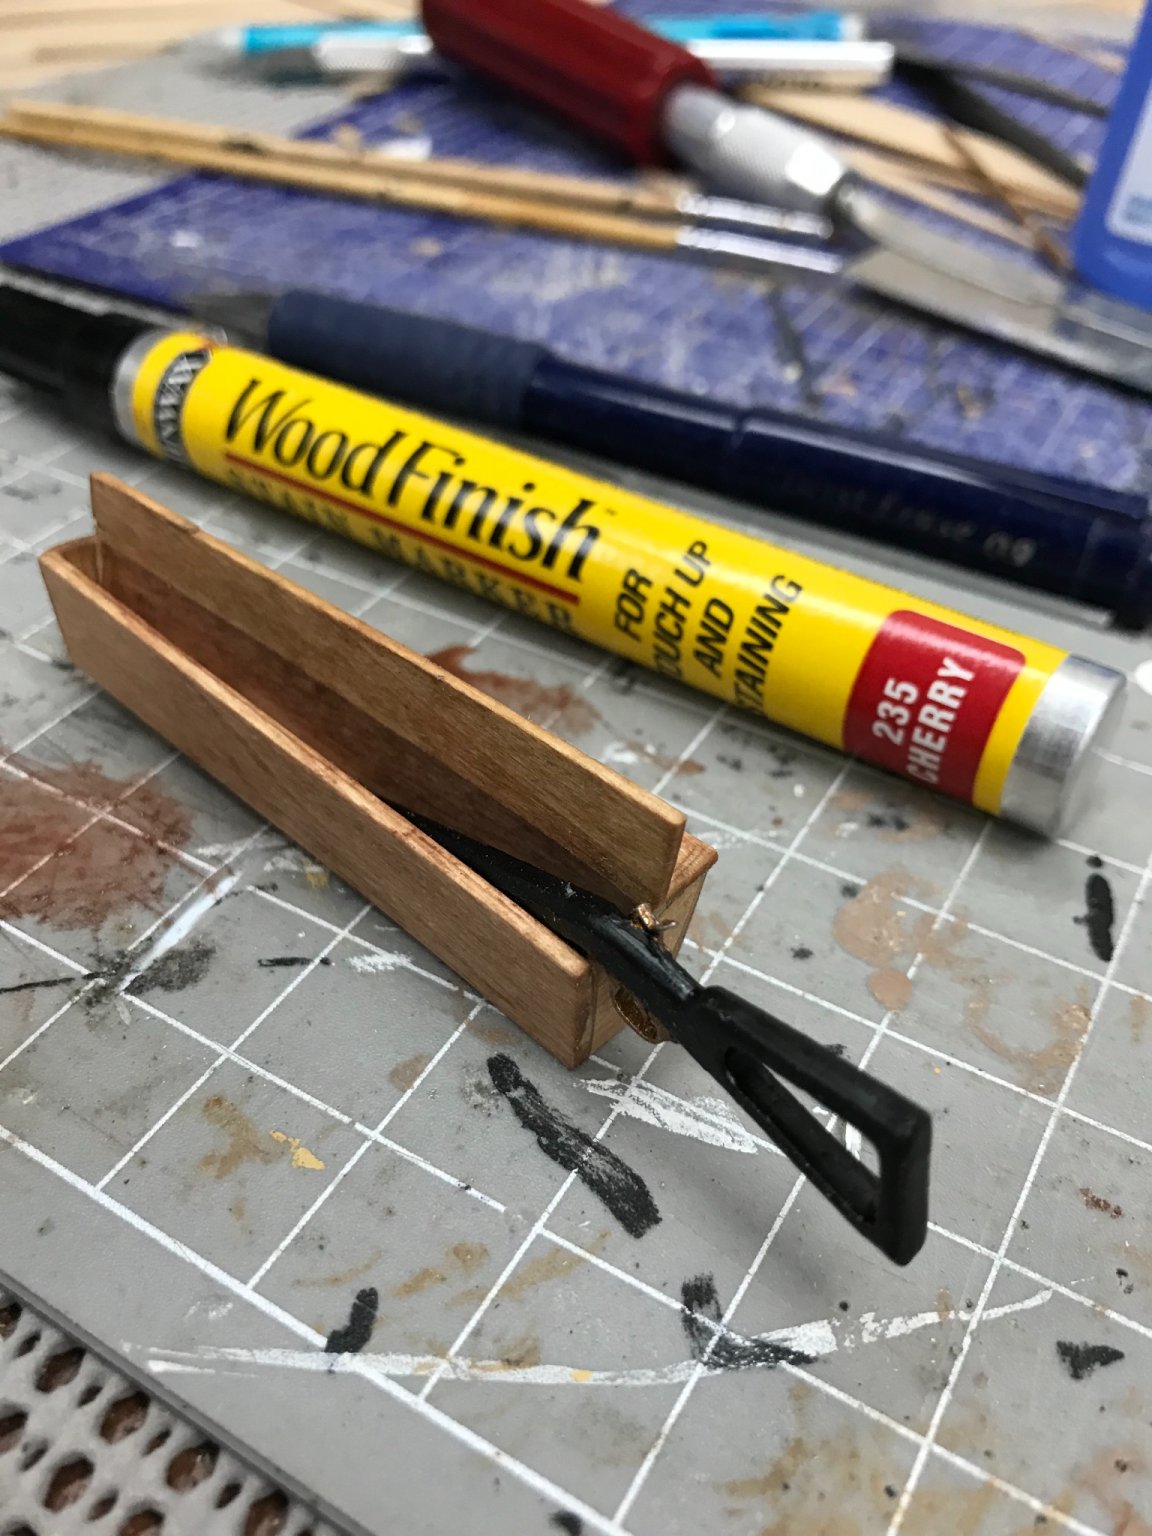
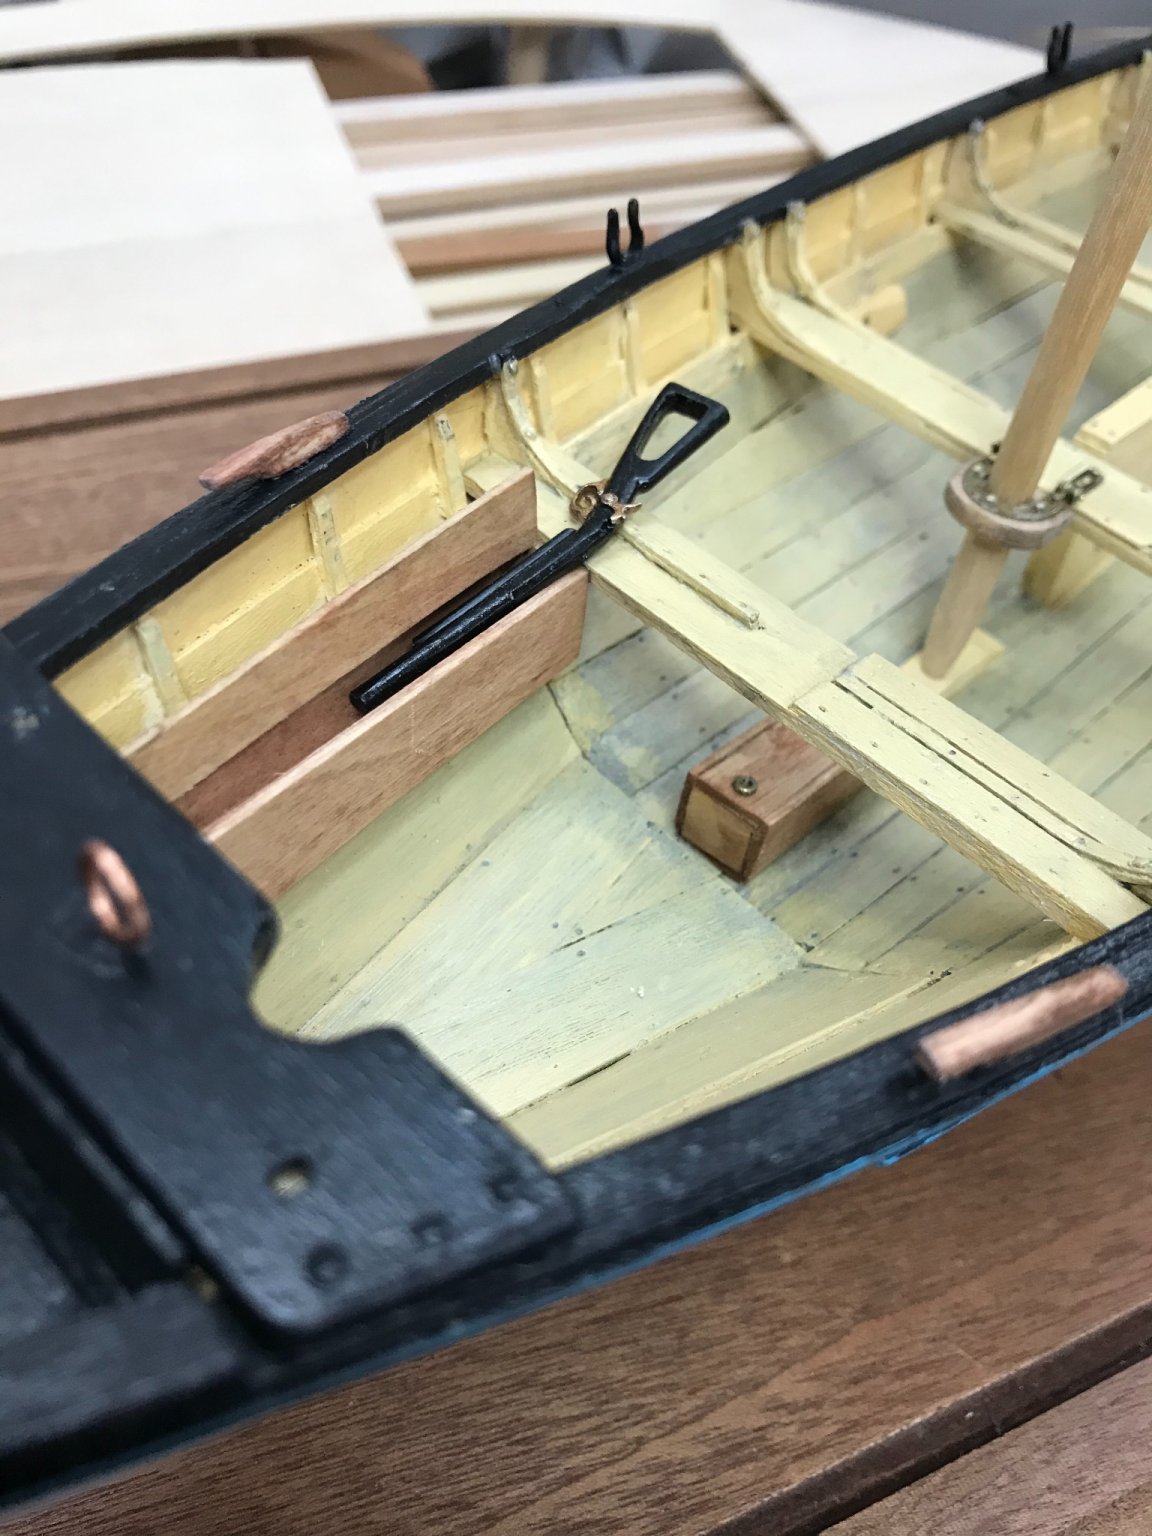
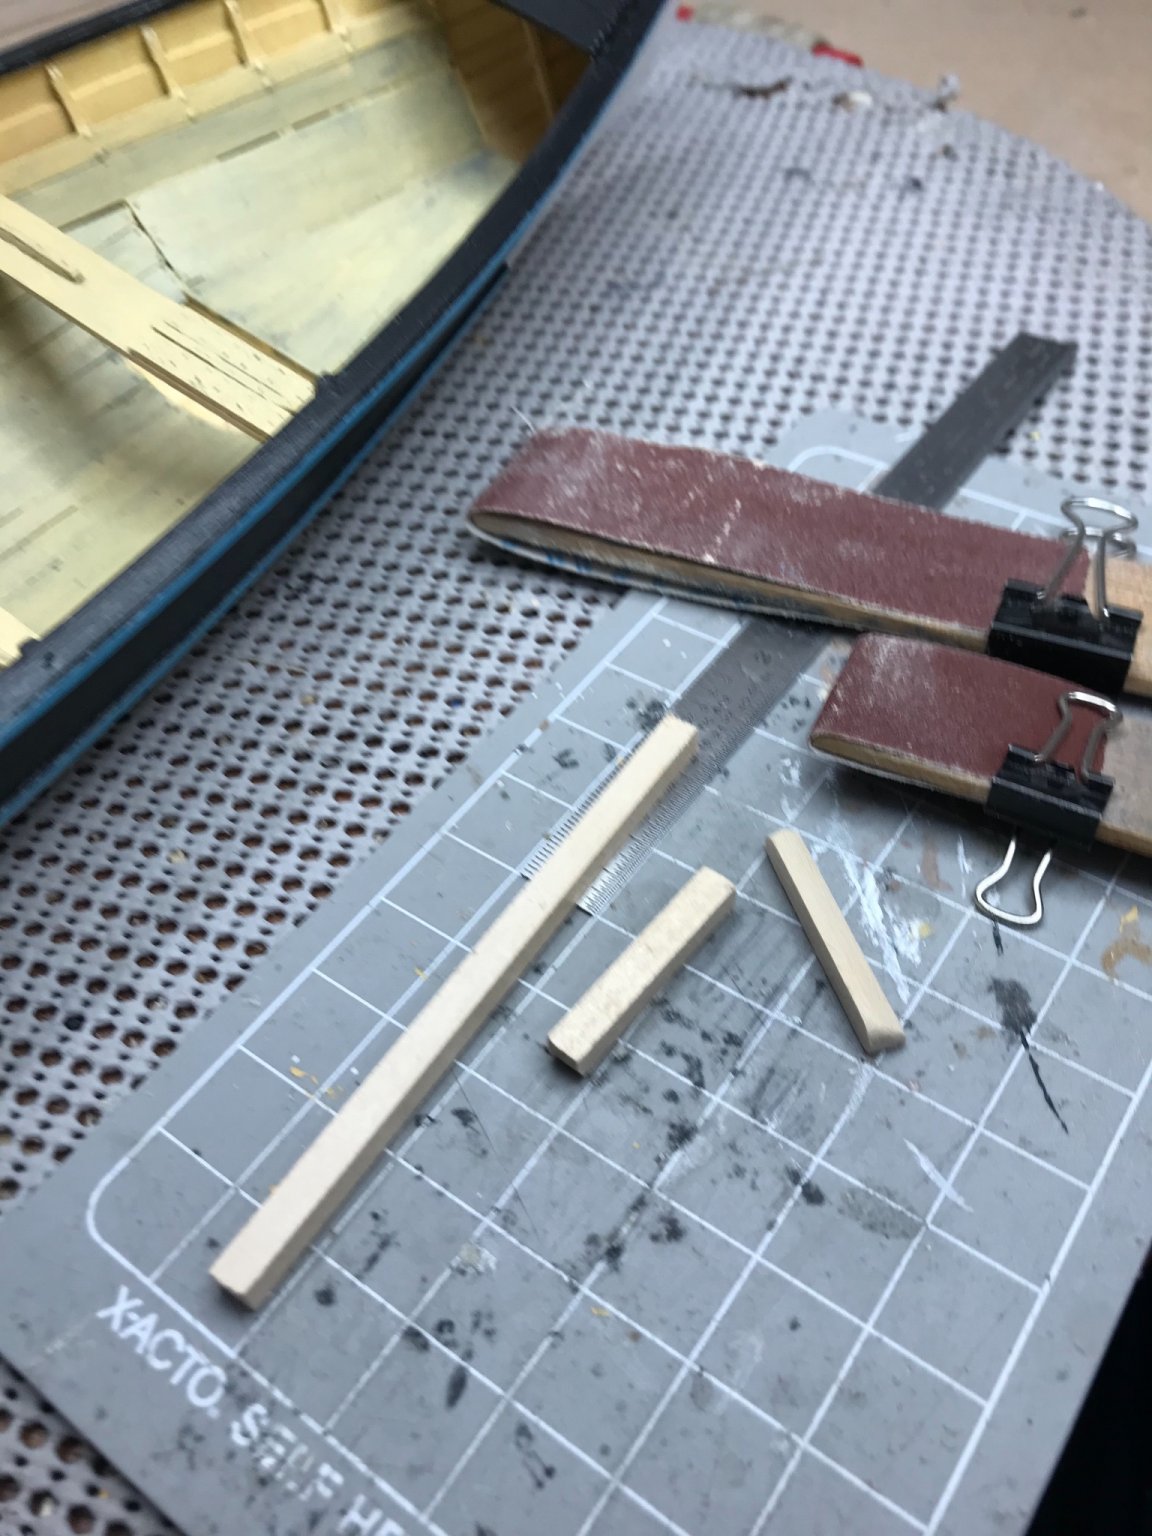
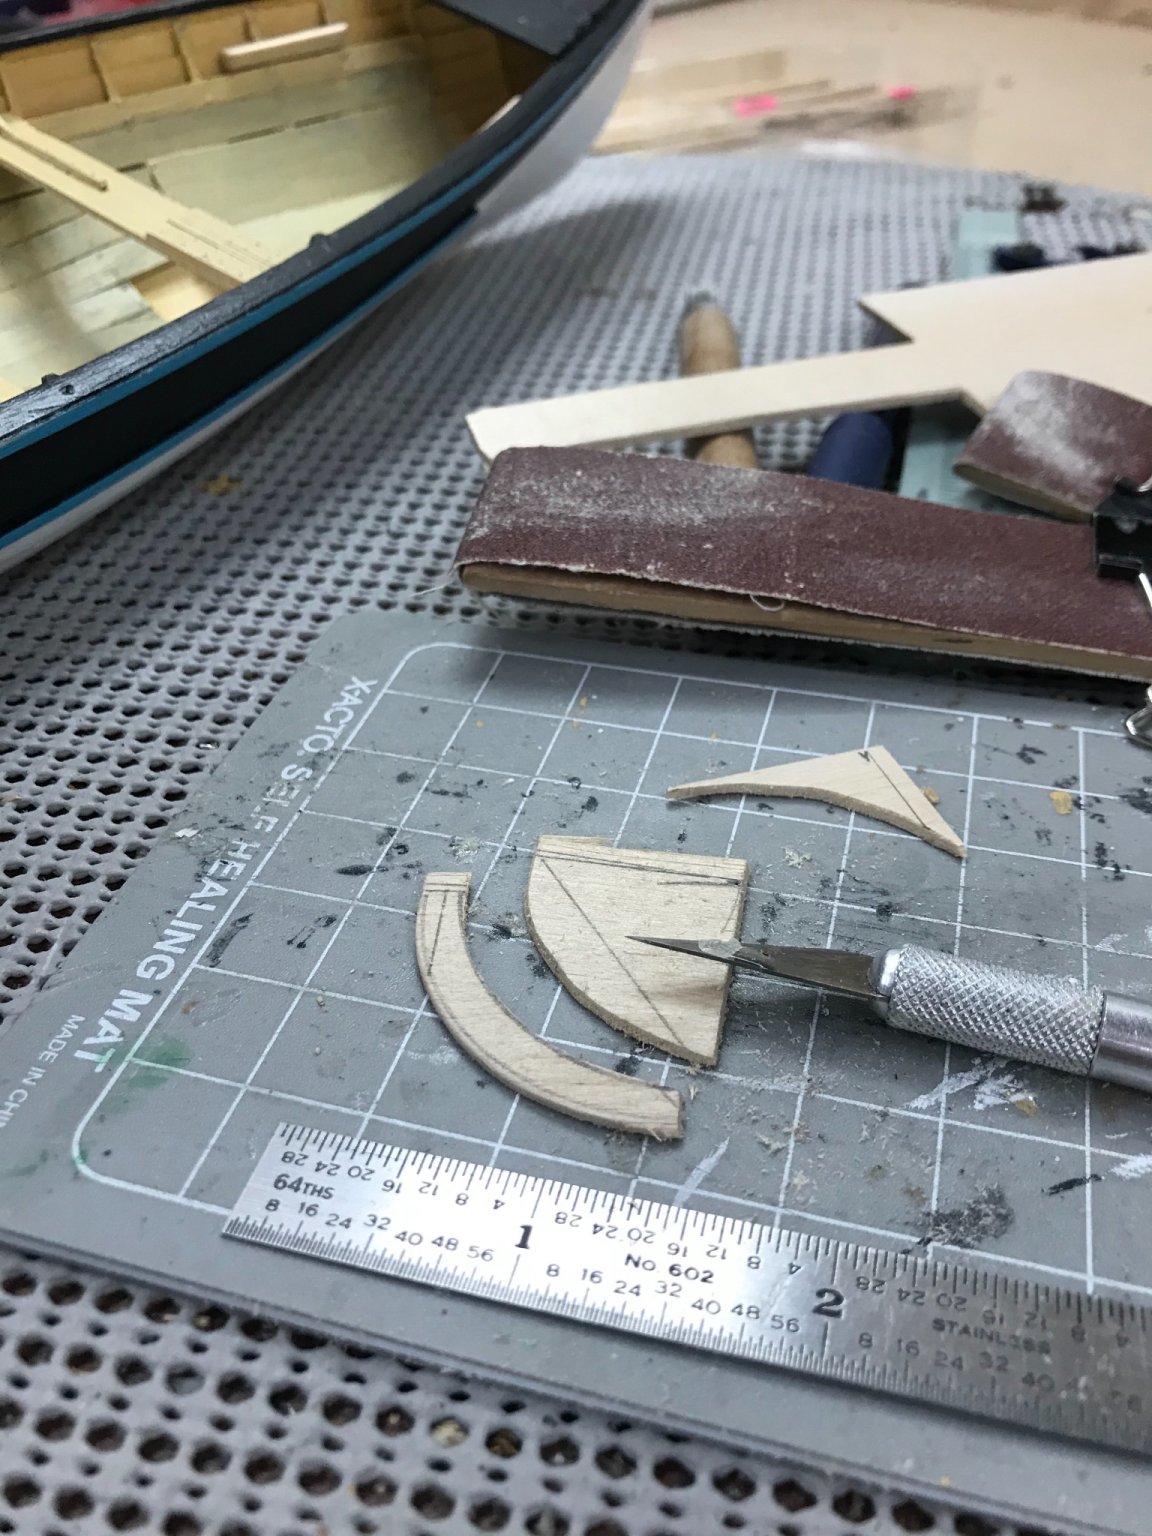
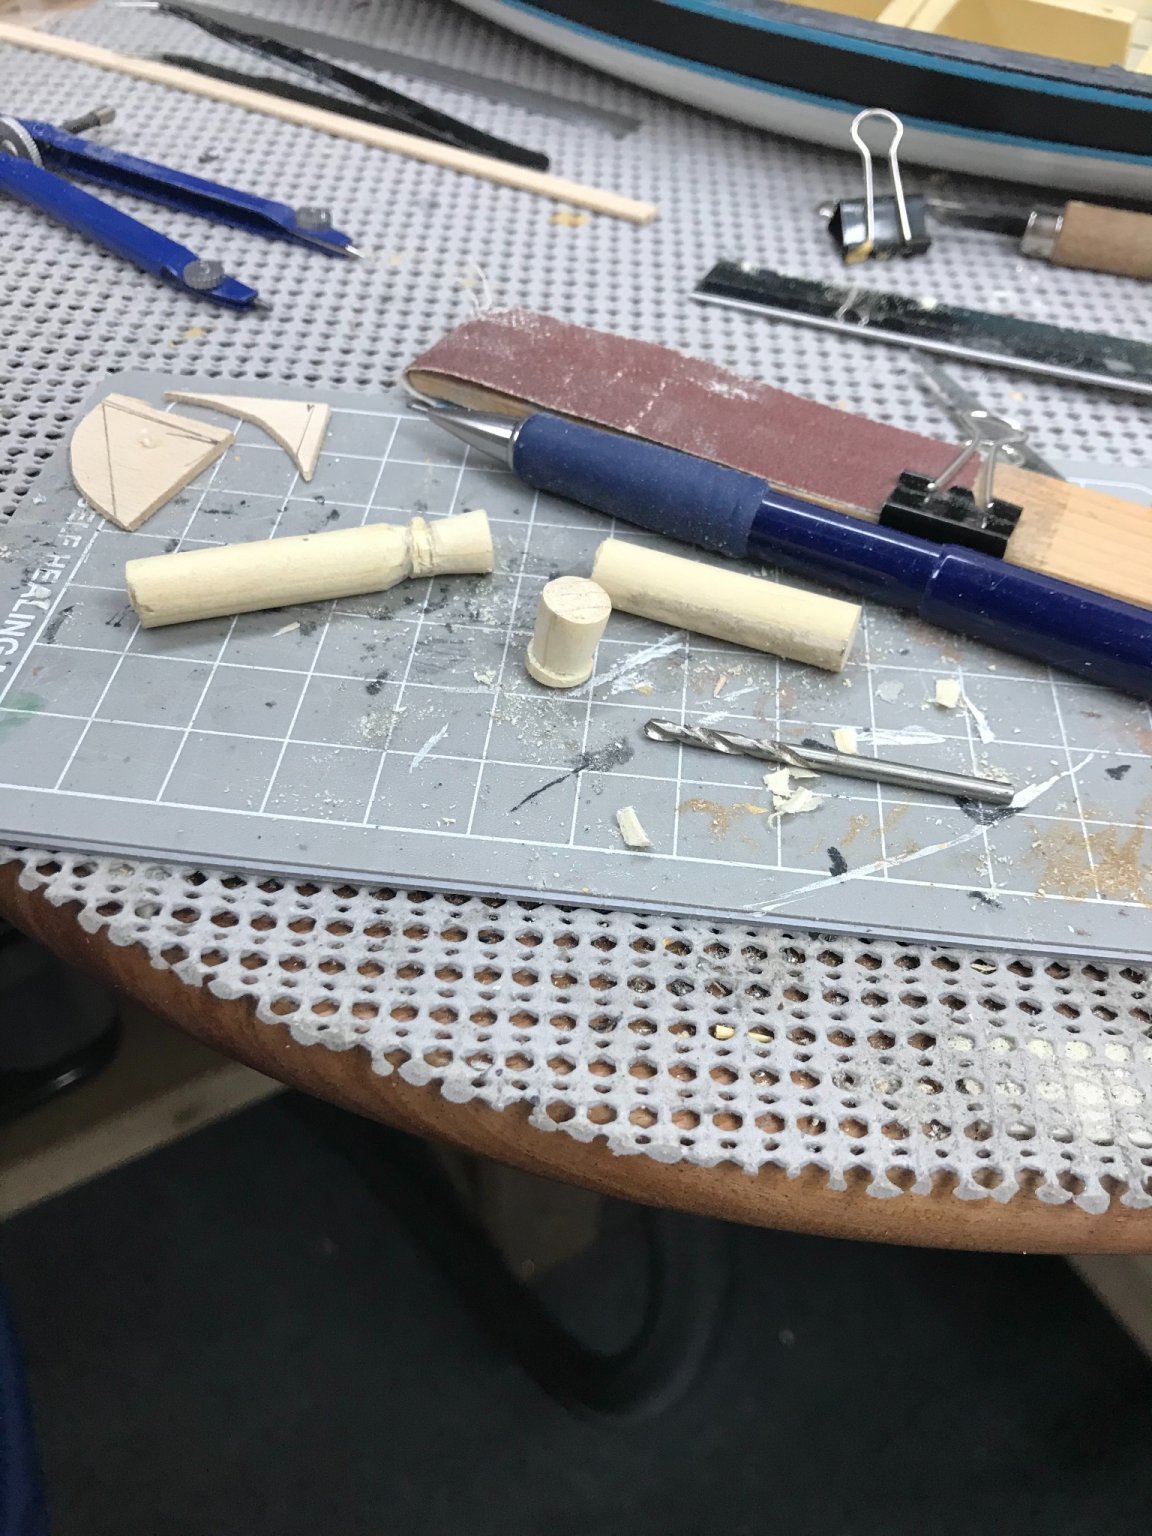
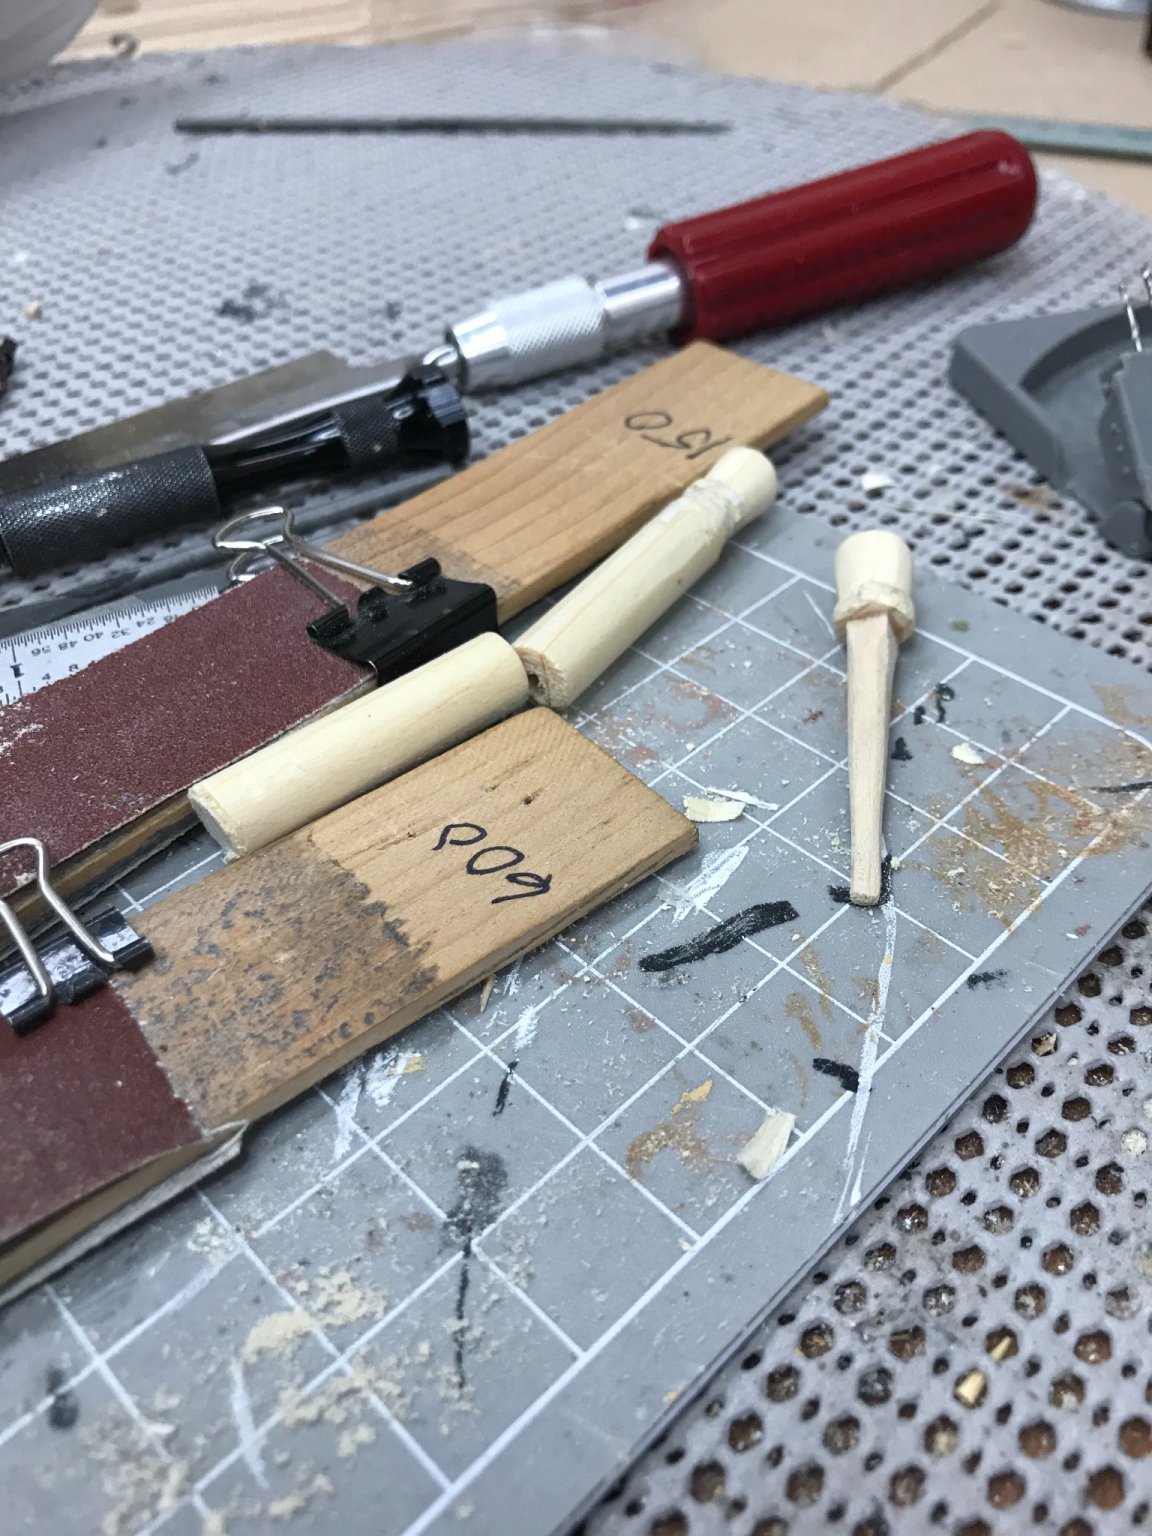
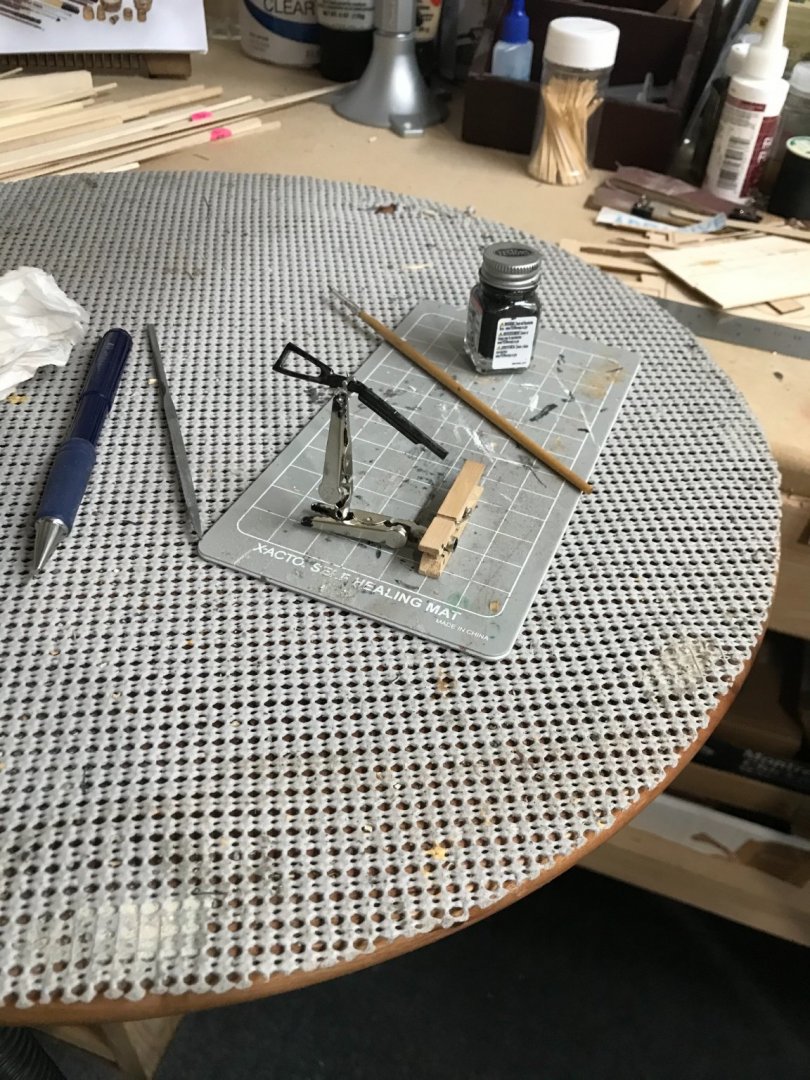
Now comes all of the neat miniature stuff that drew me in to build this Whaleboat. 😎 Very detailed Whale gun provided in this kit. Painted Flat black with Testors Enamel. I will have to dress it up with a bit of flat brass. 👌 Building the Gun Box... Never give up your scrap, you never know when you need to go to your wood pile. Some fine Micro carpentry. 😆 Little Cherry Stain to finish it off... Mounted for display... Onward... 😎


- 104 replies
-
- 7
-

-
- model shipways
- new bedford whaleboat
- (and 1 more)
-
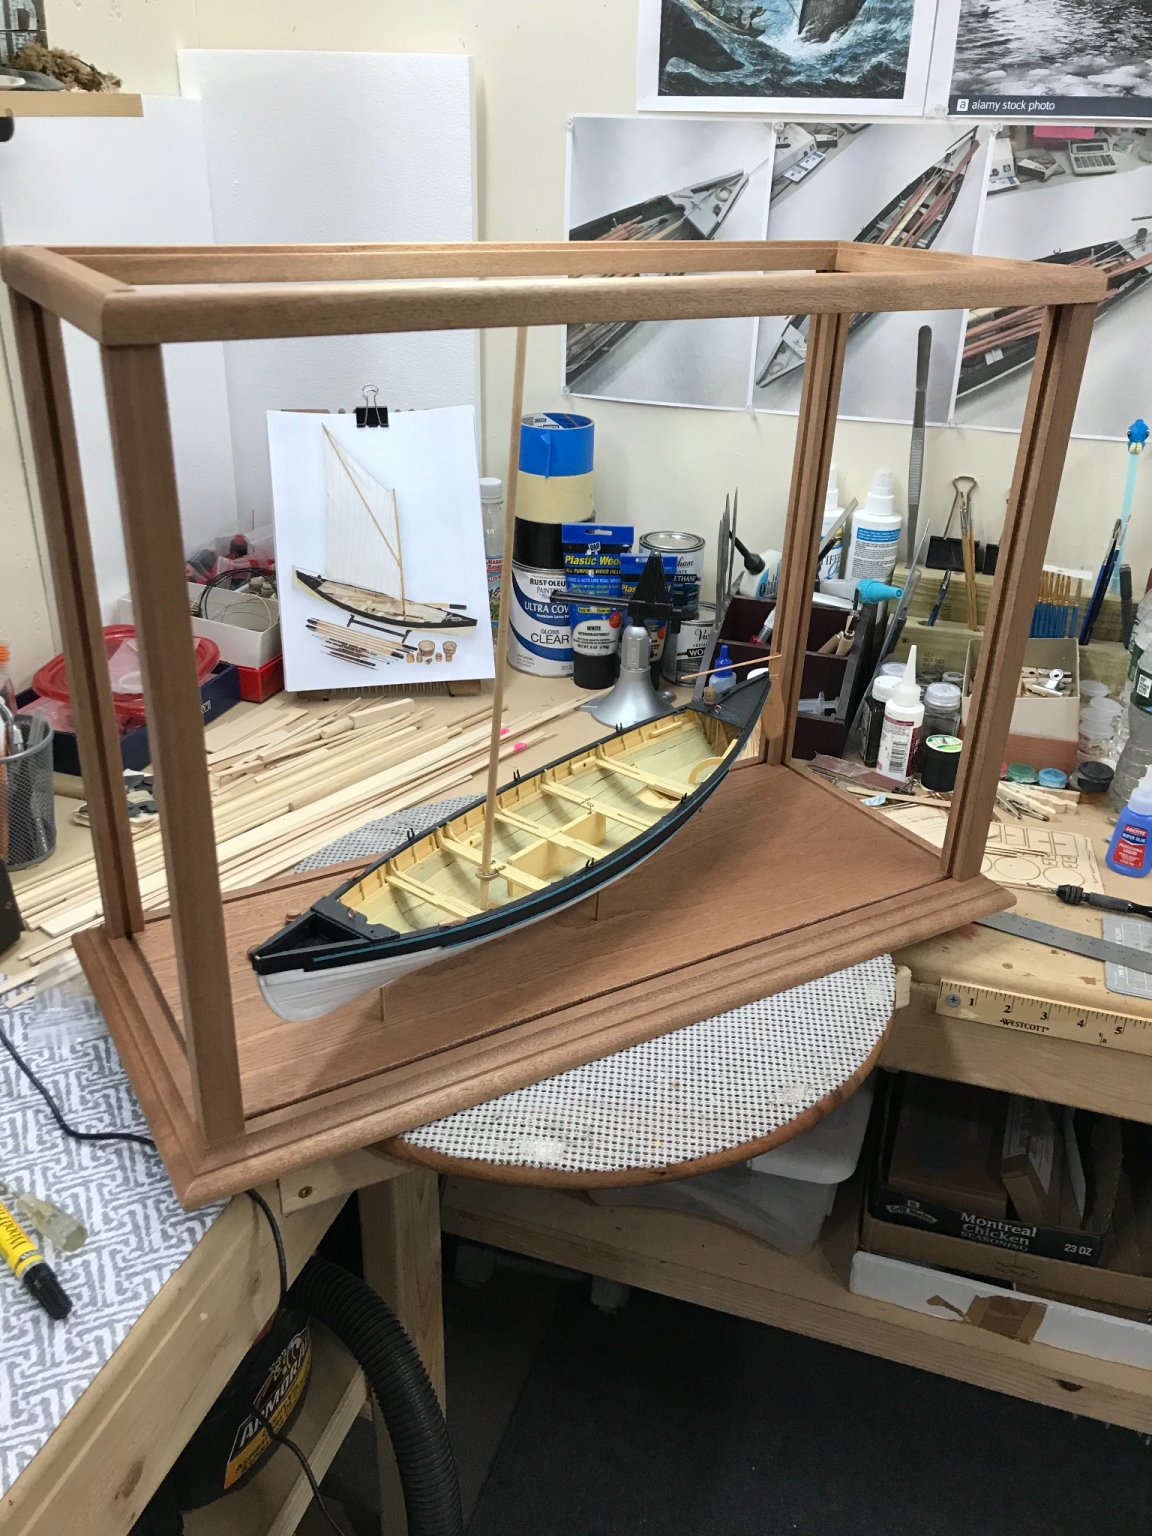
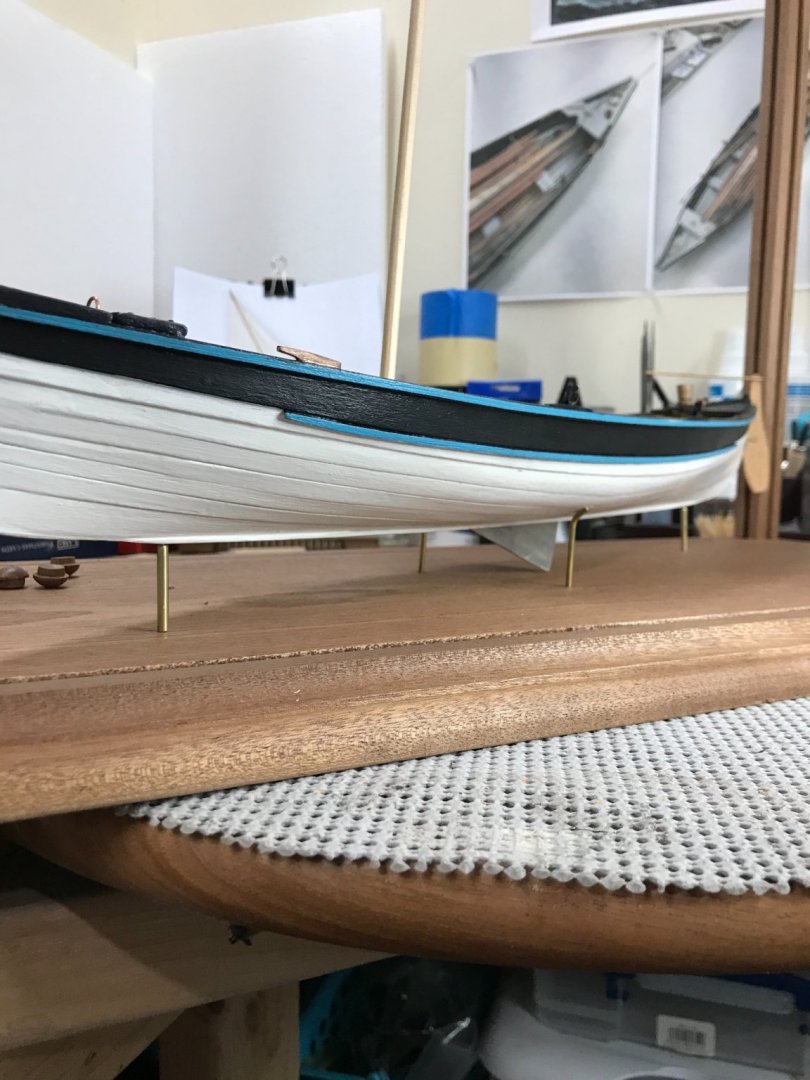
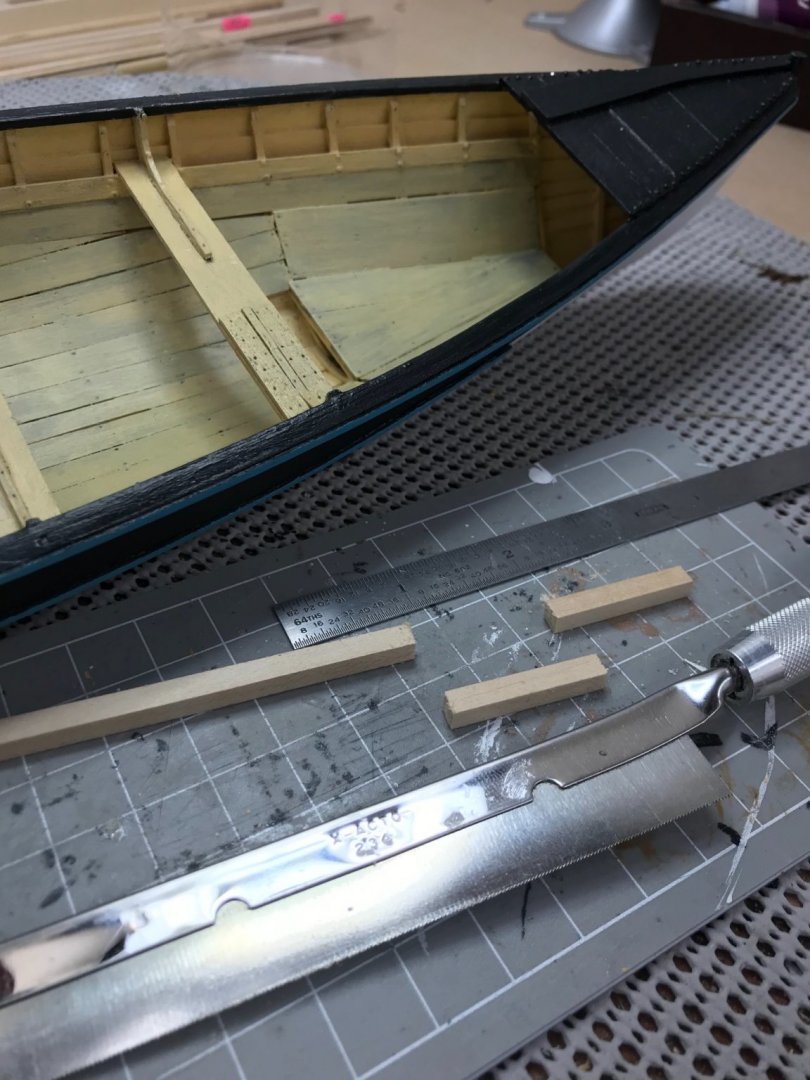
Mounting the New Bedford Whaleboat, before adding the finishing details. Following Eric A.R. Ronnberg, Jr.’s example I will be using the brass supplied for the mounts. I have determined I will need to mount the Whaleboat just one inch off it’s base to fit the display case height. I cut the brass tubing to one inch and aligned the Whaleboat to a diagonal position, again to fit the display case dimensions. More micro-forging to form the bilge supports. Made sure all was level with iLevel Ap on My iPhone. Purchased this case on eBay for $50.00. Deal! 😆 Just add glass. Ready for Mast, Oars, Line Tubs, etc... Getting really close to the finish line on this one. 😎


- 104 replies
-
- 4
-
-
- model shipways
- new bedford whaleboat
- (and 1 more)
-
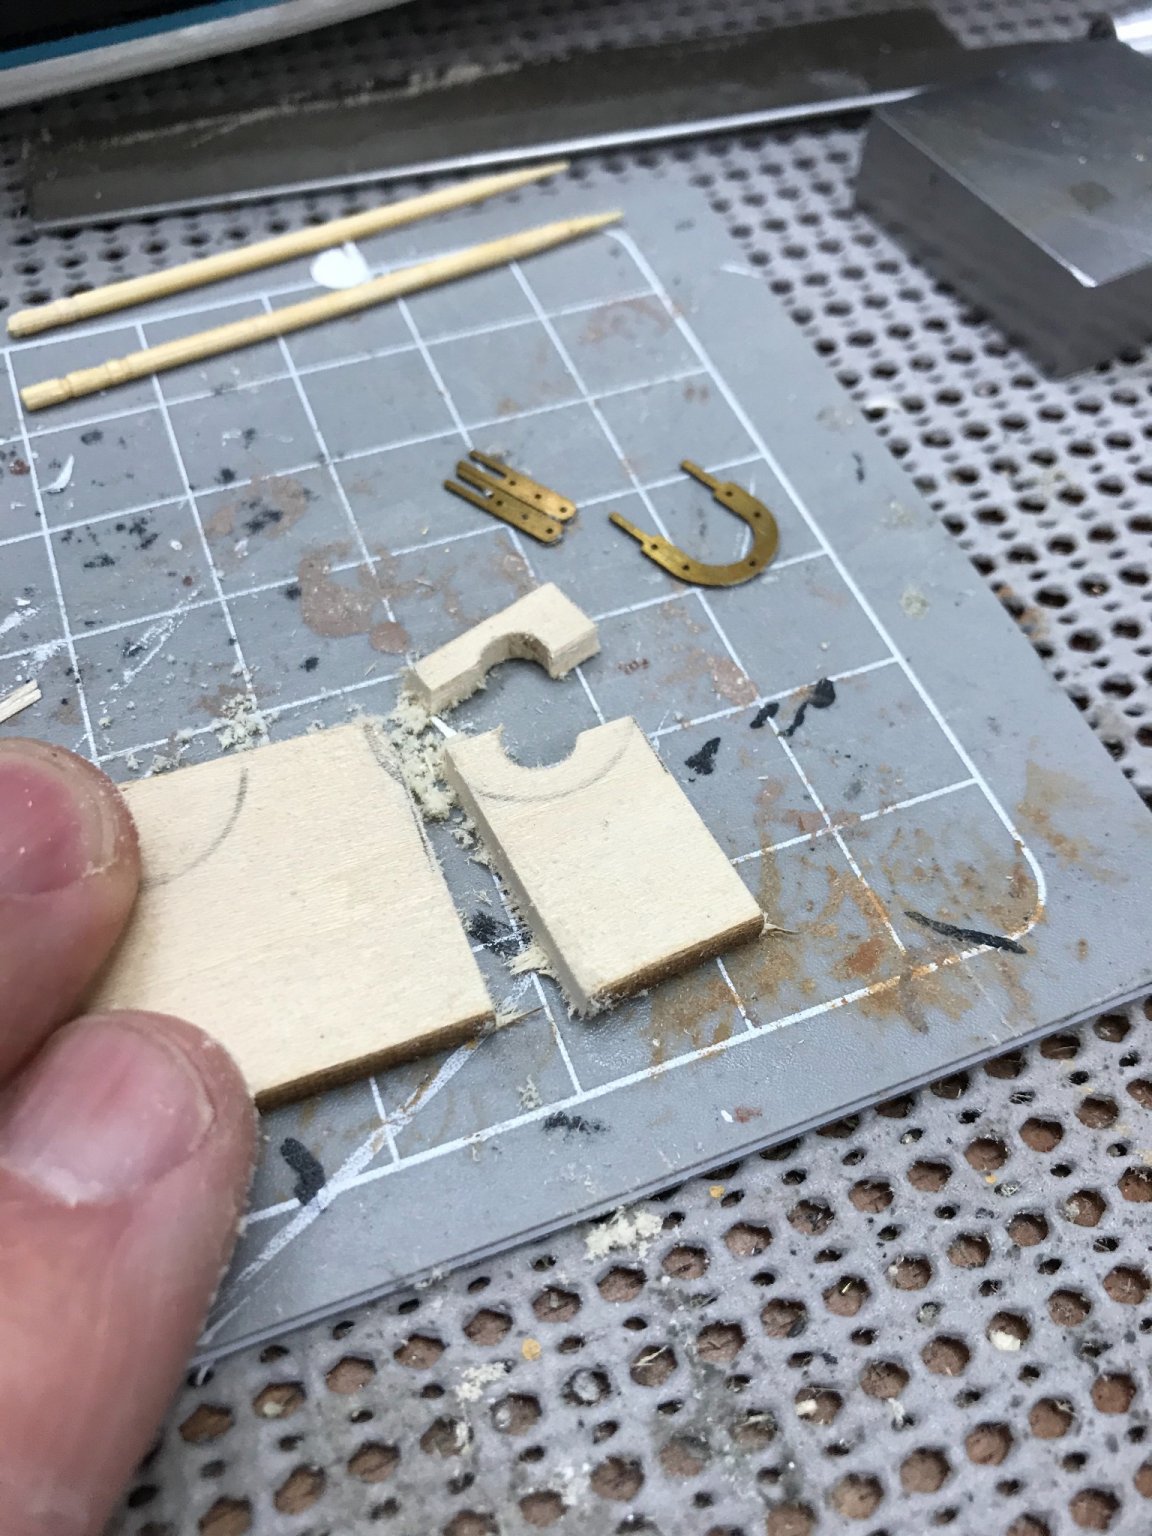
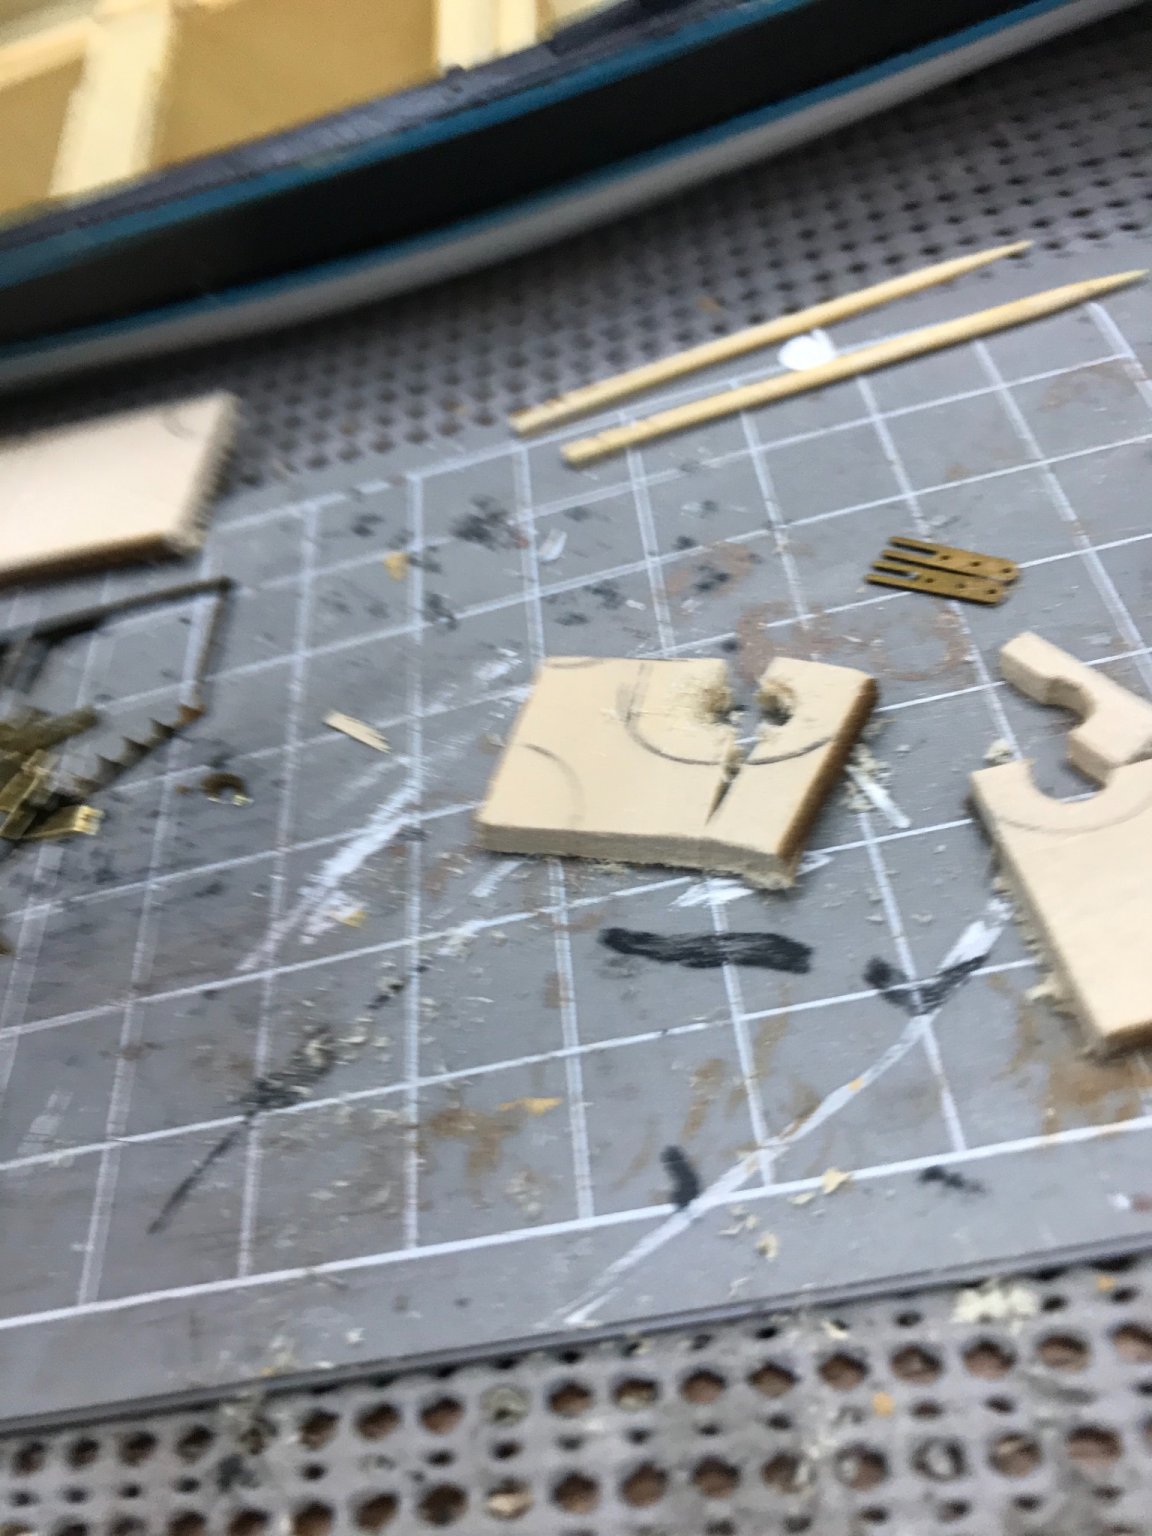
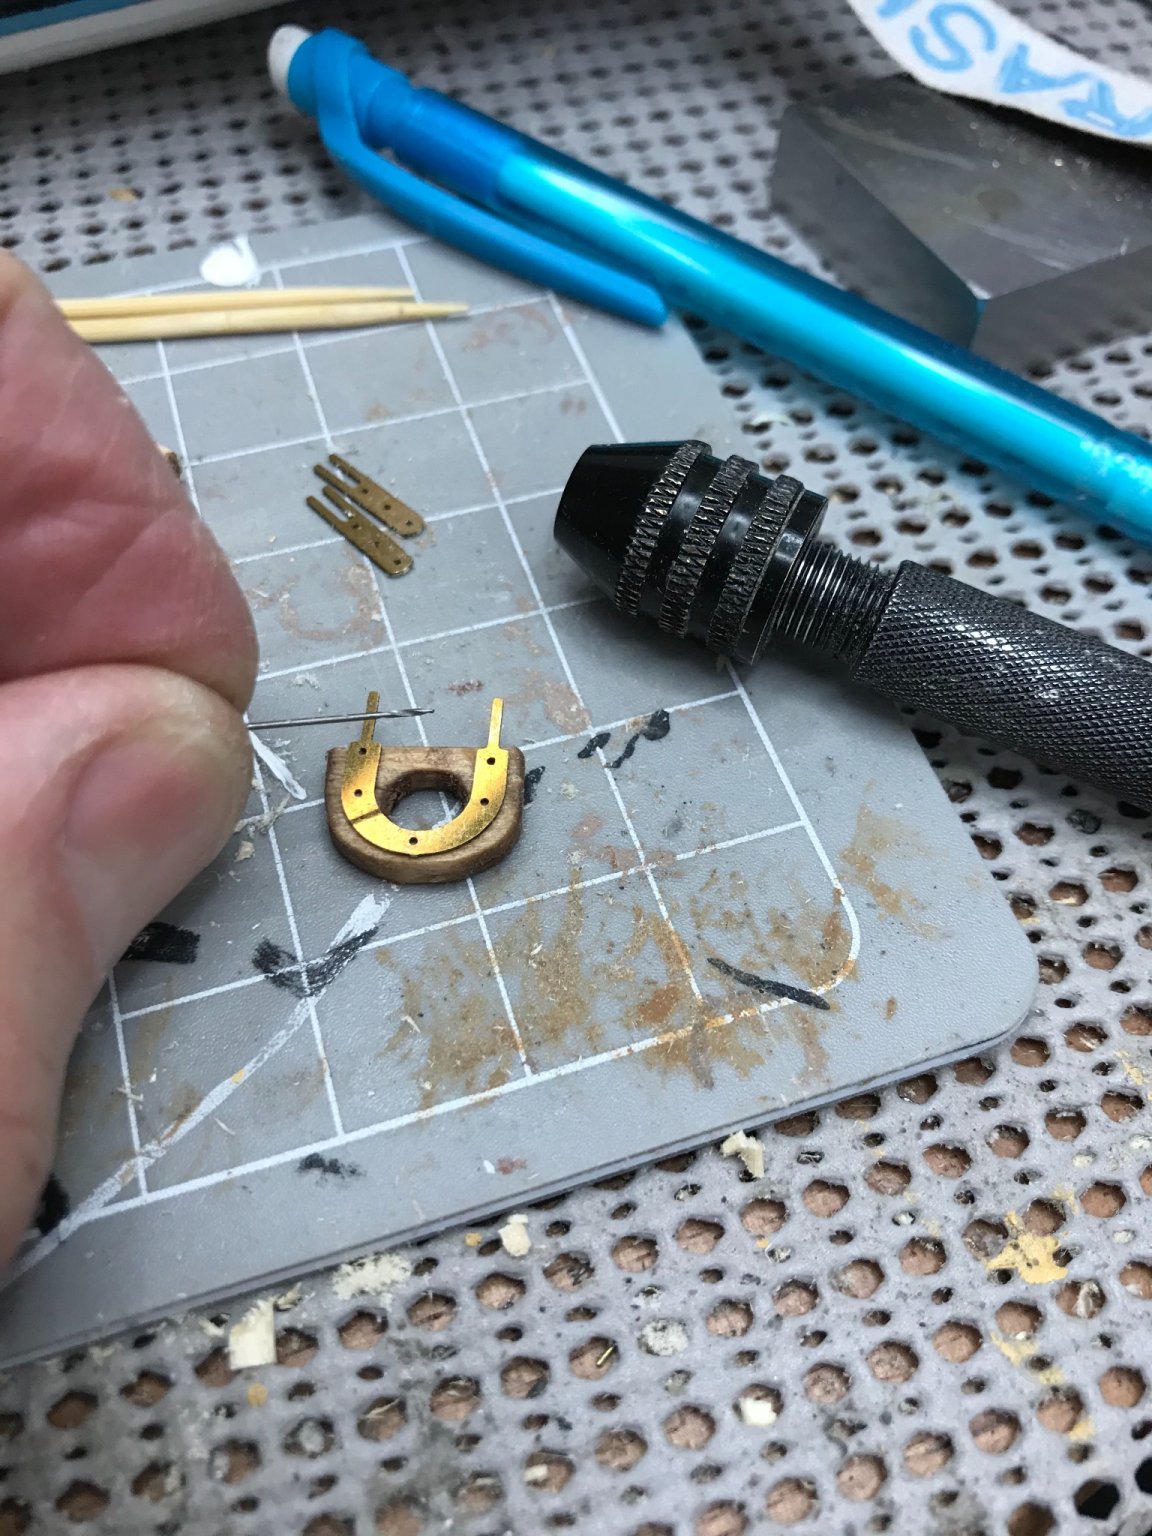
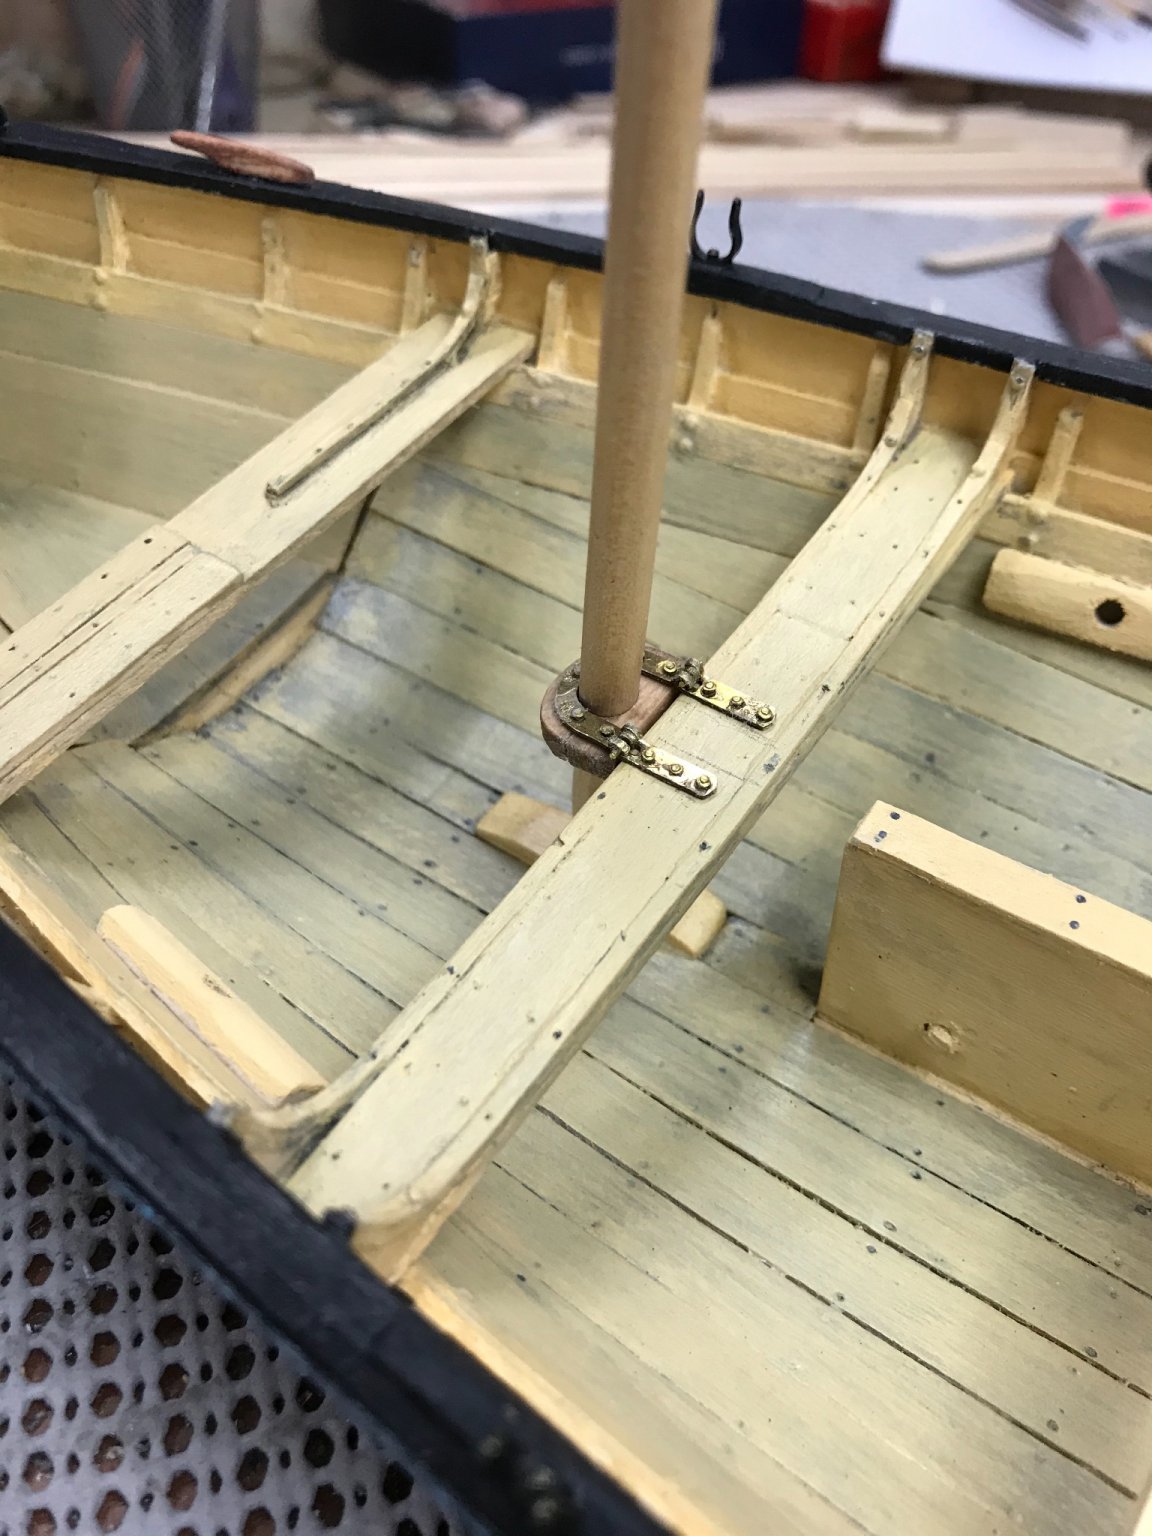
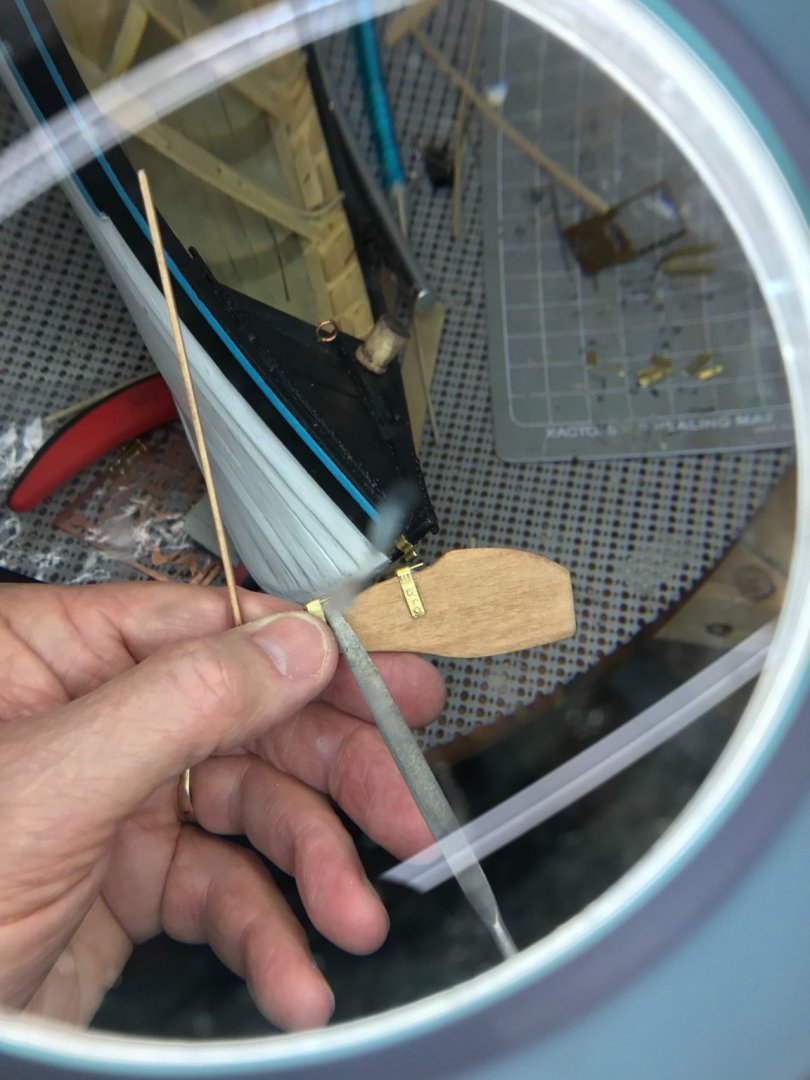
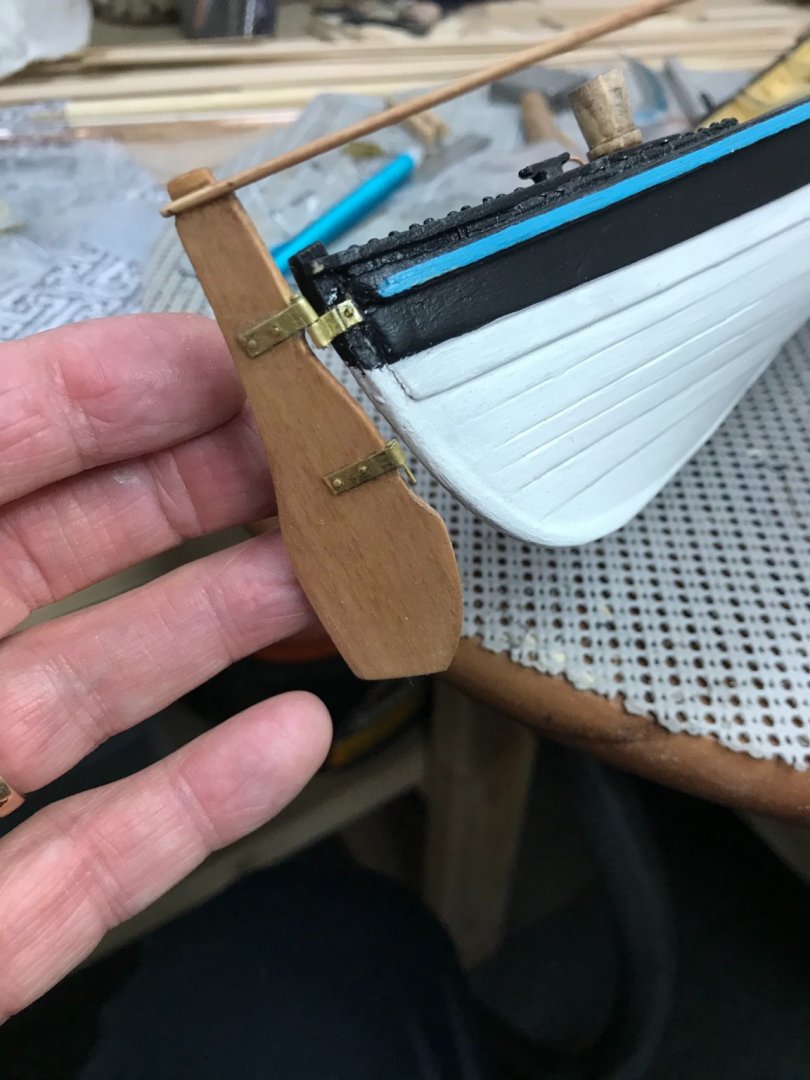
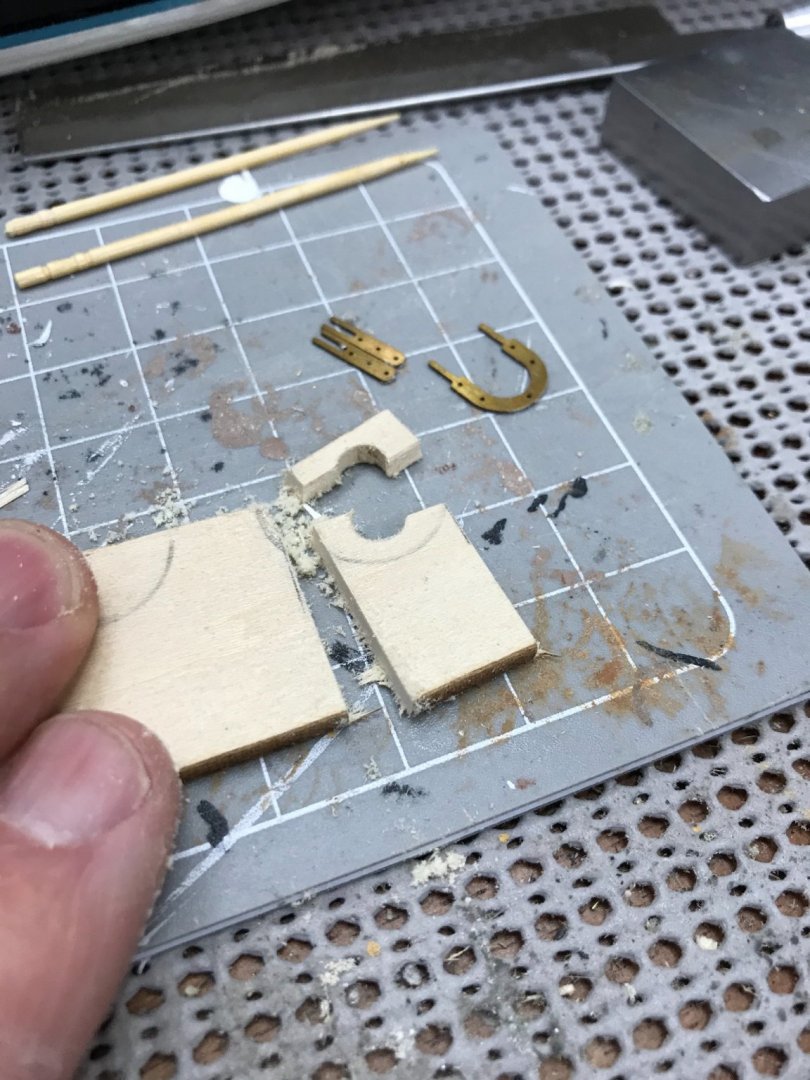
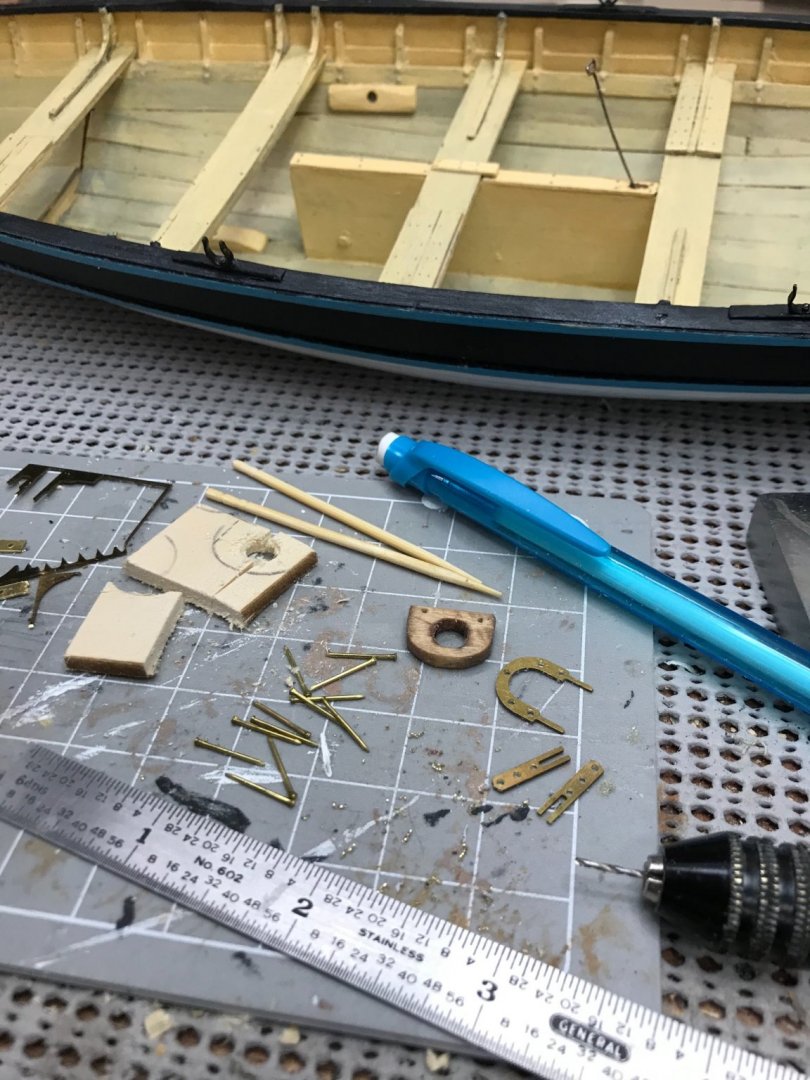
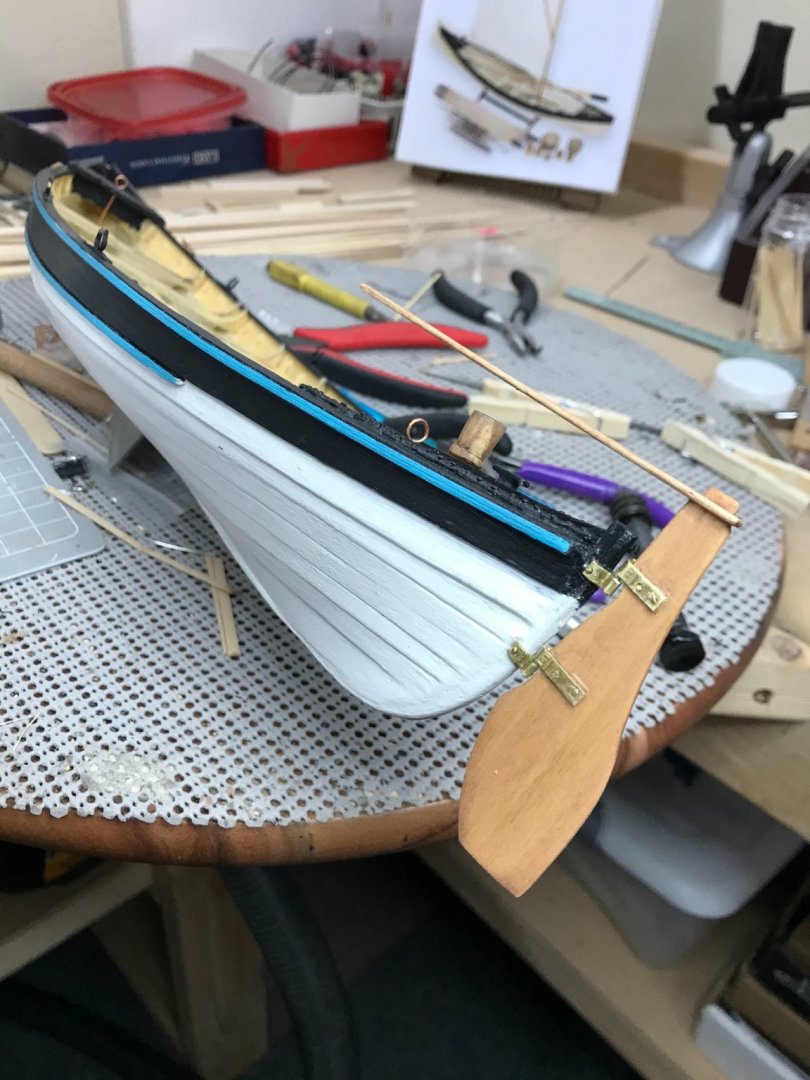
Gudgeons and Mast Hinge... Some shaping required for proper fit of the rudder to the Gudgeons. One down one to go... Rudder properly installed. Now I can remove it and set it aside, so I don’t destroy it while I continue on to the Mast Hinge. Ok that didn’t cut out so well. 😆 OK... I think I’ll go with the first one. CA glue to the rescue. 🤪 Pilot hole for the nail, don’t want to risk any more splitting. Parts are ready for assembly. Completed Mast Hinge... Another 2 hour experience at jewelry work. Those hinges were tough. Sorry, forgot to take pictures of the process. Too focused, to even think about a build log. Oh well, I’m not going back to do that again. 😎 I’ll be back... 🍻


- 104 replies
-
- 5
-
-
- model shipways
- new bedford whaleboat
- (and 1 more)
-
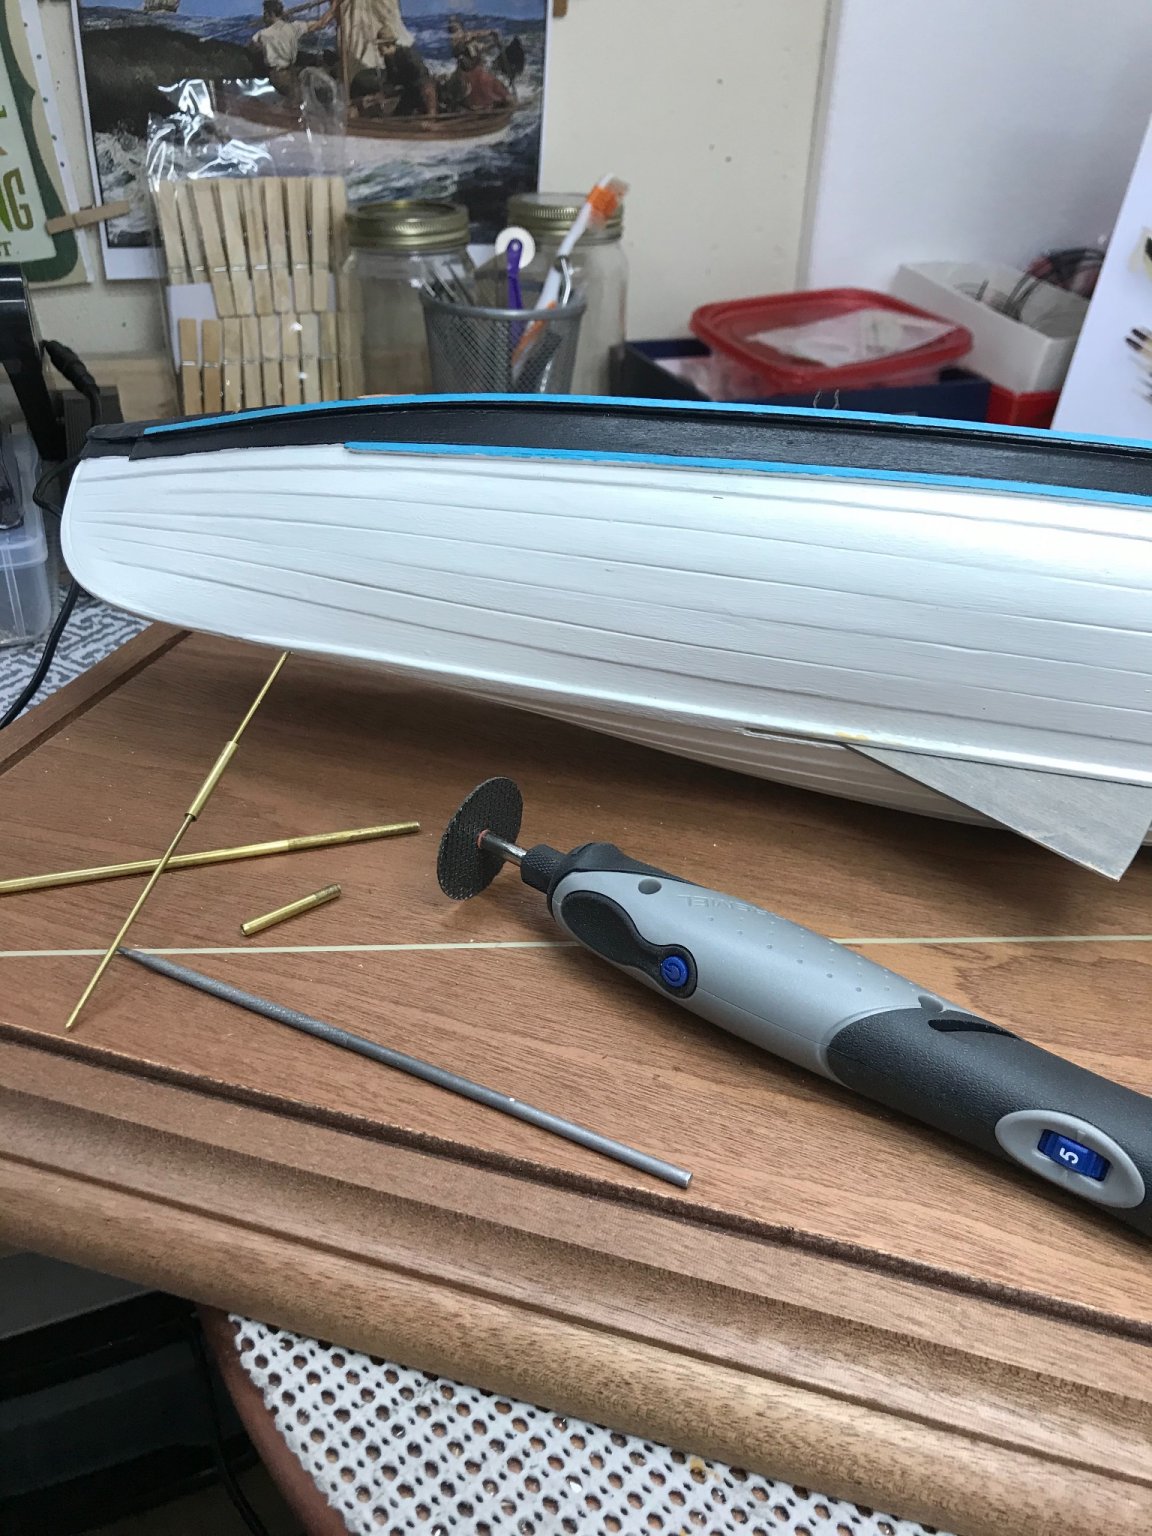
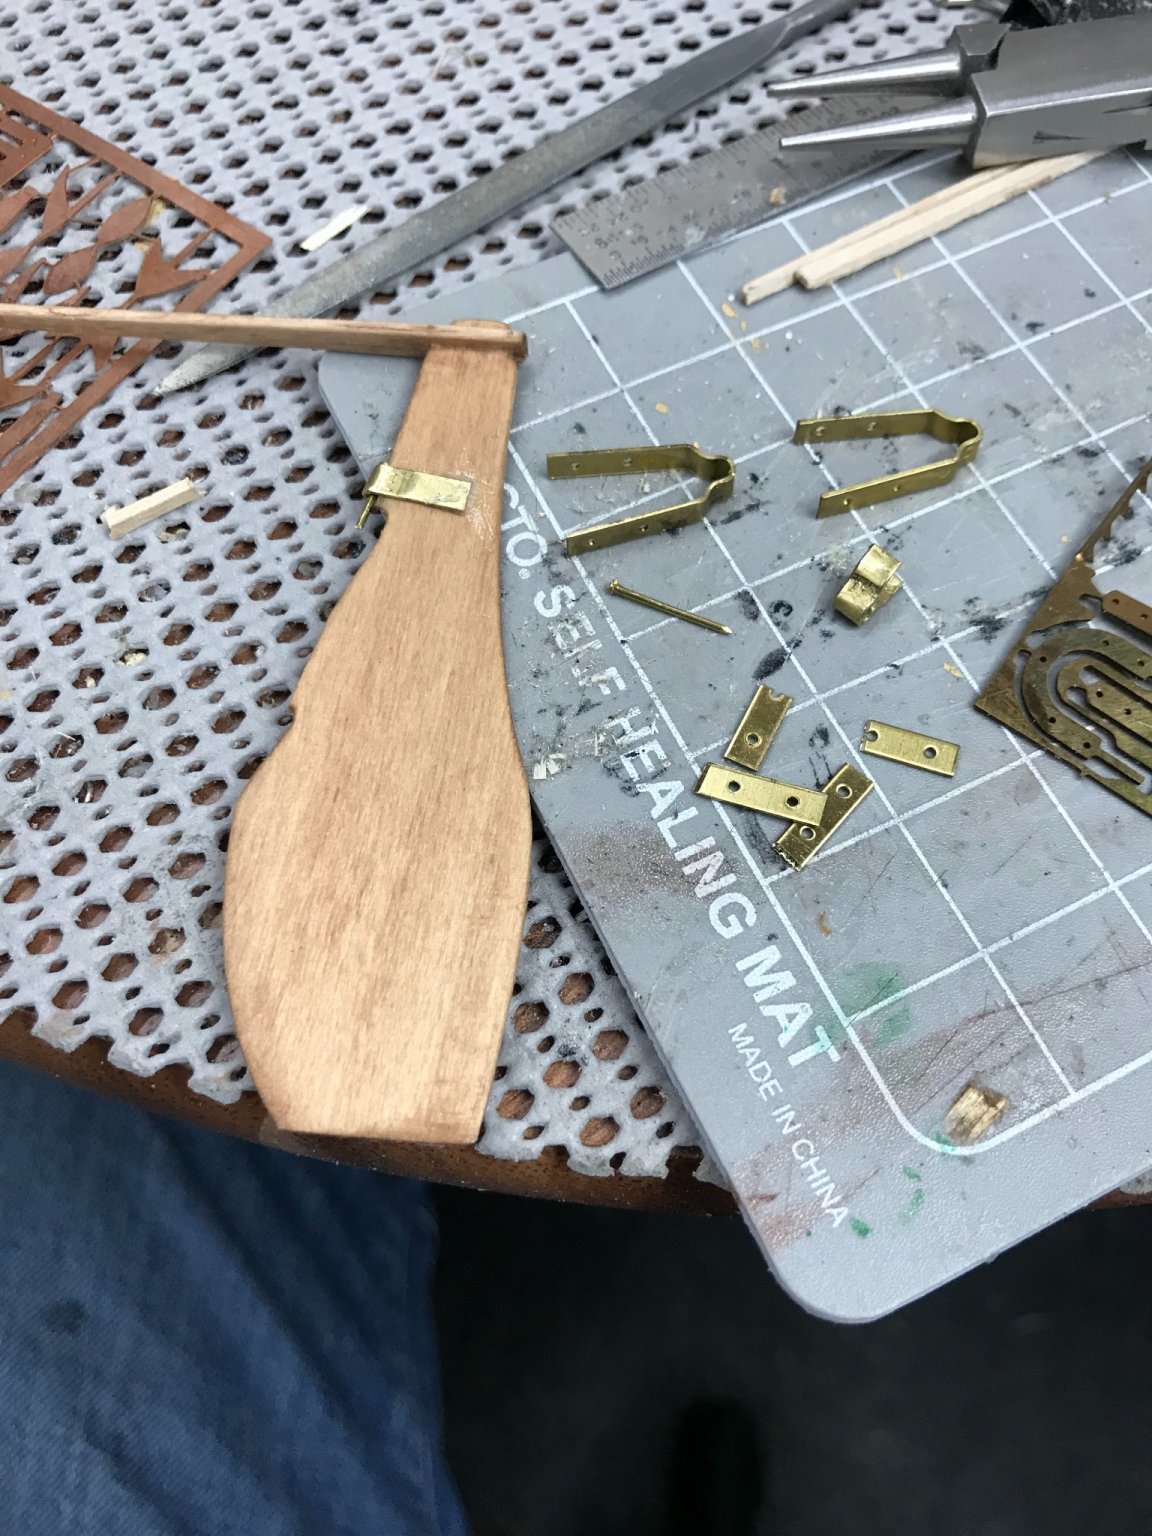
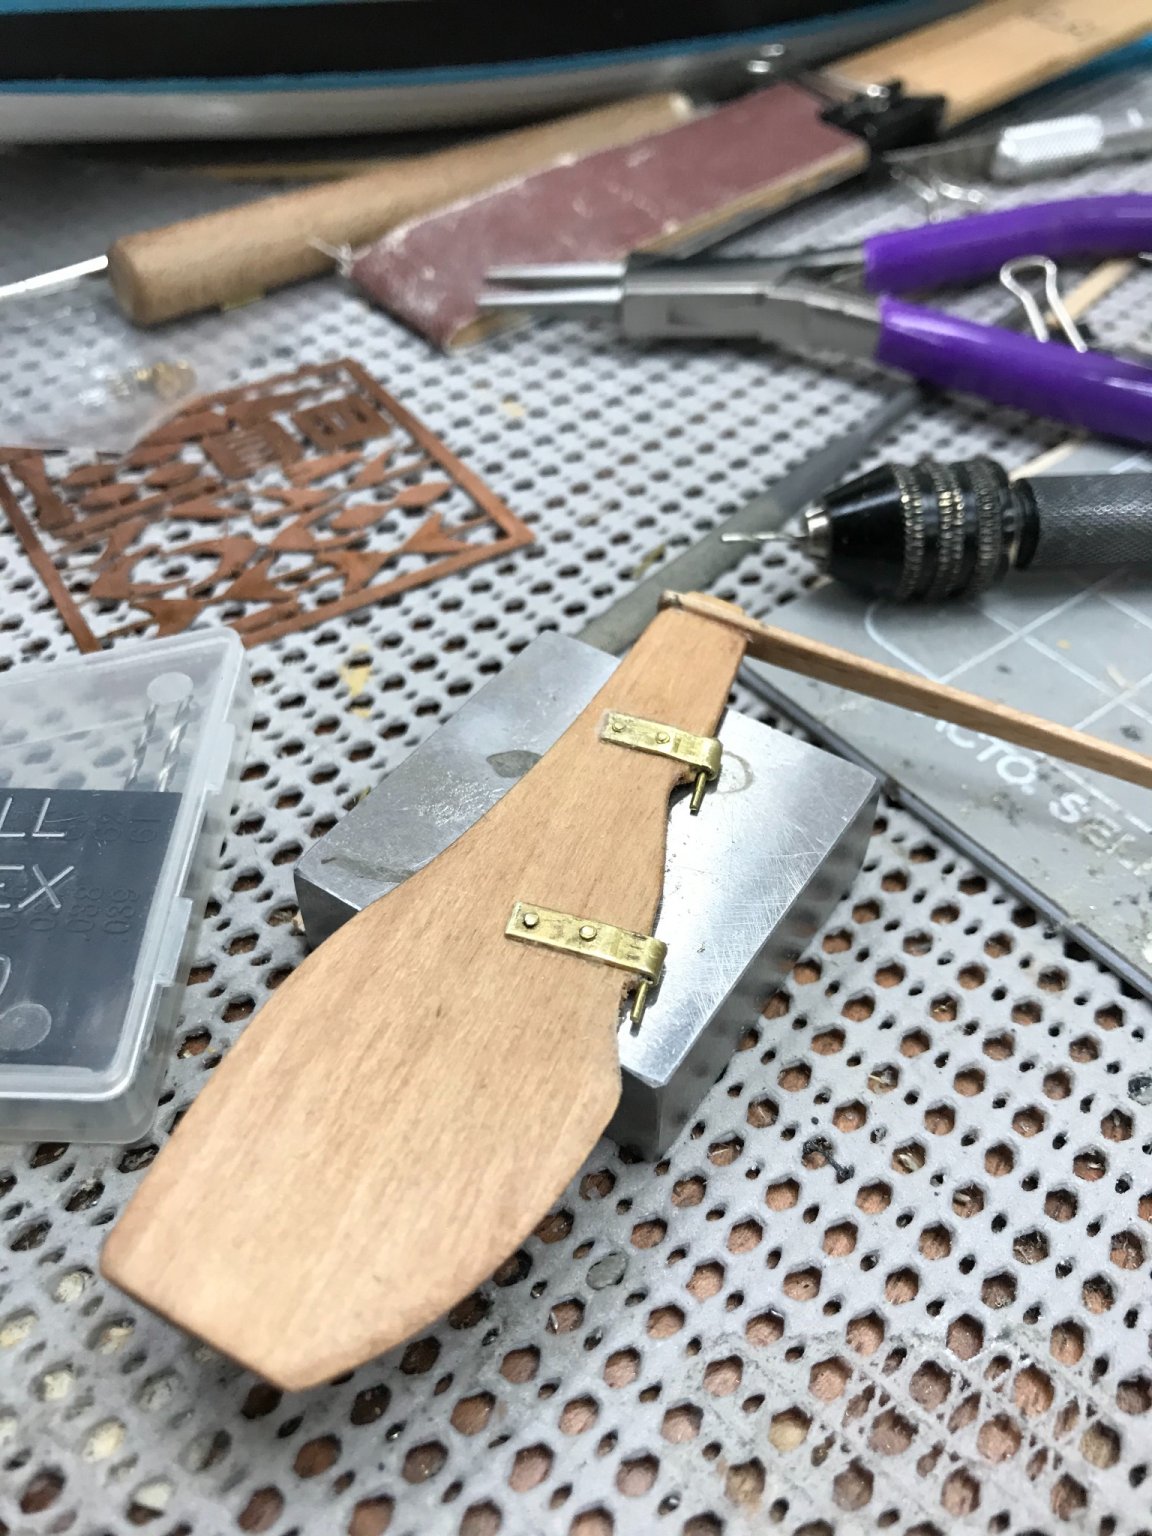
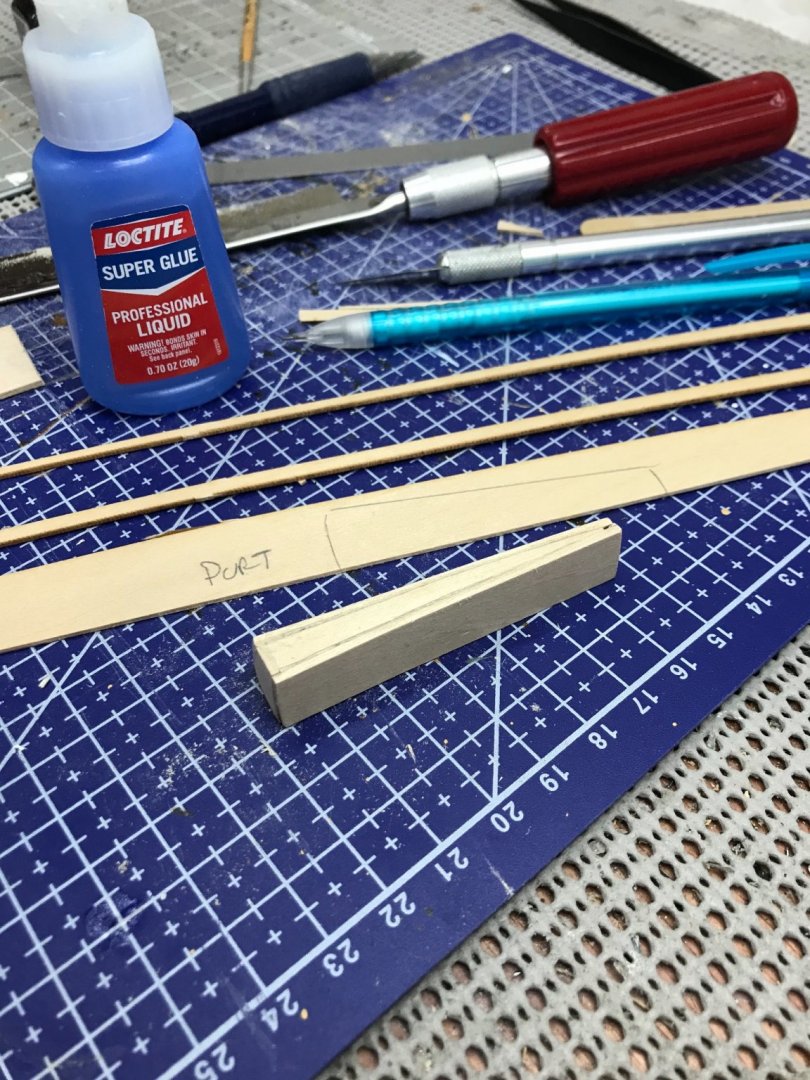
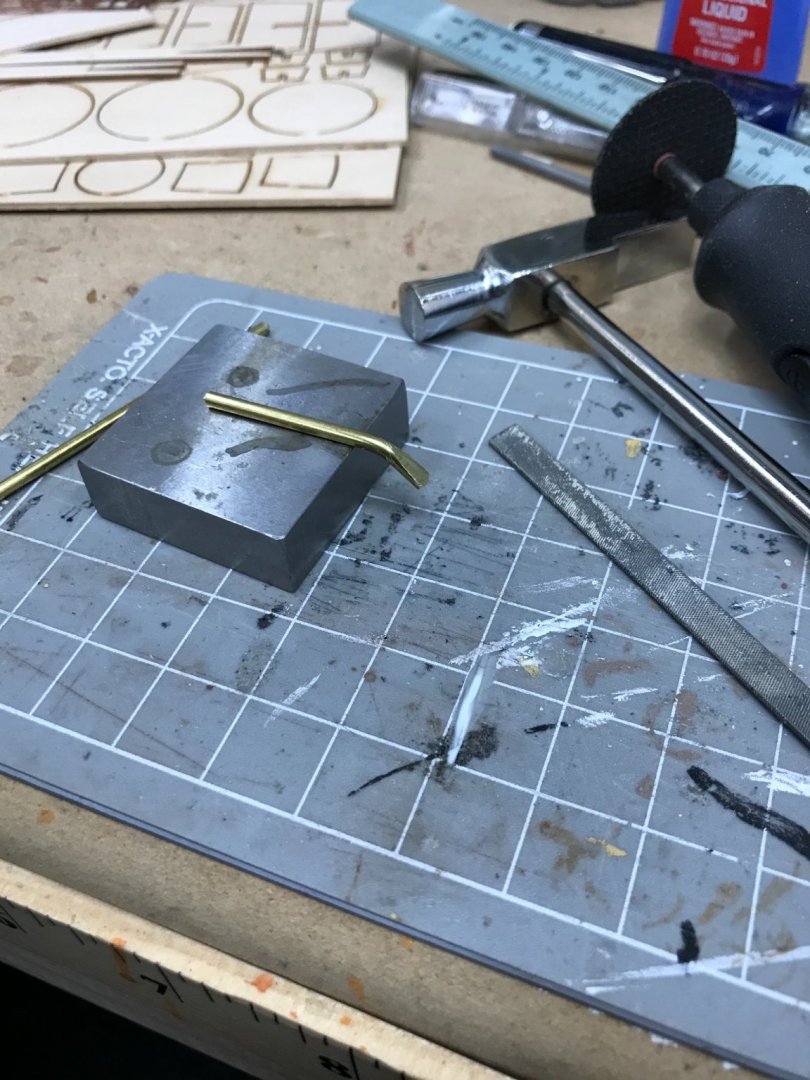
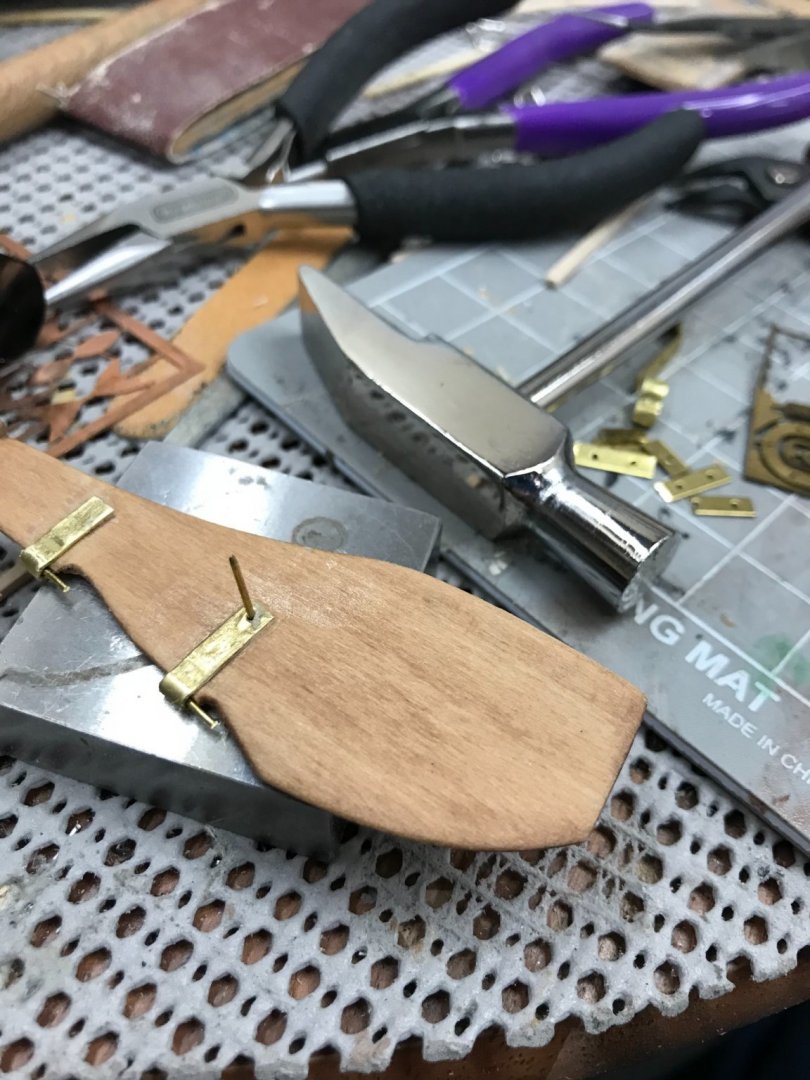
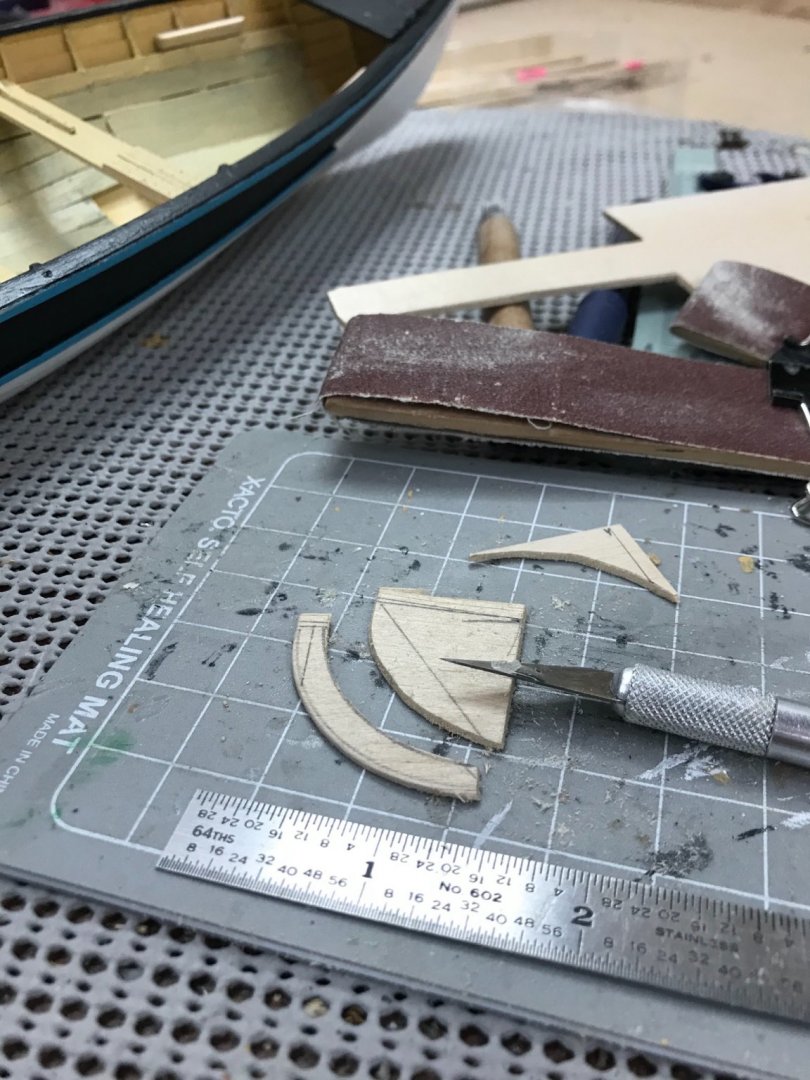
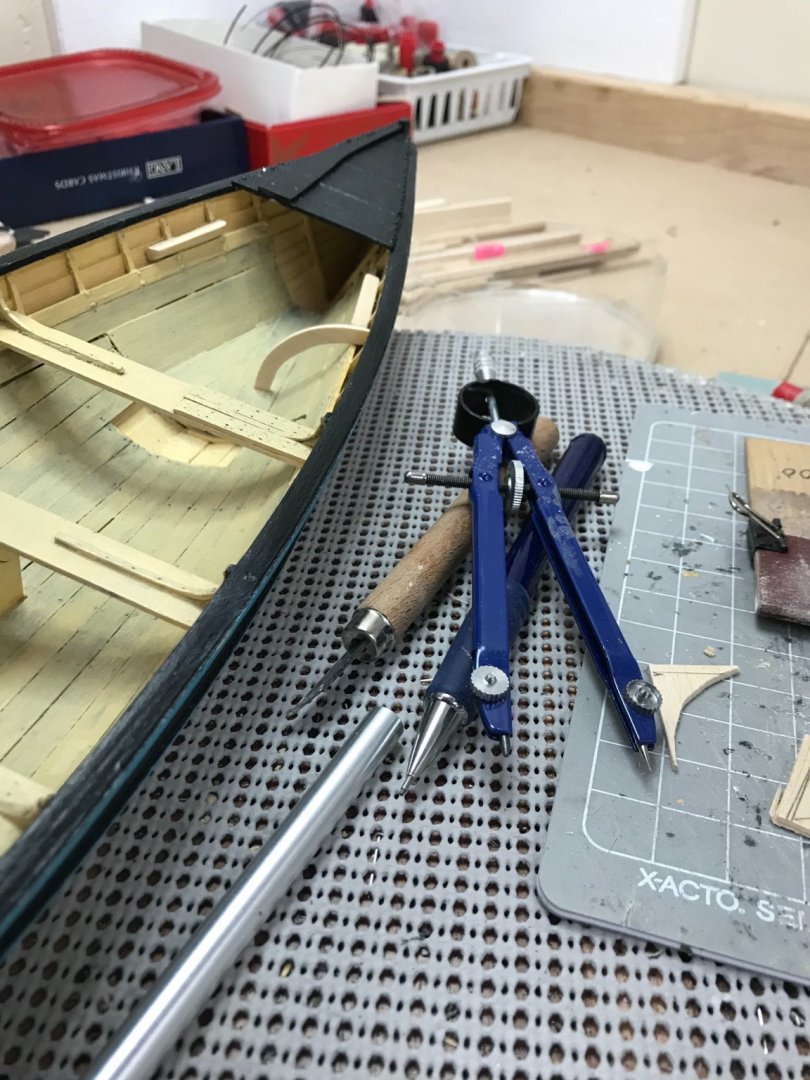
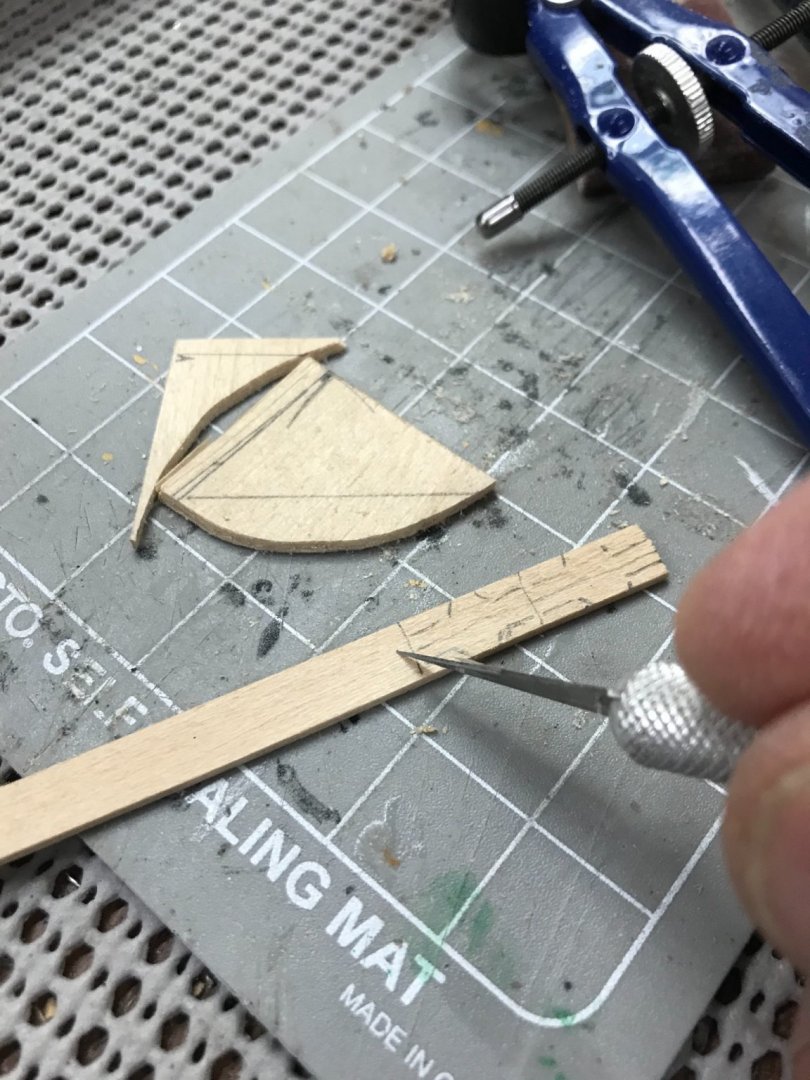
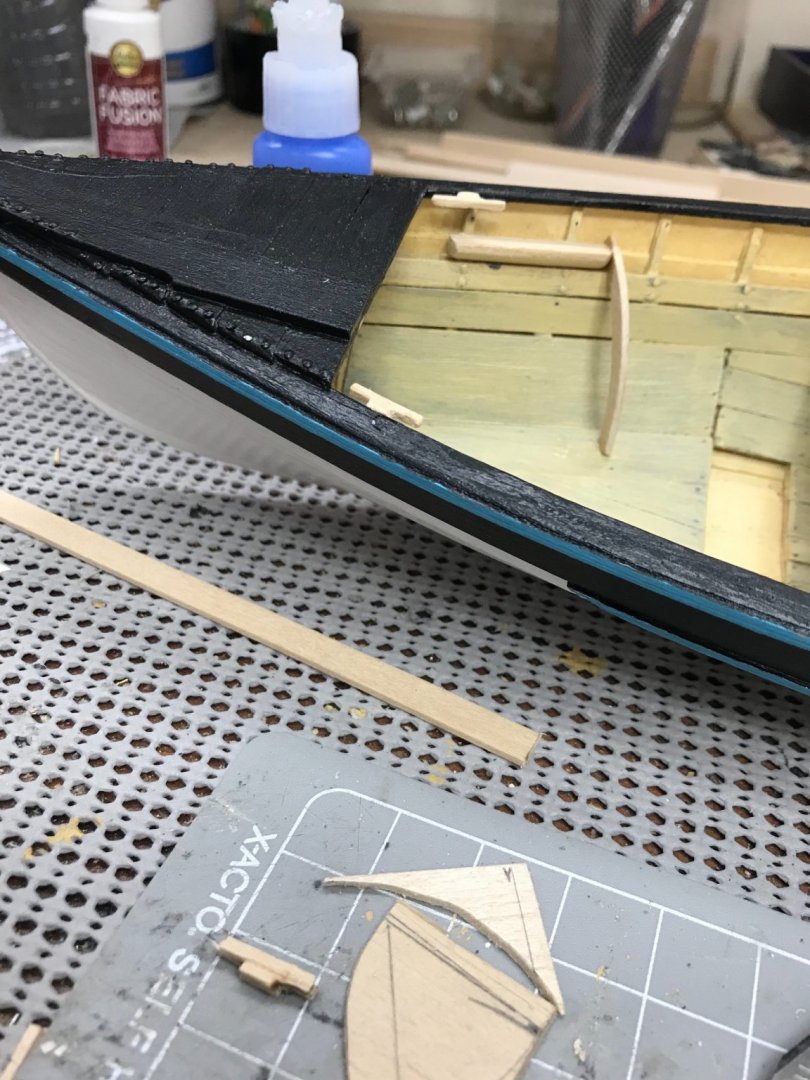
The Rudder... The Rudder assembly is pretty straightforward. The Rudder itself is a laser cut piece, requiring some beveling. The Tiller is formed from 1/16th strip wood with some micro carpentry joint work on top of the rudder. The pintles however, require extreme micro forge work. The hardware provided has to be reshaped cut and drilled. Glad I use a 5x magnifying work lamp. Brass nails provided make for decent rivets. 😆 Just 2 hours later we have a completed Rudder with Tiller. Calling it a night... 😎


- 104 replies
-
- 4
-
-
- model shipways
- new bedford whaleboat
- (and 1 more)
-
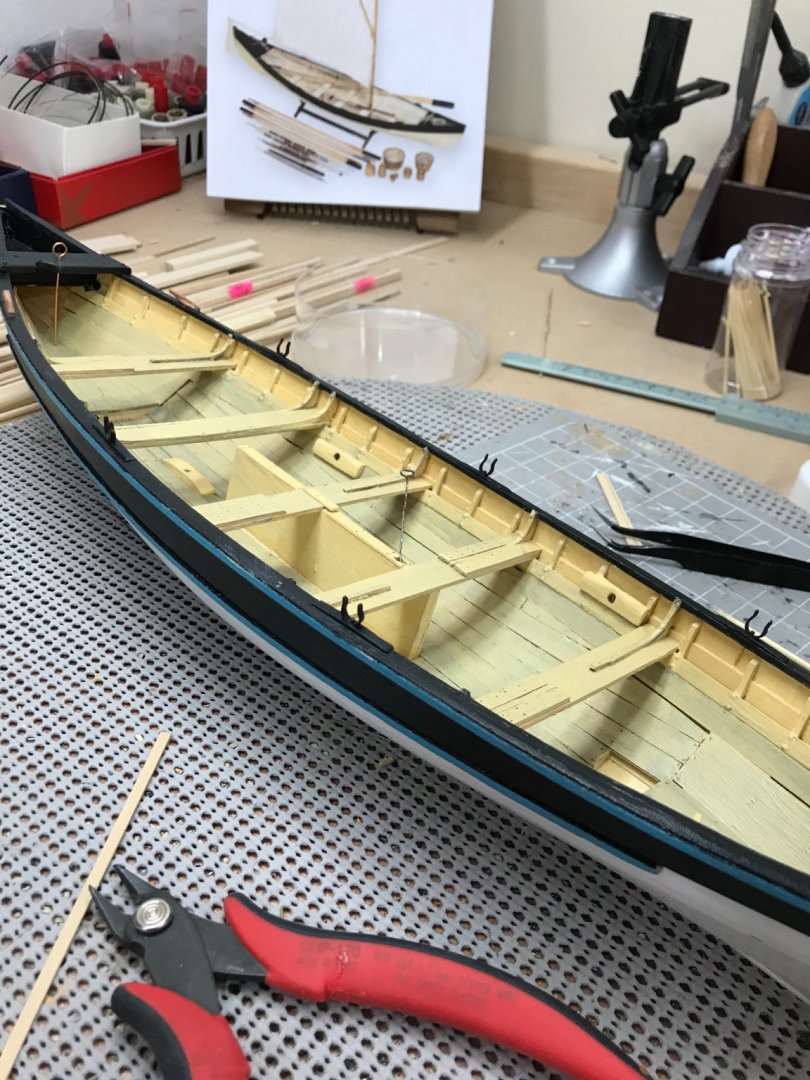
Progress on Rowlocks and speak Cleats... Rowlock pads in place. Hand Hewn Peak cleats created. Rowlocks and Peak Cleats Complete. Next up... The Rudder, Pintles and Gudgeons. Later... 😎

- 104 replies
-
- 3
-
-
- model shipways
- new bedford whaleboat
- (and 1 more)
-
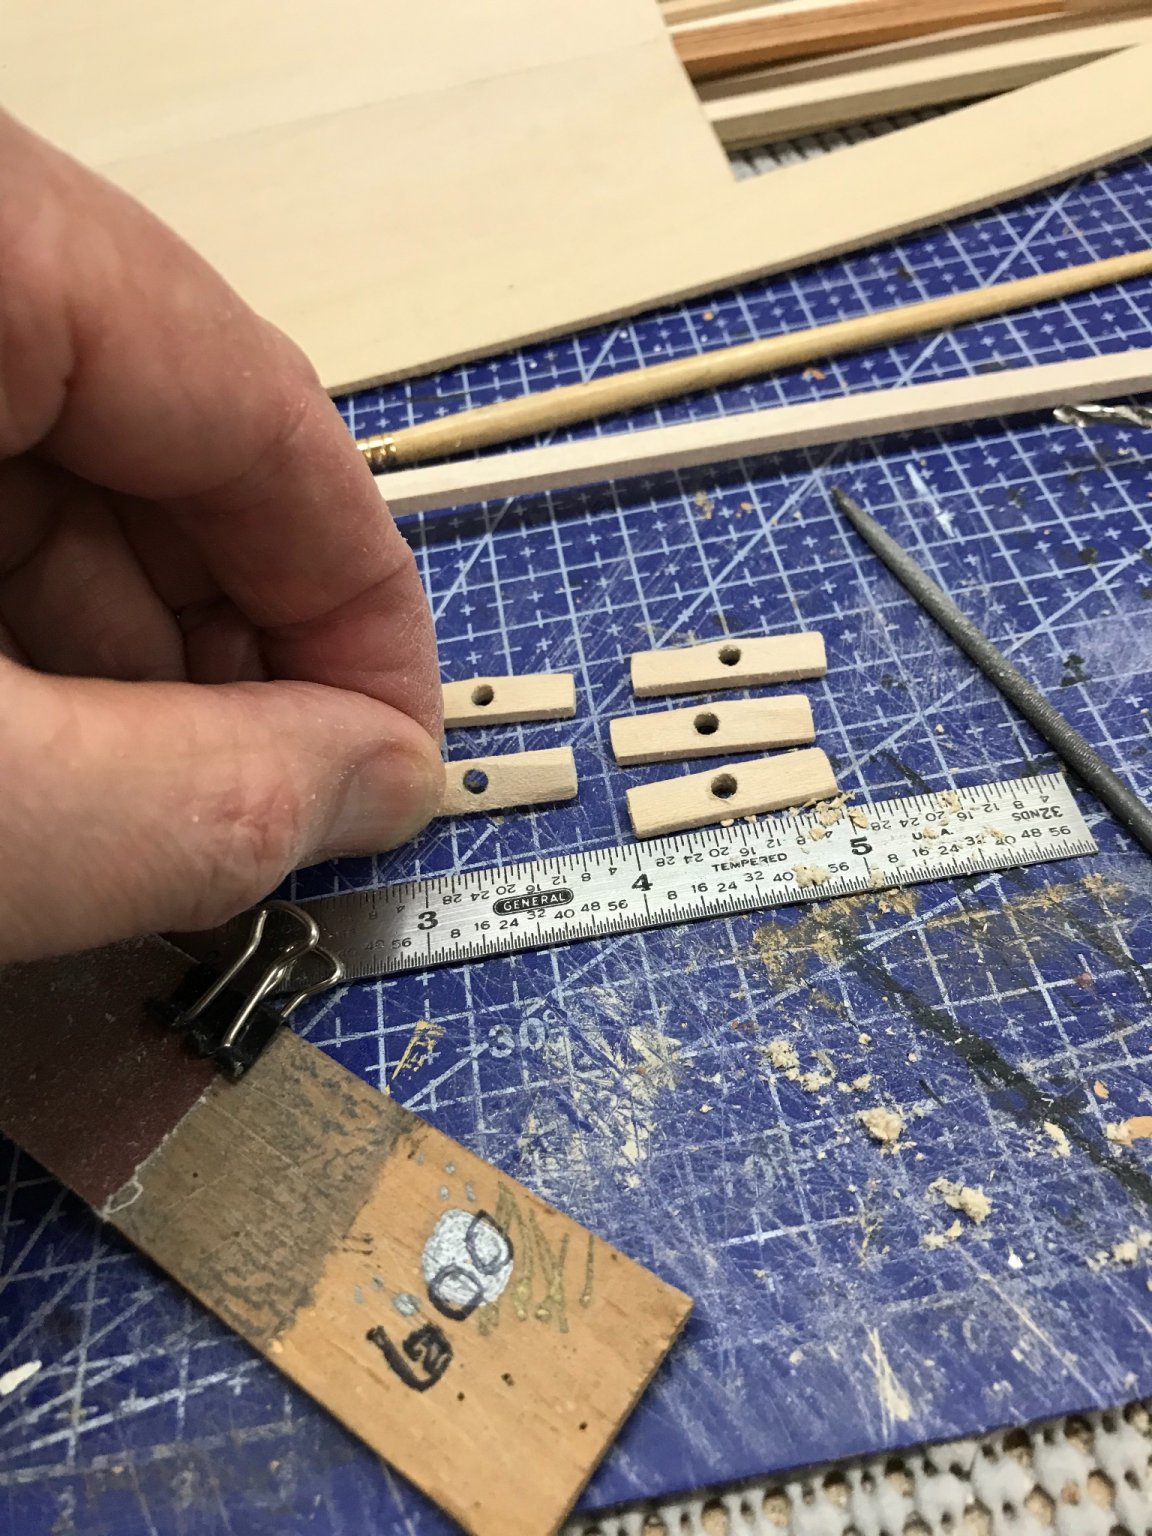
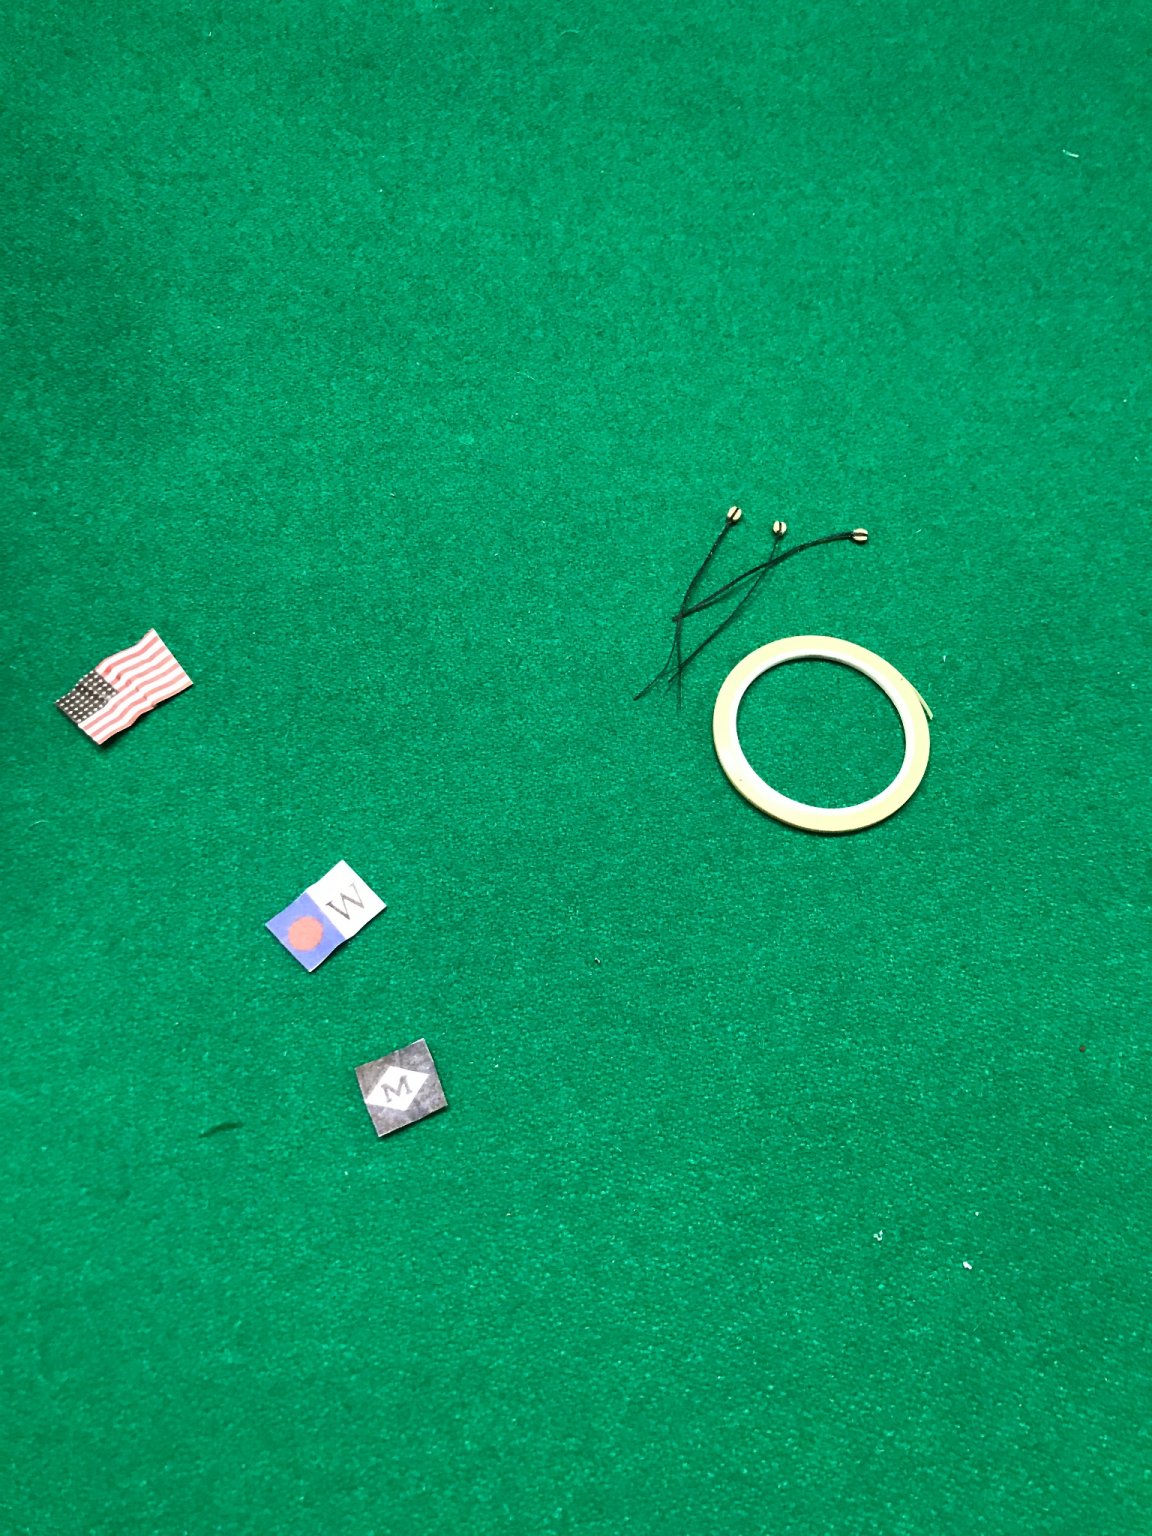
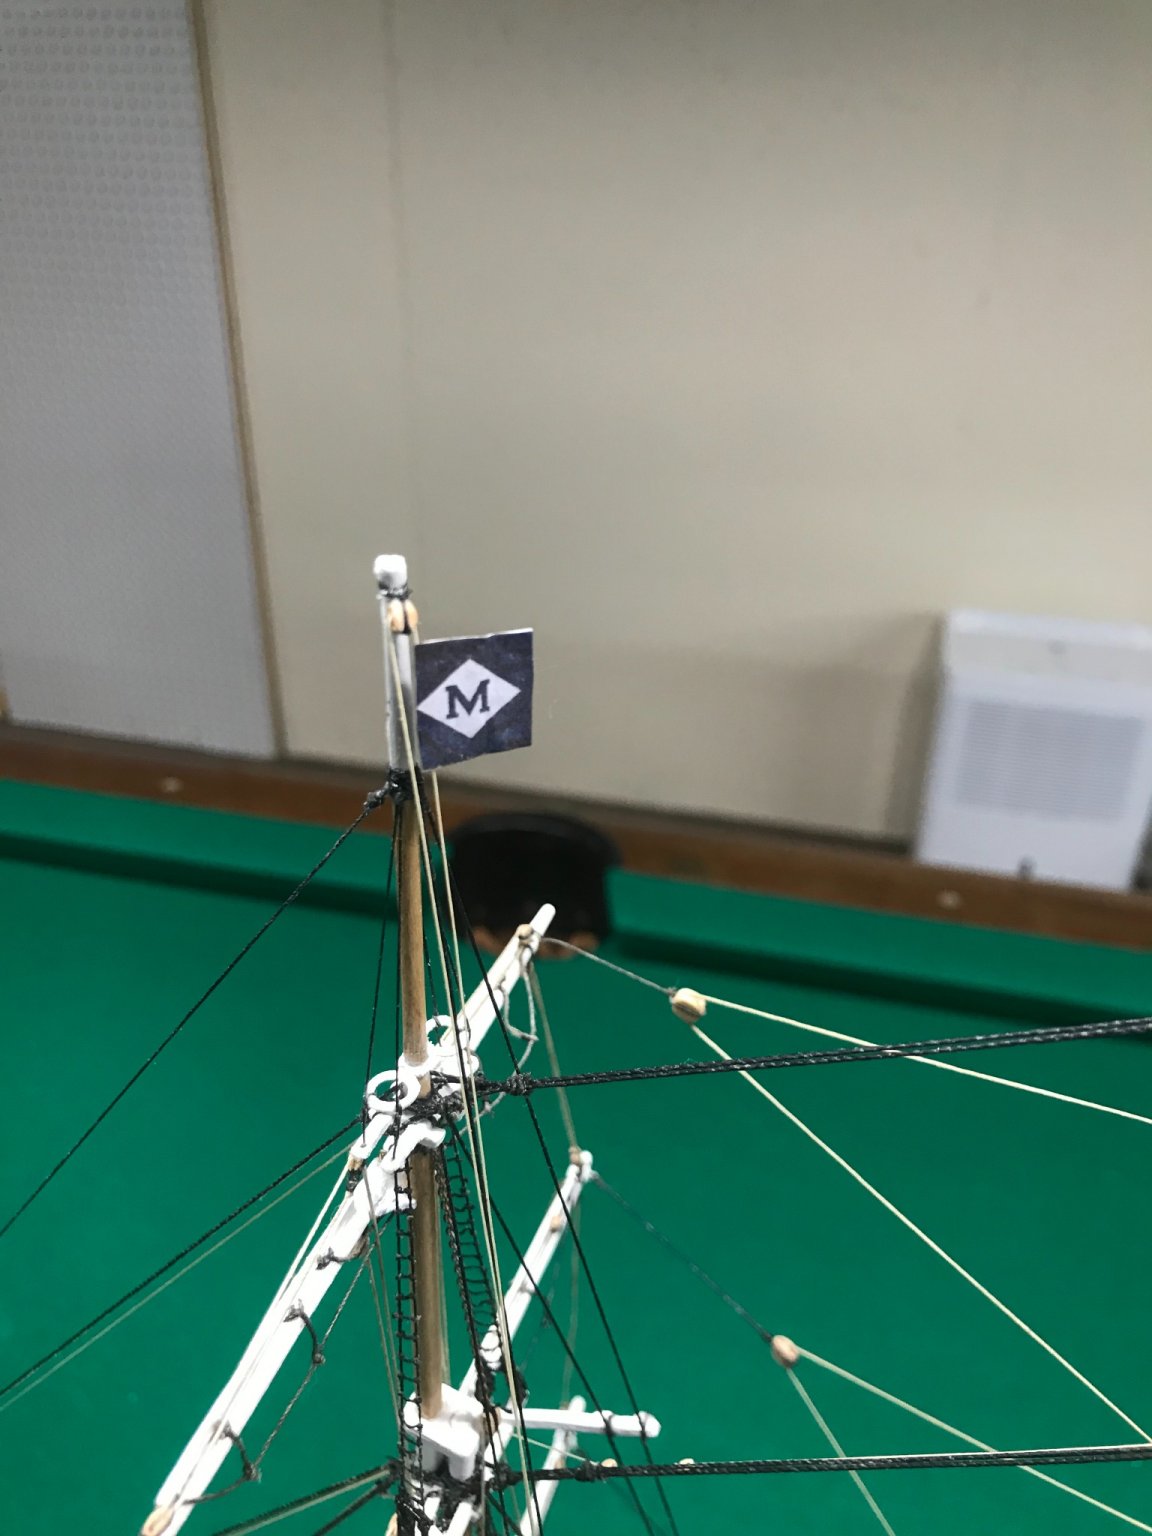
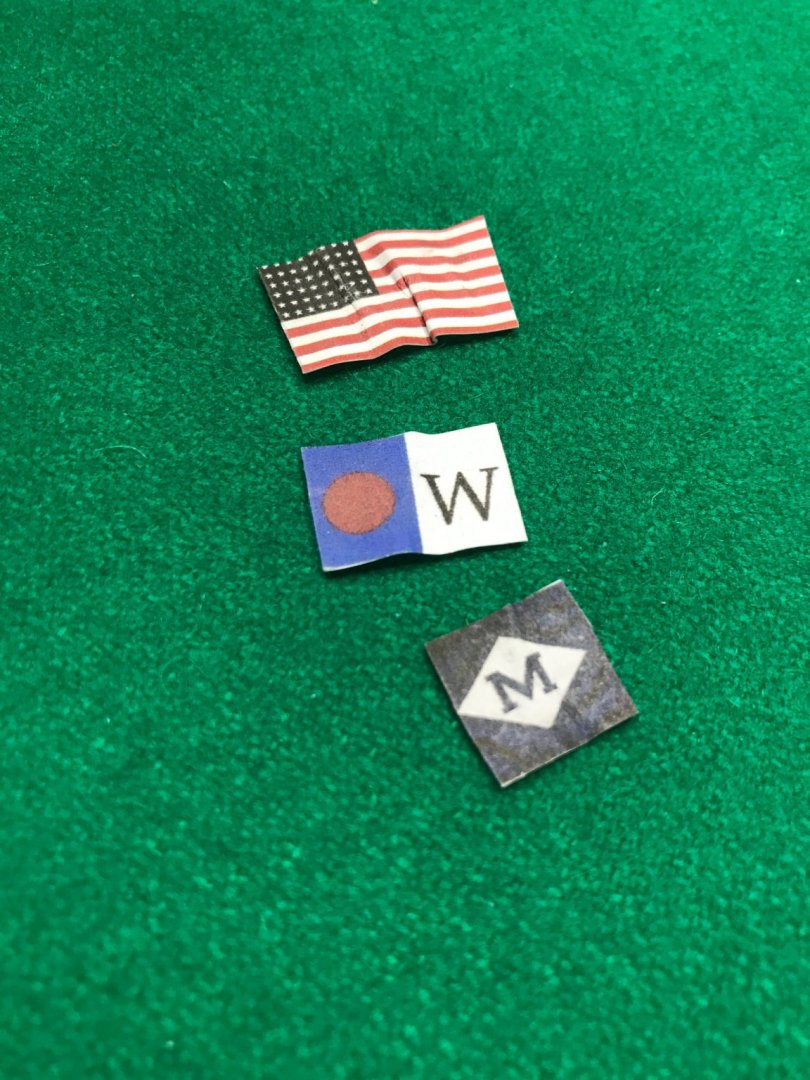
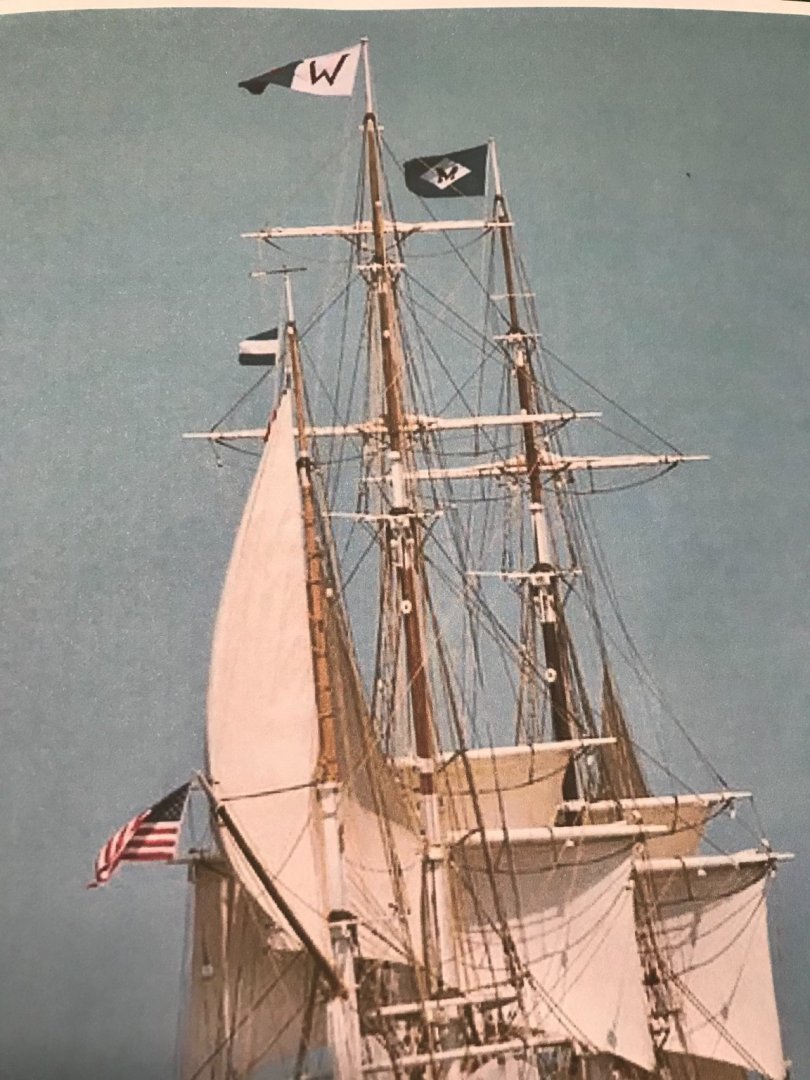
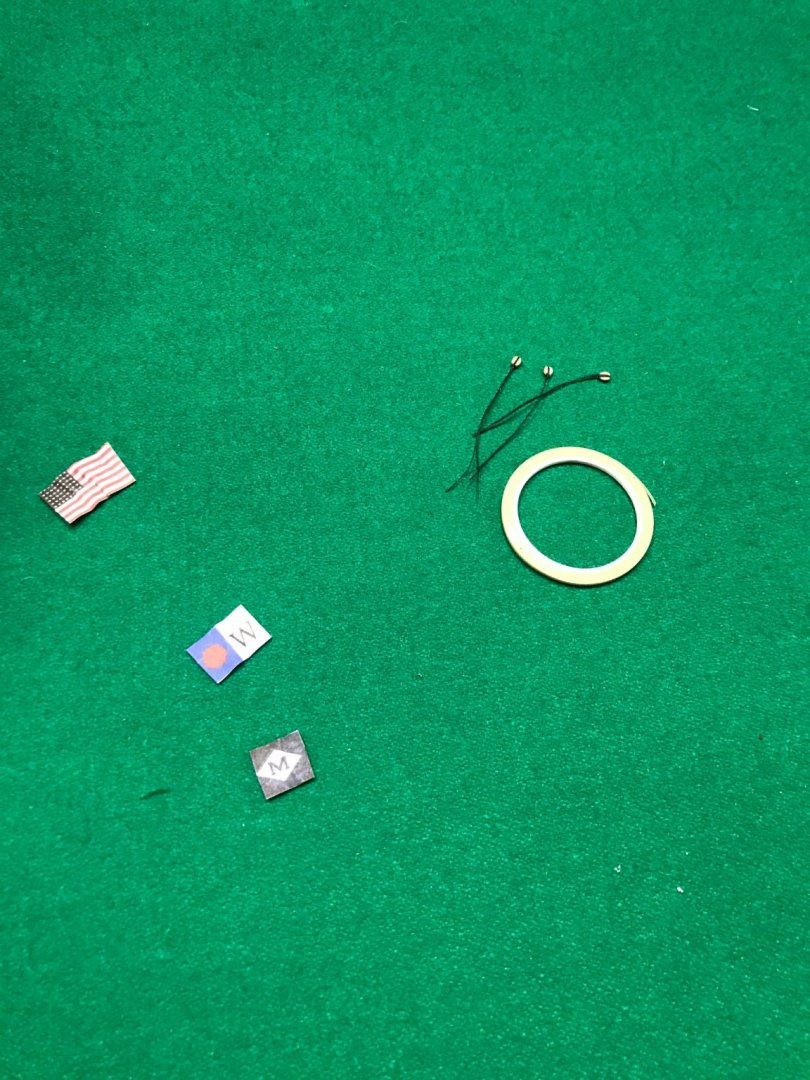
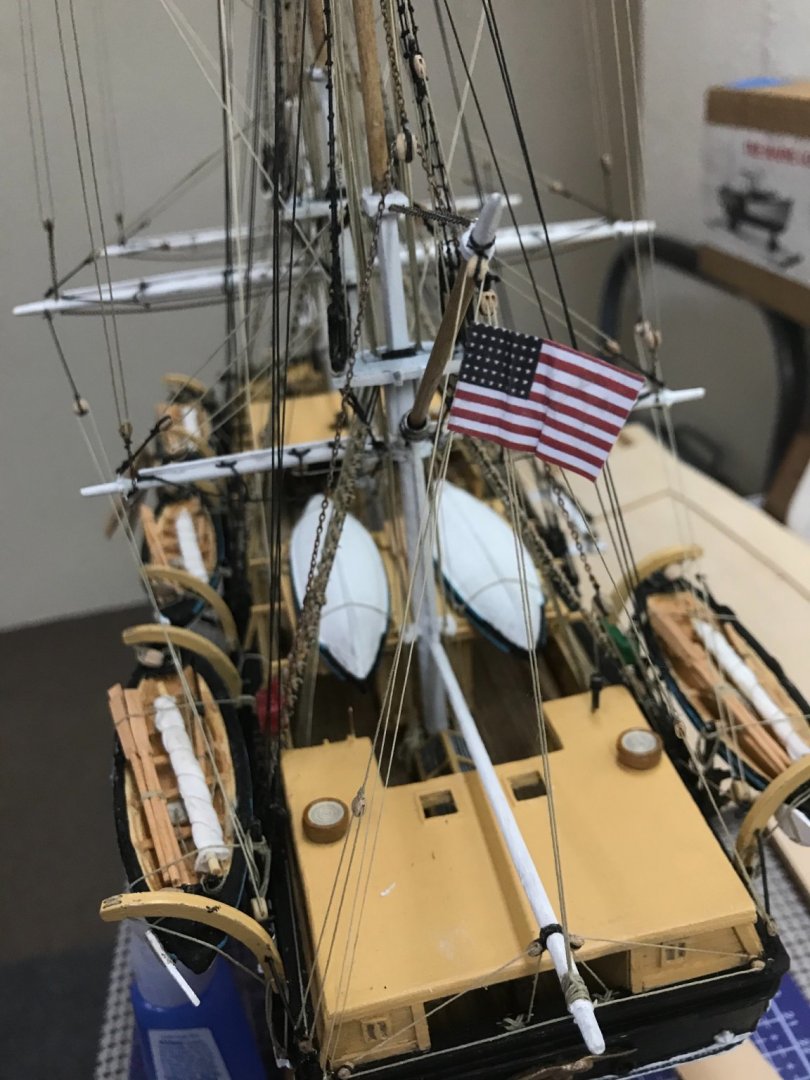
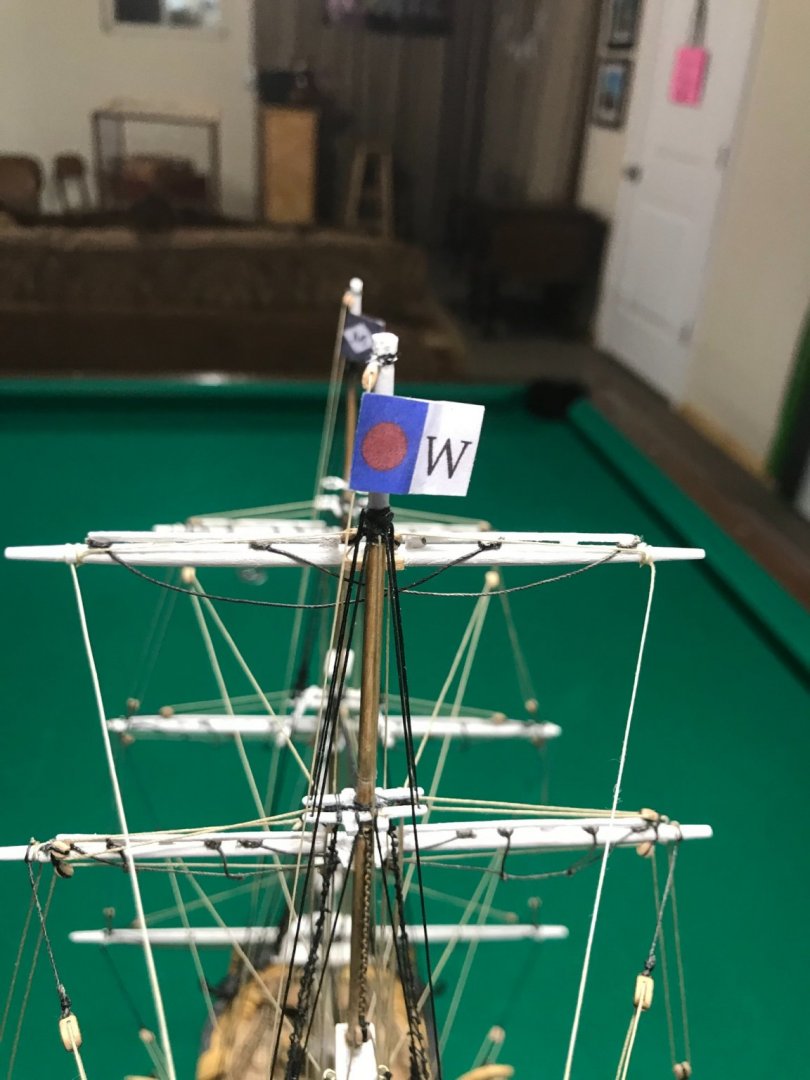
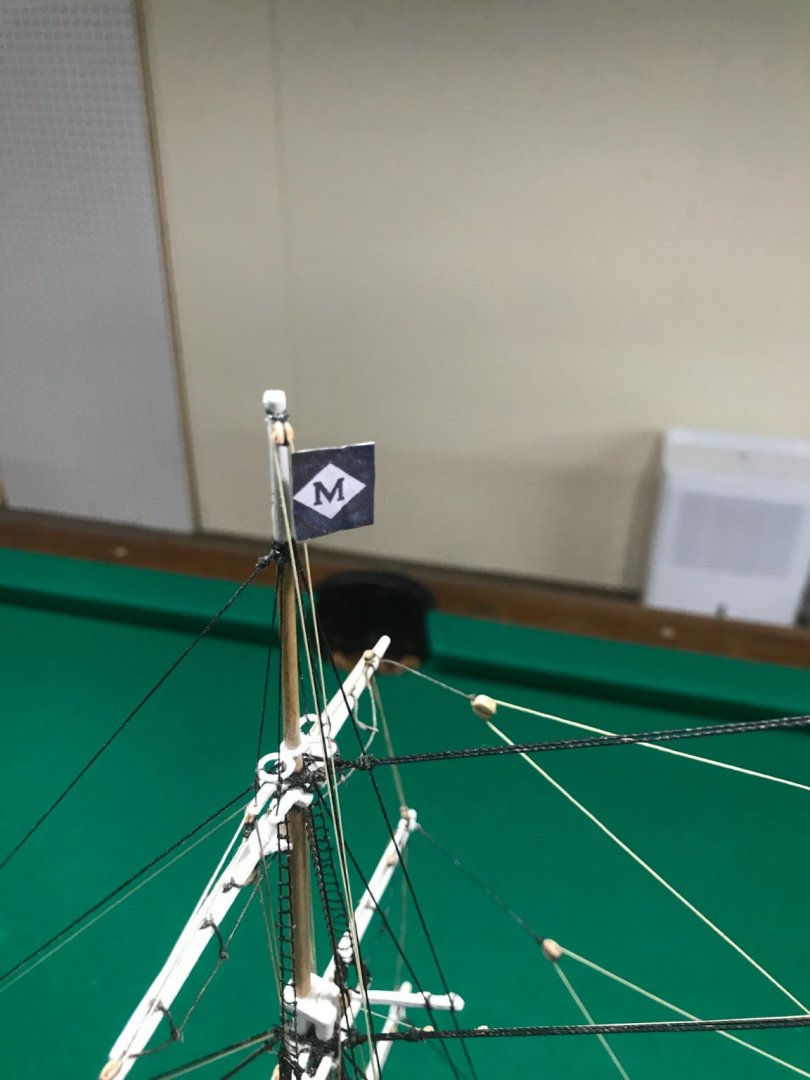
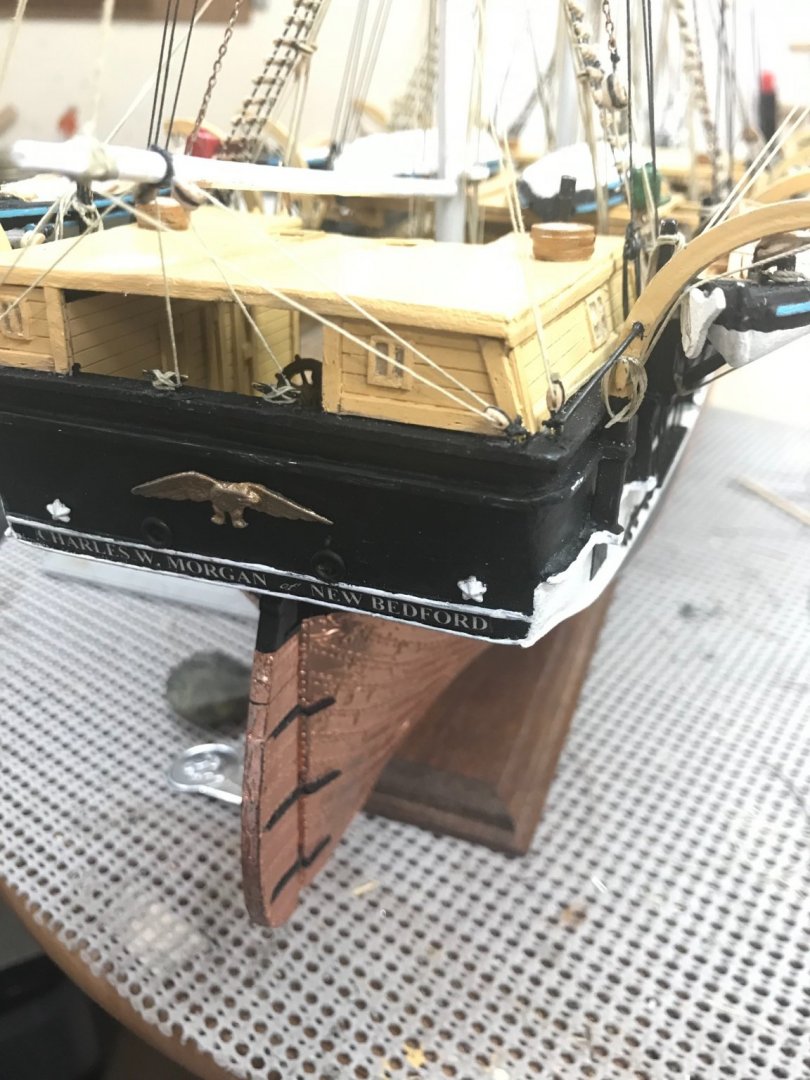
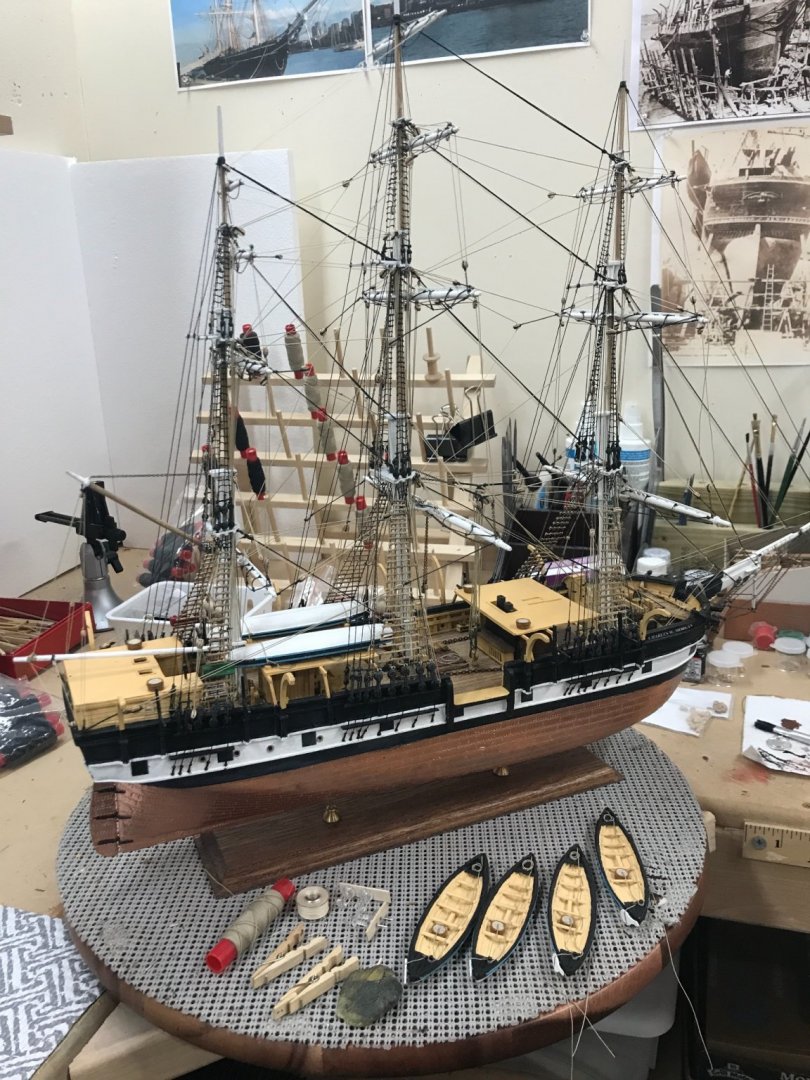
Ok, just kidding not finished without the flags. Here the are... Color Cpoier/Printers are great aren’t they? Cant hang flags without Halliards. 48 star US flag for 1941... The J & W.R. Wing Co. Flag, mounted to the Main Mast Flag Halliard. And of course the Mystic ceremonial flag. OK! Now she is finished. I think so, we will see... 🤔
- 204 replies
-
- 7
-
-
- marine model company
- charles w morgan
- (and 1 more)
-
The Center Board Case is capped and the Lifting Strap is in place and functional. 👍 Onward. 🍻

- 104 replies
-
- 7
-
-
- model shipways
- new bedford whaleboat
- (and 1 more)
-
I just can’t stop, this is what I do. 😎
- 104 replies
-
- 2
-
-
- model shipways
- new bedford whaleboat
- (and 1 more)
-
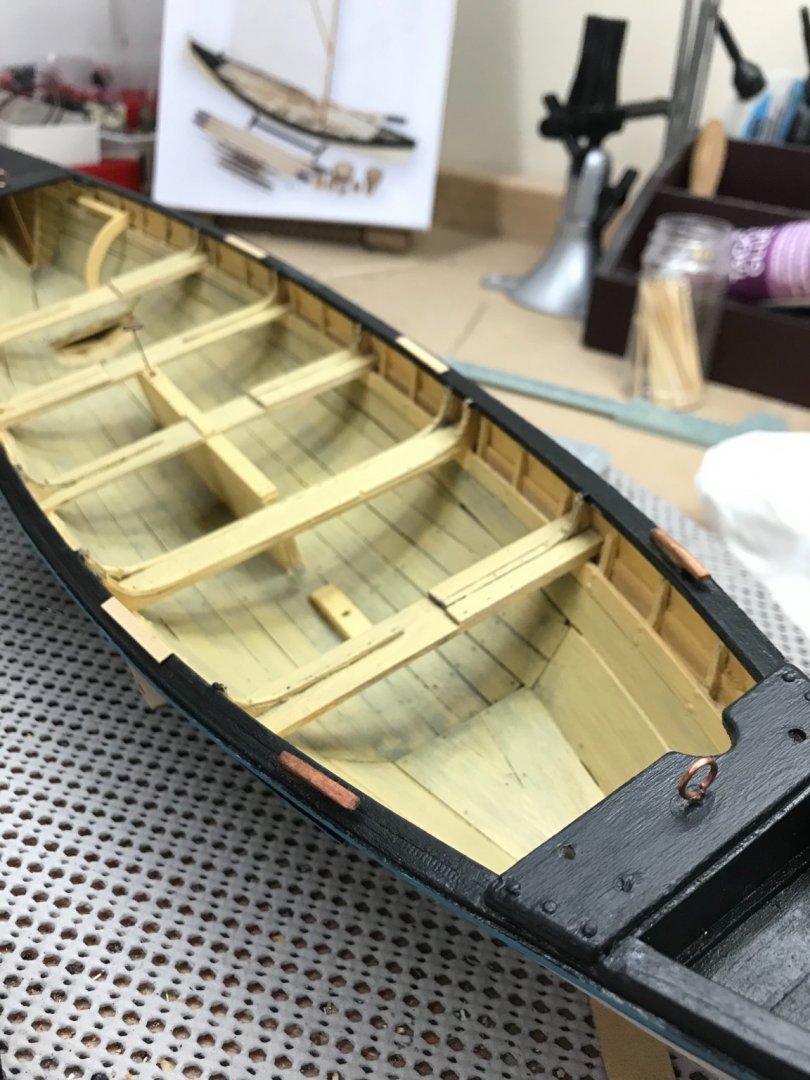
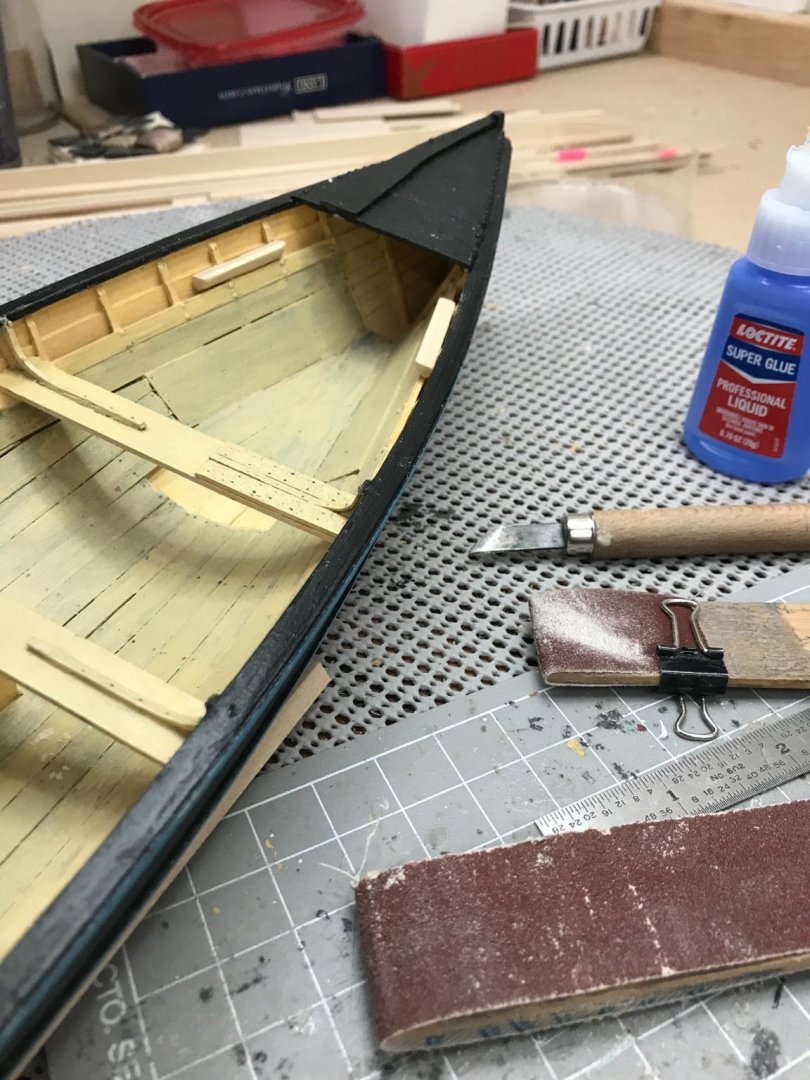
Wow! Went back to The New Bedford Whaleboat today. Opened My Build Log and saw it has been 3 months since I last worked on her. Where does the time go. I’ve been finishing the Charles W Morgan for 3 Months! 😆 So I made progress today on the Whaleboat. Started adding details in the stern. Standing cleats in the stern installed. Foot brace installed. Cleats installed... Loggerhead installed Stern details Painted... 😎


- 104 replies
-
- 6
-
-
- model shipways
- new bedford whaleboat
- (and 1 more)
-
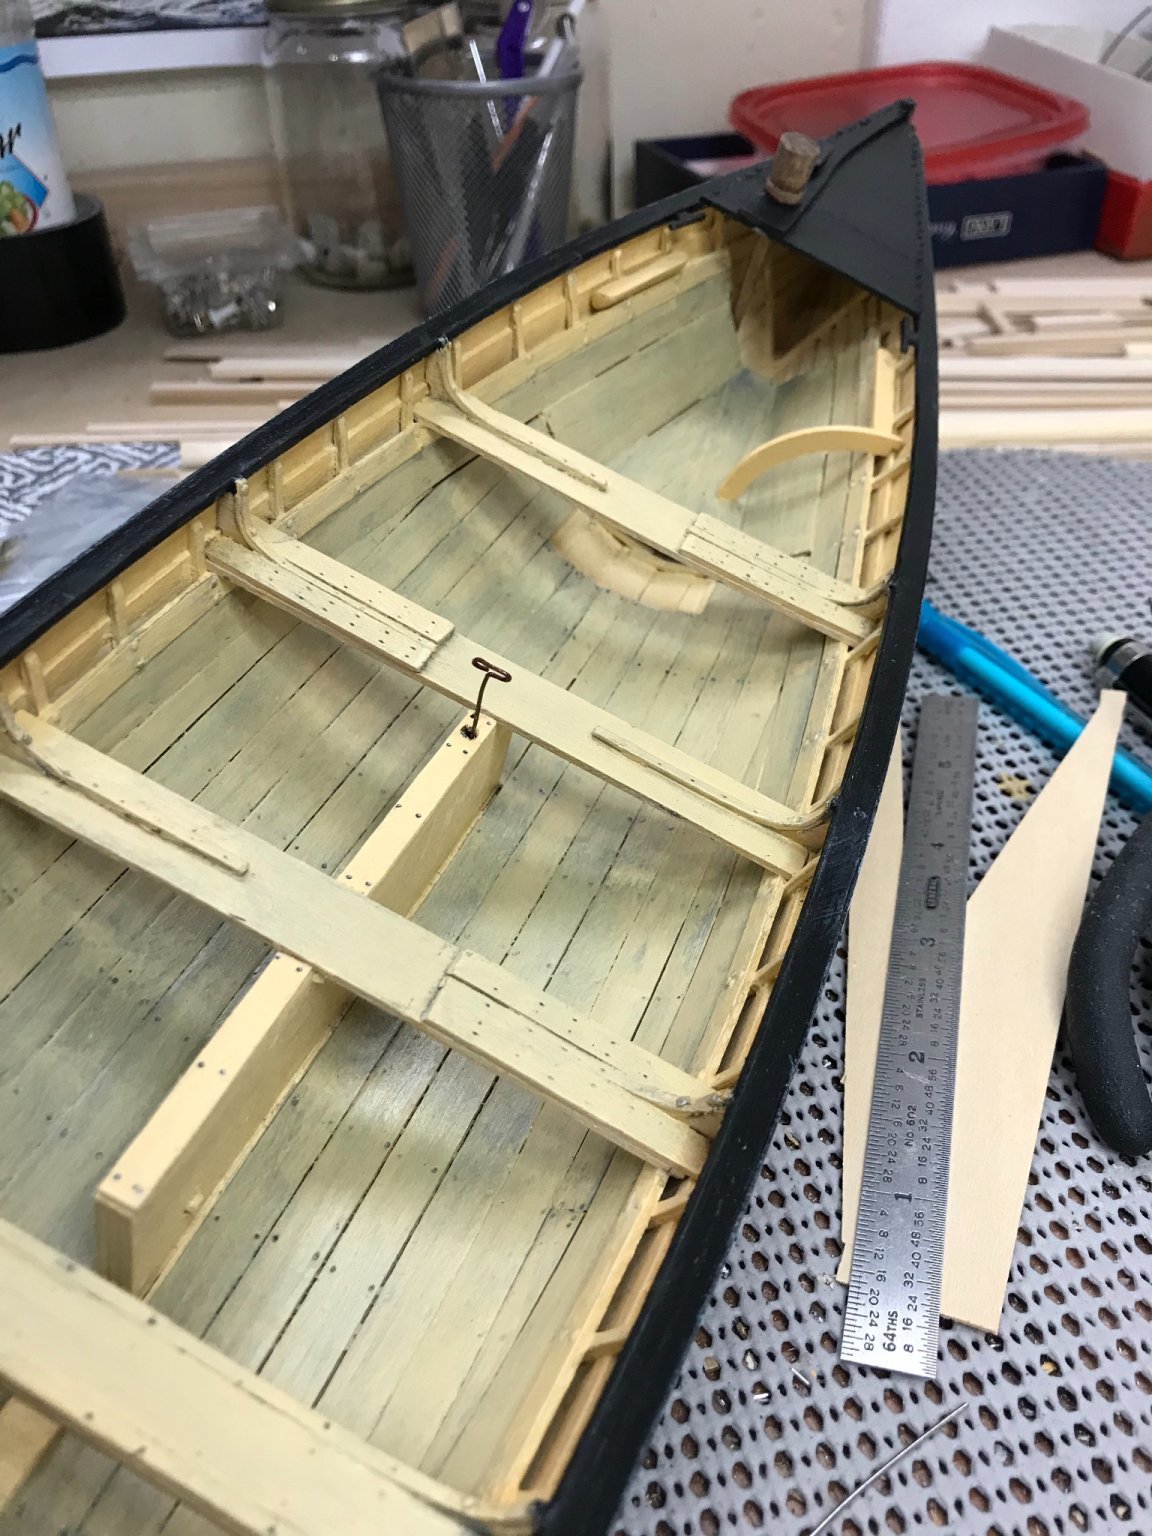
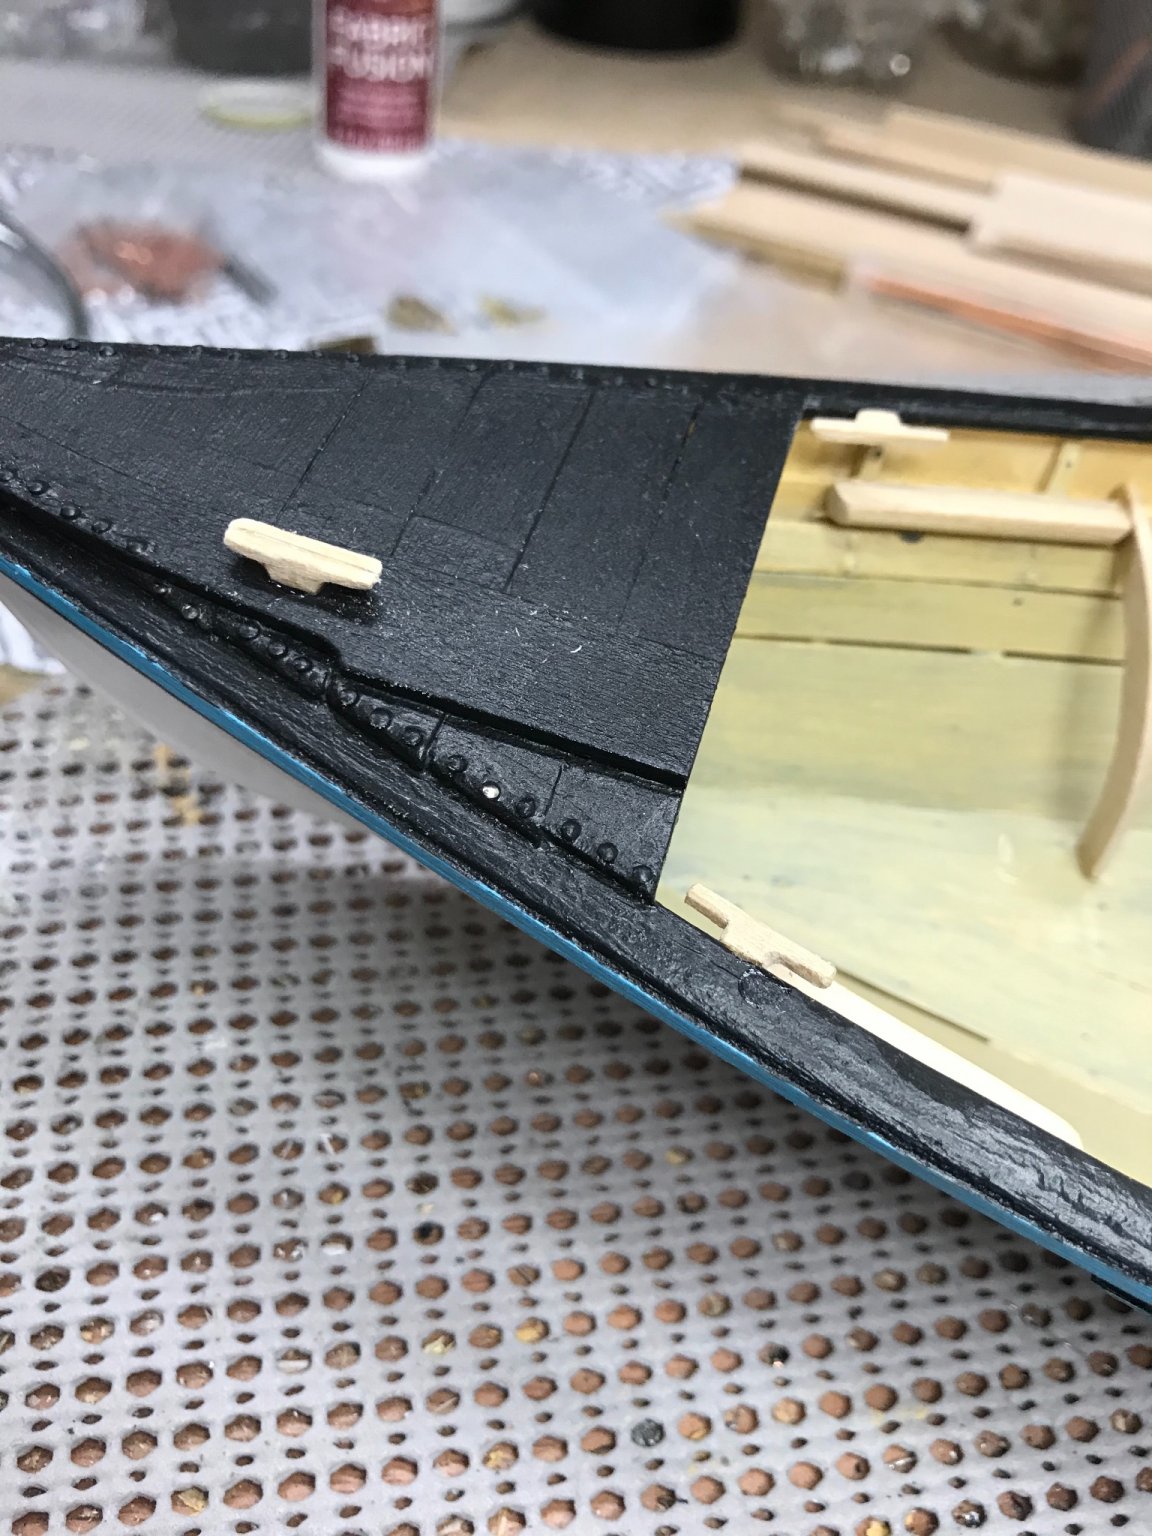
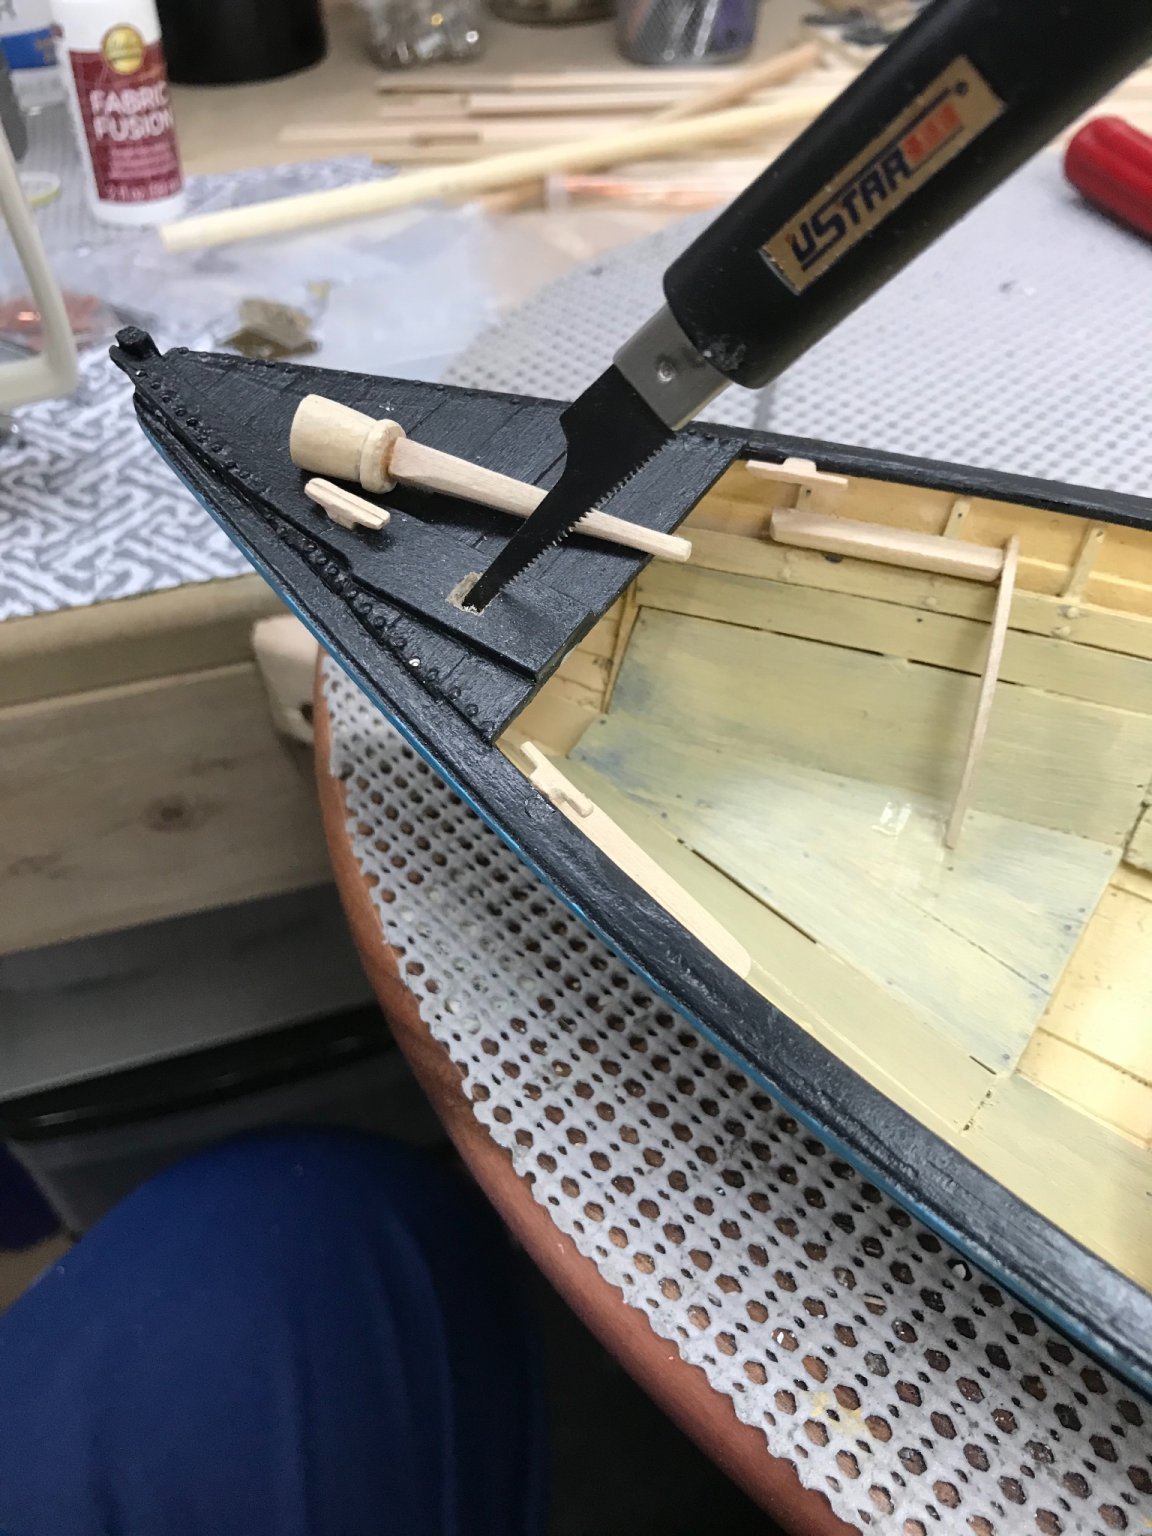
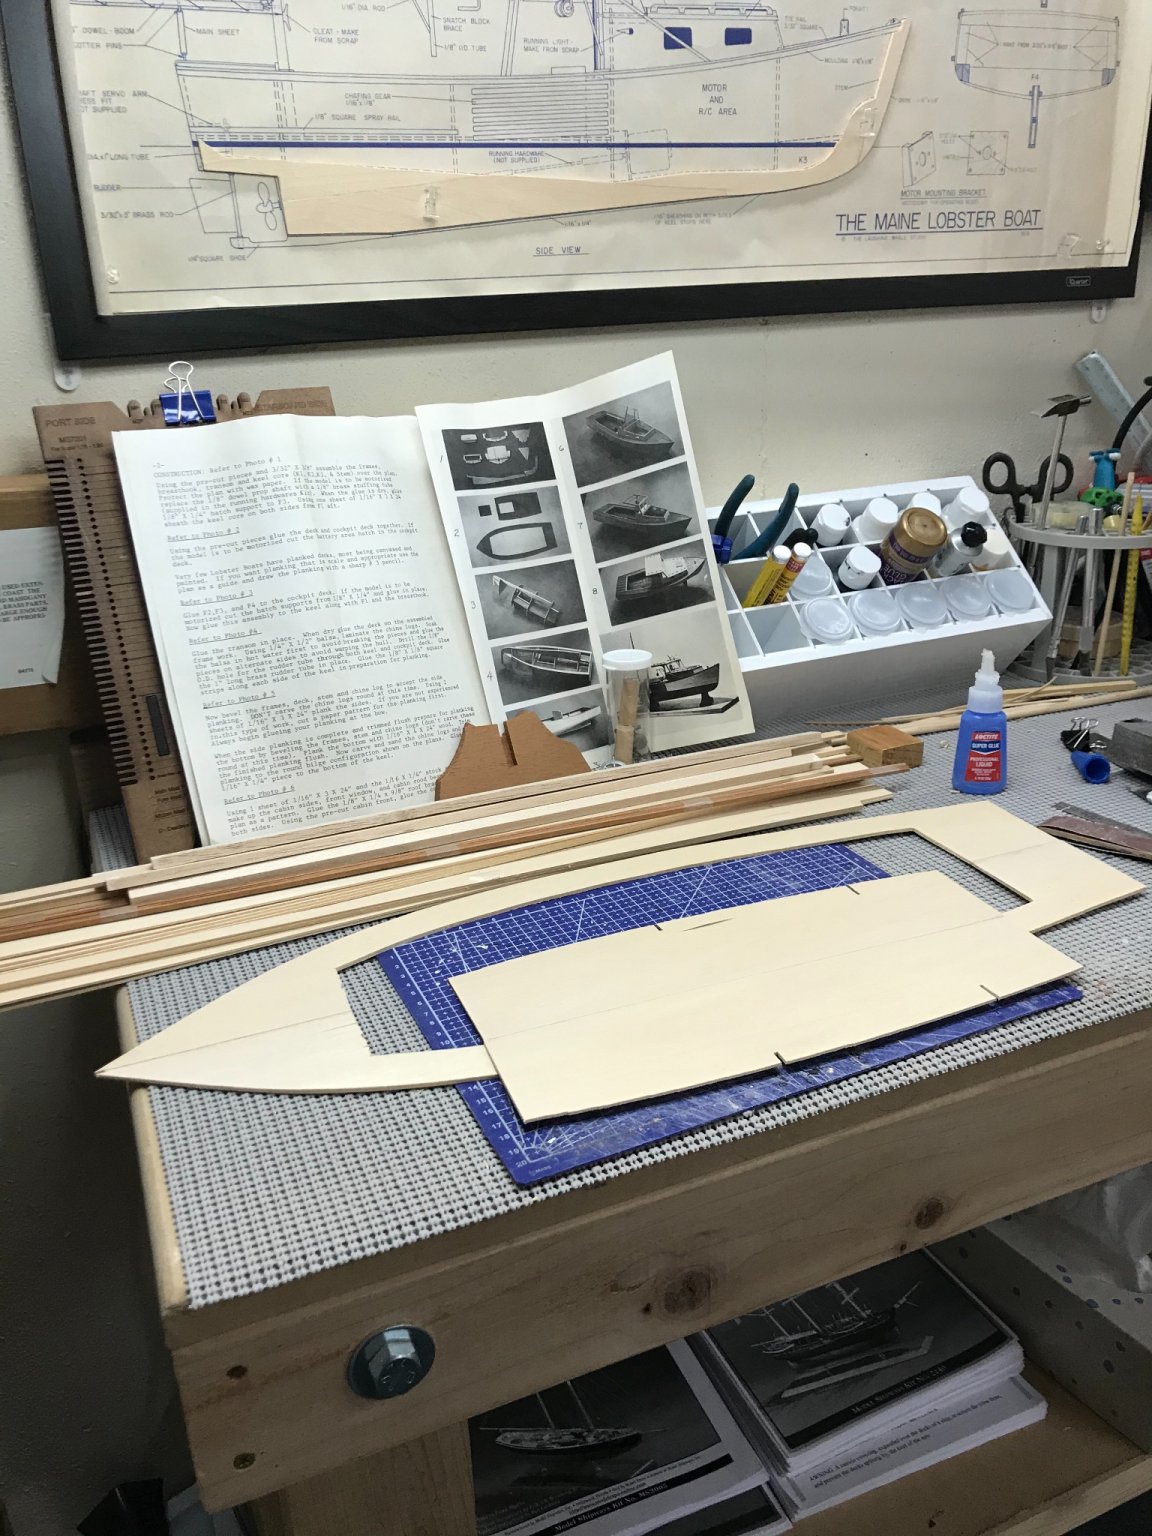
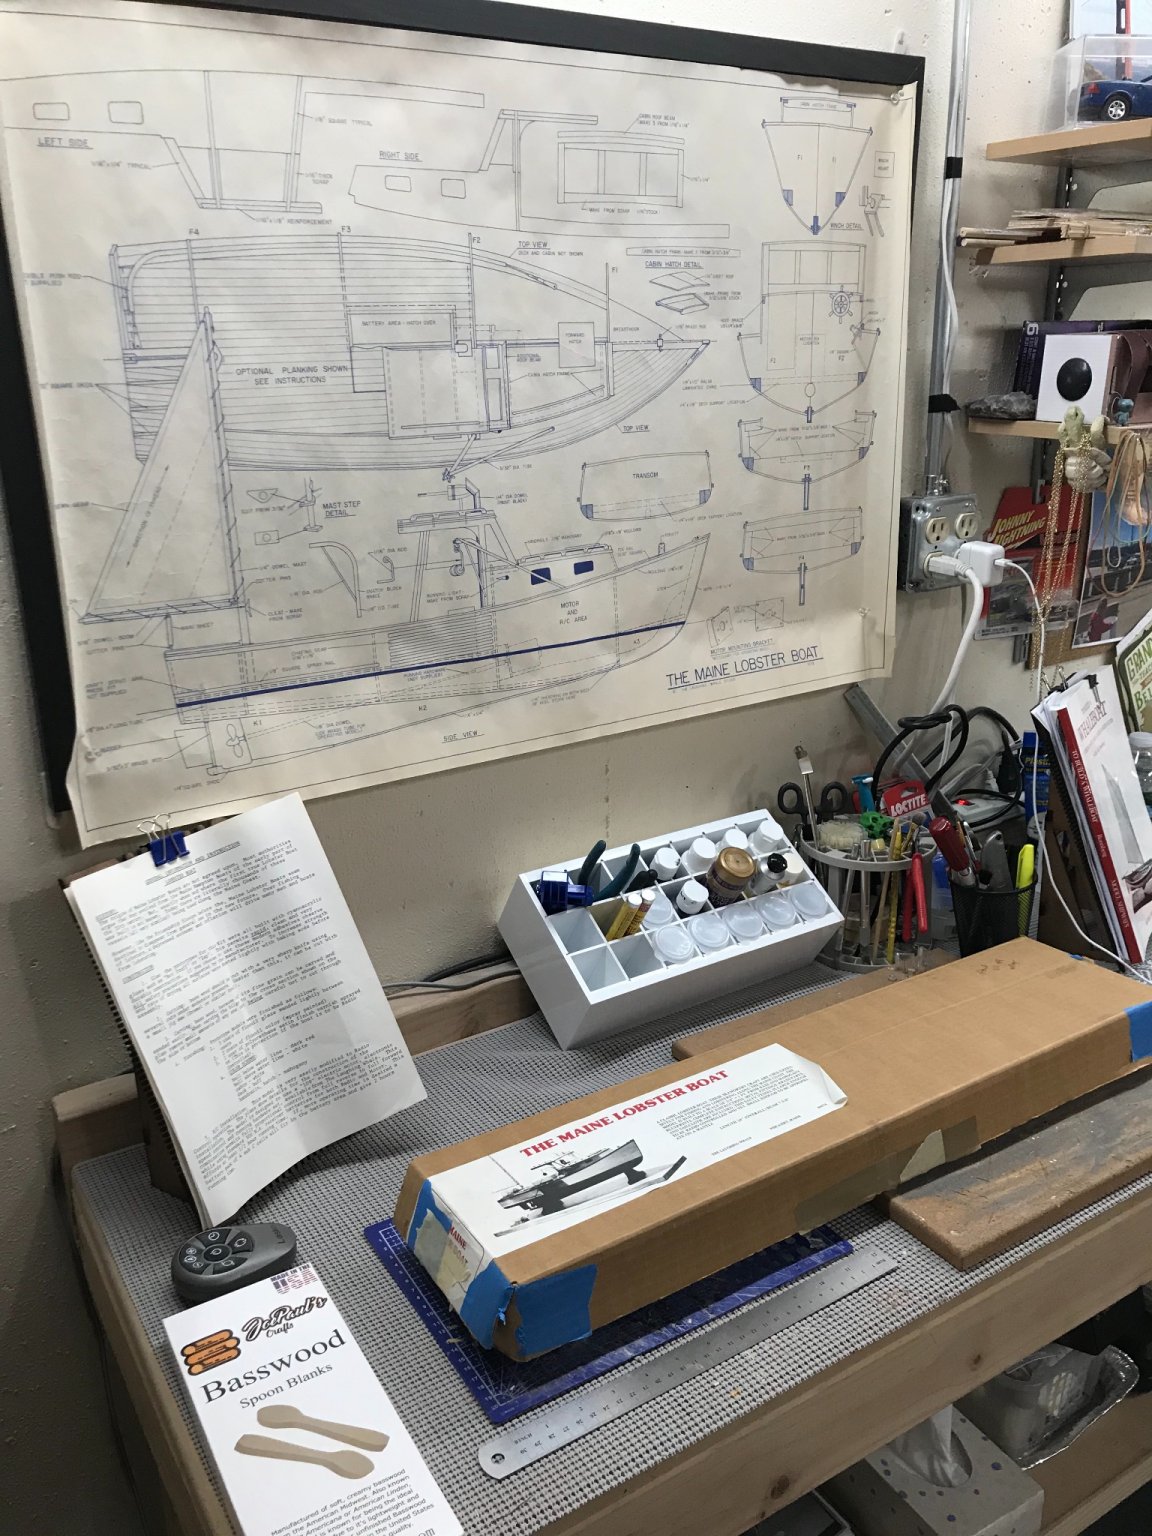
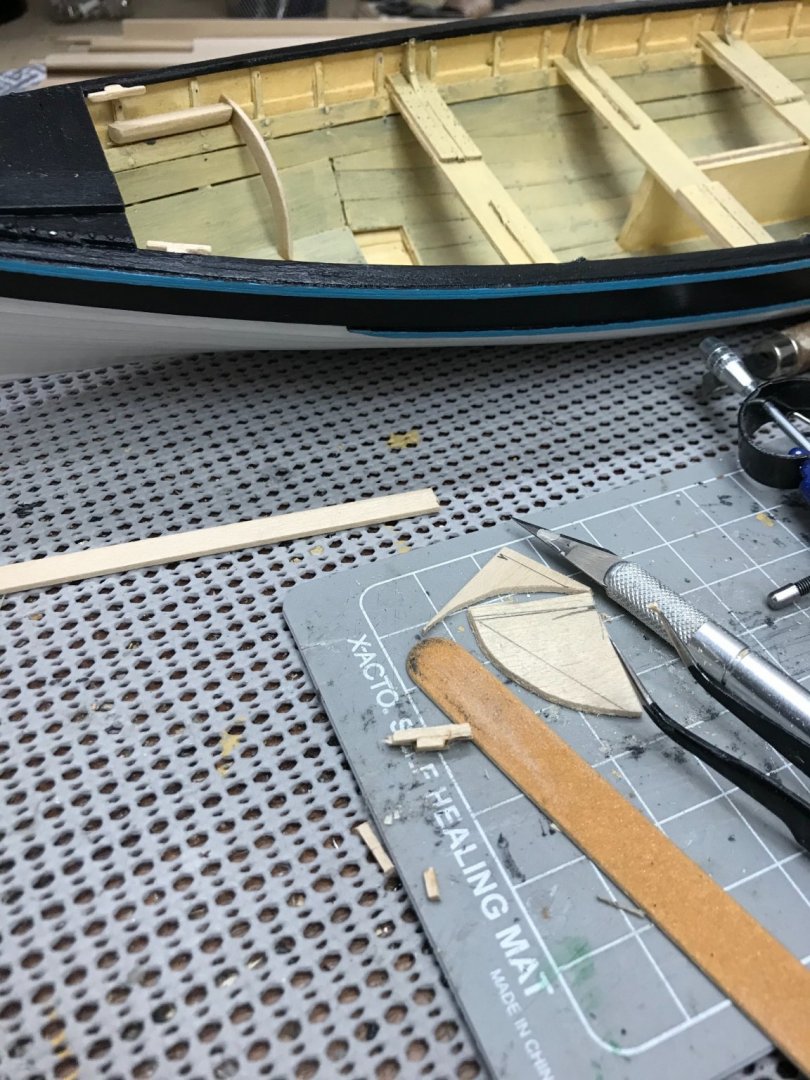
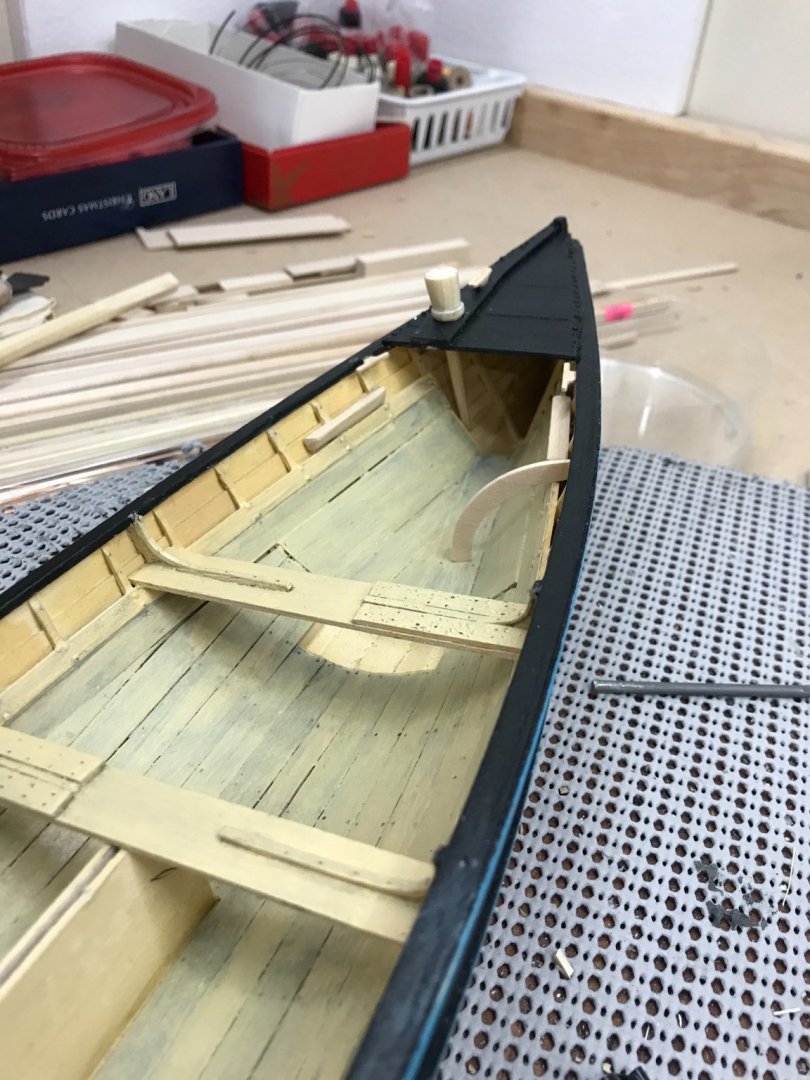
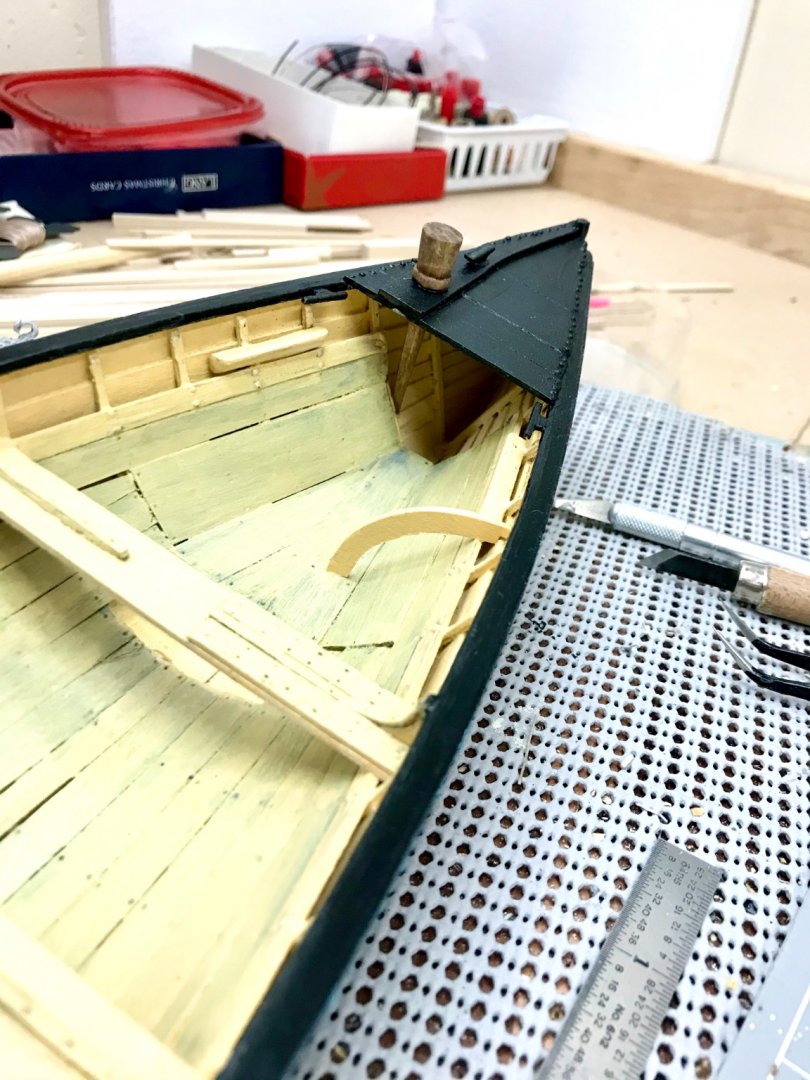
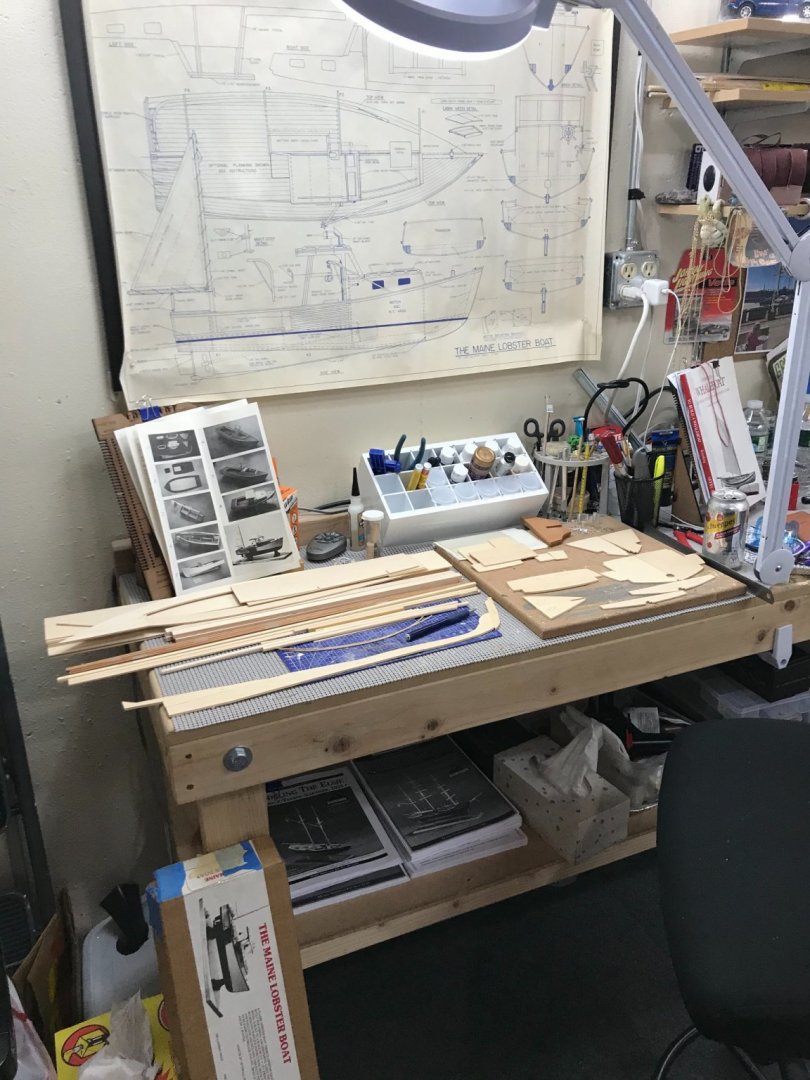
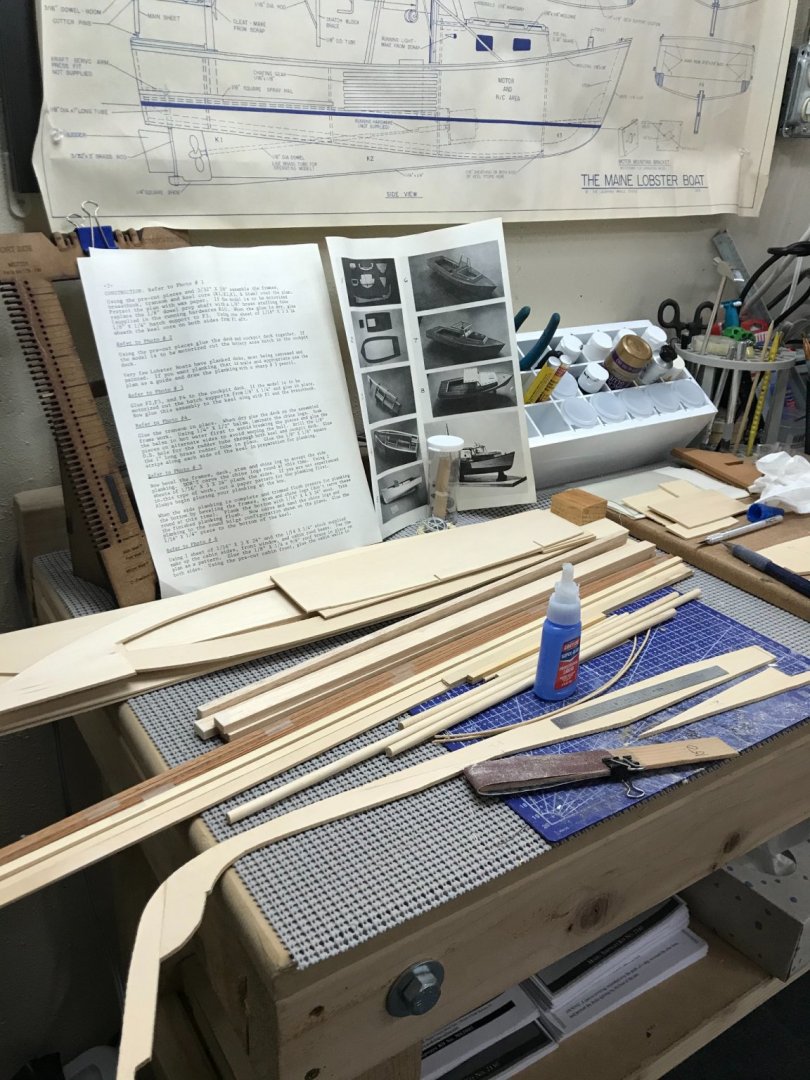
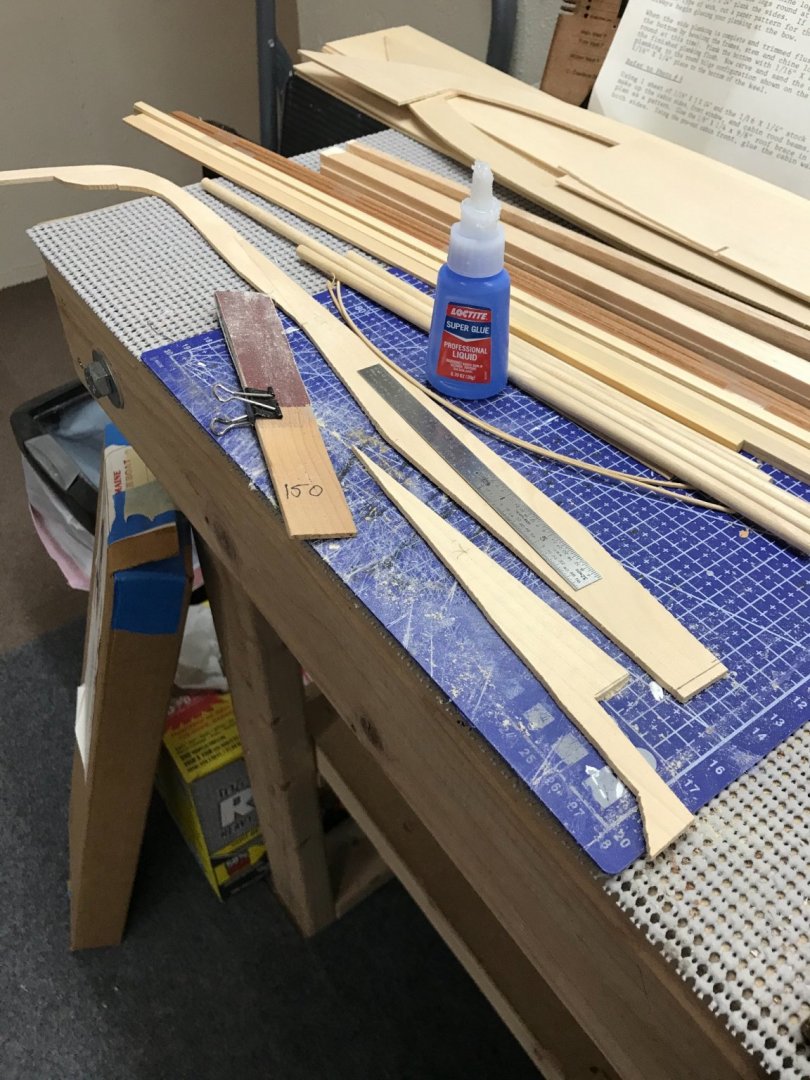
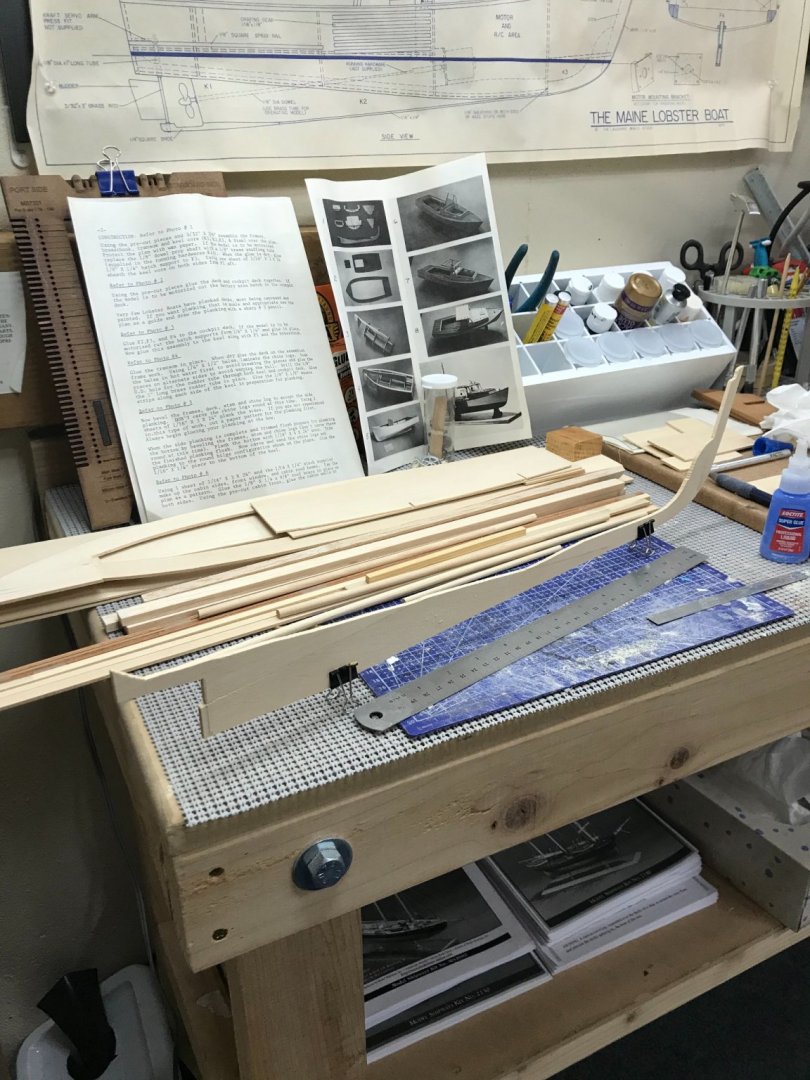
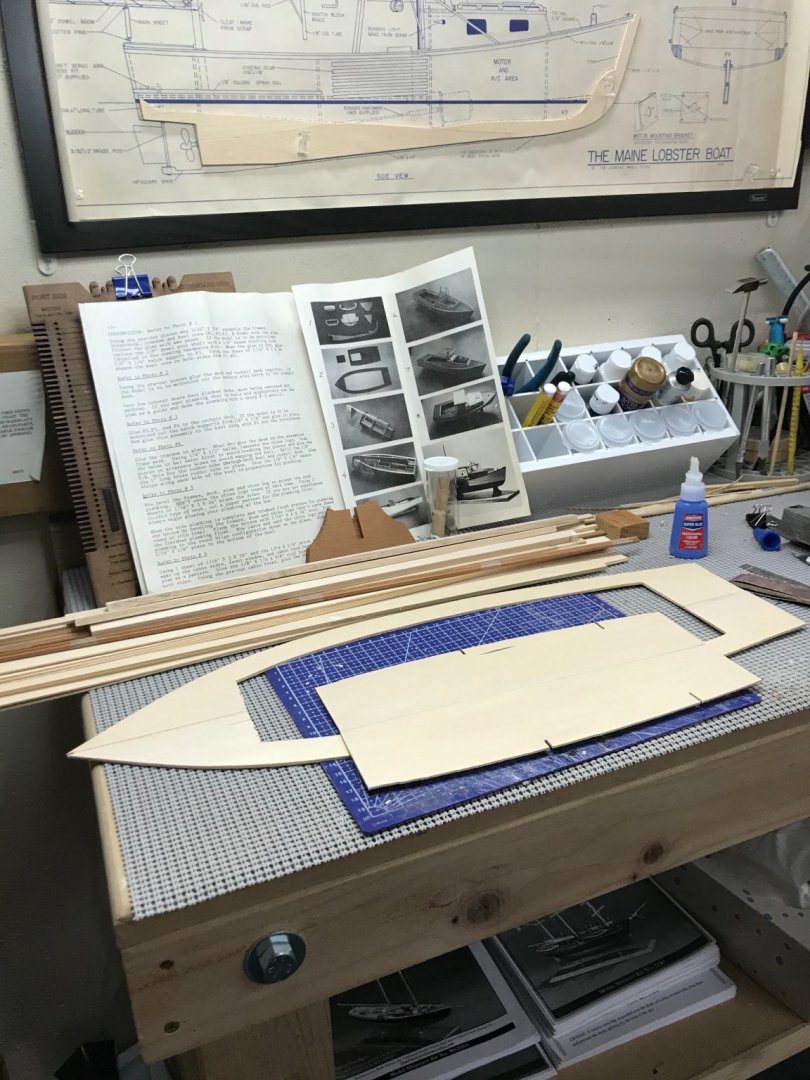
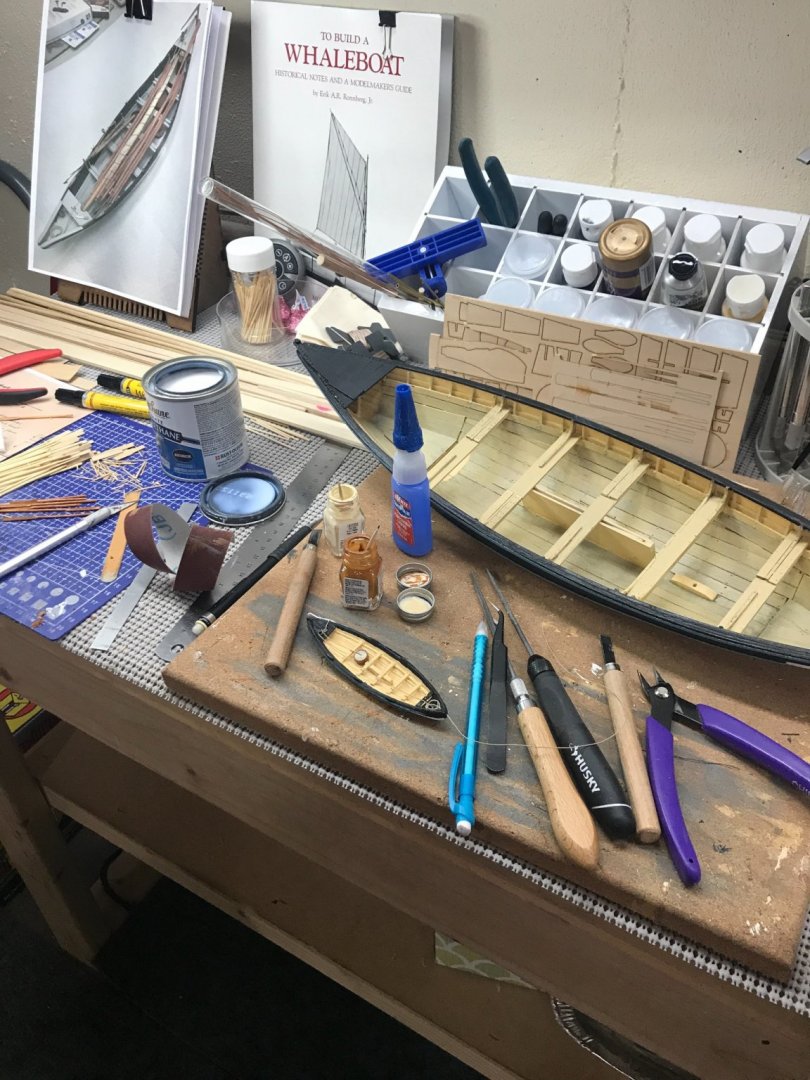
I said to my self, Don’t start another build until you finish the one you are working on. I just had to get it out of the box and put it on the bench. Just finished my Charles W Morgan Whaler and am still finishing up my New Bedford Whaleboat. But, I just had to stage my next build, The Maine Lobster Boat. It’s a 1979 Laughing Whale kit out of Wiscasset, Maine. Rescued this beauty on eBay. OK, I couldn’t leave it in the box. Had to lay it out... Maybe 🤔 I’ll just take a look at the instructions. Step one: assemble the Pre-cut pieces K-1, K-2, K-3 and stem into a Keel. 🧐 The pieces aren’t marked, this is like finding jigsaw pieces. 😆 (old school) Hand cut pieces require some sanding to allow effective glue joints. I chose CA Glue. Ok this is interesting, can’t stop now. Keel assembled, Step 1 completed. Step 2: Glueing the deck halves together. An hour in and I am reminding myself not to get started, I have a Whaleboat to finish. 😆 Too much fun... I’ll be back. 😎

- 51 replies
-
- 3
-
-
- laughing whale
- maine lobster boat
- (and 1 more)
-
Finishing my New Bedford Whaleboat. Then I am looking at a Maine Lobster Boat by Laughing Whale. Should be great fun 🤩 Building a Display case for the Morgan as we speak. This hobby just never stops. 🍻


- 204 replies
-
- 6
-
-
- marine model company
- charles w morgan
- (and 1 more)
-
Thanks your encouragement along the way has been great. Looking forward to watching you complete your Leopard. Plans for the CWM are being packed up for your next build. Note: I did find something else to add to the Morgan. Flags! She can’t sail without flags! Maybe just the Pendant up top, since she doesn’t have sails. There’s that OCD kicking in again. 😆
- 204 replies
-
- 2
-

-
-
- marine model company
- charles w morgan
- (and 1 more)
-
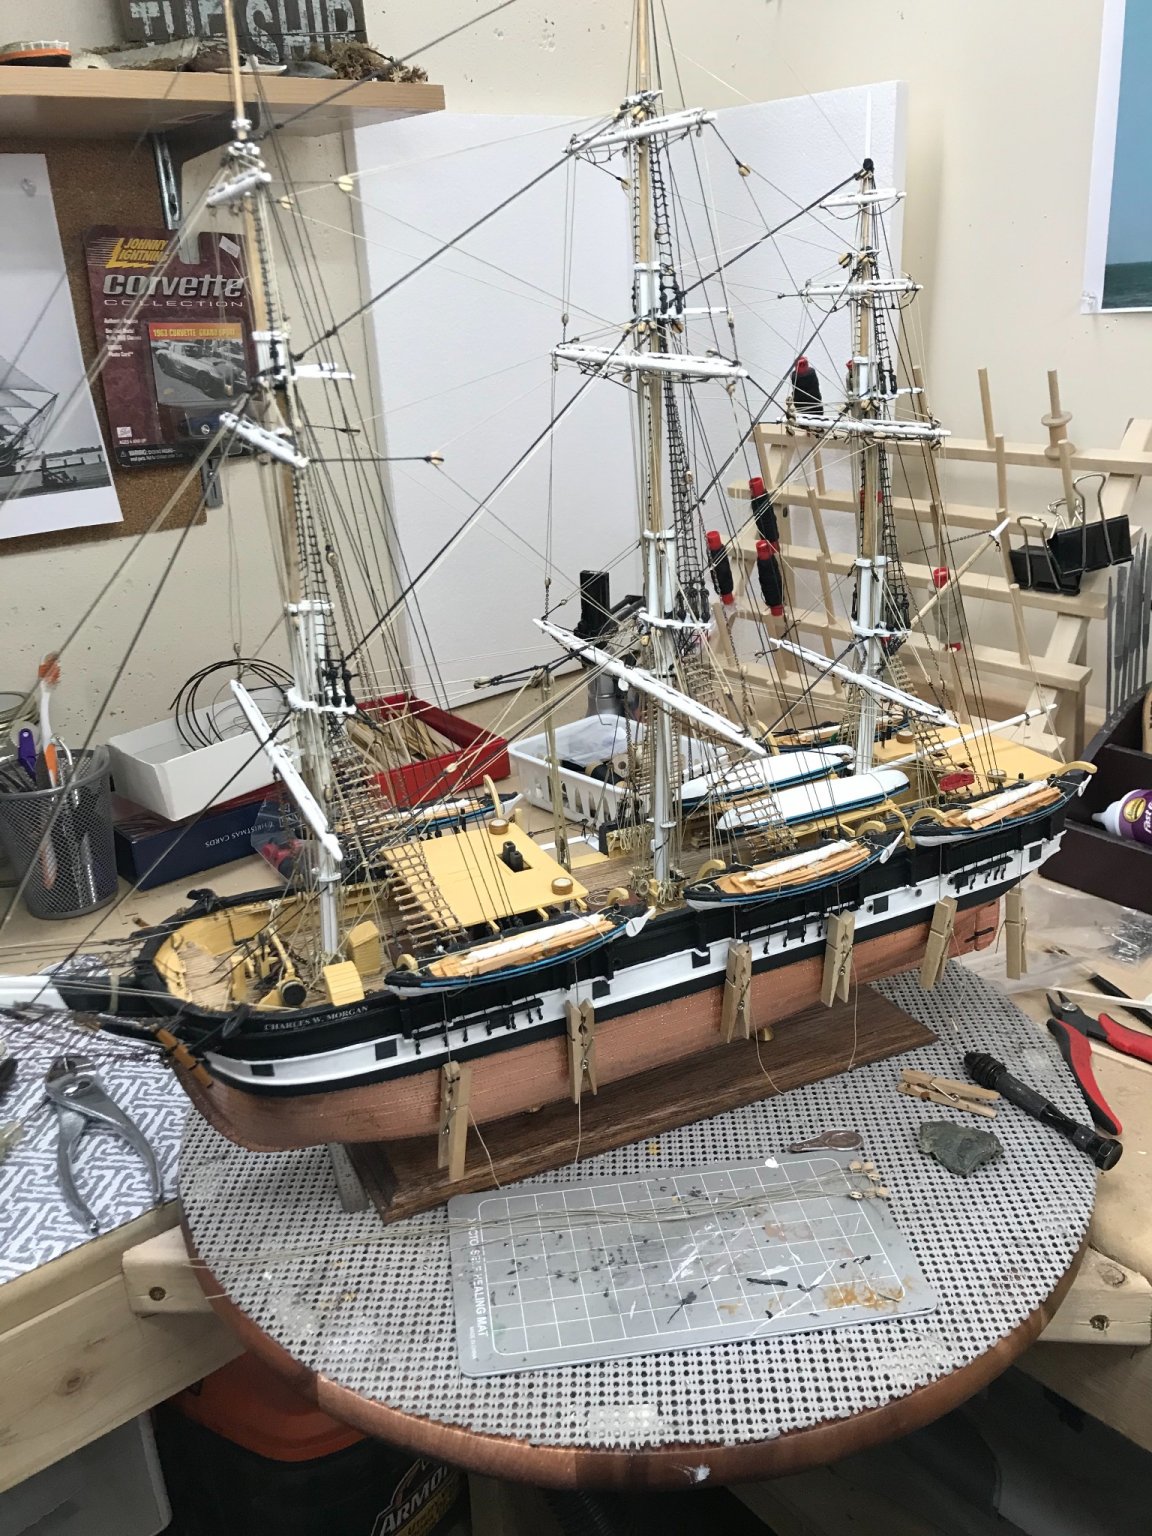
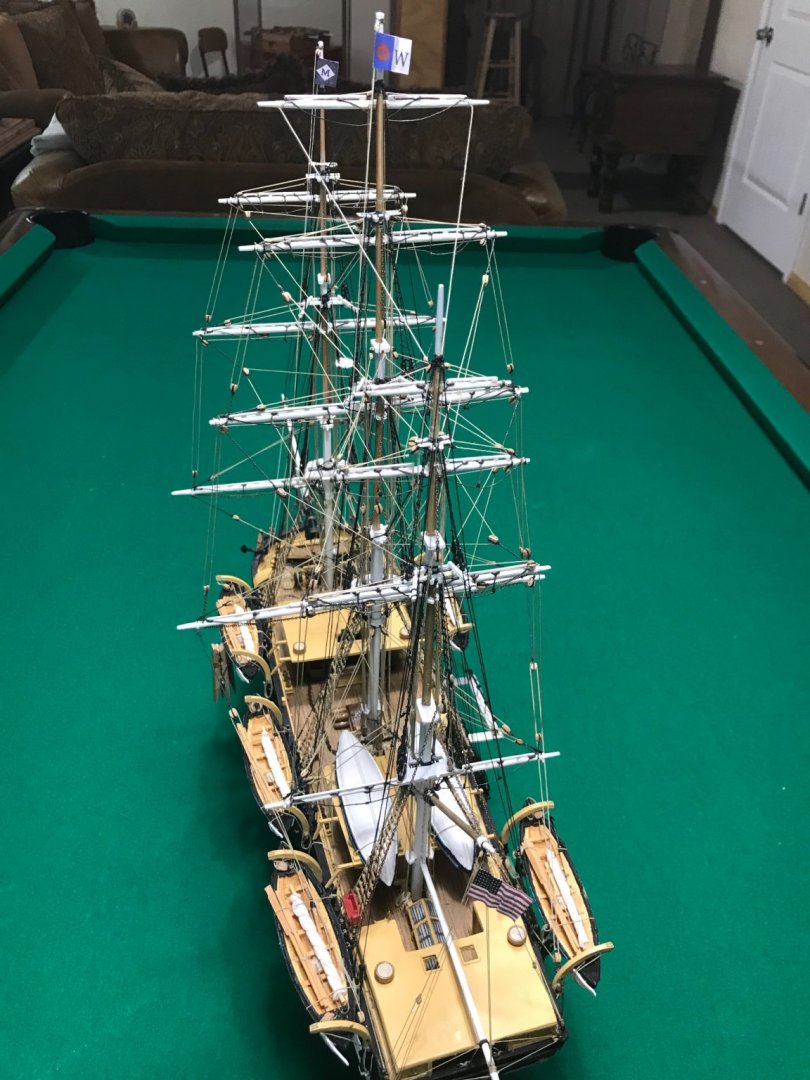
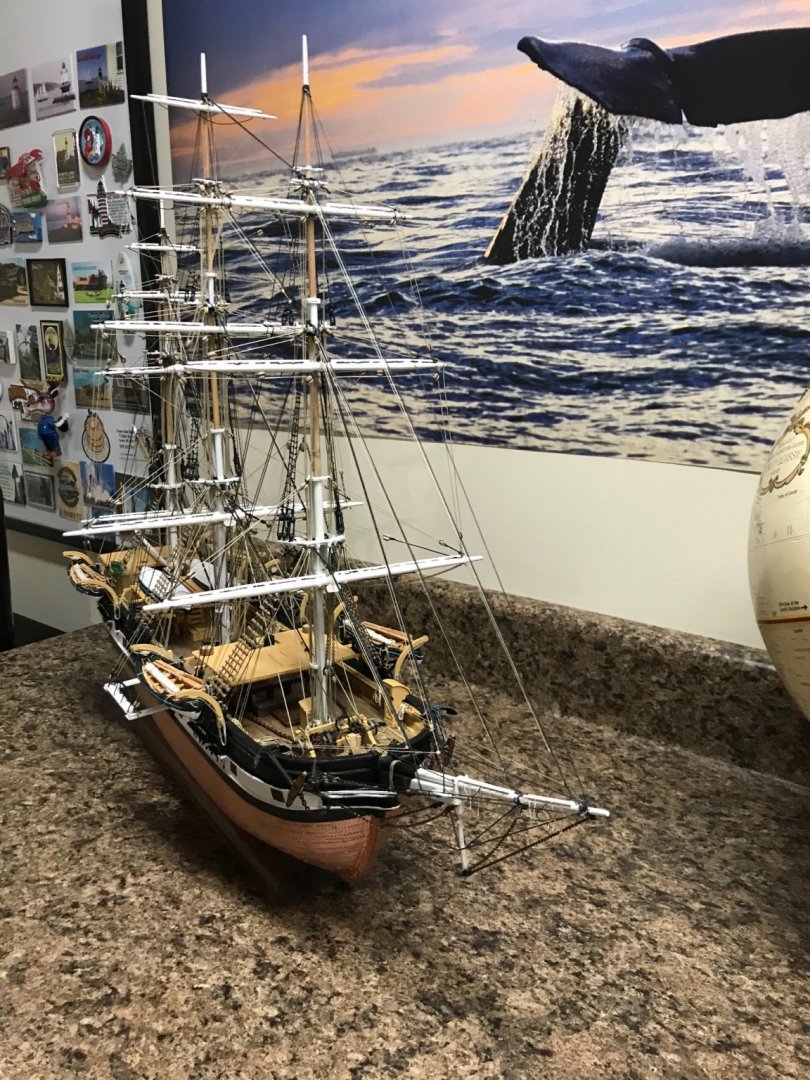
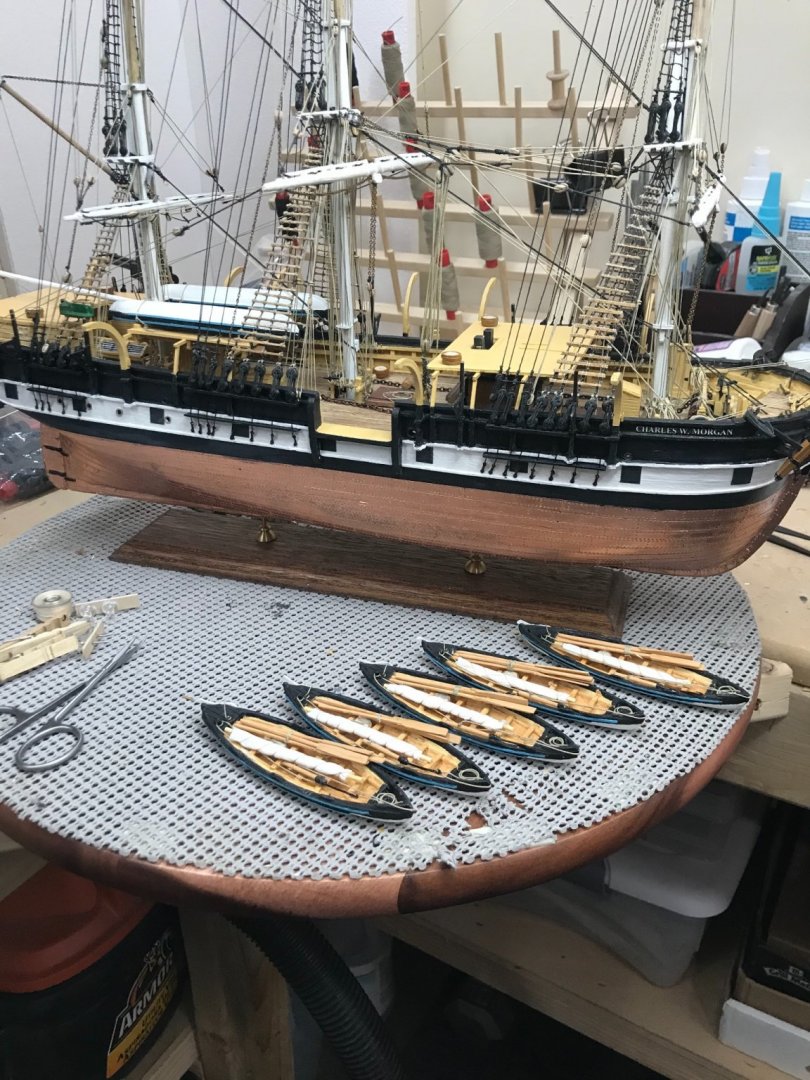
All Whaleboats sitting on their Back Spars. Just a few loose ends to tie up. More rope coils... She is done! 13 Months, 628 hours. I have completed my fist Wood Ship Model, the Charles W. Morgan. Hard to believe it’s actually finished. A little over a year ago I looked this big of box sticks, took a deep breath and committed to the journey. What a fun ride it’s been. Thanks to MSW and all of the inspirational 👍 and comments a long the way. Committing to a build log goes a long way toward staying with the project to completion. Not to mention the encouragement of our members. Time to go finish my Model Shipways Whaleboat. Cheers 🍻


- 204 replies
-
- 12
-
-
- marine model company
- charles w morgan
- (and 1 more)
-
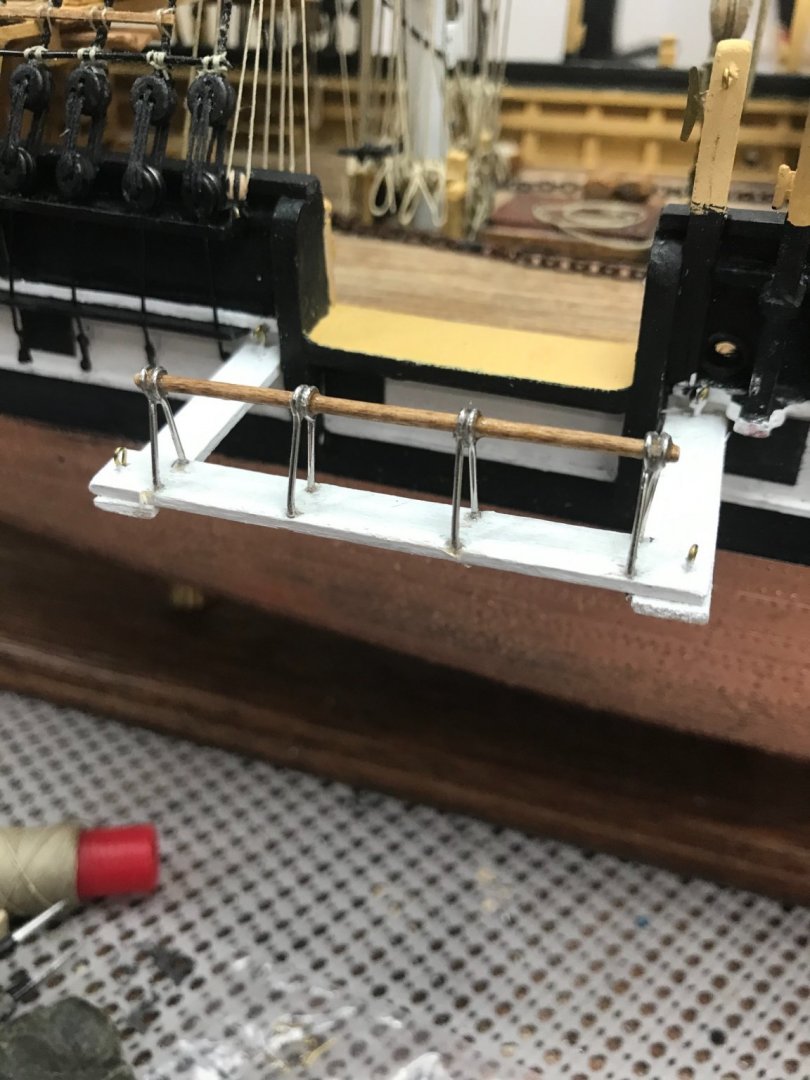
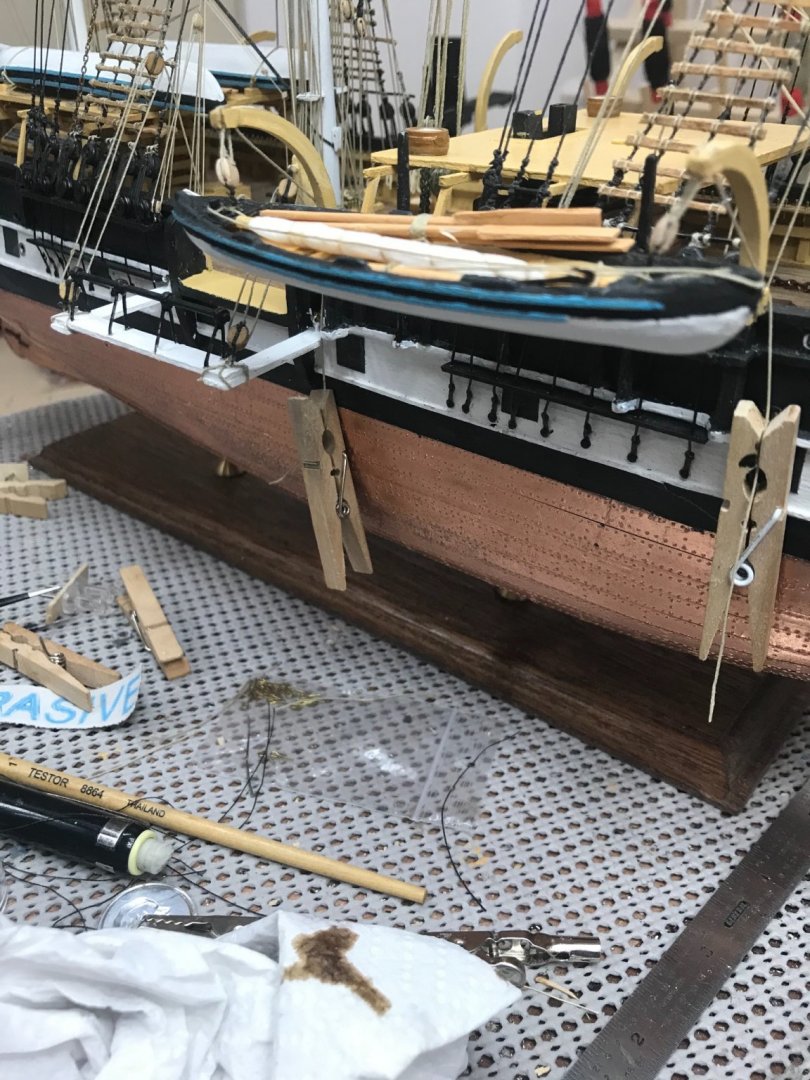
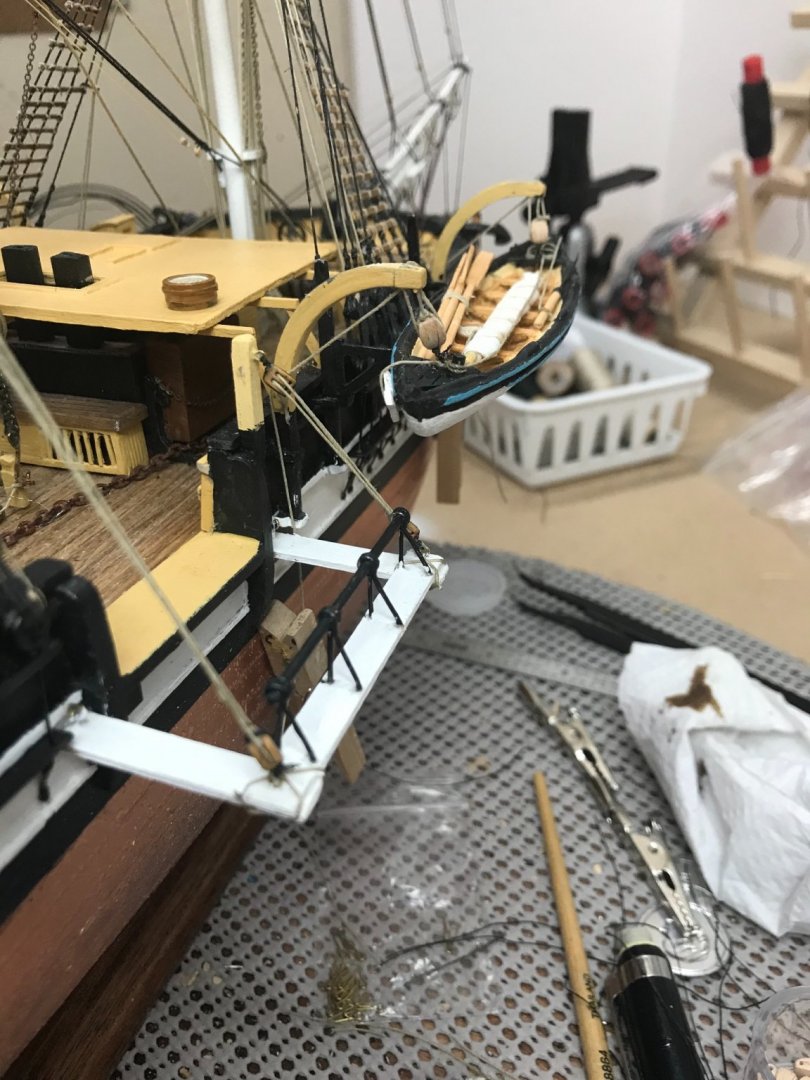
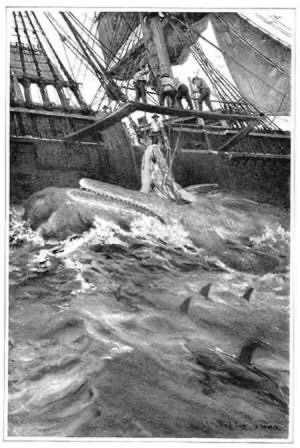
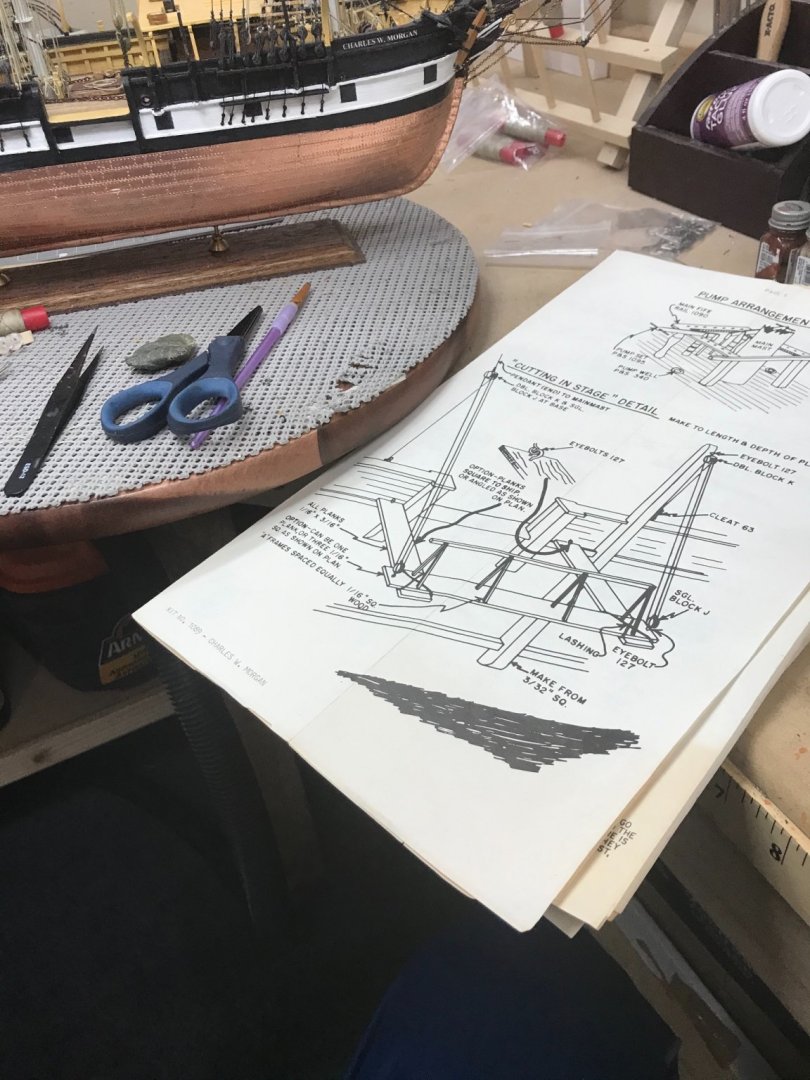
Cutting Stage progress. Very interesting process, dressing out a whale at sea. Note the sharks circling as the crew works on the extended planking of the rolling whaling ship. 😬 Built the railing with beading eyelets and 1/16 dowel rod. Cutting Stage completed. On to hanging Whaleboats. 😎
- 204 replies
-
- 5
-
-
- marine model company
- charles w morgan
- (and 1 more)
-
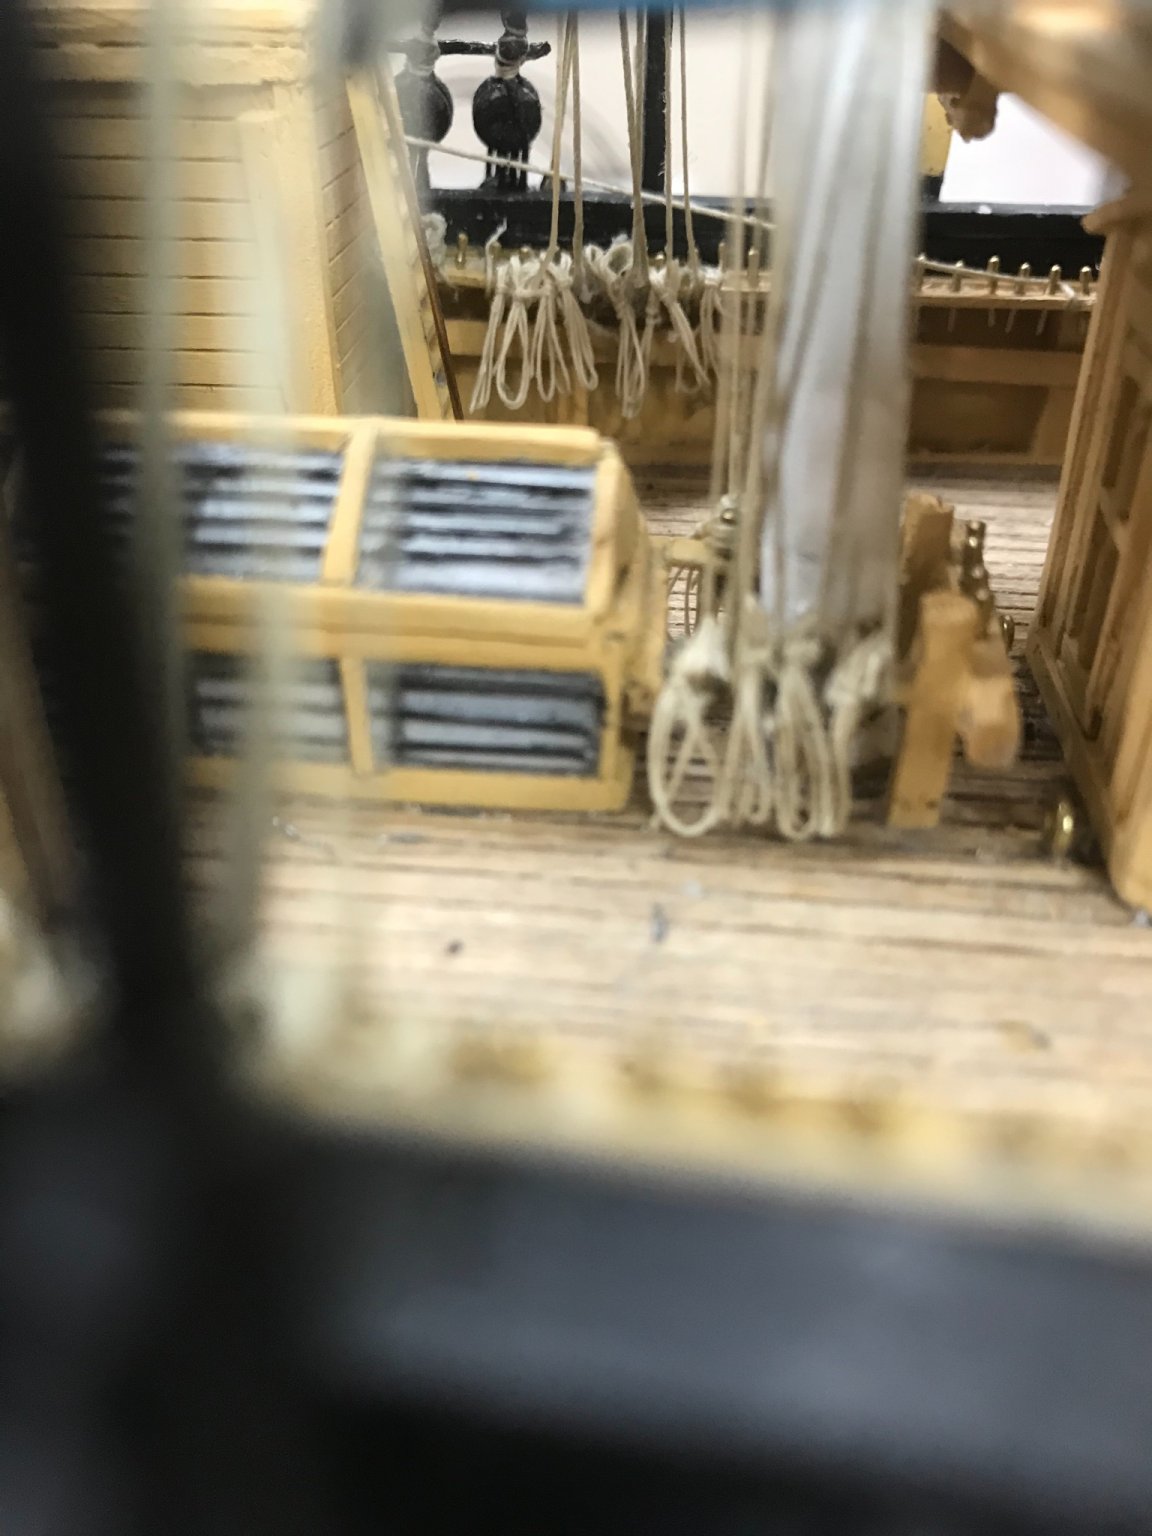
Thanks Tom... That’s my goal is to make it as realistic as I can. I love the way an iPhone camera can get in there and be on deck. Thanks for the compliments it’s really almost there. 😆
- 204 replies
-
- 1
-
-
- marine model company
- charles w morgan
- (and 1 more)
-
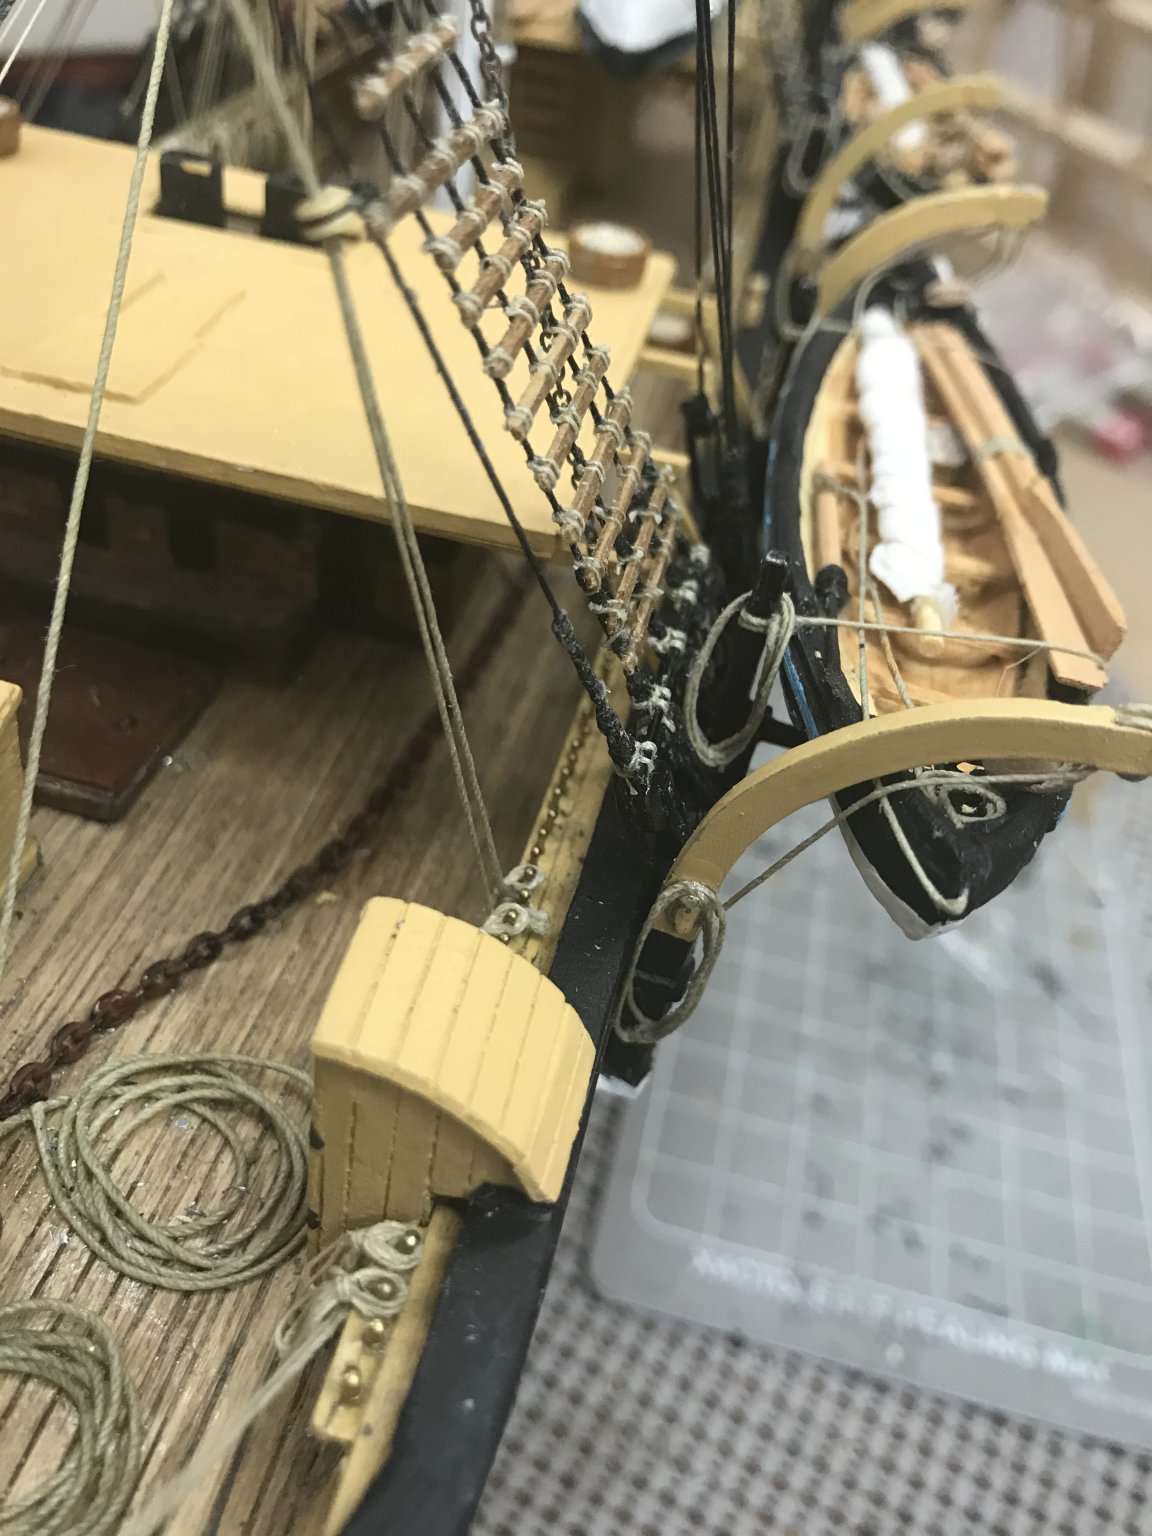
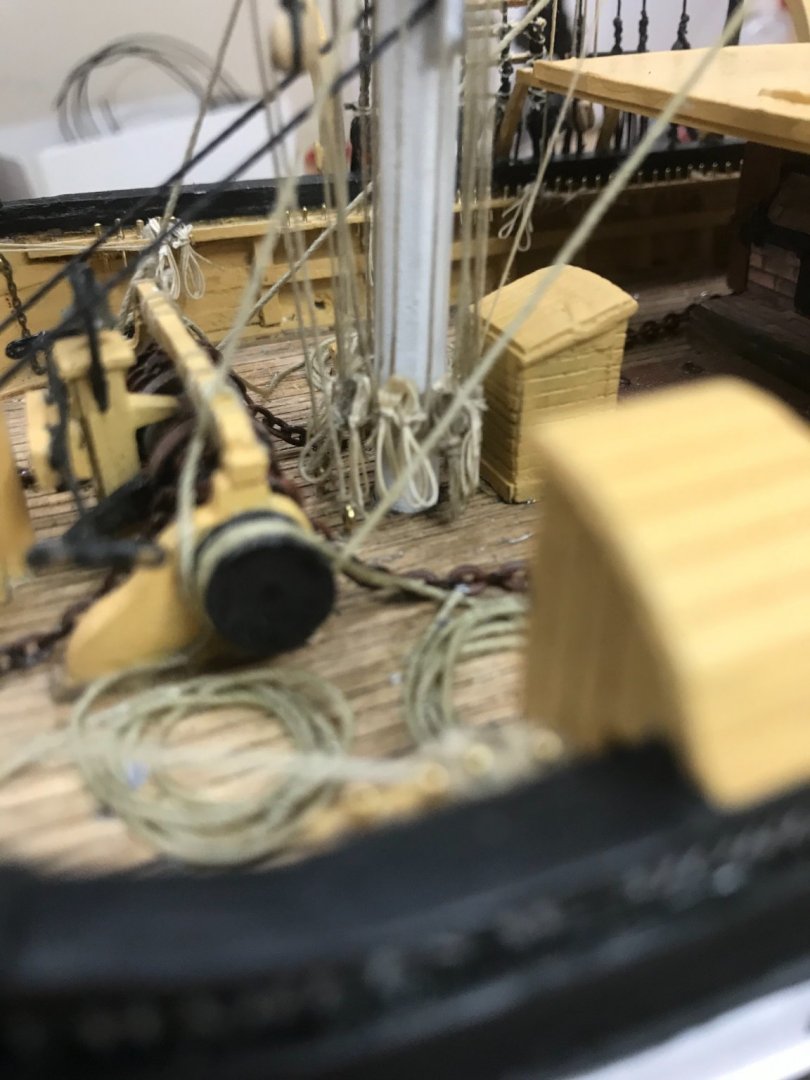
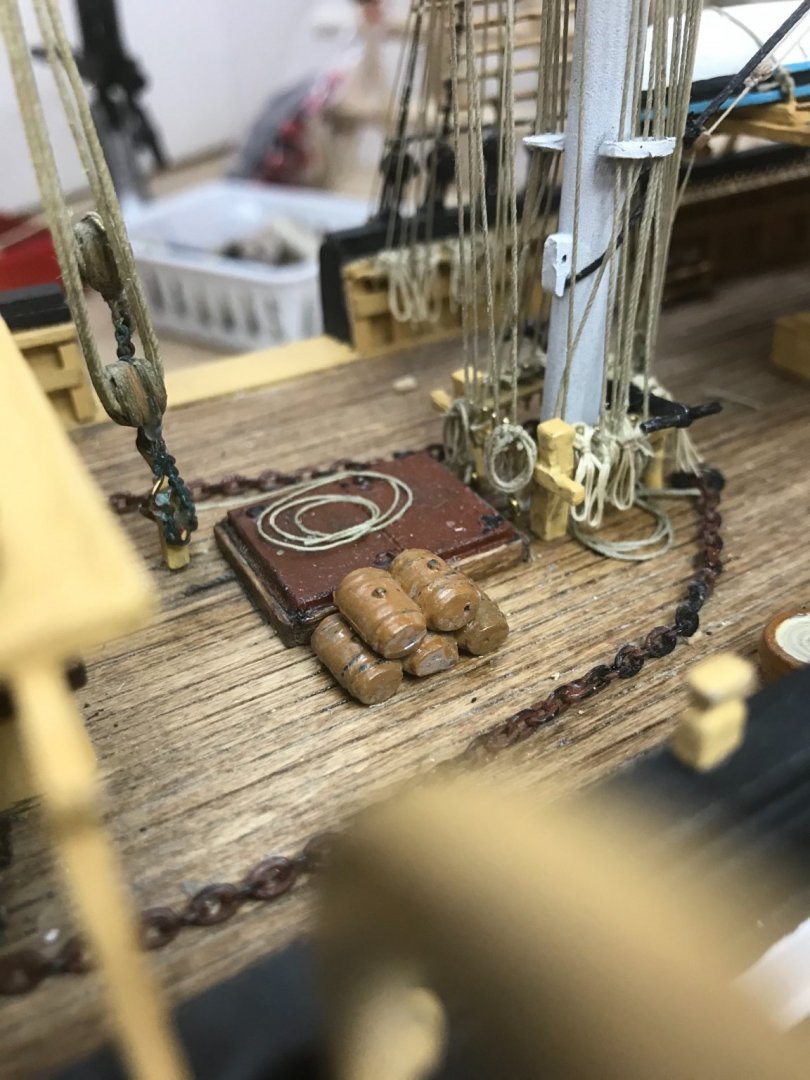
Ropes, ropes and more ropes... Rope coils completed. 🍻 On to the “Cutting Stage”. Finally! Getting so close... 😎

- 204 replies
-
- 5
-
-
- marine model company
- charles w morgan
- (and 1 more)
-
Thanks Tom... (both of you) I have used Tacky Fabric glue and CA on knots. Mixed results with both. I’ll give this a try. Nice to lean from the Pros. 🧐 I do paint hulls and masts with Acrylics this stuff may help the flow there too. John
-
Great job Tom. 👍 I like your process looks really good. I got to say I liked ratline tying better myself, but then I sewed my bolt ropes on cloth sails. Looks like silk span and gluing on bolt ropes is the way to go.

-
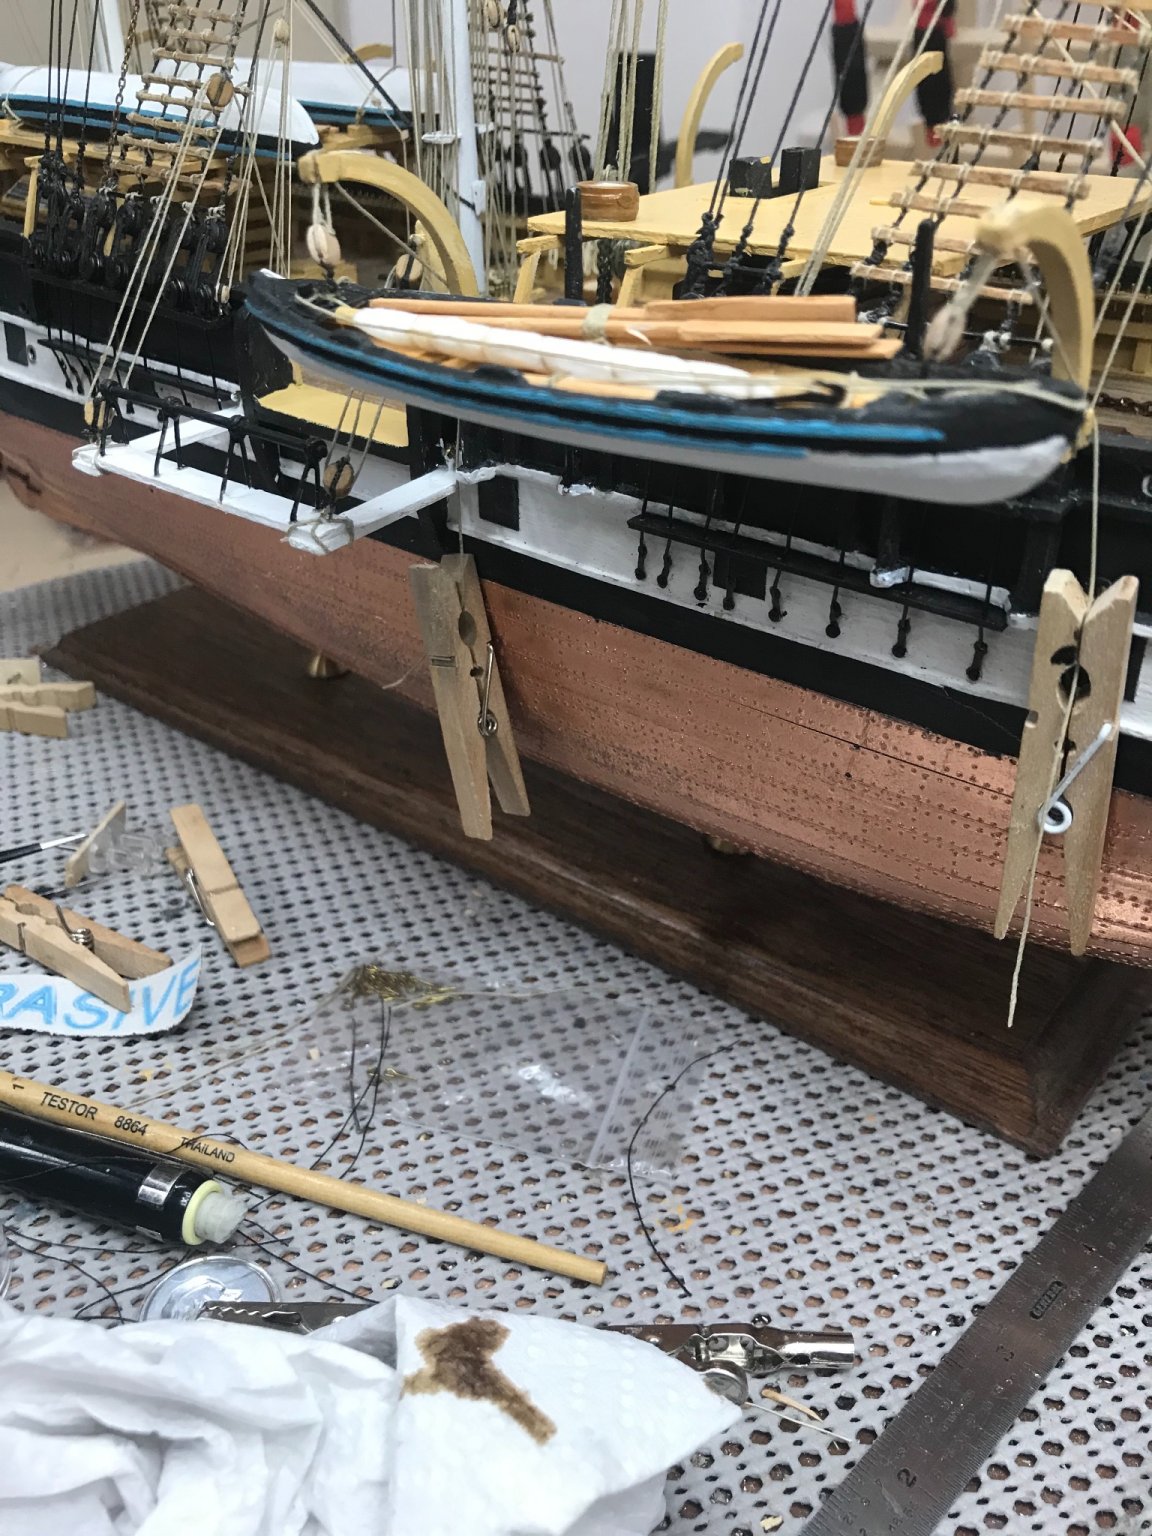
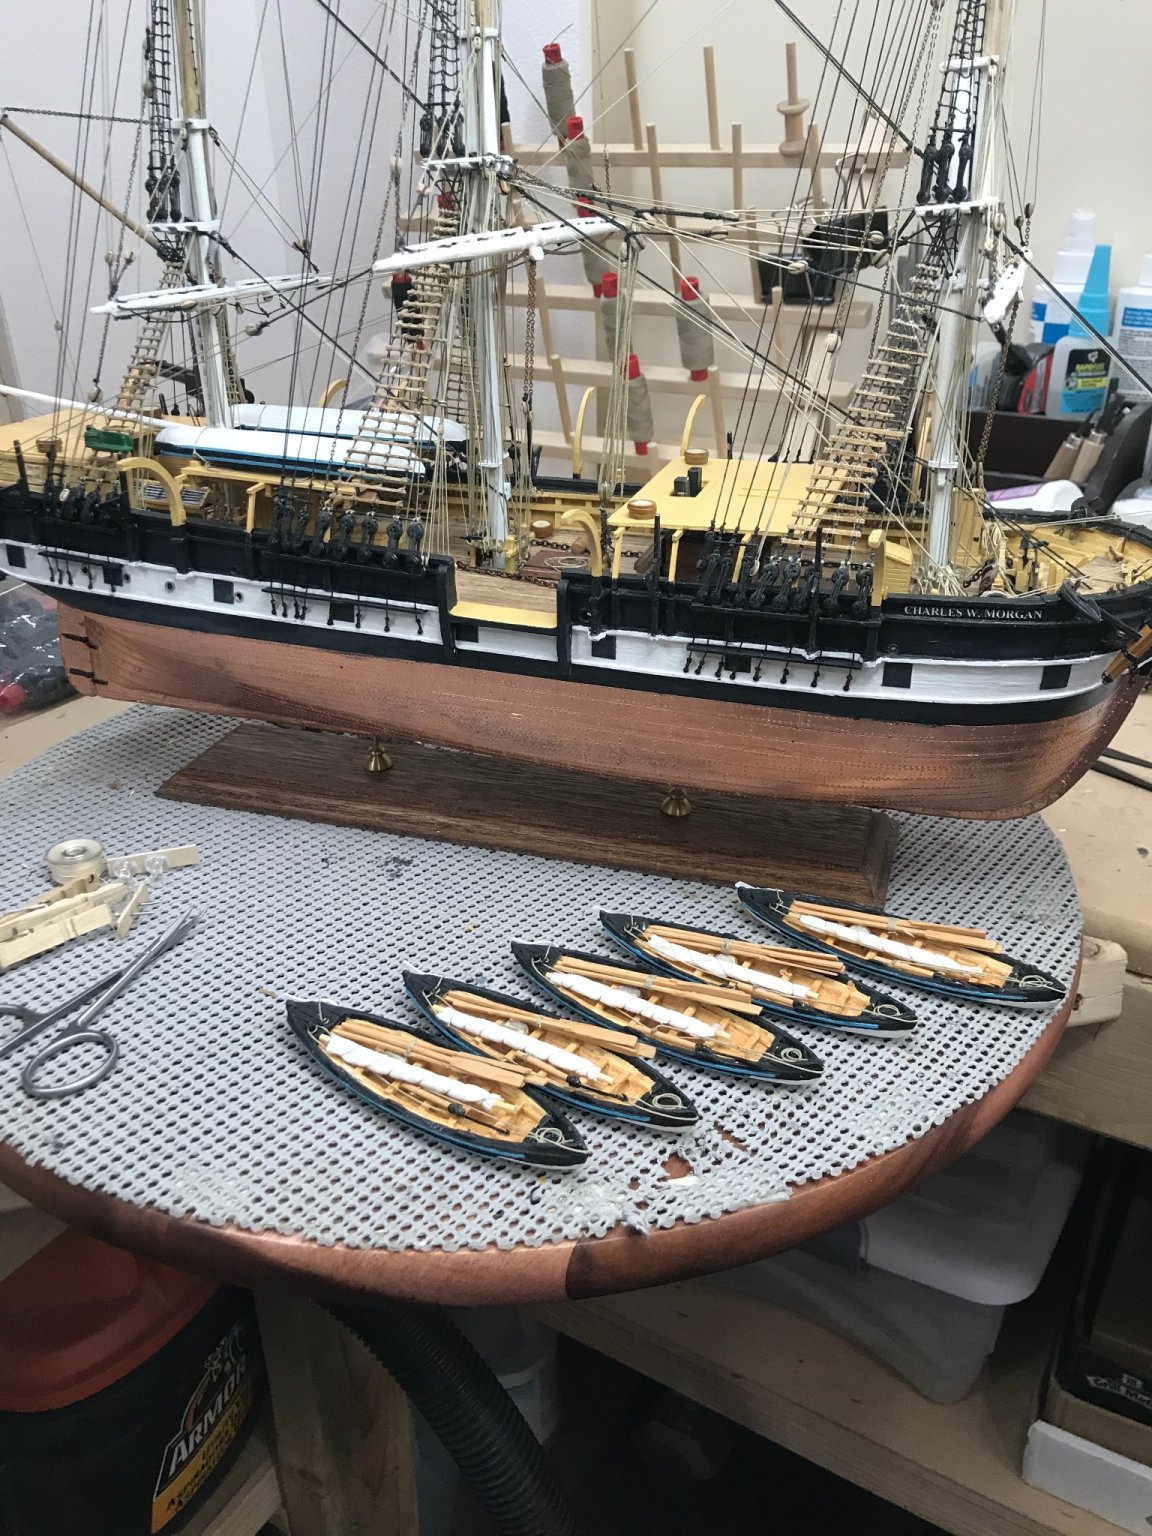
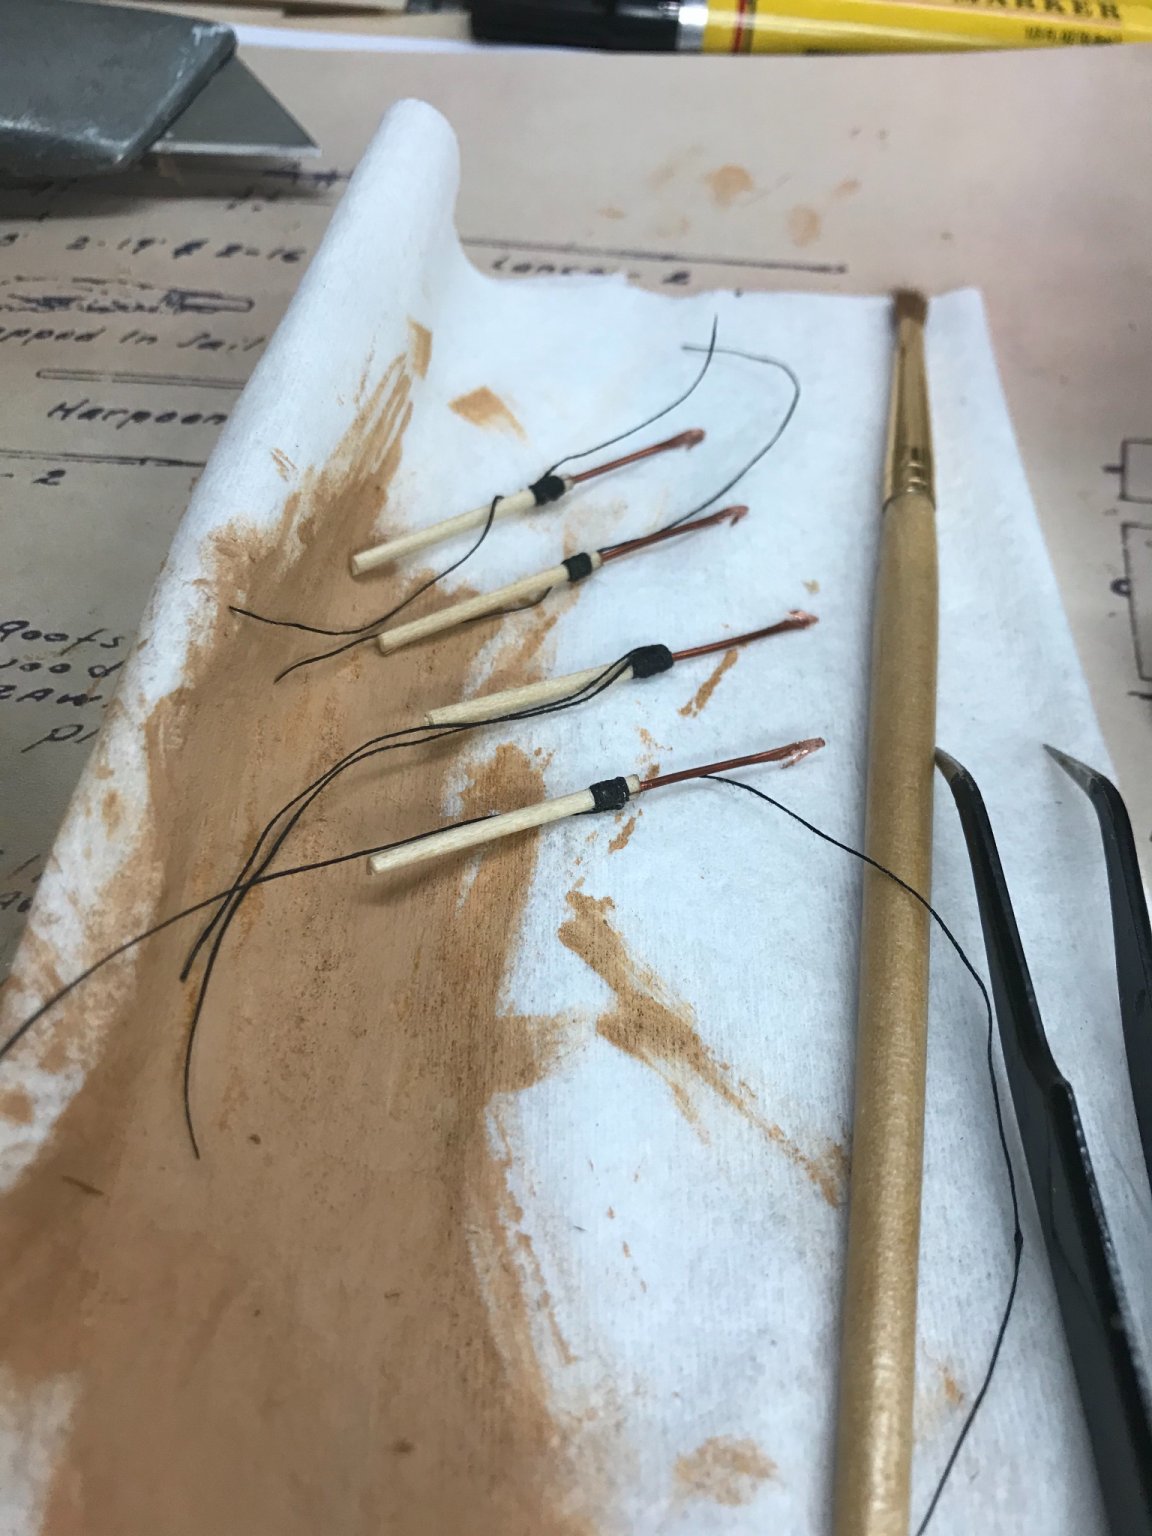
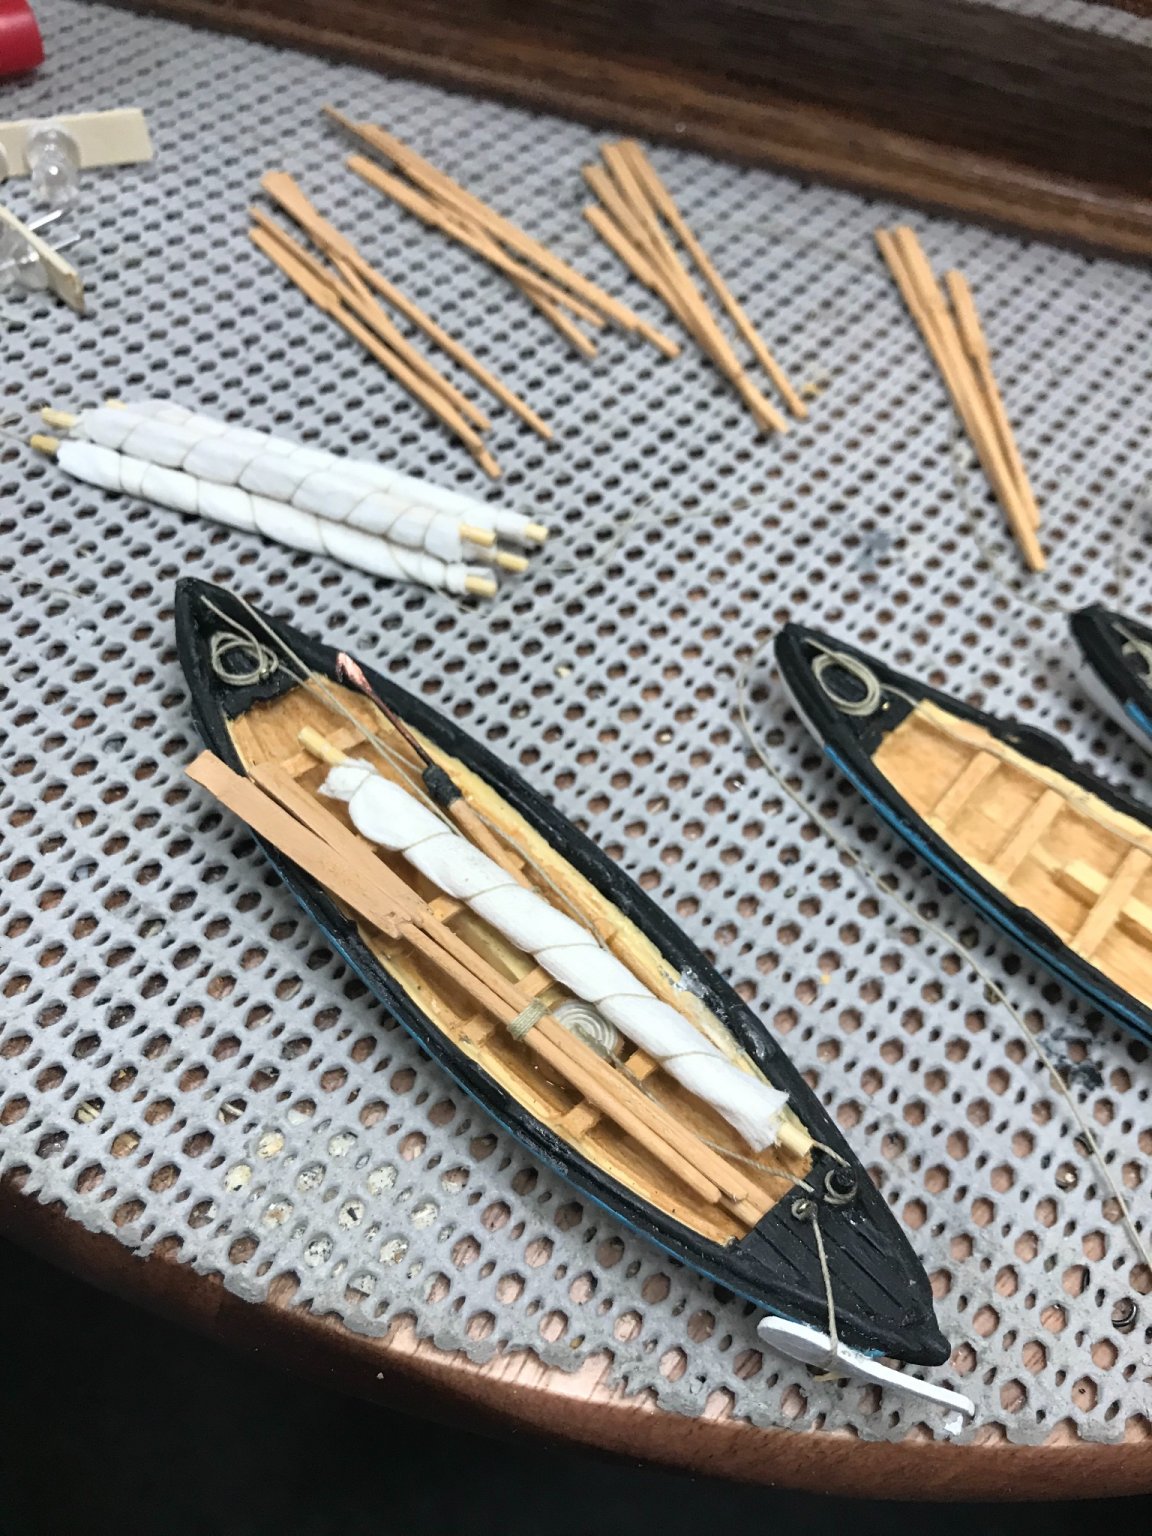
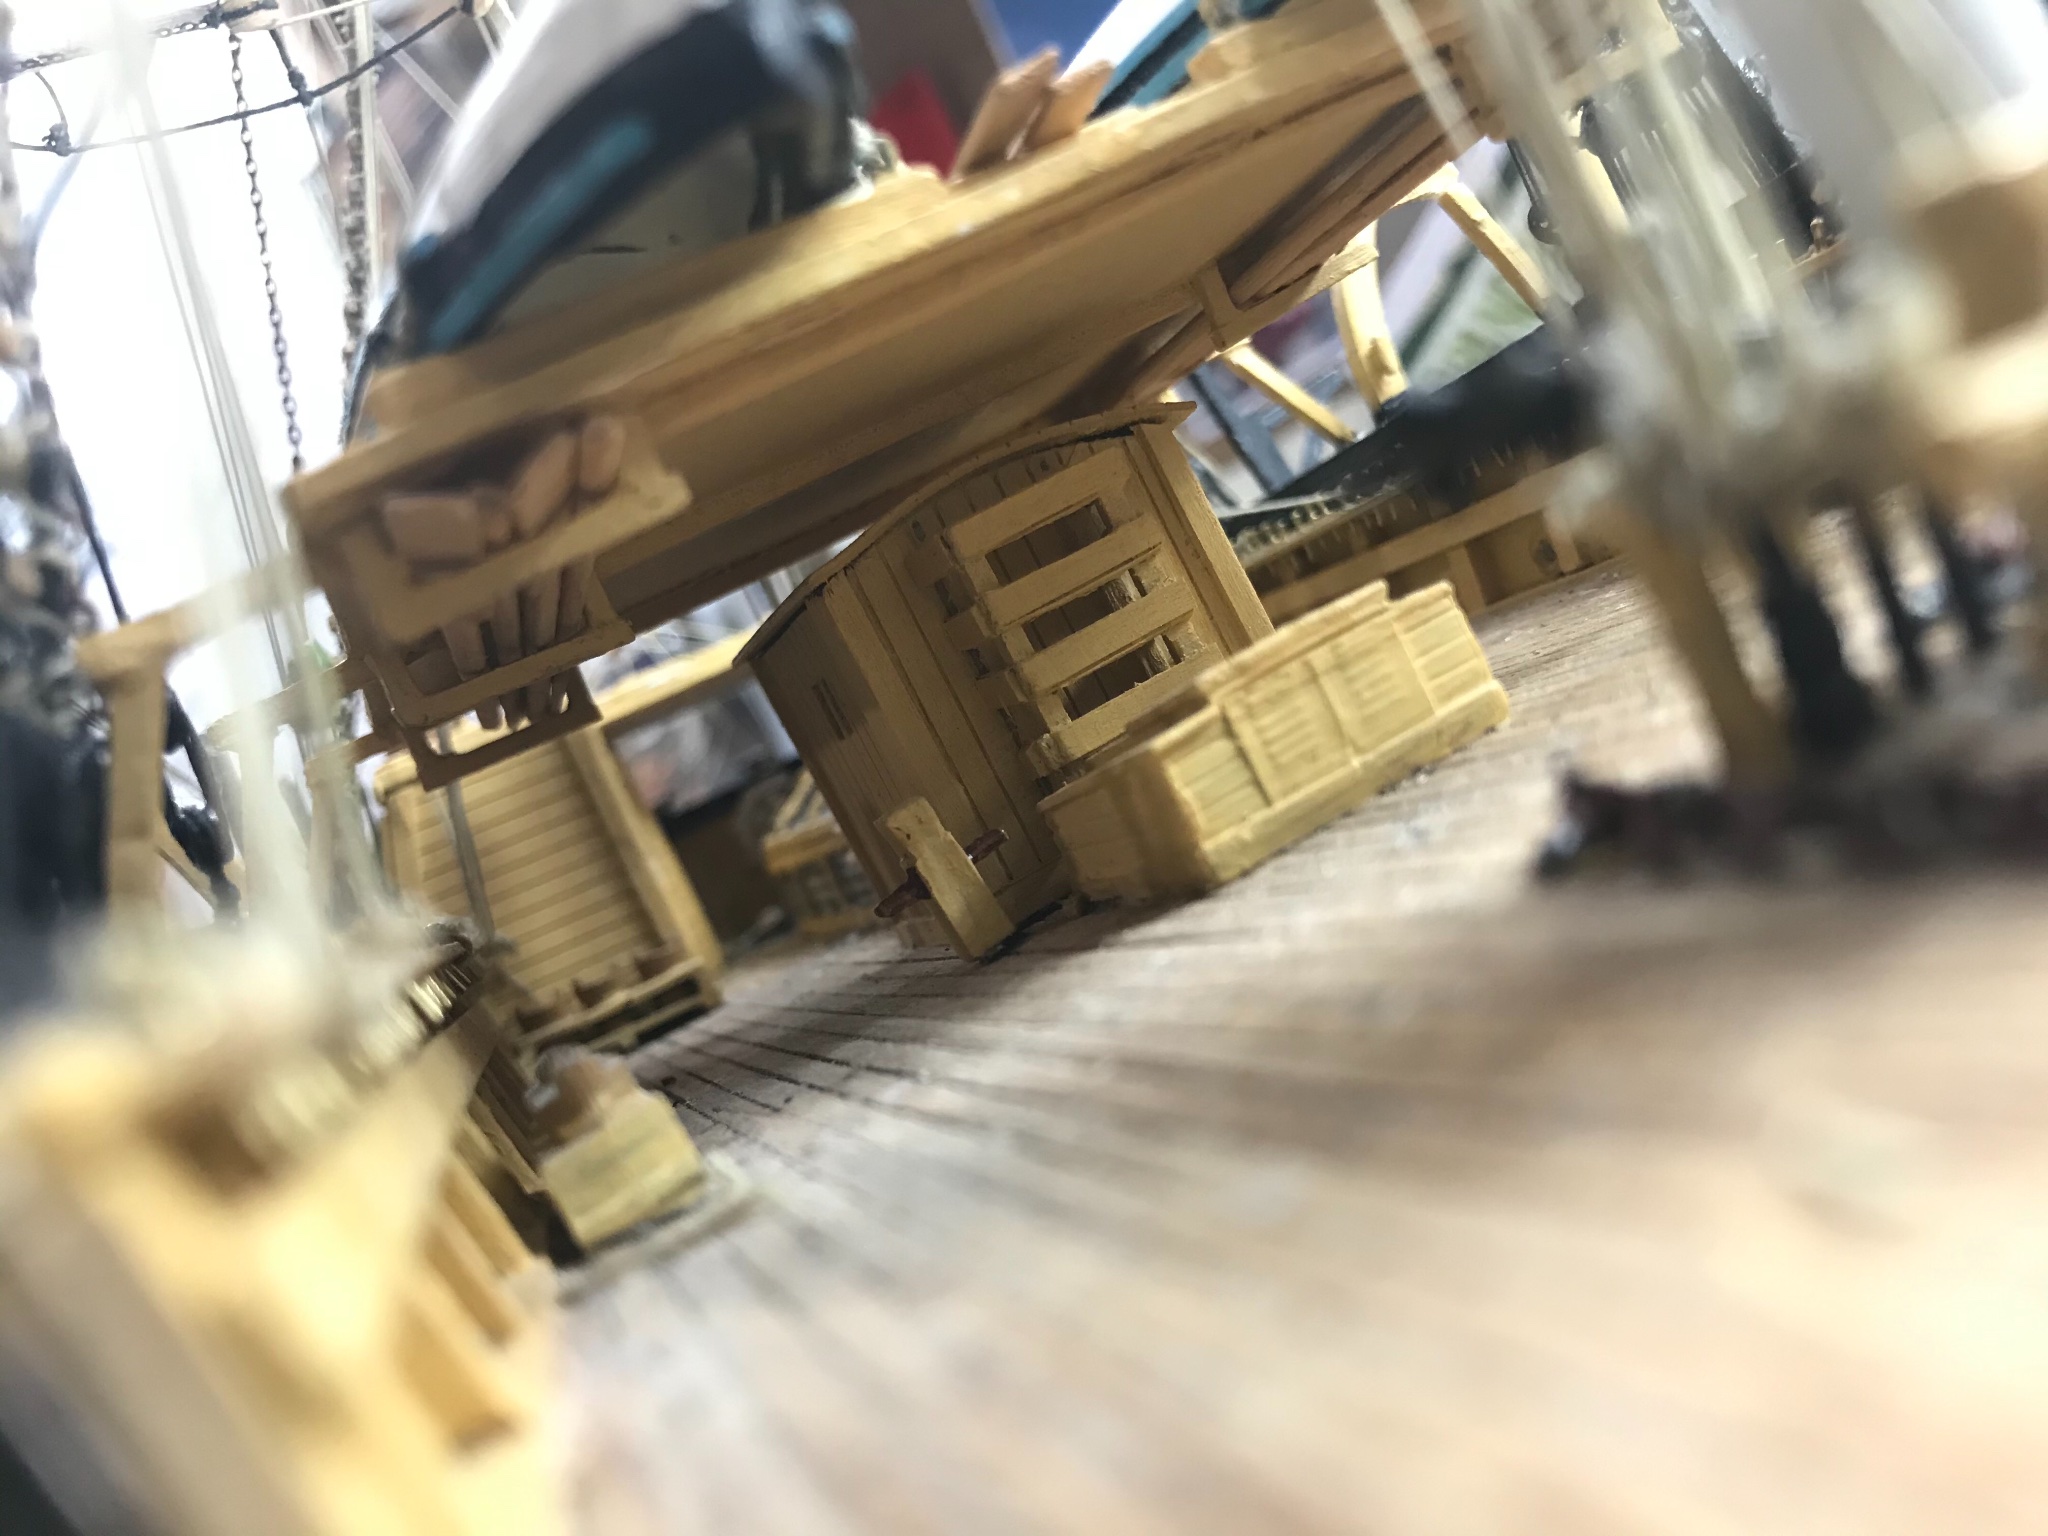
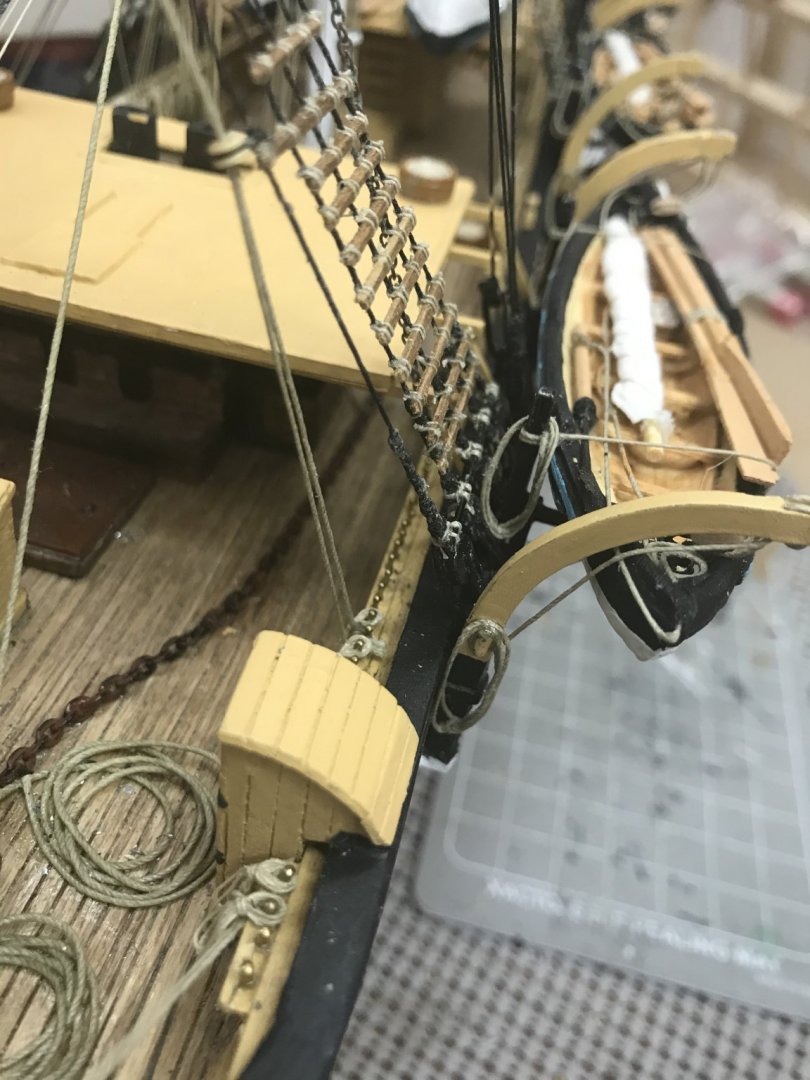
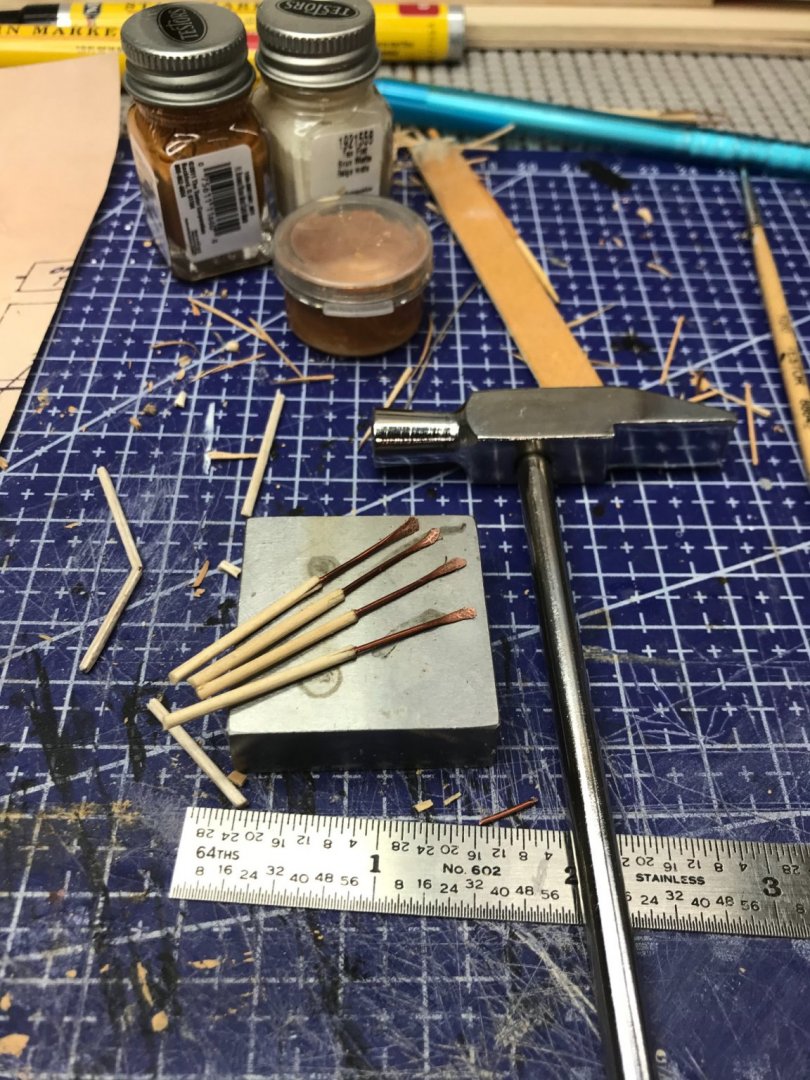
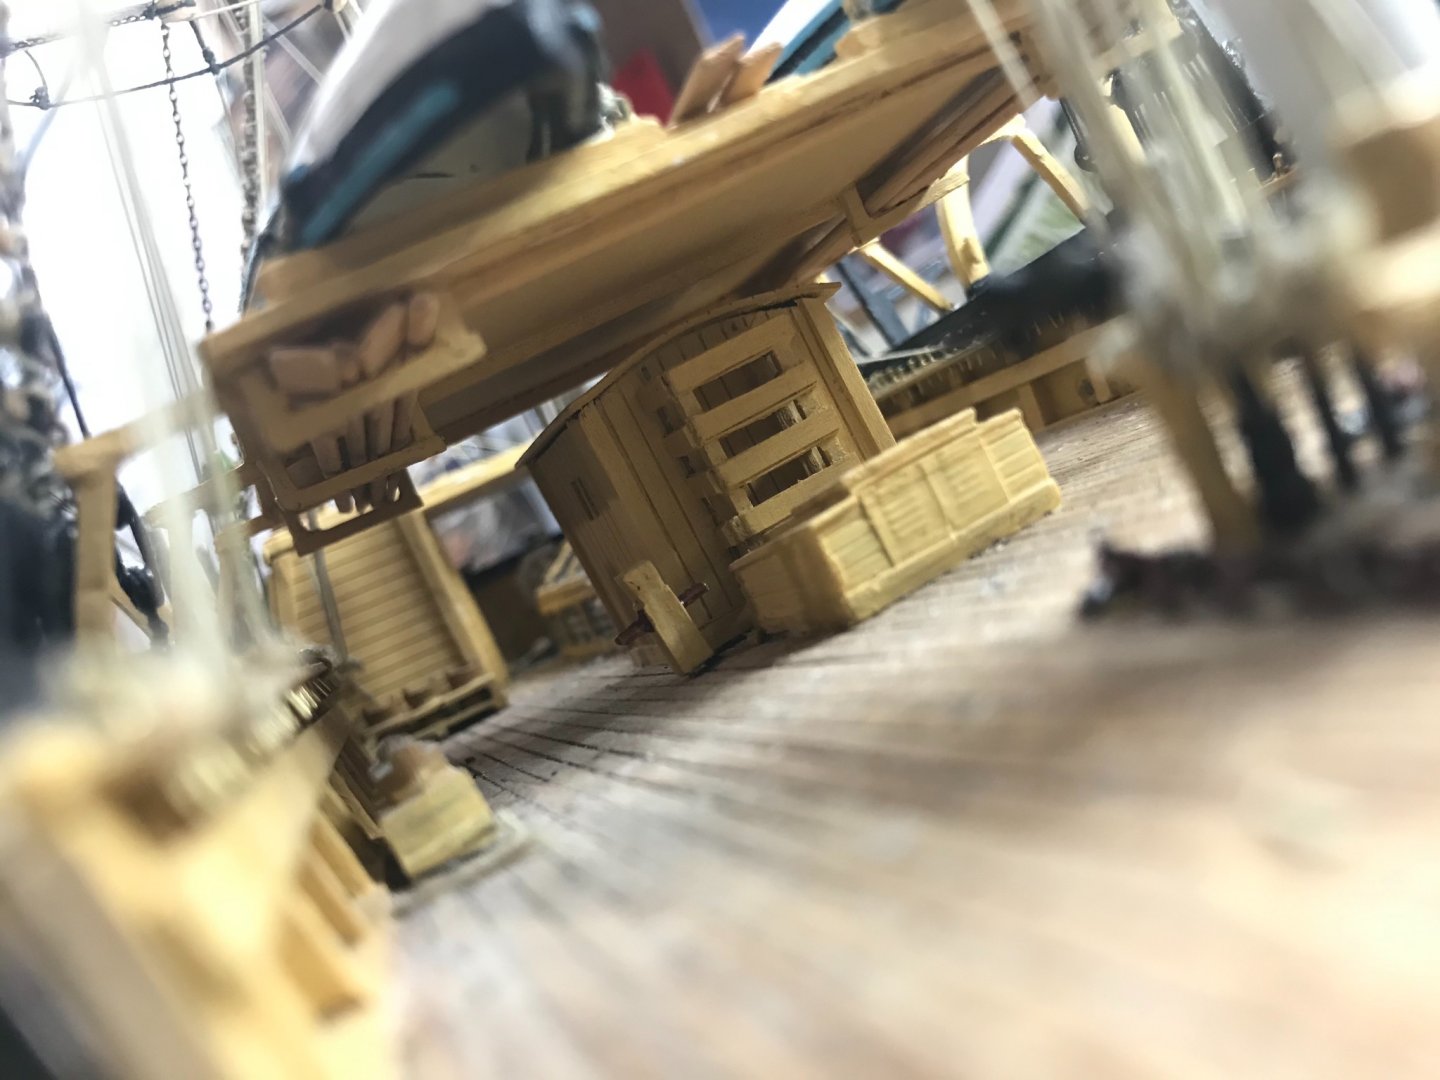
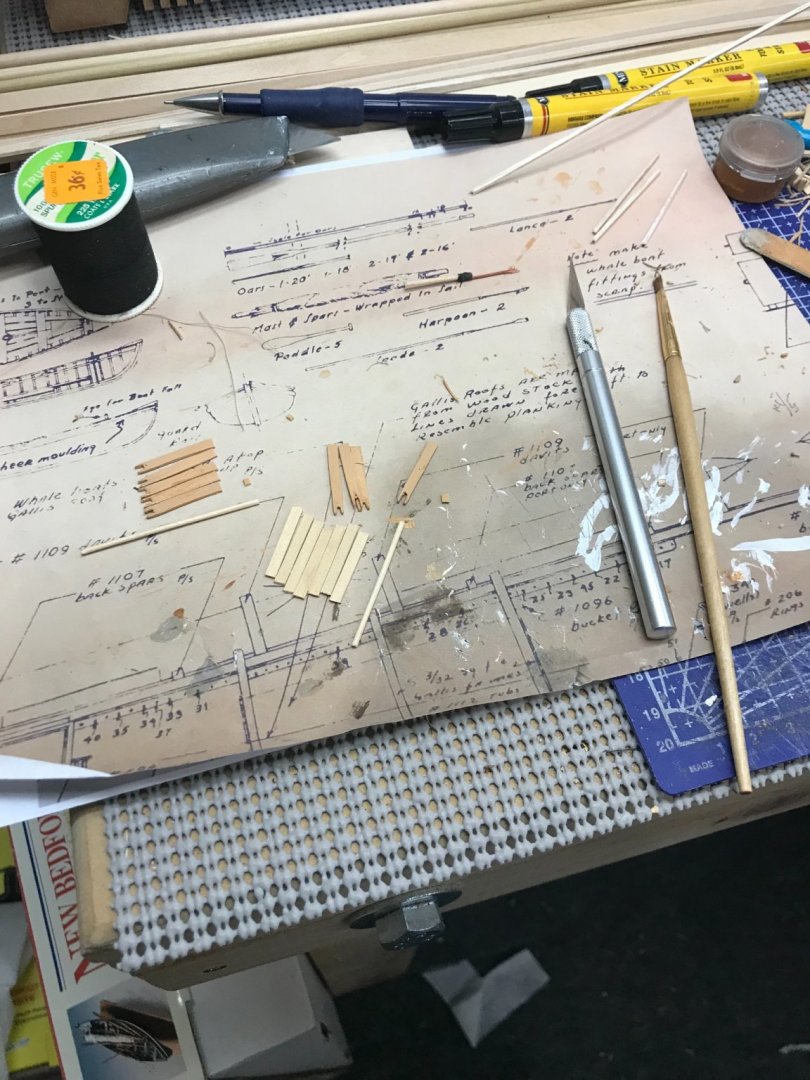
Details progressing... building oars... hammering out harpoon tips... Finishing harpoons... Mast and spars wrapped in sails... outfitted and ready to go Whale hunting... Spare oars stowed on deck with spare boats. Details, details and more details. On to finishing up the Rope coils and we will be hanging those whaleboats as the final touch. 😎 Note to self: Don’t forget the cutting stage. 😆


- 204 replies
-
- 5
-
-
- marine model company
- charles w morgan
- (and 1 more)
-
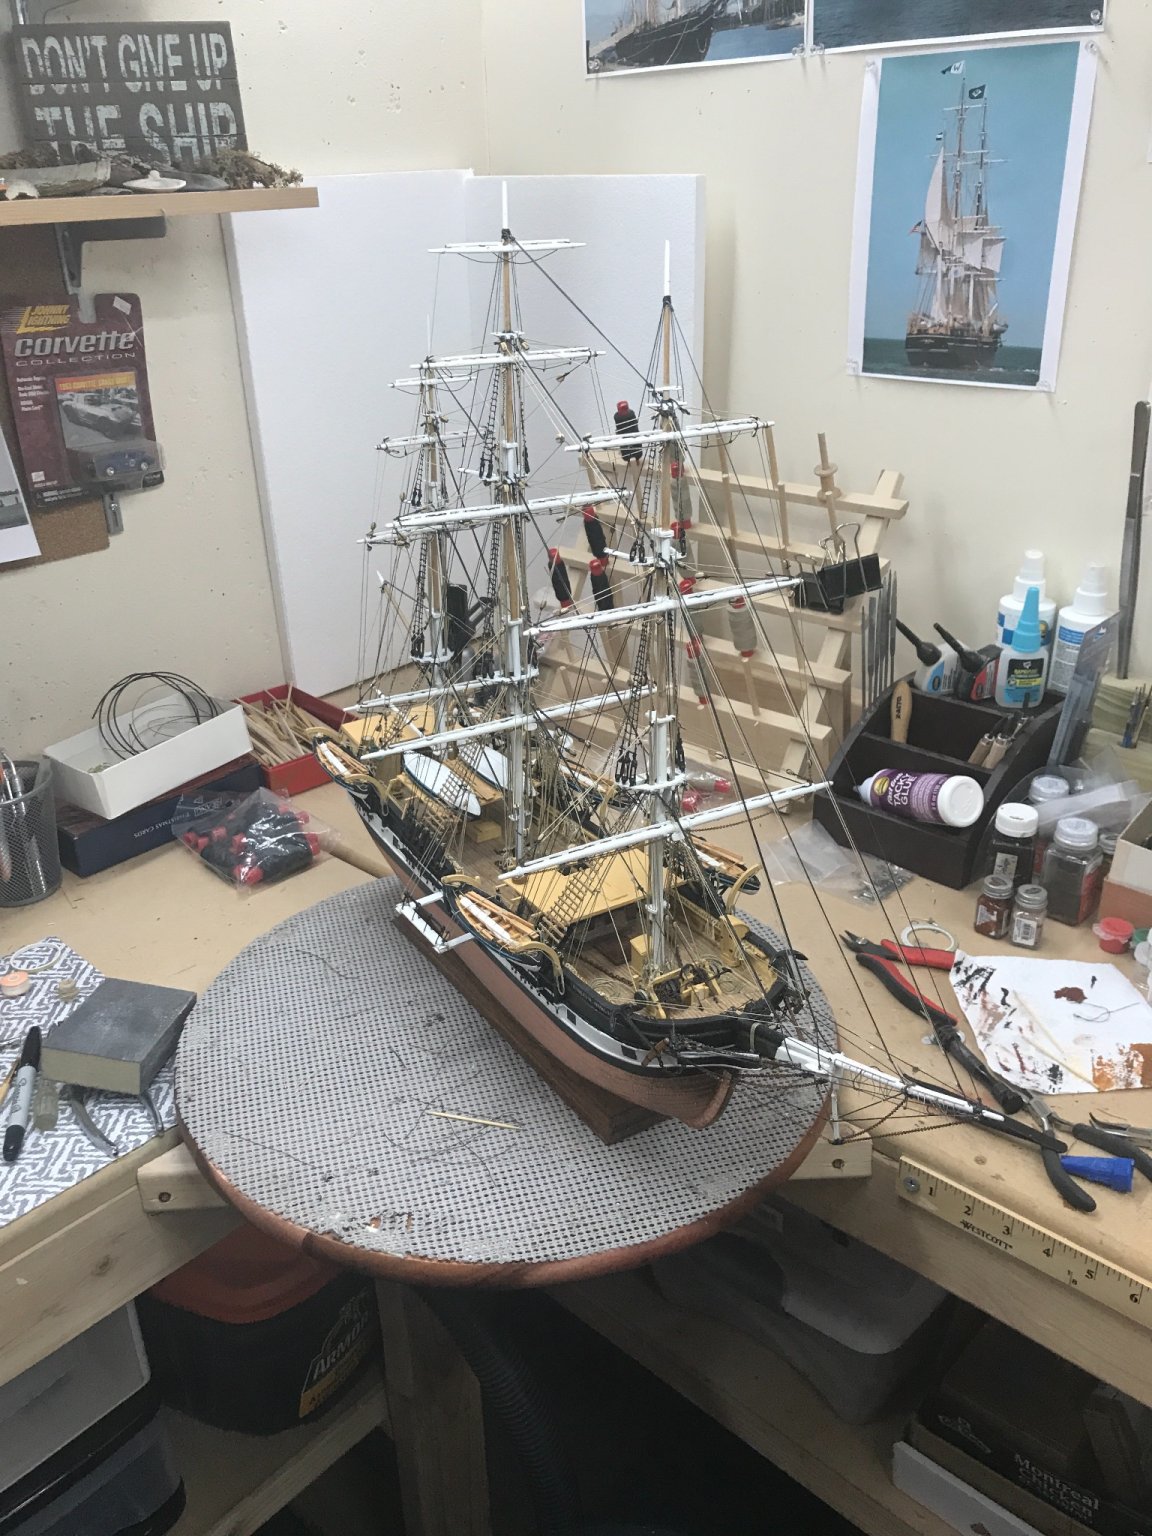
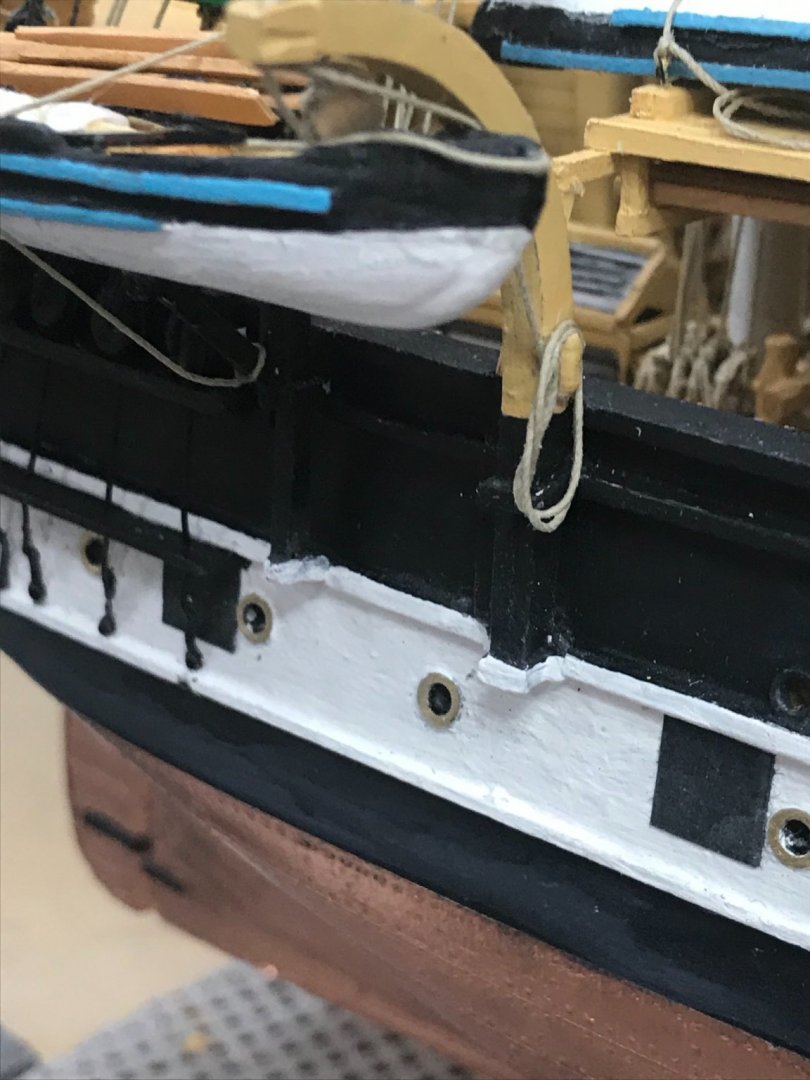
Lester, Thanks for your offer of info on the Morgan. I’ll be back here to finish up the Whaleboat as soon as I complete my CWM. Running Rigging is Completed on the Morgan. I am currently detailing the MinniMe Whaleboats. I am curious, did she come to mystic in 1941 with white or yellow ochre bulwarks? Thanks for the email address, I’ll let you know if I have any questions as I finish out the MS Whaleboat. 🍻
- 104 replies
-
- 4
-
-
- model shipways
- new bedford whaleboat
- (and 1 more)
-
The jig works great, the idea came from Bluejacket’s Monthly News and Tips. They are a great resource... https://myemail.constantcontact.com/News--tips--and-happenings-from-BlueJacket-Shipcrafters--Inc-.html?soid=1105166336677&aid=FkQLg7D1VQM
-
Tom, I will be following your process closely. I have a pair of schooners I want to configure with full bellowing sails as when they raced. (Elsie and Bluenose) I wasn’t able to get the effect on the America I built last year. I am looking forward to watching you bring these sails to life. What weight paper and silk span are you using? Keep up the good work time is irrelevant with this hobby, we are in it for life. 👍