Vladimir_Wairoa
-
Posts
1,567 -
Joined
-
Last visited
Content Type
Profiles
Forums
Gallery
Events
Everything posted by Vladimir_Wairoa
-
 just fantastic Dusan. lovely moldings. V.
 -
Absolutely amazing Mike. This should be 2 prototype your headwork is inspiration for me when i aproach 12 chapt. thanks for sharing. V.
- 607 replies
-
- 1
-

-
- winchelsea
- Syren Ship Model Company
- (and 1 more)
-
so far so good thats tricky part i remember. Youre almost out of hardest part. keep on...;) V.
-
Verry nice there JJ. enjoyable . V.
-
@BANYAN thanks for input. Im humbled Pat, but No way better Id be over the moon to get your Endeavour sculpture result. By the way i am preparing sapanker boom for Glory and learning from your way from your current ship albeit littel newer than mine. Or shoul I say stealing some ideas 😕 enjoy your journey.
-
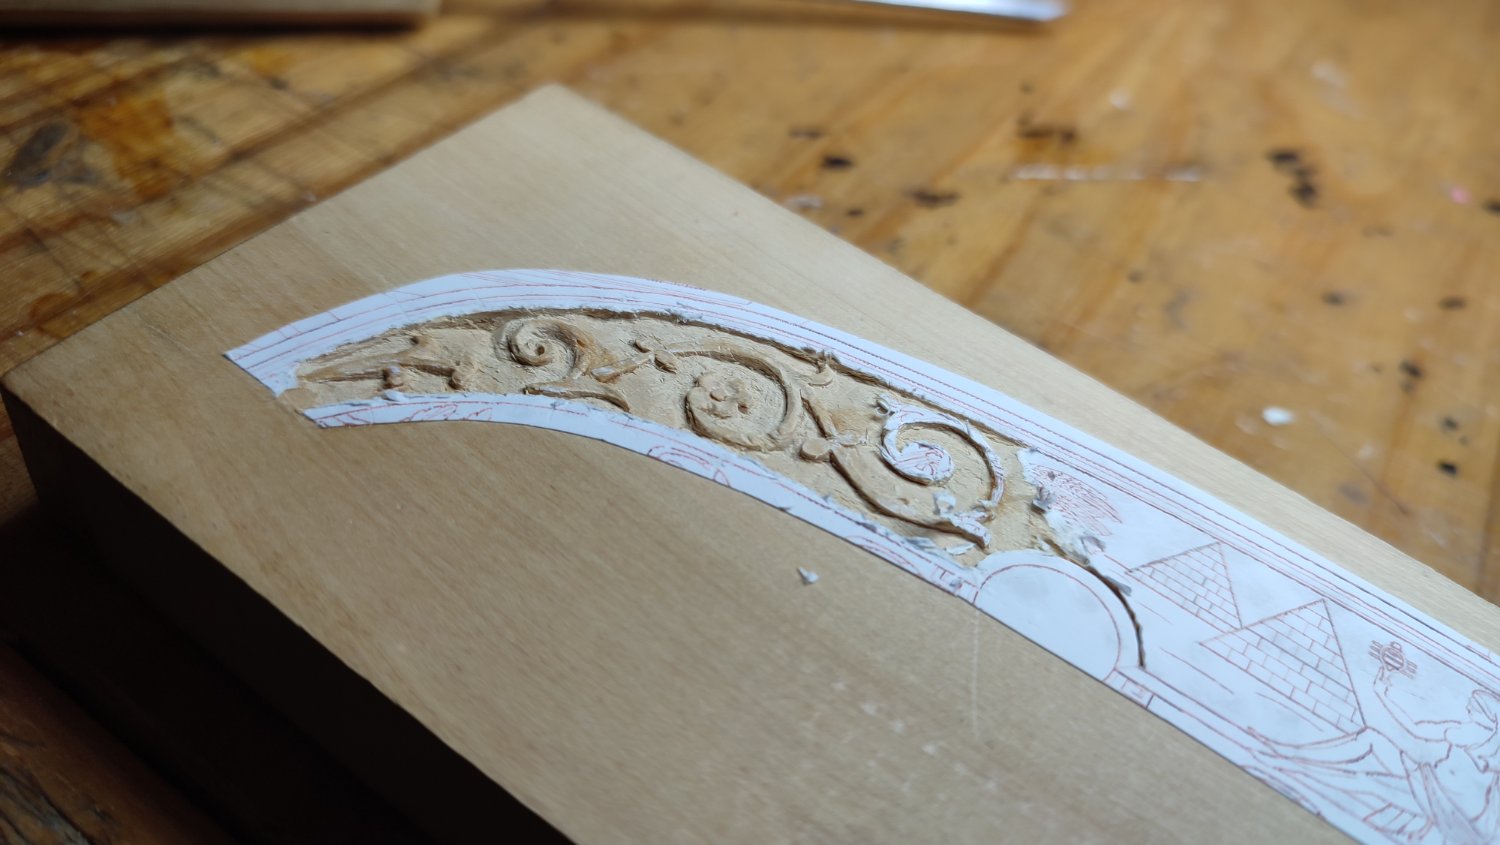
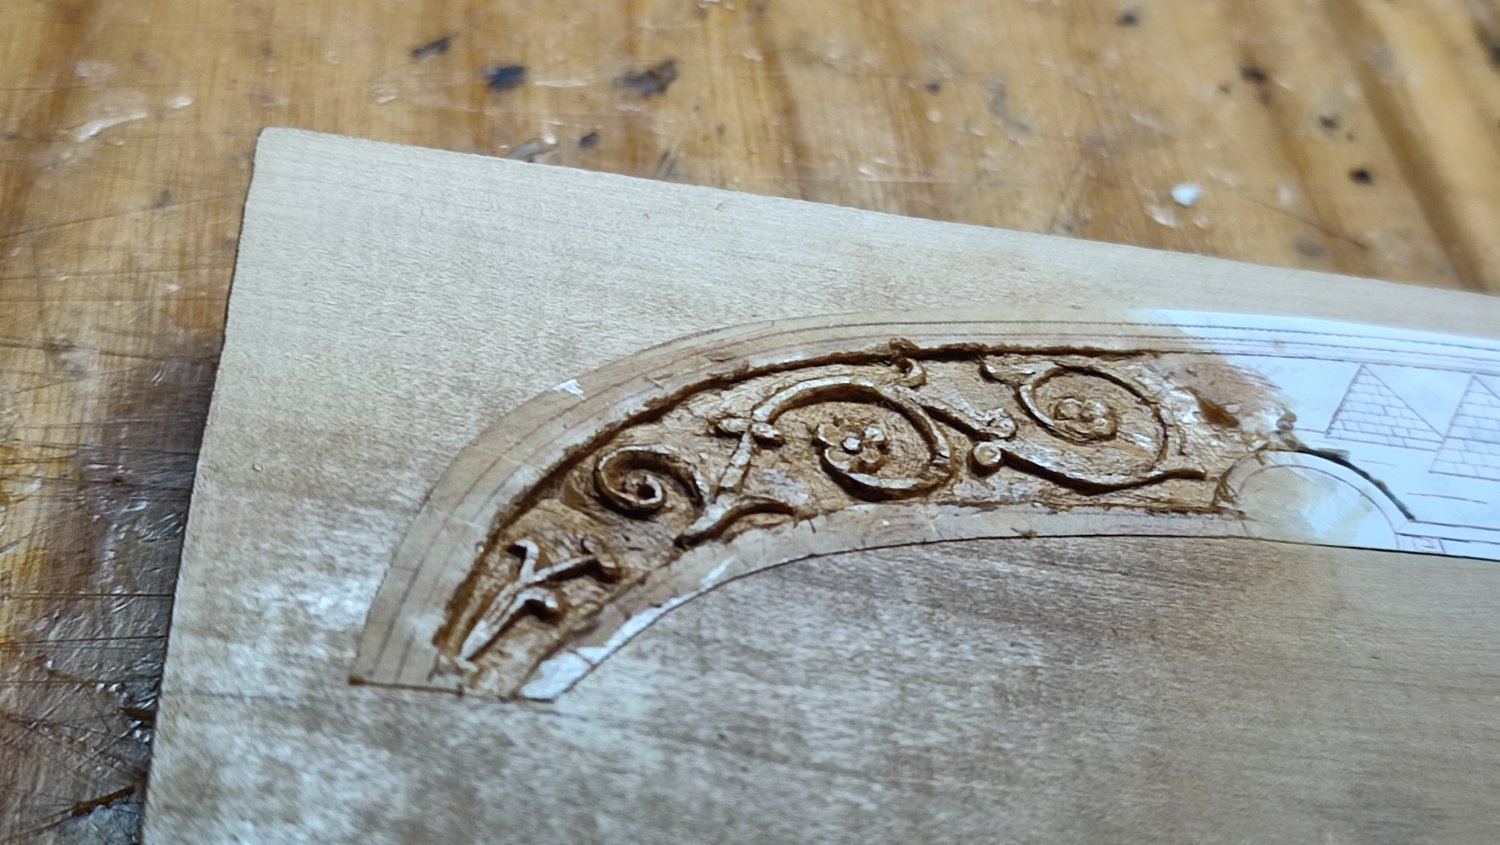
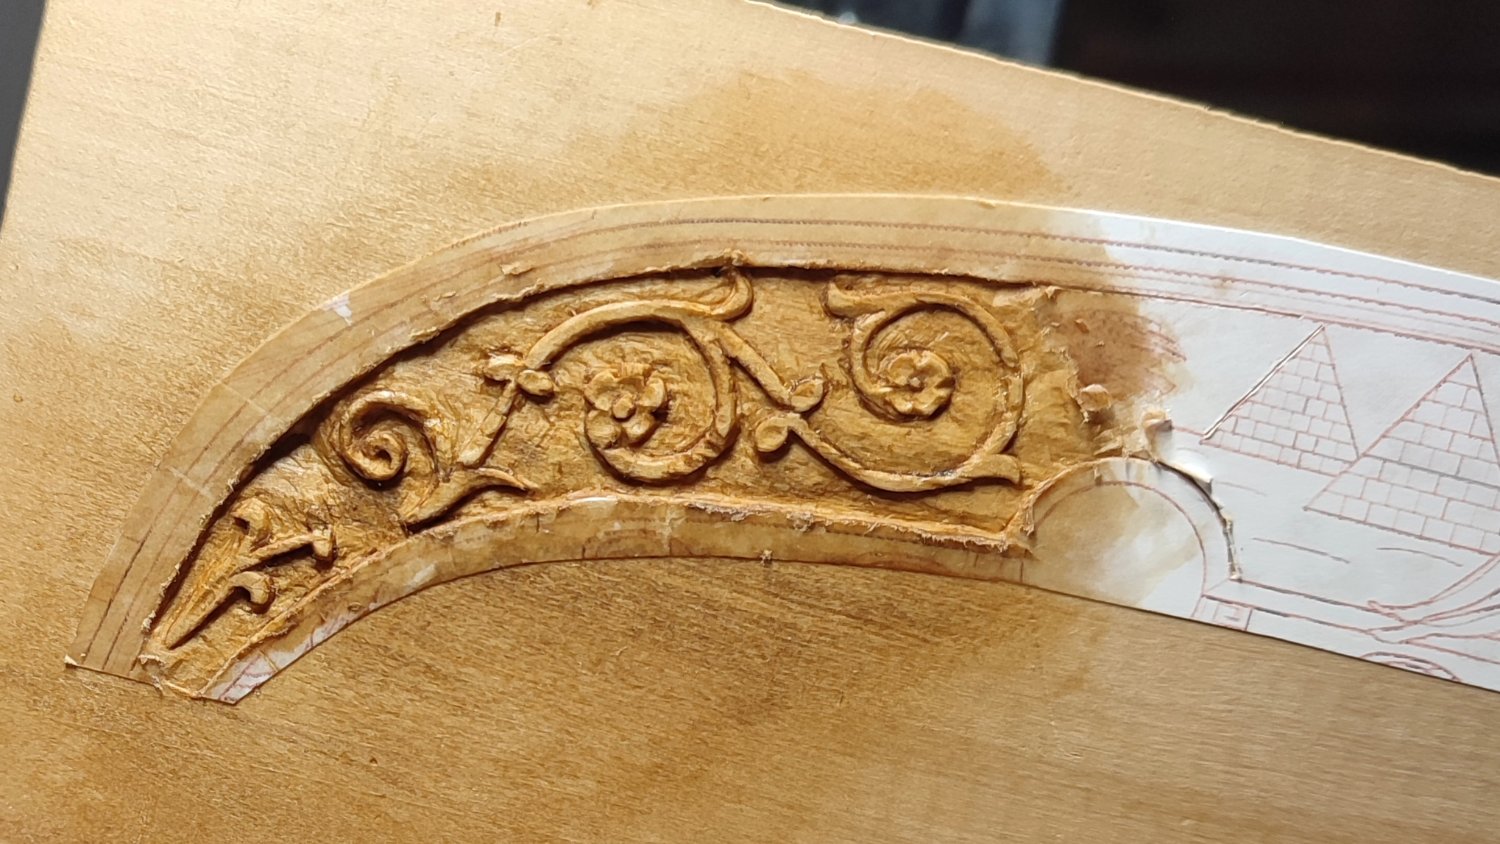
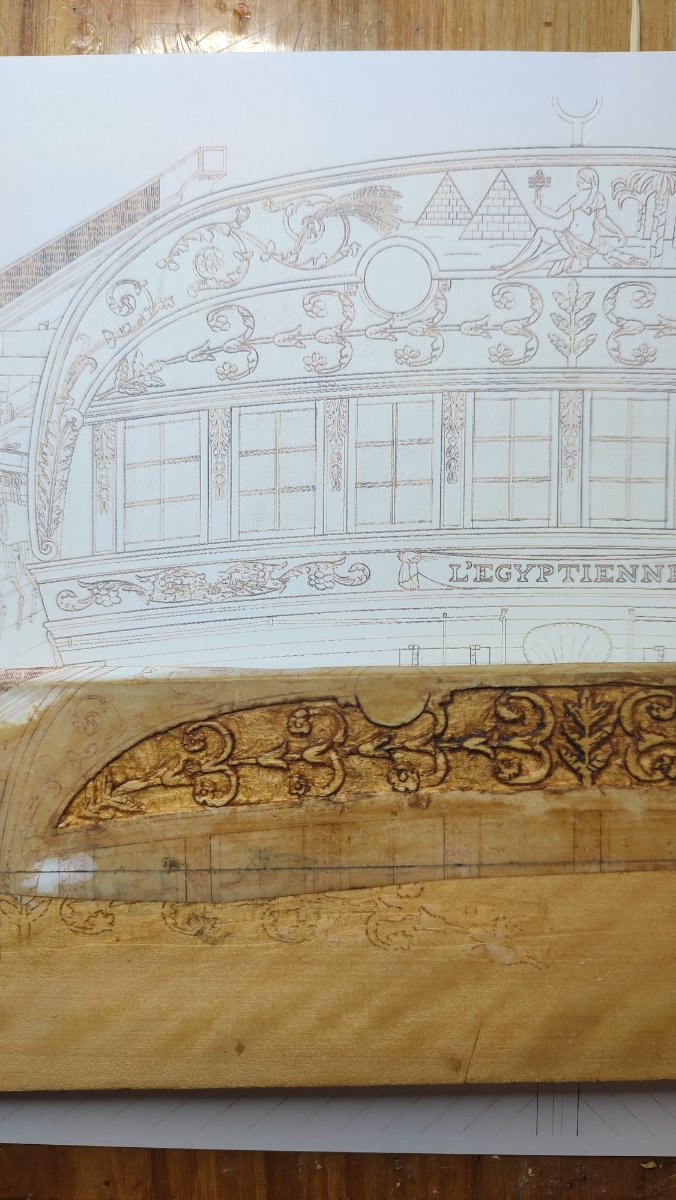
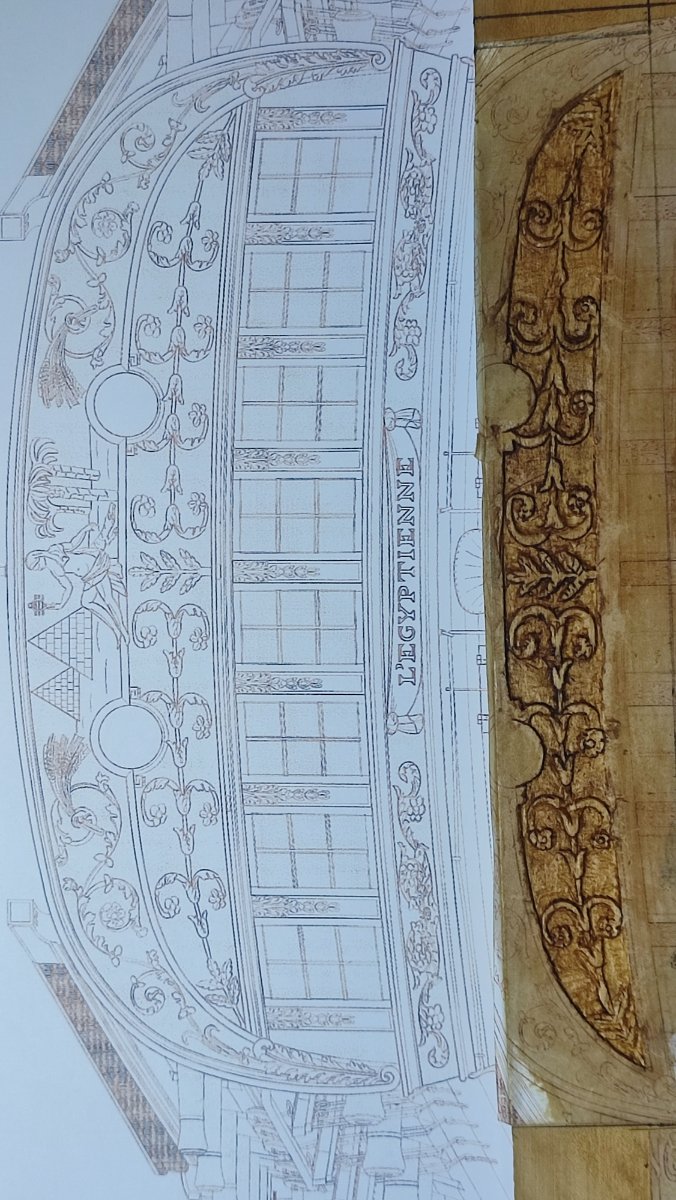
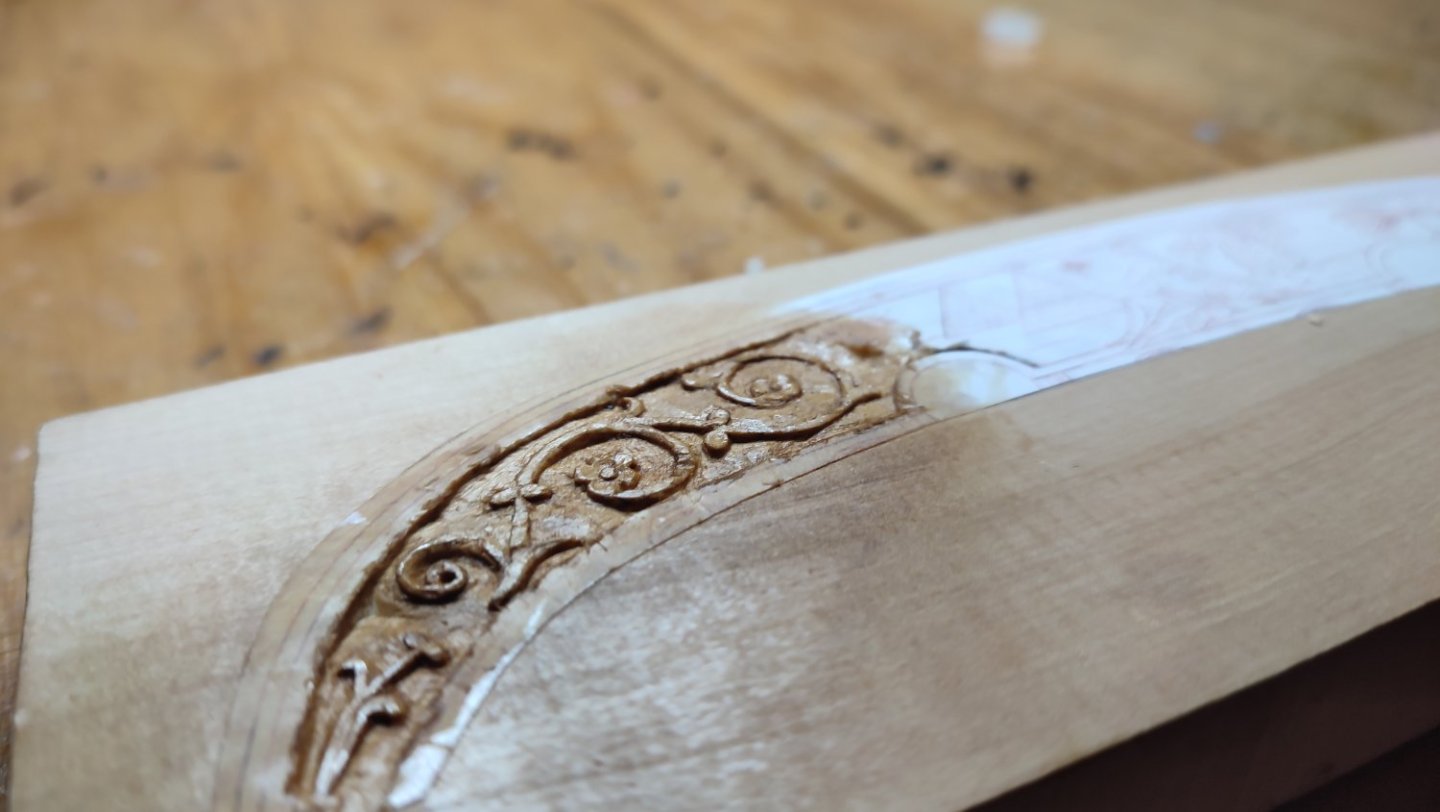
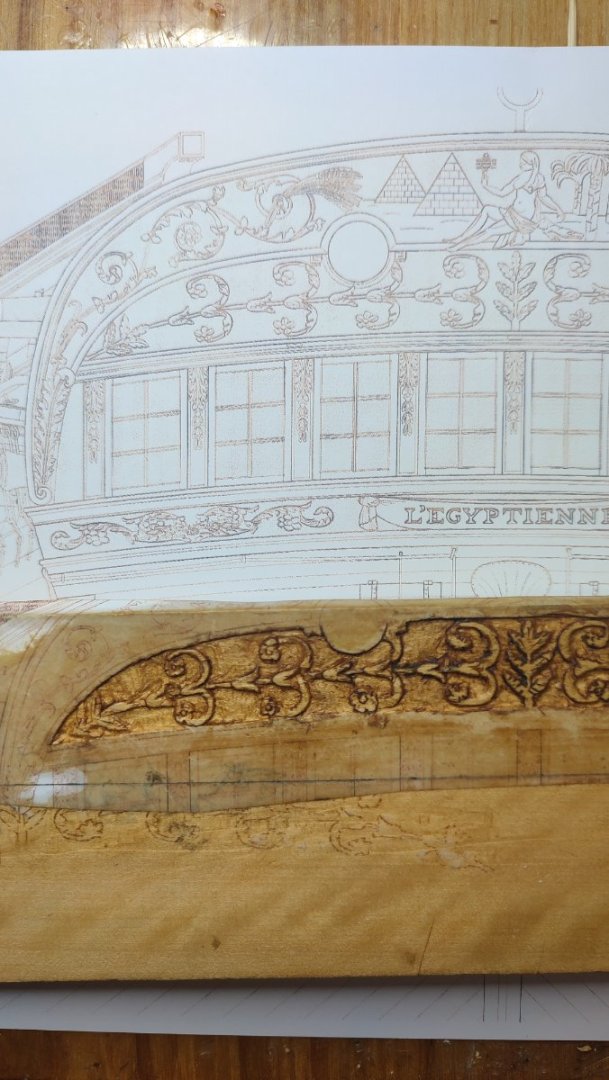
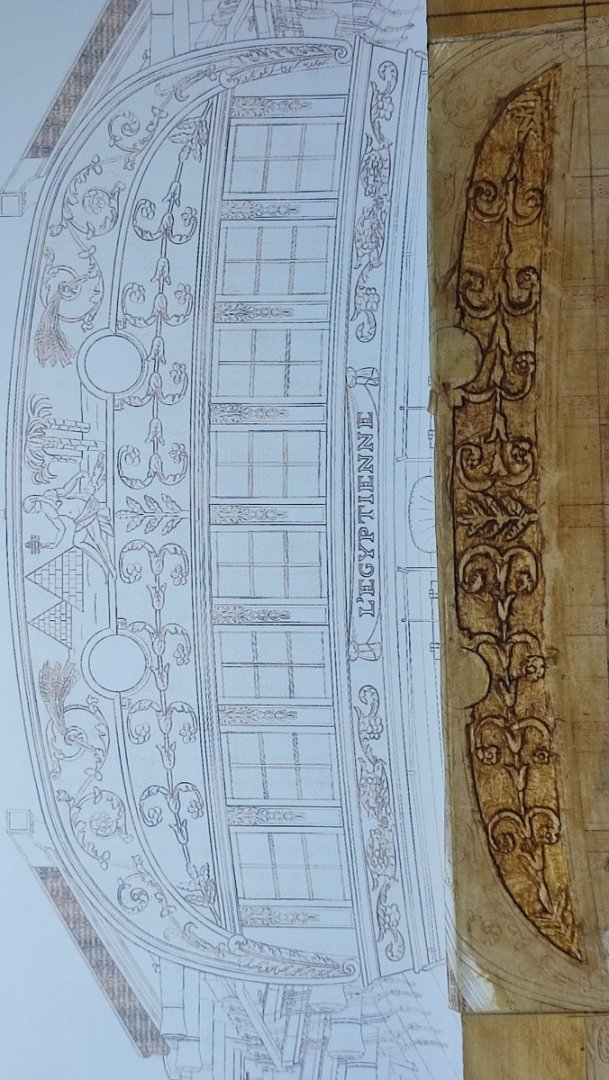
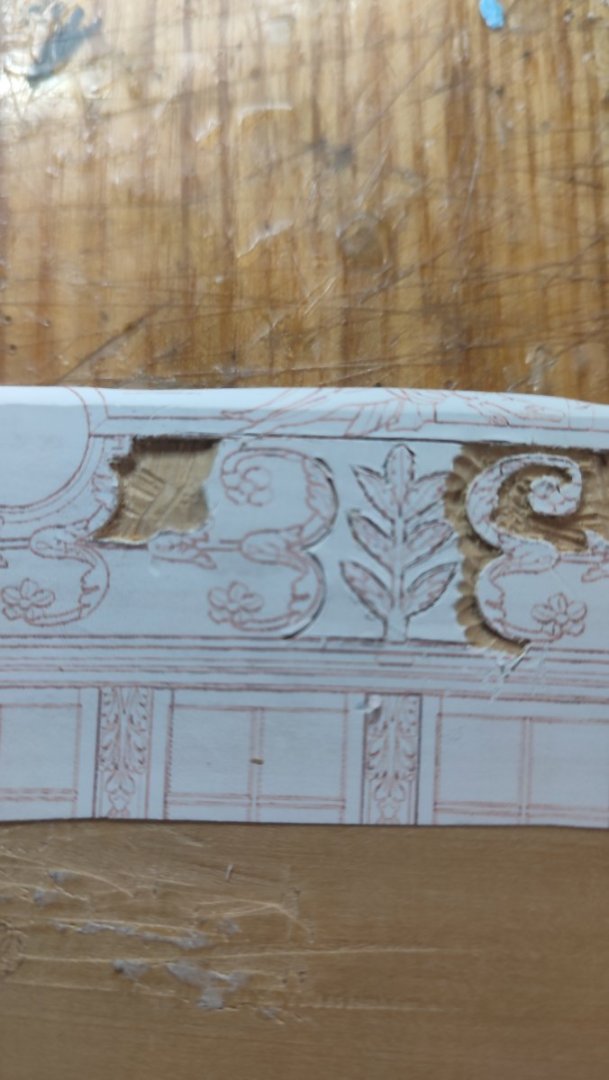
apology for hijacking own thread for some different stuff, i need little pause from glory... i learn to be patient so training carving...i must say even these poor egyptienne rehearsals and simple foliage is aaargh. i tried to clean corner more and slowed down .. and im waiting to get 1.5 mm chisel. its painfully slow. boxwood is godsend fof sure. i simplified acanthus as im not up to it and besides original is 1:36 carved this is 1:48. smaller. every mistake of shavinv wood against grain is gravely dearly punished. working under magnifier.


-
Thanks Druxey ! aside fun :))
-
off topic. my poor attemps trying to carve simplified Egyptian stern in 1:48 i better not showing original. i guees no human did it...

-
congratulations Jim to beautiful winnie,
- 105 replies
-
- 1
-
-
- winchelsea
- Syren Ship Model Company
- (and 1 more)
-
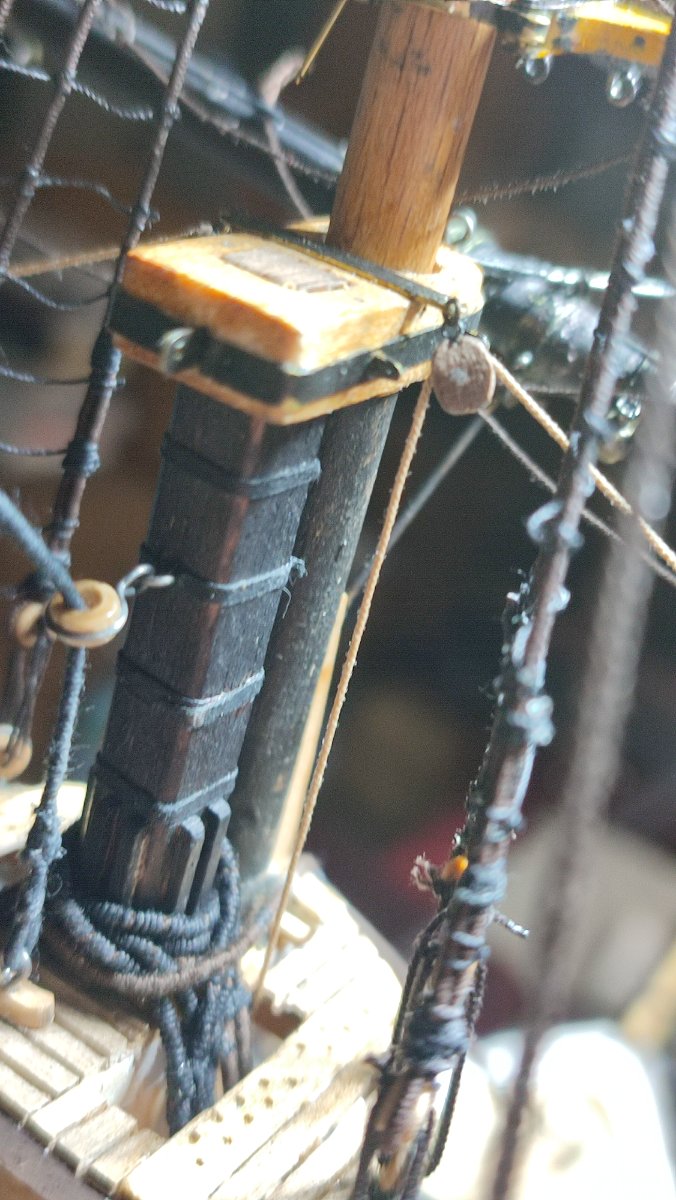
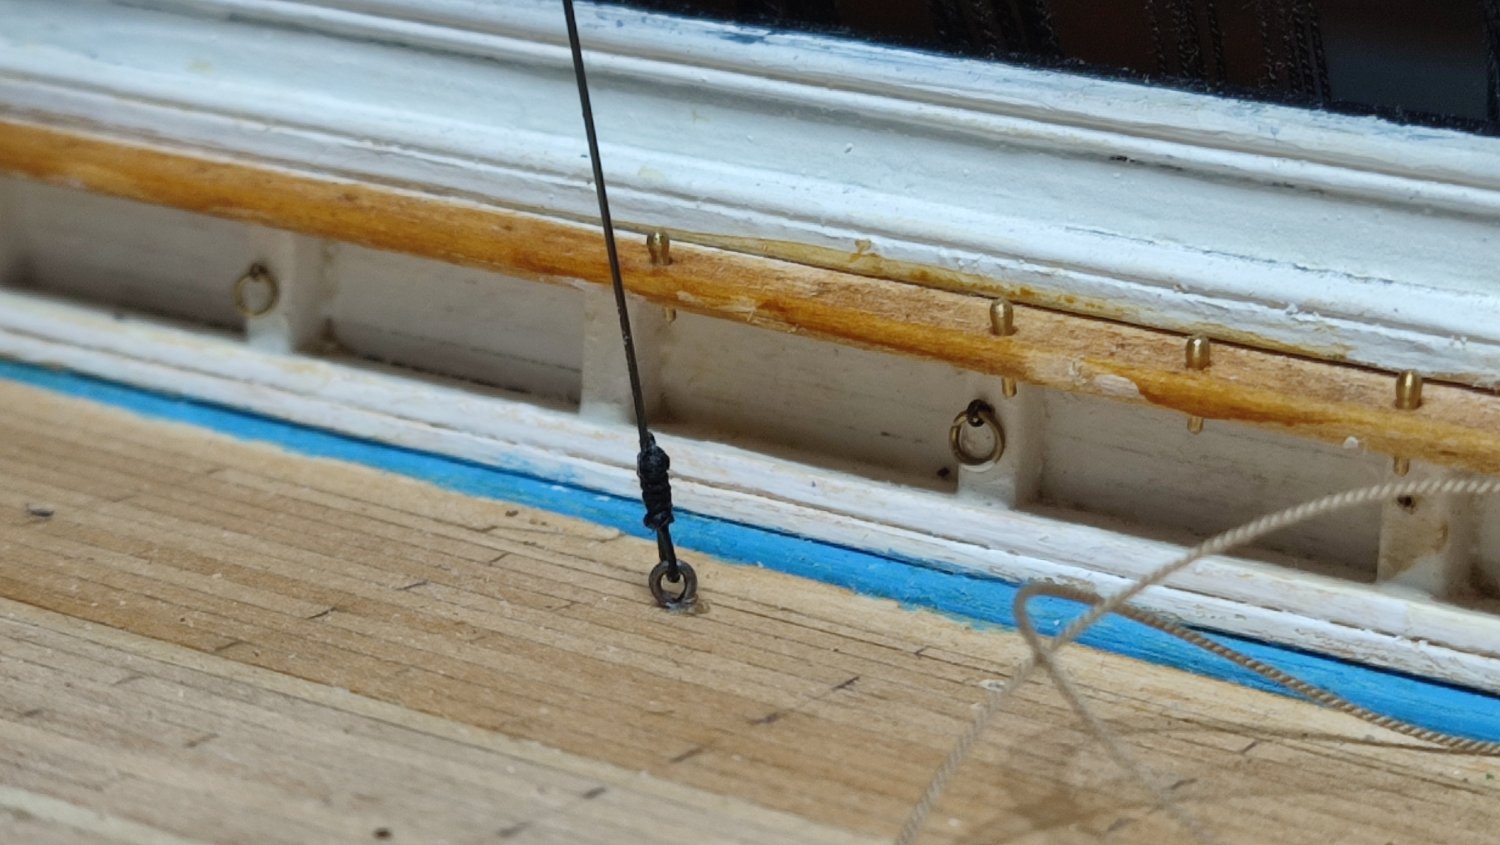
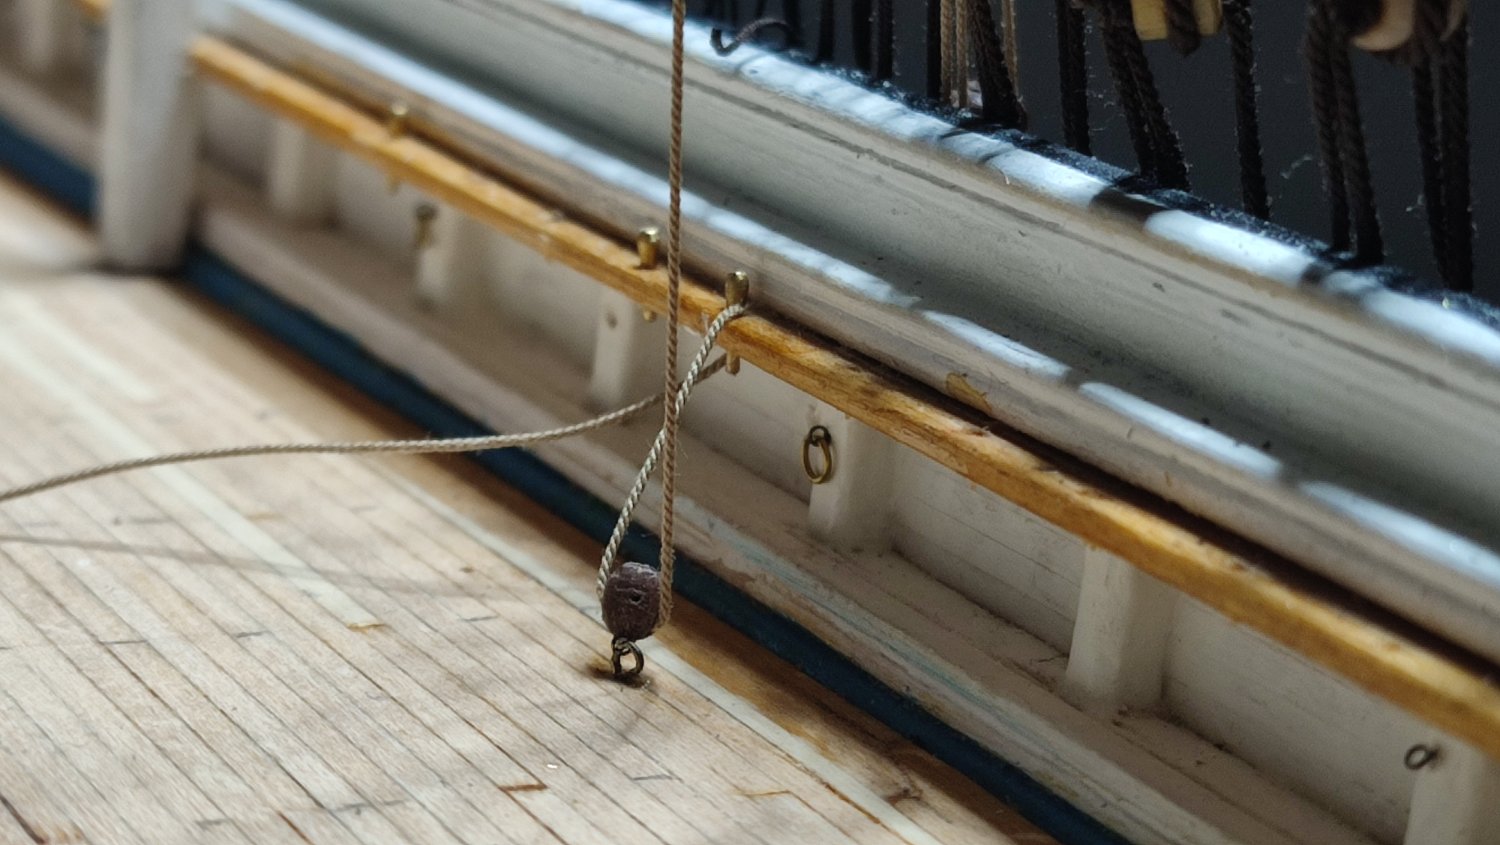
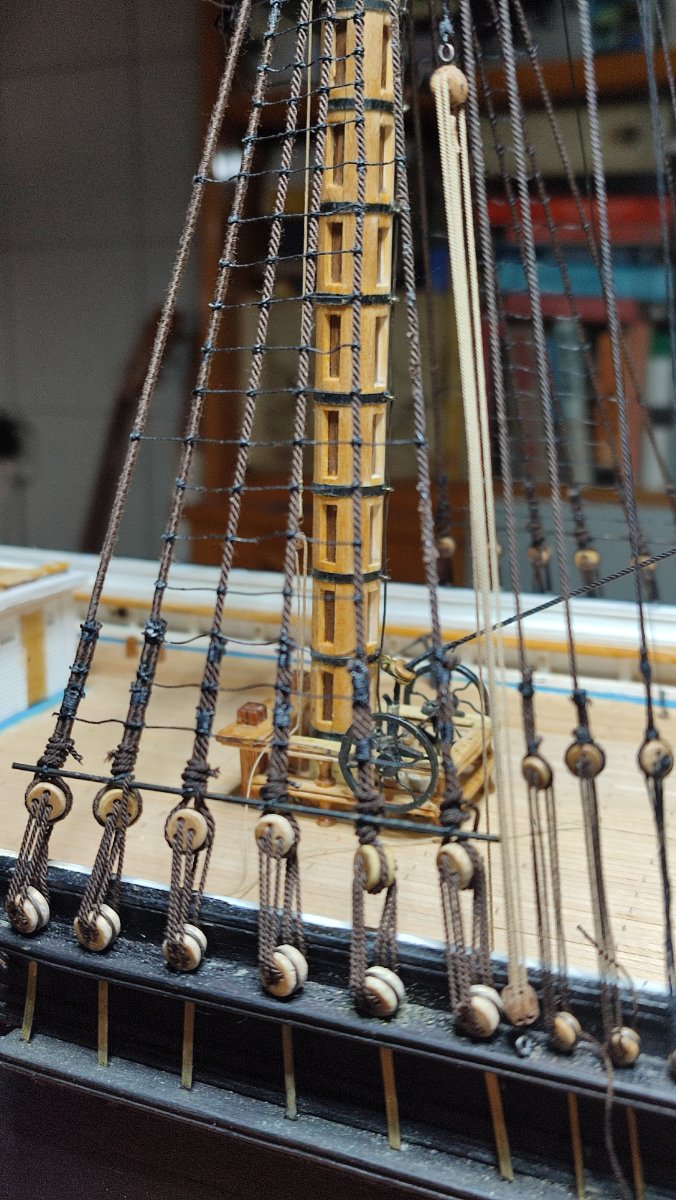
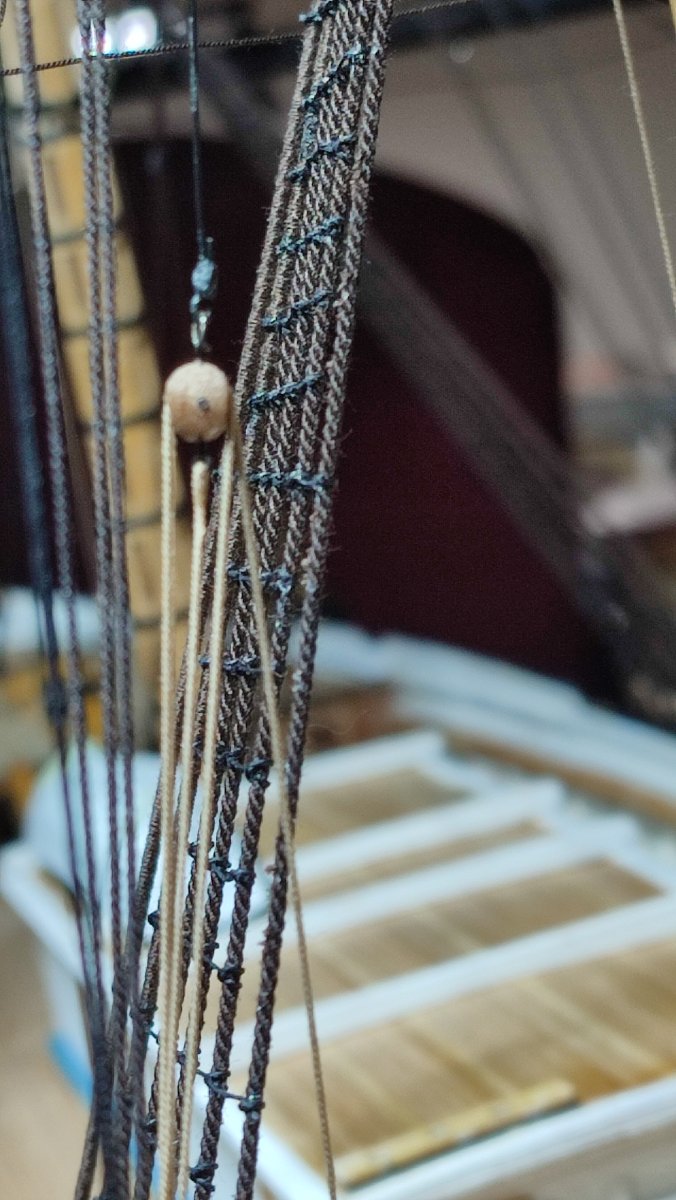
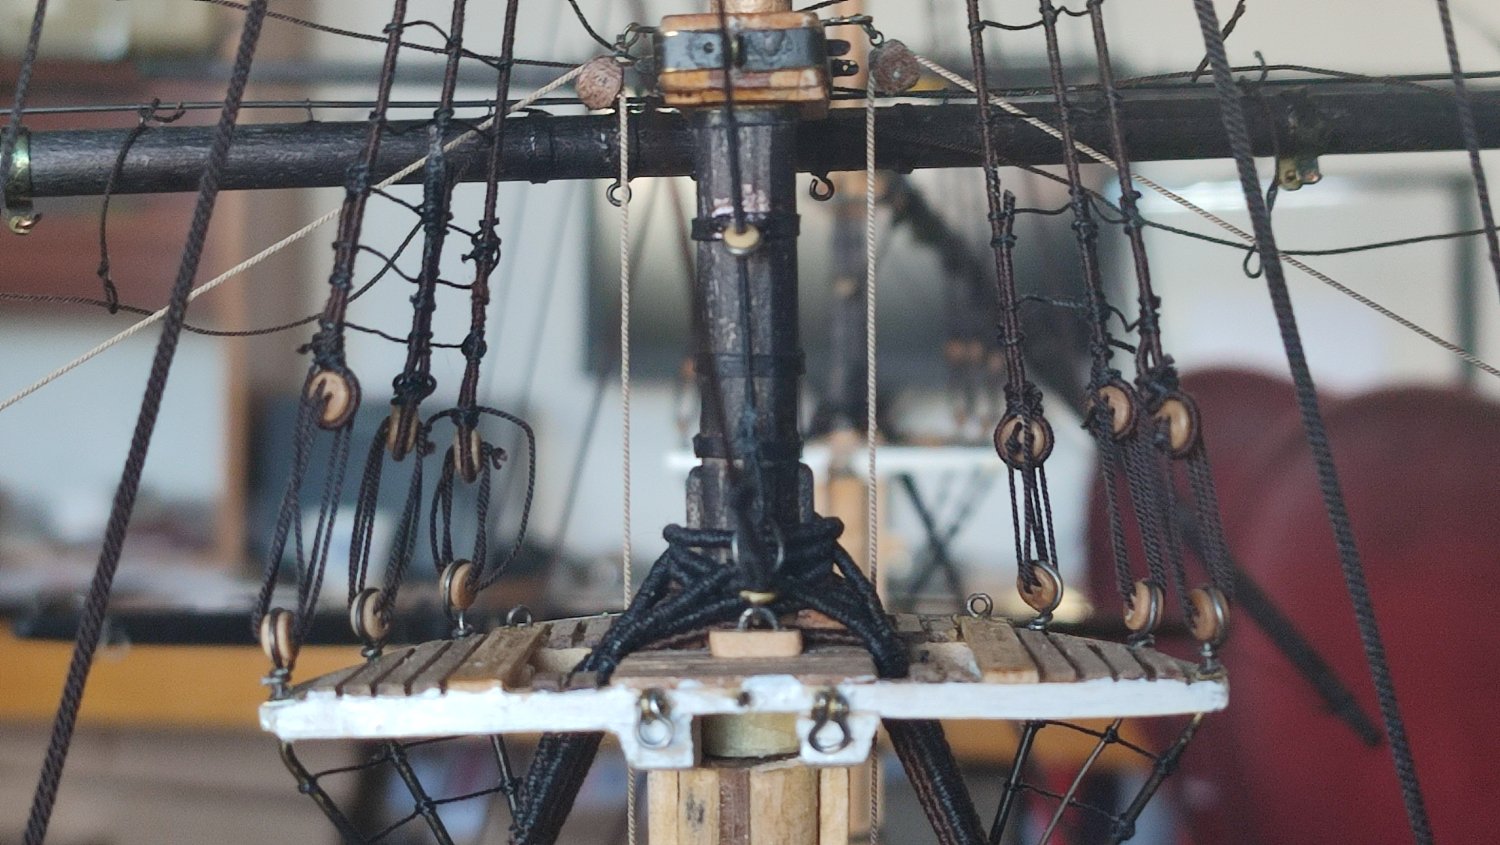
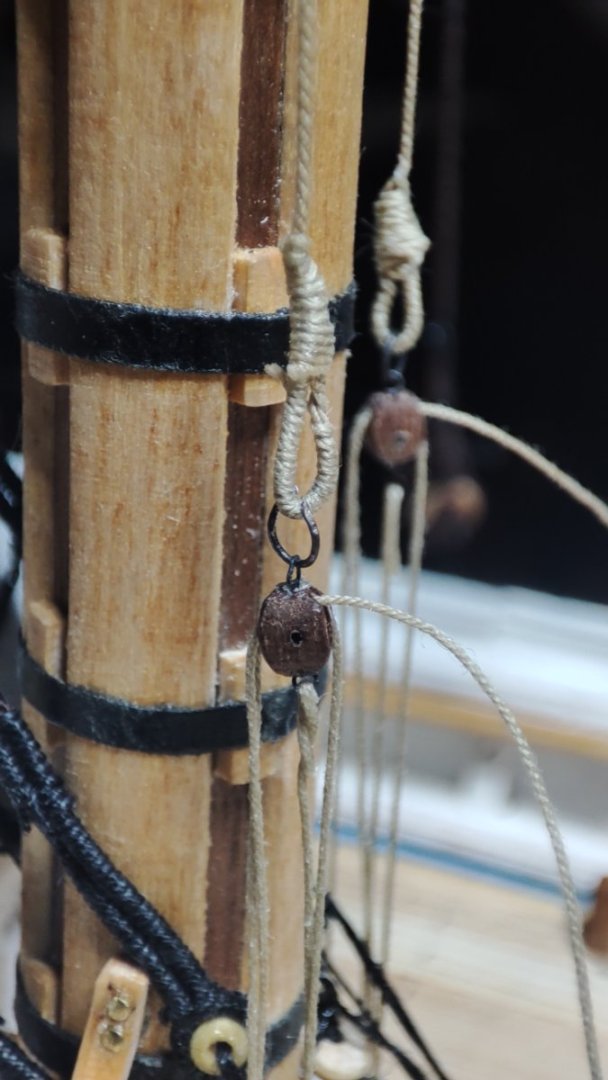
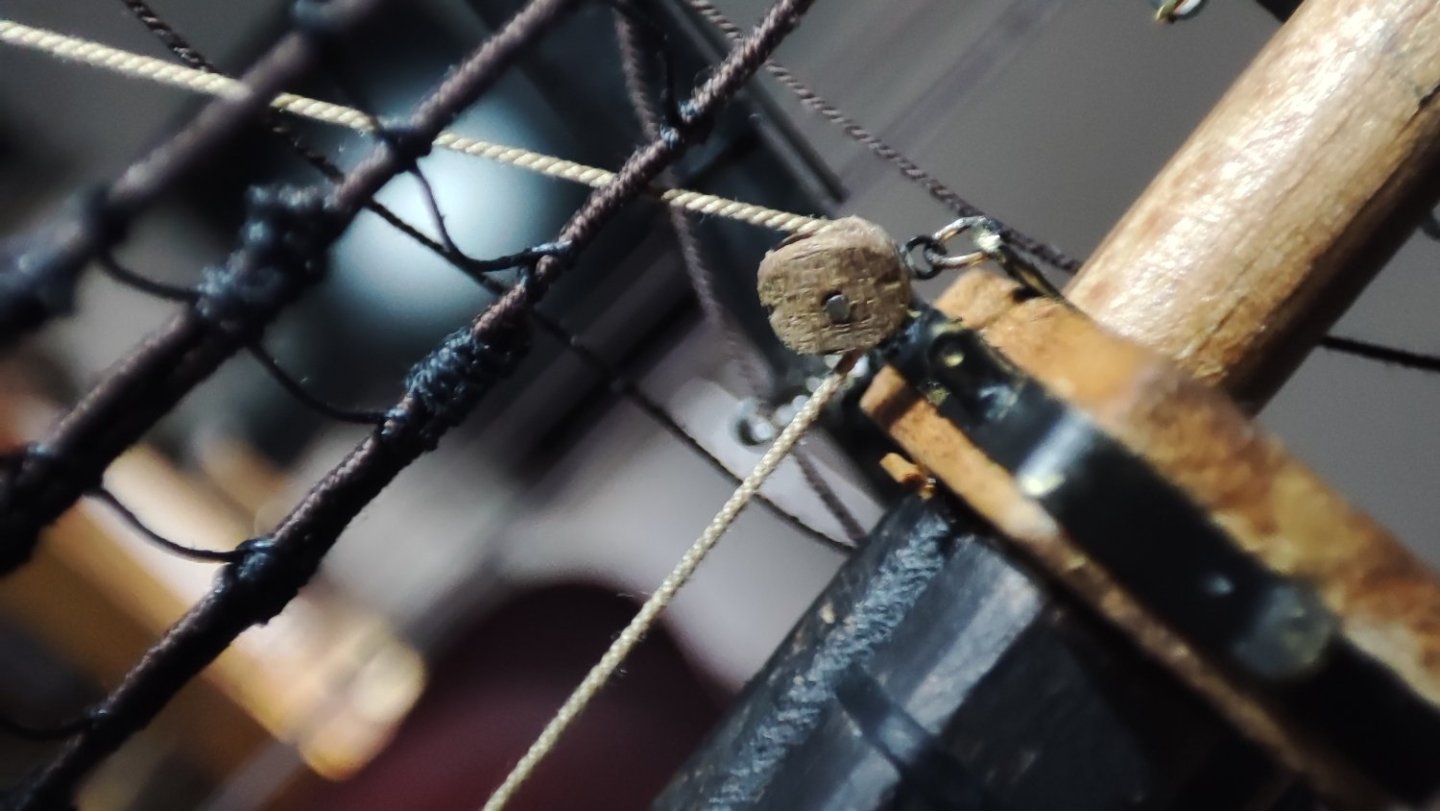
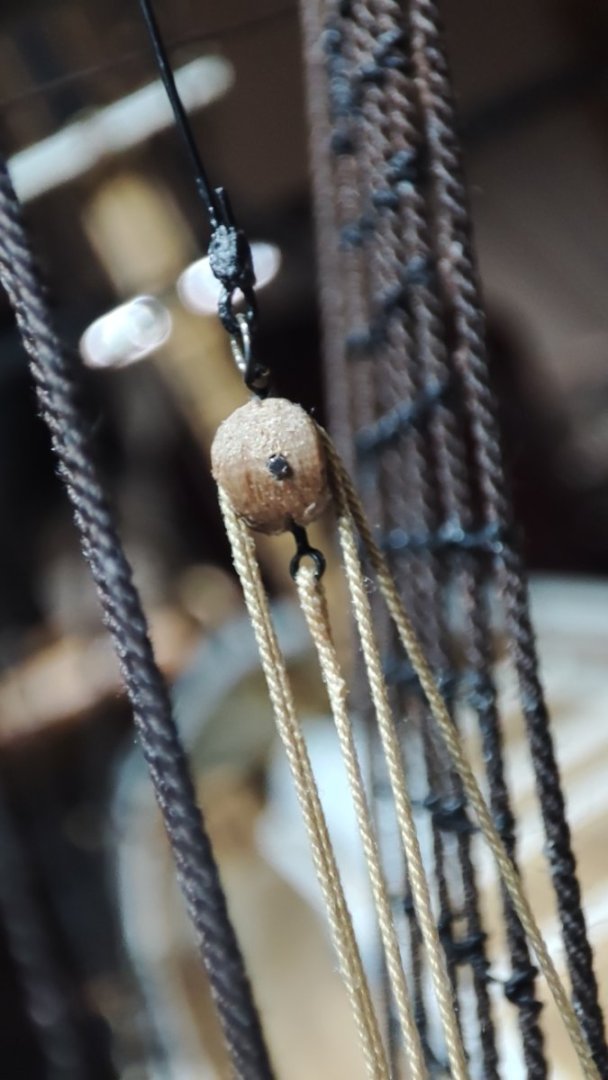
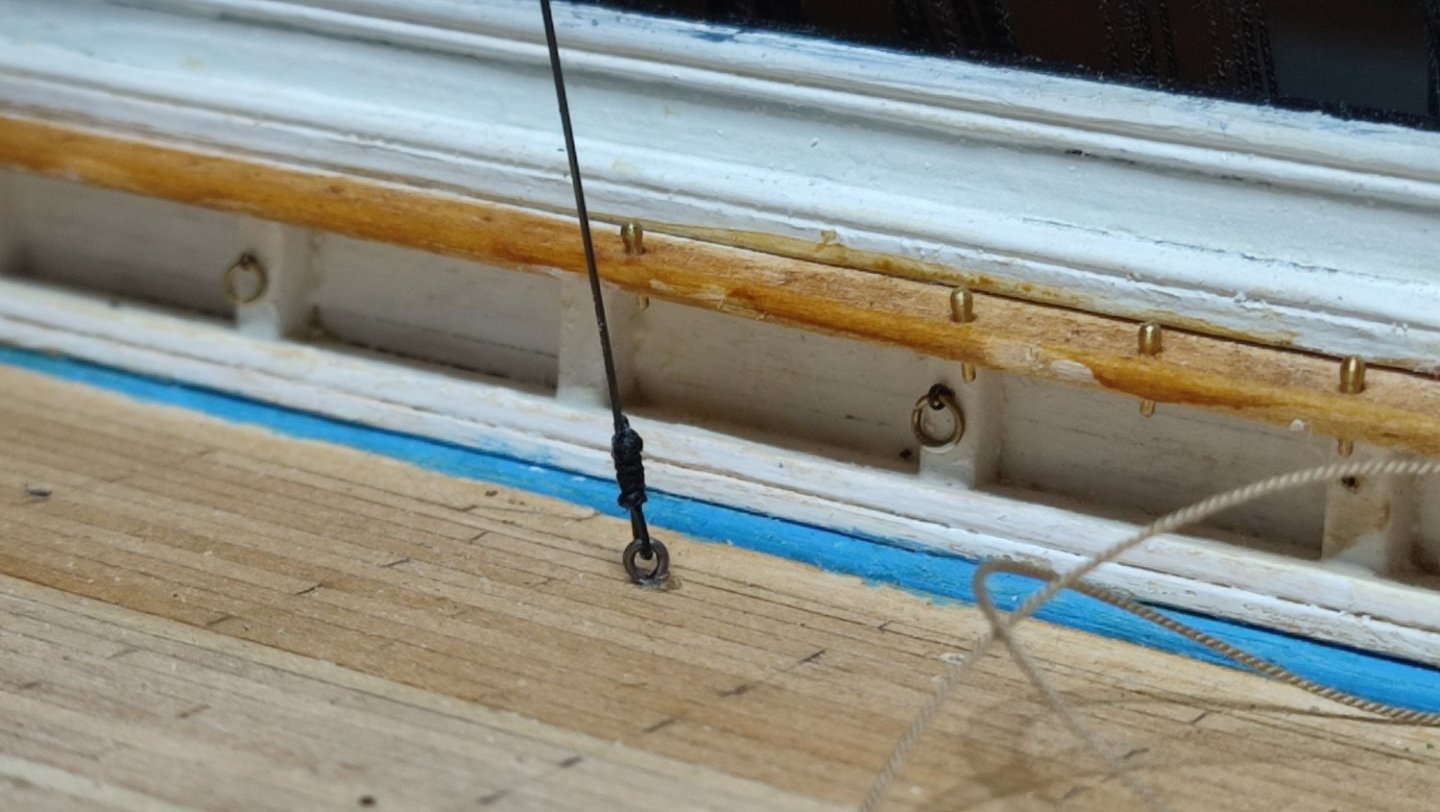
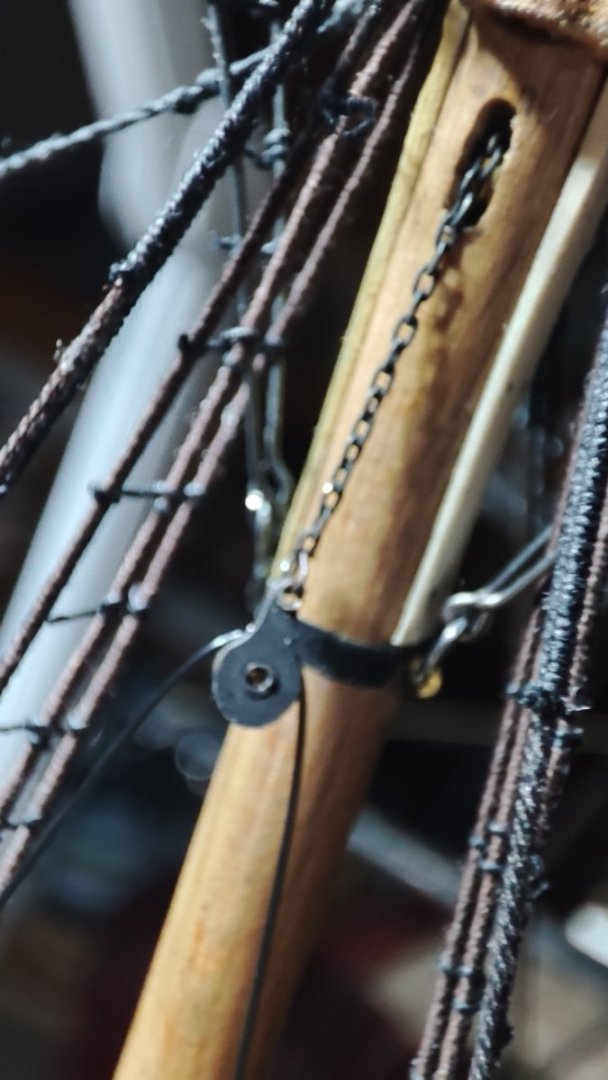
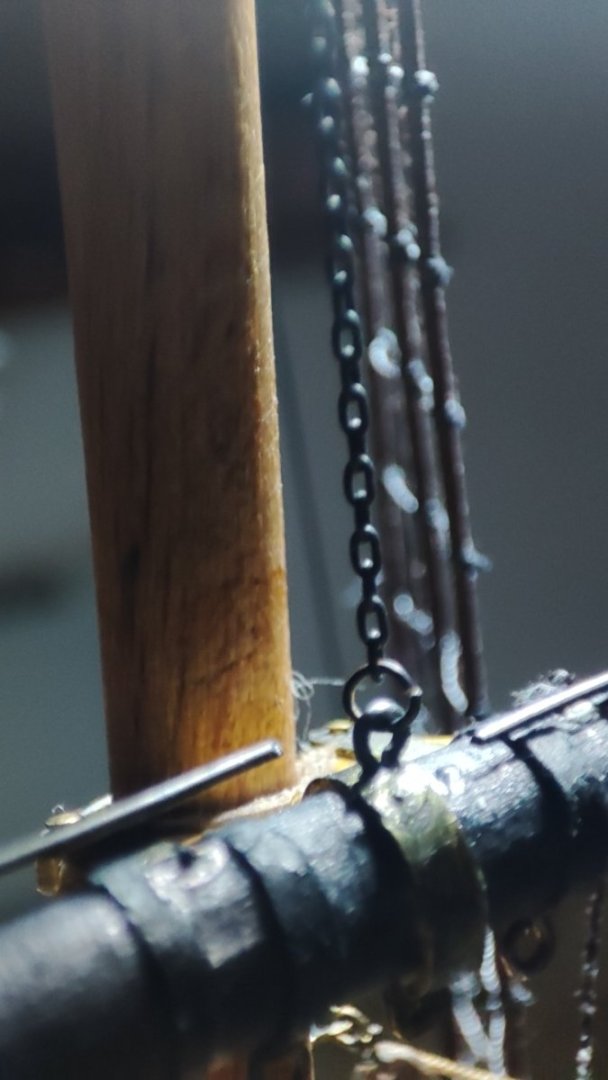
I started running rigging. there is nit much it is going veryv slow. lanyards are not yet stored at belaying pins. few pics. v.


-
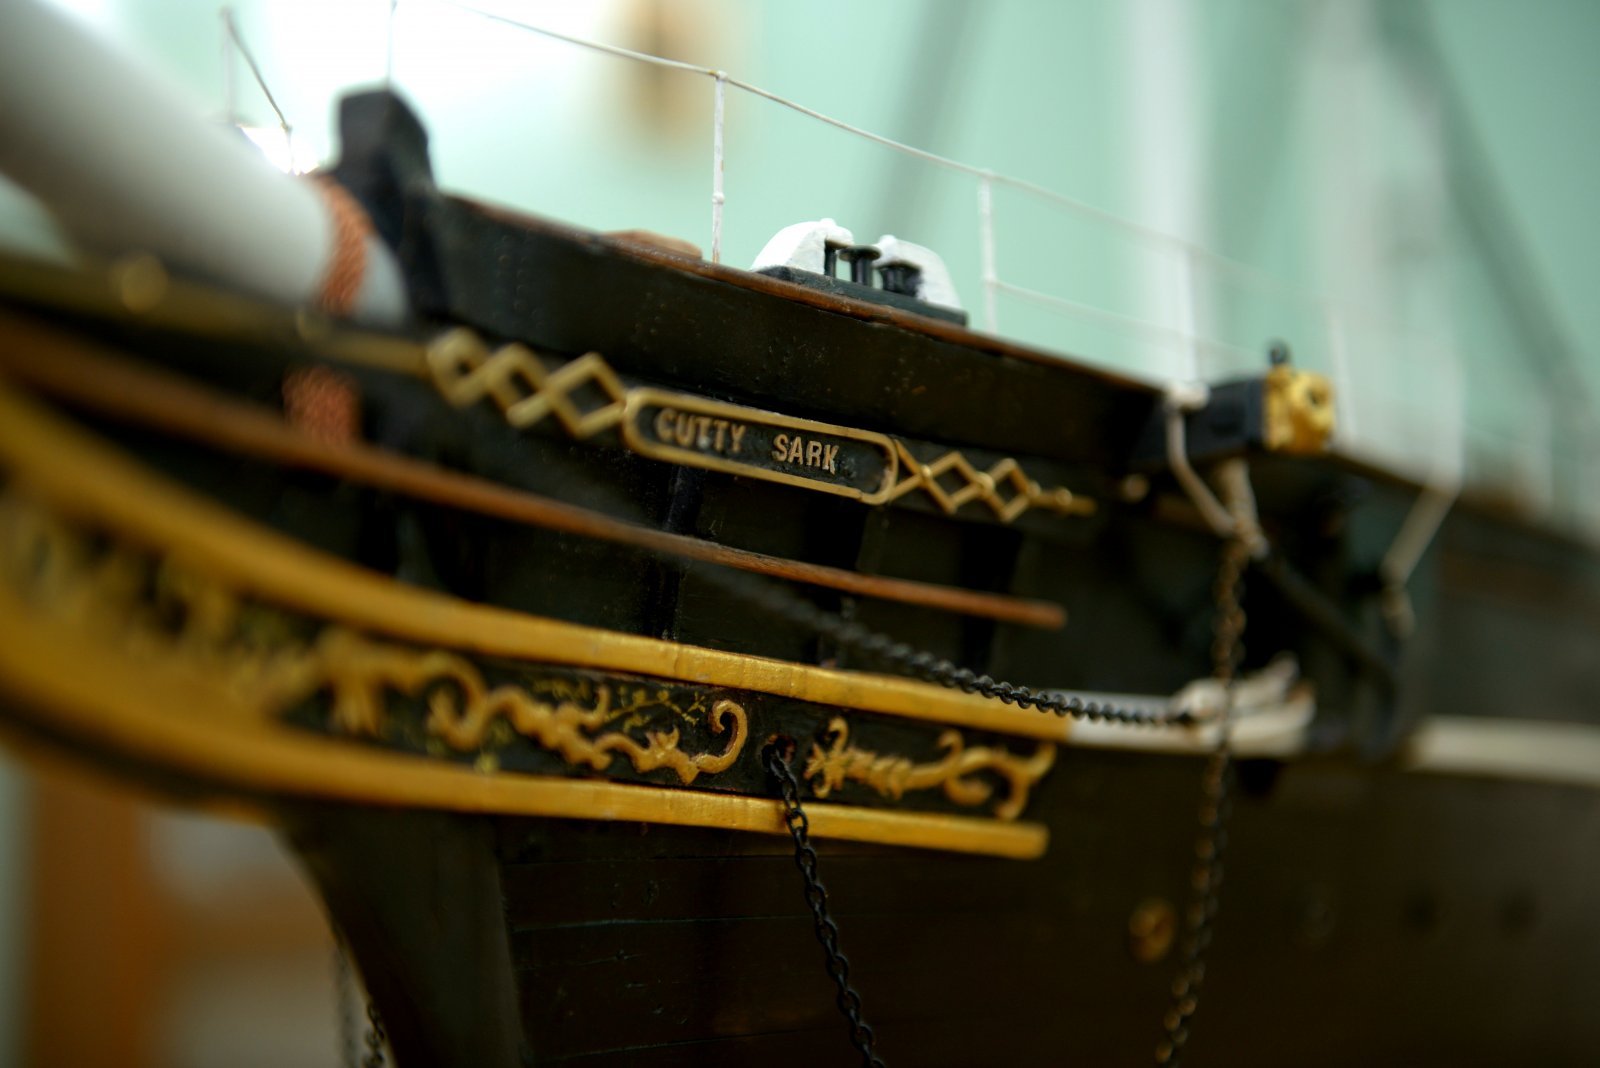
Rob , I truly admire your skill and such clean outcome from that scale and i say honestly its something im not up to atm. this is probably smallest scale im able to work at. I can say with haliard and braces it will still be plenty. and I must say I am not that experienced to rig her at this point completely l, well nit telling i wouldnt try now with your and underhill backbone but that big task, and more, would require another lond time and tremendous amount if material ropes blocks etc....which i dont want to dive into....i have already different boats in mind and i want to get glory nice pedestal, flags, still aft booms to be made etc...and im only diving deep quite shocked how much would have to be done...or speaking of stunsails or those booms. nope, I ditched it myself too. i will be happy to rig downlifts, haliards and braces , so yards could stay properly.similar fashion as cutty sark is rigged todays. I dojty like sheet lines without sails I see no point in doing that. hope it makes sense.V.
-
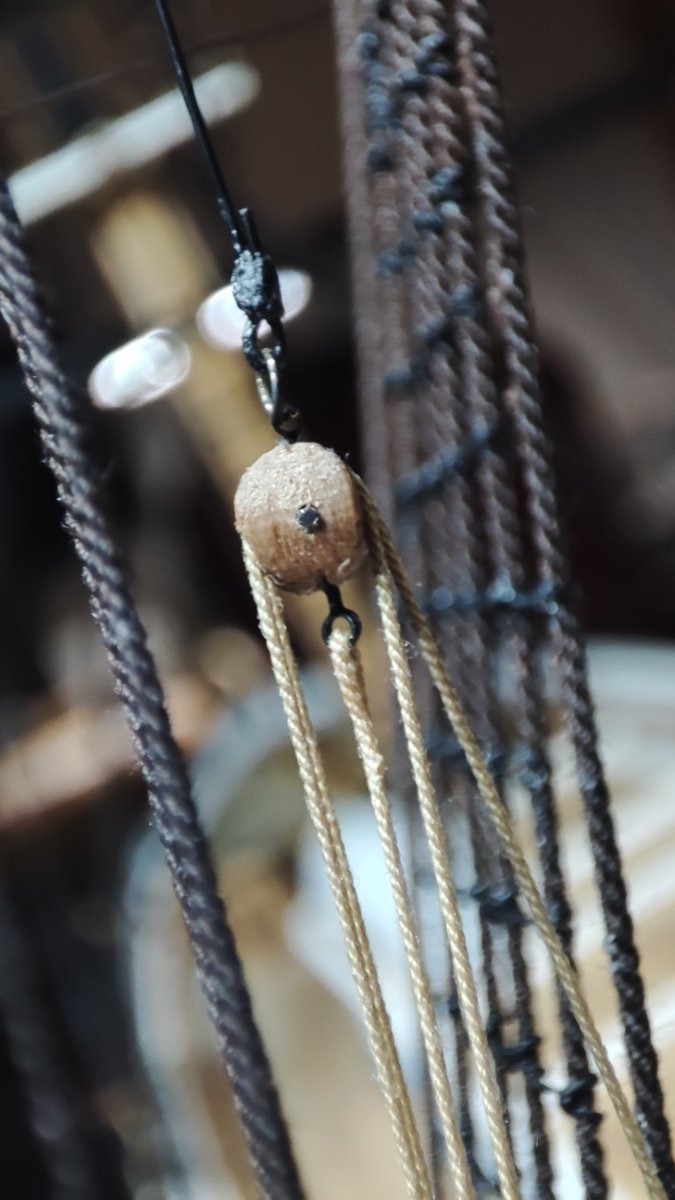
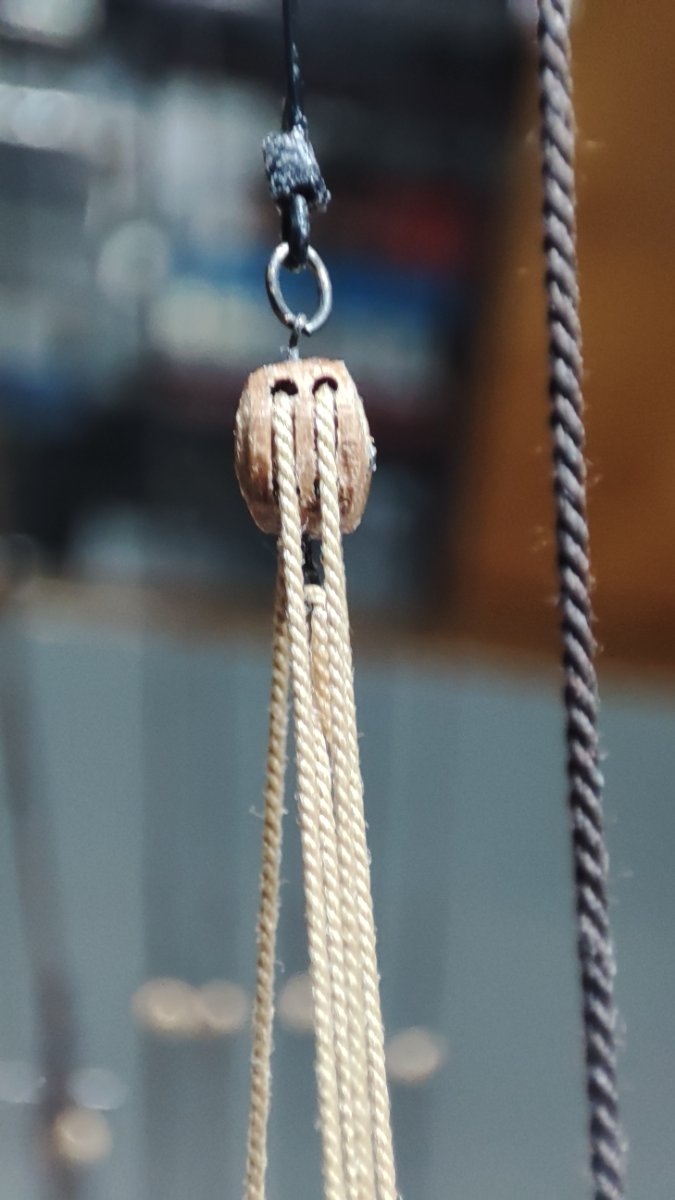
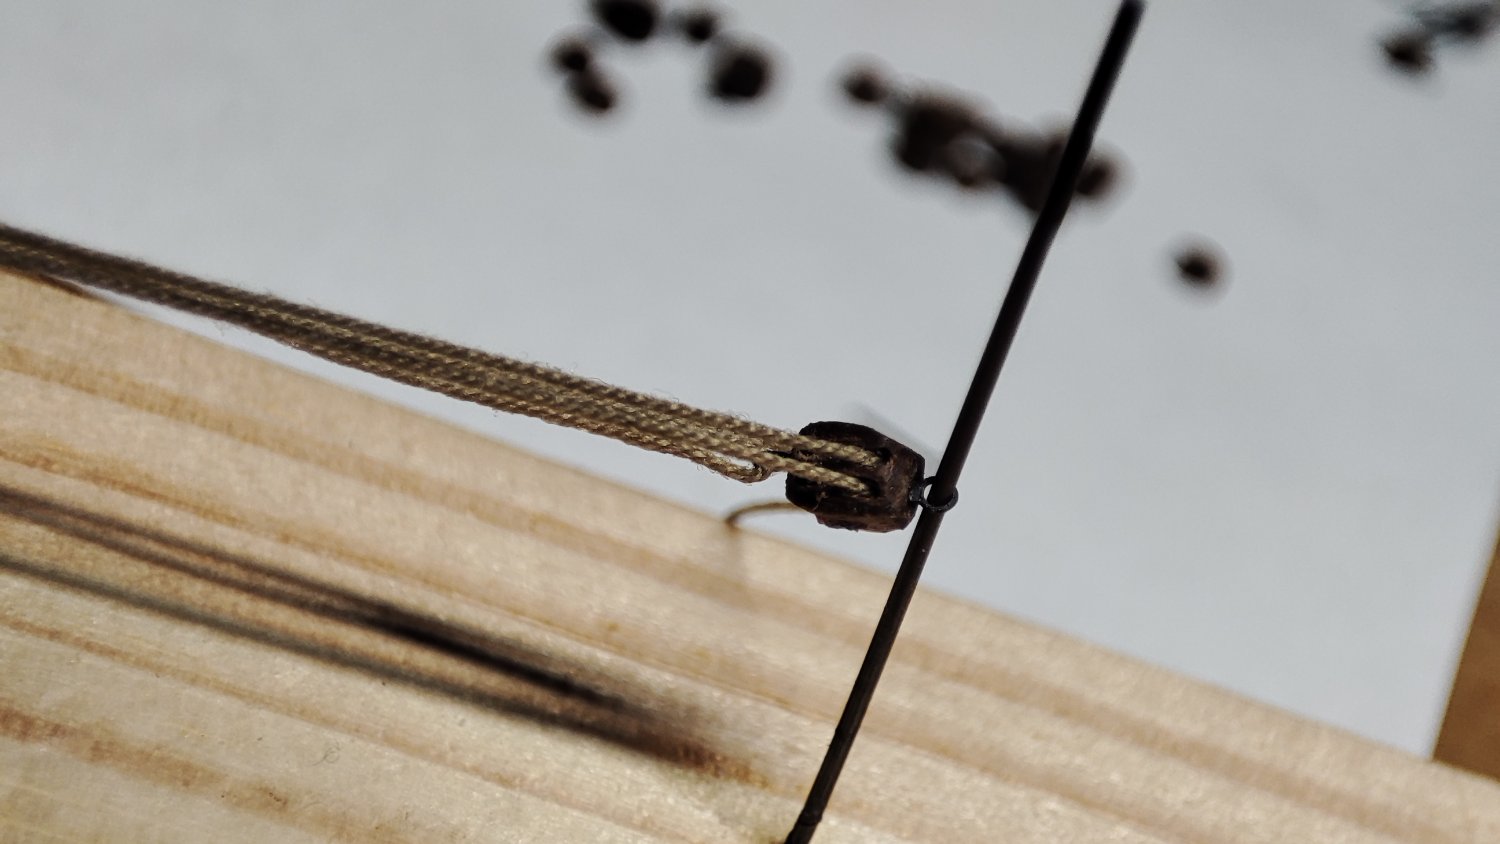
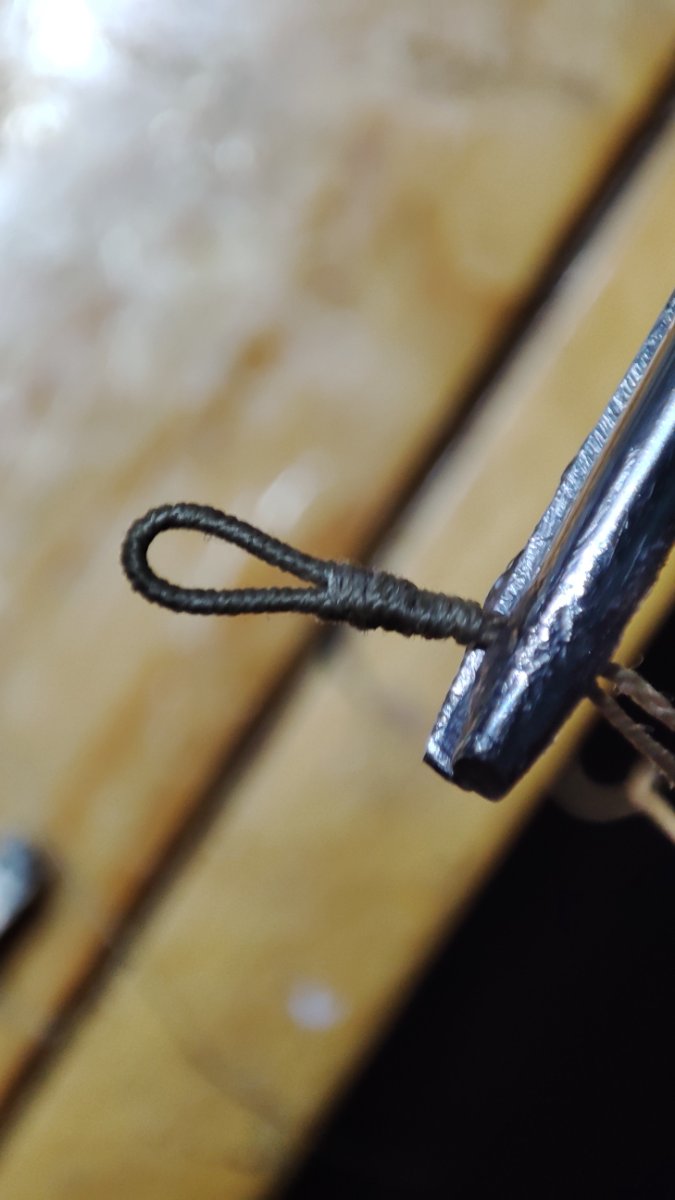
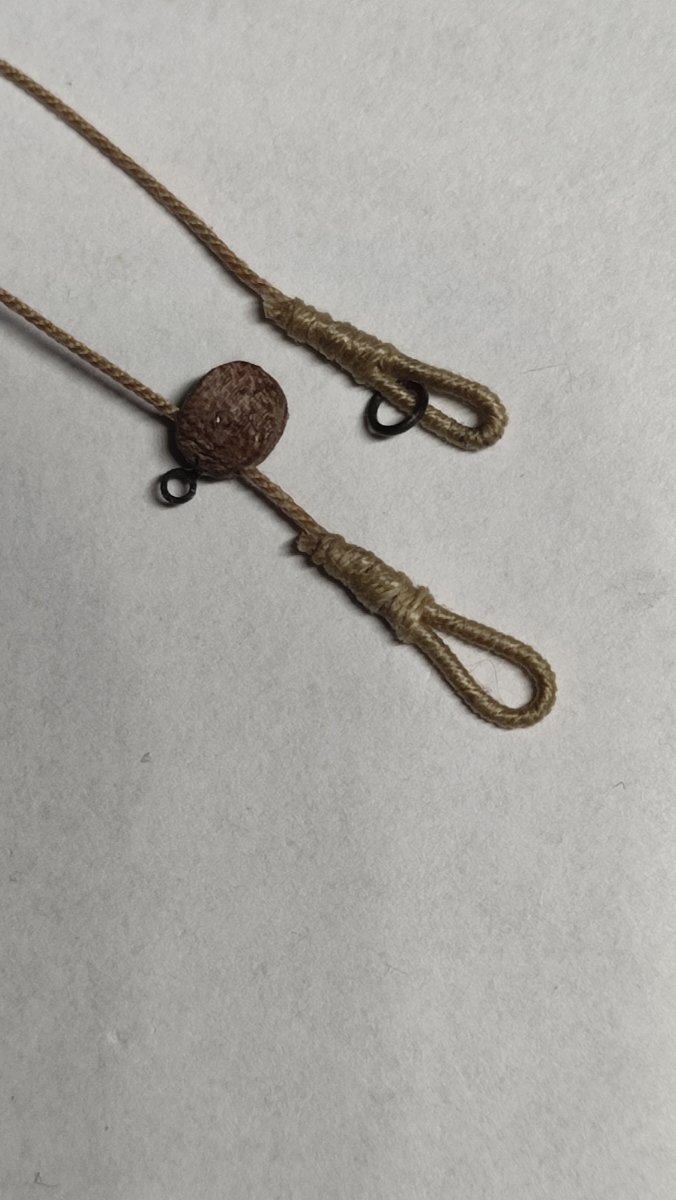
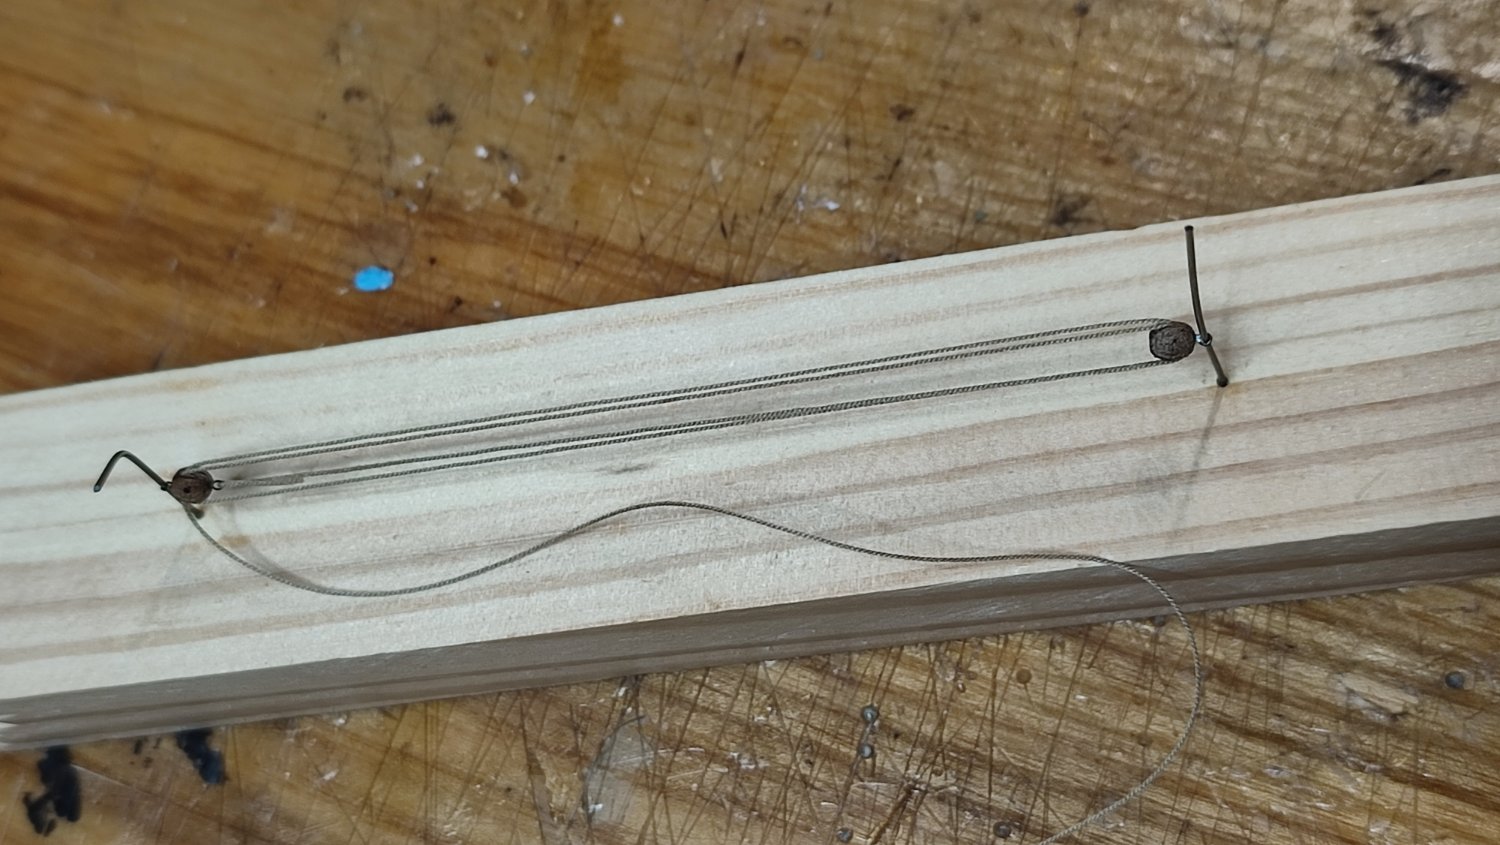
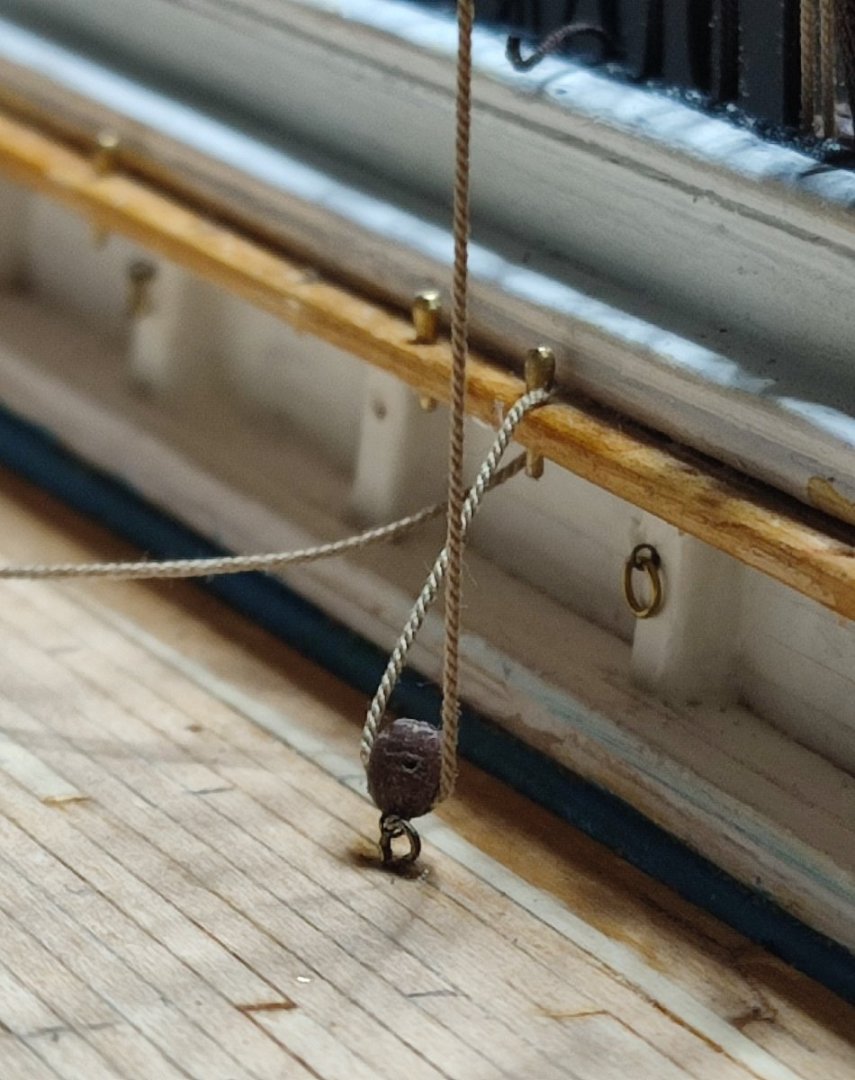
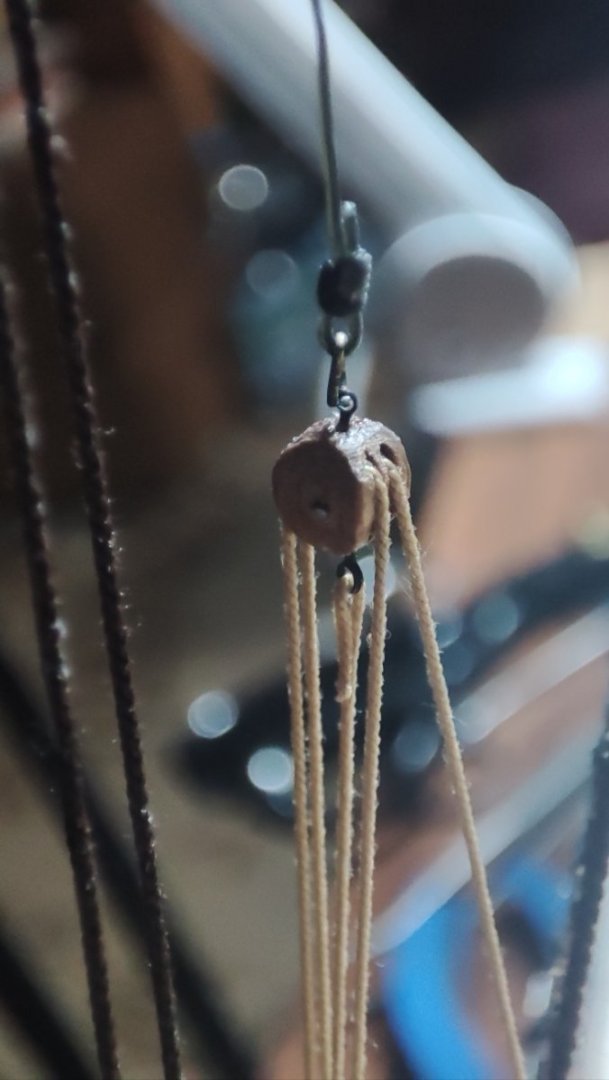
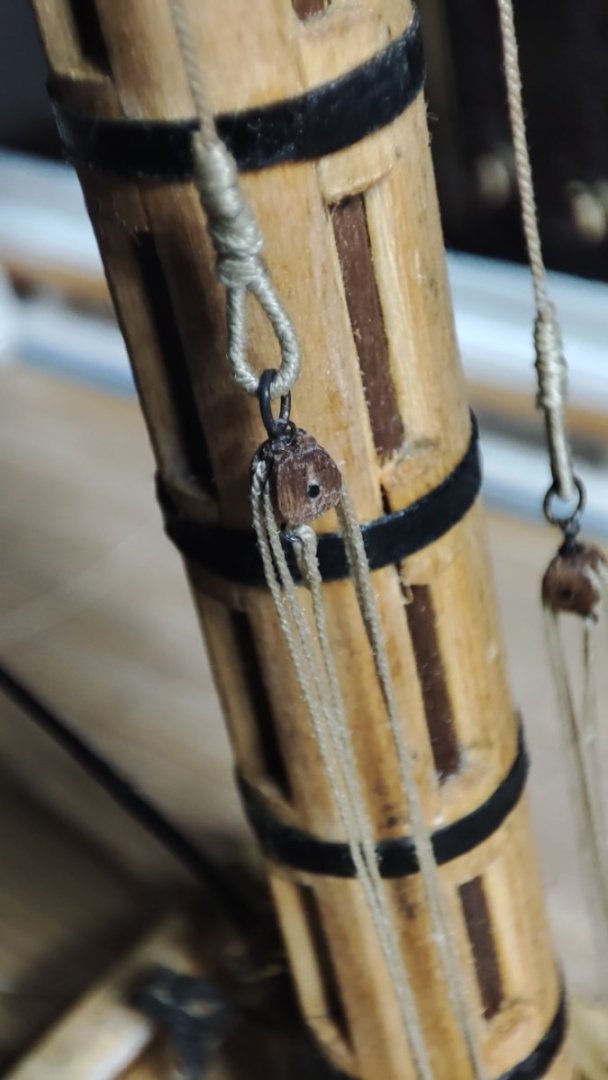
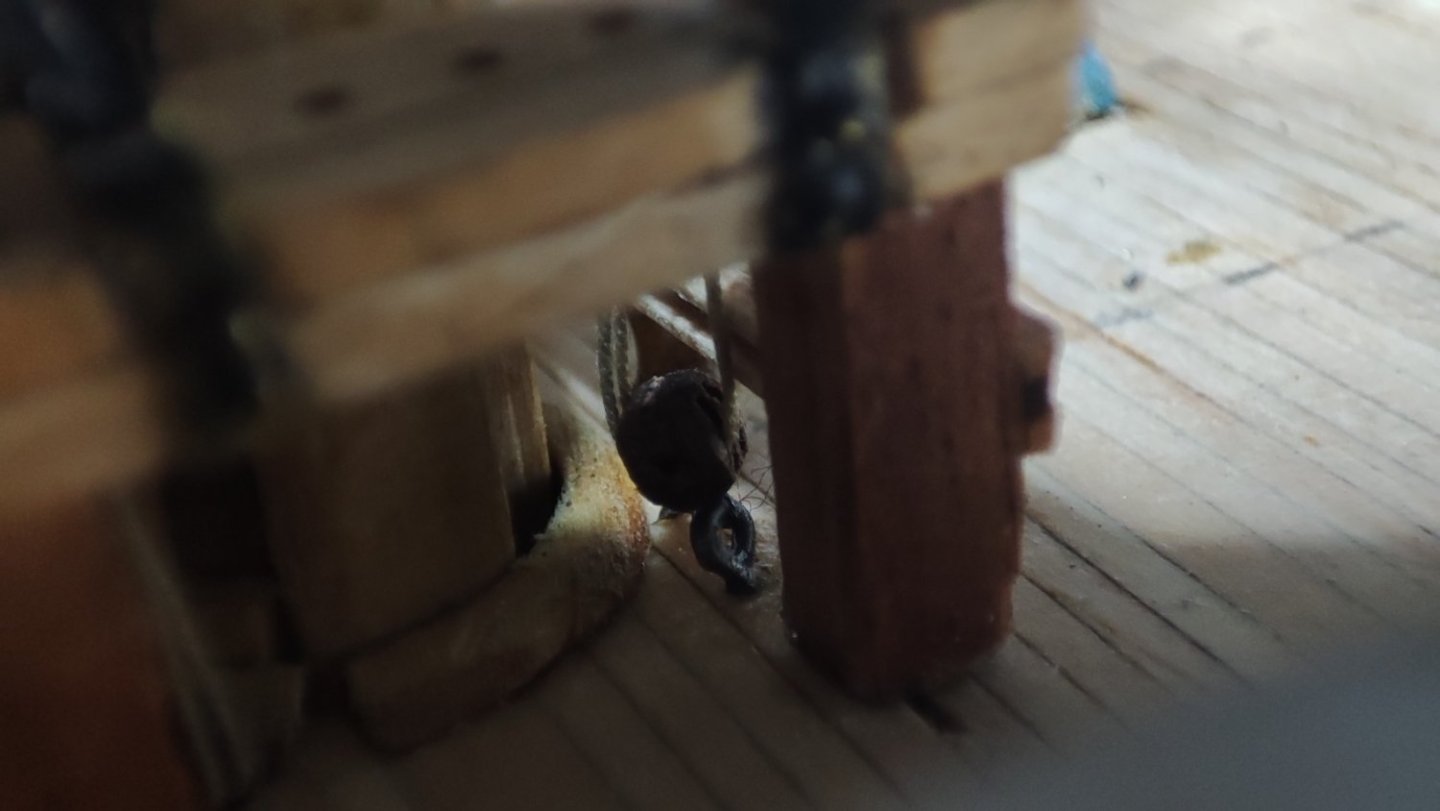
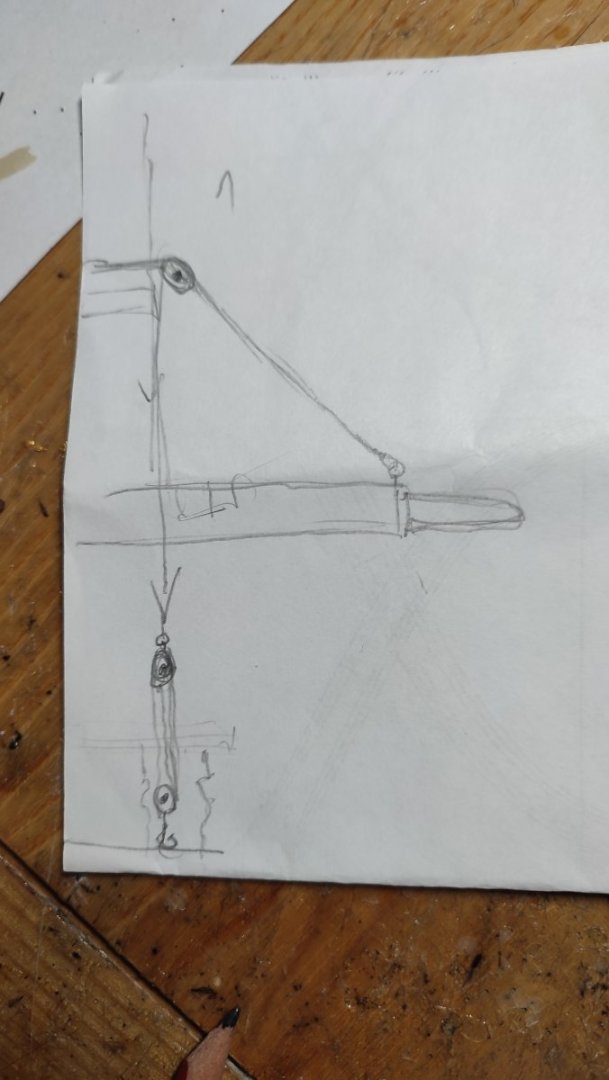
Lift rigging preparations. There is single tye thru one block with purchase of 2 blocks combination. I haclve to assembpe block thru thread before closing eyes on both sides... as completed i plan to secure double blocks from deck first and another tye from yardarm thru block and lower mast top down and jpin bothbsides. at the end purchase will be strung and end will go to belay pin on mast fife rail ....ag lest its plan :)) There is 4" (0.45 mm) lanyard going from yard arm, and 0.35 mm for the purchase blocks. cap block is single 5 mm and pirchase double 3 mm alssembled so Fall will go from top of uoper block towards deck. I need to make 4 identical for F/M masts and 2 smaller for mizzen . thank you for watching etc. ... V.


-
good point Rob. thank you for bringing to consideration. regarding mast stop place or nelaying pins rail place. It will be rather very small project Rob. I will rig only braces and haliards thats it. i wont even attach empty blocks even there are evety eyes for them on tops etc. im hard thinking how nice would be to rig at least sheets with all chains tbru yards but...it wont be rigging yards anymore but also part of sails. and there shouod be blocks then etc... lets wait and see. well at least. if i change mind it is always time to add more. thank for fine comment indeed. V.
-
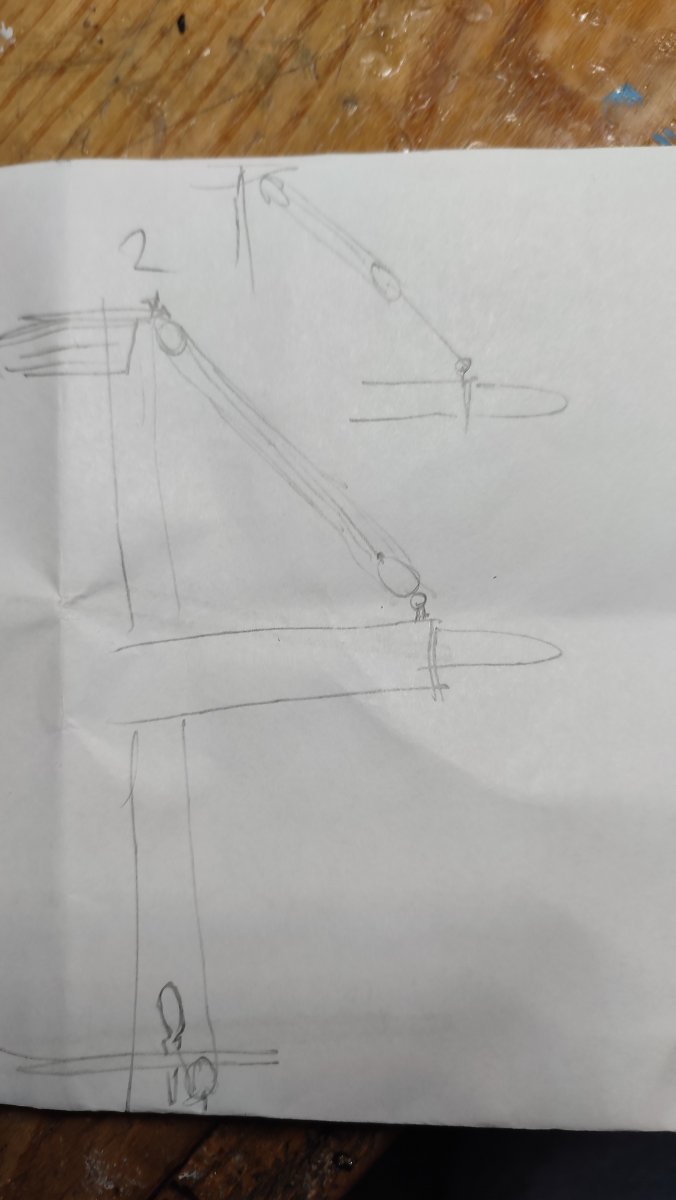
where im to start... funnily enough I noalready run into three possibilities of rigging lower yard lift....running lift. seems to me that it was solely captain choice of what is to bd done, mo matter what underhill says. respectively Underhill mentioms only one and maybe possibly older way? I believe there us not one or right or wrong answer obswrving that there is more methods. probably one key is to find what was used most , or being preffered. or is there a way Mckay might suggested also rigging in kind after completing vessel? I dont know ag all would assume we know from documents that Mckays preferred rigging company took that job as whole. speaking of original rig. but honesly im not going put much thought into it. tying 4 or 5 " in the eye of yard brace brunging it into 12 or up to 15" block at the top of cap and down to purchase at mast fife rail. Im going for this way but intersting others deserve to be mentioned. or prefered? hmm . surely much thicker singe rope goiung from yard bracd arm eye into purchase blocks that are on upper part of mechanism....and that seems to me failry stronger way of securing as per my amateurish observation :)) anyway. just rough sketches for curiosity though... V.
-
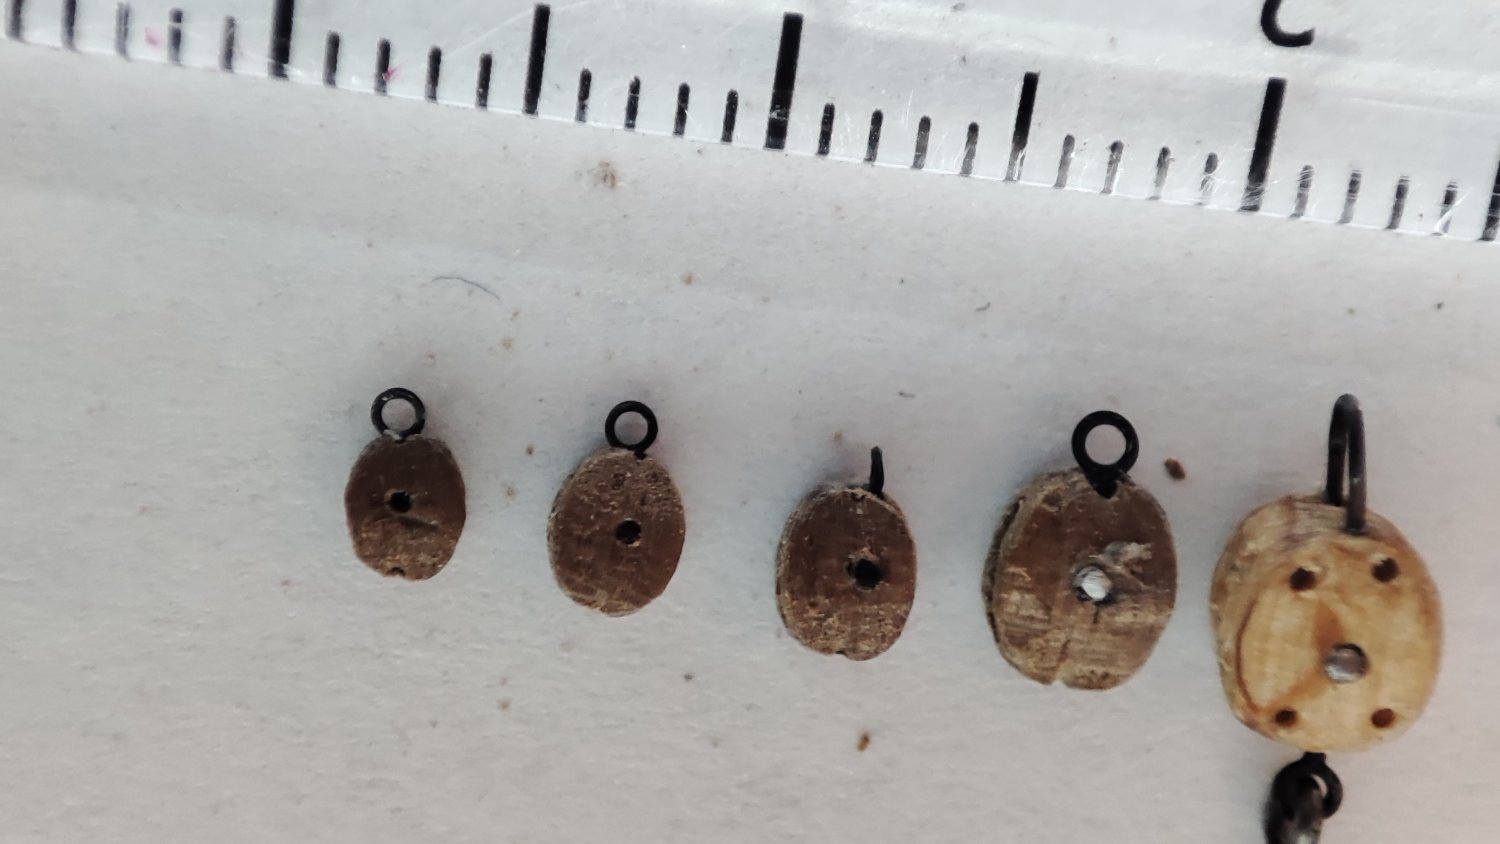
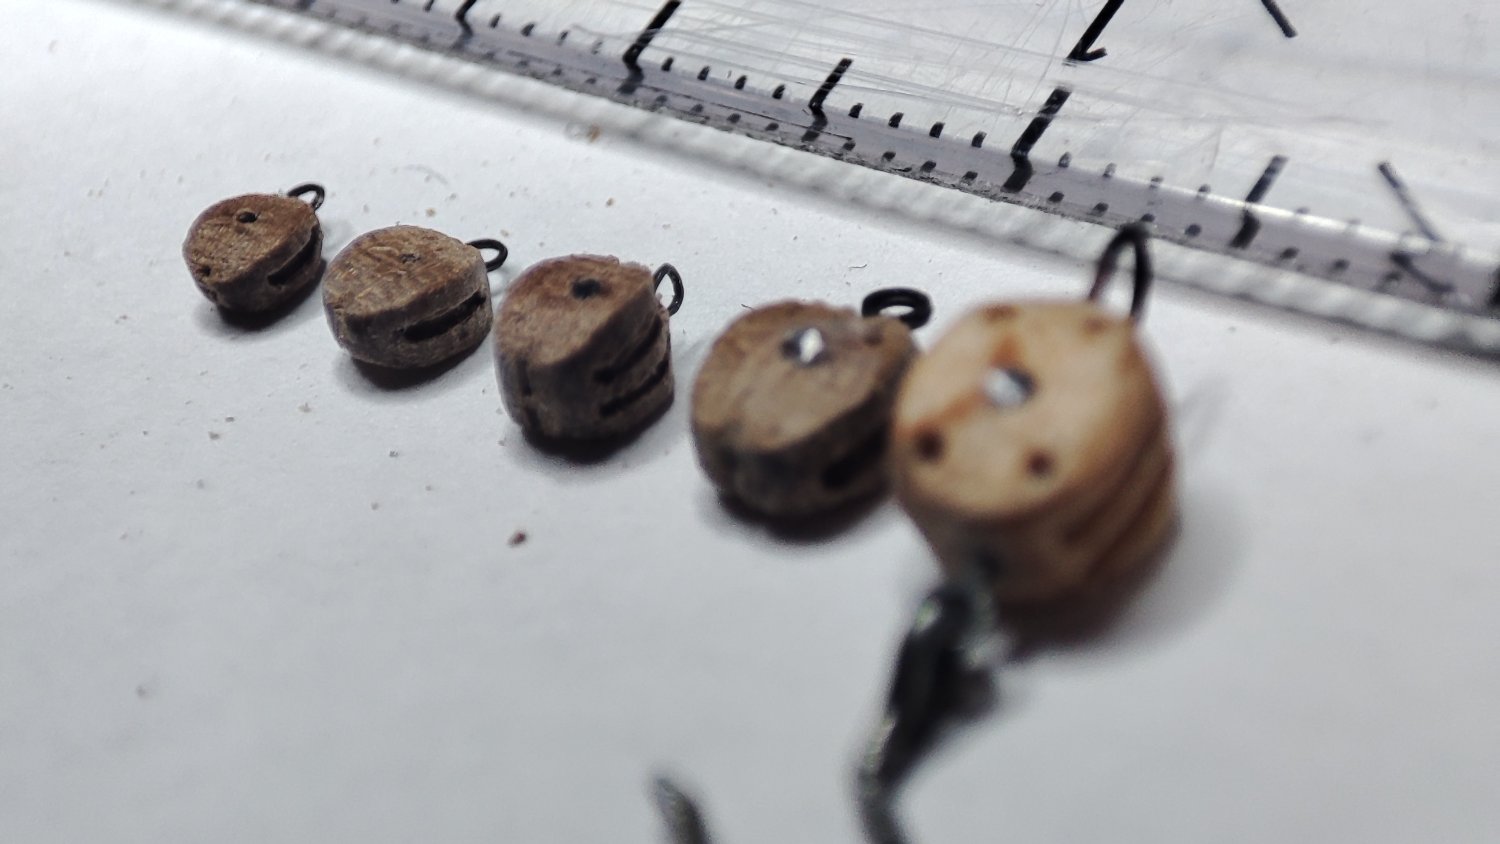
5, 4, 3 , 2,5mm.


-
I think thats a briliant advice Pat, makes sense, i will make them as i go so i could see how much more i need to make etc. thanks much V.
-
Rob, finger crossed. lets hope it will be fun i dont have lathe at this pioint. I prefer easiest possible solution if i could choose
-
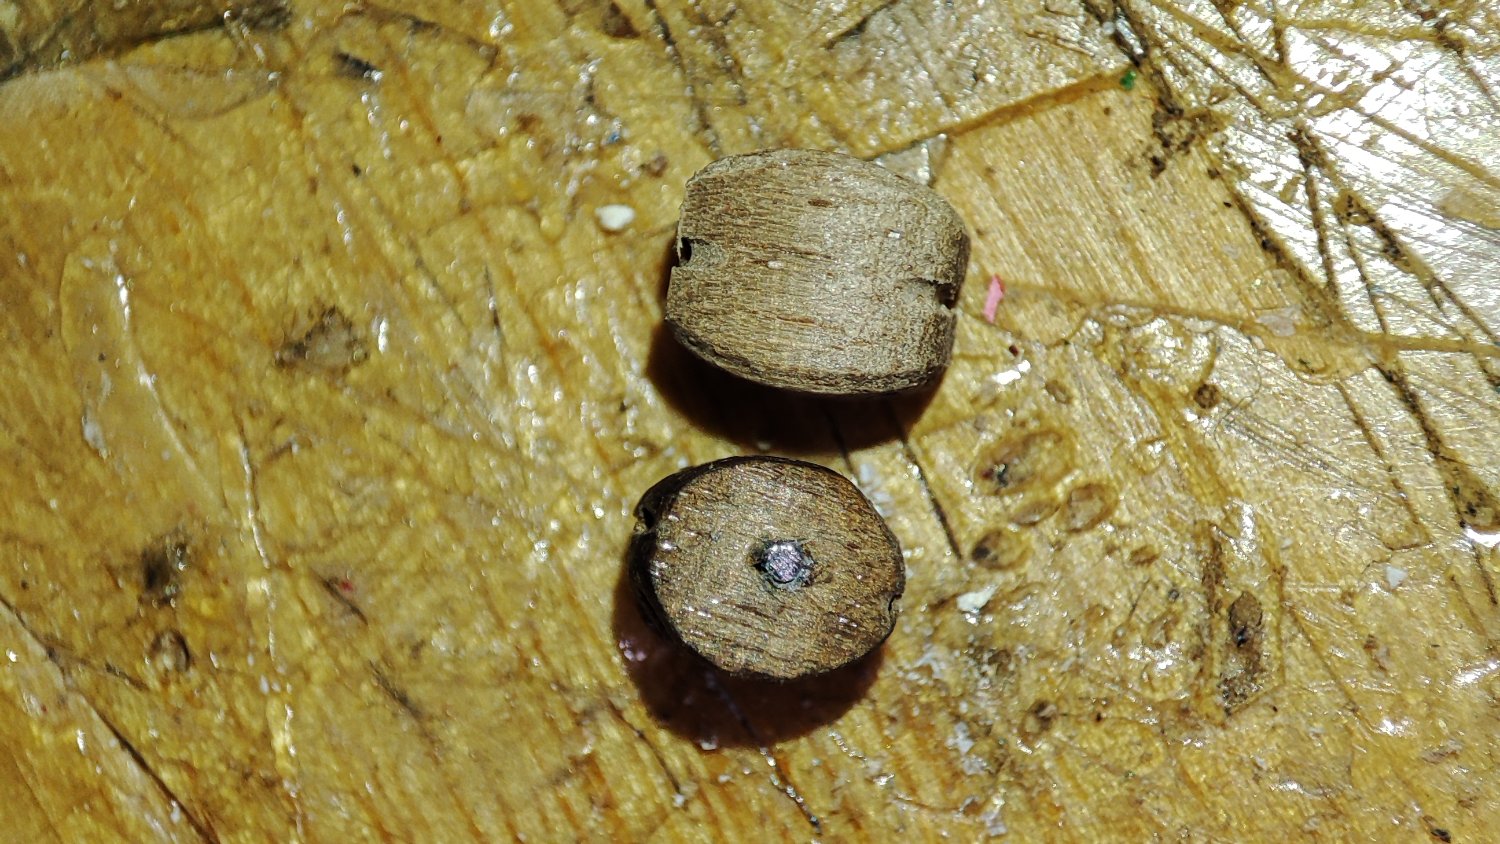
Thanks Druxey. I understand but i personally dont complain as far as walnut goes about grain. if properly sanded its ok. i dont have any power tools except of dremel to make pear or boxwood blocks so I cant "make" blocjs only modify. i know that speaking of 2 mm ones that will be real cjallenge. lets see, how it turns out.
-
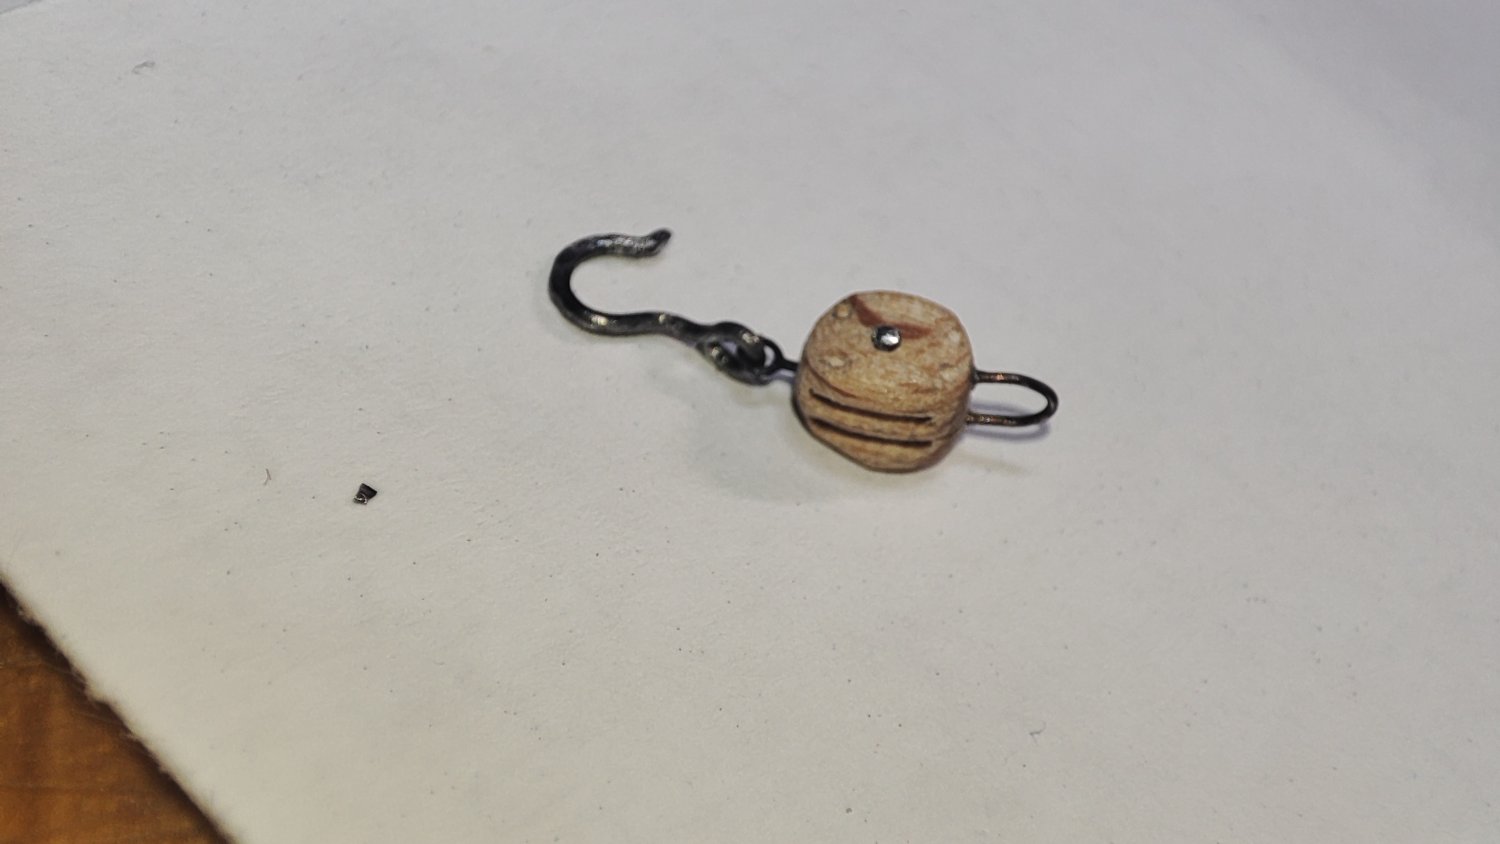
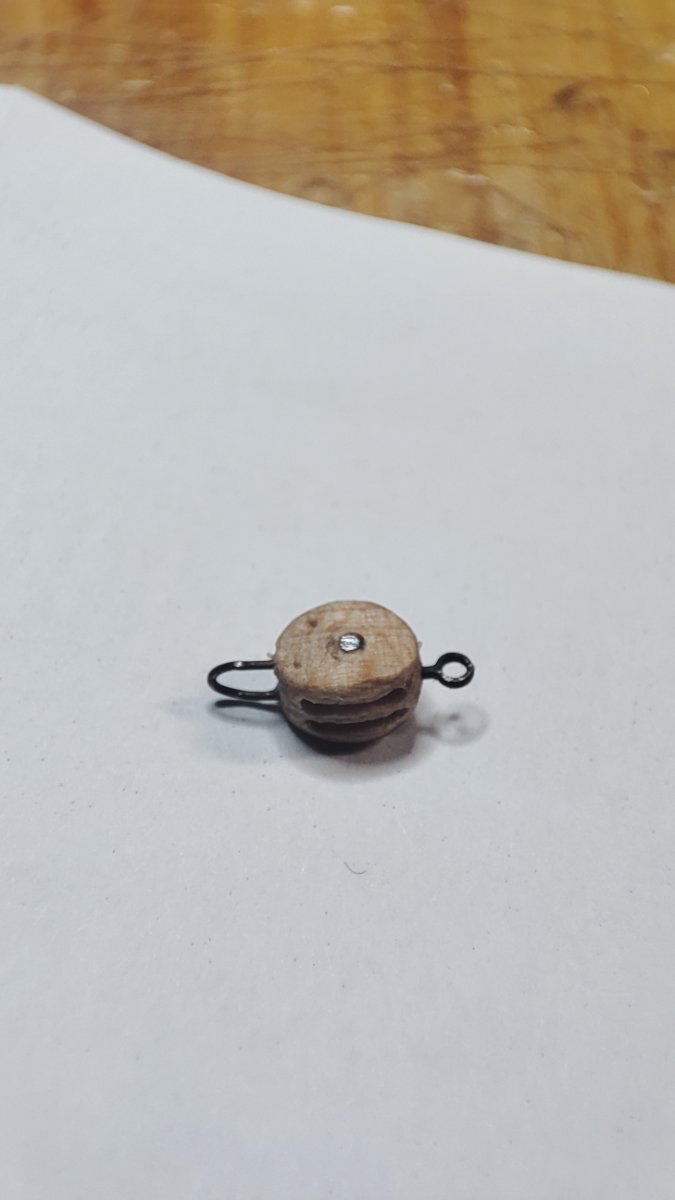
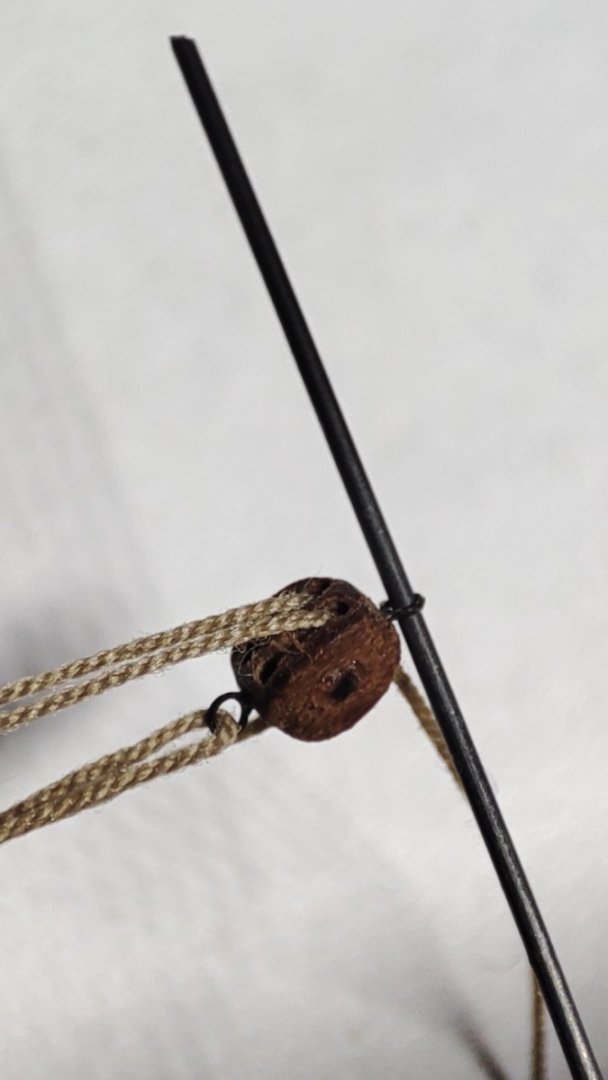
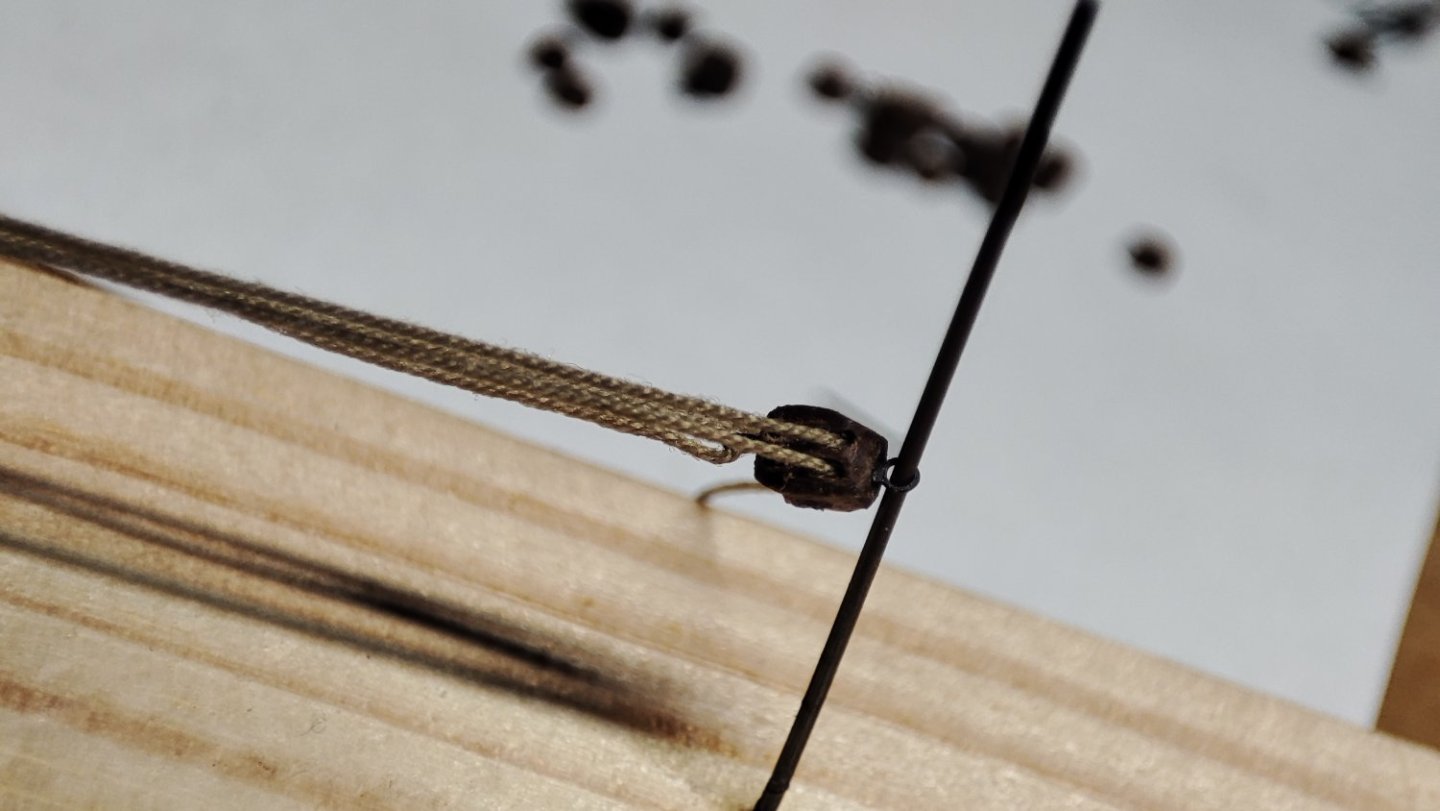
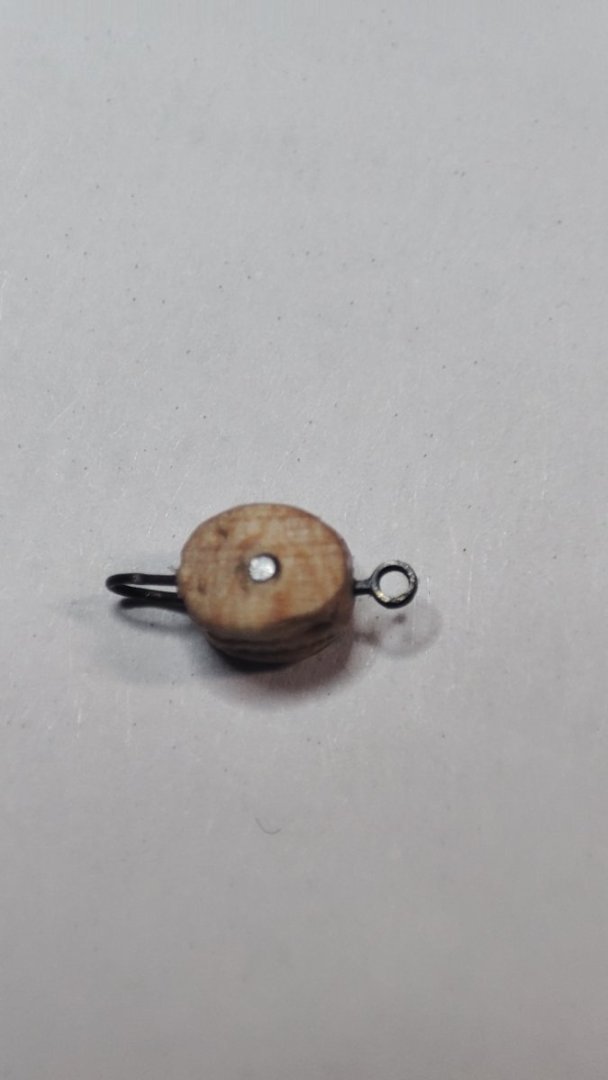
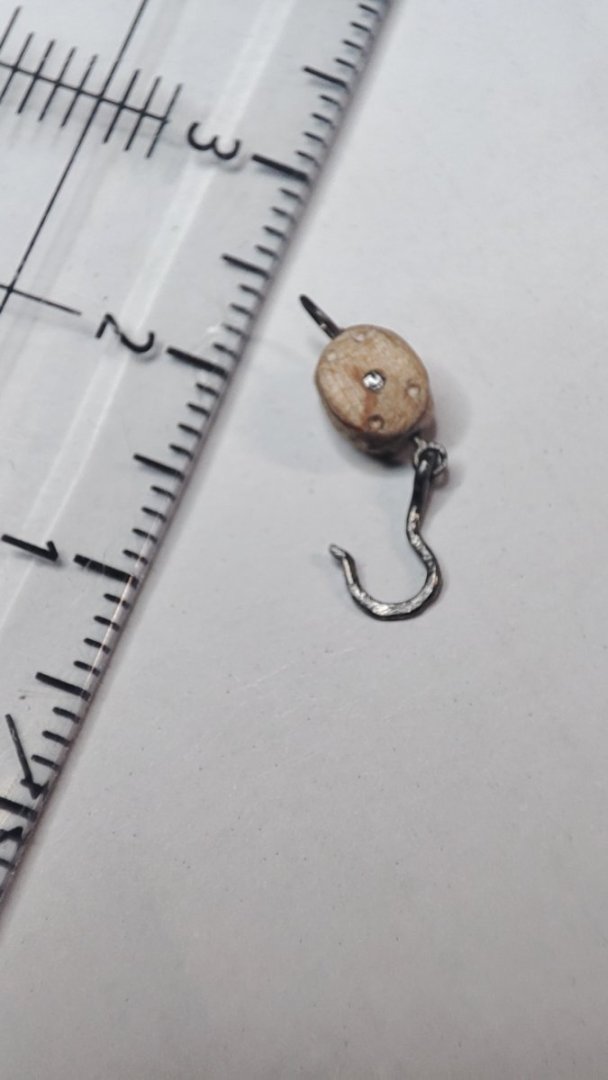
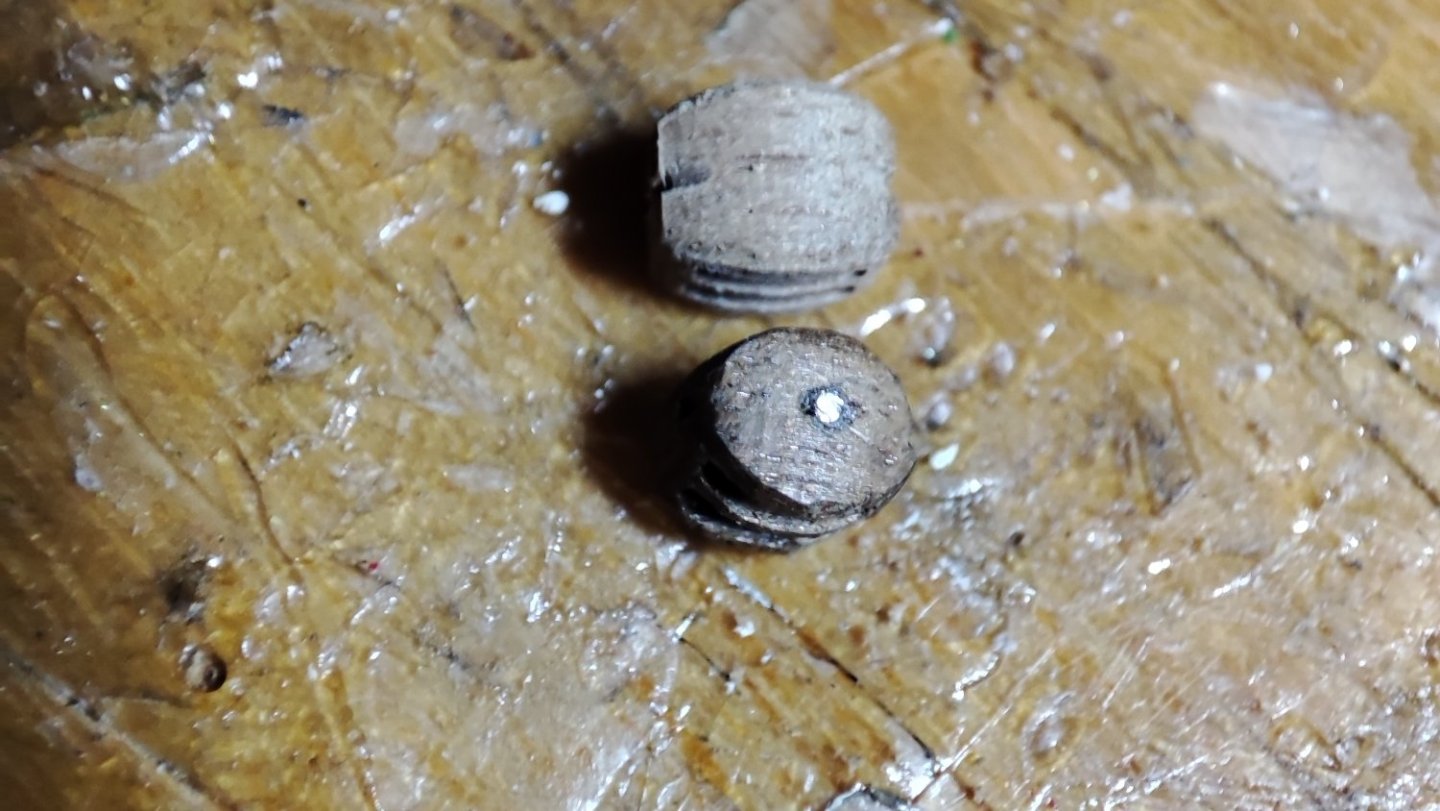
after frantic mode I set and transformed for to slow relax mode and for time being I set apart boat and issues i have to restore and tried to make first double biggest block prototype which is shy of 5 mm. so still very smal one. I obseved old inner strapped blocks and what other folks do and biggest commercial I fancy from syren model that is doable to assemble and functional is approx 6 mm. so I try to modify and round walnut squarish block for older boats I got some time back... I made thin strop so holes are intact for receiving ropes and not destroyed. what do you think ? now will try to go down the size to 4 mm 3 mm and smalles one is 2 mm block i need. triple single and double ones. tbank you for watching,V.


-
Thank you for answering Vladimir. will google it. im quite stunned by speed and constant unshakable precision in evety segment wow. thanks for having you here its quite an inspiration. top threshold indeed. looking forward & enjoying enormously. V.
-
@Snug Harbor Johnny Thank you. yes, there is definitely turning ability and friangle example of rotating around one of shorter side axis is great example i think. Im glad my photos have at least some use. its big learning process for me definitely. although i guess this yard is only javing lift. im surprised i didnt find anything about yard lift in underhill, but will keep trying. it maies sense as lift would ne intrusive i dunno really. V.
-
i see that we jave quite a lot in common. v.
-
Thanks for watching Rob. yeah youre right. Exactly, more less standing finished I need to step away to create distance to return with small right corrections like spreaders, making gaff... will pause for quite a while... with reading yards commanding underhill for which im always thankful to you. i would bd in blck hole without it :)) i m about take time to think to what extension will i try running rig. but most likely only braces and haliards. will see what im up to for such crowded task. need better tweezer, I feel sometime like a surgeon sewing cuts after rattlines :)) Meanwhile I could be preparing blocks...where bigger scale will come handy again. by the way do you have a next project for yourself already in mind ? clipper i know V.
-
Very pretty on these rattlines George. fine progress. looking fwd to next. take time. will be worth.
-
:)) speaking of, Paul, I recently find myself doing it quite often with her height. just dont tell anyone D . she is pretty isnt she. yep sorry overdecorated cutty sark, :DD I value american clippers higher. glorys elegance unsurpassed from stem to stern. . really masterpiece of McKay, marvel of end of wooden golden sail era. i also recomment checking absolutely fully rigged fantastic miniature model of Rob Wiedderrich, with glorious figuread despite we parted ways with different stern curvature depiction. after i finished my amateurish attpt of cutty sark, i knew nothing of american clipper...untill i saw them. she has warship entry with tender lines of lady. He gambled every penny on her literally. amd story behind her is fascinating. i only imagine a vision she must have been entering harbour. people would rush to see her between all tiny boats around. yet i dont have custom to keep models as i let all ships i built already go. i dont have posessive habit.i like beauty and peace of making it and when its done she moves elsewhere no matter where if inferest. i miss 3D reality as photos are only poor glimps of what real 3D eyes see. in some way, 2D is perfect for building process and communication but i think it spoils too much in bad sense. in every side of picture there is missing what is essential in boats. third axis, depth of vision. if could be possibld i would likd to watch every boat alive, ...for that museums are worth visiting. and i suppose for that is this hobby alivd amd will never cease. plan is 2D poor drawing. photo is 2D less poor depict of work. real boat is somethinv different to see ..well she will be probably first i will consider keeping for myaelf. with wooden stand and glass cover. personally she is really not thwt big in living room . as srandard tepevision. she will orbably have most precious place in room. sorry fireplace. :))) .sorry for my thinking loud mood. probably uninteresting anyway :)sure thanks for comment. ..