HOLIDAY DONATION DRIVE - SUPPORT MSW - DO YOUR PART TO KEEP THIS GREAT FORUM GOING! (Only 51 donations so far out of 49,000 members - C'mon guys!)
×

Vladimir_Wairoa
-
Posts
1,566 -
Joined
-
Last visited
Content Type
Profiles
Forums
Gallery
Events
Everything posted by Vladimir_Wairoa
-
 Great documentation as always Rob. Appreciated indeed. V.
 -
Thanks for correction Rob. Not pure artistic license hovewer I briefly read thru boston article 1869 upon which we are building this mammoth and its a bit confusingly written at first sight counting pump boxes together which amounts 6with miselading sentence "thus she has in all six pumps for the hold" ... my bad I didnt pay closer attention to it ...but no harm whatsoever. right, 1 wheeled and two standalone pumps of iron. Thanks again for correction.
-
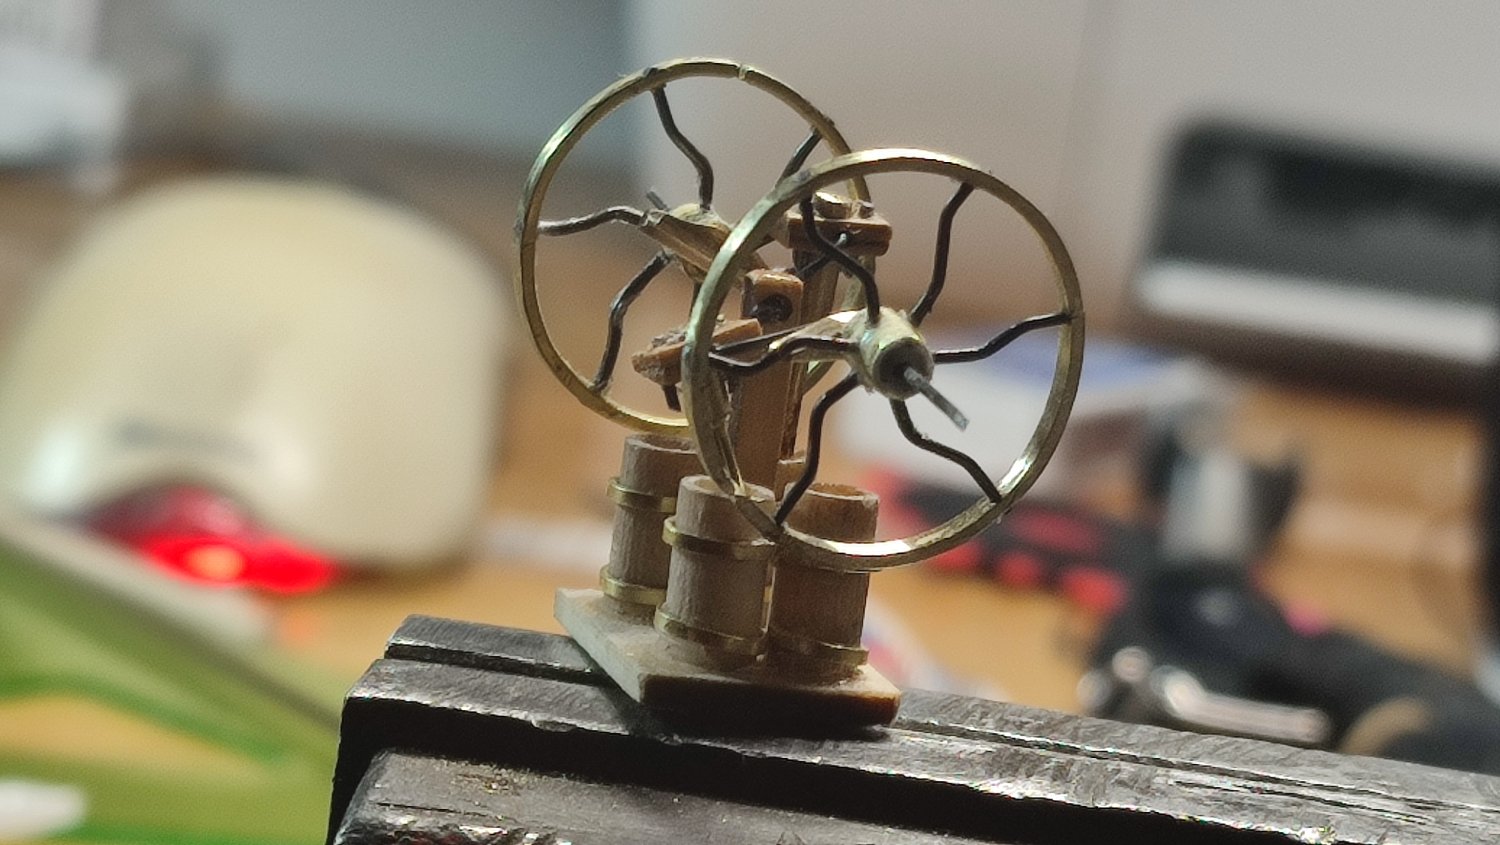
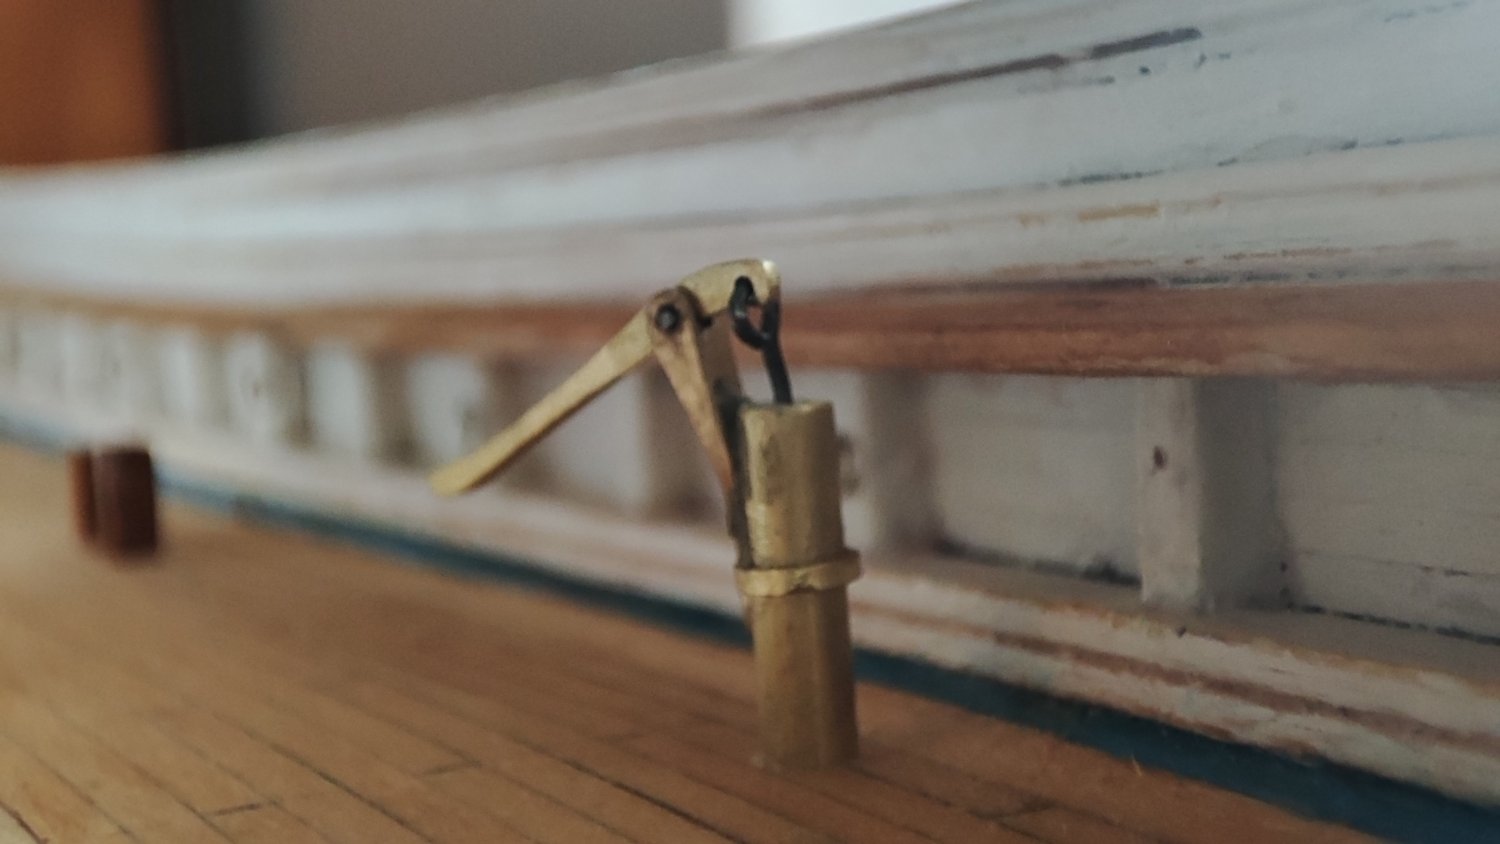
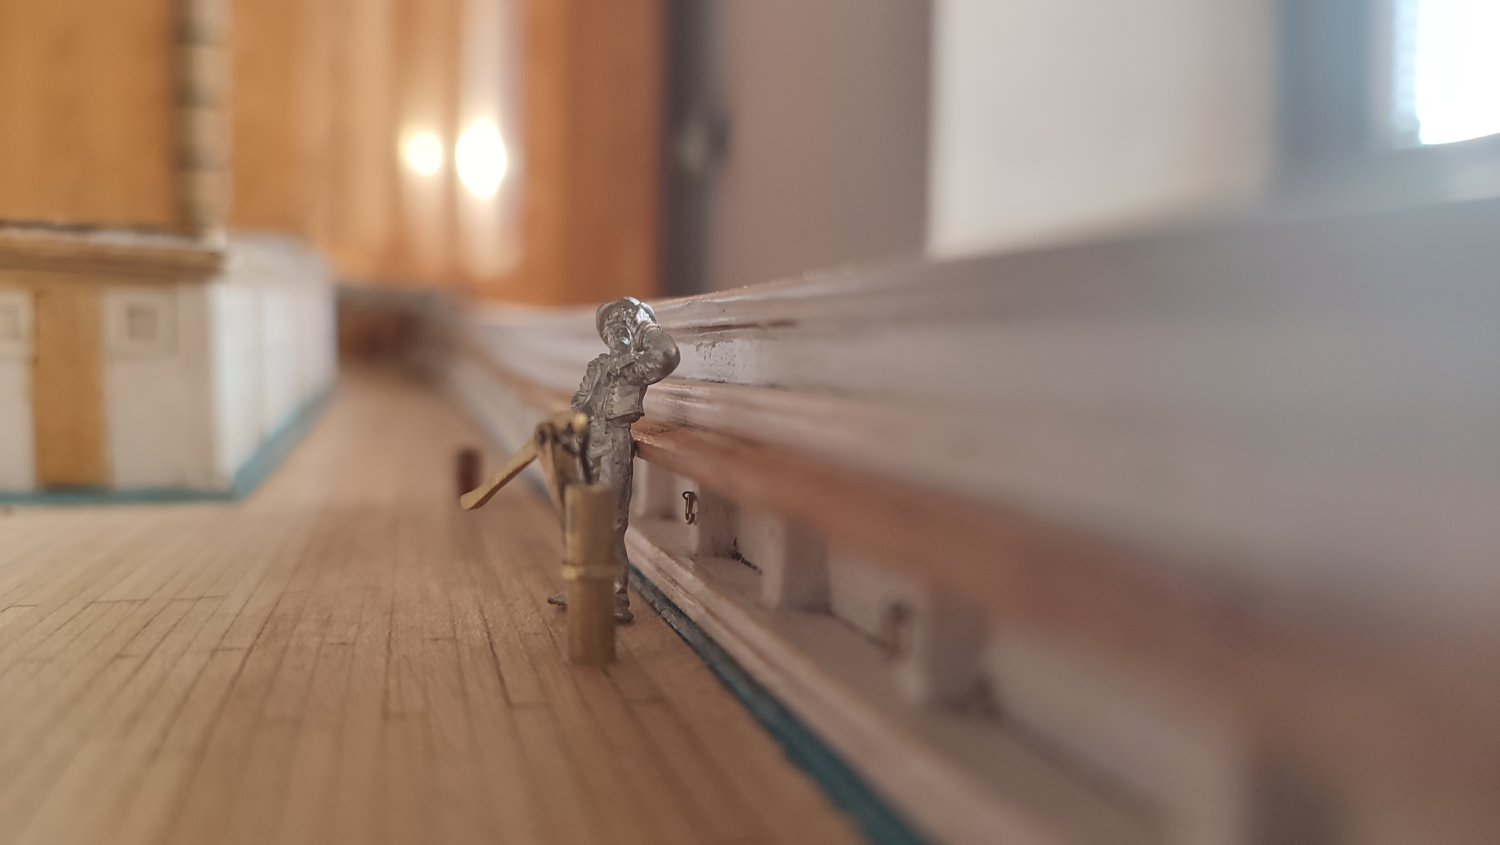
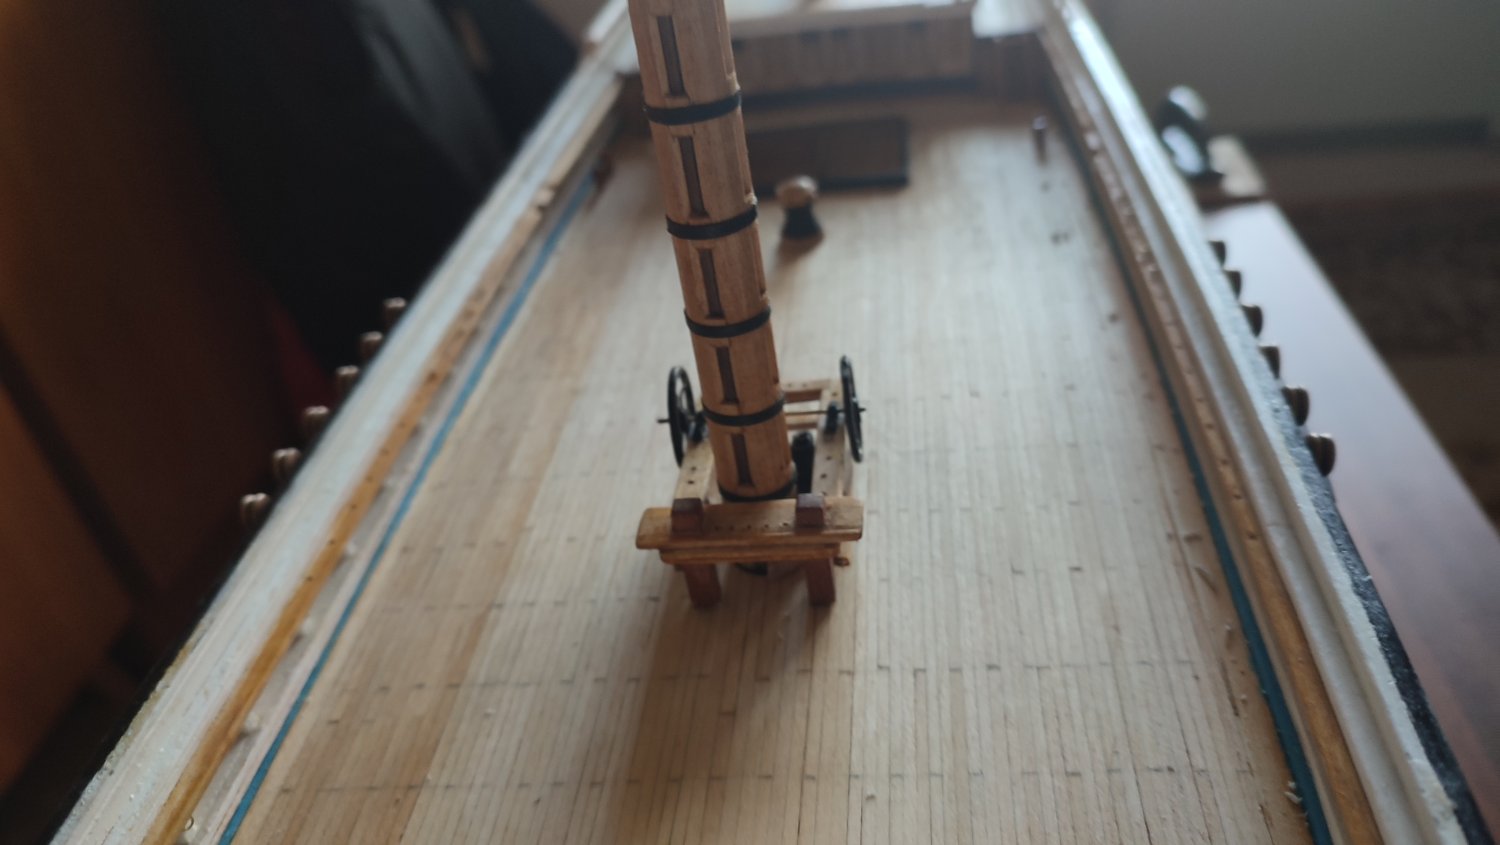
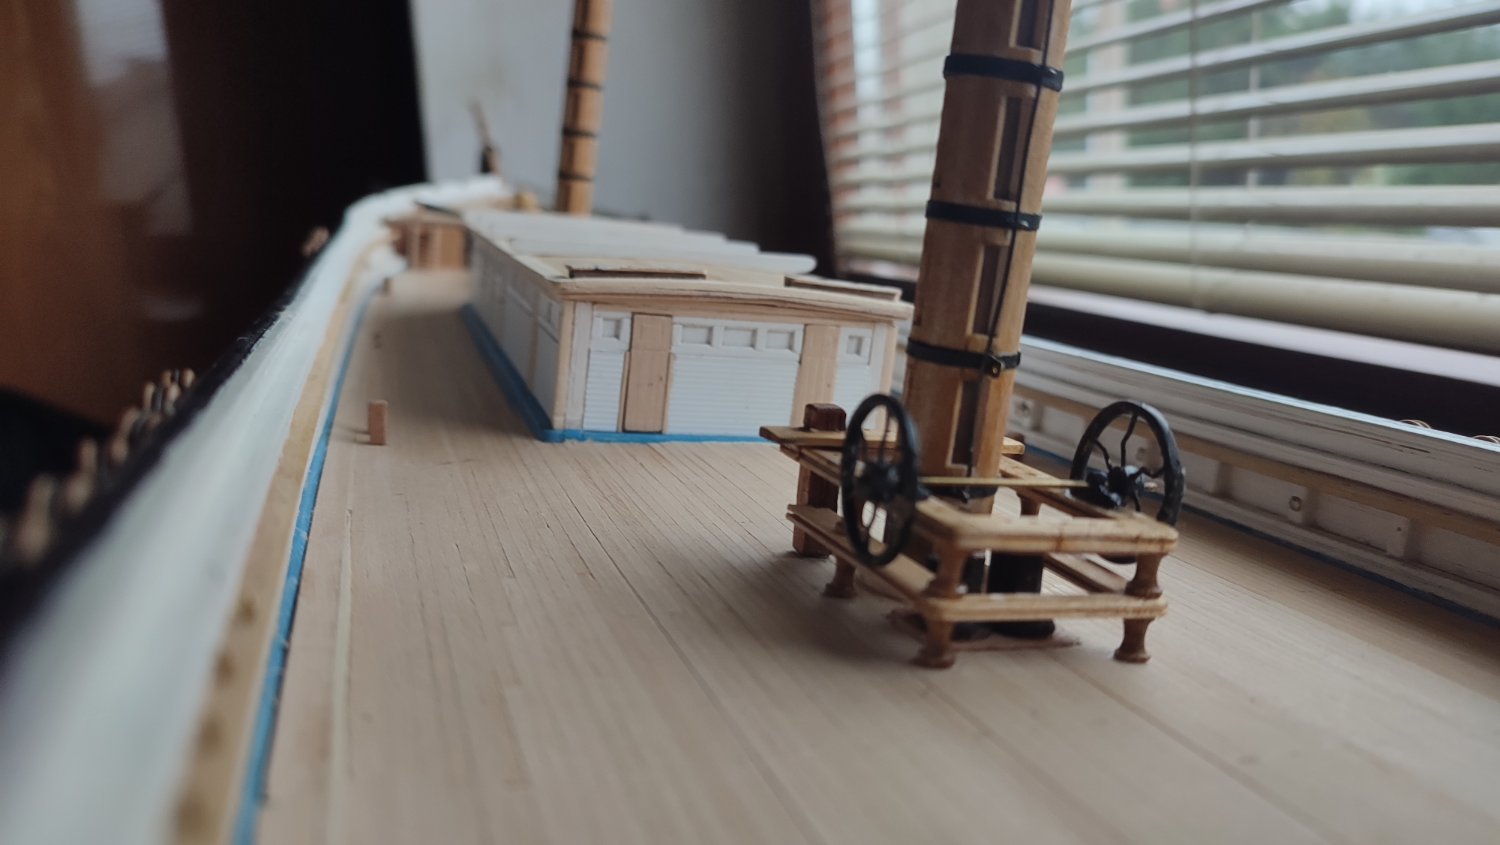
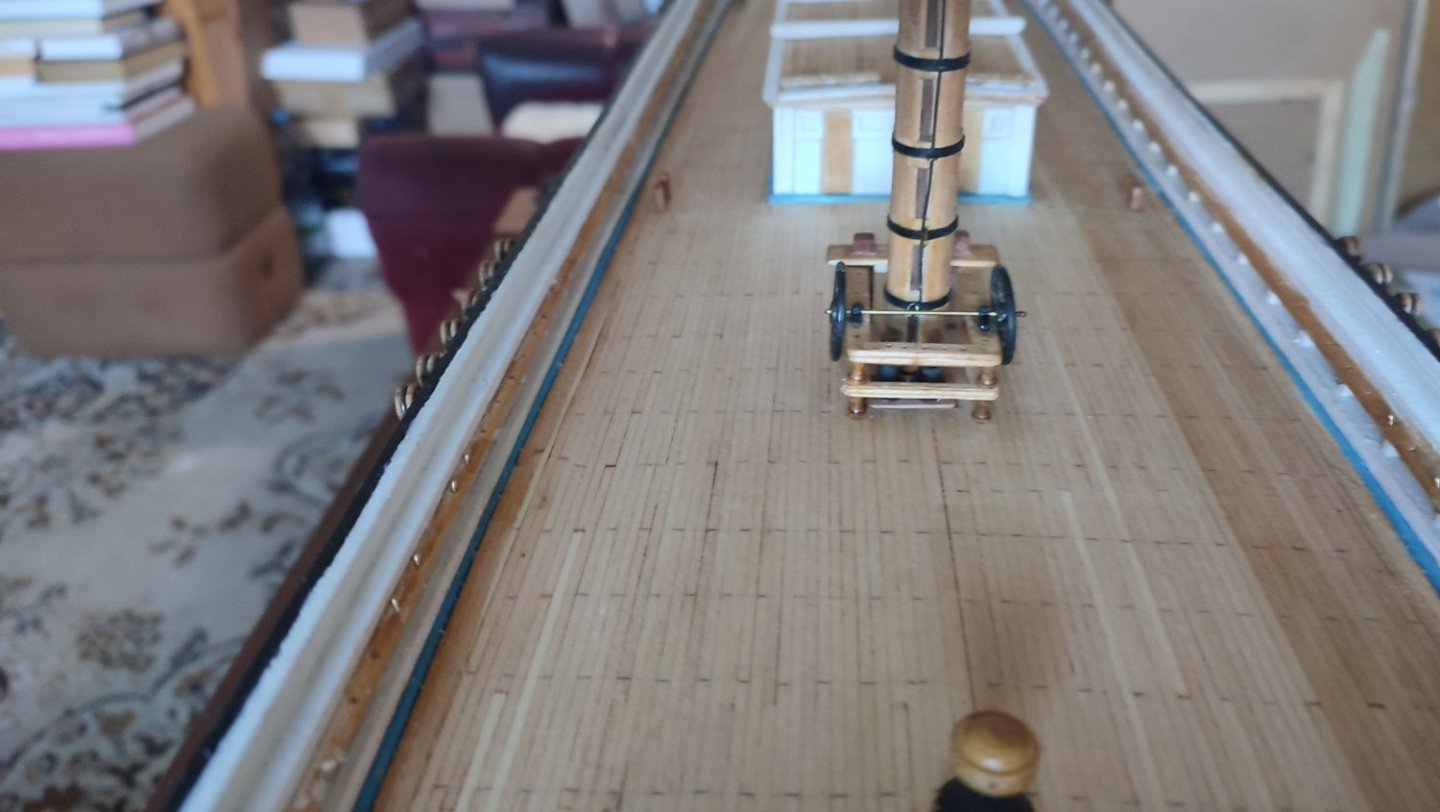
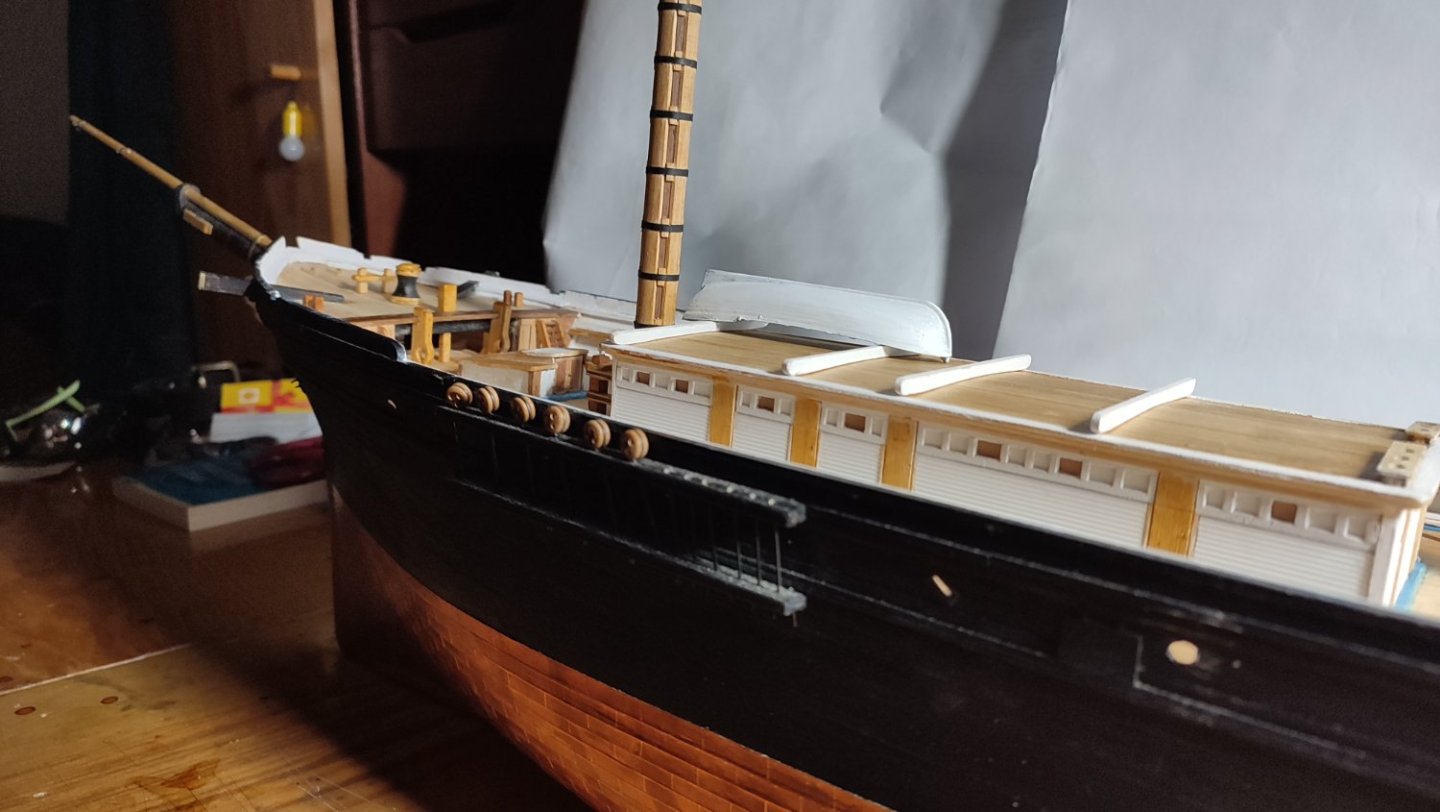
Pumps. There was 6 Small ones around entire Boat, Up and downdecks and oné large wheeled around main mast. I found several pics about design of single handed ones around 1850 of Americas design, but AS We really dont have pics there IS at least little place for fantasy. Not in measurements but in design and shape. Even strange world in modeling. Seems wood got definitely substituted by metal and fancy ornamentals followed rigour of i Guess Victorian era in England, fashion that dip Down into technical world As Well but im no expert of states history. I found few beautiful pics of bilge pumpa in web. Still not blackened. I am waiting fór birch cassey substance.....:) Will follow later on. ... ..thanks. v.


-
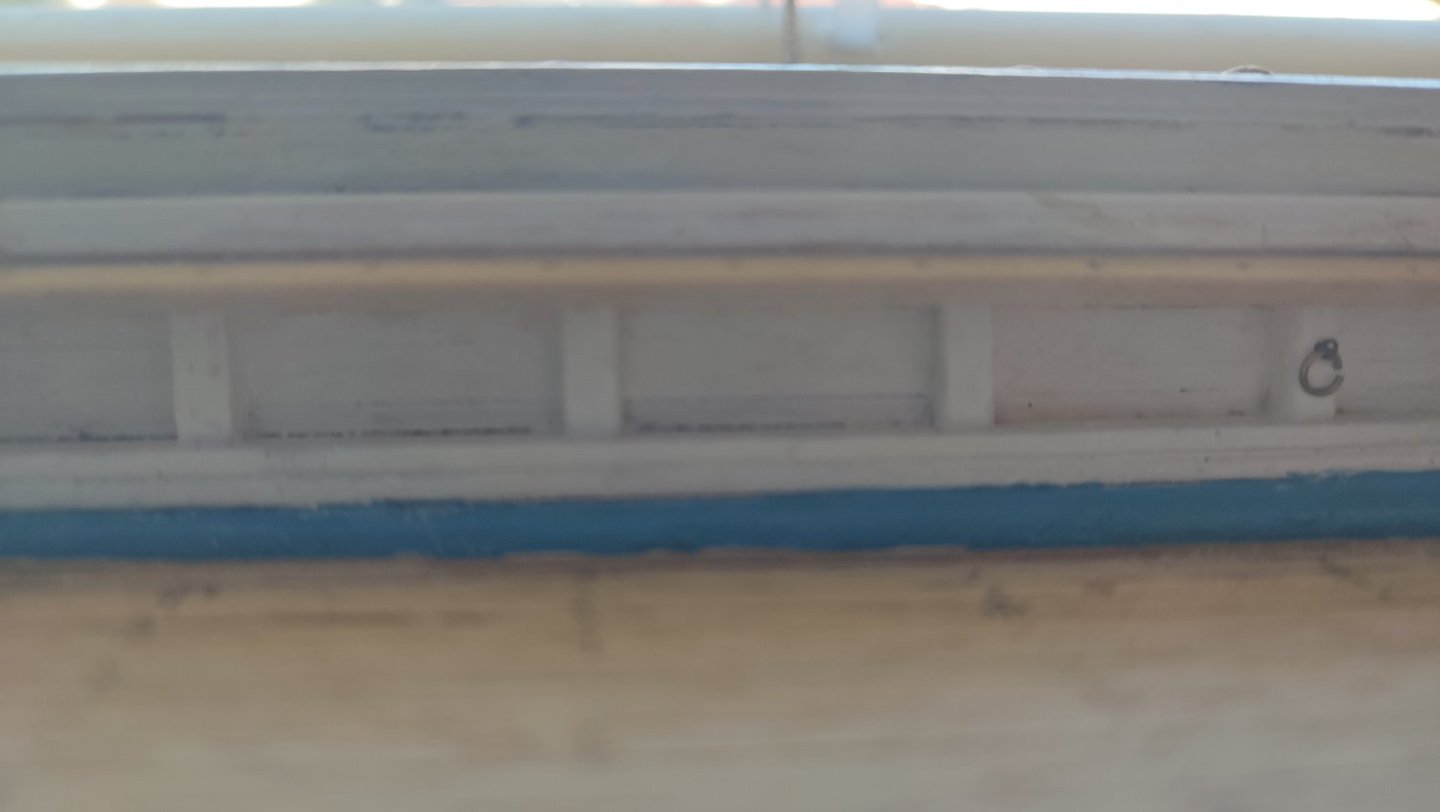
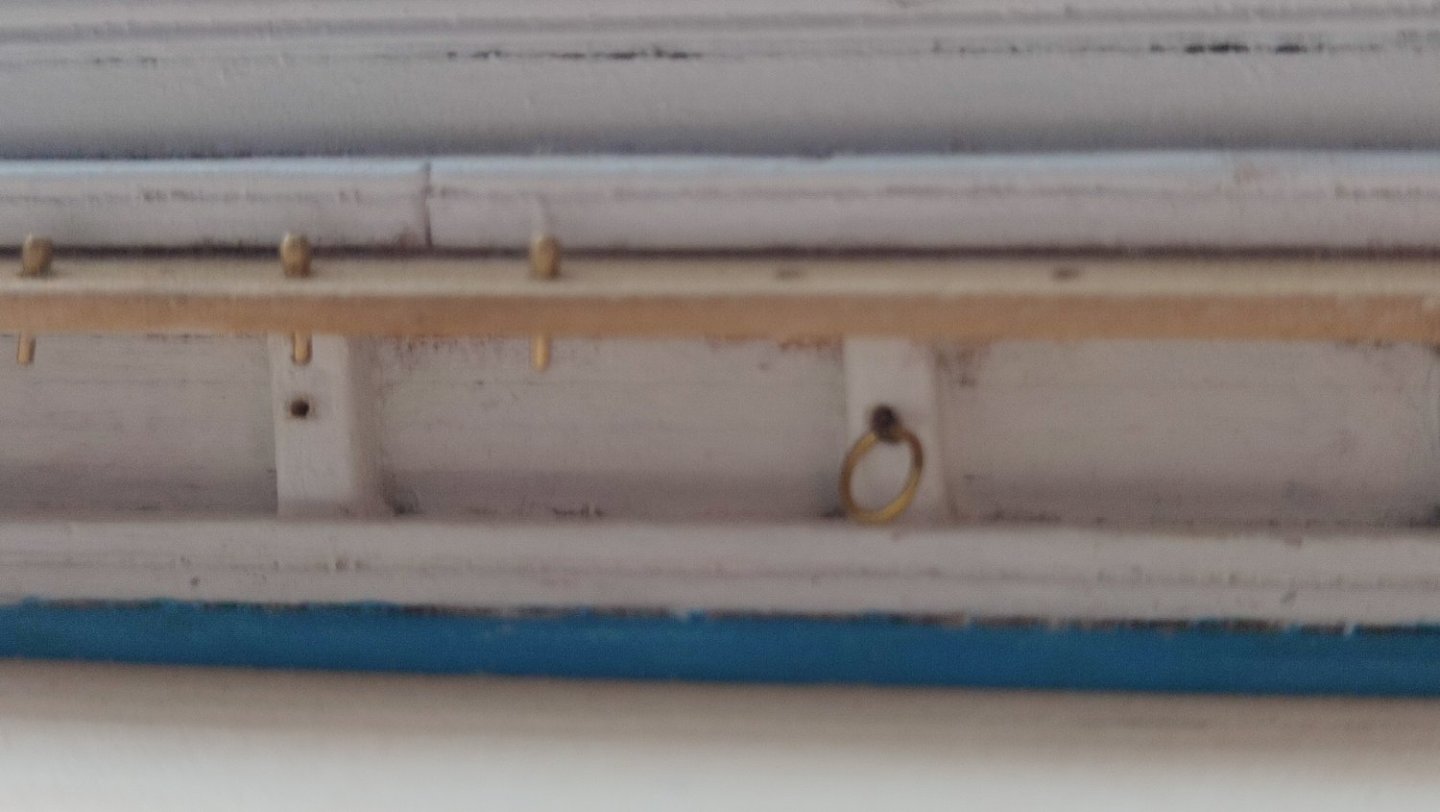
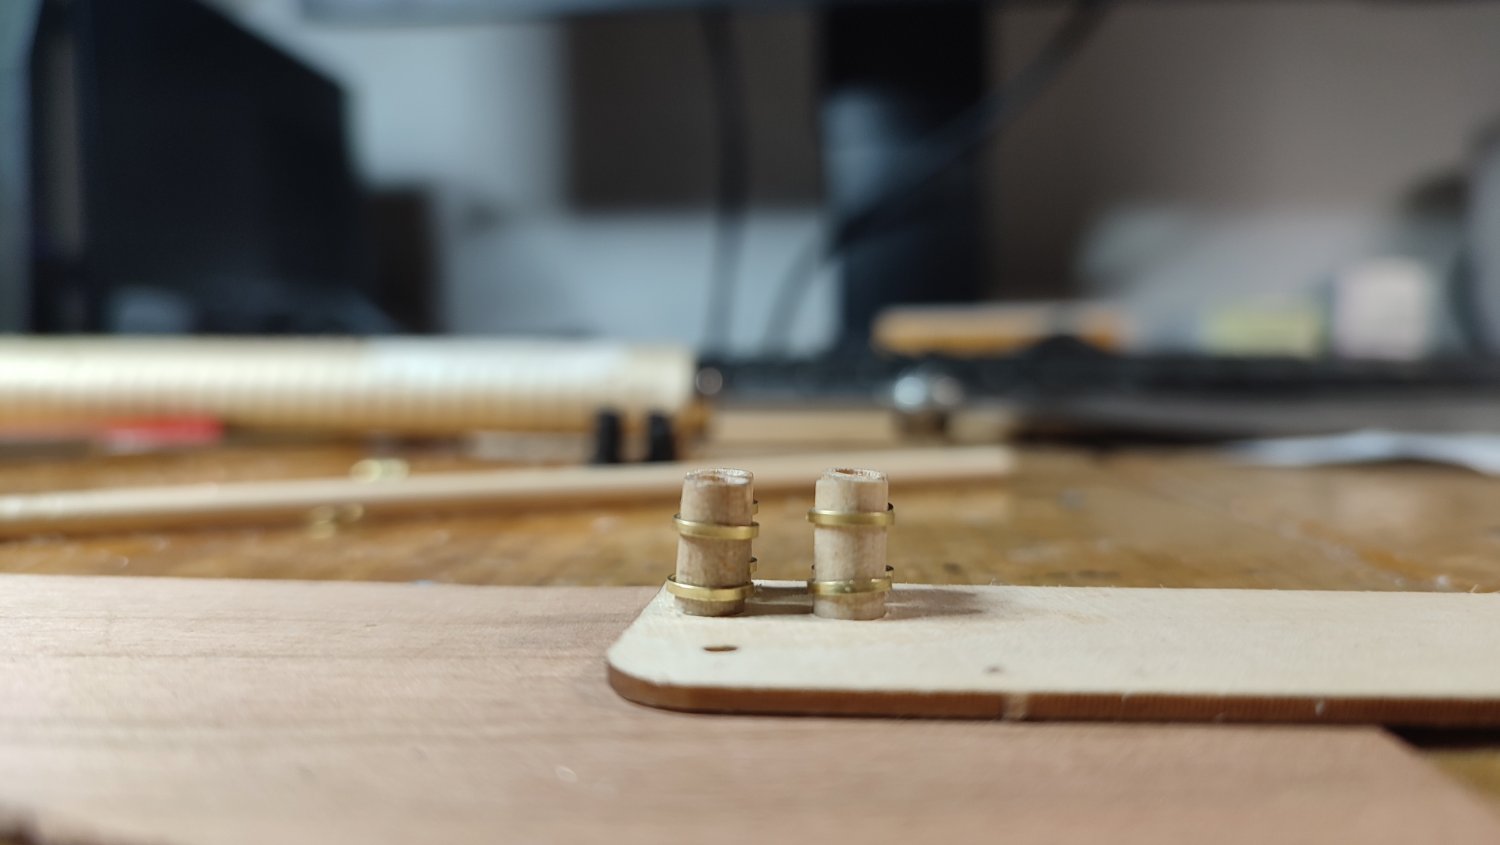
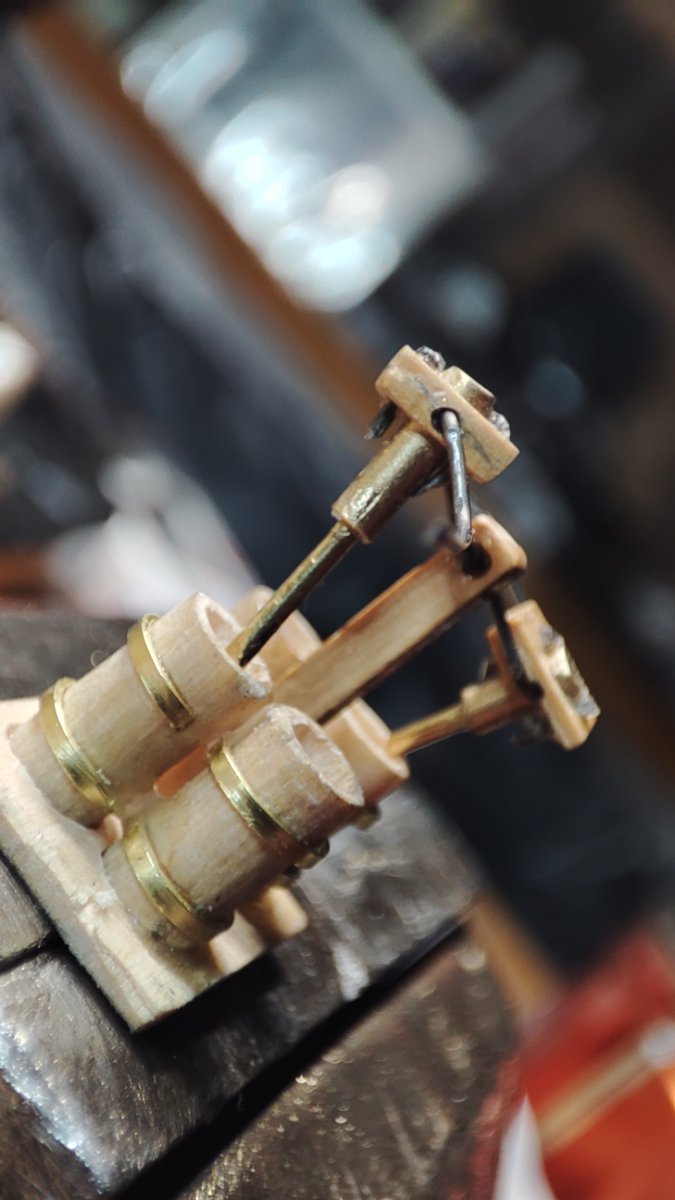
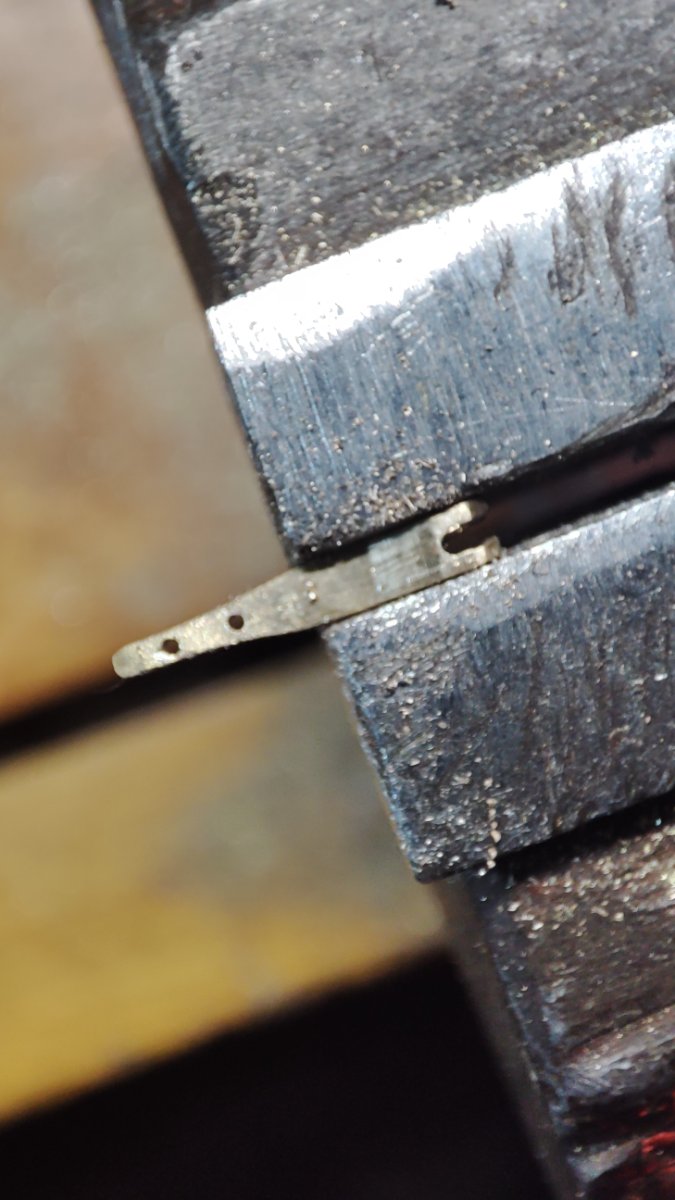
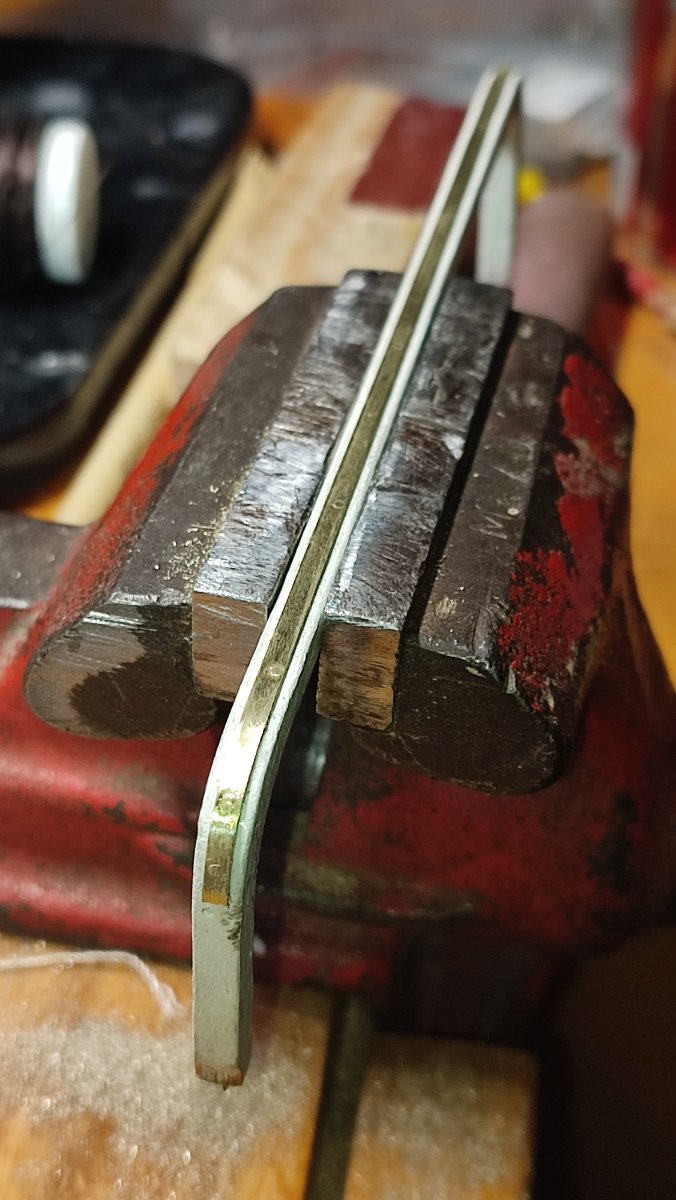
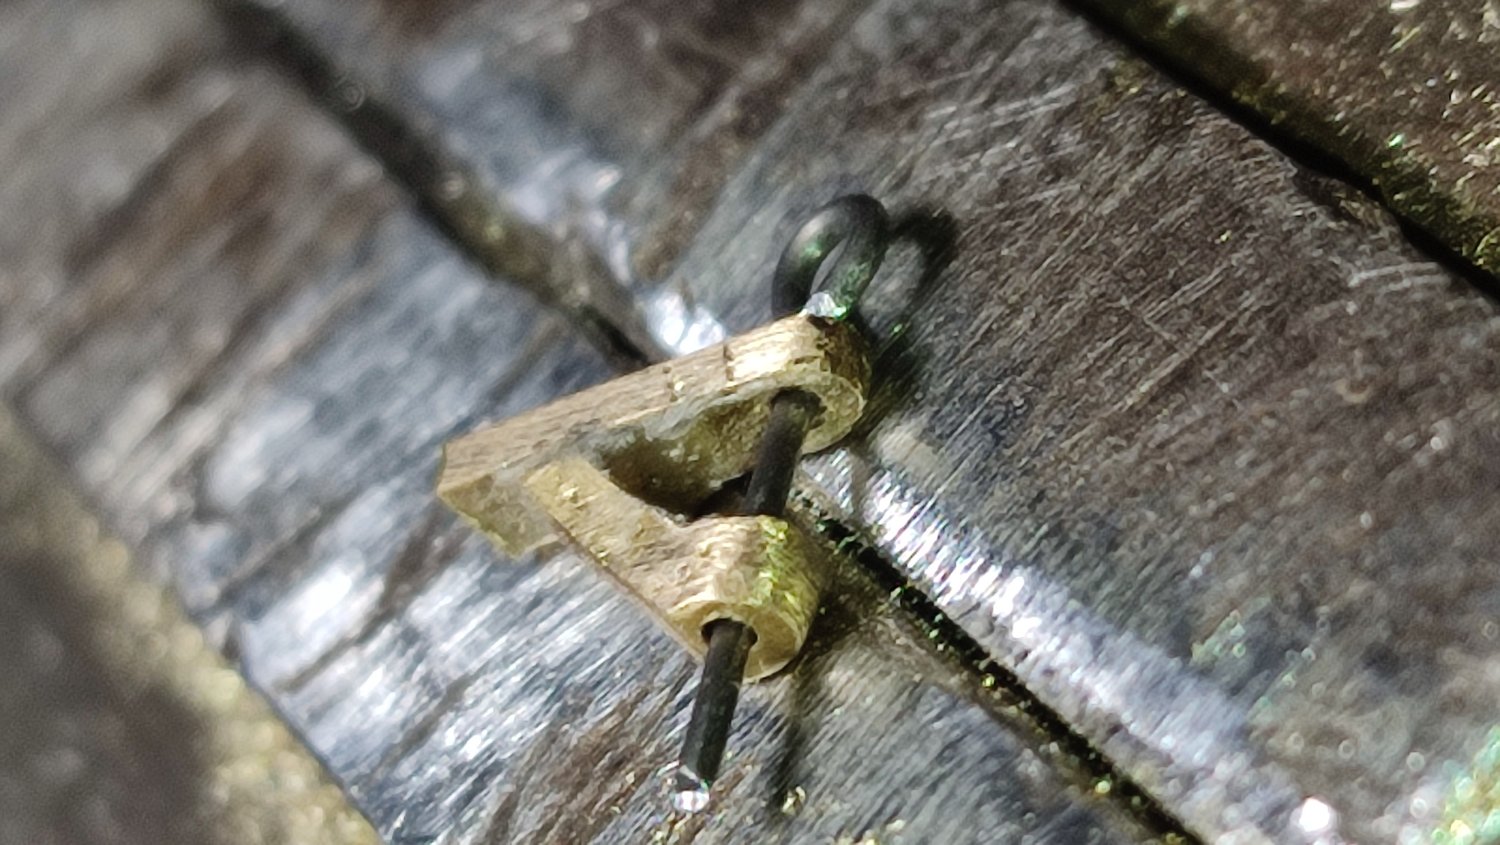
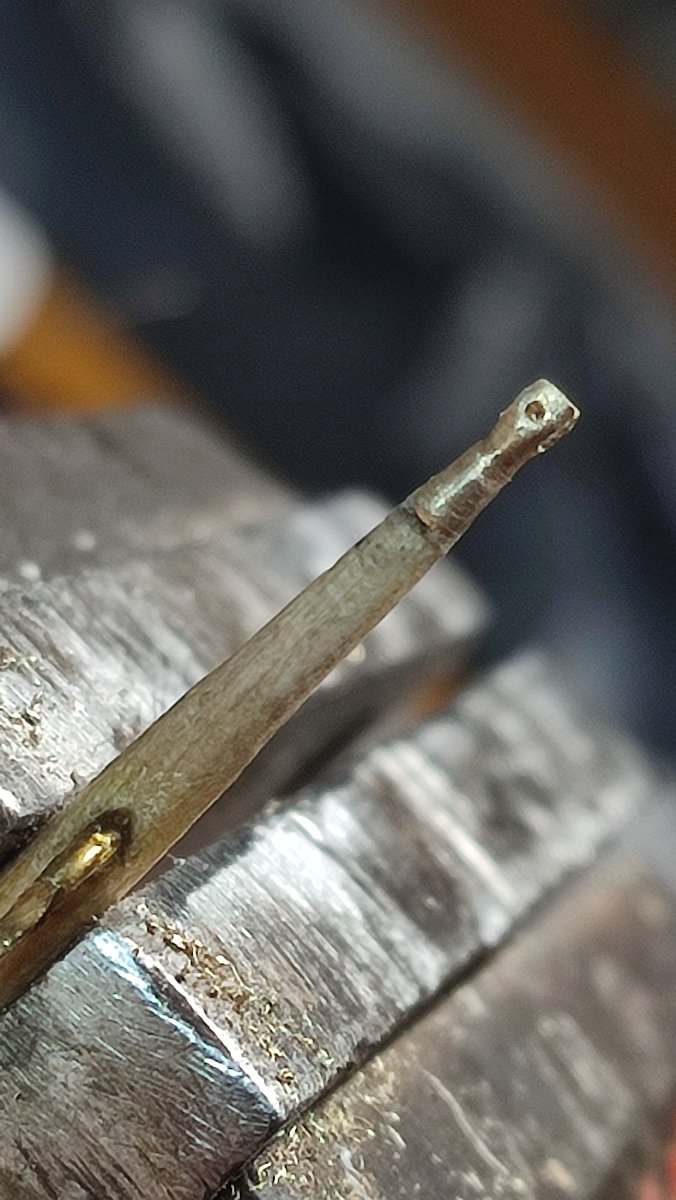
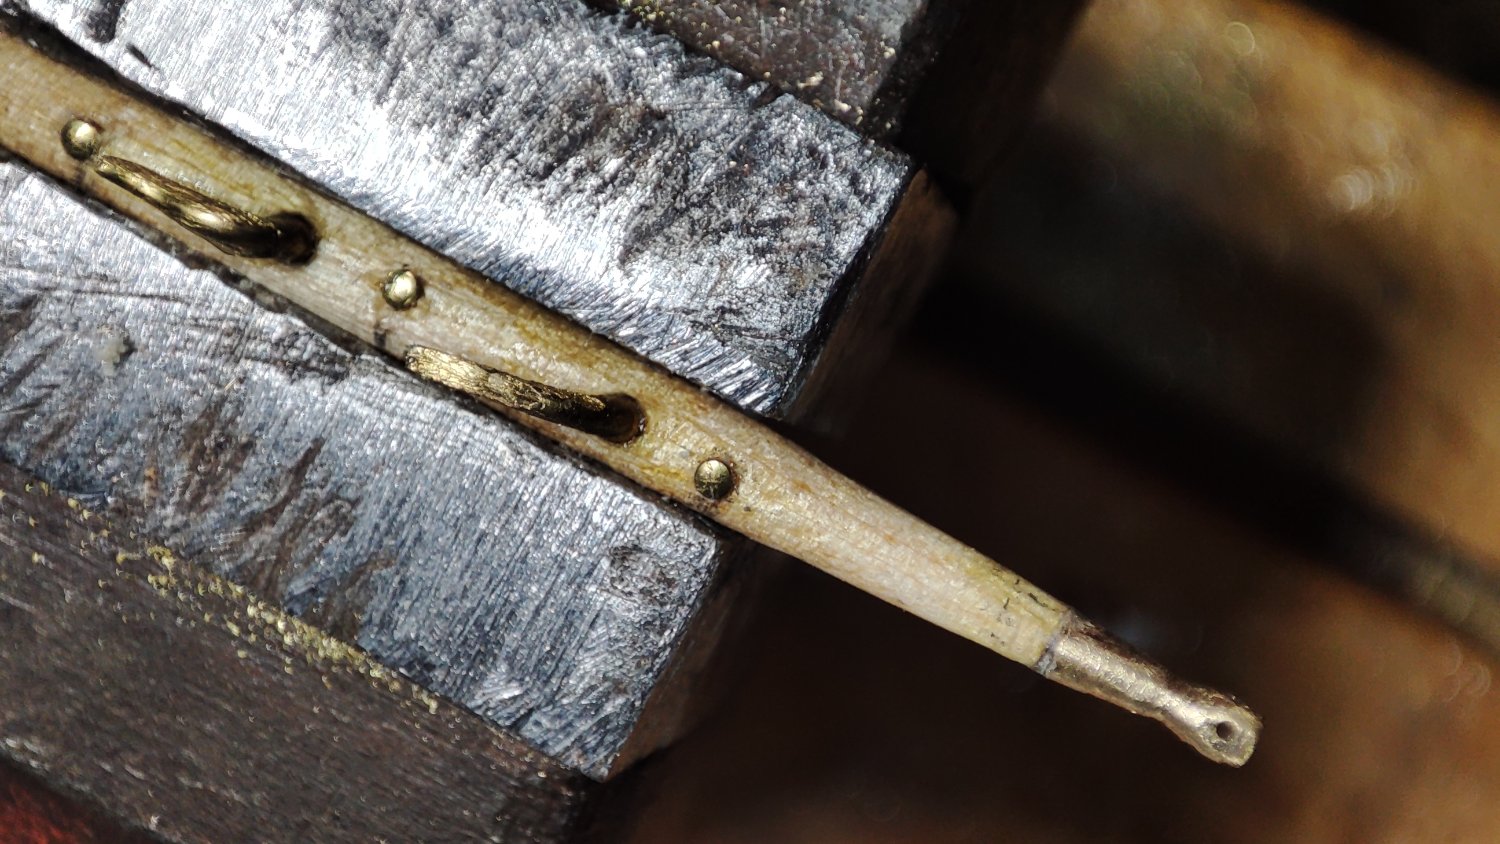
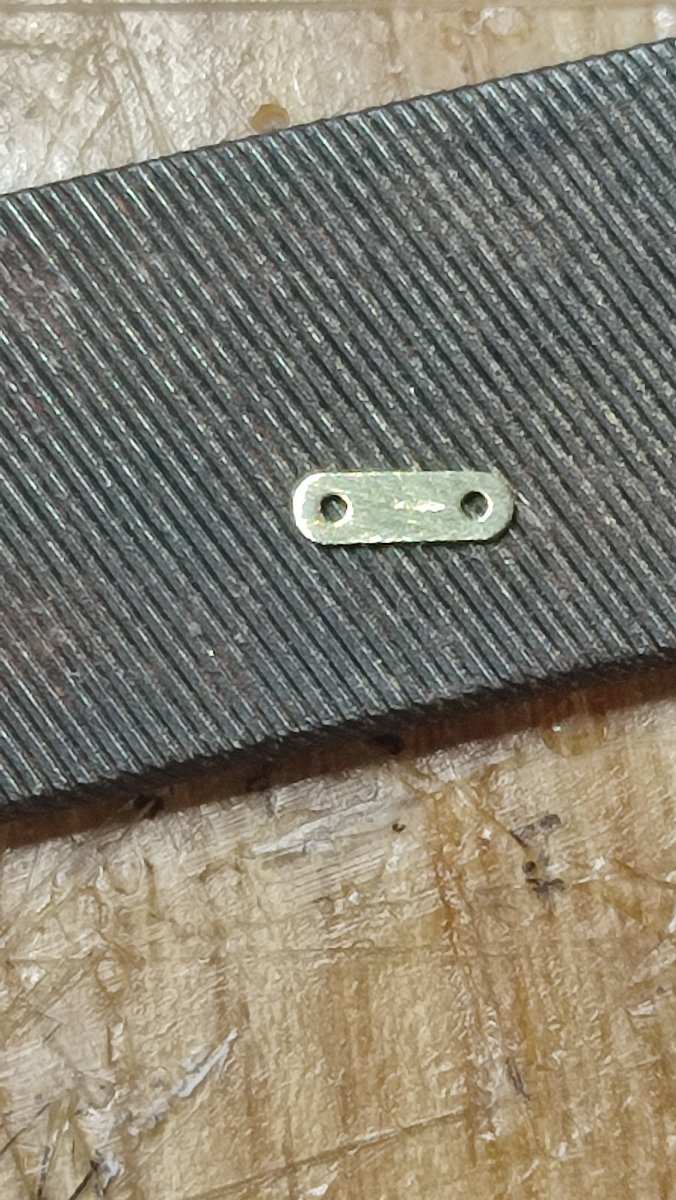
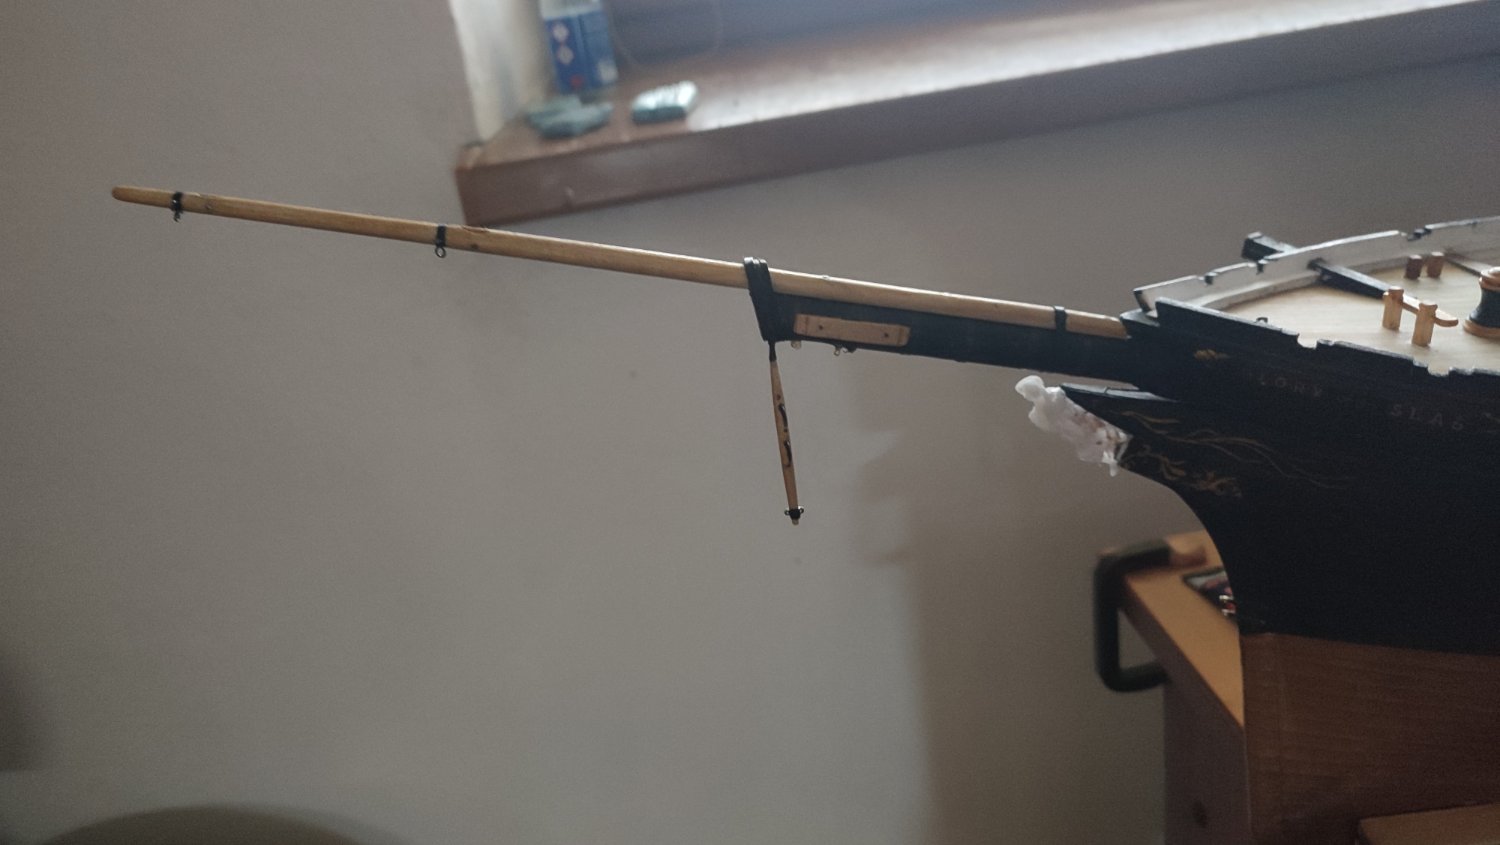
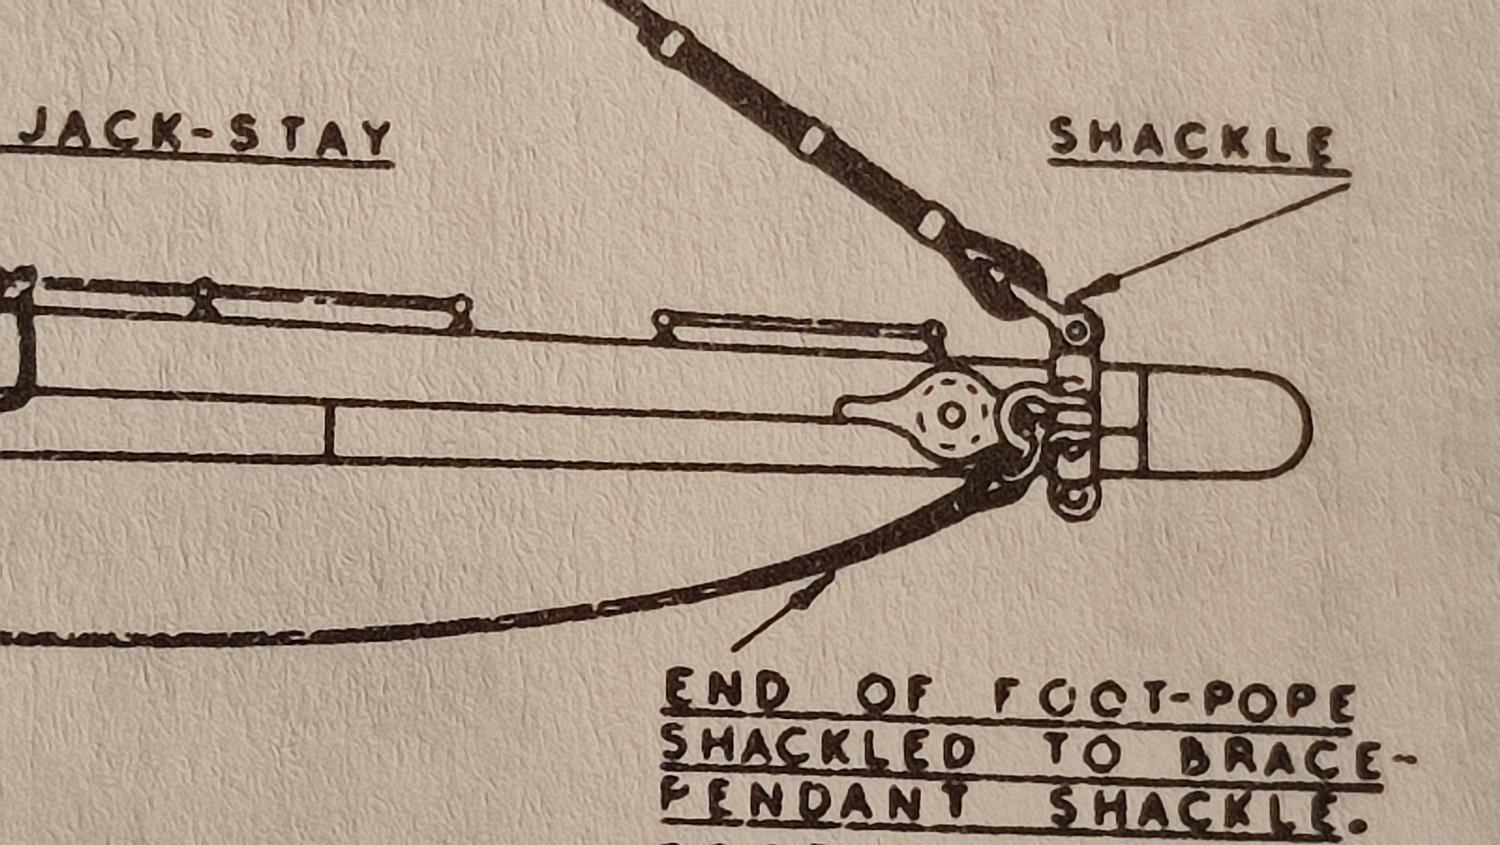
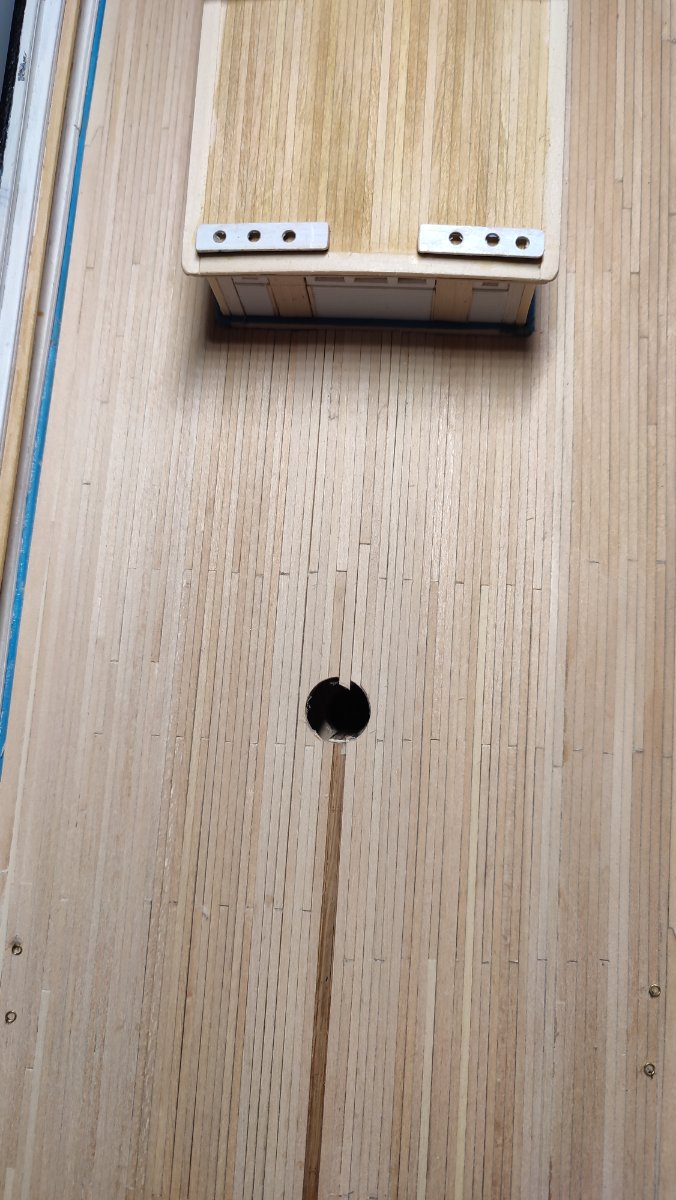
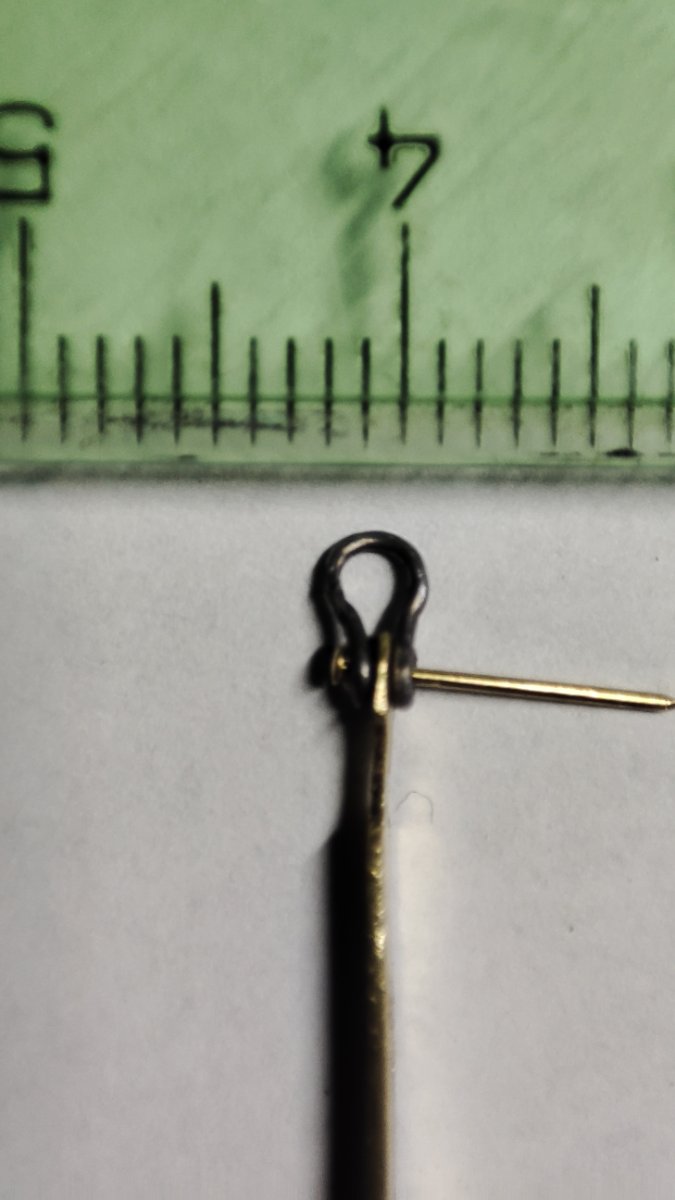
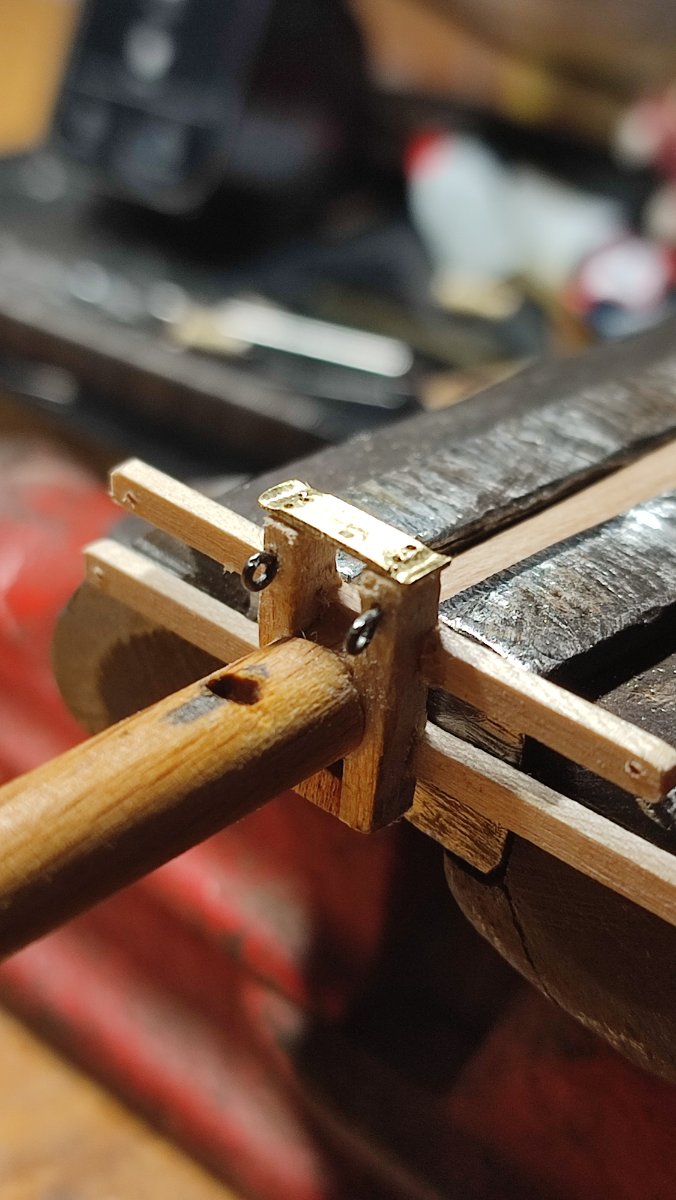
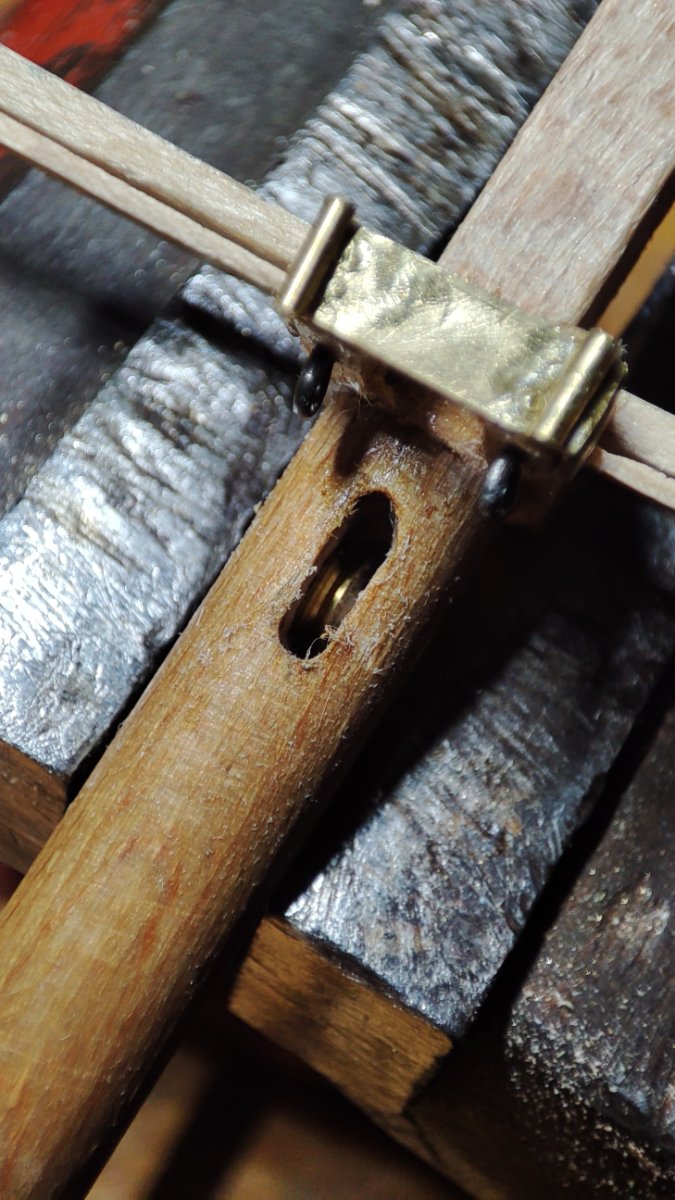
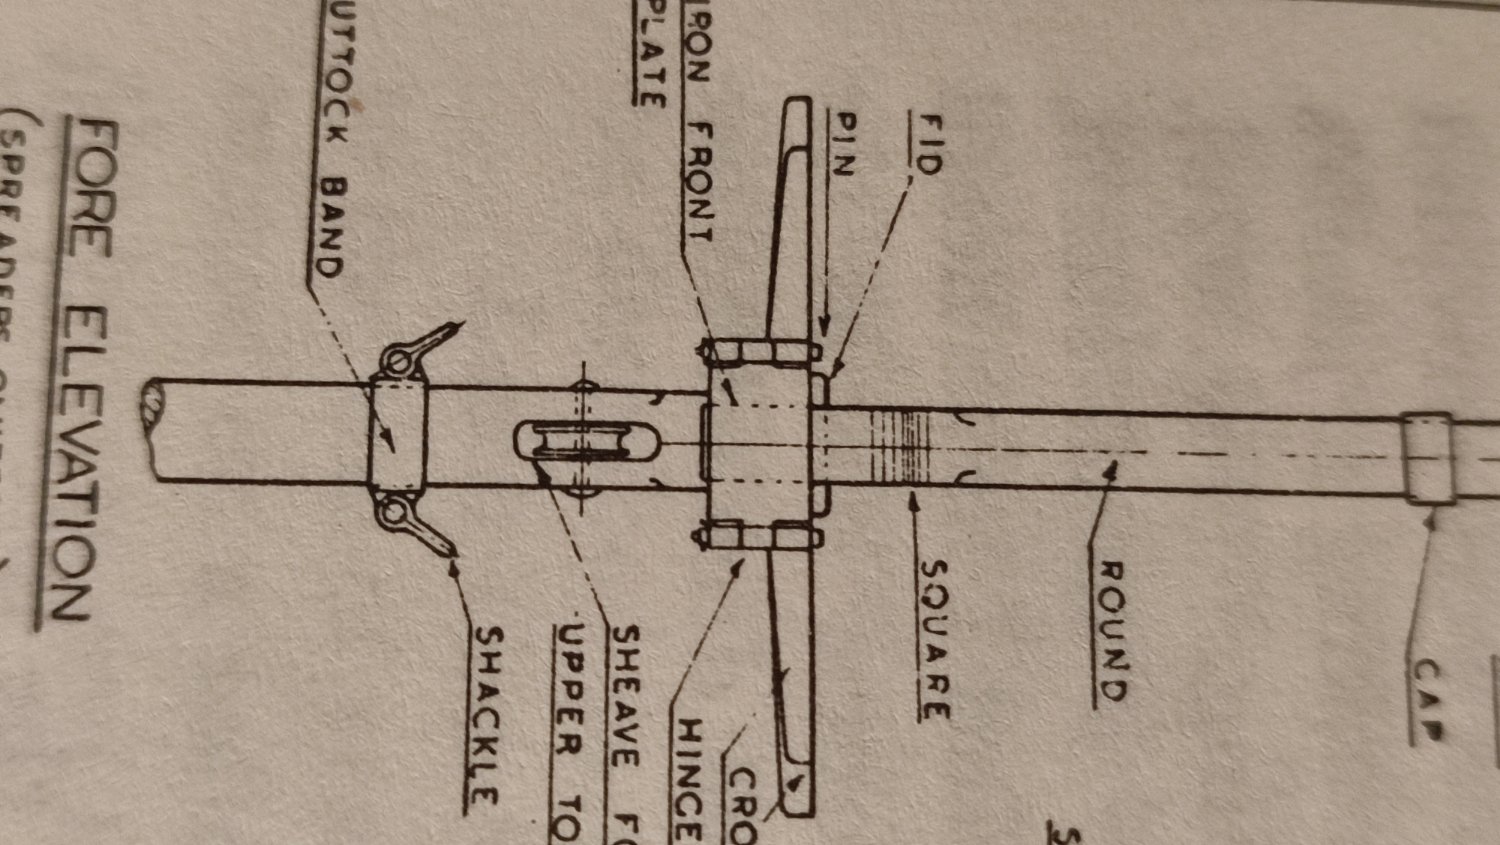
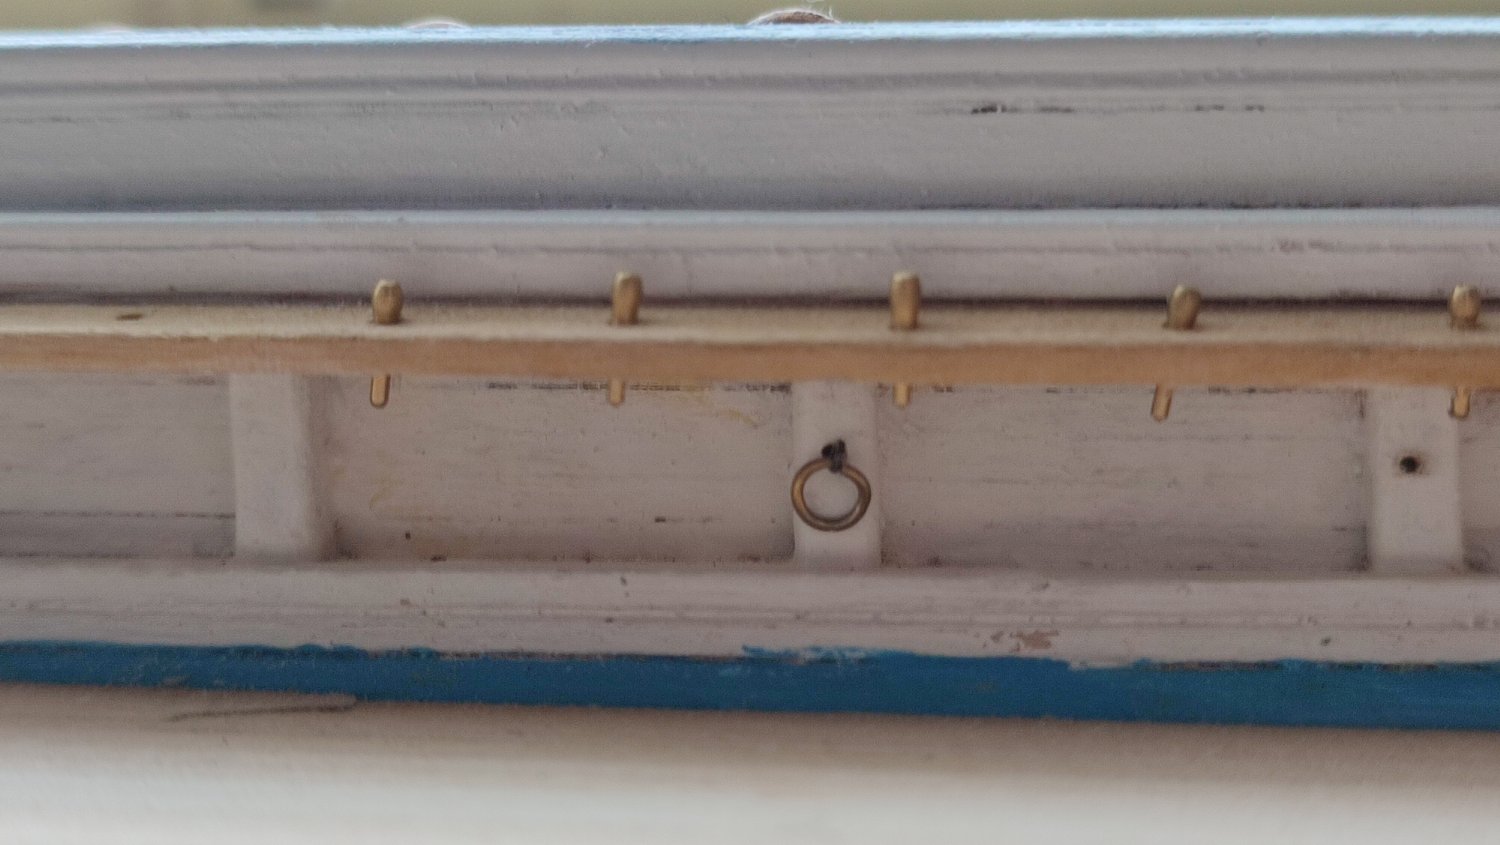
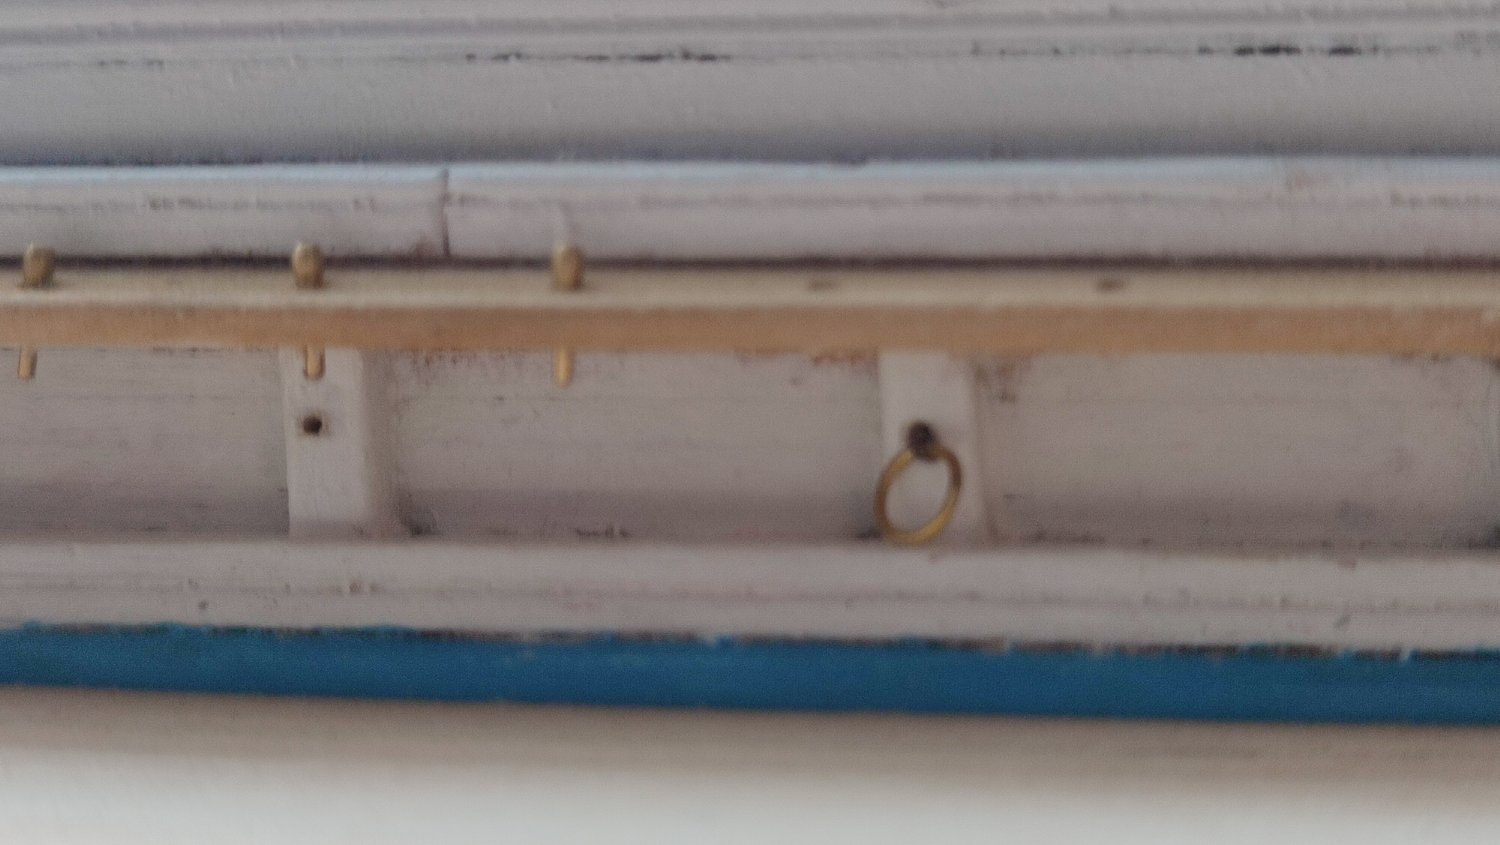
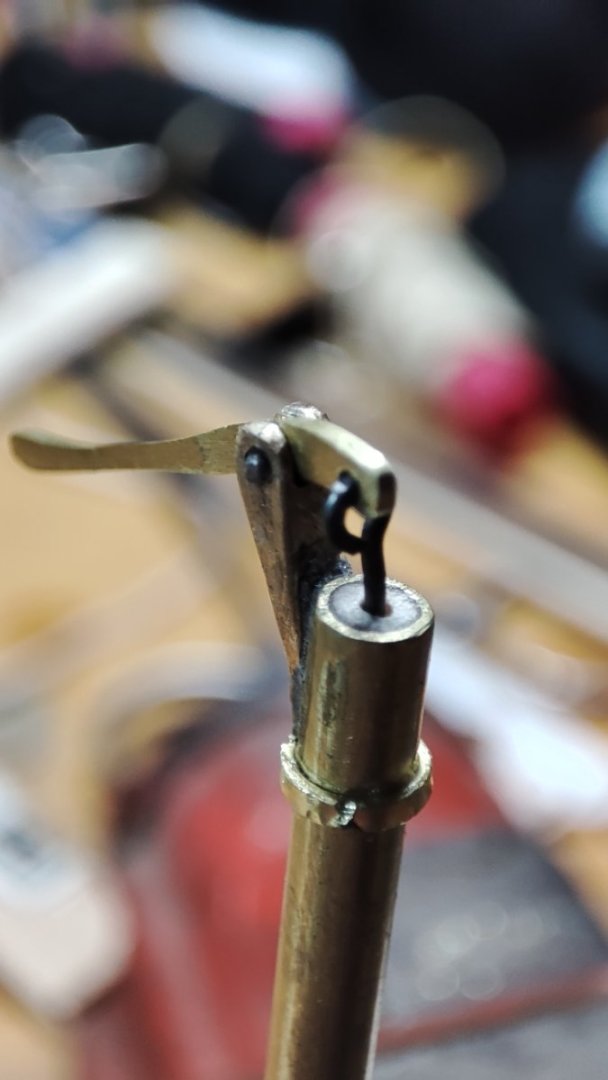
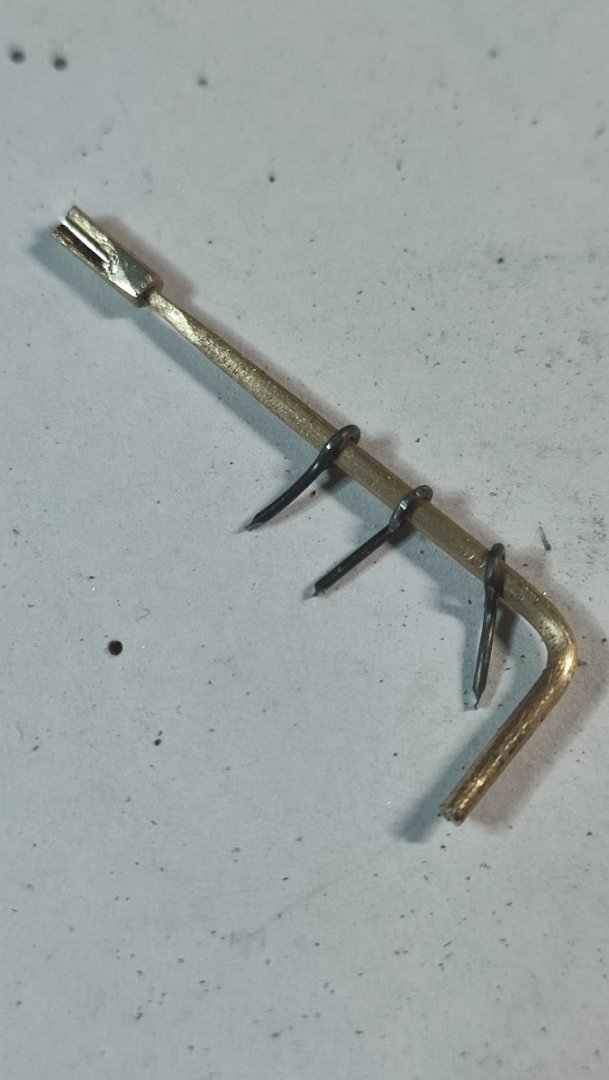
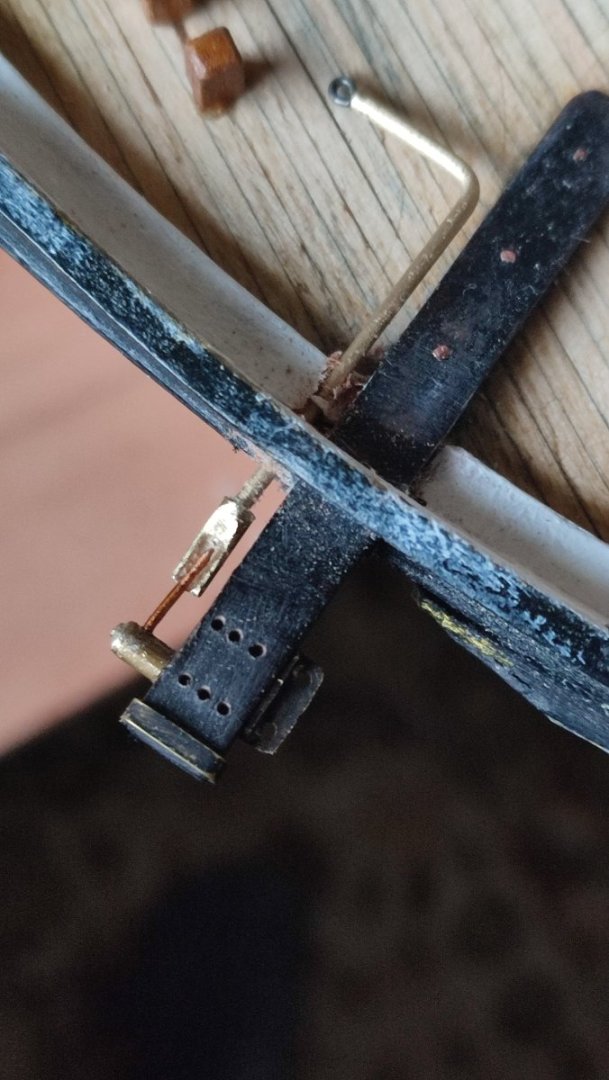
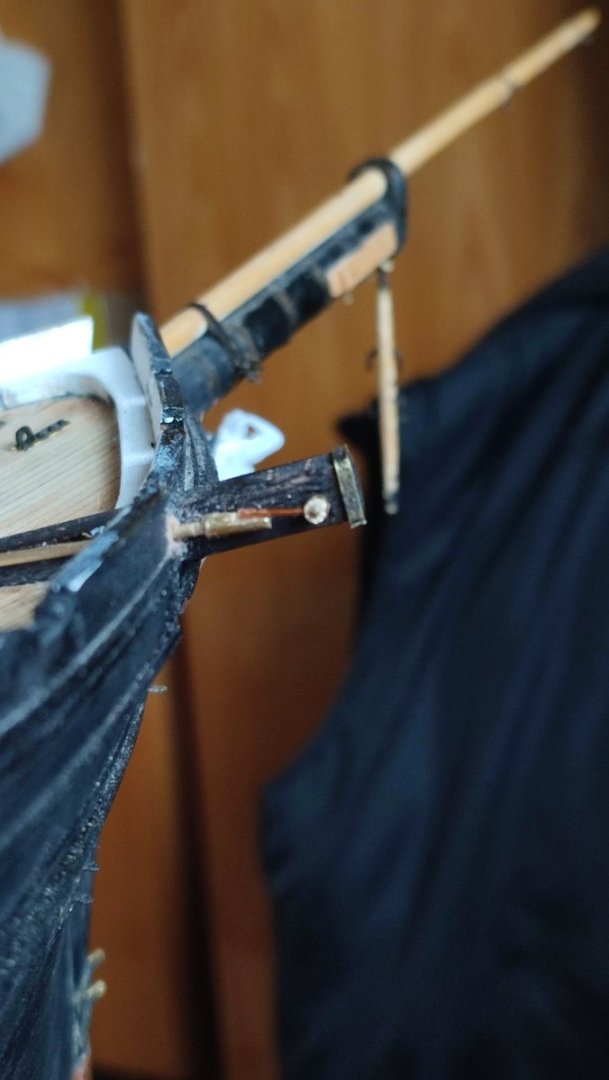
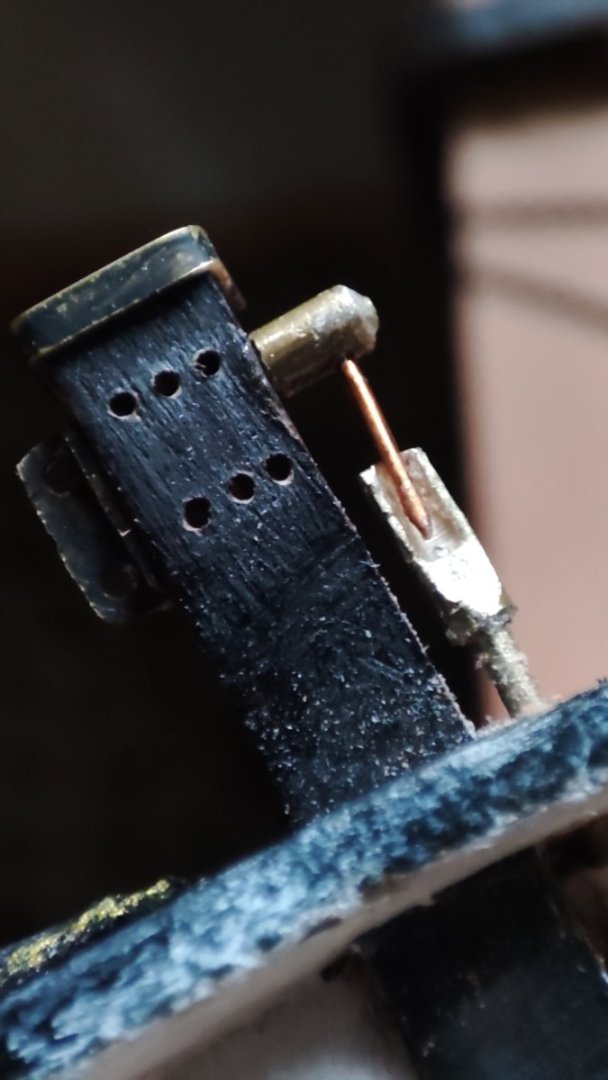
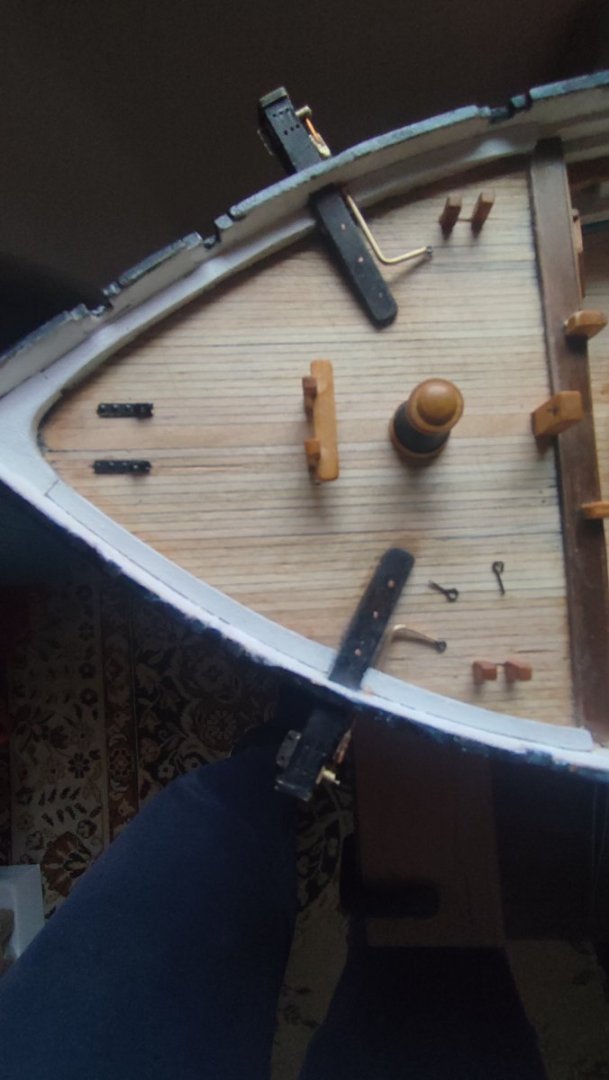
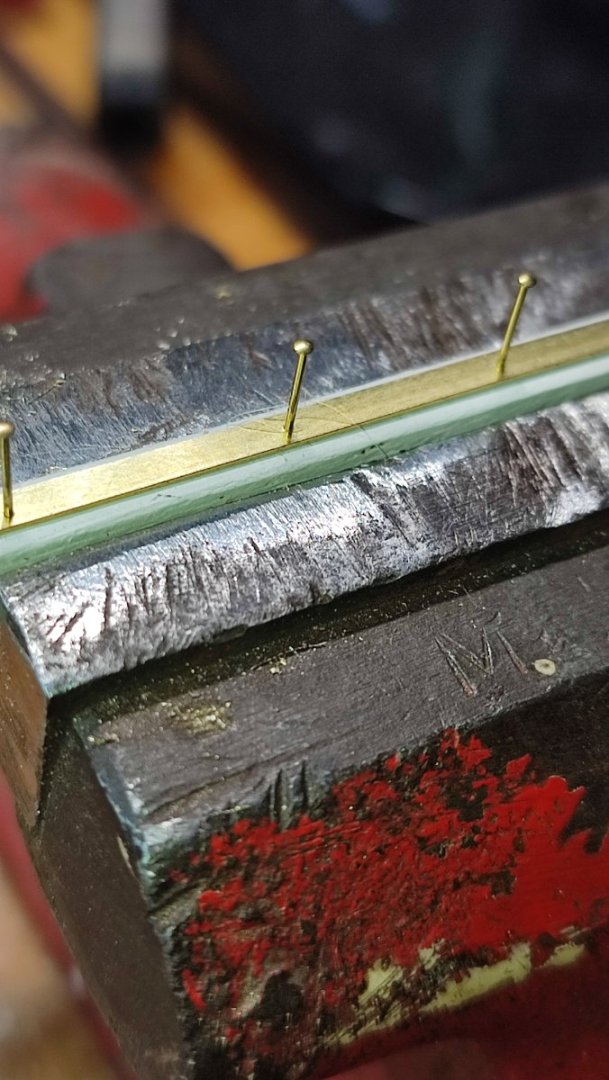
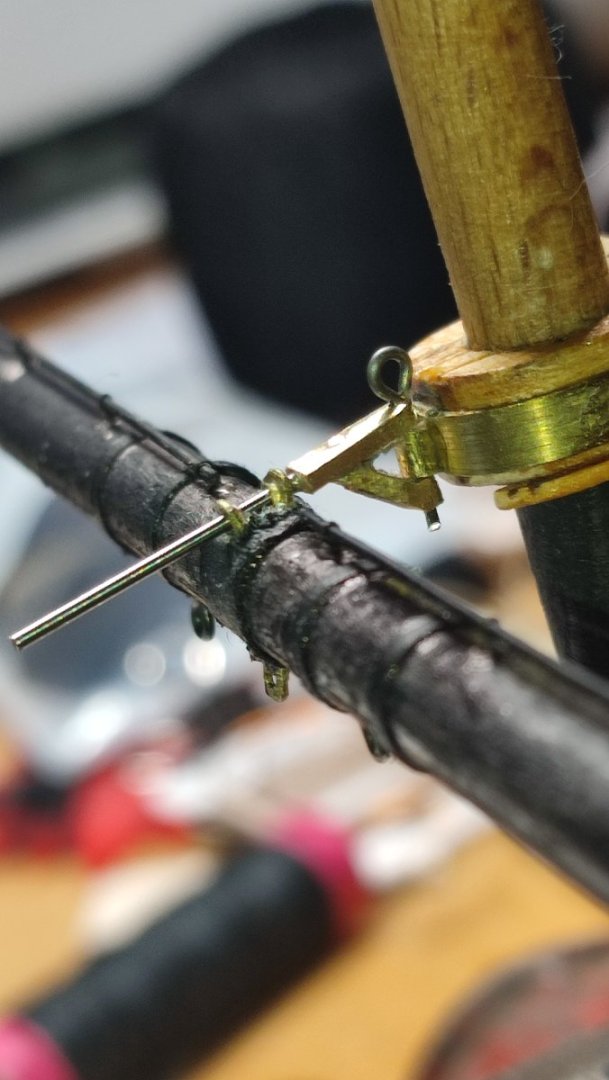
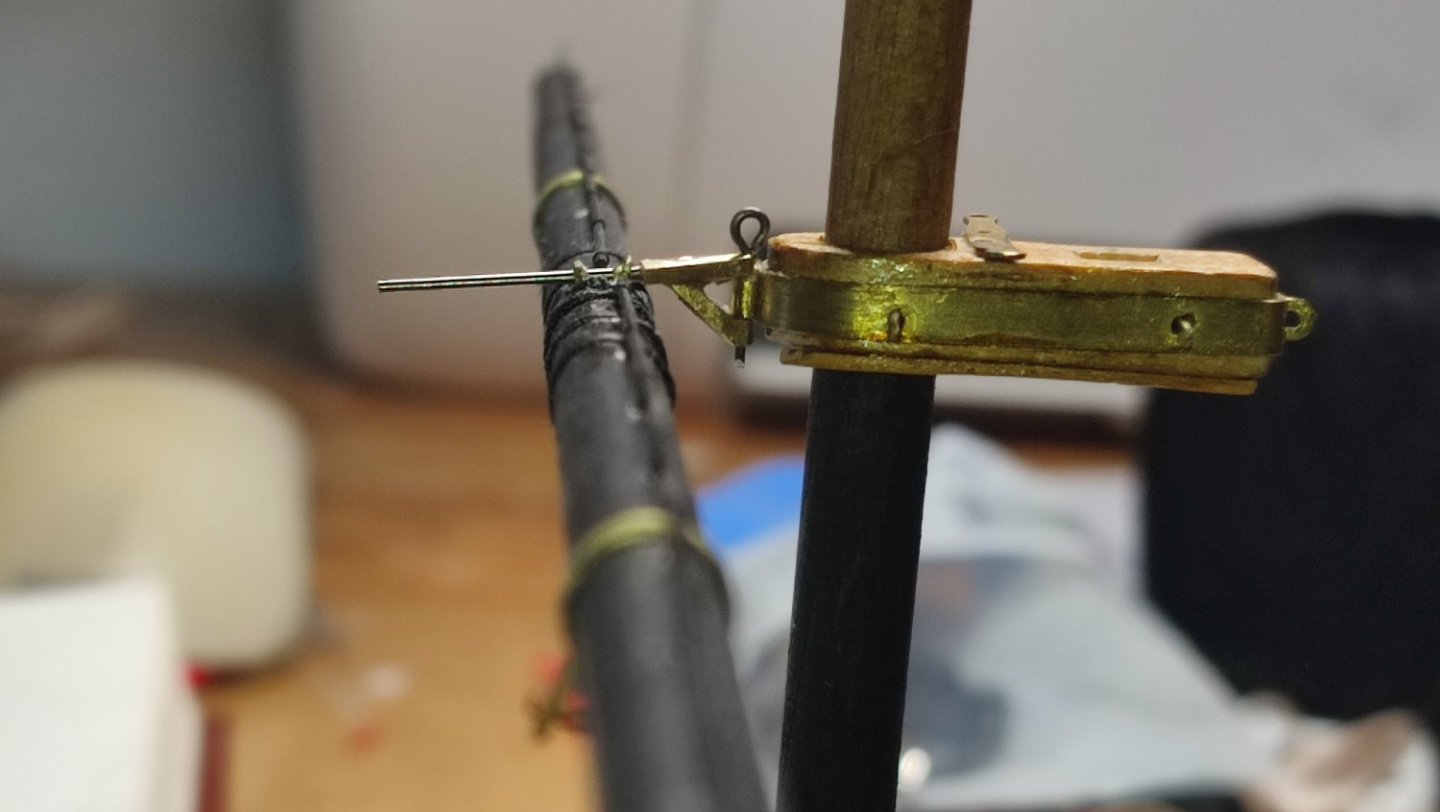
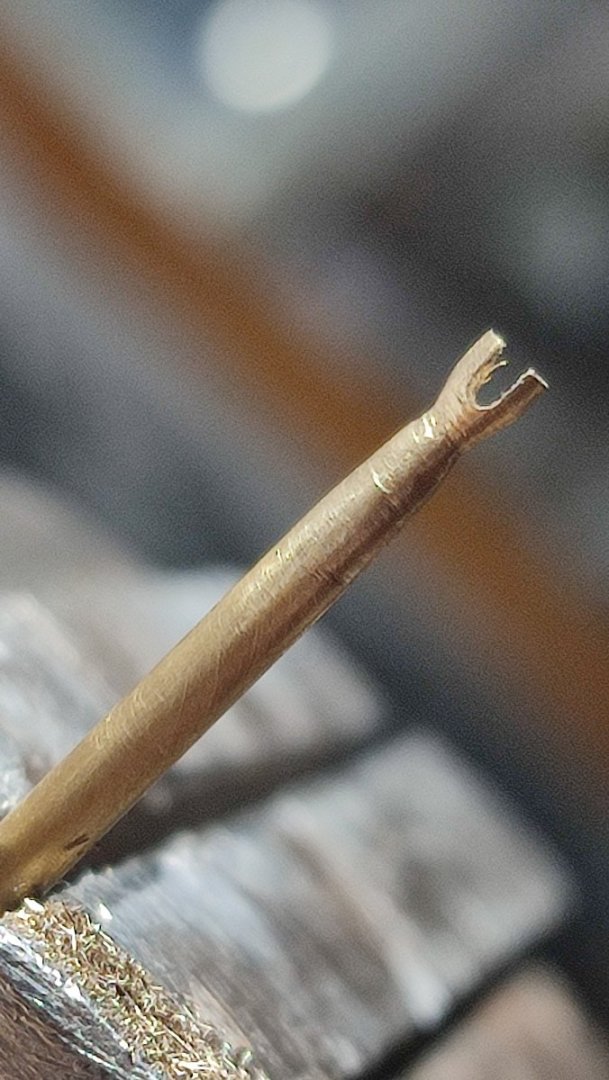
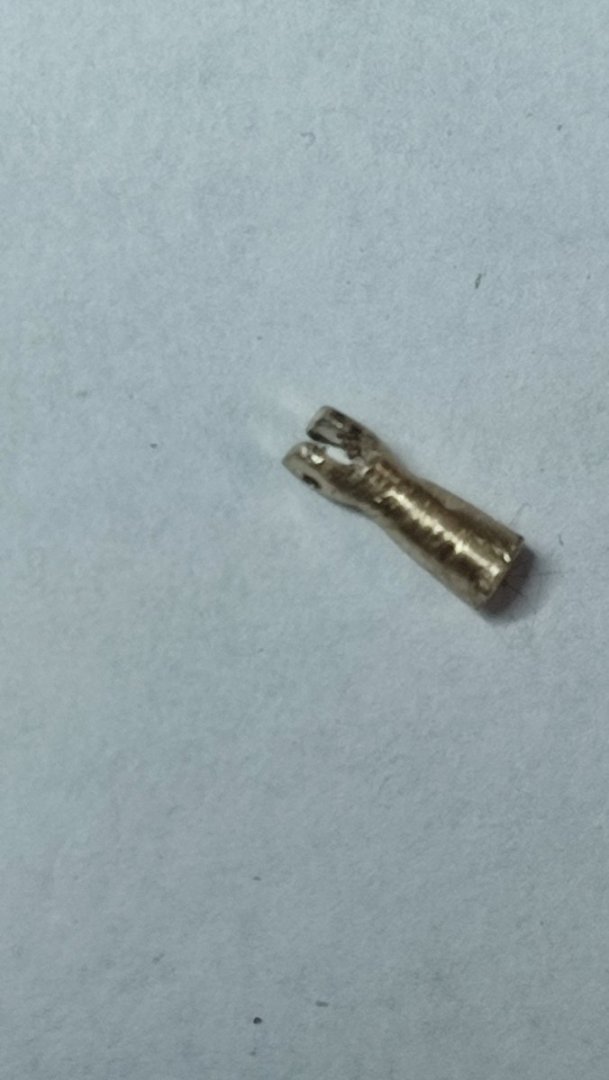
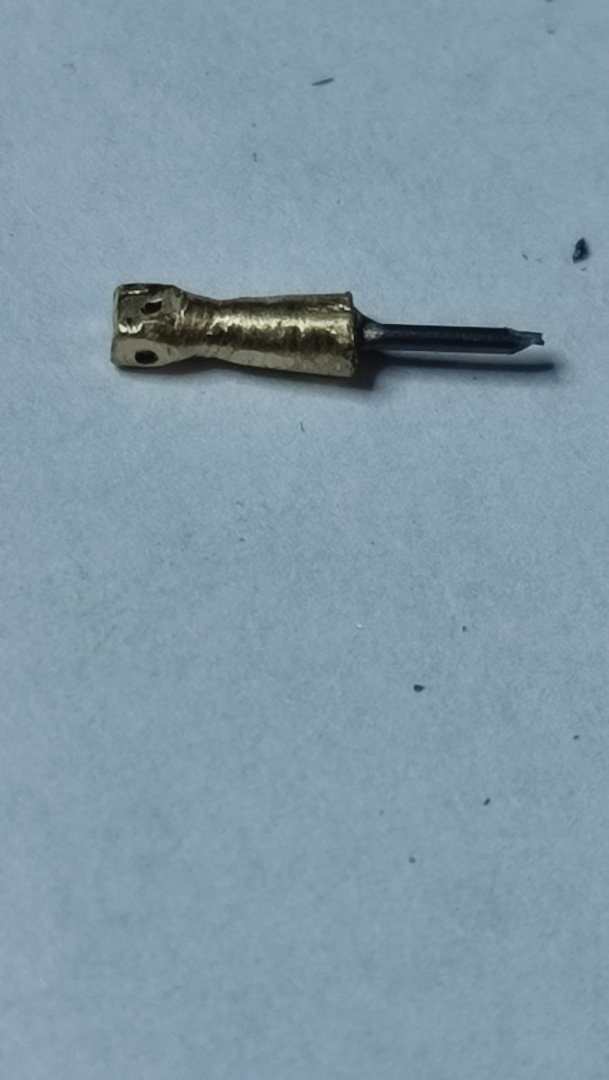
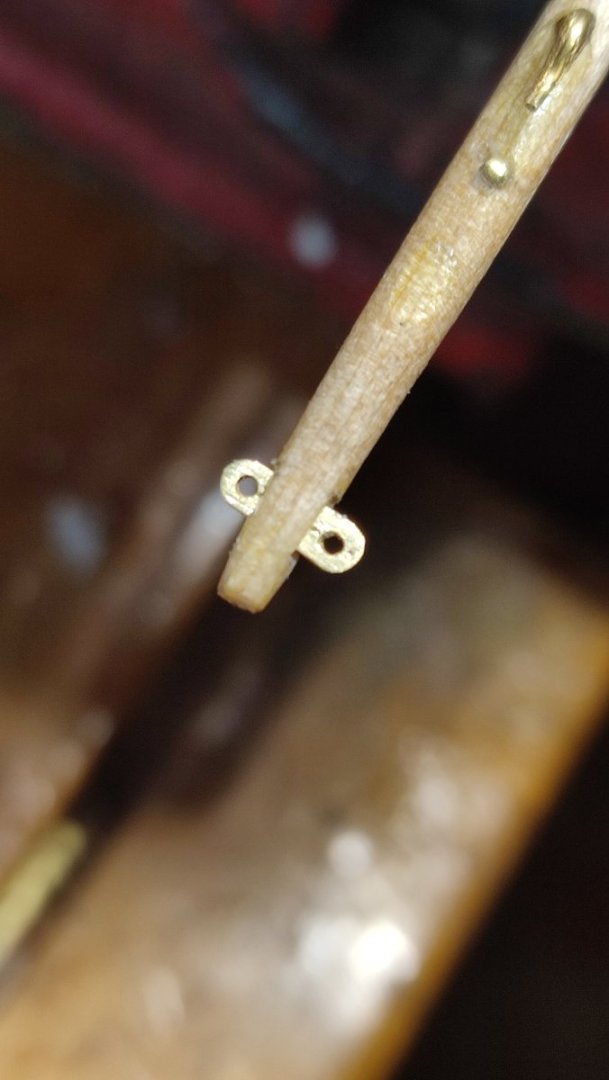
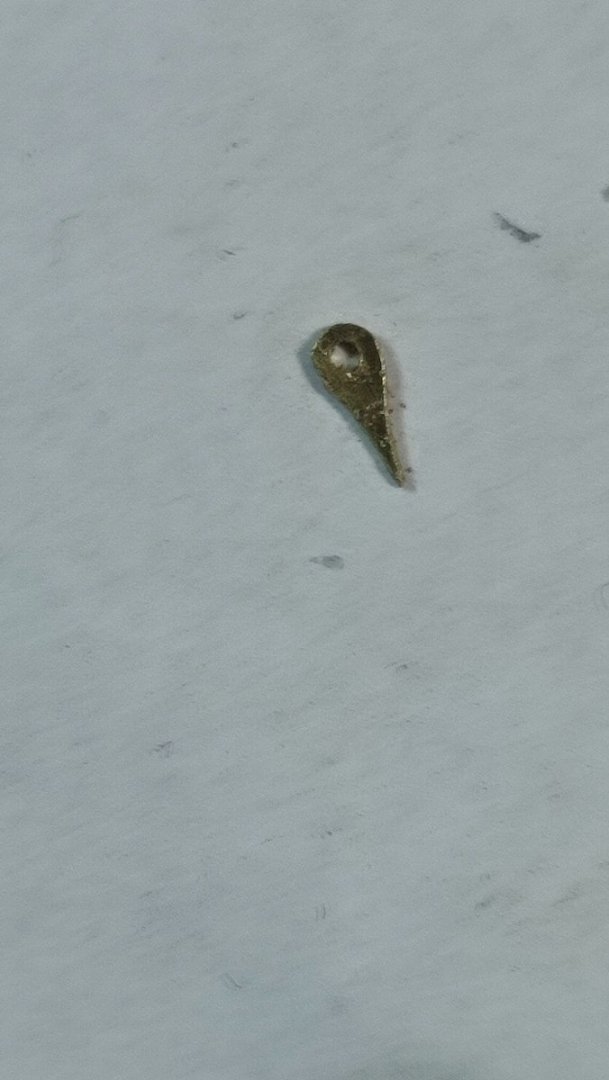
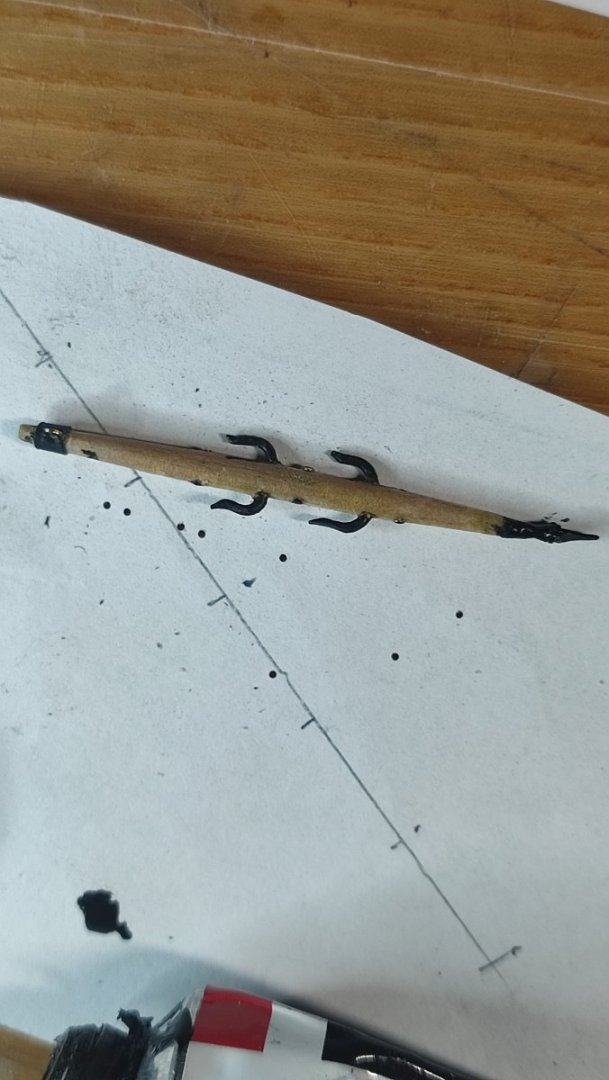
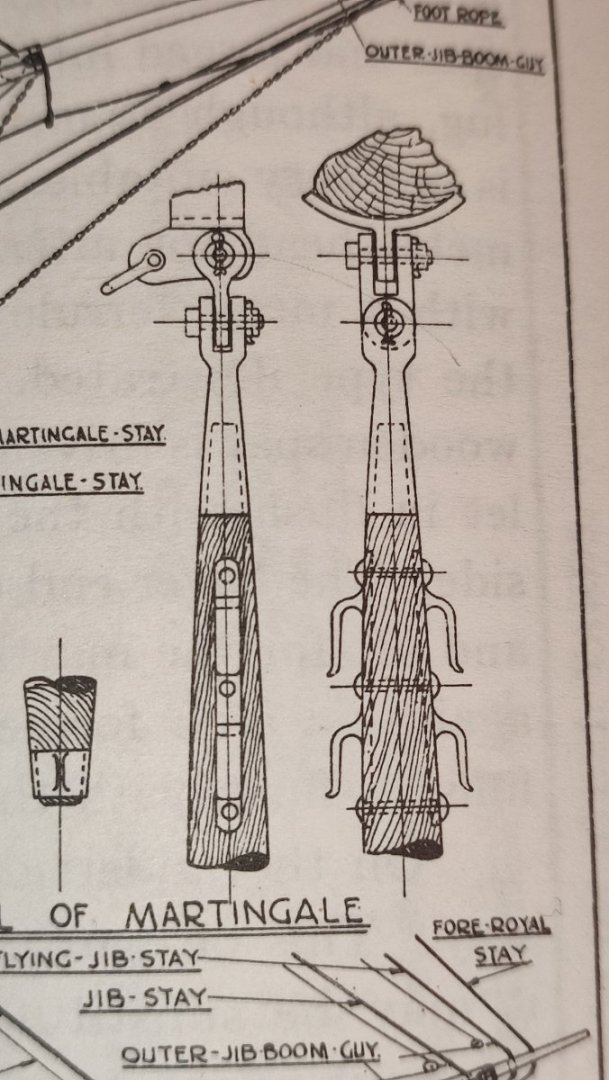
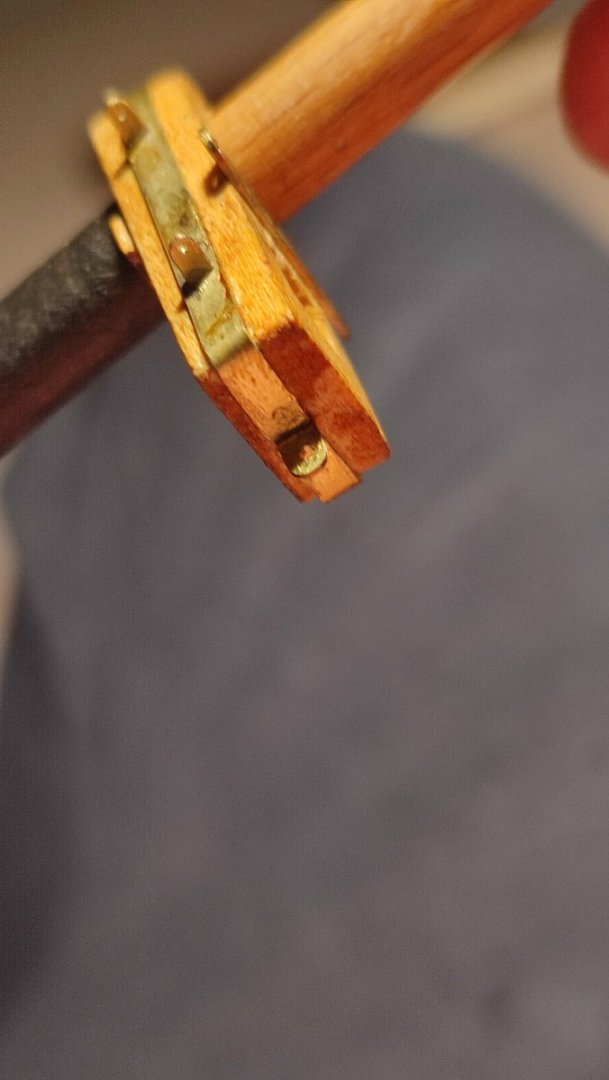
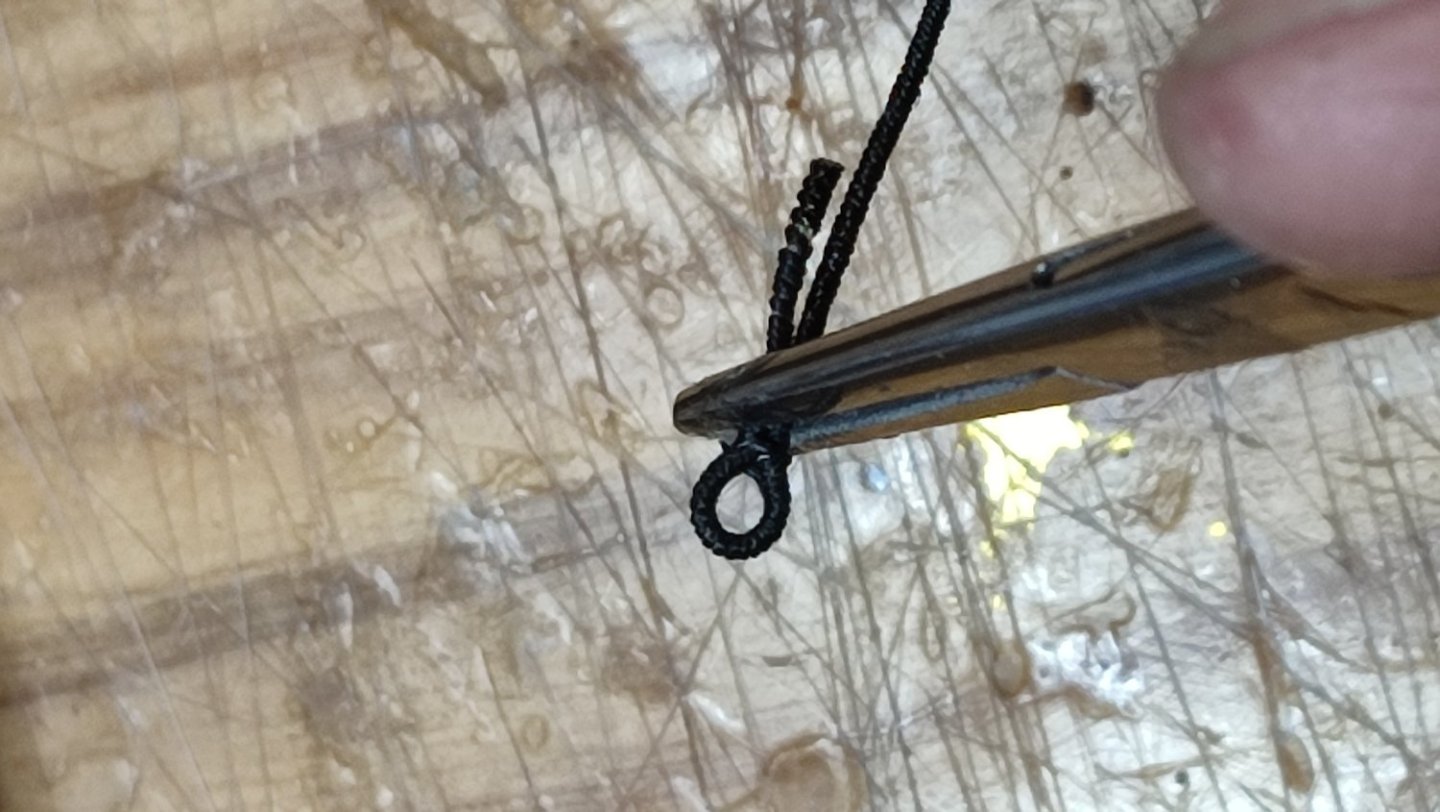
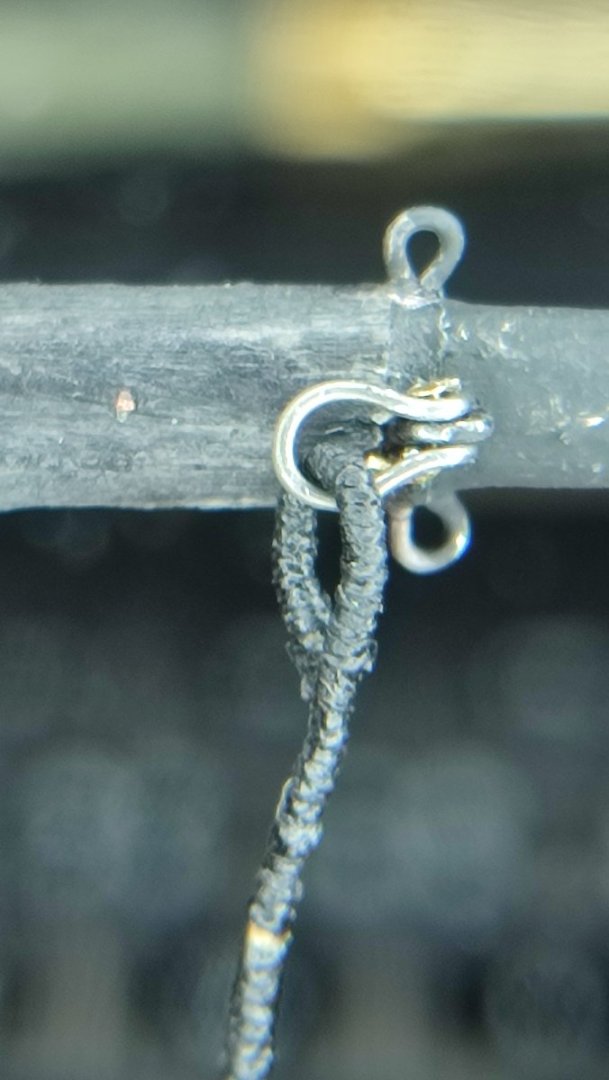
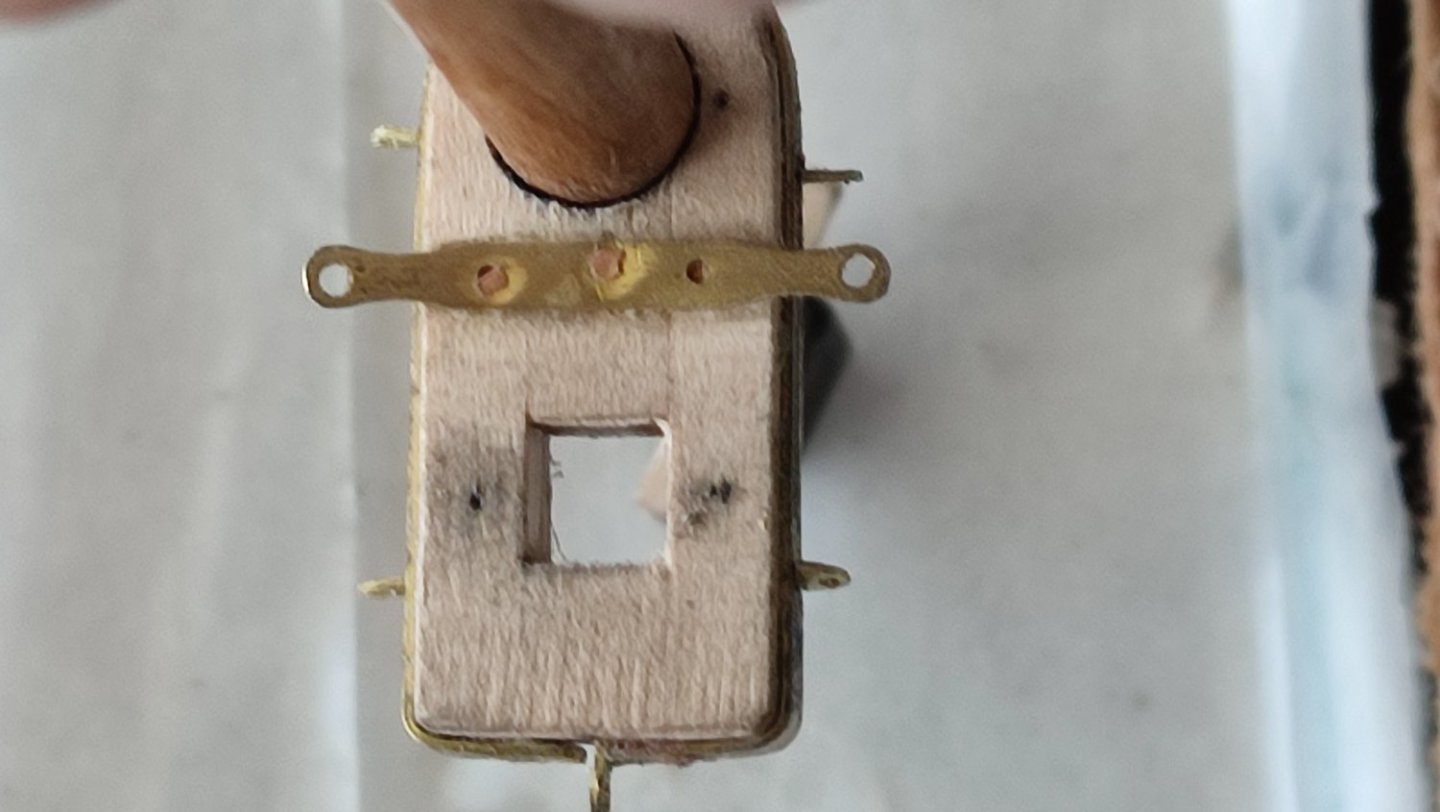
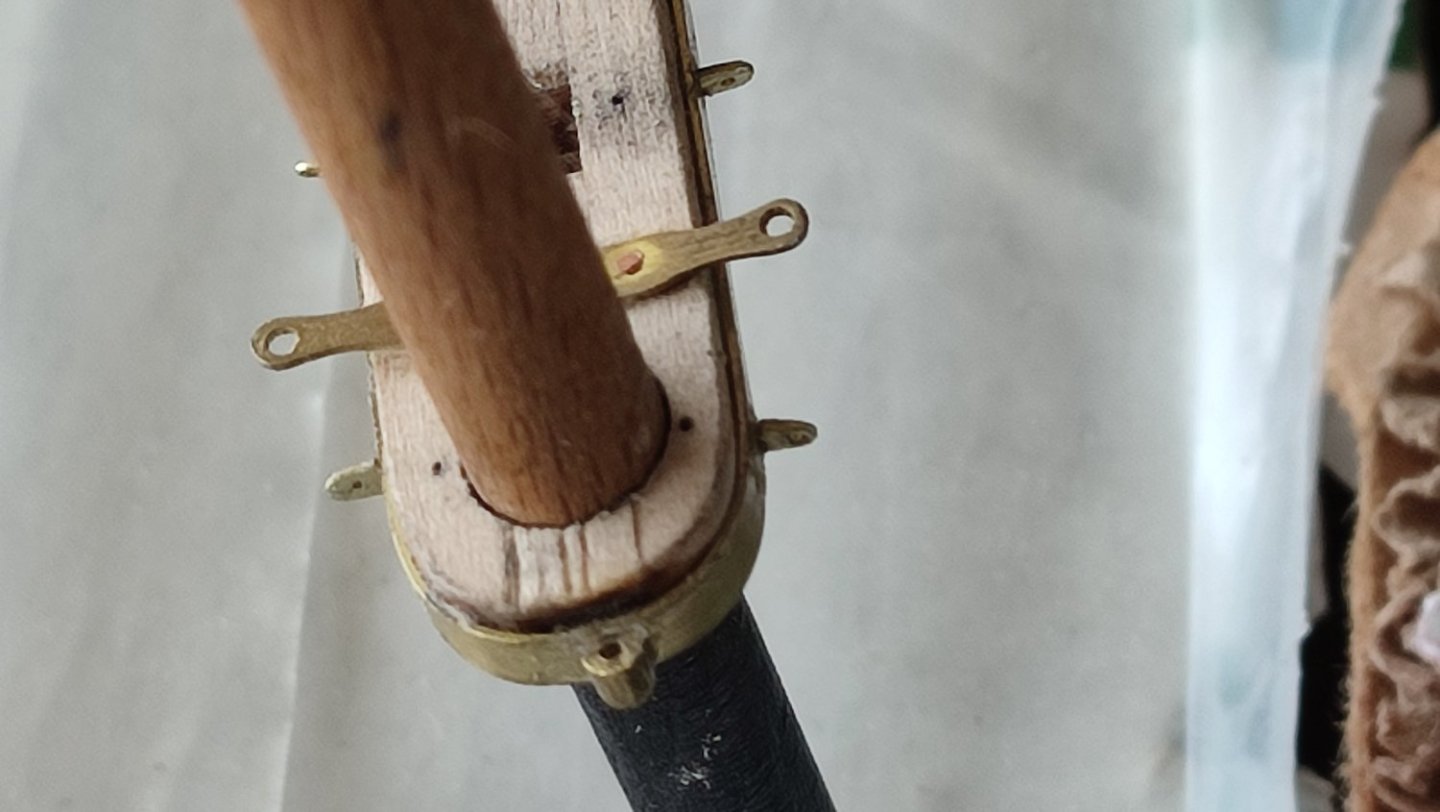
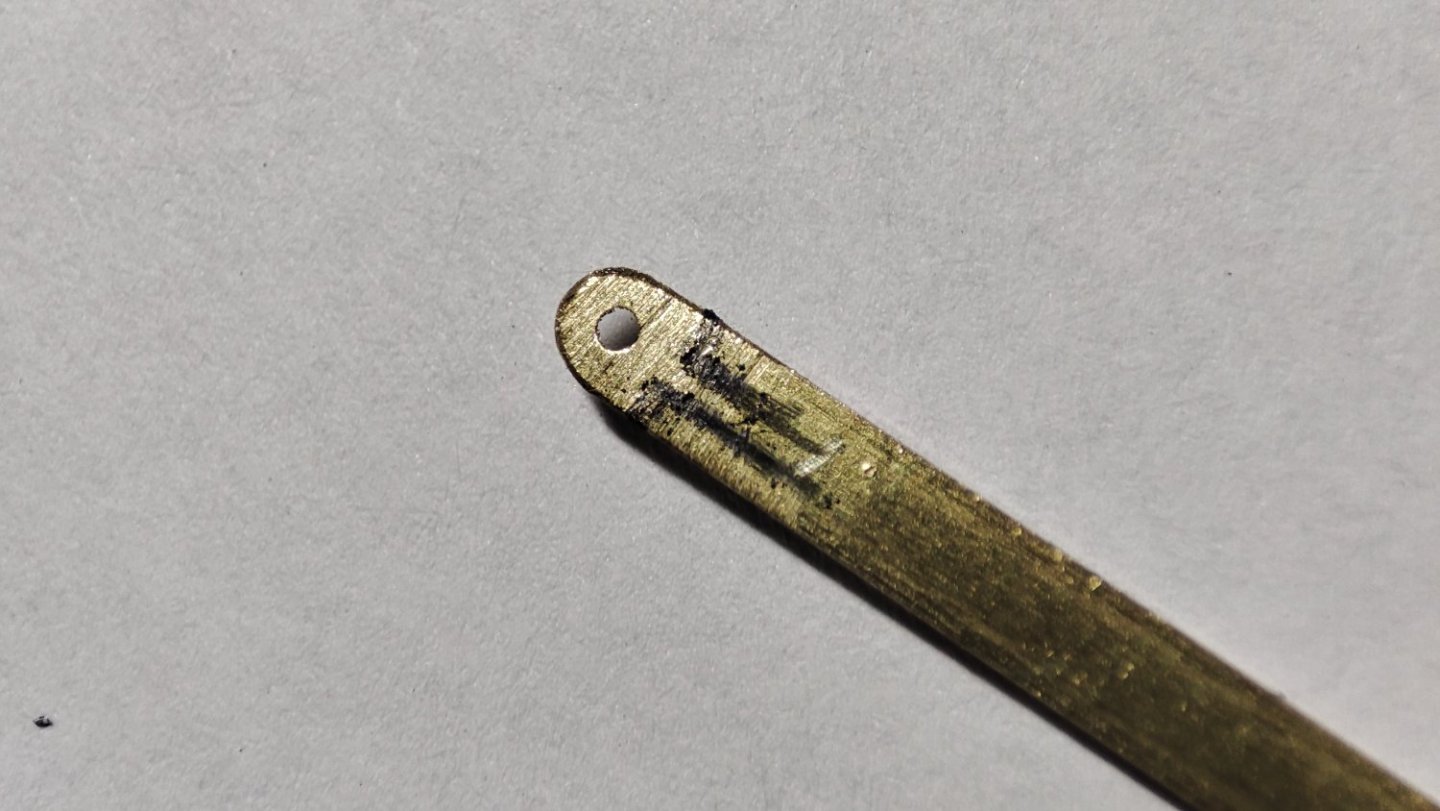
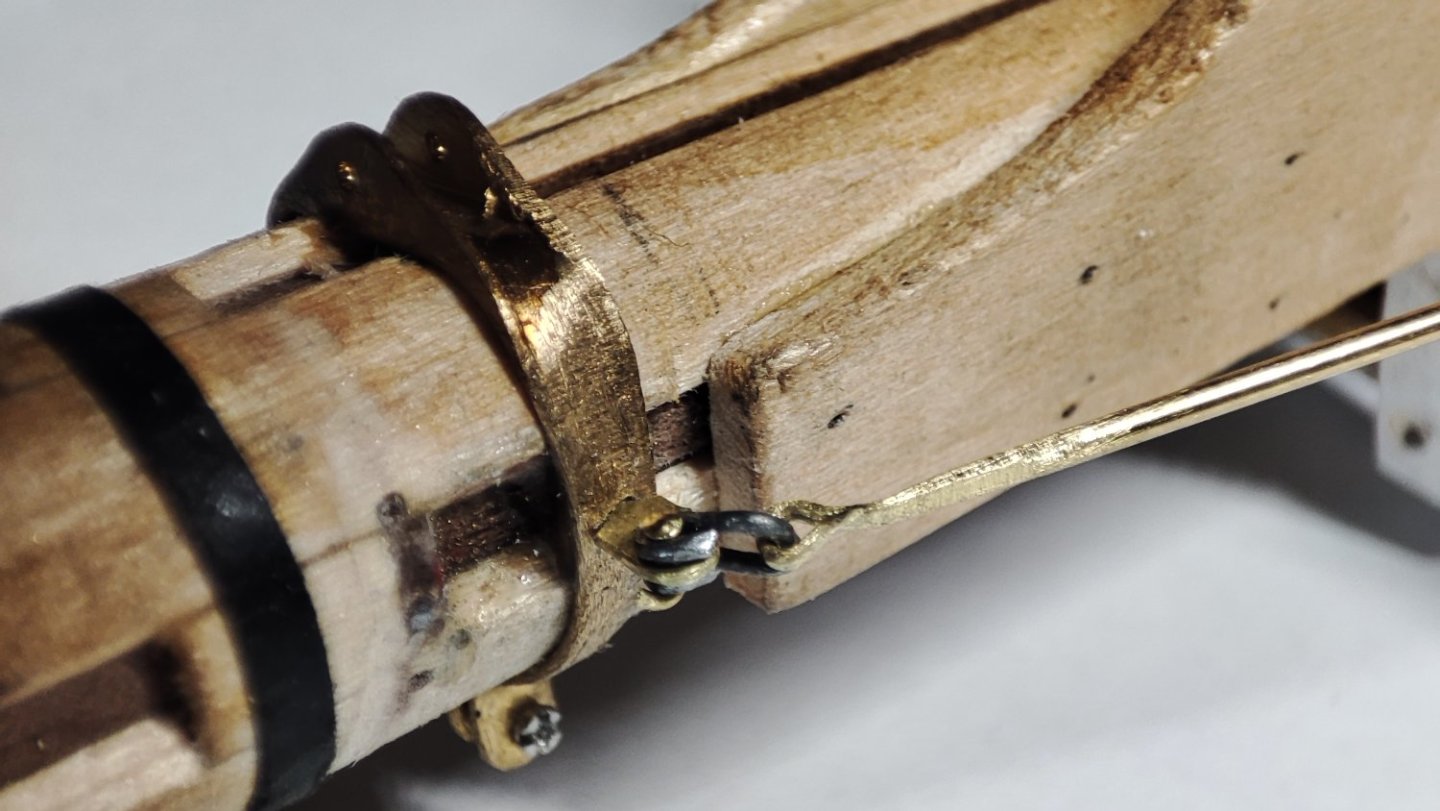
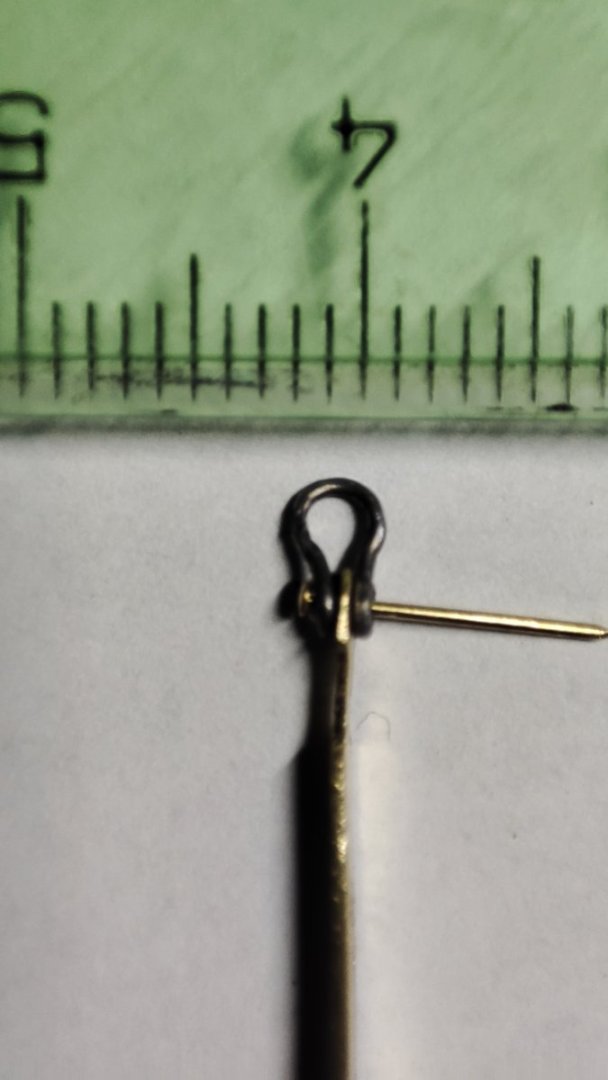
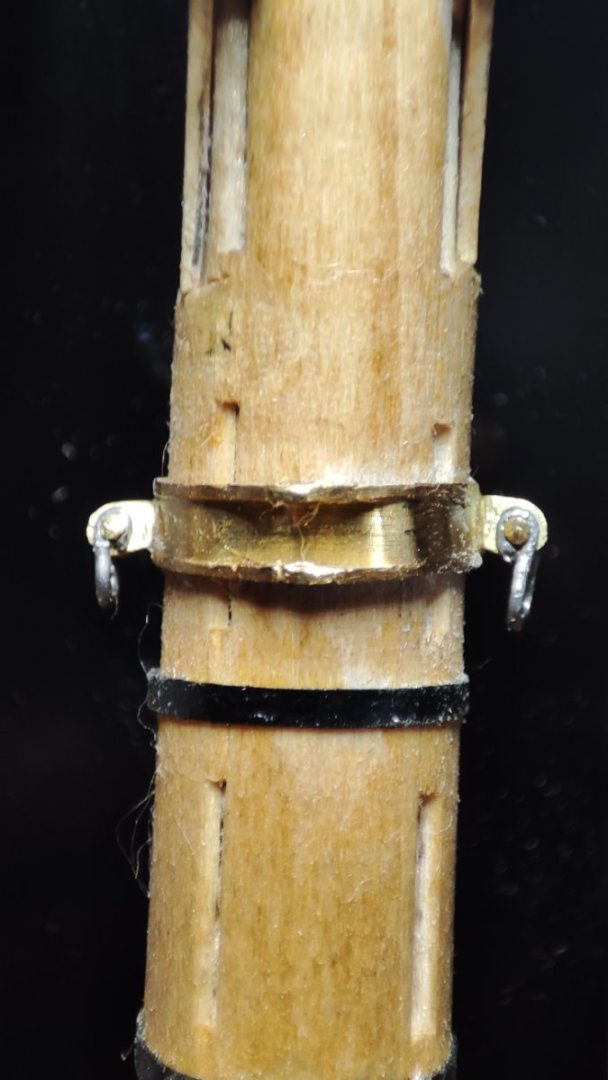
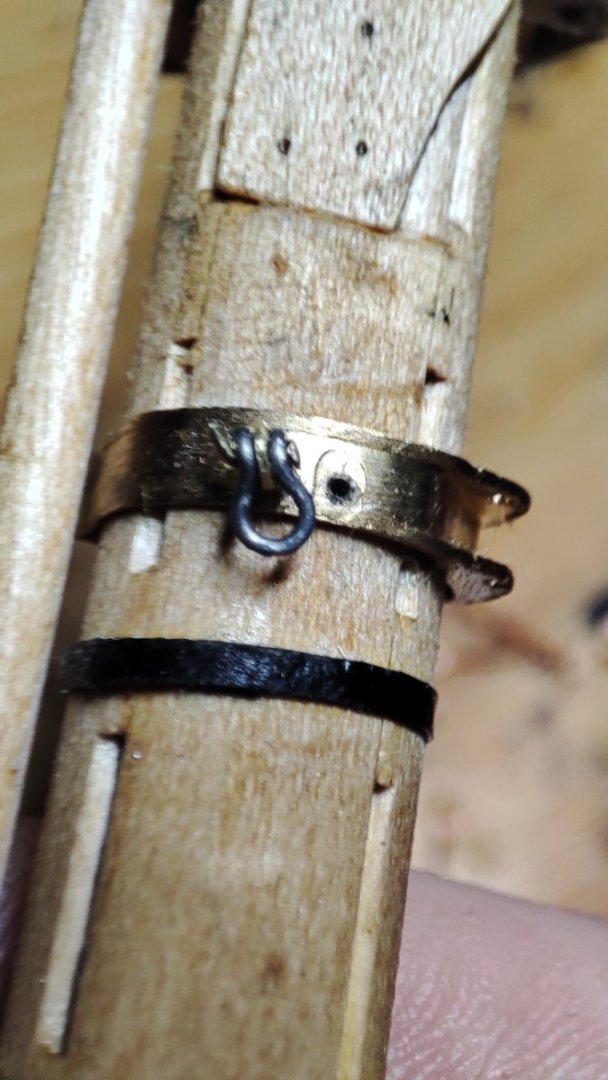
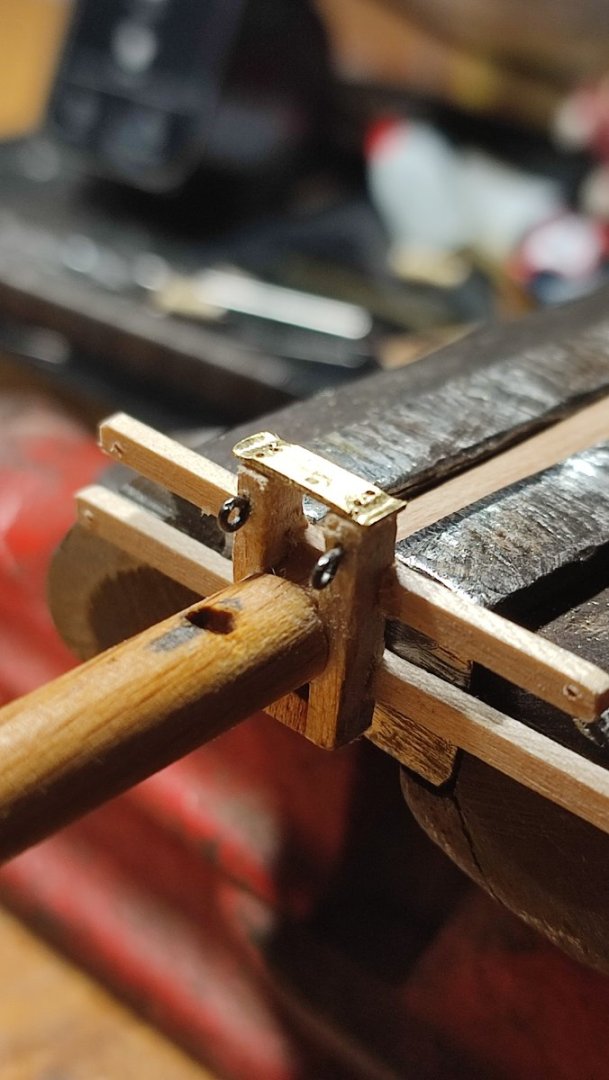
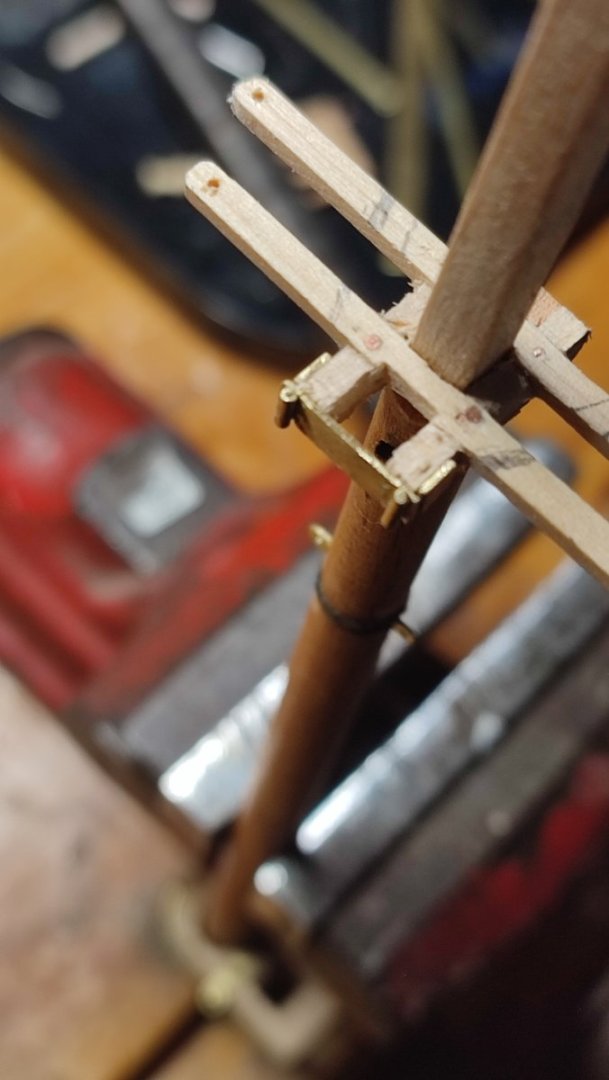
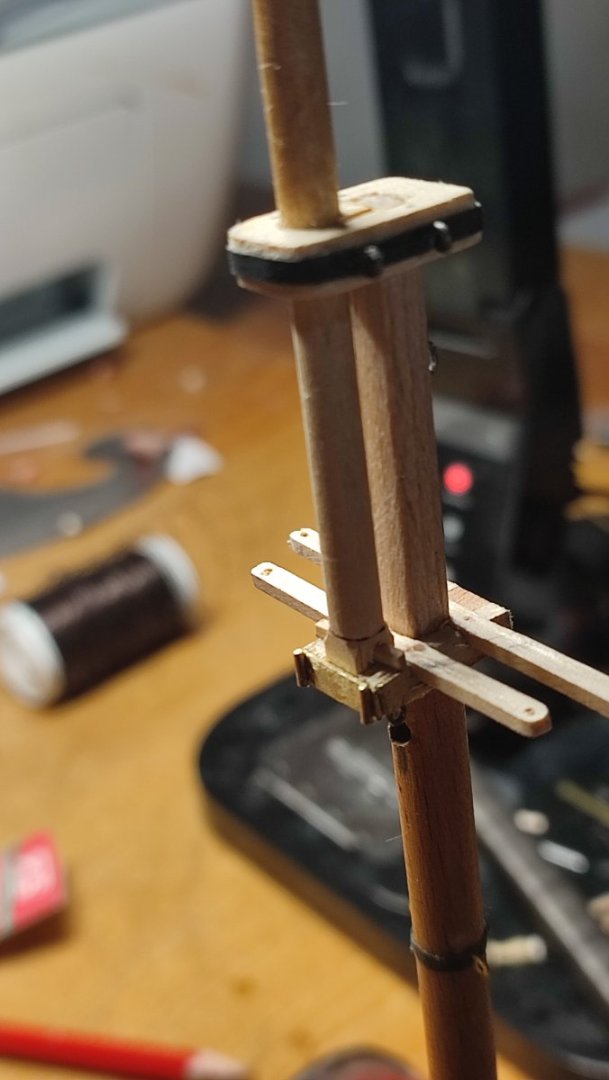
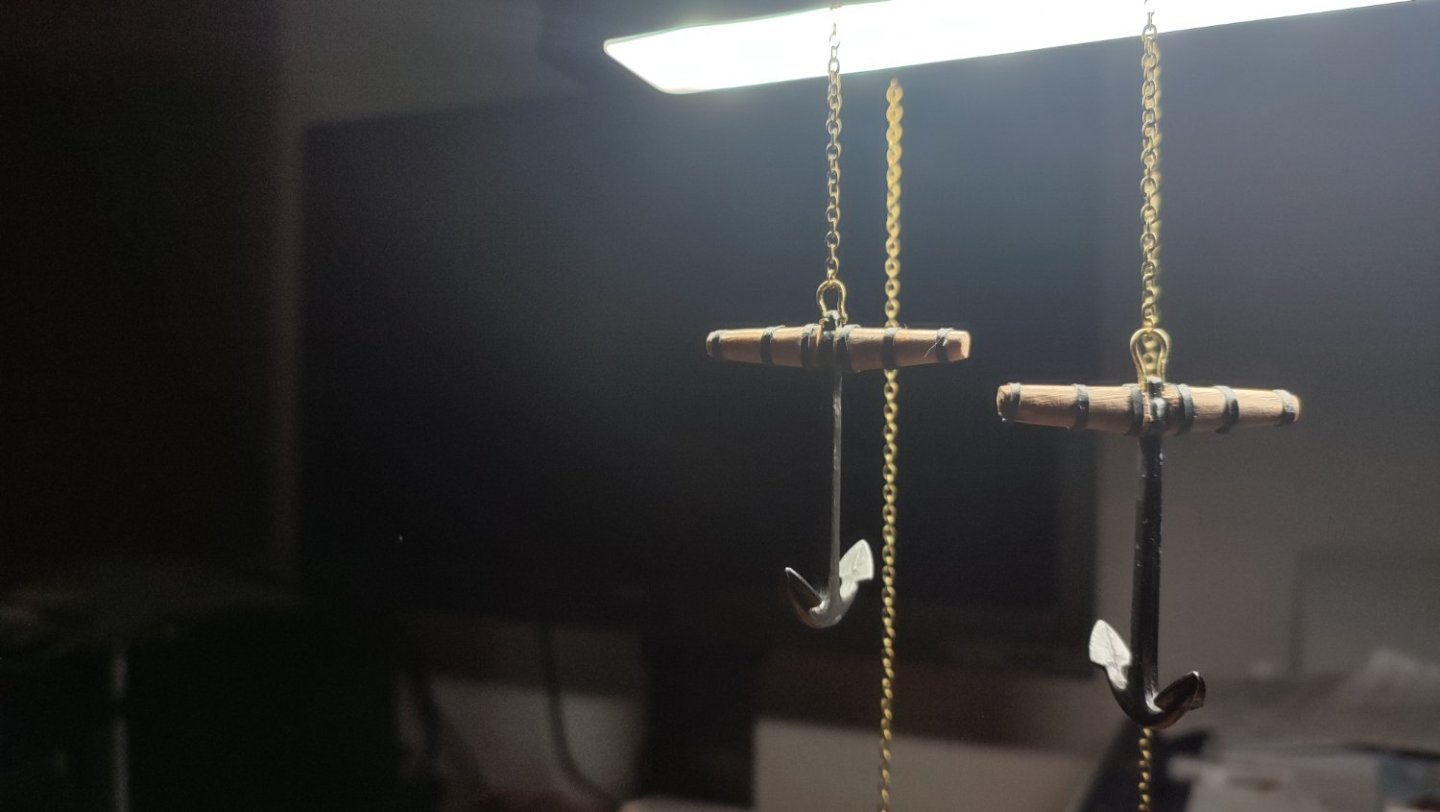
Its few years now Rich, it healed but i need to be careful with agressivr glues as skin is nie extra sensitive. Thanks for likes folks. I Continued with Anchor release working mechanism. Im not expert in this field nor history buff or aspirating one I hope and believe this is the correct pattern from the era as per similar vessels of that tíme. Design relies not on pulling the release bar which i suppose would be impossible fór mens muscles anyway to pull Iron upon which hangs on chains weight of some 6000 punds. Its working by turning bar on its own Axis, bar that ends IS shaped like half shaft hollowed at which top of rests opposite simple Iron bar that moves around its Axis as well. AS release Turns. Bar slips from its mesta and chain with Anchor drops freely ať the other end of bar there was aj eye i believe to secure its end when necessary somewhat ať the deck so noone would attempt to release IT accidentaly or fór weather conditions sake... I hope ili got IT right though. Its still not secured and blackened as few more things. I also made Iron tip of skid to prevent wood from damage from lifeboats. With this done and anchors and boats secured I will be finished with last deck works and its a milestone long awaited as rigging journey can start aplenty. Thanks for watching comments, remarks etc...

-
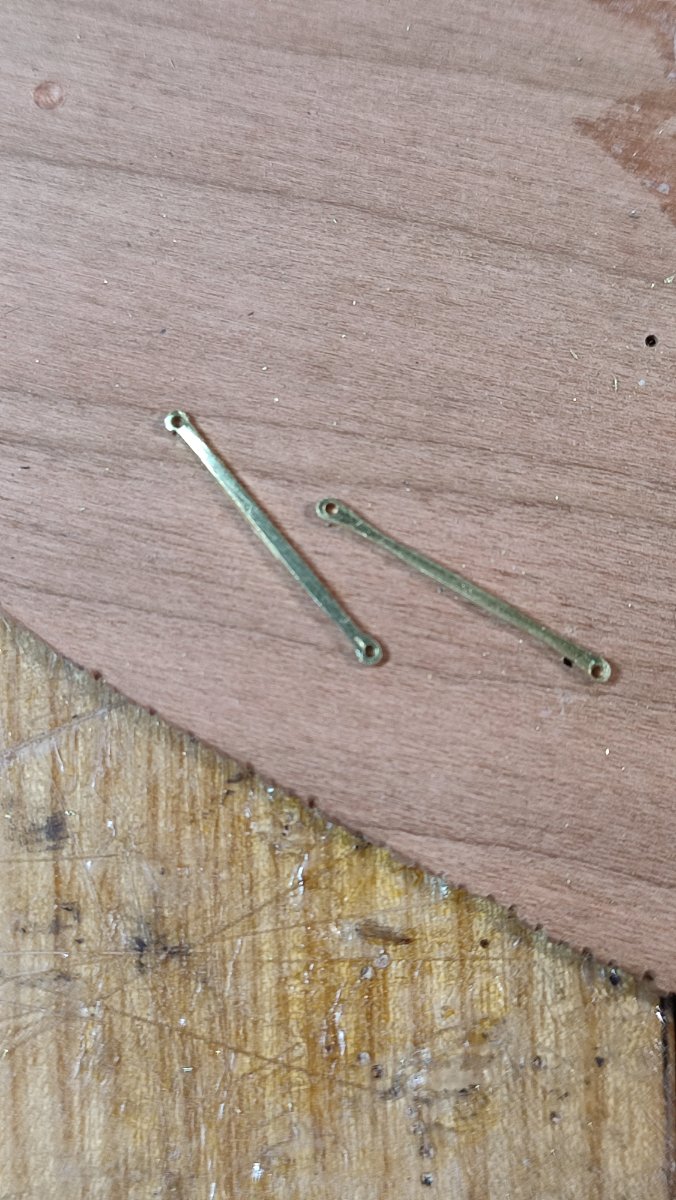
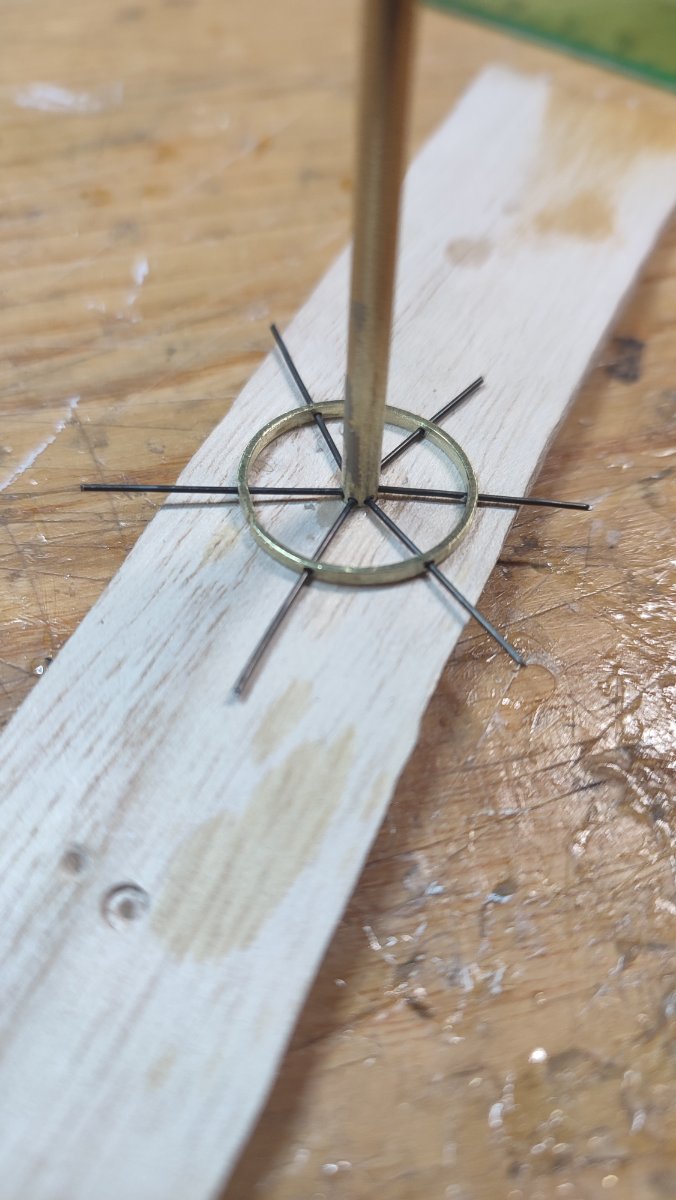
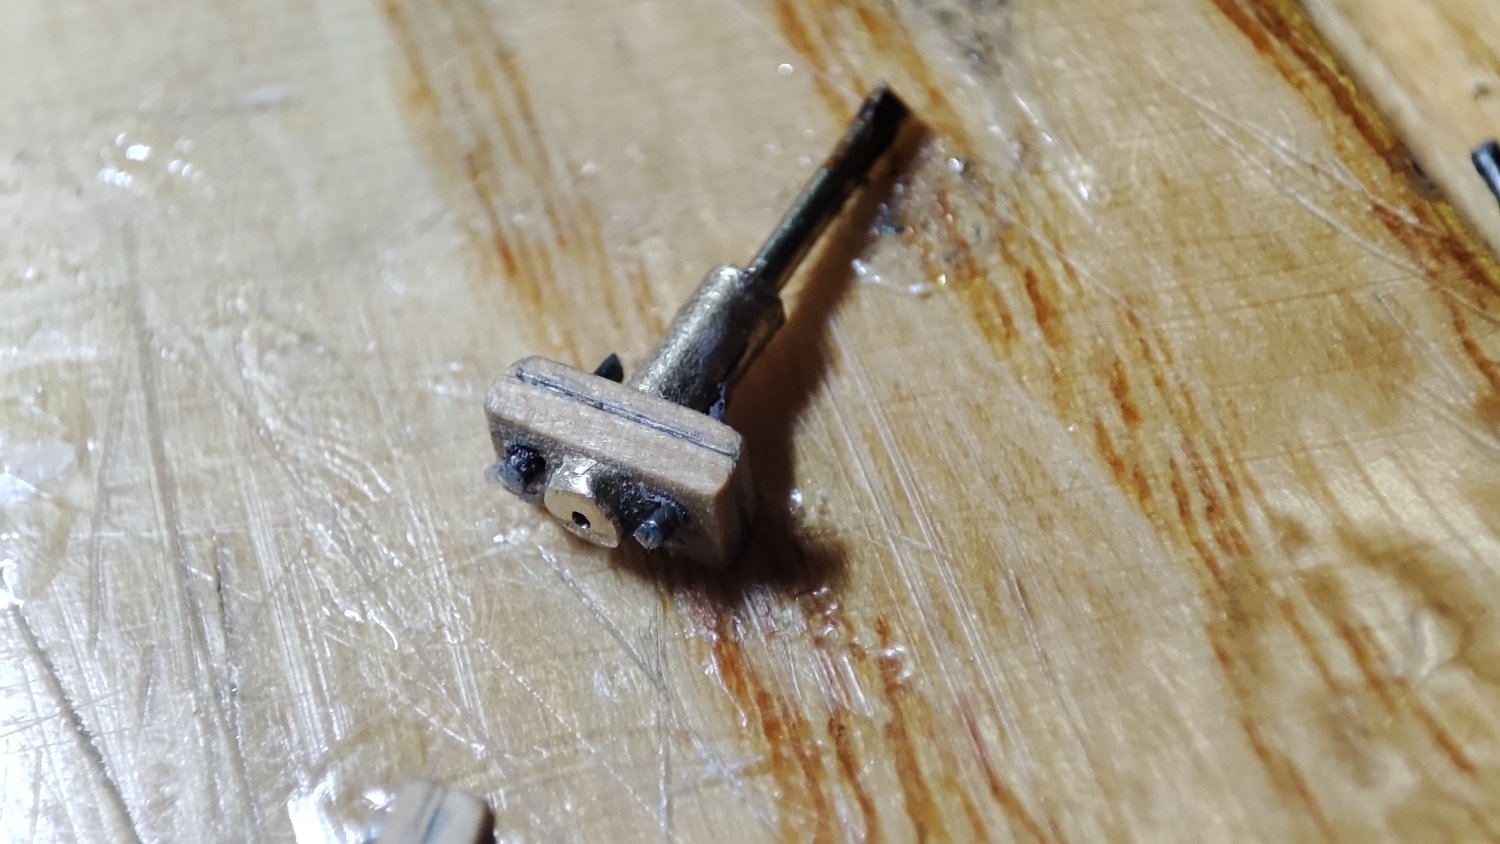
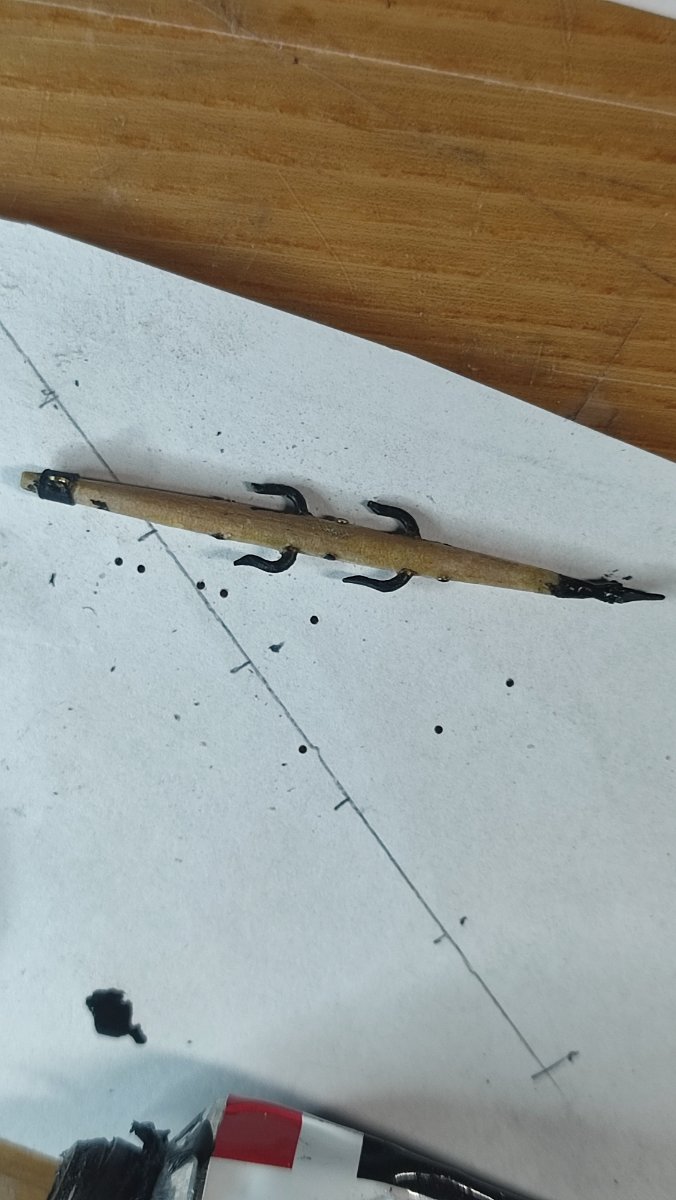
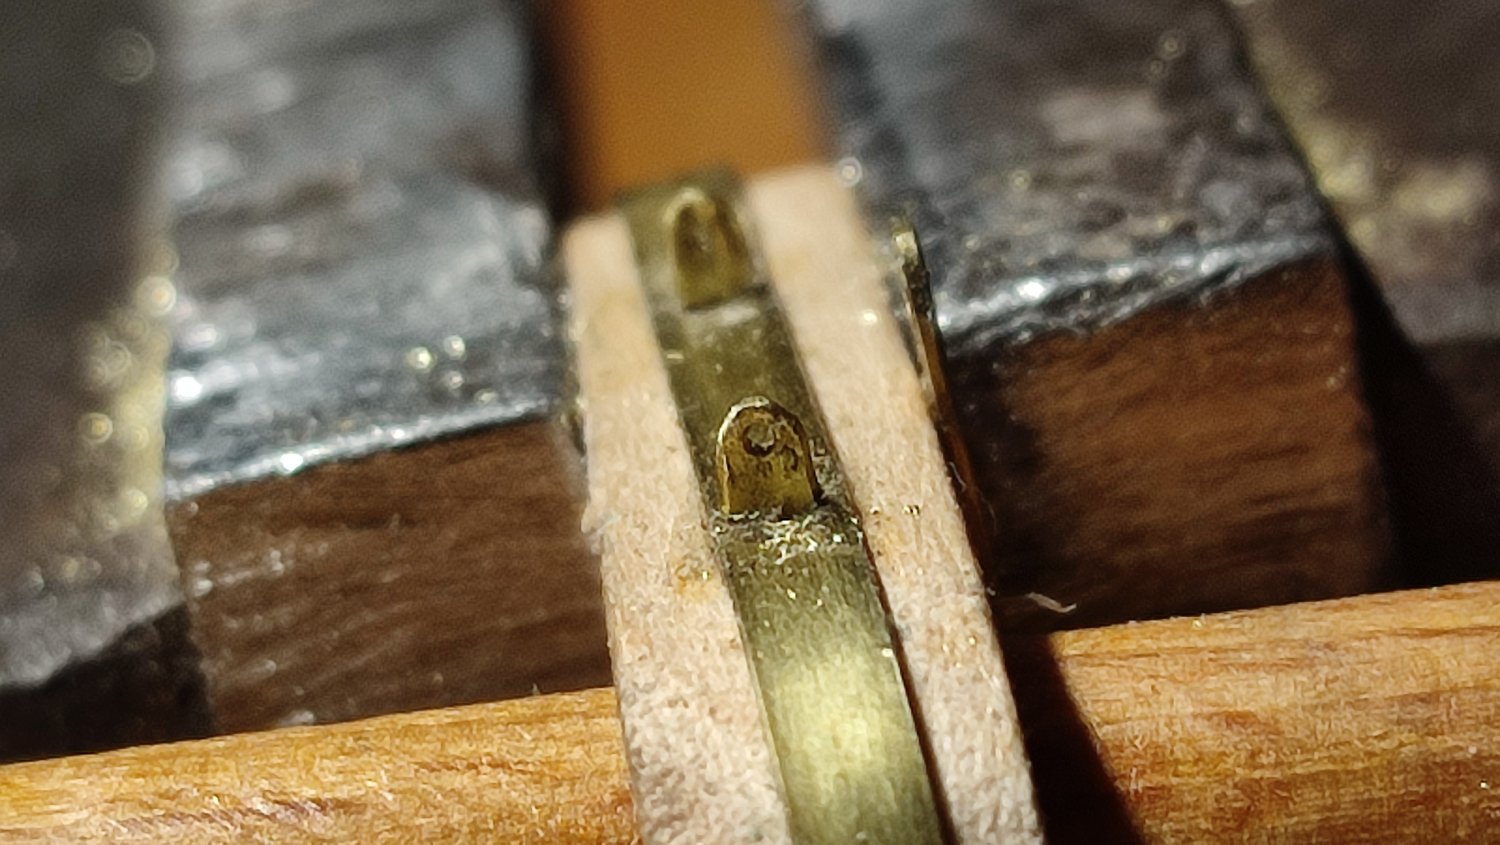
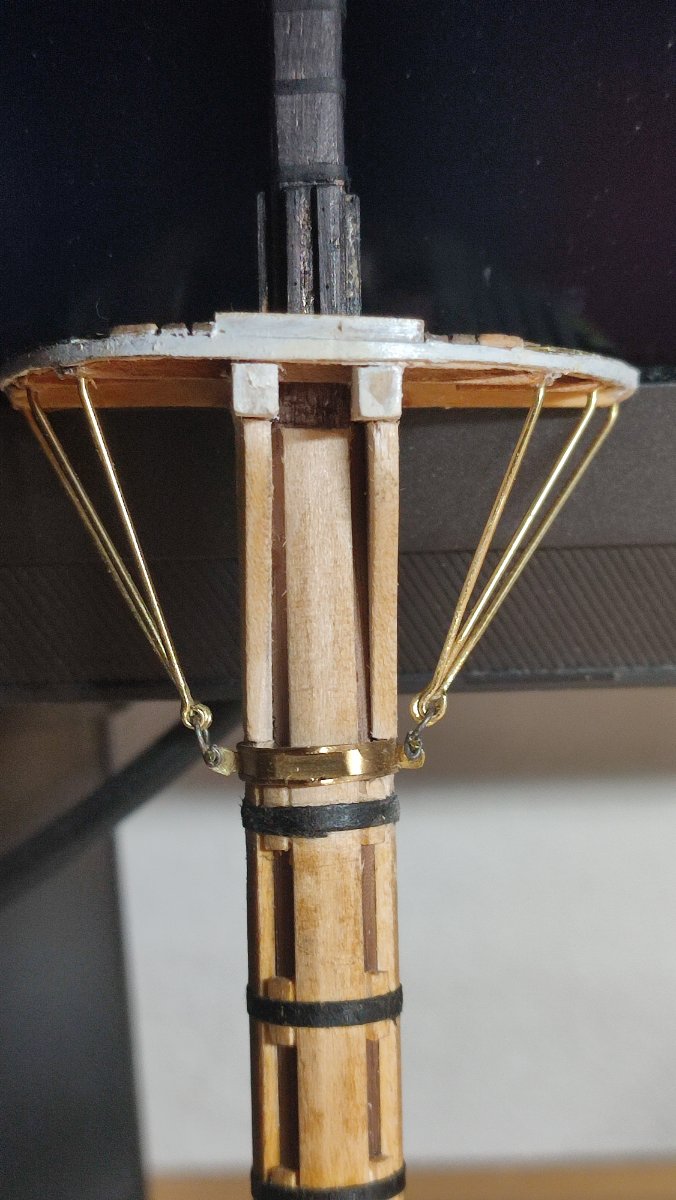
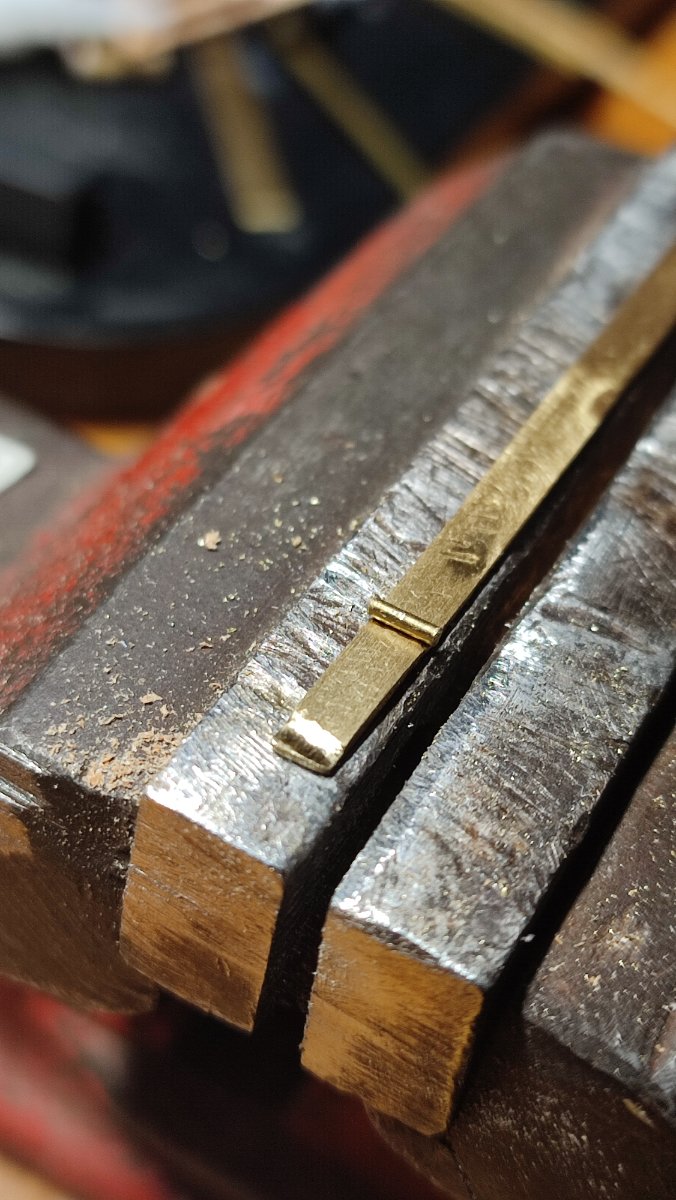
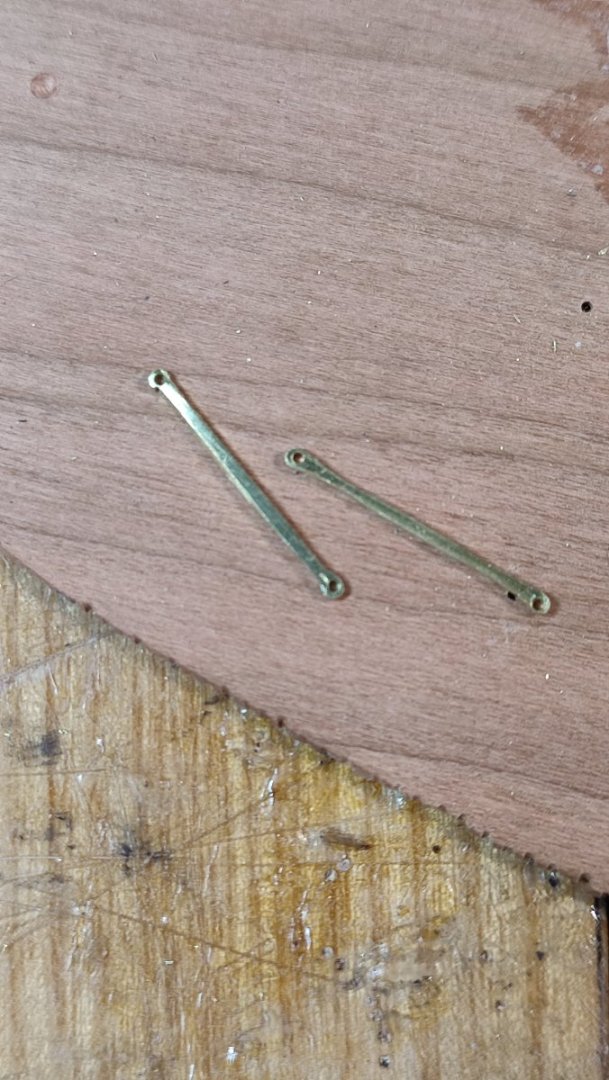
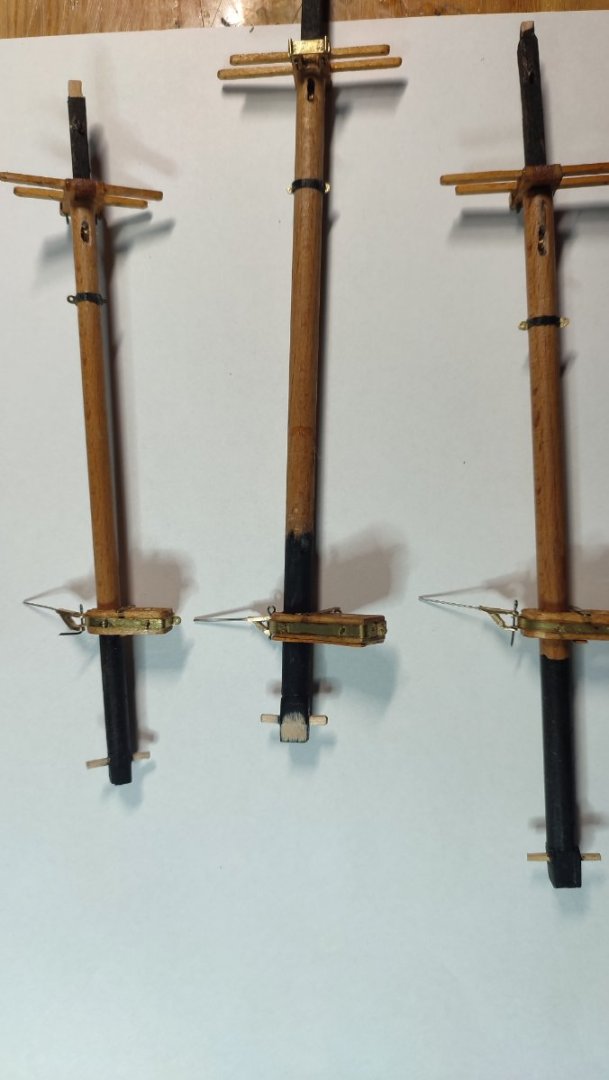
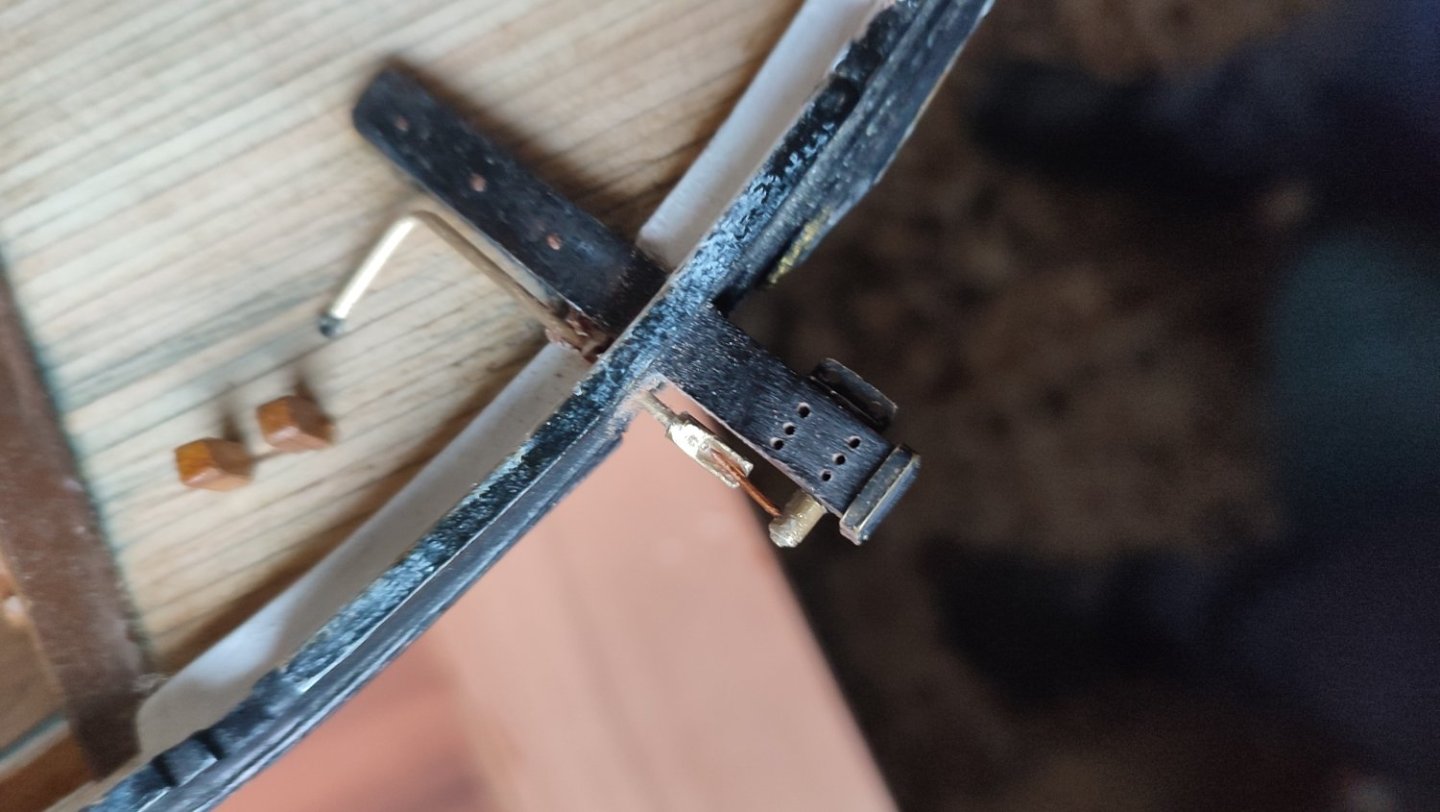
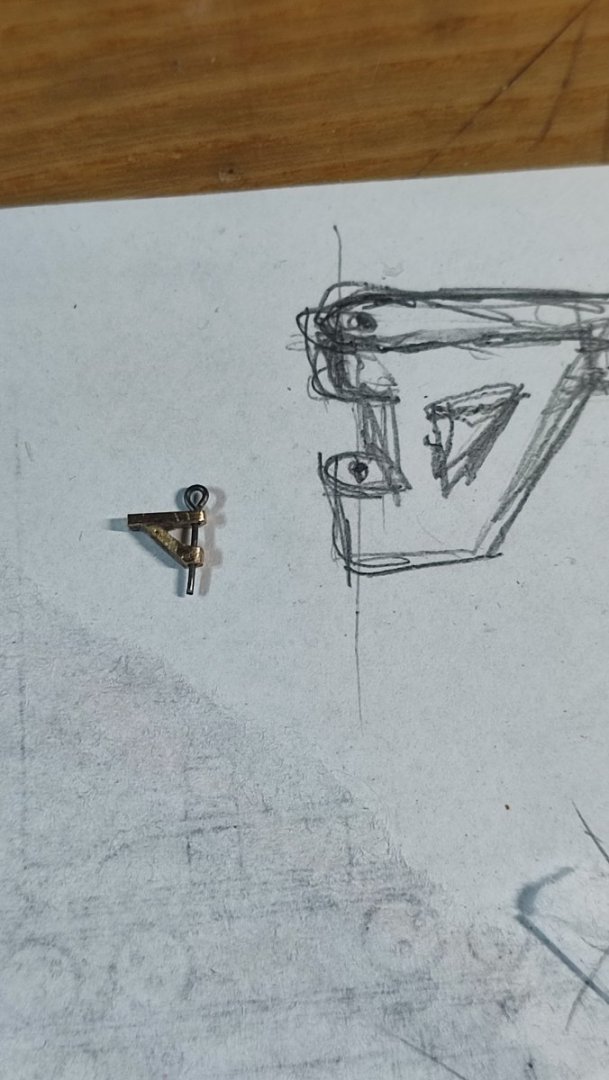
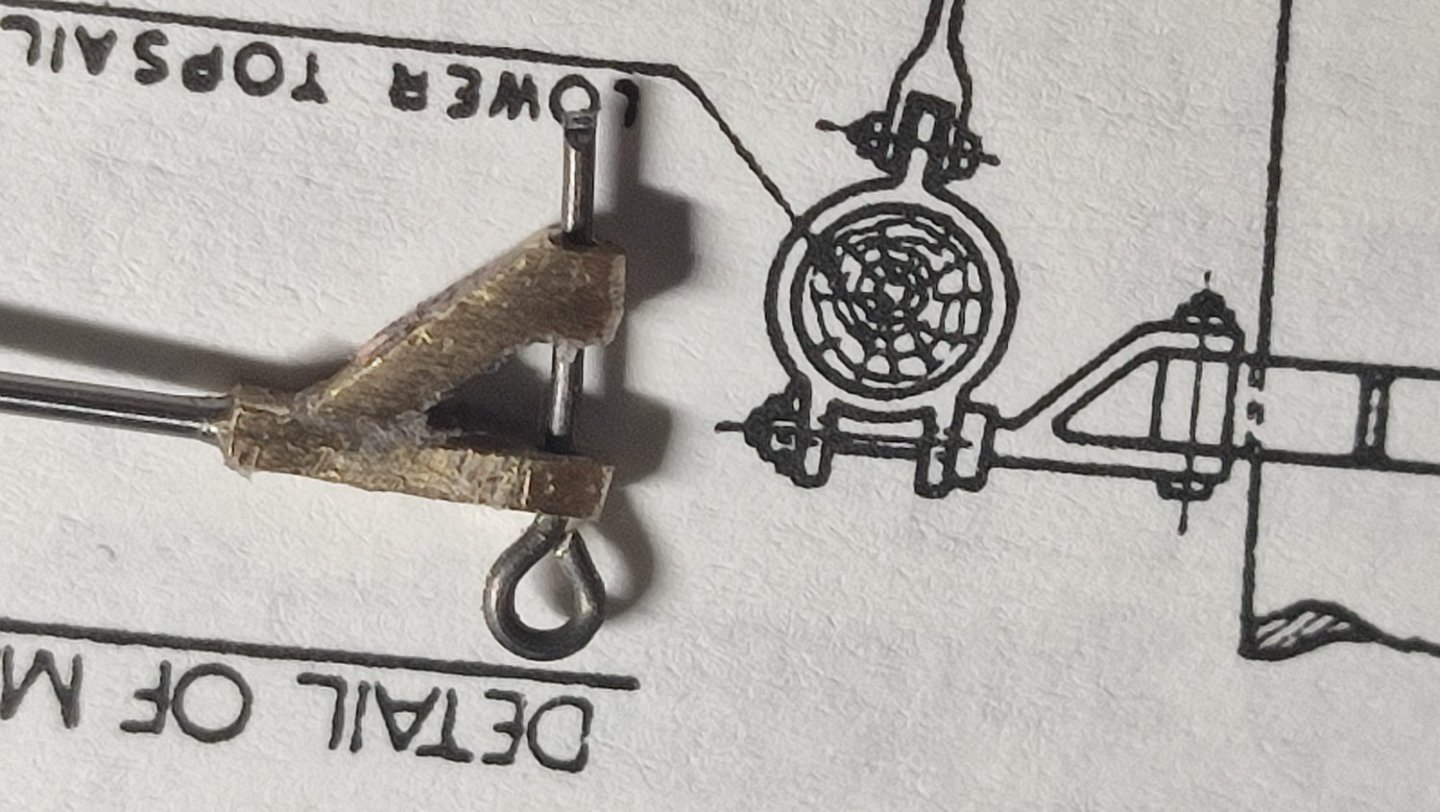
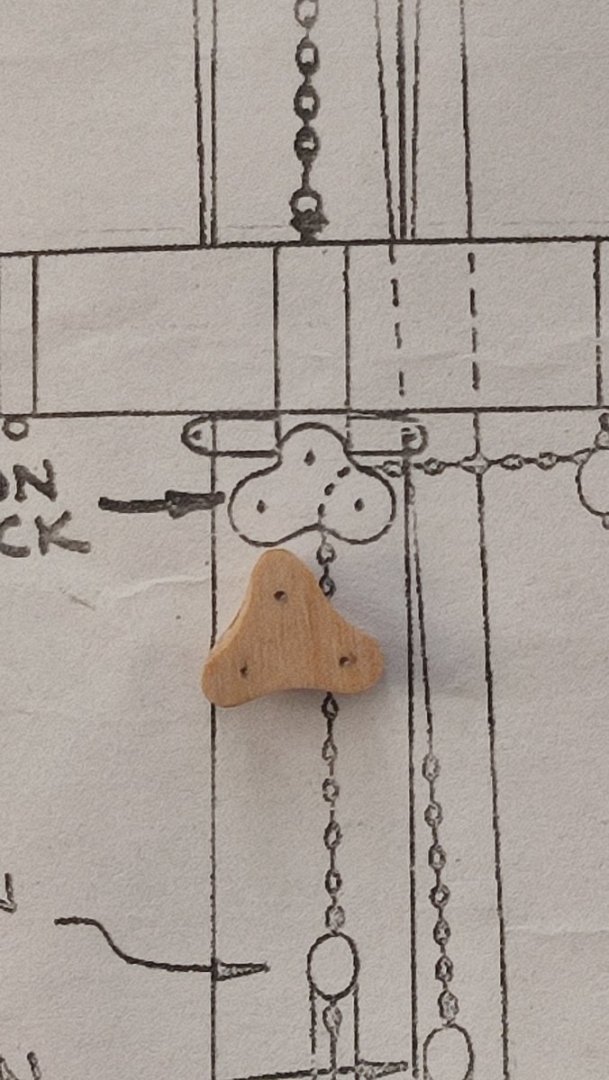
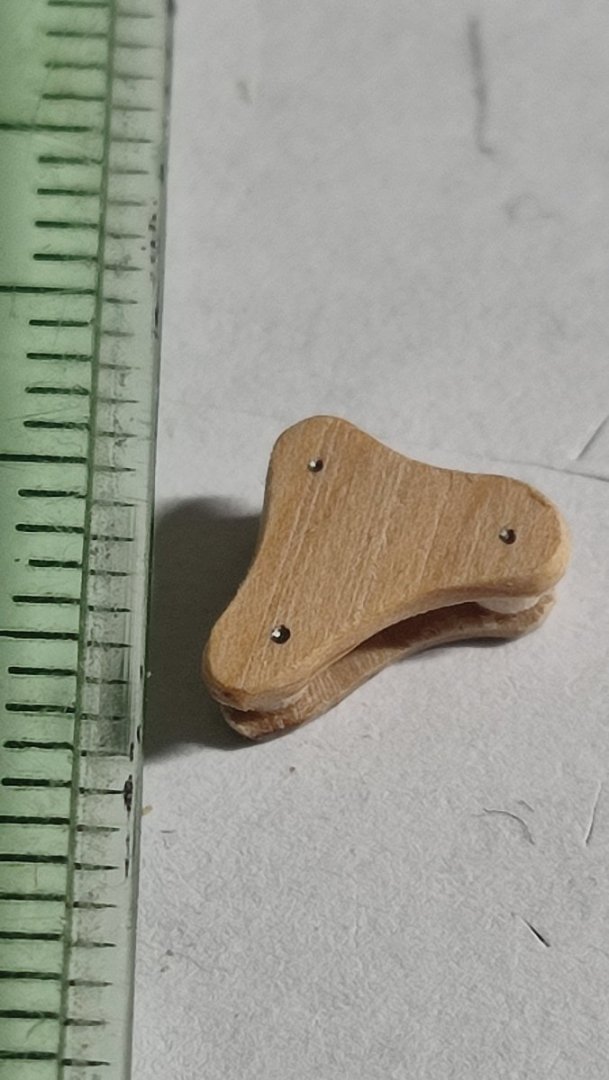
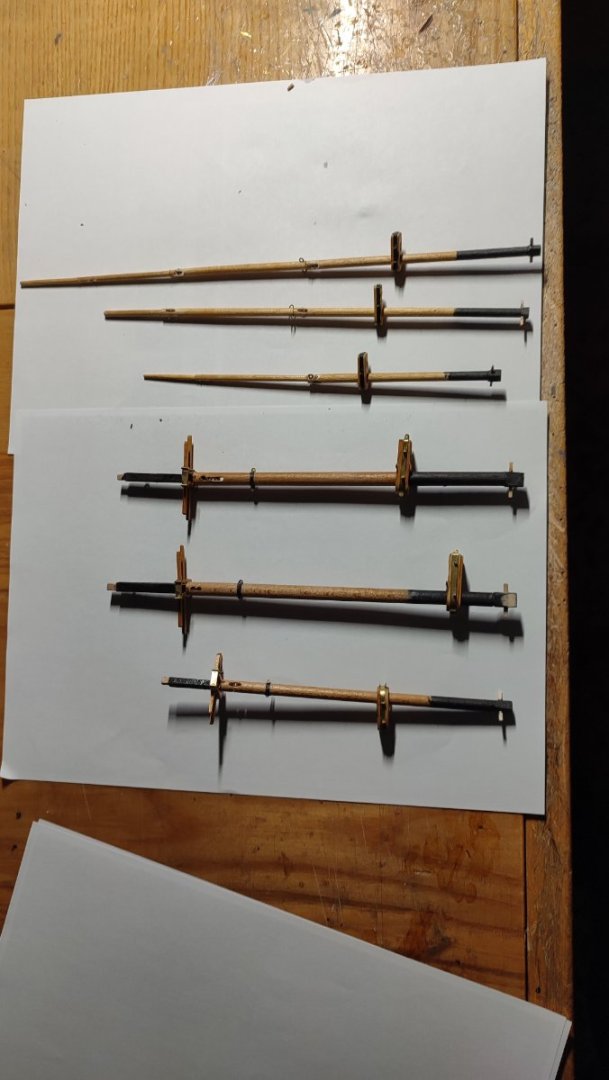
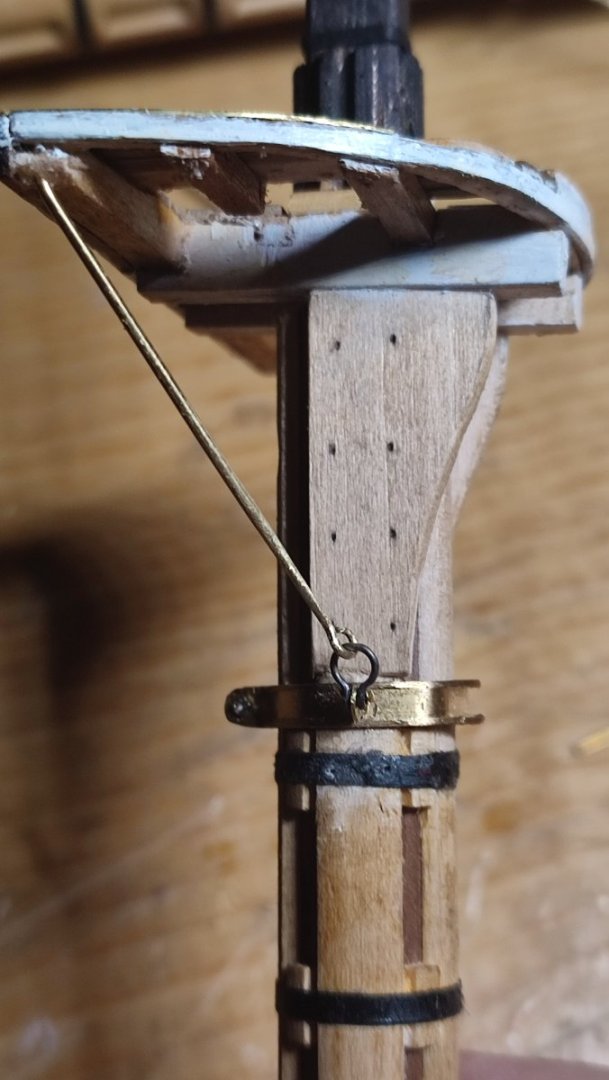
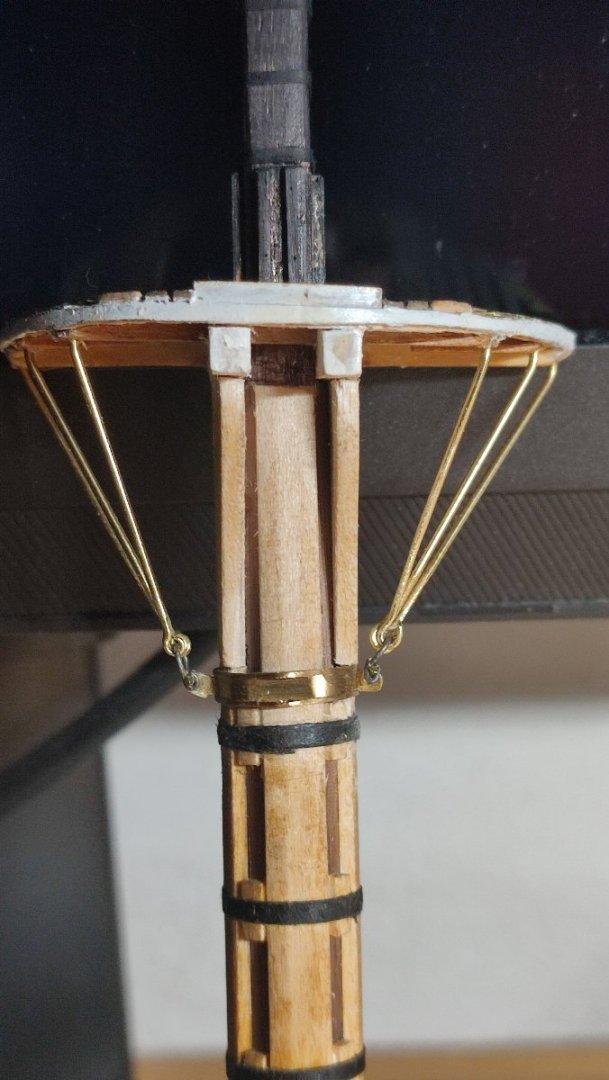
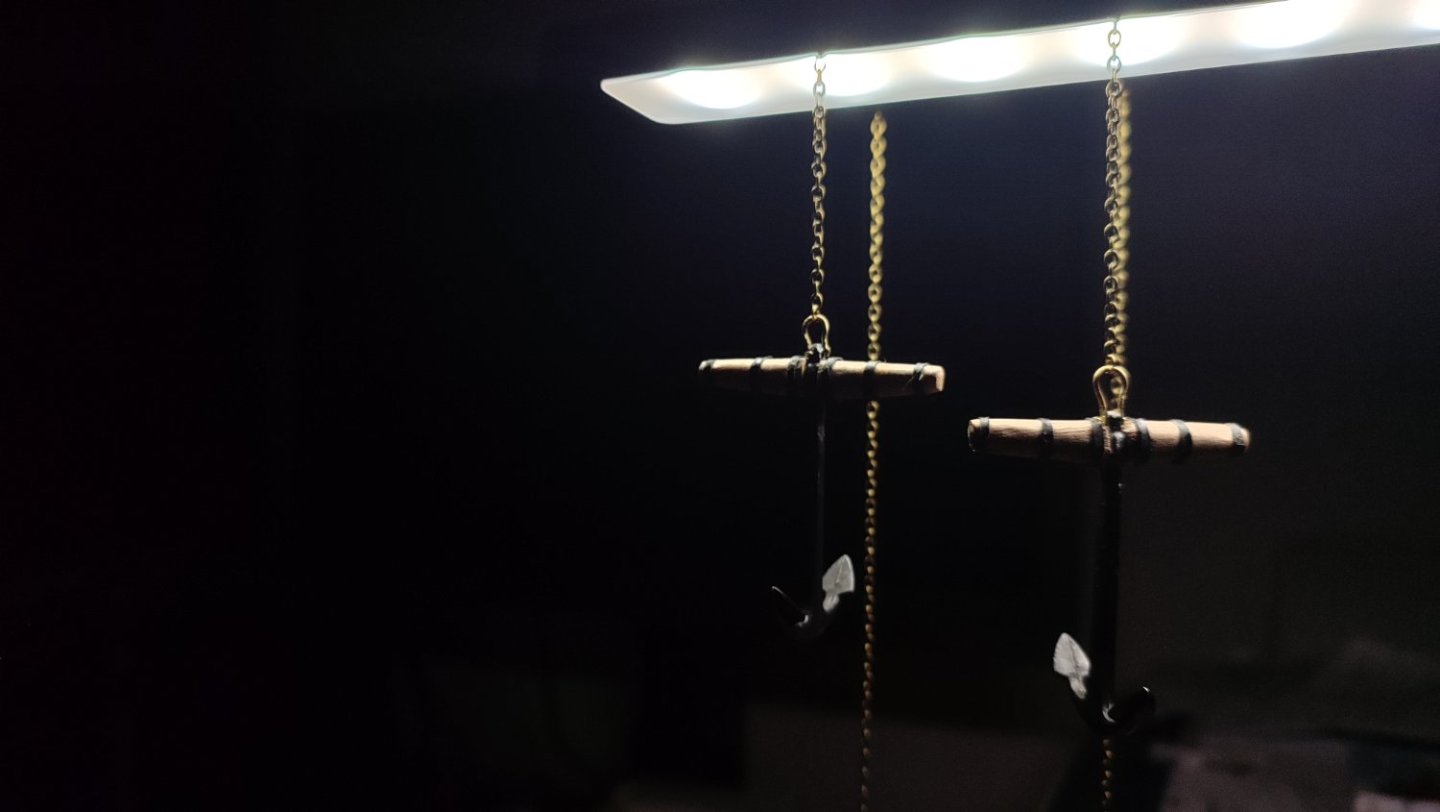
Small update from todays rigging preparations. I continue with making Howes cranes on topmast caps. These needs to be 3 made, each for every lower topyard. Since my solder skin poisoning axident I derailed from soldering at All trying different methods of joining cut and shaped brass mostly by wires thru holes..thanks much for watching etc...

-
very neat George. all ropes tight and nice around deadeyes. It must hqve been quite a work. its interesting aproach to rise all stays first. my plan is to step up together with yards meaning lower mast atraching yard than topmast etc.... will see how it goes quite nervous. Keep great progress. amazing. V.
- 602 replies
-
- 1
-

-
- Flying Fish
- Model Shipways
- (and 2 more)
-
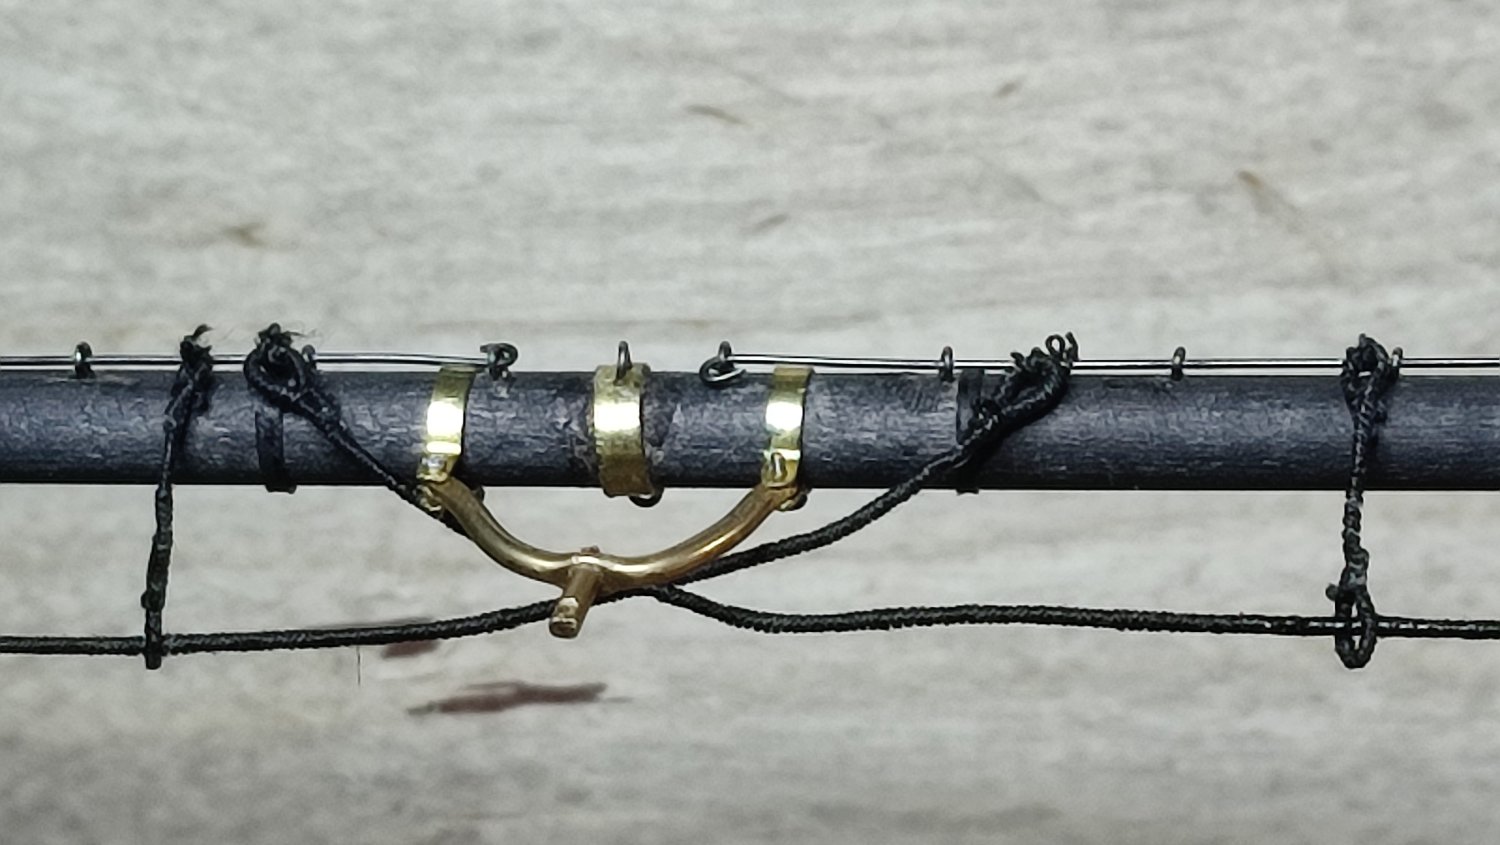
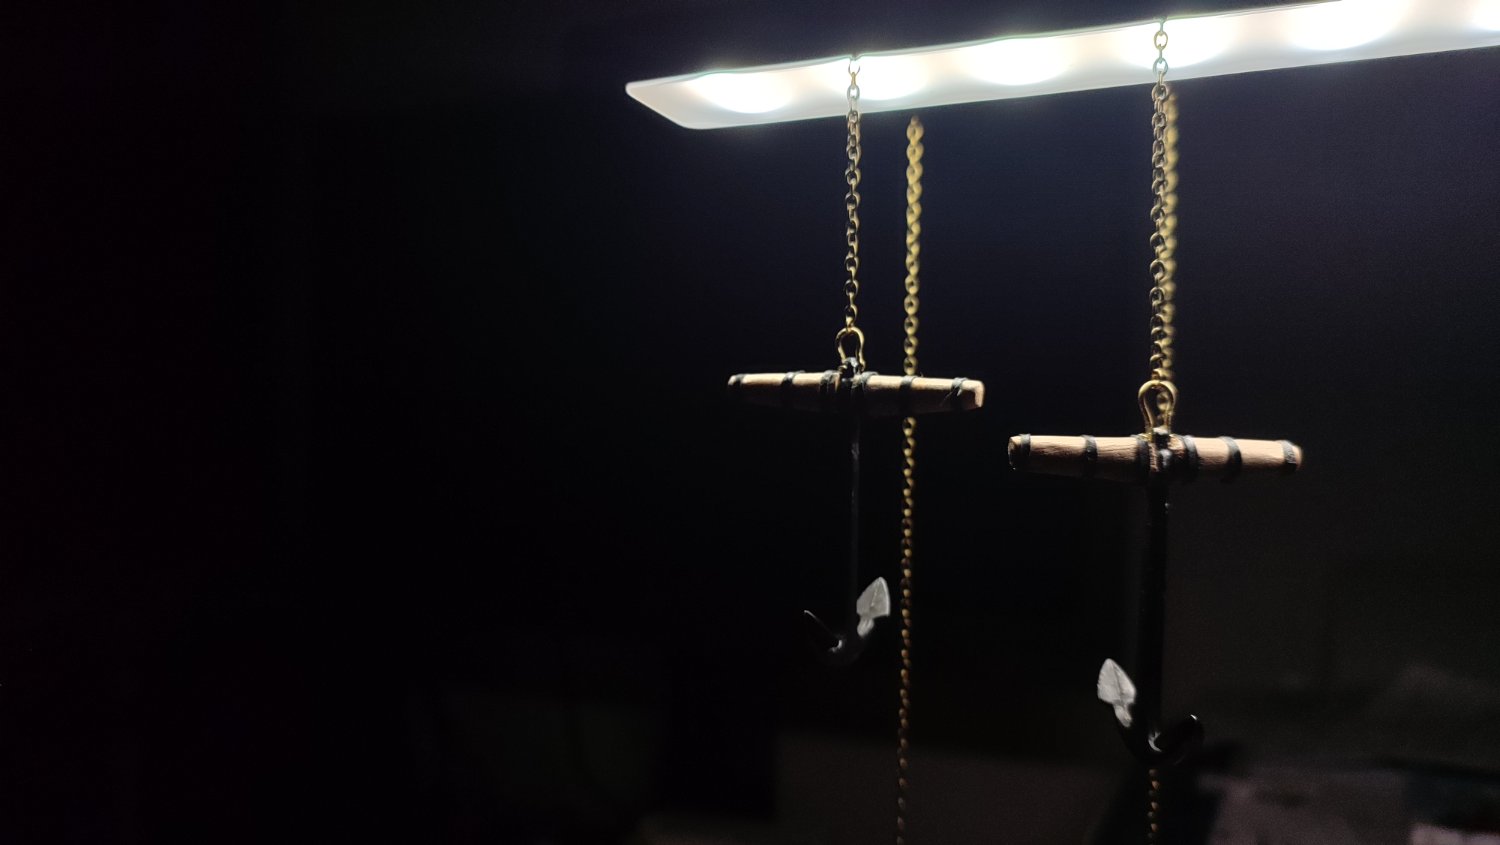
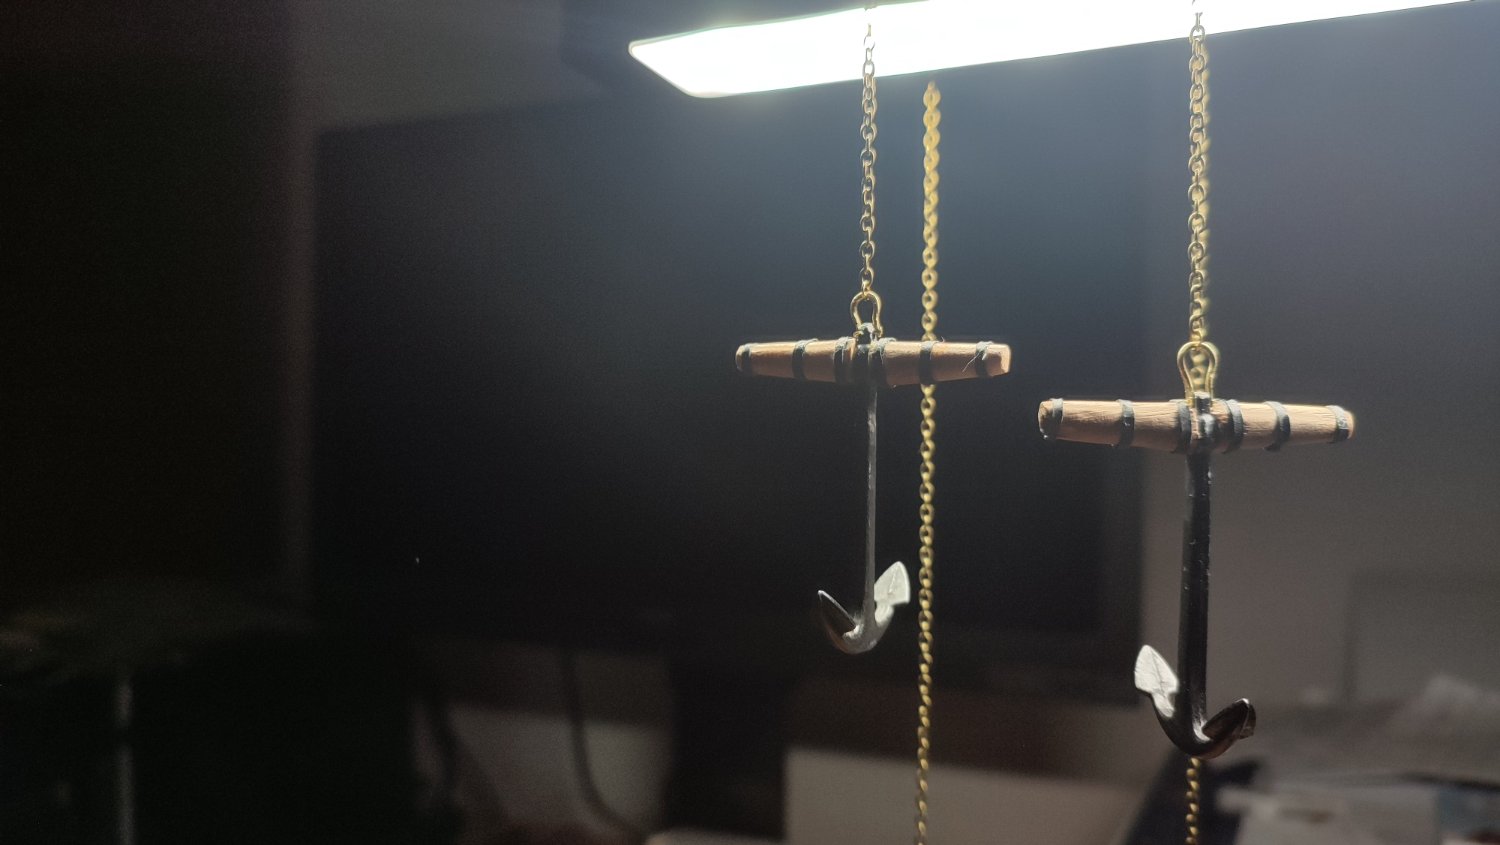
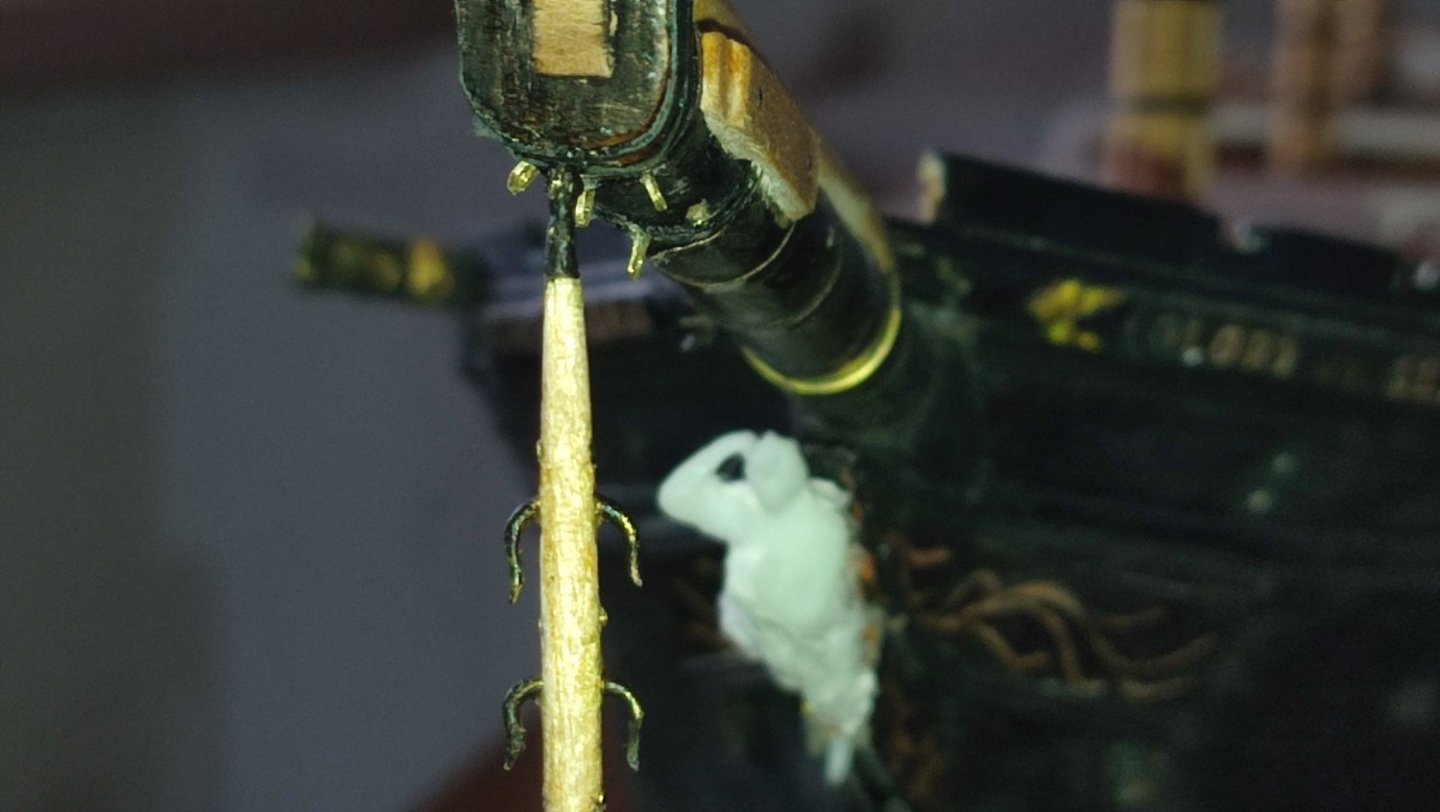
Thanks for interest and comments Folks. @Rich, sorry to hear unfortunate setback, those are regretful occurenes where little helps ať least maybe that no injury was involved thankfully. I hope for the best with compensations etc... AS far as last updates i only observe what folks are doing mostly in rather mediocre fashion ... To follow @ Dolphin Strike revision etc ... I continue detailing after underhill..spent enough tíme with brass to get me entertained. Im glad i dont follow only usual 1:96 plans as there IS rather simplified solution with using simple hooks etc. This IS magnifier work applied. I though have one problm folks. I really have issue how to blacken already constructed brass on wood surface lie topmast tops etc. m not sure painting would be satisfying fór me at least. But i dont know of something from chemická Arsenal to blacken it AS already attacjed to wood. If you have satisfying solution i would be thankfull. Nôt fully moving to both Axis but sufficuently enough to one for our need. Some pics.


-
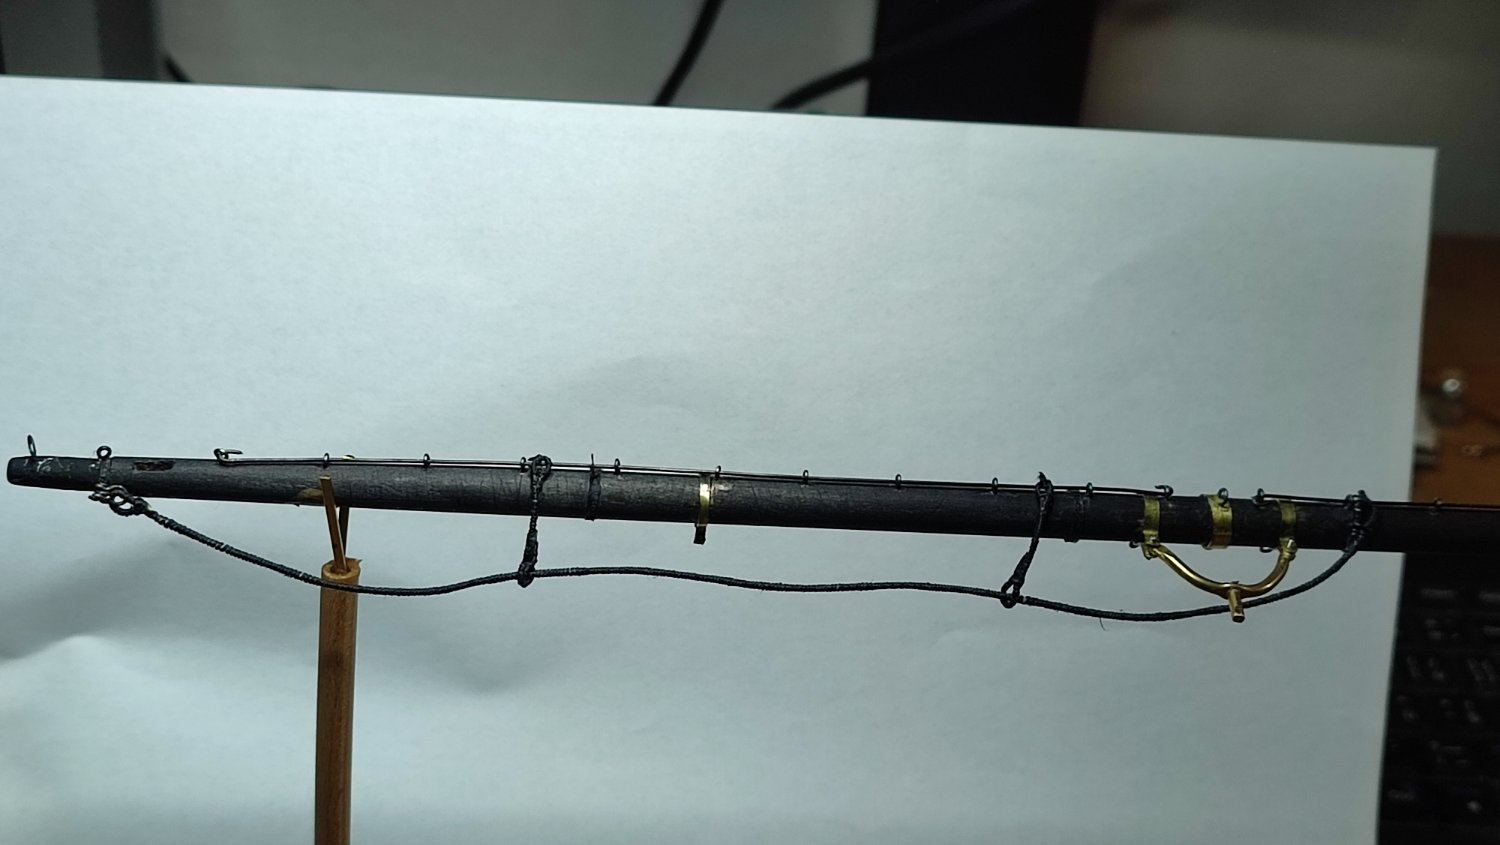
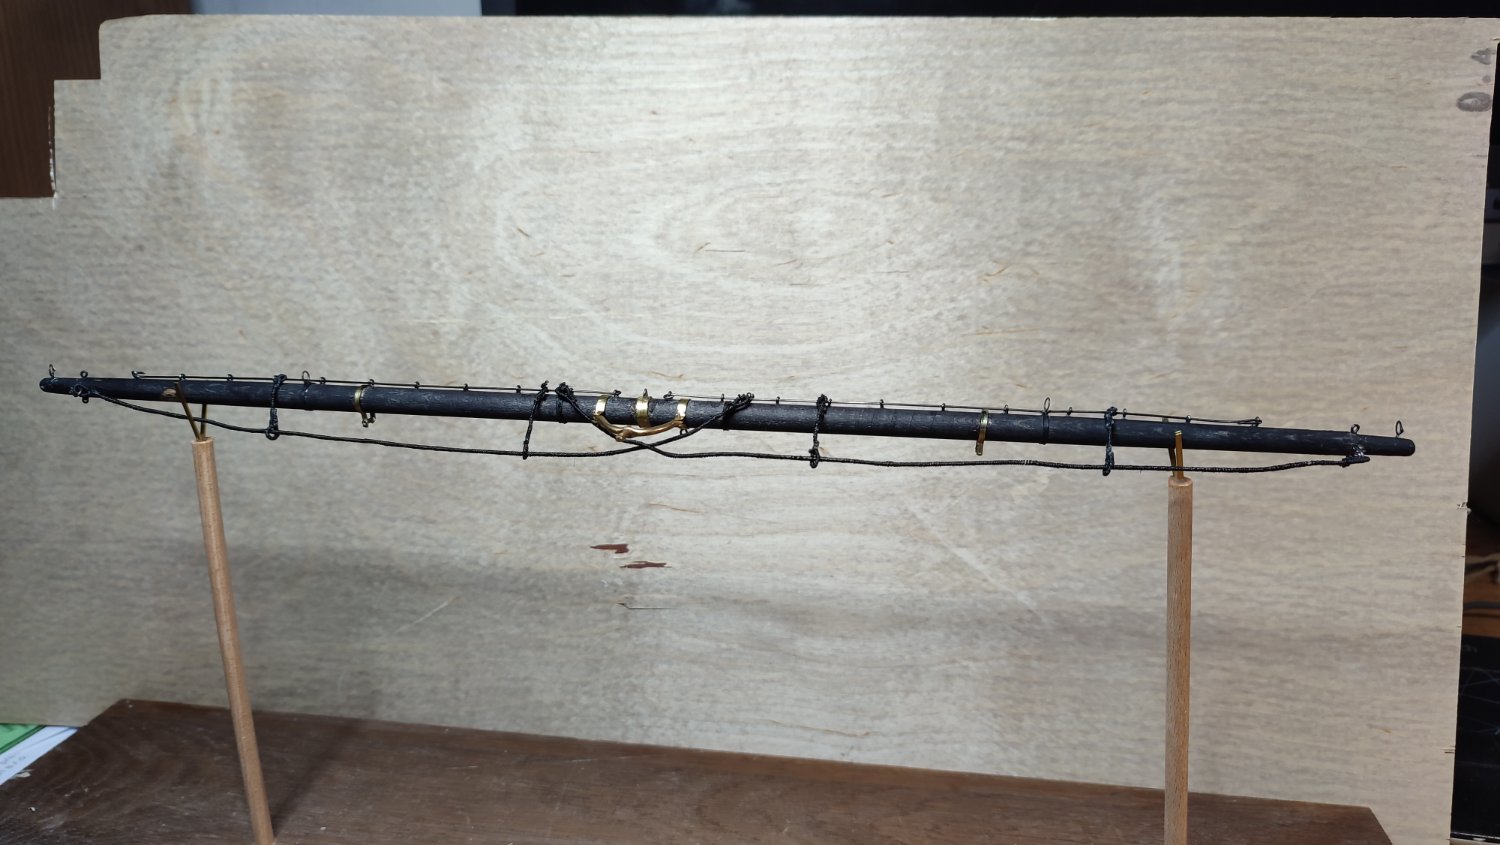
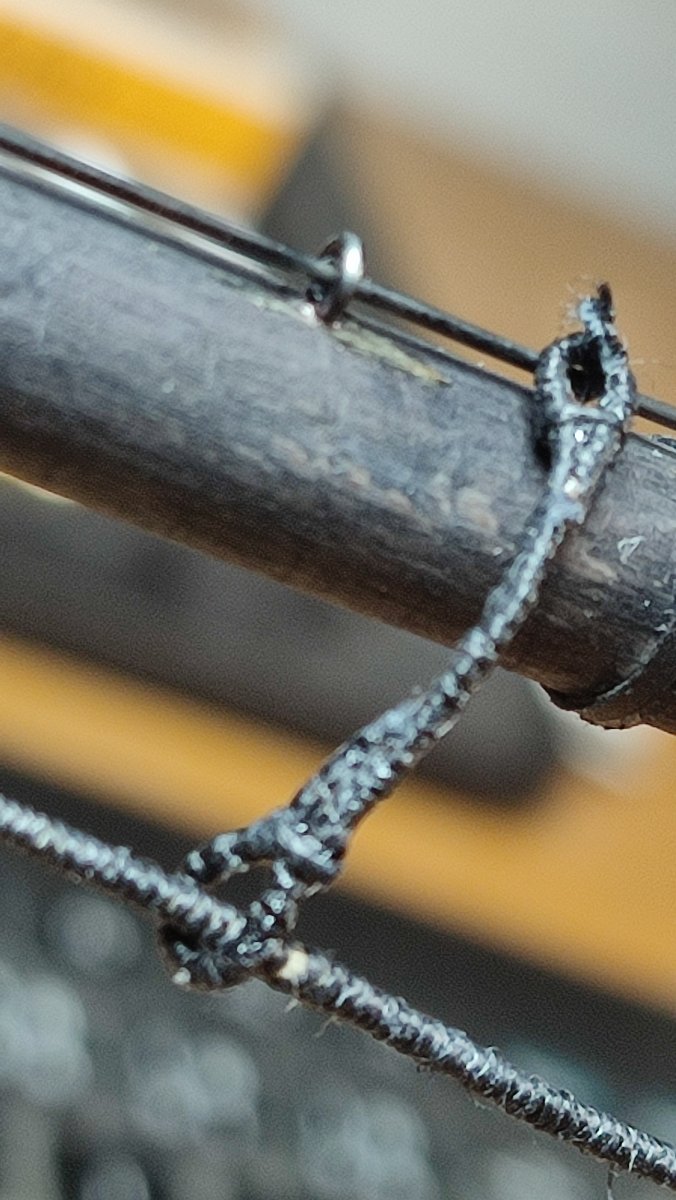
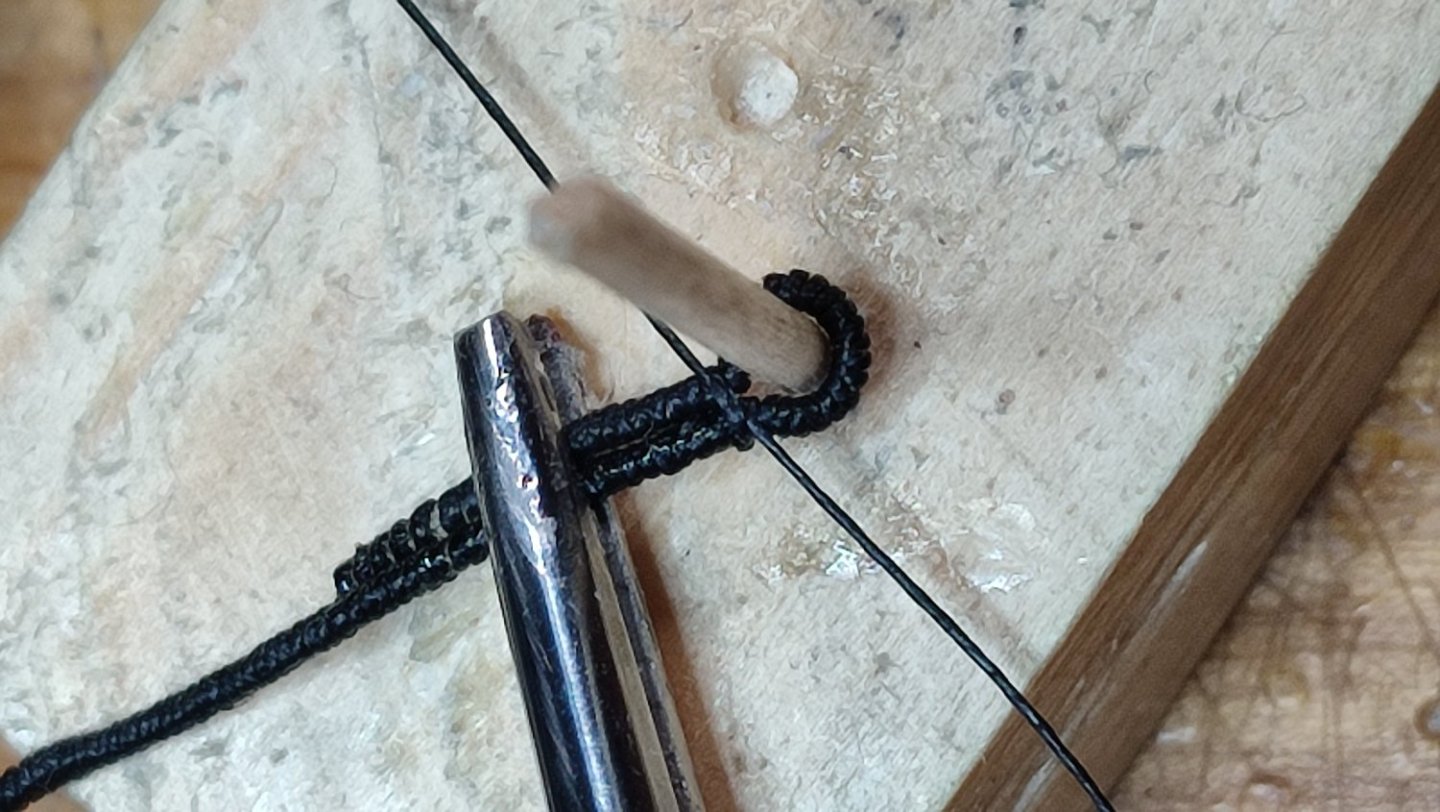
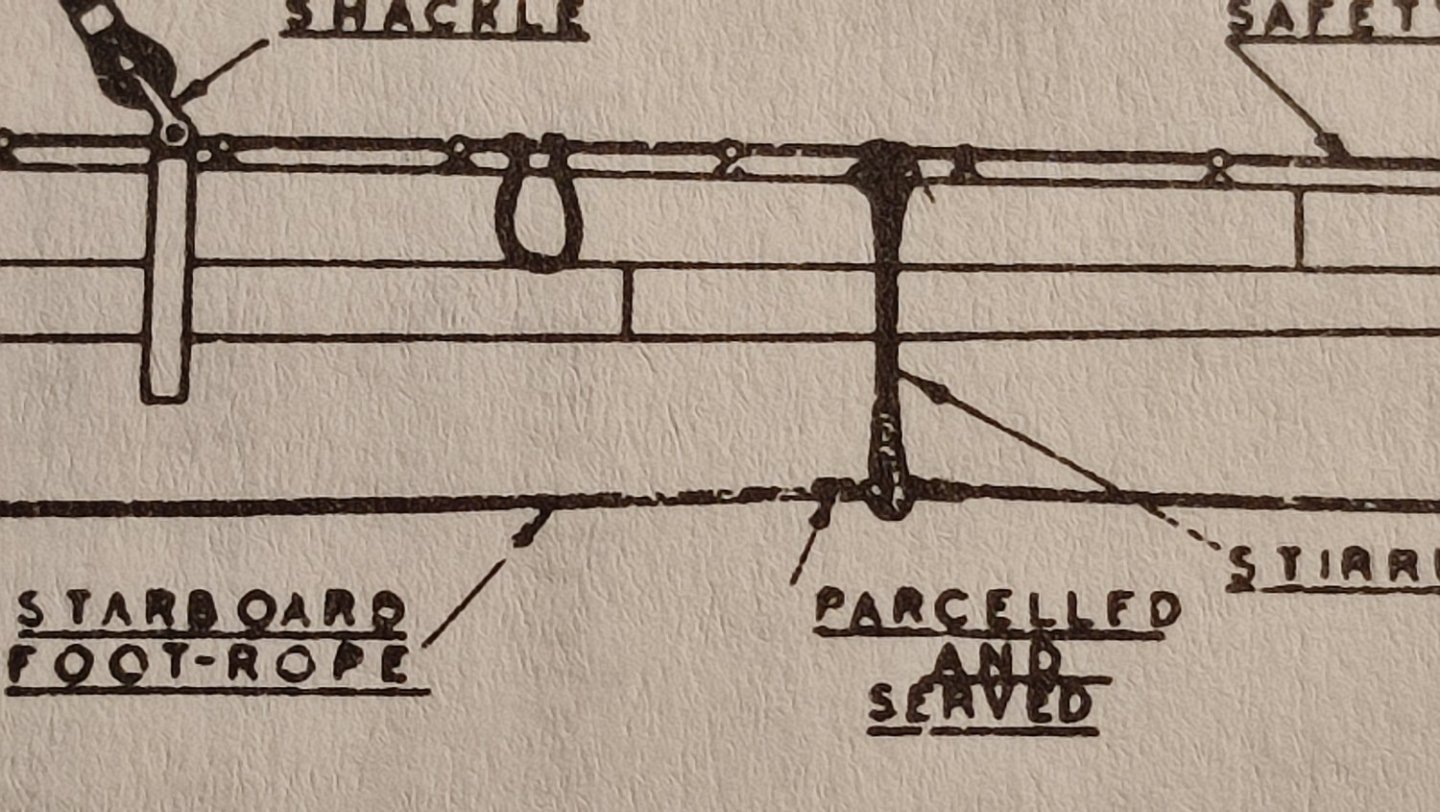
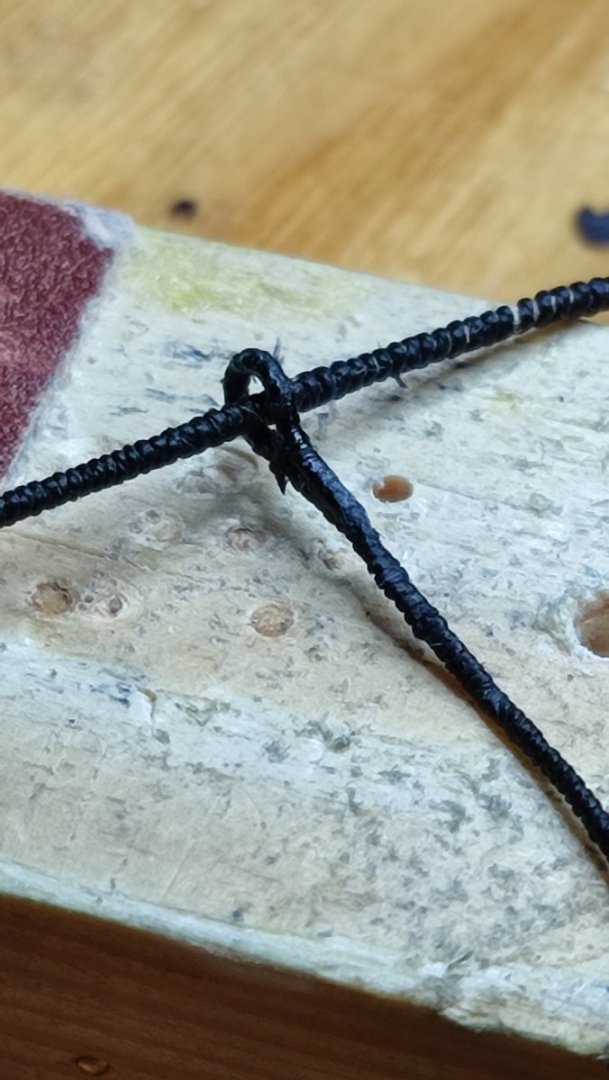
I continue with something else. Rigging of lower yards. Tried with served rope of scale thickness for entire length for stability of roofrope will see if to continue with this fashion. I believe this way will be doable fór me Up until upper topyard not thinking od topgallant and higher up as of now. I follow underhill general view...


-
Fantastic build Ian. beyond beautiful.
-
Oooh, what read. feeling like a kid getting christmass month earlier. thanks for teasing us Chuck. There IS something really enjoyable and relaxing for scratch modelers with laser cut model. I Remember how over the moon I was joining together winnie stem. Good luck.
-
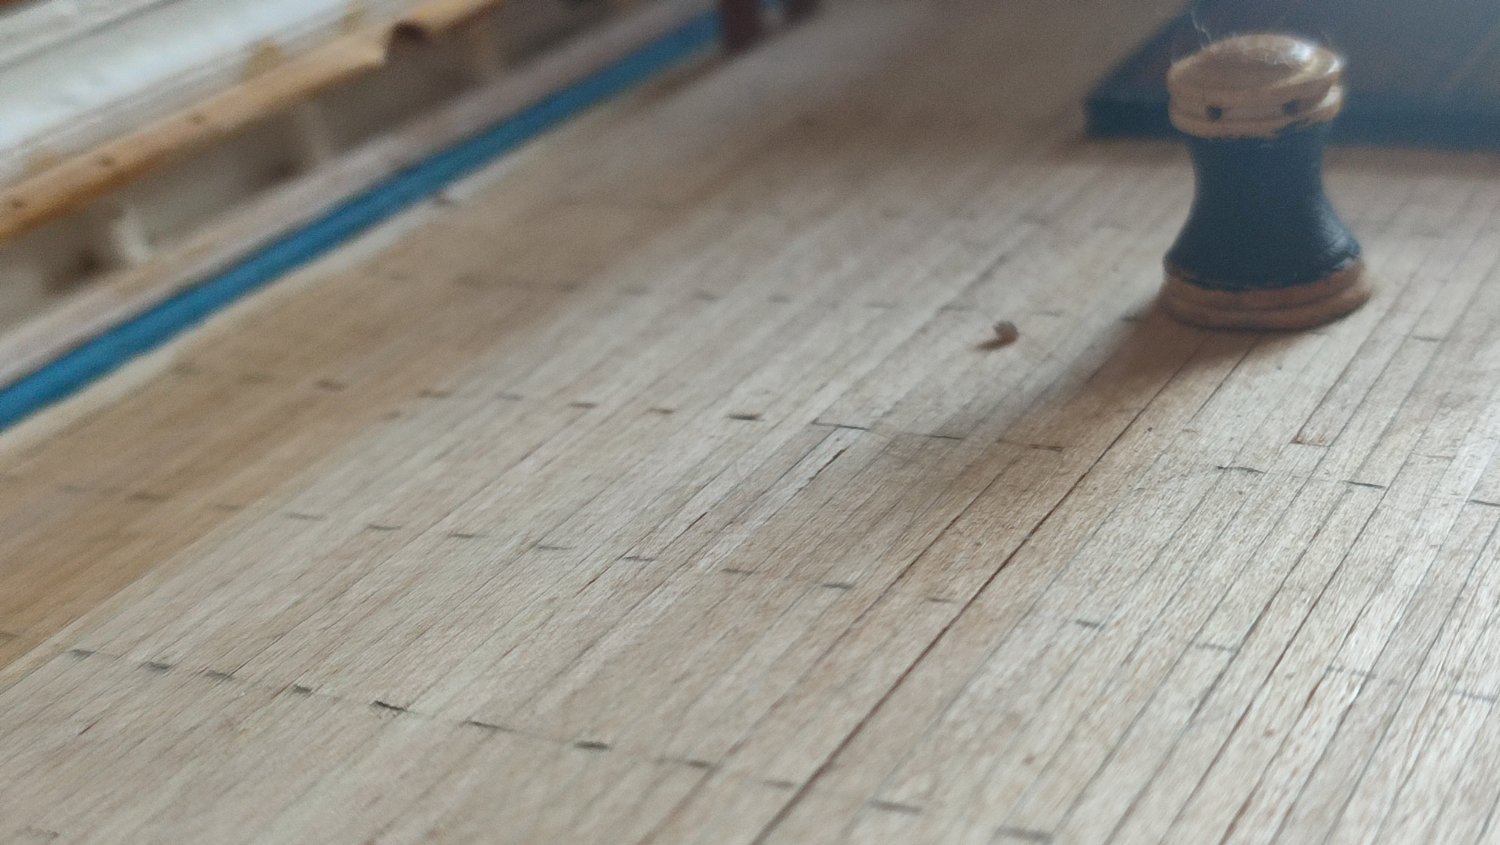
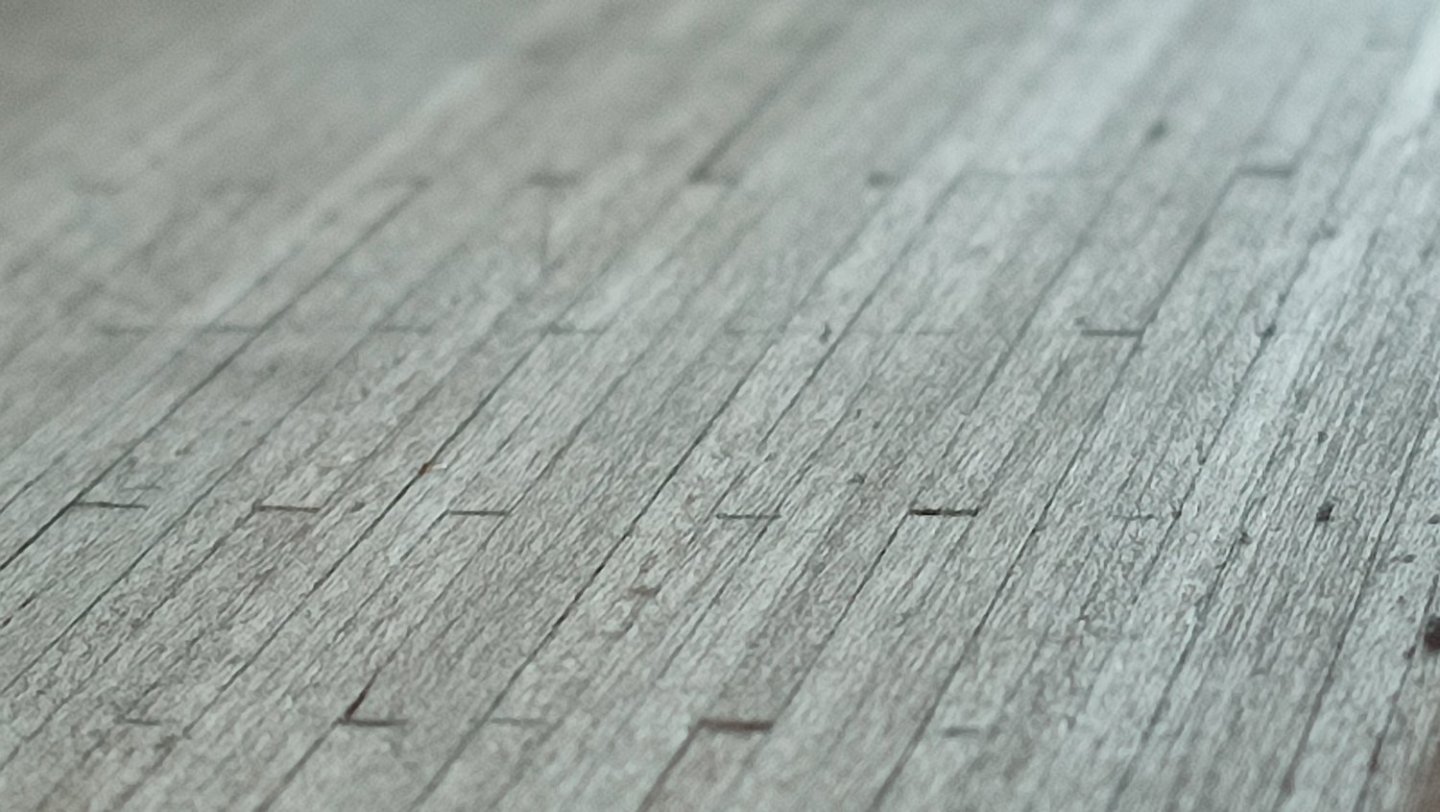
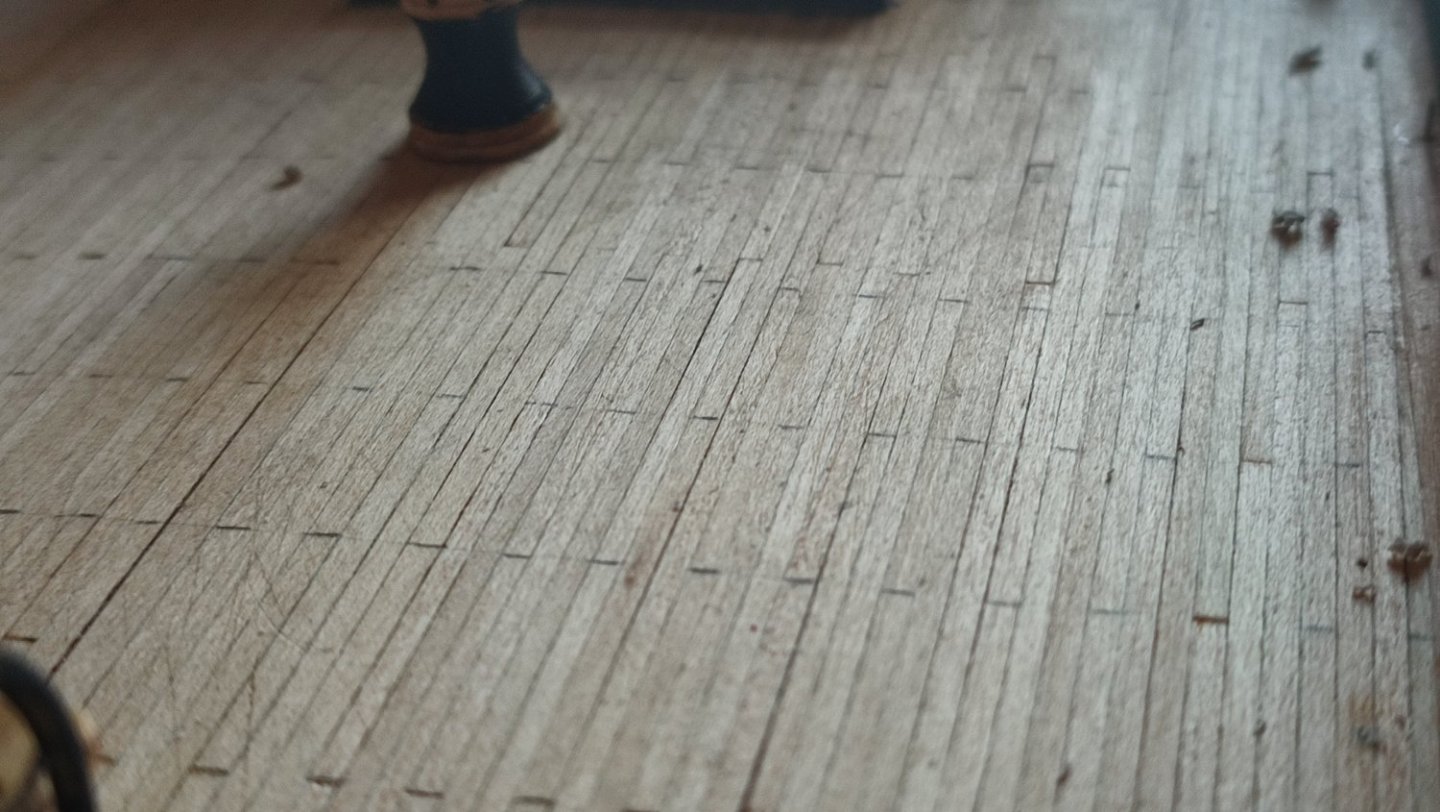
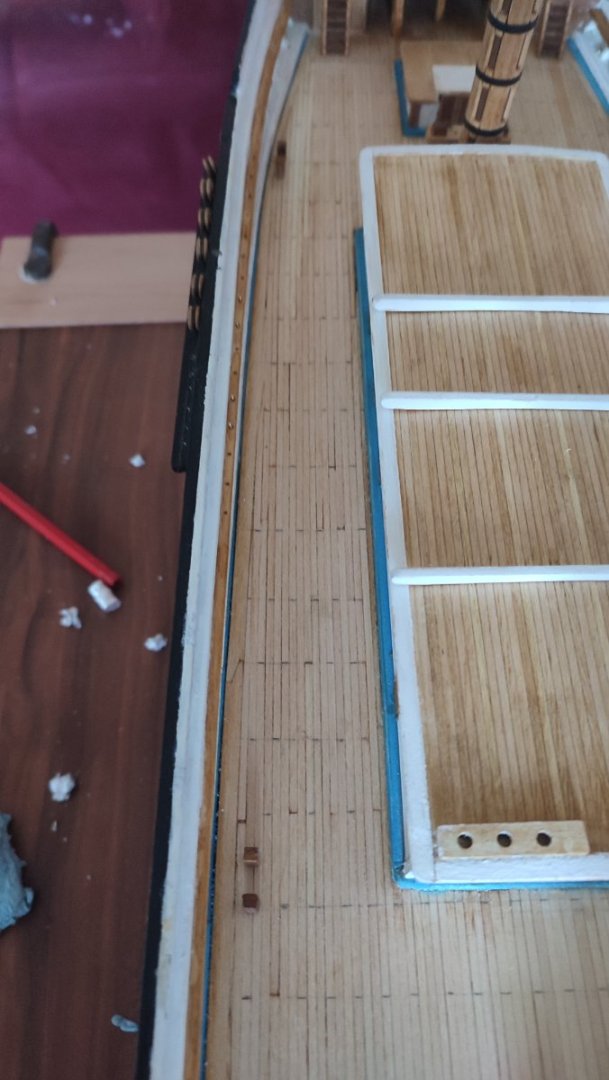
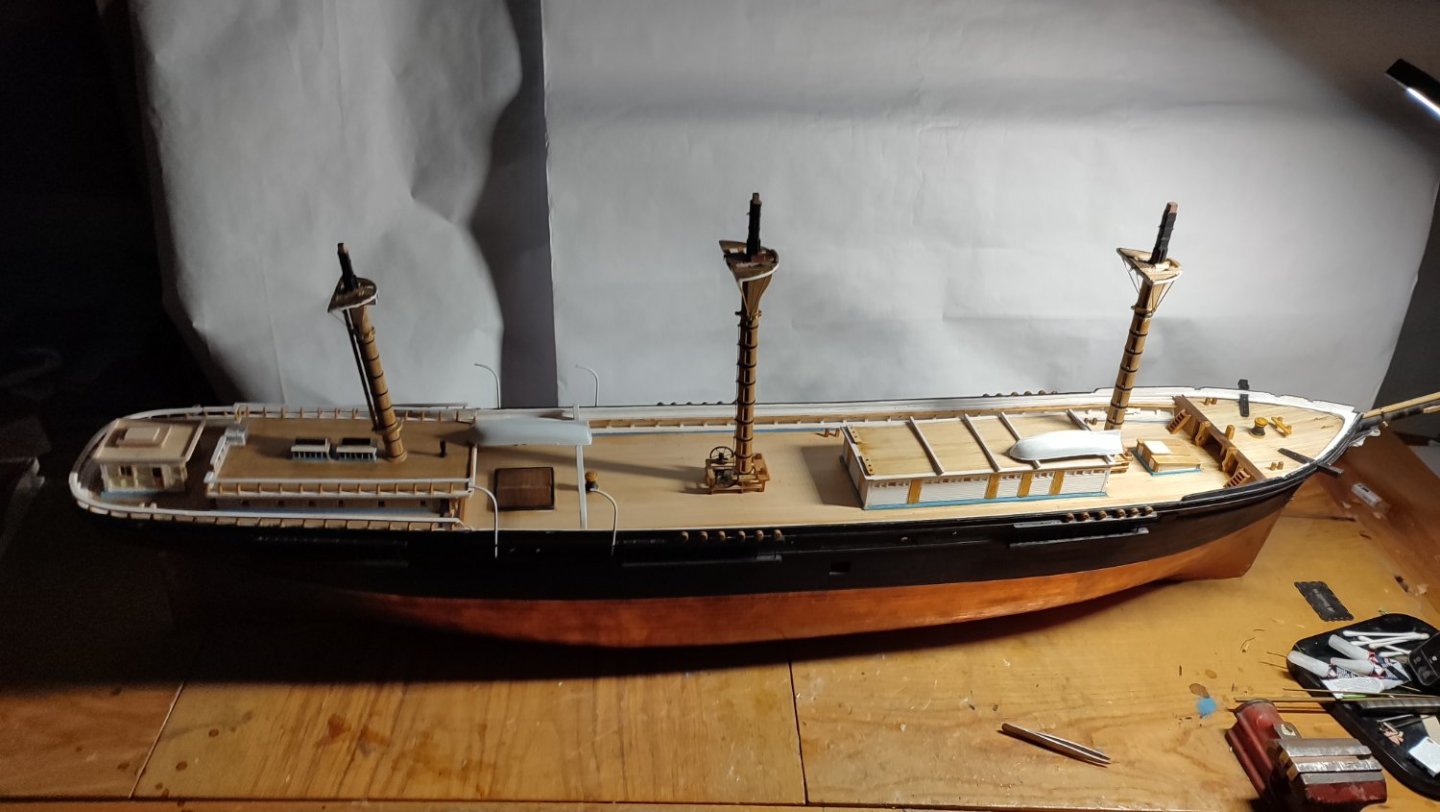
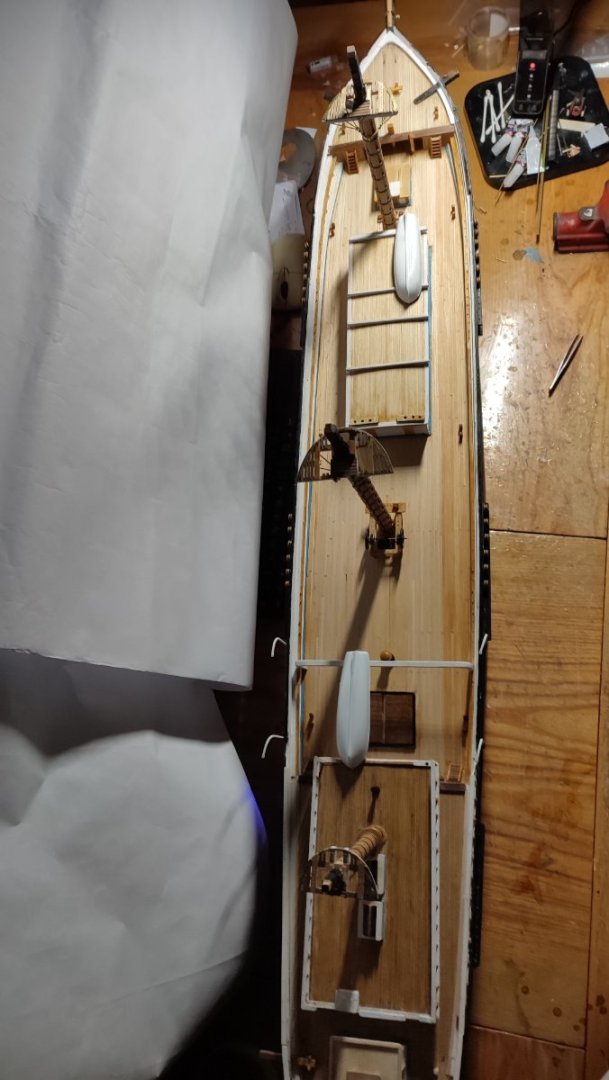
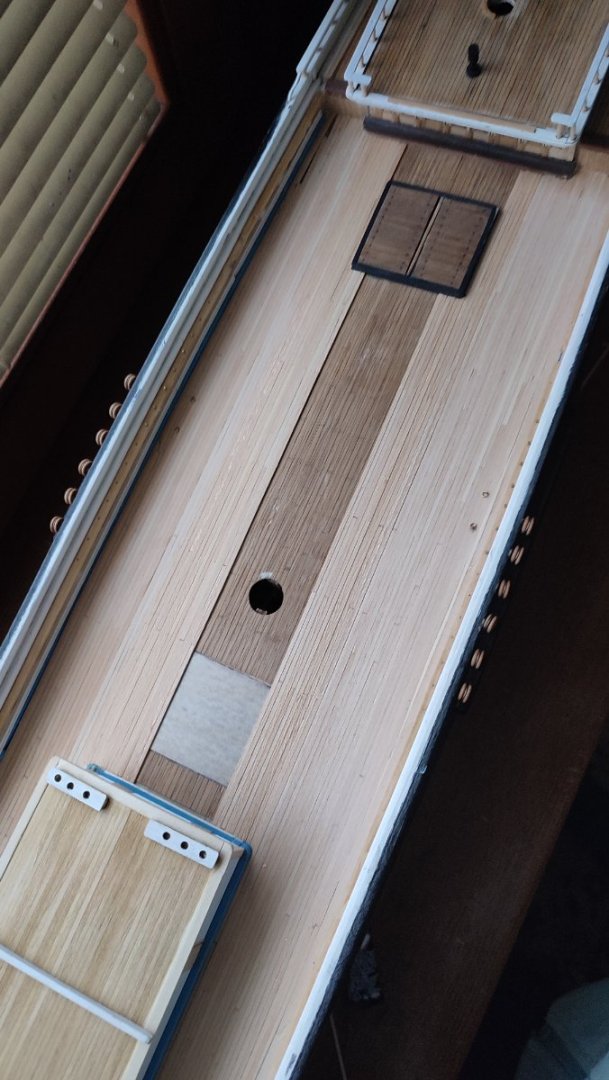
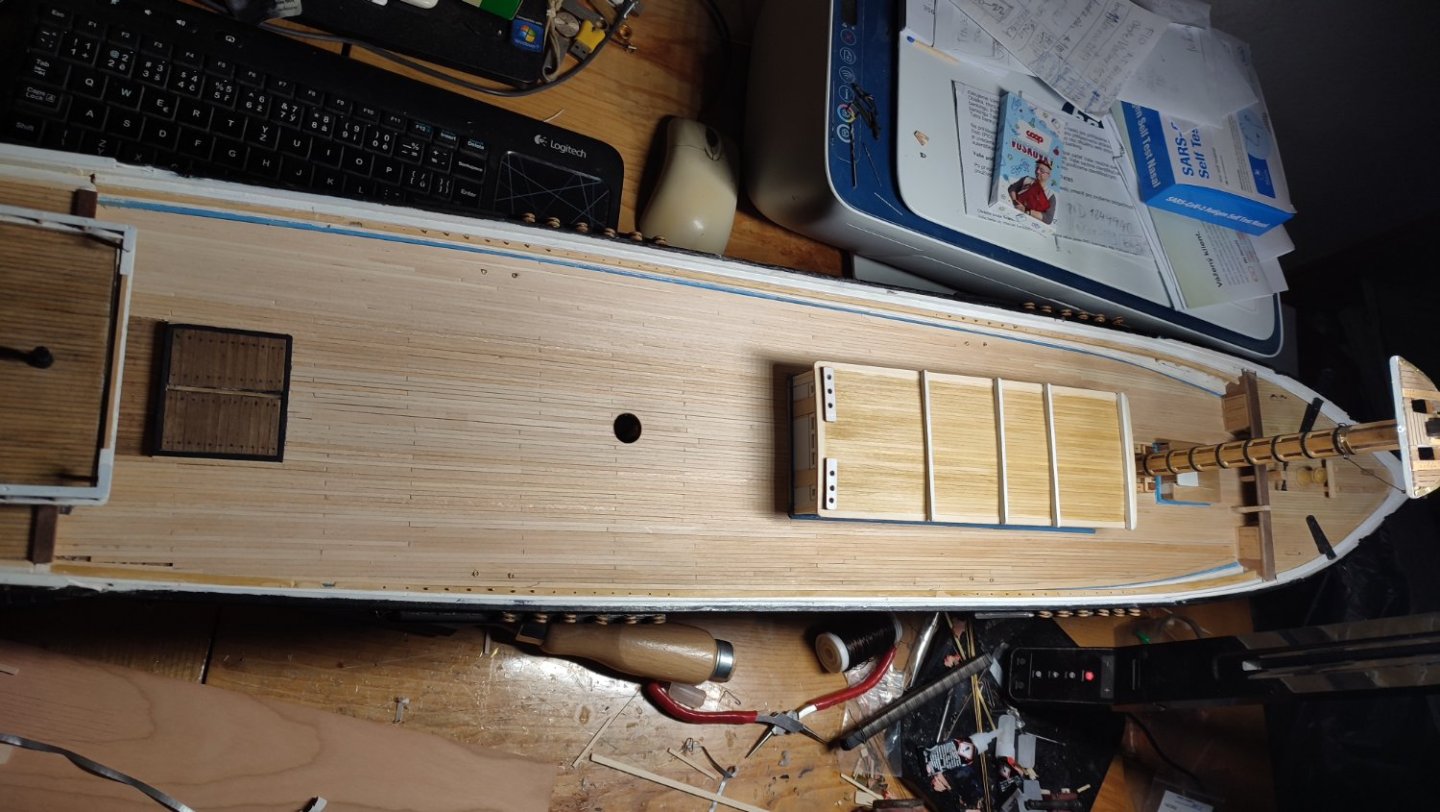
Deck Finalized. I managed to offset cladding on deck. I used sharp pencil fór IT and Rubber to clear out the lines. Finally put coat of clearance lacquer. That All. Its so dense on clipper that laying individual planks of that length would be nightmare fór sure.Thank you fór viewing etc...this IS result.

-
Im speechless Jason, of what can be done by hands. Hat off Sir, watching along V.
-
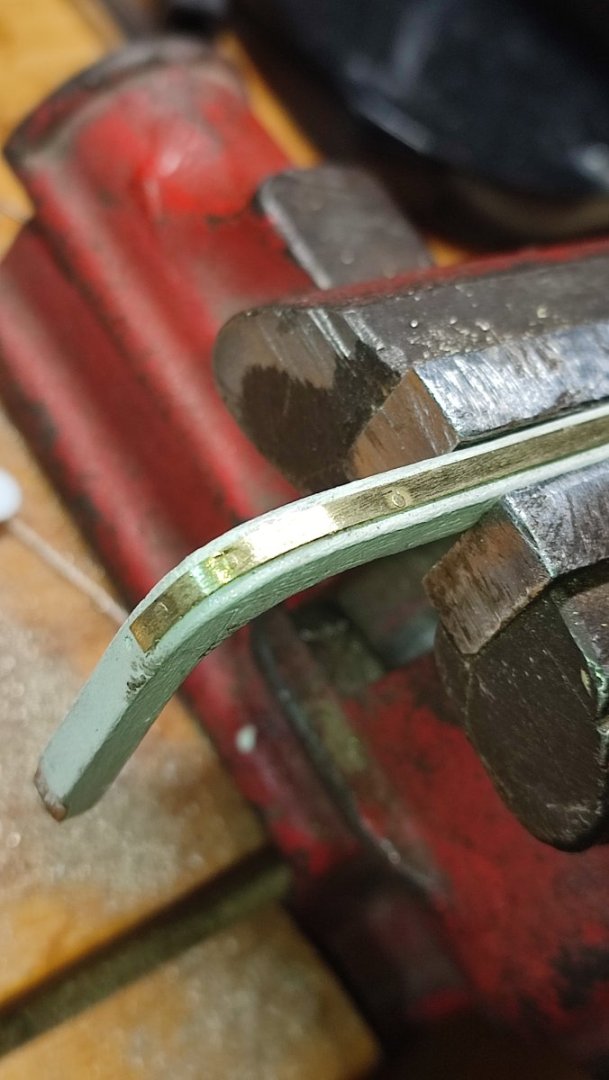
Thanks for comments Folks, I turned wood into steel Primitive approach but easy one and functional. Boxwood IS godsend in this respect. Painted black will do intended. V.
-
Really Nice work Frank.
-
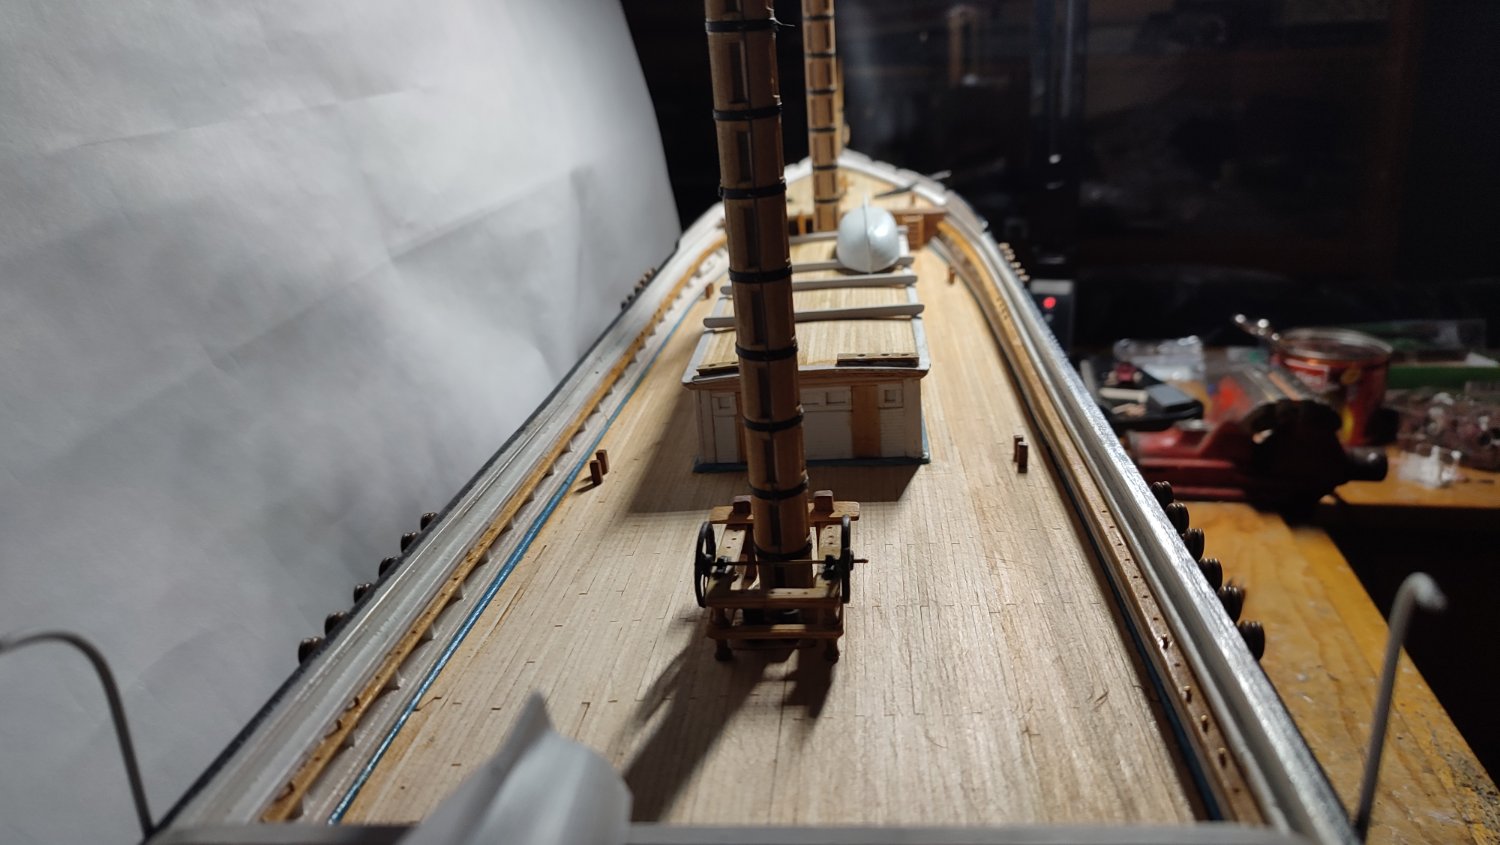
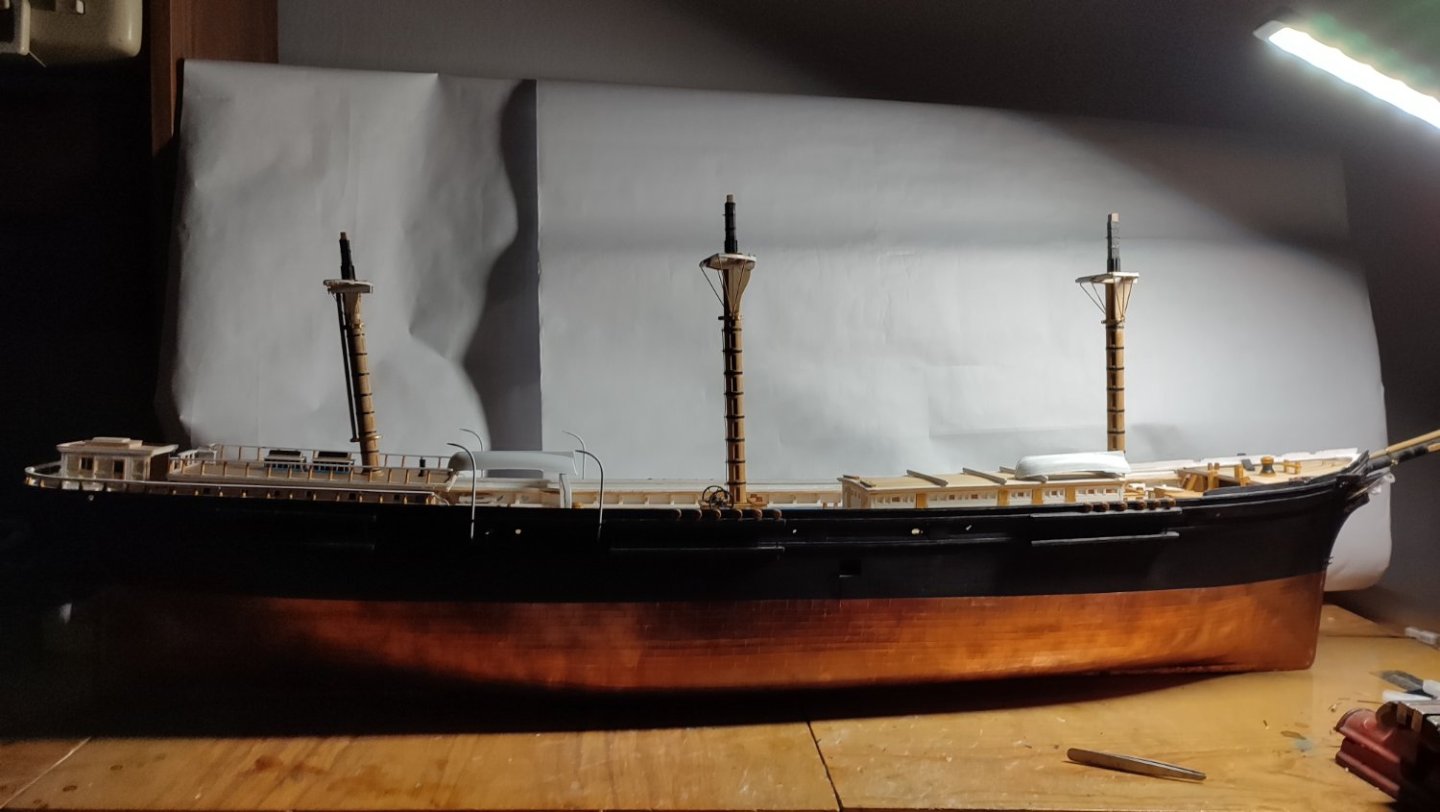
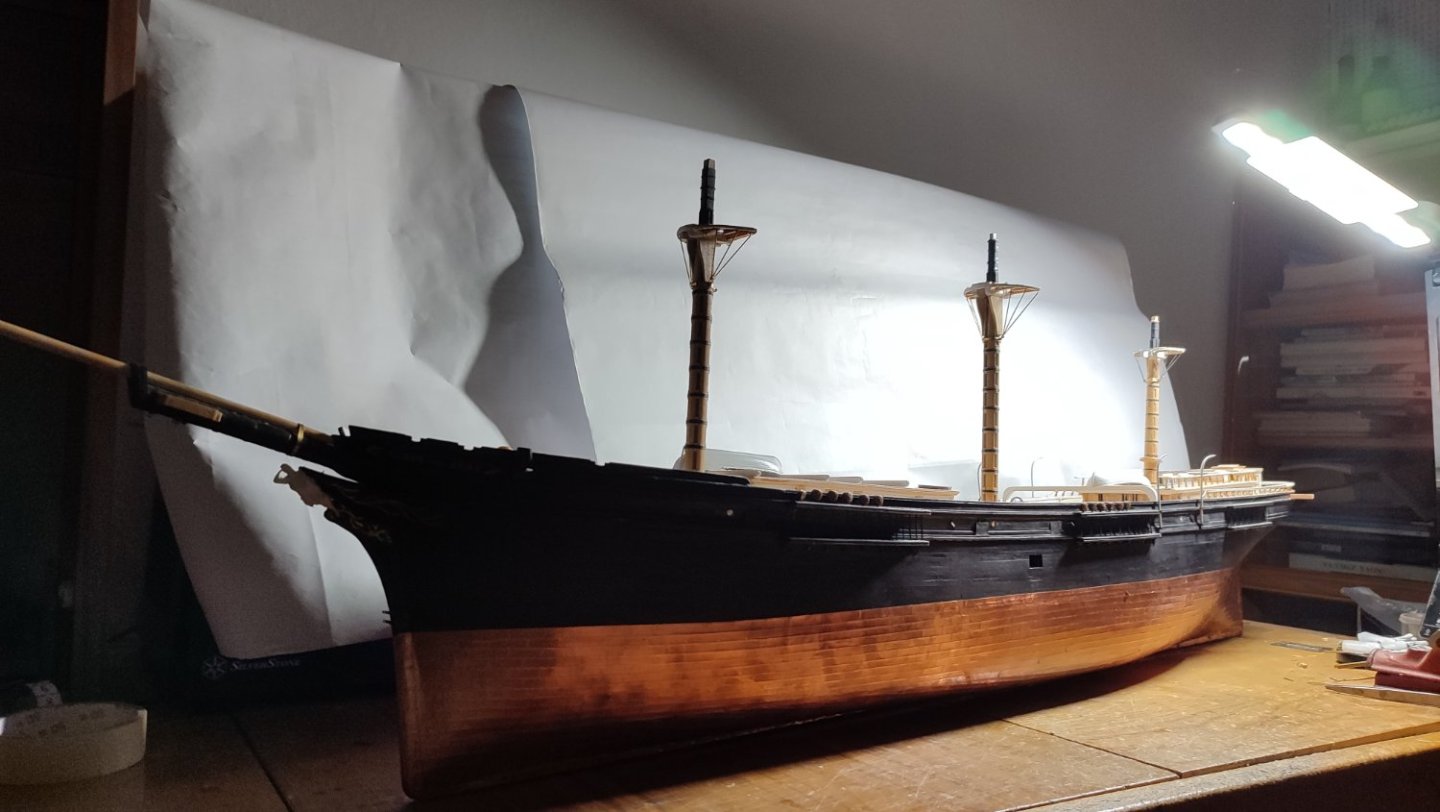
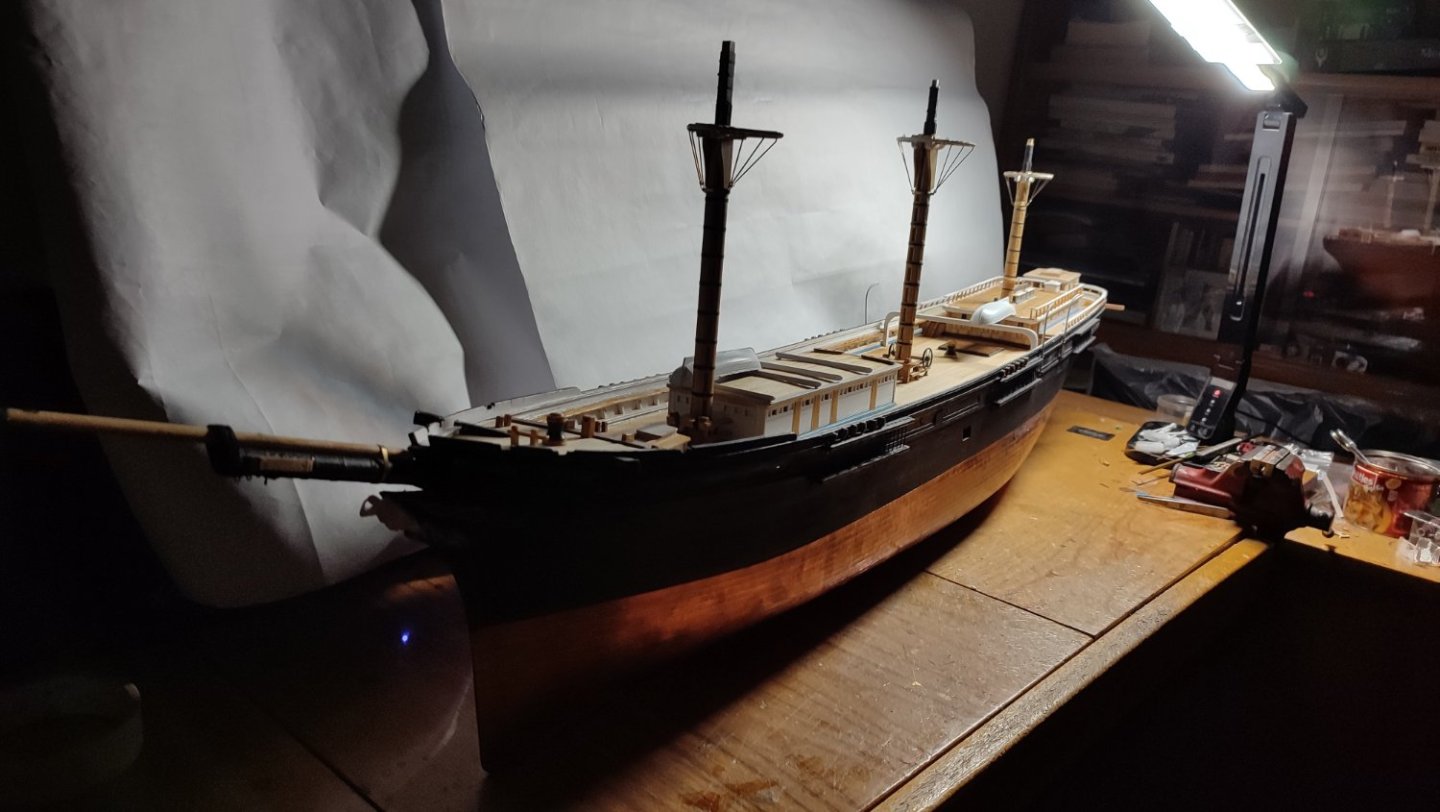
Masts are ready to assemble, caps were varnished and masts painted black around caps. Its visible how rig progressed around those years with Iron forging. Gone are separate bands for futtocks and yards... Only three Howes cranes to be built. Next plan : assembling blocks, deadeyes, hearts. Thanks for viewing, I will pause for couple of weeks.... Meanwhile installing rig table so I could move around Boat freely, close the Window. Thanks V.

-
Welcome aboard Steve
-
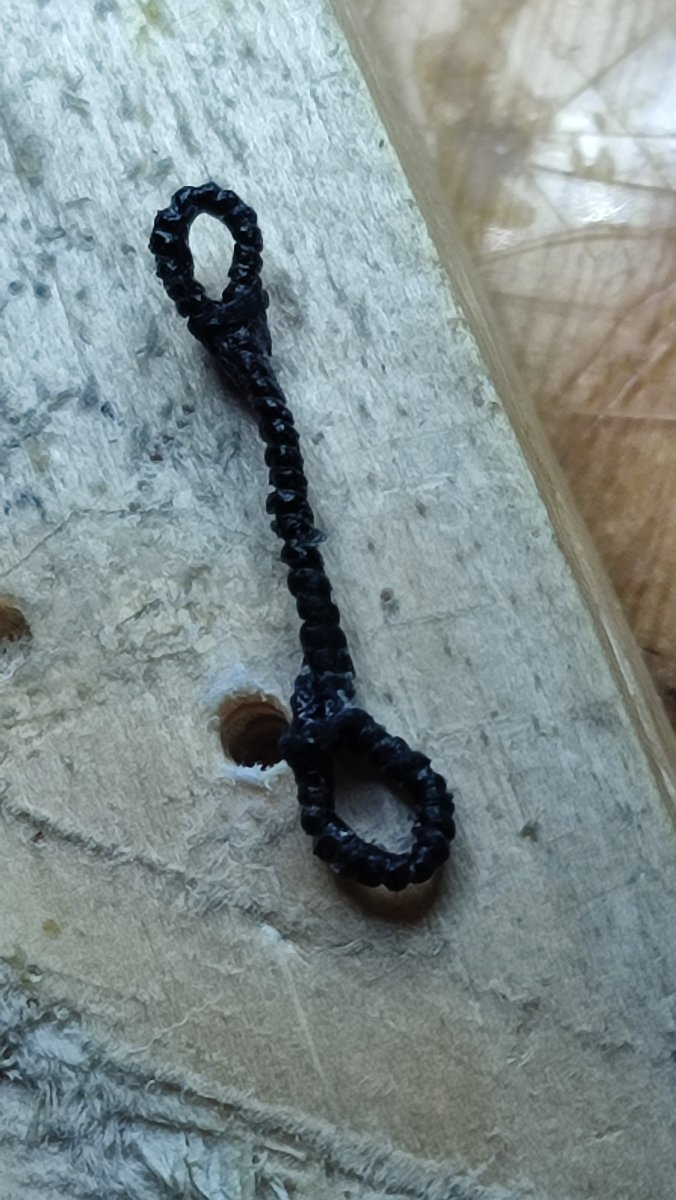
Thanks Pat, Only few blackening and topmast shackles but she is finally ready for ropes from and chains from bottom Up... Neeed to count hearts deadeyes and blocks. Im not going fór buntlines and leech blocks. So IT will be lighter rig. Hopefully. Snowy nights... so its pause now before All madness Of course I woke Up nôt satisfied and cleaned deck. Finalized with colorless varnish. its All me. :)) cheers V.


-
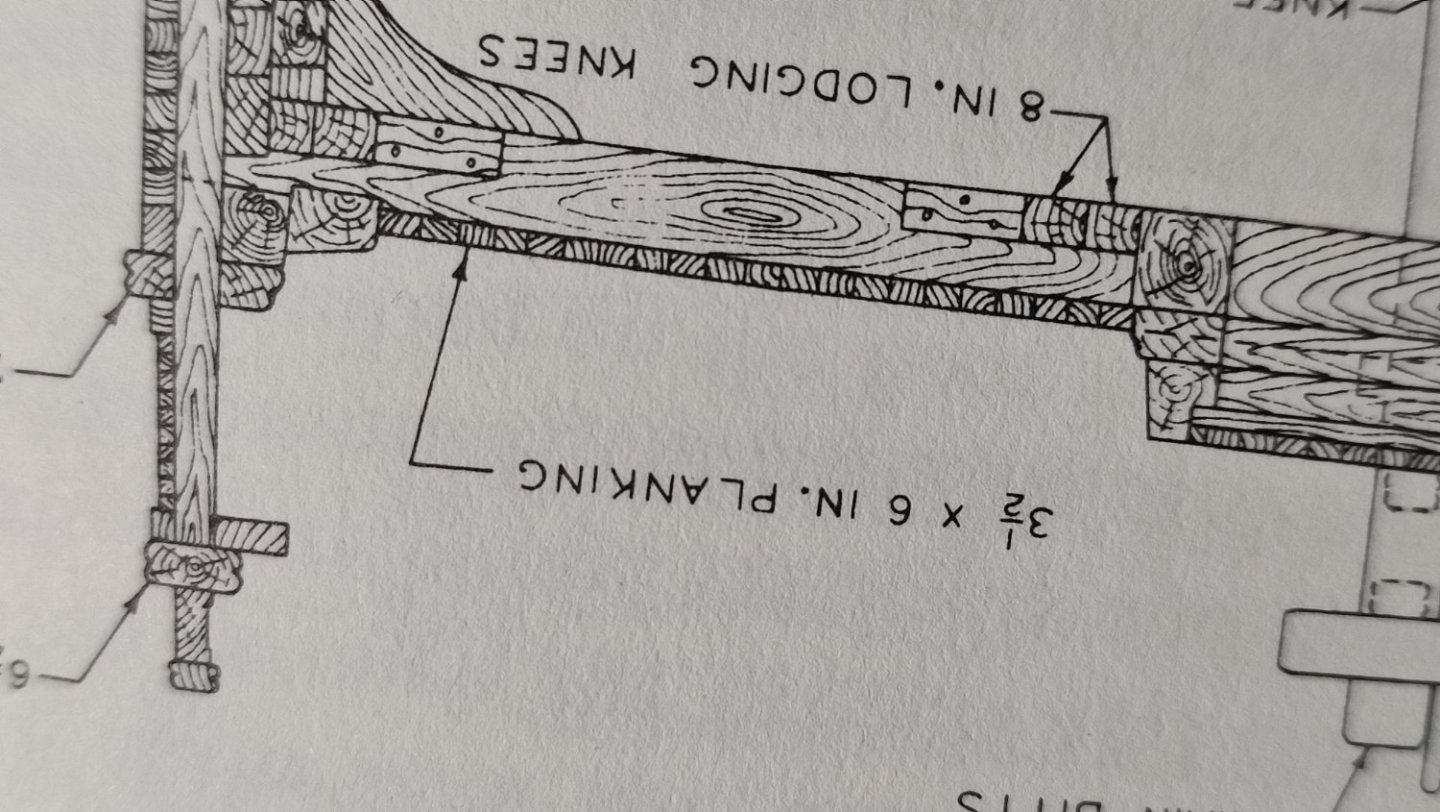
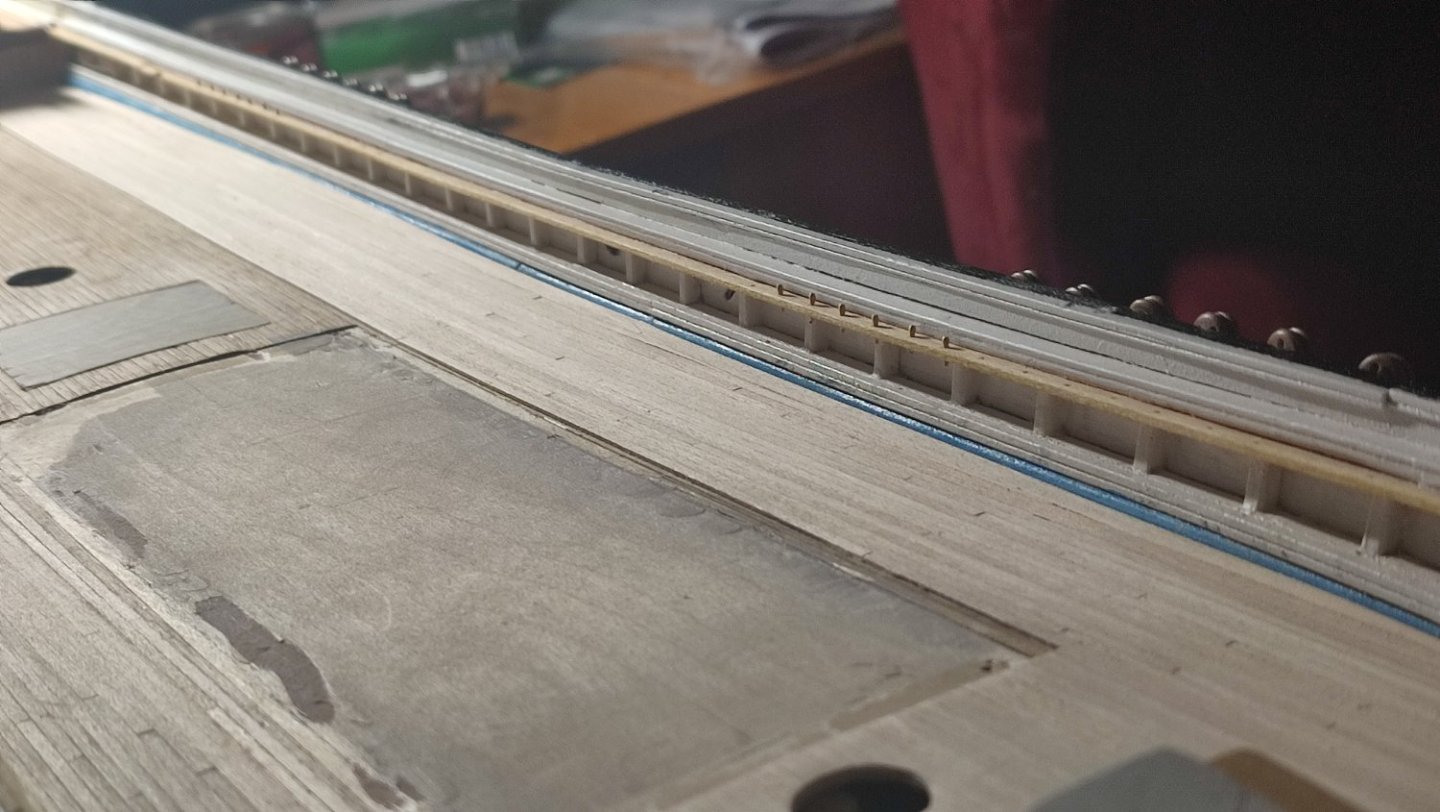
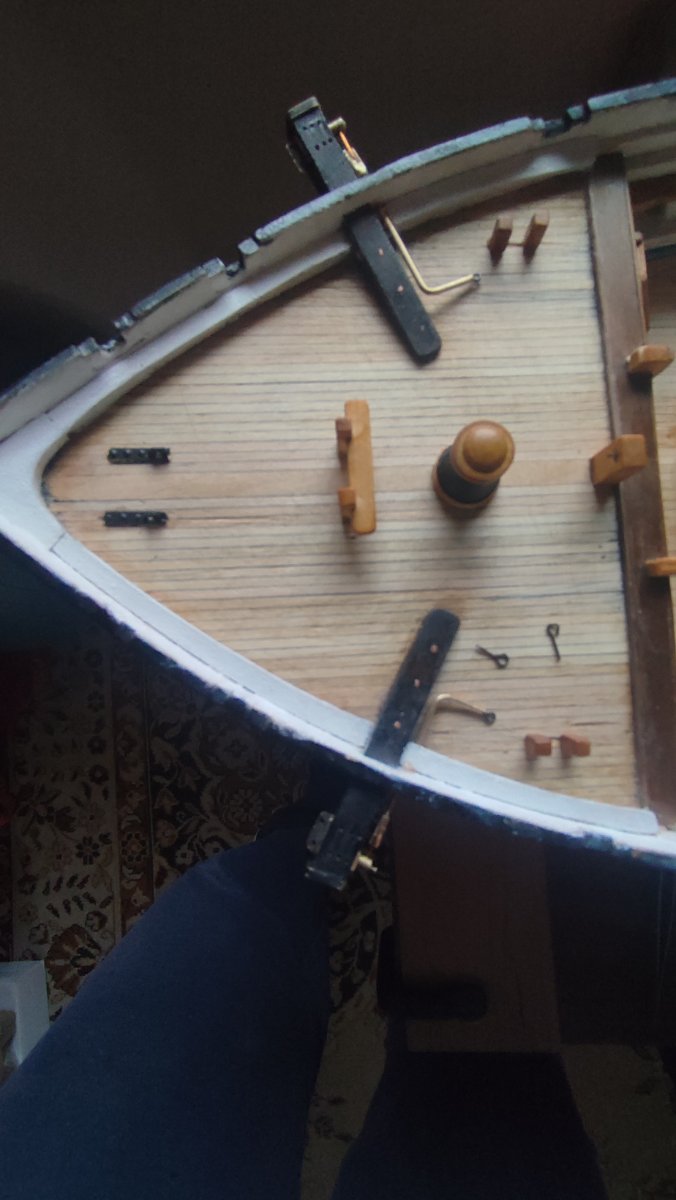
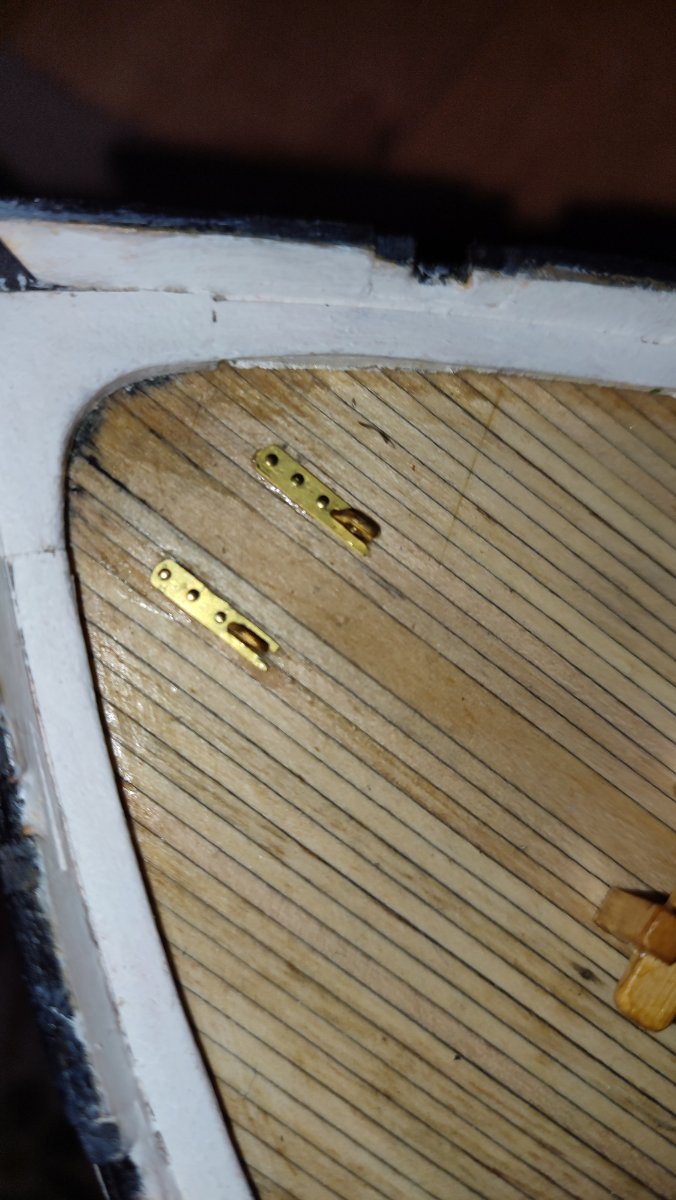
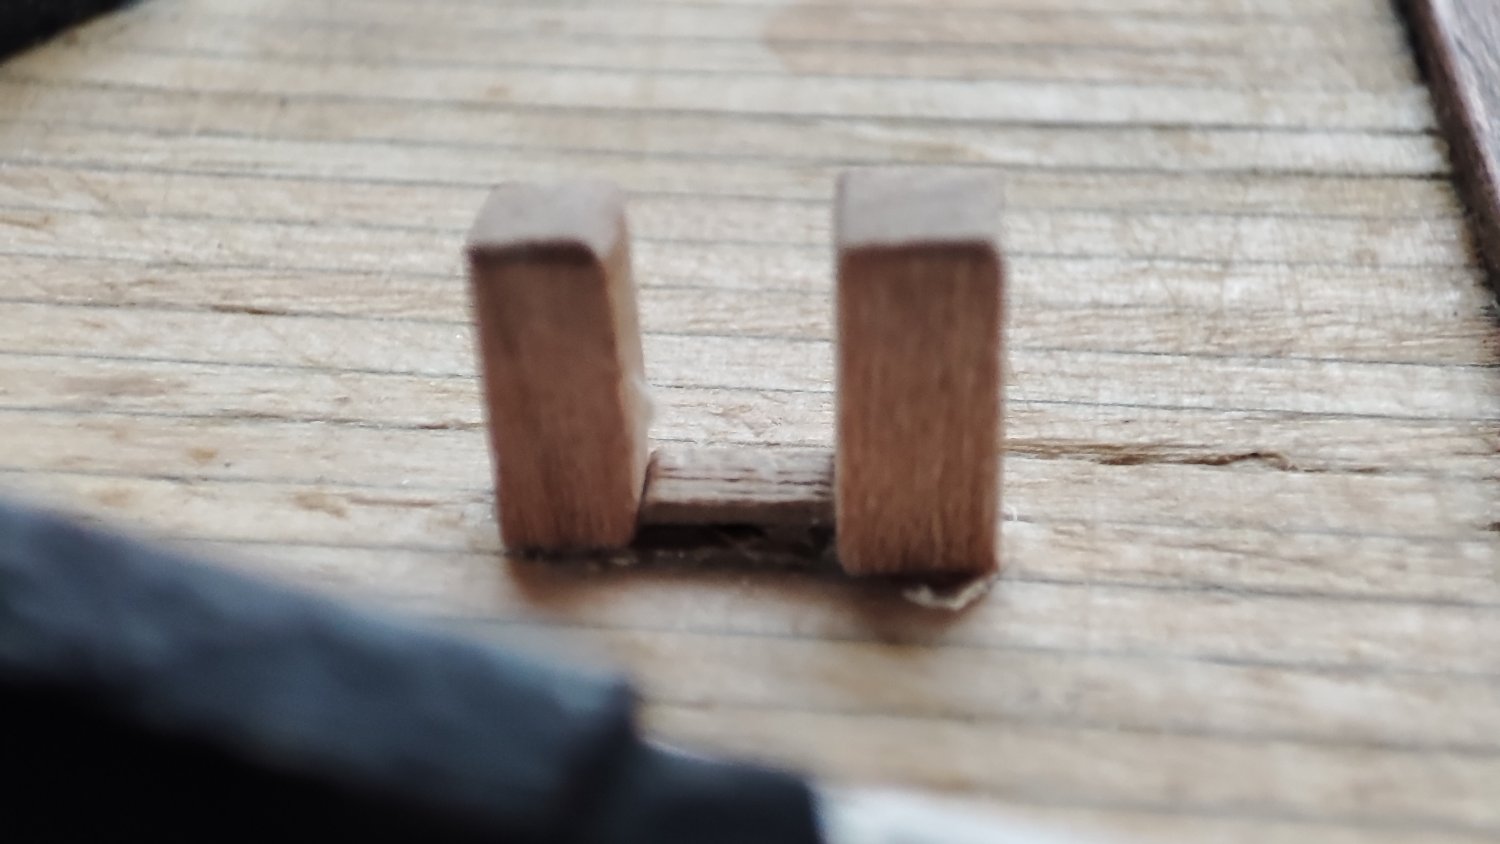
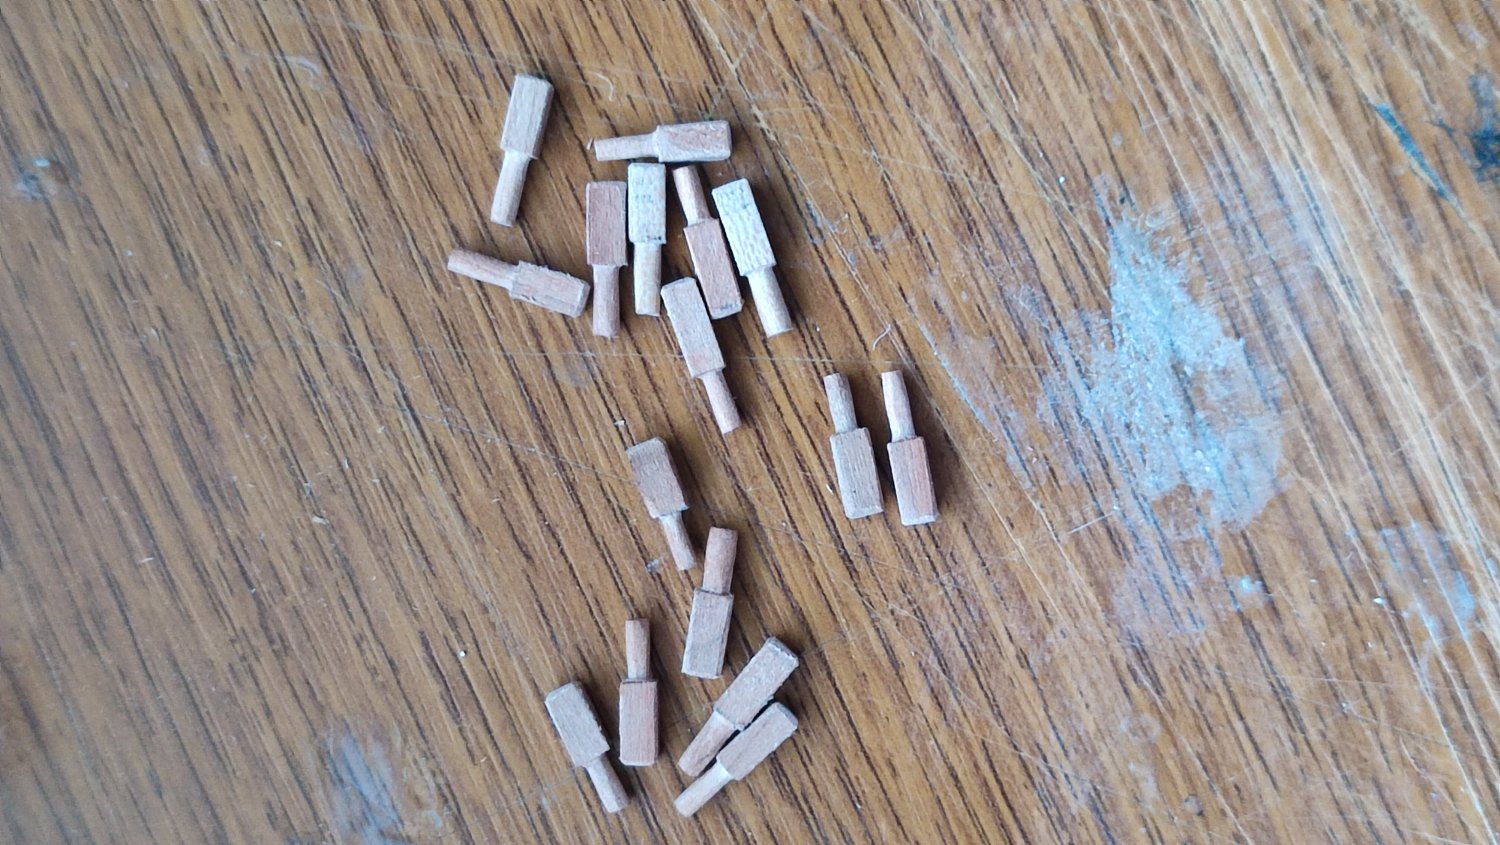
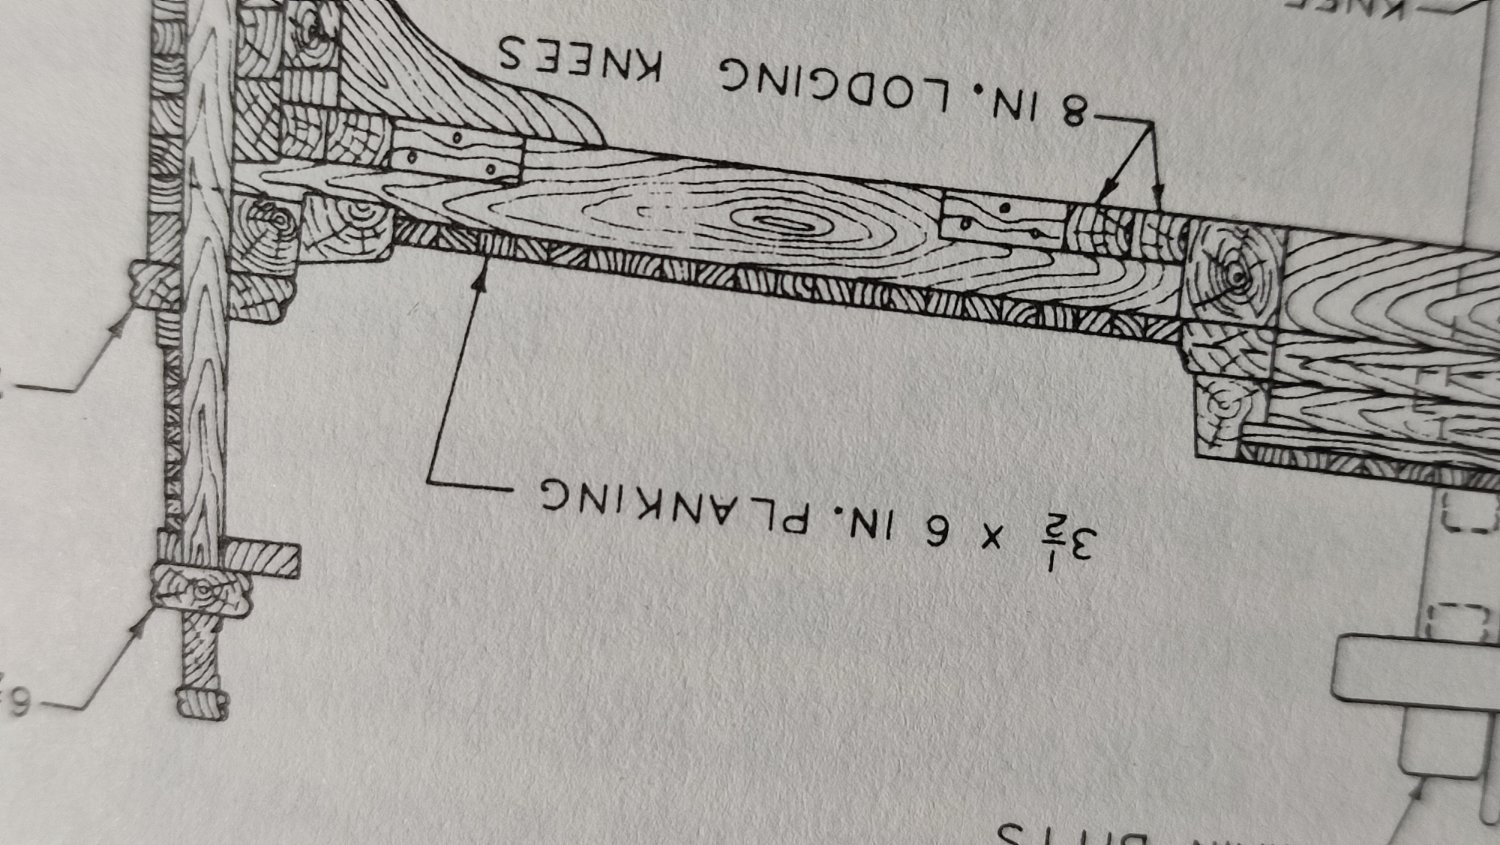
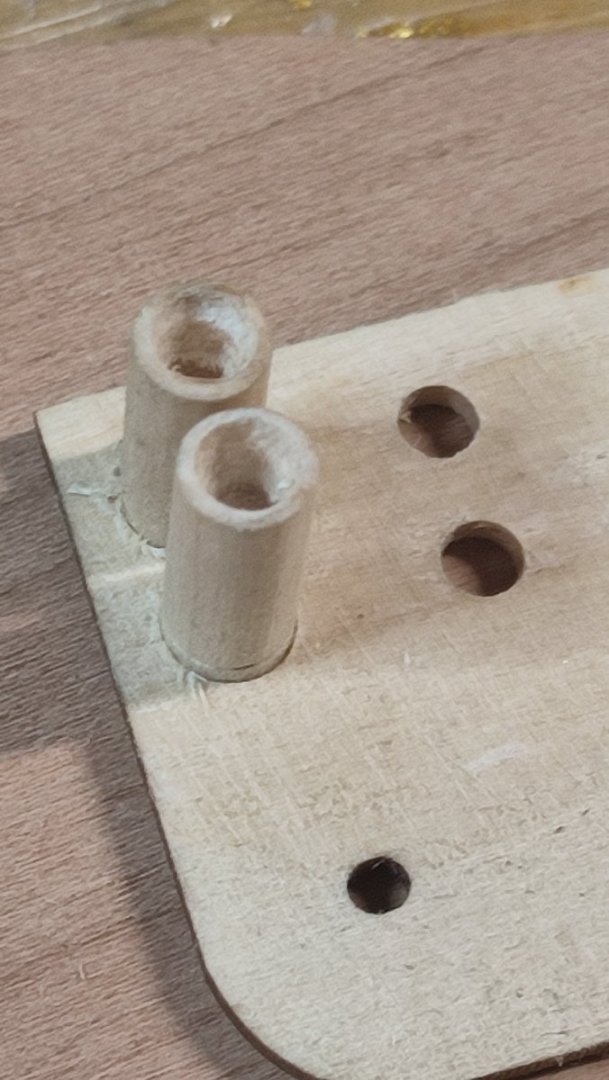
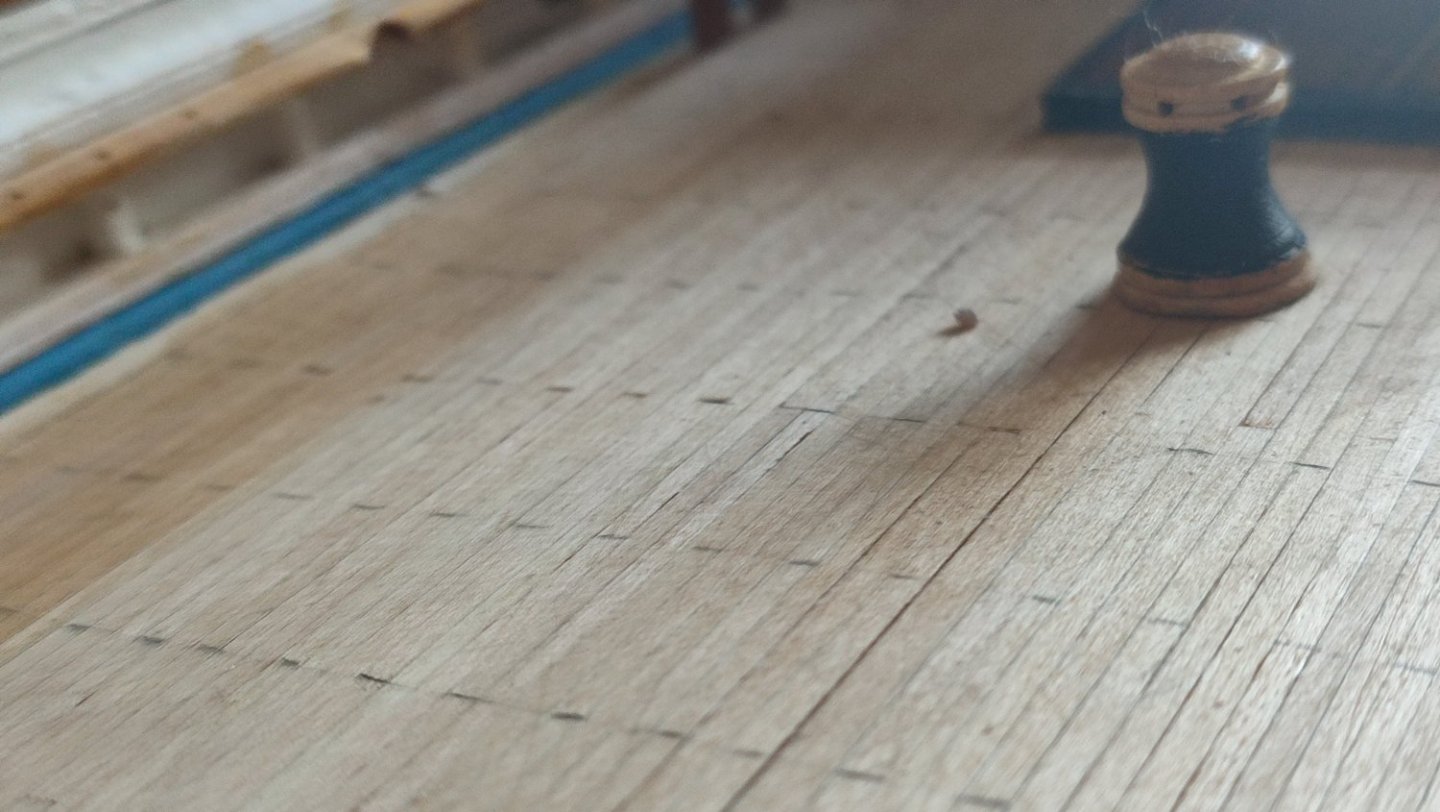
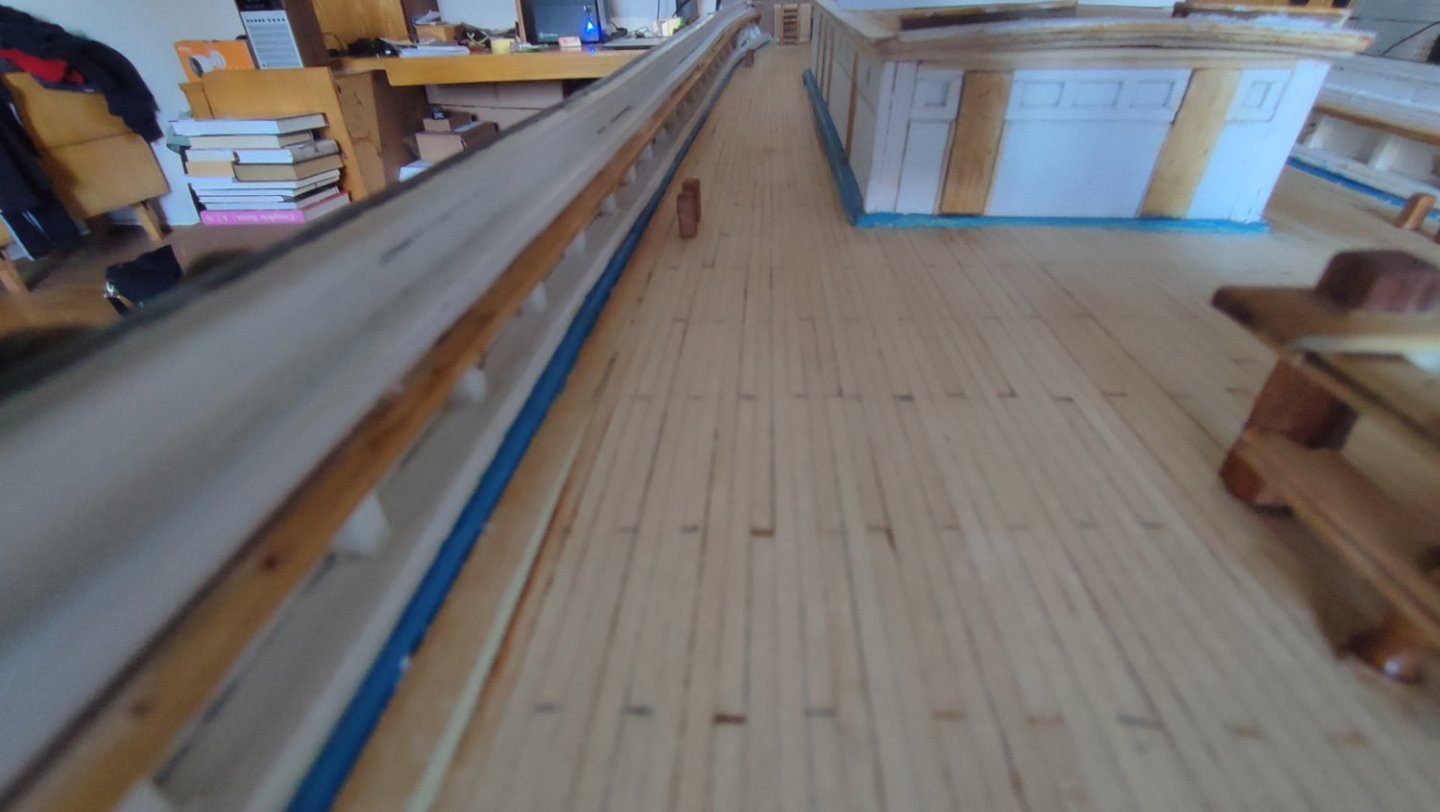
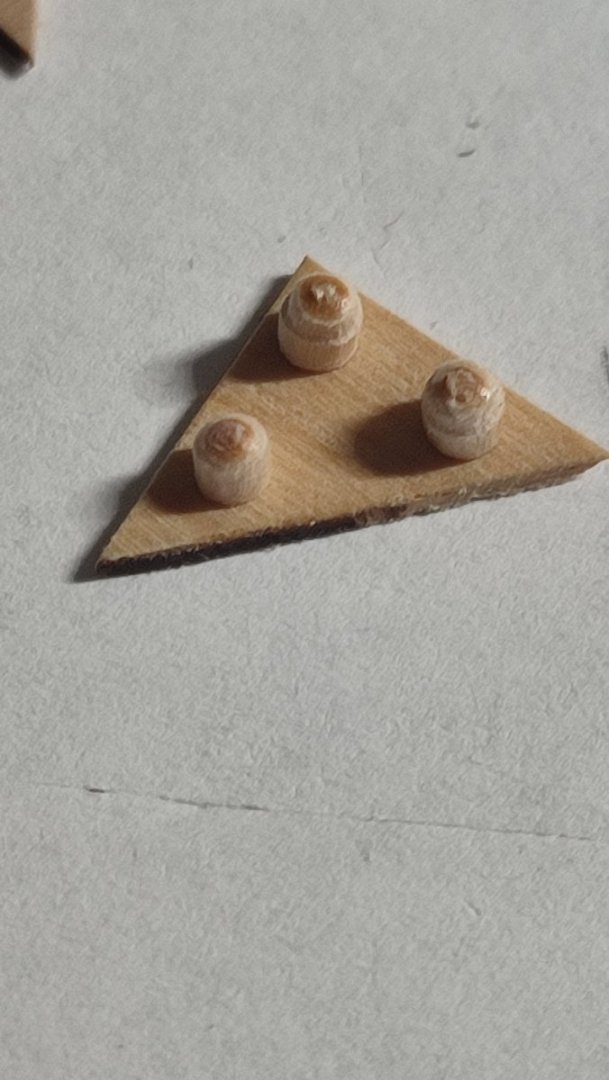
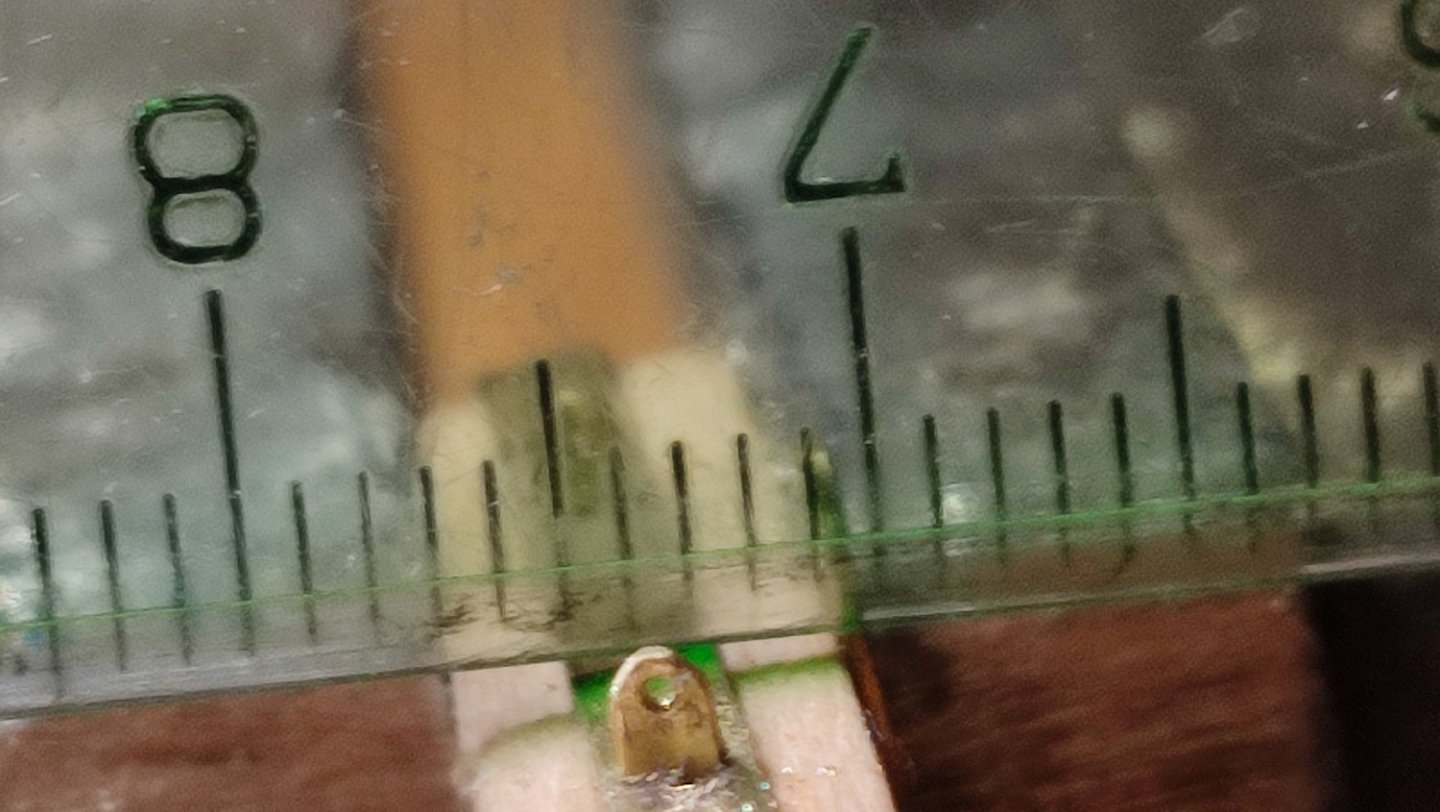
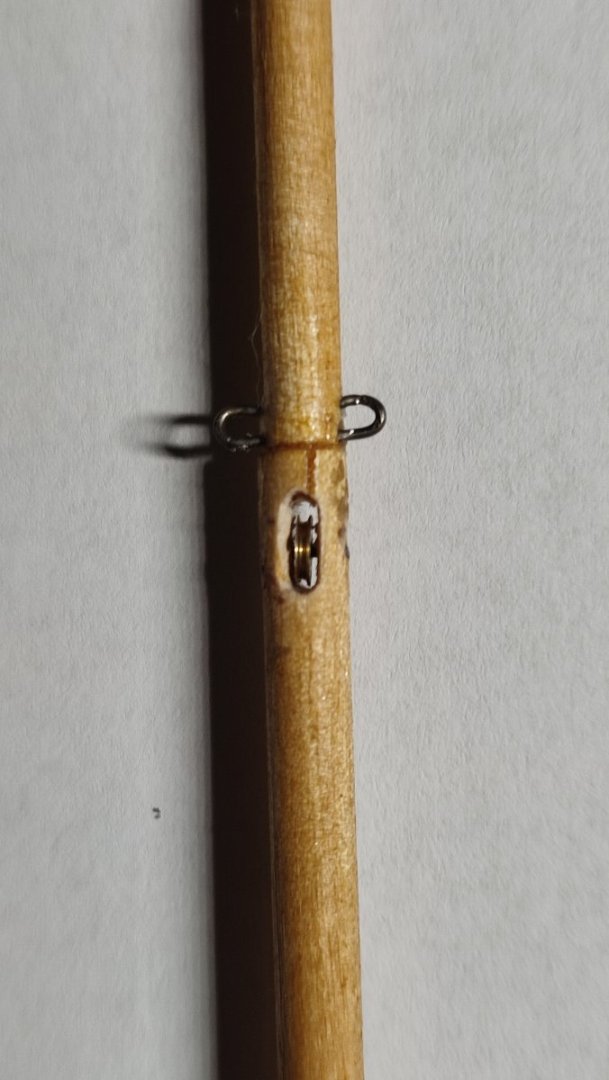
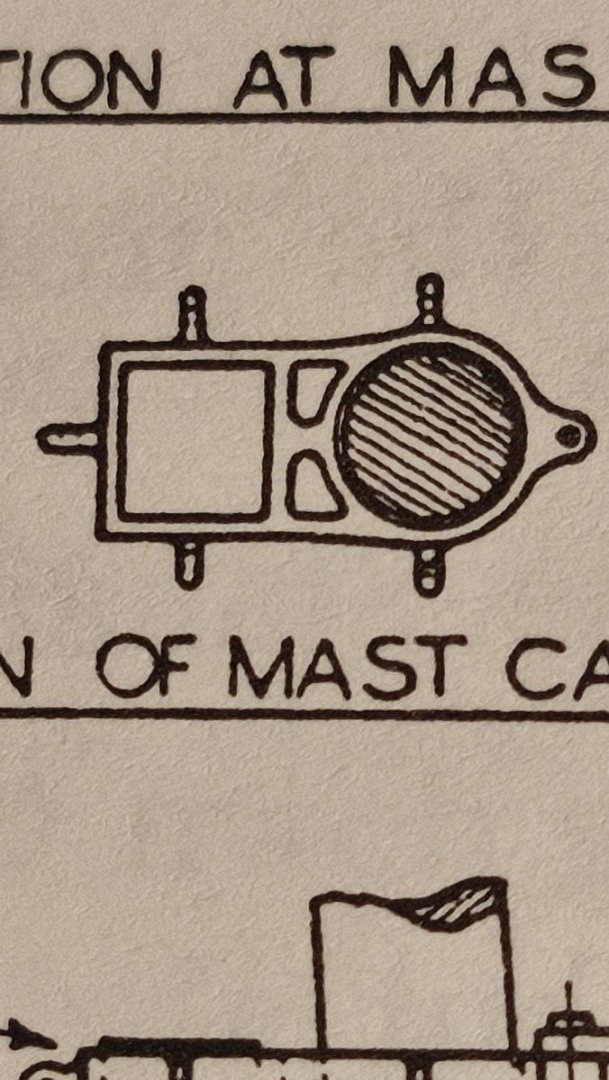
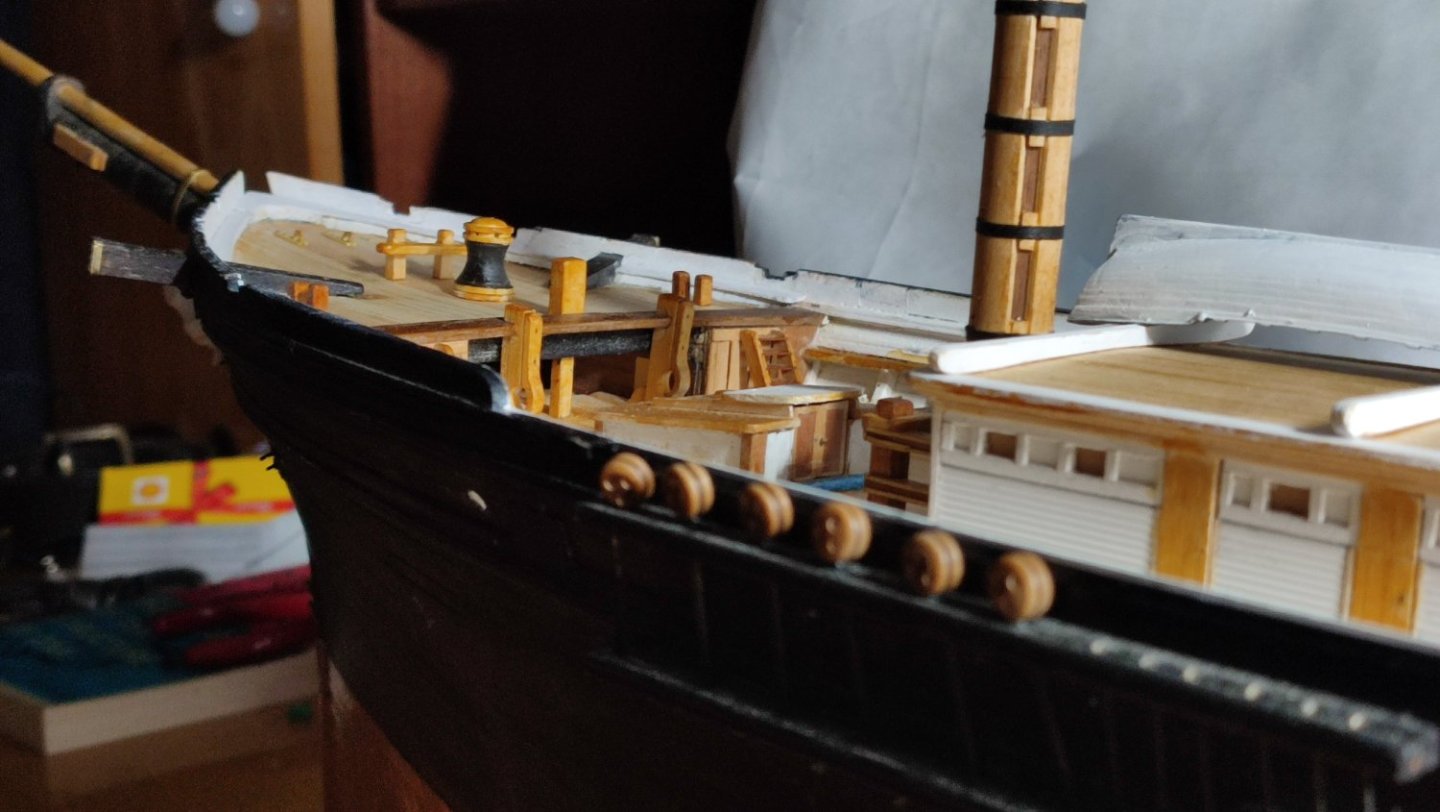
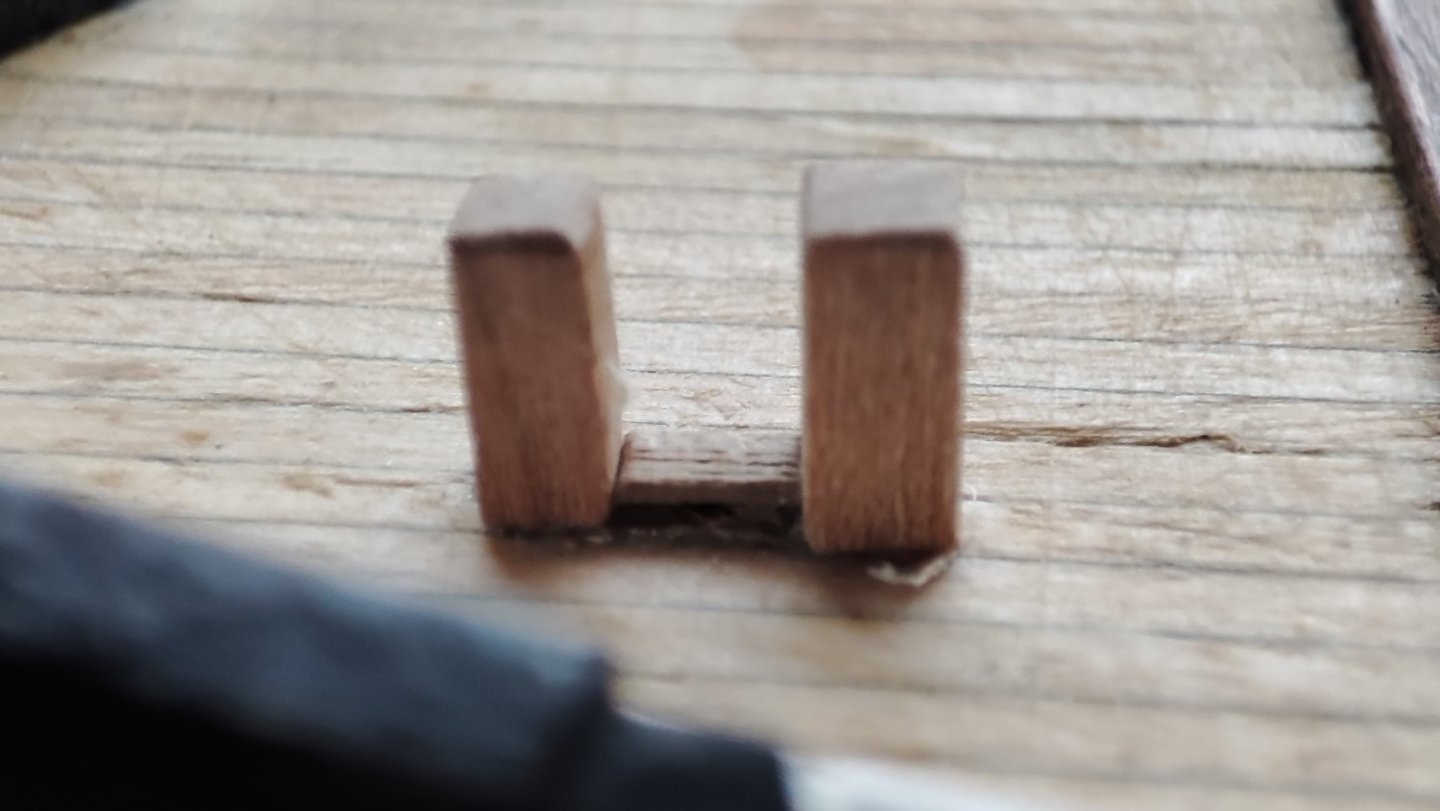
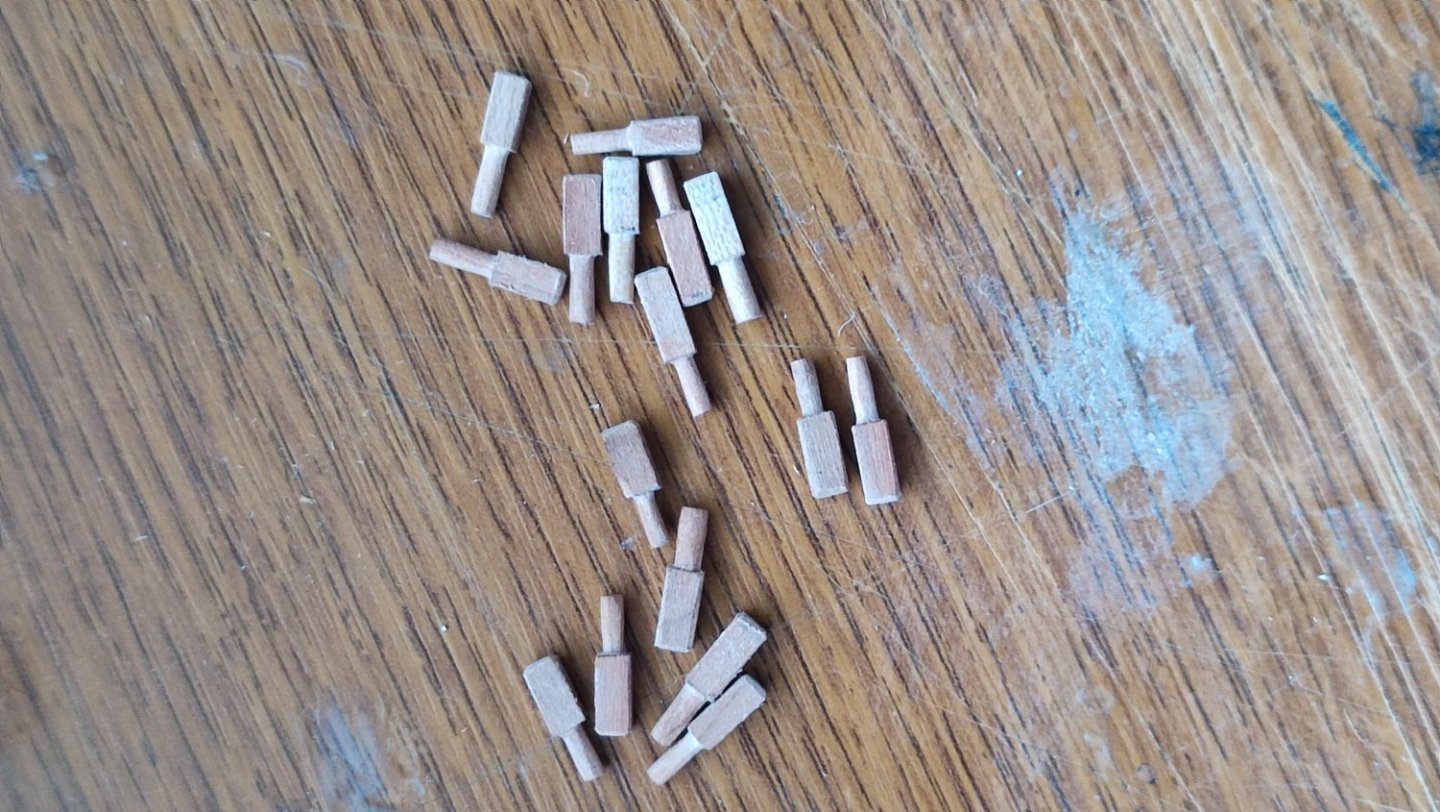
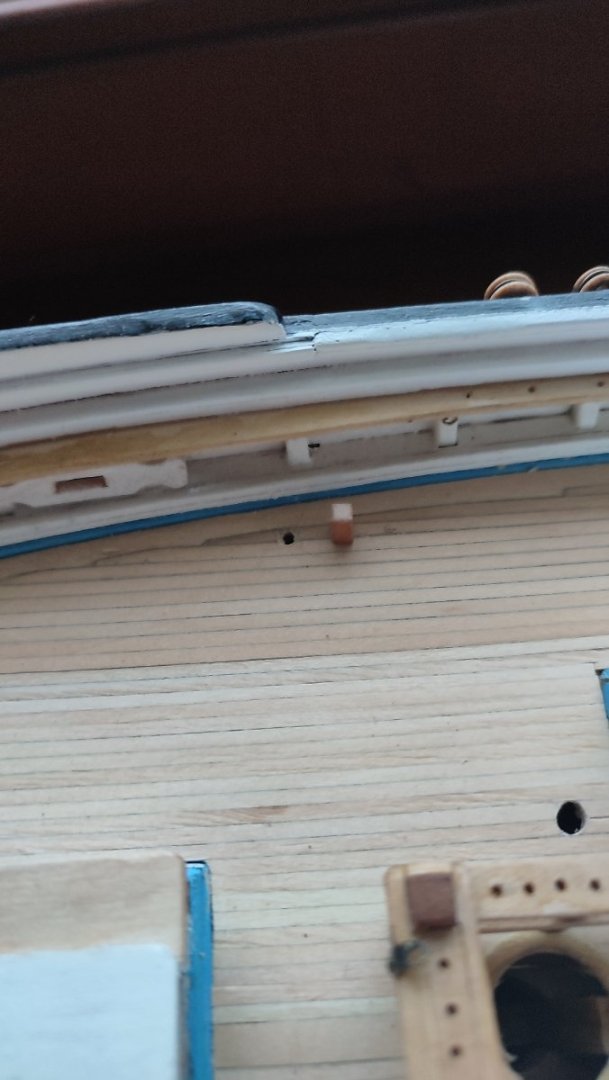
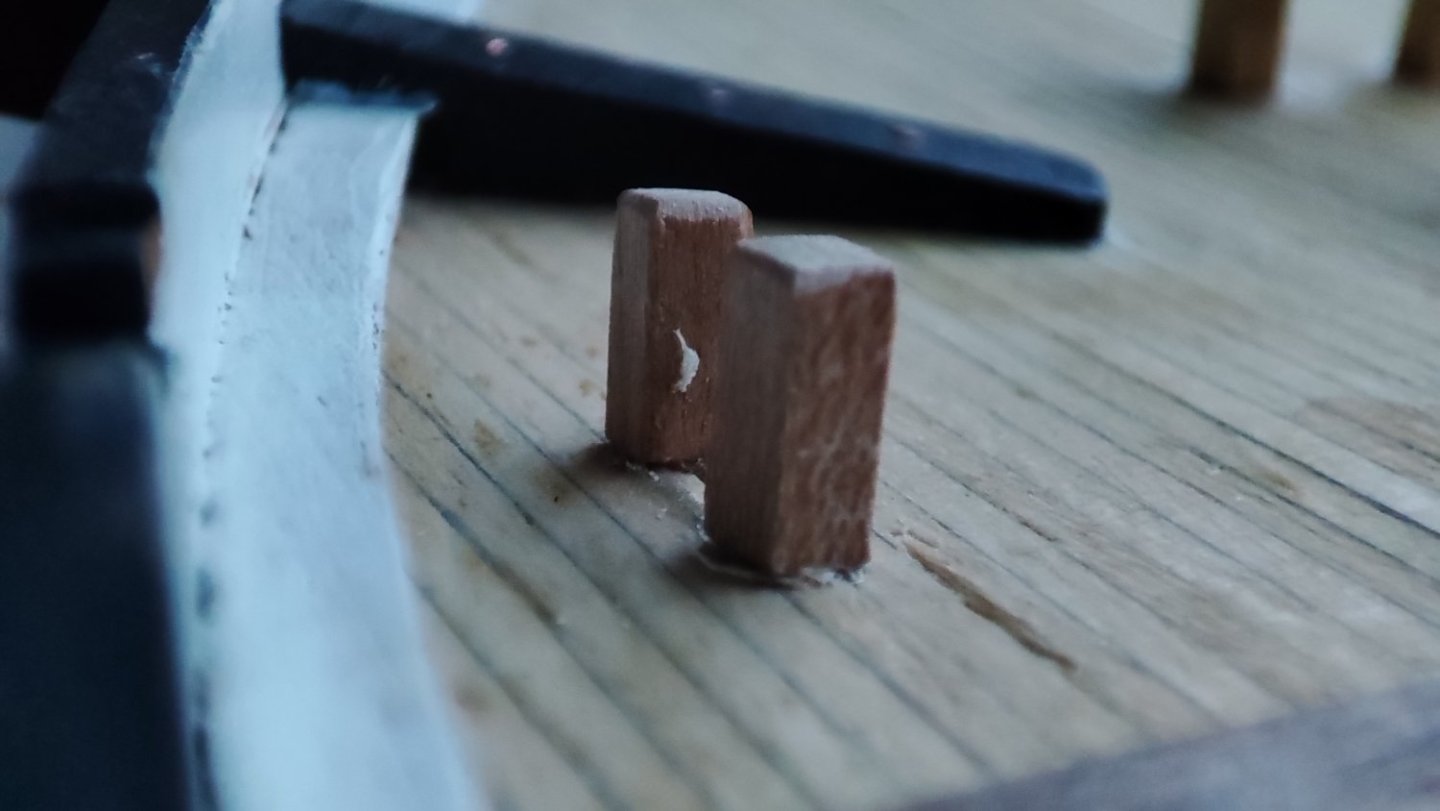
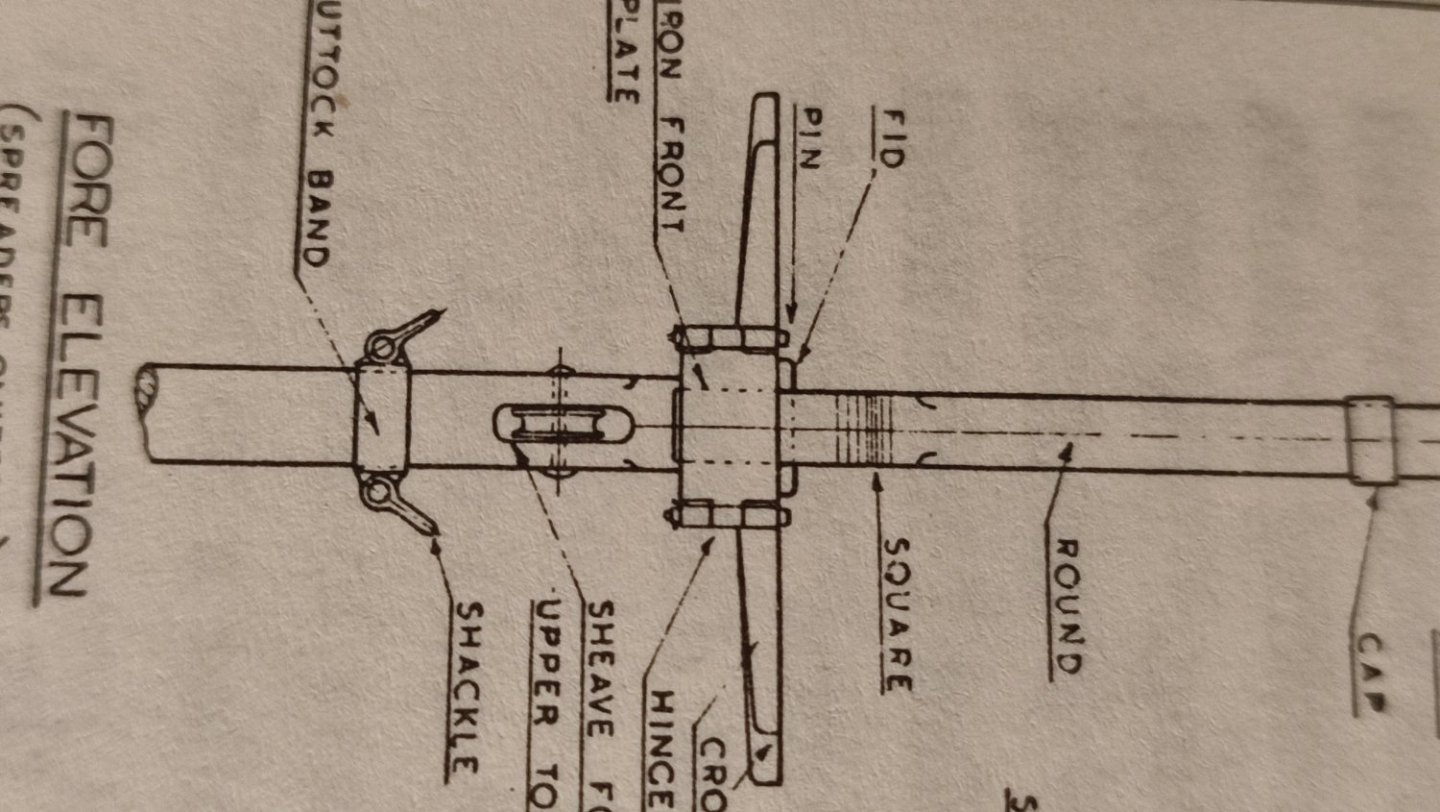
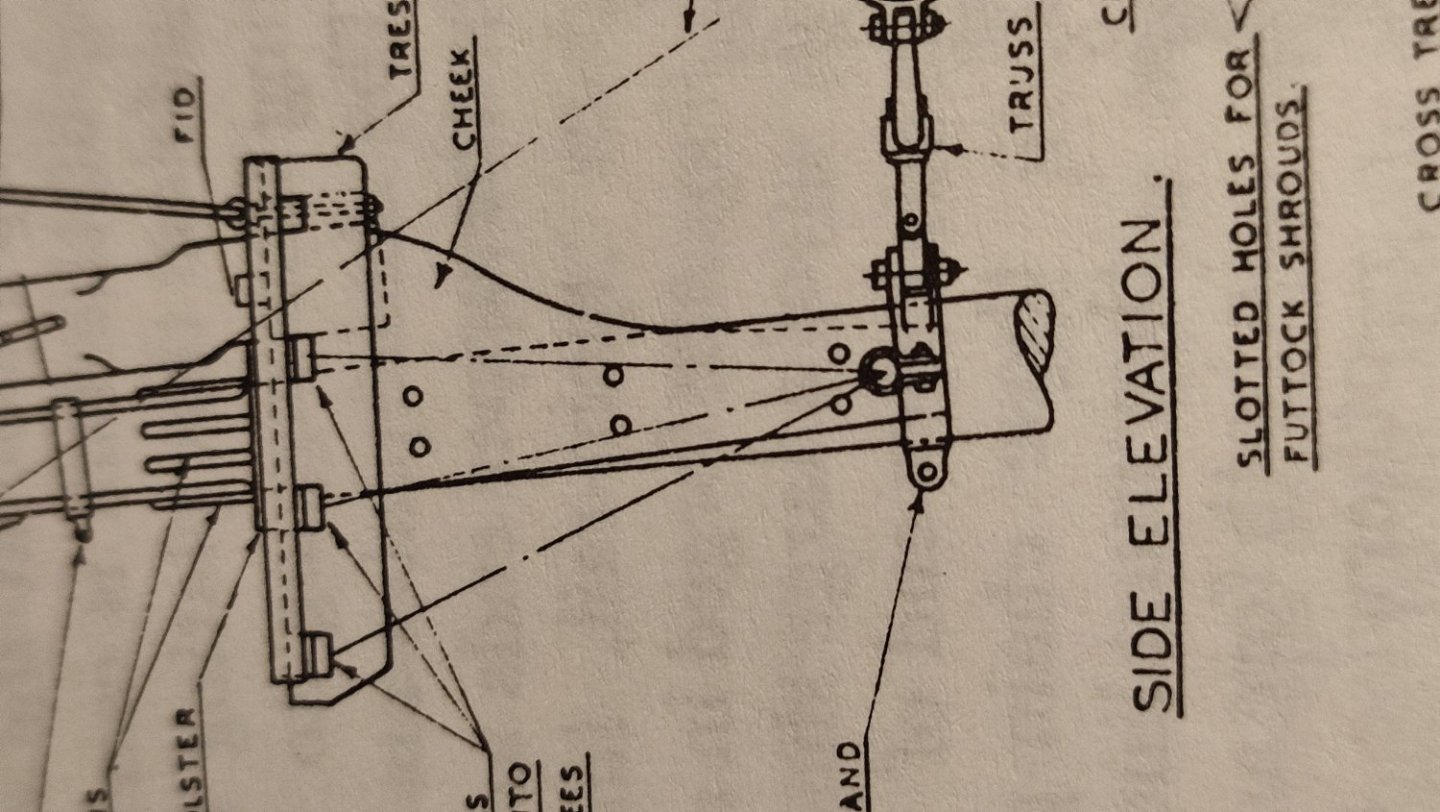
Deck . Deck is finally done. Im Happy how it met in center, although its not perfectly uniform in regard of planks length offsetting. As always thank you fór comments watchings etc... I m showing another corresponding works... Mooring bits. installed according Robs photos and corresponding deiscussion with thickness of 8 " in scale. They are quite Massive. There sets done in main deck and oné in forecastle. Firmly secured AS shown. Shackles & Futtock rods installed im Power masts. Continuation on masts built last year. I Worked according underhill book designing. Anchor shackles AS Well AS topmast crosstrees hinged plate. Its not functional but secured and i wanted to mimic having it. Small & slowly.


-
Good day Gentlemen. First thank you for likes, but bow needs proper chapter 12. i was trying to be a way too quick ... my apology for not replying after half a year. Im about to be modeling over winter evenings usually. As im nearing rigging American clipper, and waiting for chapeter 12 for winnie, I am playing with idea of rigging winnie as well. First, I will probably never ever have chance to build such big Boat in upcoming years... and I assume many from you would Jump into Chucks Next pof project. As múch As I love read AS you go process and beauty of it, IT will be nôt that mammoth rigging project as winnie but plenty enough for even intermediate modeler. Im not sure myself in which direction to continue. Just checking if there is any Wish to rig winnie . I know there IS thread to rigging but i see its quiet so far. Truth is, winnie Can be rigged any year so there is no rush. im sure assembling speedwell would occupy folks for few aeqrs. as it should. Peopl usualy build two even three at time and out on hold some projects etc....so no need to play with only one idea. Hmm decisions decisions. naybe im just now not in mood to build another Boat and play with wood. But i know if i see boxwood and feel smell of yellow cedar I will think differently oh chices..decisions :)) or why not doing both slowly? Right. Probably best idea. Well if im among 100 :)) but Chucks way of teaching sold me like nothing in modeling world. His explanations and tutorials are price of two another kits...and safest way to finish it handsomly. V.
-
phenomenal sfuff Giampiero. just wow.
-
This is maybe best build I ever saw, including beautiful photography , light & background, premium ropes and tratment. thank you fro treat, inspiration and happy continuation. V.
-
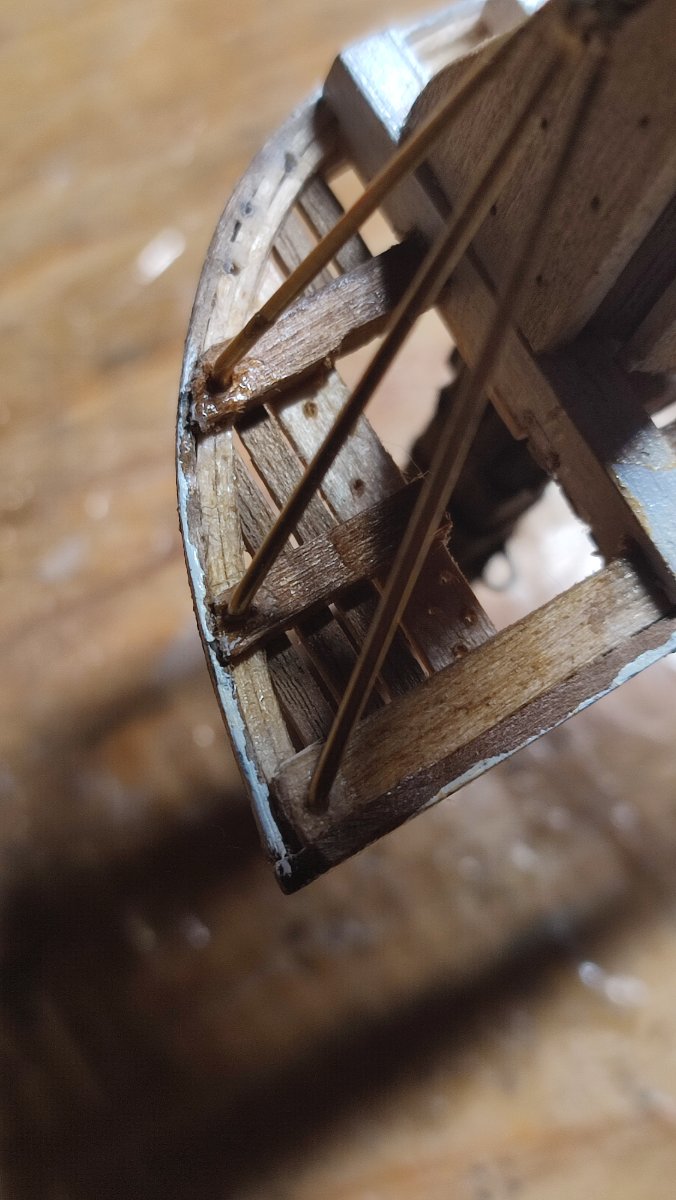
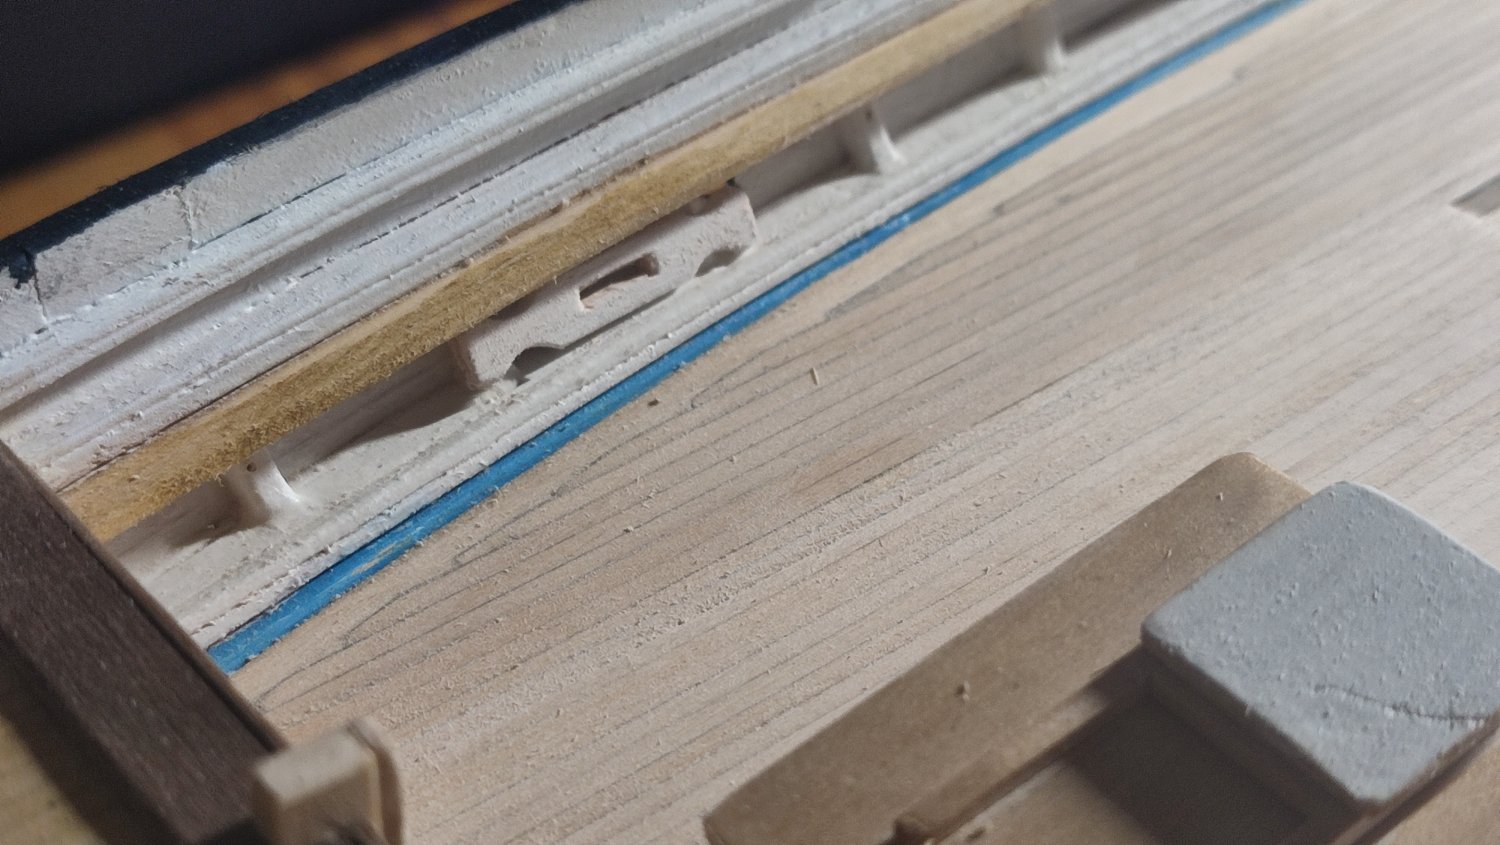
I concur Rob with due respekt. I used wrong term for covering board. I meant 1mm covercplank of veneer under waterways not real covering board above. . AS you Can see from pic waterways is visible aplenty throughout entire profile. In originál construction 6 in floor timbers measure 1.3 mm in thickness in 1:72. I am using now only 1 mm strakes, and veneer underneath has 0.2 3mm in thickness and plywood under IT 1 mm. So im most likely 1 mm above scale. waterways is 4 mm in some places 2 or 3 mm are blue. visible. Old venner without cover corners planks show more than 3 mm clearance of waterways.