HOLIDAY DONATION DRIVE - SUPPORT MSW - DO YOUR PART TO KEEP THIS GREAT FORUM GOING! (78 donations so far out of 49,000 members - C'mon guys!)
×


Egilman
-
Posts
4,377 -
Joined
-
Last visited
Content Type
Profiles
Forums
Gallery
Events
Everything posted by Egilman
-
 Yeah they used various callsigns.... sometimes the callsigns became nicknames sometimes not.... Whatever you call them, yes, they were very effective aircraft and a devastating weapons system...
 -
AC-47 Spooky, AC-119G Shadow, AC-119K Spectre, and AC-130 Spectre.... Those are the nicknames that were given the aircrafts when they were converted into ground support gunships Over time they have pretty much became interchangeable... The official name today is Spectre....
-
Yeah, it's all up and functioning, didn't lose anything.... It was kinda a surprise storm a lot stronger than they predicted....
-
This should be a nice one... I'm here brother....
-
As far as decals sticking to flat paints, that is a hit or miss proposition brother, this is why most use a bit of gloss over the flat paint where the decals sit, then reshoot the flat overall.... Seals in the decal... Nice job! Impressive.....
-
Take a lot of imagination and research to do something this accurate..... Nothing I could say, it's all been said.... You sir are an artist, pure and simply..... Way above my talent level.....
-
I'm gone for almost two days (power outtage) and here you are almost finished..... You work fast brother.... Nice look superbe paint and finish..... Another well executed beauty.... Nice, very nice....
-
My Dad was on the other side of the world, but he was the same way, way too many things he wouldn't talk about.....
-
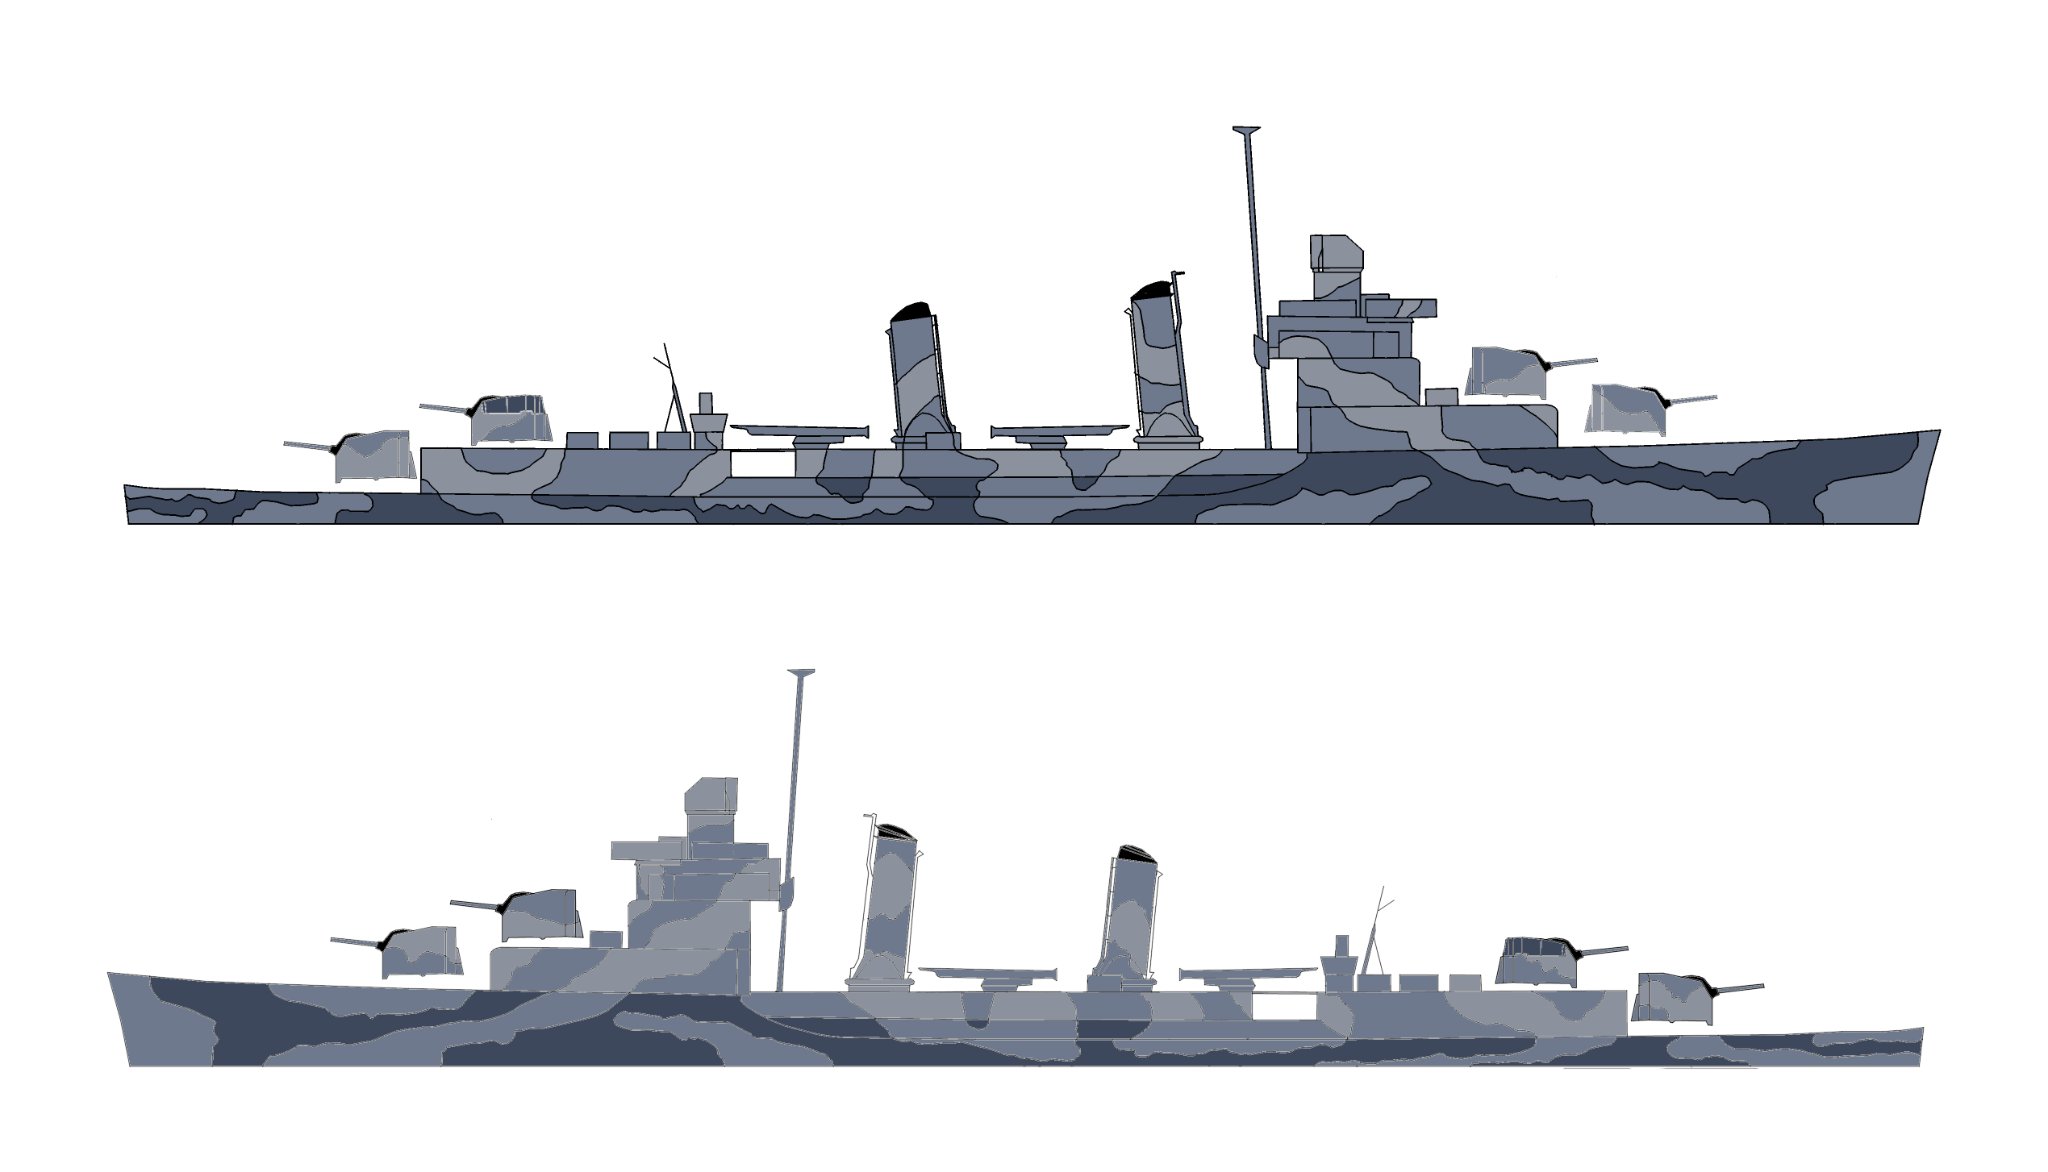
Camo patterns done.... Had to take a little artistic license on the port side as there are no images of it available.... but for the most part it is close to what she wore.... Should be able to work with this......

-
Yep, all brushwork..... Gonna take some time..... Thanks brother, the base isn't finished yet, that will have to wait for the ship to be almost finished.....
-
Ford GT40 by kpnuts - FINISHED - Magnifier - 1/12 - PLASTIC
Egilman replied to kpnuts's topic in Non-ship/categorised builds
It's been re-released this year by a new company called "Magnifier" and can be had off evilbay for under 100 USD..... -
1/48 Italeri Hawk T.1A (On Hold)
Egilman replied to Old Collingwood's topic in Non-ship/categorised builds
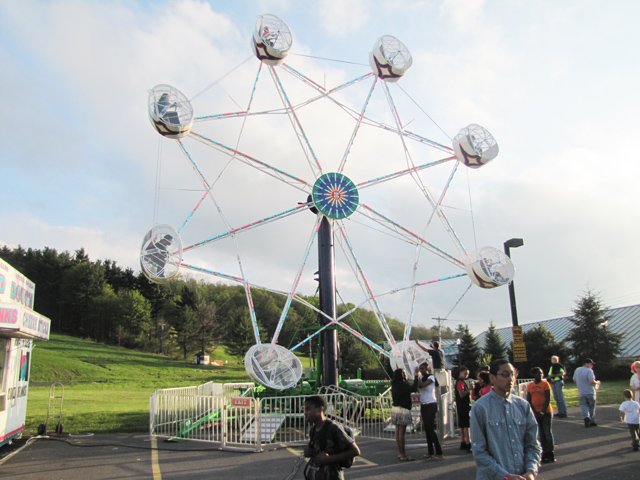
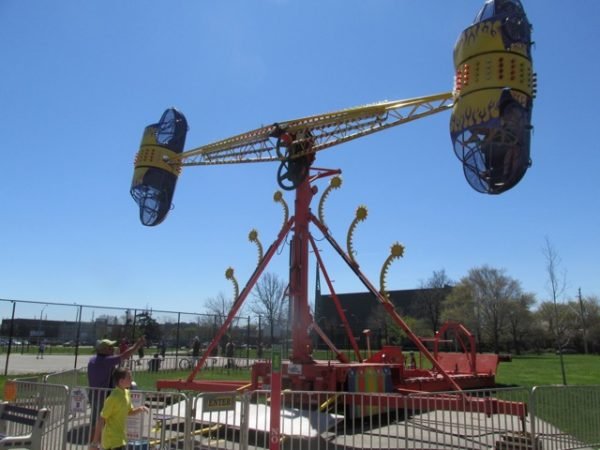
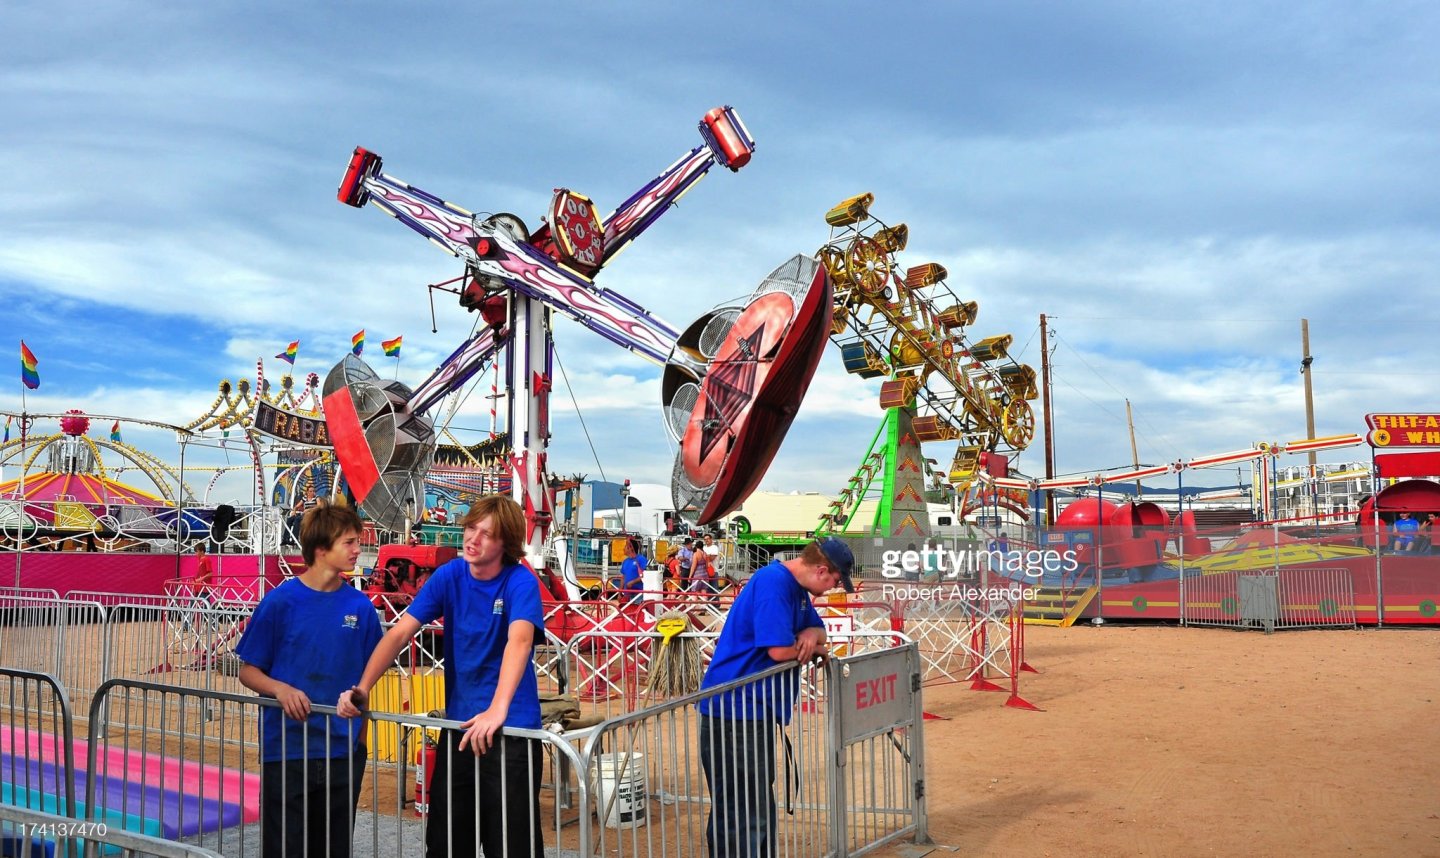
Prior to 1946 The Eyerly Aircraft Company designed a ride called the Orientator to train people to fly, After early success and selling four Orientators to the Cuban government, sales lagged and the Orientator floor model gathered dust on Eyerly’s property. Then, one day someone suggested giving it a fresh coat of paint, taking it to the local fairground and charging 25 cents per ride. Called the Acroplane, The Orientator was an instant hit and was proclaimed by some as the best thrill ride since the advent of the roller coaster. The device gave riders the experience of flying and was renamed the Acroplane -- the first in a long line of amusement park and festival rides manufactured by the Eyerly Aircraft Company. The originals traveler (set up and teardown rides were the Rock-o-plane, Roll-o-plane and the Loop-o-plane) Those were based upon pilot training devices Eyerly made for the USAAF during WWII to familiarize pilot trainees with the gyroscopic forces involved in high speed maneuvering aircraft for the Army Air Corps...... Those who couldn't handle the rides were washed out early that way..... The whole traveling amusement ride show started when they were selling the equipment off for scrap after the war and a bright guy thought he could make money setting them up and offering the public rides... The Acroplane -- the first in a long line of amusement park and festival rides manufactured by the Eyerly Aircraft Company. Eyerly developed and patented many amusement rides which would become common at carnival midways, including The Loop-O-Plane (1933), the Roll-O-Plane, the Fly-O-Plane and the Rock-O-Plane (1947). But arguably their most popular design was the Octopus.... Fly-o-Plane... Rock-o-plane... Roll-o-plane... And finally, the Loop-o-plane.... Those are what got it all started, now in this last pic you can the the classic flat pig iron ride, the Tilt-a-Whirl.... 30,000 lbs in a trailer... I broke in as a second man on that towering green bone shaker in the background, the Zipper, 78,000 lbs of pig iron...... At 19, I had one of the kids dream jobs..... Being a ride foreman at 20.... those were the days......
-
After Crete, the Fallschirmjager Regiments generally fought as infantry brother, (with some small jumps but nothing enmasse) what would be period appropriate? an American Paratrooper.... (cause we actually saw that for real, but it might be too close to the heart for some and there is something to be said for understated brilliance)
-
On the money brother.... After testing, they sent it out there to do resupply, medivac and scouting.... R-4's and then R-5's, the R-6's came after the war...... Not the first military use of the helicopter, (the Germans got that) but close....... From '43 on.....
-
Sorry Brother, wrong era... They didn't use R-4's in the european theater BCI only...
-
About half way through working out the Camo pattern for the superstructure.... There are not a lot of references for it out there and it was unique to the ship... (no two Ms.12 patterns were identical, ships to ship nor port to starboard on the same ship) Everything that is details not shown on the diagram gets 5-O ocean grey.... Similar but not identical... (still working on the port stern, it's a little disjointed at the moment... Onward...

-
My friend, I would propose that there is no difference from modeling a building to modeling a ship..... everything as far as modeling skills is the same.... The difference is in understanding what the construction is..... You currently understand ships and airplanes and figures.... To do this you need to expand into construction of historic houses and buildings.... Gain a general understanding of how they were built then you can copy from any reference as long as your materials are in the scale you need them to be.... It's the same process and it's not hard..... You took the first steps long ago, you got this, just go slow and study the references..... and see how others achieved theirs.... Just like a ship, a building has a frame and a skin and accessories, building a model building is exactly the same process.... YOU GOT THIS my friend....
-
Now that makes a good match for the Halftrack... Well done....
-
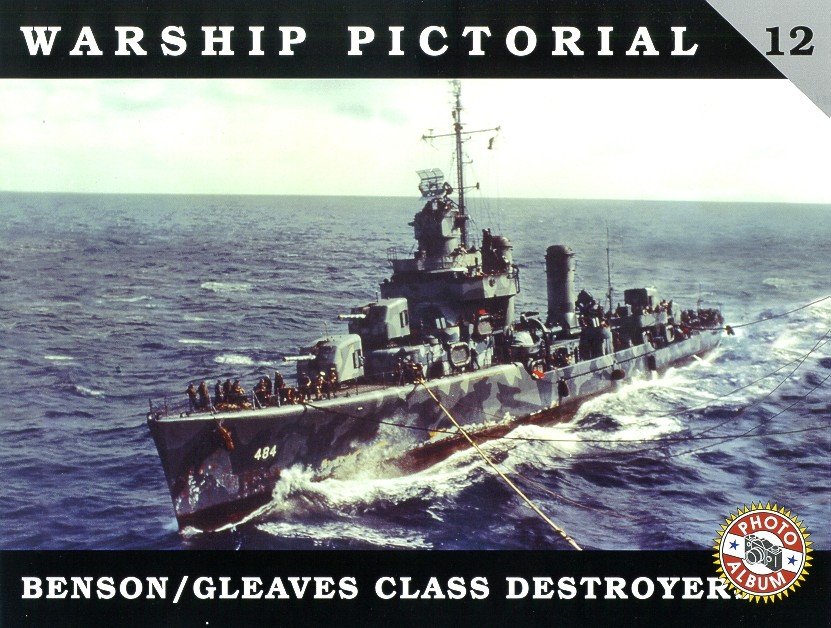
Thanks my friend.... Took a little bit of figuring, but scale was the controlling factor, too much variation and it would look strange..... I suppose I could throw another coat of Pthalo Blue on it but then it would look too dark..... Next up is more research and prepwork.... I have to do something about the camo pattern on the superstructures and sort the wake out of how they looked... Unless they were in heavy seas the Gleaves class units didn't throw a lot of wake but it is the defining factor here cause the wake draws the eyes to the ship.... A first look is this shot.... Of course I stole this pic from Floating Drydock.com, (anyone have an issue with it I'll take it down) but it goes to illustrate what the wake would be and in this pic the ship was cutting through the wake of the oil tanker she is coming along side of.... a lot of wake for 15 kts with these ships.... But it shows that even with some waves, they didn't throw a lot of wake.... and it's in color.... Be a couple of days while I work out the camo.... then start building the superstructure... EG
-
Adapt and overcome brother, a big part of this hobby is not only art, it's solving all the problems we create for ourselves.... Nice solution.... One I wouldn't have thought of...
-
Just my opinion brother, if your going to put it in the water, sheeting is the way to go for the strength, if it's going on your shelf, planking will suffice.... Either way, when finished, you won't be able to tell the difference....... More bulkheads out of light ply are easy and all they do is add structural support, as far as running gear you cut out the centers of the new bulkheads to maintain hardware space.... Nice work so far my friend, for a first build, looks great....
-
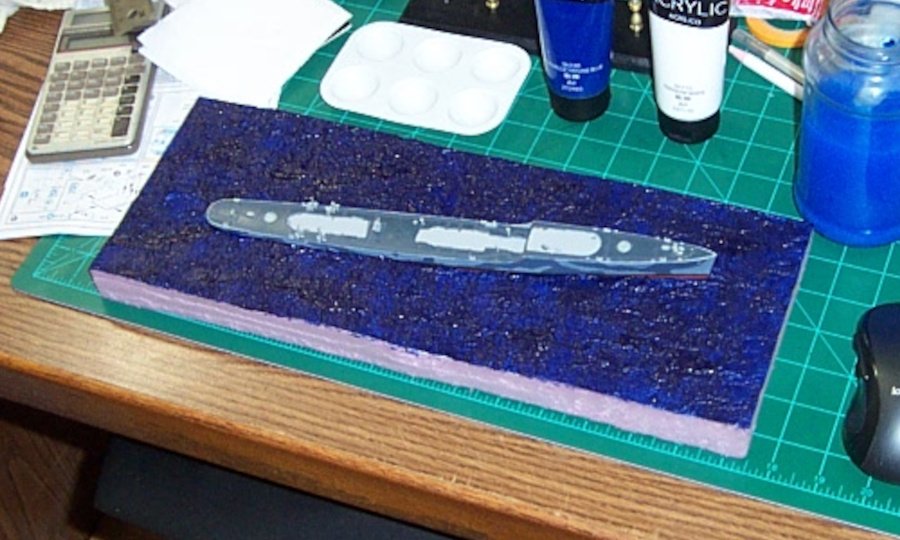
Ok, another small update... The paint is dry... Now this is high angle with flash and of course the ships hull is in position.... This is the angle it will probably be viewed at most of all... I have another angle..... Aside from the wake, that matches the pic.... The wake will get added when it's time to mount the hull into the water, but I think I'm spot on here... It looks like the seas in the pic.... That's what I was looking for.... Onward... EG
- 285 replies
-
- 10
-

-
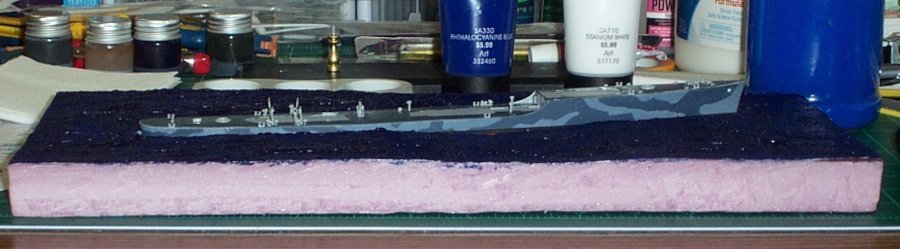
I think from the low angle it's almost spot on.... Yes brother, as far as water goes, Deeper = Darker..... Thanks my friend... There are places for both, pedestal looks good for larger models, smaller look better (imho) on the sea in their natural environment..... On this one I've decided to model a specific day in the life.... so it has to look a certain way..... (gets to be a headache at times, and it takes longer, but in the end it is worth it)
-
Beautiful shot..... Nice camera.... Wonderful wish for when I get rich and famous.... {chuckle} Beautiful ship, beautiful model.... nothing more needs to be said IMHO....
- 211 replies
-
- 4
-
-
- prince of wales
- tamiya
- (and 2 more)