-
Posts
1,219 -
Joined
-
Last visited
Content Type
Profiles
Forums
Gallery
Events
Posts posted by Papa
-
-
Back from the lake and spend the morning reviewing build logs for this kit.I would have saved myself a lot of trouble and expense had I done this before starting! Never to old to learn a valuable lesson. I was wondering if i should keep the PE parts bright as shown on the box art. Looks like all the builders painted the PE black. I am also looking at how the kits were finished (i.e., painted or stained etc.).
- Swinging the lead and ccoyle
-
 2
2
-
Yes, I know. Thanks for the reminder anyway. I wanted to make sure the keel fit before planking and the instructions suggested this step in fact. It took a lot of sanding but now the keel pieces fit perfectly without excessive force. I also now have 3 rows of planks in place. It is nice having the planks shaped to fit. The shipyard will be closed for a week as we are taking our granddaughter to a nearby lake for a week.
- ccoyle and Swinging the lead
-
 2
2
-
On 7/13/2023 at 12:18 PM, Swinging the lead said:
With a dry fit I found the 3 keel pieces very tight managed to file the frame to fit. It might be best to small pieces of scrap wood to make sure it fits when building the frame. Hope this makes sense.
I just started fitting the keel. I see what you mean about a tight fit.
-
I have the seat supports (D10) in place and decks D5 L/R, D2 and D3. These pieces are very thin and fragile and the protrusions of D10 broke in many places places and 2 of the cross pieces of D2 broke as well . I wonder how anyone could install these without some breakage. It was certainly way beyond my skill level. In any case I think it will all look ok when finished. This kit is not nearly as easy as I had expected!
After posting and looking at the photo I think the two forward deck cross pieces look wonky. They were the parts that broke. Since I have an extra kit I may just replace those two, cutting the replacements from the extra D sheet.
- Swinging the lead, bruce d, ccoyle and 1 other
-
 4
4
-
She is ready to get sanding and final shaping done. If I may offer a word of advice. There is no room for error in this kit. Everything is designed to fit snugly and perfectly in position. So check and check and check. I discovered when I was attaching the stringers C10 that the rough transom was not pushed all the way into its slot. Fortunately I was able to loosen the joint enough to tap it down into its correct position. I should have noticed that it was not correct when I attached it but somehow missed it.
-
- ccoyle, bruce d, Swinging the lead and 1 other
-
 4
4
-
-
I finally looked up a translation for Korabel. It is “shipbuilder” . I had a year of Russian when i was a freshman in college in 1961 but I don’t remember ever seeing that word! I think the first vocabulary word in the text was the word for postman pochtalon. Very useful word, hey.
-
-
On 7/6/2023 at 4:48 PM, Swinging the lead said:
One piece of advice I would give is to give the frame parts a very slight sanding. Just take off the char. Otherwise the fit is that excellent you might not get them apart.
I received my replacement kit and I have taken your advice. Previously I could not get the keel parts to fit over the frames. A bit of sanding in all the notches and they went in perfectly. The close fit on the parts in this kit is quite amazing!
-
It would take several days to see all of the exhibits.
- Ryland Craze, mtaylor and thibaultron
-
 3
3
-
-
I may as well confess. I managed to reverse the forward and aft directions on the first subassembly. By the time i got to step 7 or so things wouldn’t fit and I discovered the problem. I then tried to disassemble what i had done with disastrous consequences. Progress will resume when my replacement kit arrives. With 2 kits i expect I will have many parts left over. So in the future if one of you out there needs a replacement part for the Jolle, let me know and i might have it. Unless i make many more terrible mistakes. Read and read and read and check and double check and check again. My 80 year old brain does have a tendency to get confused easily. 😖
-
- Canute, GrandpaPhil, bruce d and 1 other
-
 4
4
-
-
15 hours ago, ccoyle said:
This is a delightful kit and makes a very interesting model with minimal space requirements. If you read my build log, then you already know that the only real gripe I had with the kit is its poor-quality rigging line. You would do well to shell out a few extra bucks and replace that material.
Good luck!
Reading your build log encouraged me to purchase this kit. And I definitely plan to purchase quality rigging line.
-
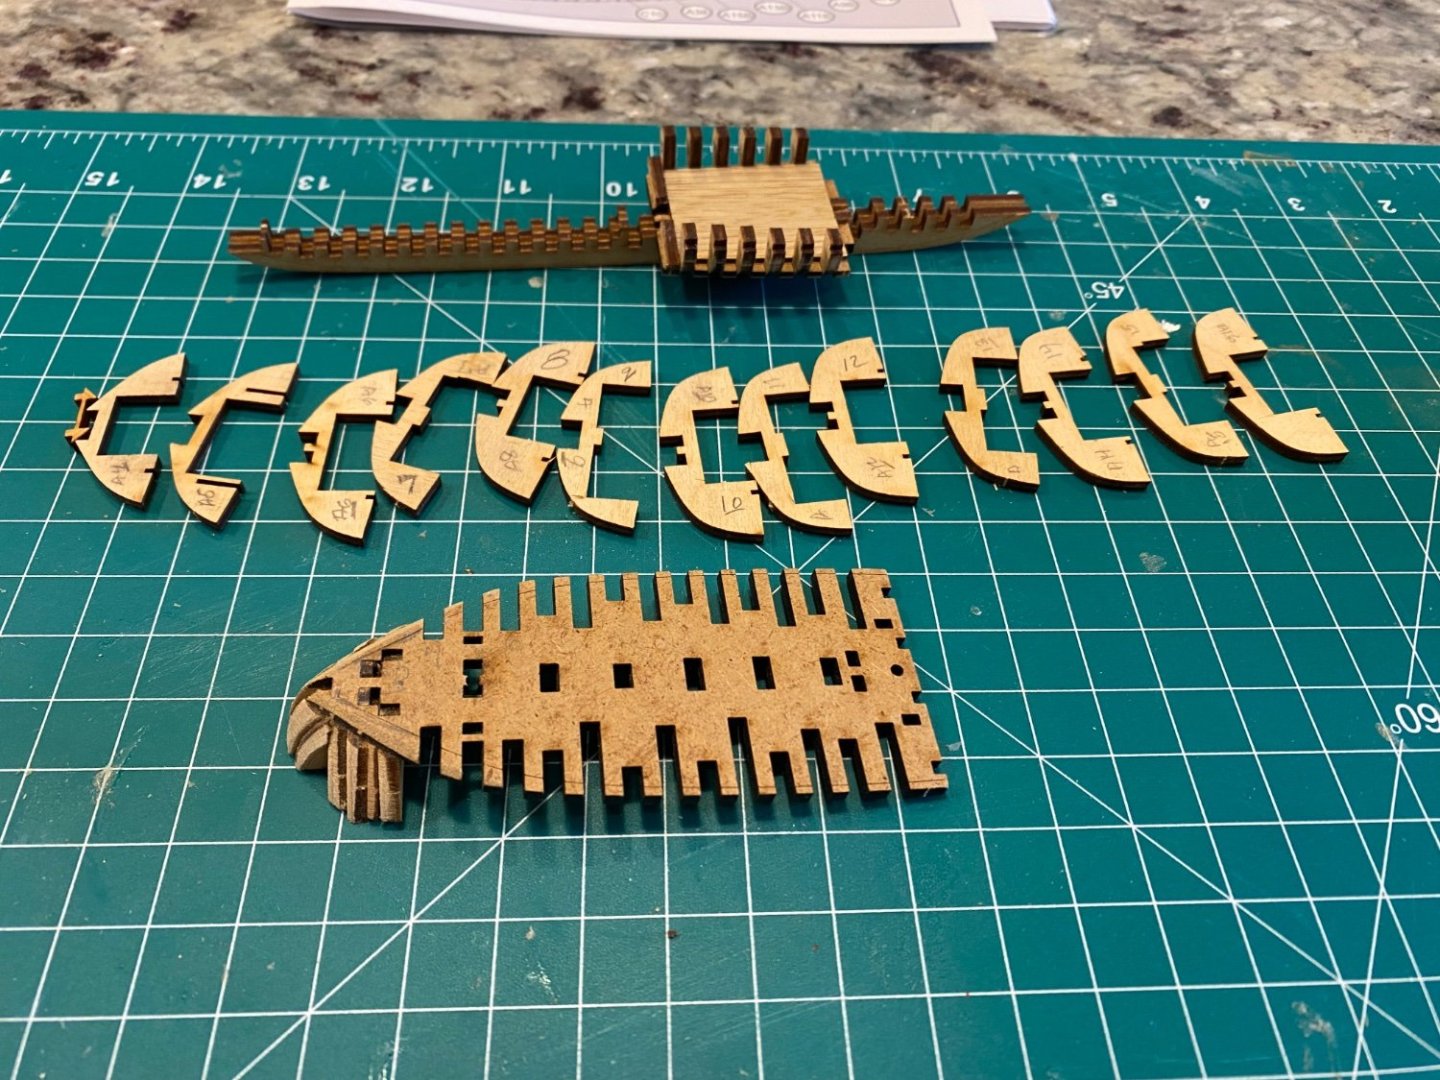
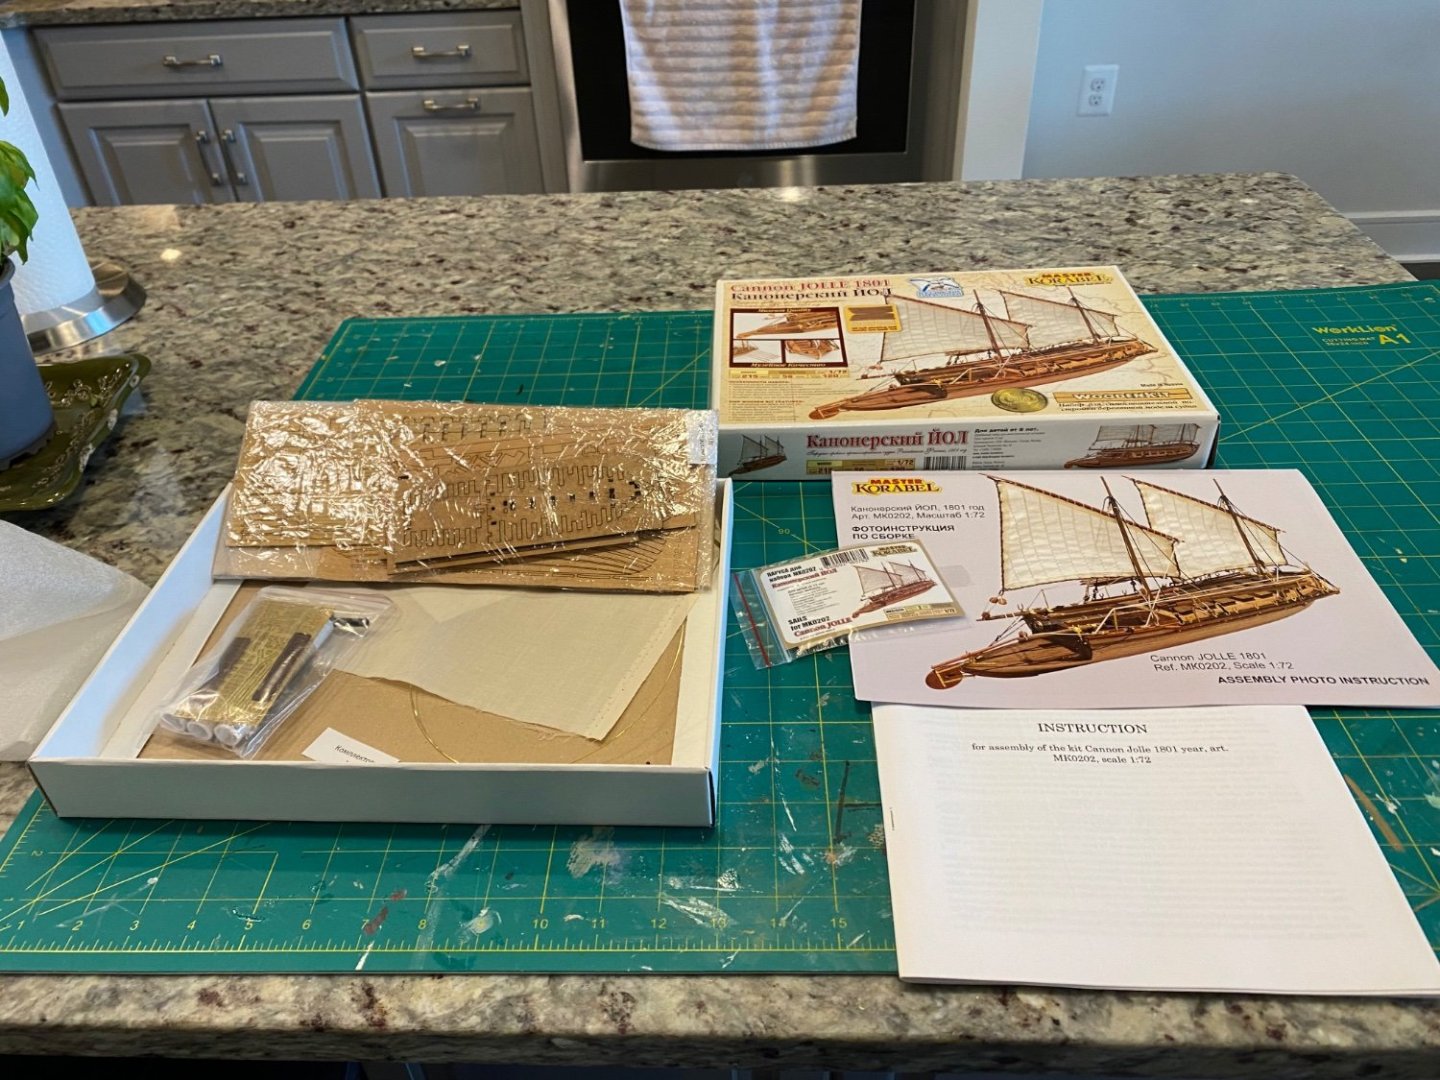
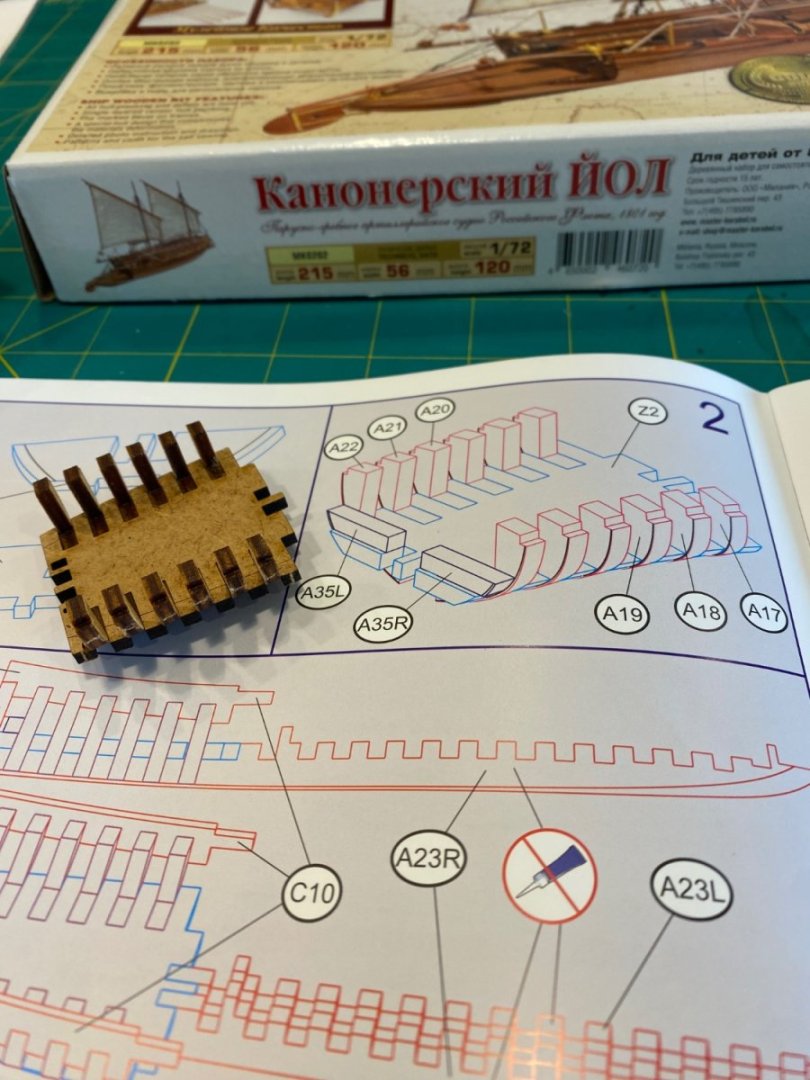
I have been wanting to try one of Master Korabel’s kits after reading about them on this site. I finally purchase the small gun boat and added the pre made sails. I am very impressed with the quality of the kit and the detailed instructions. The English is a bit strange but that is probably because it was translated from Russian; or maybe just written be a non native English speaker. Anyway, they are very clear, detailed and precise. The instructions seem to anticipate where one might go wrong and caution you. The picture shows the box contents and the first sub-assembly before gluing.
- GrandpaPhil, Canute, mtaylor and 4 others
-
 7
7
-
On 5/30/2023 at 5:55 PM, Capt Mongo said:
scarce as an honest man in politics.
Amen
- hollowneck and mtaylor
-
 2
2
-
Very impressive stick and tissue build!
- Old Collingwood, Canute, Egilman and 1 other
-
 4
4
-
38 minutes ago, Canute said:
Age and decreasing physical abilities are unfortunate limiters.
Ahhh. that's my problem, having past 80 years
- Egilman, mtaylor, popeye the sailor and 1 other
-
 4
4
-
8 hours ago, Old Collingwood said:
Thats come up a treat - very nice.
OC.
Thanks. It was a fun change of pace. But the tiny details were frustrating at times.
- Canute, Old Collingwood, Egilman and 2 others
-
 5
5
-
-
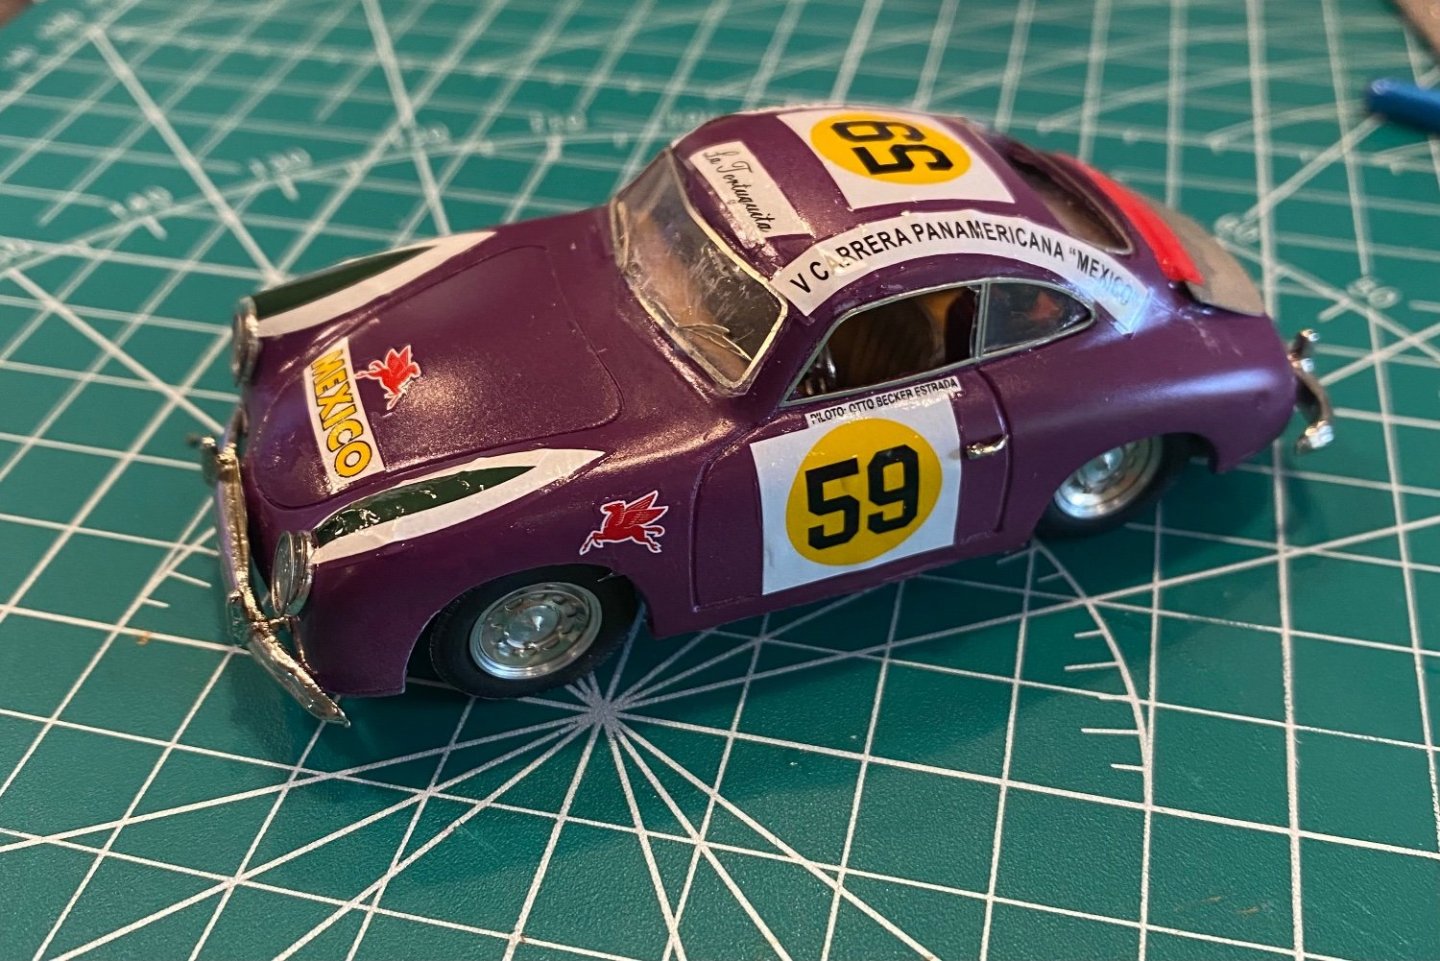
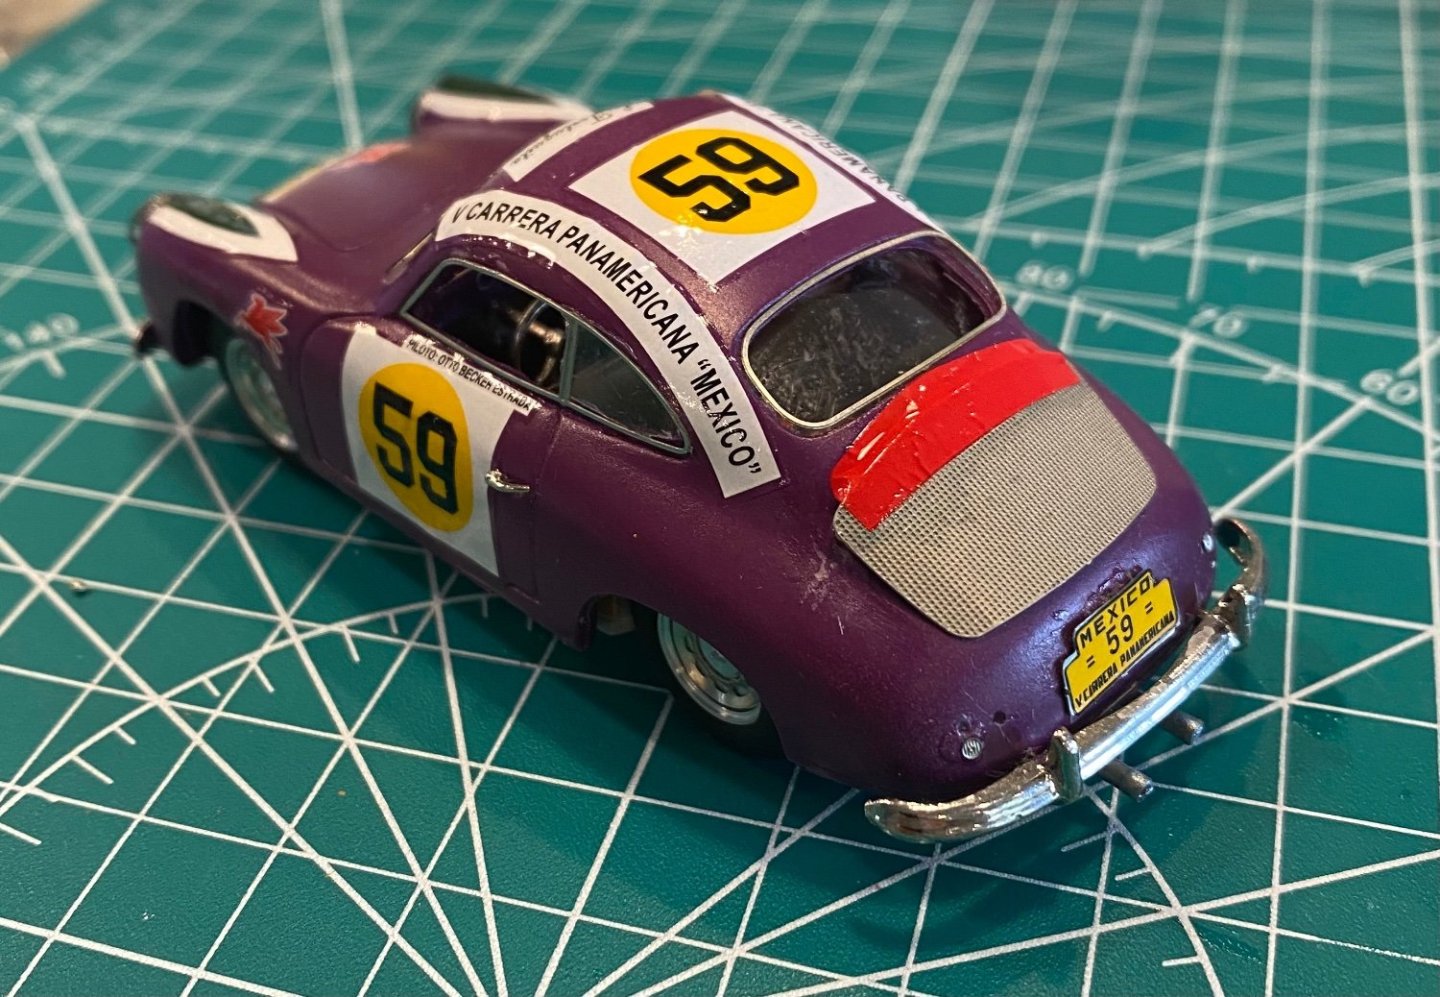
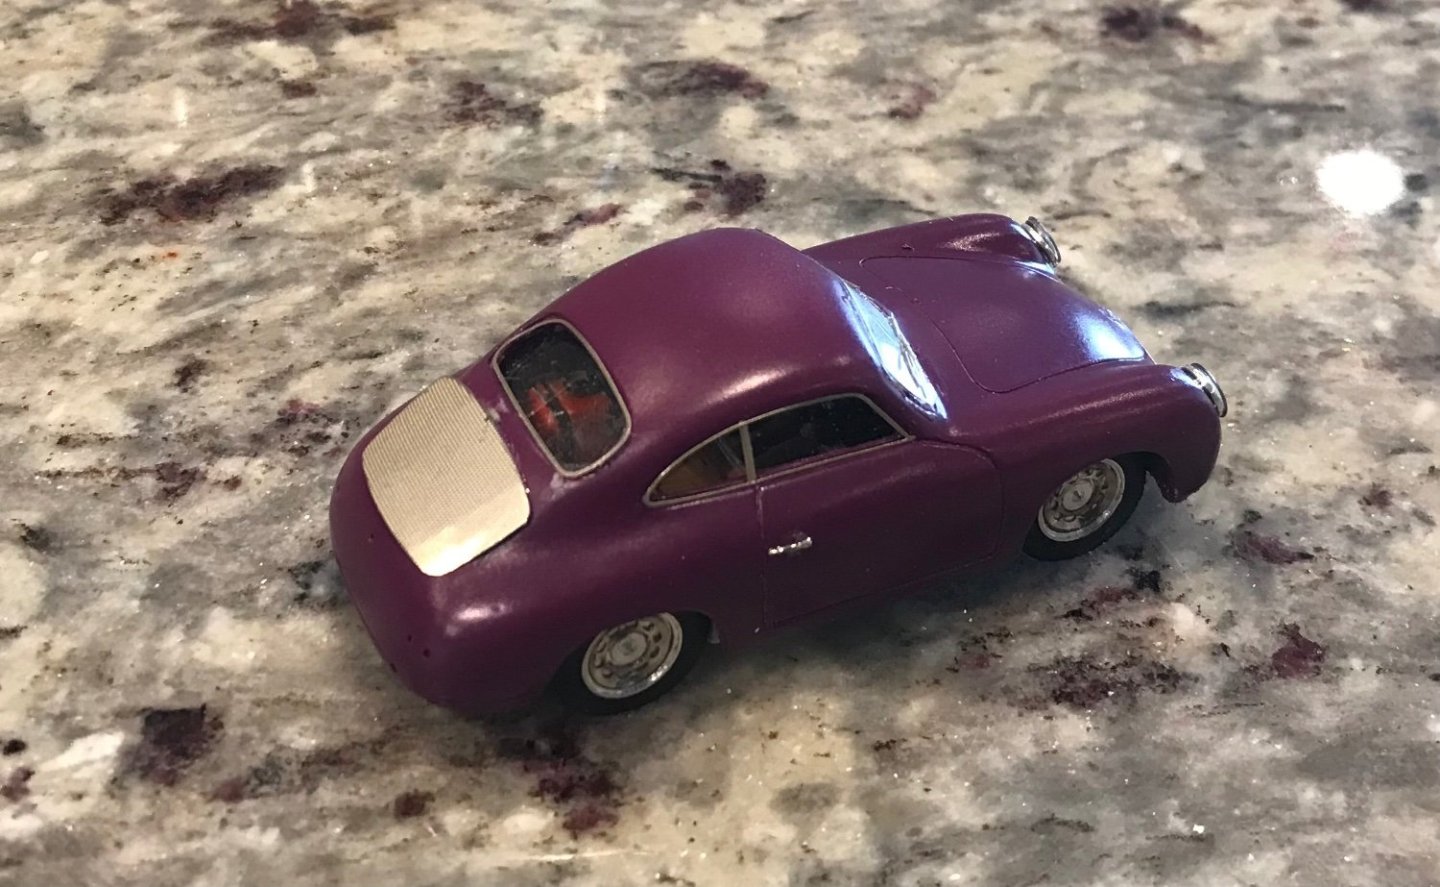
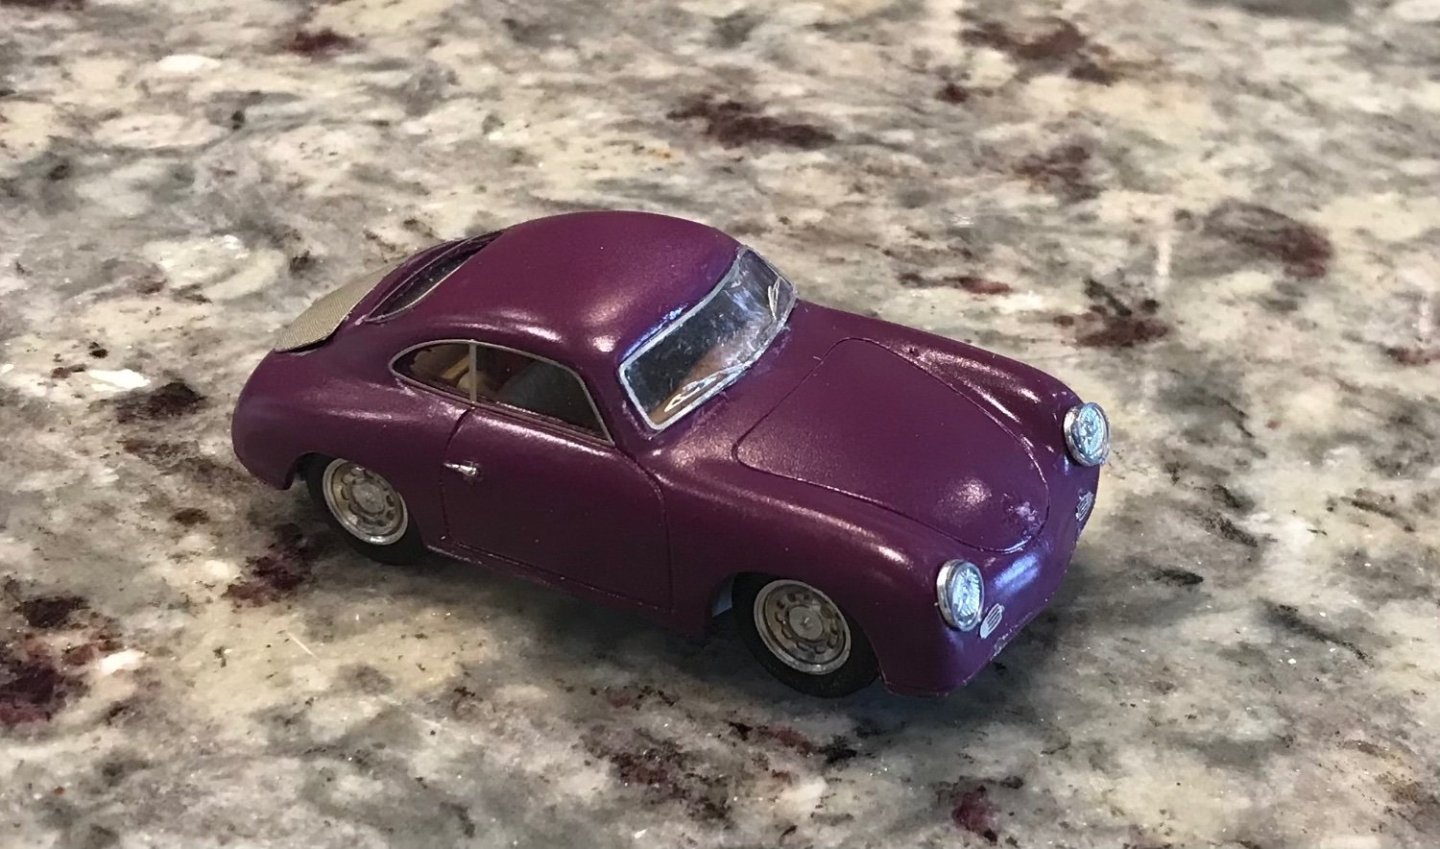
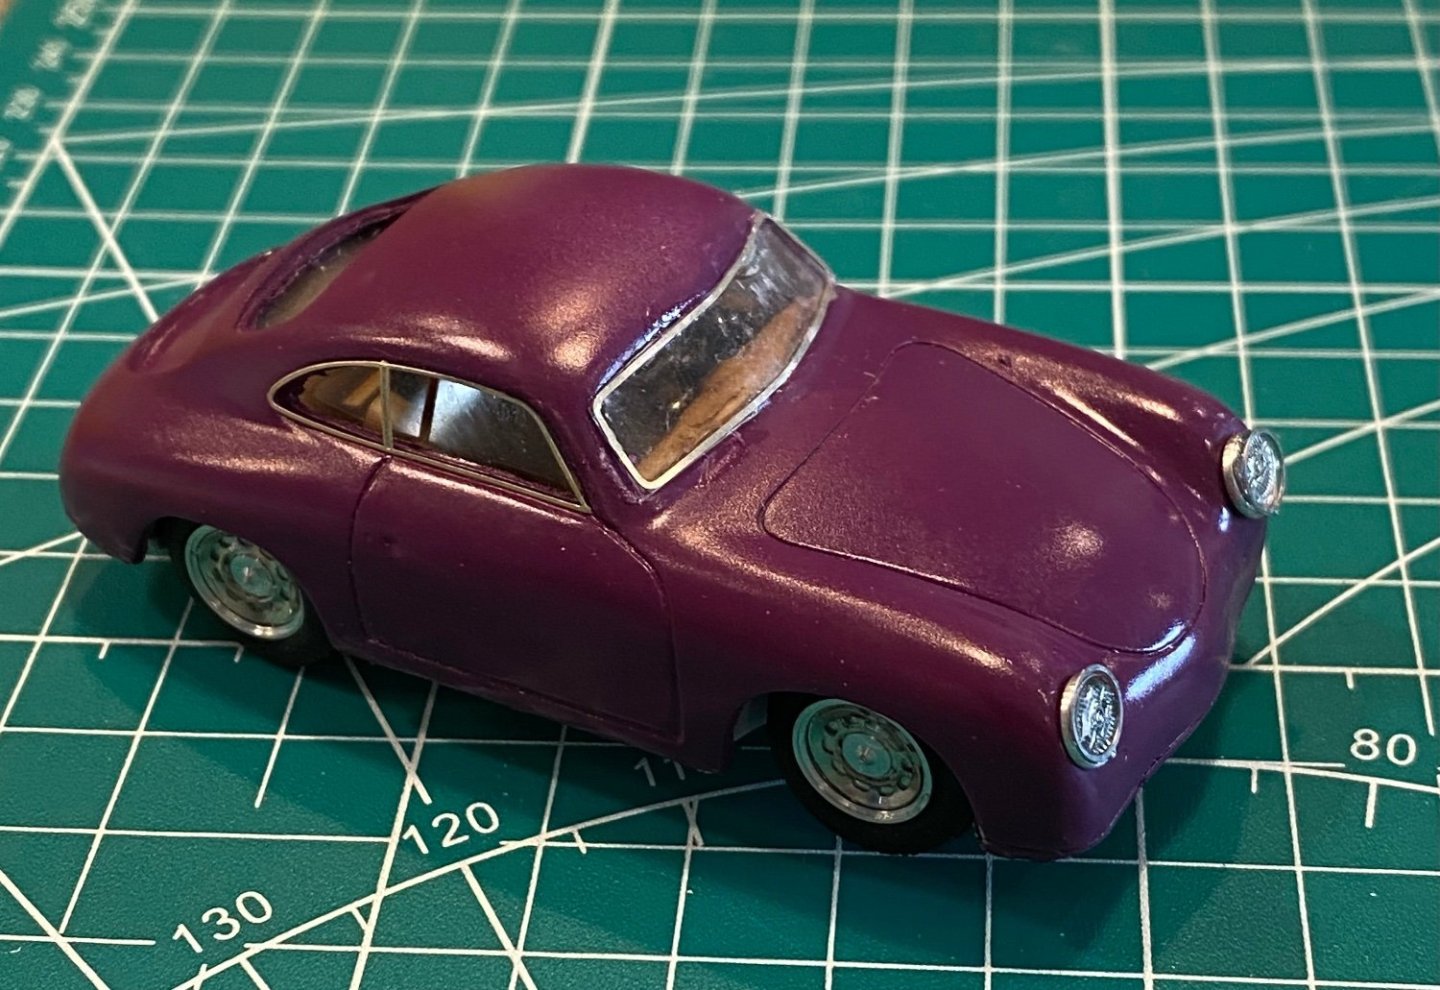
I continue to add photoetched details. The hood (trunk) lift handle is somewhere in an other dimension. Oh well. One of the wipers took a brief visit there but returned 😁I snipped parts free of the sprues inside a plastic bag. That traps them on earth. But those tweezers have a way of shooting parts to where no man has gone before.
-
- Jack12477, Old Collingwood, DocRob and 6 others
-
 9
9




Cannon Jolle by Papa - FINISHED - Master Korabel - 1/72
in - Kit build logs for subjects built from 1801 - 1850
Posted
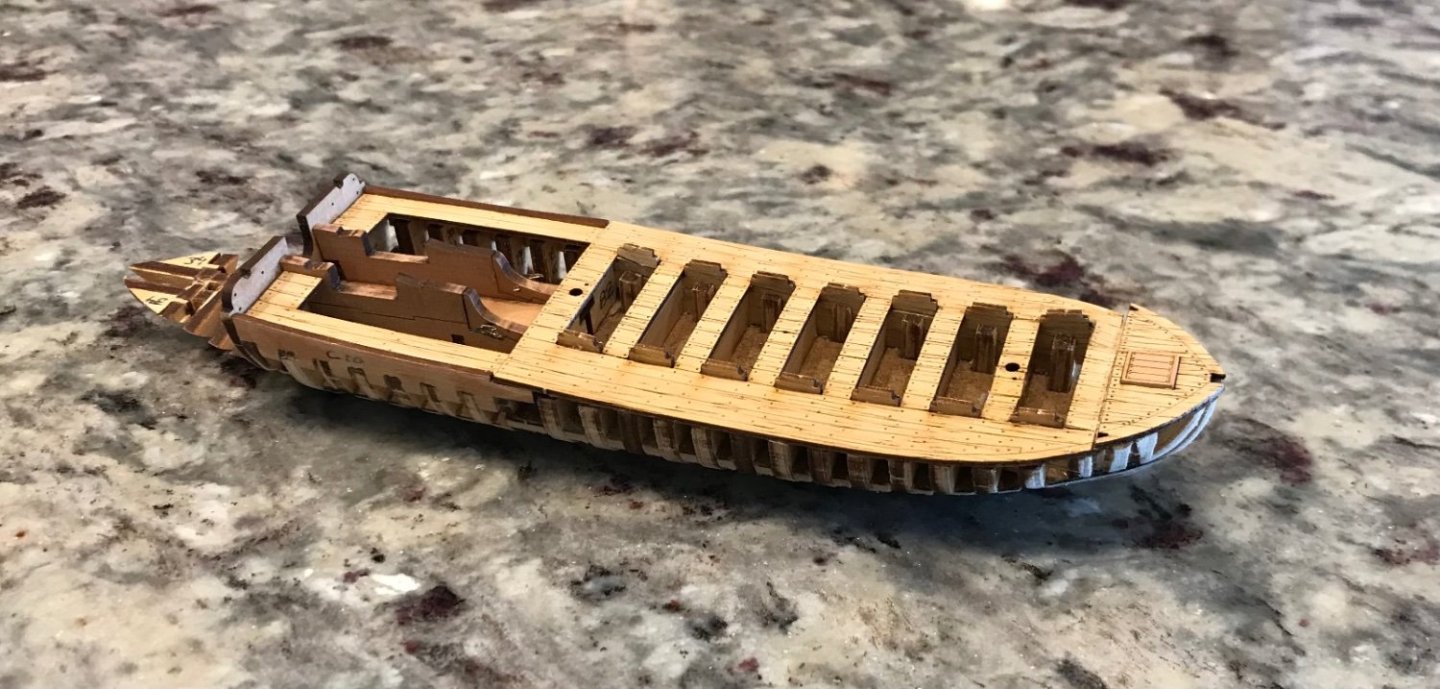
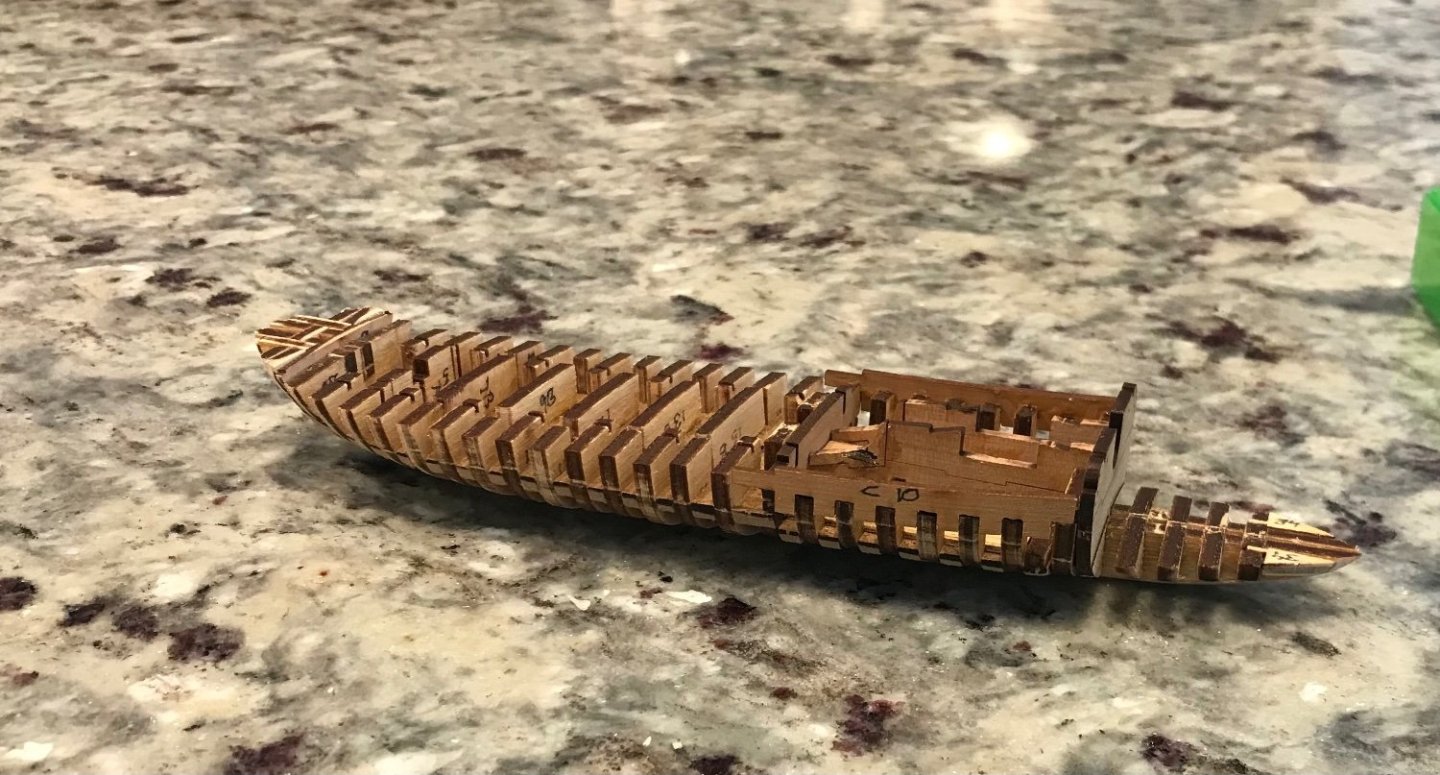
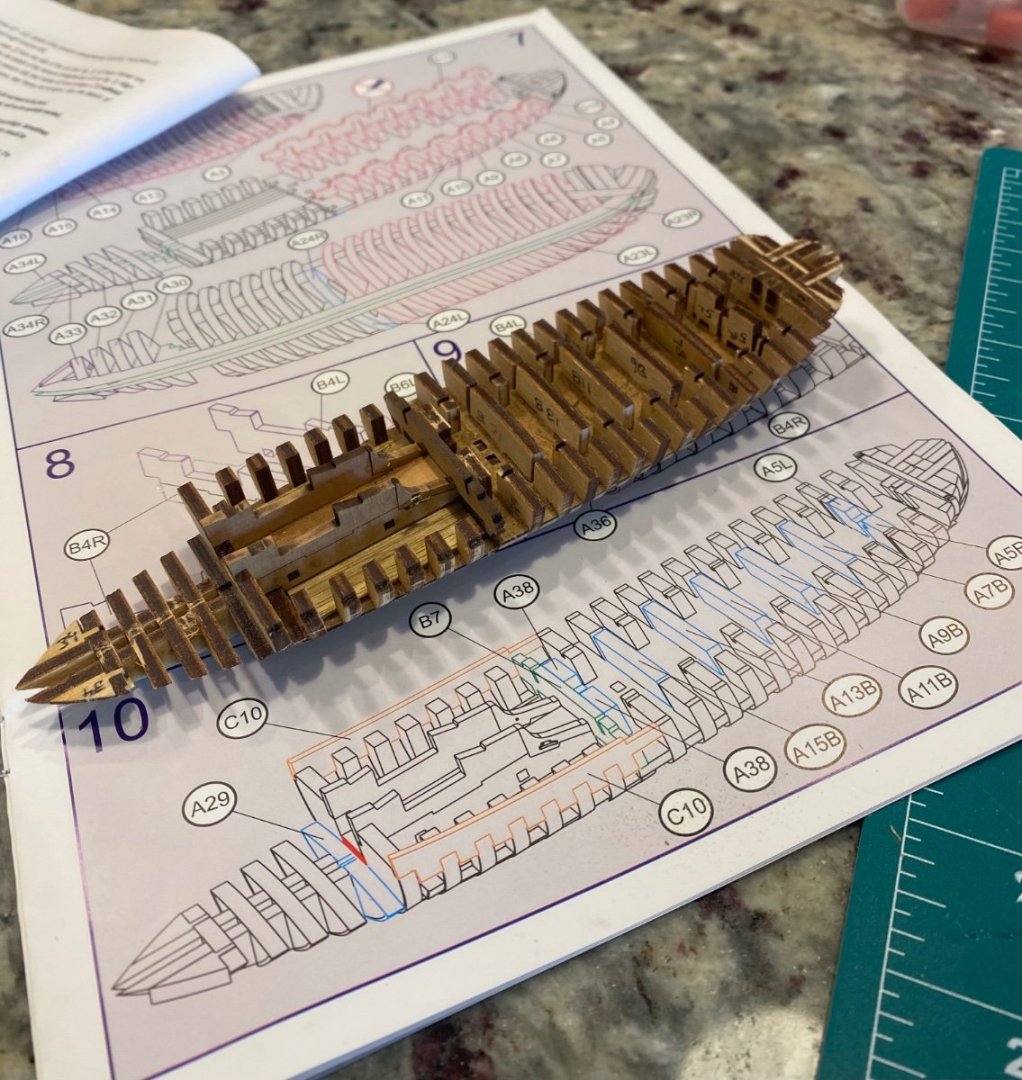
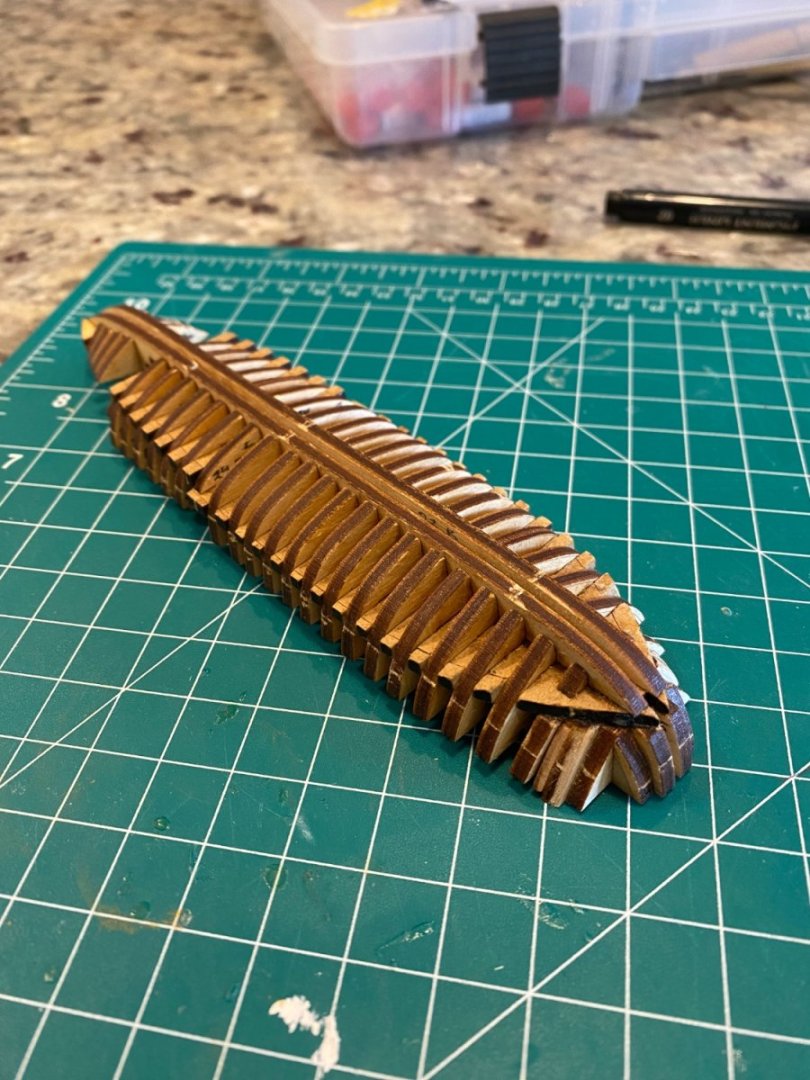
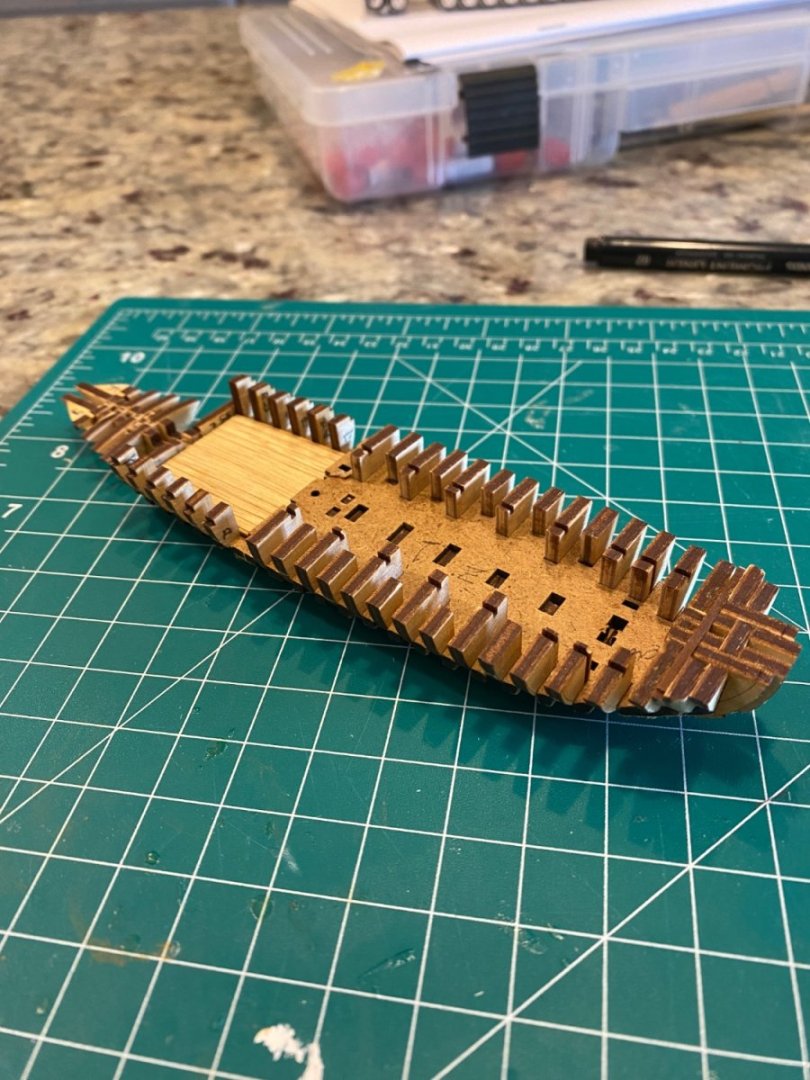
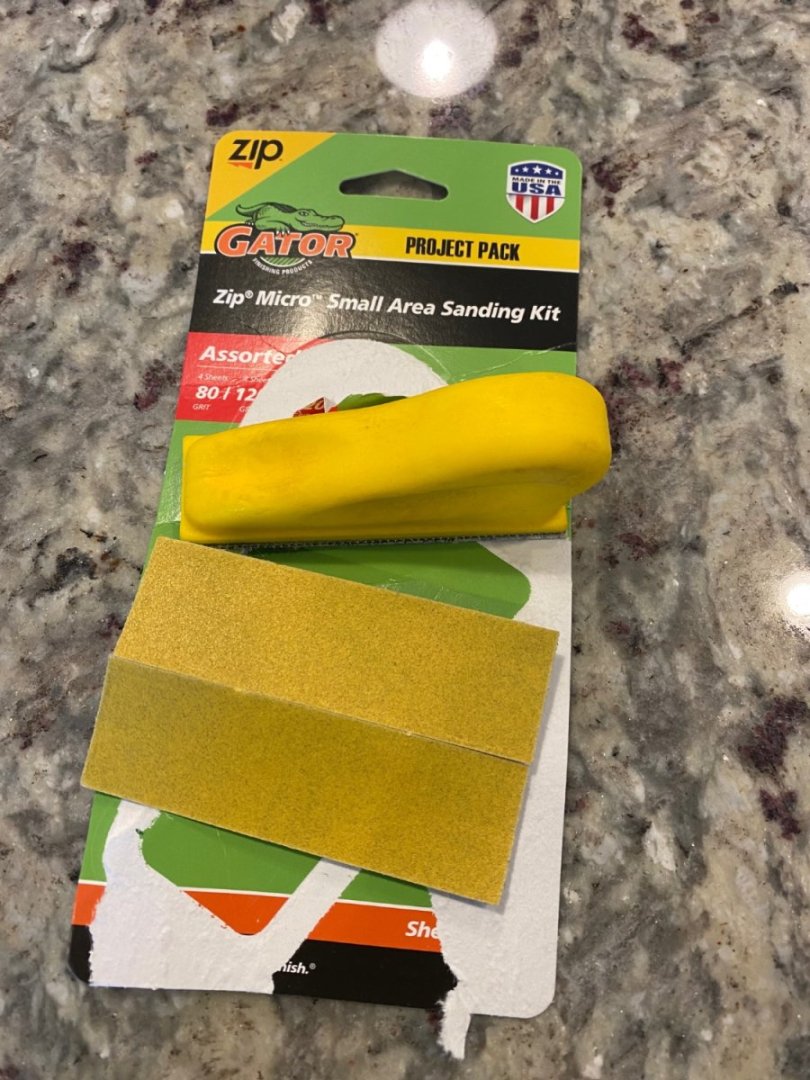
Planking is done. Started sanding. The planking was quite easy with pre-shaped planks. I did find it easier to align and glue the planks to the reference frame (15) first. And then glue forward and aft rather than starting at the bow or stern as recommended.