


Papa
-
Posts
1,298 -
Joined
-
Last visited
Content Type
Profiles
Forums
Gallery
Events
Posts posted by Papa
-
-
Lower main topsail yard is in place. Good grief it is so difficult to belay the lines in the stern! Ratlines, davits, sheds, boats are all in the way

- John Ruy, toms10 and Prowler901
-
 3
3
-
I really need to be better organized. After waiting a couple weeks for replacement line i discover that i had a new spool of exactly the size i needed in my box of rigging. Actually 1 of 2 boxes. I kinda forgot that i had 2 boxes of line; one was not enough for all the stuff left over from 50 years of modeling. 😬😖🤪
-
I realized that one needs the mizzen crossjack yard in order to rig the main yard braces. I ran out of the size line i was using for the braces after the starboard side was in. So things are a bit lopsided until the line arrives.

- Prowler901, Tigersteve, John Ruy and 2 others
-
5
-
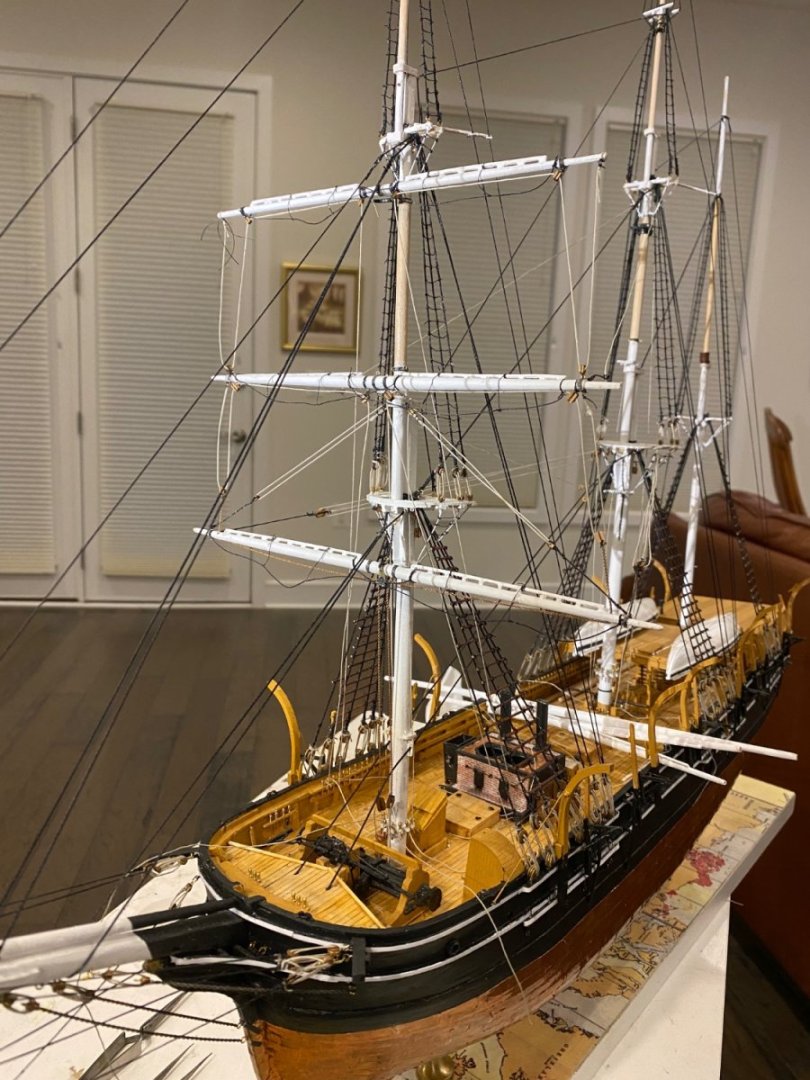
Fixed up the broken davits, reset the upper topsail and finally rigged all the fore mast yards
- John Ruy, Prowler901 and toms10
-
1
-
 2
2
-
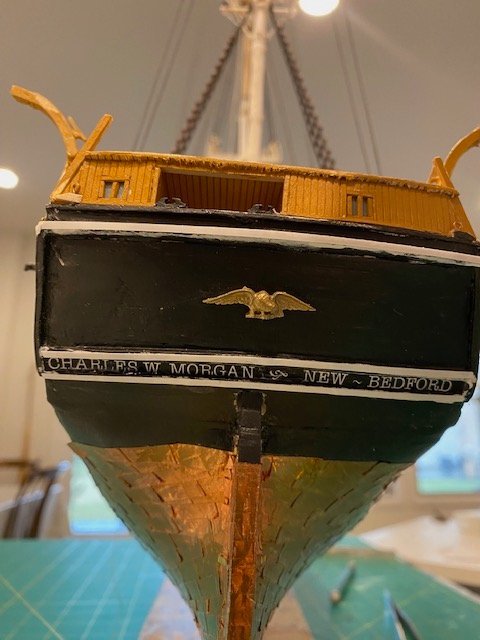
I ran out of small rocks for painting so I am back to the Morgan. In trying to rig the top gallant sail I manage to break two davits and knocked the upper top sail off the mast!!😬. So some patching up is in the schedule. I did manage to get the ship name on the stern without breaking anything. Laser printed white font on black background.
-
-
11 hours ago, gjdale said:
Thanks Ron. No, I have never done a FSM kit. I'm not actually a railroad guy - I'm just doing this kit 'cause it looked really cool!
I can certainly recommend the Sierra West kits. They are top notch quality and the instructions are first class. They are also well supported with their own forum and the kit designer/producer provides first class after-sales support and will look in on any build logs on that site to offer encouragement/advice along the way. He has also recently introduced 3-D printing to replace some of the castings in his kits.
And yes, every single one of his kits would make an excellent stand-alone diorama as well as being part of a railroad layout.
It sure is a cool building! I no longer have trains. I finally realized that it was building models that i liked not running a railroad. 😀
-
Have you ever done a kit from Fine Scale Miniatures? I wonder how you would compare them? They have similar craftsman kits, but have closed up shop now. This one seems more detailed and the instructions that you show look more extensive. I built several FSM kits when I had some HO trains and enjoyed the construction more than running the trains. I am sorely tempted to purchase a kit from Sierra West and just do a diorama as you are doing.
Ron Gove
-
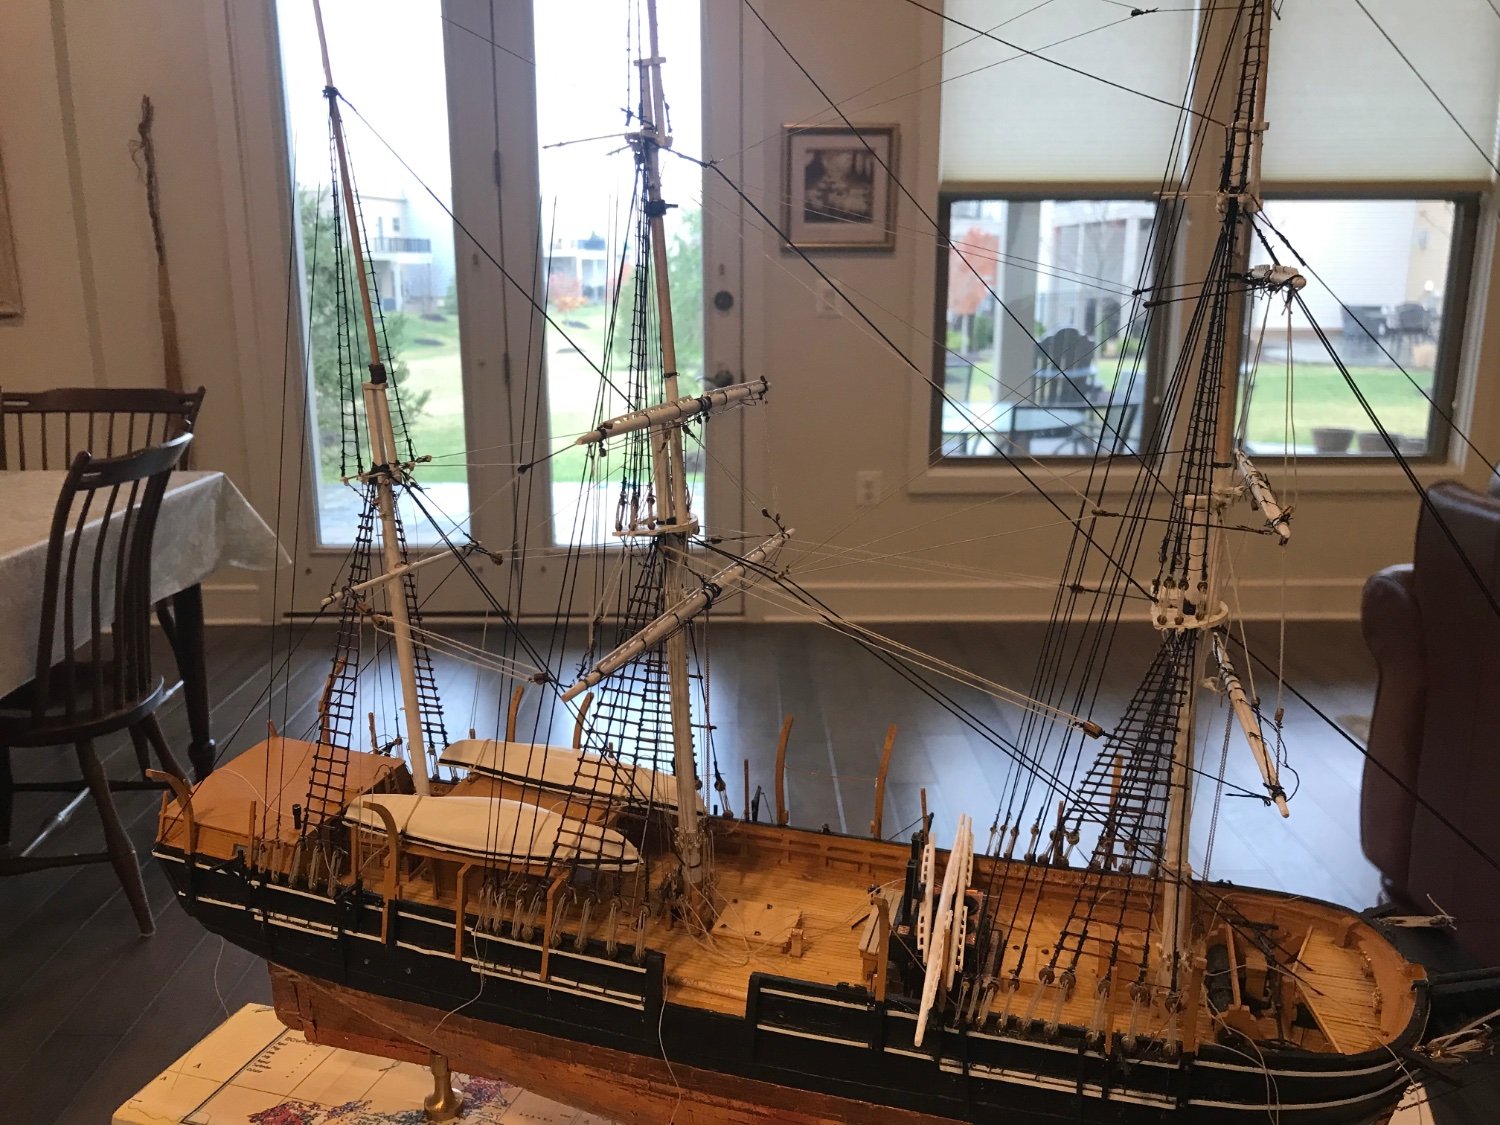
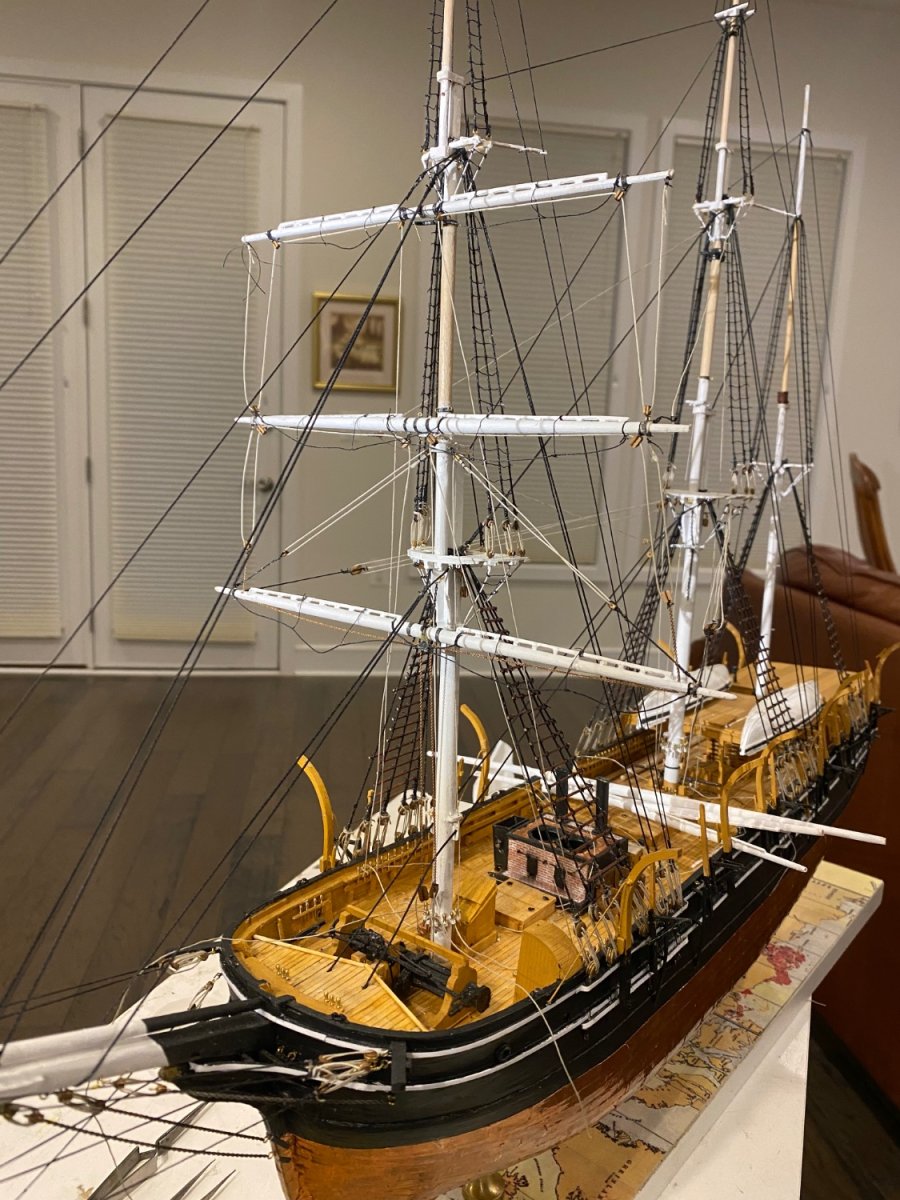
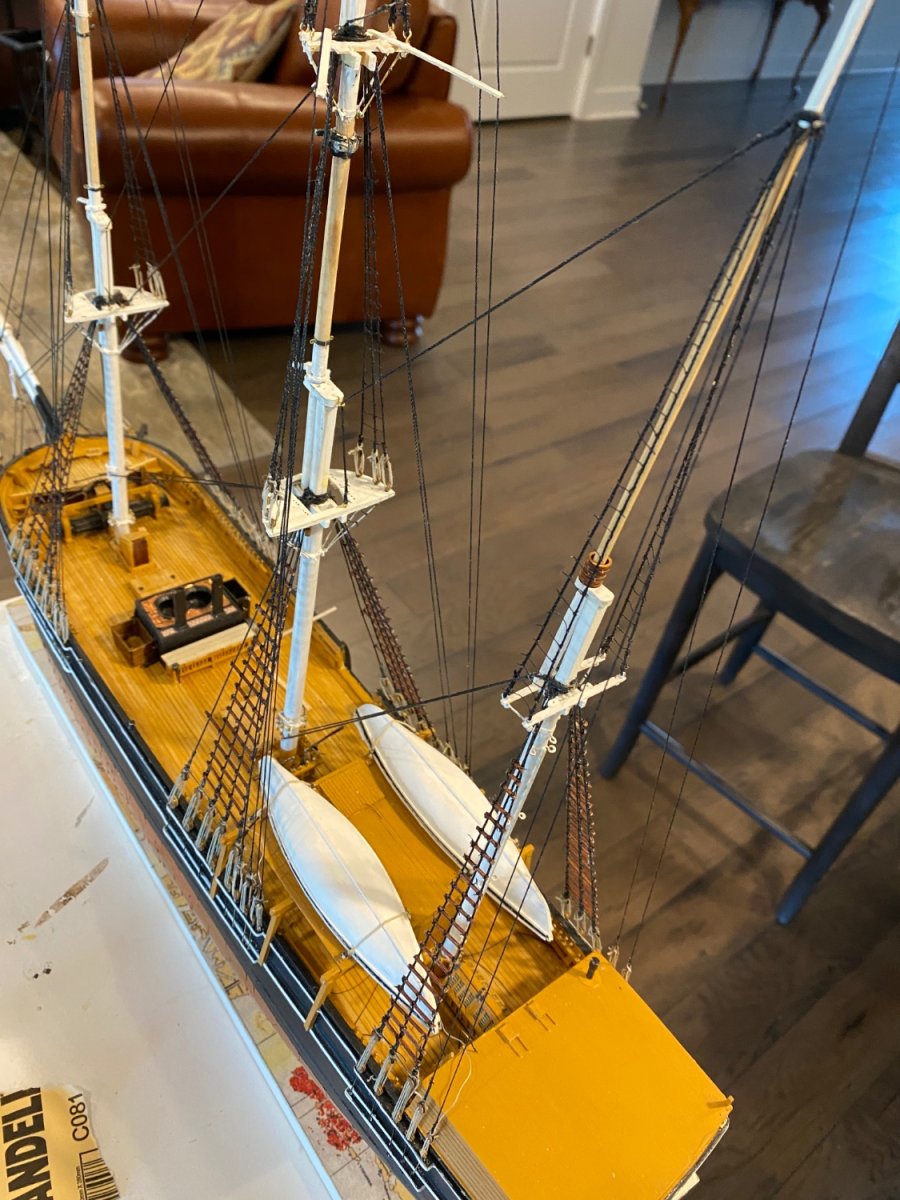
Yards are coming along slowly. The lines all need some tensioning and adjusting. I am planning on simplifying the rig. Basically if it attaches directly to a sail it isn’t going on.
- John Ruy, Prowler901 and toms10
-
3
-
The lower fore yard now has lifts and braces.

- toms10, Snug Harbor Johnny, John Ruy and 1 other
-
4
-
the fairlead it will be then.
-
The lifts for the fore lower yard belay to the pins on the mast ring, 19 and 20 on the belaying plan. should they go through the fairlead mounted on the foremast?
-
-
Starting to hang the yards.

- Prowler901, David Lester and toms10
-
3
-
-
-
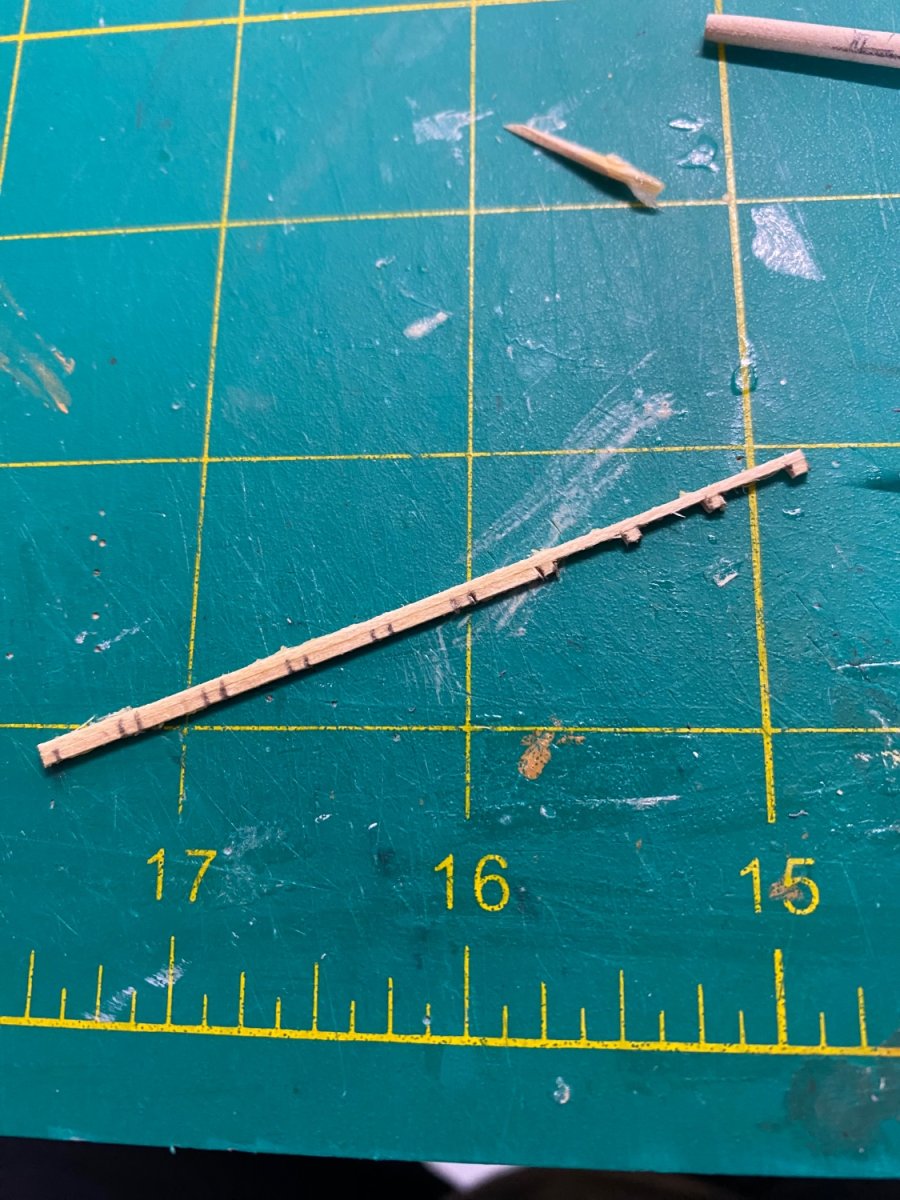
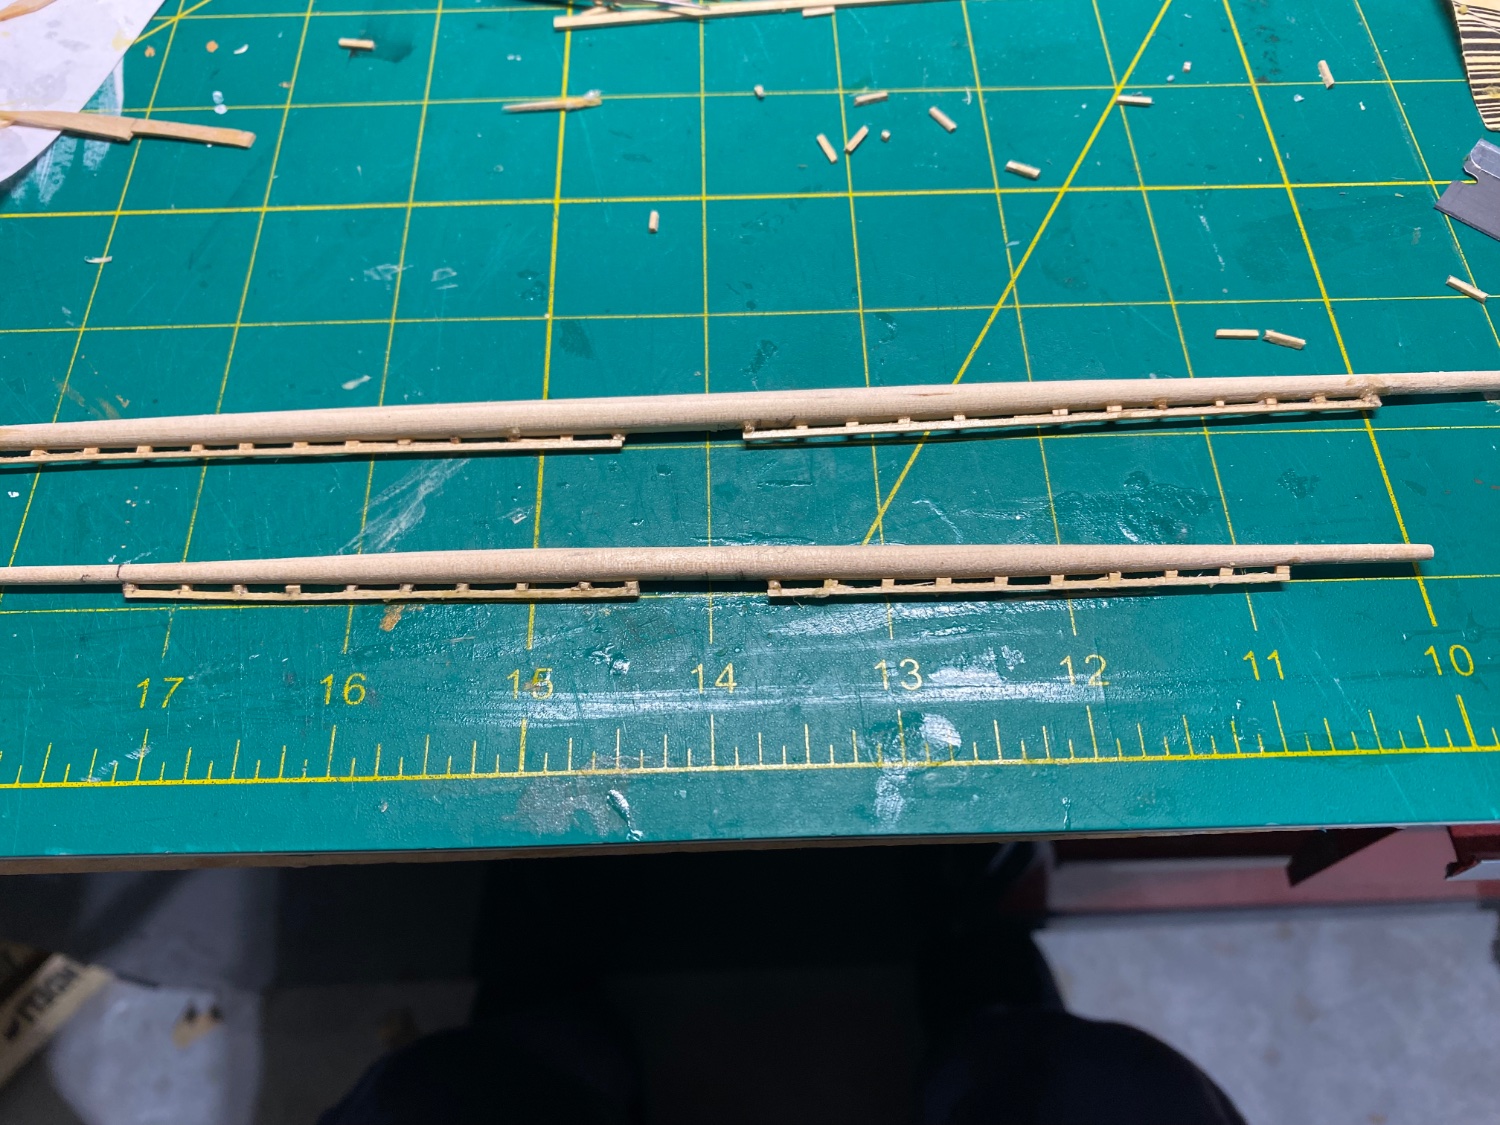
The kit contained several strips 1/32" strips of jackstay material that I used them all up on the mizzen and bowsprit (or possibly lost some over time). Now I've noticed that the yards all need the strips also. Model Expo does not seem to sell the strips separately, nor does any other fitting supplier I've look at. Any recommendations on how to scratch build these? Could they be 3D printed?
-
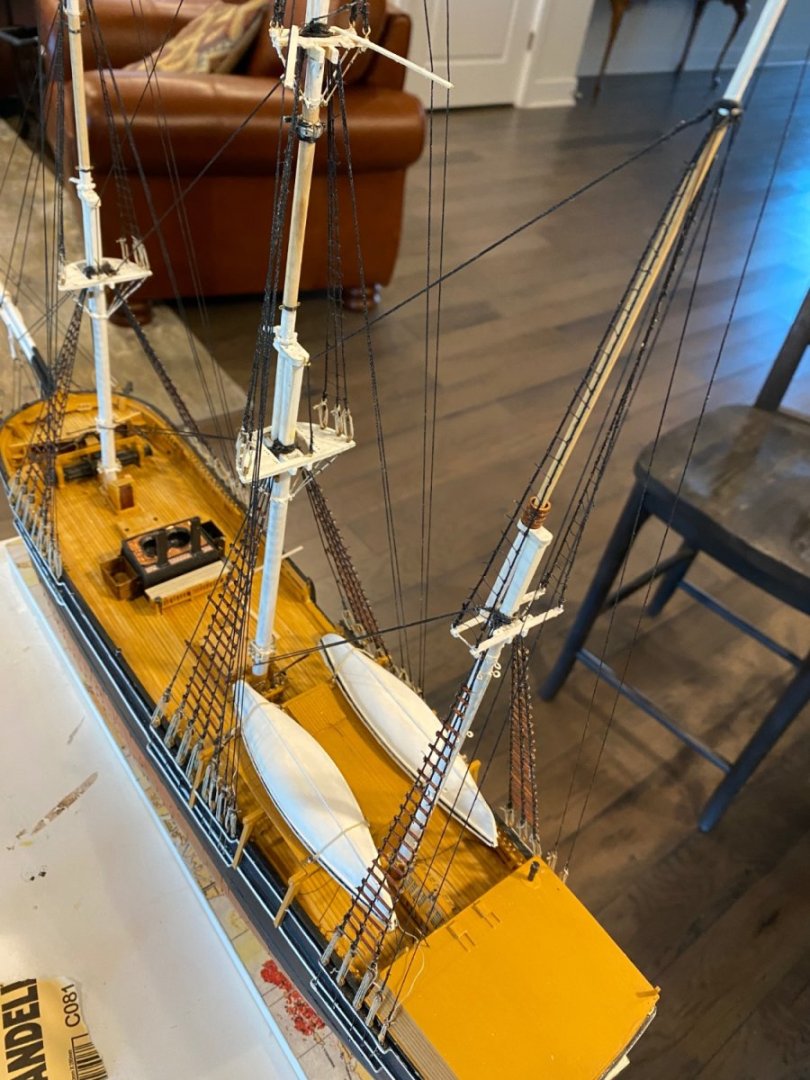
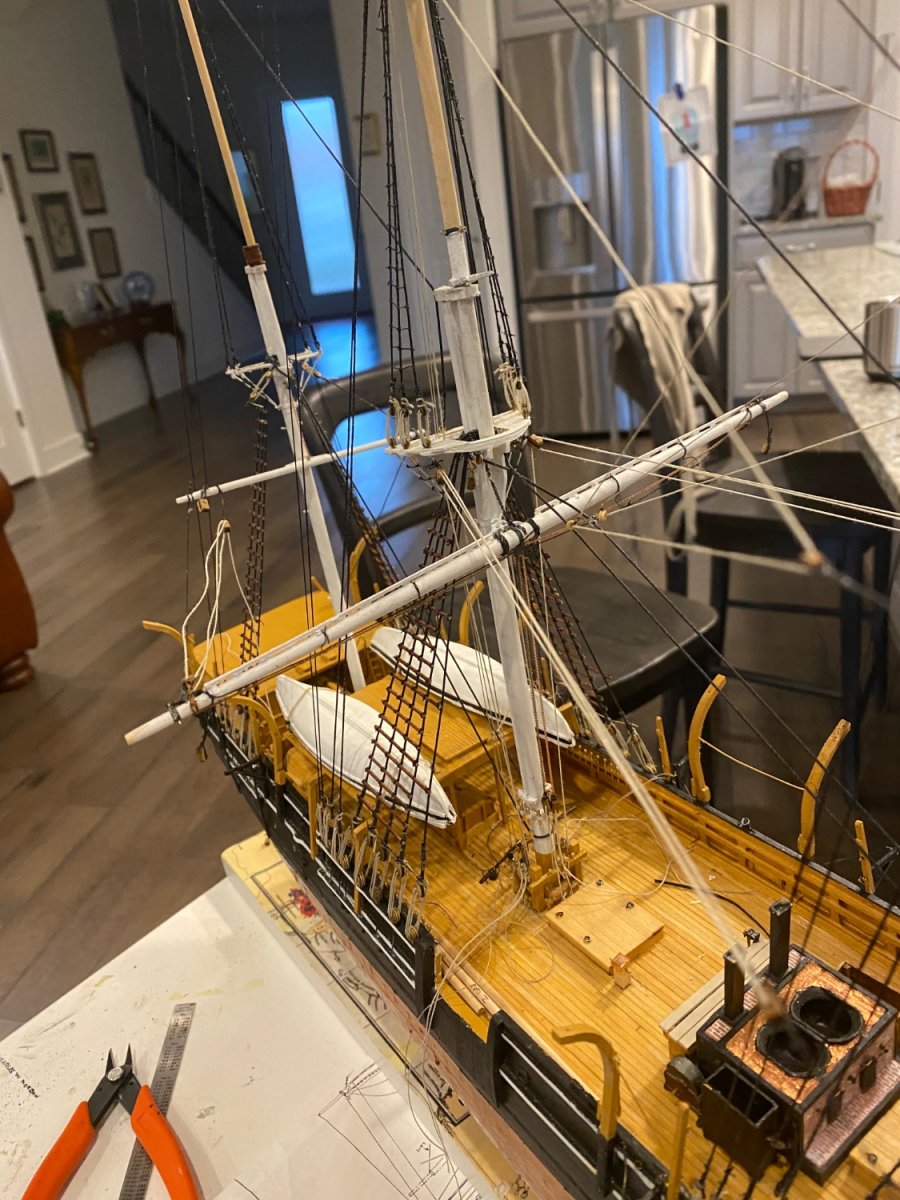
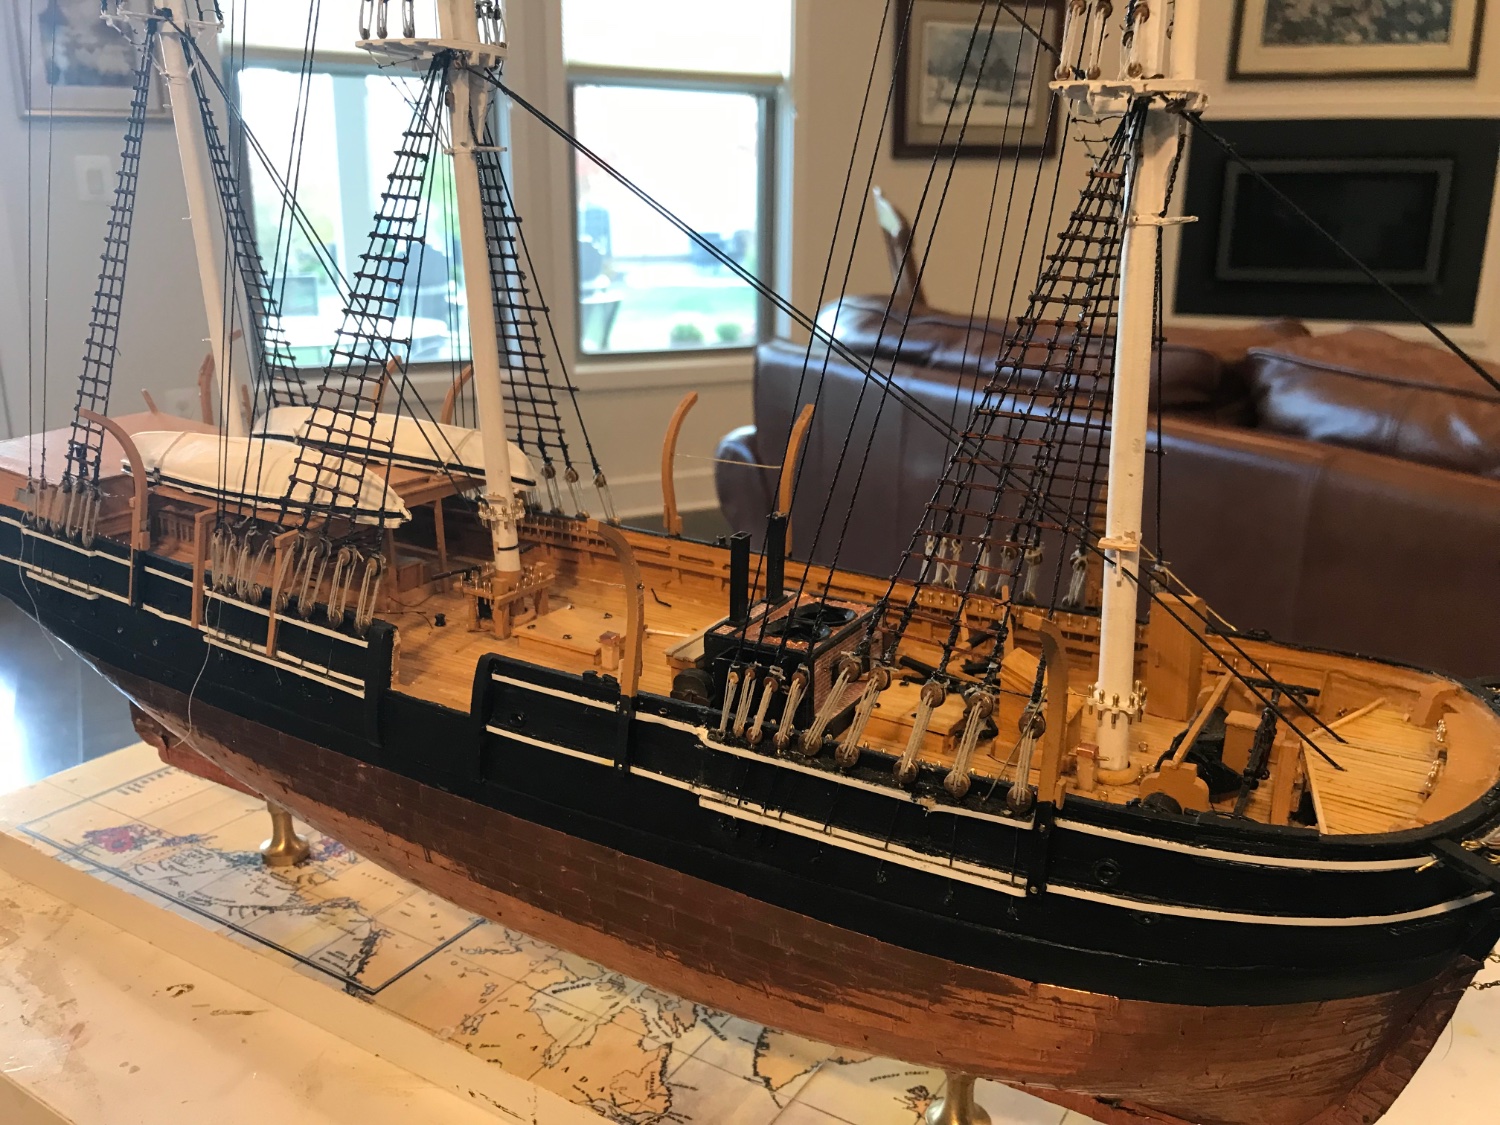
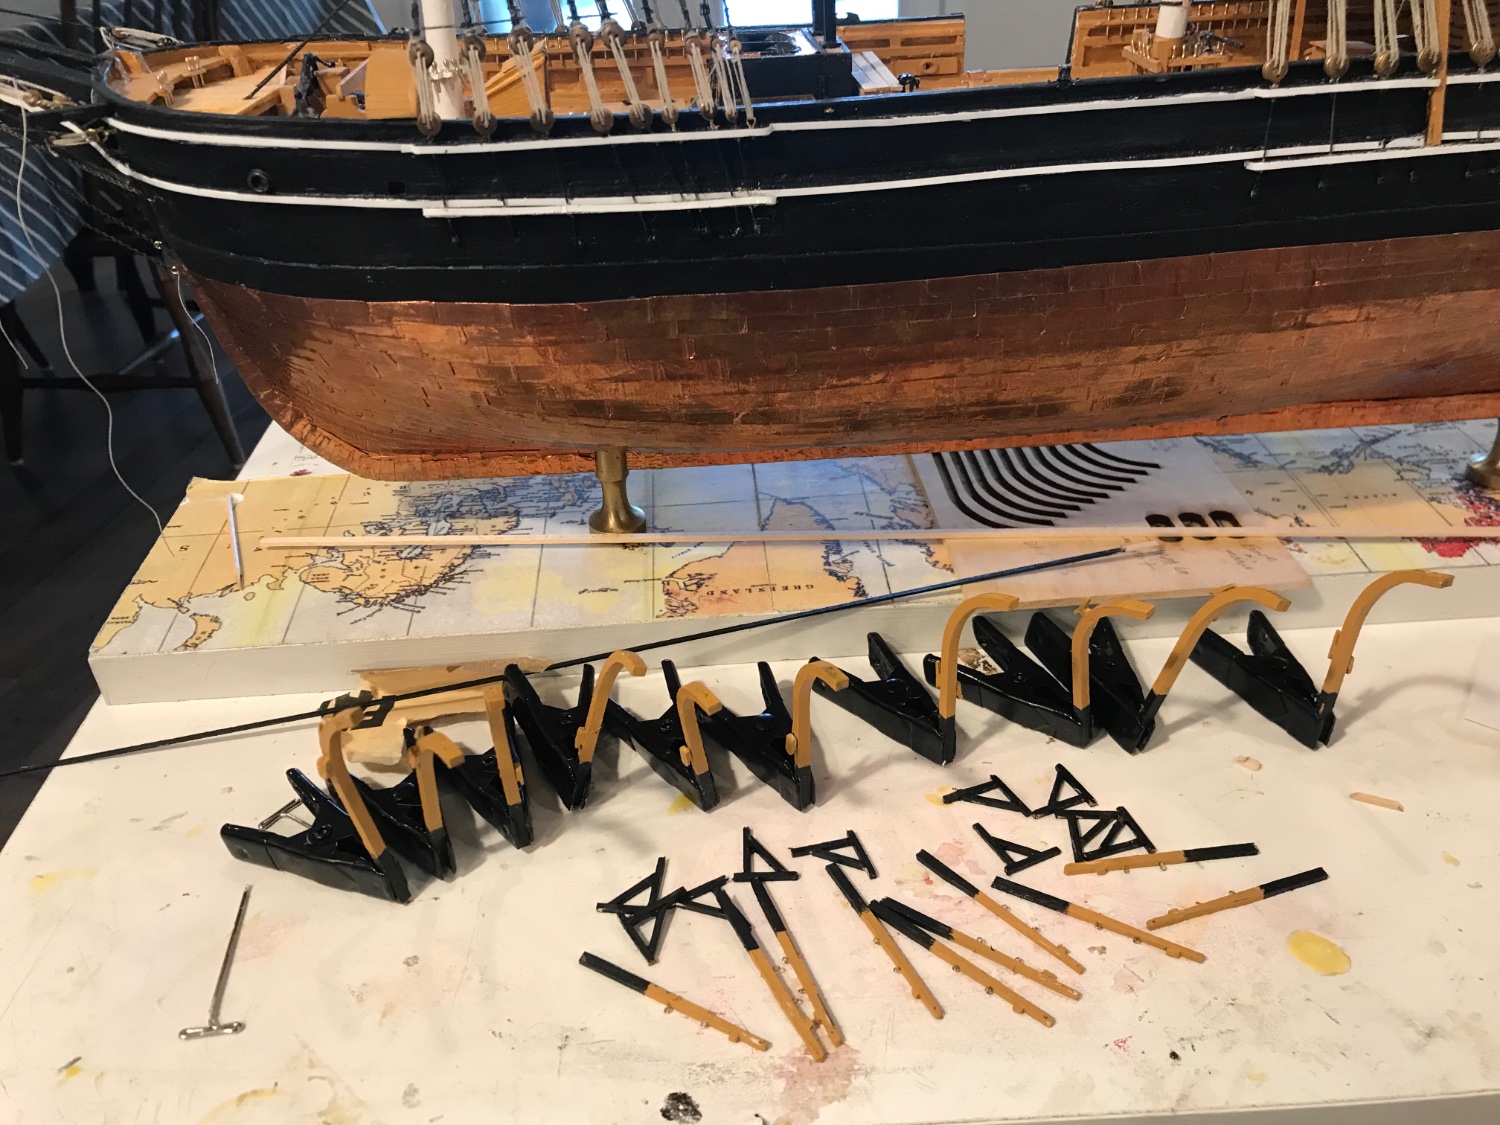
All the whale boat davits etc. are in. Next step will be the yards

-
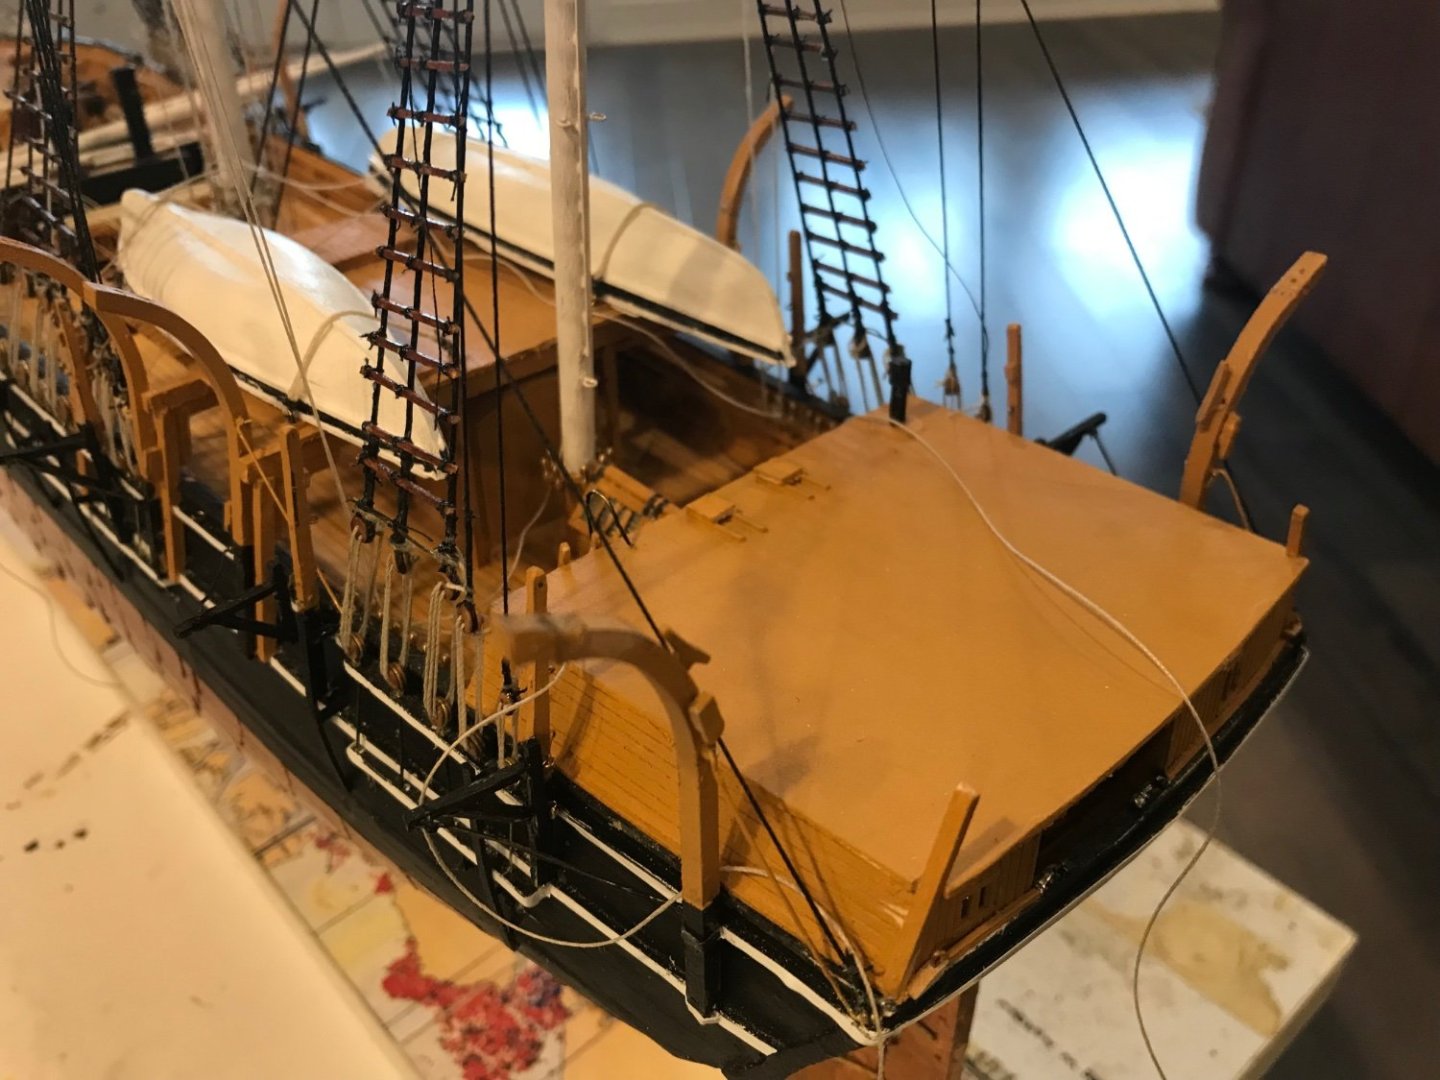
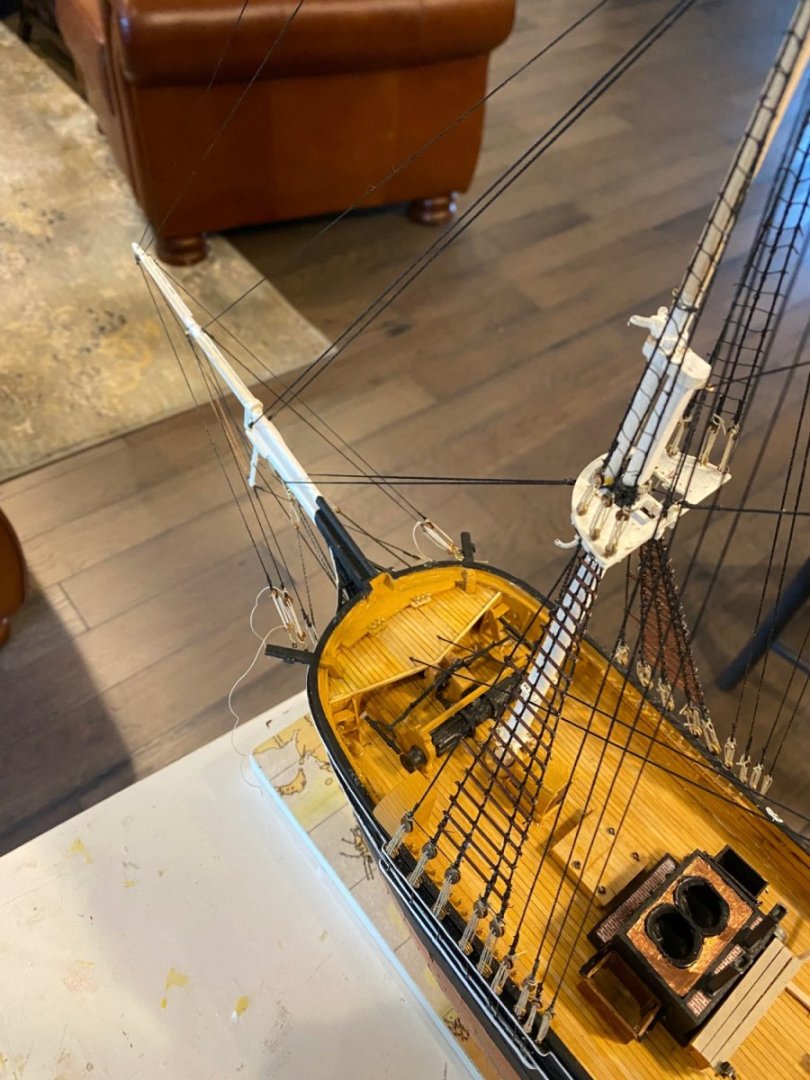
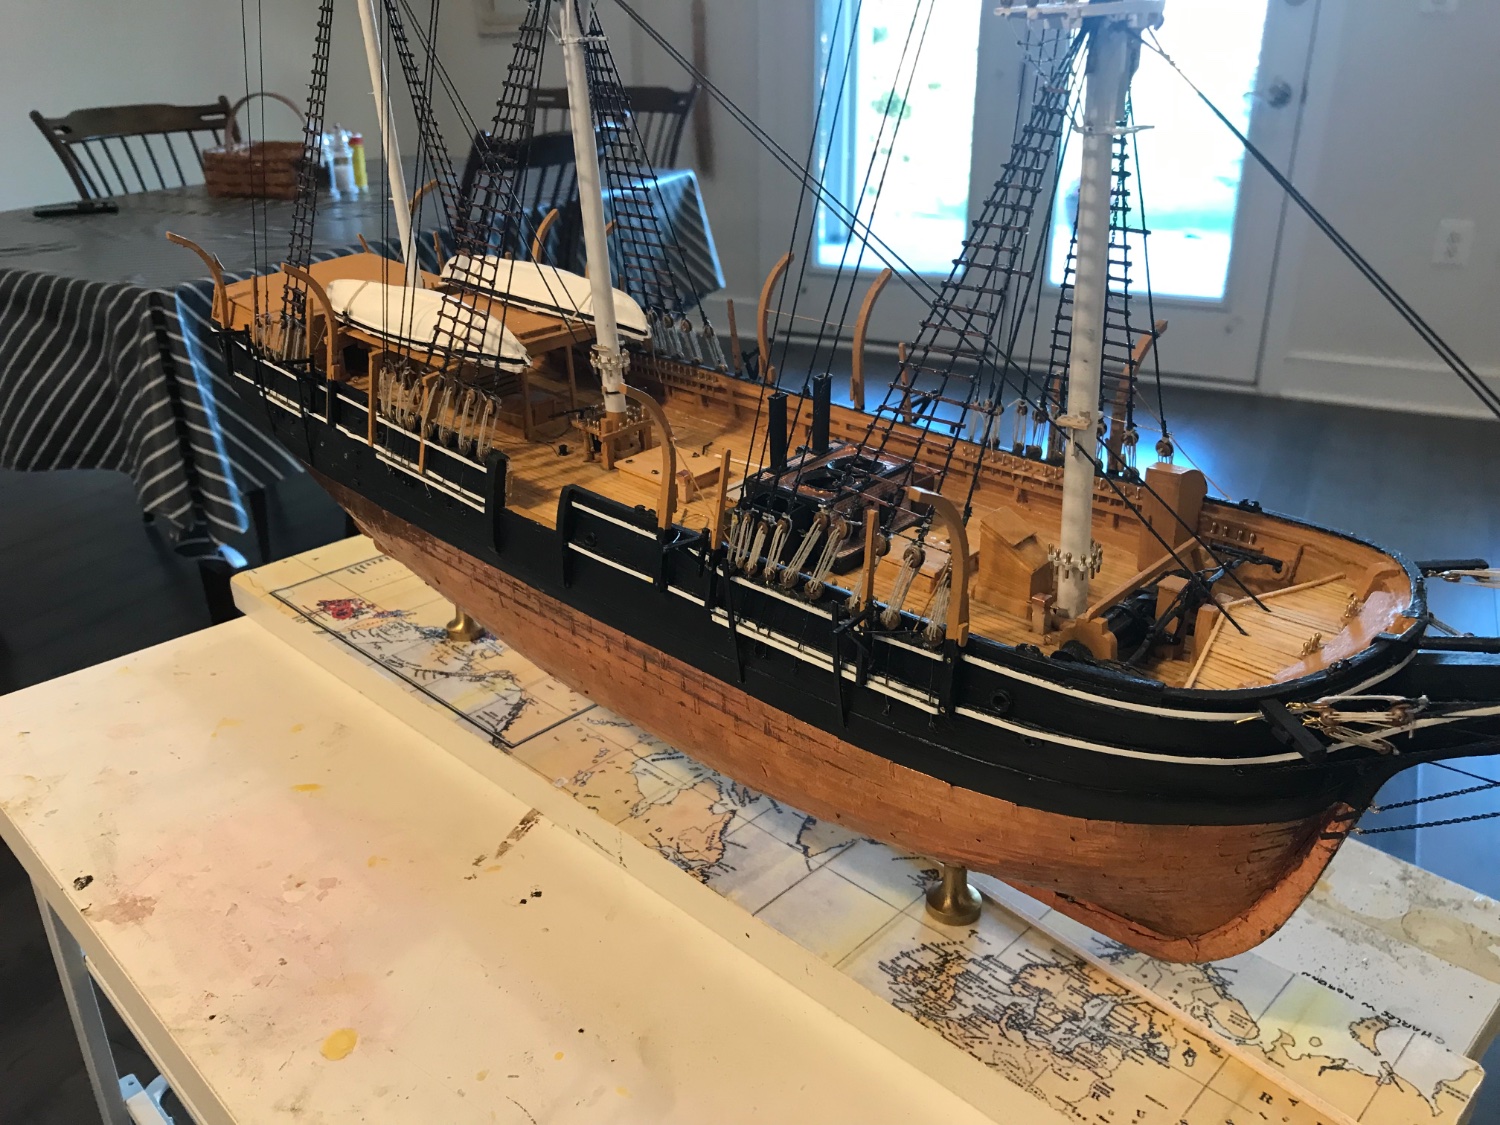
I have all the davits in place. They needed a bit of adjustment in position to avoid other structures. Also at about the 3rd davit stay I discovered that the stays should be wire not thread. There is a note on the plans that the stays are light yellow ocher. Ooops. Removed the thread and now using wire. Next I need to do the bearers, cranes, and skids. I really pays to study all the plan sheets thoroughly!

- toms10, Snug Harbor Johnny, ccoyle and 4 others
-
7
-
-
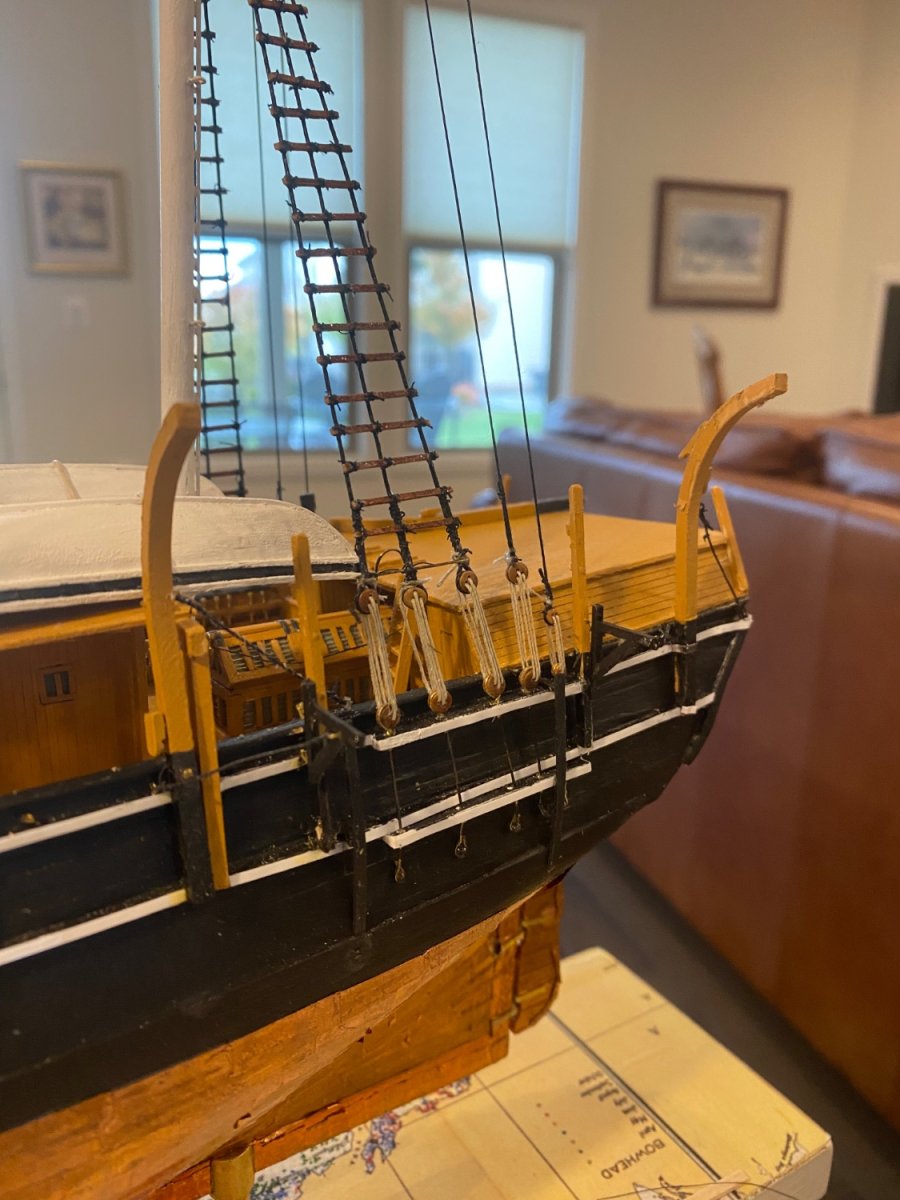
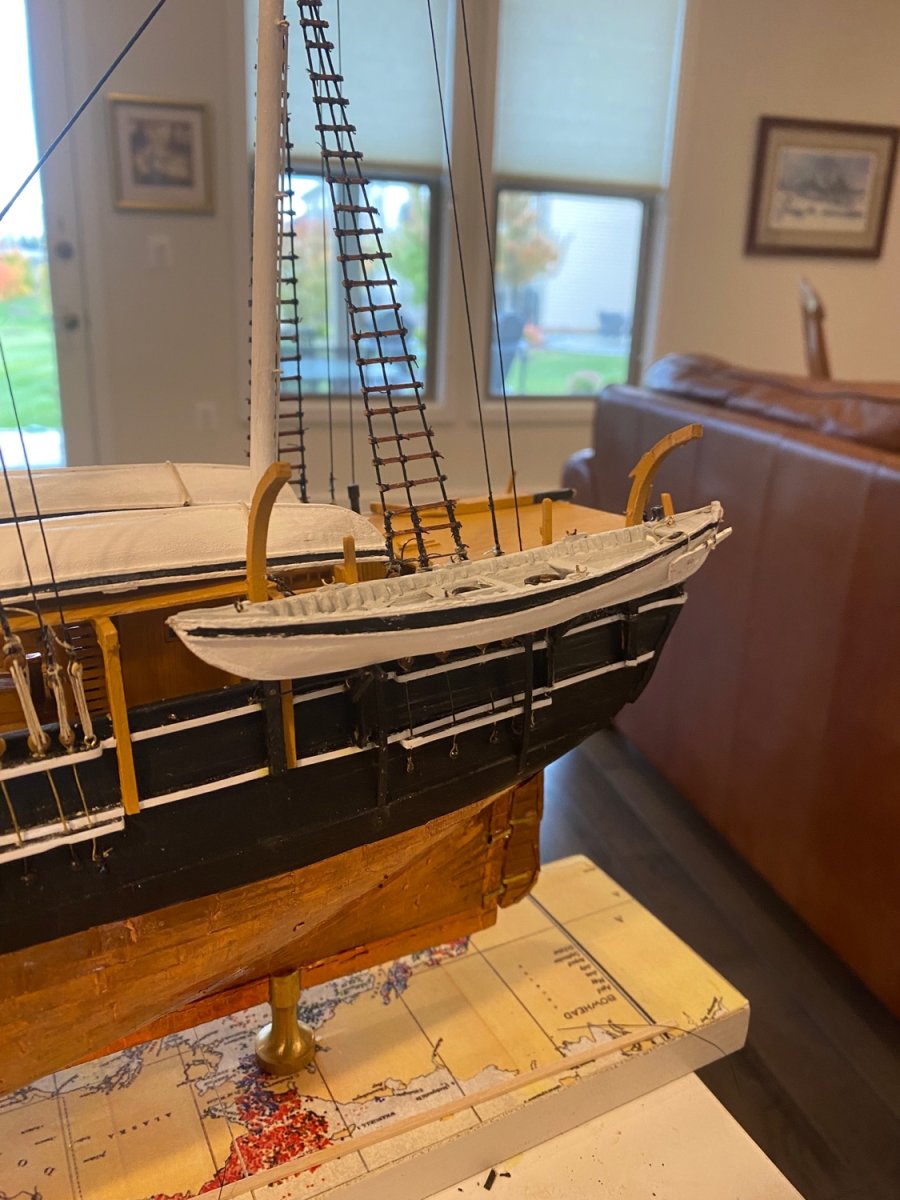
It has taken me a week or more just to get 1 davit, 1 lashing post and one crane in place. There is not much glue surface and they keep coming loose. Plus i can’t focus on the fine details as my cataracts are worsening. I hope to finish up one complete rig at the port stern today and post a picture. I am thinking that it would help to use a fine brad to help support the posts.
-
-
-
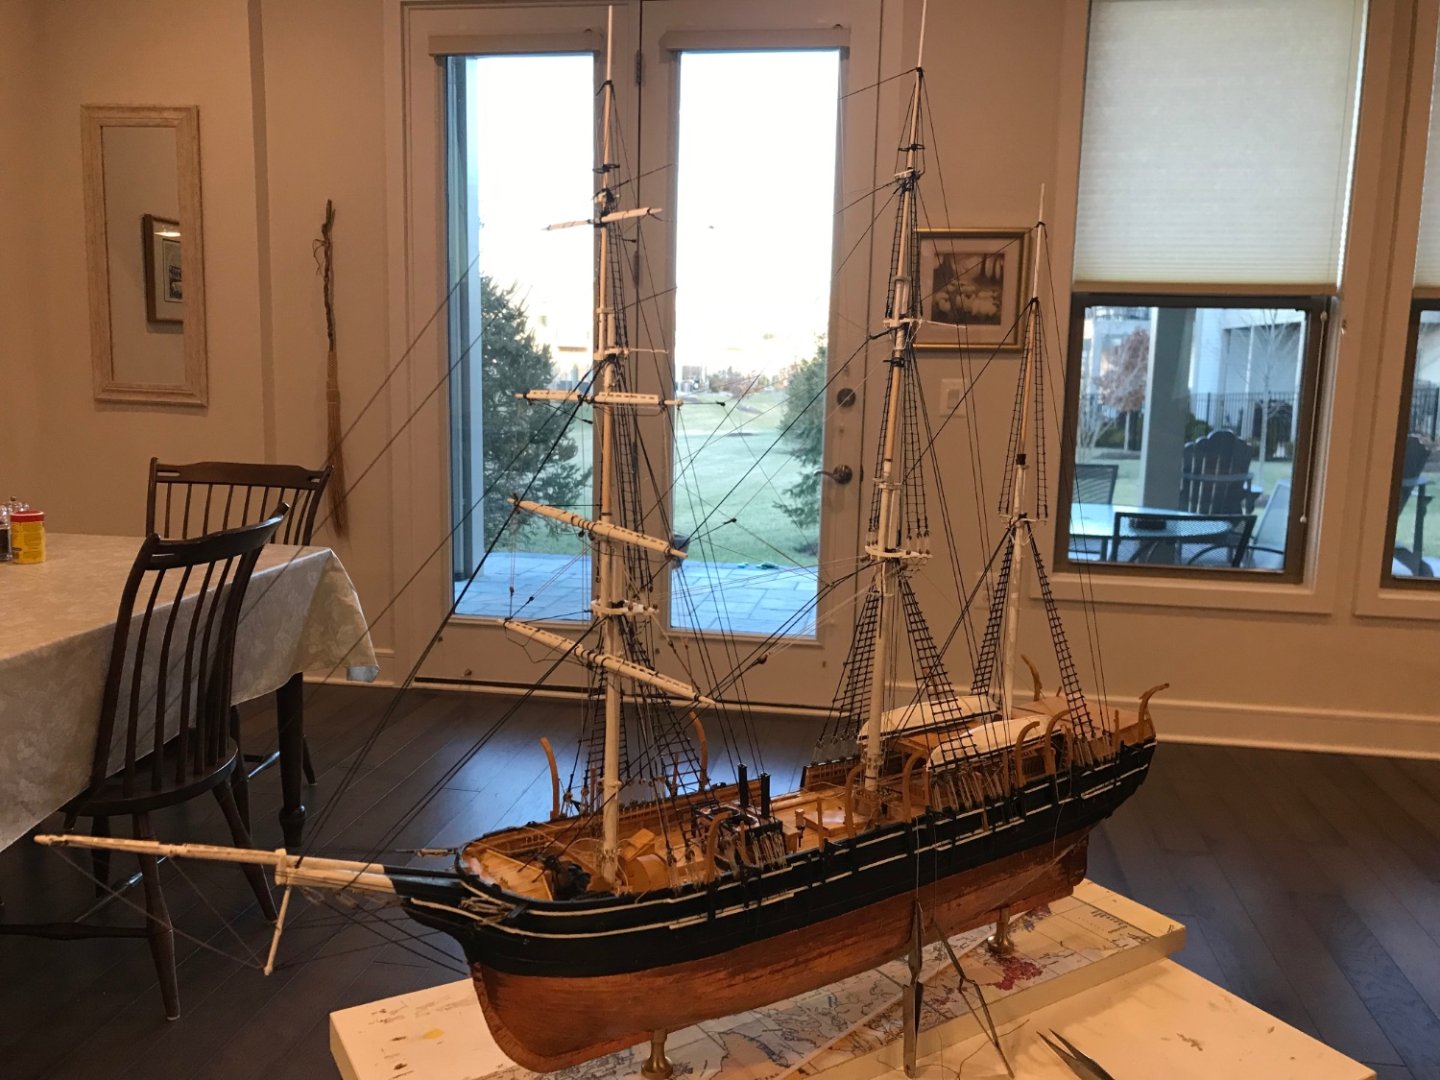
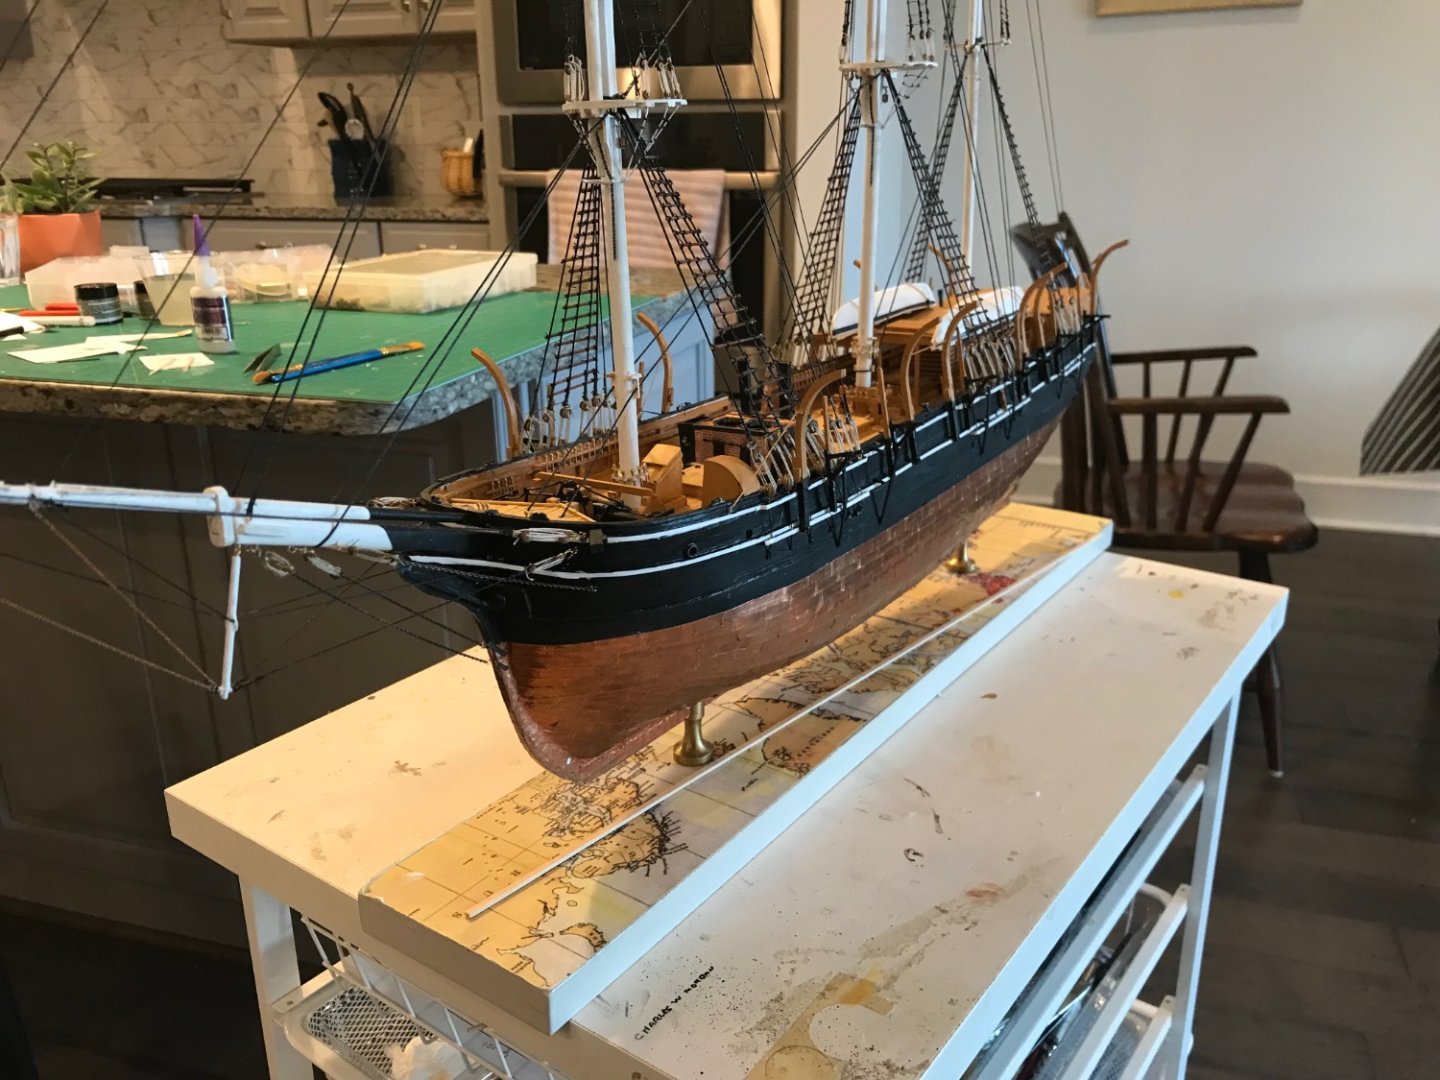
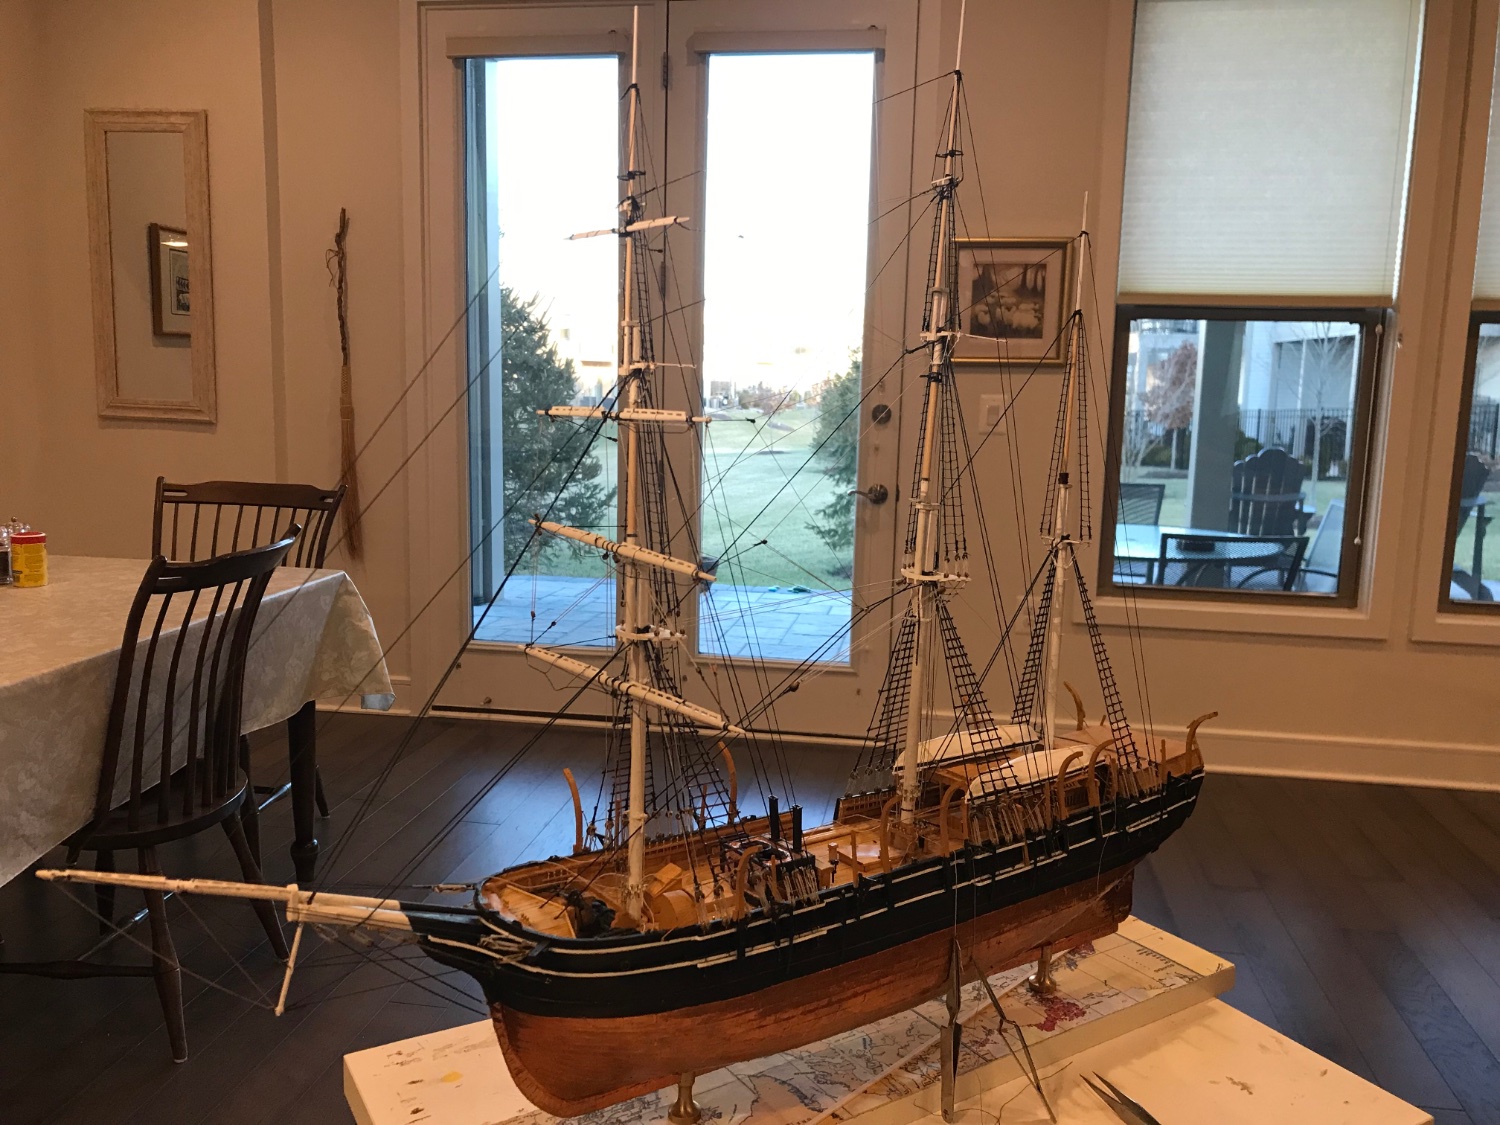
All the standing rigging is in place, I think! I almost forgot the bowsprit shrouds, but they are in now. Next the boat davits and associated slides and bearers. I have been postponing this step as long as possible as i am sure to break them off as I start rigging the yards🤬
- Srodbro, Dsmith20639, John Ruy and 5 others
-
8


1951 Chevy by Papa - FINISHED - AMT
in Non-ship/categorised builds
Posted
Taking a break from rigging the C.W. Morgan with this car kit I’ve had in my stash for a while. The dragster engine is almost complete.