Bill97
-
Posts
2,716 -
Joined
-
Last visited
Content Type
Profiles
Forums
Gallery
Events
Everything posted by Bill97
-
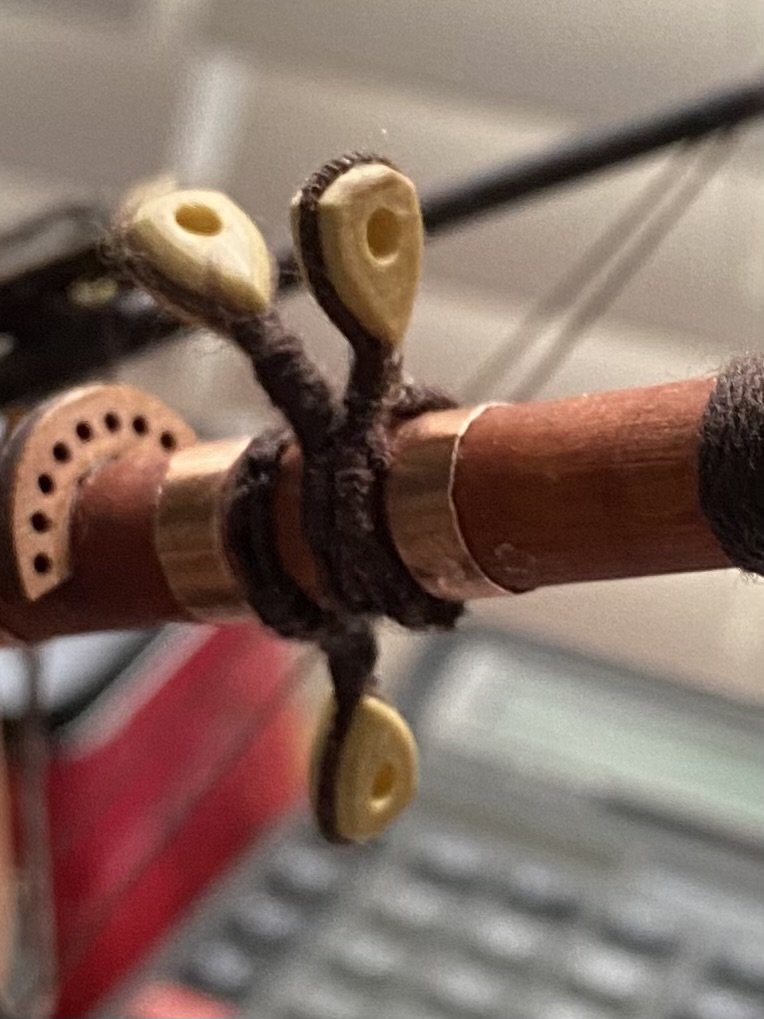
Thanks shipaholic. These are great. I was more talking about the beautiful serving and worming of the block in the photo. But all these photos are helping me. Also helpful in determining the order the 3 hearts and 2 deadeyes go in. I tried a few different things and here is what I have so far. May go back and shape the actual blocks as you did. Thanks again.
-
Shipaholic I am so impressed with the rigging of the heart blocks in your photo. I am looking everywhere I can think of for some sort of tutorial on how to do it. You have any idea where I can find something. Or, if not too much trouble, possibly tell me how you do it.
-
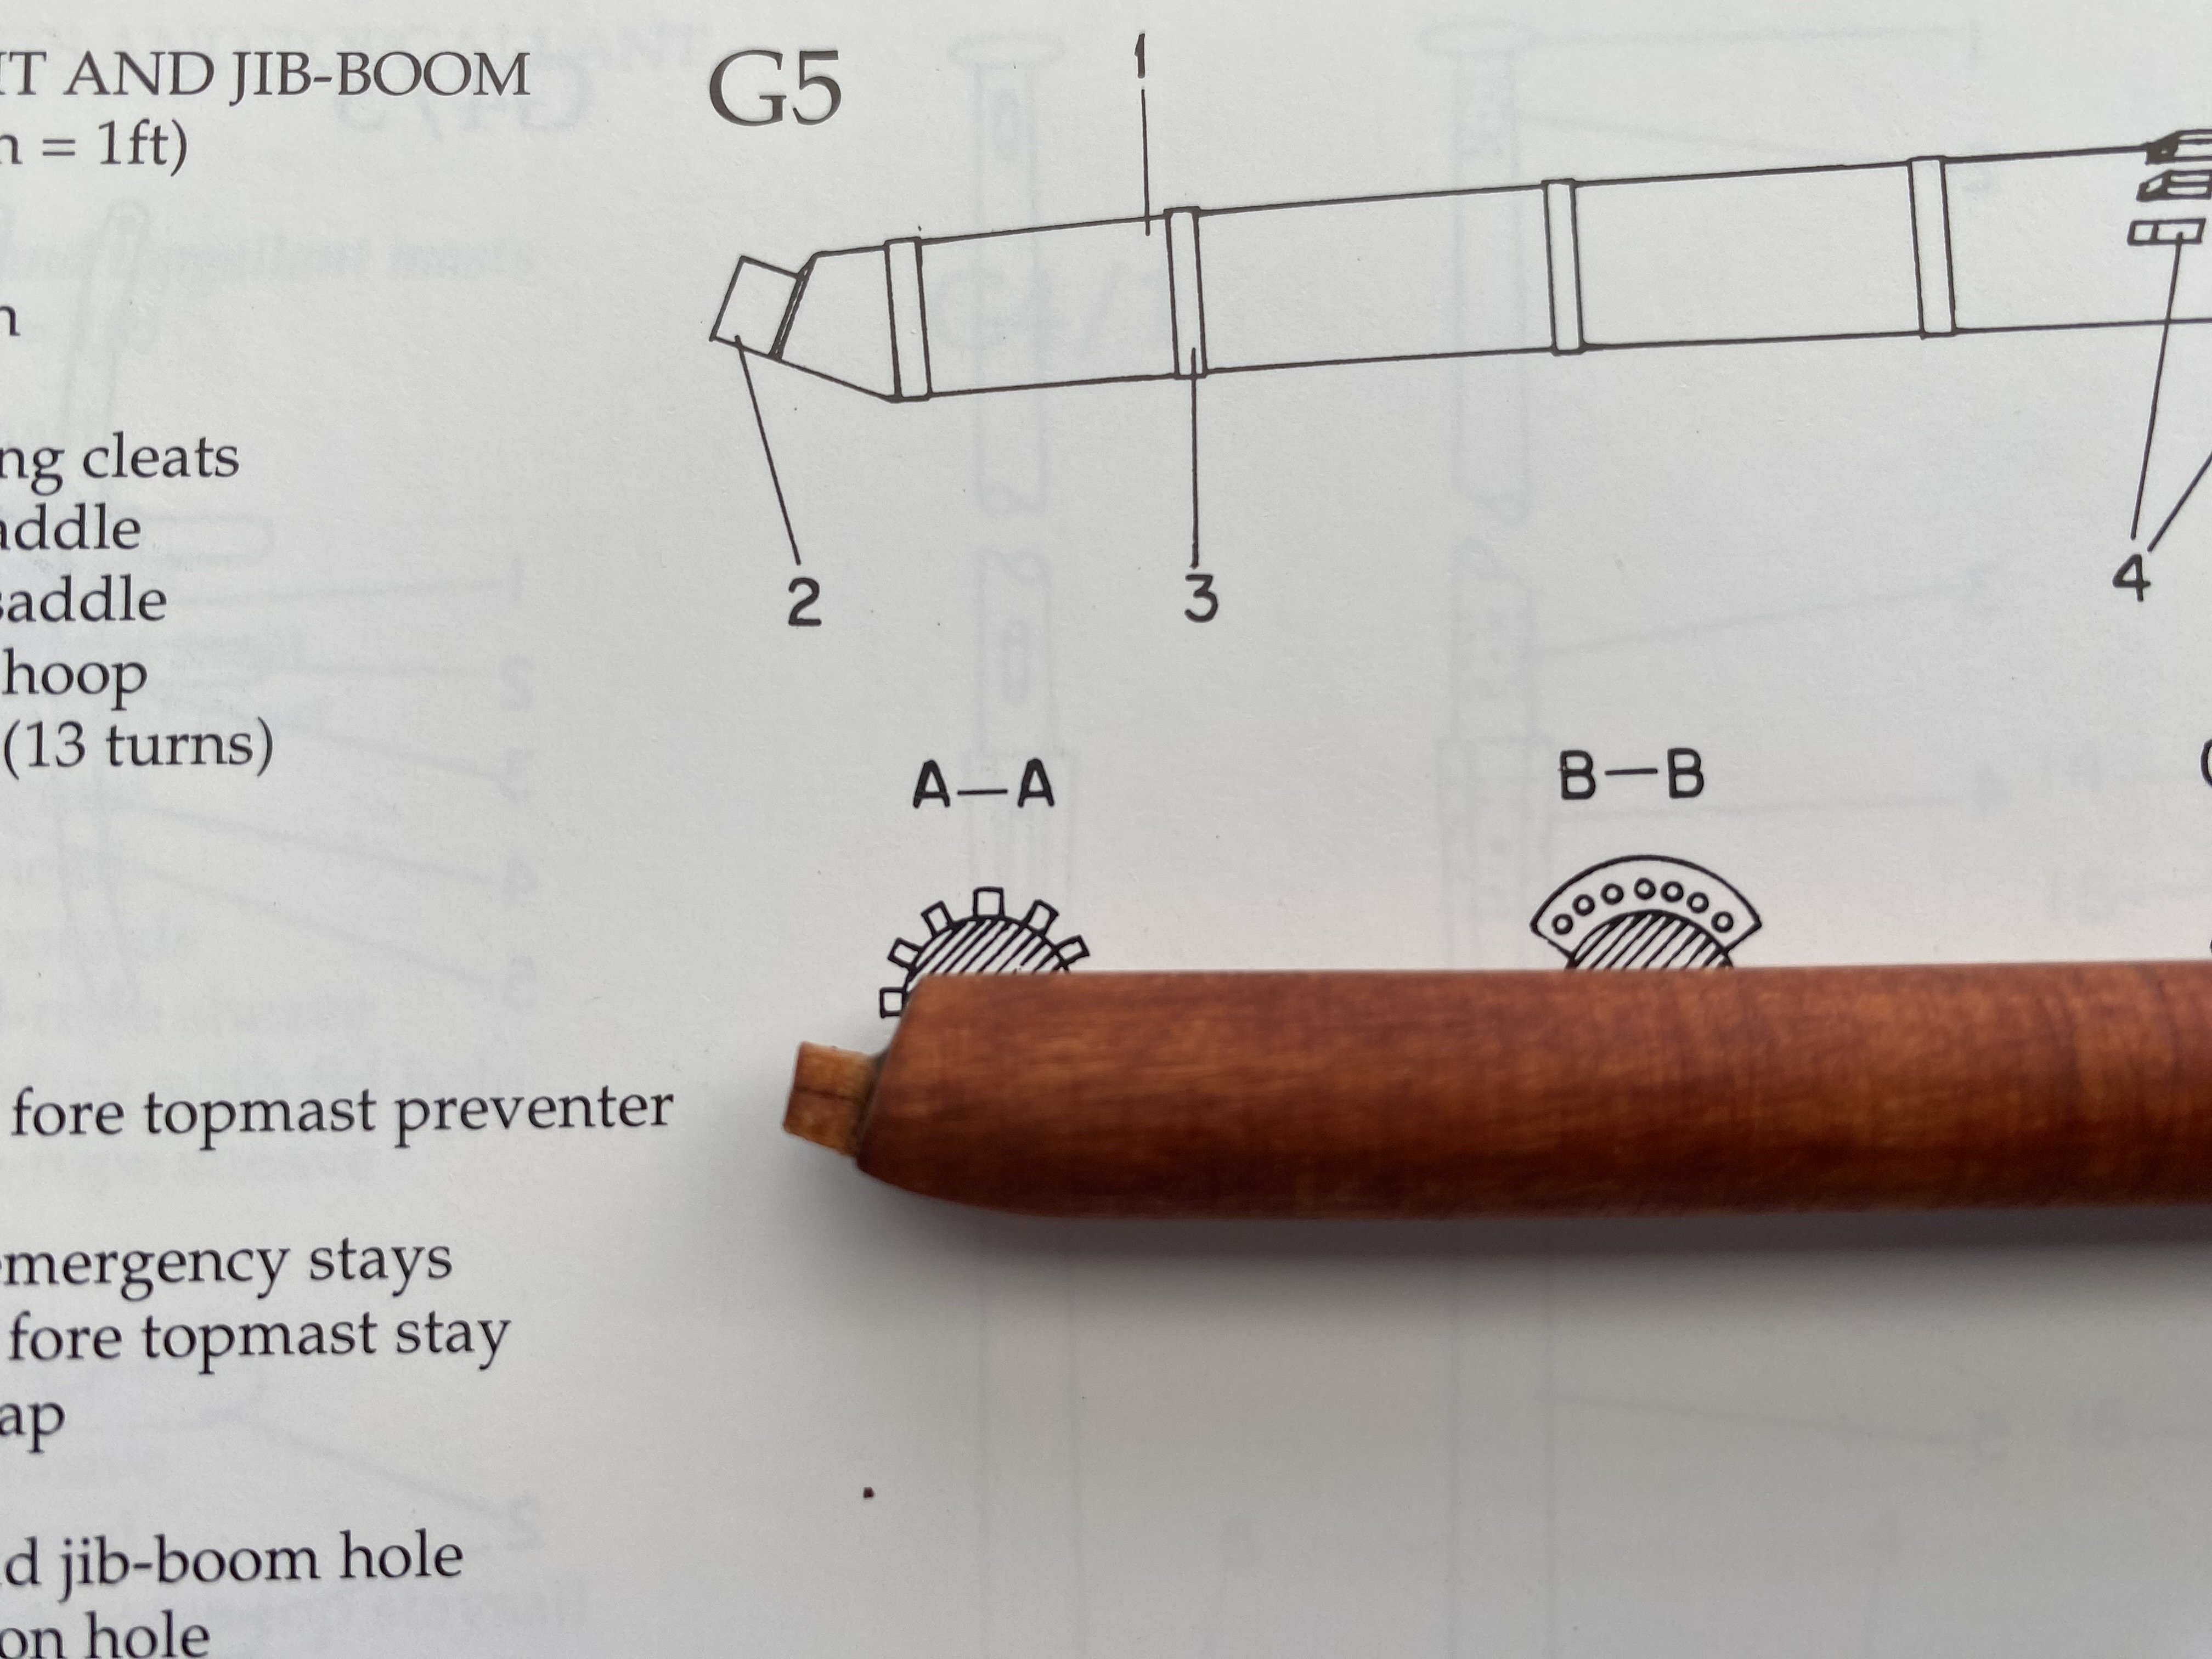
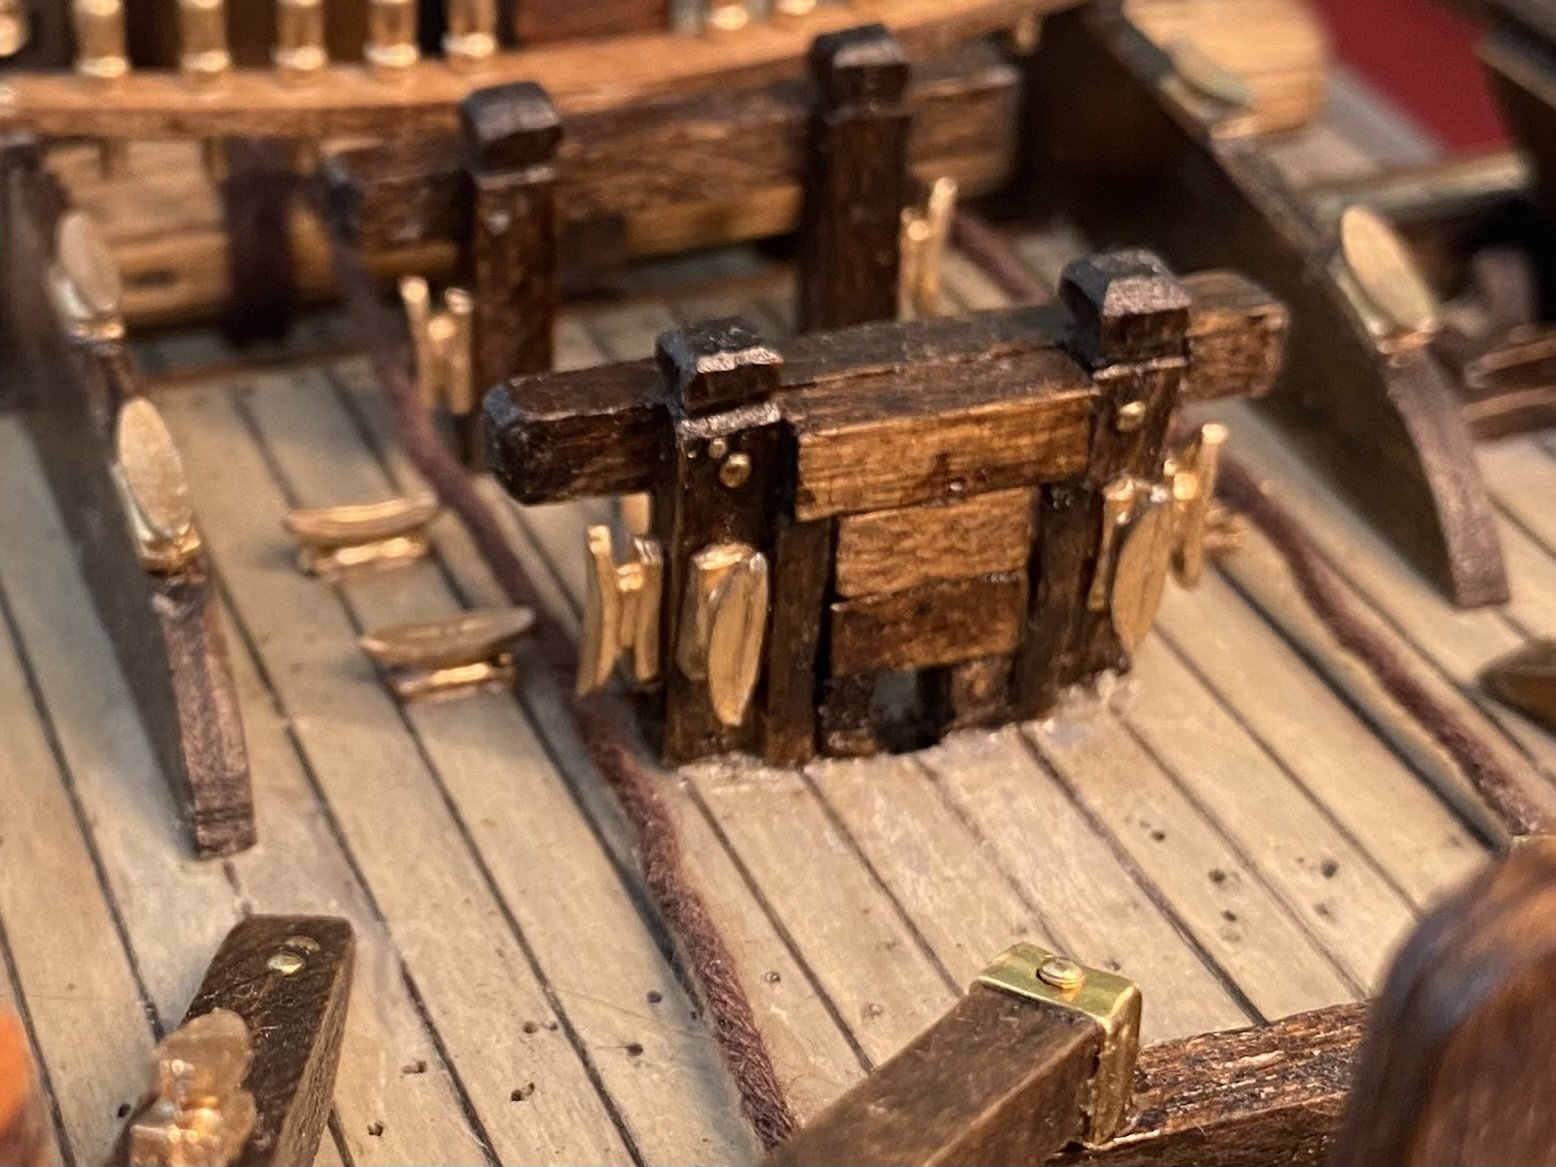
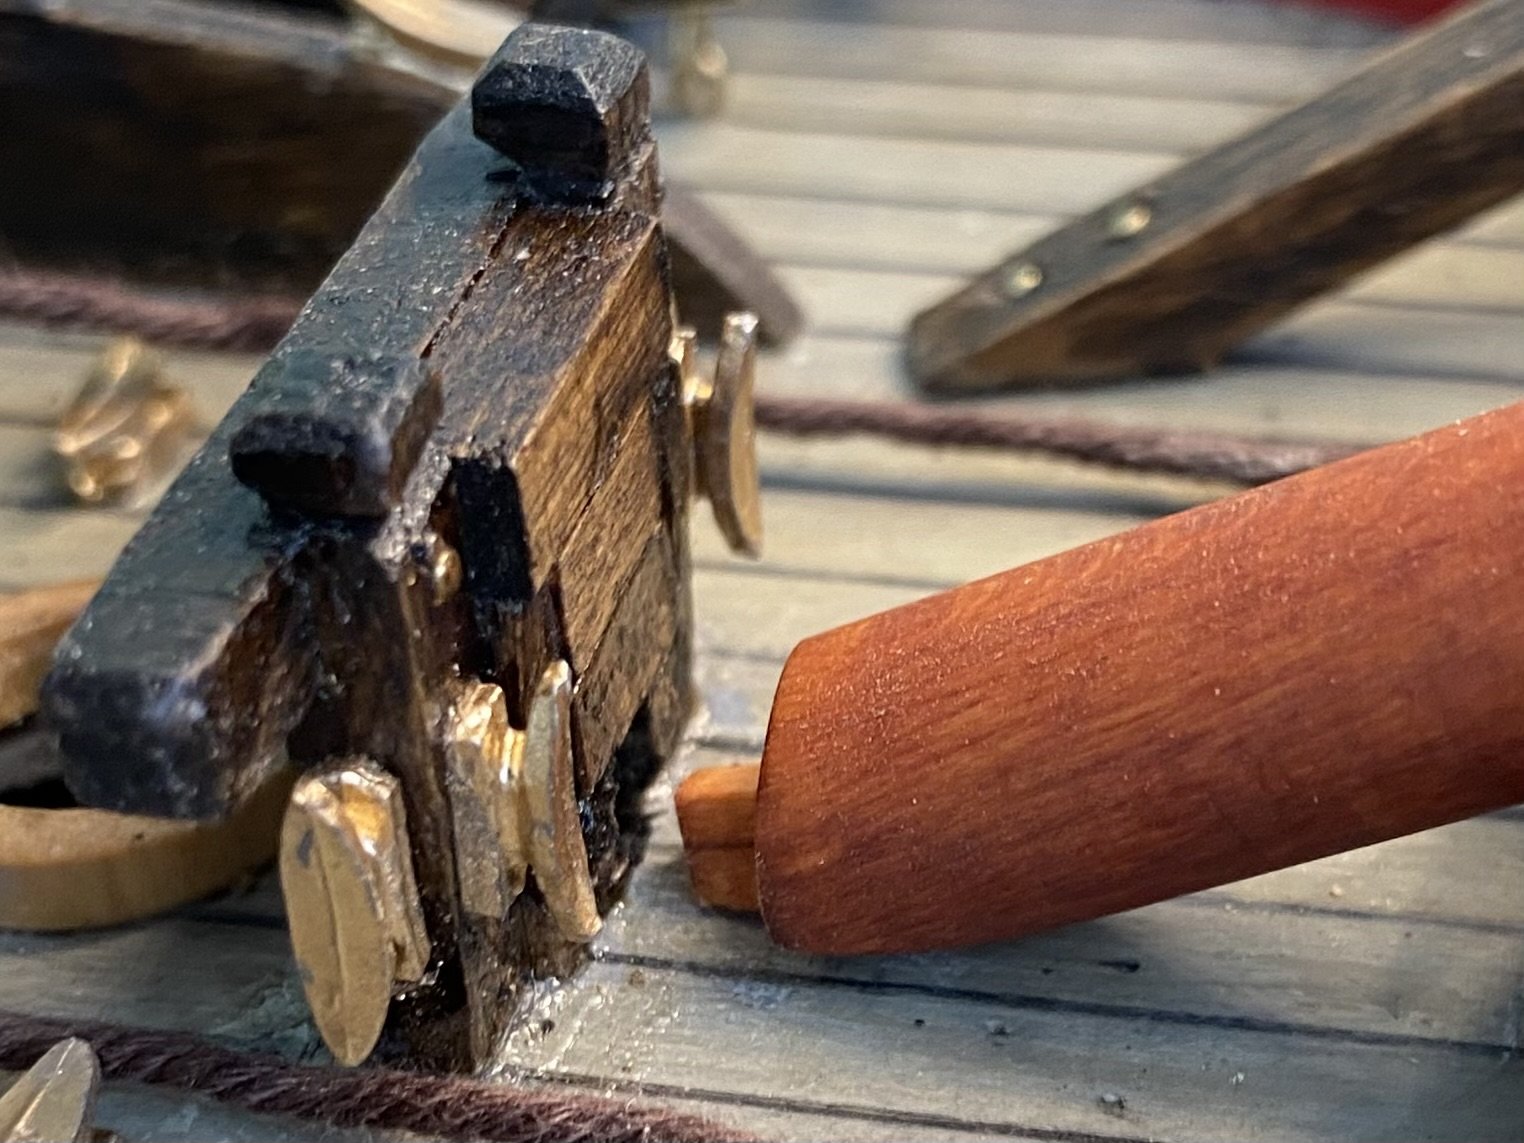
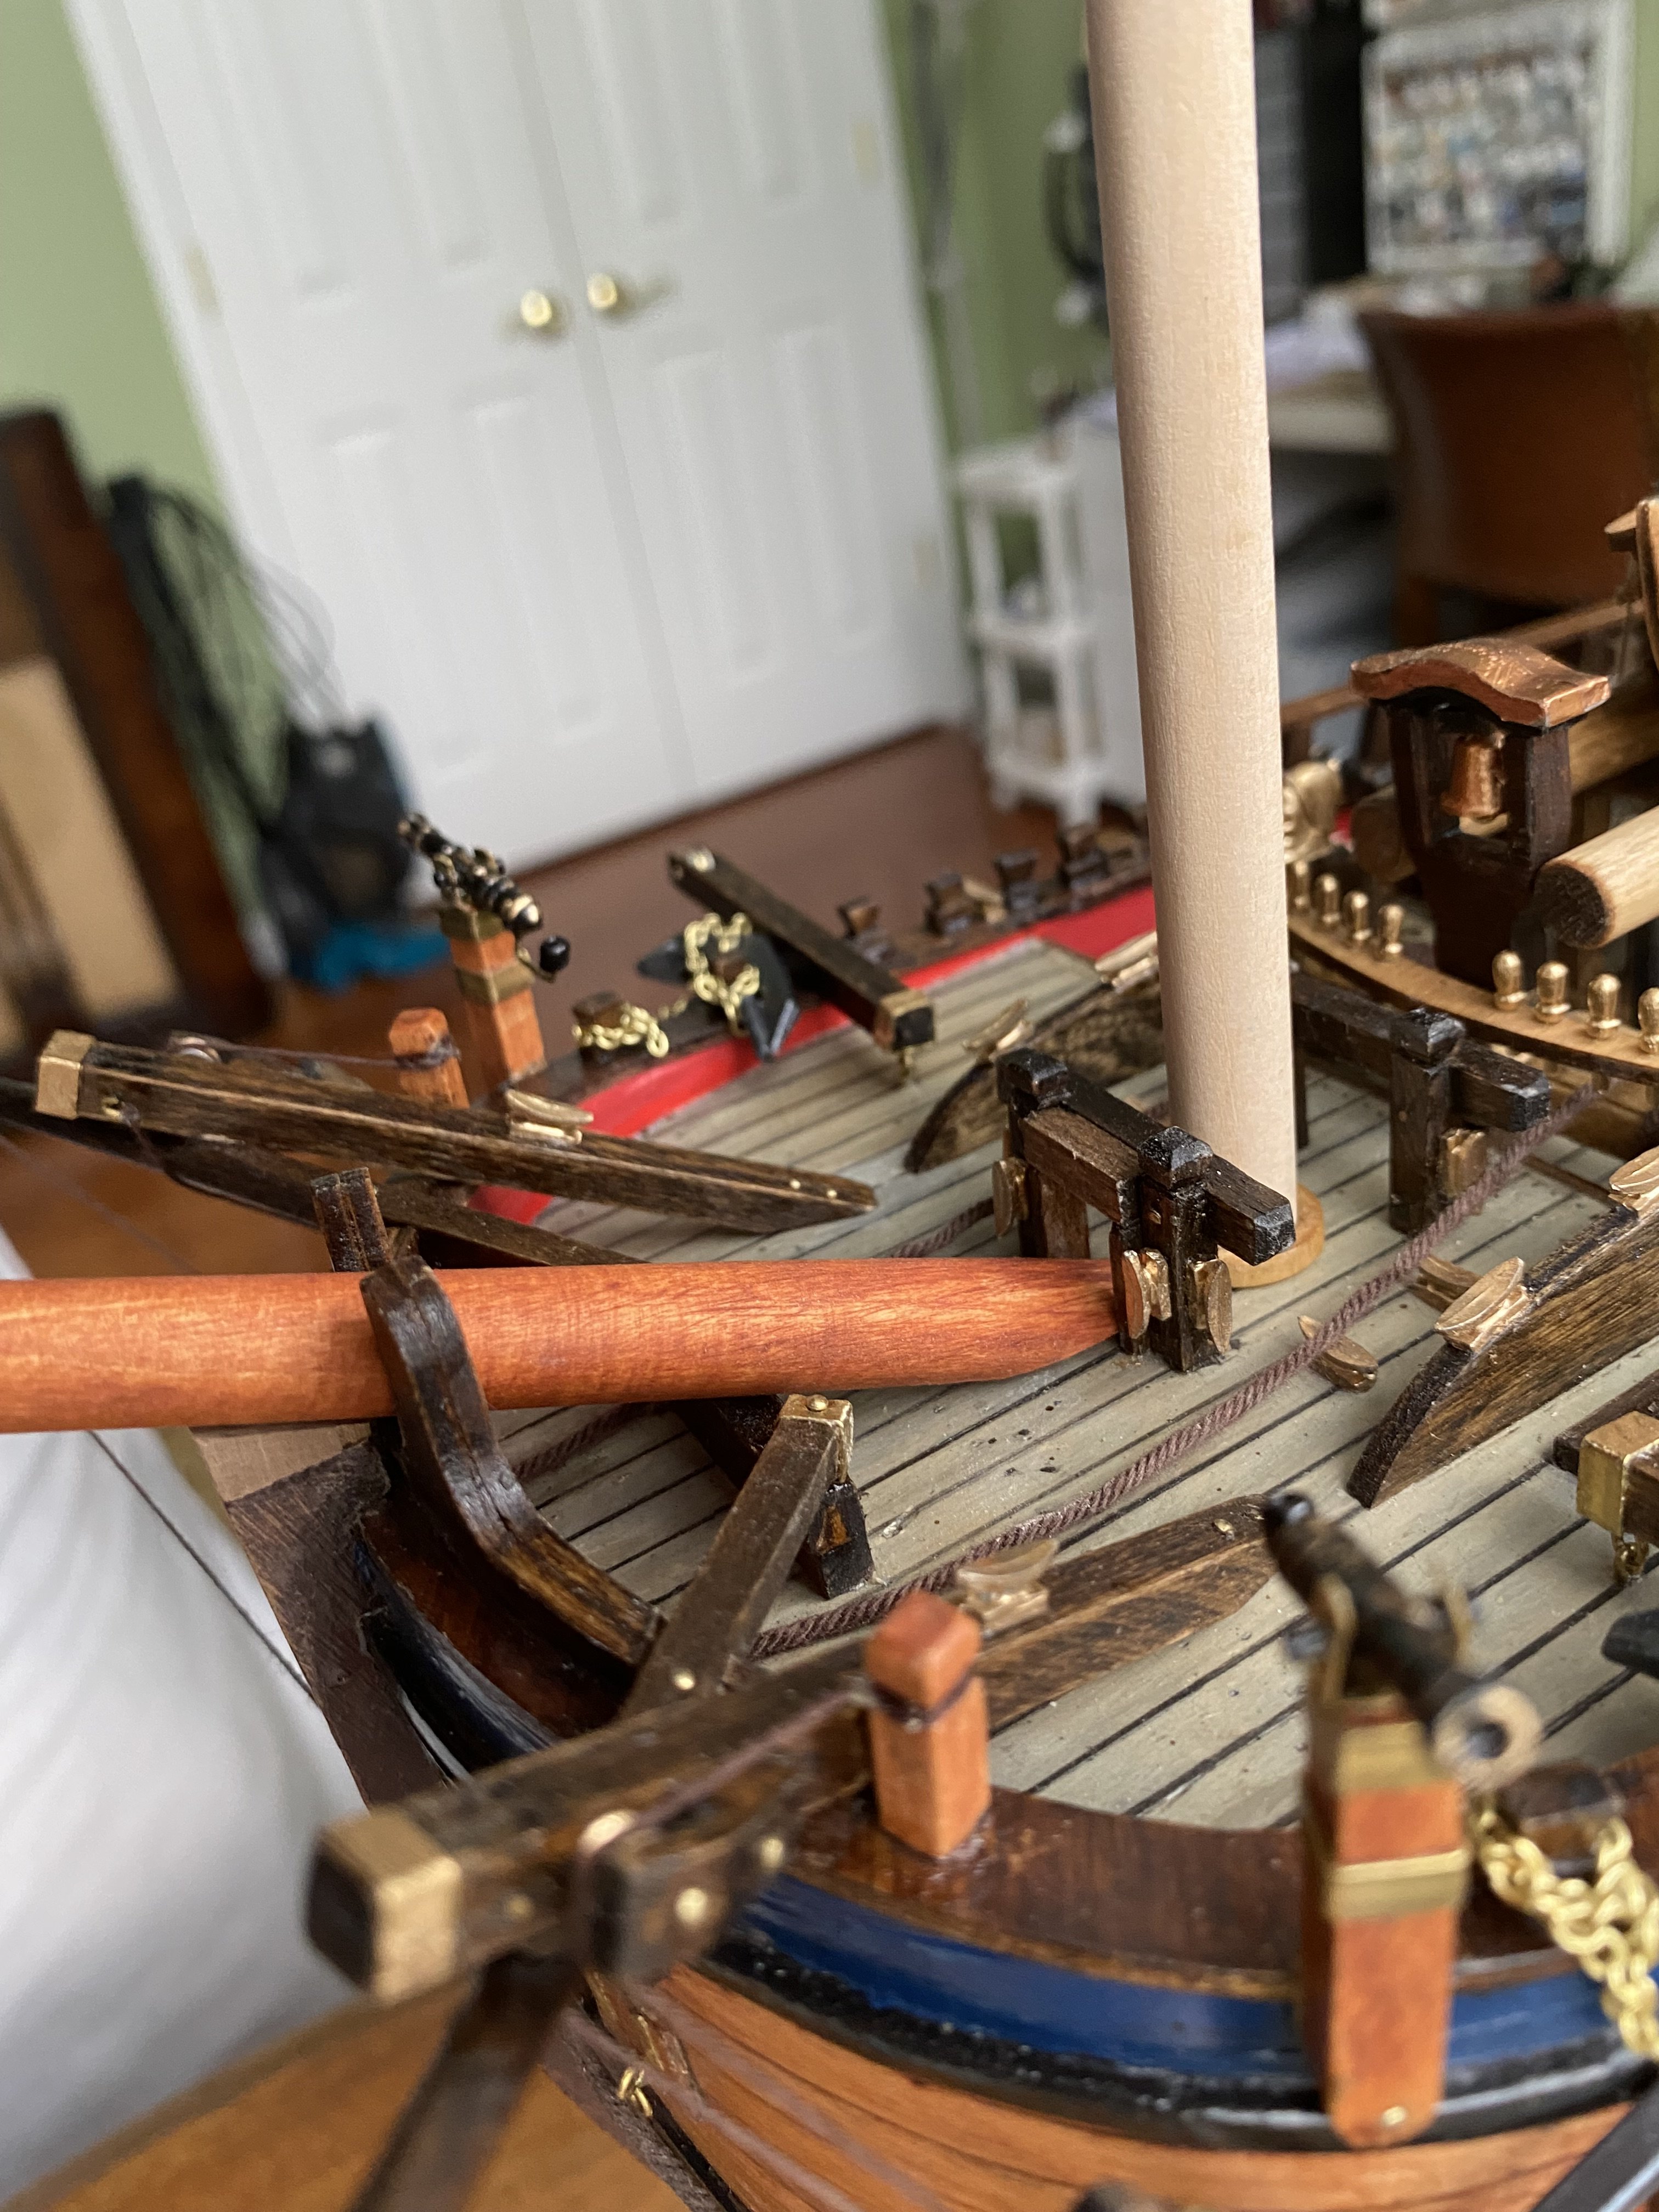
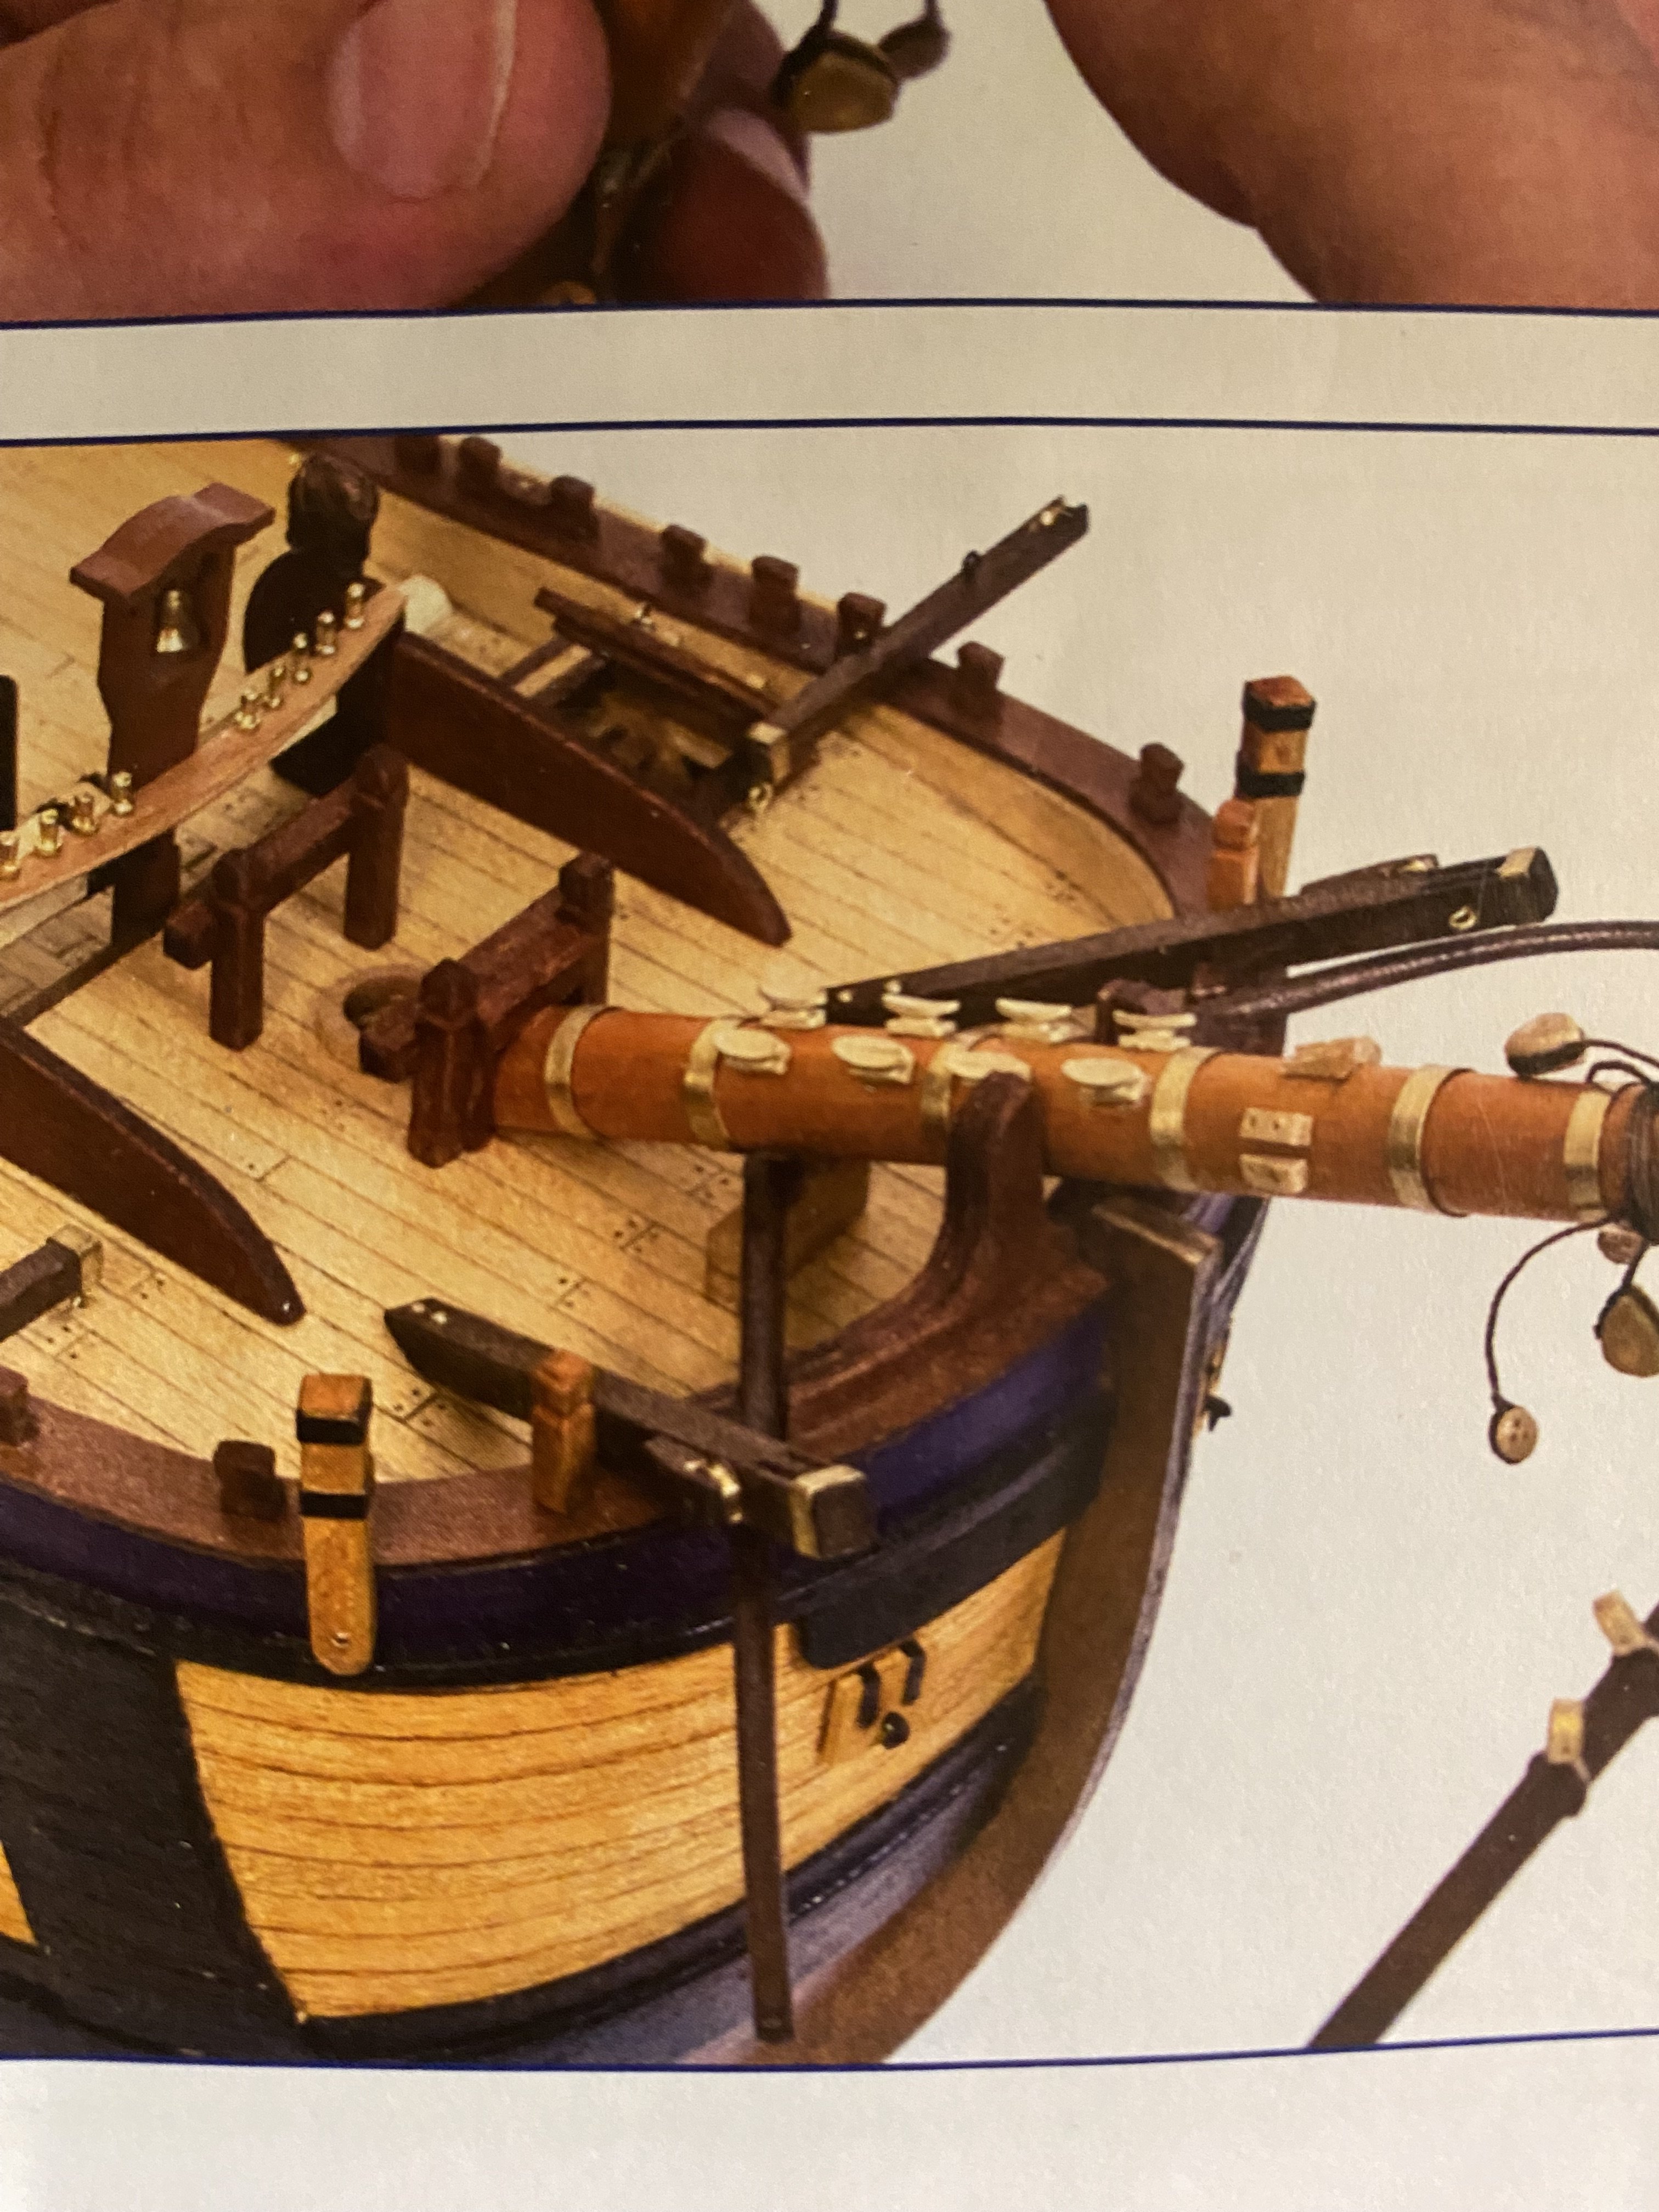
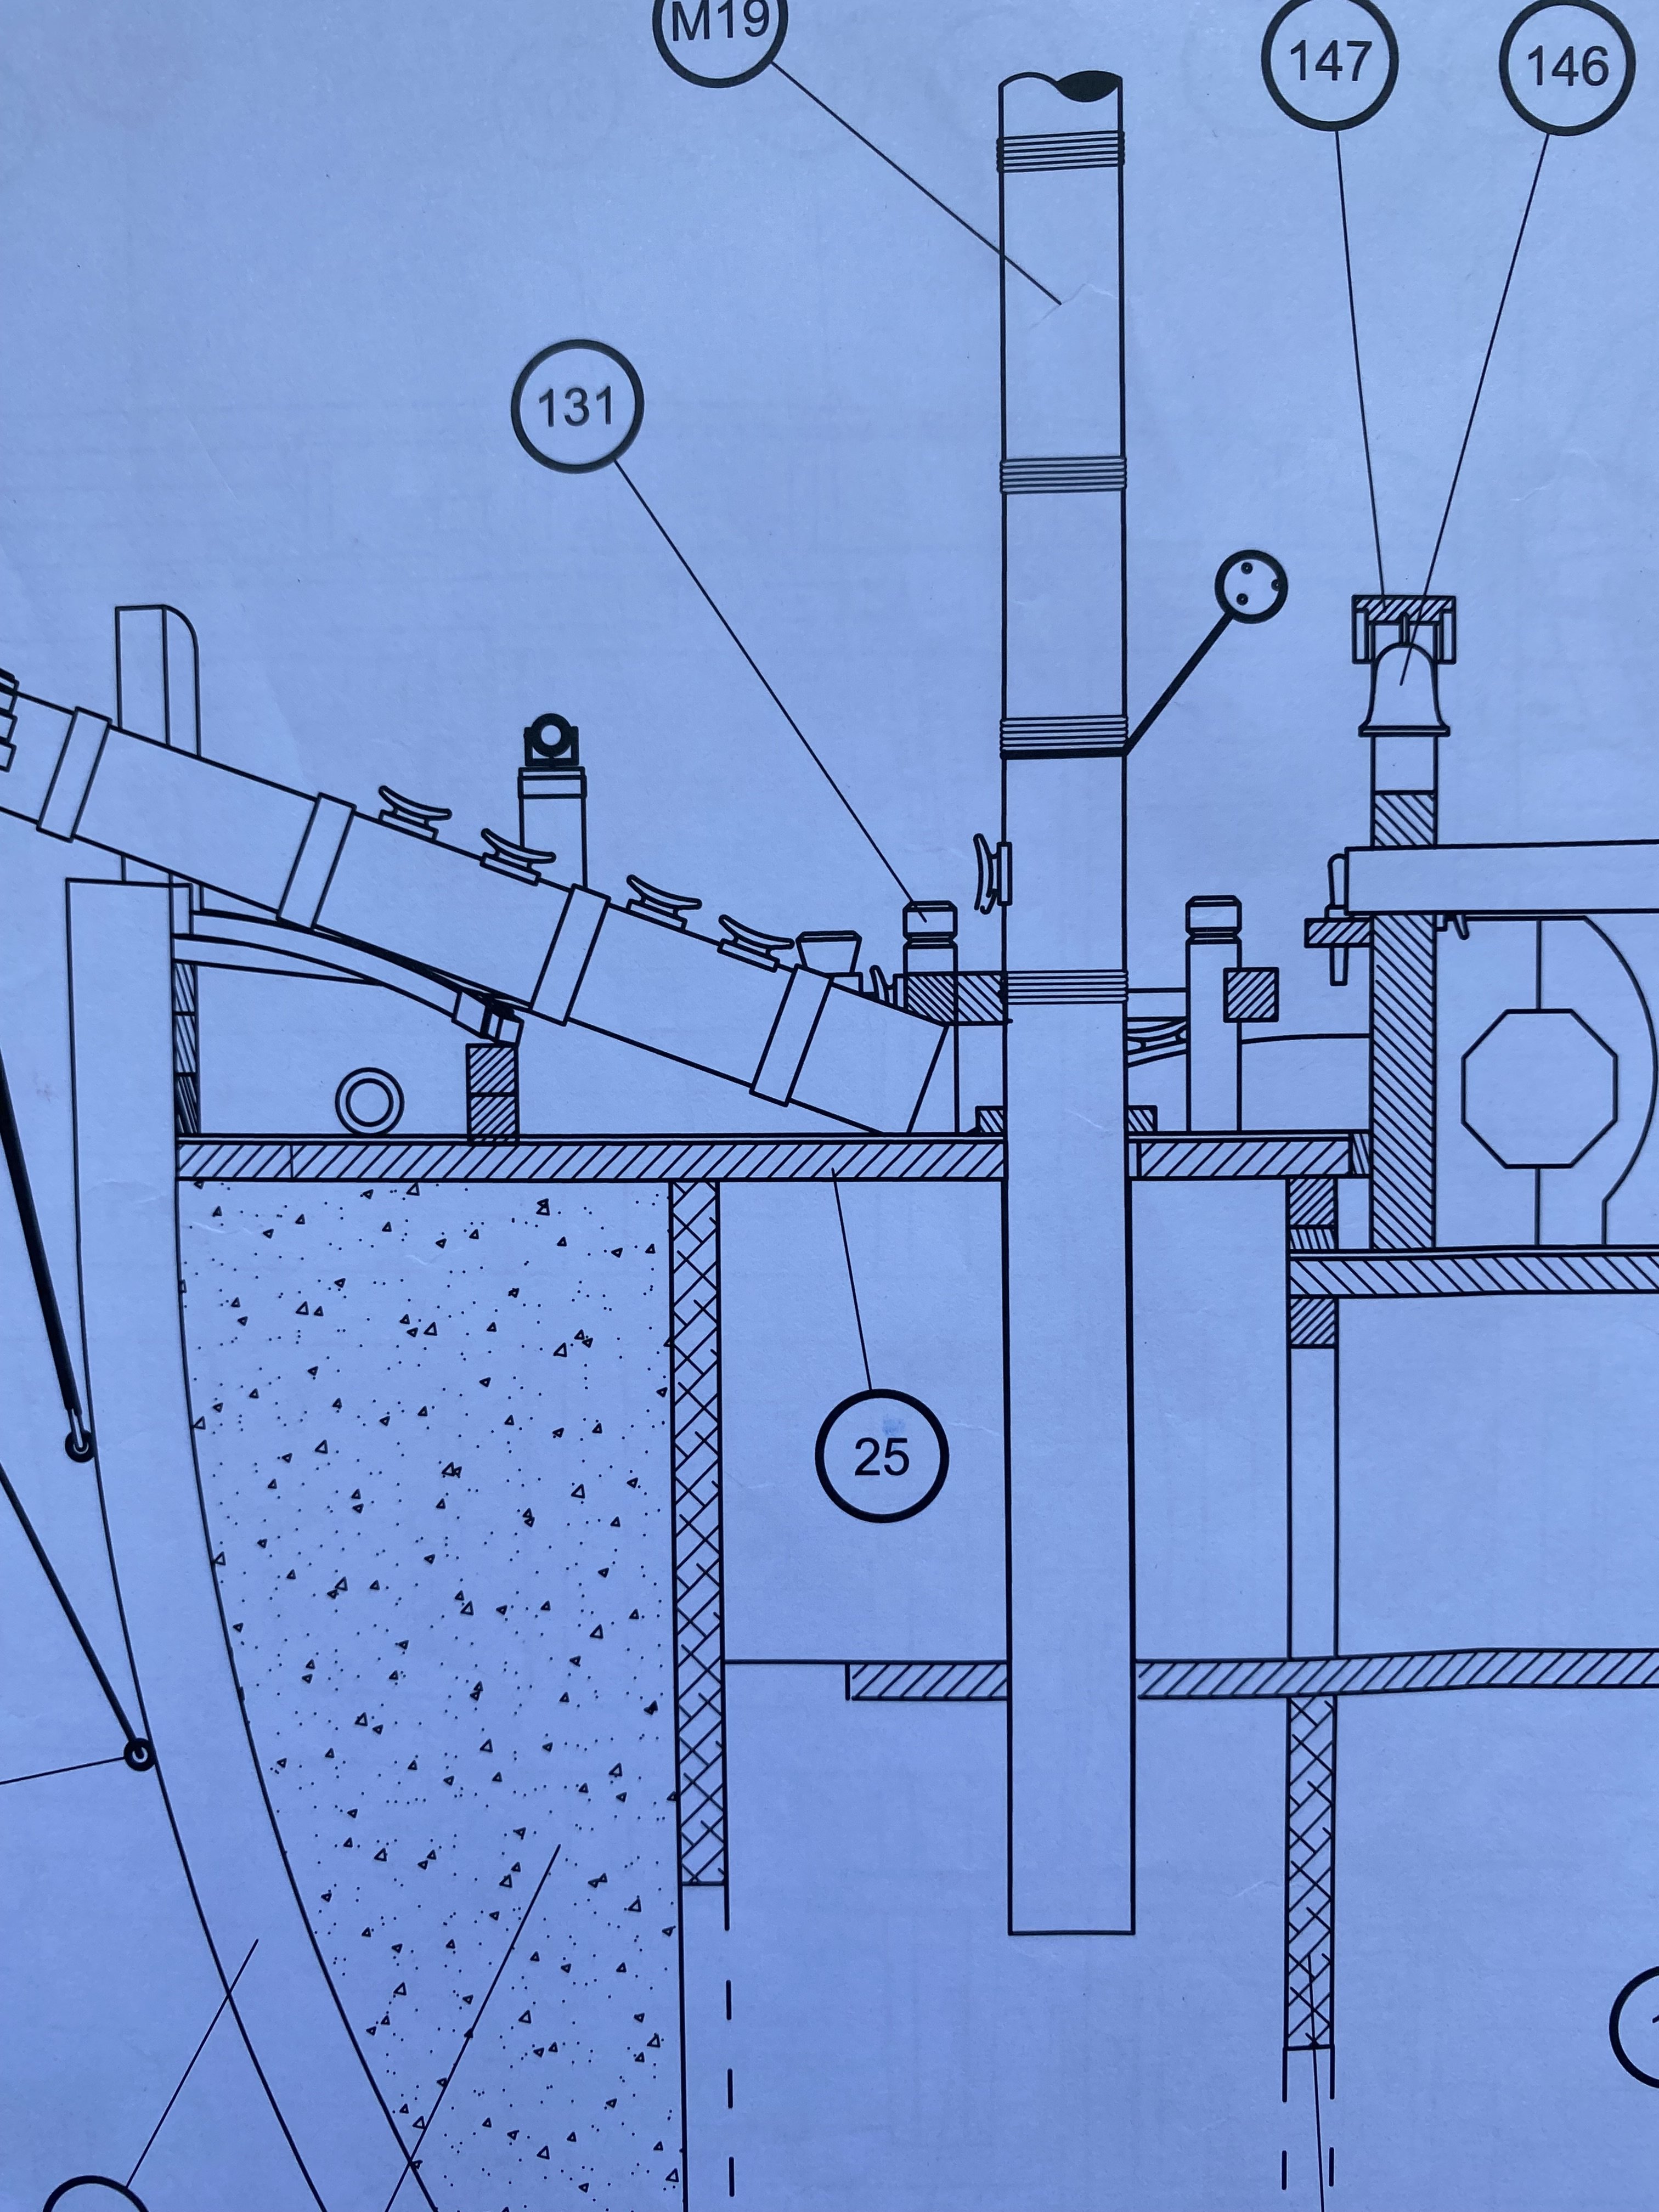
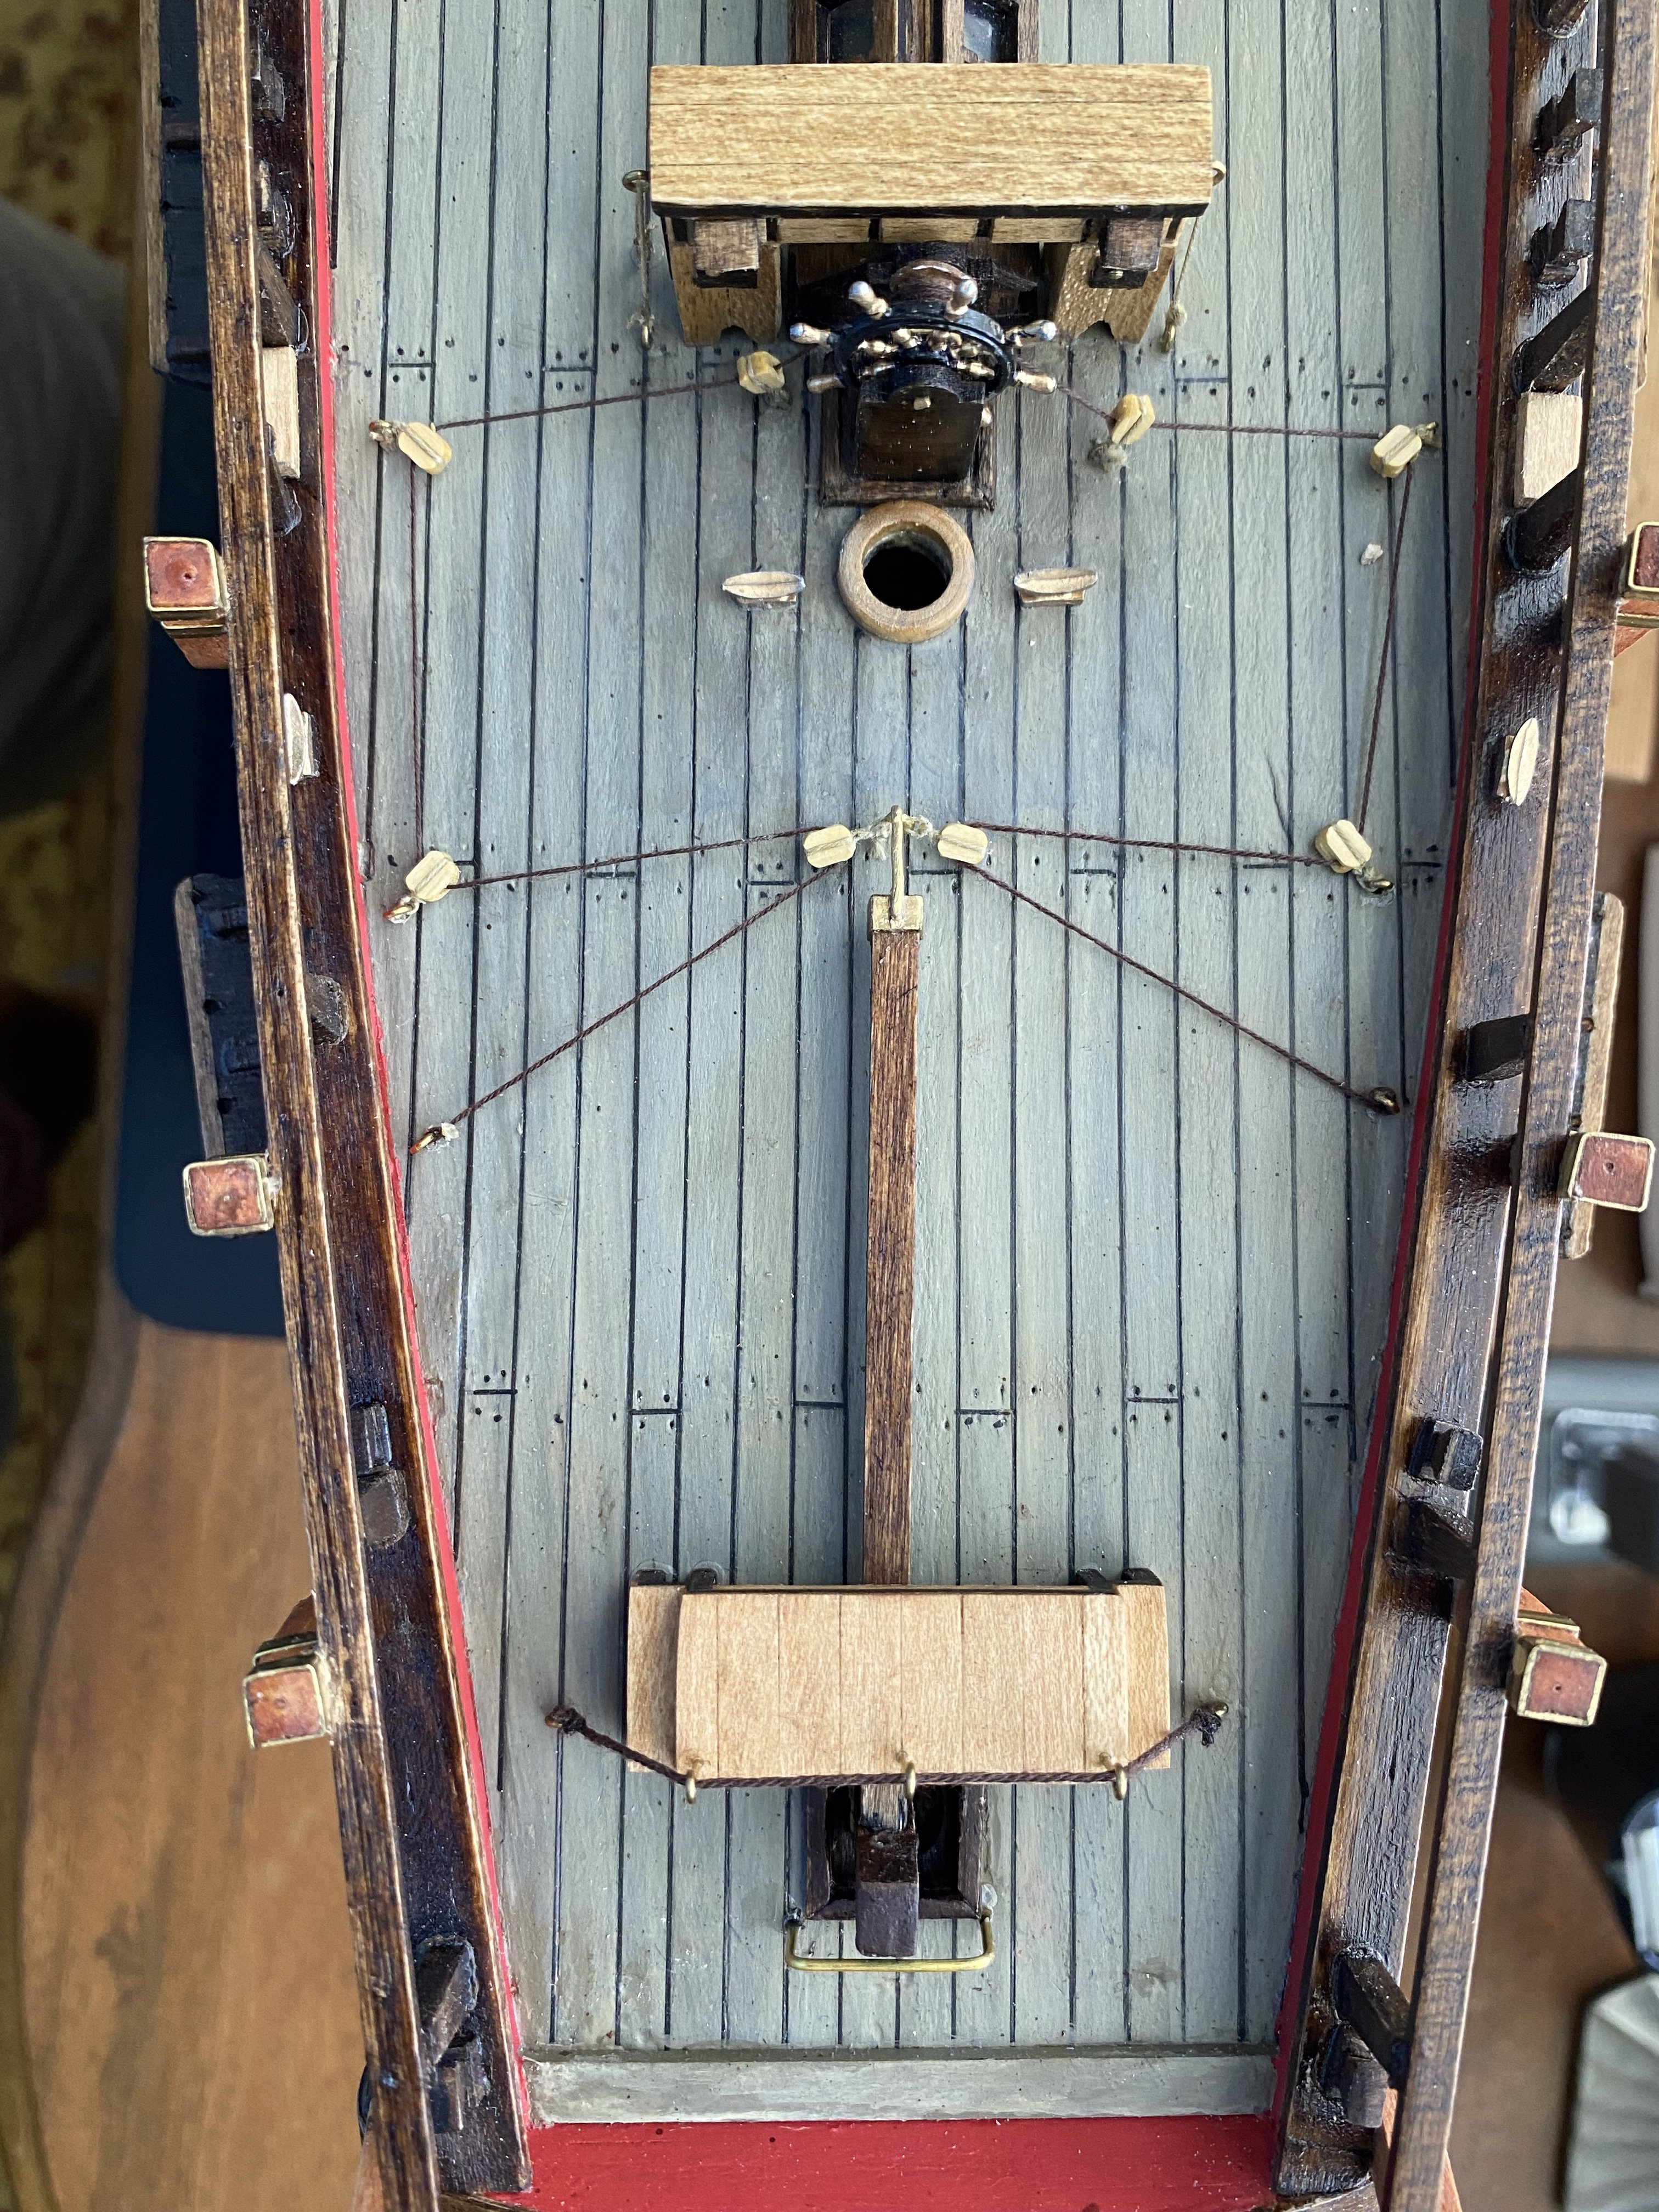
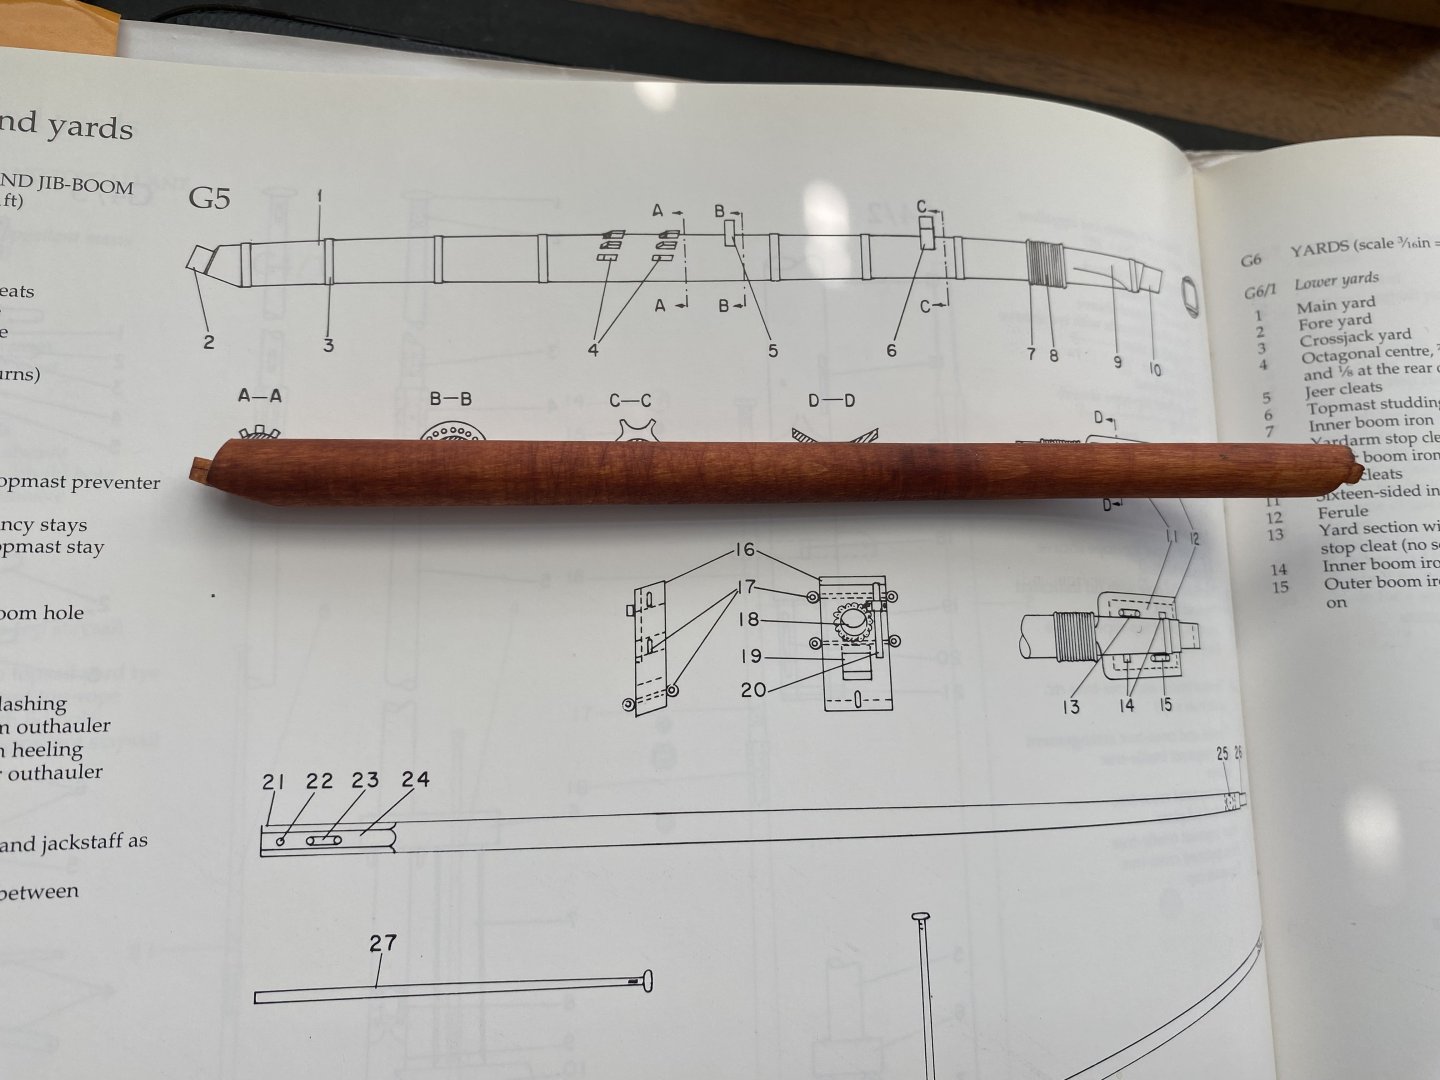
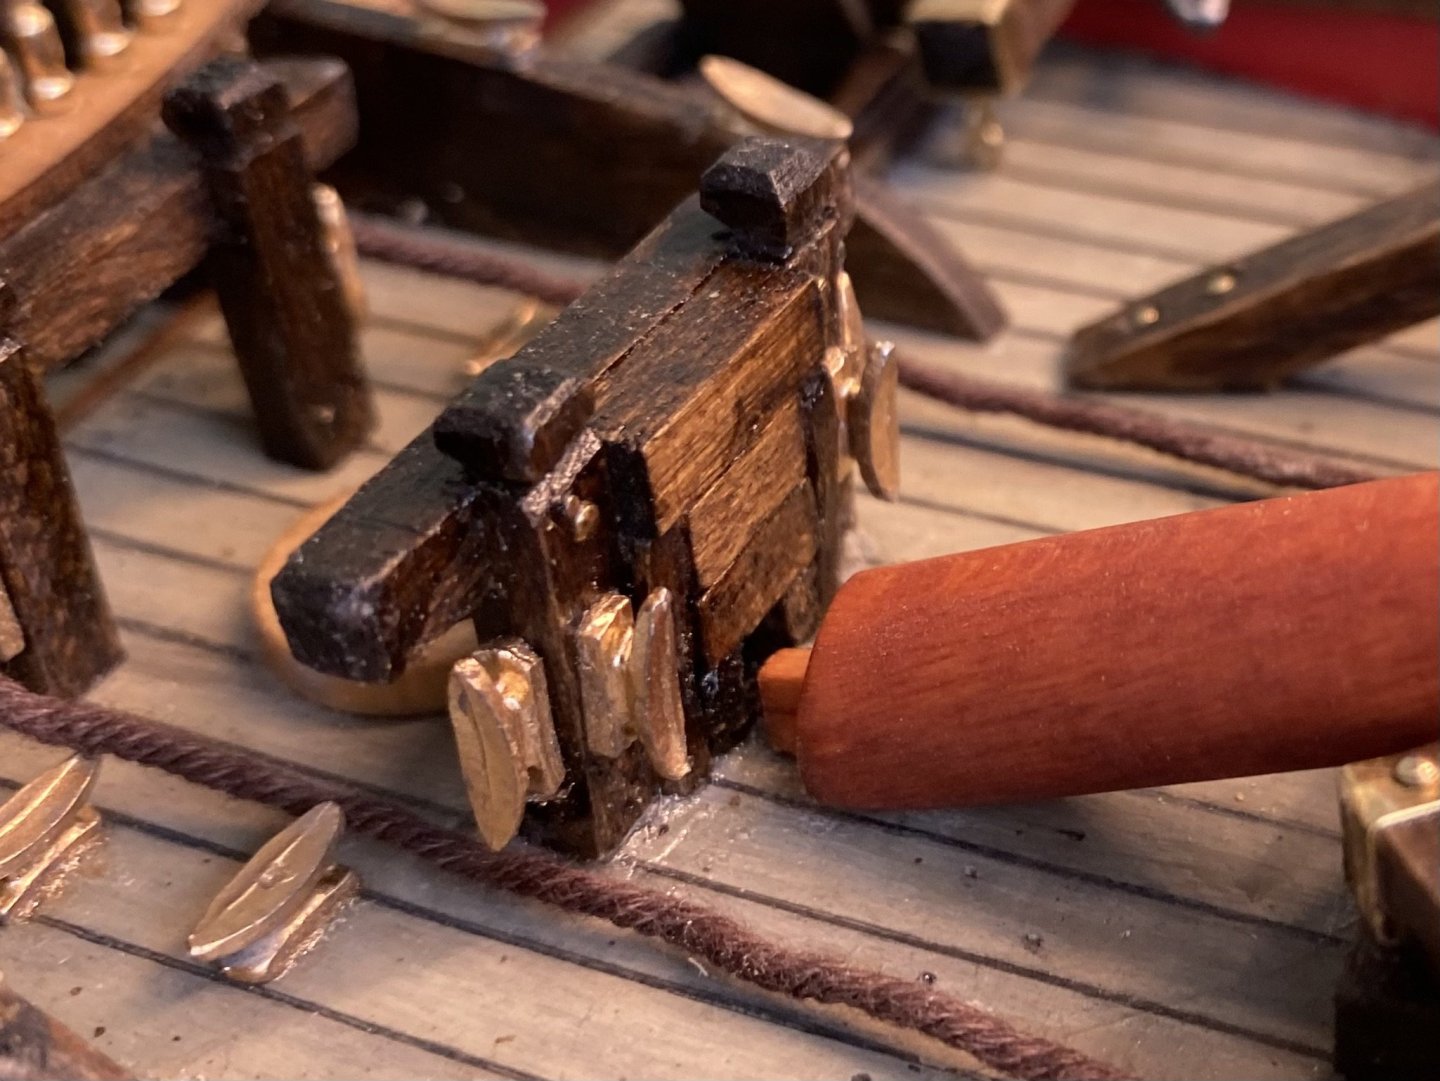
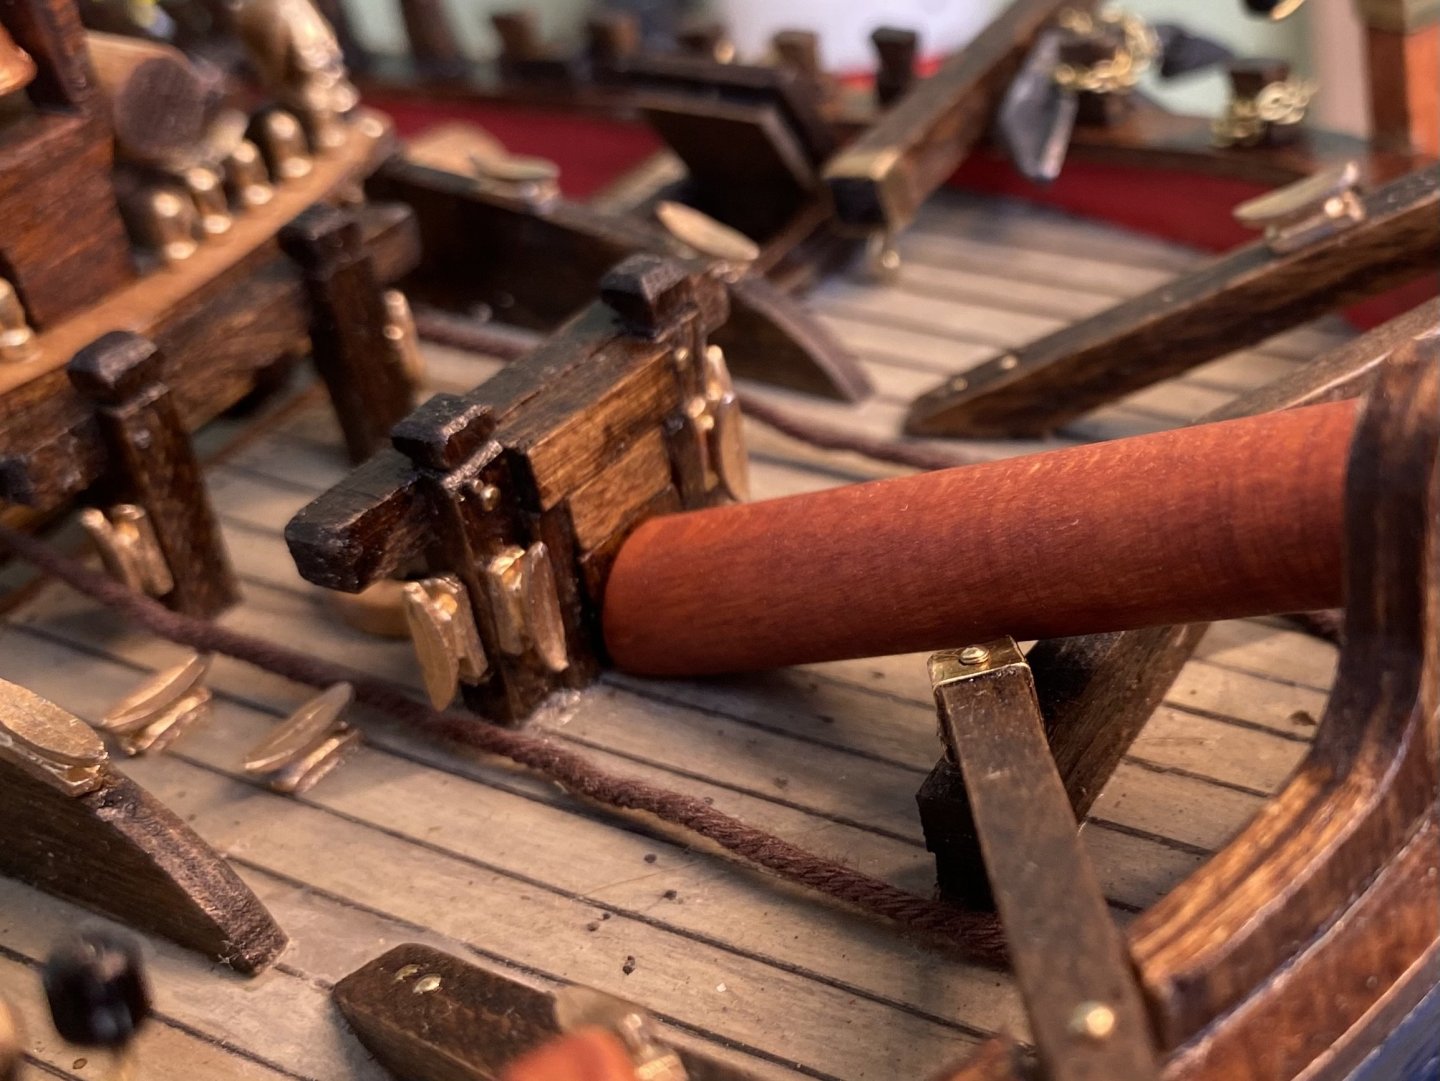
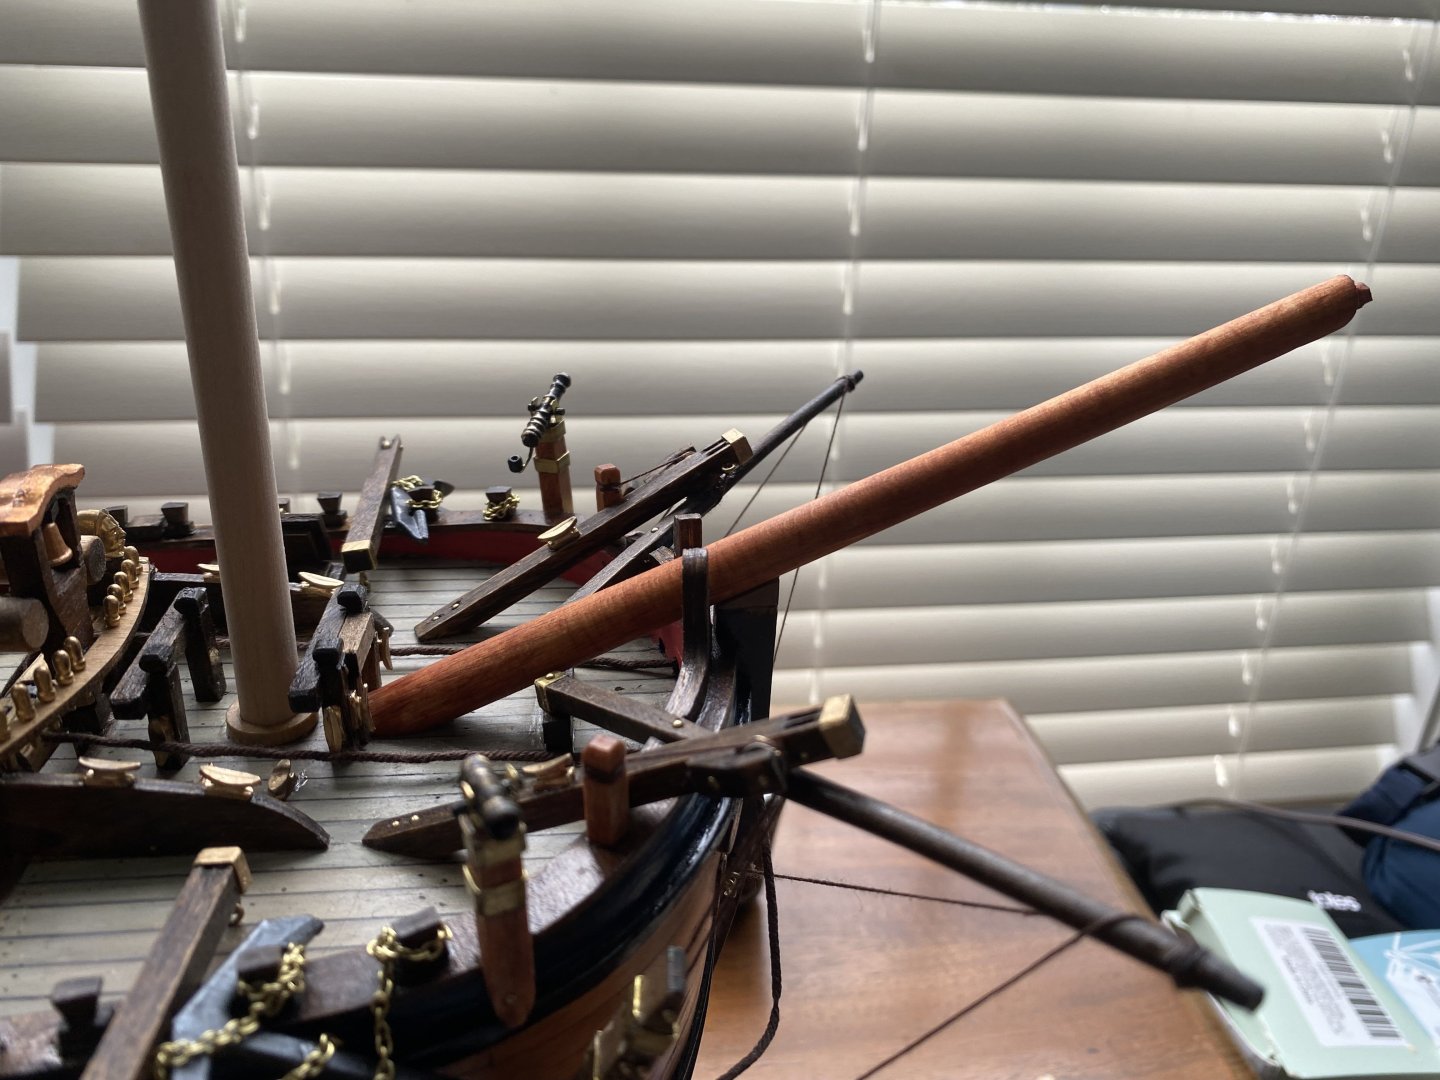
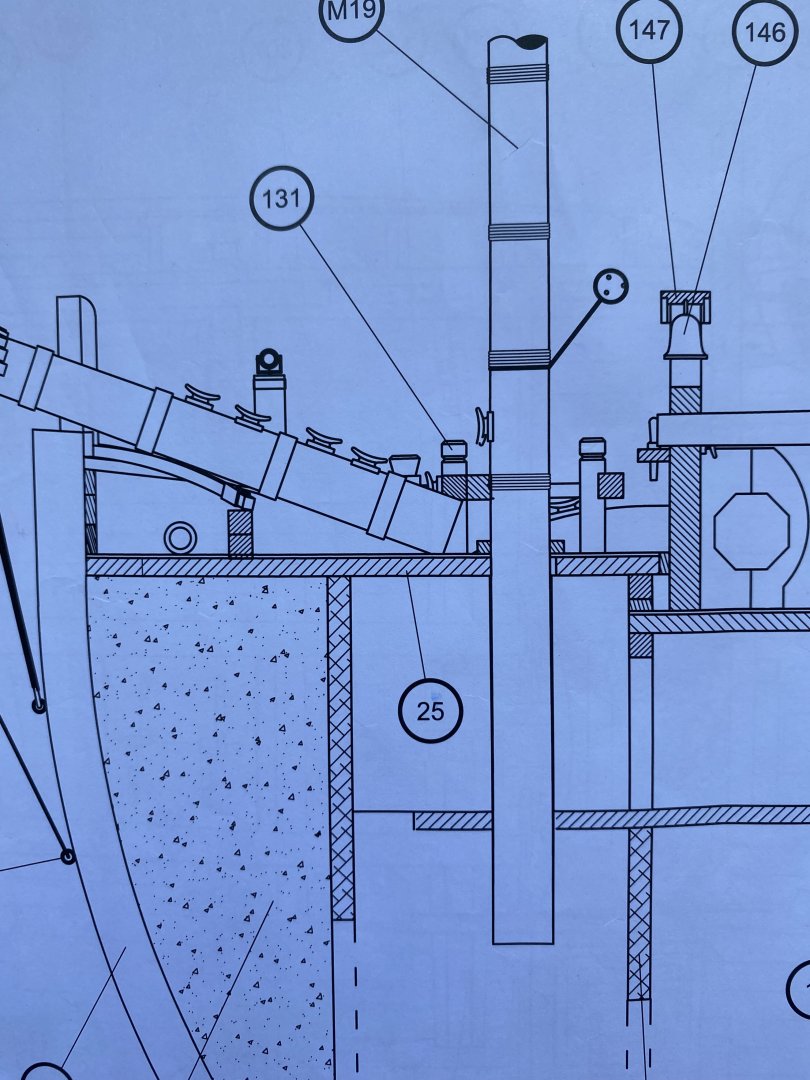
Ok. New bowsprit made in accordance with ATOS. I filled the area in the forecastle bitt with wood and carved a hole at deck level to accept the tenon on the end of the bowsprit.


-
Thanks Marc. Shipaholic’s definitely matches what is shown in AOTS. “The end of a bowsprit, in actual practice for sea-going ships, usually had a square tenon that keys into a heavy balk of timber (itself, secured between the lower legs of the fore bitts” Trying to visualize the carpentry of what you said above. Are you saying the actual practice was for there to be a solid balk of timber filling the space under the bitt and that bulk of timber had a square hole cut in it to accept the square tenon on the end of the bowsprit? Looking at the top photo from AOTS that shopaholic attached you can see the end of the bowsprit with the tenon carved into it and the bottom portion of the end of the bowsprit is shaved off to be flush with the deck. I can do this. I really need to refer more to my AOTS book I spent so much for 😊
-
Beautiful job shipaholic. I had not seen your build before you commented over on mine. I had primarily looked in on other OcCre Endeavour builds thinking that would be the place to find most of my answers. Wrong there! Your Endurance is a fantastic source for reference. Again a beautiful job. Thanks for your comment over on mine.
-
Thanks Shipaholic. I looked in my AOTS (which I had not thought about looking in before) and see the same photo you have. It appears that a section of the bottom is tapered. Not the whole thing under the bitt. Interesting. That is some beautiful rigging in the close up. Great job. Would you have a photo from the foremast side of the bitt? Did you just taper the bottom half of the end so part of the round bowsprit end is still exposed under the bitt?
-
Marc what do you think I should do?
-
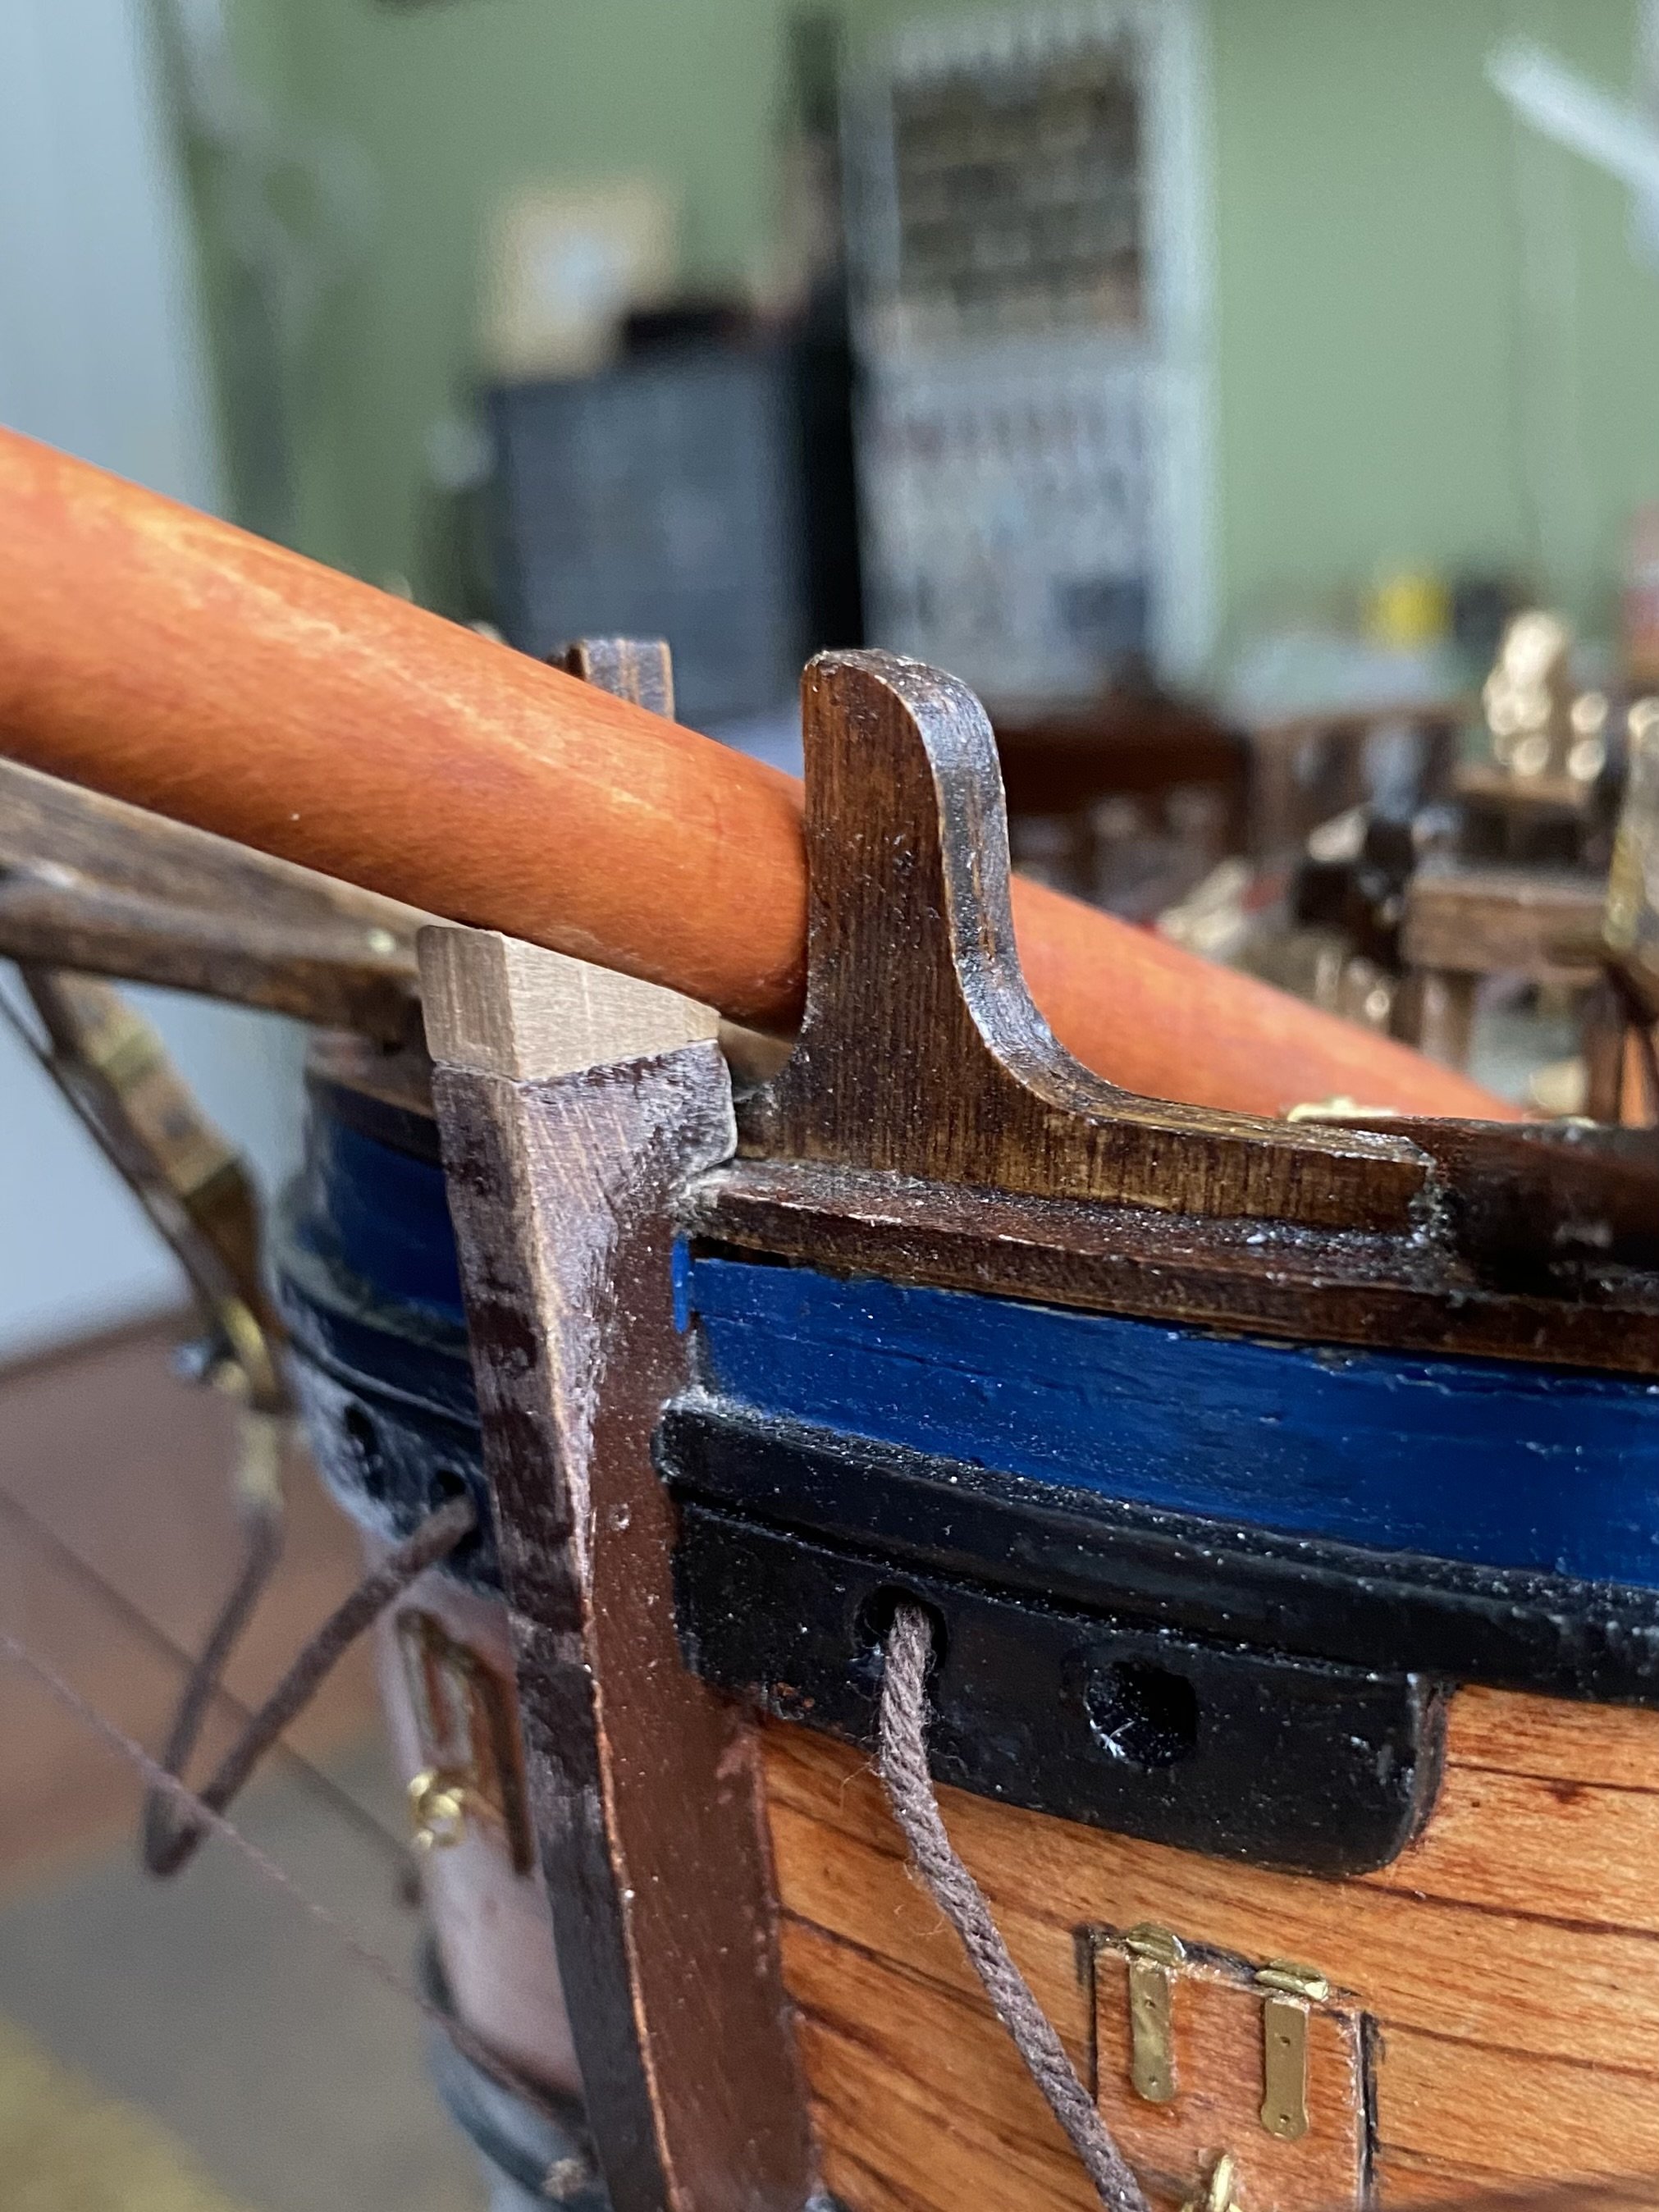
Thanks Ian and Kevin. Kevin no need to apologize. From your replies I may need to remake the lower section of my bowsprit. What is your honest opinion? Mine is dry fitted so no issue with remaking it. Yes Ian as you can determine from my photos I did increase the steeve to give the appearance it passed through the deck. I spent a good amount of time looking at other build logs and replica photos. The one you found Ian is the best showing the bowsprit end.


-
Never mind Kevin. I decided on tapering to give the appearance of passing through the deck.
-
How the end is prepared? As in the instructions or tapered to give the appearance it passes through the deck.
-
Kevin what is your thoughts about the bowsprit end?
-
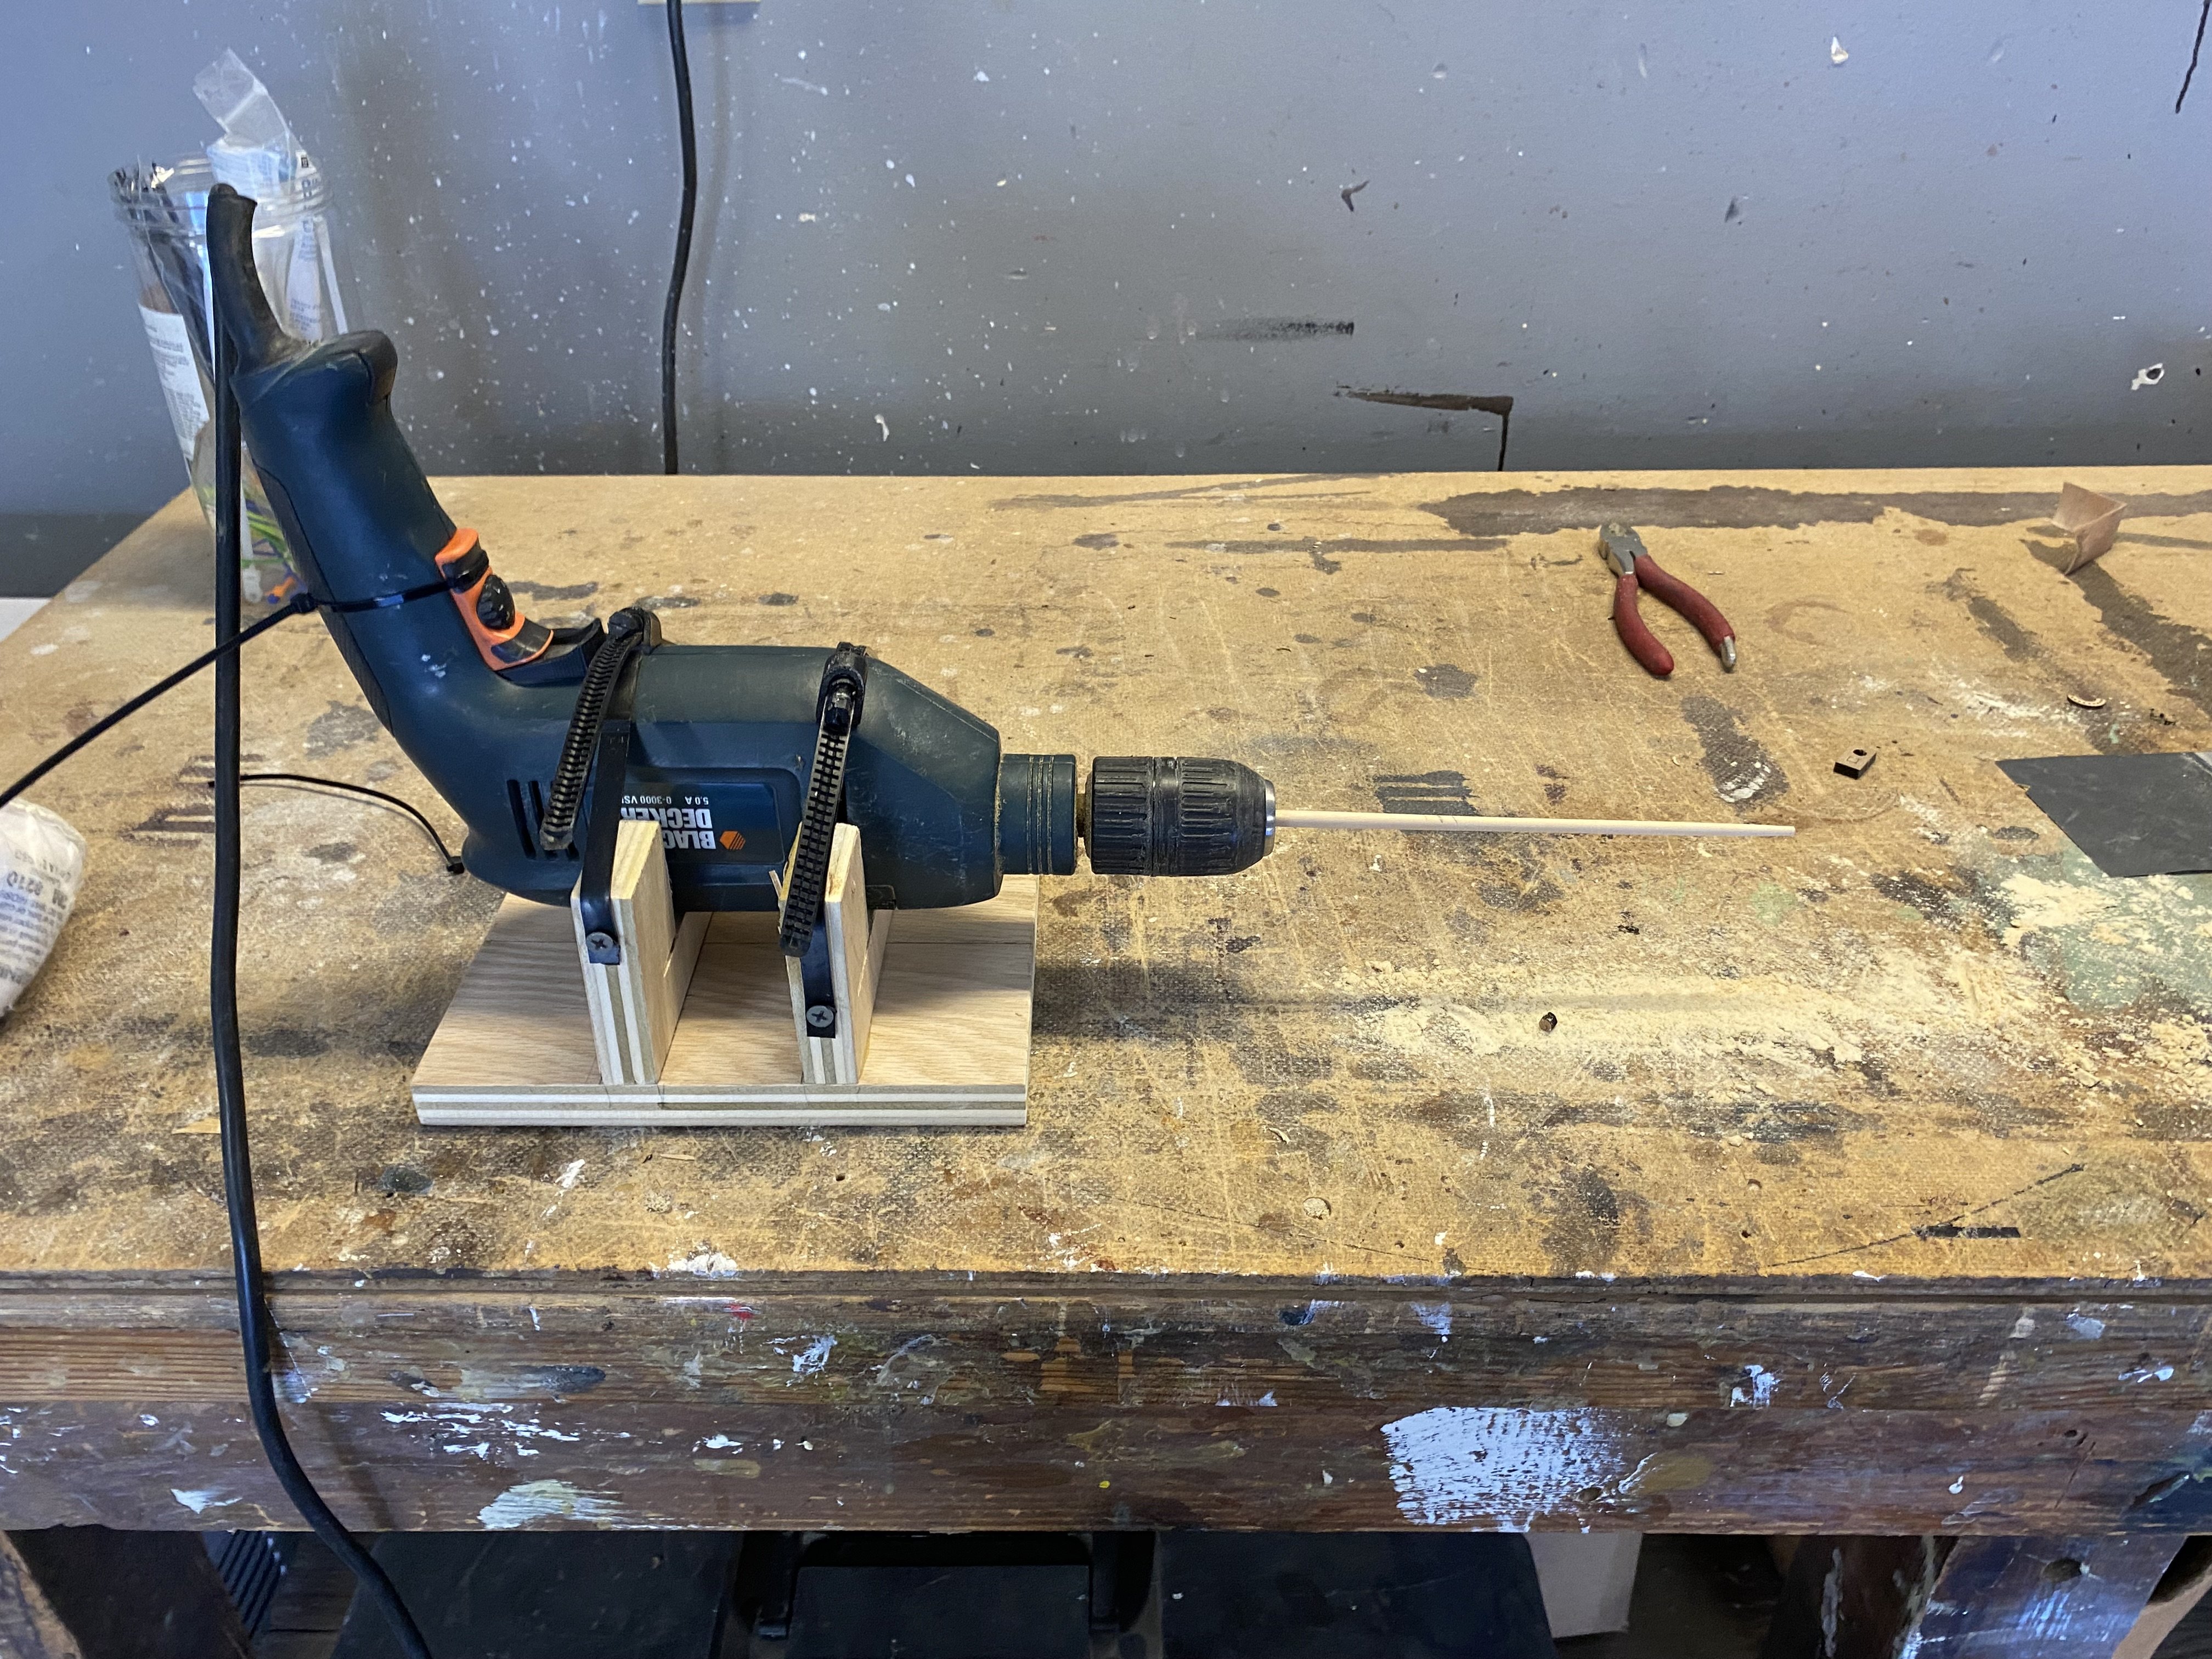
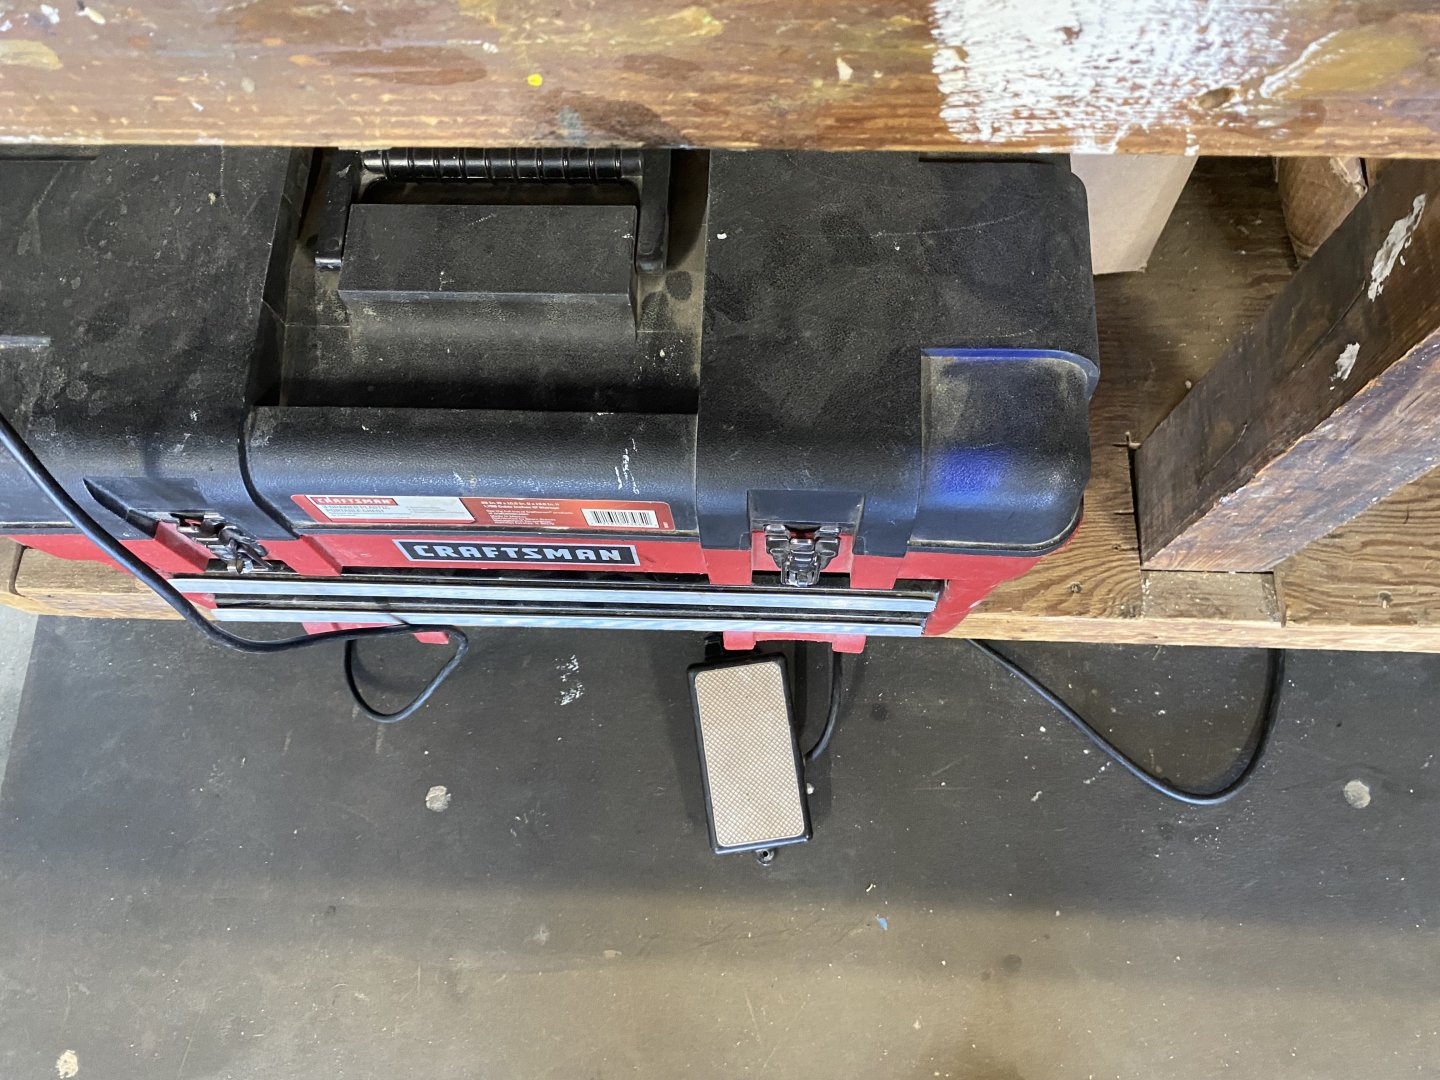
My make shift lathe complete with hands free foot pedal for turning my mast sections and yards.

-
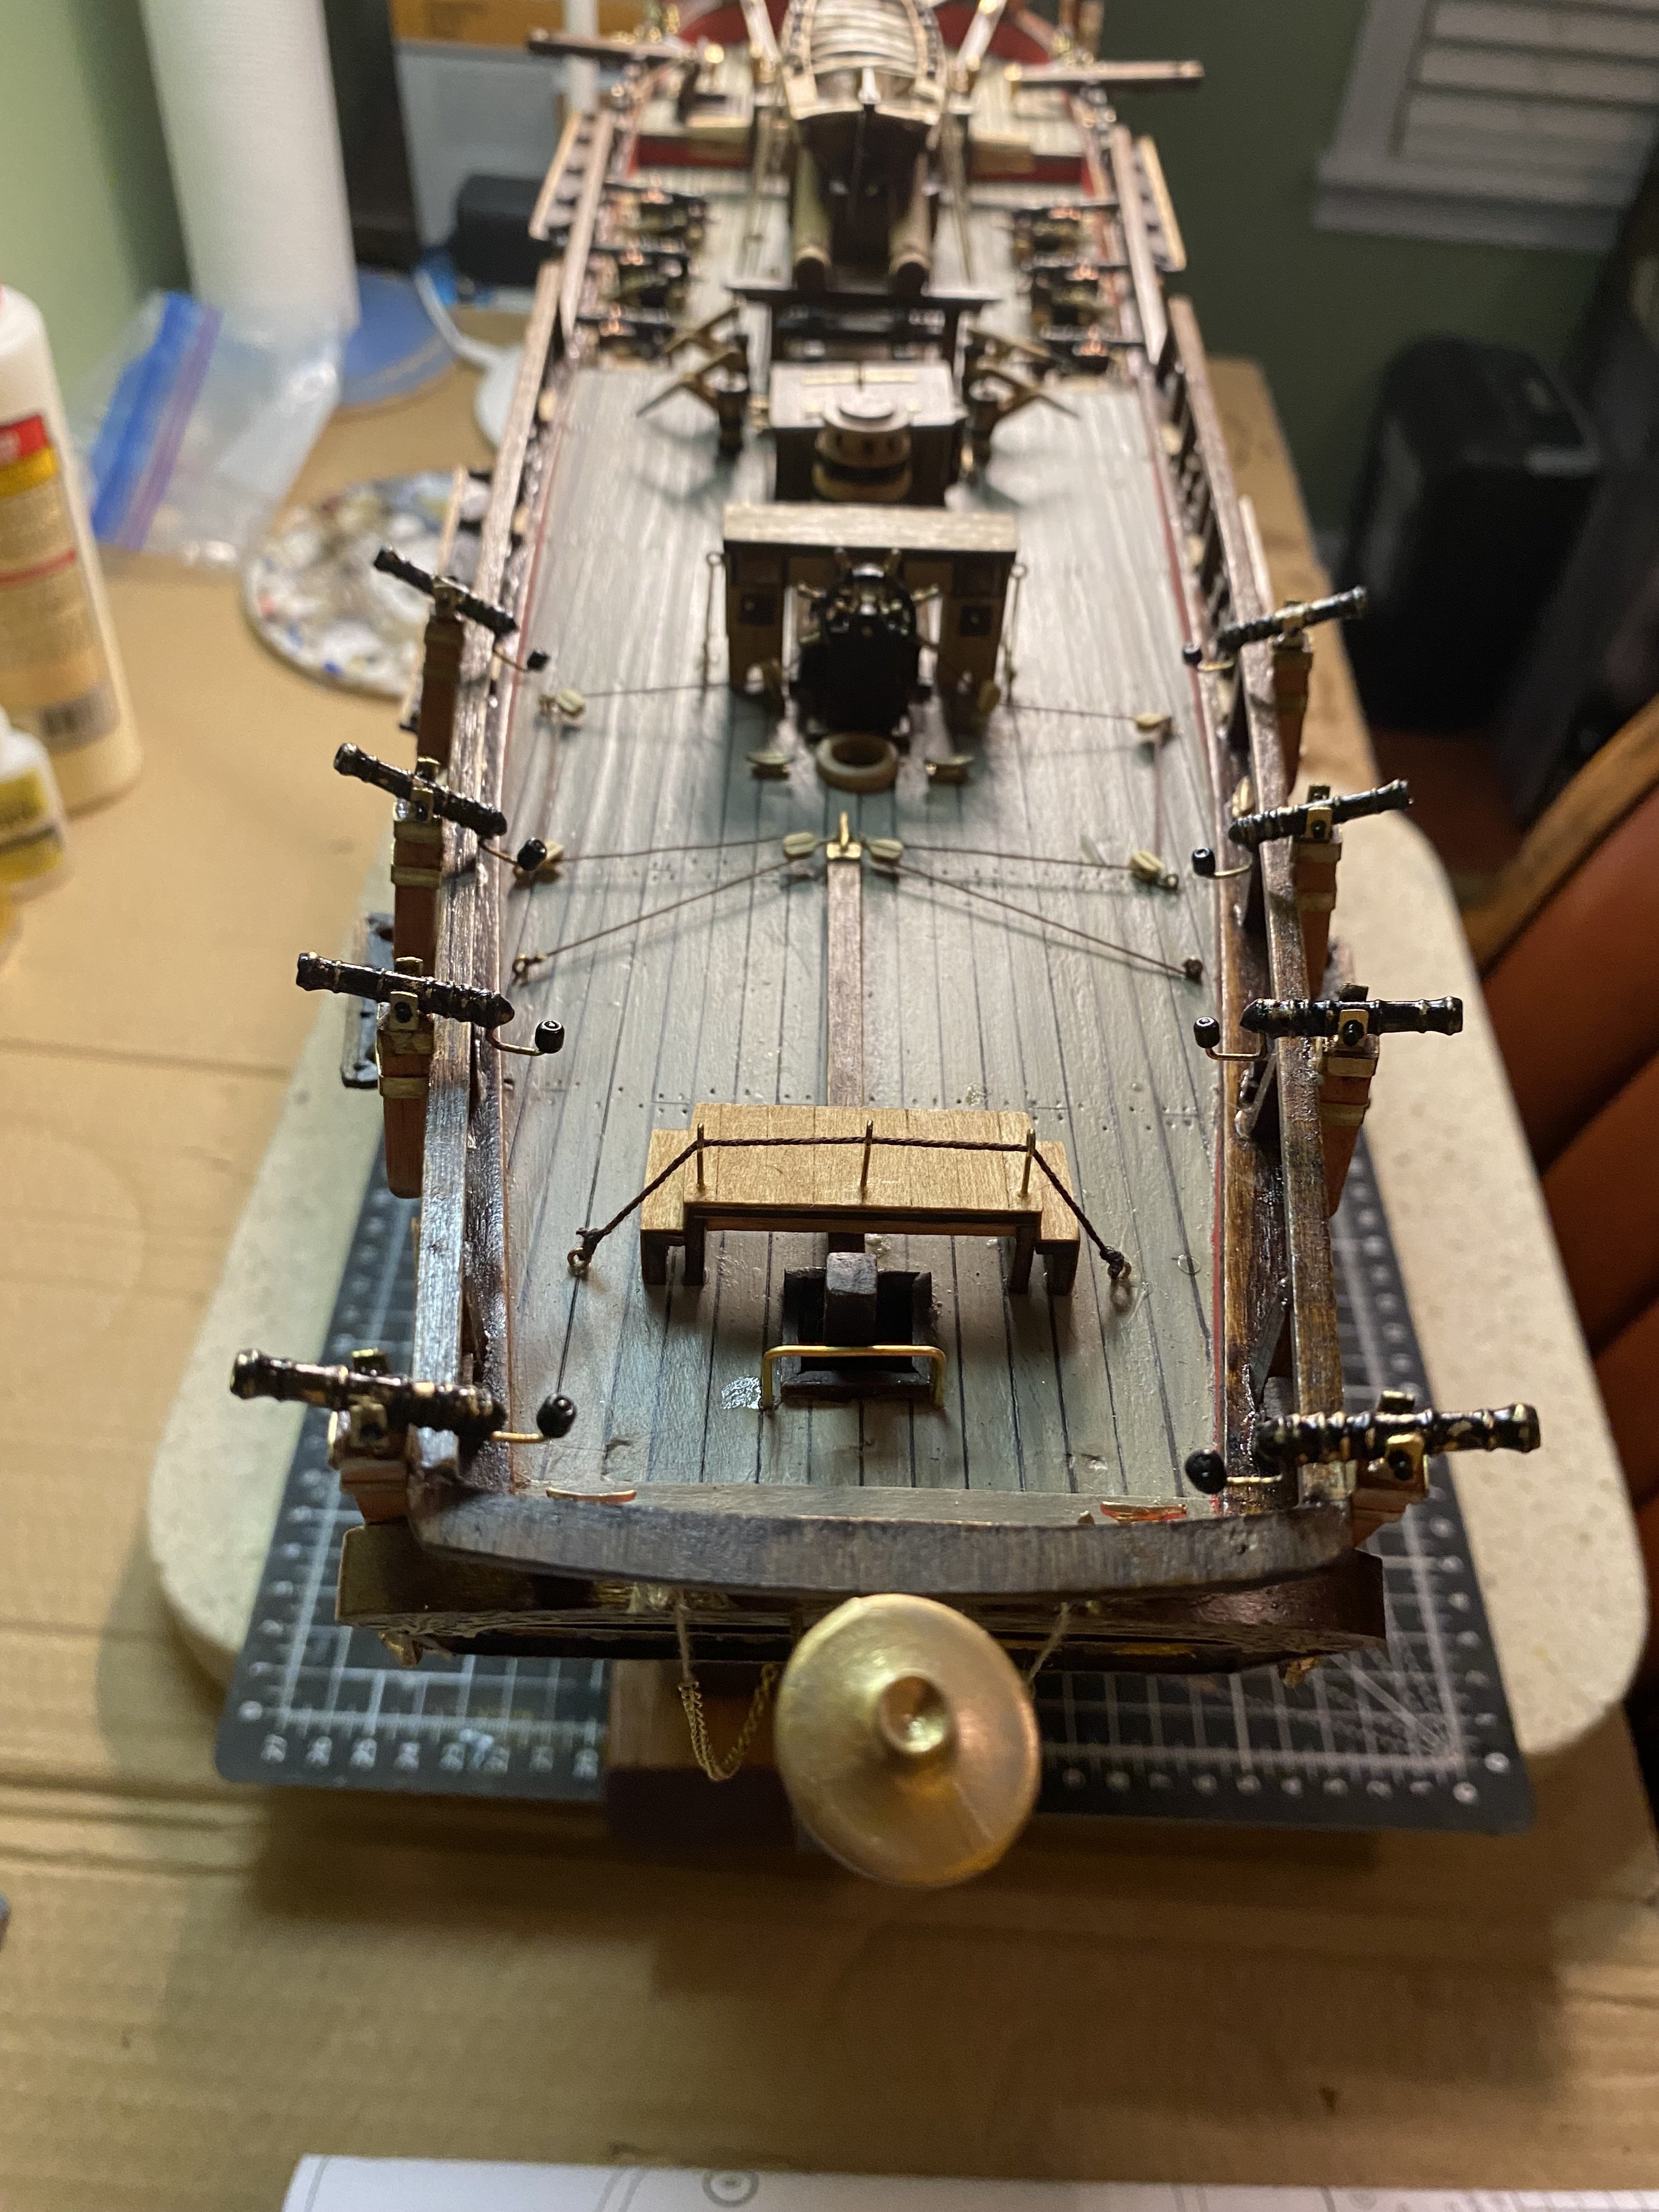
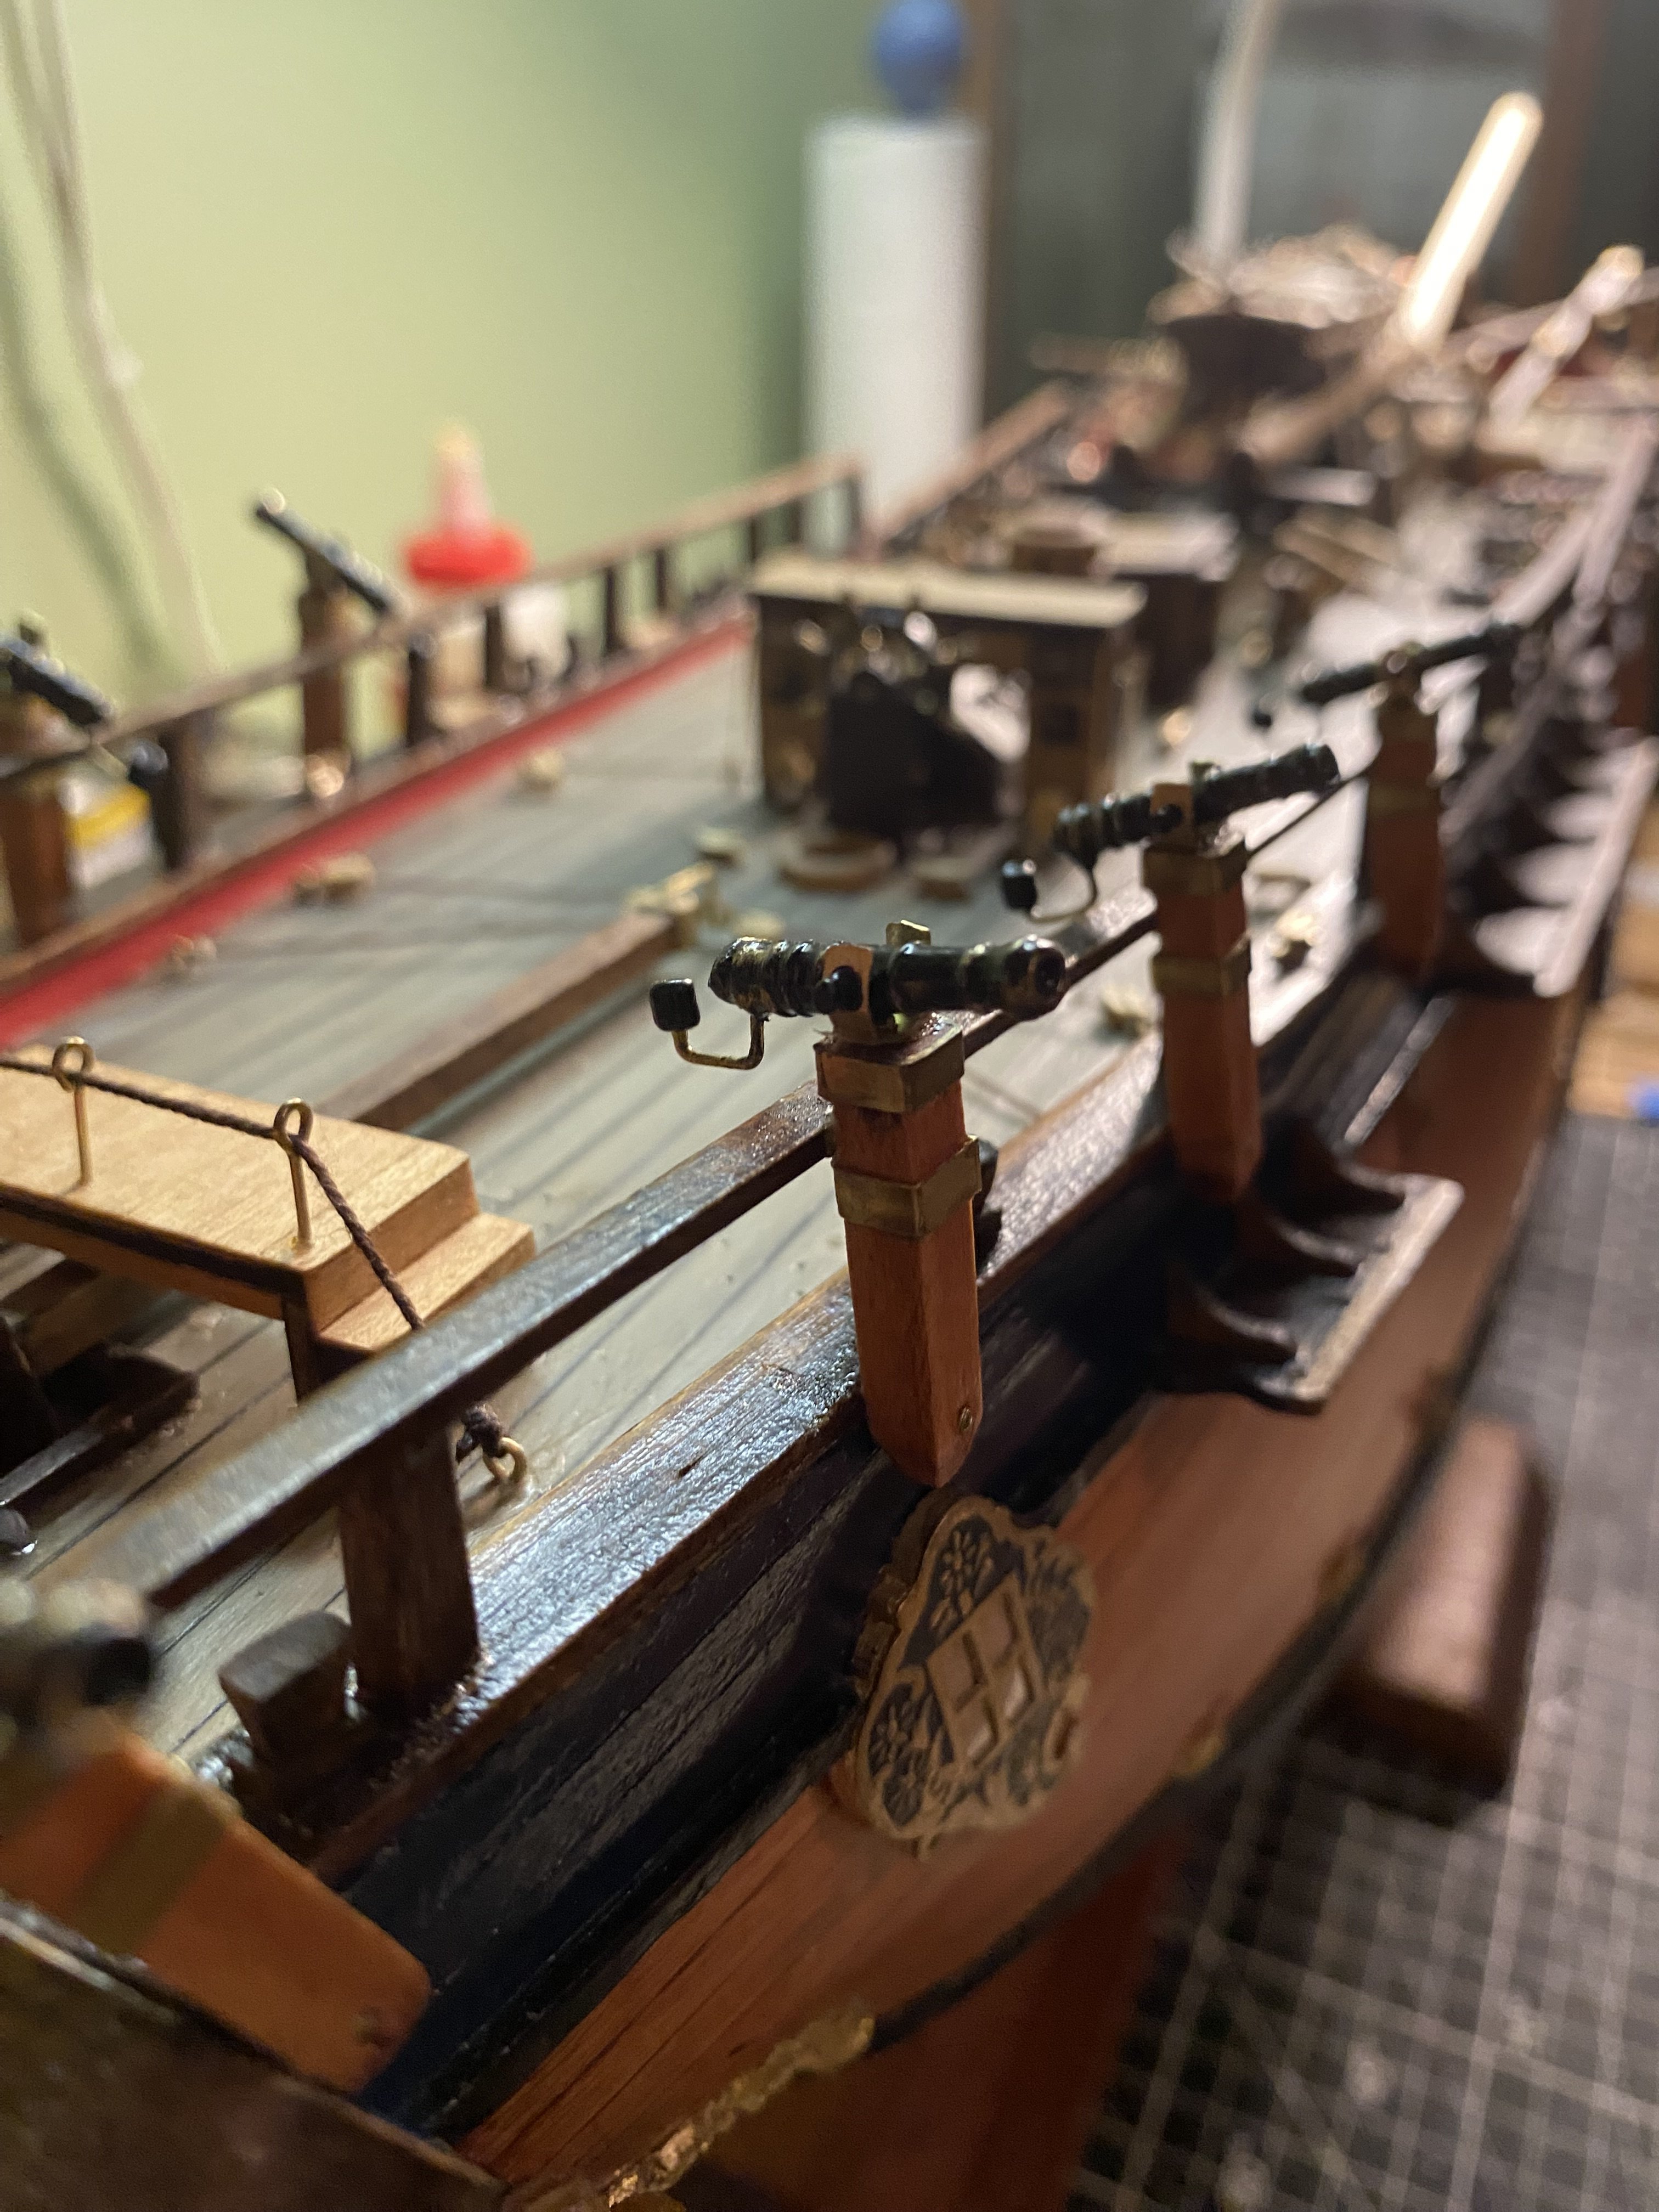
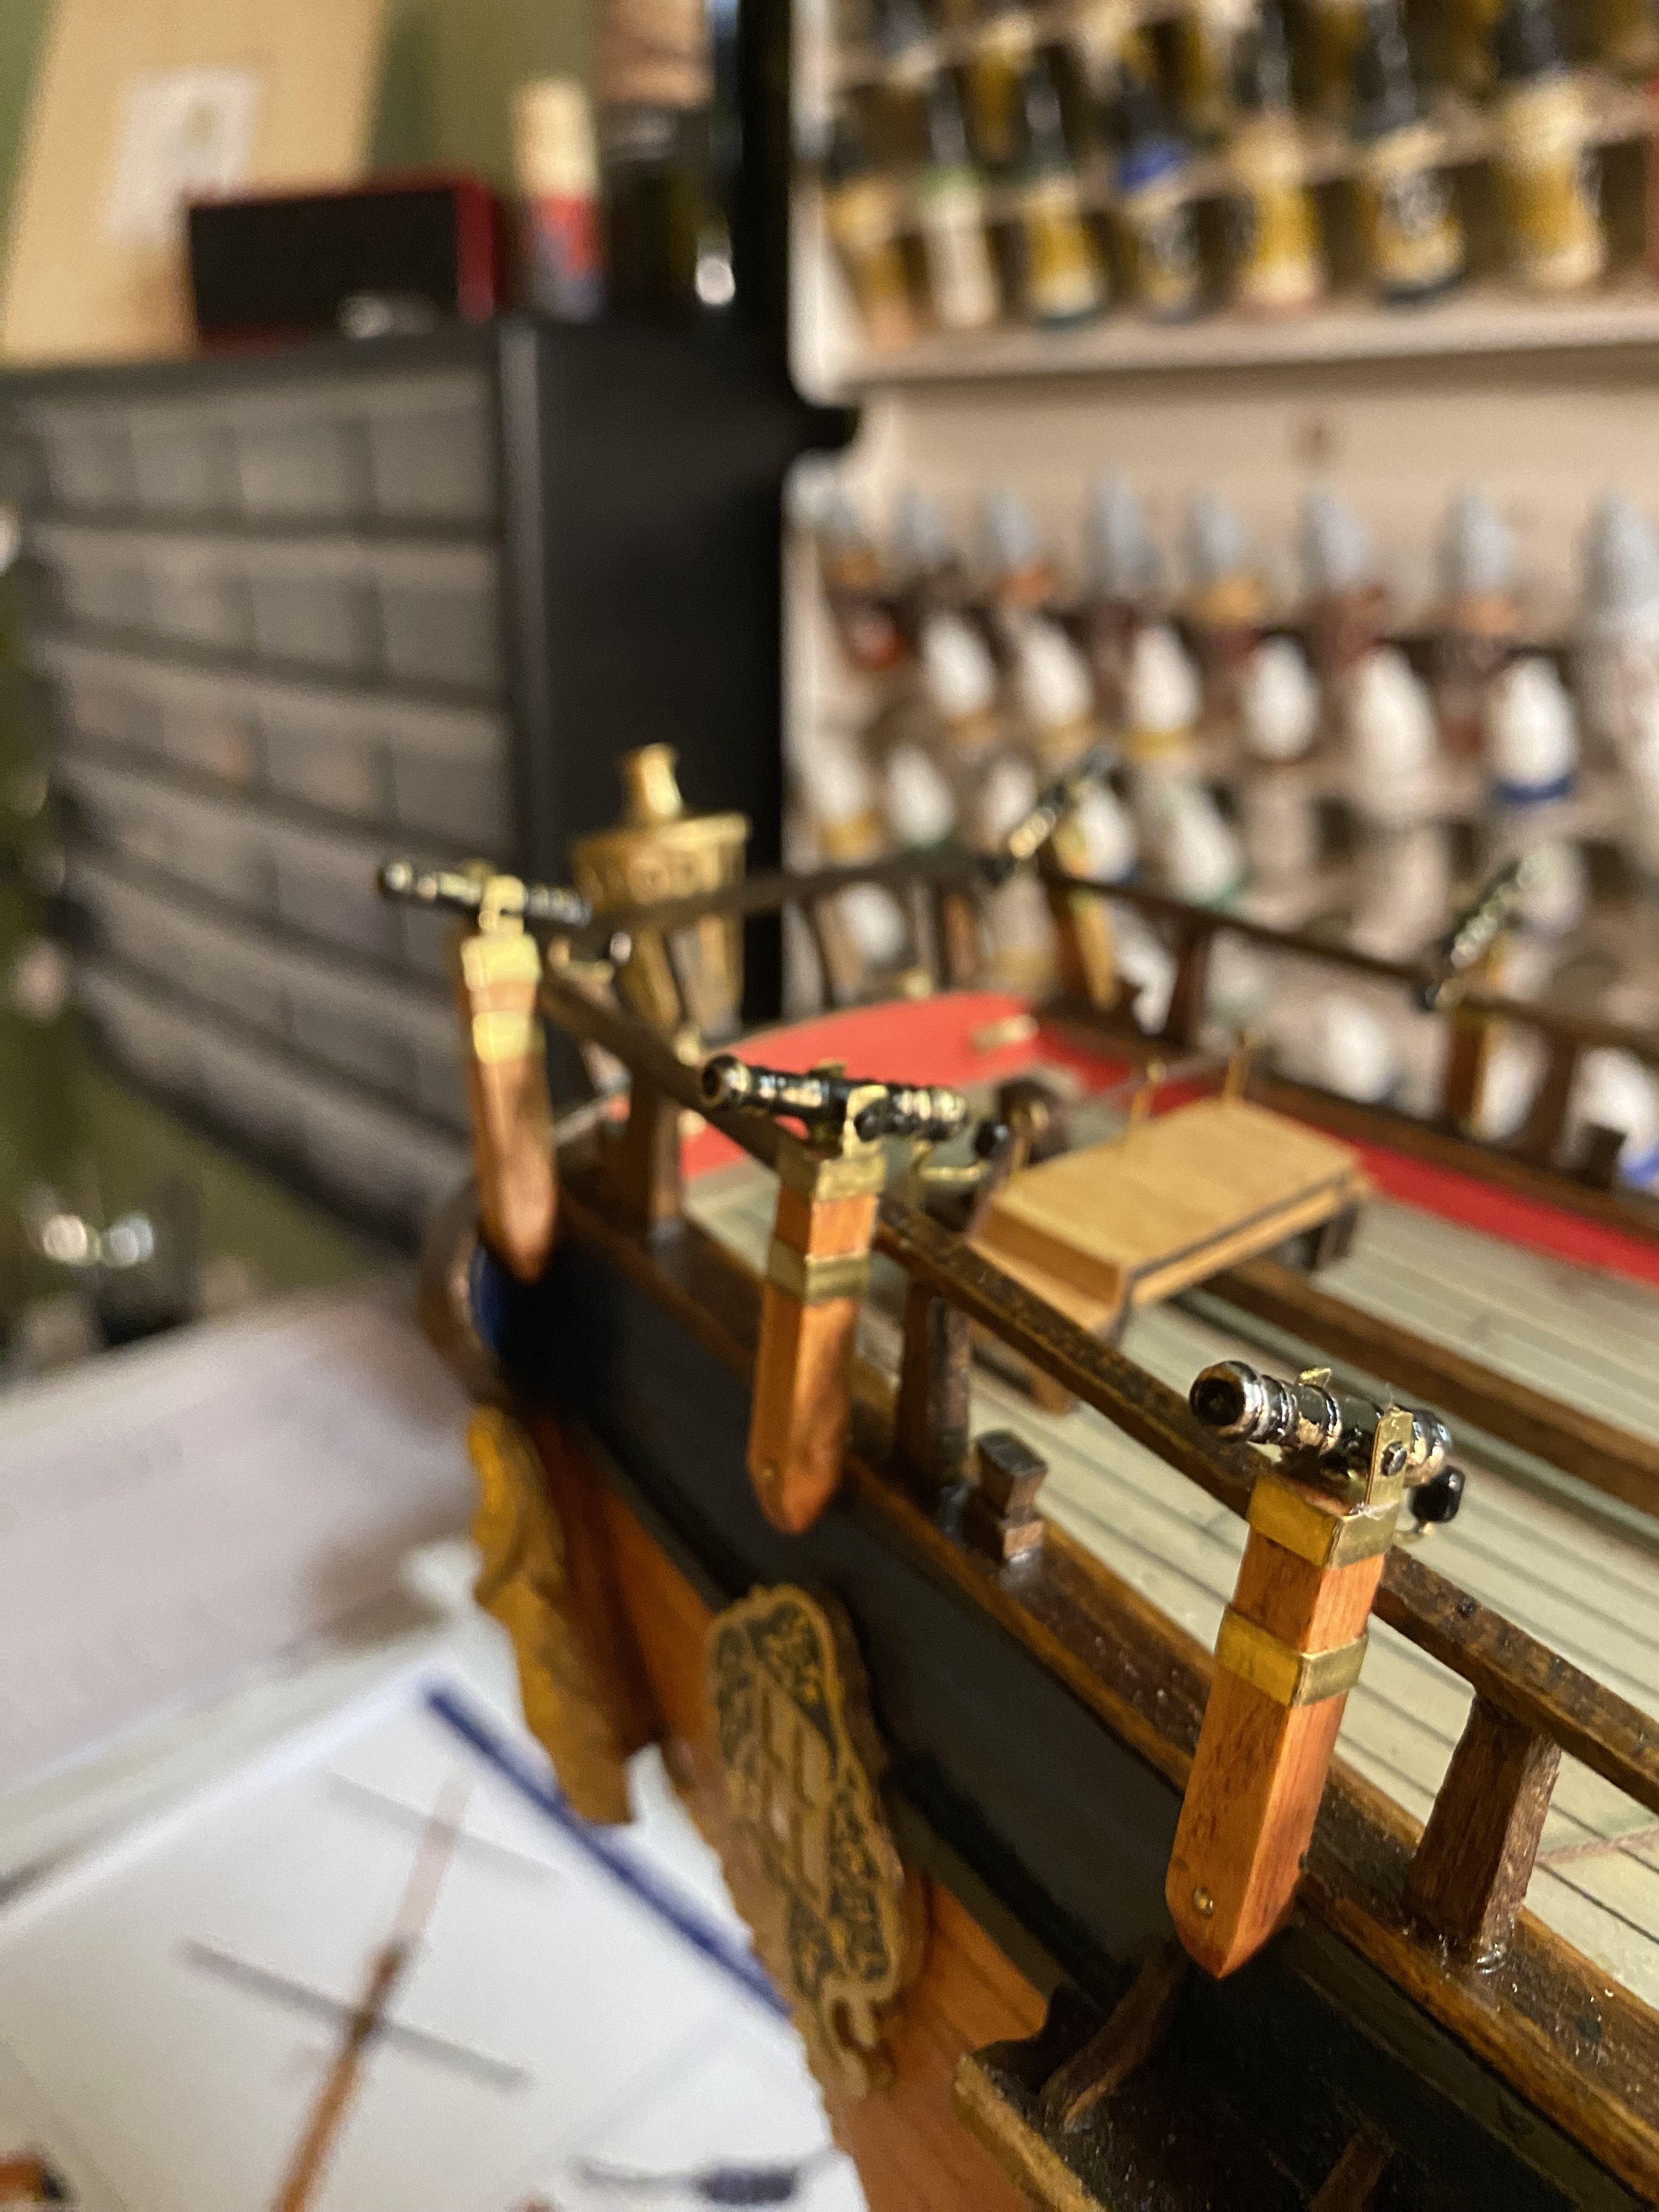
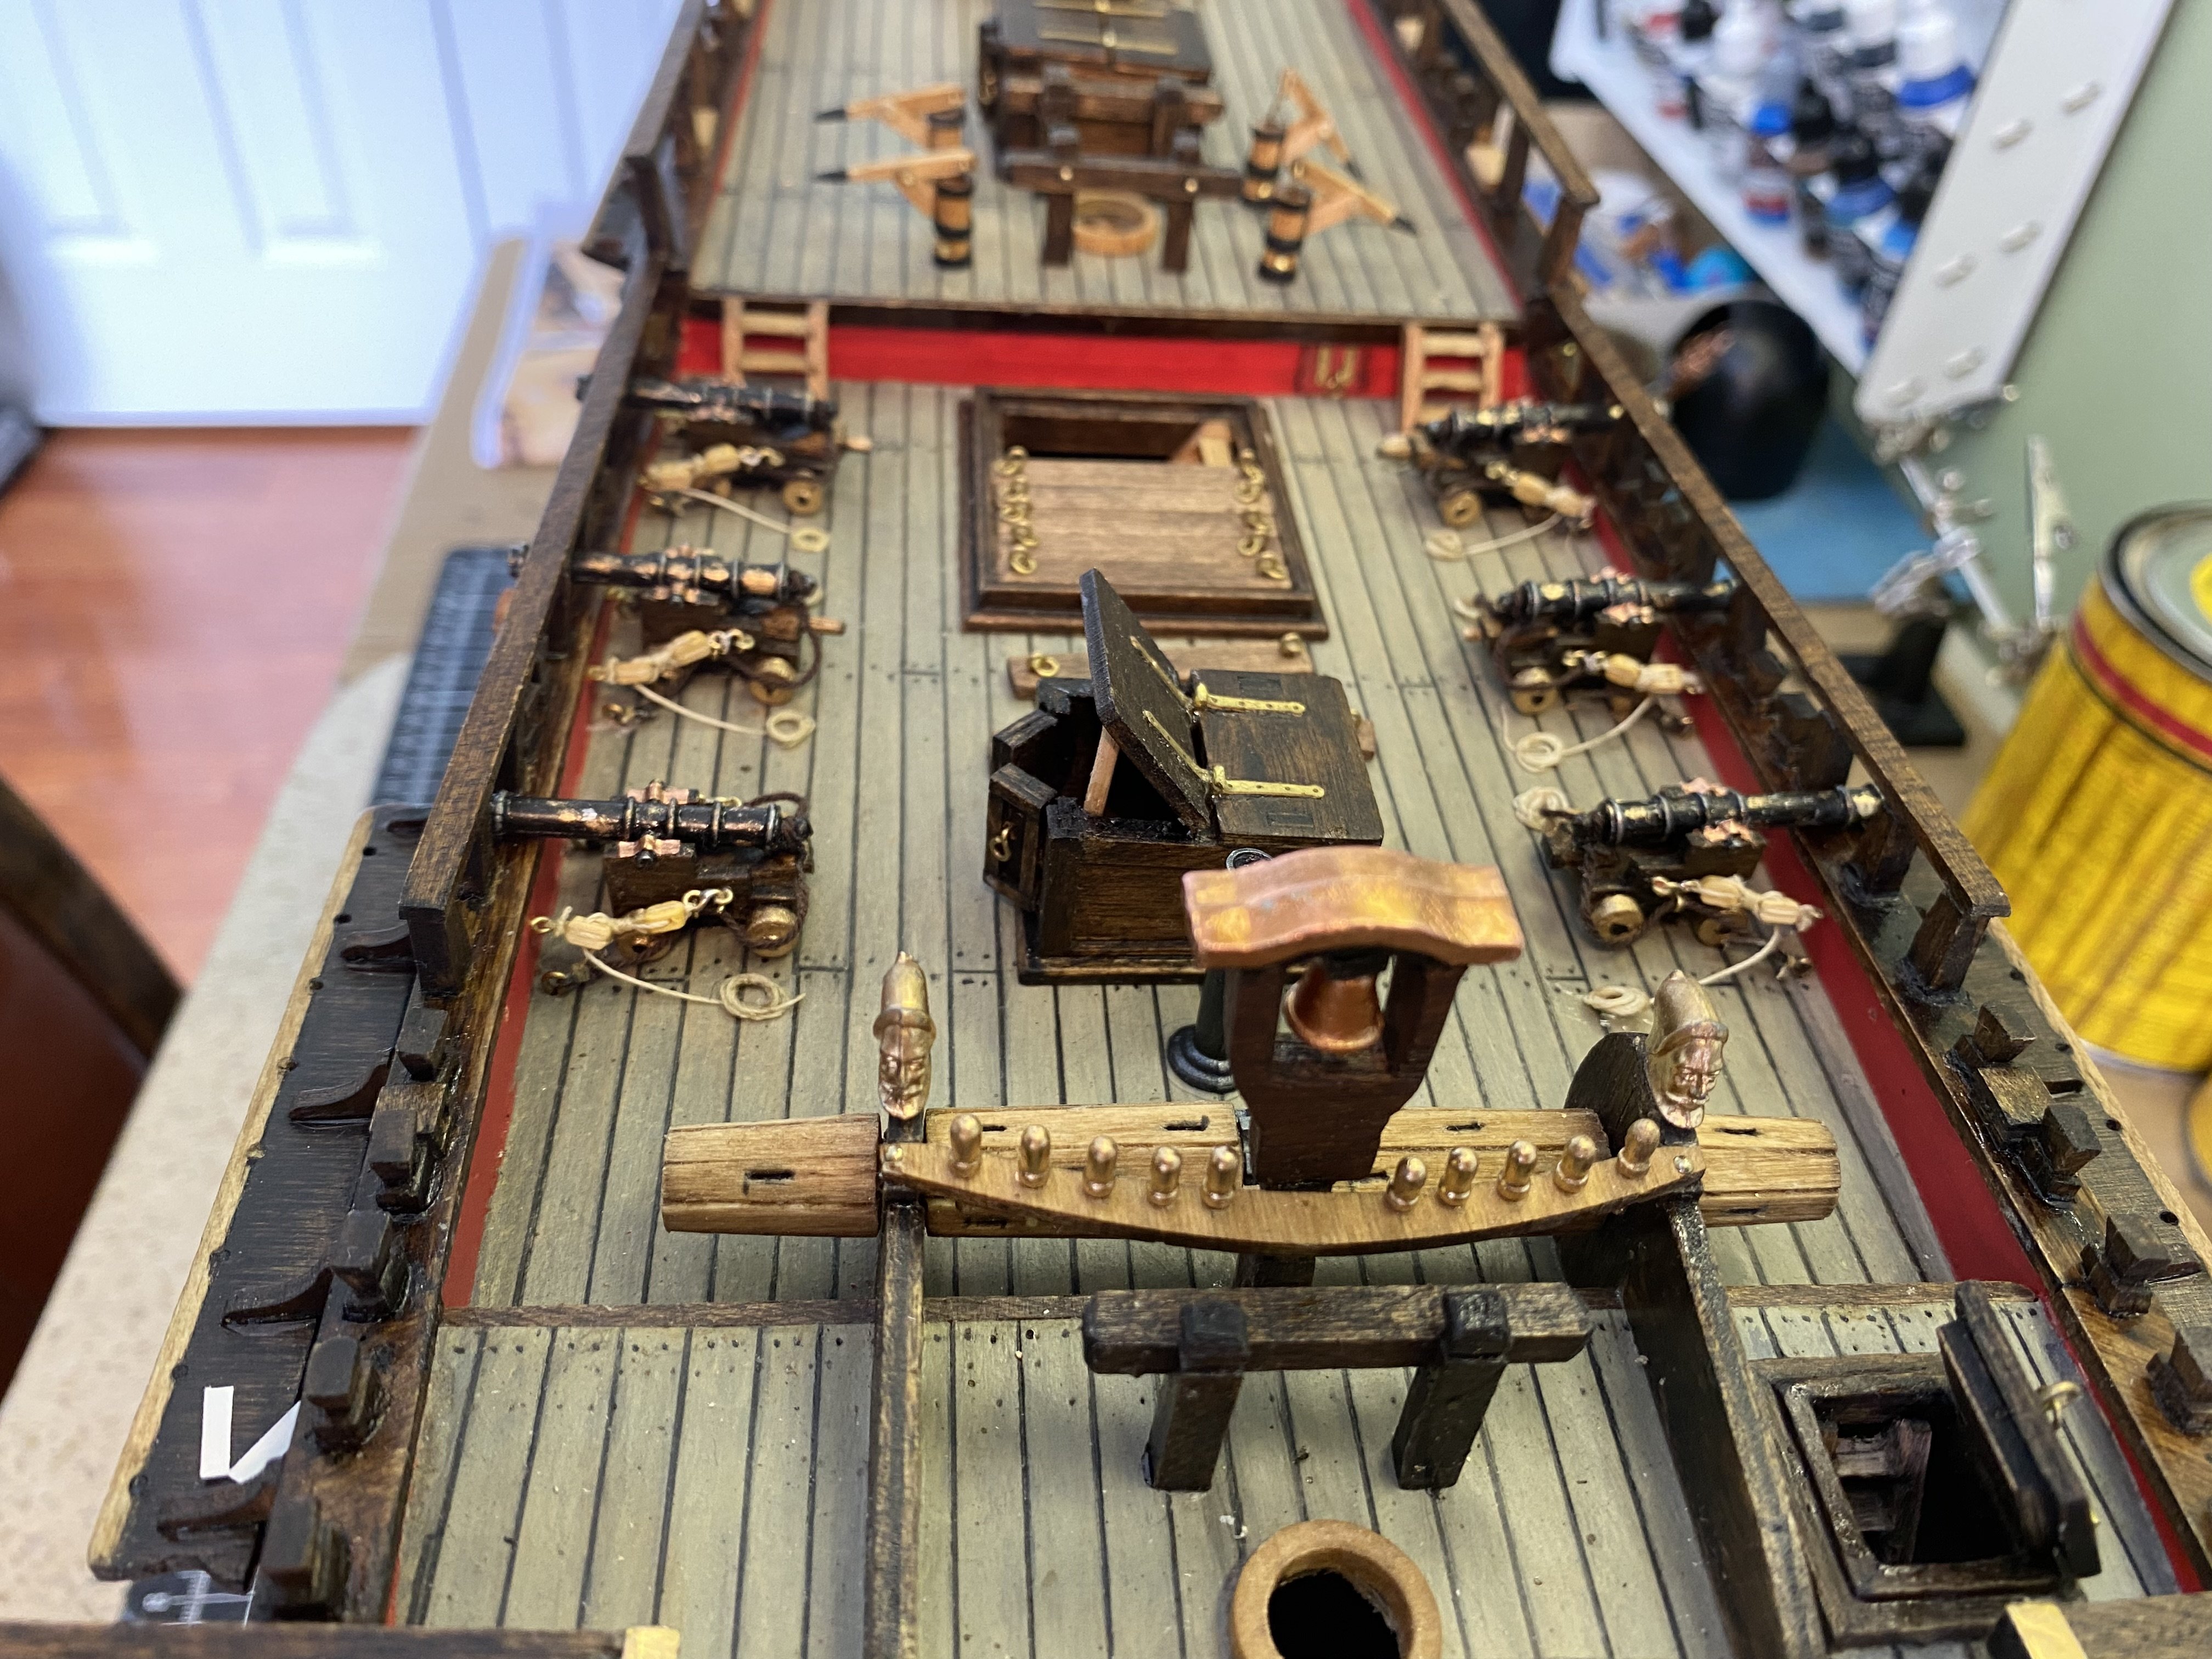
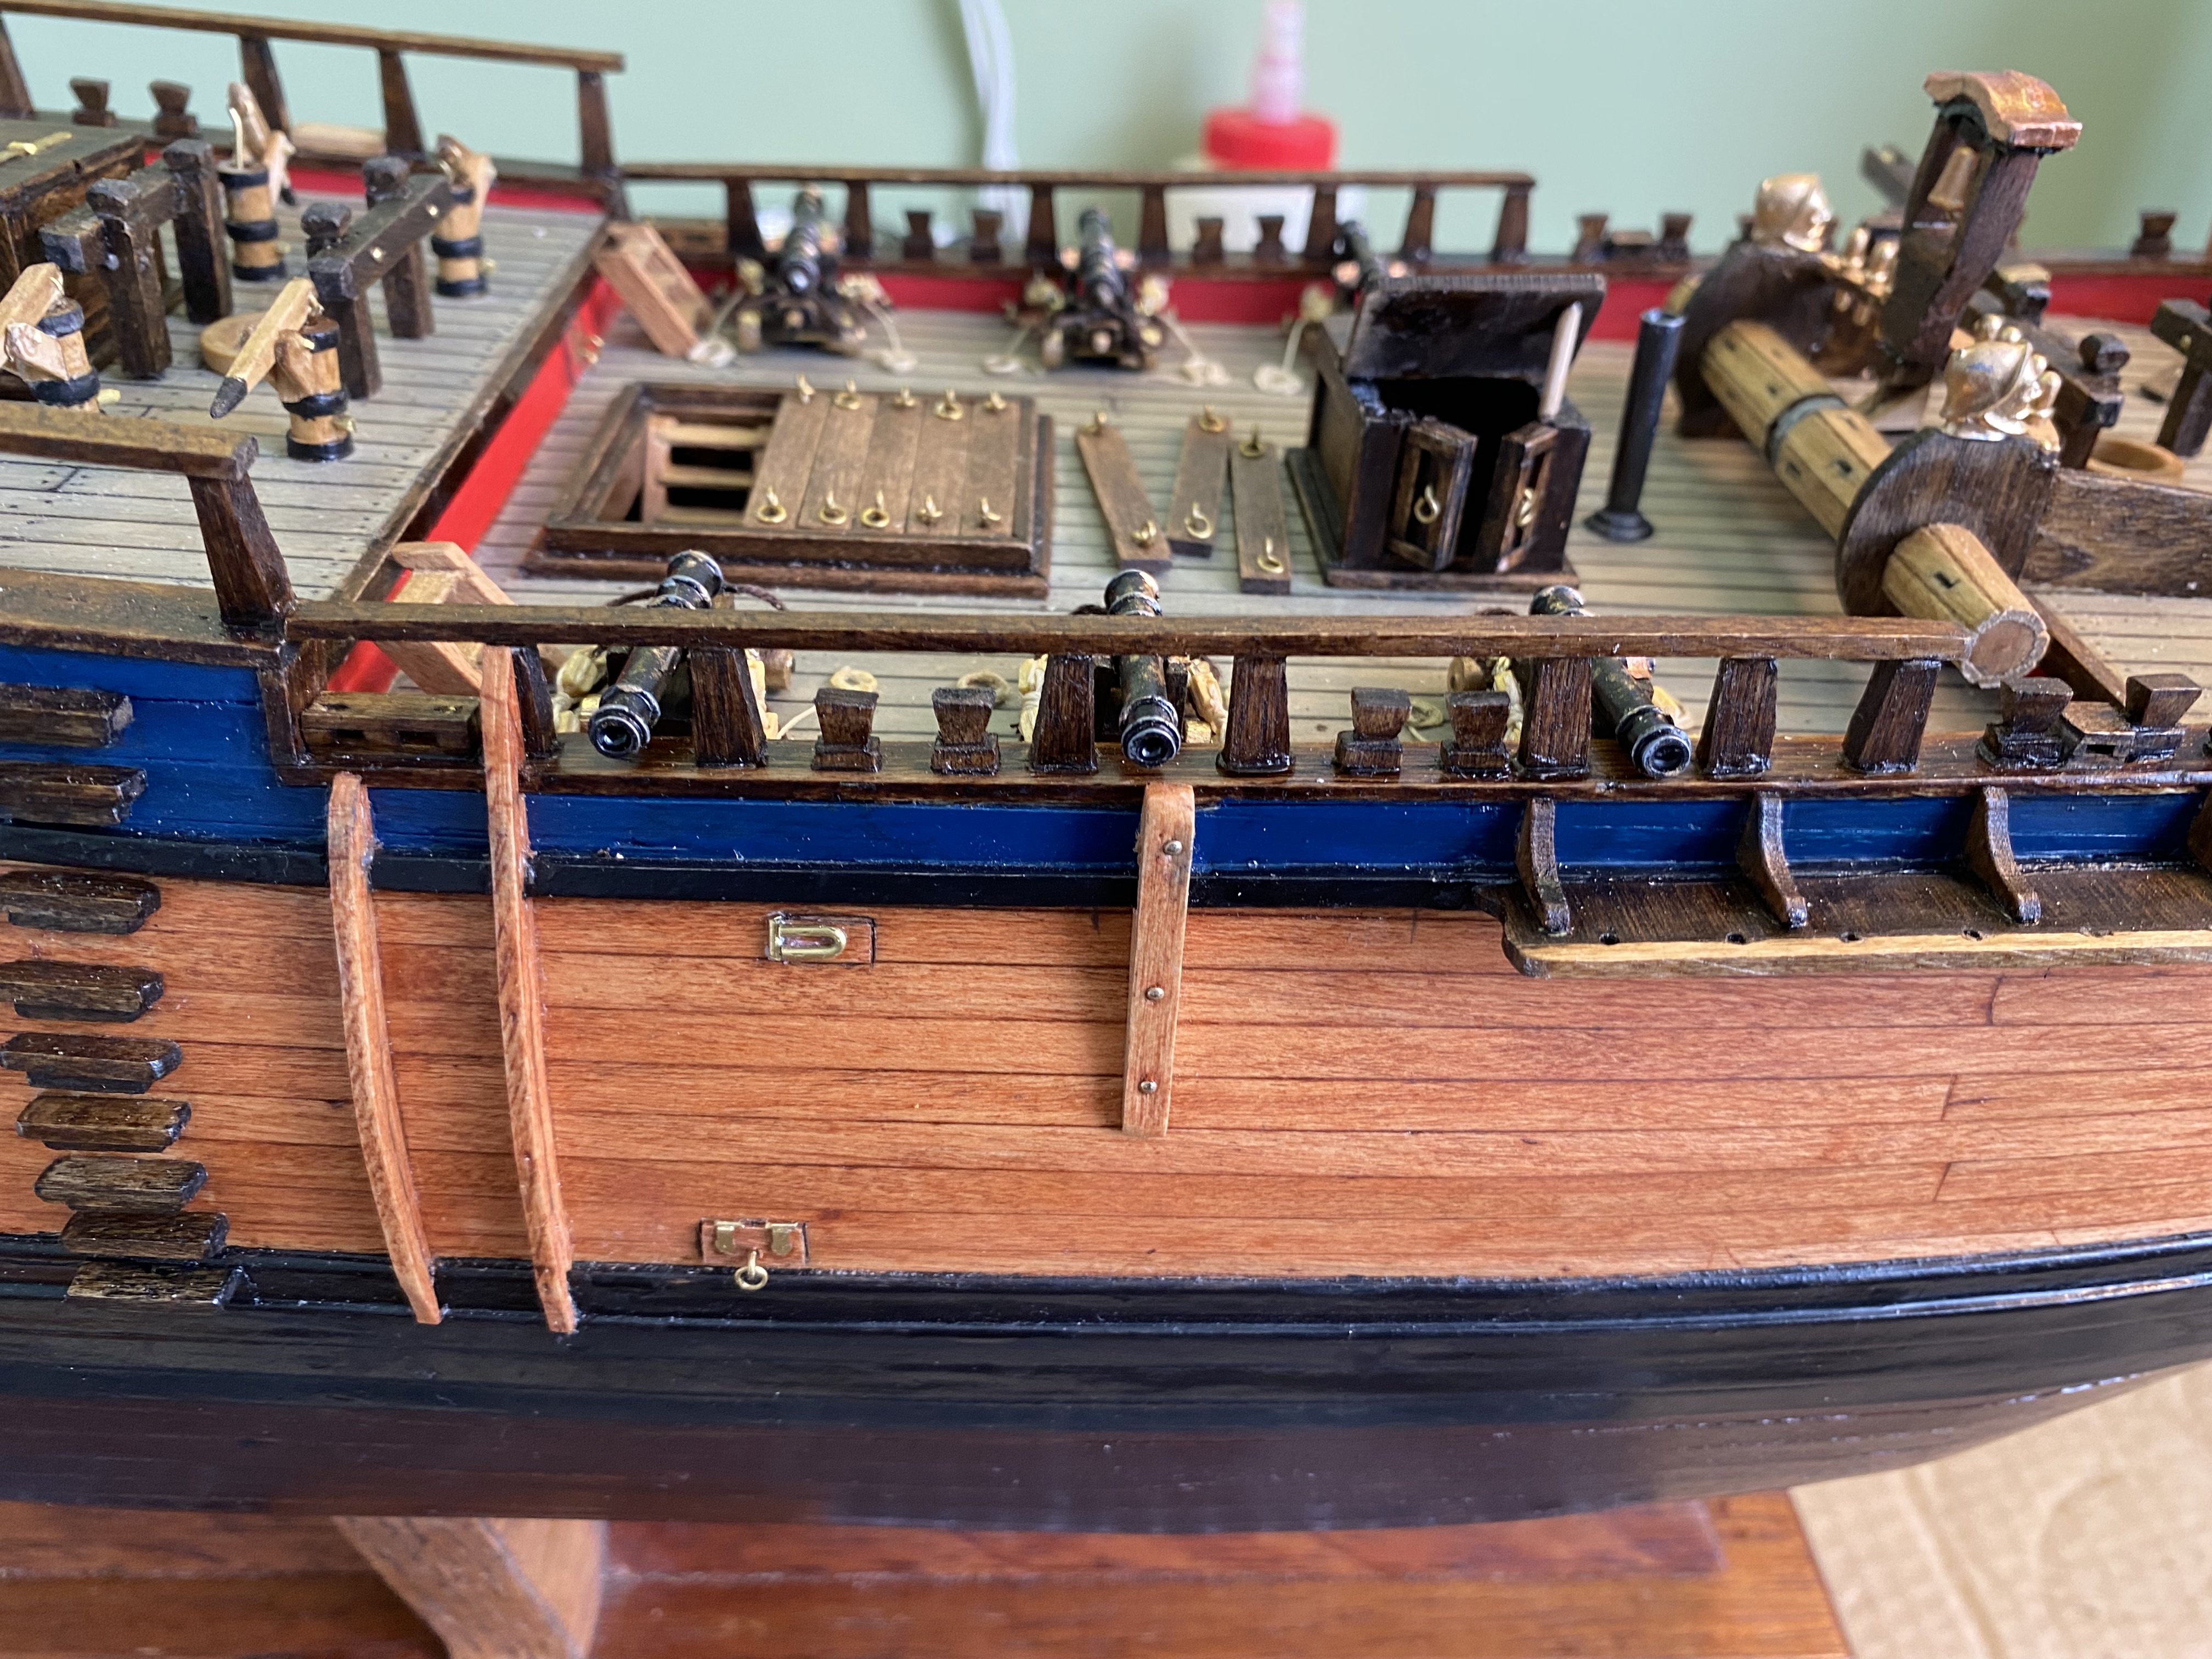
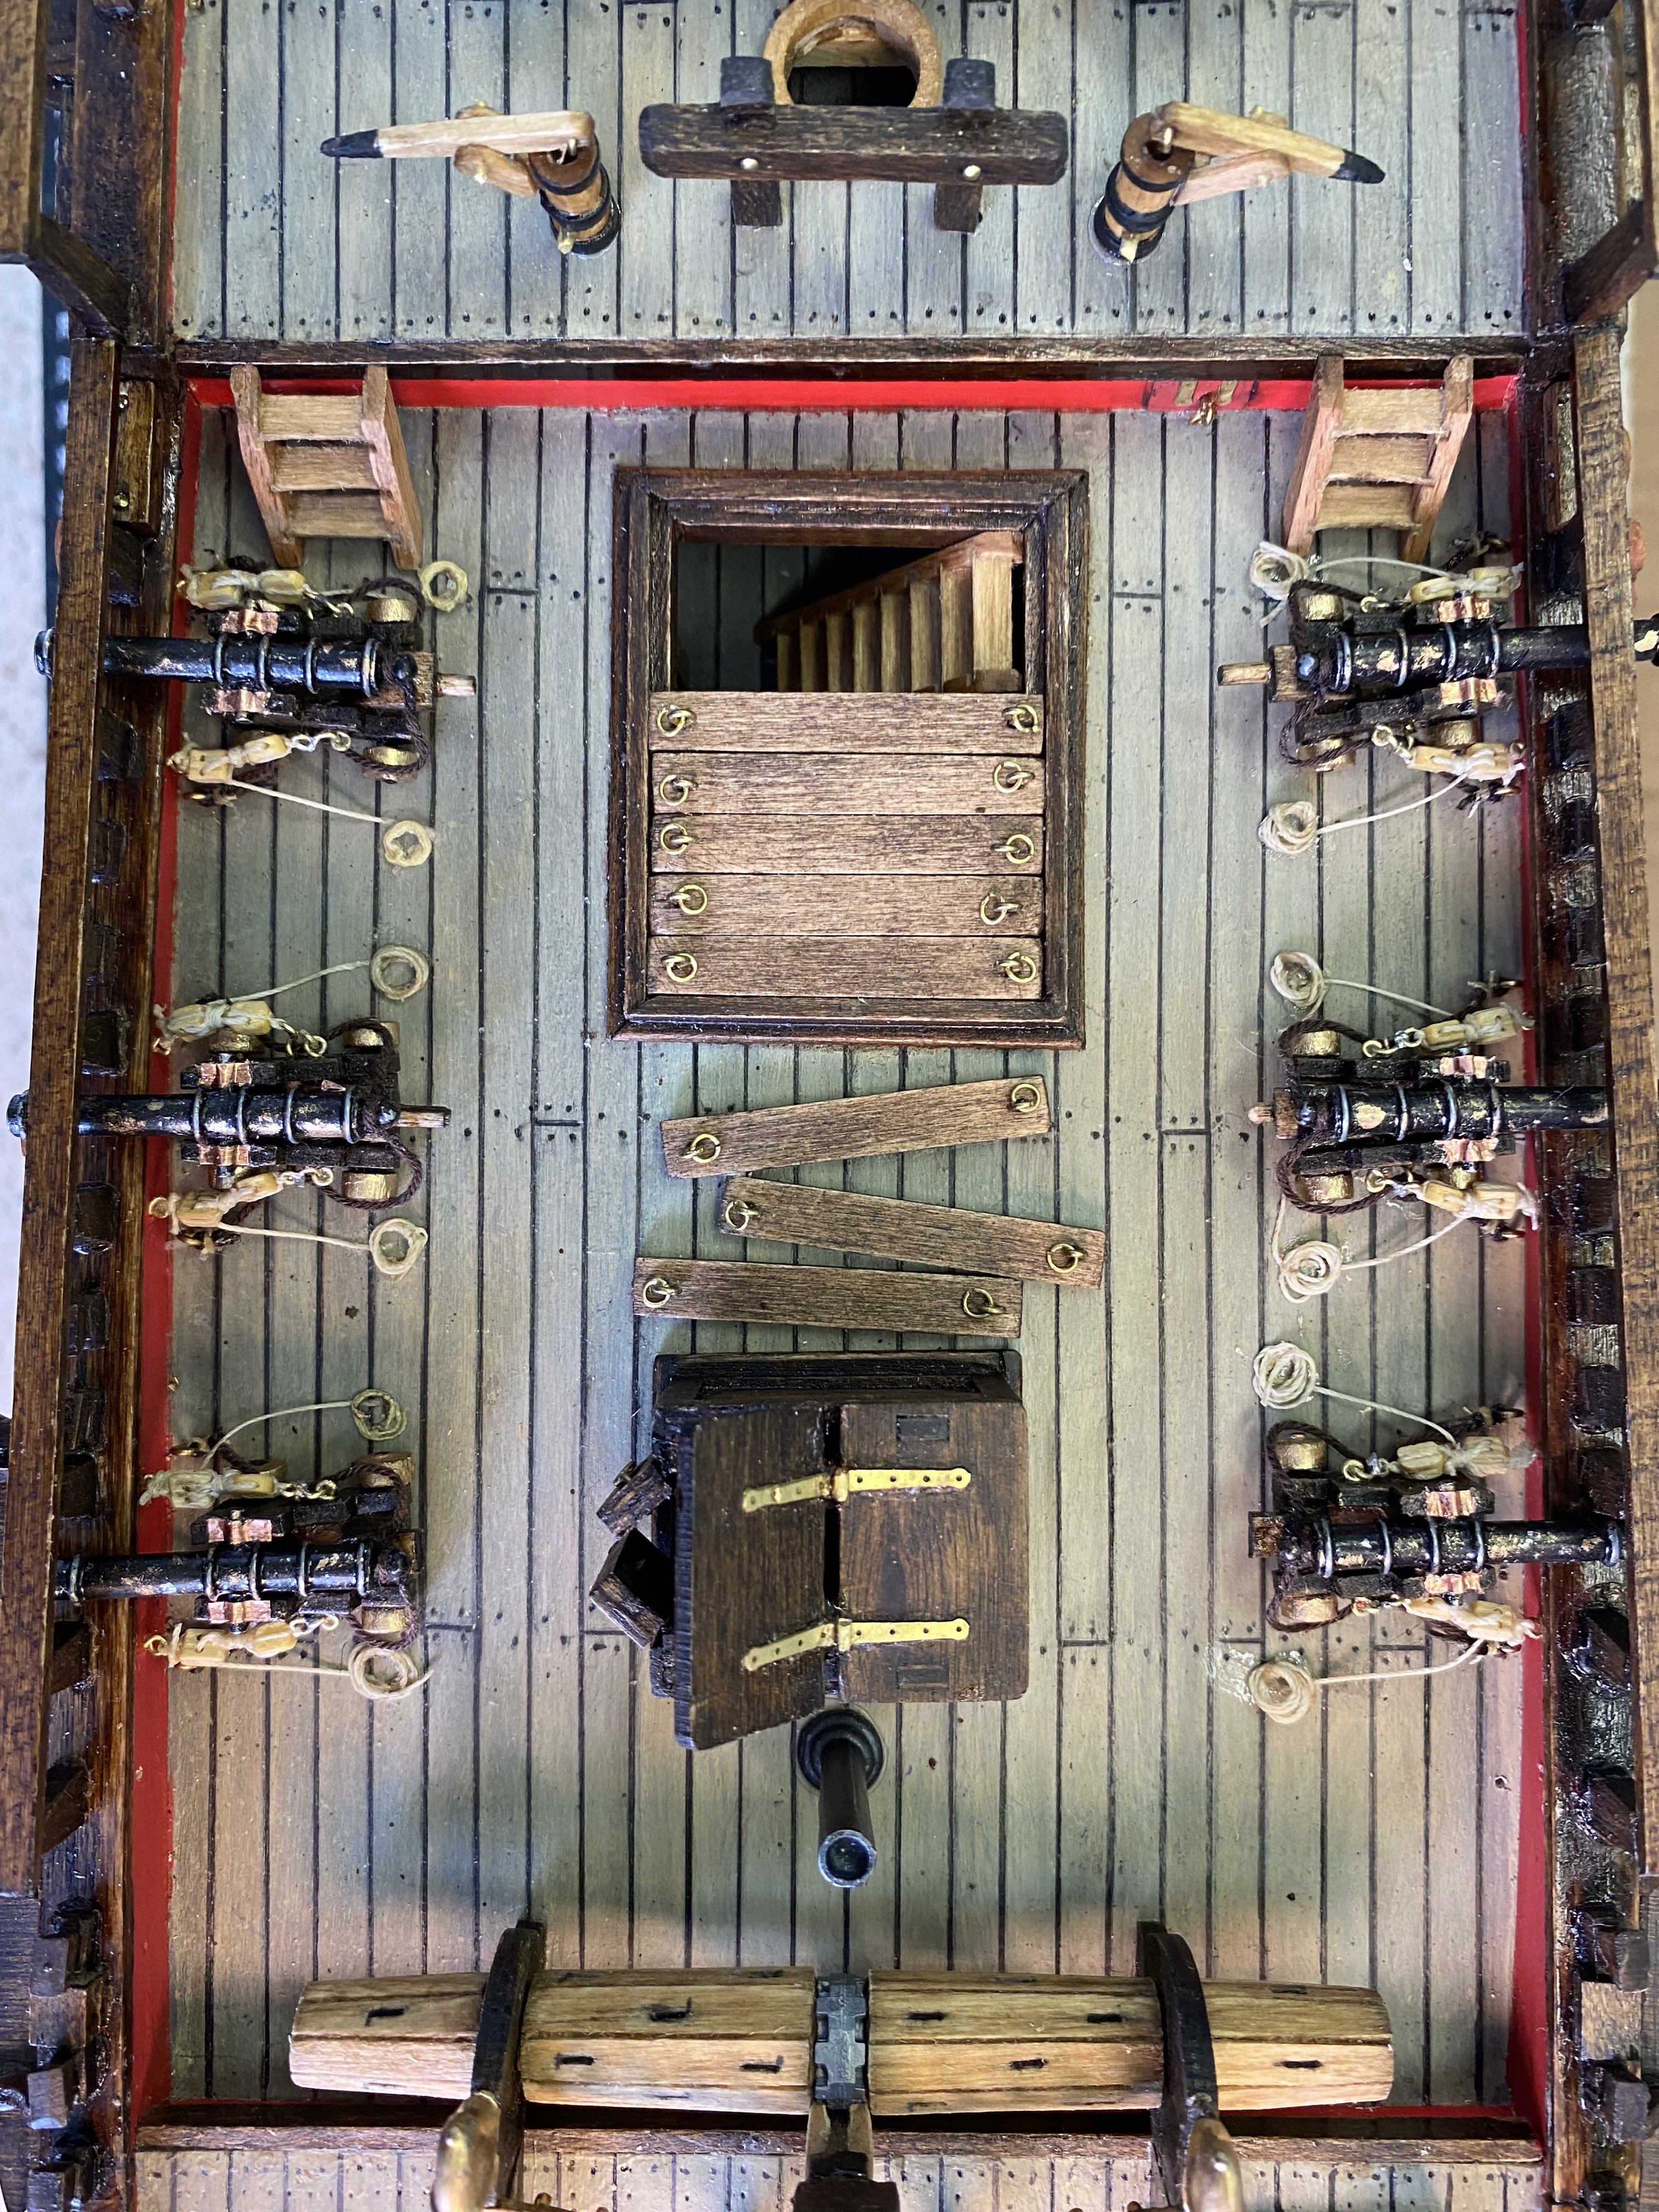
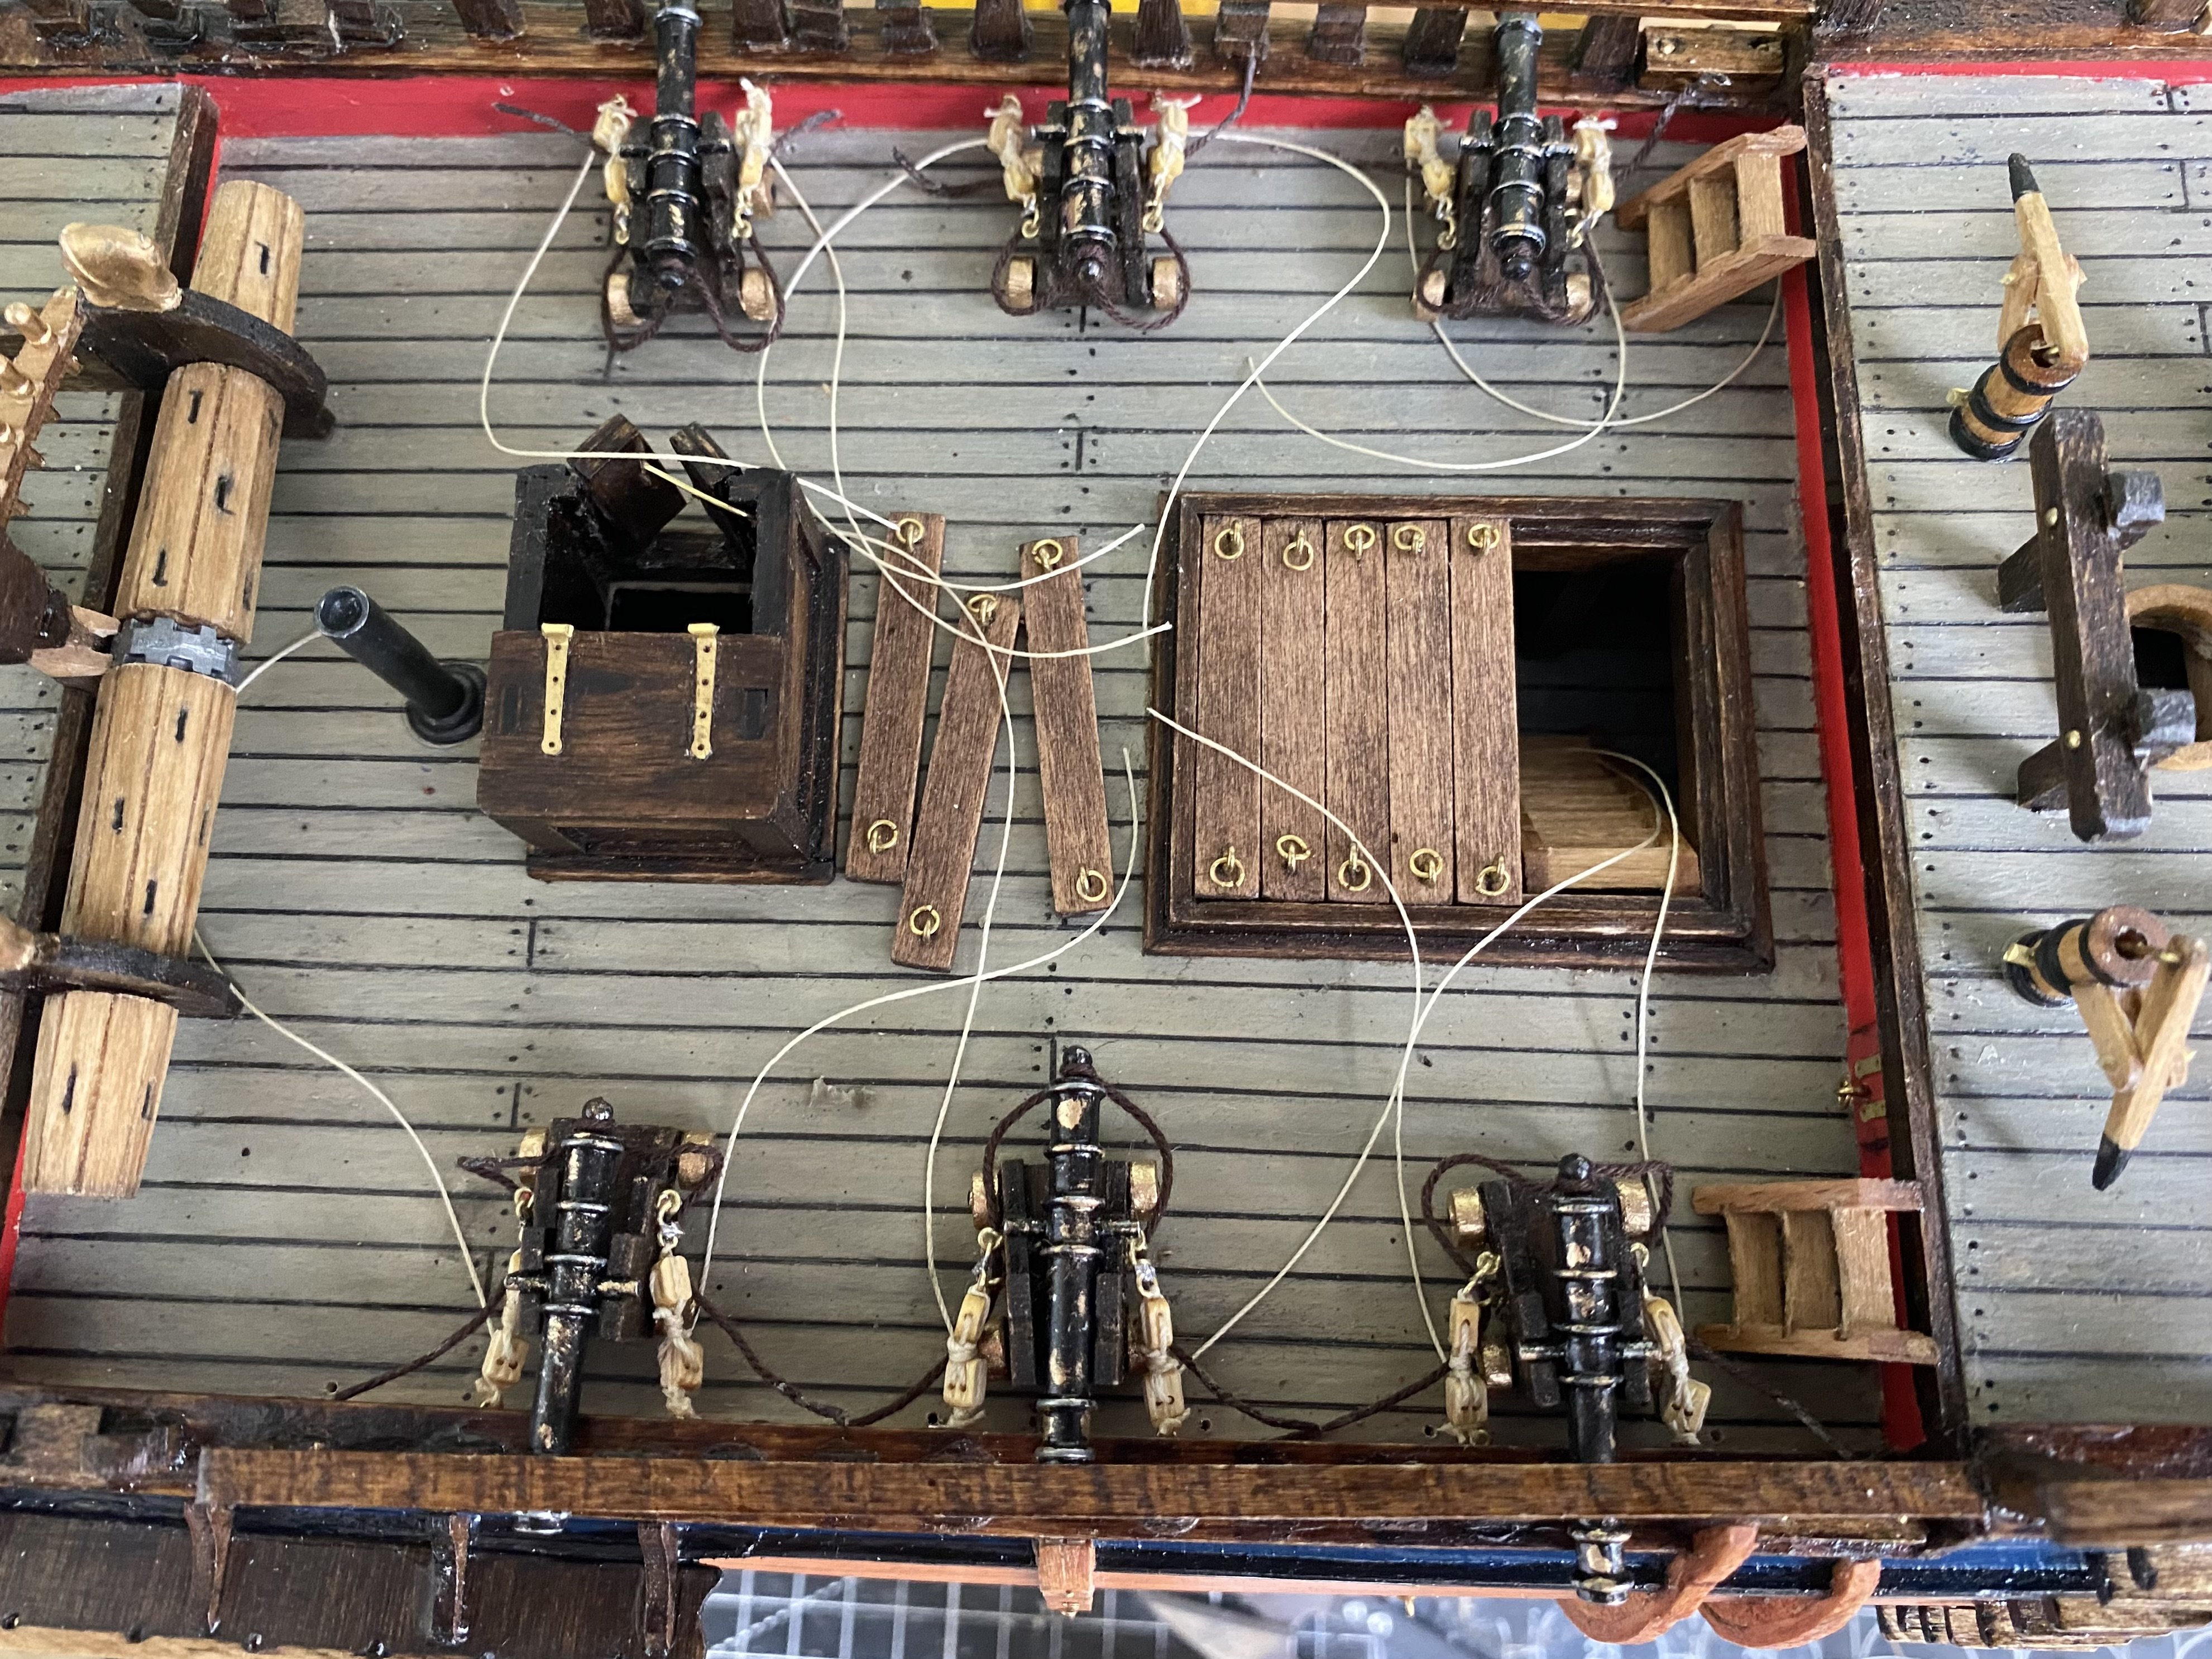
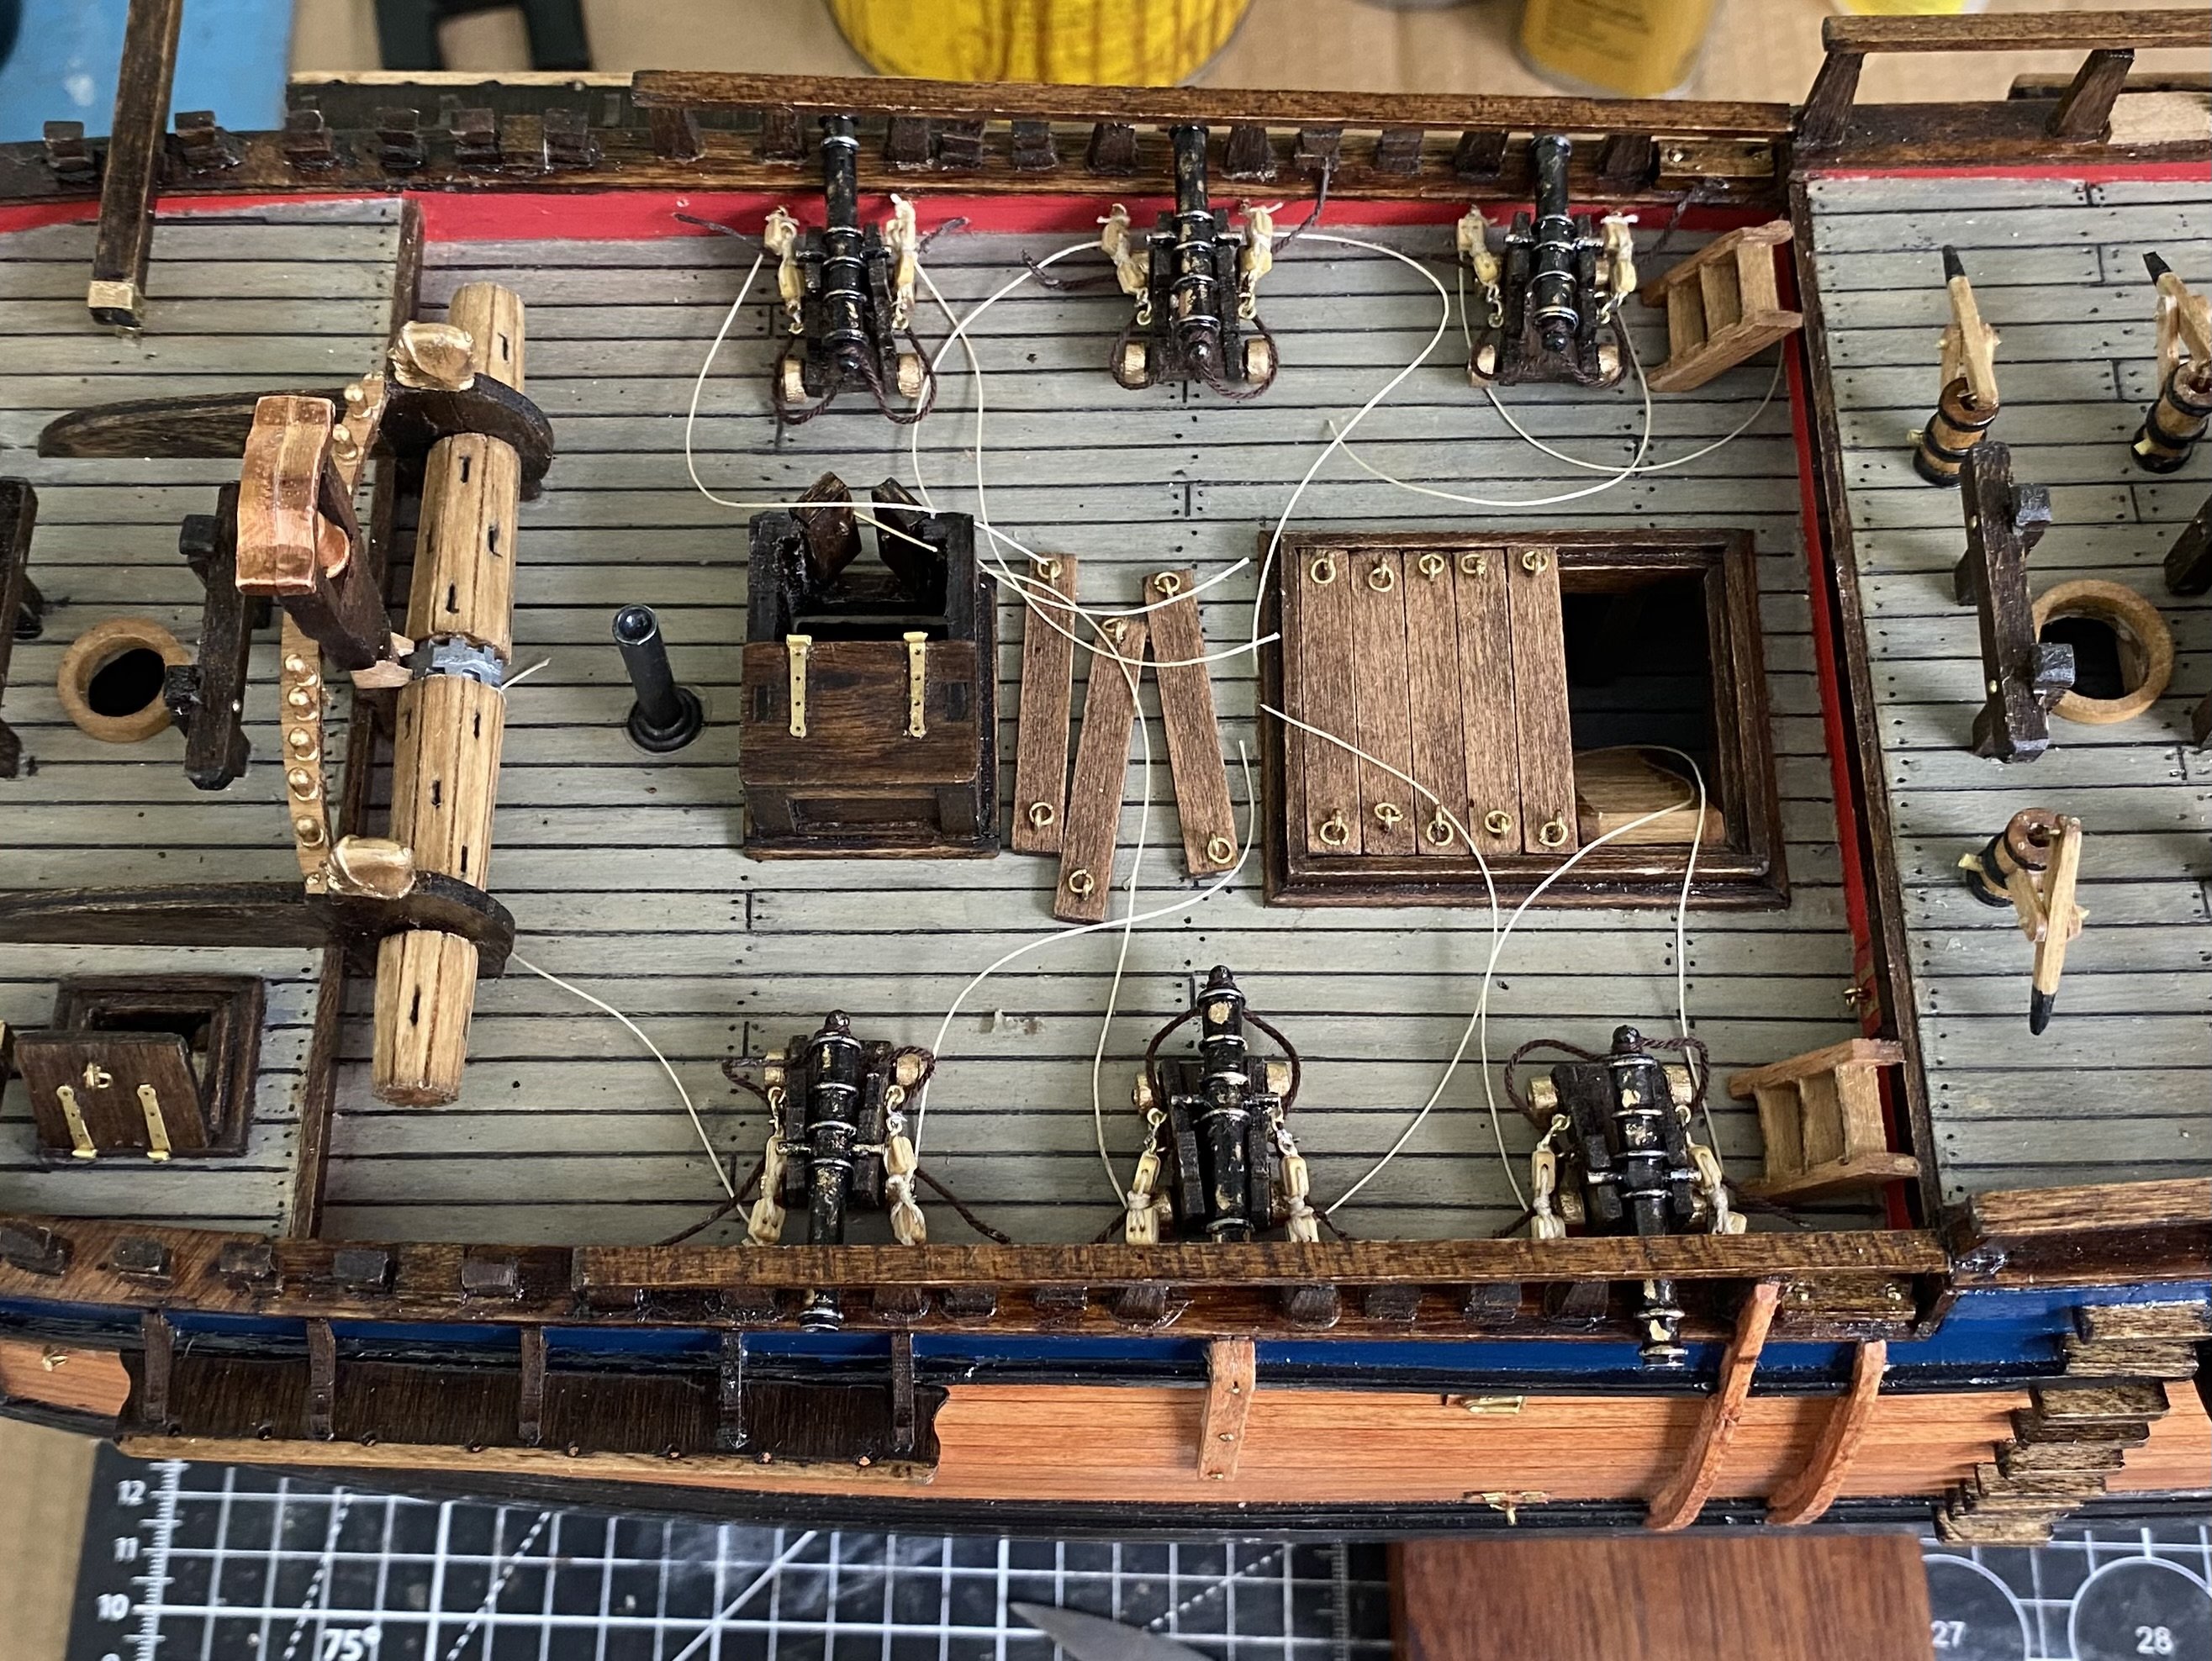
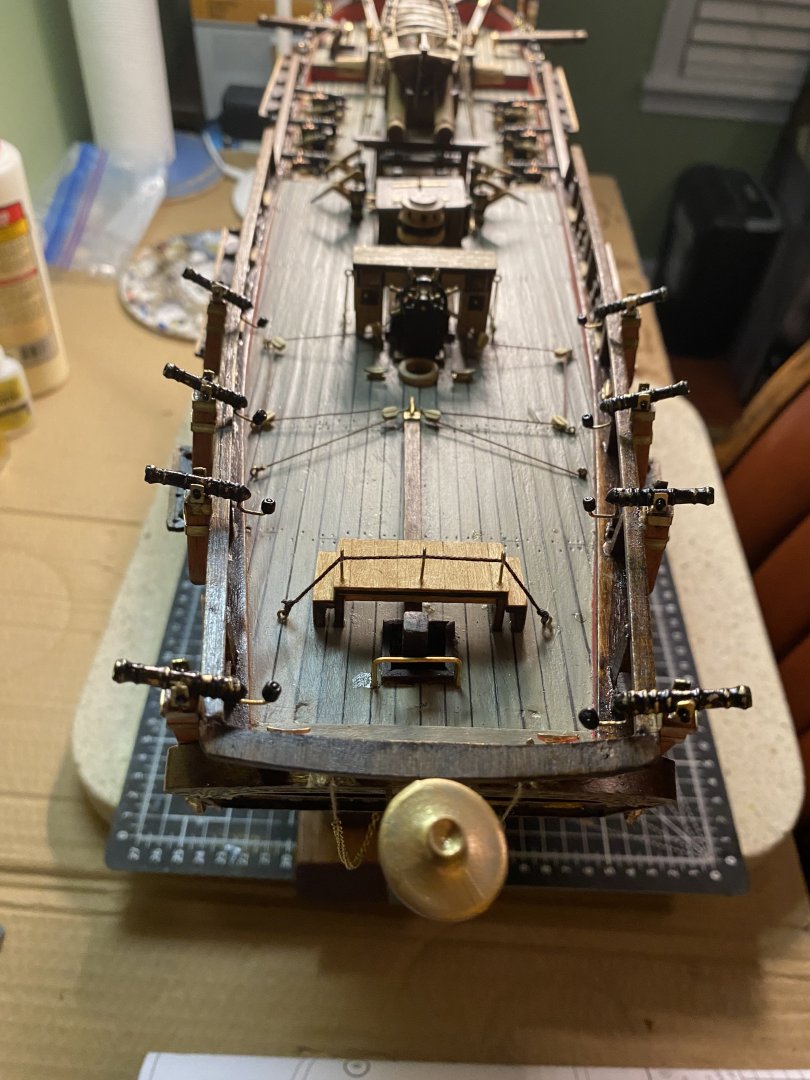
Ok my friends I have an update and a question. I have added the 10 small cannons around the exterior of the deck. With this addition I have pretty much completed the construction of the hull, deck, and items on the deck. Looking back to my start I have thoroughly enjoyed building this wooden ship. As I now start the turning of all the different mast pieces and yards I am struck by the way OcCre shows to do the end of the bowsprit. On all my previous builds the deck end of bowsprit has been tapered to give the appearance that it passes through the deck and is anchored below deck. The OcCre instructions show the end of the bow split being simply anchored under the forecastle bitt. Would this have been correct? Does not seem this would have been adequate under the extreme pressure the bowsprit endured. I have searched on line for photos that show this part of the replica to no avail. What are your thoughts?


-
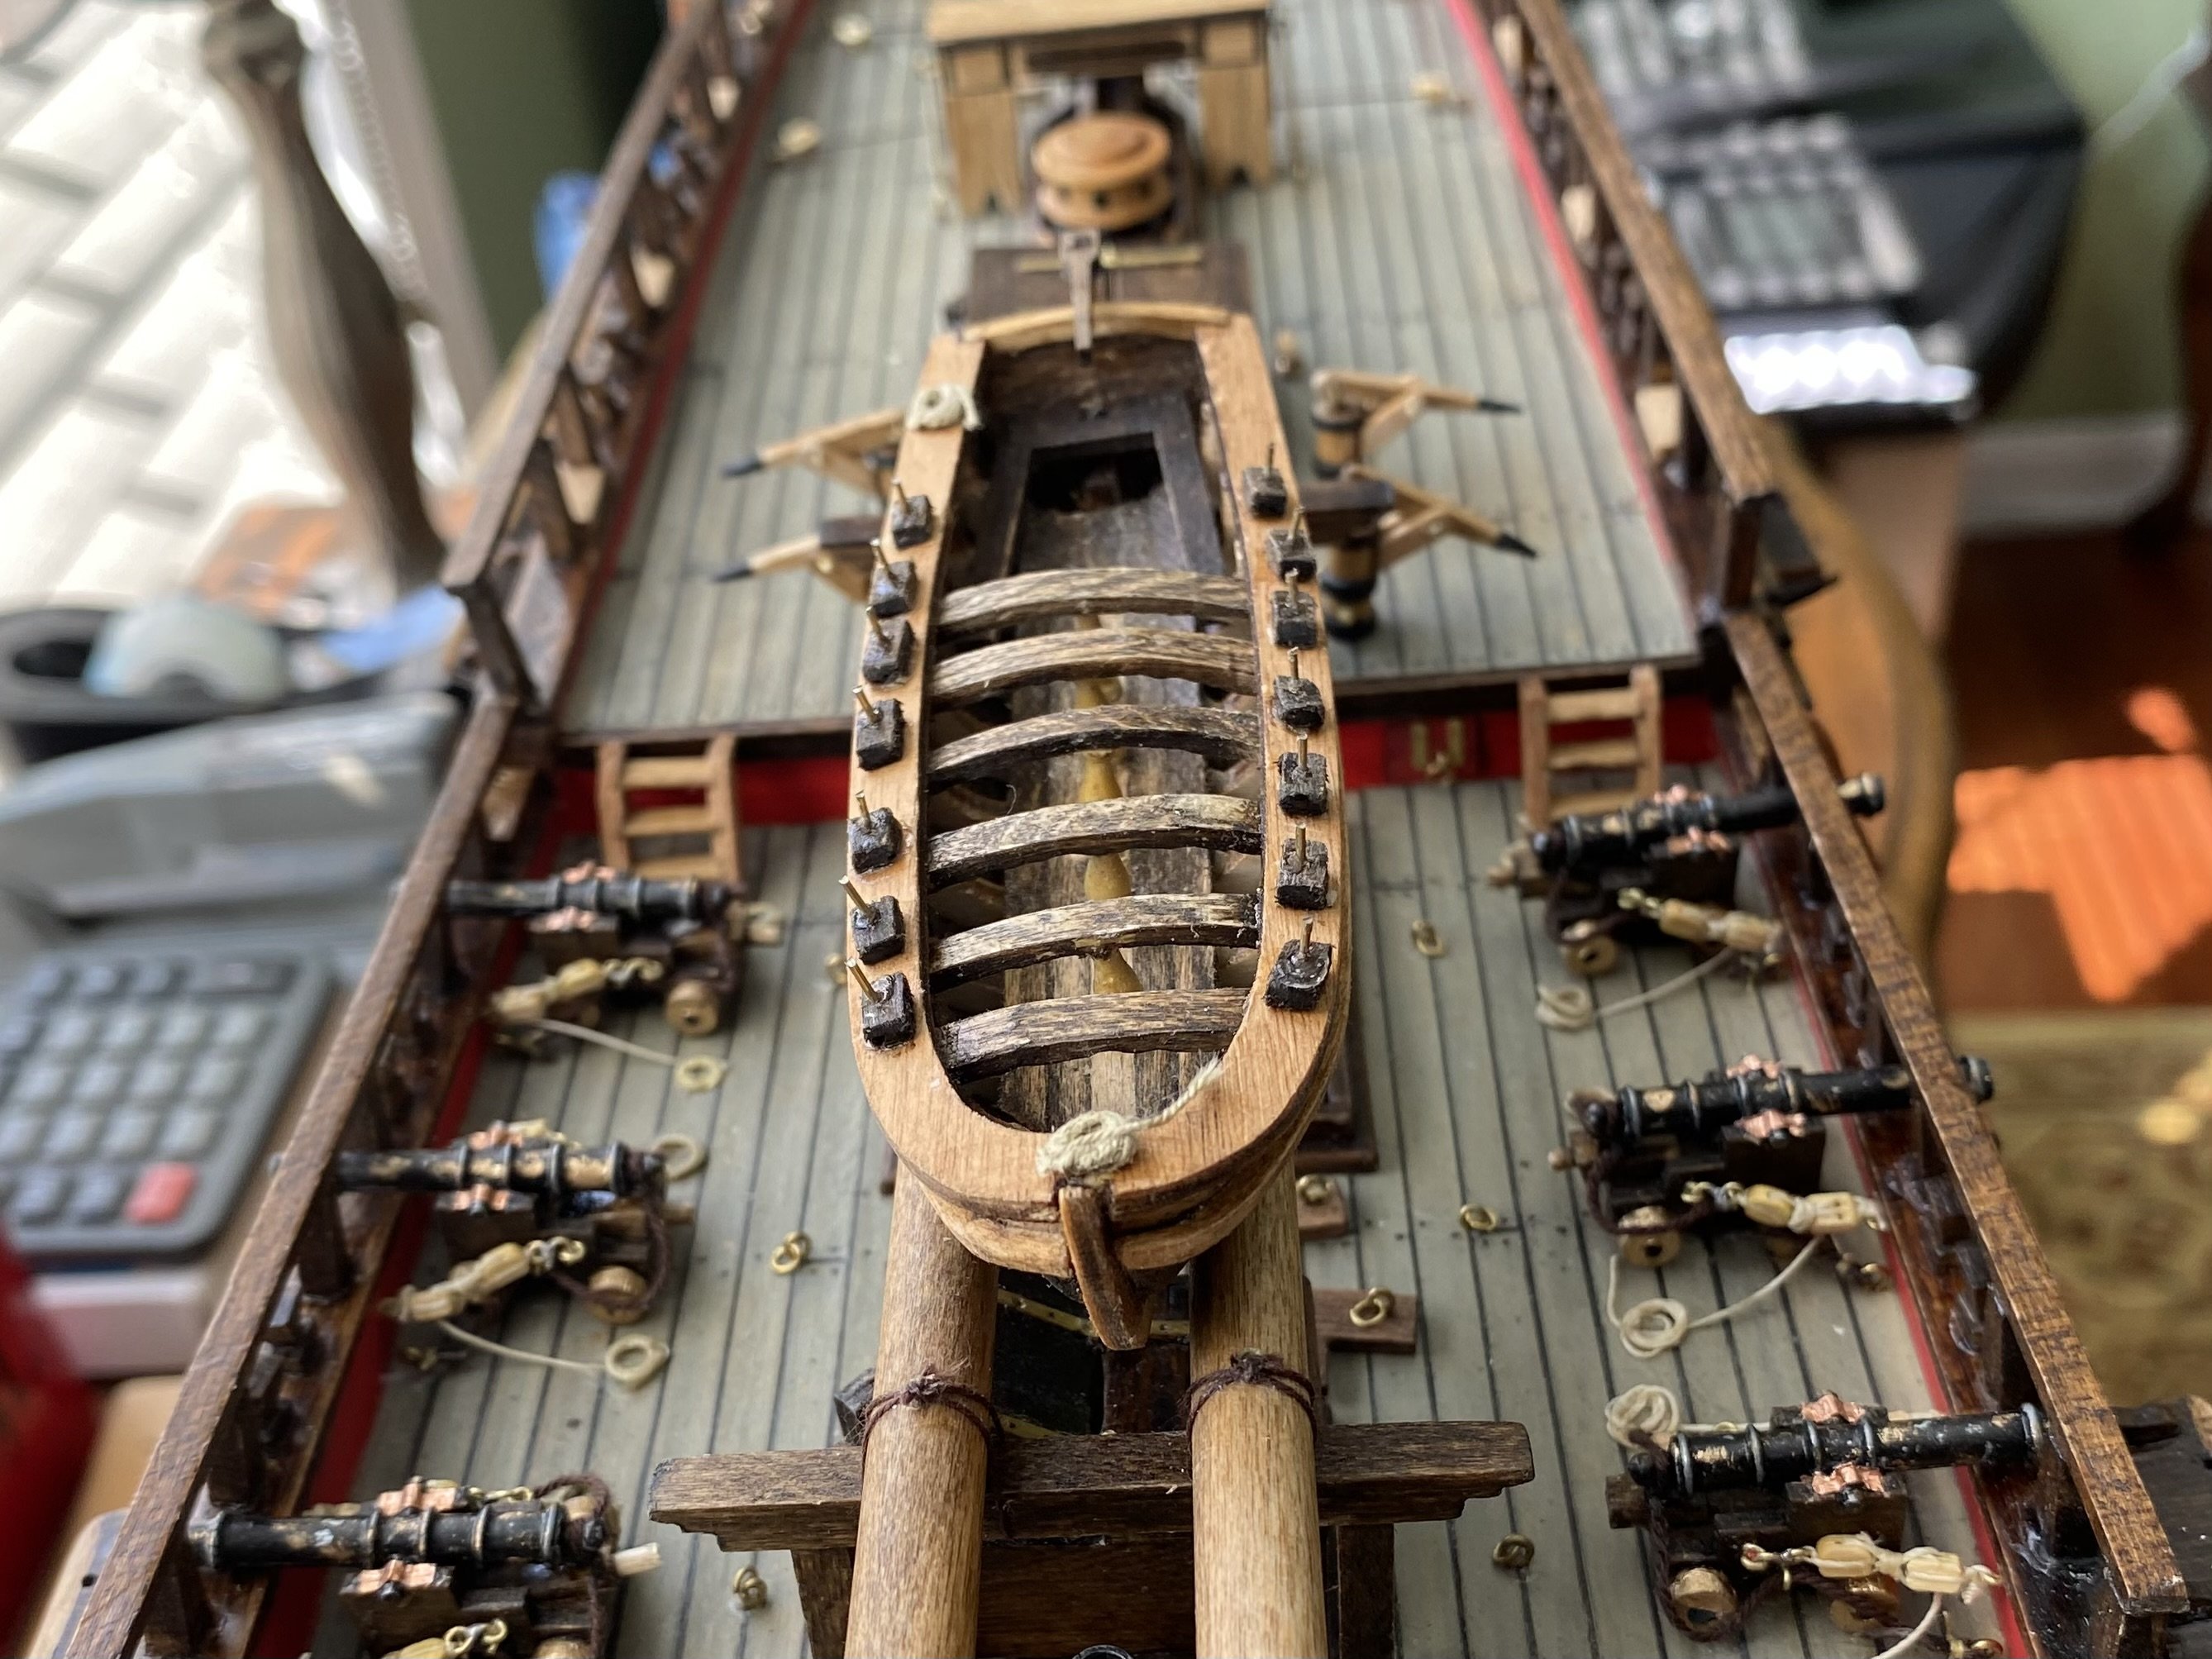
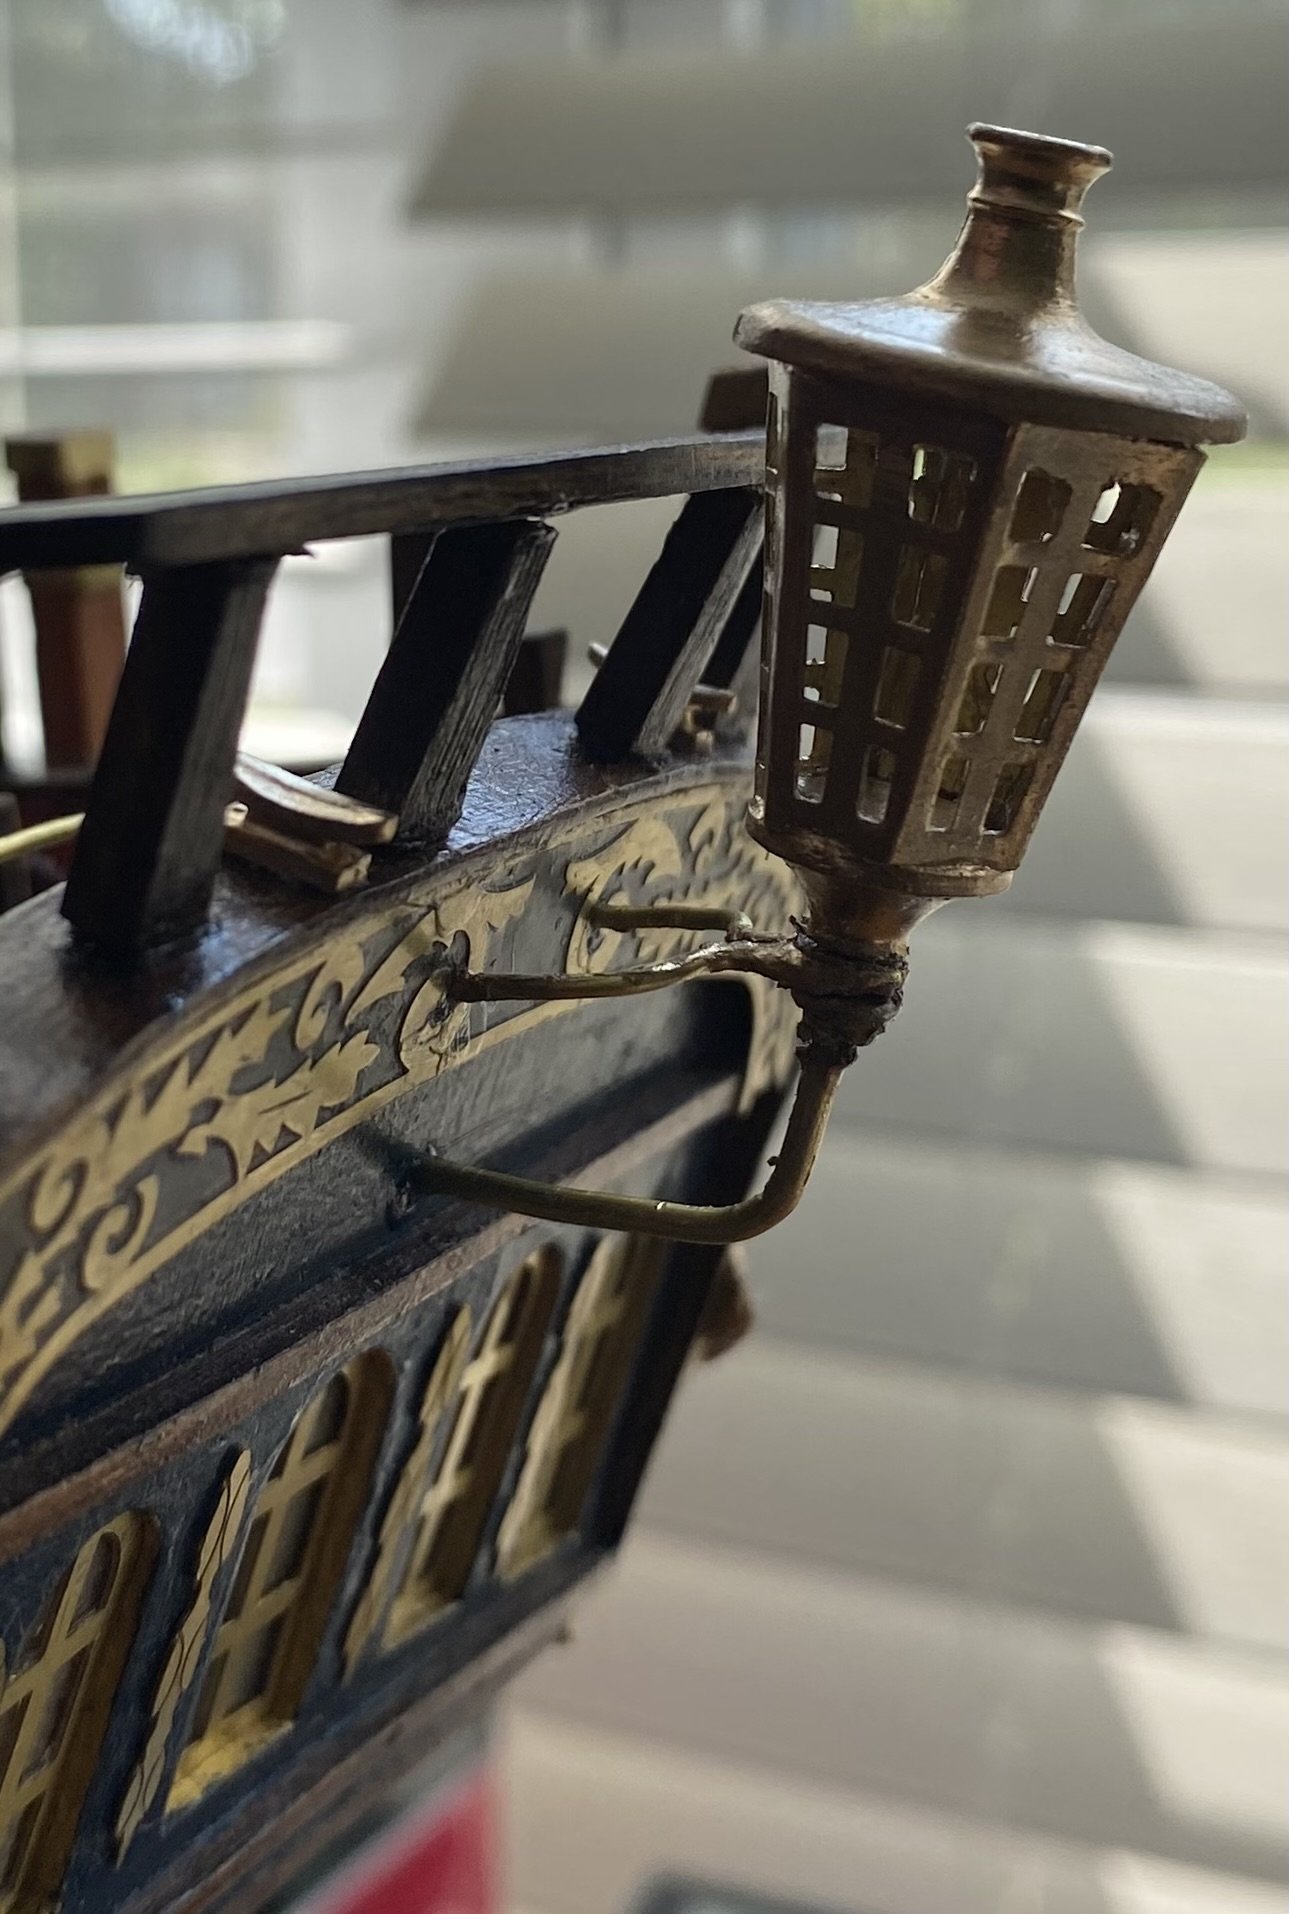
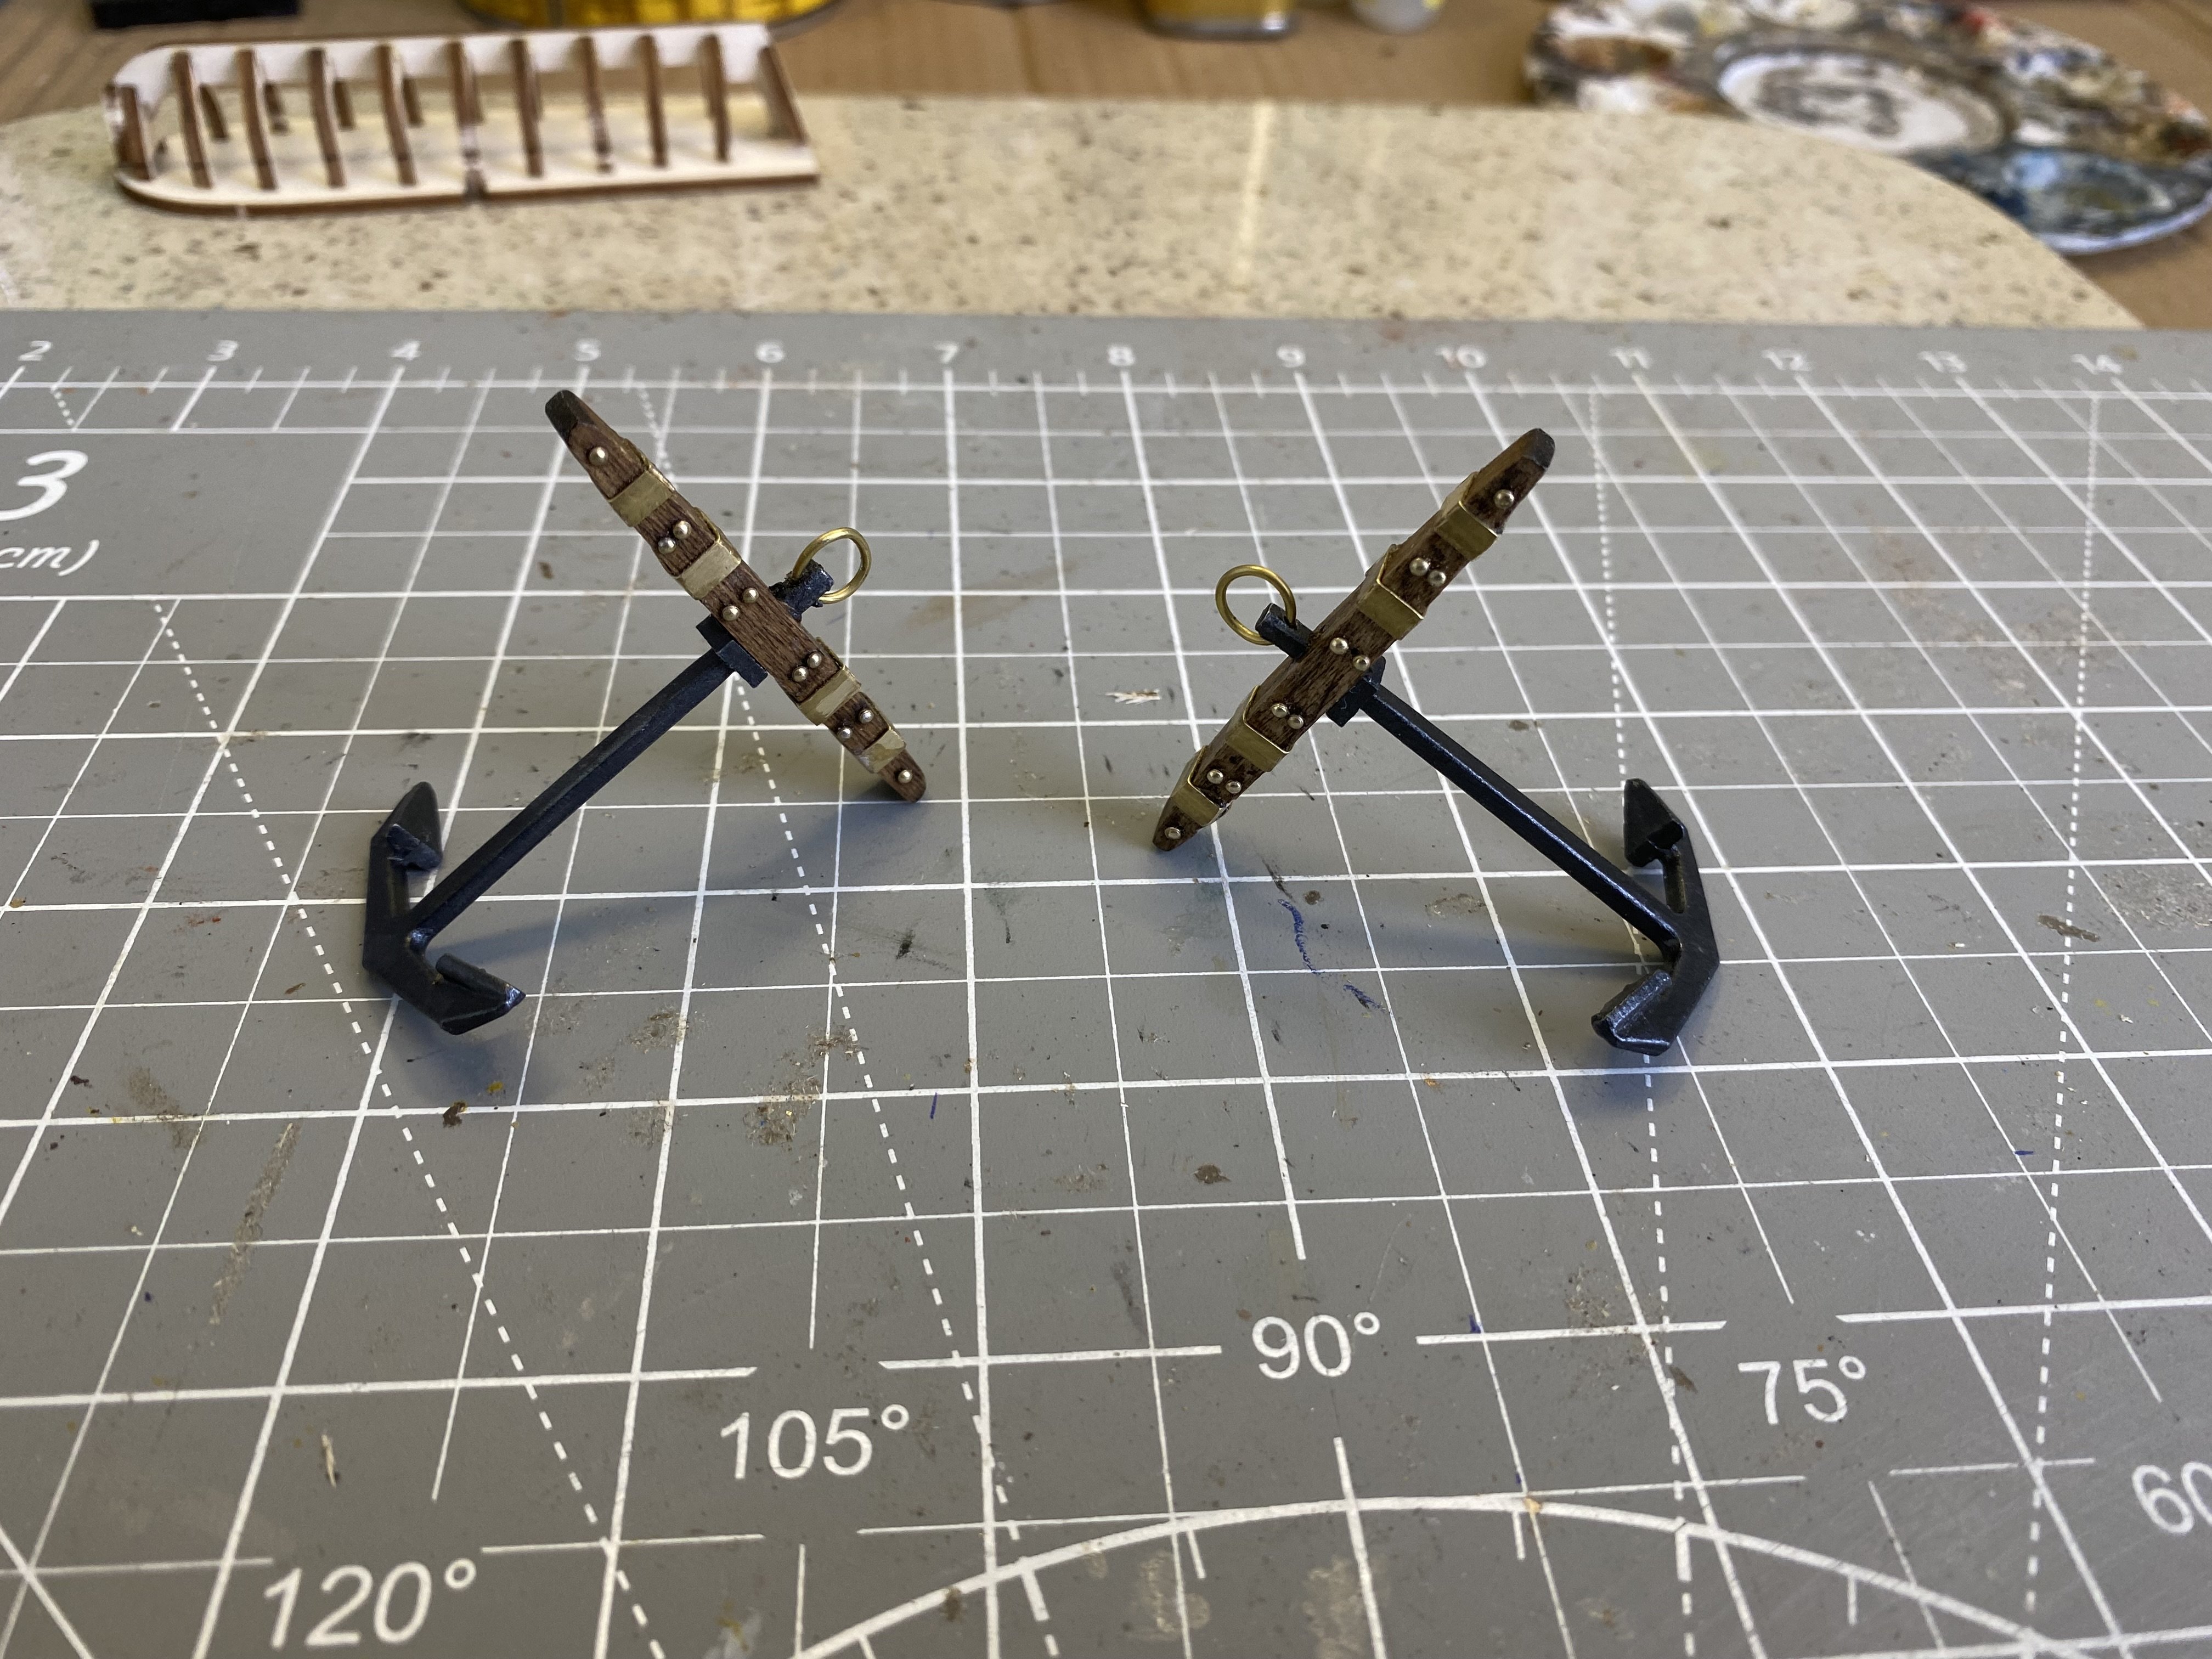
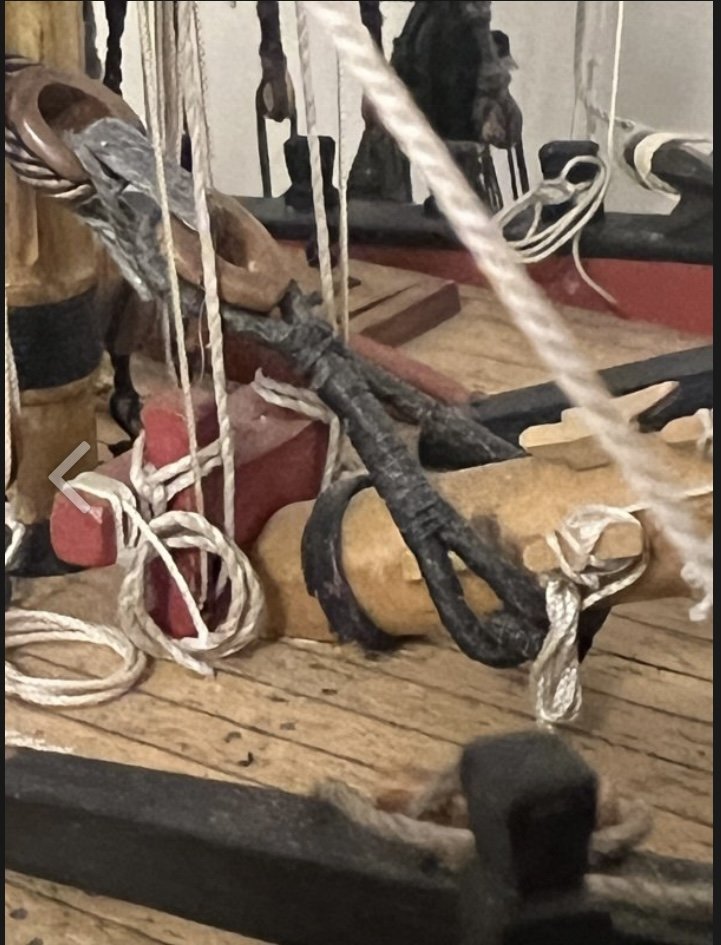
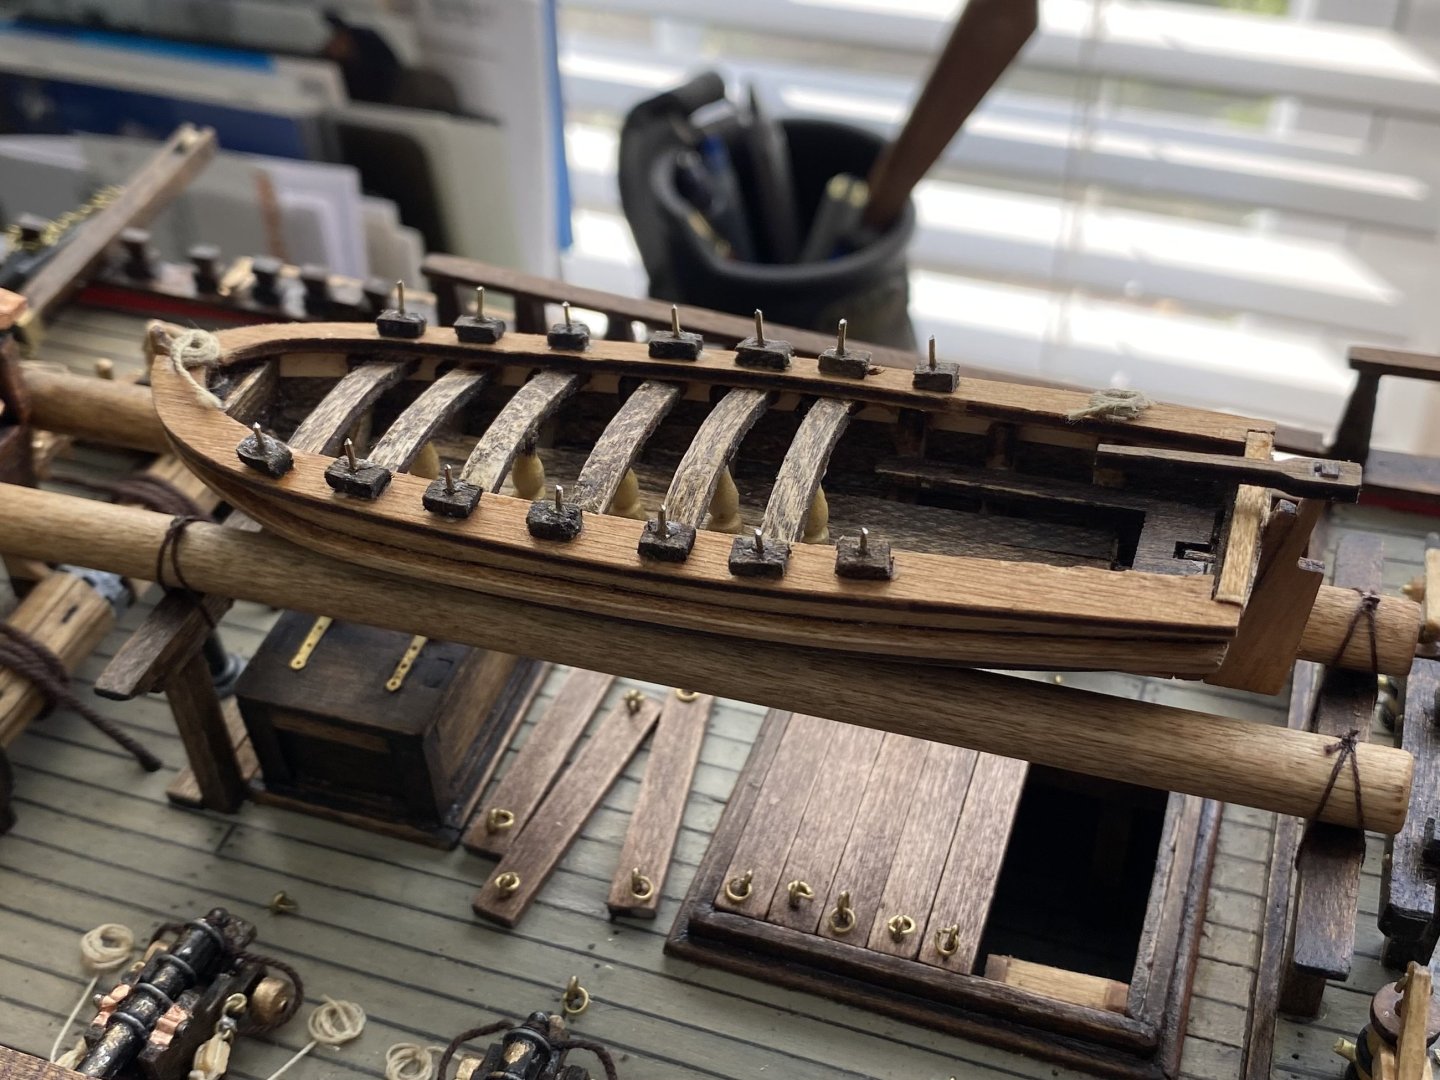
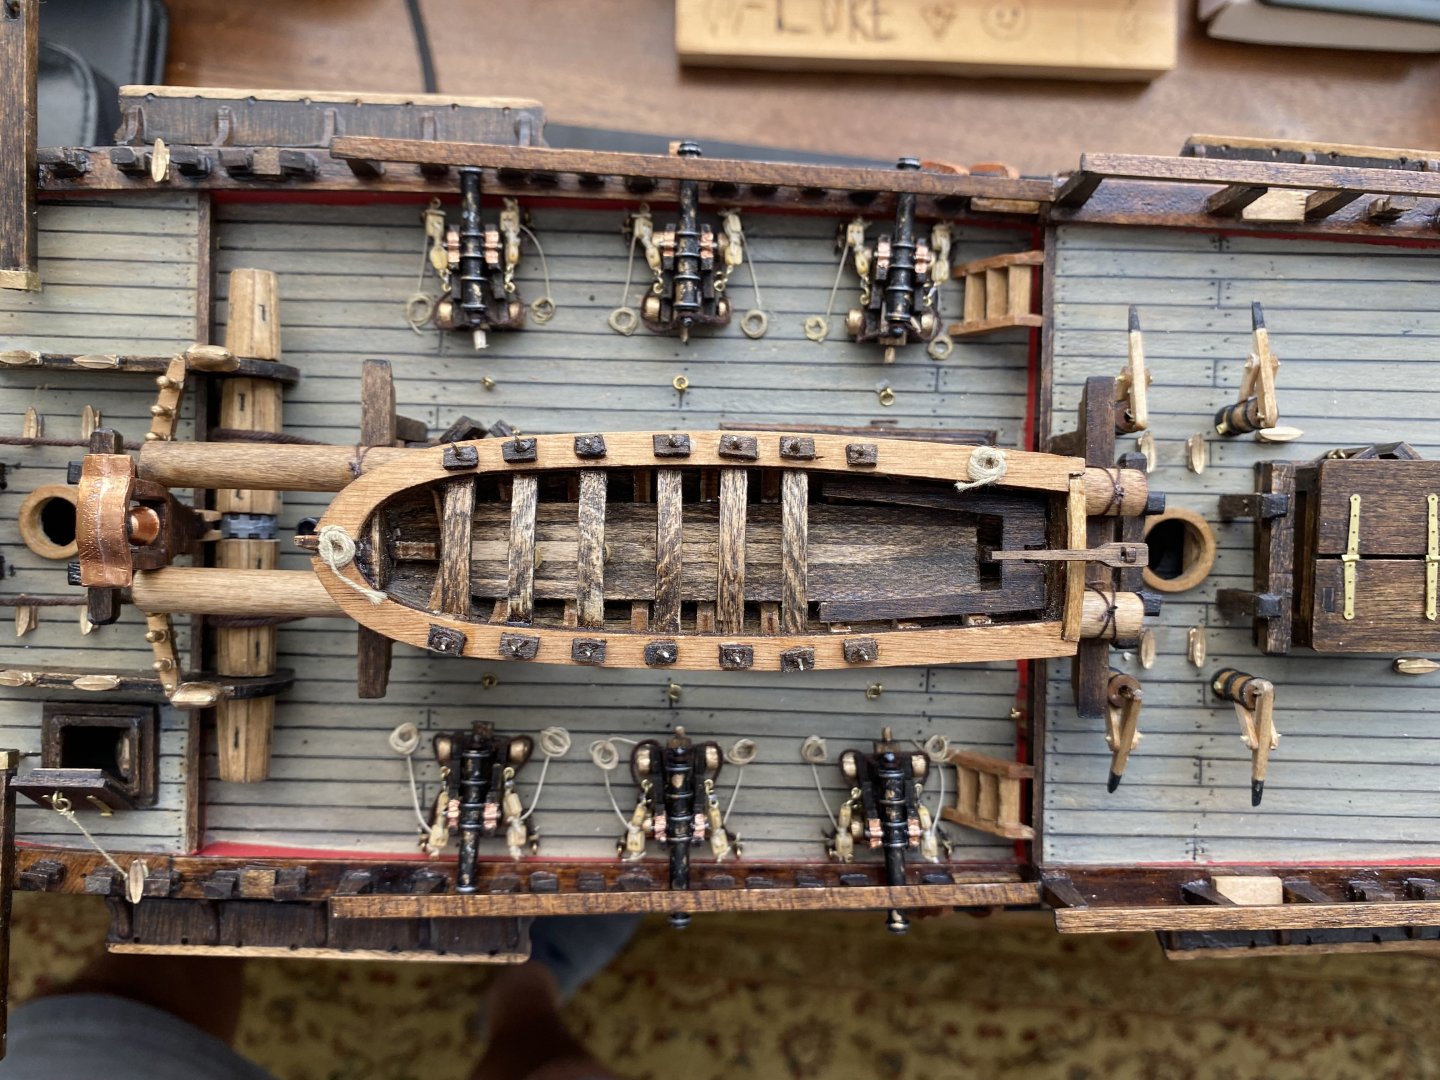
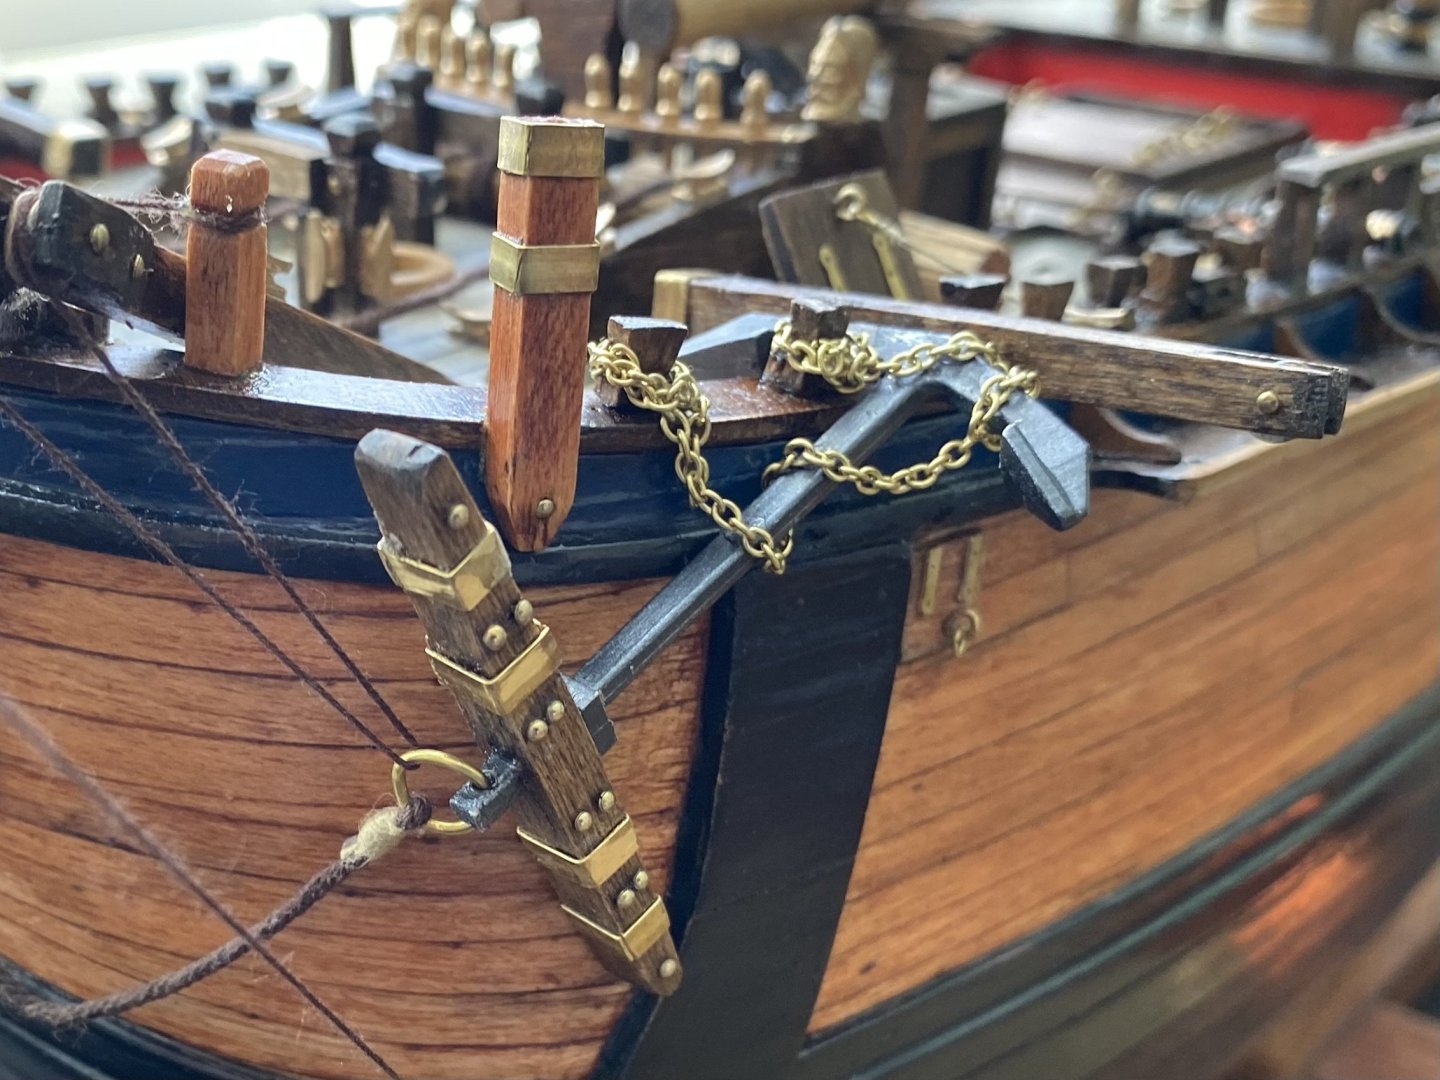
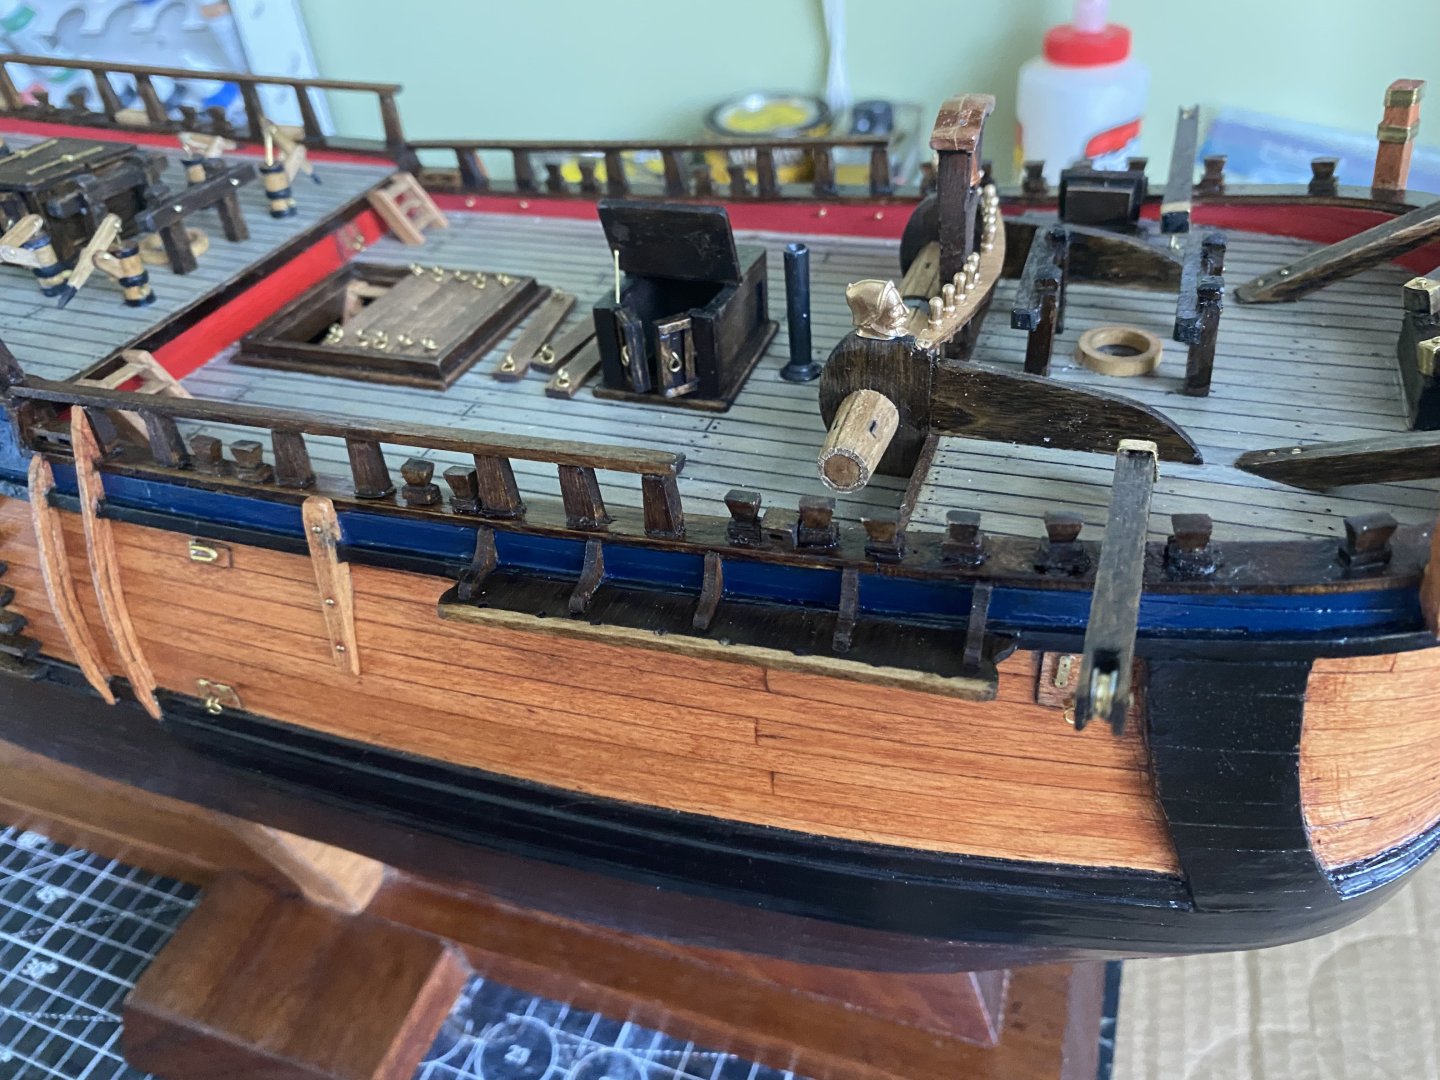
A few more additions to my Endeavour. Added the anchors, stern lantern, and the lifeboat. Wow it was a crowded deck!


-
Absolutely incredible Marc! Your attention to the small details makes following your build such a pleasure. One thing I find so impressive is how clean your work is. Even for the uneducated viewer, who does not know the Soleil Royal history and design, the precision of your work is awesome. I from time to time zoom in on parts of your photos in amazement. No uneven paint lines. No glue residue. Perfection at its highest level. That is an element I am really working to improve on my builds. Regardless of the nautical accuracy, I want to really perfect my builds sharpness and cleaness ( if that is a word). I press for that in my furniture building and want that in my model building.
- 2,699 replies
-
- 5
-

-

-
- heller
- soleil royal
- (and 9 more)
-
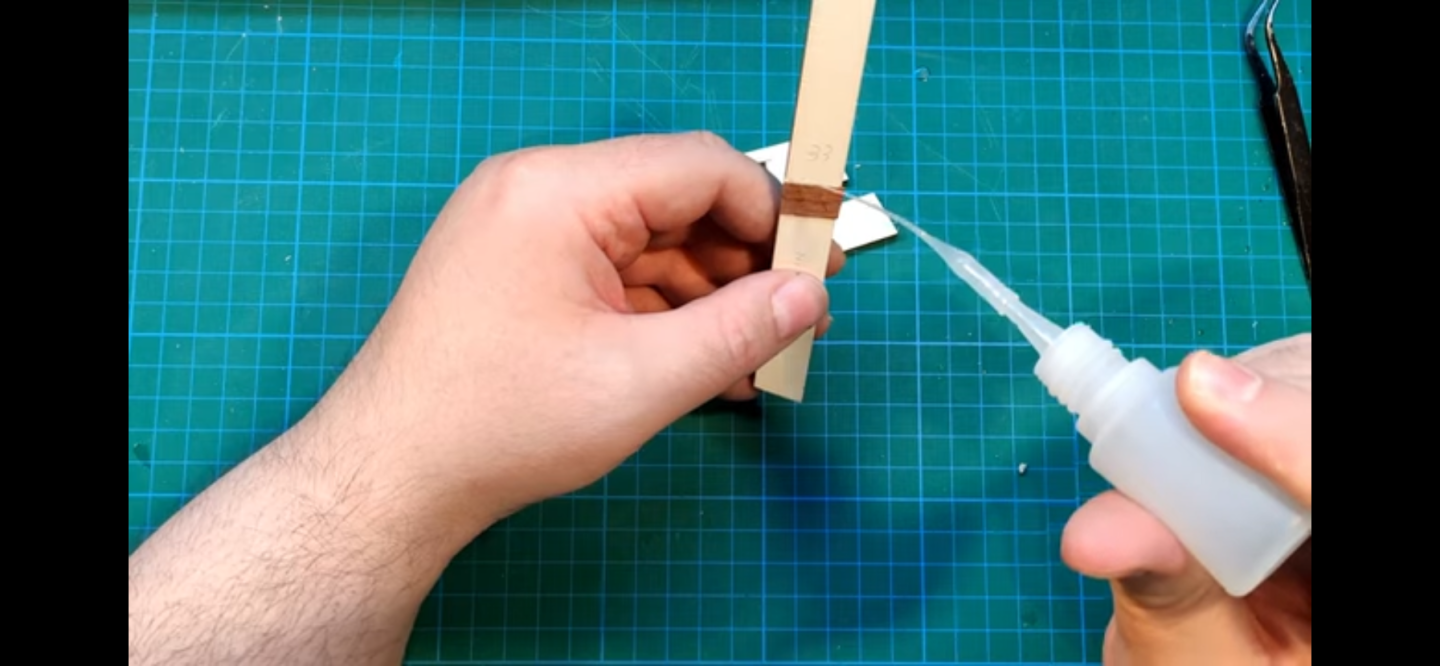
Any of you guys know what this builder is using for gluing? I see this is a number of videos. It looks like a great product for spot quick glue placement. Does not appear there is an issue with the tip clogging.
-
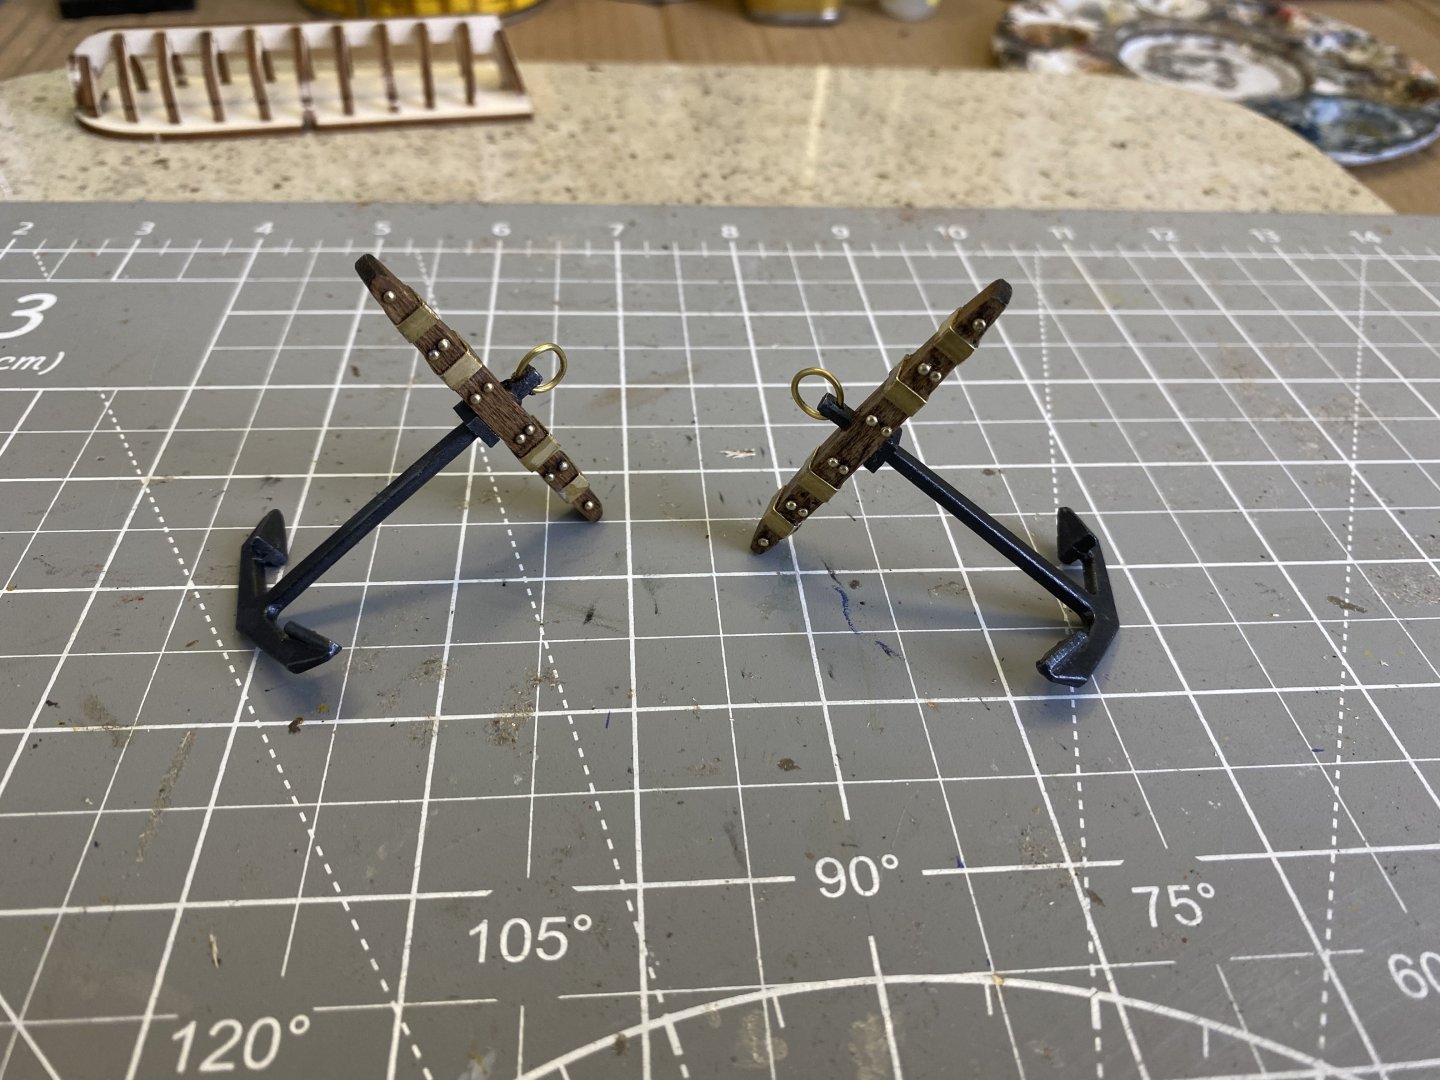
Anchors made. Also completed rigging the helm. Pleased that it actually moves the rudder.

-
So looking ahead at the next steps in the building instructions for my OcCre Endeavour I am too add the deadeyes and chains to the channels. From my previous builds experience I am thinking this is too early for this step. On past builds I had the lower mast sections in place and the mast tops. This enabled me to run a straight line with a loose shroud from the mast top down through the appropriate deadeye and then on down through the chain. There by having the chain line up with the angle of the shroud and also have the deadeye turned to where the holes line up correctly as well. Is this the way you guys do it as well?
-
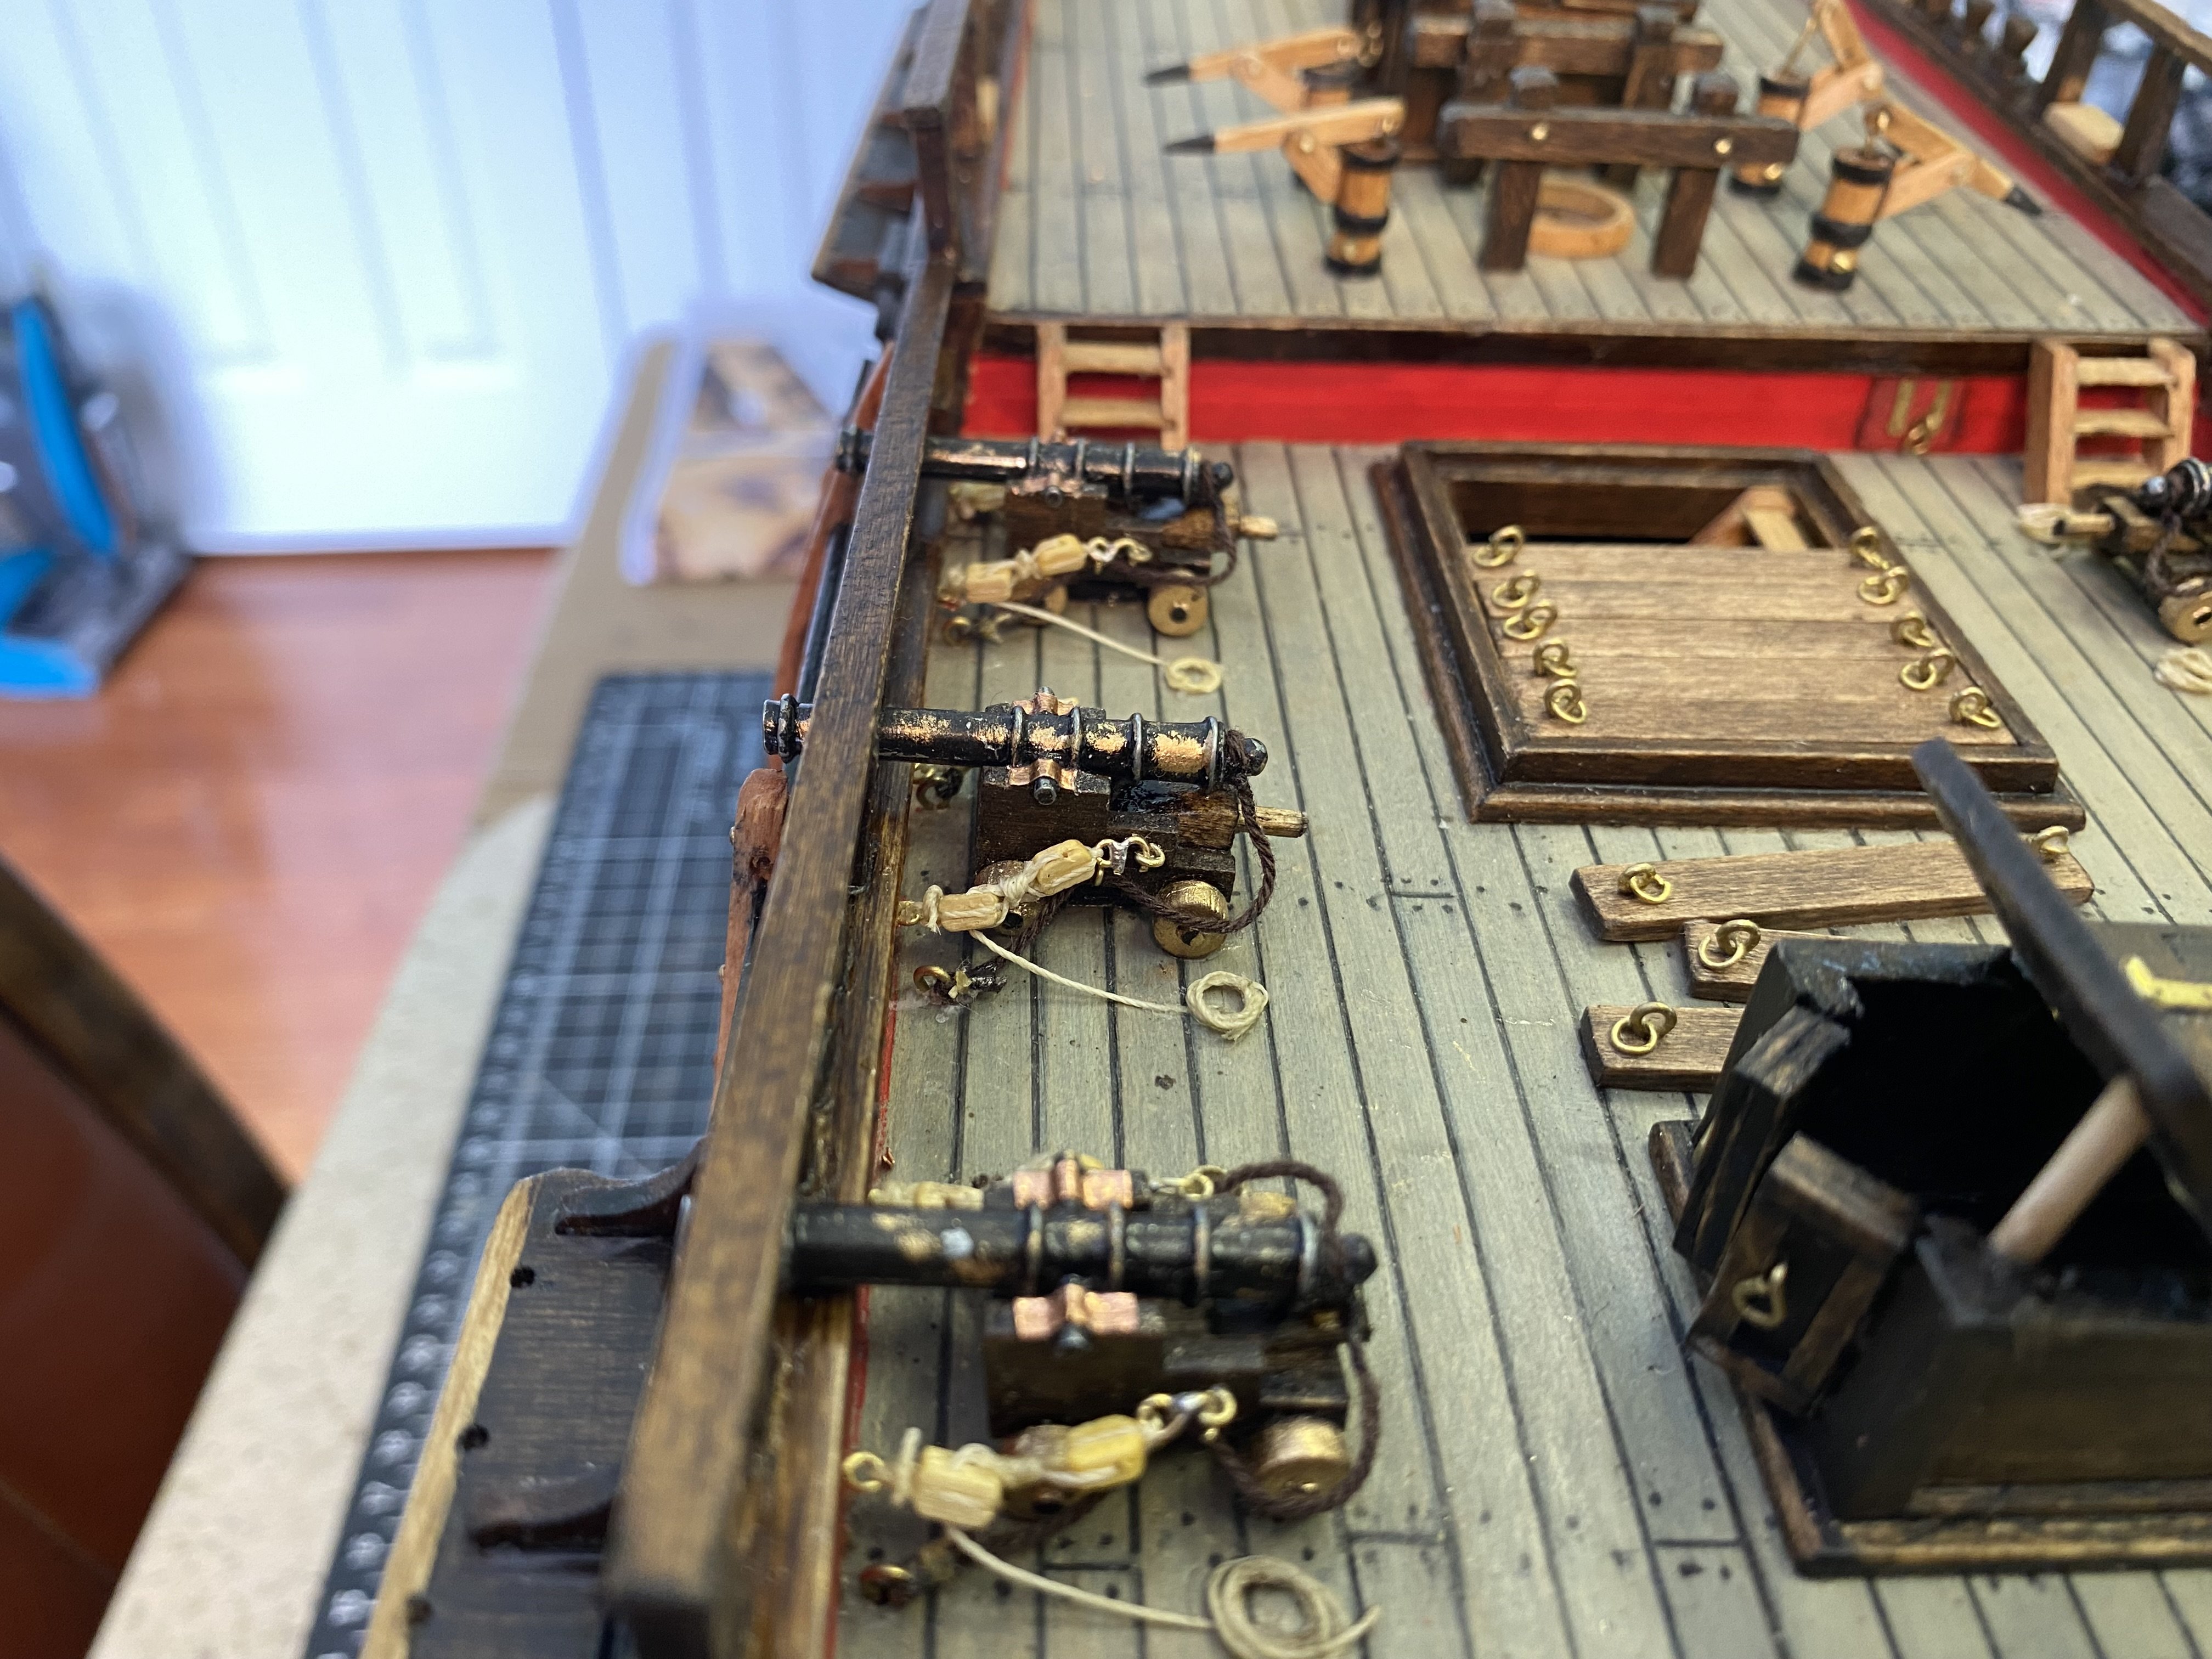
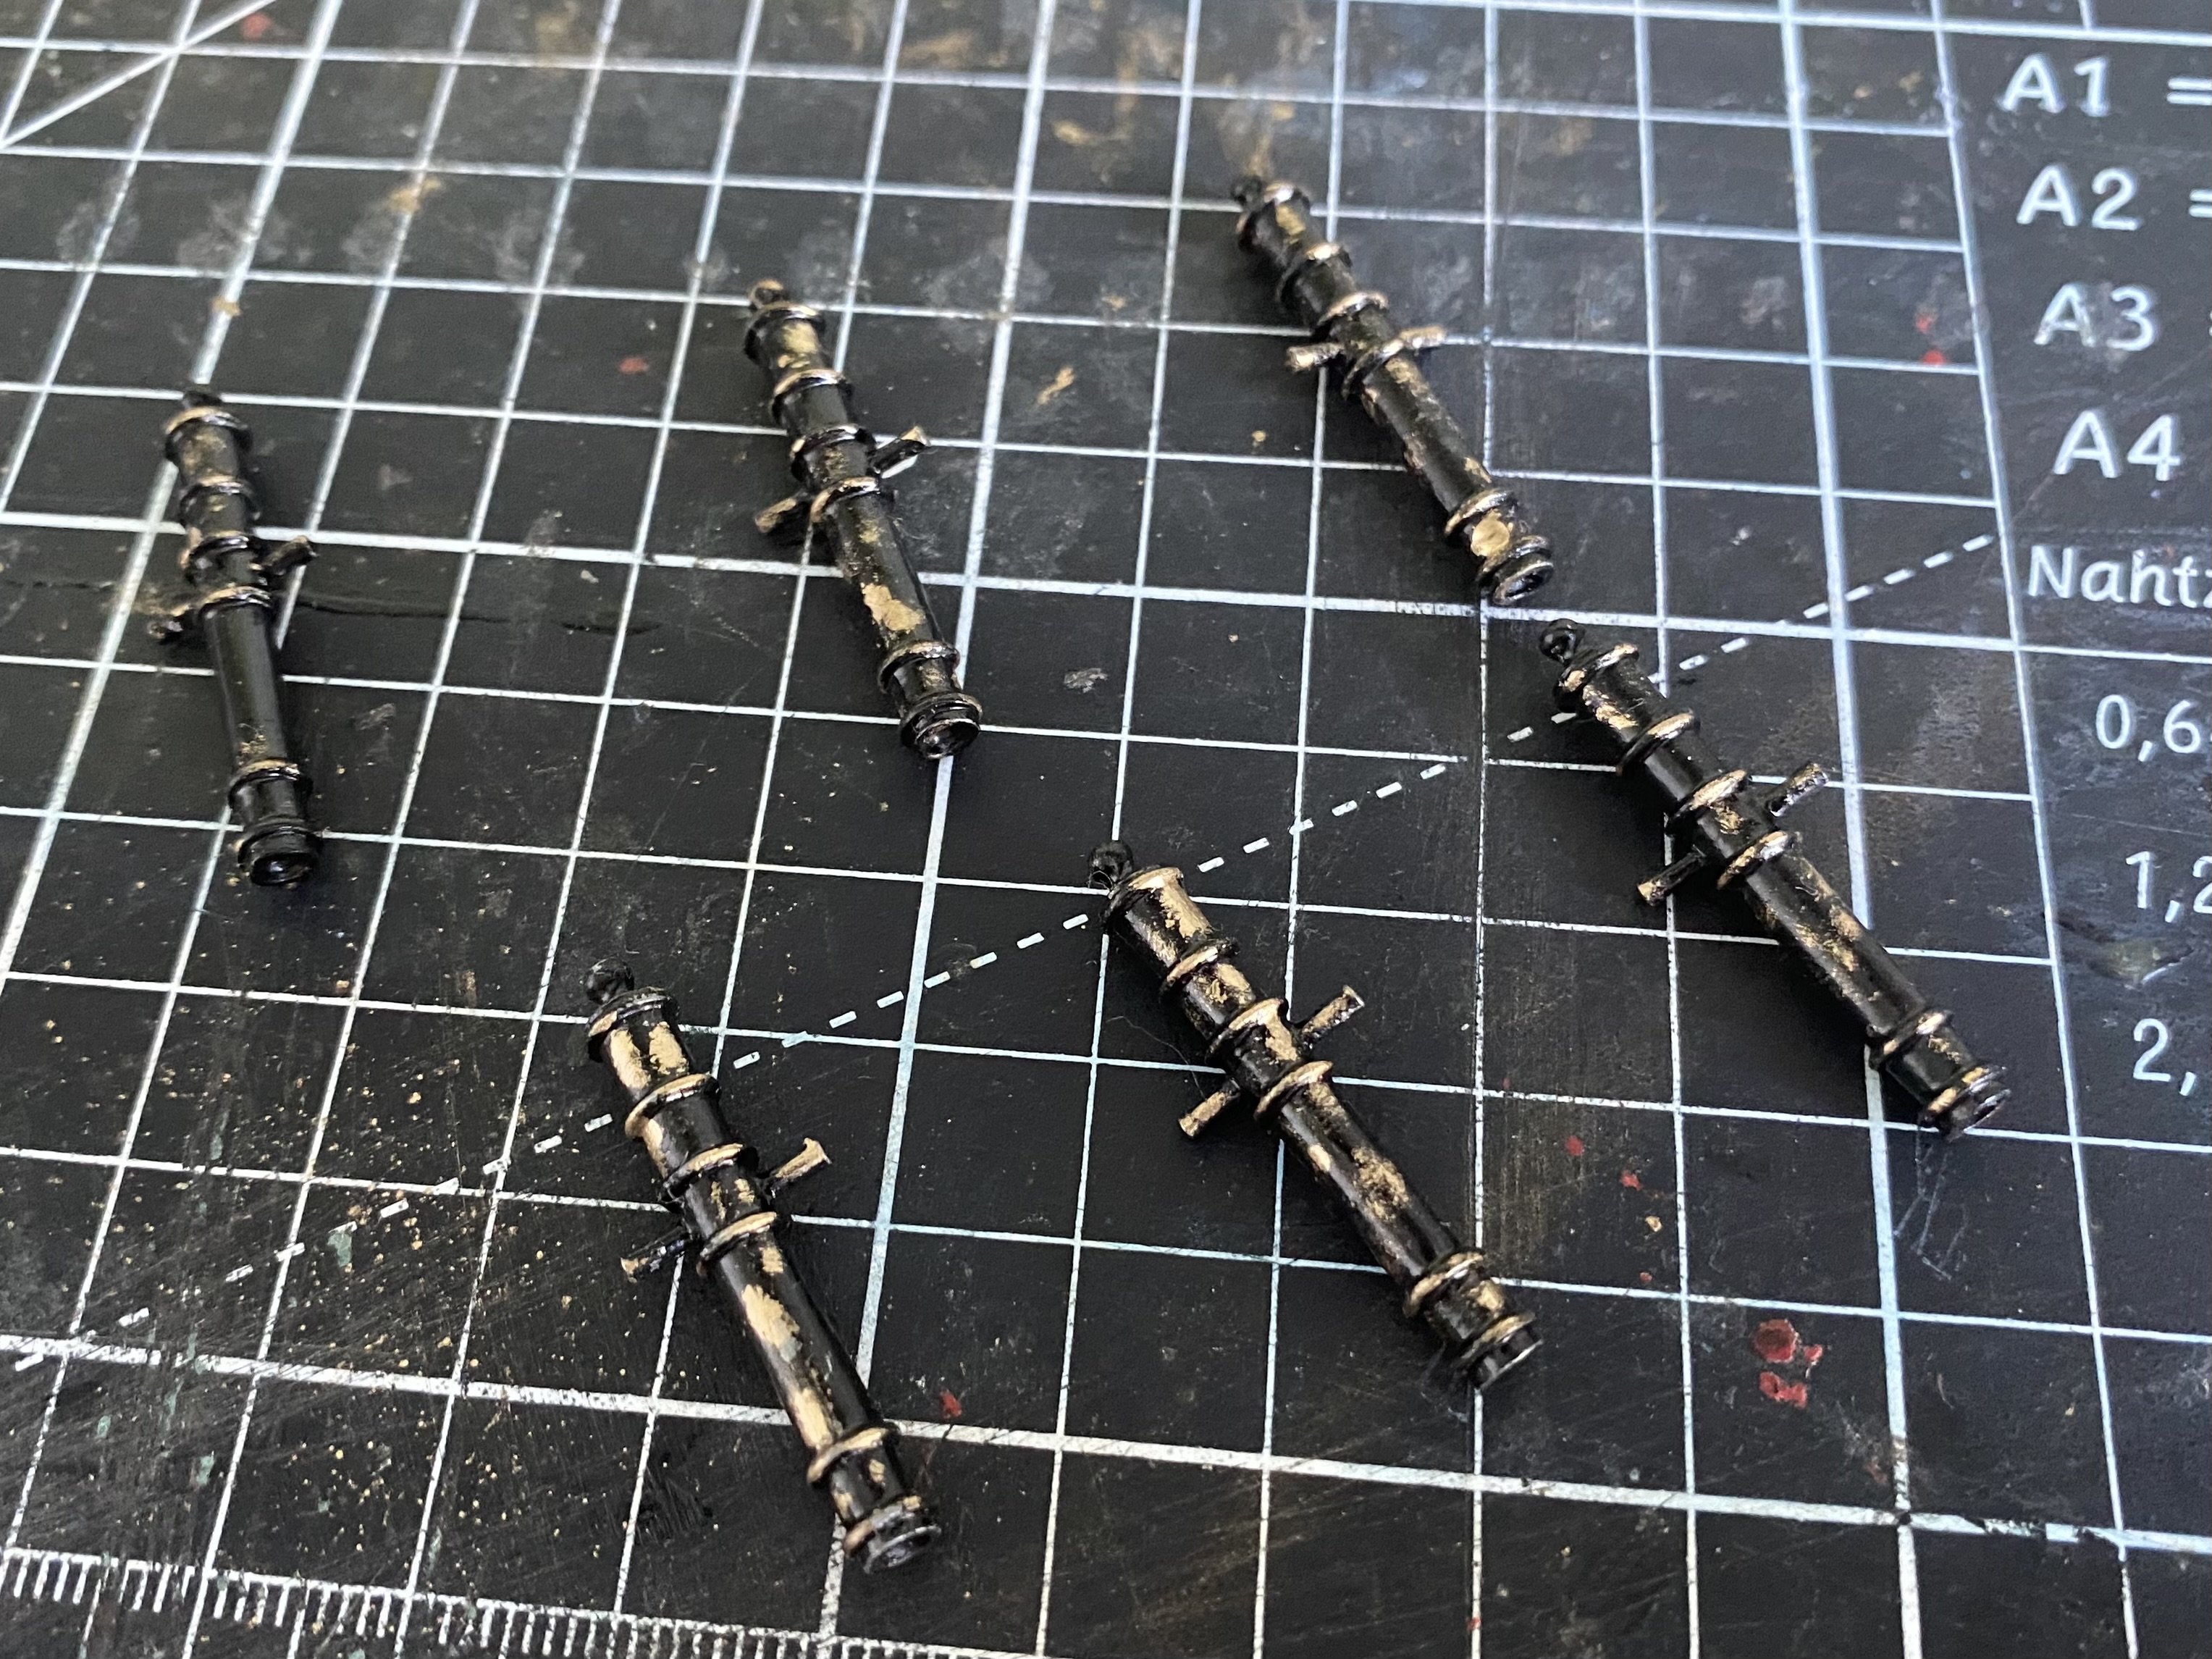
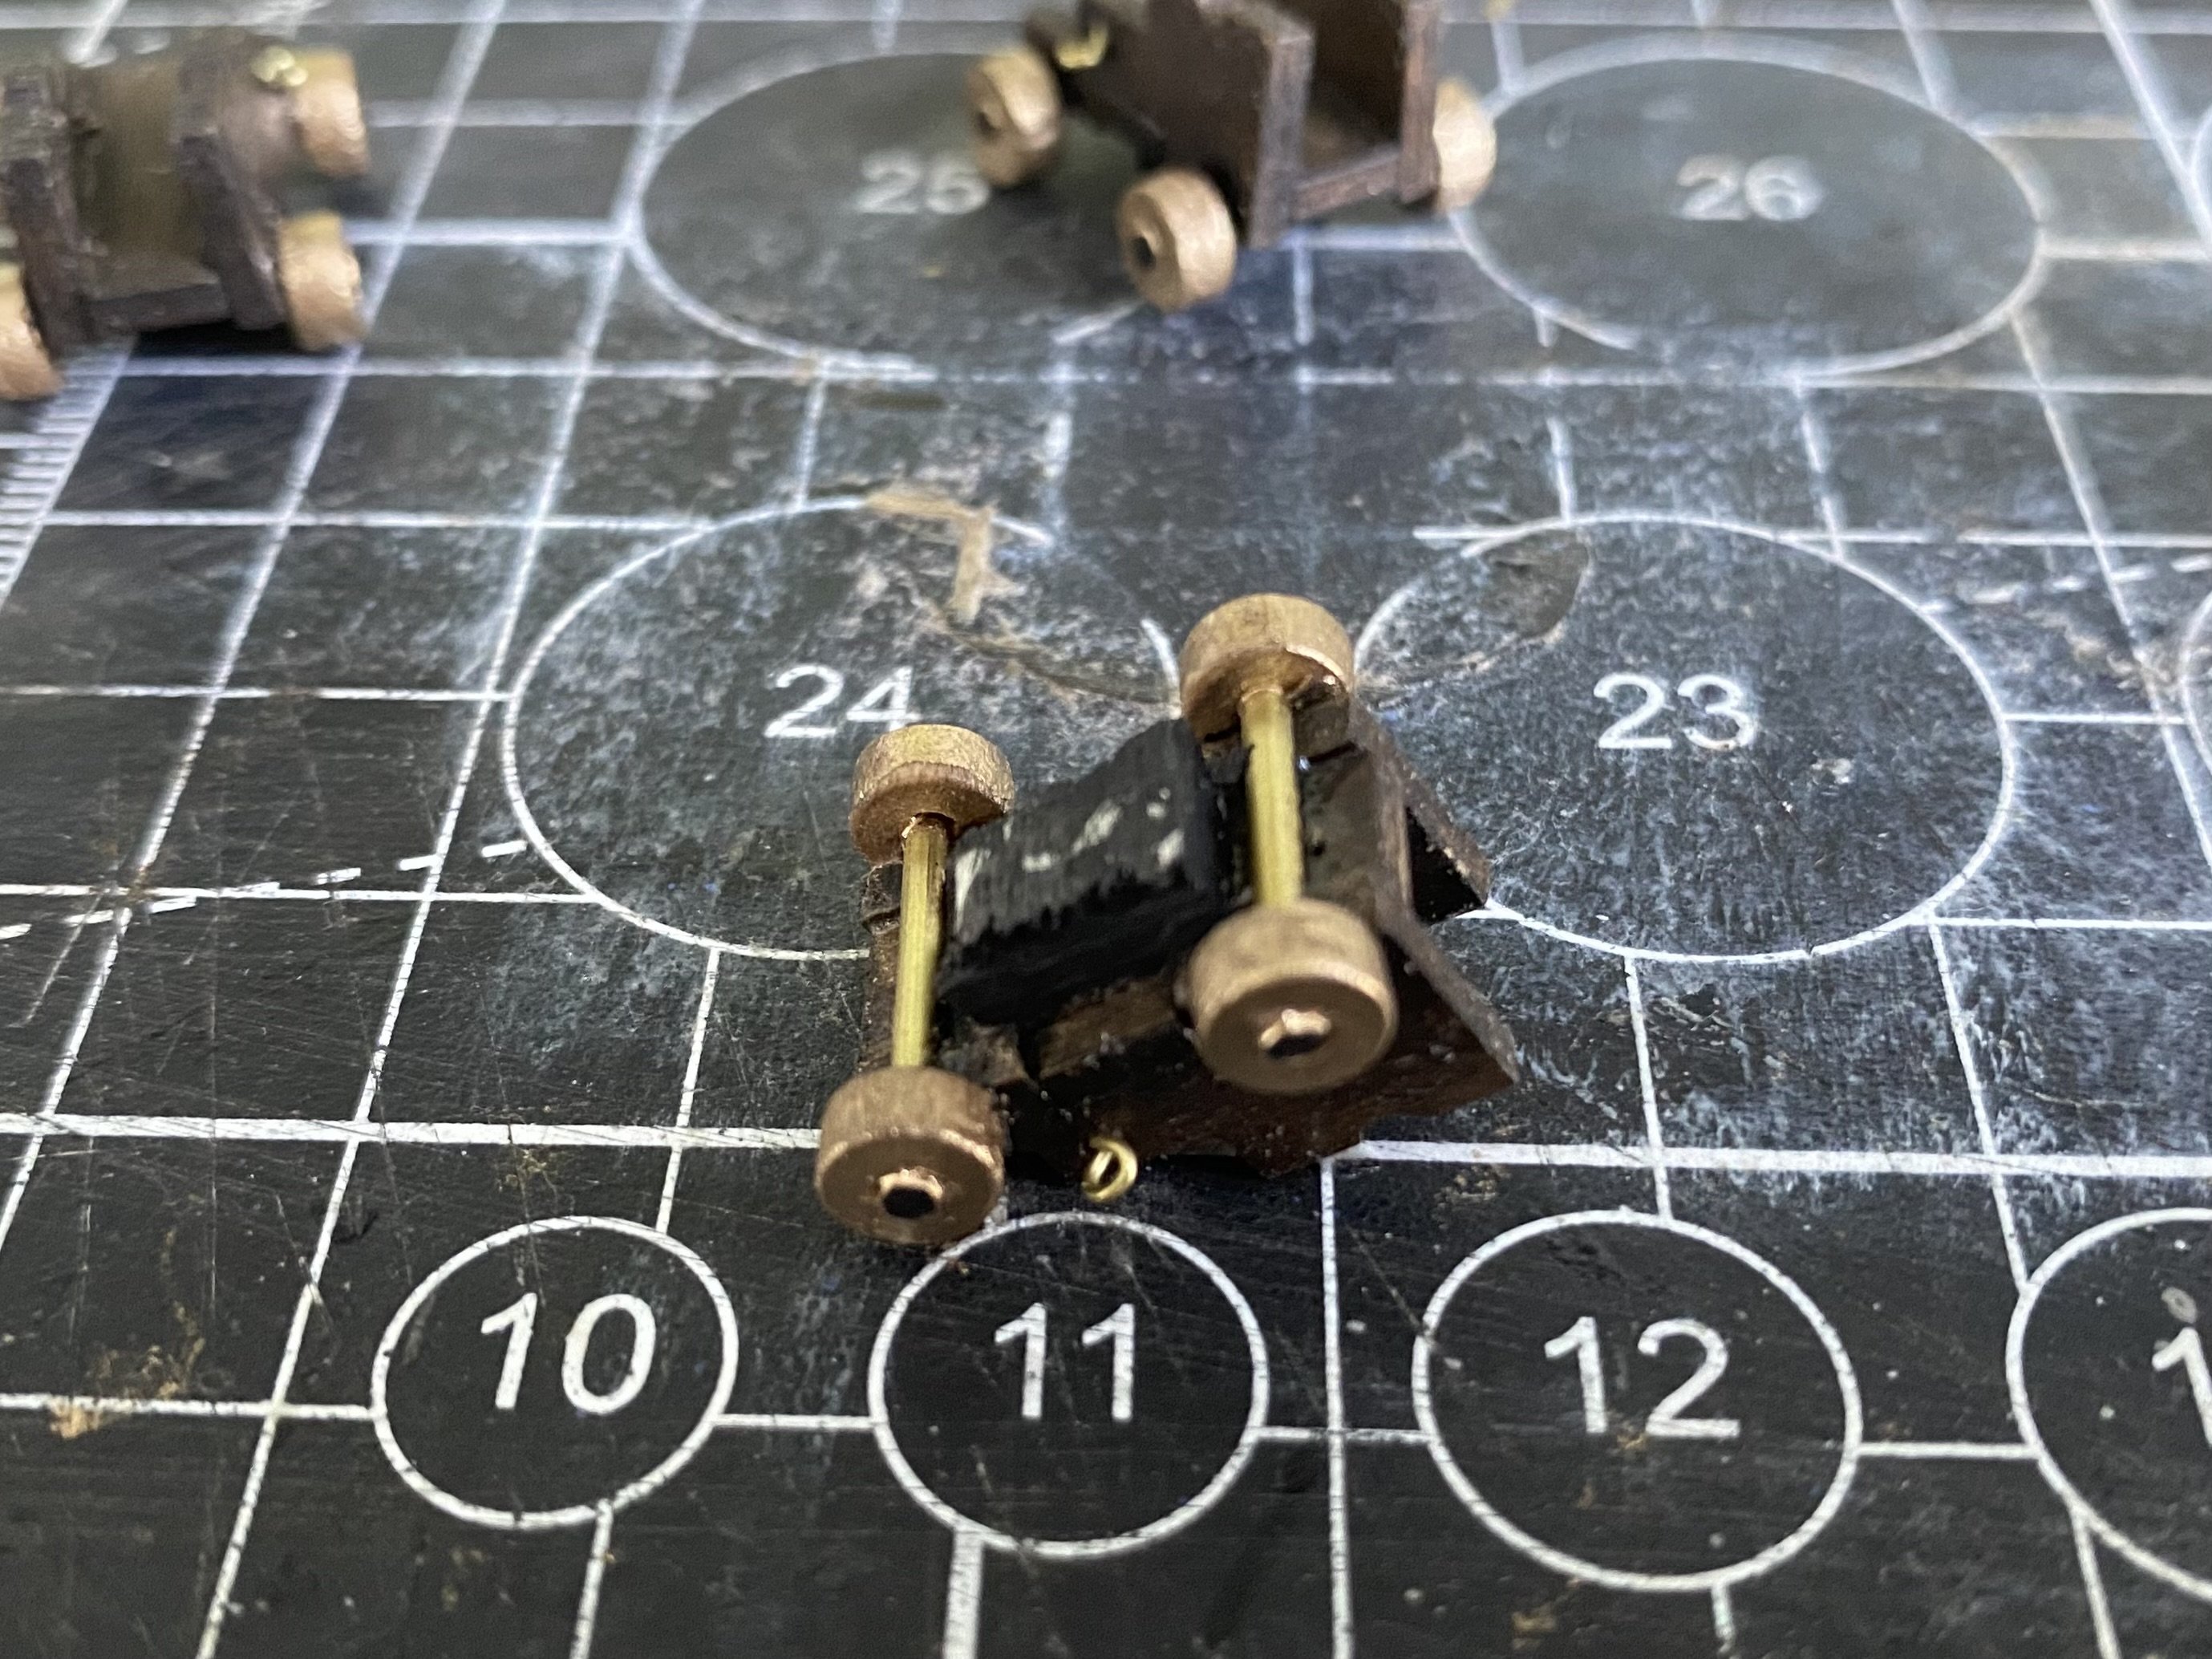
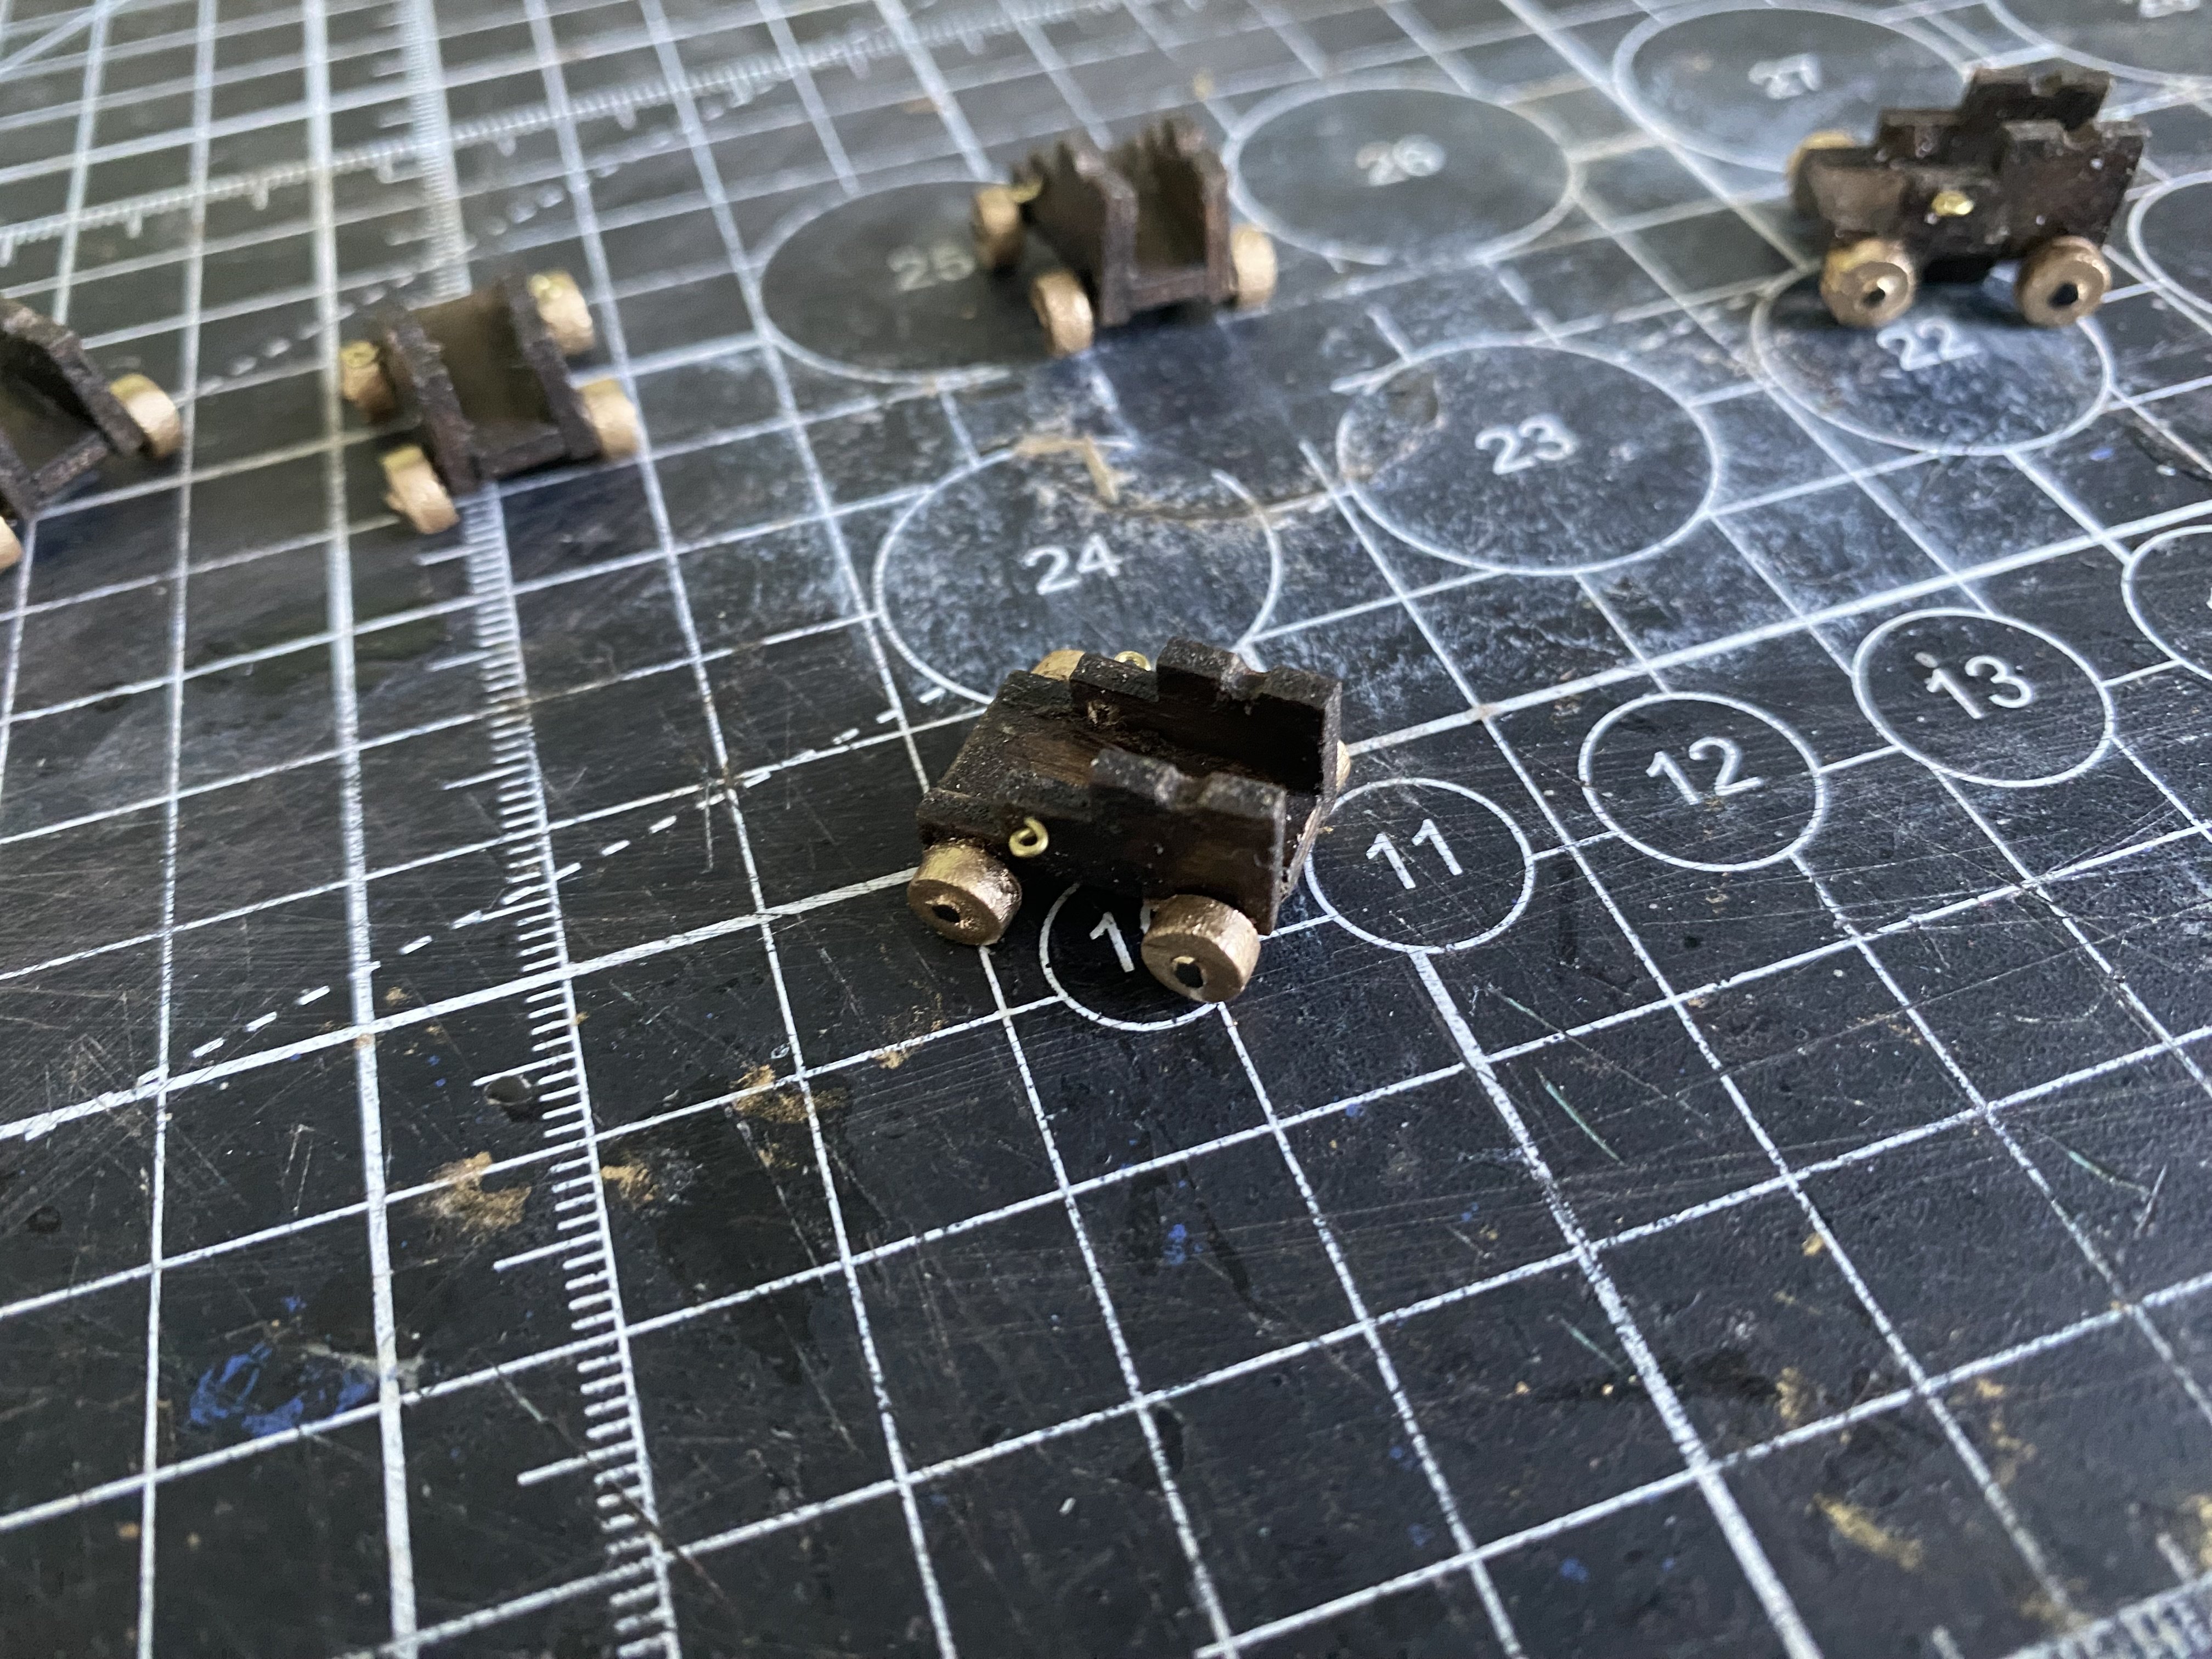
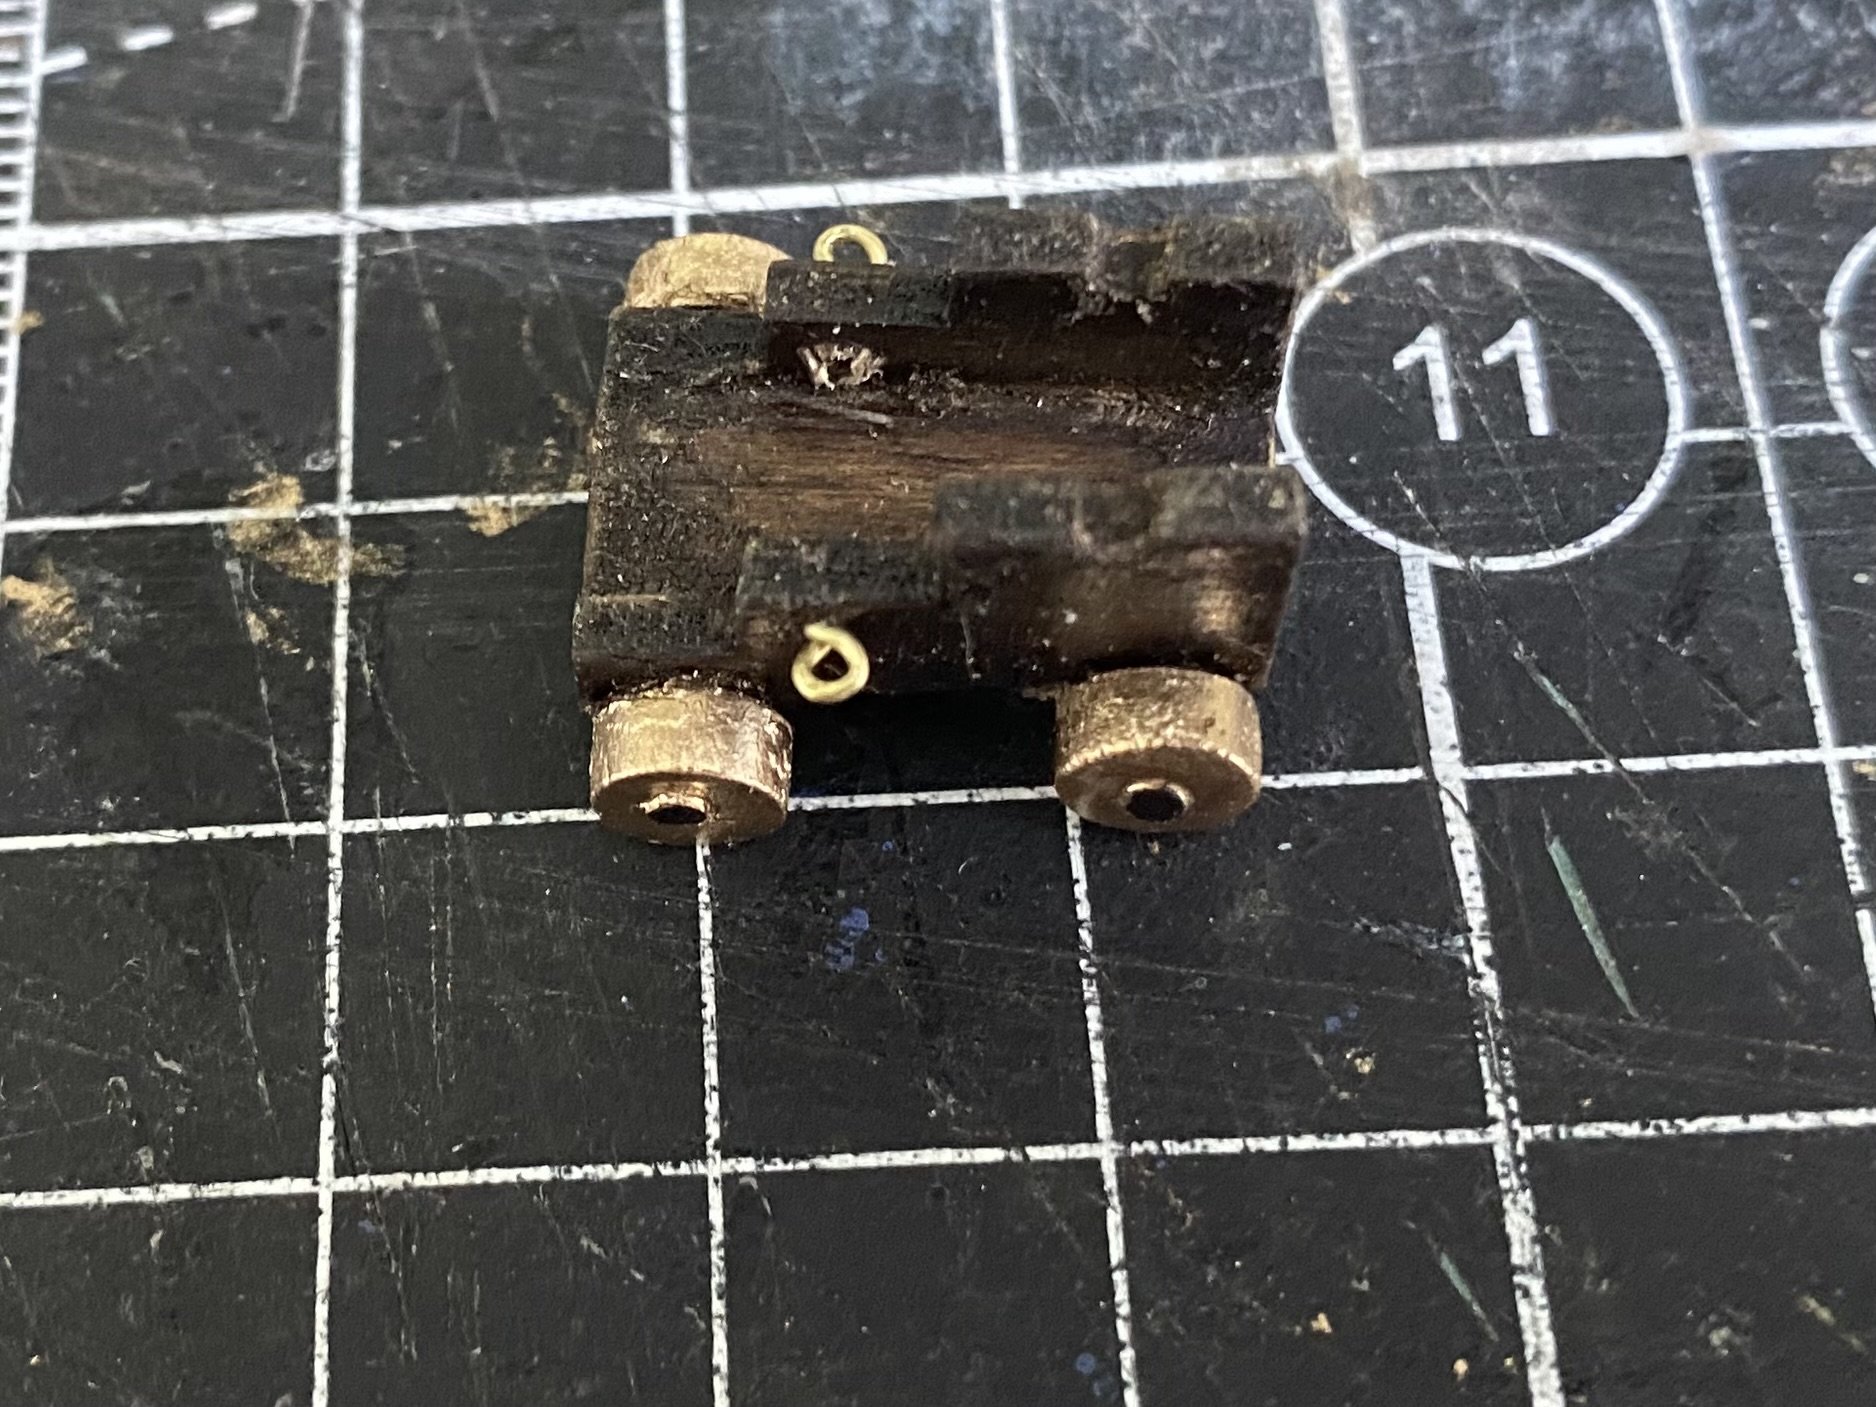
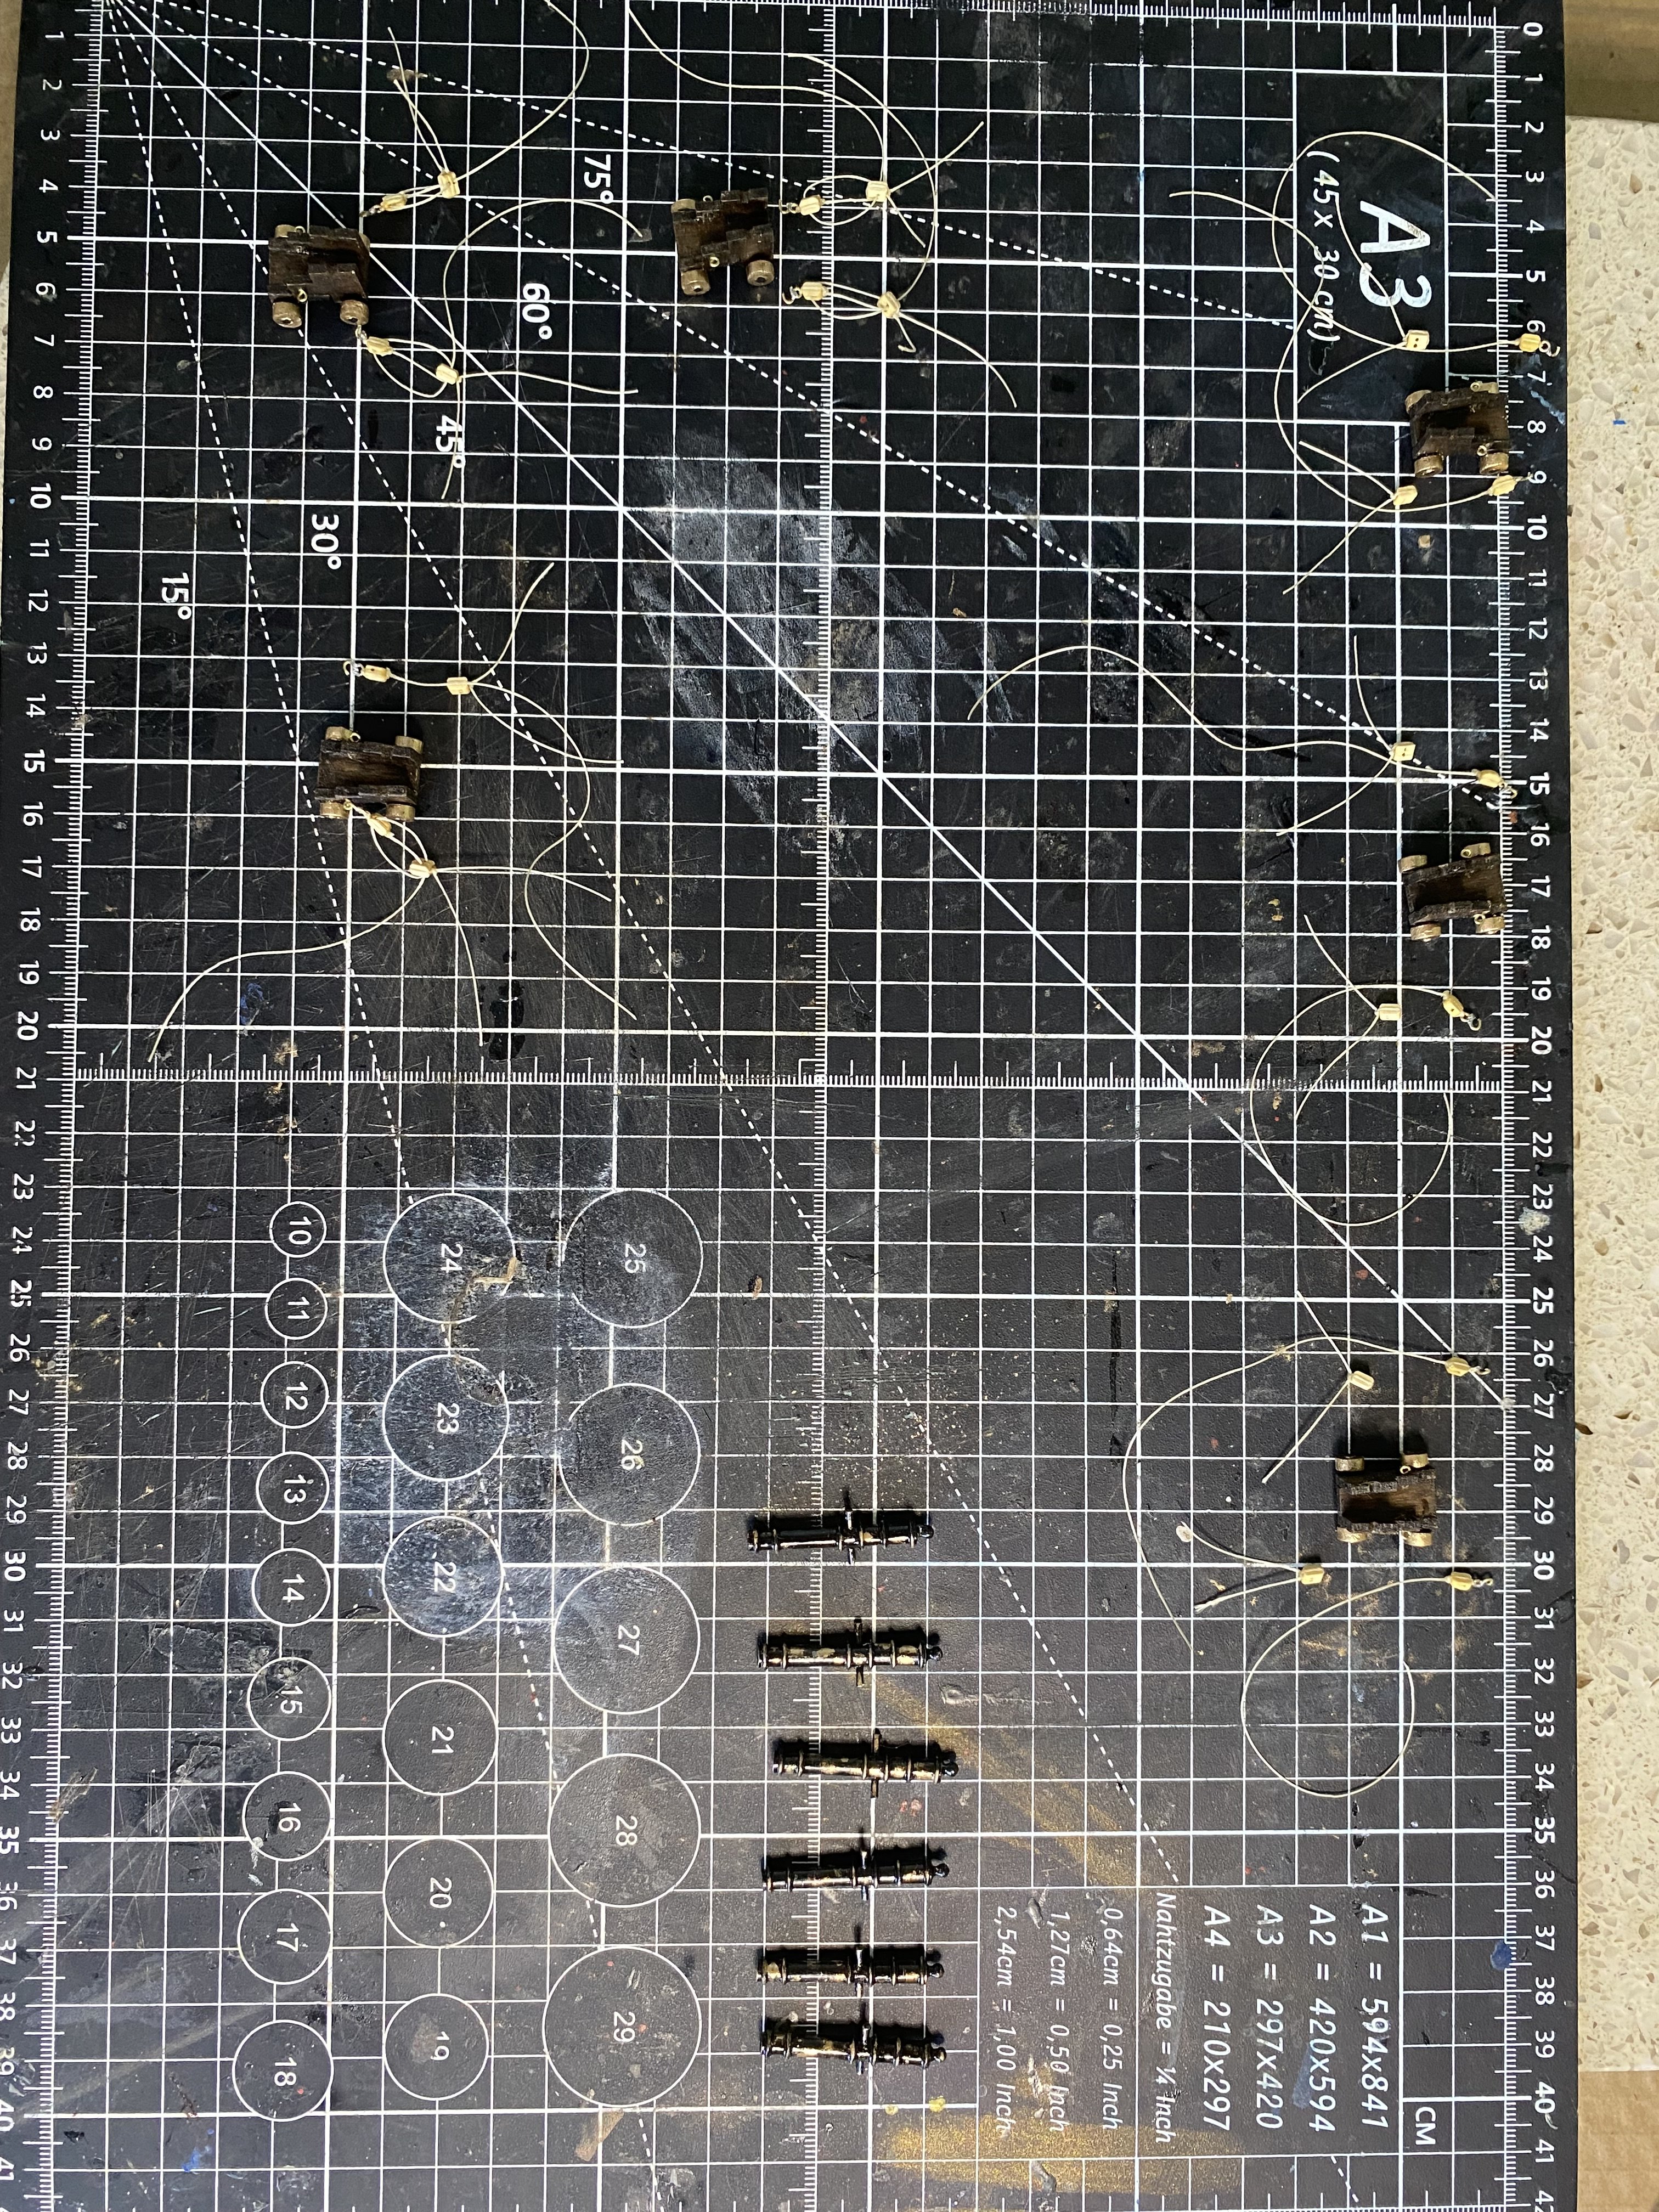
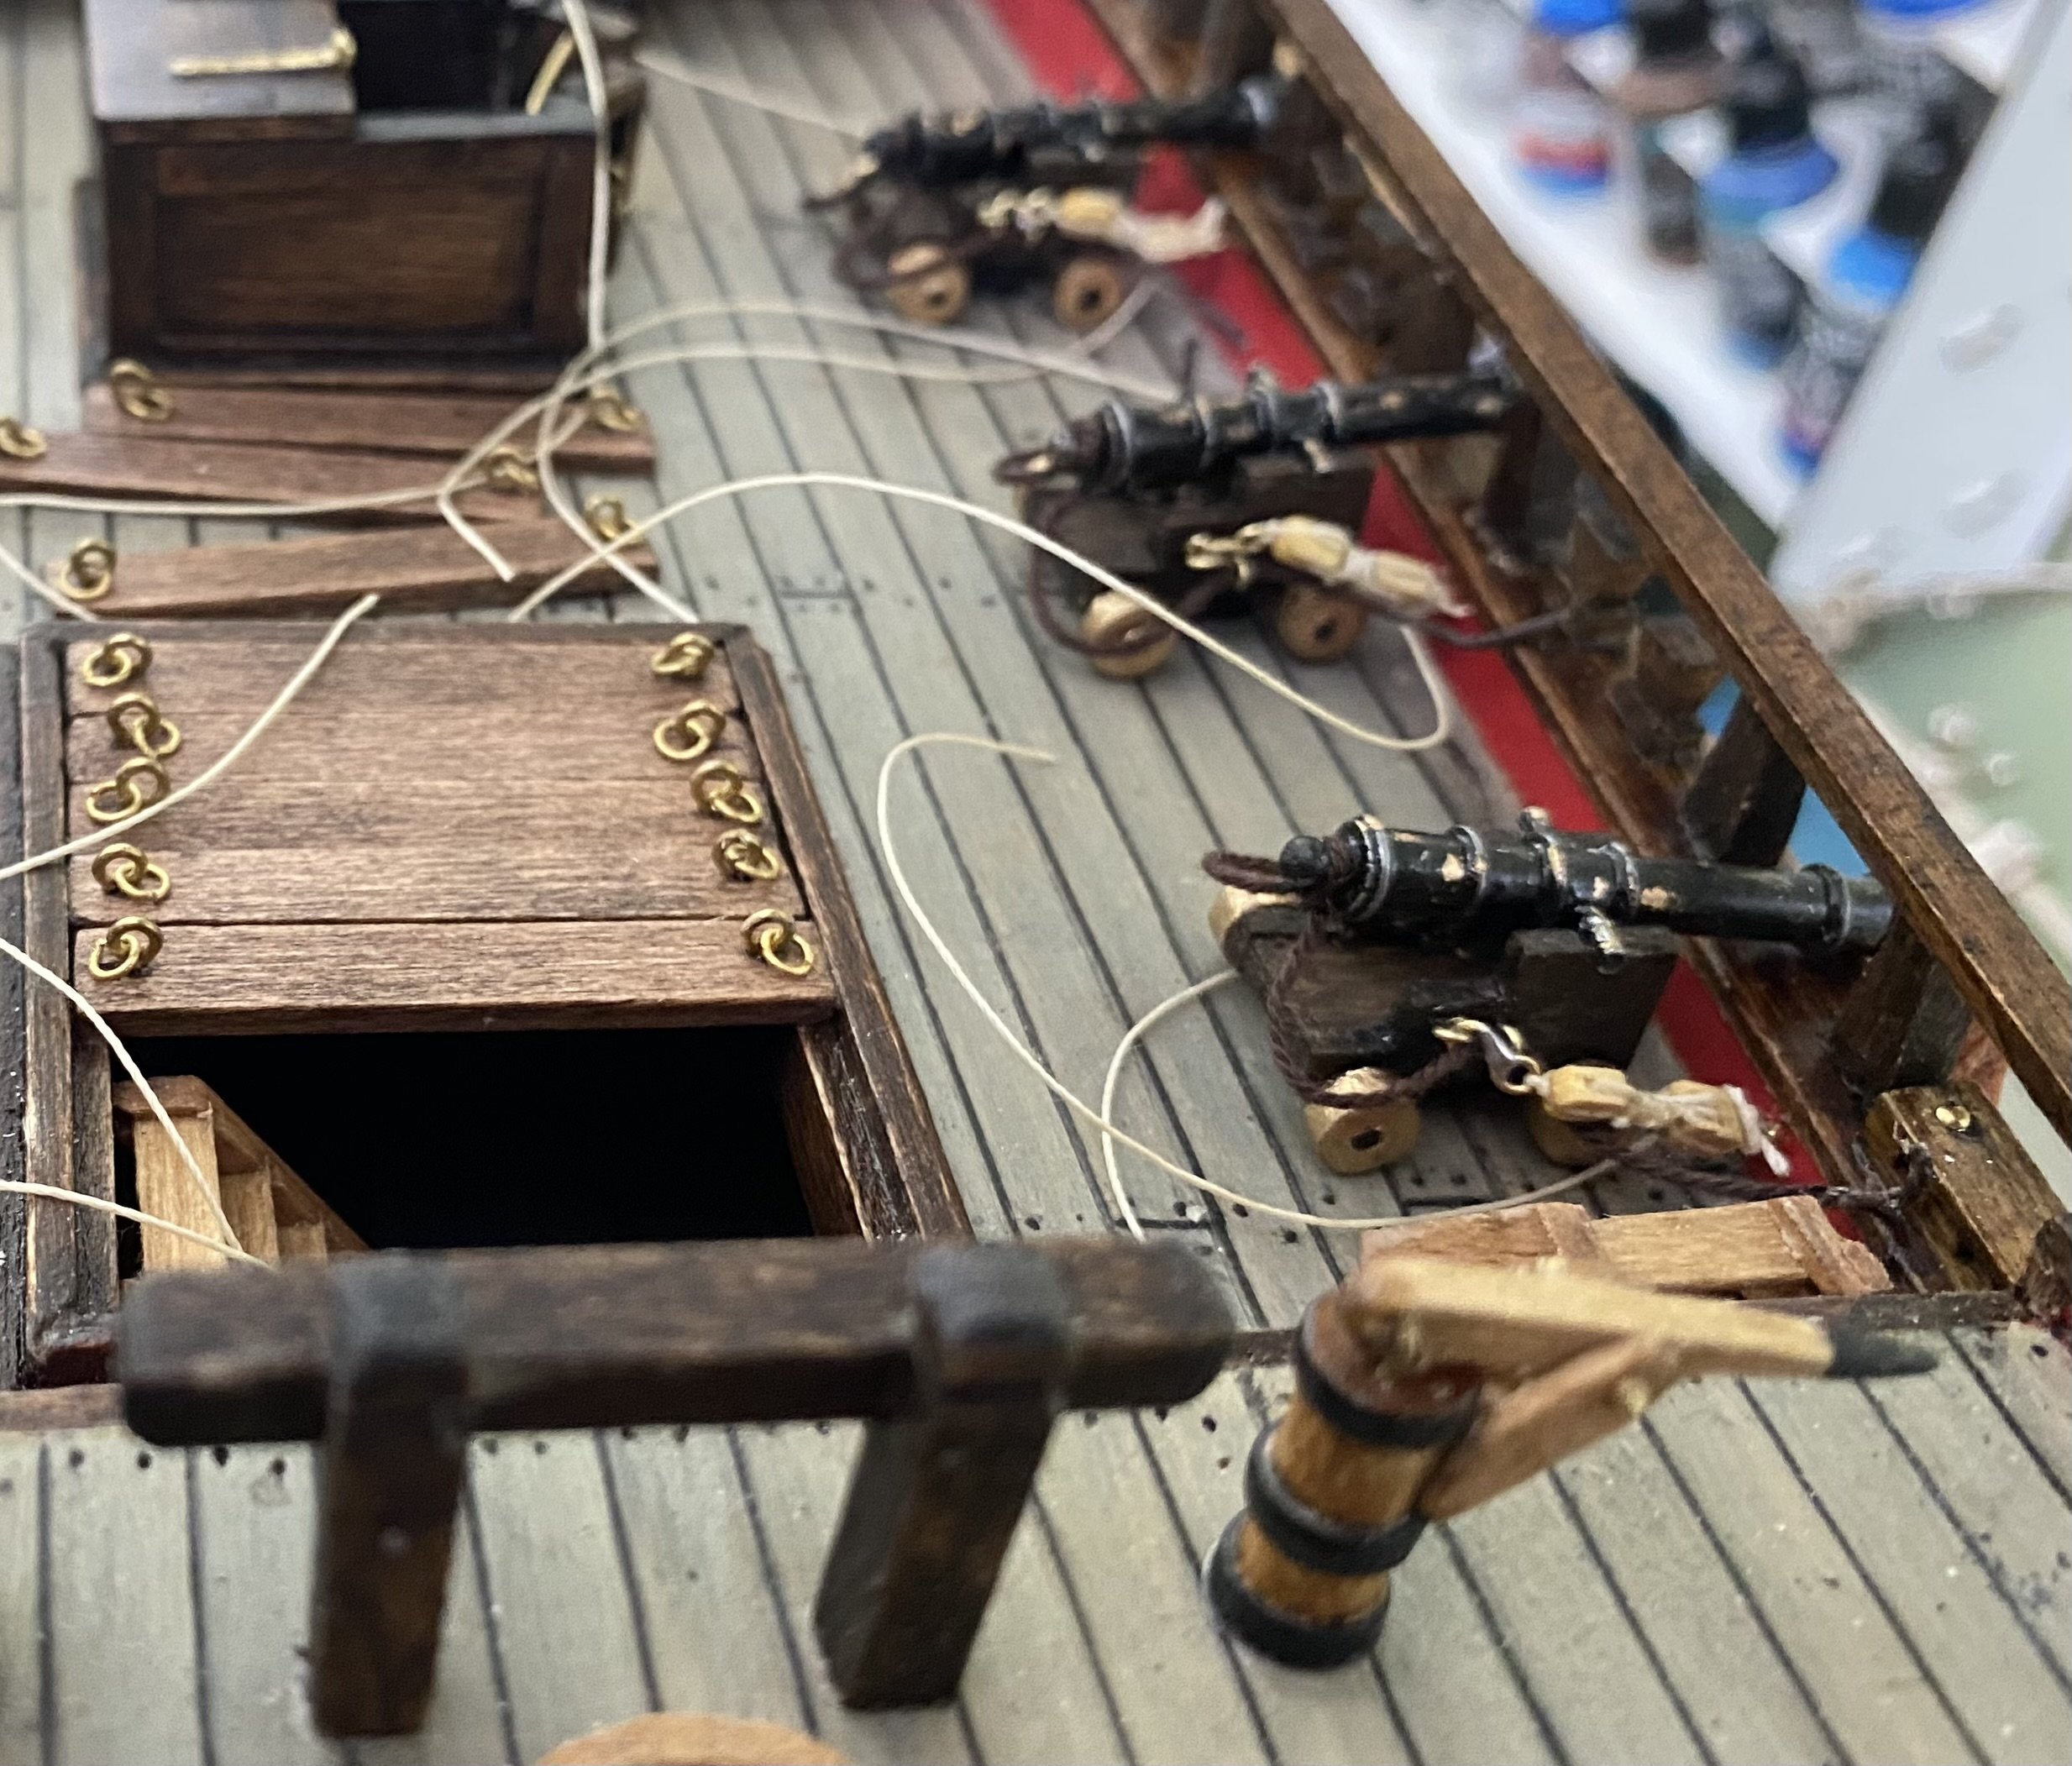
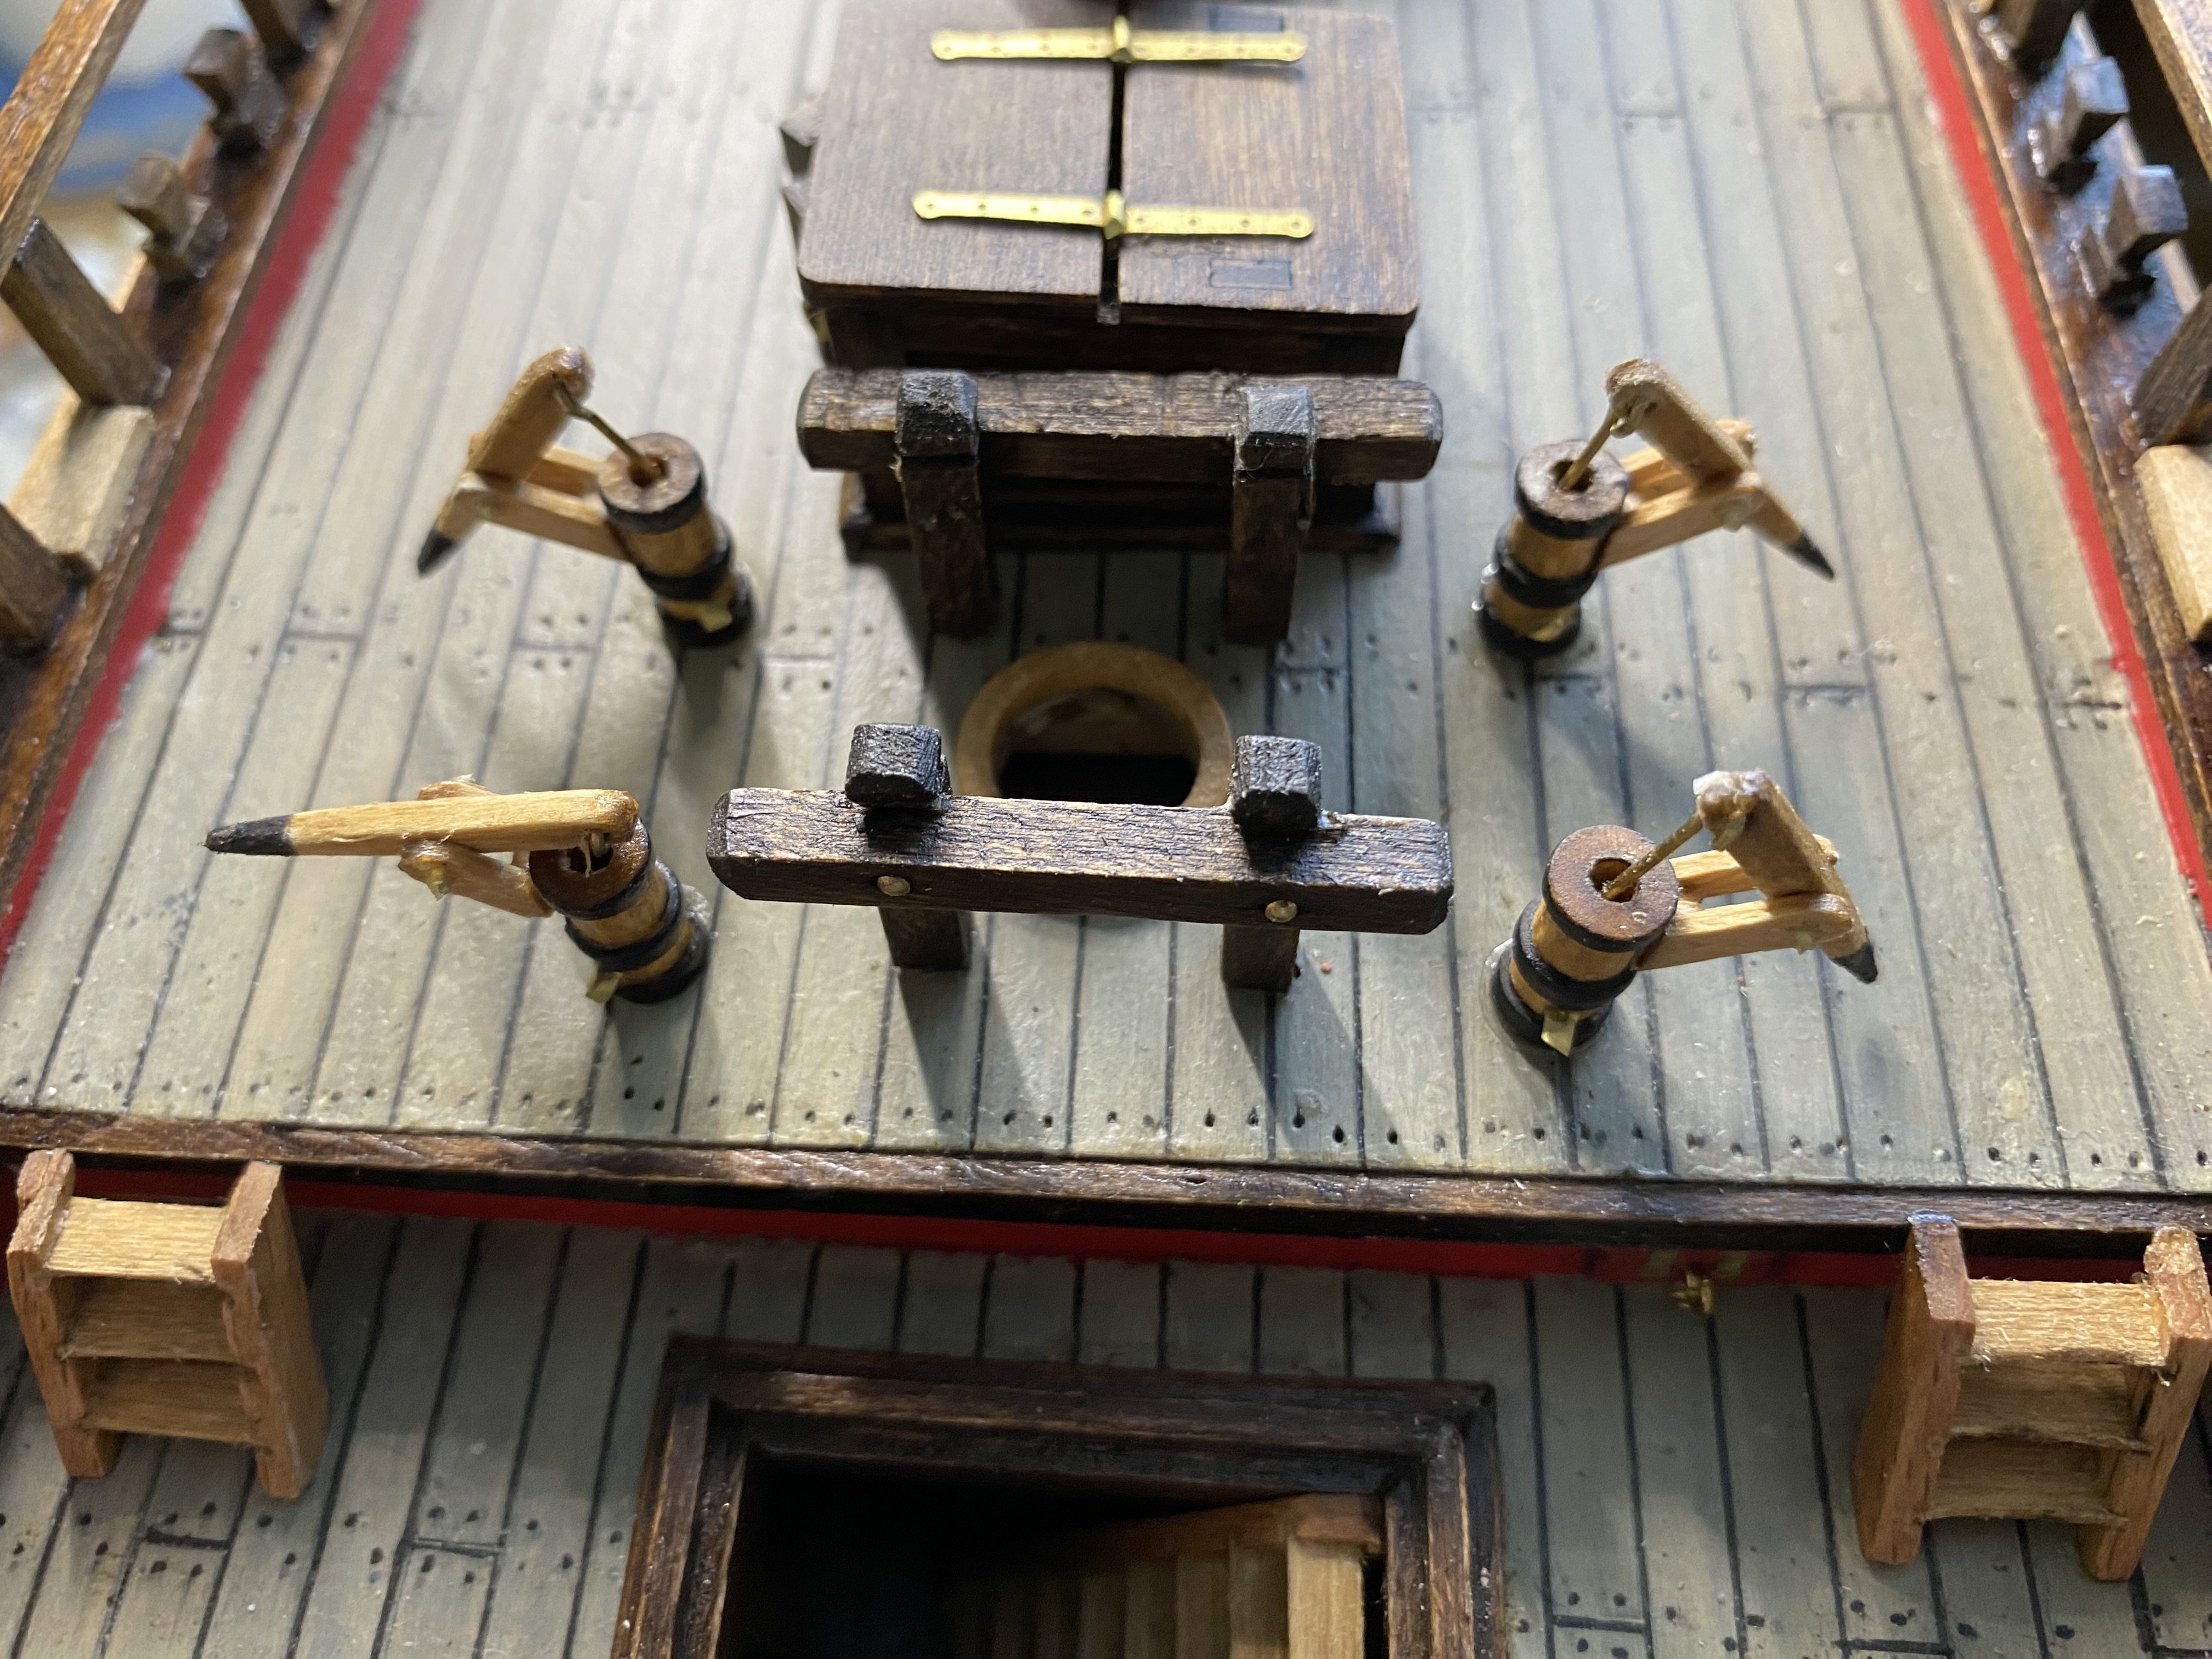
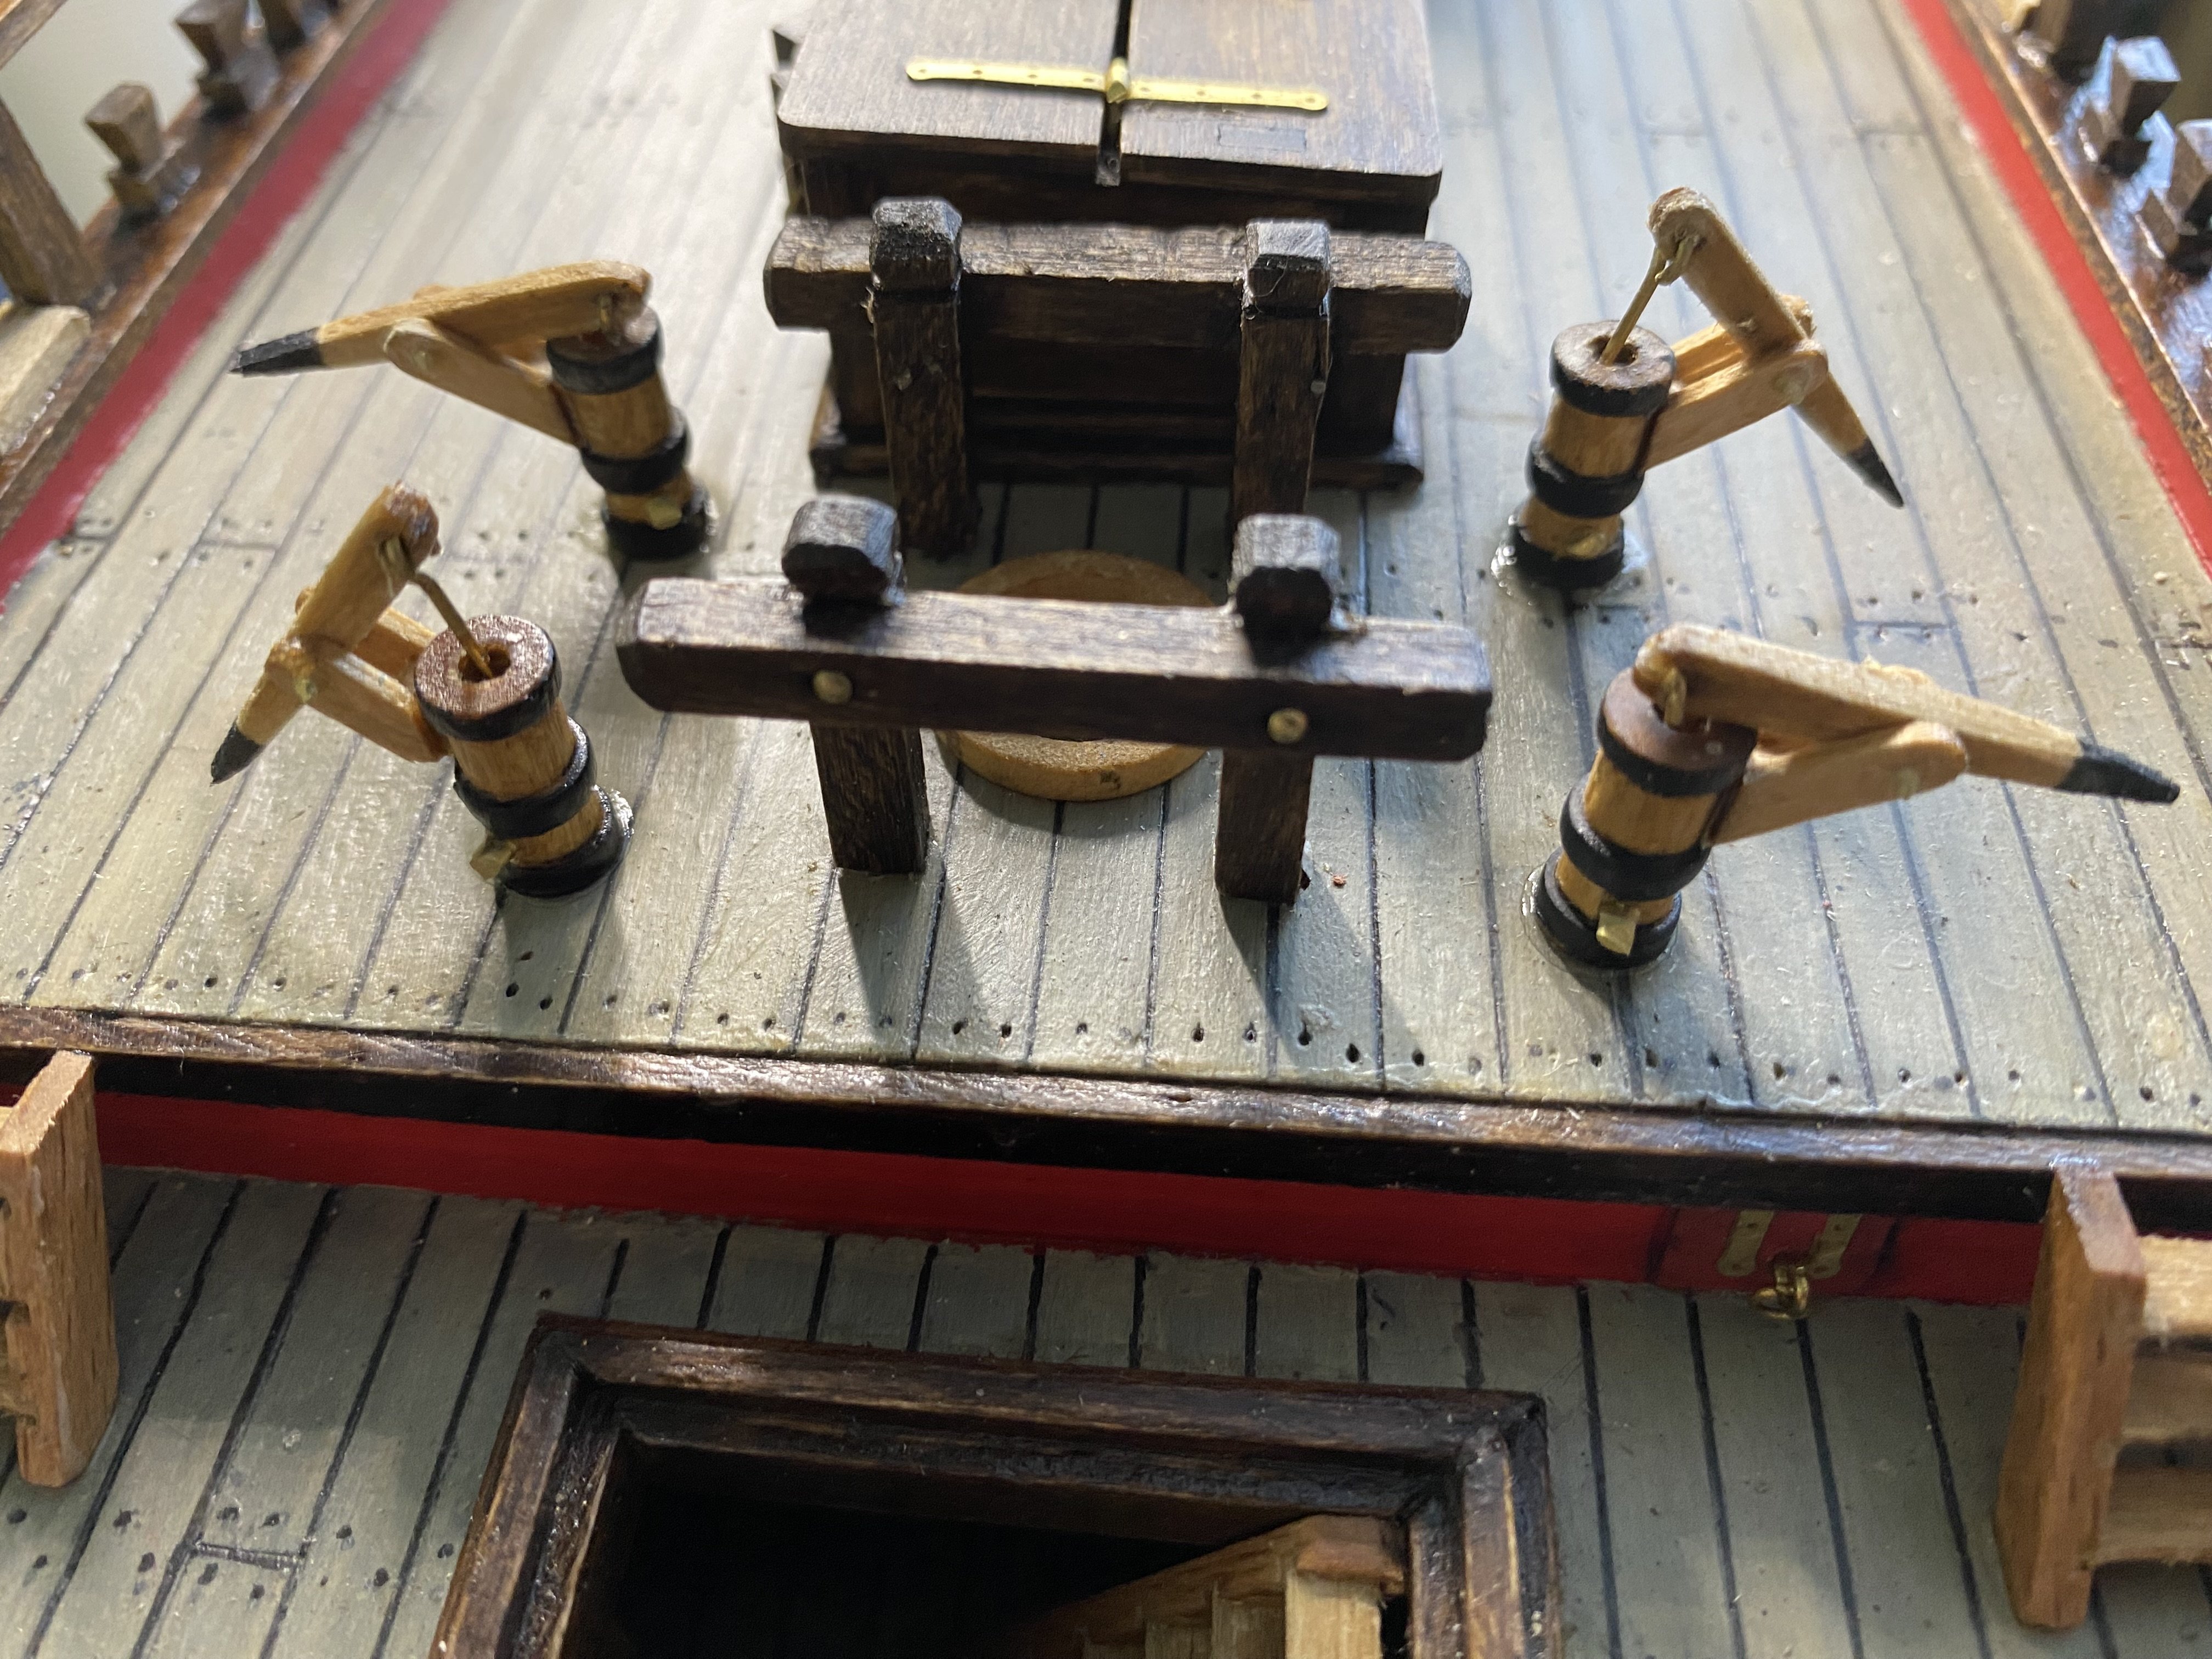
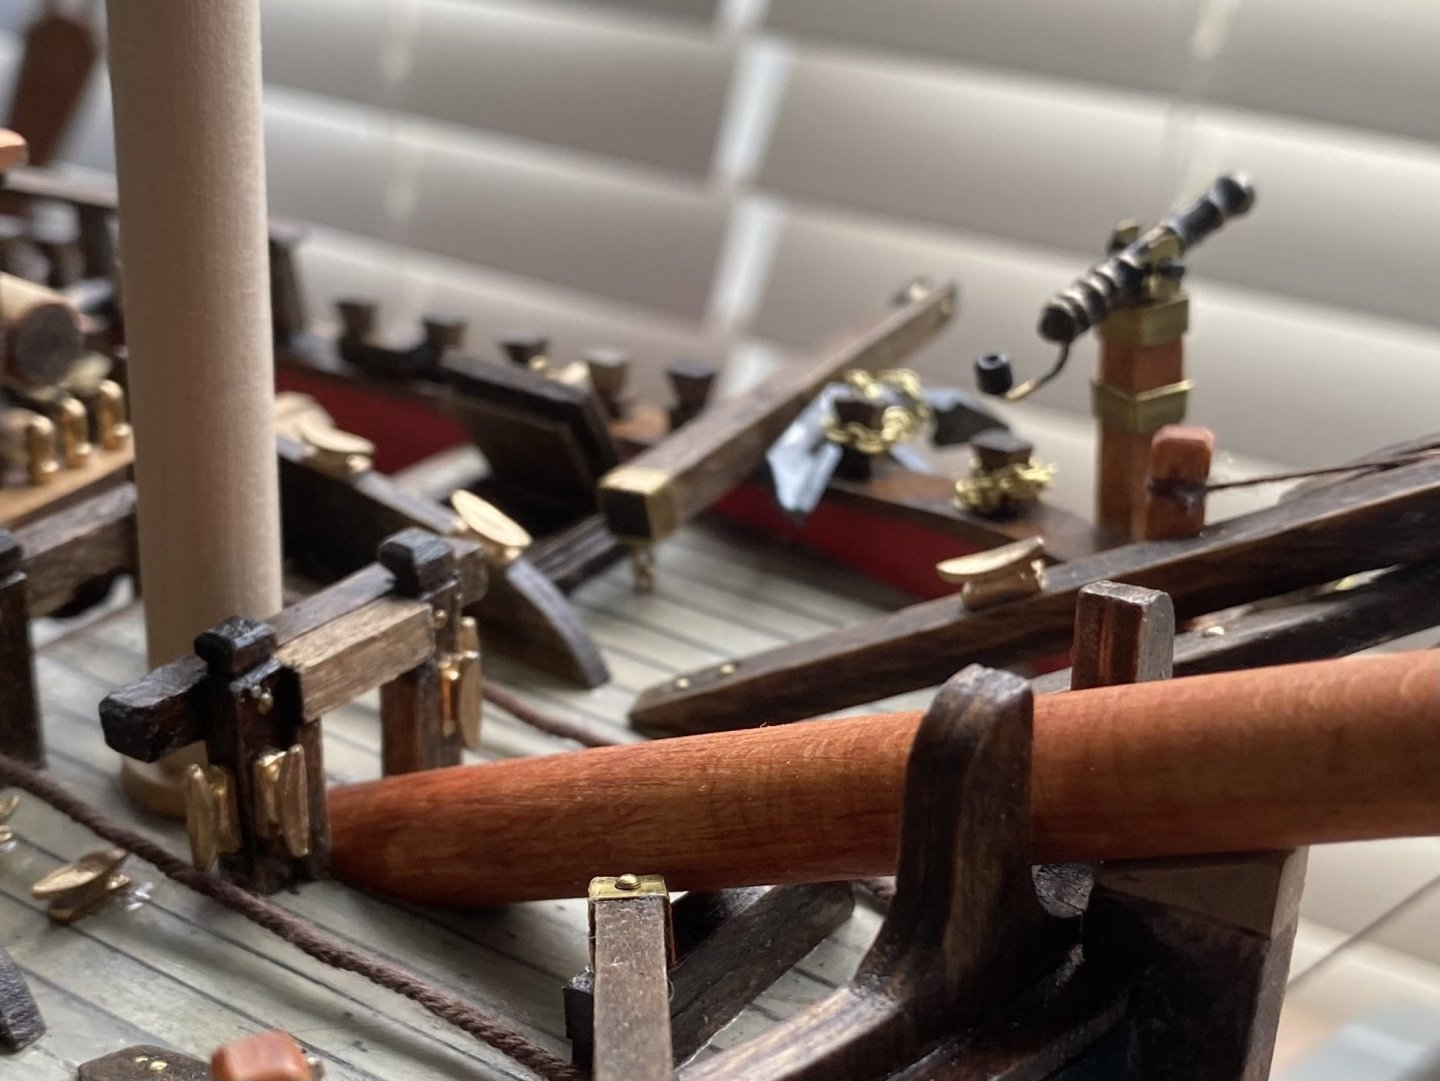
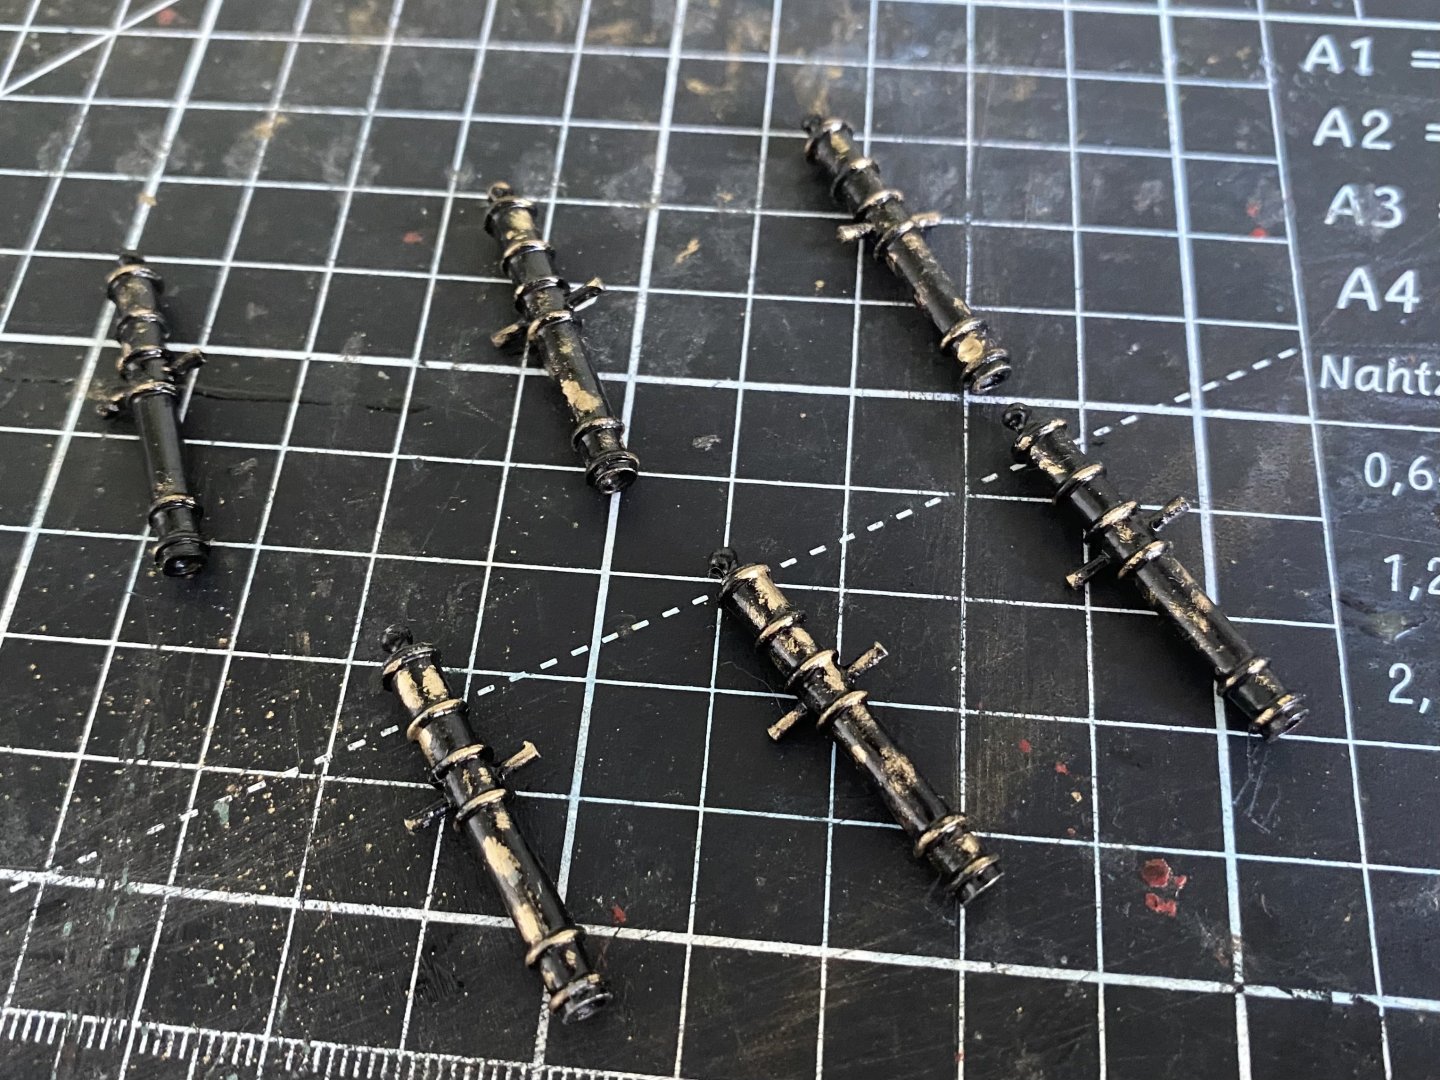
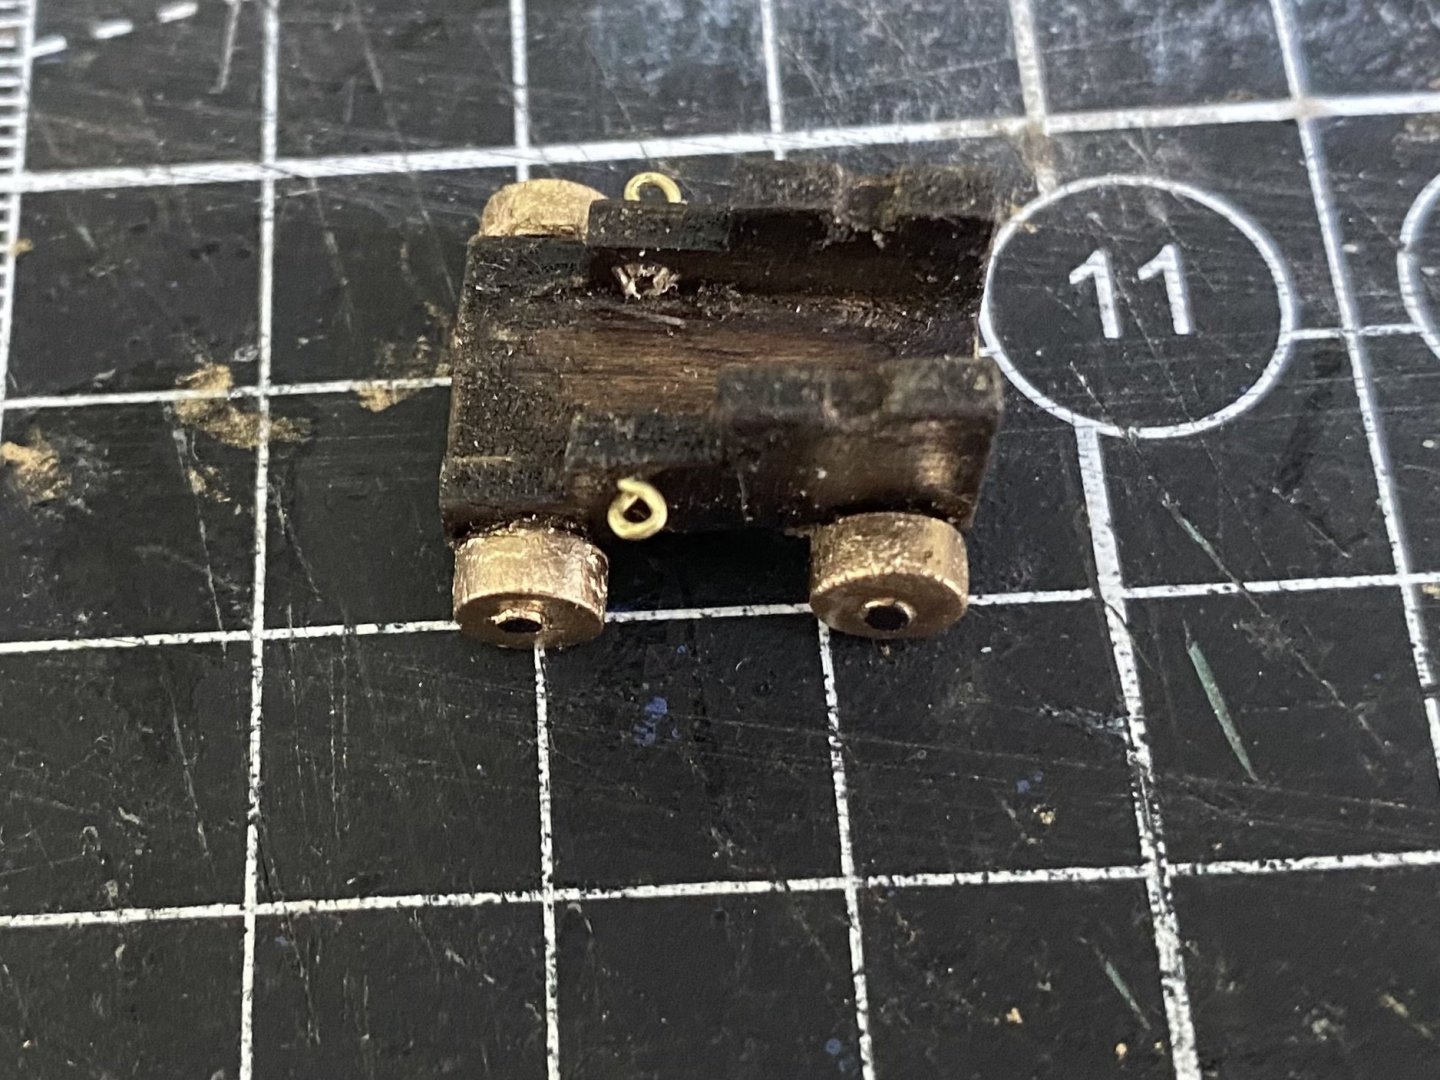
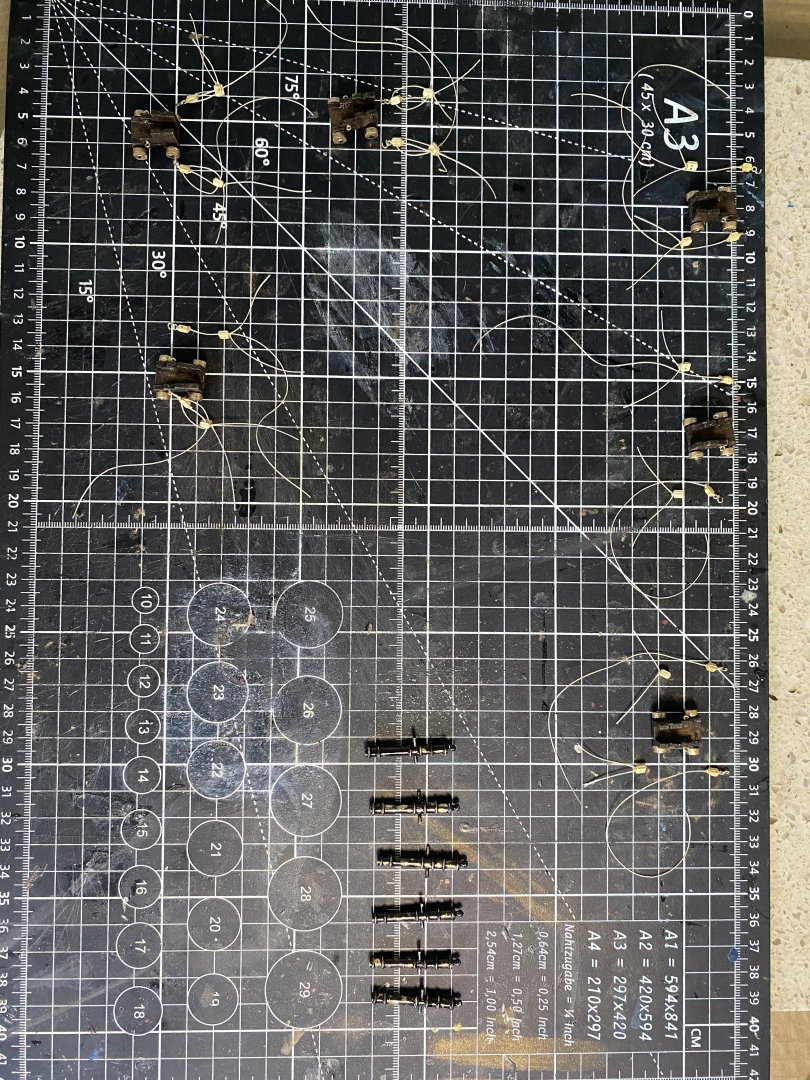
A few days since my last update. Fixed the incorrectly installed fore channels and then moved on to cannon production, installation, and rigging. I took a bit of artistic privilege in my carriage color scheme. They are red on the replica but I wanted to stain them and paint the wheels gold. Also highlighted the barrels with gold. I added a small block of wood under the carriage to increase glue surface to the deck. Added the gun tackles to each side of the carriage, which OcCre does not have in the instructions. Used 3mm single and double blocks I had on hand. I put the eyebolts for the breaching rope in the deck instead of the ship side. Rigging to the eyebolts is further needed. Still need to add the support butts under barrels and level them. Will also add the brass pans on top the trunnions. I needed to fabricate the butts and trunnion pans since these are not OcCre parts. Will need to decide if I want to further add the train tackle behind each carriage. Over all I am pleased with the cannons. So glad I do not have to make a 100 like on the Victory and Soleil Royal. 😊


-
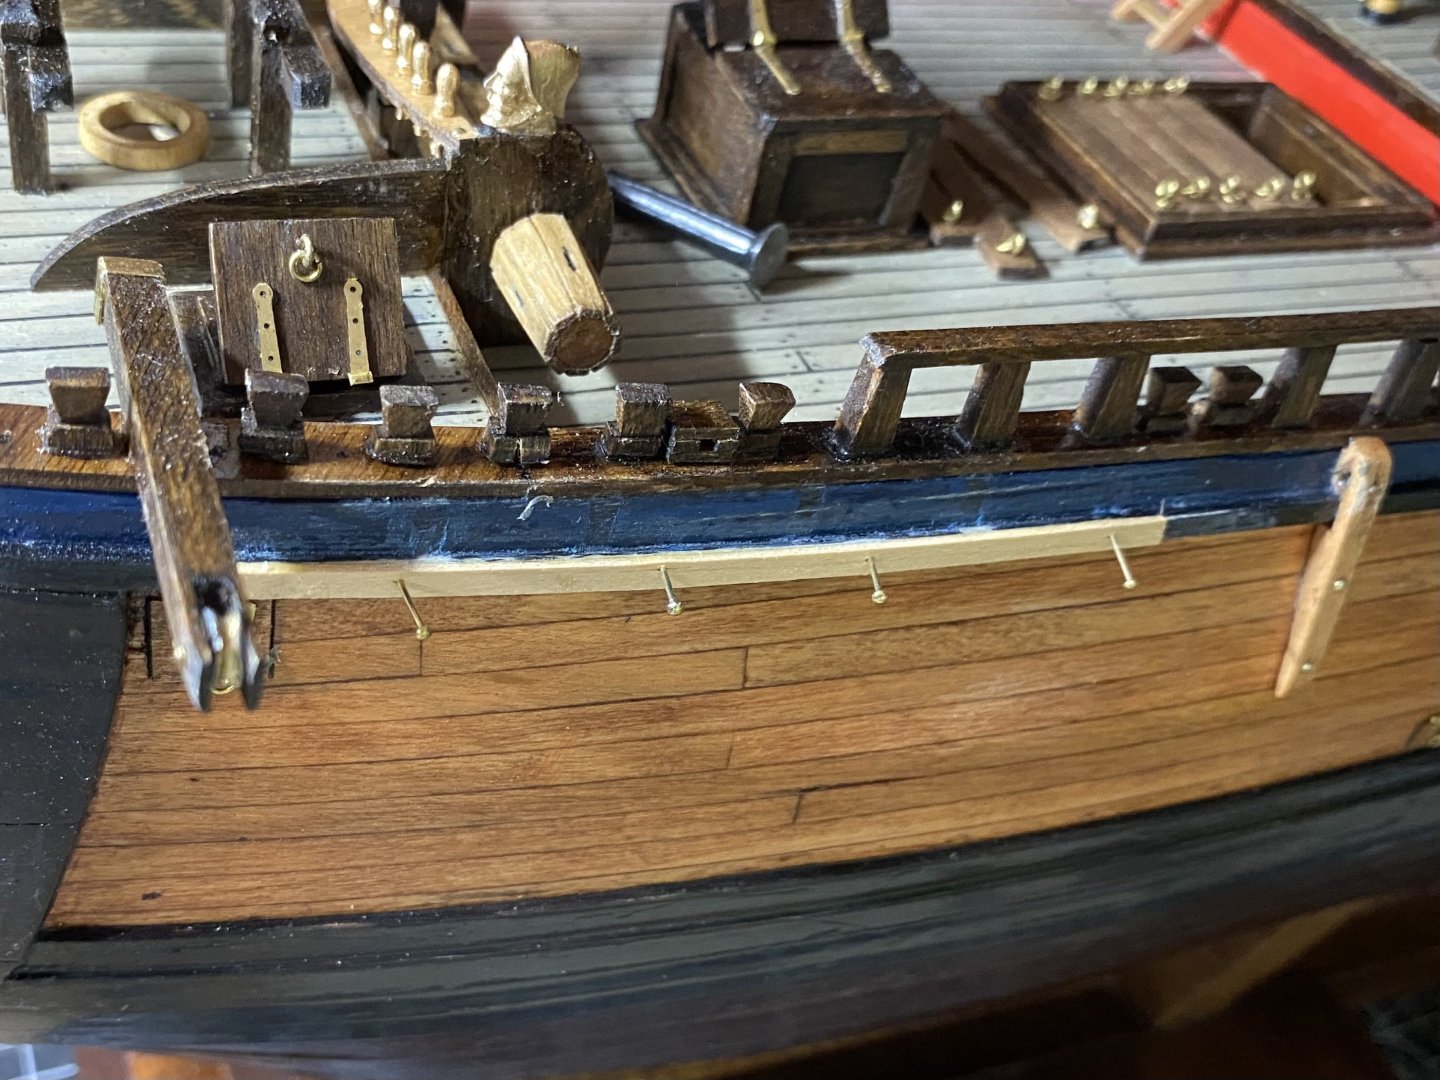
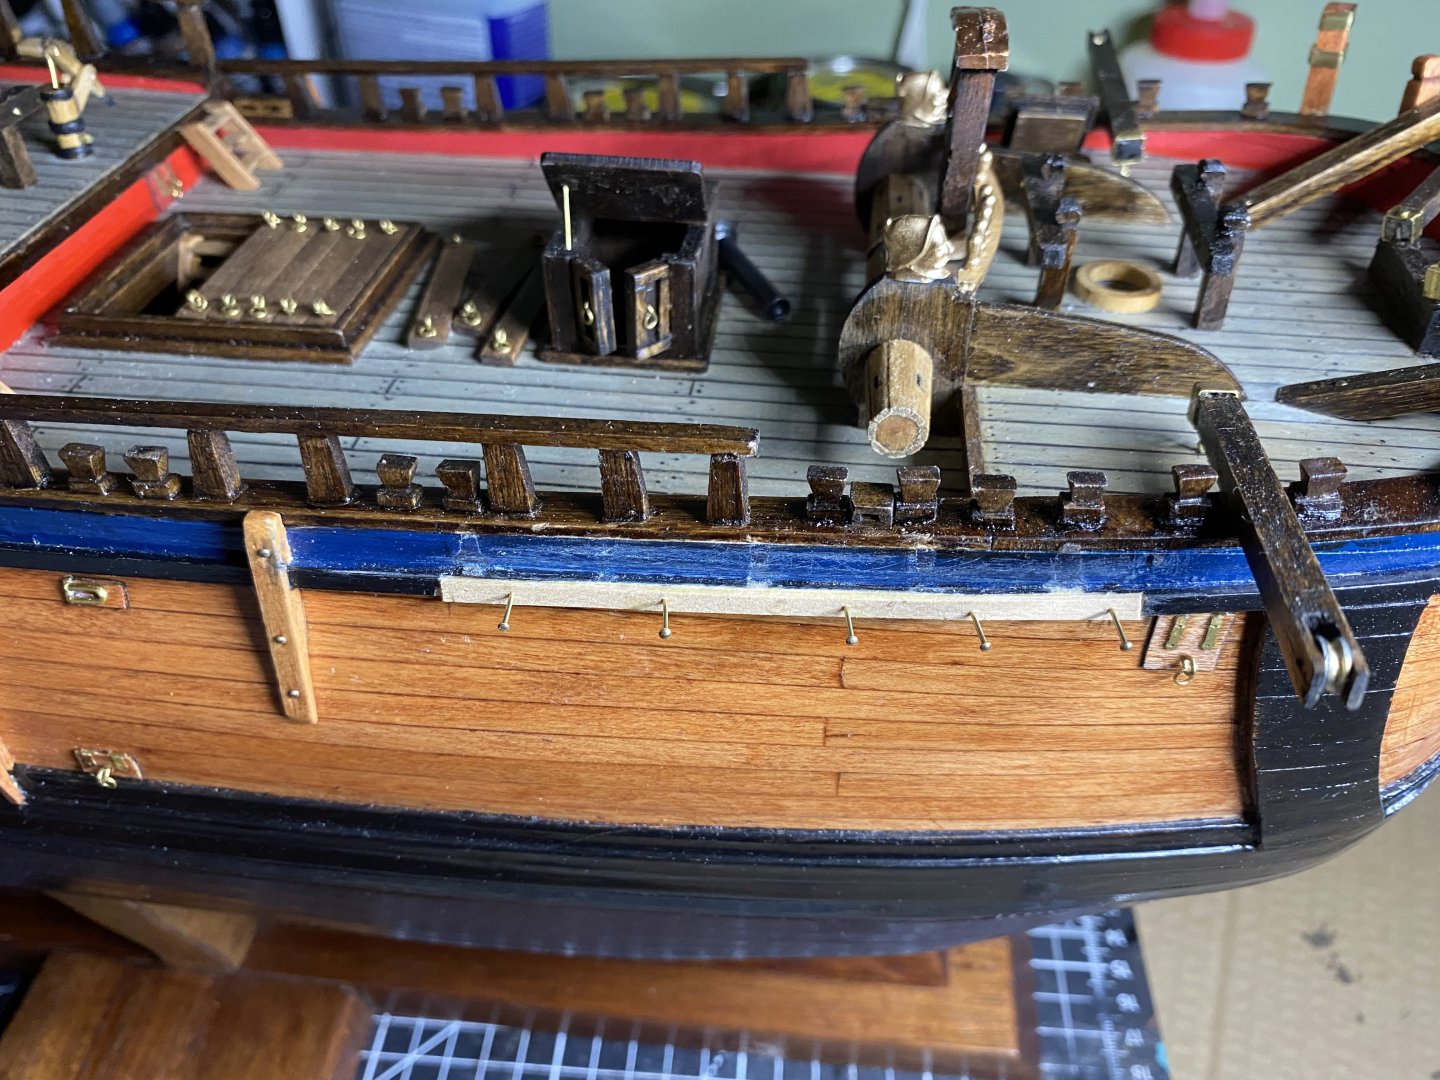
Well as you all know and have experienced some days are spent fixing “oh shoot” moments. Kevin this may be where your over analysis, as you explained it, avoids screw ups. I was dry fitting the cannon carriages along the rails and discovered the placement of the fore channels would result in a cannon being right behind a deadeye and shroud, which obviously would not be good 🥴. I had wrongly installed the fire channels about 5mm to far toward the stern. I had to cut them away from the wale and remove the little knee braces. Cutting them away did damage a section of the wale behind the channel so I trimmed it away and replaced the piece of wood. Sanding of the channel, the knees, and the new wood on the wale, along with repainting and staining should make it ready for reinstalling the channel at the proper spot.
-
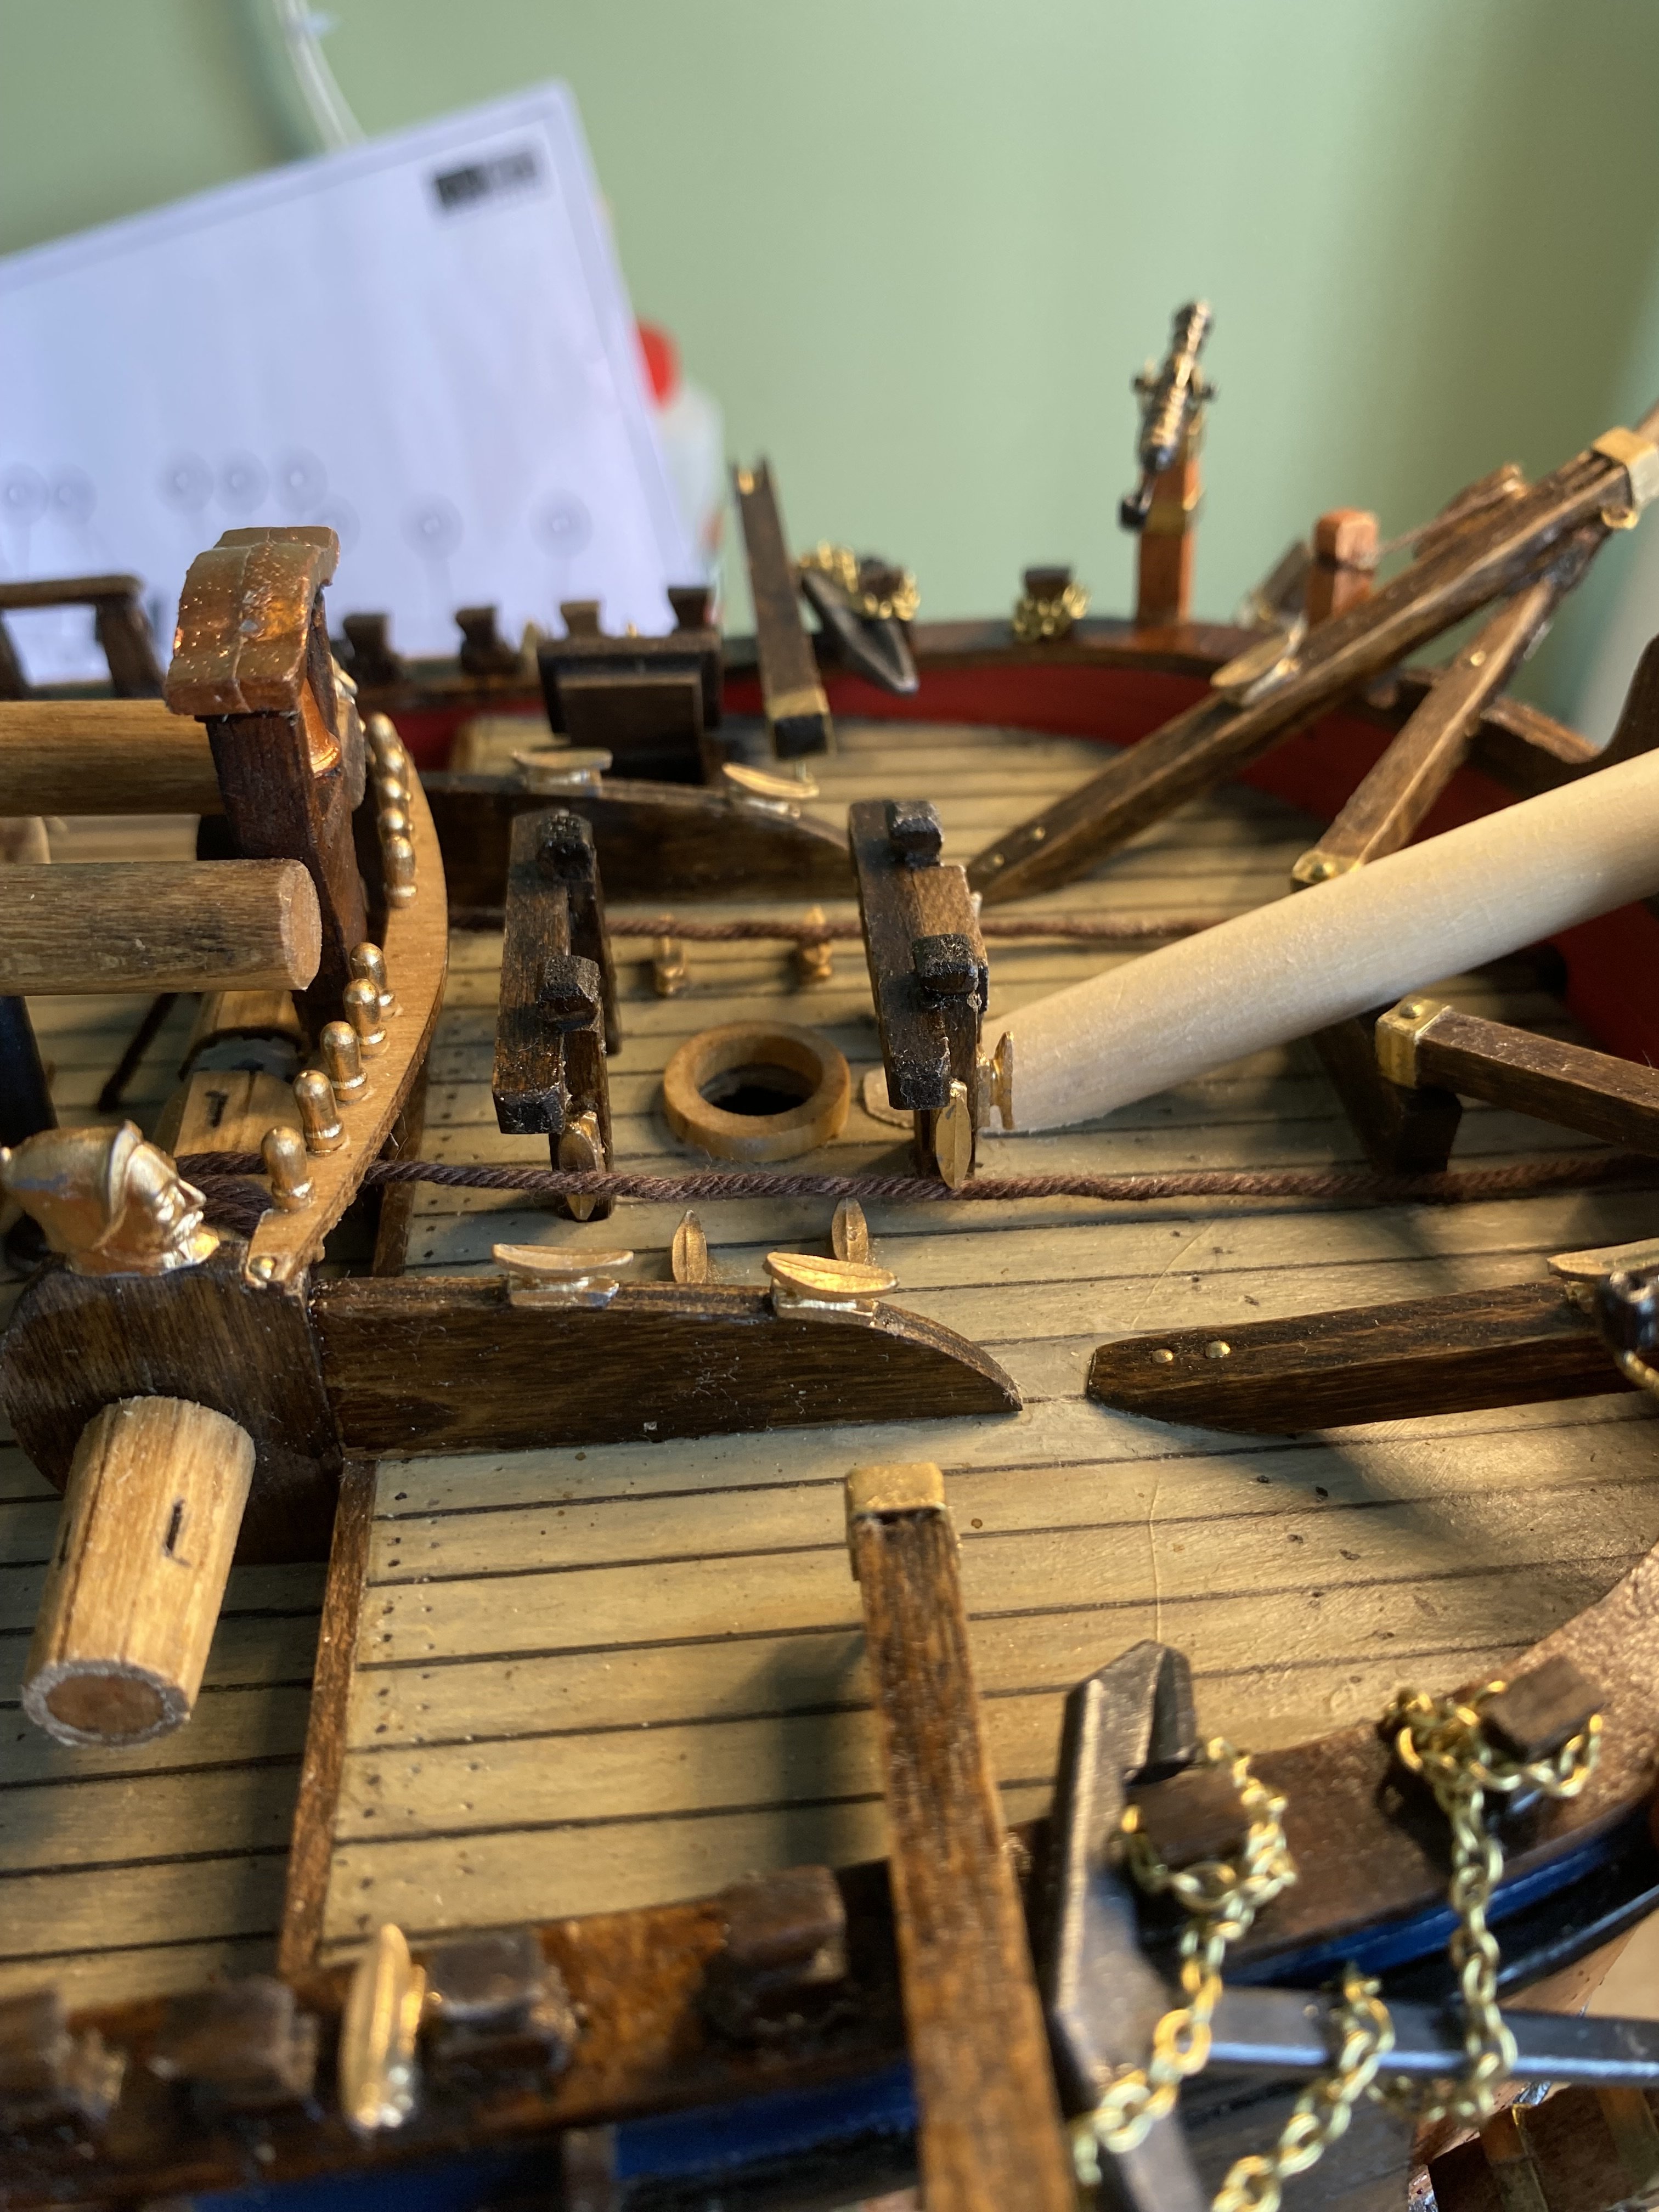
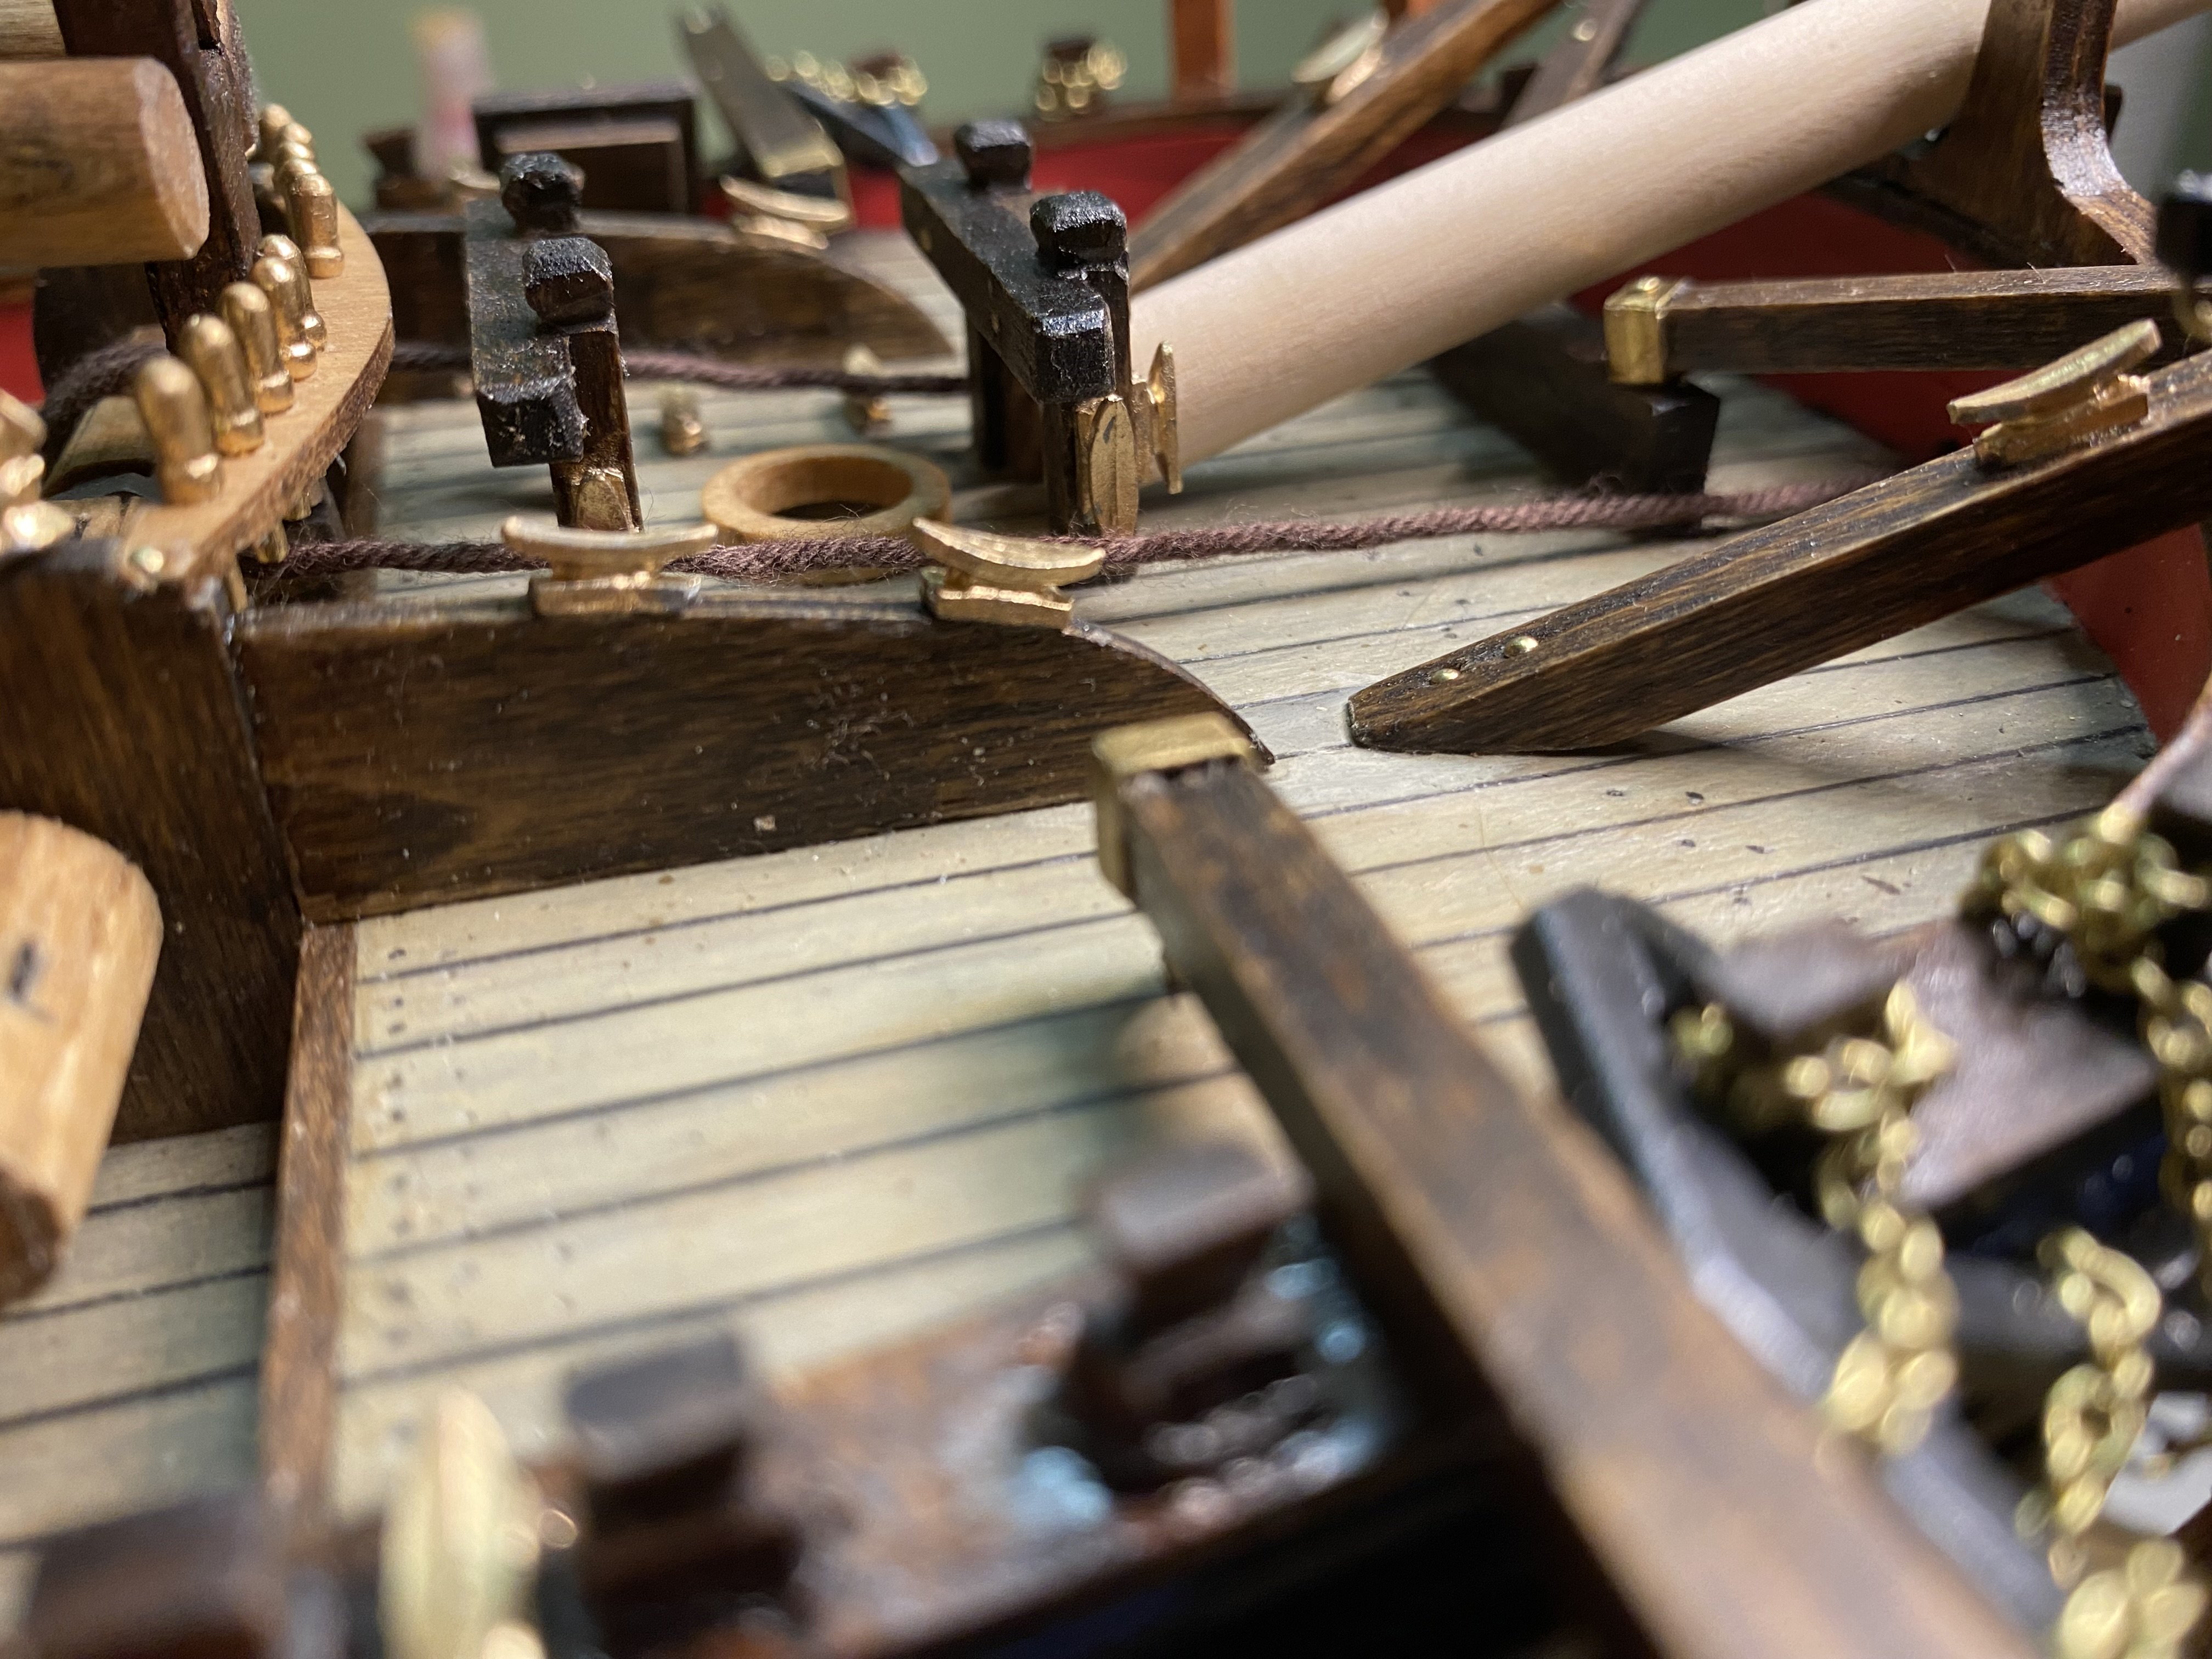
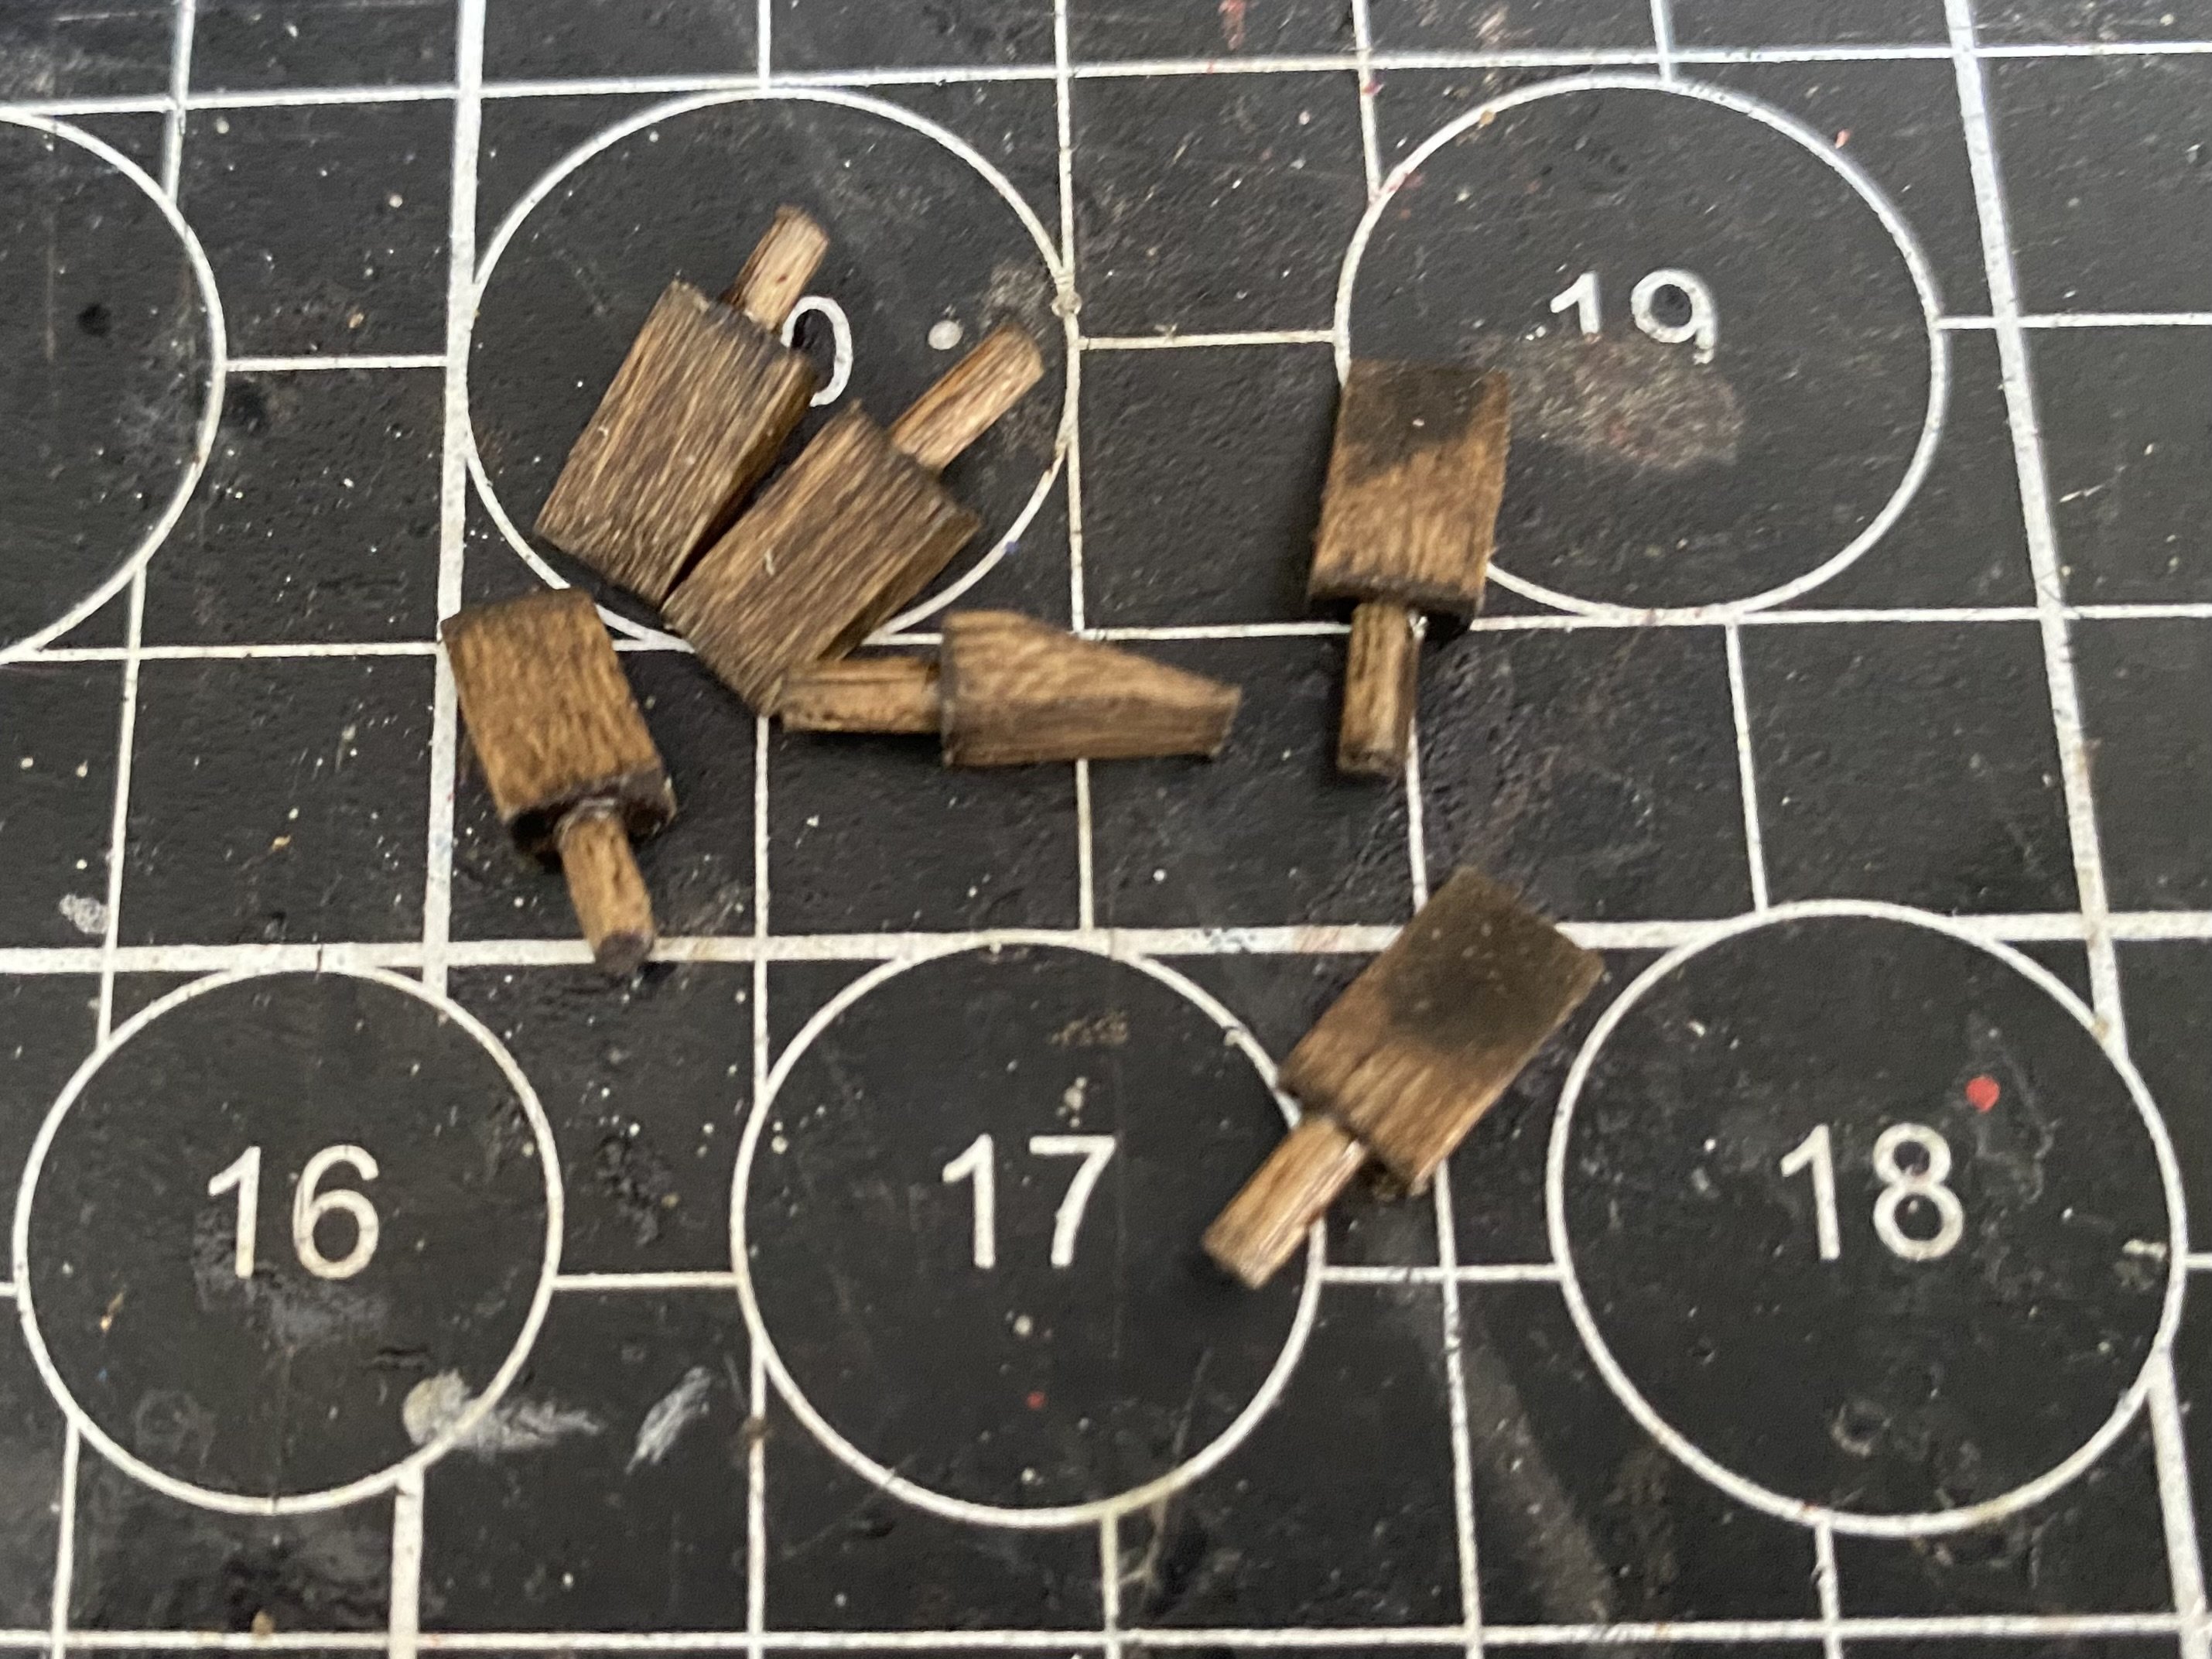
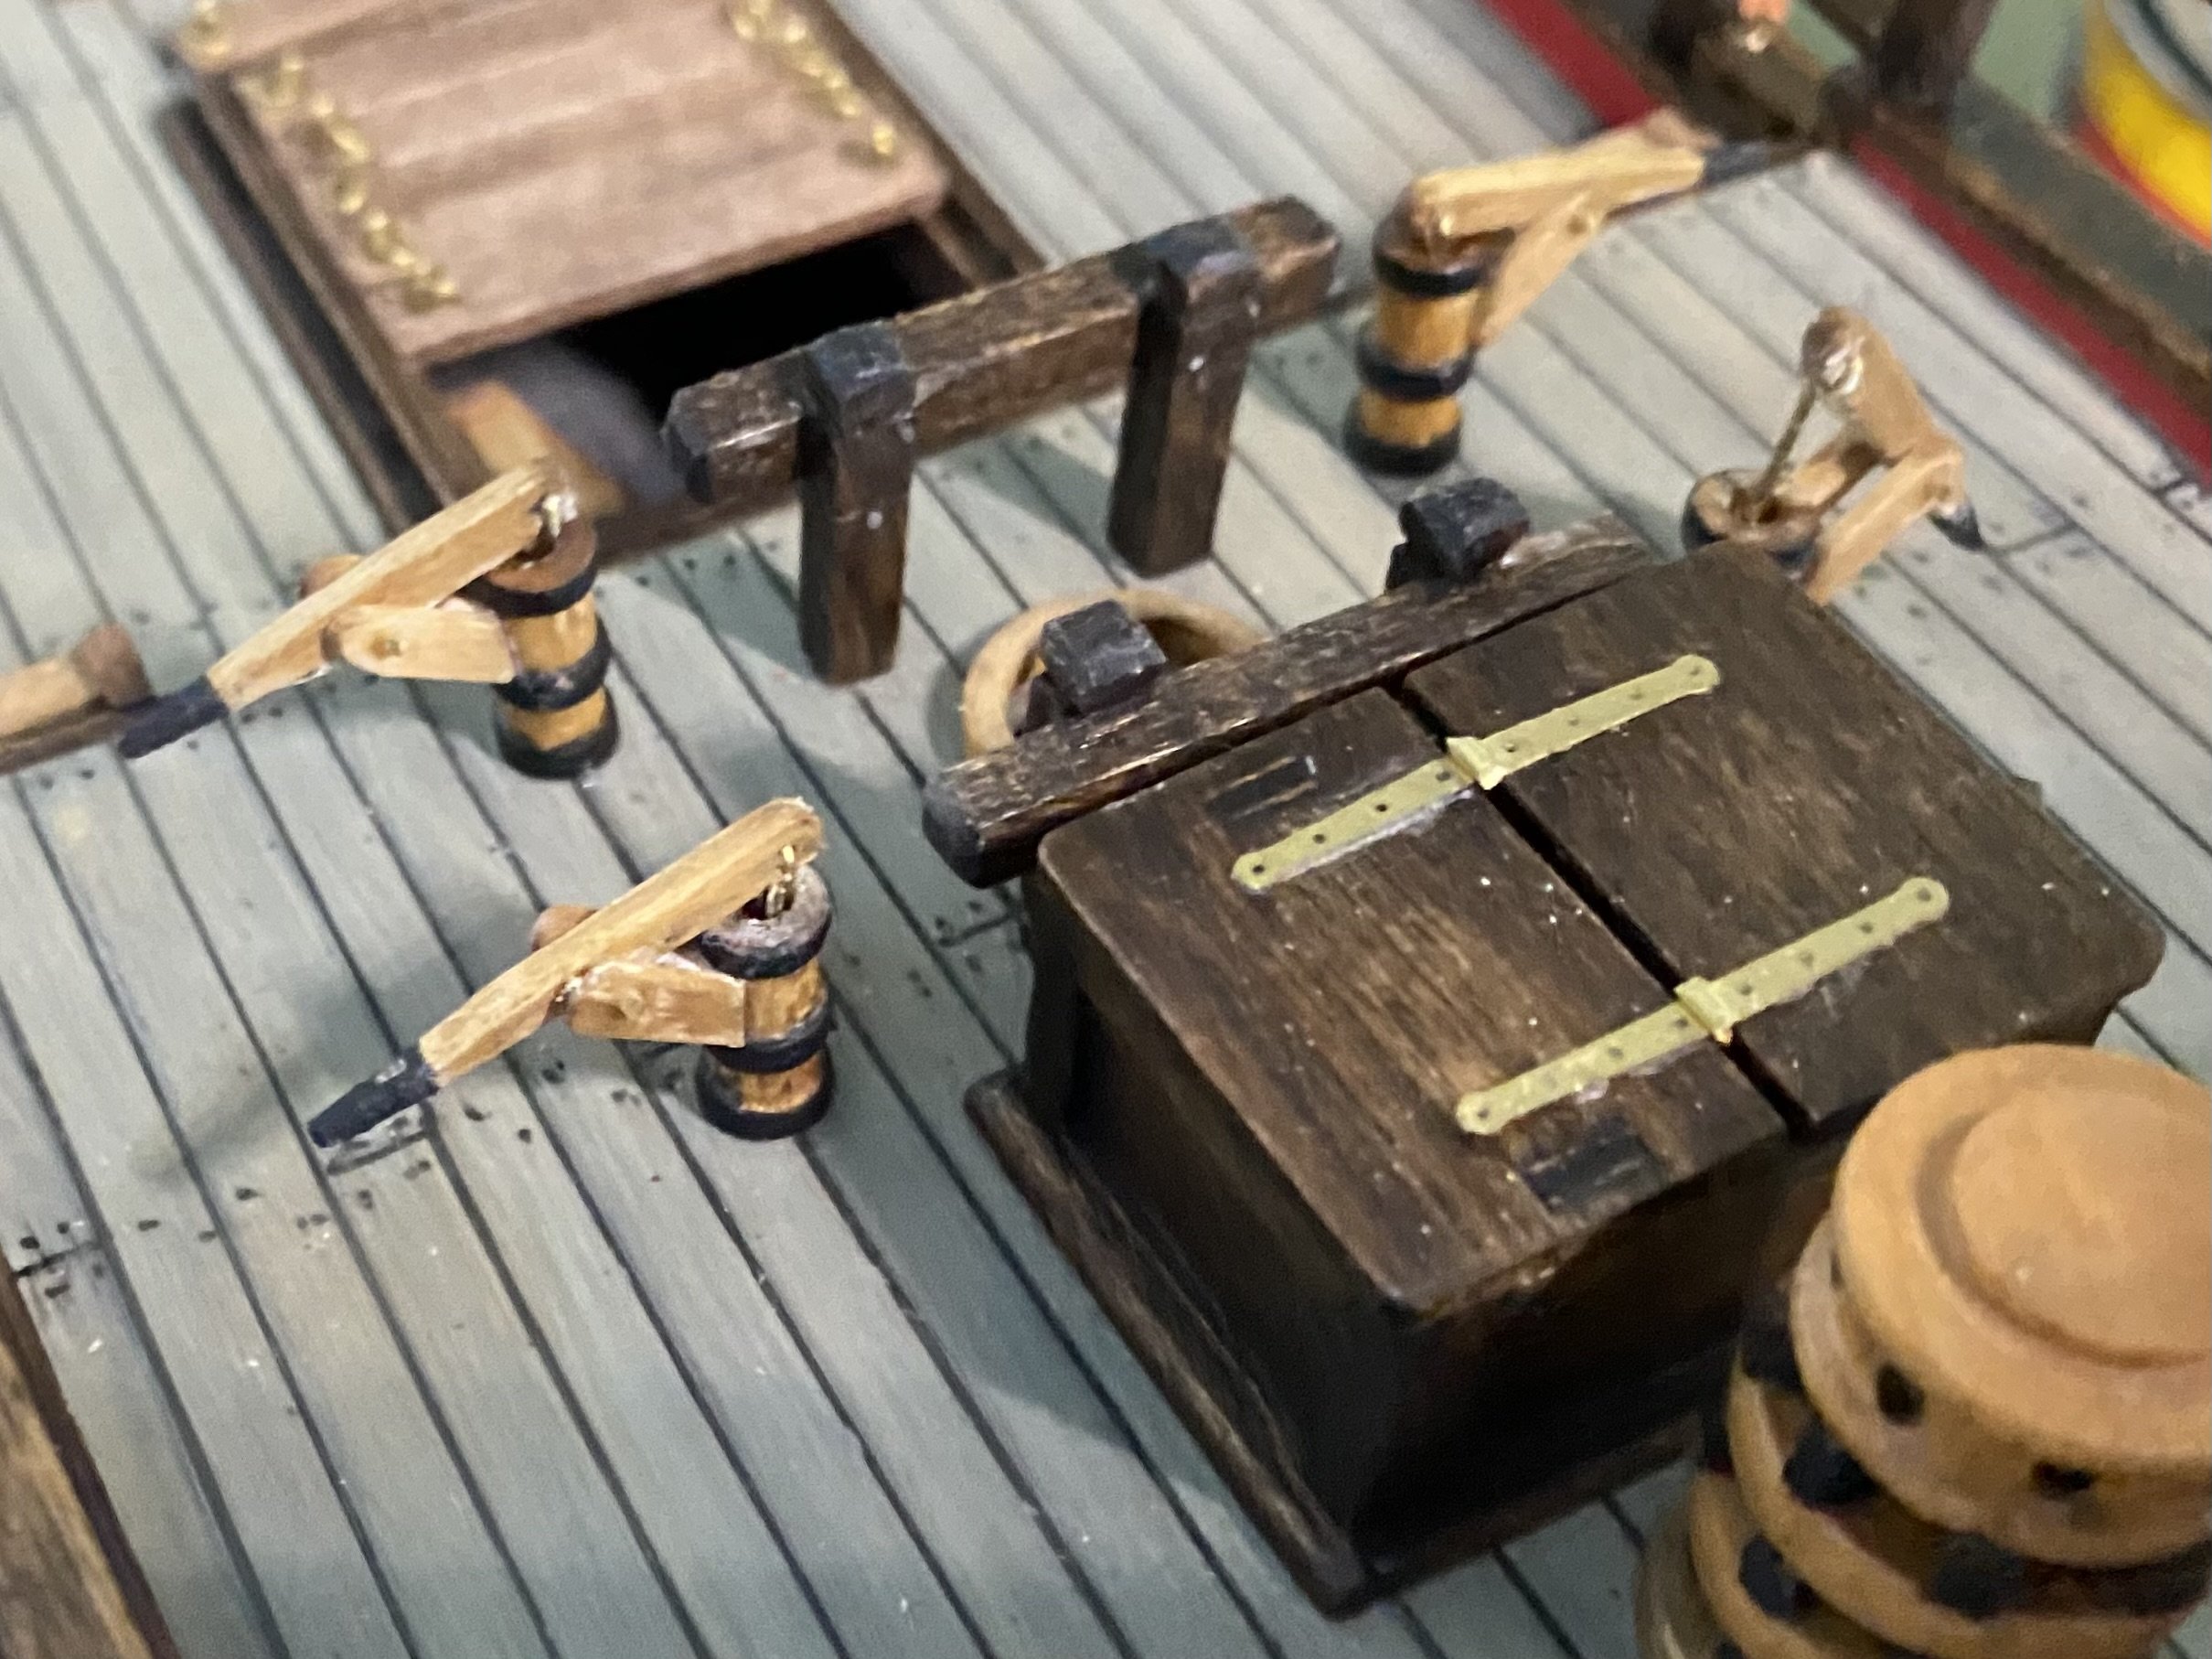
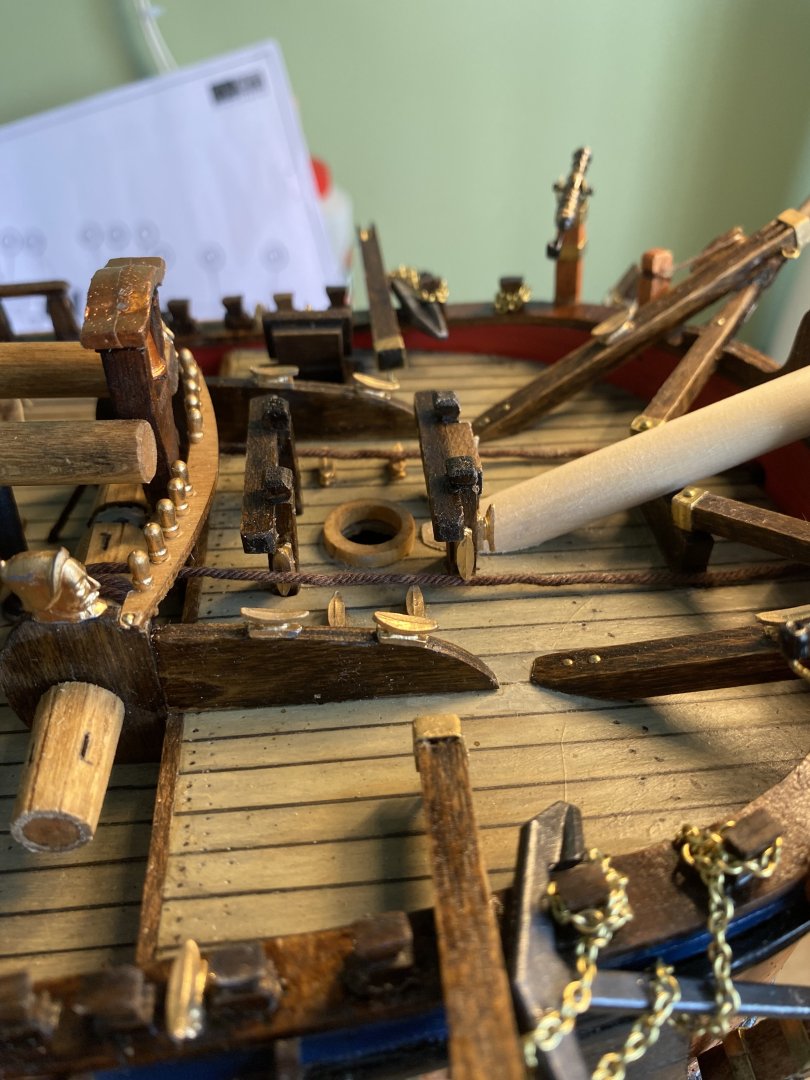
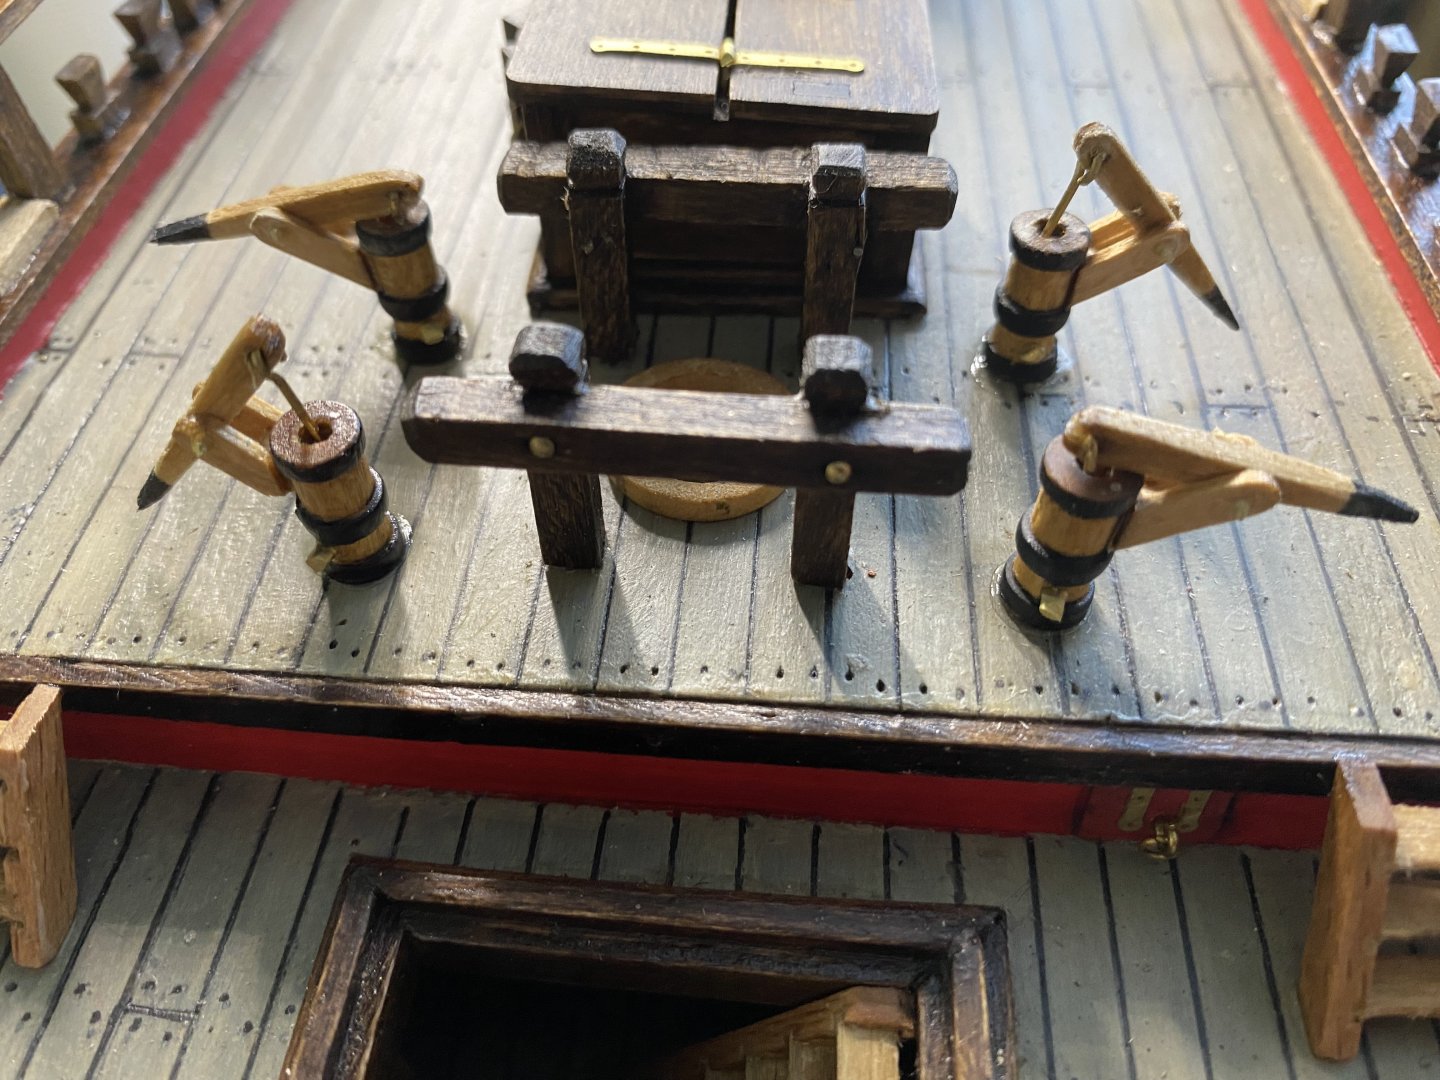
Carved and shaped all the little pieces to make the working pumps. Obviously they don’t pump anything but by working I mean the levers move up and down.

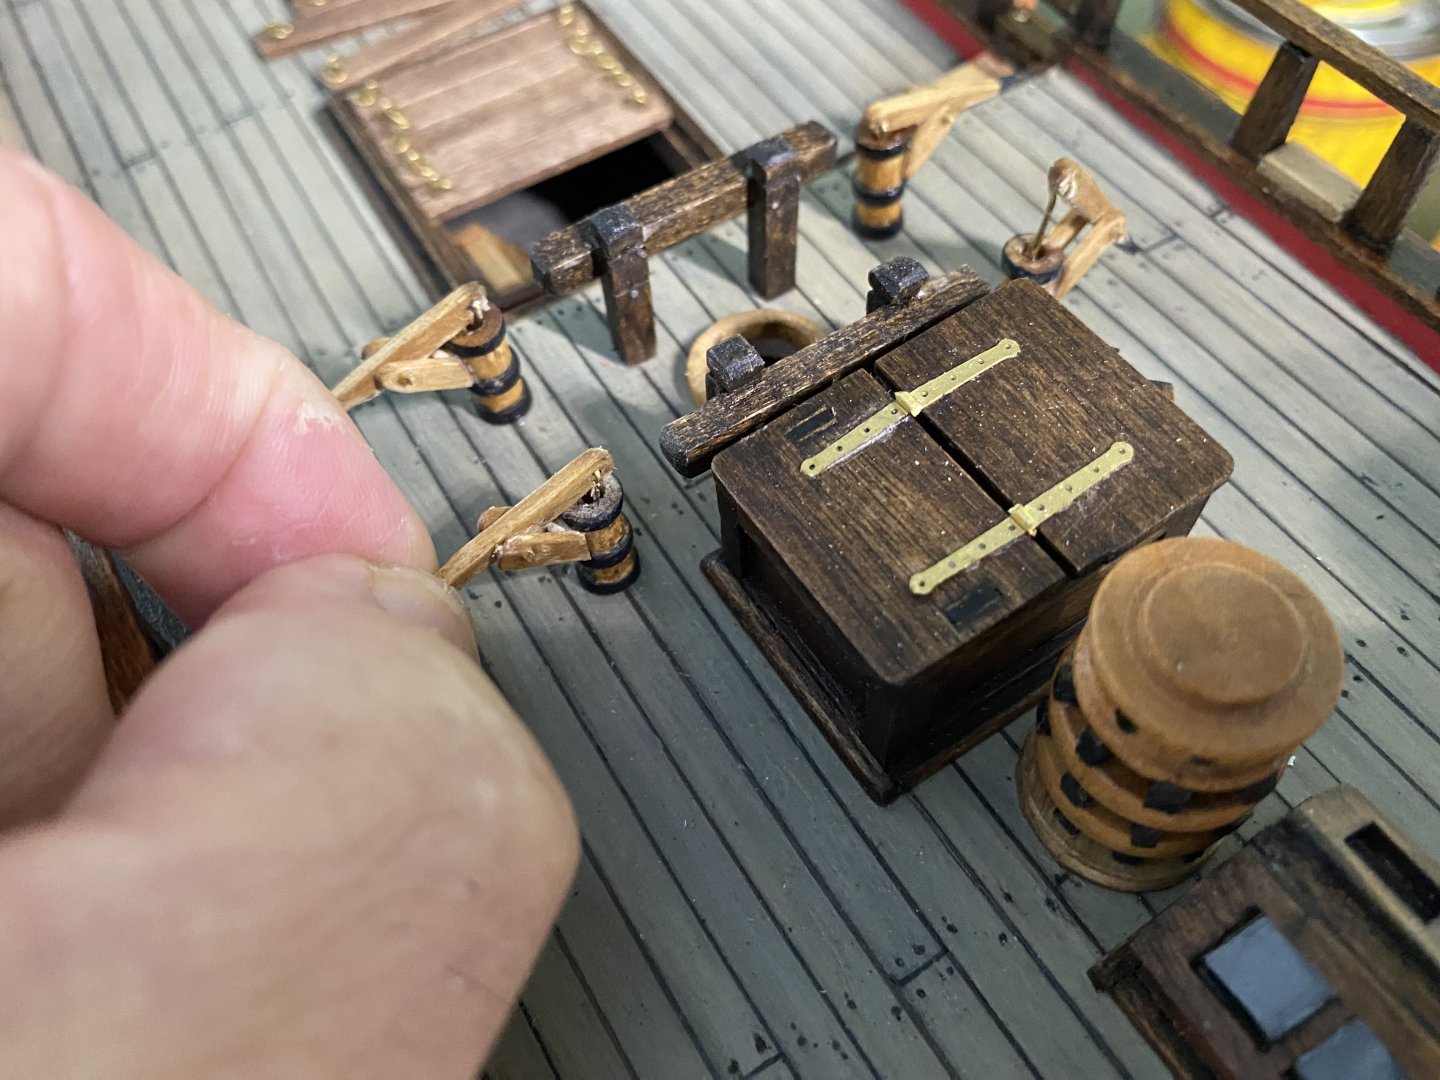
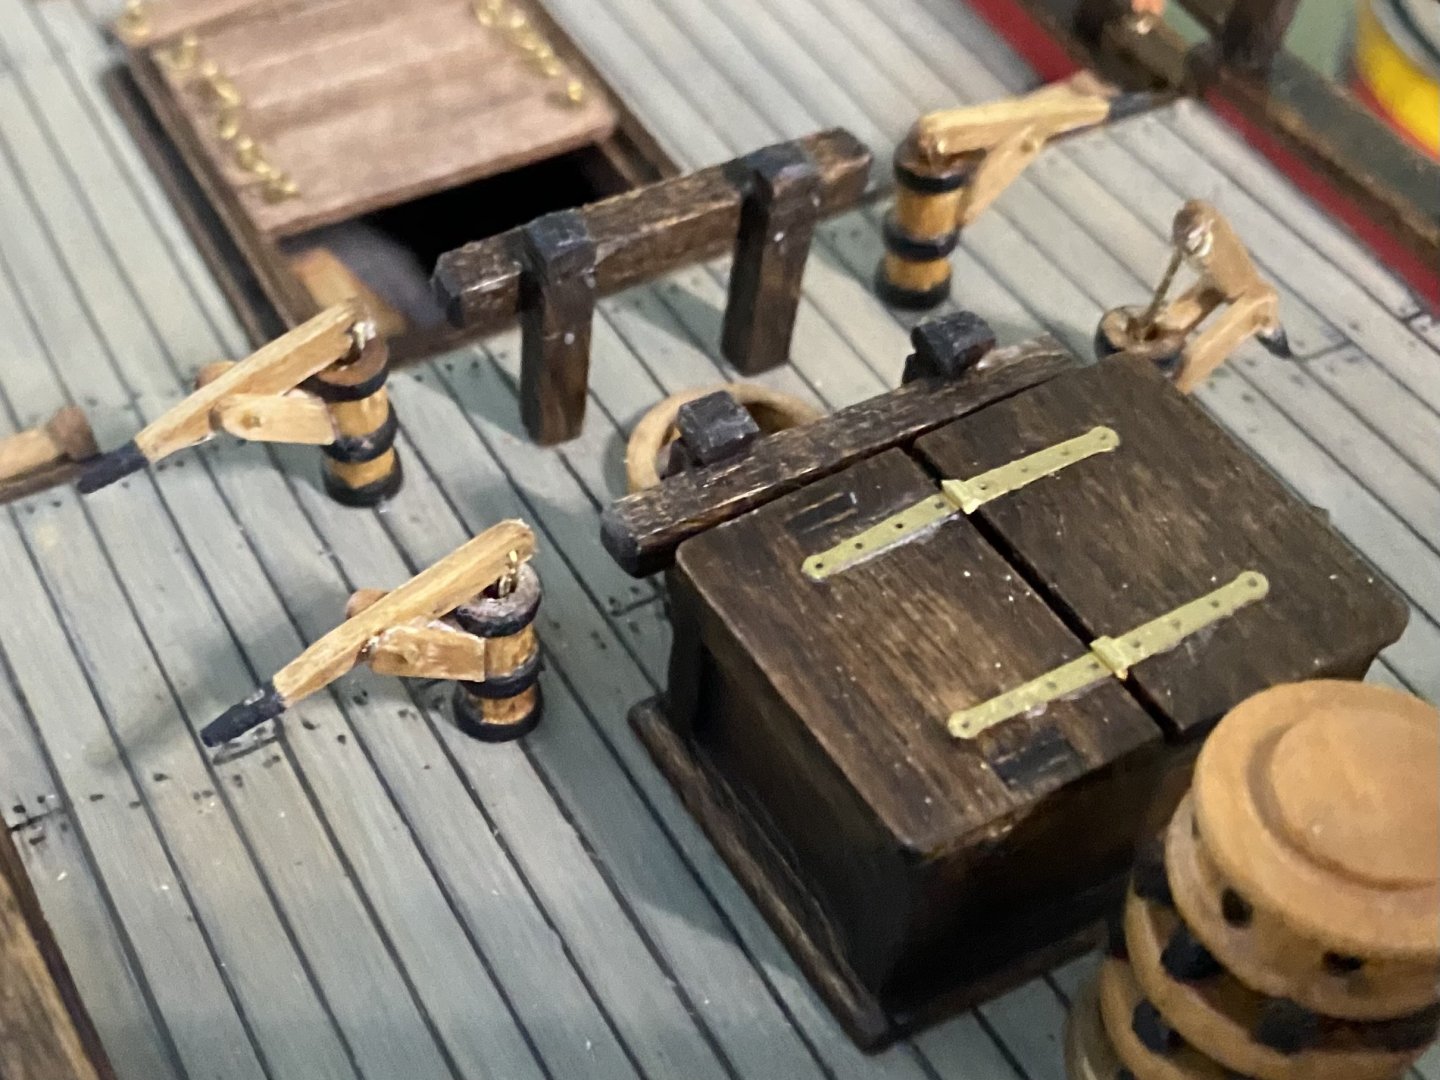
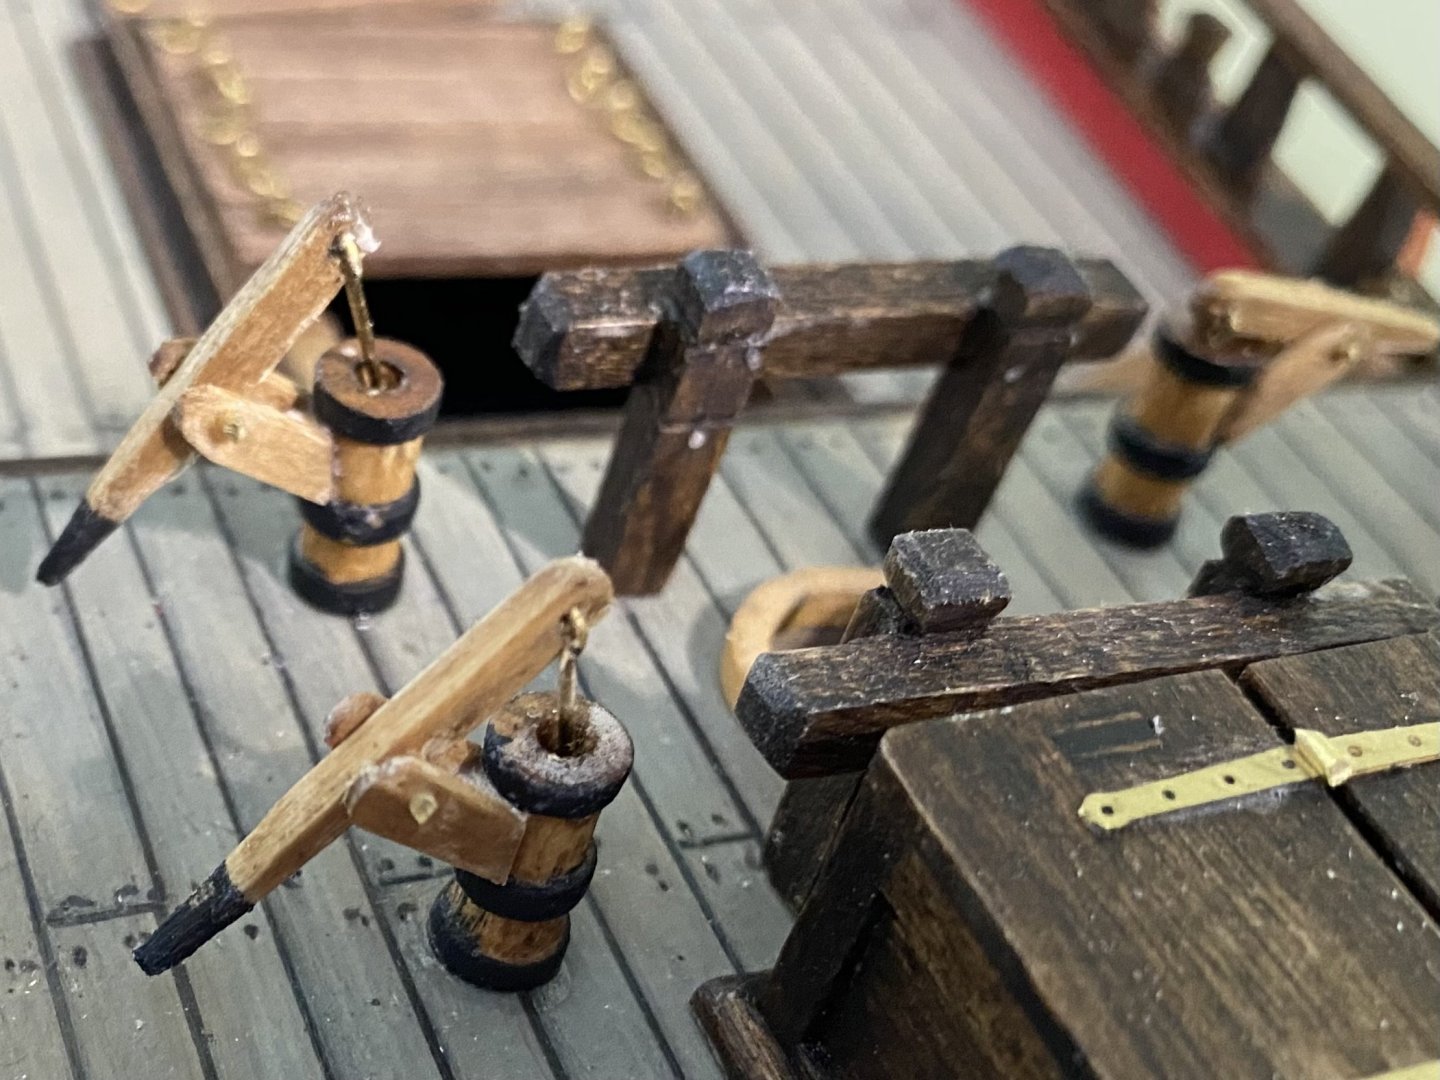

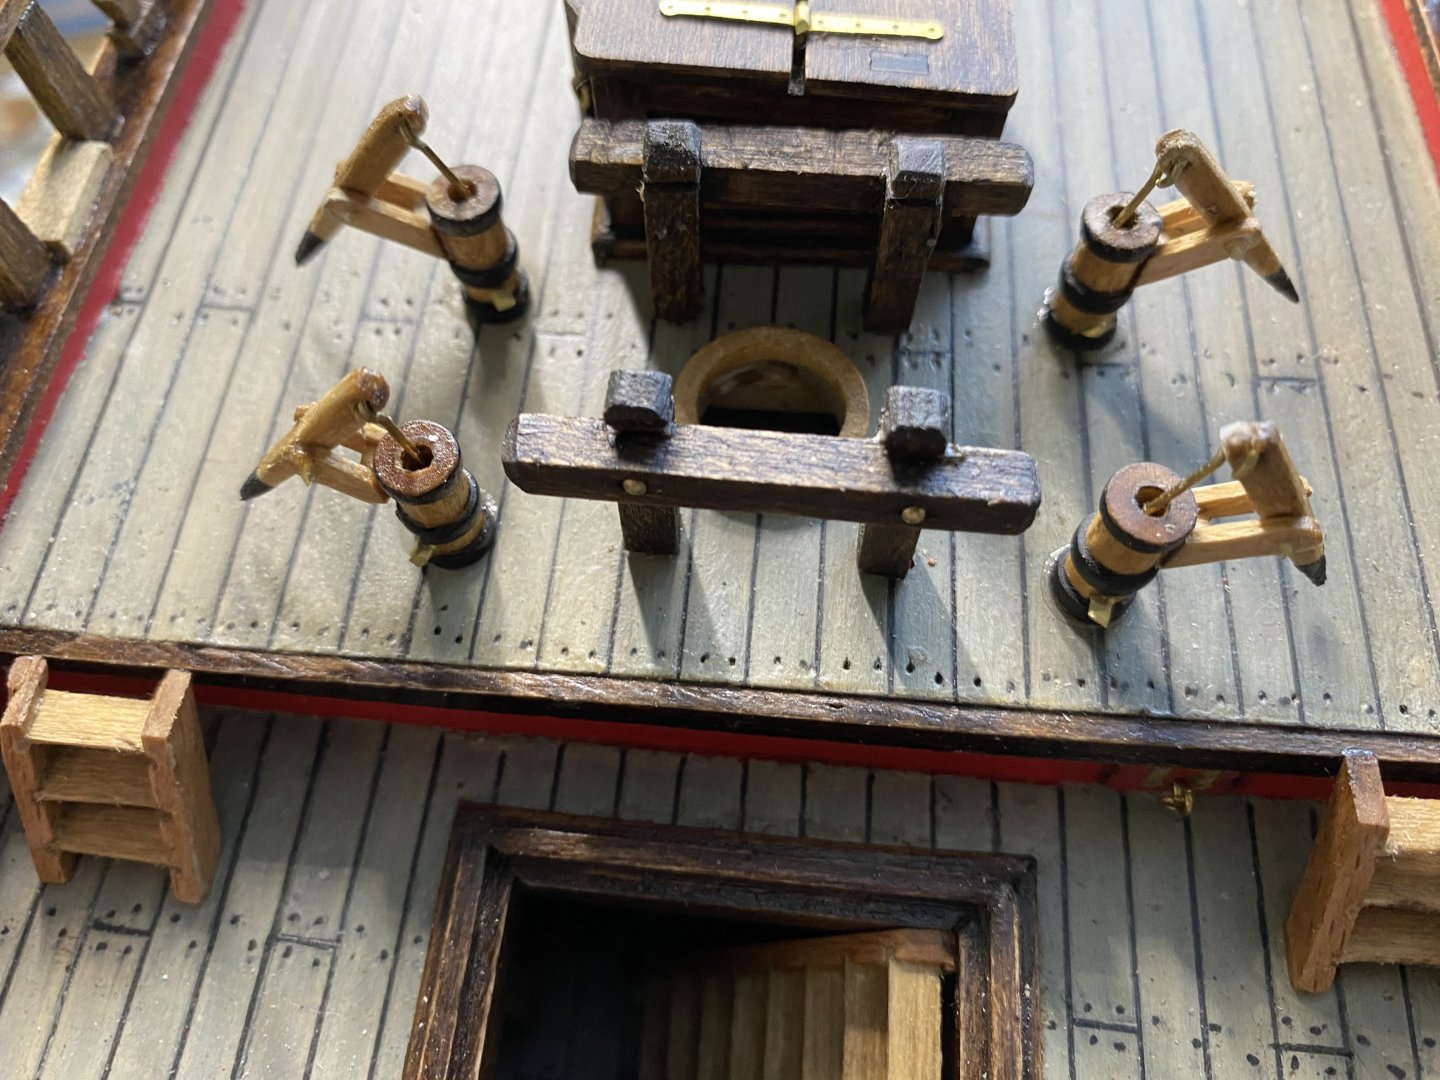
-
Have you guys noticed, or maybe it is just me? Every time I look in to see what is going on on MSW I have to sign in. In the past I stayed signed in, unless I signed out. That was so convenient. Maybe moderator knows.