ScottRC
-
Posts
559 -
Joined
-
Last visited
Content Type
Profiles
Forums
Gallery
Events
Everything posted by ScottRC
-

Where Do You Keep Your Working Plans
ScottRC replied to BubbleHead's topic in Modeling tools and Workshop Equipment
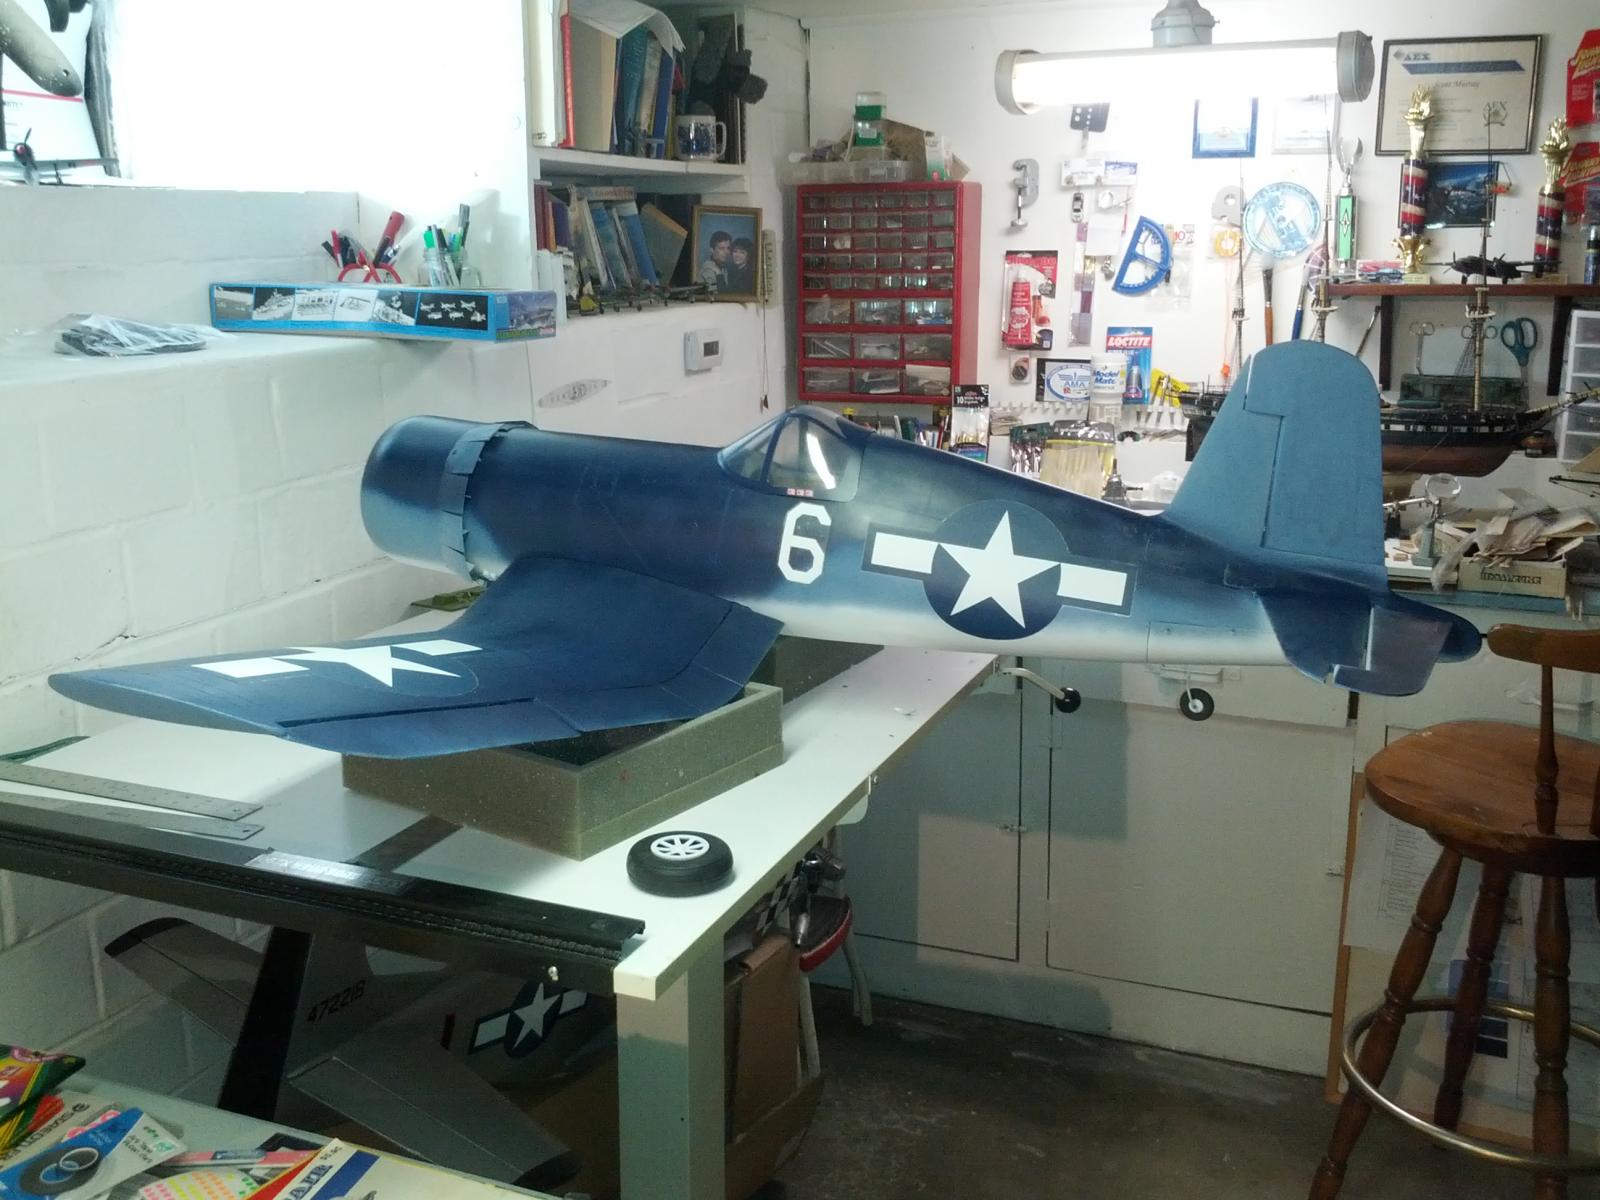
At one of my previous places of work, I used print binders and had a binder extension on my drafting table. Before the computer, used to do a lot of size D prints with overlays on one table. About a year ago, I picked up a large drafting table and some binders from a company that was throwing them out. Please ignore the airplane, this is the only current pic I have of the table. Under the plane is a print clamp and scale. The table is great because it is adjustable and I can also attach my drafting machine and scales to it to lift measurements off the print. The binder allows me to stack multiple prints and keep them in order.
-
This is such a clean looking build. I love it.
-
This is coming along very well. Great pictures of the masting and I look forward to your decking.
-
Instead of building tonight I find myself making notes, pulling out my plans and resource materials, and am making a list of aftermarket goodies and stock plastic sheet and rods. So much for slapiing it together in a few nights so I can play with it on the livingroom floor. If nobody hears from me for awhile, it probably means I'm locked away deep in the corner of my basement scratchbuilding that crazy tubework on the elevators.
-
The main criticism I have read was that the planes were really poorly molded. I think the Cougars look pretty good and with a little putty and some sanding, make a canopy and turtledeck that will make a nice Cougar. Then order some Banshee's, Cutlasses, and AD's from Starfighter and should have close to a complete airwing for the Lex in 56.
-
My Dad was on the Lex in 56, which is what this kit was originally released as and does a fair good representation as far as the lines go. I plan to use the kits decals and make the "16"s on my computer.
-
Must resist the tempatation to built a new elevator! I did it in 1/700 and almost needed therapy afterwards.
-
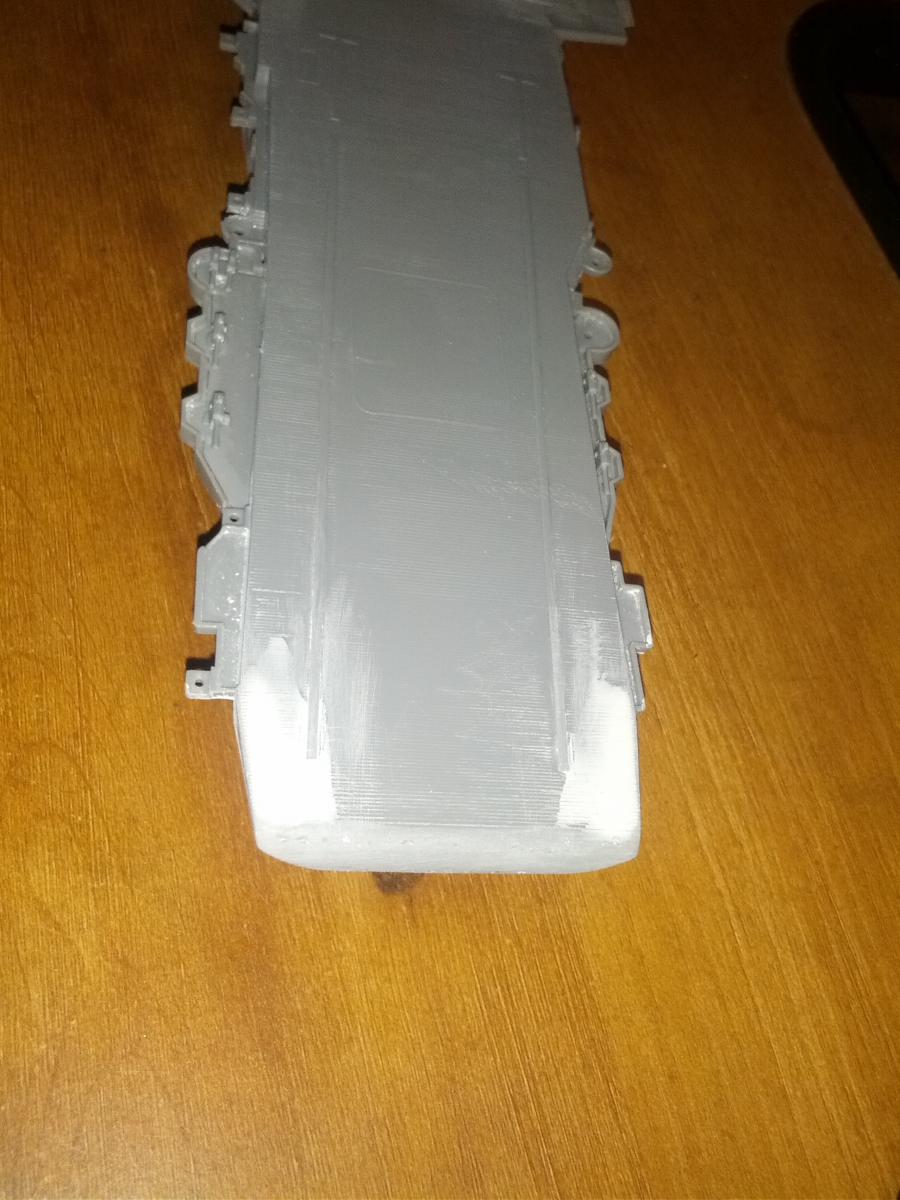
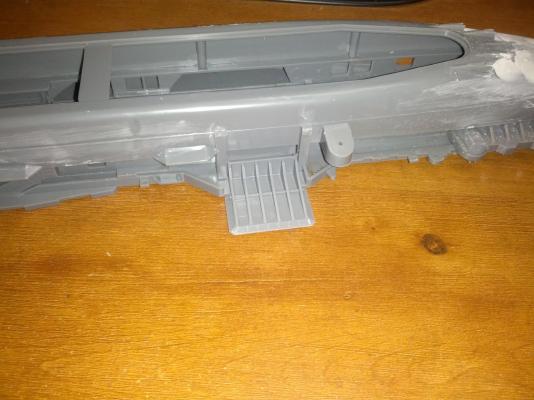
Got a few pics of tonights progress to show what the kit entails. I am really going to try hard not to add PE or beat myself up superdetailing. Even though the size of the model and the main parts are just begging to be cut, sanded down, and a bunch of scratch detailing done.


-
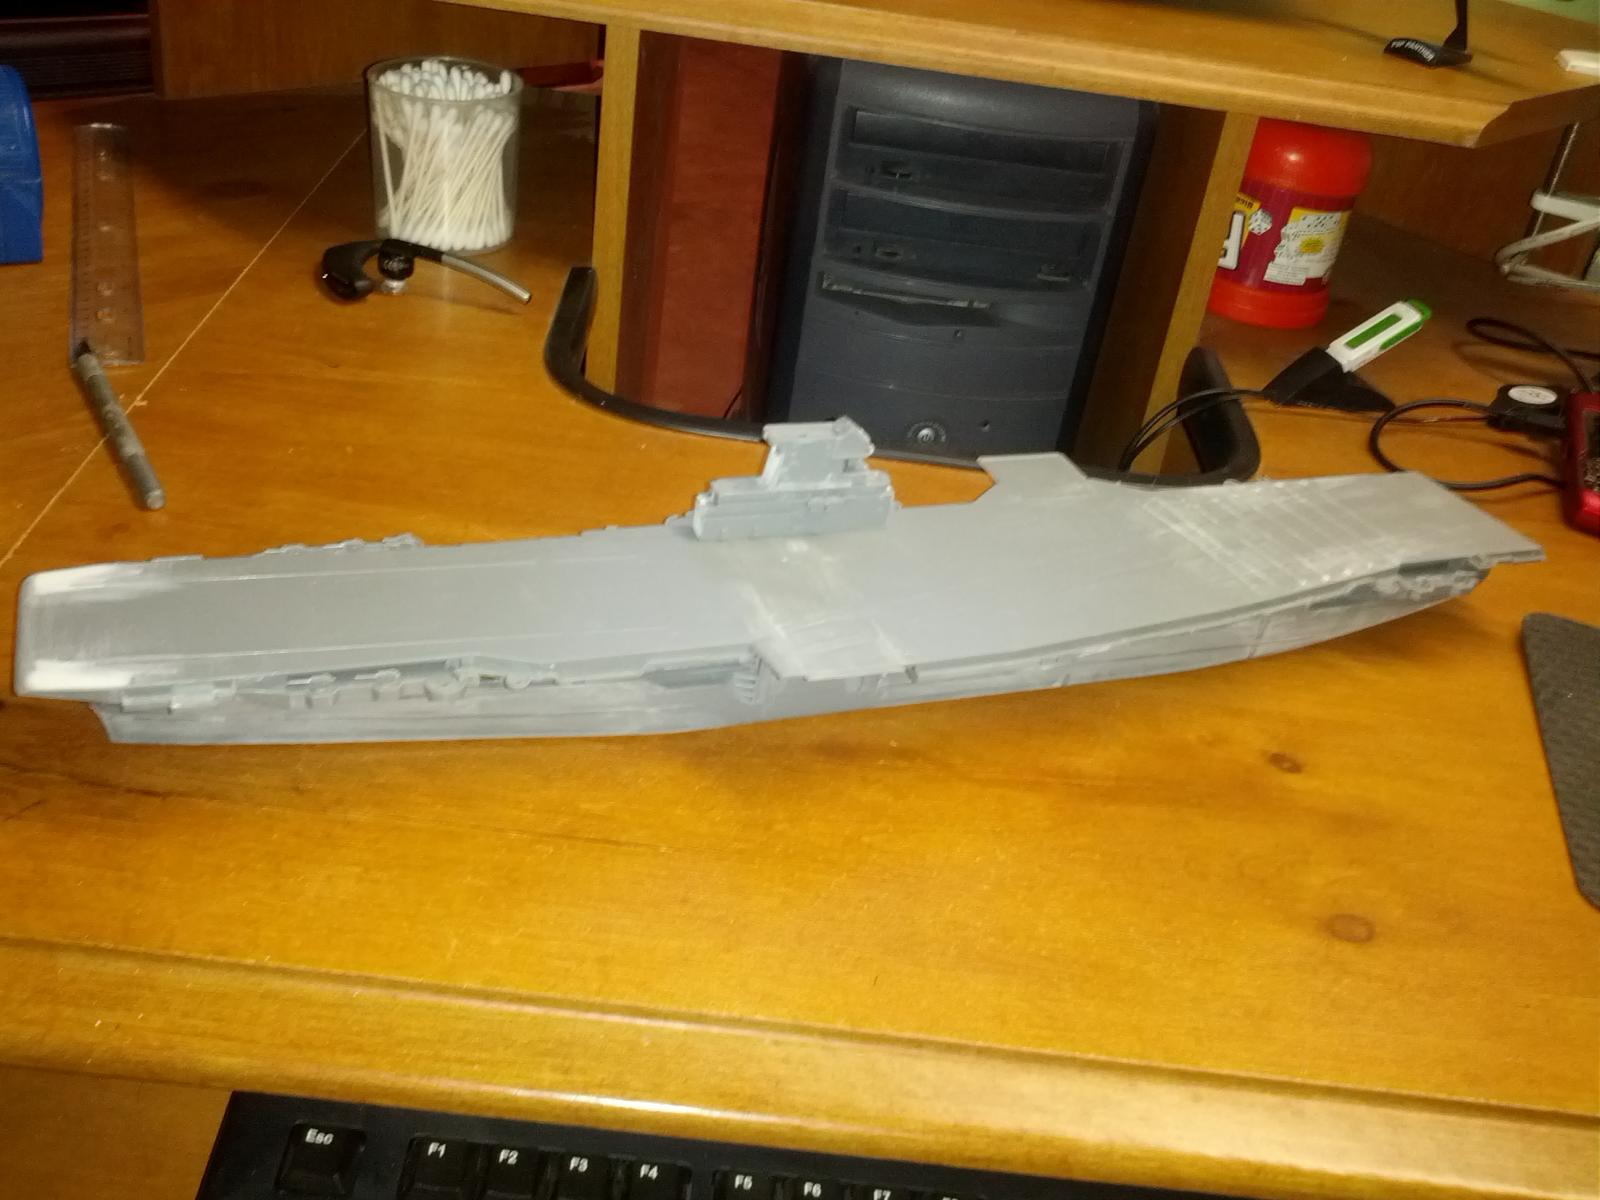
Got the Renwall kit Friday and already have it assembled and ready to paint. Forgot how much fun "toy scale" was. Kit maybe has thirty parts in it. I say toy scale because pretty much everything in the kit had been molded thick and with minimum detail and emphasis in function more then scale. I am lousy at getting pictures. I am more focused on building but I will try to take some pics tonight and post.
-
Very interesting subject. I am learning a lot from your thread. Scott
-
the painting I saw was in the book Classic Sailing Ships, the artwork of Cornelius DeVries.
-
I was looking through a book last night of nautical art and came across a painting of the Tweed and thought, boy what a nice looking ship that beacons to have her lines taken and modeled. Then looked up her history and found that is had quite a story starting out as a paddle wheeled warship in India and ending as a clipper. I do not have the source of the painting available right now but will look it up tonight.
-
If you tie flys, then you will not have any problem seizing the shroud to the deadeye and you would find it easier and less frustrating to make your own ratlines vs trying to use the kits. You also have the some great tools for the task such as your loom, bobbin, and head cement. I like using head cement for sealing knots and seizing more than while glue.
-
BE, I am so happy to have seen your work. I have this kit and now am excited to try your silkspan technique on the sails. You show that there is no limit on what could be done with these Heller kits. Thanks, Scott
- 126 replies
-
- 1
-

-
- le superbe
- heller
- (and 2 more)
-
Bob, I must chime in that the Essex is one of my favorite ships so I have been quite interested in your build. Very nice job, looks like you have overcome the framing issues? I also was a fan of the Floquil Polyscale line of locomotive paints. I have just a little bit left of Engine Black and Refer Brown was a great basecoat for simulating walnut. I also liked the reds and greens and all the paints behaved well on sealed wood. They also accepted washes with oil based paints and turpentine. One alternative I have been using is the Americana line of craft acrylics. They seem to have large array of colors that were like what was available from Floquil. The only drawback is that they will not adhere to a smooth polycoat surface, so a primer, such as Tamiya's Mr. Surfacer, would have to be put on or if its a sealed wood surface, sanded, and the paint given a topcoat sealant before I could do the oil washes. Look forward to seeing more! Scott
-
Coming along great John.
-
Thanks again for the compliments
-
Dragon calls their kits "Smart Kits" due to their injection molding process allows them to mold parts in full instead of in halves. For instance, the Trumpeter Ticonderoga's island came as one injected molded piece, a lot like a resin kit would have, where as the Trumpeter Yorktown has the island as two pieces. Less part count and less seams to fill. After building these high tech Chinese kits for the past years, I think the old Renwal kits is going to be a real eye opener. Flash, globs of plastic, and injector pin marks up the wazoo, boy am I excited. Scott
-
Karl, I have built the kit strait from the box and am glad I did. The kit supplied eyebolts can be used but use CA/superglue on them, not plastic cement. They need to stay secured. I never encountered any problems with the dead eyes. They are much stronger on the Connie than on the Cuttysark or Alabama. About the only thing I would never use again are the ratlines. They are way too thin, come apart easily, and a lot harder to cut and install than rigging them from scratch. There are a lot of great experts on this forum with blogs on rigging the ratlines that you will find interesting. Scott
-
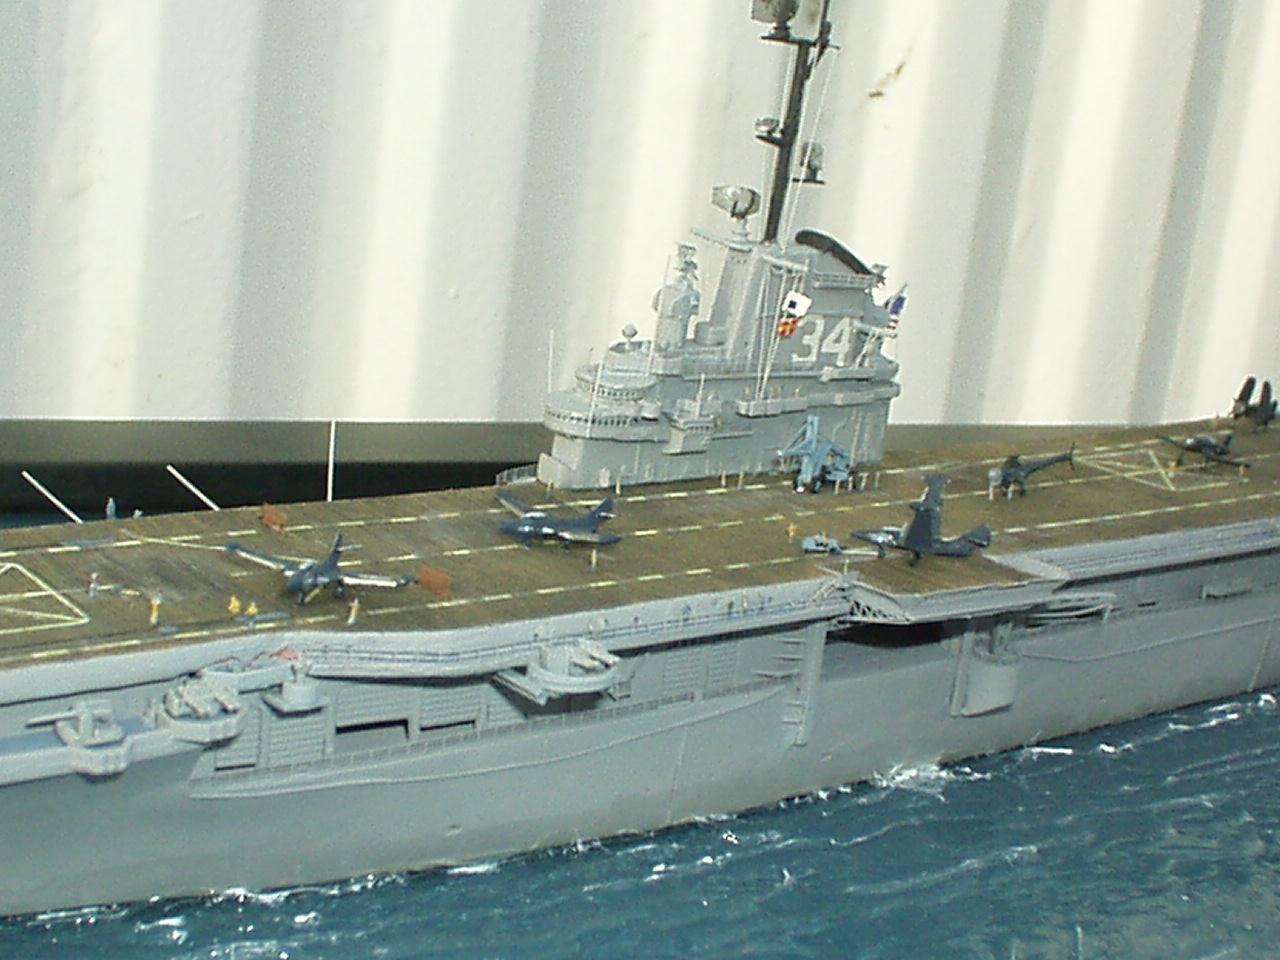
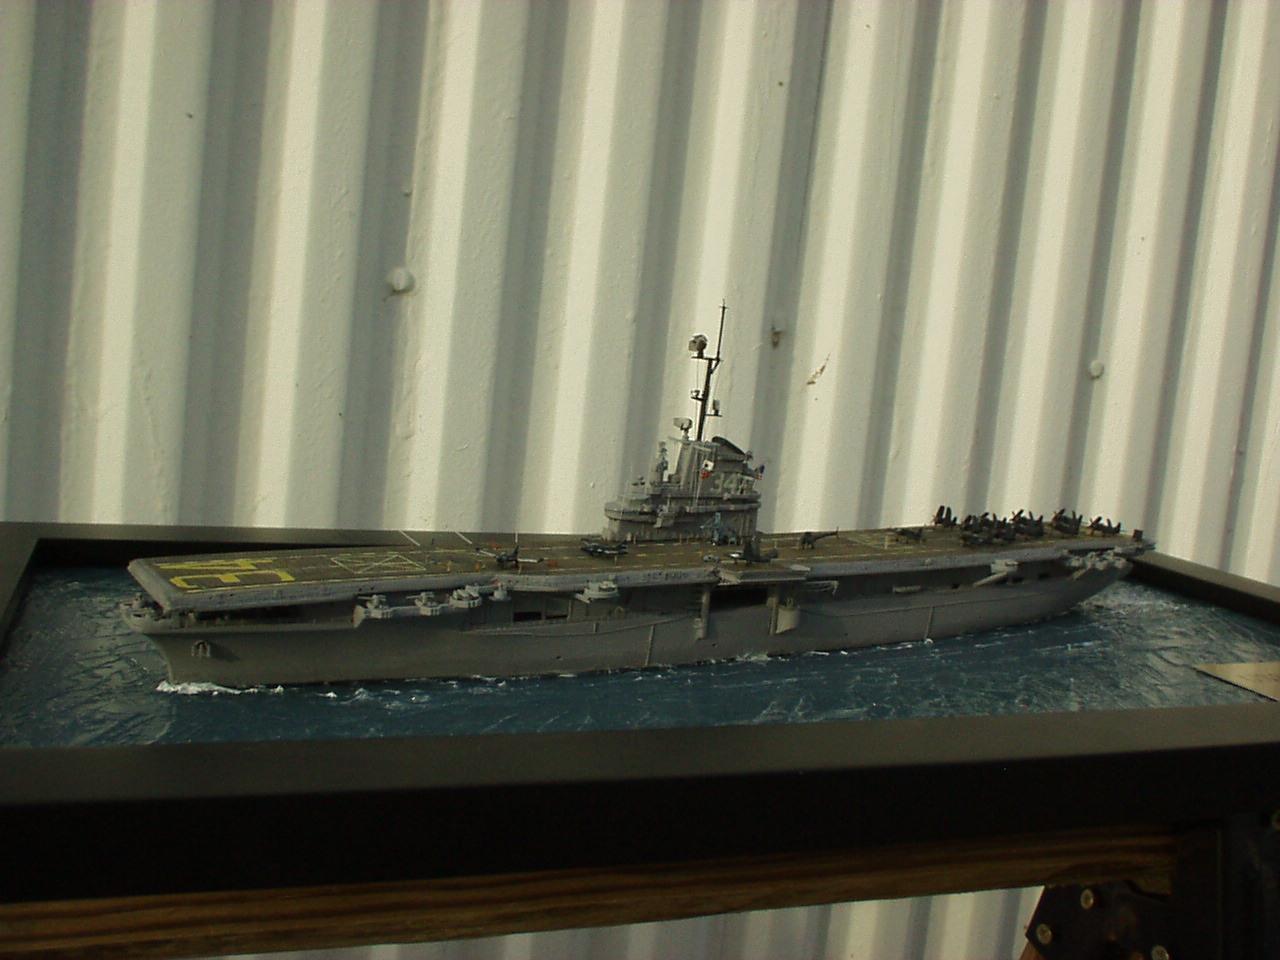
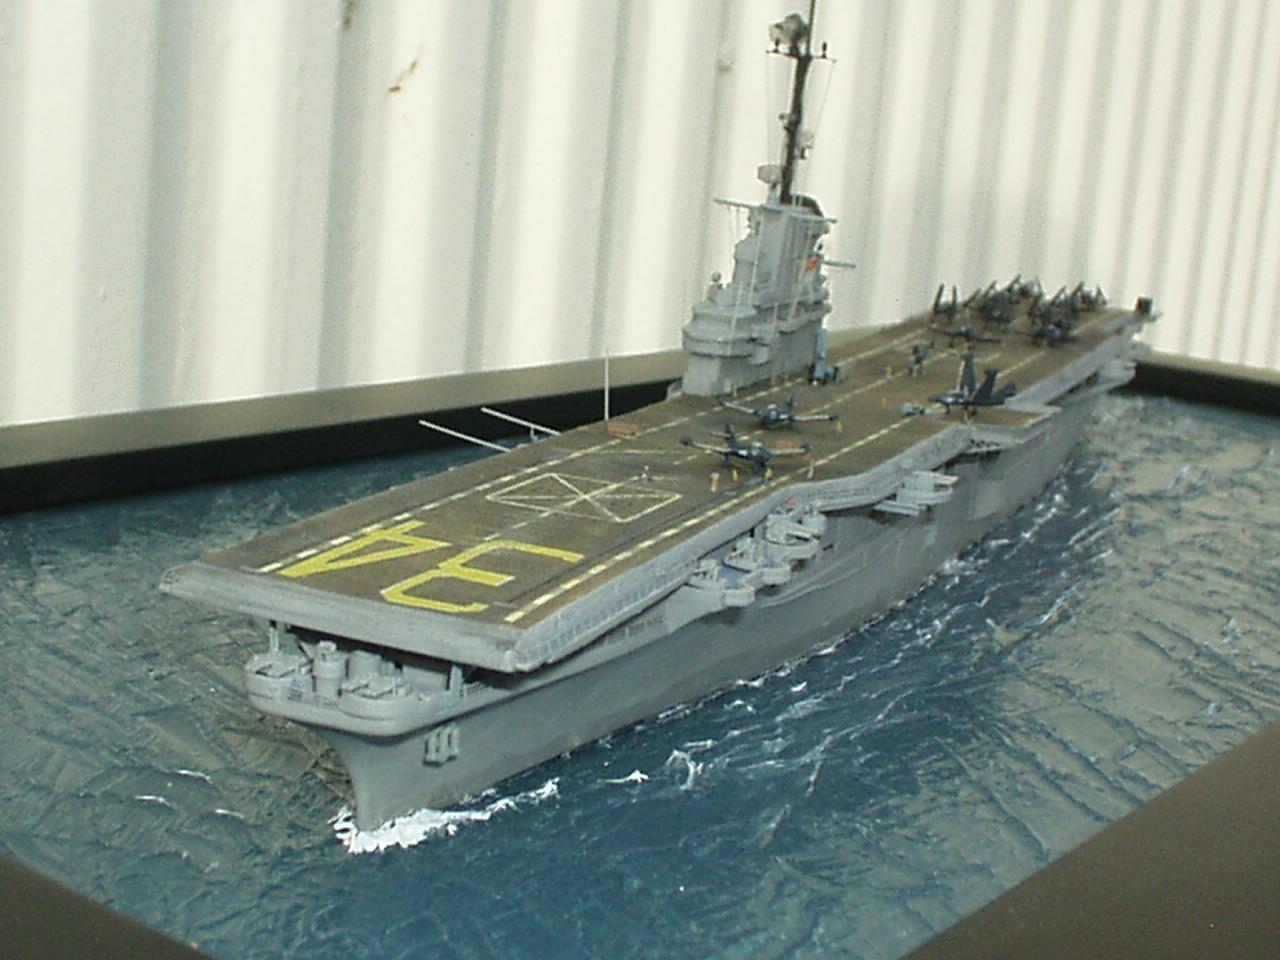
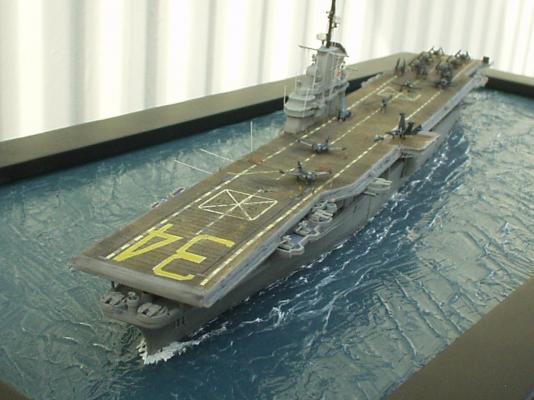
The water is a fun. I used I technique I learned at a IPMS show a few years ago. The model is mounted on a picture frame. I painted the glass the color of what the South China Sea would look like. The painted side is face down opposite of the side the model is mounted on. I then lay on Artist Gesso by Liquitex, this is what artists use to cover and protect oil paintings. It goes on rather thick and goopy and can be molded into waves and built up in layers and dries clear and has no odor. I then added white caps and foam with oil paint and then gave everything a coat of clear satin Krylon artists clear coat. One of my favorite movies has be Bridges at Toko Ri because it always gave the feeling of how dark and lonely, yet personal, that war can be. I wanted the model to represent the feeling I get when I watch the movie. Dragon kits are at par with Trumpeter and I think are really good. I did not have a single problem with the kit, although all I used was the hull, which I ended up building a secondary hull around, and the lower part of the island. The flight deck is a laser cut wooden aftermarket kit that was stained, painted, then sanded and weathered. Everything else was scratchbuilt or robbed from other kits.


-
Kimberly, I would definitely get the Heller Nina and Pinta. They are smaller that the Santa Maria, great fit, and are fun to put together. However, I must warn you, the instructions are translated French and are kinda buggers to follow, but again, you now have experience on how a plastic ship model goes together so should enjoy the builds. Squadron Mail Order has both of these kits in stock. P.S. the ratlines are plastic. I built this back when I was just starting and felt I wanted to spend time practicing laying up standing and running rigging than spend hours sewing ratlines.
- 94 replies
-
- 1
-
-
- santa maria
- revell
- (and 1 more)
-
I just ordered the Renwal kit due to the fact they are limited production and already a number of places are sold out. The Trumpeter 1/350 kits are wonderful, large kits. That was what I was going to use as my template. I used a 1/700 Dragon Ticonderoga as a base for my Oriskany.
-
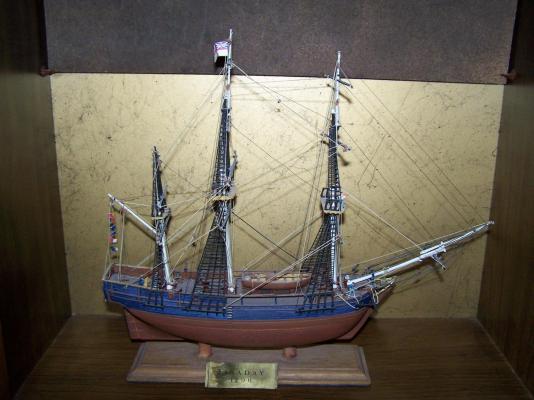
Kimberly, I am very impressed with how your build came out. I love the sails I have to agree with Ulises, the Bounty would be an excellent next choice. I built one, pictured, for my Mother many years ago and just built another one last year for my Mother in Law.
- 94 replies
-
- 1
-
-
- santa maria
- revell
- (and 1 more)
-
I'm jazzed, Revell just re-released the old chunks of plastic that was to resemble an modernized Essex class aircraft carrier. One is their 1/540 Hornet (aka Wasp, Lexington, Essex, etc...) and even better, the Renwal 1/500 Shangri La (aka Lexington). My father served on the Lex when she was re-commissioned in 1955/56. I have kit-bashed built one in 1/700 but now feel I need to get the 1/500 Renwal kit and make a larger scale. Whew! Now I don't have to gag at the ebay prices nor look are either scratchbuilding, or like I did with the 1/700 scale, take a Trumpeter 1/350 WW2 version and modernize it. That was quite a fun undertaking. Alright, enough of my talking about lead barges and back to sailing ships.
-
Woo hoo, its looking good!