HOLIDAY DONATION DRIVE - SUPPORT MSW - DO YOUR PART TO KEEP THIS GREAT FORUM GOING! (83 donations so far out of 49,000 members - C'mon guys!)
×


mathewp
-
Posts
209 -
Joined
-
Last visited
Content Type
Profiles
Forums
Gallery
Events
Everything posted by mathewp
-
 I've looked at every page, and well worth it. Really like the framing. Spot on.Very nicely done Bob.
 -
Thanks Jeff, that's a tricky little piece, making it all fit snugly. On with the build, so the second planking is about 2 thirds done. Had some minor buckling, but fixed it up. I'm hoping to have her done and varnished this weekend.


-
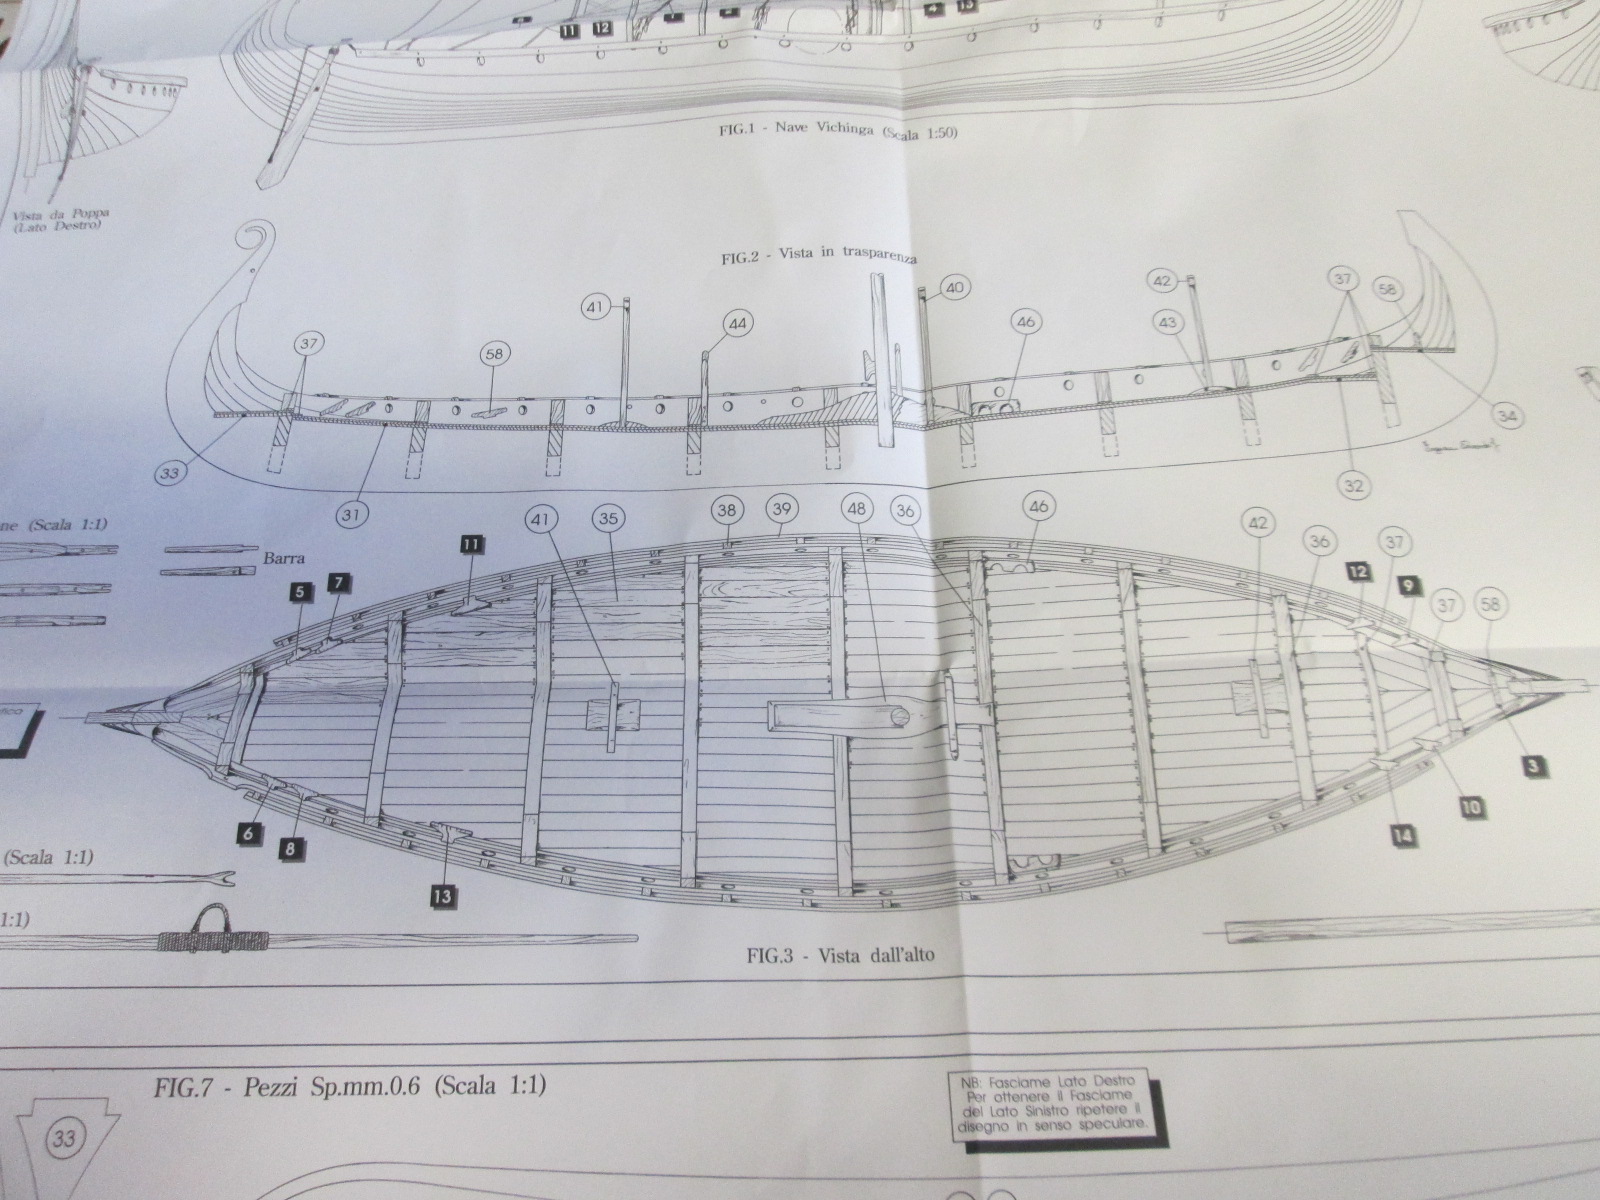
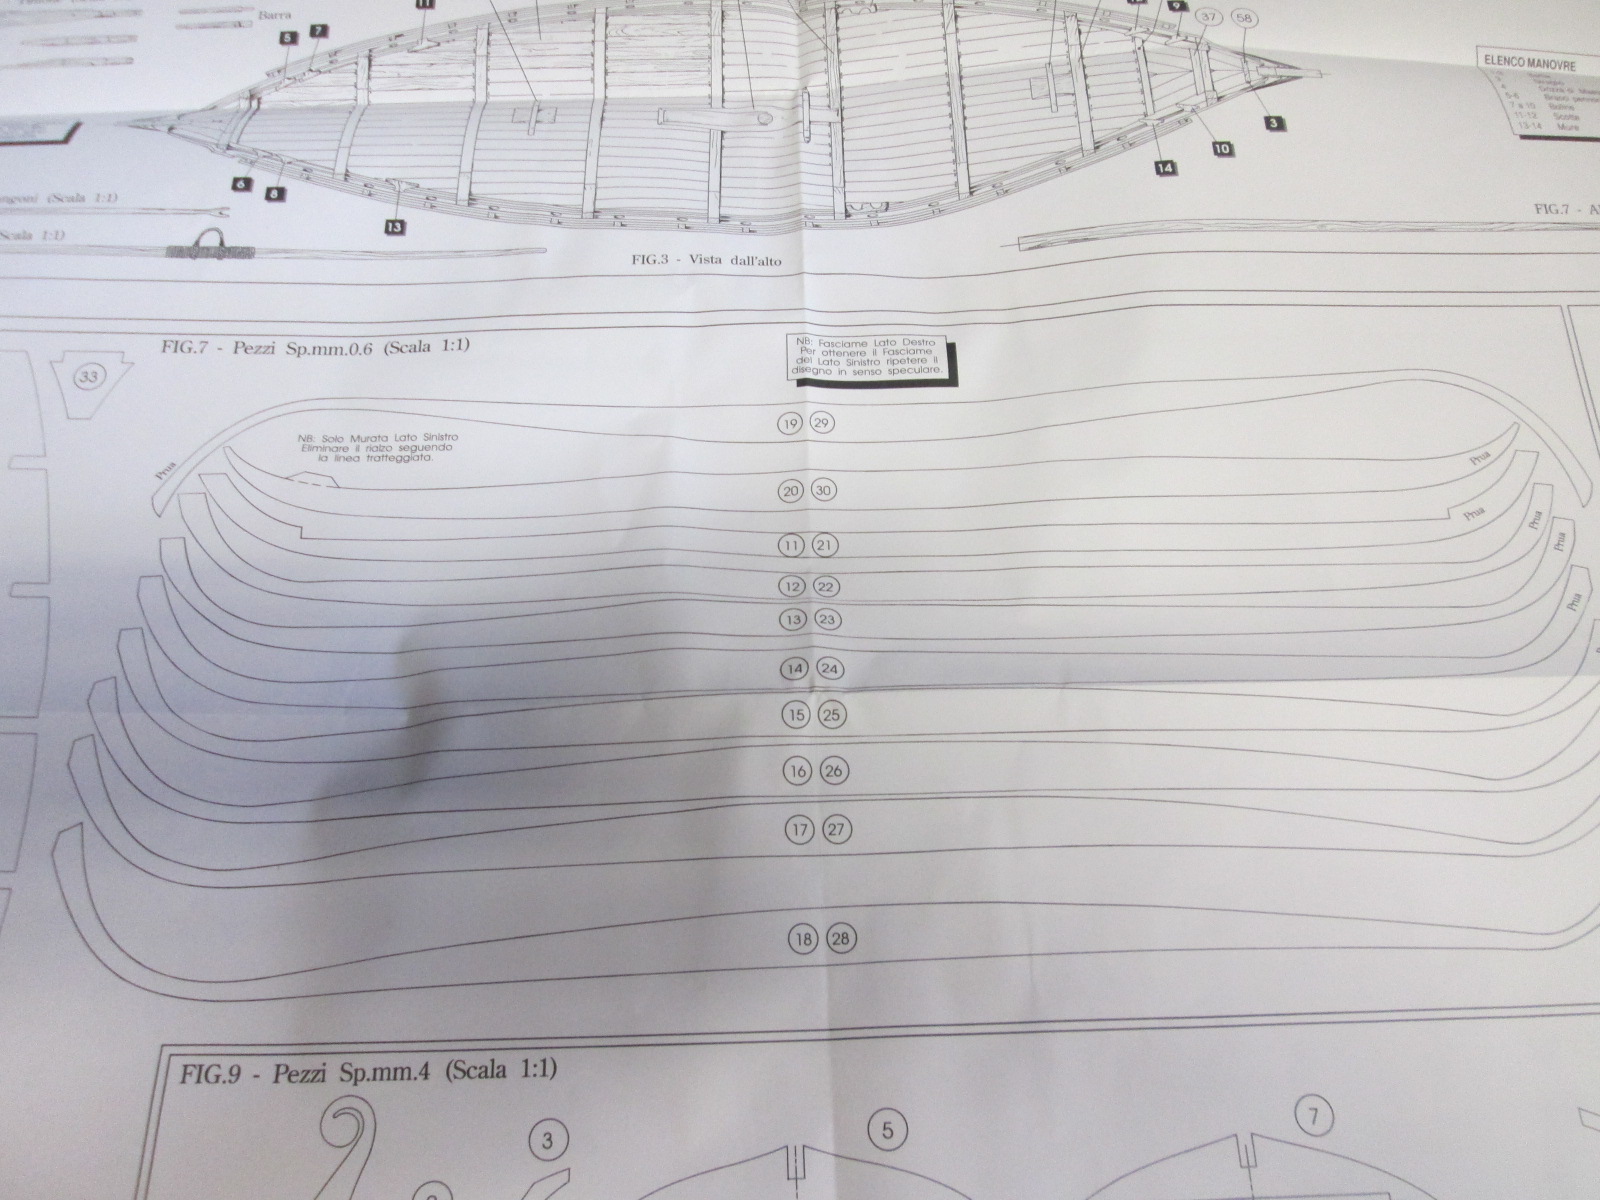
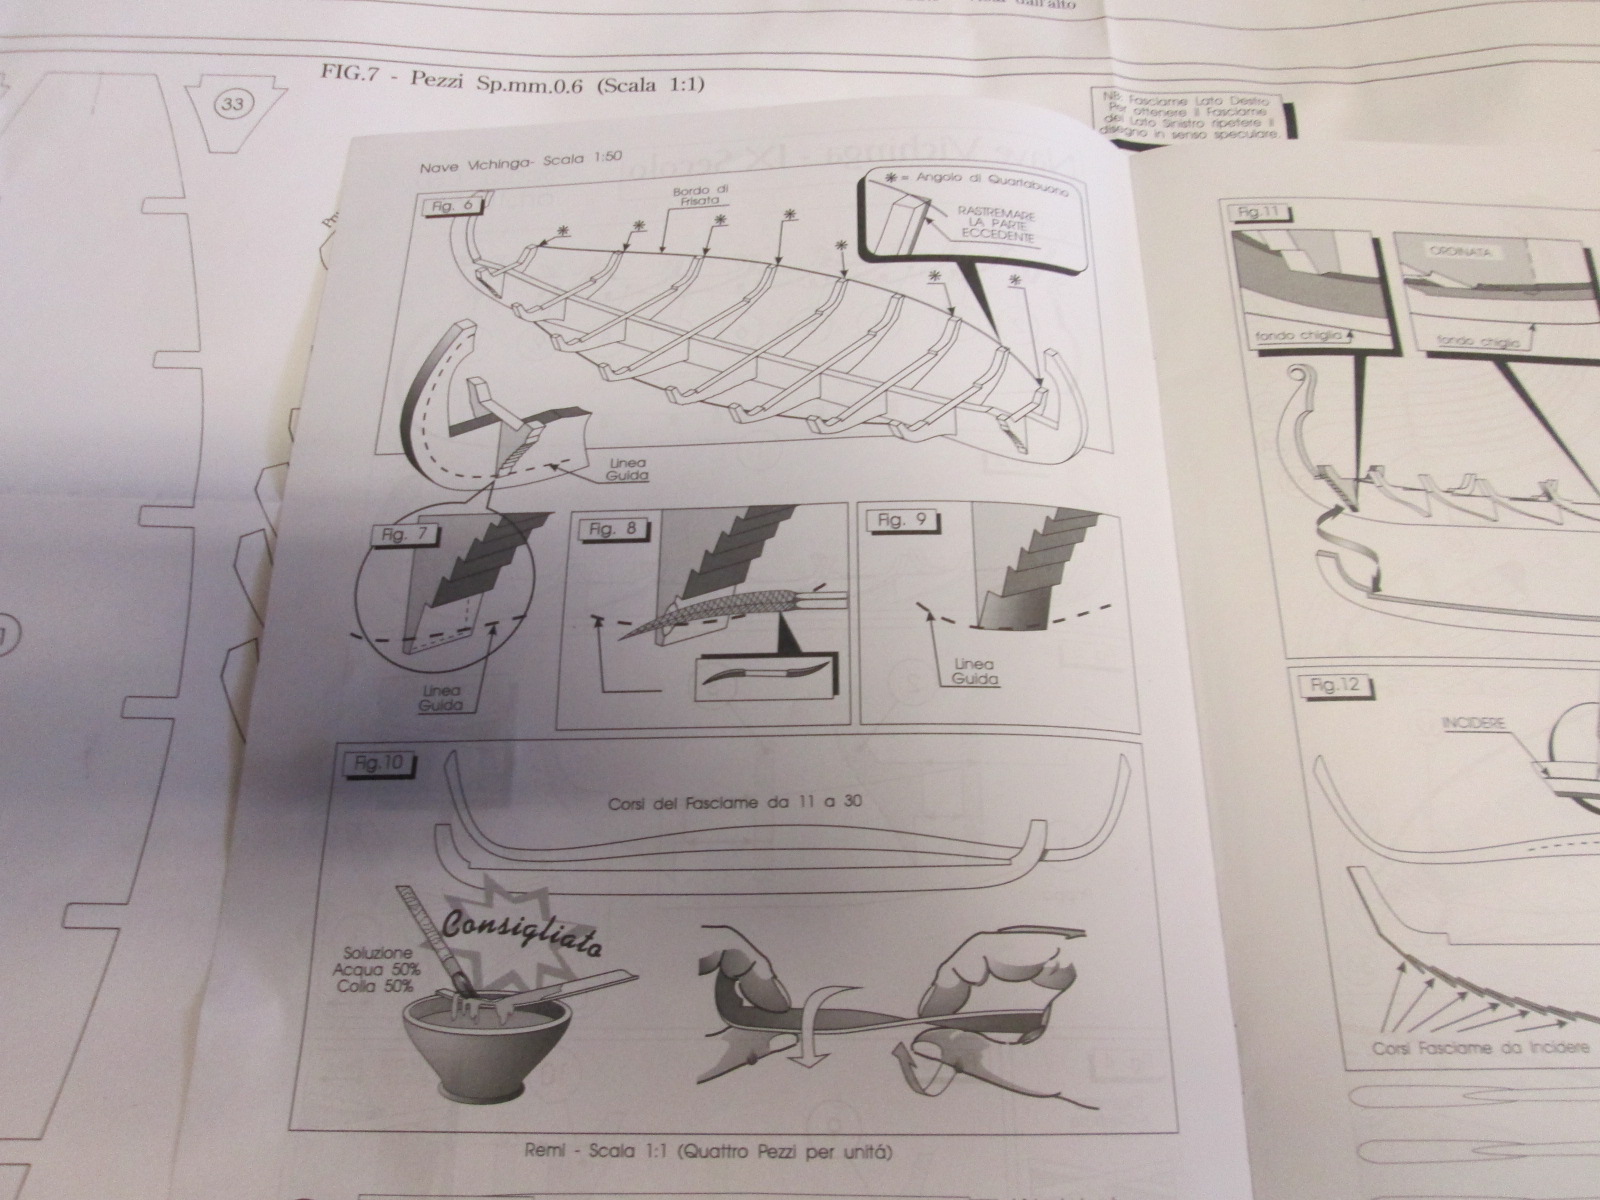
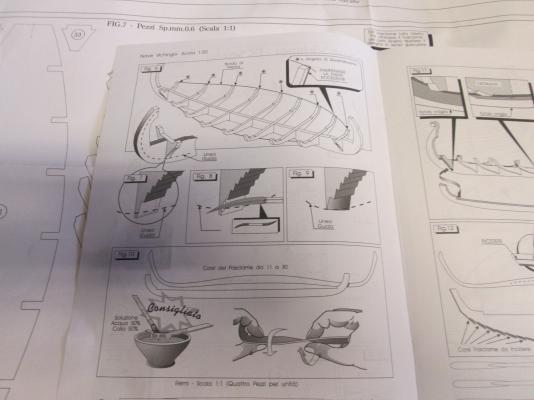
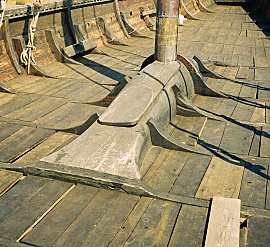
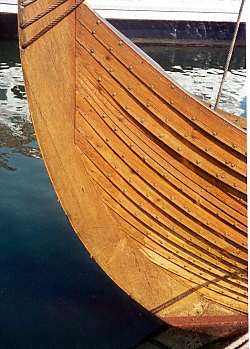
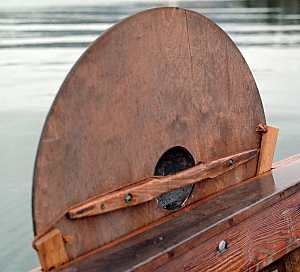
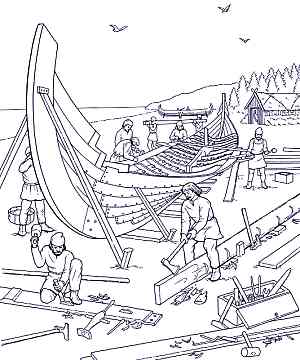
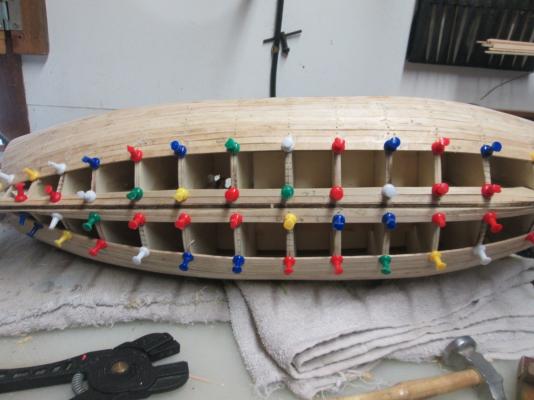
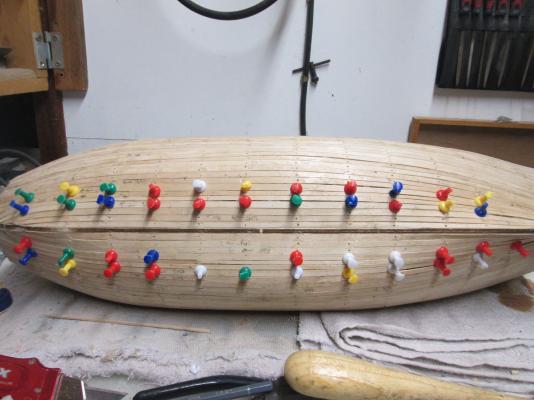
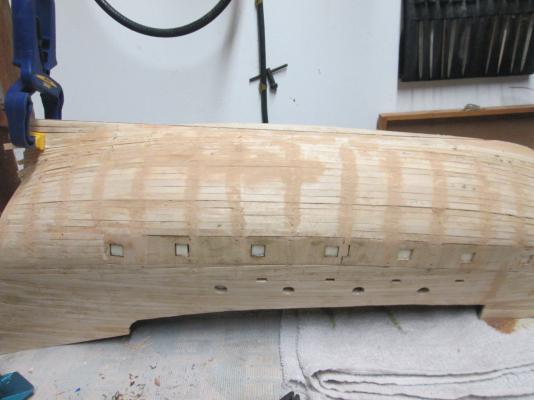
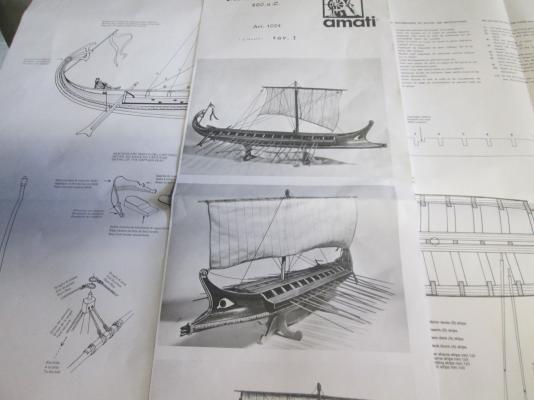
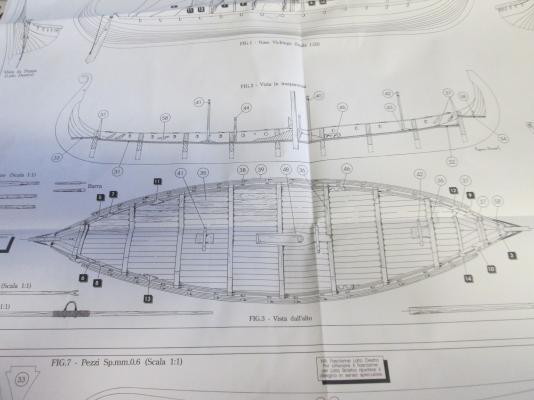
This is my first effort at this, so I wanted to pick something not too complicated as well as something i liked. Hopefully this will be a good way to learn some of the basics of scratch building, like cutting my own bulkheads . This Ship doesn't have a huge amount of parts, and by looking at the plans they are not too complicated. The hat goes off to the people who sailed these Ships. What looks to me to be a Ship designed for coastal waters, was used to travel offshore waters, that must have been a very unpleasant experience. The design is particularly suited to shallow waters as it had a shallow draft. The Vikings could sail these Ships into water about waist deep, which made these Ships able to reach shore quickly and this must have added to the fearsome reputation they had. Being able to take their raiding party right up to shore, meant the people being raided had little time to organize defense or flee. Added flexibility in making shore also must have enabled landing near but out of sight of an intended raid site, followed by surprise raid. Either proposition is a scary one. I found some pictures on line of replicas that have some interesting details not included in the plans. The deck planking is not in a straight parallel lines but seems to curve. The curved clinker planks are not one piece as in the kits. Phew, this will make building a little easier. There's also some oar hole covers which are also not in the kits. I haven't decided which detail;s i'll add or leave out yet, but it will be nice to decide and make alterations as needed. The keel and bulkheads will be Tasmanian Oak, as I've had enough of plywood for a while, not that there's anything wrong with plywood. I chose Tas Oak because it's readily available at 4mm thick at the hardware shop. I also have plans for a Greek Bireme which I will also post as time allows. I apologise if some of the pics are a little small. Hope you are all enjoying your builds Matt.


-
Very nicely done Ollie. I too am a Queenslander
- 803 replies
-
- 1
-

-
- colonial cutter
- modellers shipyard
- (and 1 more)
-
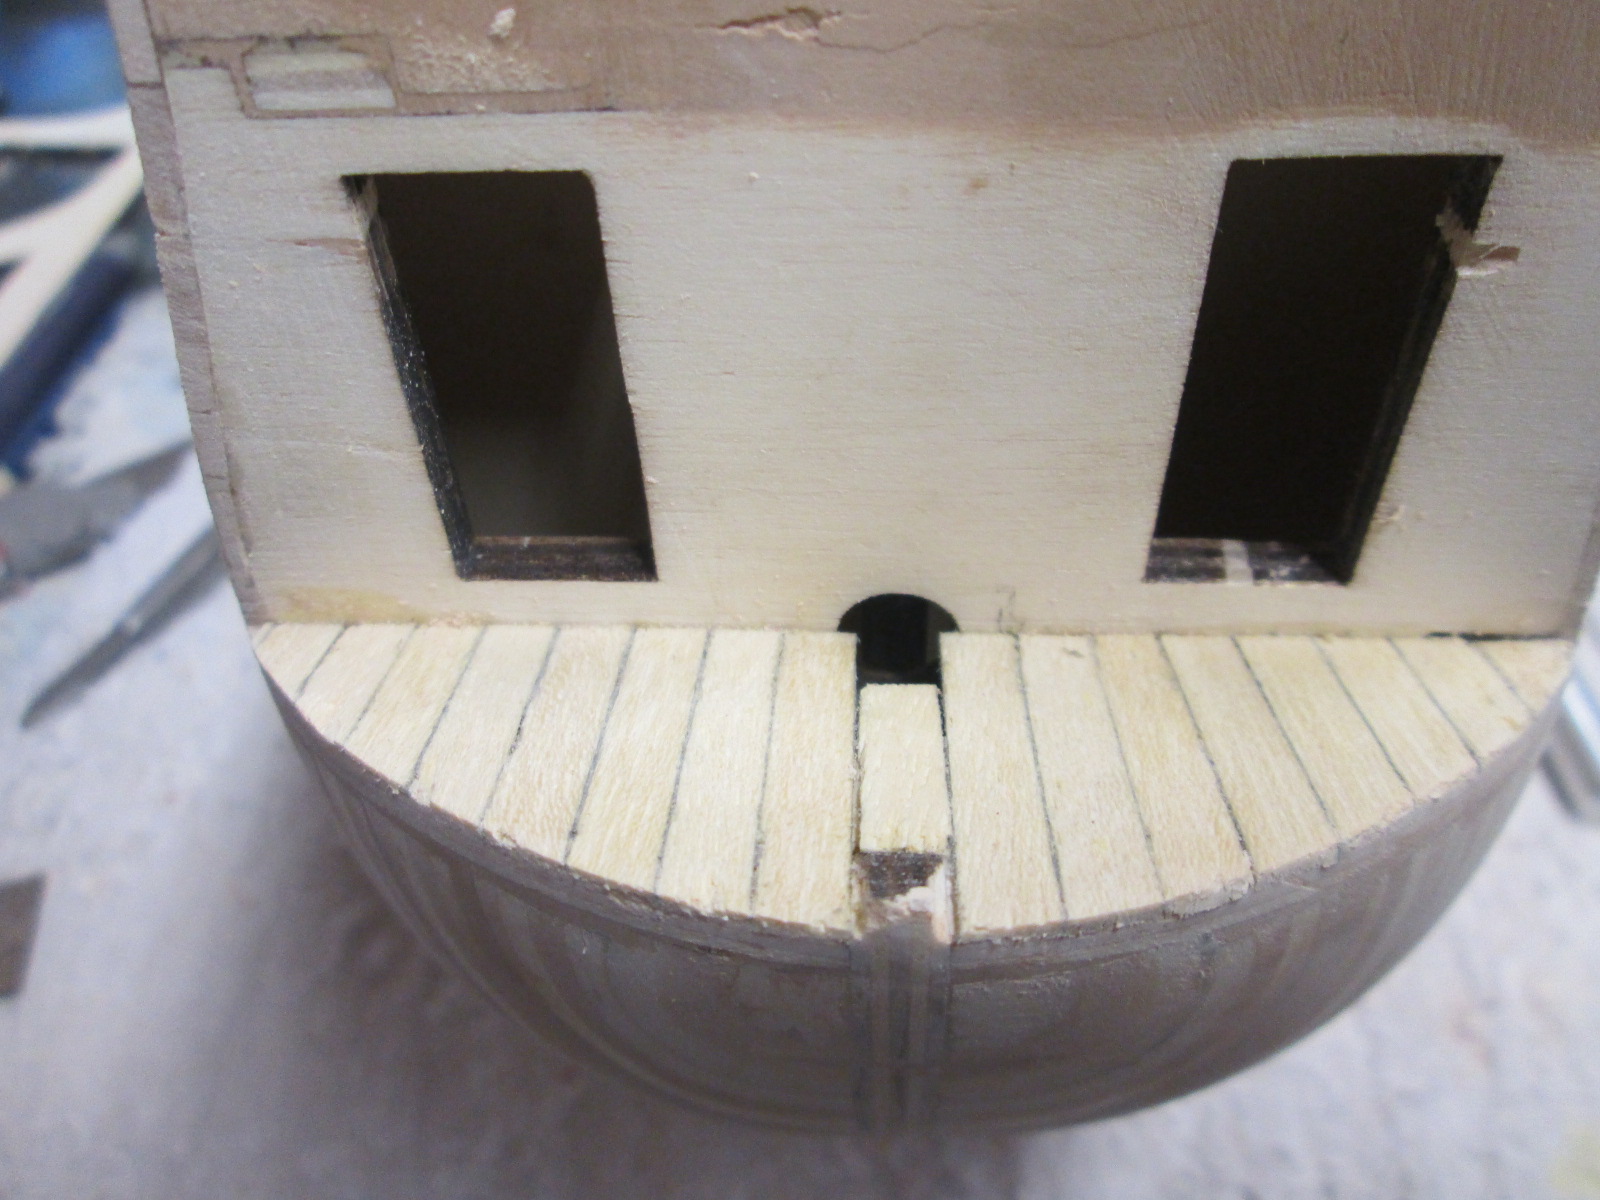
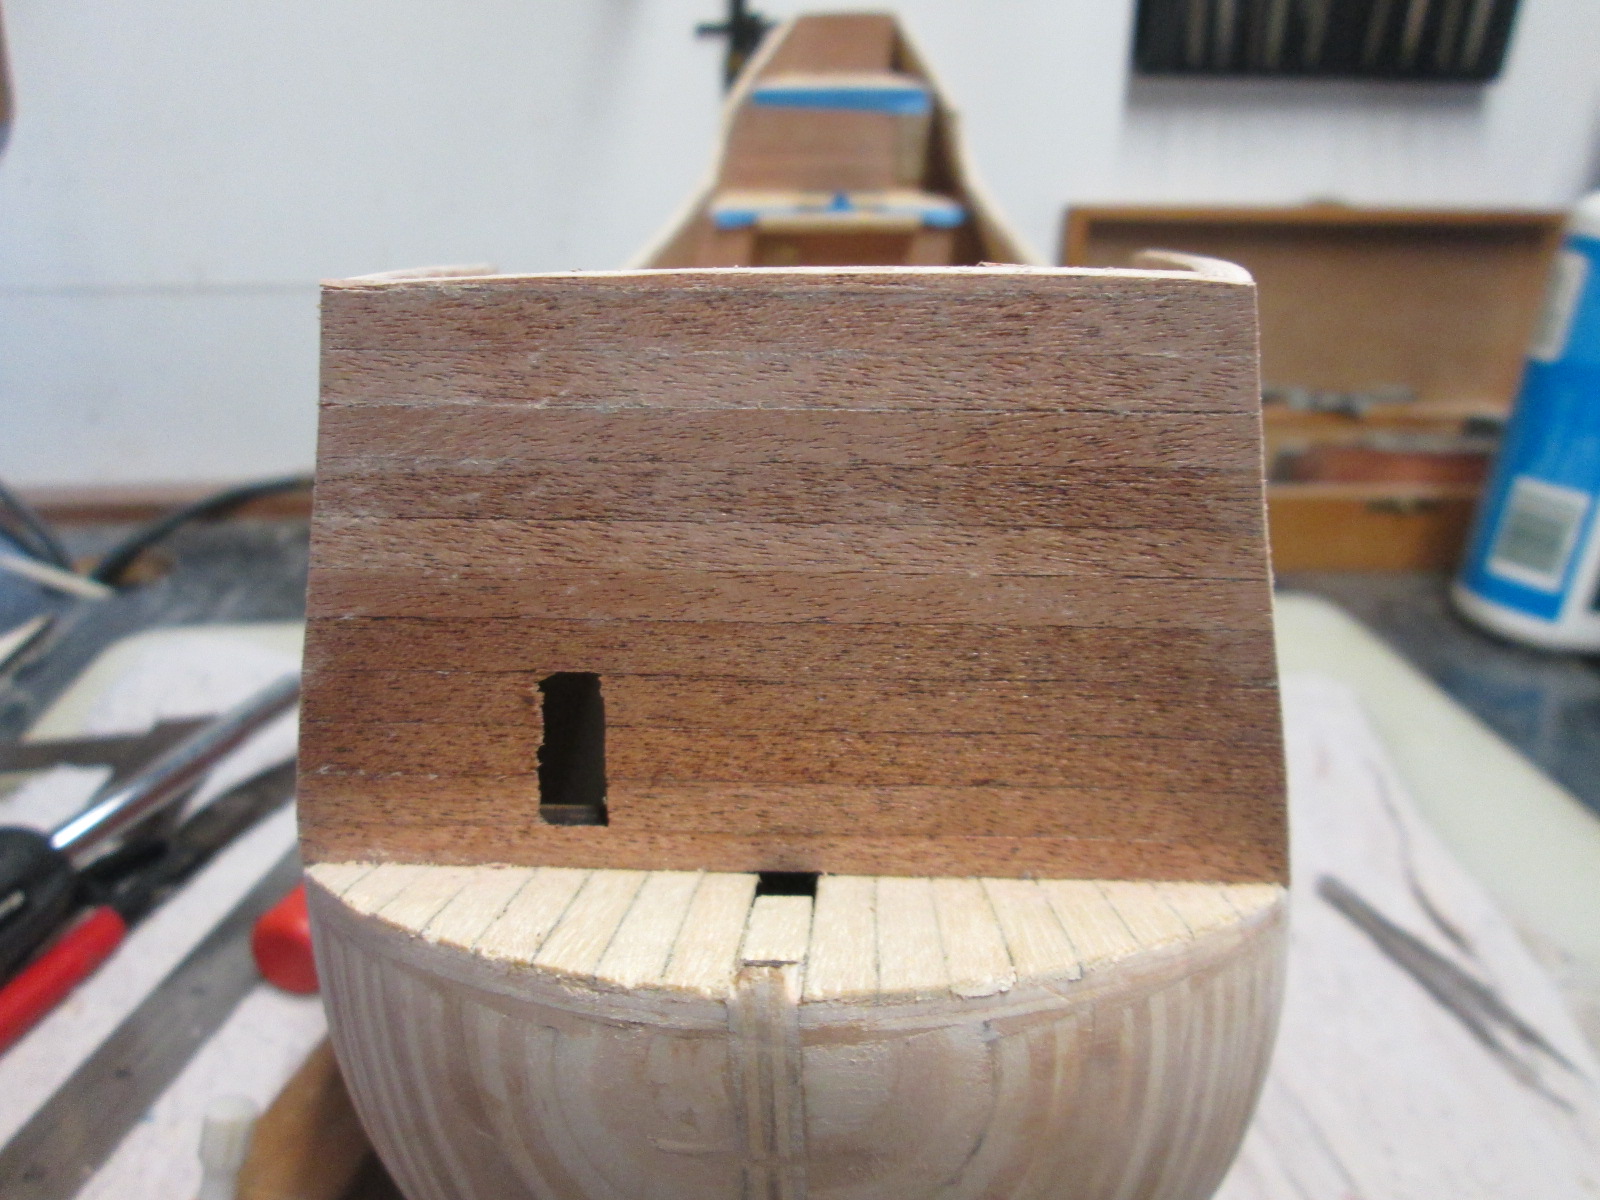
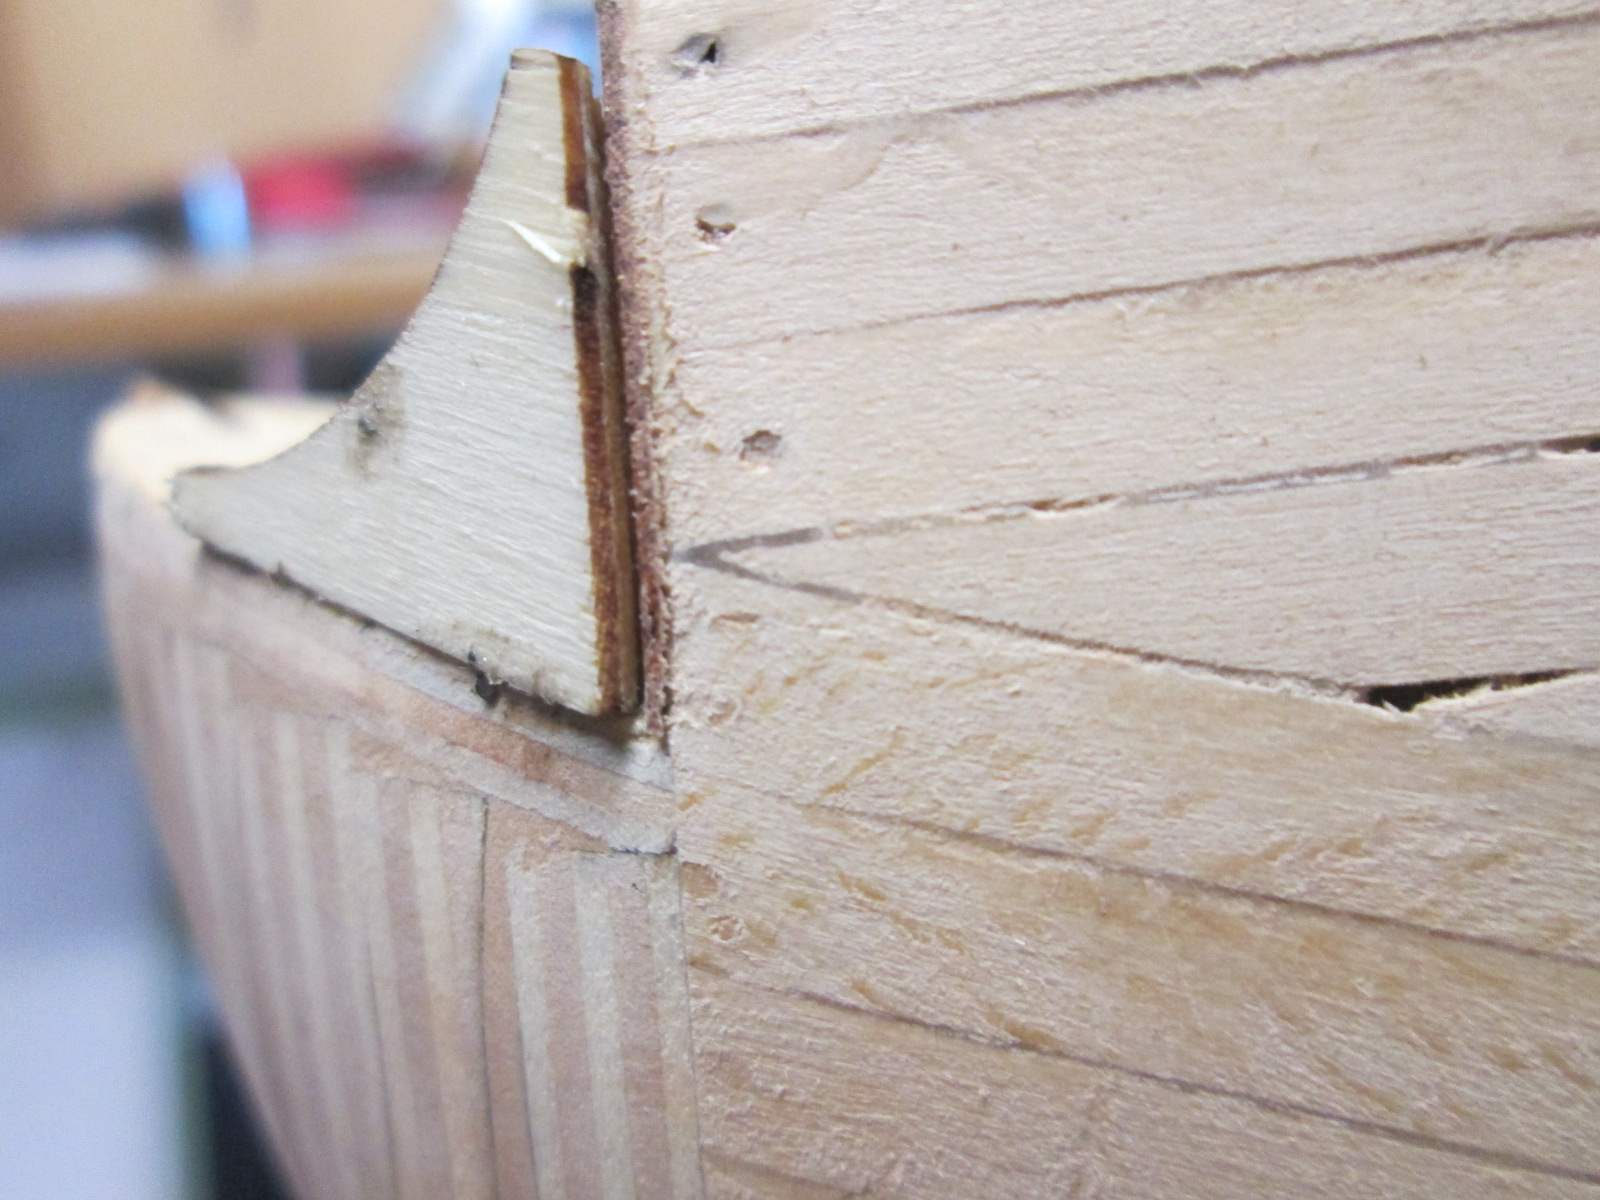
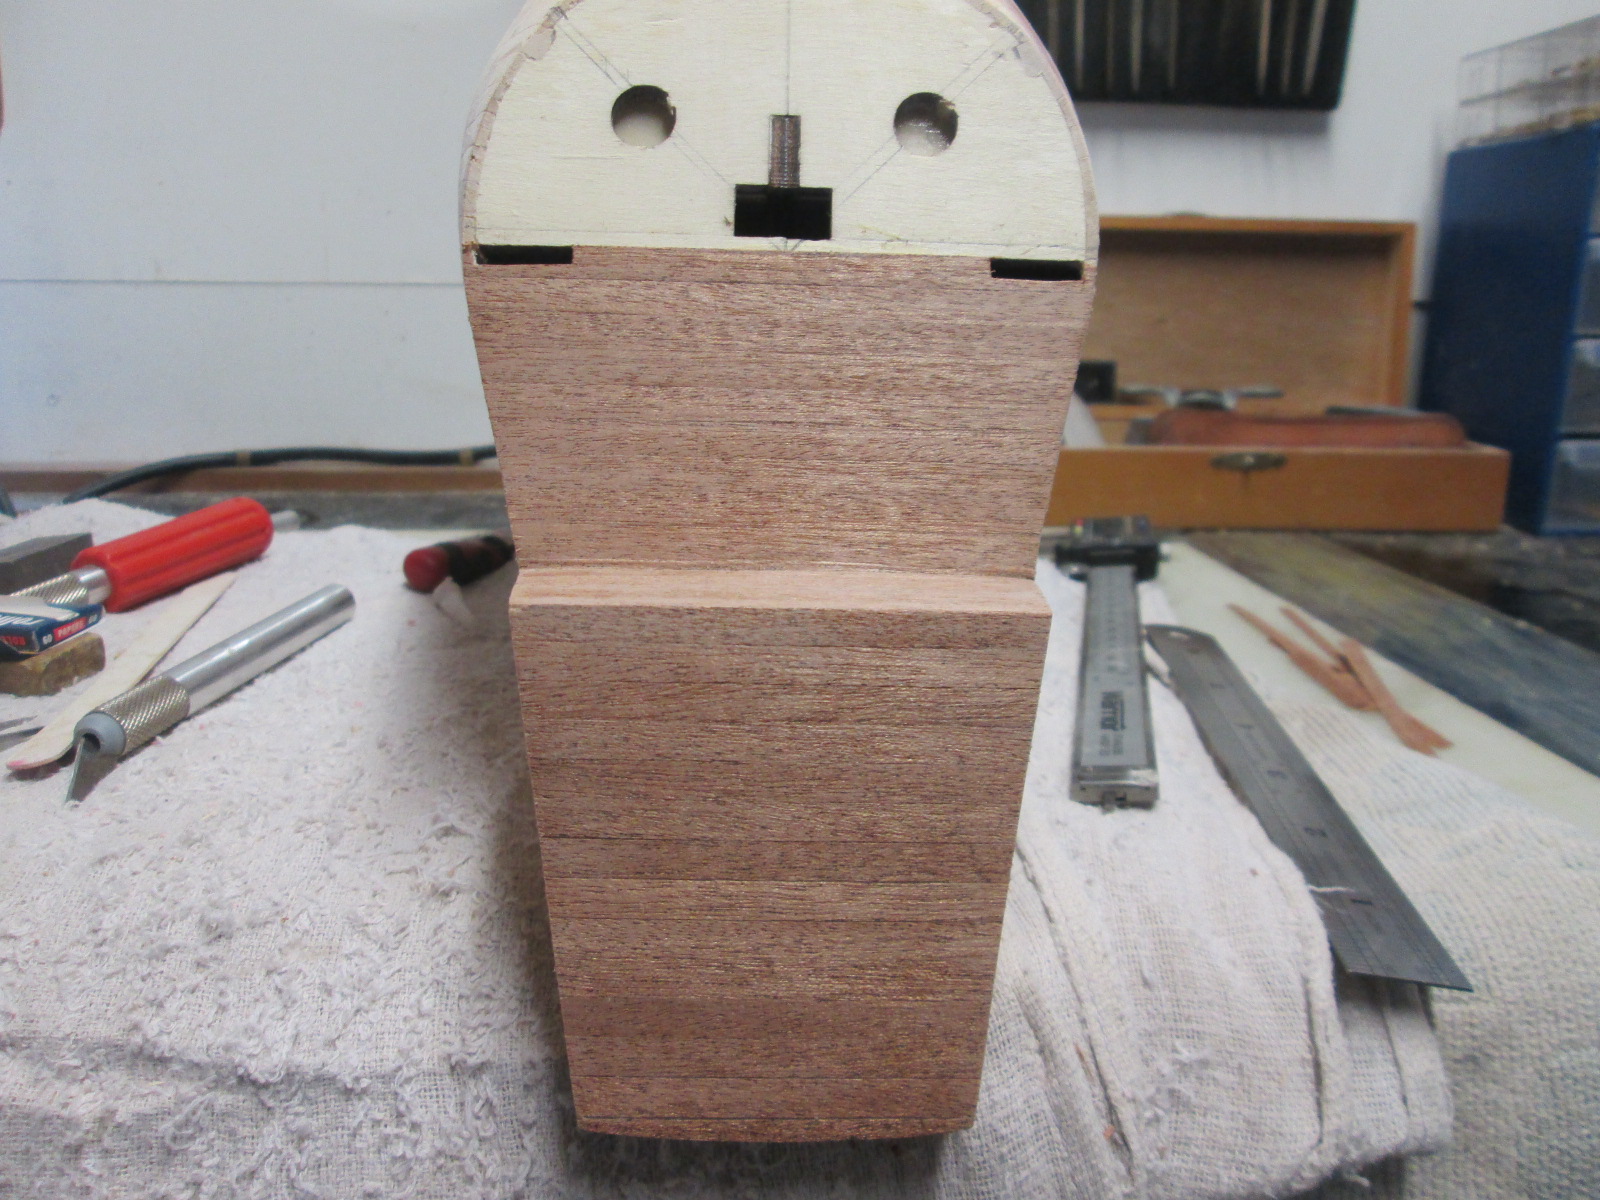
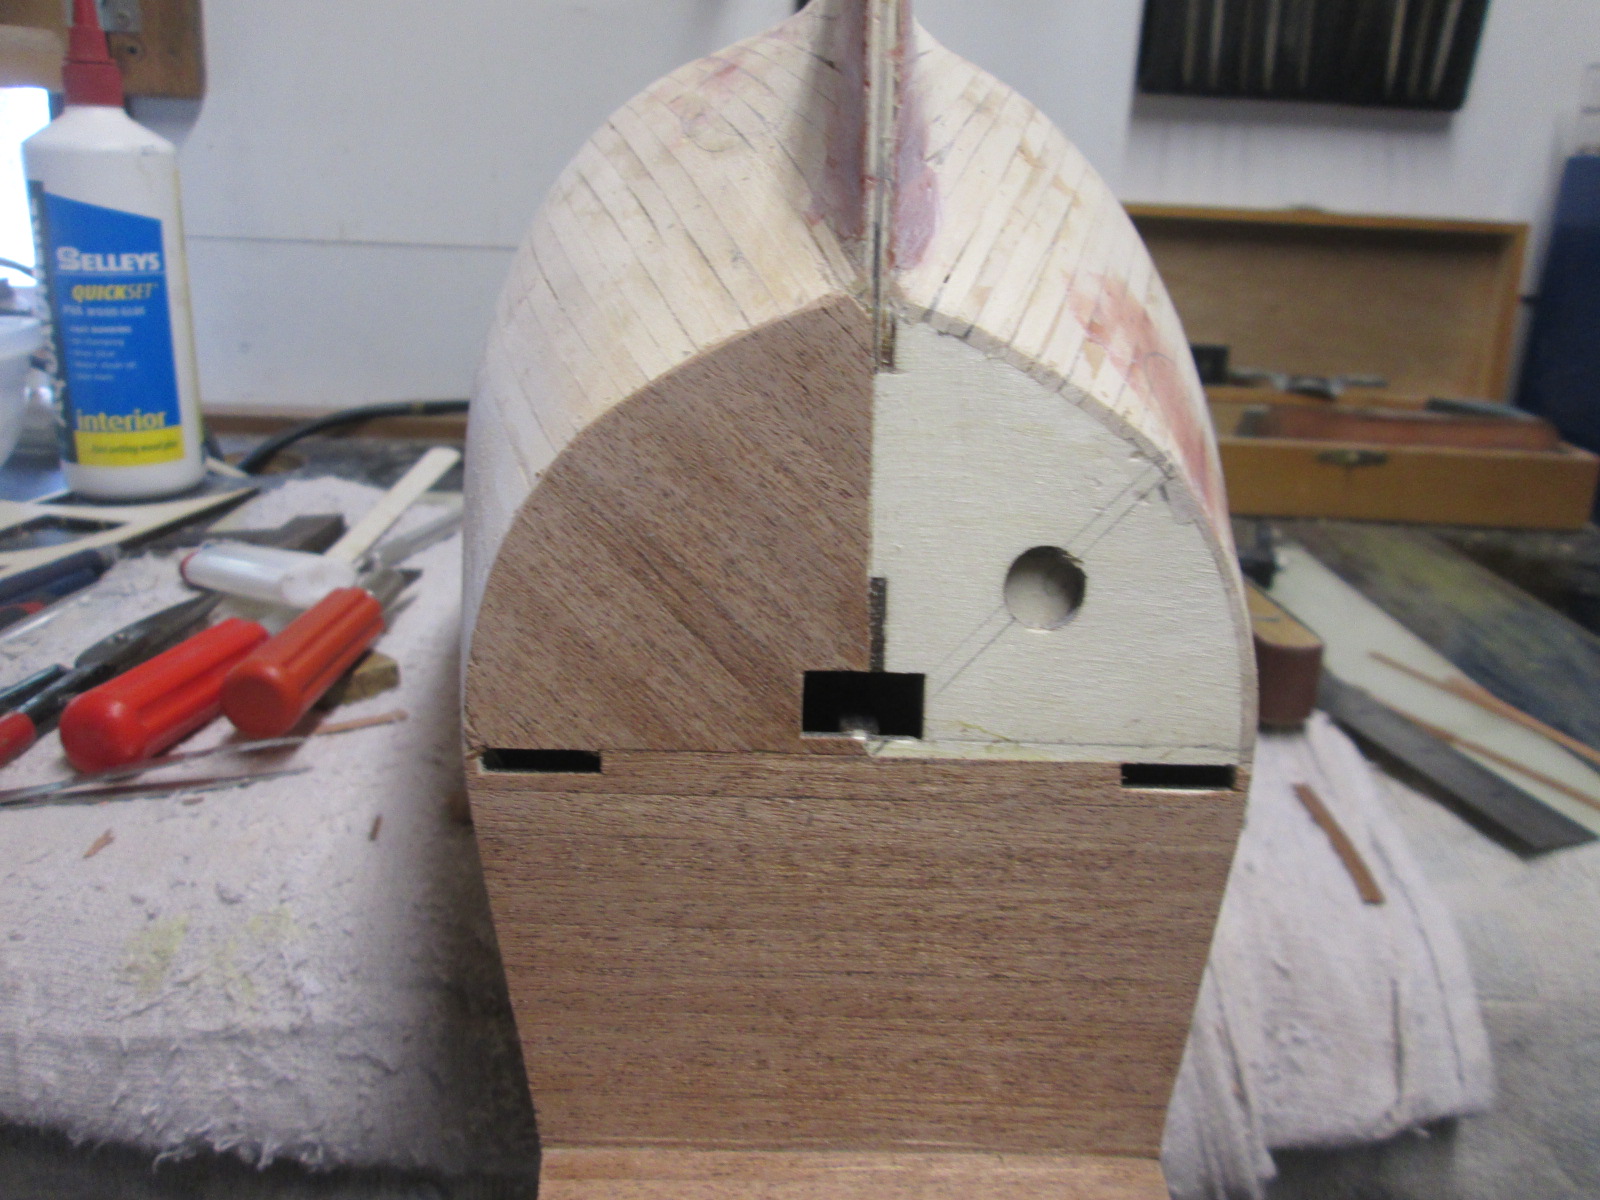
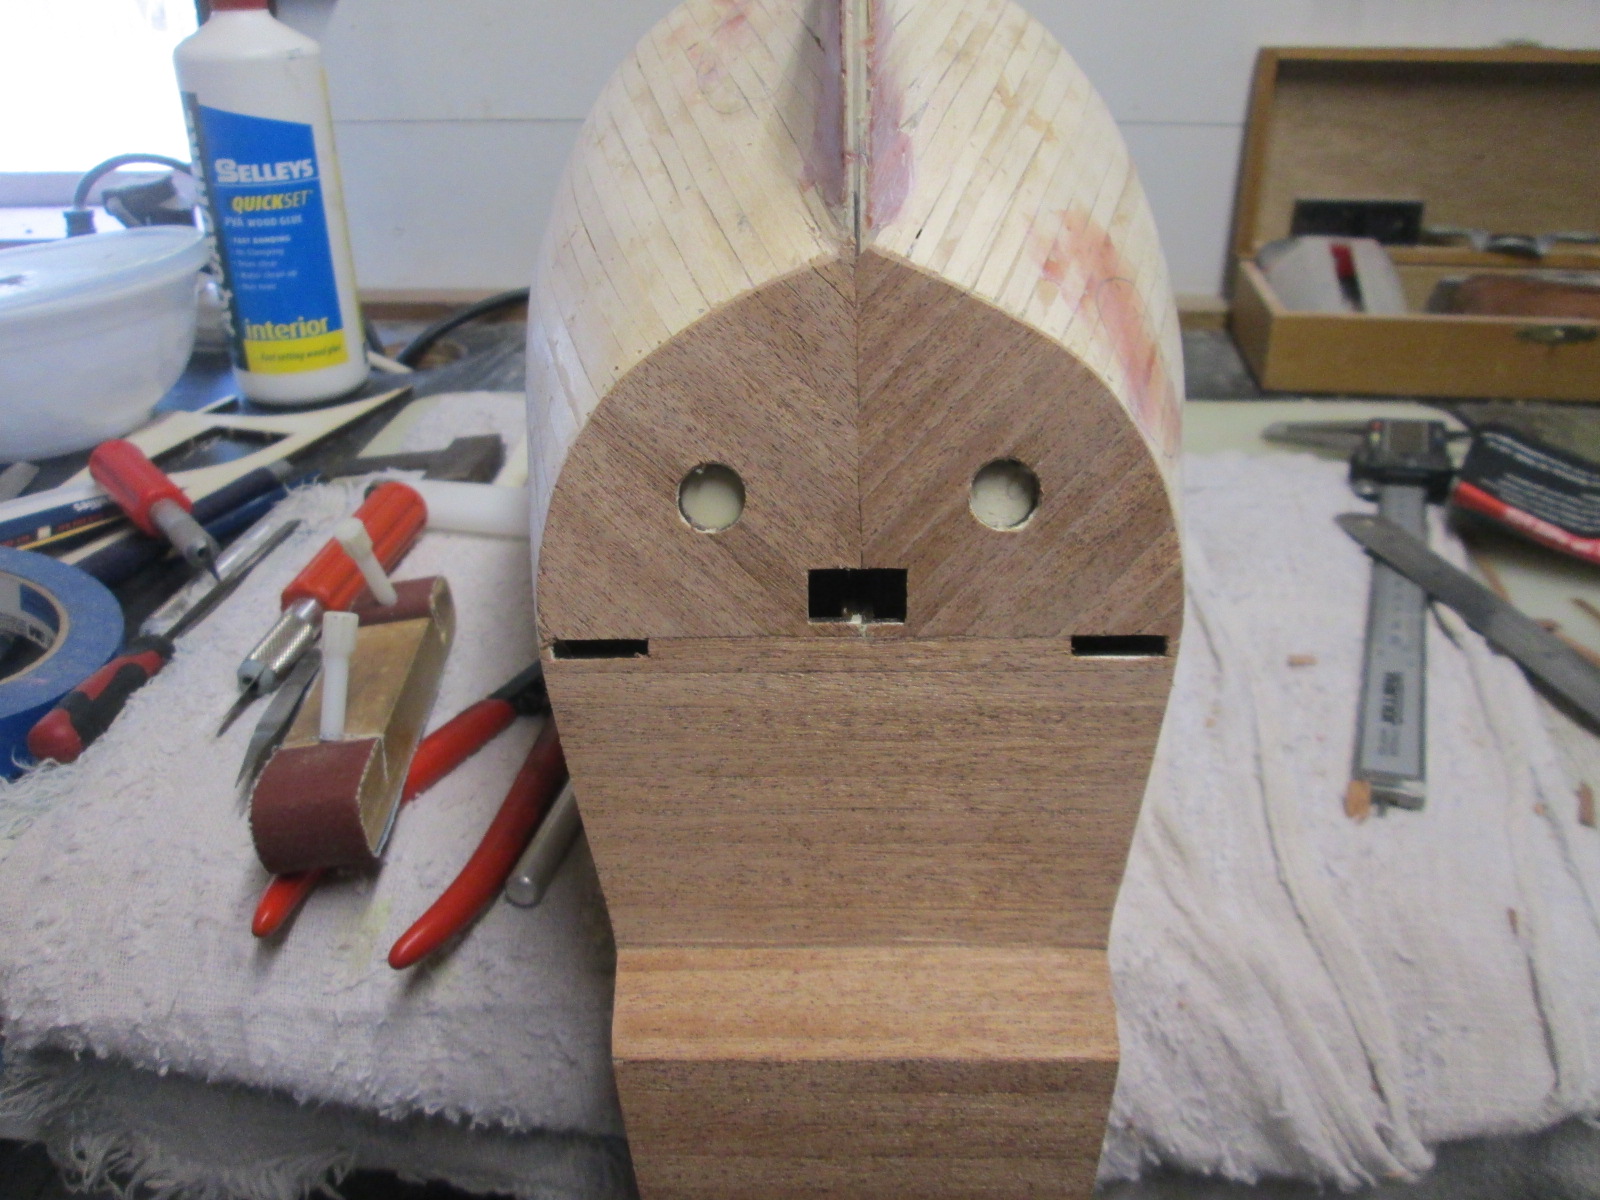
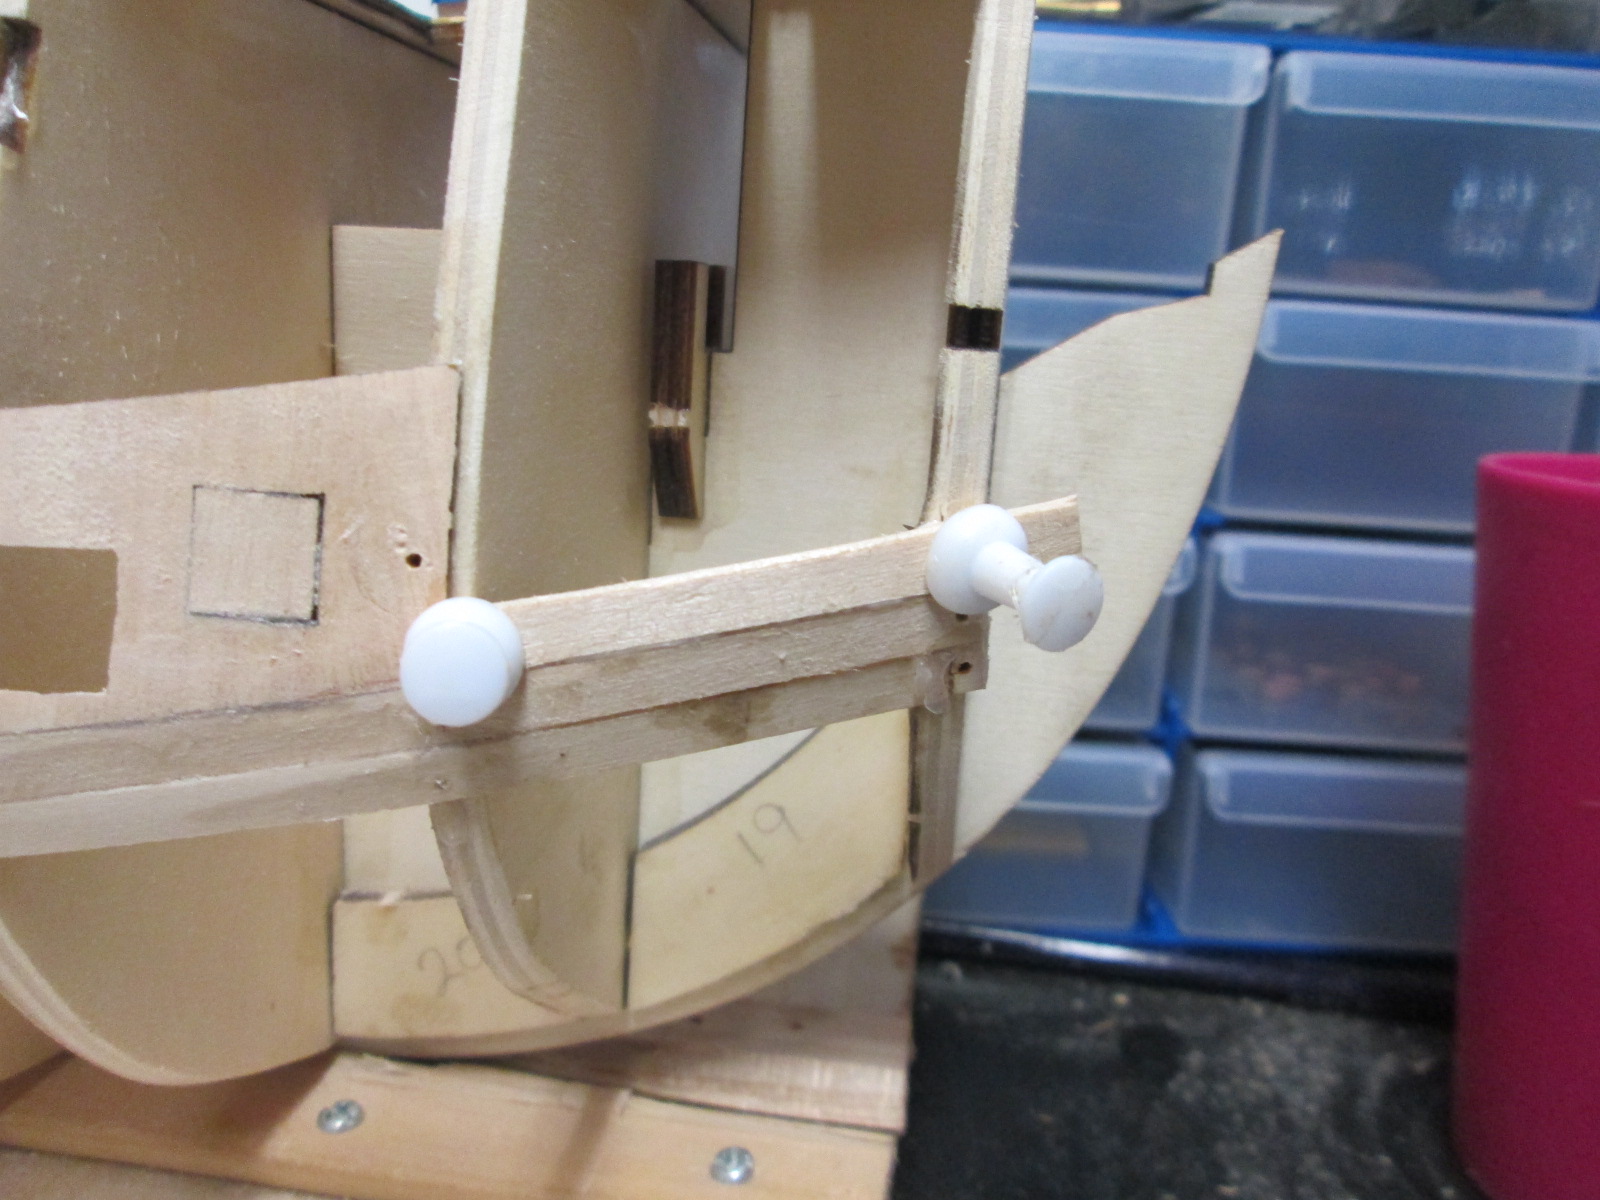
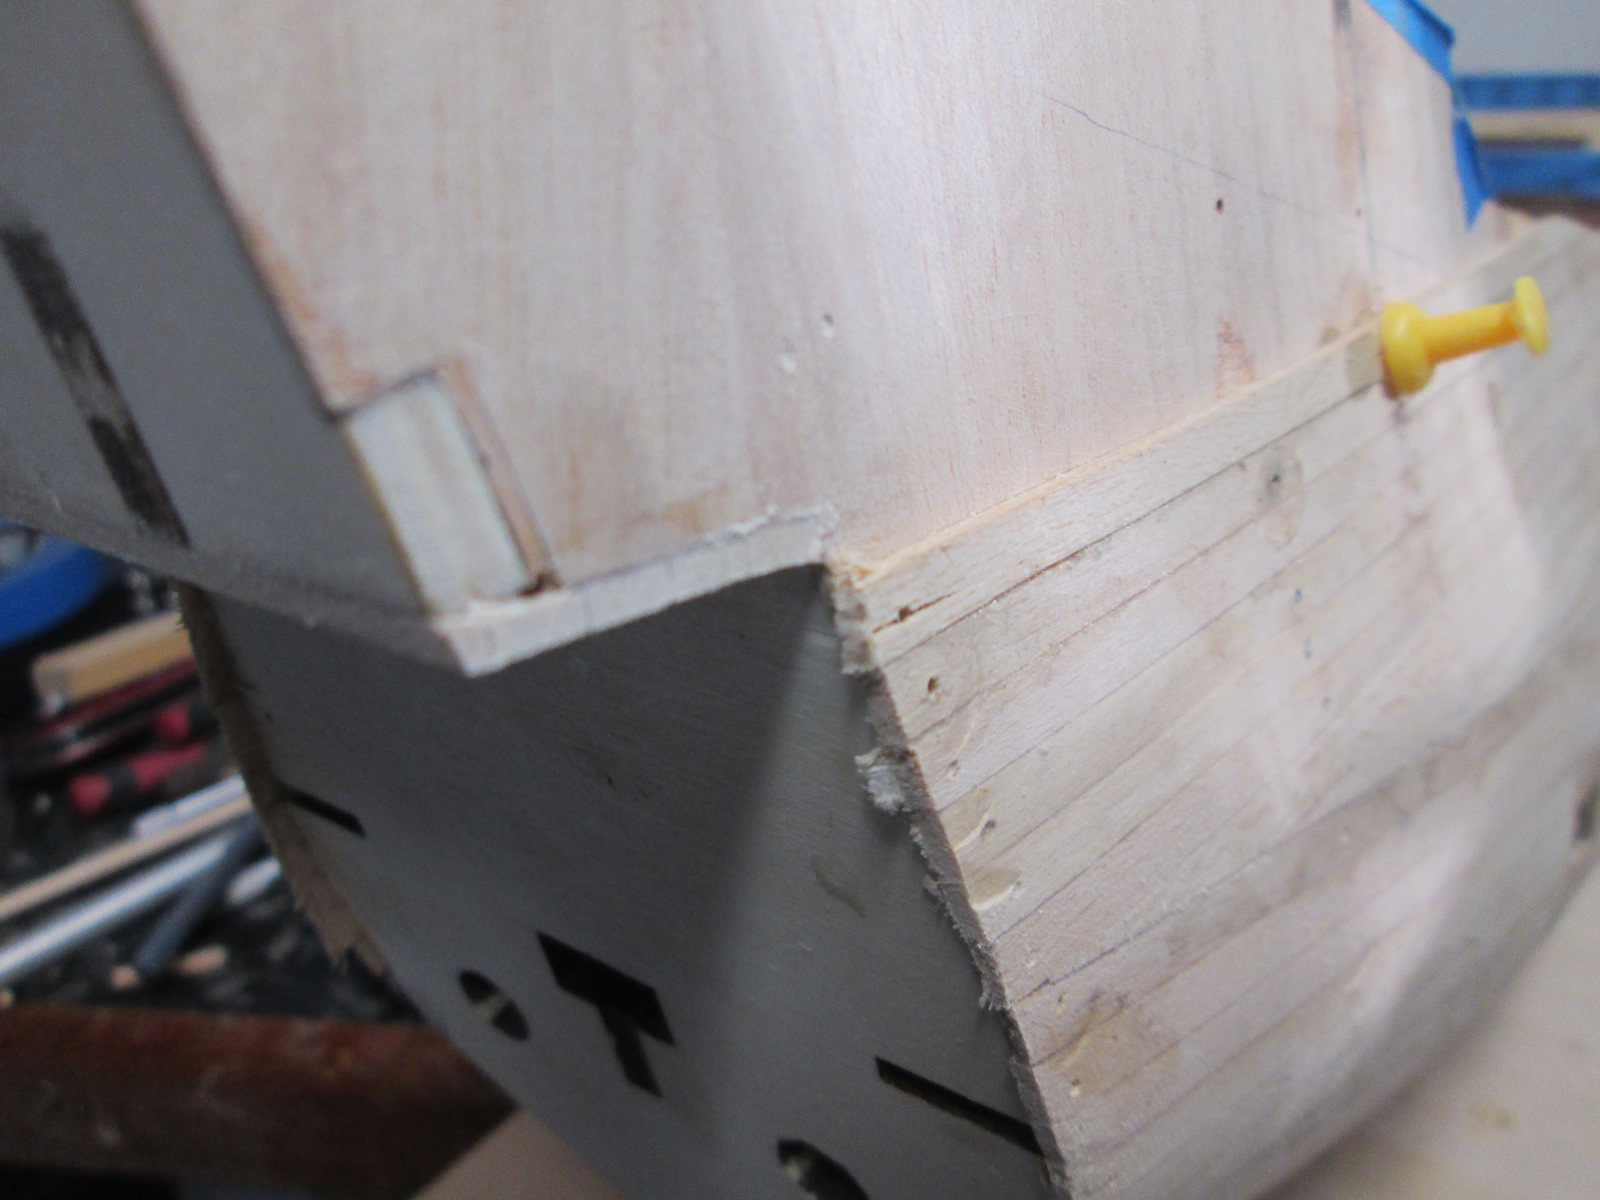
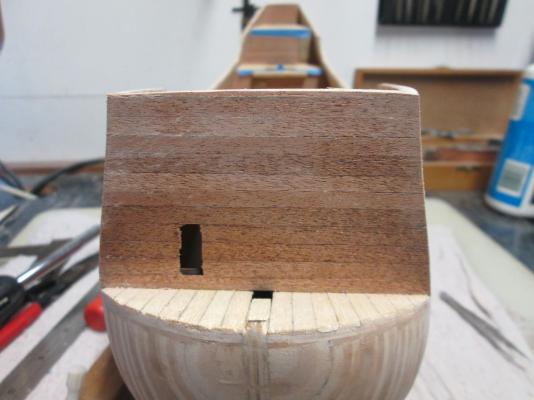
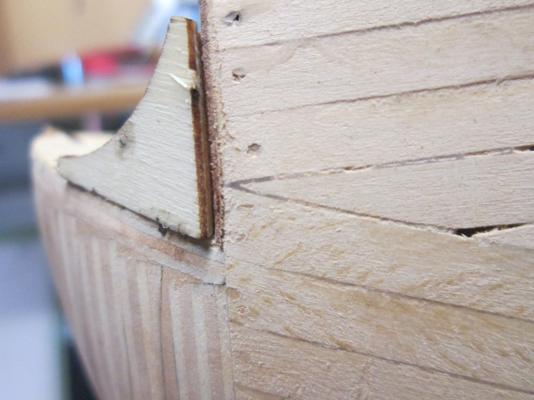
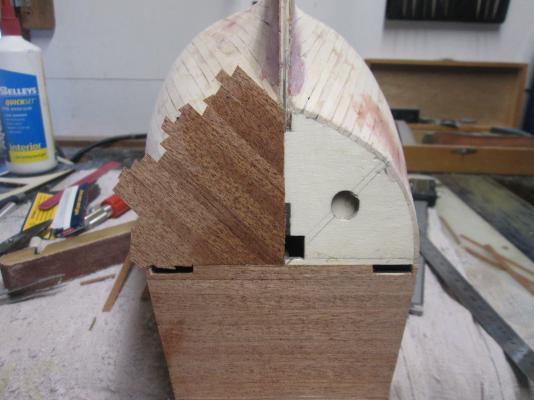
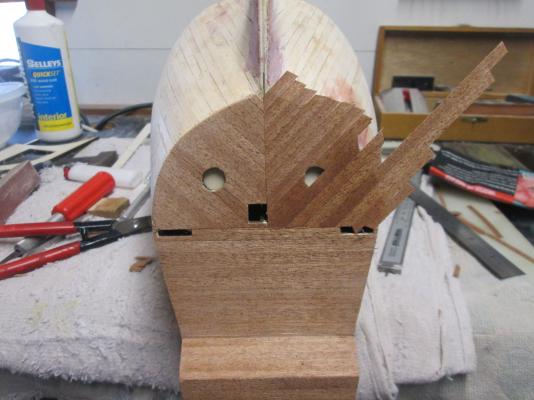
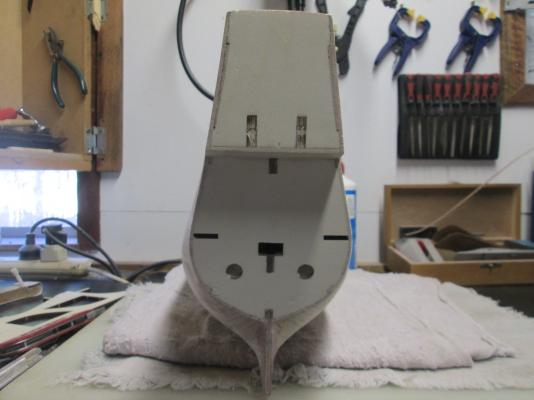
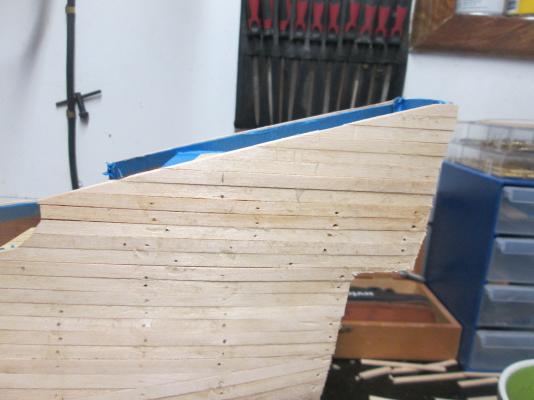
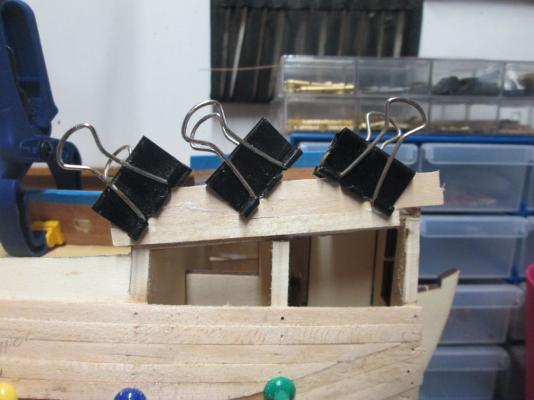
The plans now call for the planking of the bow and stern before second planking the outside of the hull. First the small deck on the bow, then the front of the forecastle. Be extra careful with part 85, because you will have to leave about half of it outside the curve of the bow so that you can sand it to match the outside of the hull. Then it was on with the stern, easy to do except for the part that has to be set at 45 degrees. I guess the main part of the hull is next. Matt


- 64 replies
-
- 2
-
-
- occre
- san marcos
- (and 1 more)
-
Nice planking Jeff. What glue are you using/
-
That's a nice tip. I'll make a note of that one. Thanks Jeff, and Dan
- 64 replies
-
- 1
-
-
- occre
- san marcos
- (and 1 more)
-
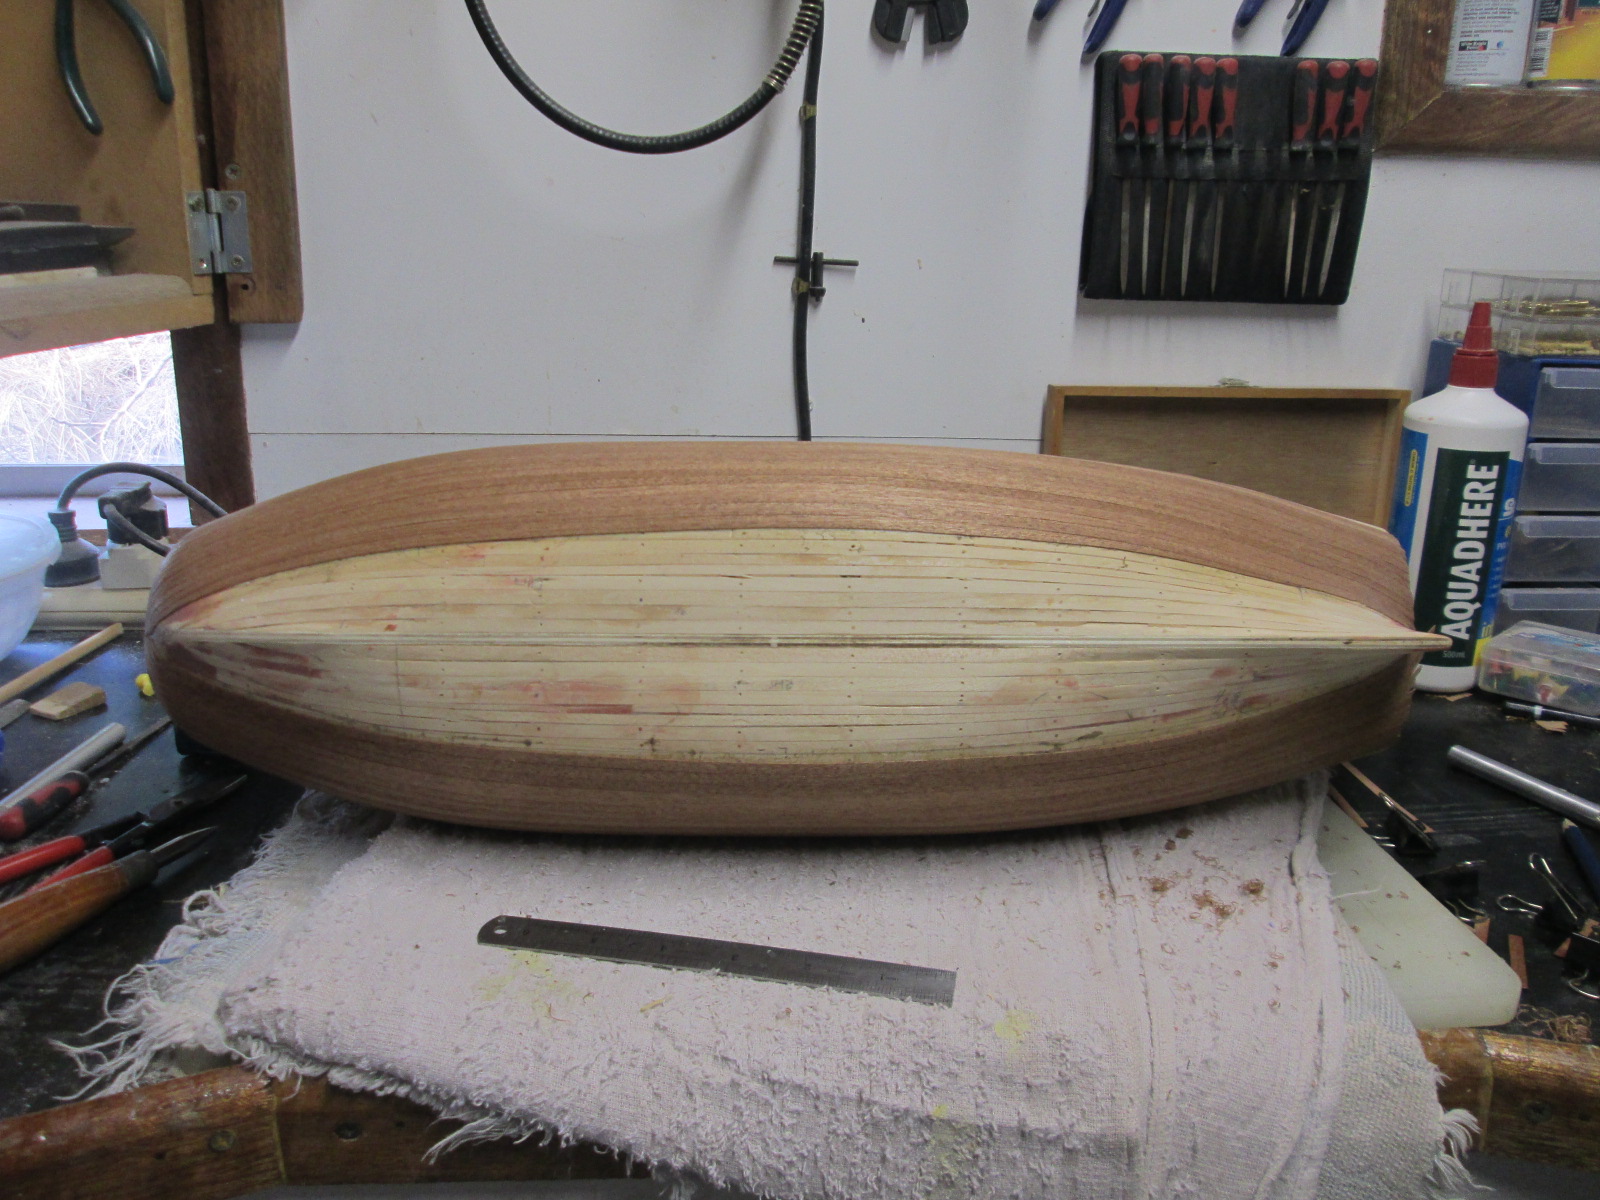
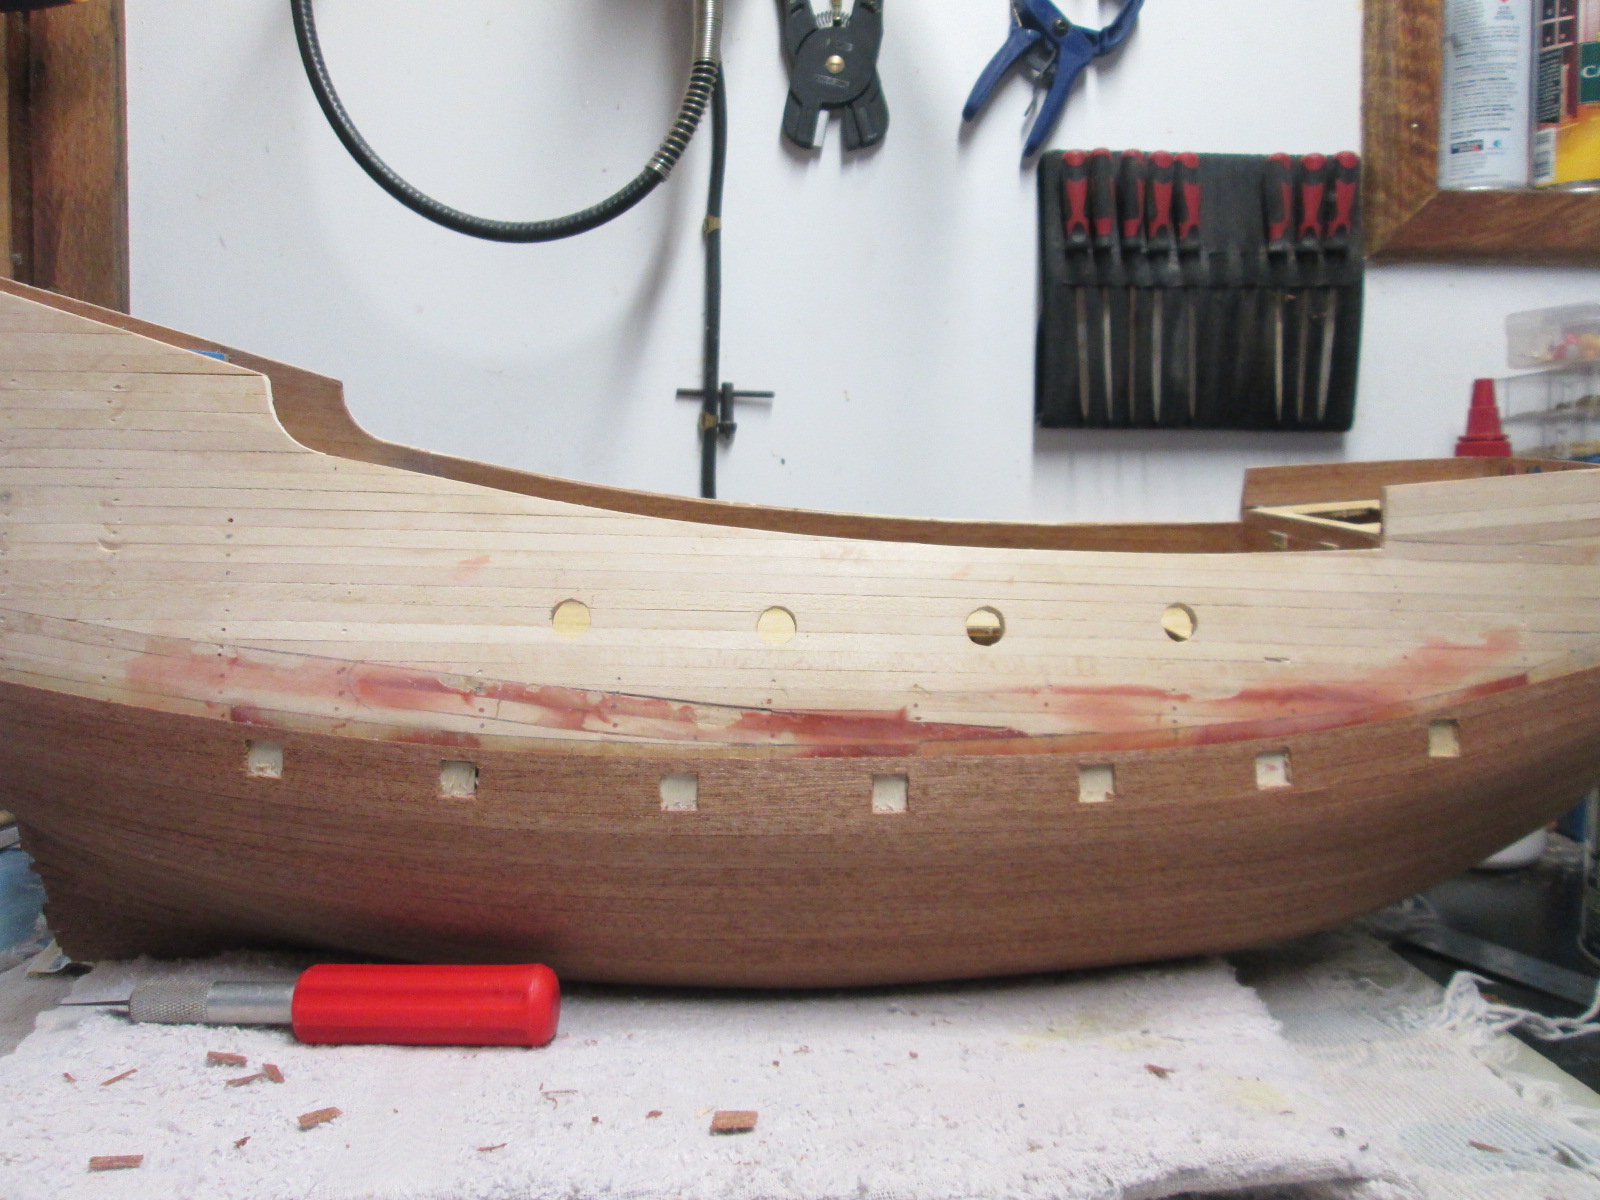
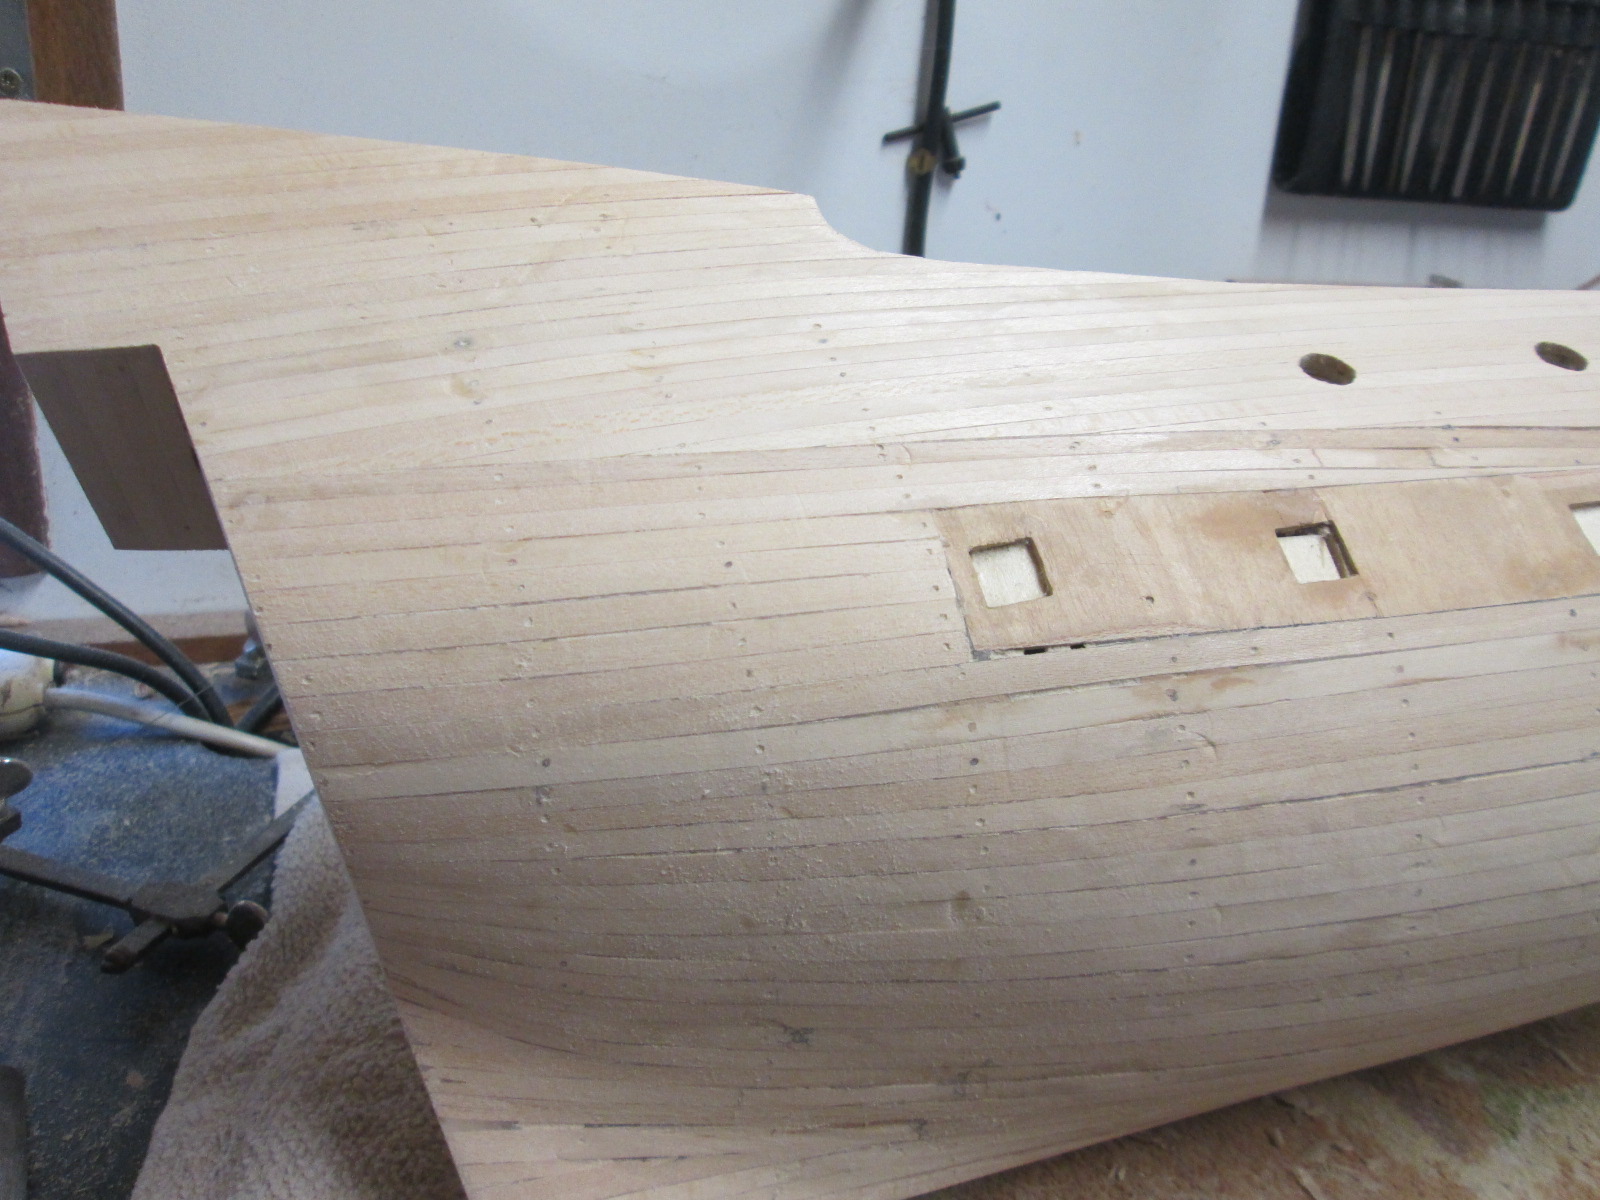
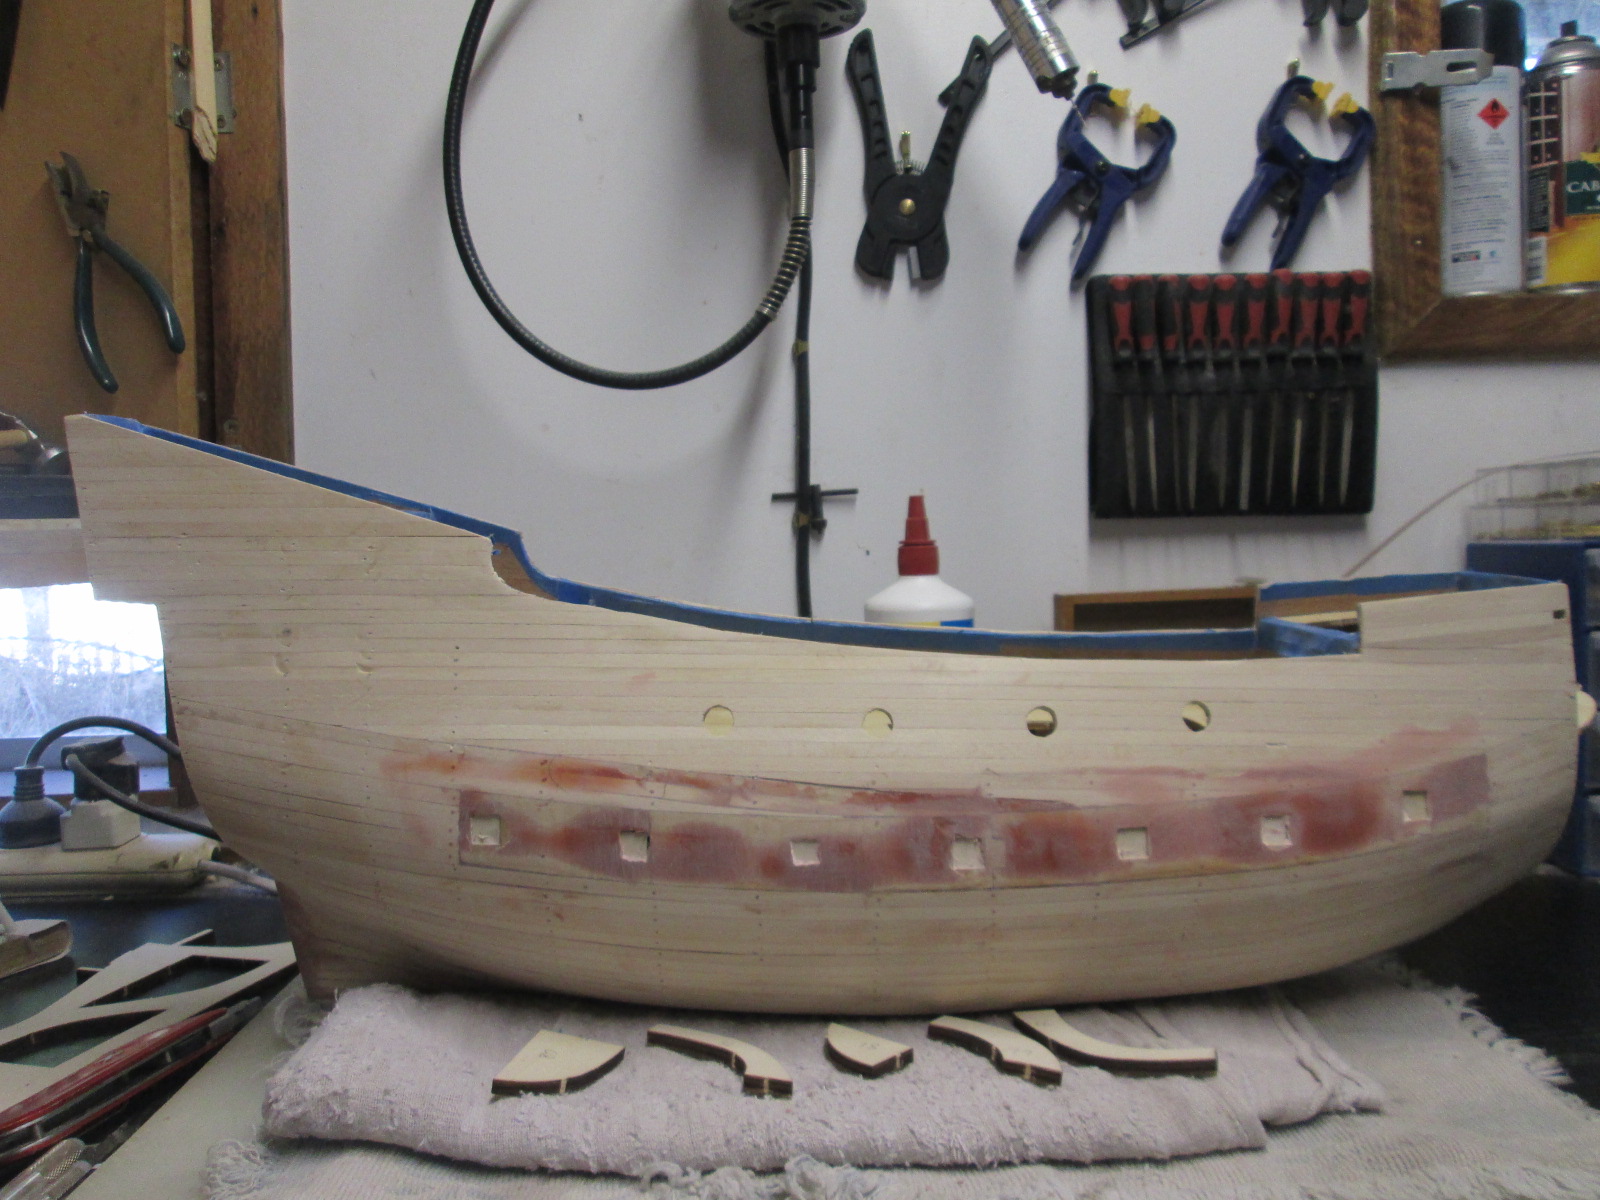
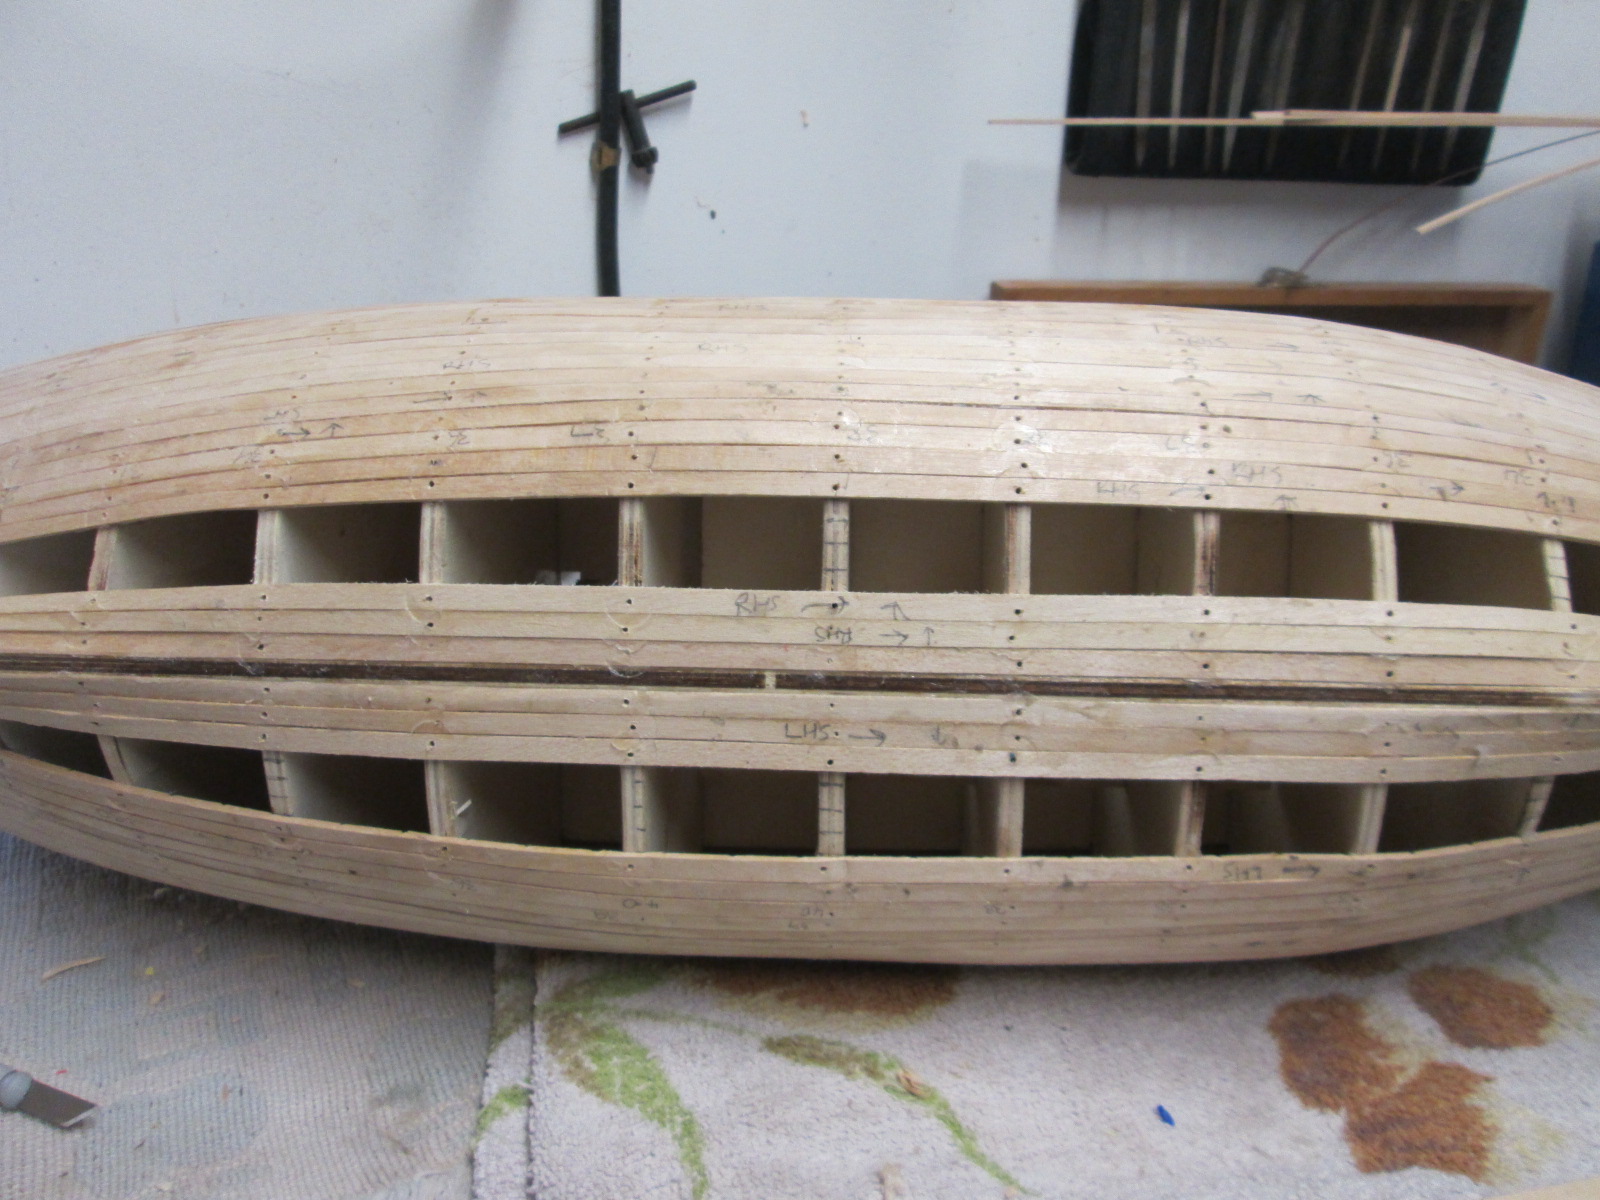
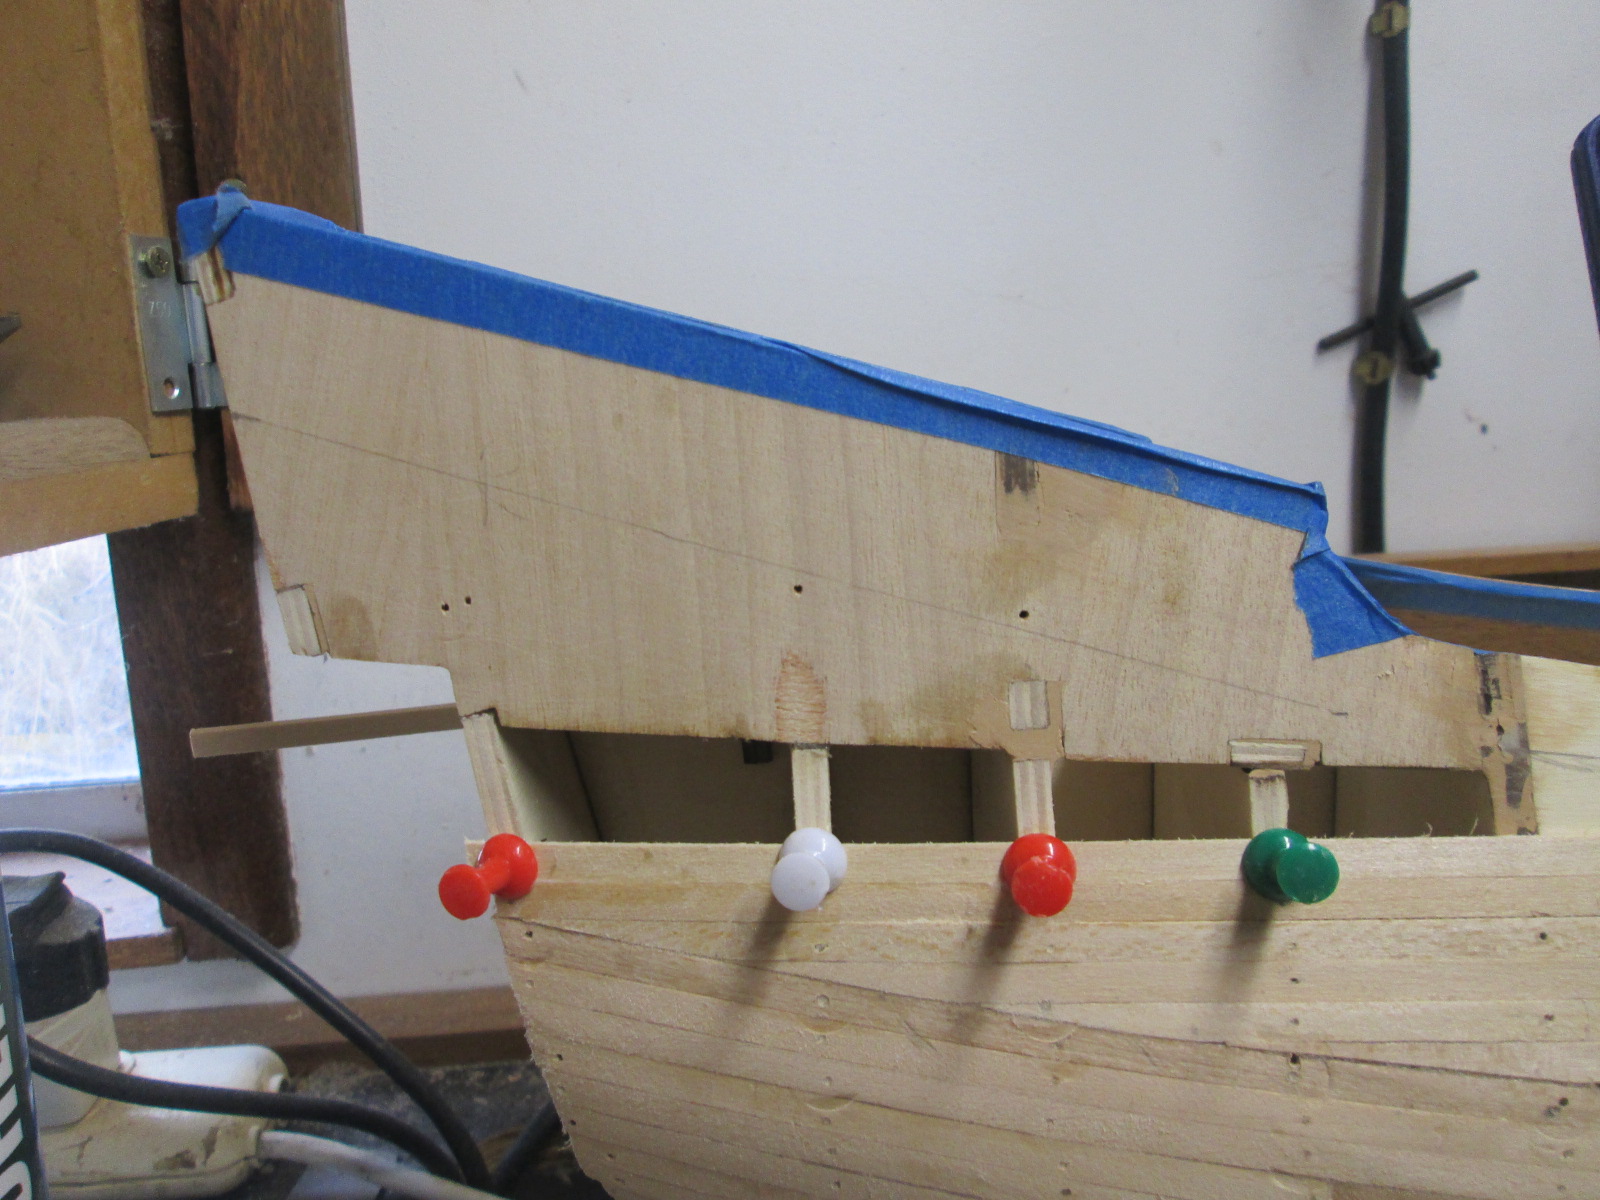
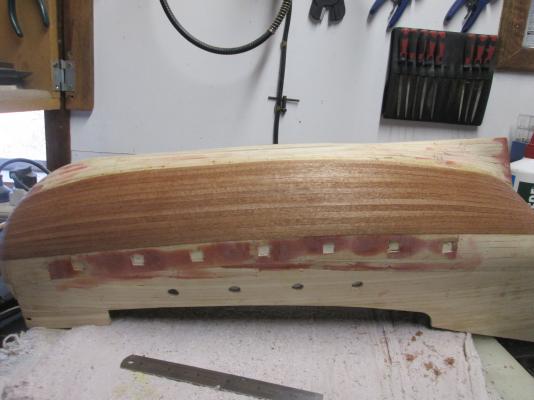
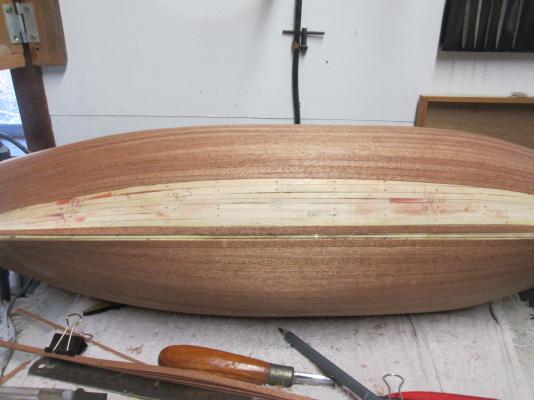
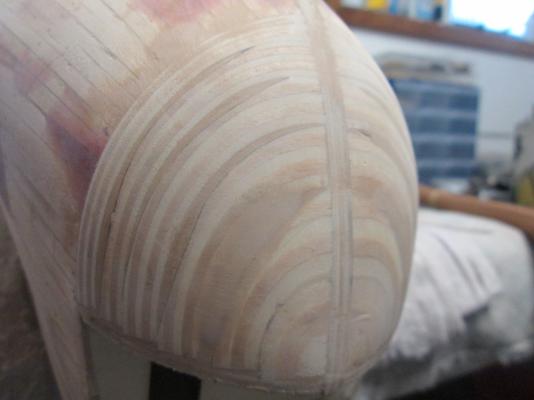
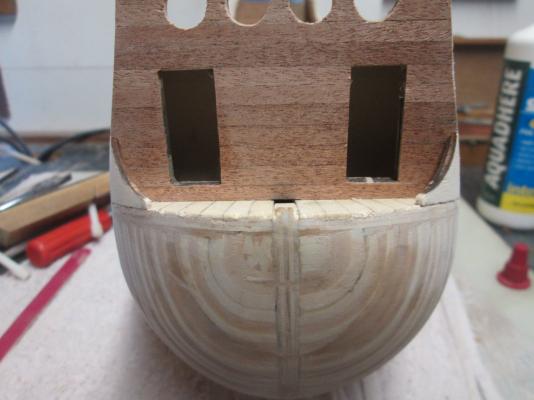
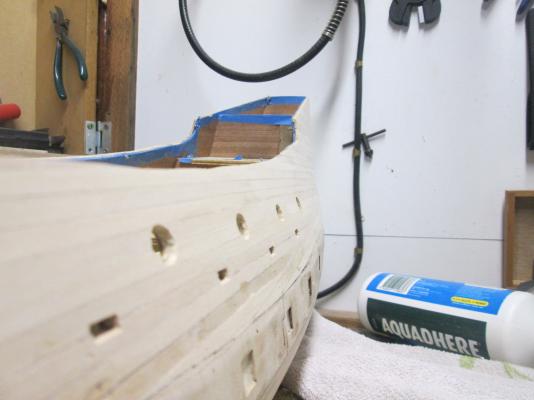
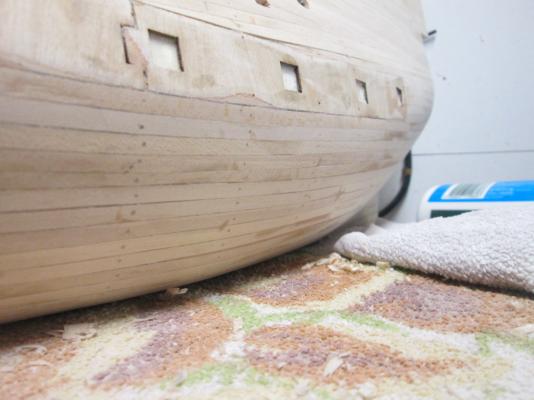
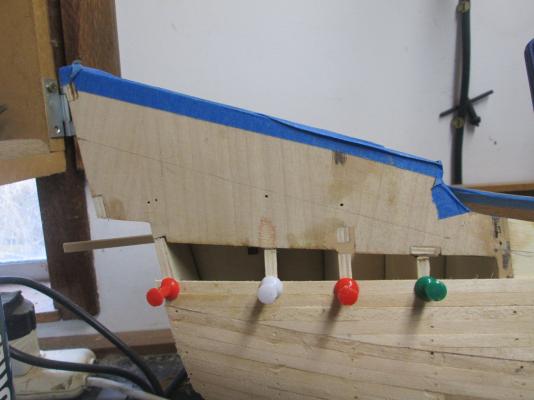
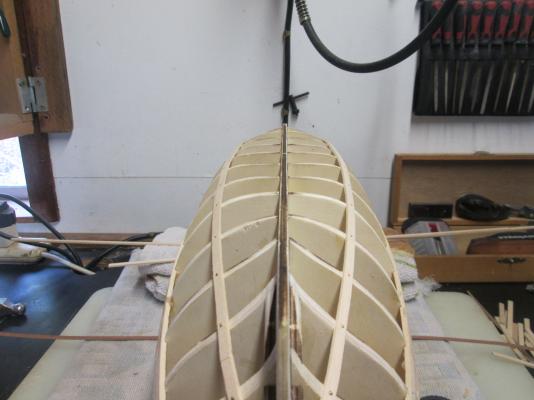
Spent all day sanding and filling, a total of 9 hours. I must have got the fairing pretty right this time, because no nasty bumps or large hollows to fill apart from the lower gunports I mentioned earlier.The hull shape of this Ship might make you think it's shape is wrong, but this hul is like a pot bellied pig. It stands up by itself without support. If you are making this, dont't be put off by it's odd shape, it seems to be it's natural look. Sanding done, I'm pretty happy so far. Next will be to block in the Bow section, and plank the forward deck that goes the bit at the front.Then it will be second planking for a while.


-
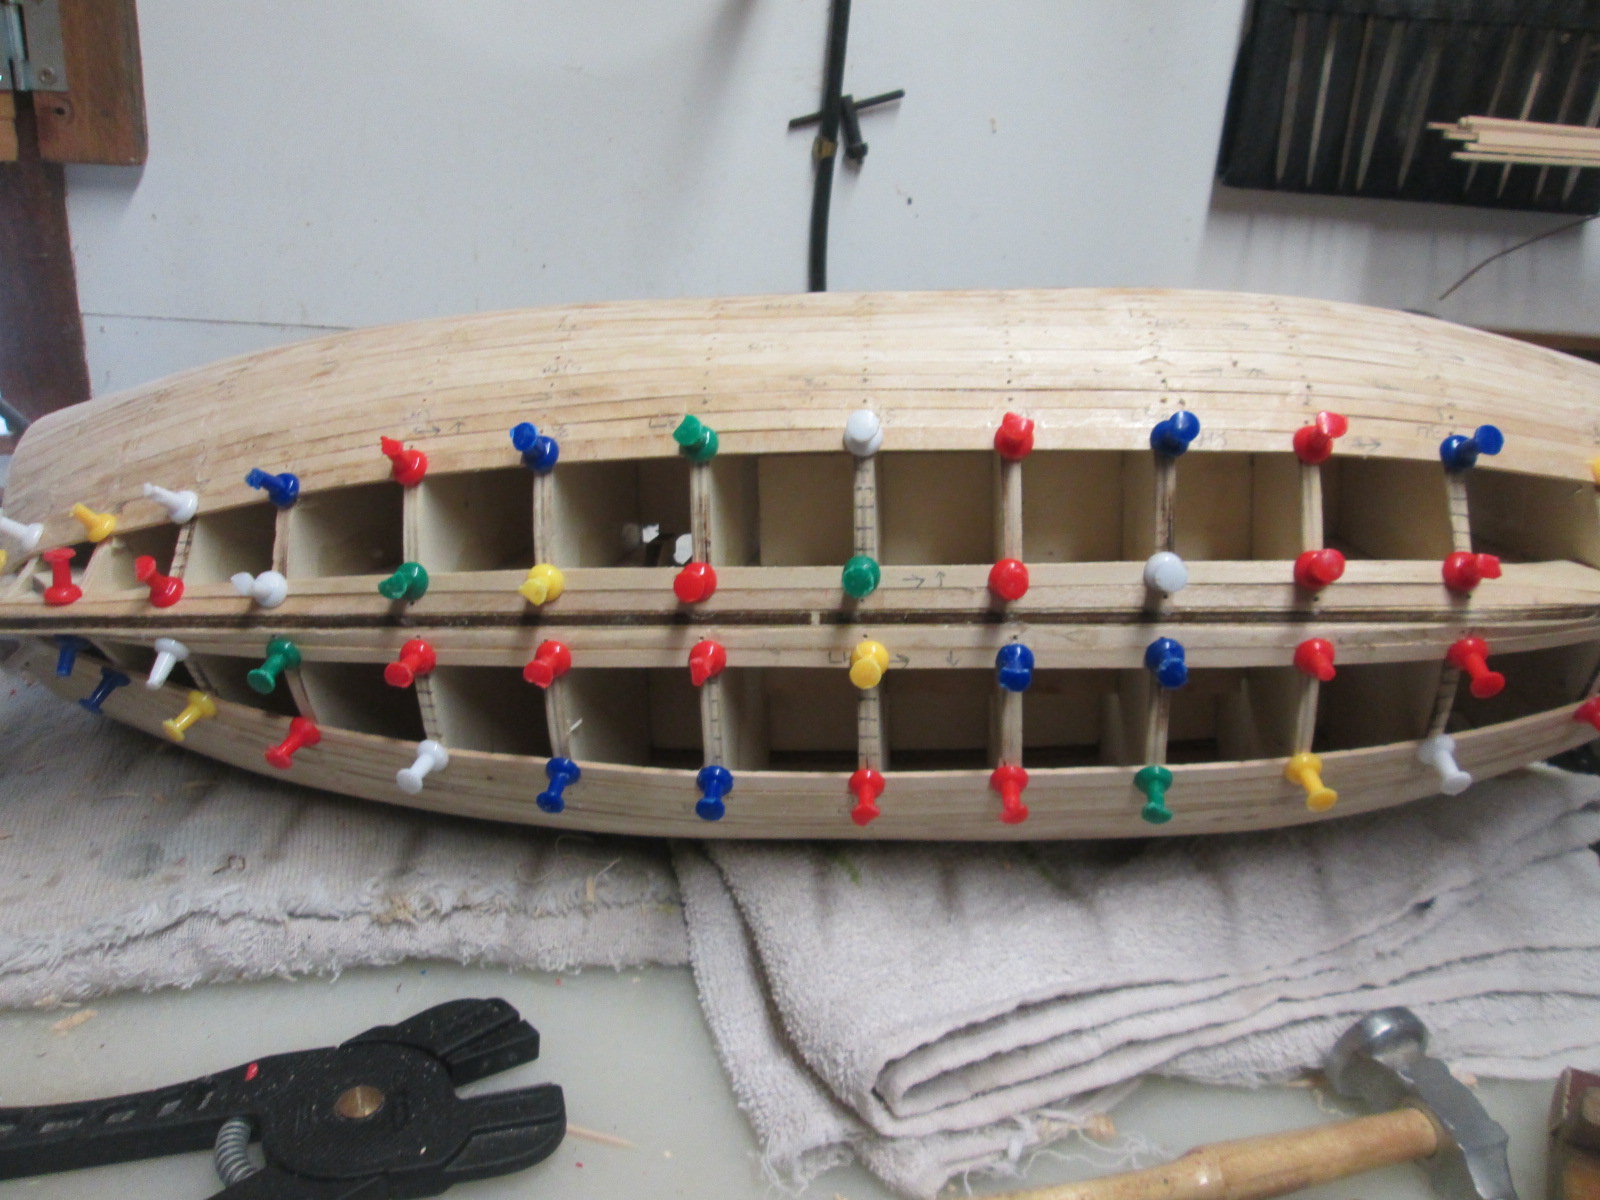
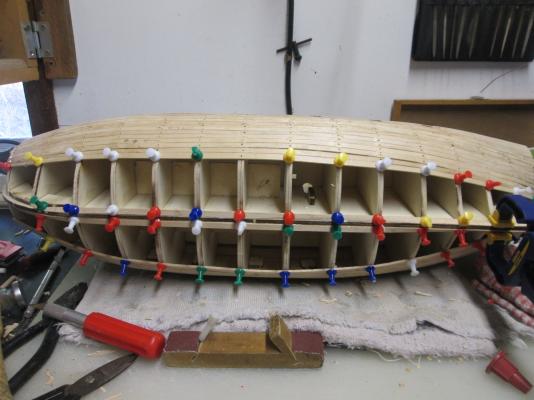
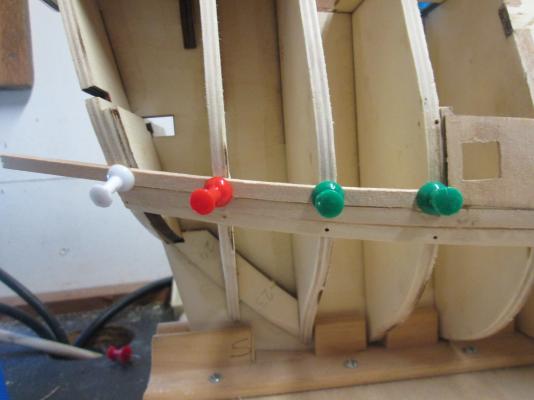
OK. The hull is now first planked. I had some issues with the twisting needed to get the planks on the keel. A couple of them broke, so a couple of repairs, no big deal. The hull looks like it has good shape and symmetry. I'll put up some photos after sanding. The aim this time was to taper and bevel better, leaving me an easier sanding with less filler. I think I managed it:) The area over the lower gunports is a different story. The plywood just wouldn't go where I wanted it to, so definately some filler over those. I got some plans for a couple of smaller less complicated Ships to have a go at a scratch build. I need to do a little more research and source some more tools and timber before I post it. I got a little bored waiting for the quickset glue to dry. Hopefully a couple of smaller projects will keep me occupied.


-
I love the detail. Very high quality work. Inspirational stuff. Regards, Matt.
-
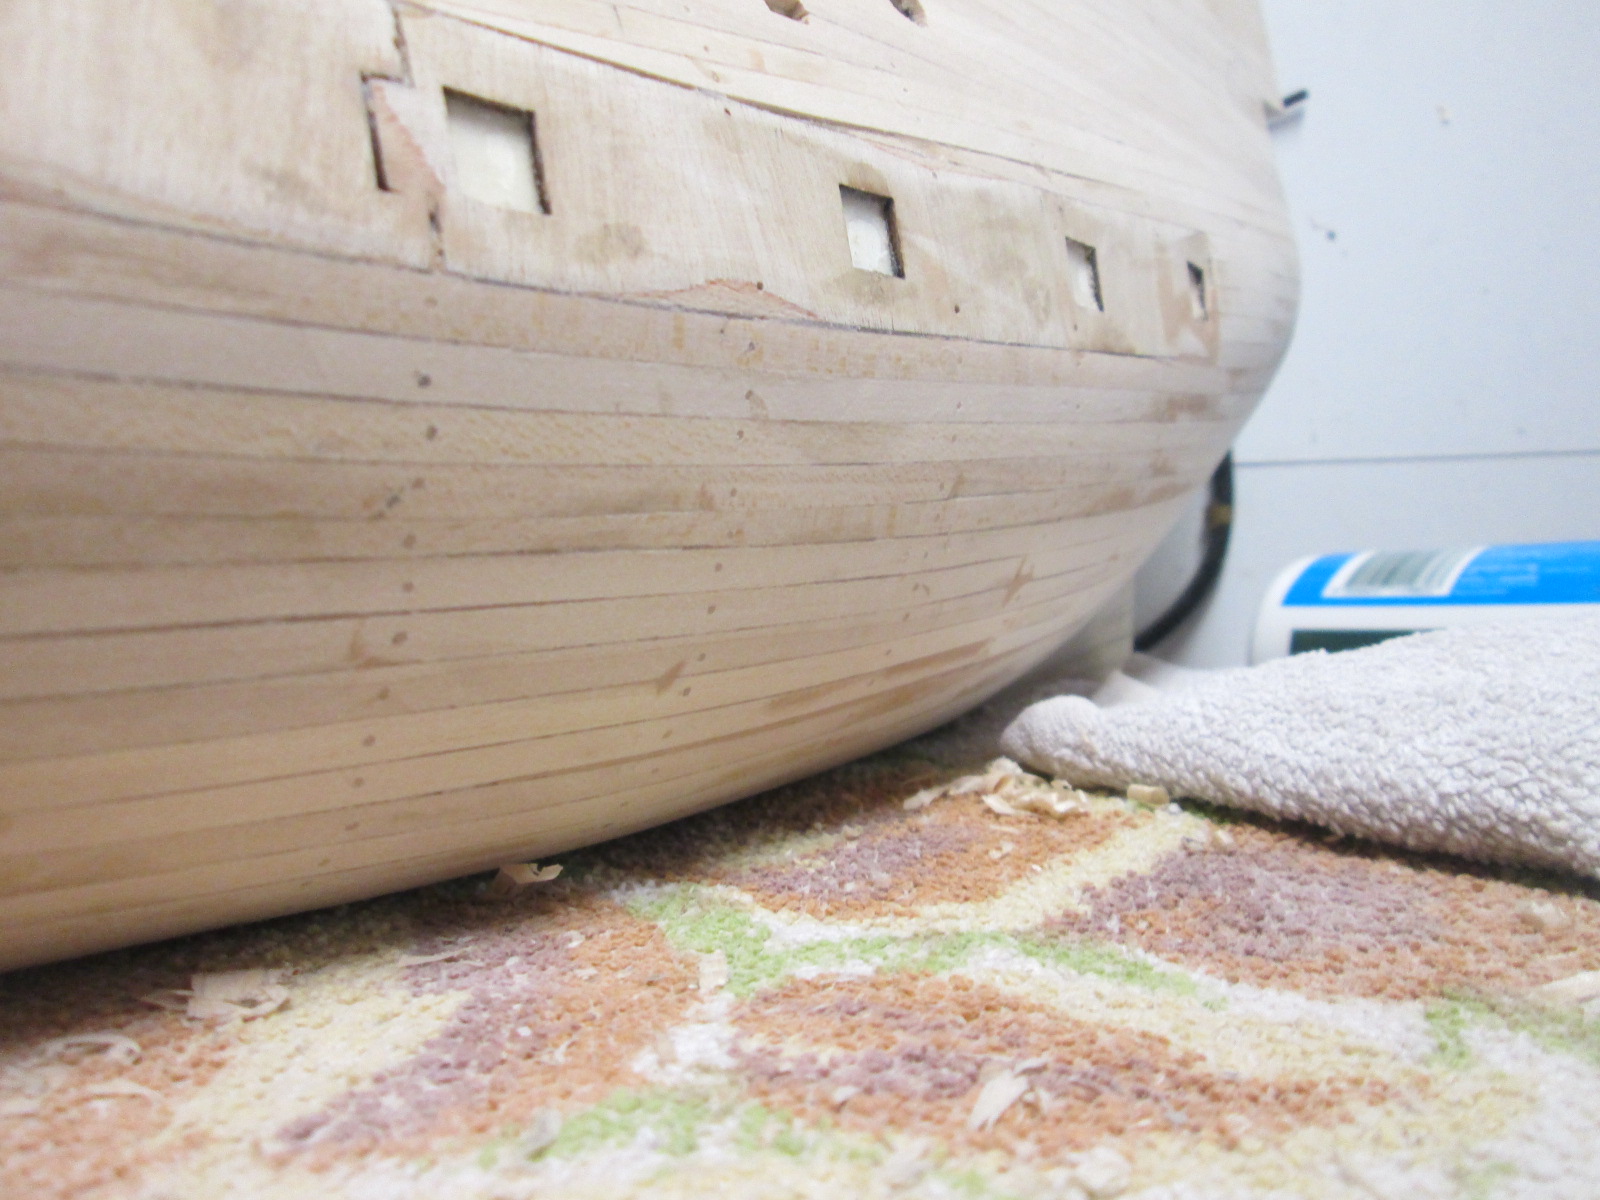
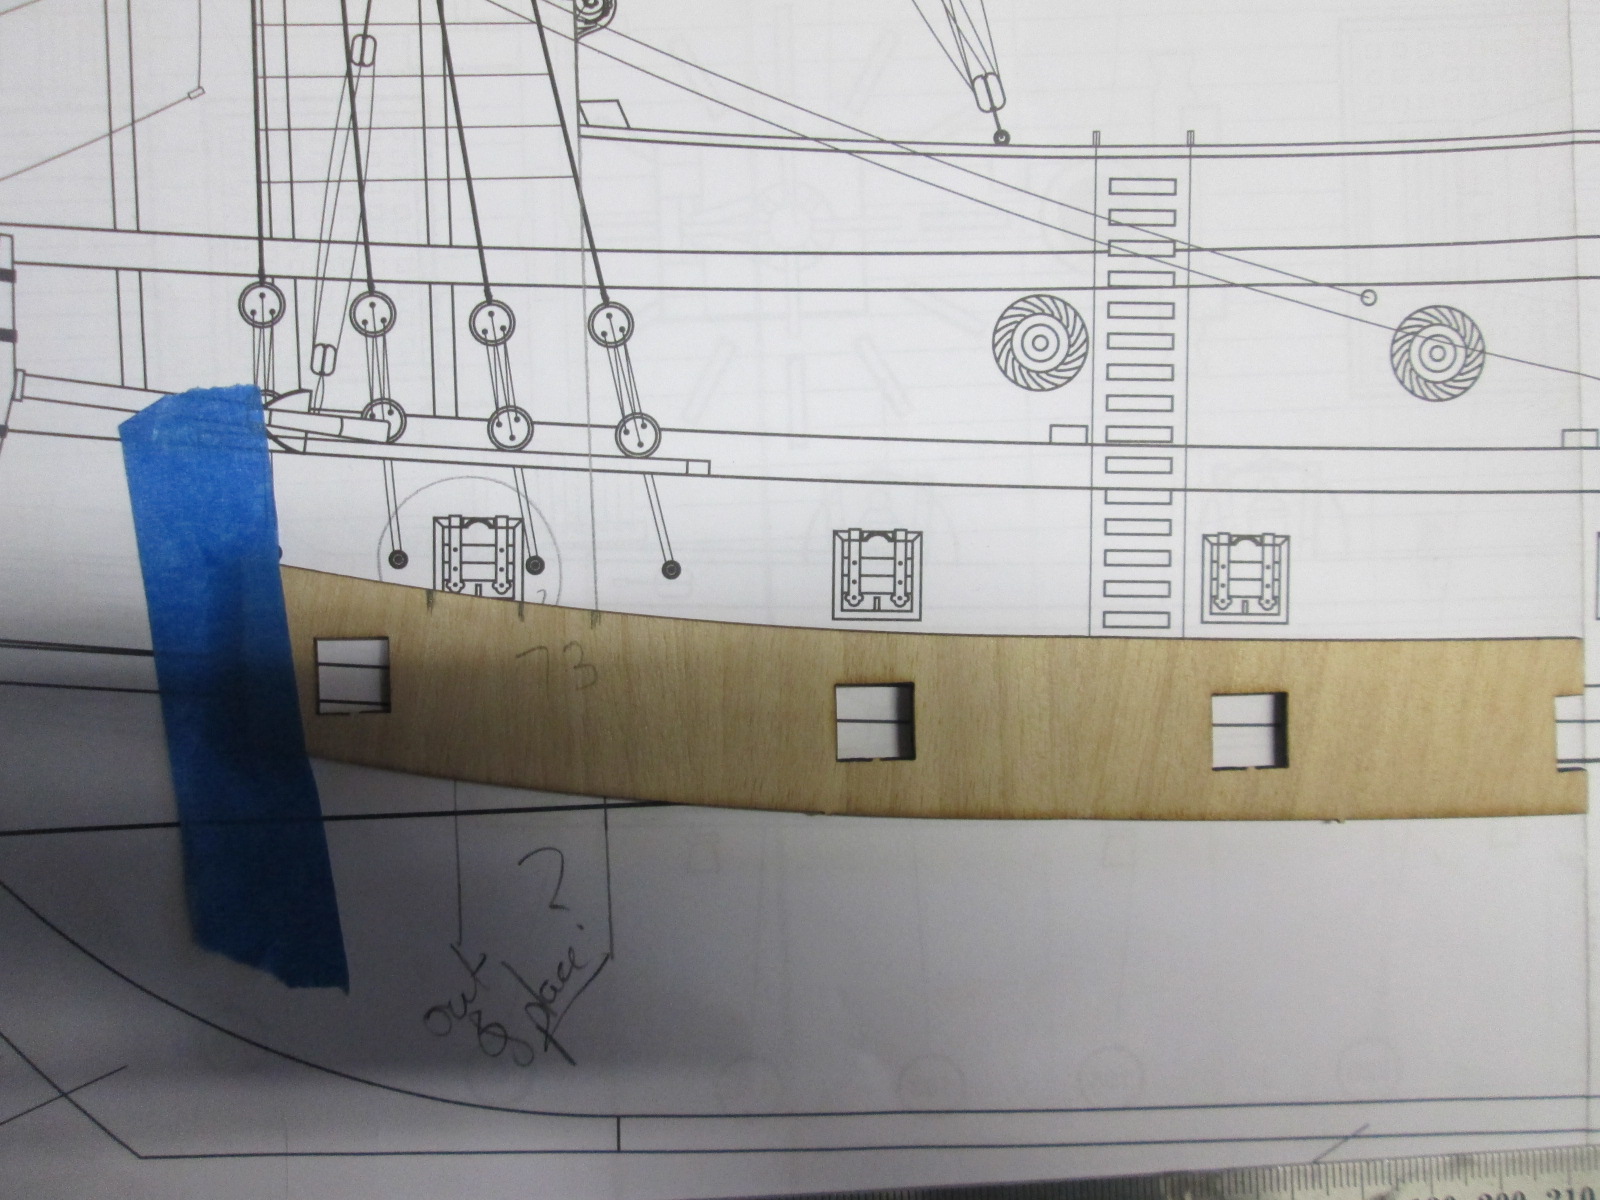
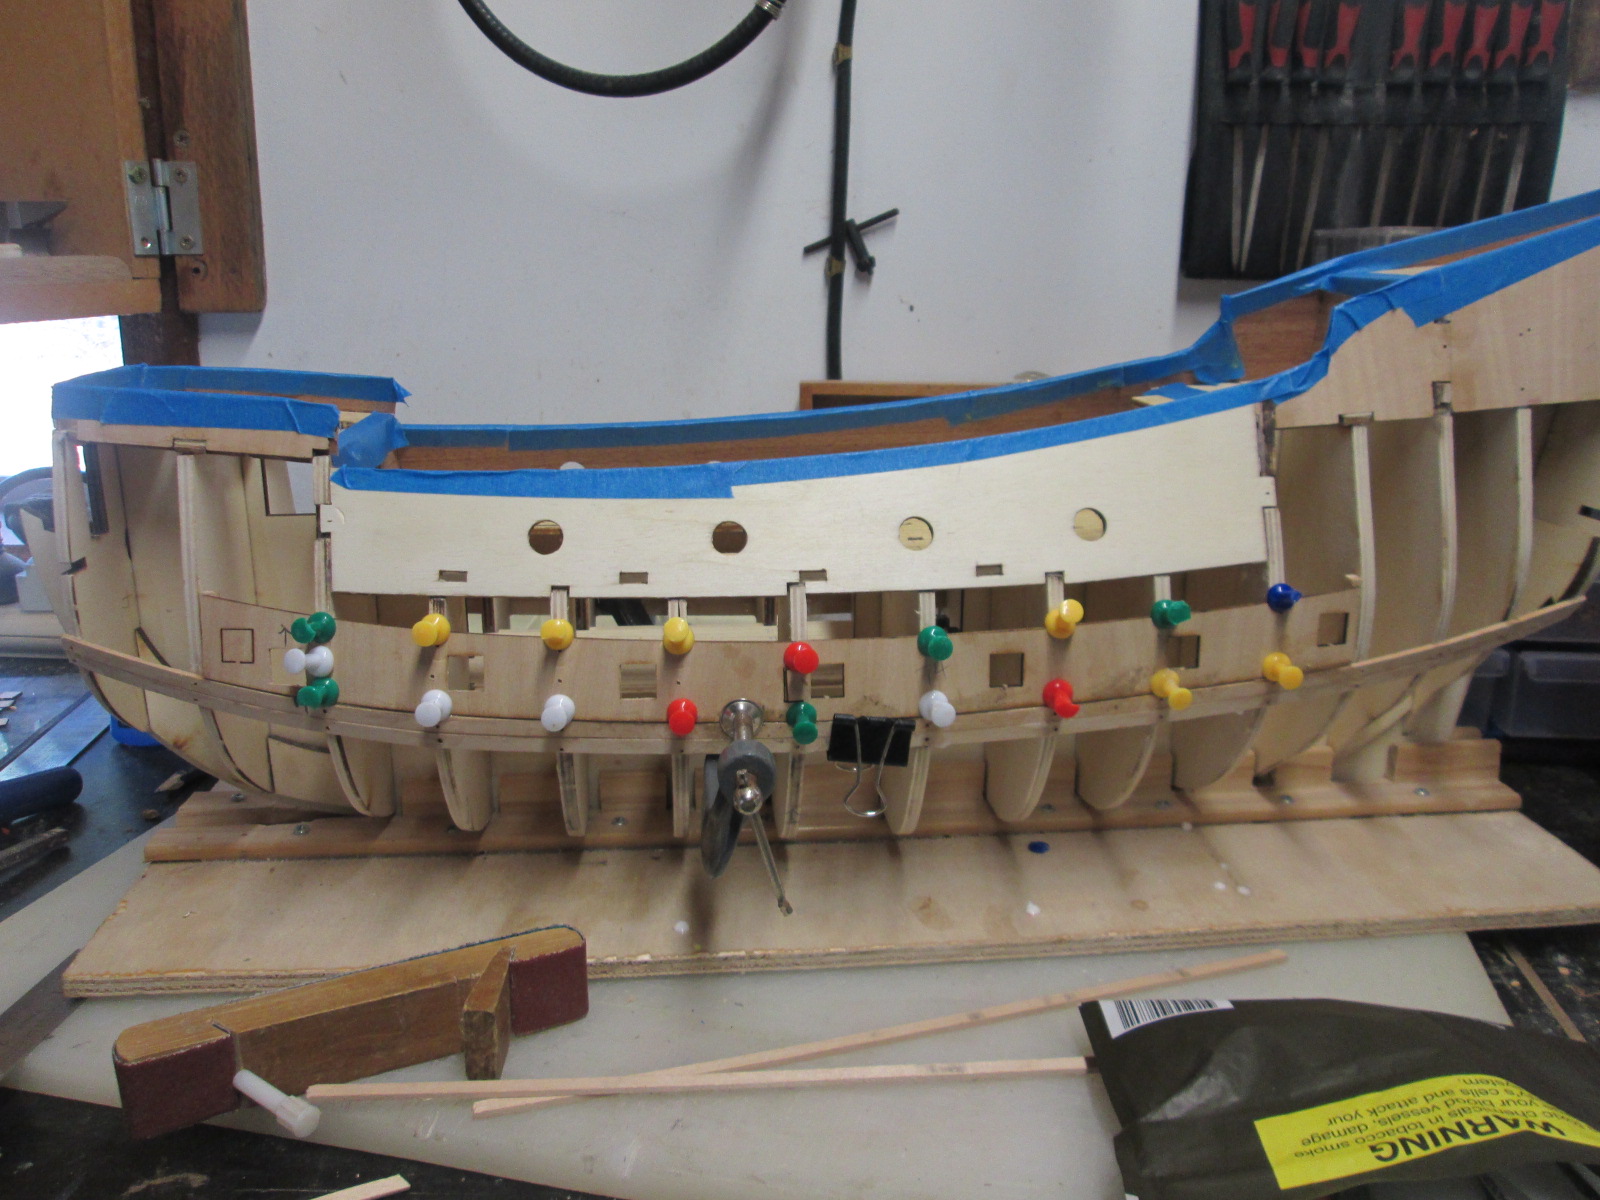
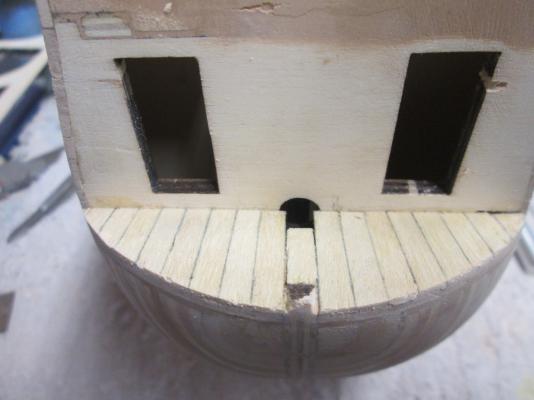
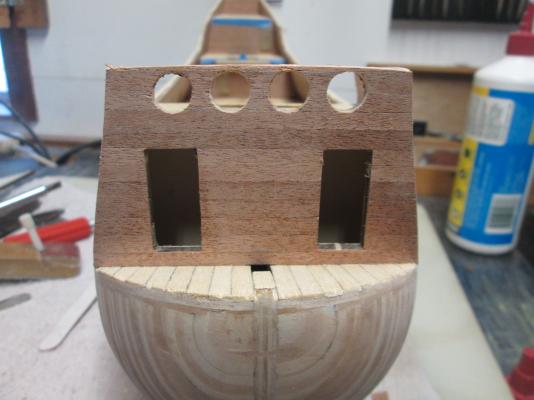
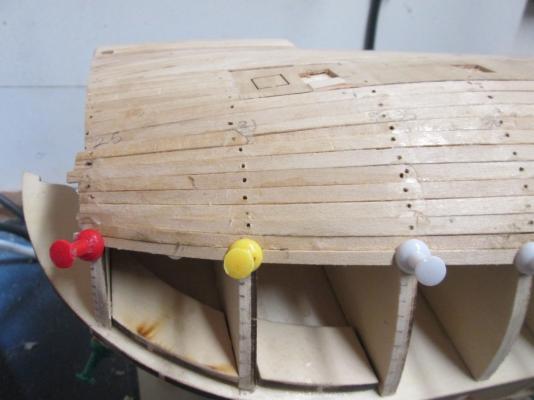
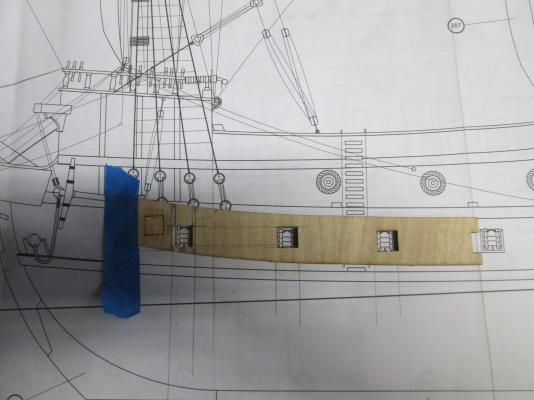
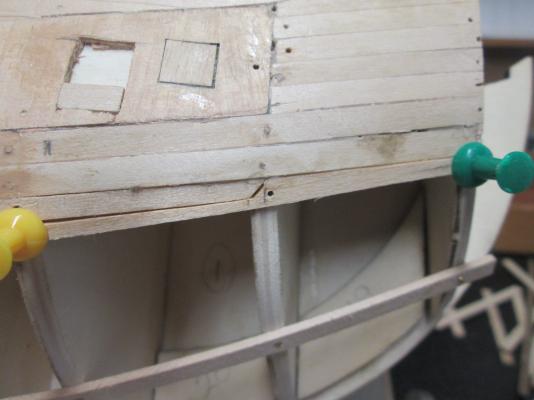
There are a couple of issues now.The plywood for the Gunports is 2mm 3 ply. This makes it easier to bend in one direction. However, this sheet was cut so that it bends easily in the direcyion you don't want it to.There is a curve in the bulkheads where they go, so this has left some filling to do before second planking. One of the gunport placements was wrong , being too far forward, but easy enough to fix. I nedd to work on my planking plan for second layer as the first had too much lateral bend from the gunport placements. In hindsight, it would havebeen better to trim the ply so that there was less. The gunports are not planked over, so it was just a case of making do. You never know how these parts are going to fit until you put them on. I also tried my hand at a half steeler to reduce the amount of planks going to the bow, as tapering brought them to 2.5 mm. The half steeler brought it back up to 3mm. Now it's on to planking the bottom half of the hull.


-
I spoke to my kit supplier recently, and he was of the opinion that the Amati kit was the best. He's been selling kits for a long time.
-
That is some very nice carving, as good as it gets.Love it.
-
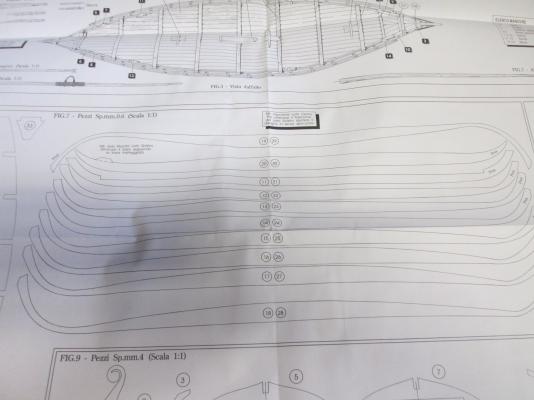
I ordered some plans today for a Viking Ship. and a Greek Bireme. Happy days

- 64 replies
-
- 1
-
-
- occre
- san marcos
- (and 1 more)
-
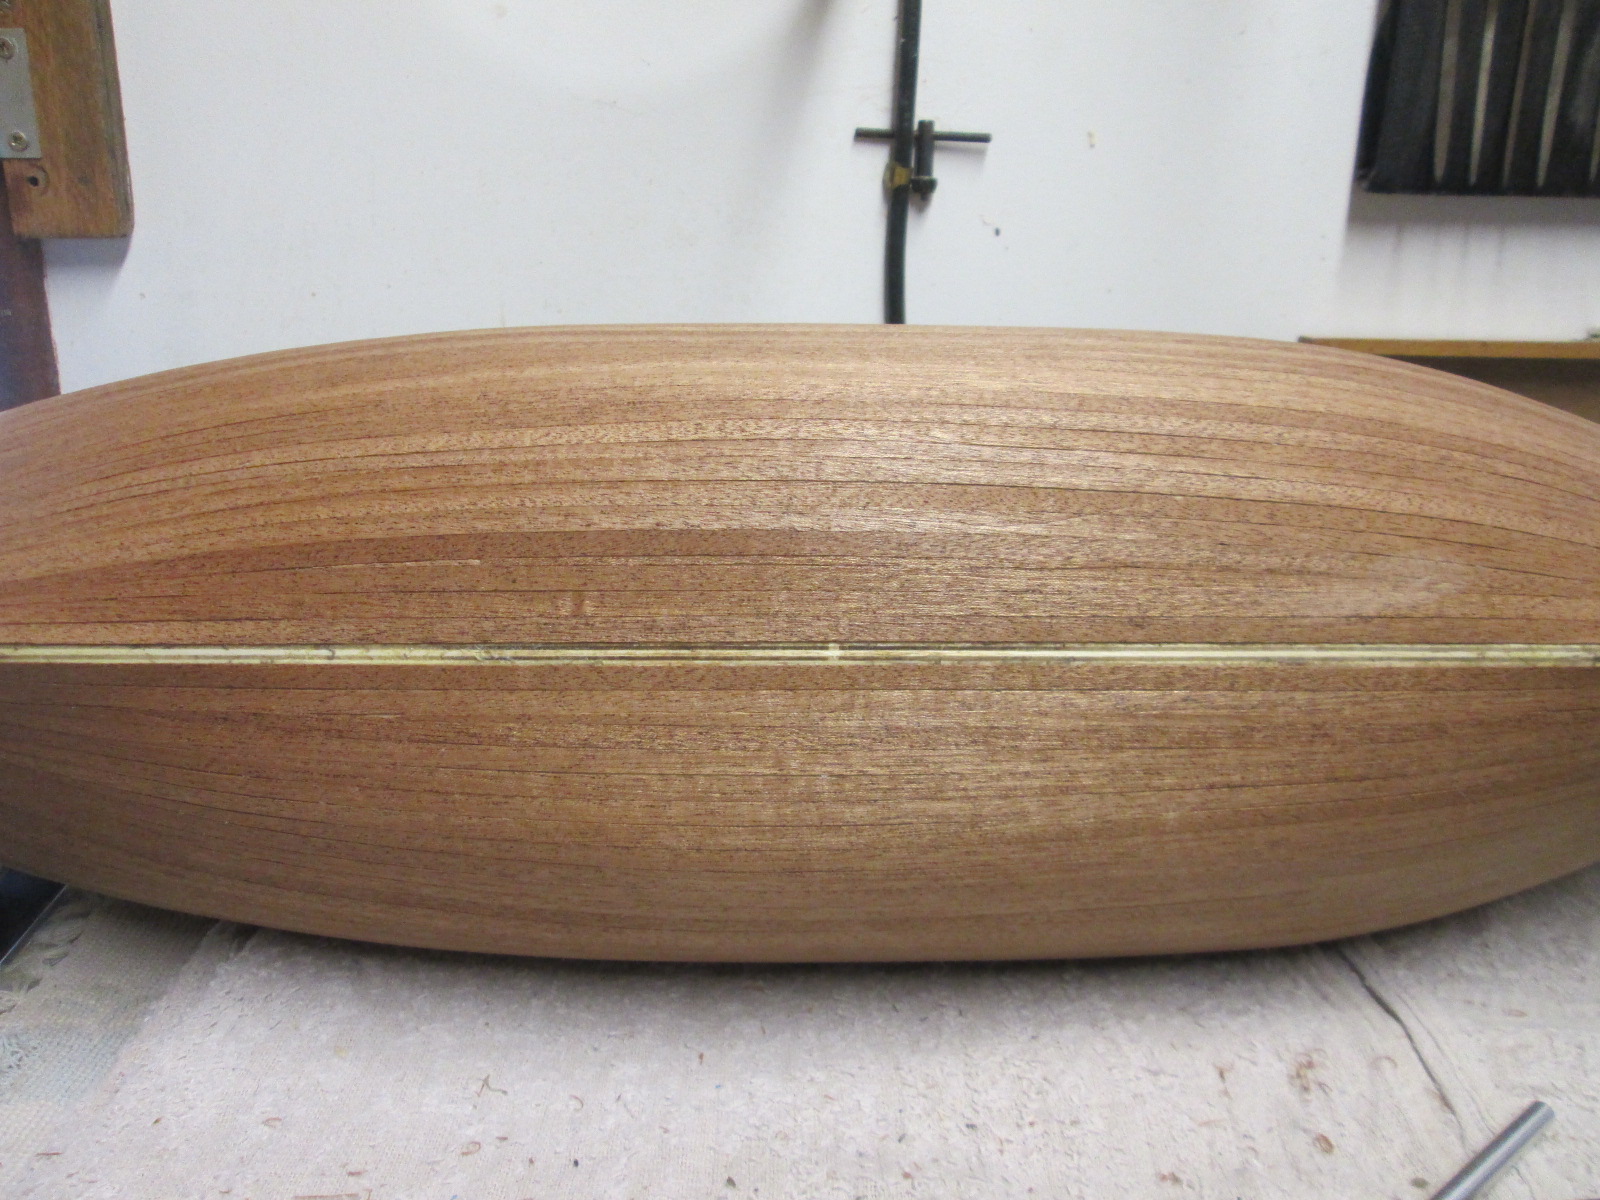
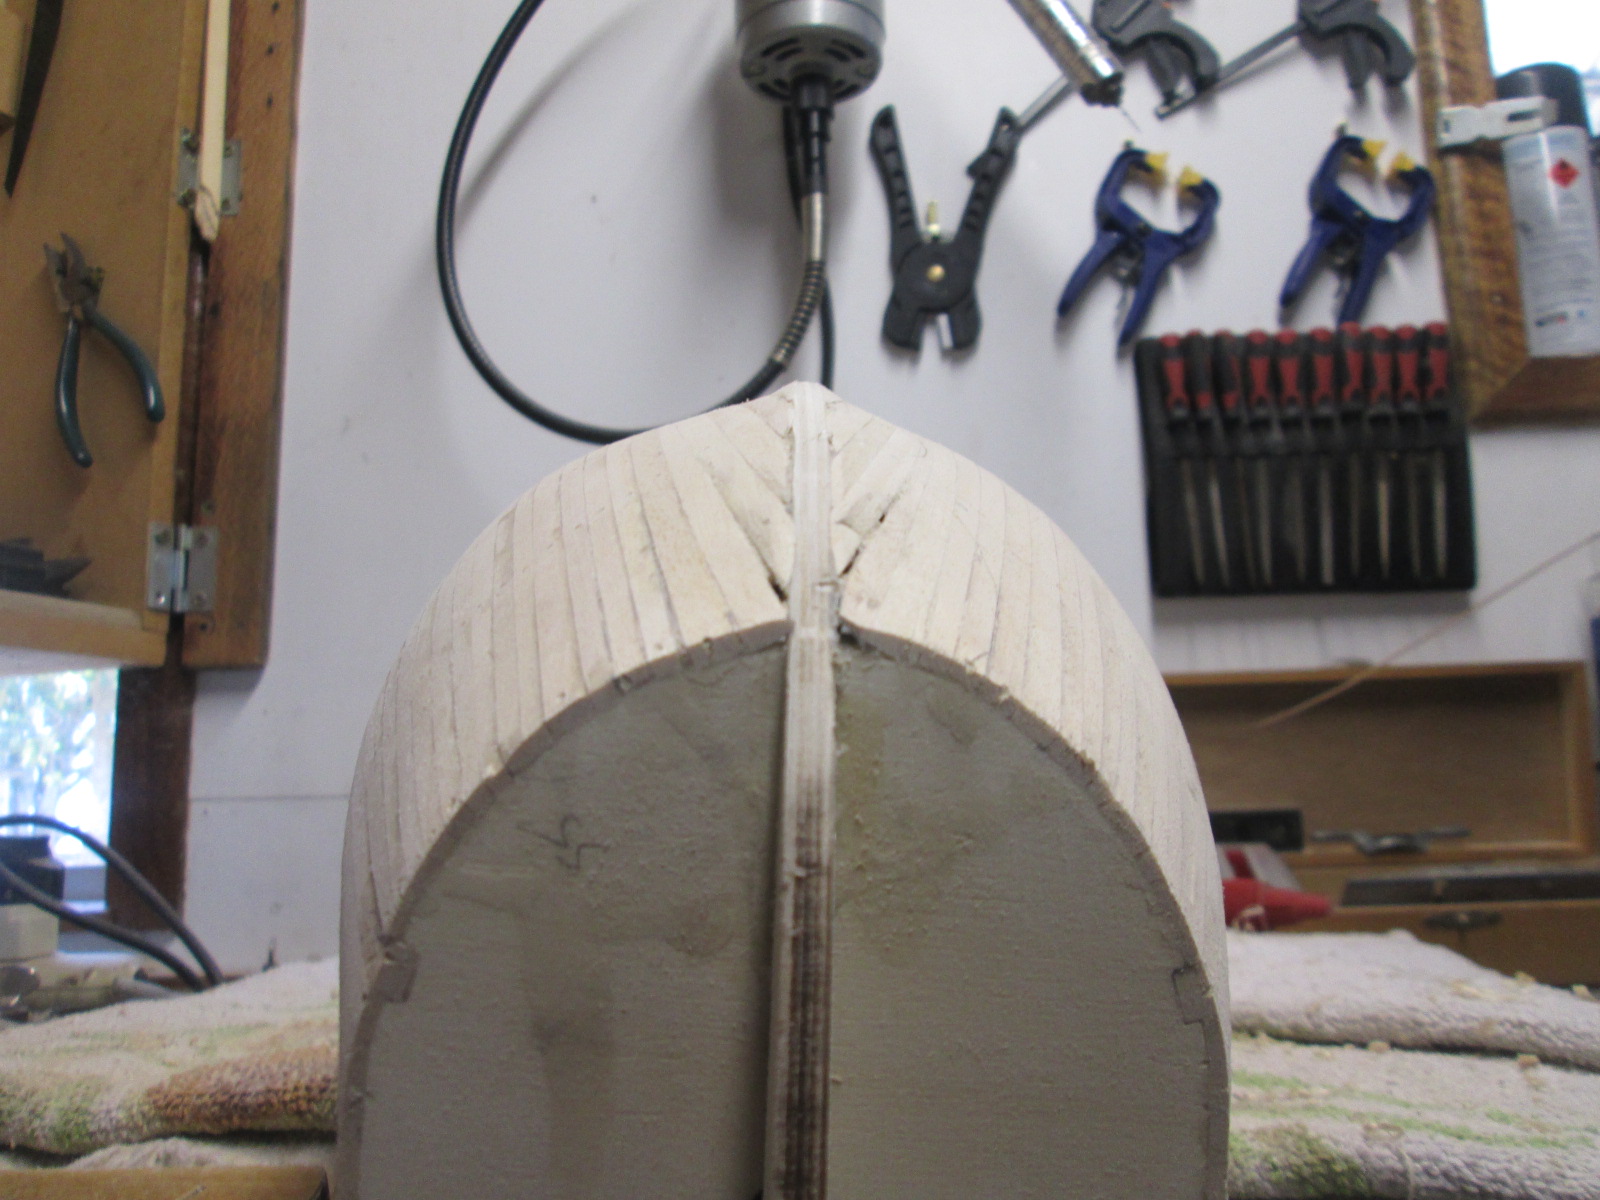
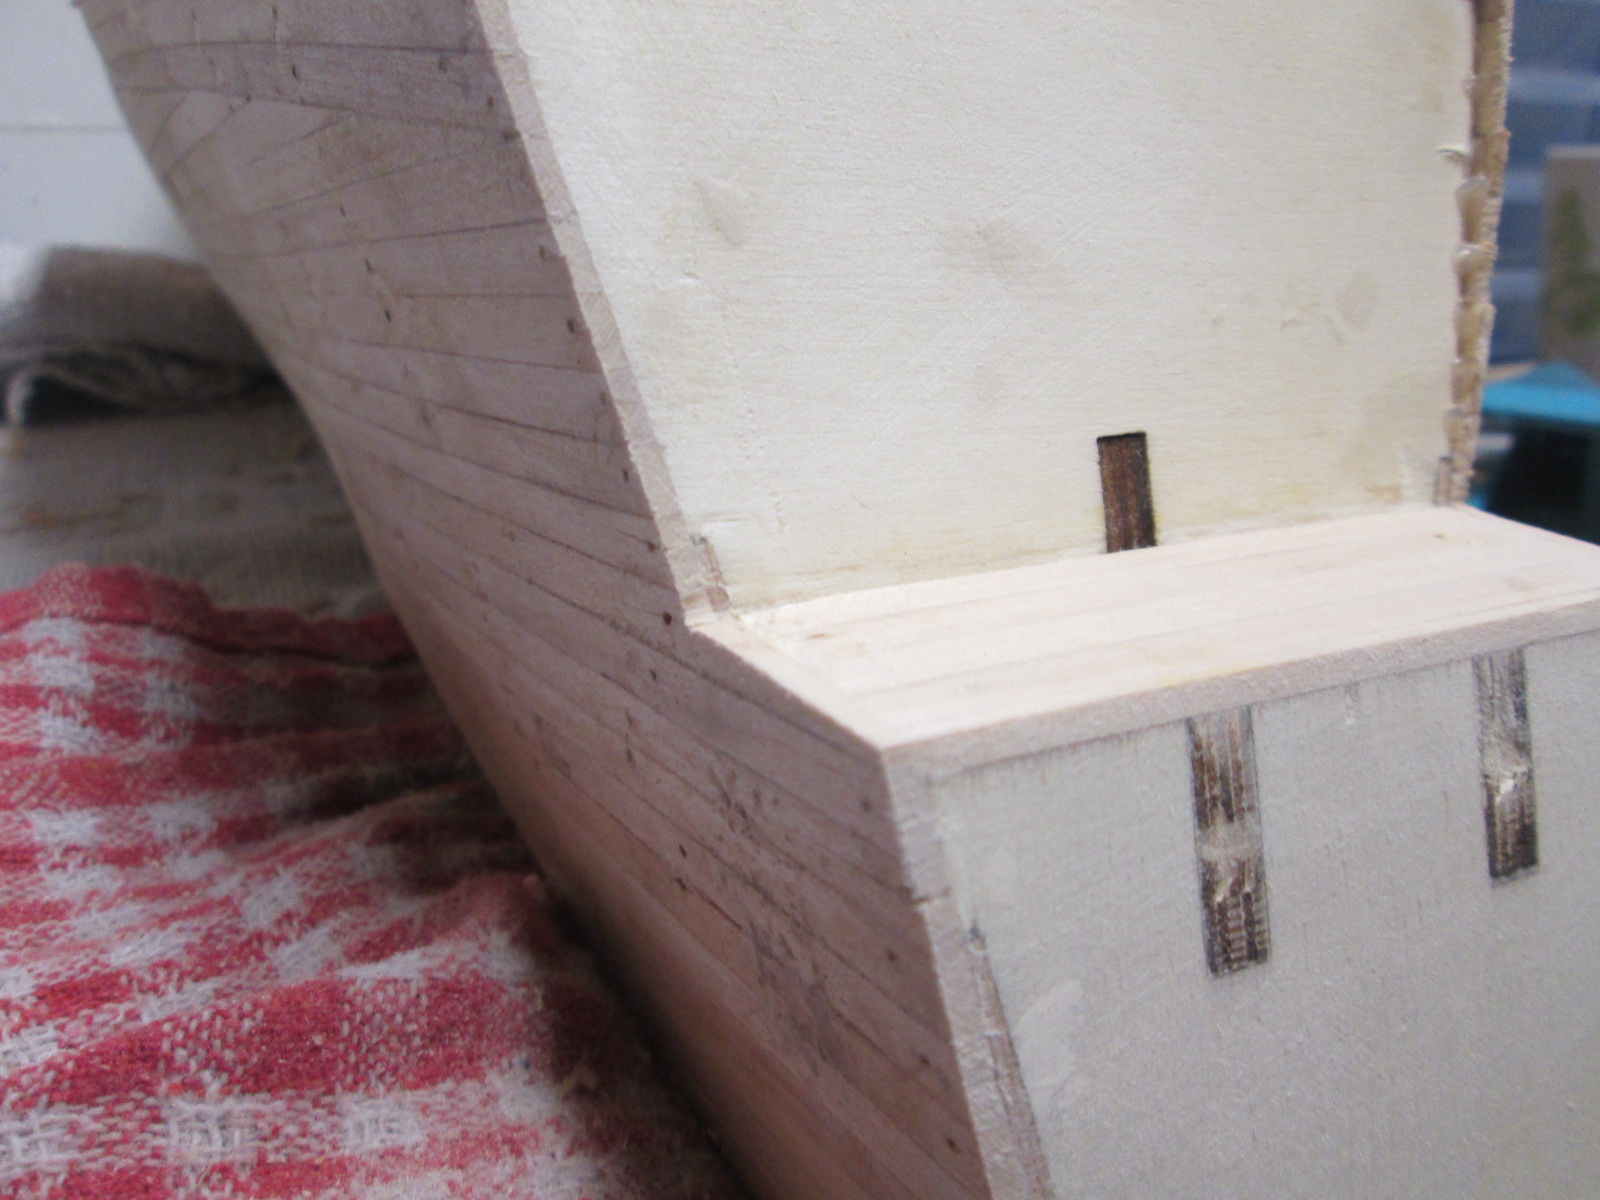
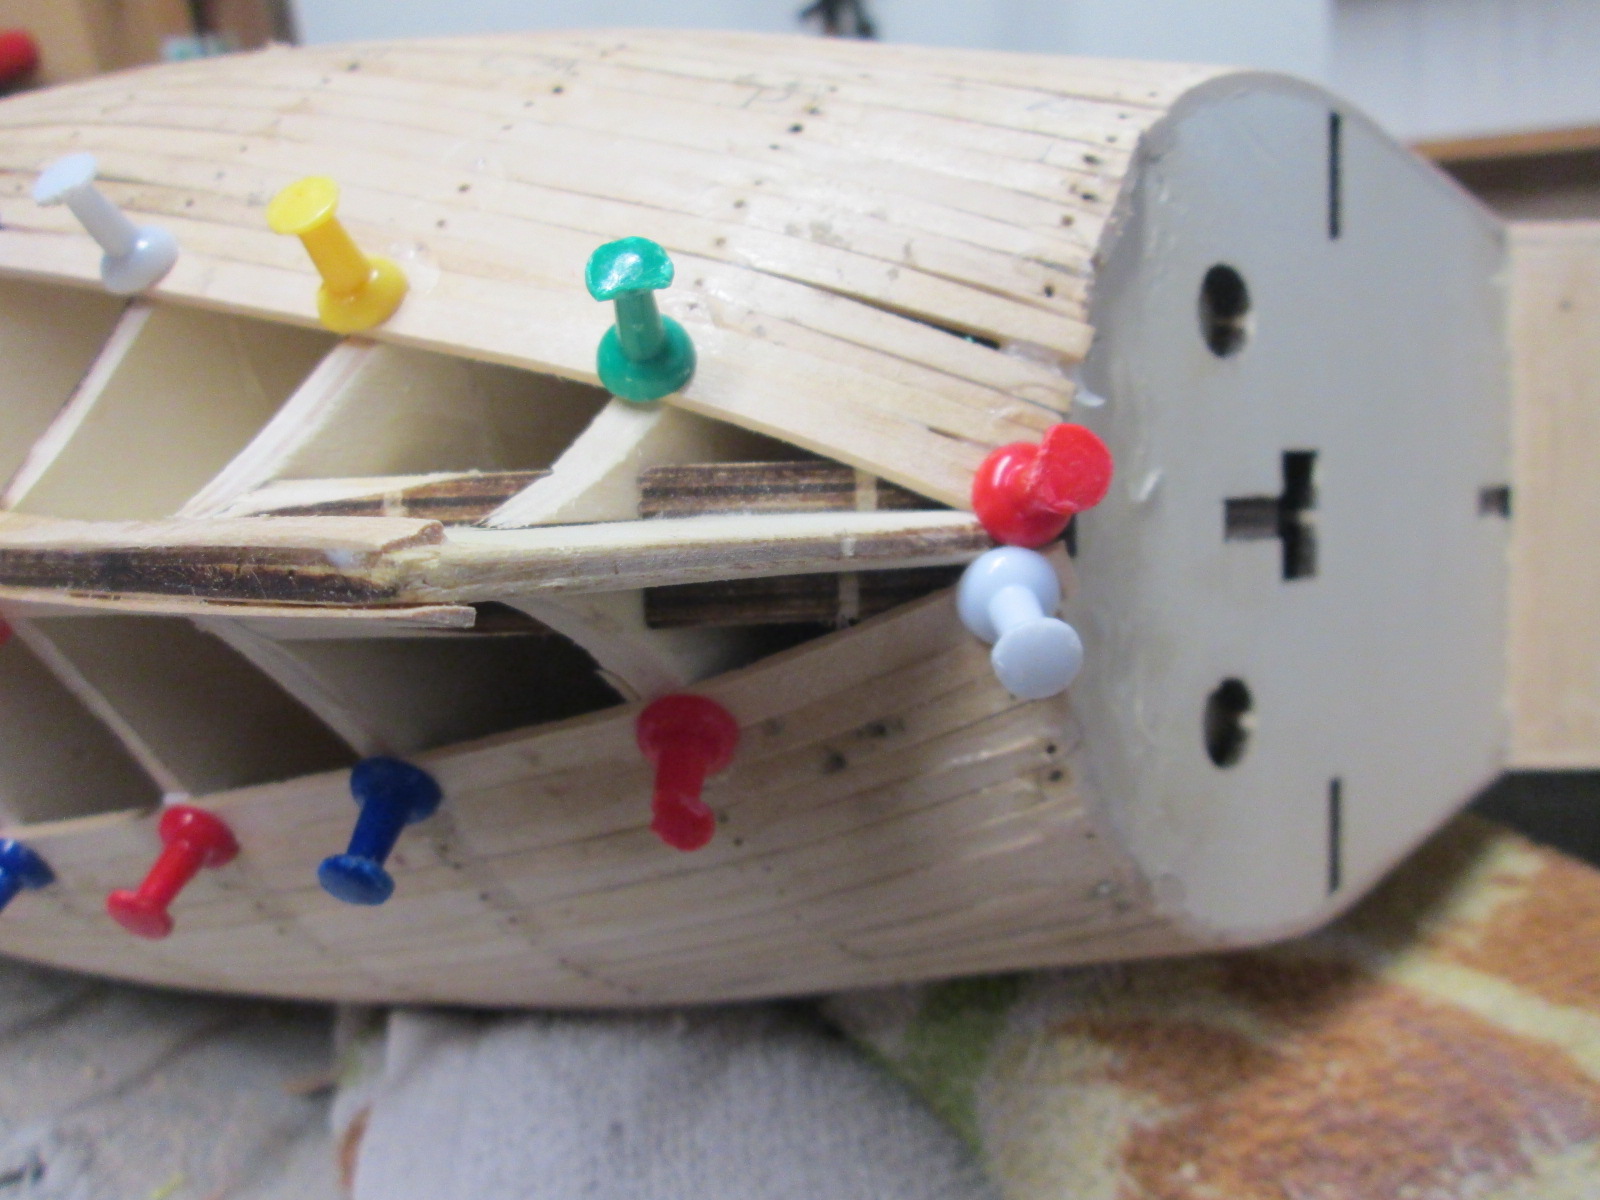
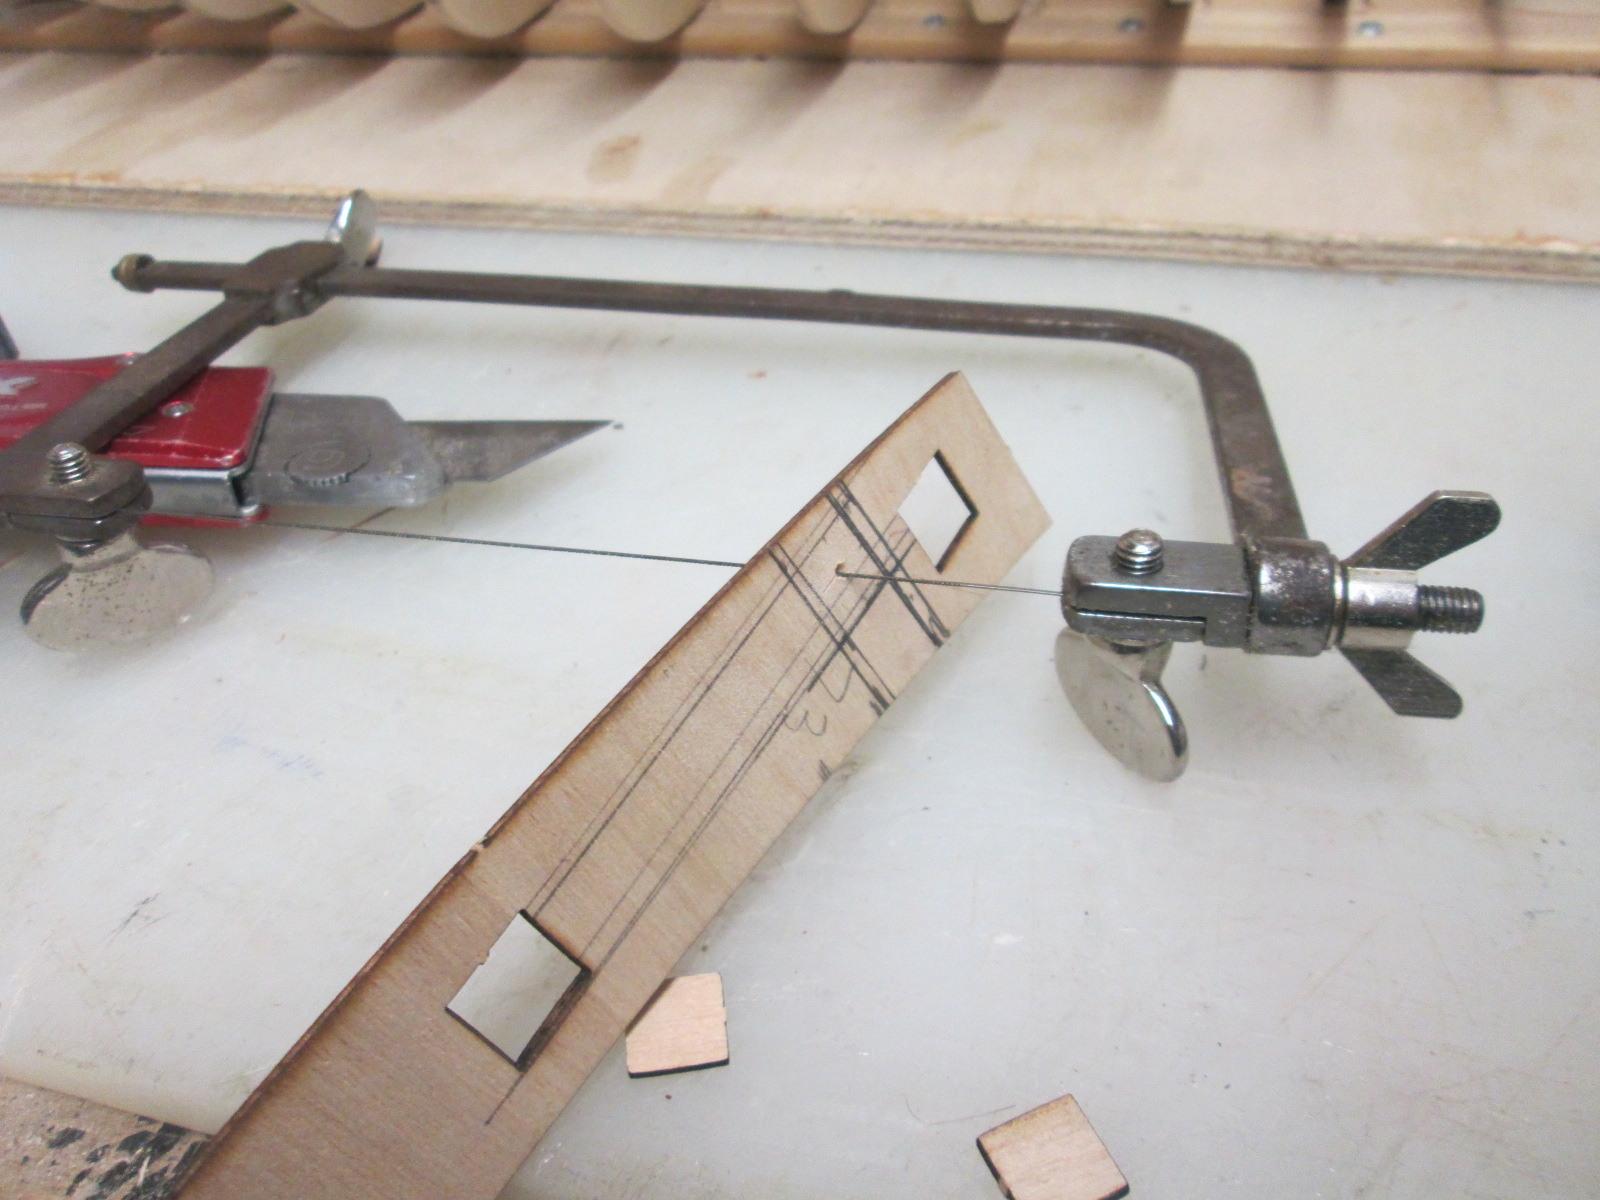
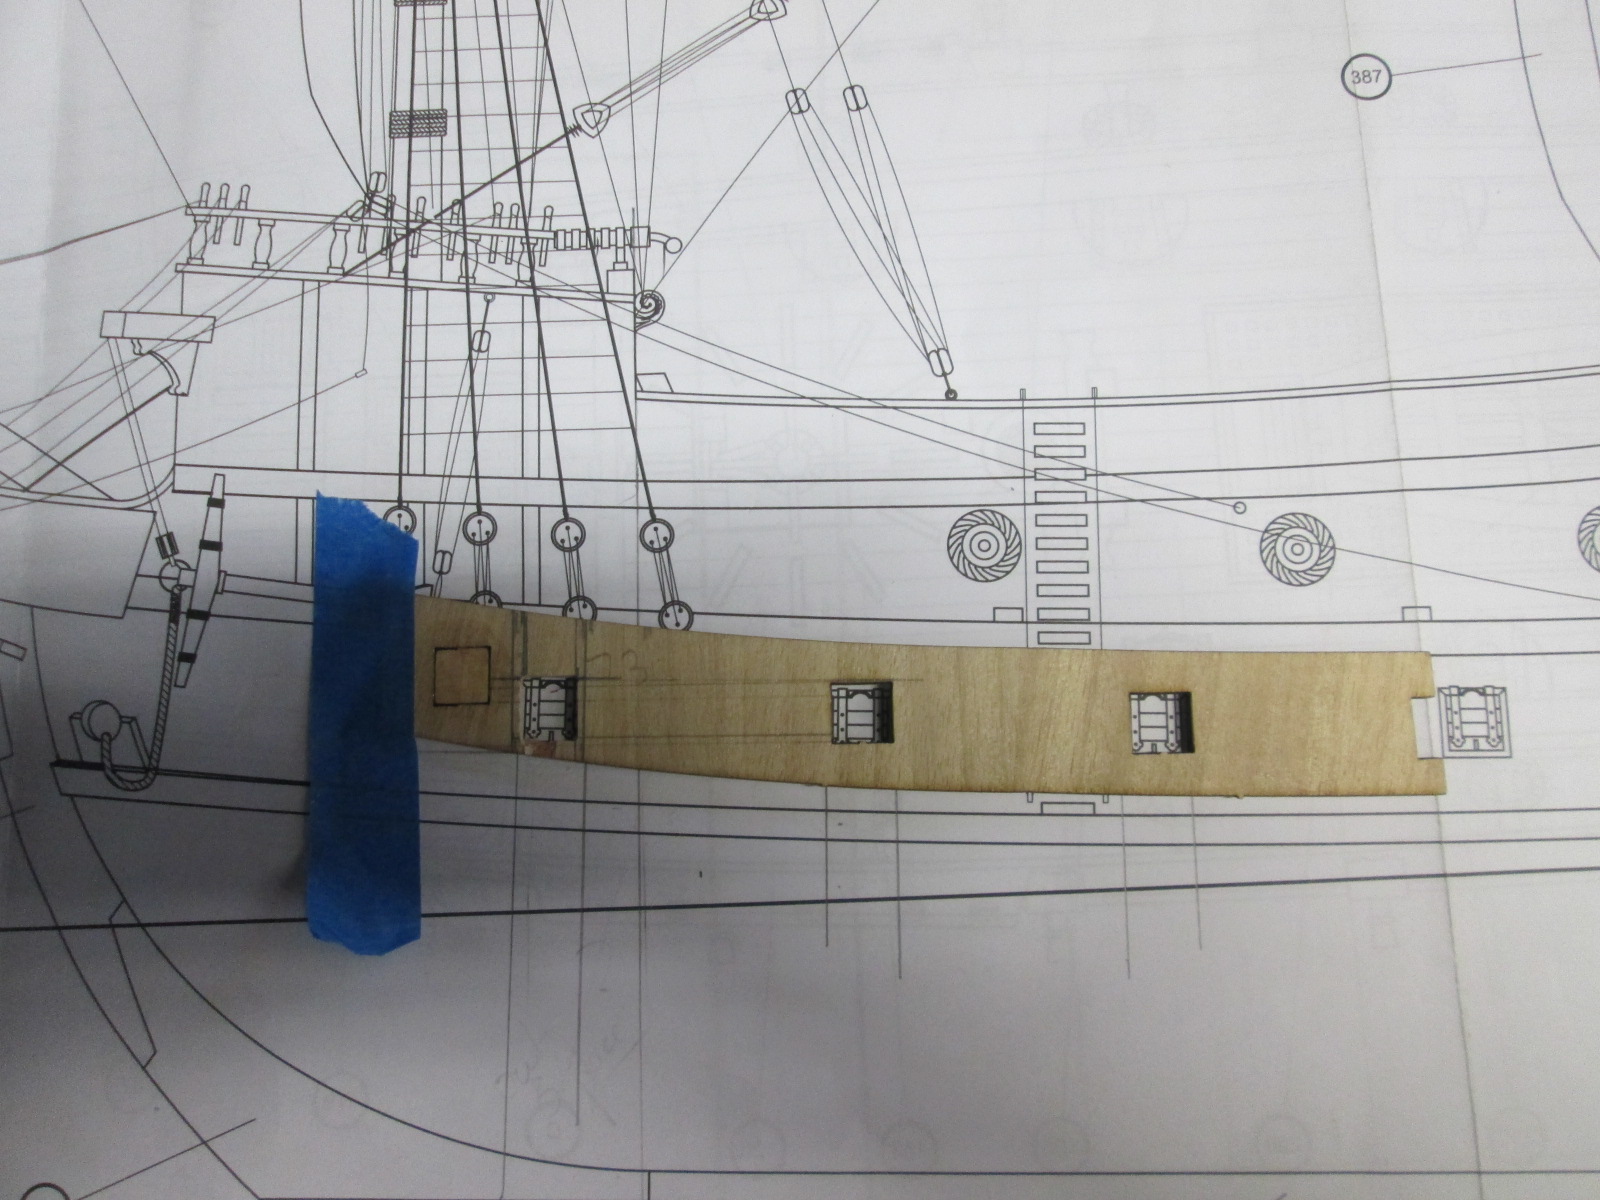
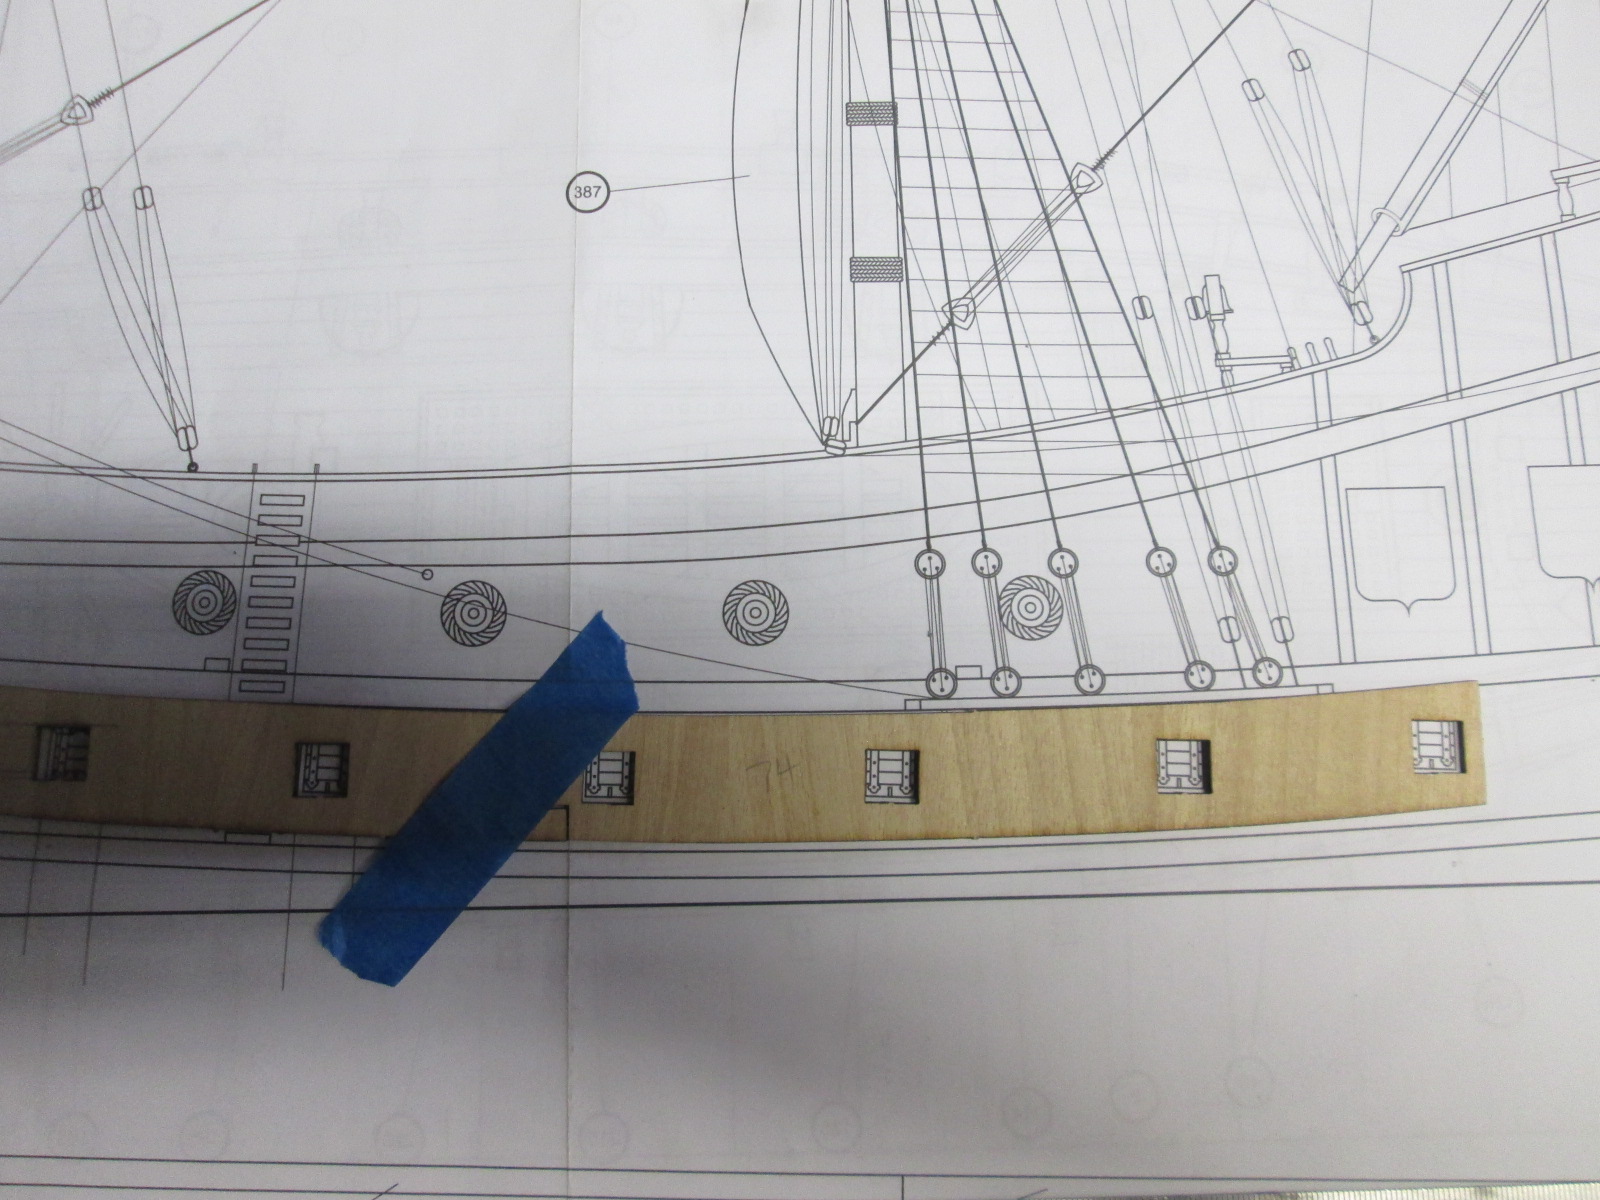
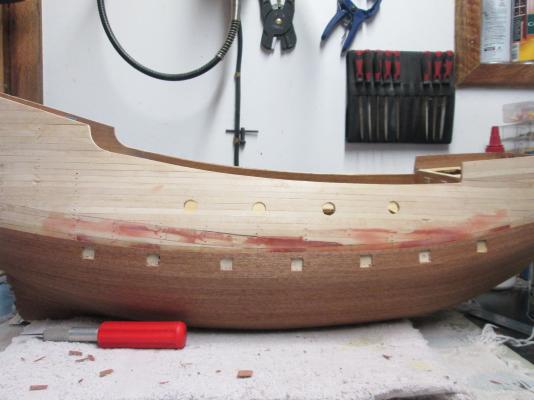
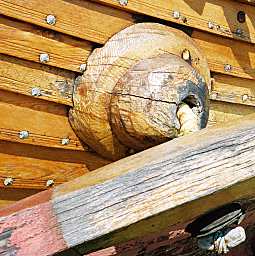
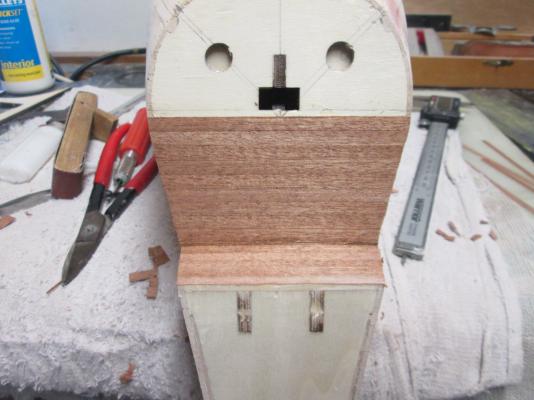
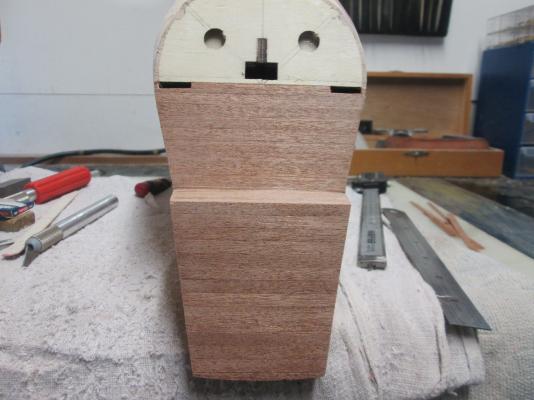
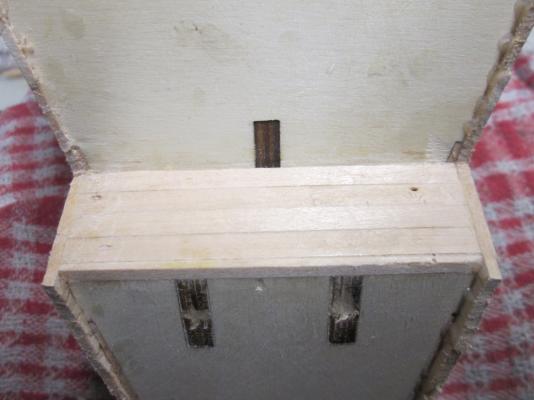
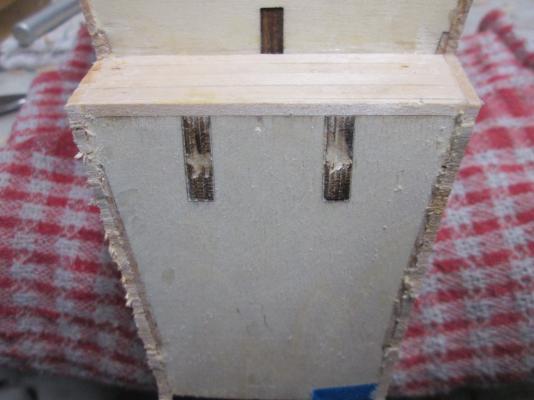
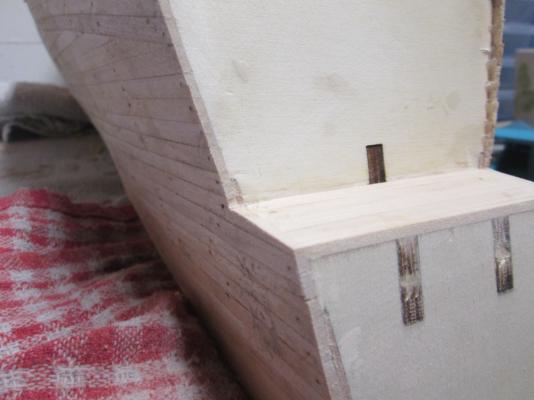
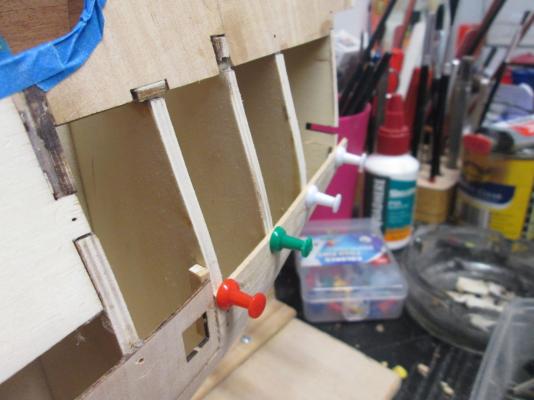
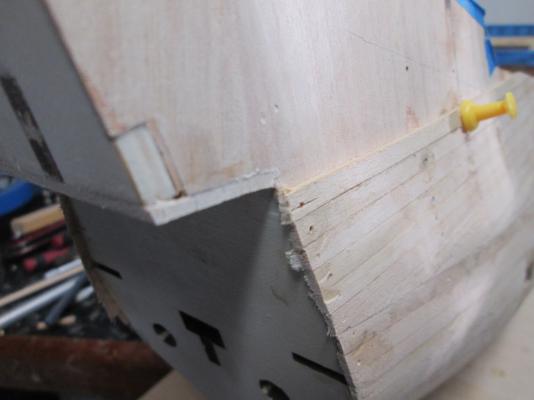
Thanks for dropping in Jeff. She is double planked, the second layer is Sapele, which I think is another word for Mahogany. That thick plank is 5mm by 3mm, which was a little tricky to bend. I thought it was a good idea as you can straighten your keel with them before moving on to the rest of the hull. I might use this method on future kits. The only drawback is you need to prepare the slots so you get the right amount rebated into the bulkheads so that your 2mm planks either side fit flush. I got it mostly right. That first plank, also is used as a guide to place the lower gunports.
-
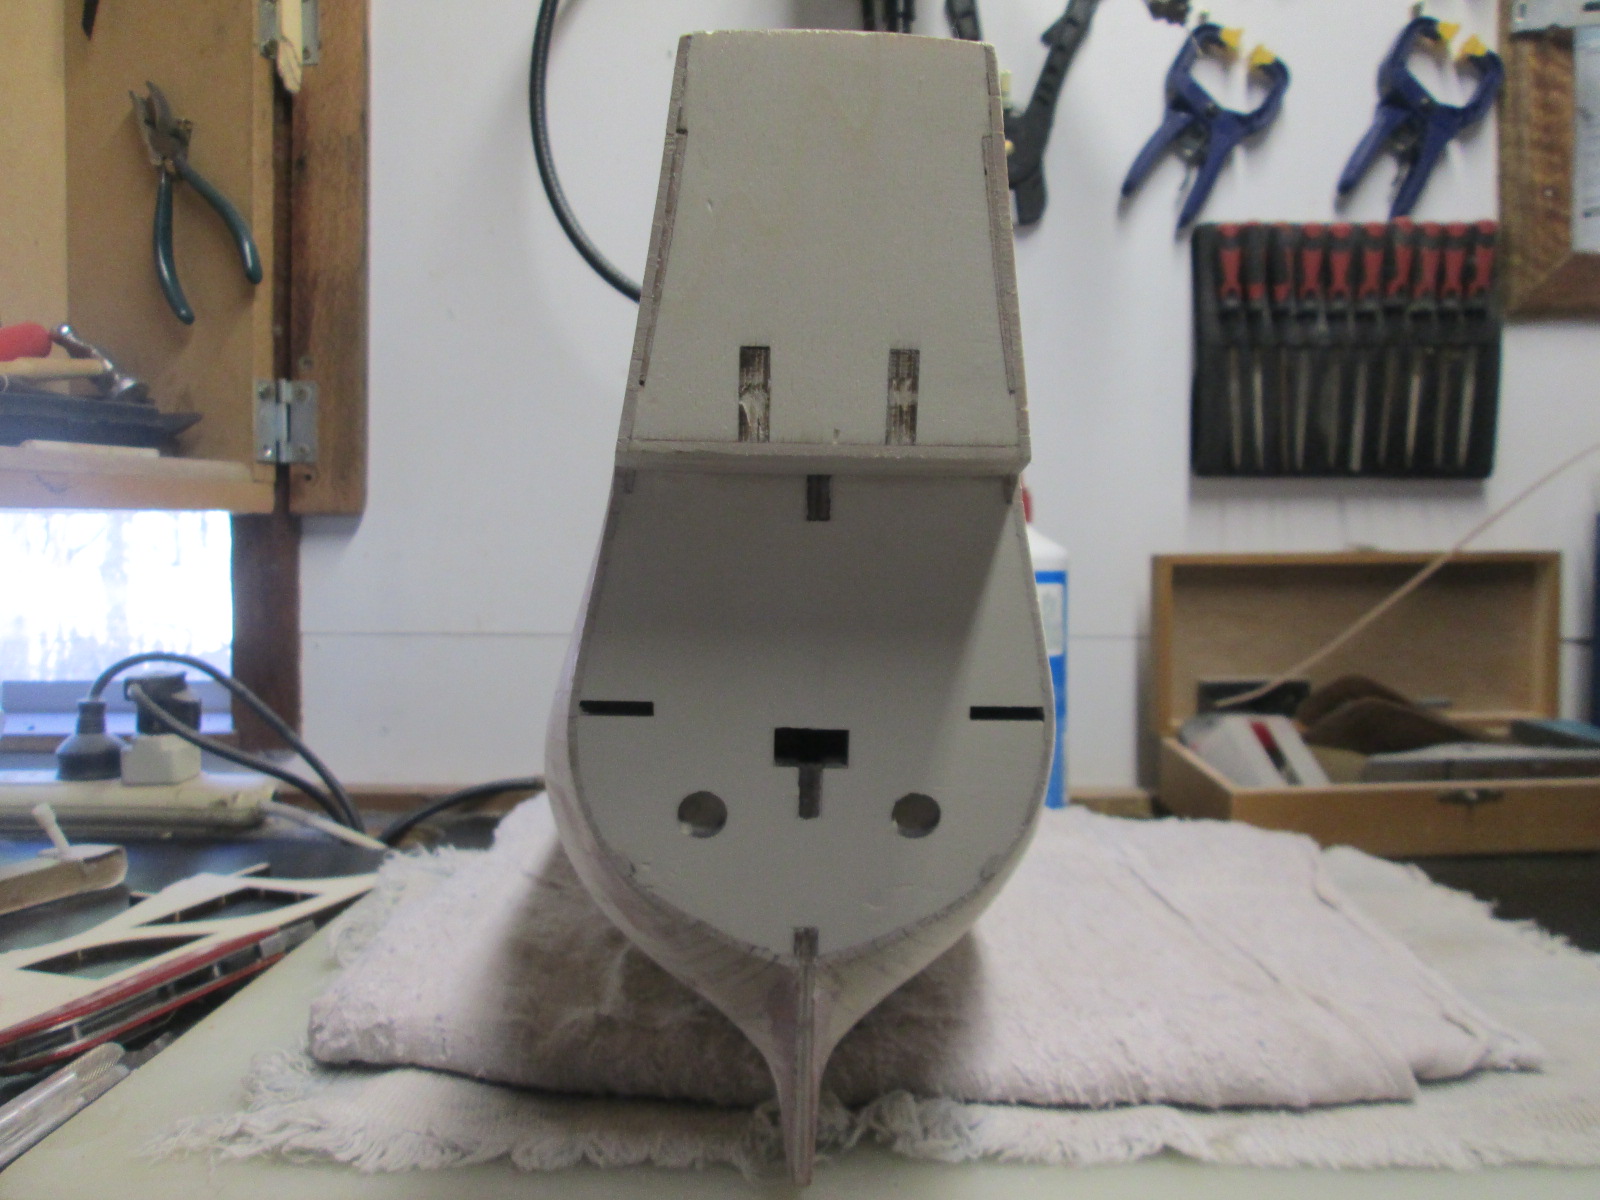
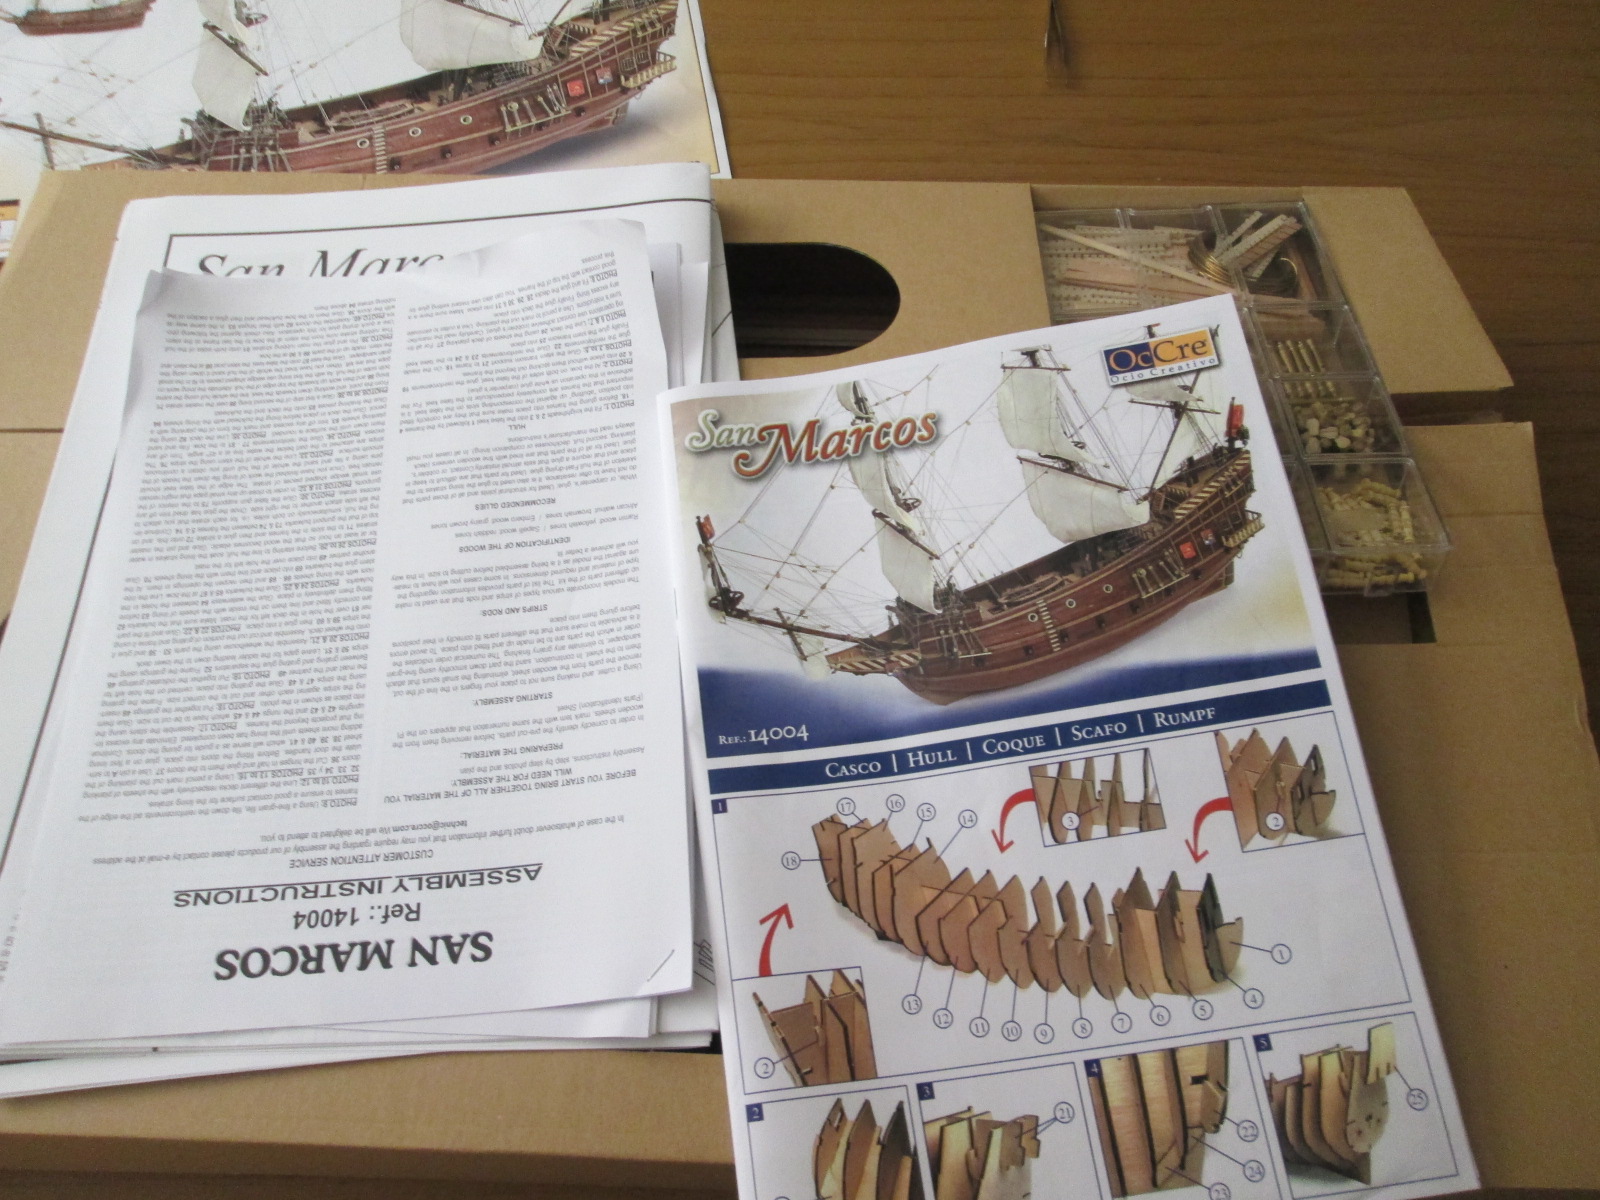
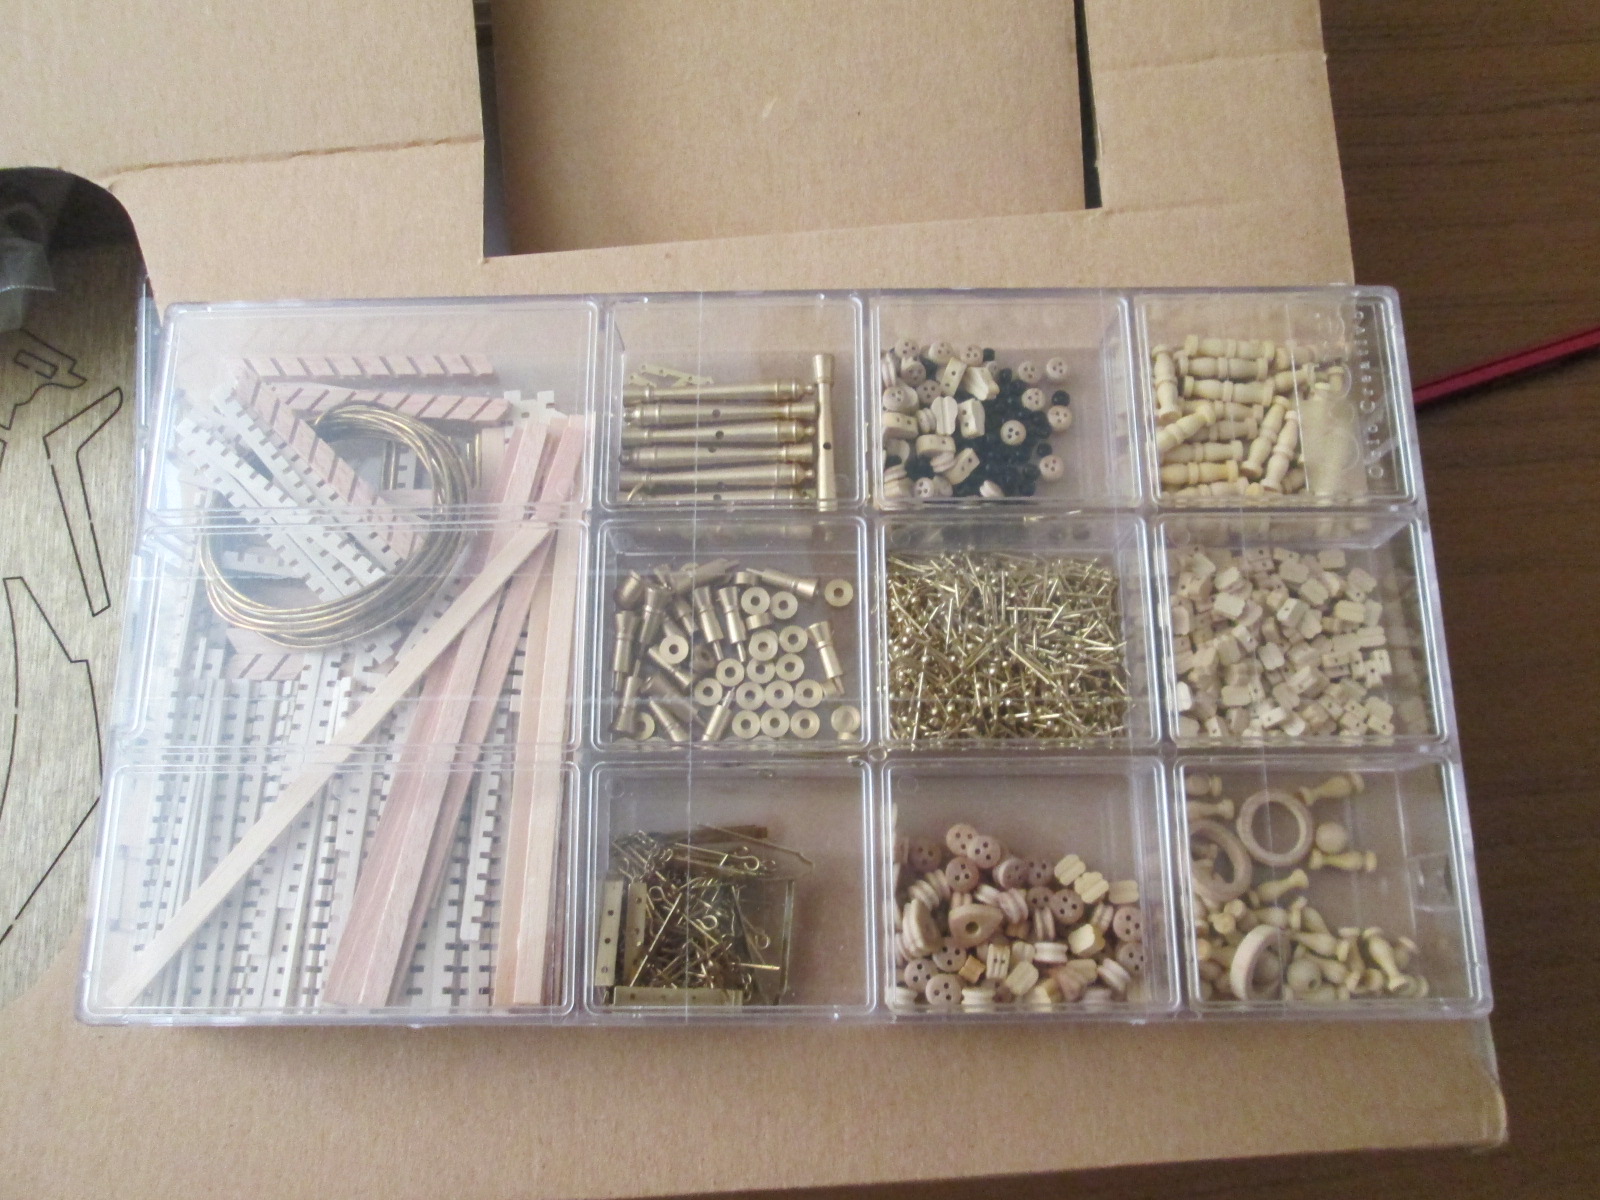
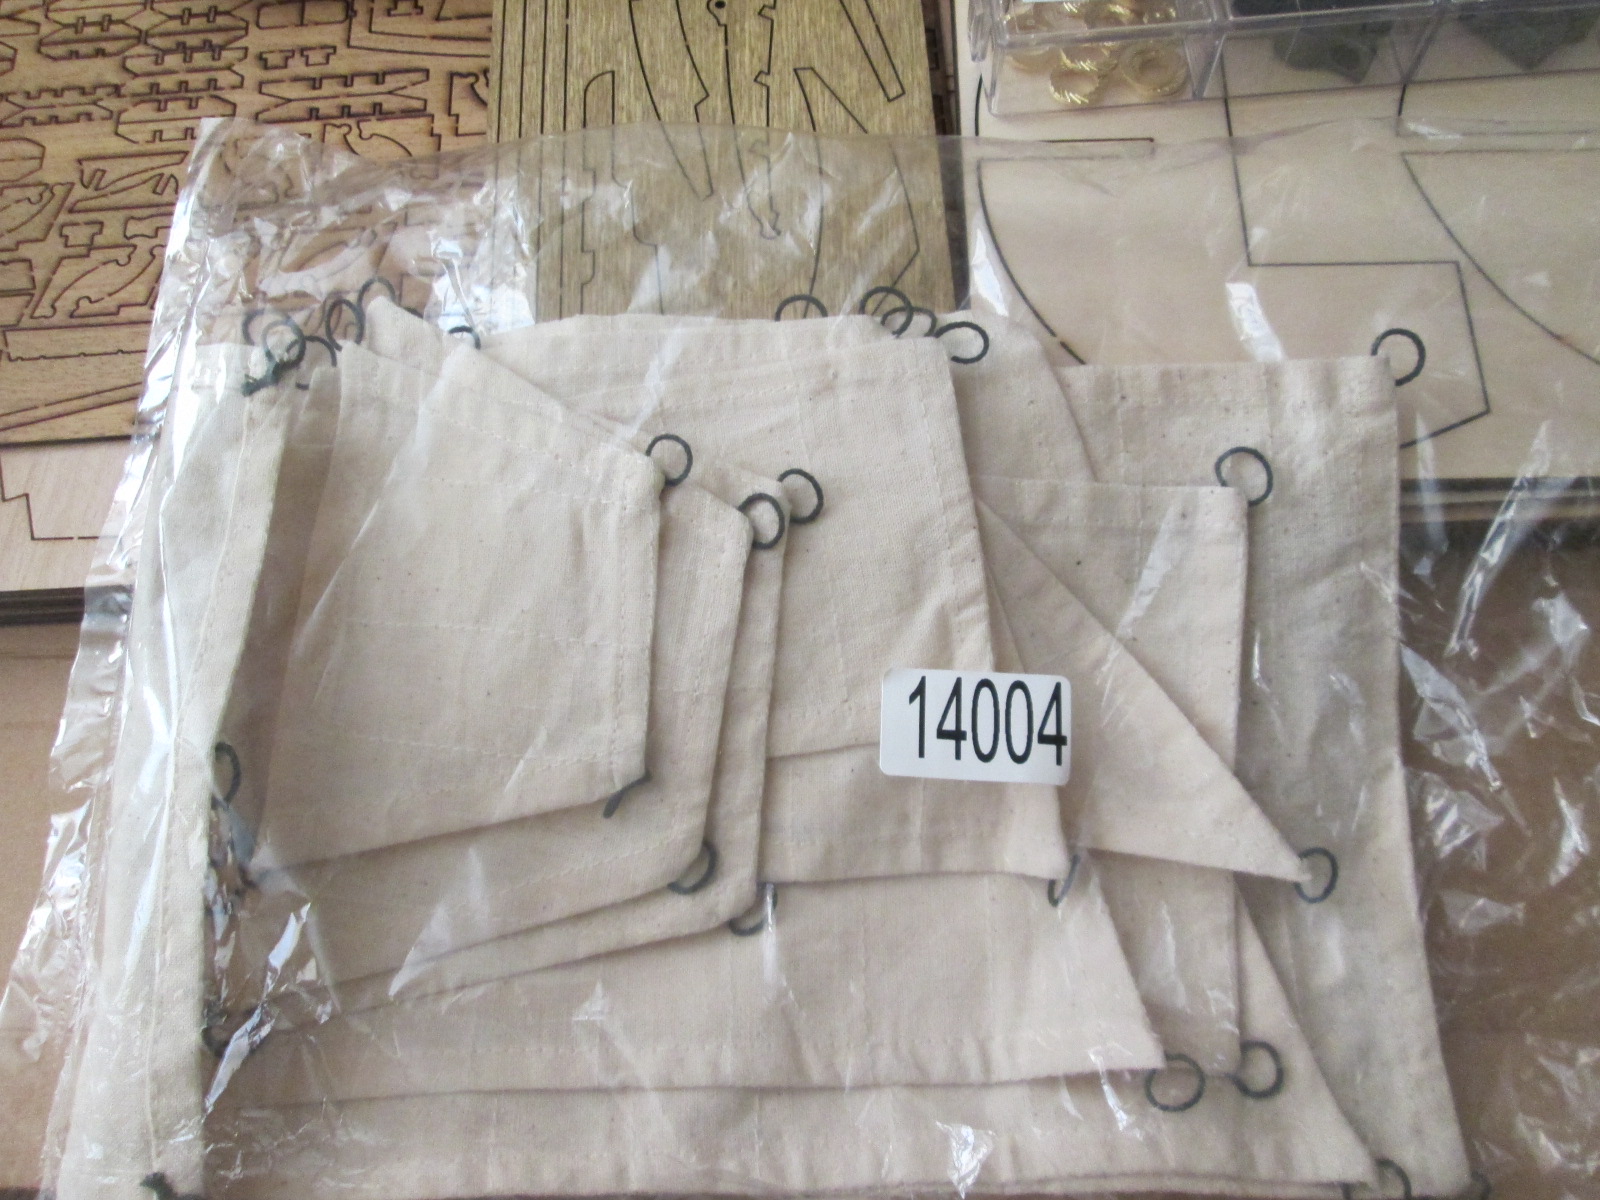
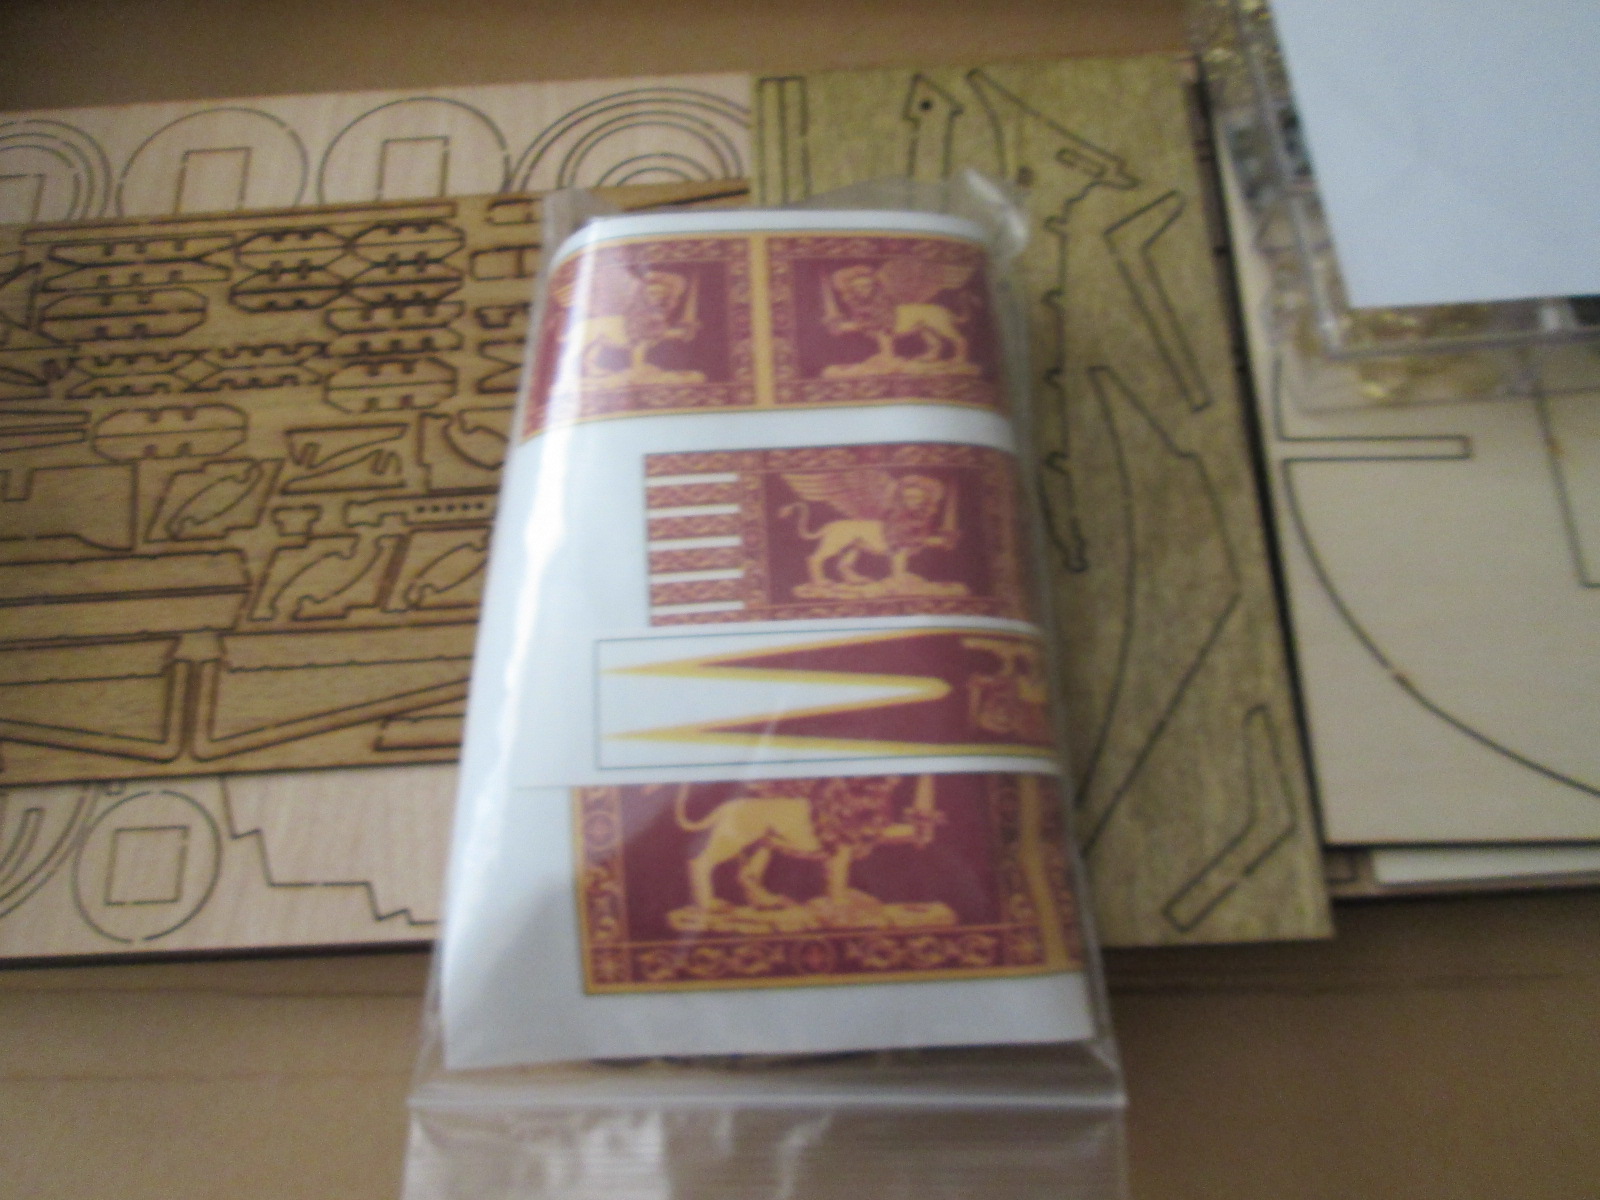
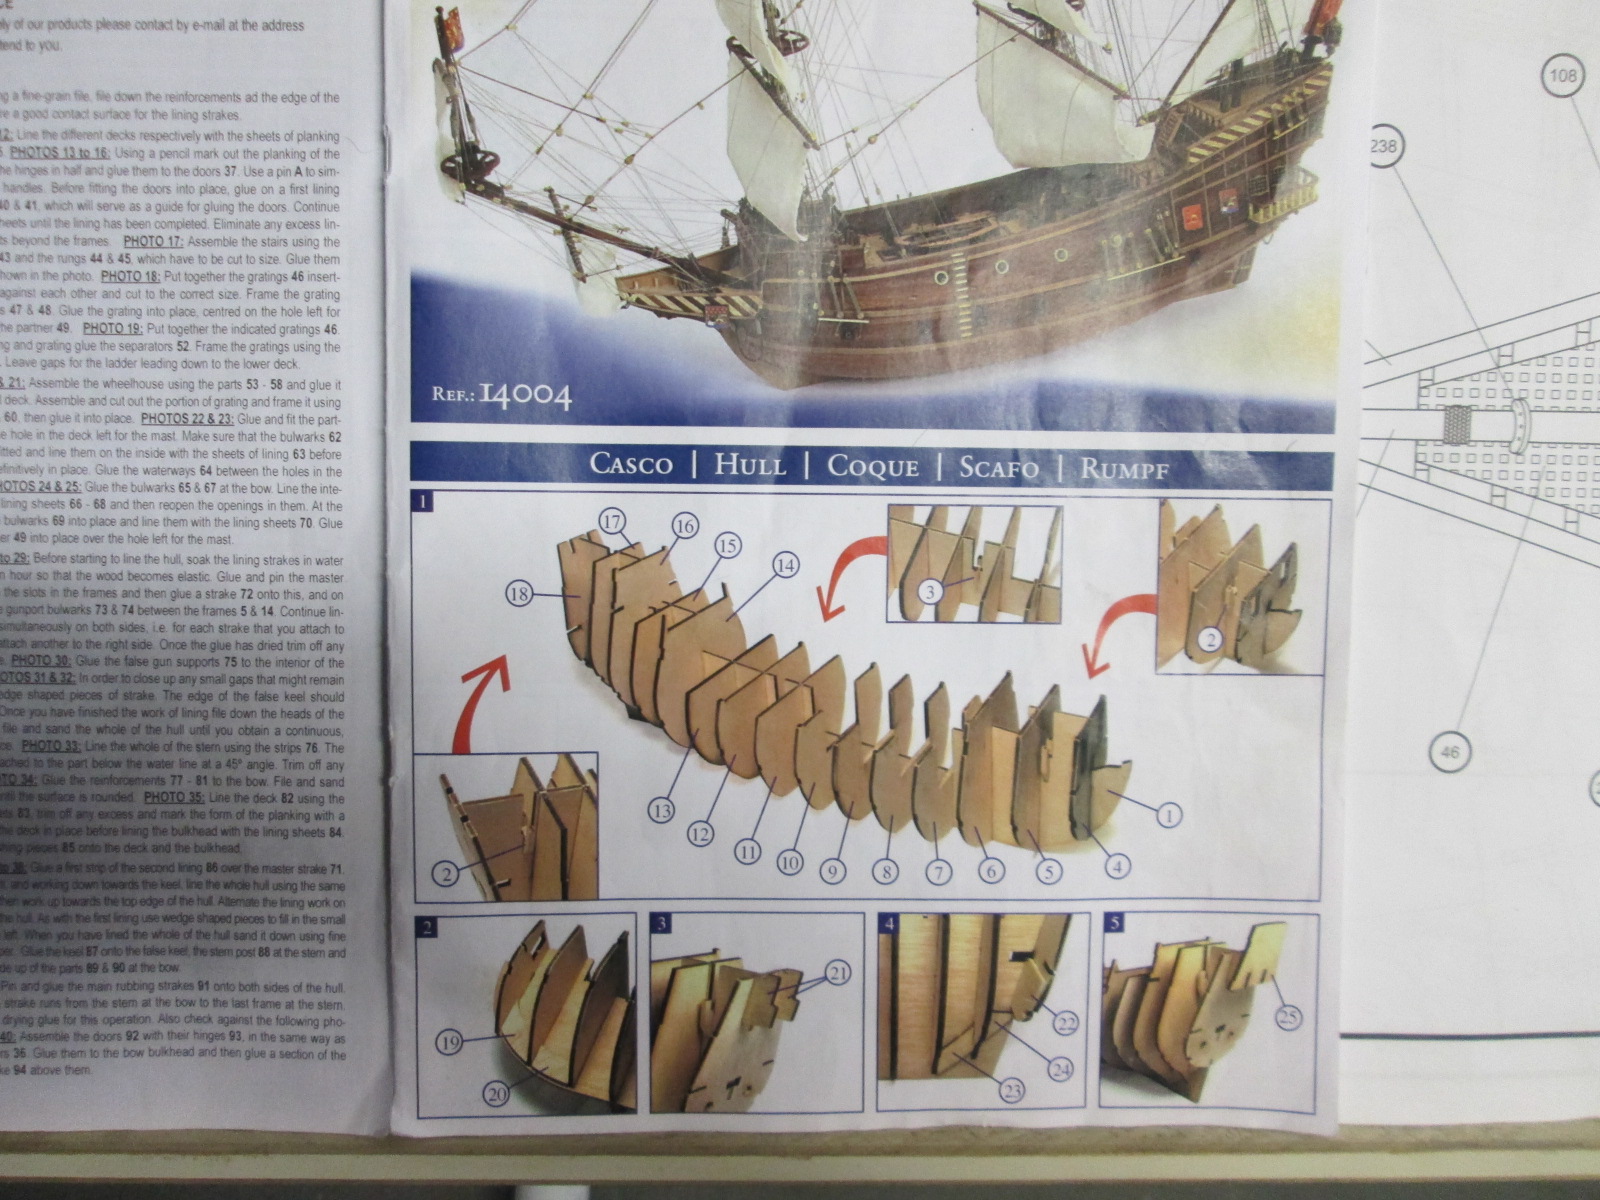
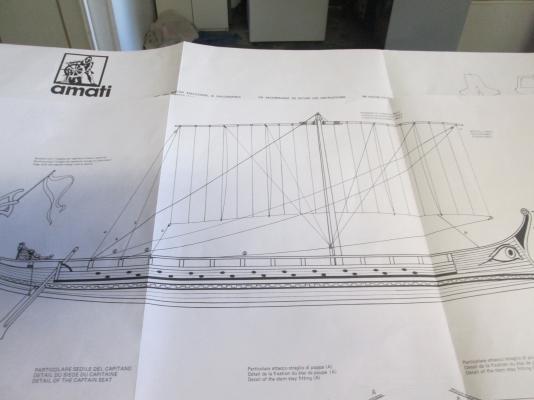
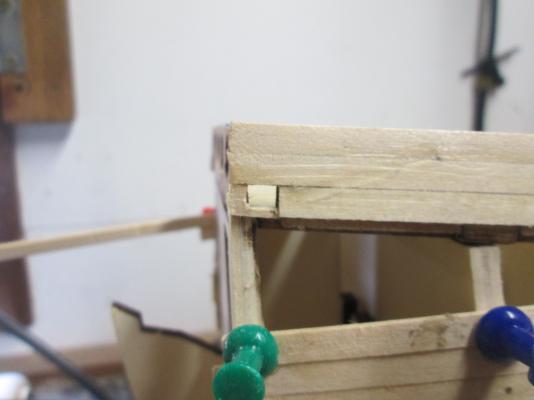
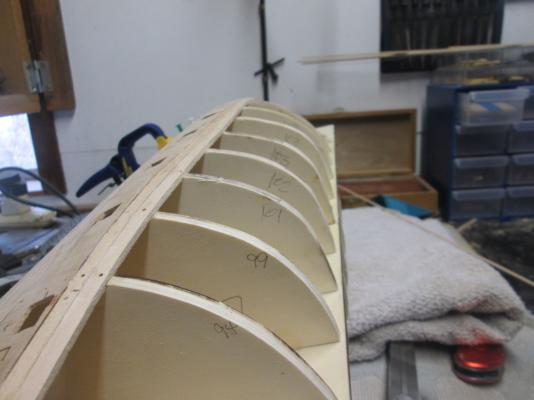
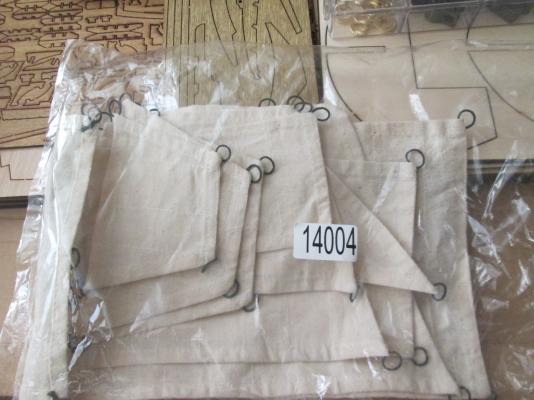
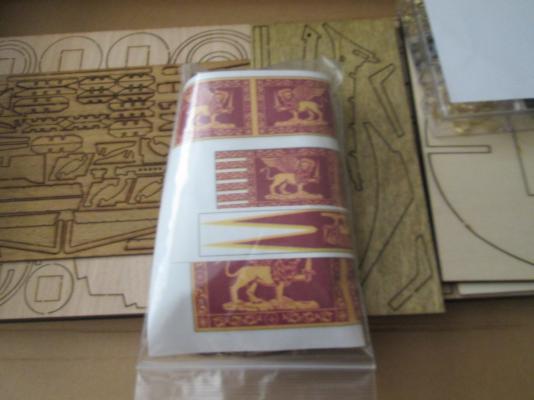
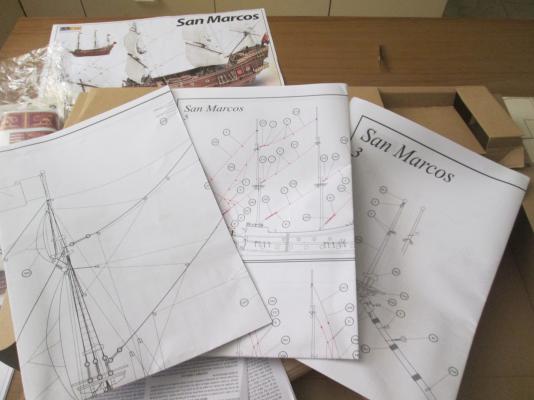
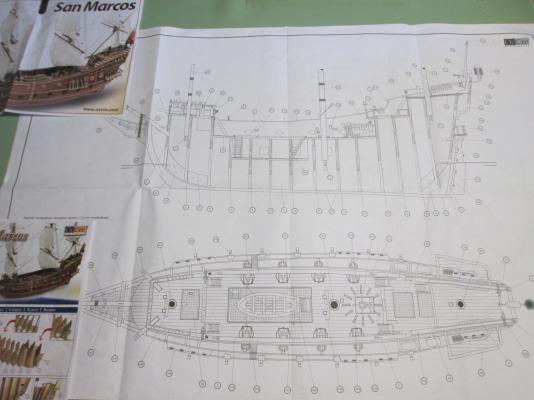
It's nice to get started on a new Ship. I spent a few days going through the plans and instructions. Amazingly, all that's missing is the transfers that go on the Sgields, and the pisture of St Mark that goes on the Transom and 20 ringbolts. My supplier has a 30 day parts replacement policy, so thats taken care of. The Bulkheads fit well. No loose ones. I took the time to make a better keel clamp this time round. The plywood keel supplied had a bend, so it was best to make something that would hold it firmly until the master plank went on, hopefully straightening it. It did . This kit comes with colr photo instructions so I'll basically follow them in order, not all of them, but mostly.Planking the inside Bulwarks is a good idea, but you will have to be careful fitting. These instructions have the decks and onboard Bulkheads planked before hull planking. The angles on the main deck Bulwarks would make it much harder to do later. I spent a nice time outside with some sandpaper and a file, while I faired the frames. And then it was time to master plank. Once this plank goes on you put one plank above it and then the lower Gun ports. That's a week and a half of building so far. There is a slight issue with a transition from thinner to thicker plywood on the half deck Bulwarks. The only way I could think of to fix it was to align the ply with the outside of the hull so that planking was easier (no filler), and blend the inside bulwark from thinner to thicker.This leaves a slight curve . As far as I can see, this doesn't impact on any fittings, and the caprail will disguise it somewhat. Now it's on with hull lower gun ports and then hull planking.
- 64 replies
-
- 3
-
-
- occre
- san marcos
- (and 1 more)
-
G'day Jeff, your doing well. Very nice clean work. I saw some sinkers being used, so I'm guessing you fish up there somewhere. Ship building in the morning, and Barra fishing in the afternoon, I'm jealous.
-
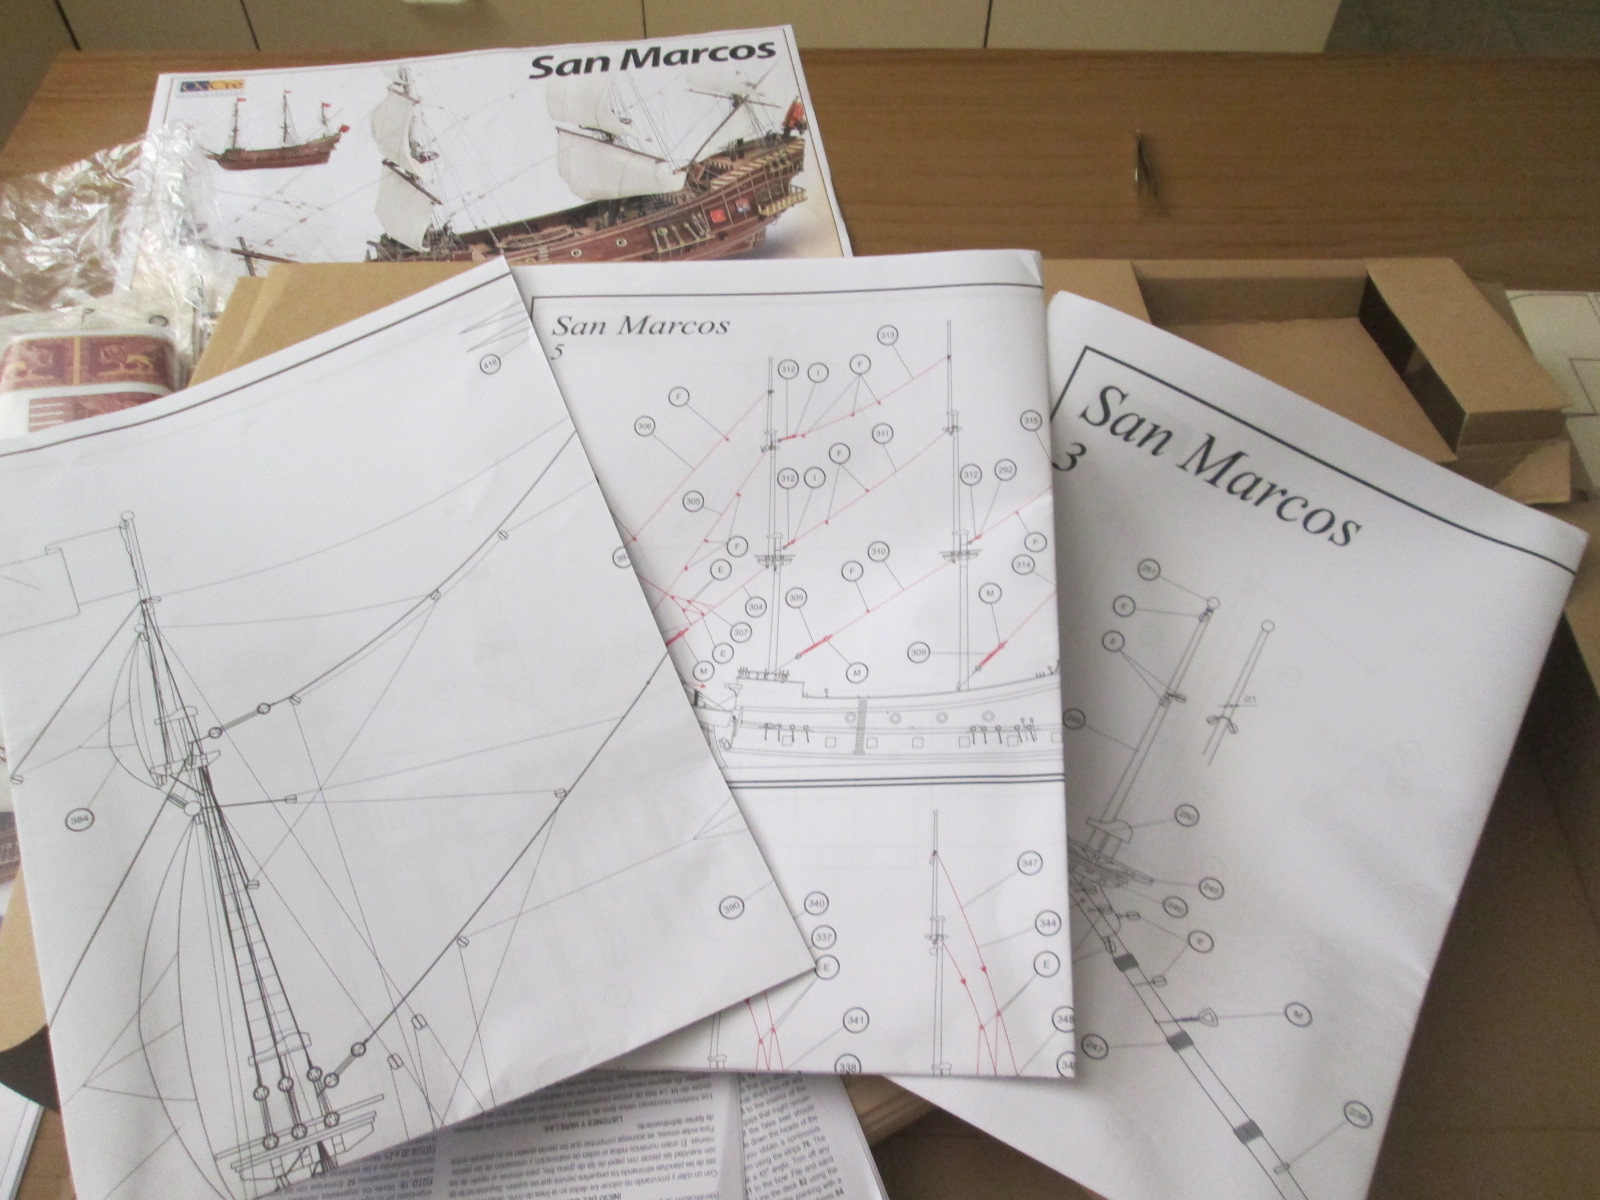
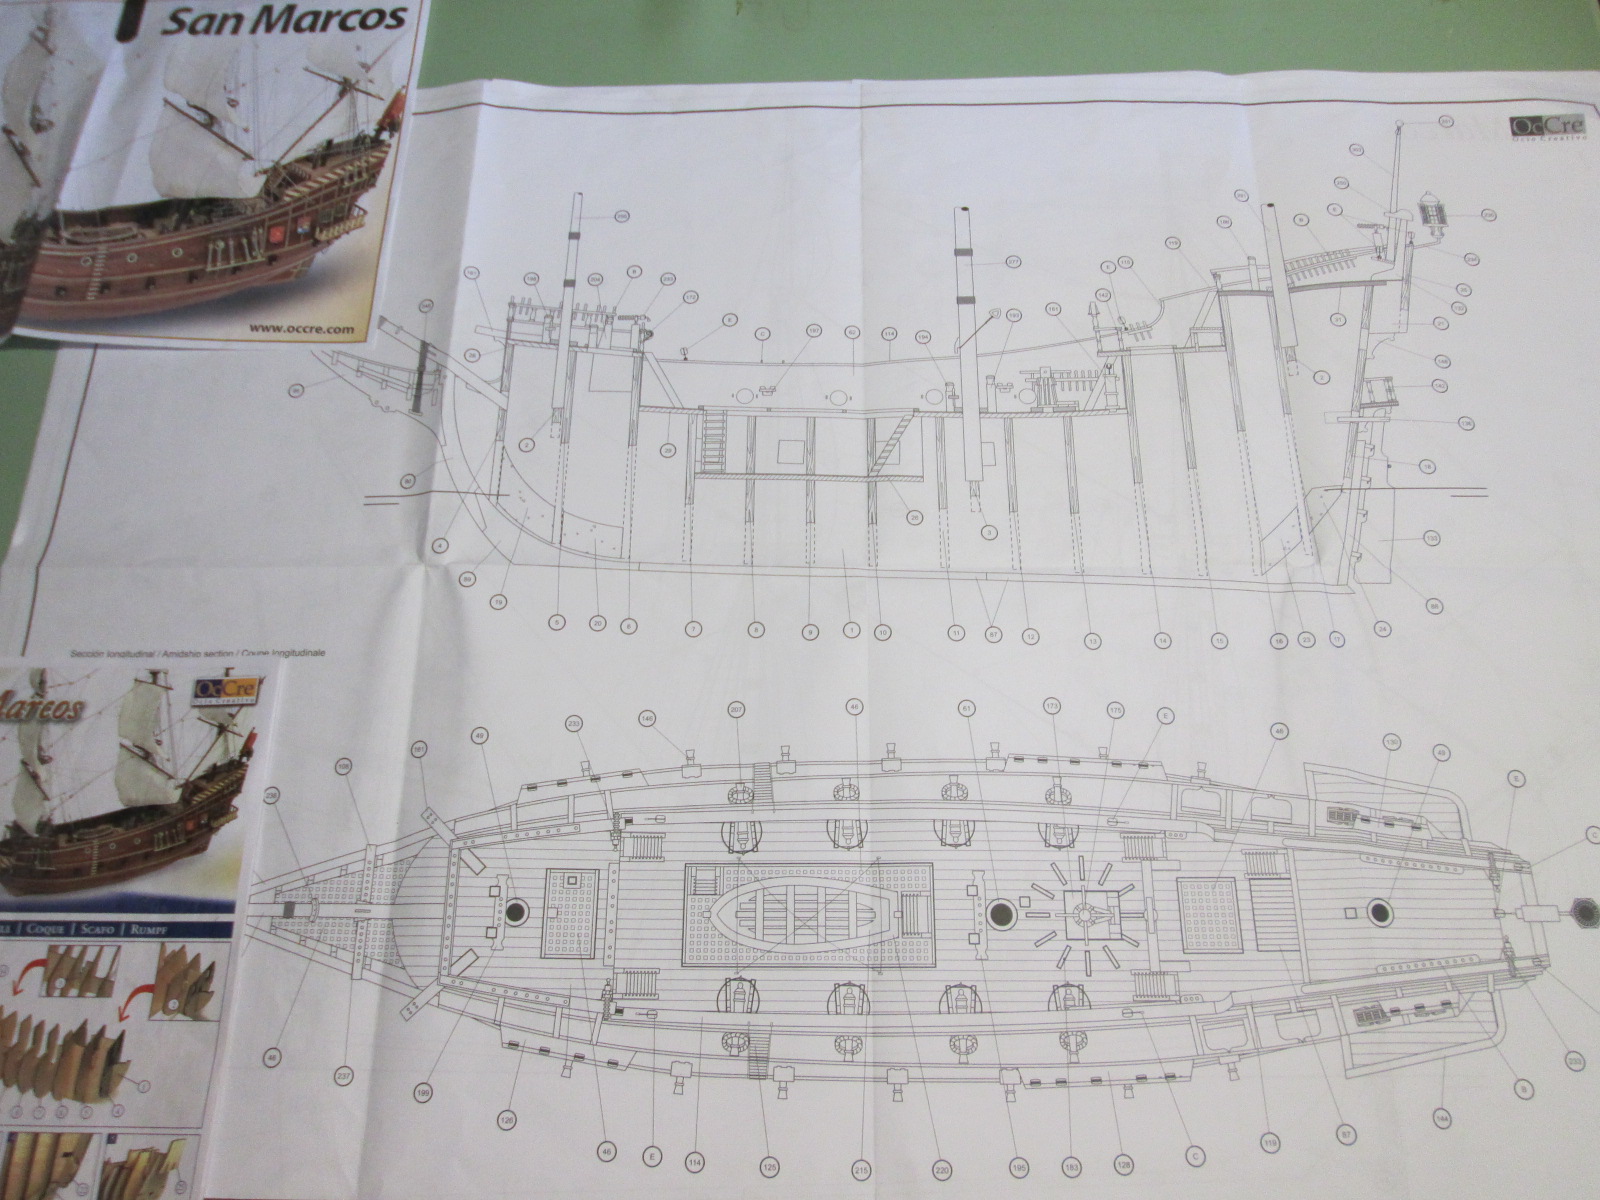
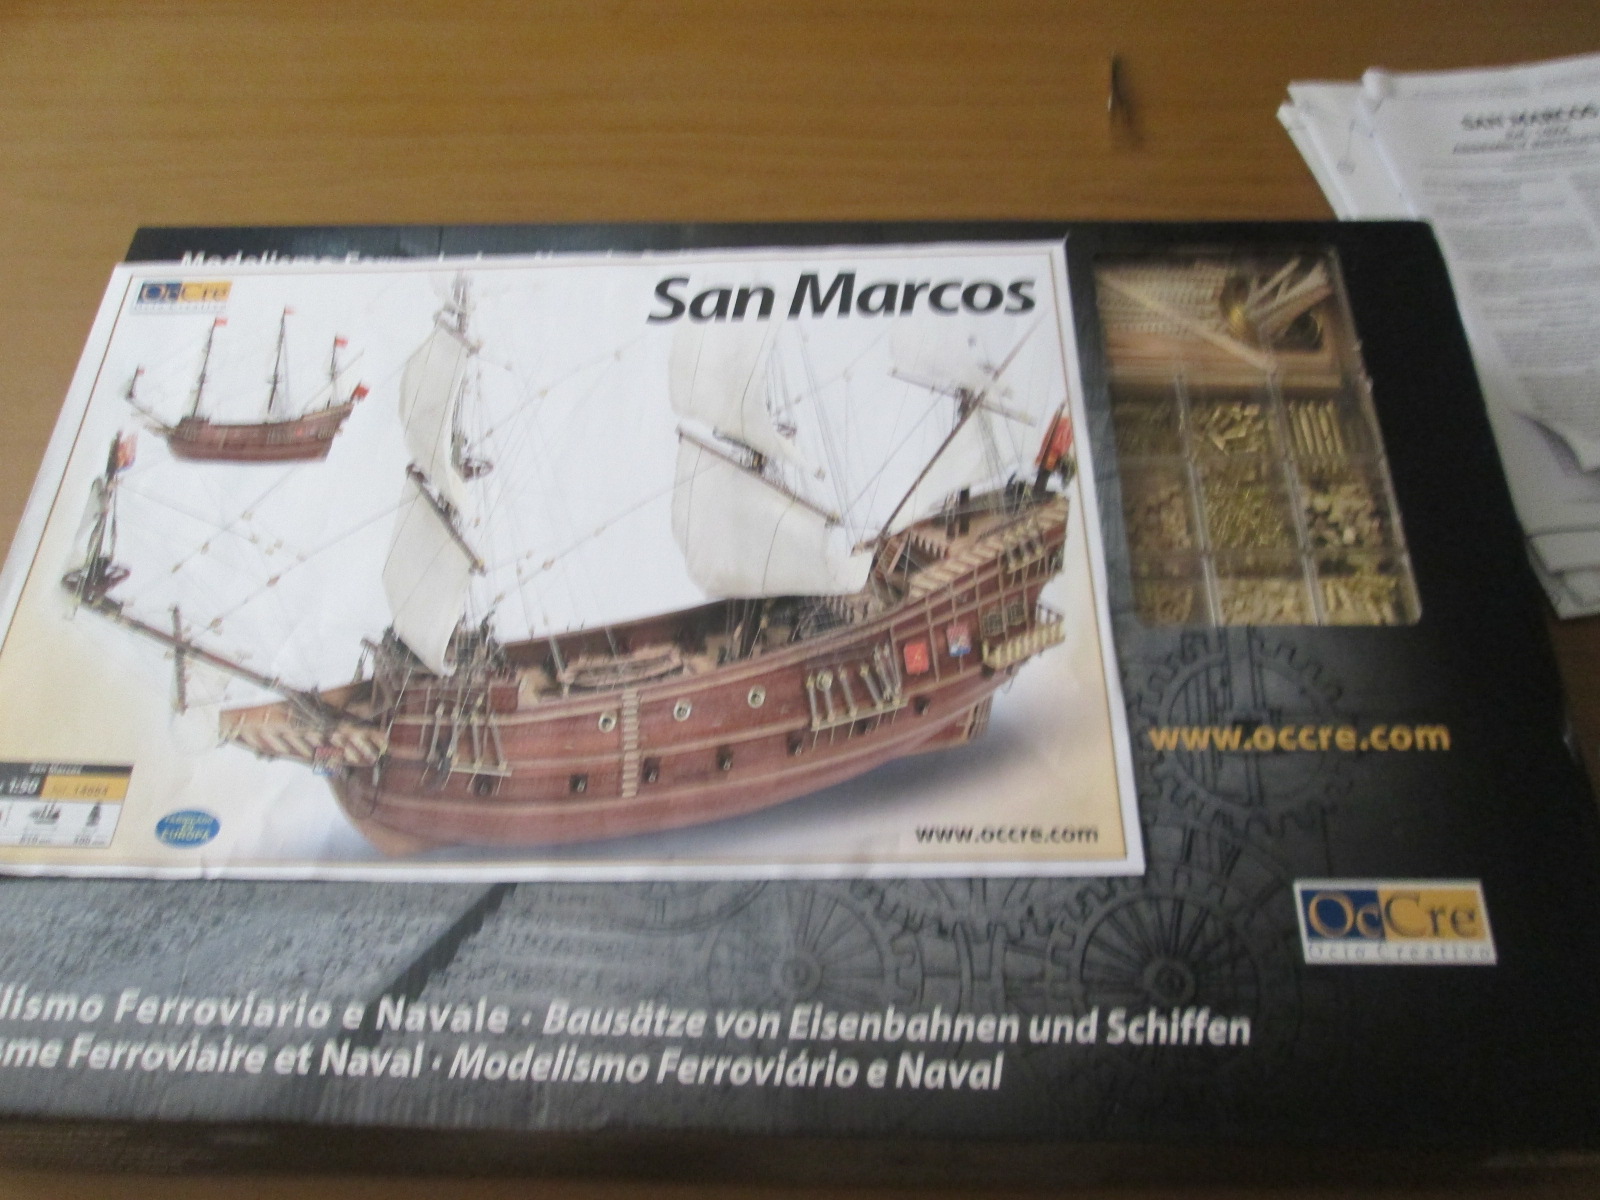
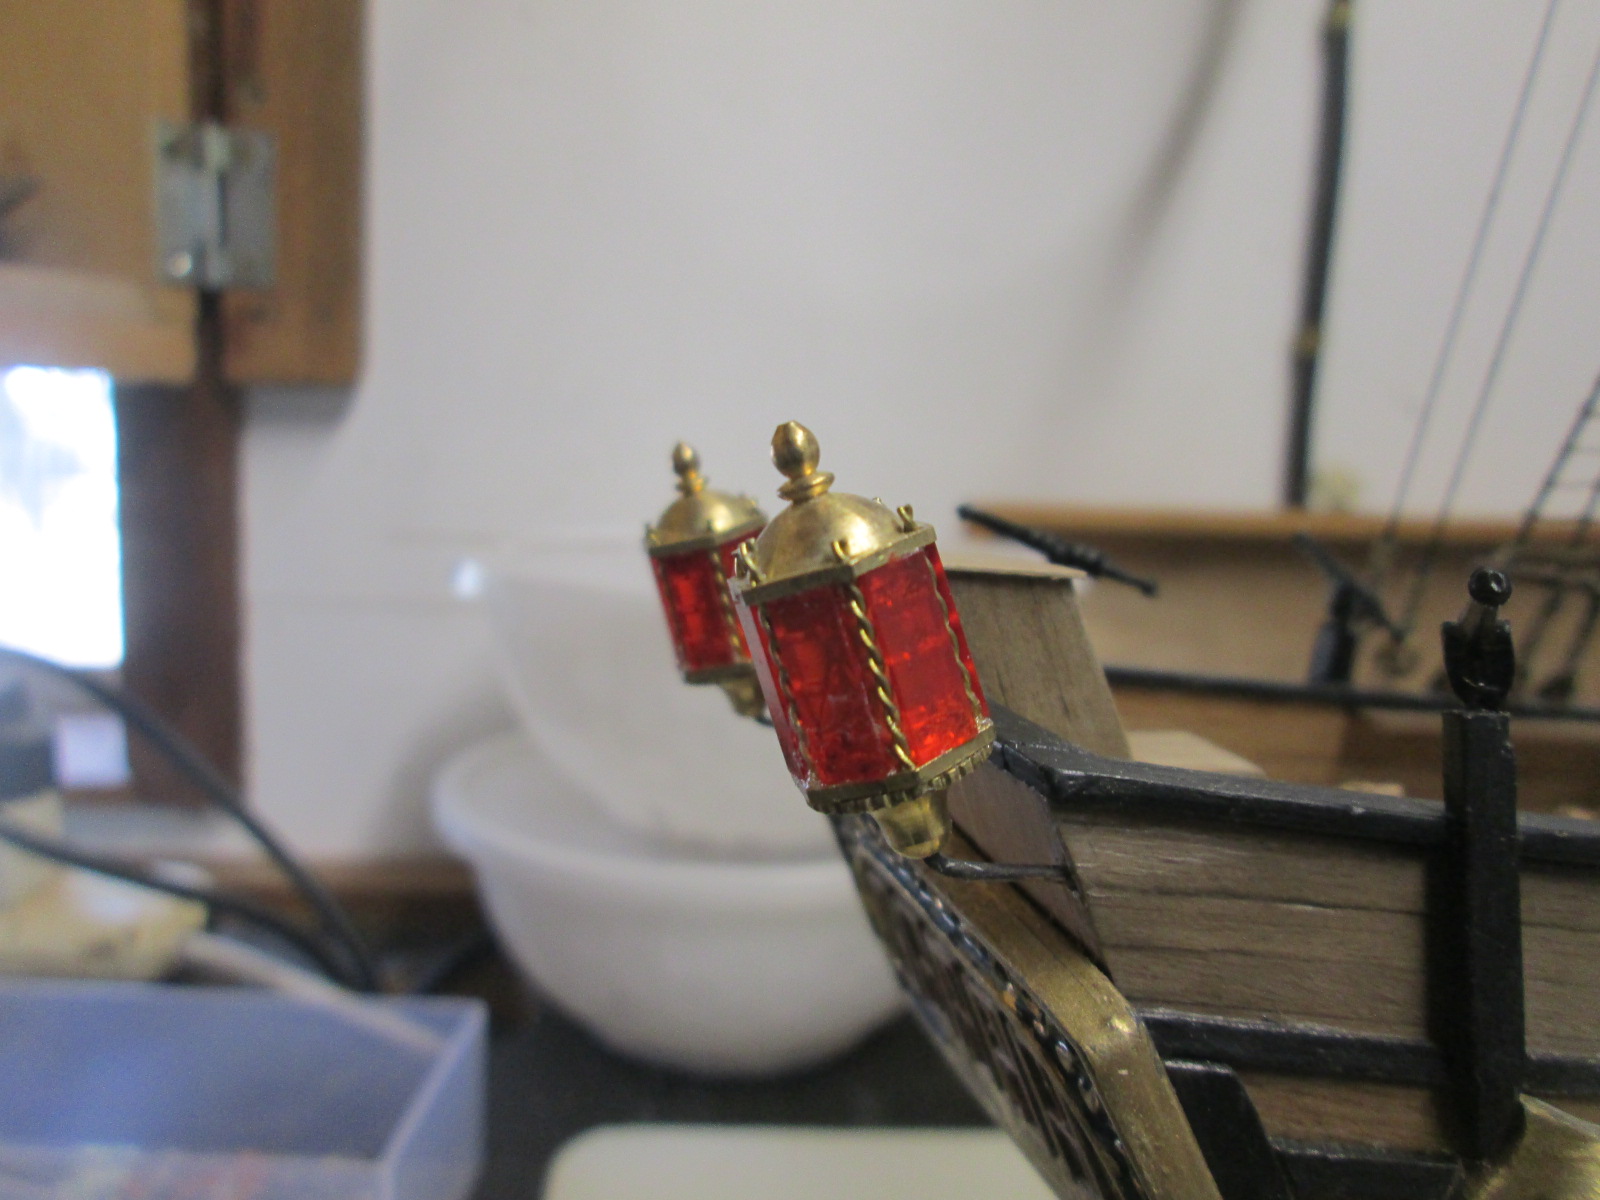
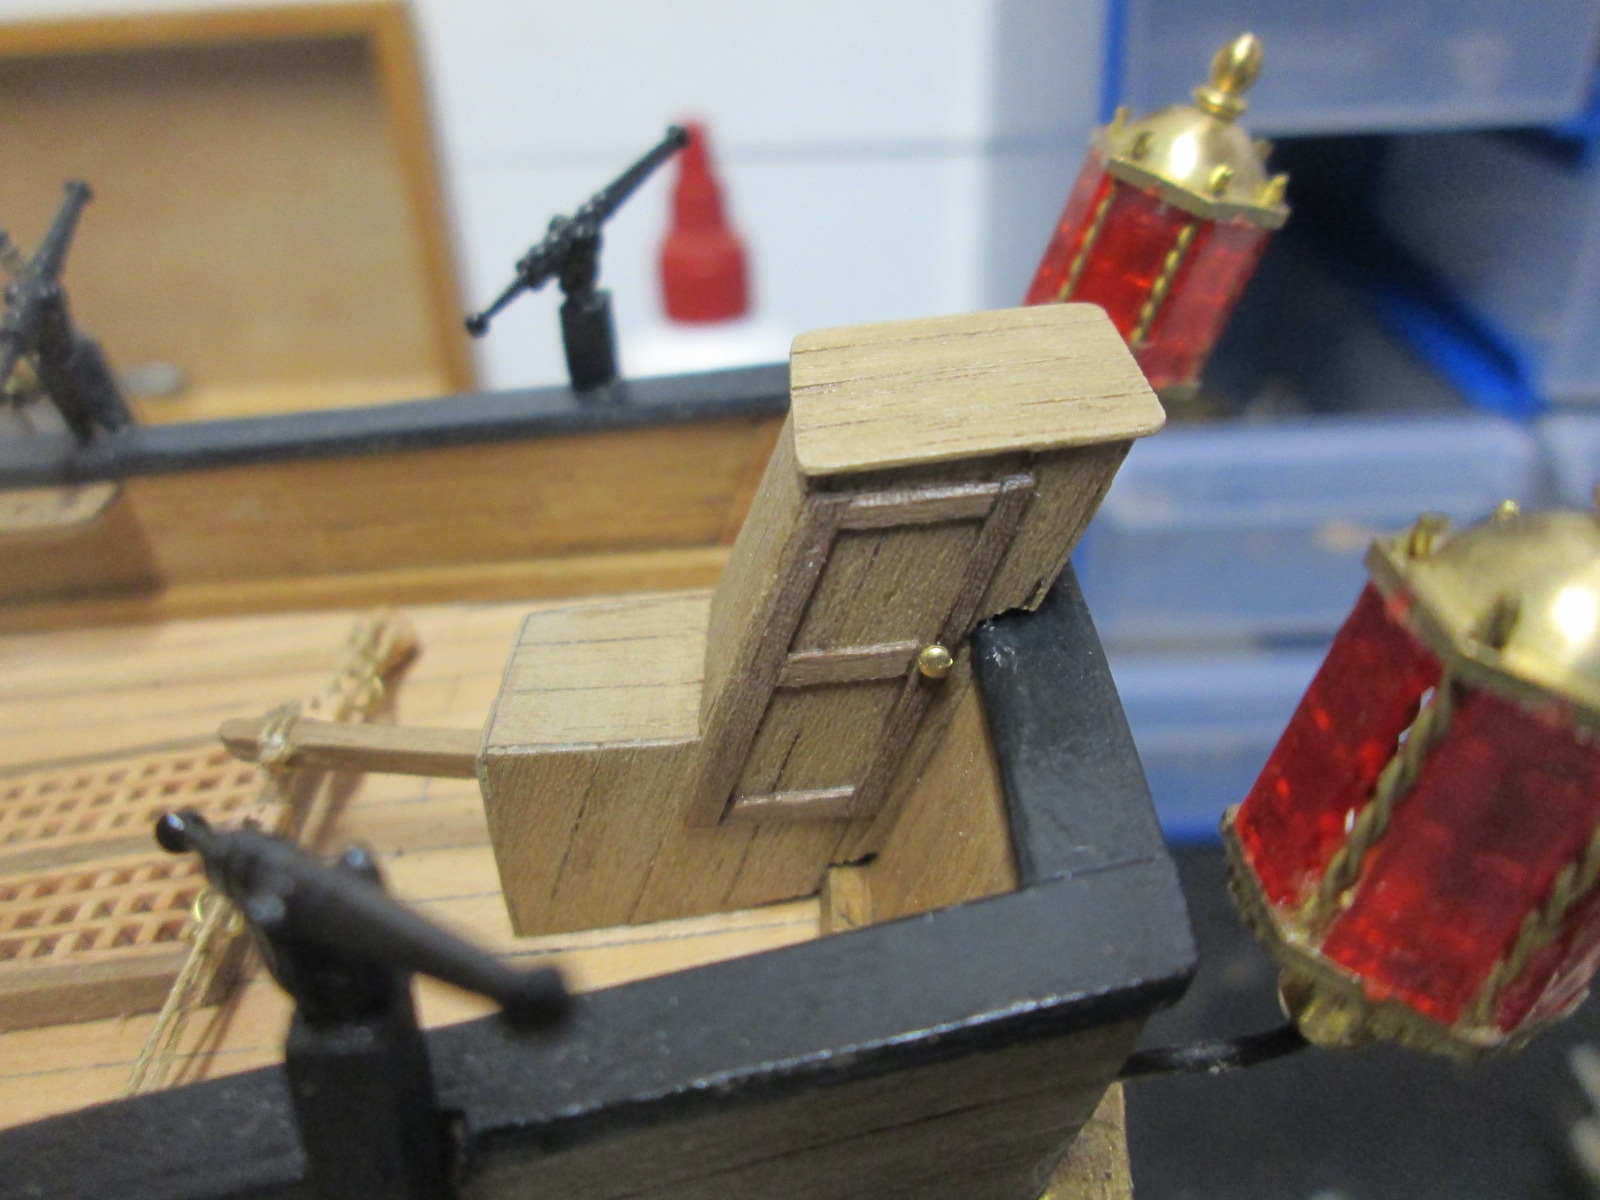
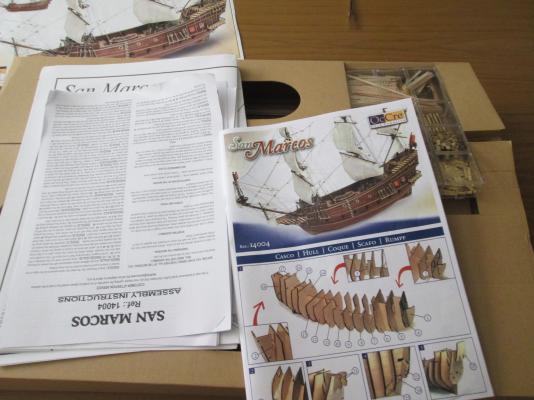
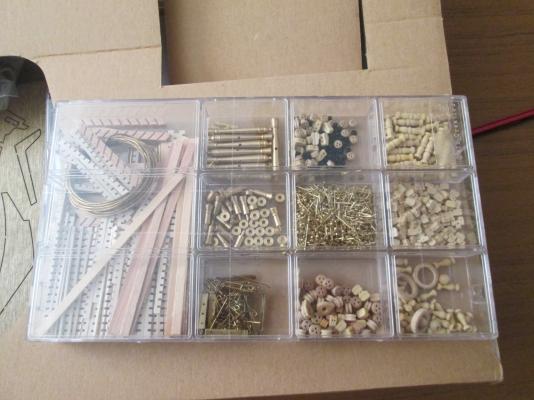
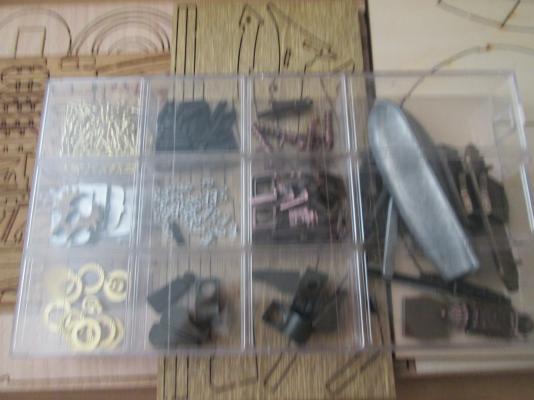
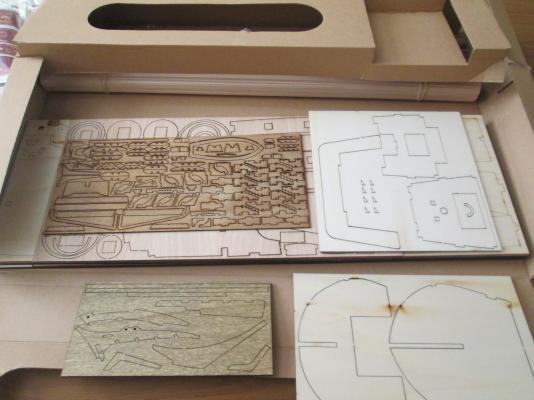
The Bounty's done, so it's on with the next kit. Occre seem to put out a nice kit. I spent more on this one so it should be better. The parts are good quality, and i'll only be replacing the lantern I think, with a nicerer one. This one has sails, which will be new for me to do. There's not much info on the Ship in the kit, so all I know is that it's a Portugese Galleon that was part of the Spanish Armada. Here's some pics of the kit to get the ball rolling. Matt.

-
She's done. I couldn't wait to get started on my next build so I got stuck into it and got her finished. Sorry I haven't posted for a while. It's those kids that use all the internet allowance up watching U Tube. Anyway nothing of any importance buildwise only that the instructions for the rigging are pretty good so it went smoothly.The only thing missing is a Binnacle. This kit doesn't supply one so I'm going to leave it off the model. There isn't room once you follow the instructions for deck placements,. Given this kit was a cheaper one, I think it turned out ok. Thanks to everyone who dropped in for a look, I'll maybe see you on the next build.


-
HMS Bounty by matke
mathewp replied to matke's topic in - Kit build logs for subjects built from 1751 - 1800
G'day Matt? I'm new at this too but I'll try and help a little. Your going ok, so far . The next layer of planking plays an important part in the finished result, so prepare it carefully. Sand your hull and fix anything that needs it now. Bumps and hollows are important to fix before second planking the hull. Hollows can be filled. Bumps, especially large ones may leave a thin hull after sanding, this is why fairing the hull is so important. As for your method of second planking, there's a few different ones. I use a contact adhesive, but there's no room for error with it. You might like to use wood glue first time, as you can correct any mistakes before it dries. Have fun with your build, Matt -
Is this kit single planked? Have fun with it Harry. Matt
-
The Caldercraft kits look like they are good quality Danny. You're making nice progress and she is looking much better than mine. I'm now wishing I spent the extra on a better kit. Very nice work Danny.
-
Beautiful work Ilhan. You make scratch modelling look easy. I will use some of your methods in my builds. Thankyou, Matt
-
G'day Ferit, I'm seeing very clean and detailed work. A pleasure to look at.
-
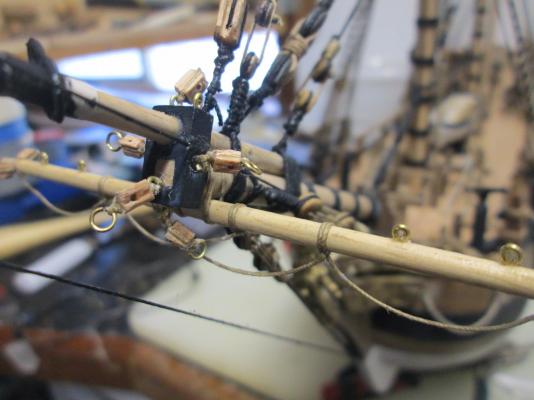
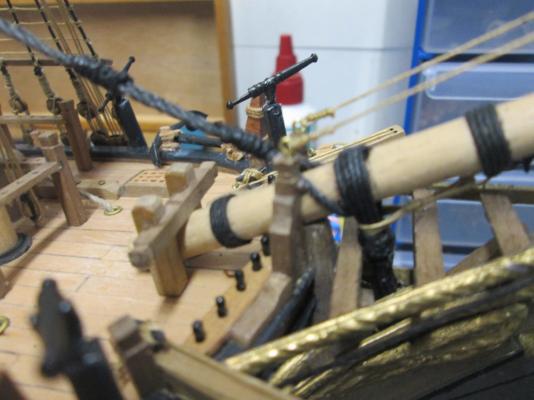
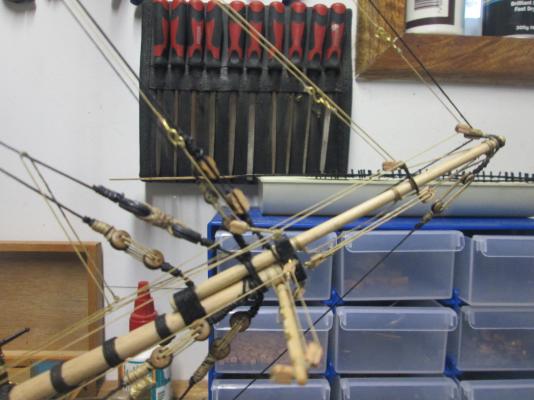
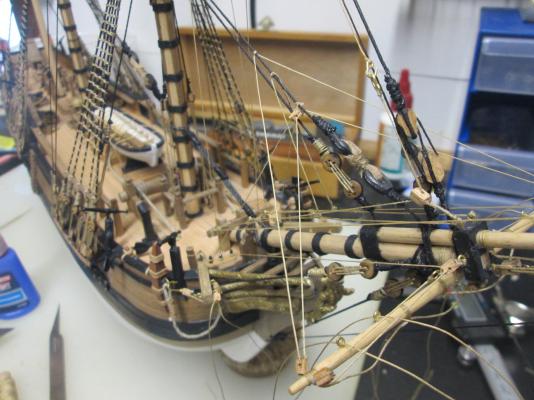
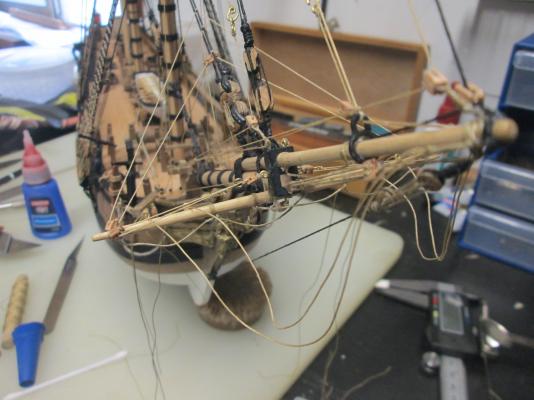
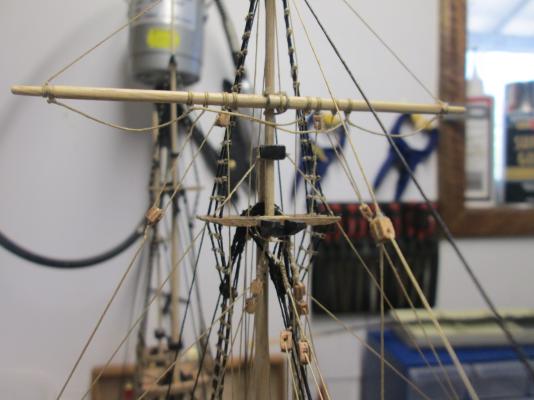
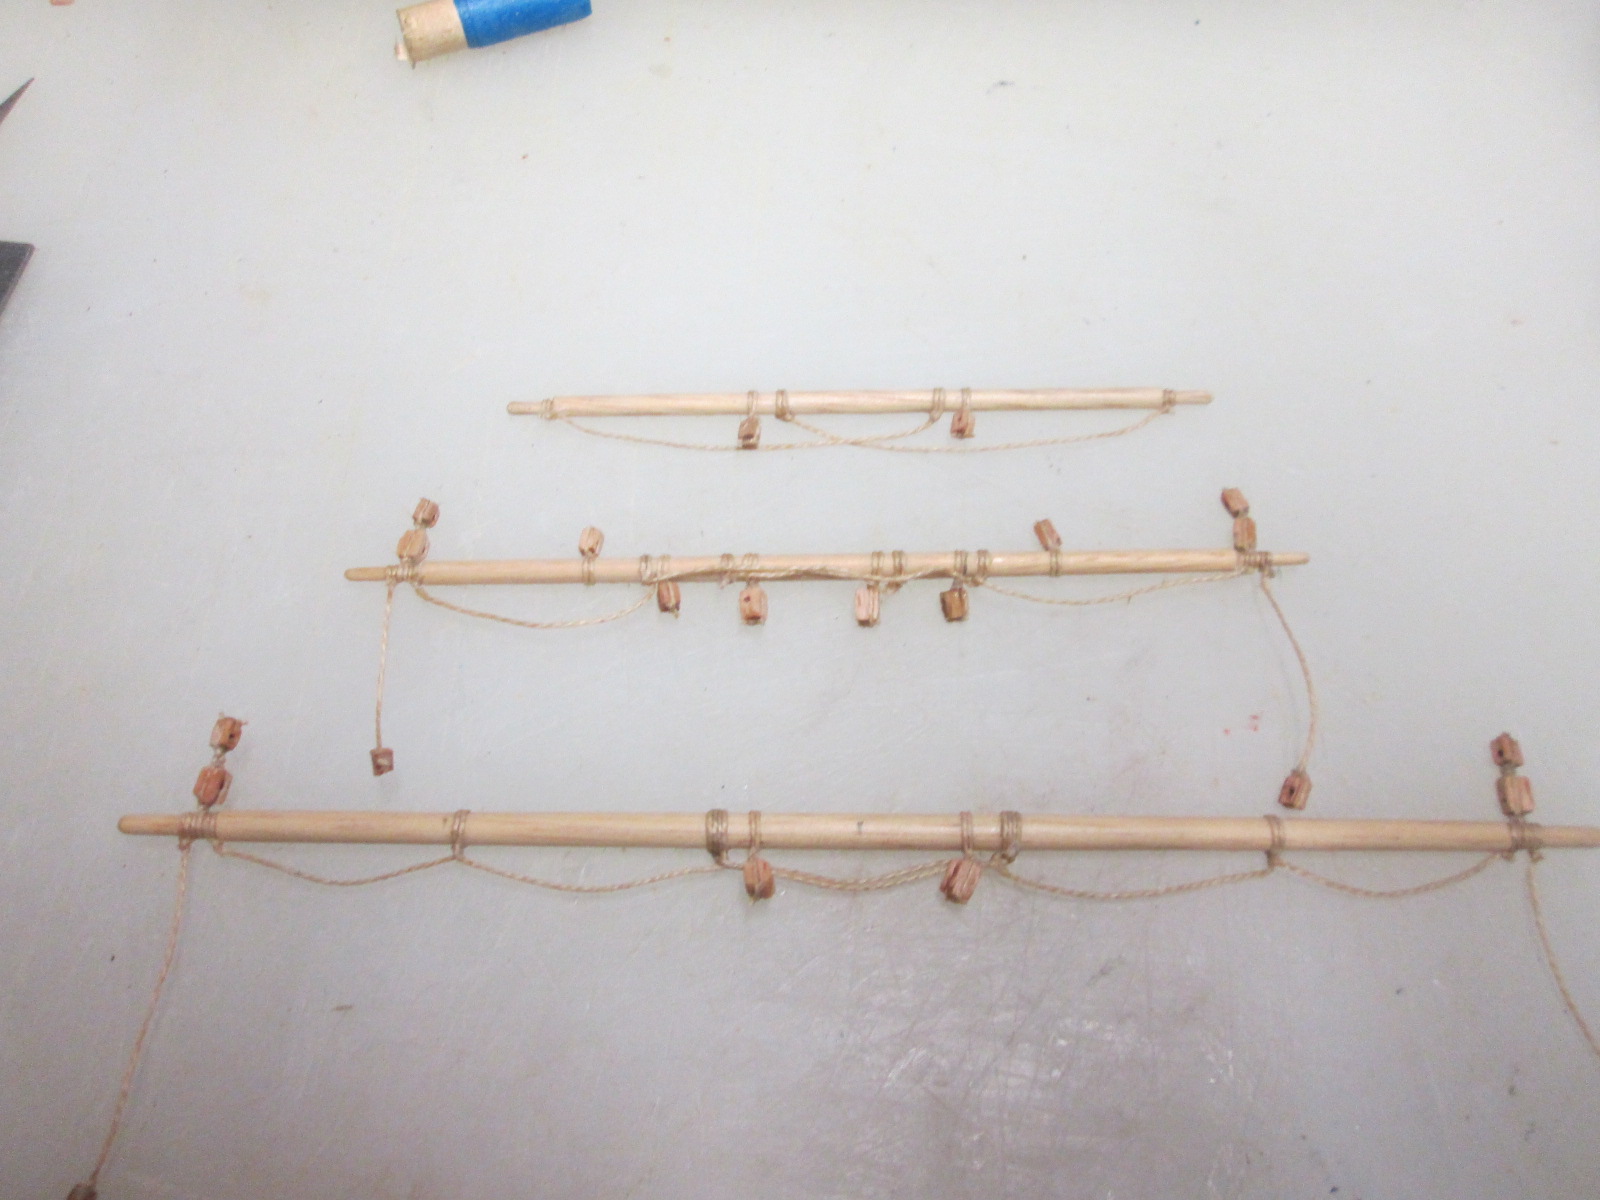
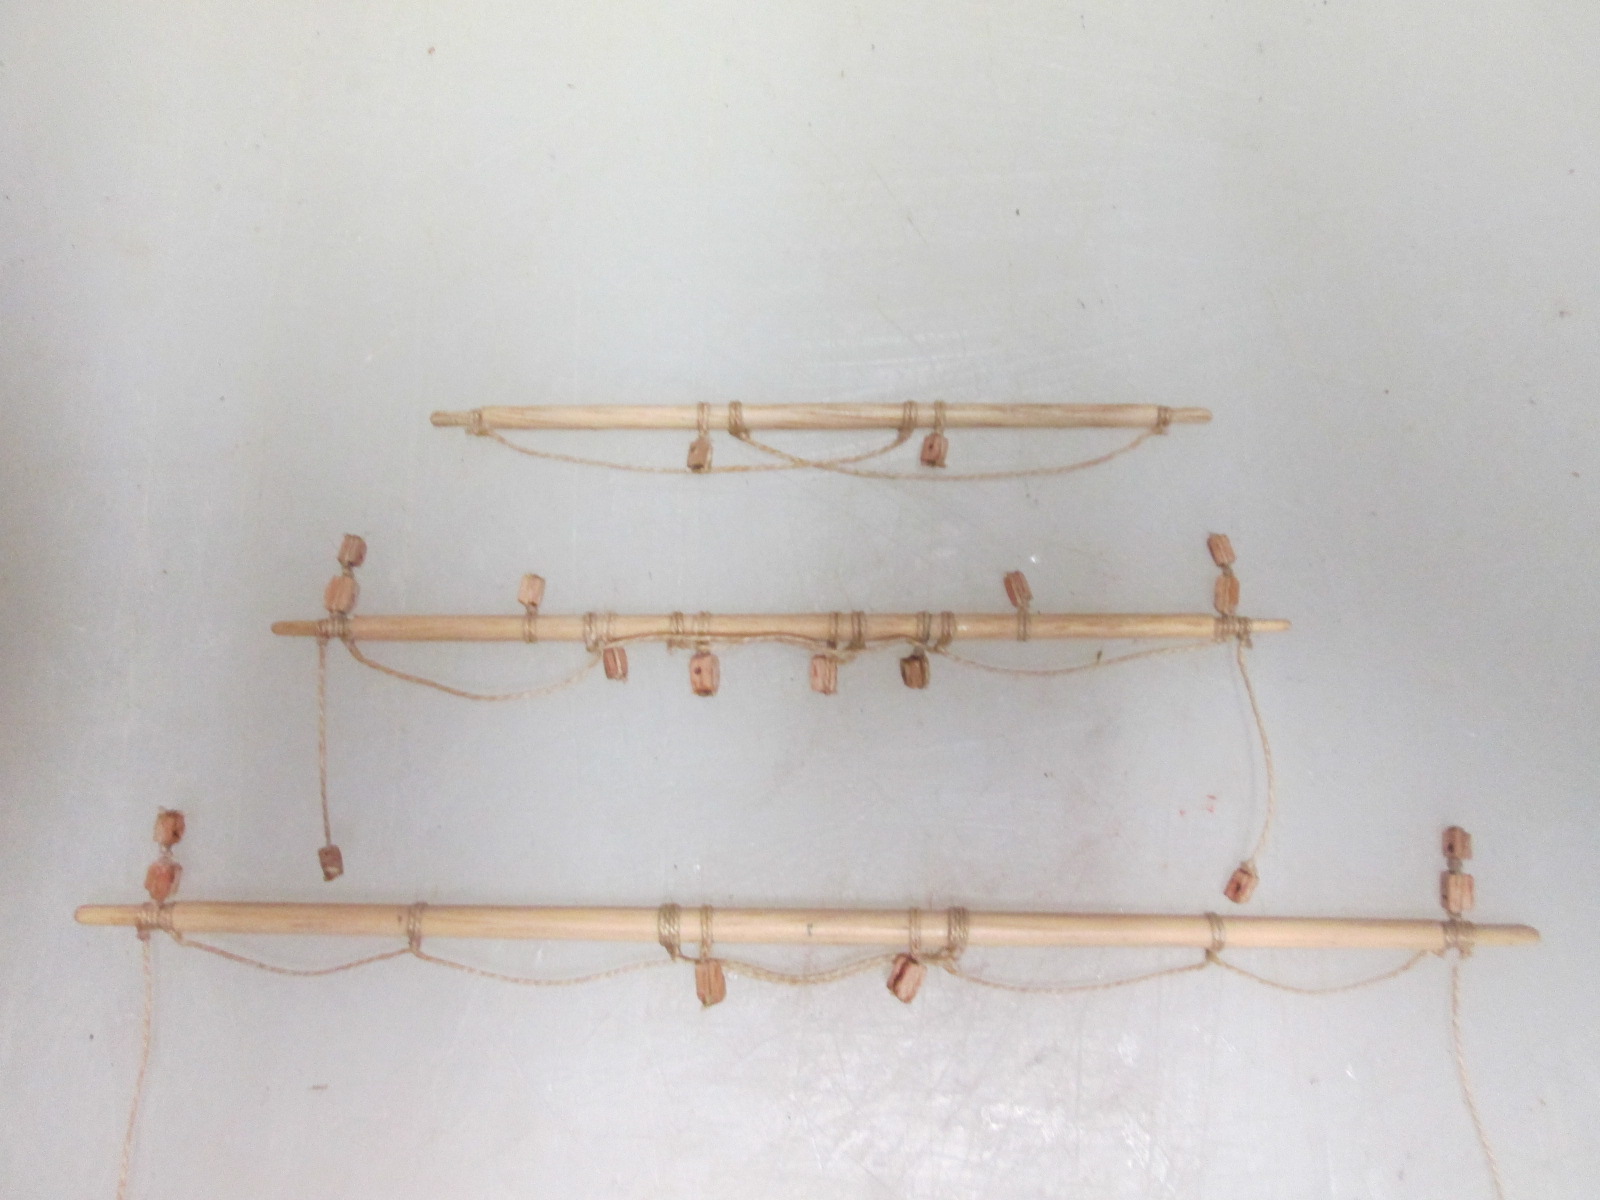
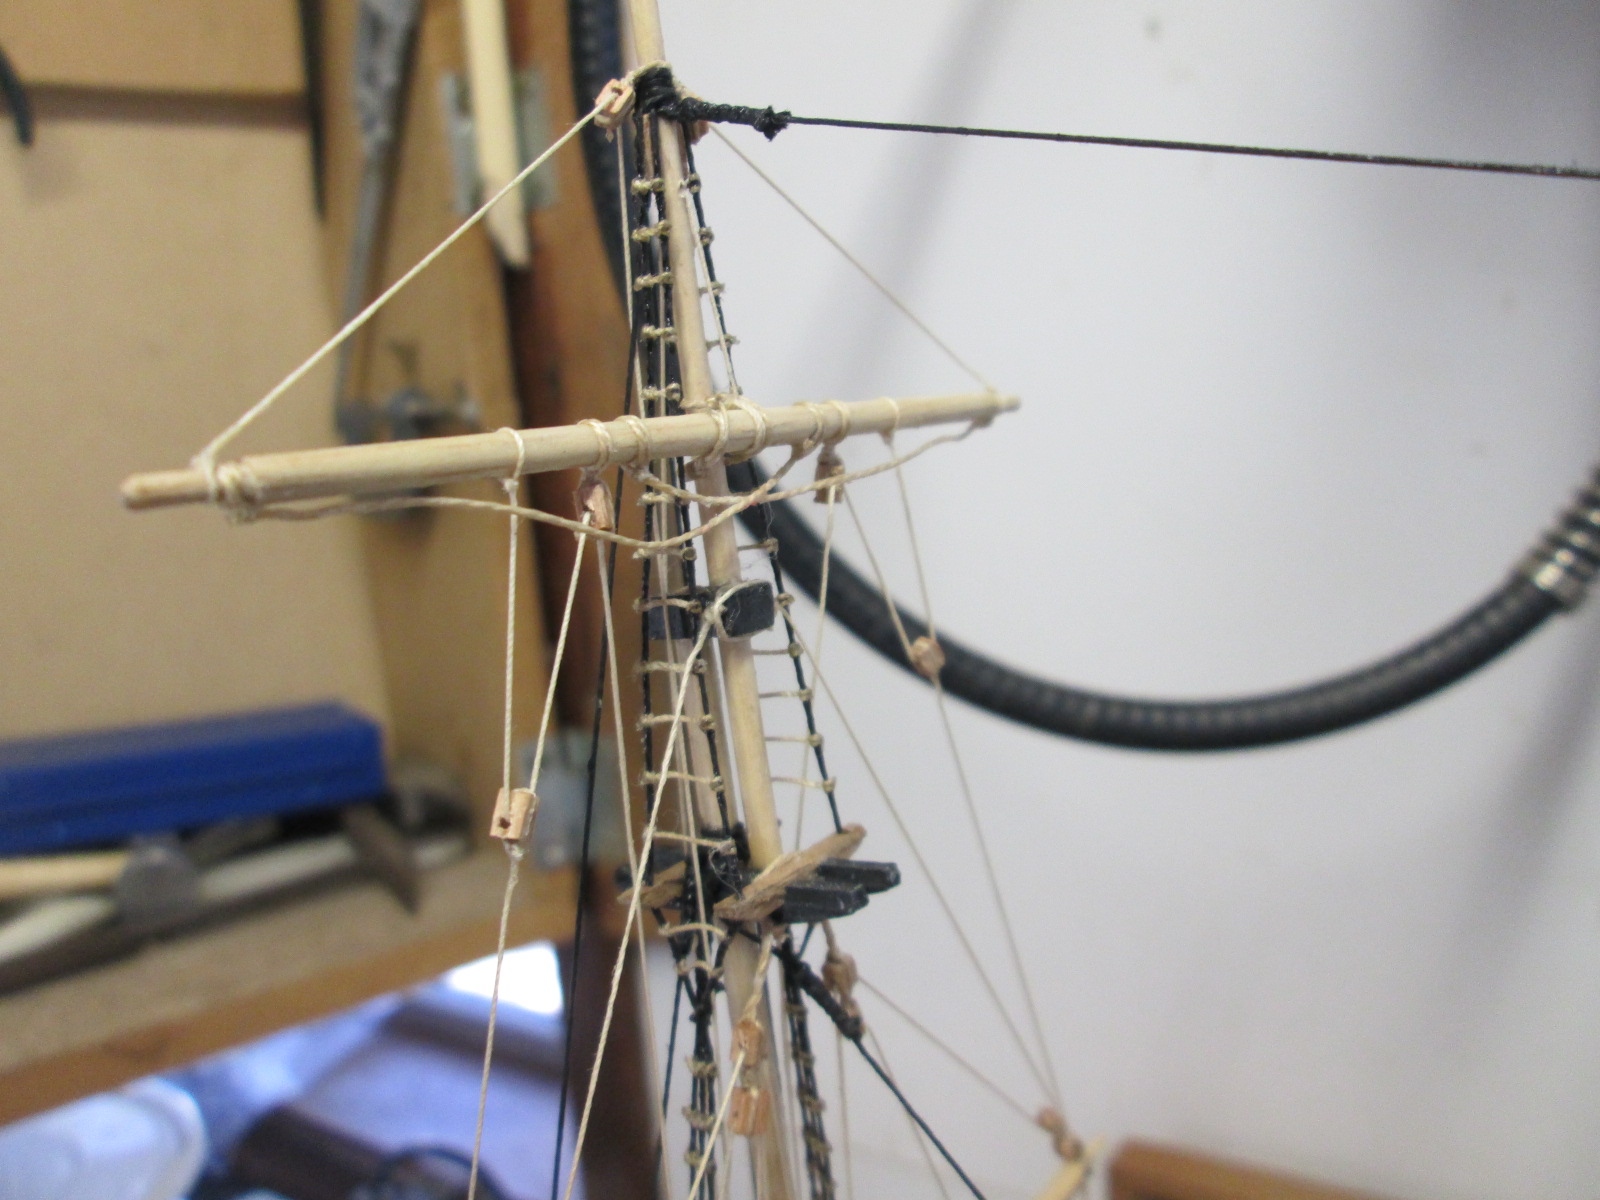
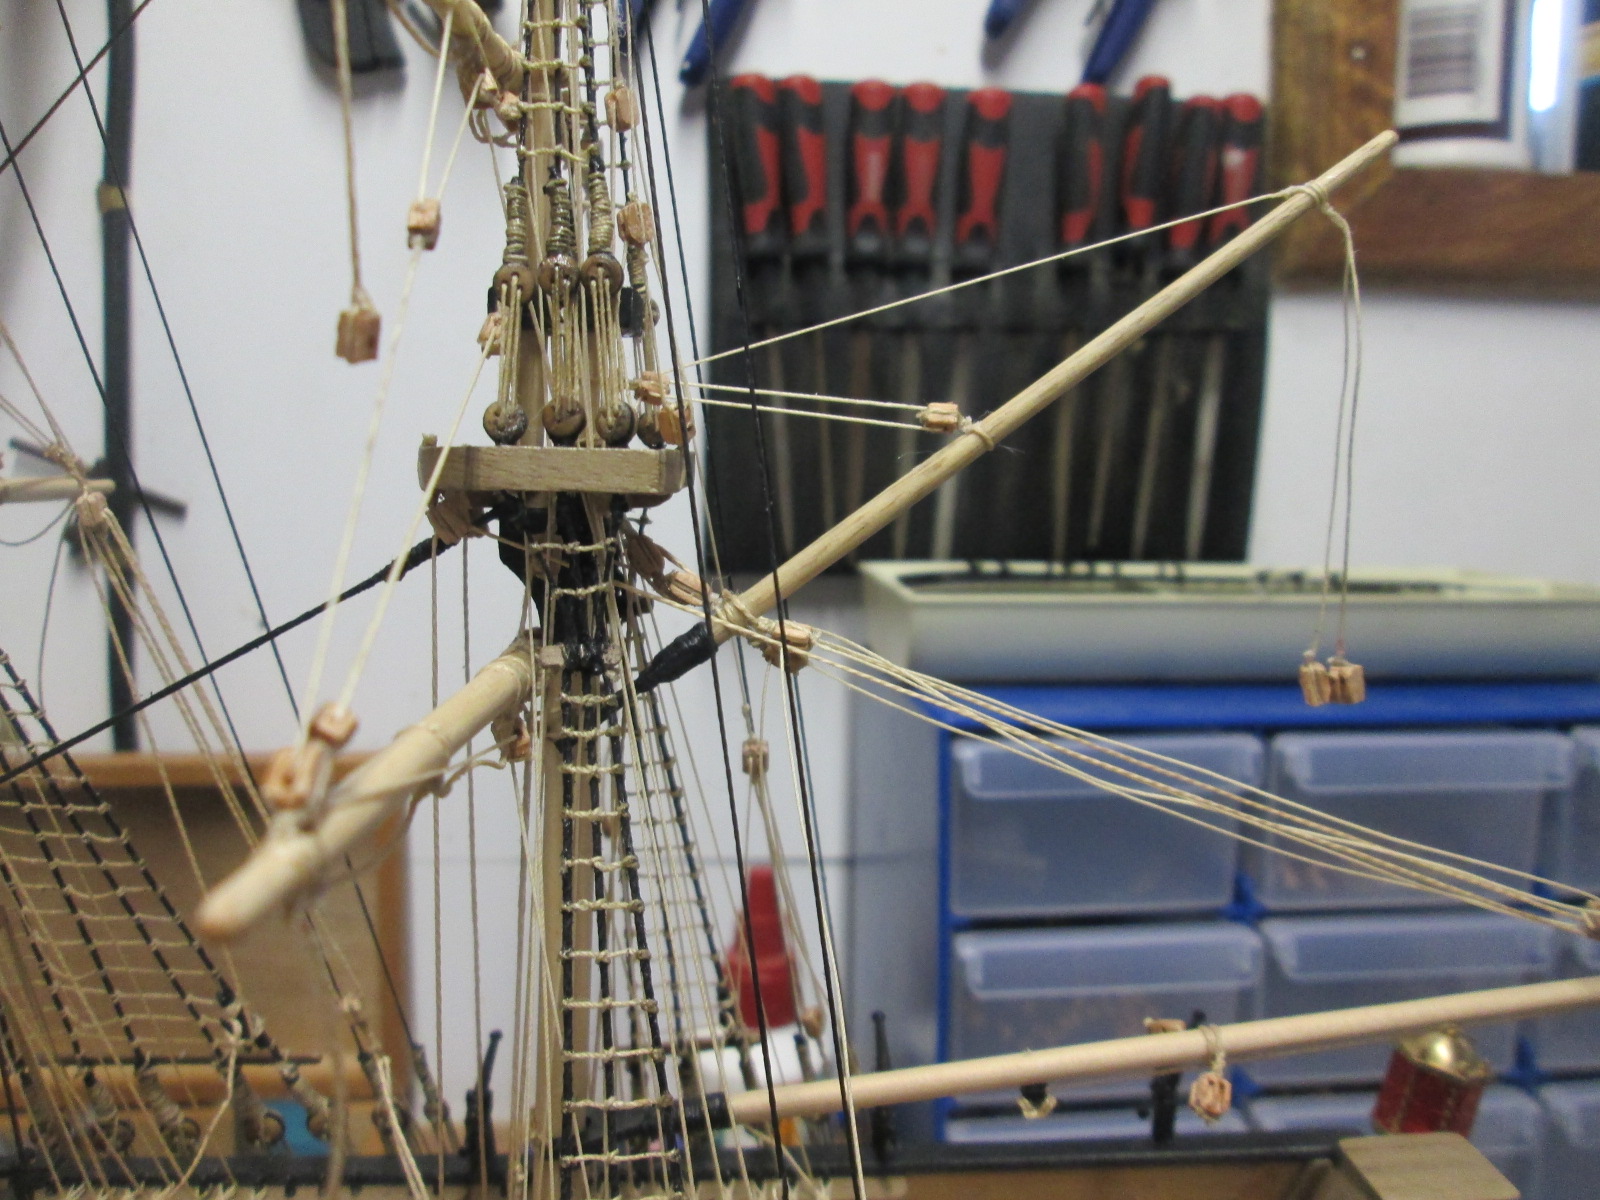
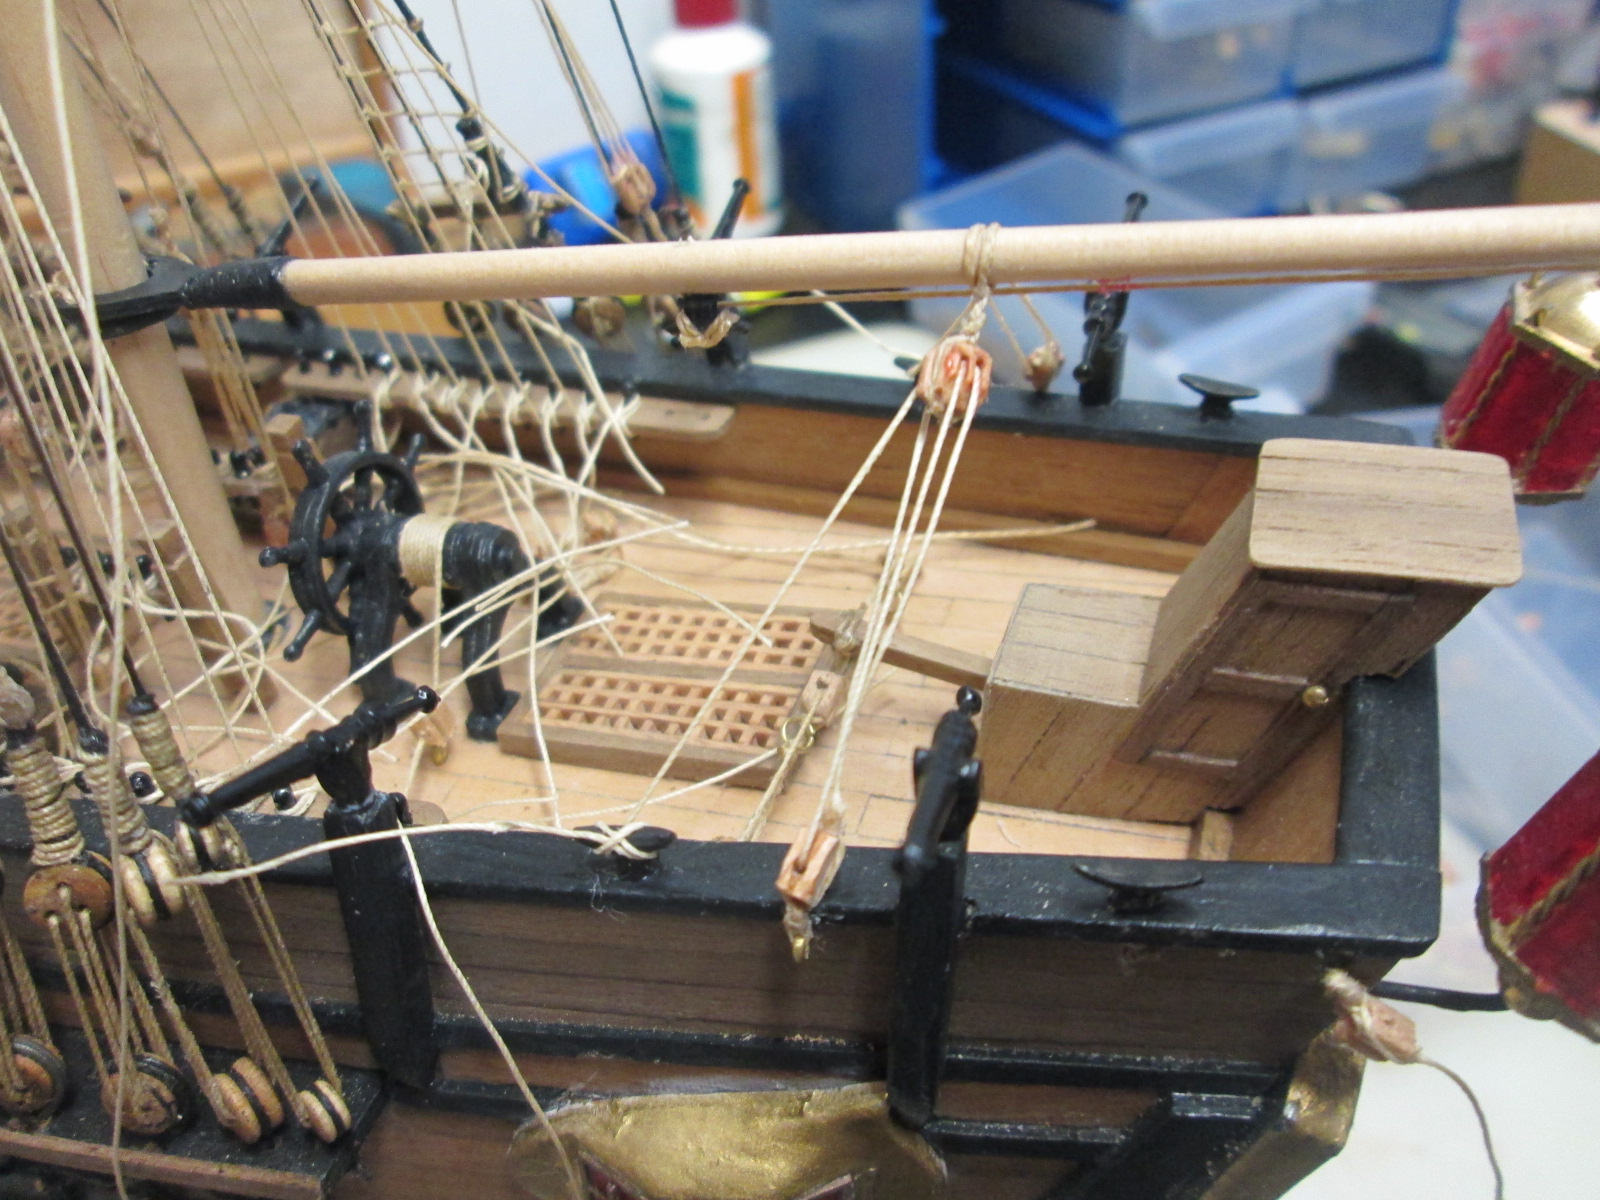
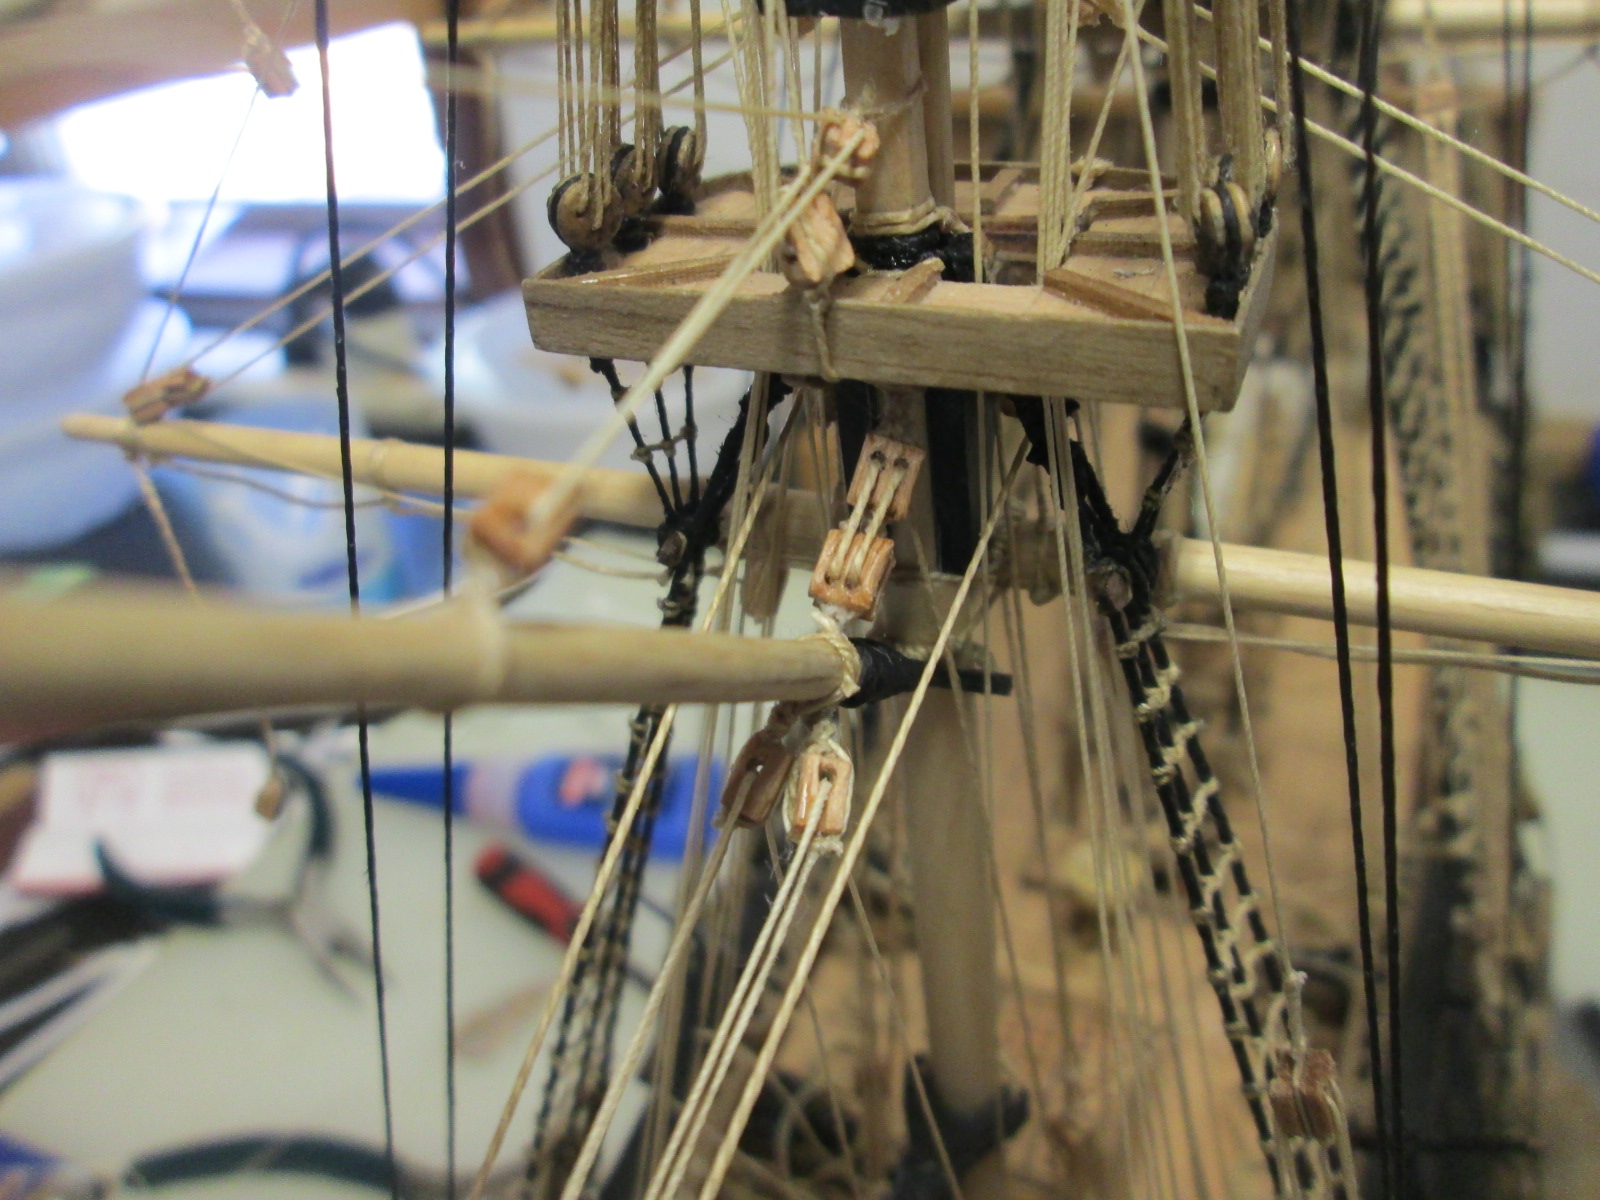
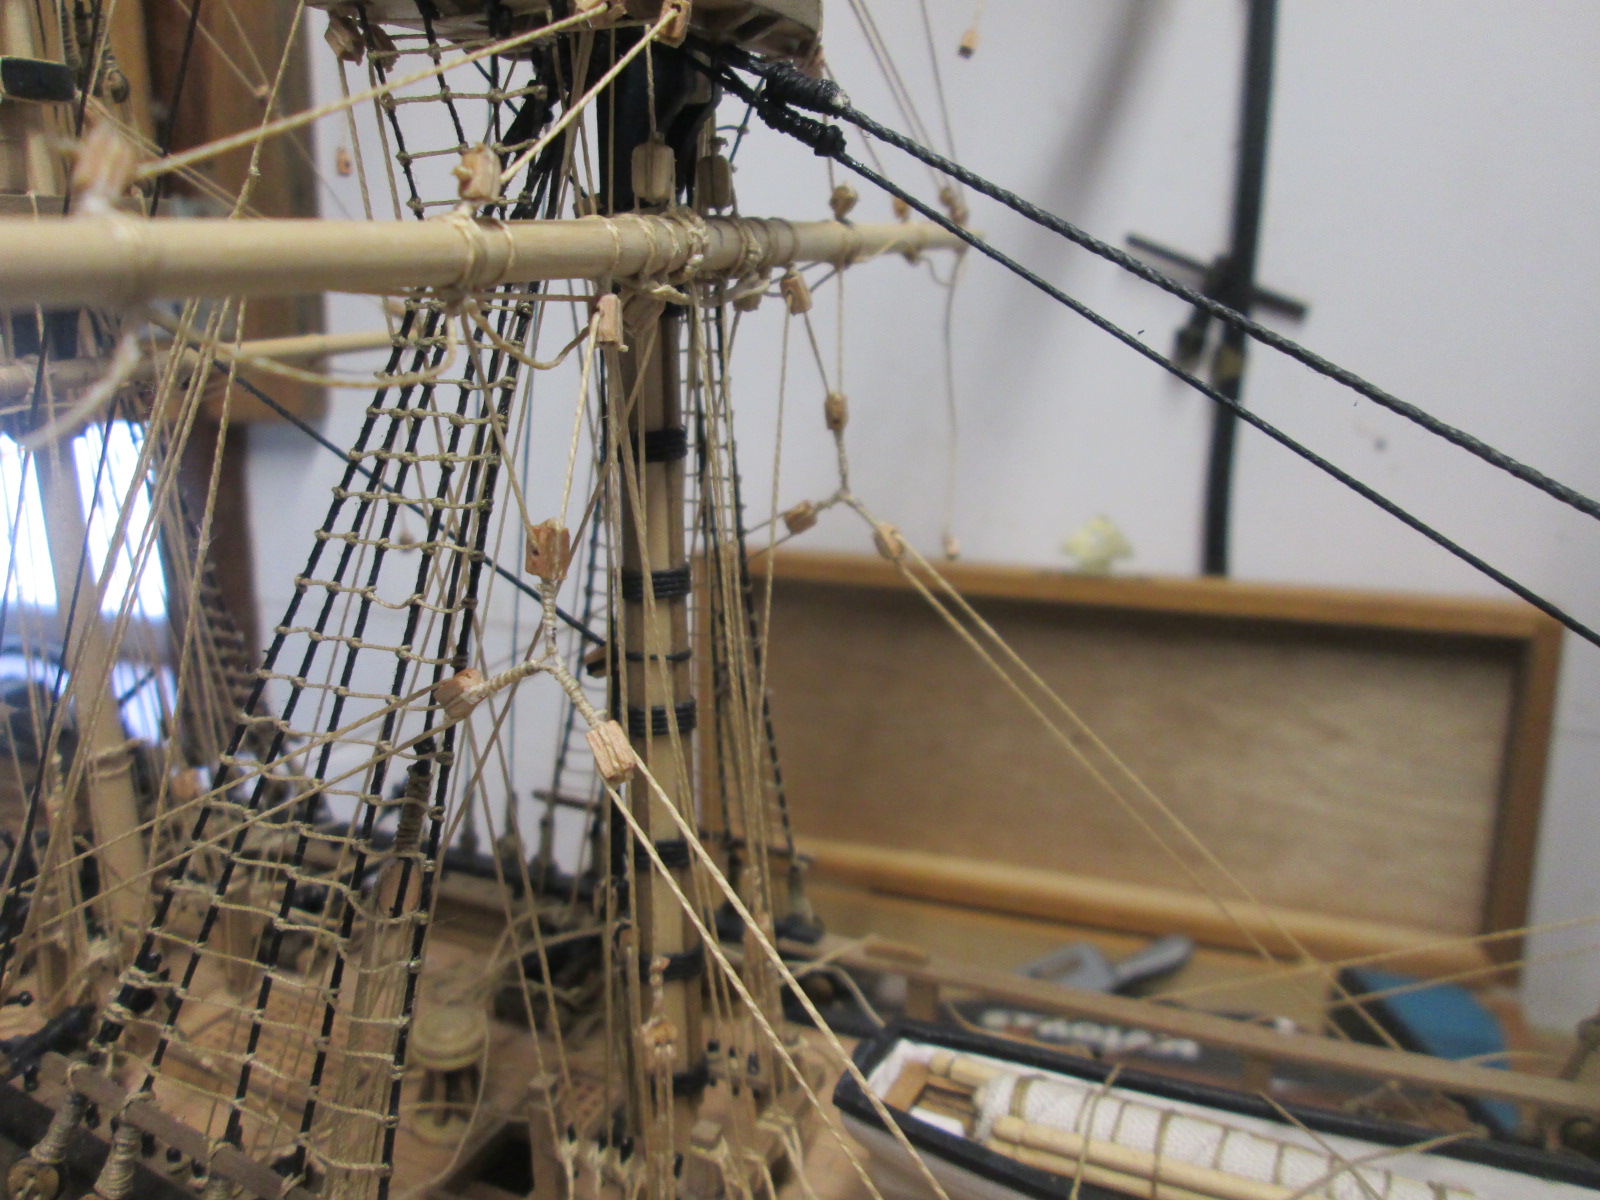
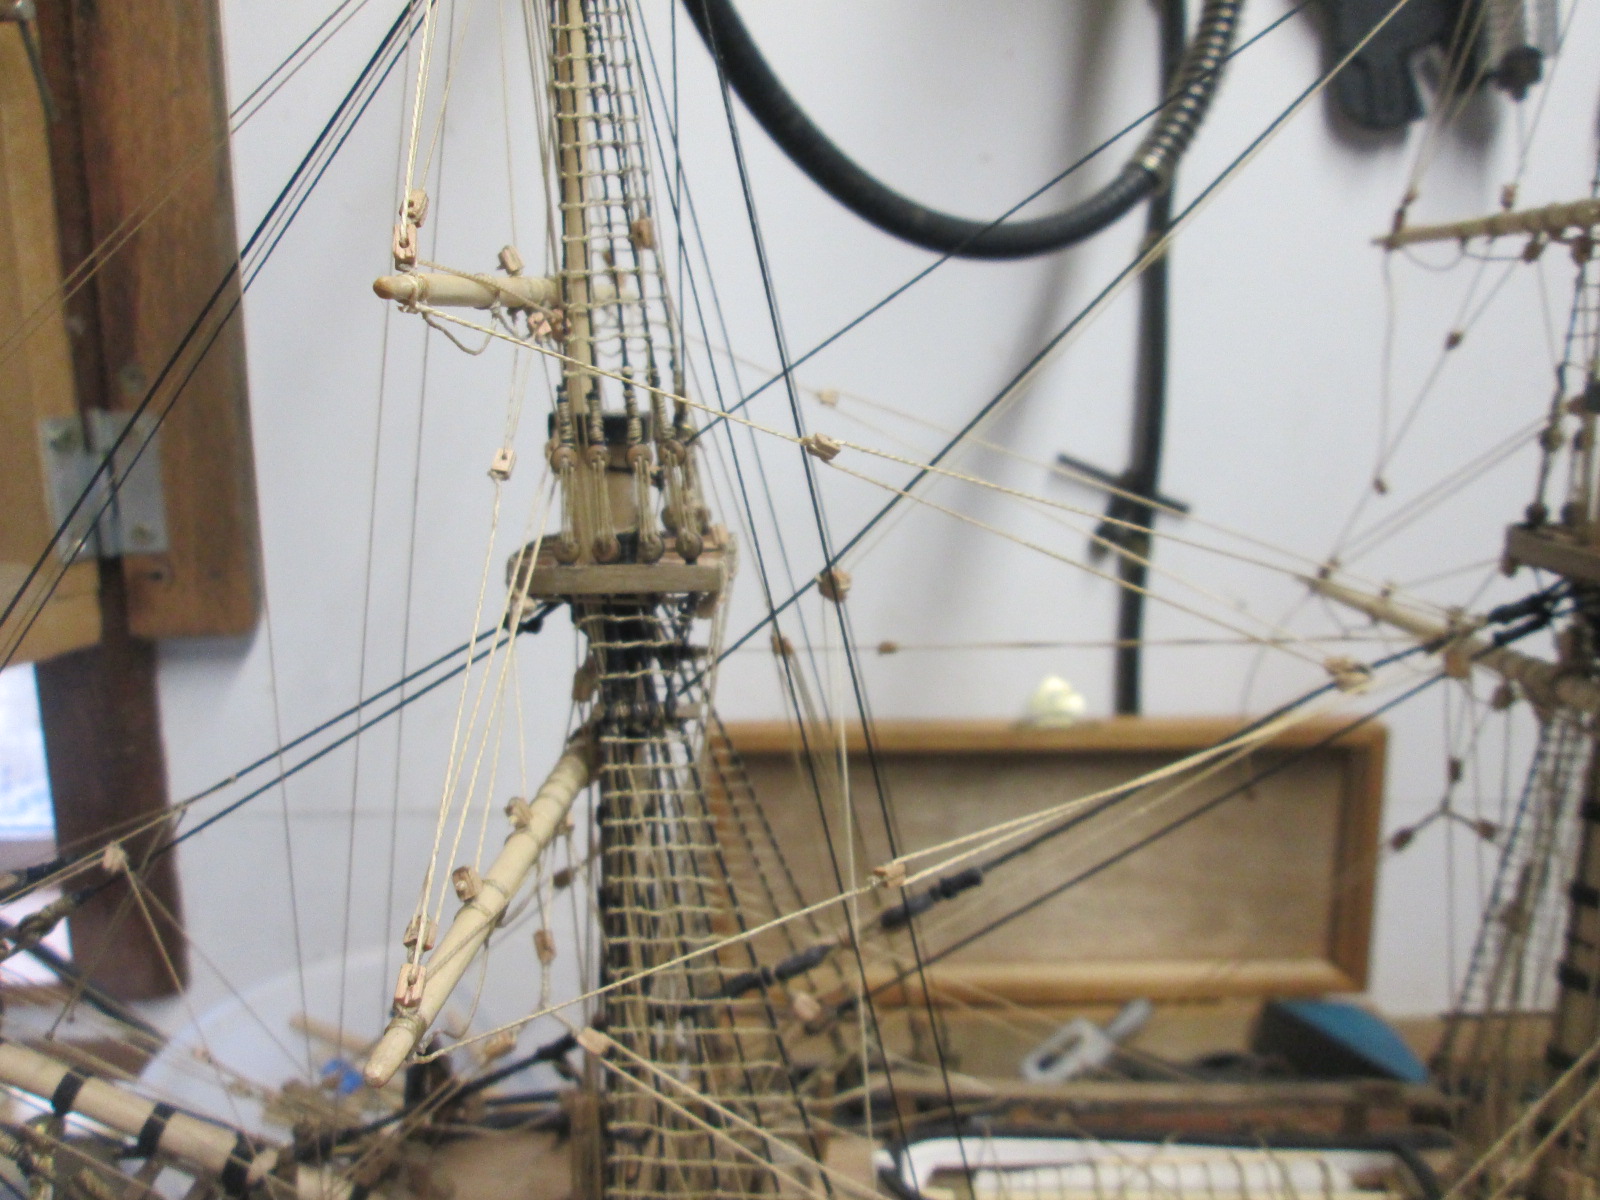
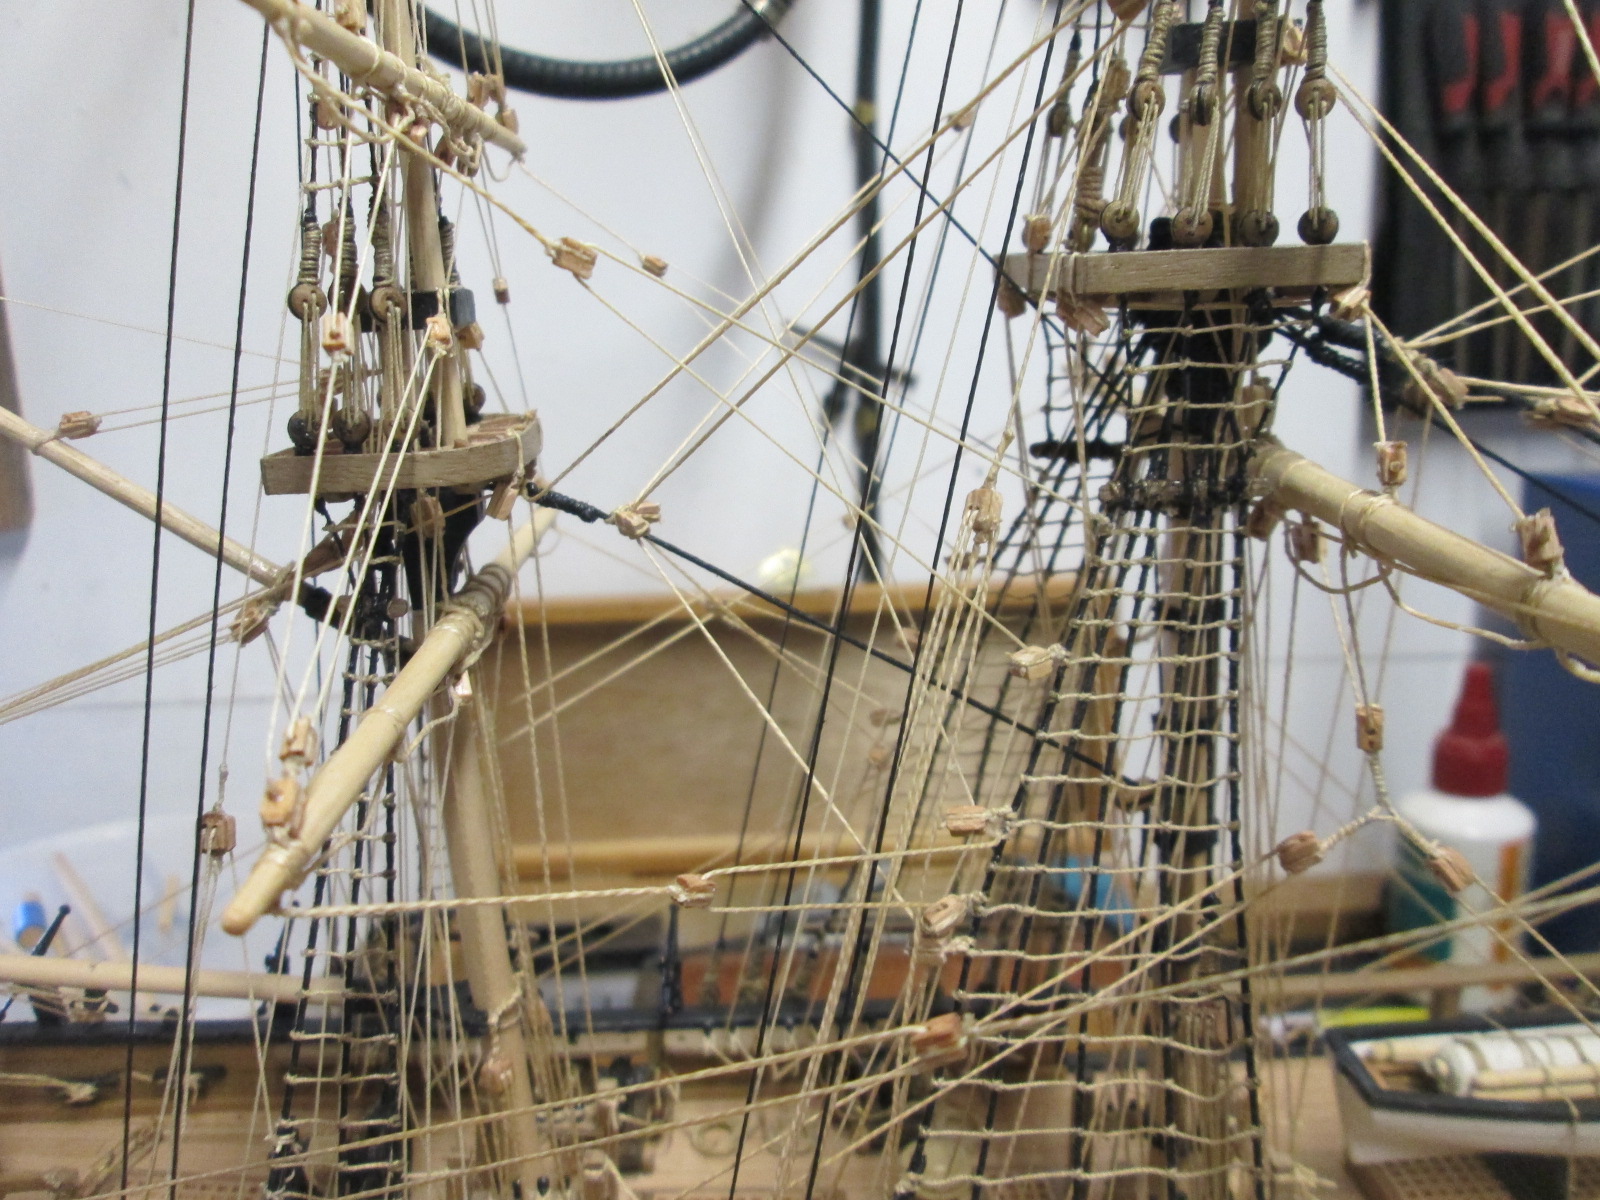
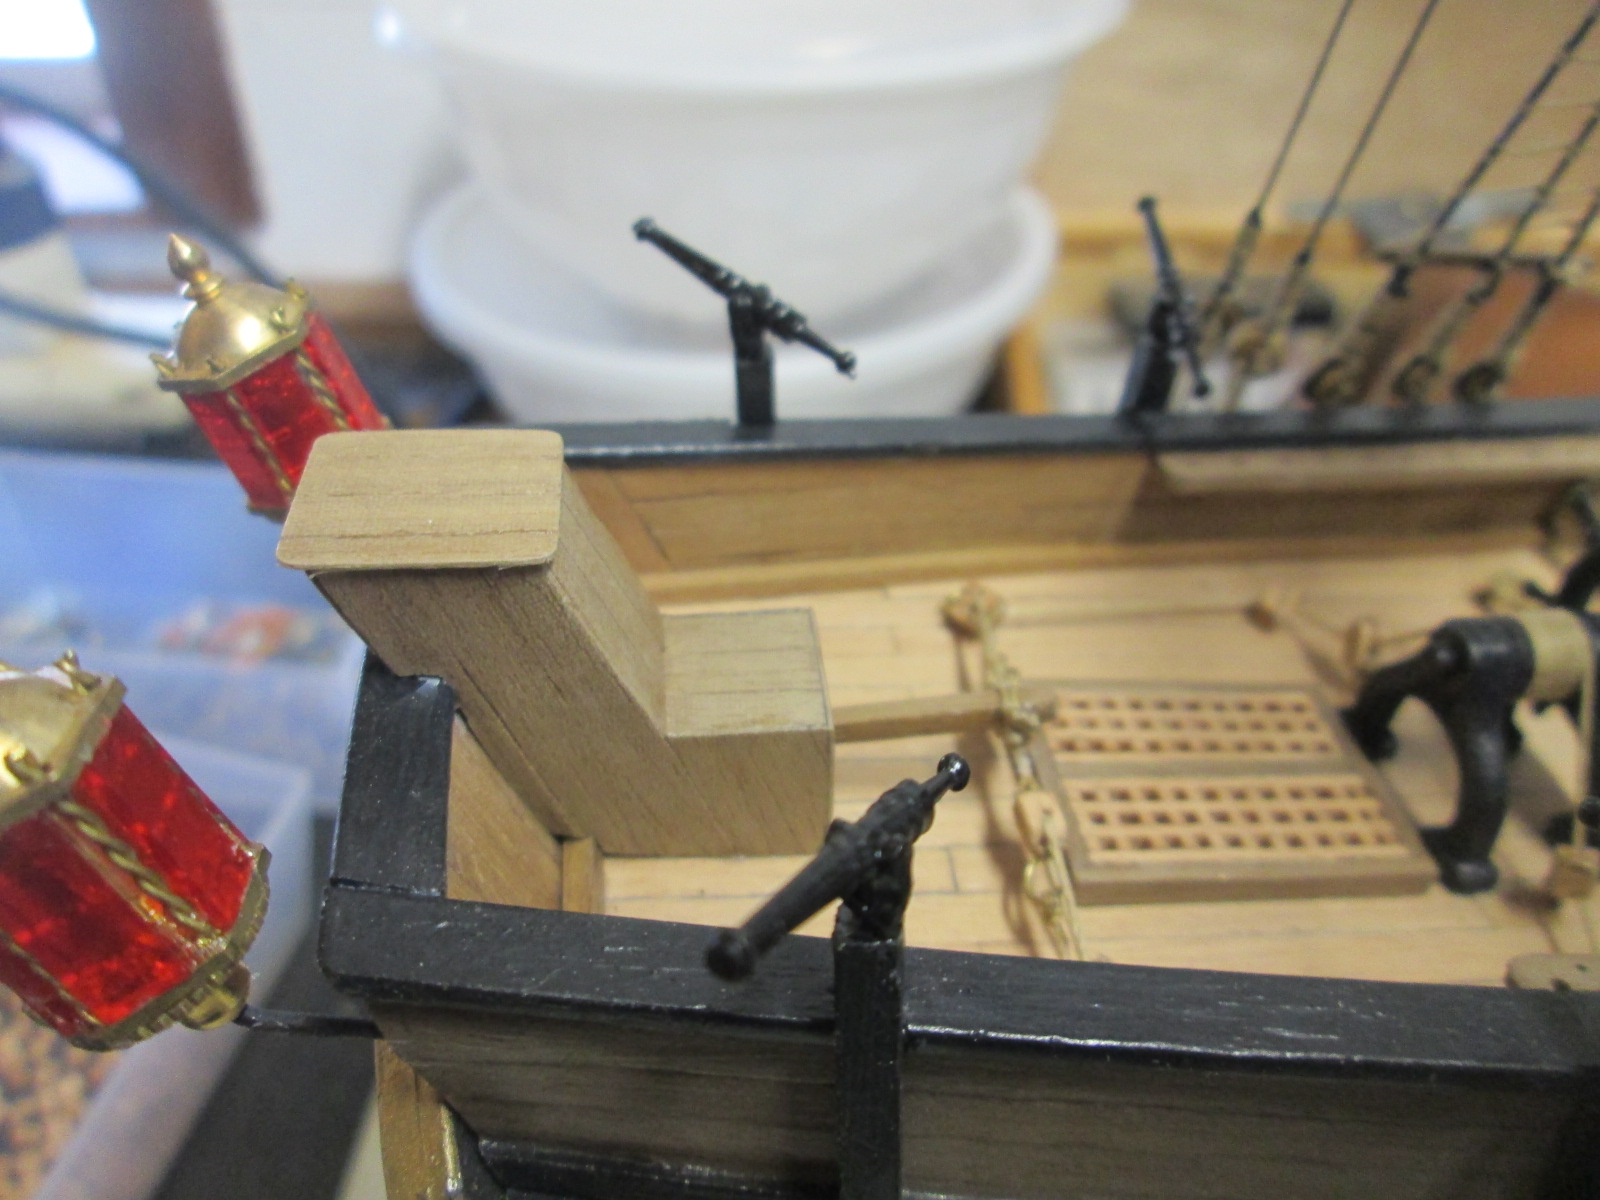
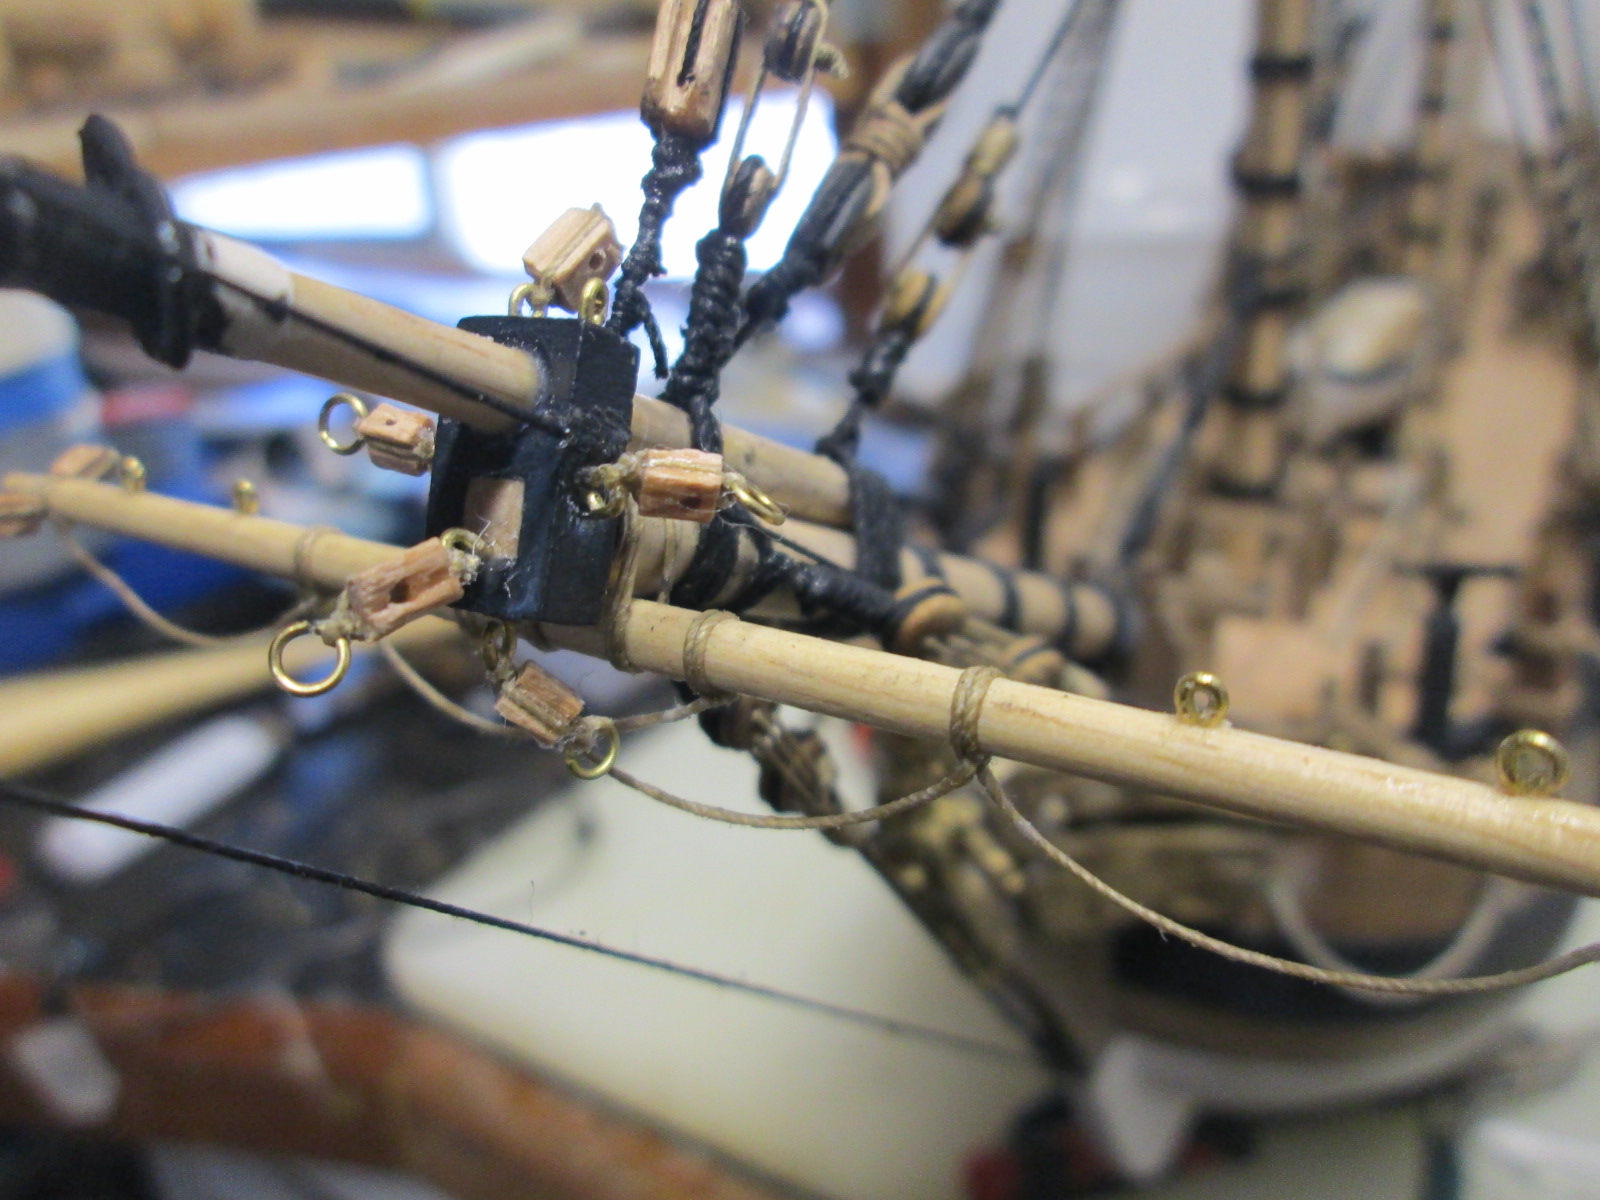
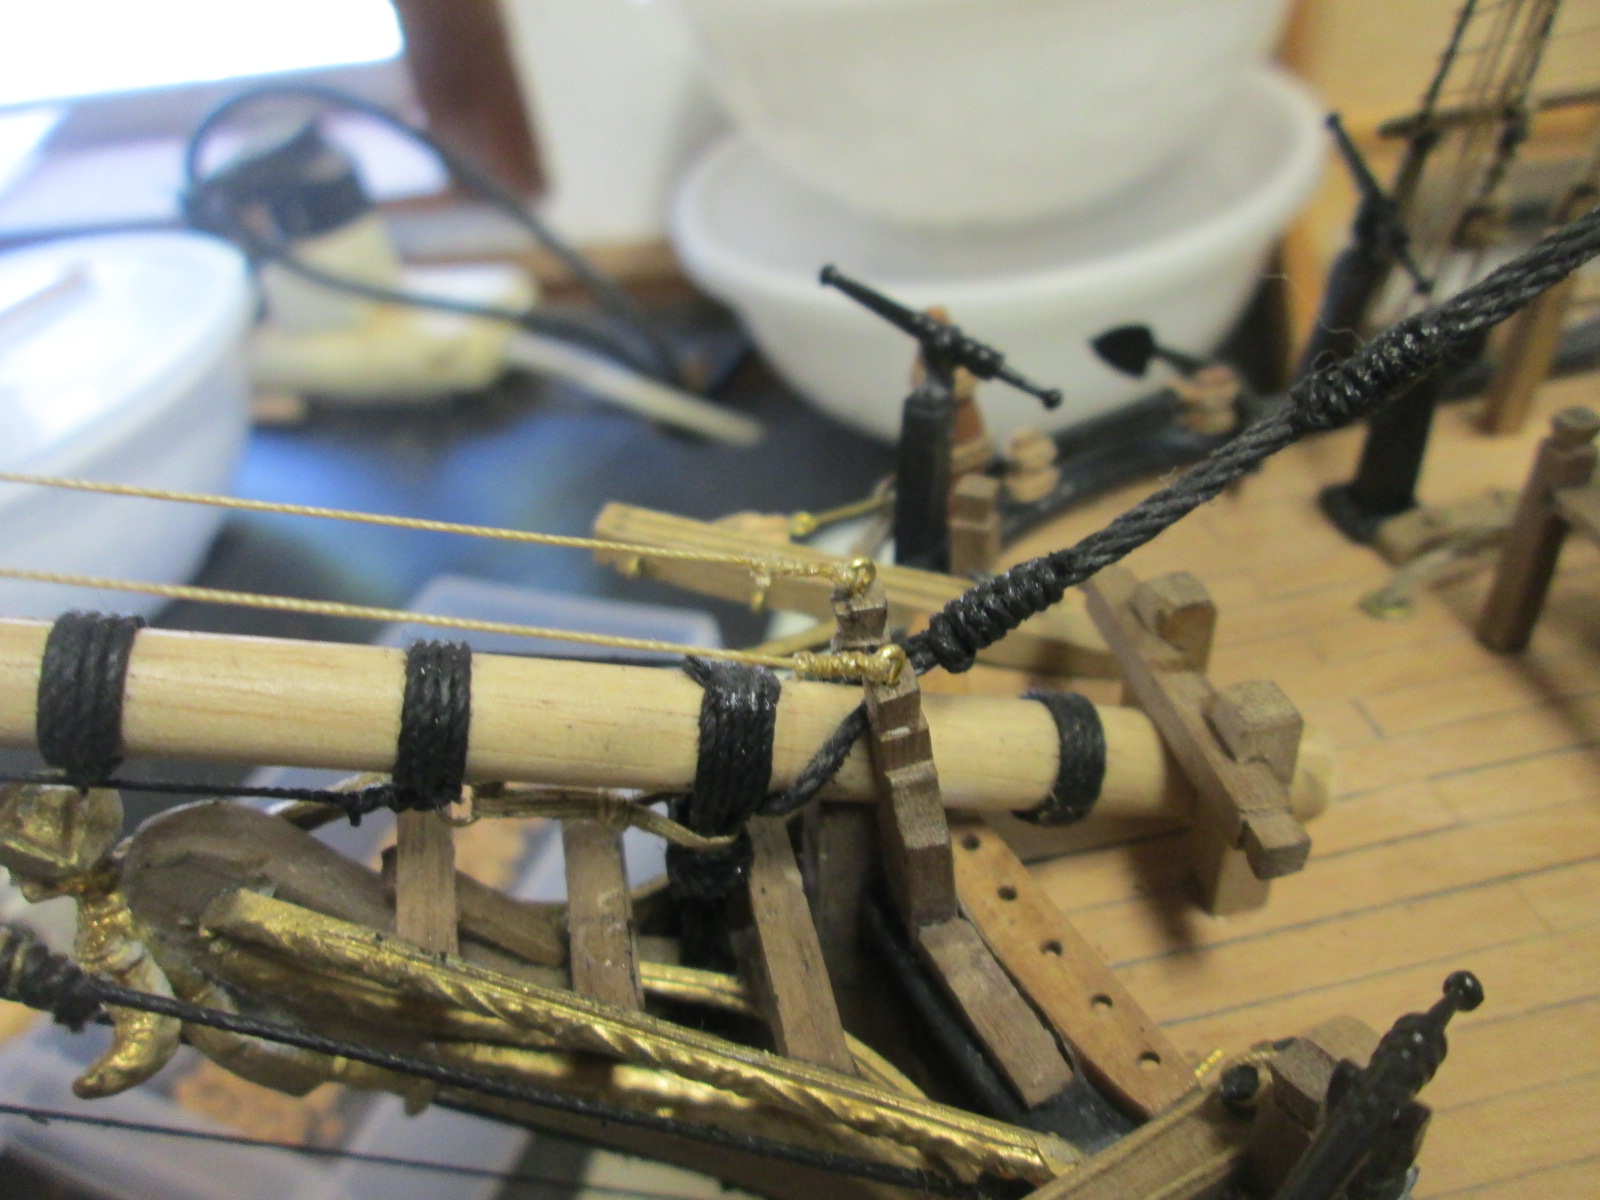
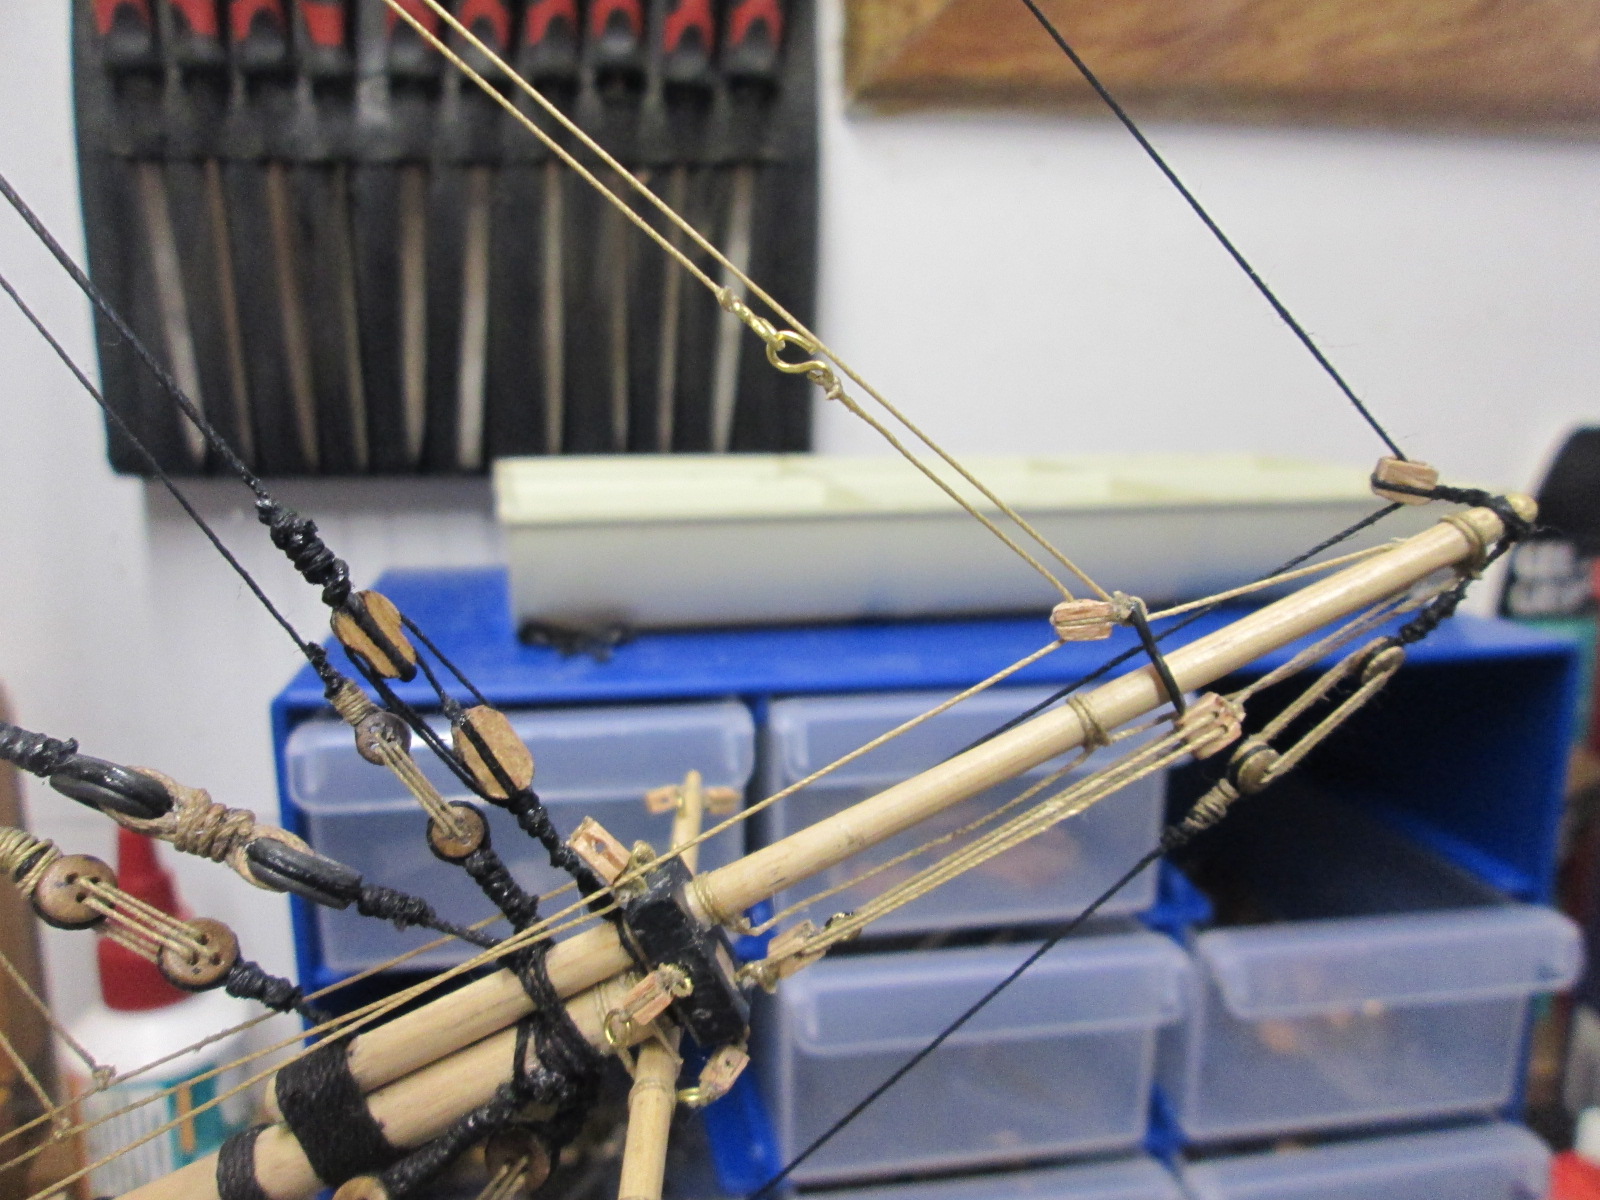
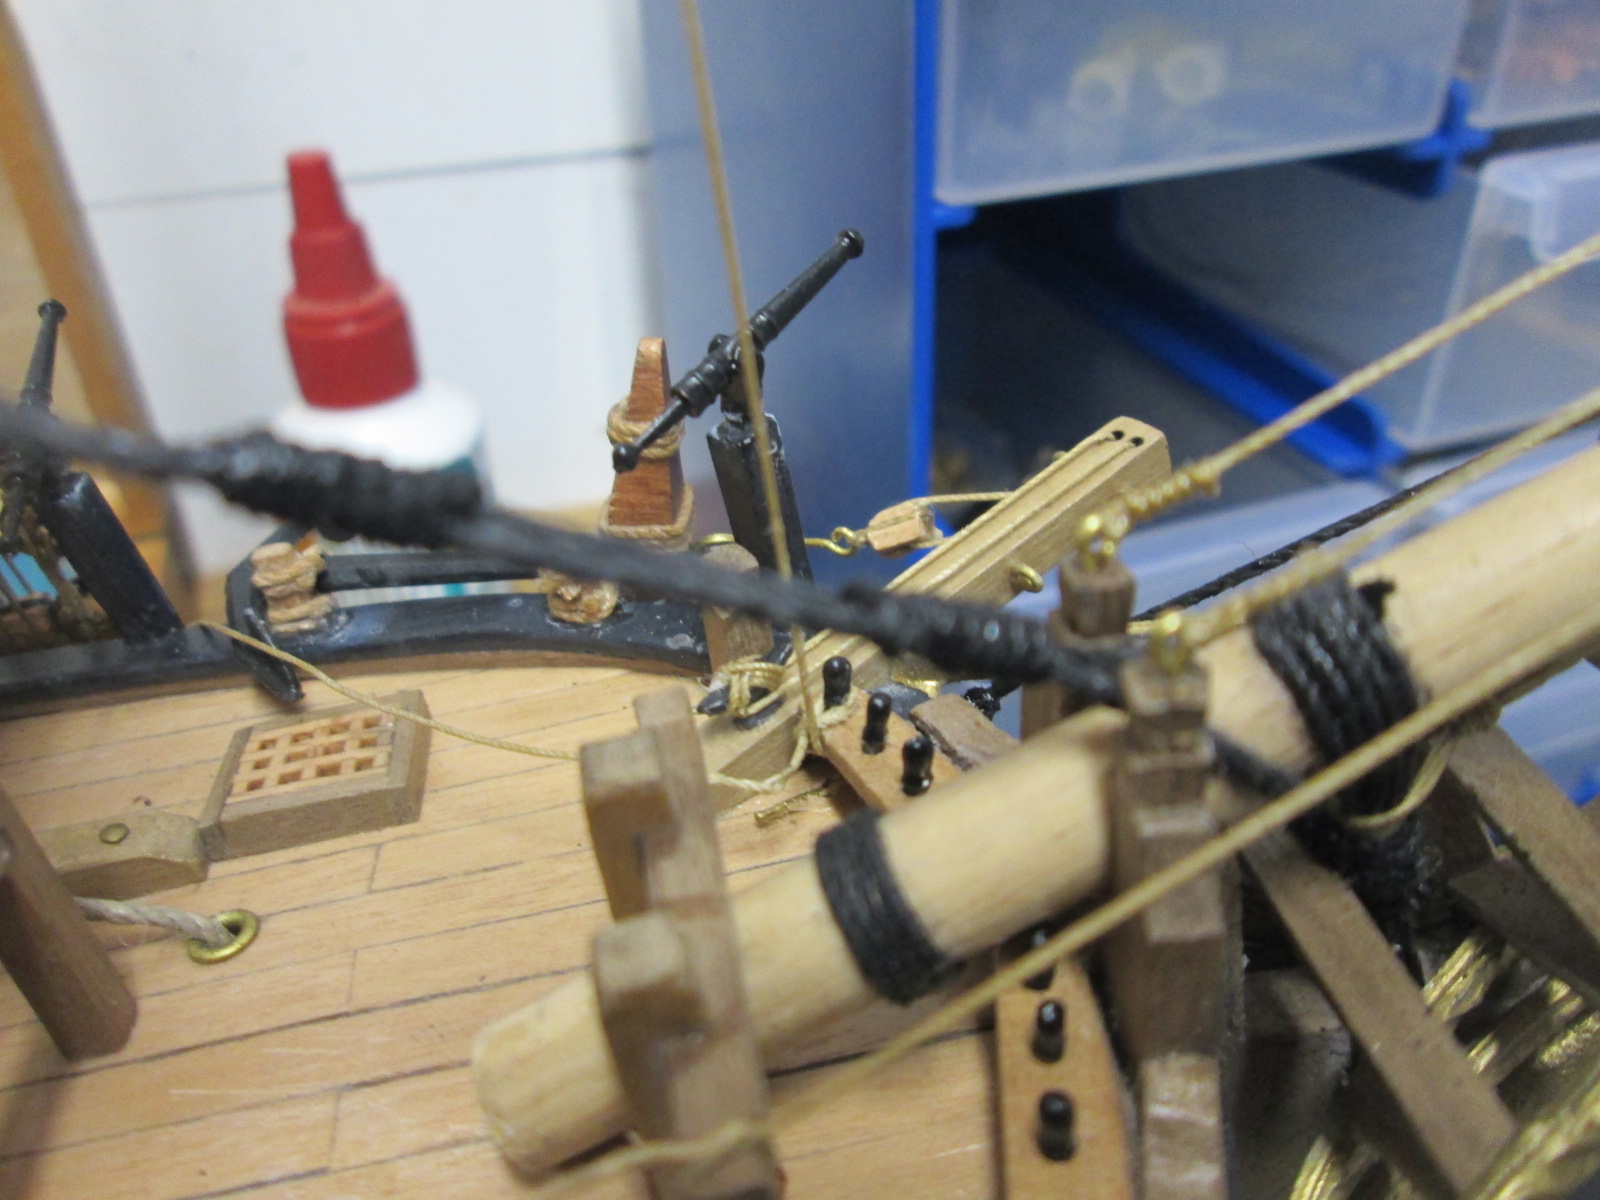
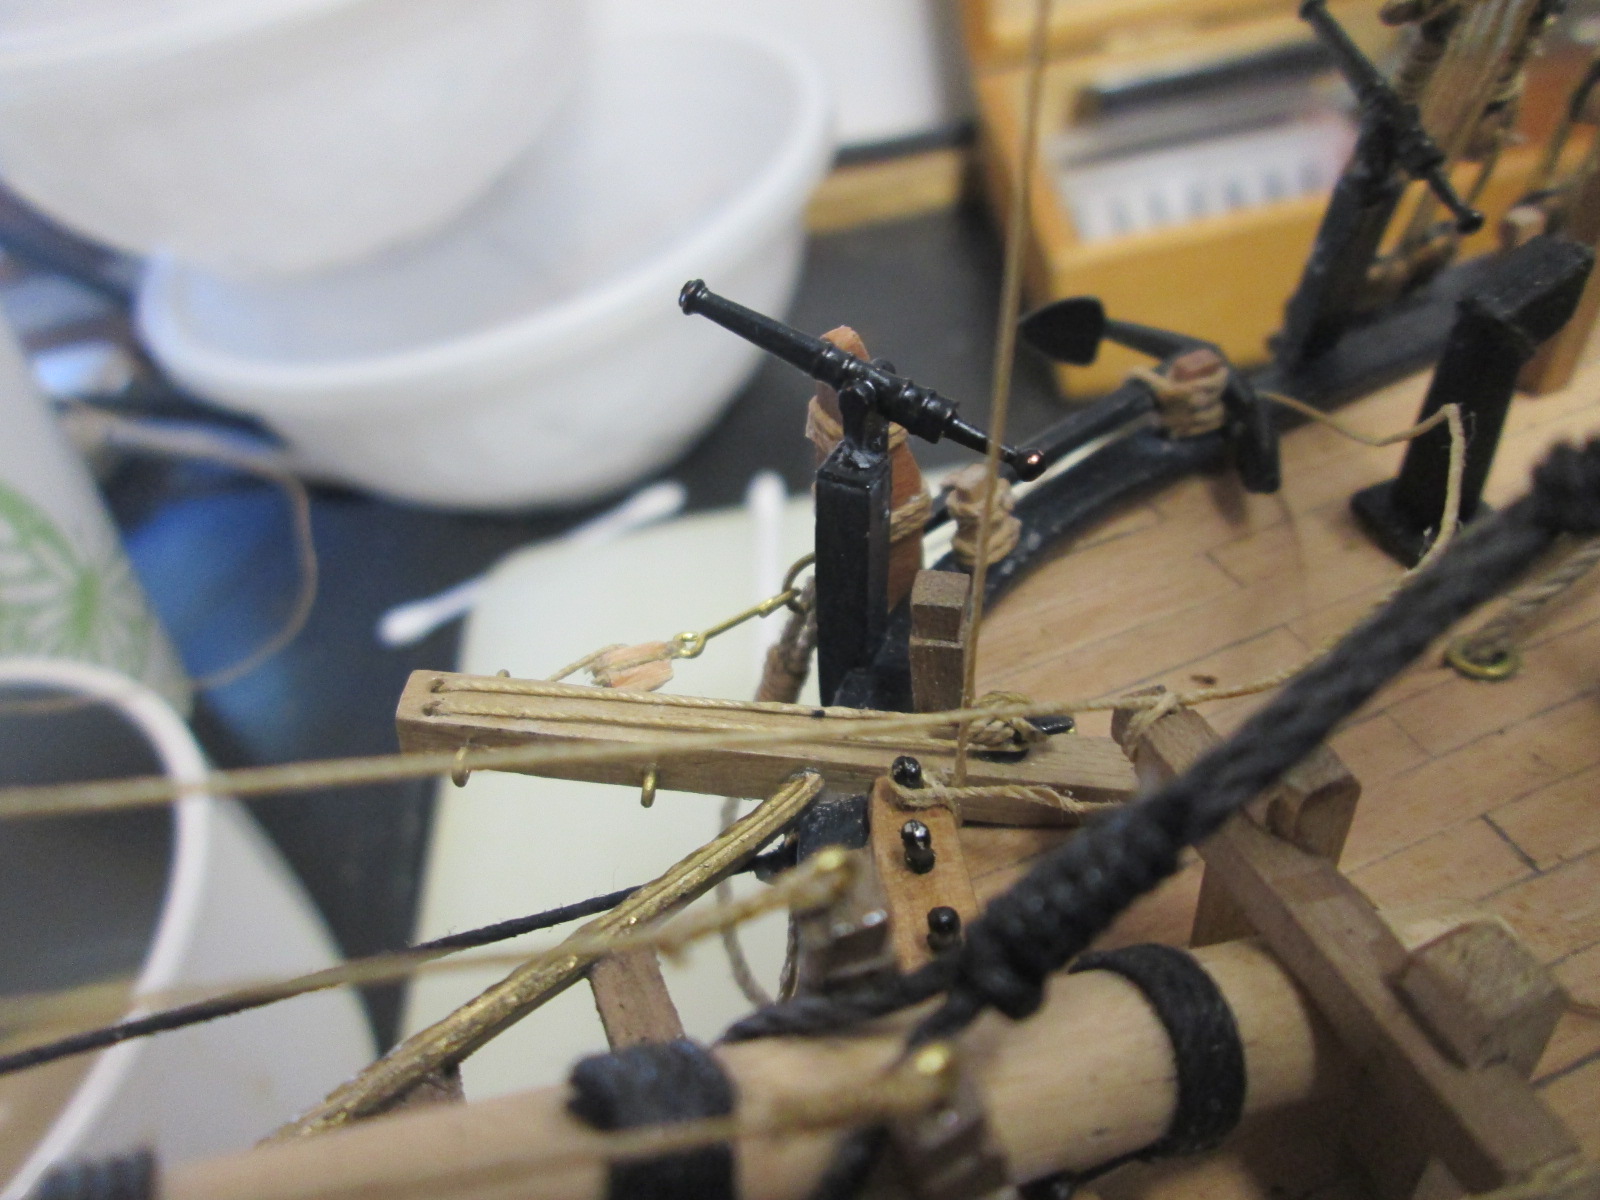
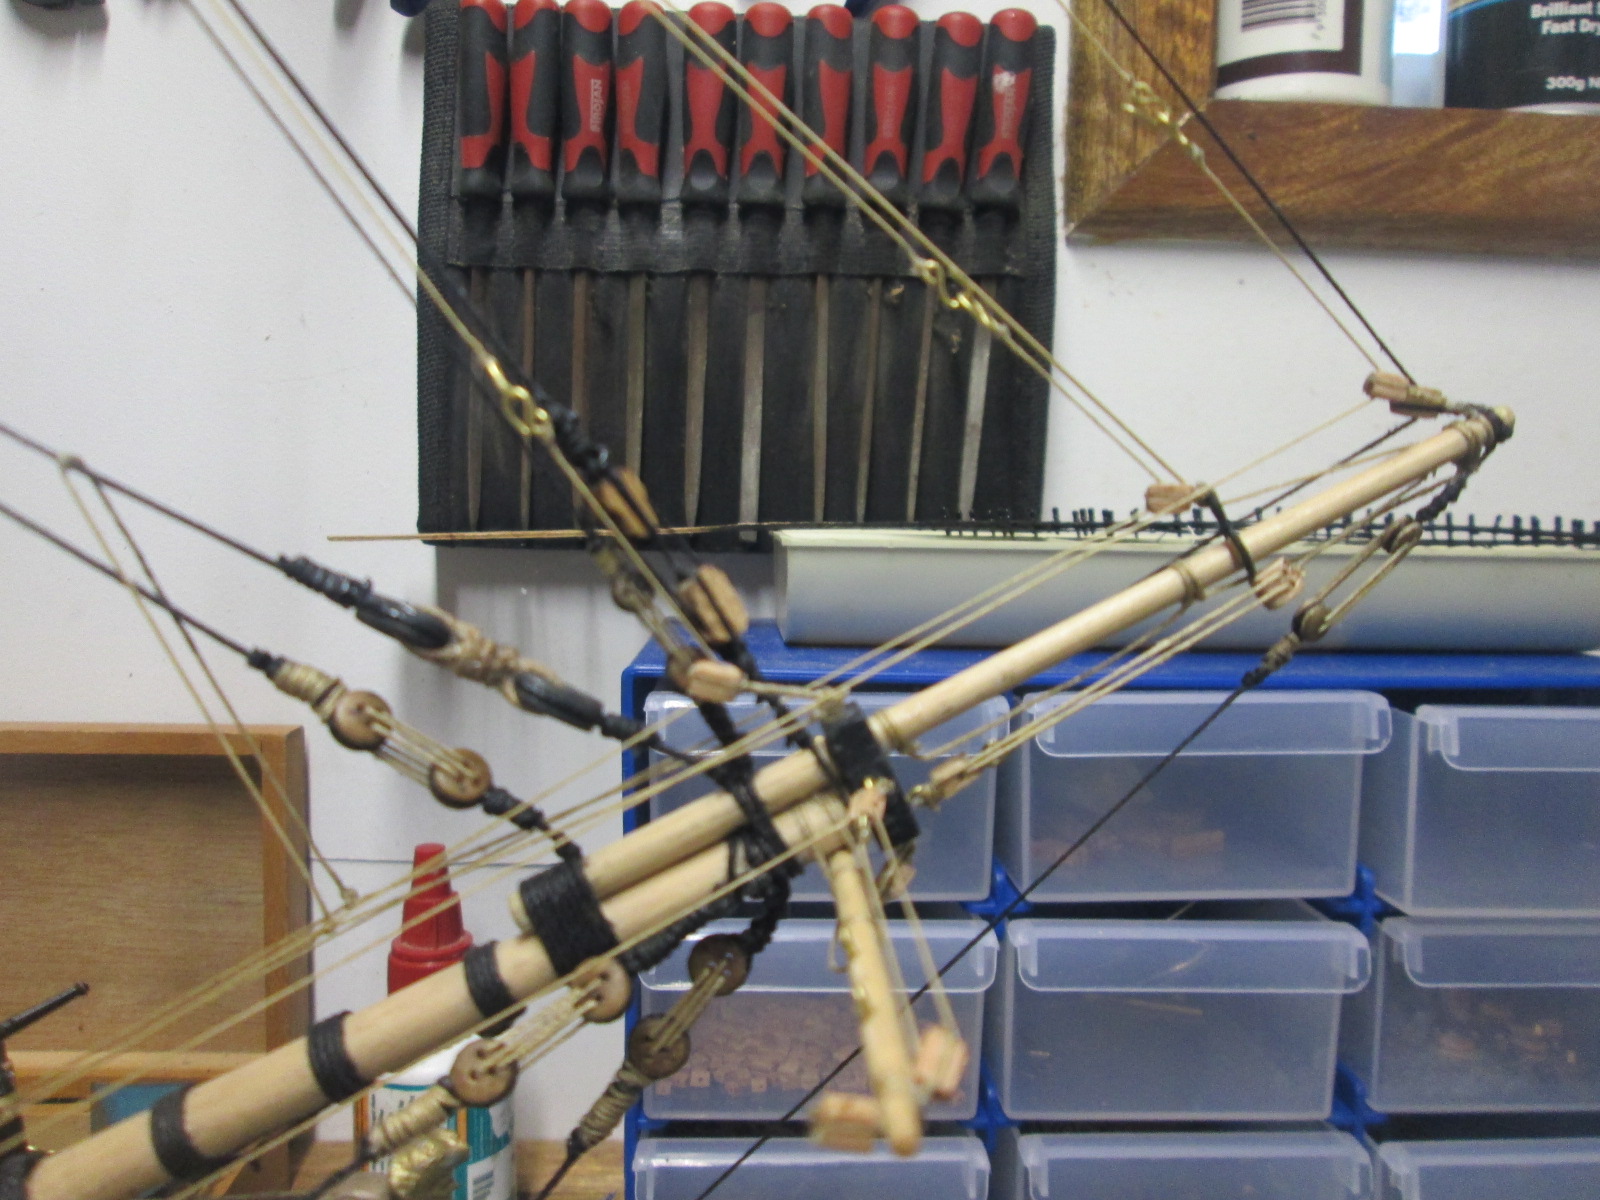
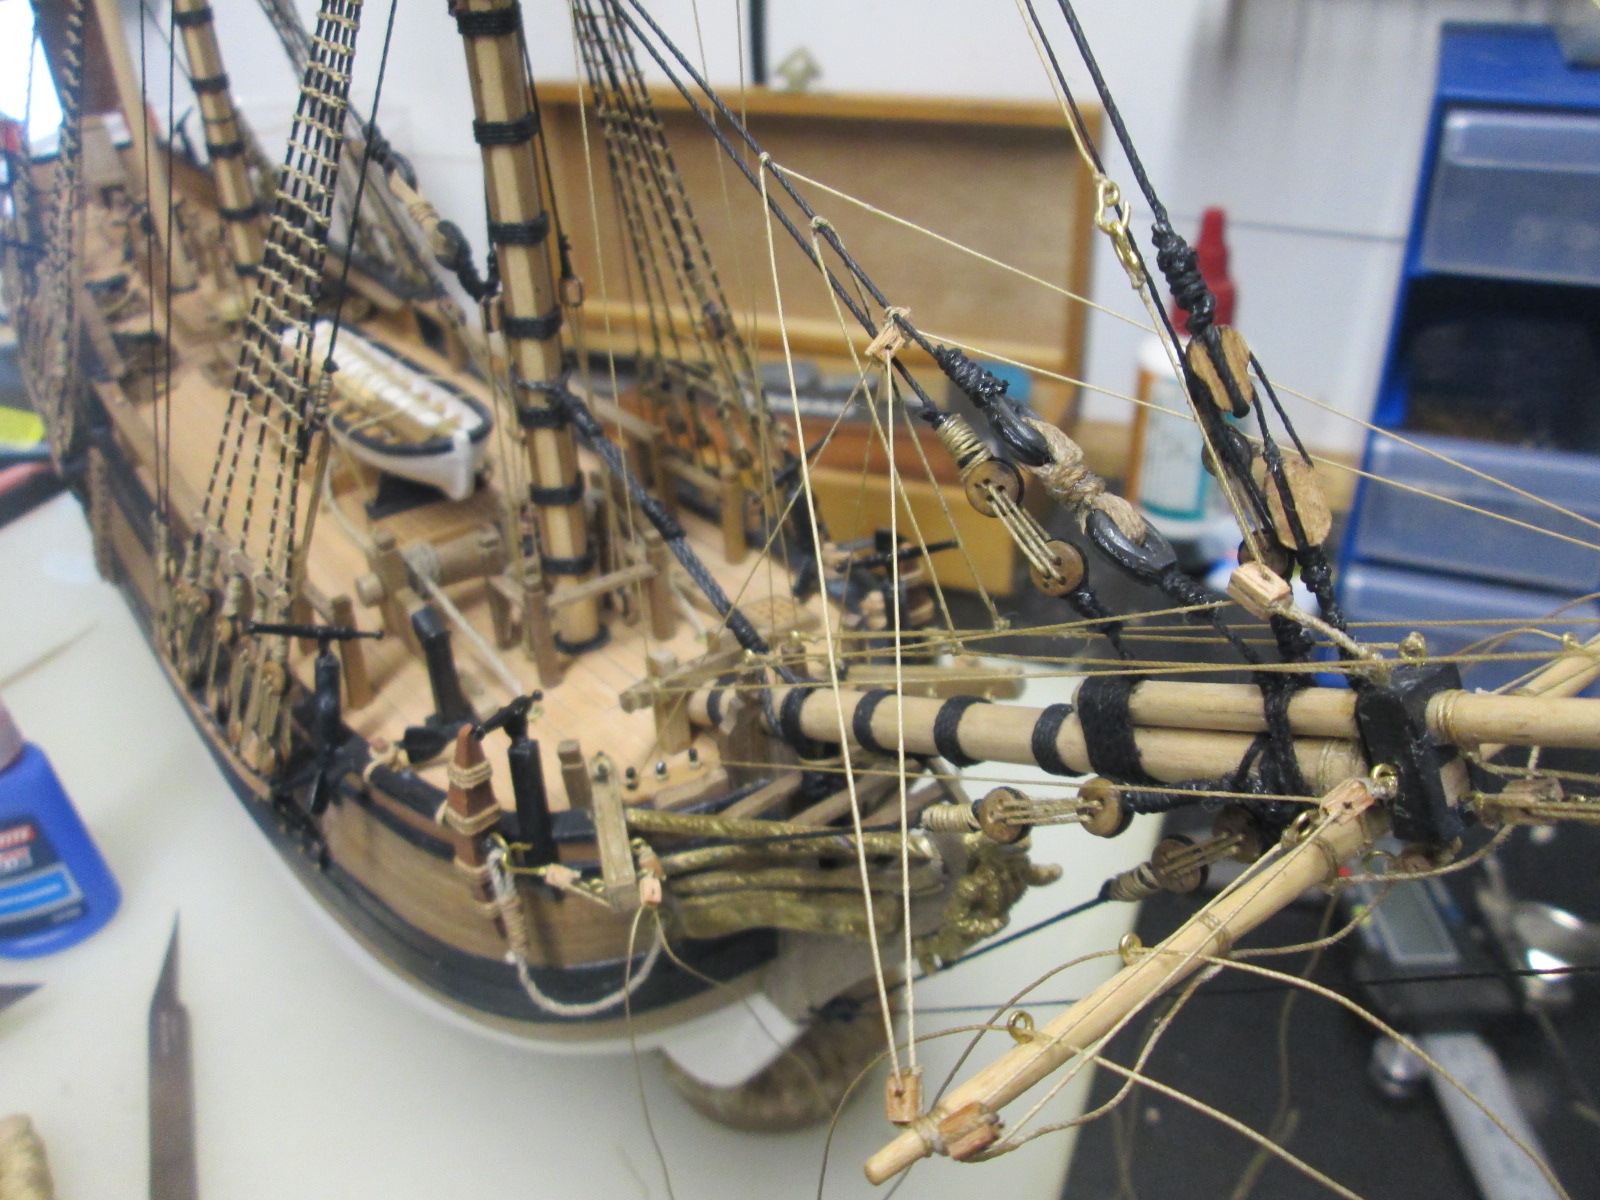
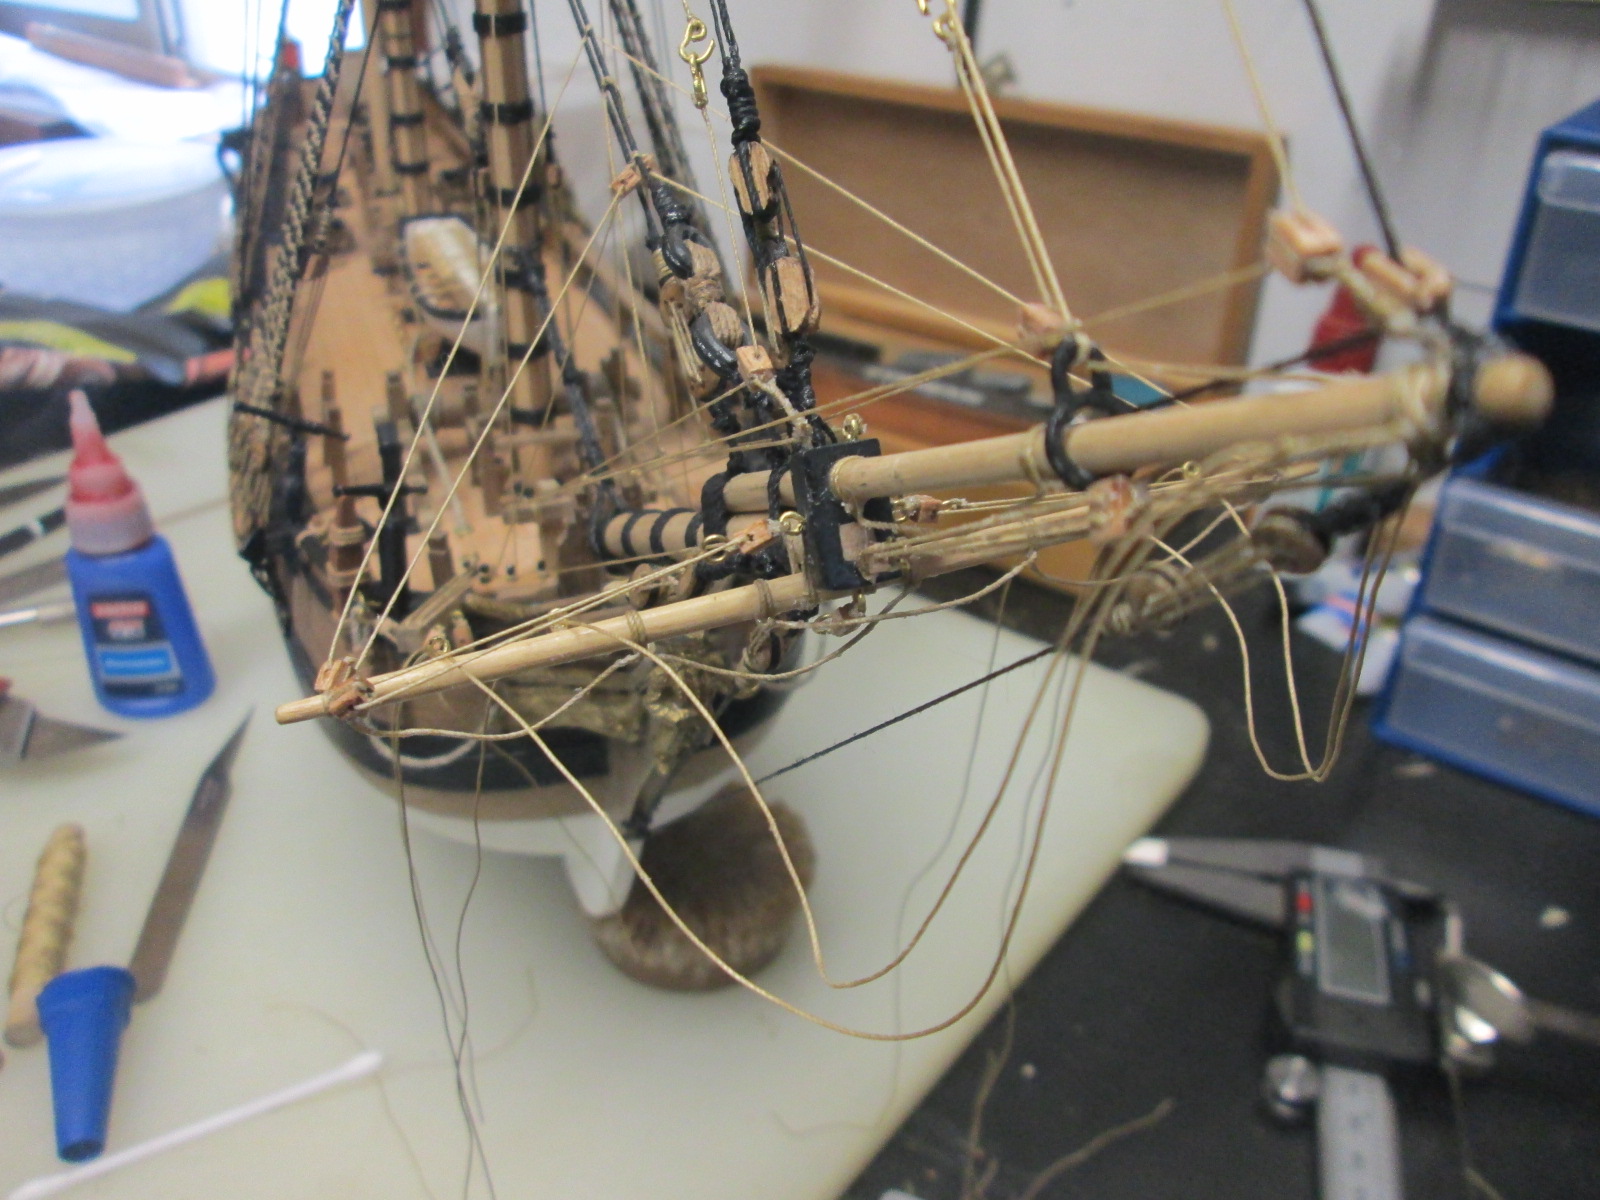
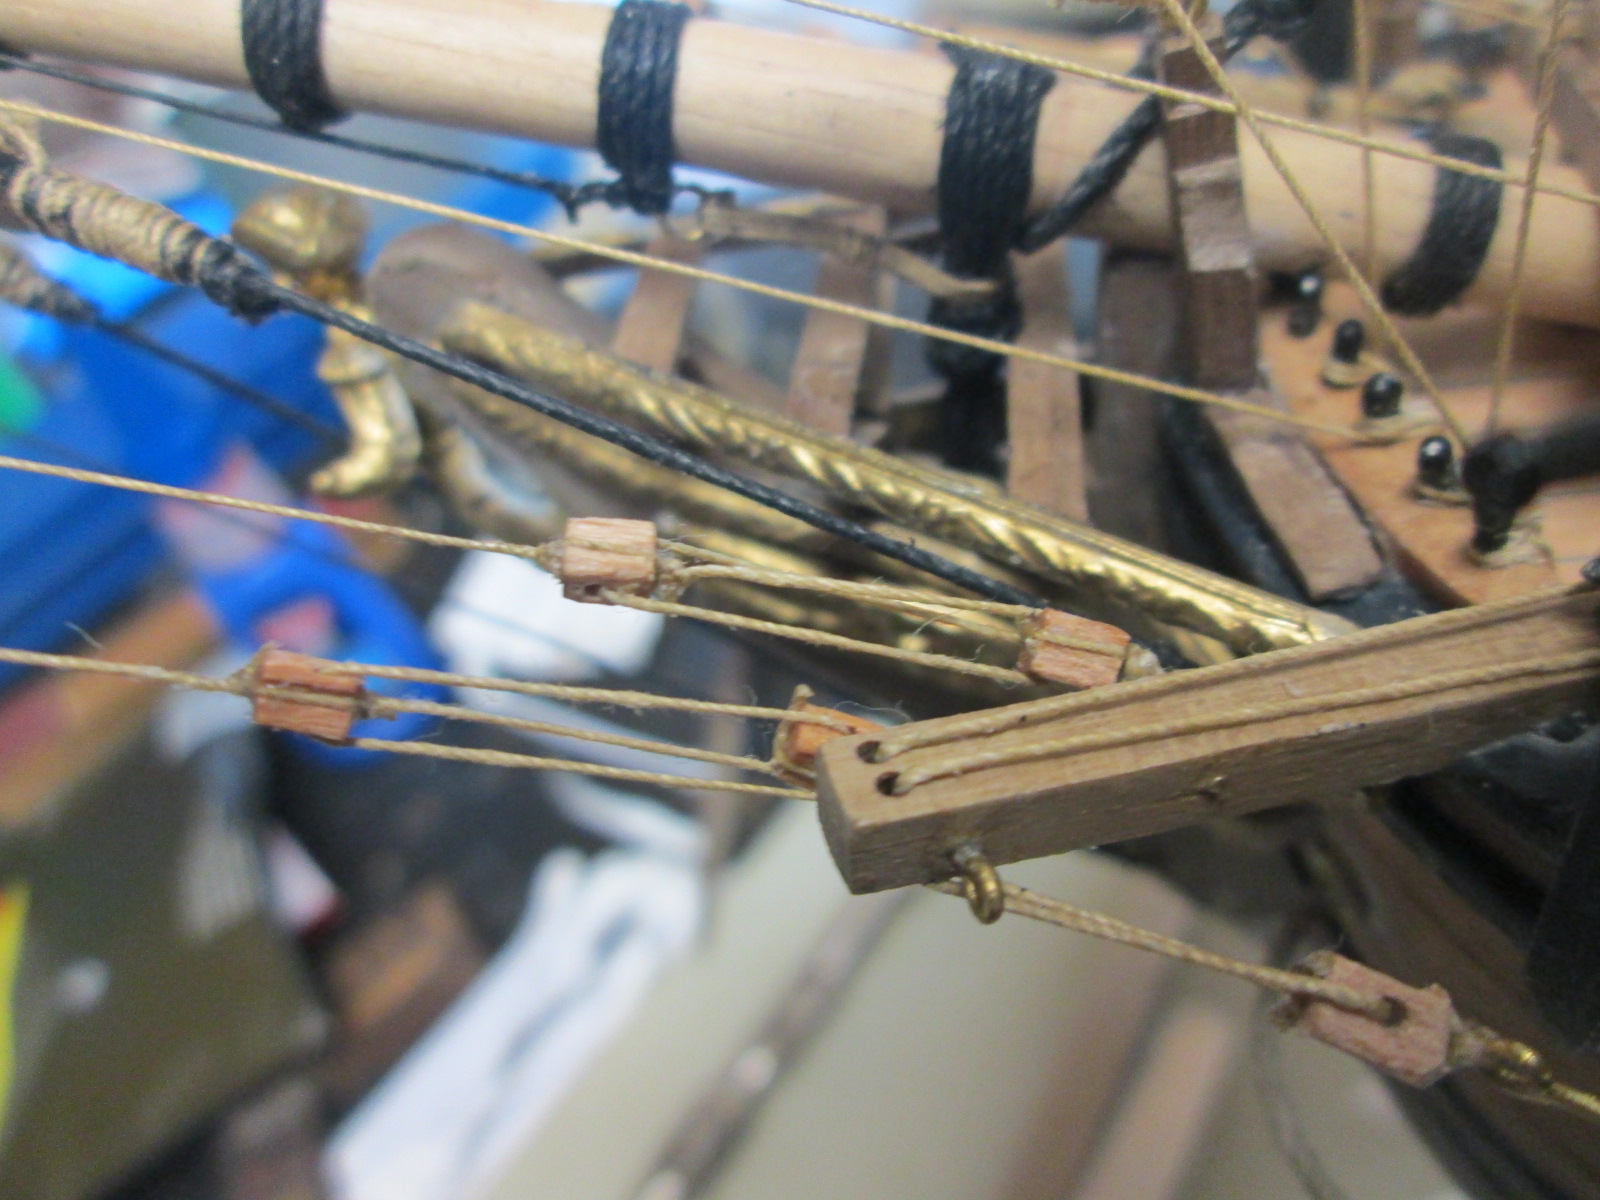
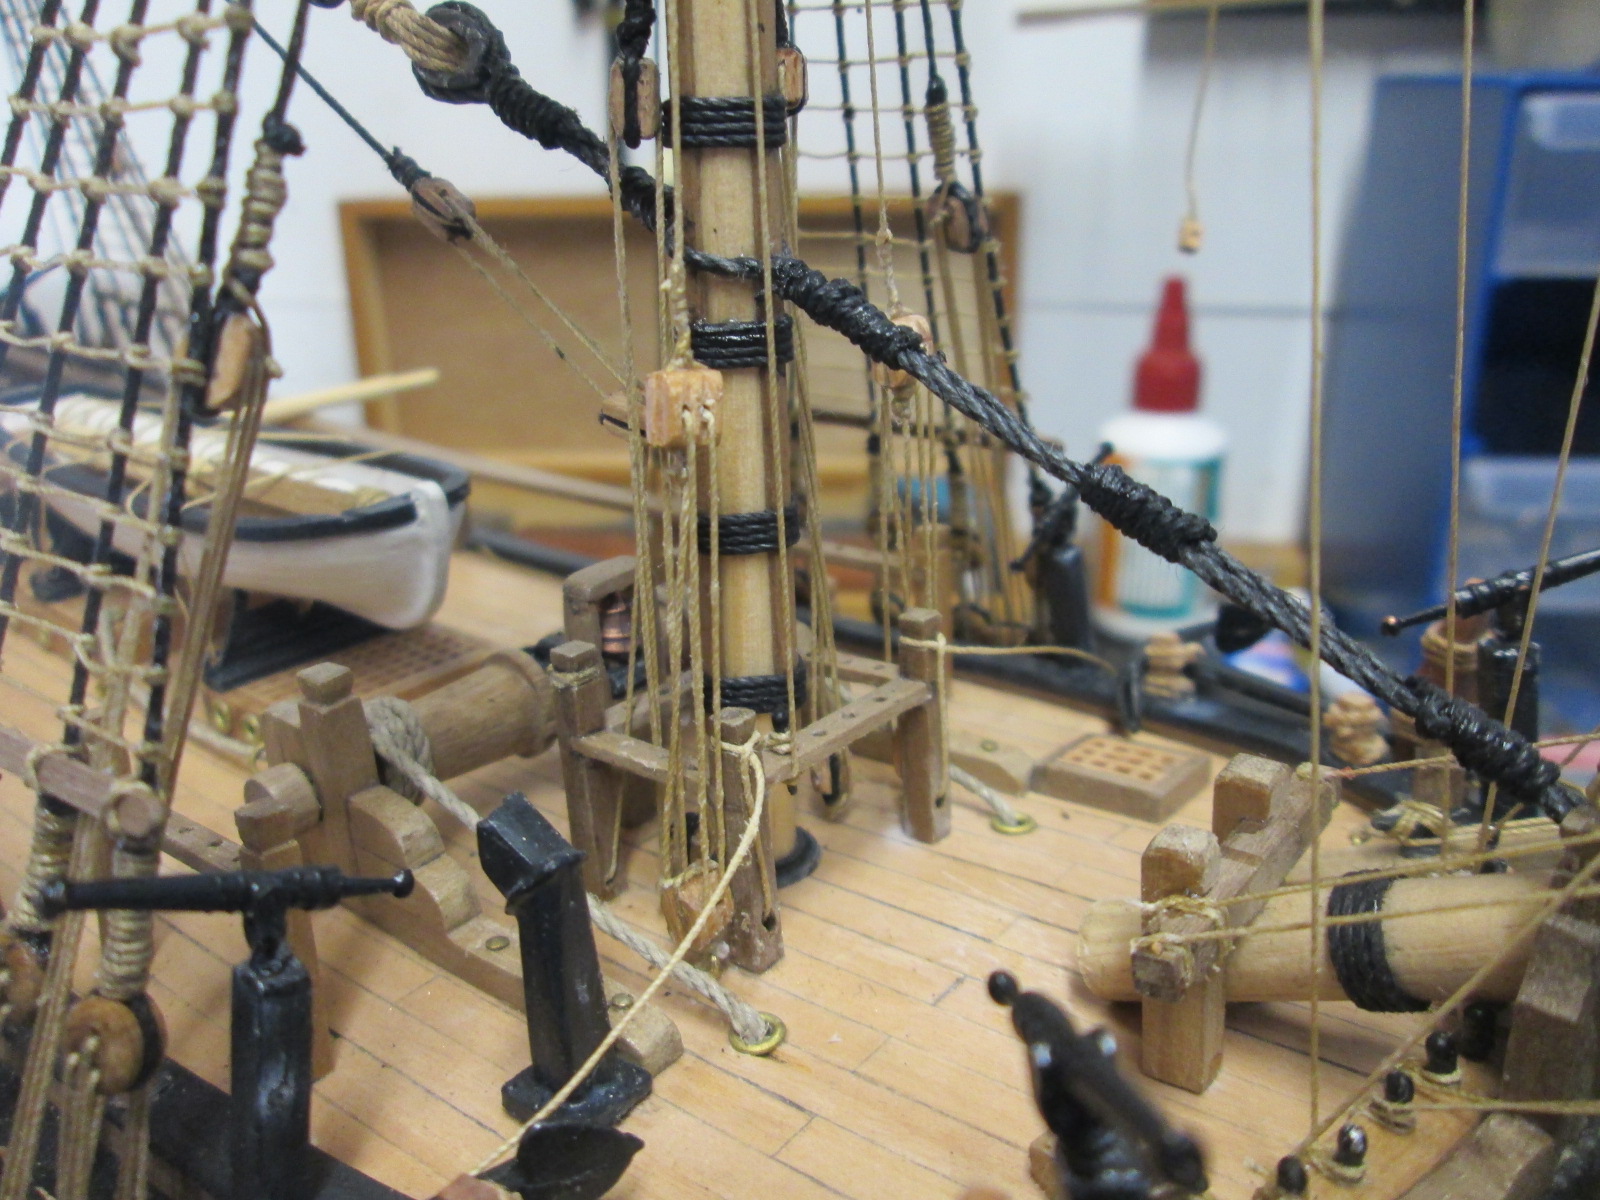
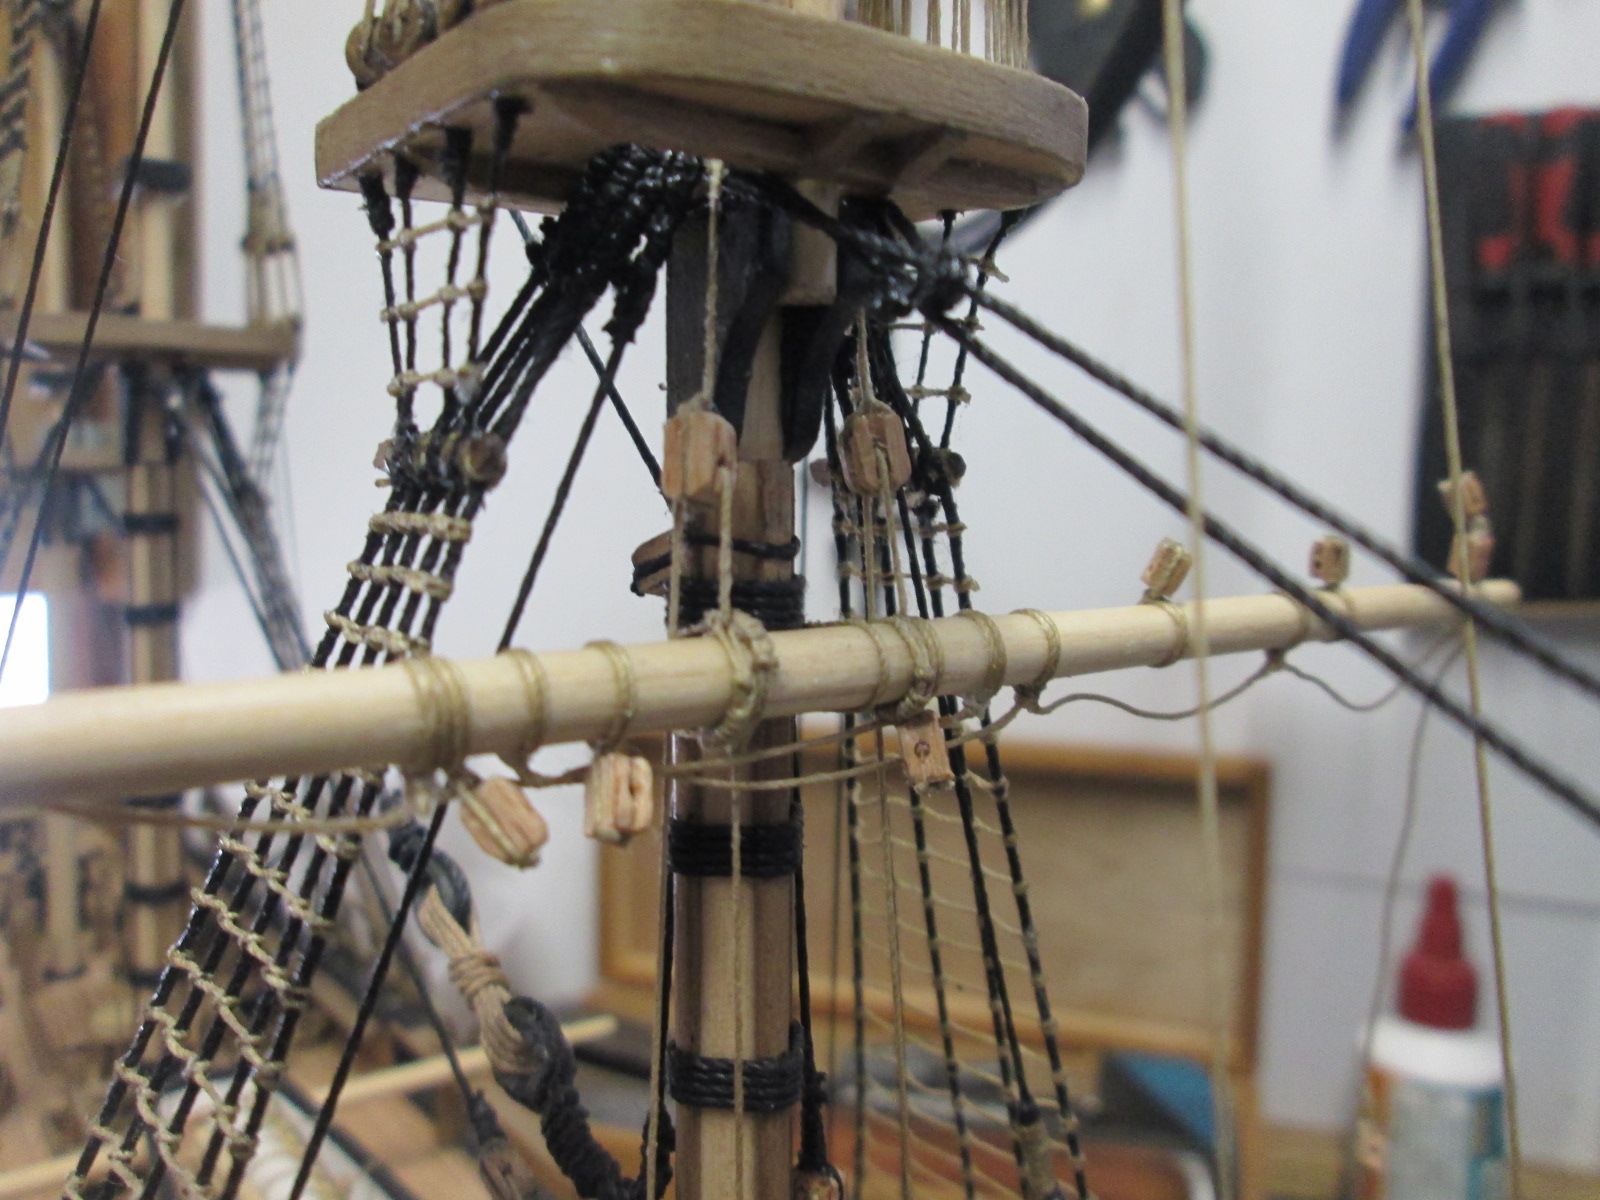
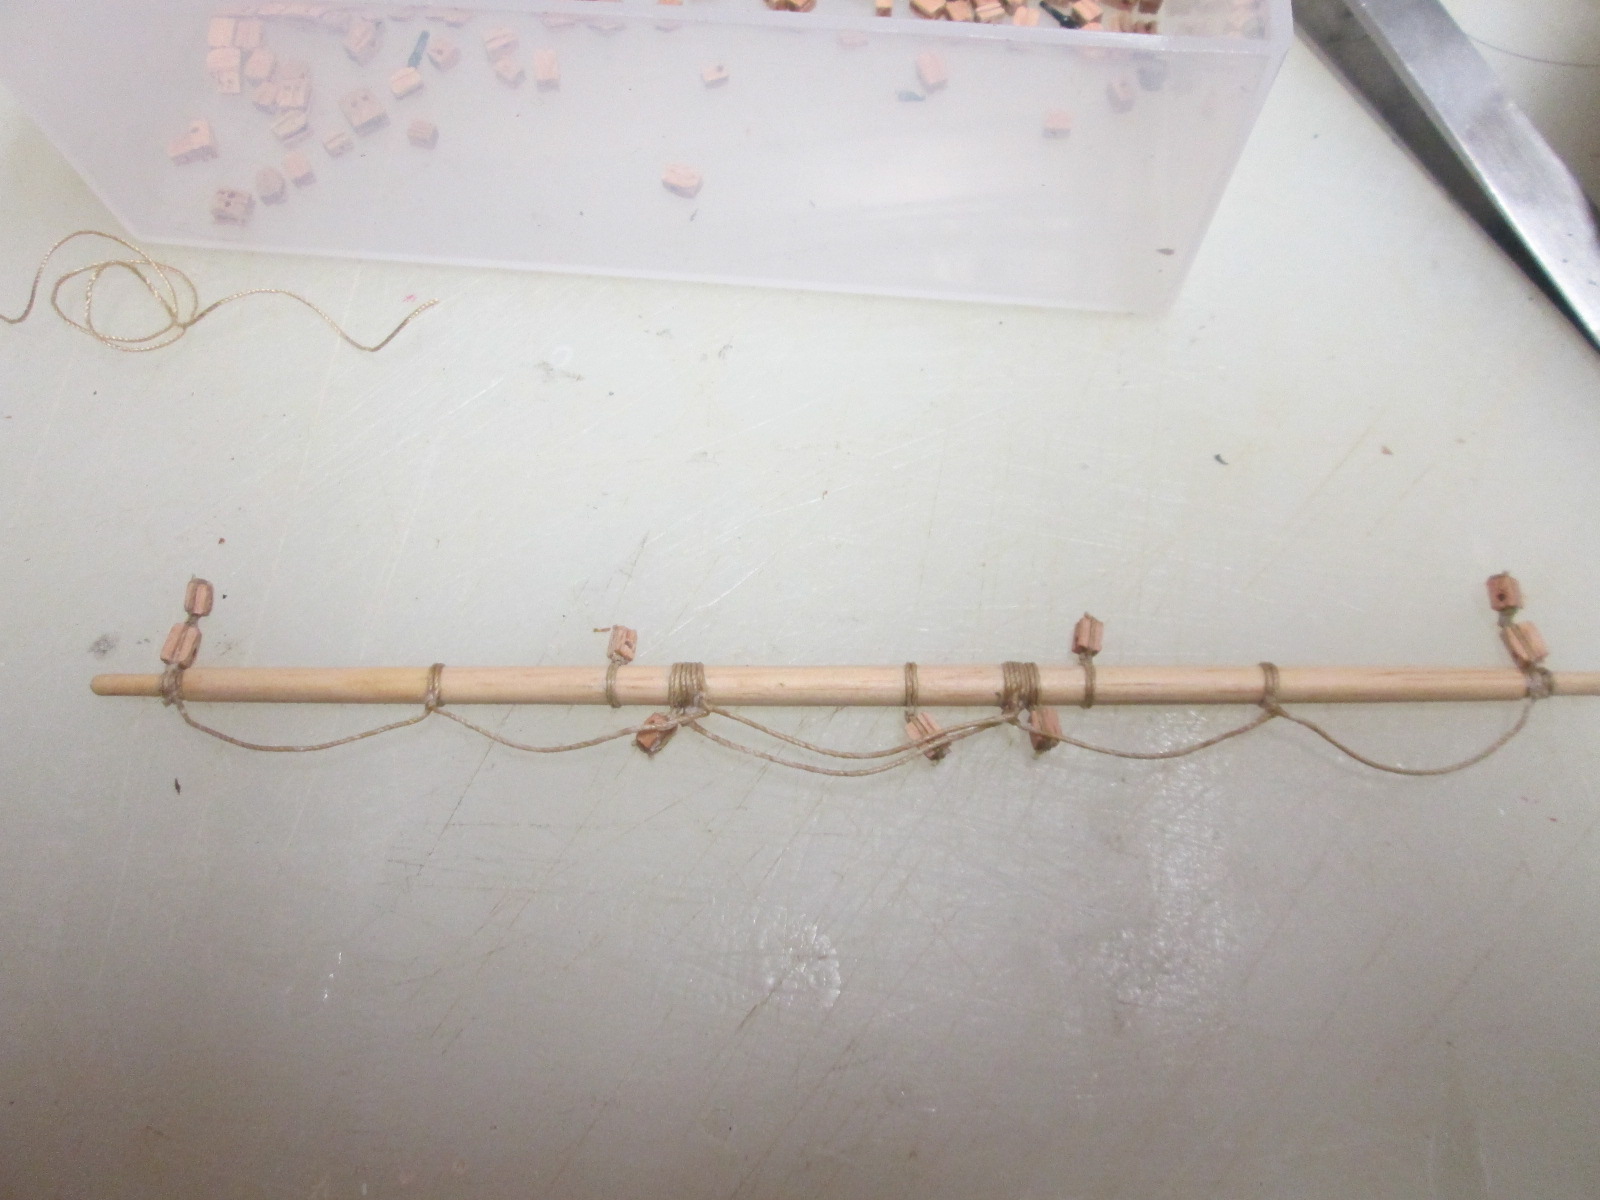
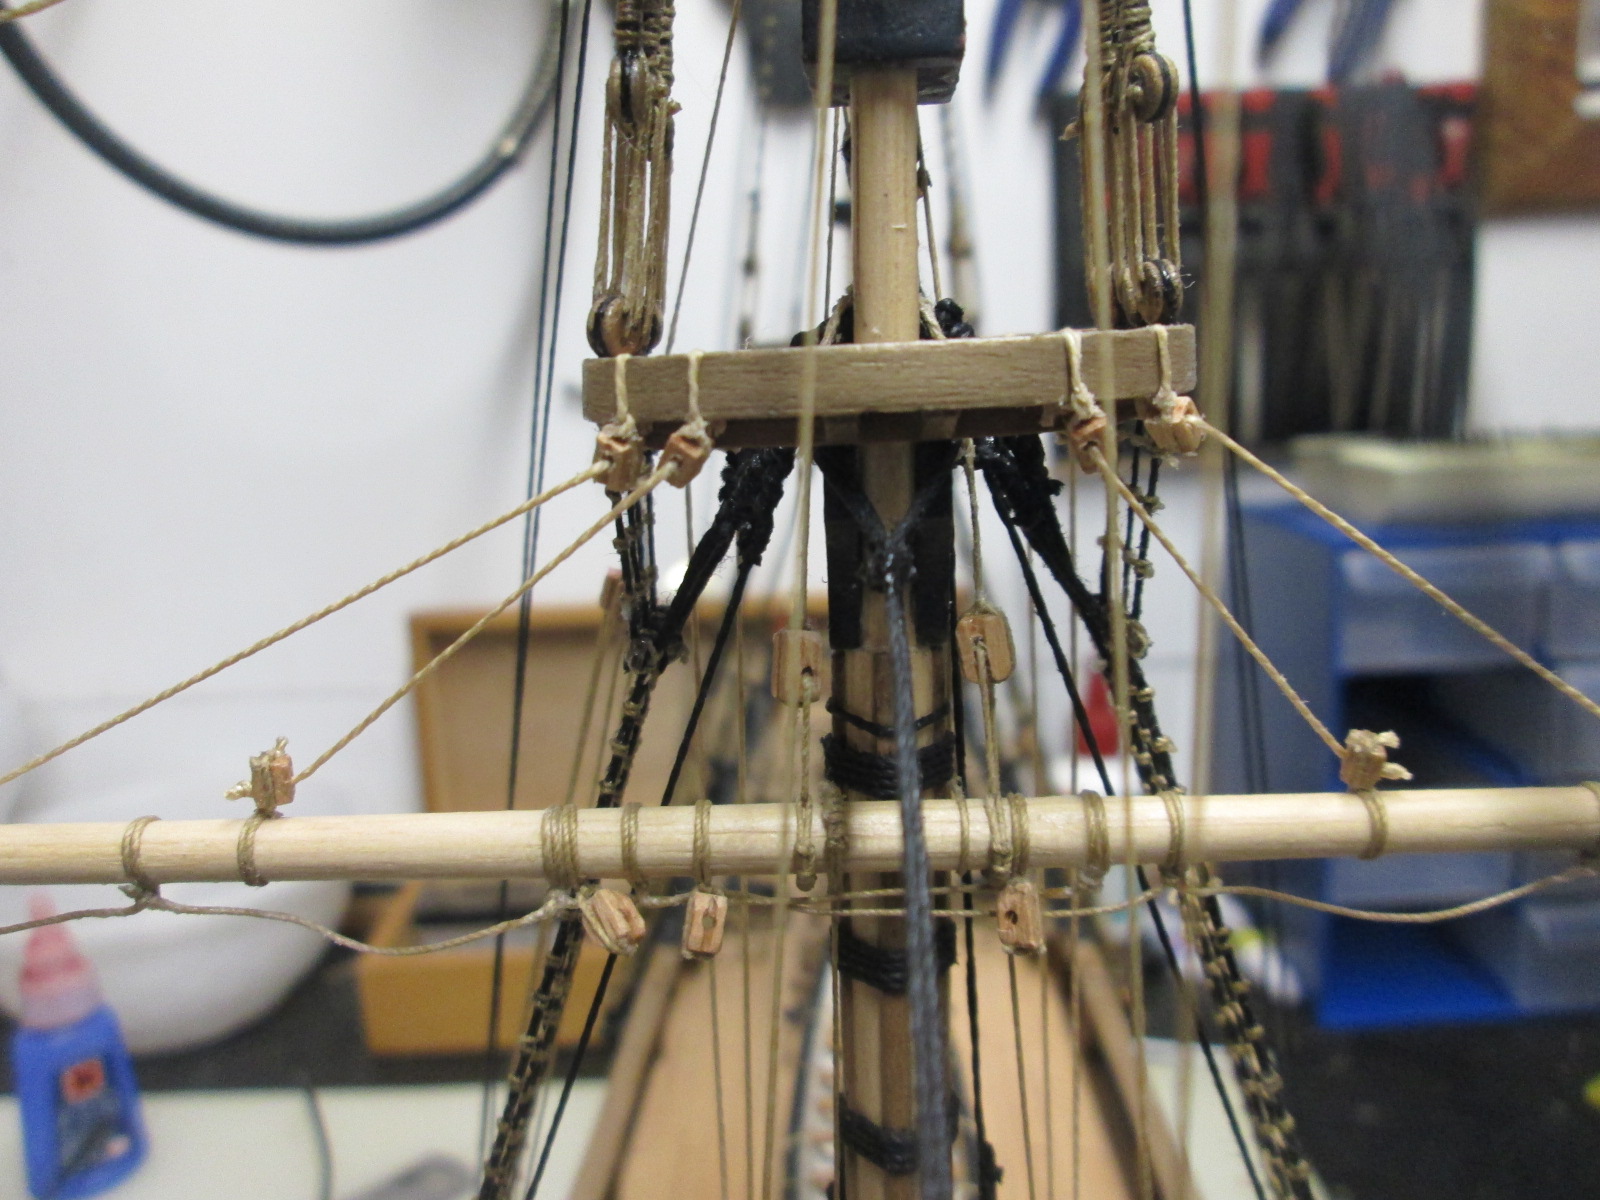
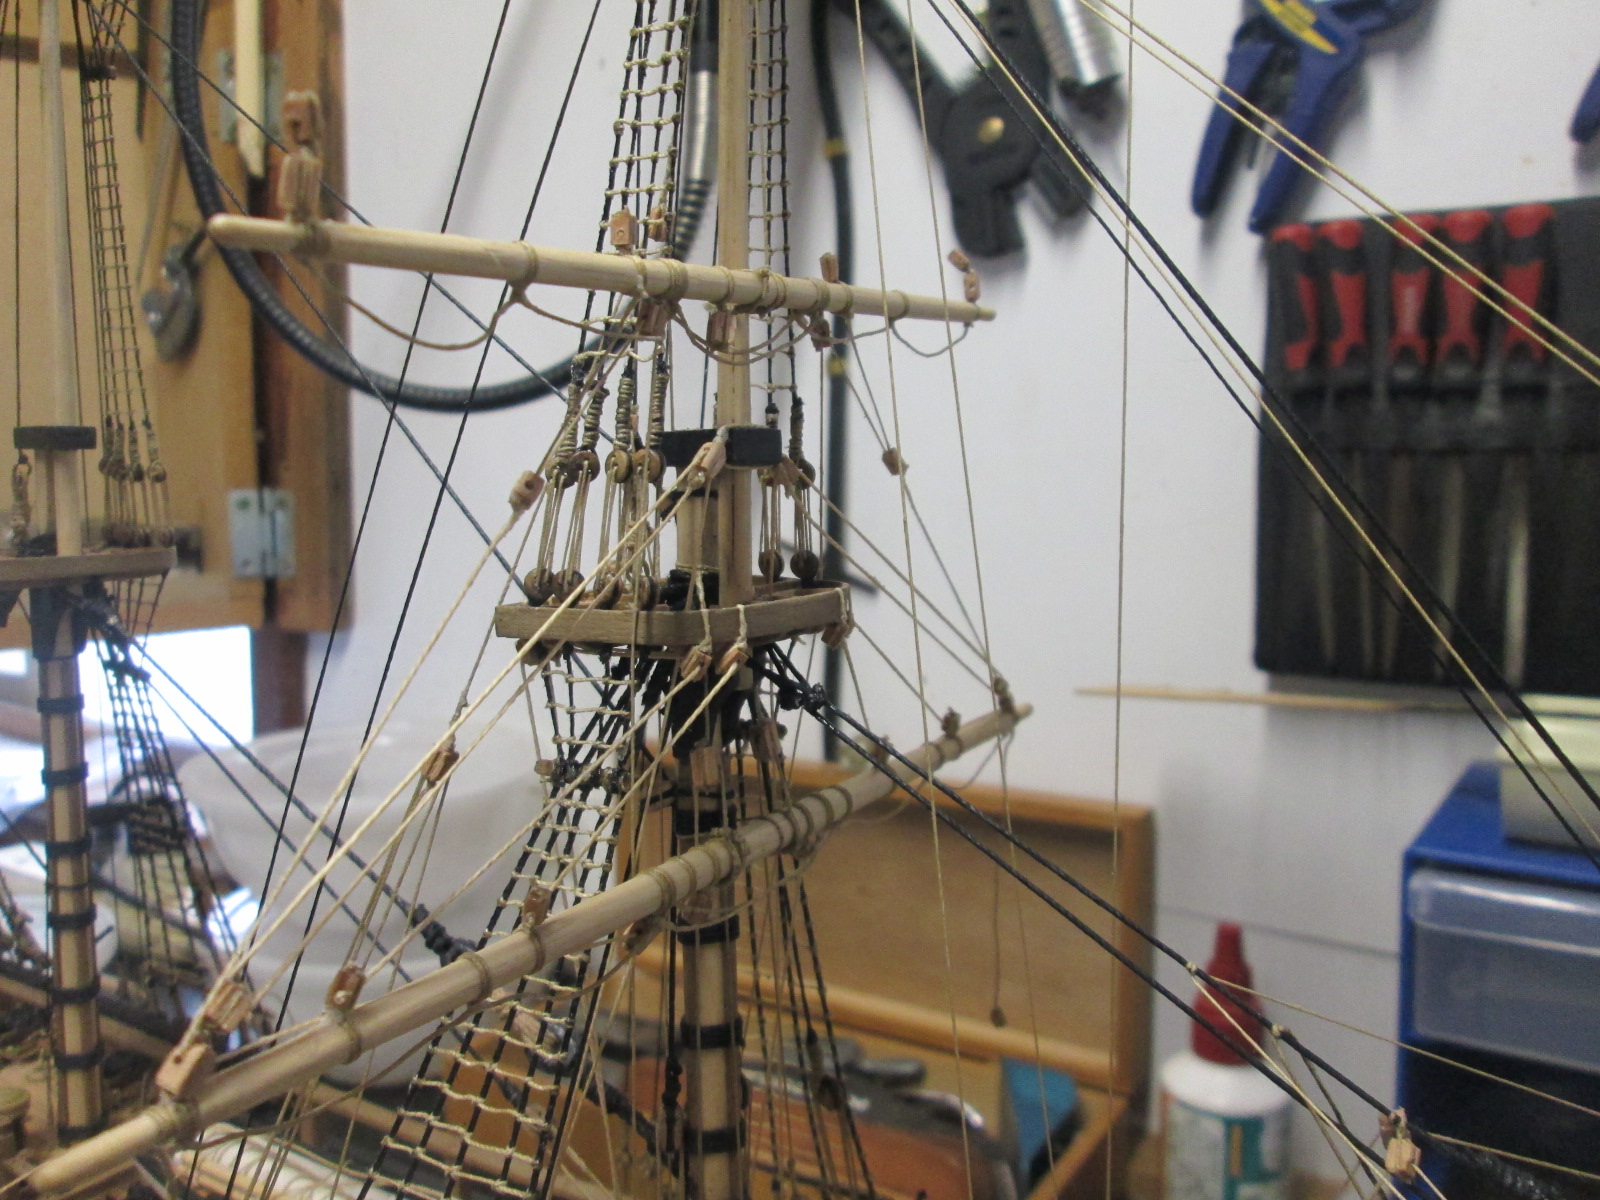
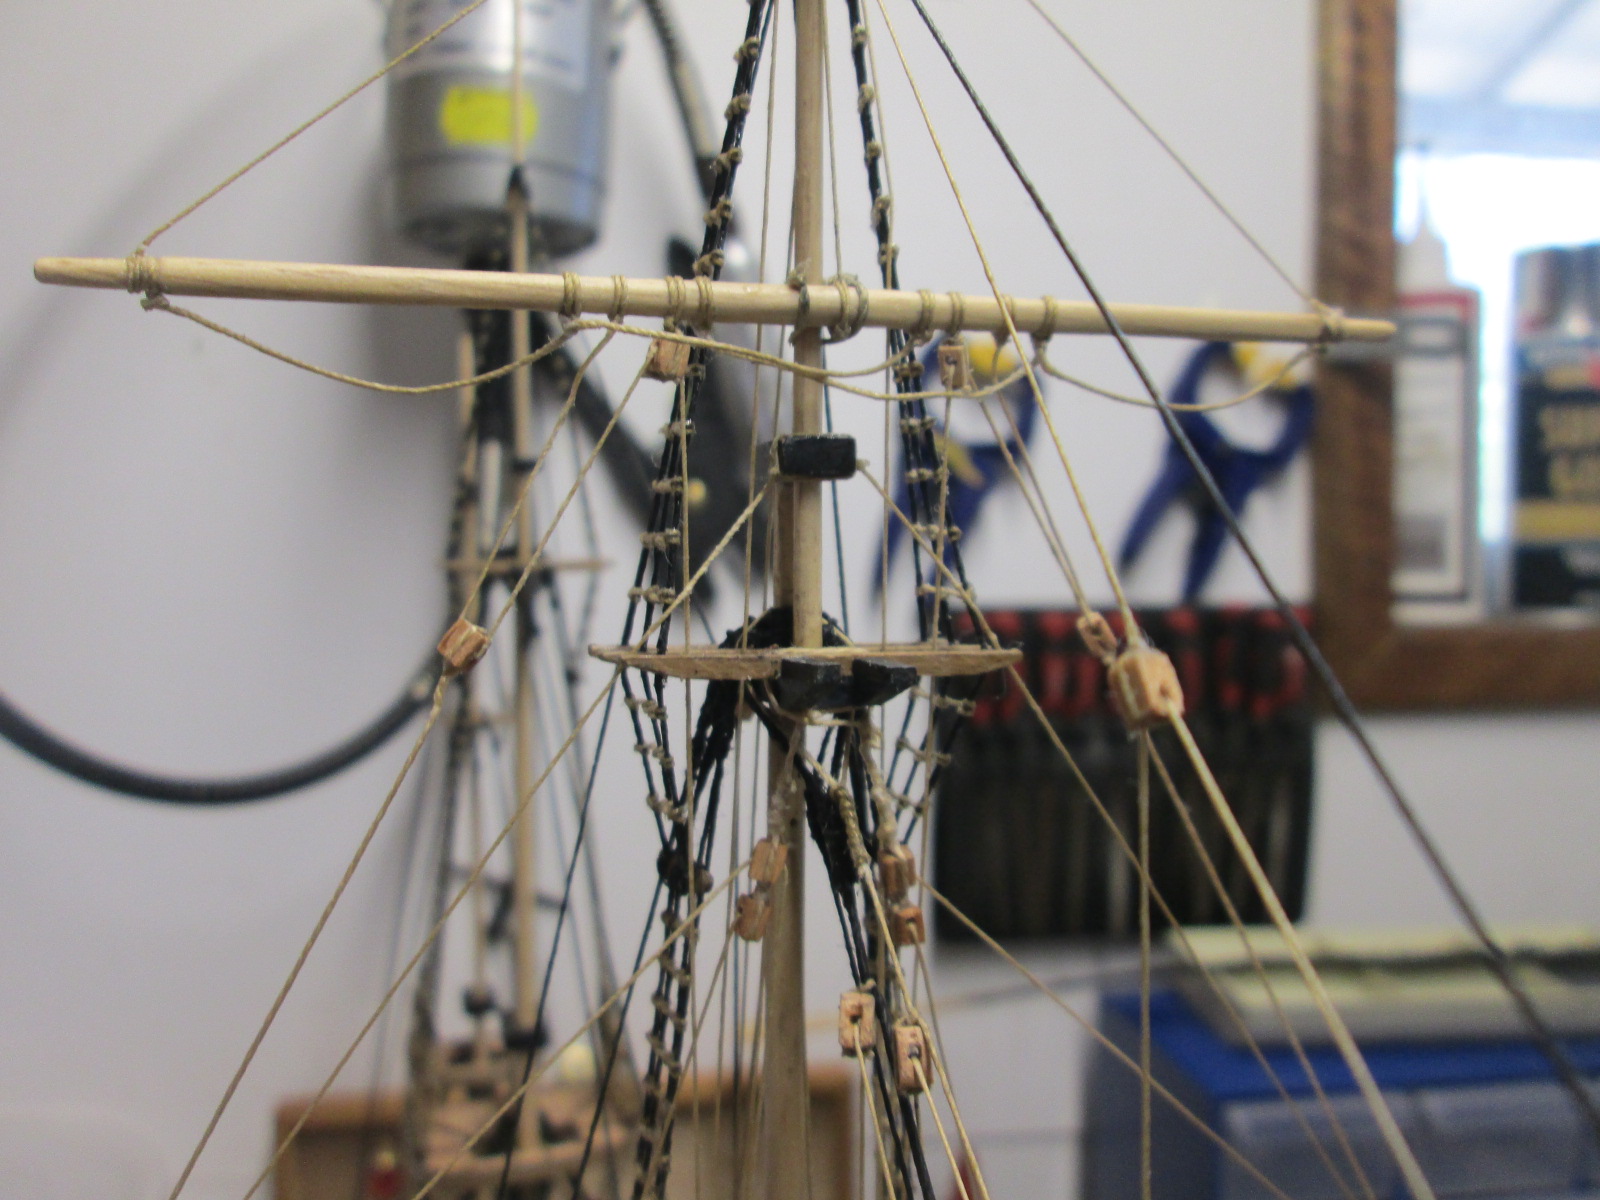
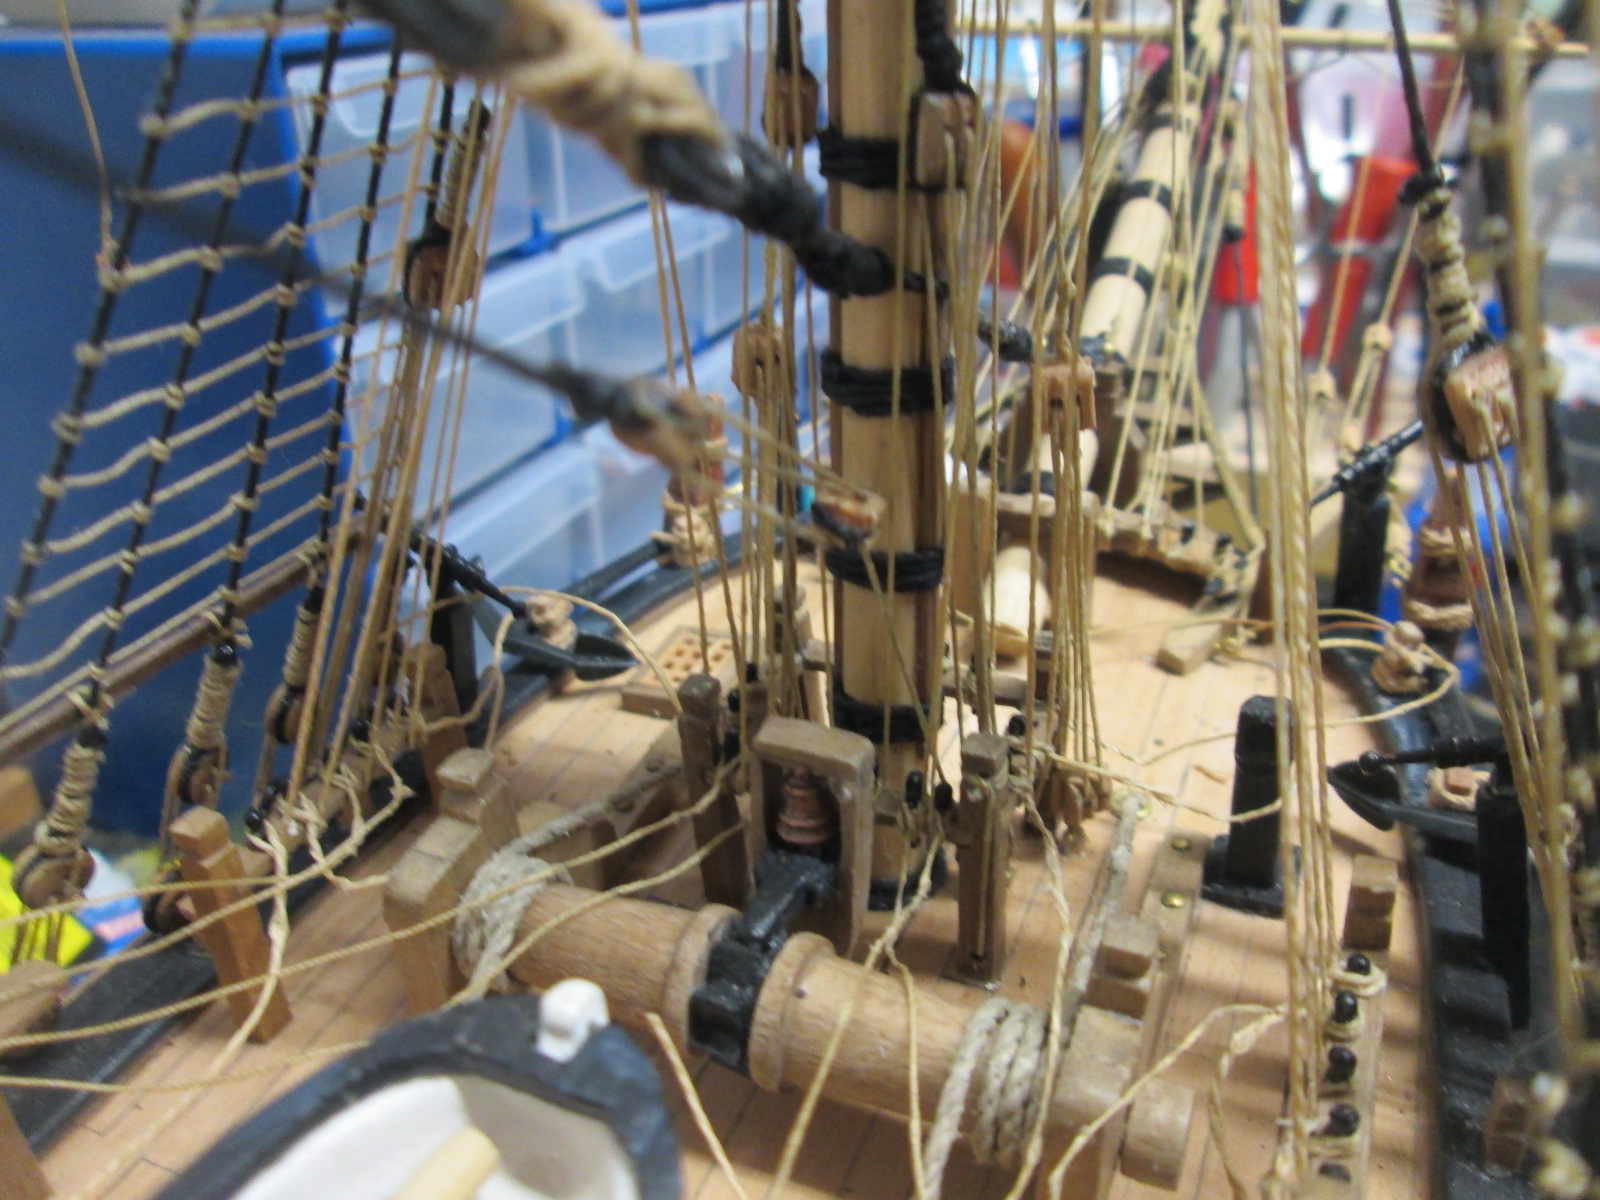
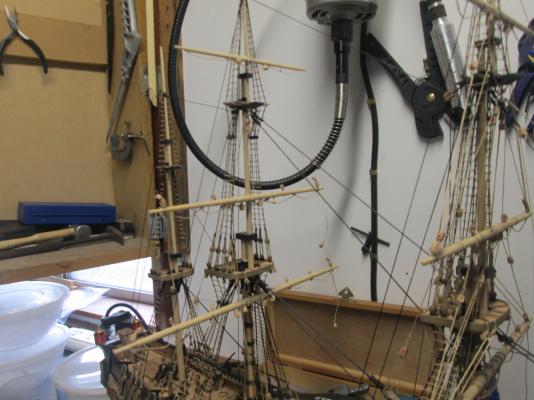
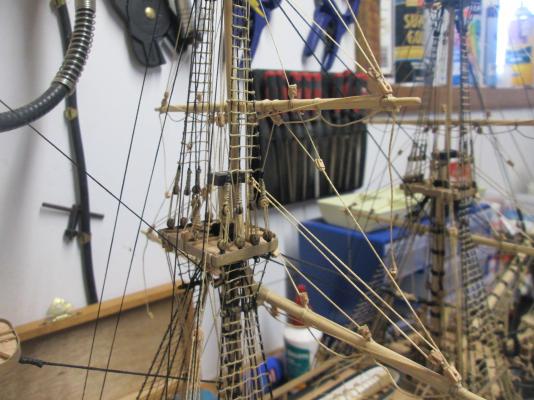
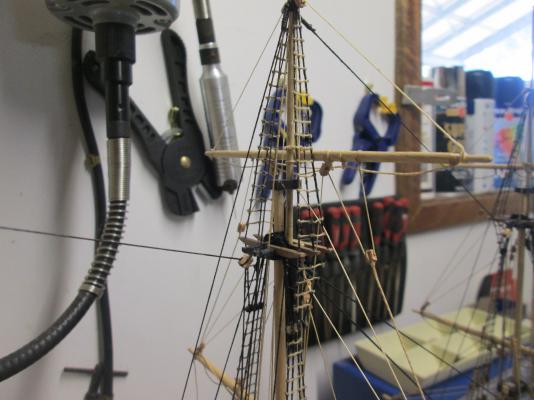
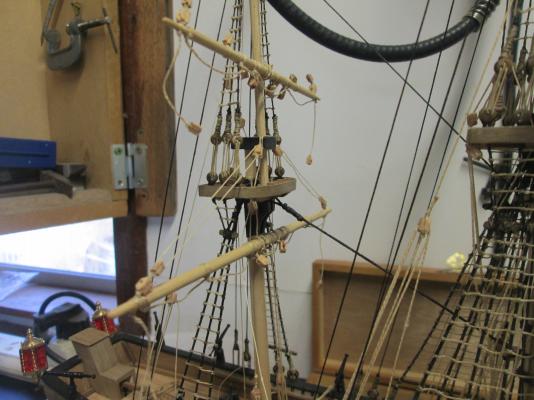
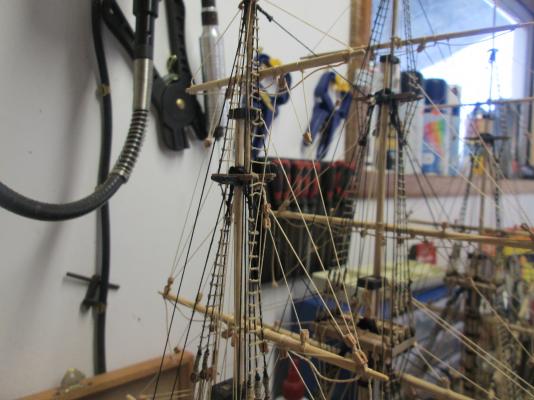
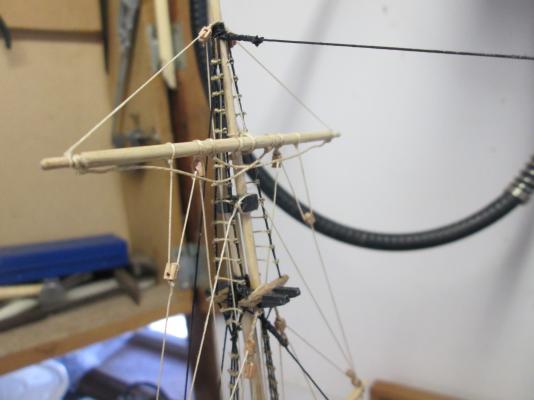
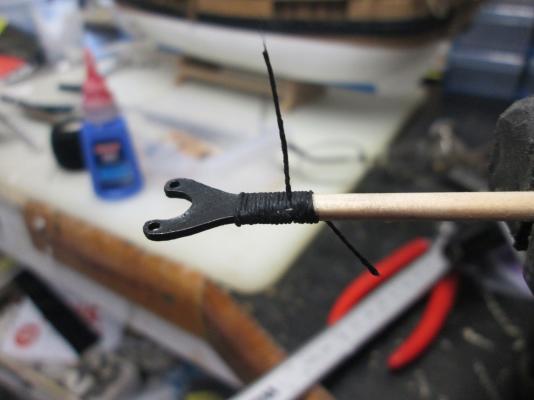
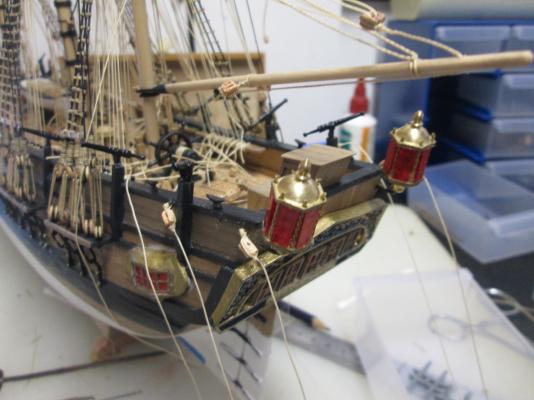
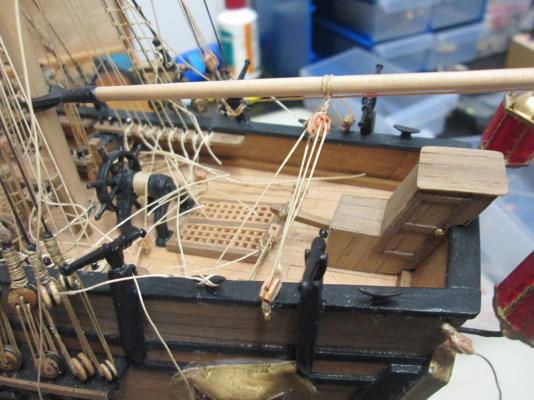
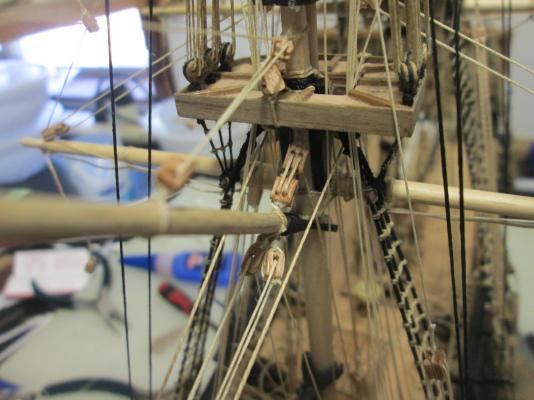
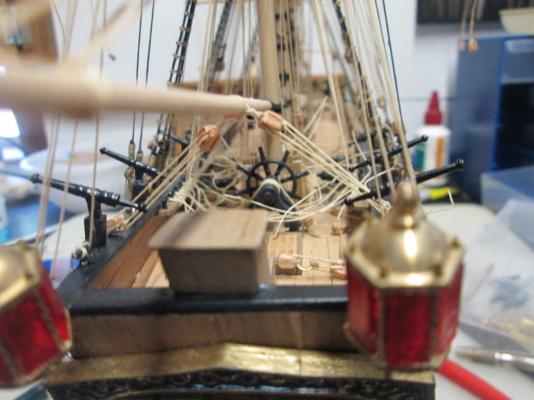
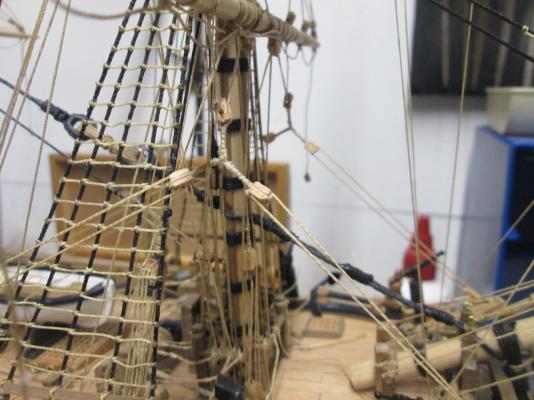
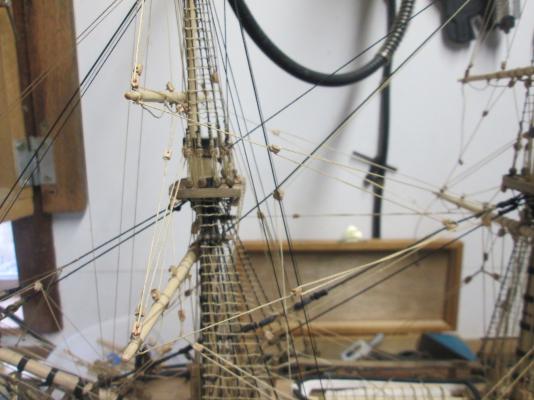
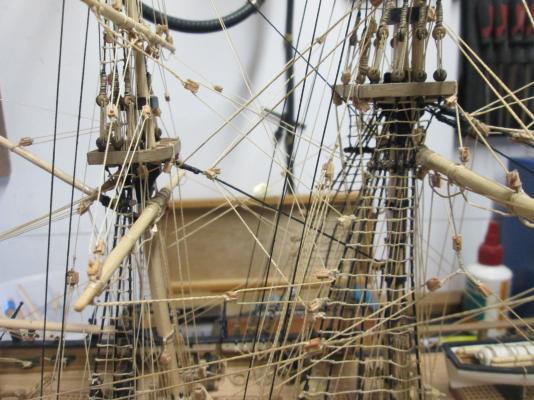
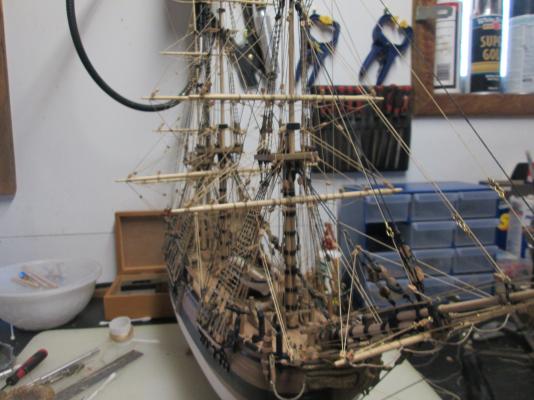
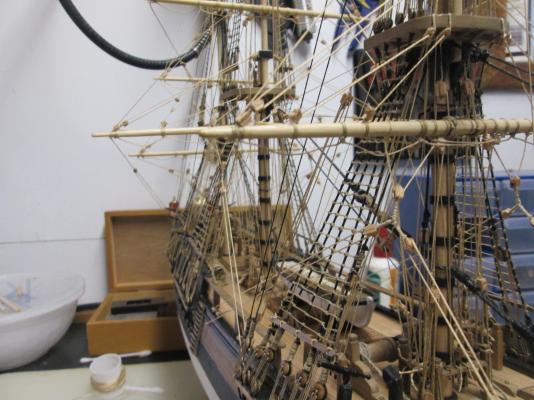
Moving right along I'm now up to the main Mast for running rigging. The decorations and stern detail are done. All the Bowsprit rigging is done. No nasty surprises, only there's not a lot of room to run the rigging down through the Mastcap because of all the Shrouds. You may wish to cut the hole a little bigger on the foreward side. My next post should see her finished, then maybe one more after I've cleaned her up and put the final touches on. Hope you're all having fun with yours. Matt.