mathewp
-
Posts
209 -
Joined
-
Last visited
Content Type
Profiles
Forums
Gallery
Events
Everything posted by mathewp
-
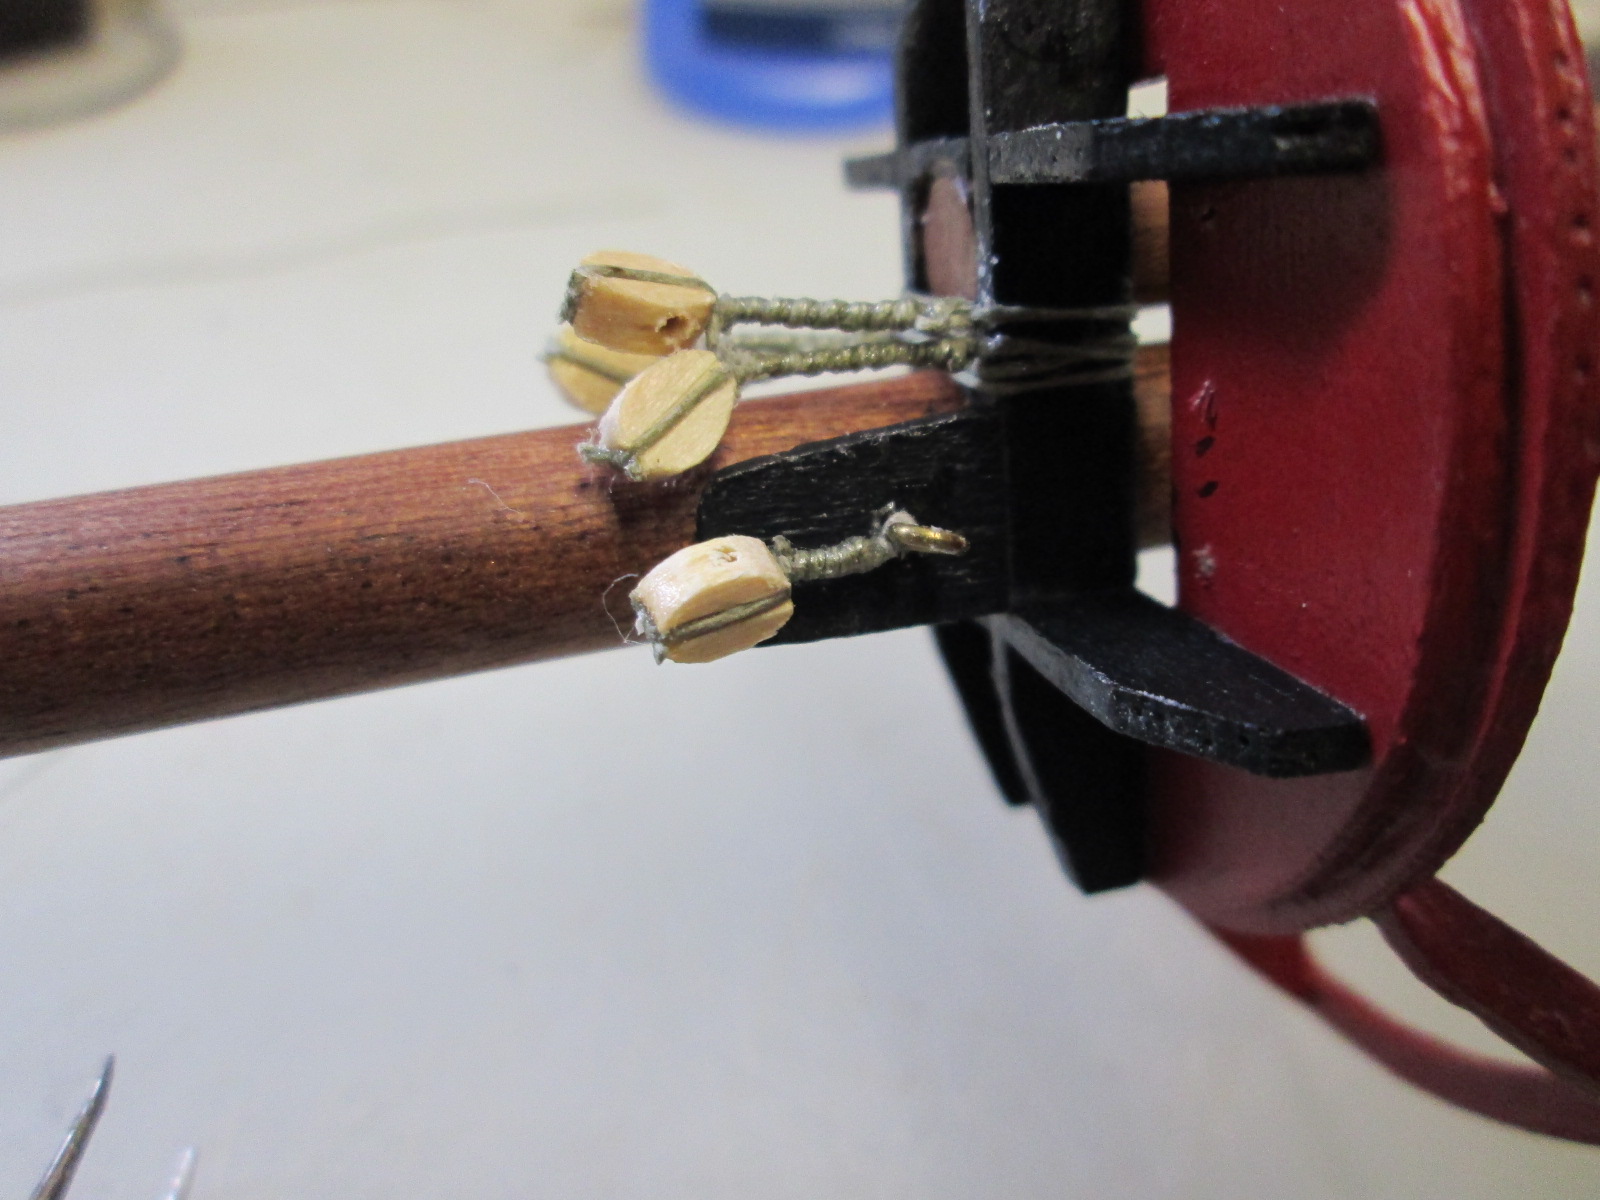
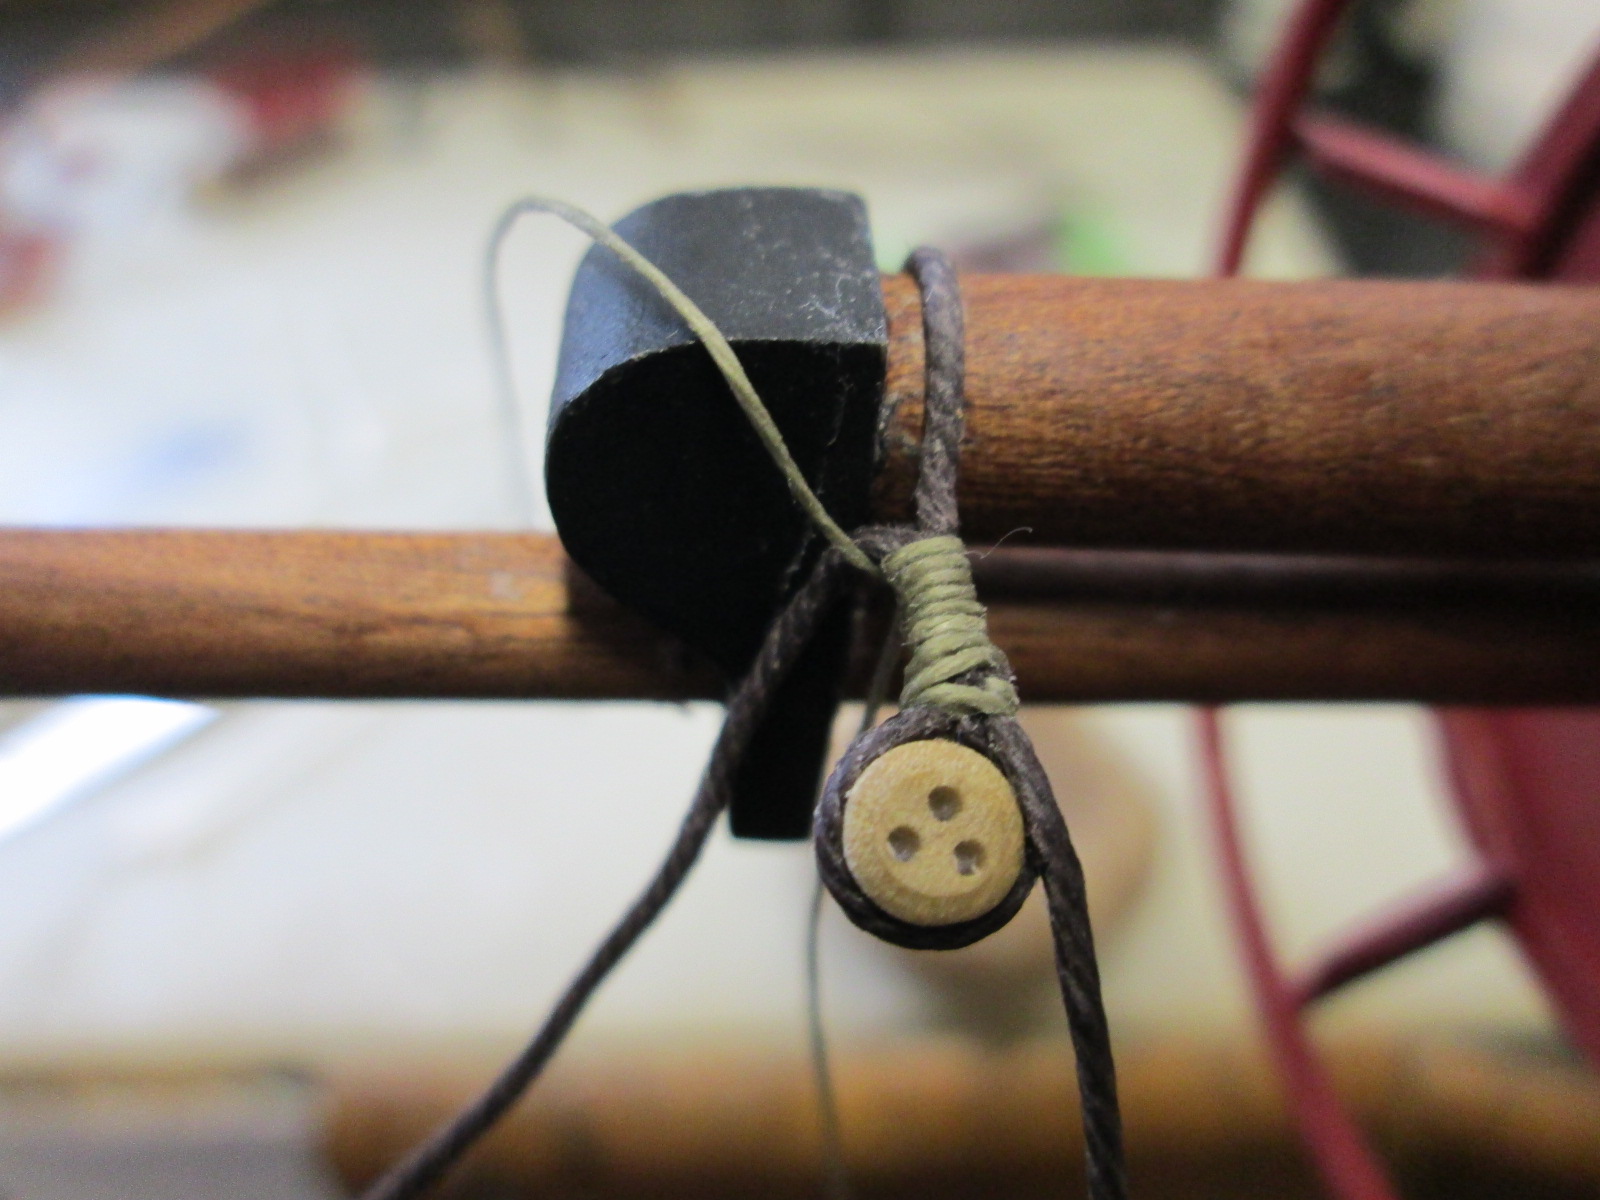
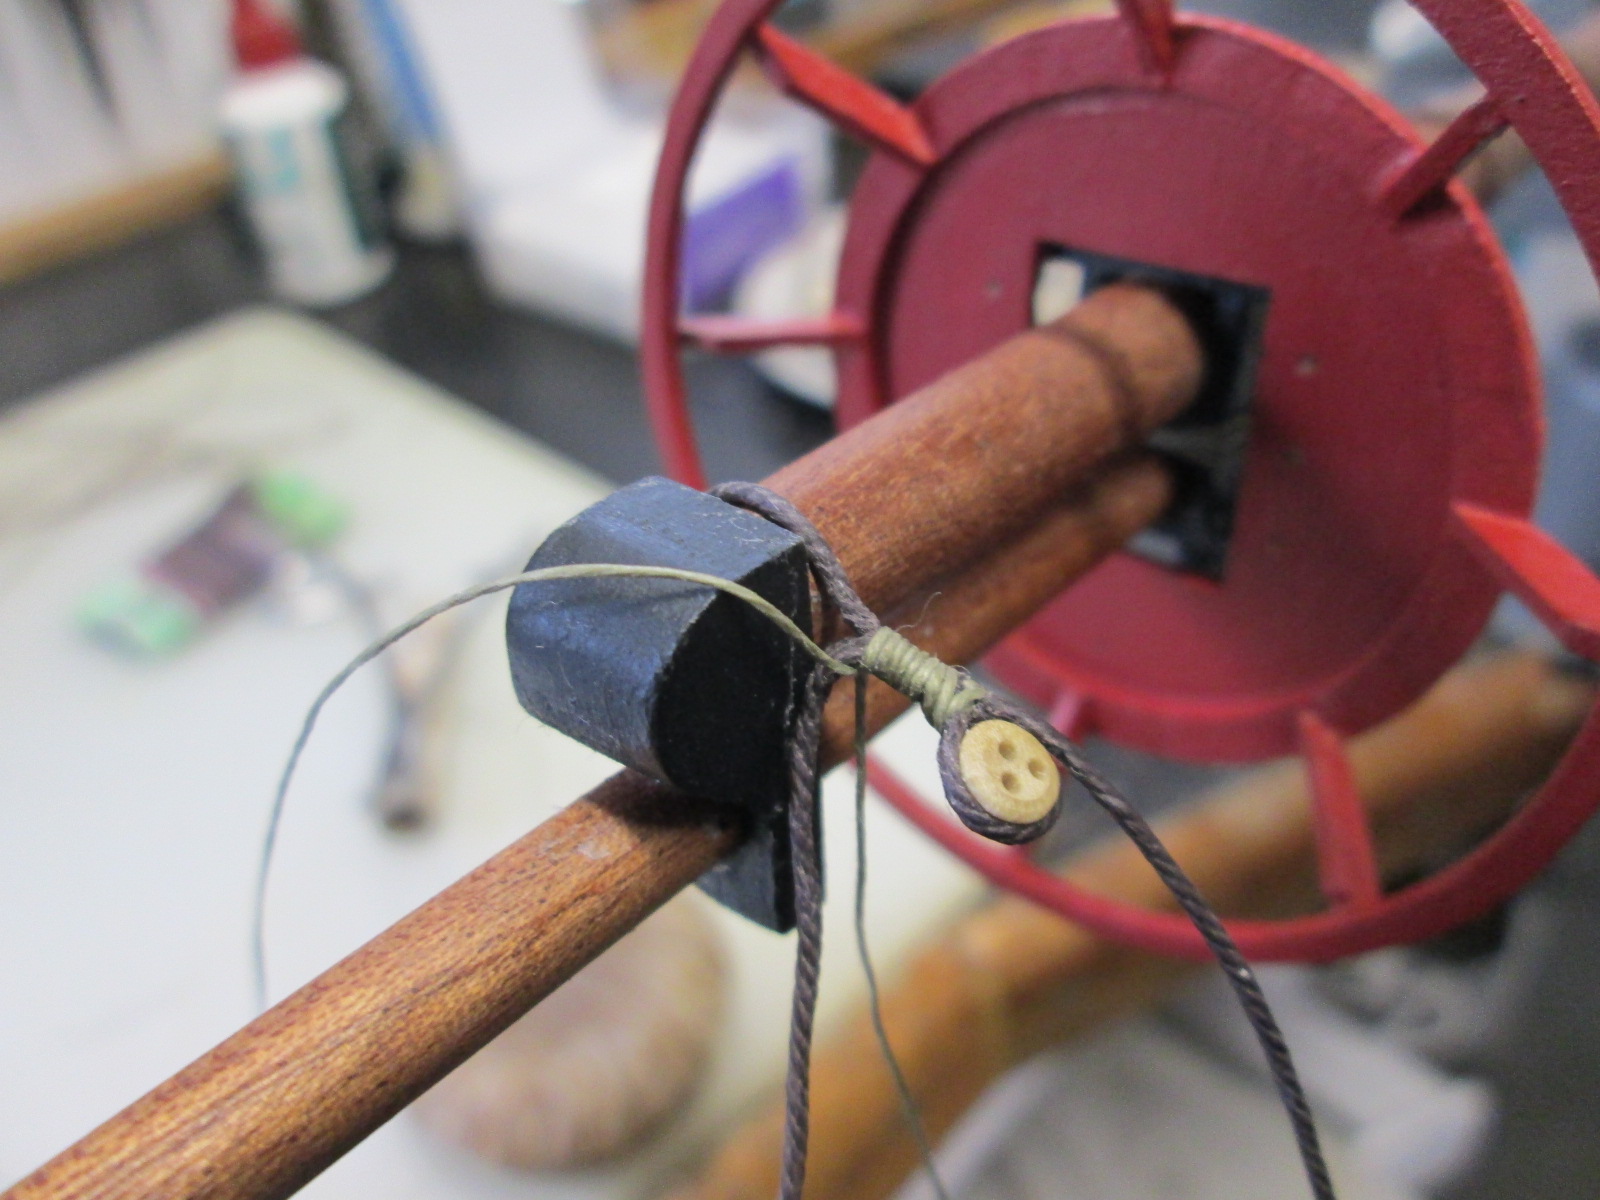
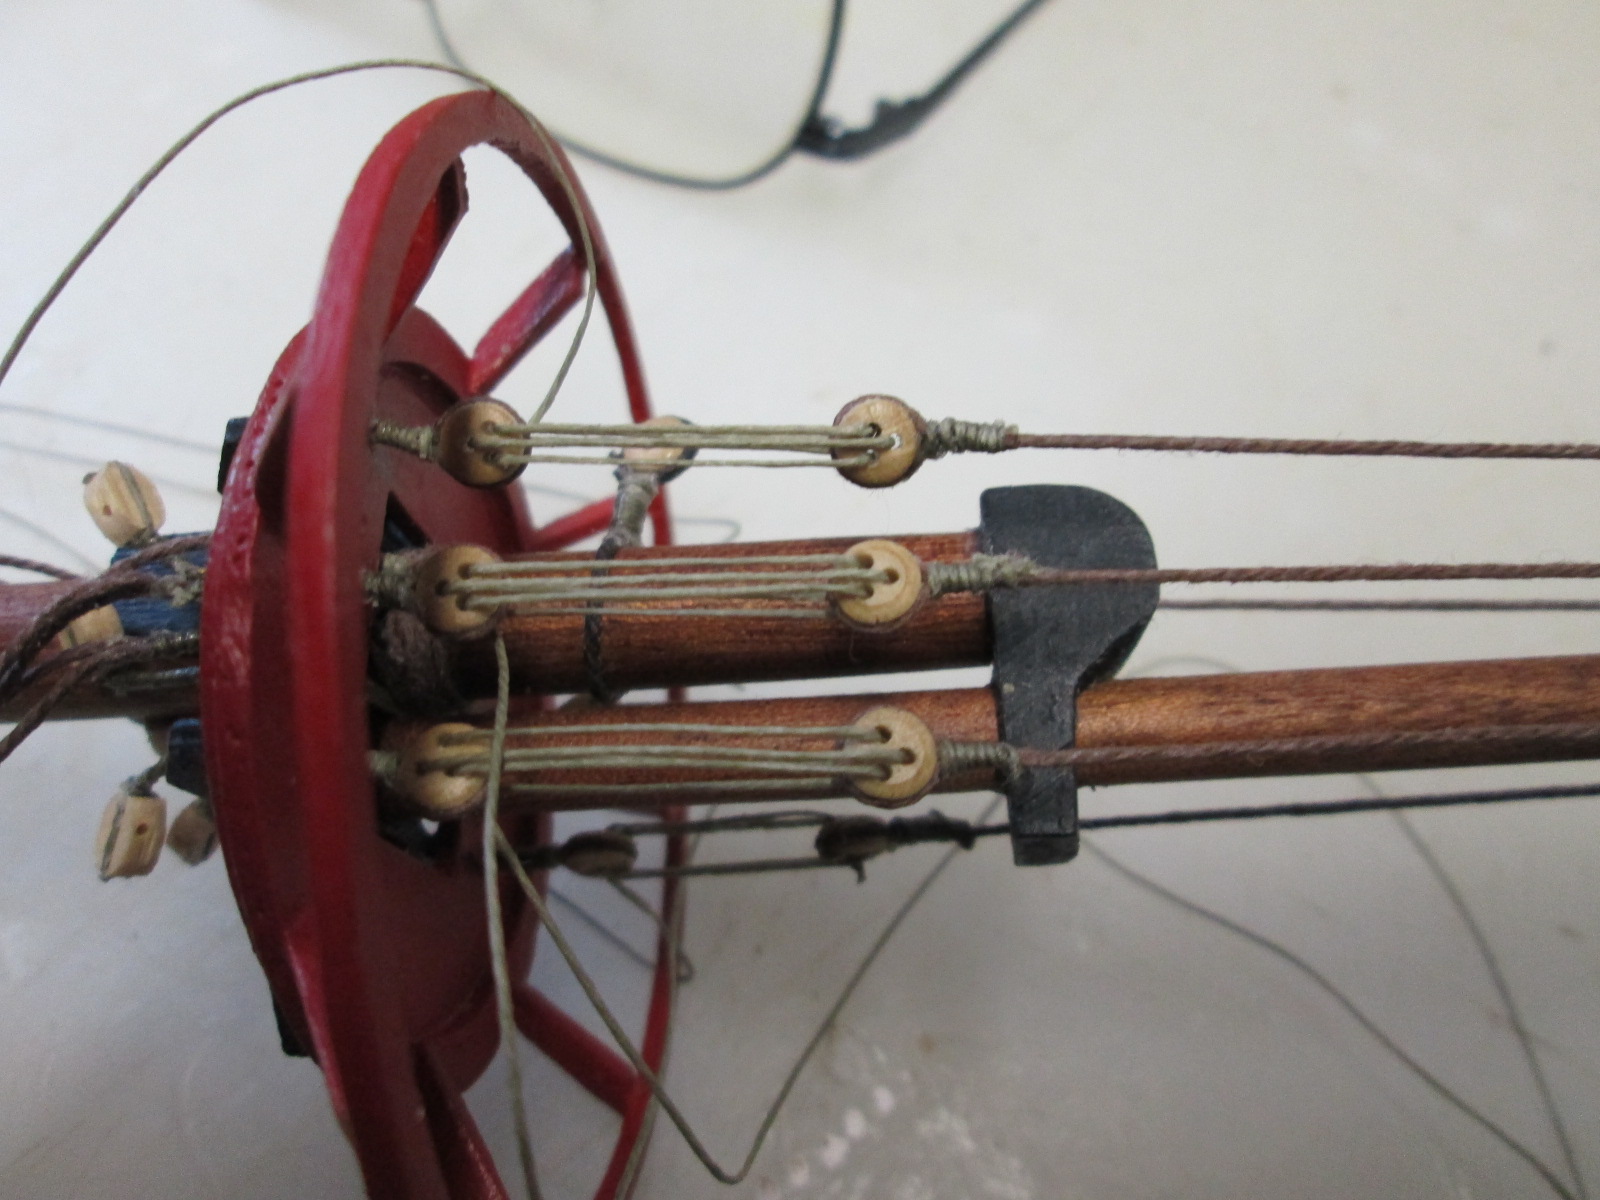
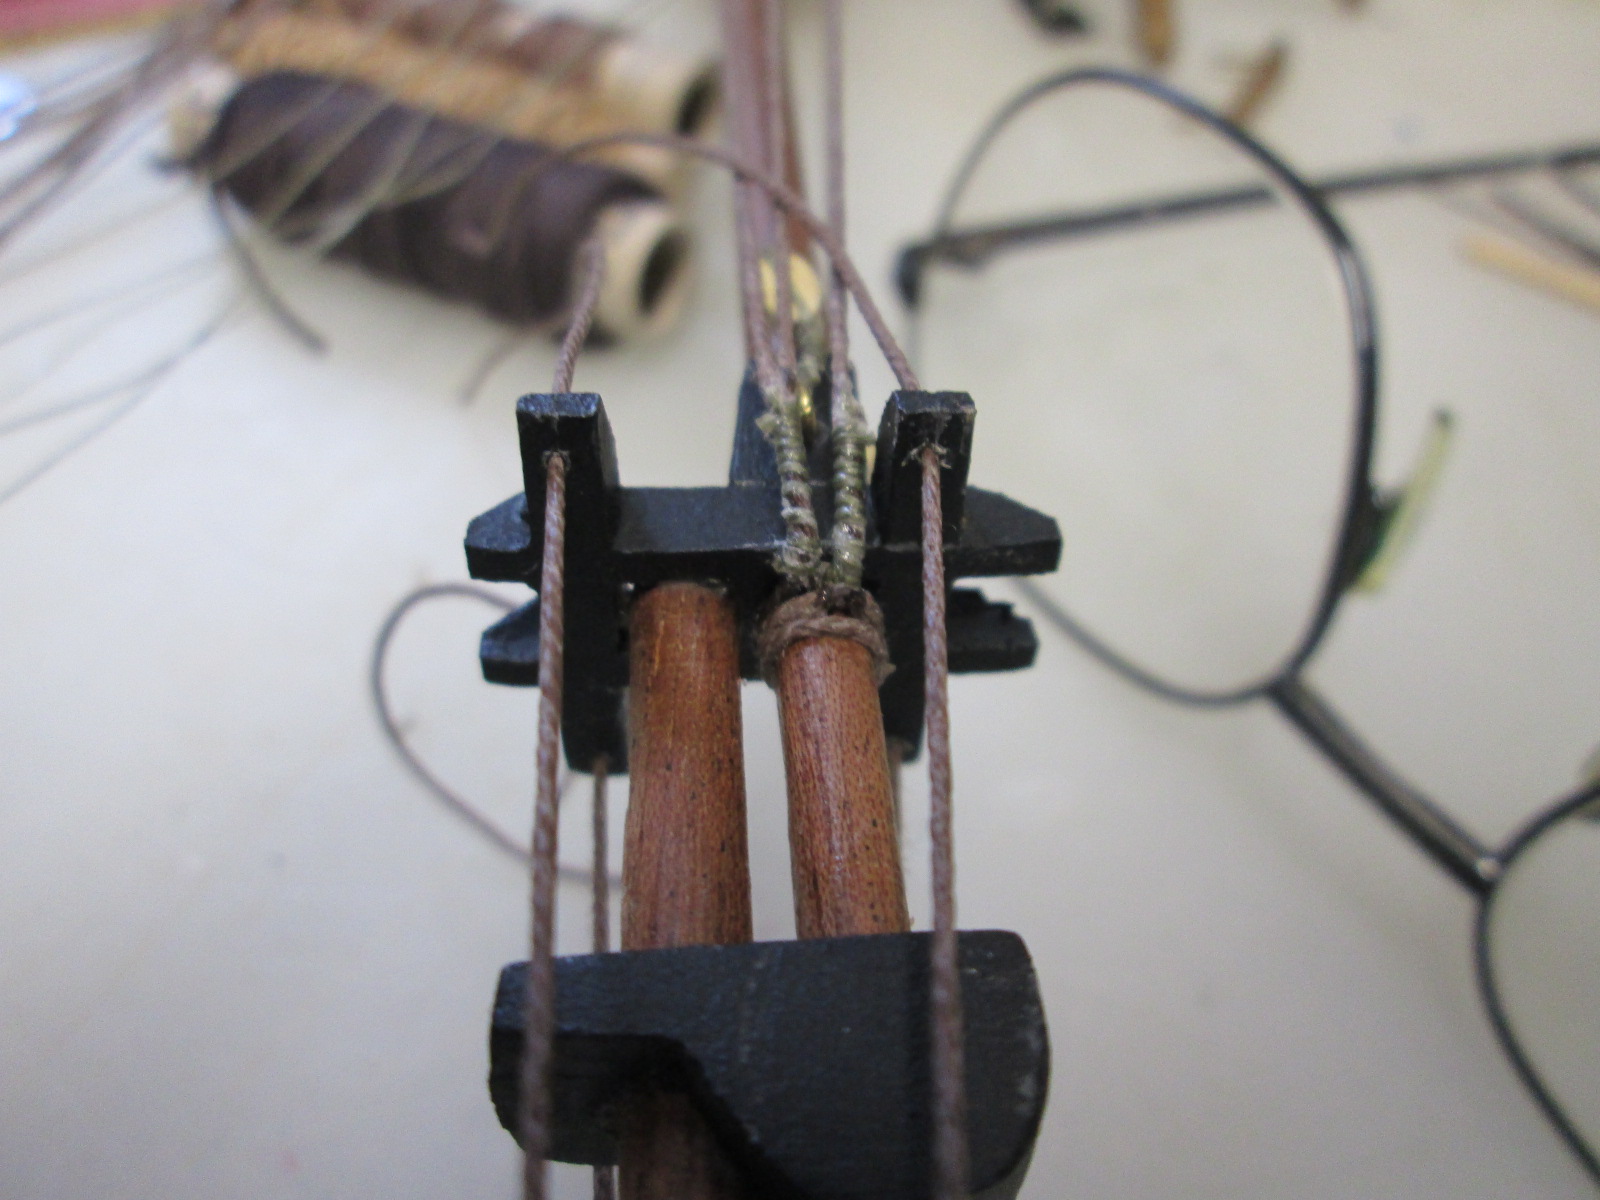
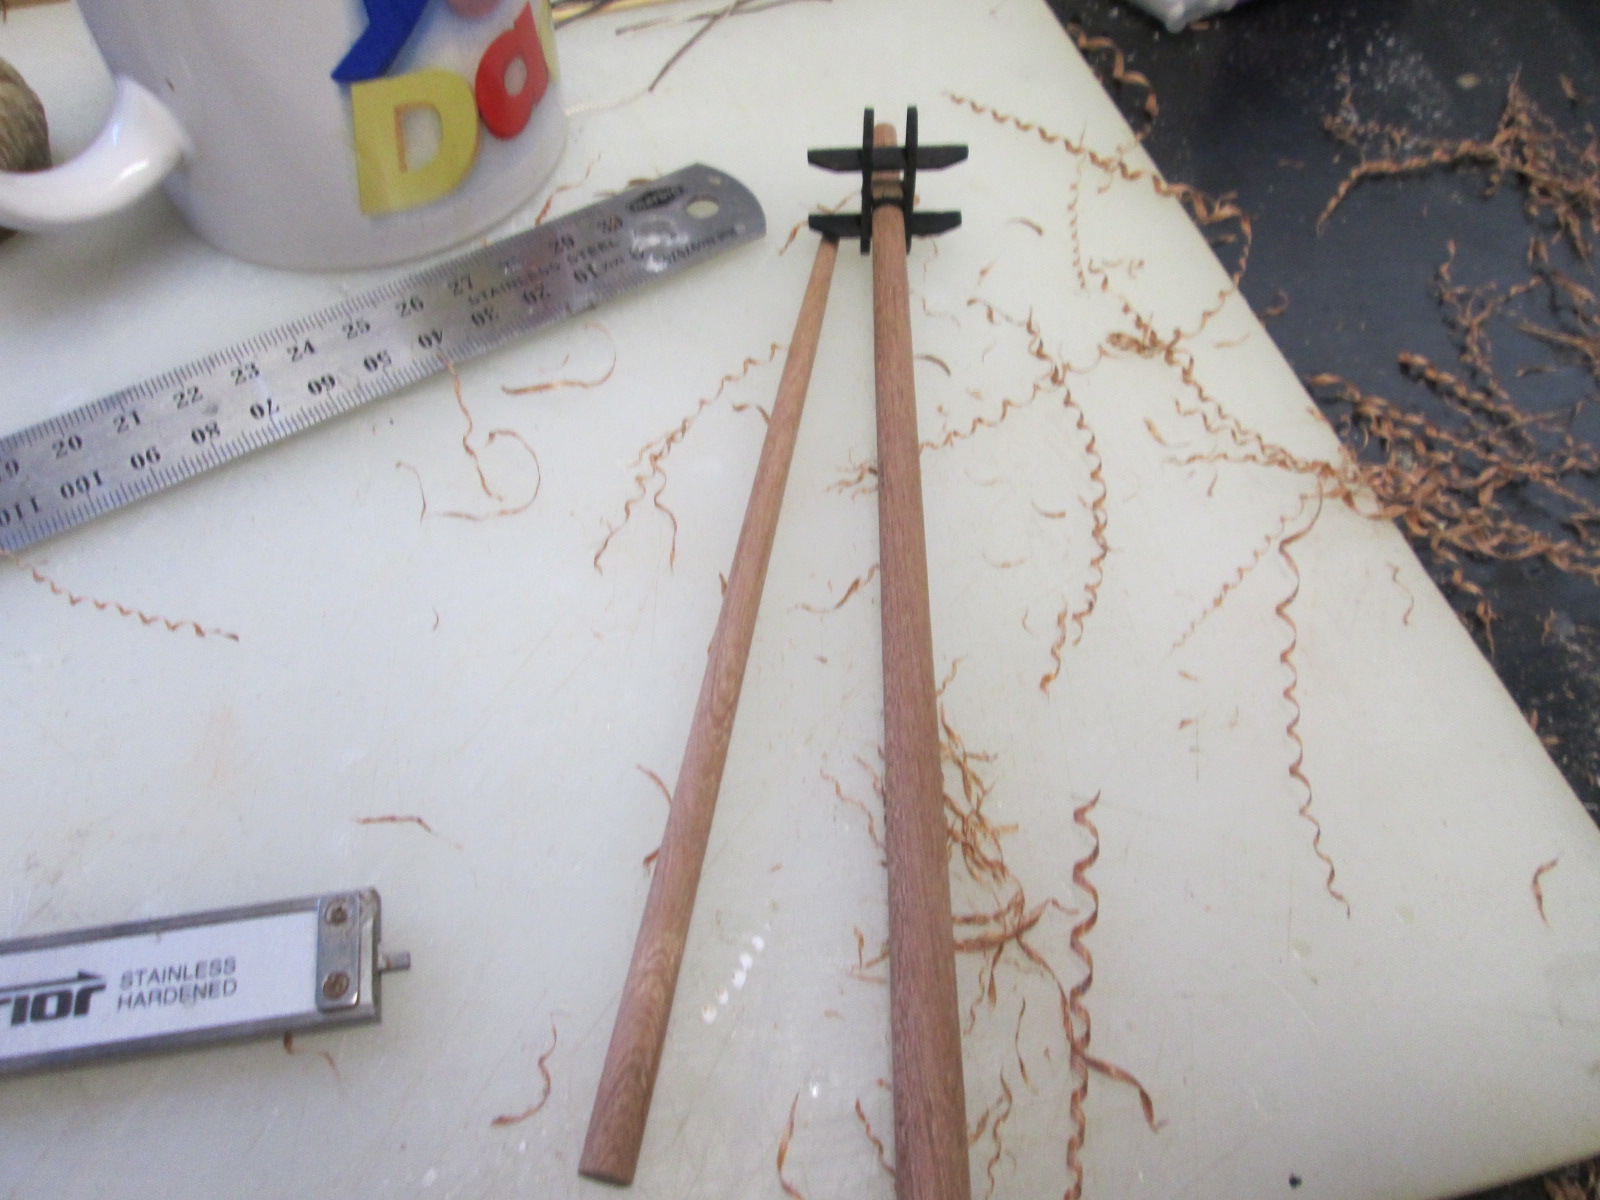
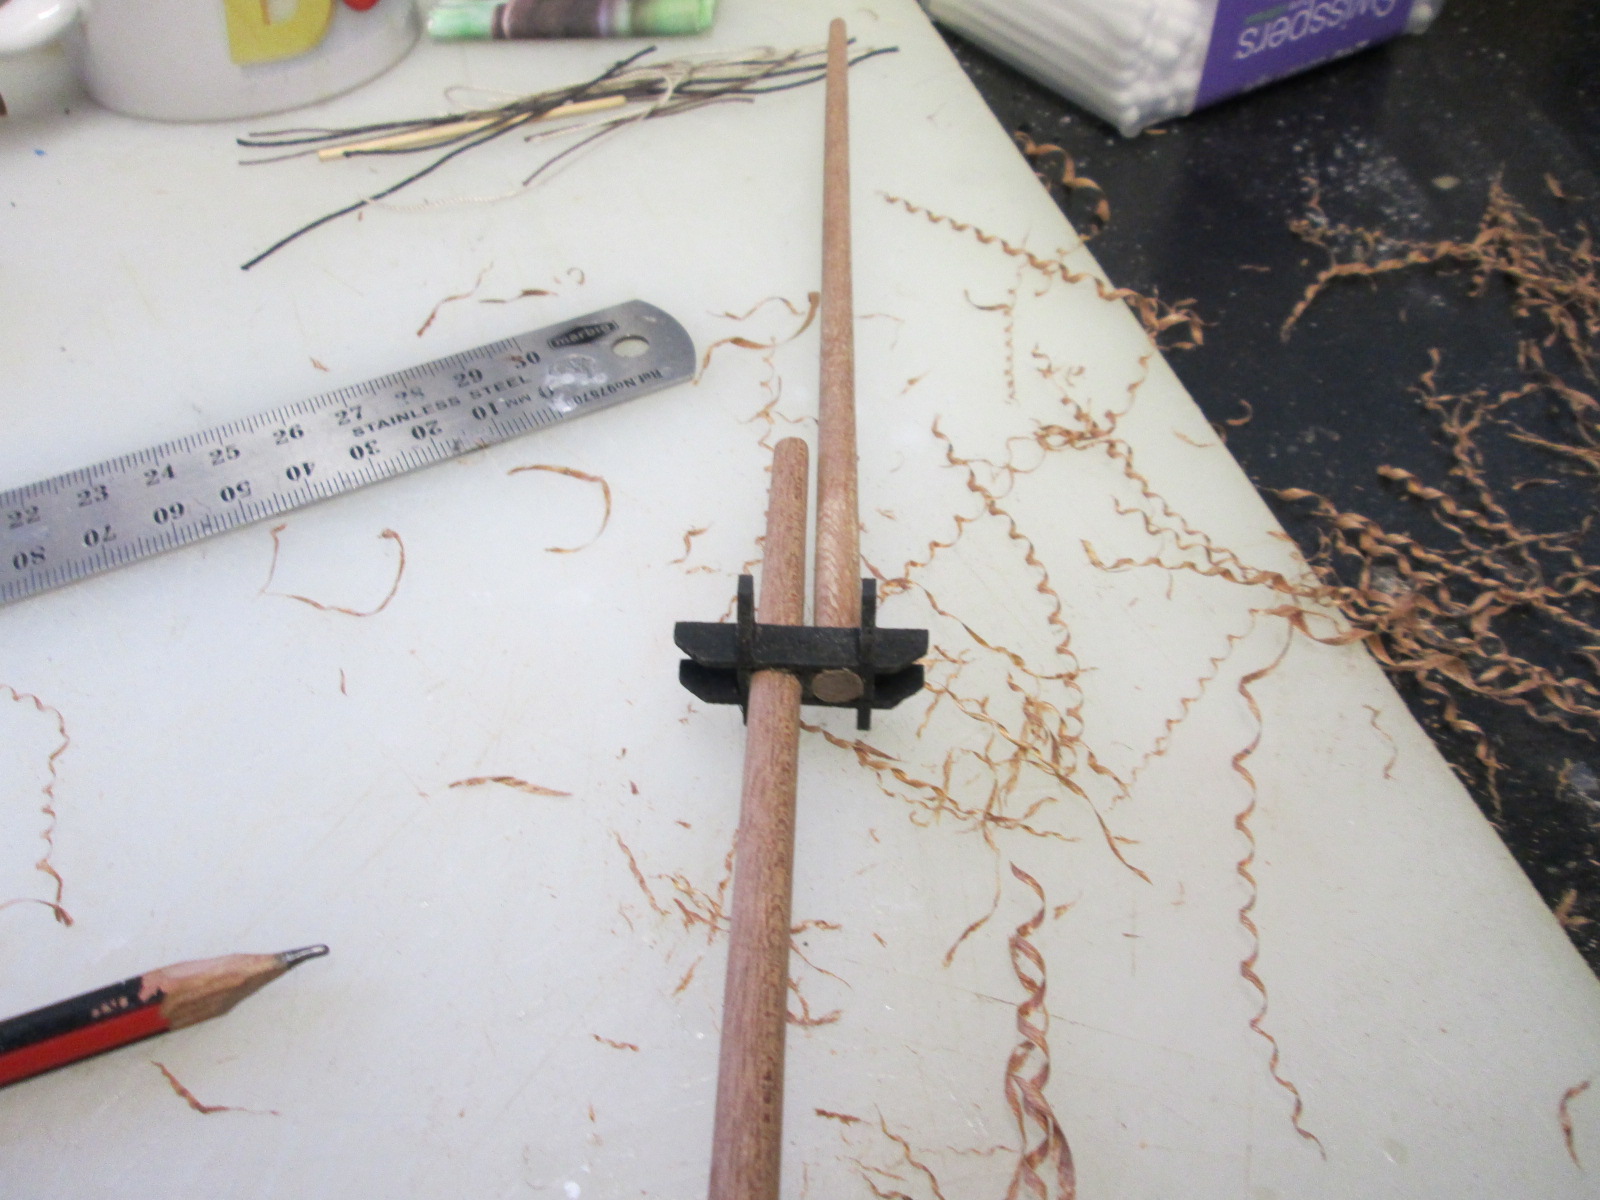
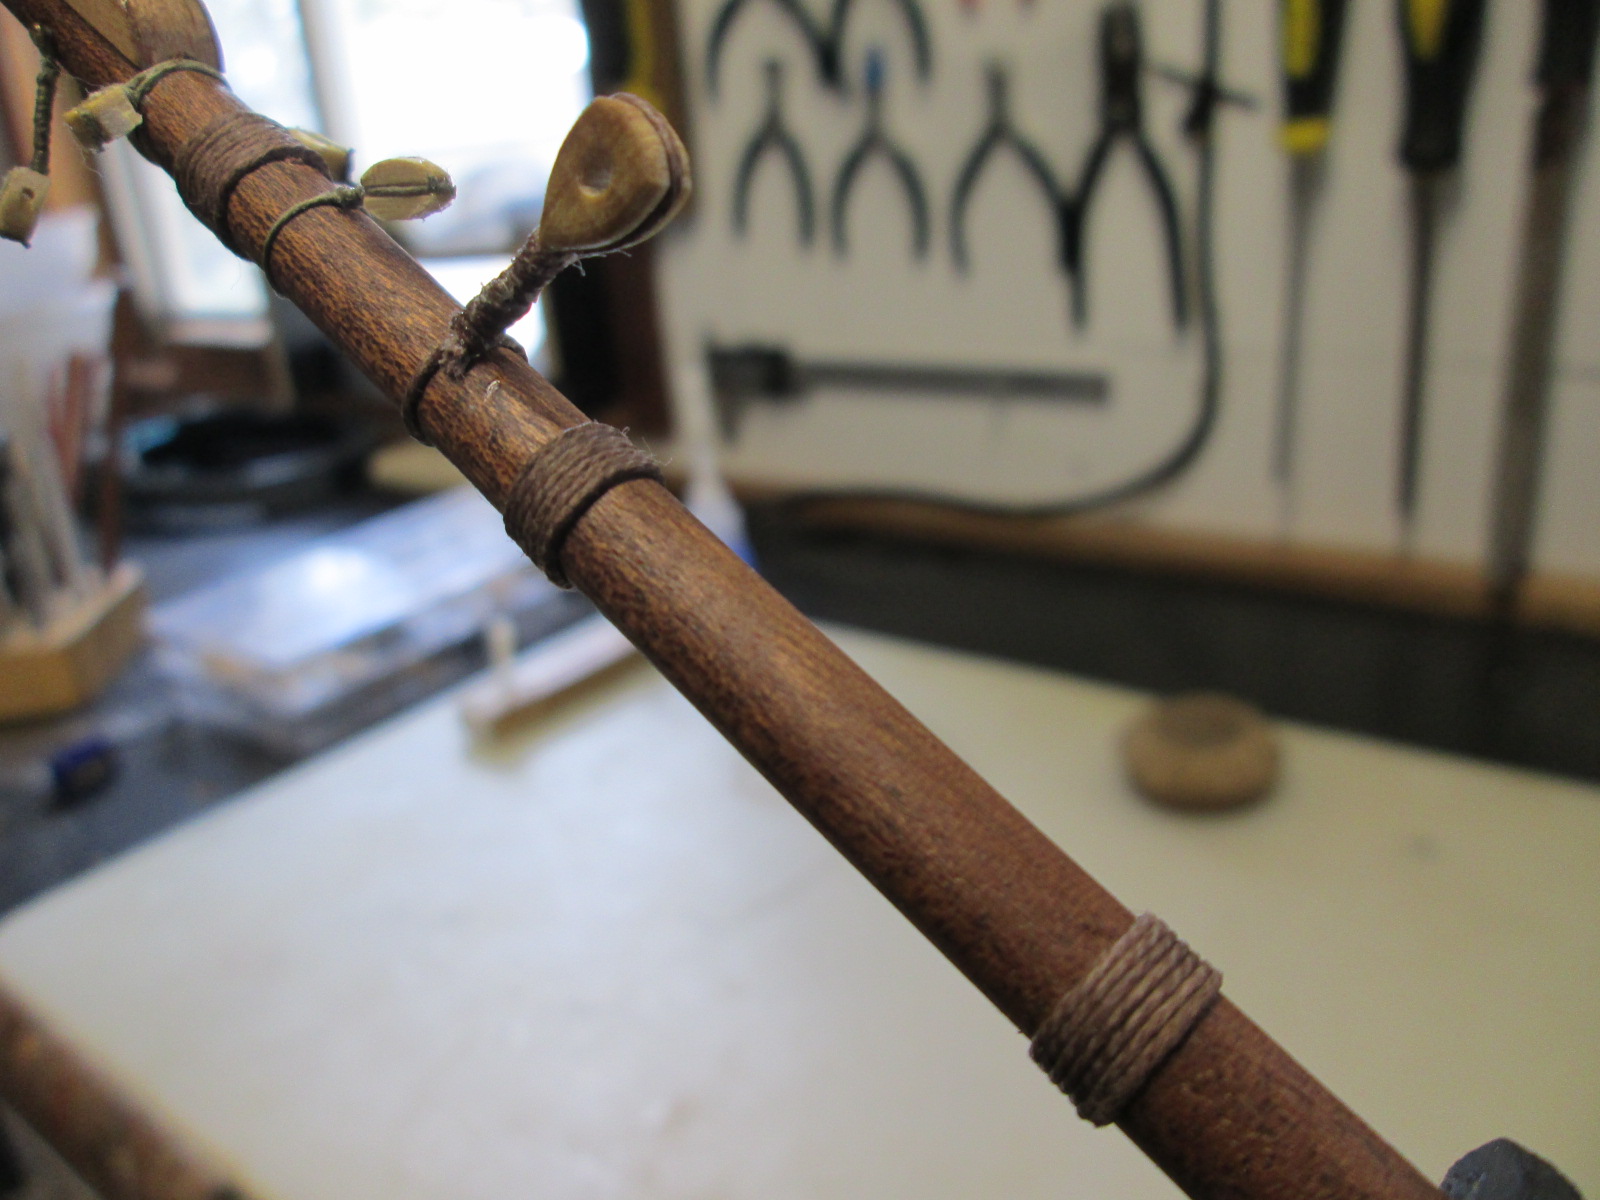
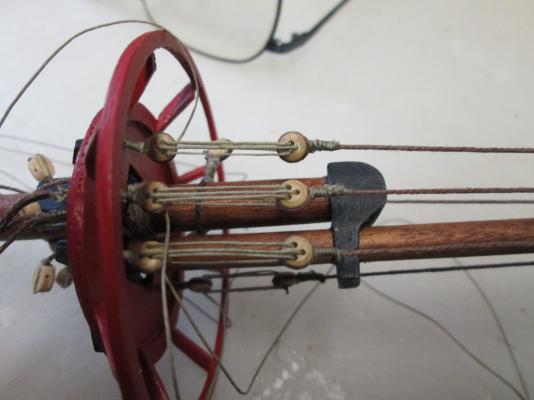
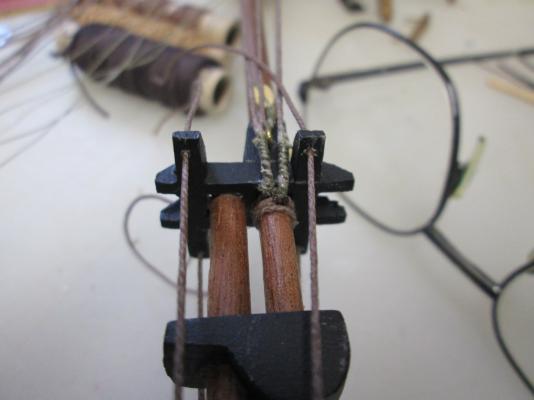
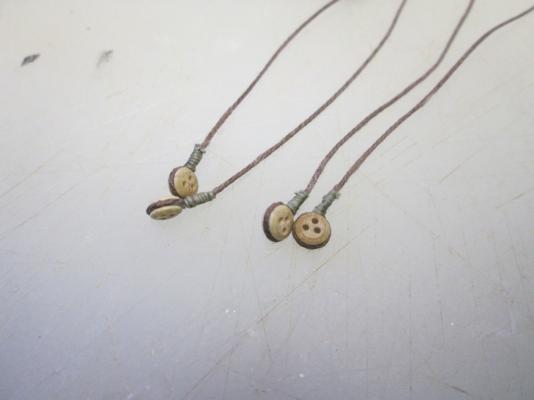
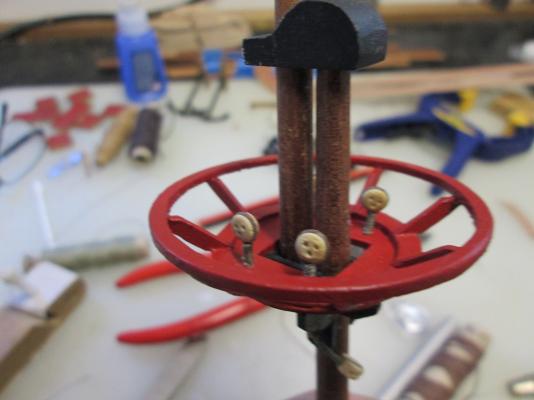
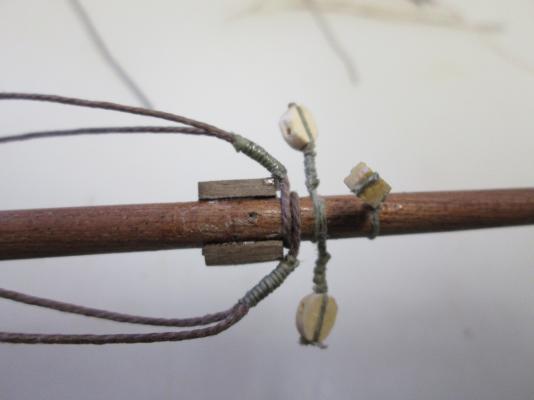
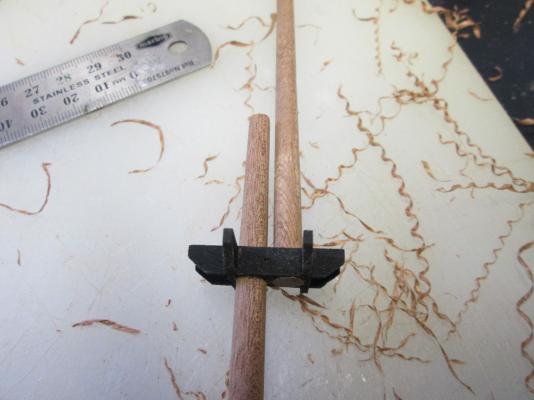
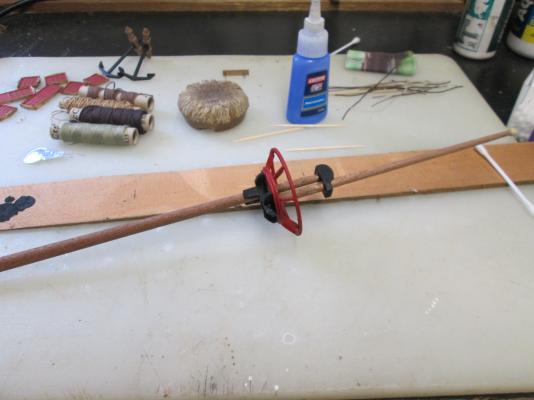
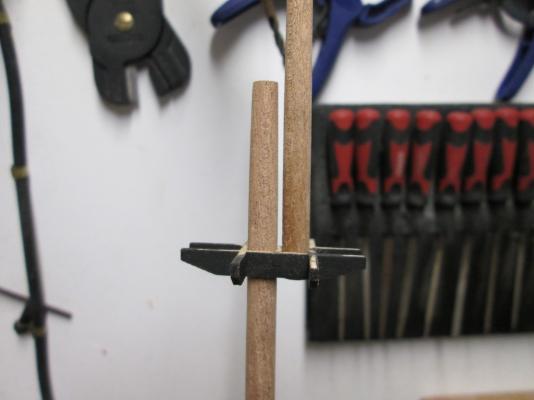
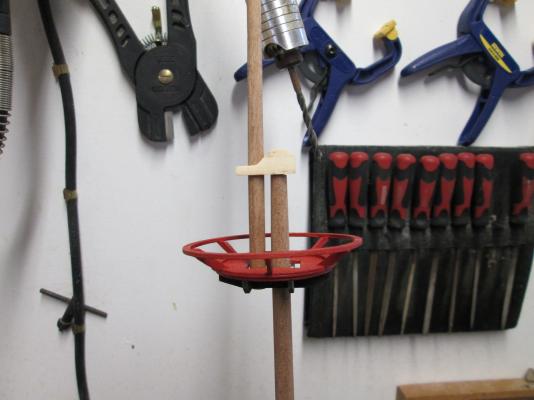
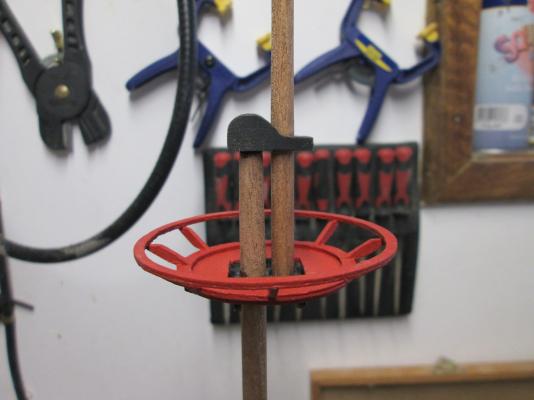
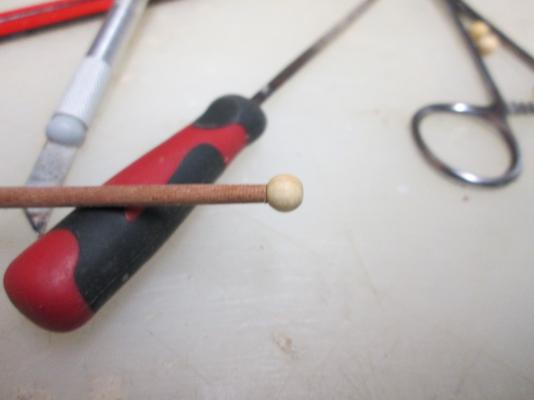
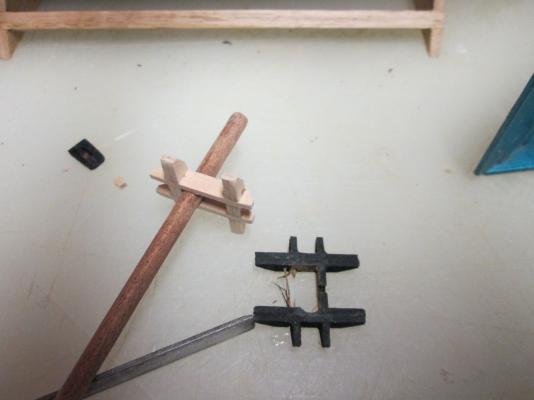
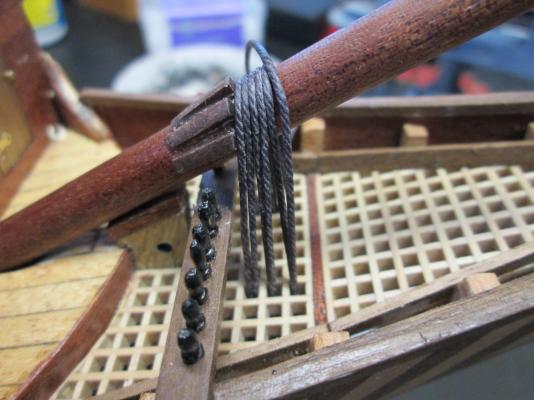
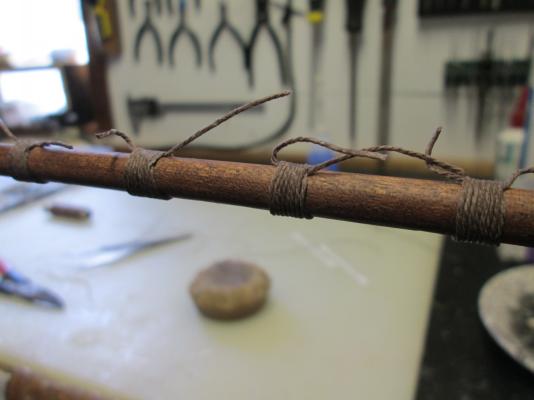
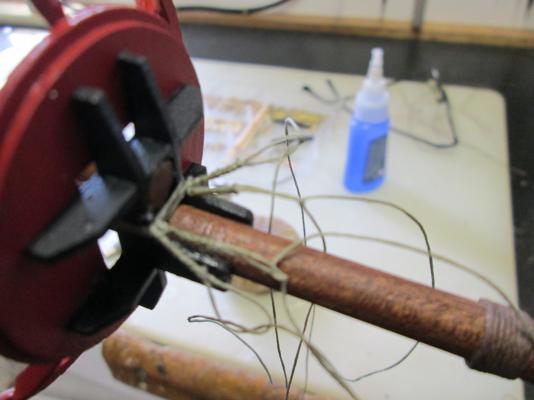
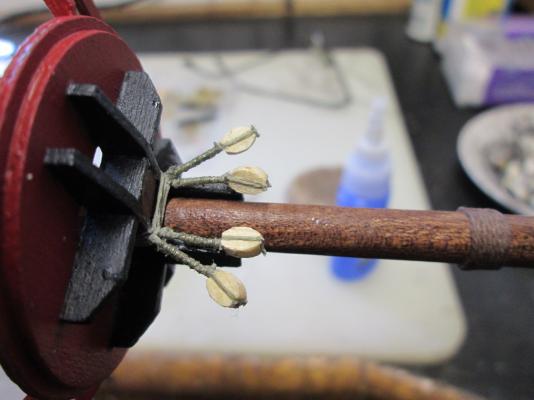
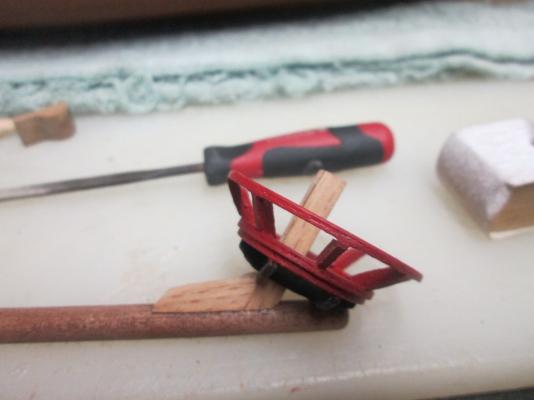
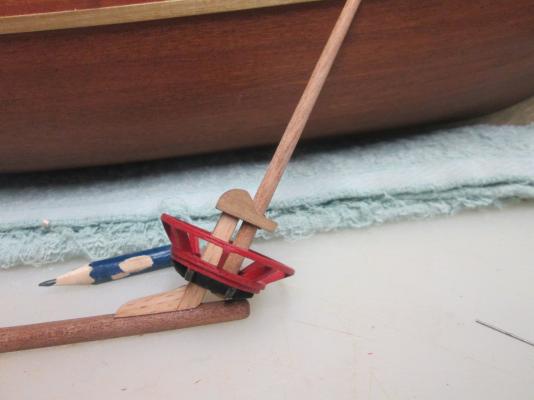
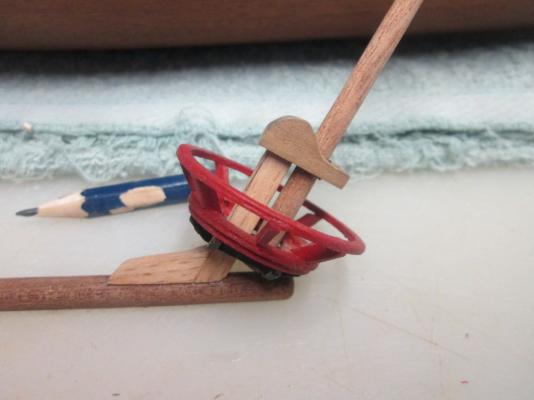
 Hi all. Have finally managed to get some parts and timber to continue building. I was short some 8 mm dowell for the Mizzen abd the main yard. While I was waiting I got stuck into preparing the masts for gluing and trying to do as much of the fiddly work as I can before putting them on. I made a little jig for positioning the deadeyes, as my other efforts with them haven't been very good. The ones on the mast tops have turned out pretty good, well, better than my other ones so I'll count it as a win. That's it for now.


- 64 replies
-
- 2
-

-
- occre
- san marcos
- (and 1 more)
-
astonishing detail. You have done an outstanding model. The plans you have also look very well detailed. Thanks for posting you build. Matt
-
You've done a superb job there Ollie. Lovely clean work.
- 803 replies
-
- 2
-
-
- colonial cutter
- modellers shipyard
- (and 1 more)
-
She's a beauty Sjors. These Occre kits can be a bit difficult, but you've got through it well.
- 1,873 replies
-
- 1
-
-
- occre
- san ildefonso
- (and 1 more)
-
Nice work Sjors. I saw your workshop pictures, they're nice tools. Have fun with your build. Matt.
-
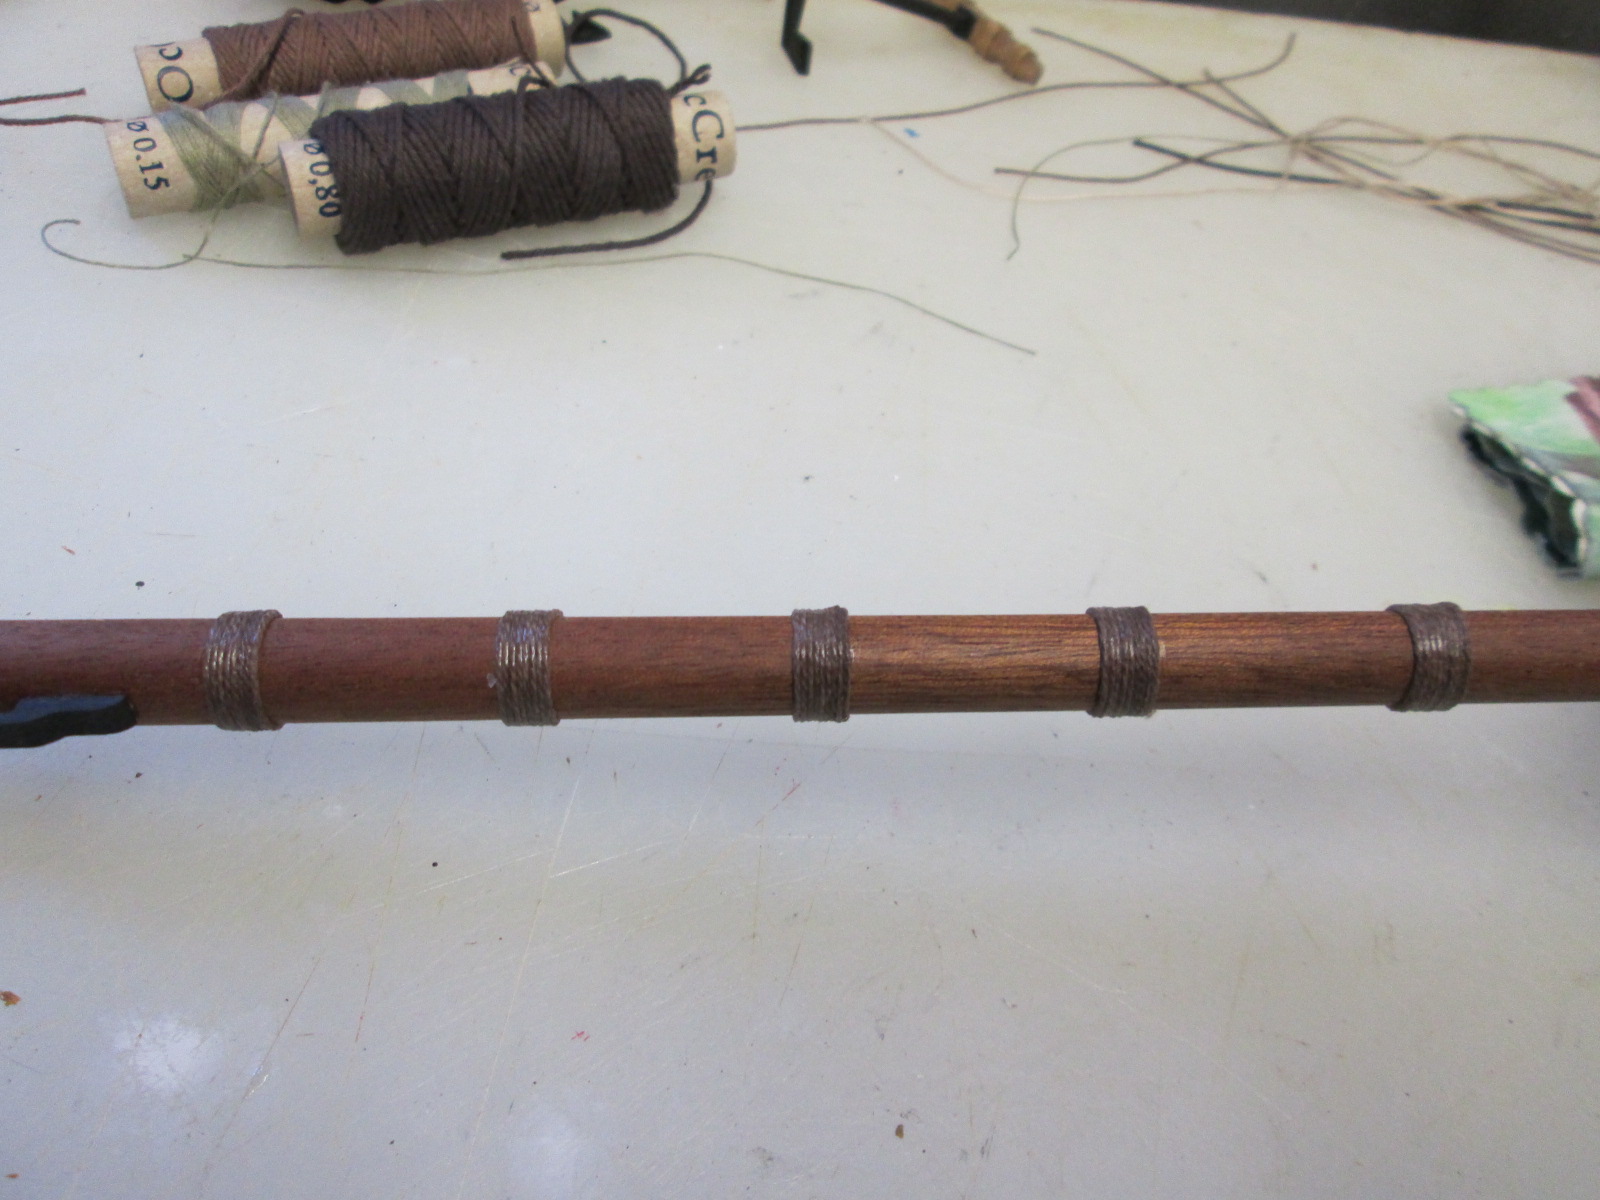
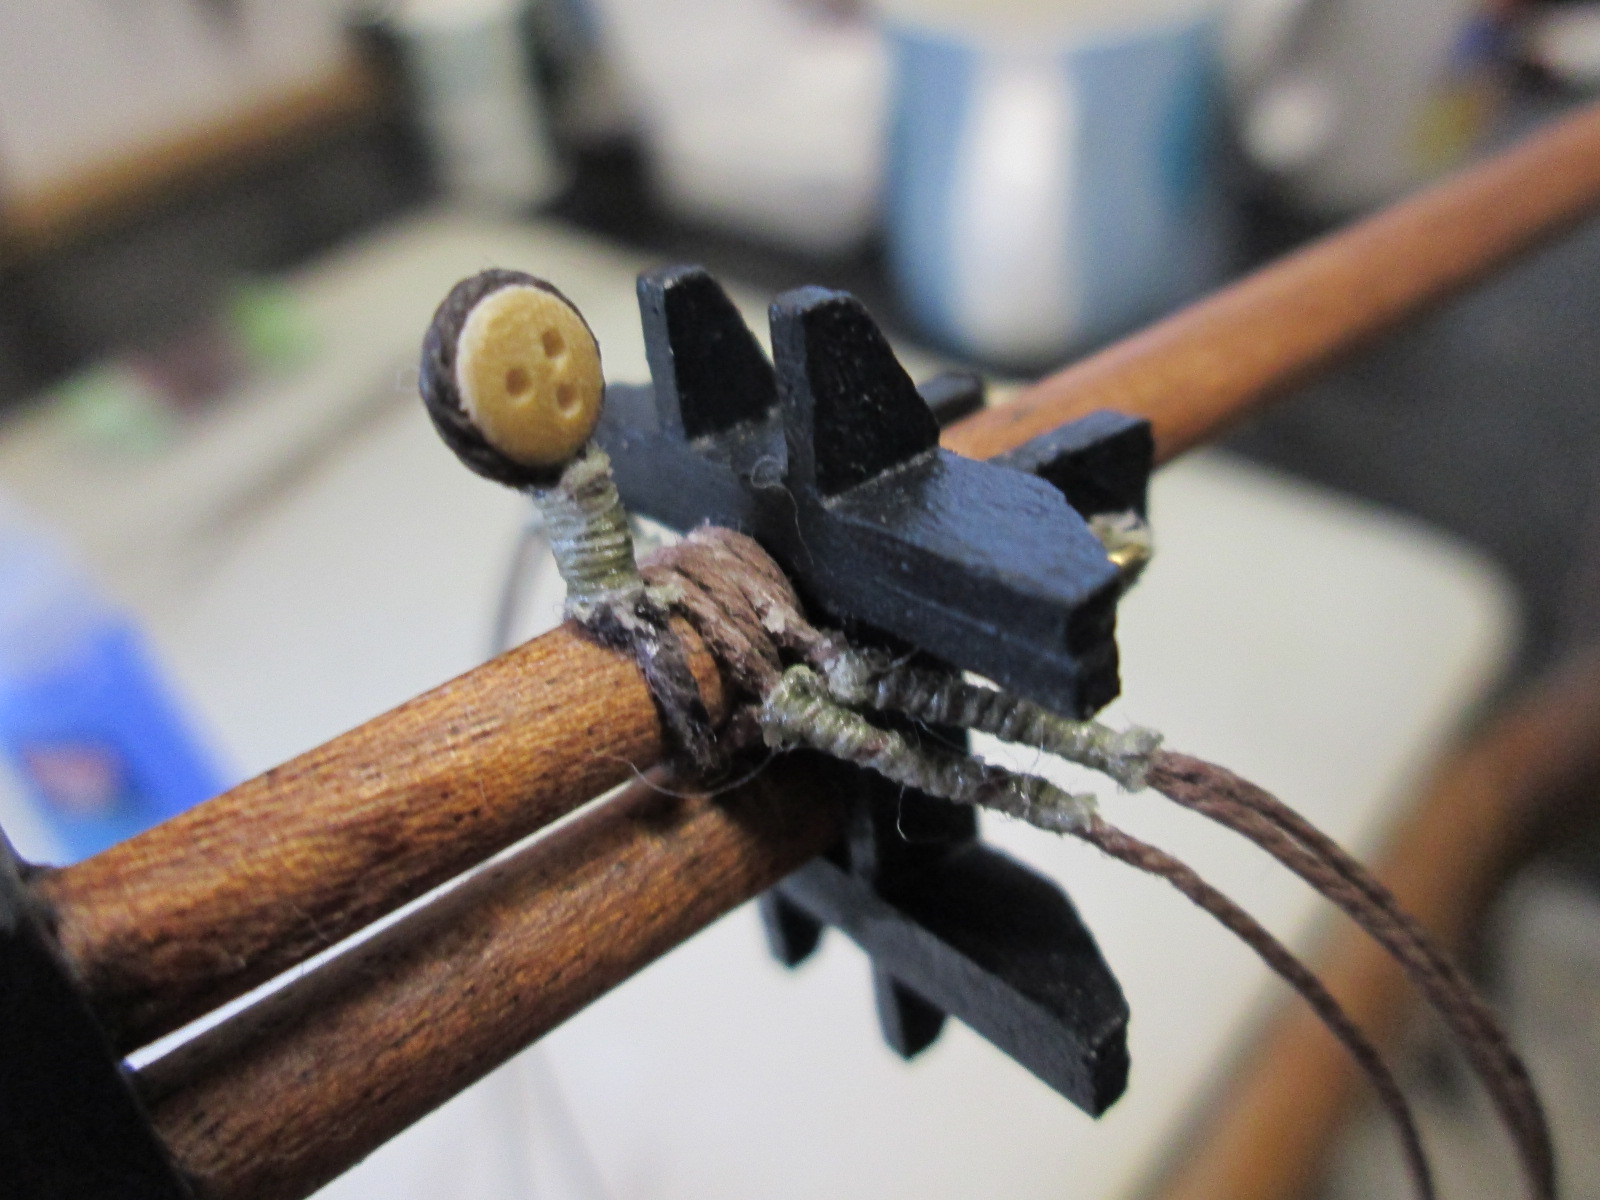
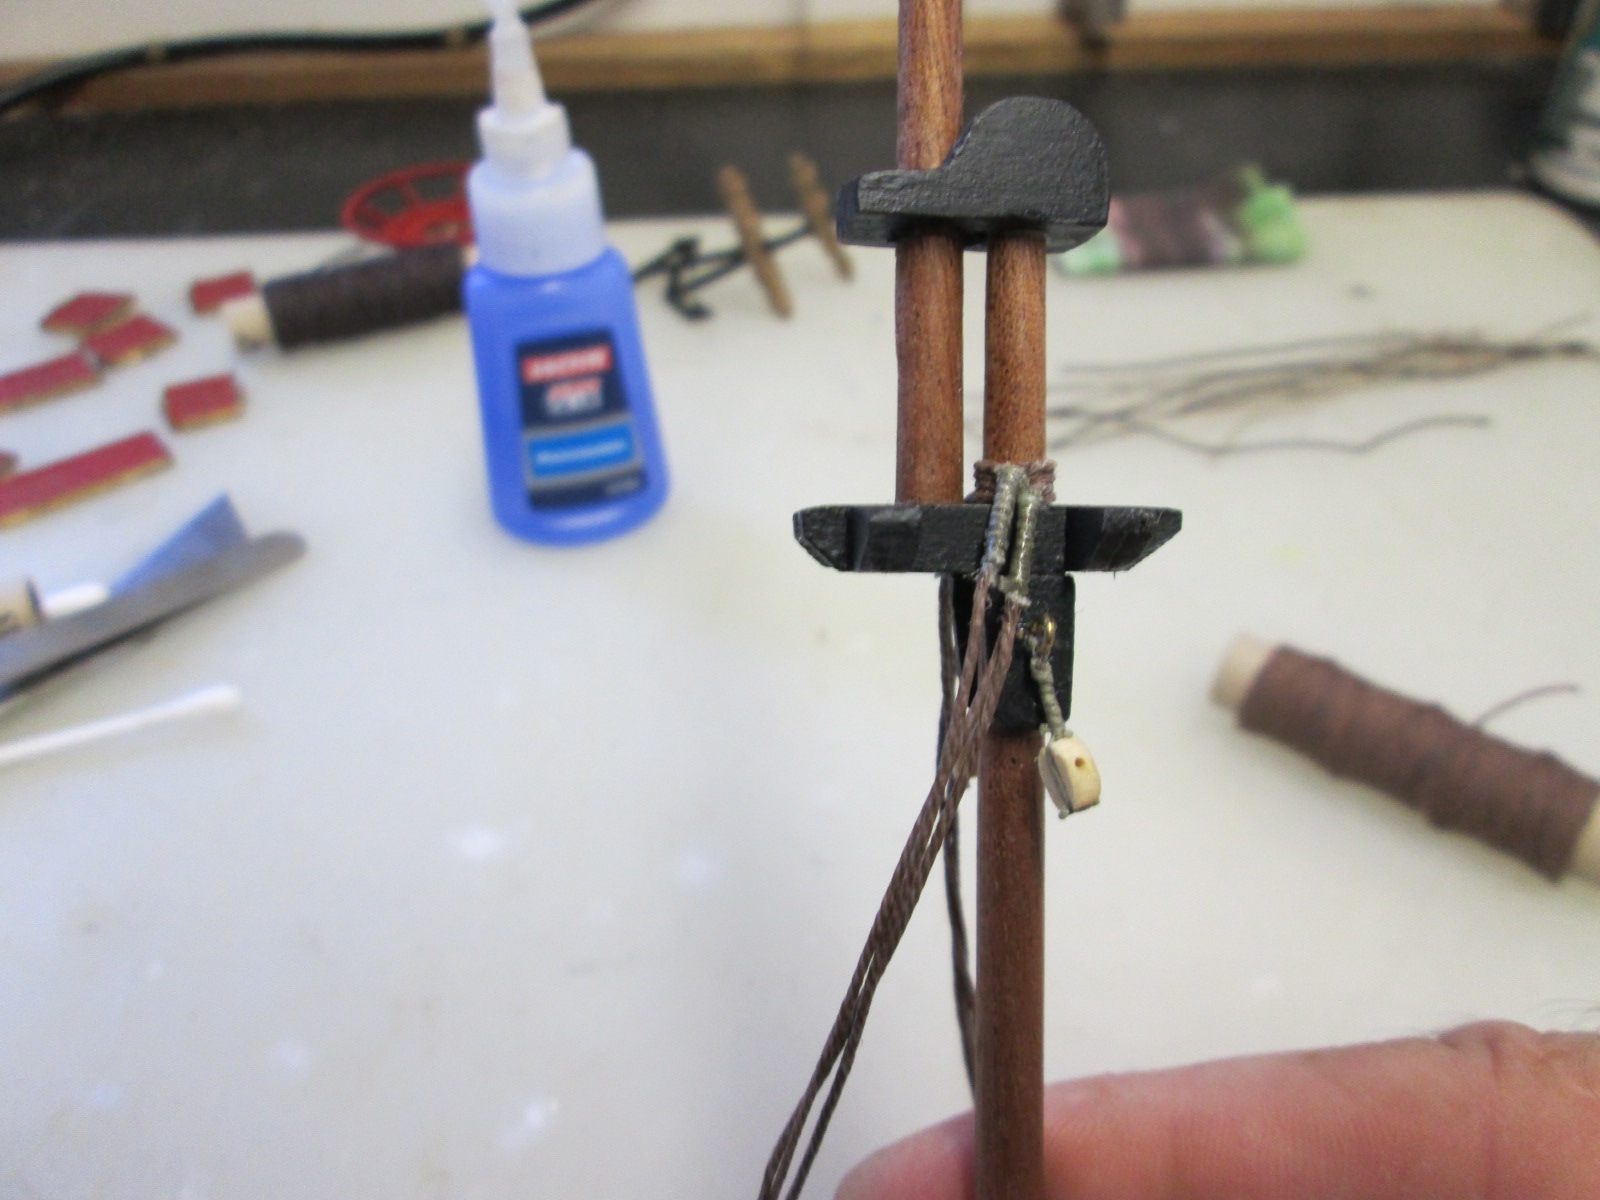
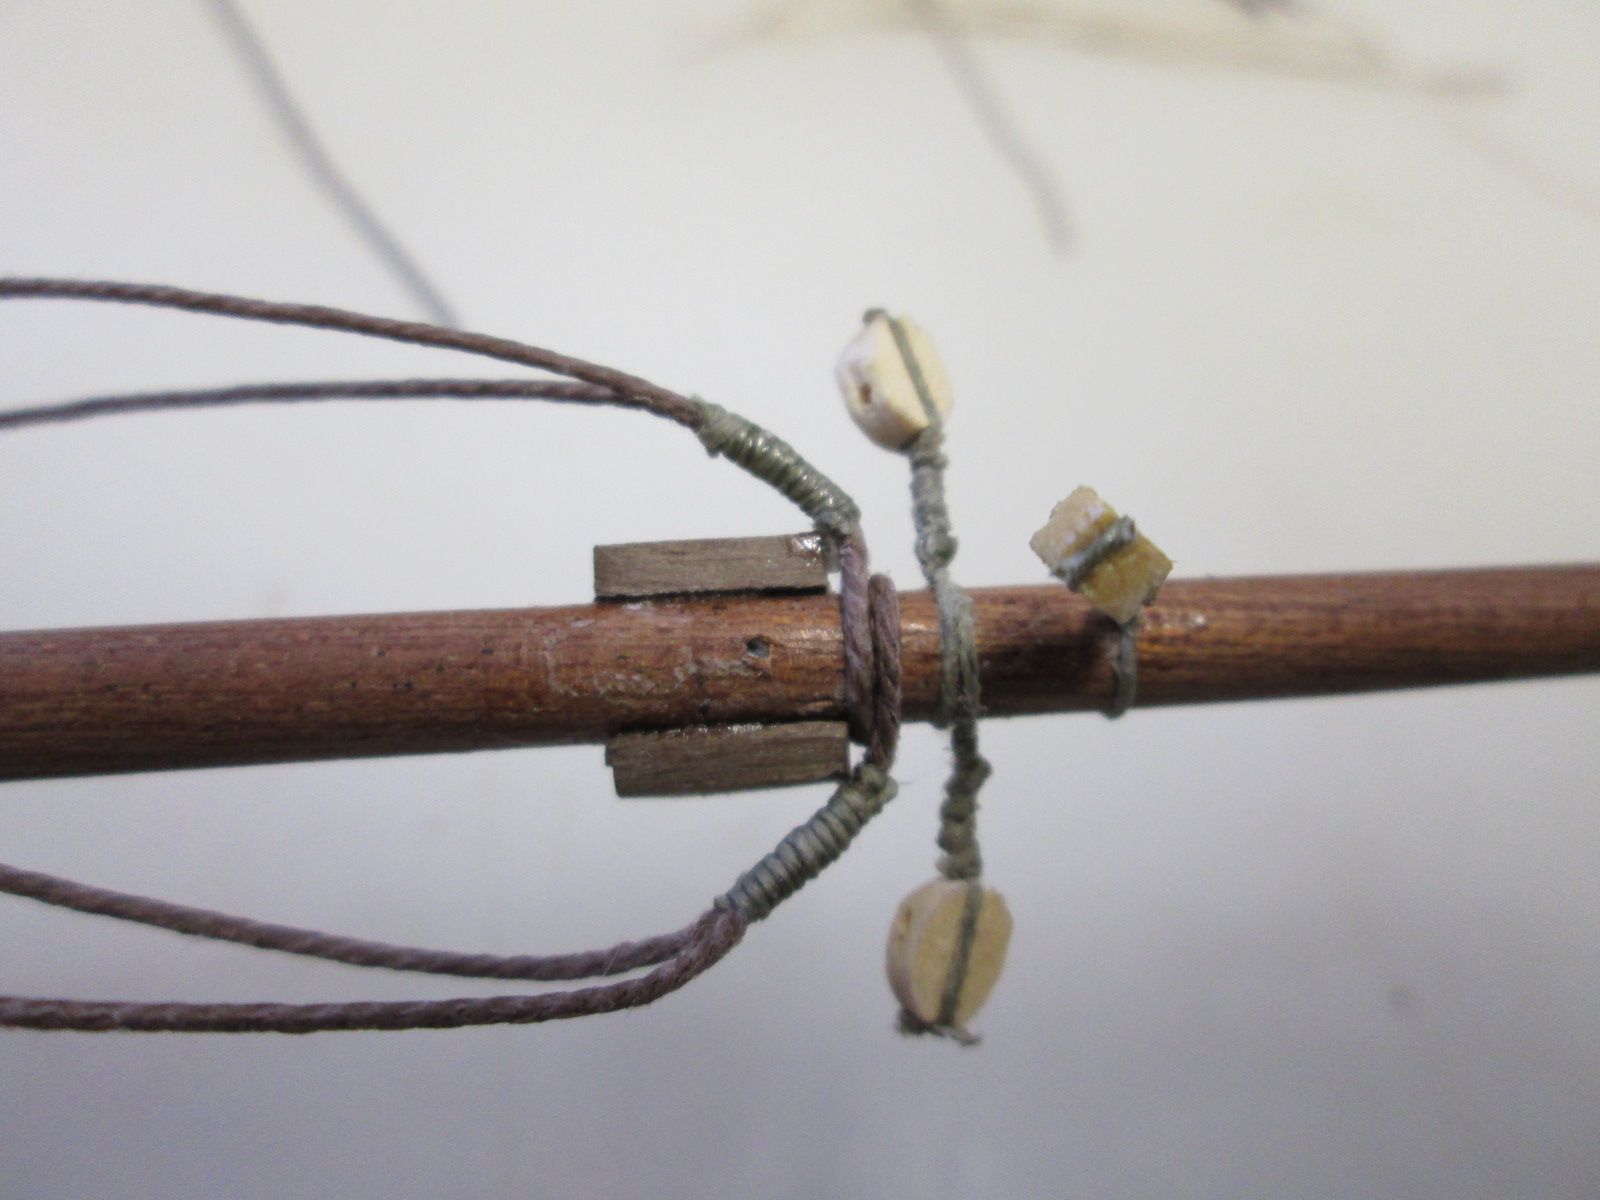
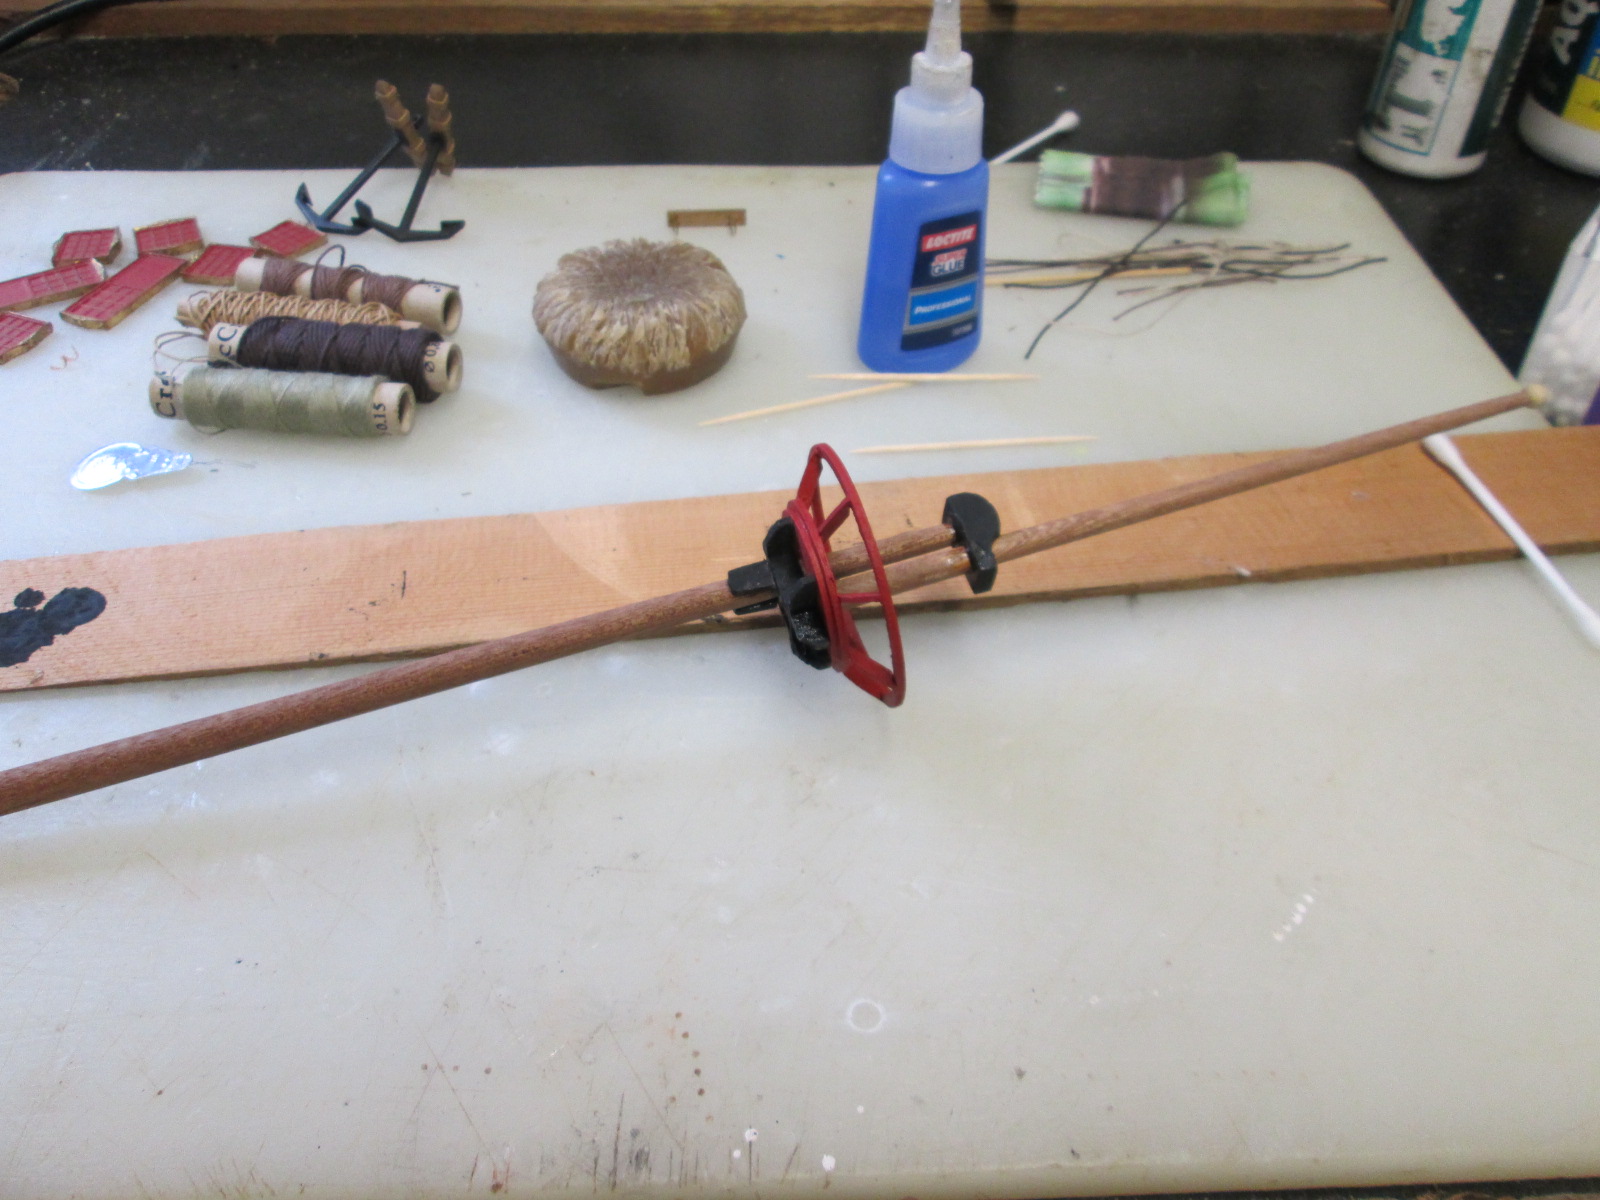
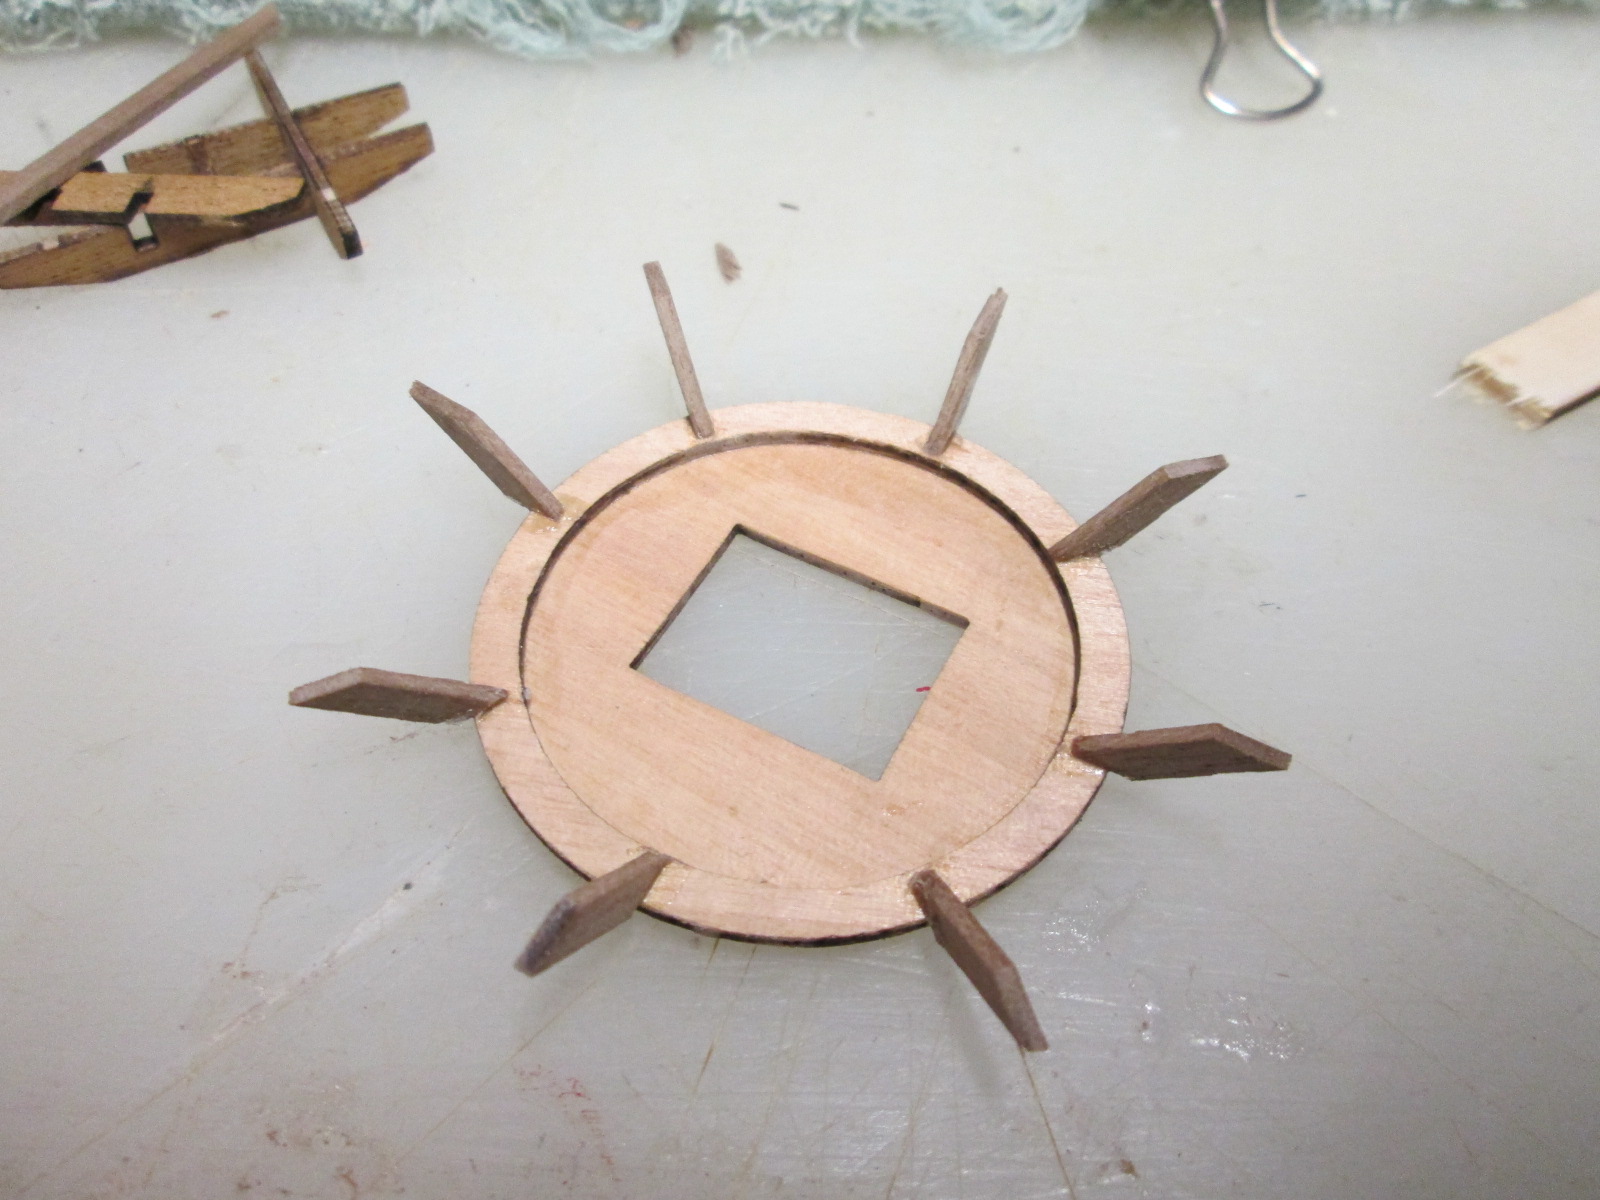
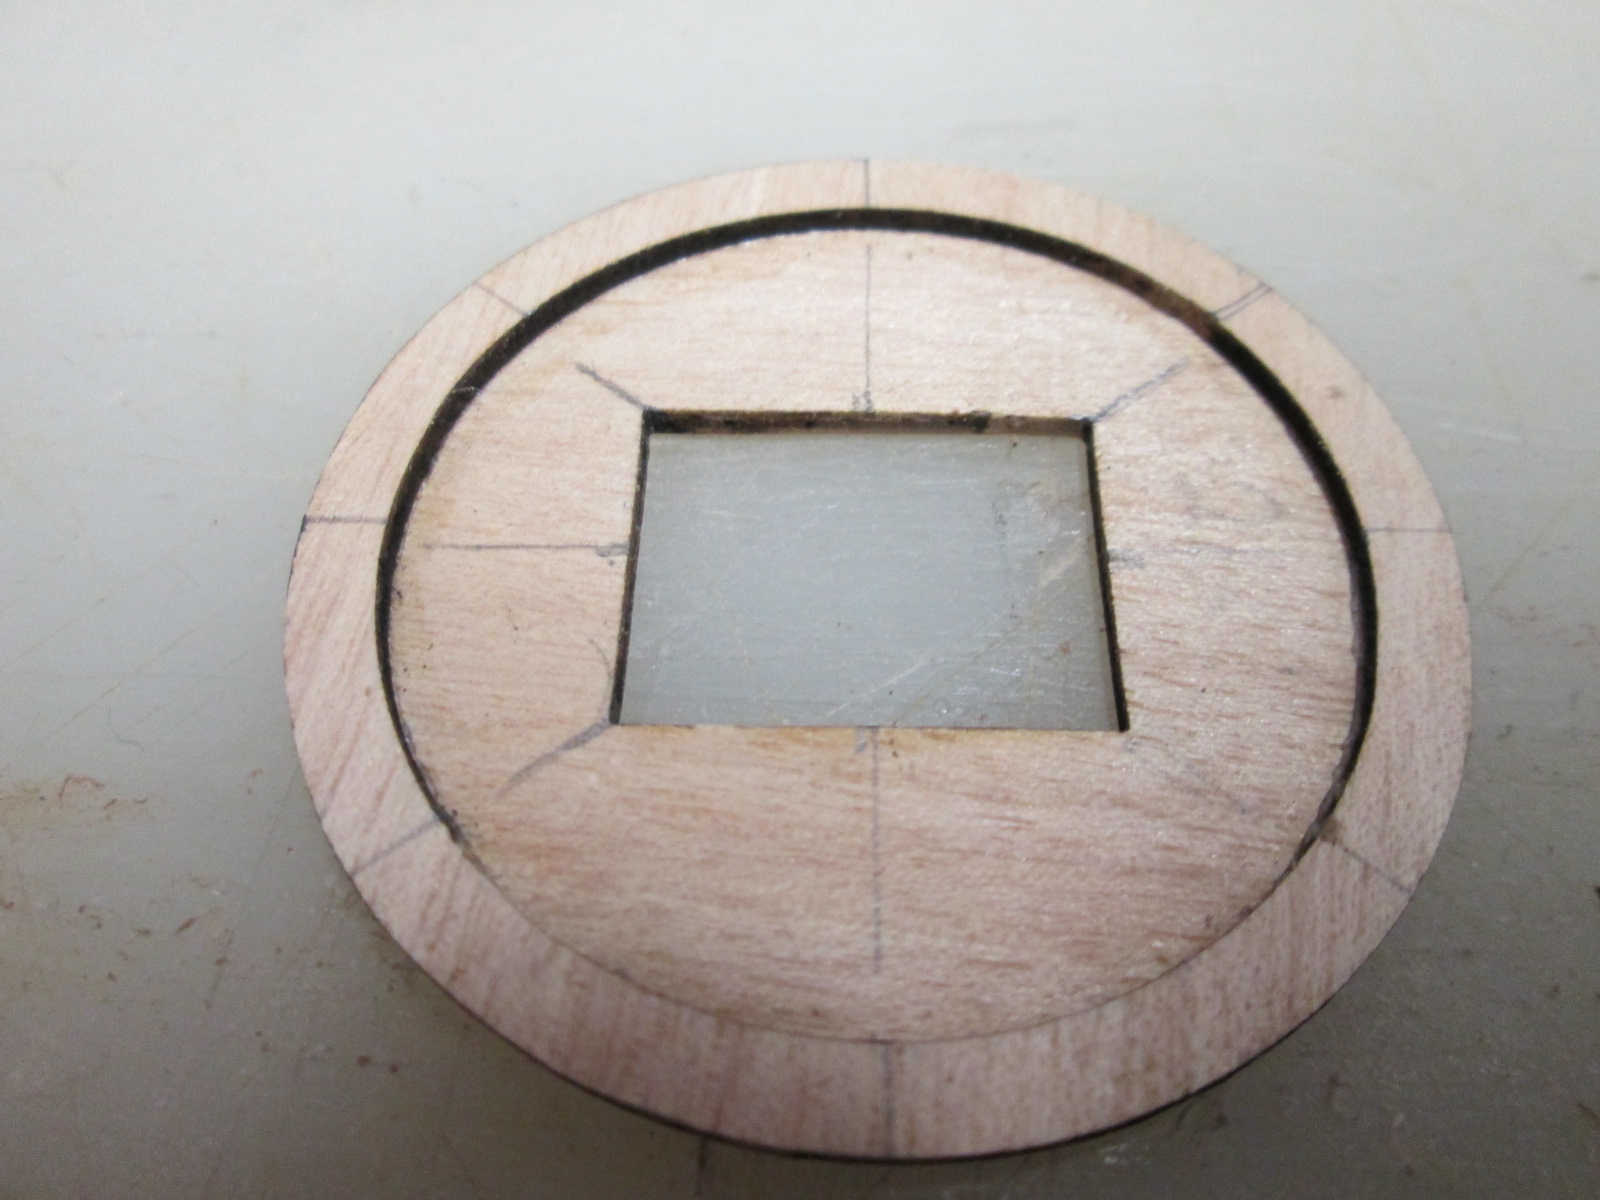
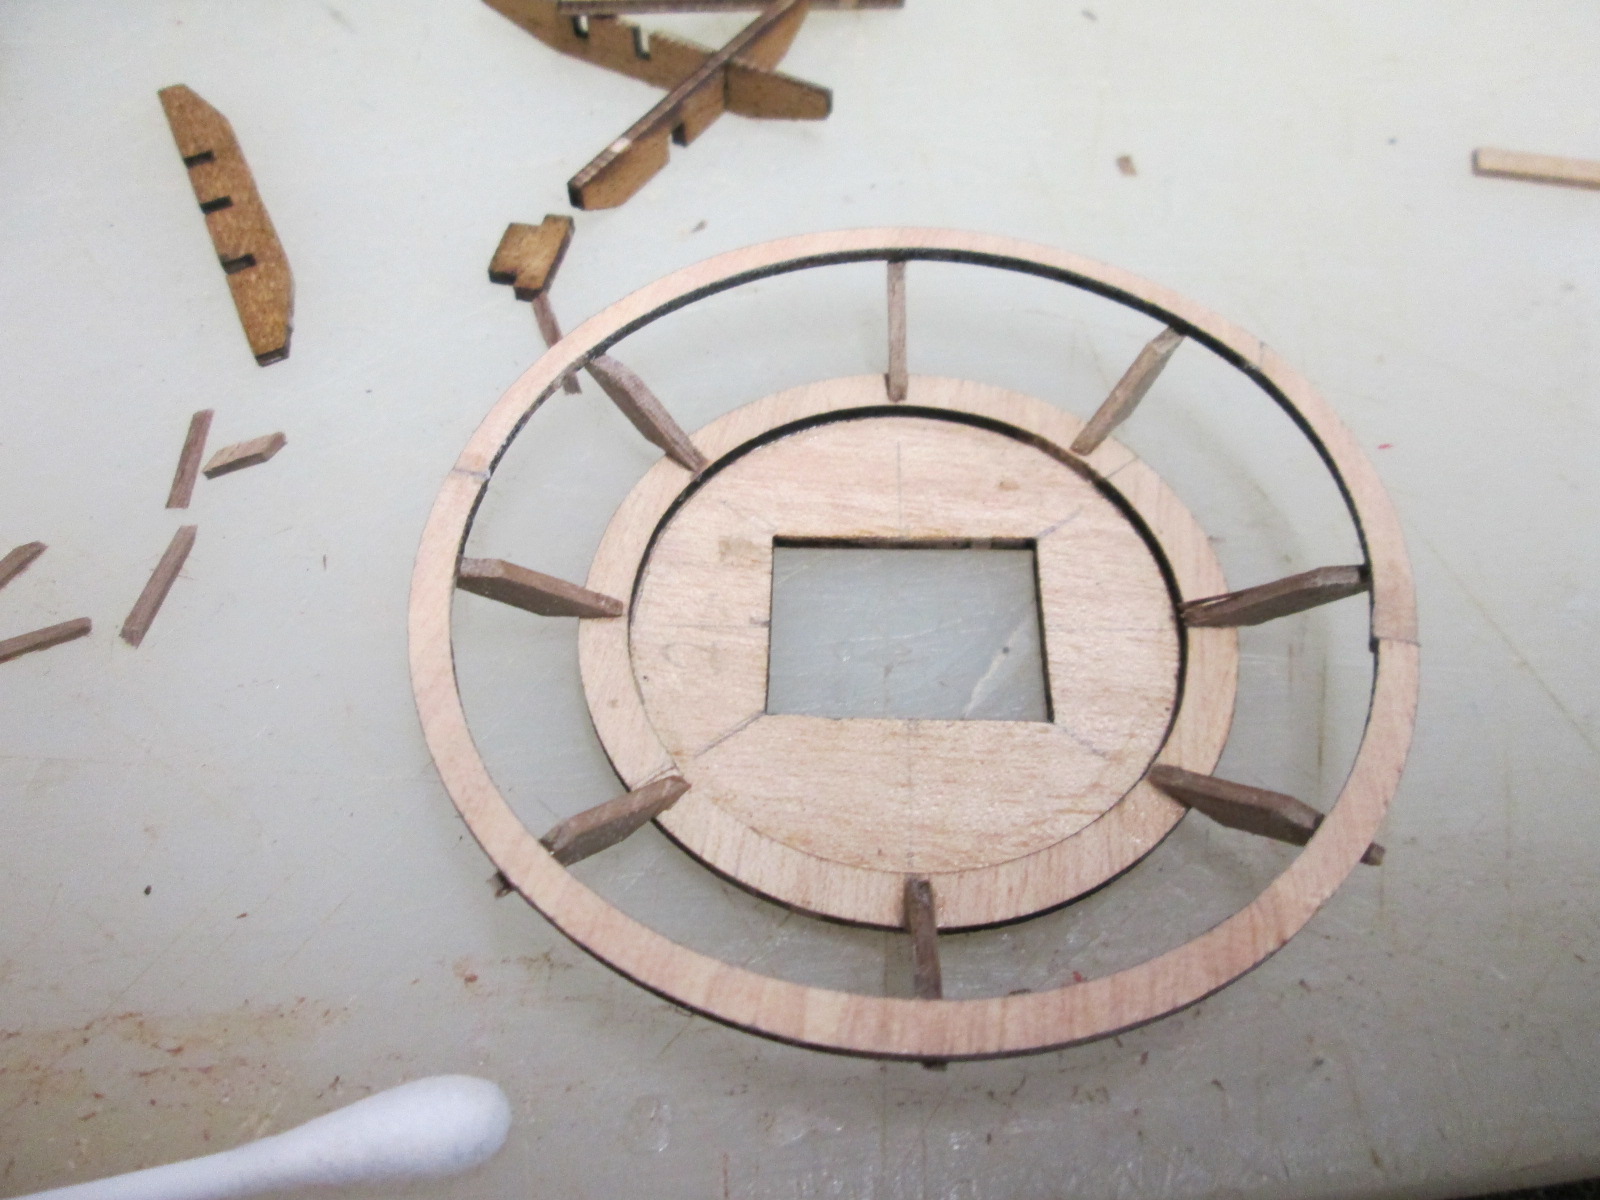
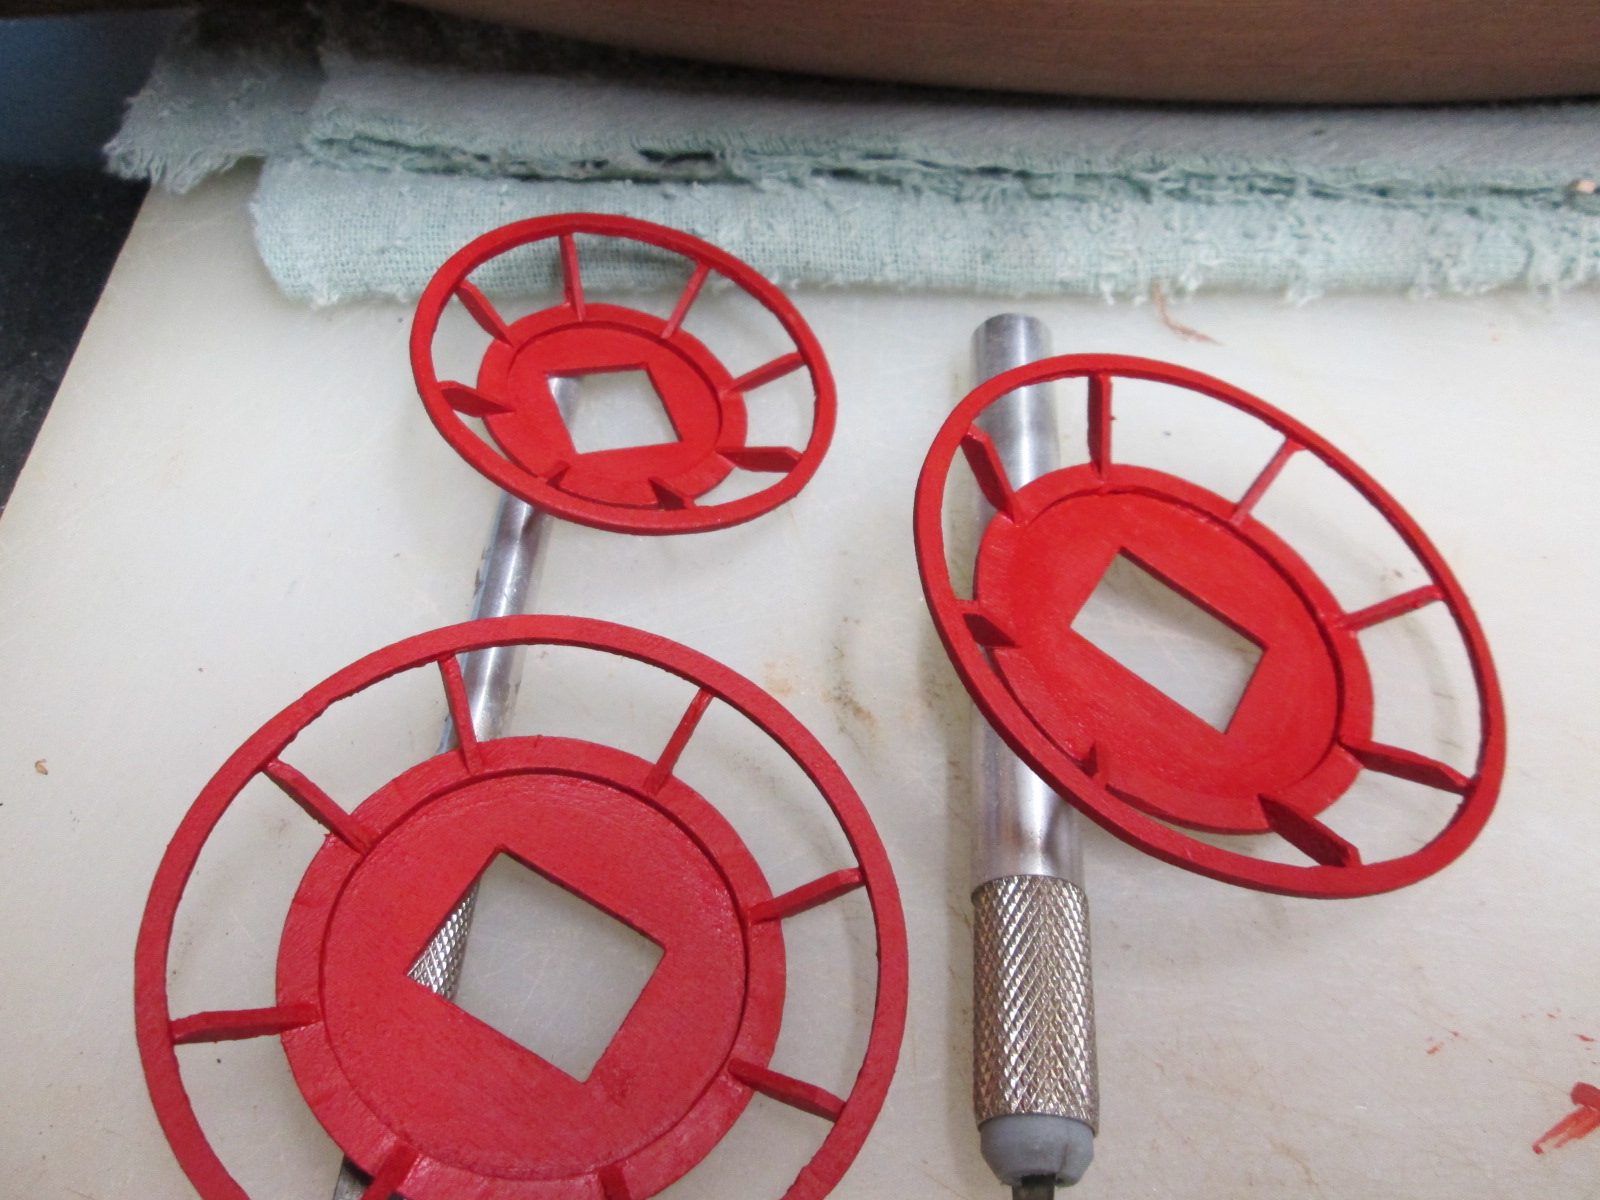
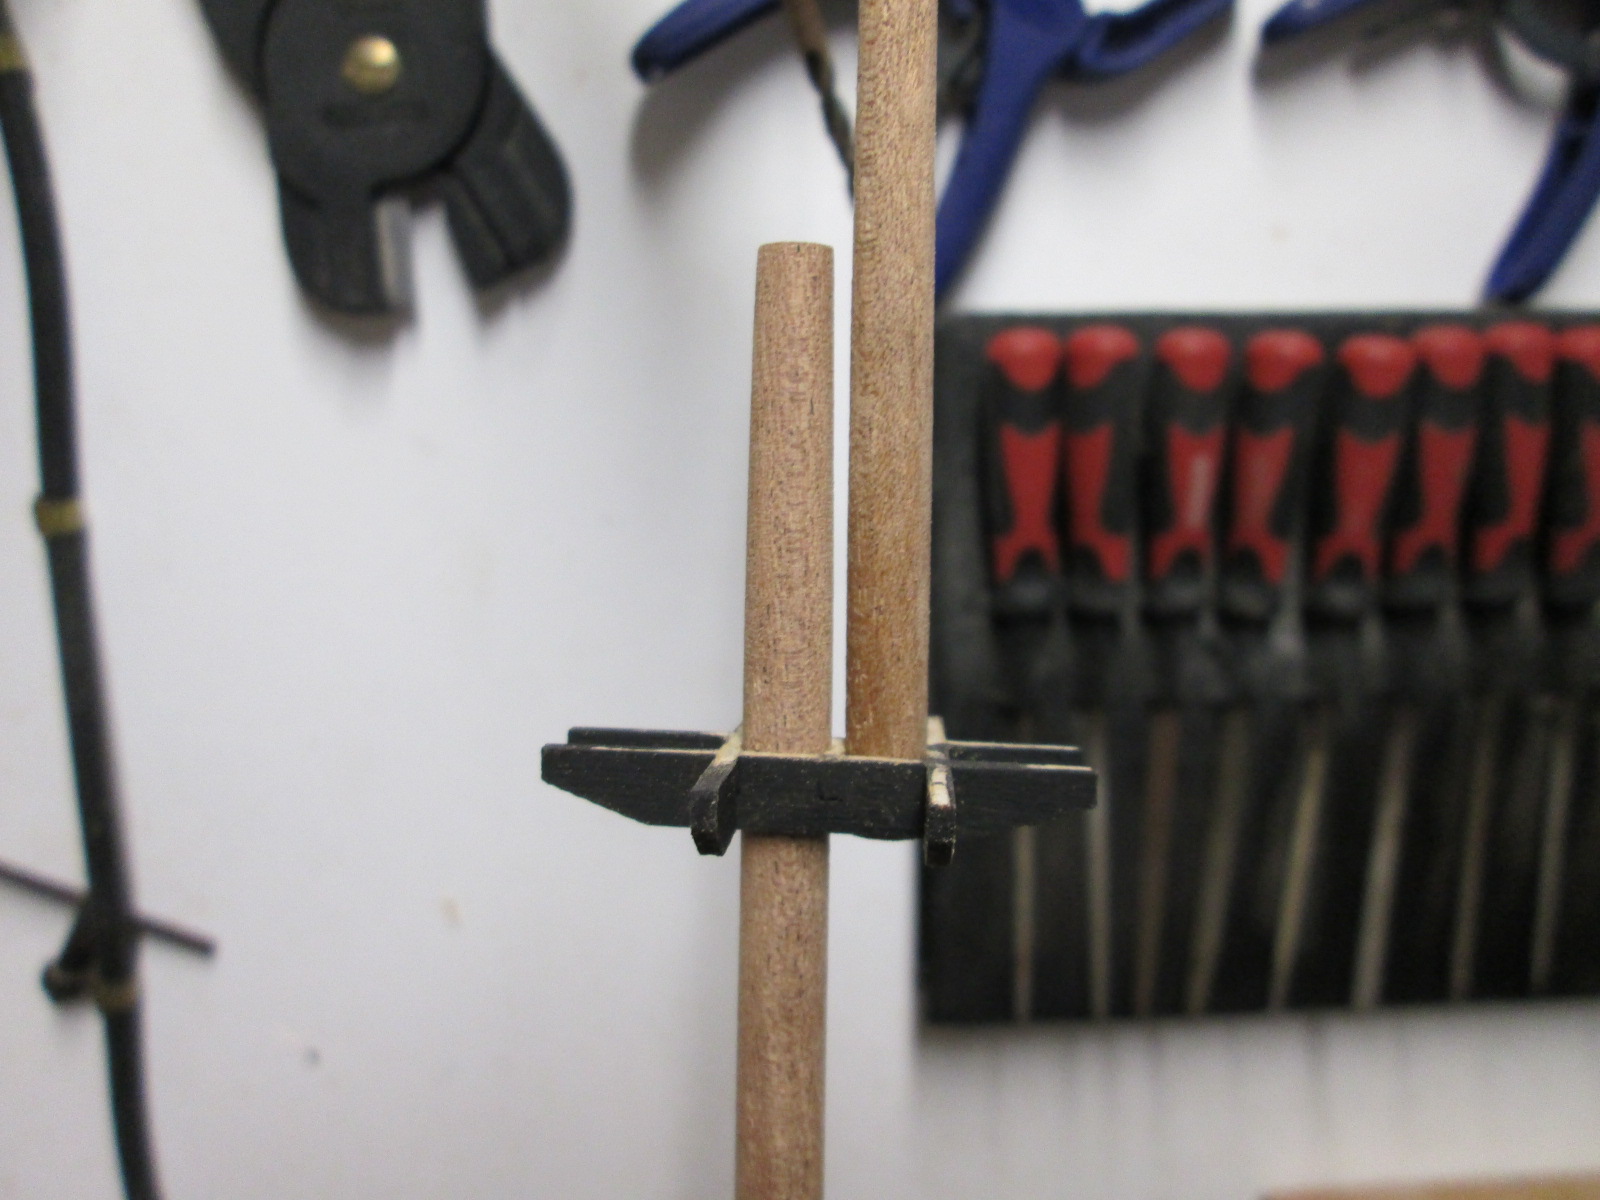
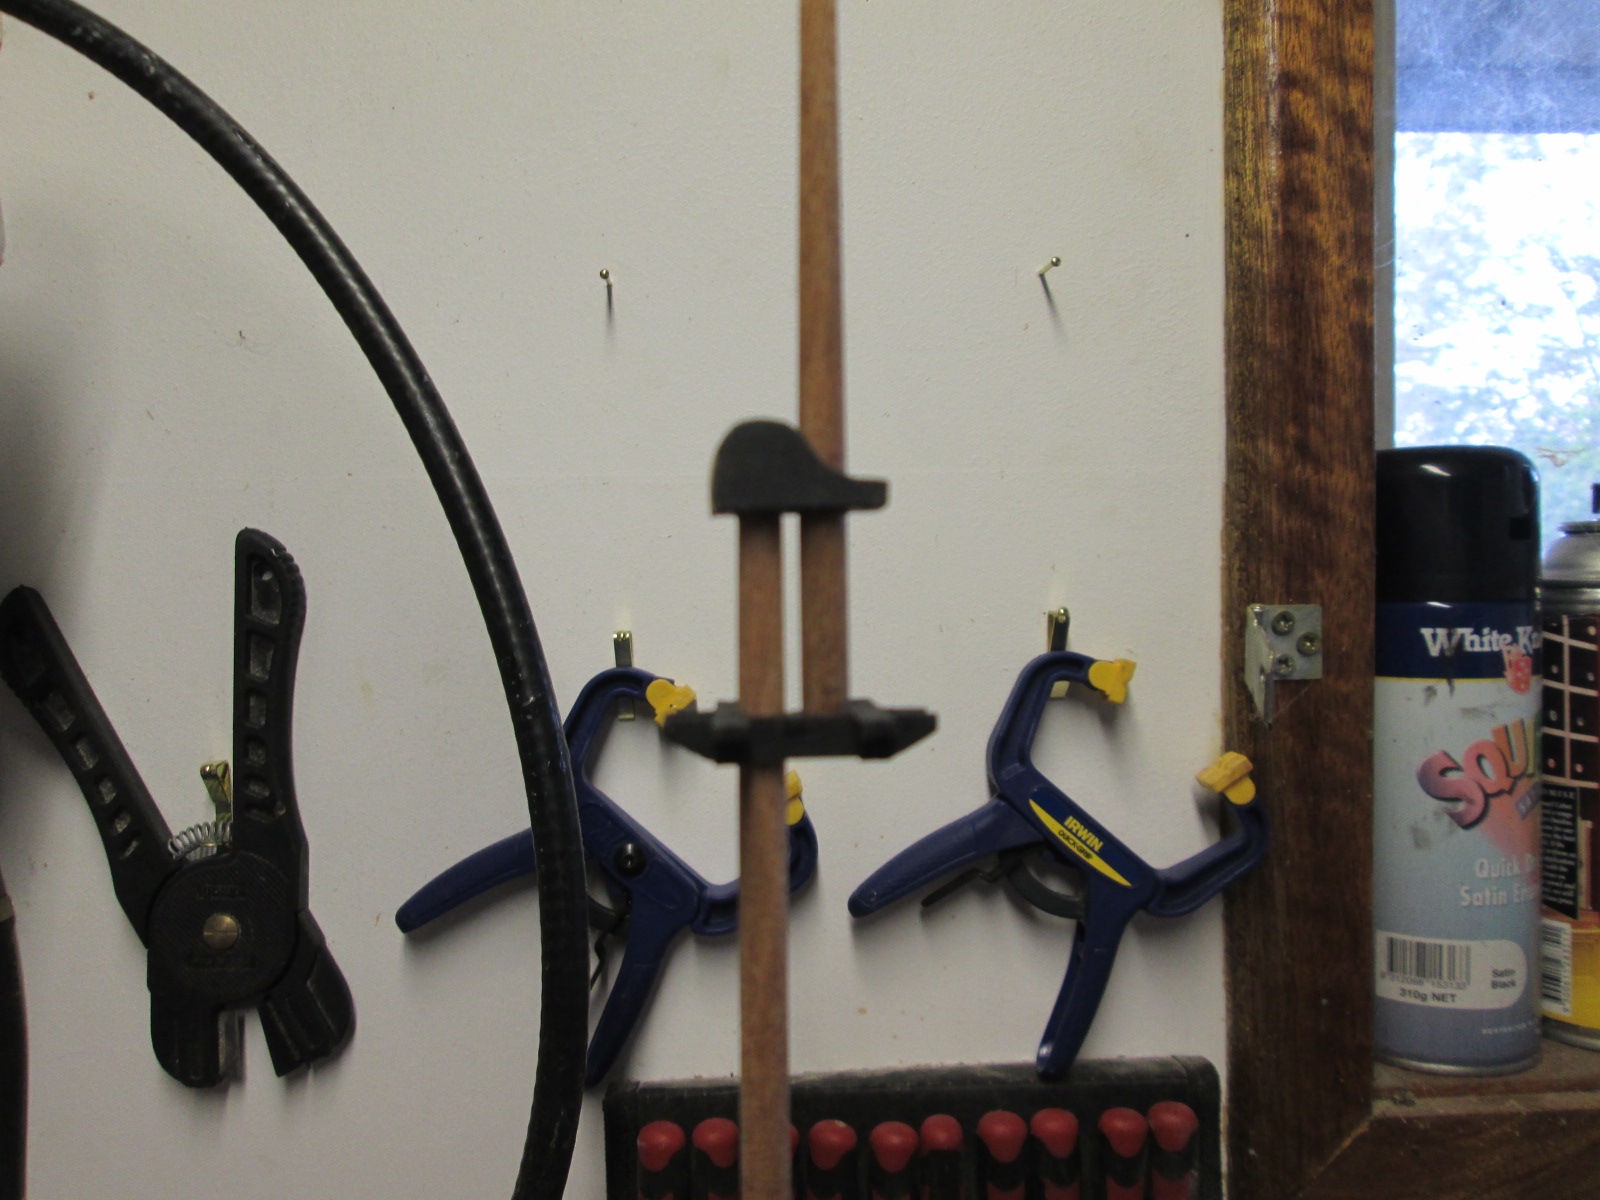
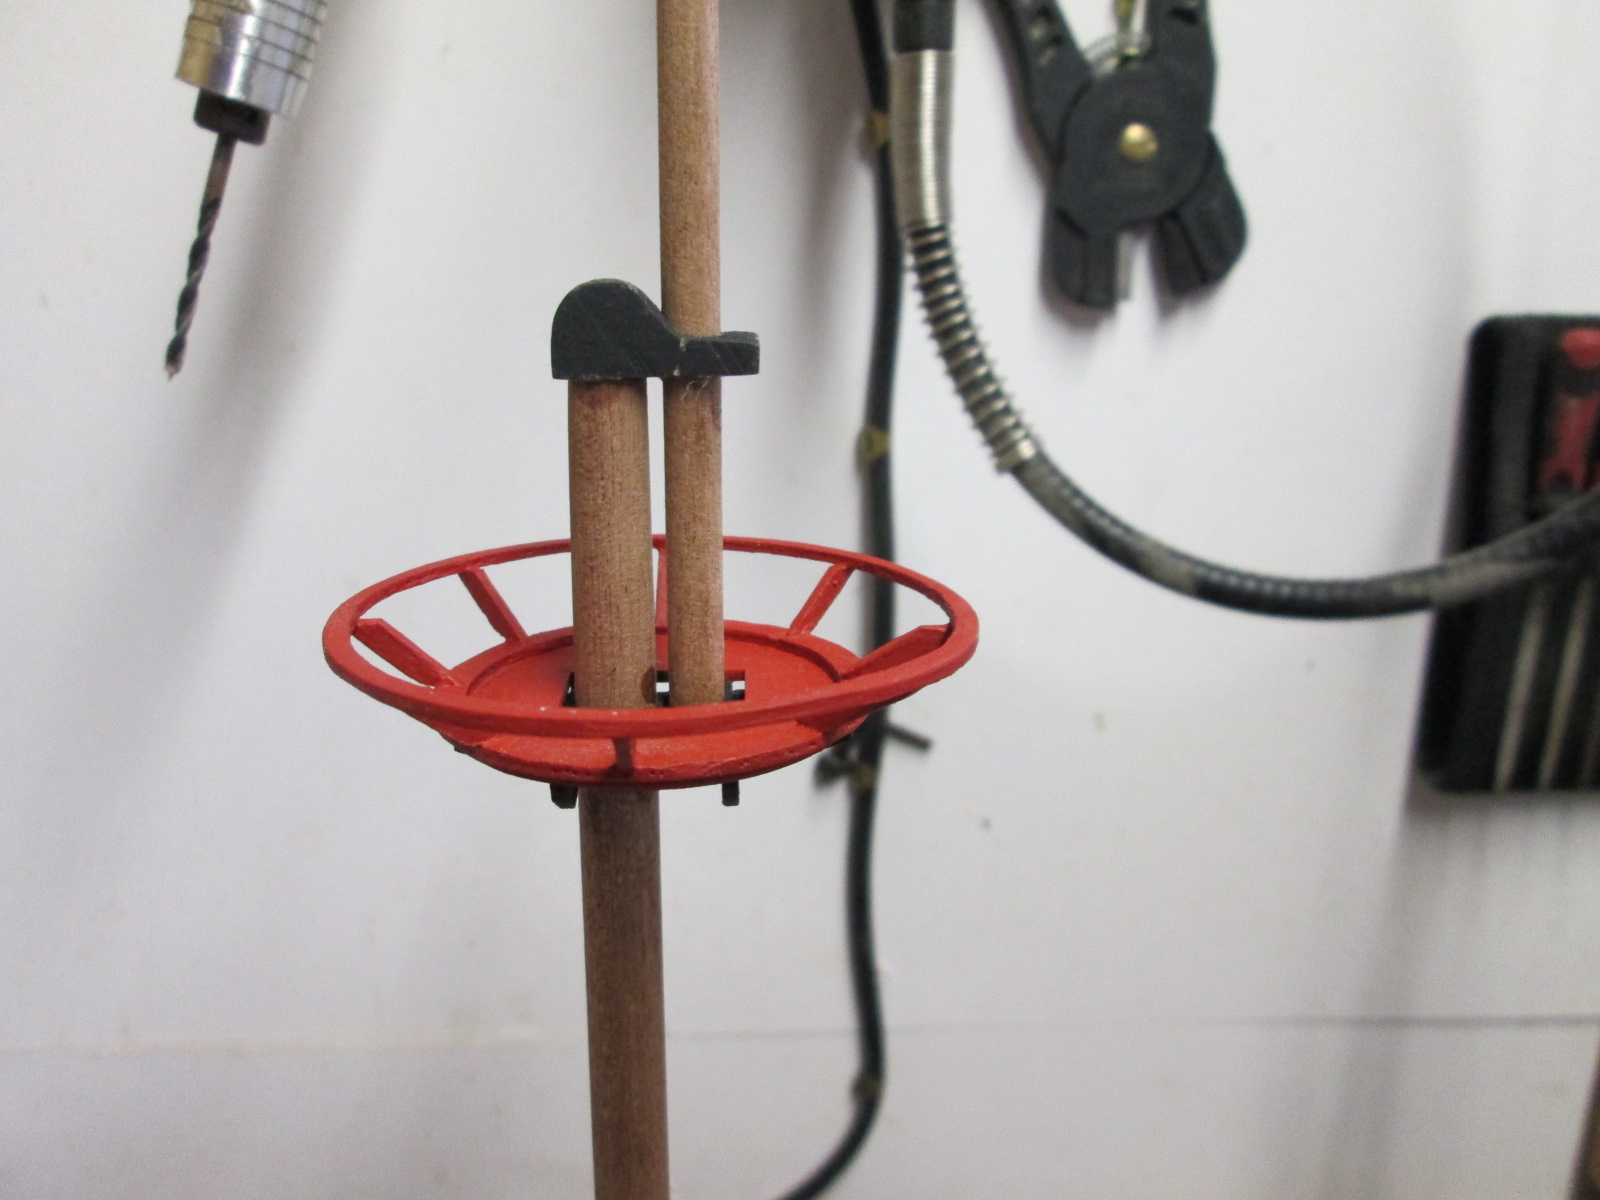
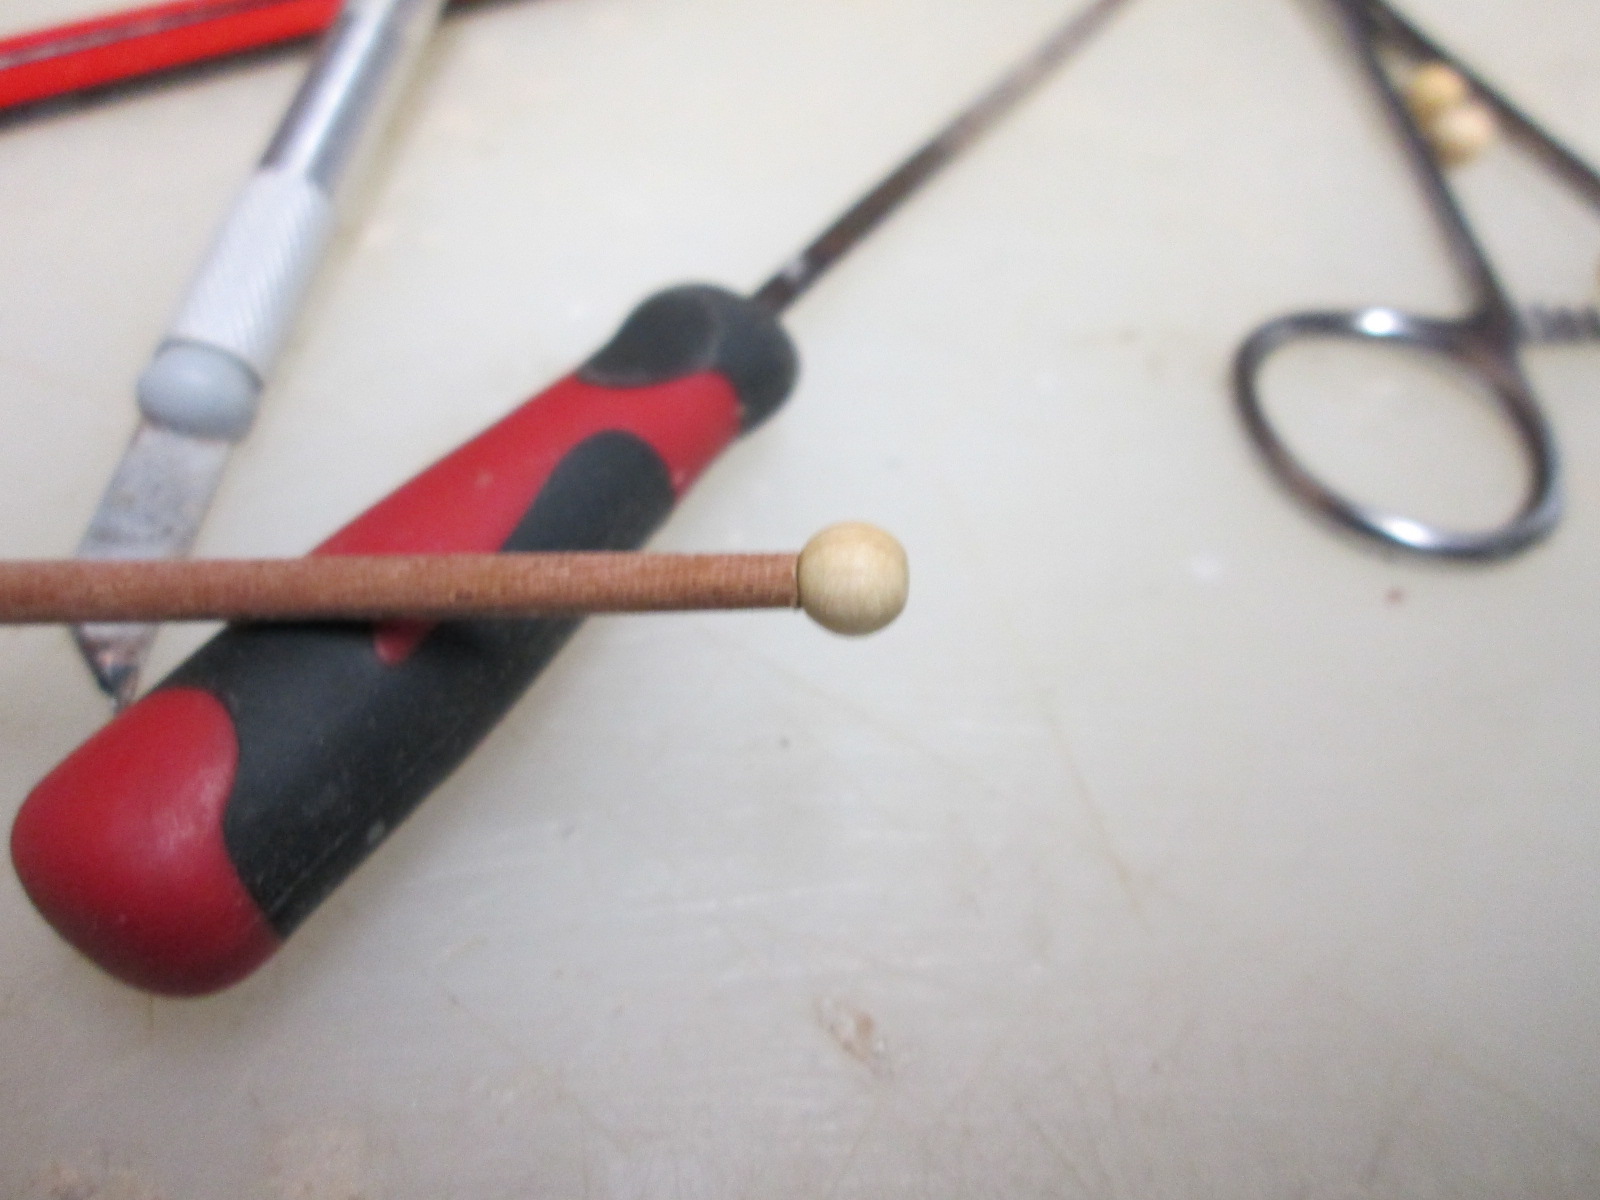
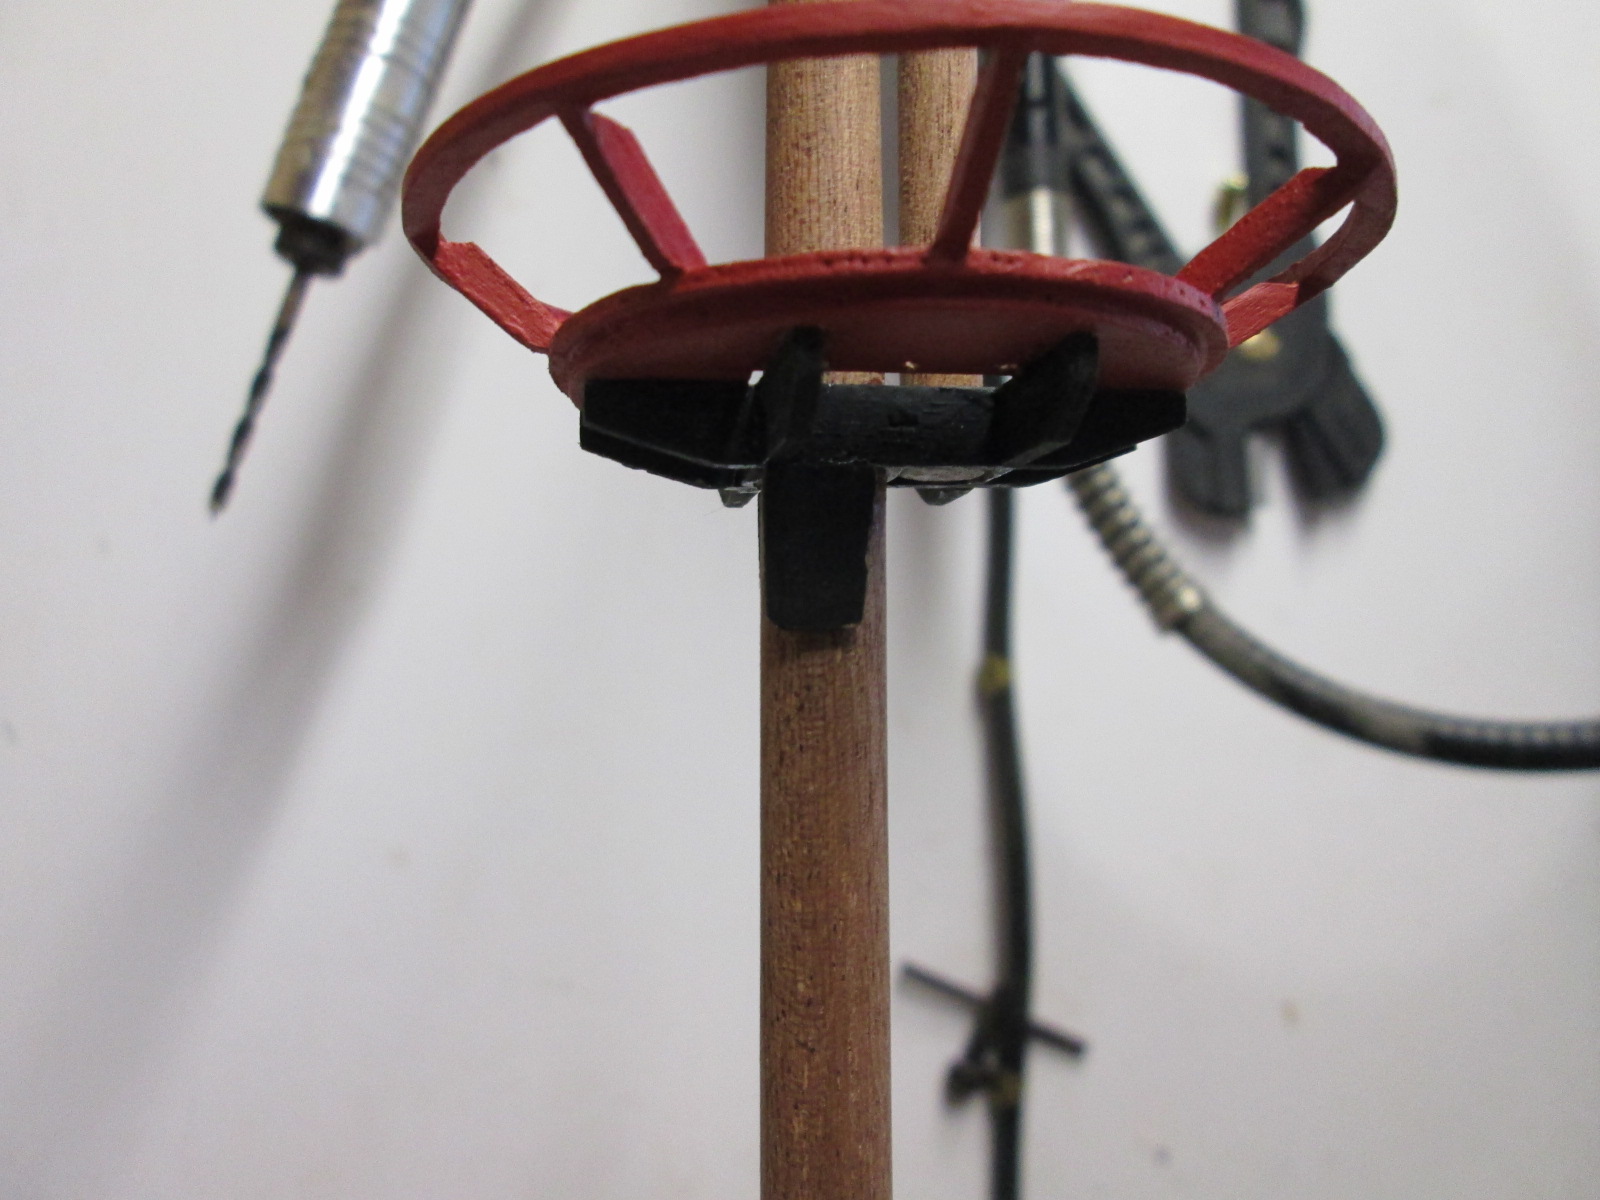
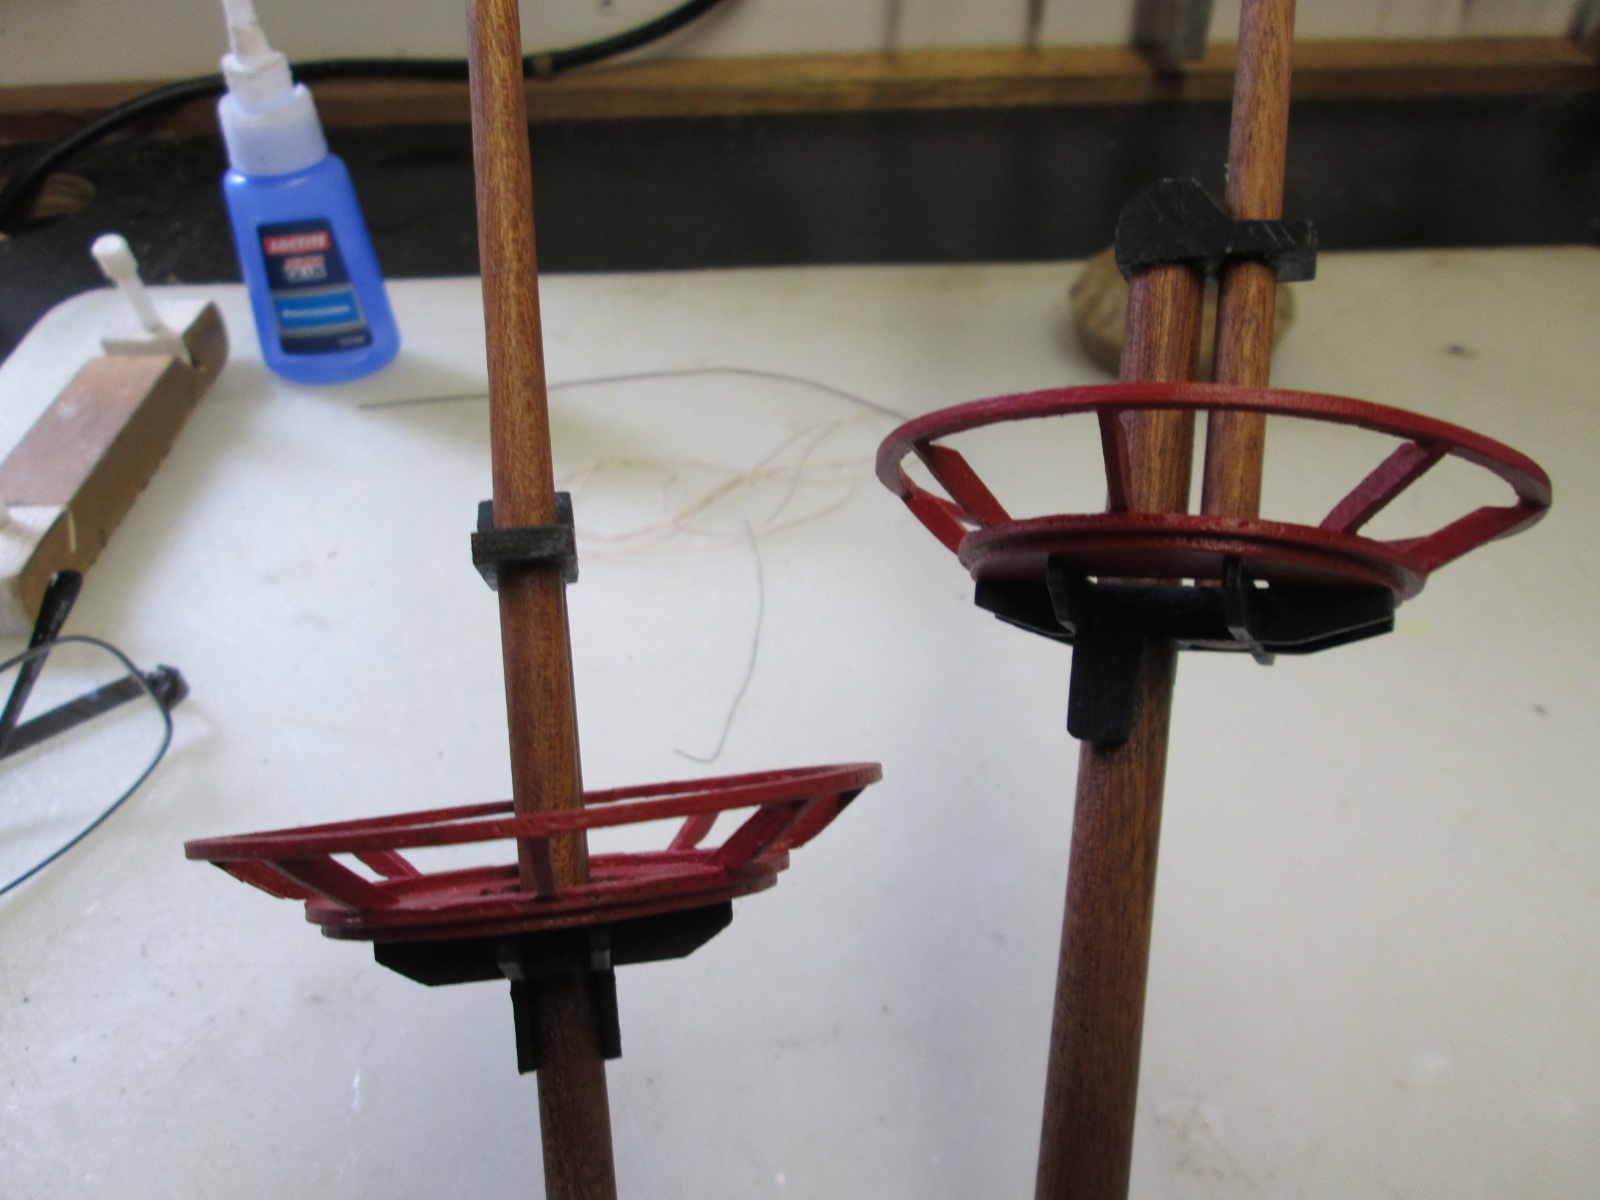
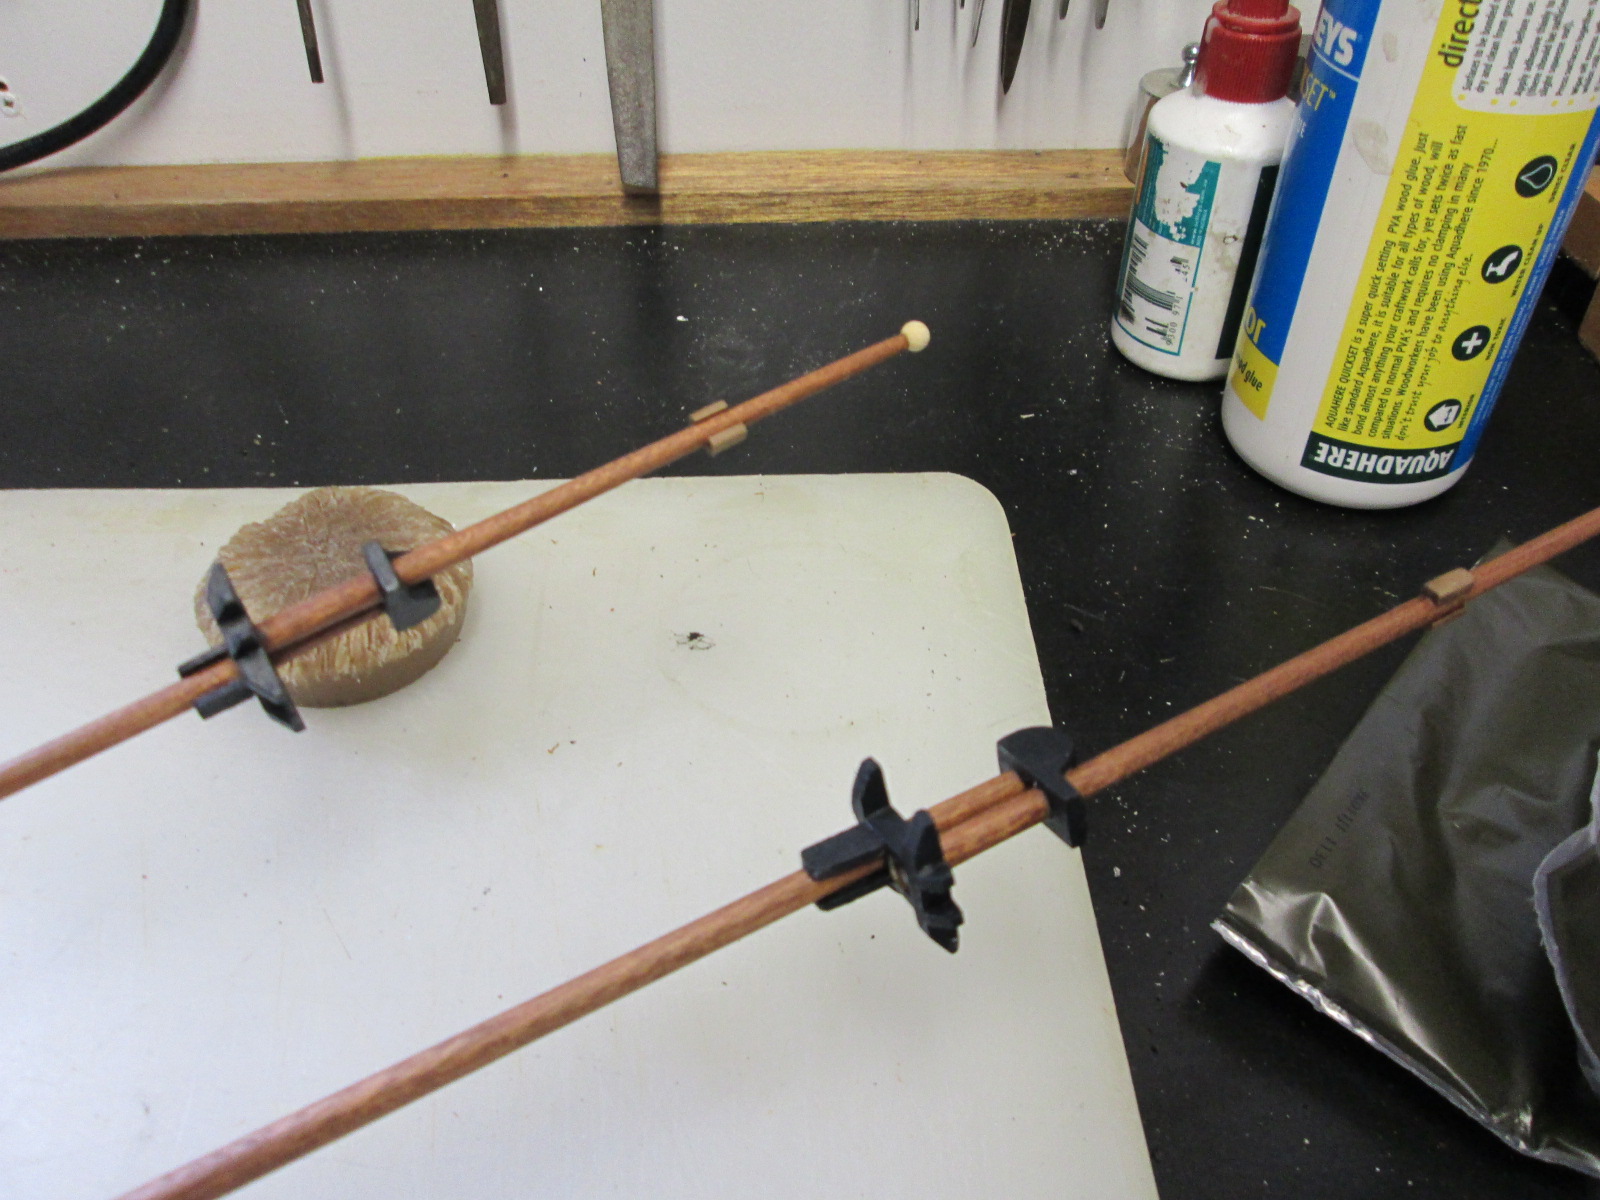
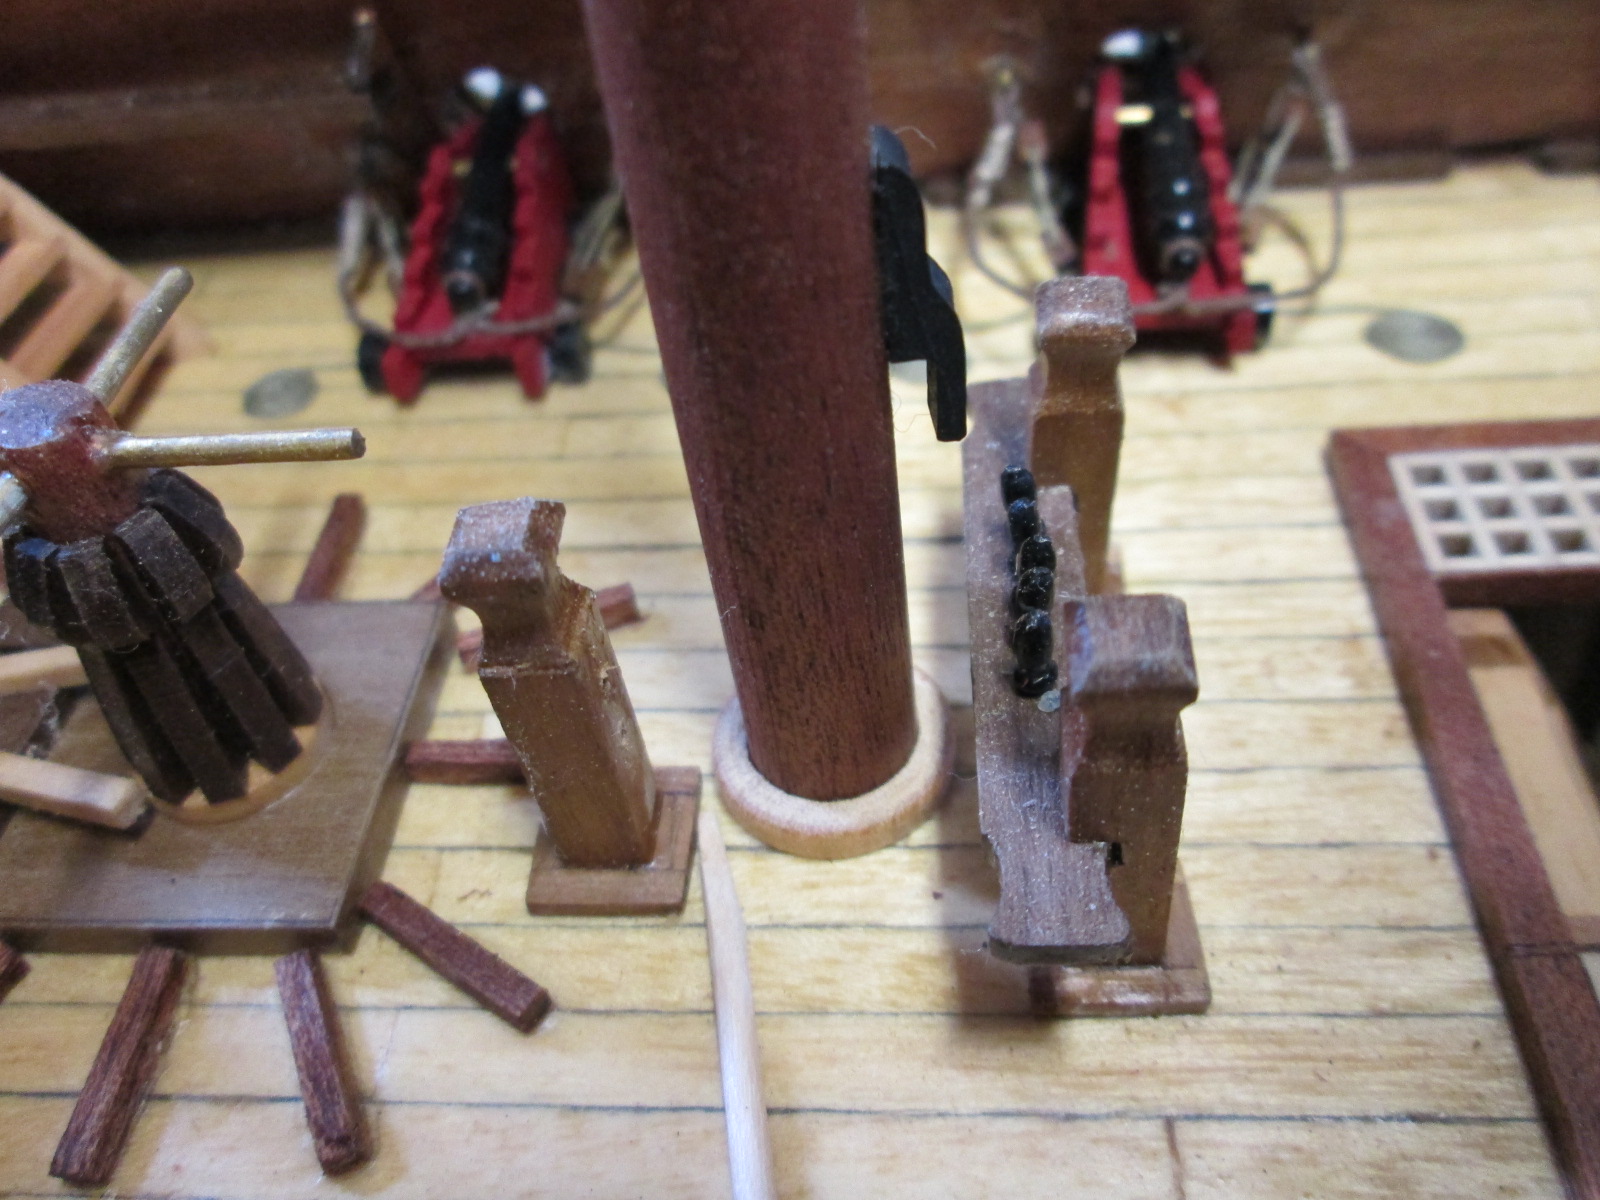
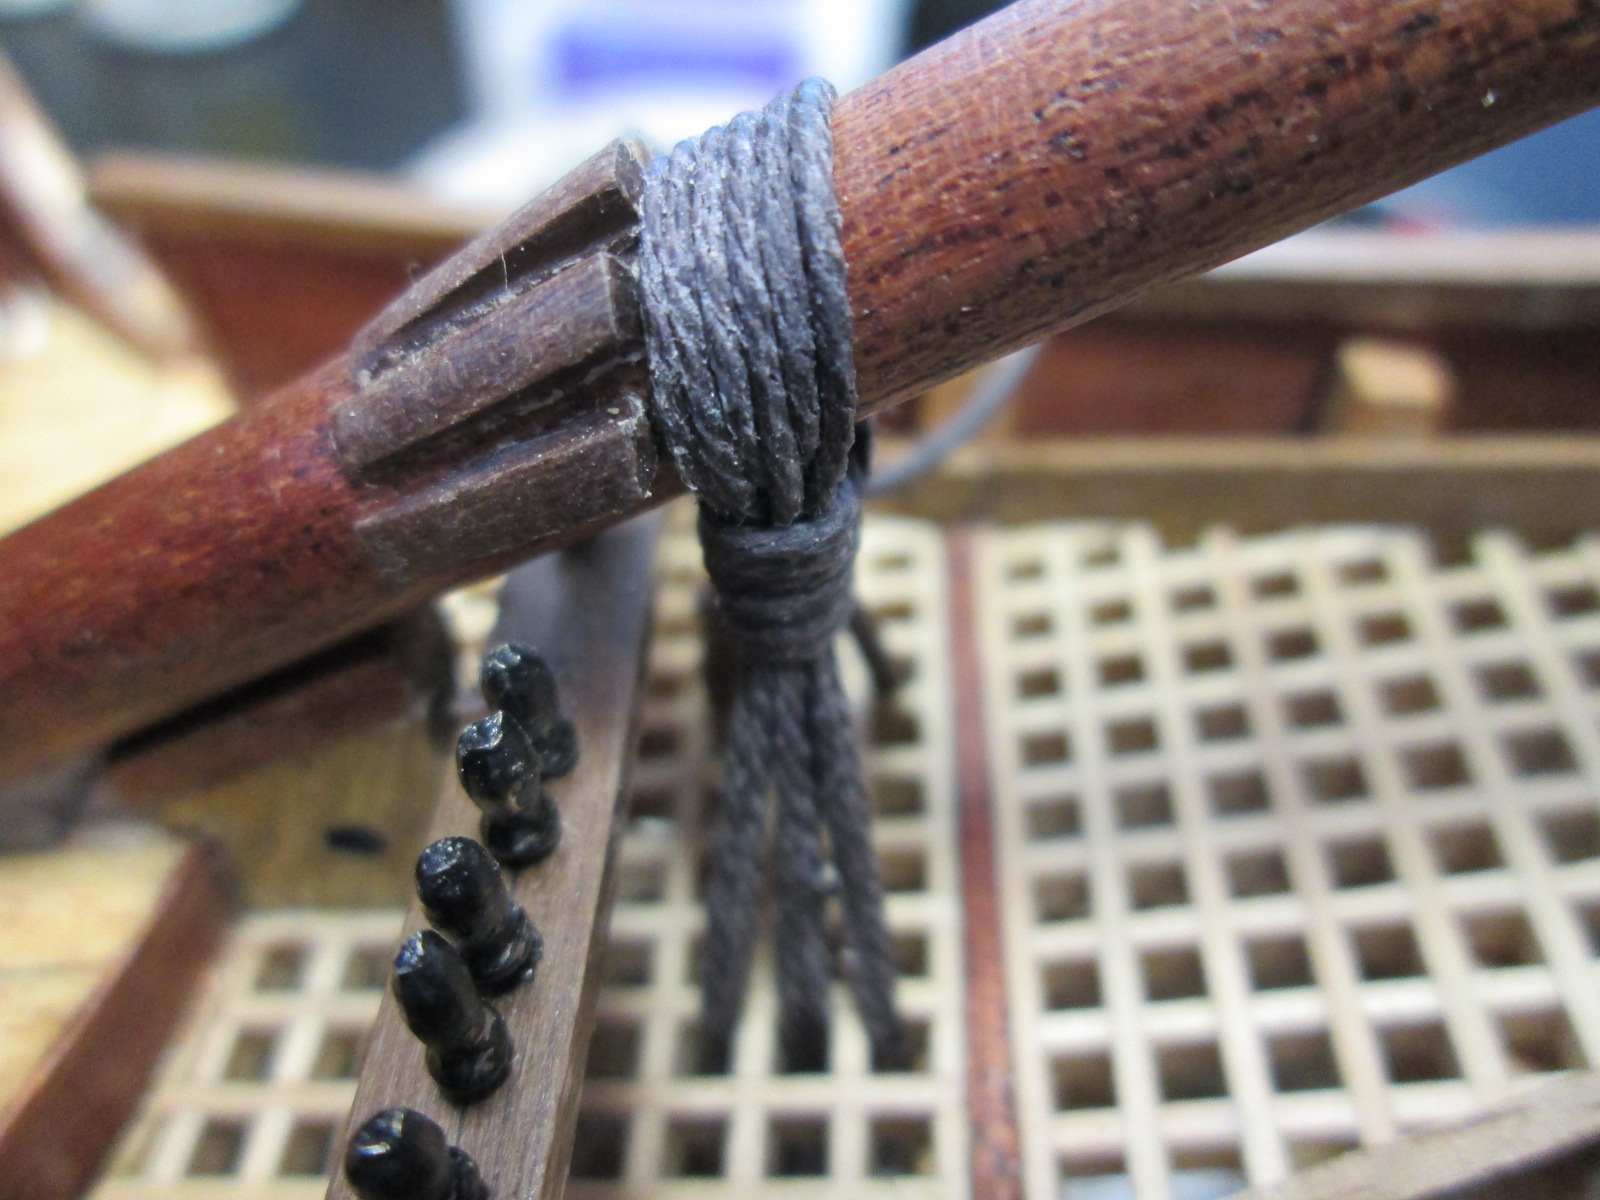
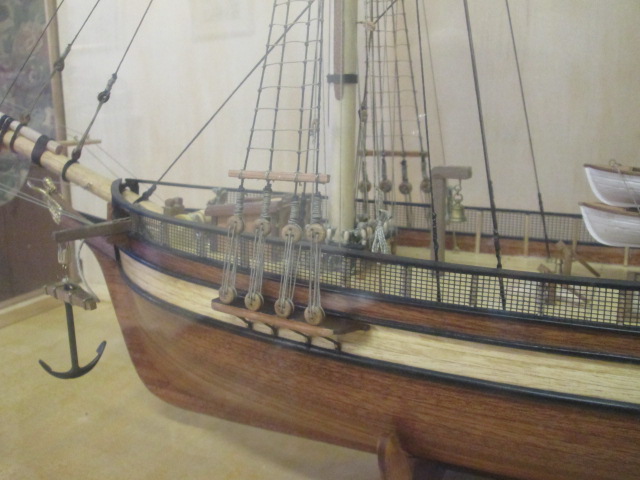
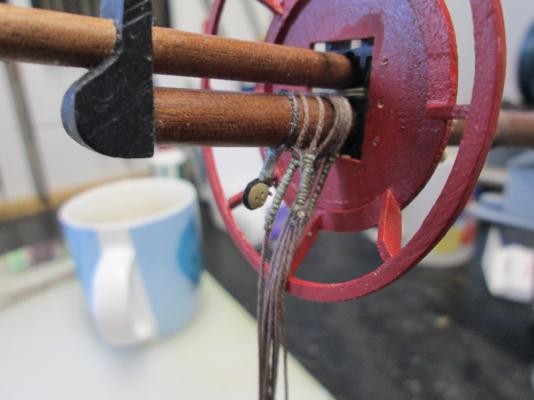
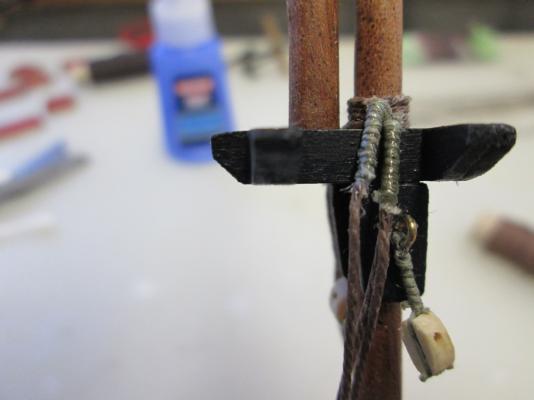
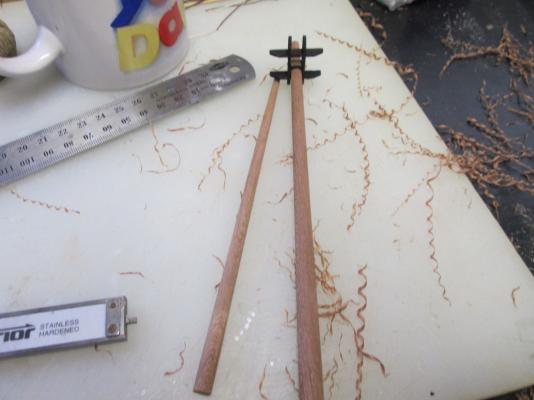
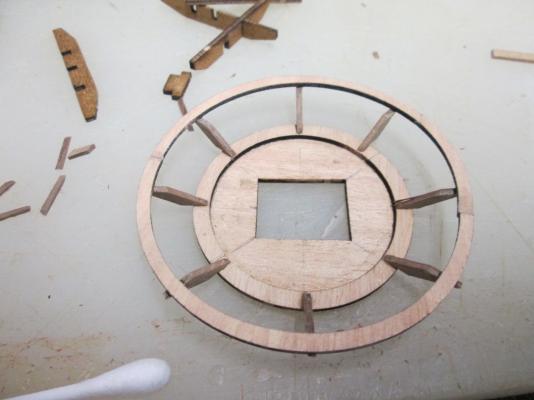
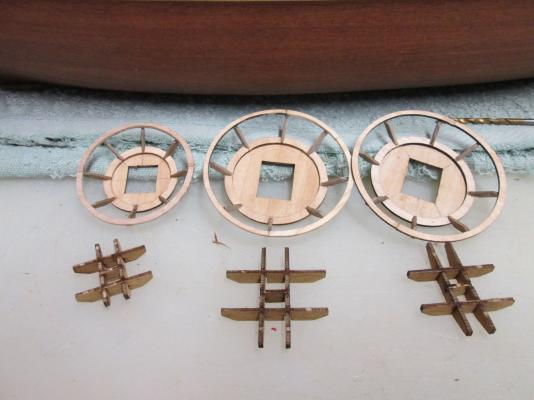
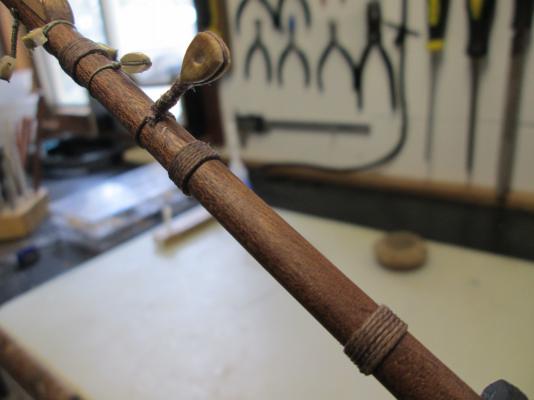
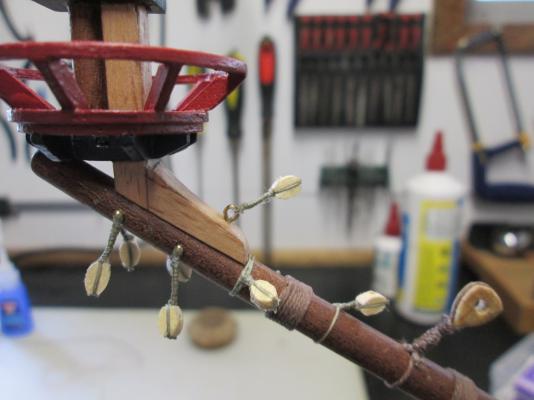
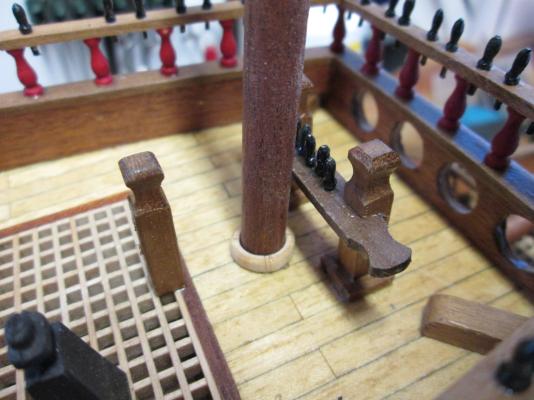
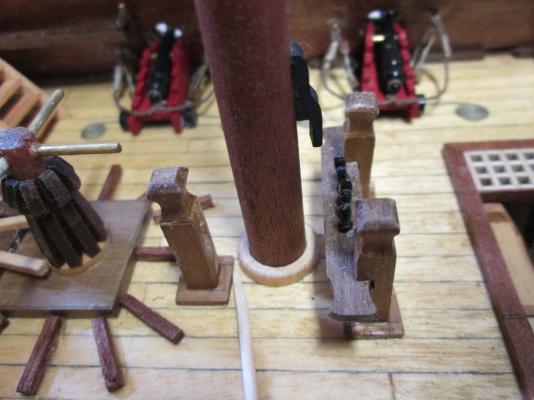
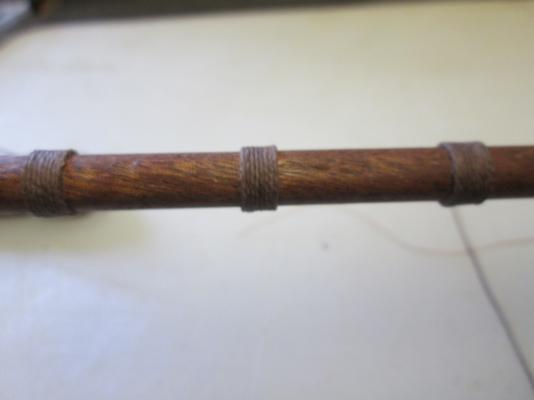
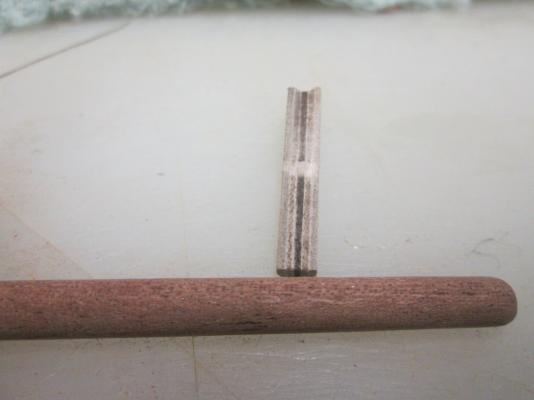
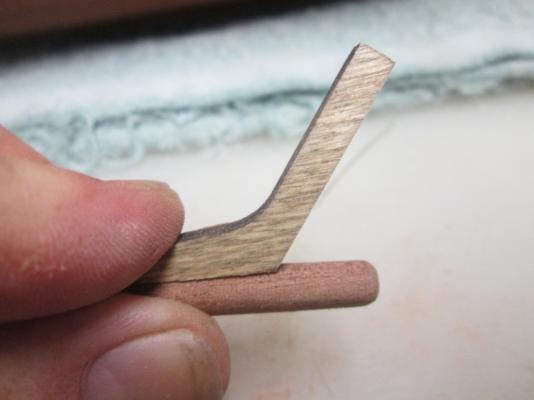
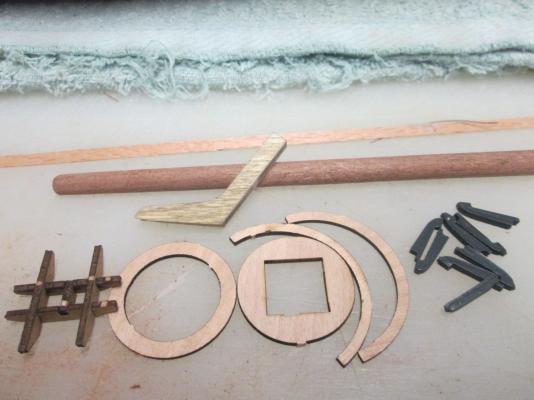
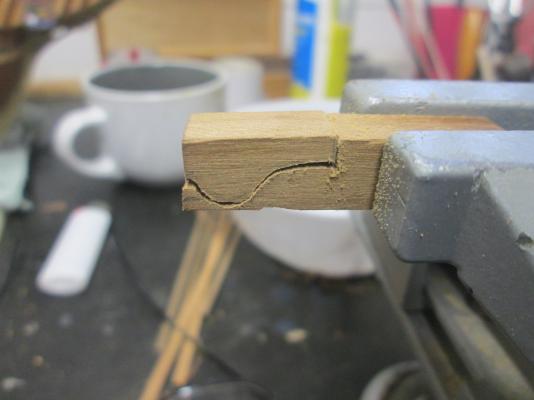
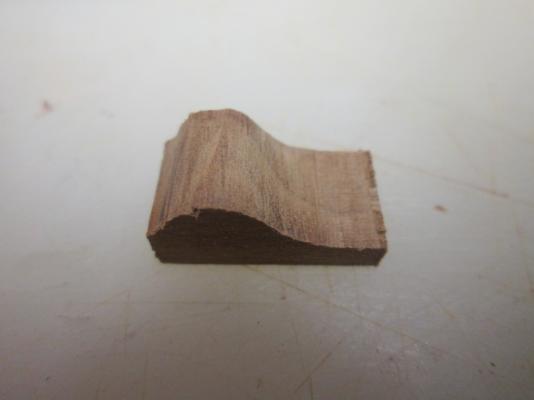
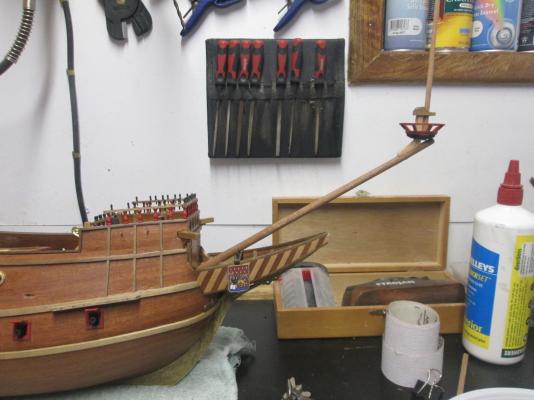
Thanks for your kind words everyone. I haven't posted for a while. I've been doing a few things to the workshop, trying to make things a little less cluttered and more organized. Lately it's been all masts and preparing to glue them in. The metal mast caps were no good. so I made my own. Same goes for the struts that hold the top rail on the mast caps. They just didn't fit. I'm also short a length of 8 mm dowel so I have to wait a little bit so I can do the Mizzen mast. I had to remake a trestle as I put it on upside down, it's so easy to do that. Everything seems to be progressing well. I've rounded the blocks this time, and I think it looks OK. It's very fiddly to sand them one at a time, so I'm hoping it's worth it. For now i'll continue prepping masts and fitting them out with the blocks. The plans are letting me down on this part, as it's very difficult to tell what some of them are for. I've found one 4 mm dead-eye that's not supposed to be there. That's all for now . Matt.


-
whats the Ship, and size?
-
Lovely clean work Ollie.She's a work of art.
- 803 replies
-
- 2
-
-
- colonial cutter
- modellers shipyard
- (and 1 more)
-
Look forward to it. I hope your models haven't floated off, there's been some weather over there.
-
Nice clean work Rod. She's coming along nicely.
-
Your welcome Bala. I do have a dvd of someone building the Perseverance. It does have a lot of hints you can use in general. You can have it if you want it. I found it useful, and still use some of the methods. All you need to do is send me a pre adressed postage paid cd packet and it's yours. Matt
-
Hi Bala. I think your'e going a little too fast, and in the process missing a few details. The first thing I would say is make sure every piece you place on the model fits before you glue it. From what I can see, you need to stop and fix a few things before you proceed. The bow section need a lot more shaping as there is a bump where the planks curve around the bow. There is also a hollow section along the false keel that needs more shaping, or the Keel part that fits on the outside of the hull will not fit. The plywood parts you glued on should be shaped flush to the false keel. Sanding the hull after the first layer of plankind is very important to remove bumps and hollows on the hull. To minimise these, fairing, or sanding the bulkheads is also important before you put the first layer of planing on. Not enough time on these two steps before second planking, result in obvious bumps and hollows on the finished hull. A little more attention on the grates to square them up without any gaps wouls make them look a lot better. There's some nice work youv'e done so far. A little more time spent thinking ahead will help prevent major pproblems later. Remember, this is your build. Do it the way you want. I hope this helps. Matt
-
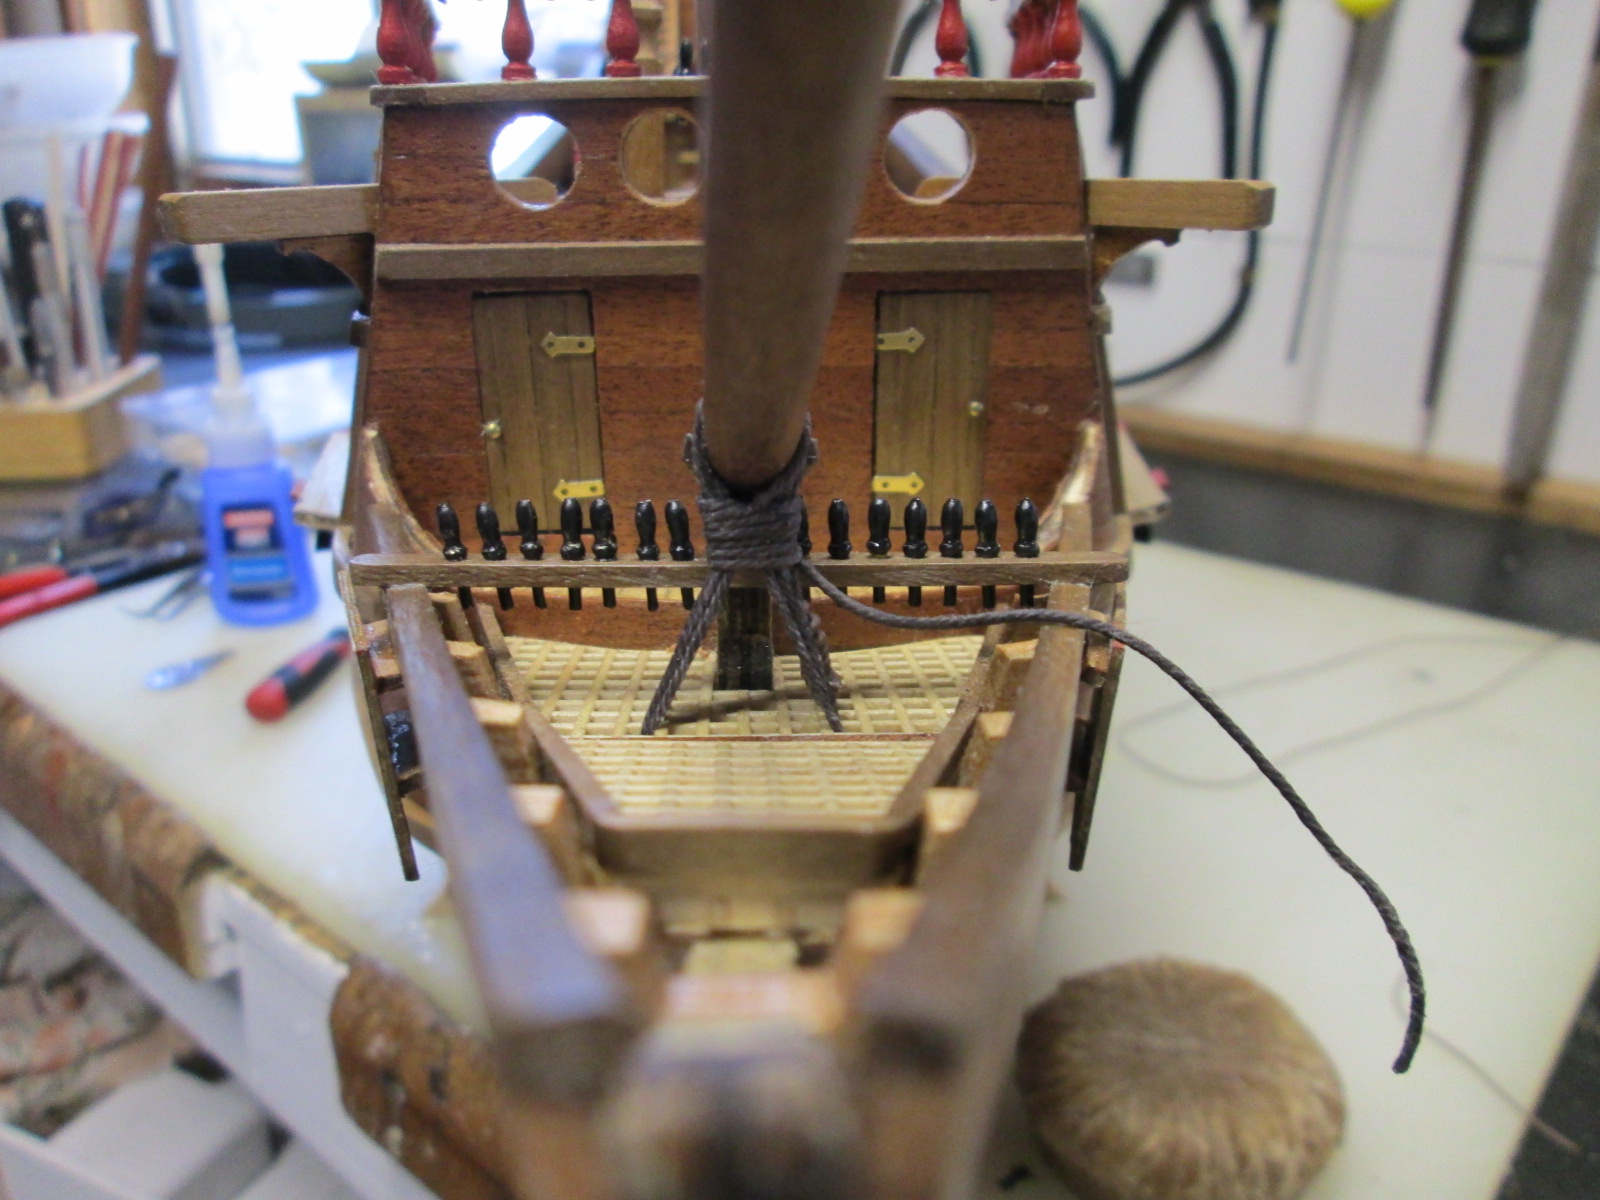
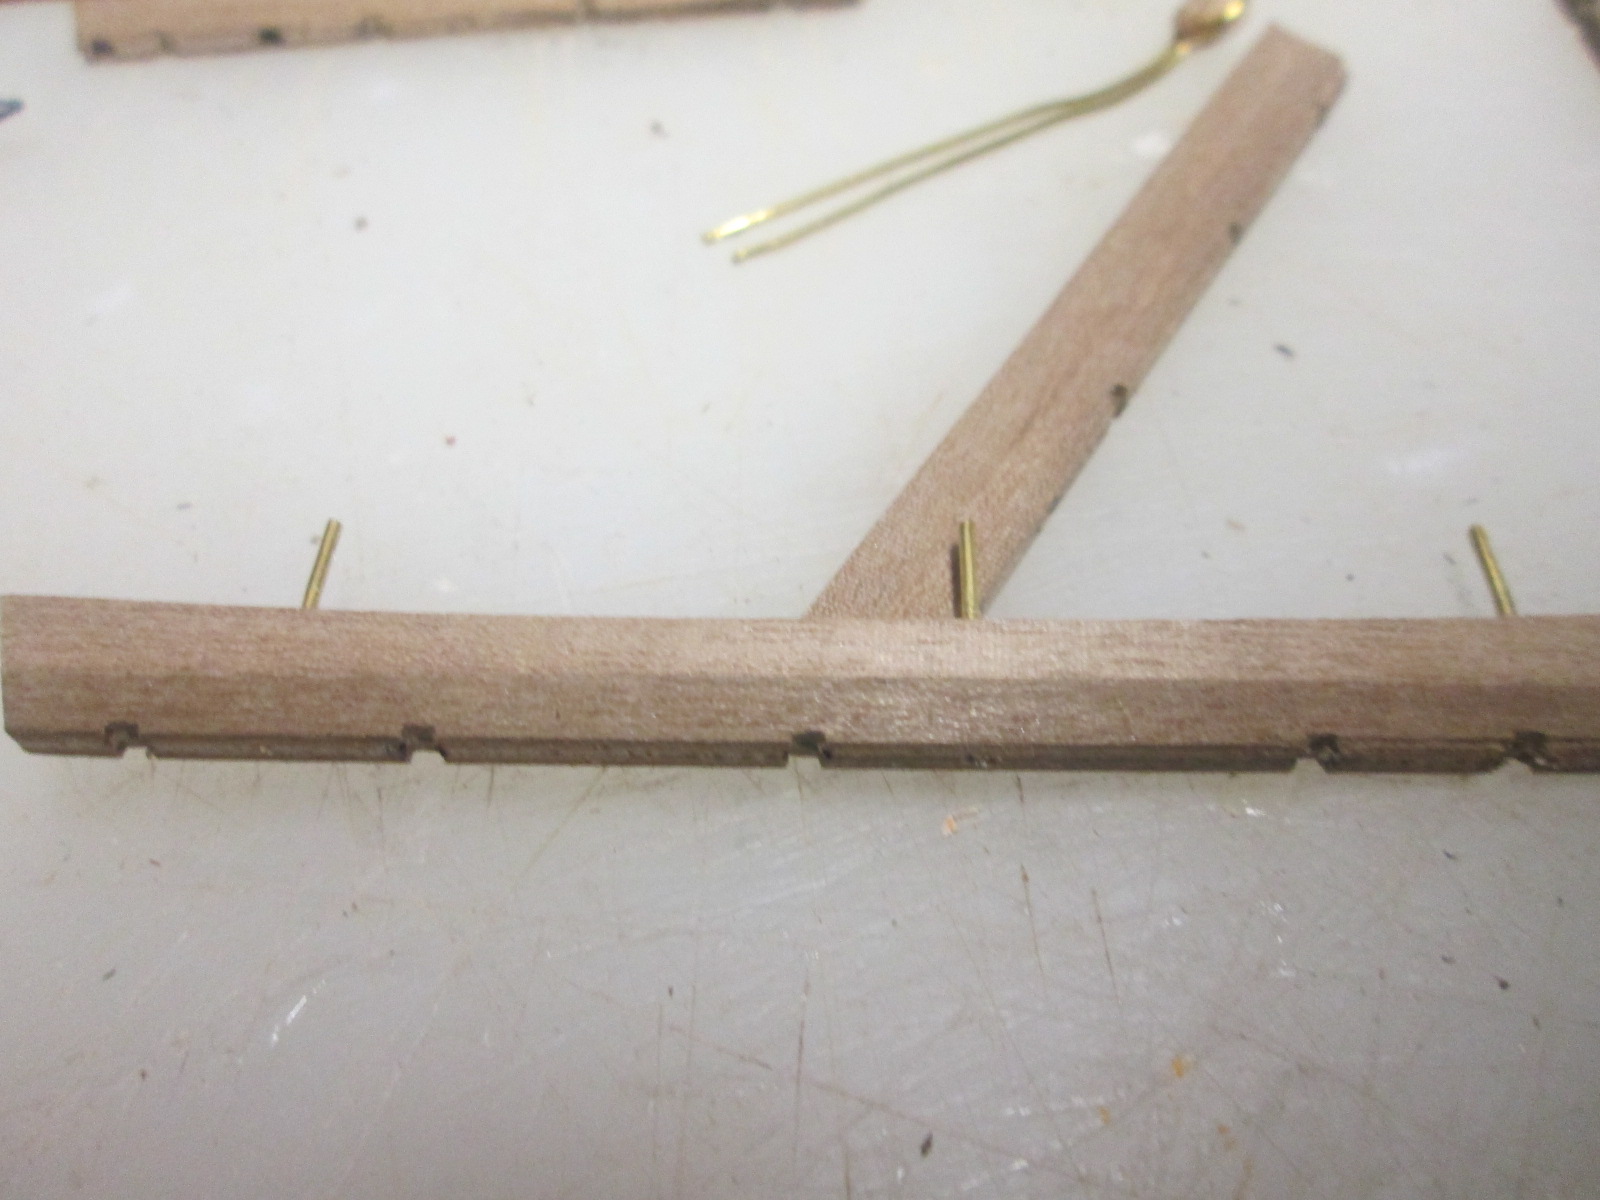
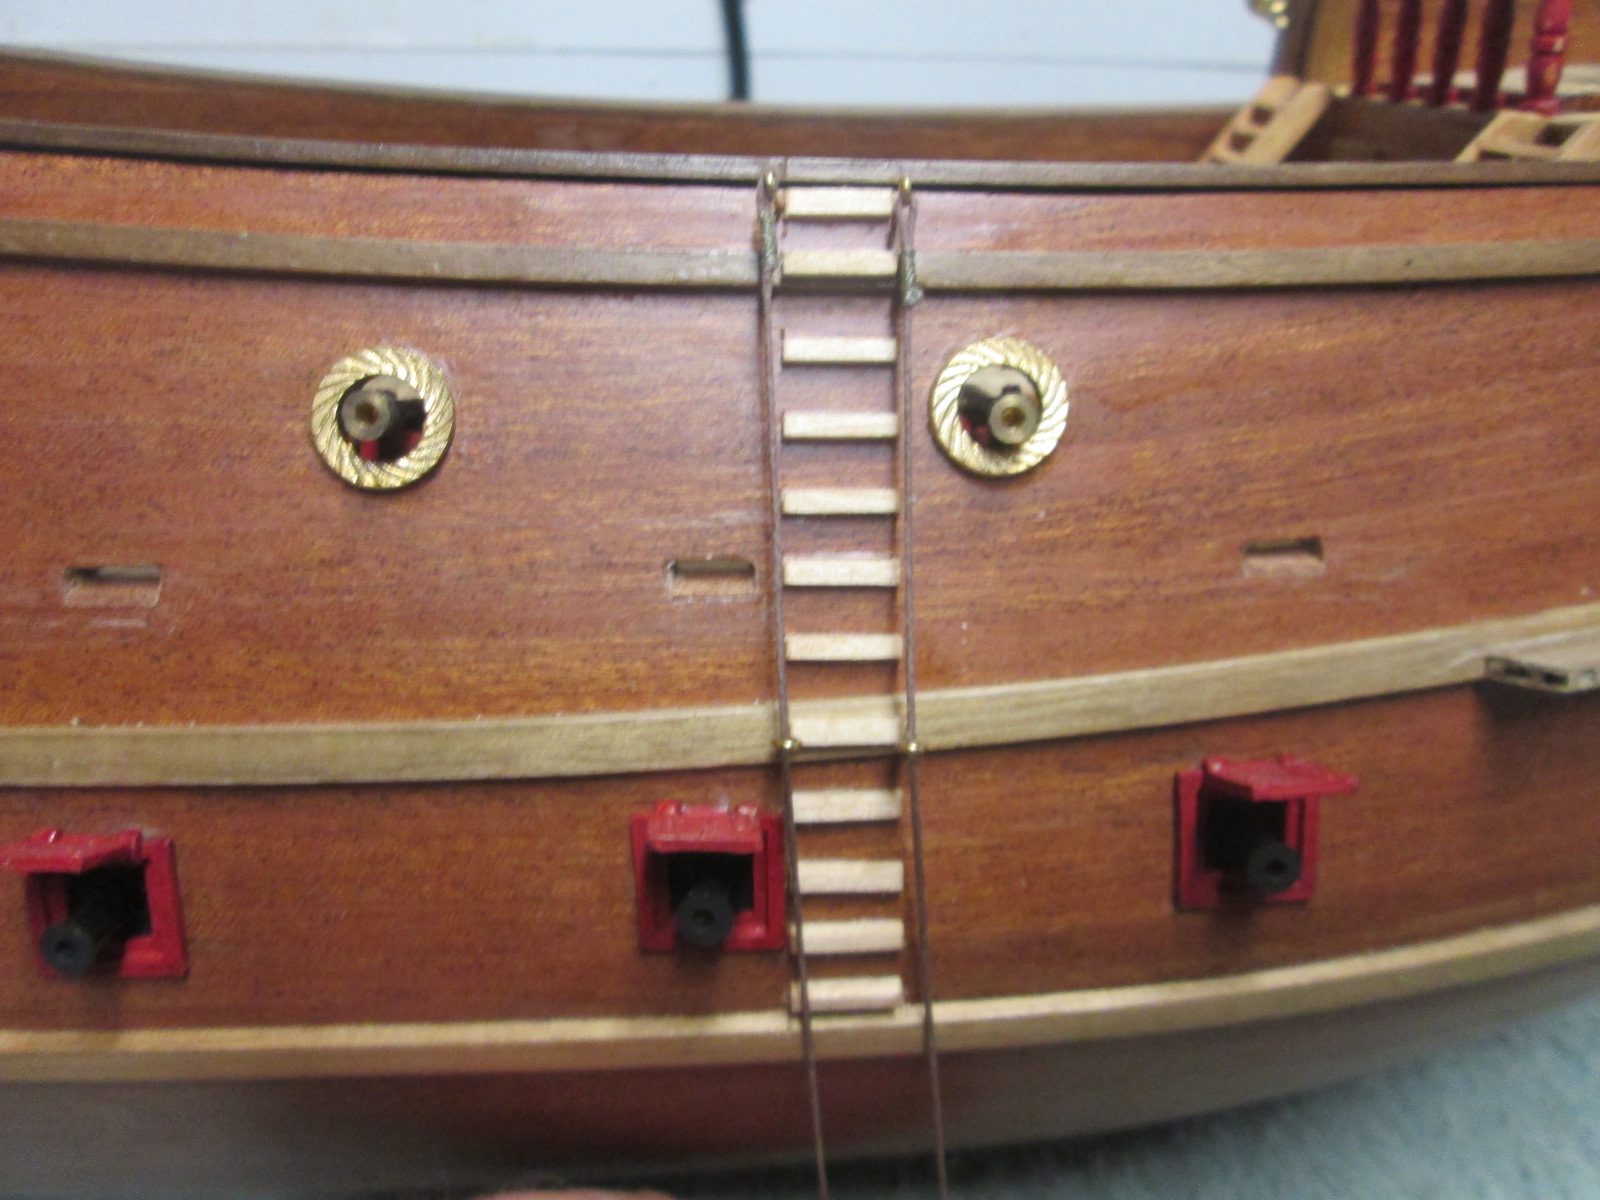
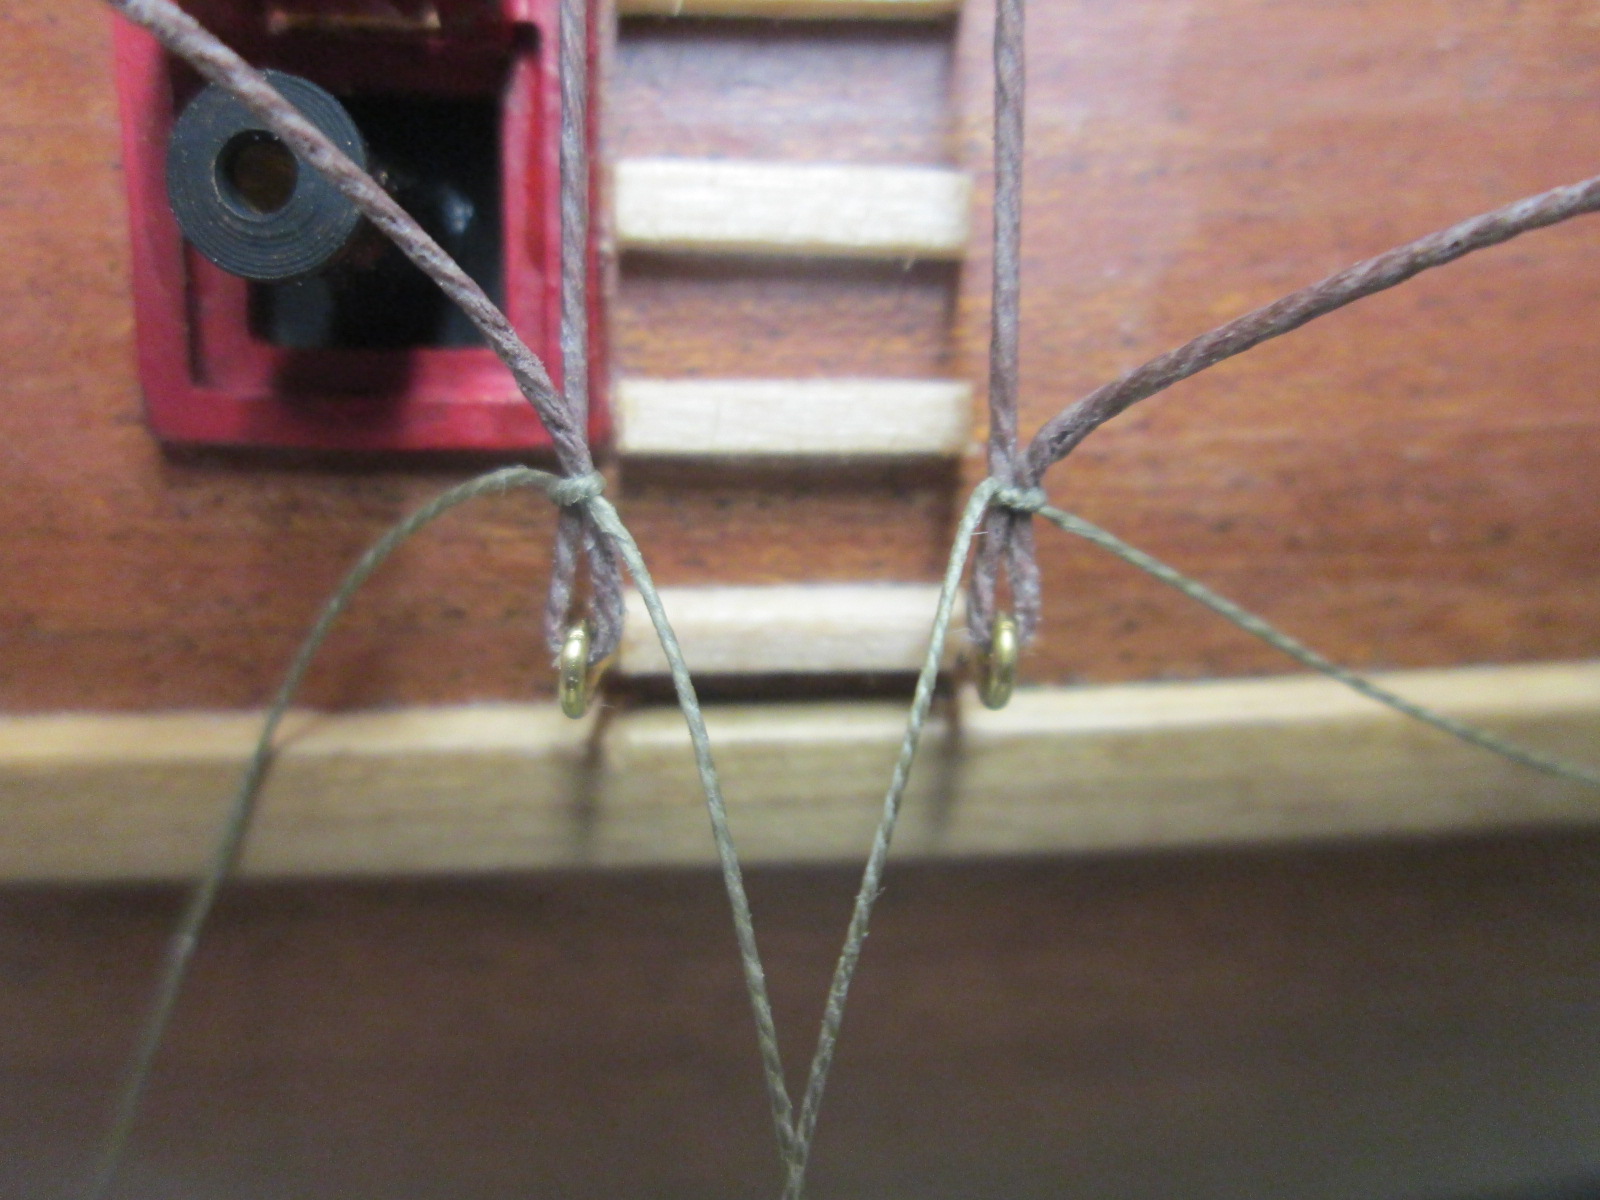
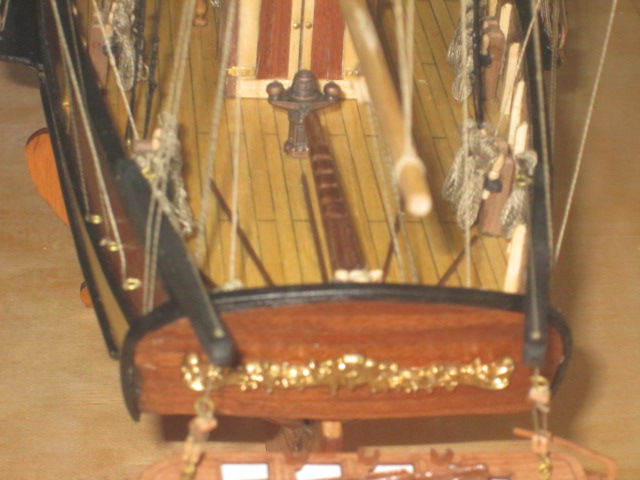
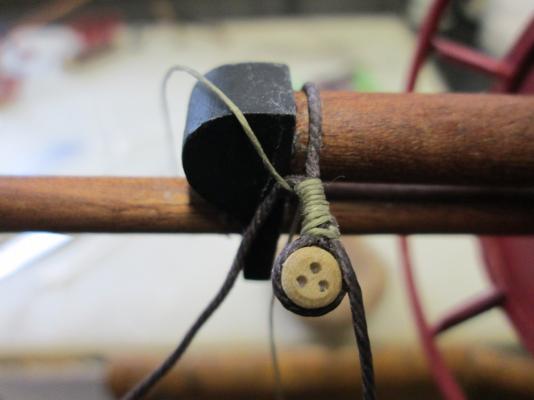
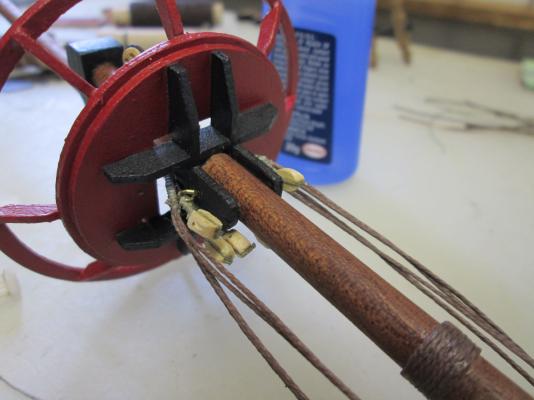
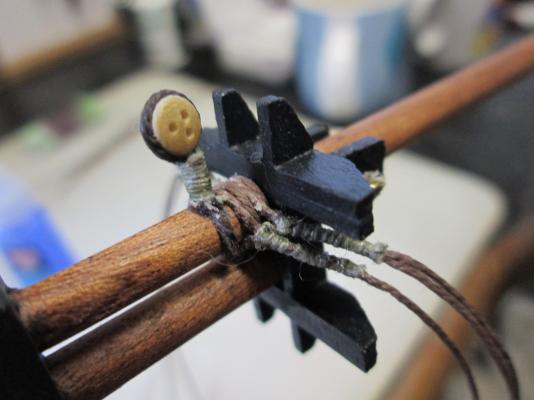
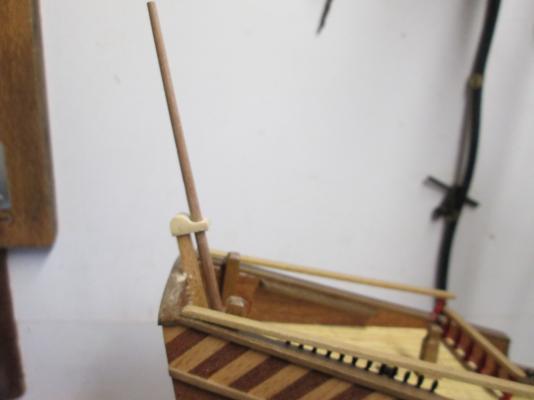
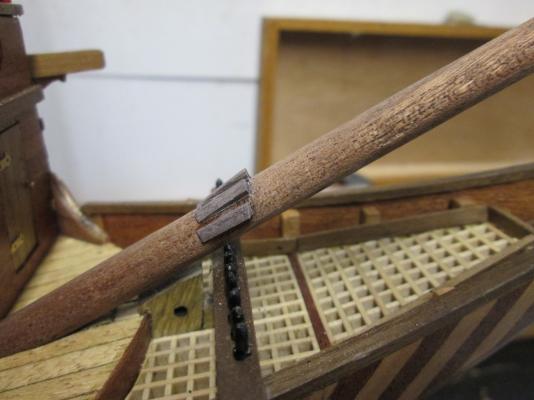
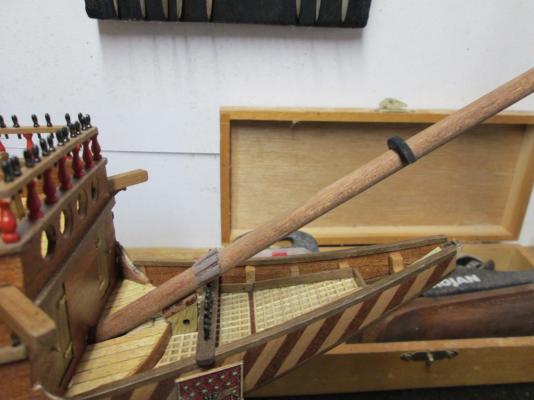
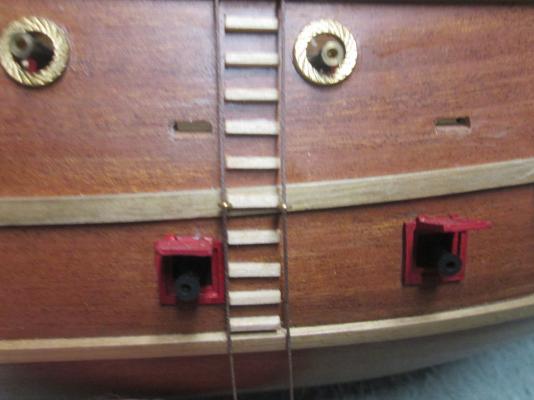
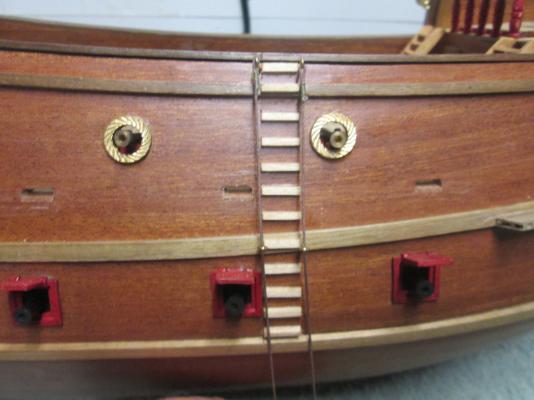
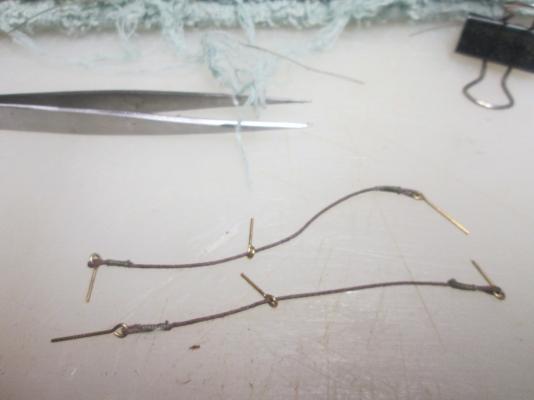
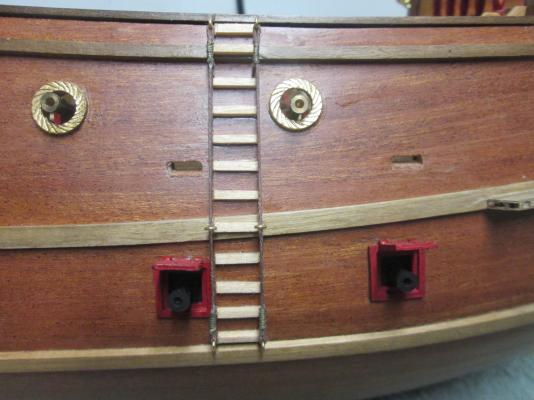
Yes Sjors, here's a little bit of work. I.ve done the Channel boards, the ladder ropes and the bowsprit wood work.There's a few little gremlins here as the metal parts for the Jack top don't fit well, so I made some wooden ones. The mast caps supplied in my kit are all one size, so I'll end up making some as I have with the bowsprit. For now I'll just continue with the masts. The plans called for a bowsprit of a given length, which is no real mystery. However, the bowsprit seems too long by about 40mm. I might have to trim it down a little. Matt.


- 64 replies
-
- 1
-
-
- occre
- san marcos
- (and 1 more)
-
Cutty Sark by NenadM
mathewp replied to NenadM's topic in - Build logs for subjects built 1851 - 1900
A lot of my tools came from jewelry supplier. The tool sets required are quite similar. Keep up the nice work Nenad. -
Hi Bala.This is a nice kit. Feel free to let me know if I can help. Enjoy,(emphasis on enjoy) your first build. Matt.
-
Your Stem looks better than mine. She is looking great.
-
G"day Rod, yes I did plank them, only I didn't know how to do it properly. The main problem is the stem. You can cut pieces to make it look more like it's solid timber but you would need a pattern of some description to work from. The Keel and Stern are just straight pieces, so not much mystery there. You don't have to remove them to put the planking on. You do have the option of solid ones. Modelers Shipyard have 5mm Mahogany boards if you want them. Your hull looks very good. I would suggest you take the extra time to get a nice smooth shaped hull before going to second planking. A common problem is bumps and hollows that need fixing beforehand. I see you joined a club. With their help you shouldn't need too much help from me, but I'll chime in from time to time if you don't mind. Feel free to let me know if you have any problems as I still have the plans etc I can refer to. Matt.
- 33 replies
-
- 1
-
-
- perseverance
- modellers shipyard
- (and 1 more)
-
I,ve got this model sitting in my lounge room. Let me know if I can help. Matt


- 33 replies
-
- 3
-
-
- perseverance
- modellers shipyard
- (and 1 more)
-
Hi Jeff, She's really coming along now. You could try Gary at modellers Shipyard, he should have something there in yellow ochre. Apart from him I just get mine from the local art shop.
-
Very nice model Dan. What are you going to do next?
-
Have a happy Chrismas Jeff. I'm having a break from building to holiday with my 3 lads. She's taking shape now, and will look a treat with the copper.
-
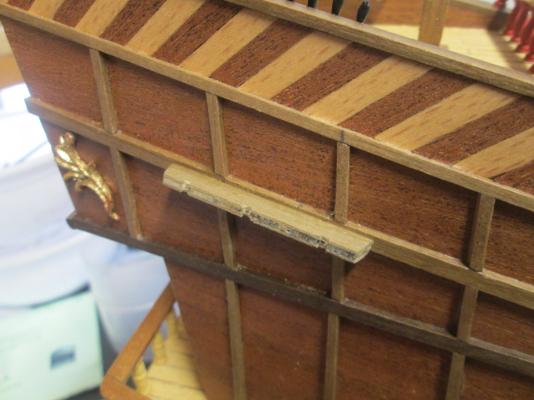
Is that Mahogany I see on the bow section?. That's a nice way to do the planking. Why can't the manufacturers come up with a plan like that? She's looking good Jeff.
-
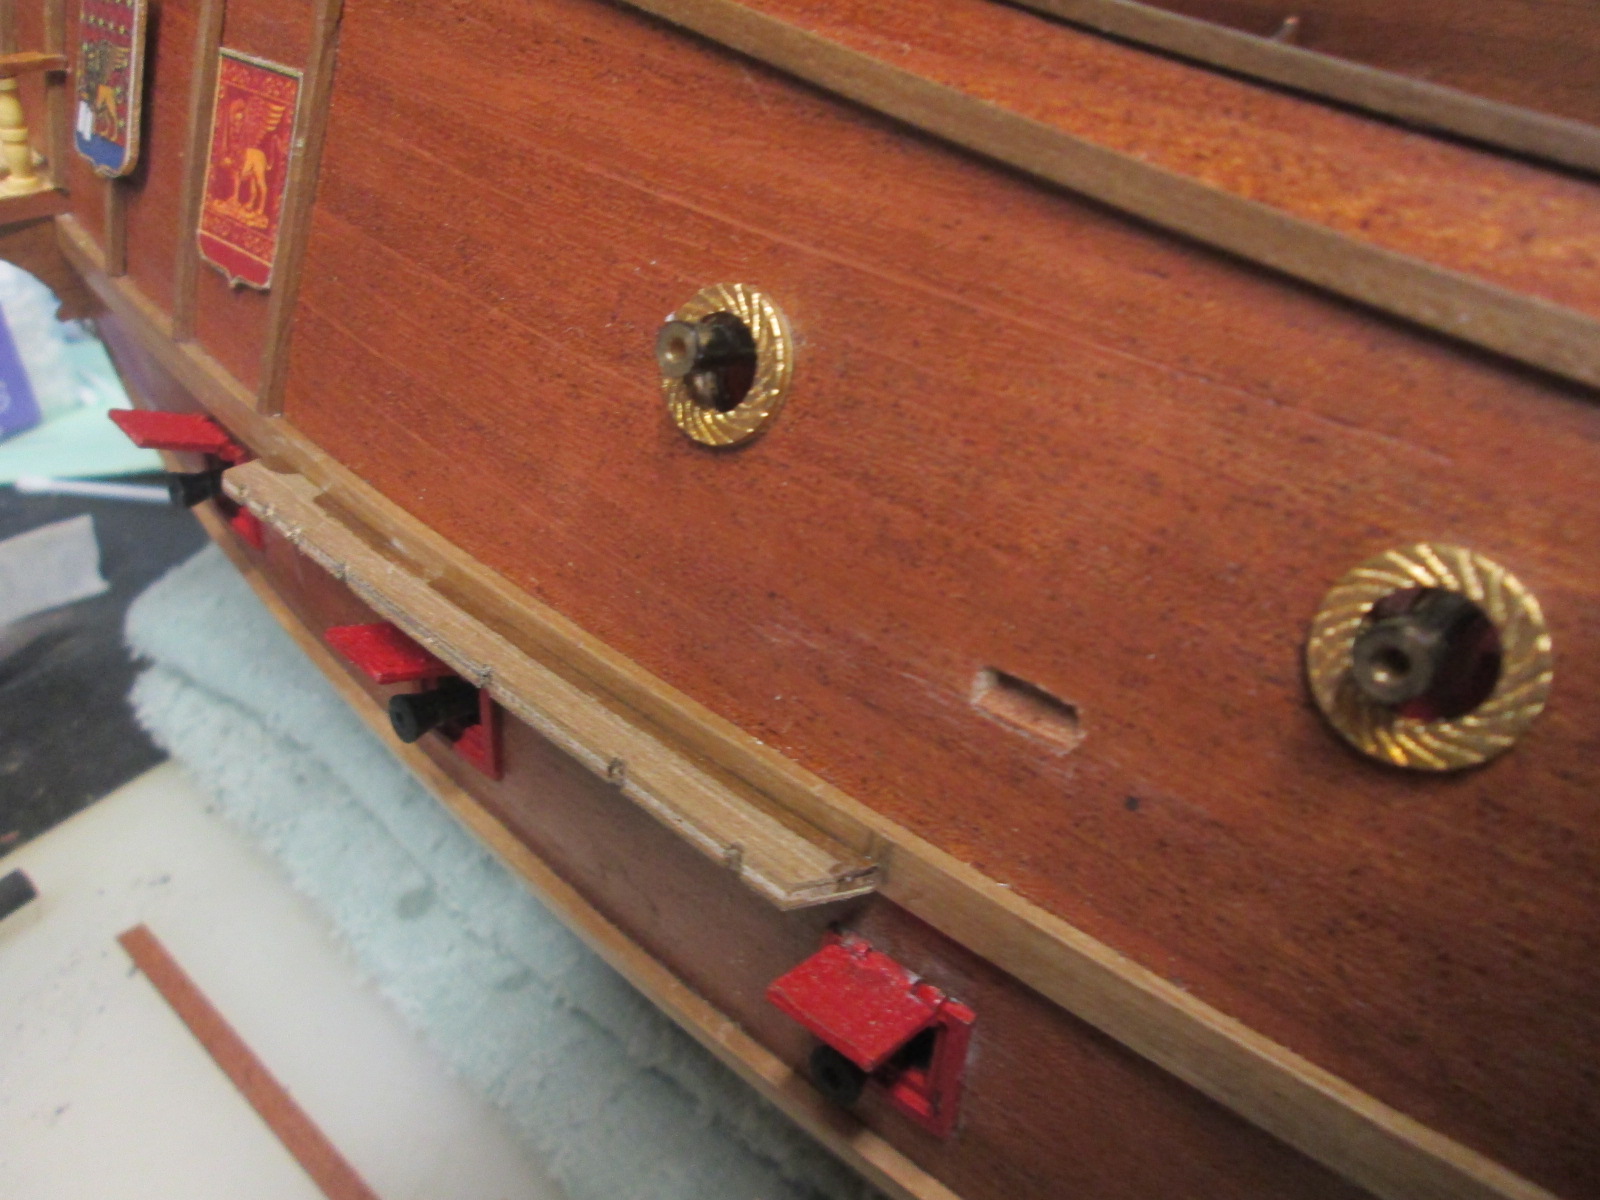
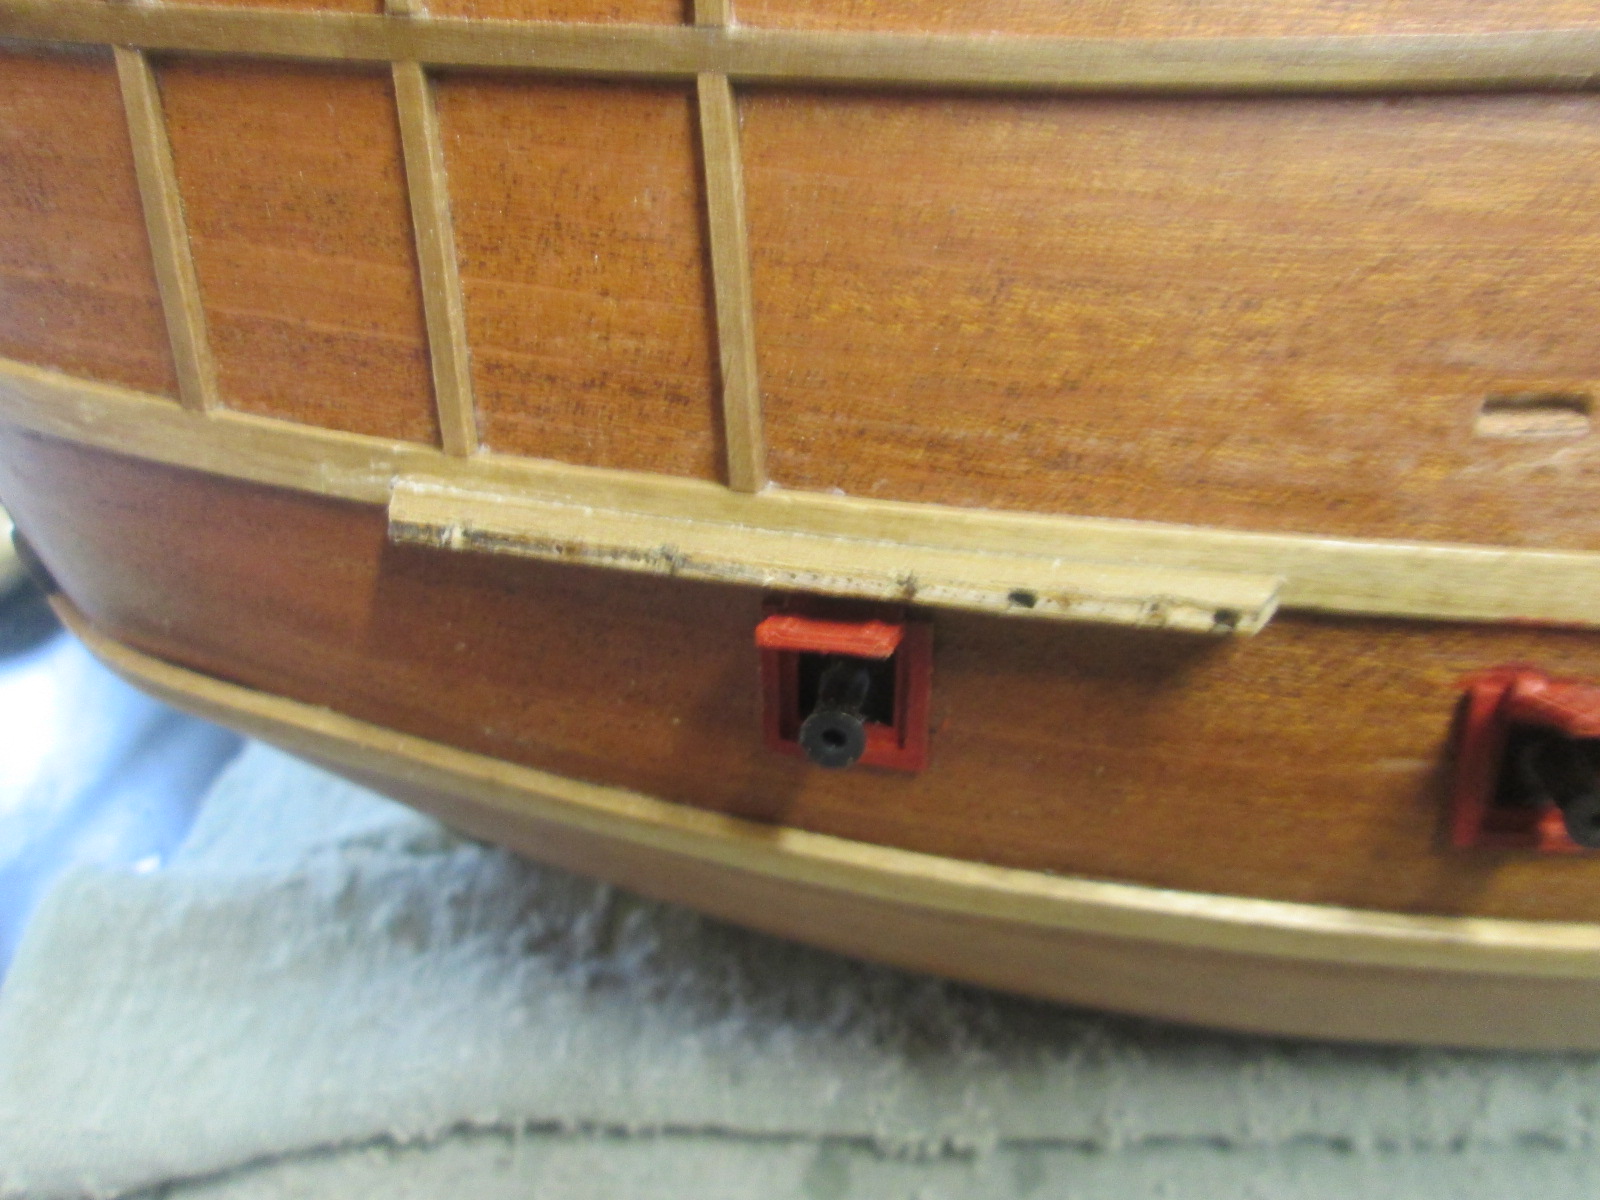
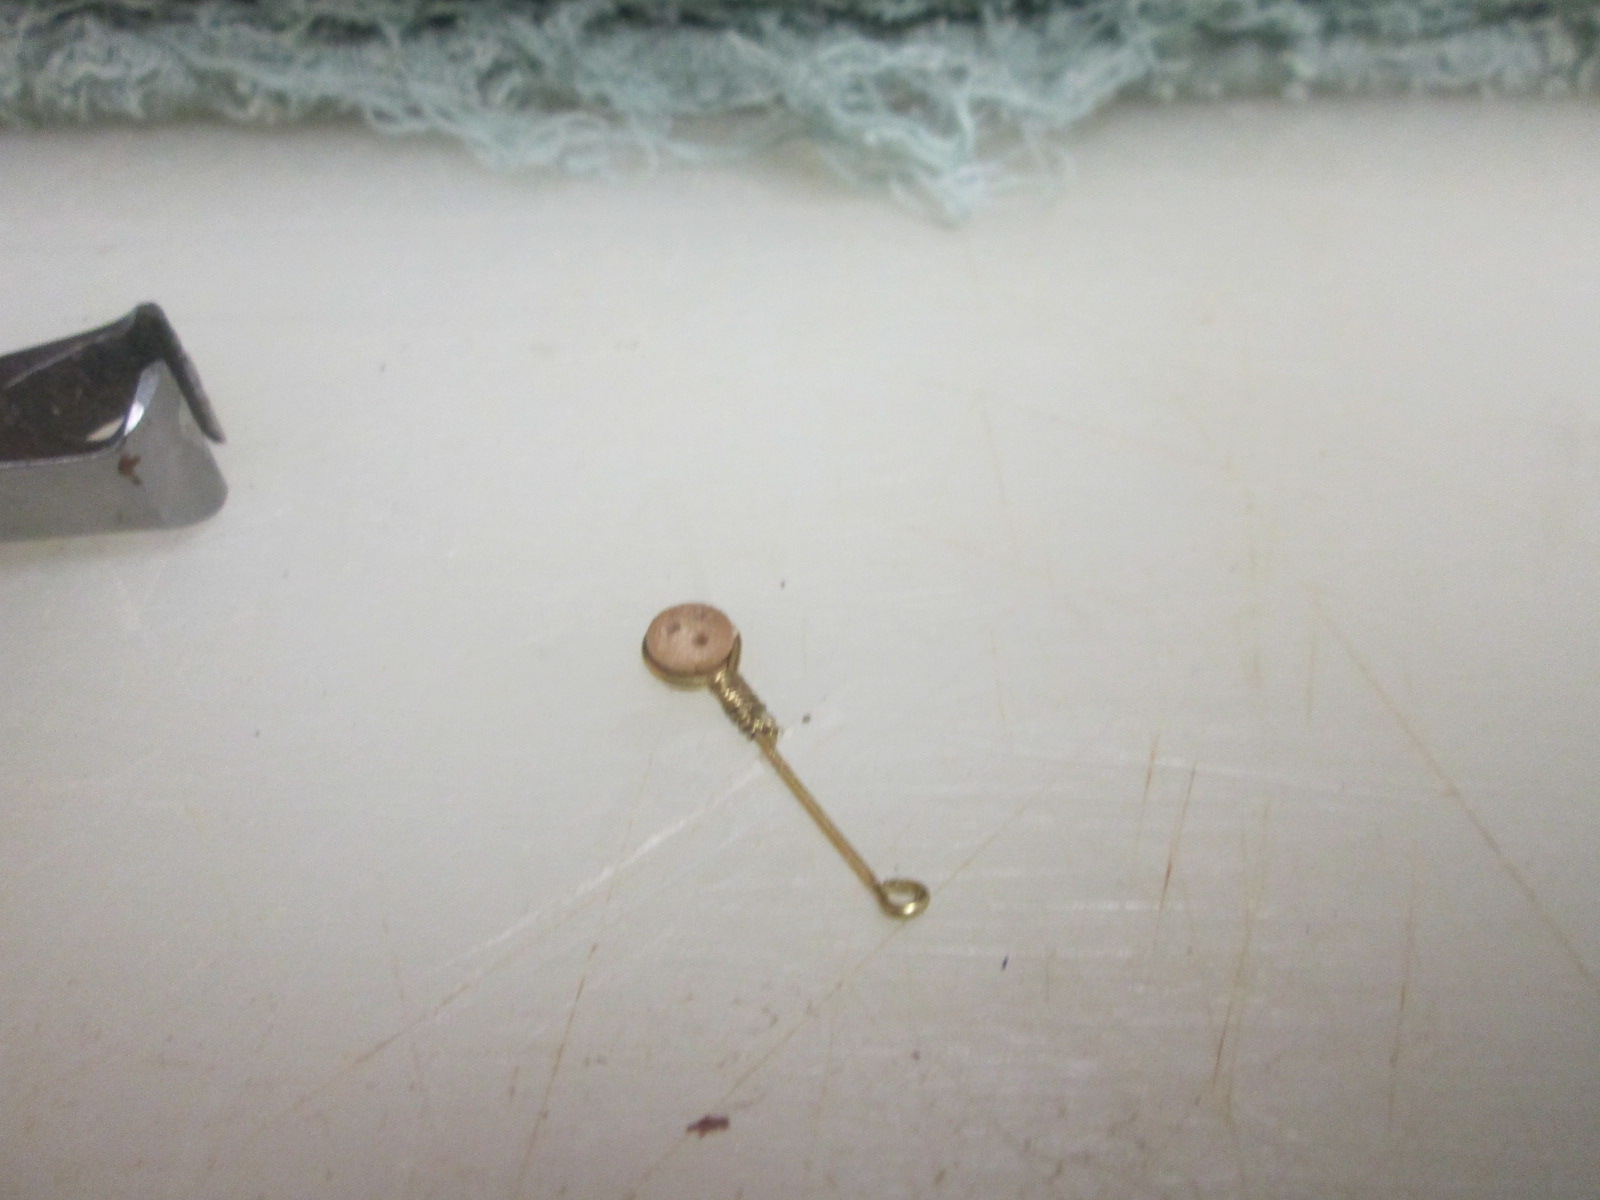
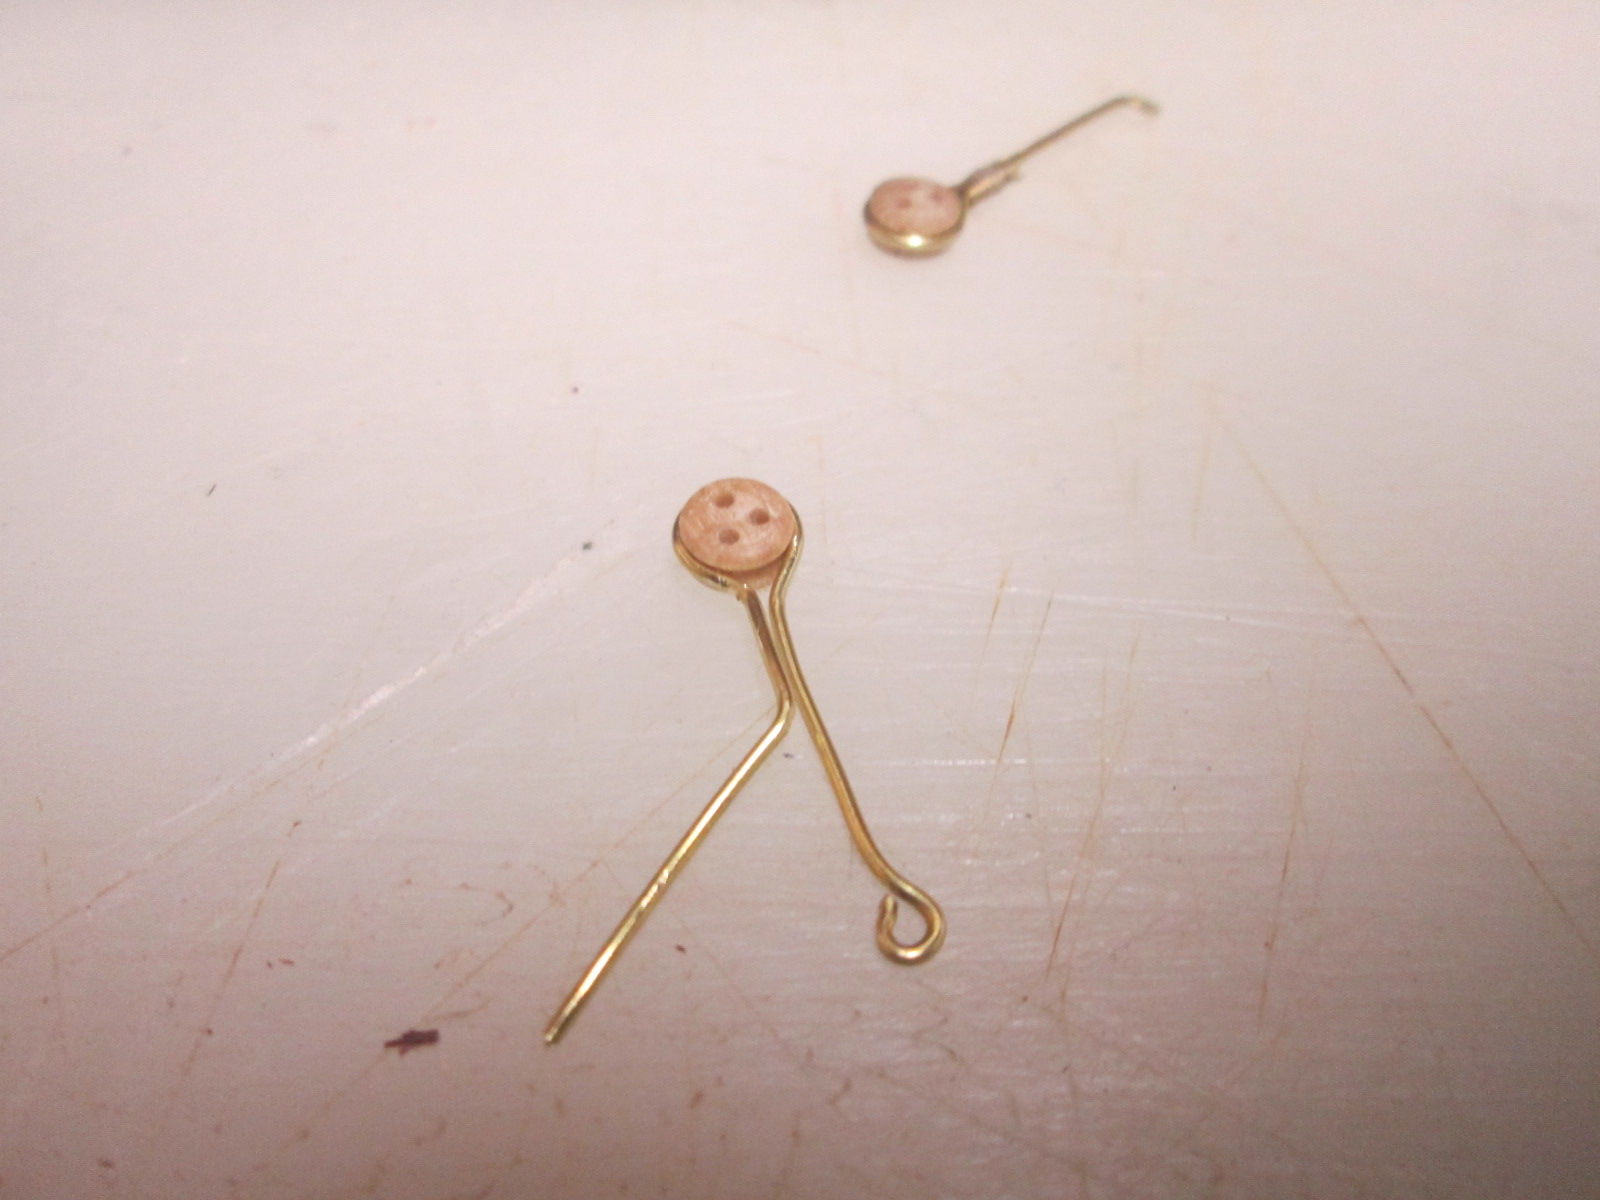
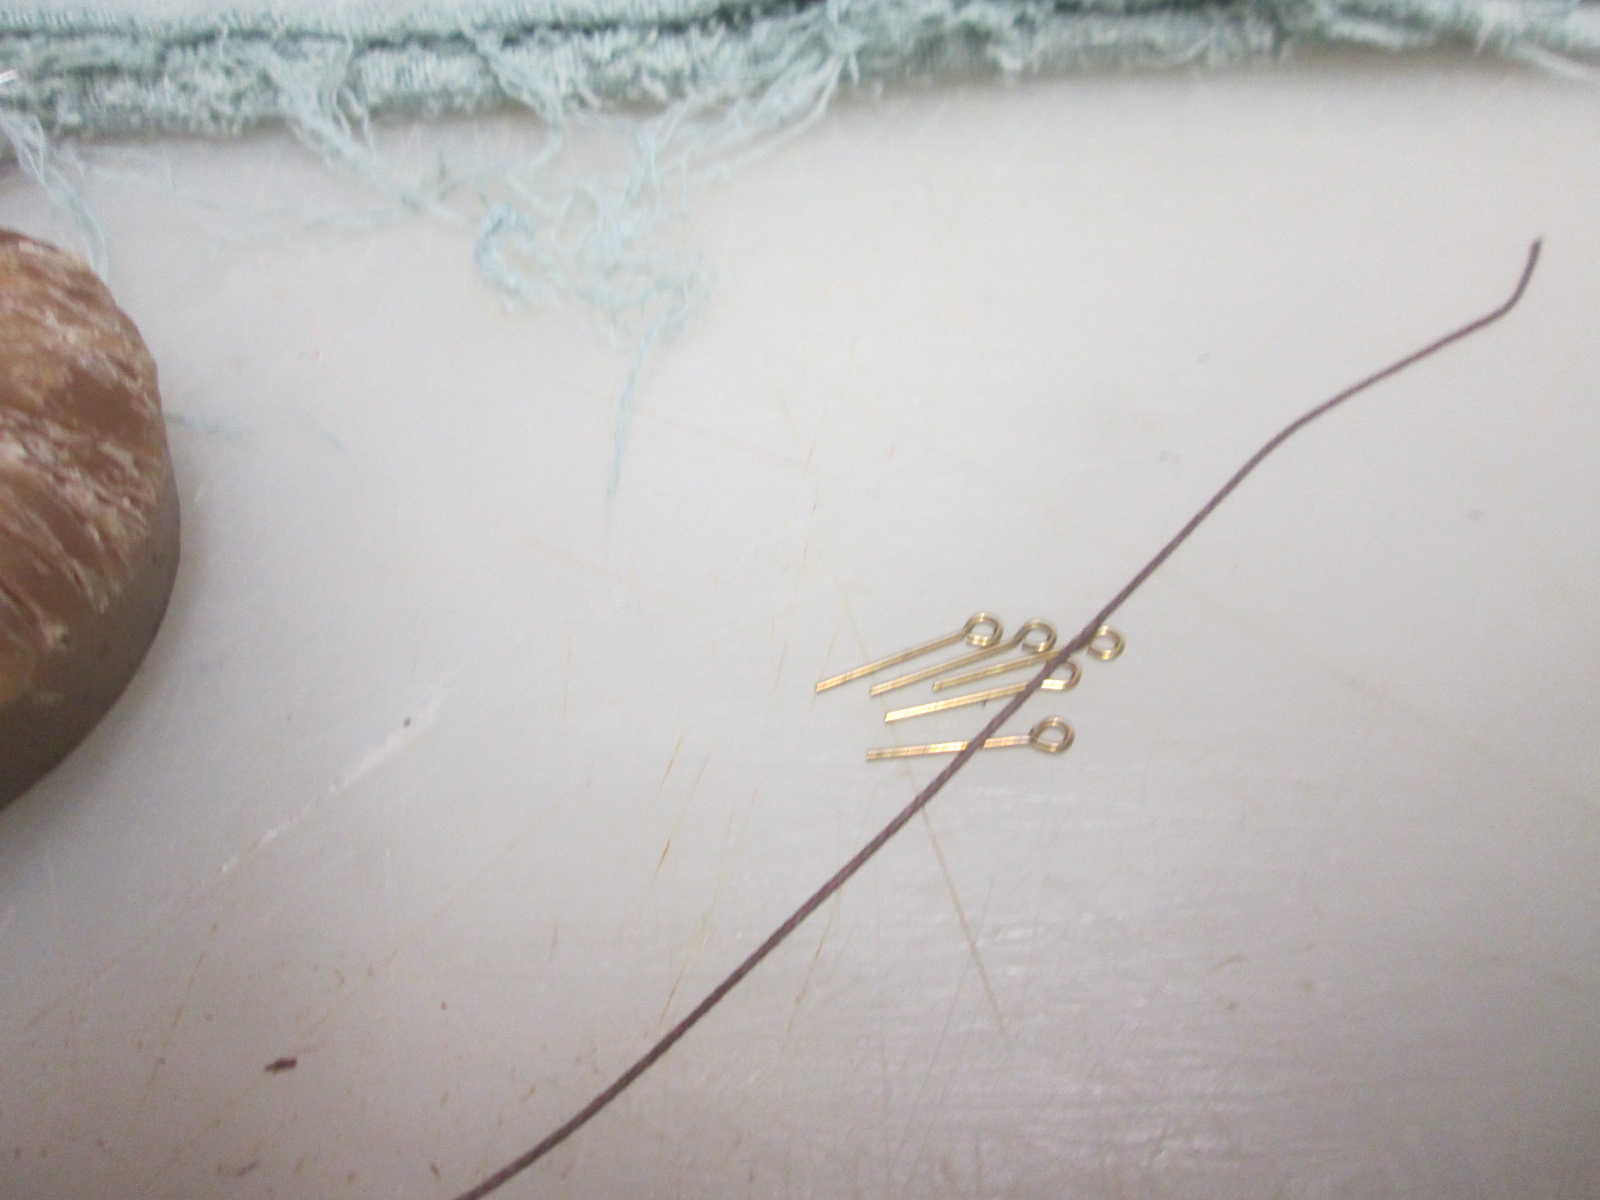
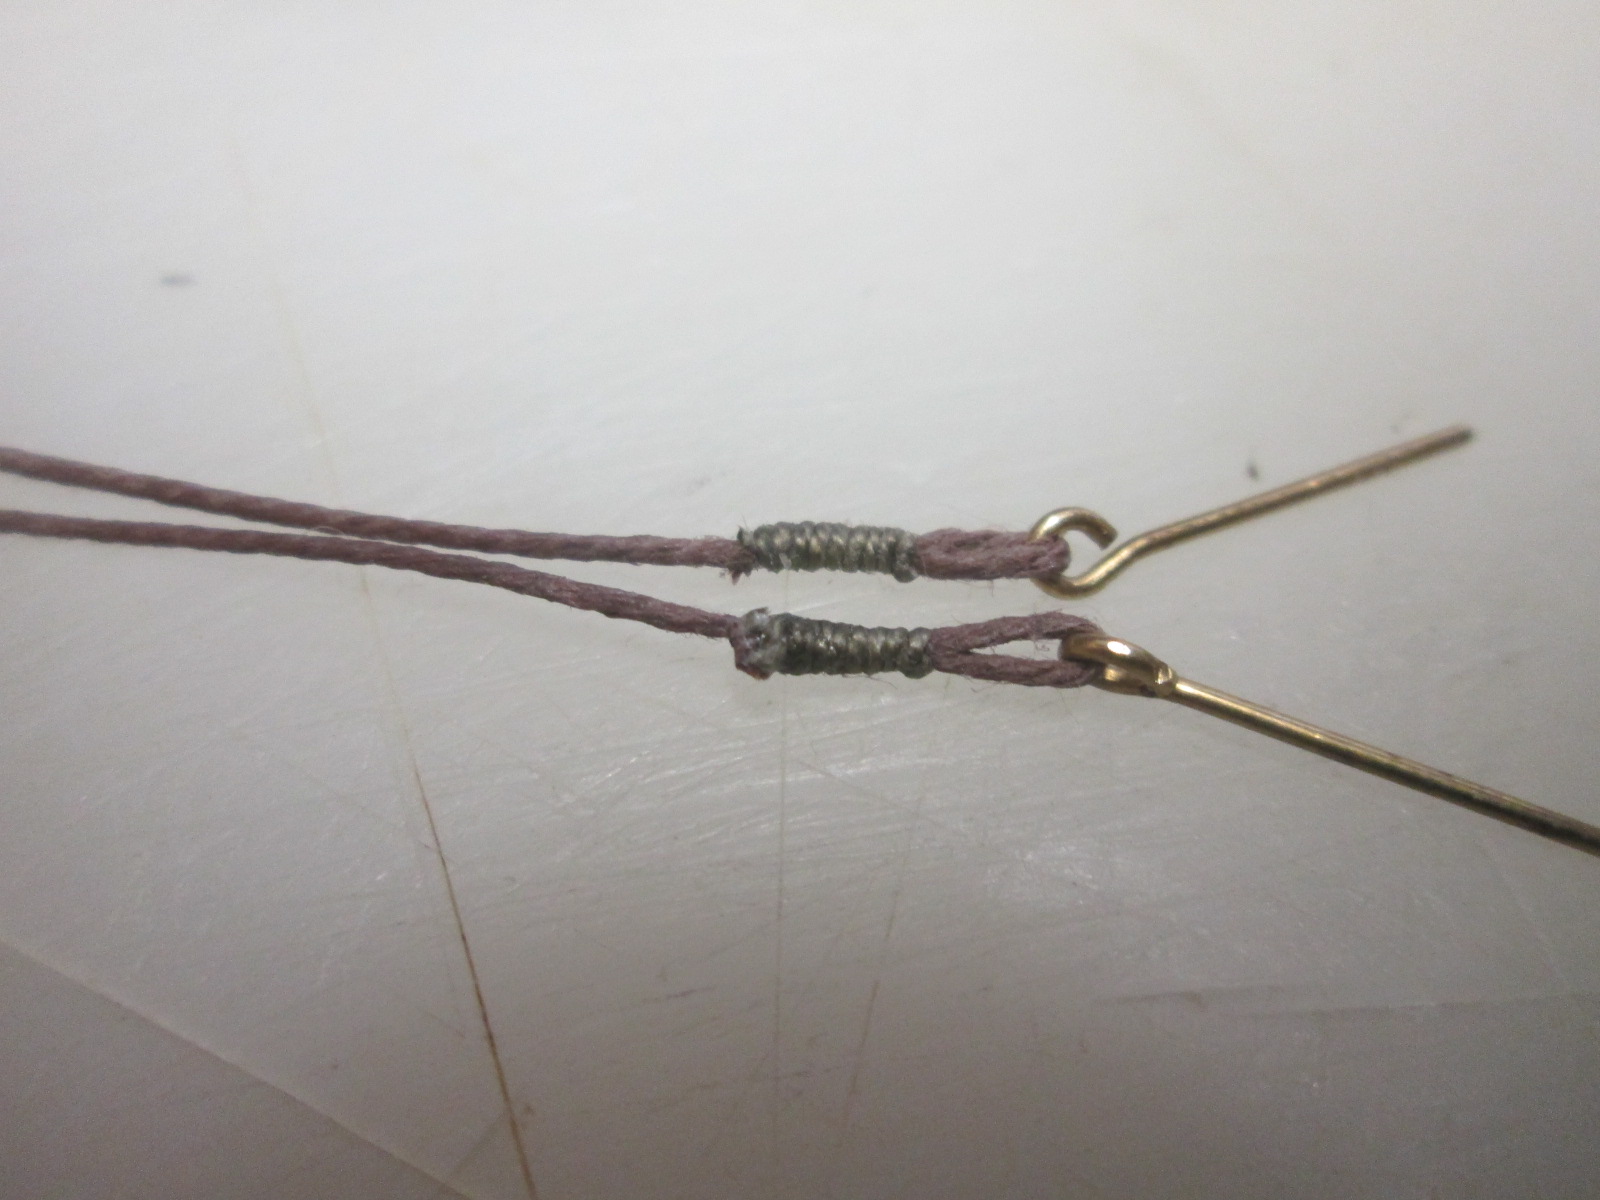
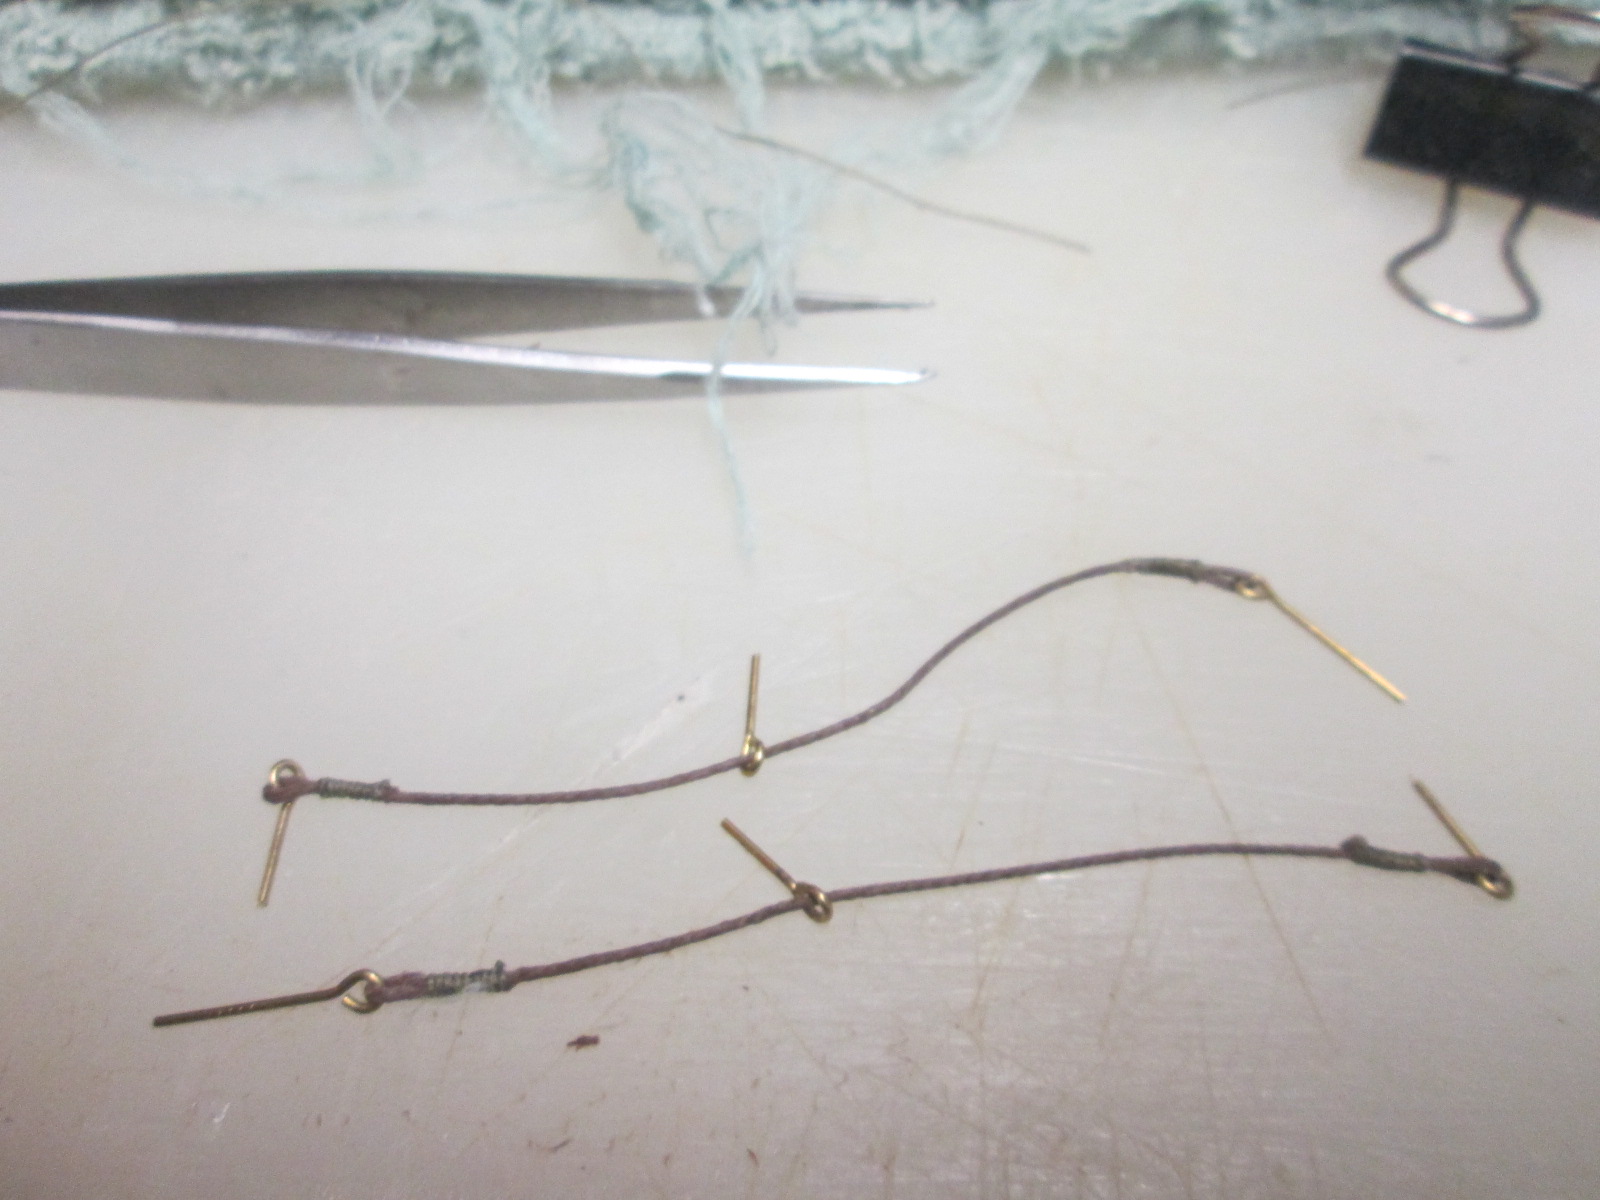
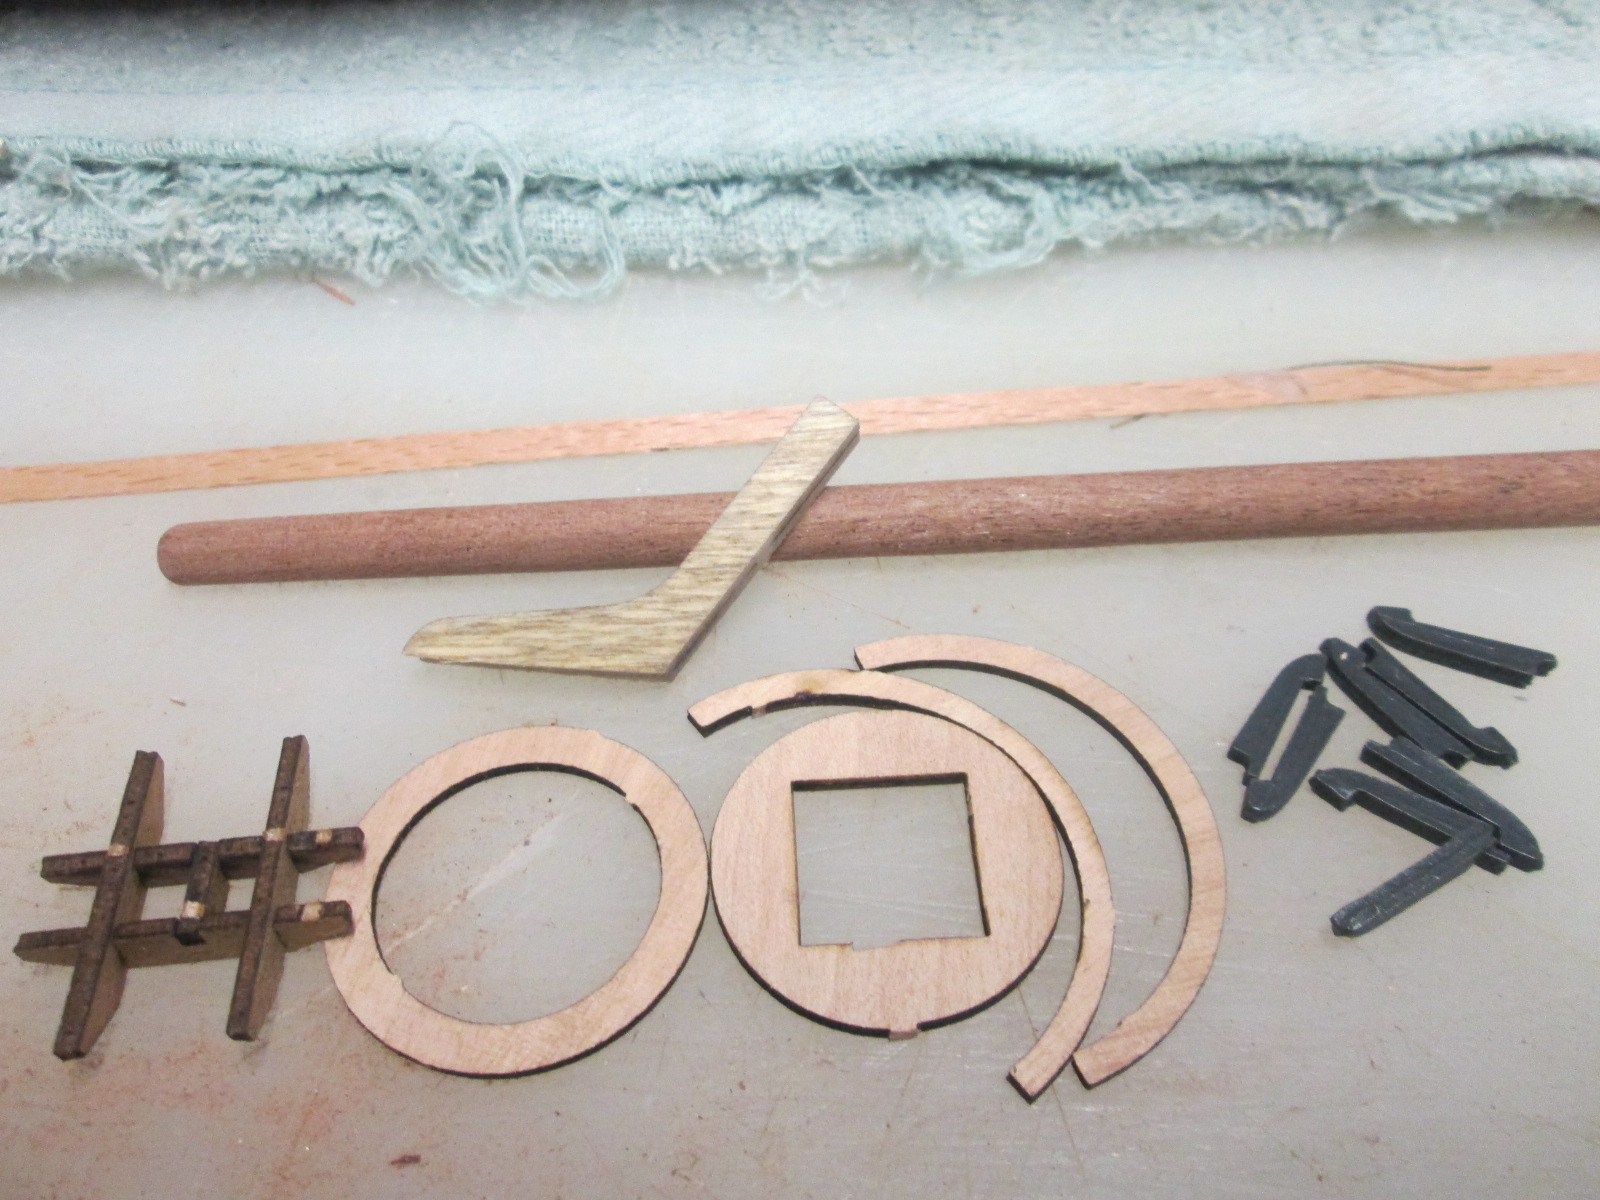
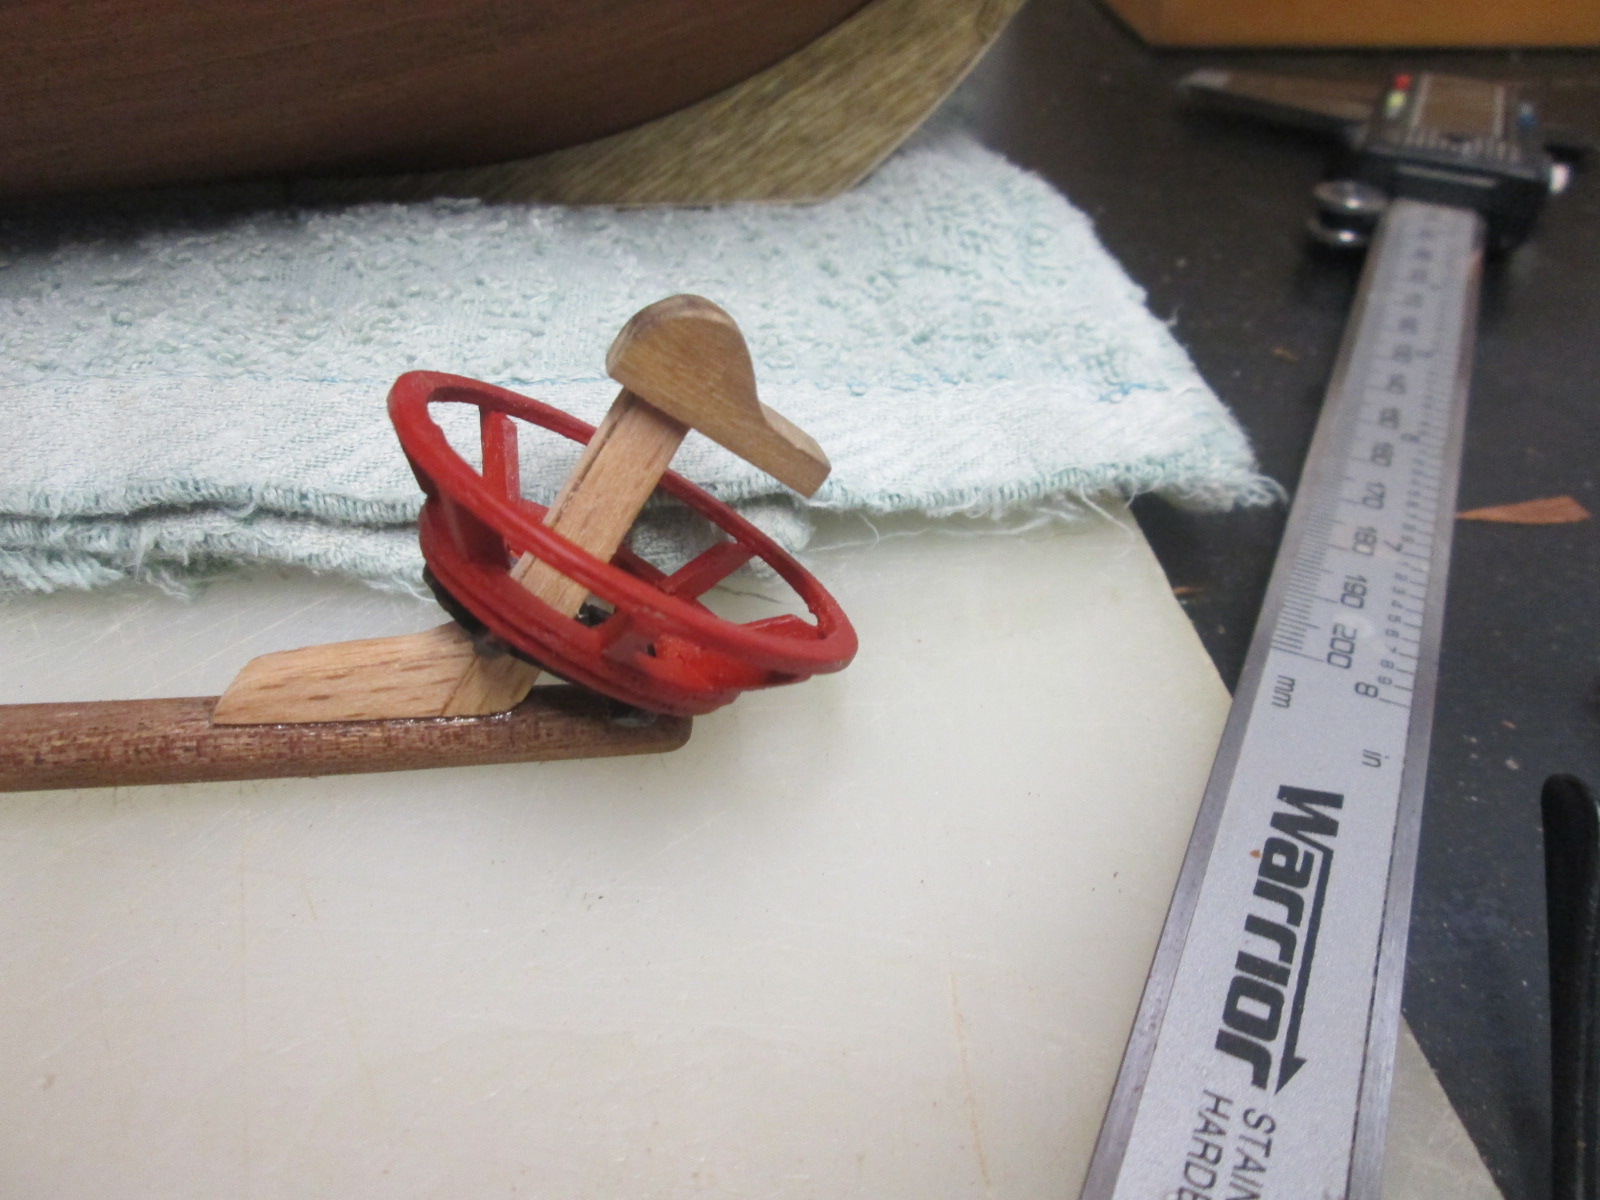
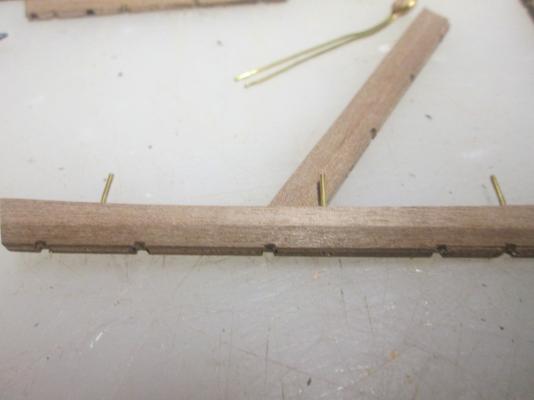
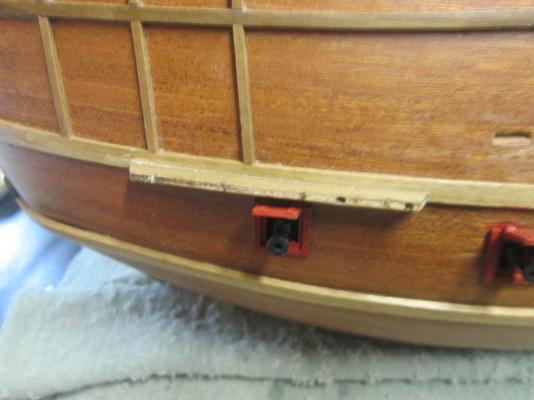
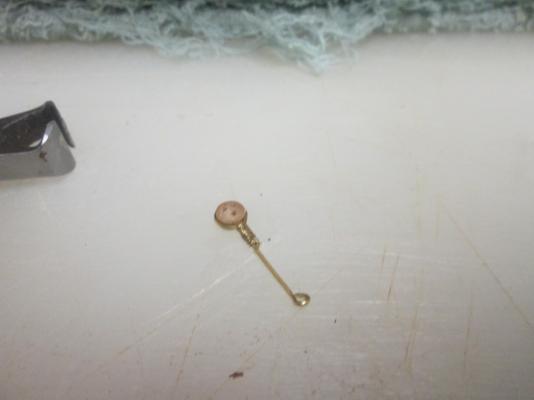
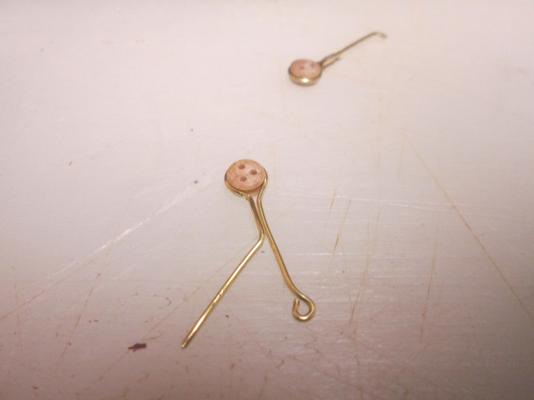
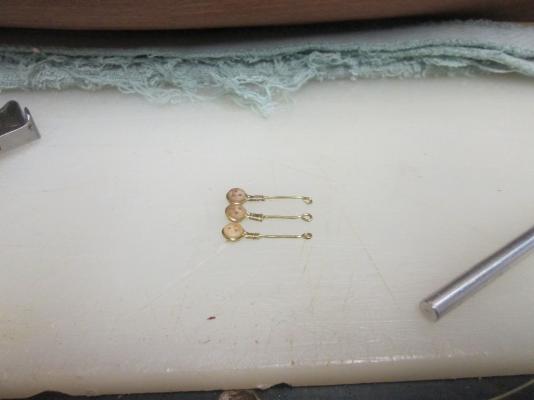
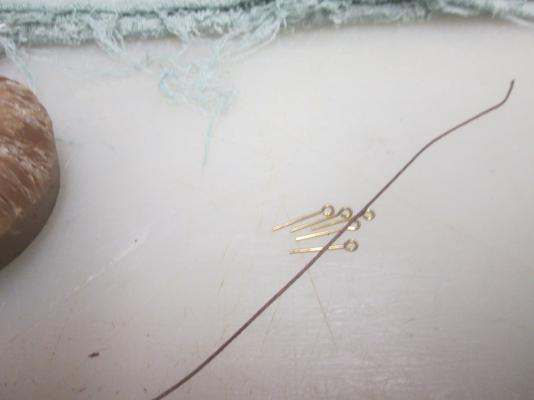
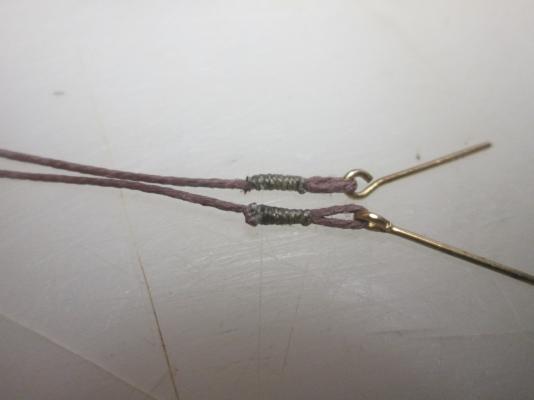
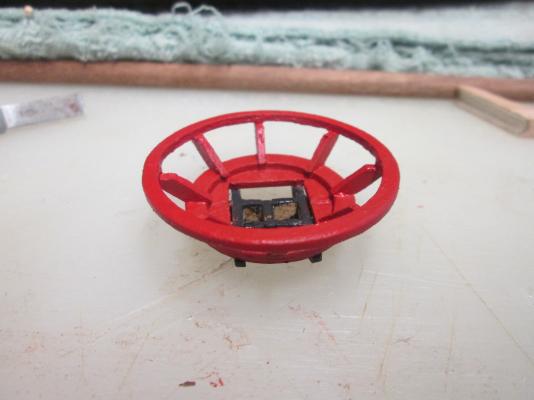
Thanks Jeff. It's Cannon time, and longboat. The parts here are a little fiddly, and some needed sanding till nearly nothing was left. The Thwarts for the lonboat needed a lot taken off as they were just way too thick. You could almost just make these from 0.25 mm planks. The plywood parts were 2 mm. I planked the top section including the gunwales in Mahogany. The bow and stern Thwarts were planked in Tanganika and sanded to within an inch of their lives. The cross pieces were 2 mm by 6 mm Walnut. I made my own paddles as I didn't like the metal ones. I didn't have any dowell so I used toothpicks, and some 0.5 mm walnut plank. The Cannons went together ok, only you have to try and fit them square so that the cannons fit in squarely. That's not so easy when the parts are angled. After gluing the plywood parts there were some gaps so I filled and sanded each one. Once painted they looked ok. Then it was cut the brass pins for the cannons and the wheels, then paint the wheels. Next I whipped 8 pieces of the thicker cord to an eyepin, and attached a small block. There's no allowance in this kit for putting the pulley blocks on the cannons, so you will have to get some if you want to do your cannons this way. I used the ones left from the Thermopylae build where I lost everything, nearly. Then I put 2 blocks on each gun carriage. From there it was just a case of pre assembling the cannons and placing them on the deck. That's it for now Matt.


- 64 replies
-
- 1
-
-
- occre
- san marcos
- (and 1 more)
-
Sorry Greg, I was also going to answer you about the bulkhead (rib) question. It's best to check your plans and see how they fit. This should tell you if you need to either sand or cut the slot for that bulkhead a little larger. If your bulkhead is too high, then make the slot a little bigger so it fits flush. I would also recommend a keel jig to hold your keel straight while you glue the bulkheads on square, and while you glue the first planks. Once the first planks are on then the keel should hold straight when you remove it from the jig. My guess is your bulkhead is high, so an easy fix. Only remove the same amount that you need to bring it down. Hope this helps.
-
I don't think you have to rabbit, rebate?. I just beveled the edge that went along the keel where needed. The kit looks exactly the same Greg, except the bulkheads I got were already cut out. Have fun with her. Matt