mathewp
-
Posts
209 -
Joined
-
Last visited
Content Type
Profiles
Forums
Gallery
Events
Everything posted by mathewp
-
 I've used masking tape with good results, but the beeswax idea sounds best.Have fun with your build
 -
Looks like you picked a nice build to start with. You are doing well. Getting the frames right before planking will save you a lot of time fixing them later.
-
actually, in real life the Coyote is faster, but for the cartoons they made him slower so the roadrunner could always get away.

-
Very nice work for a first build.
-
How would you rate these cross sections on difficulty?. I like the extra details in them that you don't get in the full models.I might give one of these a go one day. Yours is looking good, I'd like to see some more close ups of it, if it's not too much trouble.
-
That's a nice hull you've got there. I'm on a Mamoli kit at the moment and I've had some issues with the quality of some of the materials. Hope you don't mind me popping in from time to time to have a look-see at your build.
-
Looks like some tricky paintwork, but it looks a treat. I'm glad I dont have to do anything that difficult yet.
- 69 replies
-
- 1
-

-
- fly
- victory models
- (and 2 more)
-
I like the Madagascan Blackwood. I've got to get me some of that. Very nice looking ship Alexey.
-
Now it's done a bigger one should be easier. I can't believe how much detail is on something so small.Nicely done Sarah.
-
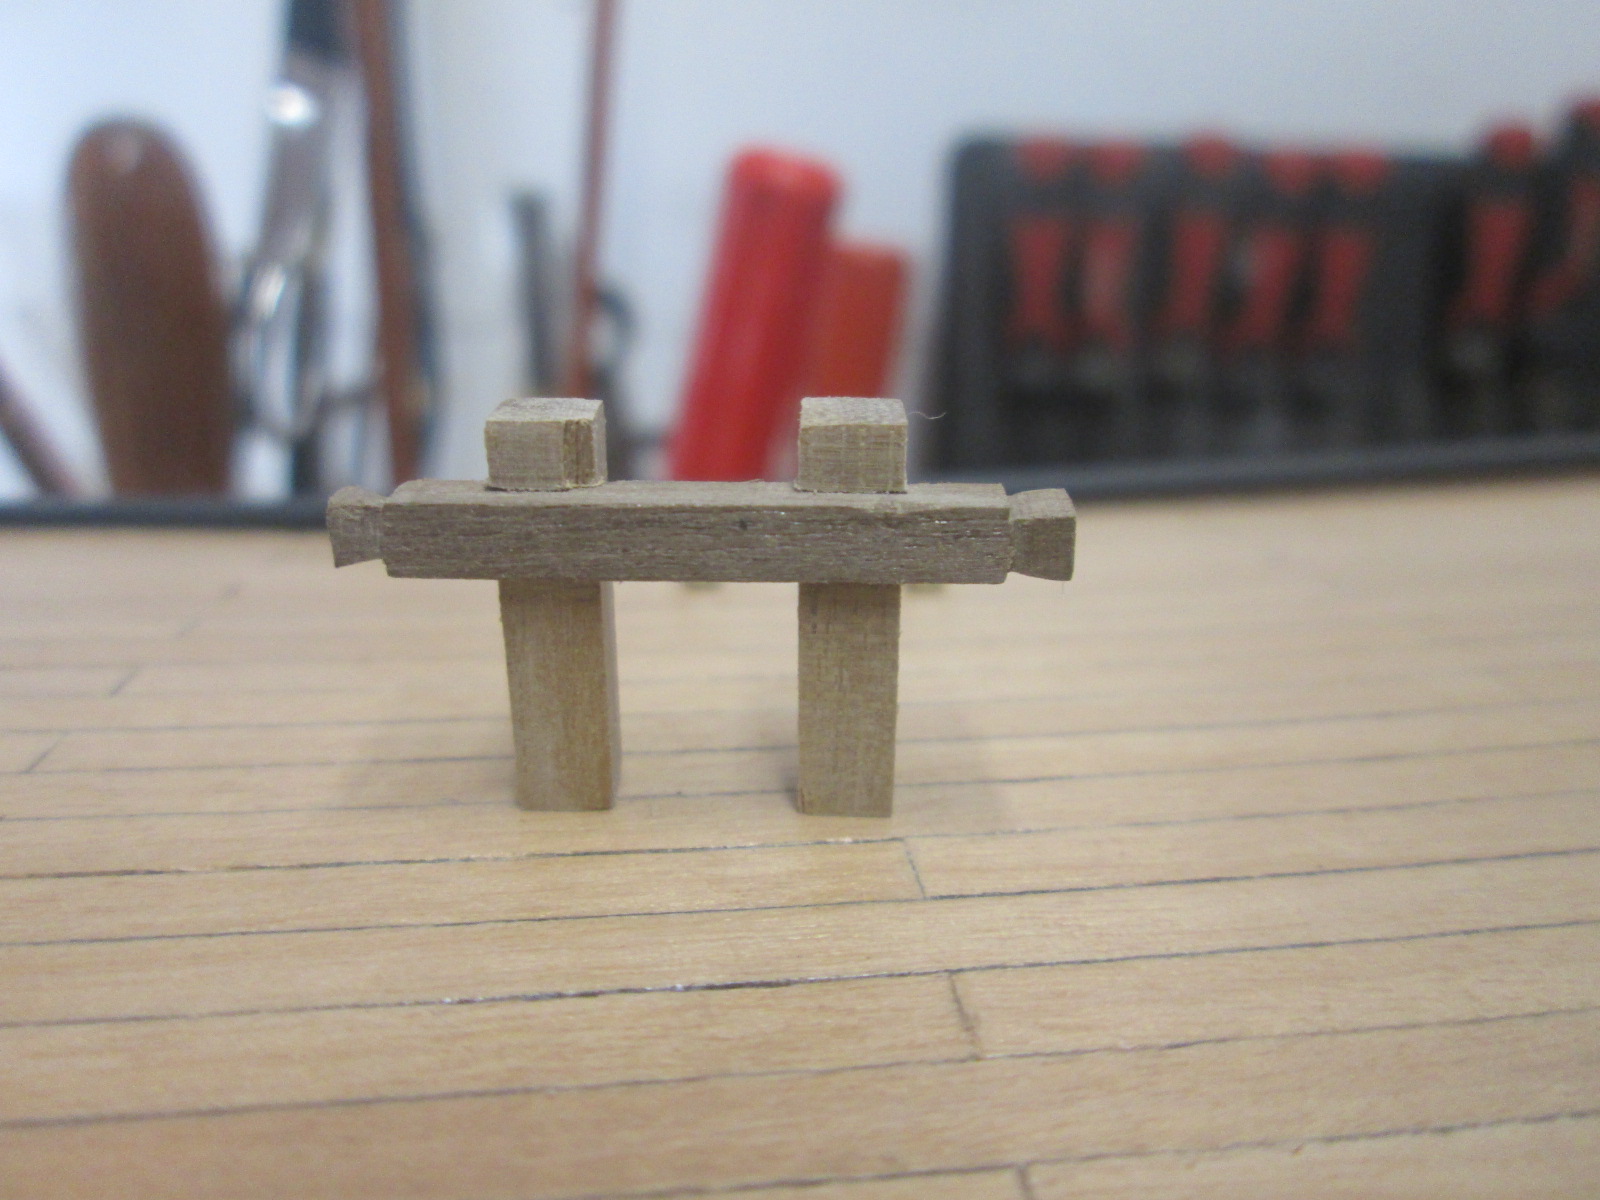
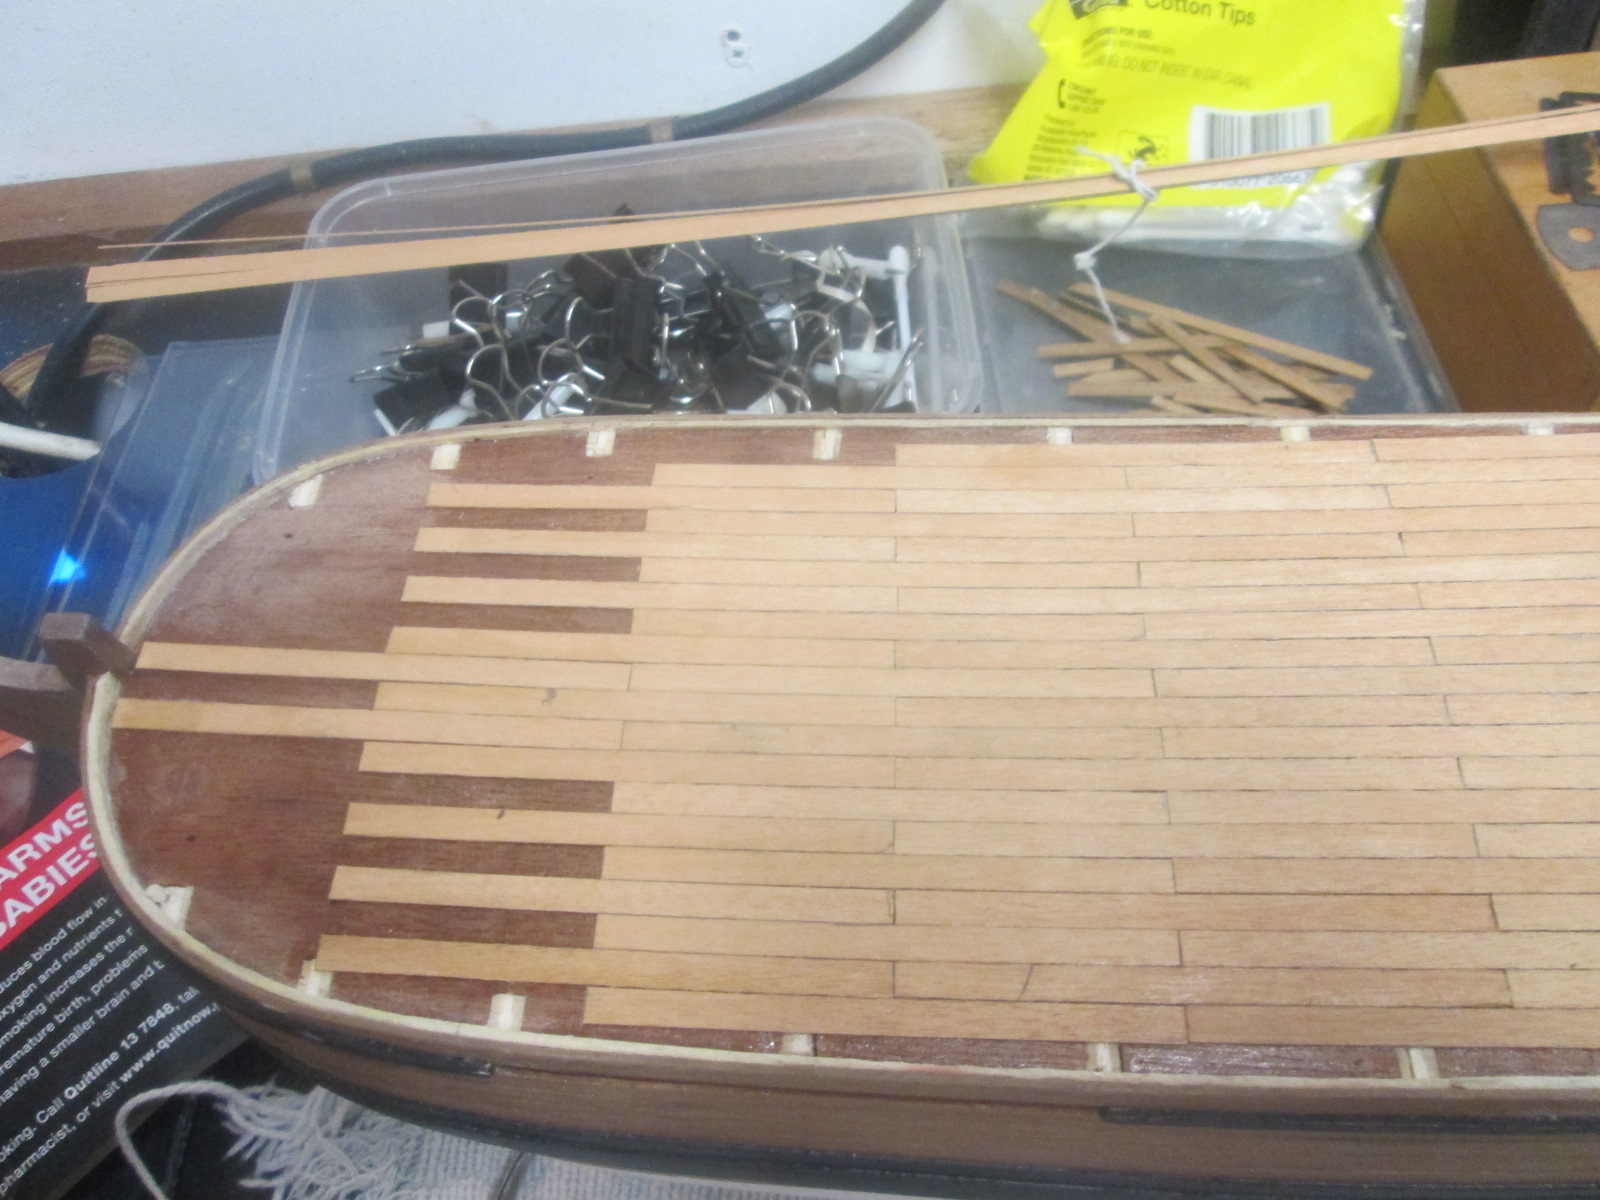
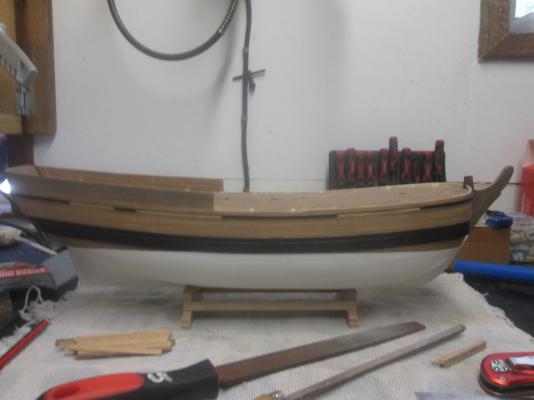
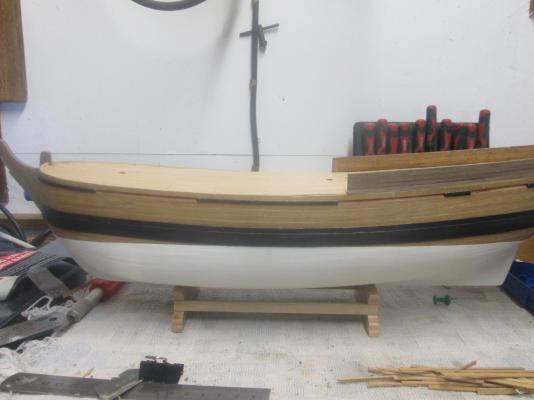
Making steady progress with the deck fittings. Did 2 more pinrails, the pump, the ladder, rudder stock and hatches that the longboat sit on. I remembered to contour sand the hatches this time.


-
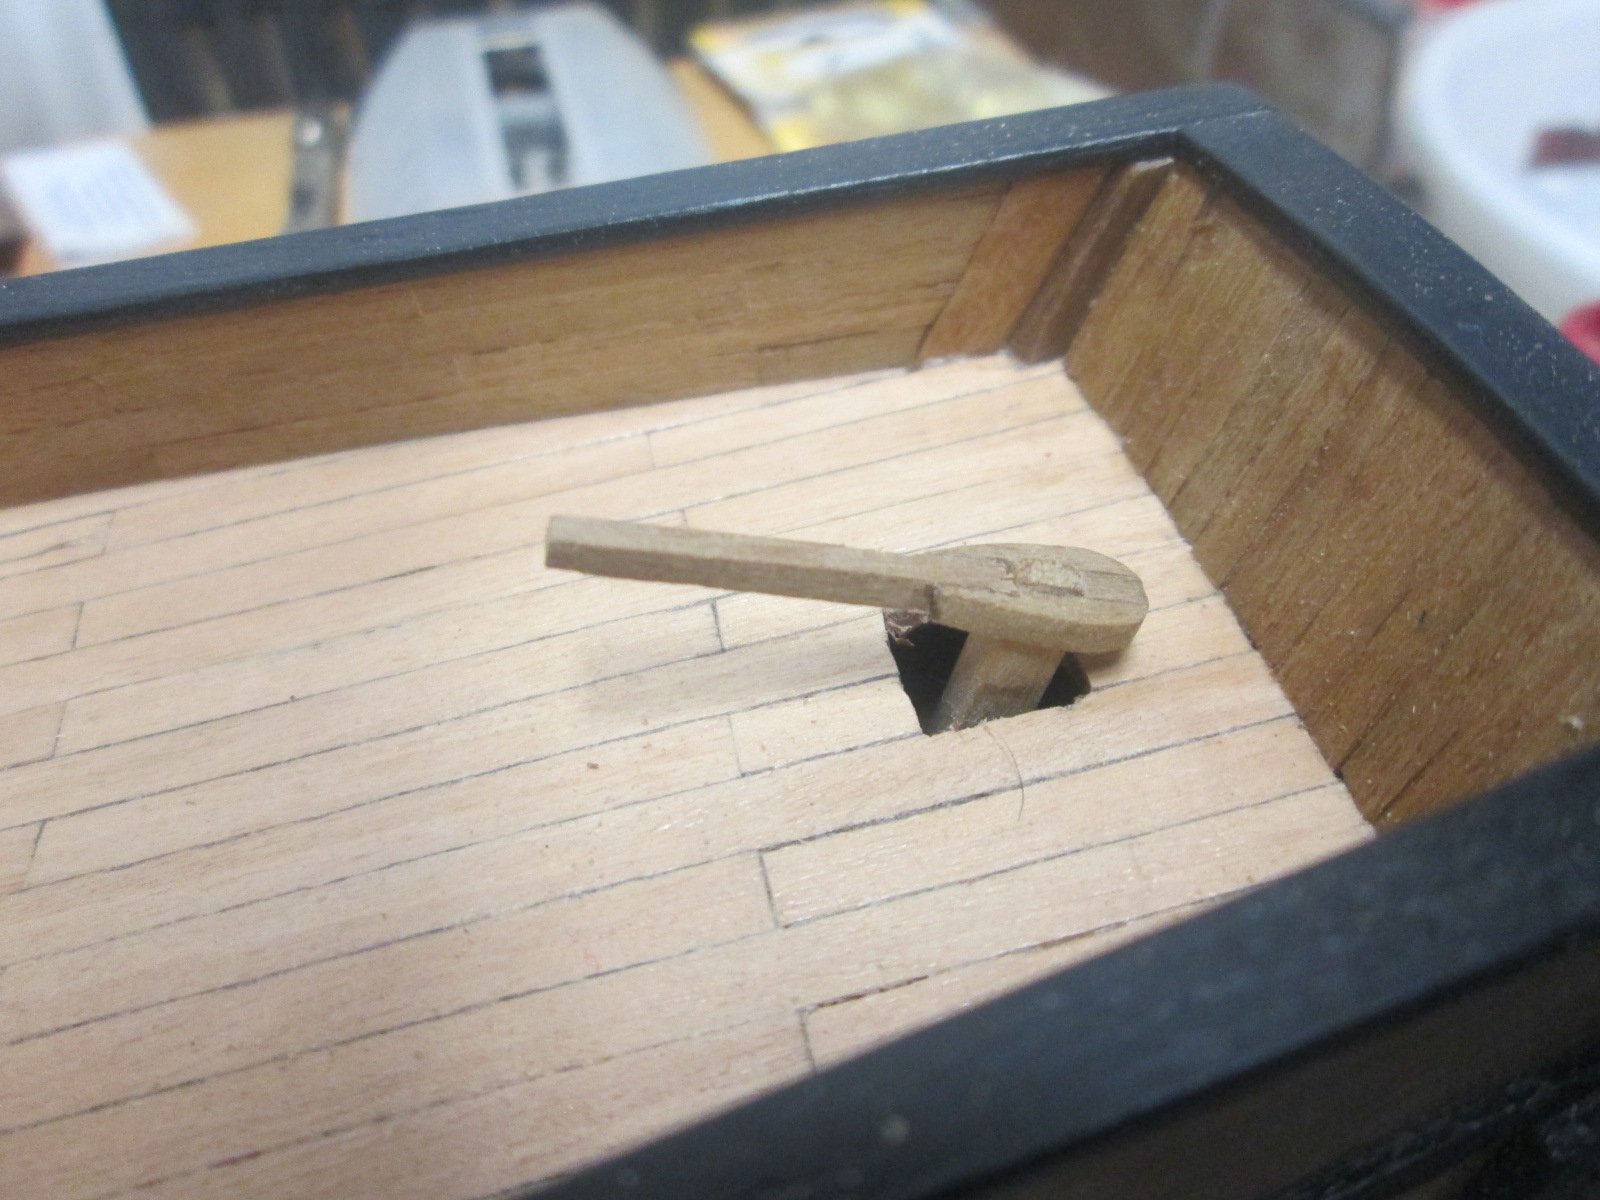
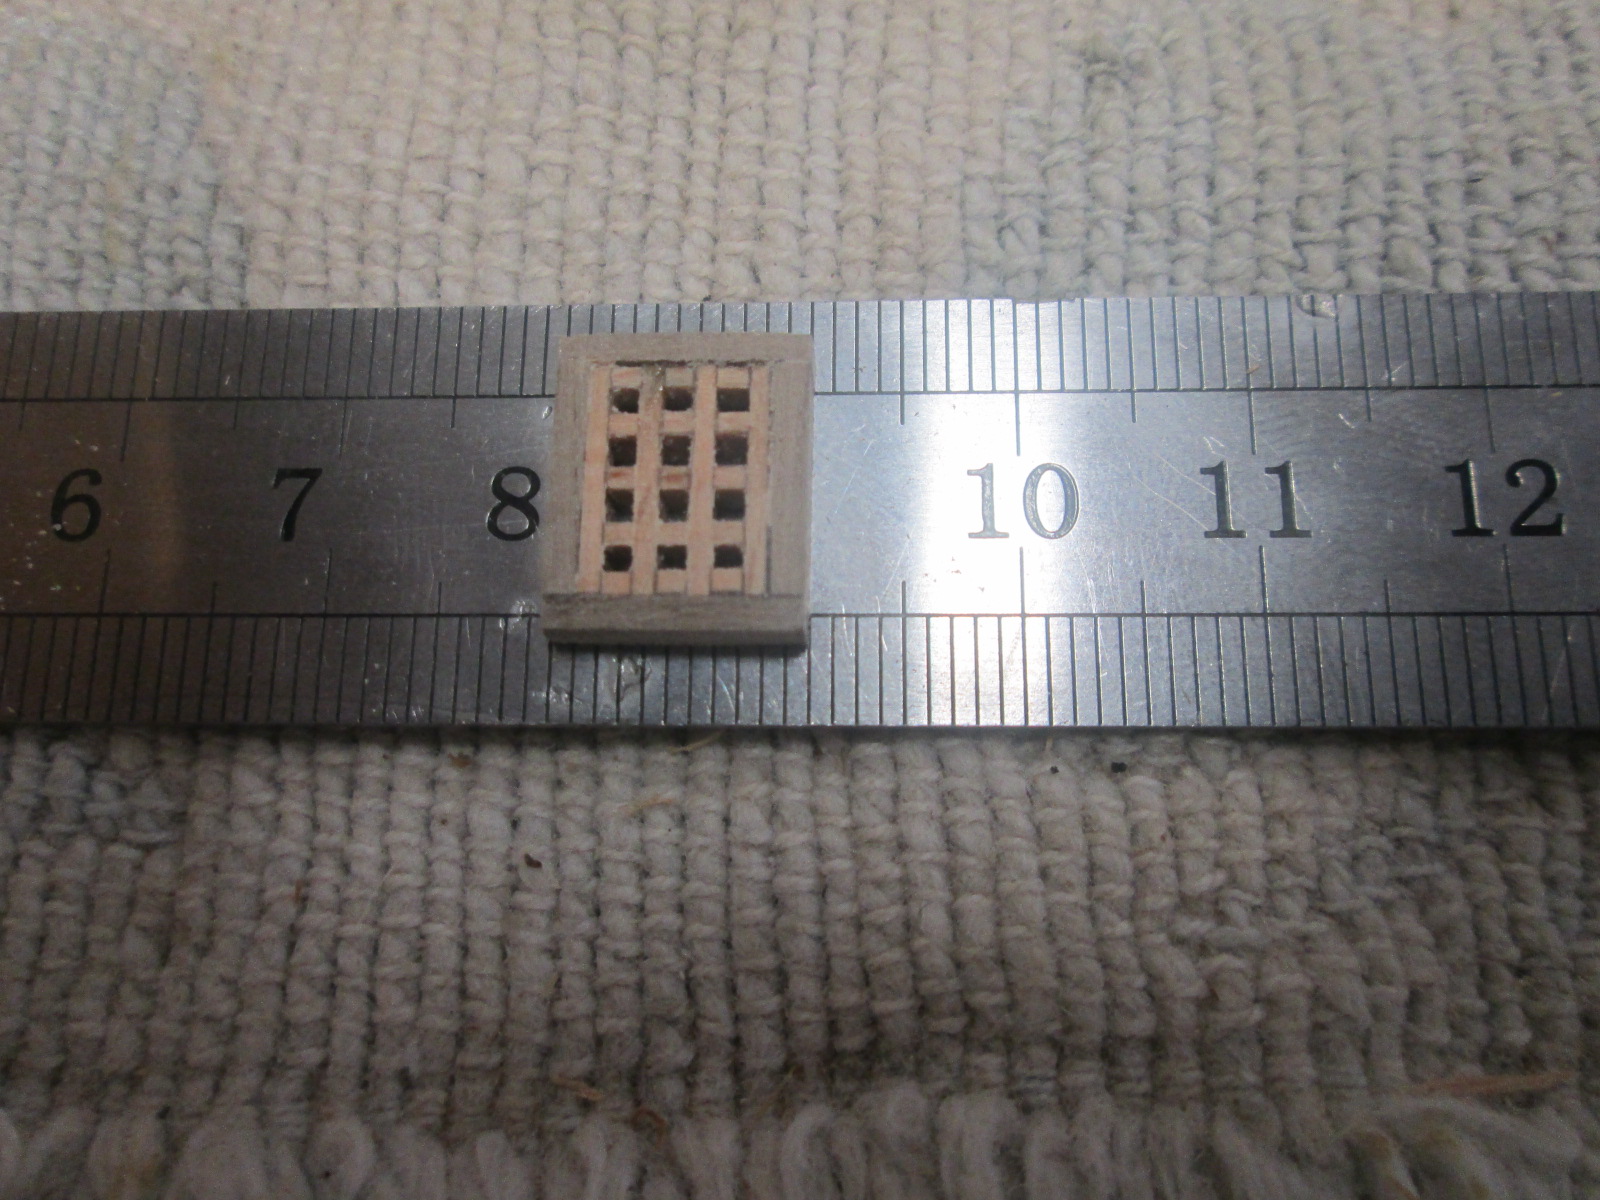
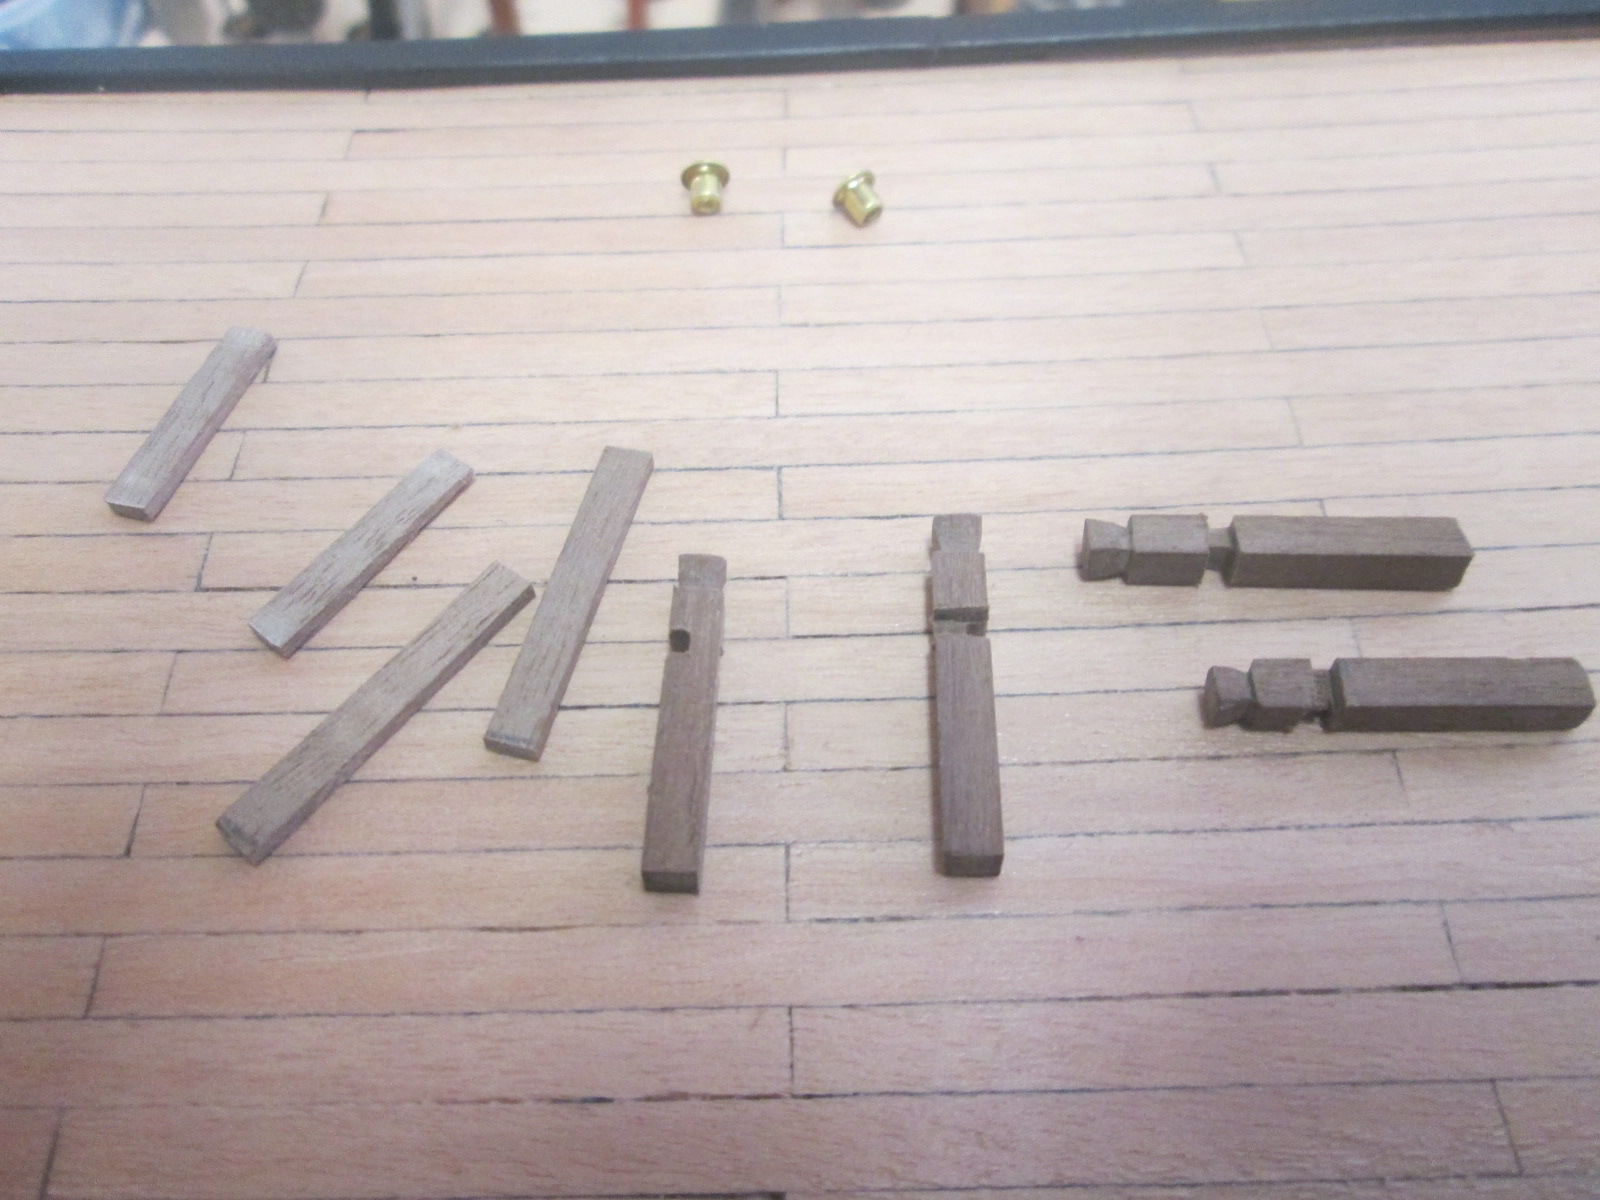
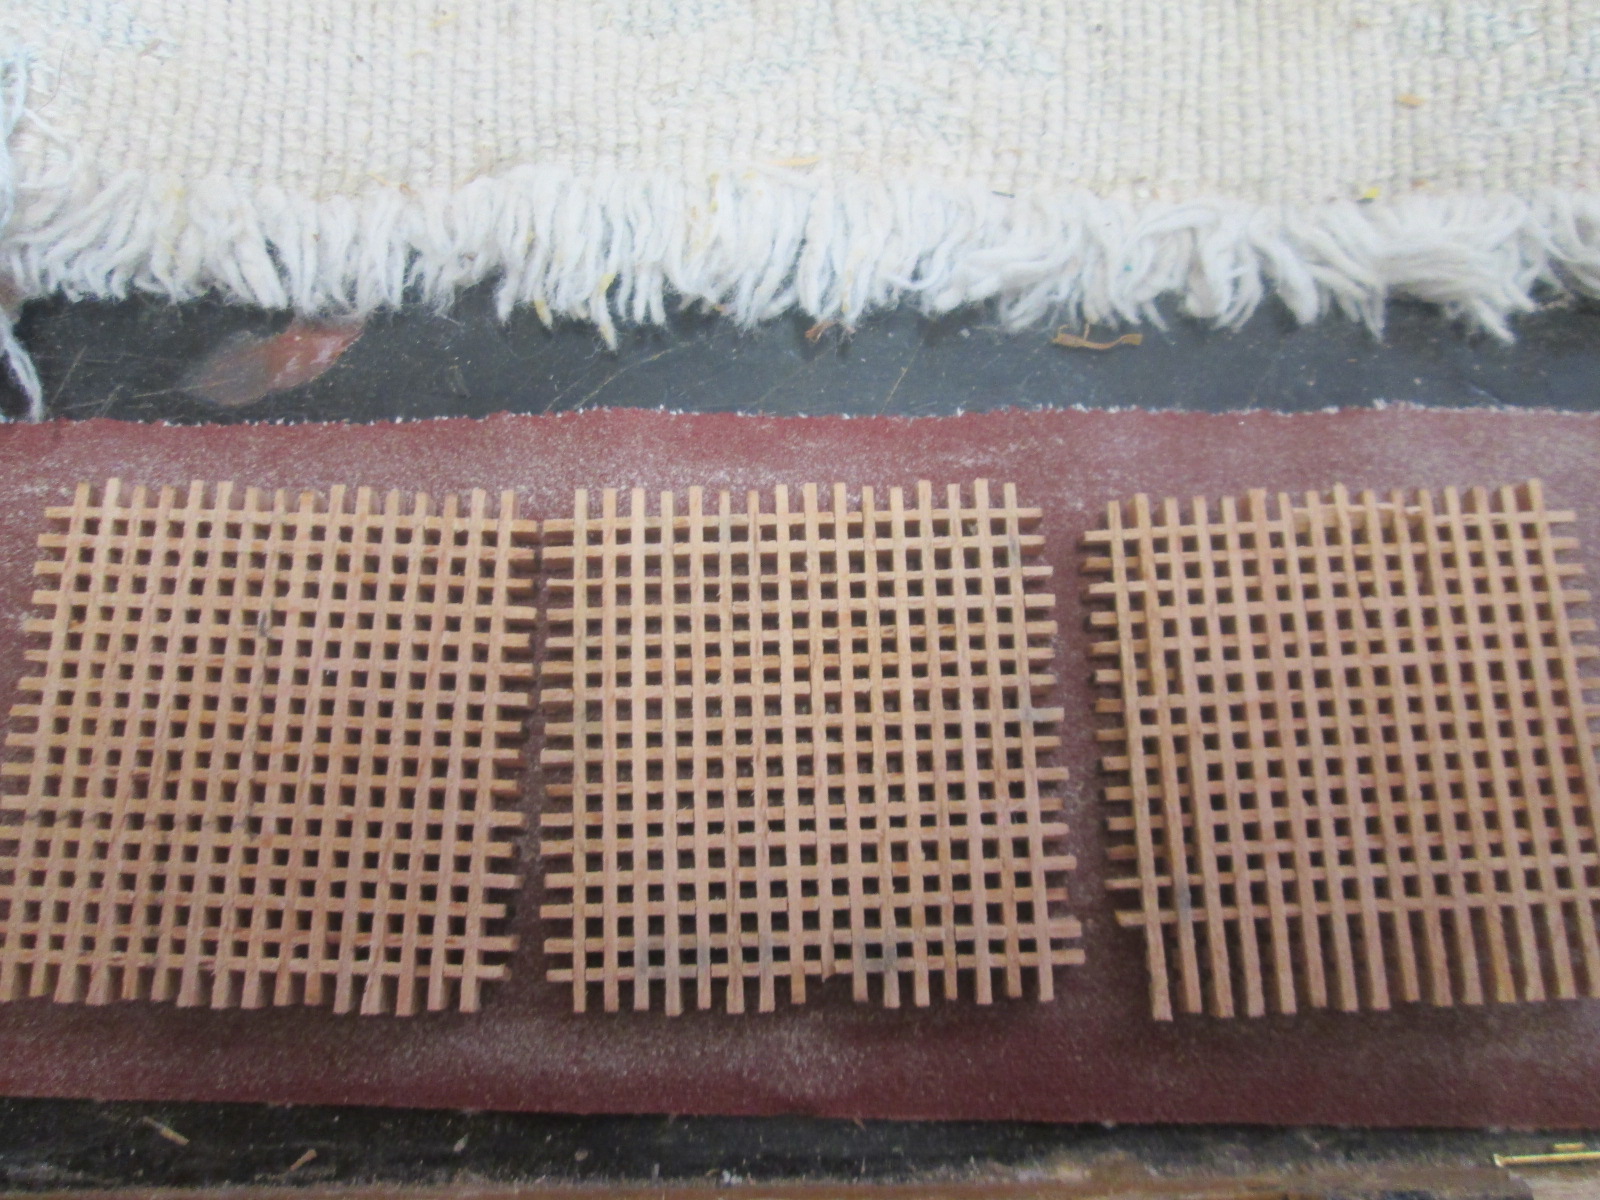
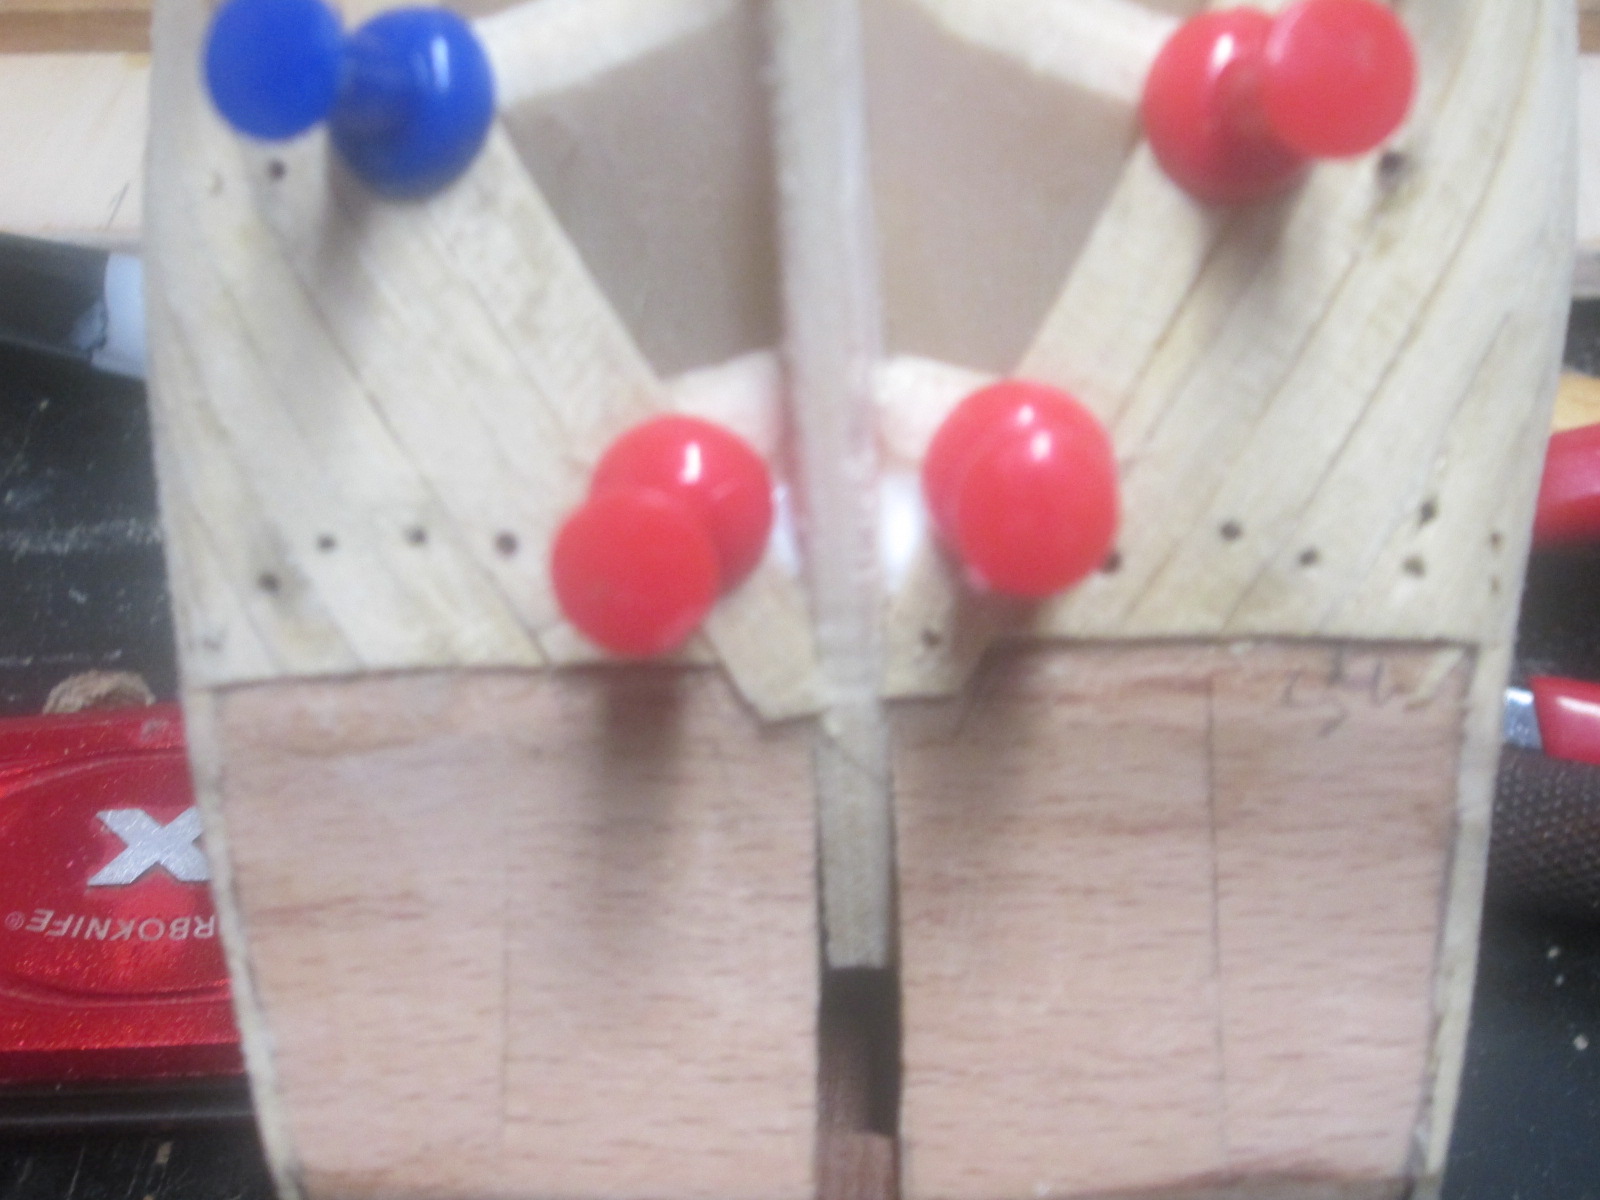
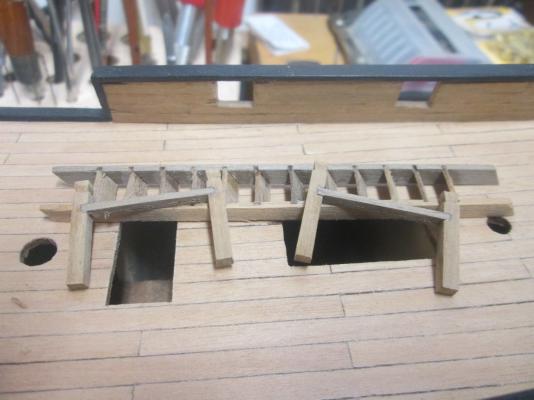
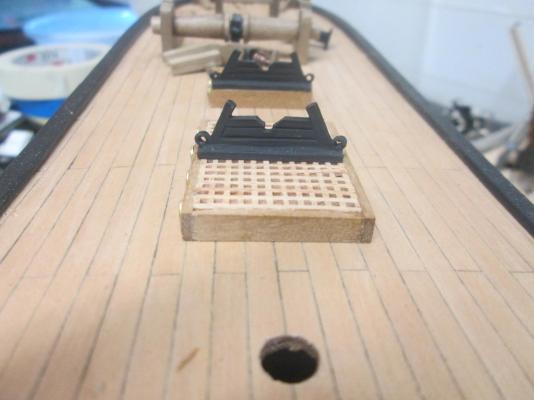
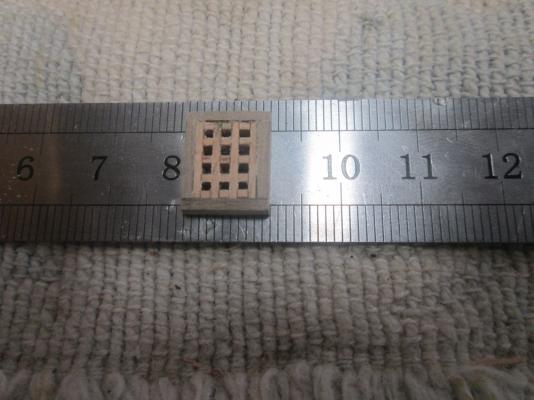
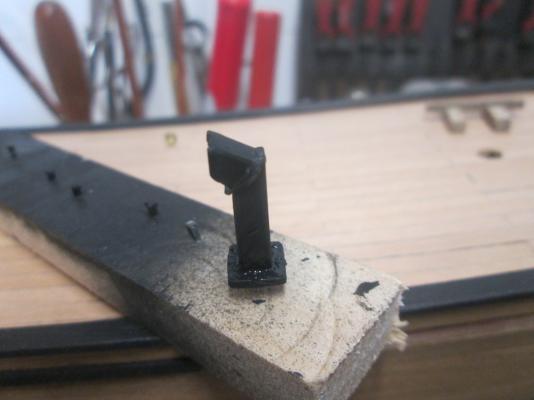
Today I did the Knightheads, at least I think that's what their called.Also put together the grating and checked to see if I had enough, which you can't do until you put them together. Painted the Galley chimney and that's probably not what it's called, and one small hatch. Lastly for today's effort was the foremast fyfe rail, which was a tricky little so and so. It's probably a good idea not to glue the Knightheads on until I put the Bowsprit on, then i can snug them on better. I'll glue the fyfe rail and chimney tomorrow, also the hatch.


-
I'm doing a Mamoli kit now, and I think it's ok, but there are better ones around.The beeter ones naturally will cost you more. Somewhere in between the least and most expensive would leave you with a nice kit, and still give you a chance to improve it if you want to.I guess thats my way of looking at the various kits.
-
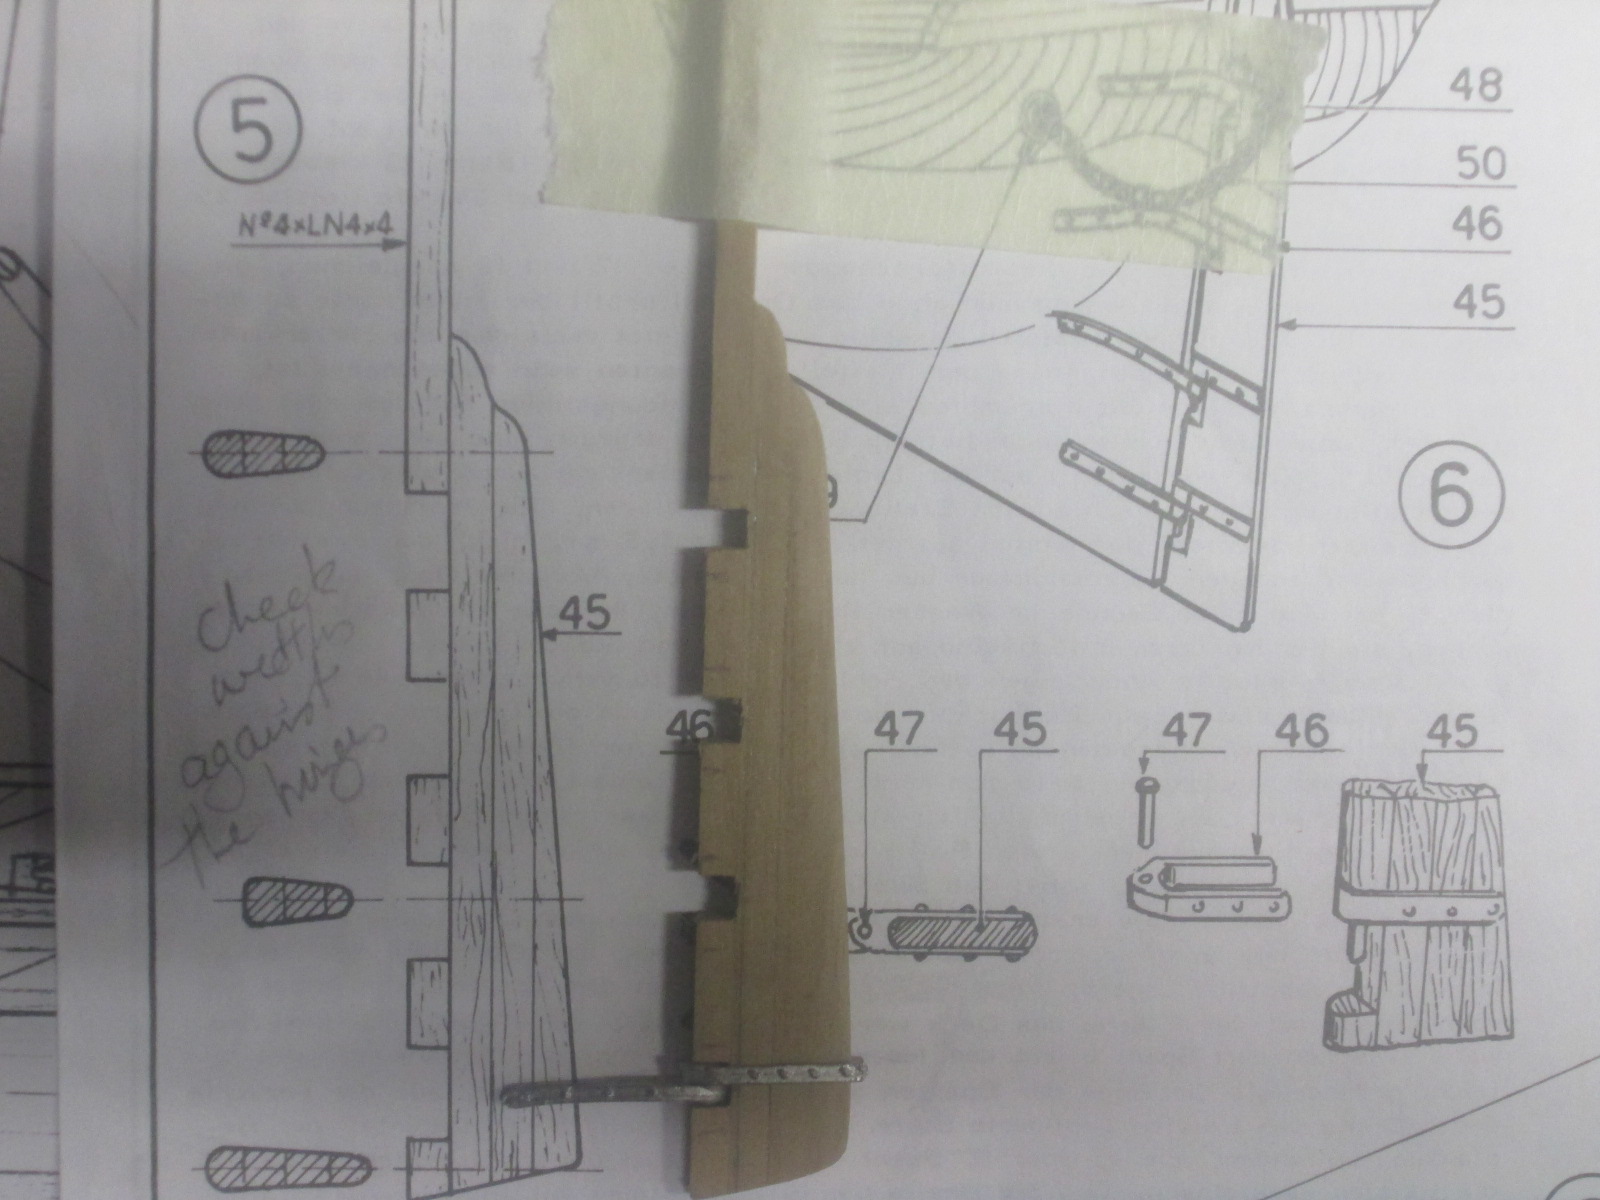
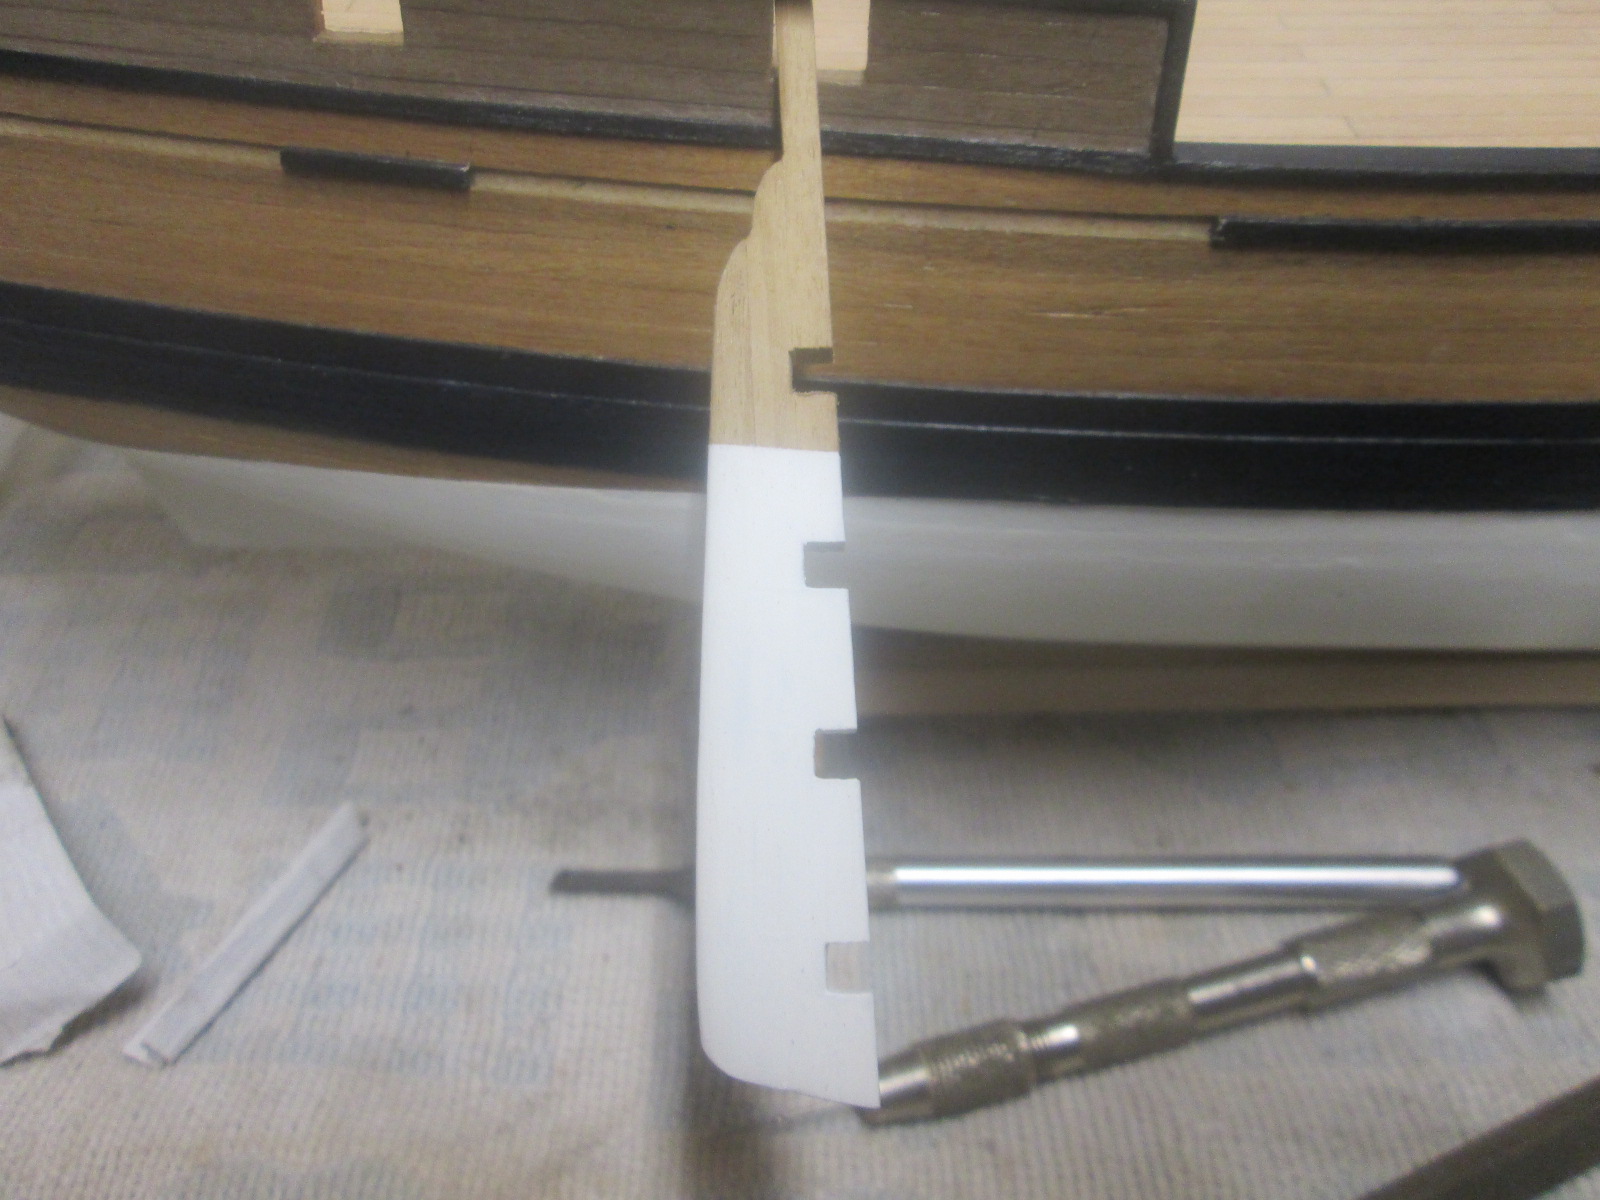
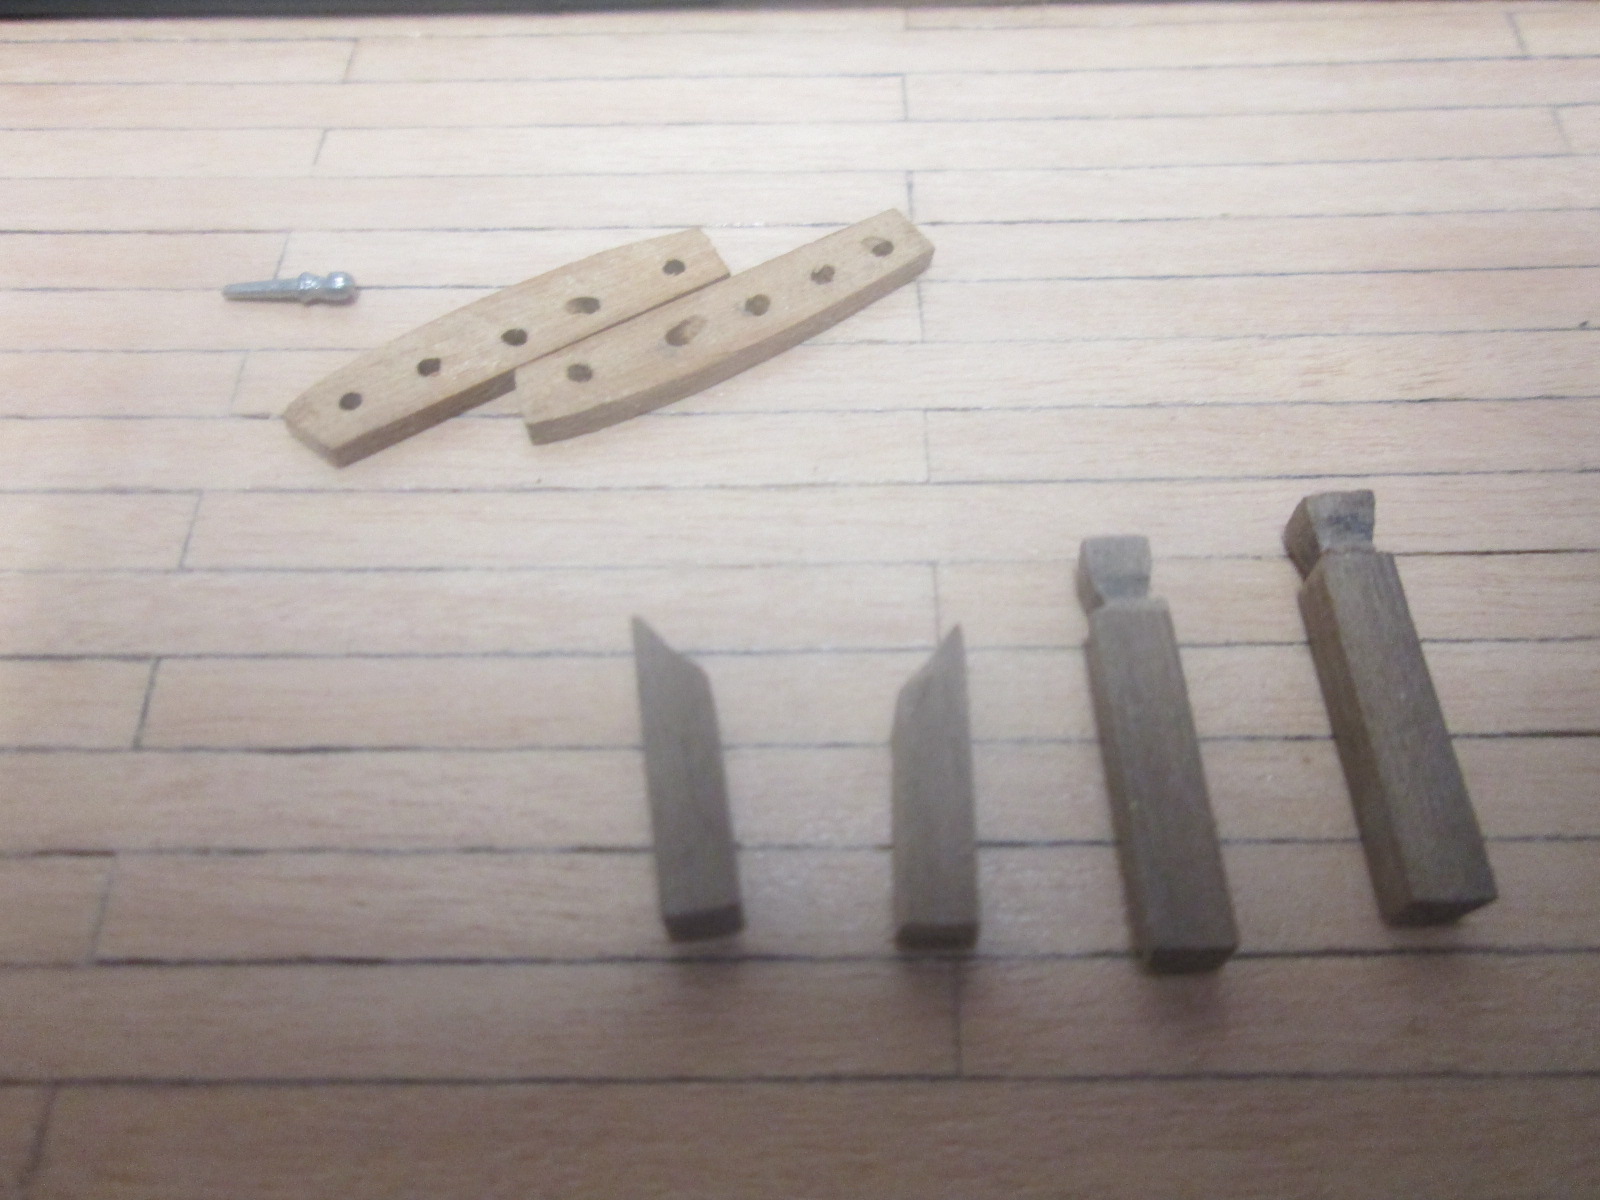
Up to now the plans have been reasonable, some issues, but nothing you can't work through. First, some of the diagrams are different when compared to each other, so it can be confusing to know which way to go. One of these is the chain that attaches to the rudder. On one diagram it's on the curved section that is over the blocks, on the other it's on the section just below. The rudder diagram was waaaaayyy out. The hinges I got in the kit were a little over 4mm, but the diagram had much wider slots for them. My guess is that somewhere the manufacturer has switched hinges, and hasn,t modified the plans to suit. Caprails are on now, and the rest of the wales. Next I'll fit the rudder and get started on some deck fittings. The belaying pins are tiny. It's going to be fiddly getting the rigging on.


-
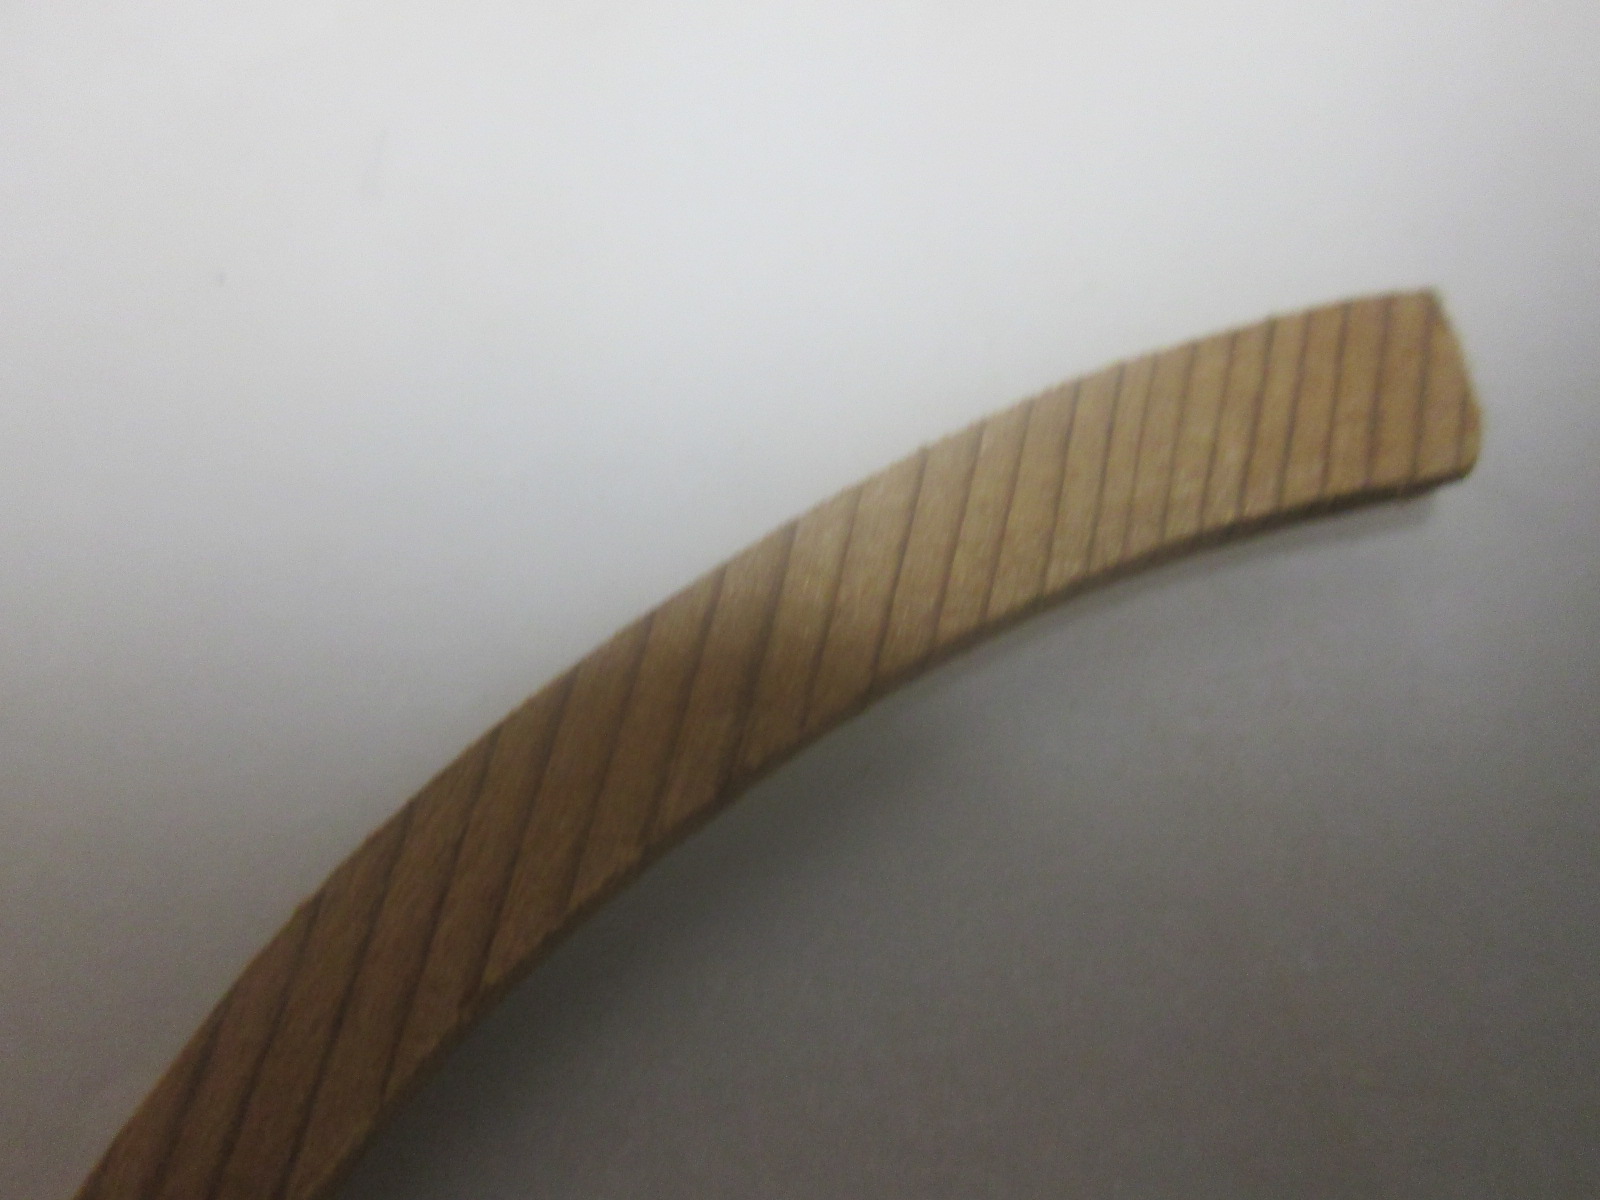
Heres the pics and one of a Caprail I made for my model.

-
Brian, an American style flute that plays waltzing Matilda, sounds interesting, but I'm not very musical, Just ask my wife, she's heard me.Thanks anyway for your suggestion.
-
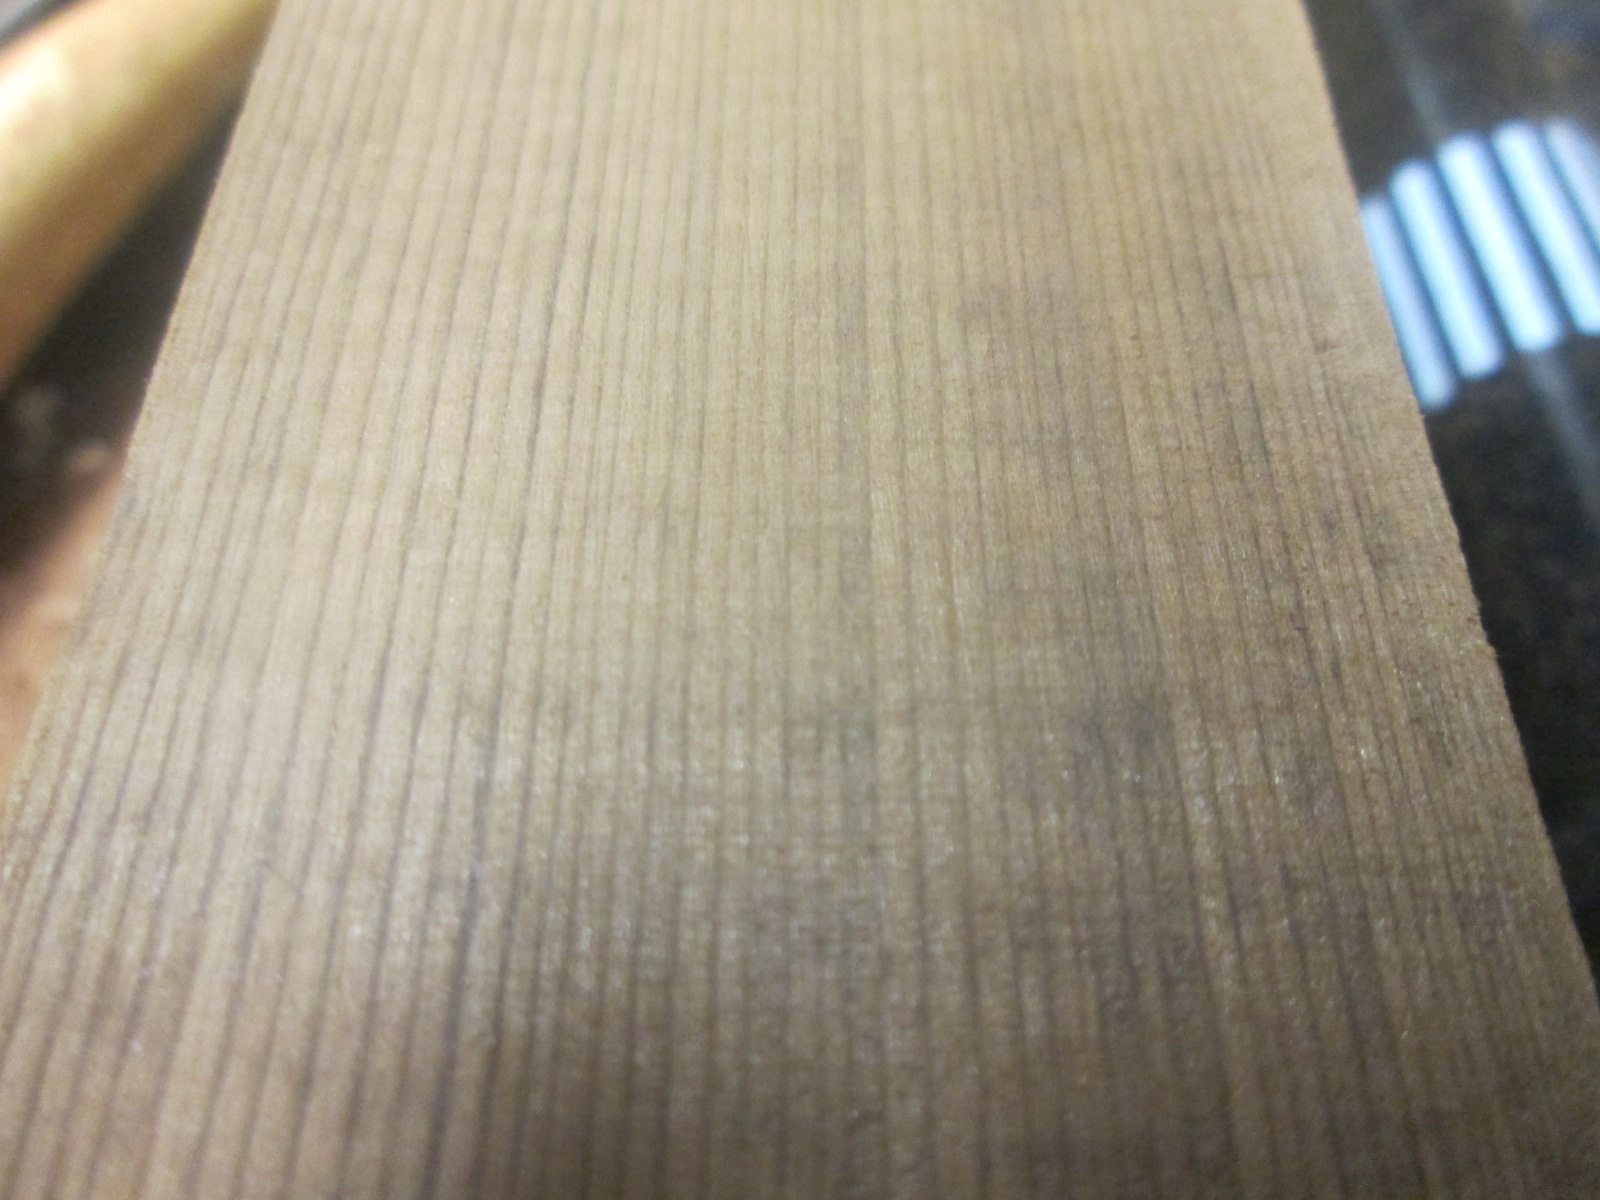
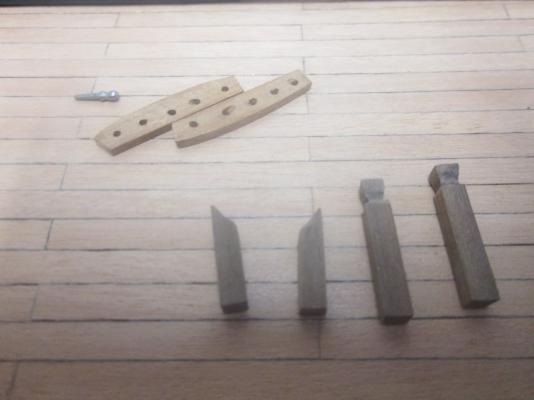
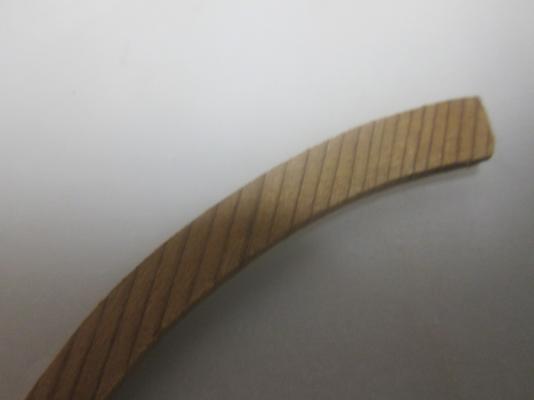
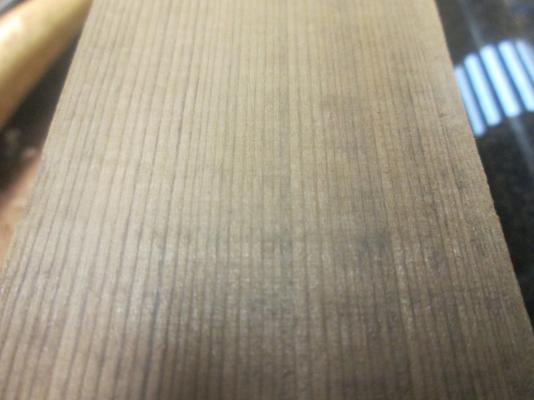
Thanks for your quick replies. I.ve done a little more homework, and it might be western red cedar.I'd love to send a few pieces around, but I'm in Australia, and I'm not sure on the export laws on timber. Floyd,you say the grain is not fine enough, what exactly do you mean by that?Do you mean not close enough together?.If it's Western red, the grain is very close together on one side, even though the wood is quite soft. I'll post some pics of the grain. Tell me what you think.
-
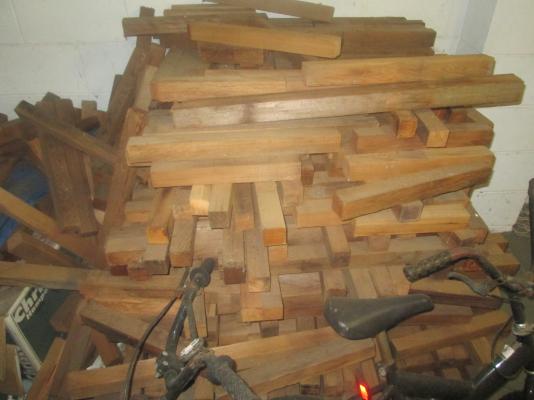
I've got this lovely pile of Cedar sitting around gathering dust.I got it for nothing while I was working in a Wood Mill. This Cedar is the same as the Anti Moth Cedar balls people put in their wardrobes to keep the moths out. It smells nice when you work it, and has a similar smell to Mahogany. Will this be any good to use for a scratch build? It would be a shame to throw it away. Better to make something out of it.
-
This is very nice work. I like the upward curves. The real thing must have been very difficult to build.
-
G'day Phil. I'm currently on the same Ship, yours is looking very nice by the way. I do have one question for you.What are you going to do with the mast tops?. In my kit they are ply, and I've noticed that the real Ship has grates like cargo grating, so I'm not sure on which way to go yet. Did Your manufacturer supply grating? Will be watching the rest of your build with interest. Matt.
-
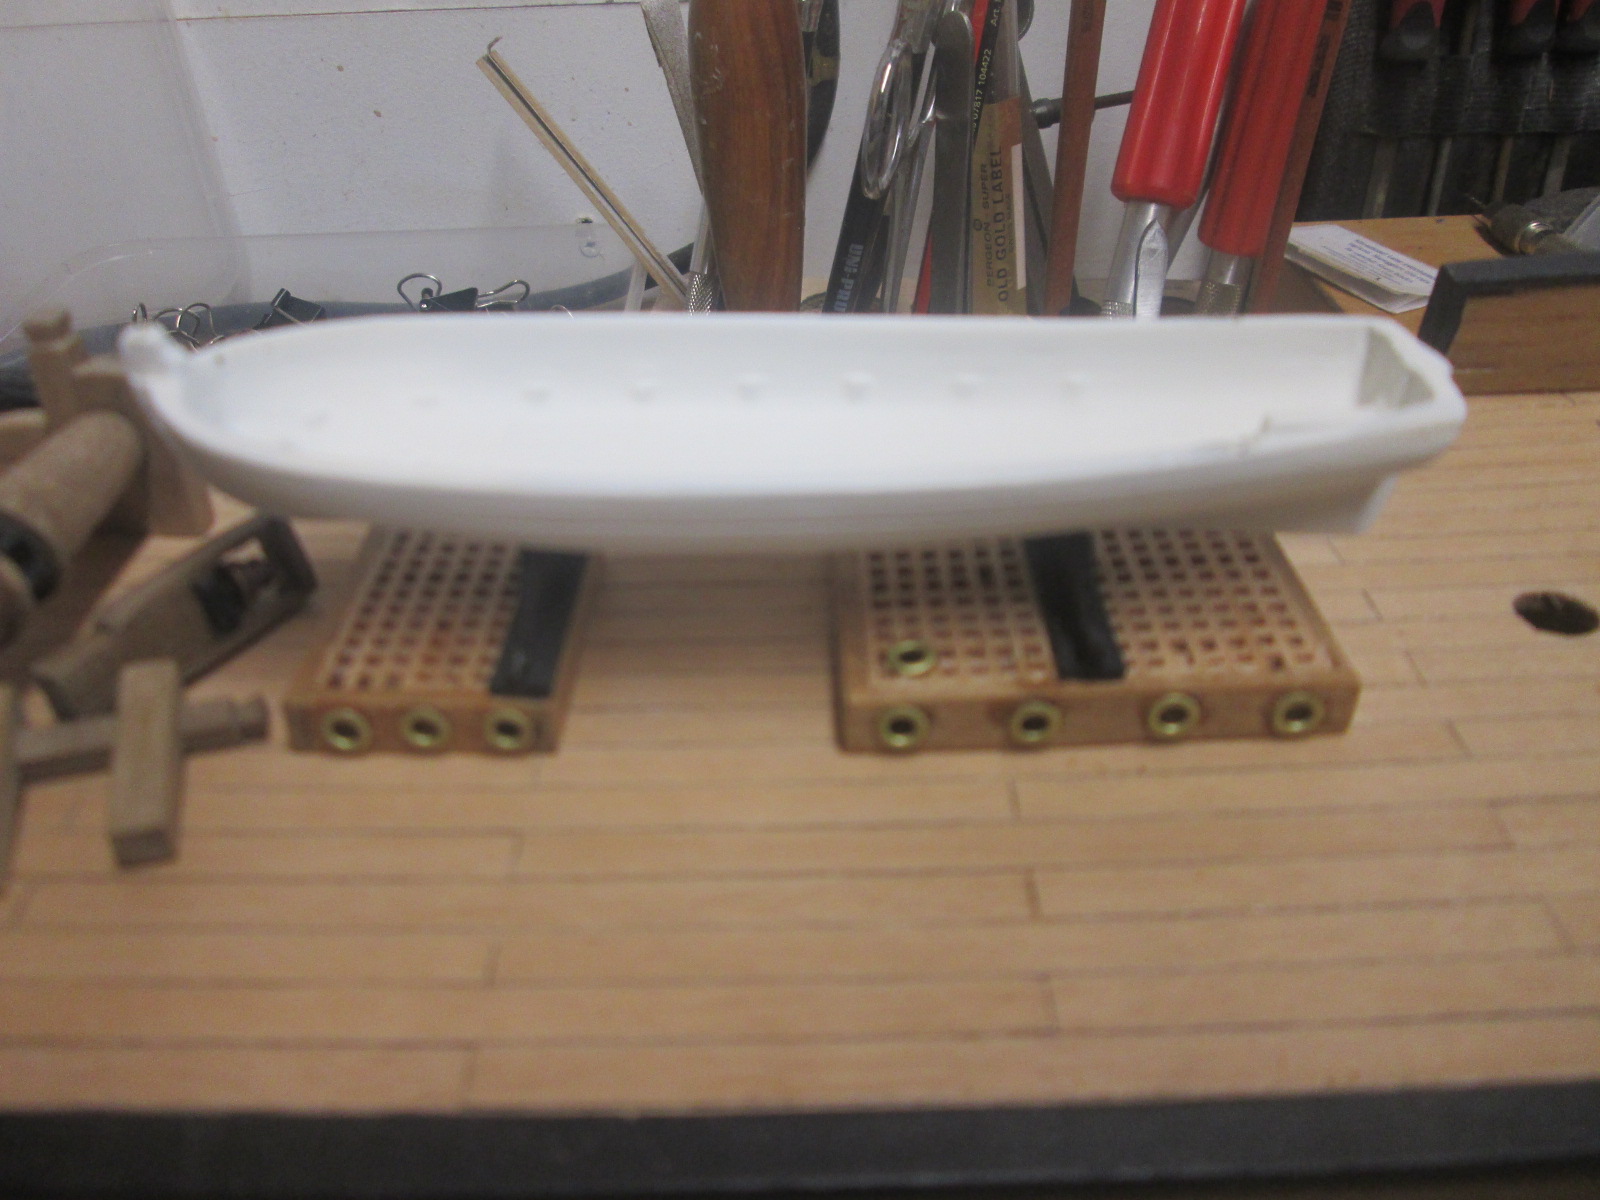
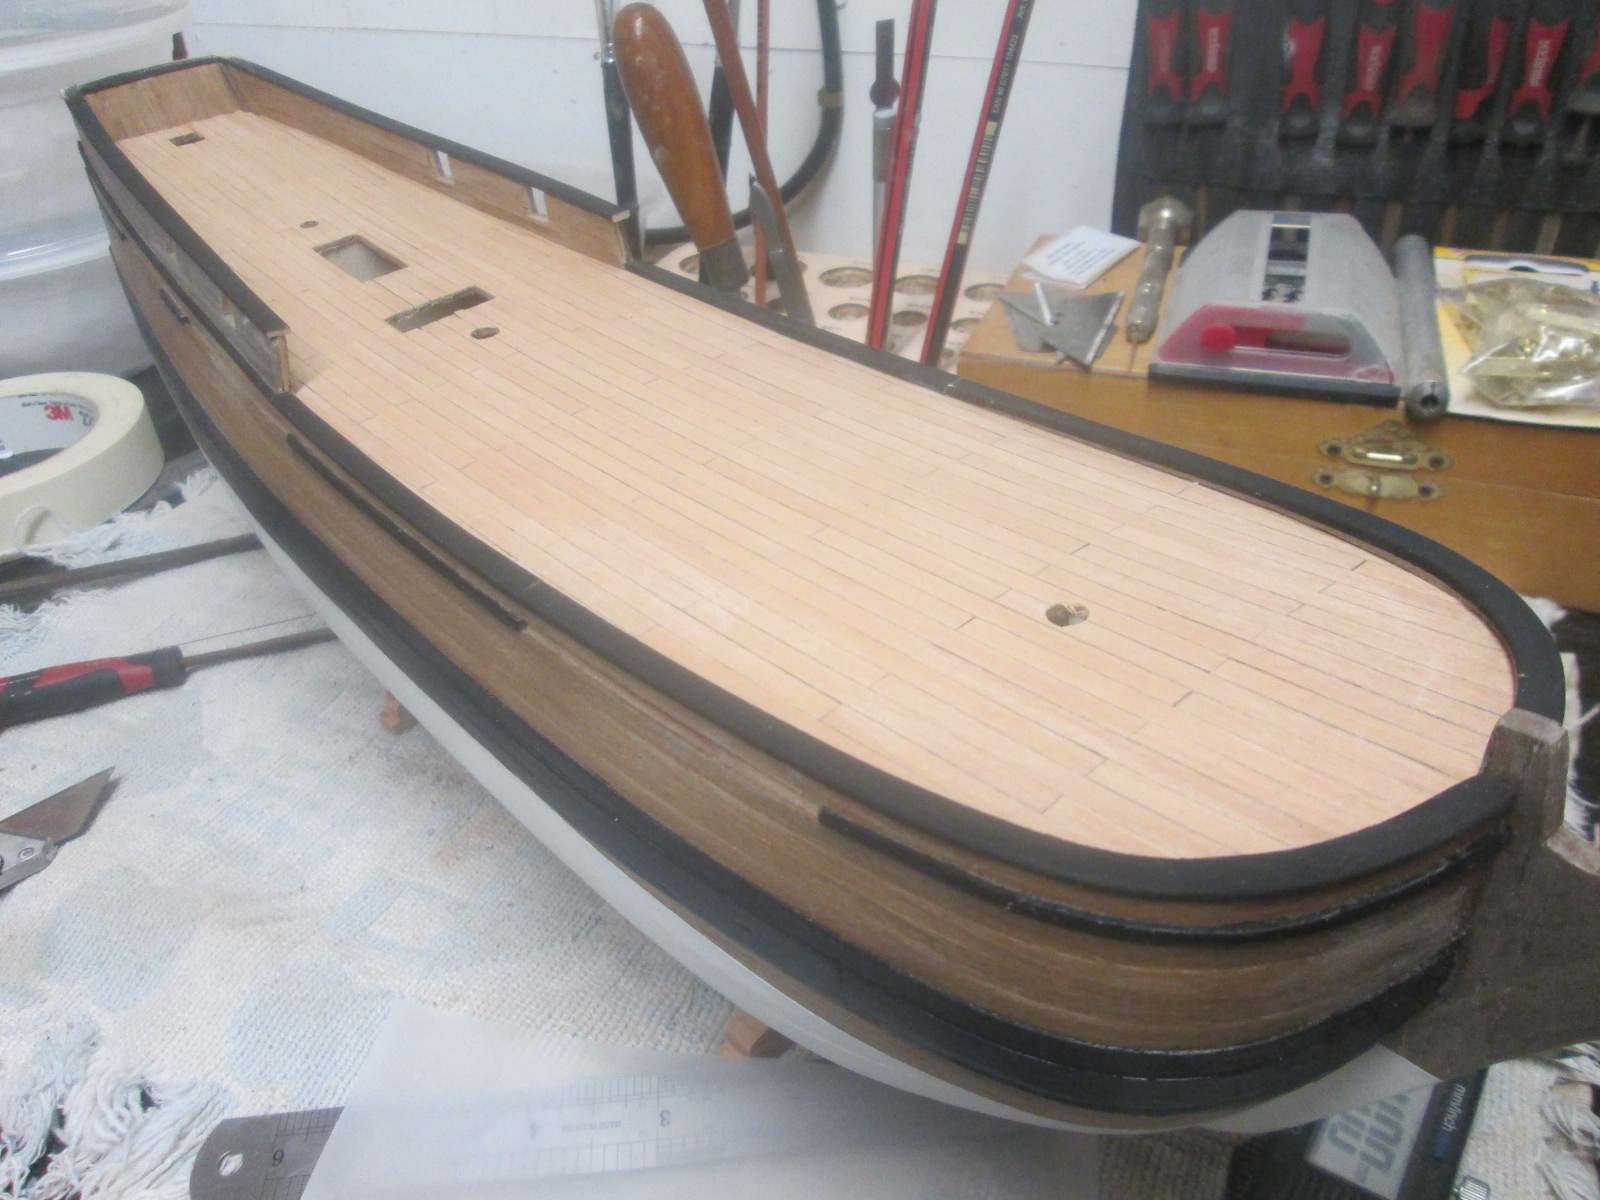
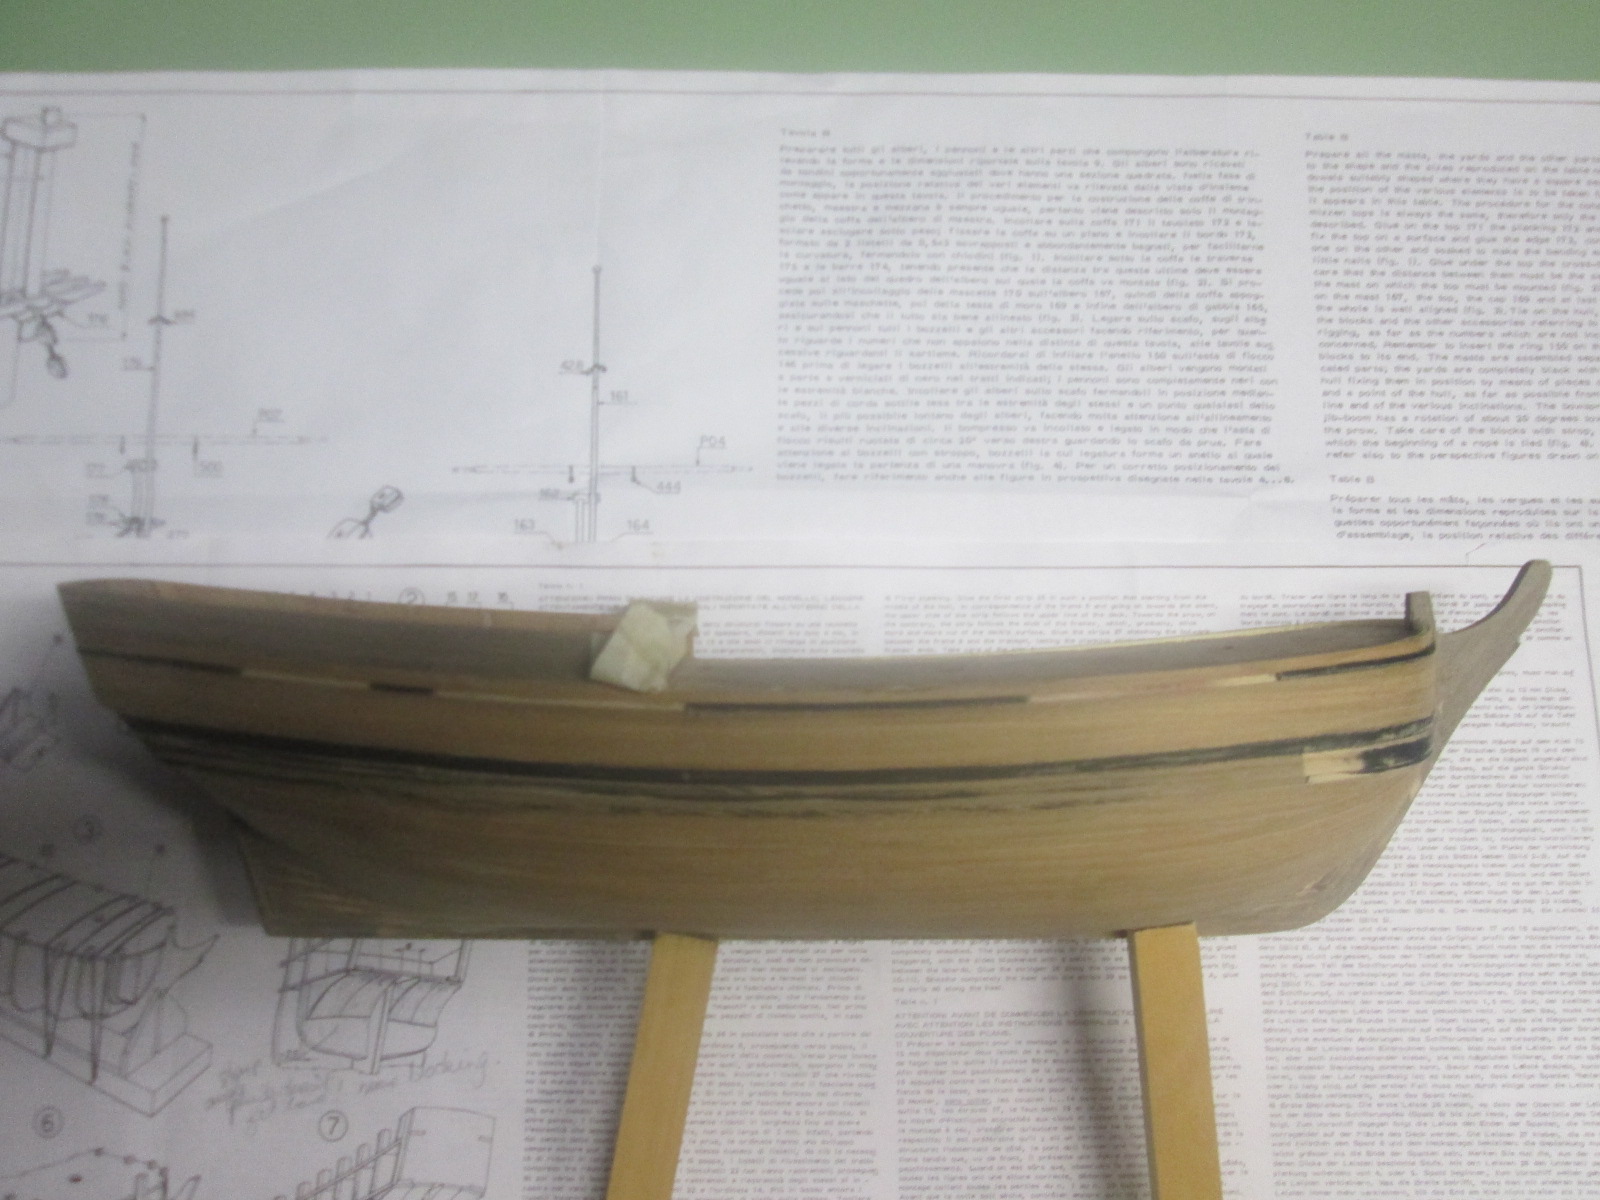
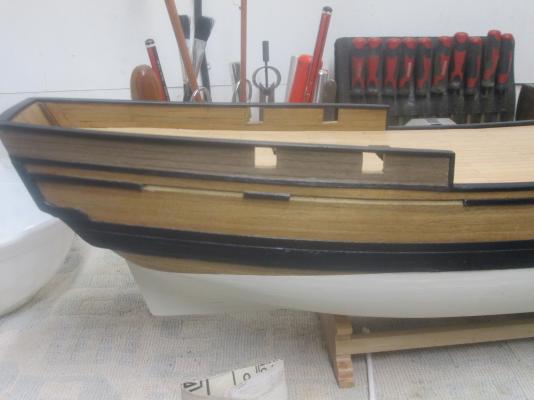
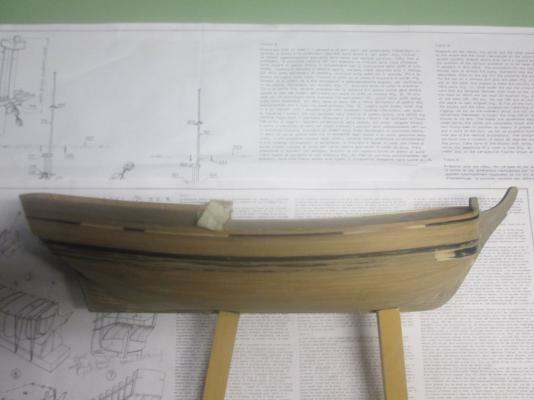
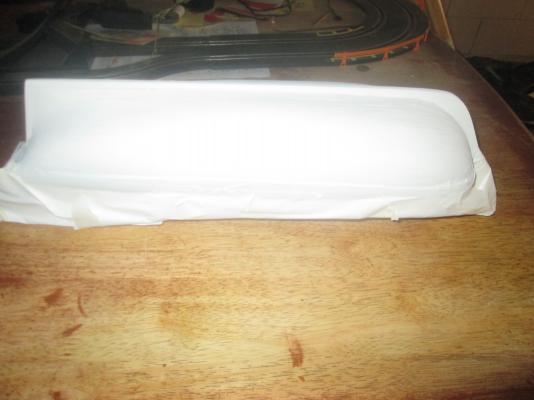
I lost some photos. I've been using my sons camera so I should have told him thre were still some photos I wanted on there.I've finished the second planking and the deck and painted the bottom of the hull.Ive never painted a hull like this before, or planked a deck using shor lengths, so I.ve had a few small issues, but managed to get it done. One thing I didn't account for is the slight variation in plank width, which gave some small gaps in the deck planks. I wanted as clean a paint line I could get, so I got some of the painters tape that promised sharp paint lines, and it worked pretty well. The 2mm by 2mm wales that are supposed to go on in four lengths next to each other tended to end up uneven, so I just sanded them and repainted.Now I'll move on to the inside of the bulwarks and rudder.

-
This Ship reminds me a lot of the Spanish Galleons with the high stern. Looking good. I'll definately like to see her when she's all done.
-
What a long time it's taken, I remember this from teenage years. It would be a shame if it fell apart after all this time.
-
This issue is a real problem, as some manufacturers design the kits with using the nails in mind, and providing thin soft bulkheads. This then makes pins and planking screws split the thin ply. You have to pre drill all the holes, but still end up with splits.I've got a large packet of nails/pins that came with the kit, that I won't end up using.
-
If you are going for historic accuracy,what method would you use, drop planks or spiling???
-
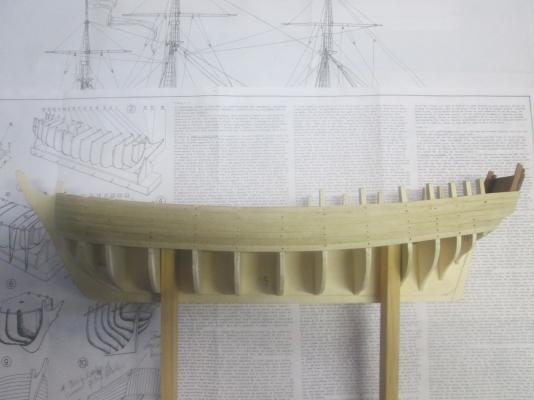
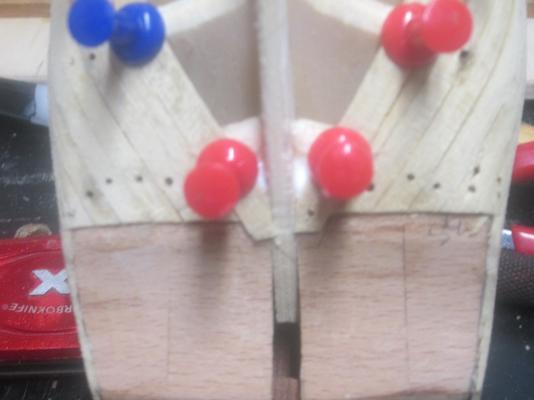
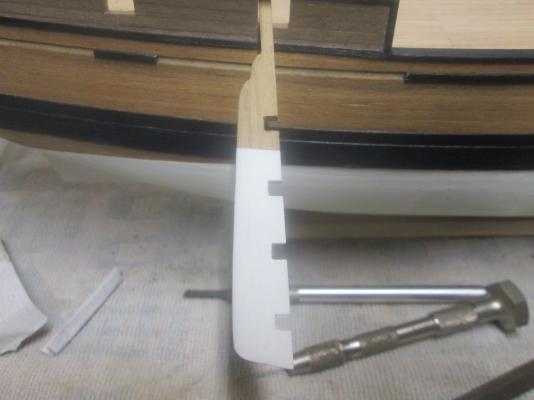
I've been having some issues with the planking on the bow section,so I've had to make some adjustments.The planks seem to want to buckle outwards, even though there's very little upward curve.I think either the bulwarks provided are the wrong shape by a lot, or it's just that a different planking plan for this section is needed, for this particular shaped bow.As a result I've got a couple of little dips to fill later.I could have sworn I faired the frames well enough for the planks to fit flat. An important thing for the next builder of this kit to look at is the plywood Bulkheads. It seems the manufacturer has intended the hull to be nailed on with the packet of nails supplied with the kit. This explains the thin soft Bulkheads. Planking screws and pins (especially the ones I use) will split the thin ply. The only way around this is to either cut your own, or block all of them so you can insert your pins or screws without splitting. You could of course, just use the nails if you wanted to. I'm now up to the third section of planking.which should go on a lot smoother.