HOLIDAY DONATION DRIVE - SUPPORT MSW - DO YOUR PART TO KEEP THIS GREAT FORUM GOING! (Only 13 donations so far - C'mon guys!)
×


jct
-
Posts
1,519 -
Joined
-
Last visited
Content Type
Profiles
Forums
Gallery
Events
Everything posted by jct
-
THX Josh, but I think yours turned out very well...and you didn't break it twice
- 105 replies
-
- 2
-

-
- picket boat
- model shipways
- (and 1 more)
-
Thanks guys, yes Sam its the same stuff, works as good on wood as it does on plastic
- 105 replies
-
- 3
-
-
- picket boat
- model shipways
- (and 1 more)
-
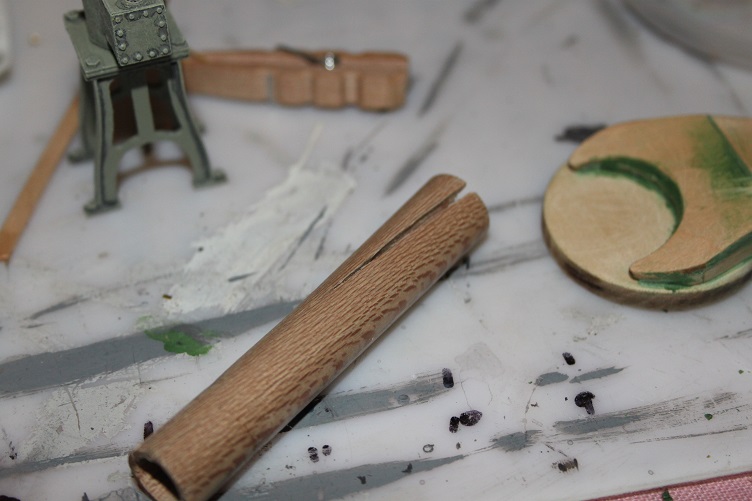
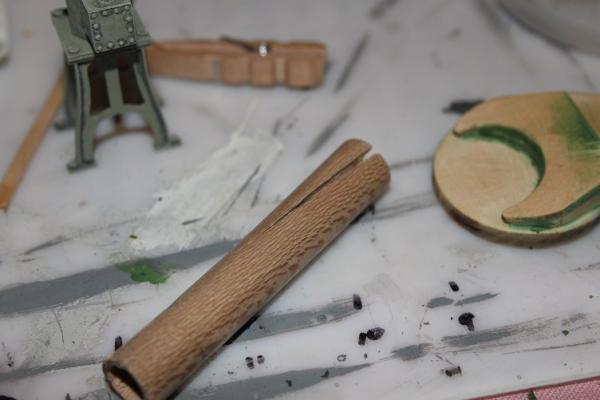
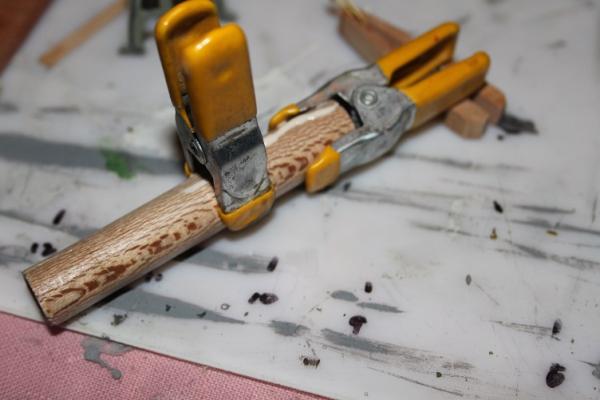
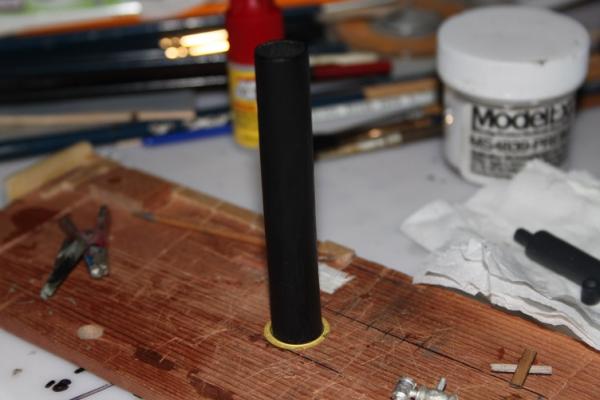
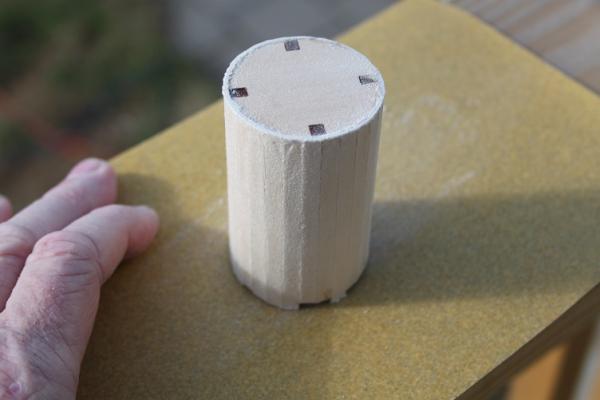
Hello all, Some progress to report...I decided I was gonna work on more of the boiler parts, mainly the stack, so I sanded it done and put on three coats of acrylic clear to seal the grain. Started to drill it out and guess I got a little aggressive and cracked the dowel... awww crap! So I glued and clamped it and set it aside for a day, the glue set real well so... with a smaller & sharper bit I started again...coring down and around simultaneously...and proceeded to drill right out the side of the stack....at this point the air was blue, but I had too much time in this piece to chunk it and start over...out came the green stuff, taped the inside of the blowout and applied a liberal amount, set it aside to dry. After letting it set for a couple days I broke out the sand paper and worked it down from 80 thru 220, sealed it and layed on coats of flat black...Pics follow

- 105 replies
-
- 6
-
-
- picket boat
- model shipways
- (and 1 more)
-
Thanks to all for the likes and kind comments, no updates today many choirs to get caught up on while the good weather here holds
- 105 replies
-
- 3
-
-
- picket boat
- model shipways
- (and 1 more)
-
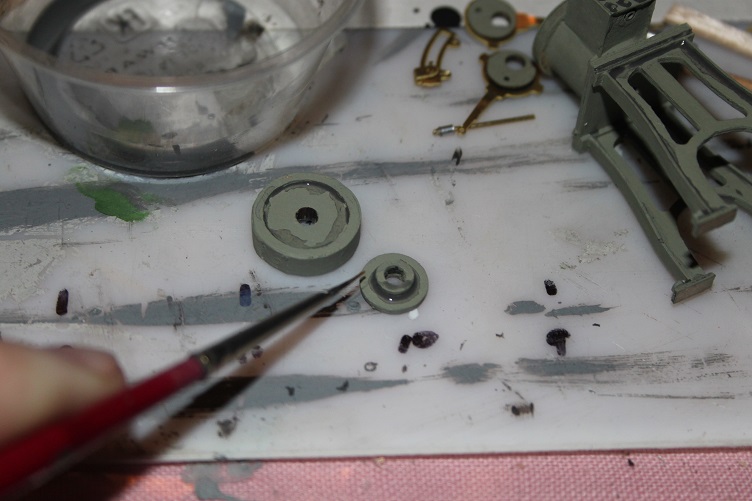
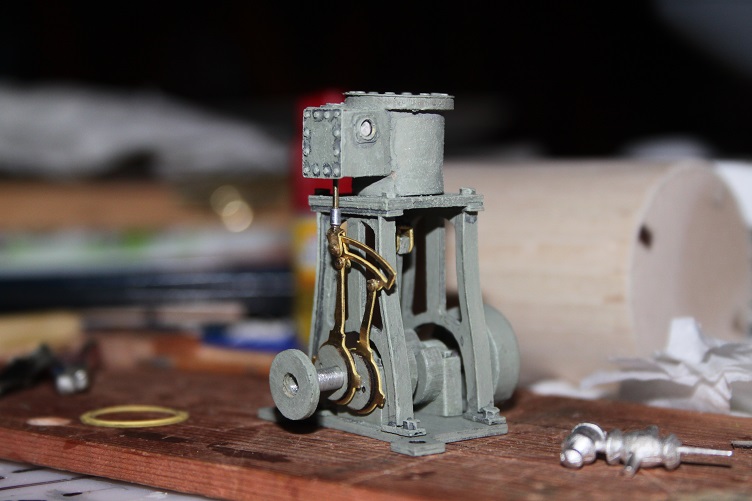
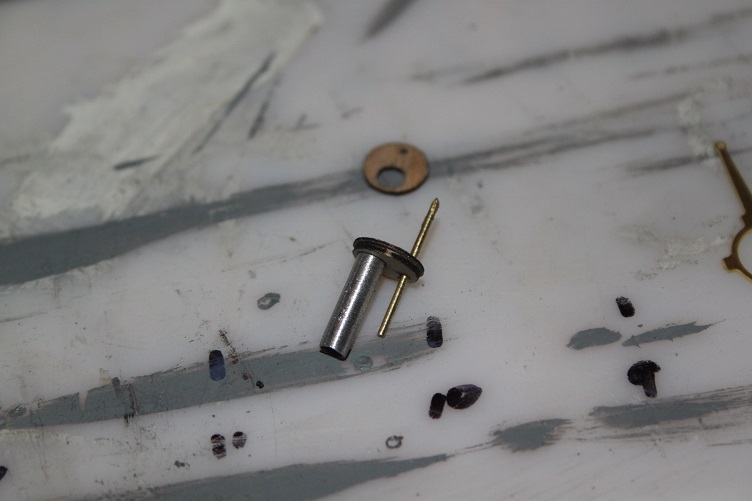
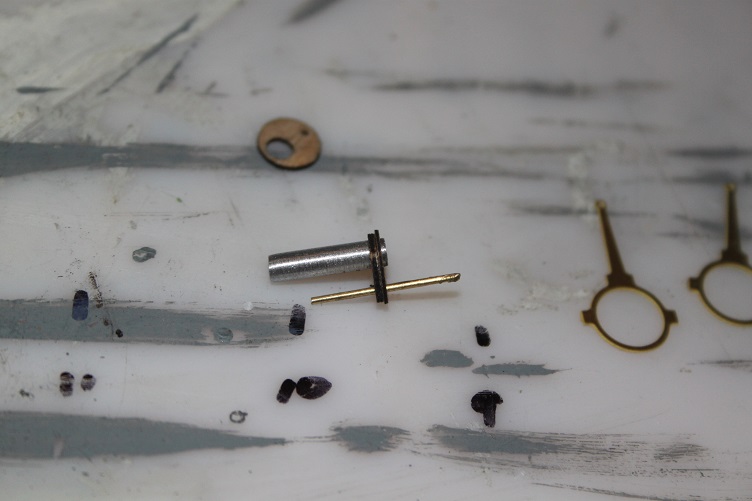
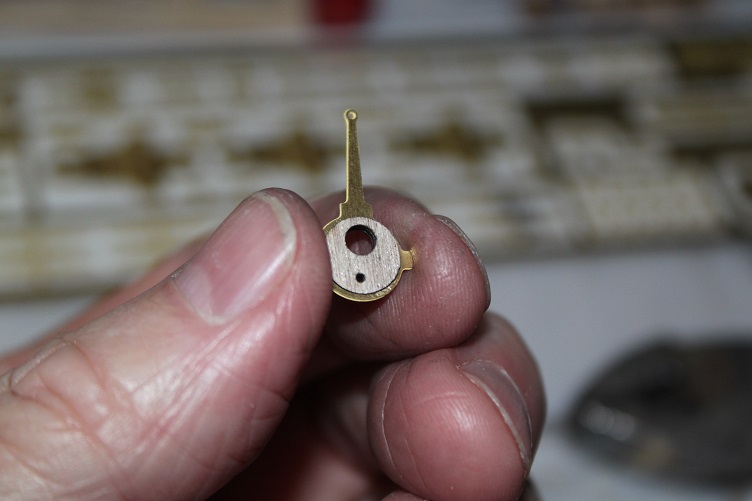
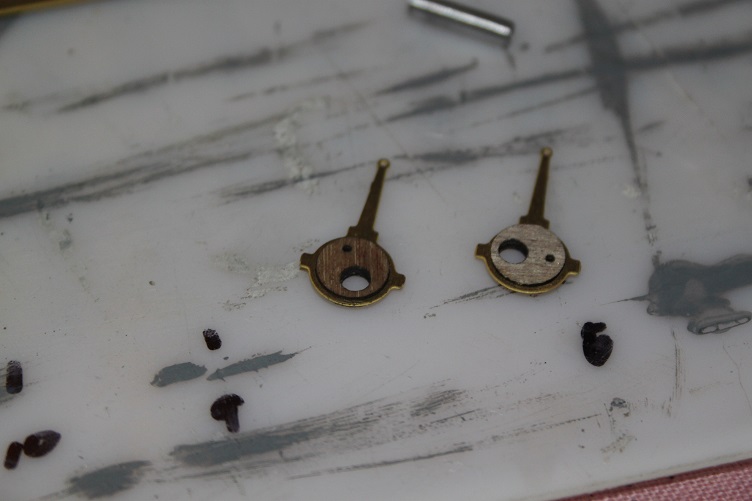
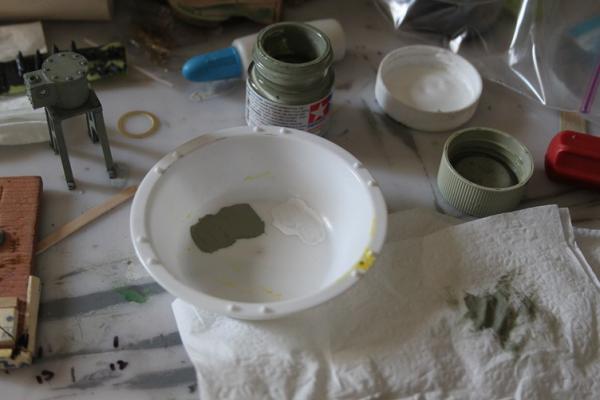
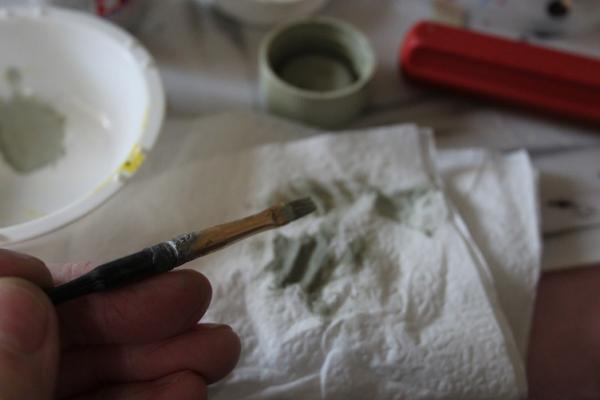
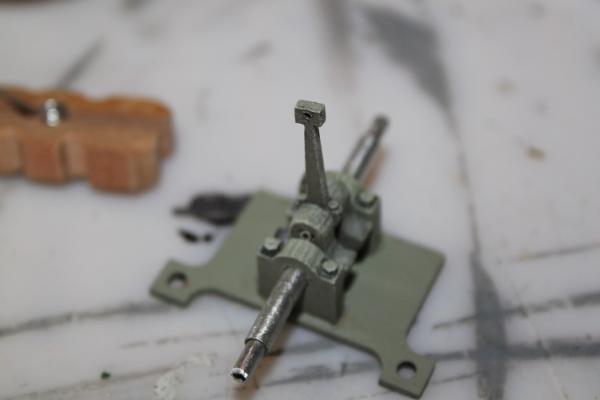
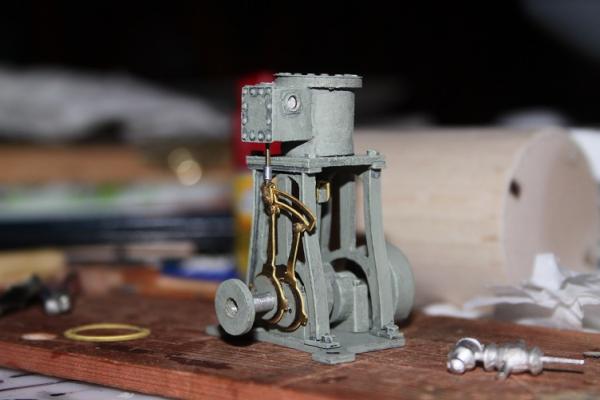
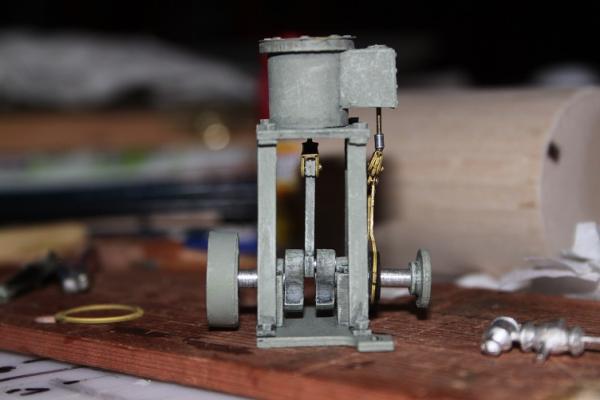
Hi, An update on the steam engine...after many failed attempts and bent pins, tacks and brass rod, I've given up on a working valve linkage, the little parts were really starting to take a beating. Making rivets is a skill I'll have to develop on a latter build, thanks to all for the advice. What I have accomplished was to get all the parts washed and dry-brushed and most of the engine assembled . That process started by making a thin wash of dark dry...I like to make this using a mix of 1 part paint 1 part water and 1 part acrylic airbrush medium. This mix is applied to all the recesses using a small brush, others may choose to flood the wash over the entire surface and wipe off the excess but I've never had any luck with that technique with acrylics...always just make a mess for me. Once this wash drys the dry brushing can begin...for those that have never done this I suggest practicing on some scrap material to develop the correct touch. I start with the base color and then add more and more white to build up successive "layers" of highlight, you must use a lighter and lighter touch as the highlight begins to pop. This technique was used on all of the engine parts prior to final assembly. I've still some touch up to do on the rod assemblies and engine still need plumbed. Thanks for your time and attention, pics follow:


- 105 replies
-
- 13
-
-
- picket boat
- model shipways
- (and 1 more)
-
Hey Charlene...your Bounty is looking good, have you decided if you are going to leave her shipyard fresh or weather her a bit?
-
Thanks Ken and Brian...I'll take a look thanks for the links...Joshua let me know when you start that Jersey build I want a from row seat for that one...Hey Pop, welcome, glad to have you on board...the kit parts are laser etched but I did have to score them because of all the paint build up
- 105 replies
-
- 4
-
-
- picket boat
- model shipways
- (and 1 more)
-
Thanks for the input Ken... MS supply's very thin brass brads for this purpose, I cannot seem to get them to mushroom, all they do is bend, wonder if I can source a true rivet small enough...?
- 105 replies
-
- 1
-
-
- picket boat
- model shipways
- (and 1 more)
-
nice work Sam shes coming along
-
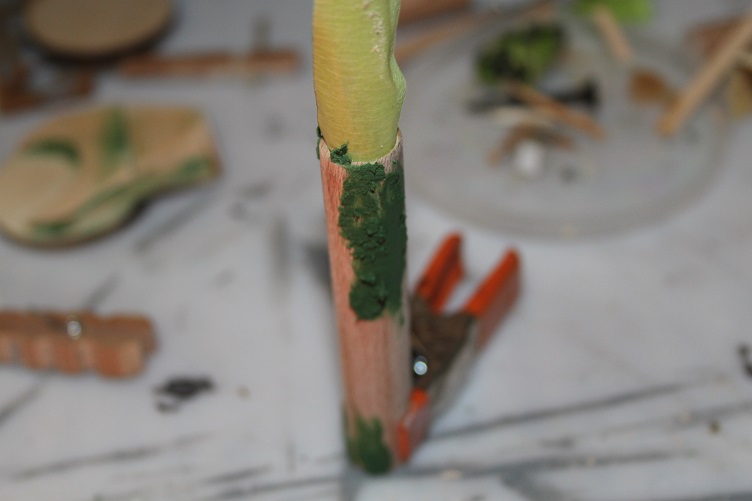
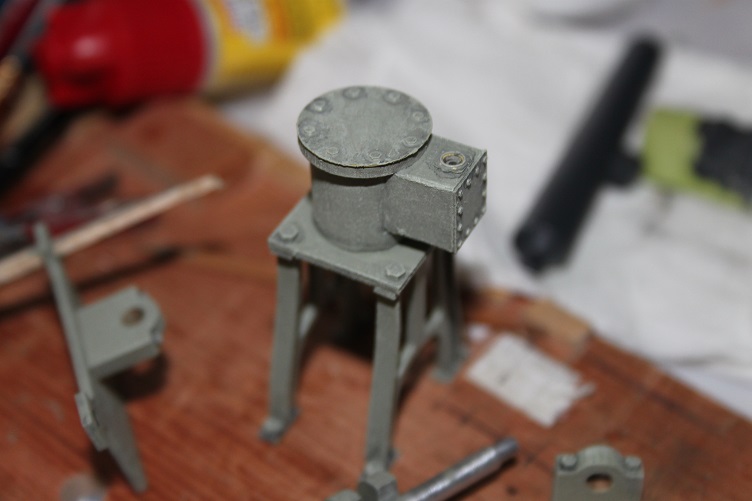
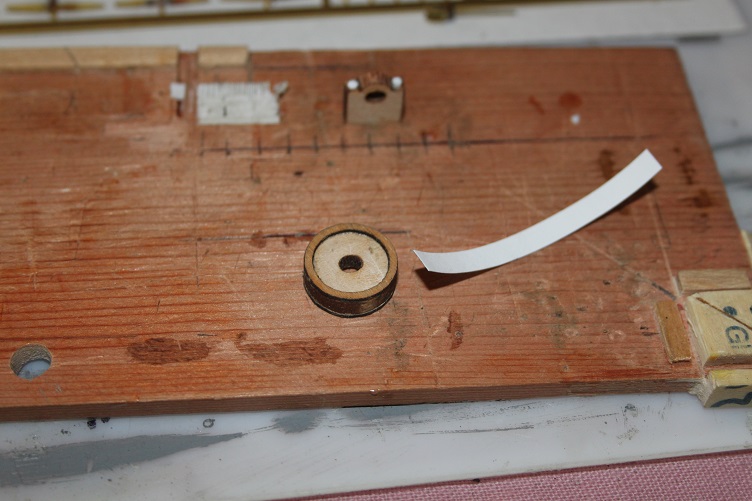
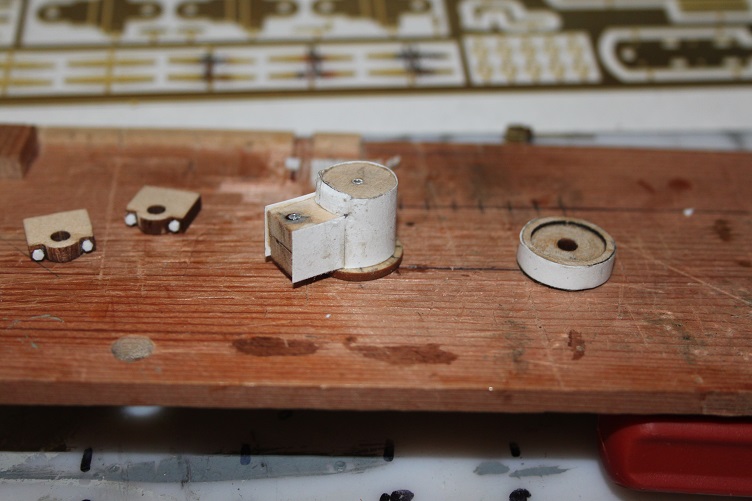
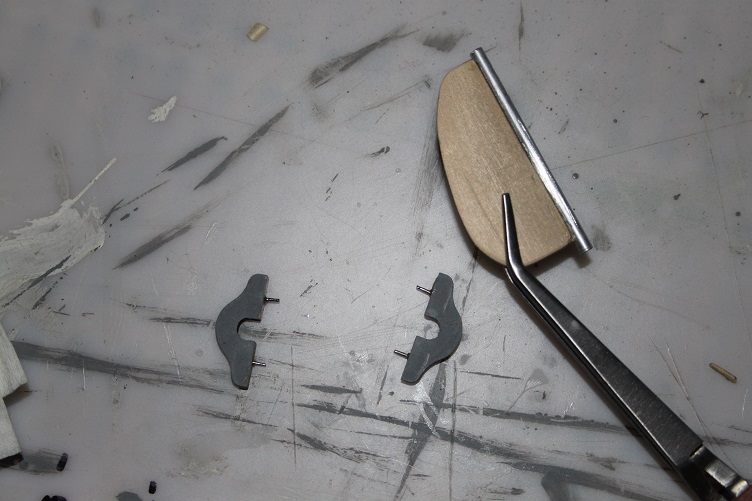
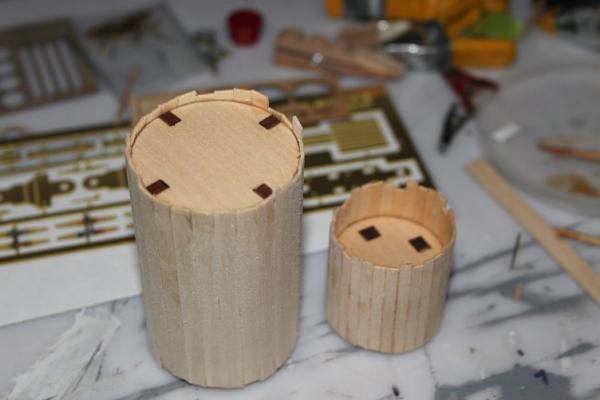
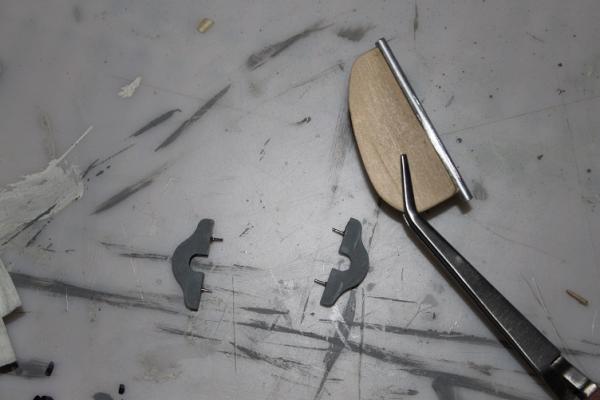
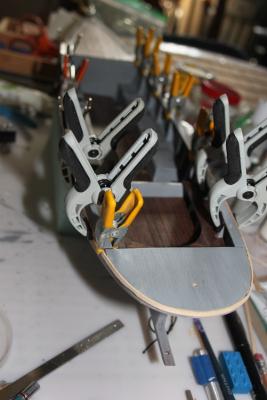
A small update and a question for all you other Picket builders...first the question, how did you manage to rivet the the Stephenson linkage? They have proven to be a real pita for me! All attempts have ended with bent mangled pins no matter how short I make them and the linkage parts are taking a beating, I could always just glue them up but I really want the engine to turn...any and all assistance is appreciated. With the linkage set aside I decided to glue up the boiler parts pretty much just followed the plans...for the steam dome I made sure each plank was about 3/4 in over long, once the glue holding them to the frame had set, I coated the inside of the extended parts with carpenters glue to ensure they would not snap off for the next step. Once all was dry a piece of 120 grit was held on a flat surface and the square ends of the main boiler and steam dome were squared up. The profile on the steam dome was created by holding the 120 firmly against the main boiler and running the extended planks back and forth being careful to keep the dome square to the main body, only took a few minutes and fits very nicely. As always thanks for your time and attention, Pics follow:

- 105 replies
-
- 9
-
-
- picket boat
- model shipways
- (and 1 more)
-
Thanks to you all for your comment and all the likes Tim...I'm hoping it will take the weathering I have in mind a bit better then the wood alone would I agree Bob, this little engine is what attracted me to the kit, and it does go together quite nicely Welcome Dimitris, beautiful pic in your avatar I know exactly what you mean Joshua, the only way I can remember is to keep the camera sitting right beside me on the bench ( actually the Admiral's dining table, getting to cold in the basement)
- 105 replies
-
- 3
-
-
- picket boat
- model shipways
- (and 1 more)
-
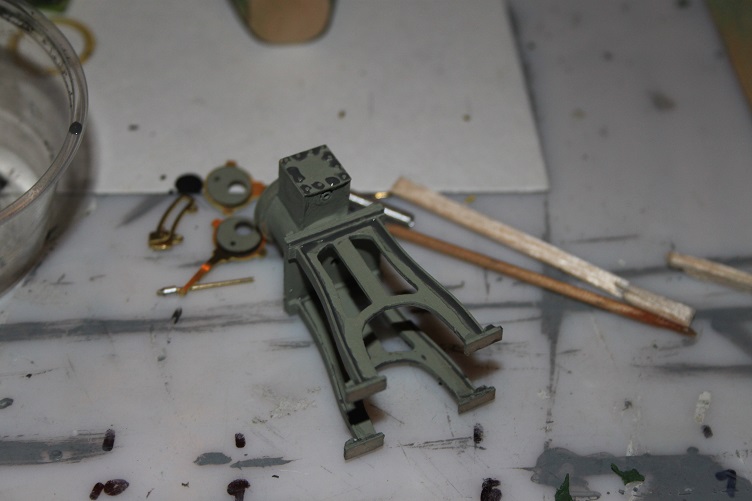
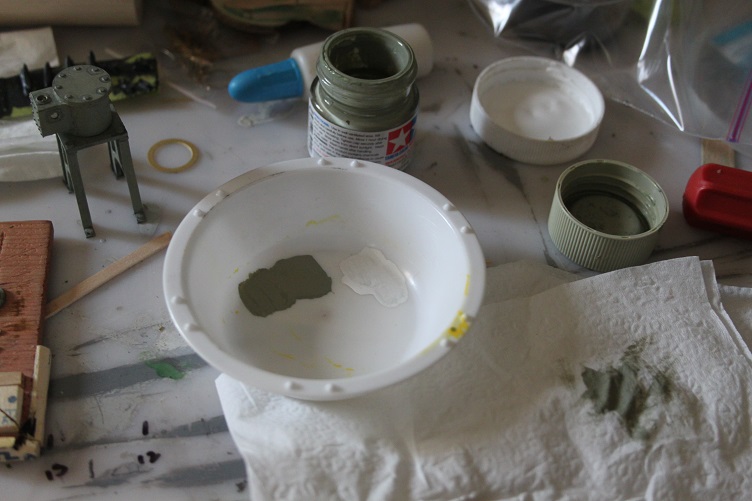
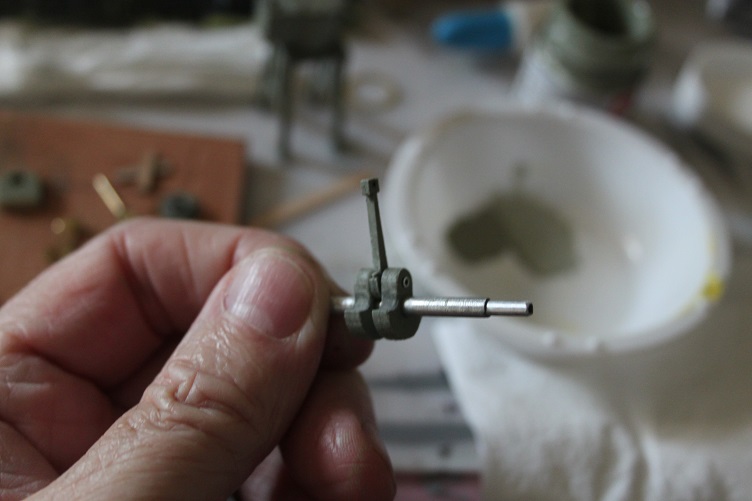
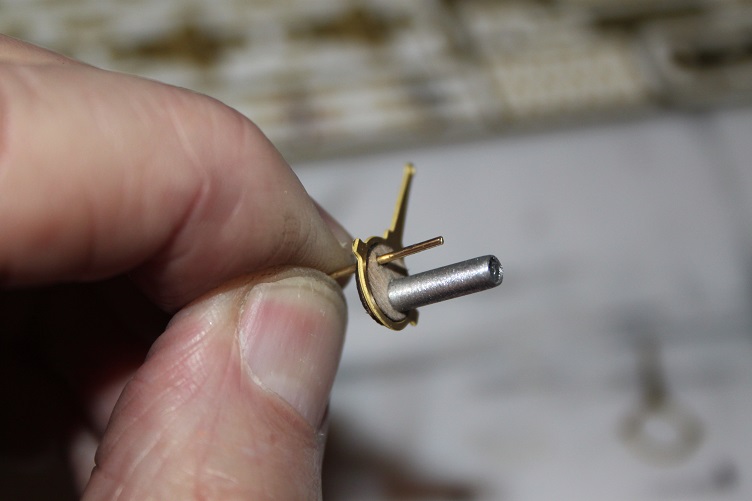
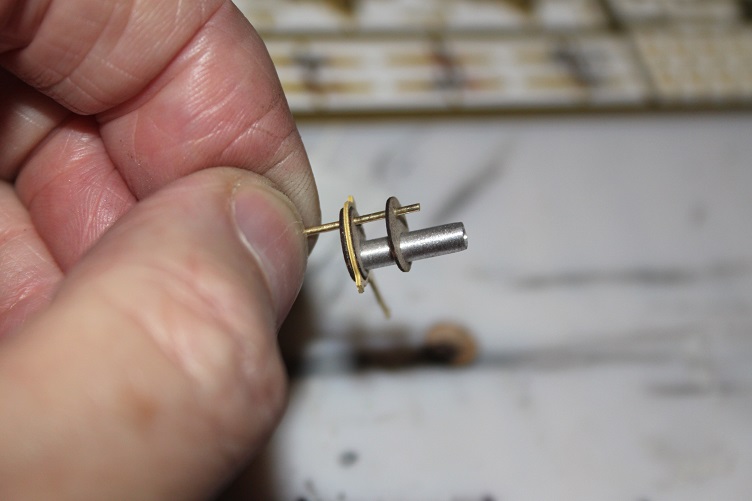
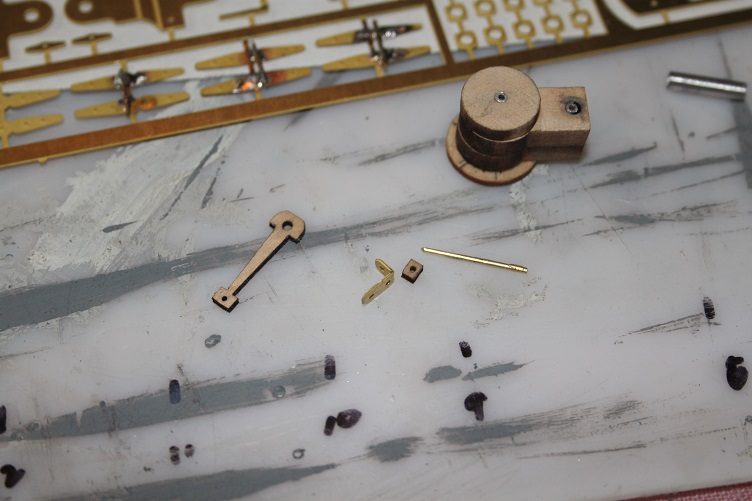
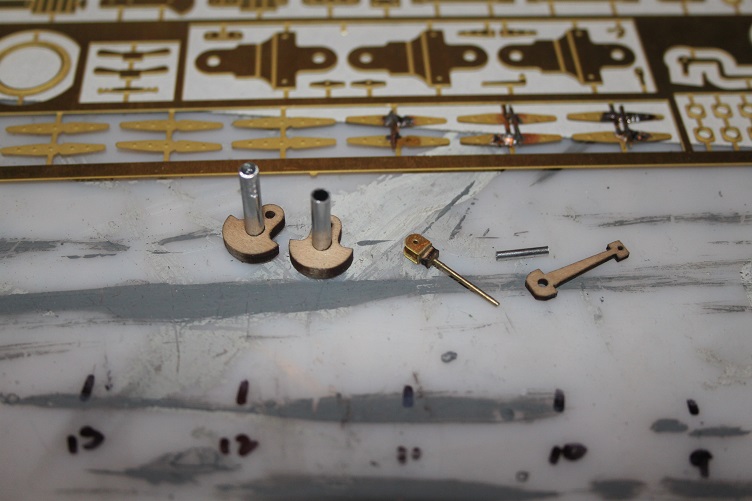
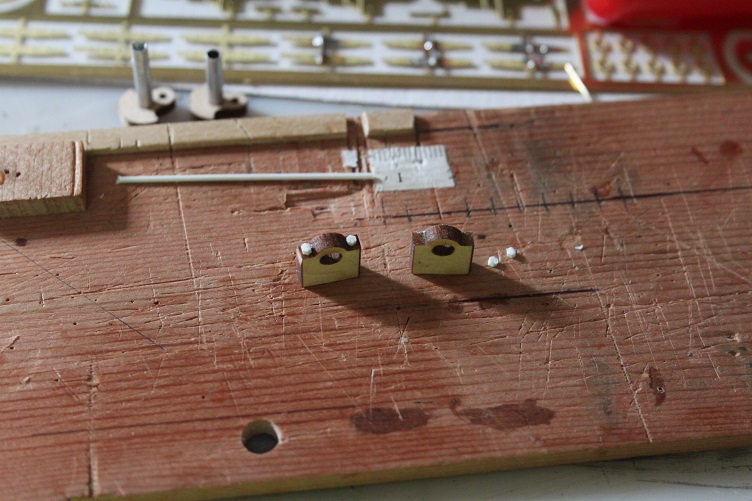
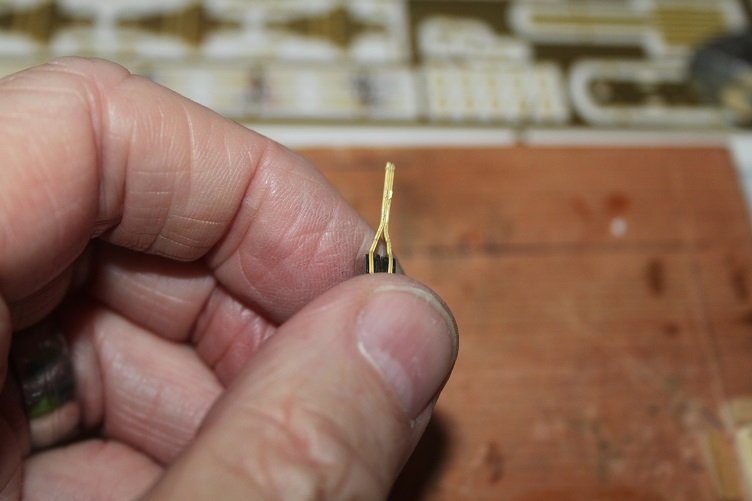
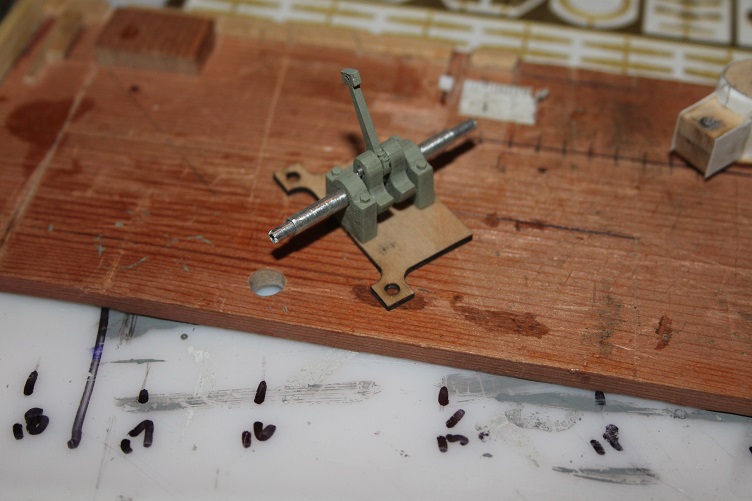
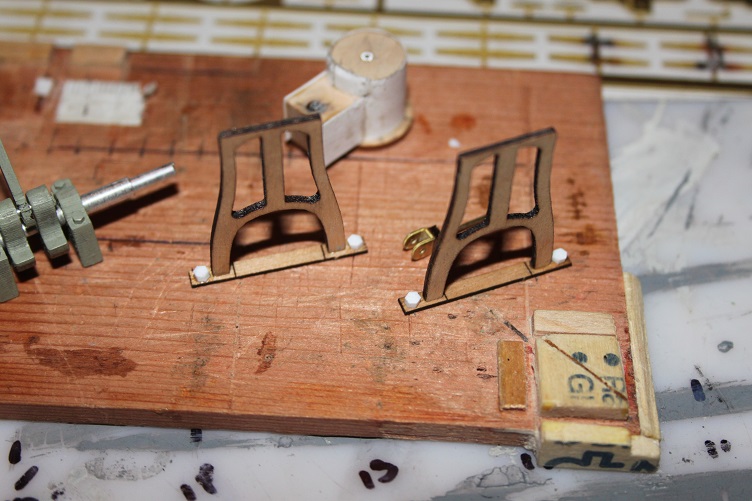
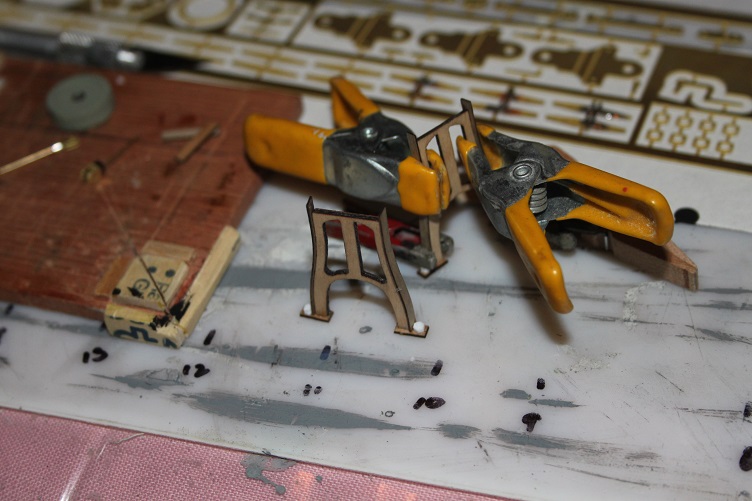
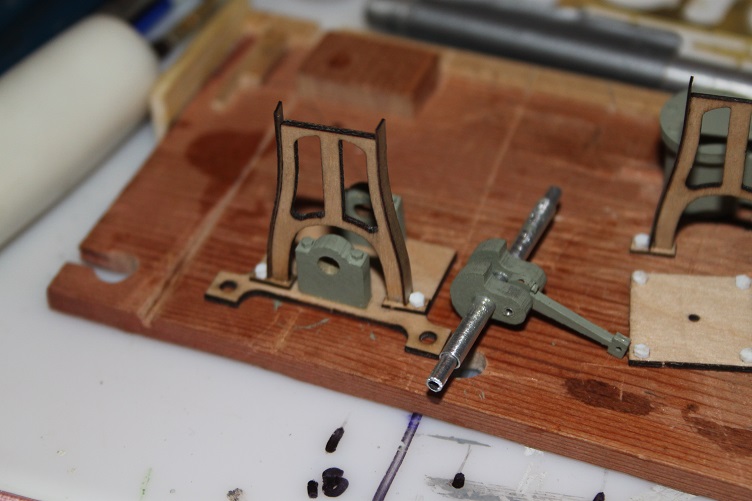
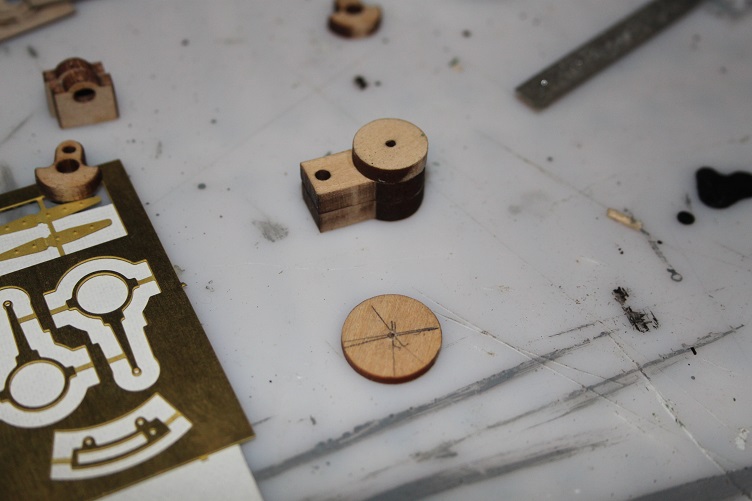
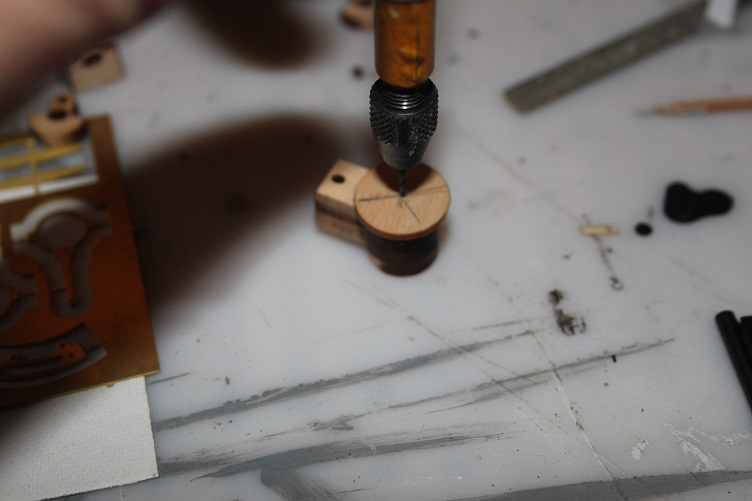
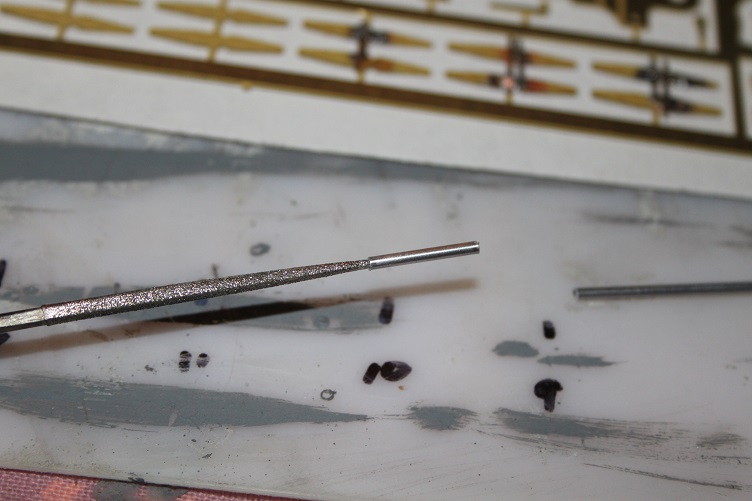
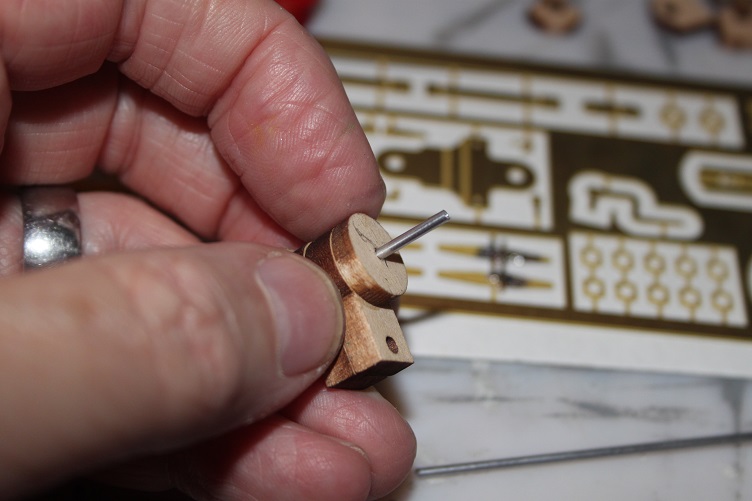
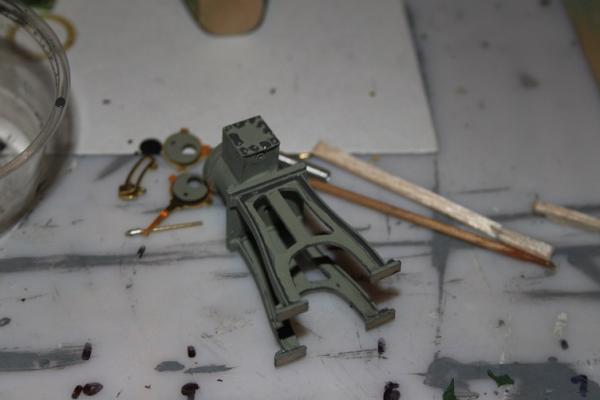
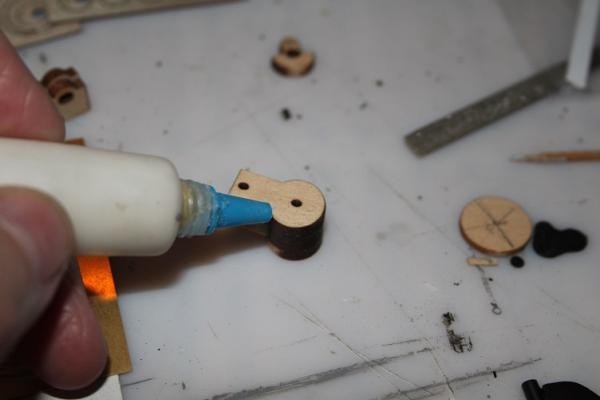
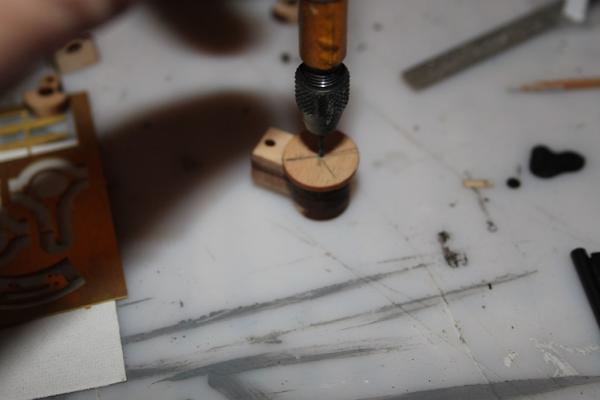
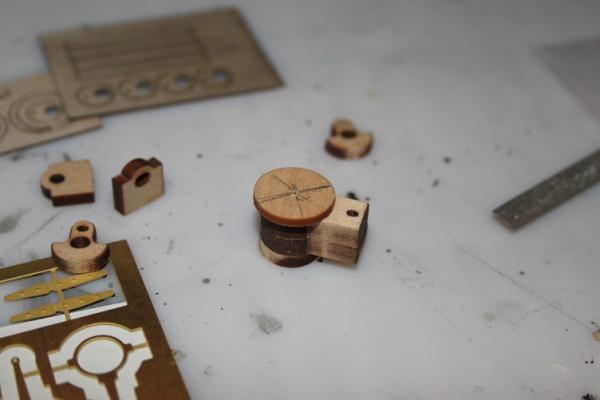
Hello all, Work has started on the steam engine...the cylinder pieces were built up first, I found the center of the top cap and drilled a small hole to help with the alignment, carpenters glue was used on these parts. The appropriate size and length aluminum tube was cut by rolling a sharp blade back and forth rolling the tube. Careful here cause they will go flying once they separate from the main tube!! I cut some tubing for alignment jigs as well. Next the steam valve rods and linkages were constructed...there are two different diameter eccentrics, the goal is to capture the rod between them , the alignment parts were very helpful here. Most of the parts are going to be painted a gray/green, this is a Tamiya color, I also plan to leave some of the brass unpainted to enhance the look. So as each sub-assembly is completed it is painted accordingly. The crankshaft assembly was completed according to the plans and then the cylinder stanchions were completed...the plastic hex rods supplied enhance the appearance of these (and other) parts small pieces of this were glued on using ca and tehn the height filed to make them equal. All these parts are being dry fitted for proper alignment and fit as the build up continues. Once all the sub-assembly’s are painted I plan to weather them lightly using a dark wash to accent the recessed areas and then dry brushing, a technique all you old armor builders are probably familiar with. That's all for now, hope to do more next week As always thanks for your time and attention...pics follow:


- 105 replies
-
- 10
-
-
- picket boat
- model shipways
- (and 1 more)
-
"Beautiful work Ken. I can see a lot of guys that are wanting to build the Niagara, using this build log as a primer, since you've found the, shall we say, "short-comings" in the kit, and shown the how-to's in overcoming them." Read my mind....I'm defiantly bookmarking this build log for when I get back to my Niagara, truly impressive workmanship Ken
- 440 replies
-
- 4
-
-
- niagara
- model shipways
- (and 1 more)
-
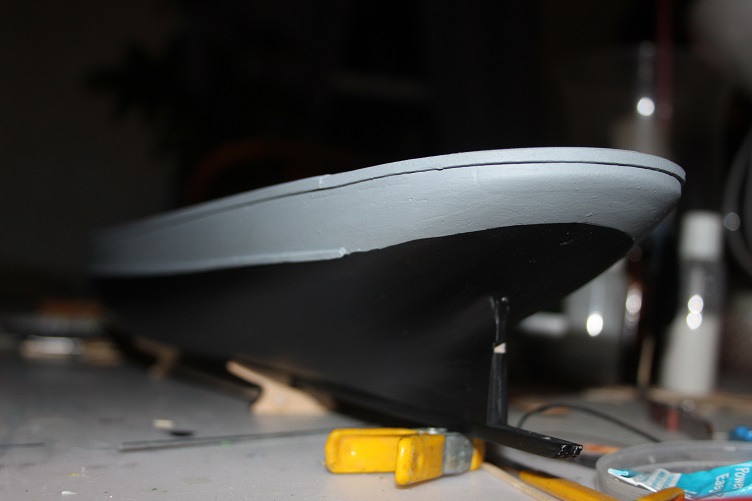
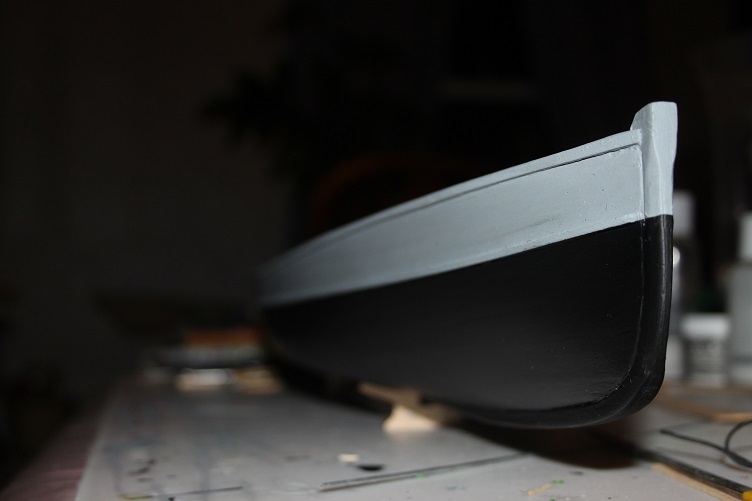
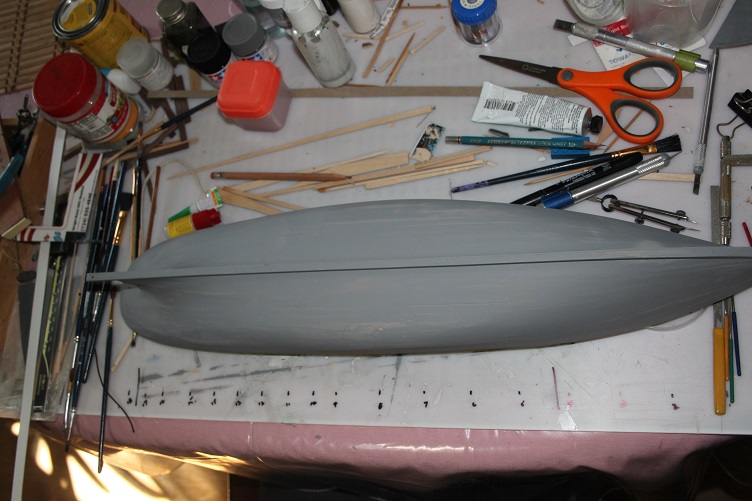
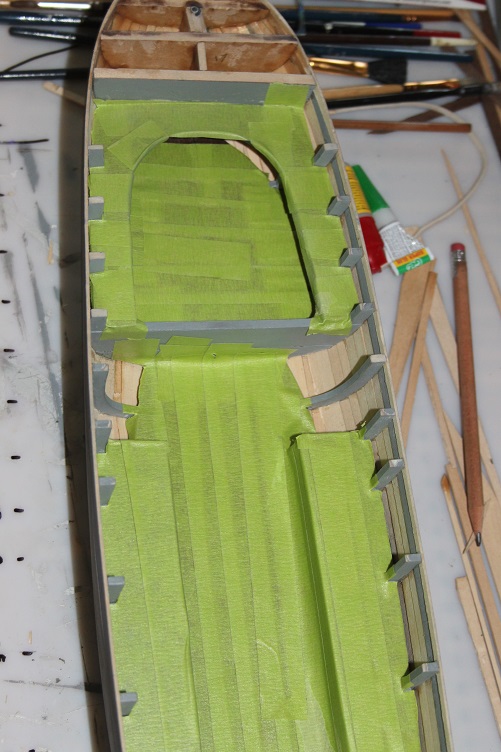
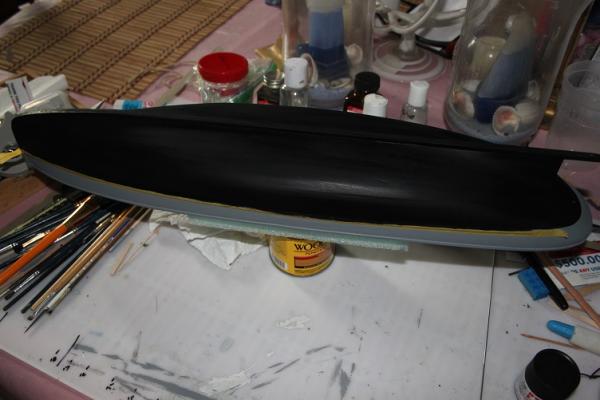
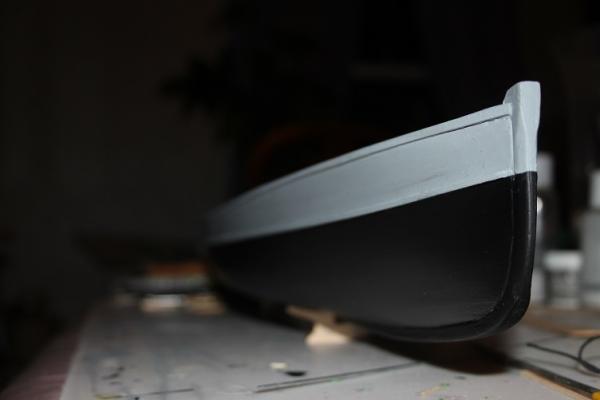
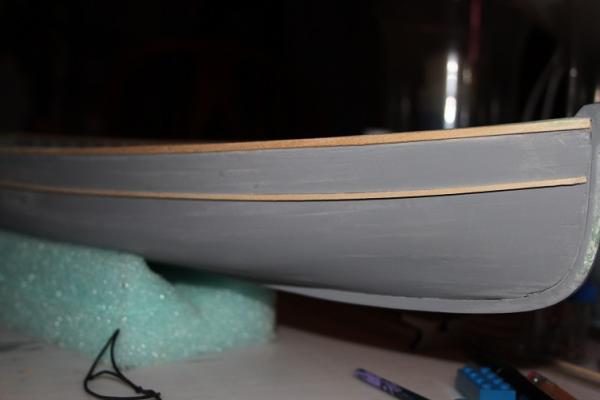
Hello again, time for a small update...prepared the mast holders by drilling and installing pins, corresponding holes will be drilled in the bulkhead and ca will do the holding, also prepared and painted the rudder. The hull received its final coat of primer...3 total, sanding between each, then the top coats were applied with a good quality brush, again 3 sanding between, when dry all was shot with a 2 coats of Tamiya clear. Since there is no historical record of how the Picket was painted I decided to change mine up a bit by pulling the gray down to the lower rub rail, it's different but I like it. That's it for now, moving on the building the steam plant next...but there are other home projects to catch up on first. Thanks for looking in

- 105 replies
-
- 12
-
-
- picket boat
- model shipways
- (and 1 more)
-
Hey Charlene...I think your on the right track and for the first time out doing well
-
Thanks to all for the likes Jason...Thanks for tip on Hobby Express, I'll defiantly them out, I've driven by on 228 many times, thx again J
- 105 replies
-
- 1
-
-
- picket boat
- model shipways
- (and 1 more)
-
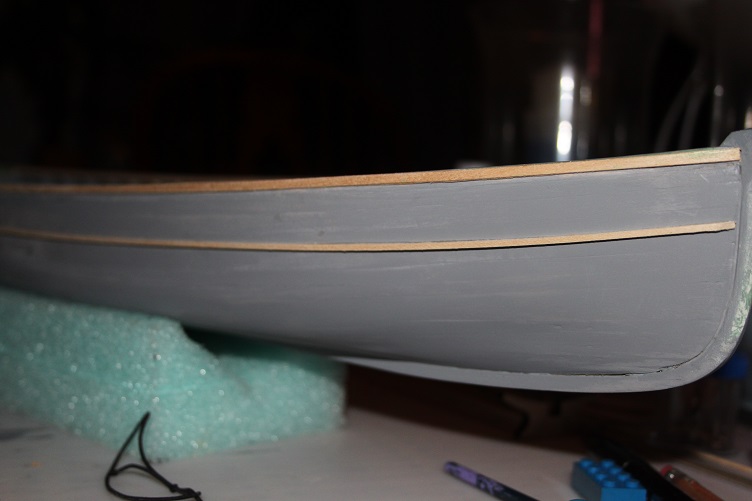
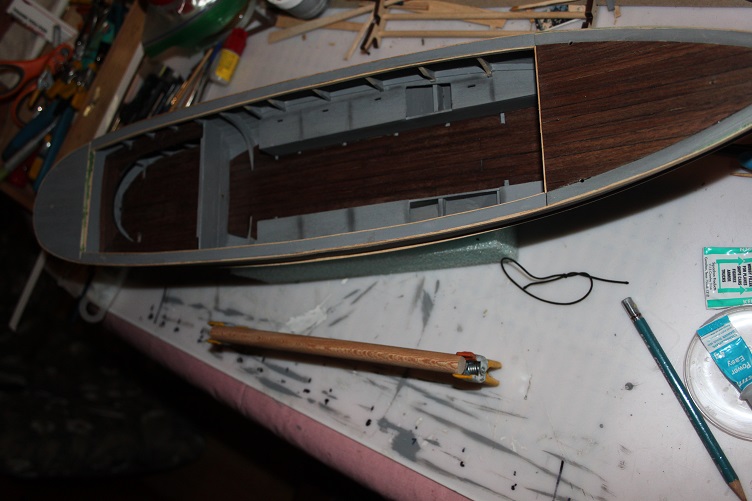
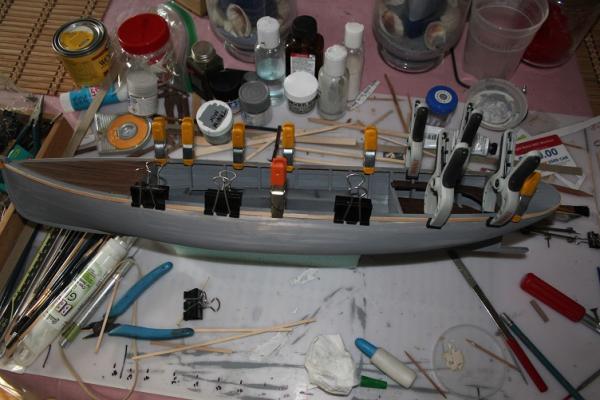
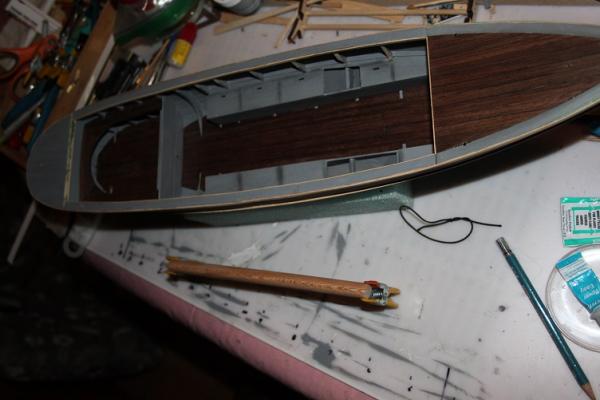
Hello everyone...just a small update, moved on to adding the upper and lower rub rail and got the cockpit trimmed out. That's it nothing real exciting...pic follow thanks for your time and attention J
- 105 replies
-
- 9
-
-
- picket boat
- model shipways
- (and 1 more)
-
THX Josh...a couple long weekends with no honey do's...lol thanks all for the likes
- 105 replies
-
- 1
-
-
- picket boat
- model shipways
- (and 1 more)
-
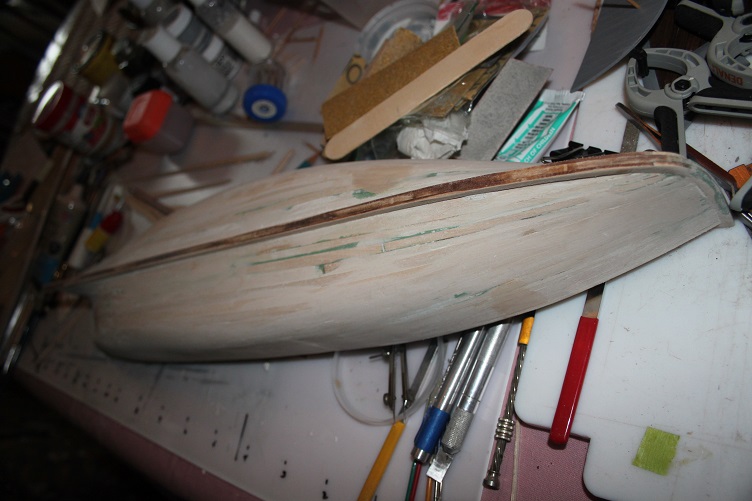
Hope to post an update with pics soon...planking has been up and down, still don't quite have the touch to make it painless! hope to have some pics tomorrow
- 105 replies
-
- 1
-
-
- picket boat
- model shipways
- (and 1 more)