Meriadoc Brandybuck
Members-
Posts
201 -
Joined
-
Last visited
Content Type
Profiles
Forums
Gallery
Events
Everything posted by Meriadoc Brandybuck
-
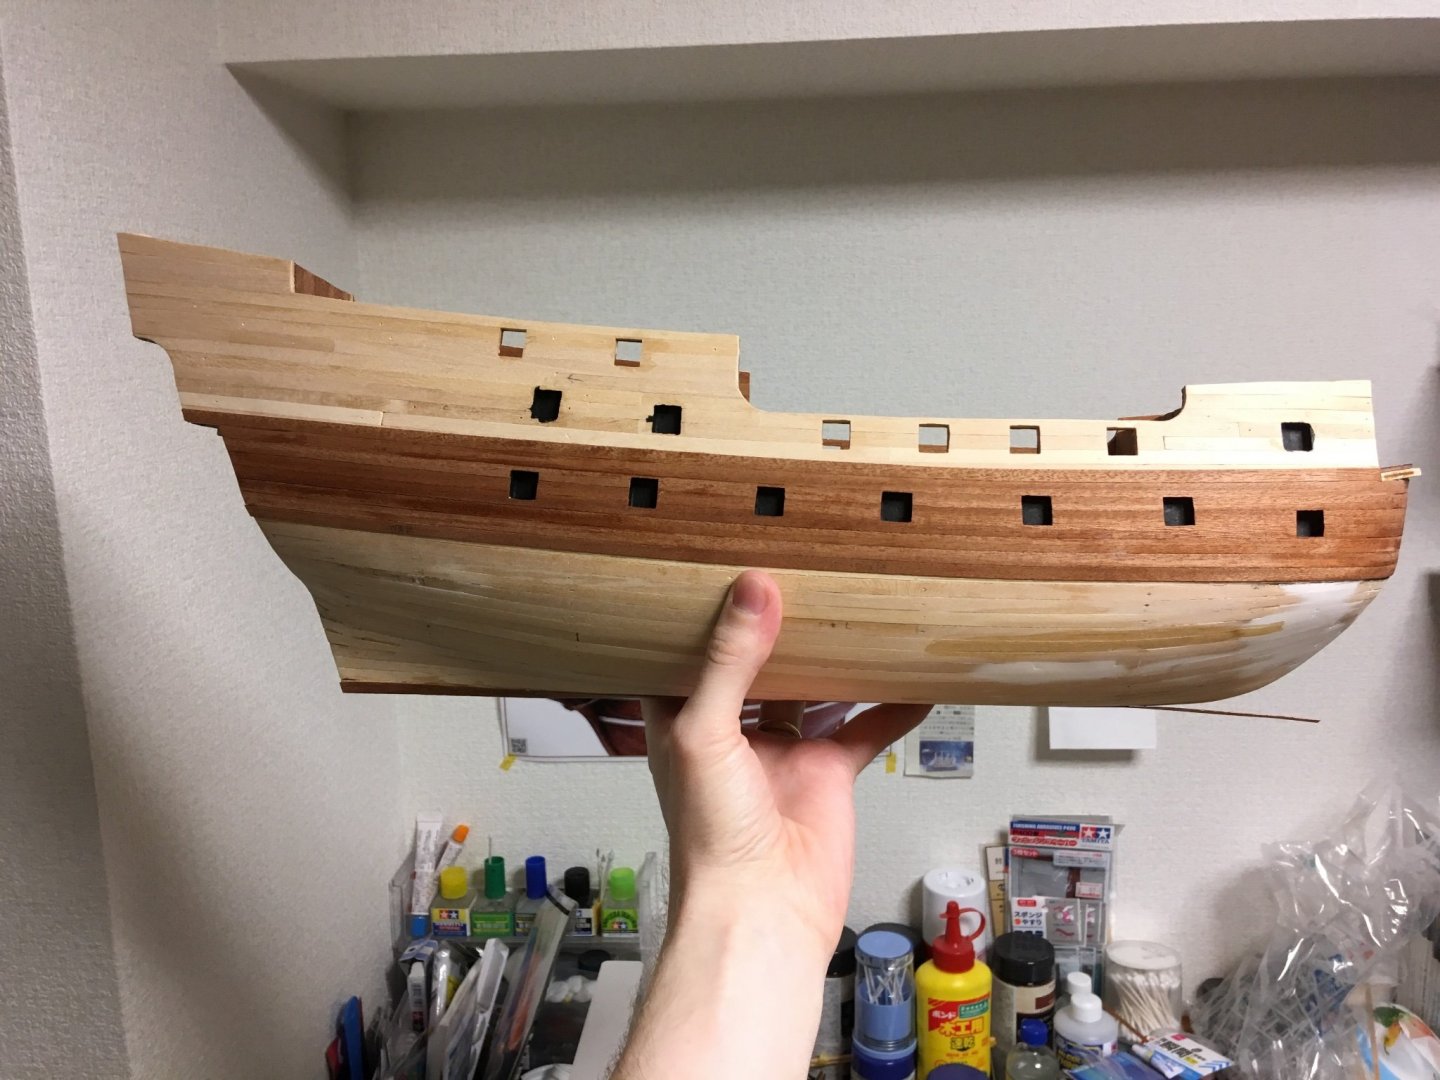
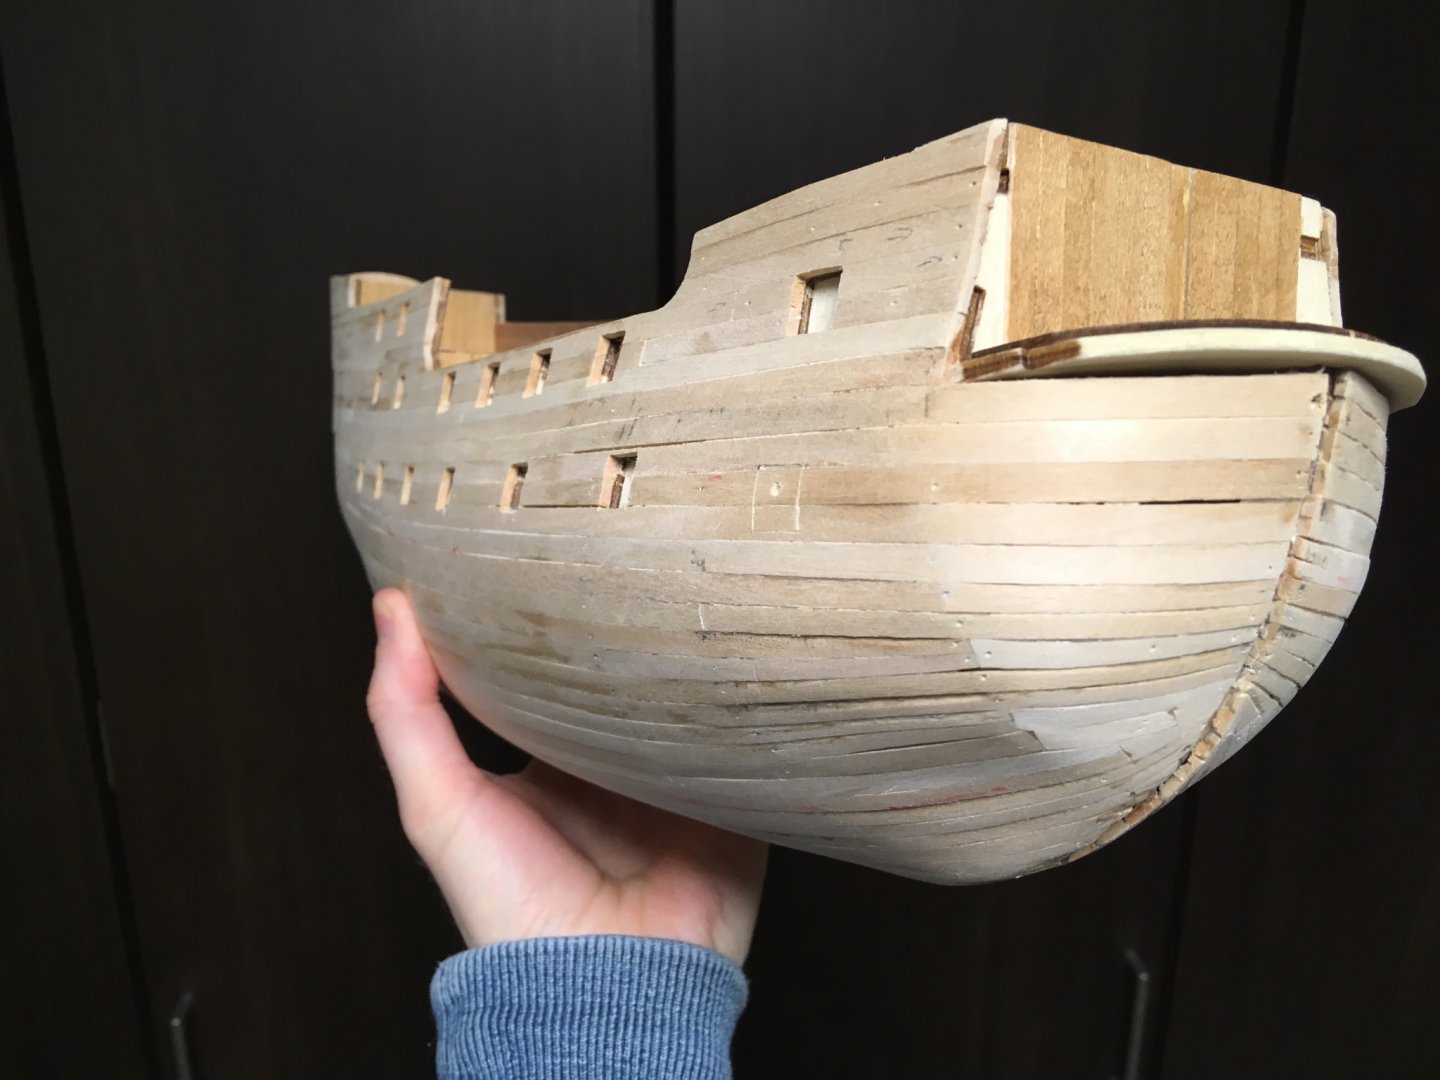
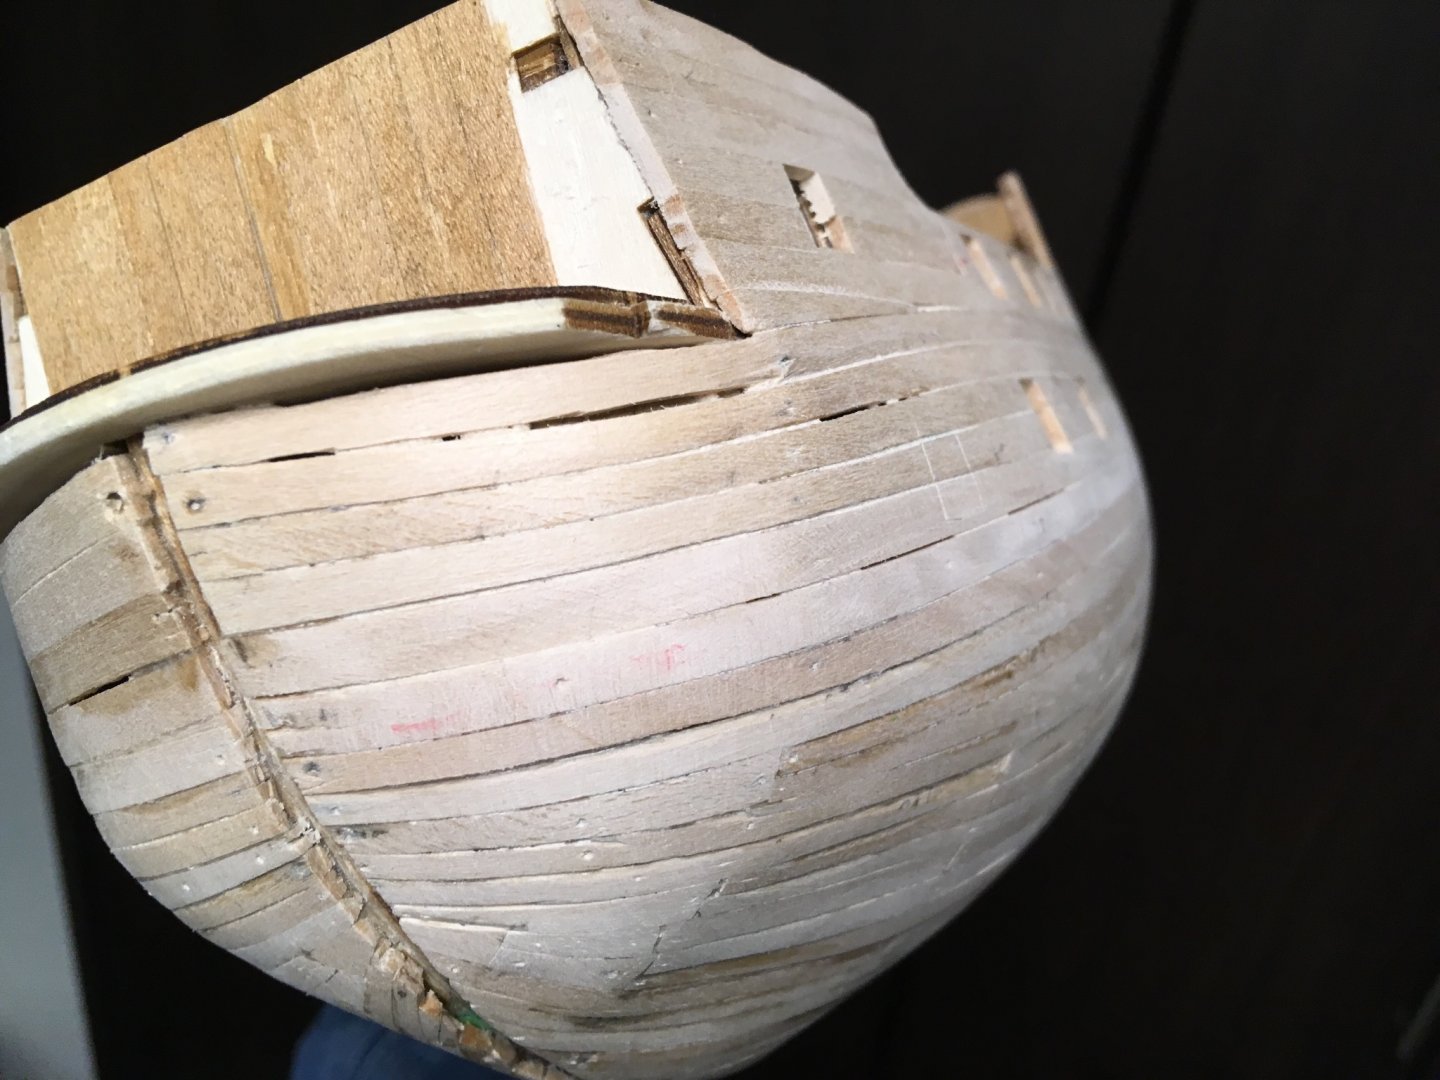
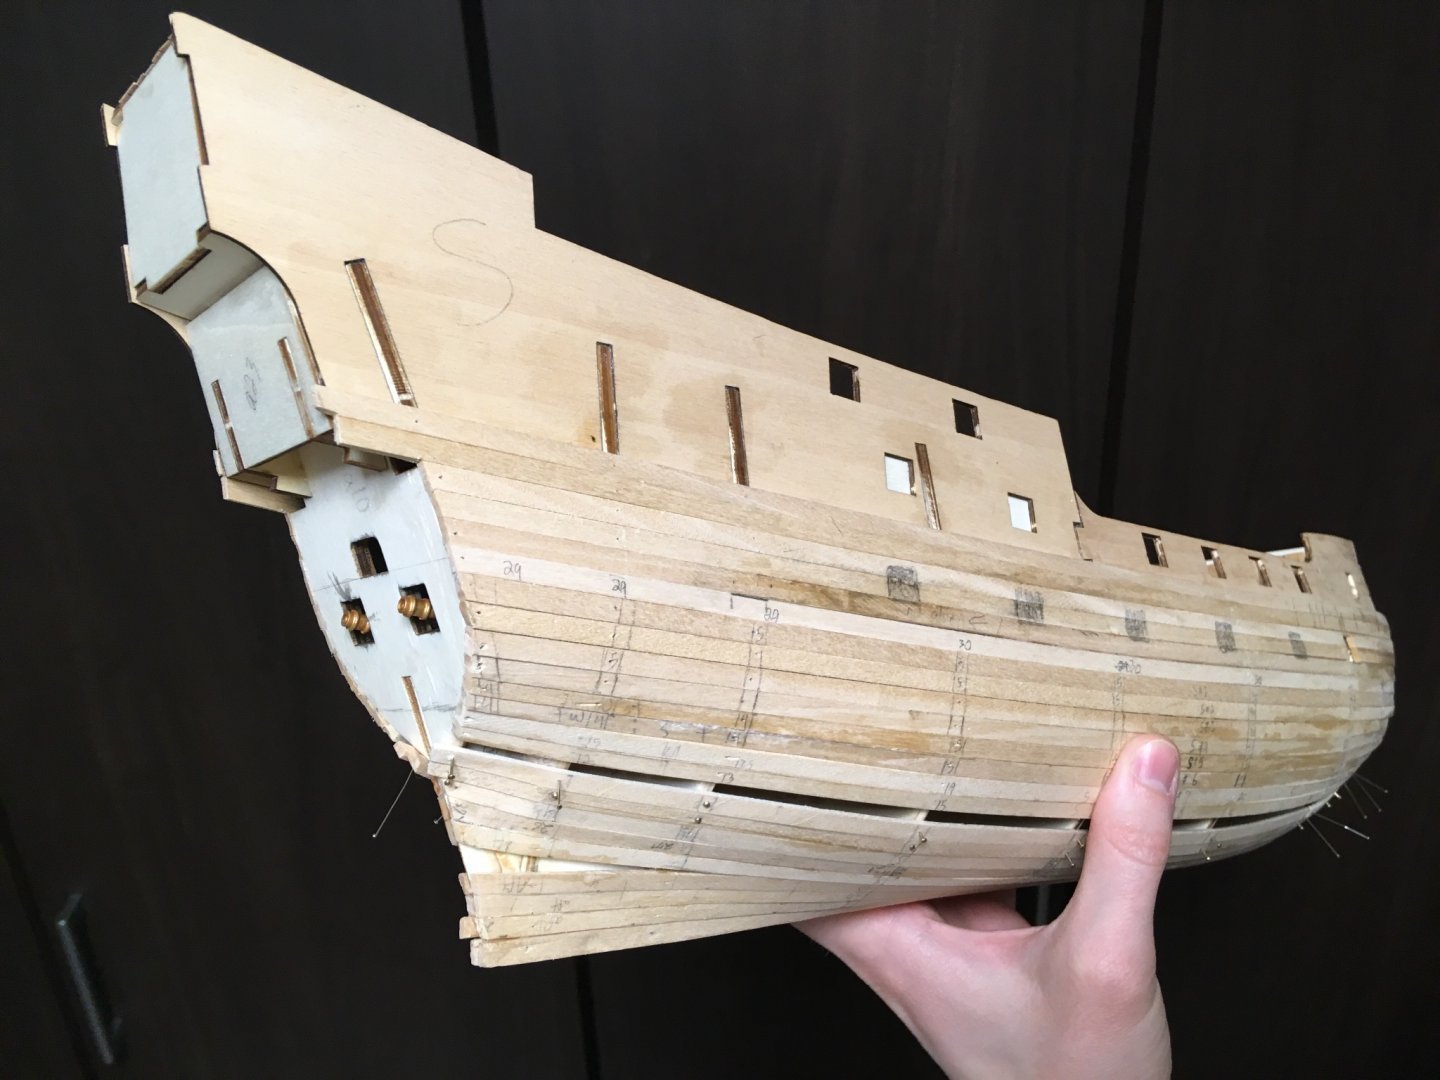
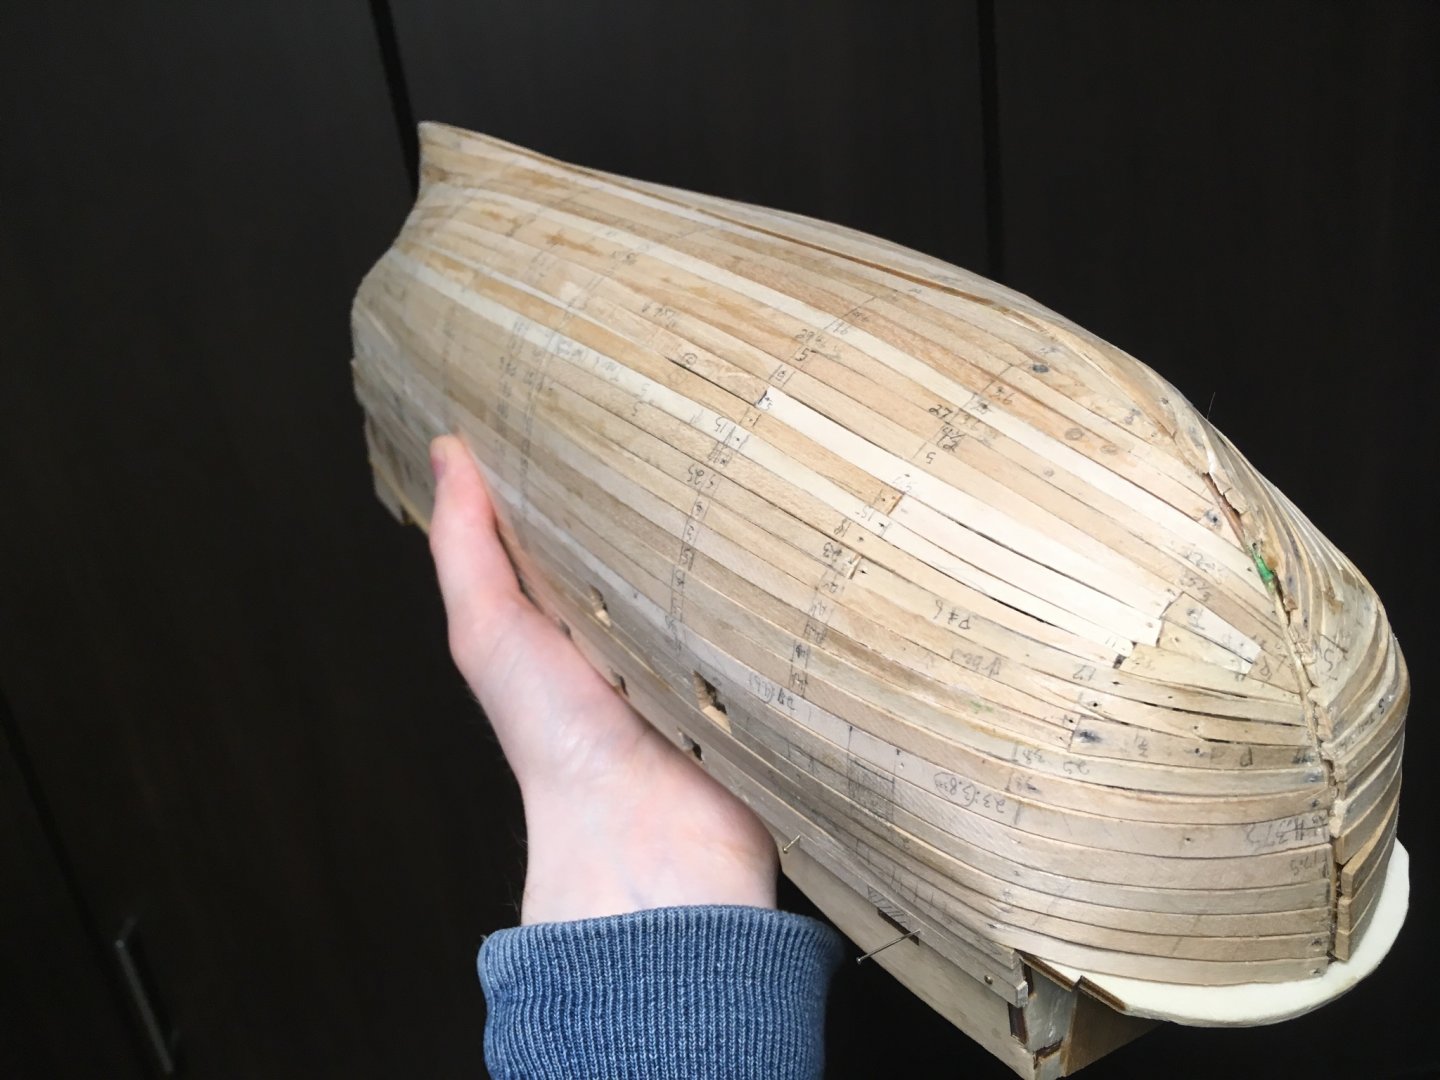
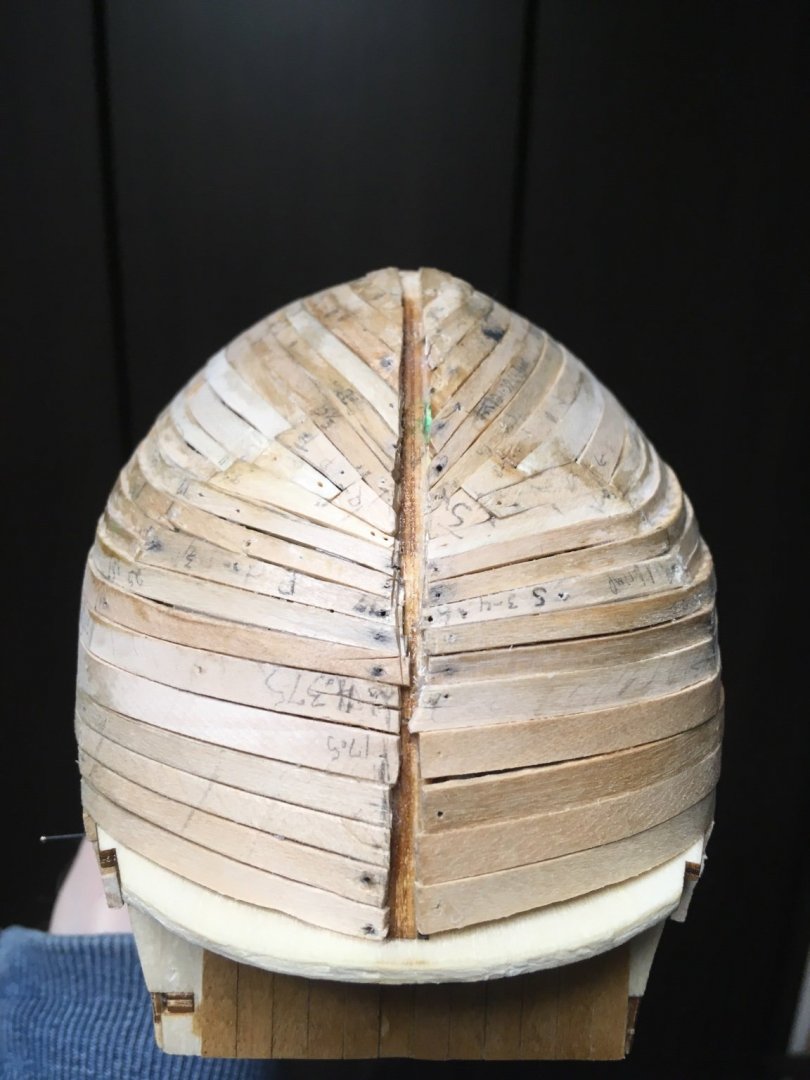
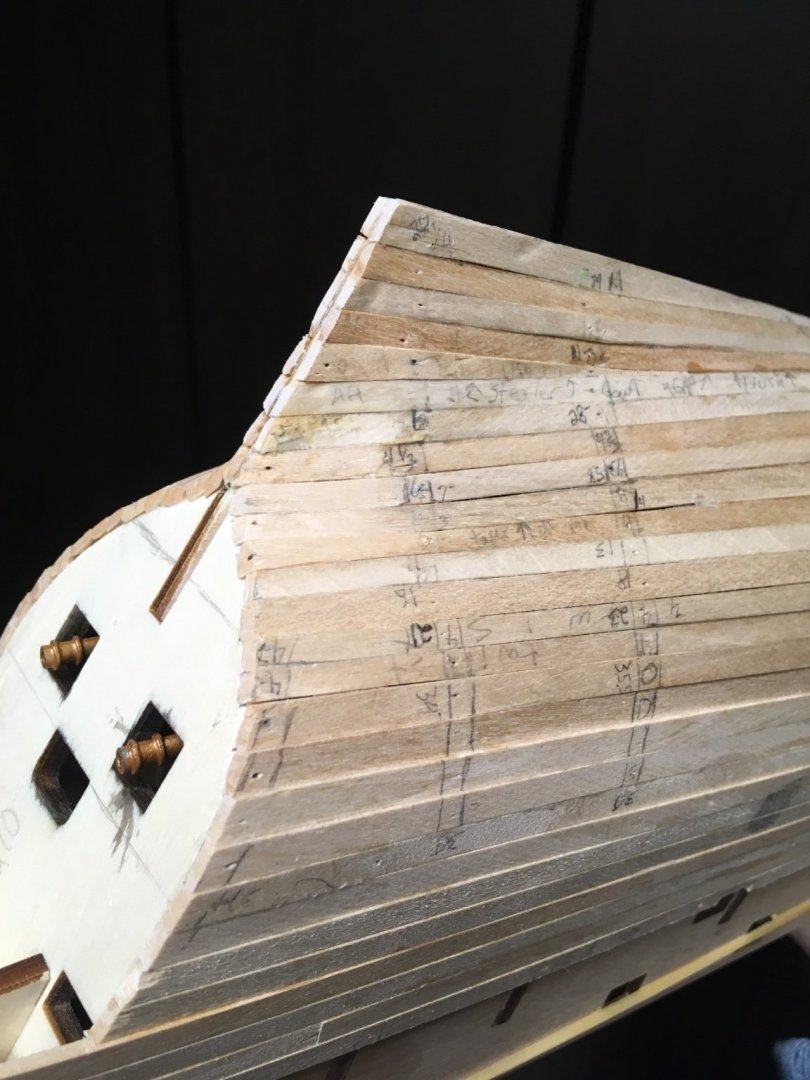
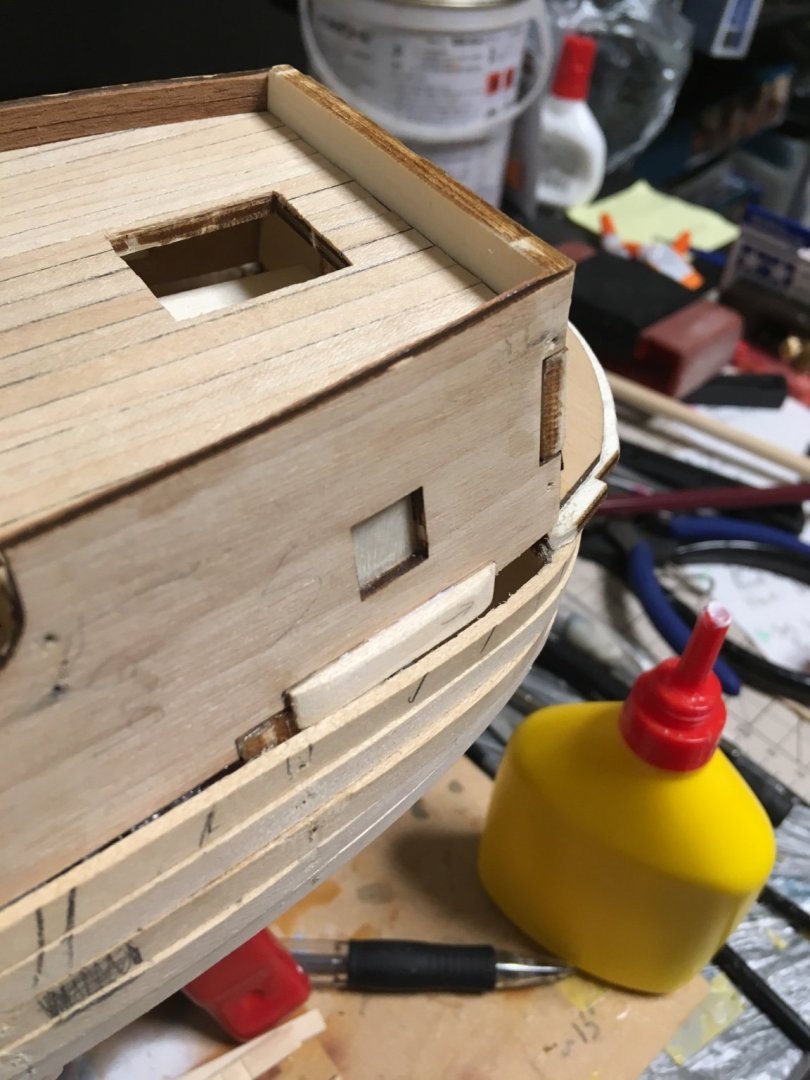
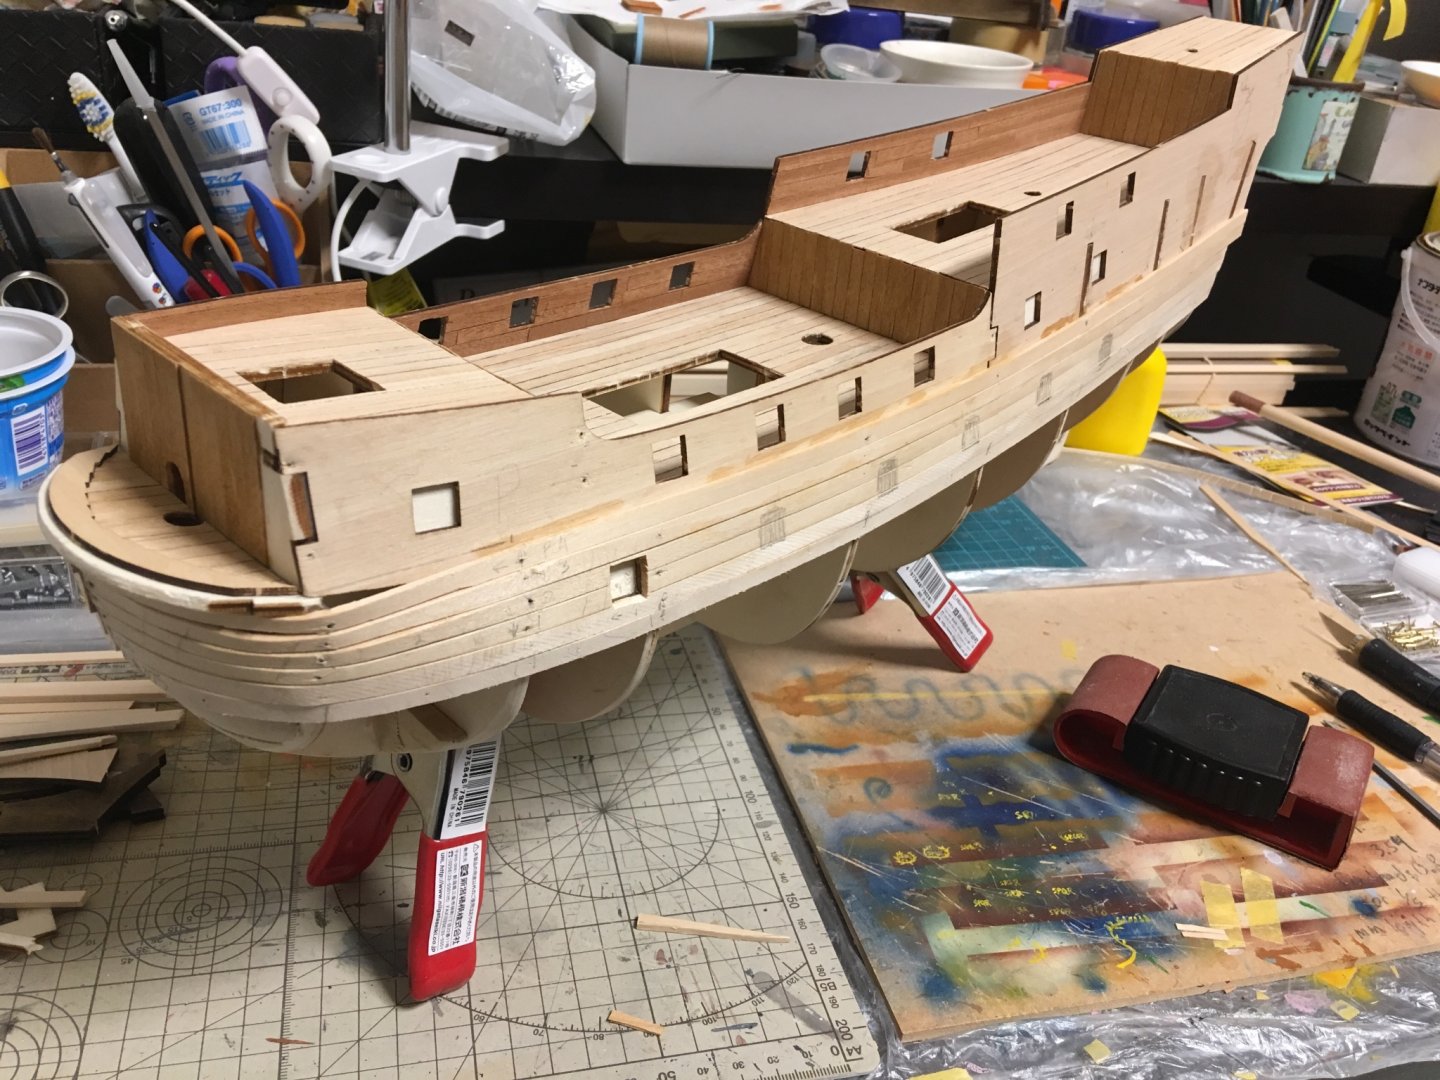
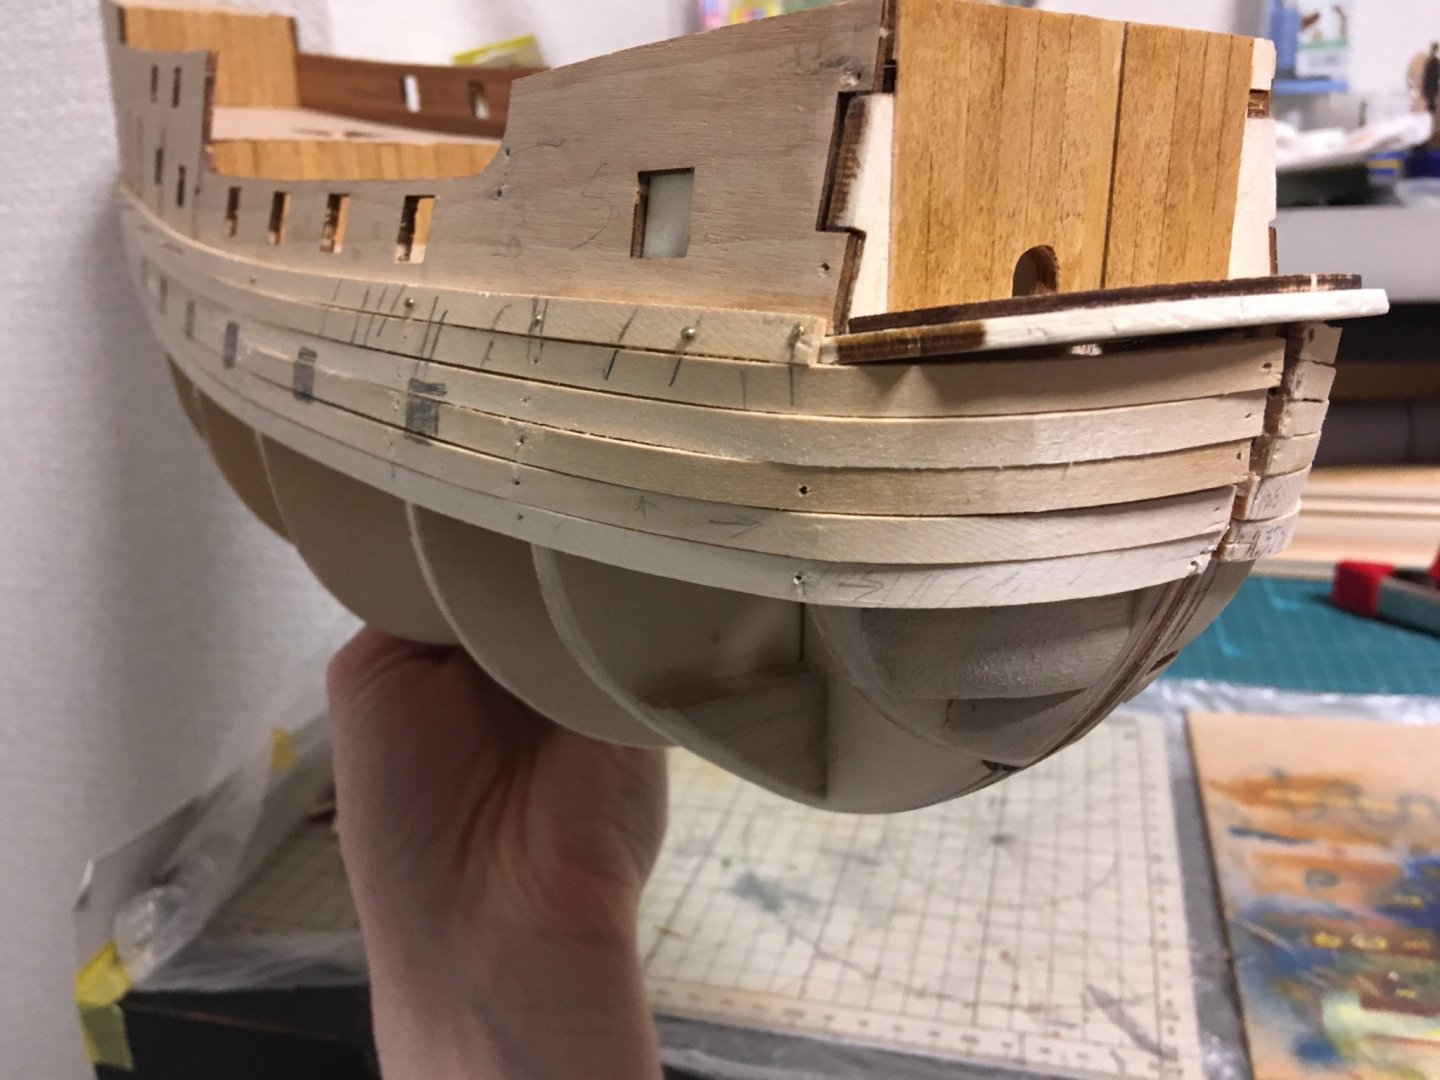
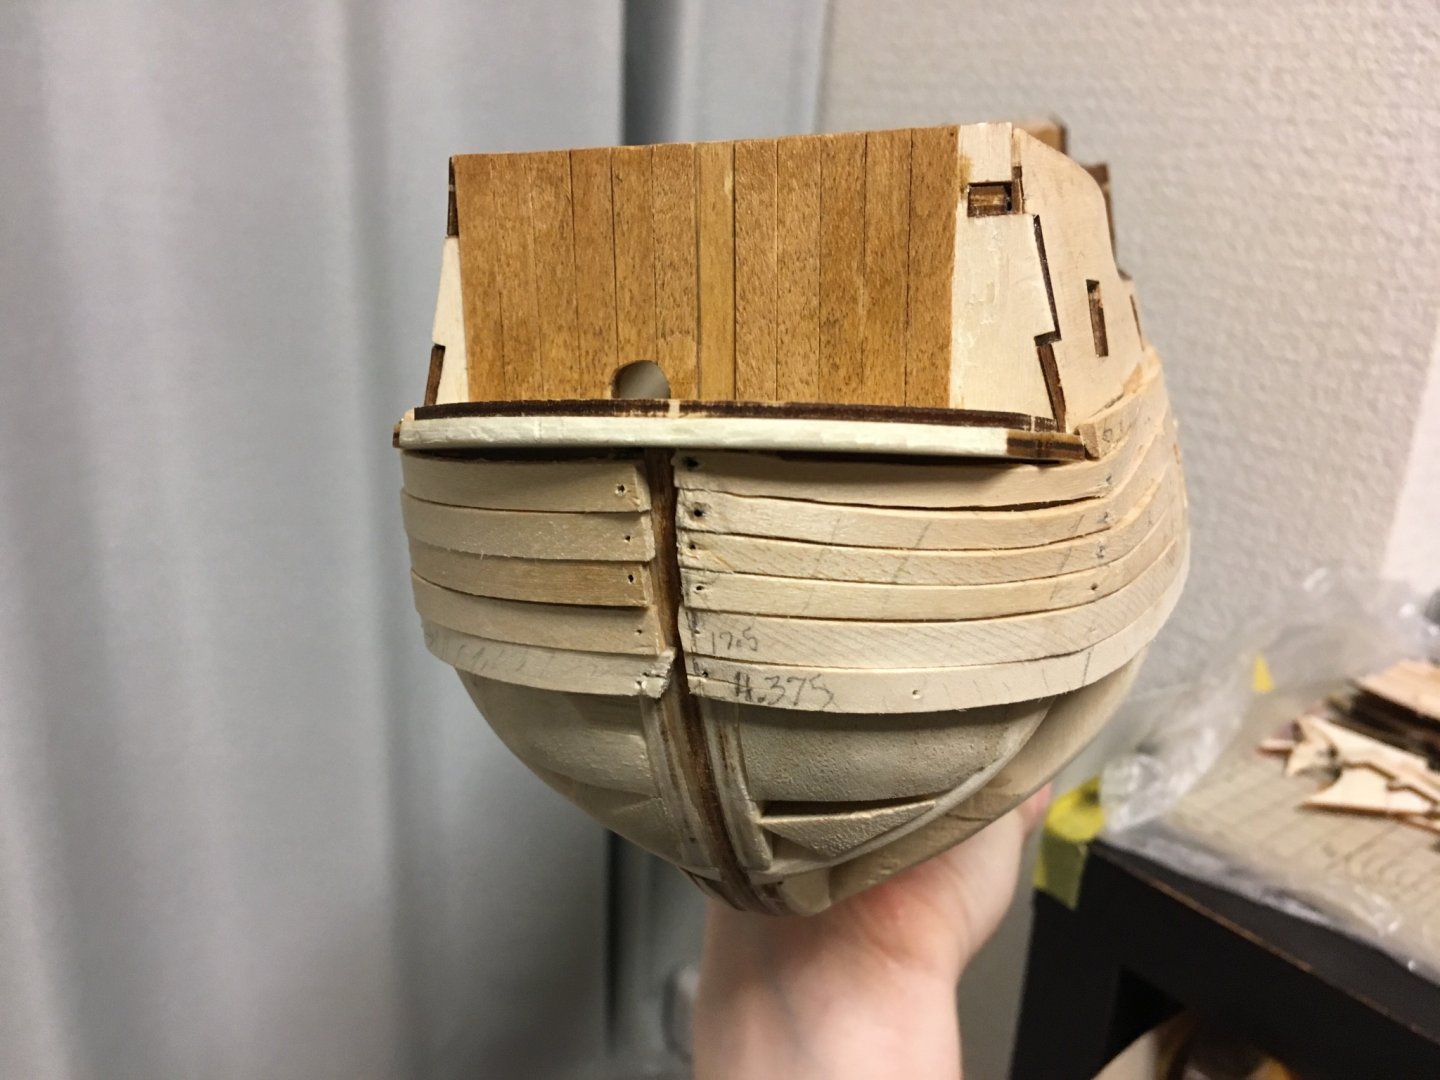
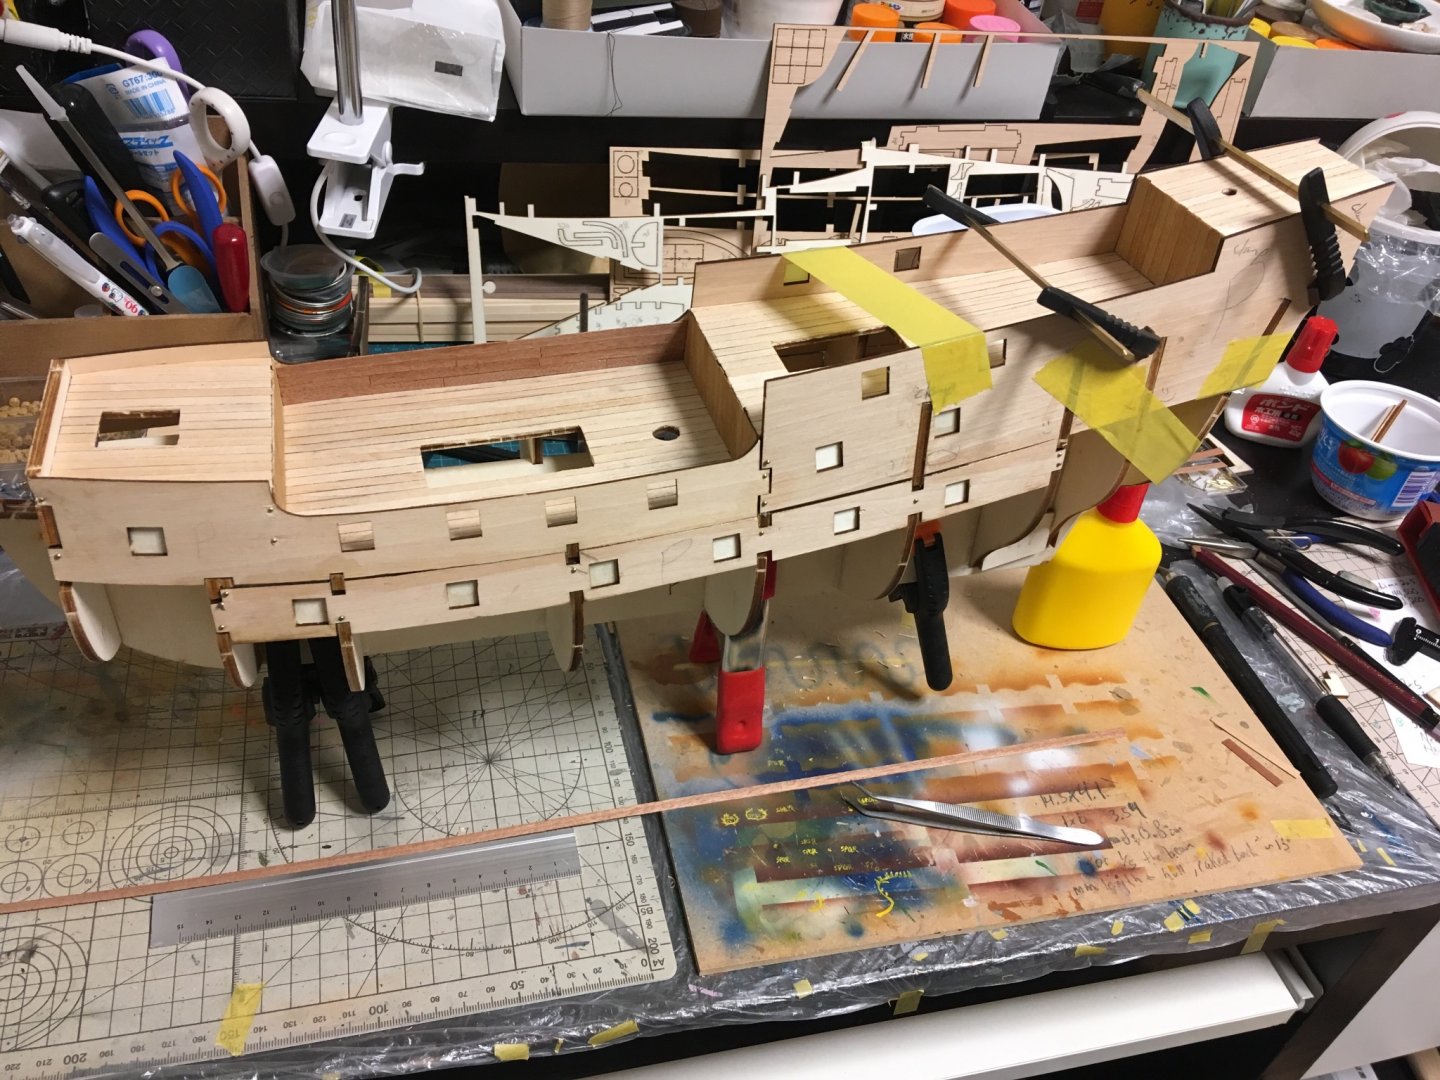
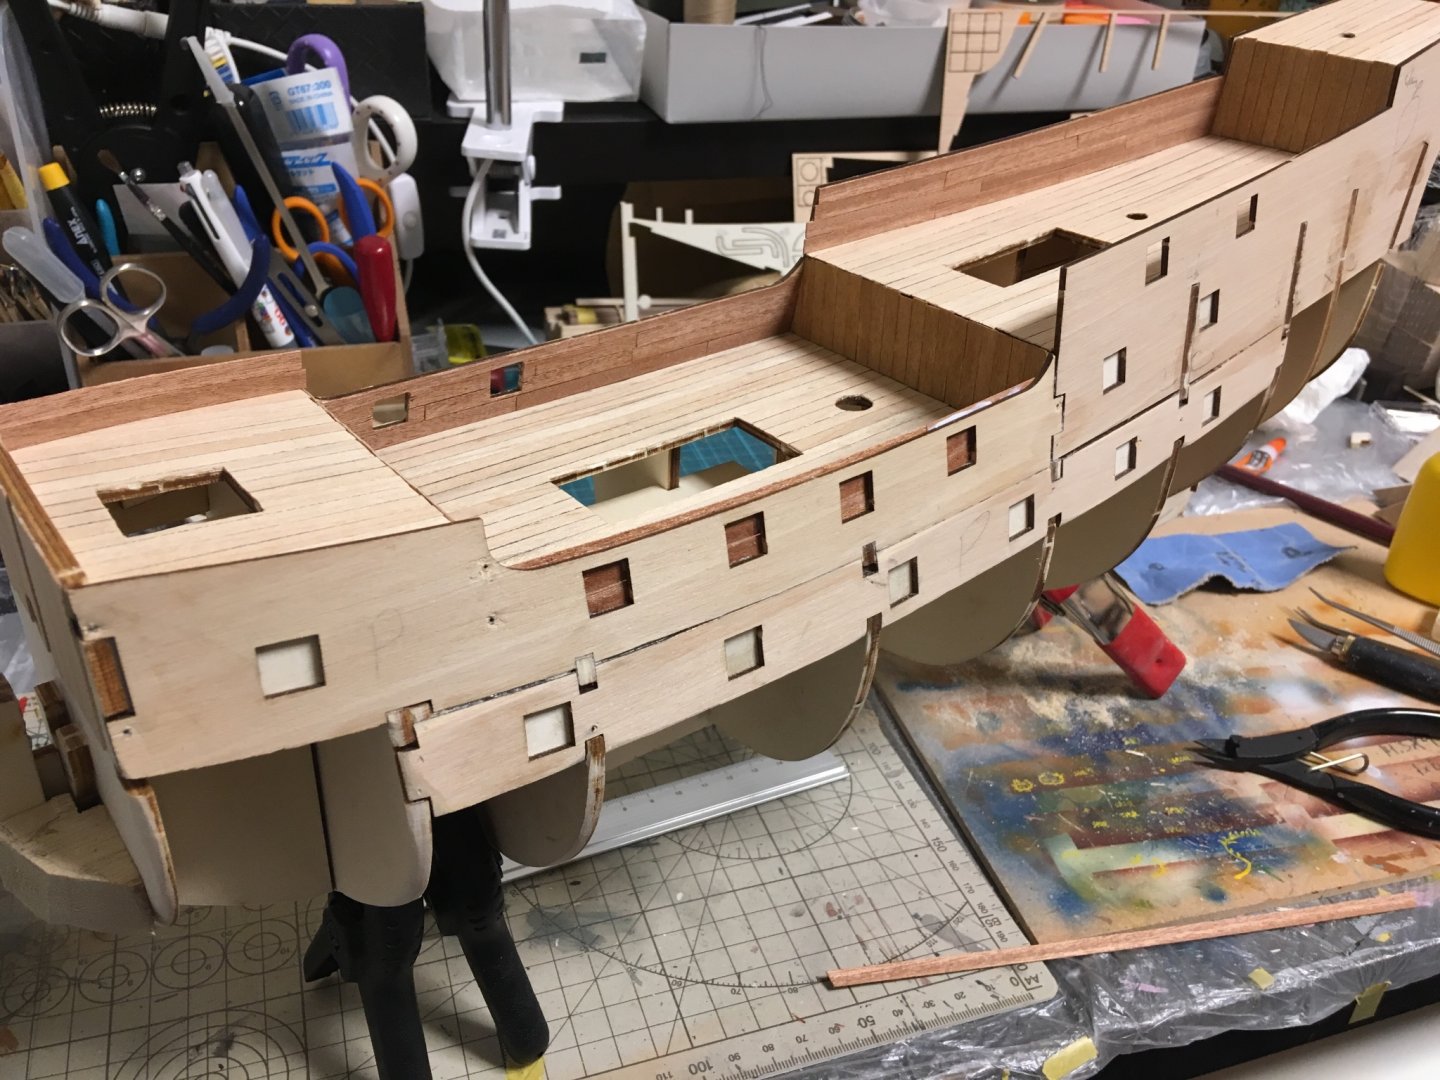
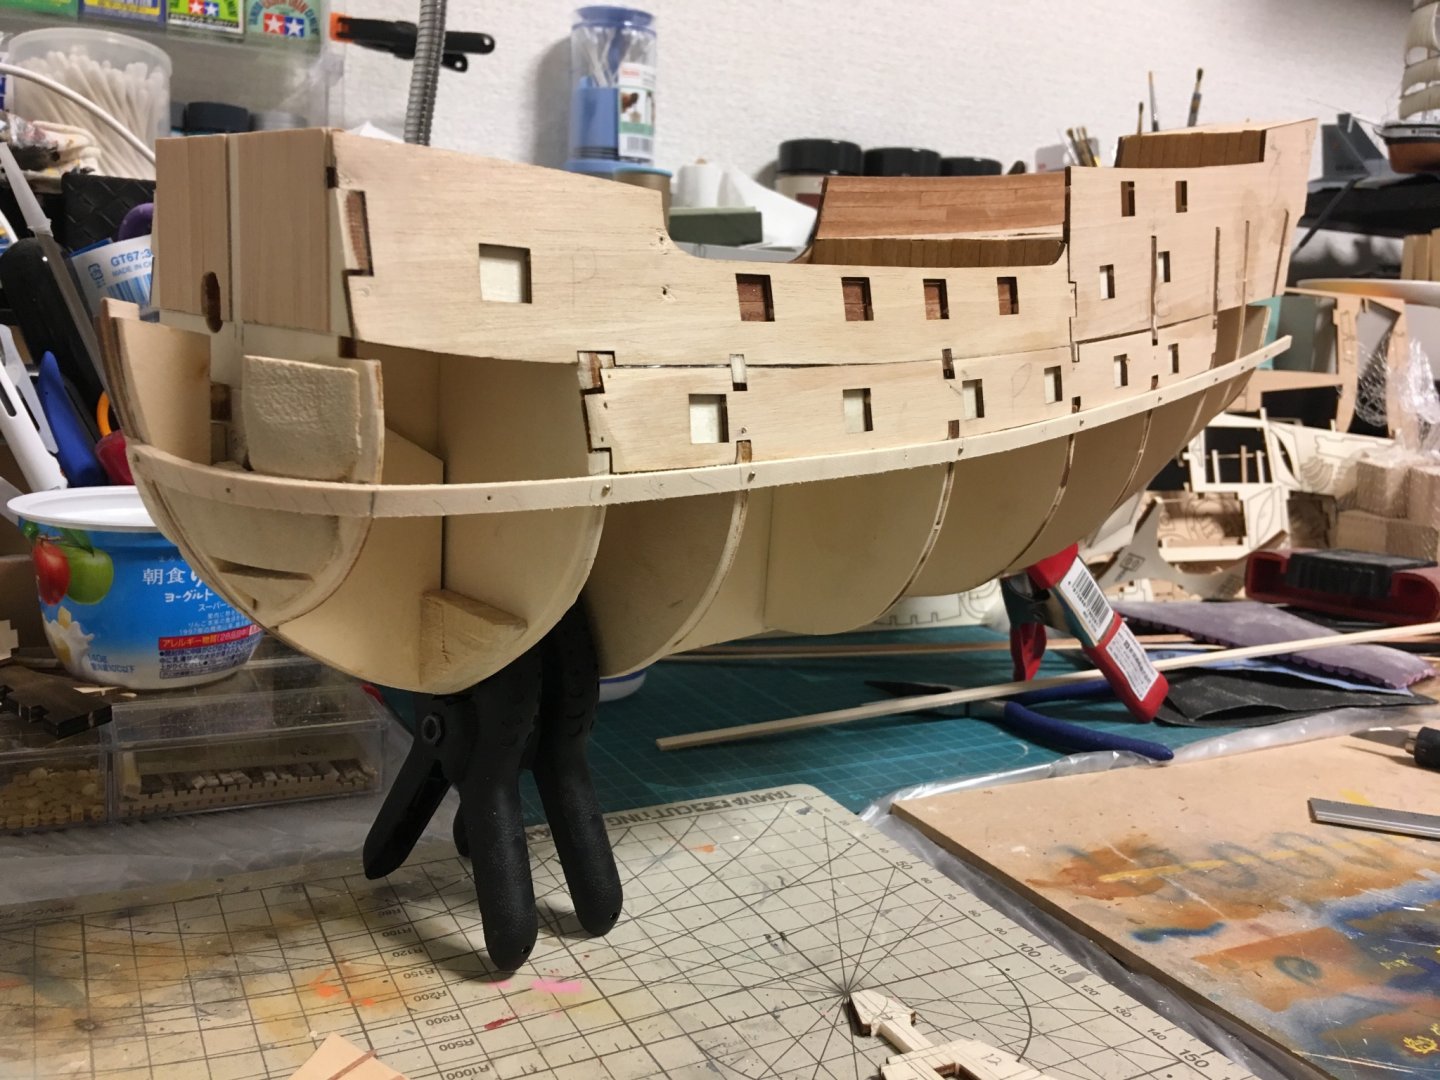
Second planking not going bad. Planked from the lower gunwales down to the main wale line. I found the best method around the bow curves is to CA a plank in position at the flat of the bow (only about 2cm worth) and once it’s secure, work around the curve with water and a hot iron. CA sections bit by bit as you can, and keep encouraging the plank with heat and moisture until it takes its shape. Starting midships and working forwards doesn’t seem feasible. Anyone know the correct cut of the garboard on galleons? Criticism welcome! -Meriadoc
-
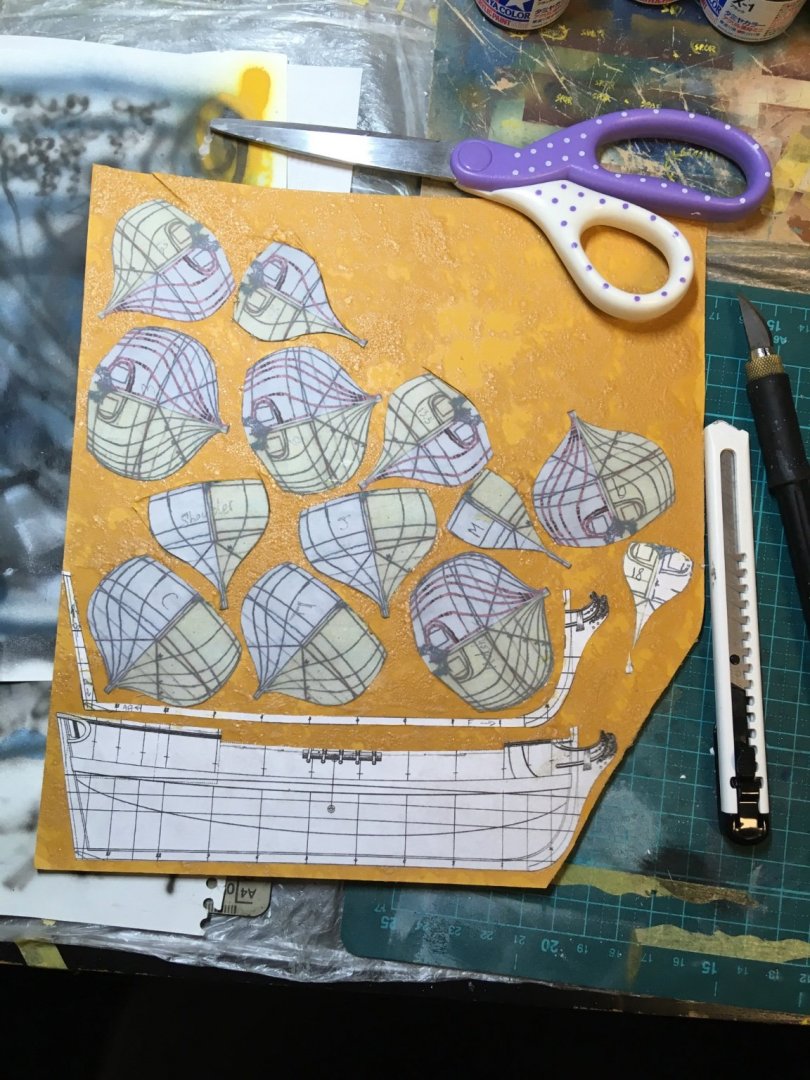
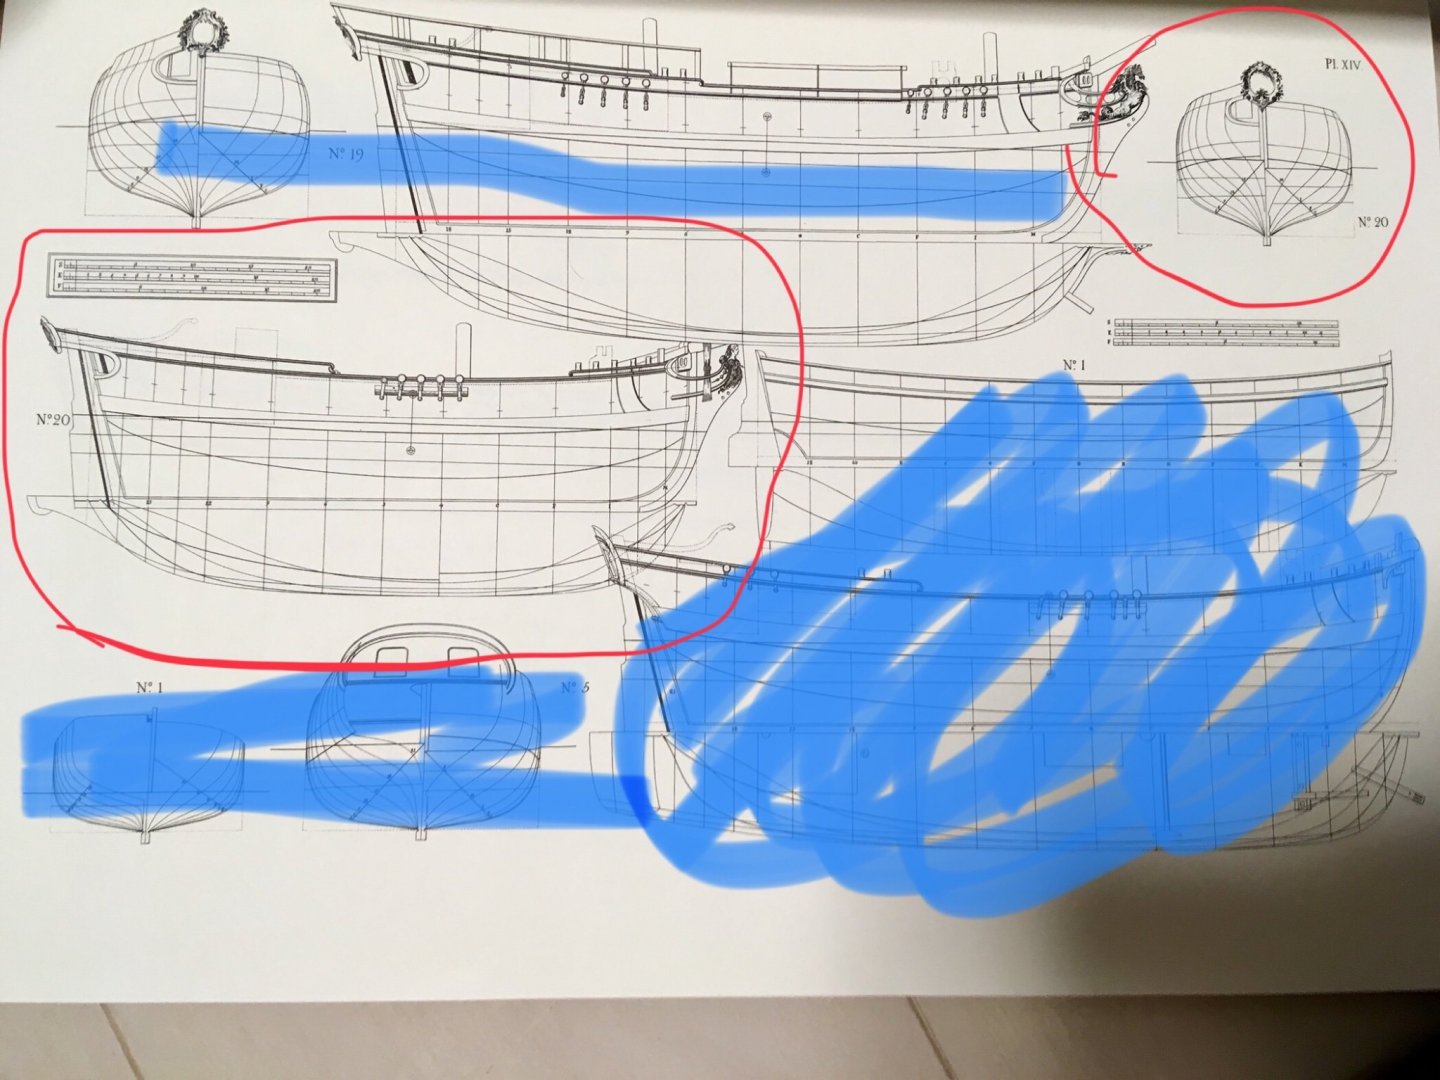
Hello, Inspired by the card creations of Ab Hoving in particular, and informed by his wonderful guide linked to below, I chose a small subject from Chapman’s Architectura Navalis Mercatoria to work on the skills and knowledge necessary to tackle larger future projects in card. The medium offers much greater time and cost efficiency than wood, while still allowing for excellent results, at least once you know what you’re doing. I chose the sloop-pink on plate XIV, No. 20 as it is relatively simple but includes some interesting visual features. With the original vessel measuring 51.3’ between perpendiculars, at 1:100 it will total a whopping 16cm or so plus bowsprit and whatnot, so nice and small, all the better to make my Heller Victory look big someday. I do not know much about this vessel or type, where or how it was used, or why it has the features it does. If anyone knows anything, I’d be more than happy to hear about it. There is a similar looking brigantine-pink next to it on the plate. Dutch? Mediterranean? English? The rudder-tuck stern is sort of reminiscent of Dutch flutes, but that could be a coincidence. After negotiating with my printer, I have the essentials for the frame. I may have ended up with a suboptimal kind of card though. Oh well, press on. And a big thank you to Ab Hoving for sharing not only his wonderful creations on this site and others, but also the knowledge of how to do it. I hope I can make use of this generously shared knowledge to make some worthwhile models to look at. Must start somewhere. Hoping to get the hull together soon and see how it looks. -Meriadoc
-
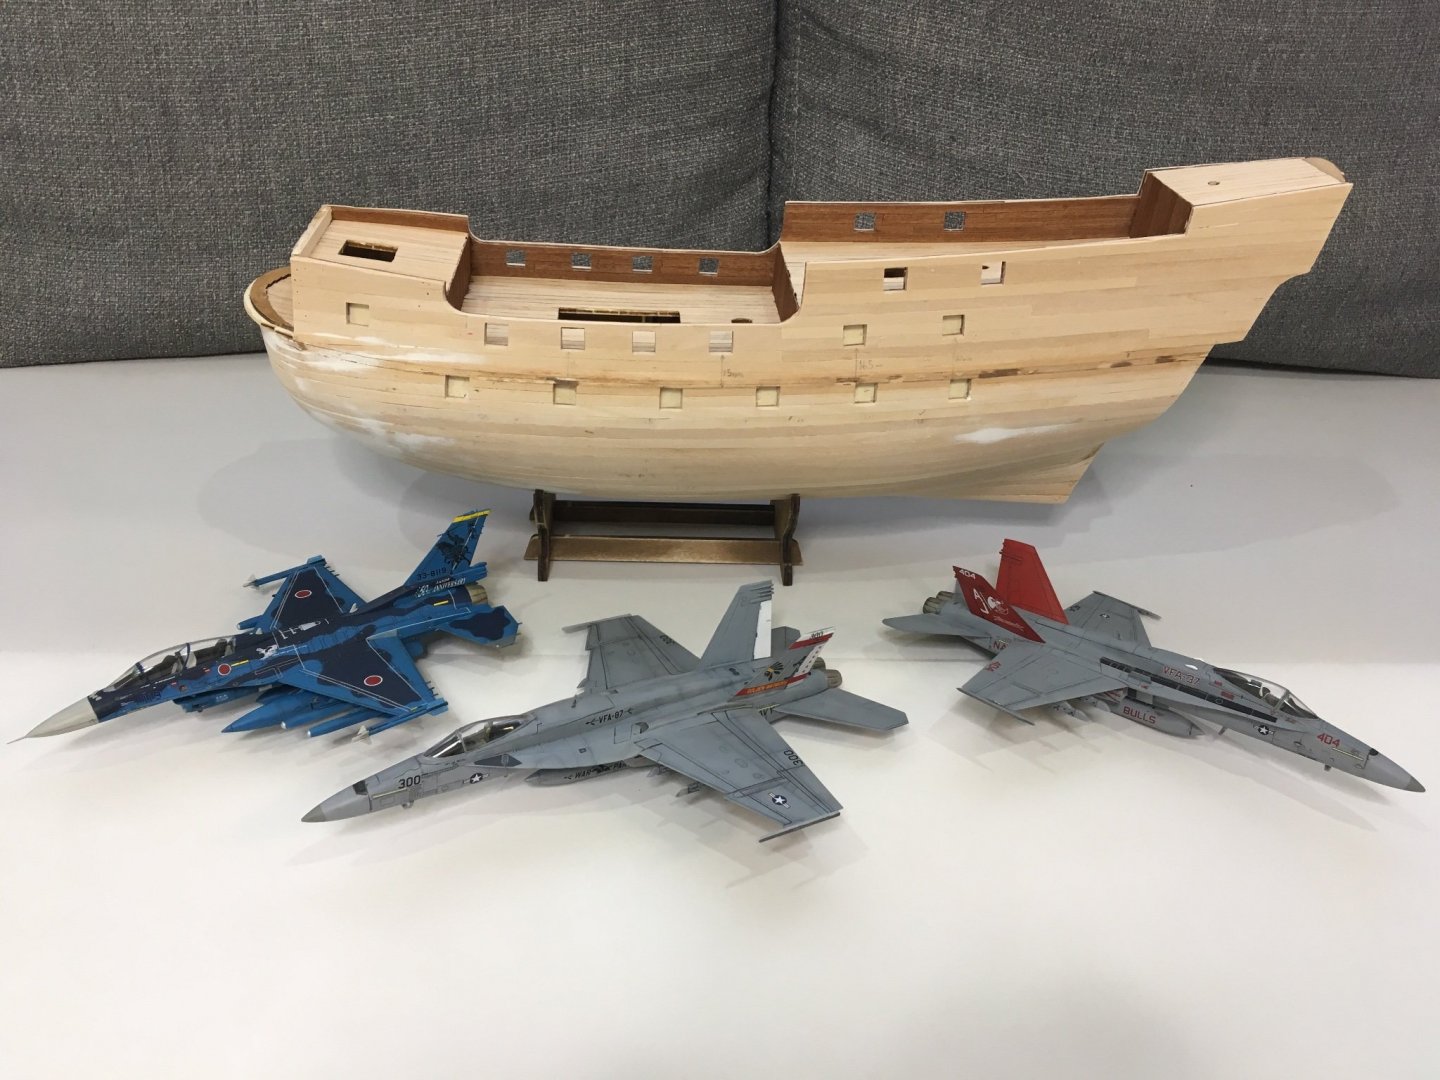
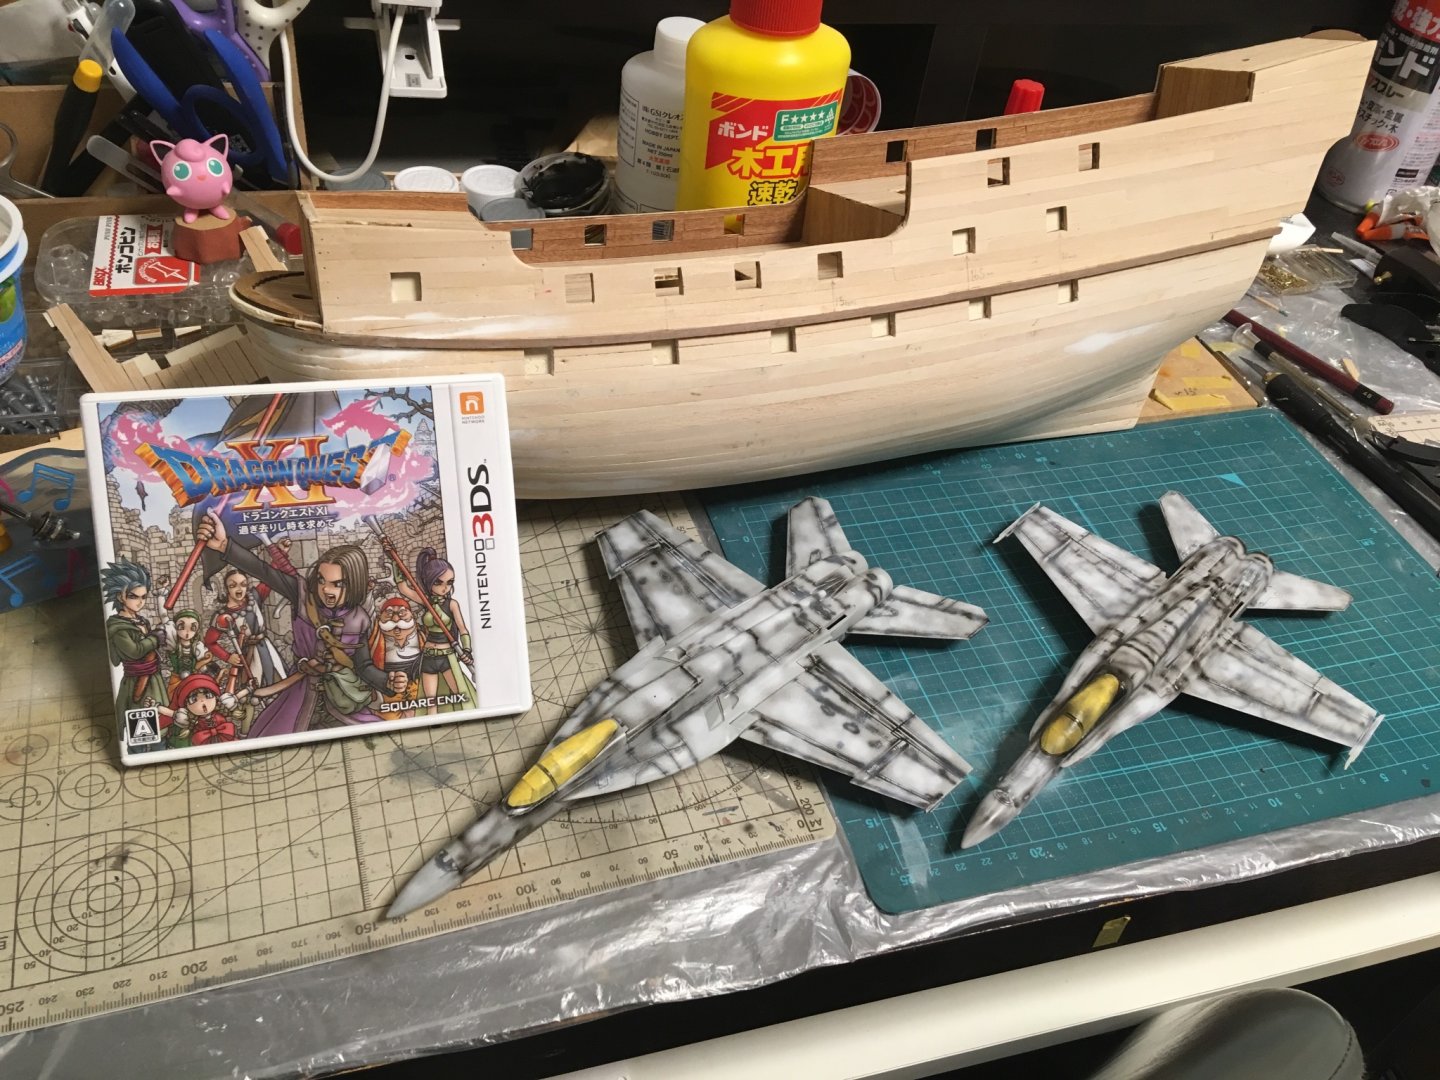
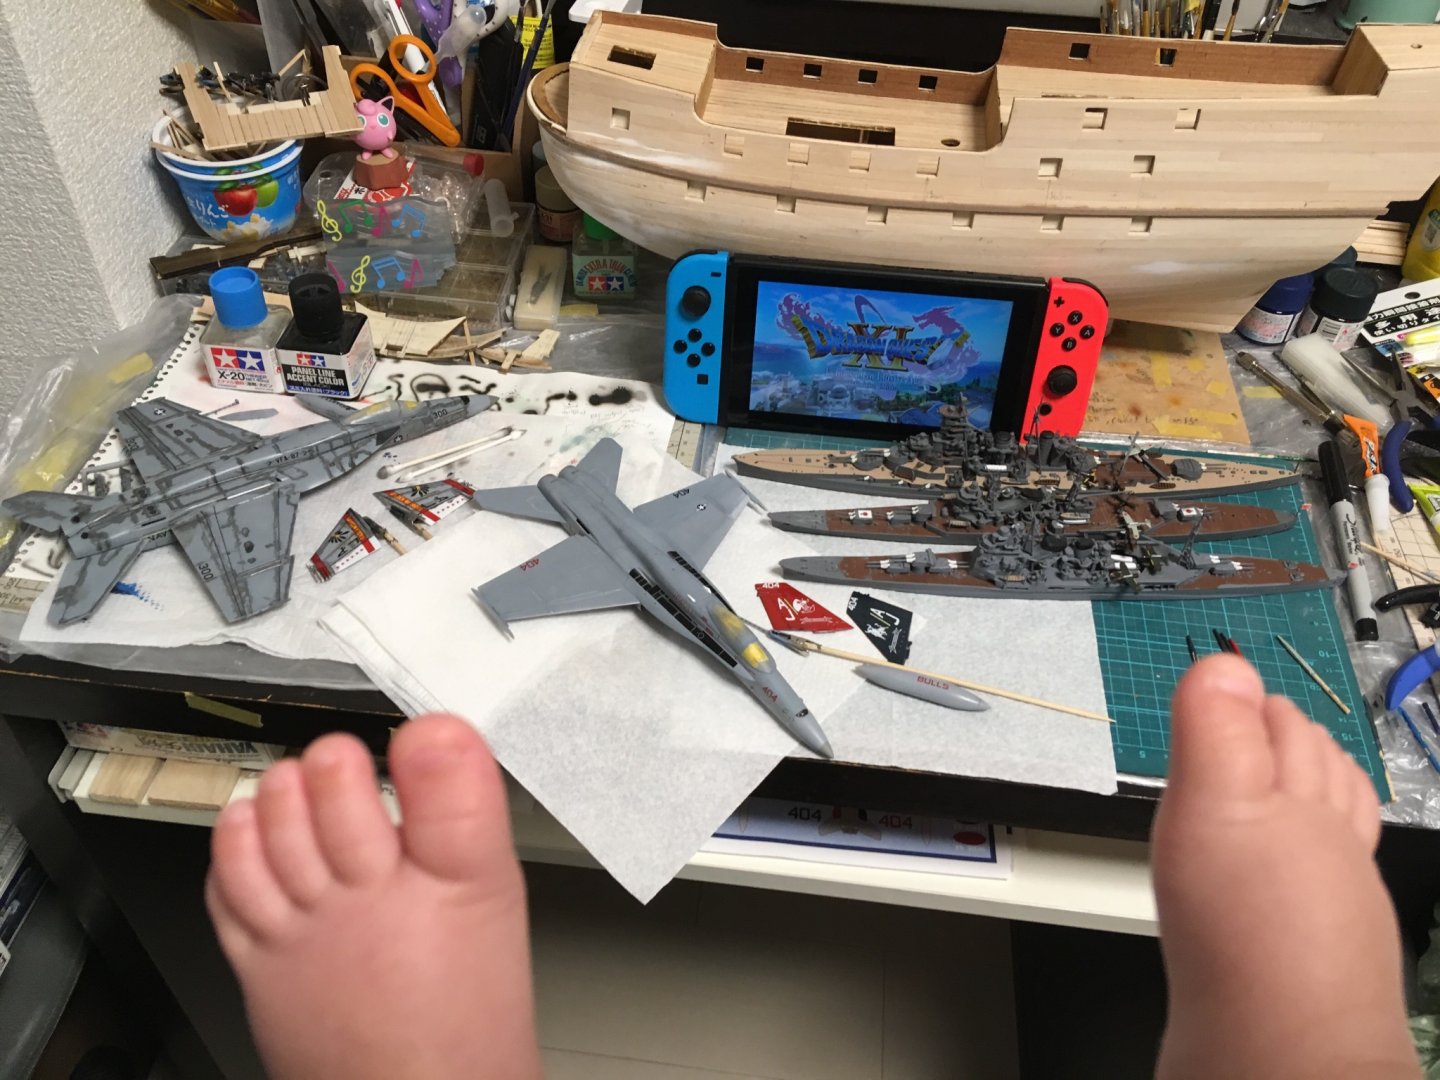
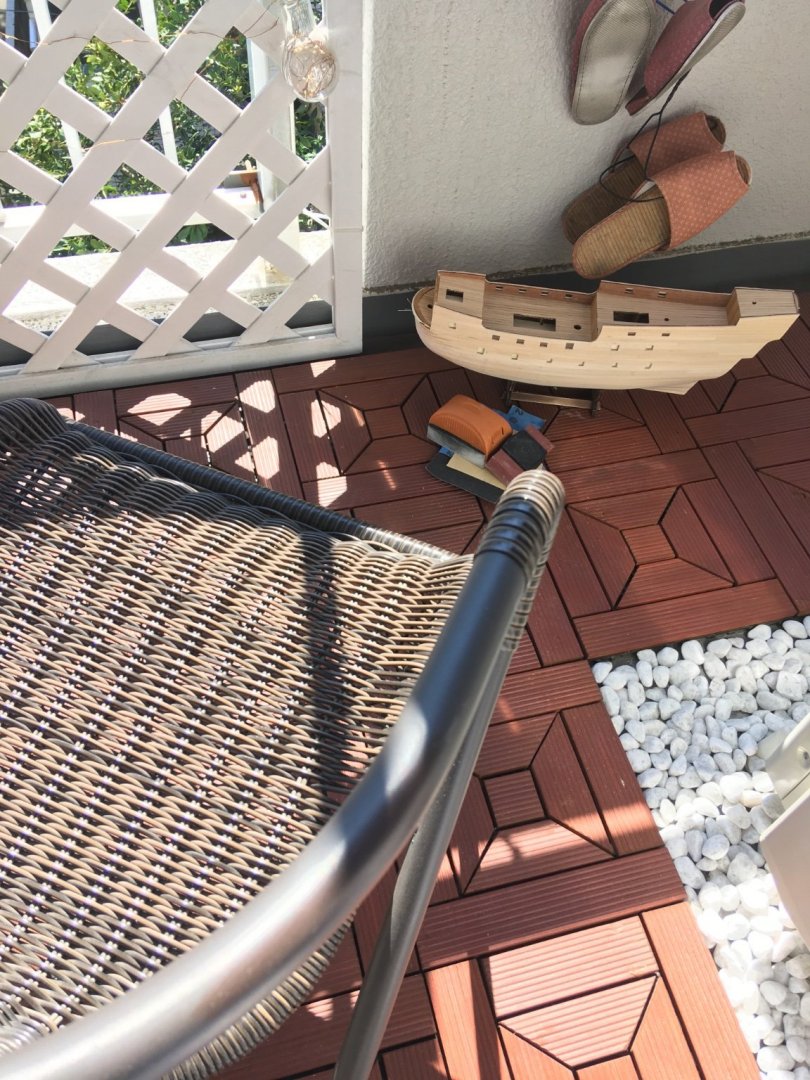
An update- spring and summer were spent building 1/72 airplanes and playing Dragon Quest, in addition to attending to a certain baby. Now that it’s nice and autumn, it’s time for nautical hype and tall ships. The Revenge: I decided the wale wasn’t satisfactory, and removed it with some difficulty. Sanding to follow, and I think I’ll plank the sapelli next. Note that I stained the bulkheads to match the gunwales.. some side effects but it will work out better. I also sealed the dollar store putty with clear coat, and mean to stock some real putty soon. Below is a good overview of what my 2021 hobby efforts have amounted to thus far. -Meriadoc
-
It's looking great Tim. I like how you did the tops. Congrats on your engagement!
- 164 replies
-
- fly
- Victory Models
-
(and 4 more)
Tagged with:
-
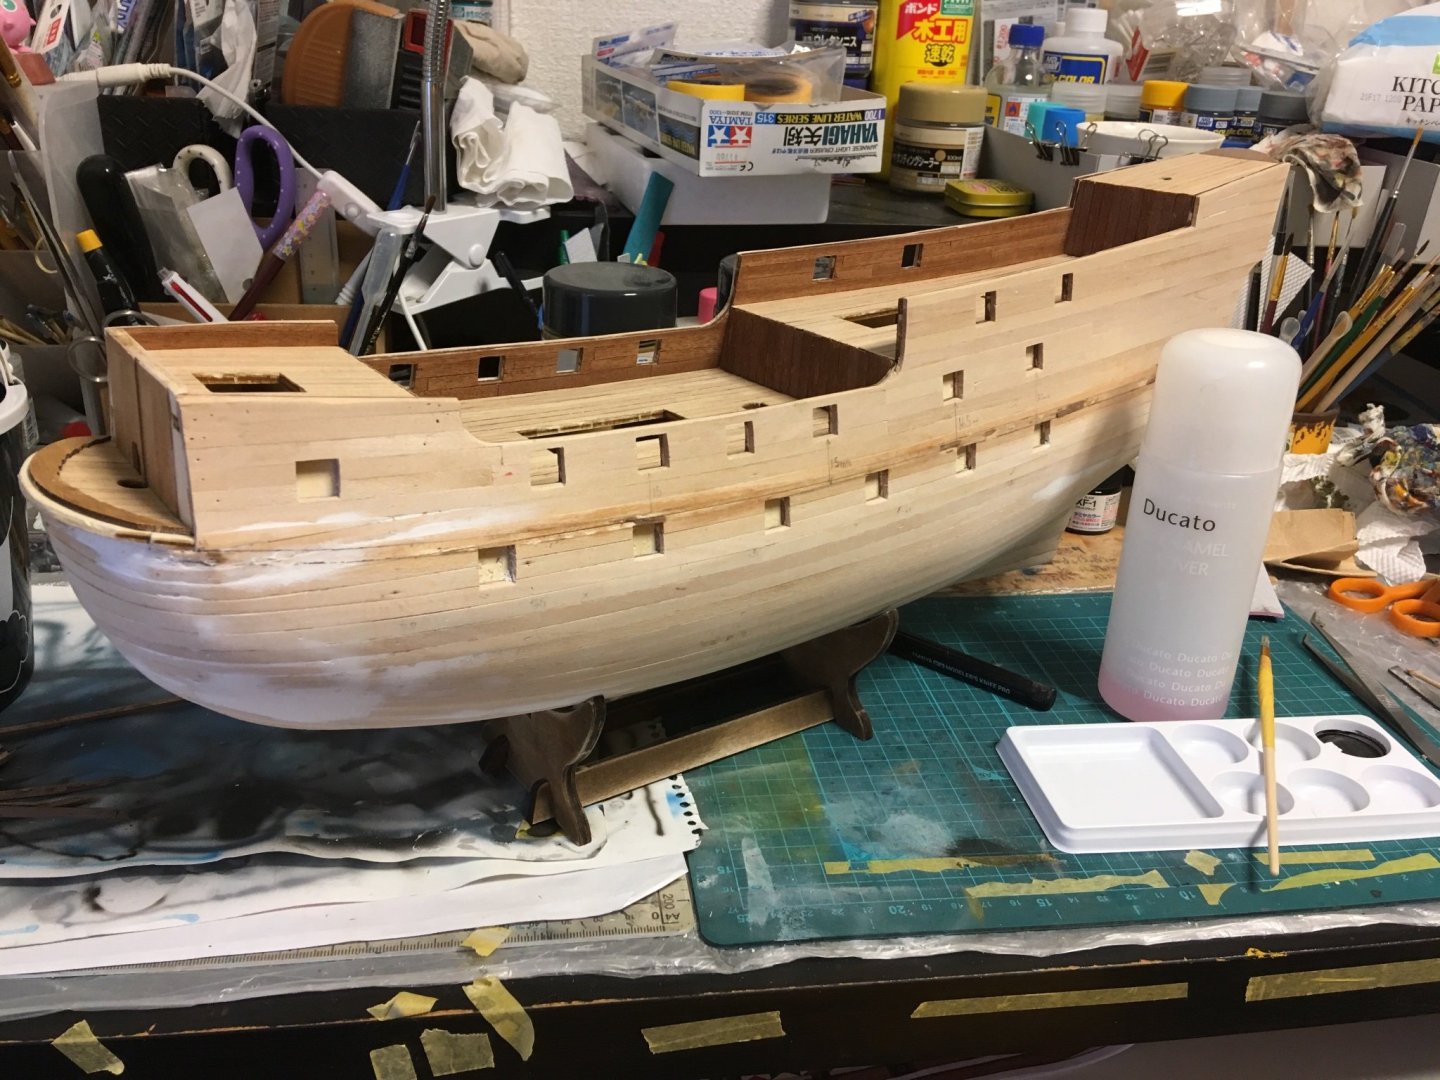
Backer- thanks for the kind comments! Google translate seems to be working well for you. Don’t trust it for translating Japanese though! Heres my pinhole-putty issue: See how the white putty has seeped up through the holes in the wale. About wale positioning- I’ll check some sources. This kit includes no actual plans, so I made some measurements and guessed. Meriadoc
-
Thanks for all the likes! A quick update. Slow progress, as a few other interests have had to be dealt with; see below. Finished sanding and filling, and added the first wale. The “instructions” are now taken far less seriously. Then some other pursuits came up.. And got some attention.. A few more days left of finishing work on the Hornets, and I think I’ll put Dragon Quest and 1/700 waterline ships away for a long while and get back to my Elizabethan shipyard. QUESTION: I am having filler seep up through pinholes in the wales when I try to get the holes to close with drops of water. Anyone know of a workaround for this? Meriadoc
-
Hello, I've been quietly following along. Learning quite a bit from your chronicling here. I knew I couldn't be the only one with this problem.
- 366 replies
-
- bellerophon
- victory models
-
(and 2 more)
Tagged with:
-
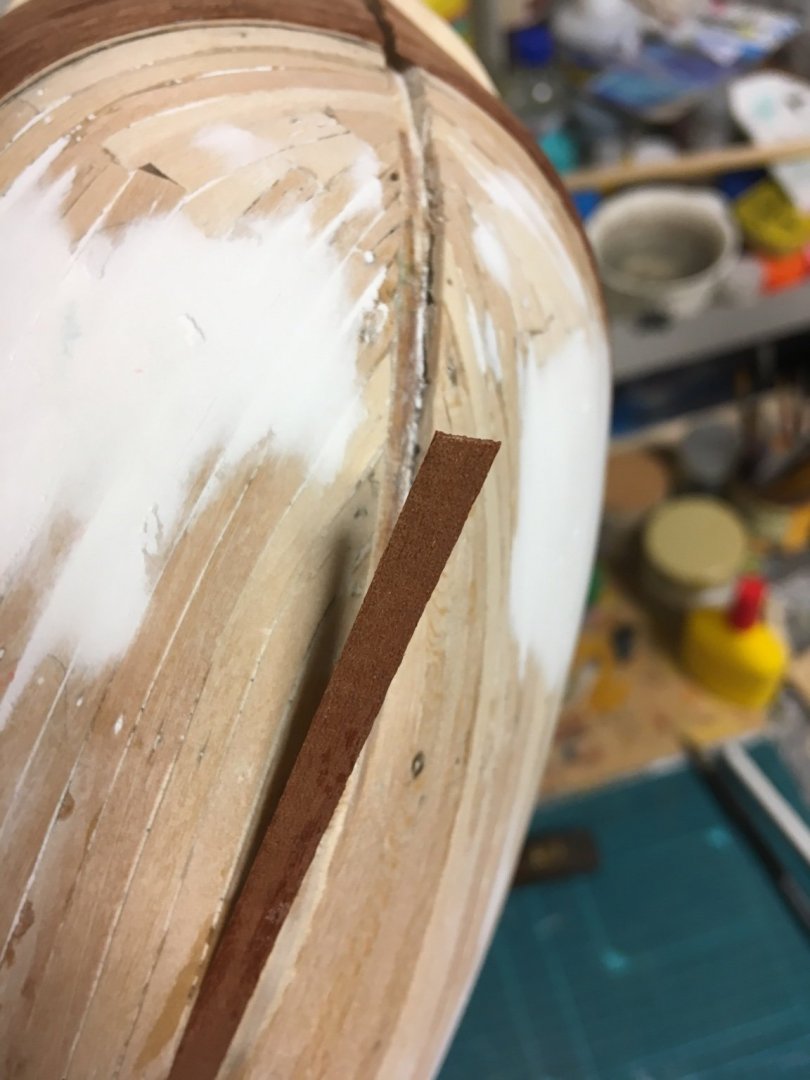
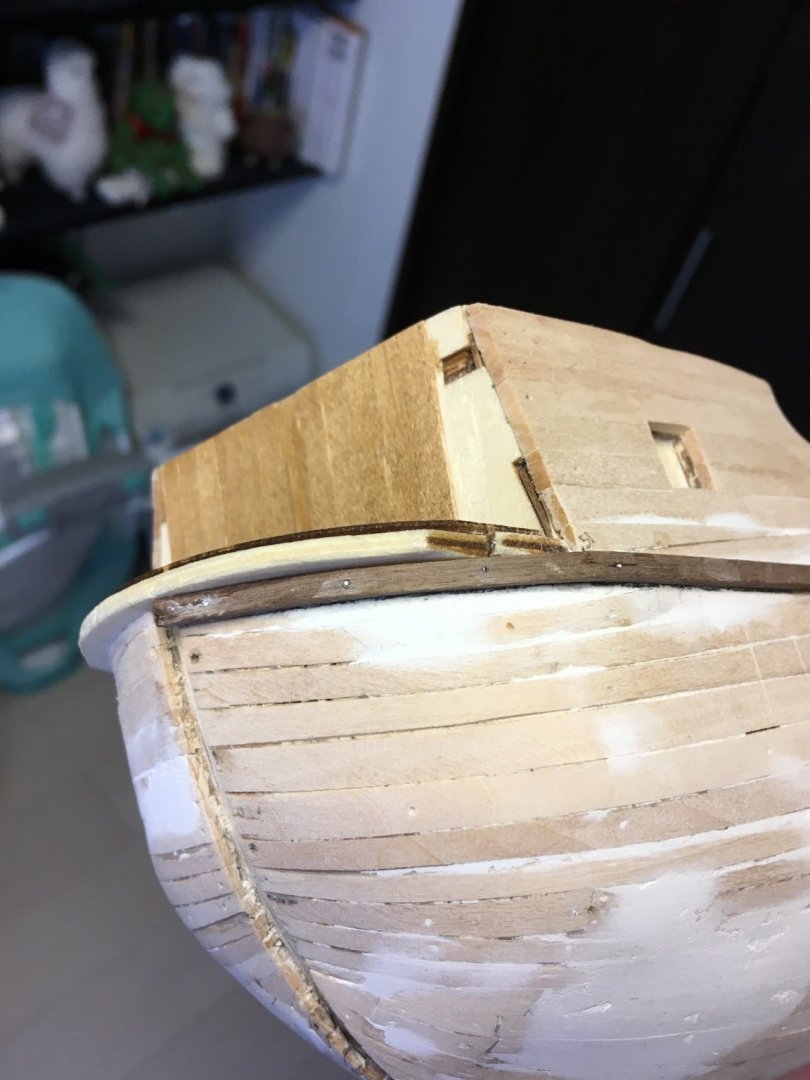
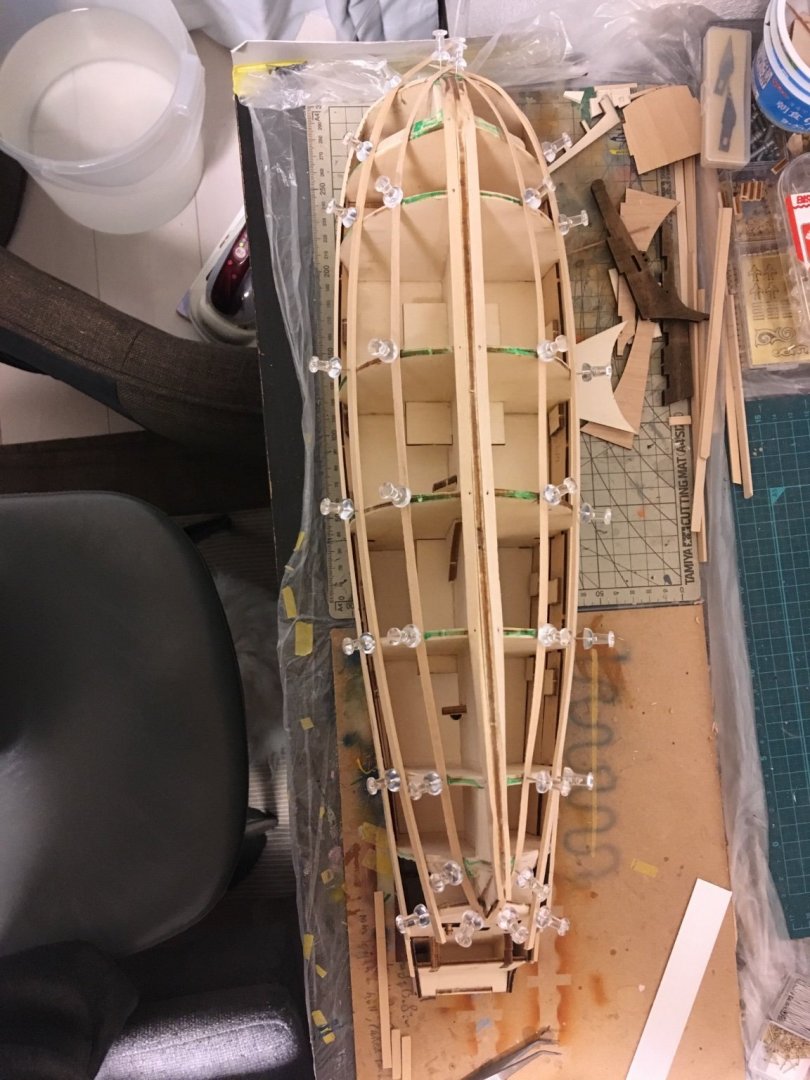
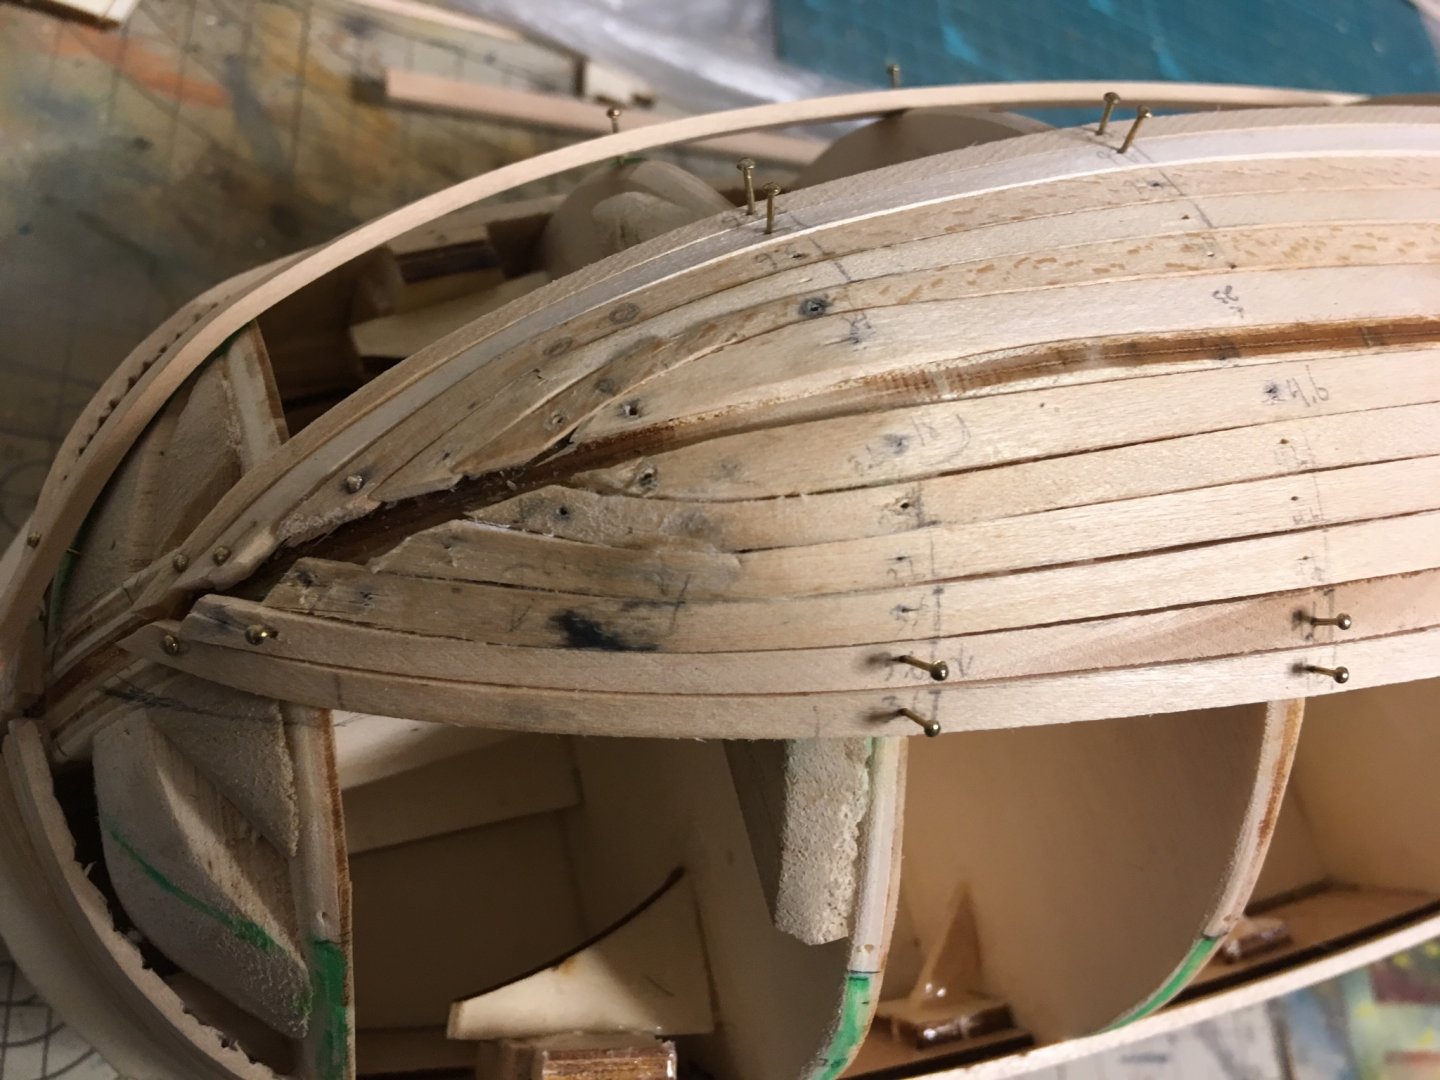
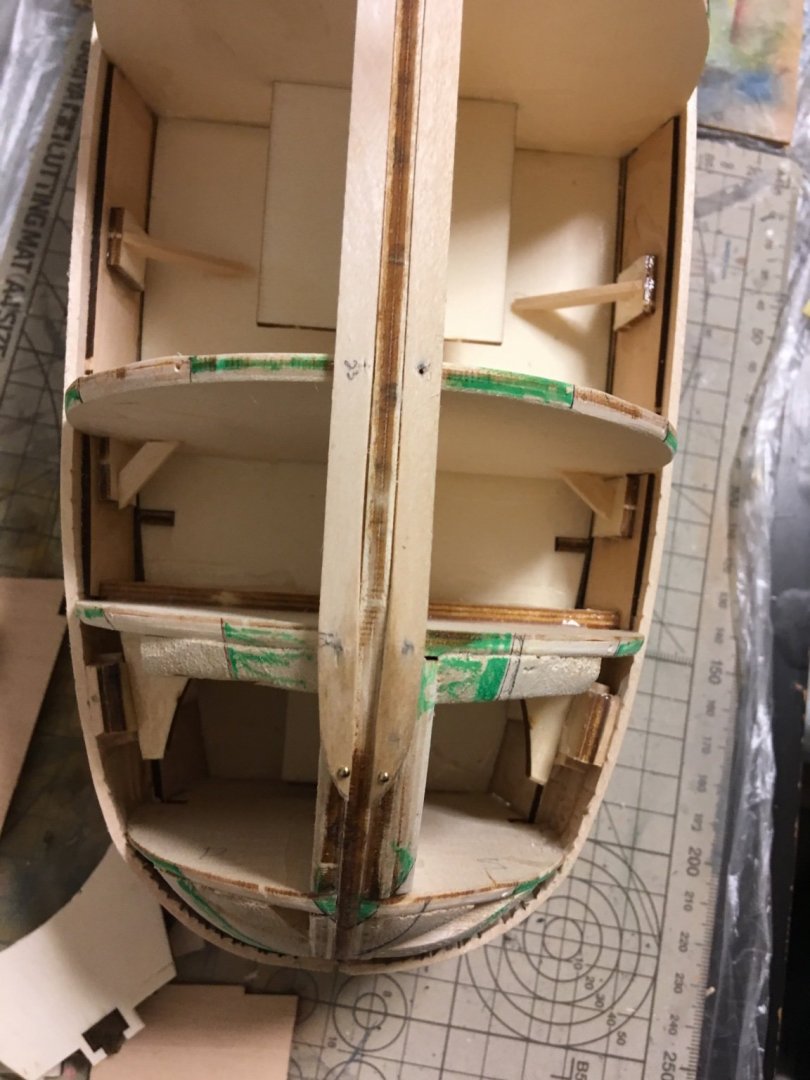
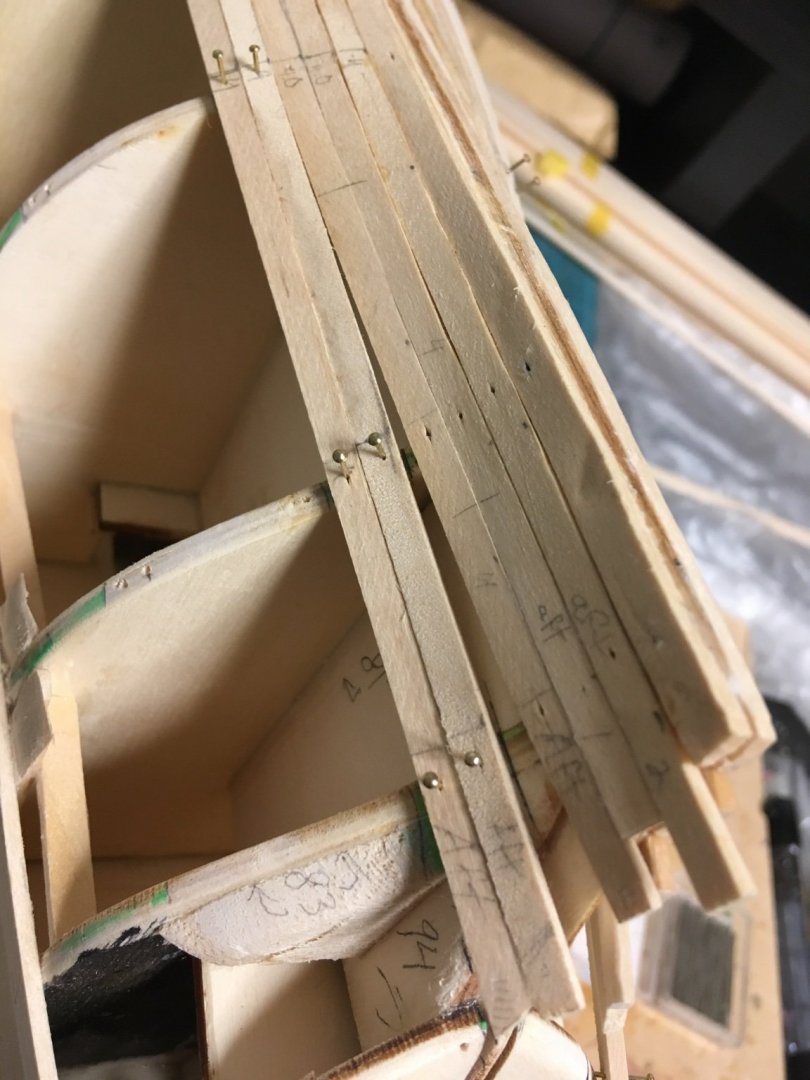
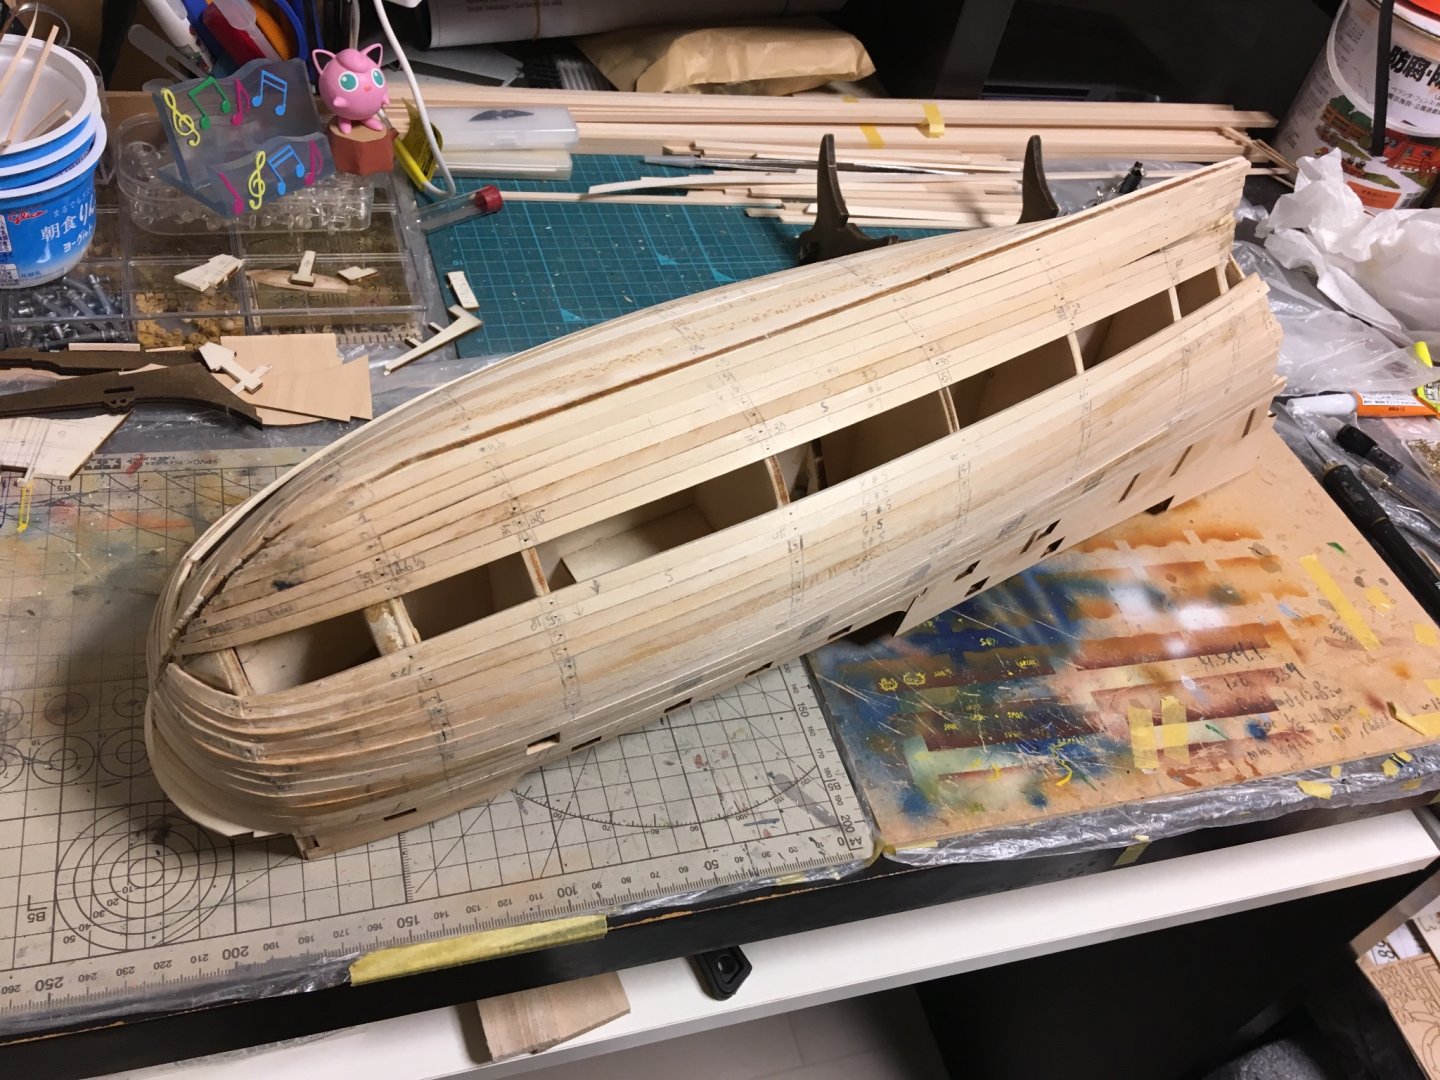
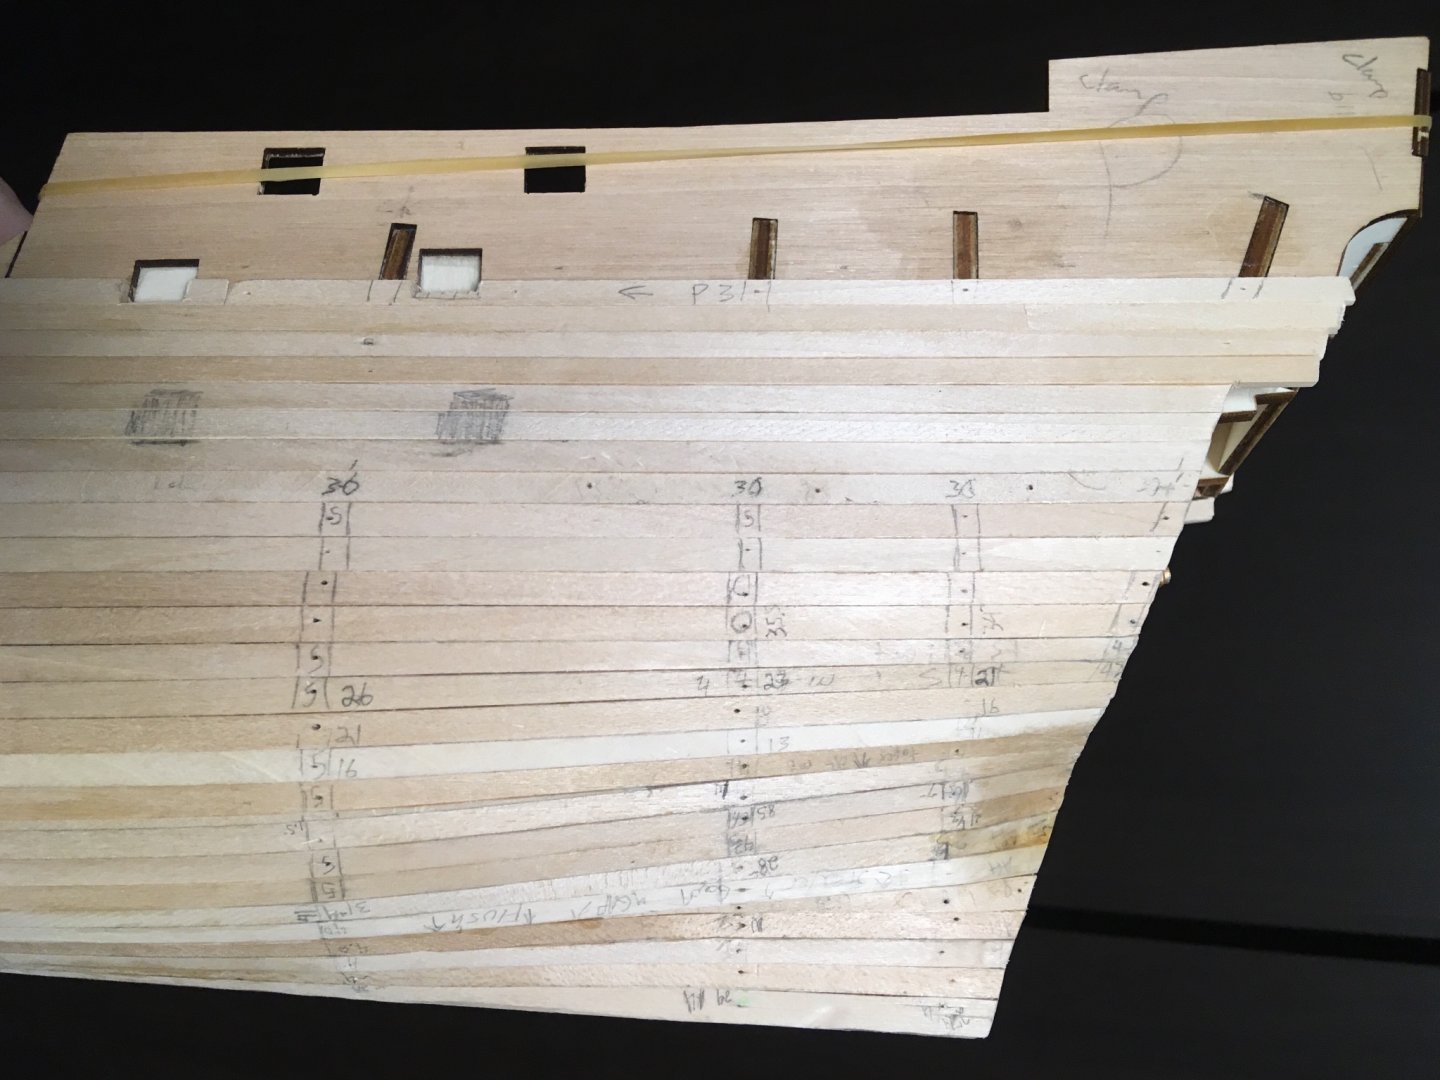
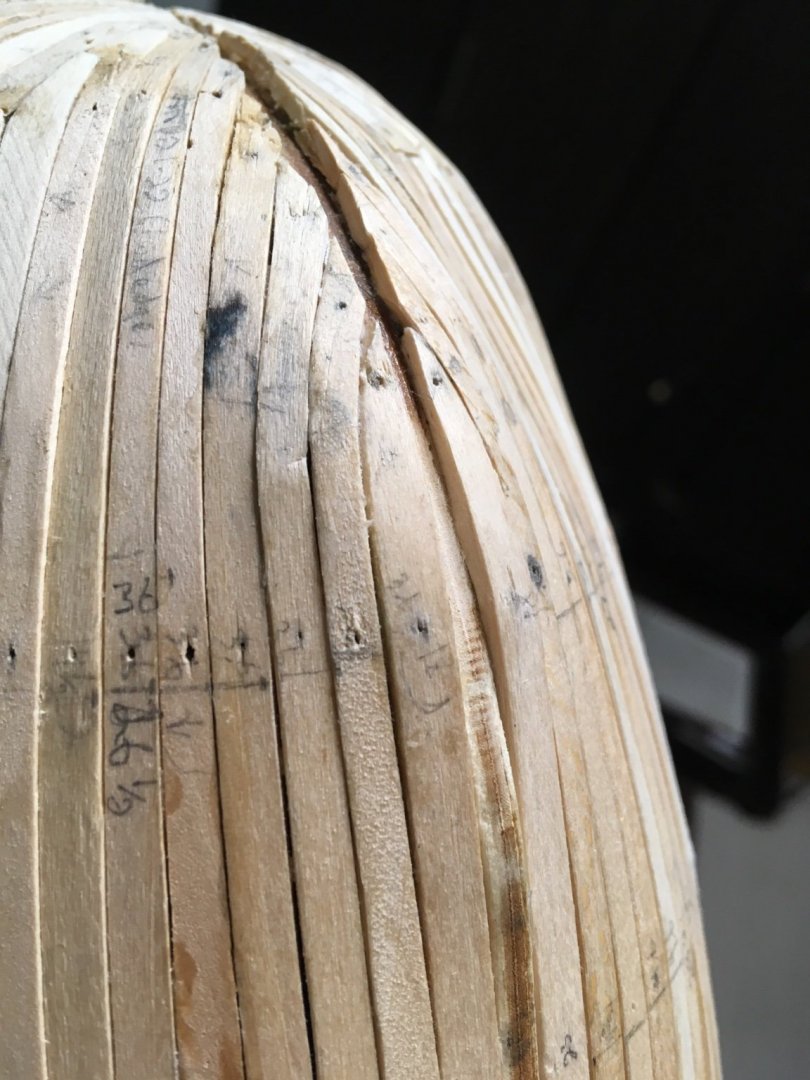
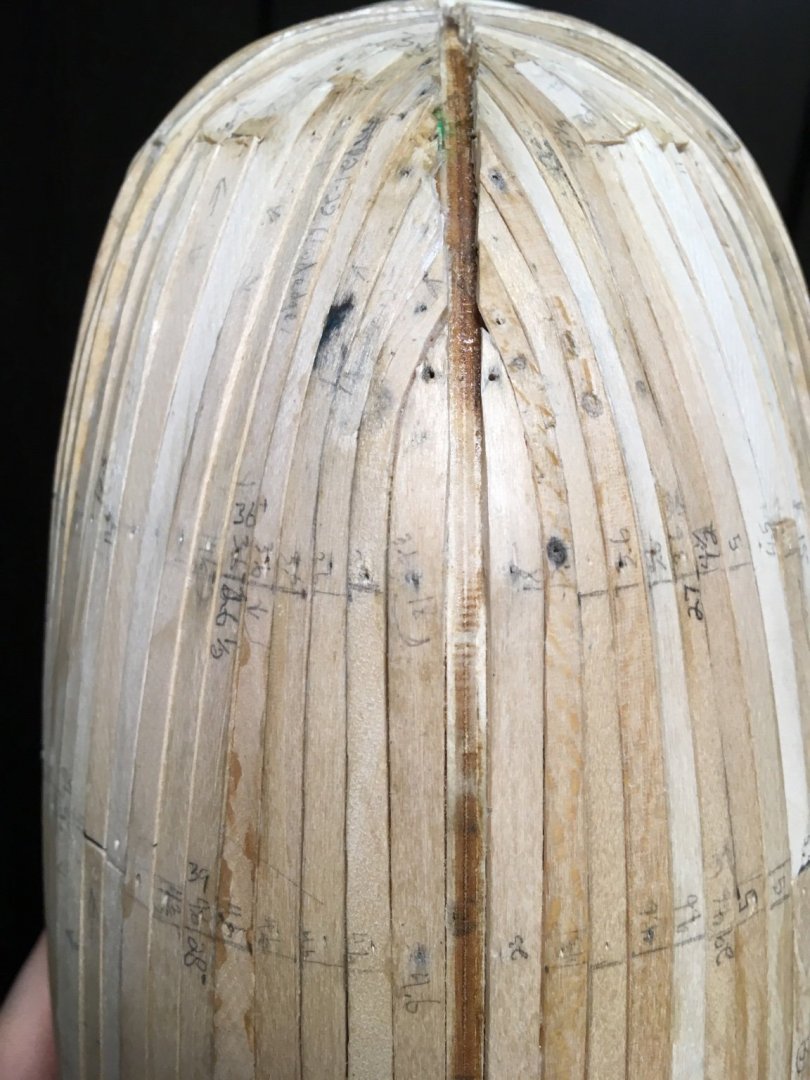
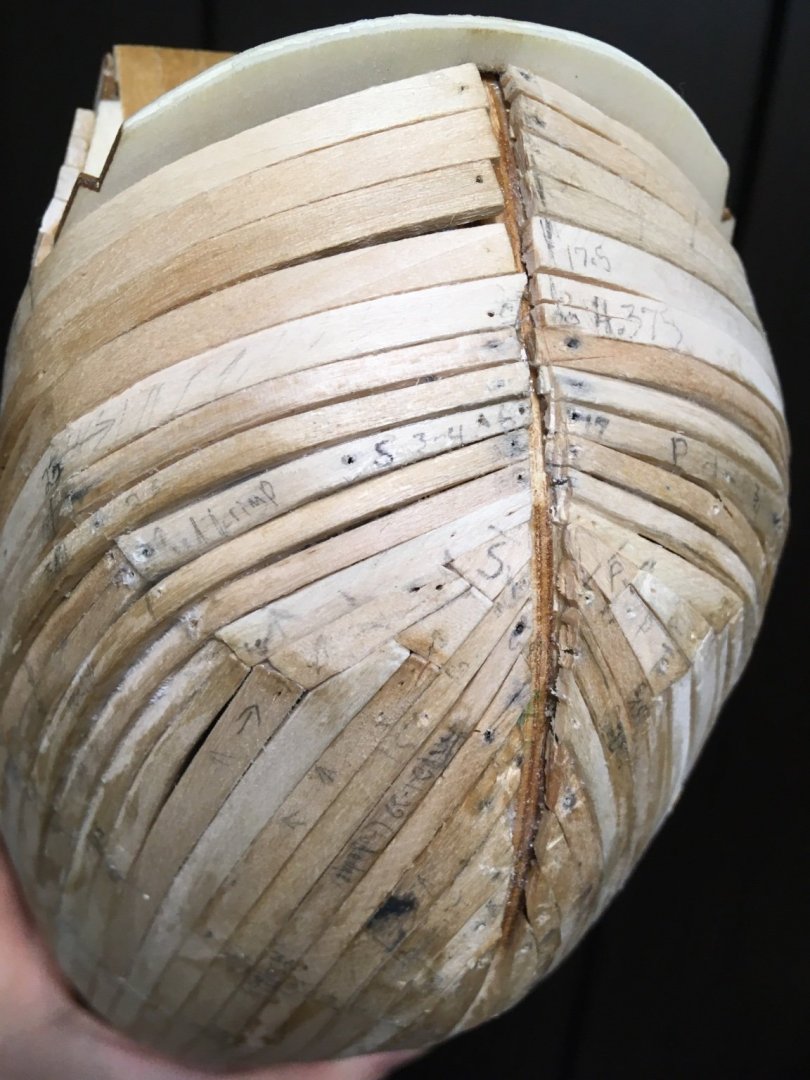
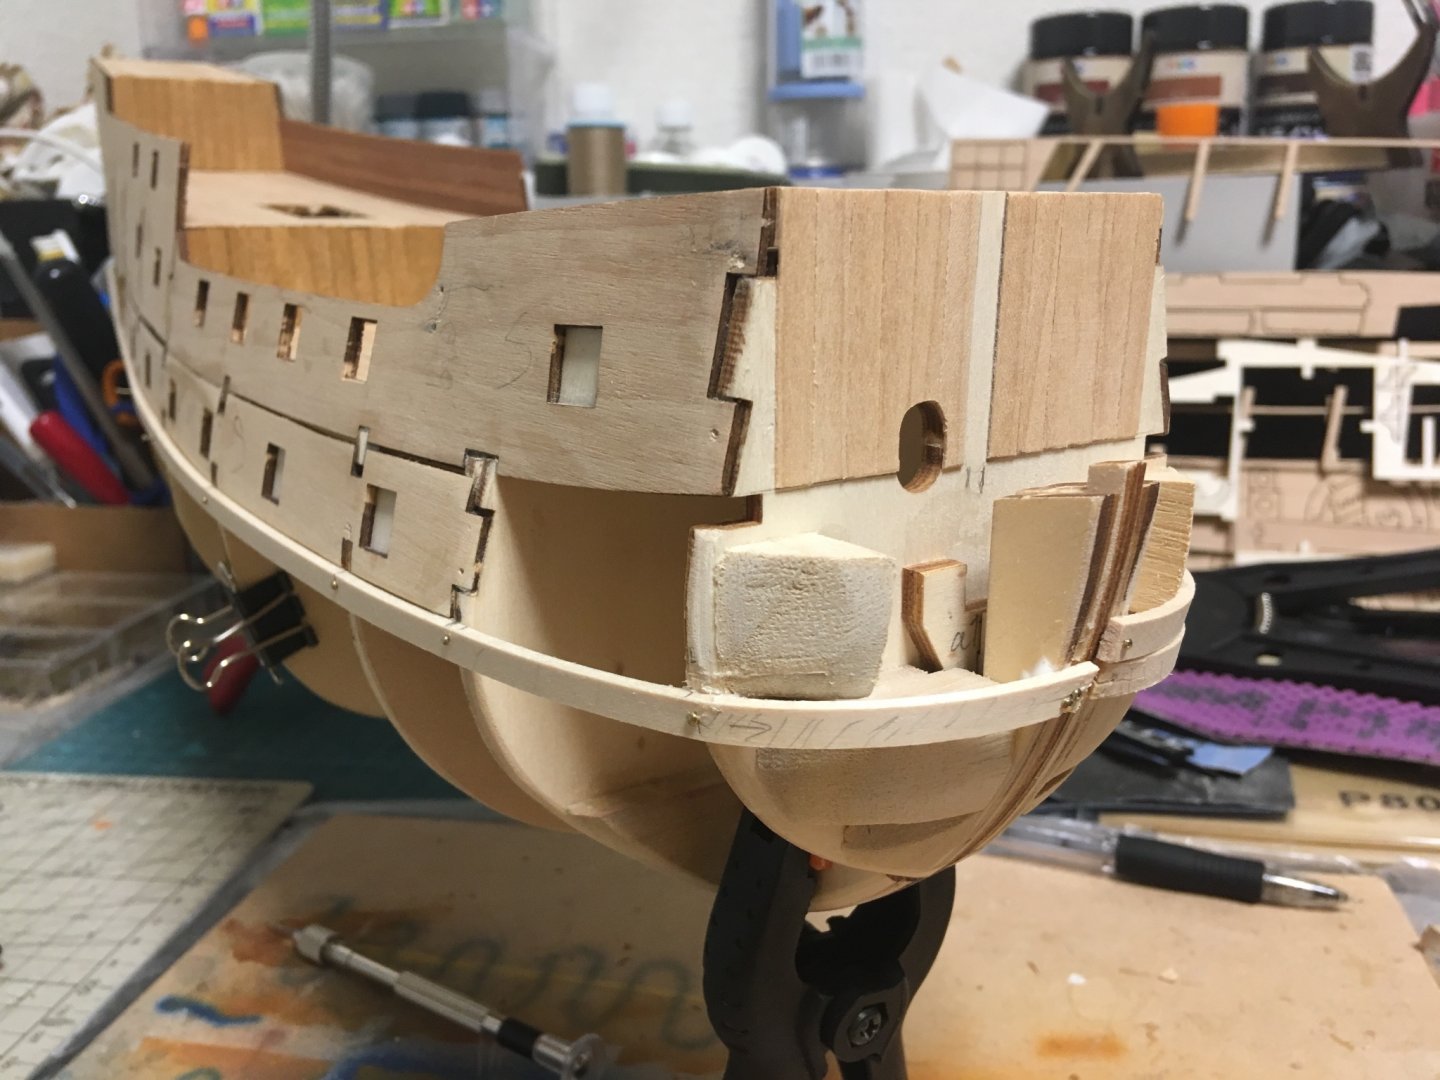
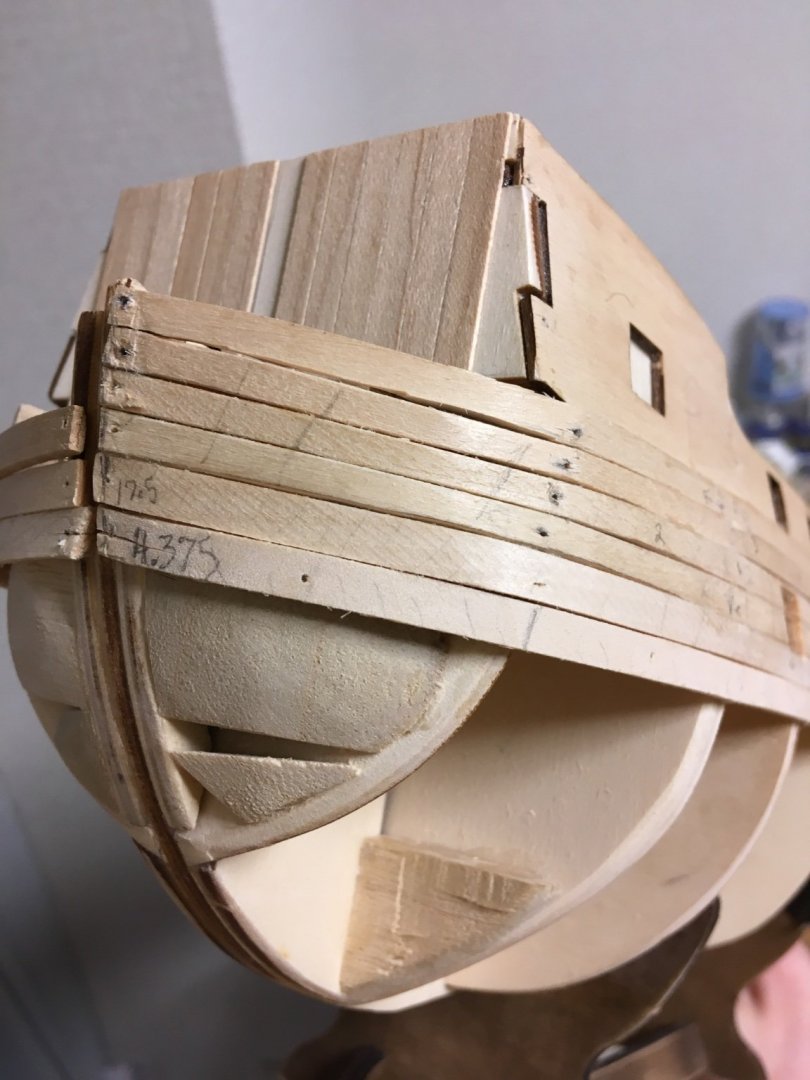
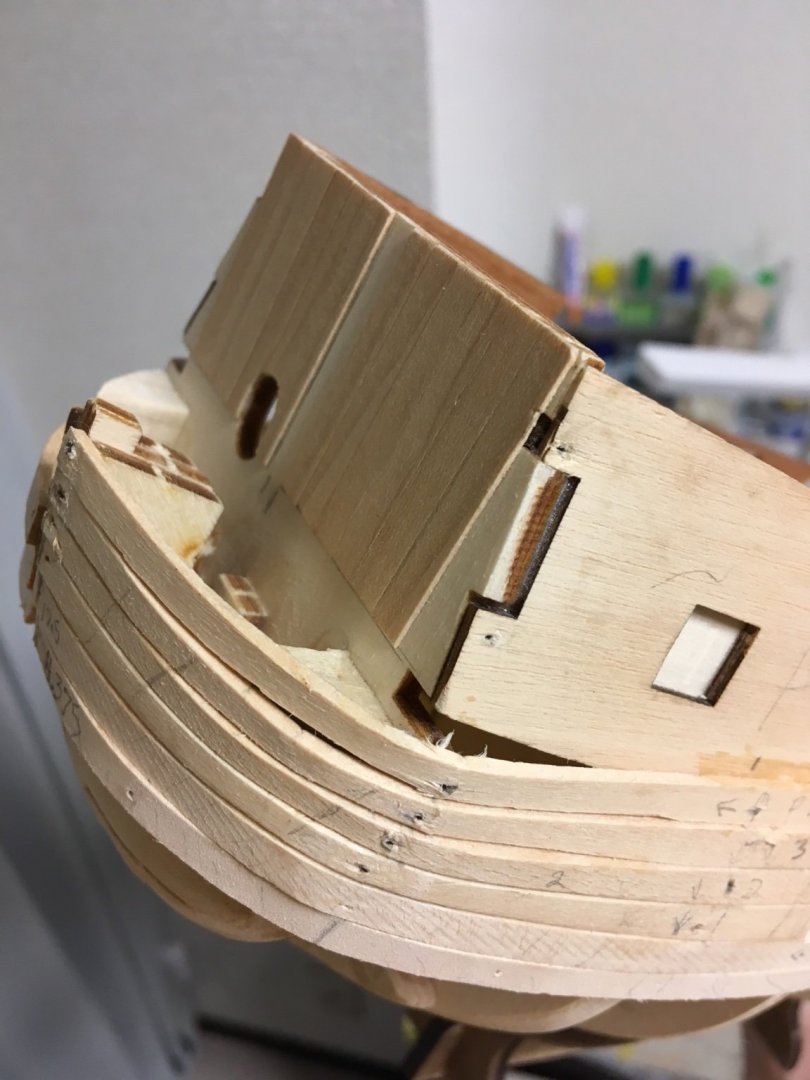
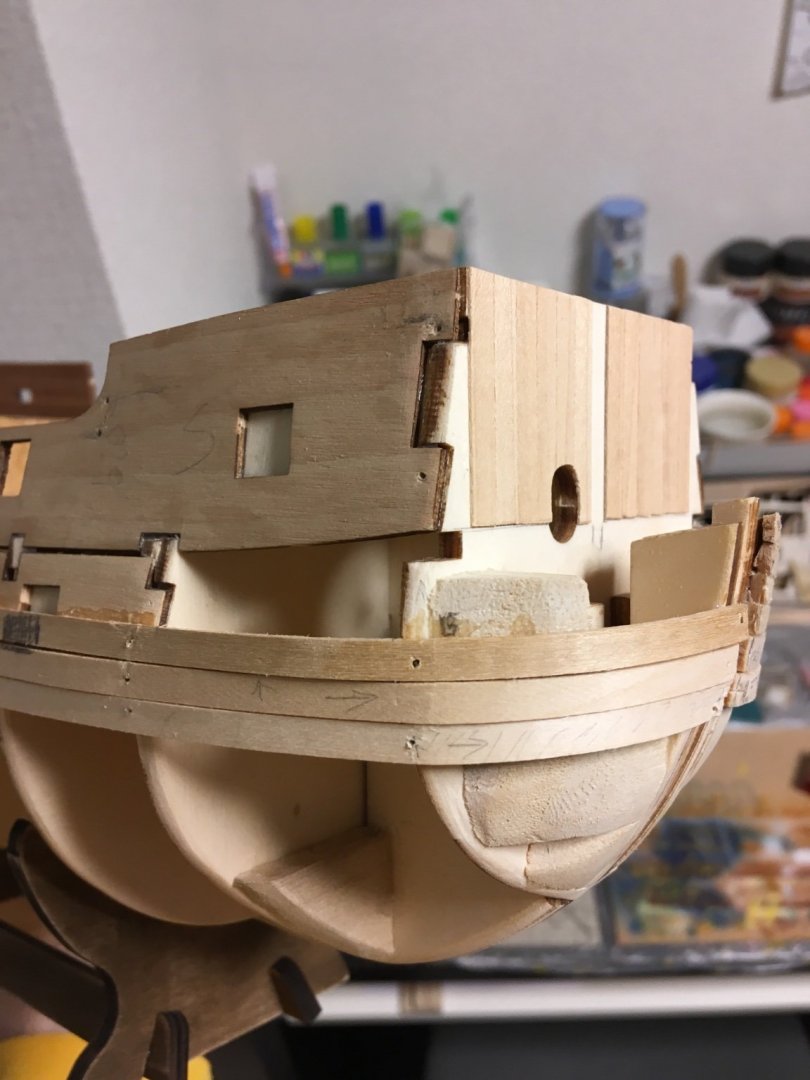
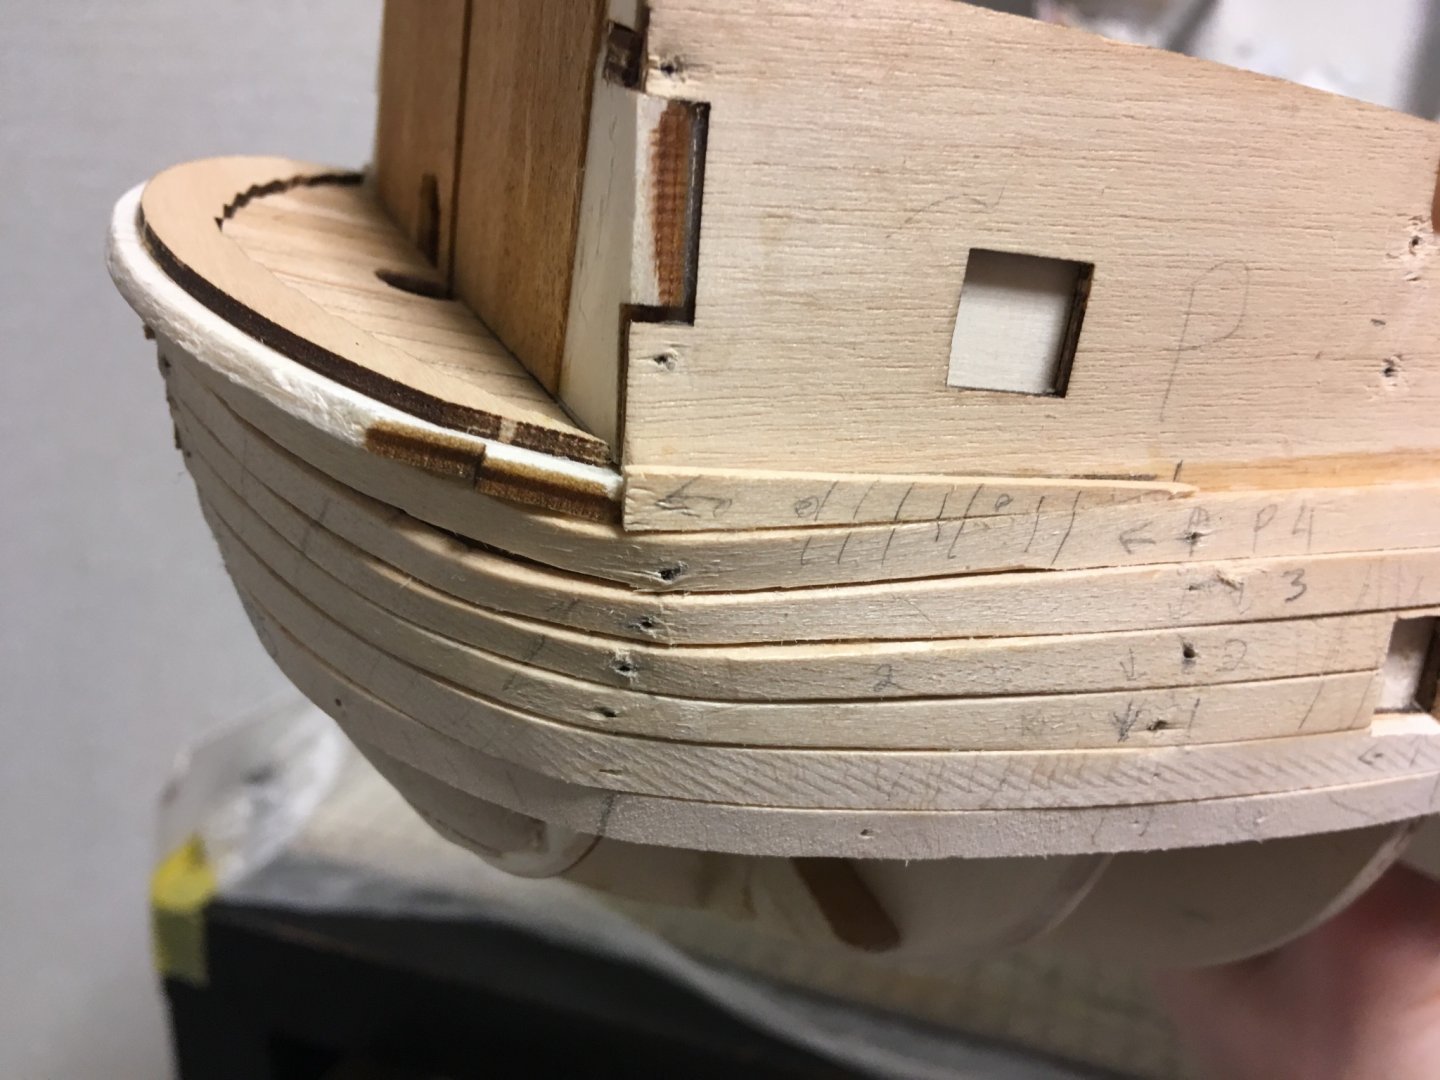
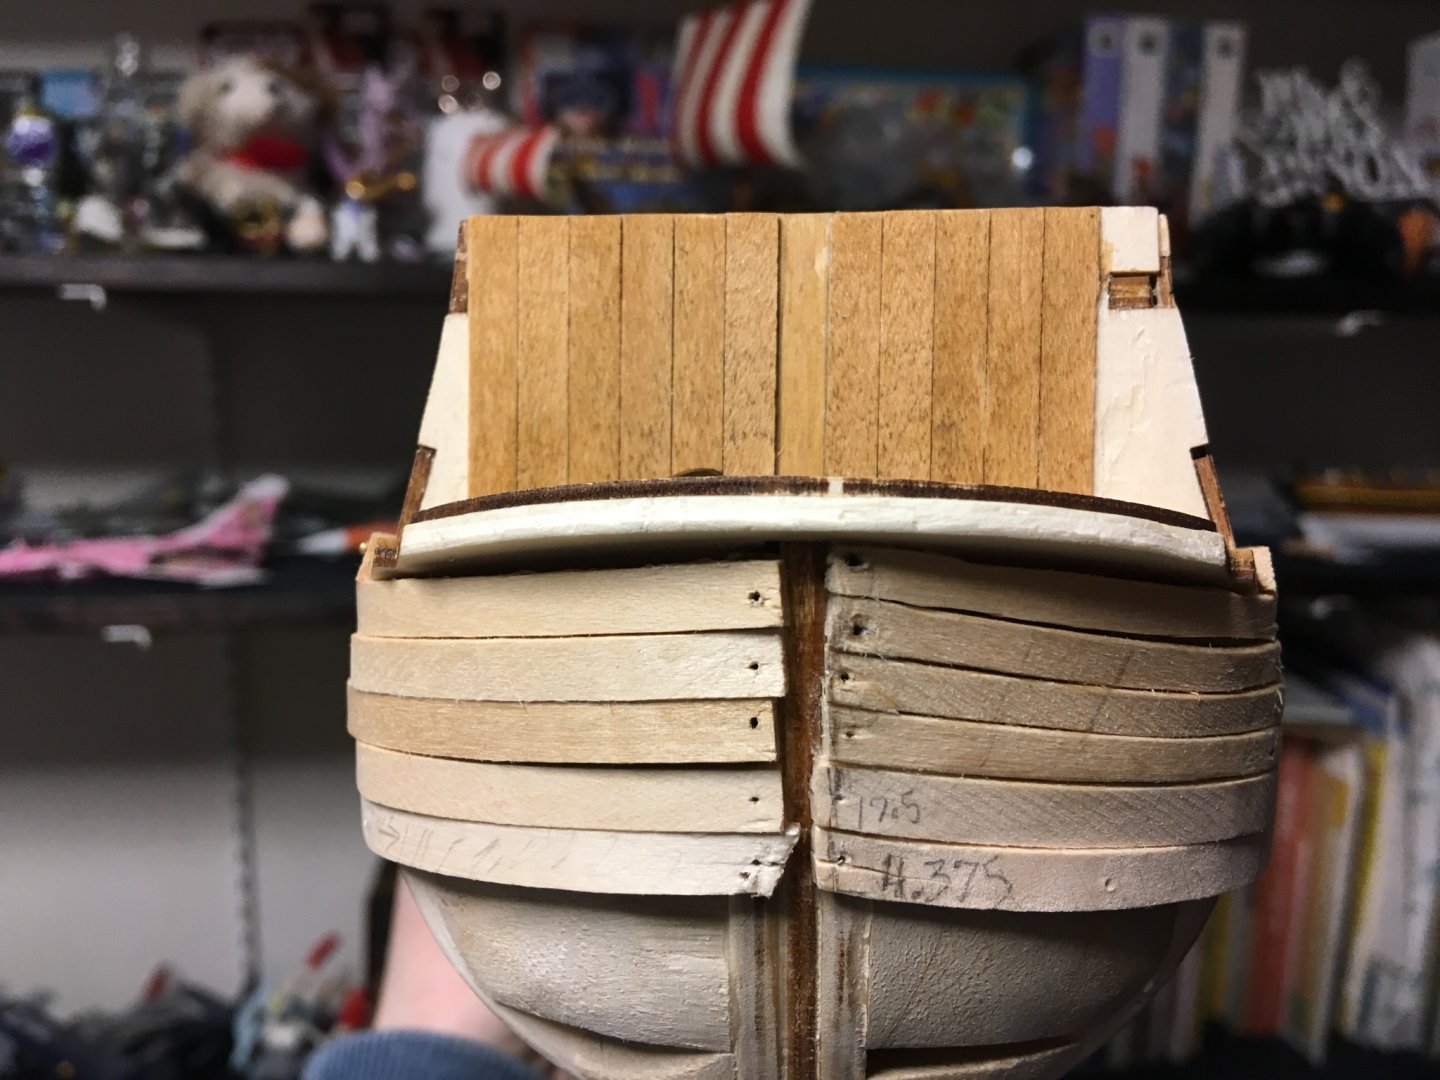
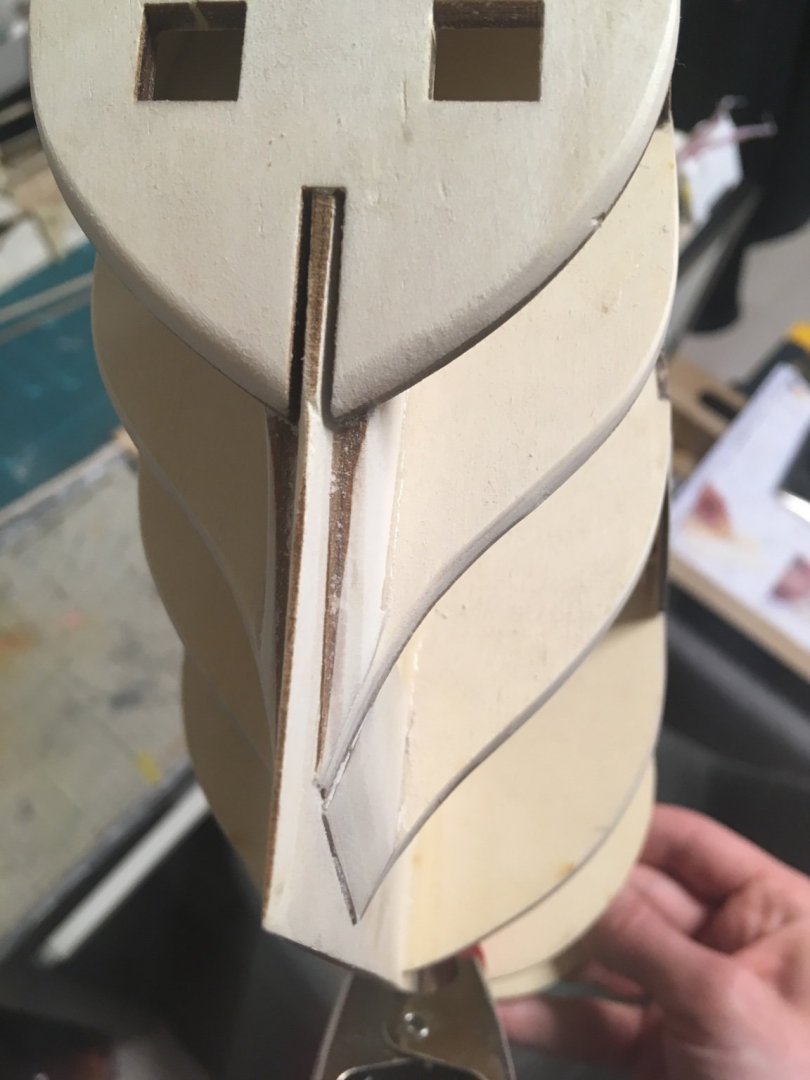
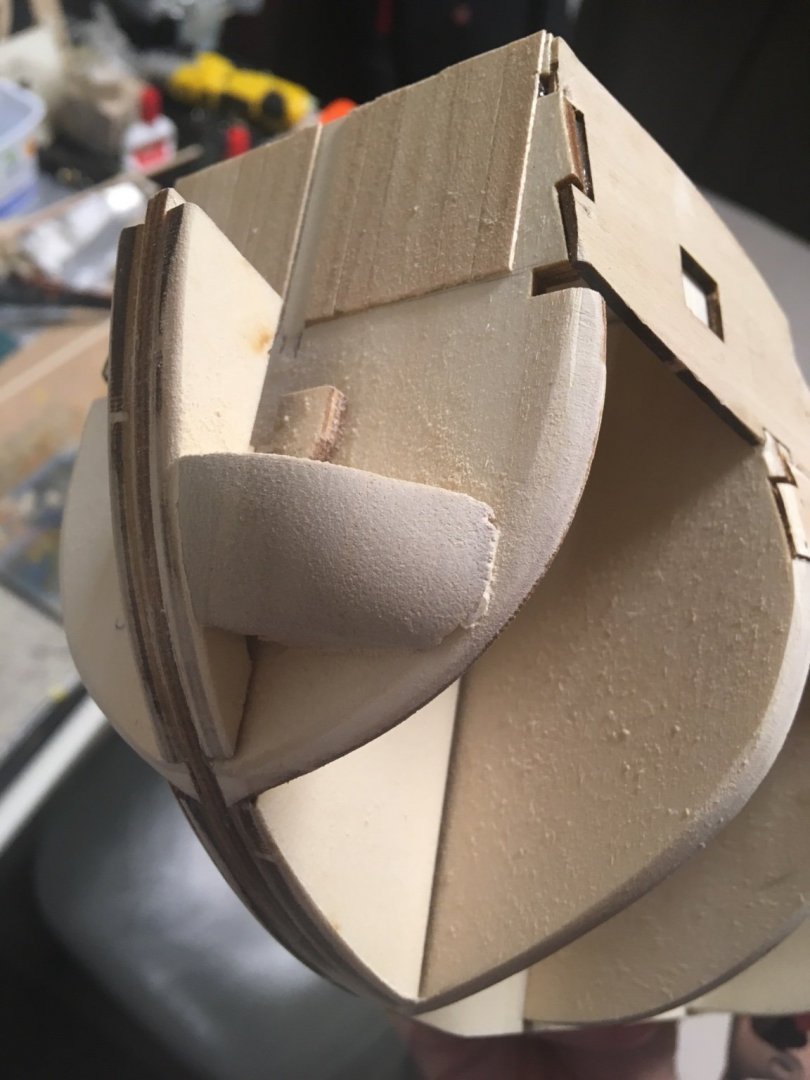
Lots of planking has happened. I finished everything but the upper gunwales on the first layer. Learned a few things as I went. I’m not sure if I should be happy with it or not, but I think it’s workable. In particular, does anyone have any good information on how/where the garboard plank should terminate at the bow on the Revenge? Photos below; I’d love to hear any ideas on what to do better next time. Trying to establish planking bands; a process I think was counterproductive in this case. The first strakes at the bow. Should have tapered to minimum width ASAP. Did I let the garboard curve up too much? First and only stealers needed here. Getting closer. Almost. Criticism welcome: Thoughts? I attached several more photos to show the process but the above photos are the most relevant. Hoping to wrap up loose ends and get it ready for the sapelli soon. Meriadoc
-
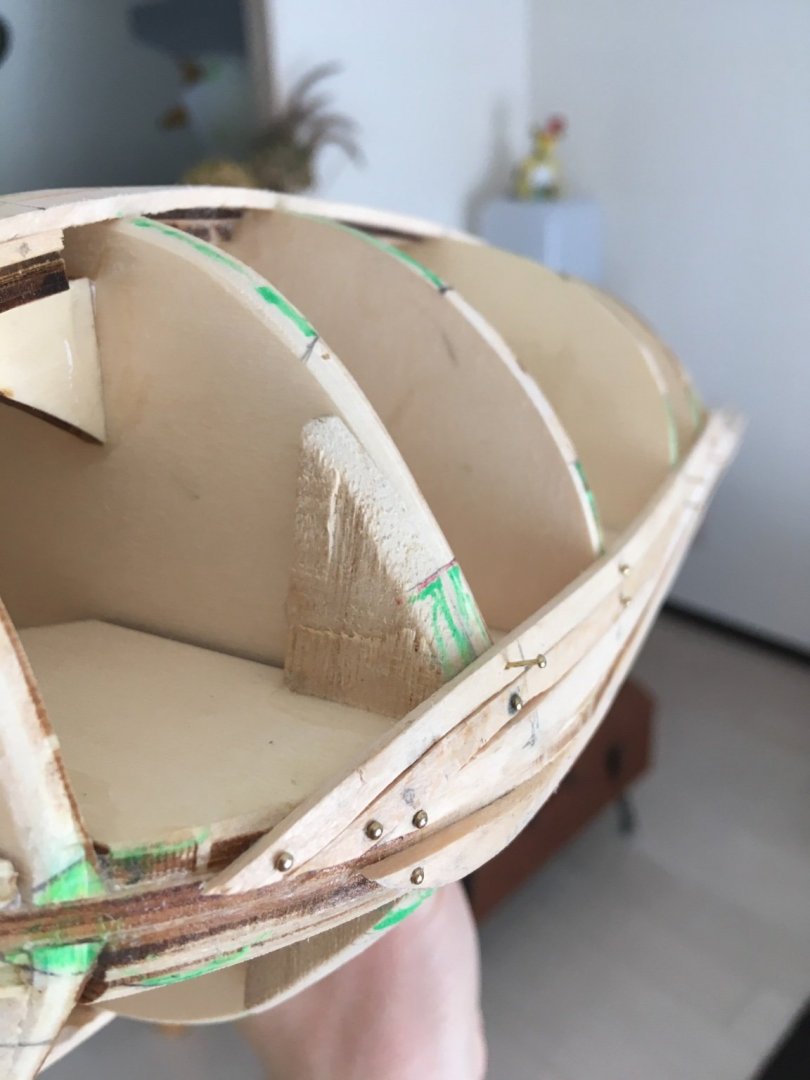
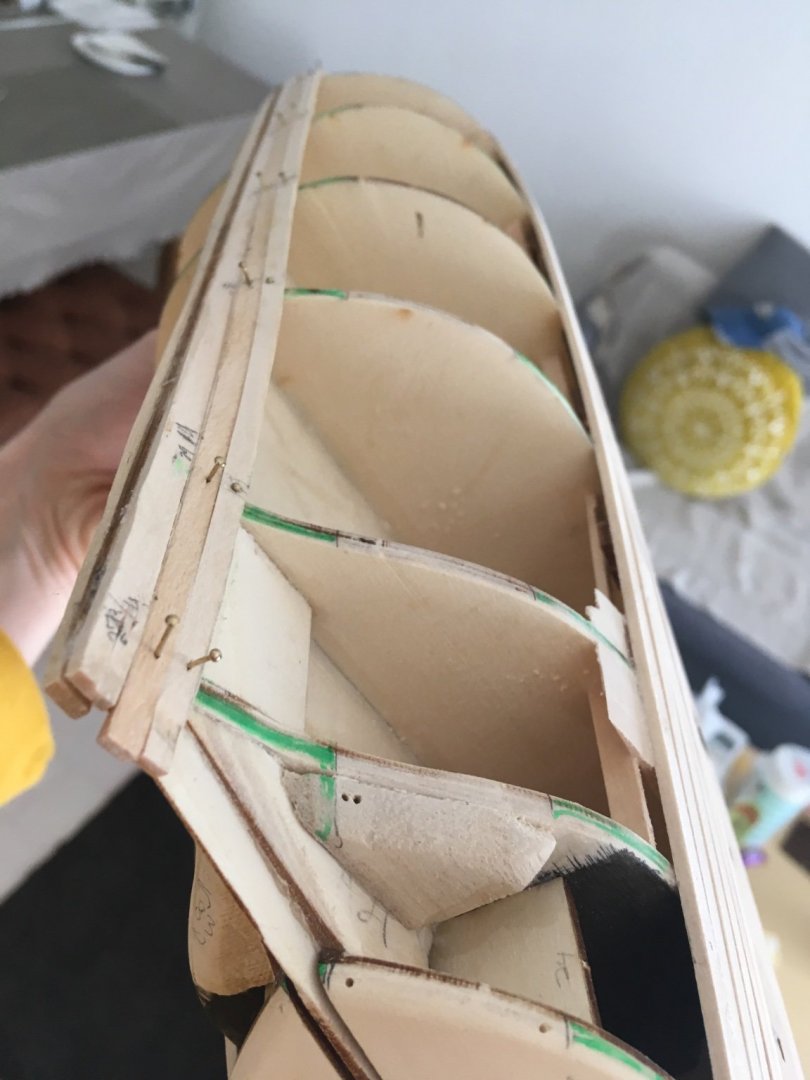
Planking adventures! I did investigate a variety of opinions about this process, and amassed a collection of inexpensive equipment. The Occre “instructions” tell one to start immediately below the plywood guides, and gives little other guidance. Their example seems to be planked wrong anyways, but I started at this point as I will need to fit some sort of backing for the dummy barrels I intend to add to the lower deck. First I plank the area, then when I still have acces from below I will glue in the backing. I ended up planking myself into a bit of a pickle as the two sides were ever so slightly asymmetrical after two planks each, and I had to try to fit my planks evenly under the beakhead deck- one side wanting 3 planks (5mm each) and the other wanting four tapered planks. I’ll let the photos do some of the explaining. I started with this plank on each side, and added one above at full width. I used a crimper to bend, which was easy enough. At this point I thought it should all fit evenly under the deck that must go in at the bow. Then I remeasured and decided that four tapered planks would be needed. I tried soaking and bending over an iron for these, as the taper was awkward, narrower at bulkhead #1 than the very bow. In retrospect a crimper would have been easier but I did get to practice a different technique. Not happy with how they came out but I learned something and it should be good enough for the bottom layer with some sanding and filling. The curve around bulkhead #1 is quite severe, I broke one pre-tapered plank at this narrowest point trying to bend it over my iron. It was also difficult to get consistent curves. Better filler blocks would have been helpful, as well as tapering on the top instead of the bottom of the planks. On the starboard side, the gap was smaller and i deemed three planks would work far better than four and save all the fuss of tapering and breaking narrowed planks over an extreme curve. These were bent with a crimper with very little sweat and toil. I was using CA though in an effort to get more than one or two planks installed in a day, and it froze some of my mistakes in place as you can see behind the first bulkhead on this third plank. Ought to sand out though. Back to PVA. You can see how many planks I was able to get done despite my best efforts to achieve economy of time with CA. Really the elephant in the room here is the baby in our house that I must help take care of, so a best case scenario is a few planks per day plus maybe some peripheral progress on other loose ends. Here there was a major gap between the plywood and the lay of the lower planks. Perhaps I missed something in my fairing process. I fixed the problem by inserting this little filler block to get the next plank to play ball with the plank below, above, and the front of the forecastle. Got the plank in, so it’s even with the port side except for the bow. You can see how much learning I have to do before I take on single planked kits. I needed to do something about the asymmetry of the top of the planks here under the forecastle on the port side as the planks were tapered unlike the starboard. I marked out a spot for a stealer. And installed it with CA. Ought to be roughly symmetrical now. There is a gap under the deck on the starboard side that should be addressed but I don’t think it would have been worth tapering four planks and hoping they don’t break around that bend at their narrowest point. If I had to do it over I think I’d properly filler block the whole bow and then one could work tapered planks with an iron easily enough. Just now, I installed the garboard planks but couldnt decide the cut at the bow. I think this is determined by the run of the next strake, for which I must calculate tapering first, so I left them hanging for now. Now I have to remember to install my dummy gun backings before I plank the rest in. Slowly but surely (or reasonably confidently)! Meriadoc
-
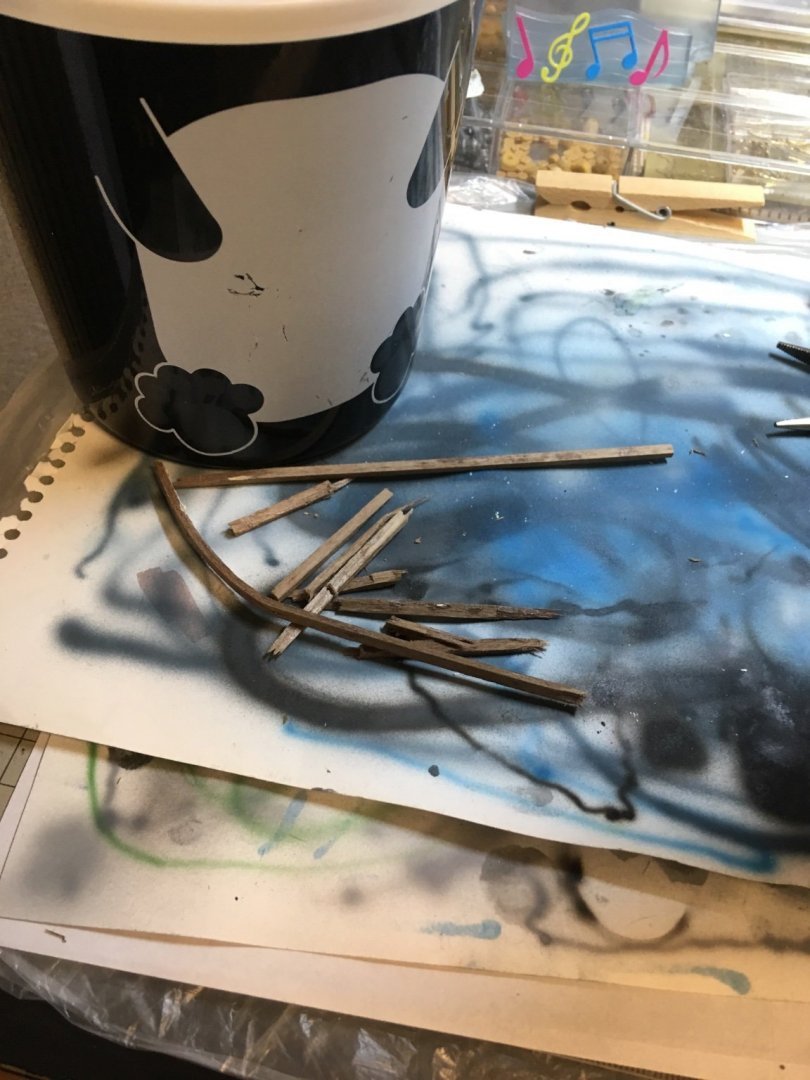
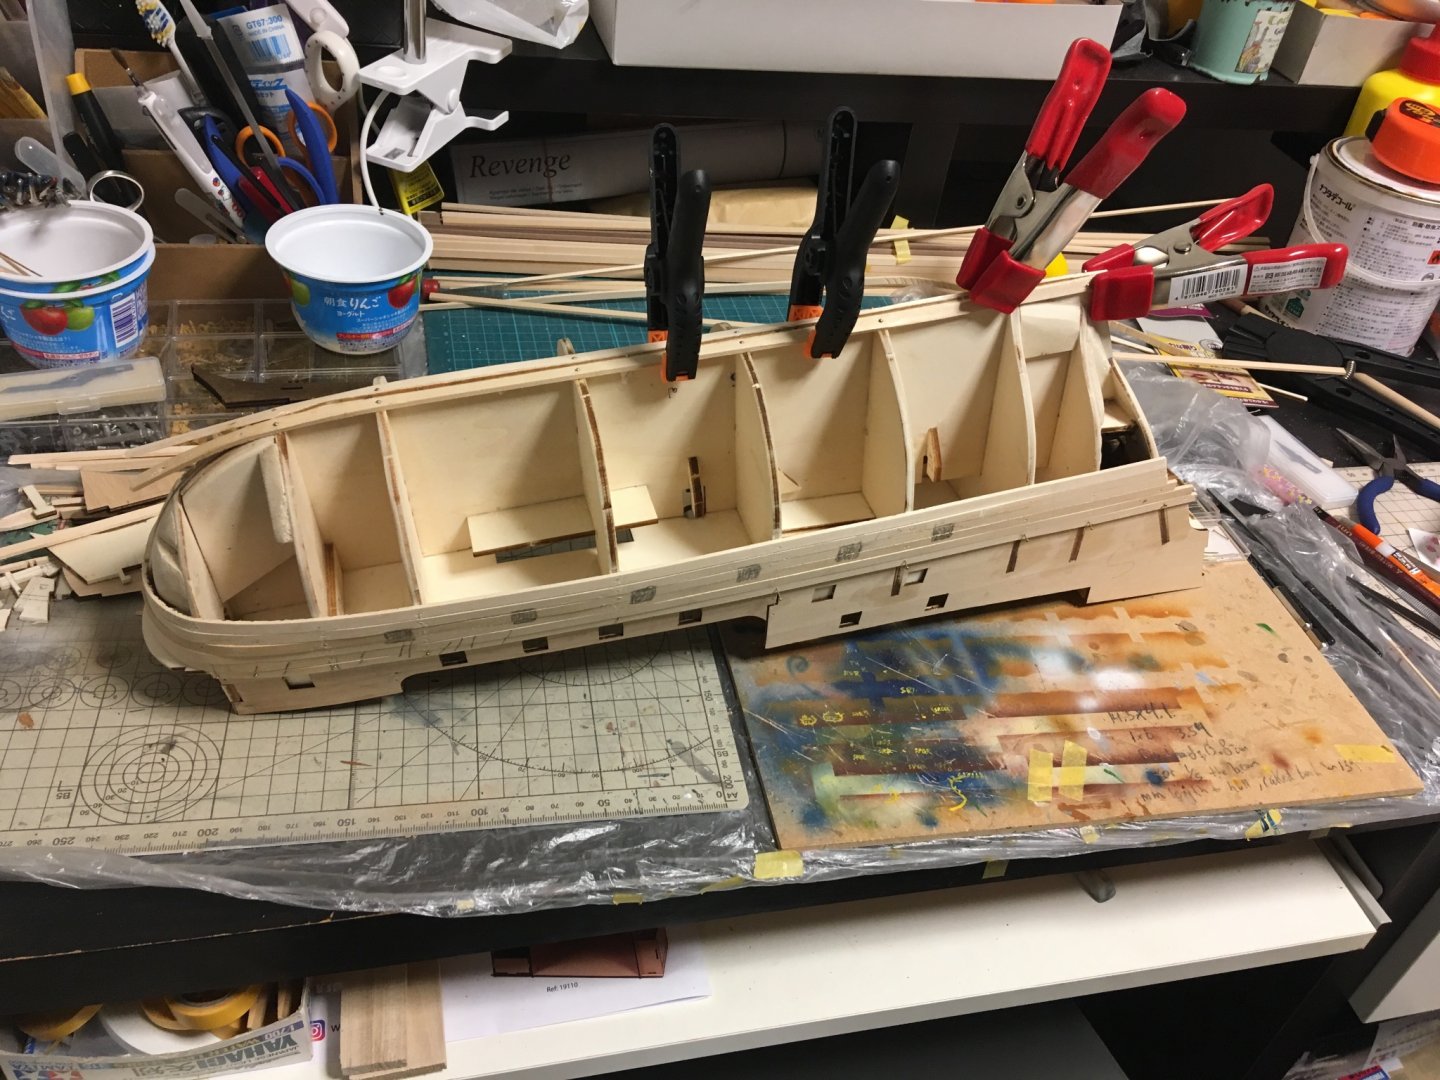
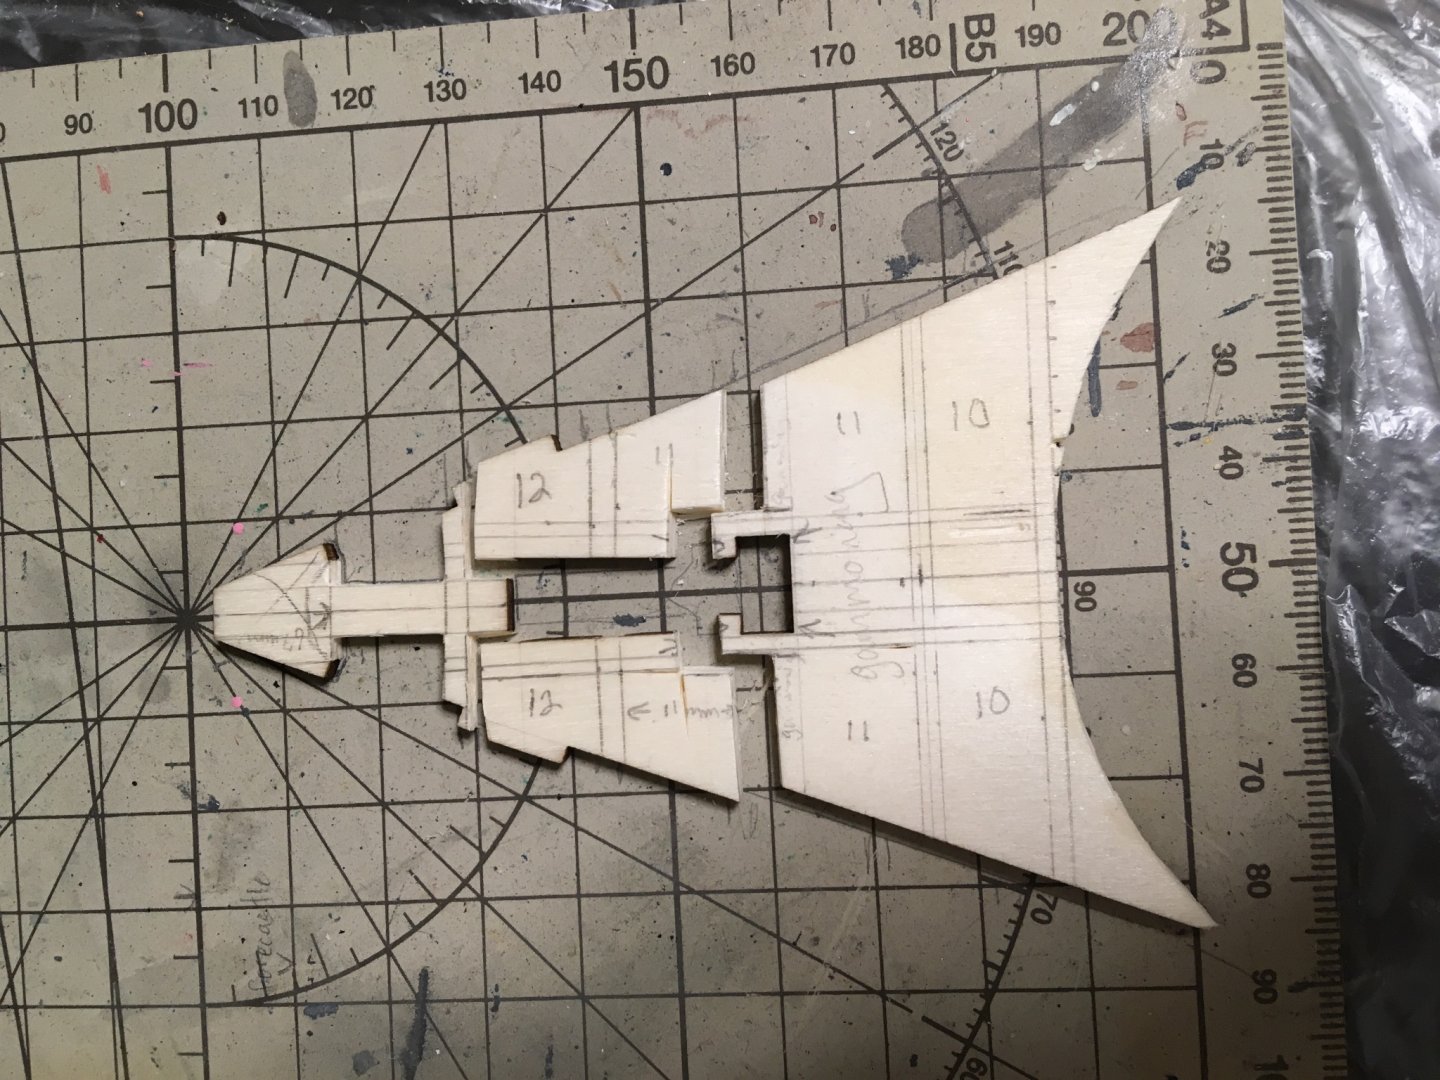
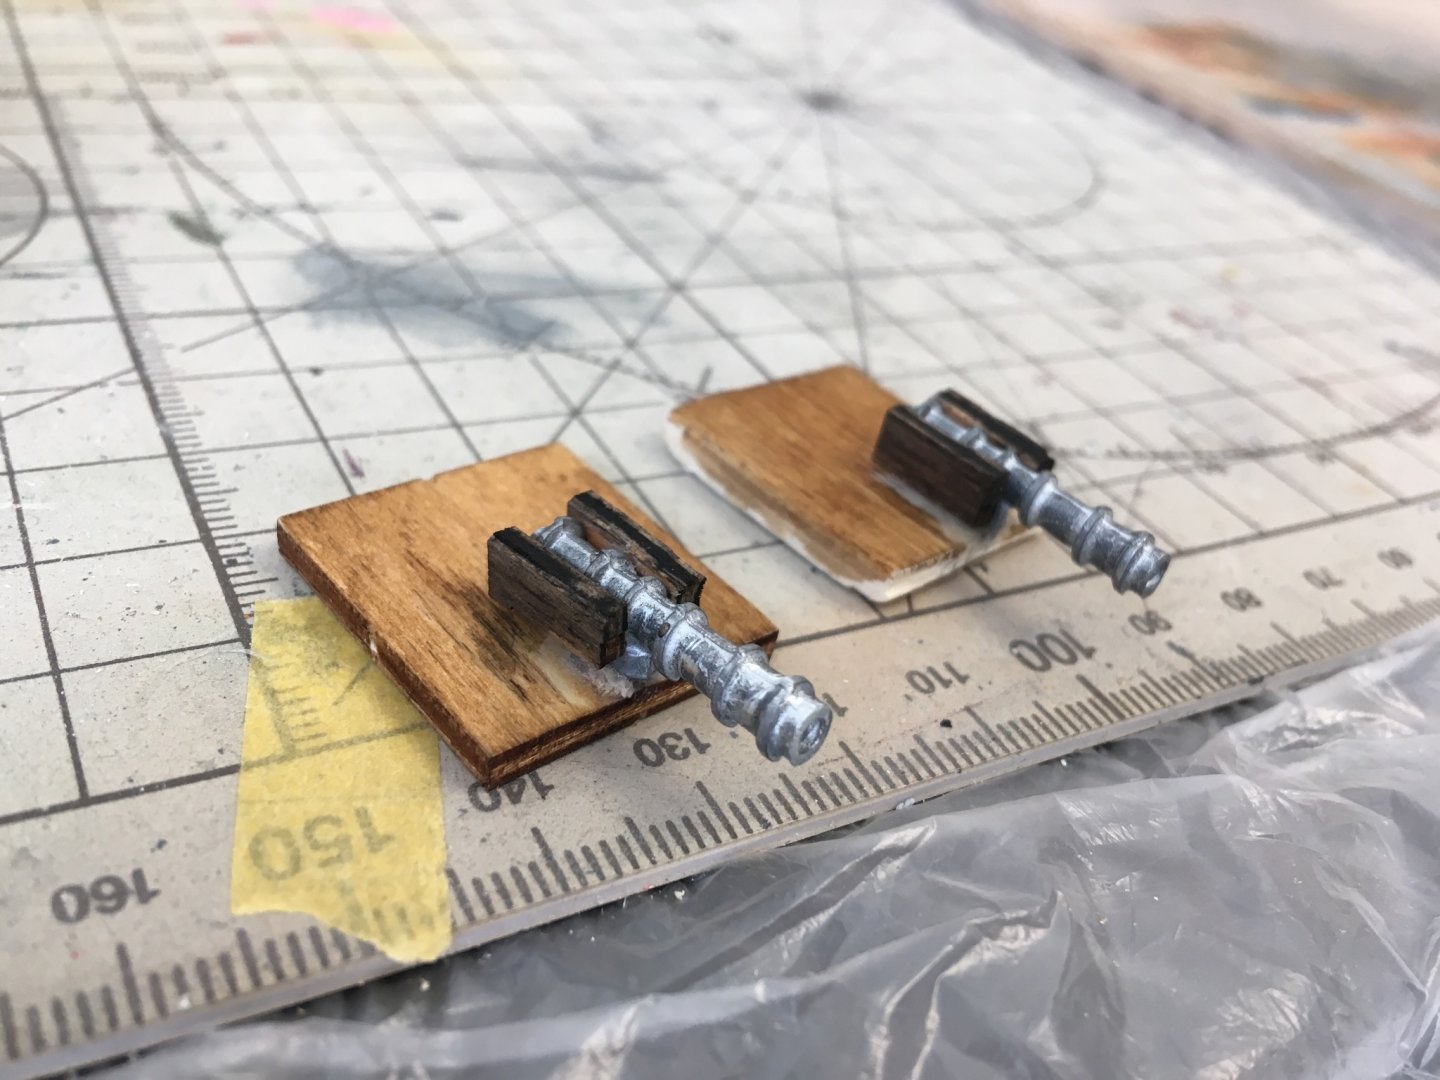
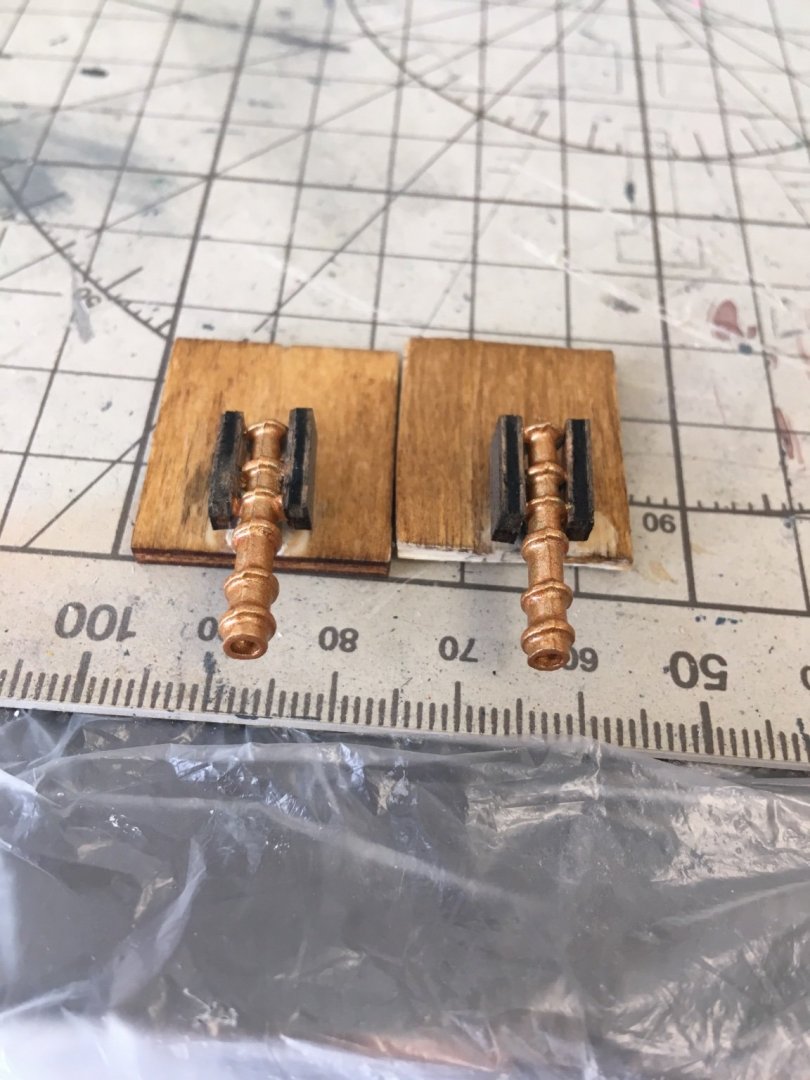
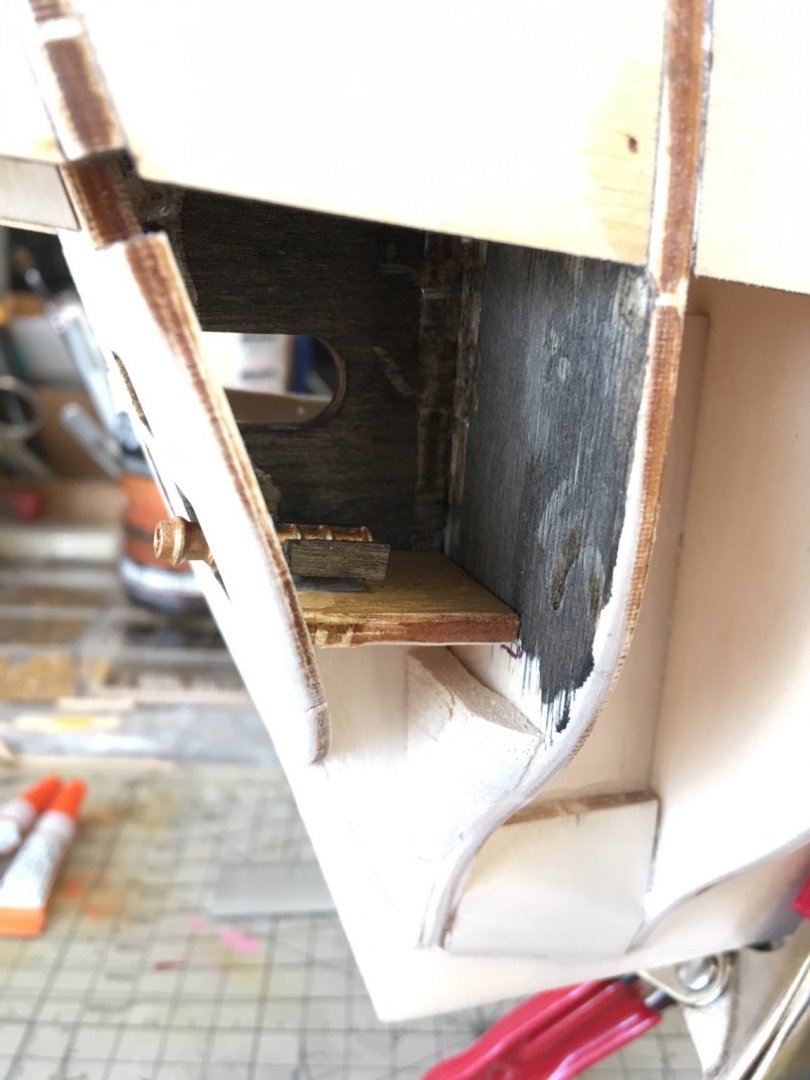
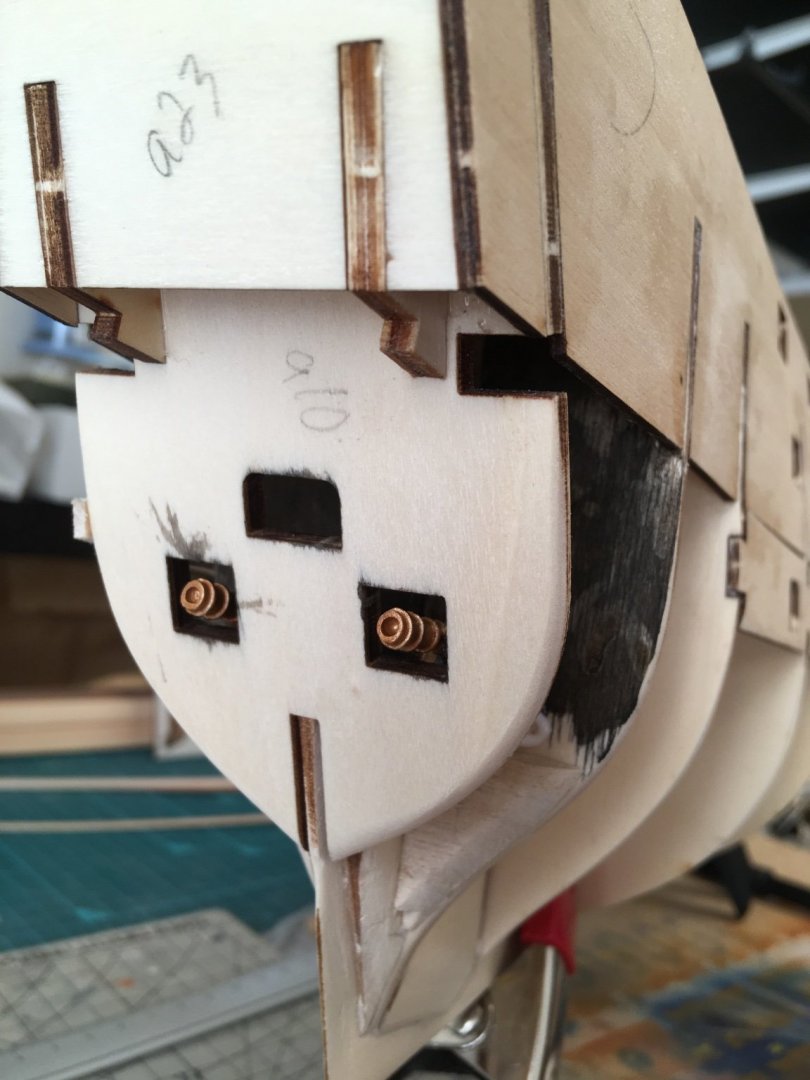
An update on progress~ Got the last piece in. Planking all the gunwales in sapelli. Easy enough. Faired bulkheads, and added a few filler blocks. These photos show the work in progress. Can’t tell if I did a good job or not but the little spruce plank I used as a guinea pig seemed to fit well enough. And fitted the first plank, bending with a mantua crimper Started dissecting the head “grating” for modification. Thought of a good use for those oversized swivel guns: Too much glue, but that part won’t be visible and I didn’t want it ever coming loose. Just used scraps. Walnut stain on interior to keep it dark. Gonna have to plank around it but should be fudgable. Now she has stern chasers! Next up: planking fun. Meriadoc
-
Cirdan, thank you for this information. Very interesting to see what contemporary sources we do have for this ship. I've got some thinking to do about the decorations, but I'll have some time before I have to make any decisions as I learn how to plank. You have a most appropriate username, I must say. I like to put on Tolkien audiobooks while I work. That or Bob Ross.
-
Ab, thank you for sharing the plans you made! I've never scratch built a ship too large to fit inside a bottle, but I think your fish-hooker tutorial explains the process well enough. I imagine you had to reconstruct most of the details apart from overall dimensions from guesswork. I am not much of a perfectionist when it comes to inherently obscure subjects, so I'll probably seek to make it look pleasing and believable enough, and be happy with it. In any case, learning to scratch build from card will be quite valuable for cost effectiveness and the freedom to choose my scale. Where could a person go to learn more about this type of ship, like when and how it was used? Are there any images of them under sail? Google doesn't seem to be much help on the matter. Sorry if I'm asking too many questions! Meriadoc
-
Ab, thank you for your reply. Both of these designs you showed are quite intriguing and illustrate that "wad-konvooier" refers to a role rather than a well-defined type. I imagine the differences in style may be due to varying local preferences, affordable hull availability, or even different time periods (for all I know!). I quite like the one on the right, similar to a statenjacht with the elegant prow curving up from the waterline; that's the one I'd like to build, or try to build (I haven't worked with card yet). Did you build this one from plans or recreate it from contemporary artwork? Appreciate you sharing your expertise on these things. Meriadoc
-
Hello Ab, I'm a big fan of your models and the digital composite paintings your son creates with them. I like this view of your shipyard. In particular, I was intrigued by the "wad-konvooier" on the right. It seems to be a relatively obscure type. Are there plans available for this craft anywhere? I I was thinking about trying your card method to build it. I'd love to learn more about it! Meriadoc
-
Kirill4, thanks for all the resources! I'll have to dig into them a bit. I'm not going for hyper historical accuracy but I would like to make it look appropriate where possible. The garlands around the lower topmasts sound like an interesting detail.. Under the waterline, for example, I want to leave the wood grain but I do want to delineate it somehow. Perhaps I could airbrush a thin off-white stripe? I think they must have used whatever cheap scrap wood they had on hand to plank the deck, perhaps planks that they found unsuitable for the hull planking. Unlike the sides it doesn't have to be symmetrical or pretty, just flat. Interesting fact!
-
How's the Fly coming along? I hope all's well. I started my build log if you want to check it out: https://modelshipworld.com/topic/27416-revenge-by-meriadoc-brandybuck-occre-185/?tab=comments#comment-789768 It's going well but I'm kind of hoping for some advice, suggestions, or thoughts.
- 59 replies
-
- Fly
- Victory Models
-
(and 1 more)
Tagged with:
About us
Modelshipworld - Advancing Ship Modeling through Research
SSL Secured
Your security is important for us so this Website is SSL-Secured
NRG Mailing Address
Nautical Research Guild
237 South Lincoln Street
Westmont IL, 60559-1917
Model Ship World ® and the MSW logo are Registered Trademarks, and belong to the Nautical Research Guild (United States Patent and Trademark Office: No. 6,929,264 & No. 6,929,274, registered Dec. 20, 2022)
Helpful Links
About the NRG
If you enjoy building ship models that are historically accurate as well as beautiful, then The Nautical Research Guild (NRG) is just right for you.
The Guild is a non-profit educational organization whose mission is to “Advance Ship Modeling Through Research”. We provide support to our members in their efforts to raise the quality of their model ships.
The Nautical Research Guild has published our world-renowned quarterly magazine, The Nautical Research Journal, since 1955. The pages of the Journal are full of articles by accomplished ship modelers who show you how they create those exquisite details on their models, and by maritime historians who show you the correct details to build. The Journal is available in both print and digital editions. Go to the NRG web site (www.thenrg.org) to download a complimentary digital copy of the Journal. The NRG also publishes plan sets, books and compilations of back issues of the Journal and the former Ships in Scale and Model Ship Builder magazines.


