


ERS Rich
-
Posts
689 -
Joined
-
Last visited
Content Type
Profiles
Forums
Gallery
Events
Posts posted by ERS Rich
-
-
Tape: Tamiya
Sealer: Shellac, Rattle Can, or brush
Stain: Oil Base, Brudh
Paint: Vallejo - Airbrush
- Canute and thibaultron
-
 2
2
-
Amplifying what some others have said, start the project and see what you need.
And consider the tasks to produce the materials.
Are you going to make your strip wood or buy it? Over time there is the buying expense, and will you be able to buy what you need? If you make it, you will need to safely cut thin strips of wood. A machine is an option. Hand tools are available but time consuming. Lie Nielson makes a strip thickness tool.
Likewise with holes. How will you drill hundreds of small holes? Hand tools are available. Or Foredom makes precision hand pieces and a drill press - make a jig and you’re on your way.
I’d go cheap, only buy what you need, you may get tired of it, or something in your life may change.
Beware of buying sets, or packages with accessories that may rarely or never used.
Good luck!
-
Also, file a small flat area around each hole, I like to add a small dab of glue. Helps minimize damage later, after knocking the yard while doing the rigging.
-
-
Good morning! Welcome, happy to have you aboard. Good luck with your projects.
-Rich
- Keith Black and mtaylor
-
2
-
On 5/7/2025 at 4:57 PM, Unegawahya said:
But Thomas, how the heck did you get such a great fit between grating and rail 2? Kudos!
Hi,
To get a tight fit, look up on the web the concept of scribing. Carpenters scribe to get a perfect fit between two pieces of wood, for example cabinet trim and a wall.
-
Your rails have a great shape.
-
My preference is rails, then supports
-
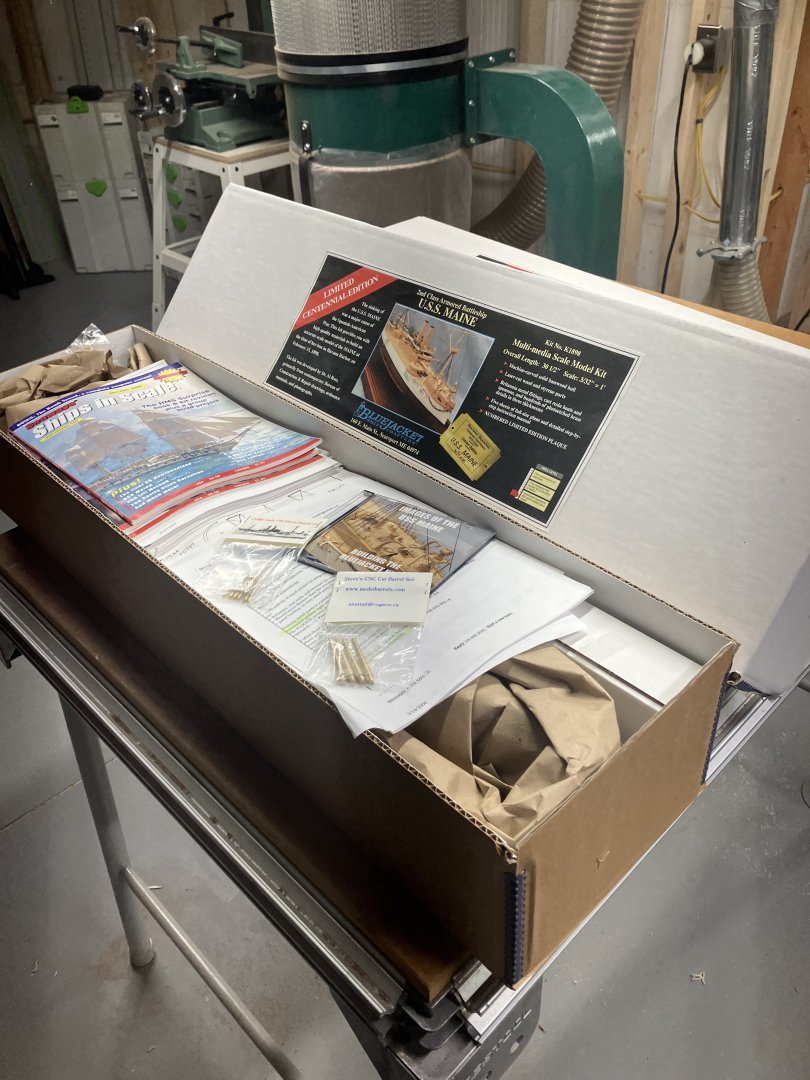
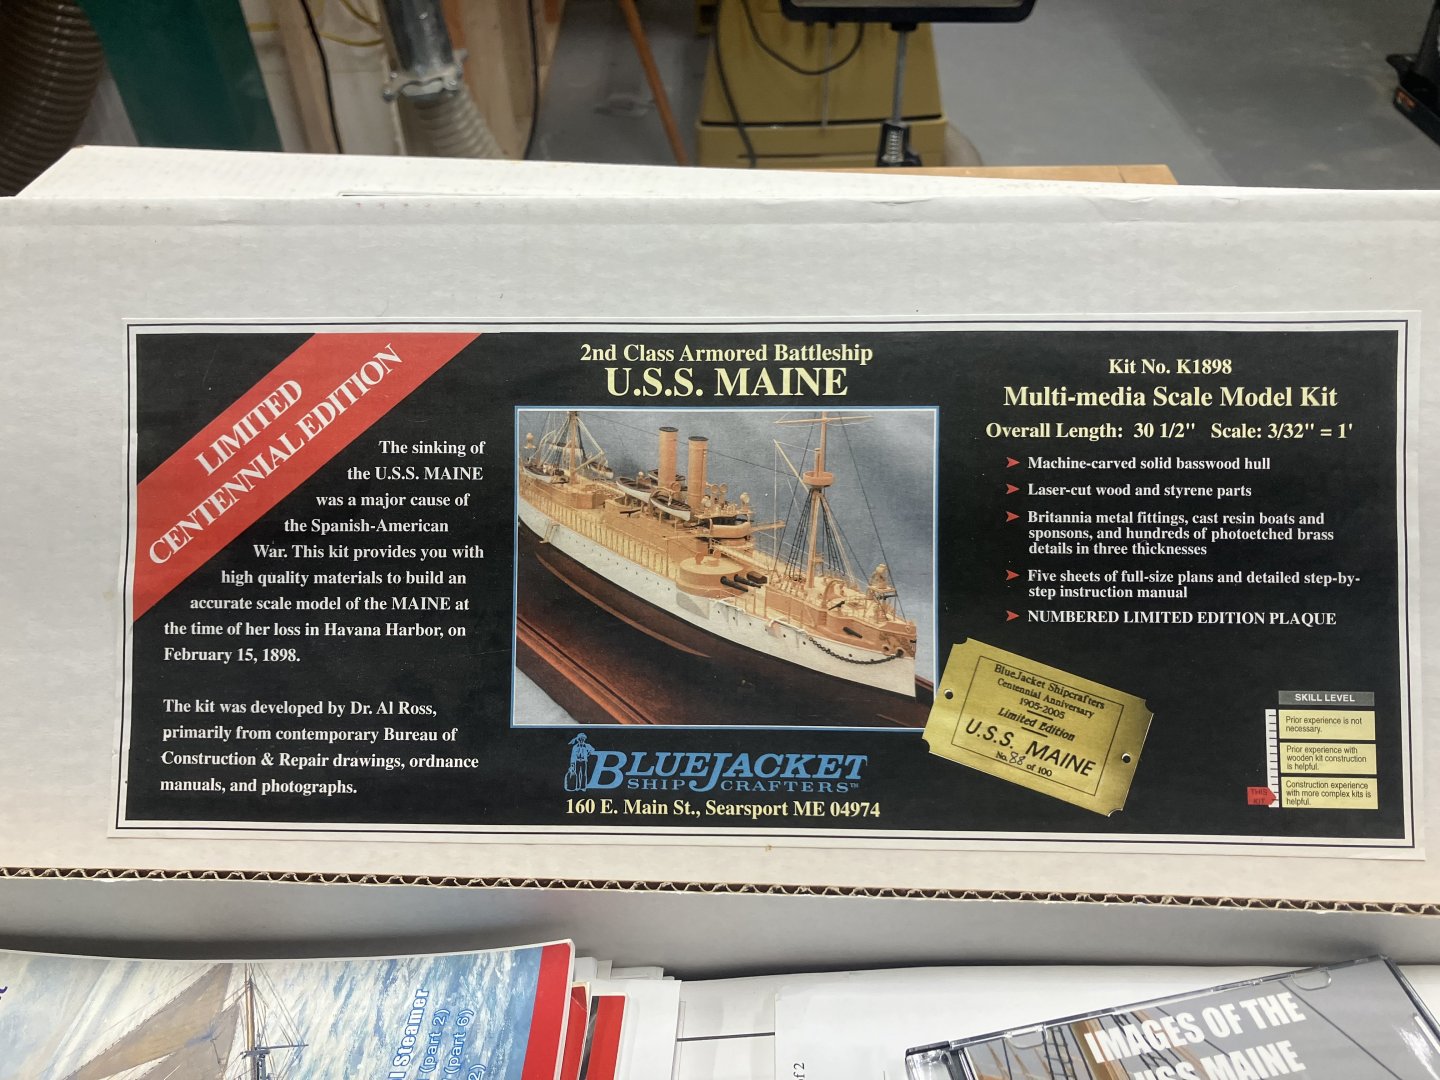
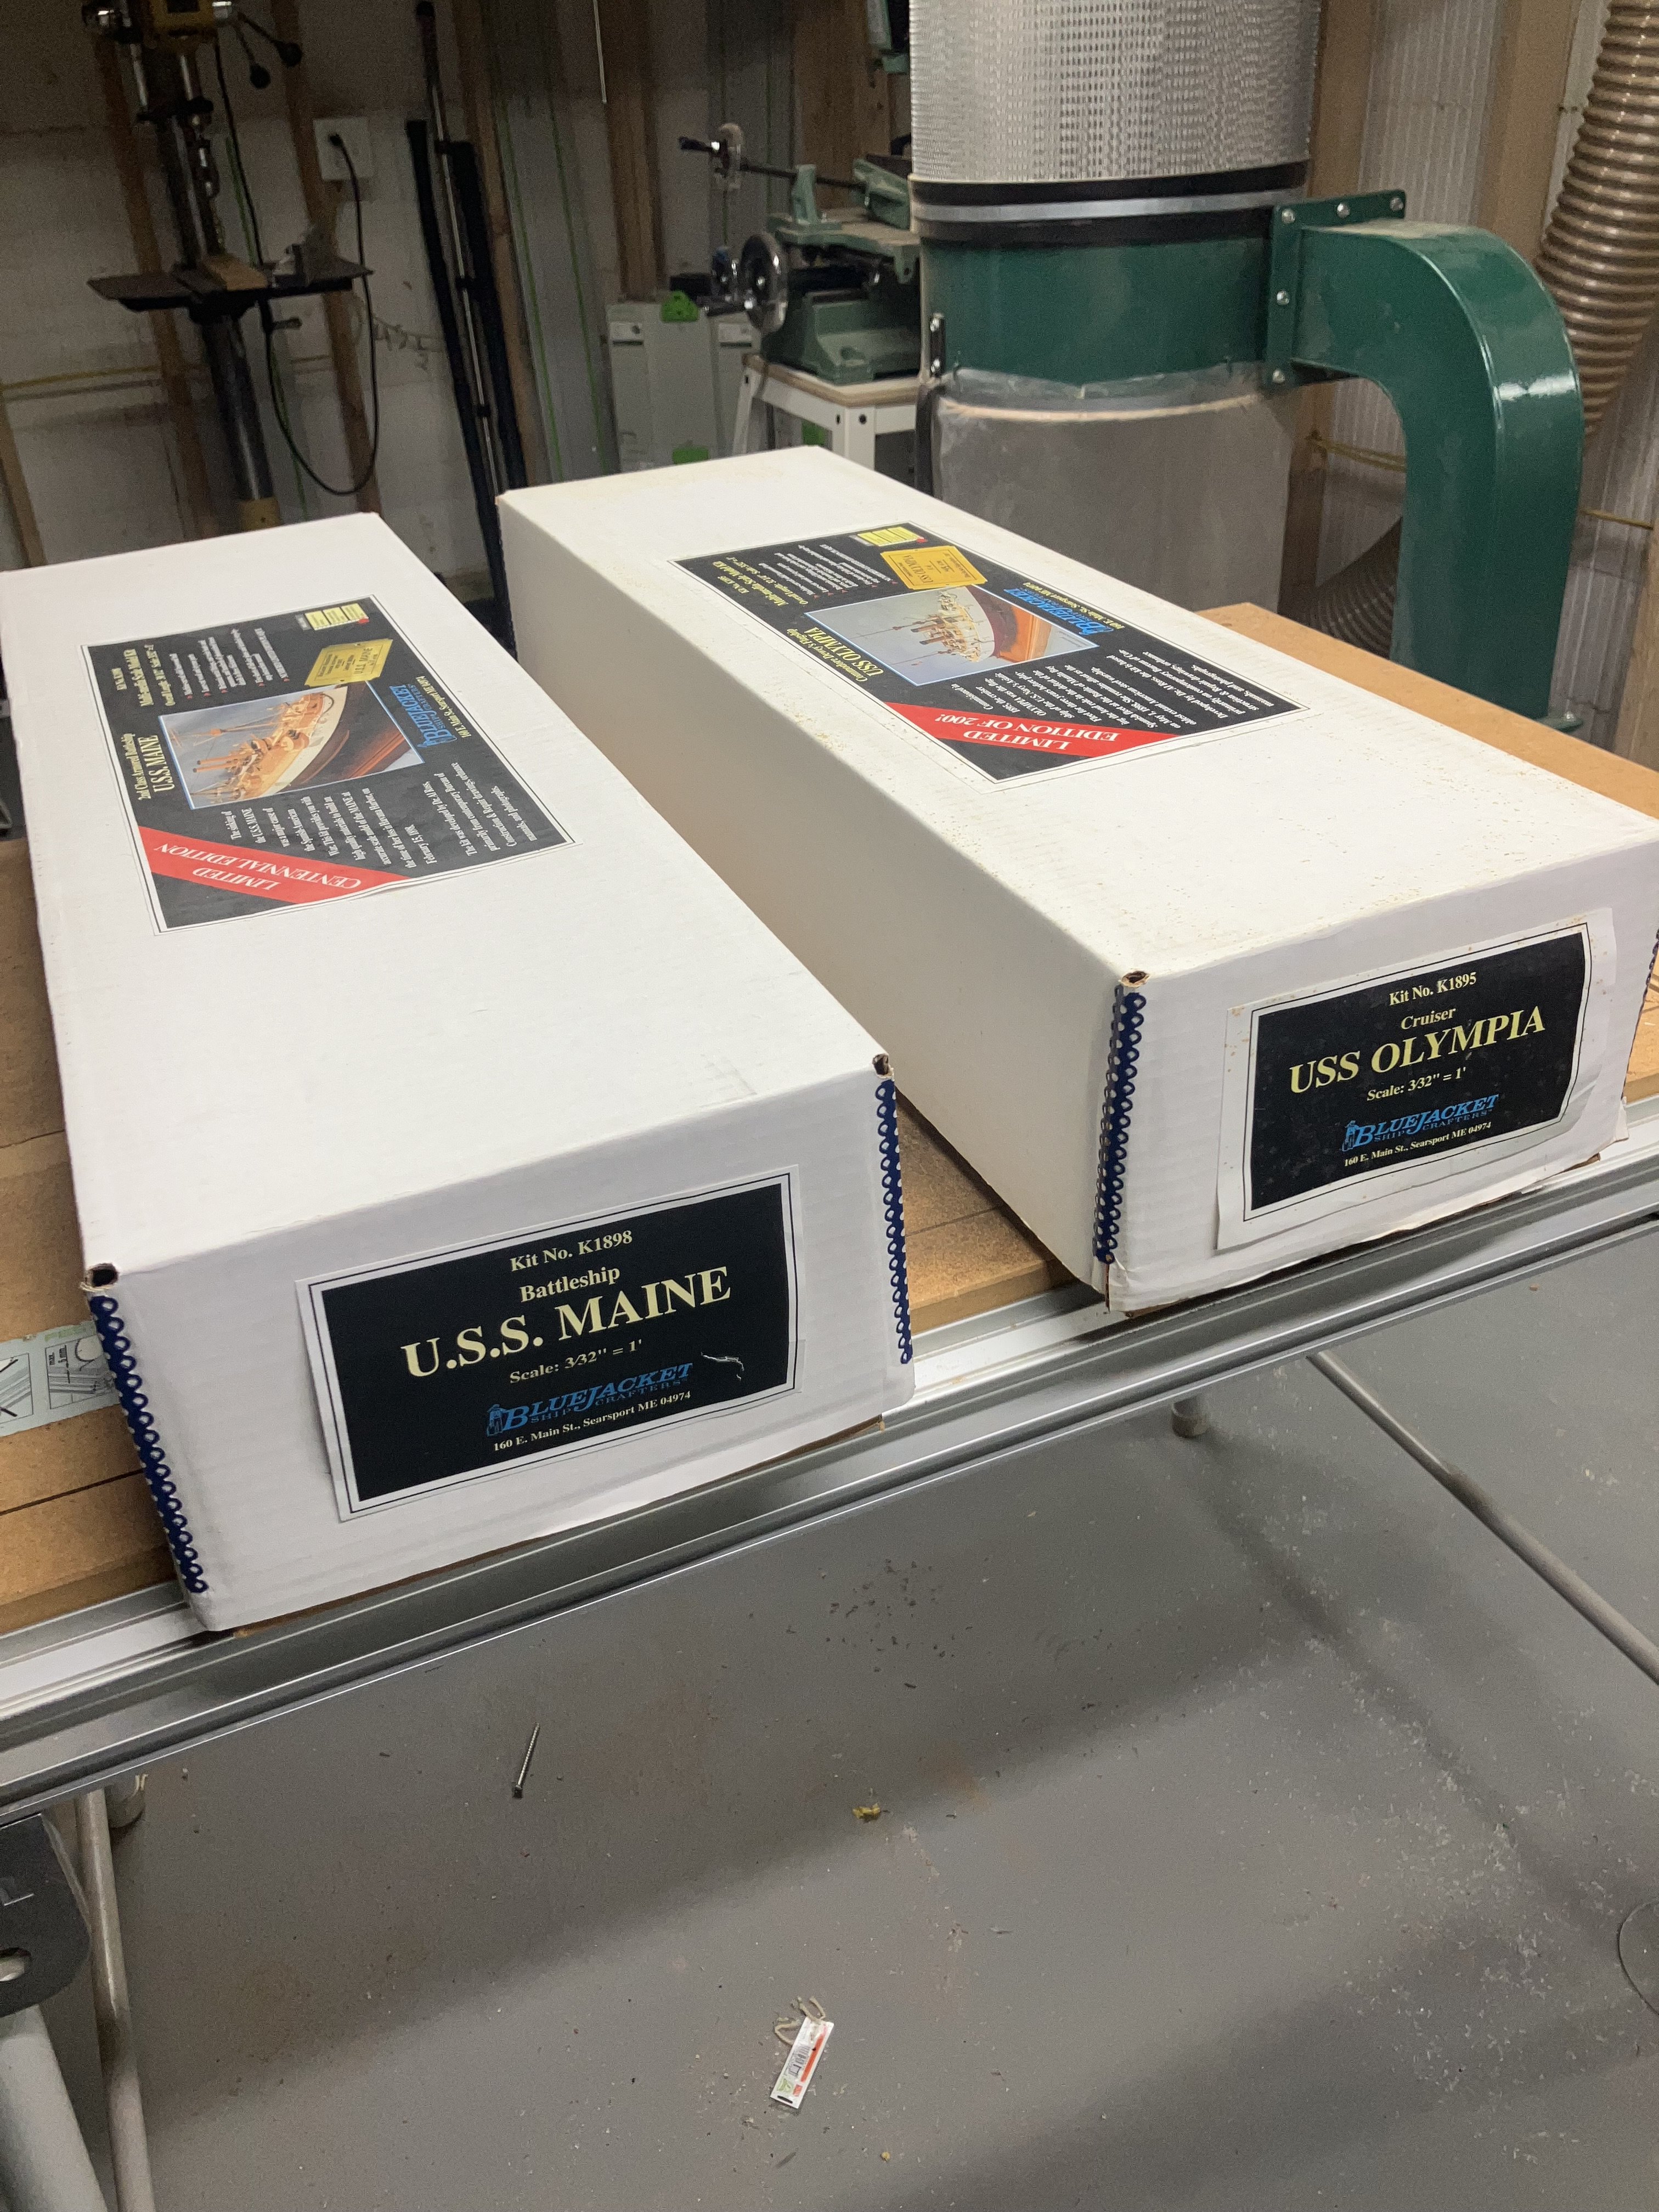
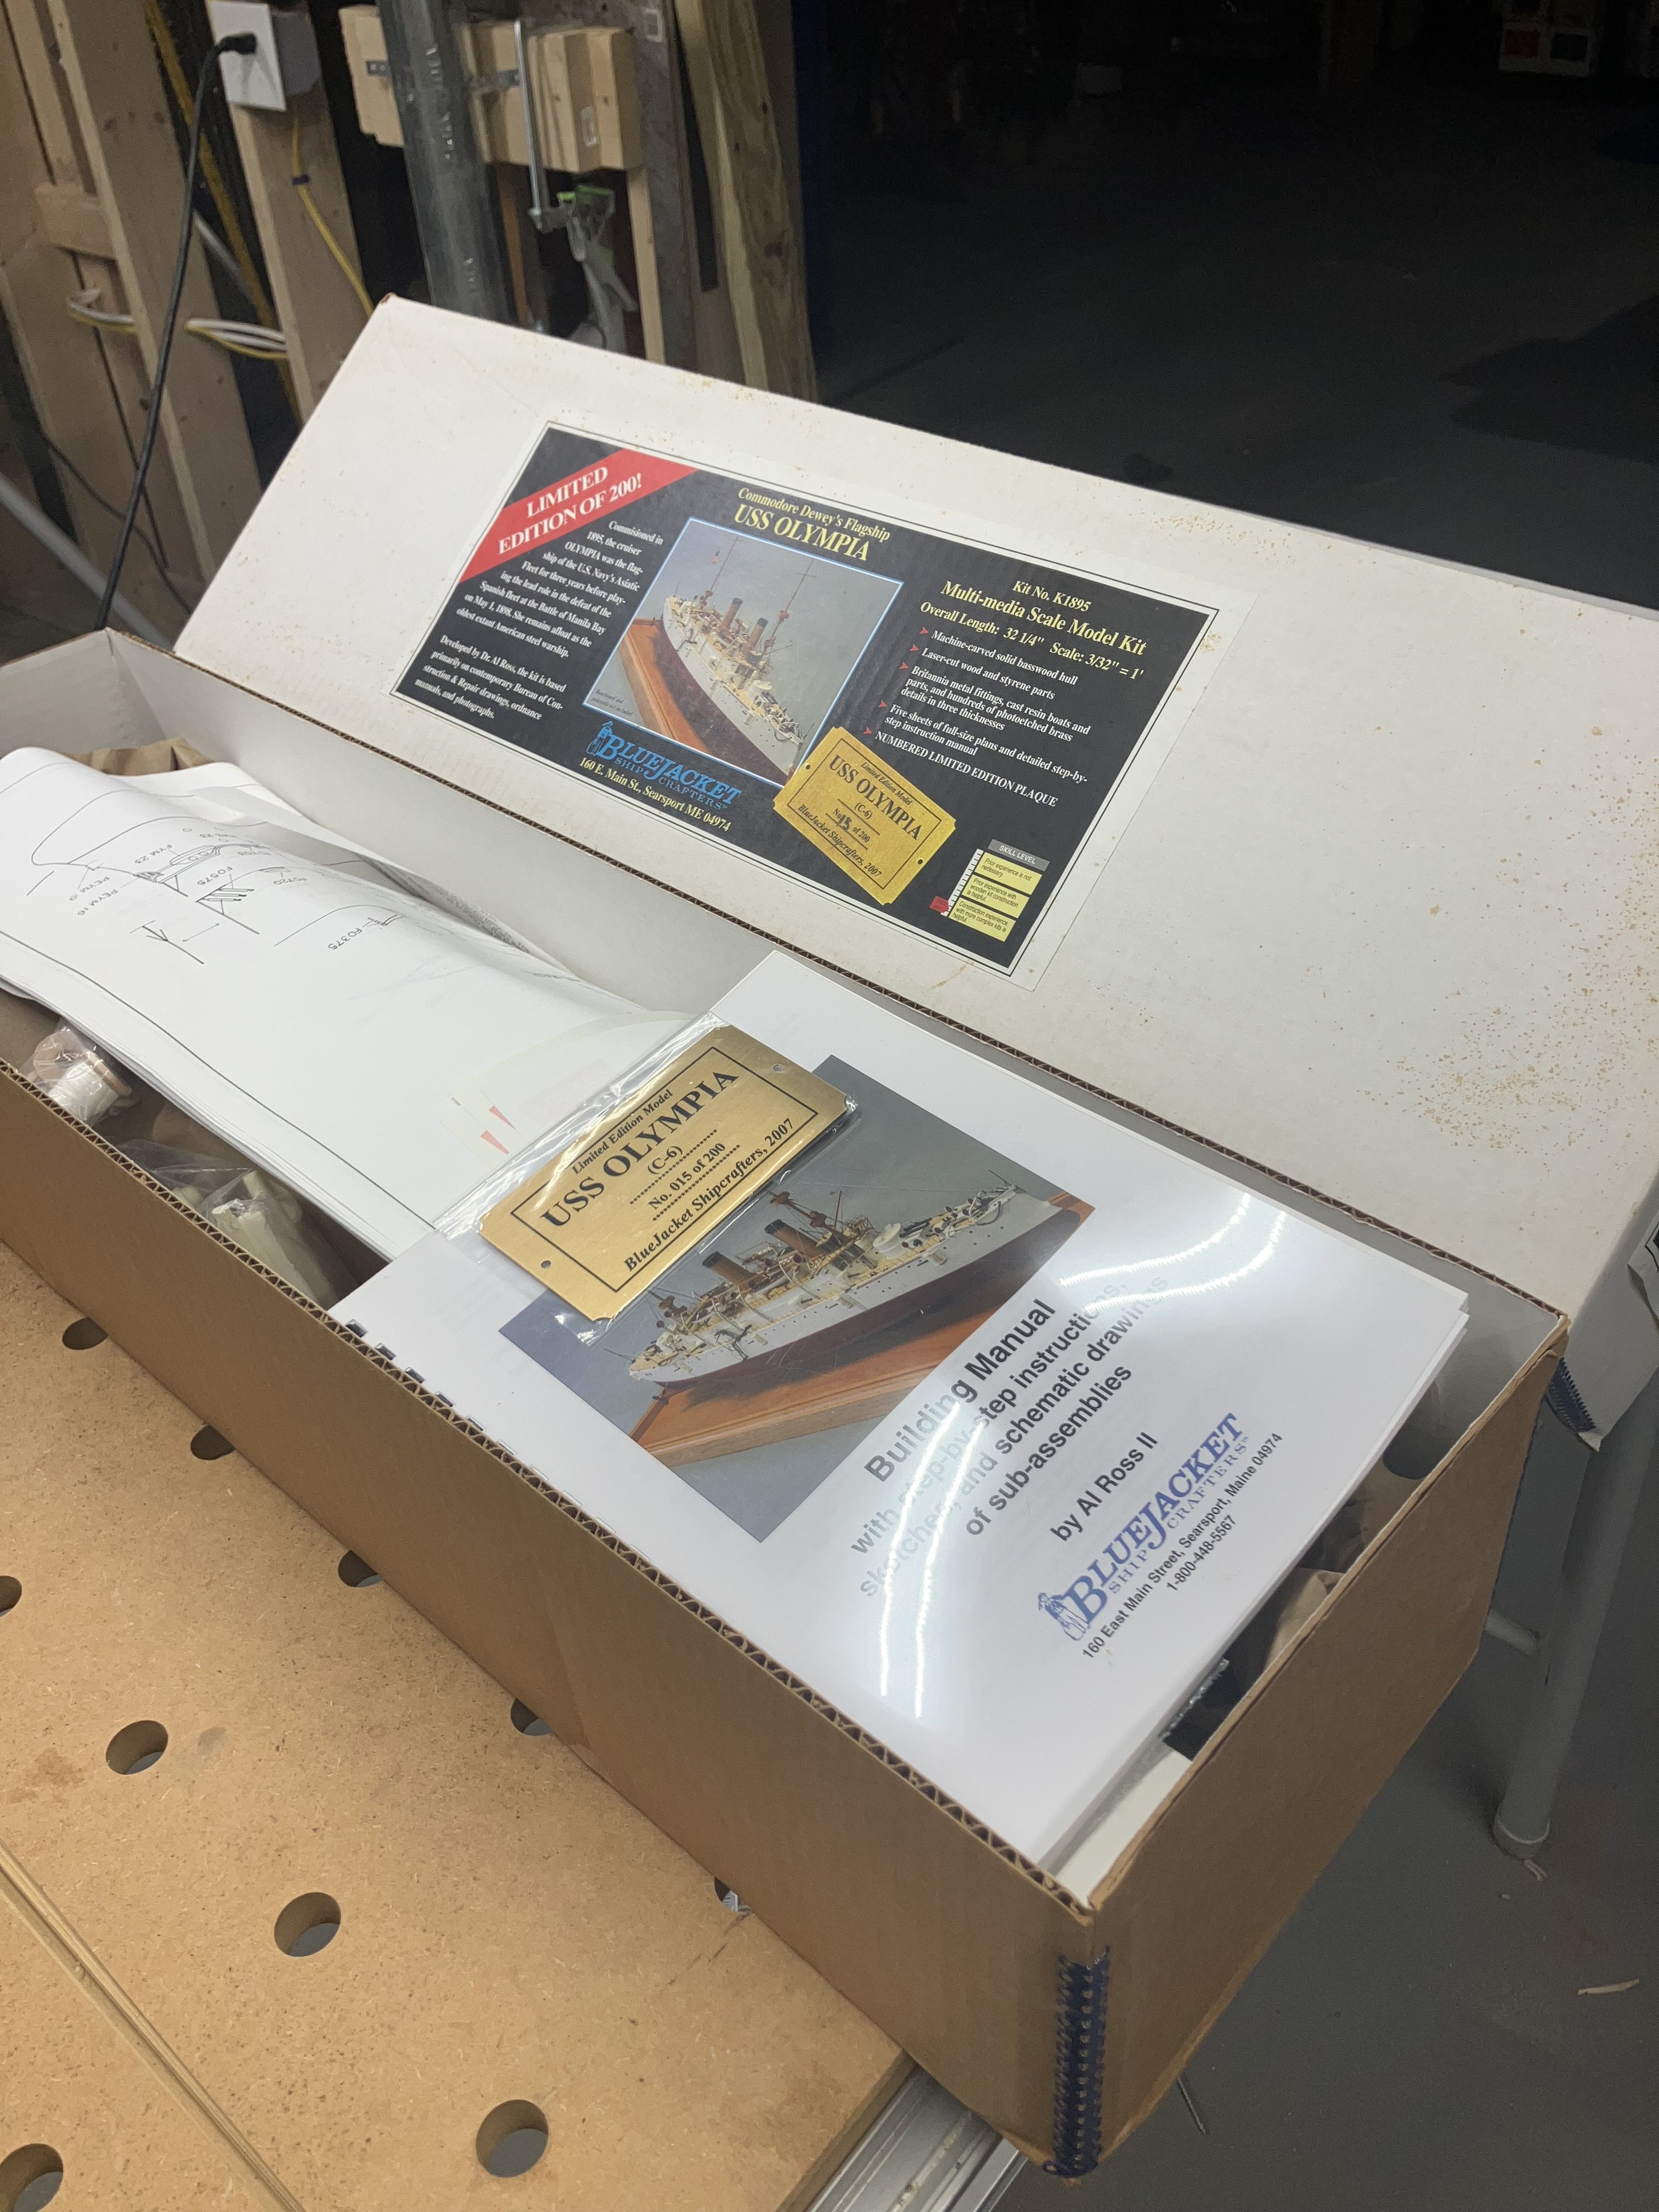
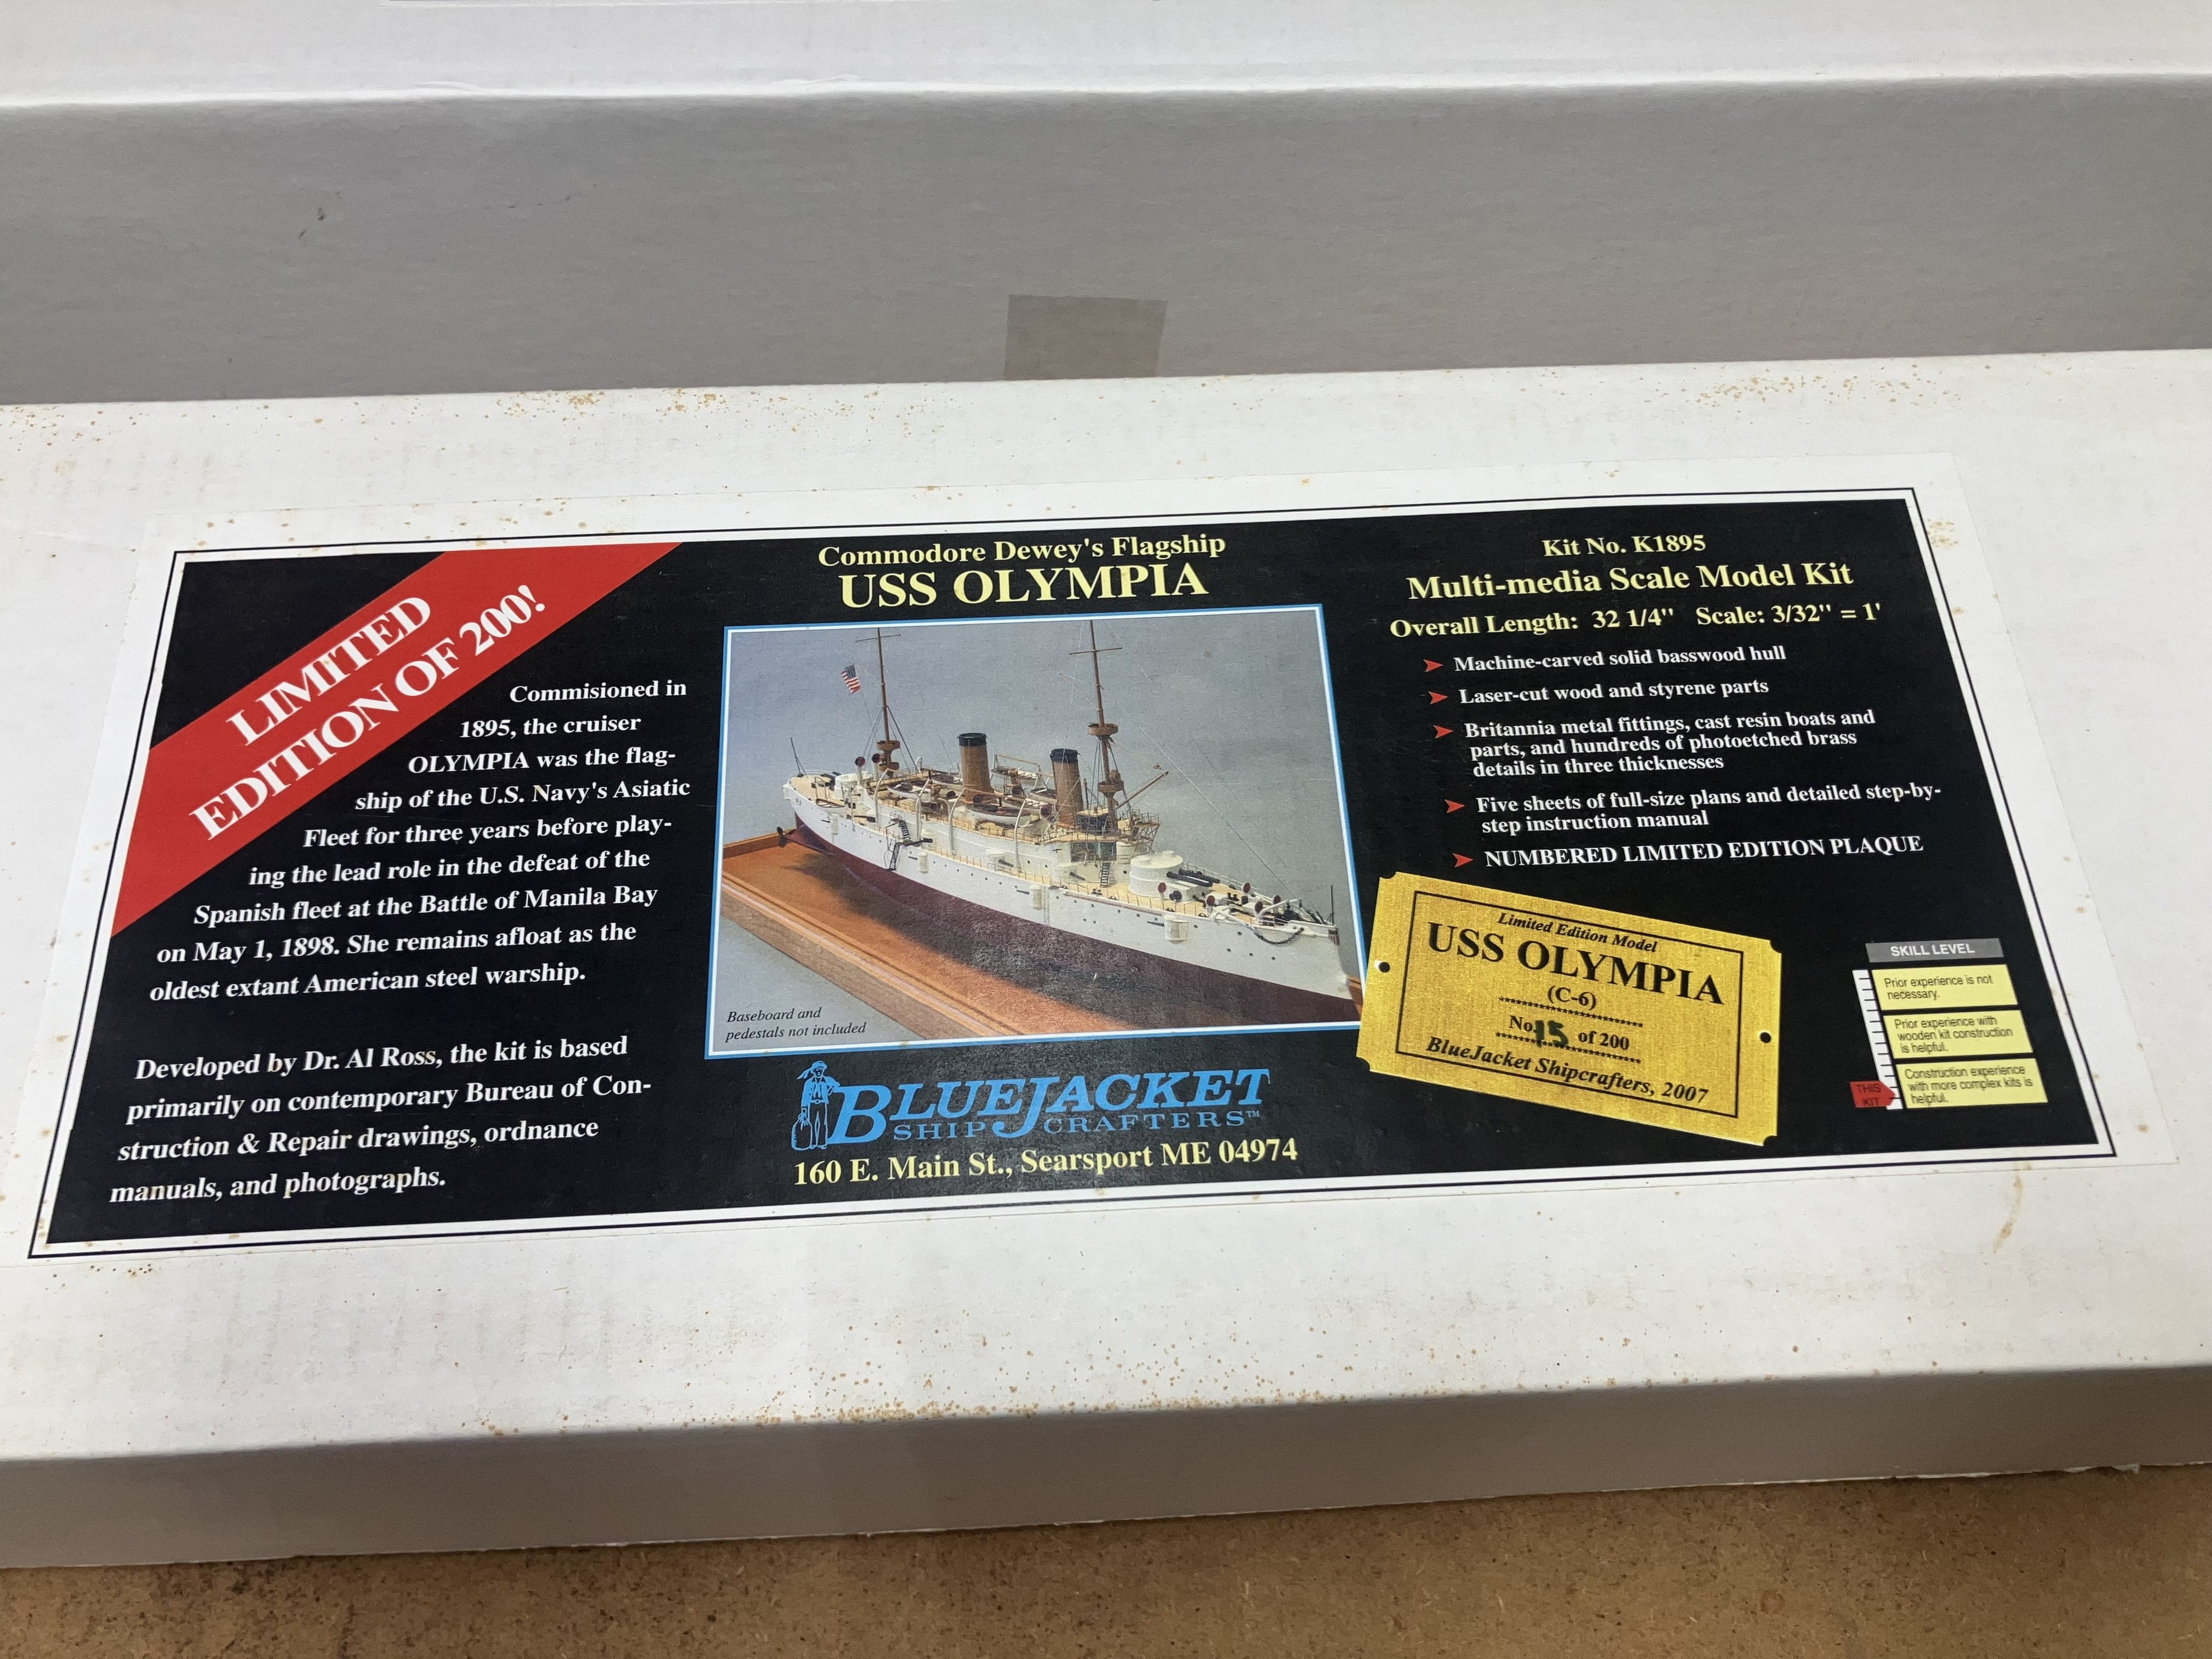
Rare! For Sale: Bluejacket USS Maine and USS Olympia.Offered here first, so act now to own one of these rare museum quality beauties.Cash and Carry. You must pickup the kits at my home in Whitinsville, Ma.These are limited edition numbered kits: Maine 88 of 100, Olympia 15 of 200.Kits are in original boxes - with some shelf wear. They have never been “unboxed” and parts are in original wrapping.USS Maine extra features: photo CD, many issues of Ships in Scale with articles about the Maine, turned brass gun barrels, and many pages from the original build forum.Features:large solid hull, multimedia components: wood, brass, resin, Britannia, plans, illustrated easy to follow instruction booklet. See my Maine build log to see how I built and cased the model.New condition, original wrapping, never unboxedBrass Nameplate with limited edition numberingPricing:These kits, which occasionally appear on the market, can sell for over $1,000.USS Olympia: $825USS Maine: $825Questions? Need more information? Please send a message.


- mtaylor, ccoyle and Ryland Craze
-
3
-
Looking good. Keep going!
-
Have fun!
- Keith Black, mtaylor and Ryland Craze
-
3
-
-
Not following, To me edge bending is force to push a plank against its neighbor.
A plank shaped perfectly, will curve and lay flat on the frame, and fit against its neighbor without gaps. If CA is used on the frames, the plank can be fixed to the frame with downward pressure and pressure towards its neighbor. Glue along the edge will adhere to the neighbor.
There is a post in my Constitution build log about planking without clamps.
Ok, say you work a plank for awhile, and it fits well, maybe a small gap between it and the neighbor plank, you could go ahead, install it, and use a clamp to close the gap. I’ve been impatient, and done this. The problem now is the just installed plank now has a curve, instead of a smooth line, along the free edge.
Best to leave the gap and fill it in, or make a new plank.
-
Hi,
Your hull looks nice.
A couple of thoughts.
Steam, from an electric kettle, can be used to quickly bend dry planks.
A lot of edge bending? Check plank widths and tapering. Planks are happiest when they just need to bend to lay on the frame, without being force pushed into its neighbor.
Good luck
-Rich
-
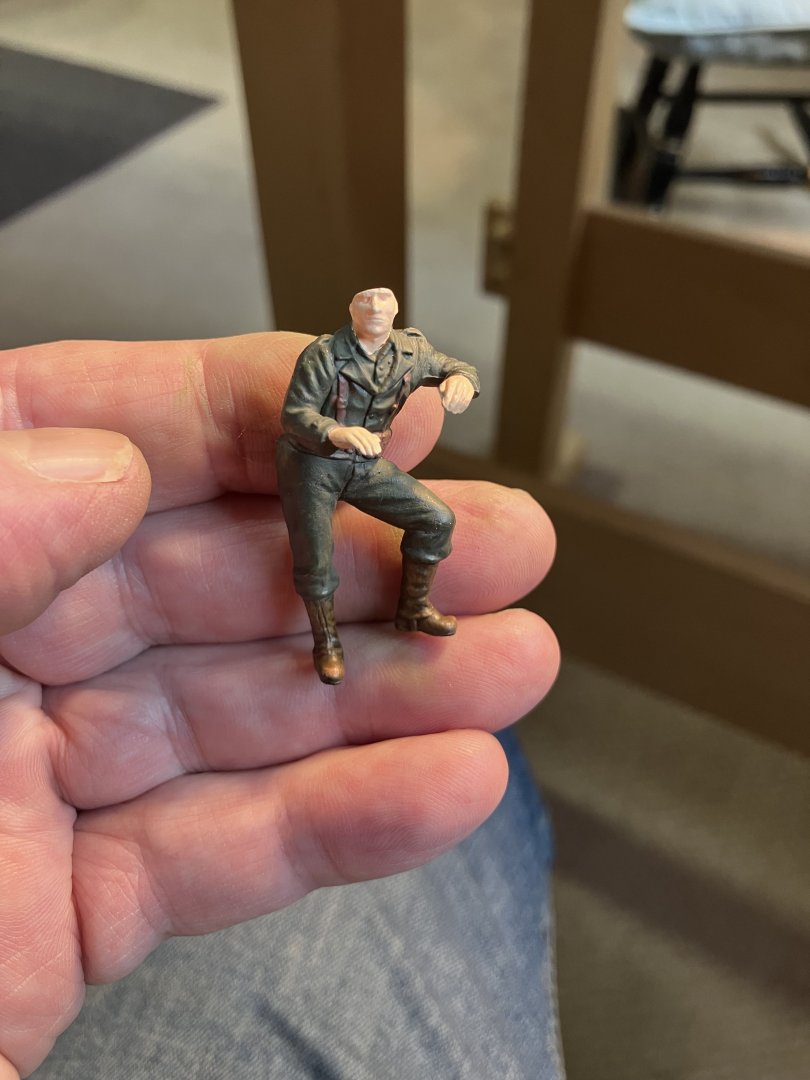
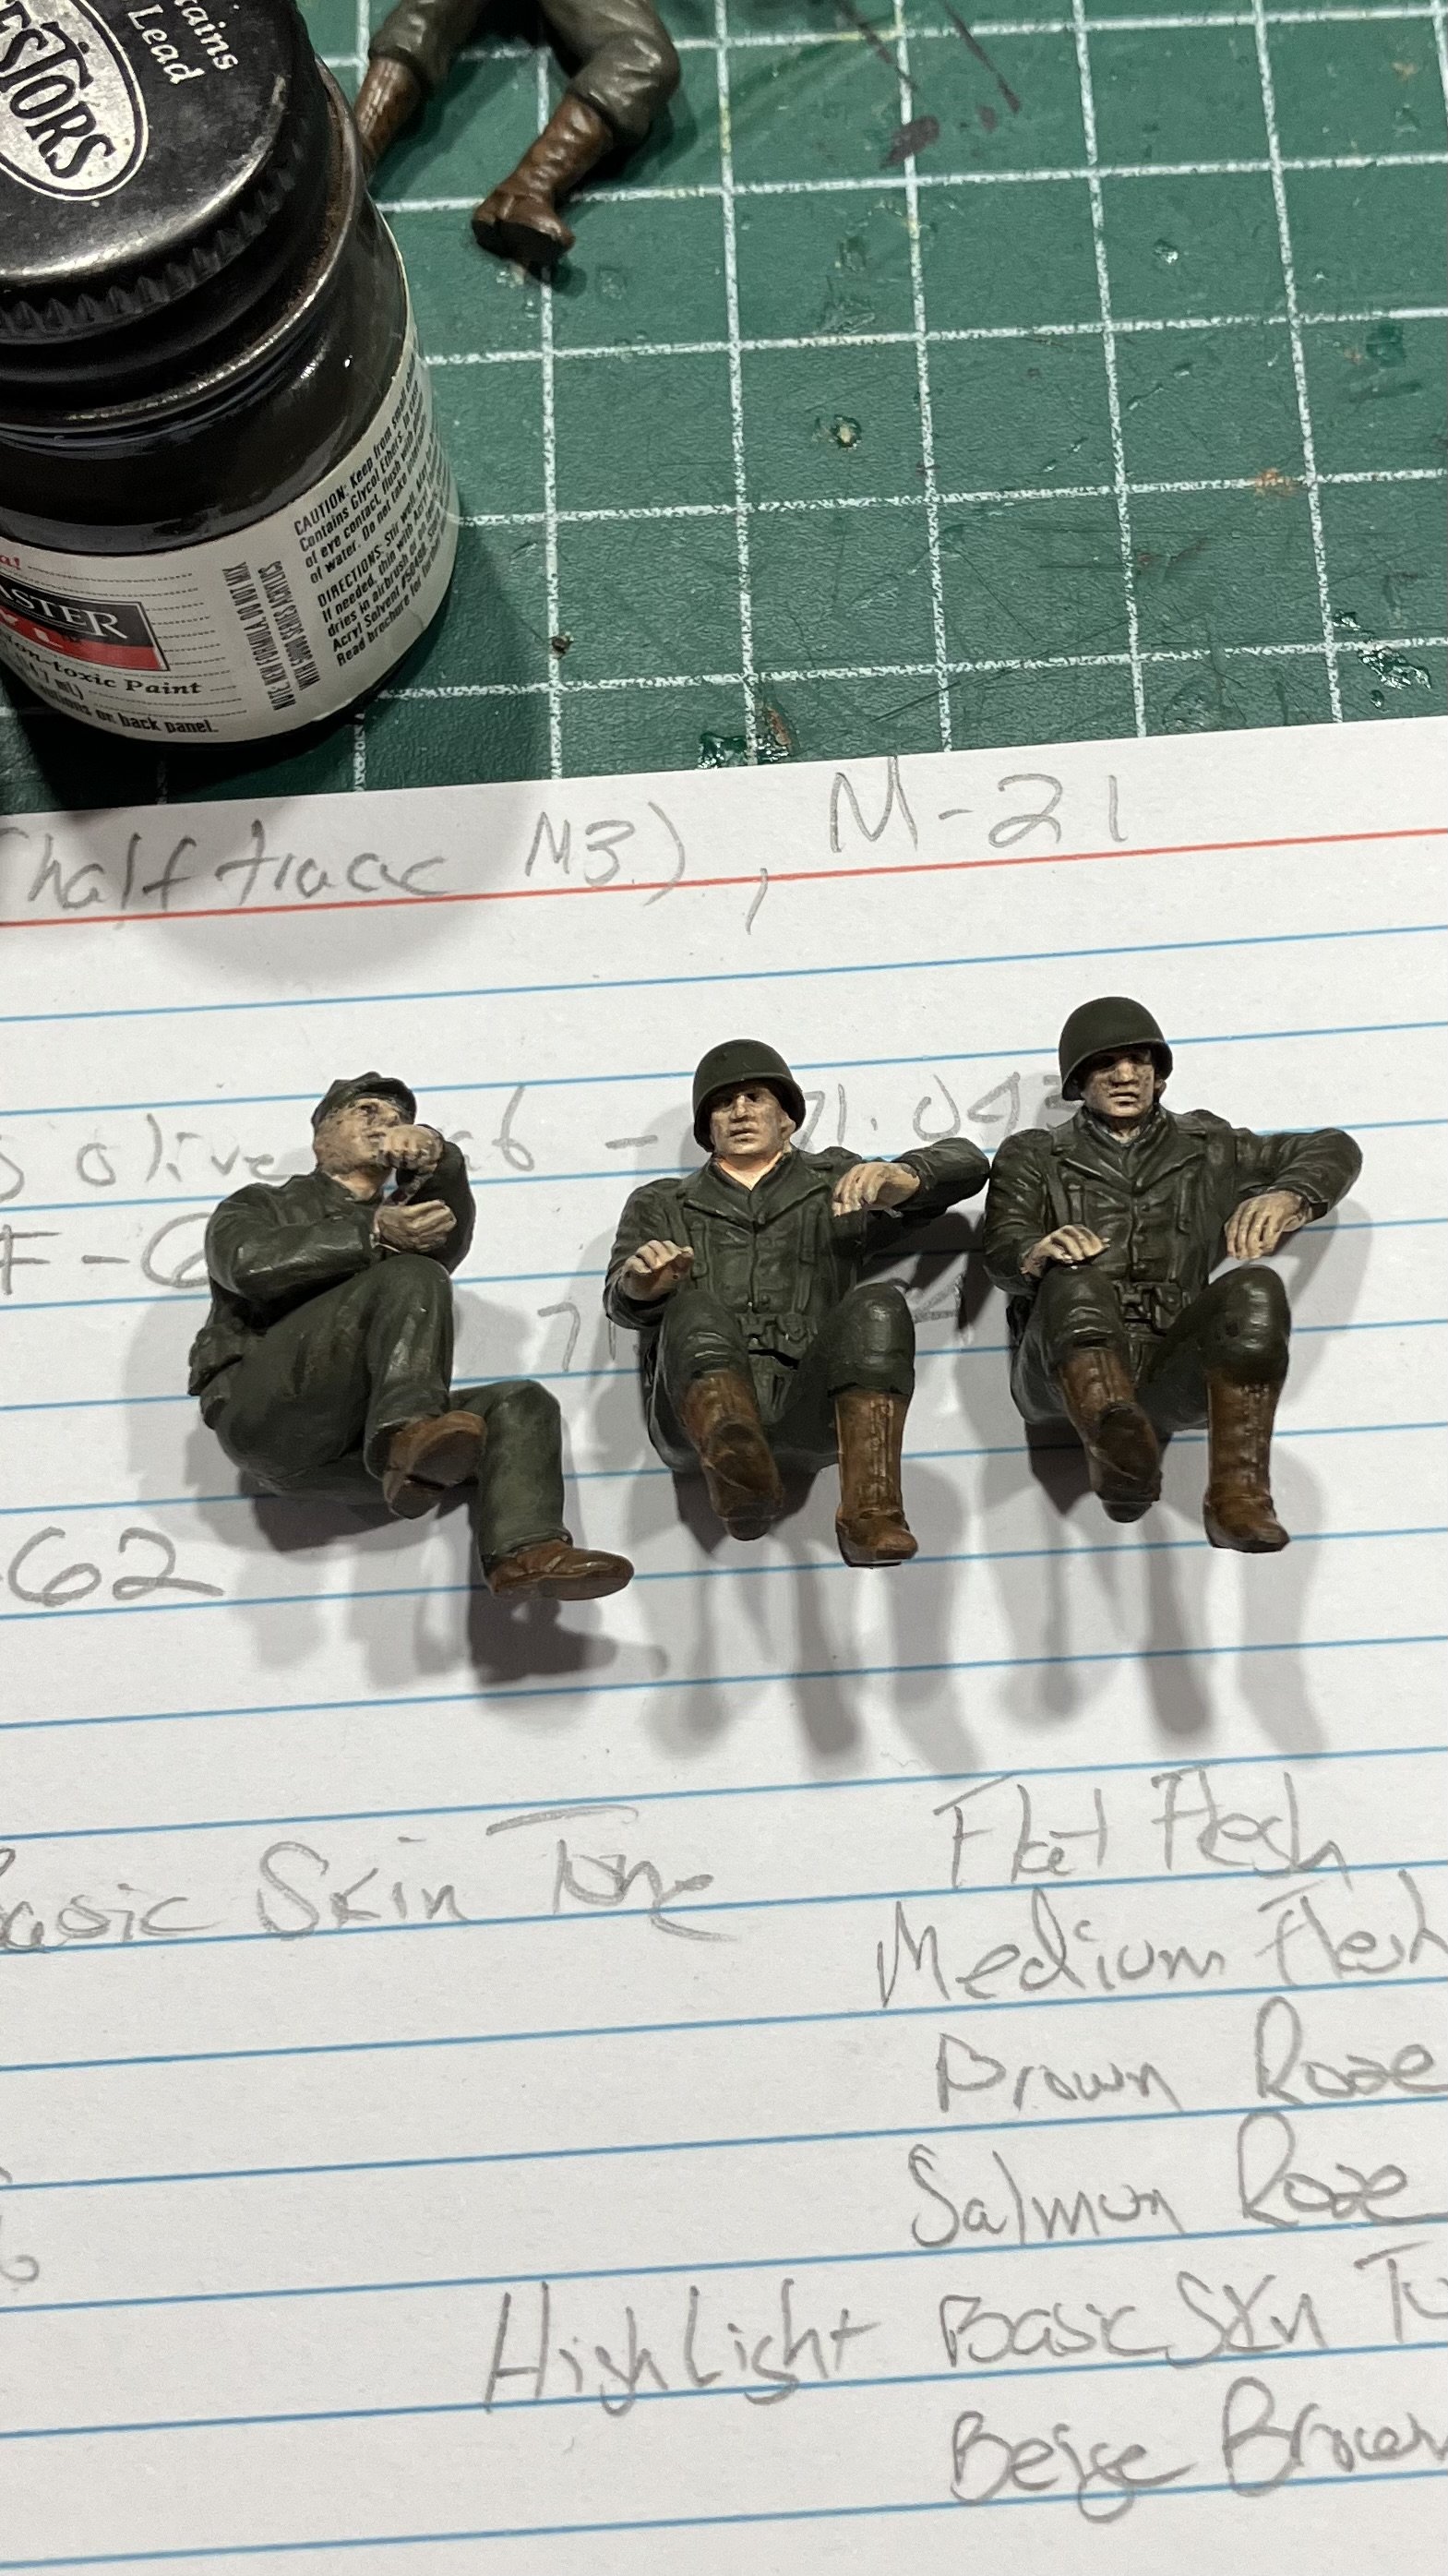
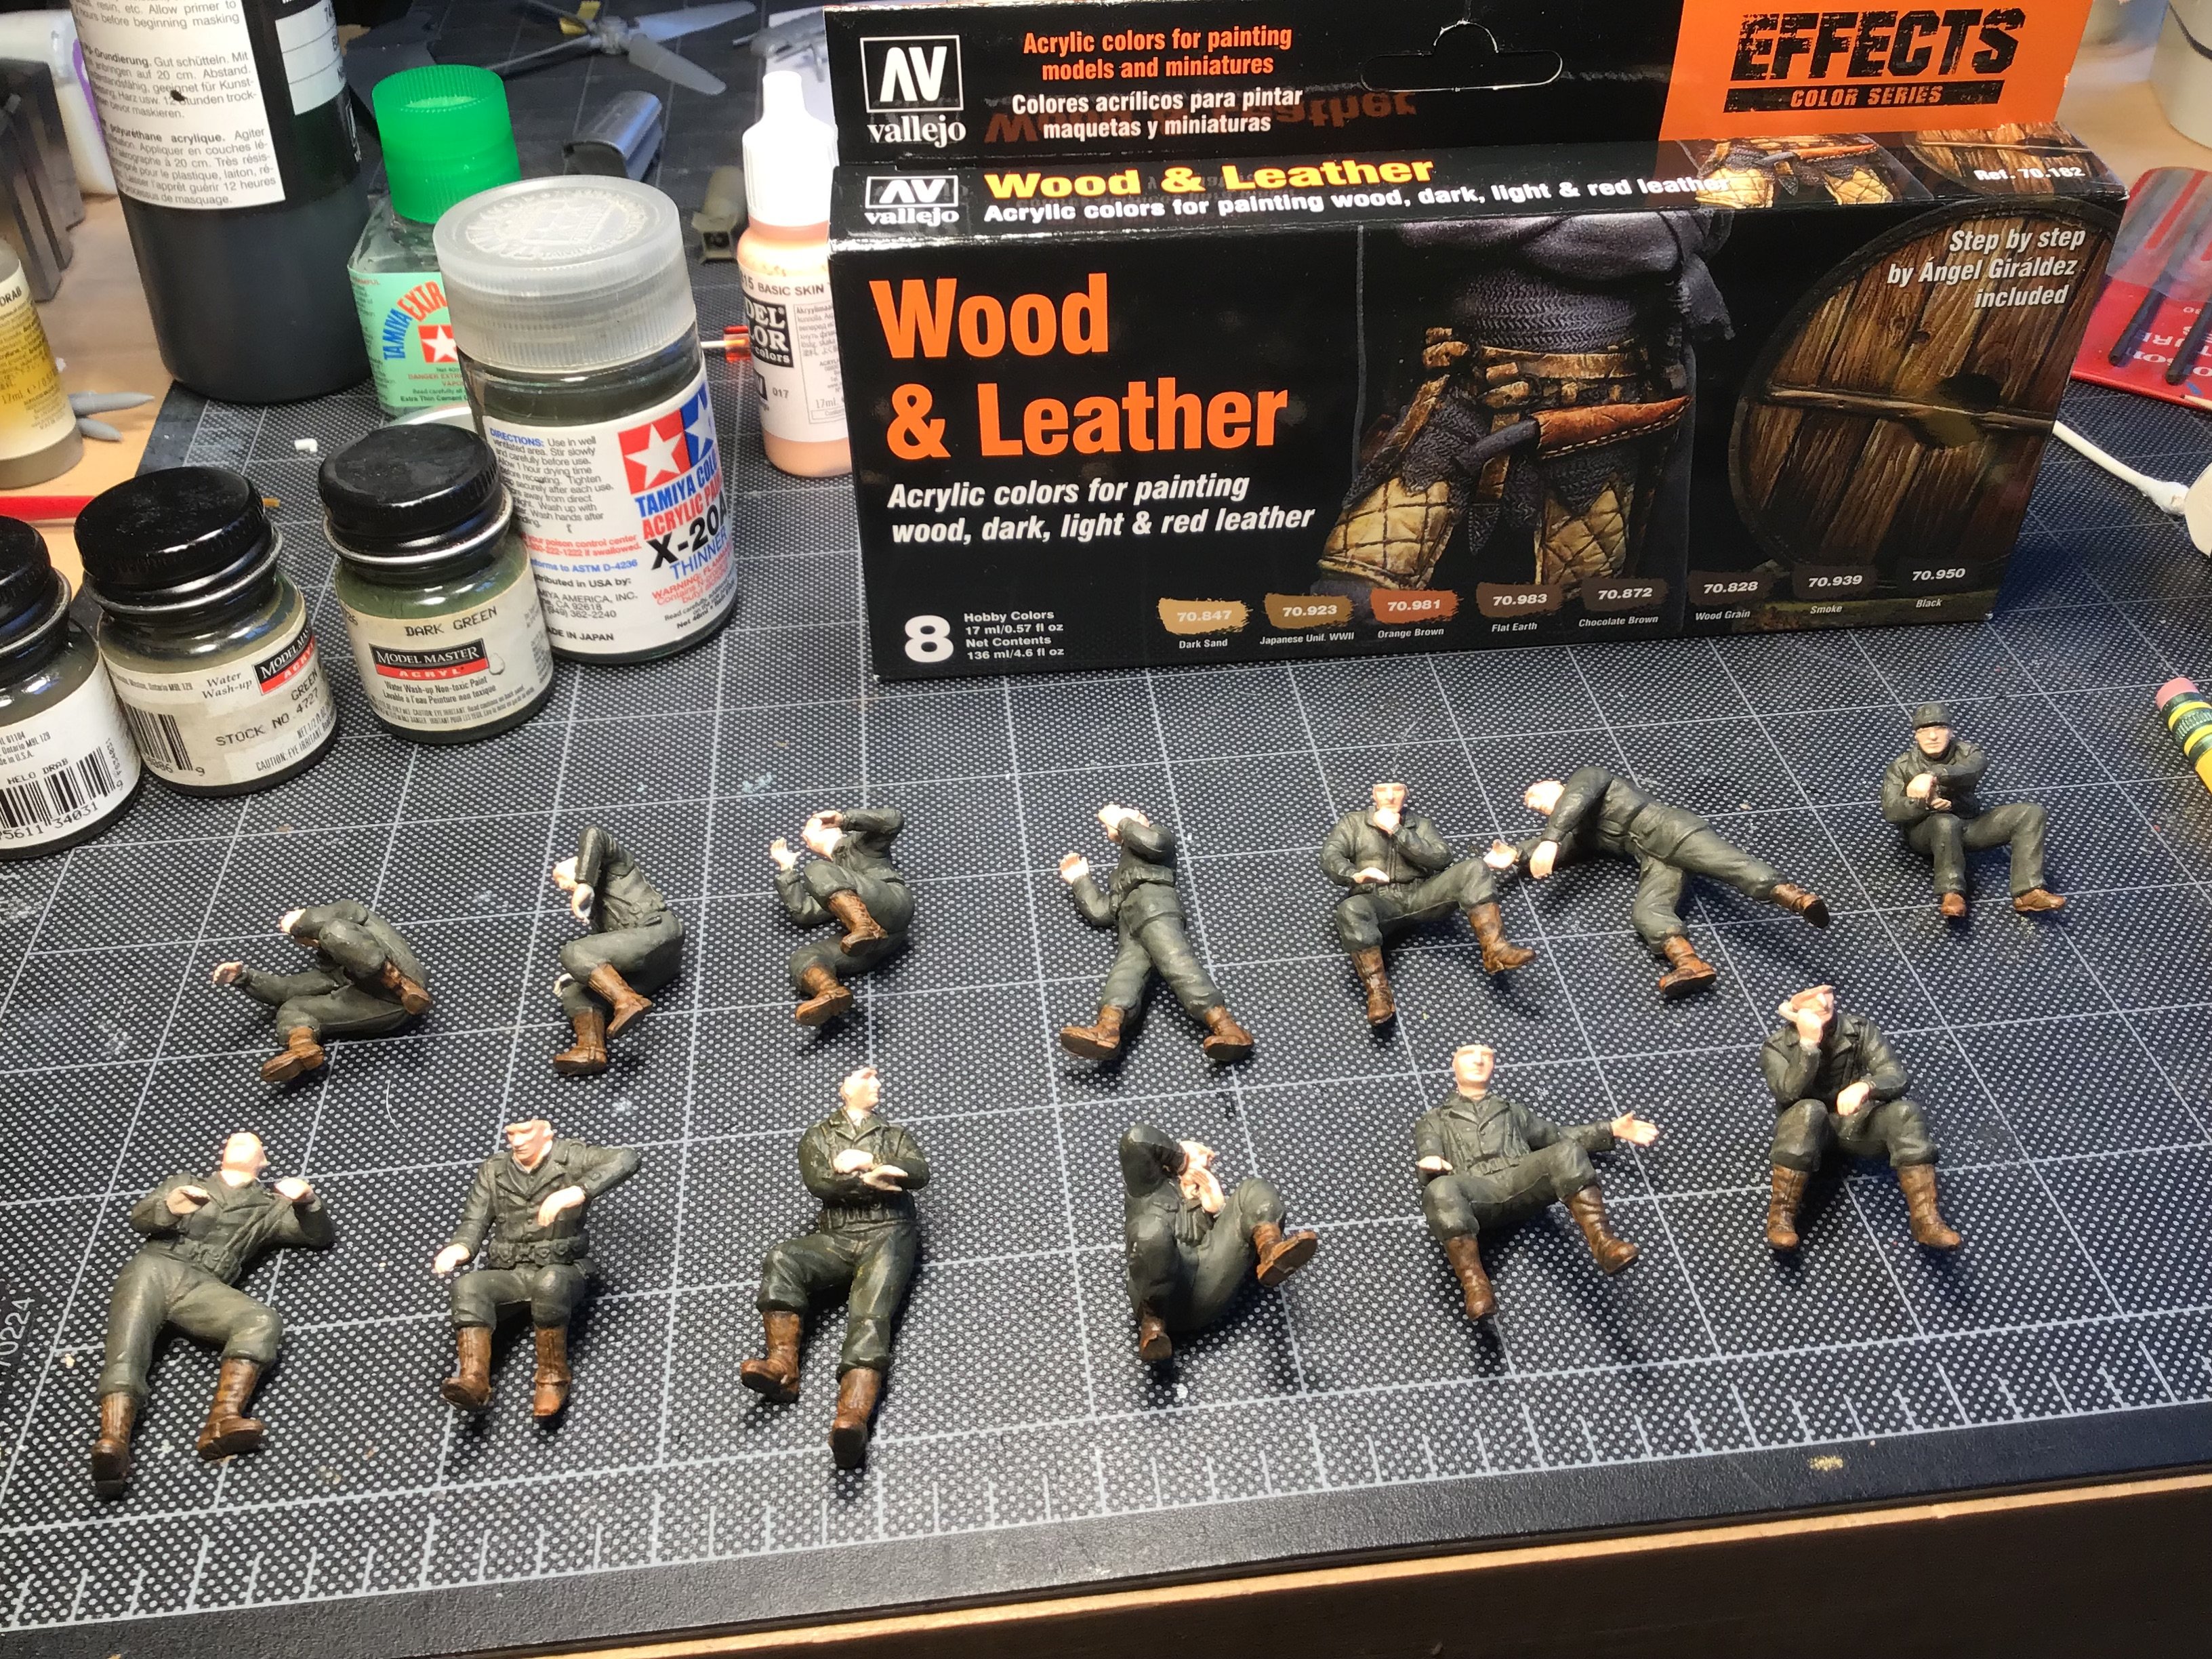
Here are some faces. They look half decent from a foot away, not happy with the outcome and the method: airbrush base color, brush on Vallejo Matte Resin, black wash, remove with Q-Tip, Toothpick (wood and flexible).
I tried airbrushing Model Color and it clumped on some of the faces. And the black wash was to dark, to me the faces look like guys who are grimy auto mechanics. Next time will try a brown wash.
And the resin prevents adding shading color.
On the plus side, built up the acrylic brushing skills - a touch of thinner before loading the brush with color helps.
The men are going into the box, not worth the time.

-
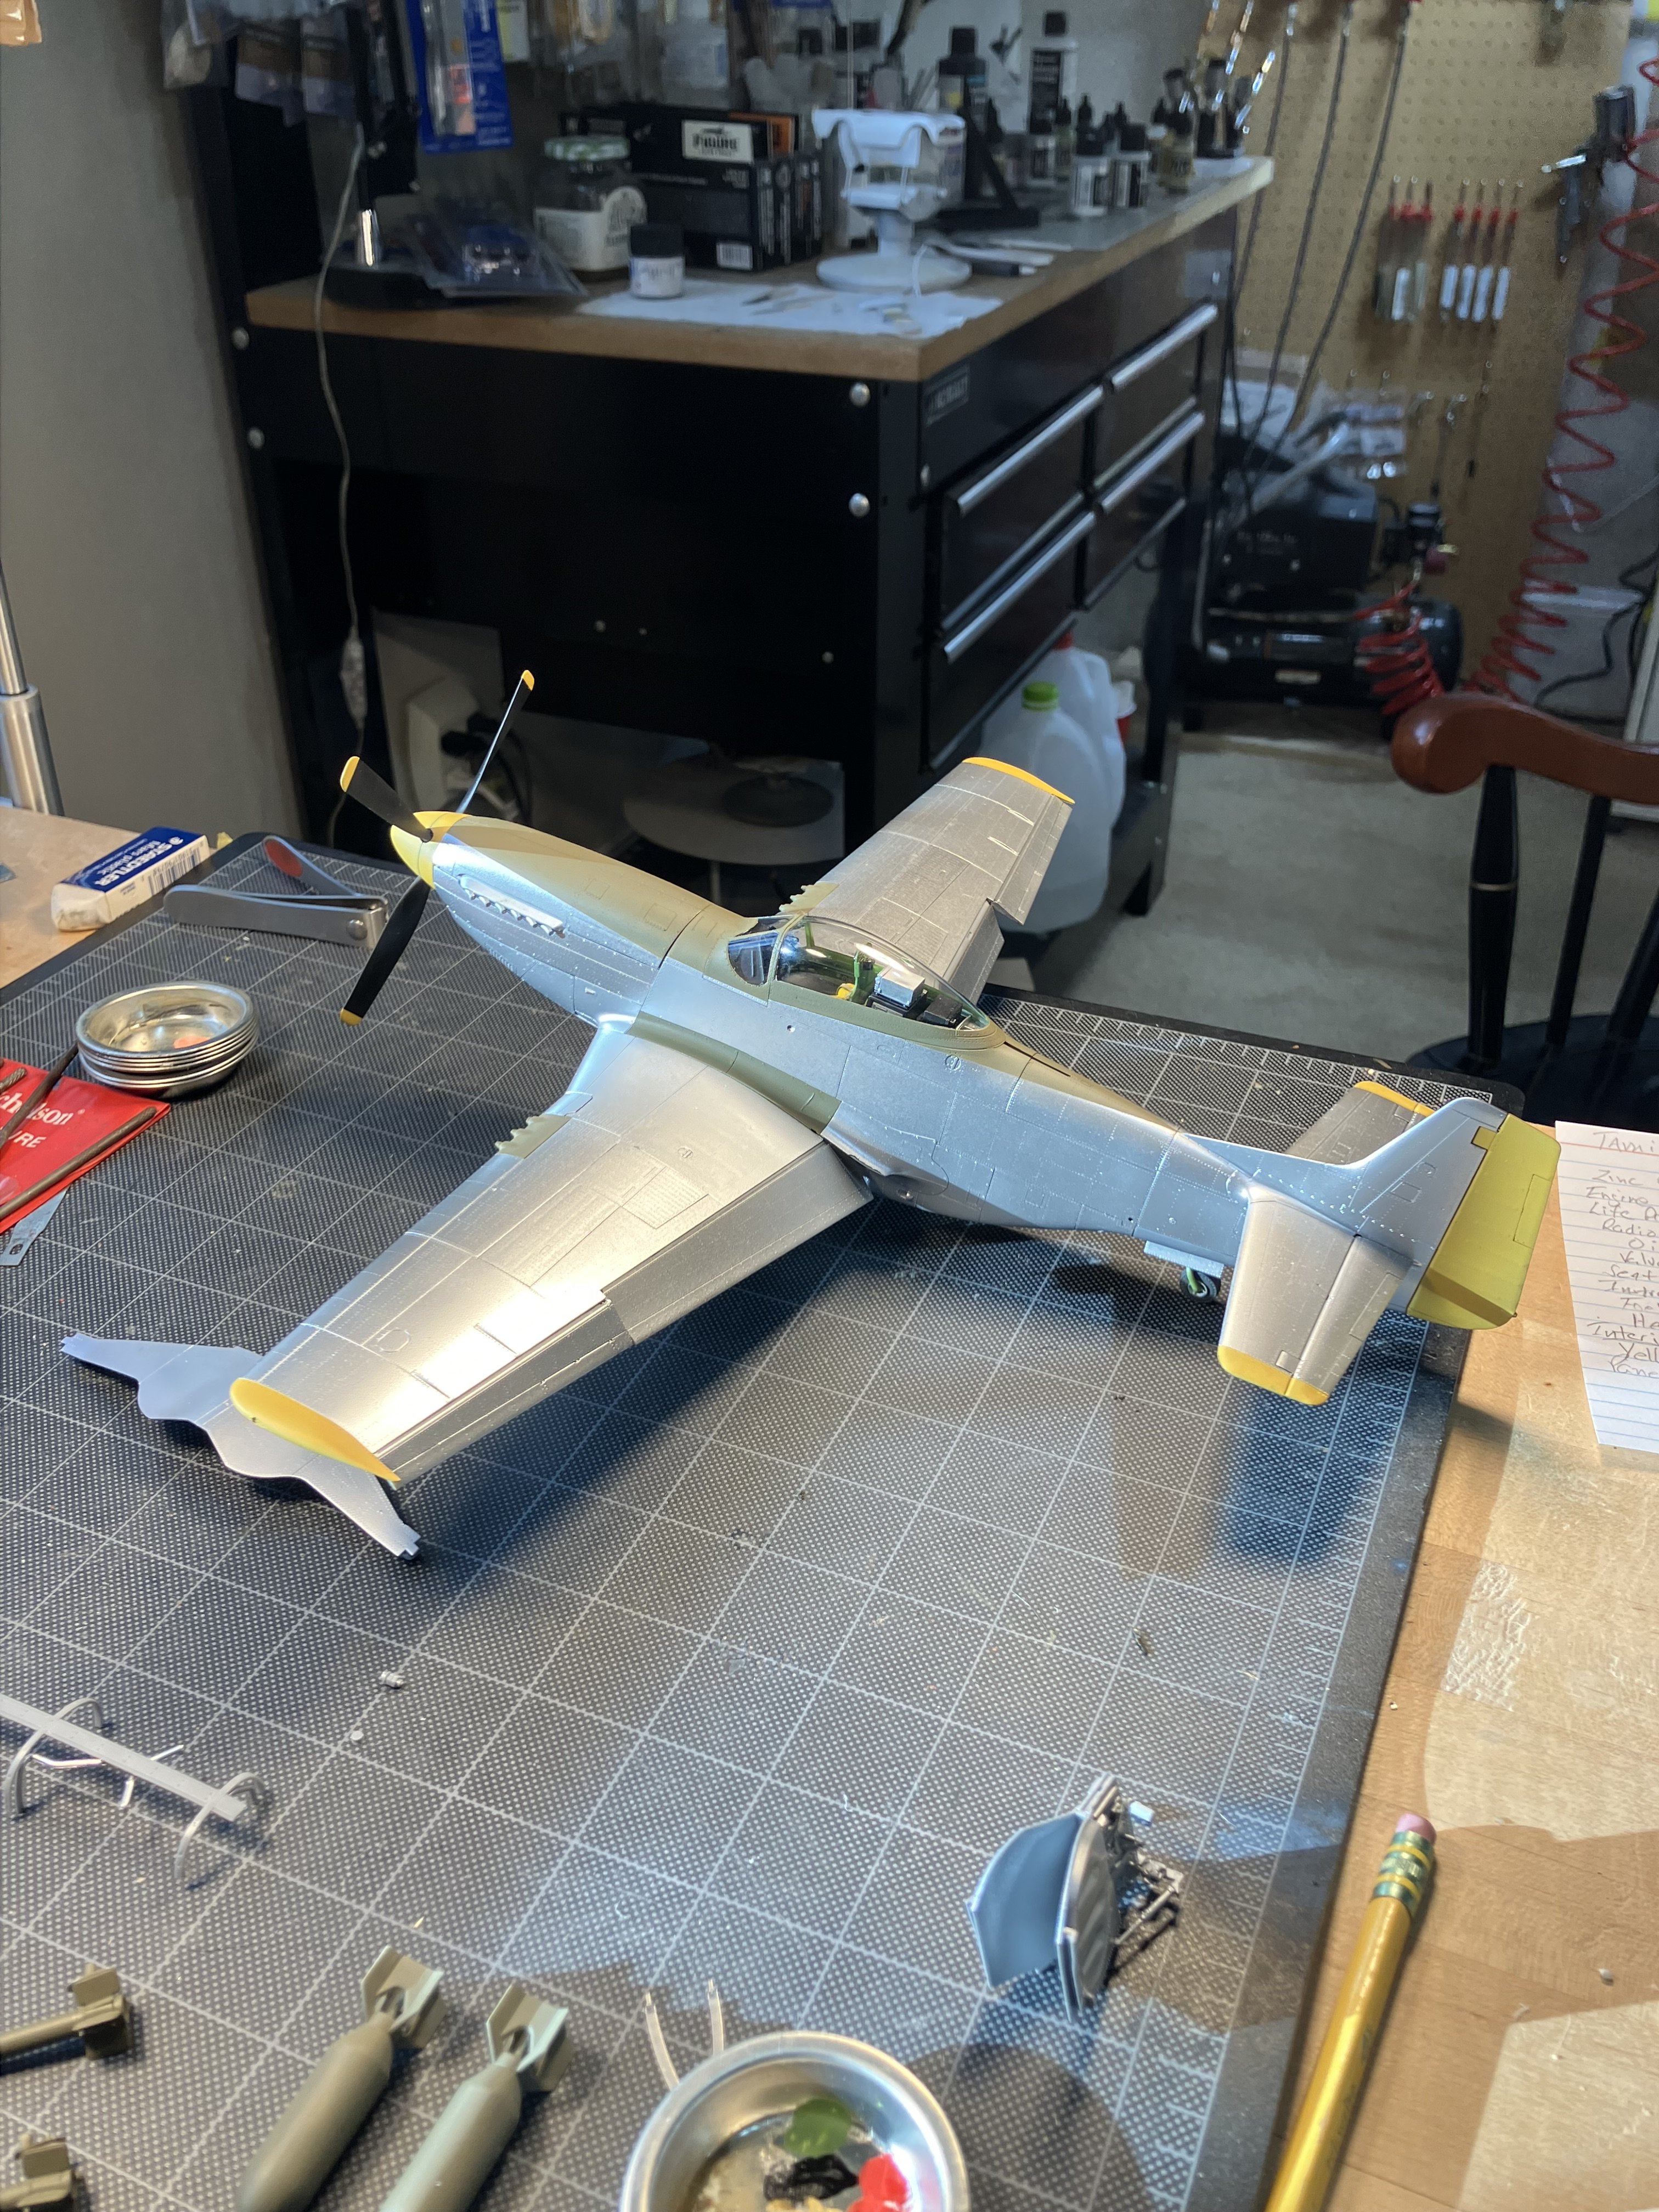
Olive drab and yellow markings finished.
Canopy cleaned to remove tape residue with Novus #1 Plastic Clean and Shine.

- Jack12477, Old Collingwood, Egilman and 6 others
-
9
-
Welcome aboard! Before building a first rate, go through building a ship with one or two masts, small number of canon, less rigging, etc. This way you will gain experience, and decide how you will tackle these jobs, in your shop.
Good luck with your projects!
- Keith Black, mtaylor and AJohnson
-
3
-
-
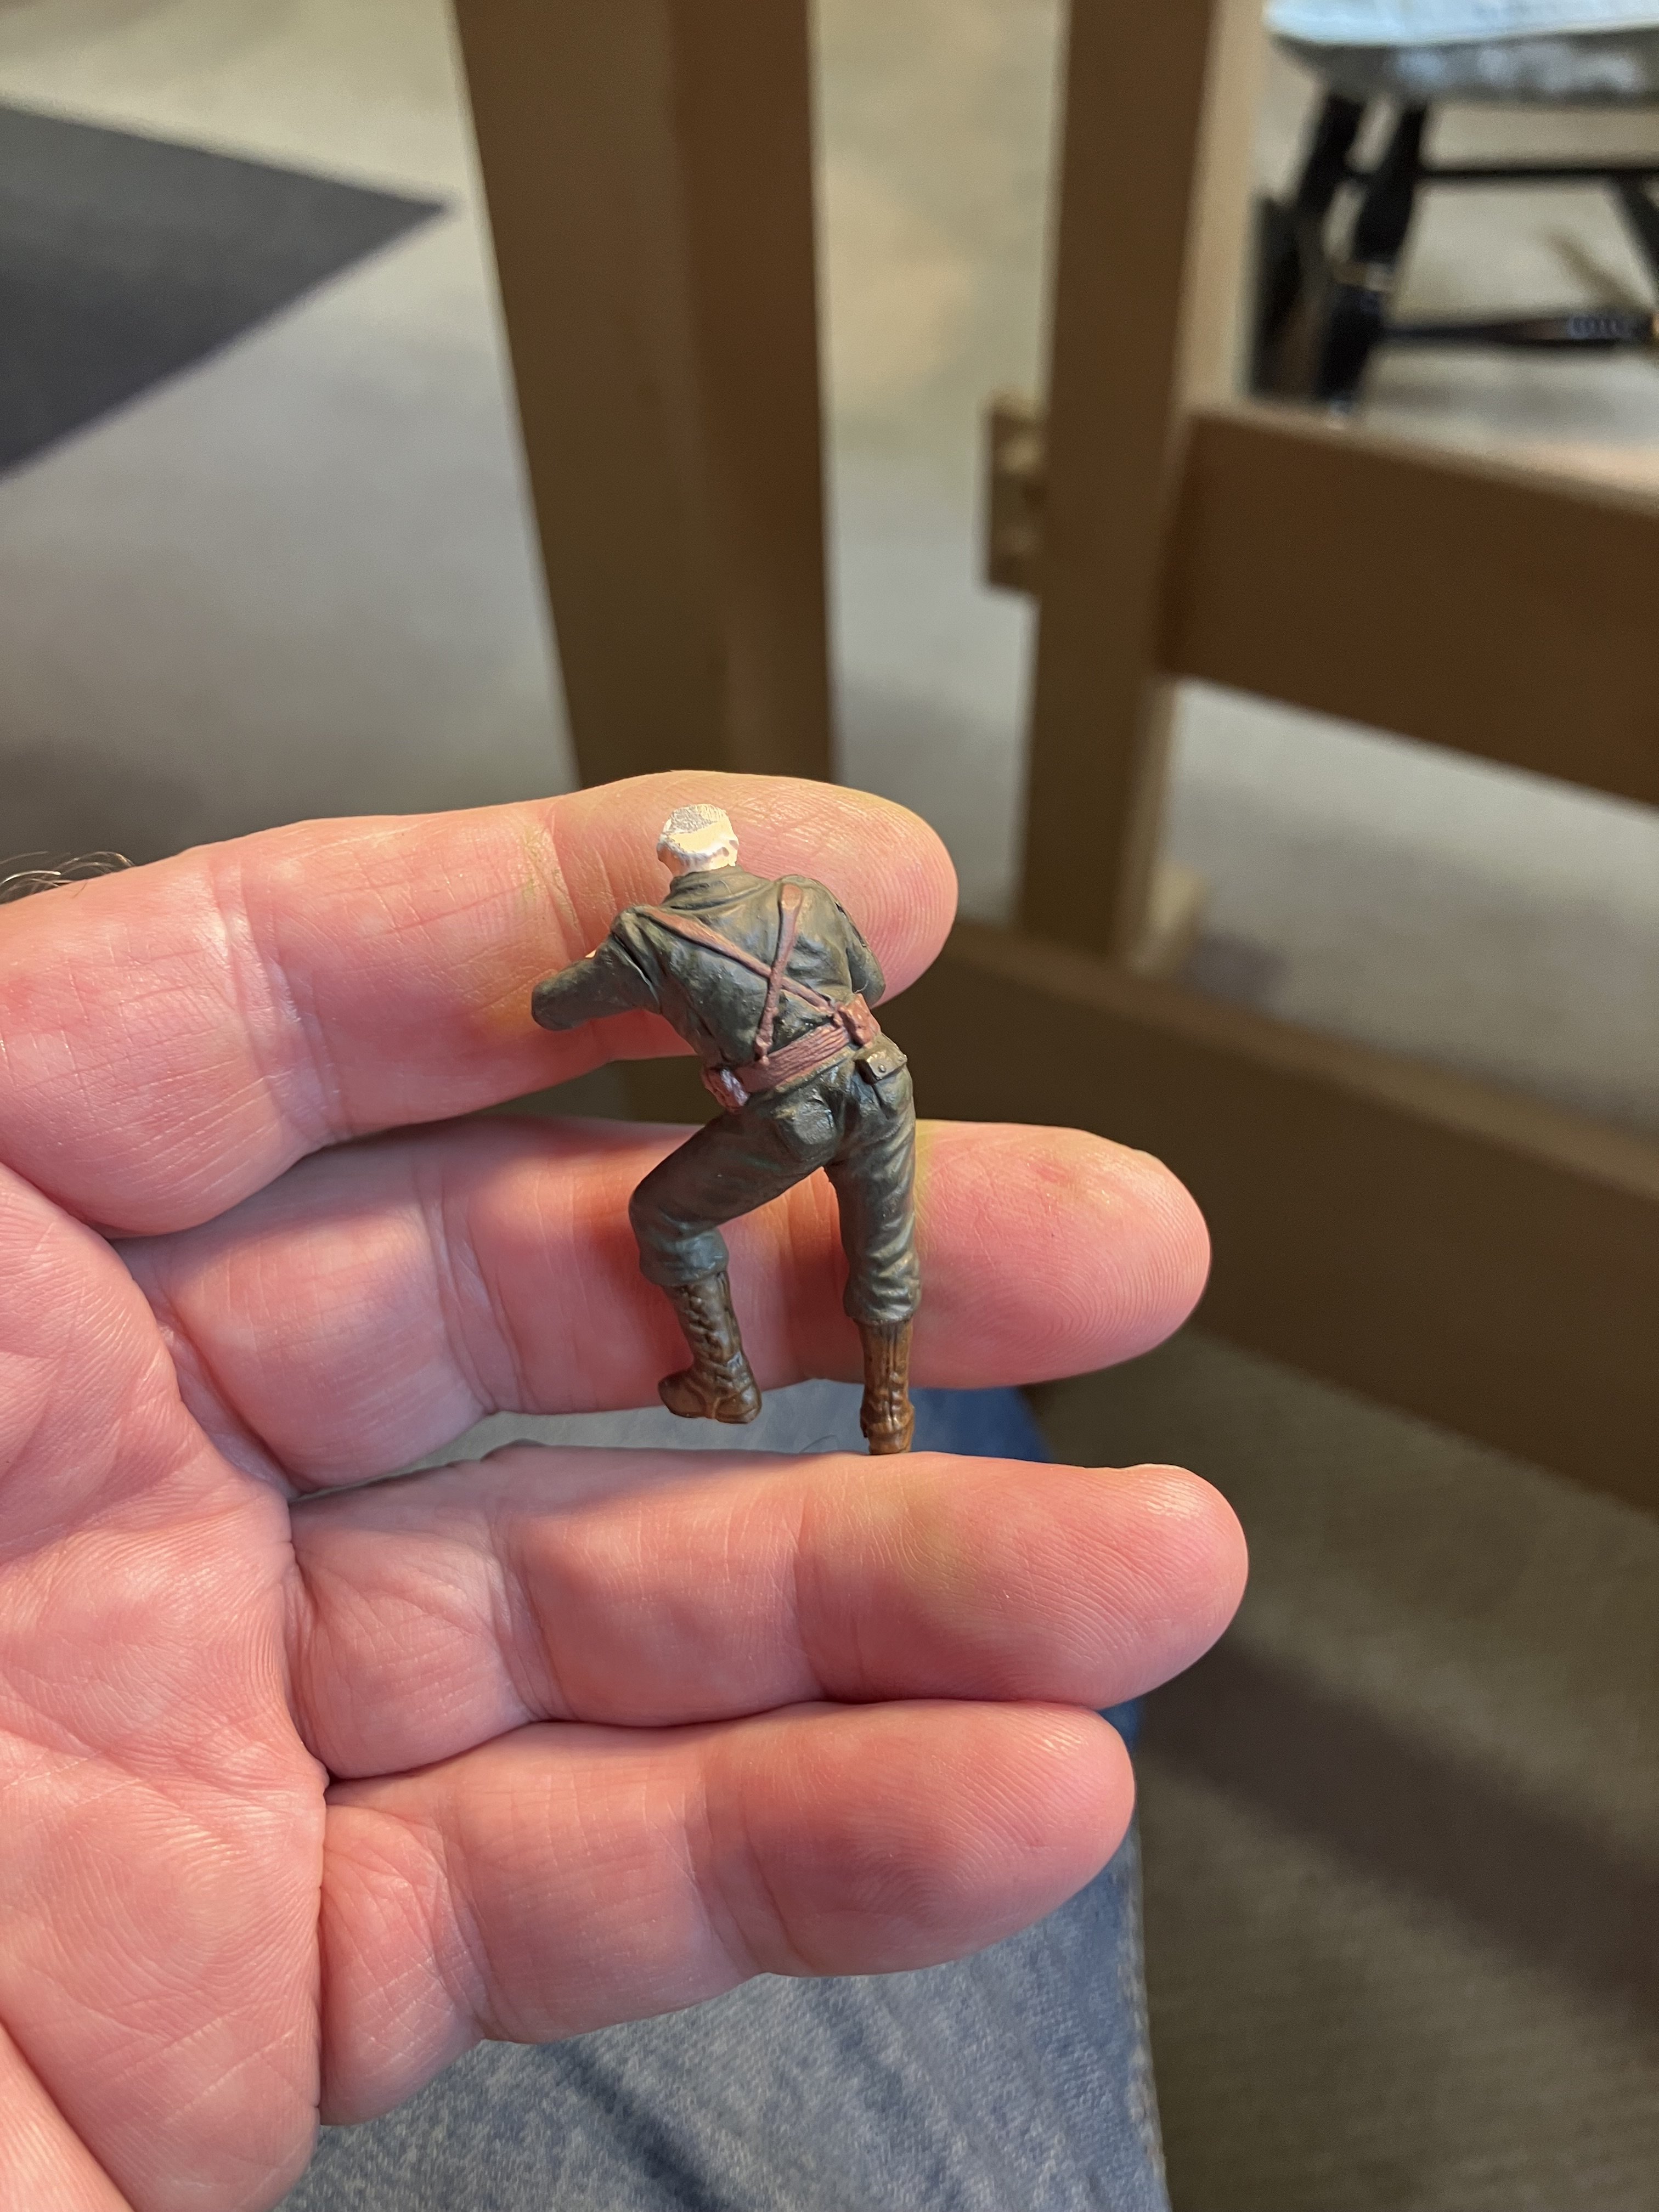
Uniforms finished. Standard techniques in all the books, selected 3 colors: shadow Model Master Acrylic US Helo Drab, base MMA Green Drab, highlight MMA Dark Green; then wash with diluted base color to blend and knock down the contrast between shades.
Leather is Polly-O water base Box Car Red 204281.

- Knocklouder, Egilman, Ryland Craze and 7 others
-
10
-
Onward with the men. Brushed out uniforms with Model Master acrylic Green Drab, then another coat of Model Color Basic Skin Tone 70.815, and finally the boots using the Wood and Leather kit (good instructions show how). Boot base coat Chocolate Brown 7.872, highlight with Flat Earth 70.983, then a wash with Smoke 70.939.
Next is shading and highlighting the uniforms.

- Jack12477, Canute, Old Collingwood and 4 others
-
7
-
Howdy, and welcome to Model Ship World. Agree, checkout Tom Laurie videos on YouTube. Thank you.
-
26 minutes ago, Egilman said:
Well done..
Thanks, much appreciated…
- Old Collingwood, mtaylor, Jack12477 and 1 other
-
4
-
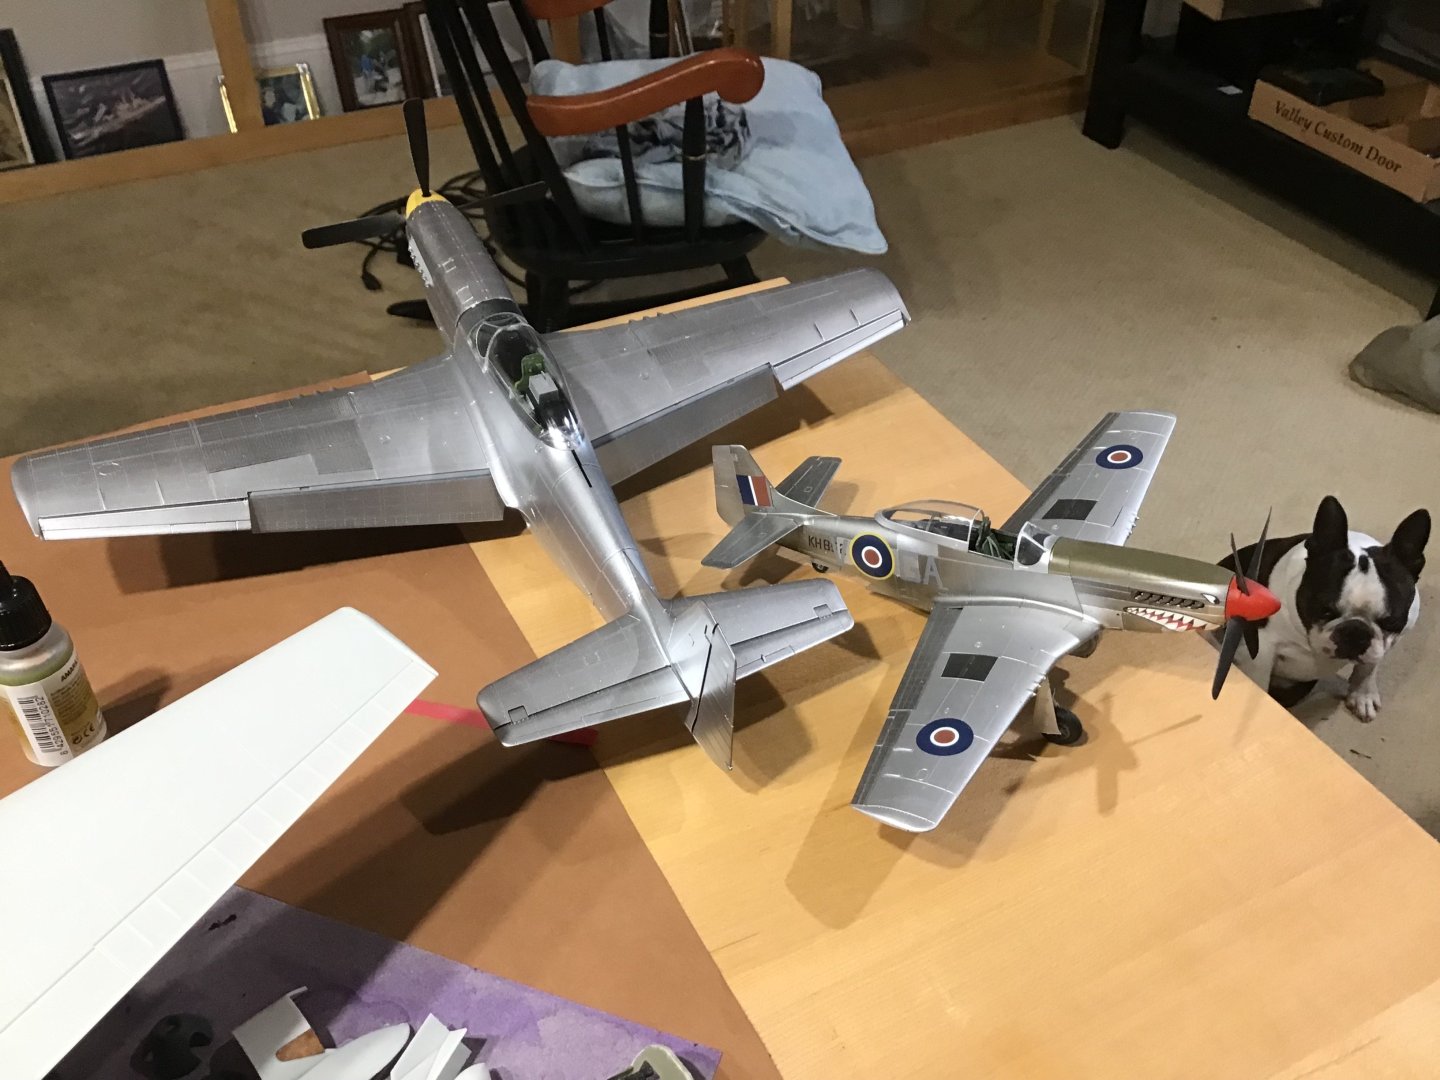
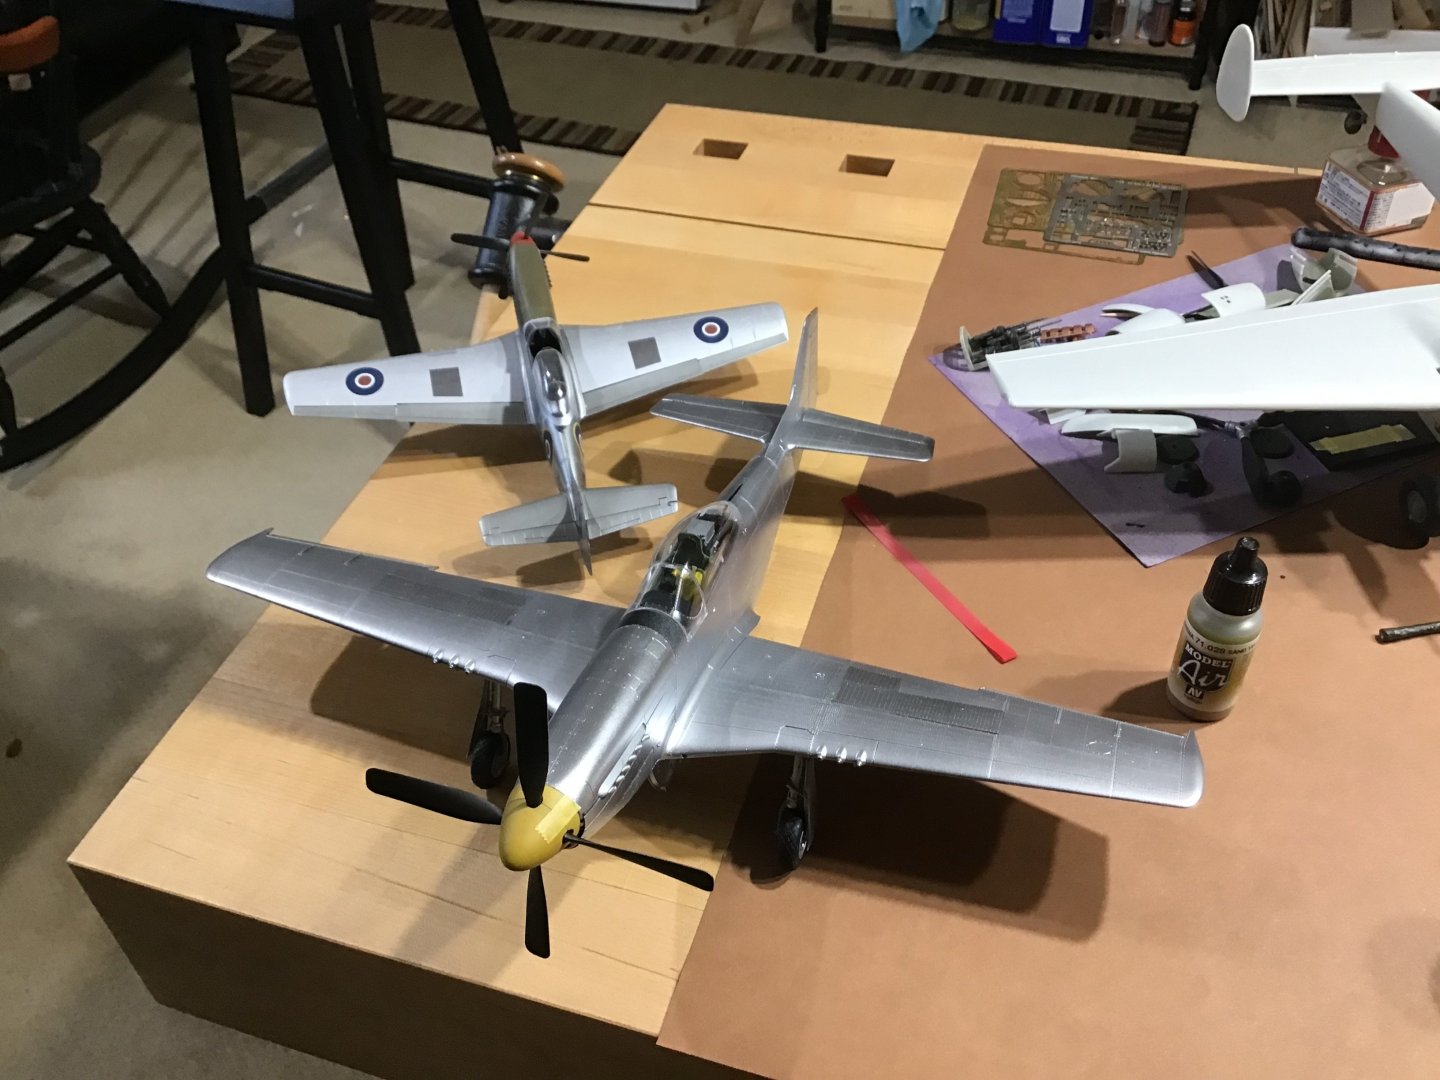
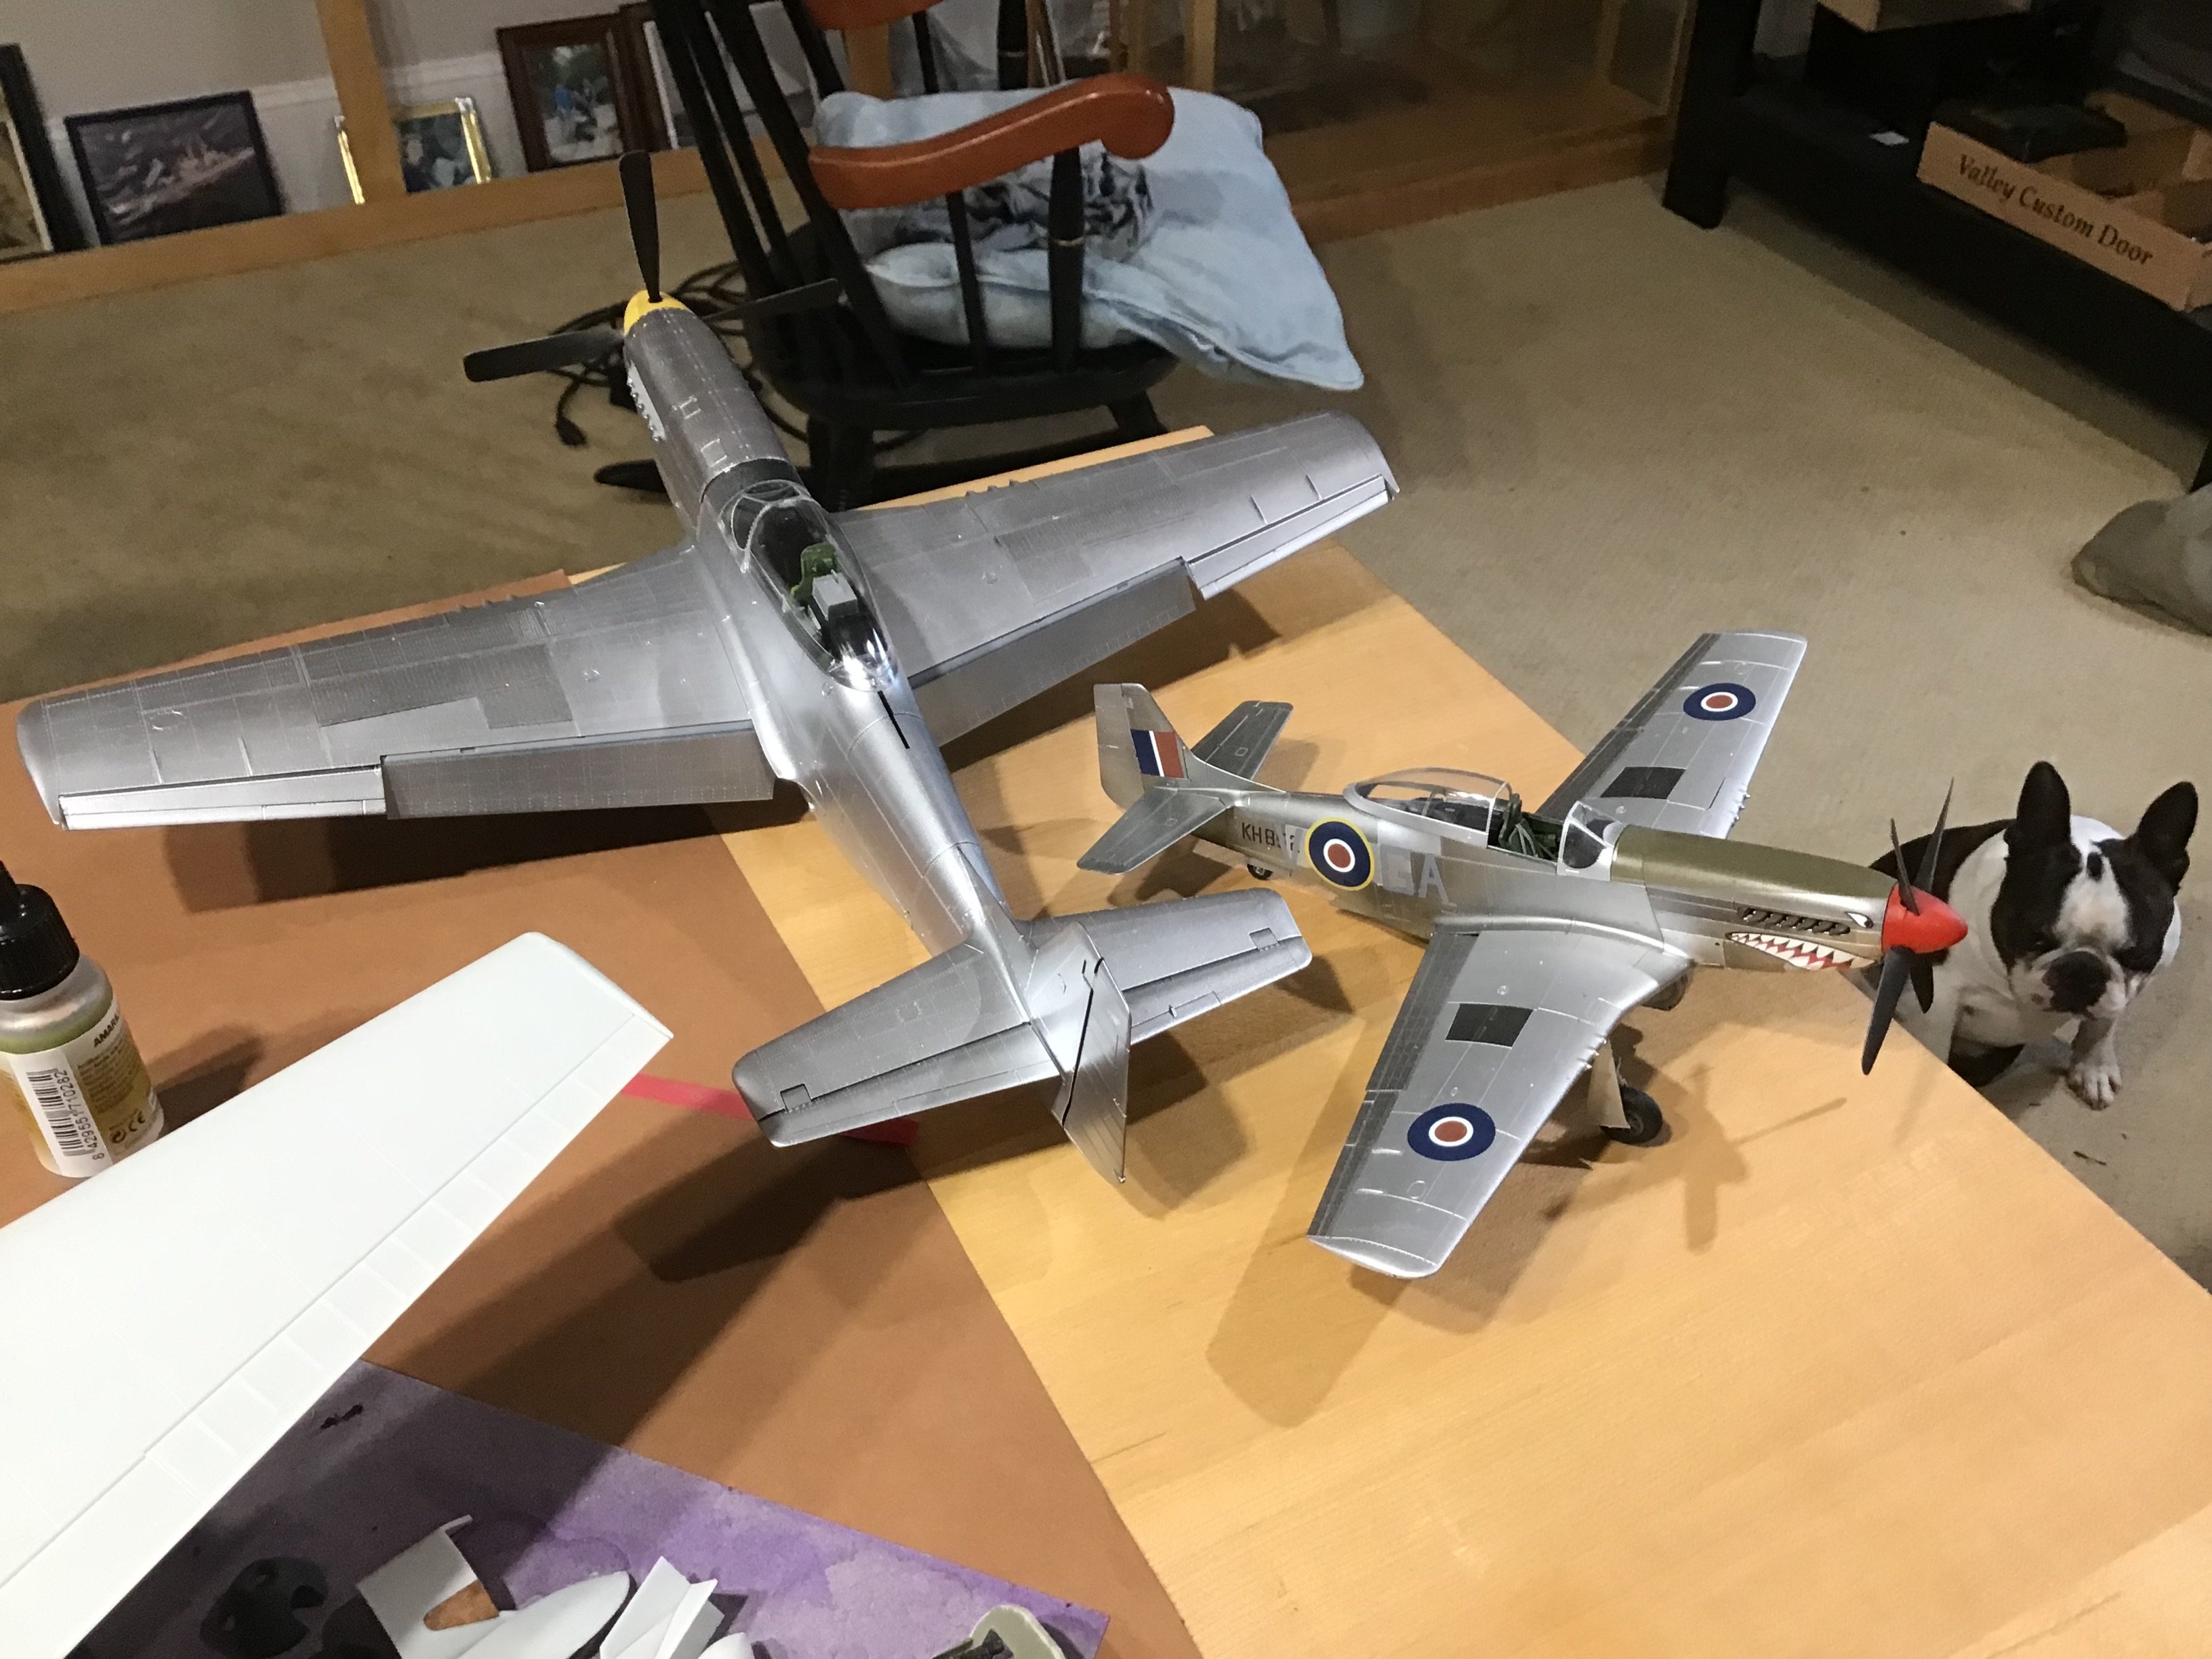
A shot of the 1/48 Mustang, by Eduard, used as a test for the finishing process, with its 1/32 brother. The 1/48 model has a different shade of aluminum on the main wing flaps, and the wing gun access doors (darker than I wanted, but too lazy to mask and repaint). The 1/32 still has just the aluminum base color and just the light angle provides shading on the wing flaps. The wing gun covers were painted separately, seems like less paint here, black primer underneath darkens the aluminum.
-
1 hour ago, king derelict said:
Sorry Rich, won’t digress again
No problem, all discussion is welcome.
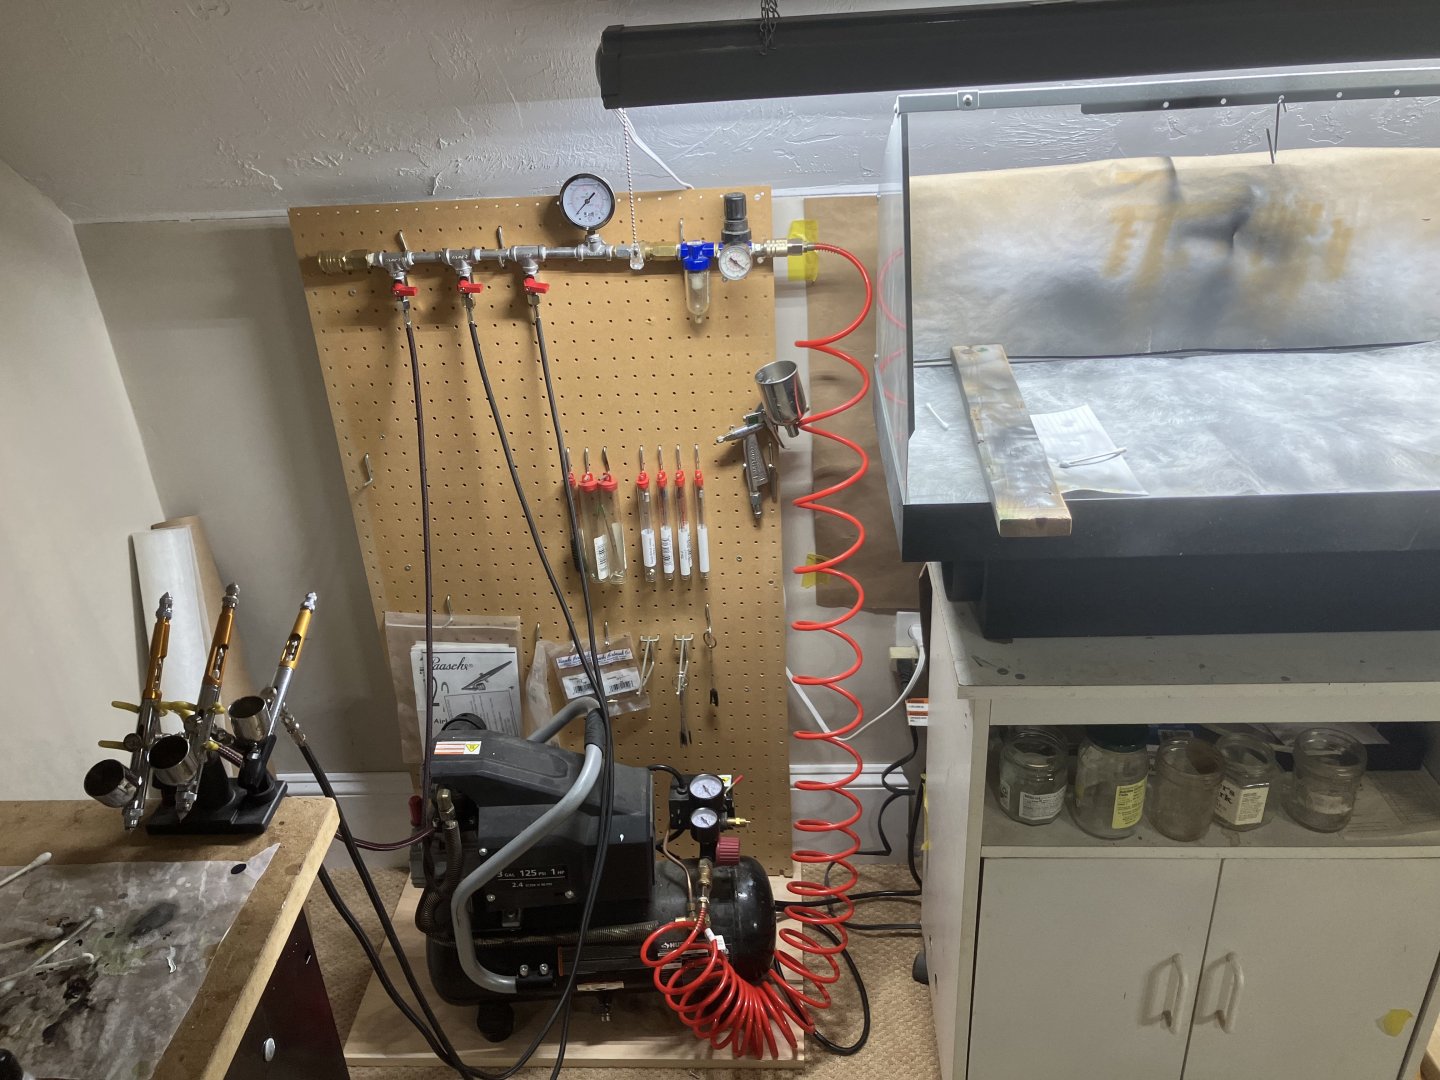
Here is a picture of my setup. Go with 20 psi on the manifold gauge, certainly drops at the tip. Have 3 Talons, #1, #2, and #3 tip, each with a red cutout valve on the manifold.
This paint has been good to me so far.


Framing Gun Ports - USF Essex - Model Shipways
in Building, Framing, Planking and plating a ships hull and deck
Posted
Hi,
Cut the sills and lintels slightly longer than needed, Then chisel, file, or sand the angle in the ends. Each piece
needs to be custom fitted. After a while, with practice, the angle cuts will get easier. Glue will fill any tiny gaps.
Good luck.
-Rich